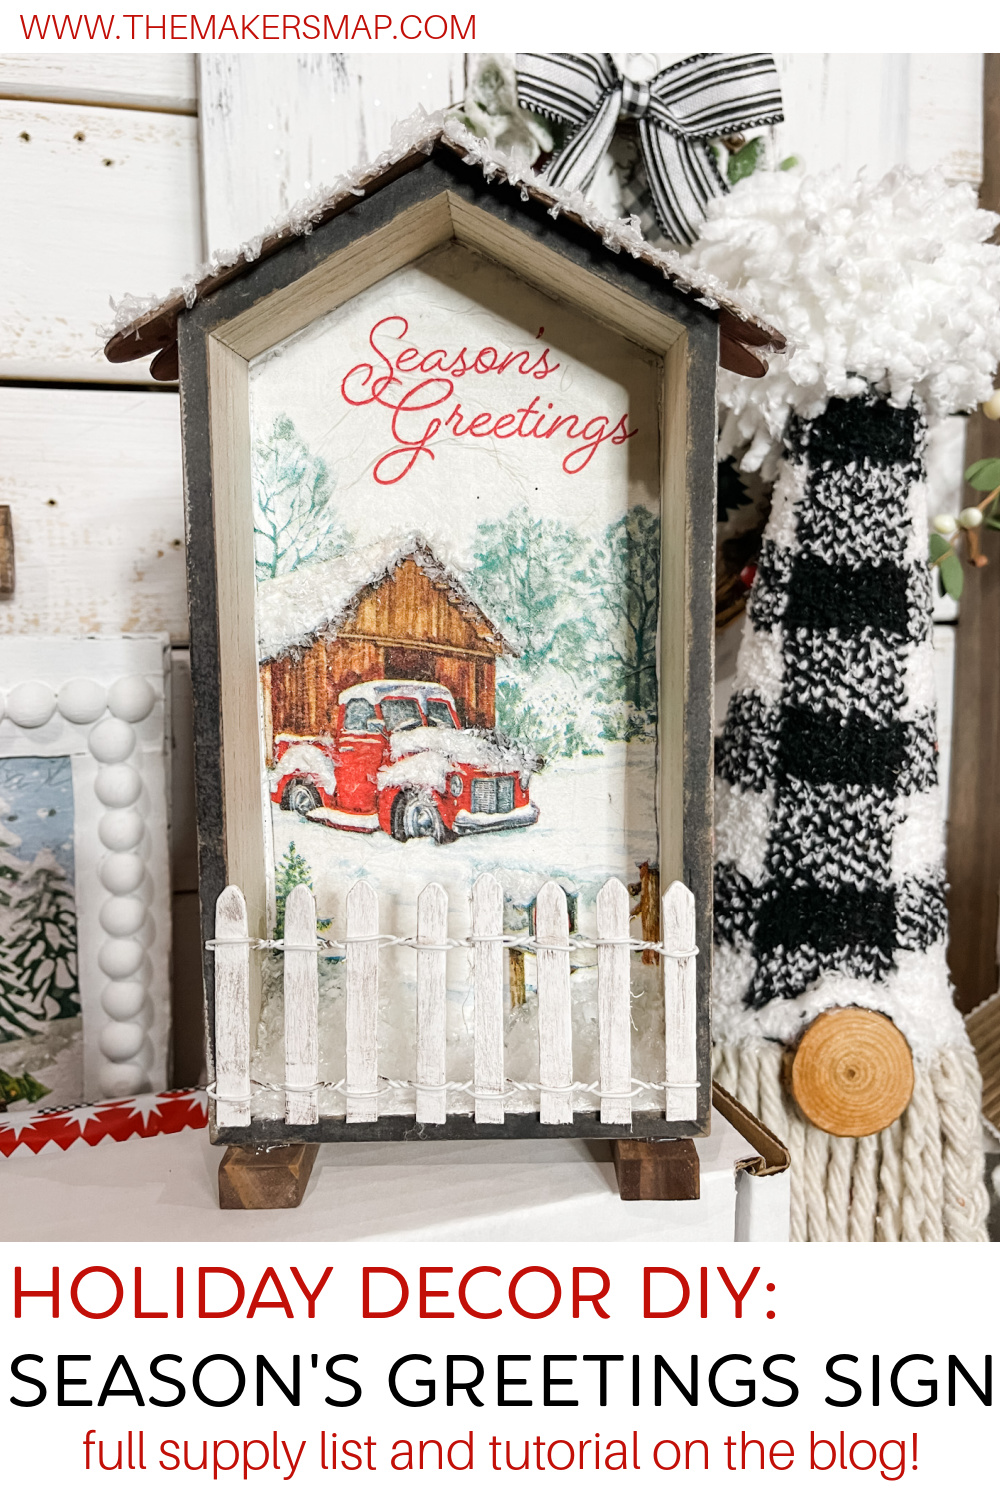
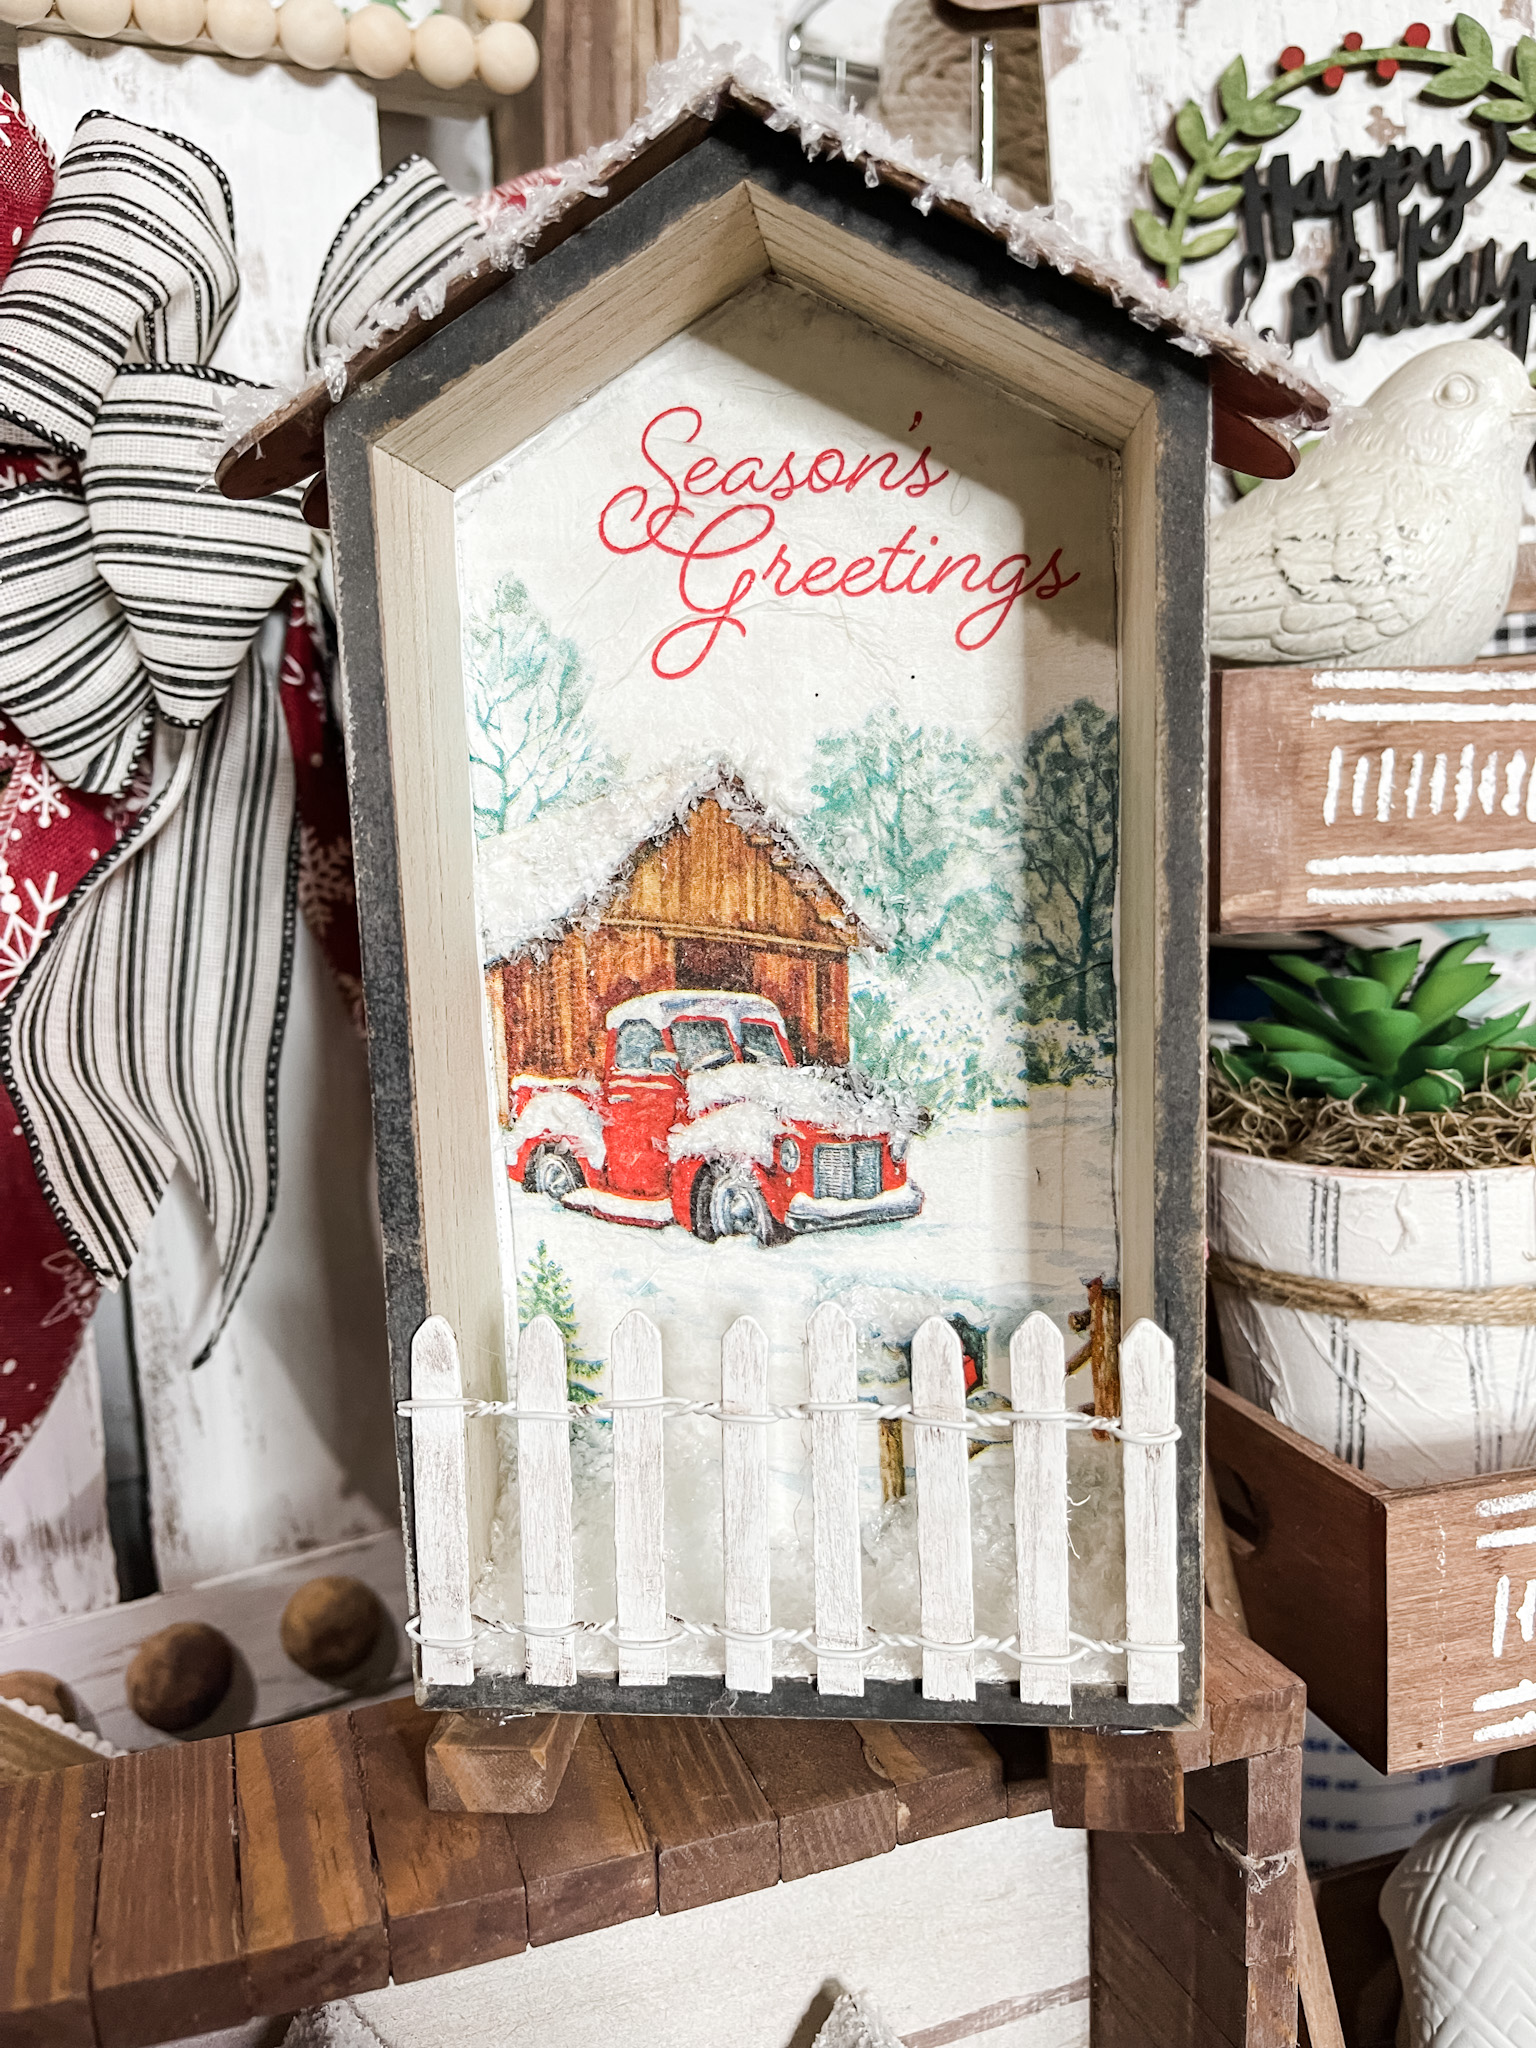
DIY Season’s Greetings Holiday Decor
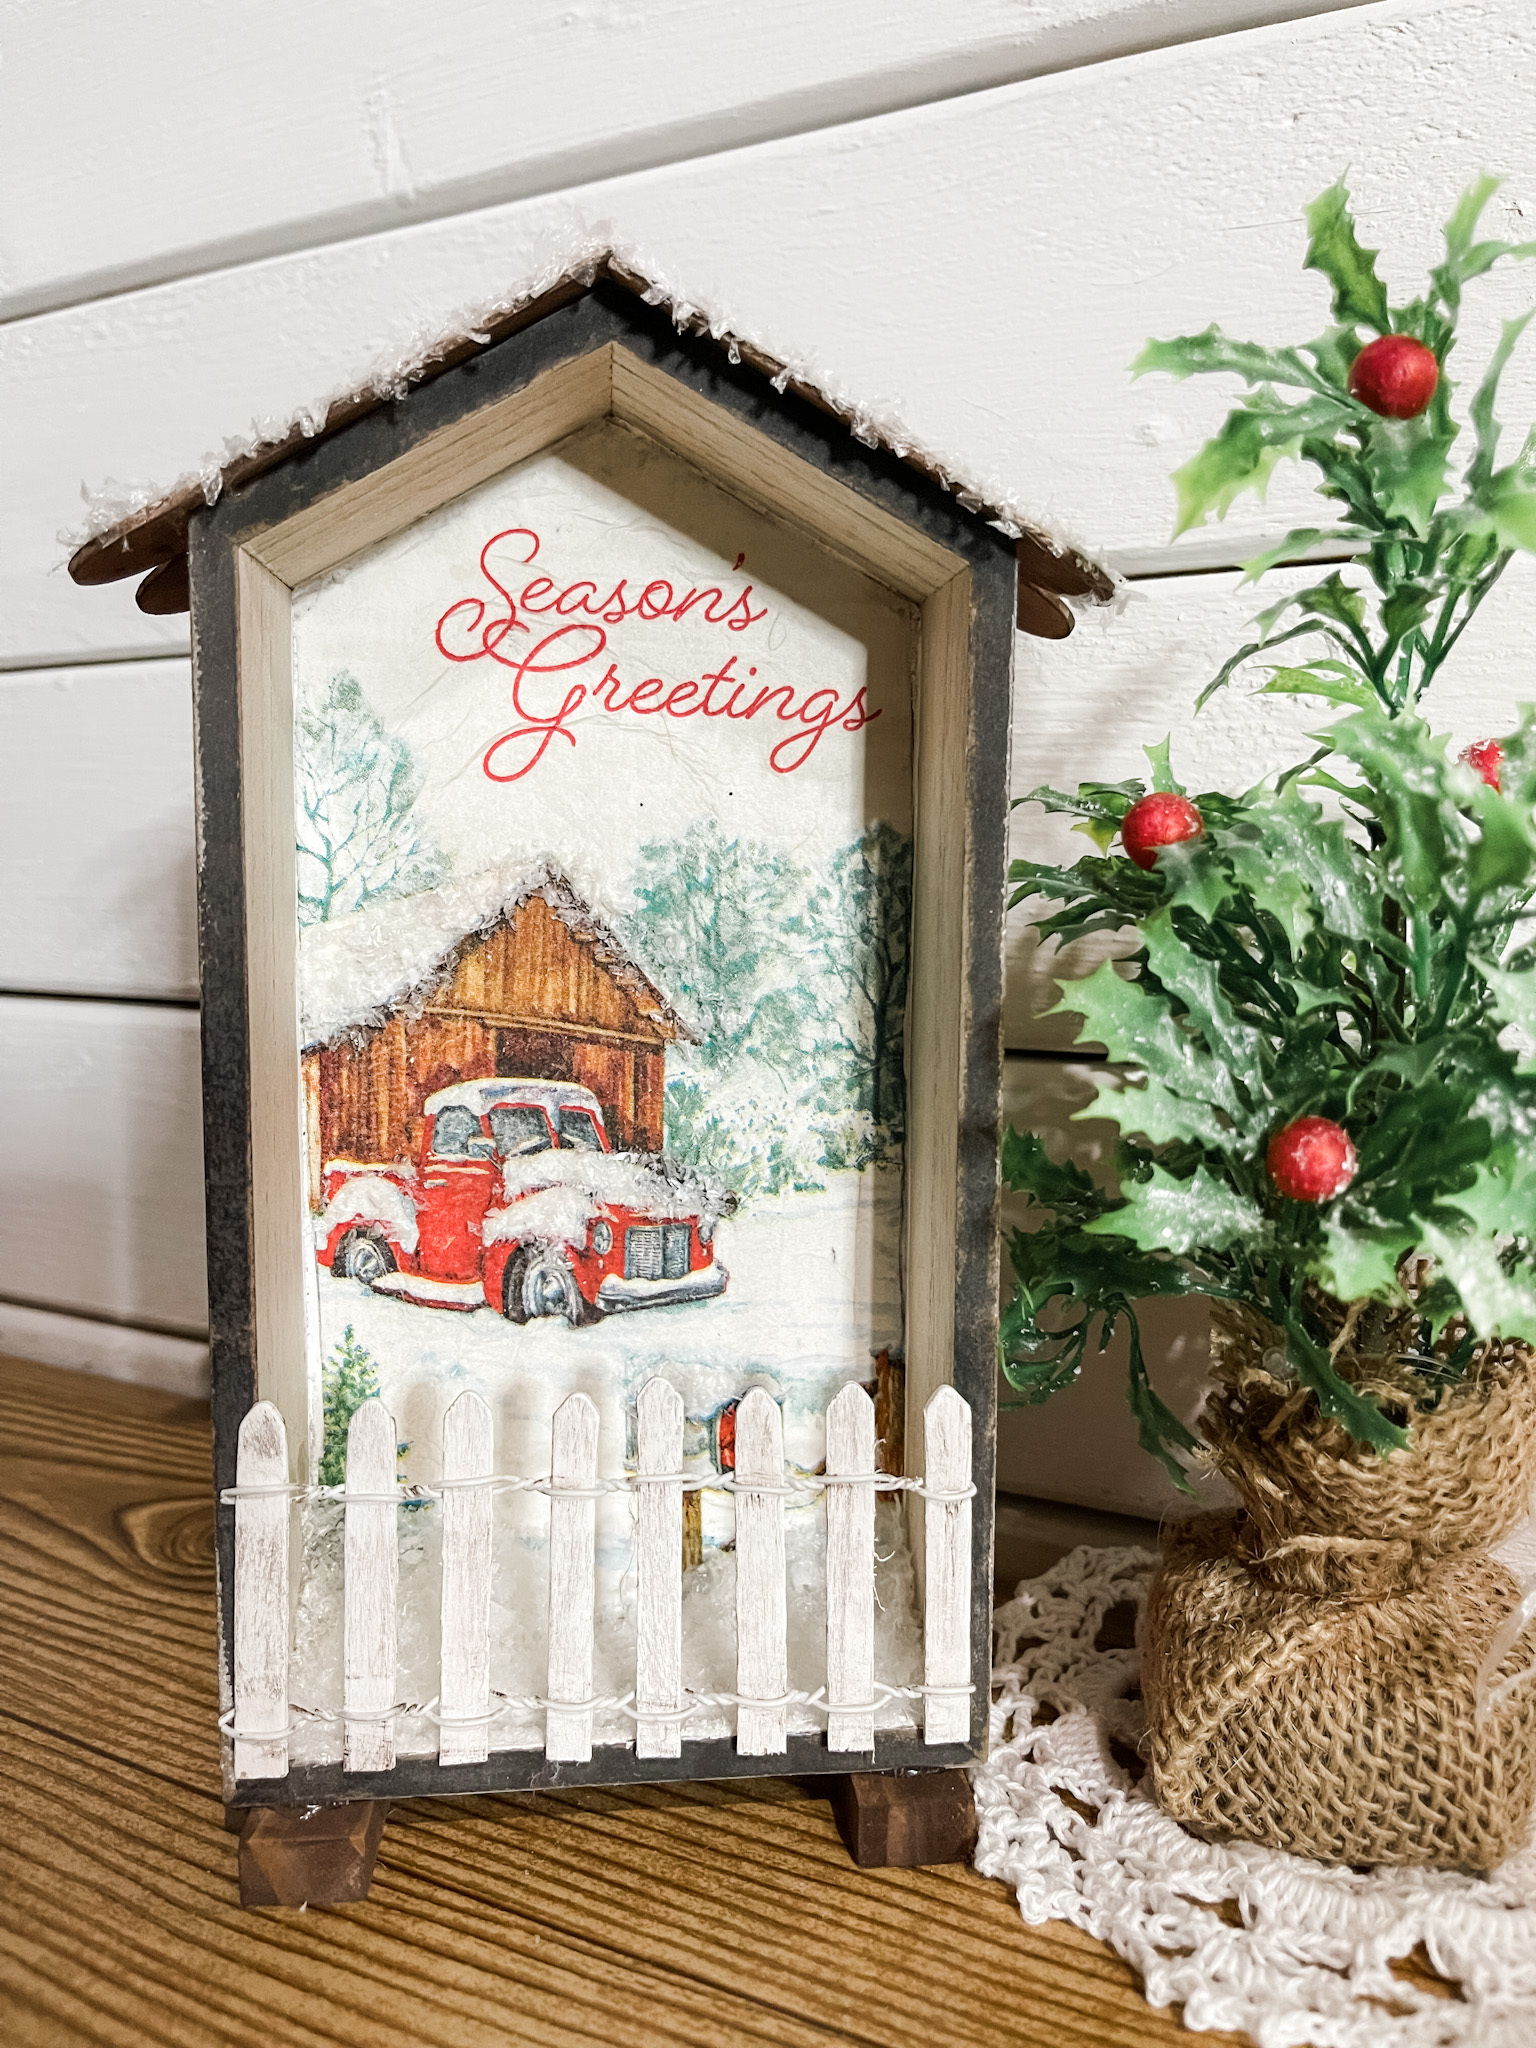
OH MY GOSH! I am so excited to share this ADORABLE DIY Season’s Greetings Holiday Decor with you!! Can you tell that I made this decor idea with two different napkins!
I can’t believe how many people don’t know that you can craft with napkins and make your own custom and unique home decor for any time of the year!
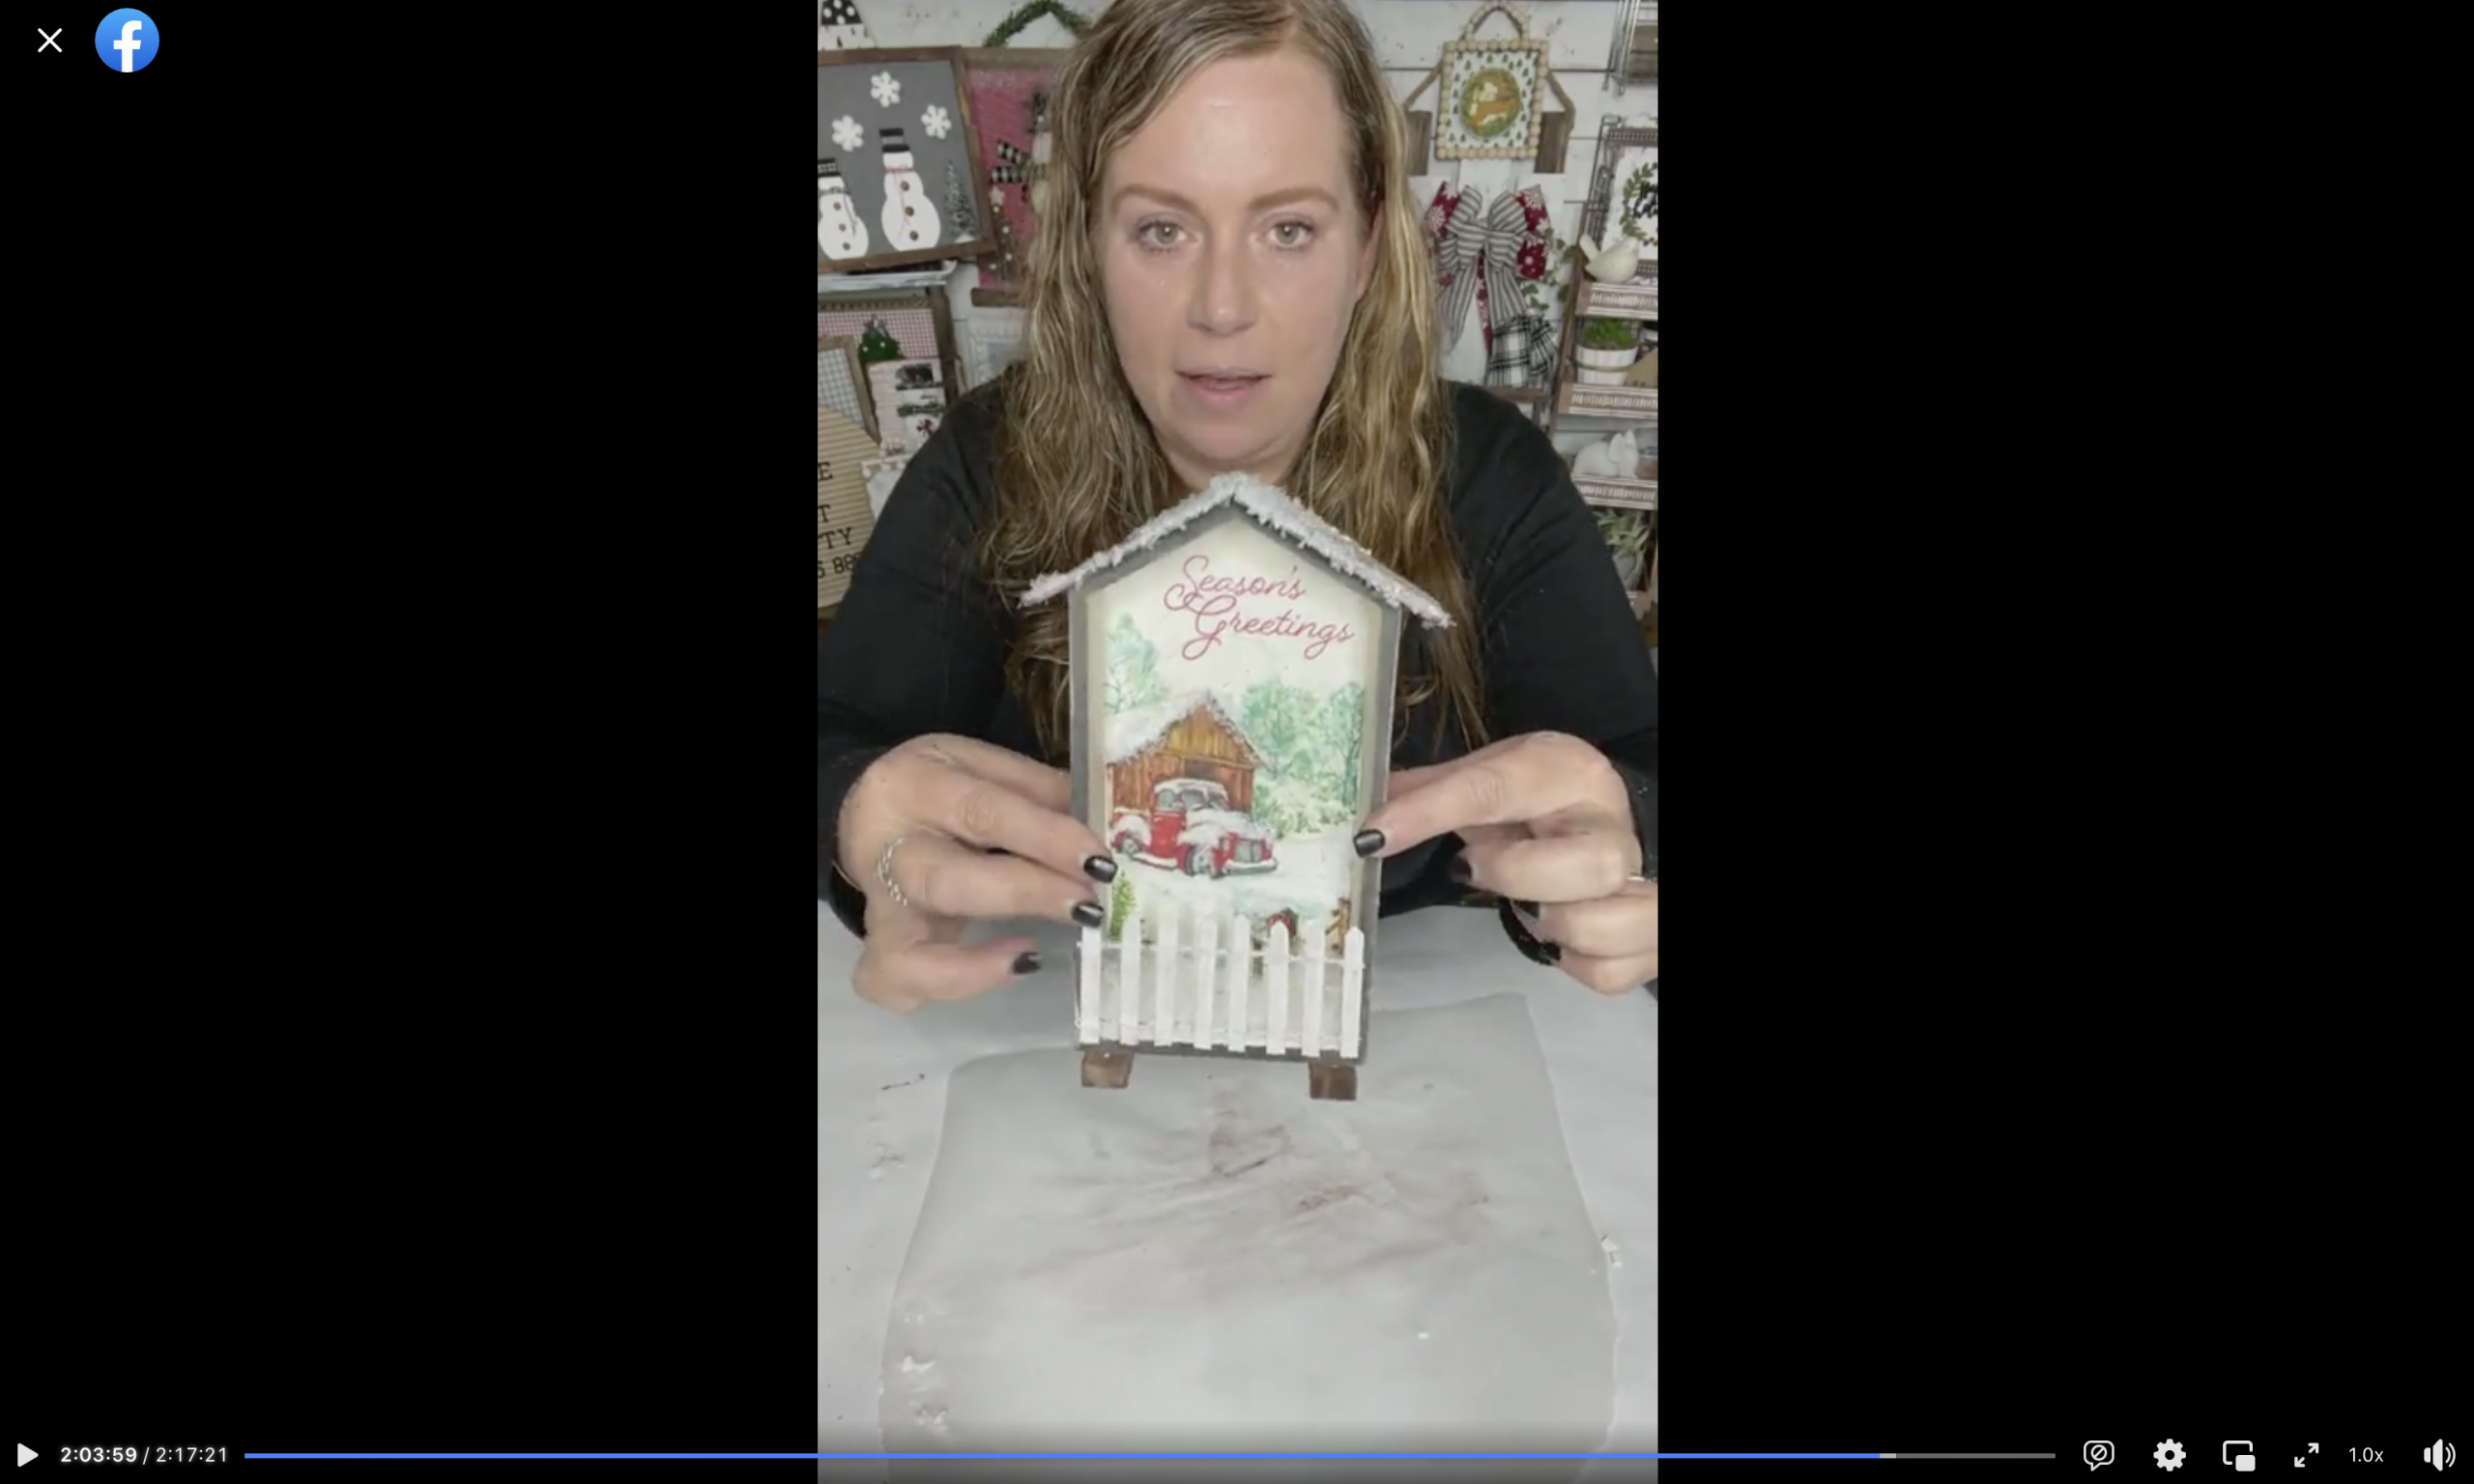
Watch the DIY tutorial
I recorded how to make this adorable DIY Season’s Greetings Holiday Decor during a LIVE video on my Facebook page.
If you want to see the DIY process, craft along, or just join in on the fun conversations, you can watch the DIY tutorial on Facebook!
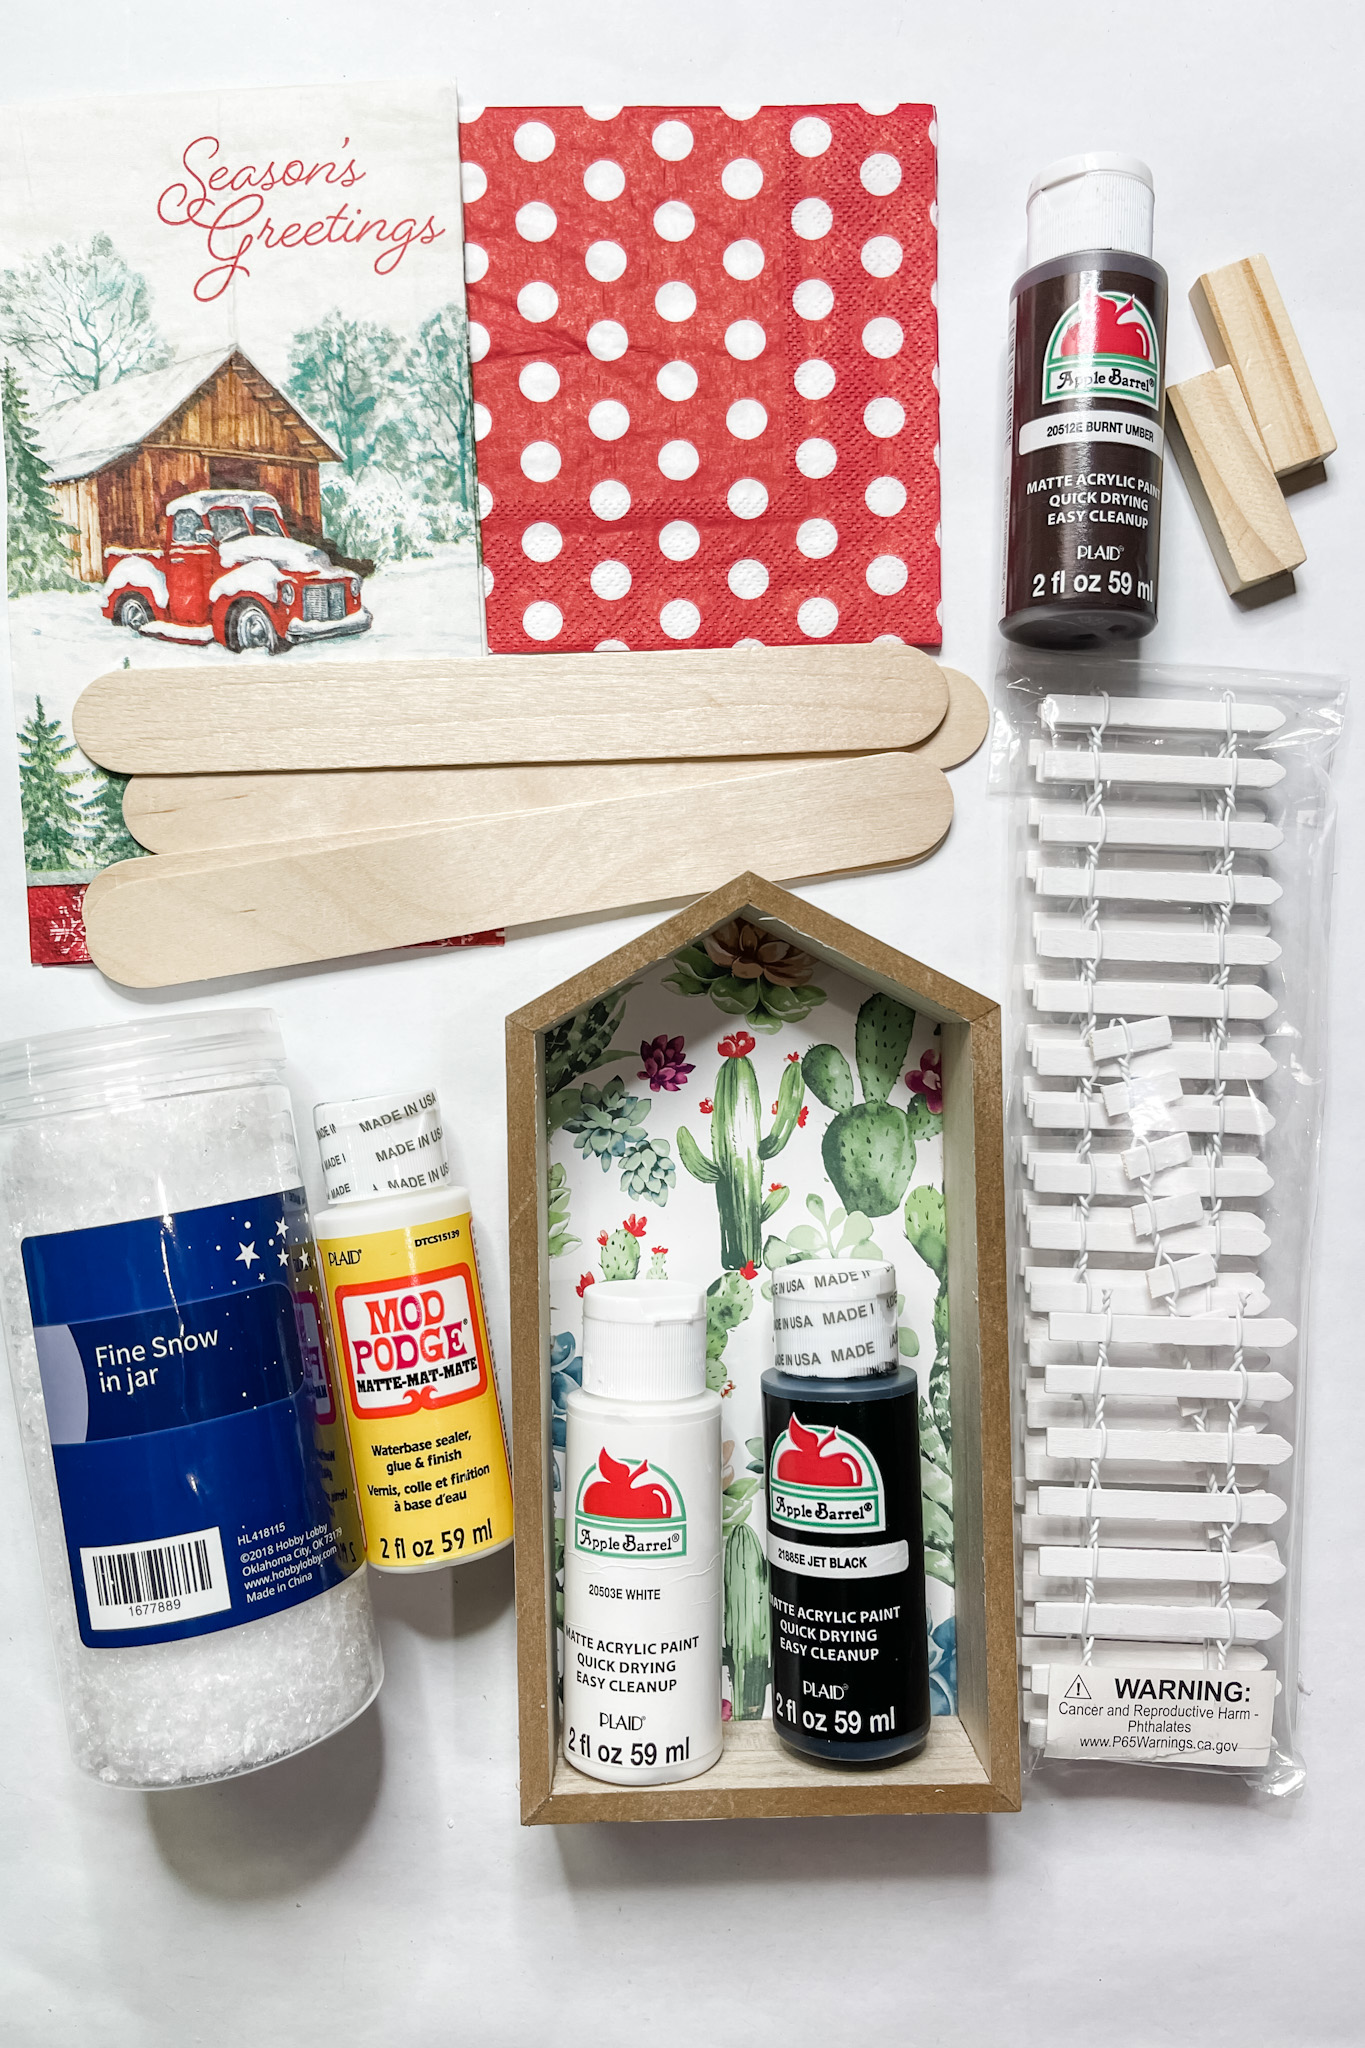
For this project, I will be using these items but you can substitute where you want.
“As an Amazon Associate, I earn from qualifying purchases.”
- Season’s Greetings Napkin
- Red with White Polka Dots Napkin
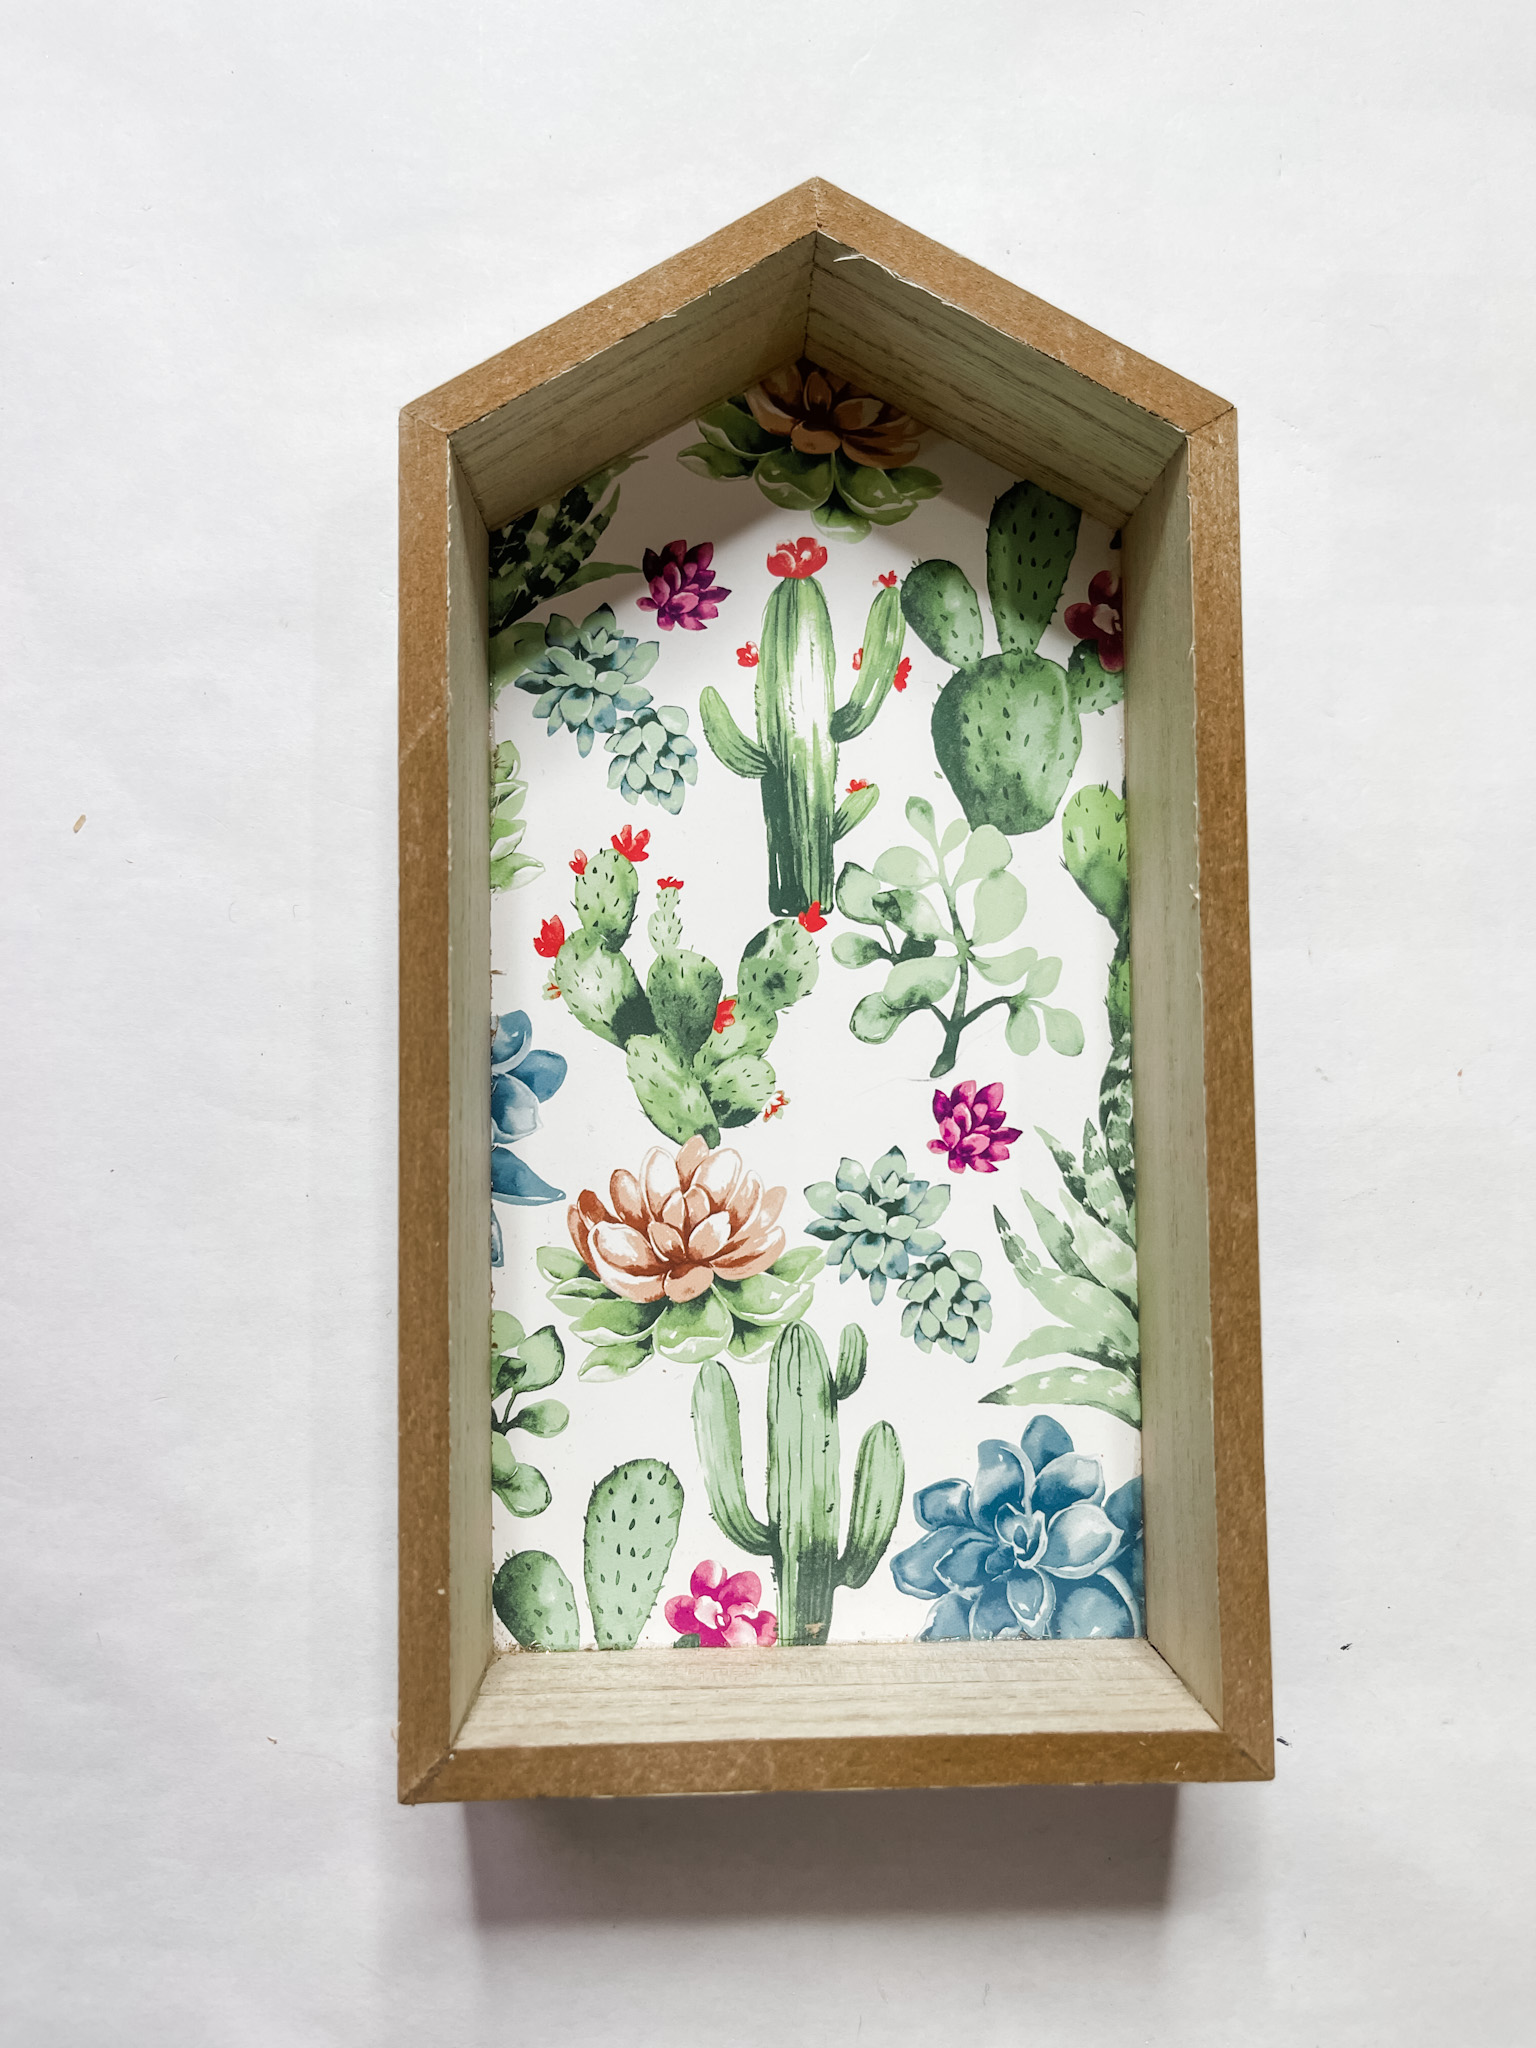
- Dollar Tree House Shaped Sign Box
- Dollar Tree Tumbling Tower Blocks
- Giant Craft Sticks
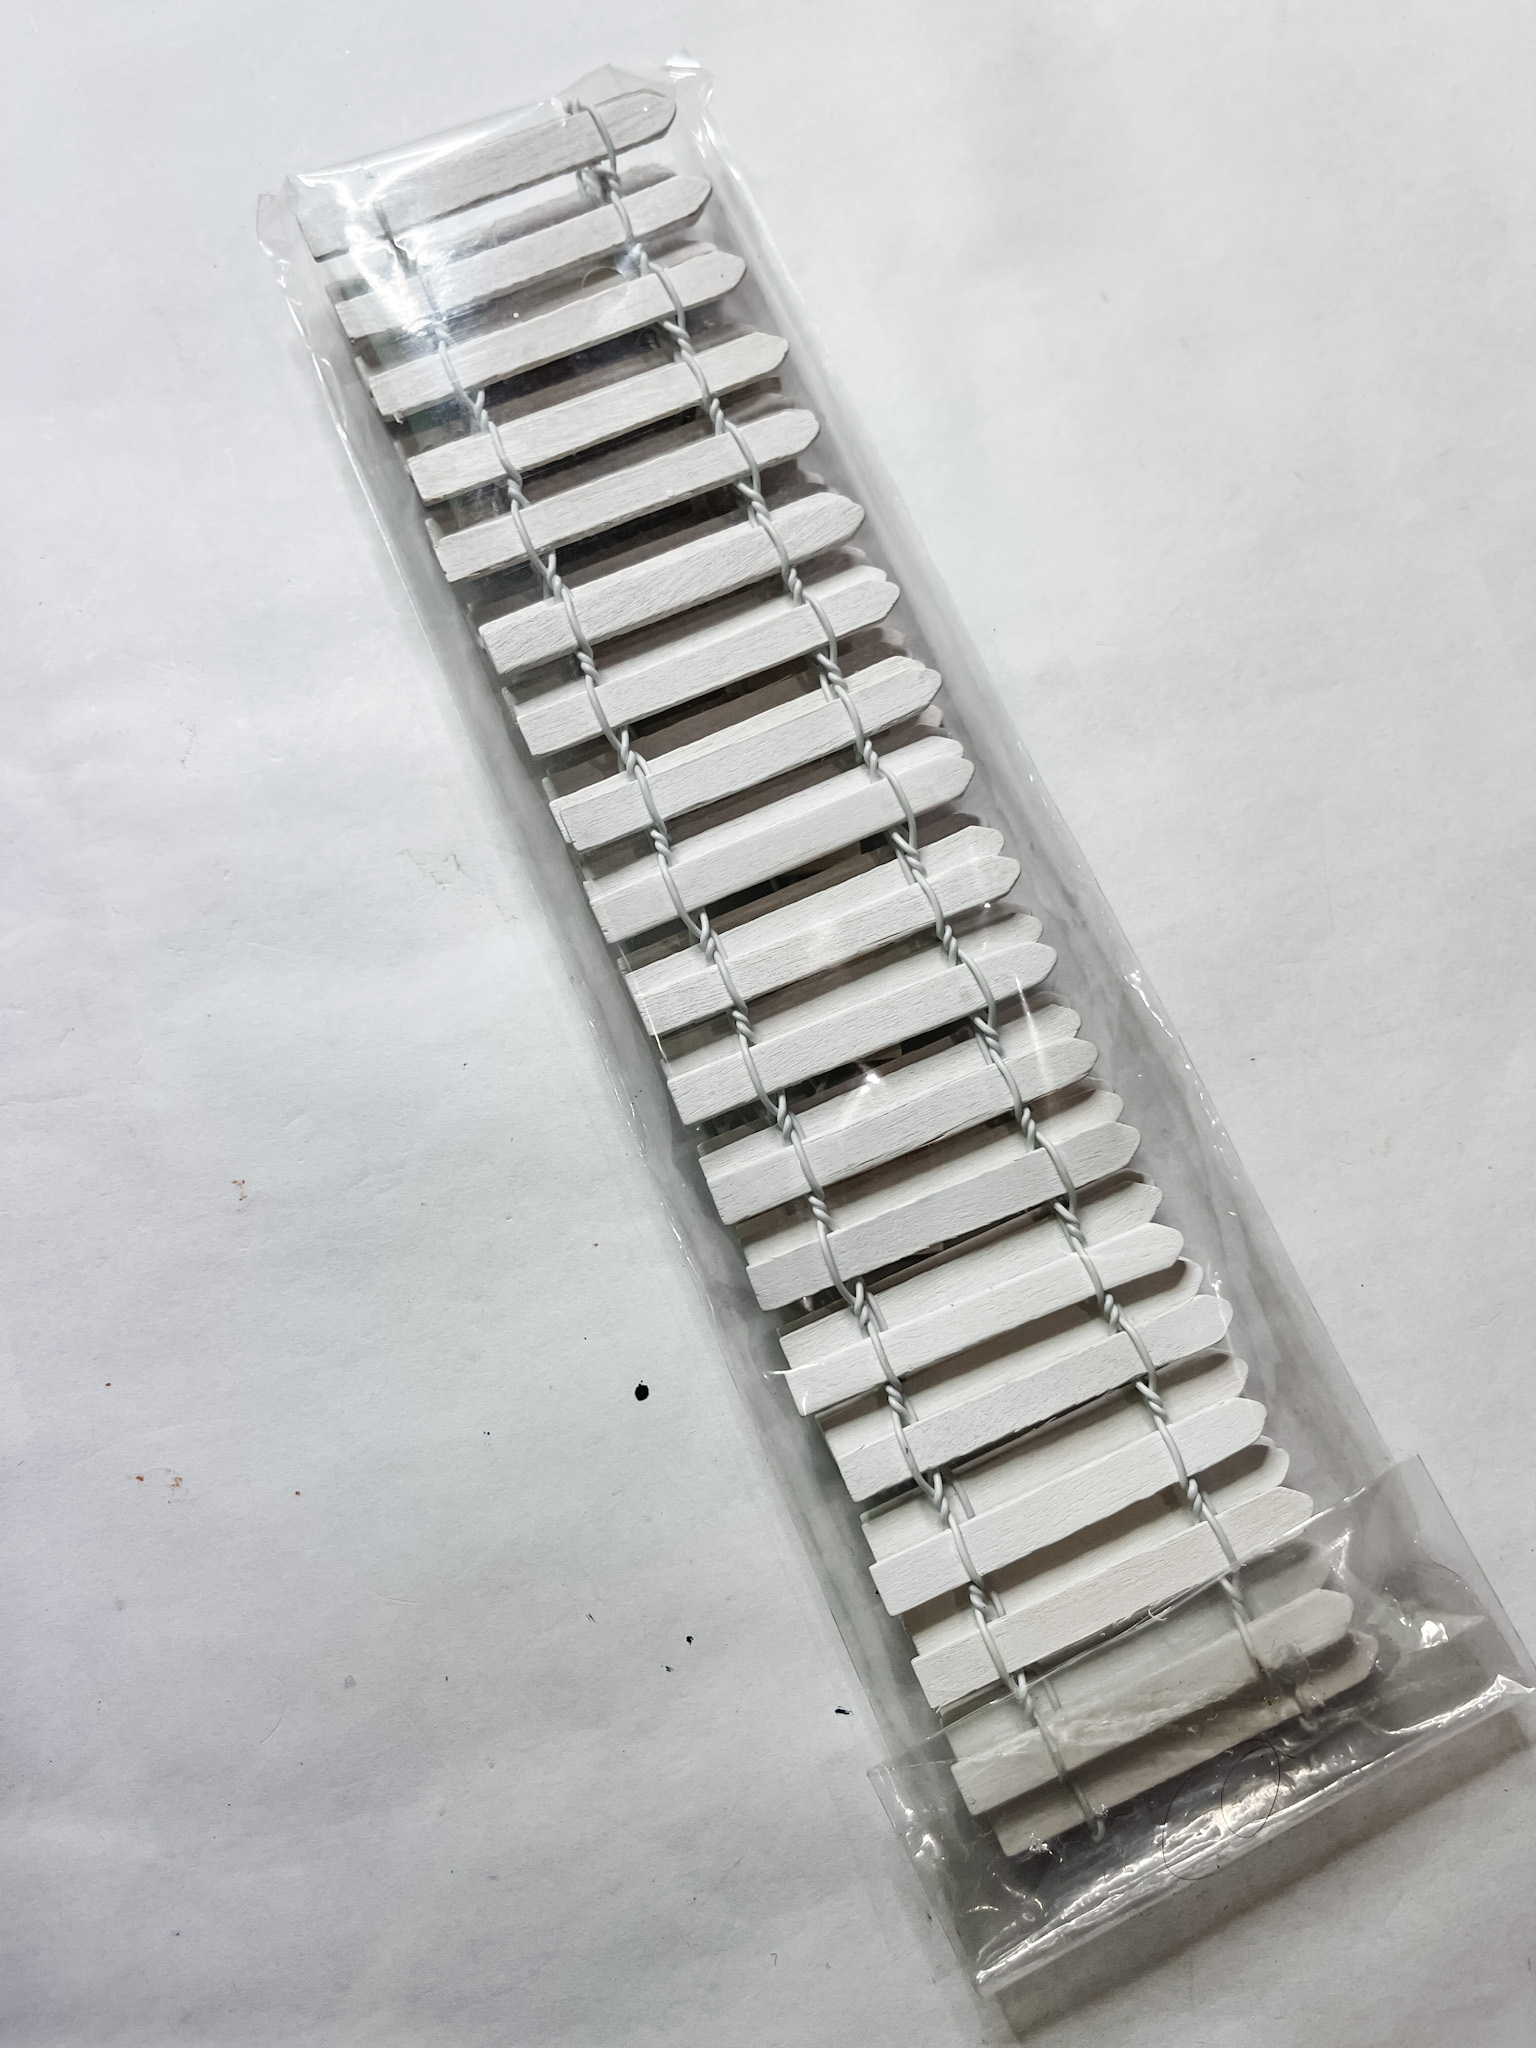
- White Picket Fence
- Dollar Tree Fine Snow in Jar
- Brown Paint
- Black Paint
- White Paint
- Mod Podge
- Glue Gun
- Heat gun
How to make a DIY Season’s Greetings Holiday Decor
Alright, I started this adorable and simple Christmas craft by painting the inside of the house-shaped box from Dollar Tree with brown paint.
I like to use Apple Barrel or DecoArt because they are both very affordable, but also still great quality for my DIY ideas!
Let that brown paint dry completely (I used my heat gun to speed up the drying process) then paint over the brown coat with white paint.
You have to cover up the design on the inside of the sign box before you can decoupage a napkin onto it, otherwise, the original design will show through the thin napkin ply.
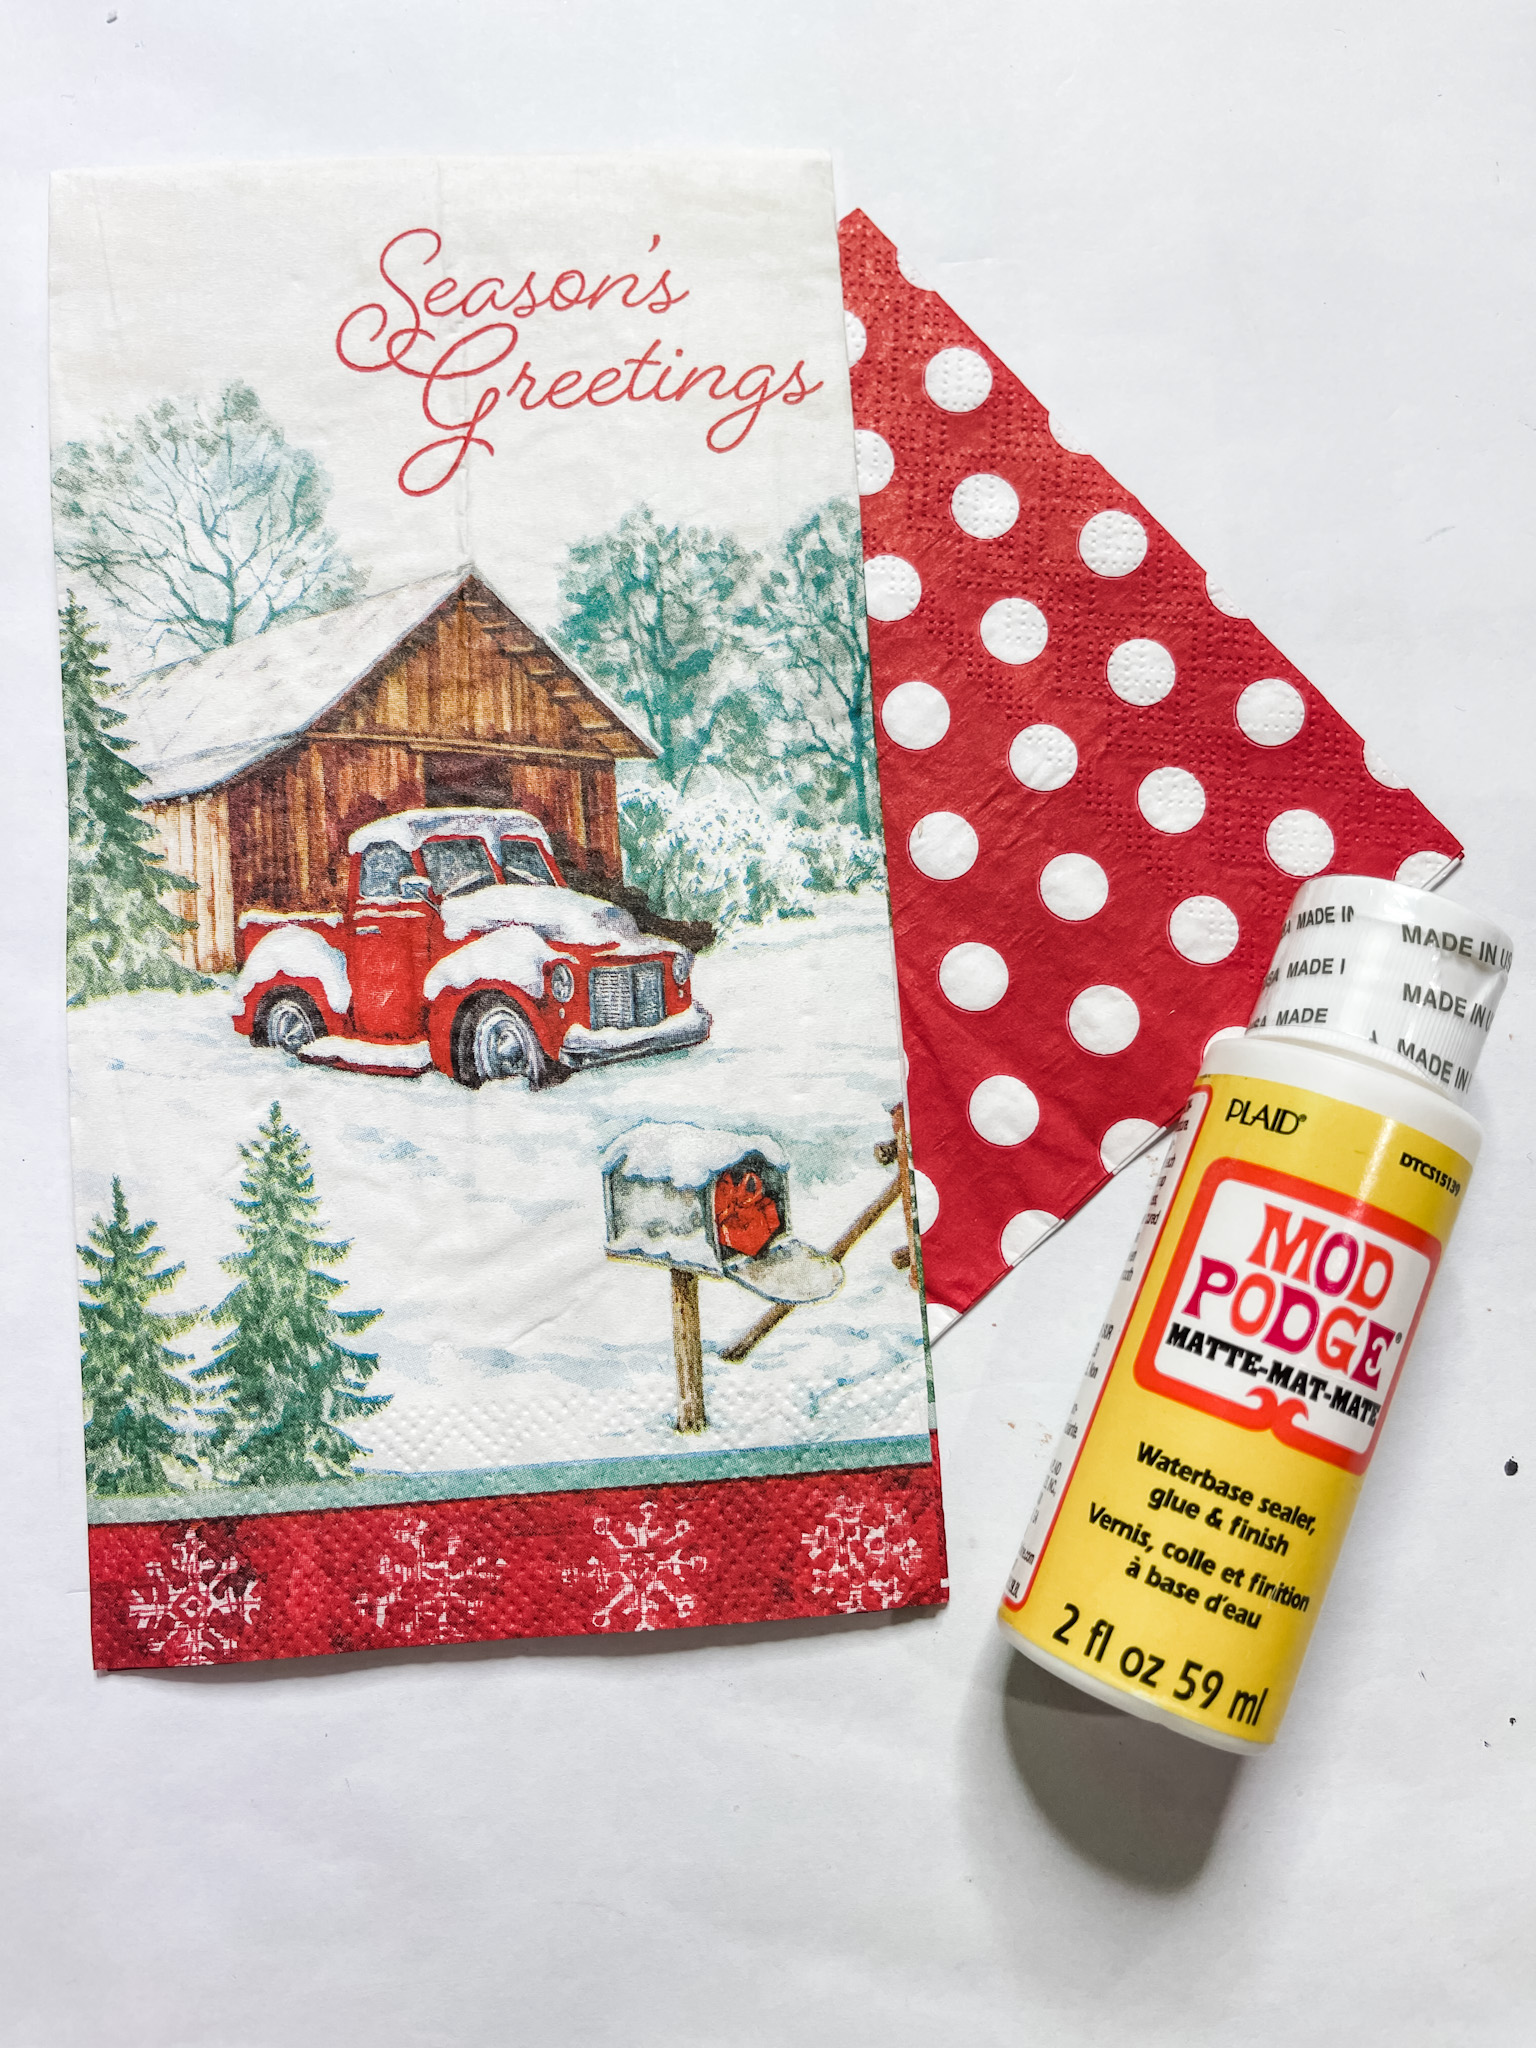
How to decoupage a napkin
Allow the white paint to dry, then apply a coat of Mod Podge over the white paint. Next, separate the napkin plies of the season’s greetings napkin and carefully press the ply with the design onto the Mod Podge.
Ball up a piece of plastic saran wrap and use it to smooth out any wrinkles or bubbles in the napkin ply.
Next, I painted the left and right outer sides of the sign box with white paint and dried the paint with my heat gun.

Once it was completely dry, I applied a coat of Mod Podge so I could decoupage the red and white polka dot napkin onto the sides.
Separate the napkin plies just like you did with the season’s greetings napkin and press the patterned napkin onto the Mod Podge.
Once the Mod Podge is dry, lightly go over the edges of the sign box with a sanding sponge to tear off the excess napkin from the surface.
How to stain wood with paint
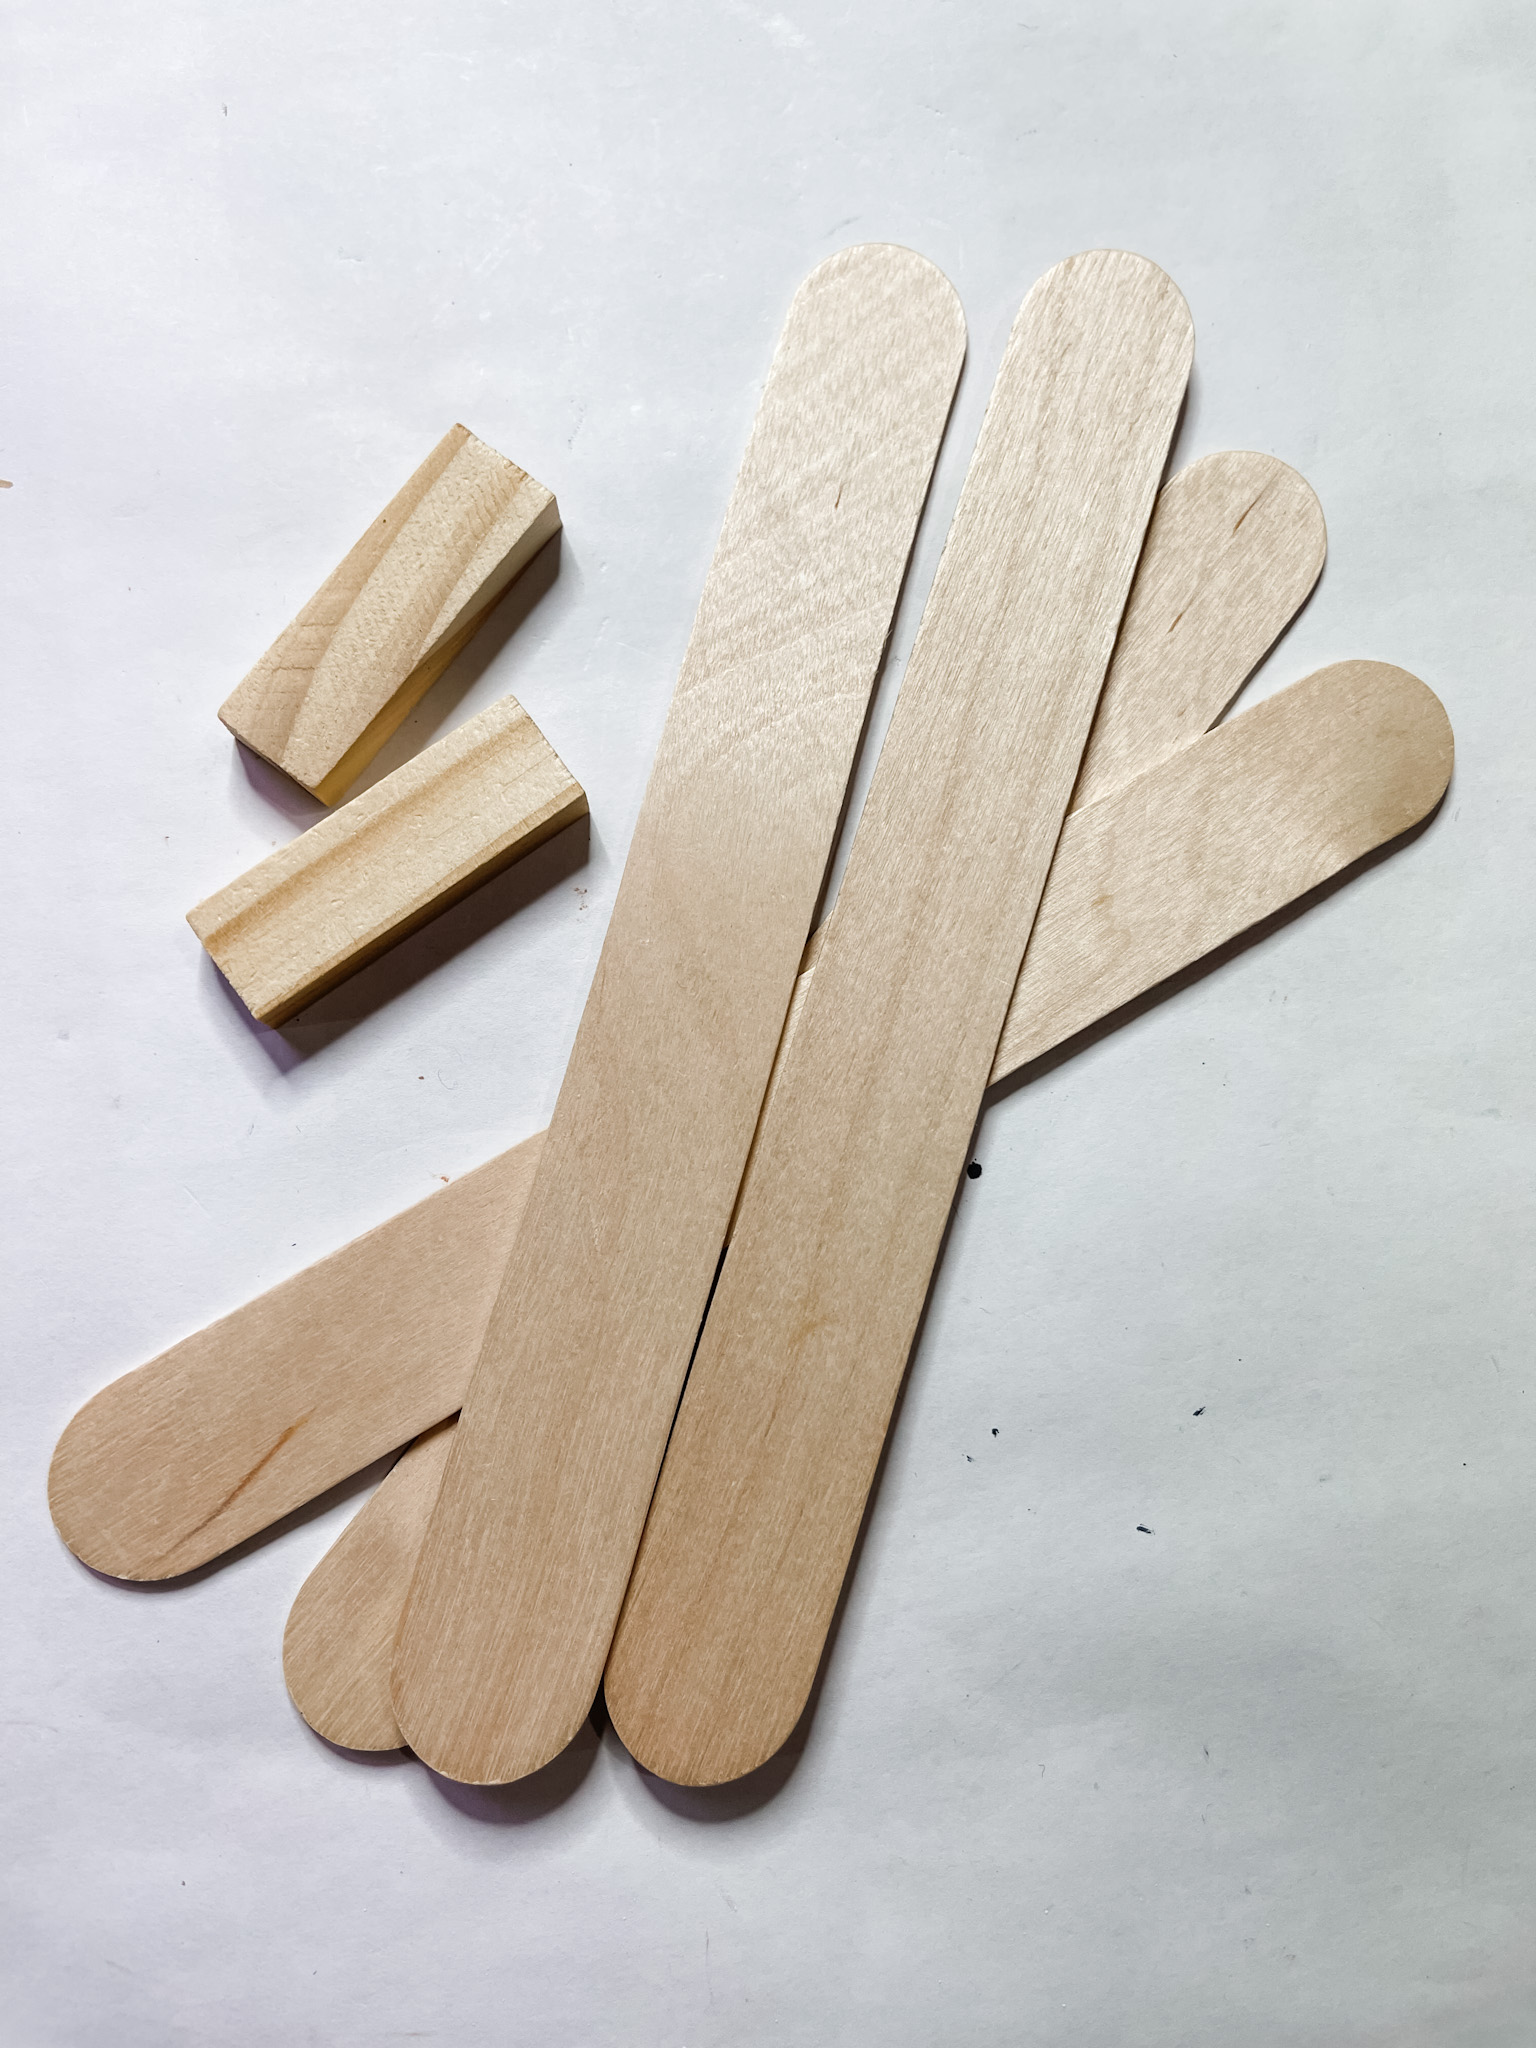
Next, I measured and cut the giant craft sticks into four pieces to create the roof for my house. I stained the craft sticks with brown paint.
To do that, I poured the brown paint onto the wood and used a wet wipe to spread the paint across the surface. Use a clean wet wipe to remove the excess paint and you’re left with a stained finish!
Before I attached the craft sticks, I painted the face of the house box with black paint. Once the paint was dry, I lightly sanded the surface with a sanding sponge.
I hot glued the stained craft sticks to the top of the house box, then painted the bottom inside part of the house box with white paint.
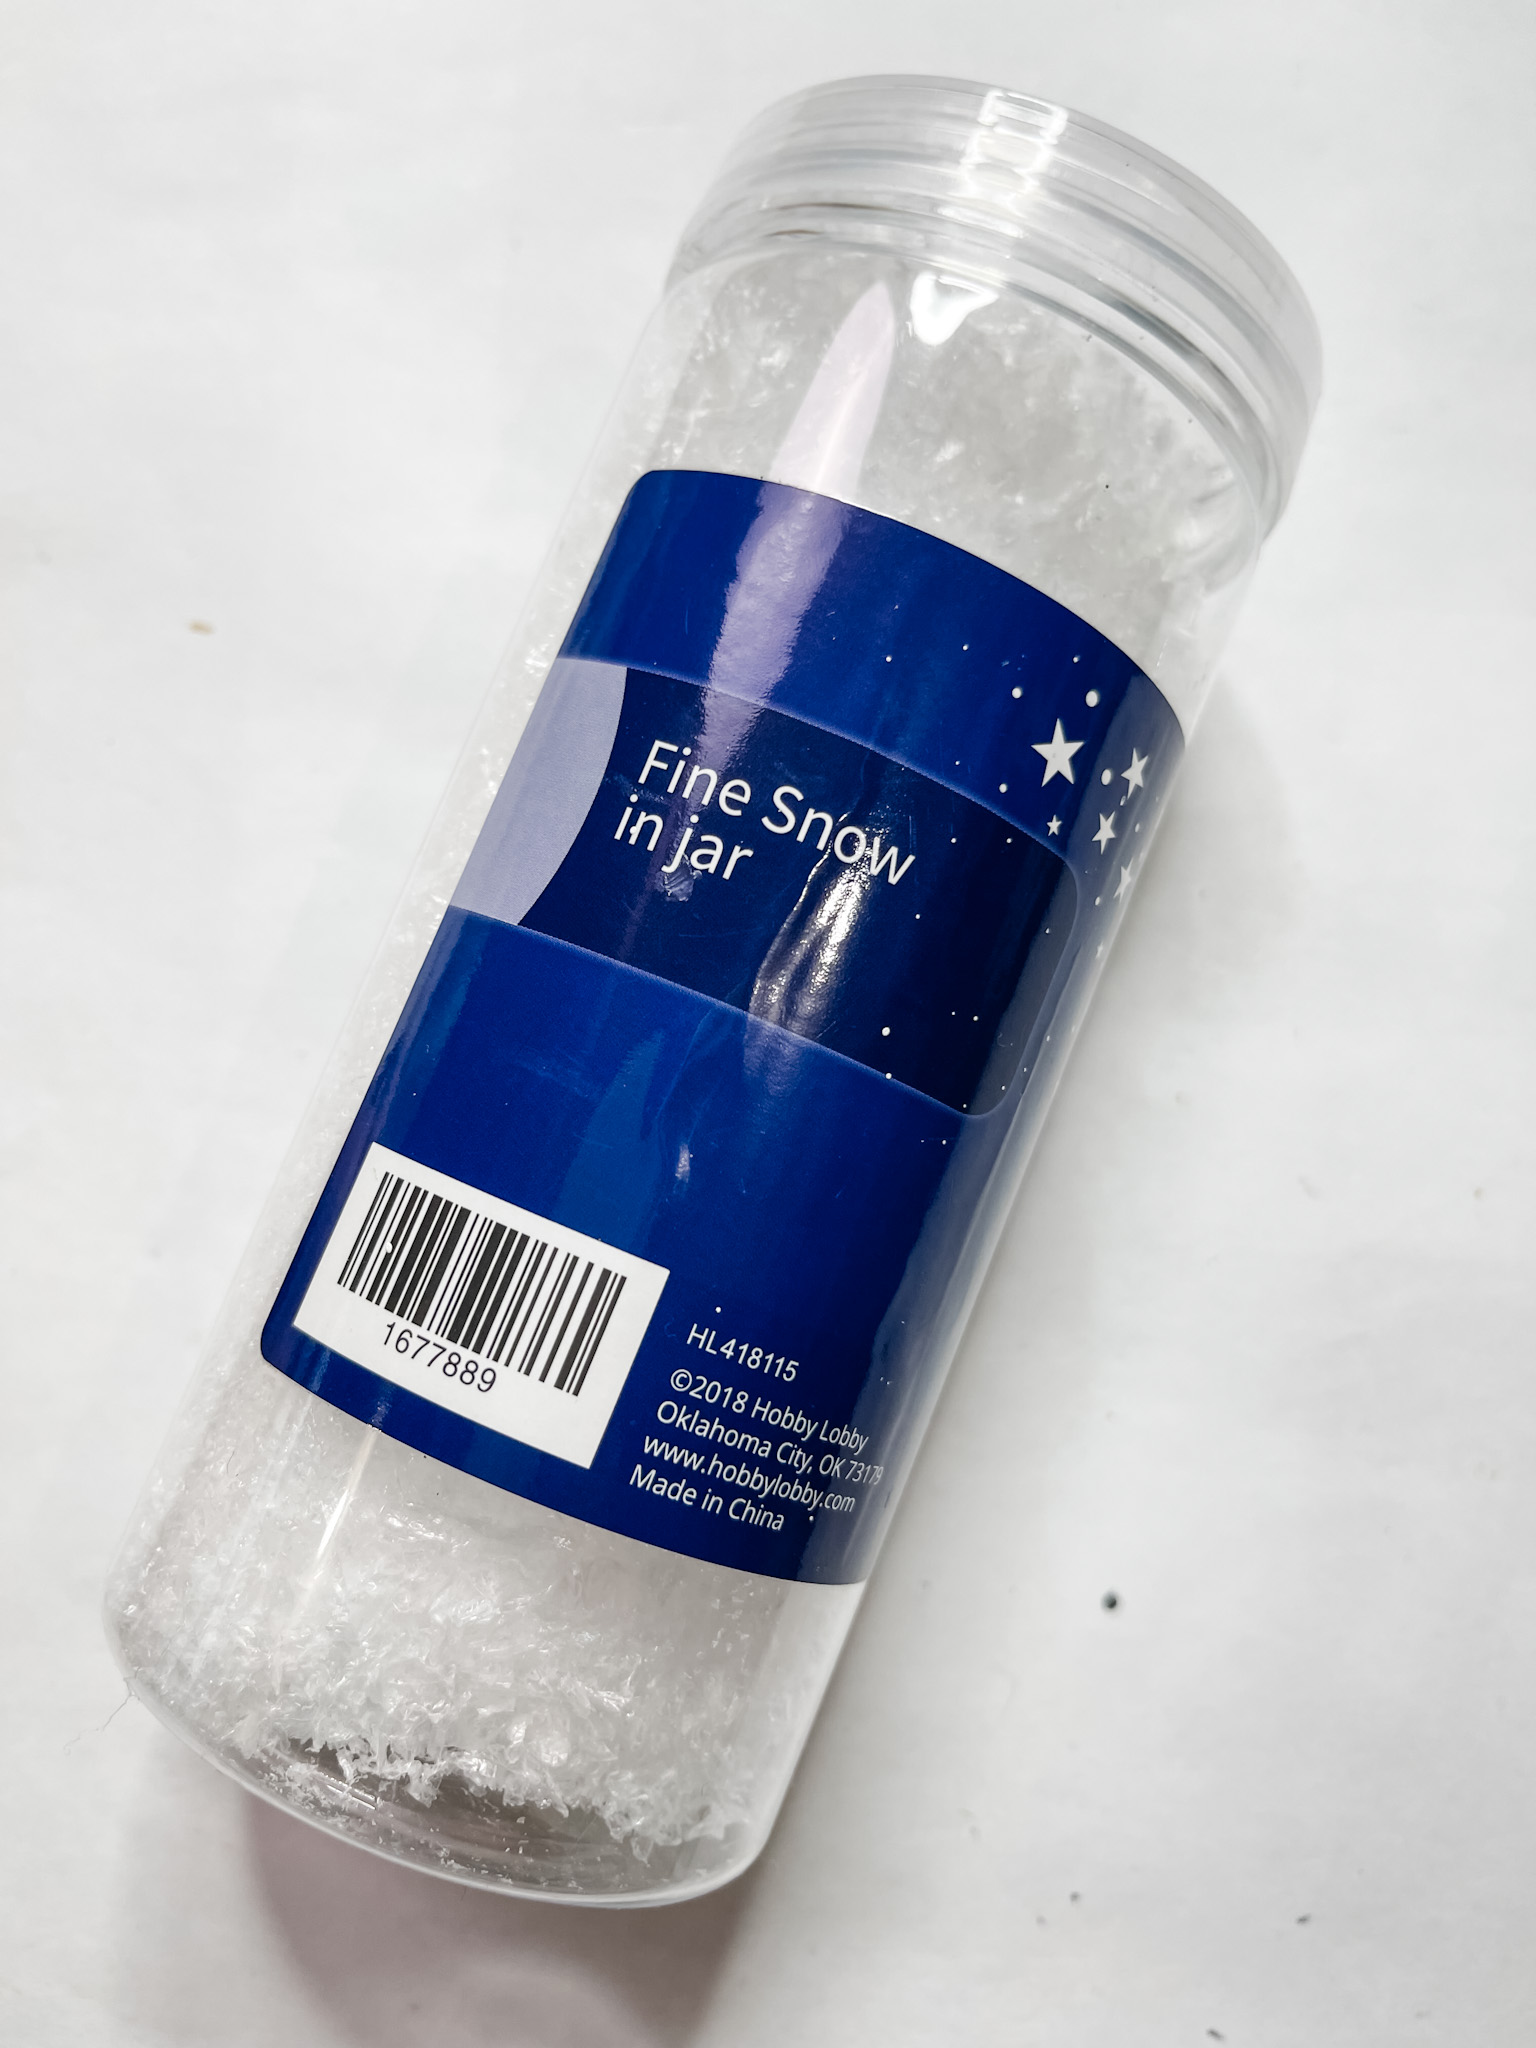
Let it snow!
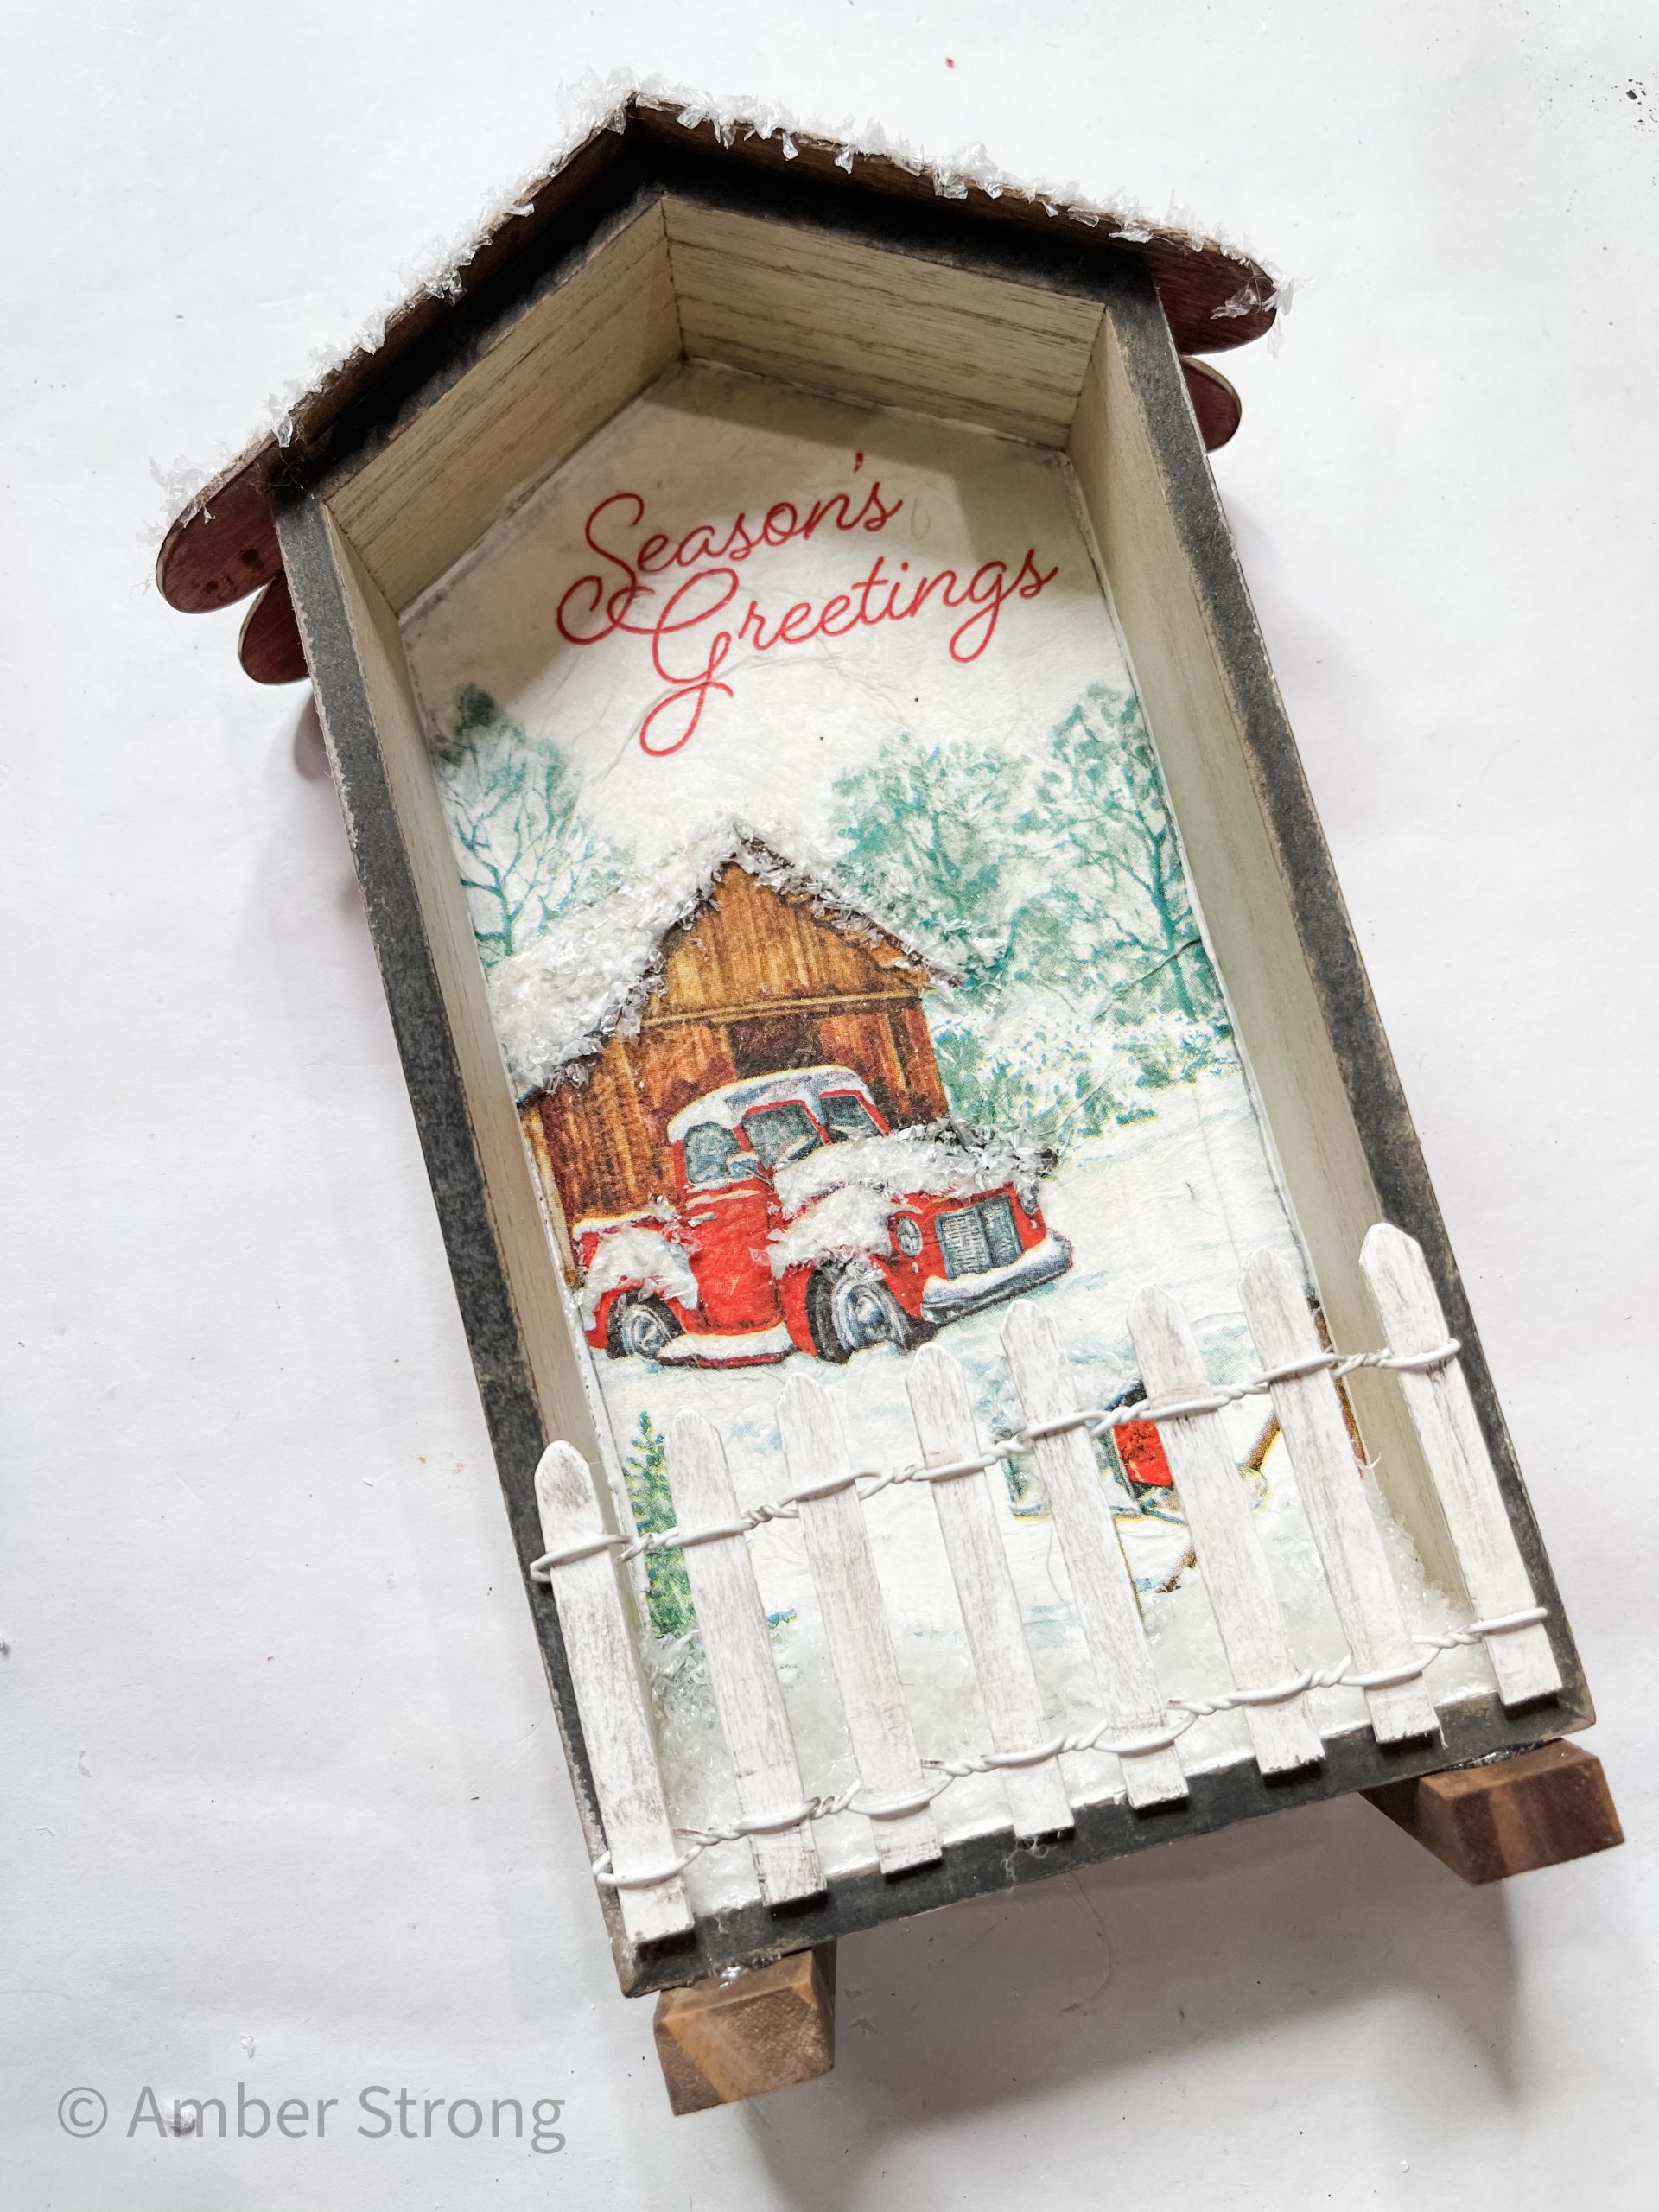
Next, I added the snow! To do that, I drizzled some hot glue on the bottom inside of the house box and pressed the snow onto the glue. Repeat until you’re happy with the snow layer.
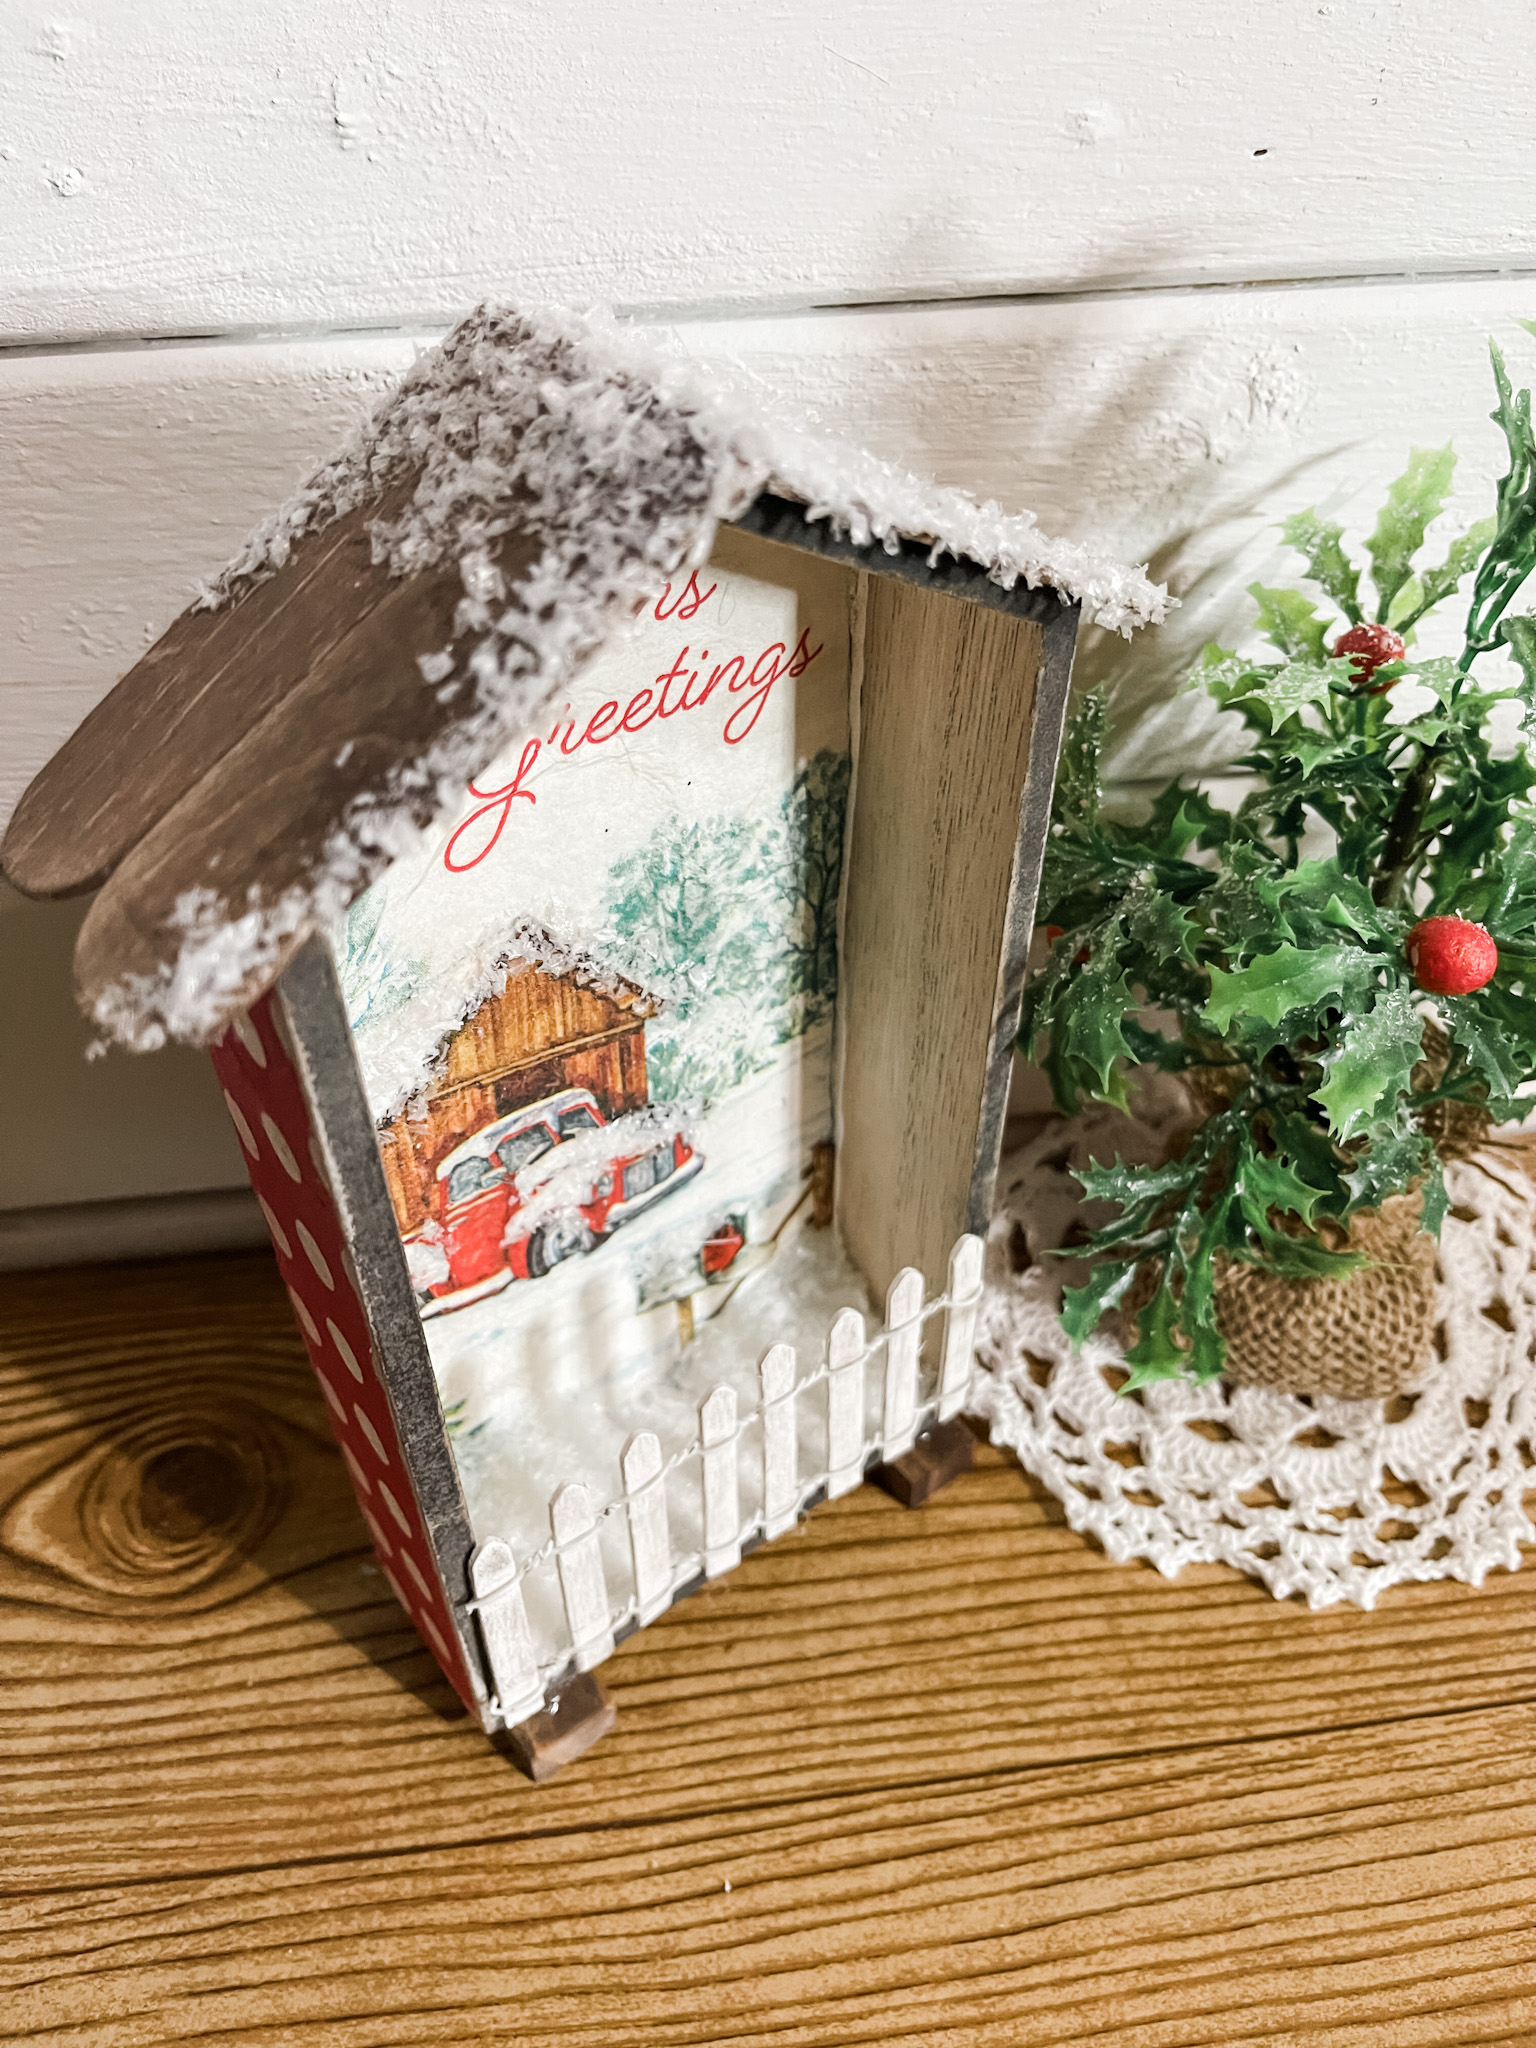
I repeated the process on the roof and to some parts of the napkin that I wanted to look snowy. Then, I trimmed the white picket fence to fit across the bottom of the box and glued it in place.
We’re almost done, I promise! Next, I stained two Dollar Tree Tumbling Tower blocks with the same technique I used on the craft sticks.
Once the blocks were stained and dry, I hot glued them to the bottom of the house box to be the little feet!
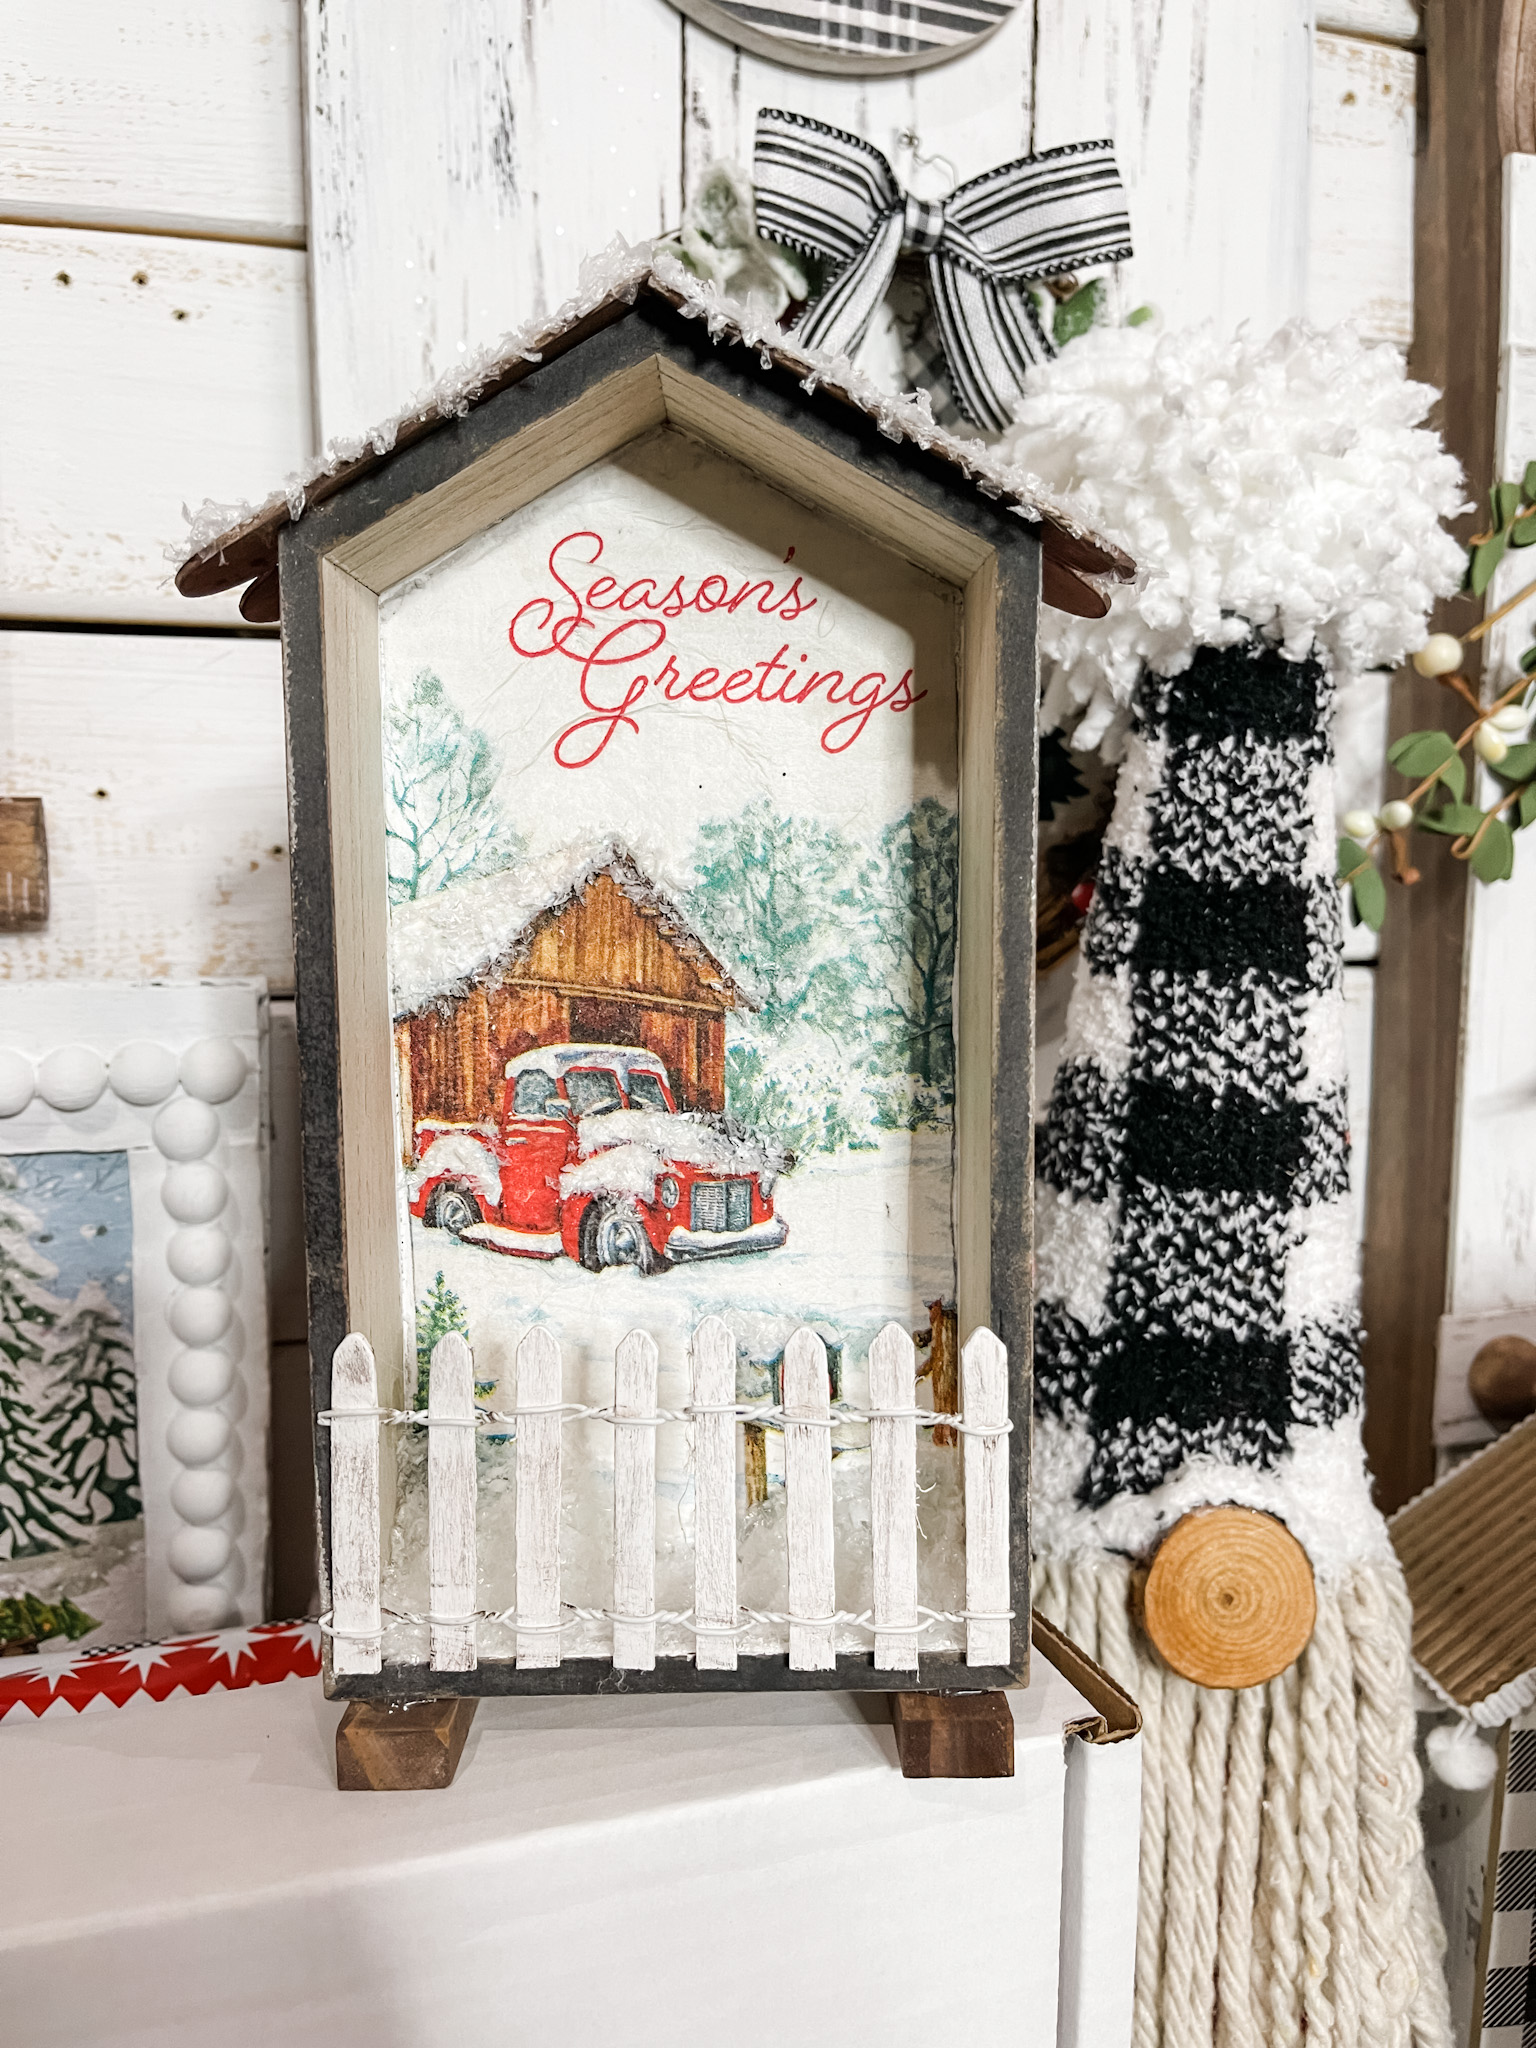
I hope you enjoyed this DIY Season’s Greetings Holiday Decor as much as I did and decide to make one for yourself! I would love to see how yours turns out!
You should totally join my FREE Facebook group called On A Budget Crafts! It is a judgment-free community for DIY crafters to show off their projects and ideas.
If you loved this DIY you might also like this DIY Christmas Tree Shelf Decor!
Thanks for stopping by! XOXO Amber
You can also shop my ENTIRE AMAZON Favorites shop just click here! It’s packed full of all the things I use and love.
Here is the supply list I highly recommend every creative have on hand!! Would you also pin my blog for later and get on my newsletter alerts? I would love to have you join my #craftycrew.

Join my free “ON A BUDGET CRAFTS” Facebook group!
PIN THIS POST FOR LATER!