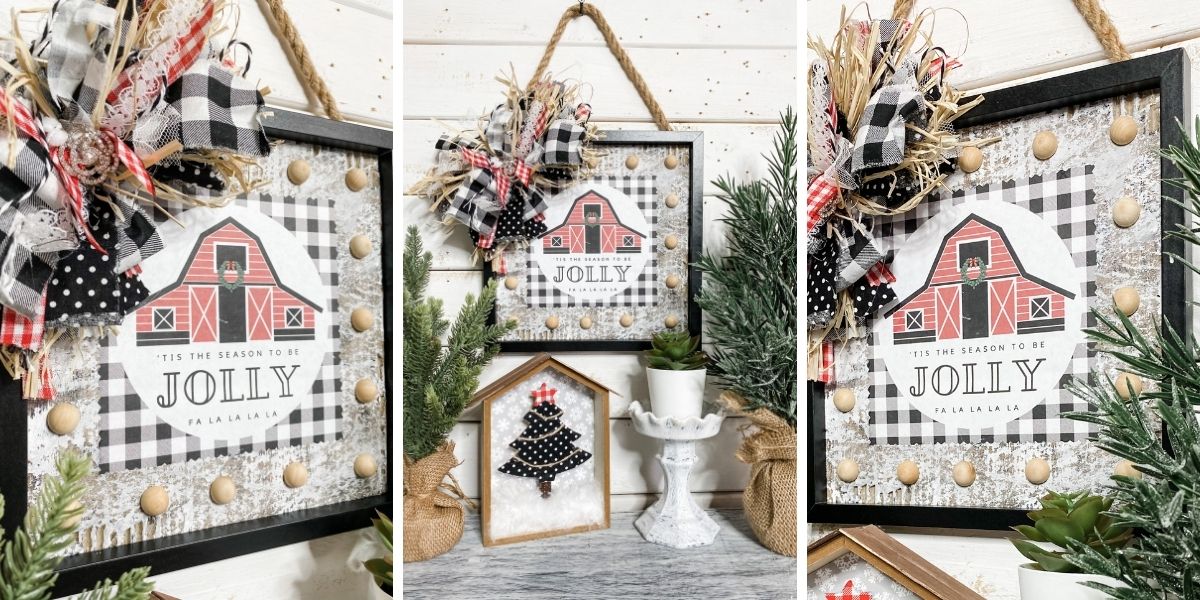
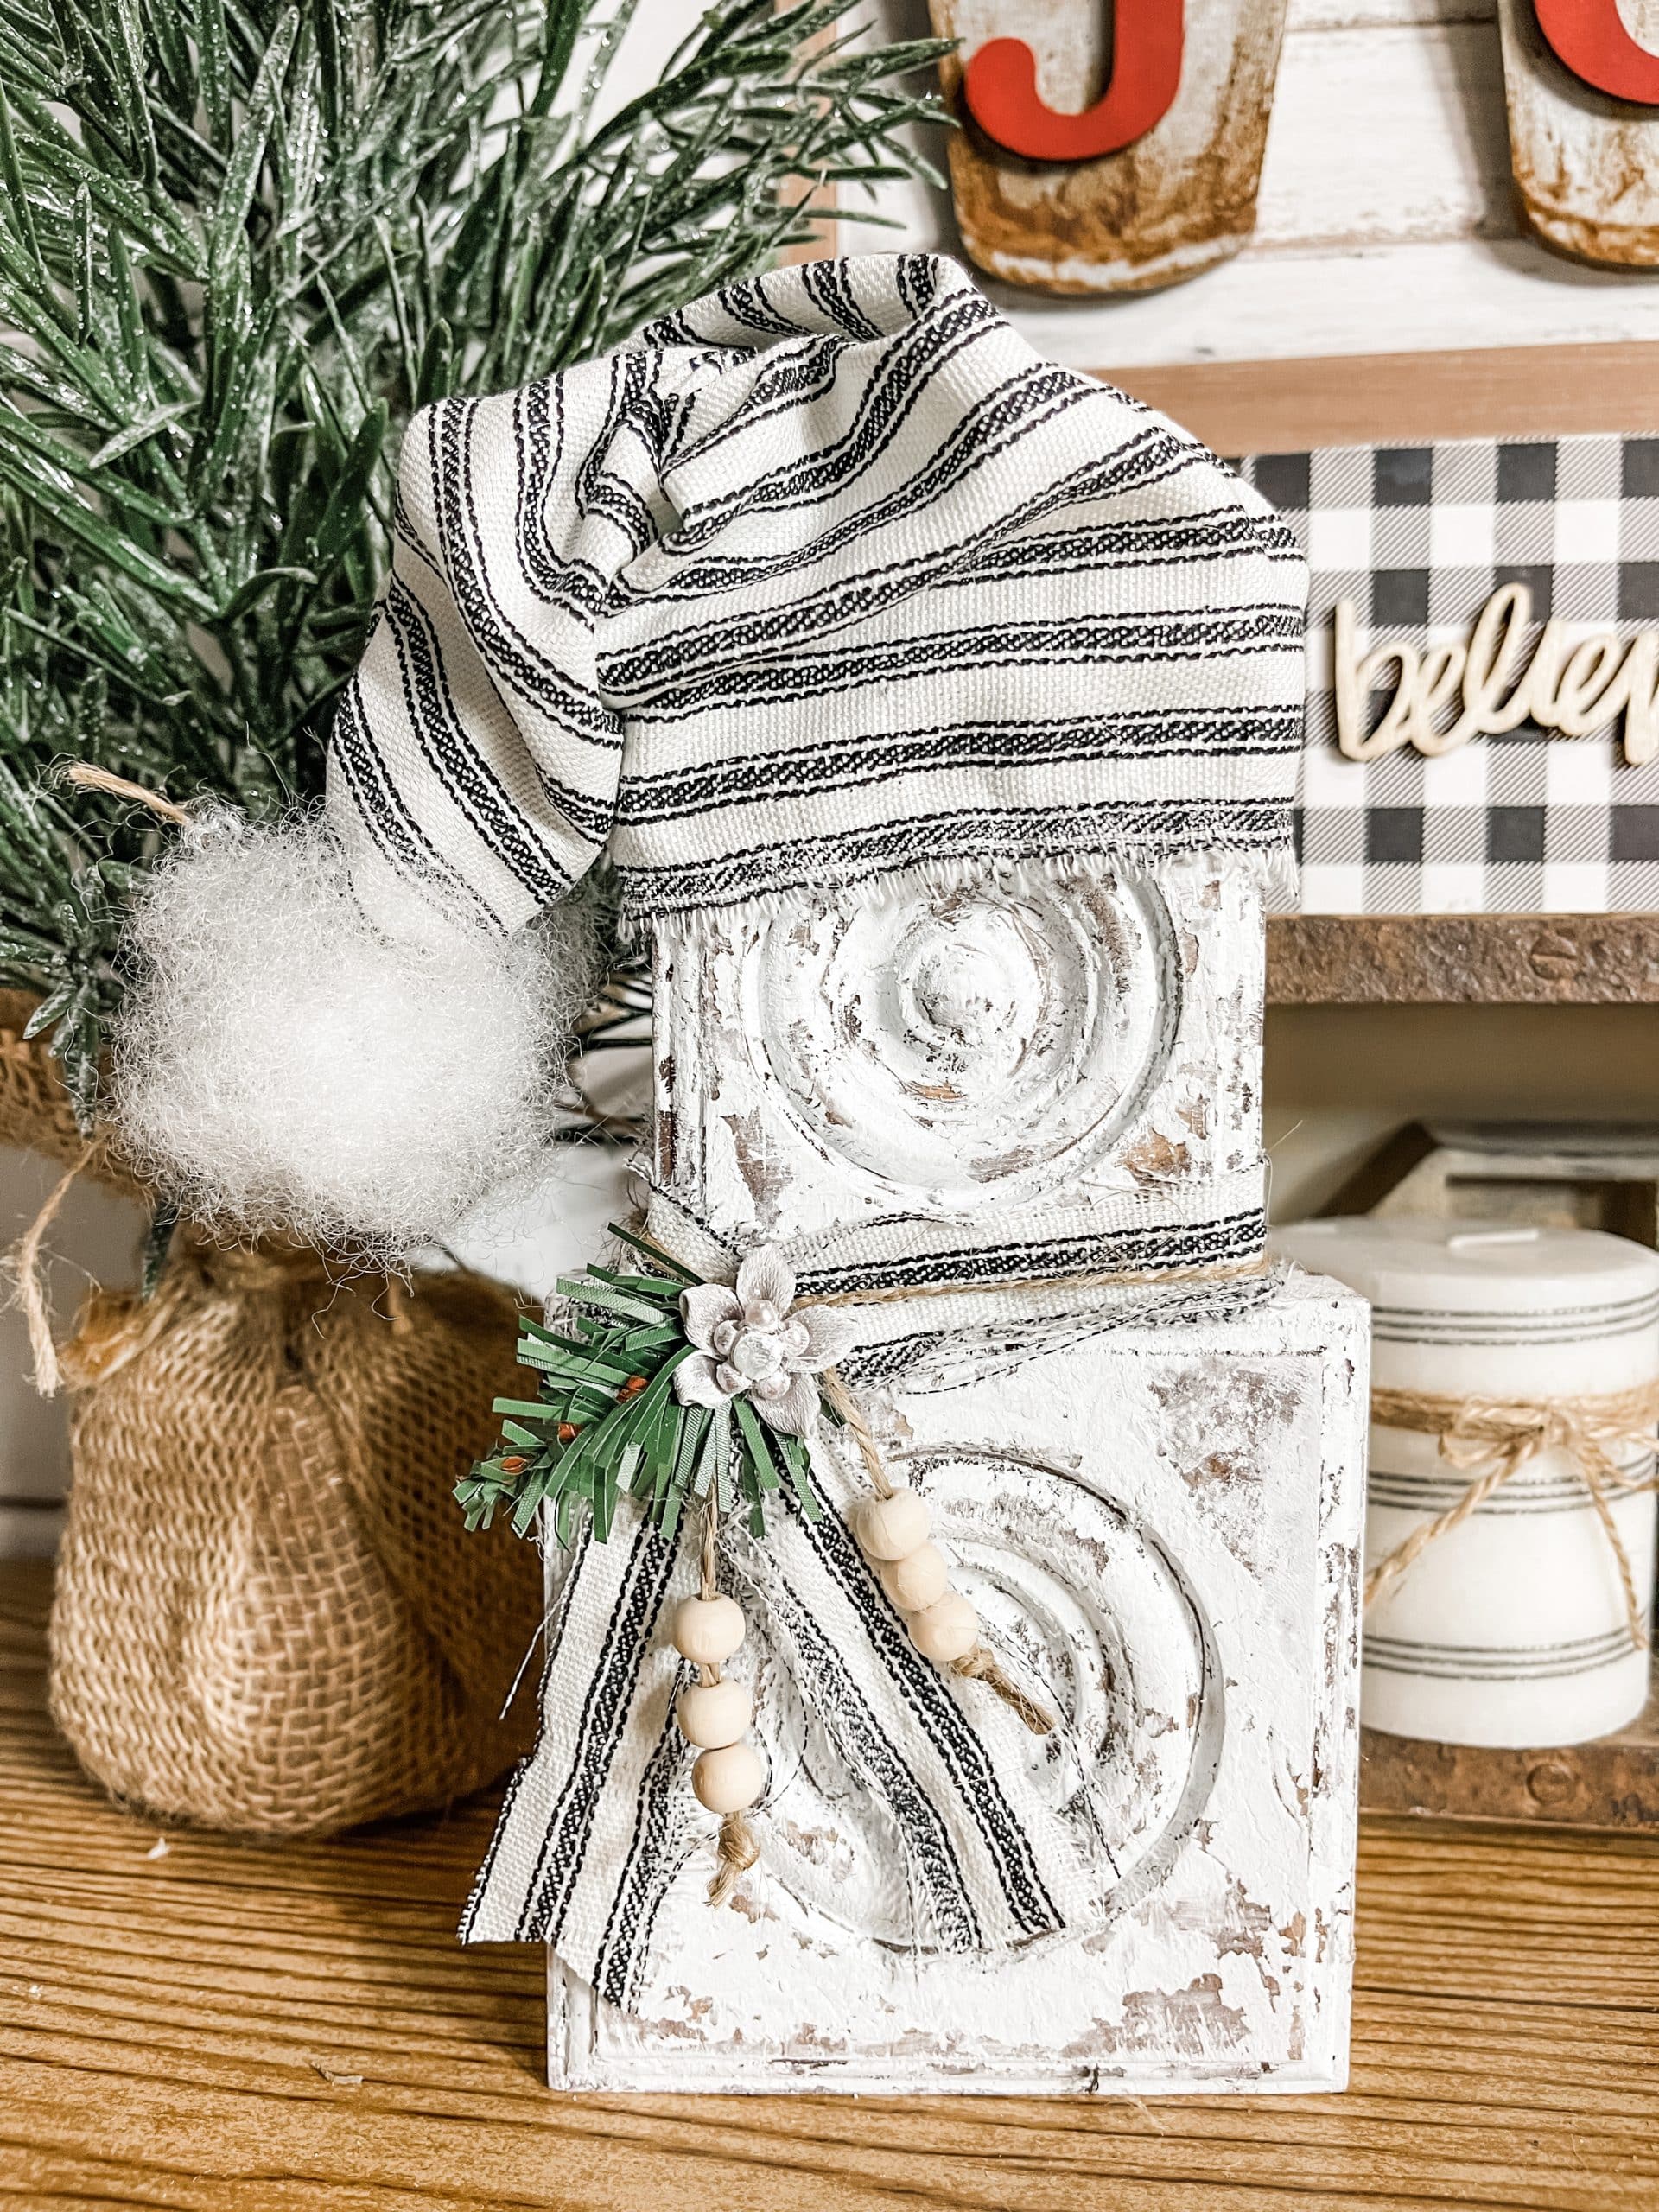
Rosette Snowman Winter Wood Craft
I really love this rosette snowman winter wood craft because of how absolutely simple it is! With just two rosettes and a few embellishments you probably already have in your craft room, you can make some adorable winter decor for CHEAP!
I LOVE making my own home decor because I can customize it to match my specific vision, and you don’t get that kind of personalization when shopping for pre-made home decor.

It also saves me so much money! Buying pre-made home decor from stores like Hobby Lobby and TJMaxx can cost so much money, even when you’re buying clearance.
By making it myself, I get to control the cost and the style, so I’m never stuck buying something that doesn’t look EXACTLY how I want it to look.
How to make a Rosette Snowman
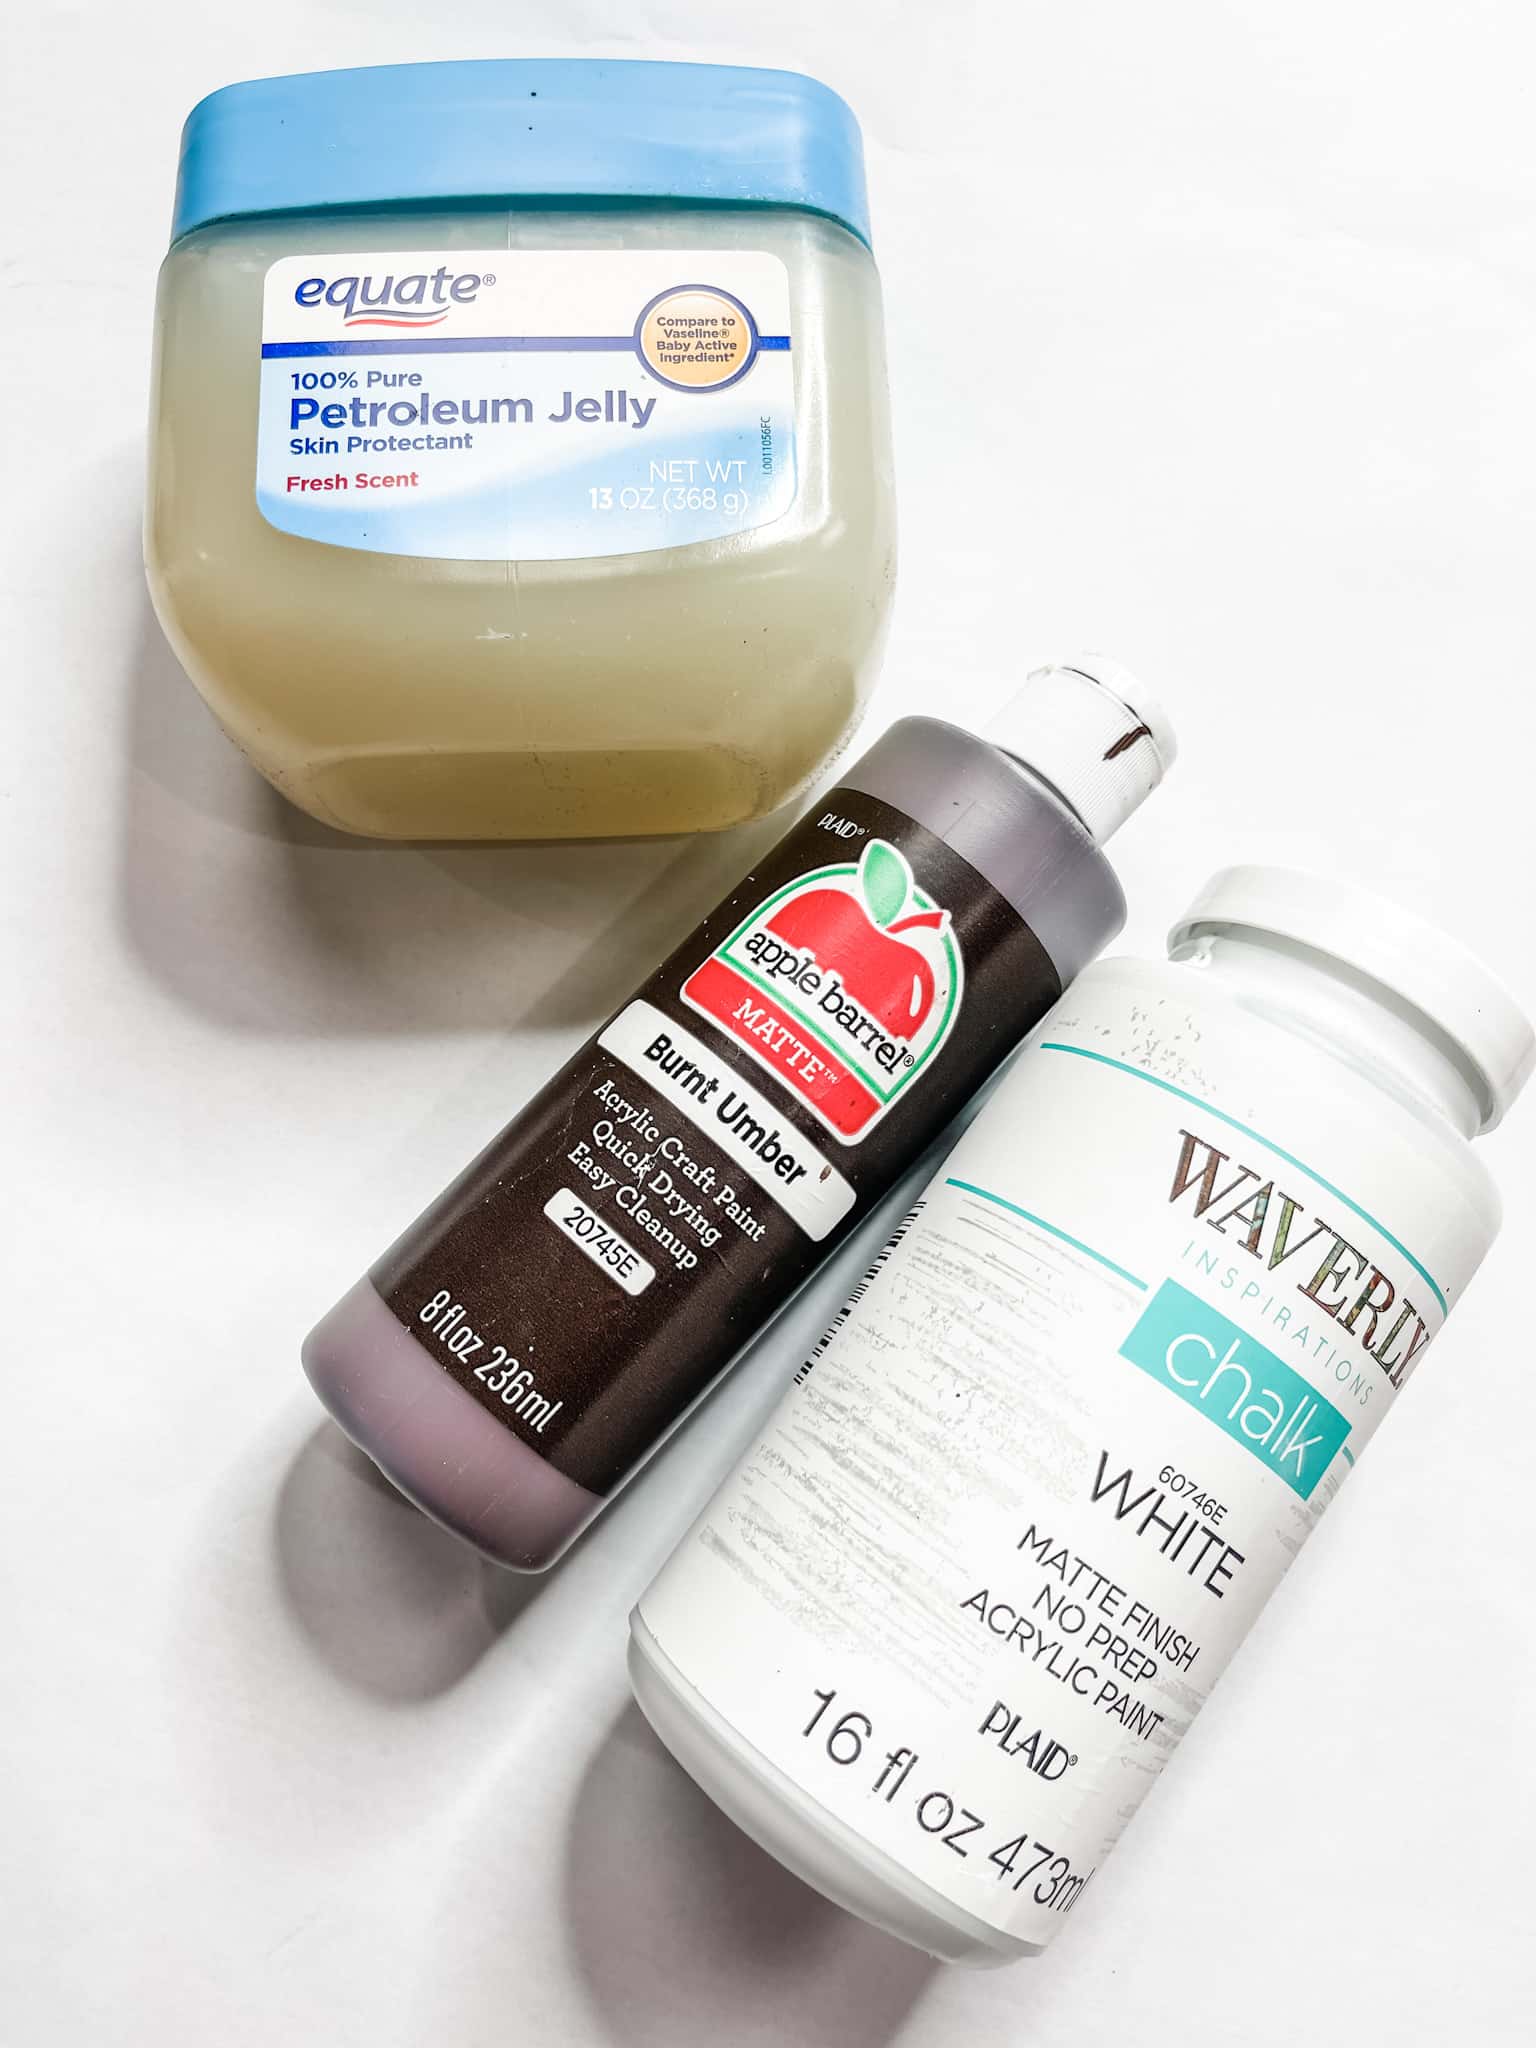
I started this easy wood craft project by staining my rosettes with brown paint. I like to use paint because it is so much more affordable than buying actual wood stain.
To stain with acrylic paint, mix a bit of paint with water and use a sponge, brush, or wet wipe to apply the mixture to your wood.
Go back over the surface with a clean wet wipe to remove any excess paint from the surface. Allow it to dry completely, and repeat if you want a darker stained finish.
Get chippy with it
To get the chippy finish on your rosette snowman winter wood craft, you need to apply petroleum jelly to random places on the wood, then paint over with white paint. Allow the paint to dry almost completely.
The paint will still be wet where you applied the petroleum jelly. Use a putty knife or paint scraper to drag the wet paint across the surface.
This lifts the wet paint and petroleum jelly from those specific spots, mixes them, and allows it to dry with the chippy finish.

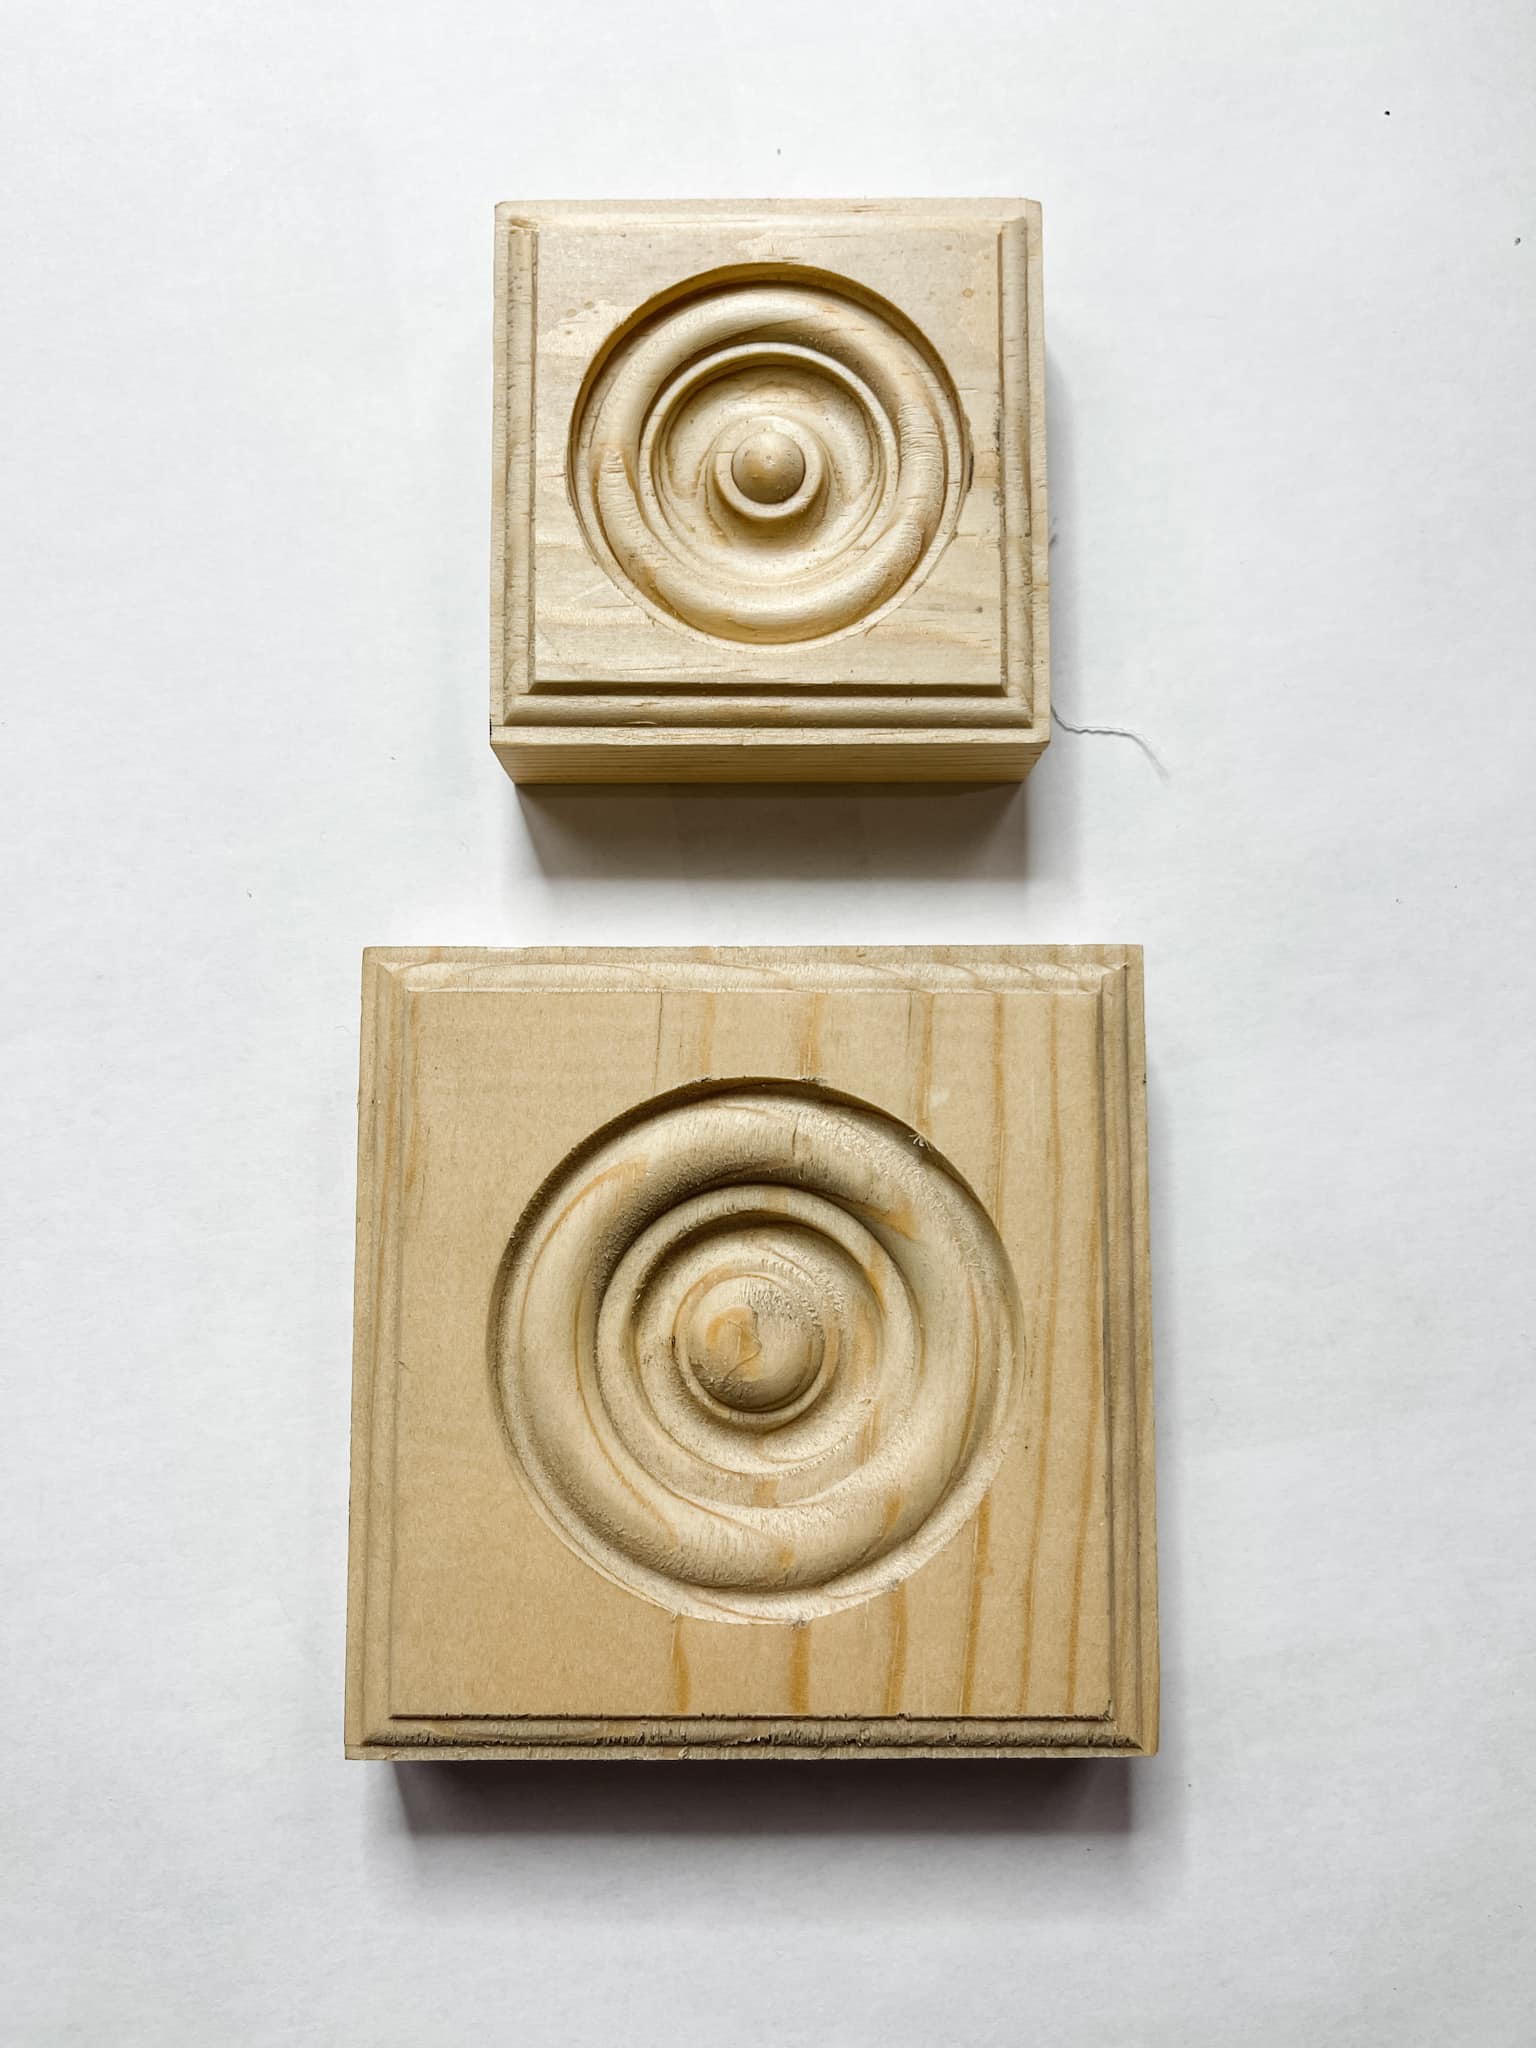
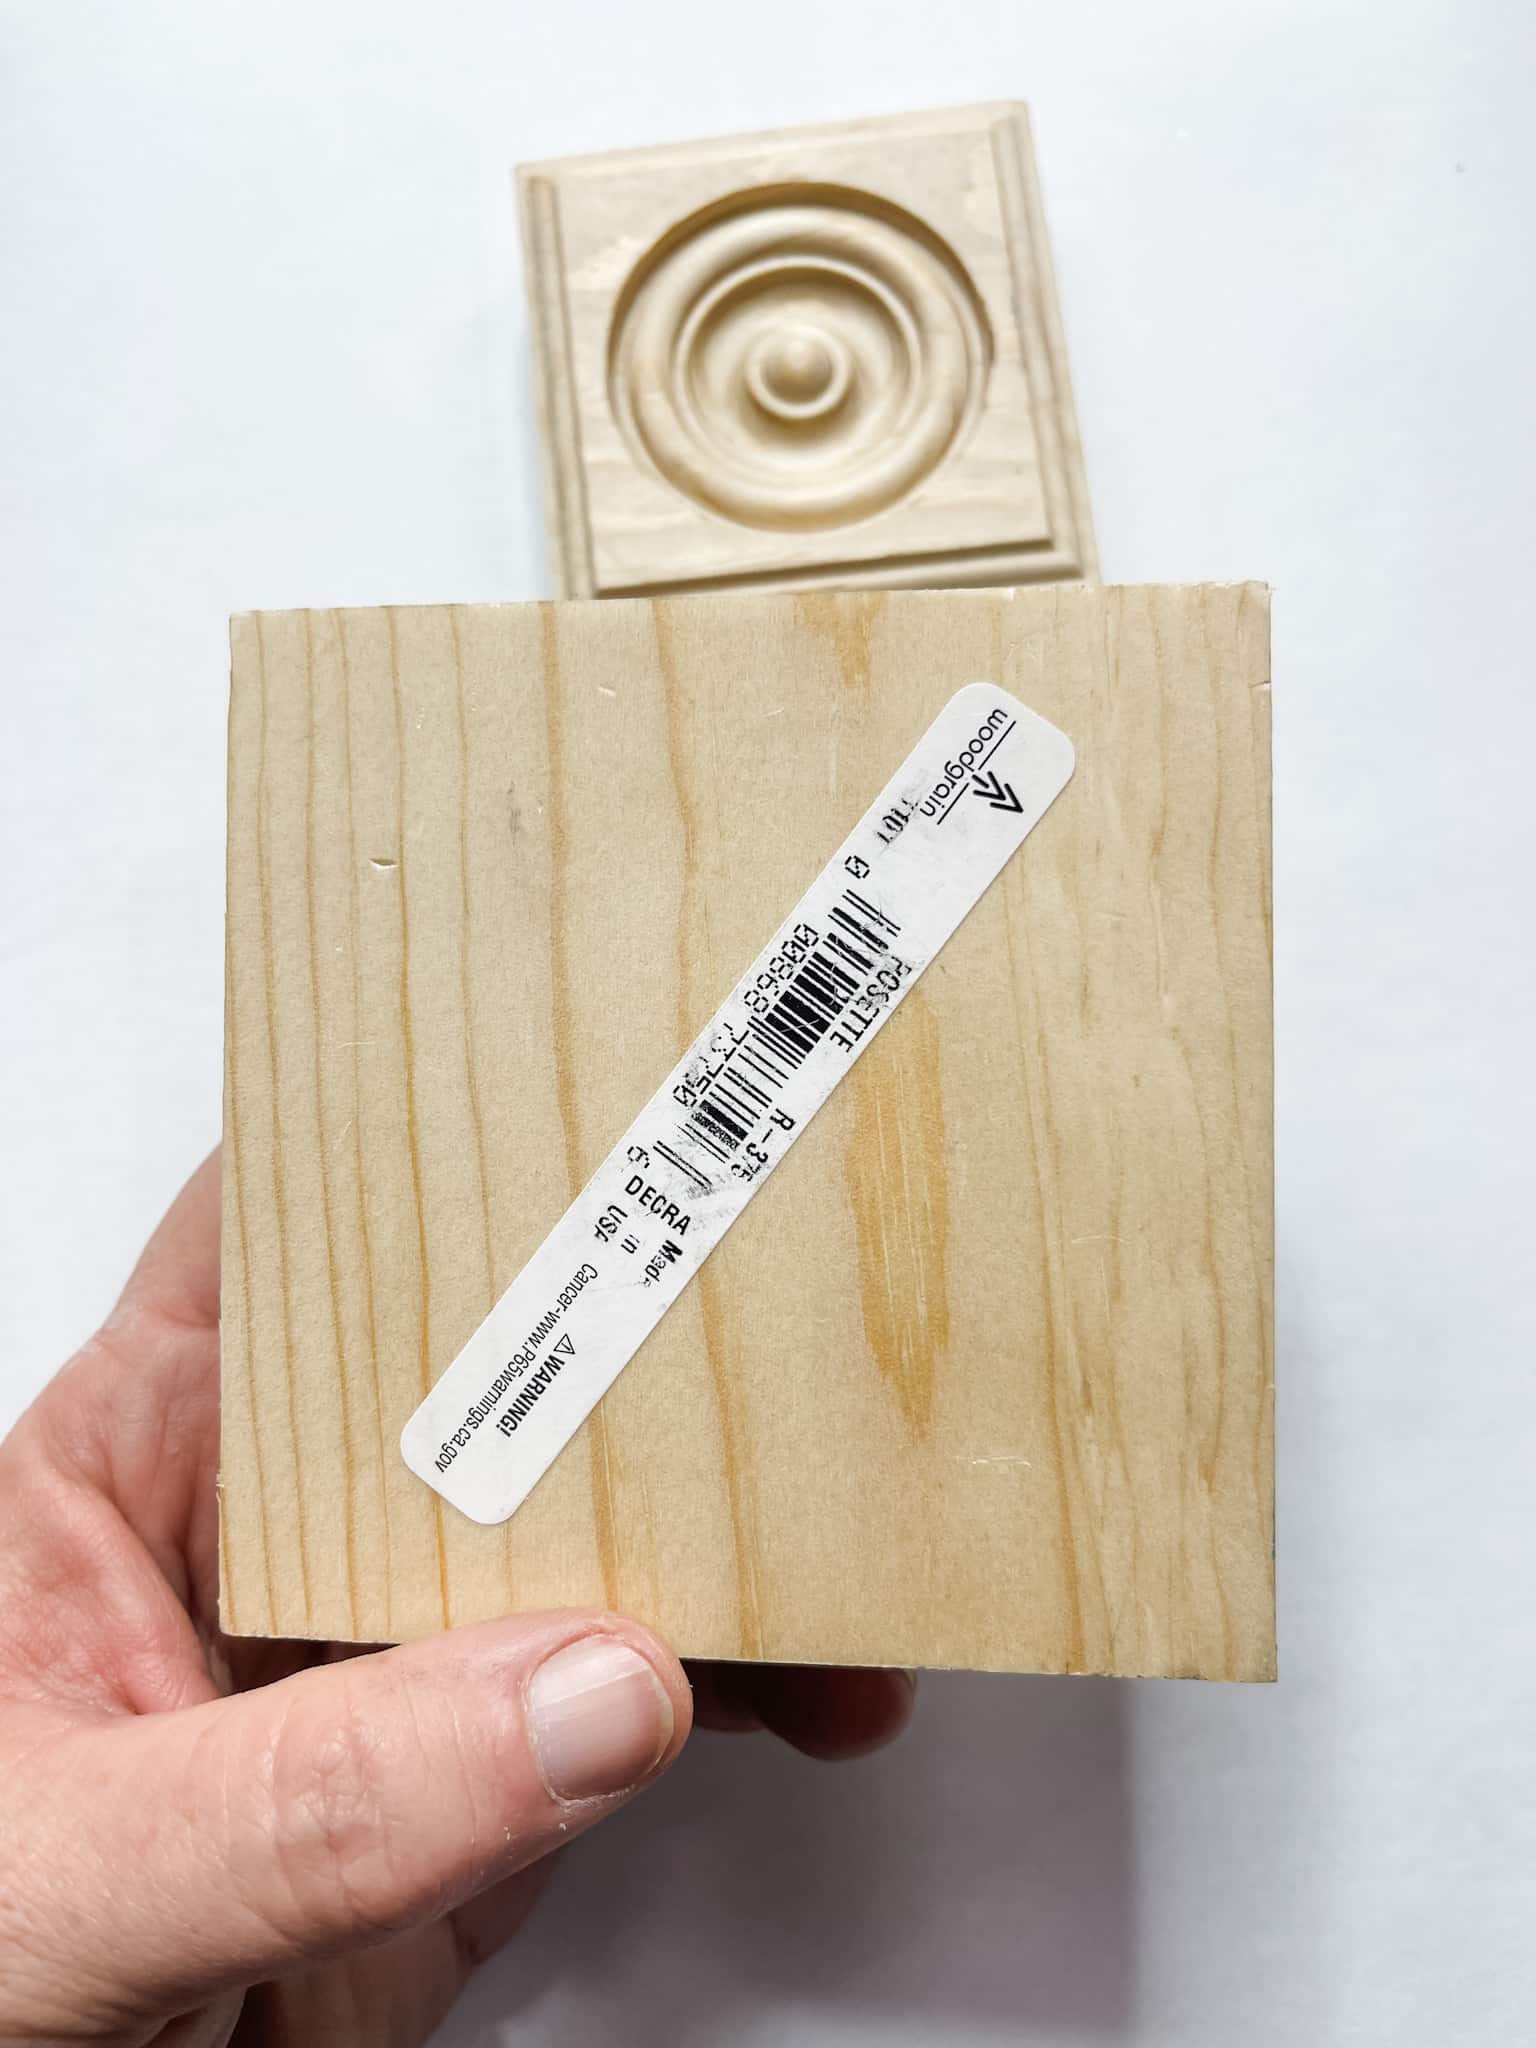
Be sure the paint is completely dry on both rosettes, then glue the smaller one on top of the larger one to create the snowman shape.

Bring it all together
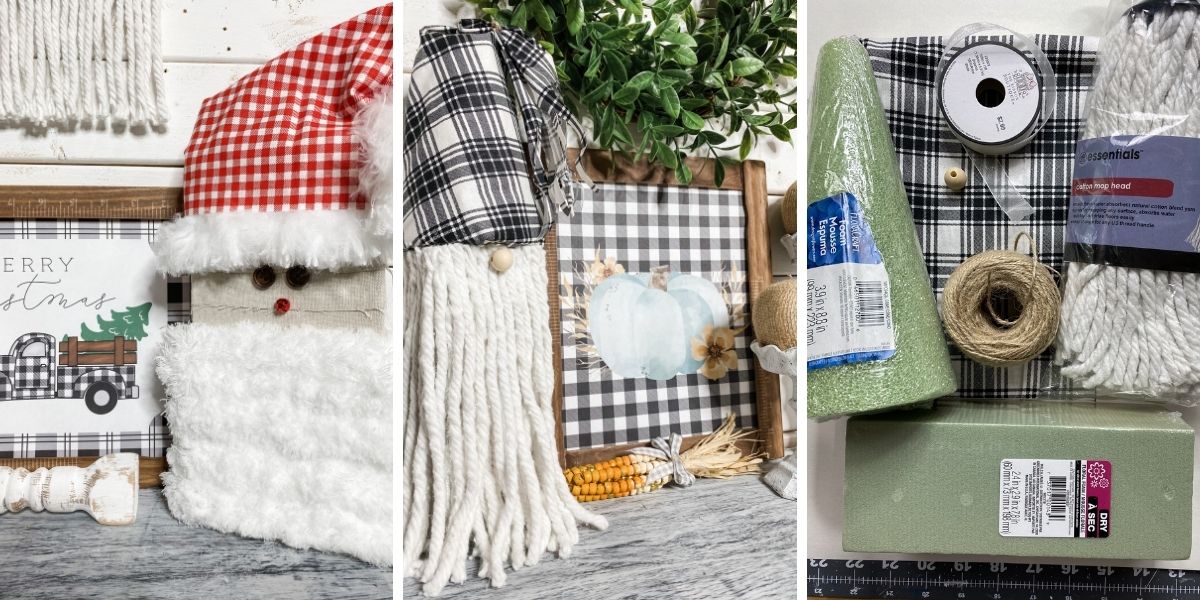
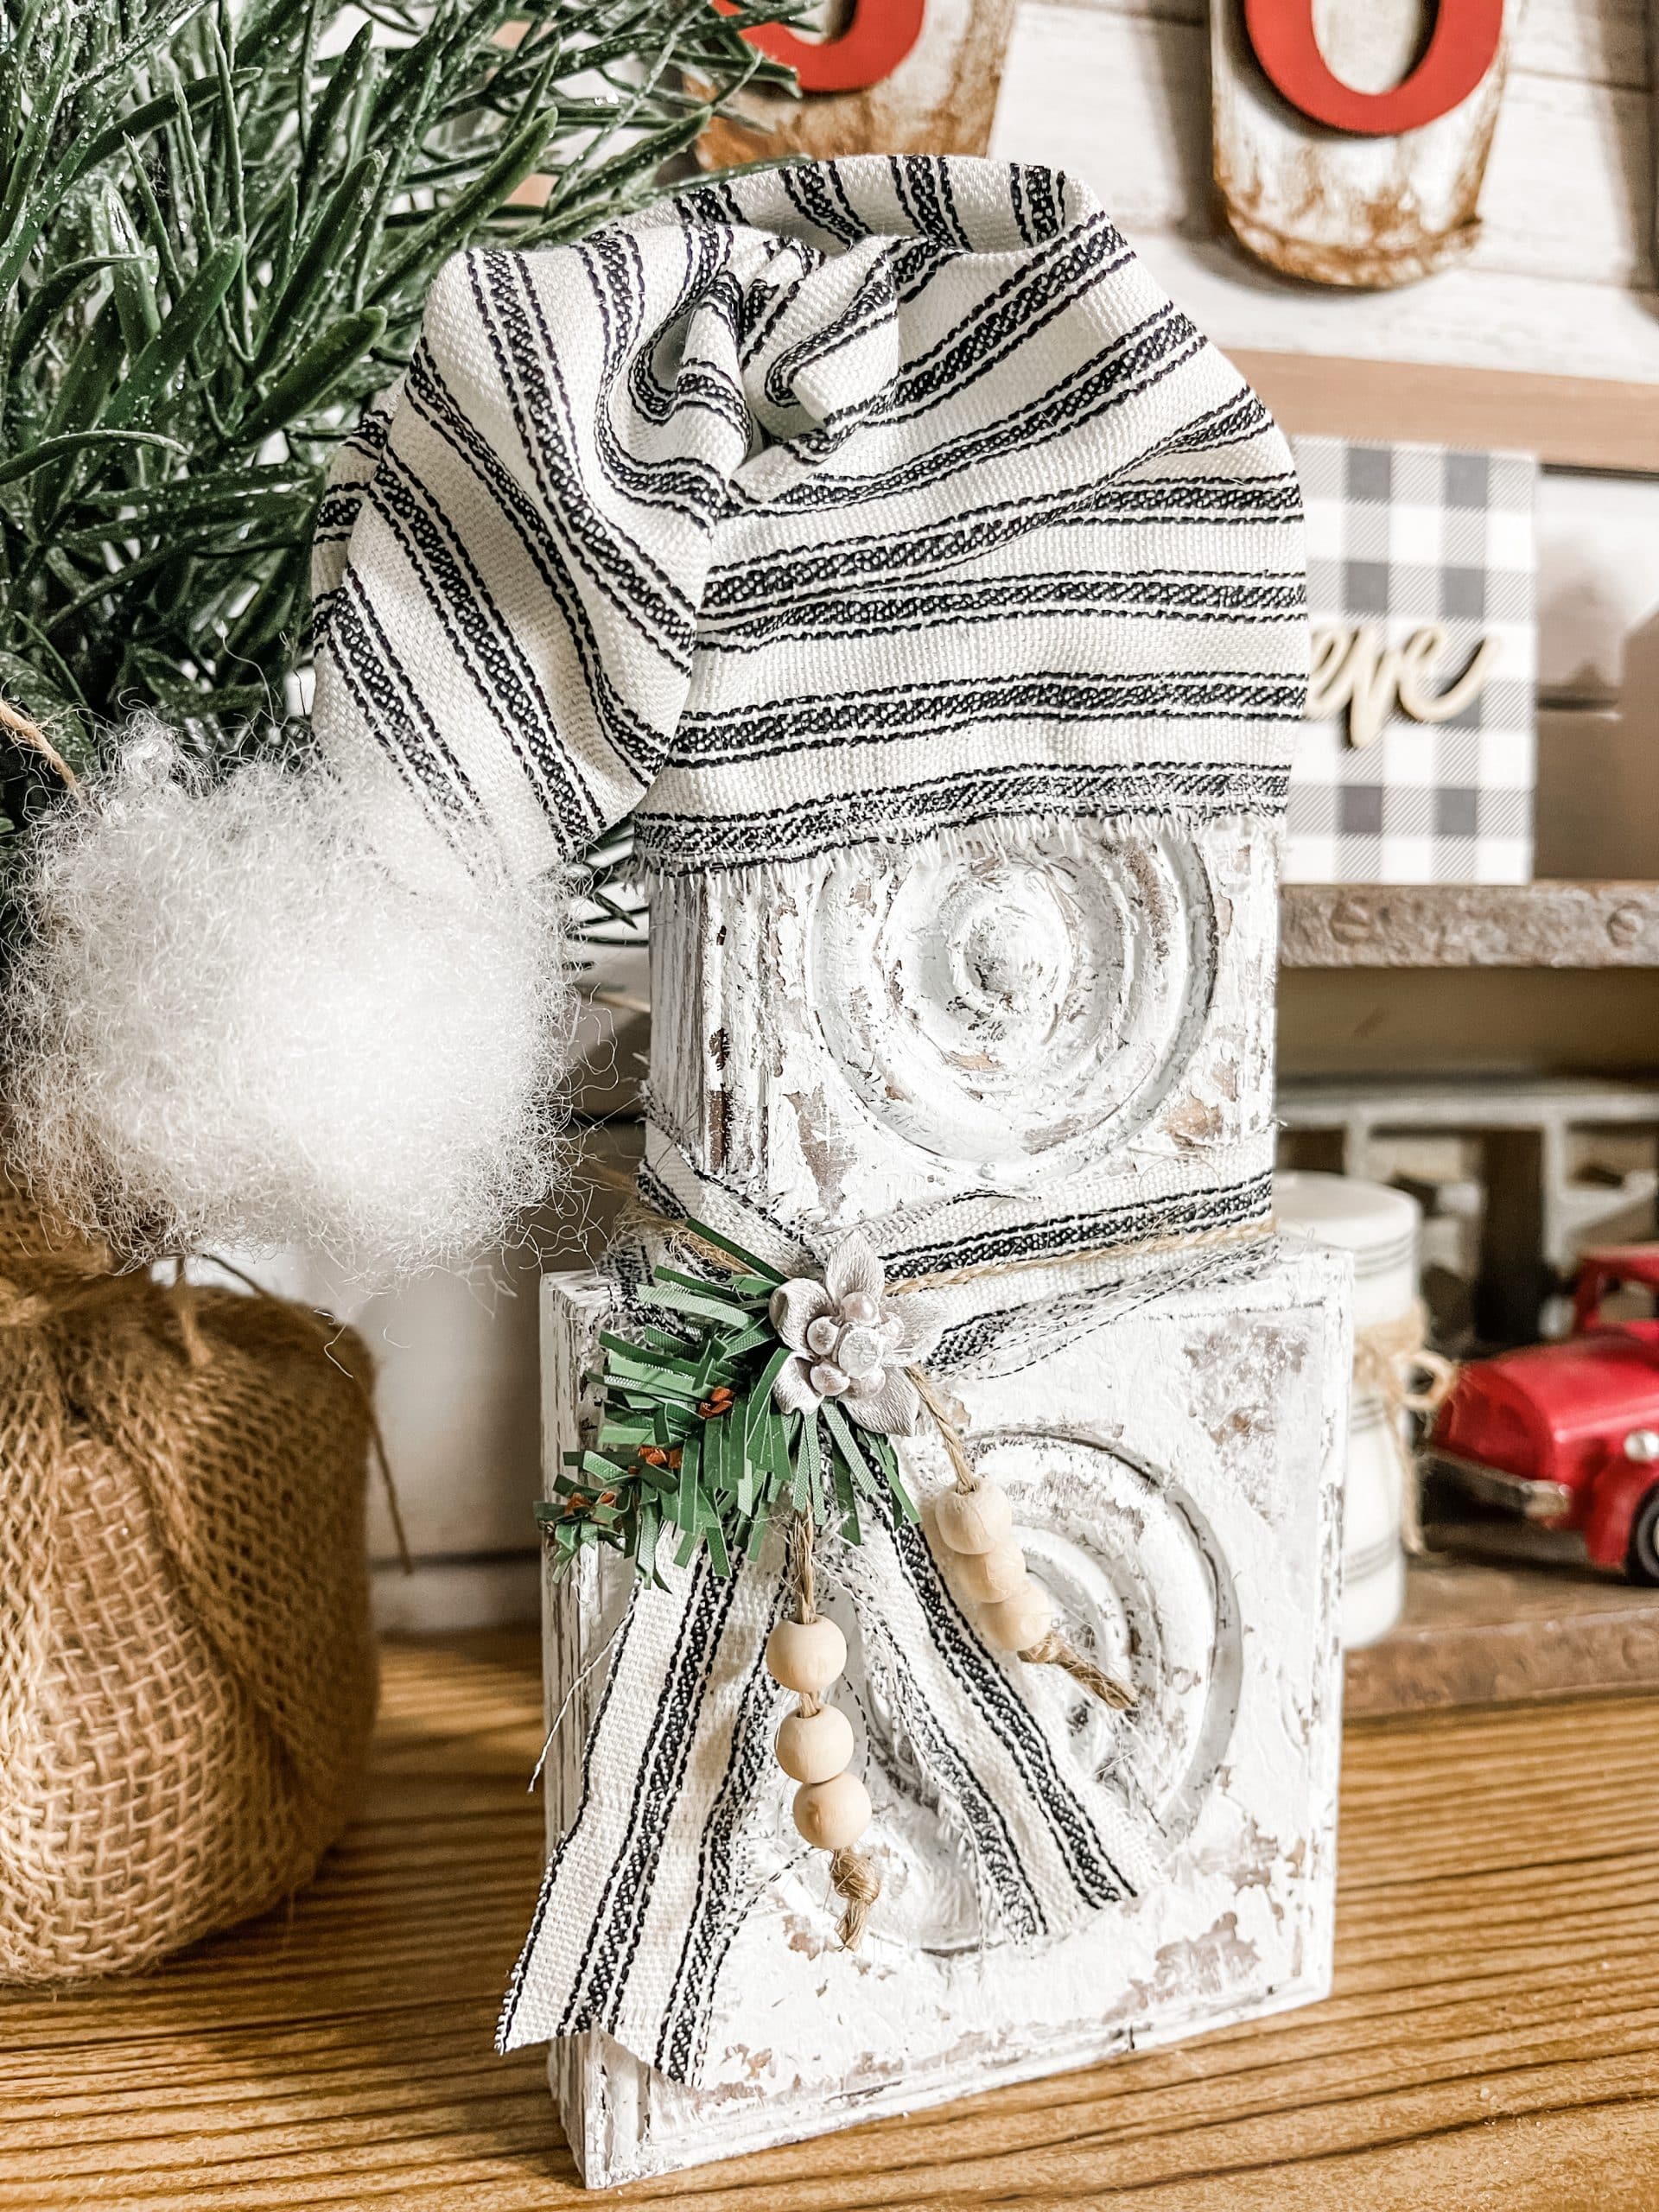
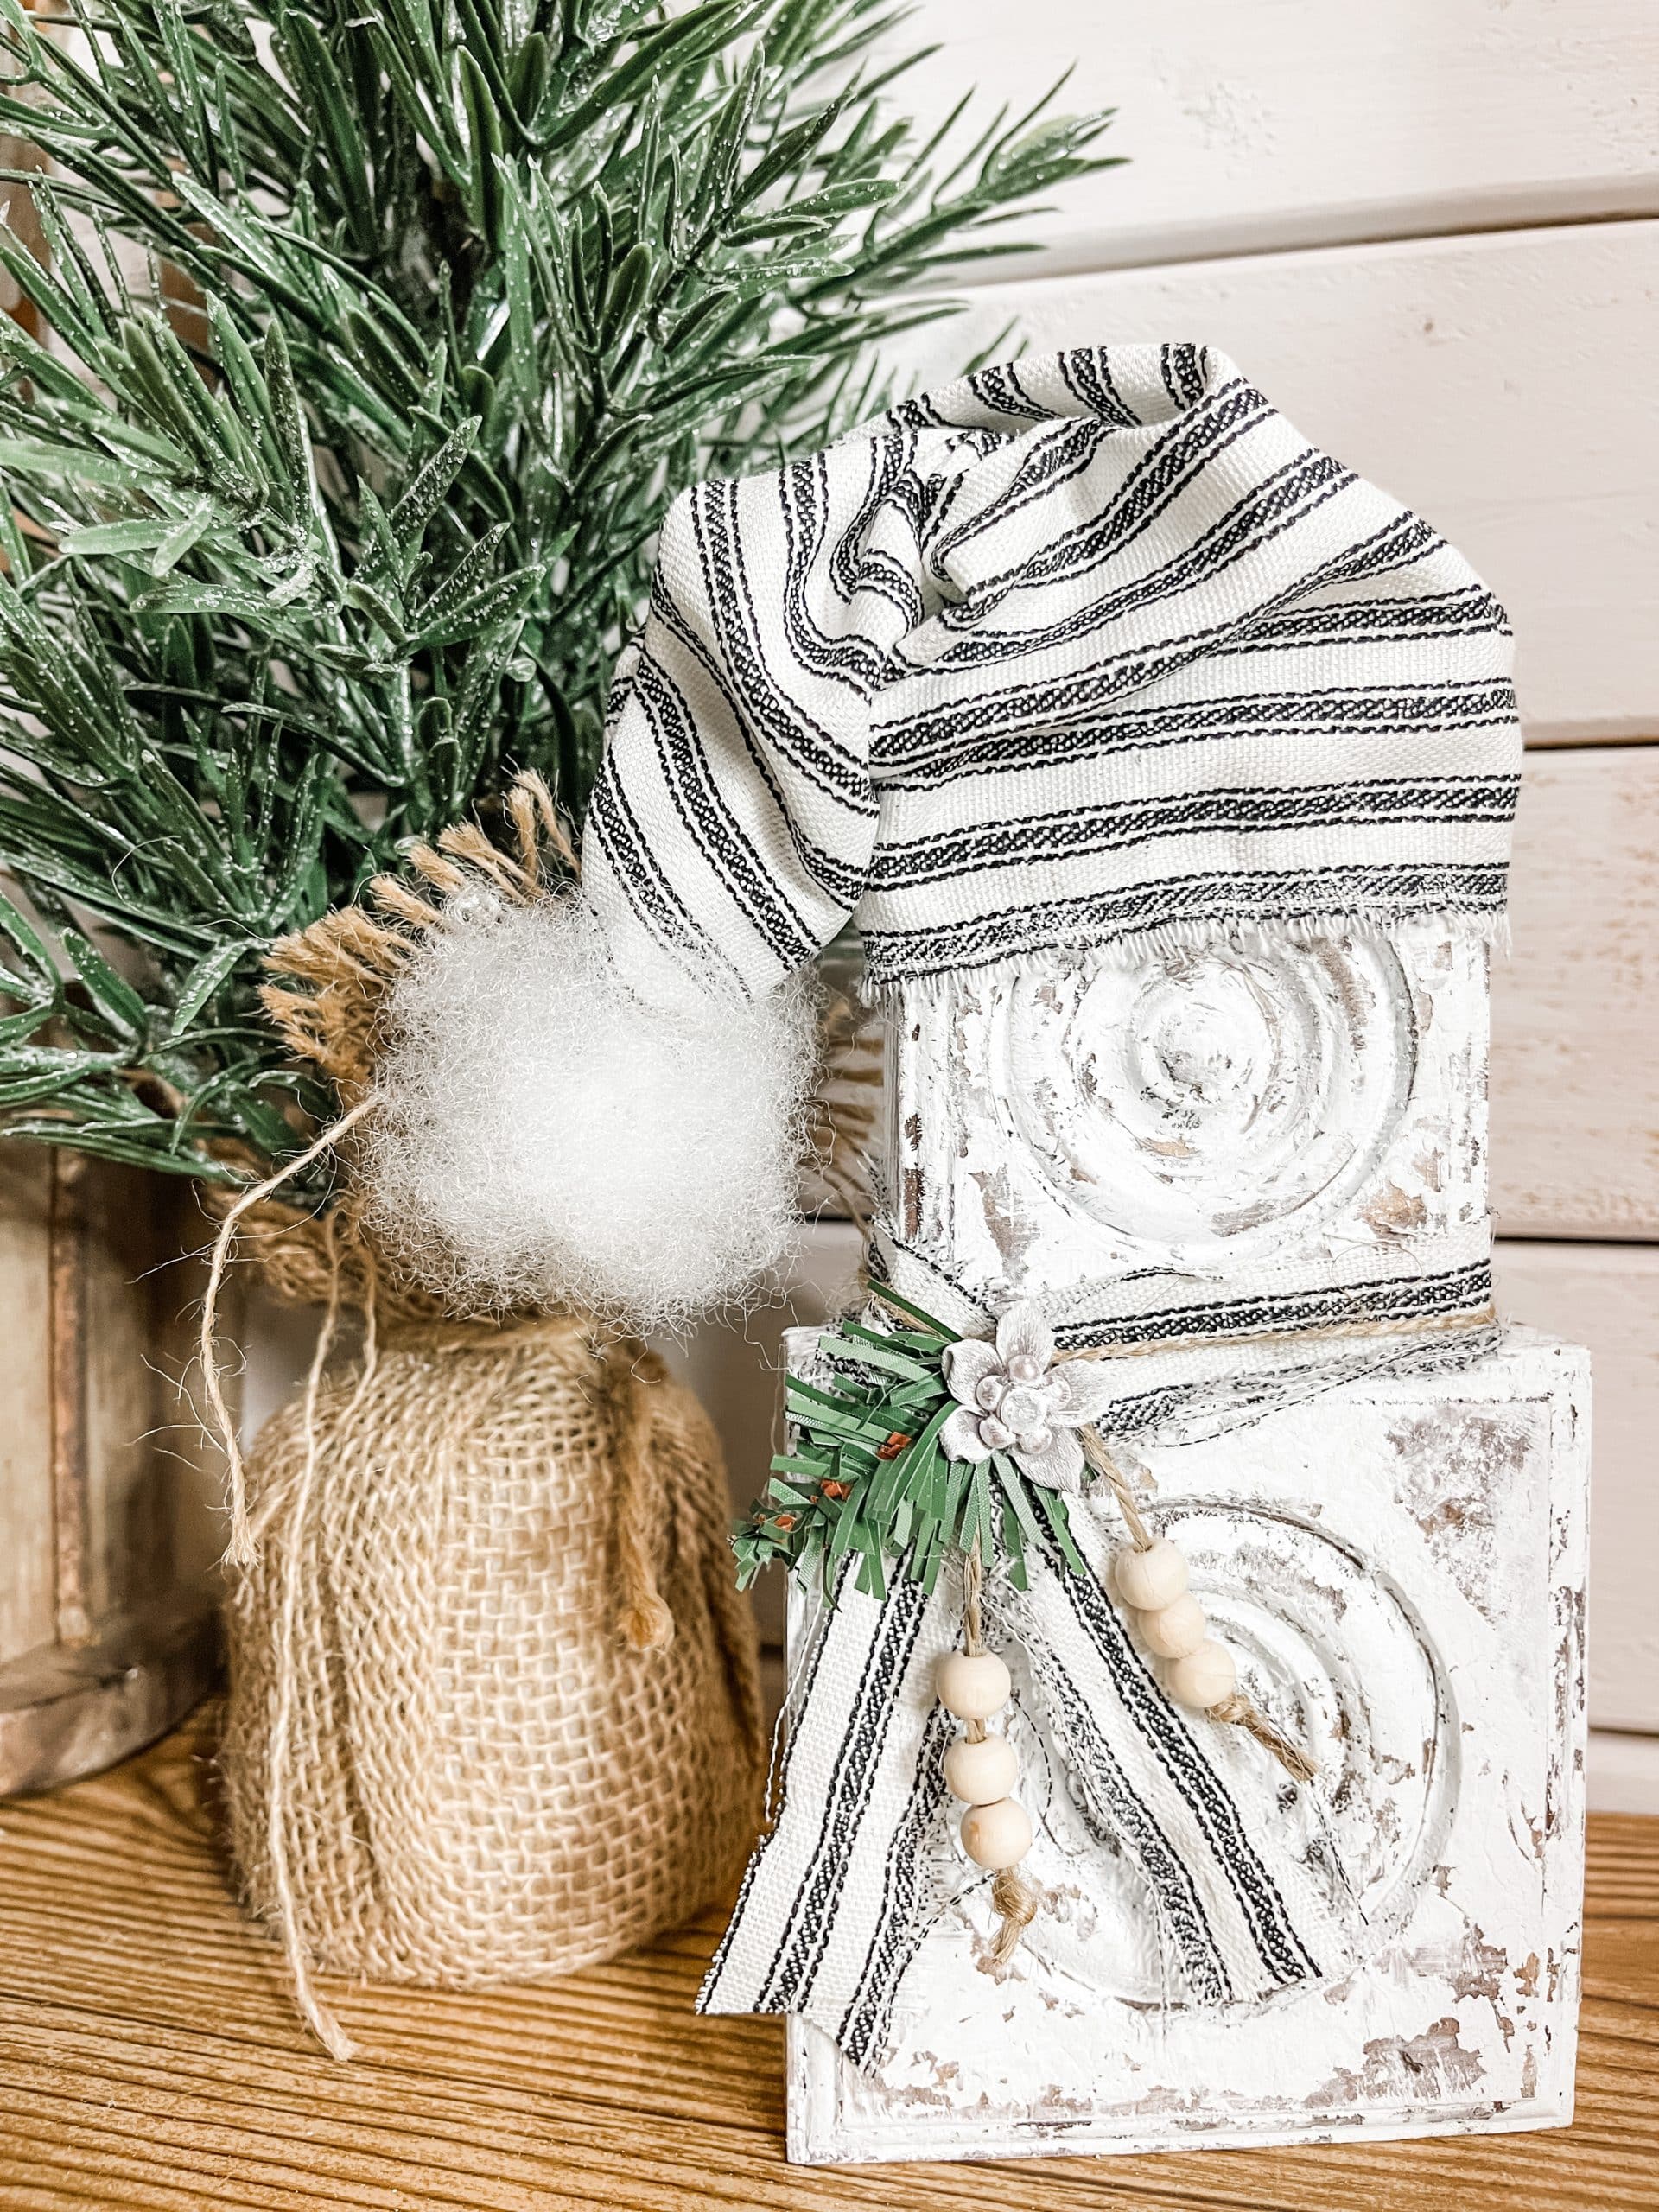
Next, I made the little hat for my rosette snowman winter wood craft. I went with a neutral patterned fabric so that my snowman would be more wintery and less Christmasy.
Cut your fabric so that it is just large enough to wrap around the top rosette like a tube and glue it in place. Twist, scrunch, and secure the end opening of the fabric with a piece of twine.
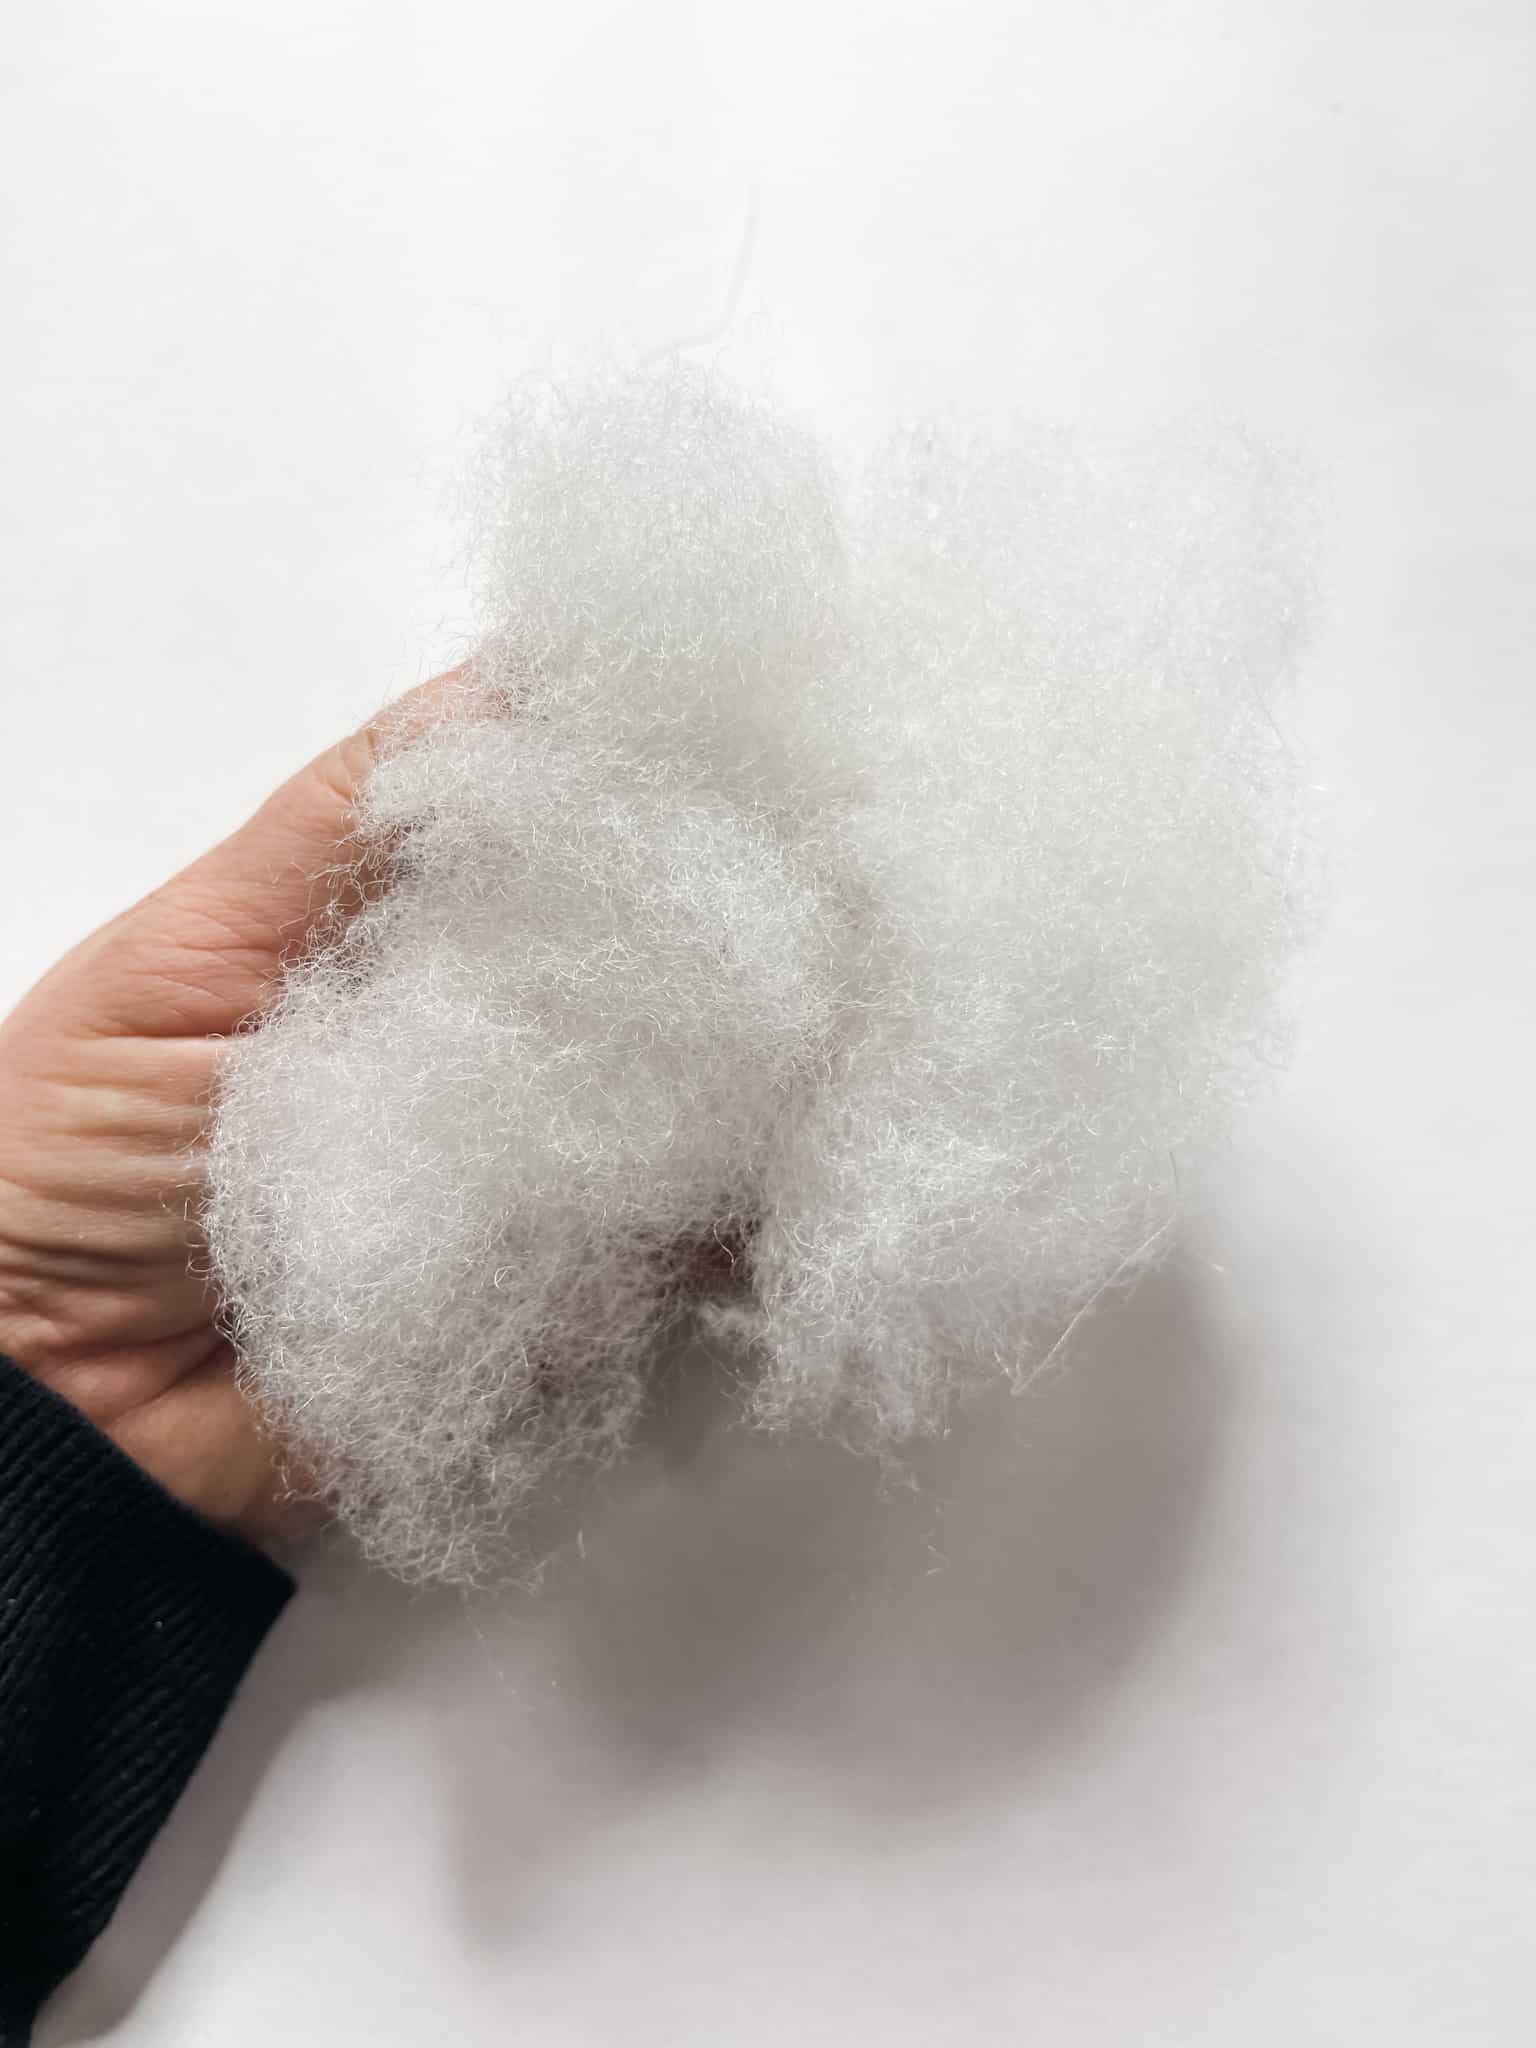
I wanted my hat to fold over, so I glued the tip of the “hat” to the base/brim of it to keep it folded over. Then, I glued a clump of the cotton filler to the “tip” of the hat.
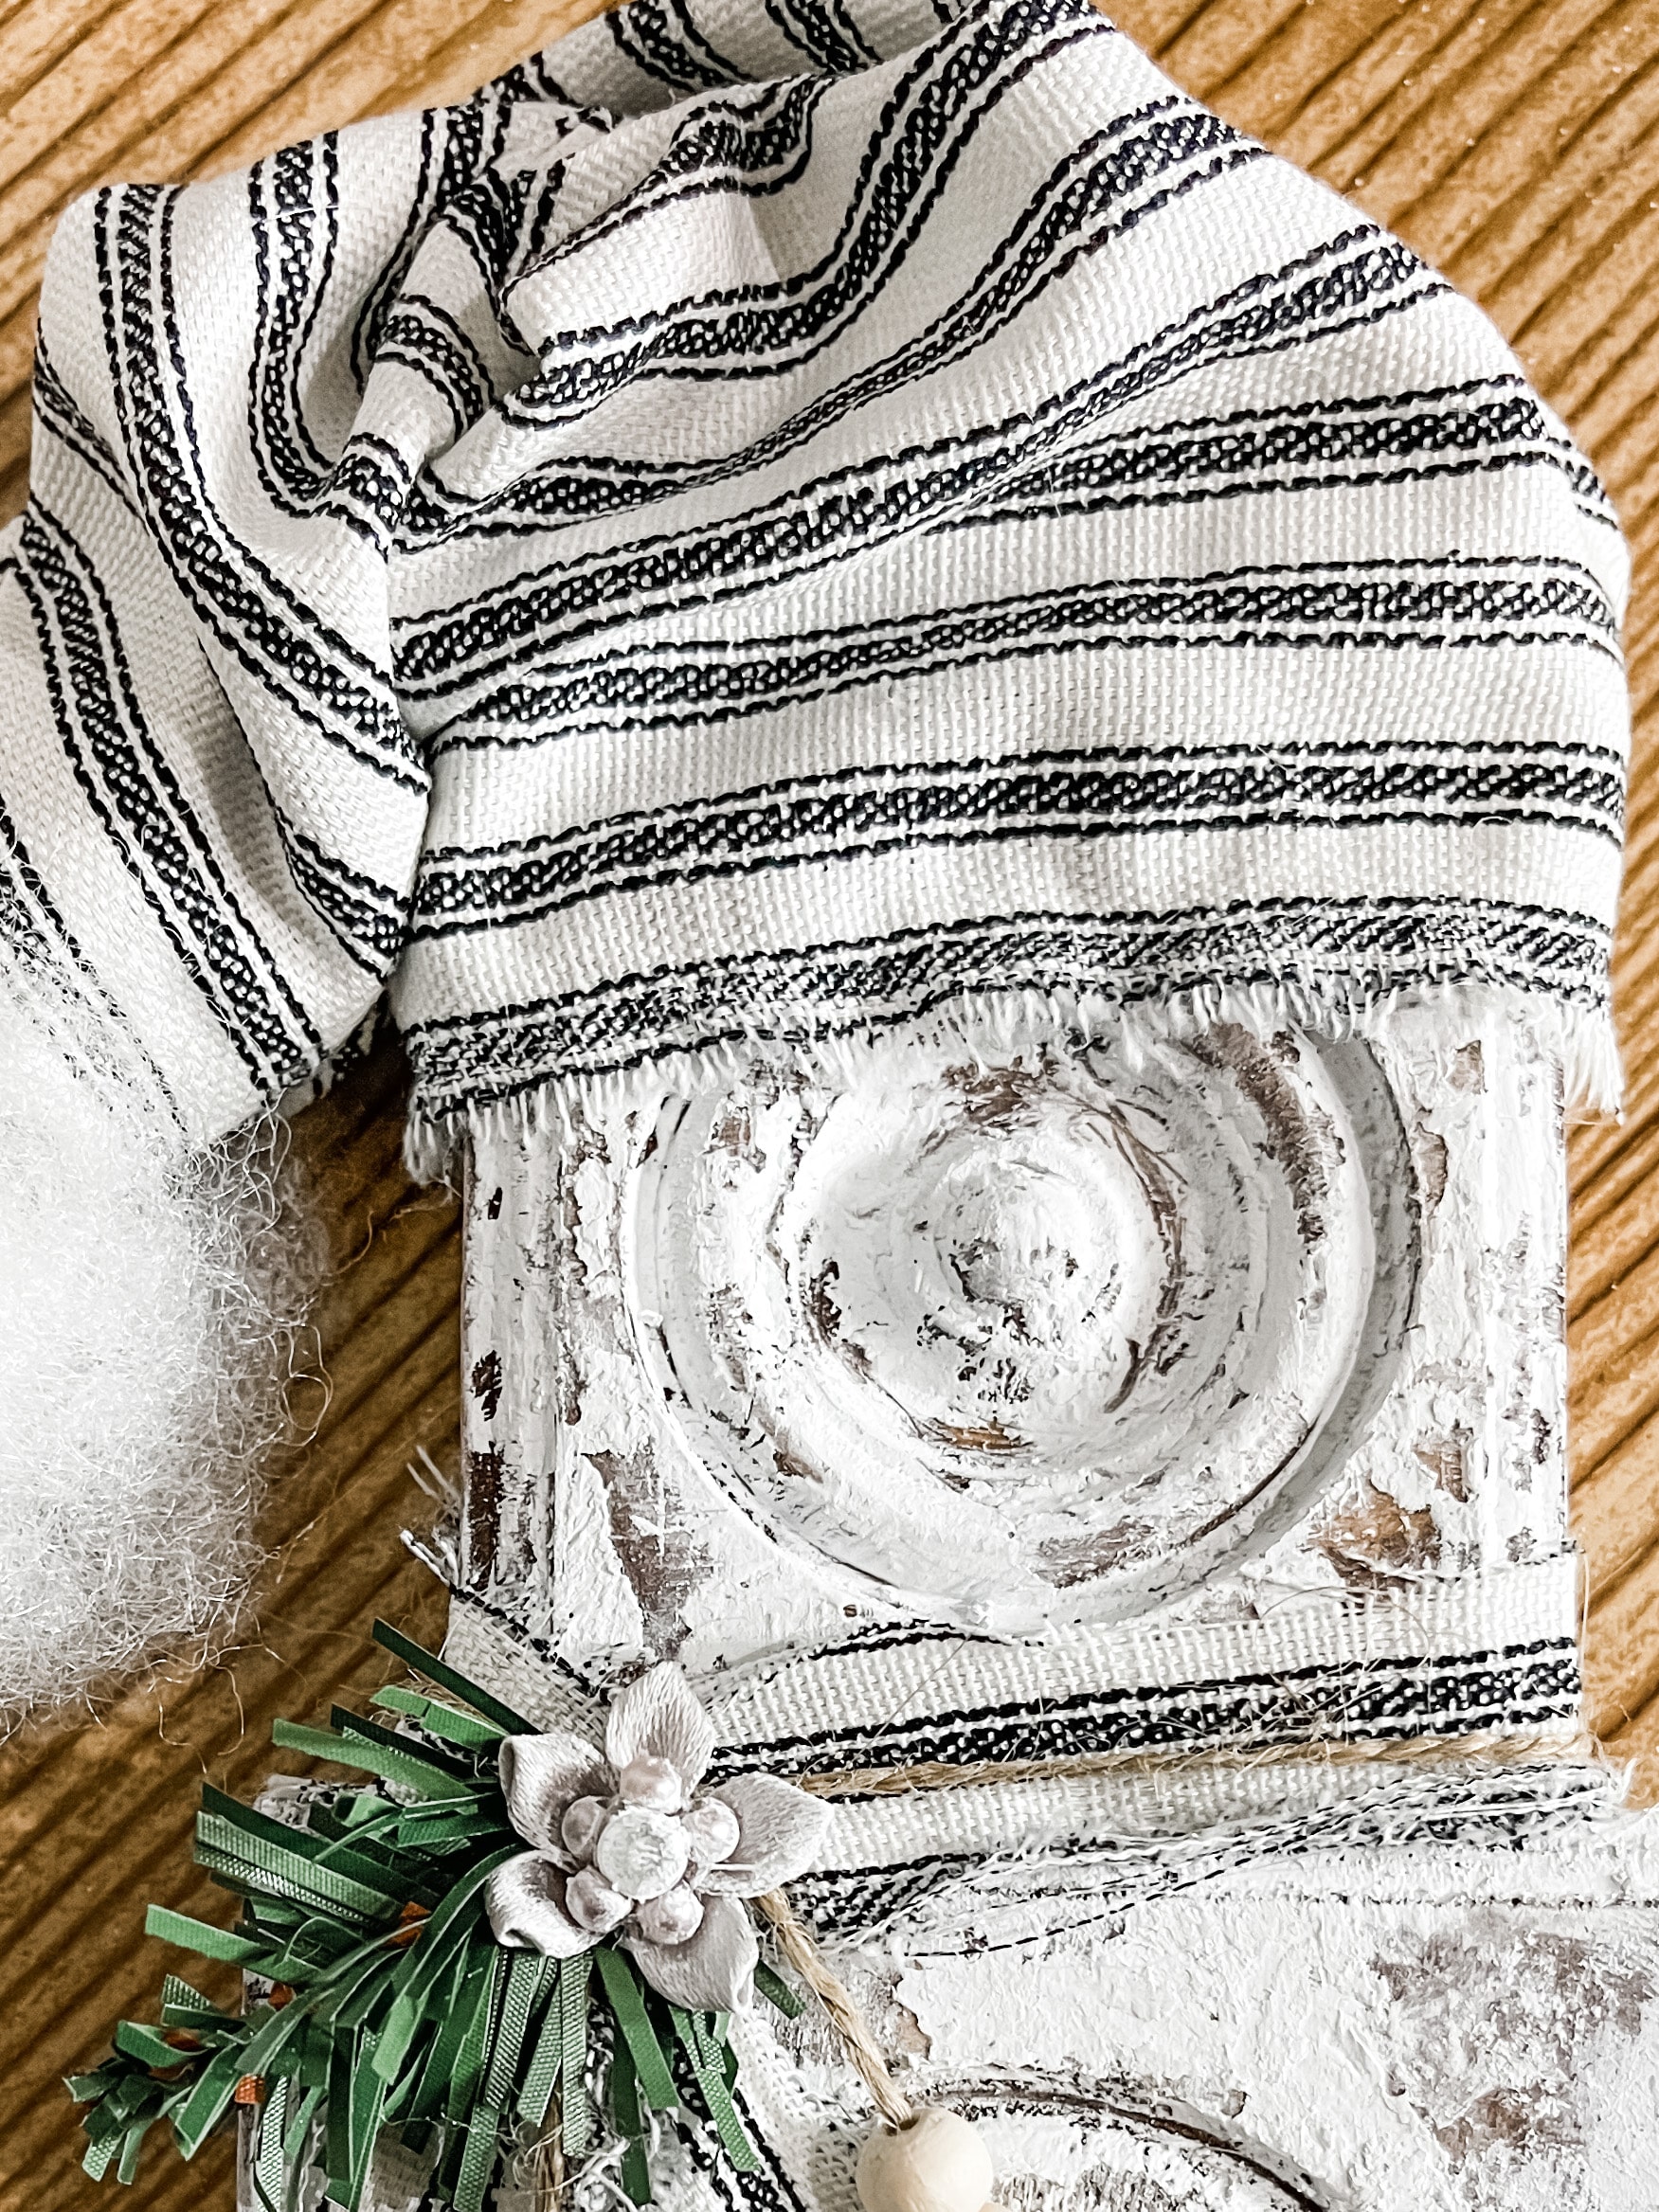
I used the same fabric to create a little scarf for my snowman and tied it around the base of the smaller rosette.
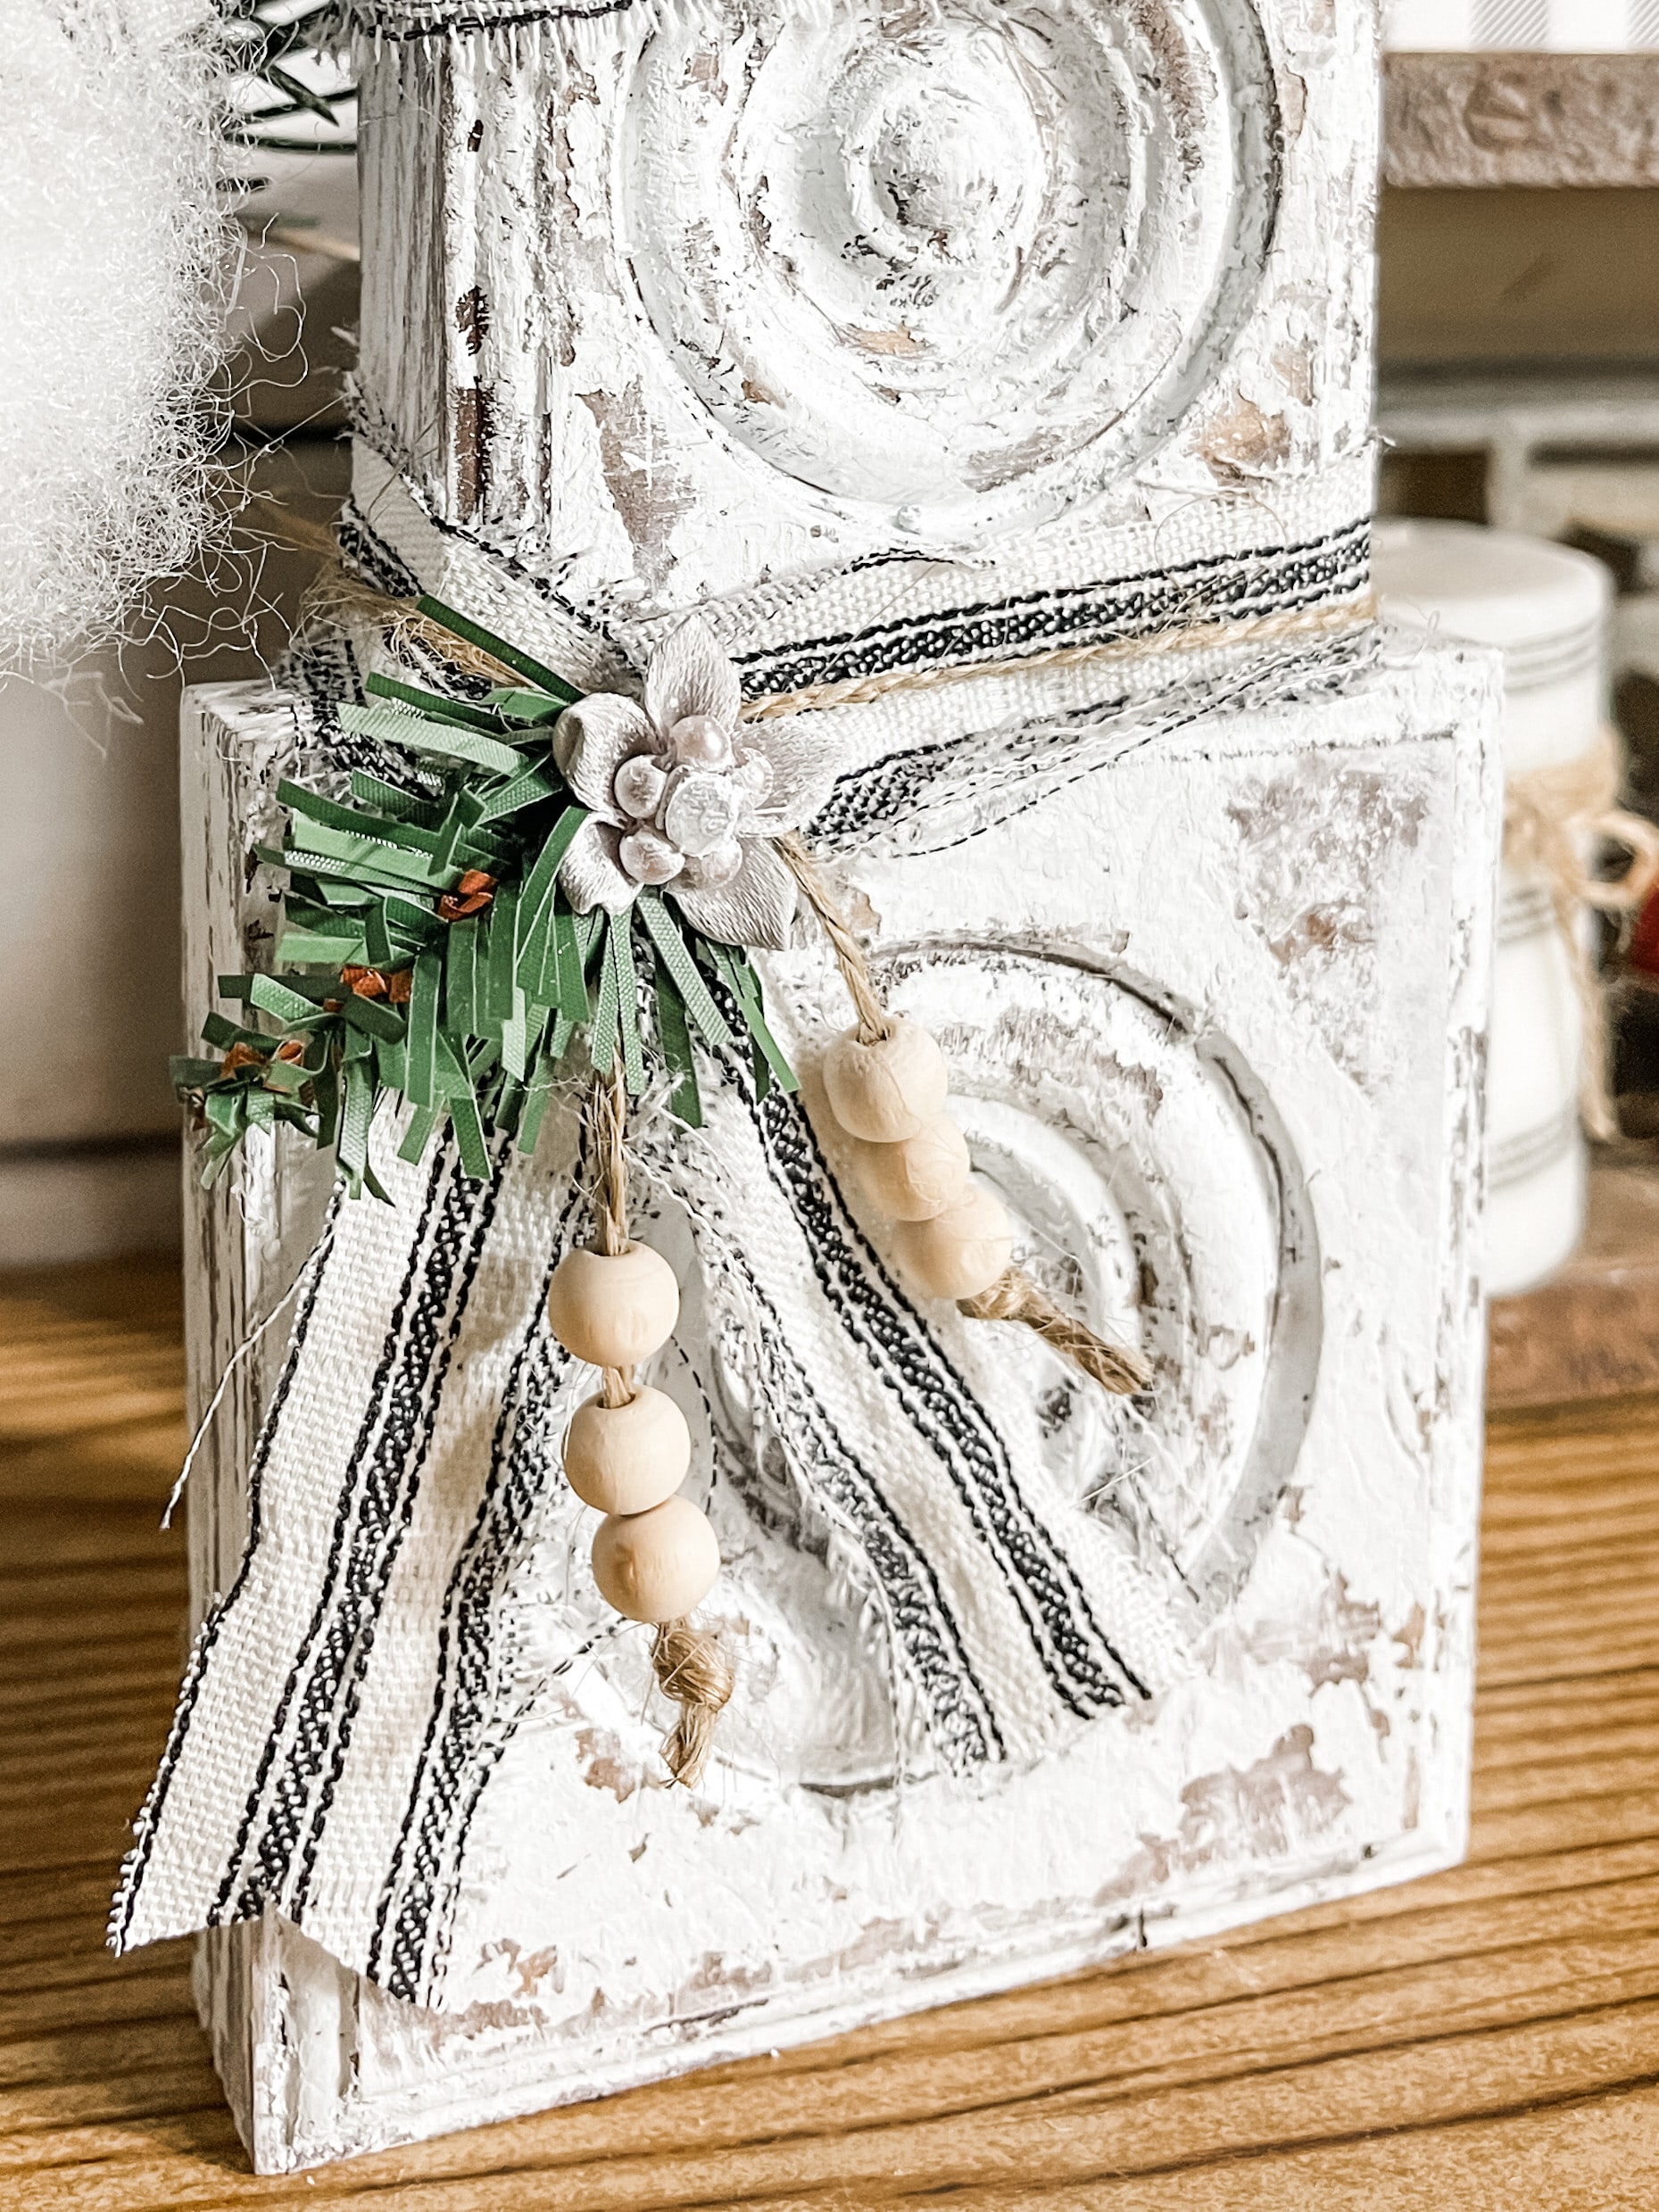
Next, I glued the greenery pieces and a little flower onto the scarf. Lastly, I threaded some beads onto a piece of twine and glued those to the scarf as well just to embellish a bit more.
I hope you enjoyed this Rosette Snowman Winter Wood Craft as much as I did and decide to make one for yourself! I would love to see how yours turns out!
You should totally join my FREE Facebook group called On A Budget Crafts! It is a judgment-free community for DIY crafters to show off their projects and ideas.
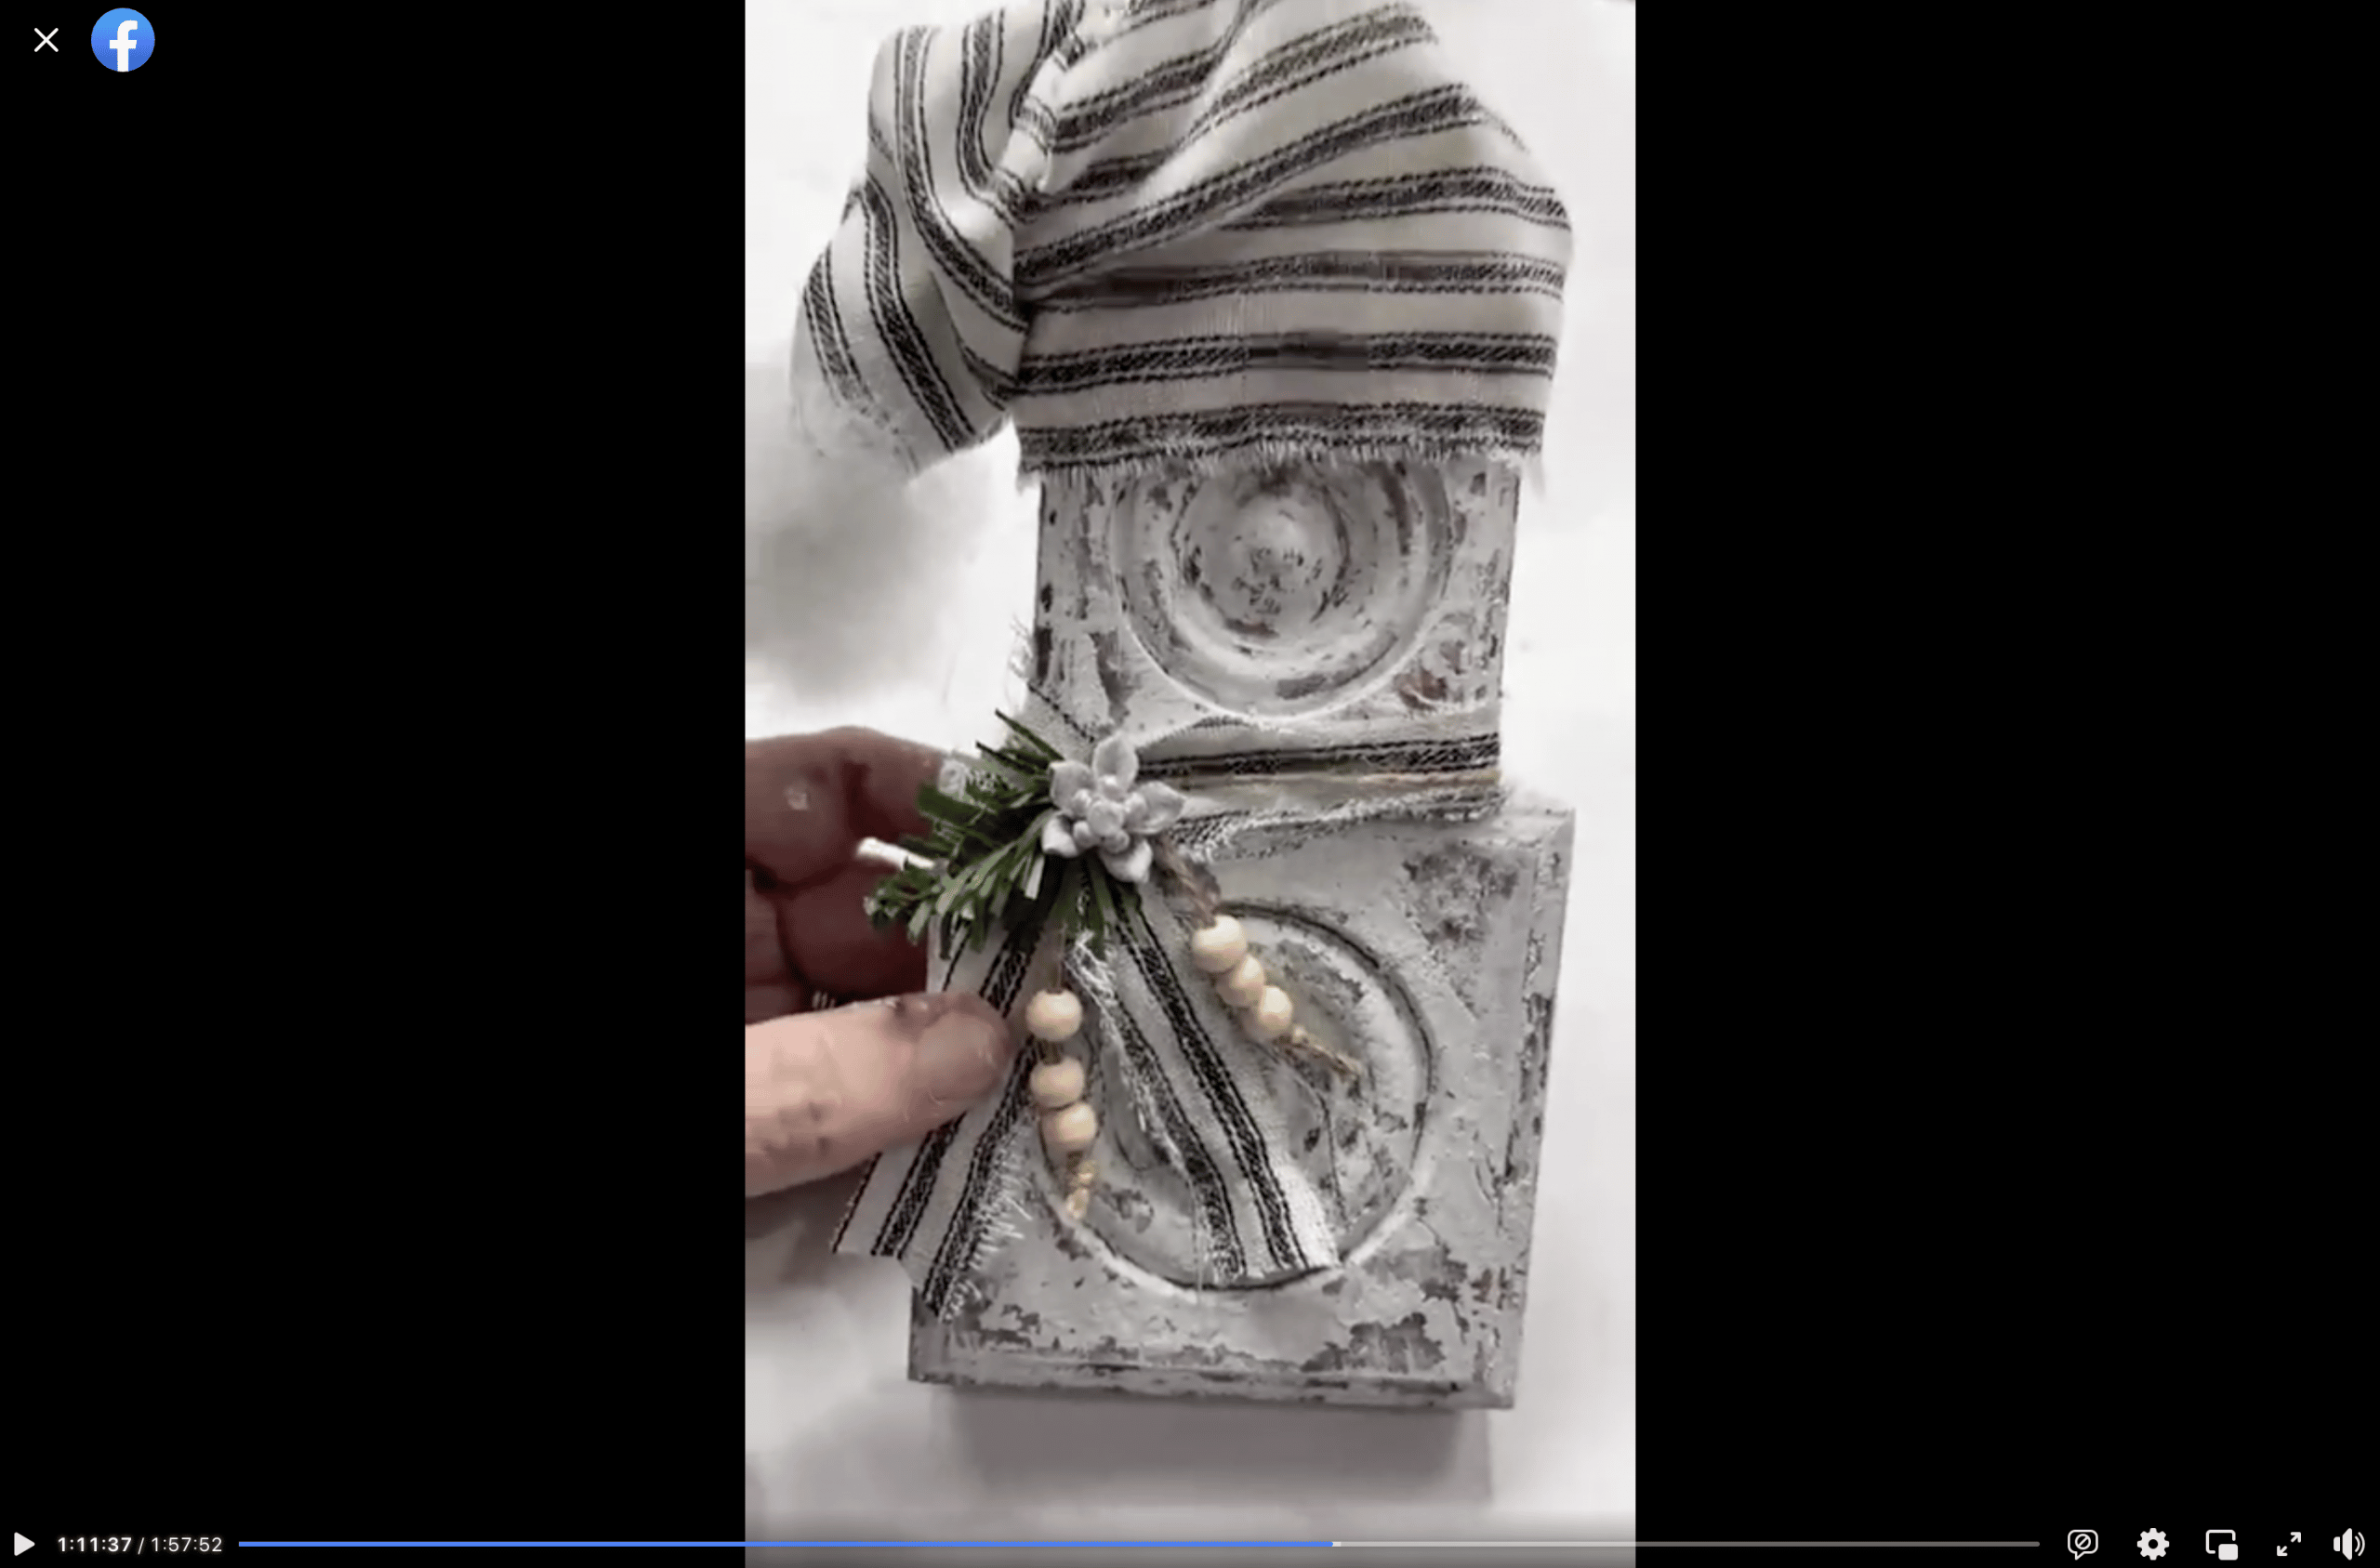
Watch the DIY tutorial
I shared how to make this super cute Rosette Snowman Winter Wood Craft during a LIVE video on my Facebook page.
If you want to see the DIY process, craft along, or just join in on the fun conversations you can watch the DIY tutorial replay on Facebook!
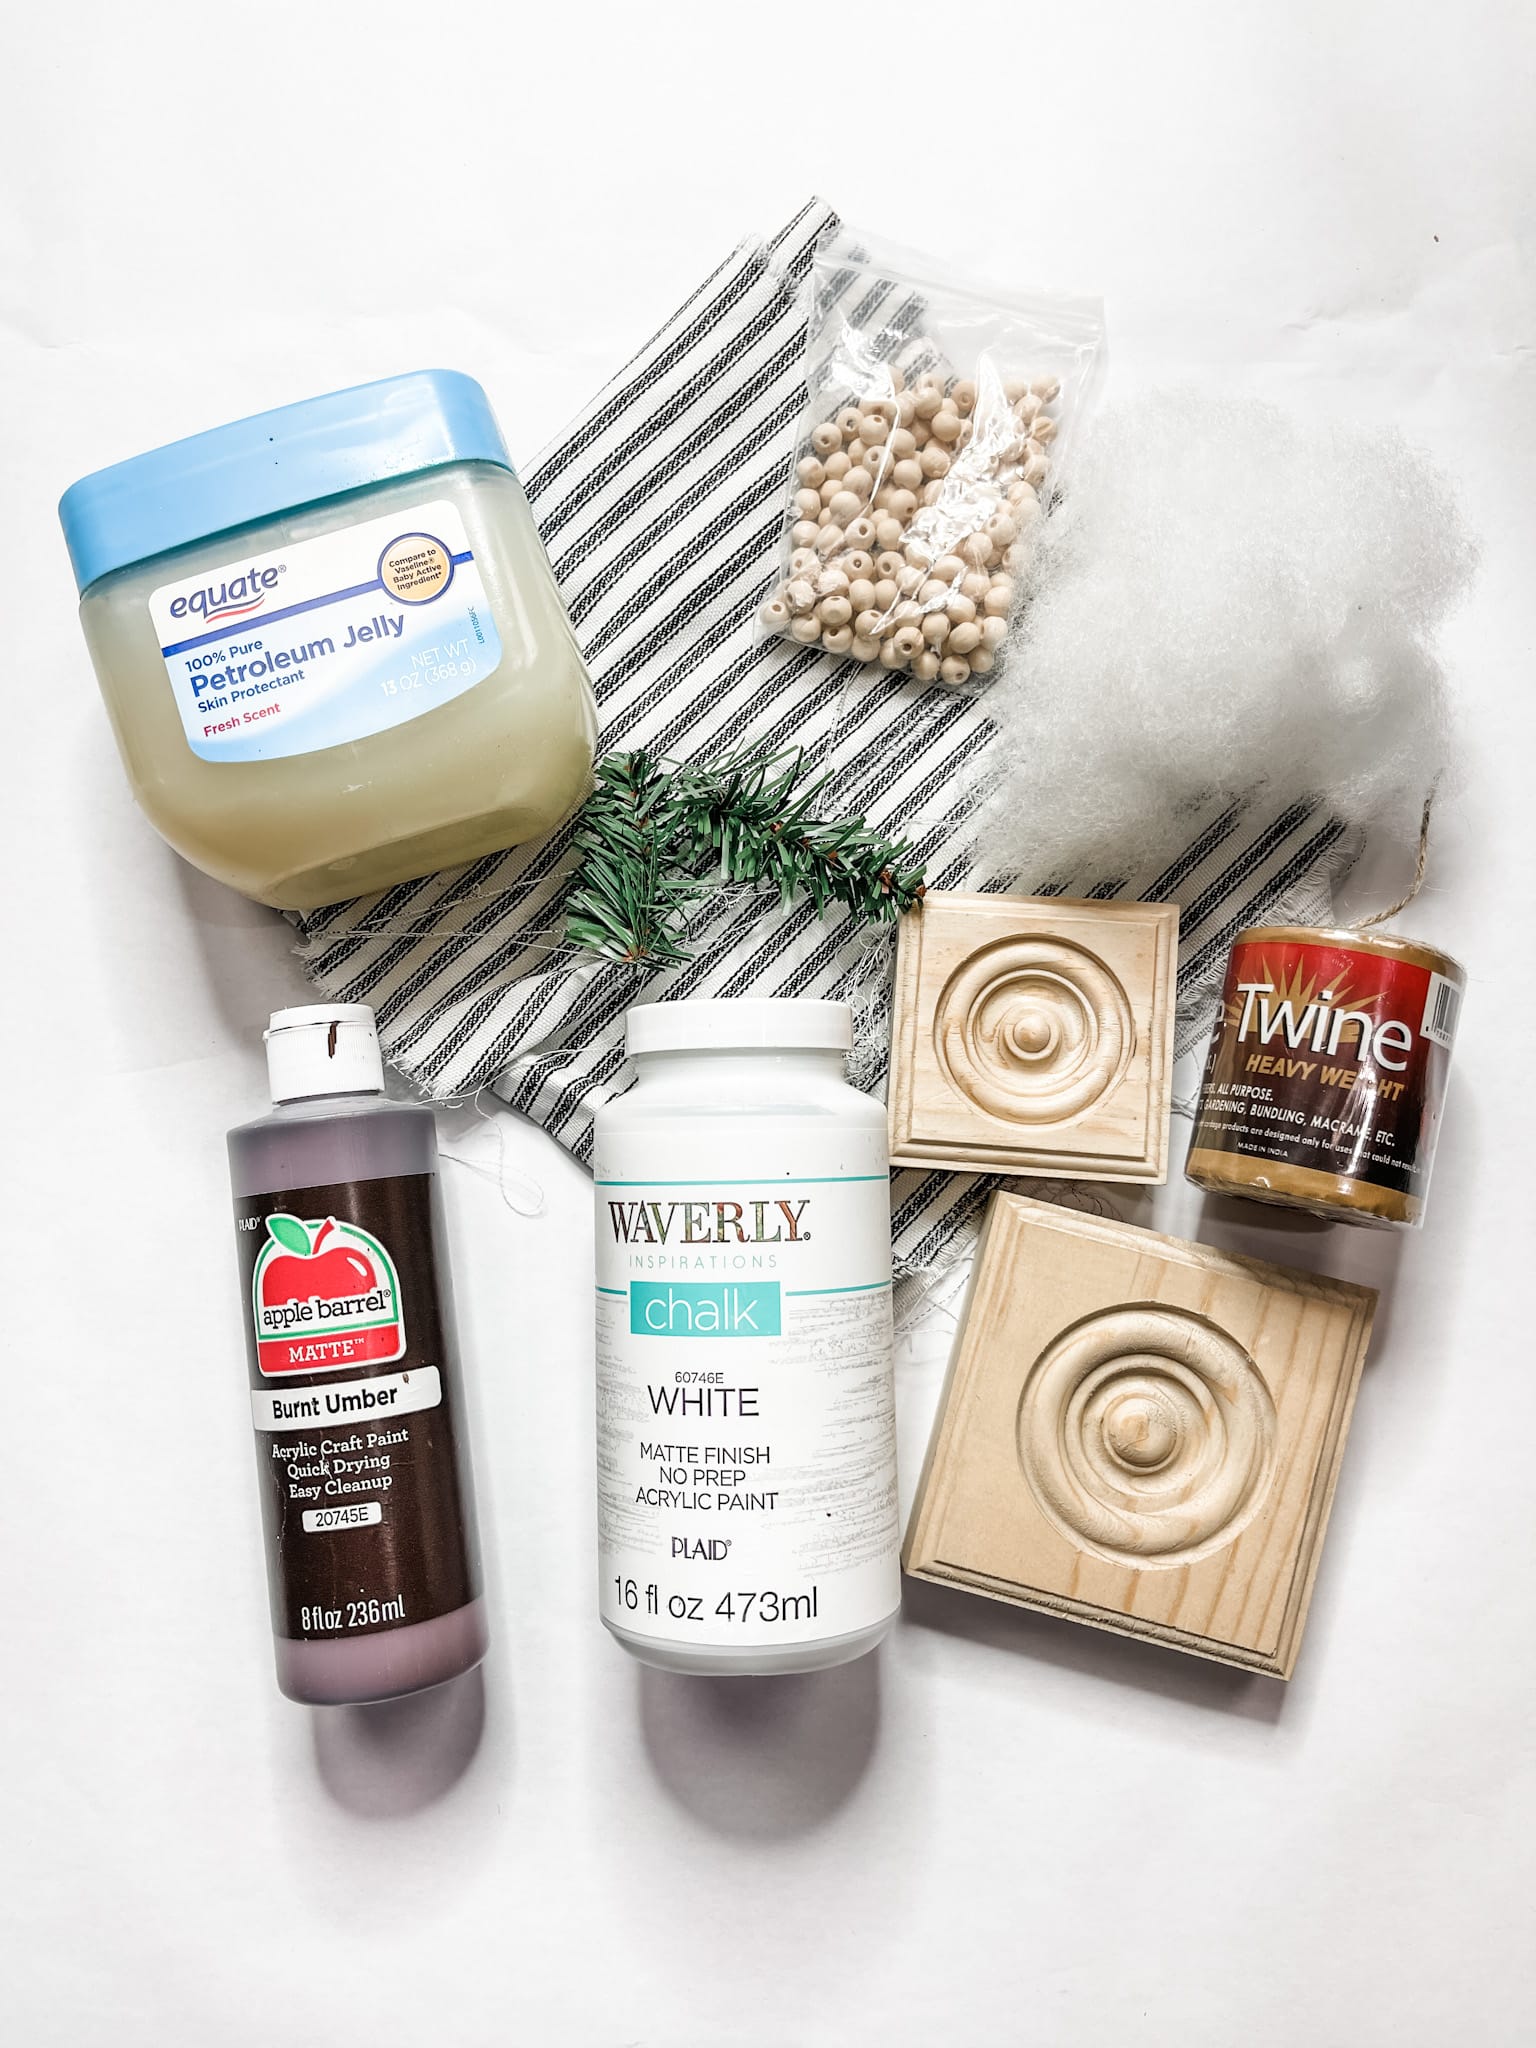
For this project, I will be using these items but you can substitute where you want.
“As an Amazon Associate, I earn from qualifying purchases.”
- Rosettes (x2 different sizes)
- Cotton Filler
- Small wood beads
- Petroleum Jelly
- Paint of choice
- Waverly White Chalk Paint
- Greenery/Embellishments of choice
- Fabric of choice
- Twine
- Hot glue gun and glue sticks
If you loved this DIY you might also like this Chippy Rosette Home Decor!
Thanks for stopping by! XOXO Amber
You can also shop my ENTIRE AMAZON Favorites shop just click here! It’s packed full of all the things I use and love. Here is the supply list I highly recommend every creative have on hand!!
Would you also pin my blog for later and get on my newsletter alerts? I would love to have you join my #craftycrew.
Inspired? Leave me a comment below! I love hearing from my readers!

Join my free “ON A BUDGET CRAFTS” Facebook group!