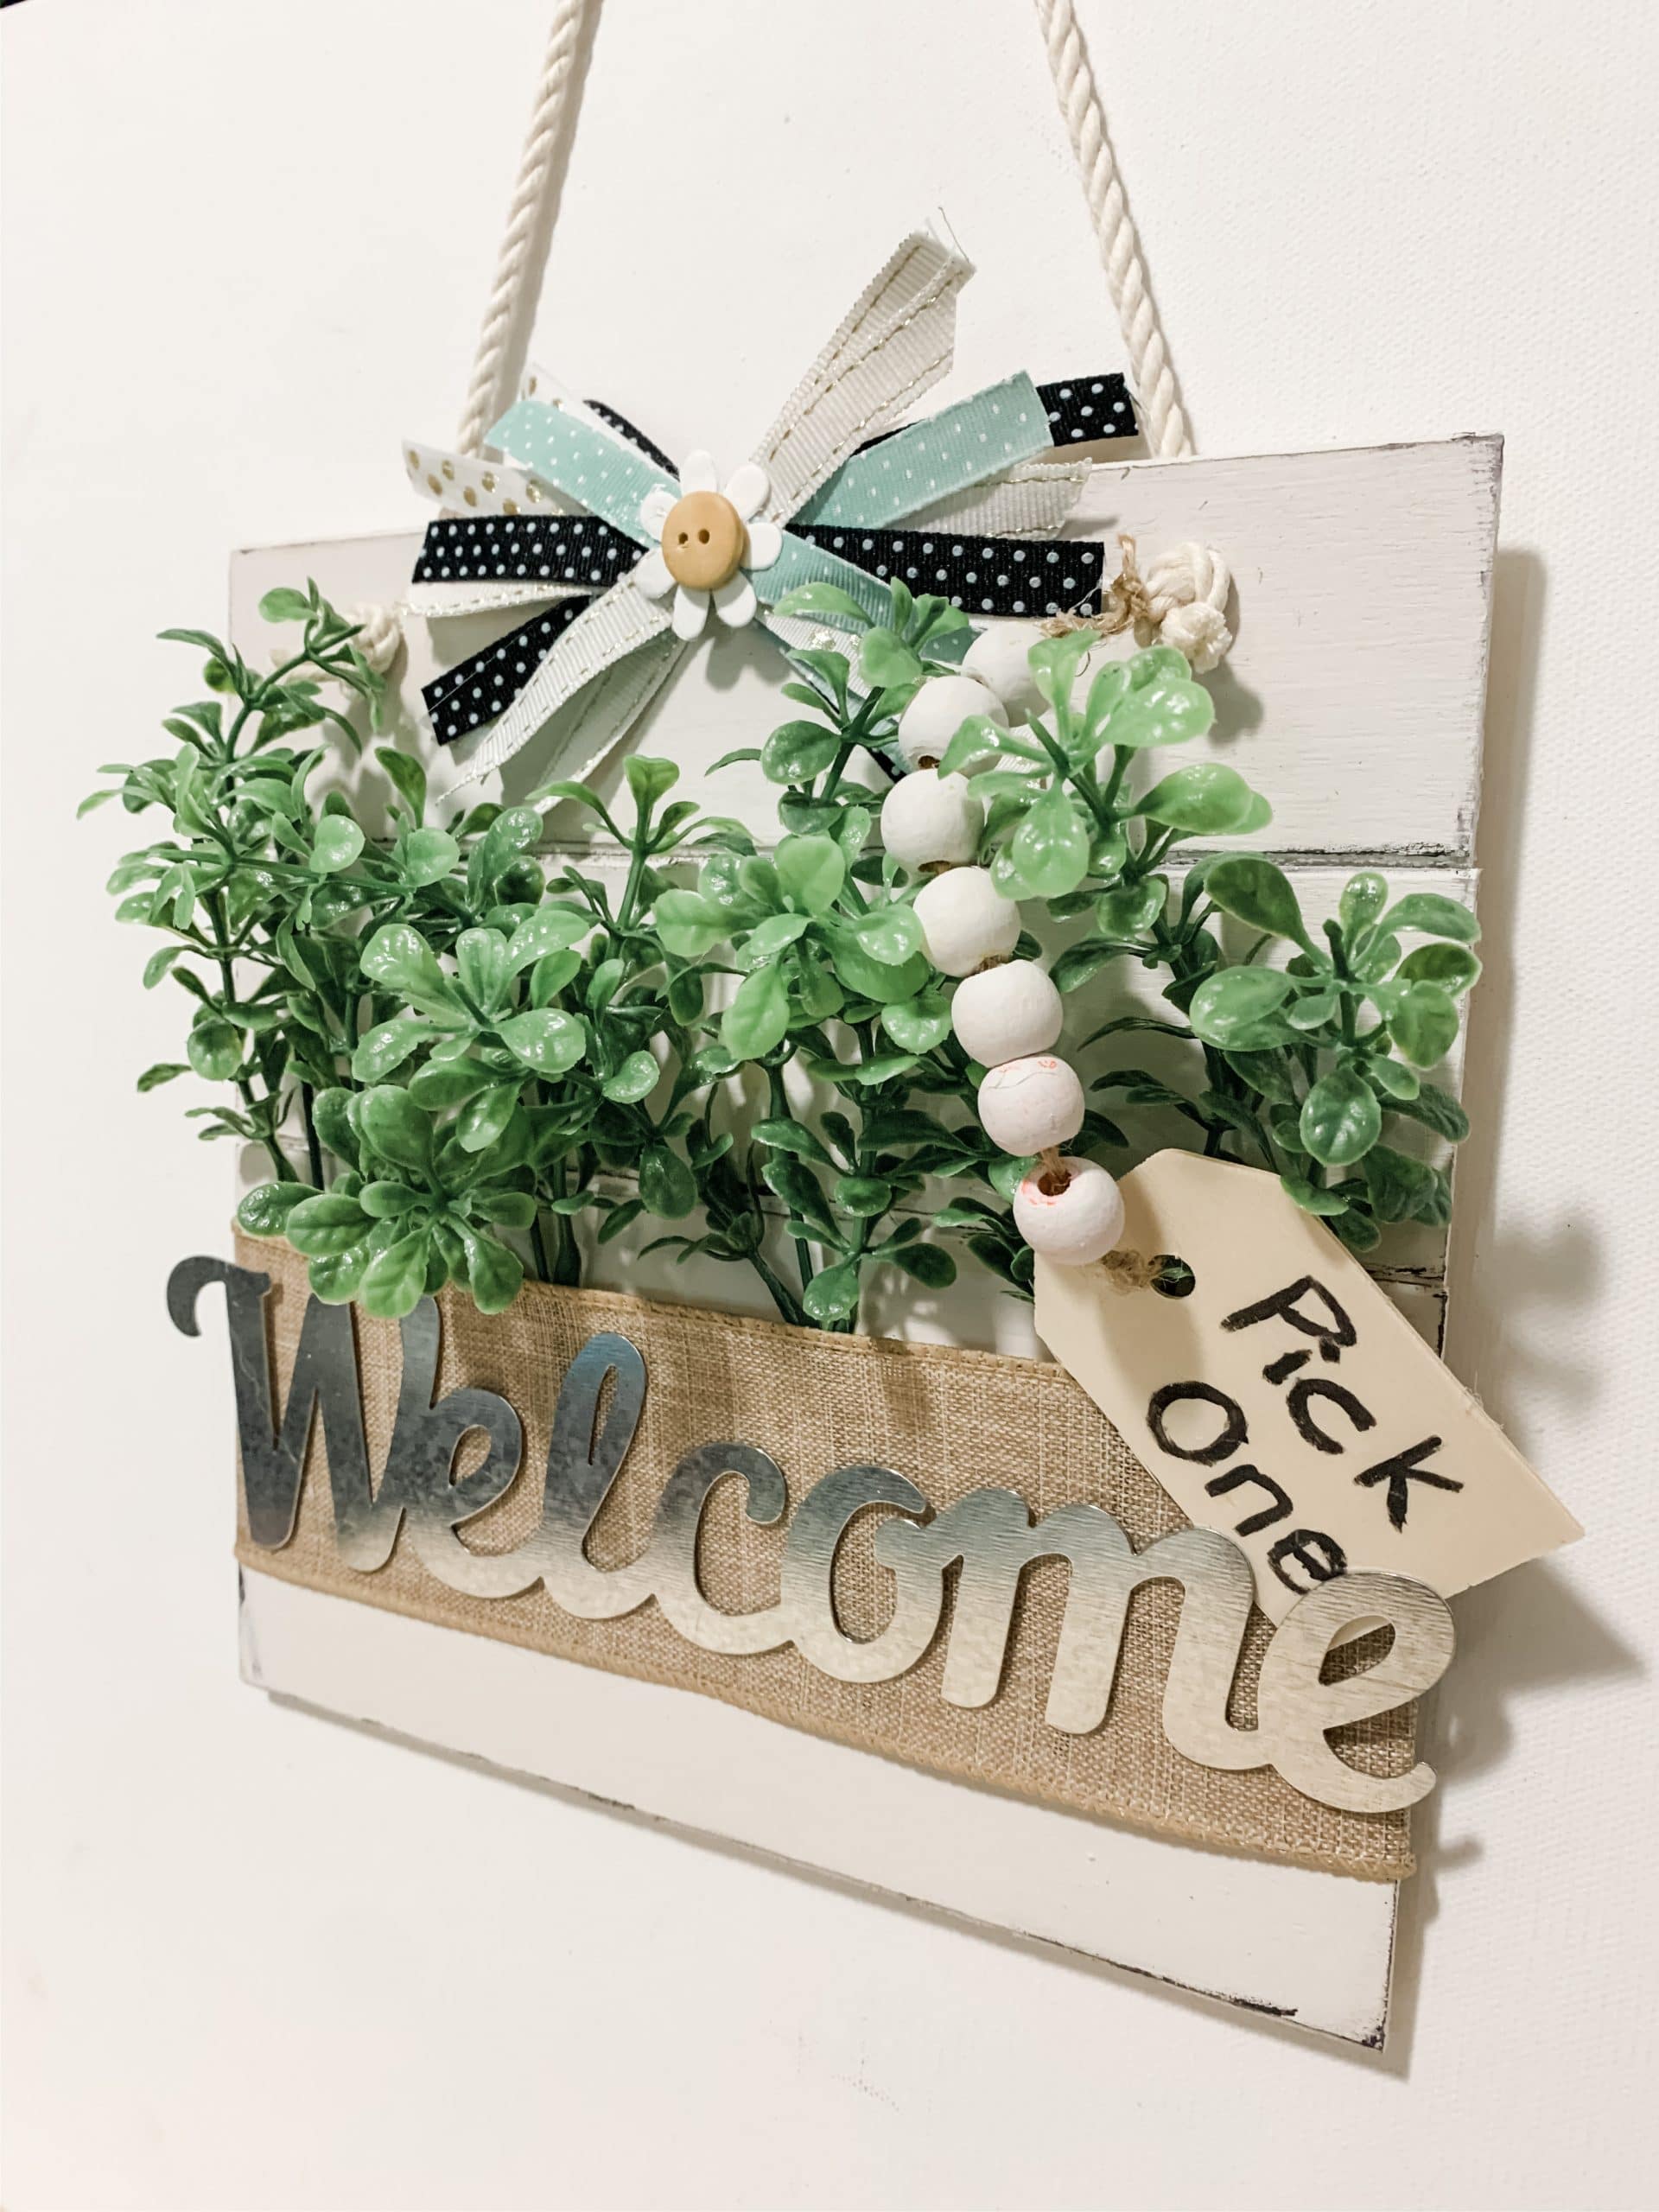
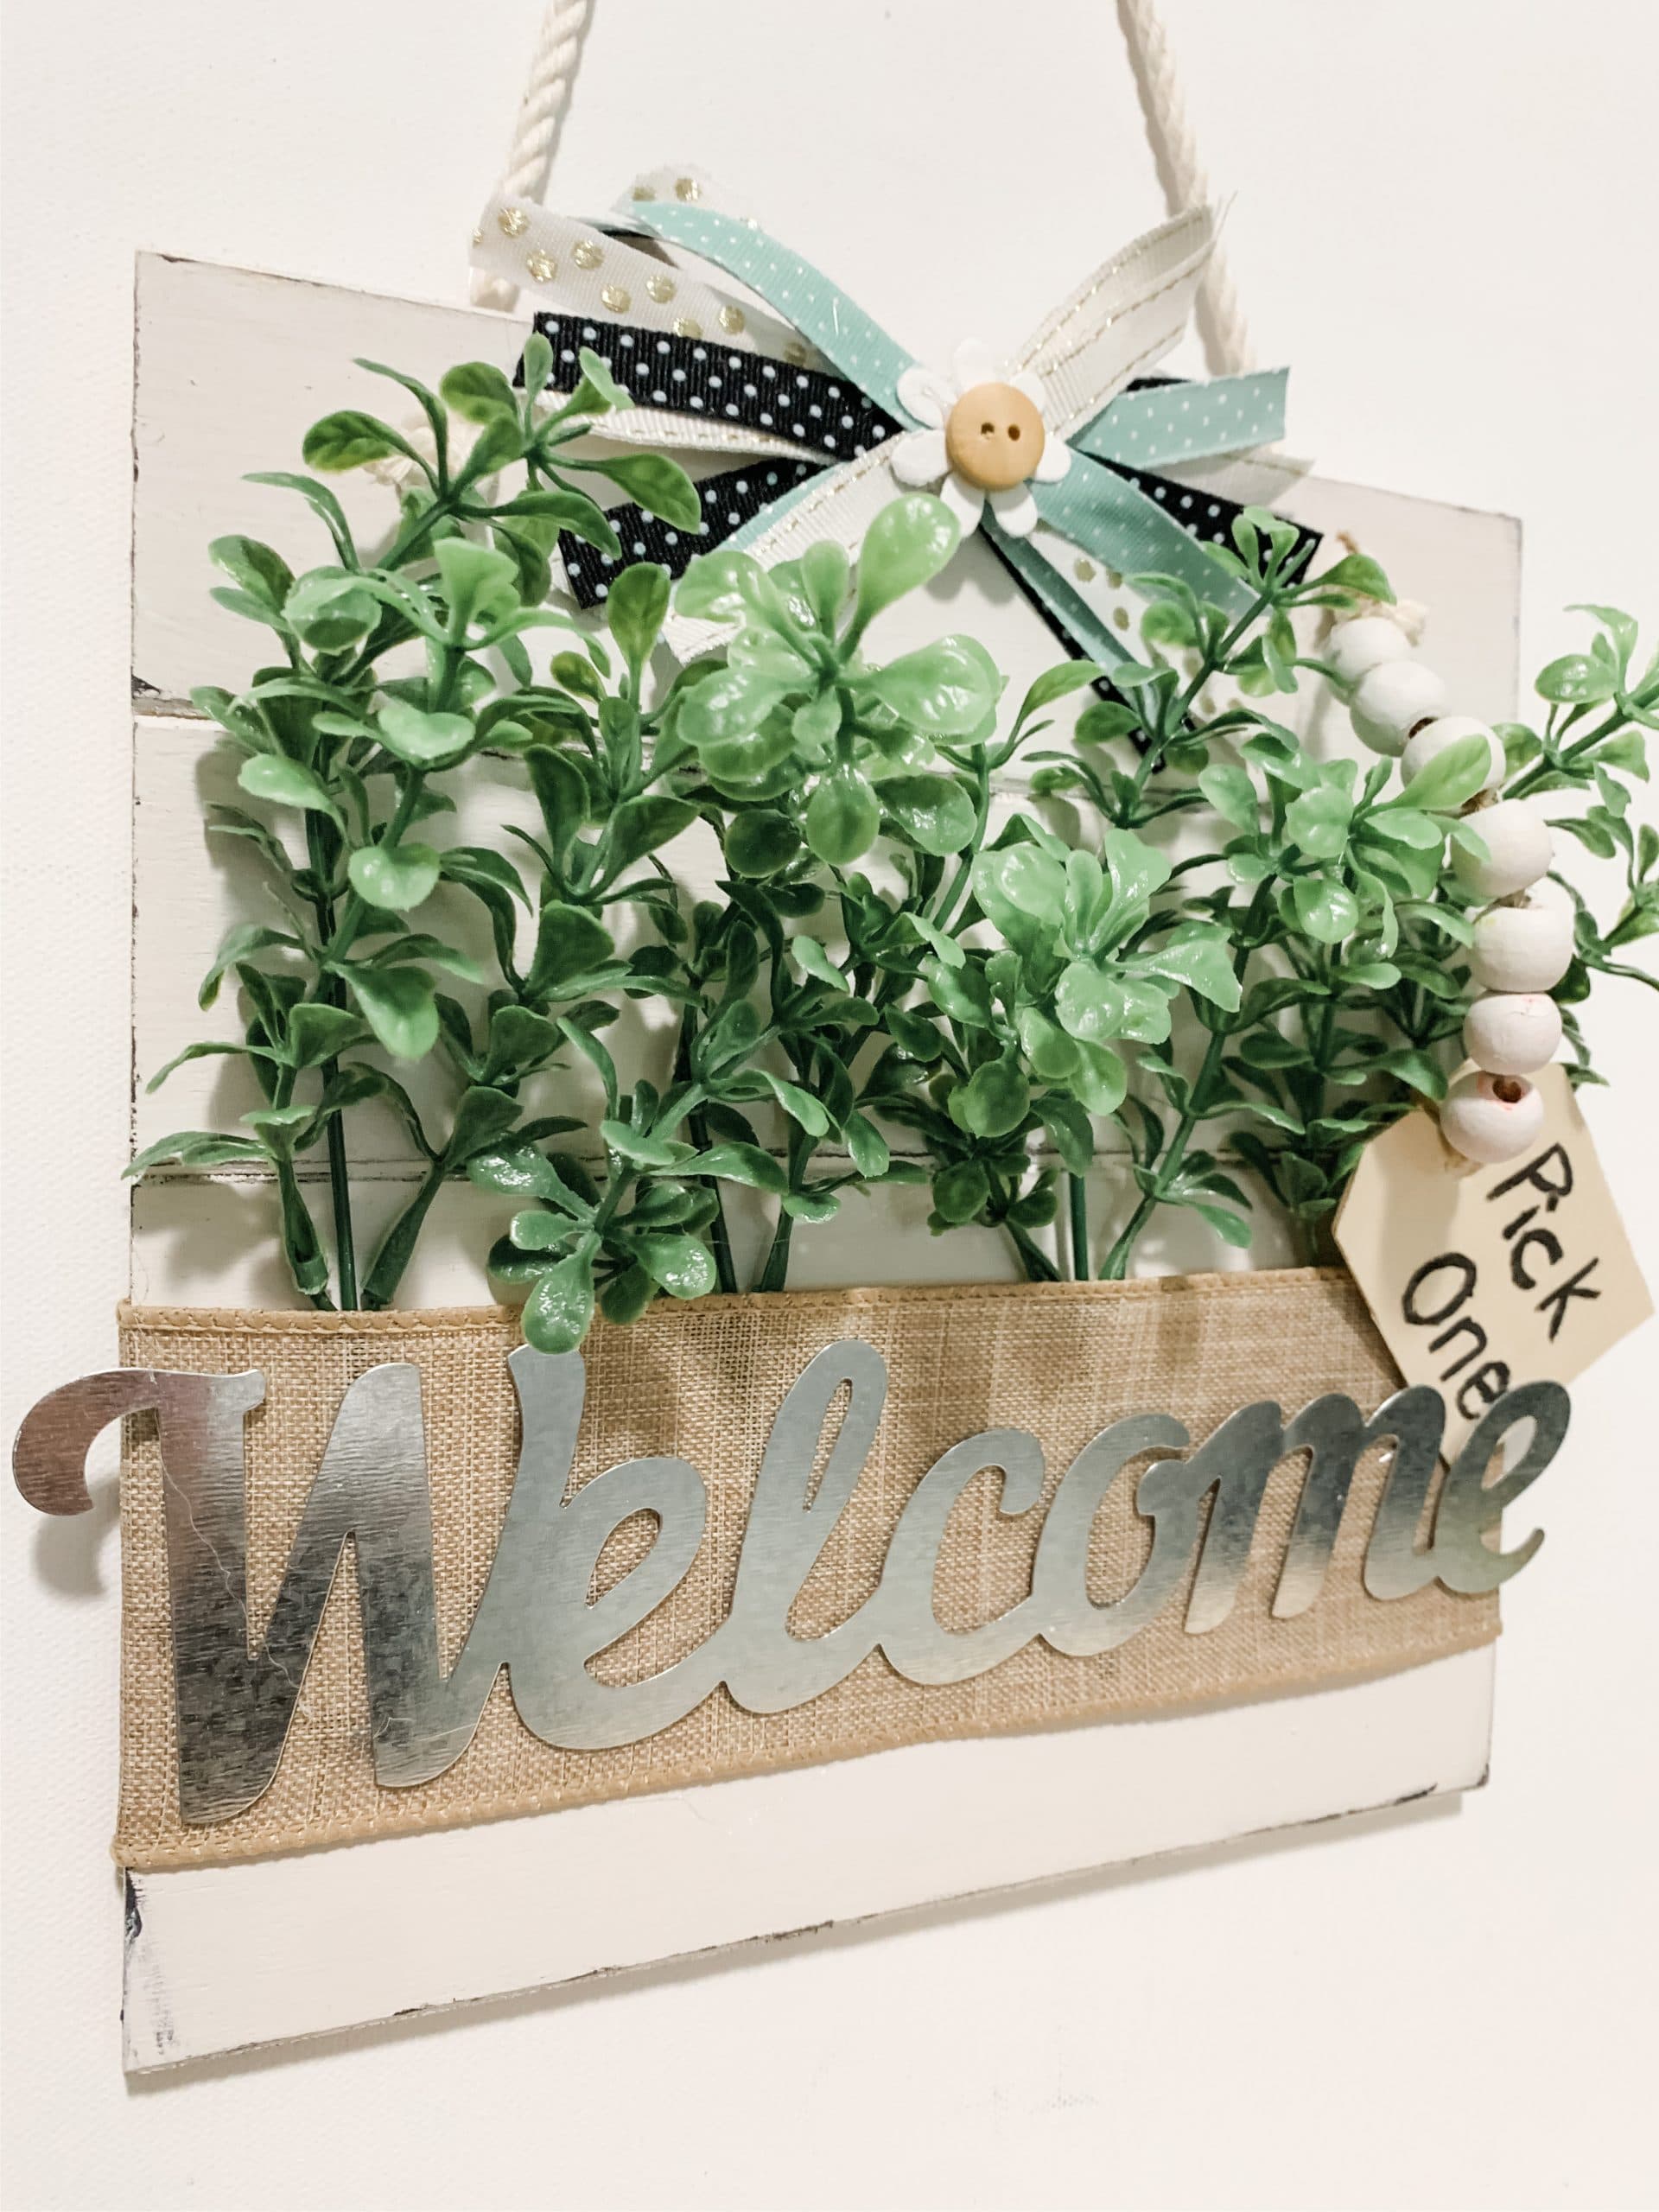
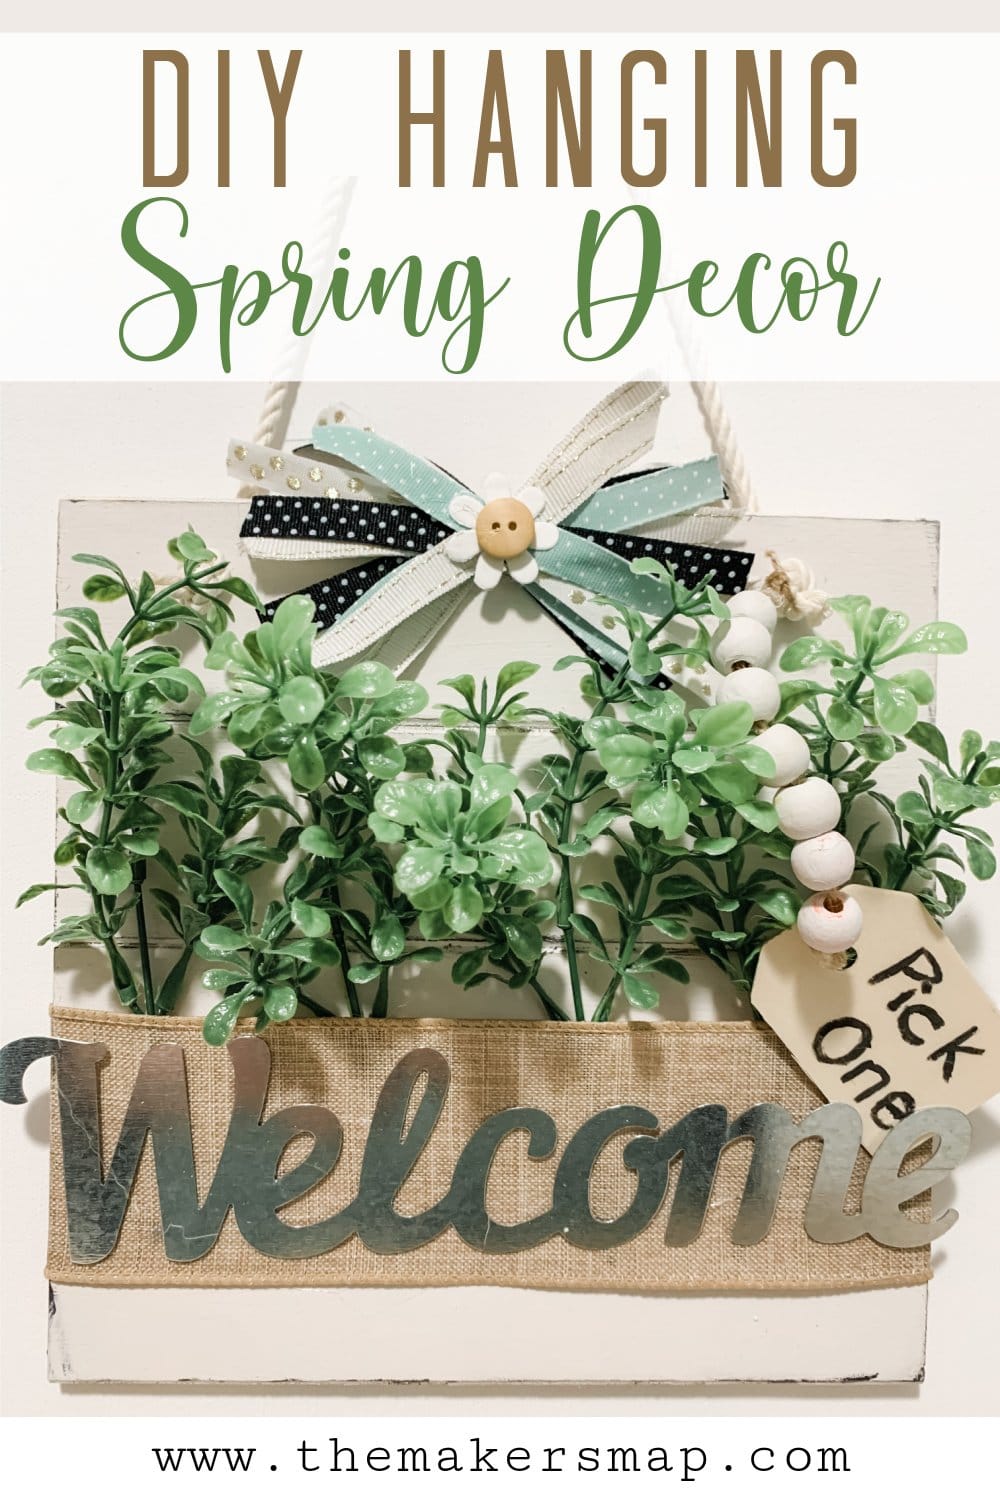
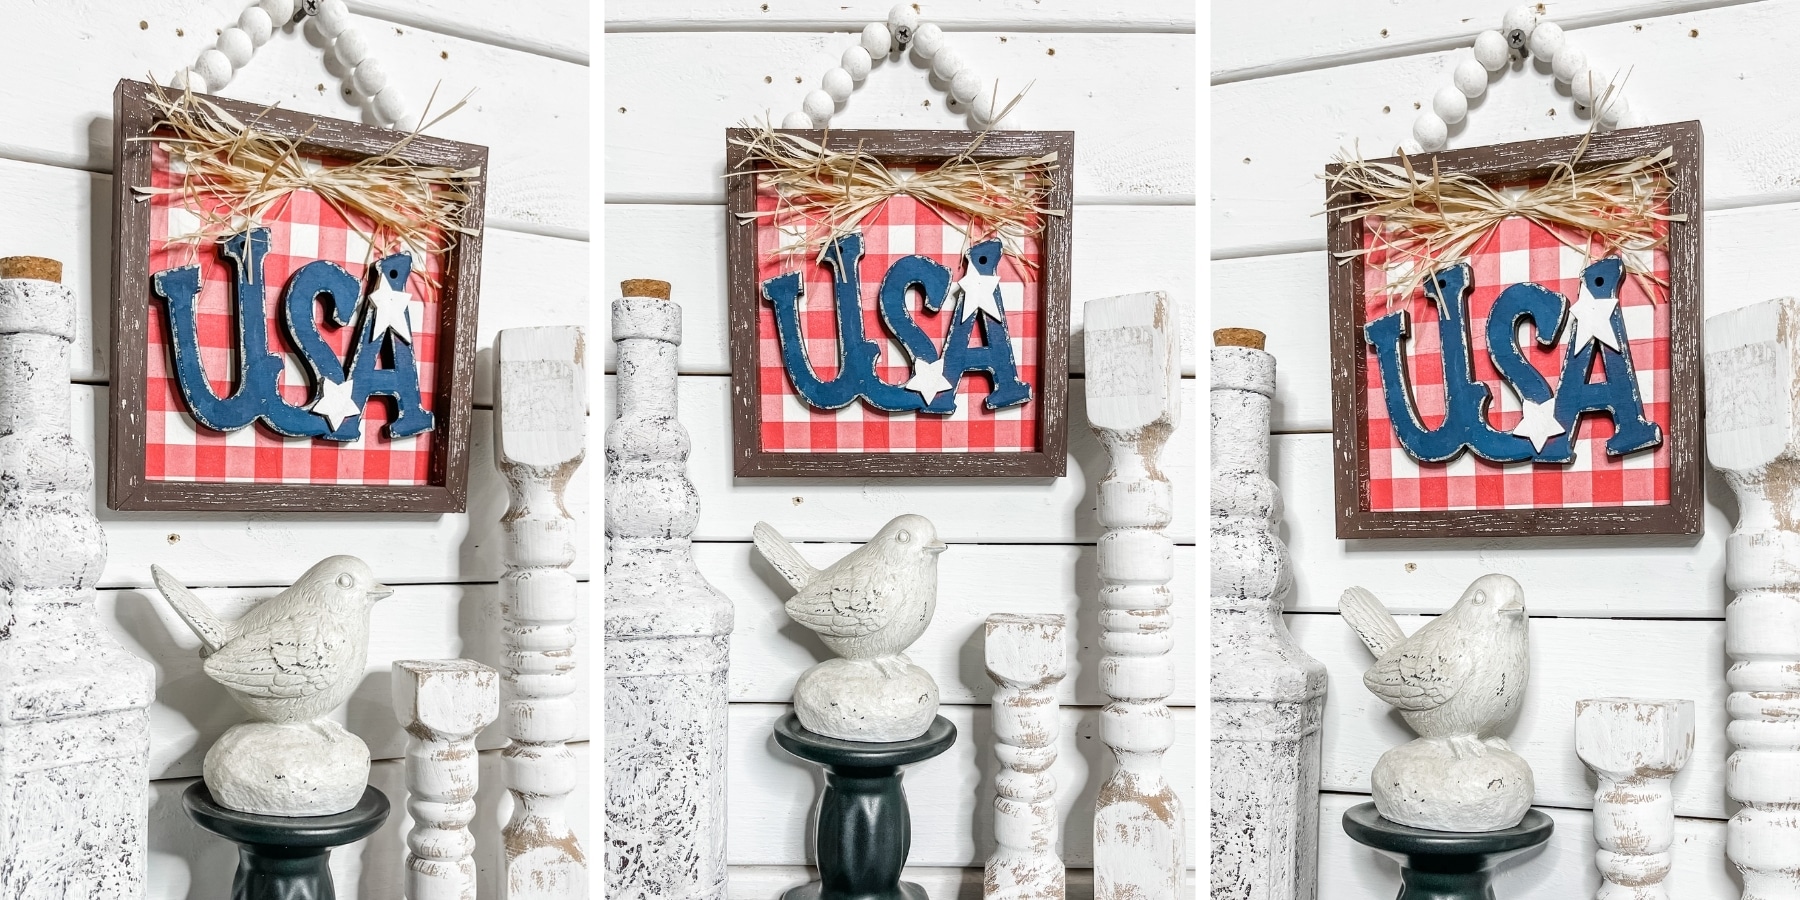
DIY Hanging Spring Welcome Decor

How stinking cute is this DIY Hanging Spring Welcome Decor?? I don’t know what it is about boxwood greenery and burlap ribbon, but I just LOVE IT!
This adorable DIY spring decor is so easy to make is also perfect for any crafter on a budget! Y’all know me, I am always looking for ways to decorate my home without hurting my wallet. Be sure to check out this DIY chicken coop too I think it would go great with this project!!
Watch the replay
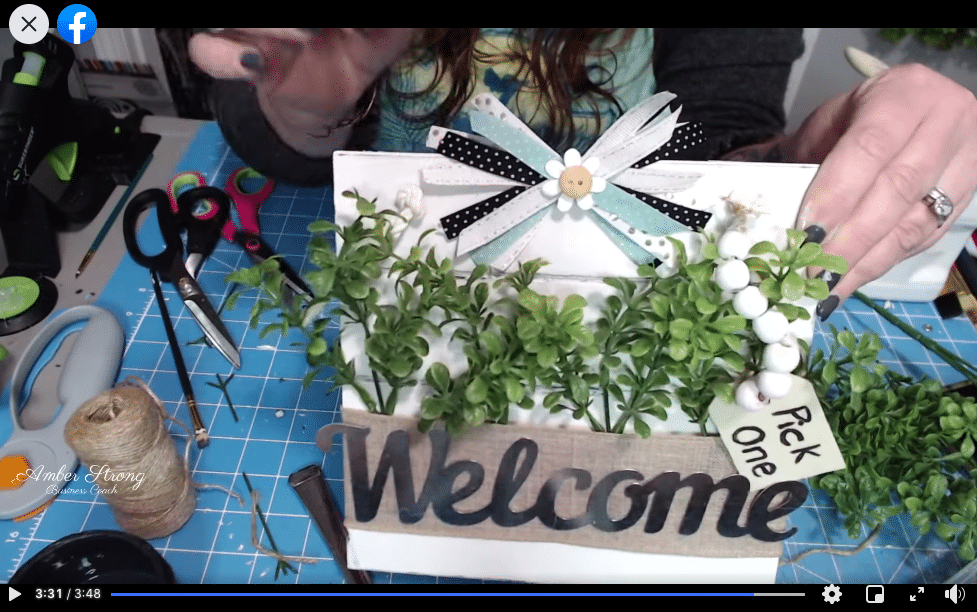
I have a quick DIY tutorial video that shows you how to make this adorable DIY Hanging Spring Welcome Decor in less than 4 minutes!
For this project, I will be using these items but you can substitute where you want.
“As an Amazon Associate, I earn from qualifying purchases.”
- Wood Clip Frame
- Metal Welcome Lettering
- Boxwood Greenery
- Wood Tag
- Wood Beads
- White Jute Twine
- Jute Twine
- Burlap Ribbon
- 4 Ribbon patterns
- Small Button
- Small decorative flower
- Dixie Belle Midnight Sky Chalk Paint (black)
- Dixie Belle Fluff Chalk Paint (white)
- Black Marker
- Hot Glue gun
- Glue Sticks

How to Make a DIY Hanging Spring Welcome Decor
To make this DIY project, you’re going to have to remove the metal clip from the top of the wood clip frame. Then, paint your wood frame white. I used Dixie Belle Fluff Chalk Paint, but you can use any white paint that you have or prefer.
Let the white paint completely dry (I used my heat gun to speed up the drying process), then use an artist’s brush to lightly paint the creases in your wood frame. This will accentuate the planks and highlight the shiplap.
Take your wide burlap ribbon, wrap the end around the edge of the wood frame, and hot glue it in place. Pull the ribbon across the front of the wood frame and hot glue the second end on the other side of the back of the frame.
Before I added in the boxwood greenery, I used my drill to add two holes at the top of the wood frame – one near each top corner.
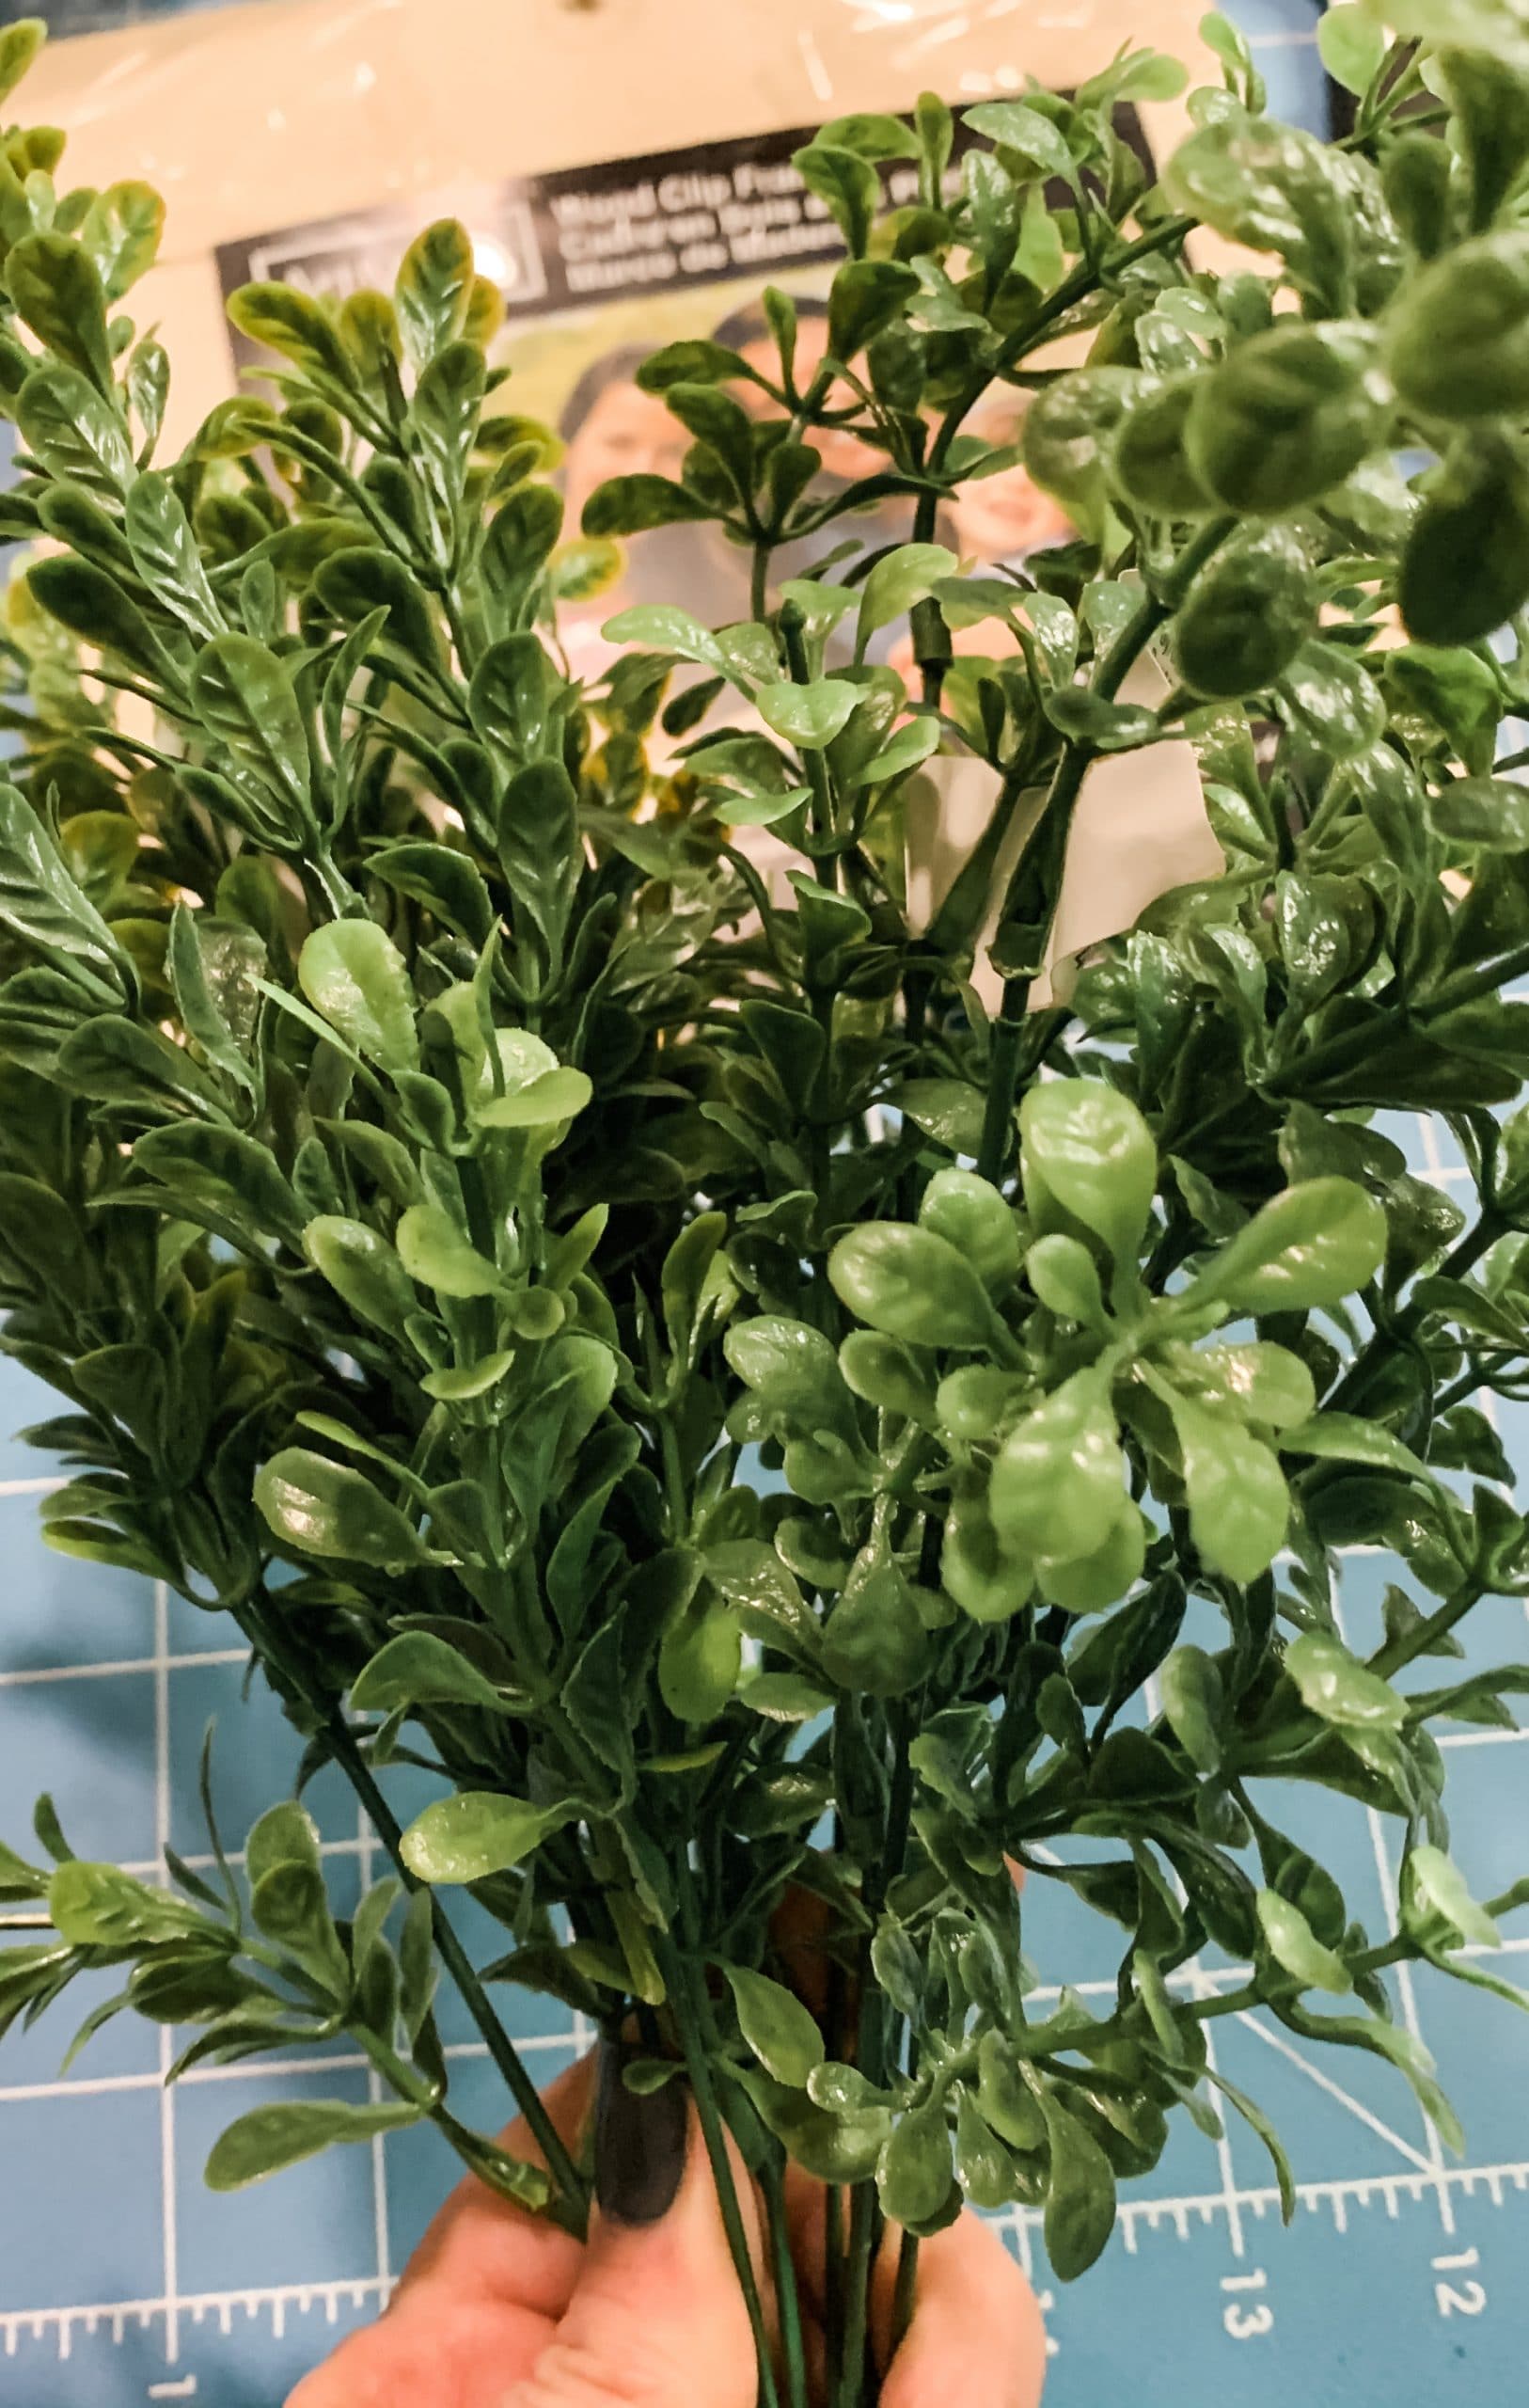
Trim your boxwood greenery sprigs so the stems don’t hang out the bottom of the burlap ribbon, and hot glue them in place underneath the ribbon.
Bring it all together
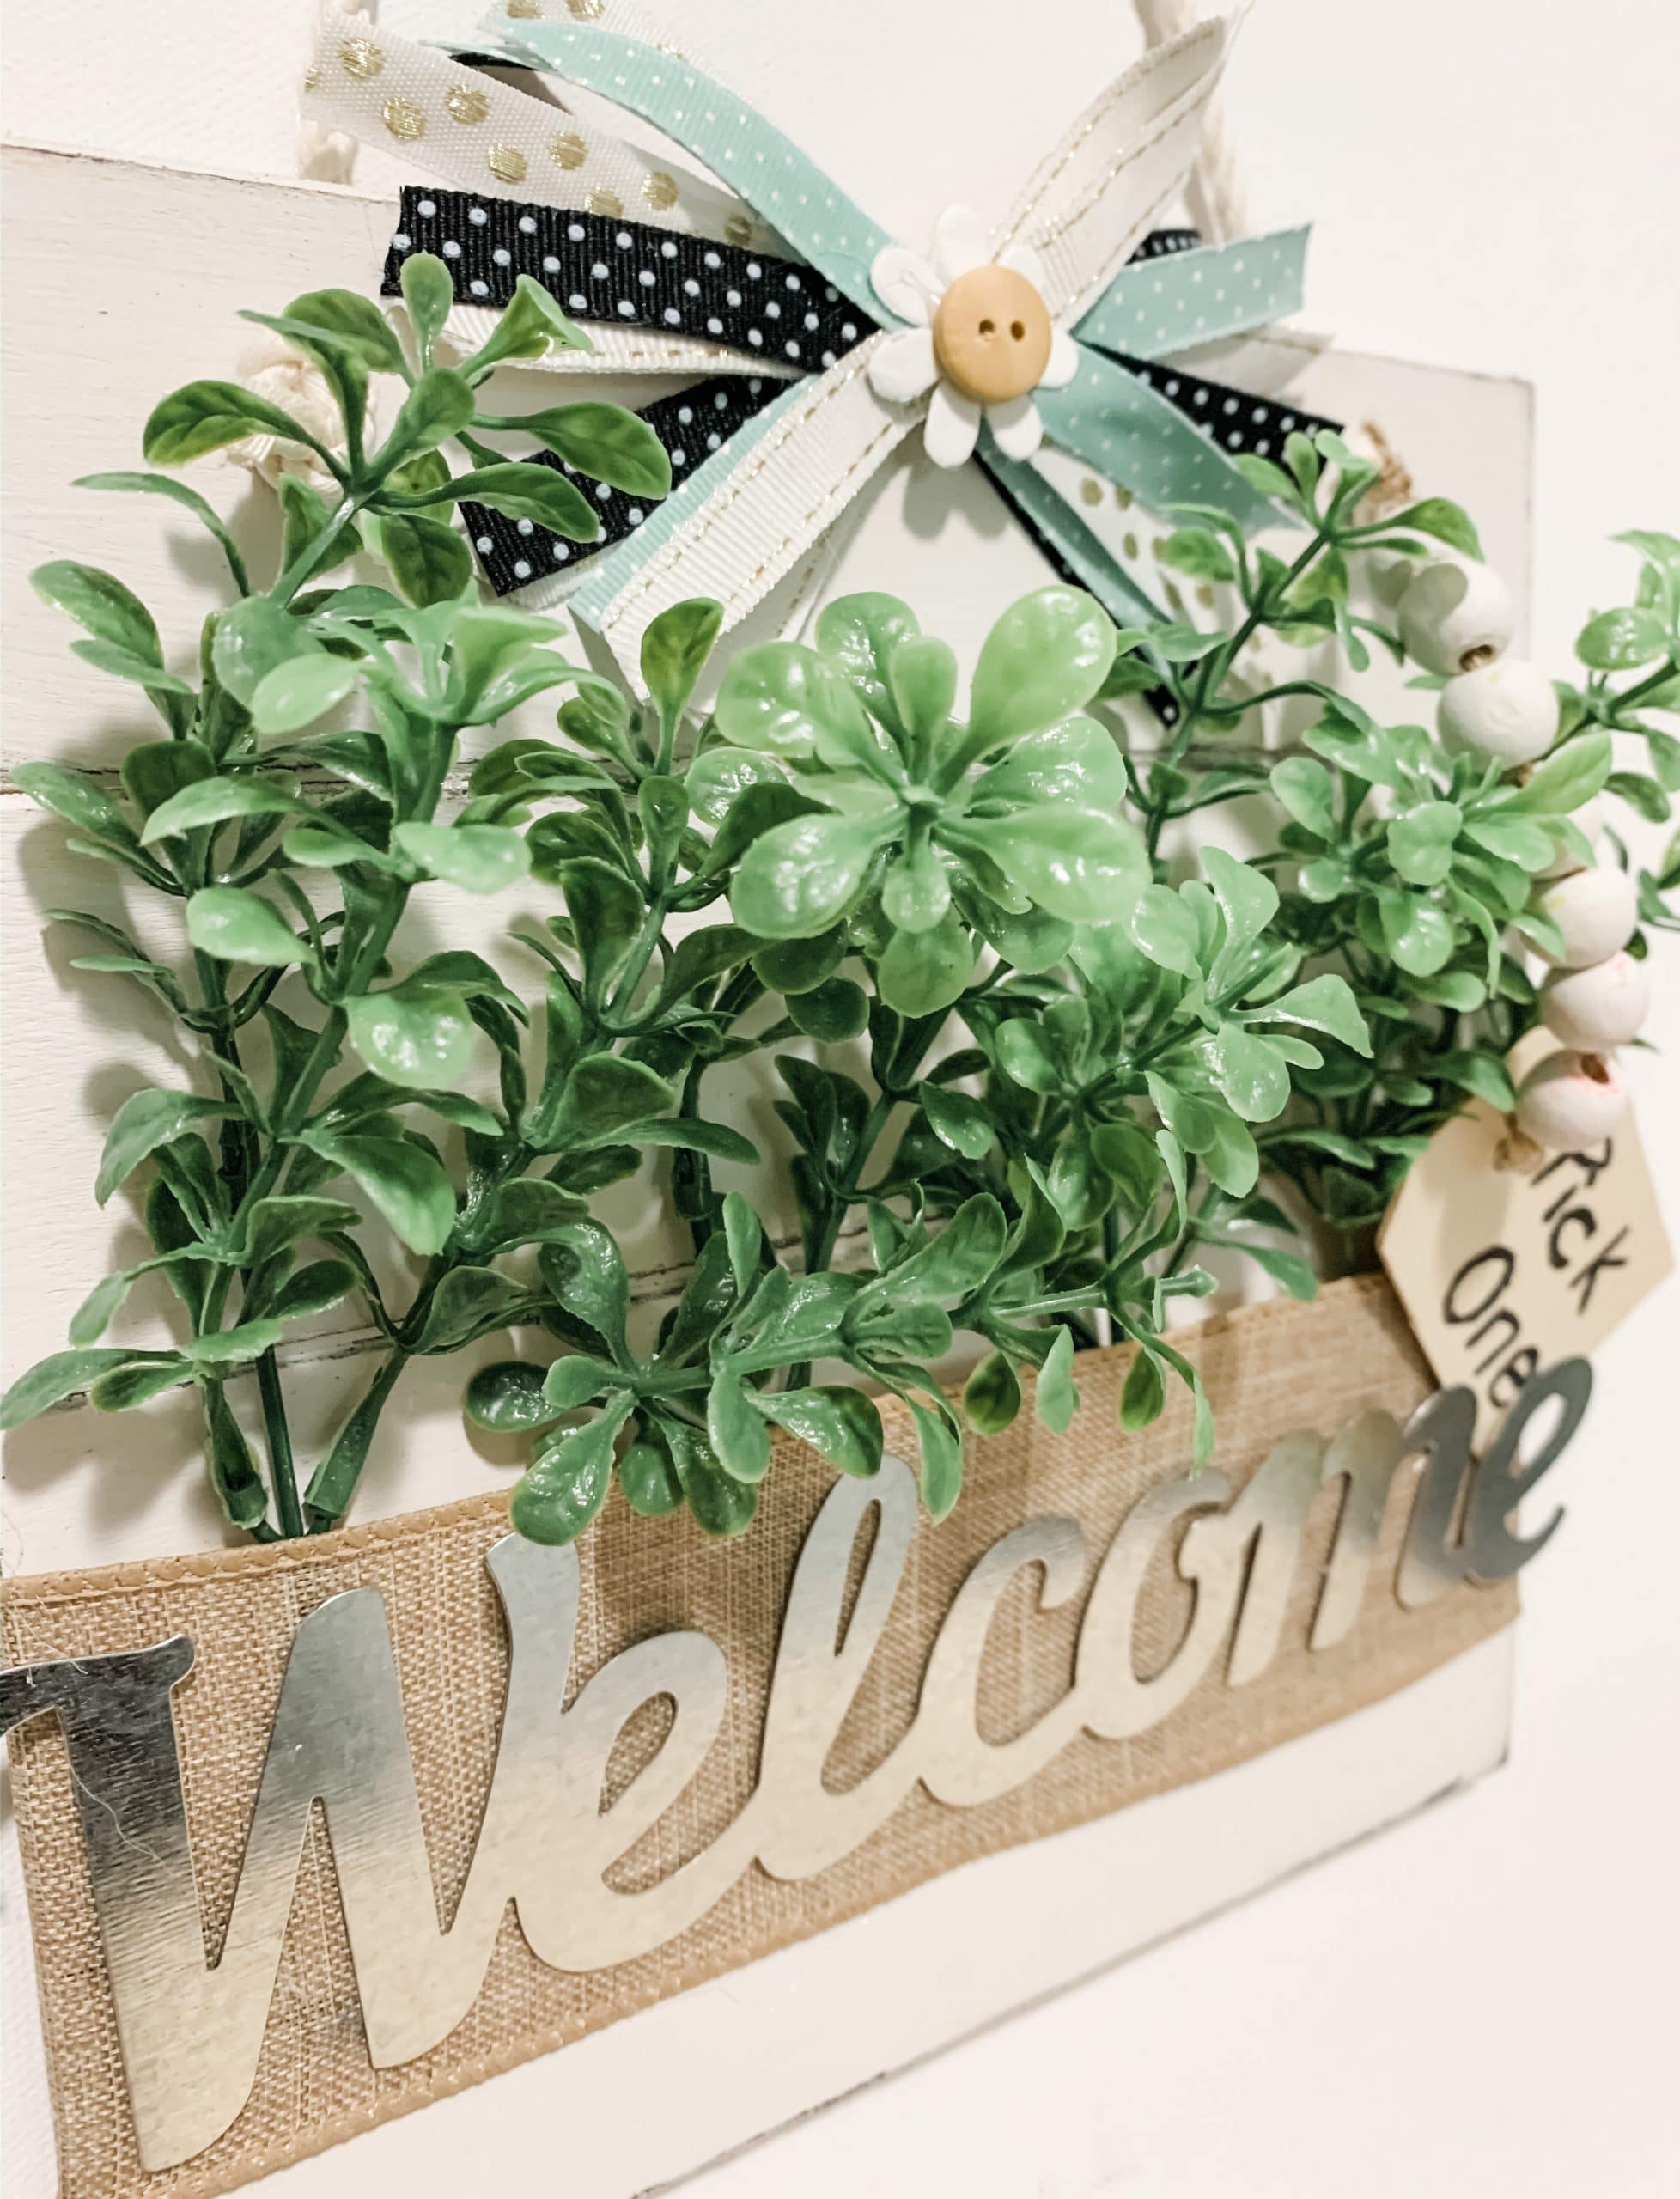
Once you’re happy with the amount of greenery you have underneath your ribbon, hot glue the metal welcome lettering over the burlap ribbon strip.
Next, you’re going to take your wood beads, thread them onto a piece of jute twine, and tie the twine to keep the beads from falling off.
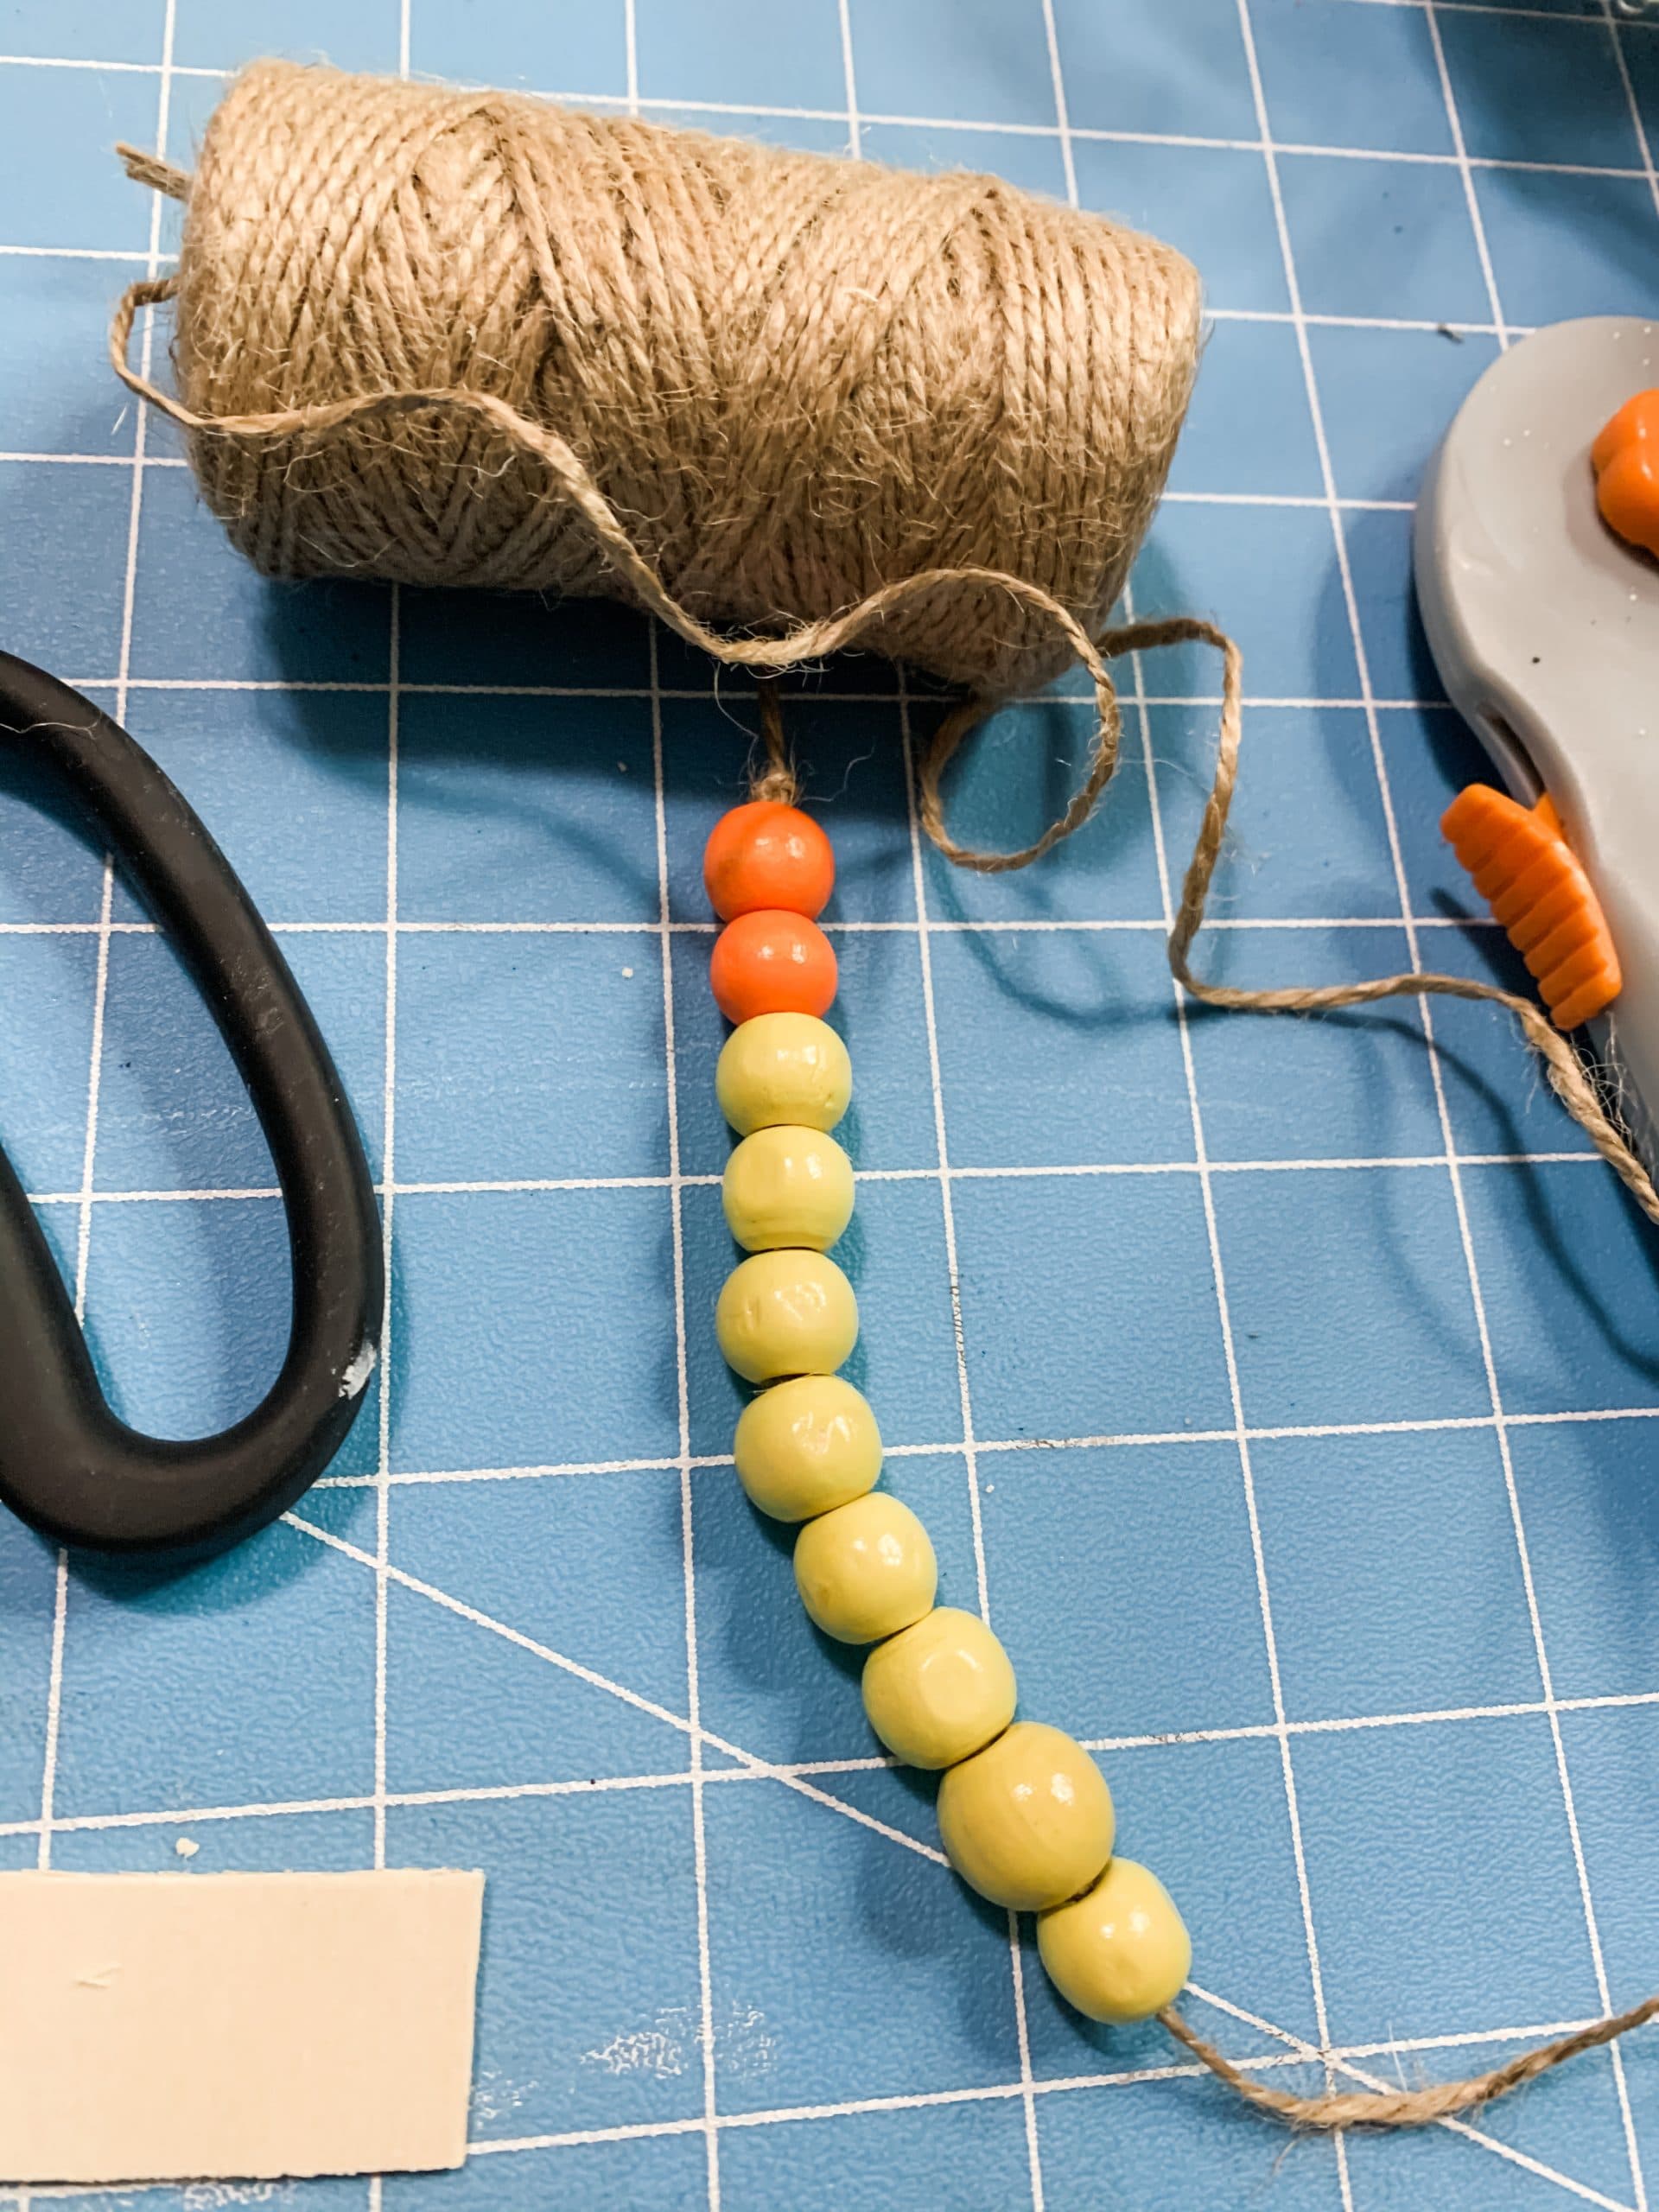
I painted my beads after I had them on the twine, but it might be easier to paint and dry them before you put them on the twine. Set your painted beads to the side and grab the wooden tag.
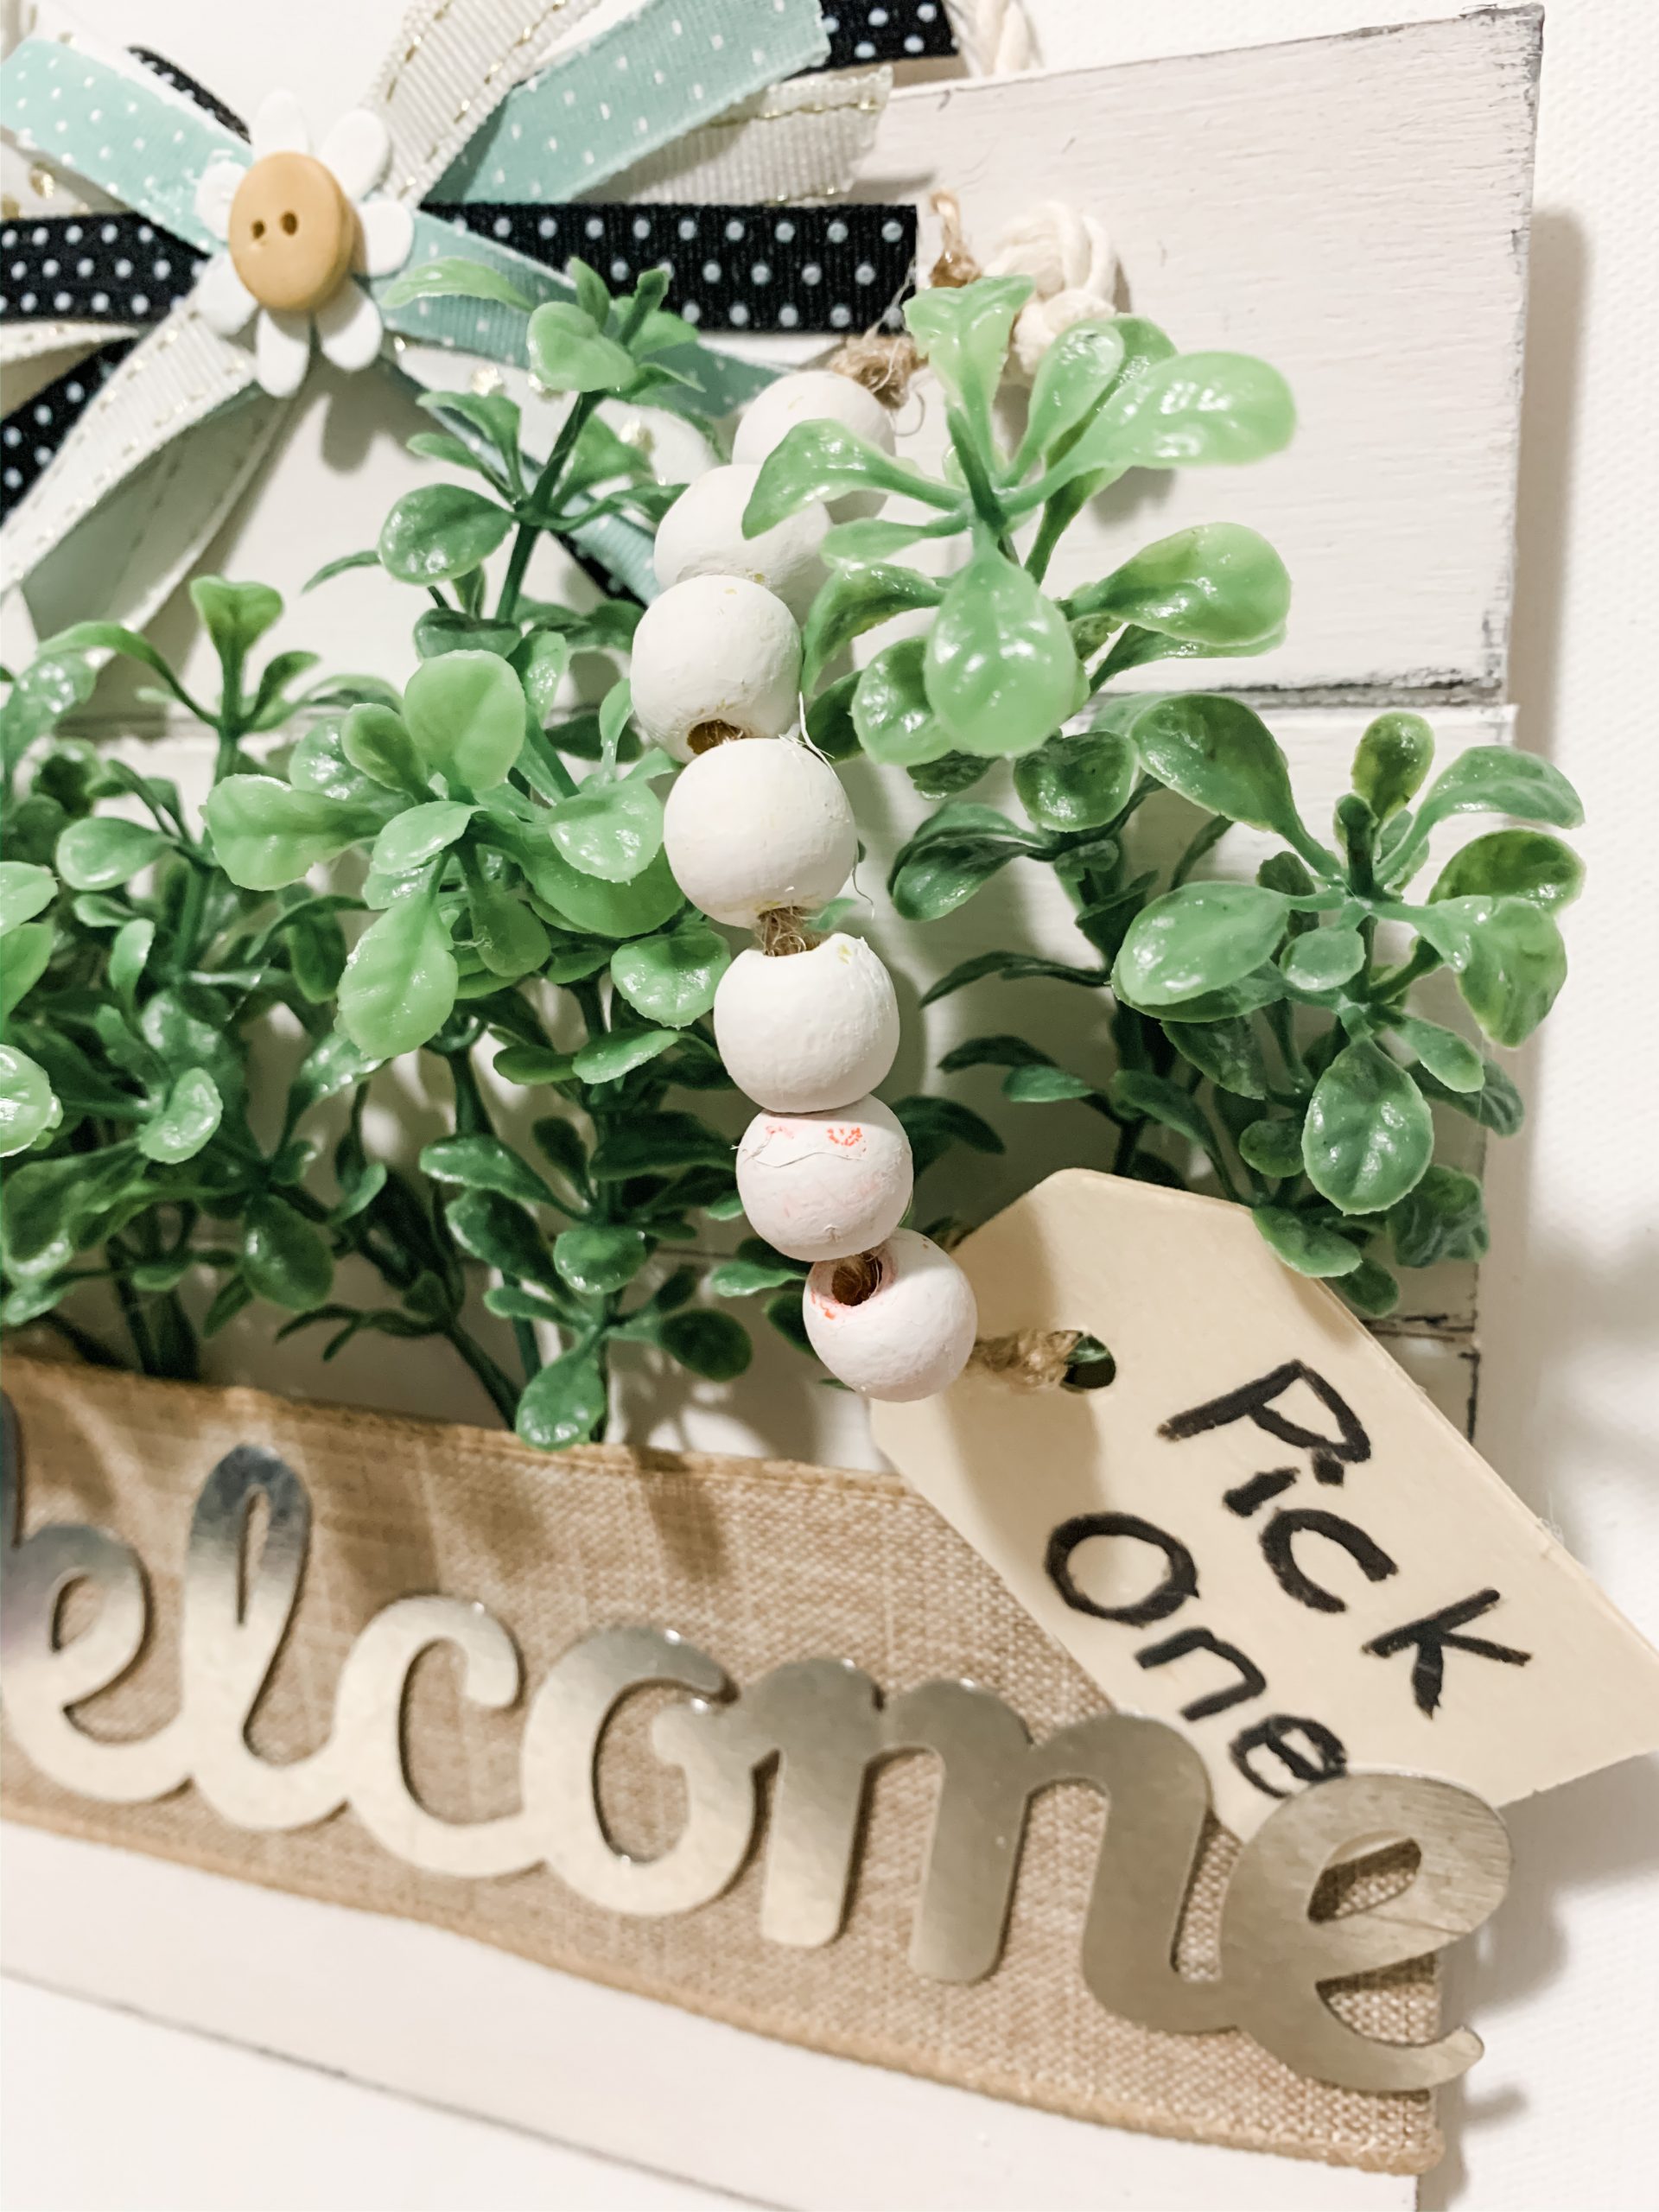
I used an artist’s brush to paint “Pick One” on my wooden tag, but you can also use a black marker if you’d rather write your phrase than paint it.
The finishing touches
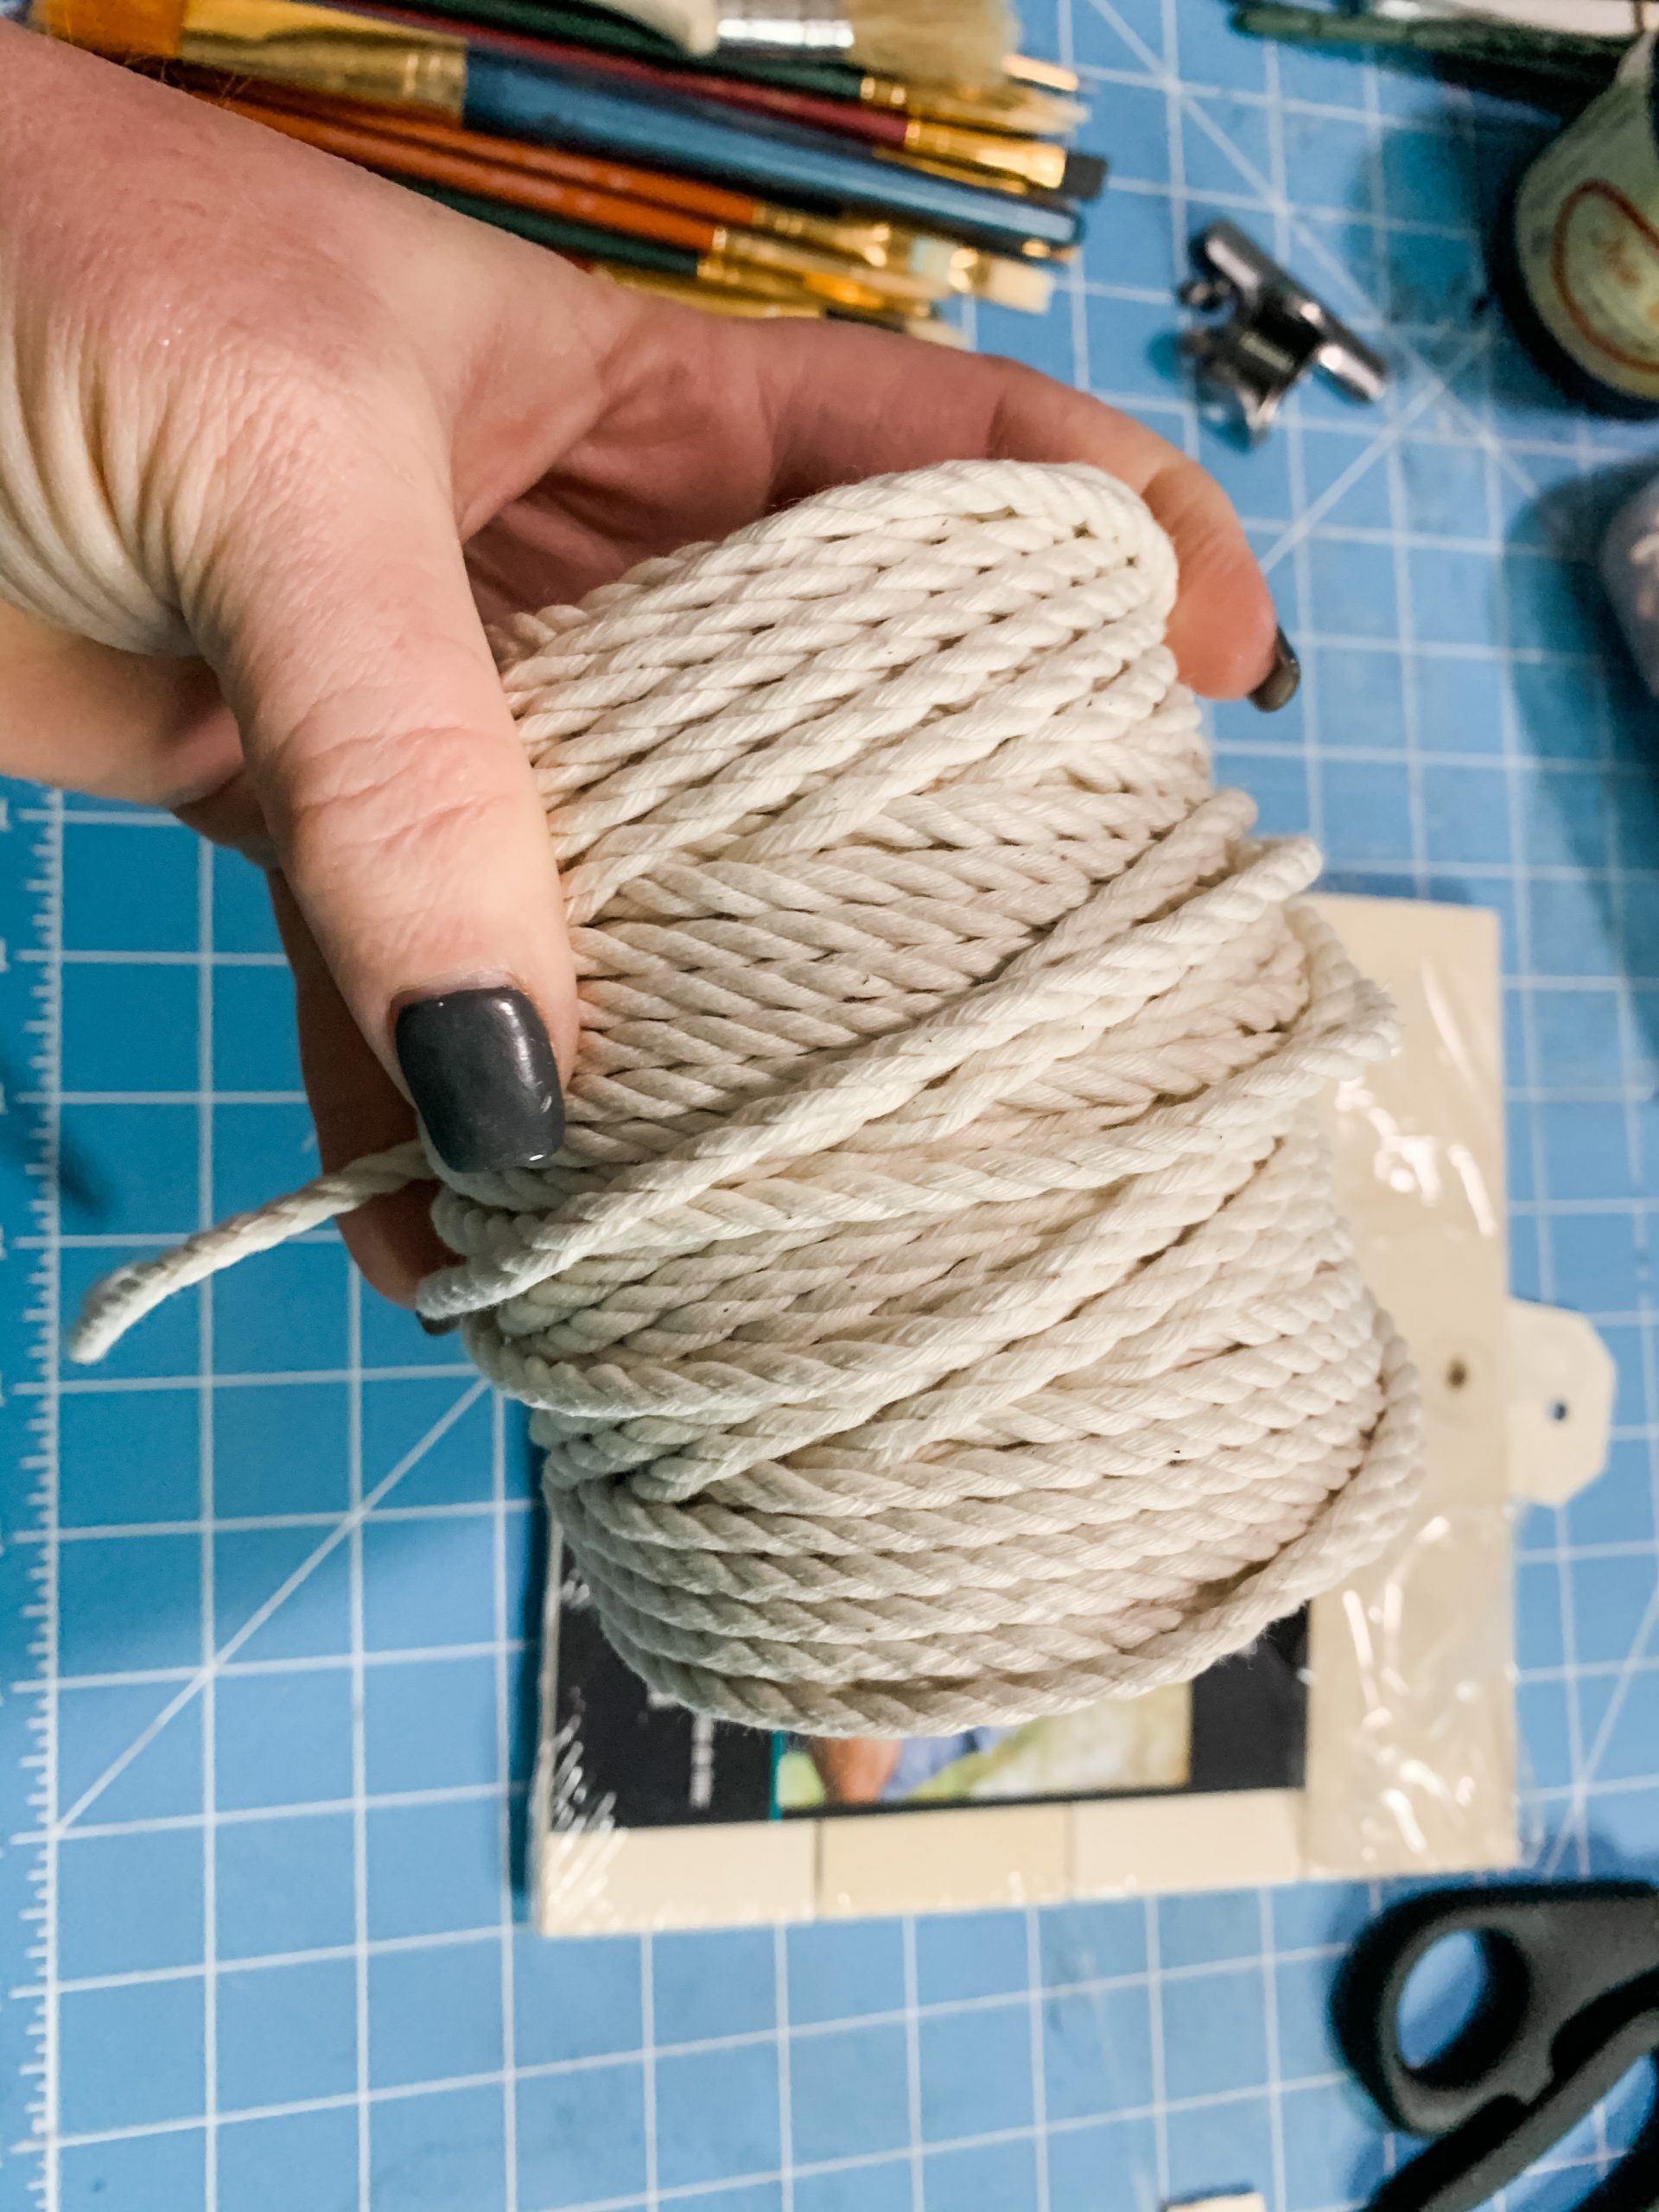
To make the hanger for this DIY Hanging Spring Decor, I used white jute twine. I put a bit of hot glue on the ends of the twine to keep it from unwinding, then I pushed the ends through the holes from the back of the frame.
Tie the ends in a knot to secure the twine to your wood frame, and your hanger is made! Attach the wooden tag to one end of your string of wooden beads and tie the other end to one end of your white jute hanger.
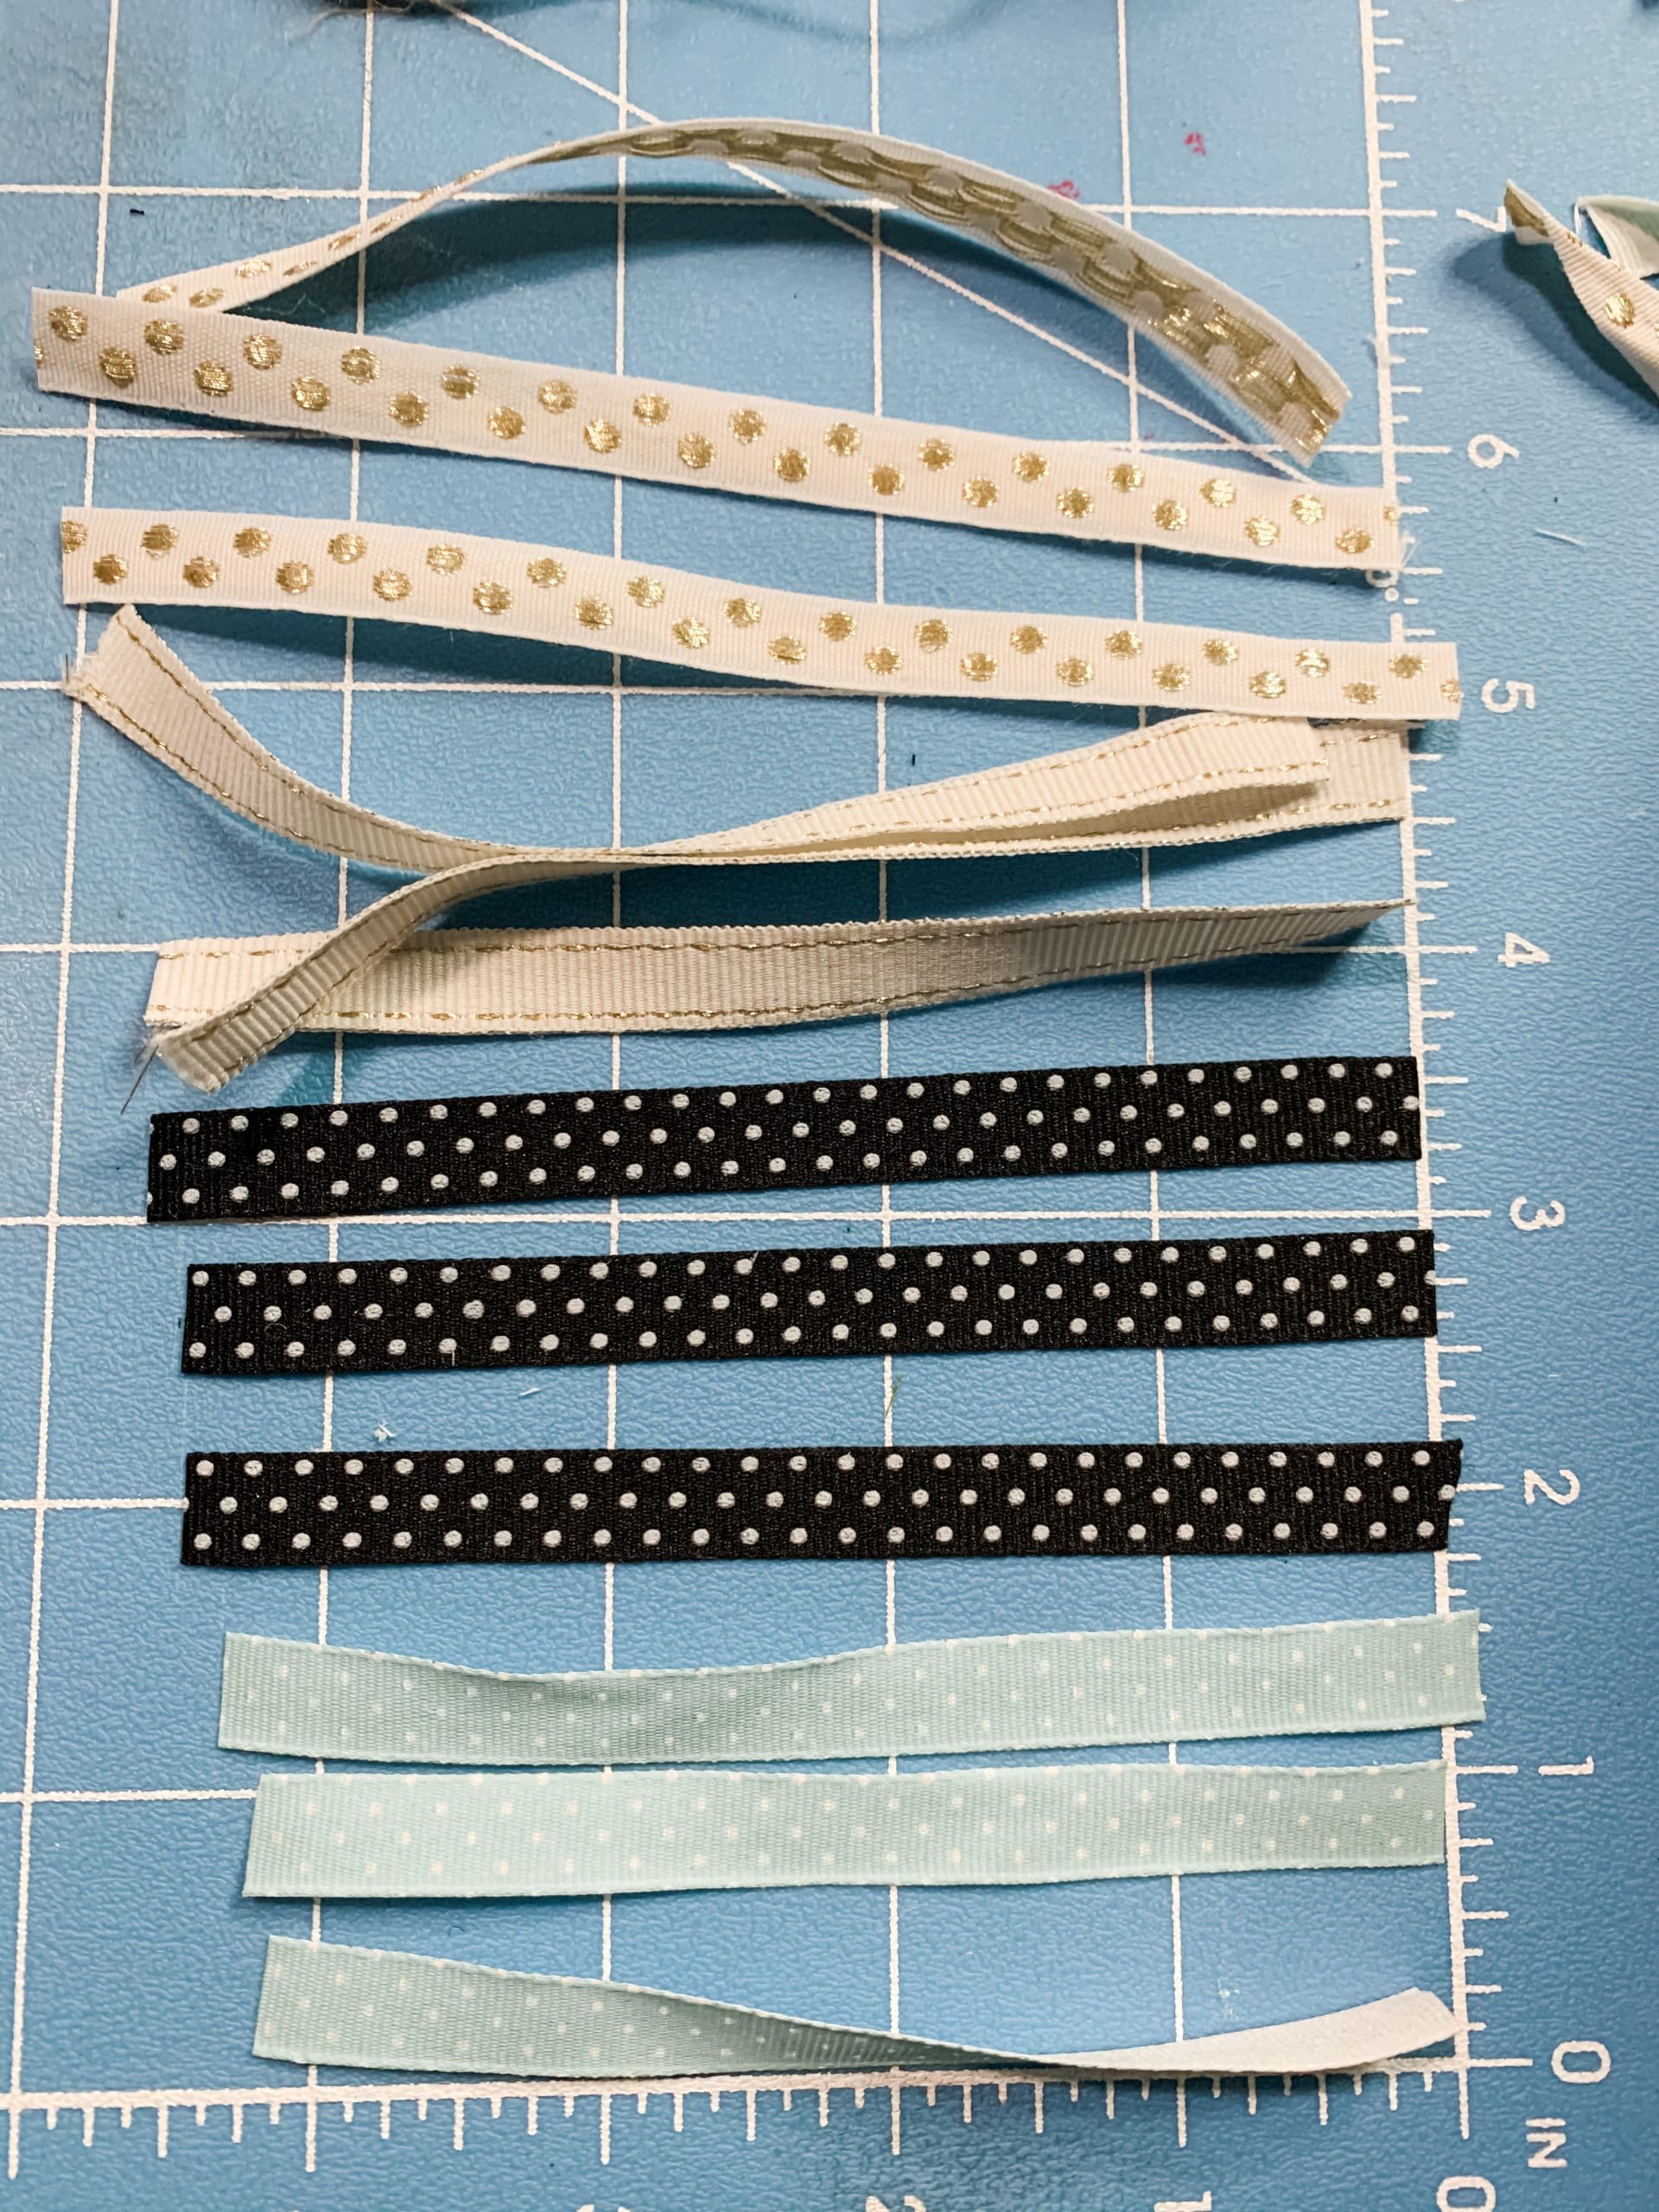
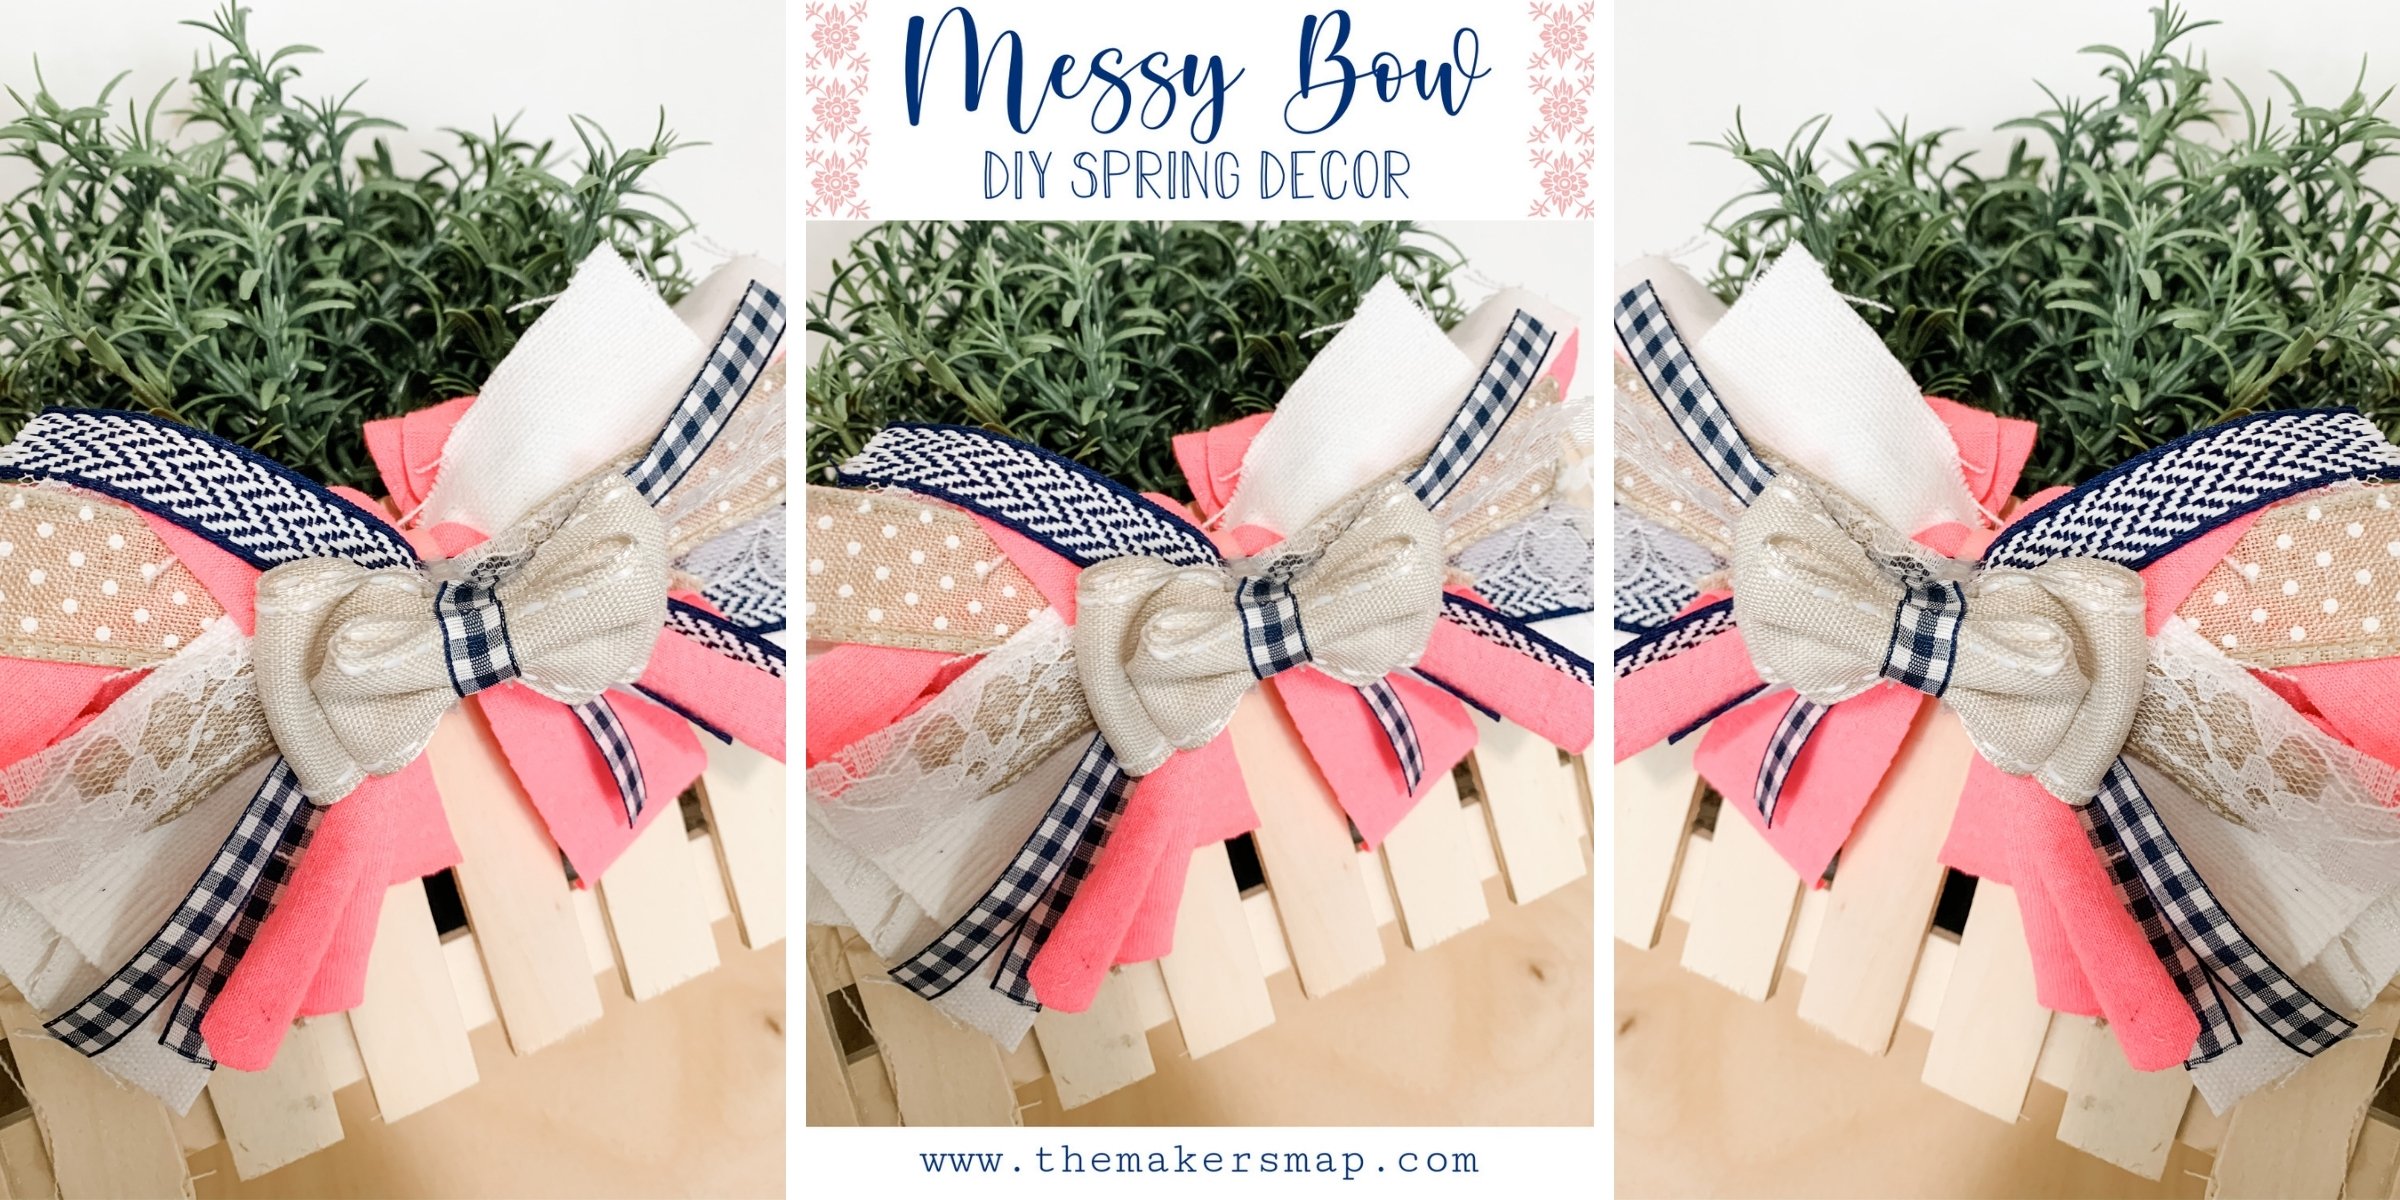
The last part of this adorable Spring decor is the little bow! I used four different ribbon patterns to make my bow. Cut several strips of each pattern and lay them in an X pattern, alternating patterns as you go.
Pinch the center of the ribbons and secure the bow with a piece of jute twine. Trim the ends of the ribbon strips to make them even, and hot glue the little bow to the top center of your spring hanger.
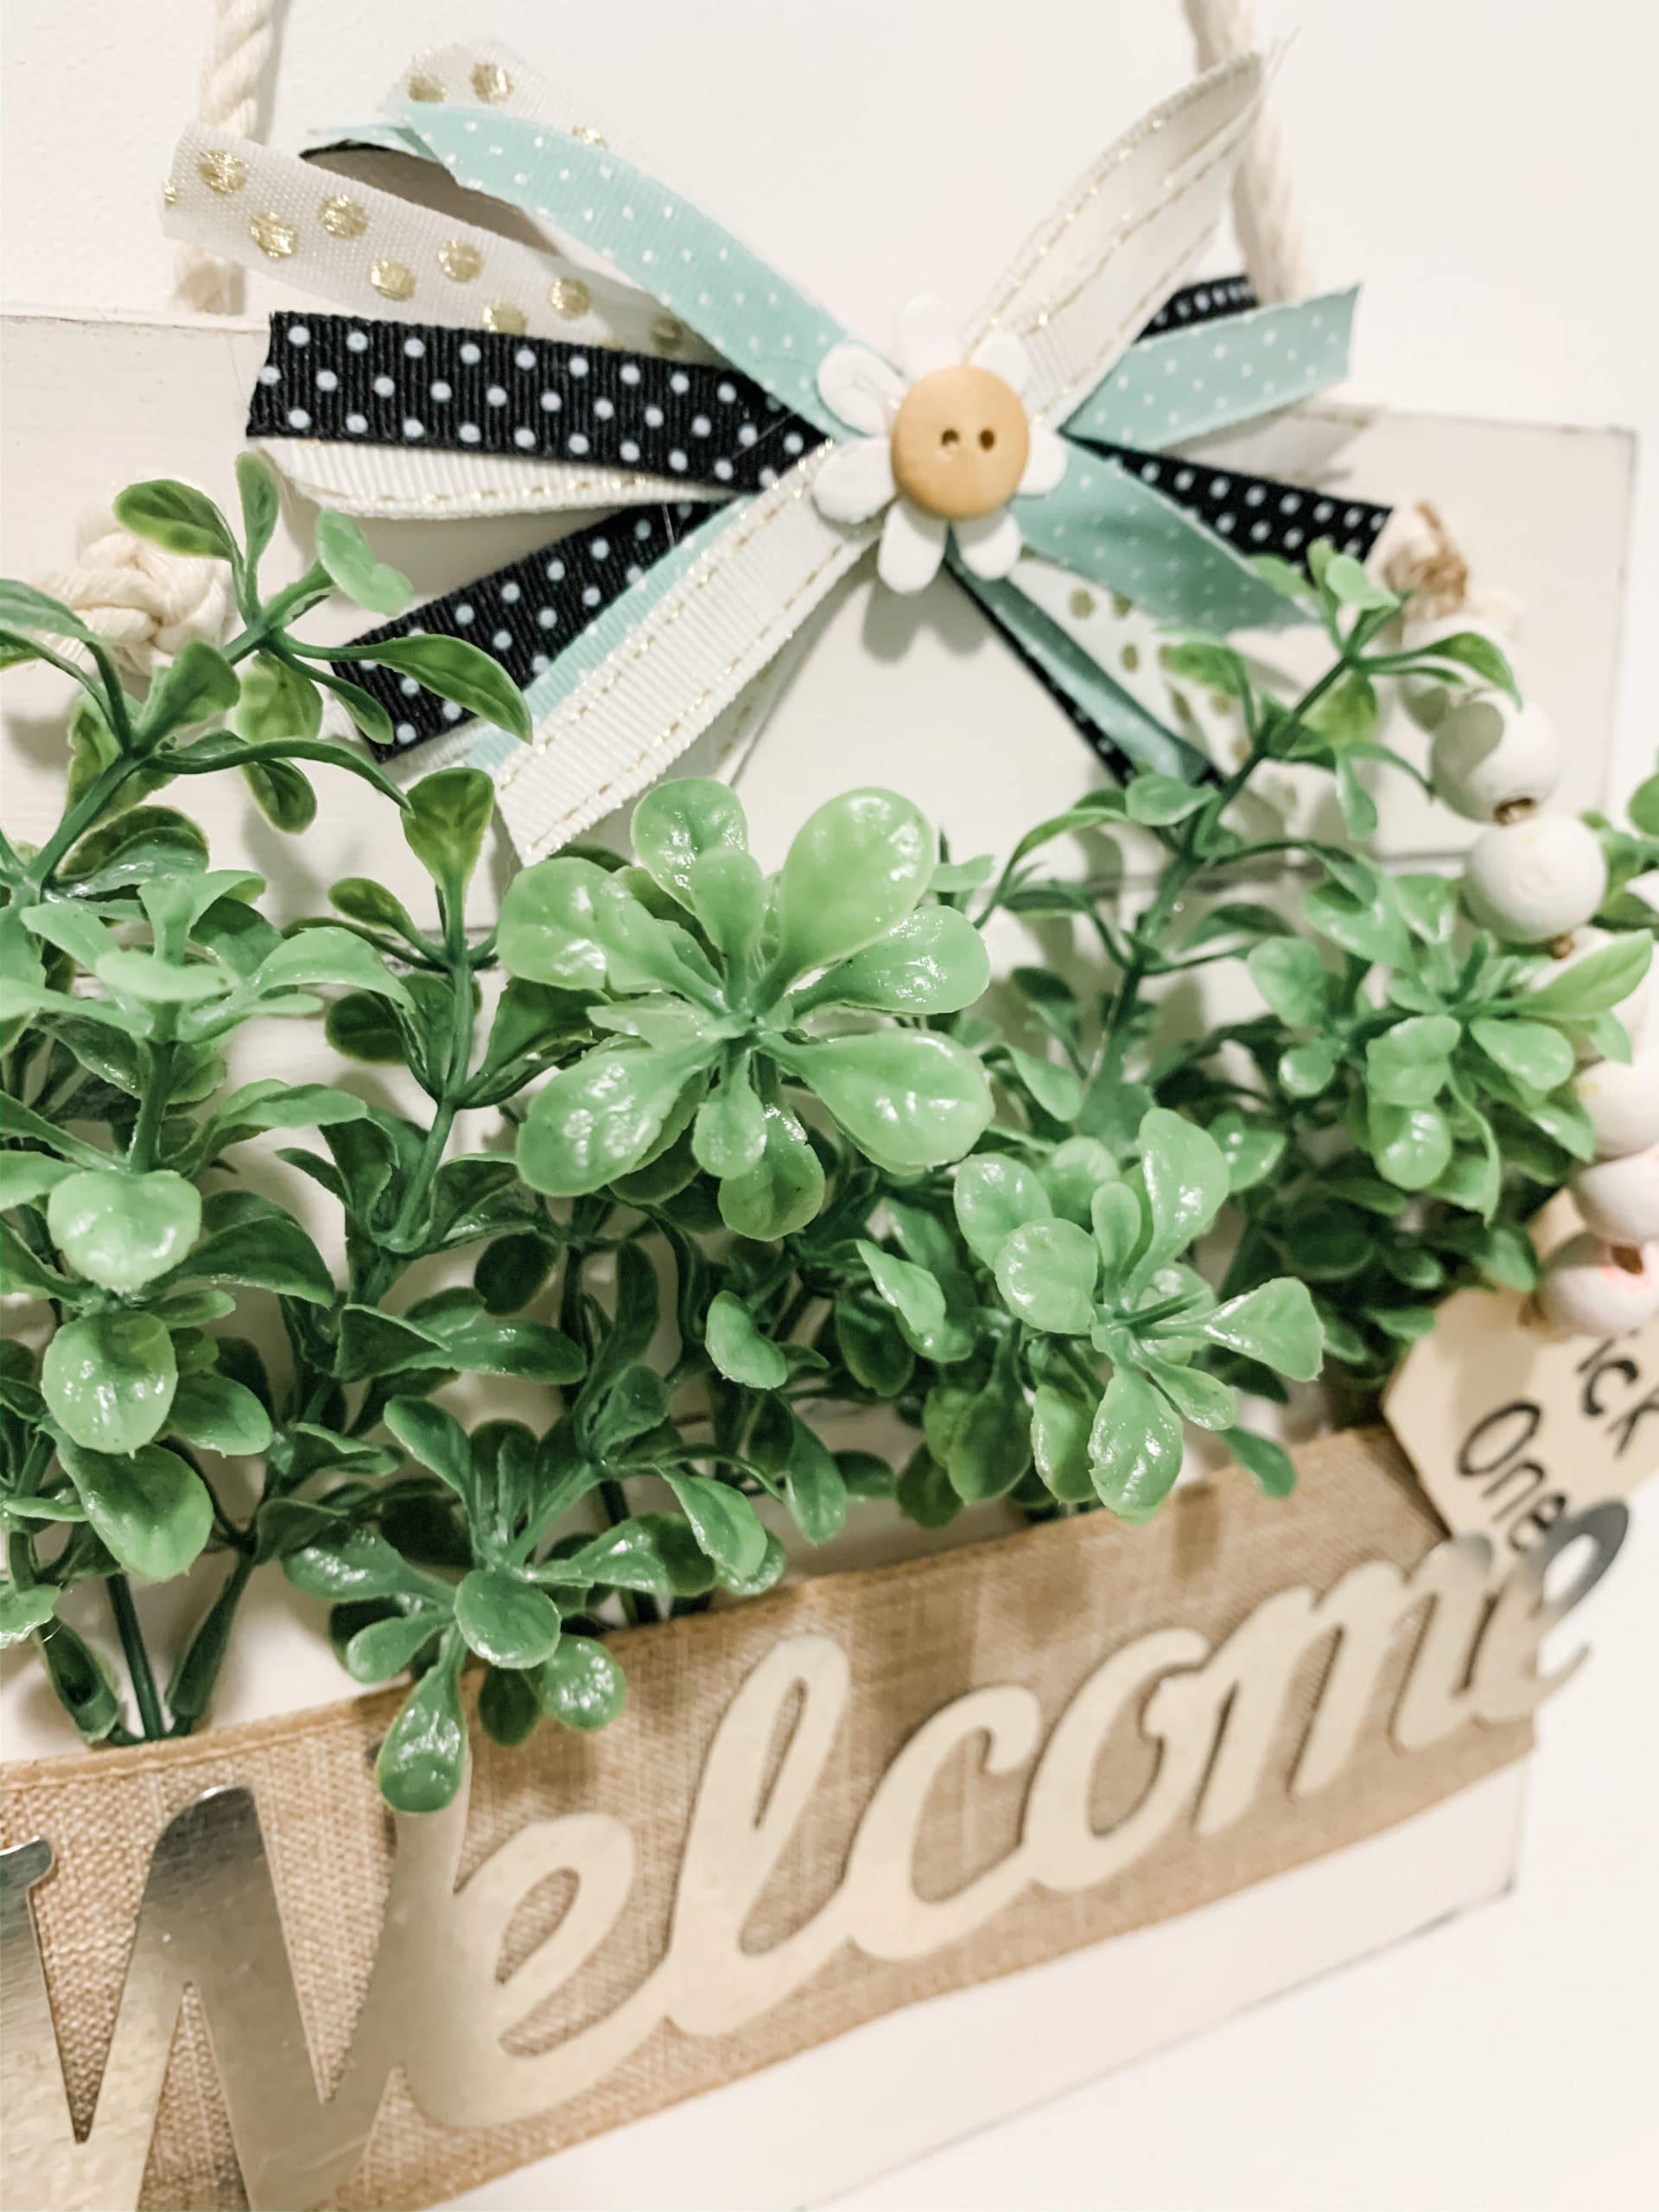
Lastly, hot glue a small decorative flower to the center of your DIY bow, and then hot glue a little button to the center of the flower. Now you’re ready to hang this adorable DIY spring decor anywhere in your home!
I hope you enjoyed this DIY Hanging Spring Welcome Decor as much as I did and decide to make one for yourself! I would love to see how yours turns out!
You should totally join my FREE Facebook group called On A Budget Crafts! It is a judgment-free community for DIY crafters to show off their projects and ideas.
If you loved this DIY you might also like this one too!
Thanks for stopping by! XOXO Amber
You can also shop my ENTIRE AMAZON Favorites shop just click here! It’s packed full of all the things I use and love. Here is the supply list I highly recommend every creative have on hand!!
Would you also pin my blog for later and get on my newsletter alerts? I would love to have you join my #craftycrew.
Inspired? Leave me a comment below! I love hearing from my readers!

Join my free “ON A BUDGET CRAFTS” Facebook group!


One Comment