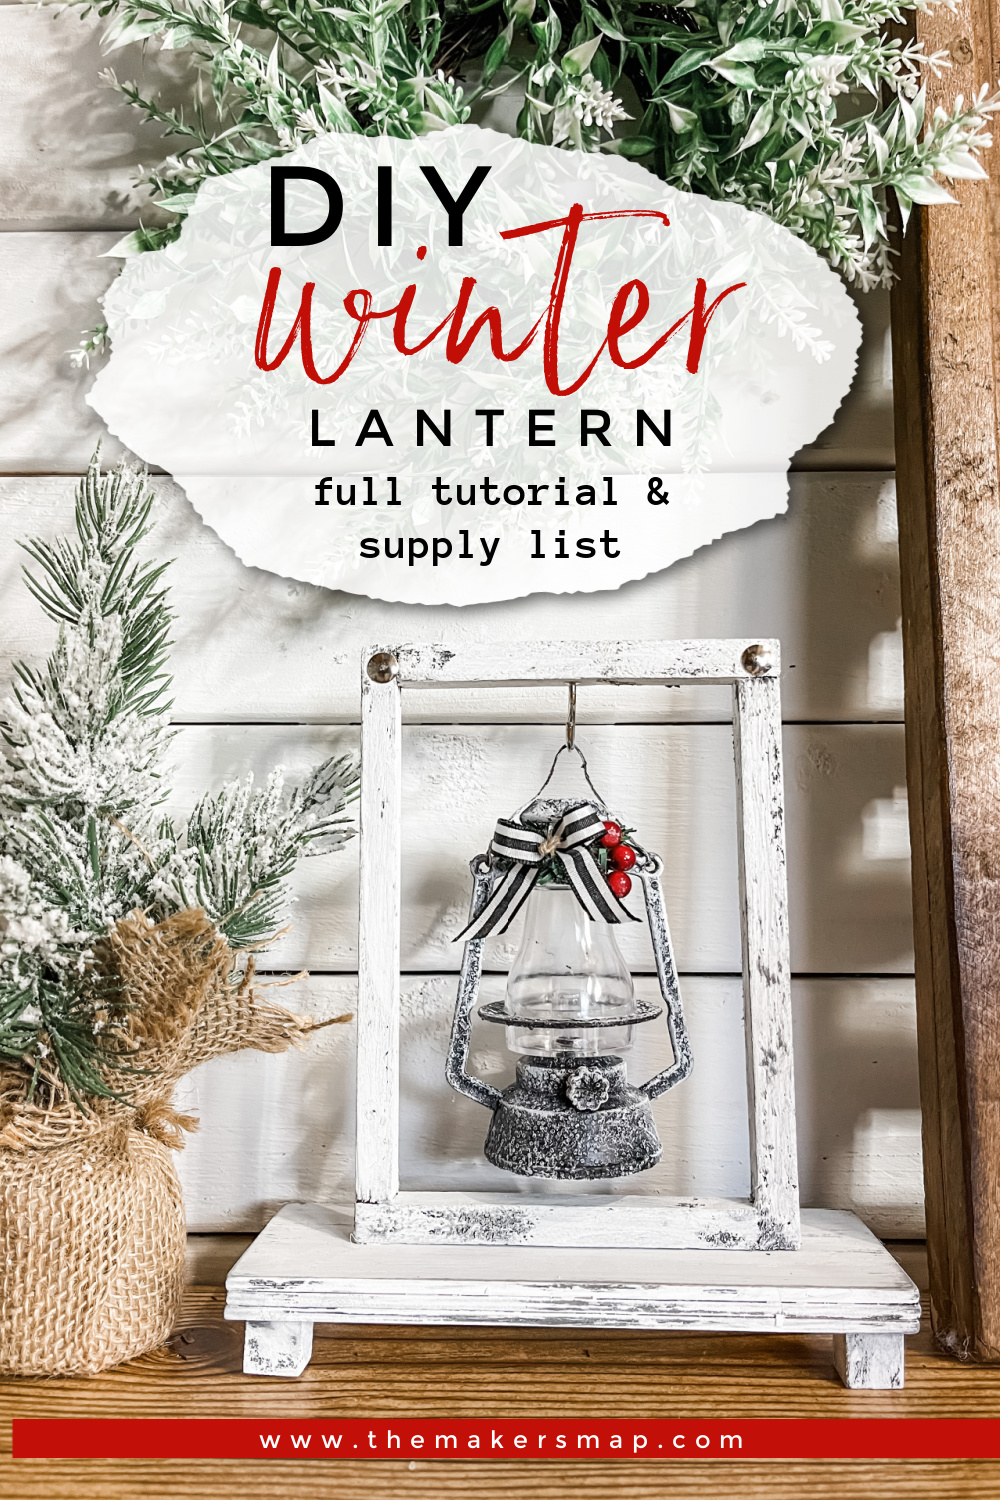
DIY Winter Lantern
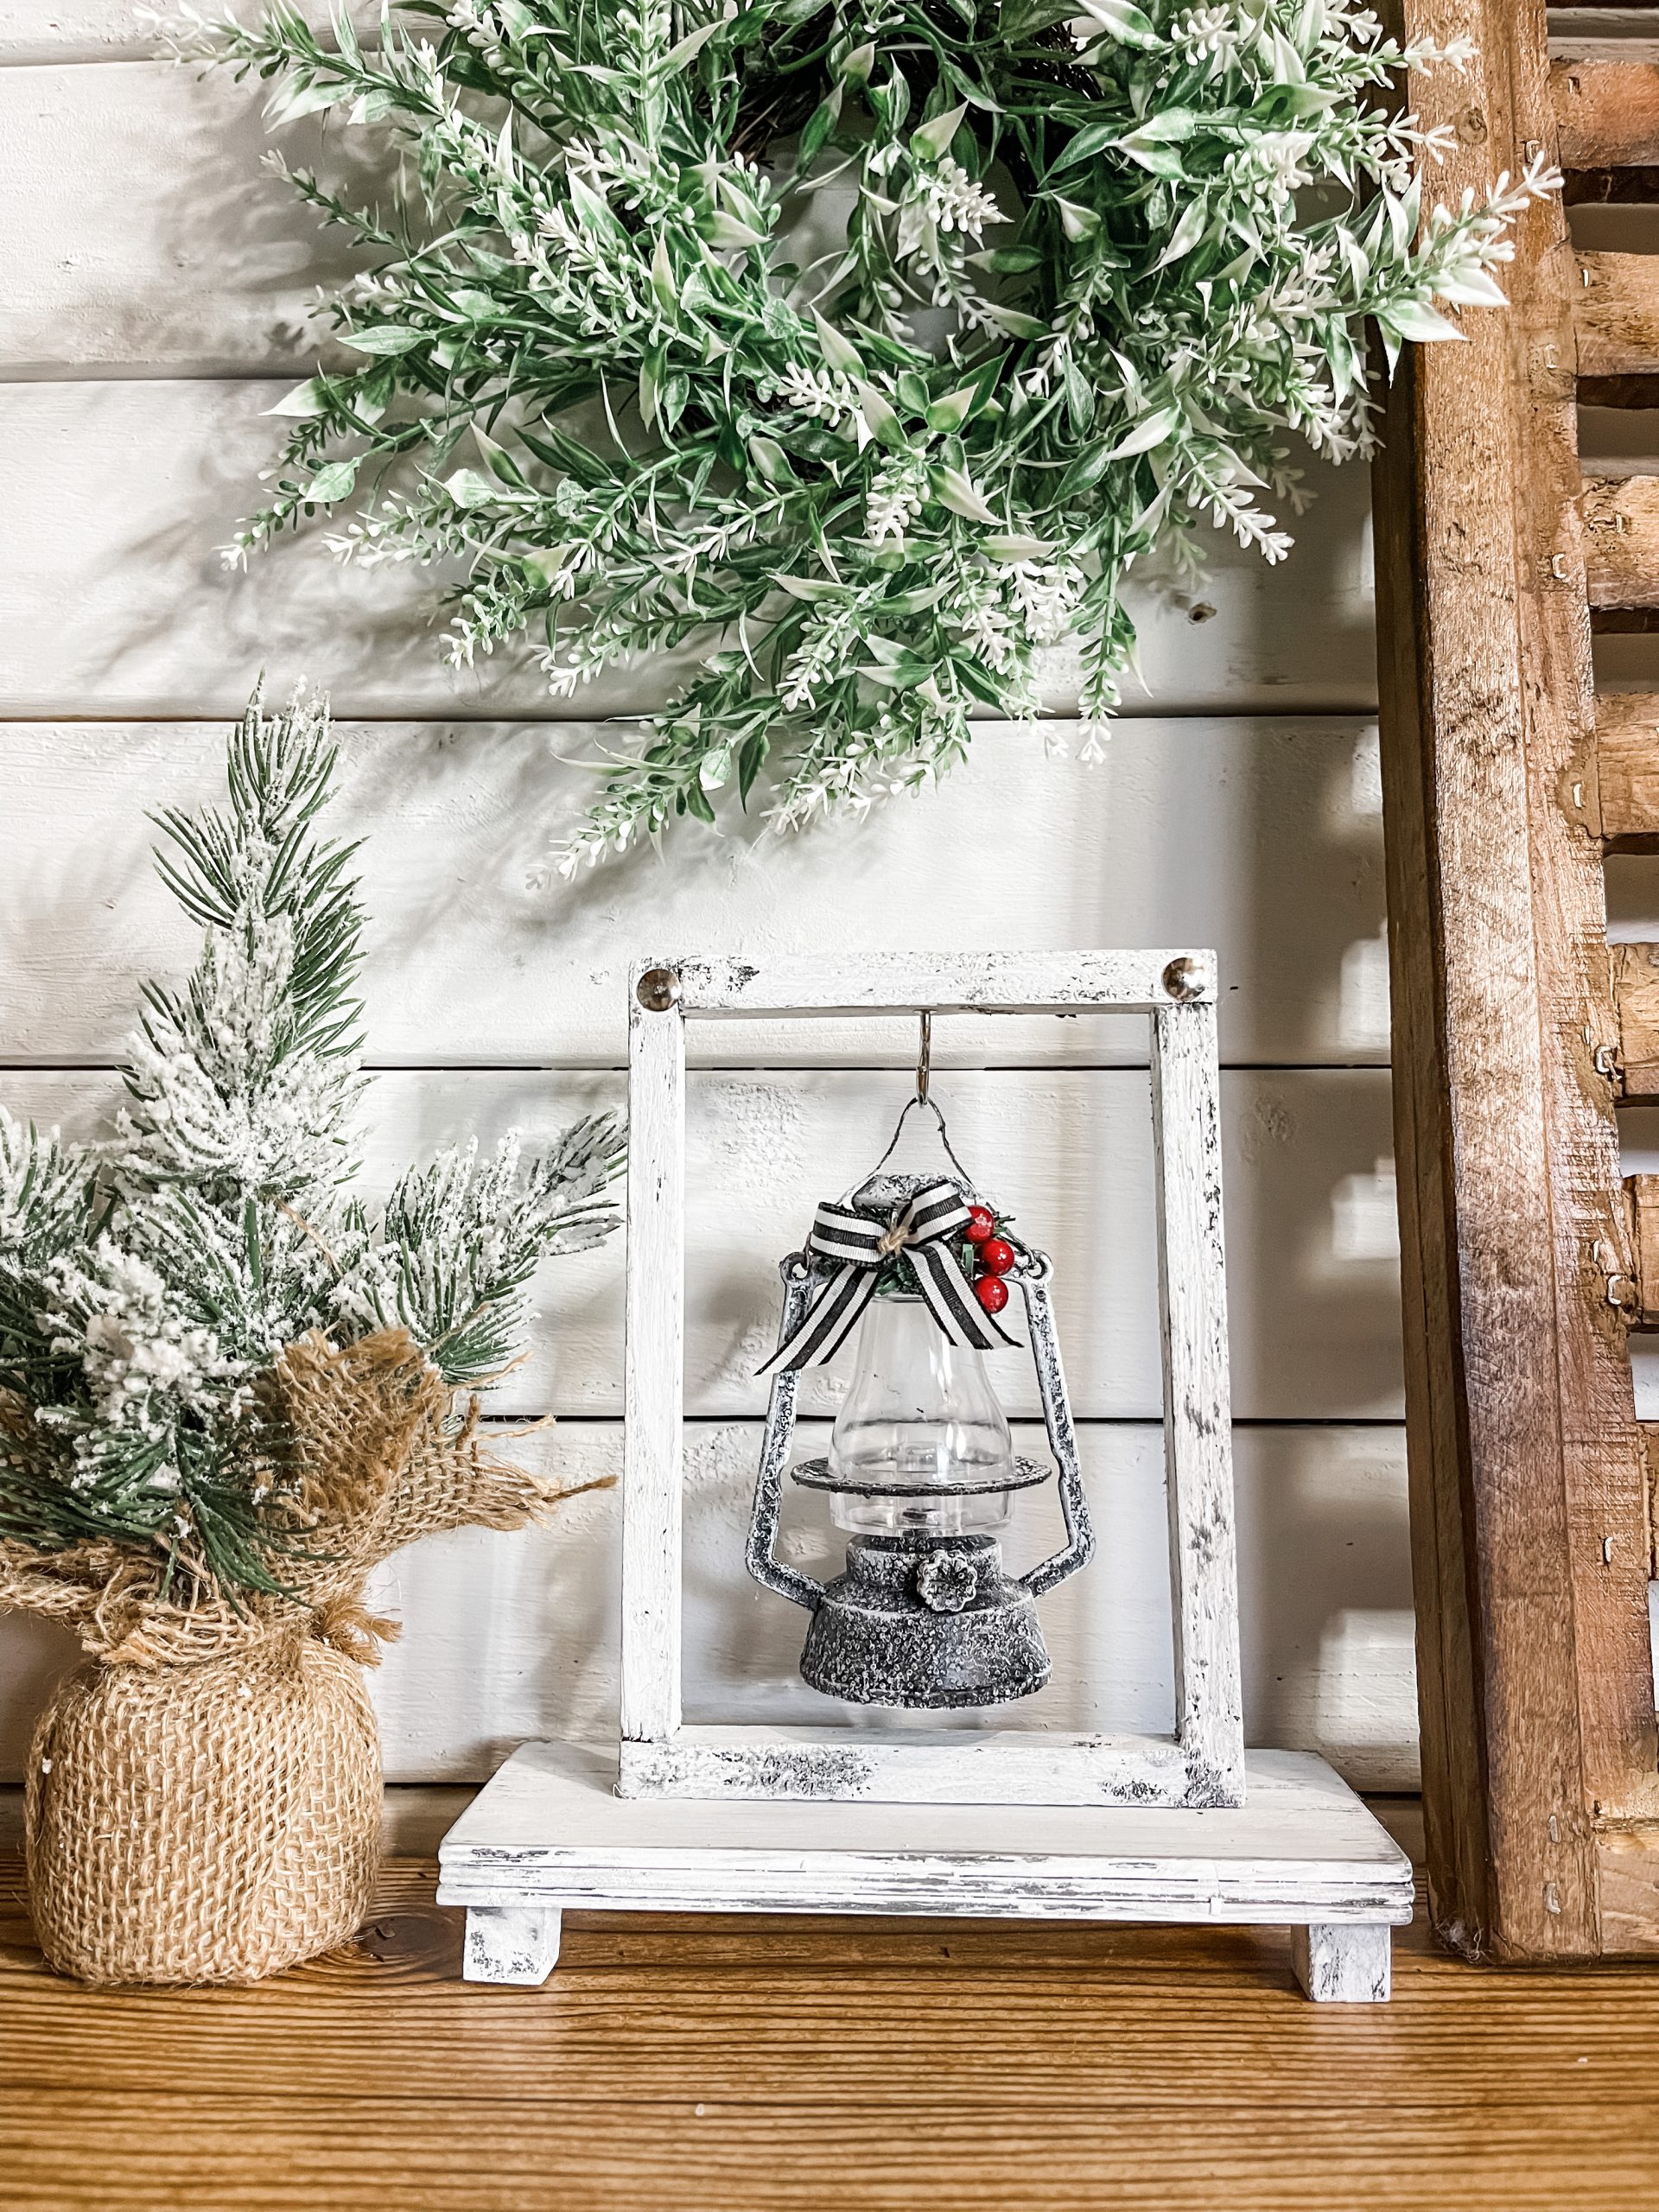
Okay, I’m just going to say it. This DIY winter lantern is so stinking cute!! I absolutely love the simplicity of this project and the fact that it doesn’t scream Christmas.
You could honestly use this Dollar Tree DIY in your winter decor well after Christmas is over!
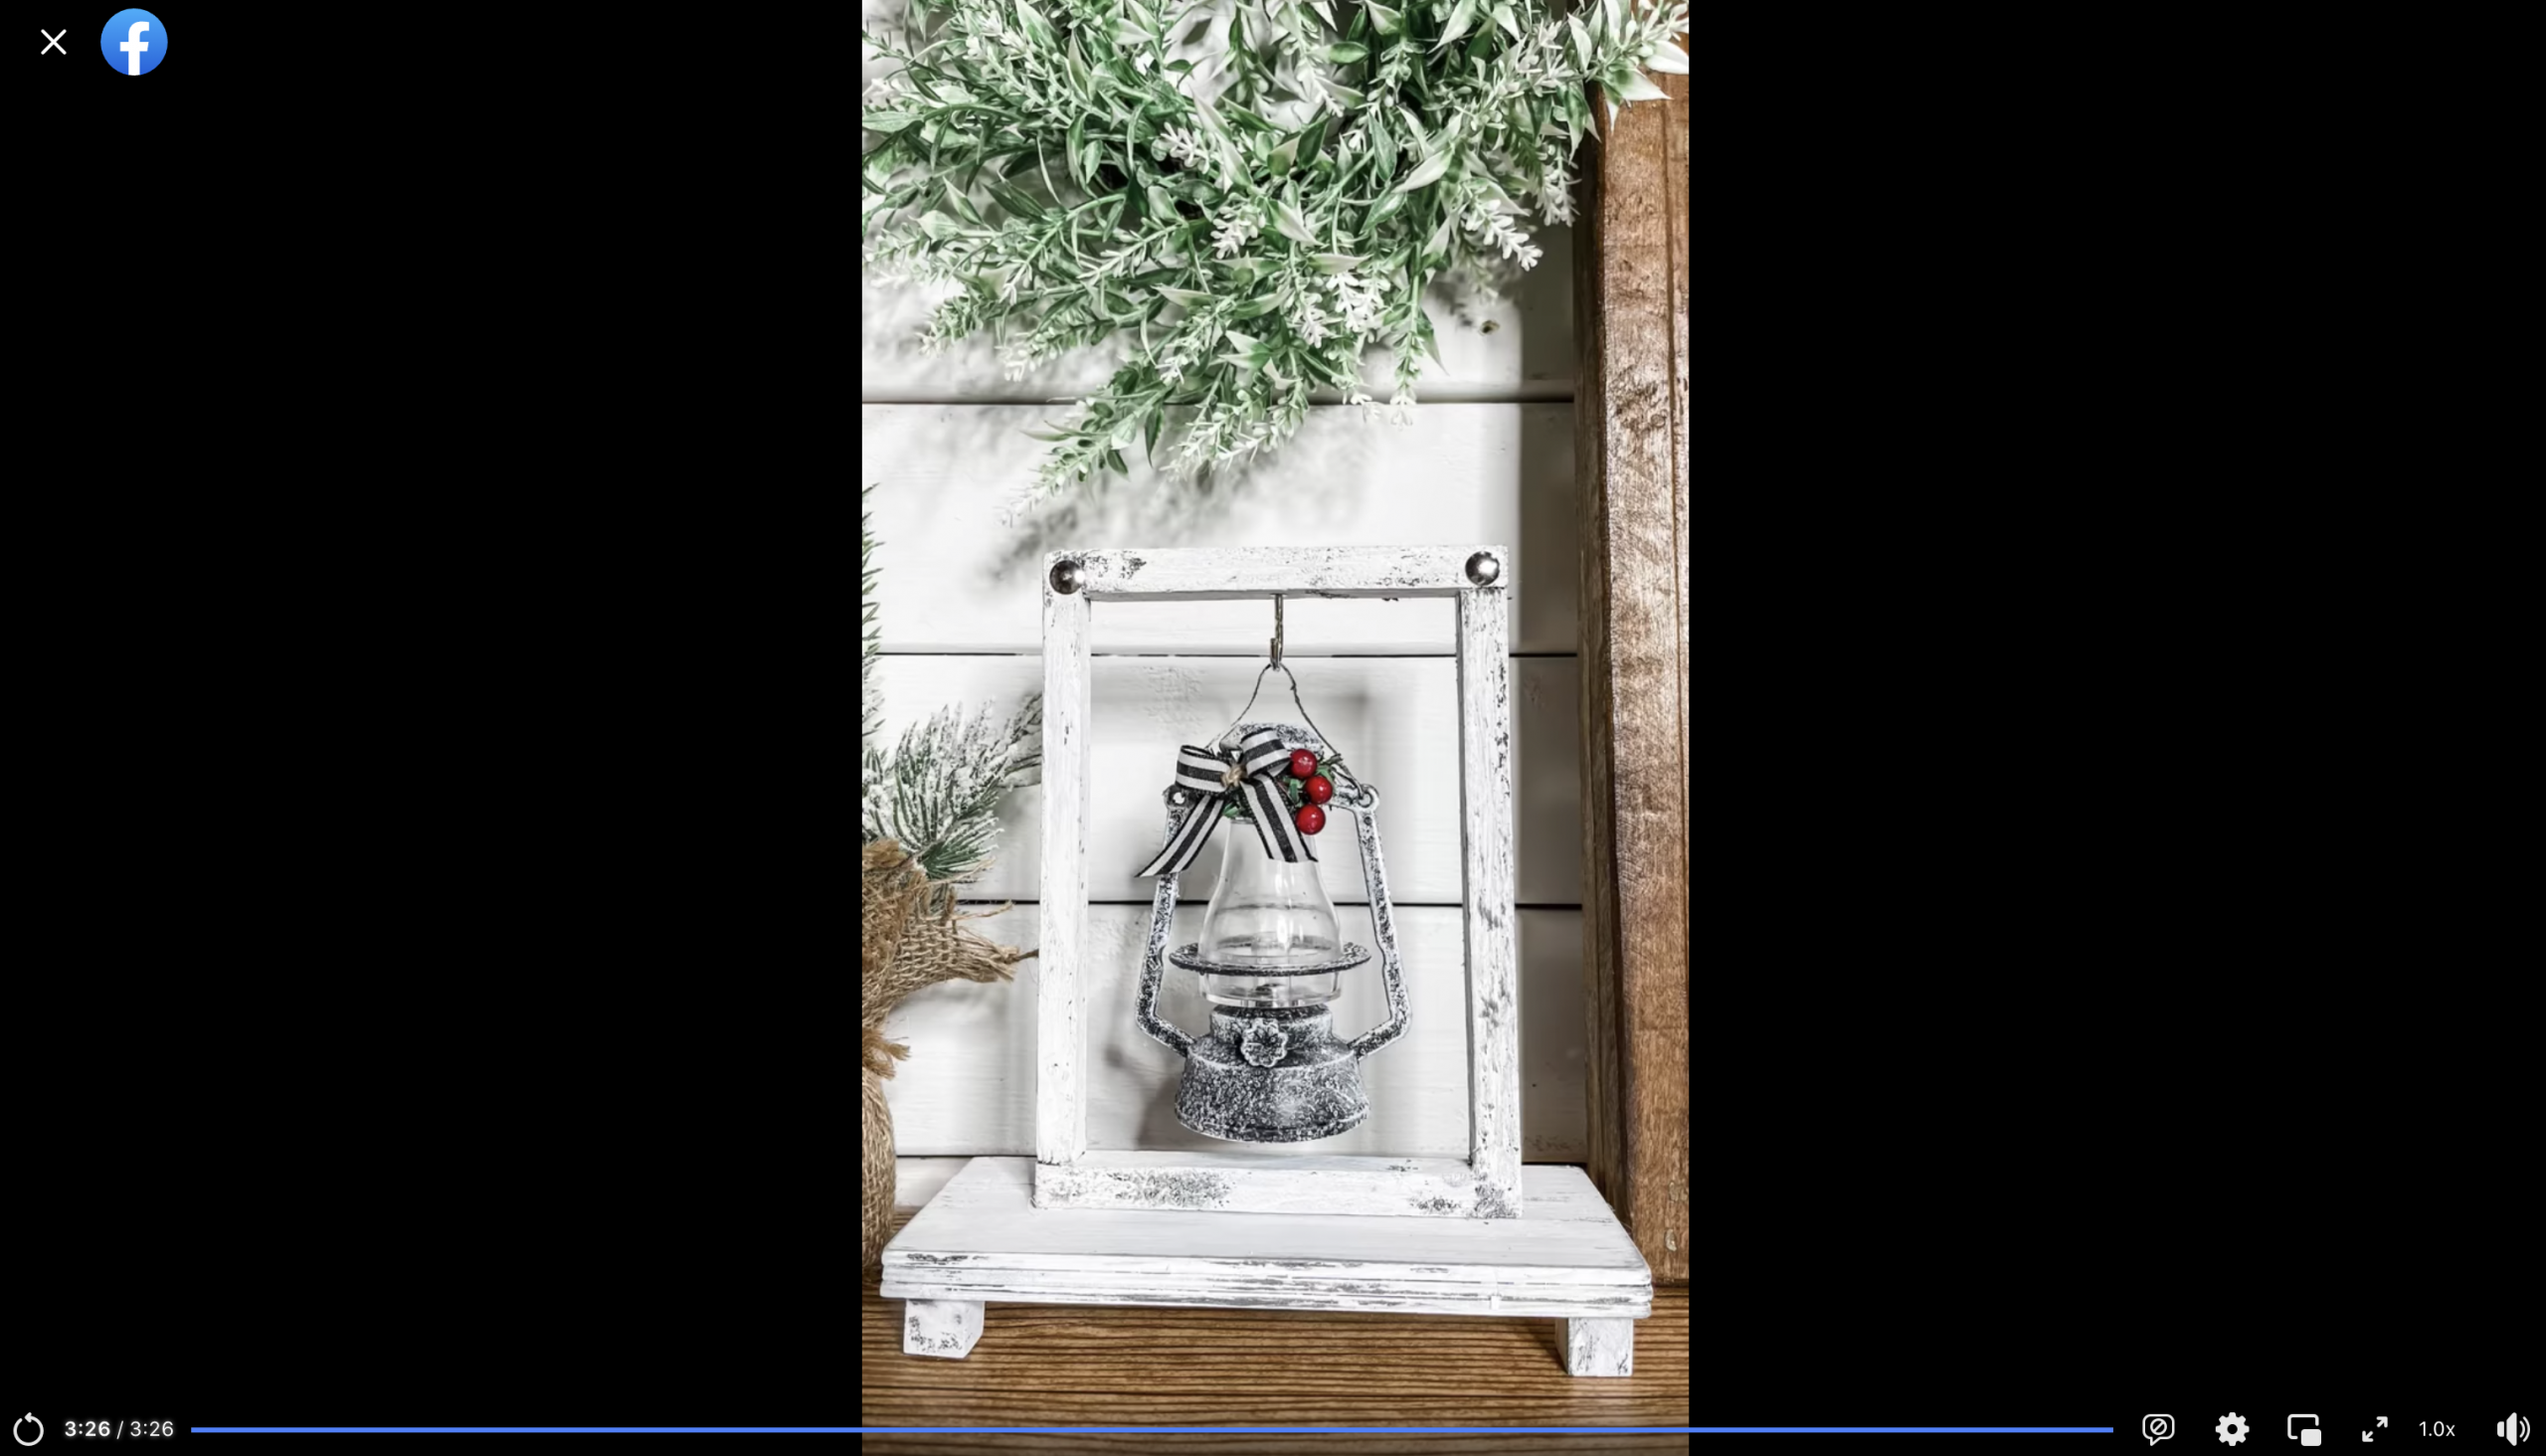
Watch the DIY tutorial
I shared the tutorial video for how to make this adorable DIY Winter Lantern in a short video on my Facebook page!
If you’re more of a visual learner, you can watch the DIY steps in the tutorial video on Facebook!
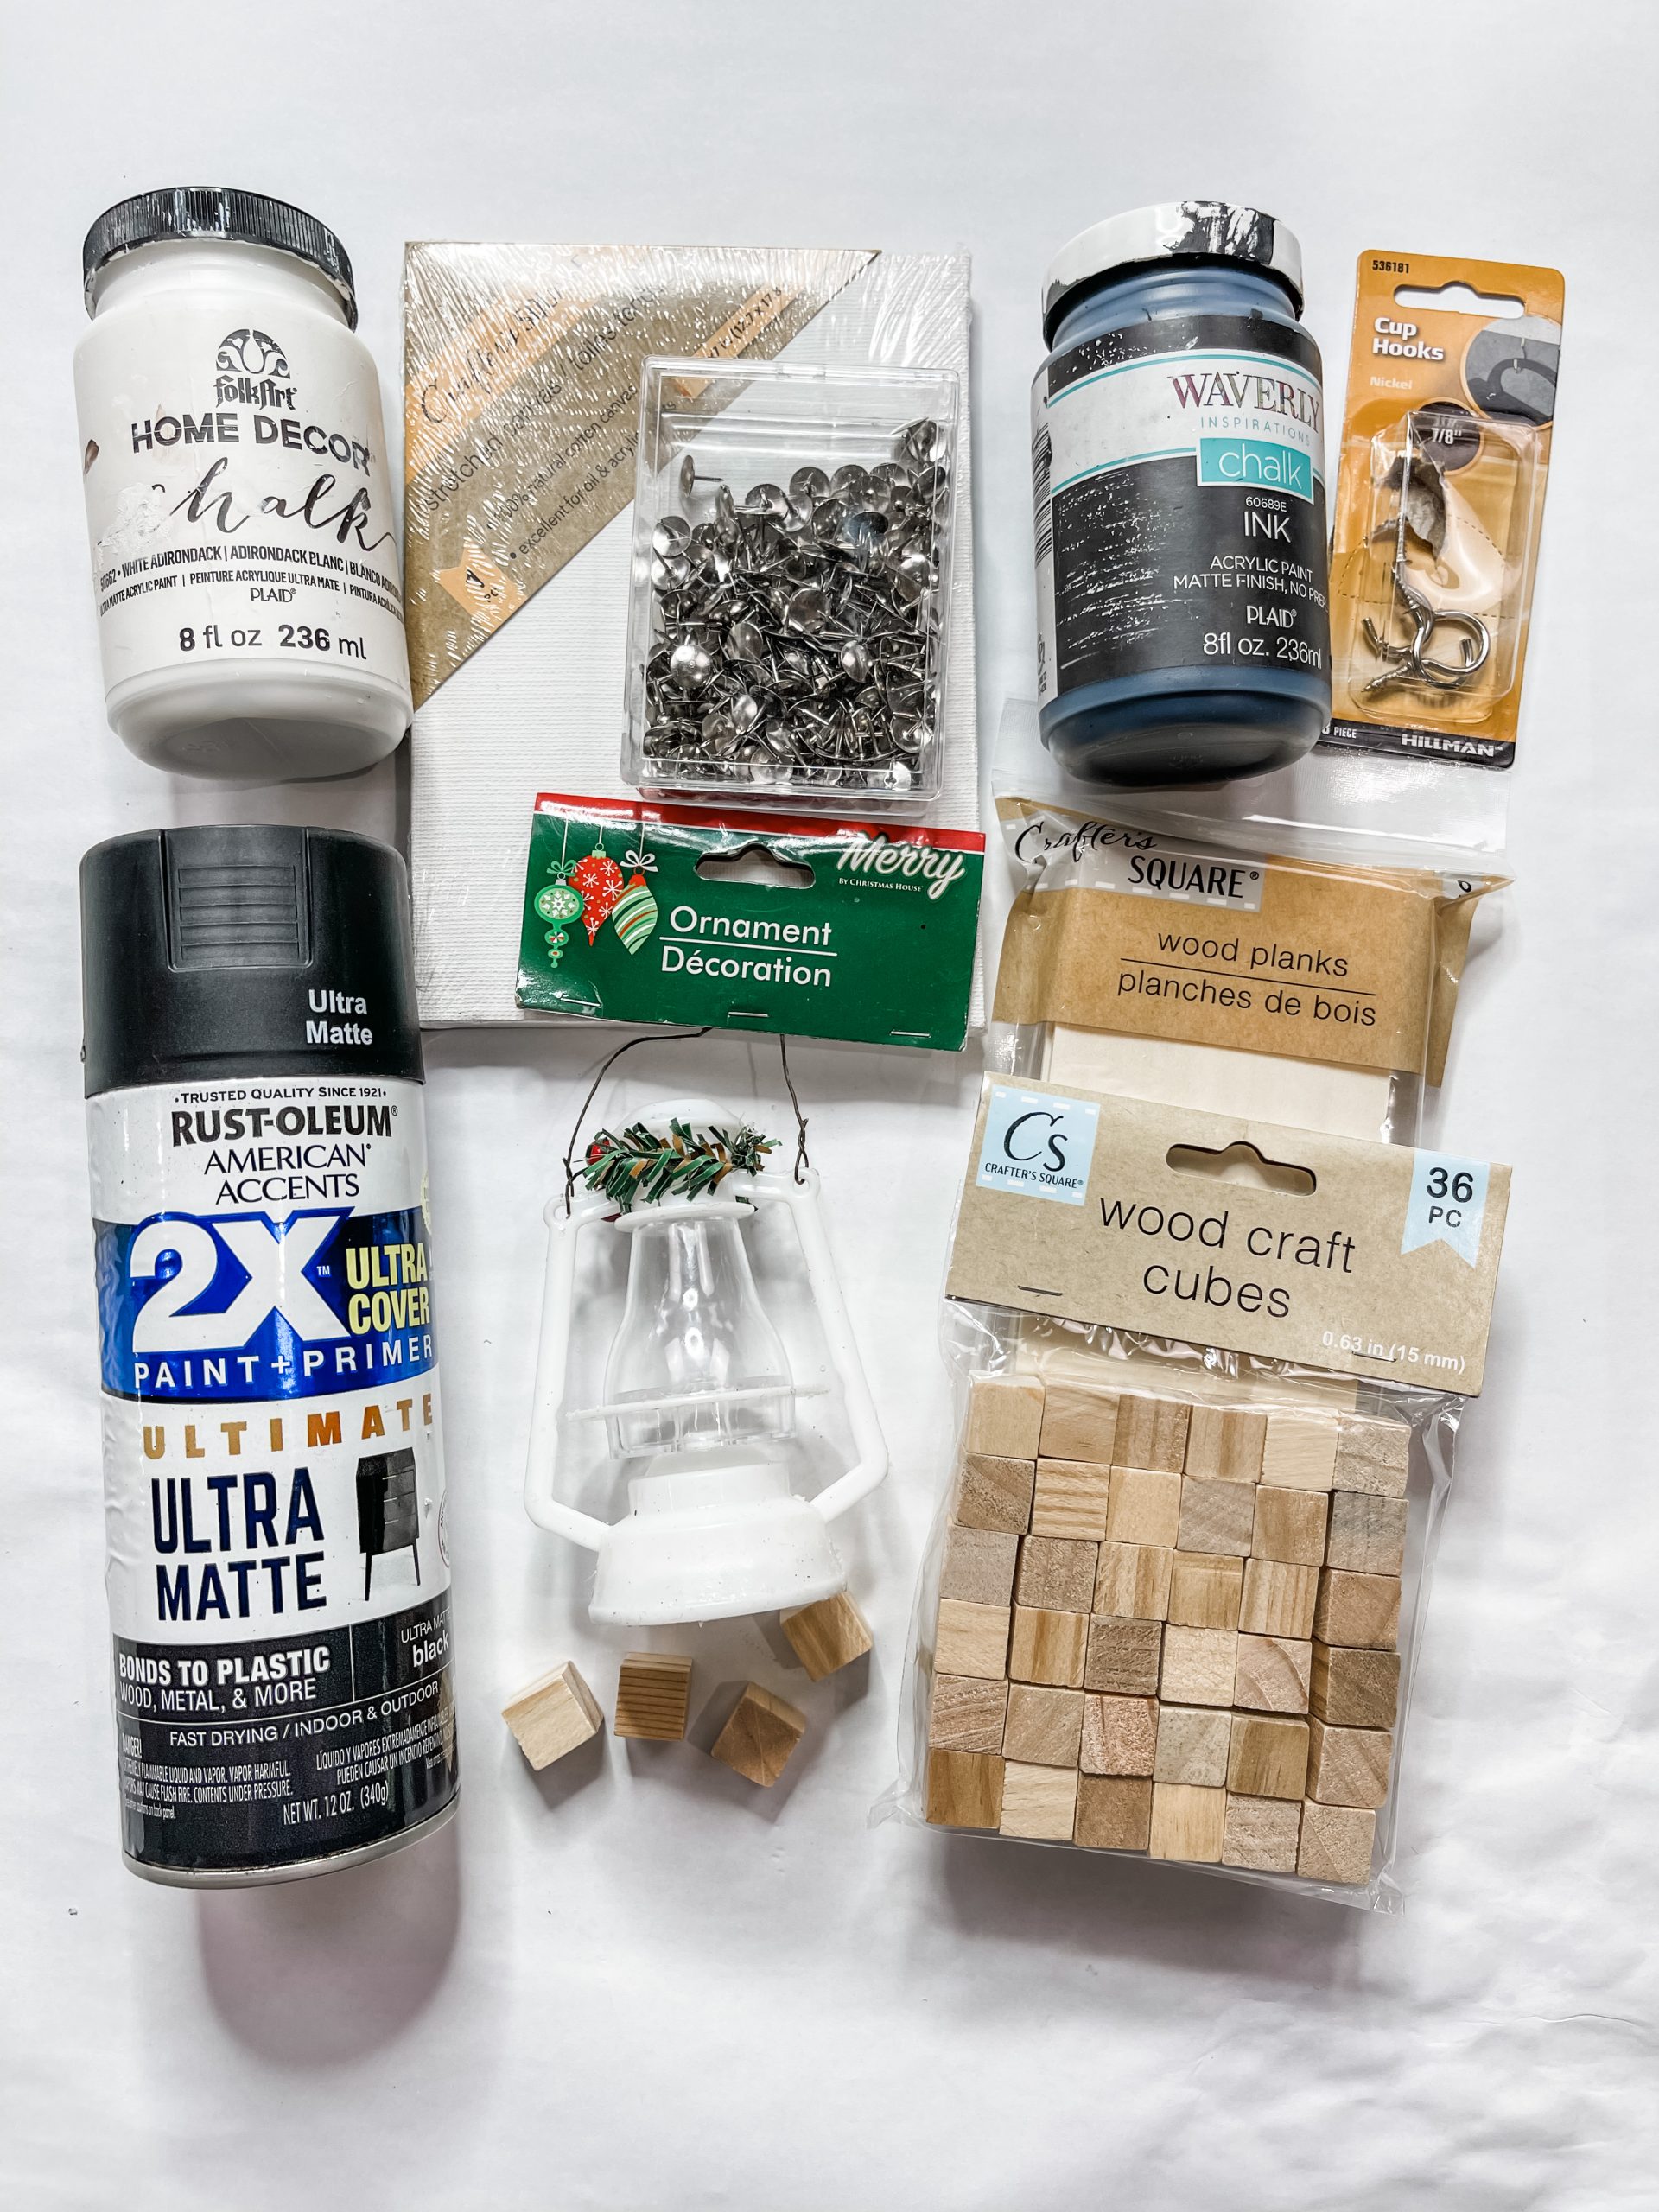
For this project, I will be using these items but you can substitute where you want.
“As an Amazon Associate, I earn from qualifying purchases.”
- Dollar Tree Lantern Ornament
- Dollar Tree Wood Craft Cubes
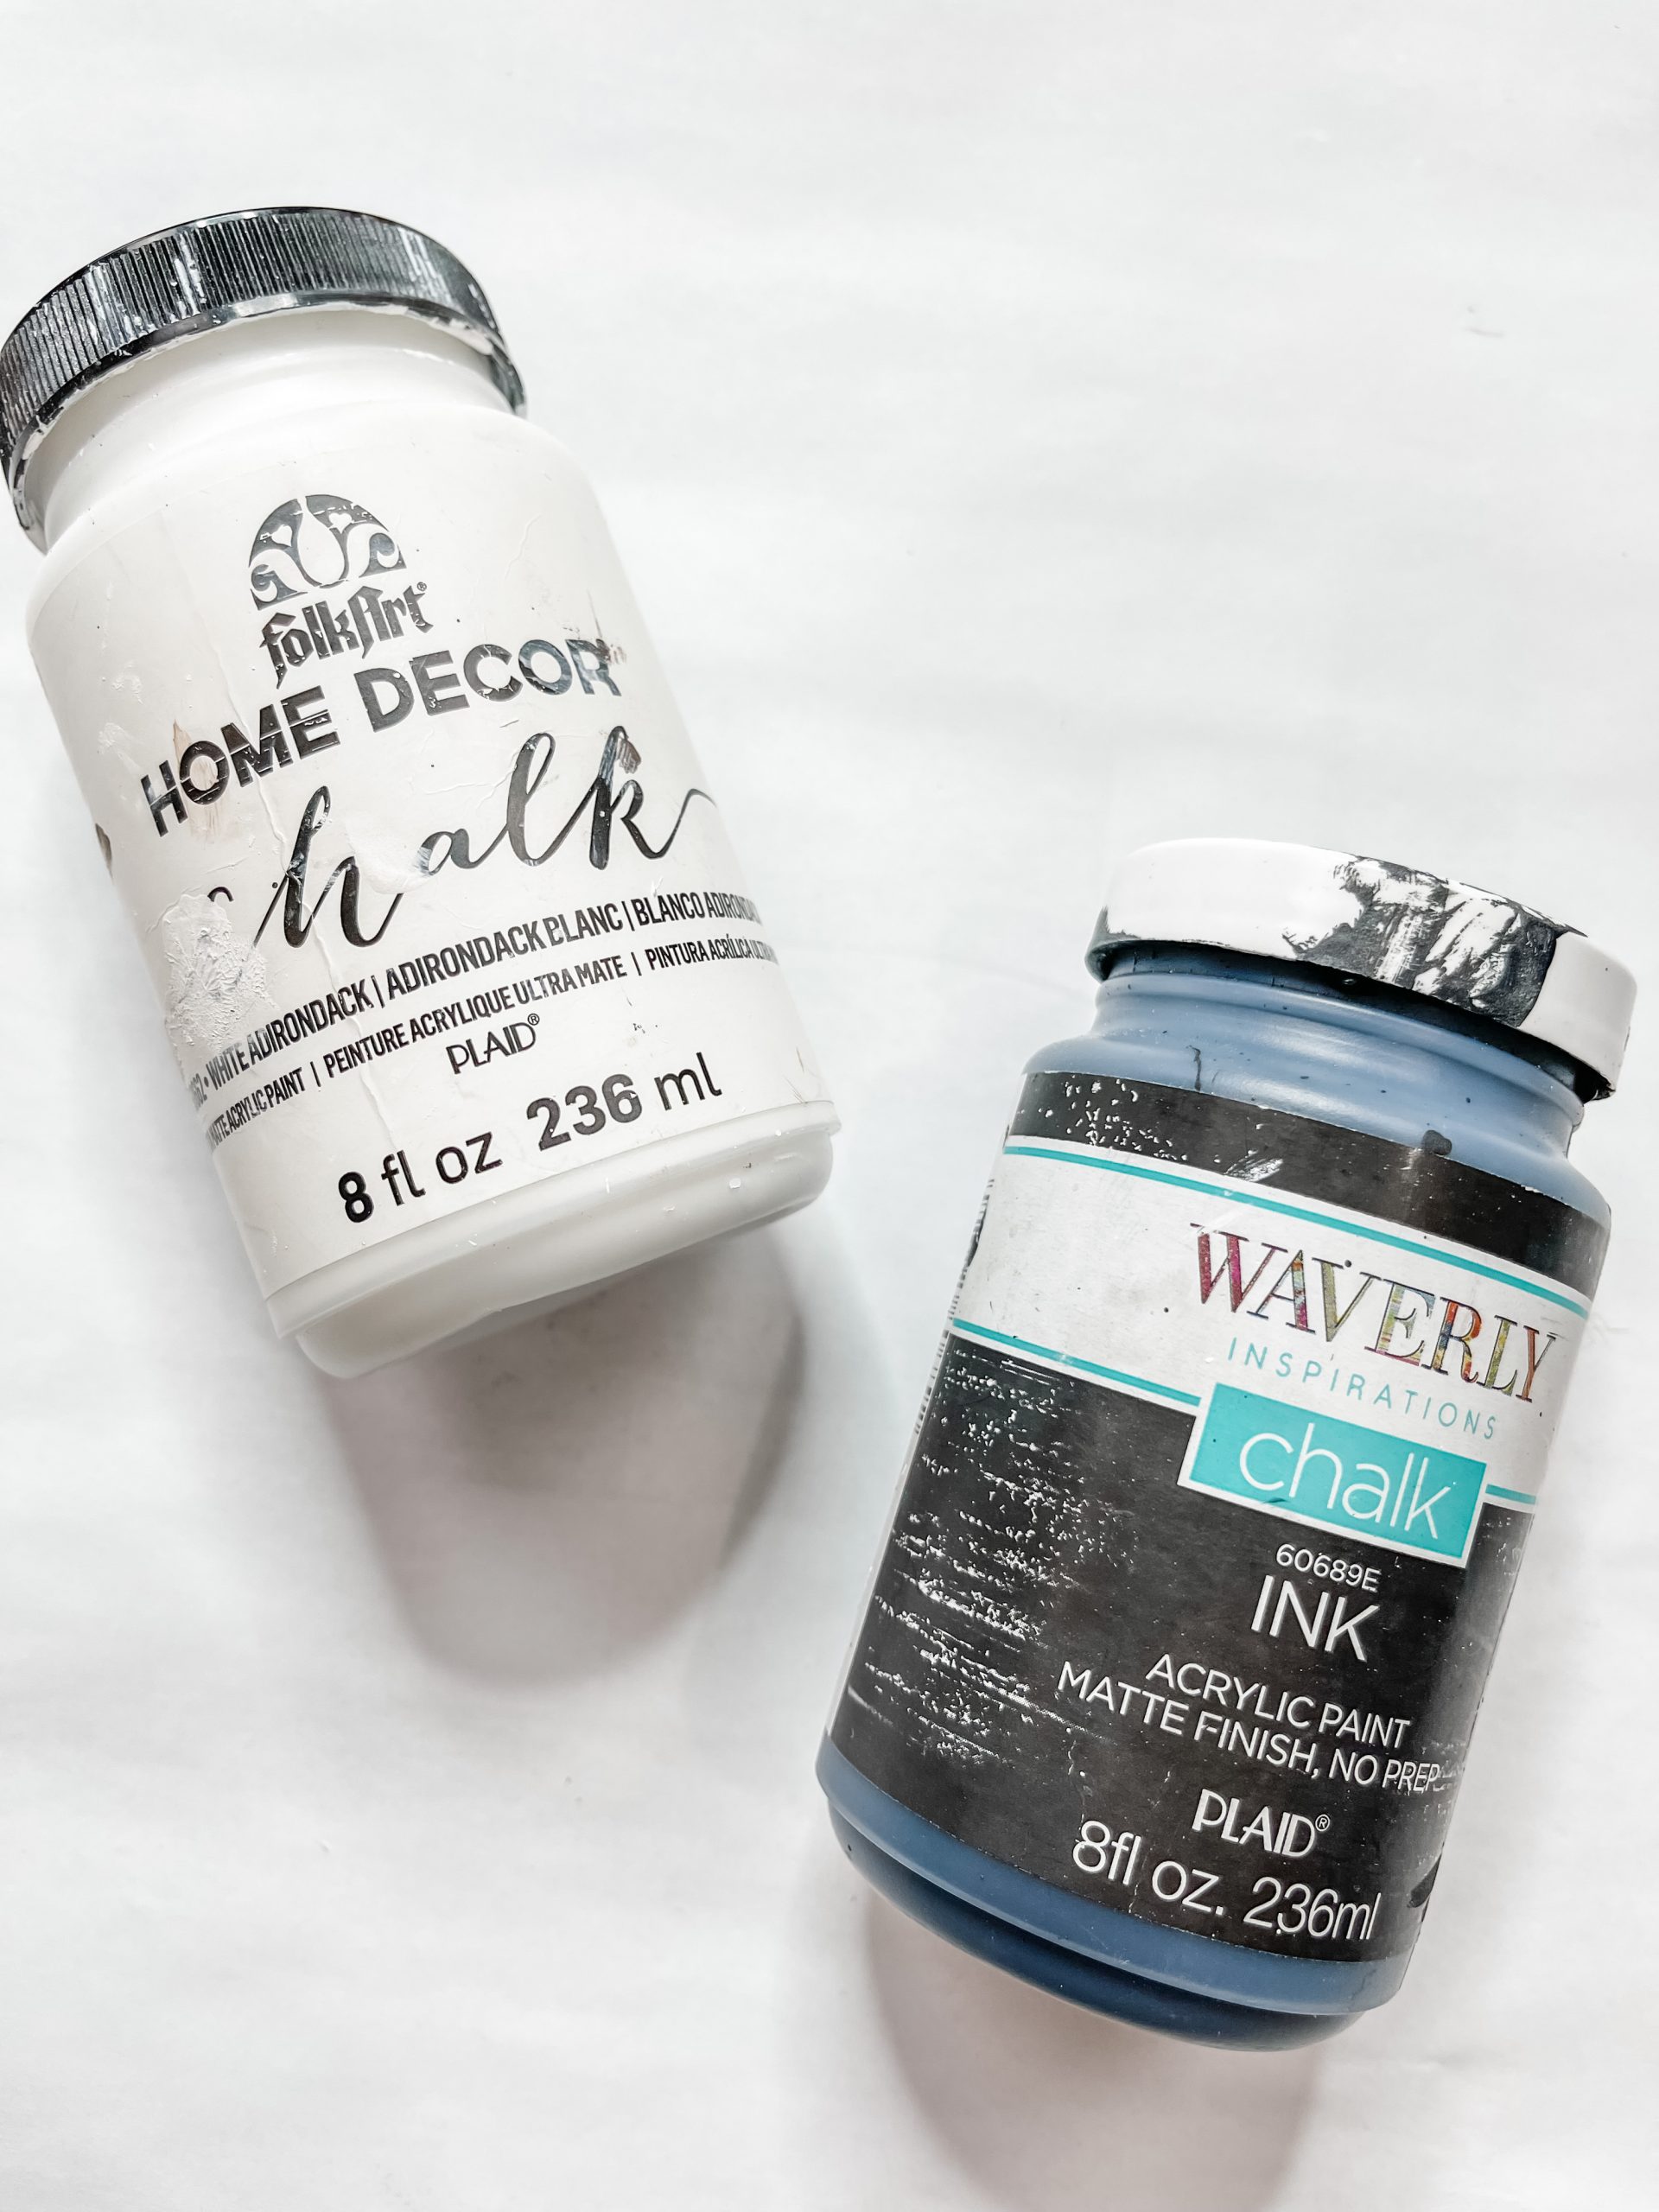
- Waverly Ink Chalk Paint
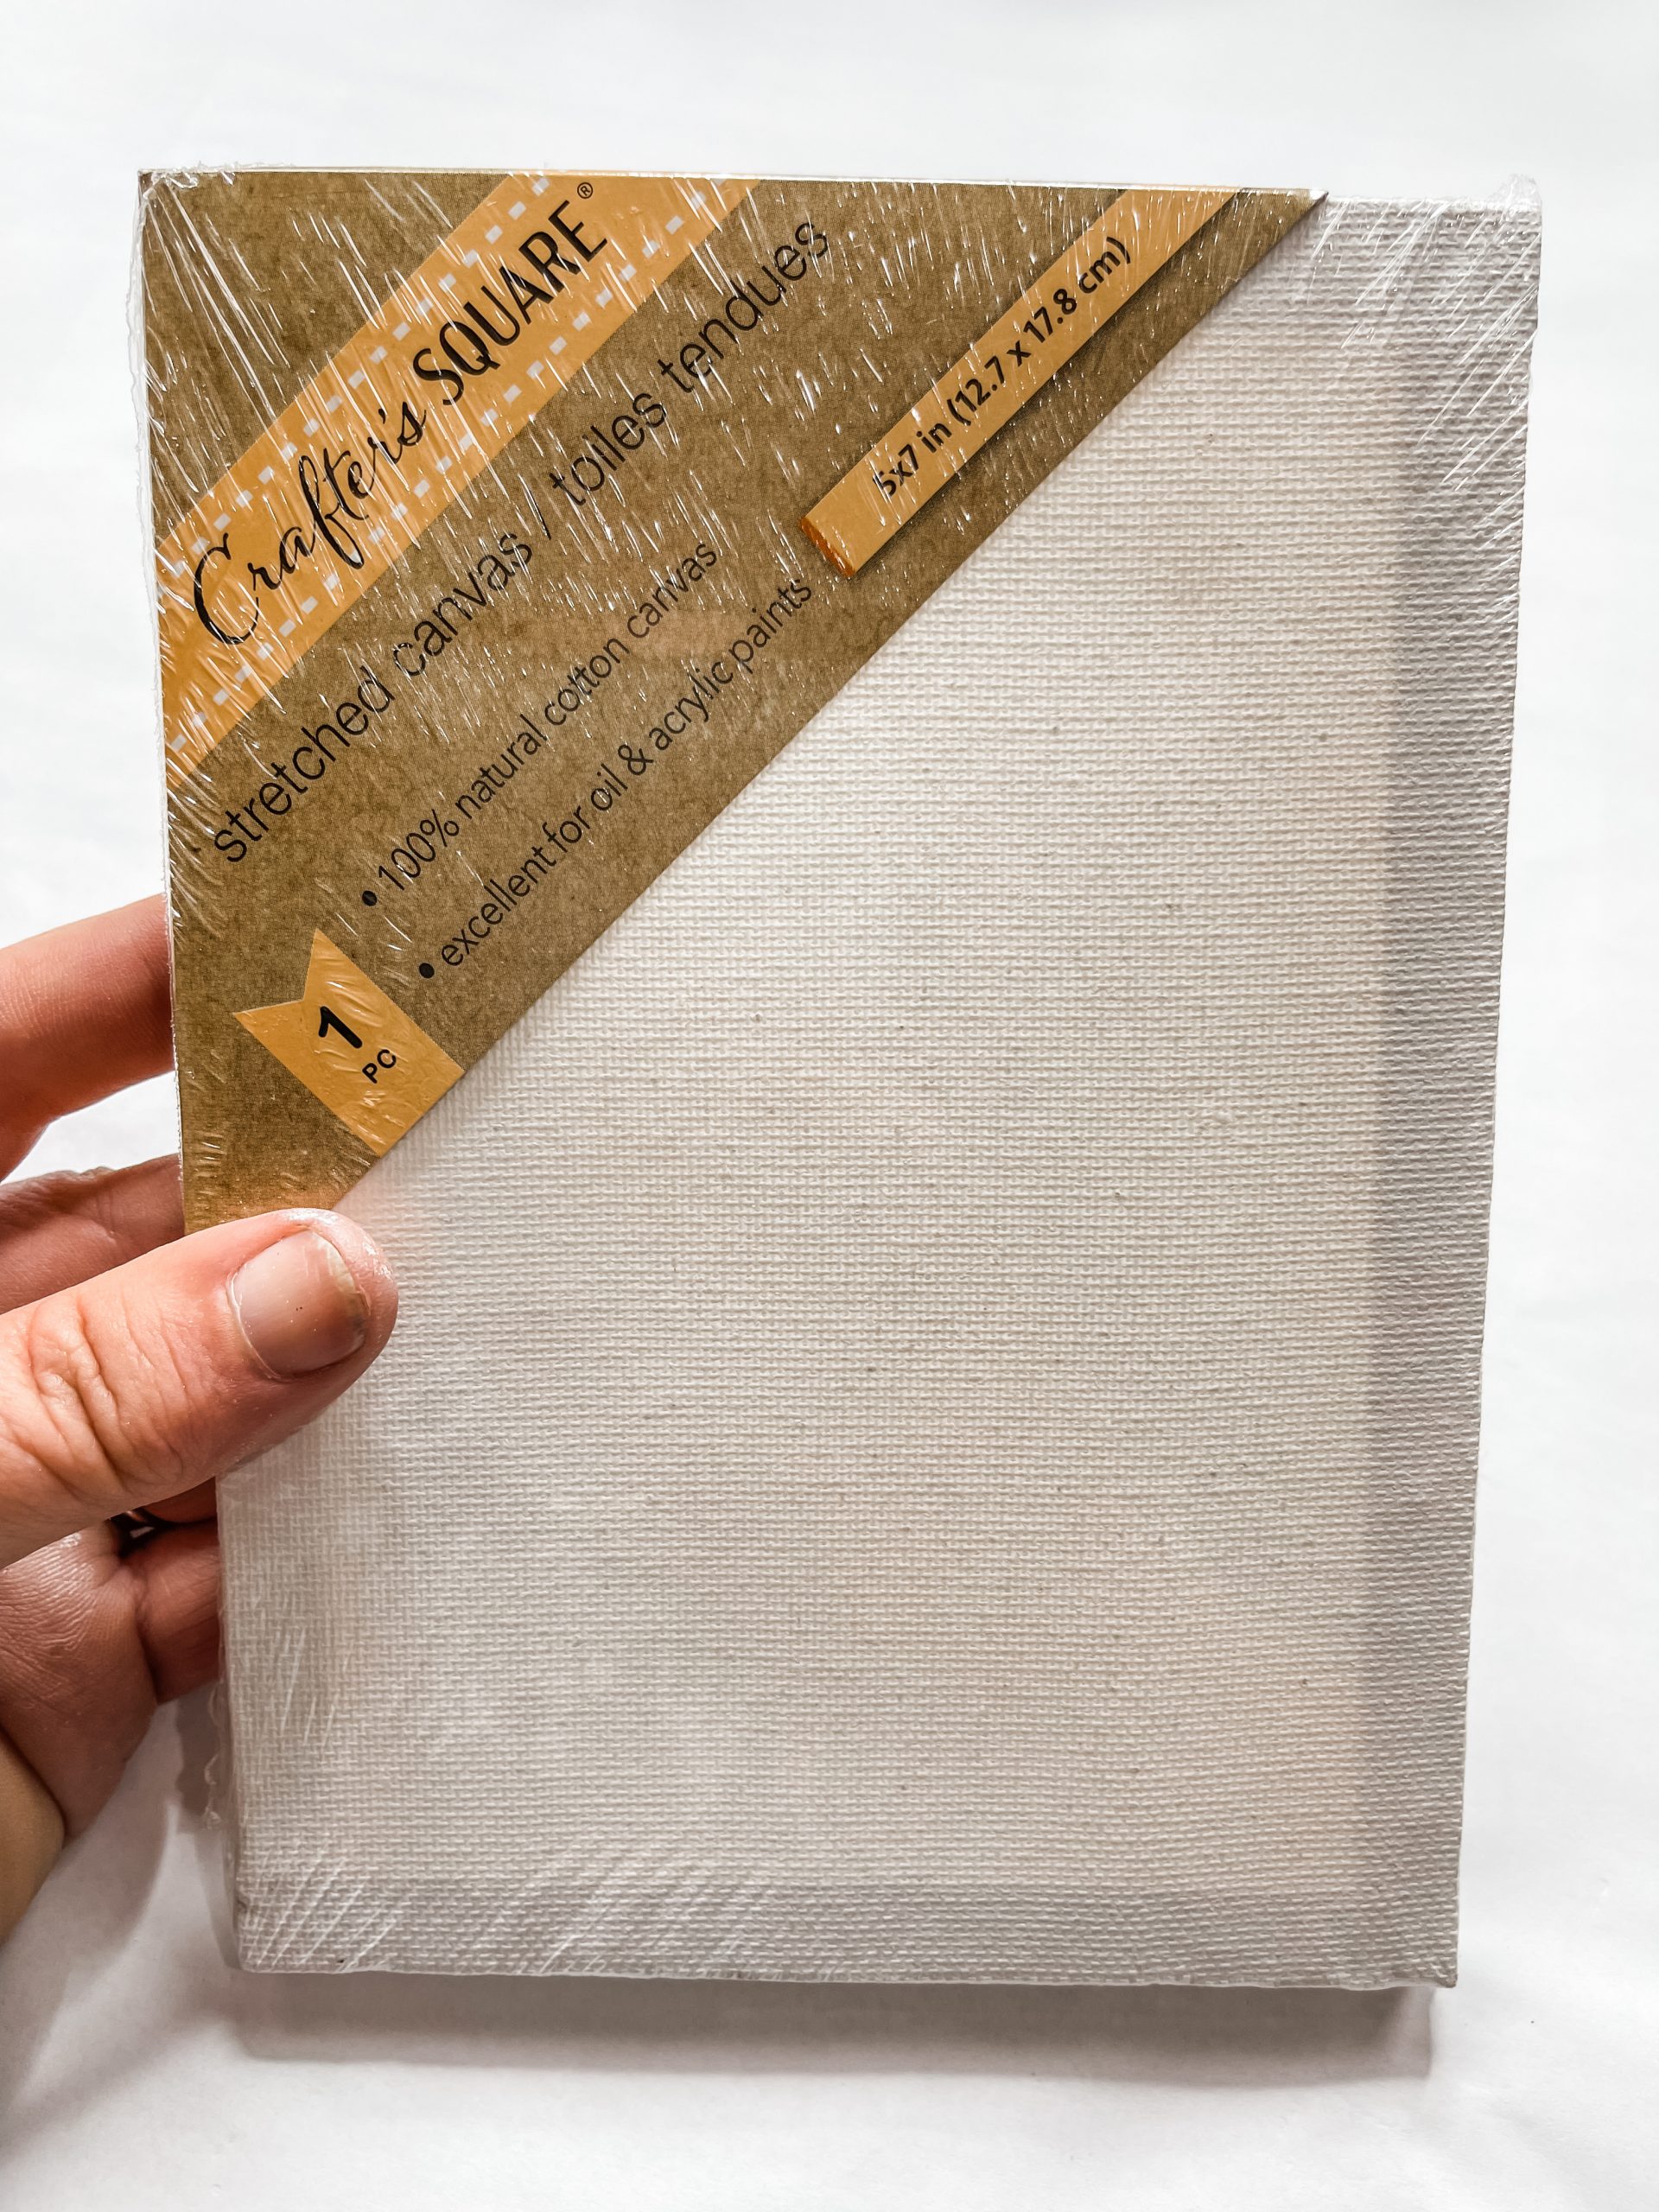
- Dollar Tree Canvas
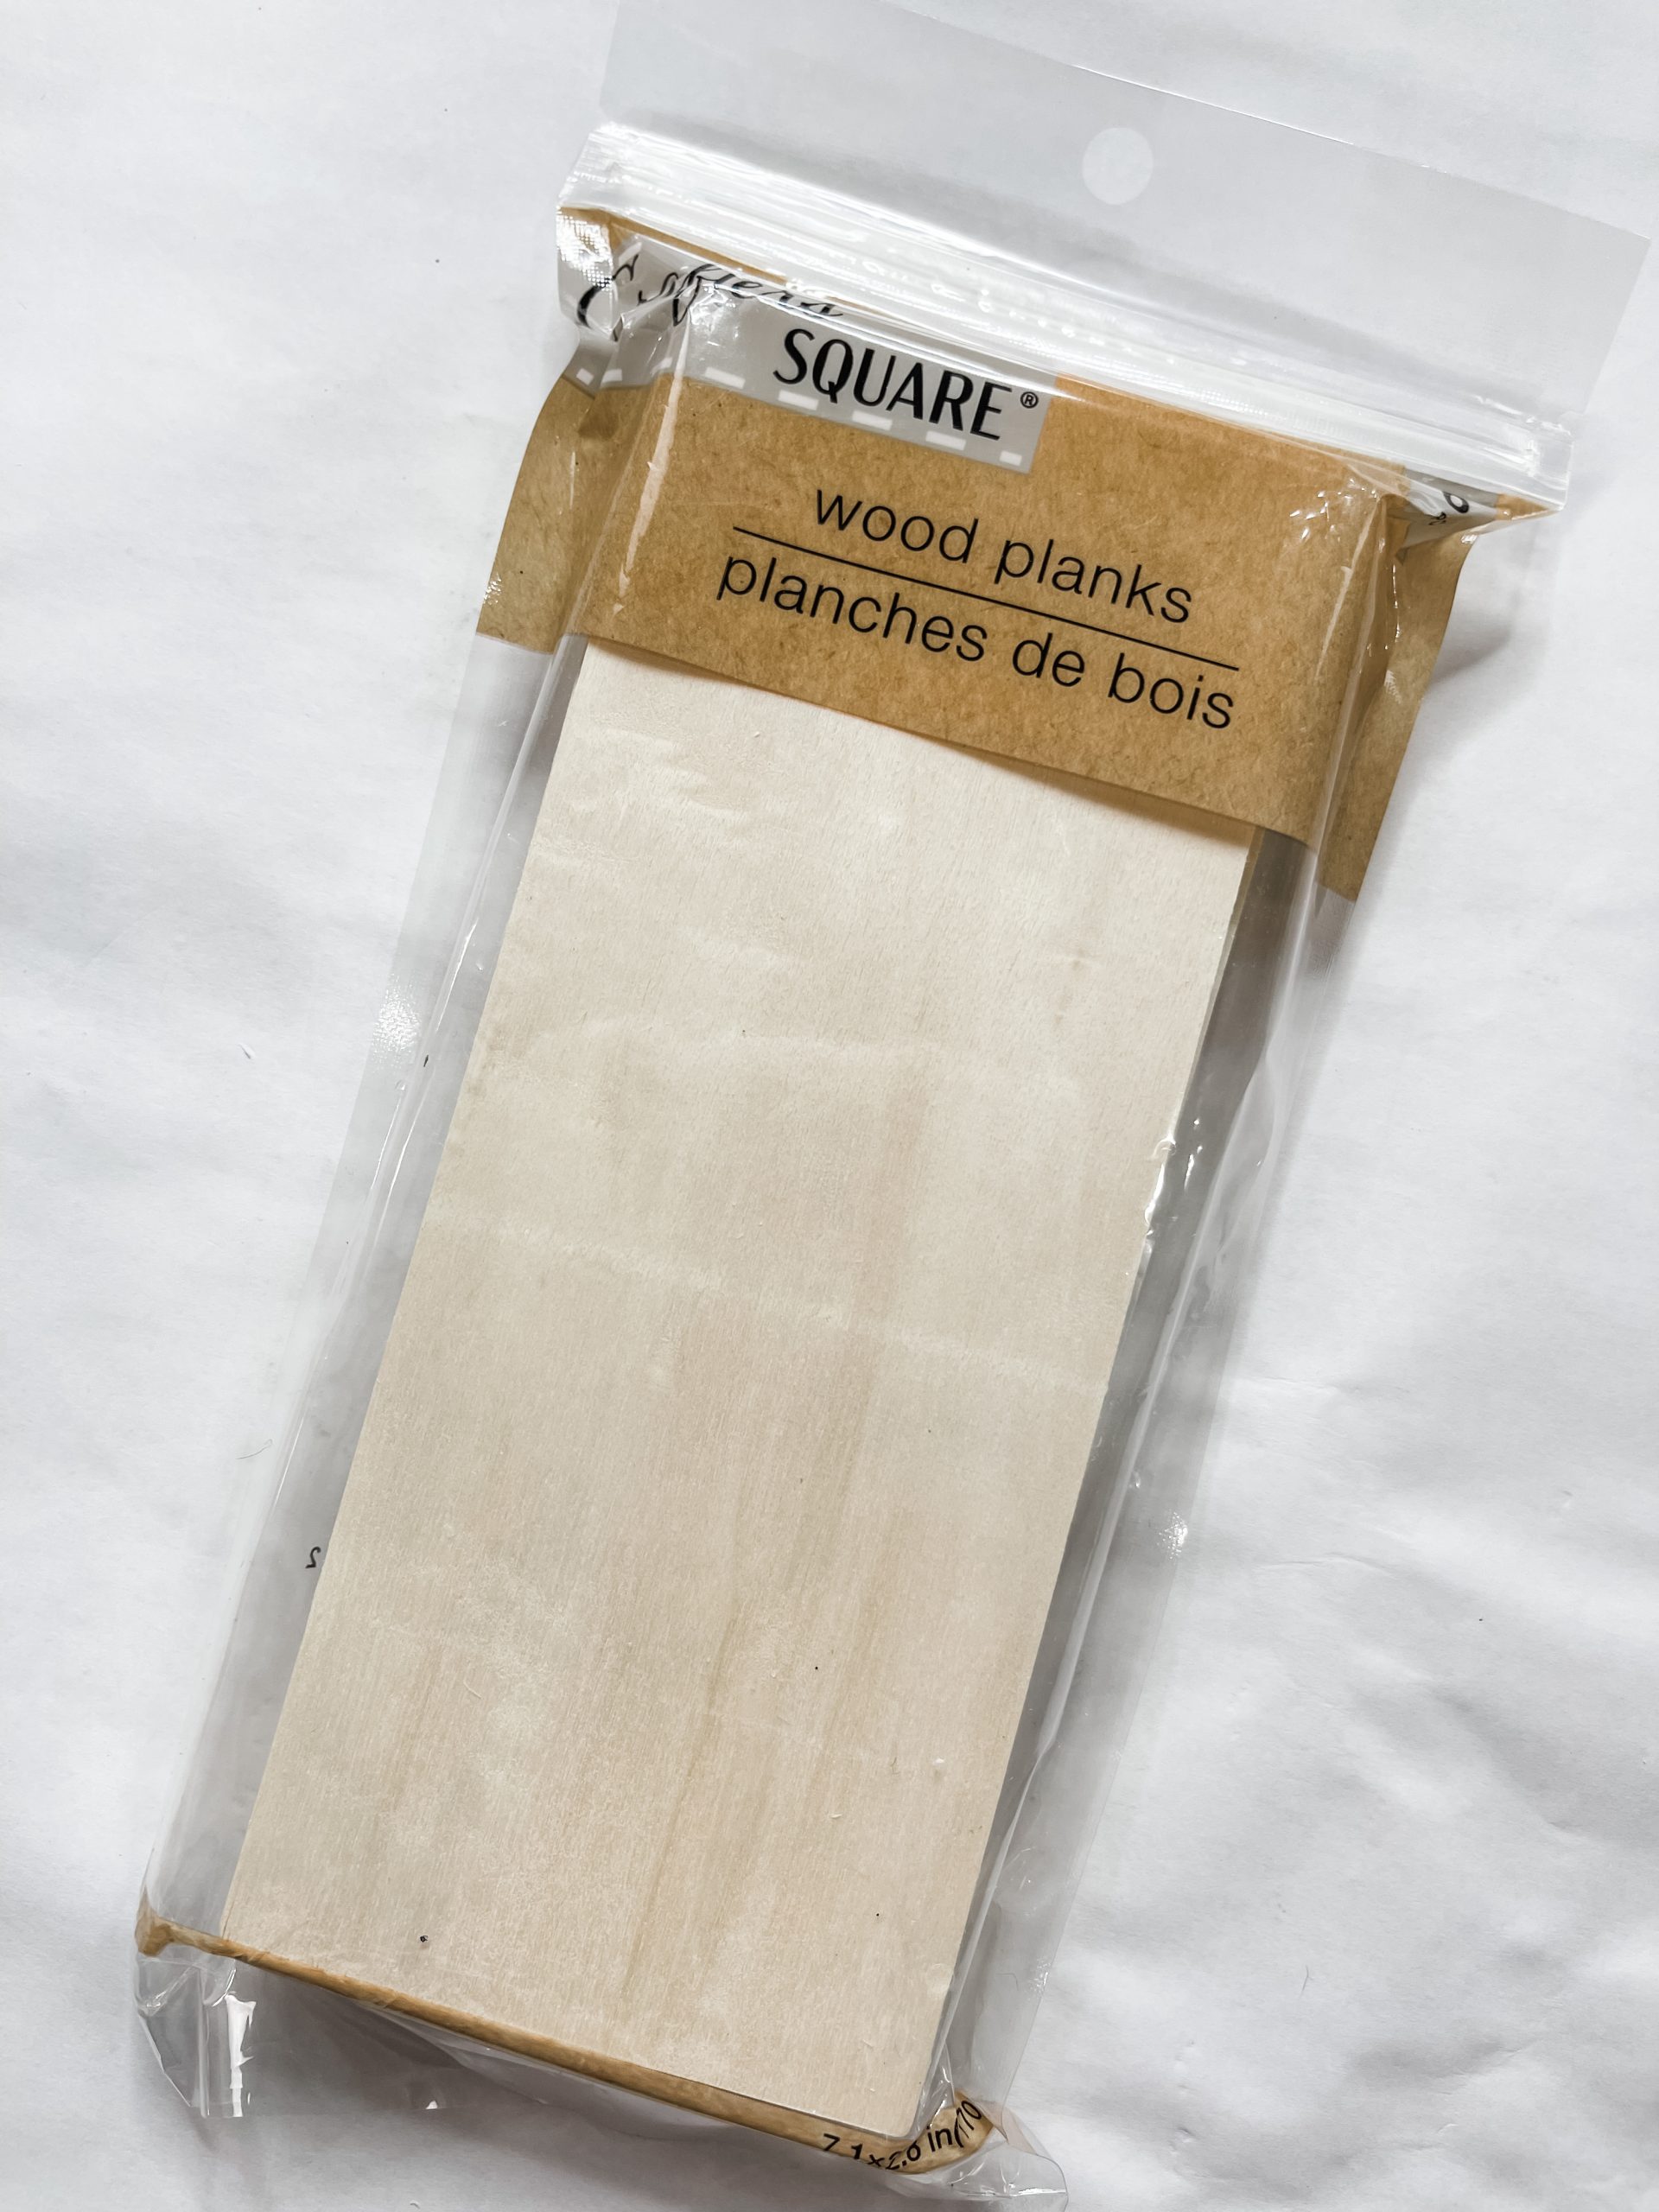
- Dollar Tree Wood Planks
- Folkart White Chalk Paint
- Dollar Tree Flatback Tacks
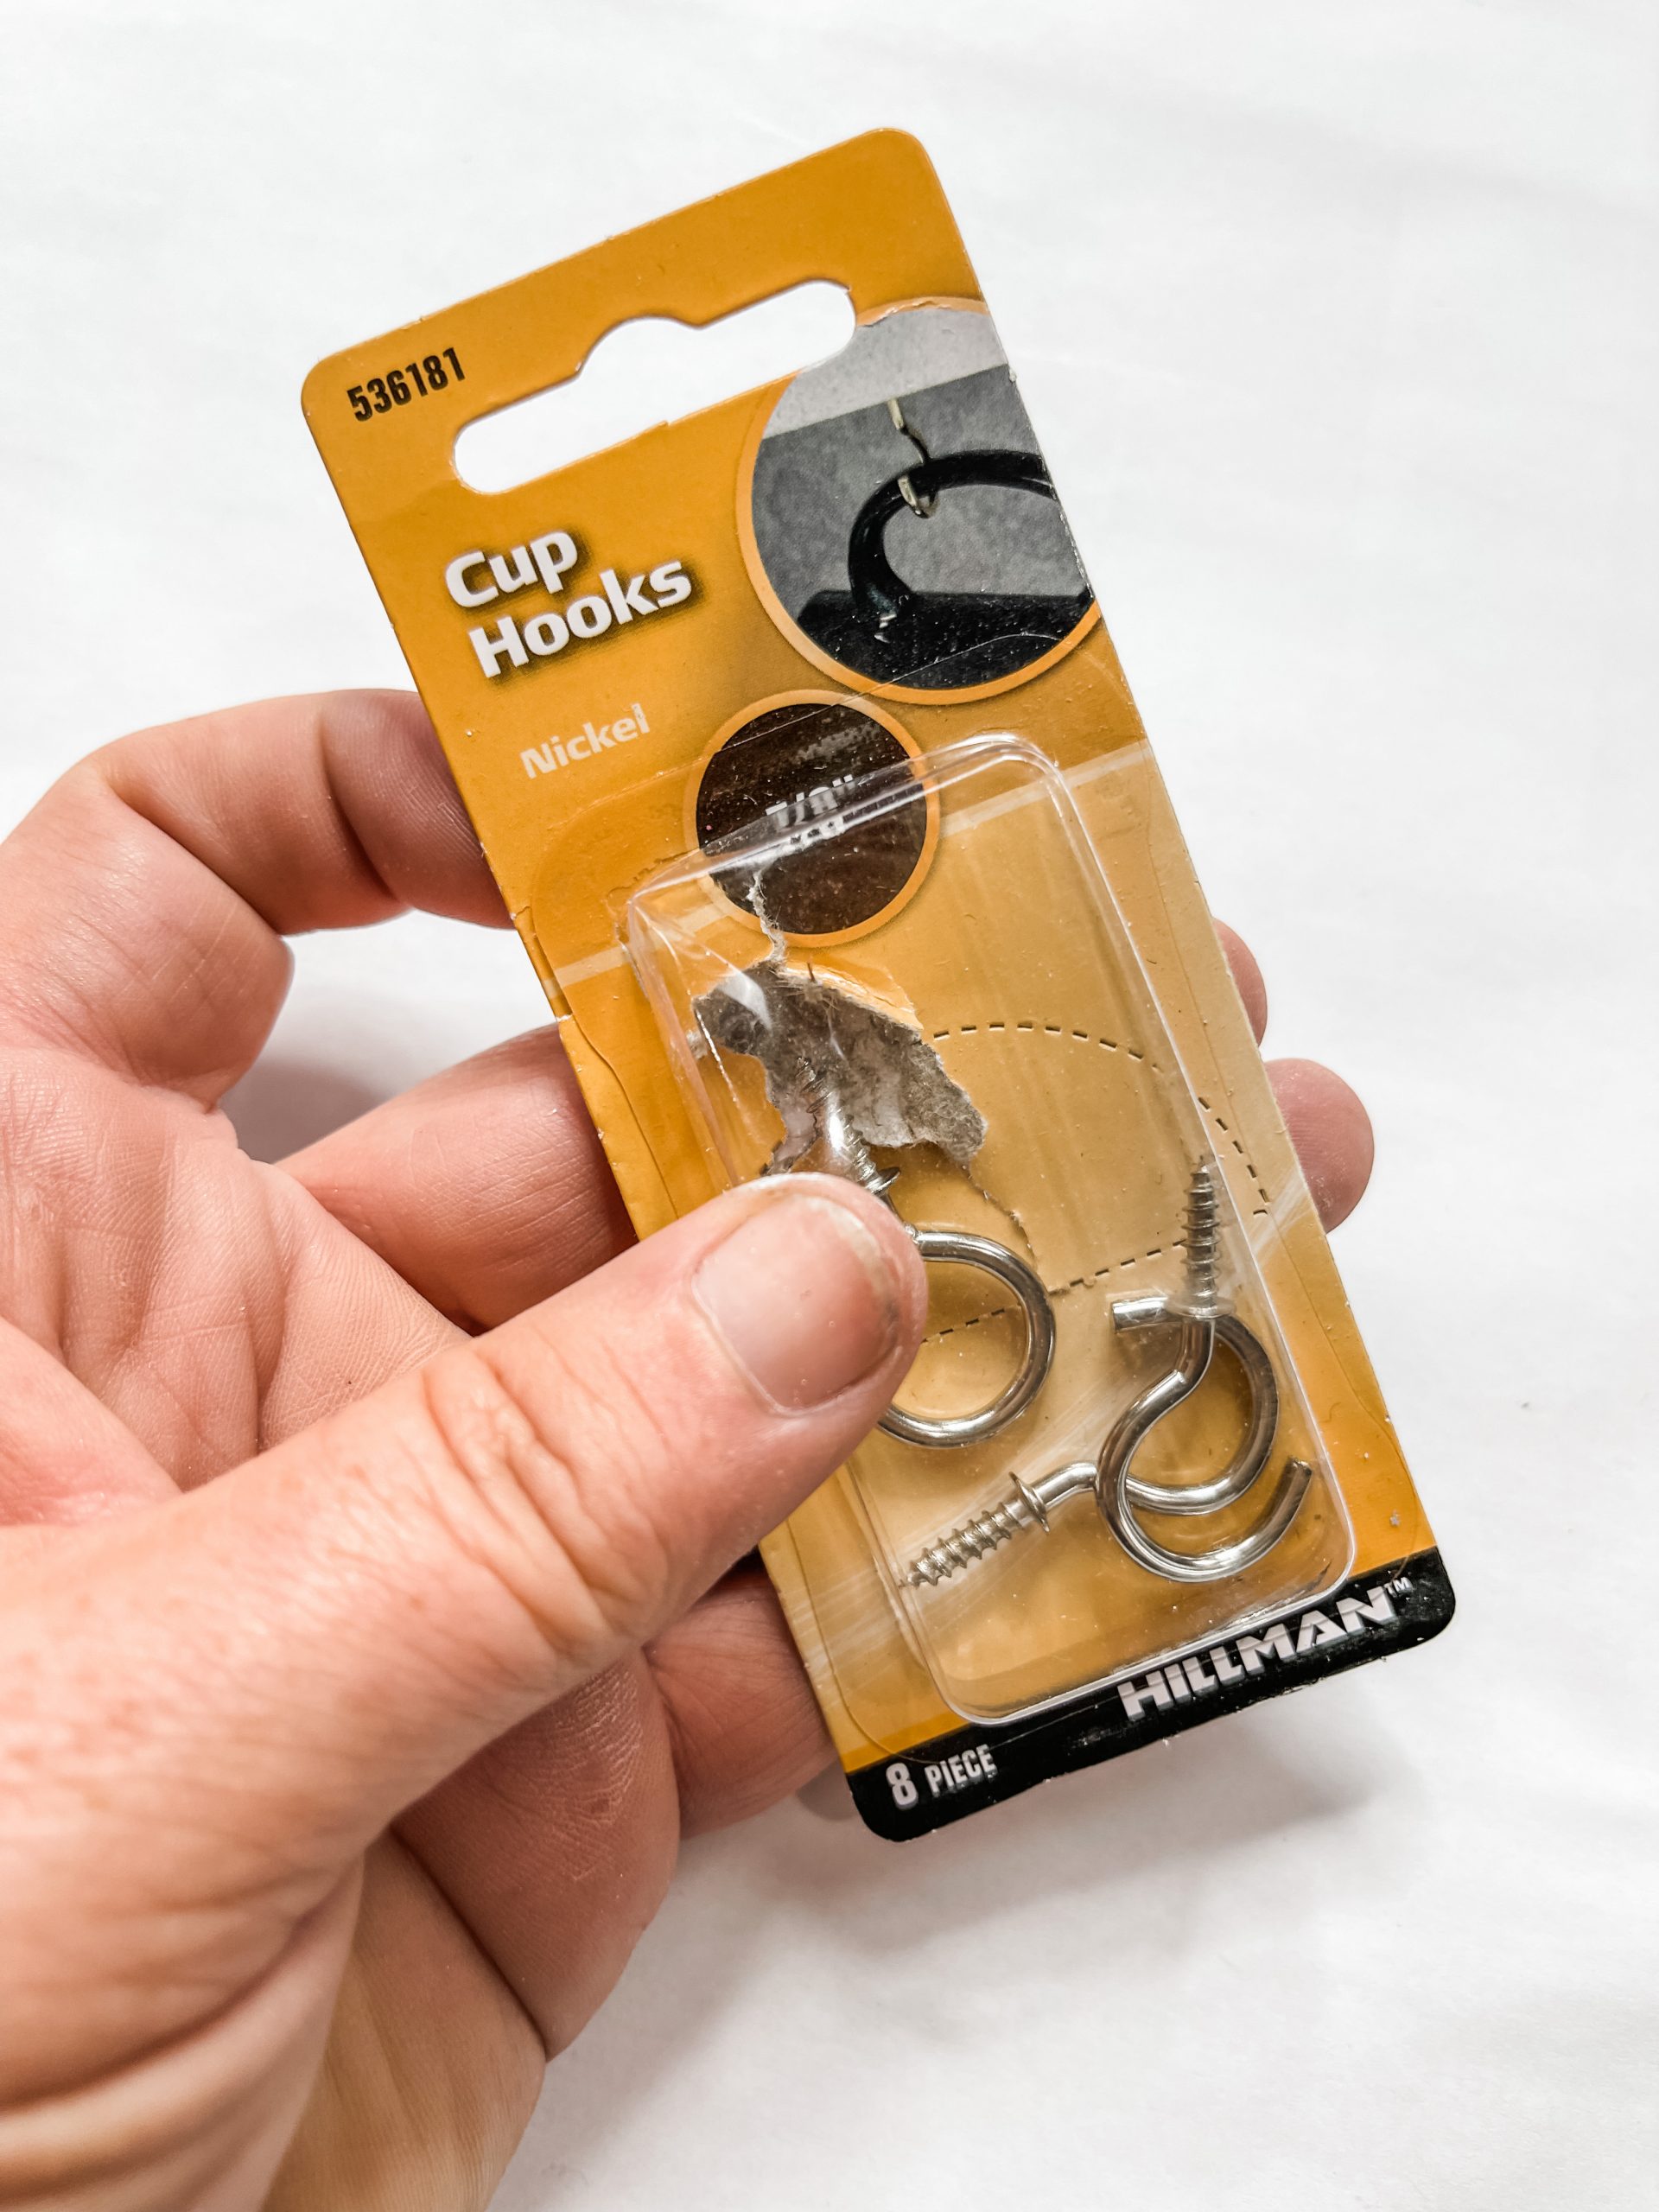
- Cup hook
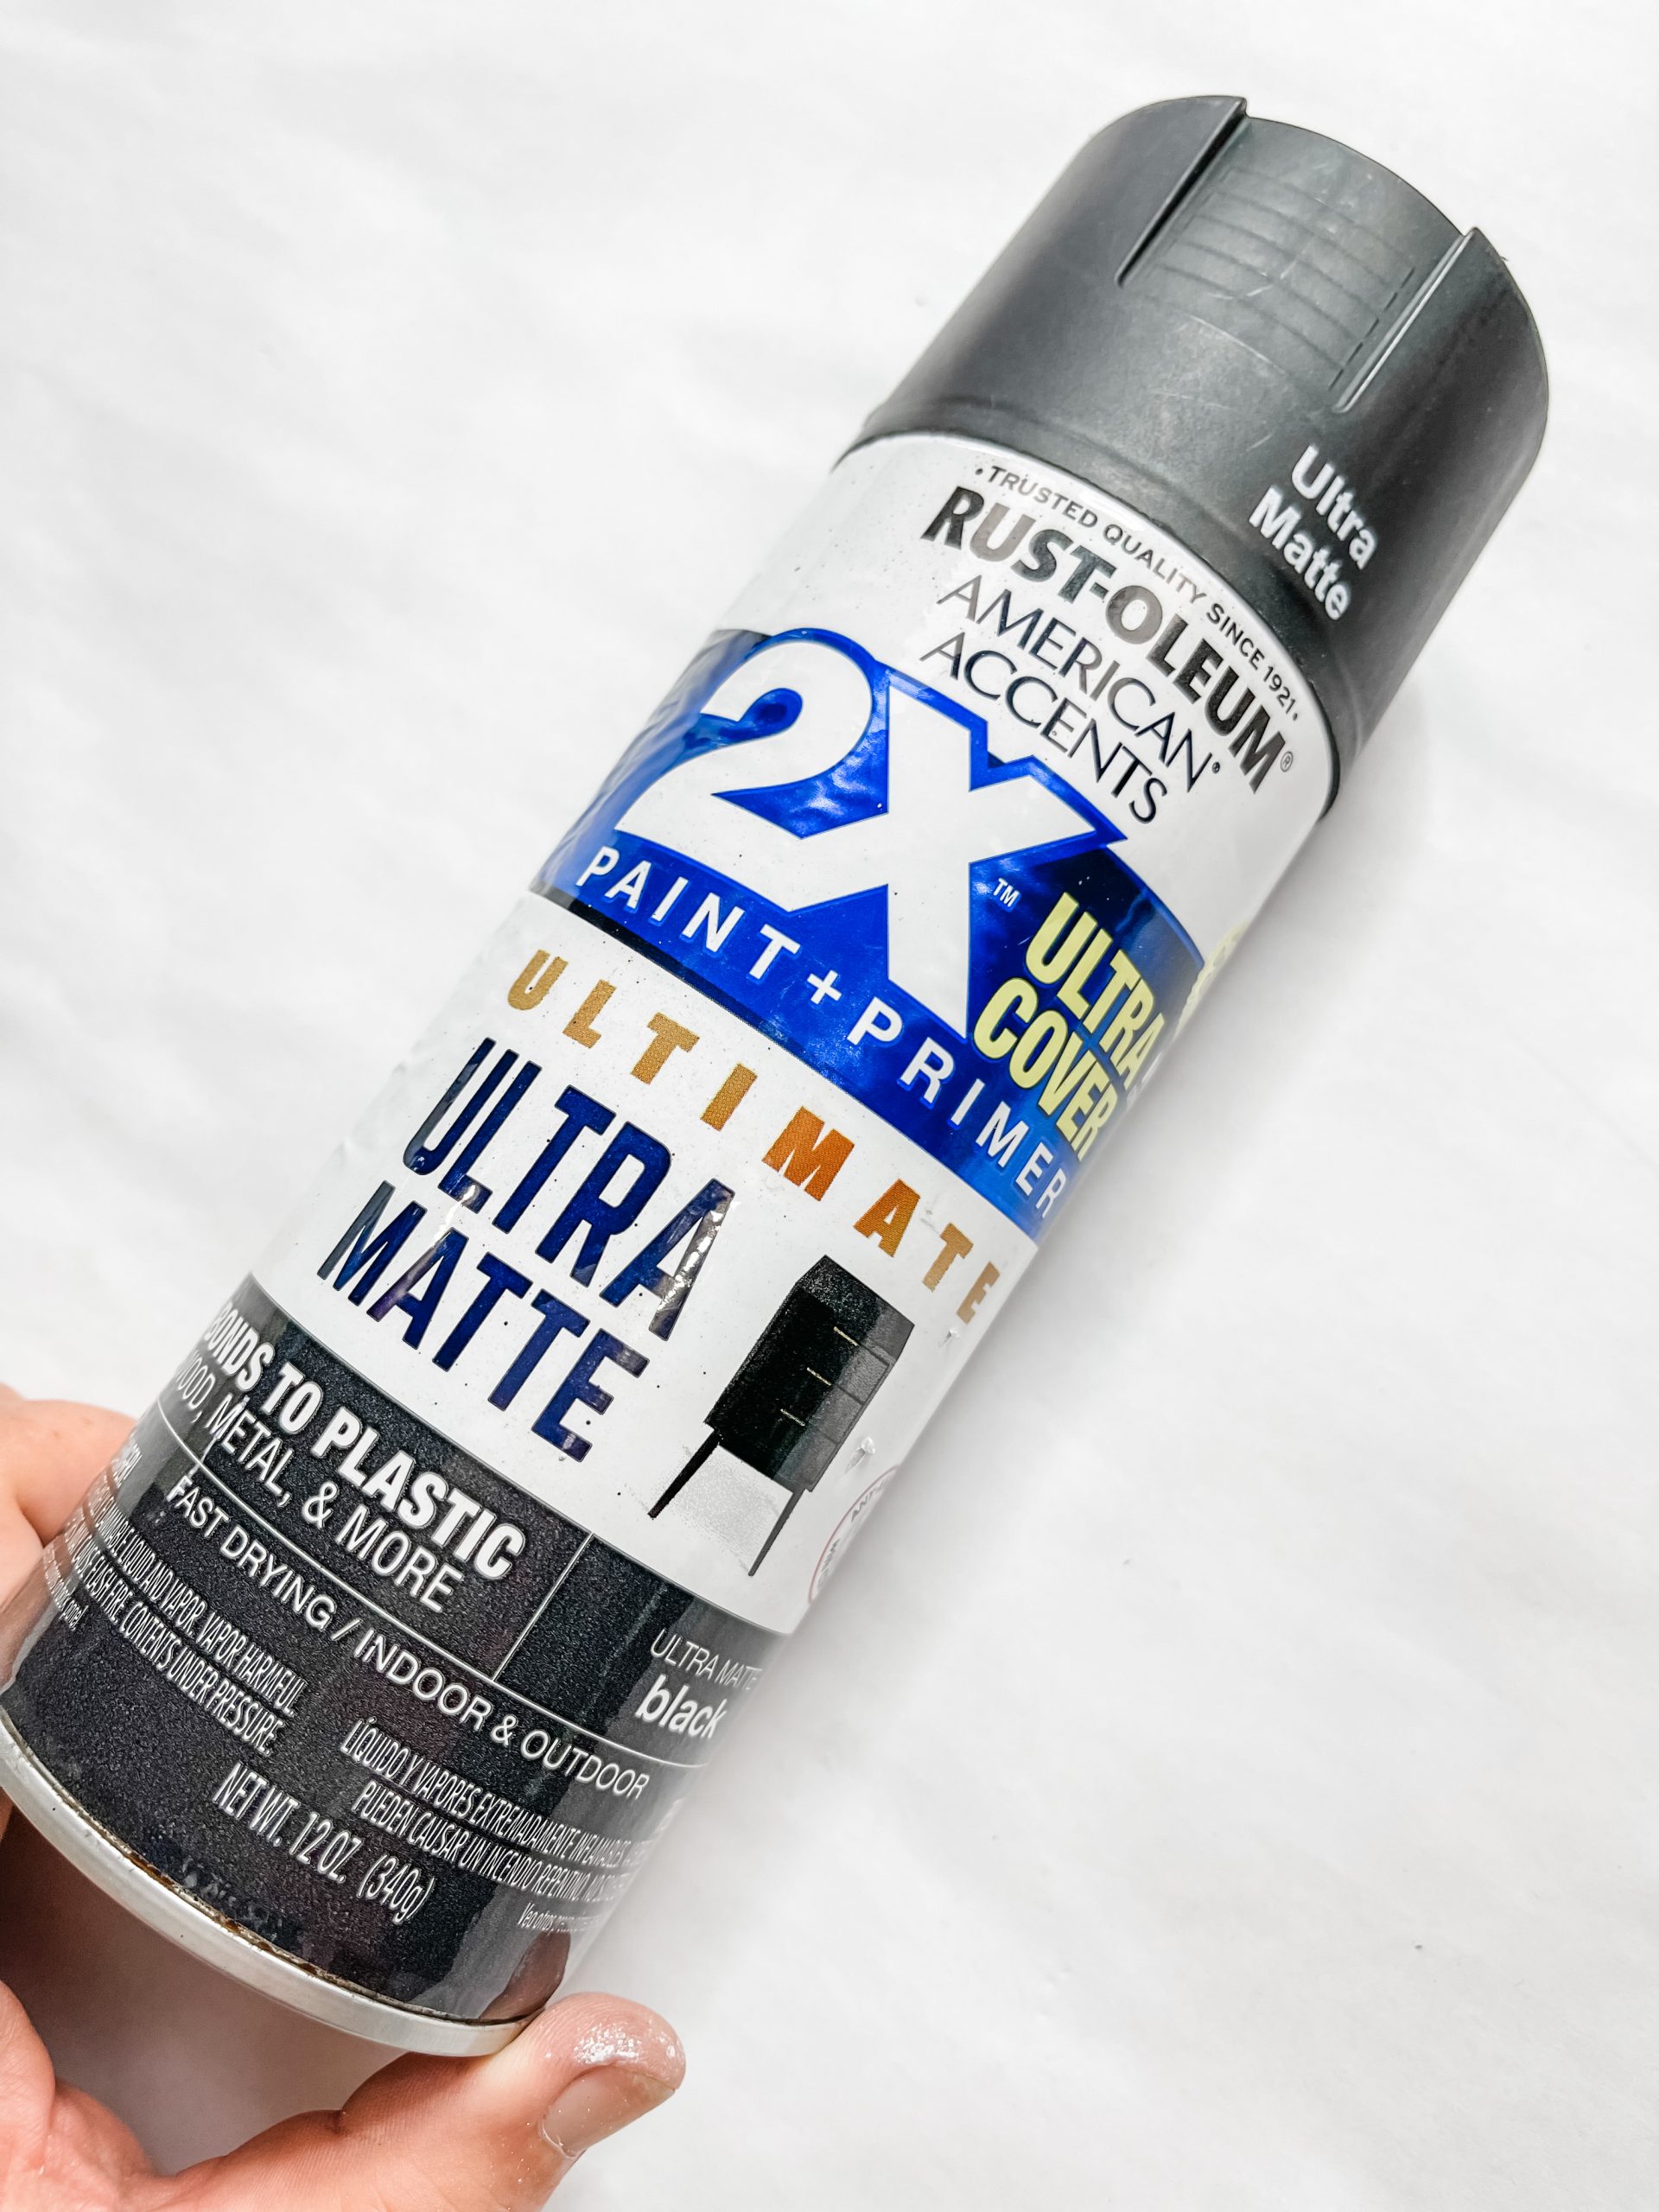
- Rustoleum Ultra Matte Black Spray Paint
- Glue Gun
- Heat gun
How to make a DIY Winter Lantern
Start by removing the stretched canvas from its frame. You can do this methodically to conserve the canvas and use it later for another project, or you can just tear it off. That’s your choice.
Next, I took three wood planks and glued them together to create the base for my DIY winter lantern. Use a sanding sponge to smooth the surface of the canvas frame and to remove any splinters.
Now it’s time to stain the wood pieces. I used Waverly Ink Chalk Paint and water to do this. Pour a bit of paint onto a small plate and mix in a small amount of water.
Use a wet wipe to spread the paint and water mixture across the wood surfaces. You can use a clean wet wipe to remove the excess mixture from the wood, and you’re left with a stained surface!
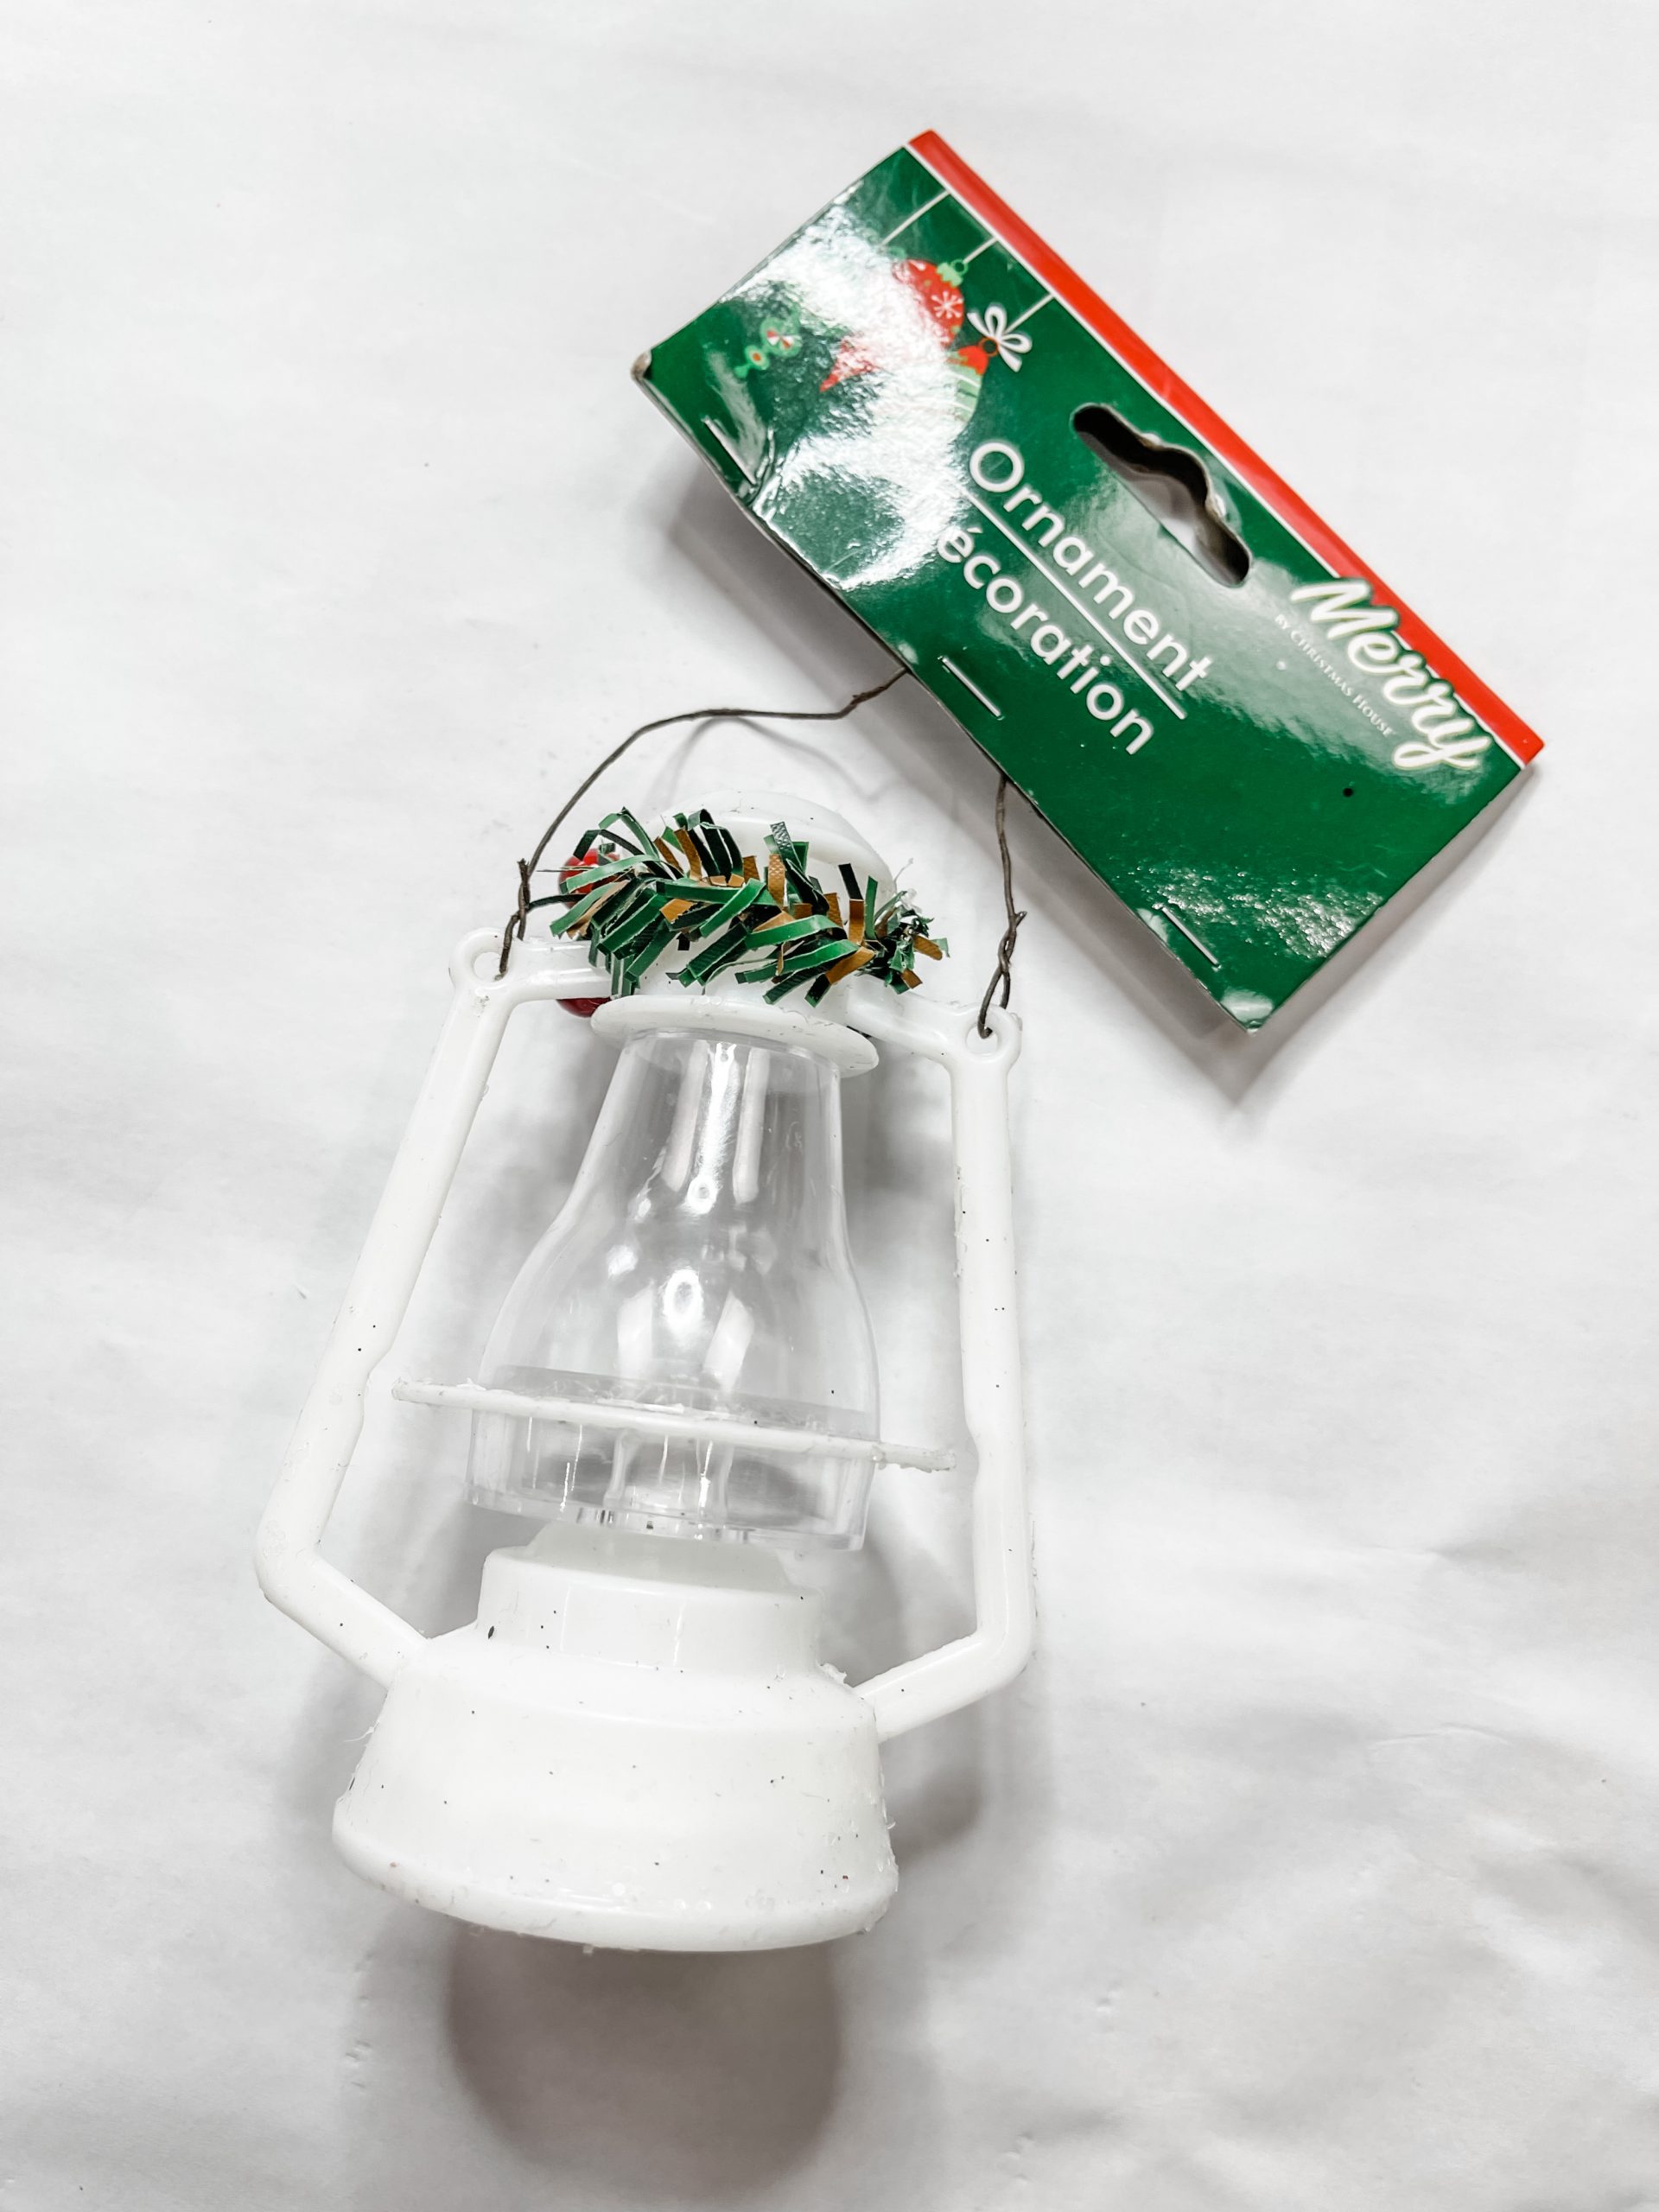
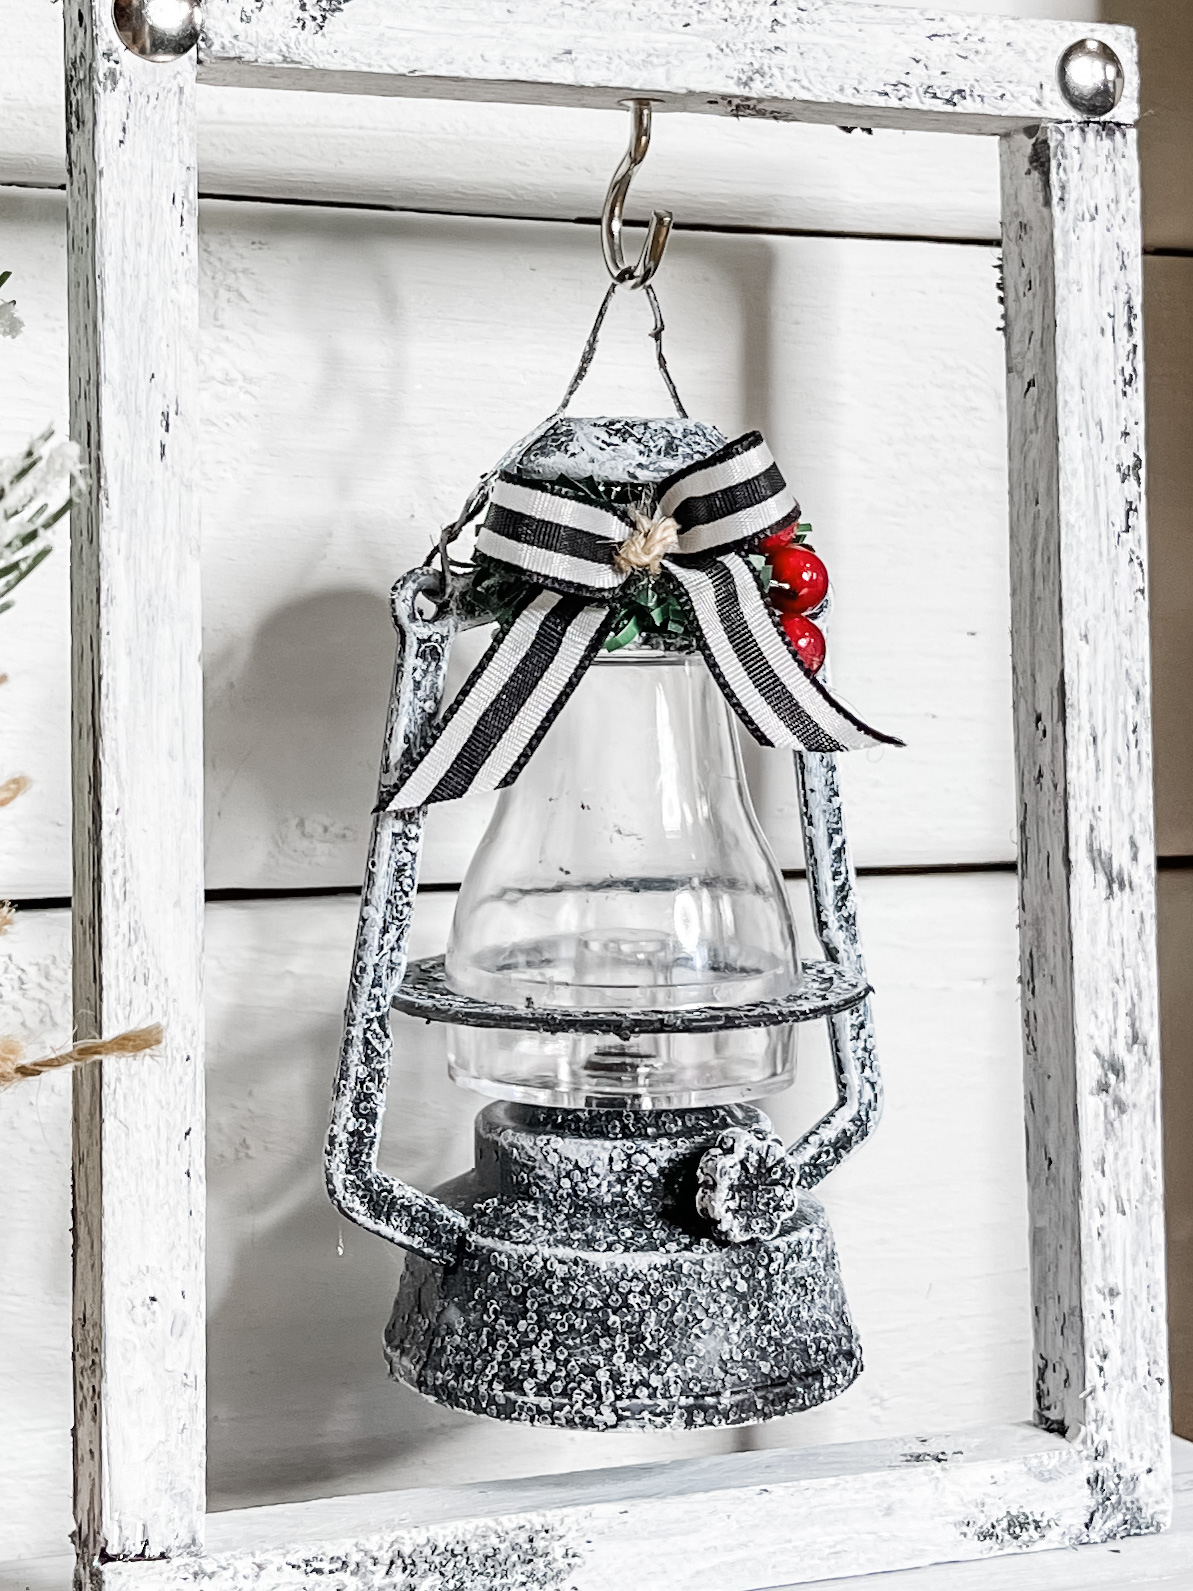
Do the same with four wood craft cubes. Then, remove the plastic center and the garland and berries from the Dollar Tree lantern ornament. Spray paint the lantern with black paint.
Let it dry completely. I dry brushed white chalk paint across the canvas frame, wood plank base, and wood craft cubes while my lantern dried.

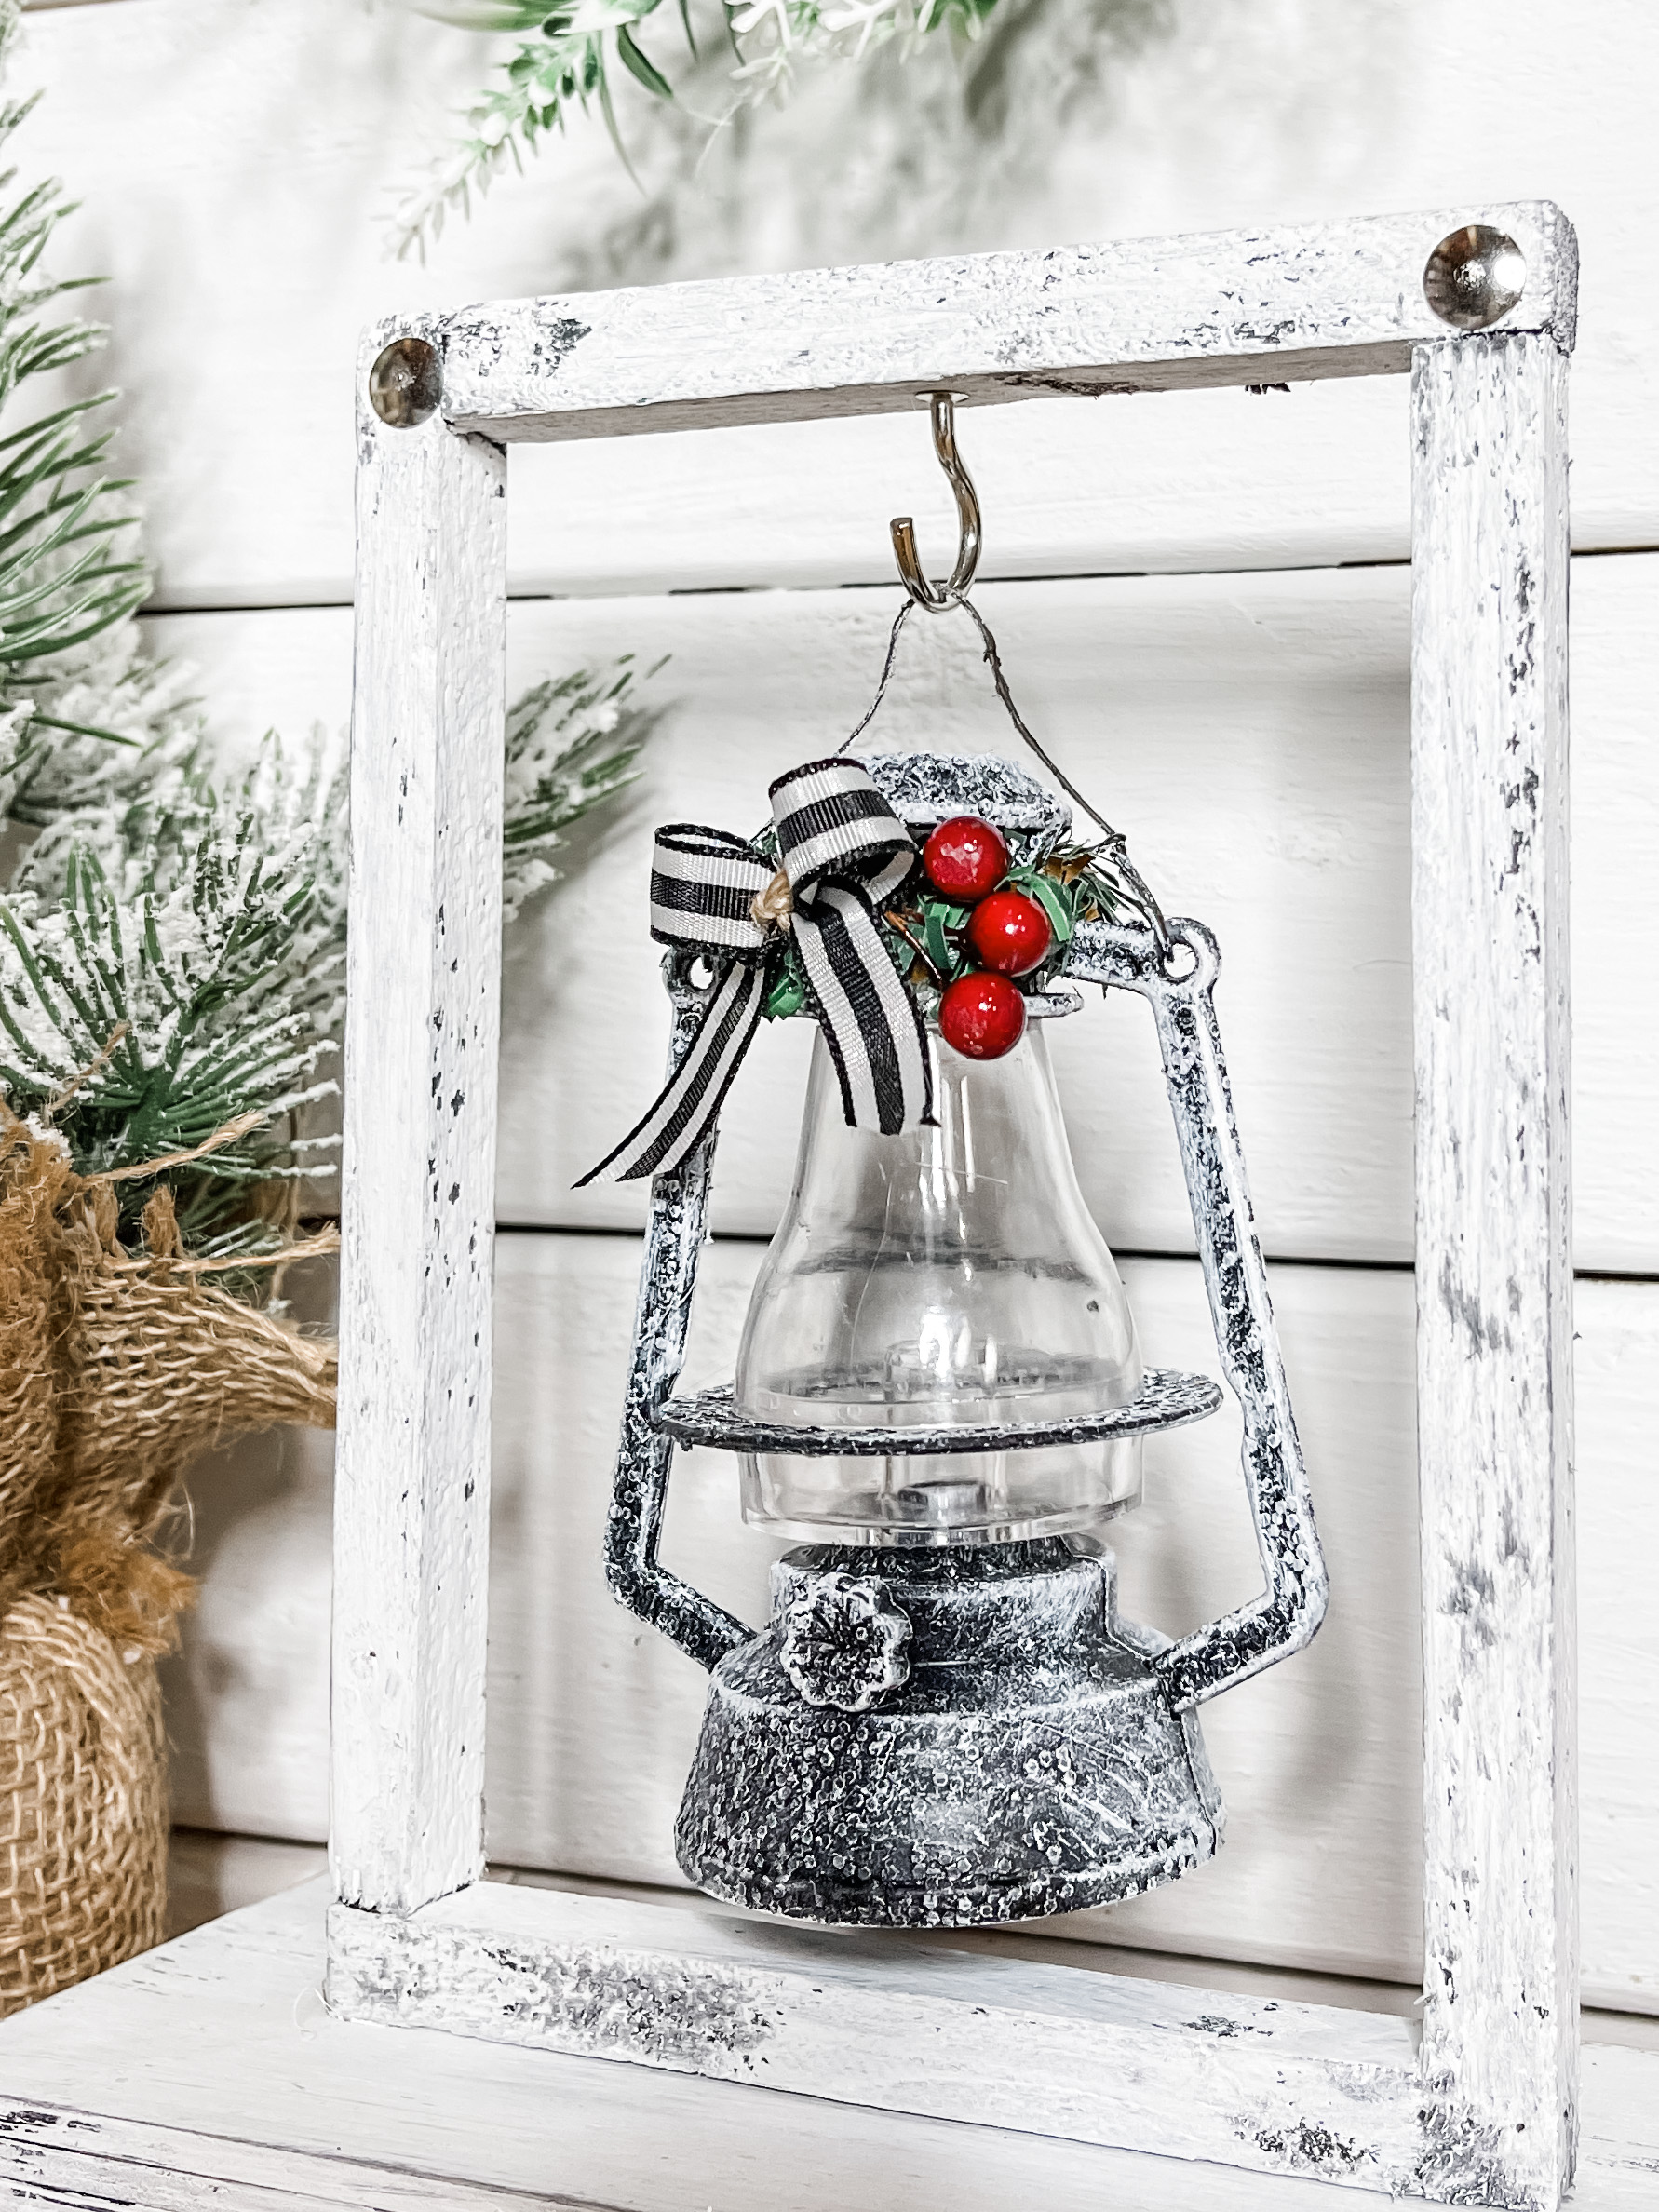
Then, I very lightly brushed a small amount of white paint onto the lantern to make it look icey. Once all the paint is dry, insert the plastic center back into the lantern and reattach the garland and berries.
Bring it all together
Next, I drilled a small hole in the top of the canvas frame so I could insert the cup hook and I hot glued the four wood cubes to the bottom of the base.
Then, hot glue the frame onto the top of the base. Tie a little bow out of black and white striped ribbon and hot glue it at the top of the lantern next to the garland and berries.
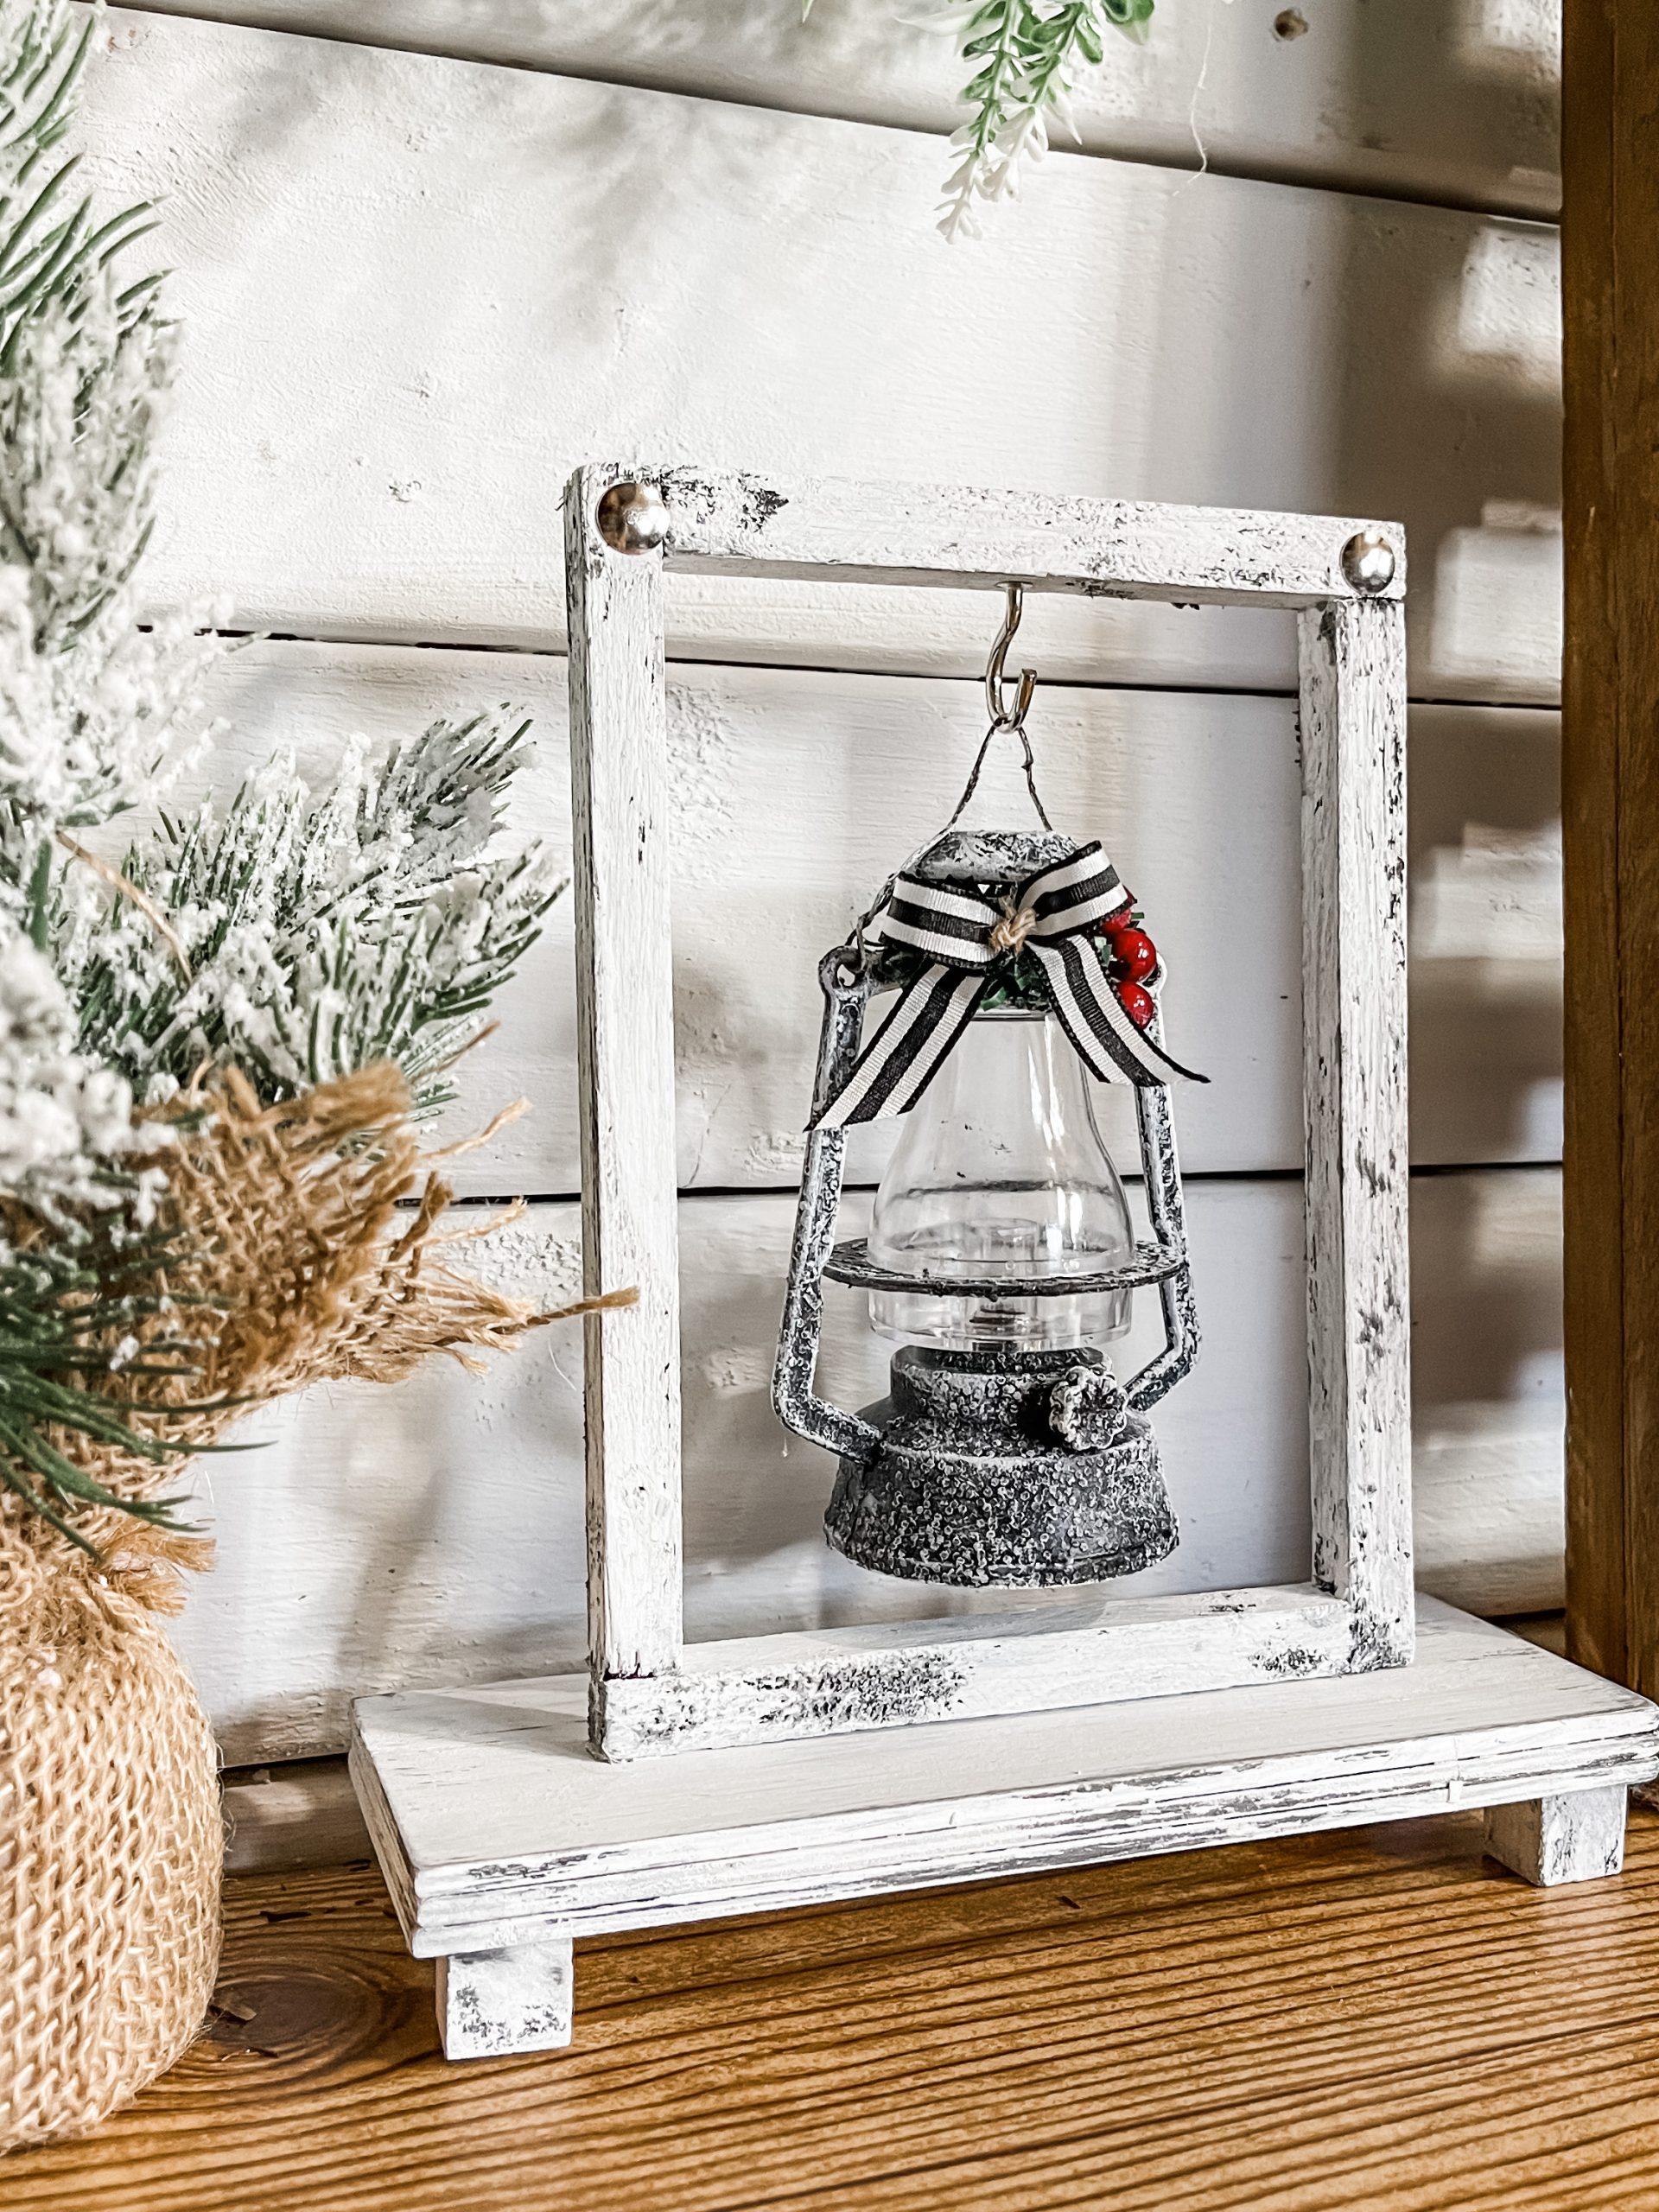
Lastly, I pressed a flatback tack into each of the top corners of the frame, and I hung the adorable DIY winter lantern on the cup hook!
I hope you enjoyed this DIY Winter Lantern as much as I did and decide to make one for yourself! I would love to see how yours turns out!

You should totally join my FREE Facebook group called On A Budget Crafts! It is a judgment-free community for DIY crafters to show off their projects and ideas.
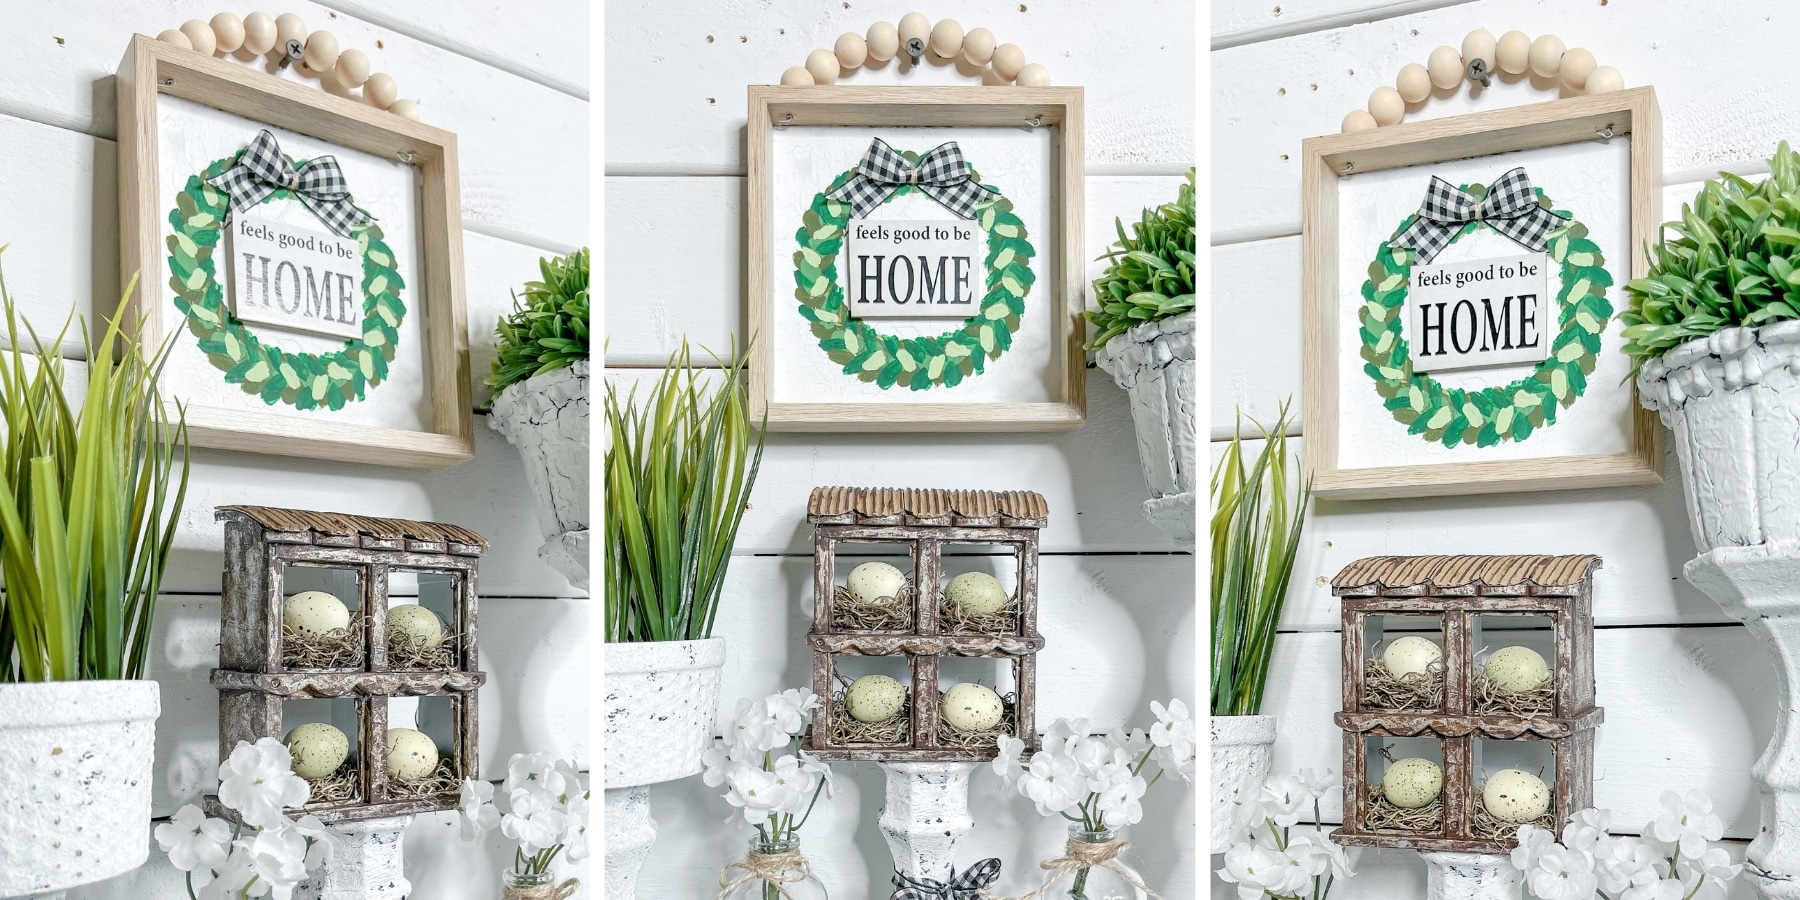
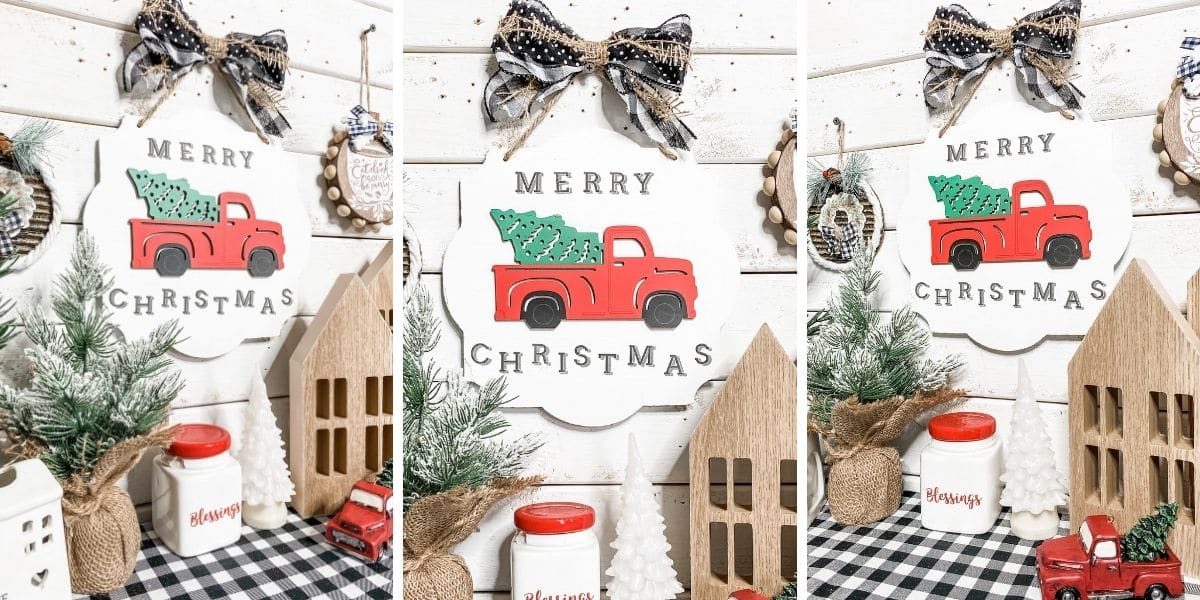
If you loved this DIY Winter Lantern you might also like this DIY Christmas Tree Shelf Decor!
Thanks for stopping by! XOXO Amber
You can also shop my ENTIRE AMAZON Favorites shop just click here! It’s packed full of all the things I use and love.
Here is the supply list I highly recommend every creative have on hand!! Would you also pin my blog for later and get on my newsletter alerts? I would love to have you join my #craftycrew.

Join my free “ON A BUDGET CRAFTS” Facebook group!
PIN THIS POST FOR LATER!
I love the lantern it is so adorable!! I actually have a couple of those lanterns in my stash from last yr I’m going to have to dig them out and try this craft !!
Love it, just adorable
I just love double purposed crafts!! I’m motorhome living right now so having adorable tchotchkes to display that are usable for all the seasons makes life so simple!!
Winter lantern turned out really cute