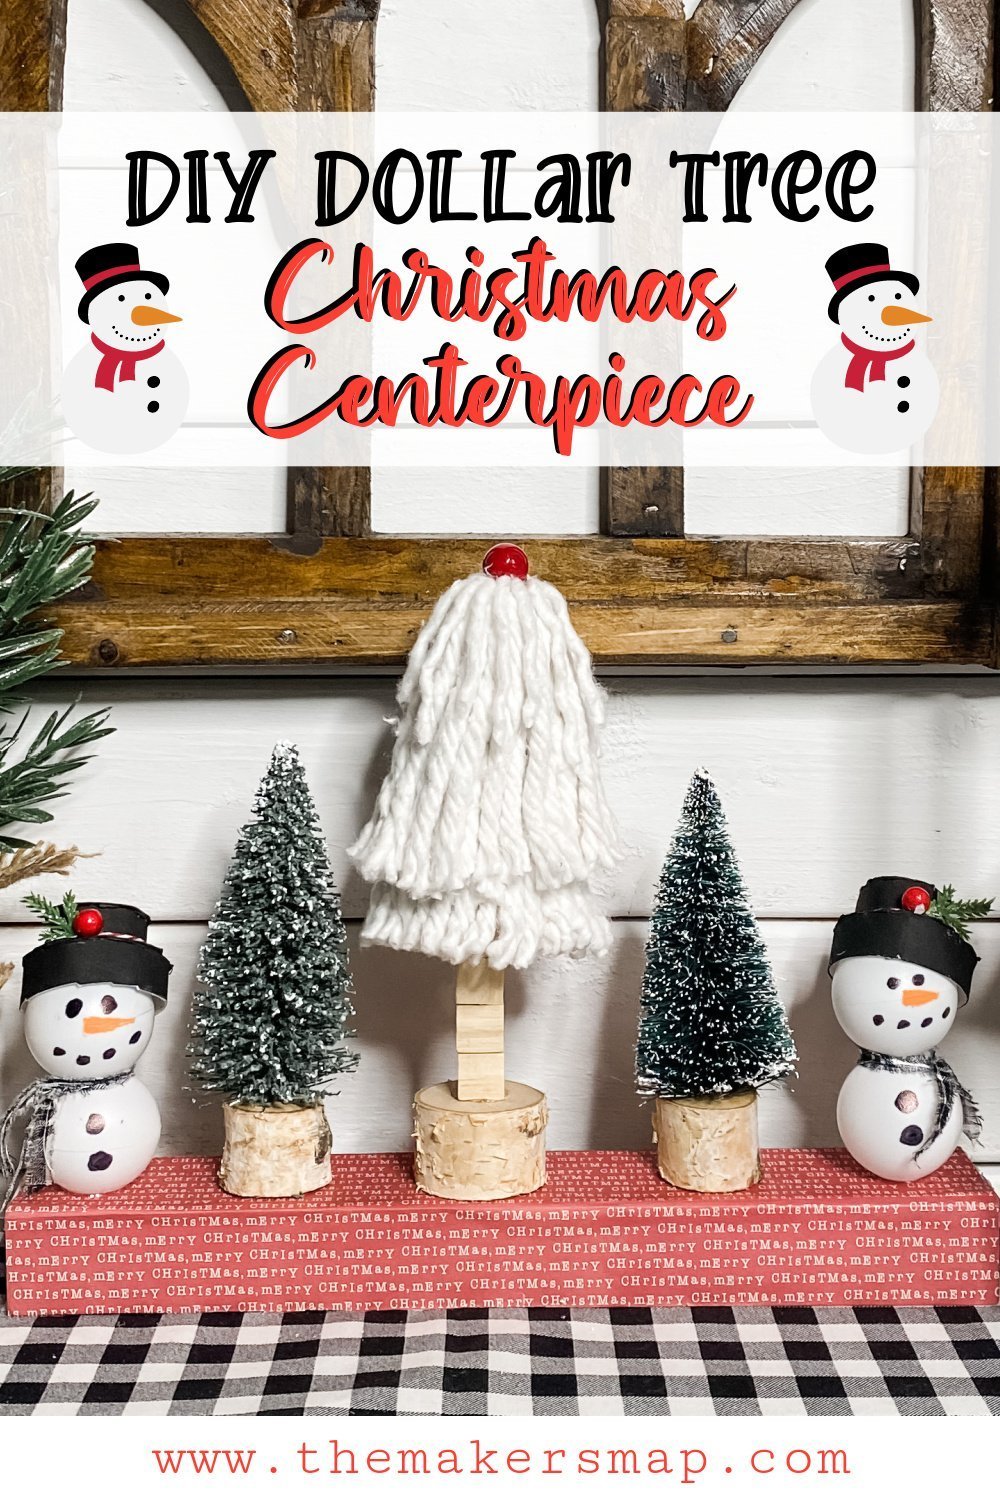
DIY Dollar Tree Winter Centerpiece
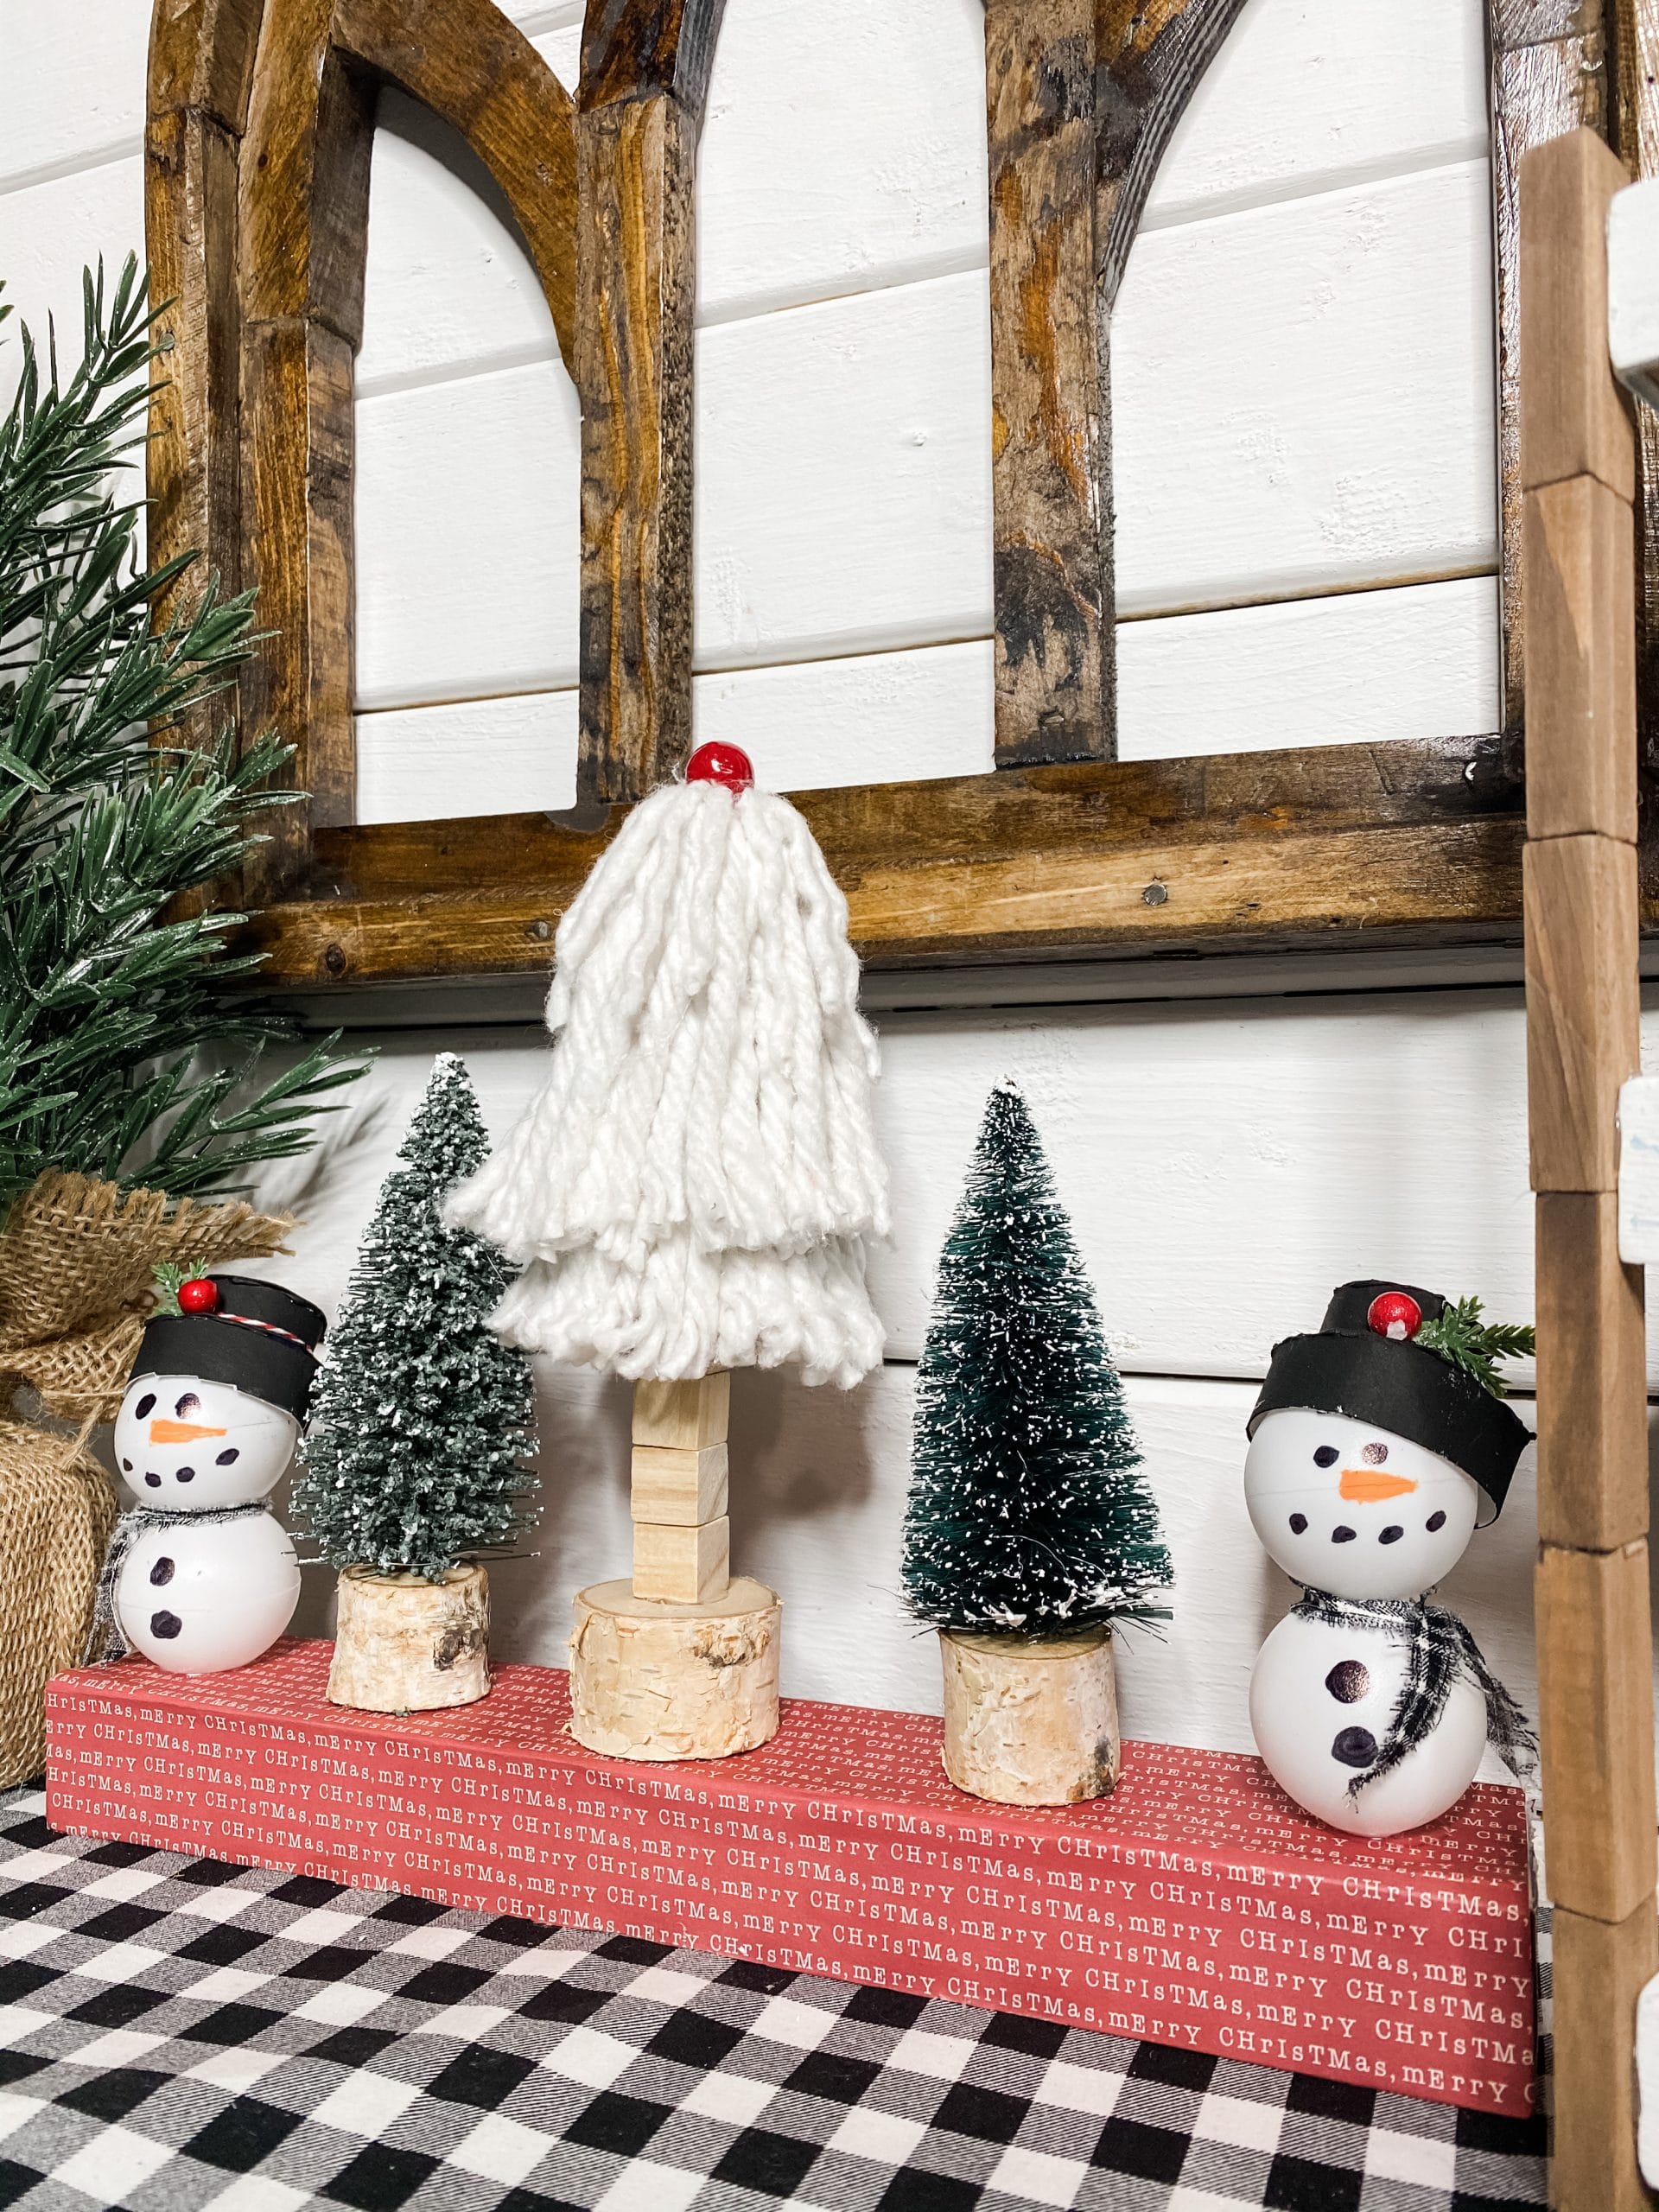
Are you looking for a fun, easy, and affordable kid’s craft? Well, you’ve found it! This DIY Dollar Tree Winter Centerpiece was so much fun to make and turned out super cute! Almost every item is from Dollar Tree or can be found at Dollar Tree.
I had a vague idea for this DIY, but I wasn’t 100 percent certain how it was going to play out once I started crafting. Honestly, that’s how a lot of my DIY projects happen! I start with just an idea of how I want it to look and I bring the pieces together while I work.
Watch the replay
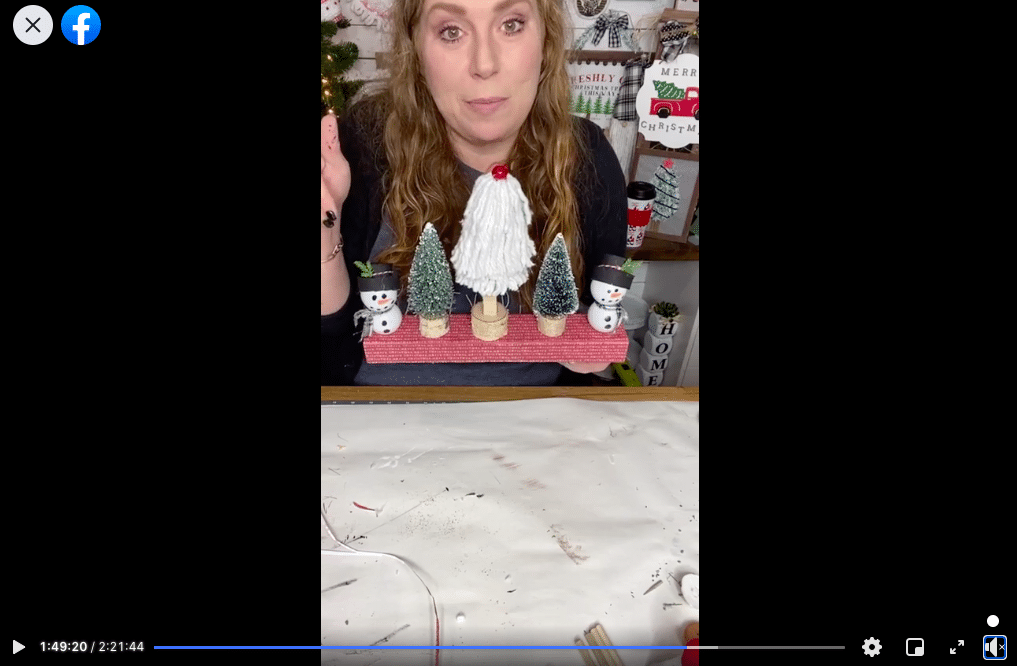
I created this easy DIY Dollar Tree Winter Centerpiece during a Facebook LIVE video. Crafting is a passion of mine, but it wouldn’t mean anything if I couldn’t inspire other people. That’s why I love to go LIVE on my Facebook page and share my craft ideas and techniques.
If you want to craft along or see my process for this easy Christmas DIY, you can watch the replay!
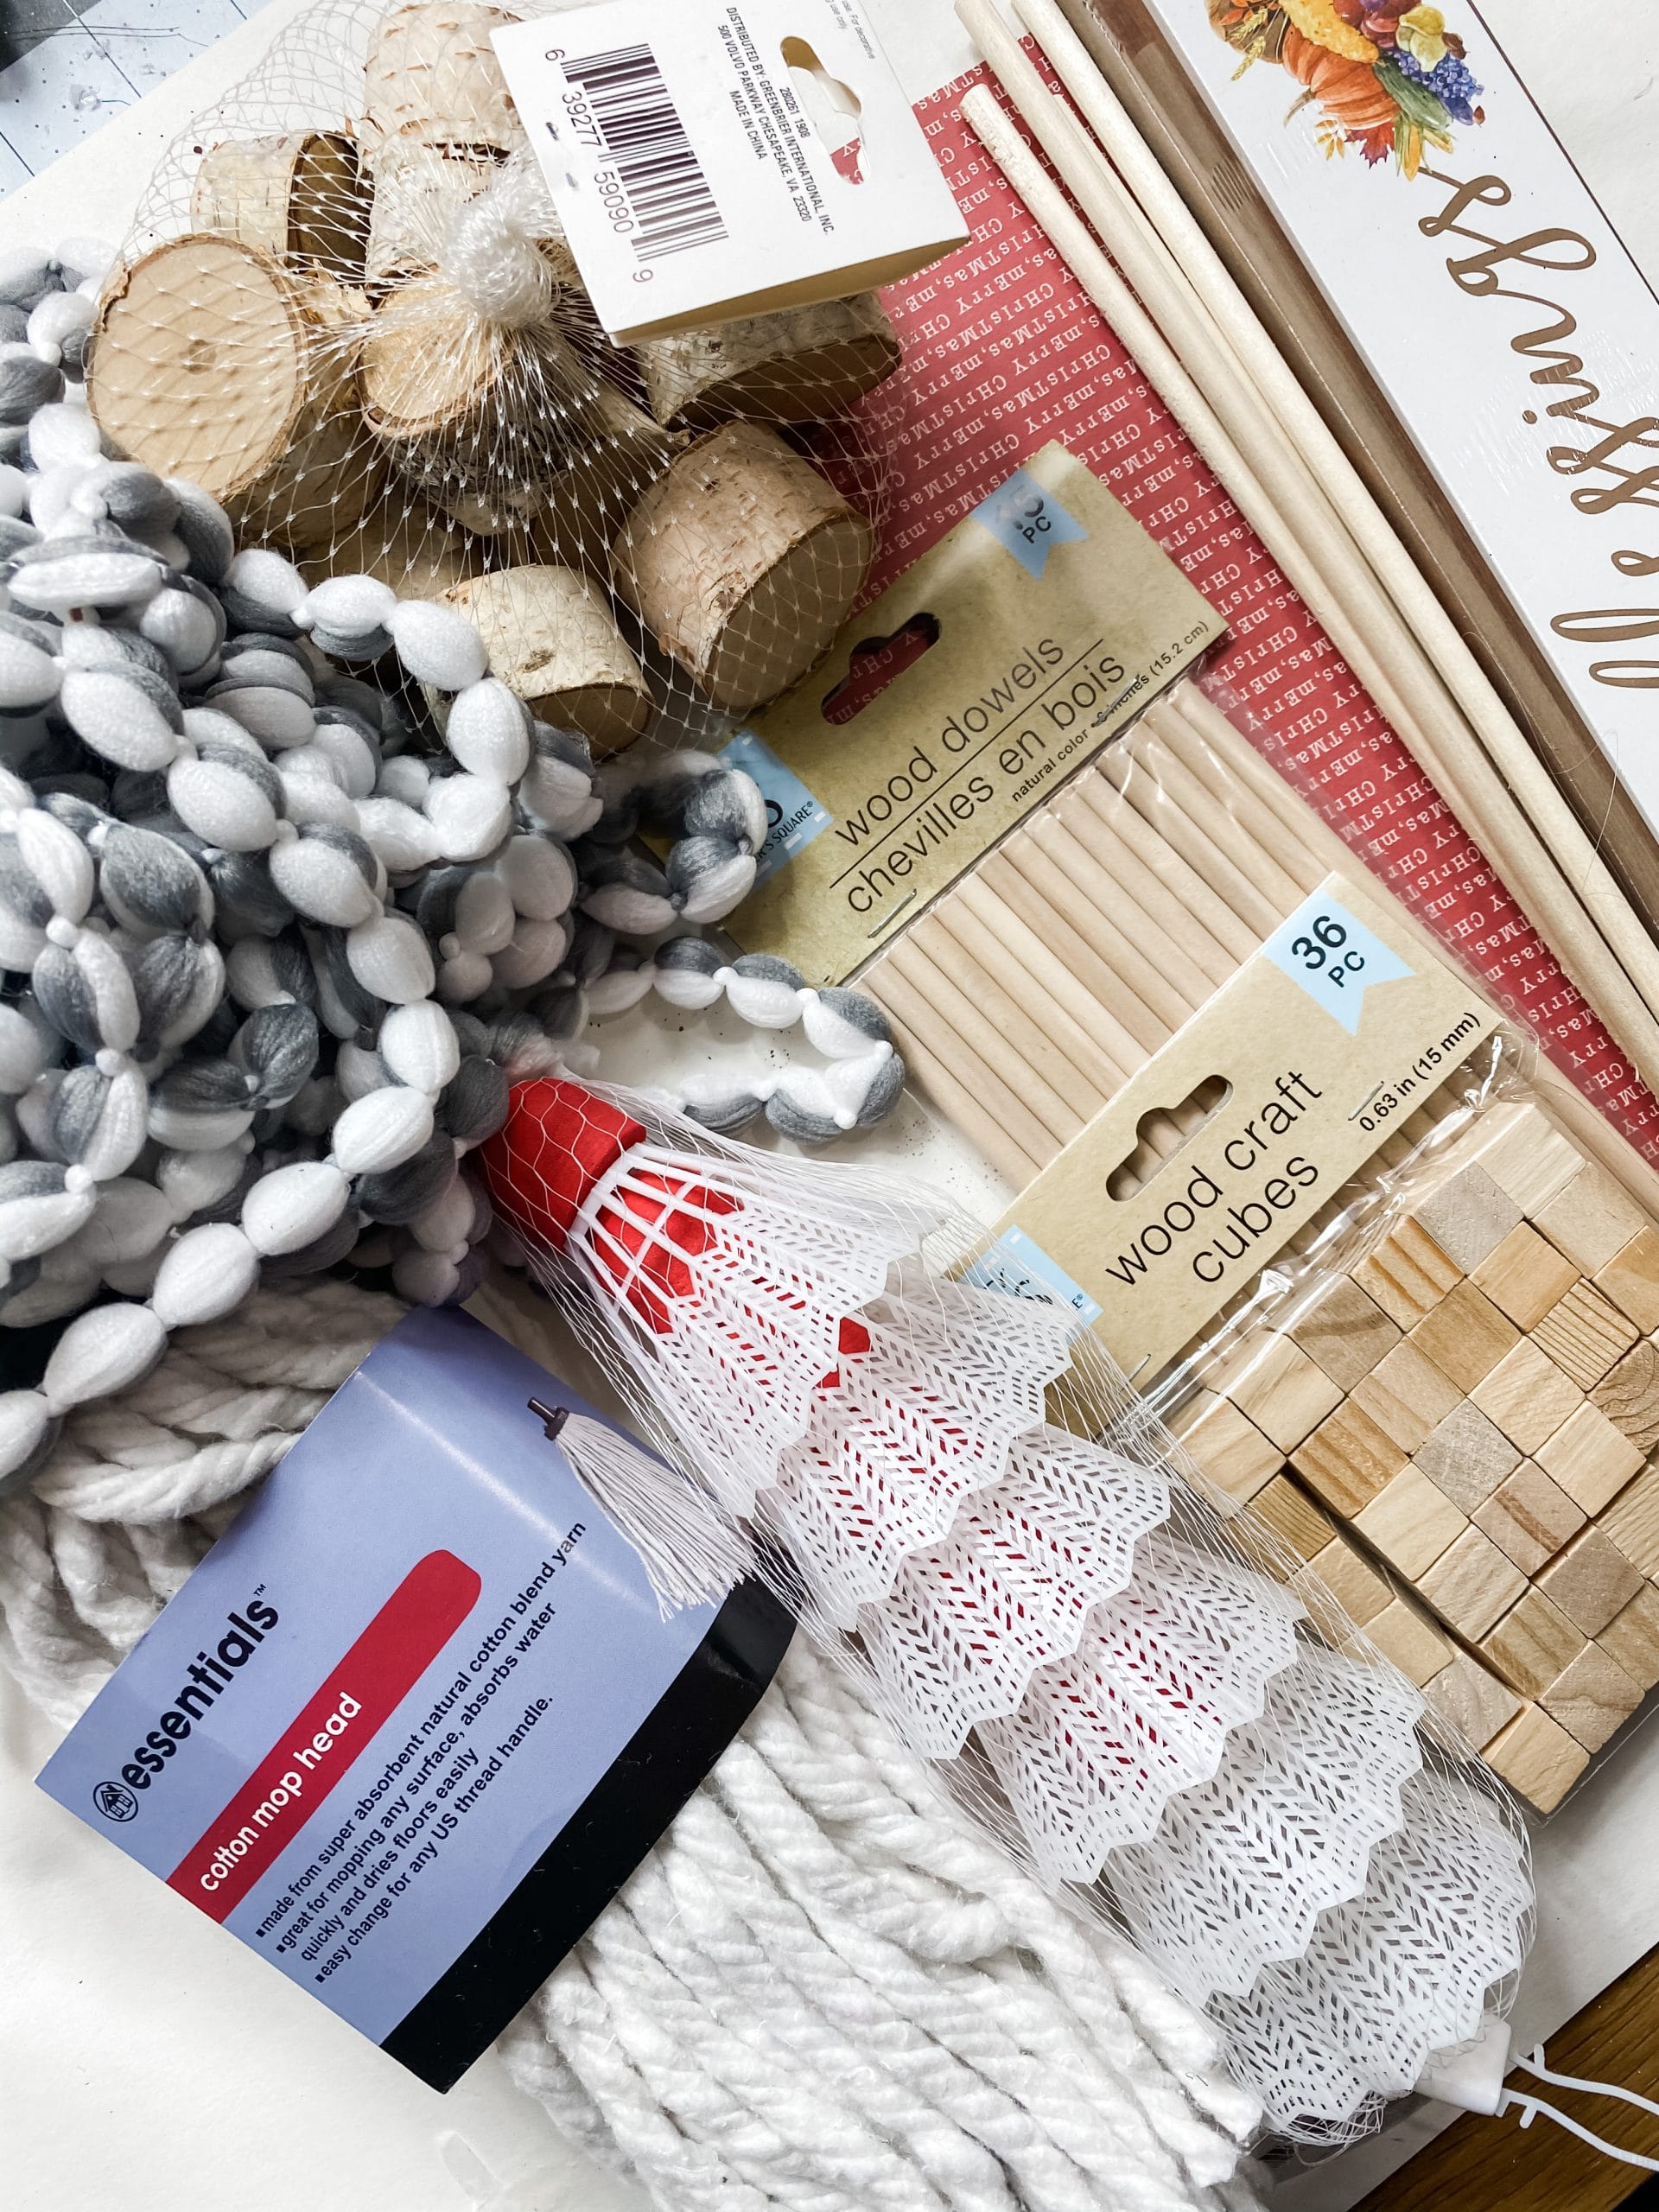
For this project, I will be using these items but you can substitute where you want.
“As an Amazon Associate, I earn from qualifying purchases.”
- Dollar Tree Wood Dowels
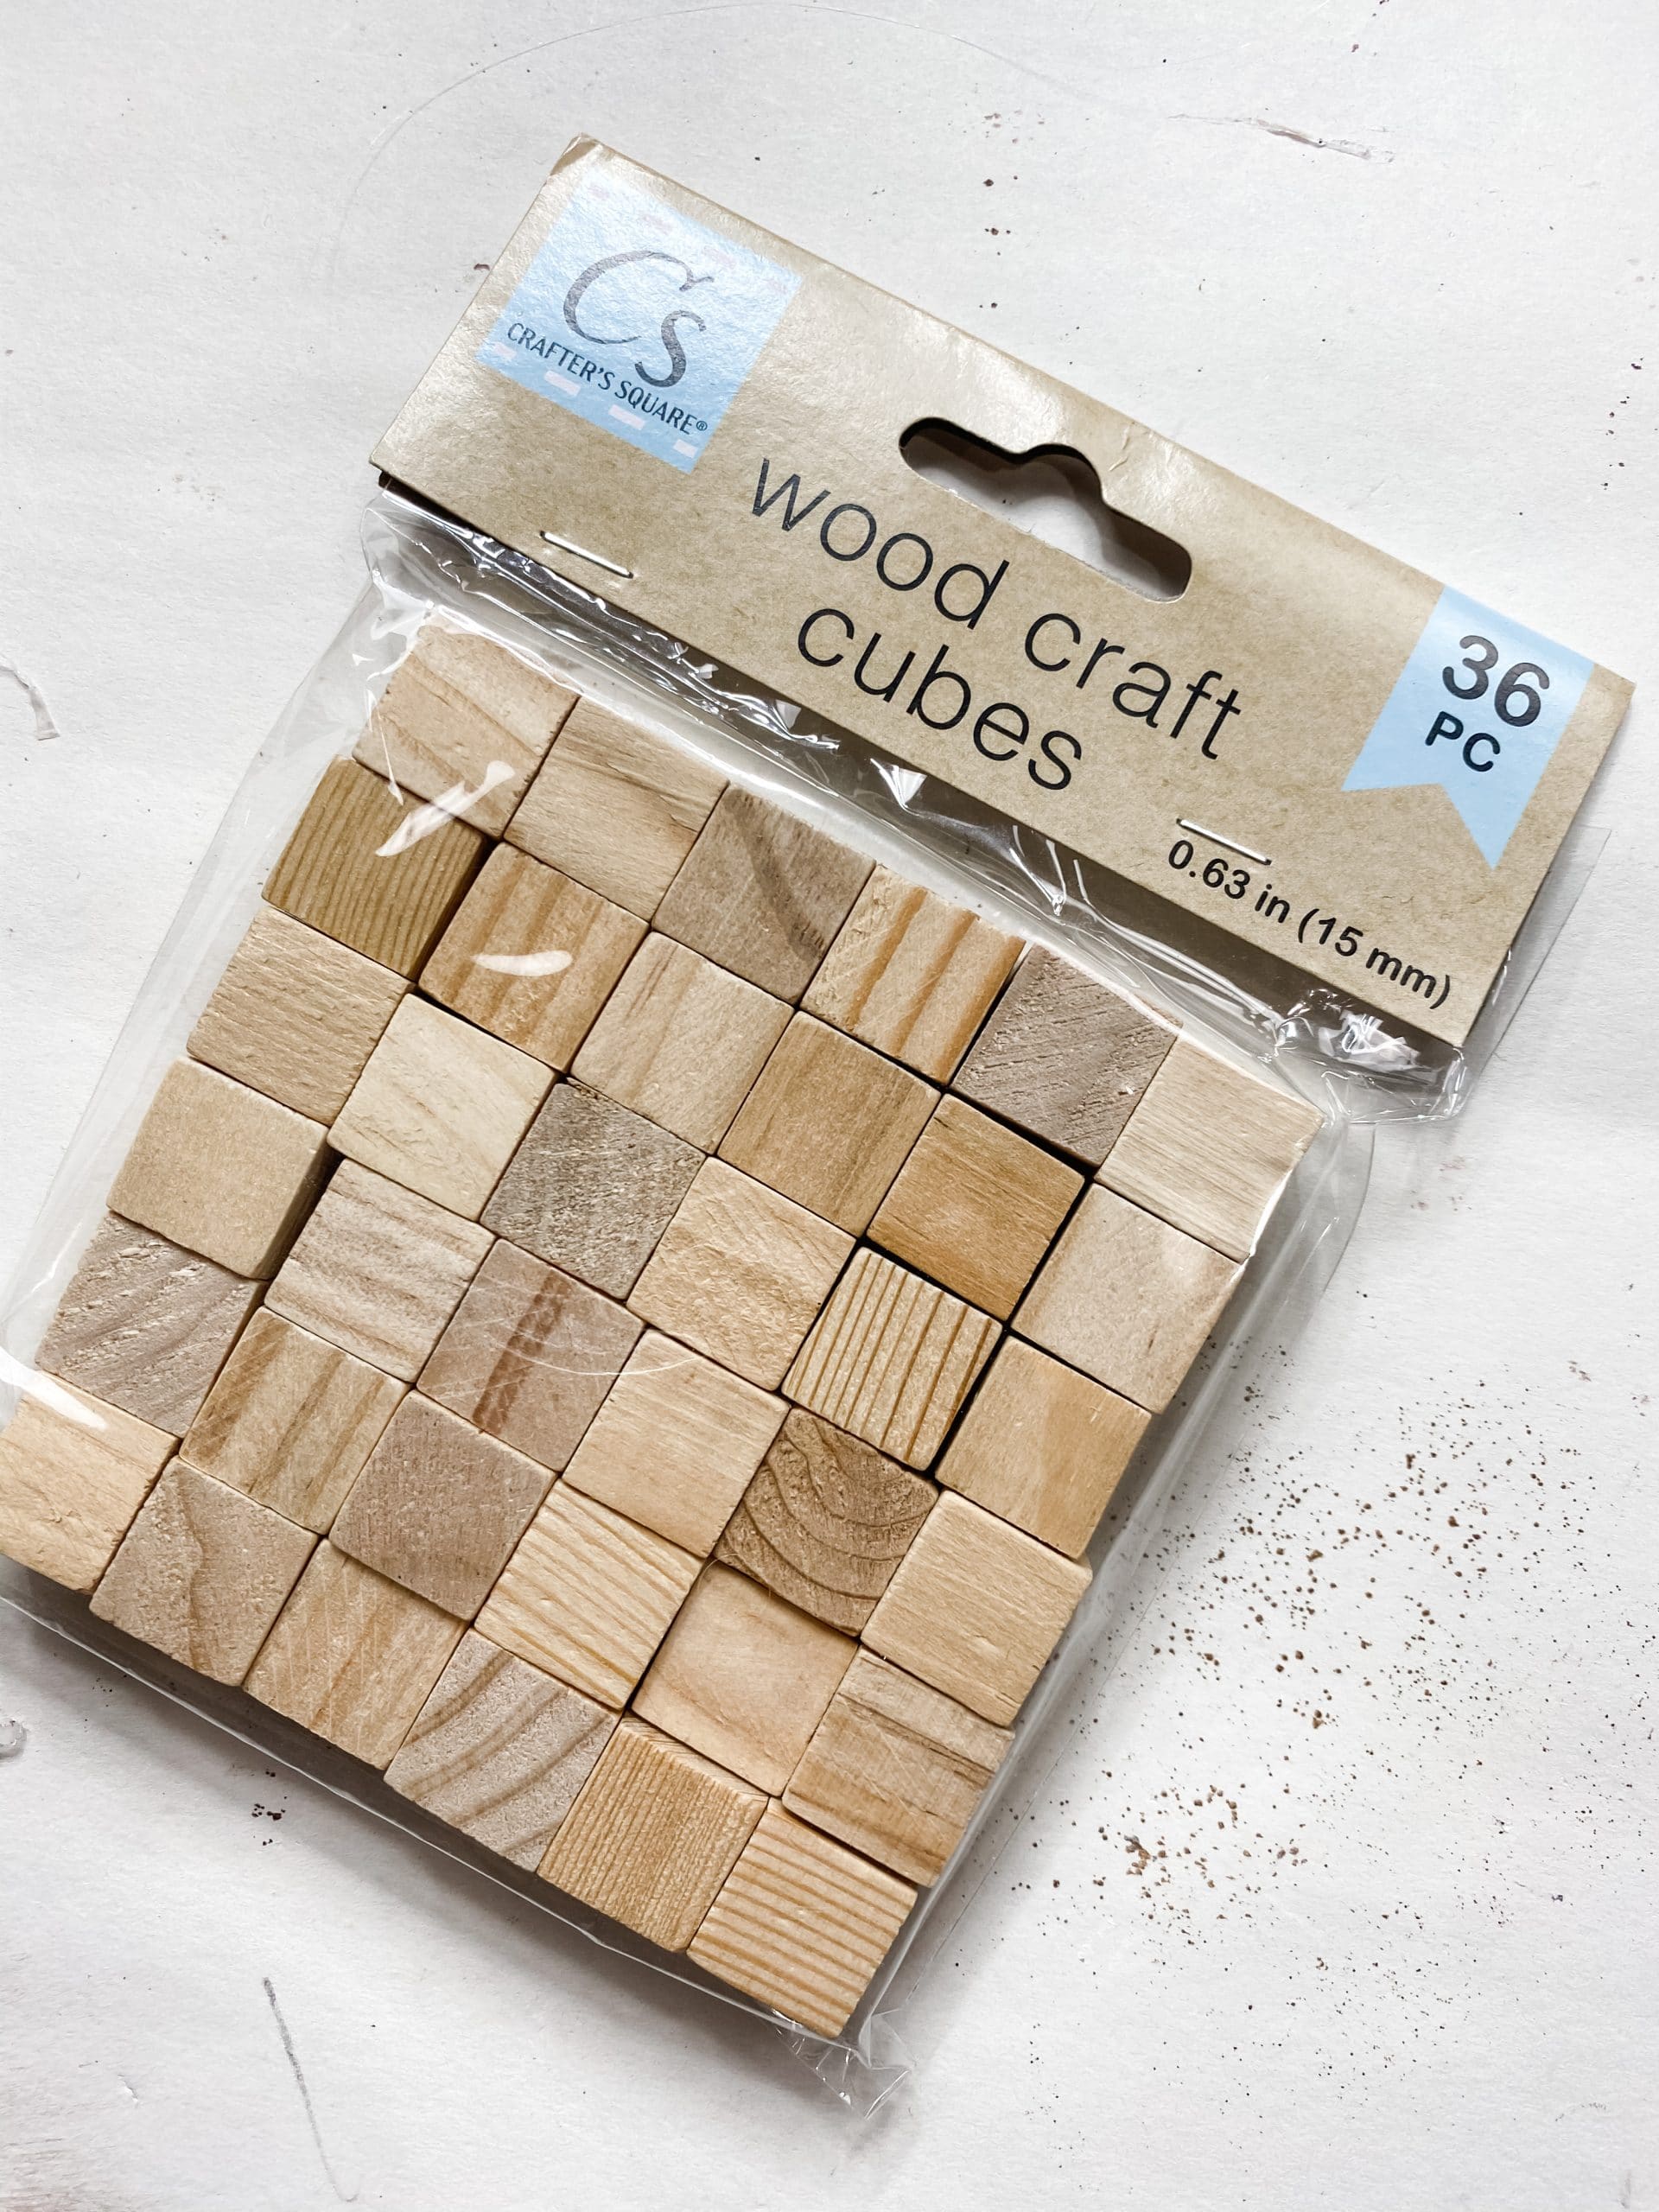
- Dollar Tree Wood Craft Cubes
- Toilet Paper roll
- Dollar Tree Badminton Birdies
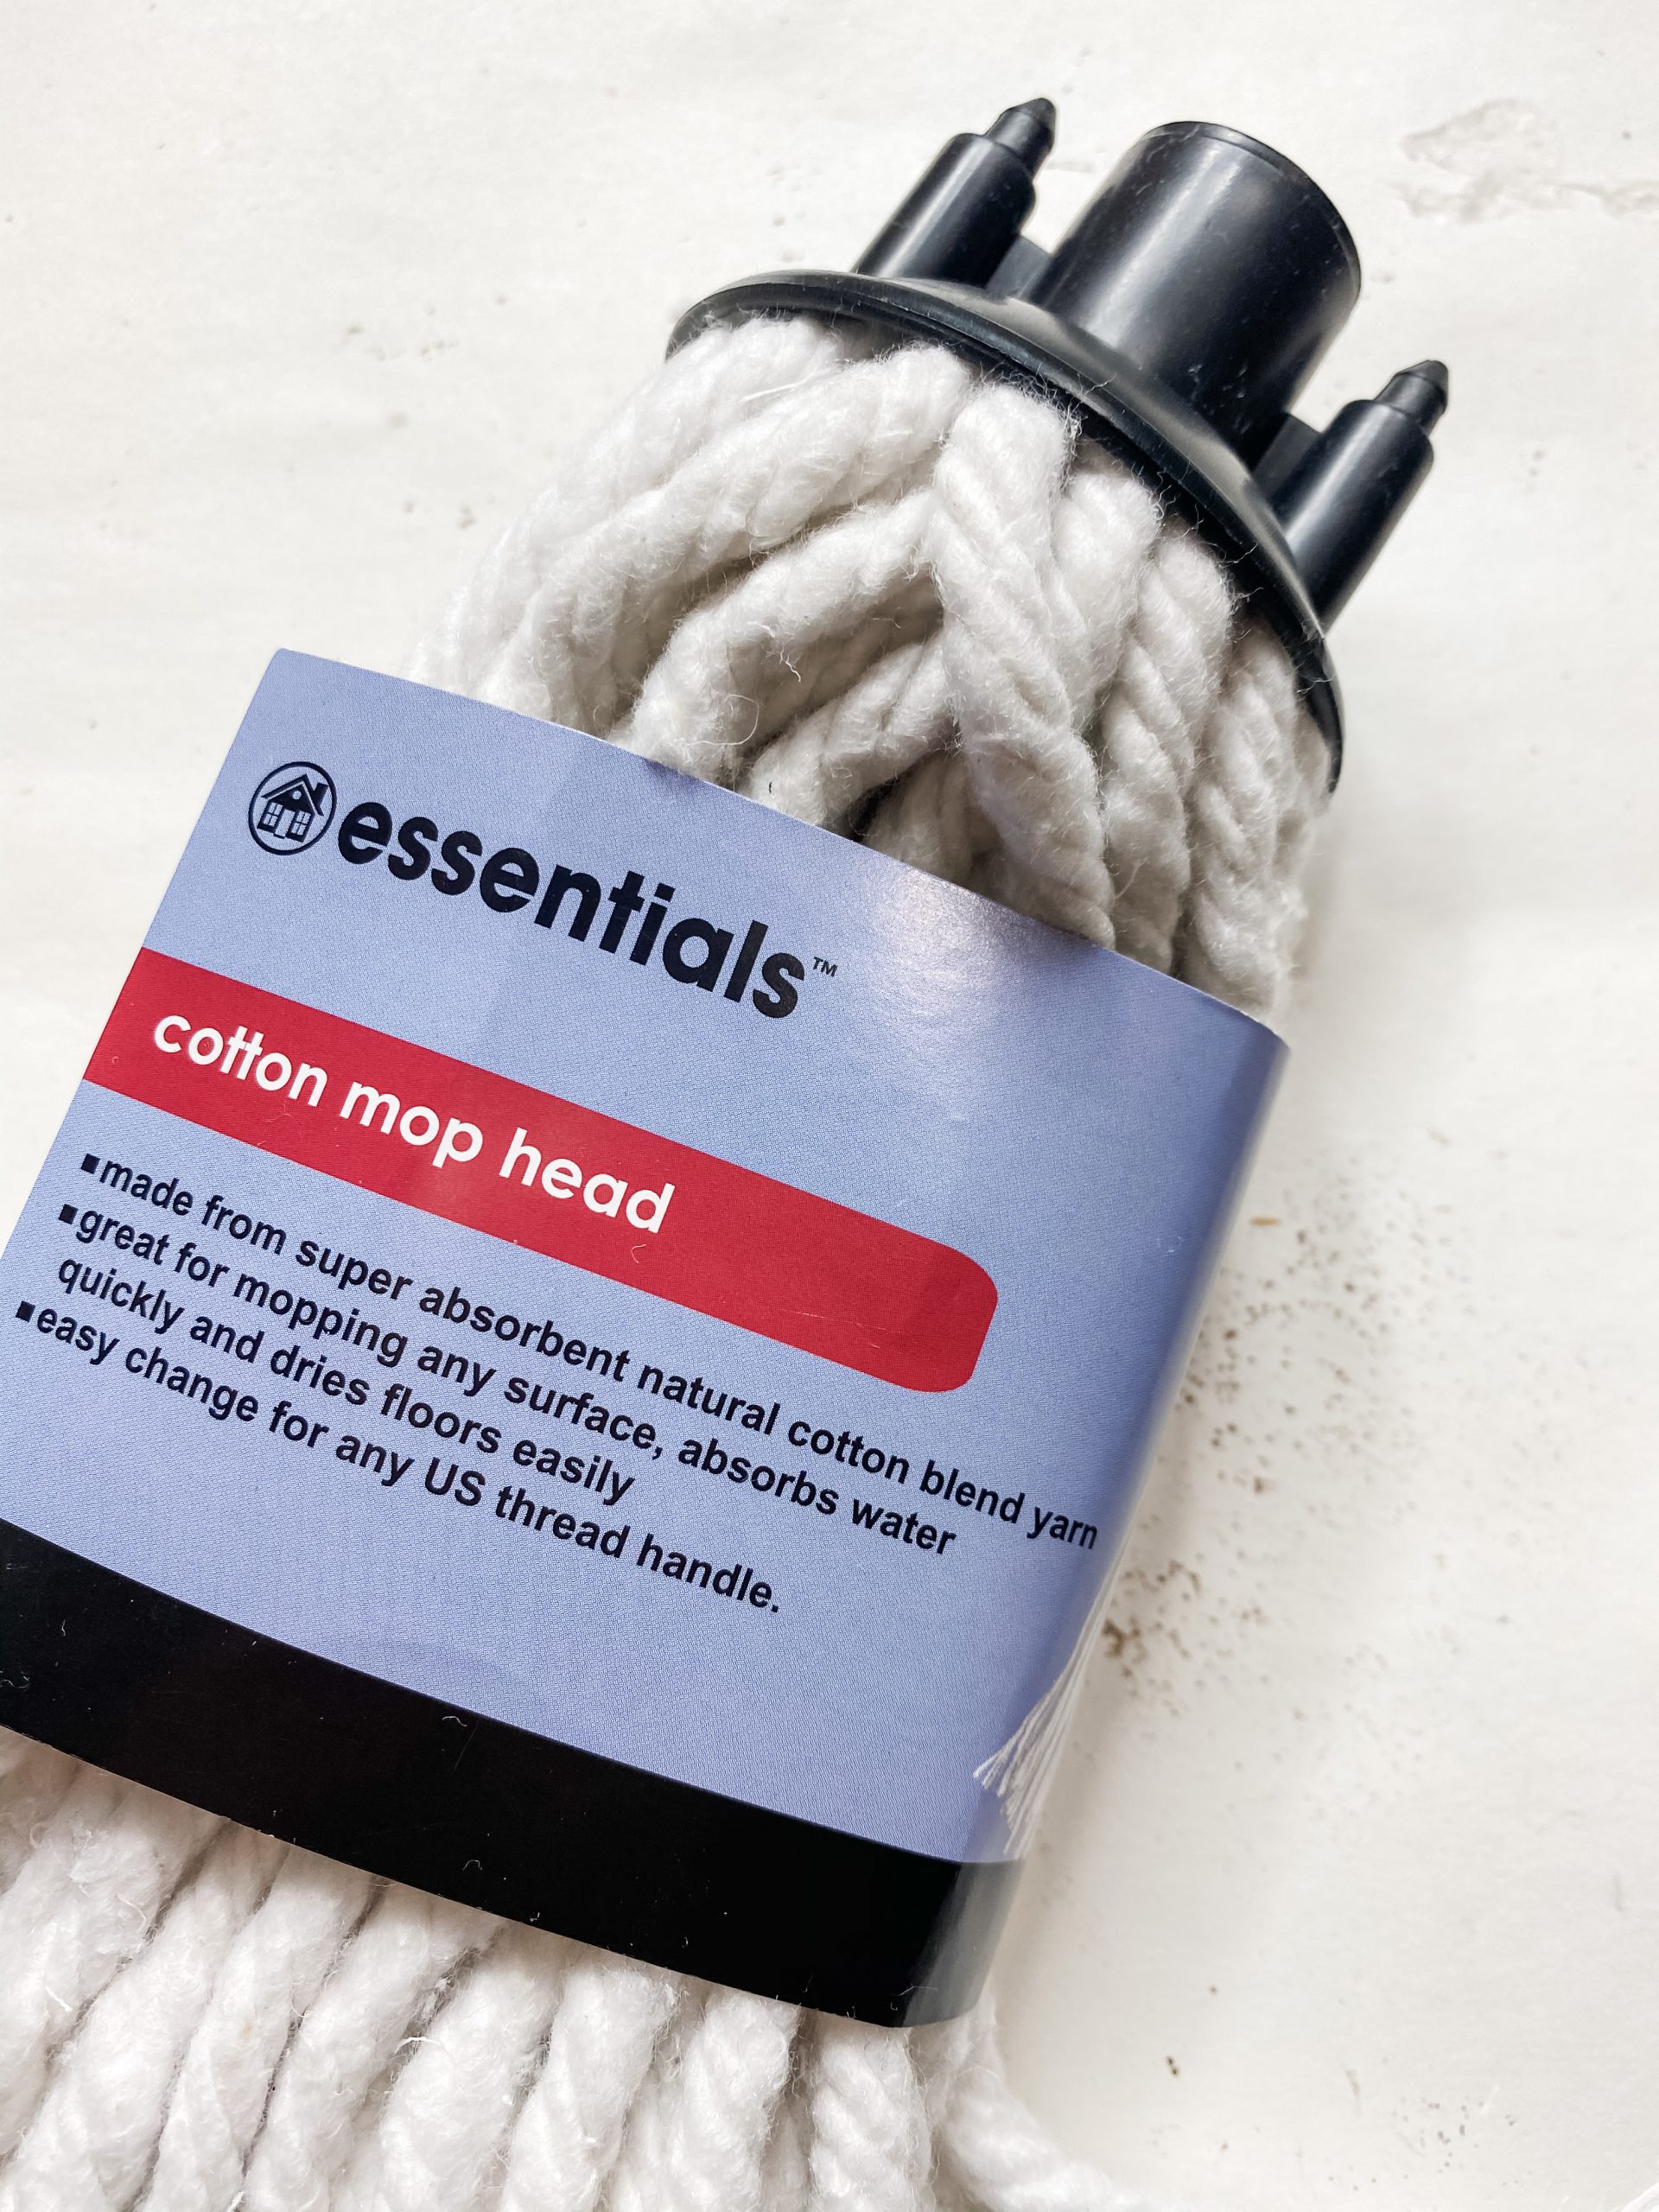
- Dollar Tree Cotton Mop Head
- Merry Christmas Scrapbook Paper
- Dollar Tree Harvest Blessings Block
- Dollar Tree Wood Stems
- Mod Podge
- Dollar Tree Mini Christmas Trees
- Dollar Tree Baker’s Twine
- Glue Gun
- Dollar Tree Ping Pong Balls
- Dollar Tree Christmas Greenery Spray with Berries
- Heat gun
- Dollar Tree Buffalo Check fabric
- Black Fine Tip Painter’s Marker
- Craft smart Orange Paint
- Artist’s brush
- Waverly Ink Chalk Paint
How to make a DIY Dollar Tree Winter Centerpiece
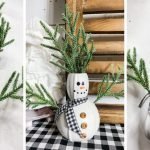
The first things we are going to use to make our adorable DIY Christmas centerpiece are the Dollar Tree Badminton Birdies and Dollar Tree Mop Head.
Start by removing the mop head strings from the plastic piece that secures the strings. I used my Aviation snips to just break the plastic and pry it off.
Next, hot glue one end of each strip to the badminton birdie underneath the red top. Layer the mop head strings and hot glue them underneath the first layer of mop strings.
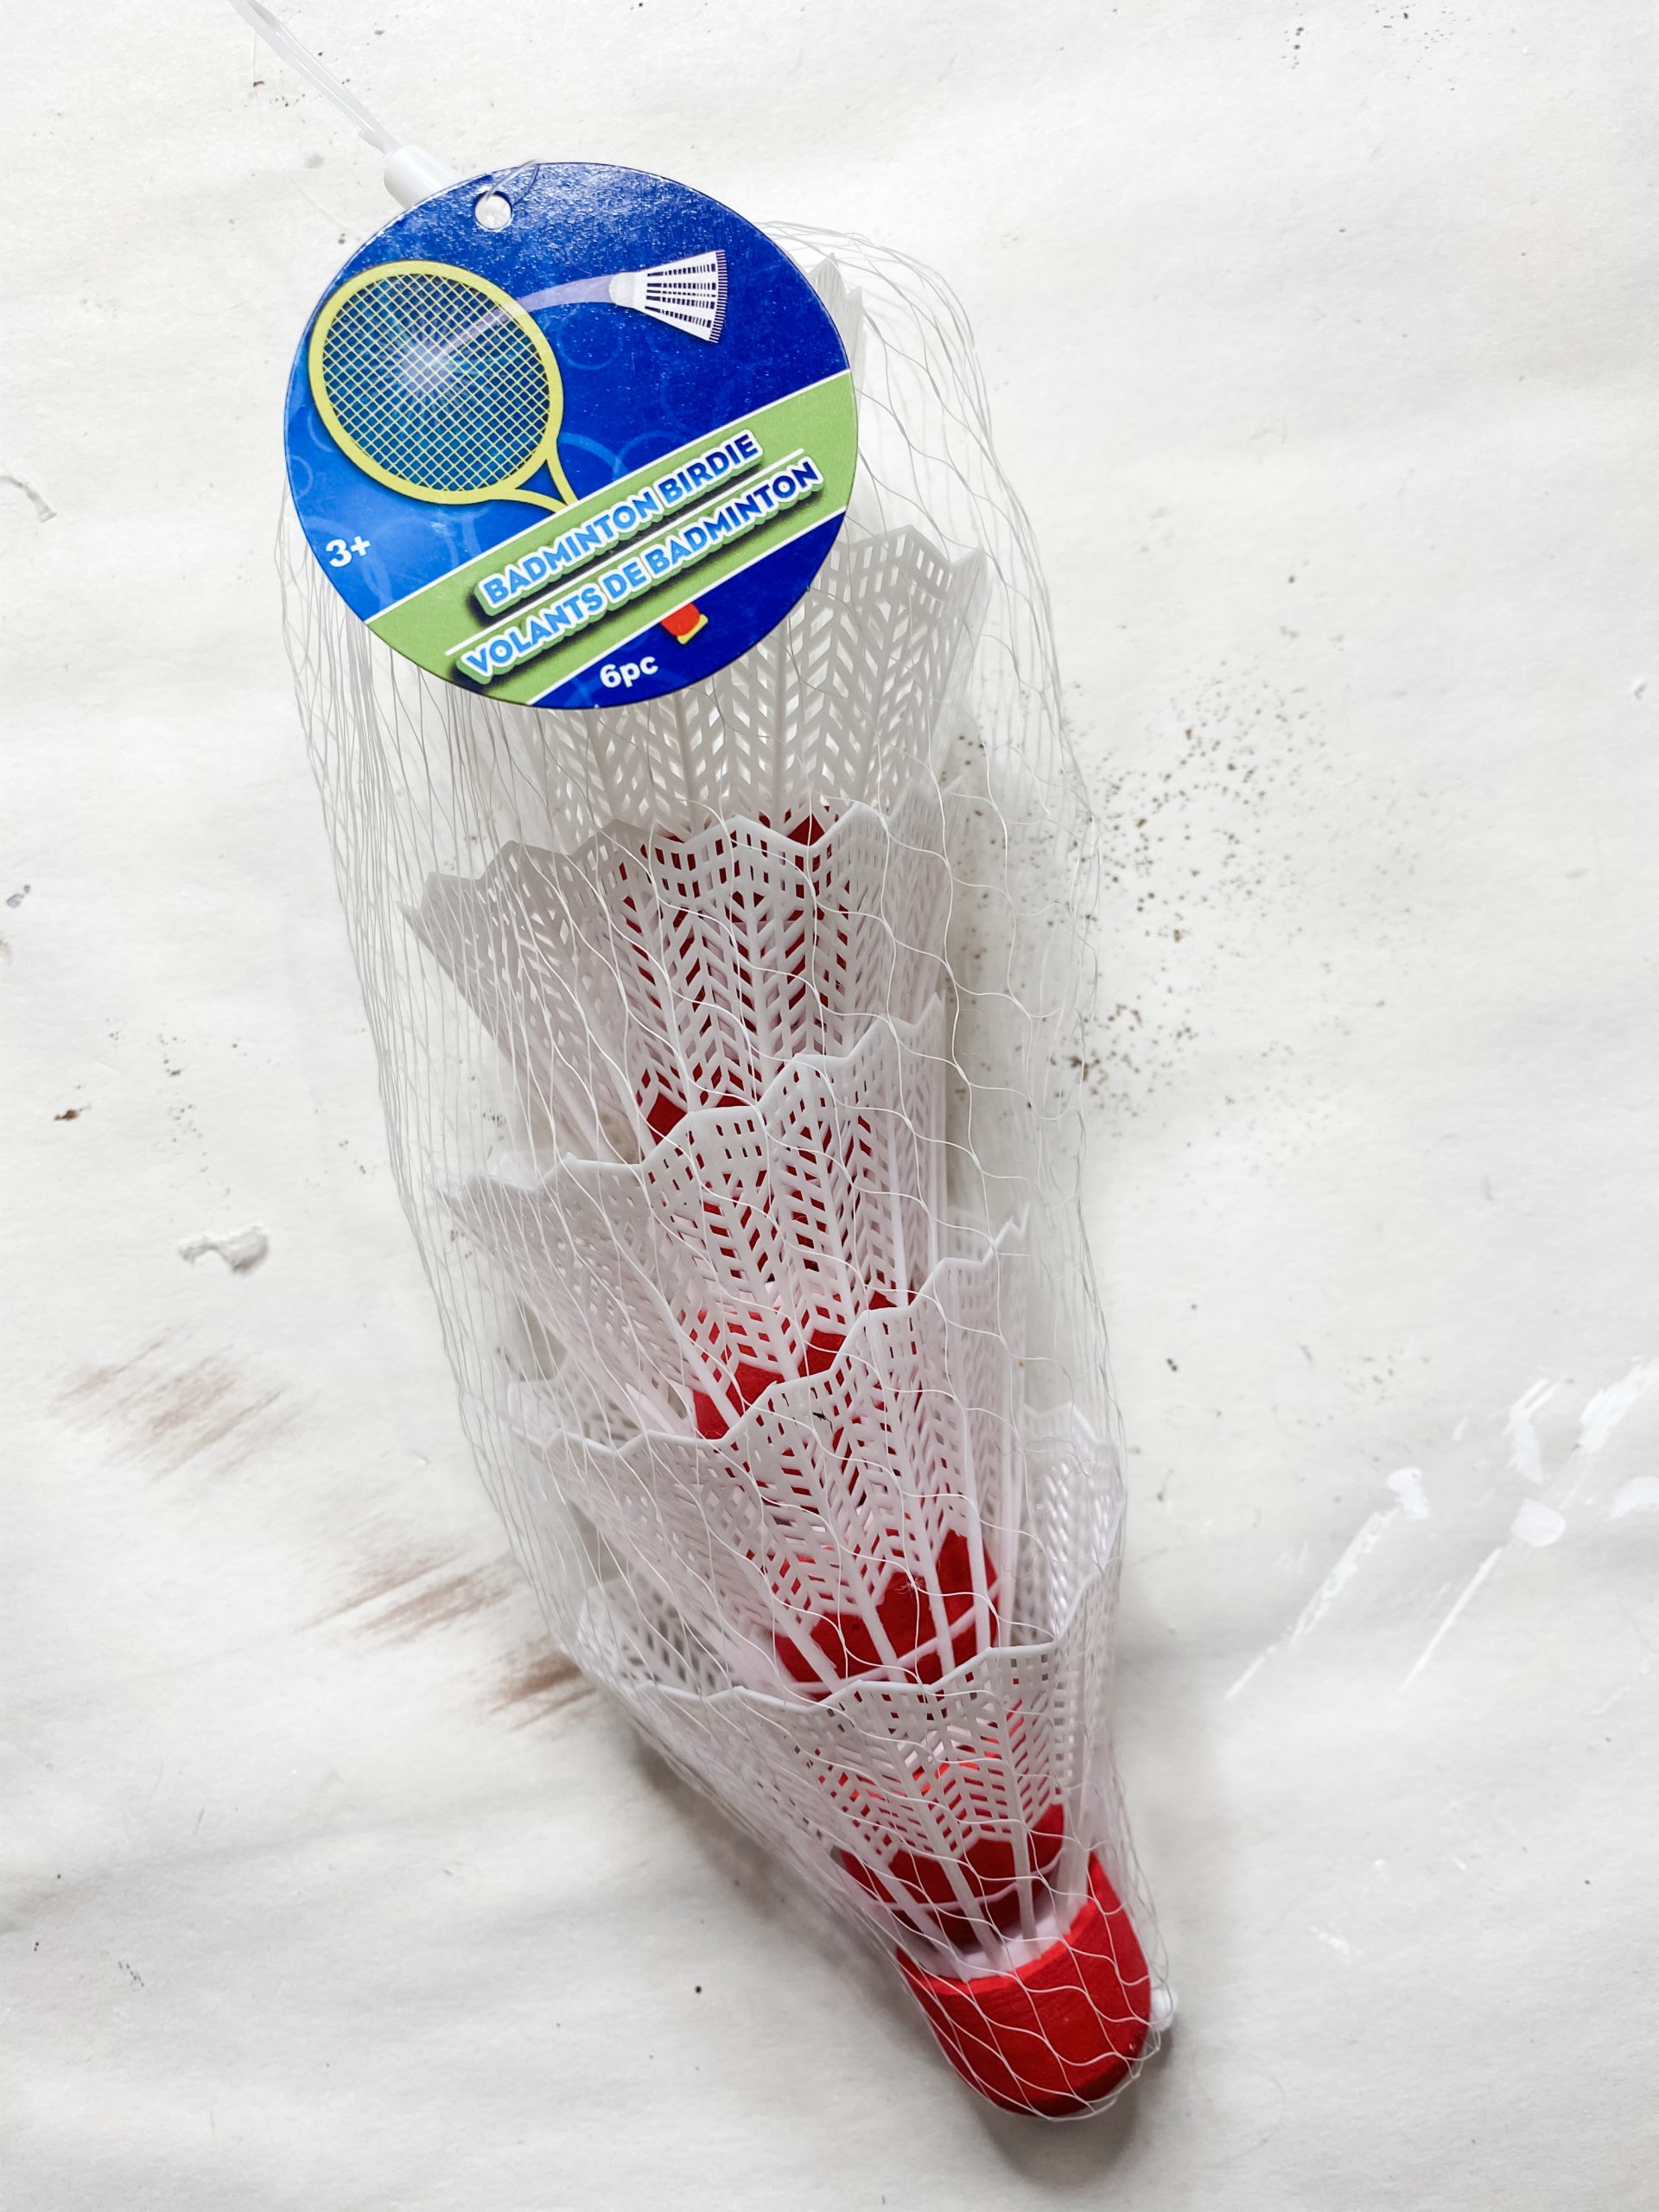
Once you have the mop head coverage you want, trim the ends of the strings to the bottom of the birdie.
You’re going to repeat this process with a second birdie, but instead of leaving the red top exposed, you’re going to hot glue the strips directly to the red top.
Get as full of coverage as you can, because you don’t want the red to peek through the mop strings.
Put them together
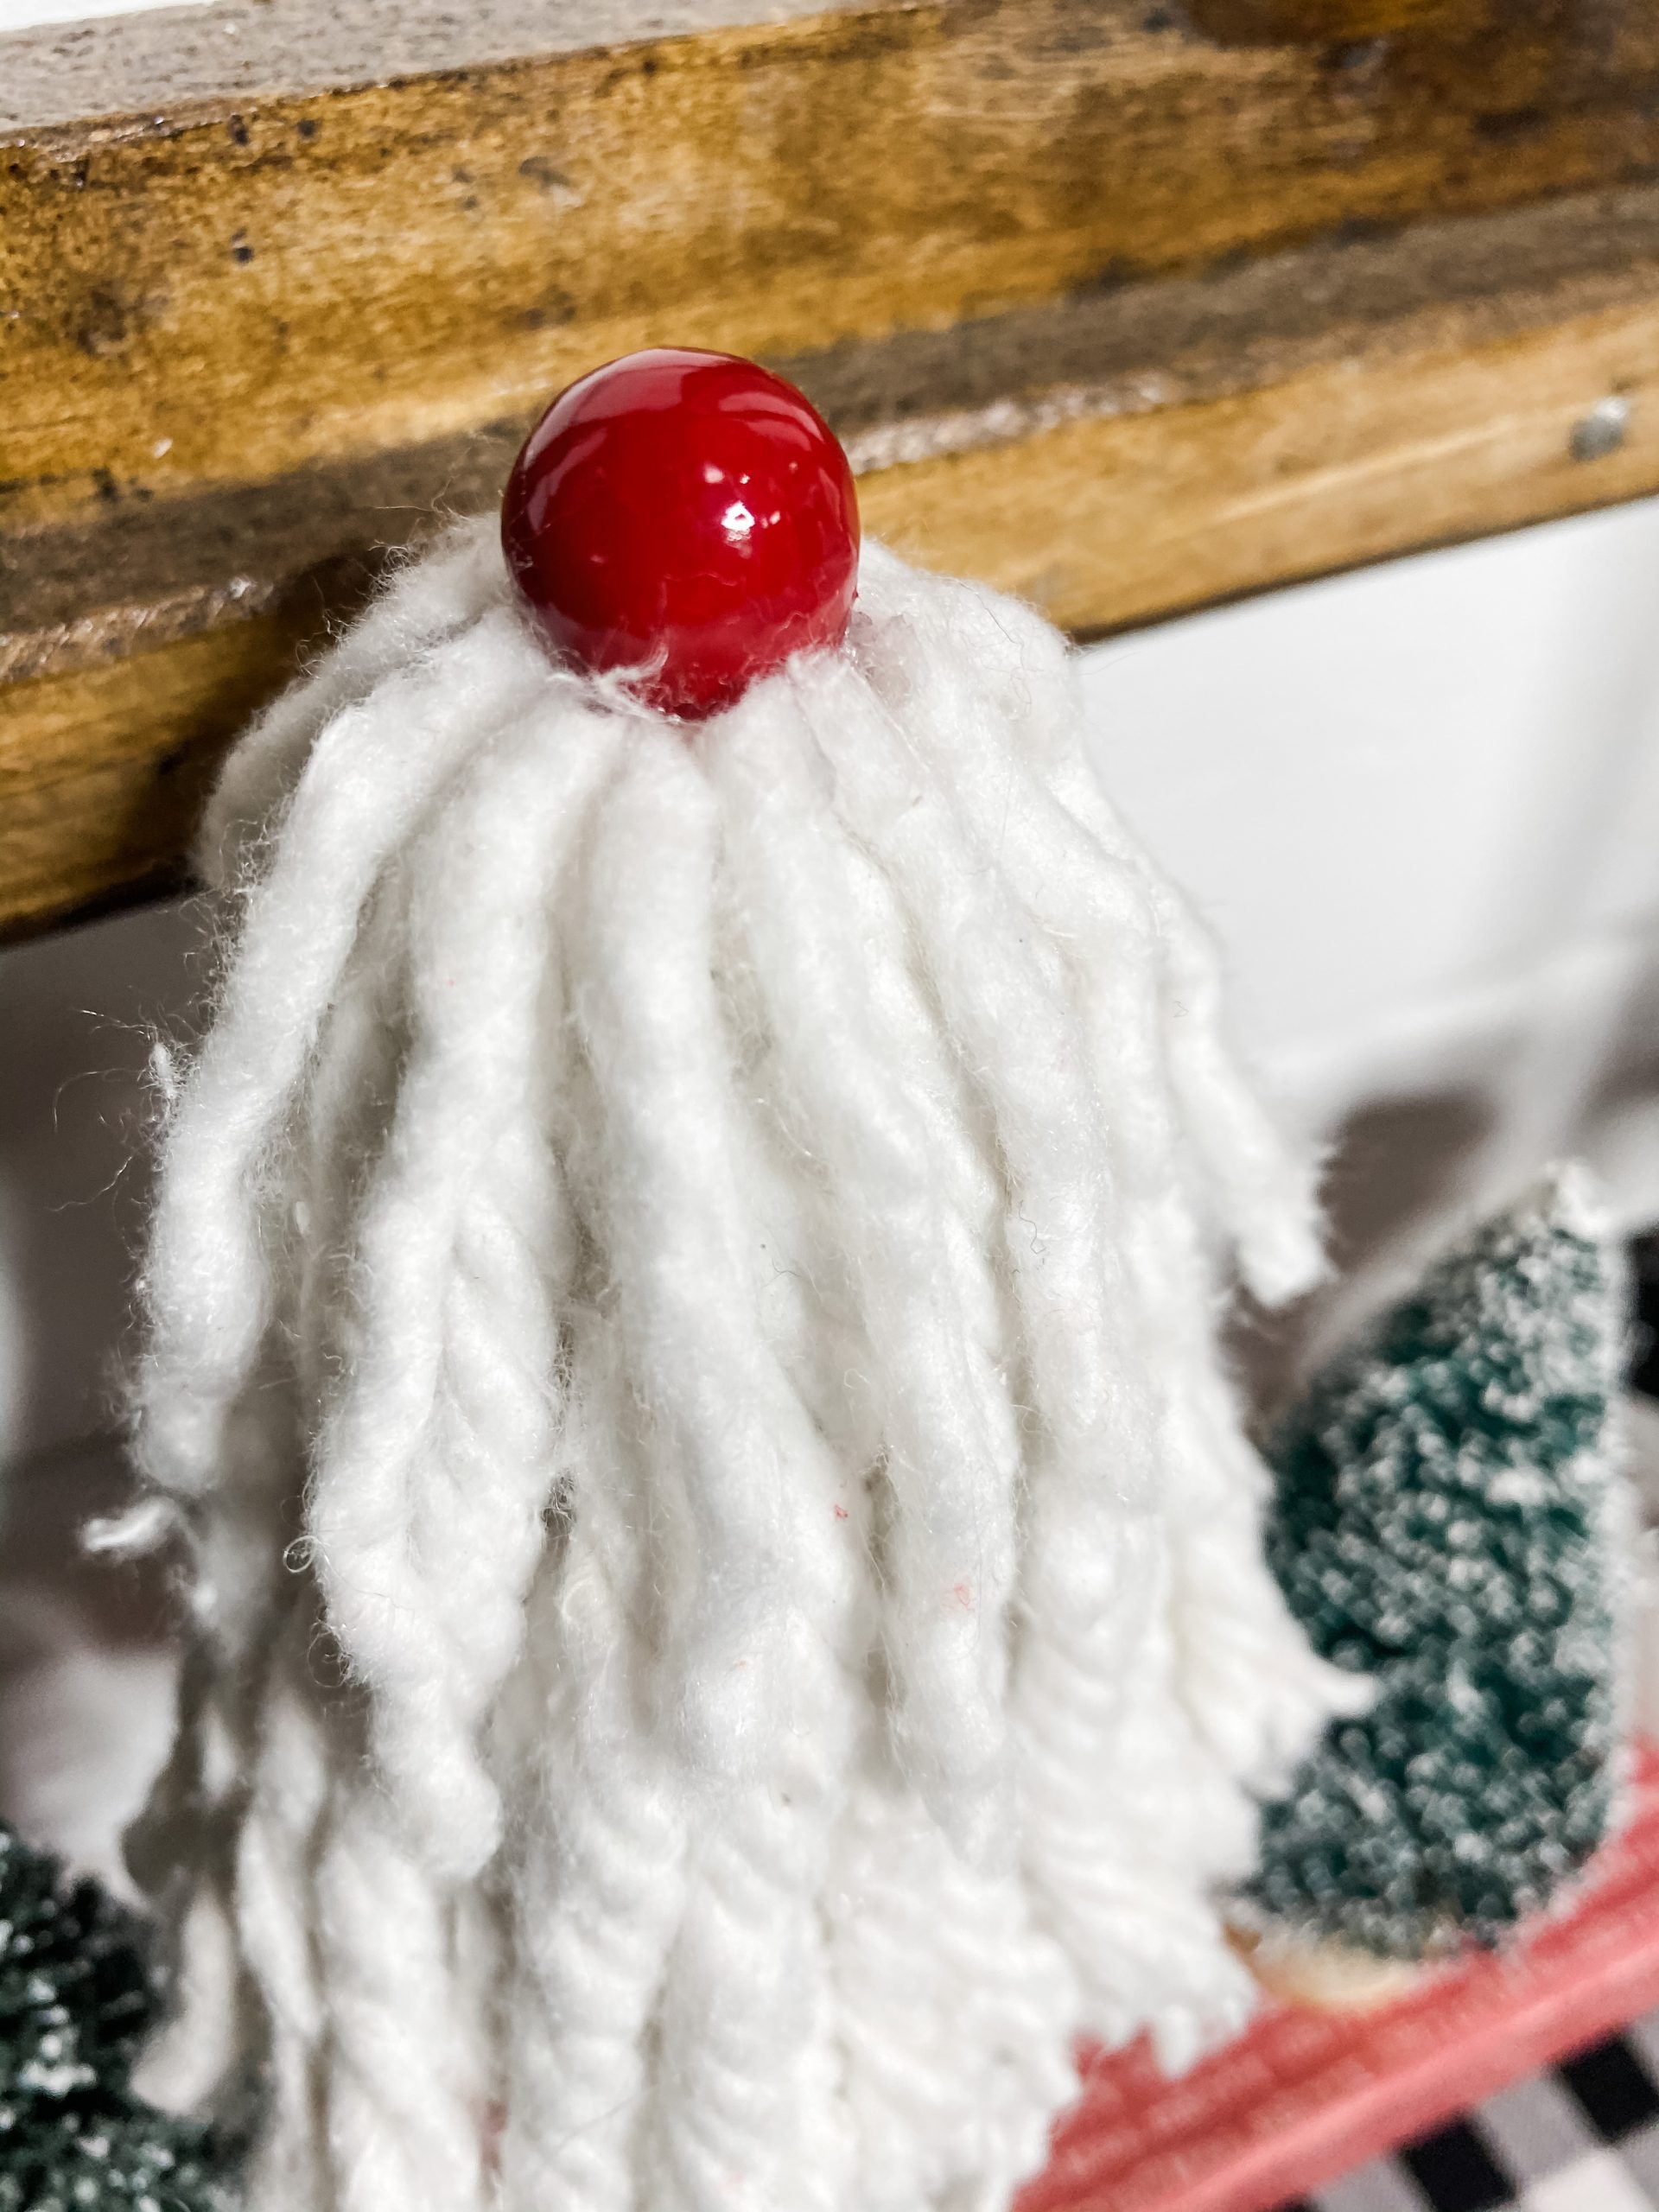
Next, I pulled a berry off the Dollar Tree Christmas Greenery Spray and hot glued it to the top of the birdie that has the red top covered.
I also went ahead and hot glued some of the Dollar Tree mop head strings to the birdie so they wouldn’t move and expose the birdie underneath.
Allow the glue to dry, then you’re going to hot glue the birdie with a berry on top of the birdie without one.
Flip the Dollar Tree birdies over. Next, I hot glued some Dollar Tree wood craft cubes inside the birdie.
I hot glued 8 of the wood craft cubes one on top of the other until it looked a little like a Christmas tree. Lastly, I hot glued the bottom wood craft cube to a Dollar Tree wood stem.
I decided to add some more of the Dollar Tree mop strings to the top of the gnome. I unwound one of the strings, then hot glued shorter pieces to the top of the gnome.
Set your Dollar Tree Gnome to the side, and let’s move on to the next step!
How to decoupage
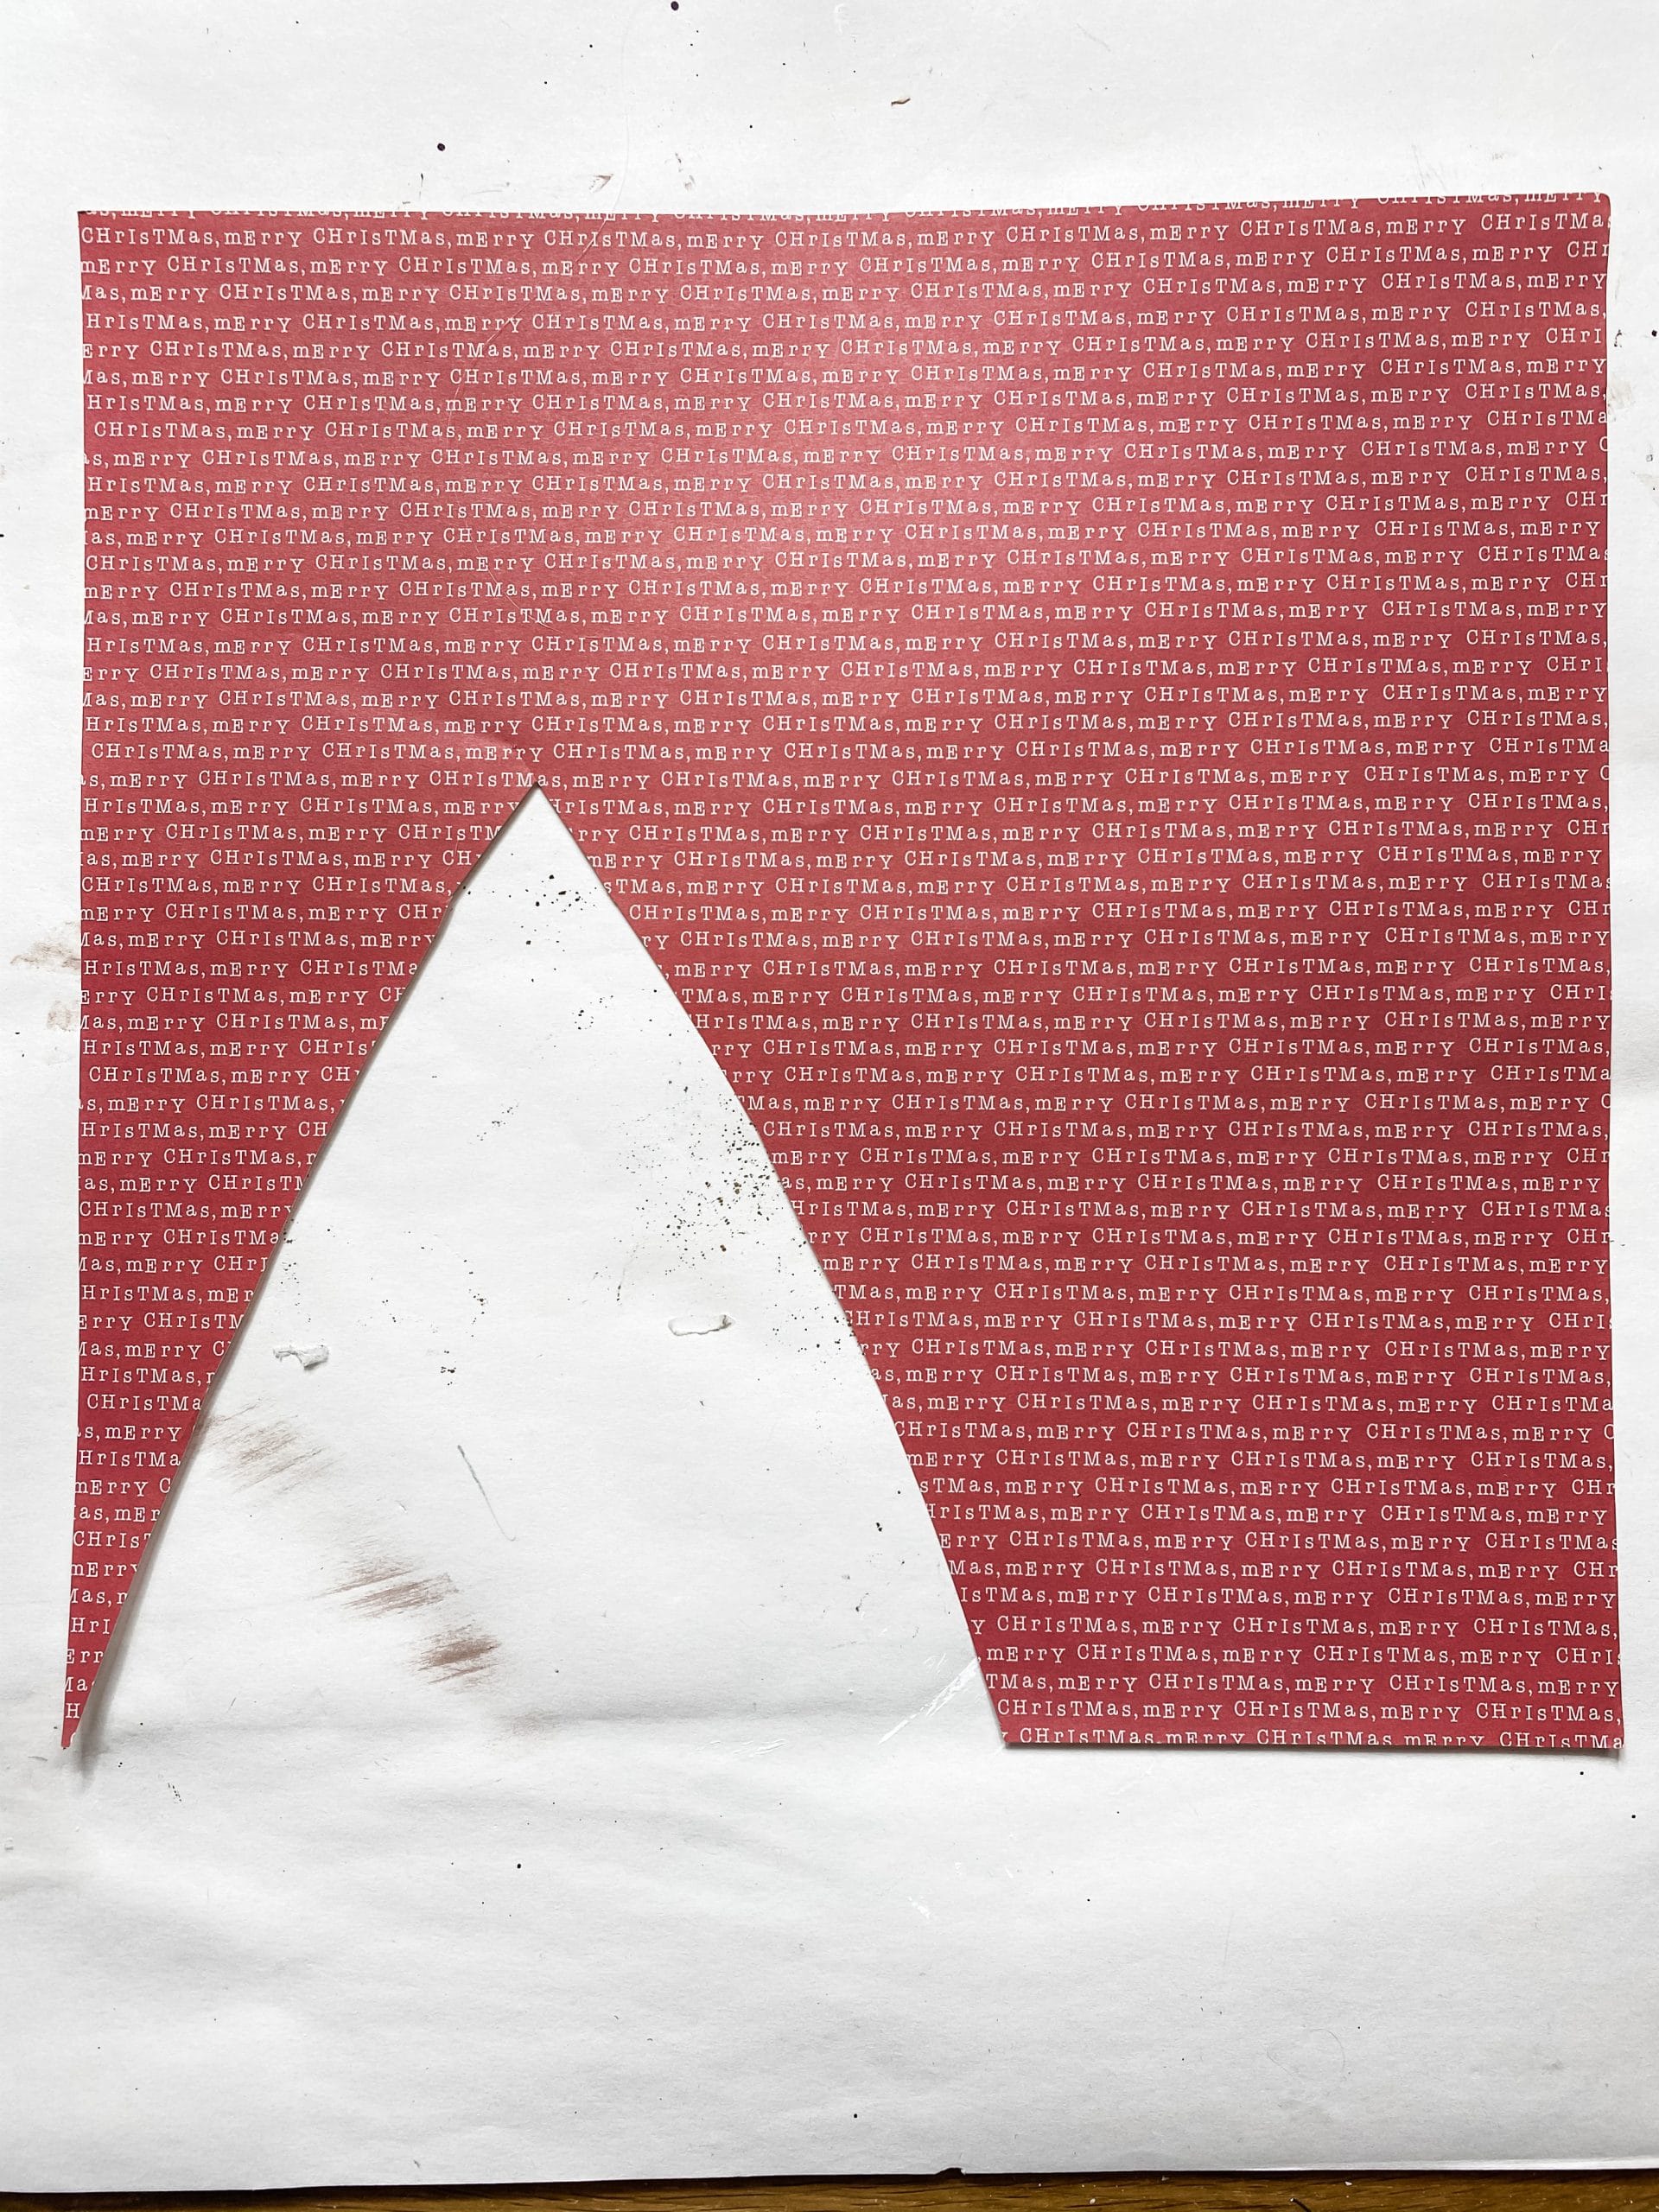
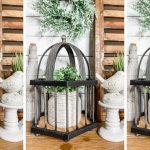
We need a base for our centerpiece. That’s where the Dollar Tree Harvest Blessing’s sign comes in! Obviously, it isn’t Thanksgiving or fall, so we need to cover up that design.
Start by trimming a piece of Christmas scrapbook paper to the size needed to cover the Fall design. Next, apply a layer of Mod Podge to the Dollar Tree sign, and carefully place the scrapbook paper.
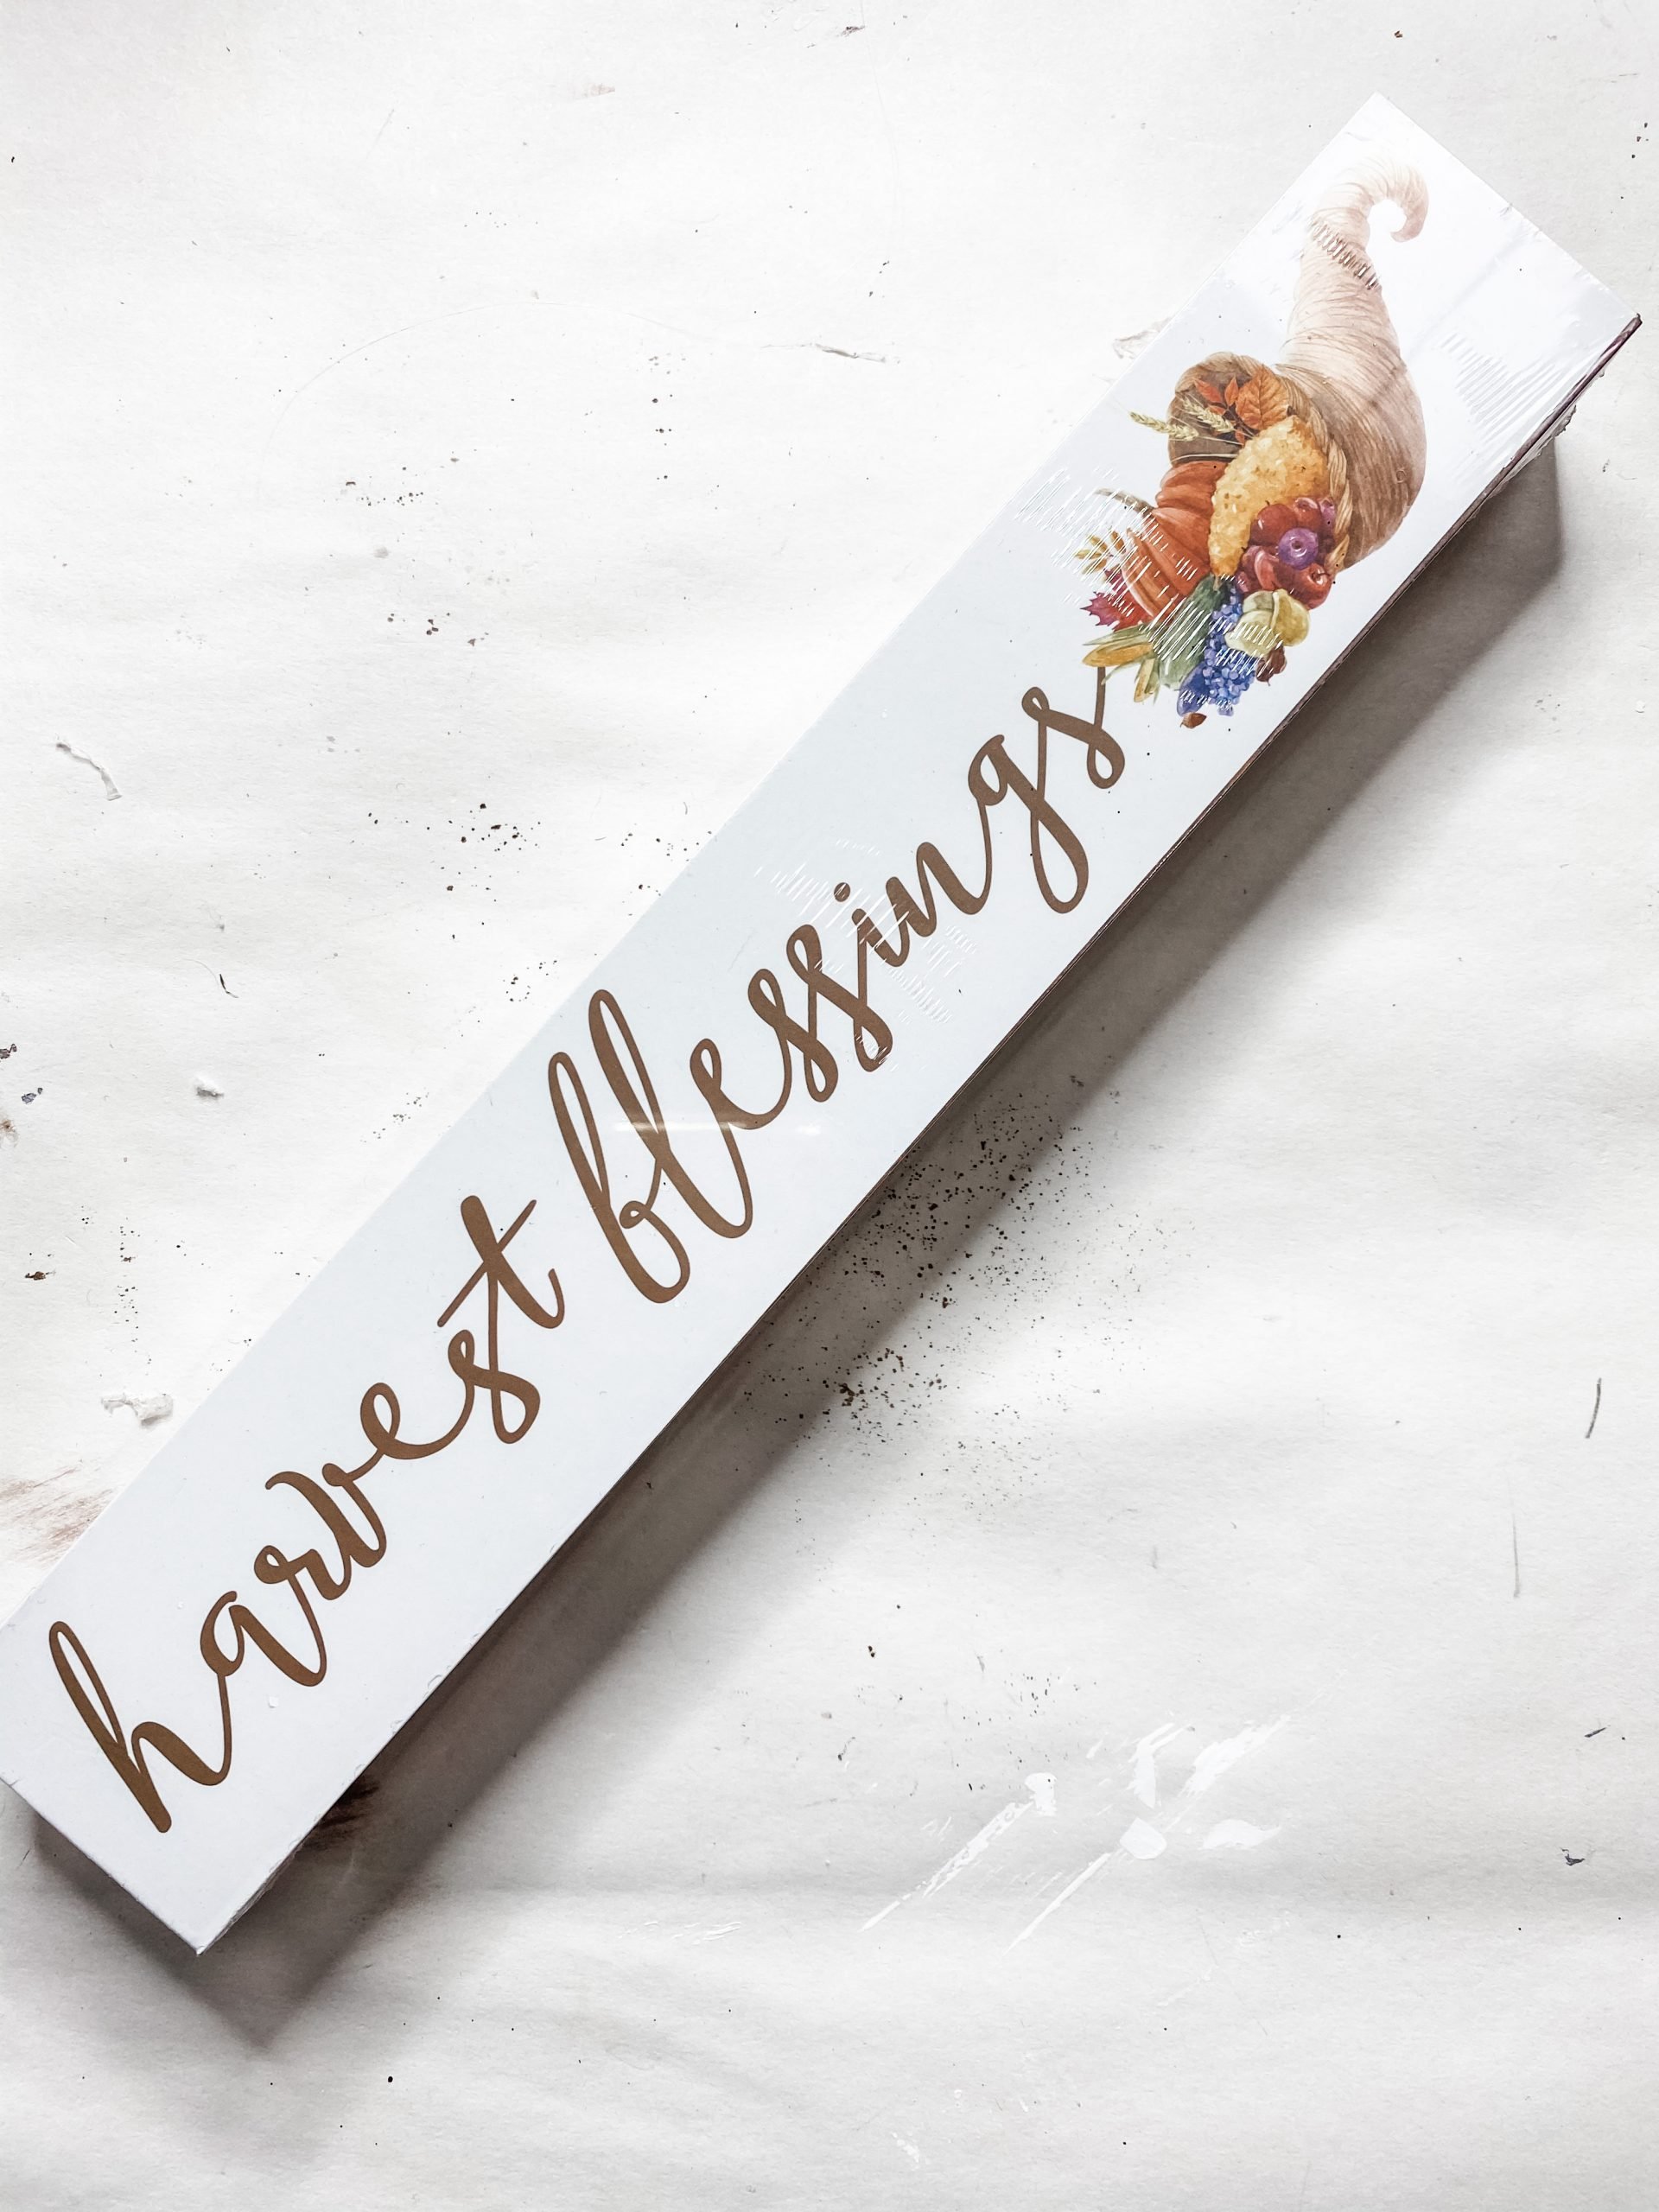
You won’t need a full sheet of scrapbook paper to cover the sign, so you can use a scrap piece or remnants from another project, as I did.
I originally got this Christmas scrapbook paper from Hobby Lobby, and I had used a small piece of it for another project. I had plenty left over for this Christmas centerpiece, though!
If you have any creases or wrinkles, lay a piece of plastic saran wrap over the decoupaged scrapbook paper and use your fingers to smooth out any imperfections.
The plastic wrap helps protect the paper and prevents it from tearing or sticking to your fingers and pulling up.
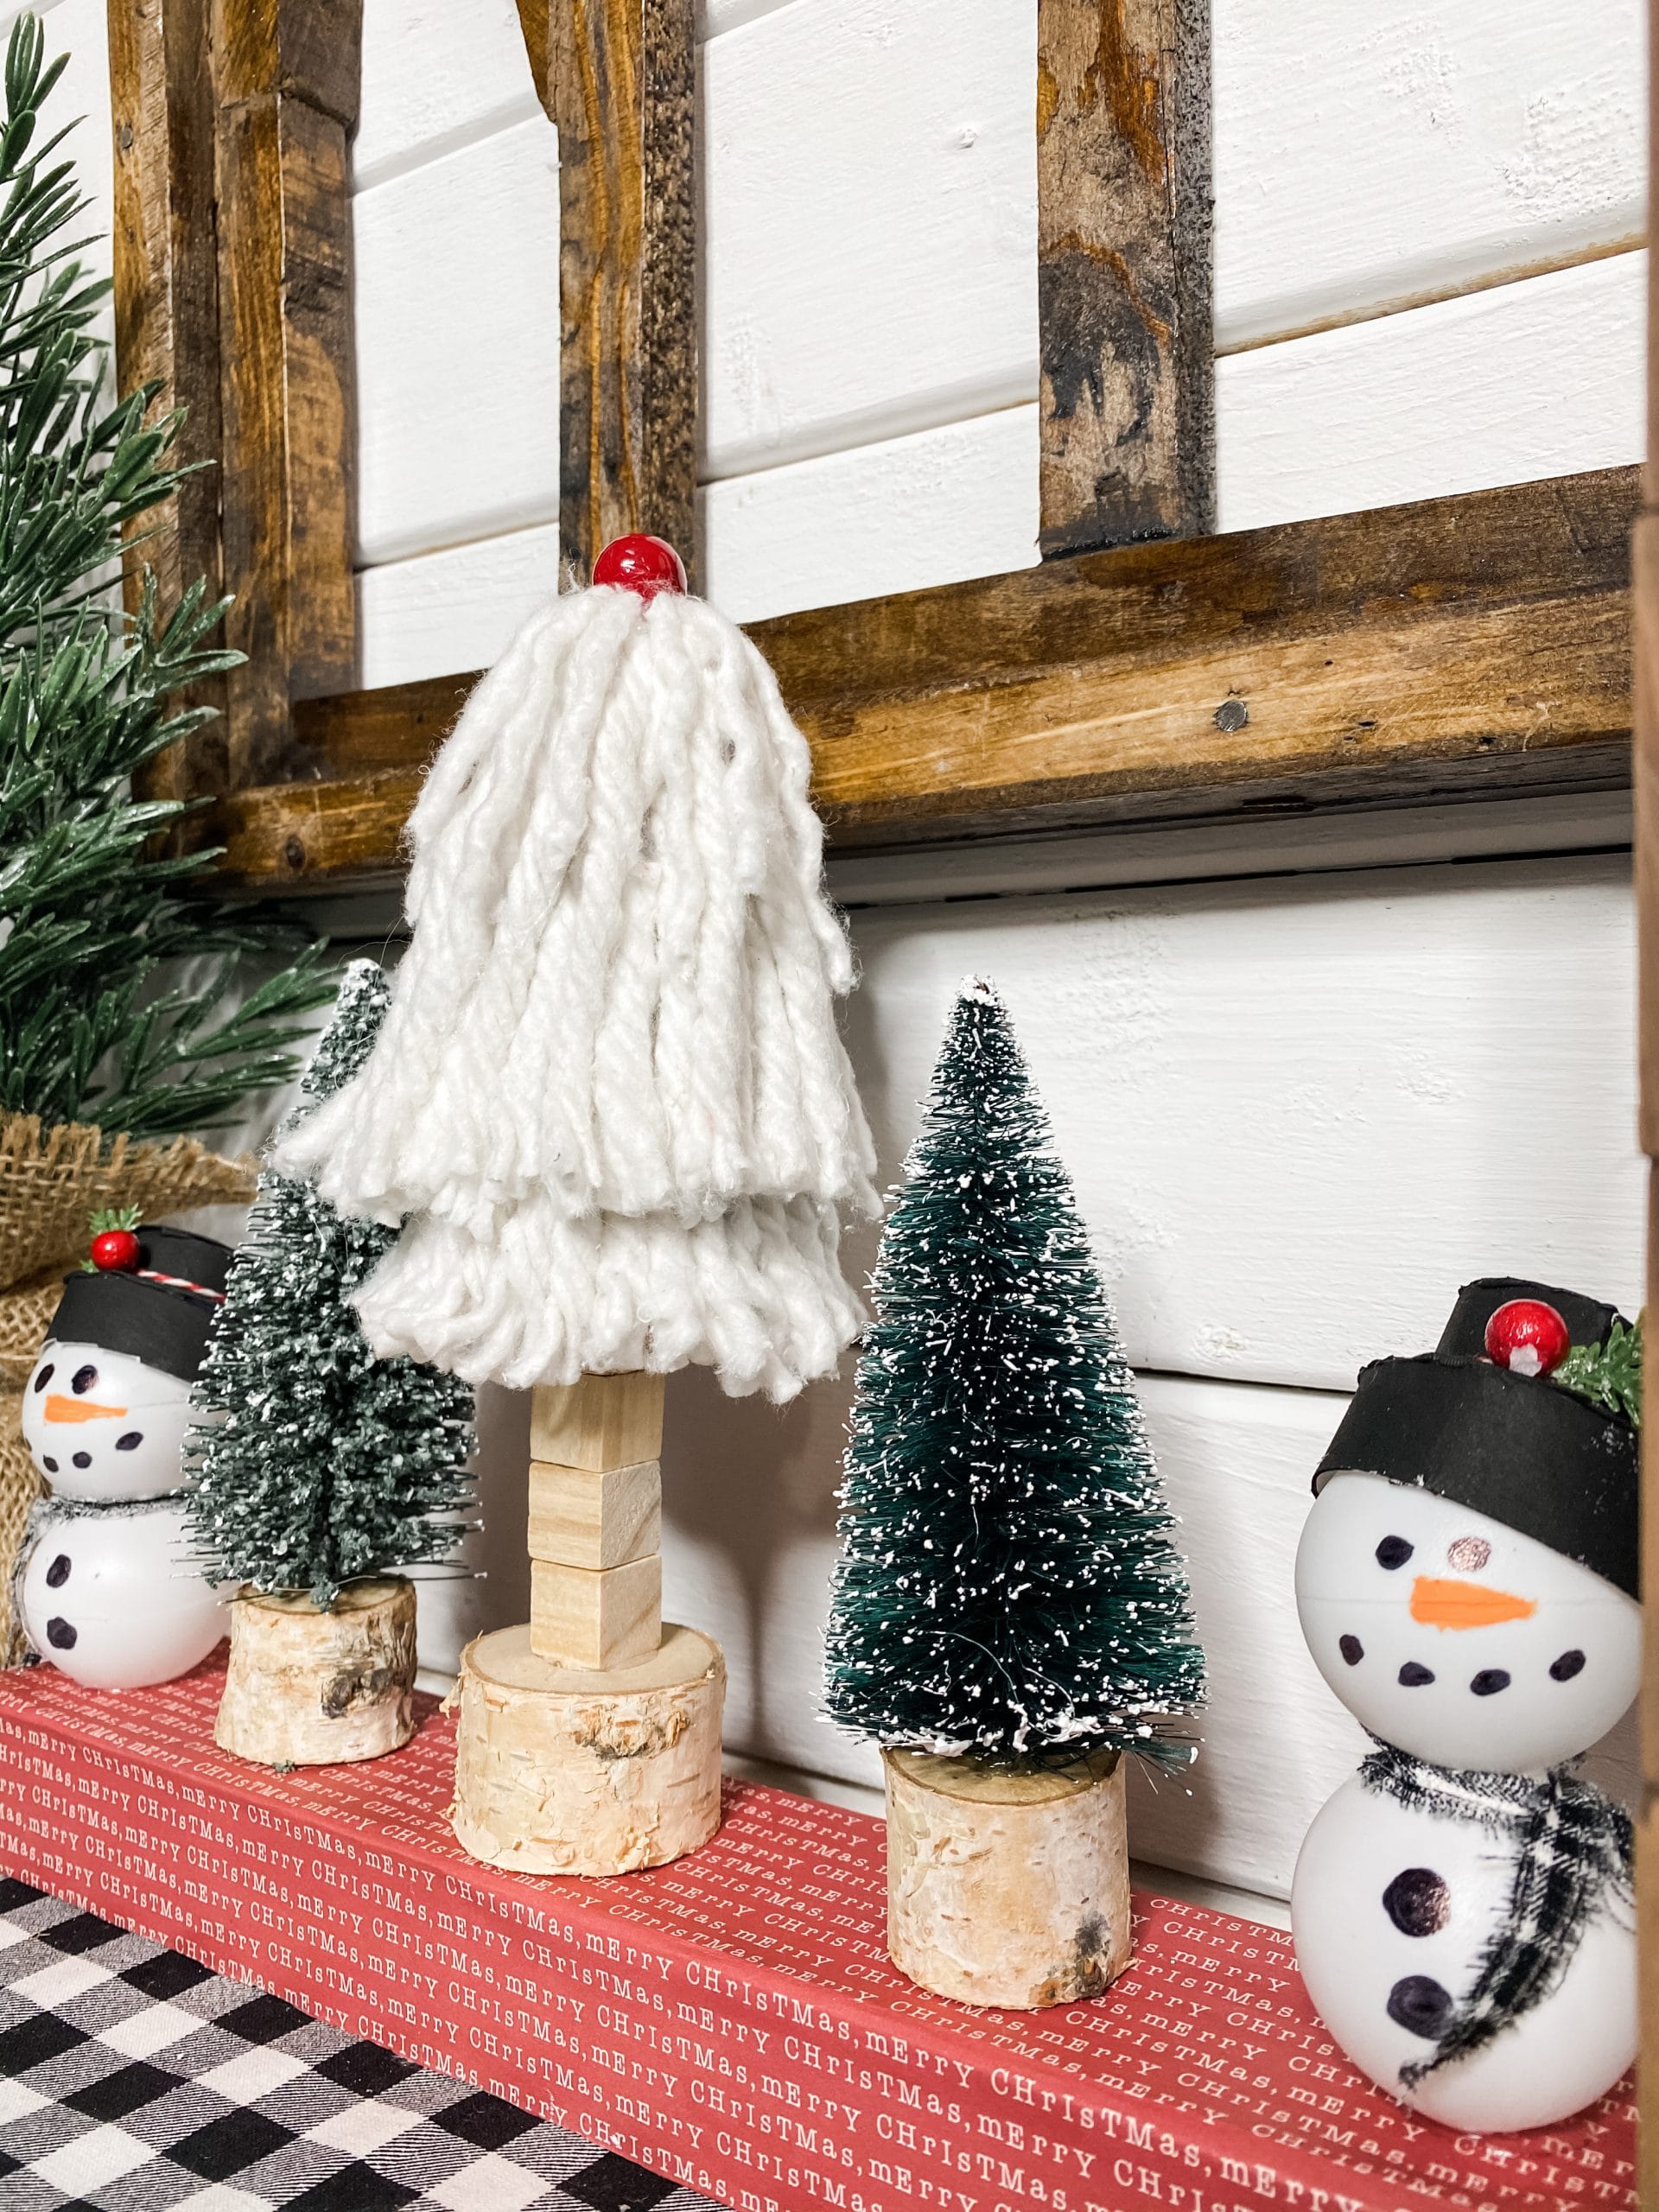
Oh, Christmas Tree!
Now, grab 2 of the Dollar Tree mini Christmas trees. I removed the bases from the trees, and hot glued each of them to a Dollar Tree wood stems.
At this point, I still wasn’t sure how I was going to place the gnome or trees on the centerpiece, I just knew I wanted them on there.

I used two different-sized mini Christmas trees, but you could use two of the same size if you want a more uniform look.
Let’s make a top hat
I actually made a Dollar Tree ping pong ball snowman not too long ago. It was so much fun, and my granddaughter, Avery, LOVED it!
The Dollar Tree ping pong ball snowmen are super easy to make and would be a perfect kid’s craft!
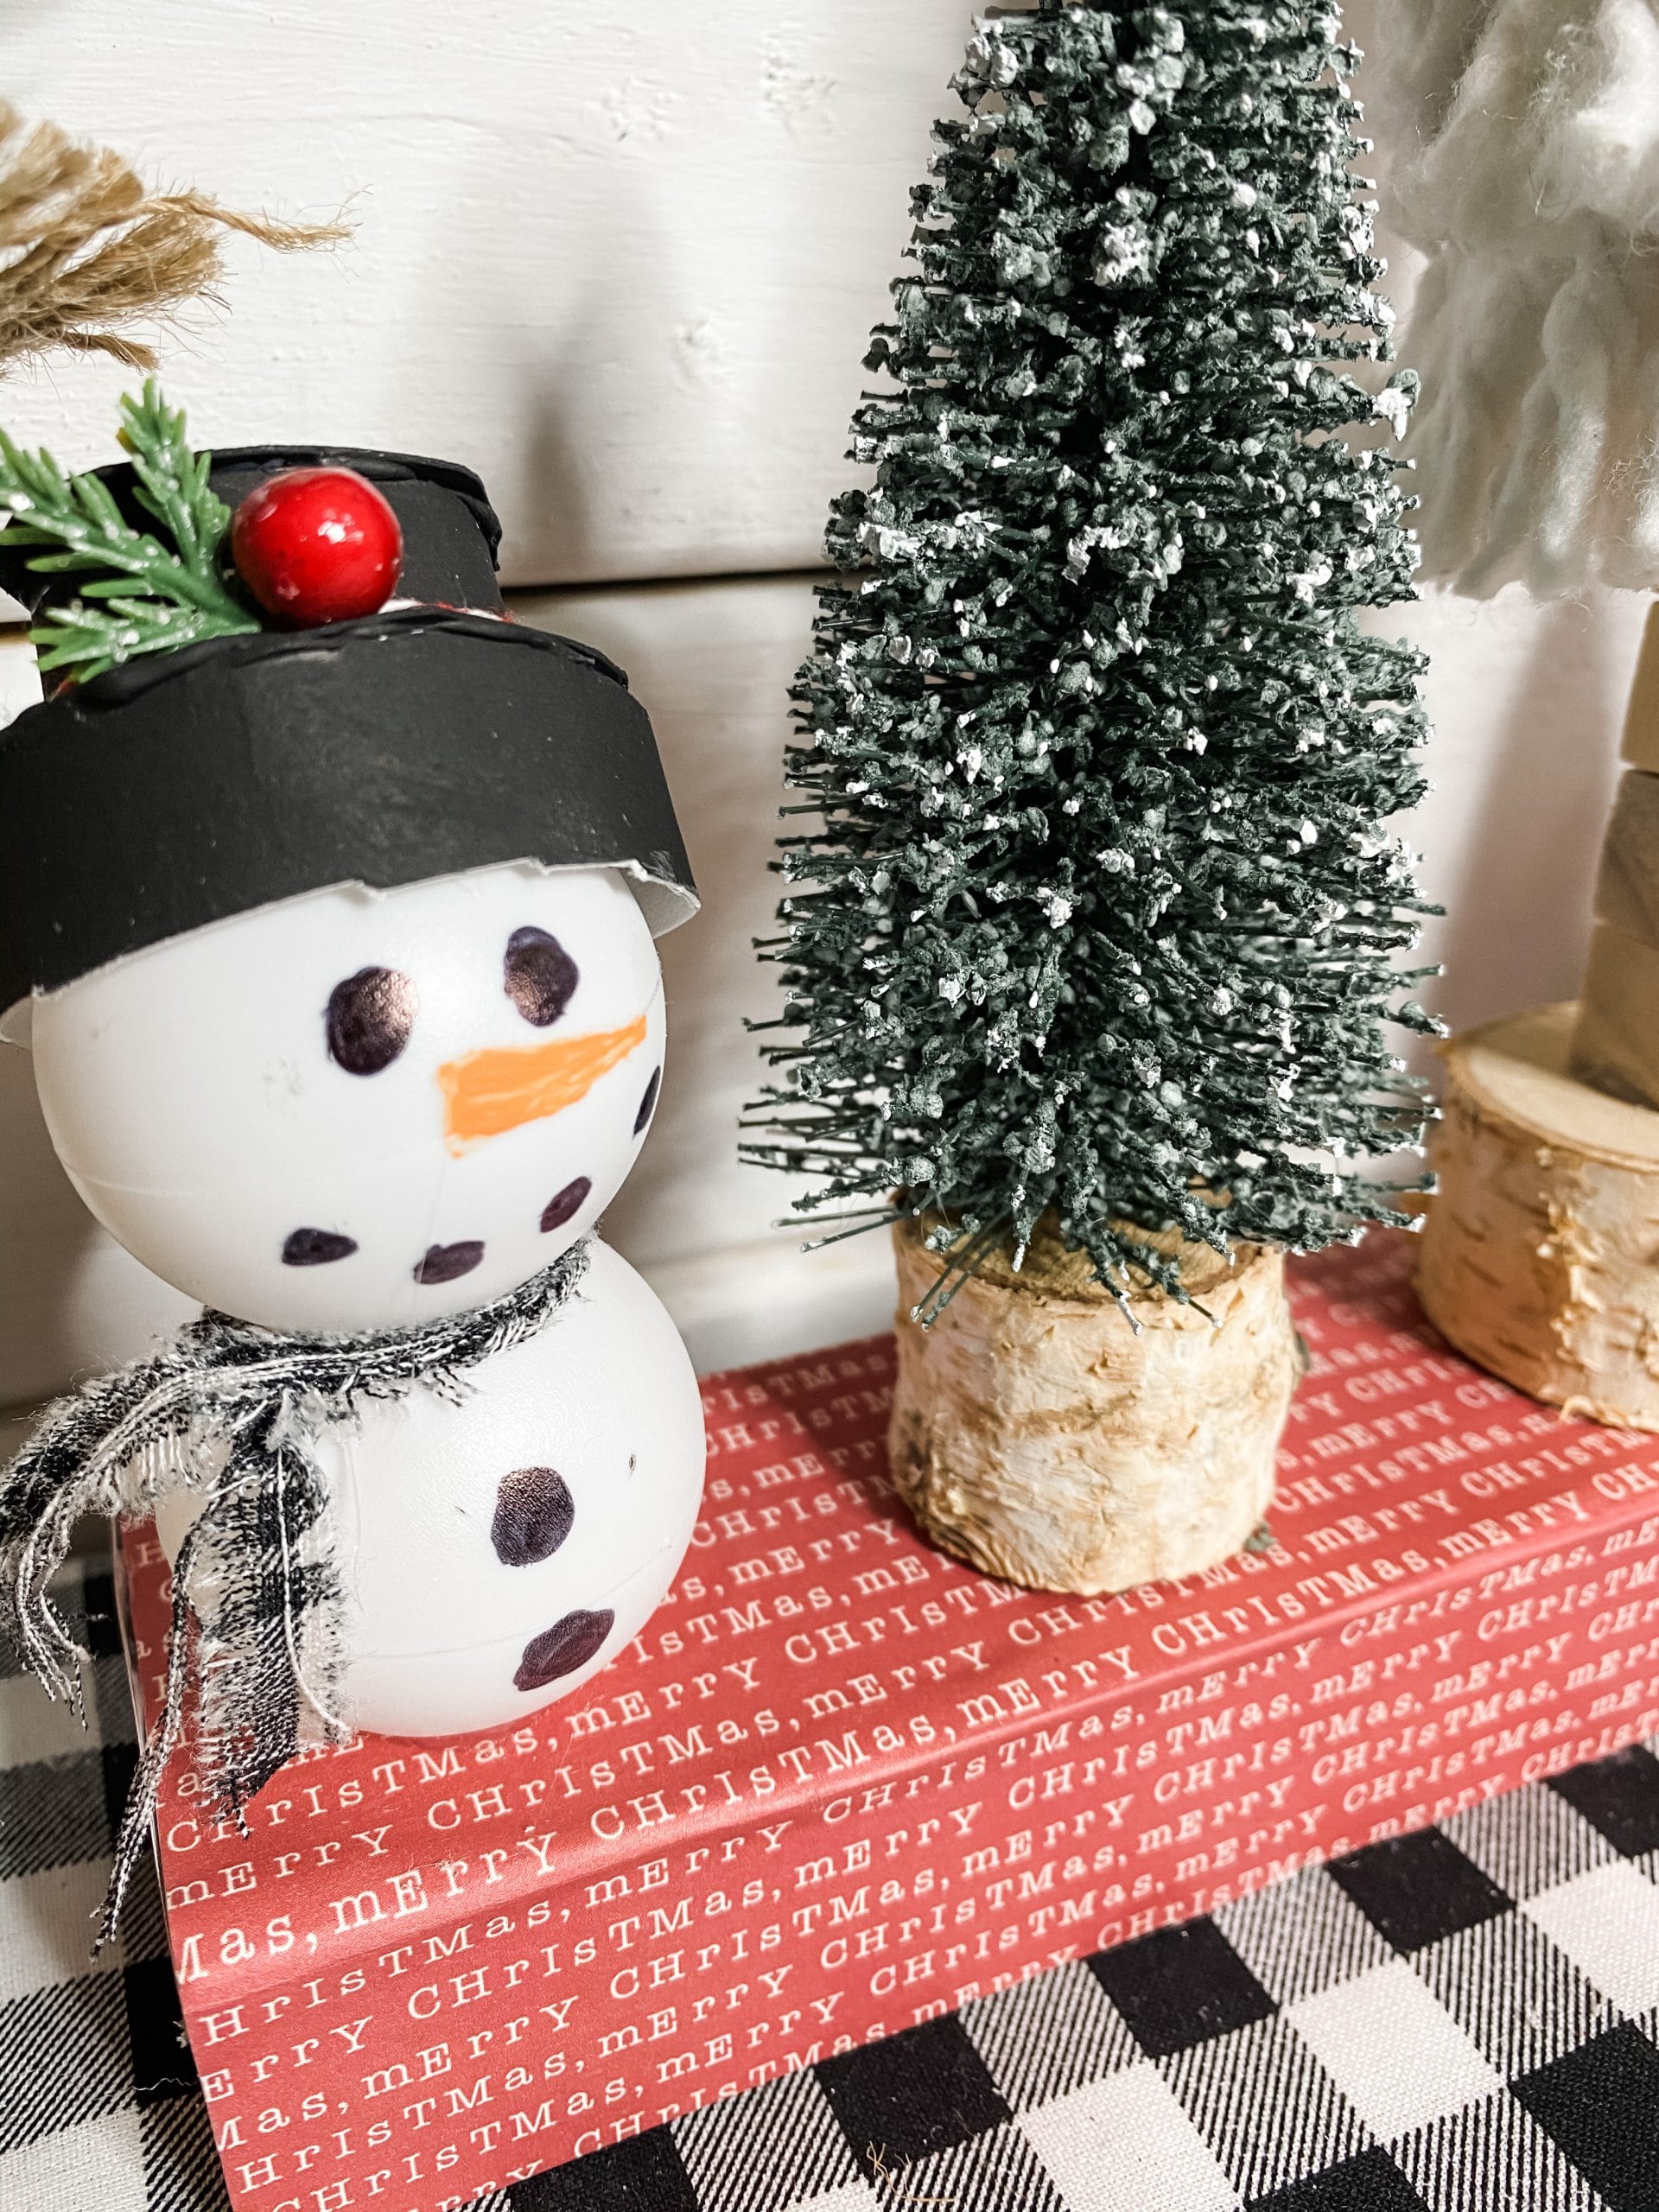
For the 2 snowmen I made for this DIY project, I used toilet paper rolls to make little top hats, but for the other ping pong ball snowman I made, I made an adorable beanie from Dollar Tree yarn!
It can be a little tricky to explain how to make the top hat, but I’ll do my best! Start by cutting about a quarter-inch piece of the toilet paper roll.
Next, I used a piece of cardboard from the Christmas Tree packaging and cut a circle to fit on top of the toilet paper piece. Hot glue it into place.
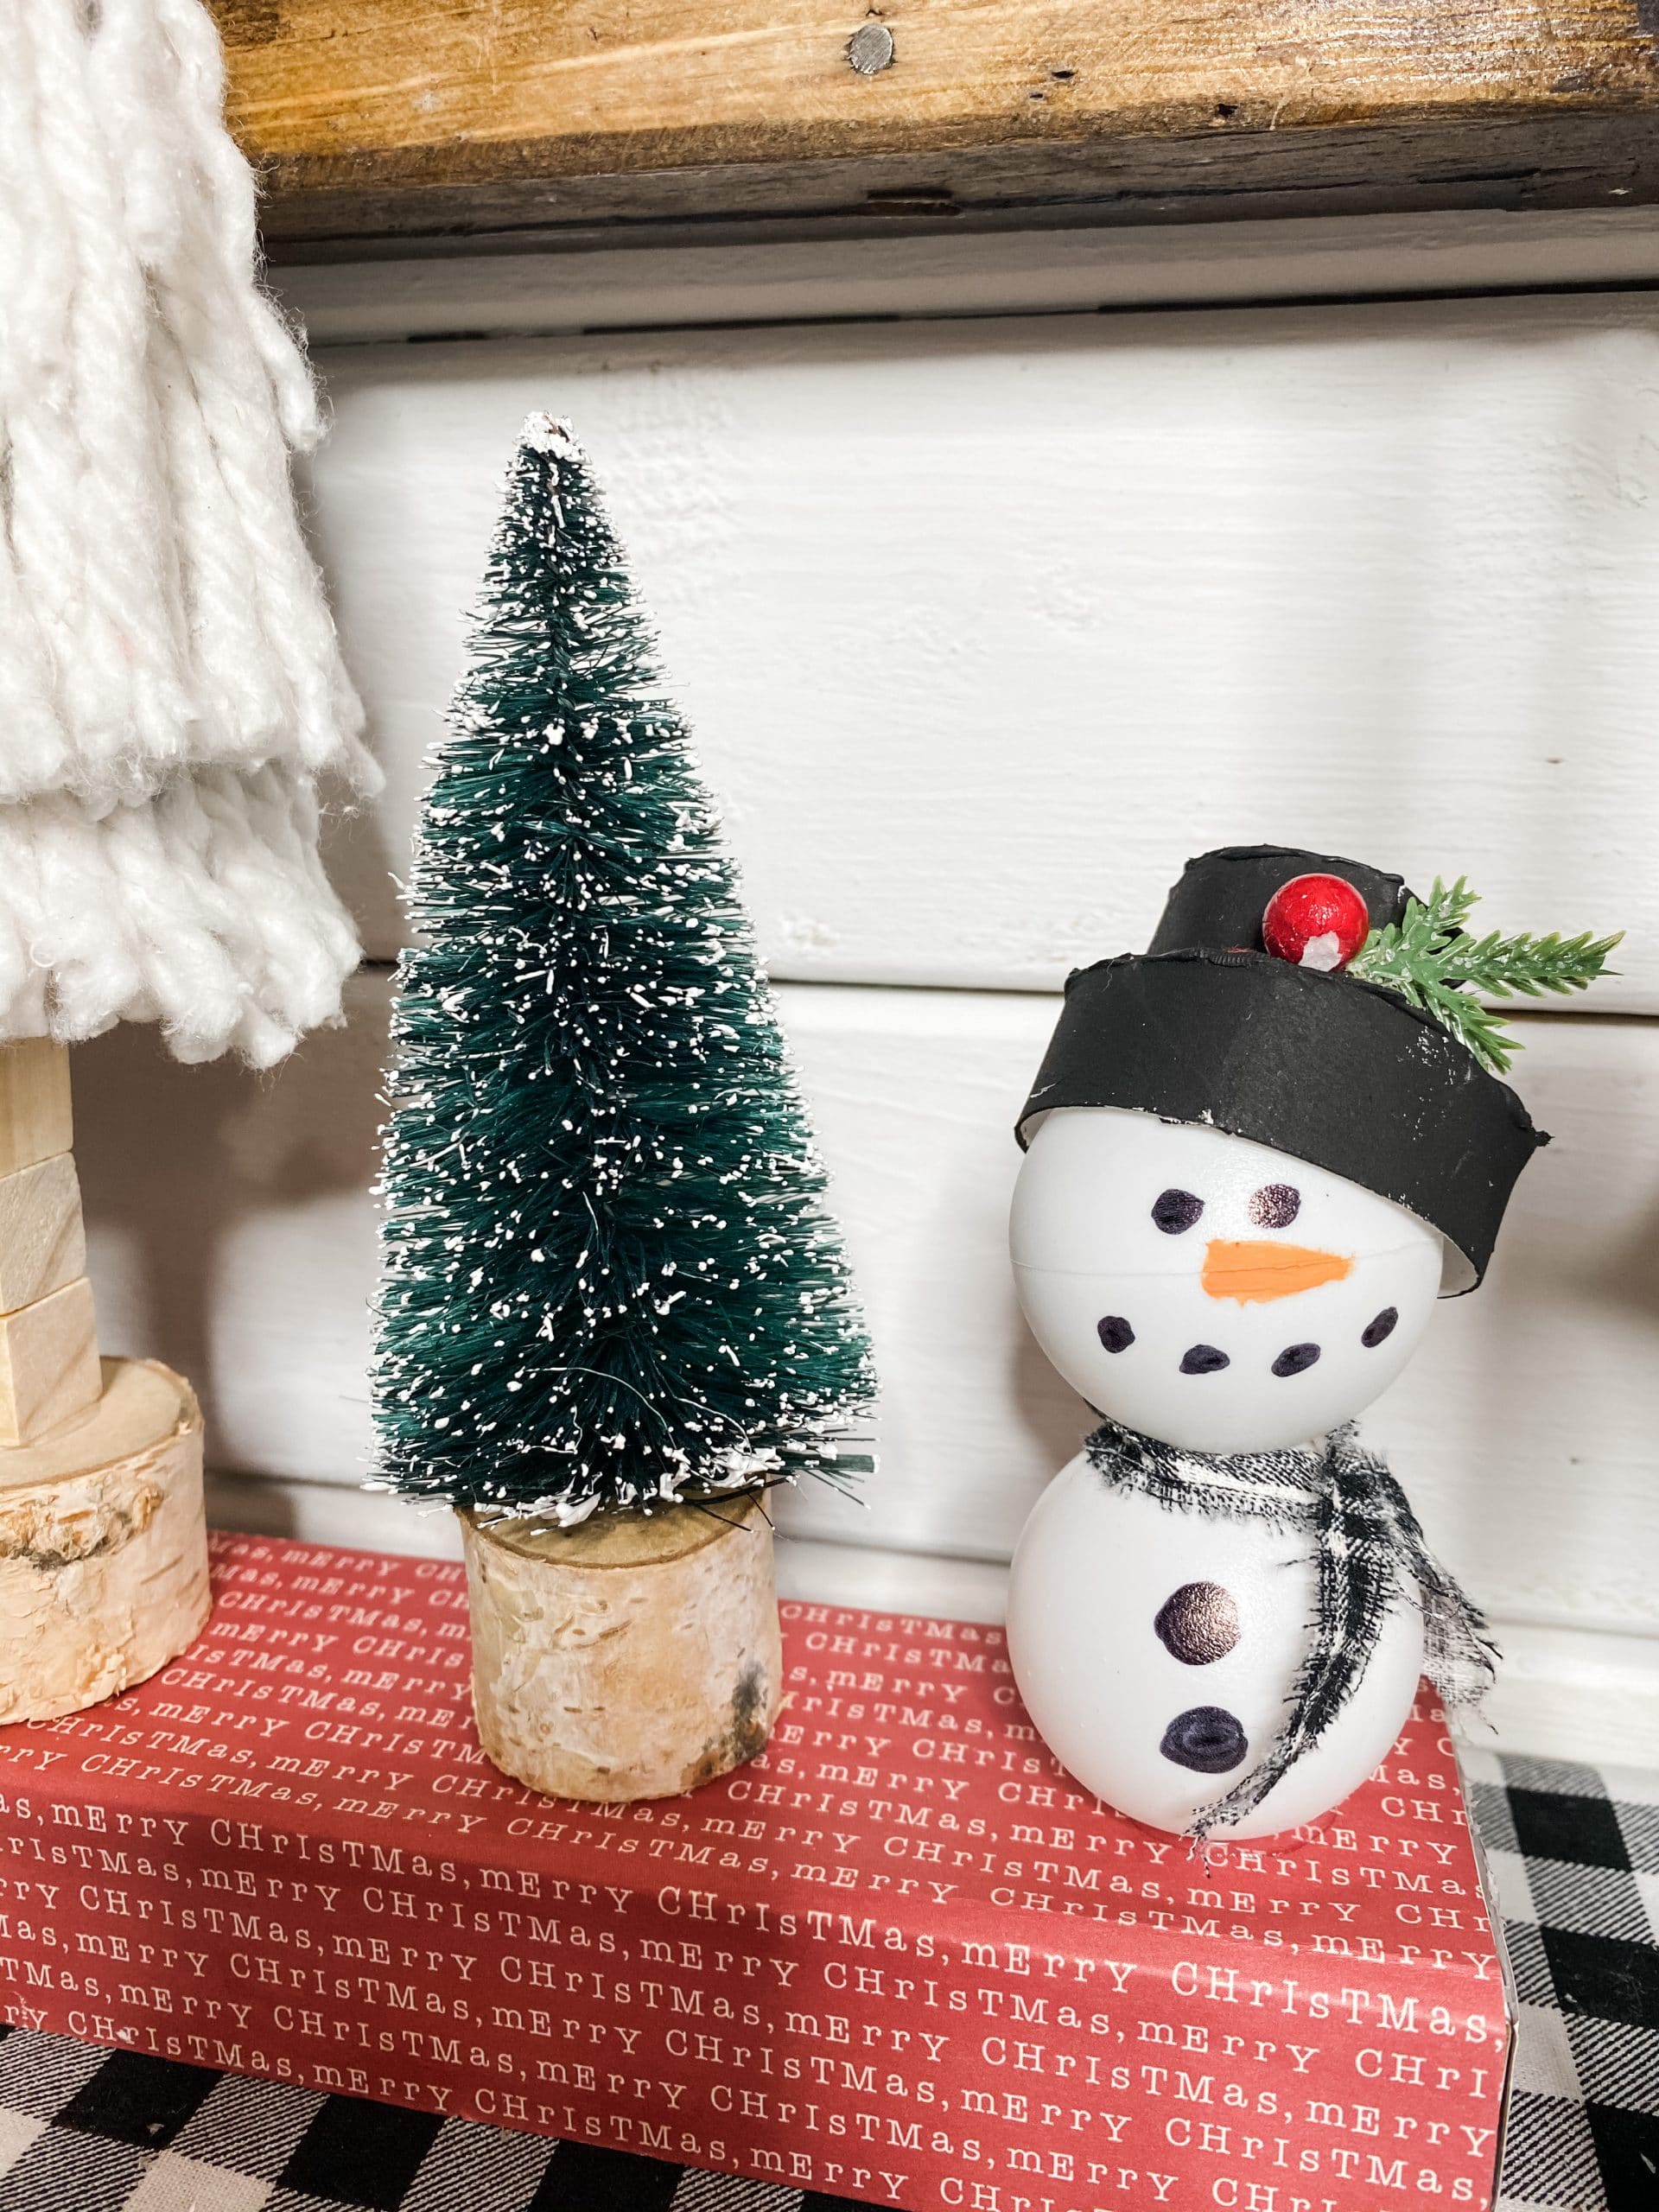
Cut another piece of the toilet paper roll. Trim the piece and make a smaller circle to sit on top of the first toilet paper roll platform. Repeat the process from above and hot glue the second circle on top of the first.
Once the glue dries, use Waverly Ink Chalk Paint to paint the adorable little top hat. I used my heat gun to dry as I went so my fingers didn’t get too messy.
Do you wanna build a snowman?
Now, hot glue two of the Dollar Tree ping pong balls together, and hot glue the little top hat to the snowman’s head.
Don’t have it sit directly on top of the snowman’s head though. Have it set a little towards the back of the snowman’s head.
I used a Sharpie Marker to draw on the snowman’s face and the black buttons on his stomach. Then, I wrapped a piece of Dollar Tree baker’s twine around the DIY top hat. Just hot glue it into place.
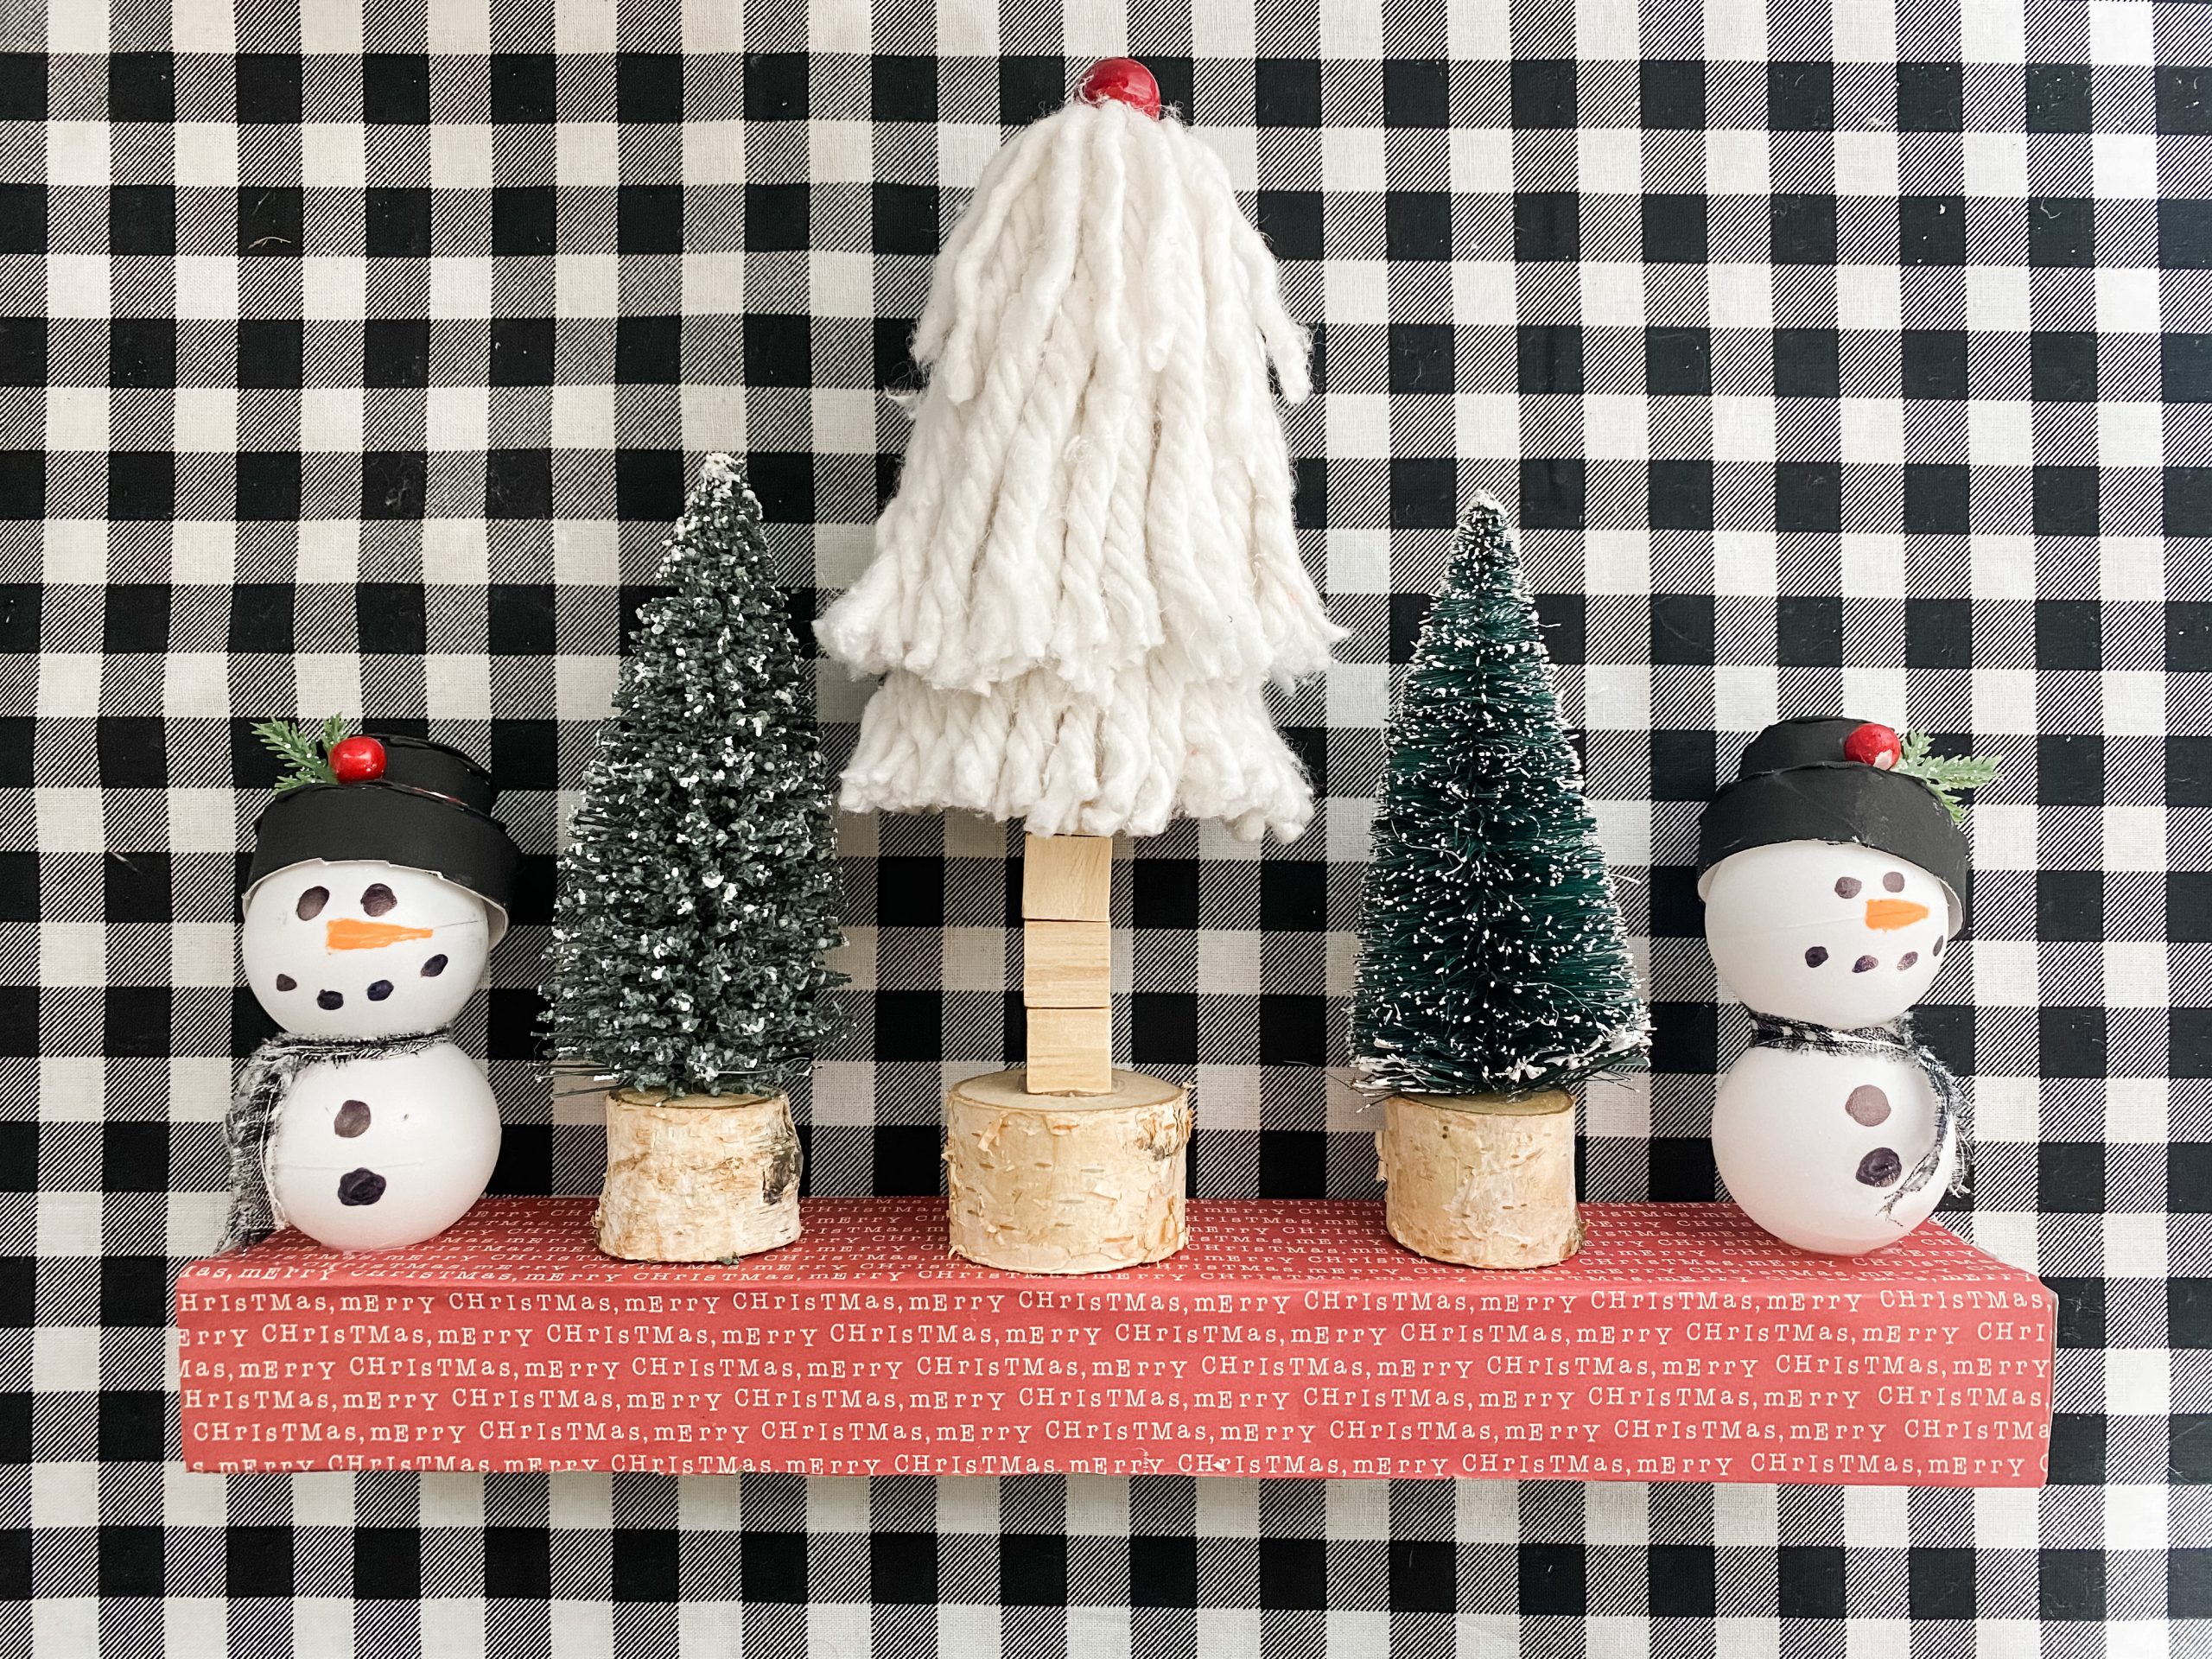
We can’t have a snowman without a scarf! I just used a piece of Dollar Tree buffalo check fabric that I tore into a thin strip and wrapped around the snowman’s neck. Tie it in a small knot and hot glue it into place.
All that’s left to do is paint the carrot nose onto the snowmen. I used an artist’s brush and lightly painted the small carrot nose on each snowman.
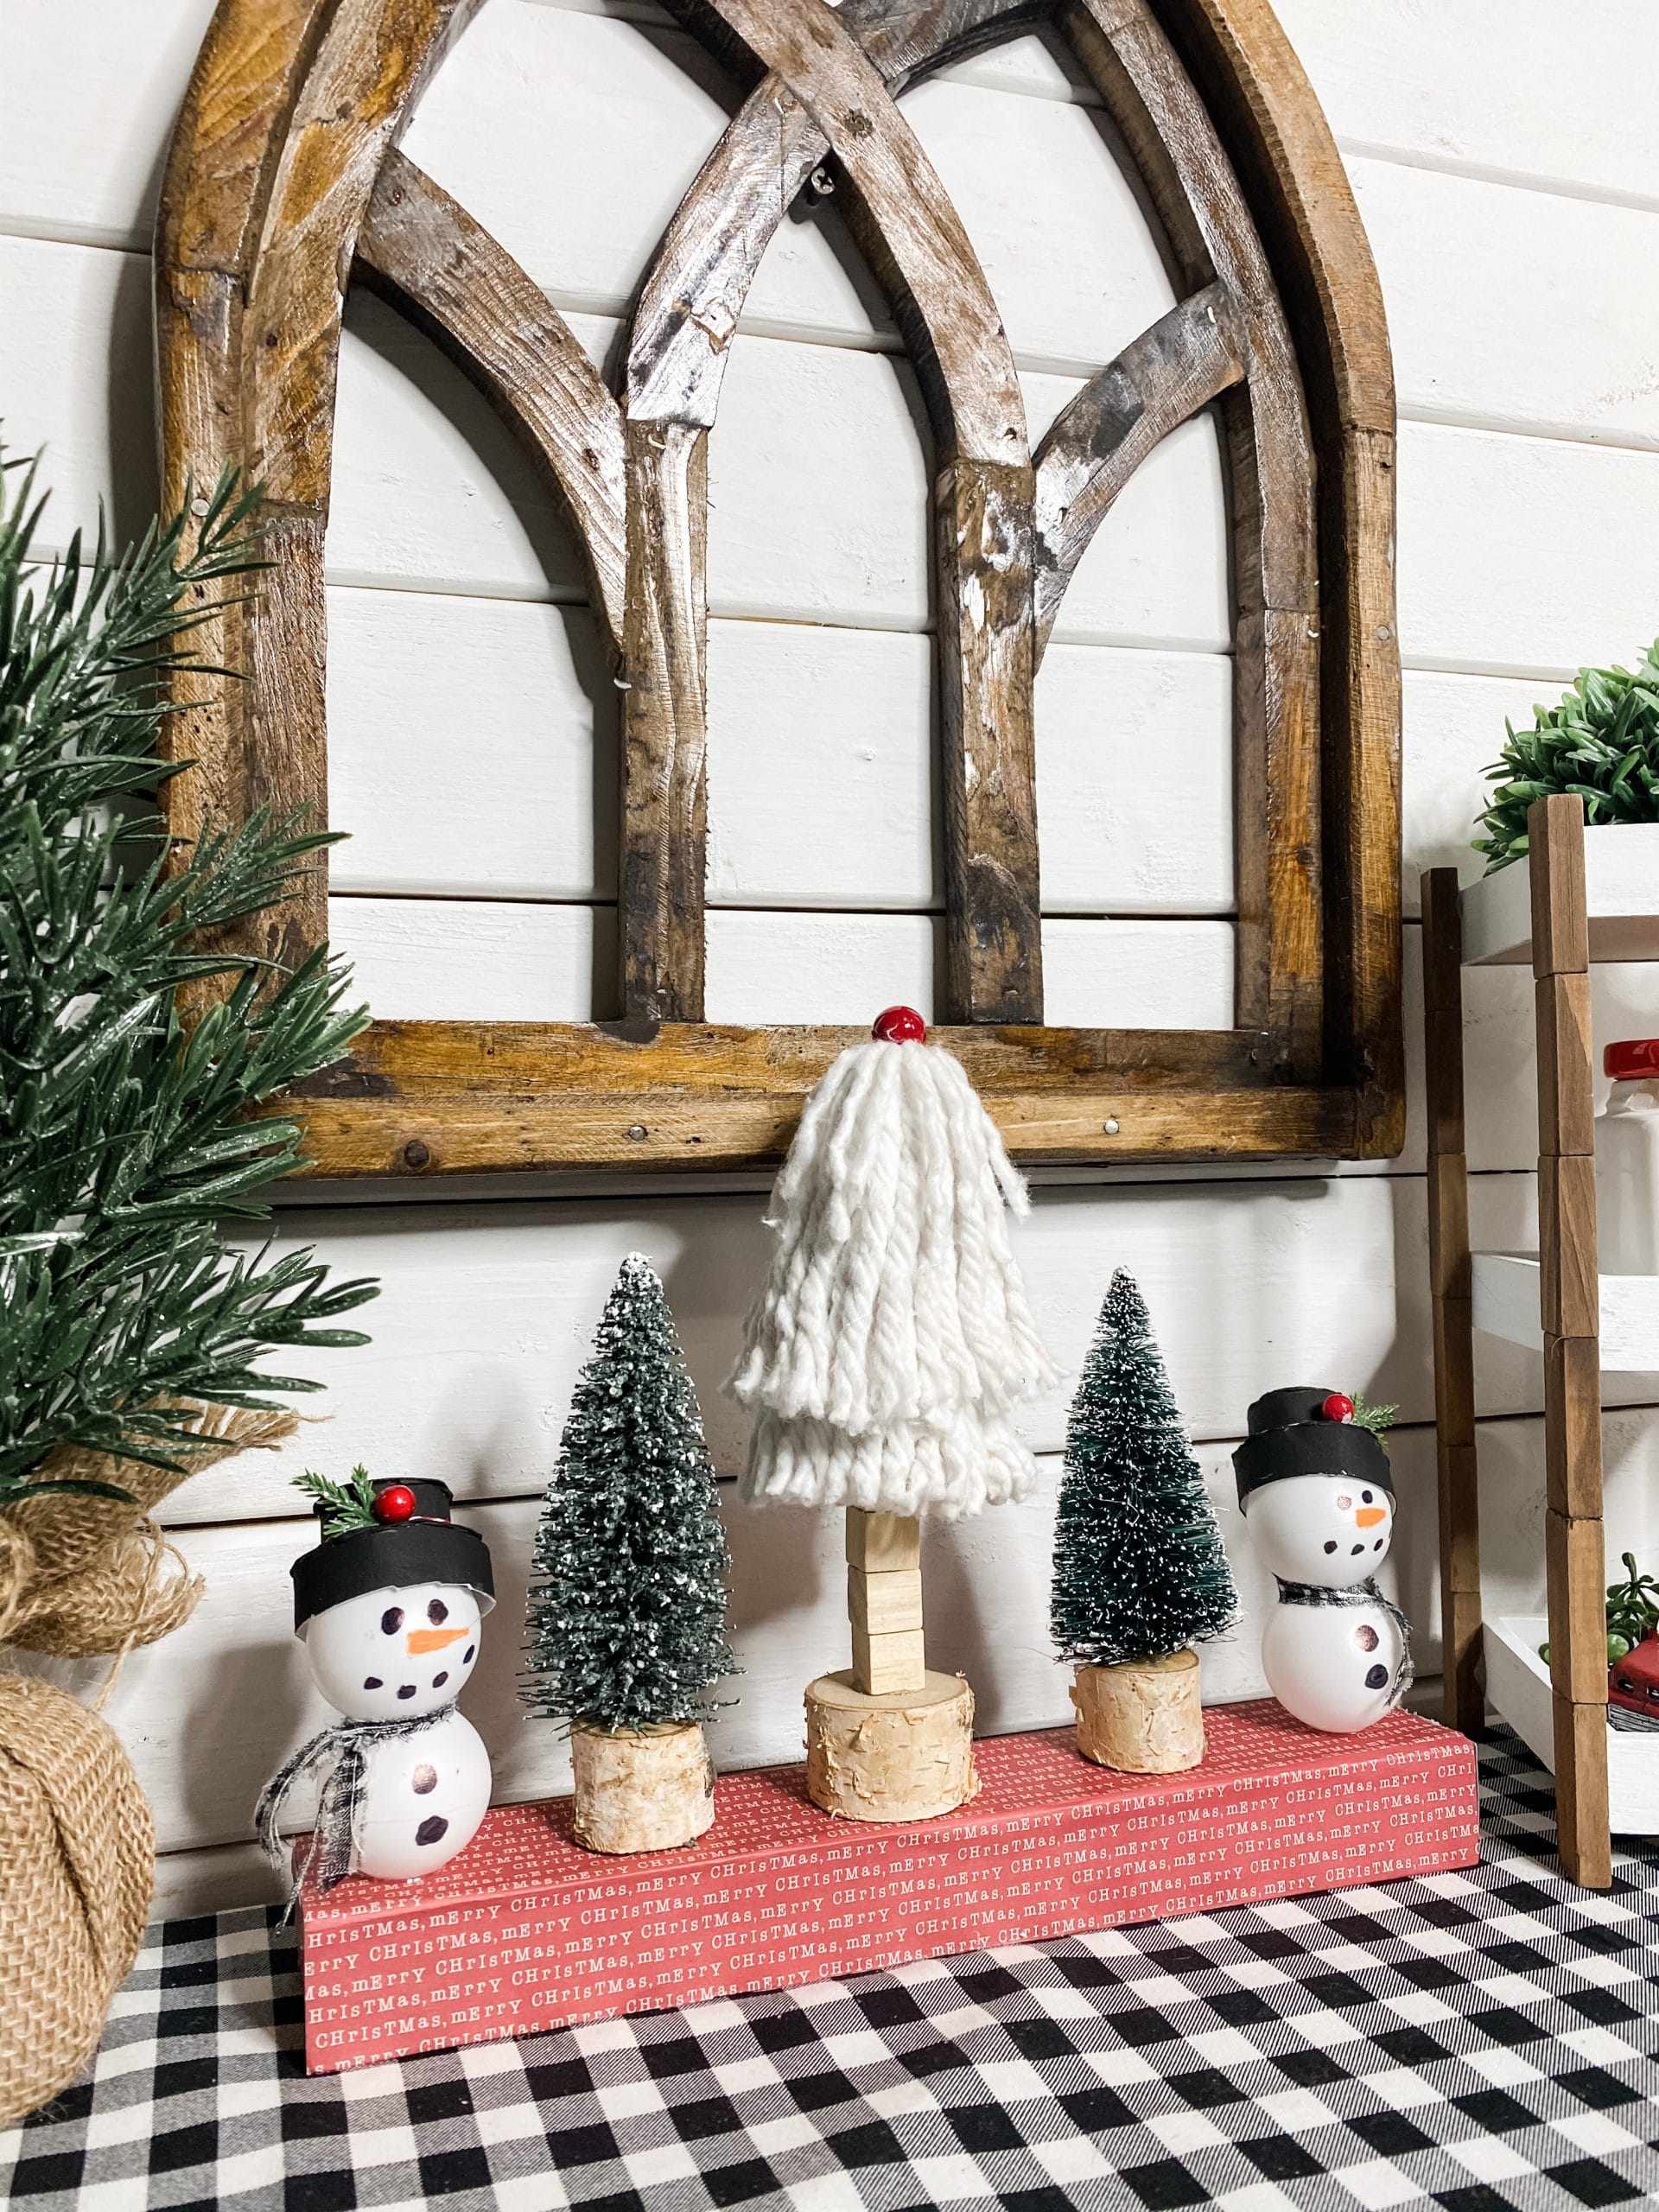
Bring the DIY Dollar Tree Winter Centerpiece together!
All that is left to do is hot glue each element onto the decoupaged Dollar Tree sign. I hot glued the snowmen on each end, the trees next, and the mop string gnome to the center. Allow the hot glue to dry, and you’re ready to add this to your Christmas Table!
I hope you enjoyed this DIY Dollar Tree Winter Centerpieceas much as I did and decide to make one for yourself! I would love to see how yours turns out!
You should totally join my FREE Facebook group called On A Budget Crafts! It is a judgment-free community for DIY crafters to show off their projects and ideas.
If you loved this DIY you might also like this DIY Christmas Tree Shelf Decor!
Thanks for stopping by! XOXO Amber
You can also shop my ENTIRE AMAZON Favorites shop just click here! It’s packed full of all the things I use and love.
Here is the supply list I highly recommend every creative have on hand!! Would you also pin my blog for later and get on my newsletter alerts? I would love to have you join my #craftycrew.

Join my free “ON A BUDGET CRAFTS” Facebook group!
PIN THIS POST FOR LATER!
Very cute, inexpensive Christmas display. Just a small note…it’s badminton not “bad mitten”, lol.
Thanks Amber! I was looking for a project for my Grandchildren! This is perfect! You always know how to inspire us. Have a great weekend!!
Cutest little display