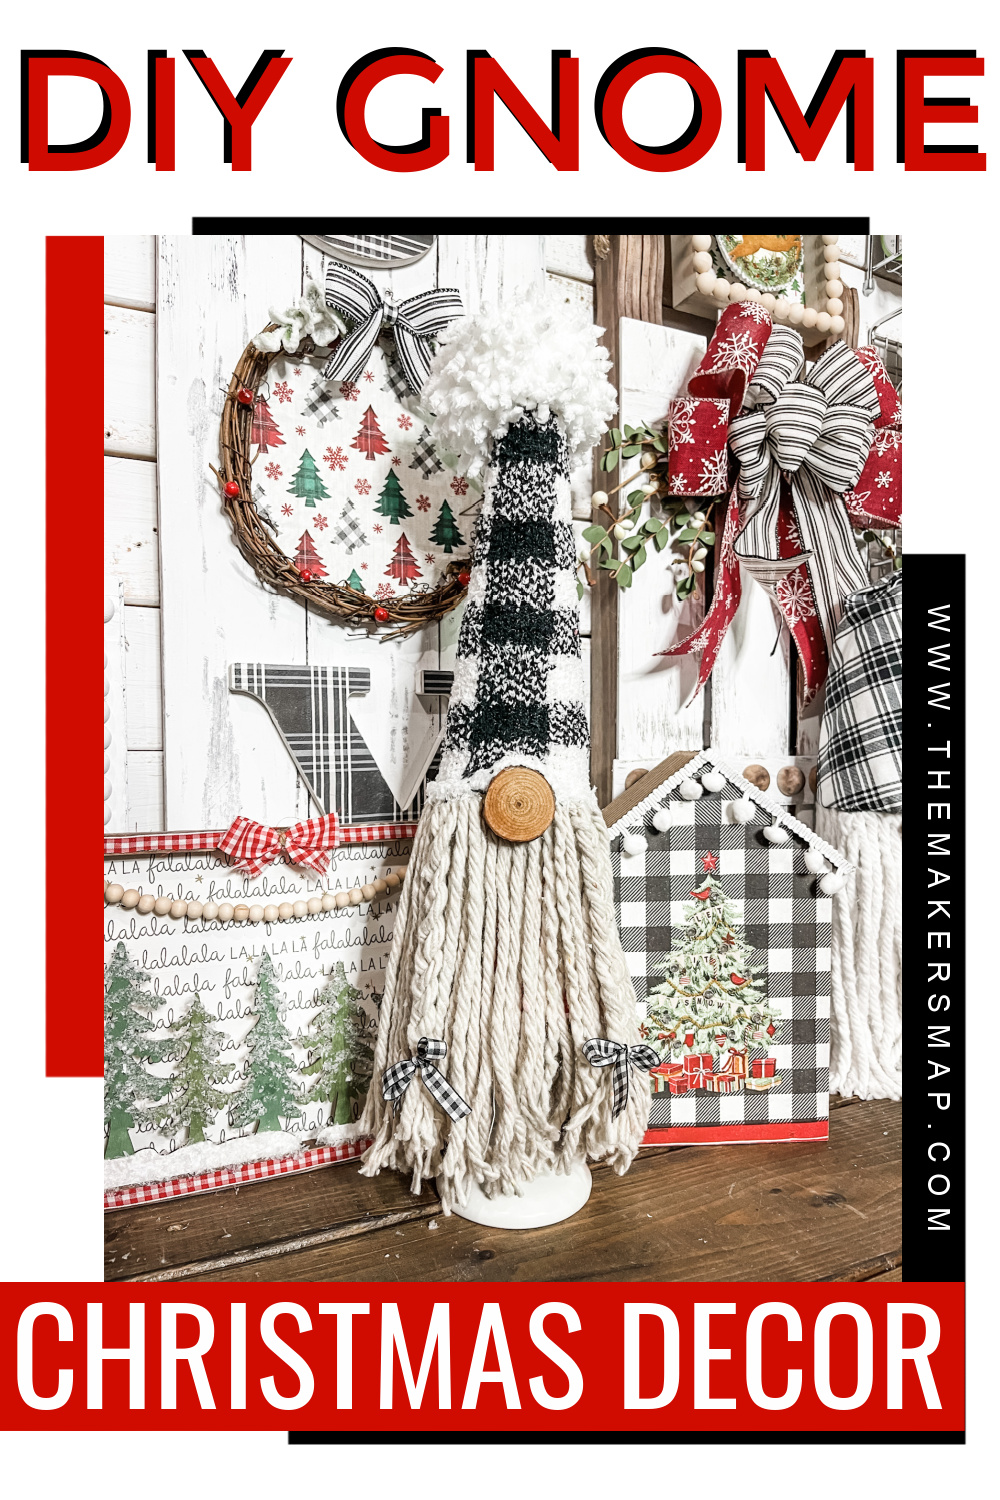
DIY Christmas Piggy Gnome
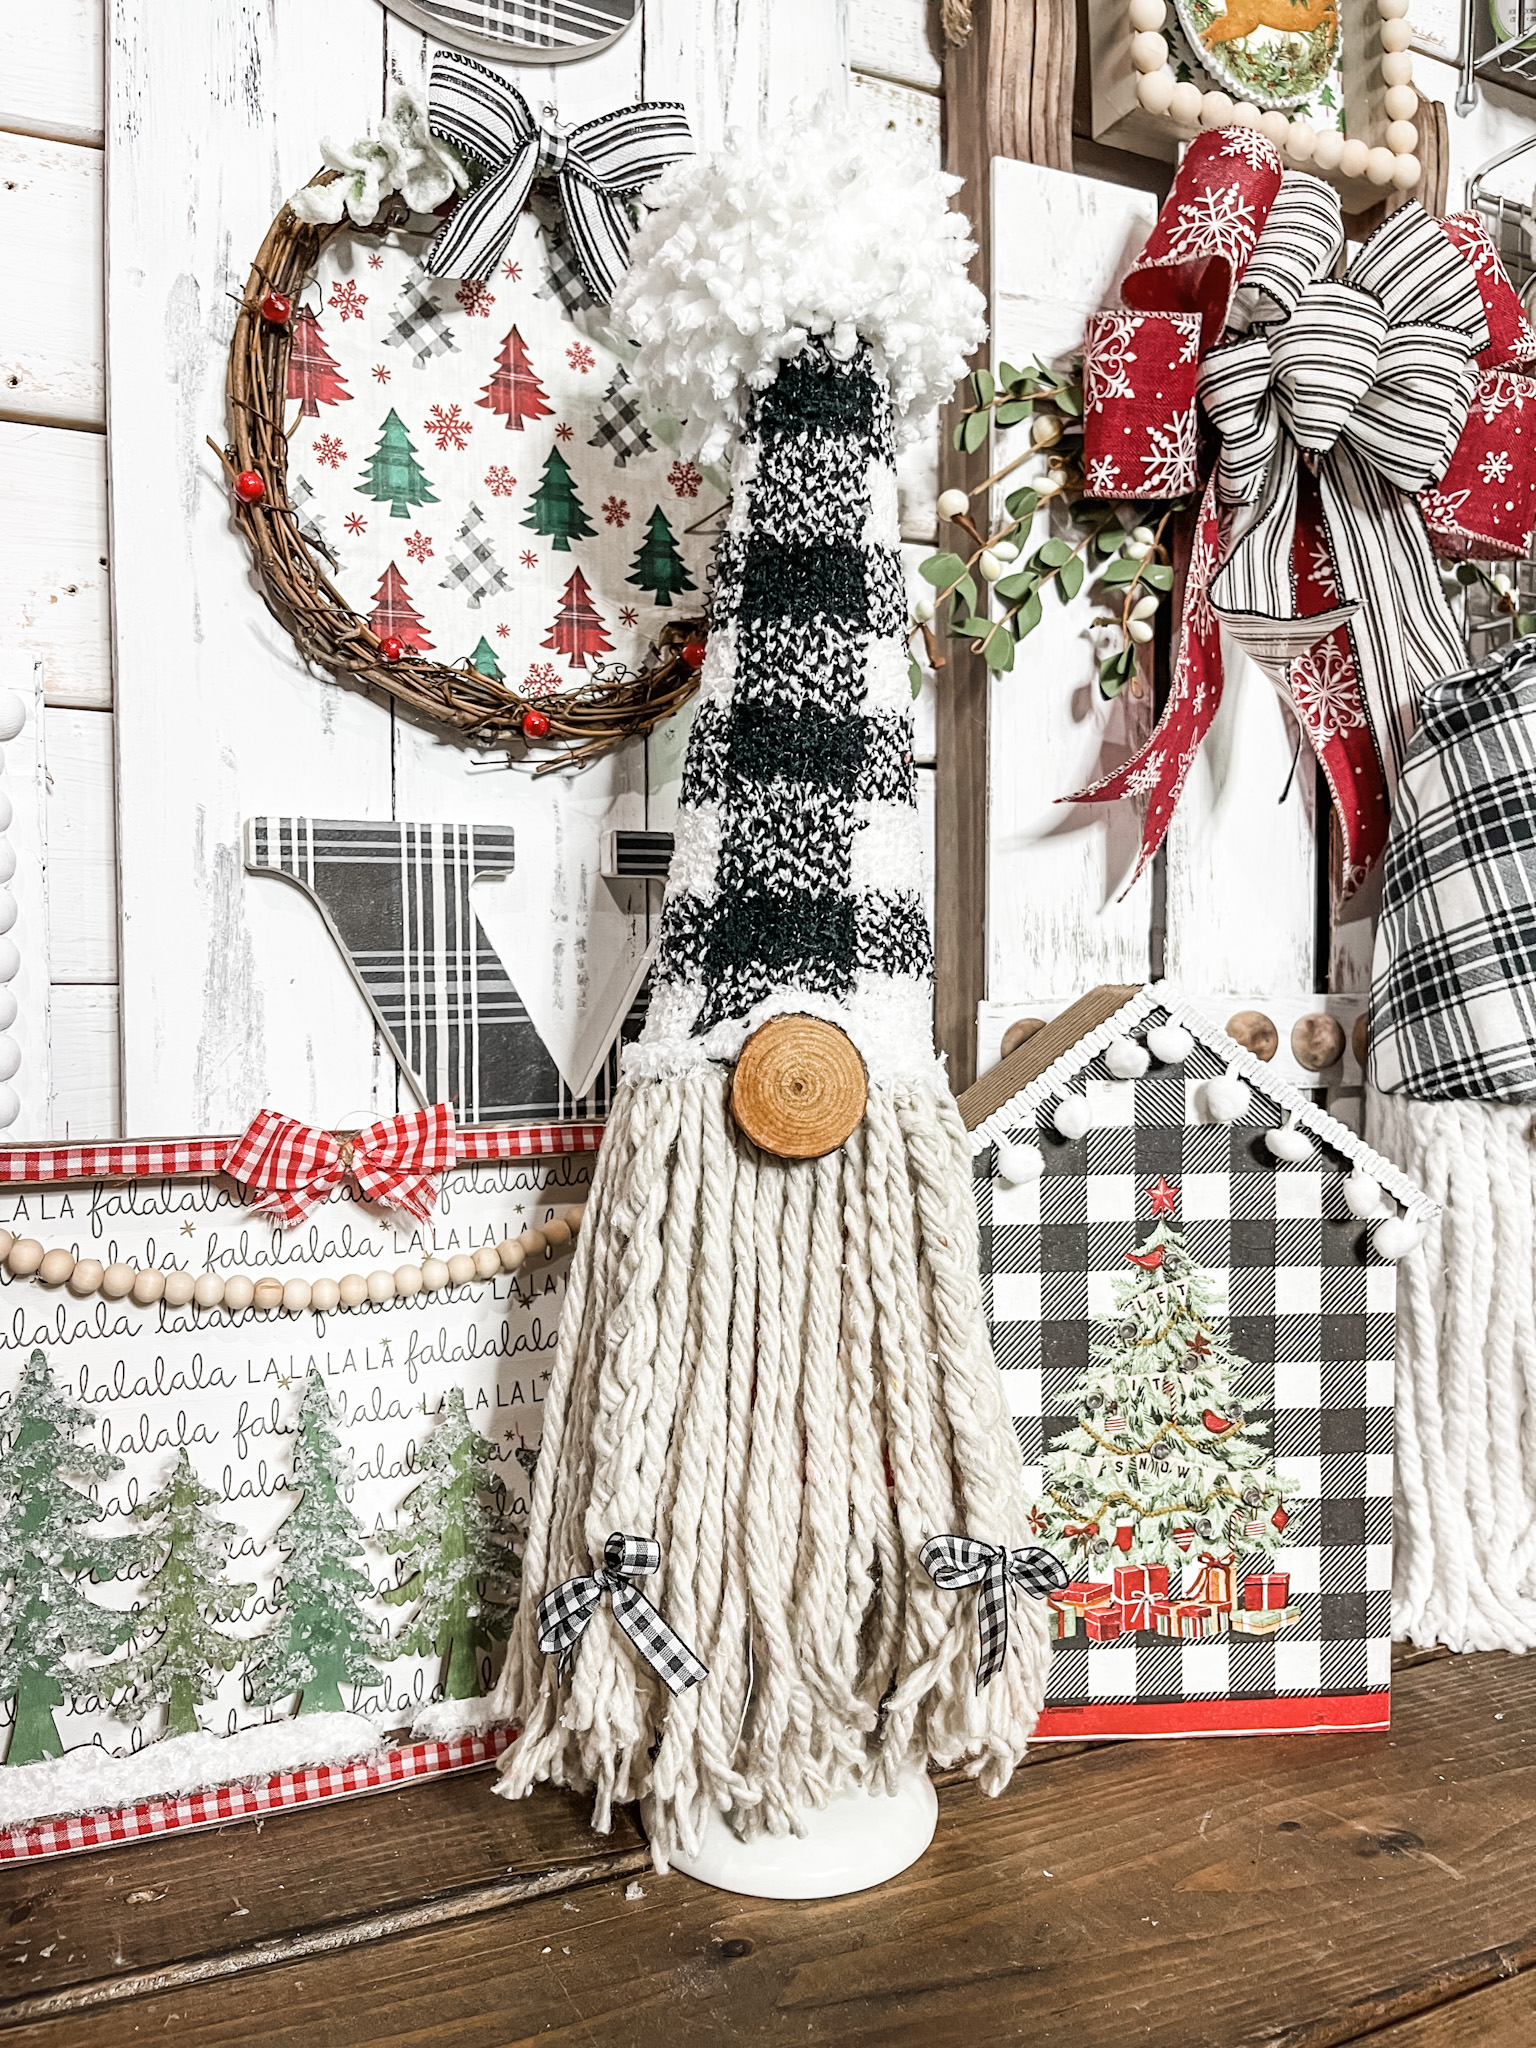
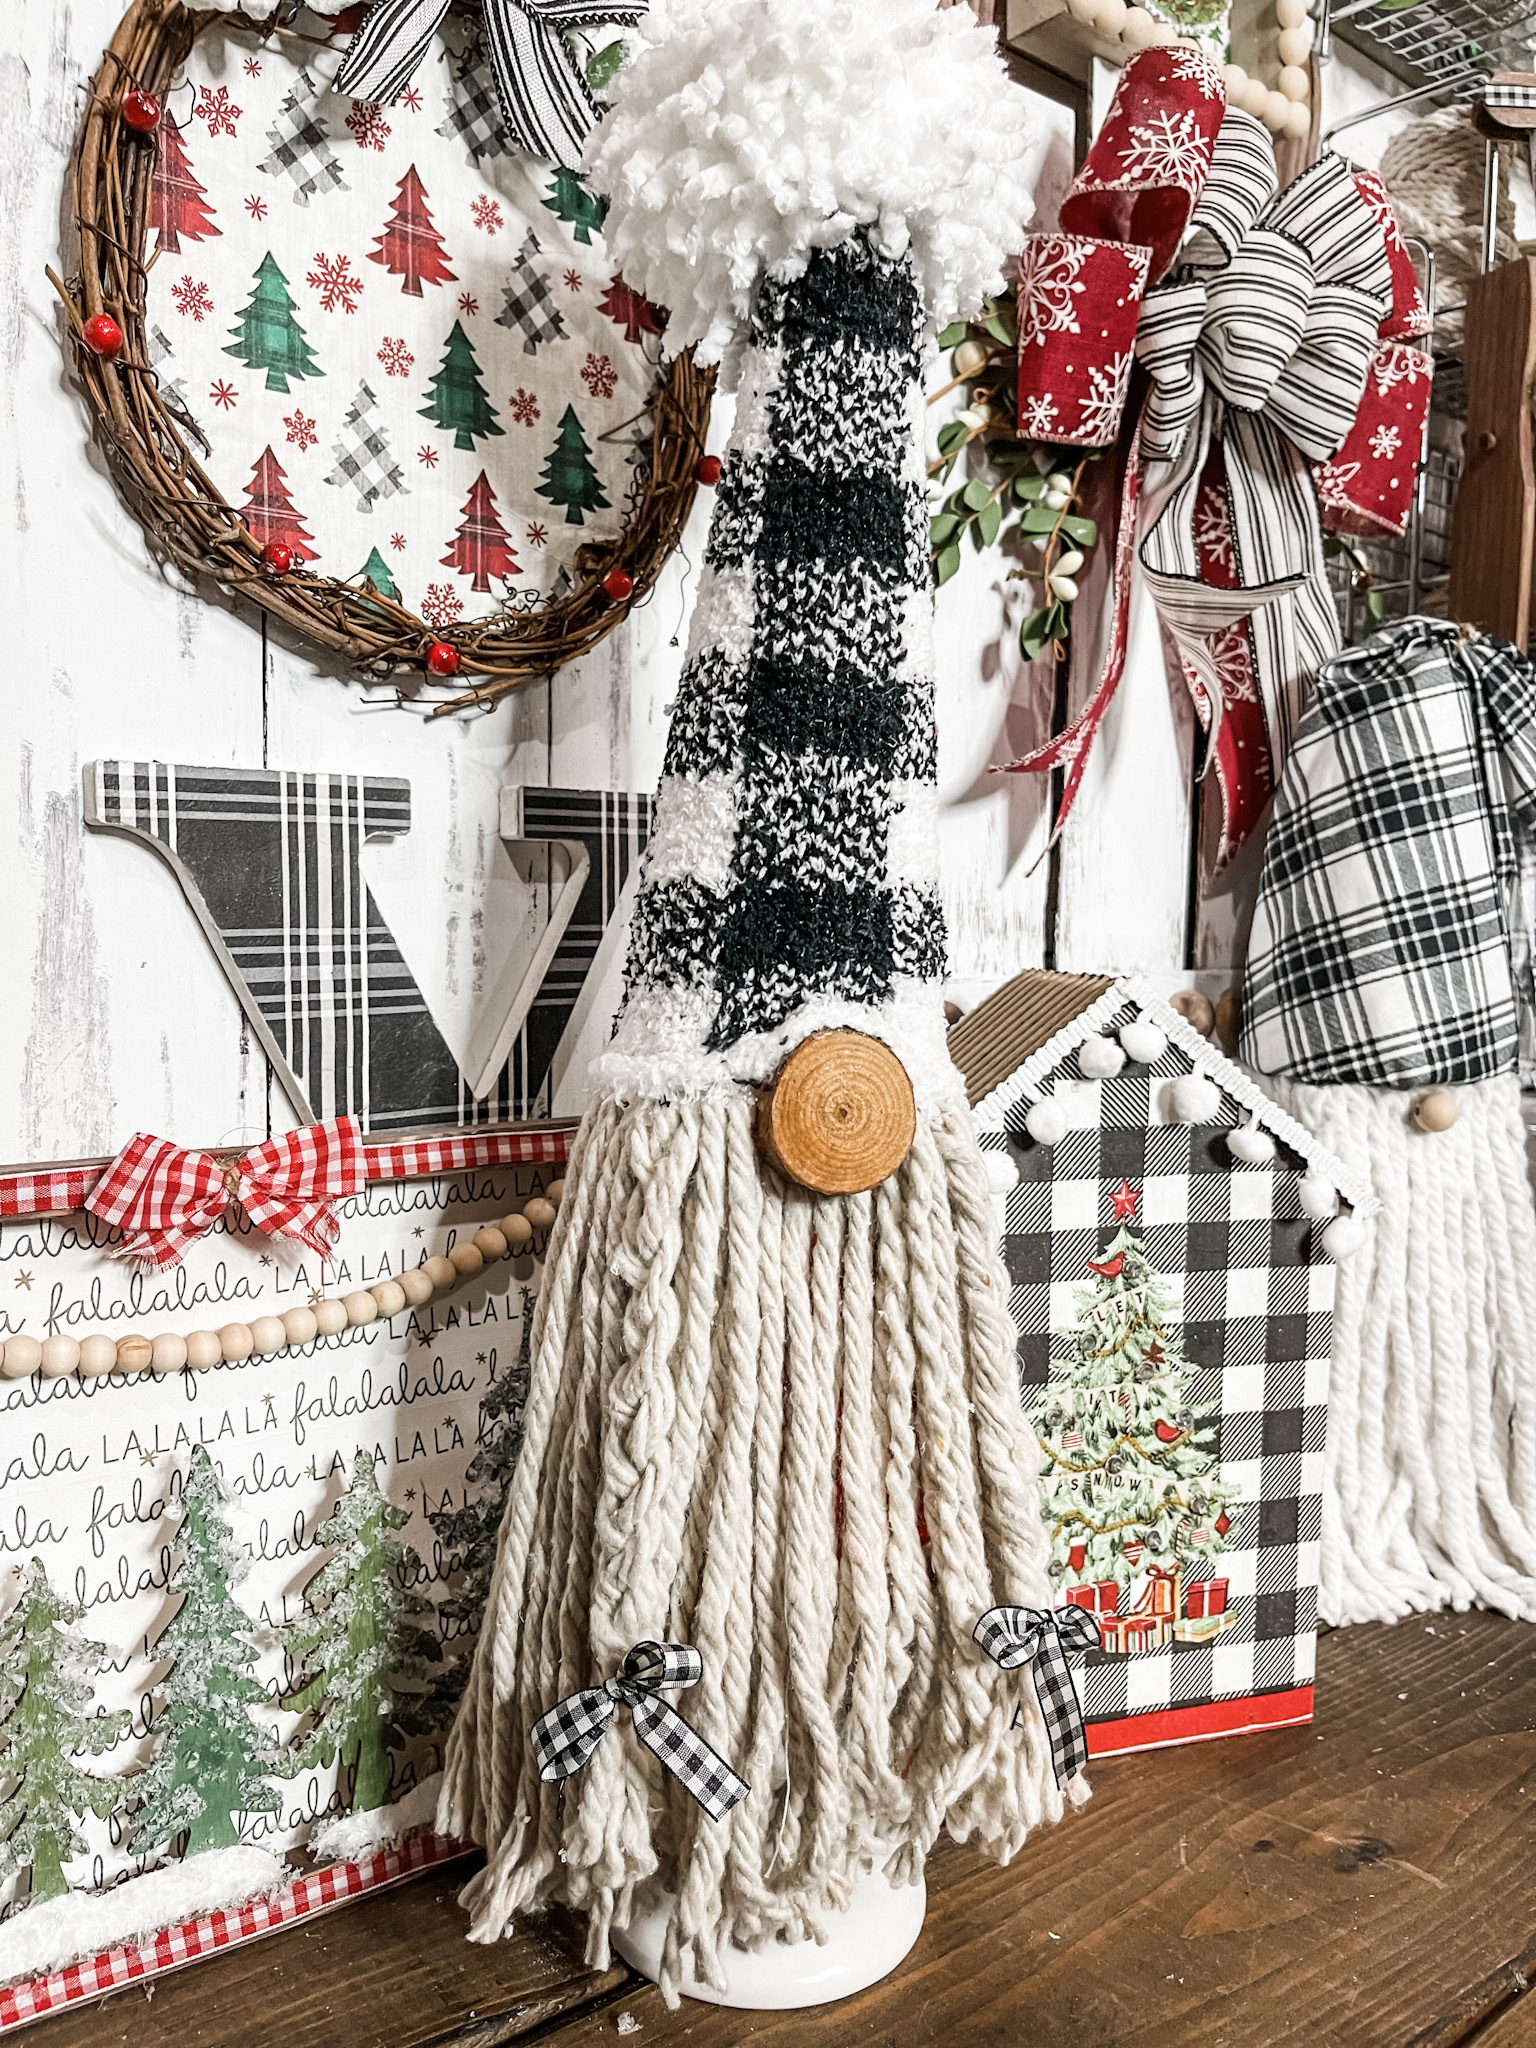
Okay, I am absolutely obsessed with how amazing this DIY Christmas Piggy Gnome turned out! who doesn’t love a good Christmas gnome? But even more, who doesn’t love an affordable Christmas gnome??
Now, why this is called a piggy gnome. Doesn’t the wood disk just remind you of a piggy?? I could’ve used a wood bead, as I have before, to make his nose, but I think the wood disk is just so adorable and unique!
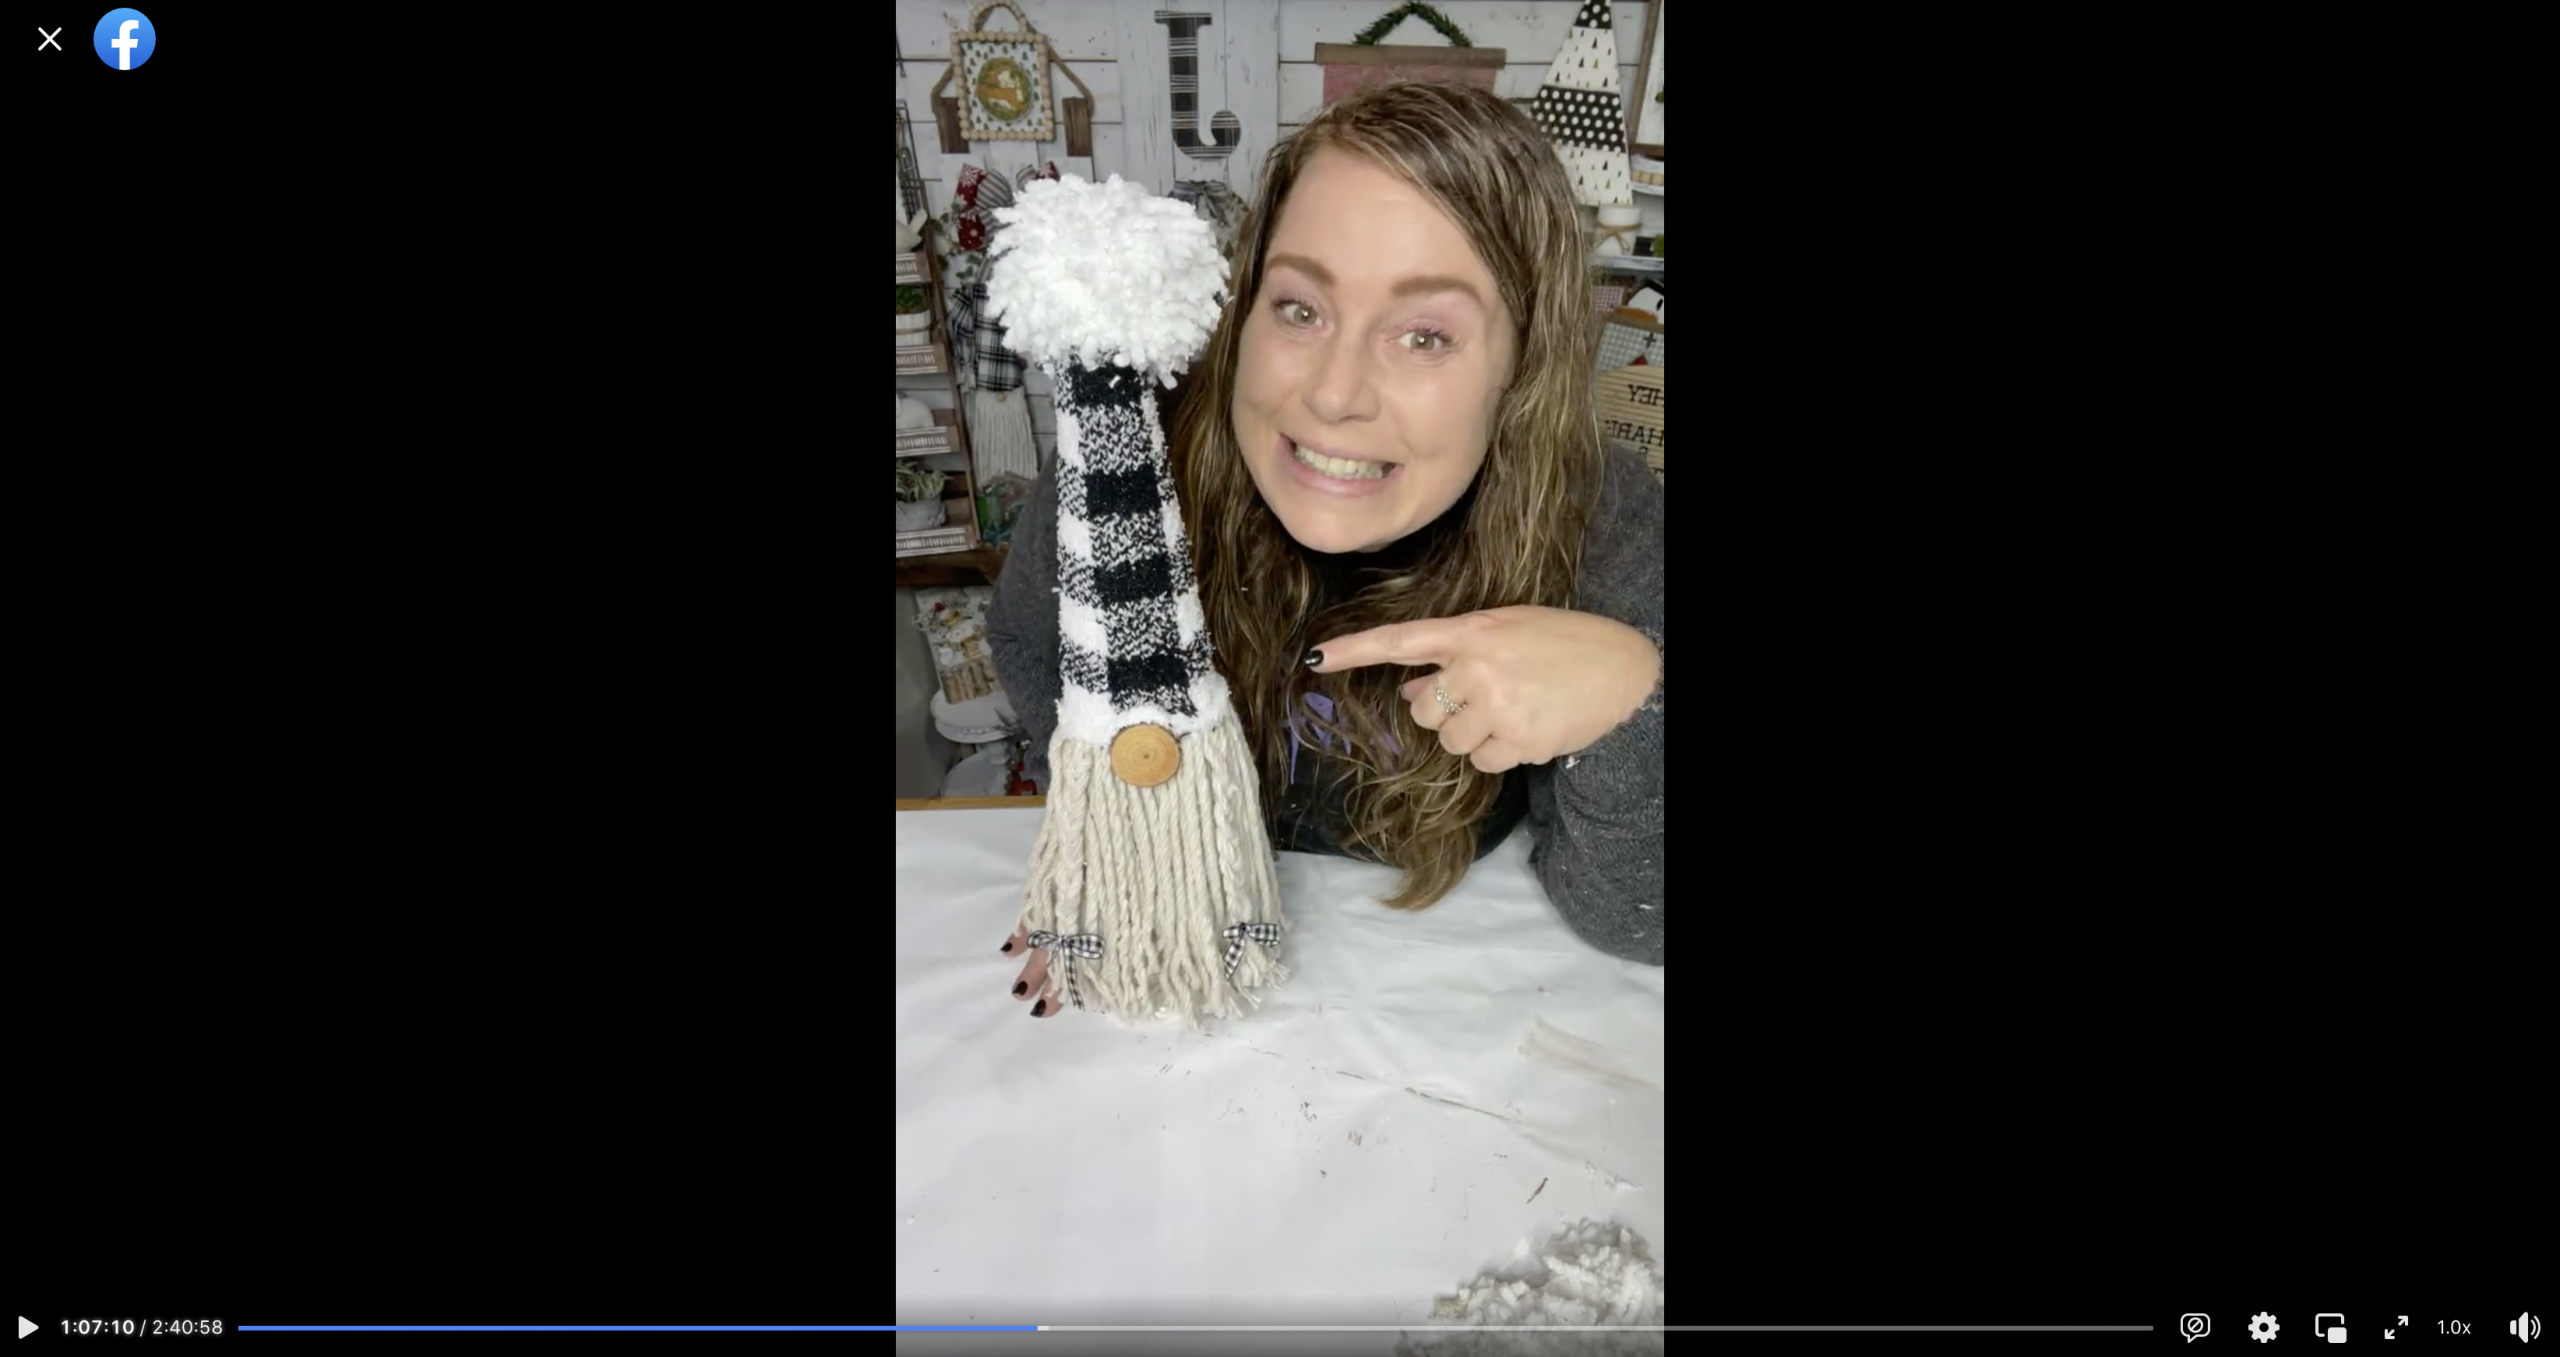
Watch the DIY tutorial
I recorded how to make this adorable DIY Christmas Piggy Gnome during a LIVE video on my Facebook page!
If you want to see the DIY process, craft along, or just join in on the fun conversations, you can watch the DIY tutorial replay on Facebook!
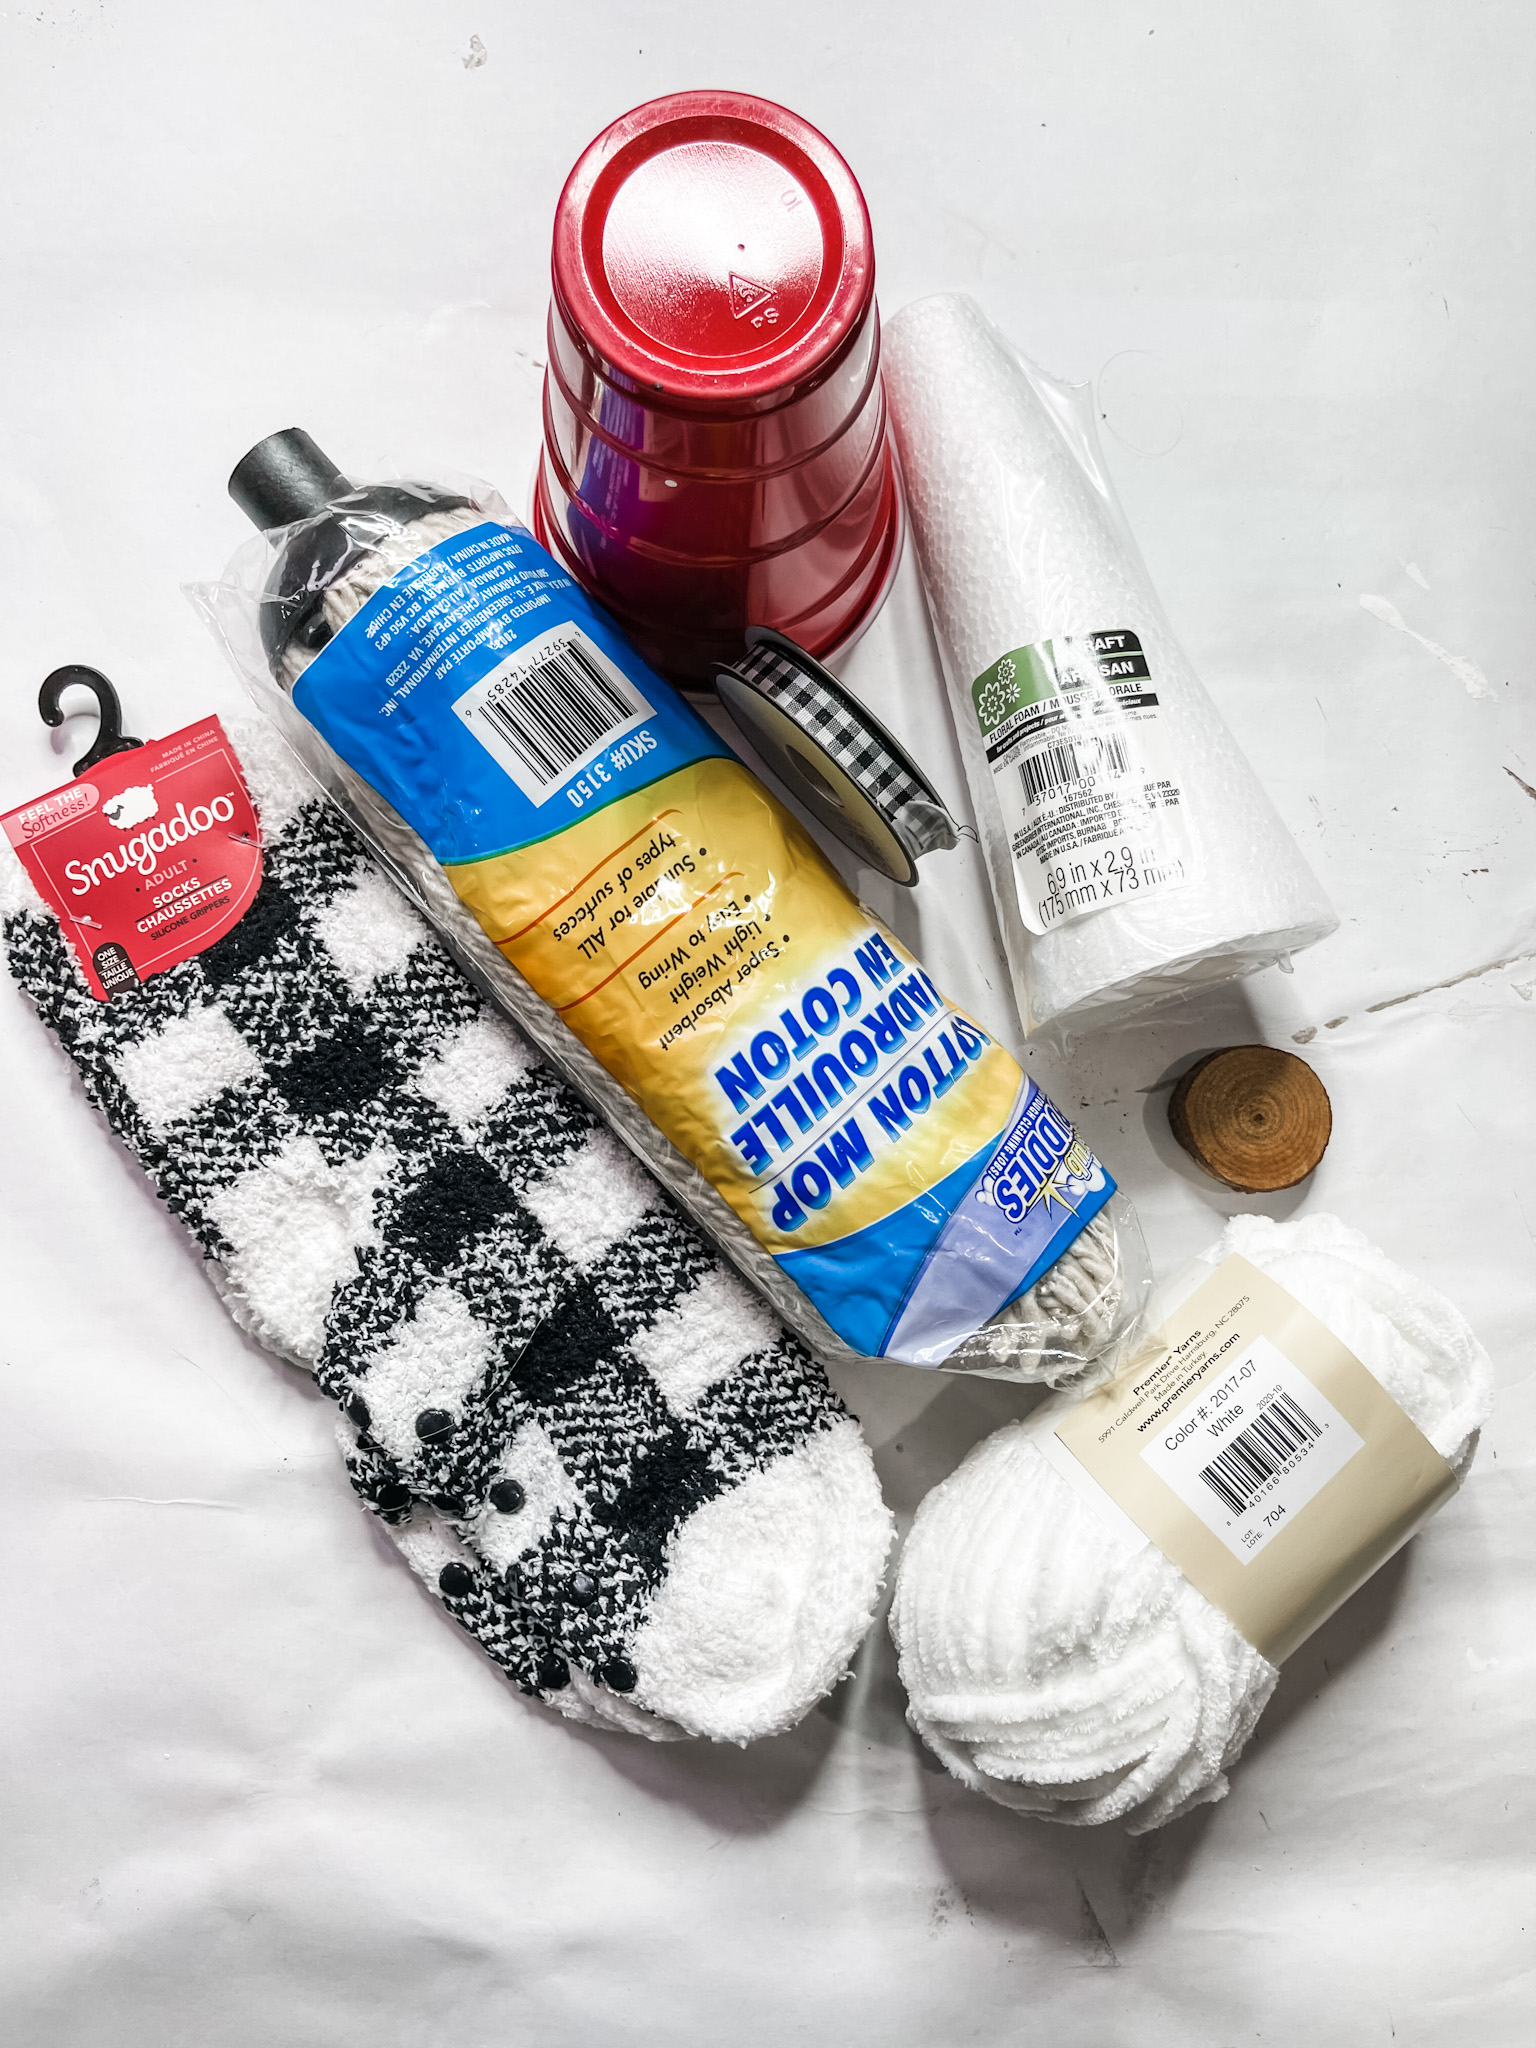
For this project, I will be using these items but you can substitute where you want.
“As an Amazon Associate, I earn from qualifying purchases.”
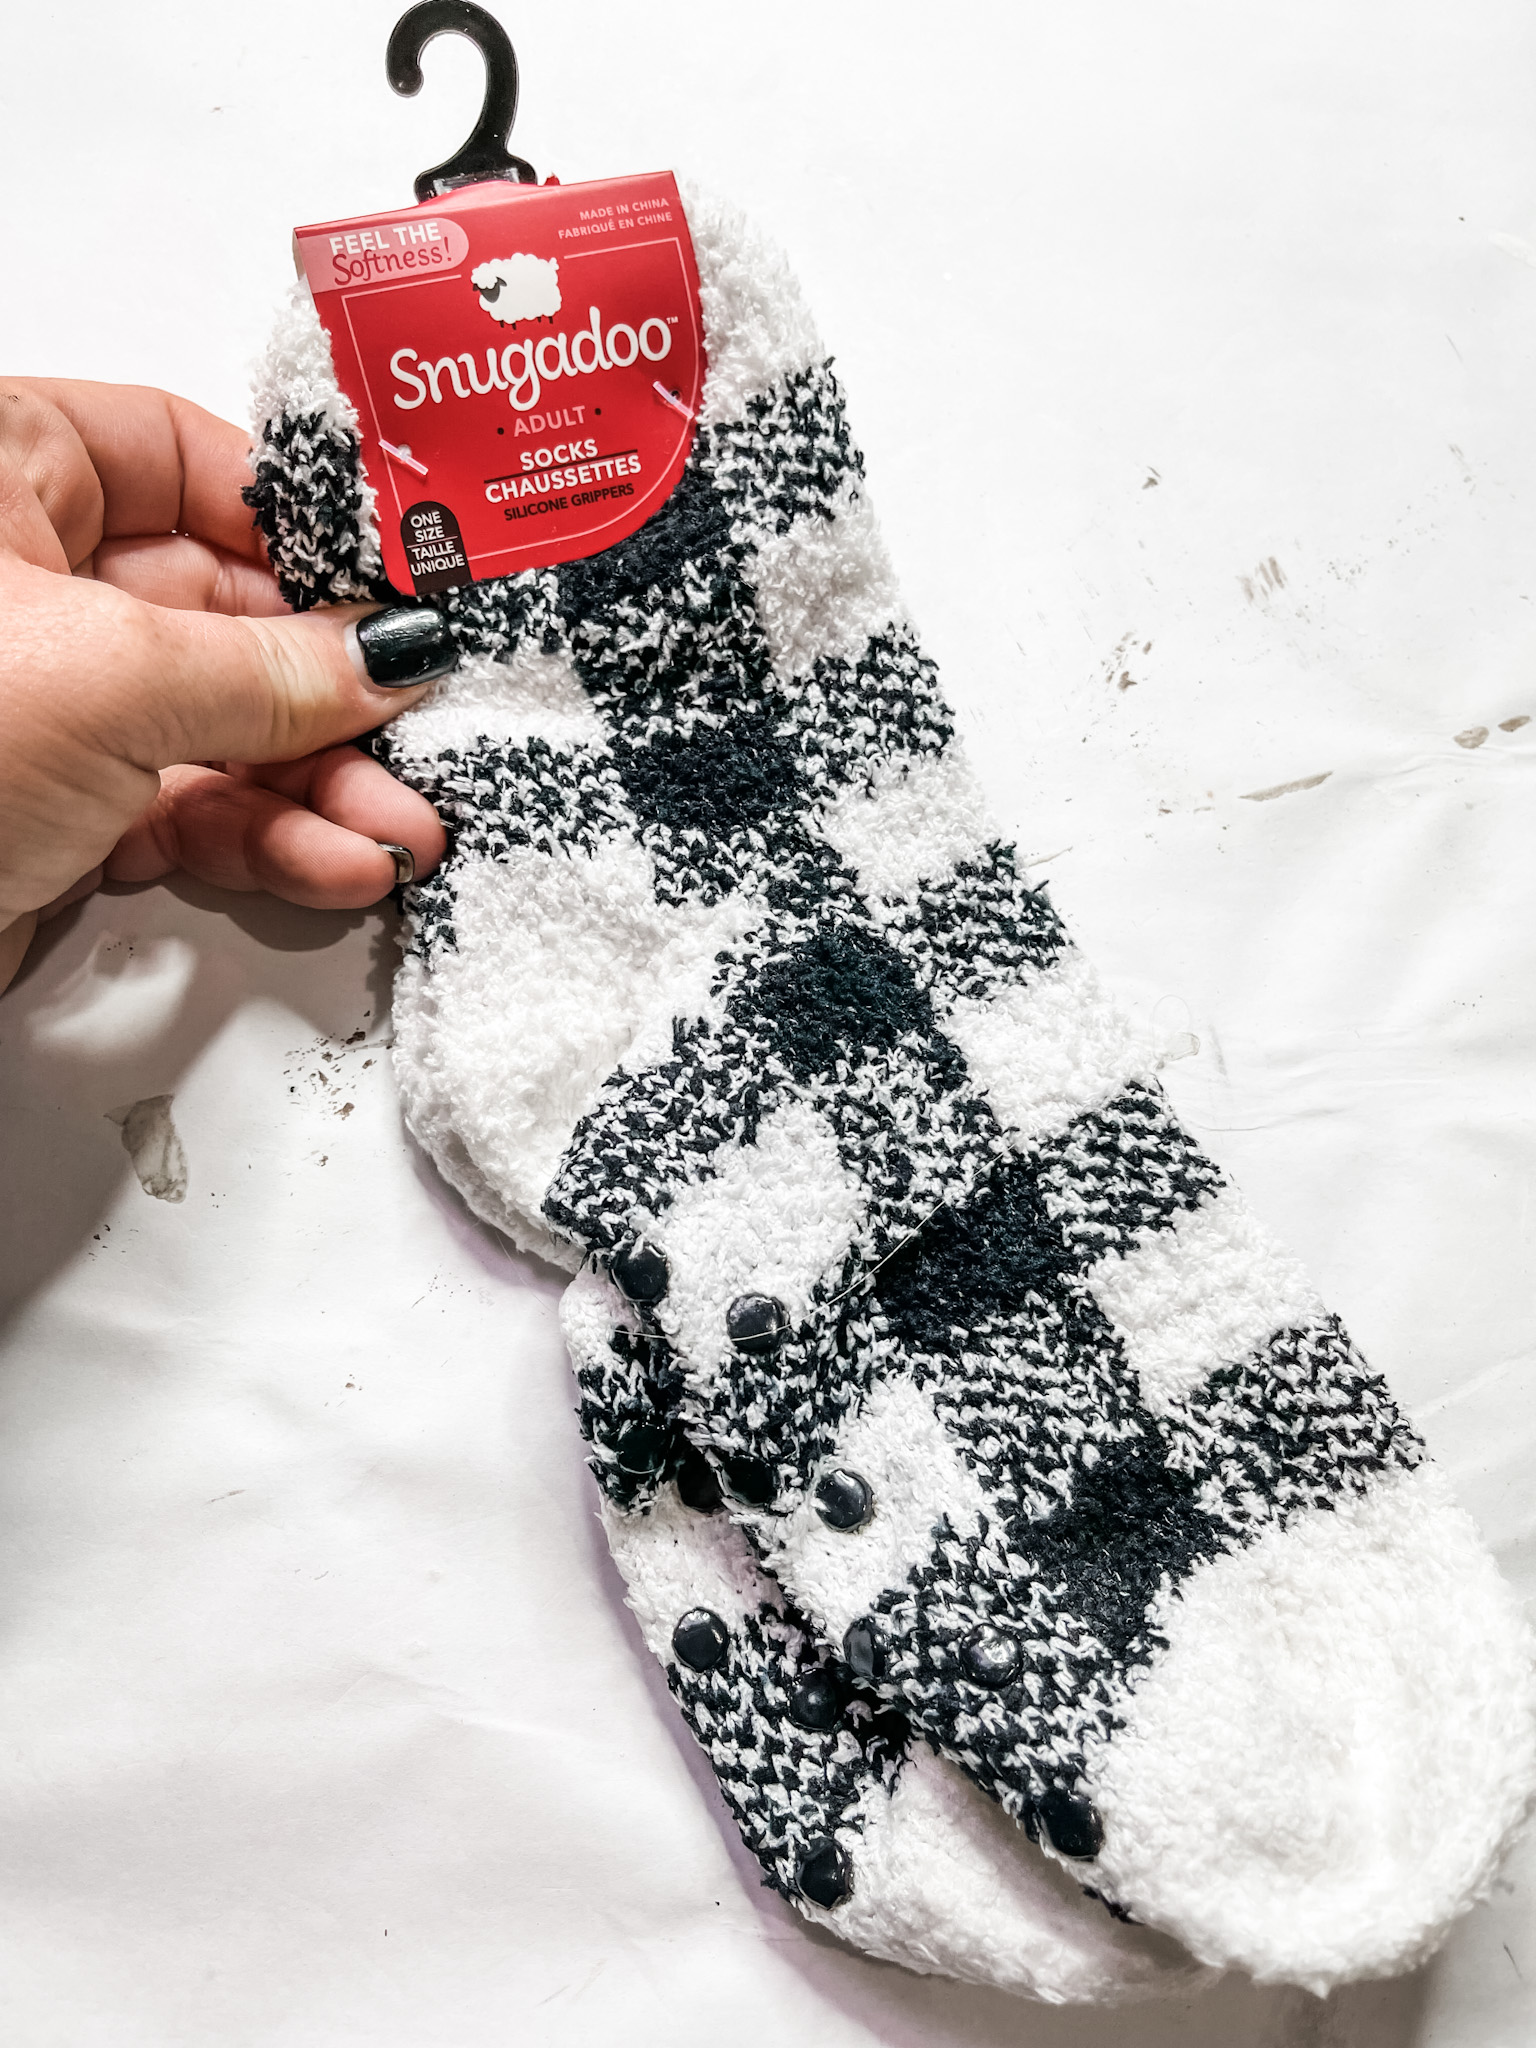
- Dollar Tree Black Buffalo Check Socks
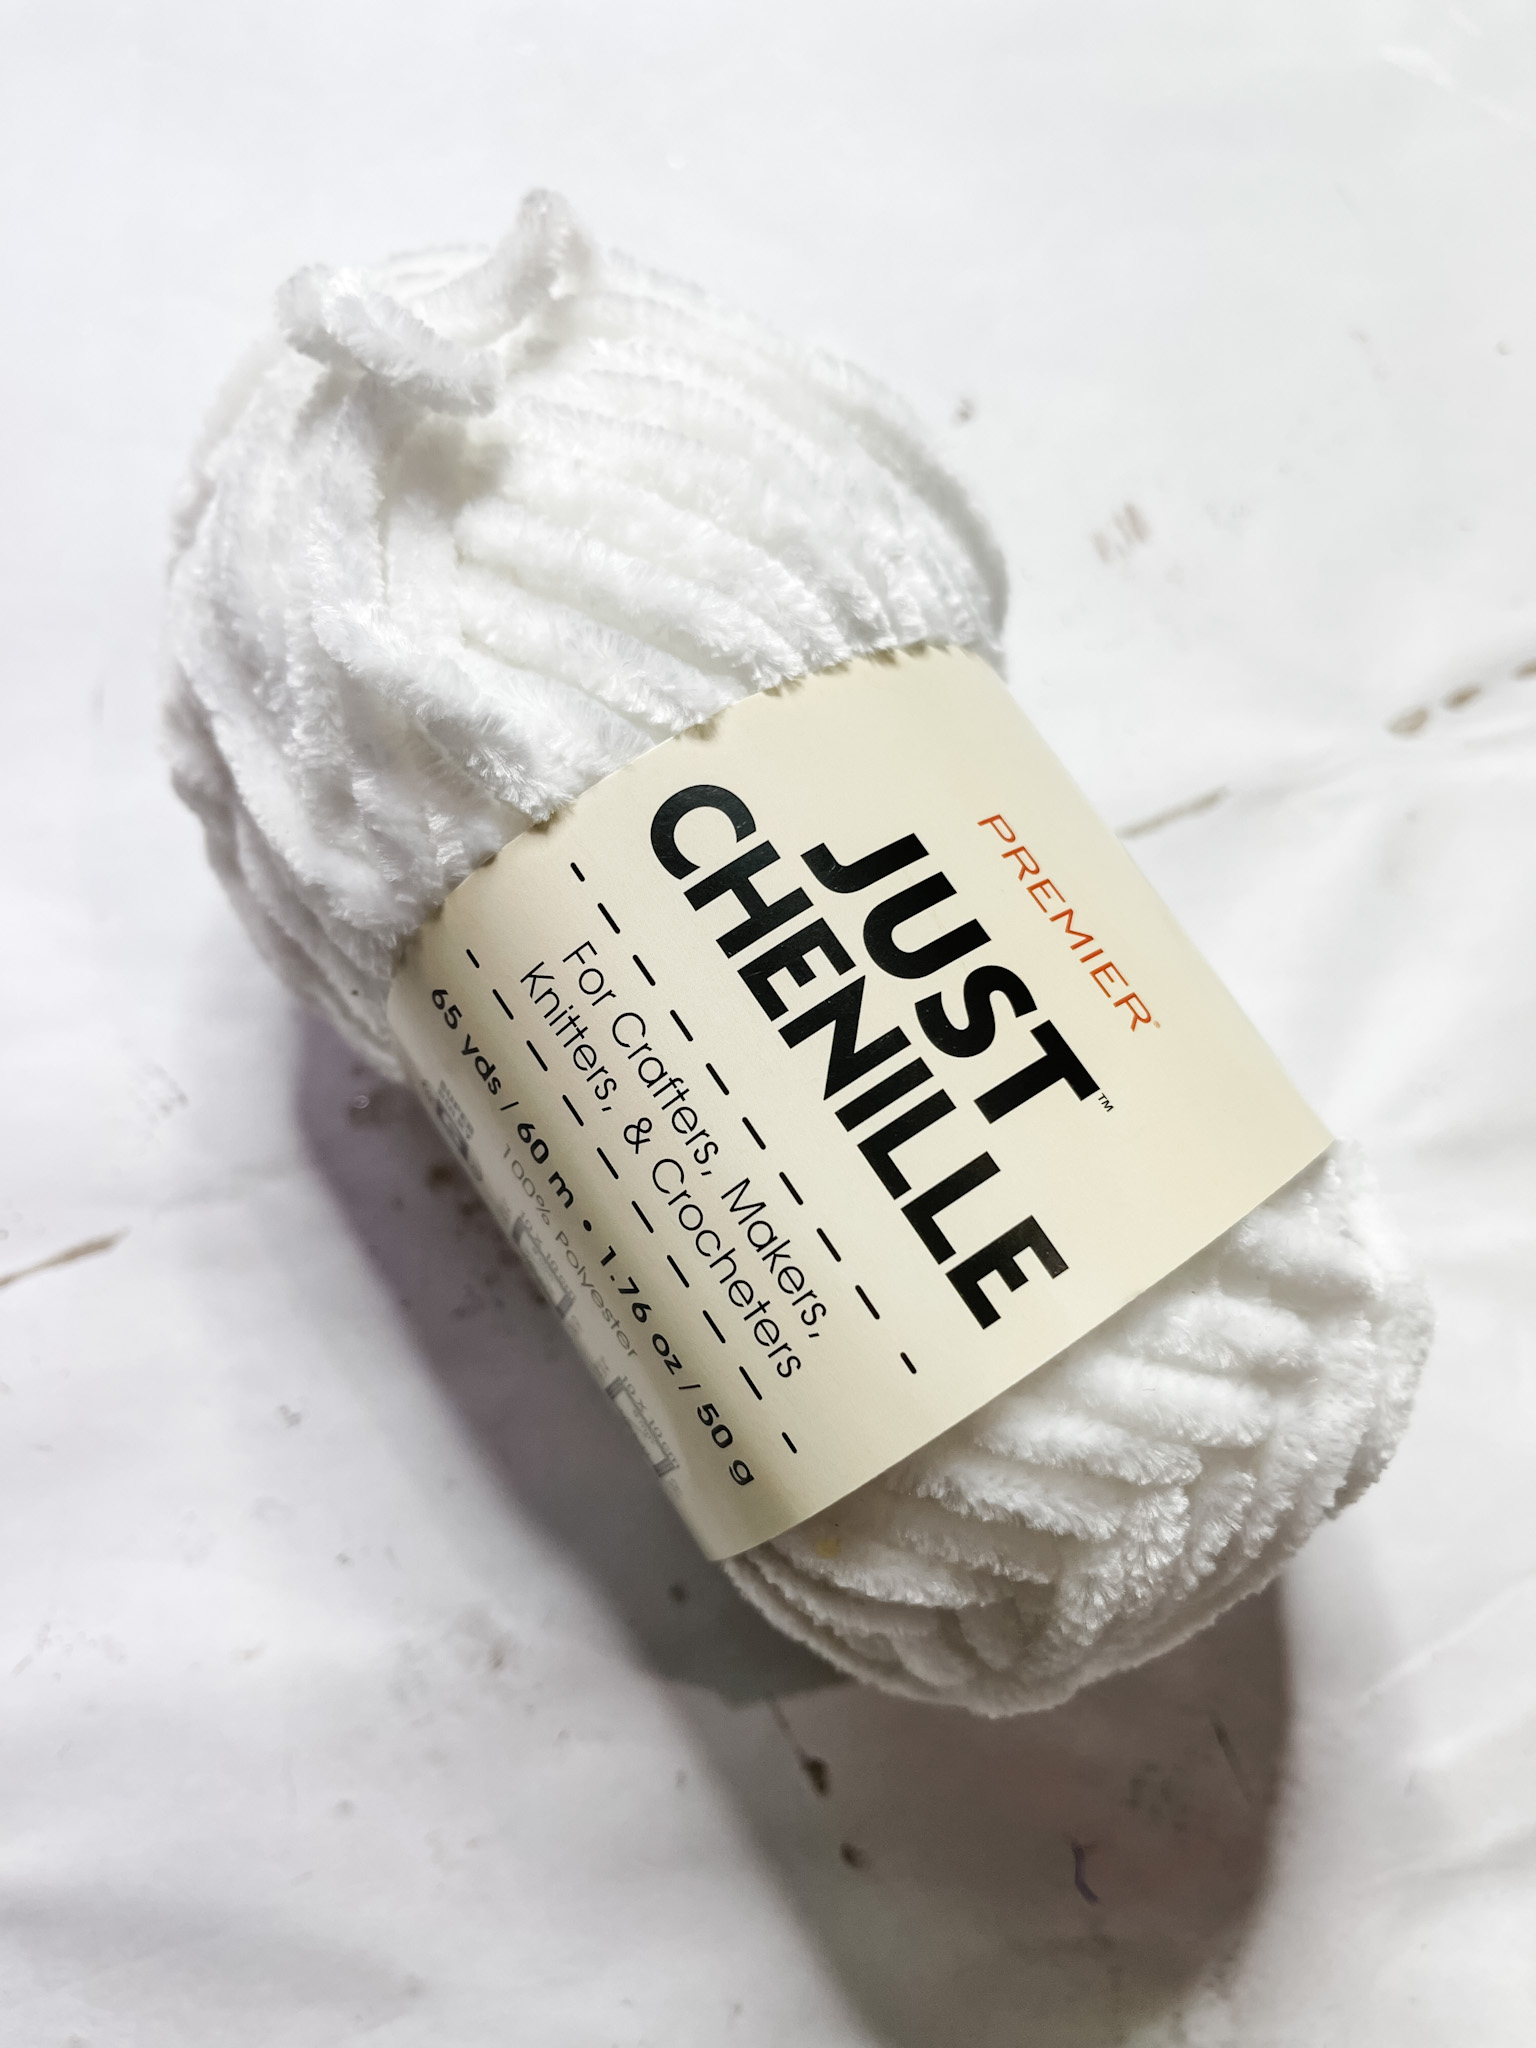
- Dollar Tree White Chunky Yarn
- Plastic Cup
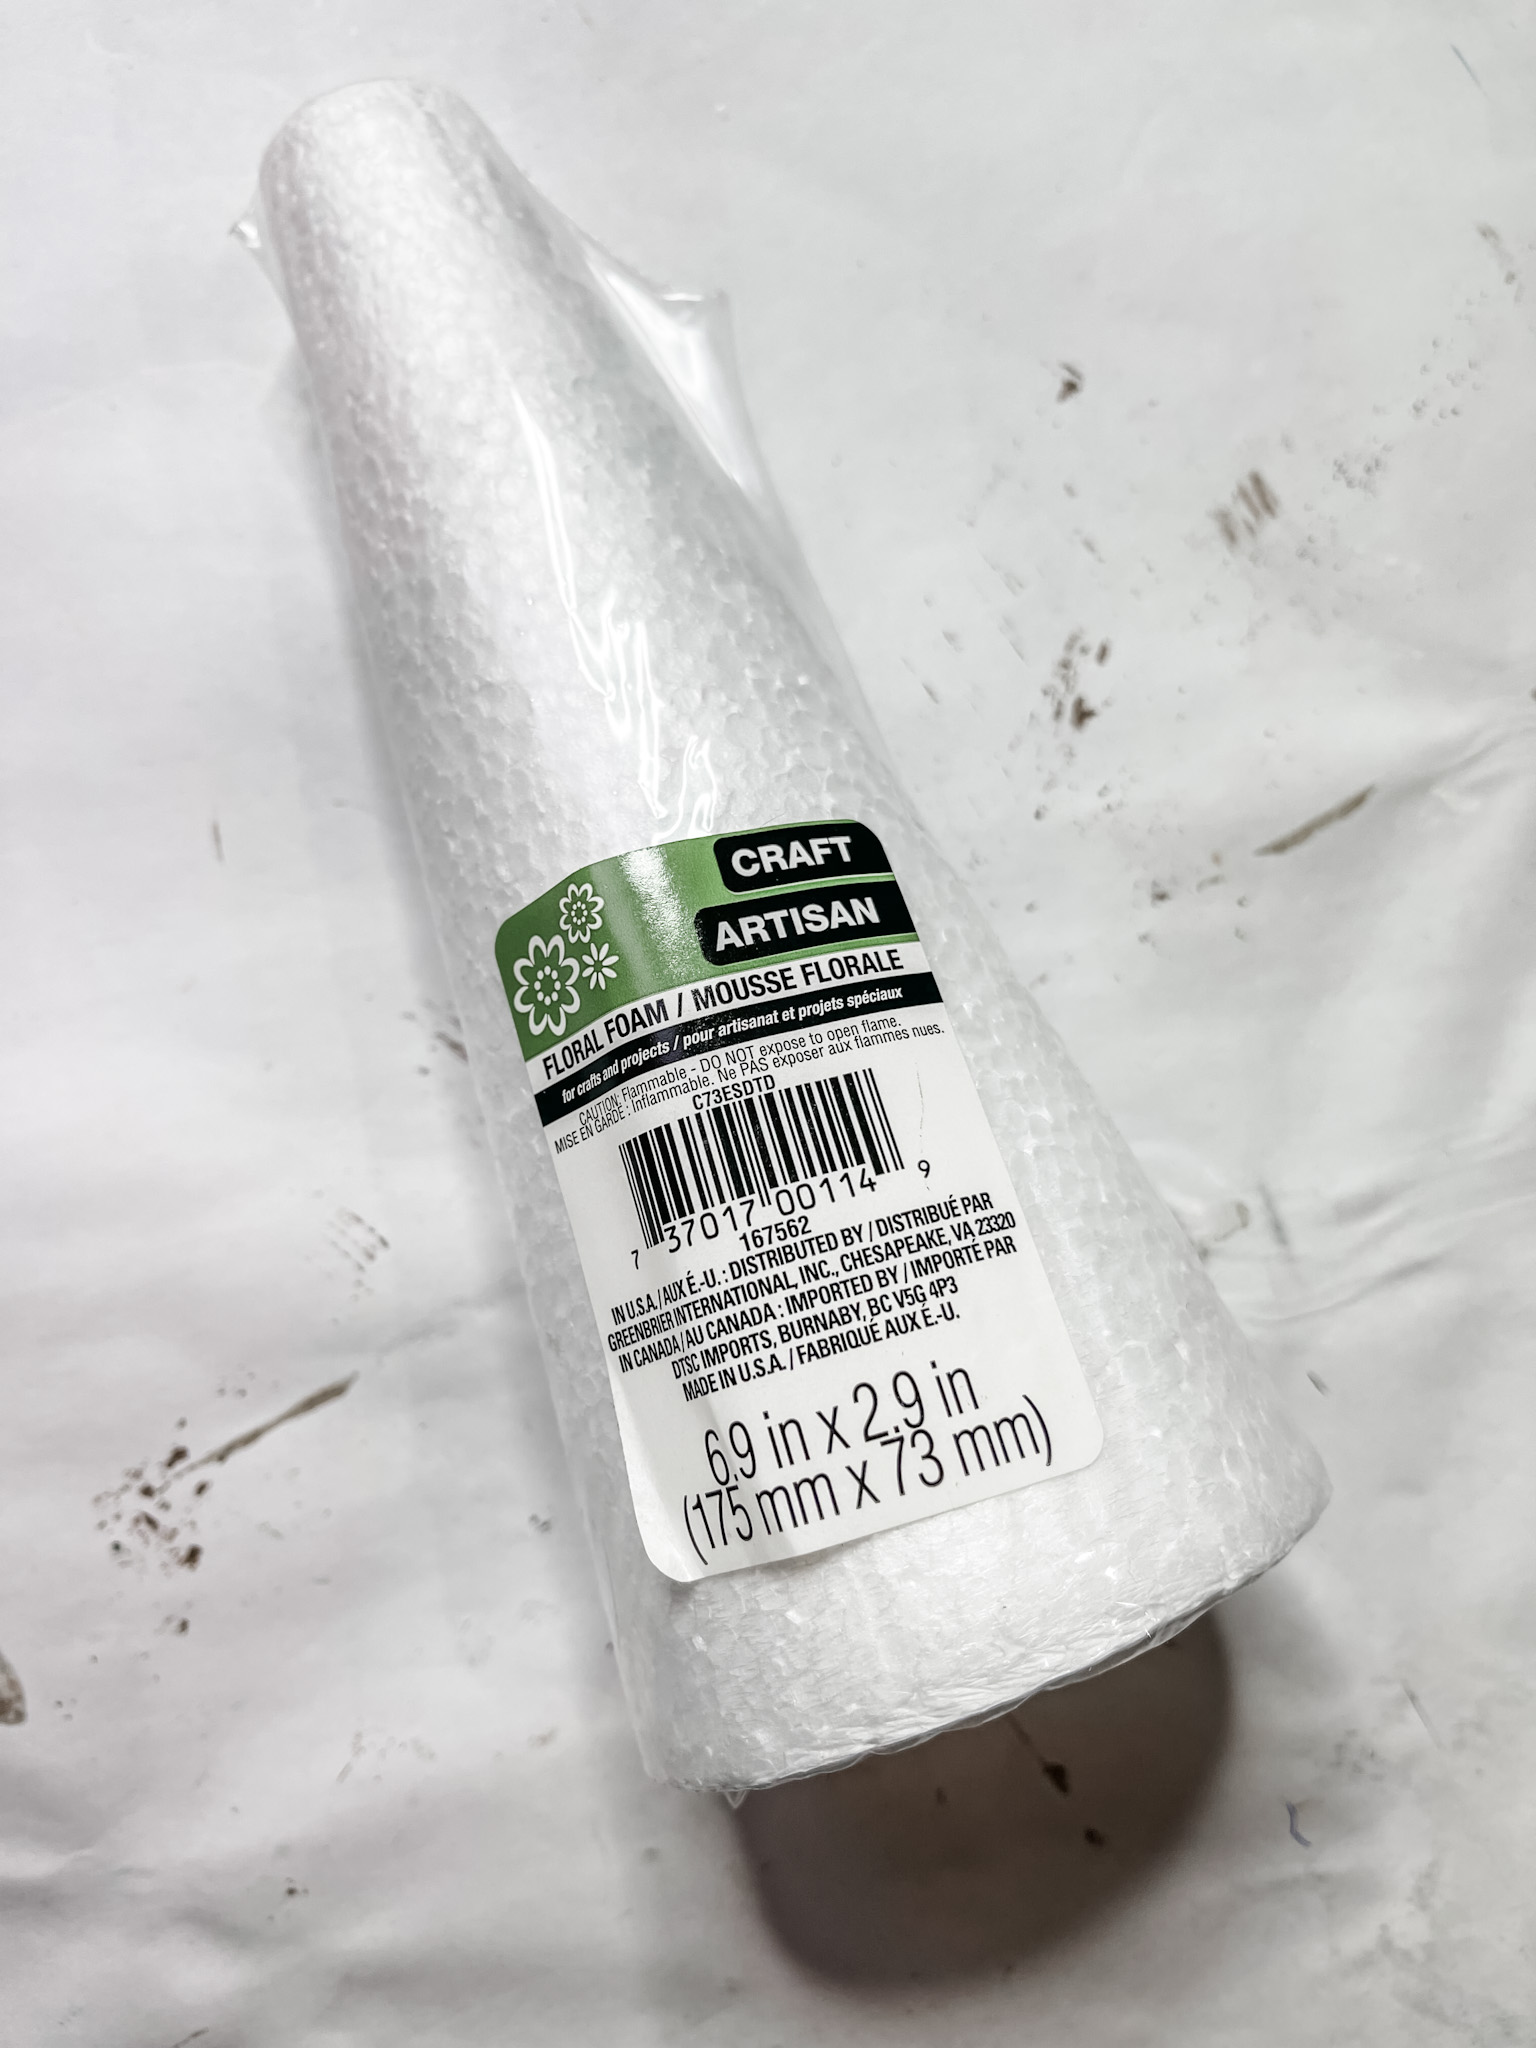
- Dollar Tree Cone Floral Foam
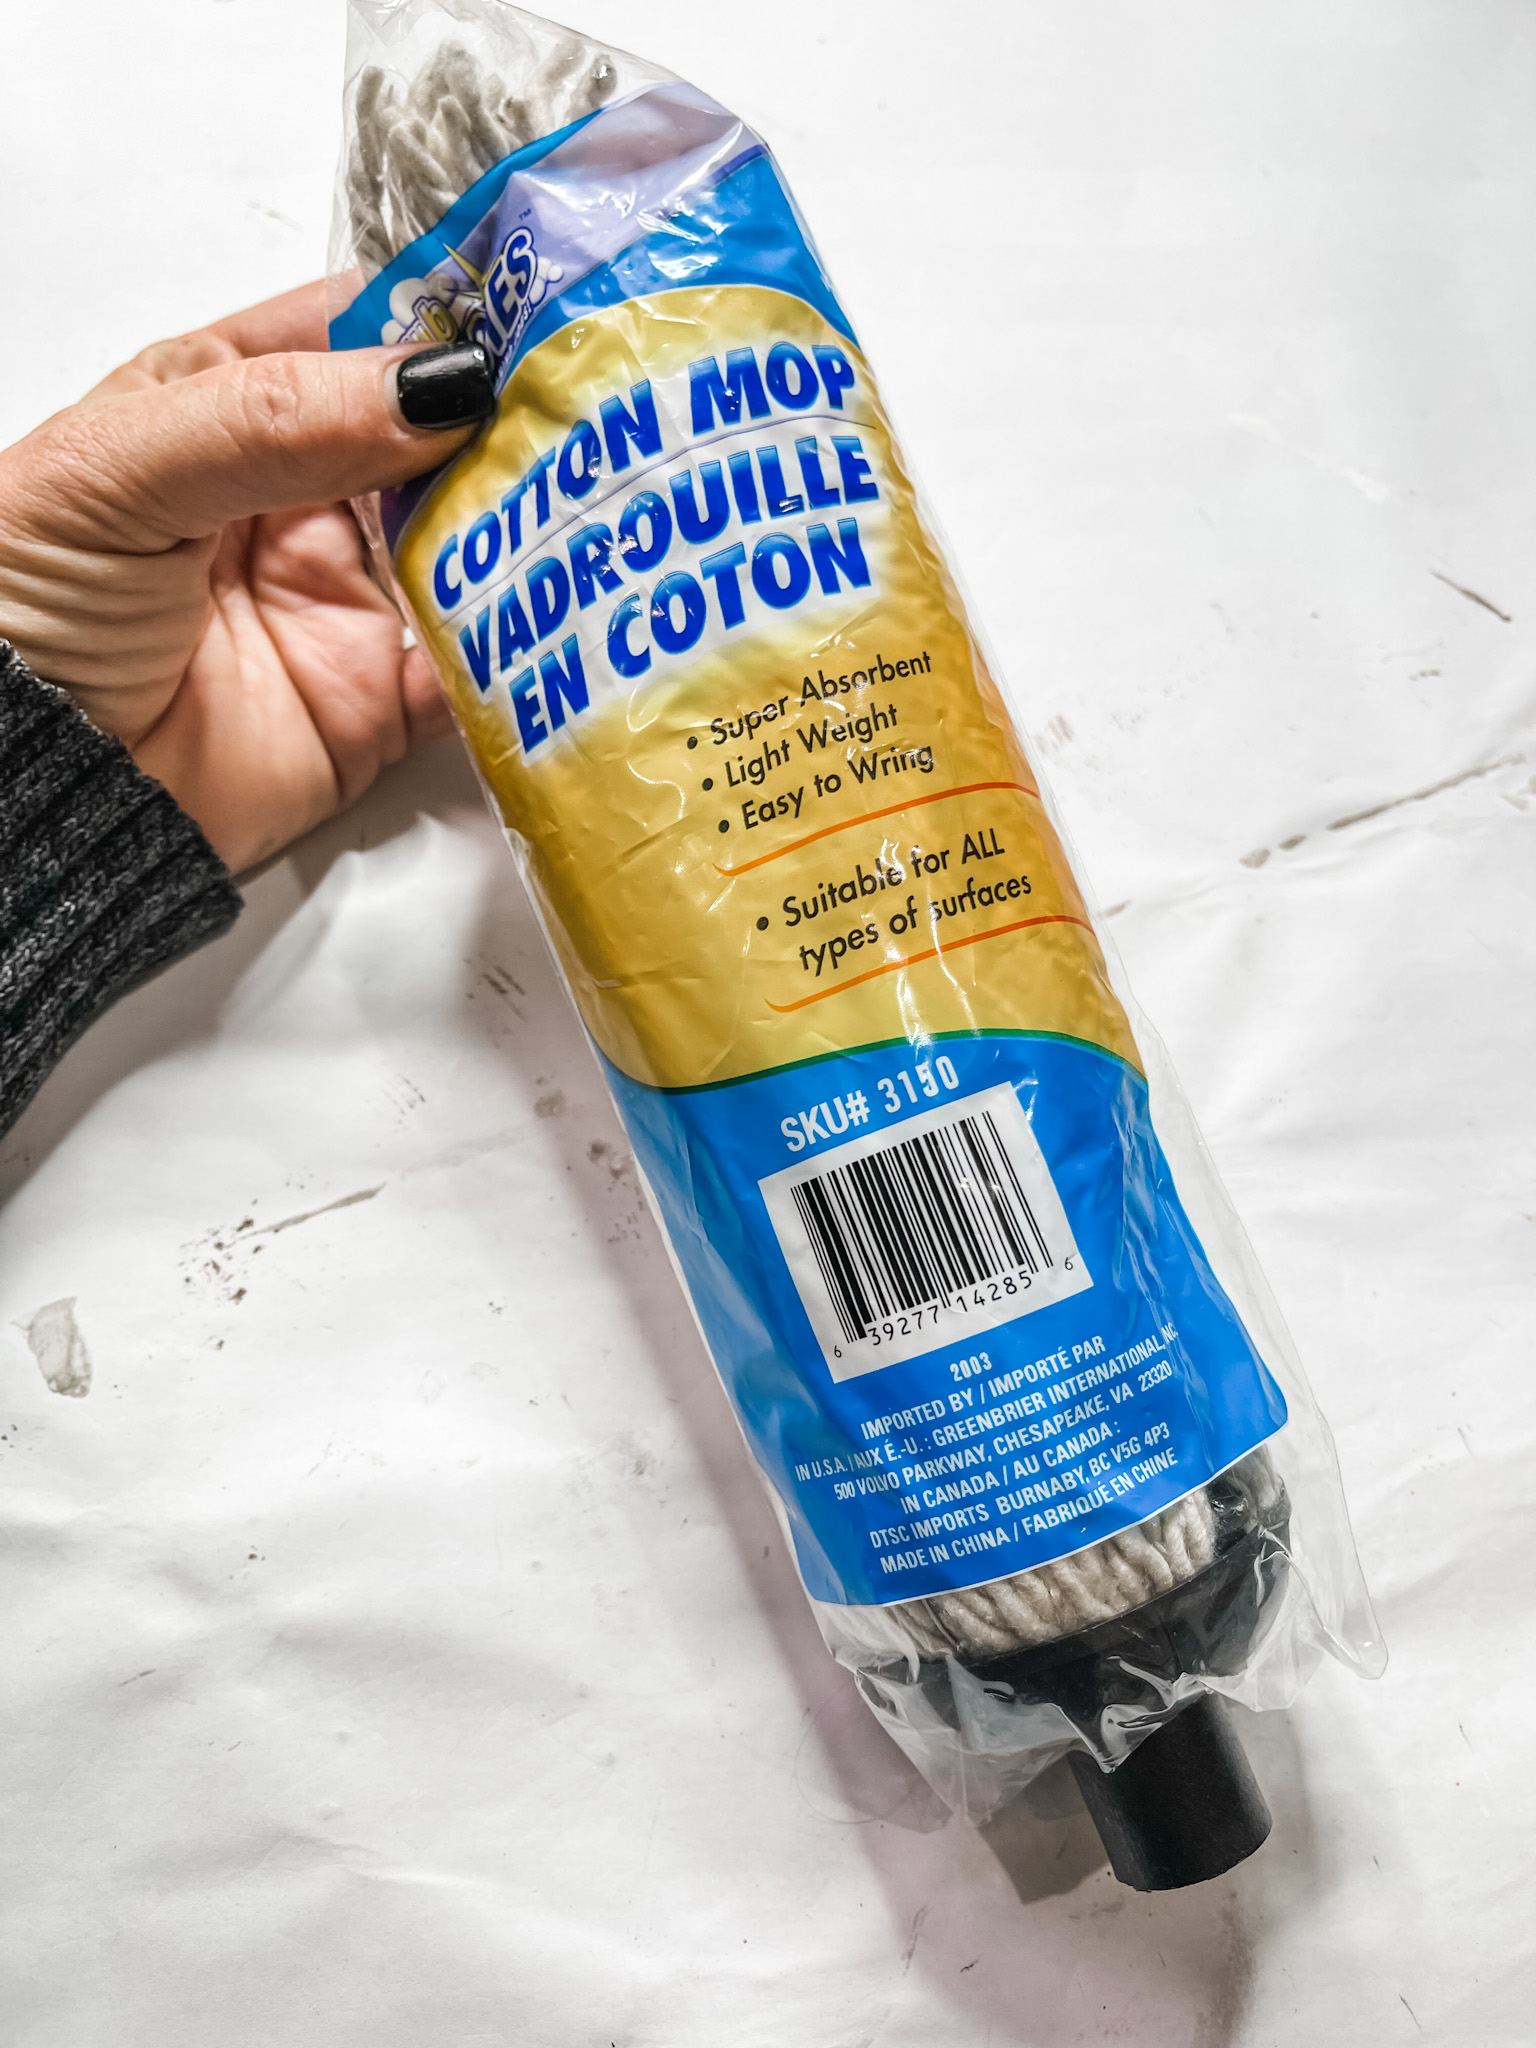
- Dollar Tree Cotton Mop Head
- Cardboard
- Dollar Tree Jute Twine
- Candle Base
- Wood Disk (Hobby Lobby)
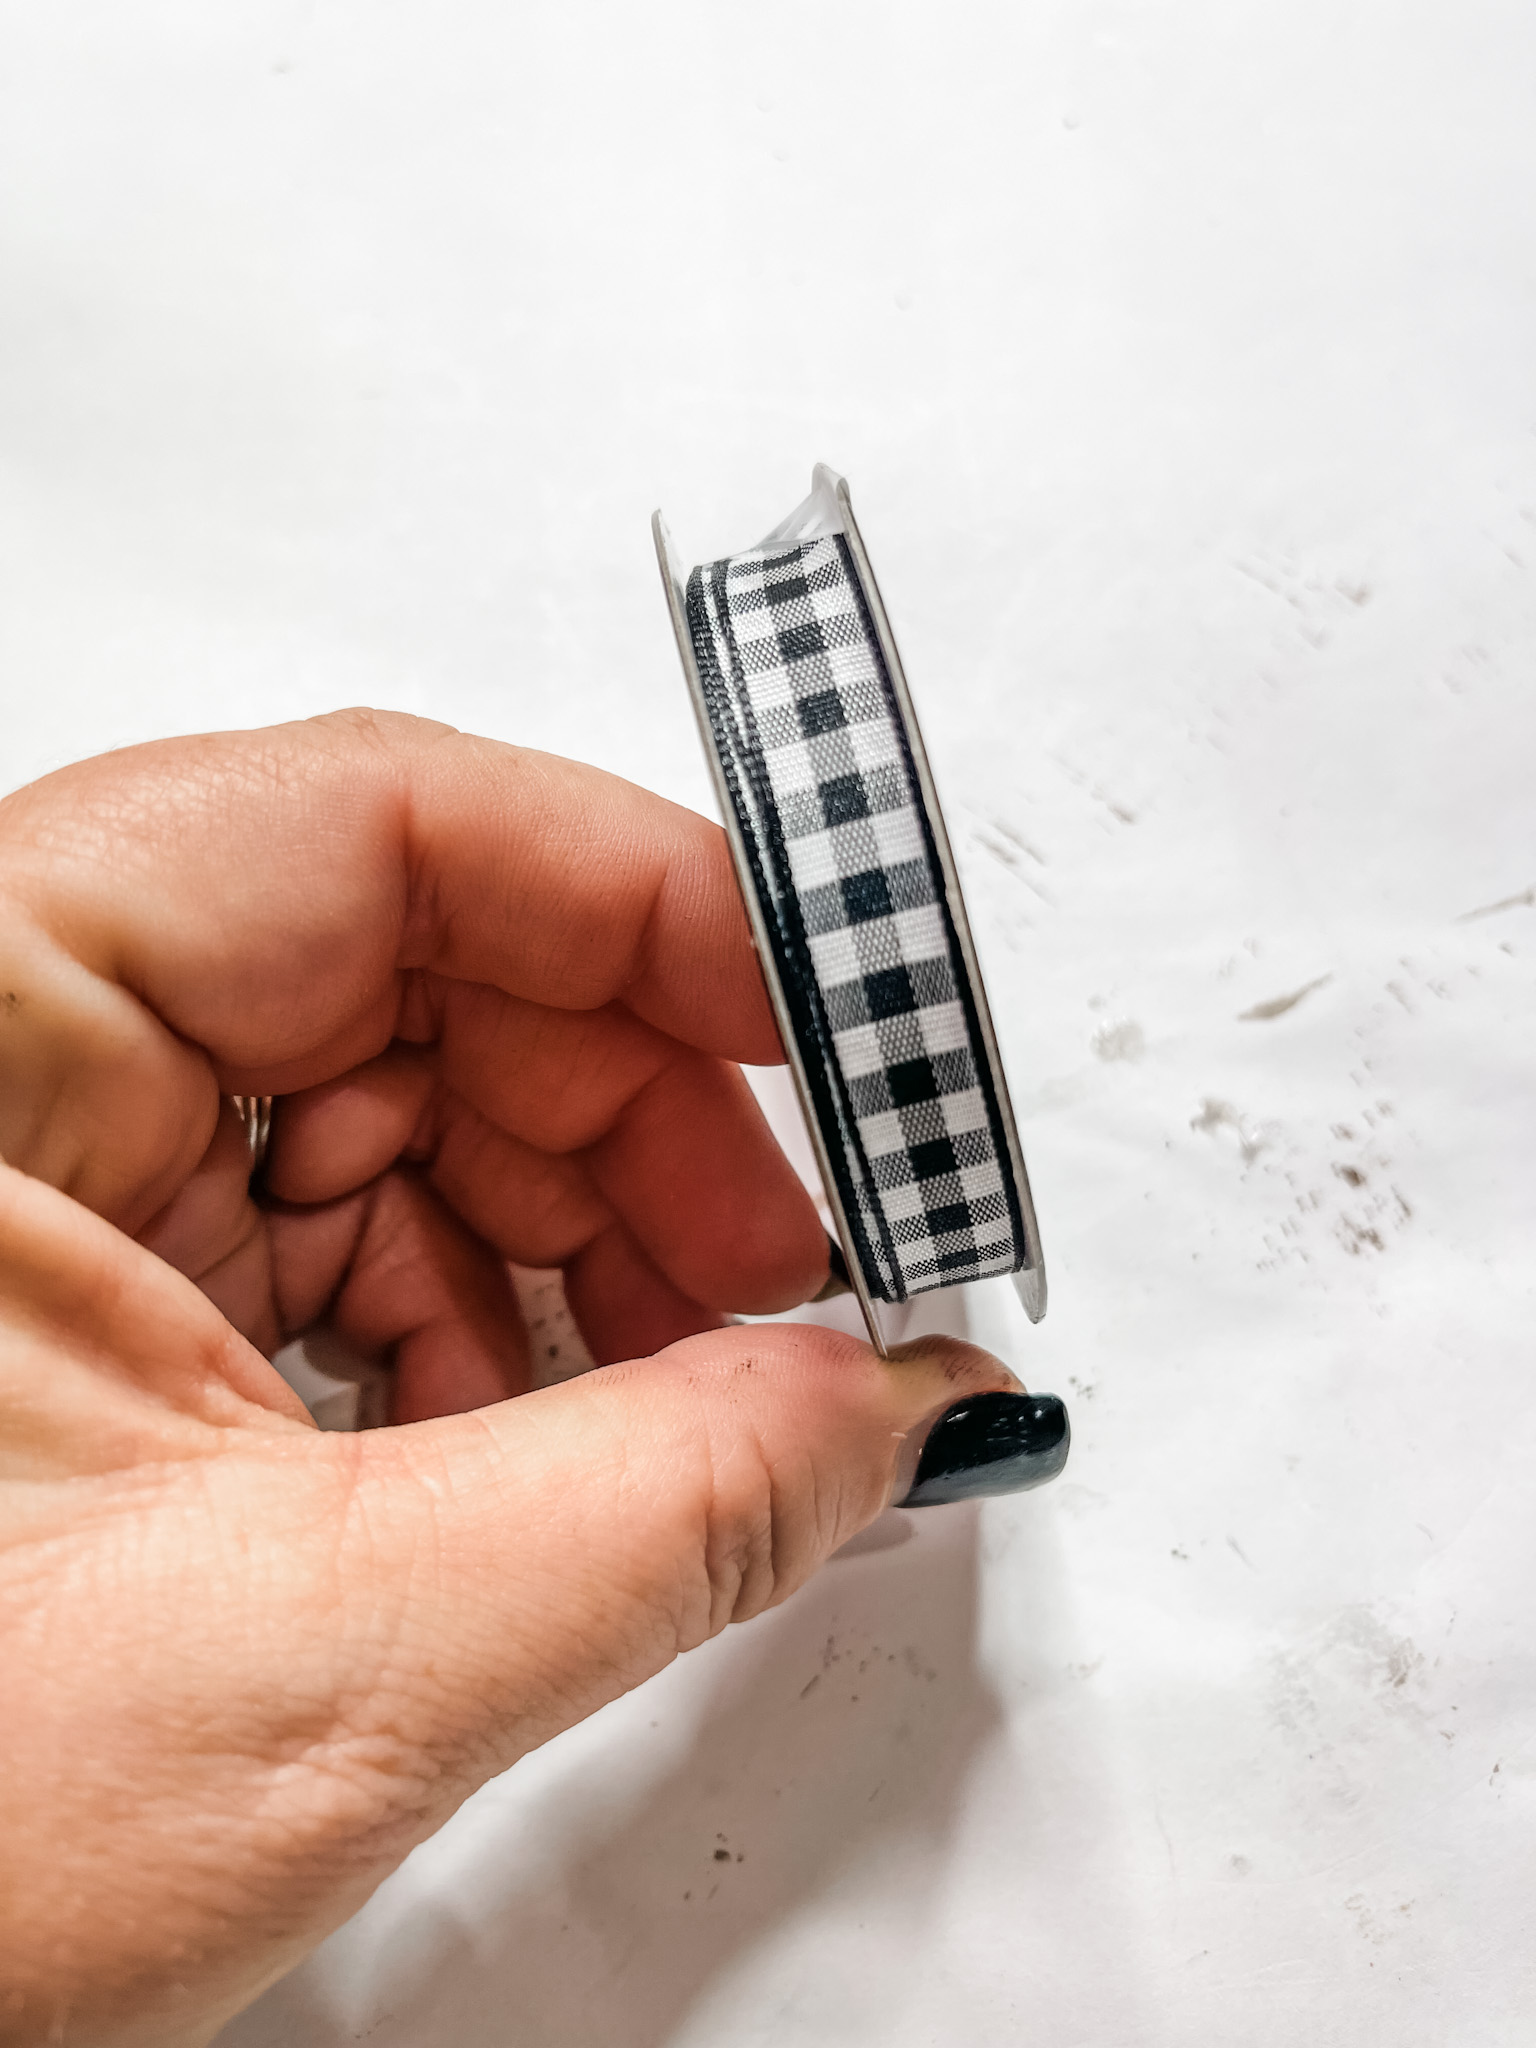
- Black Buffalo Check Ribbon
- Glue Gun
- Heat gun
How to Make a DIY Christmas Piggy Gnome
I started making this adorable Christmas gnome by hollowing out a small hole in the bottom of the Dollar Tree cone floral foam to fit the top of the mop head in.
Then, I flipped the mop head over and split the strands down the center. Make a circle of hot glue and press your plastic cup into the glue.

Pull one of the Dollar Tree buffalo check socks over the top of the cone floral foam. Cut out a circle from cardboard to fit on the opening of the plastic cup and hot glue it in place.
Next, I cut the heel off the sock and hot glued the sock to the cone floral foam to get a more snug fit and to make it look more like a hat.
Build your DIY Christmas piggy gnome
Now, hot glue the floral foam on top of the mop head. Pull the bottom of the sock down over the open space between the cup and the mop head.
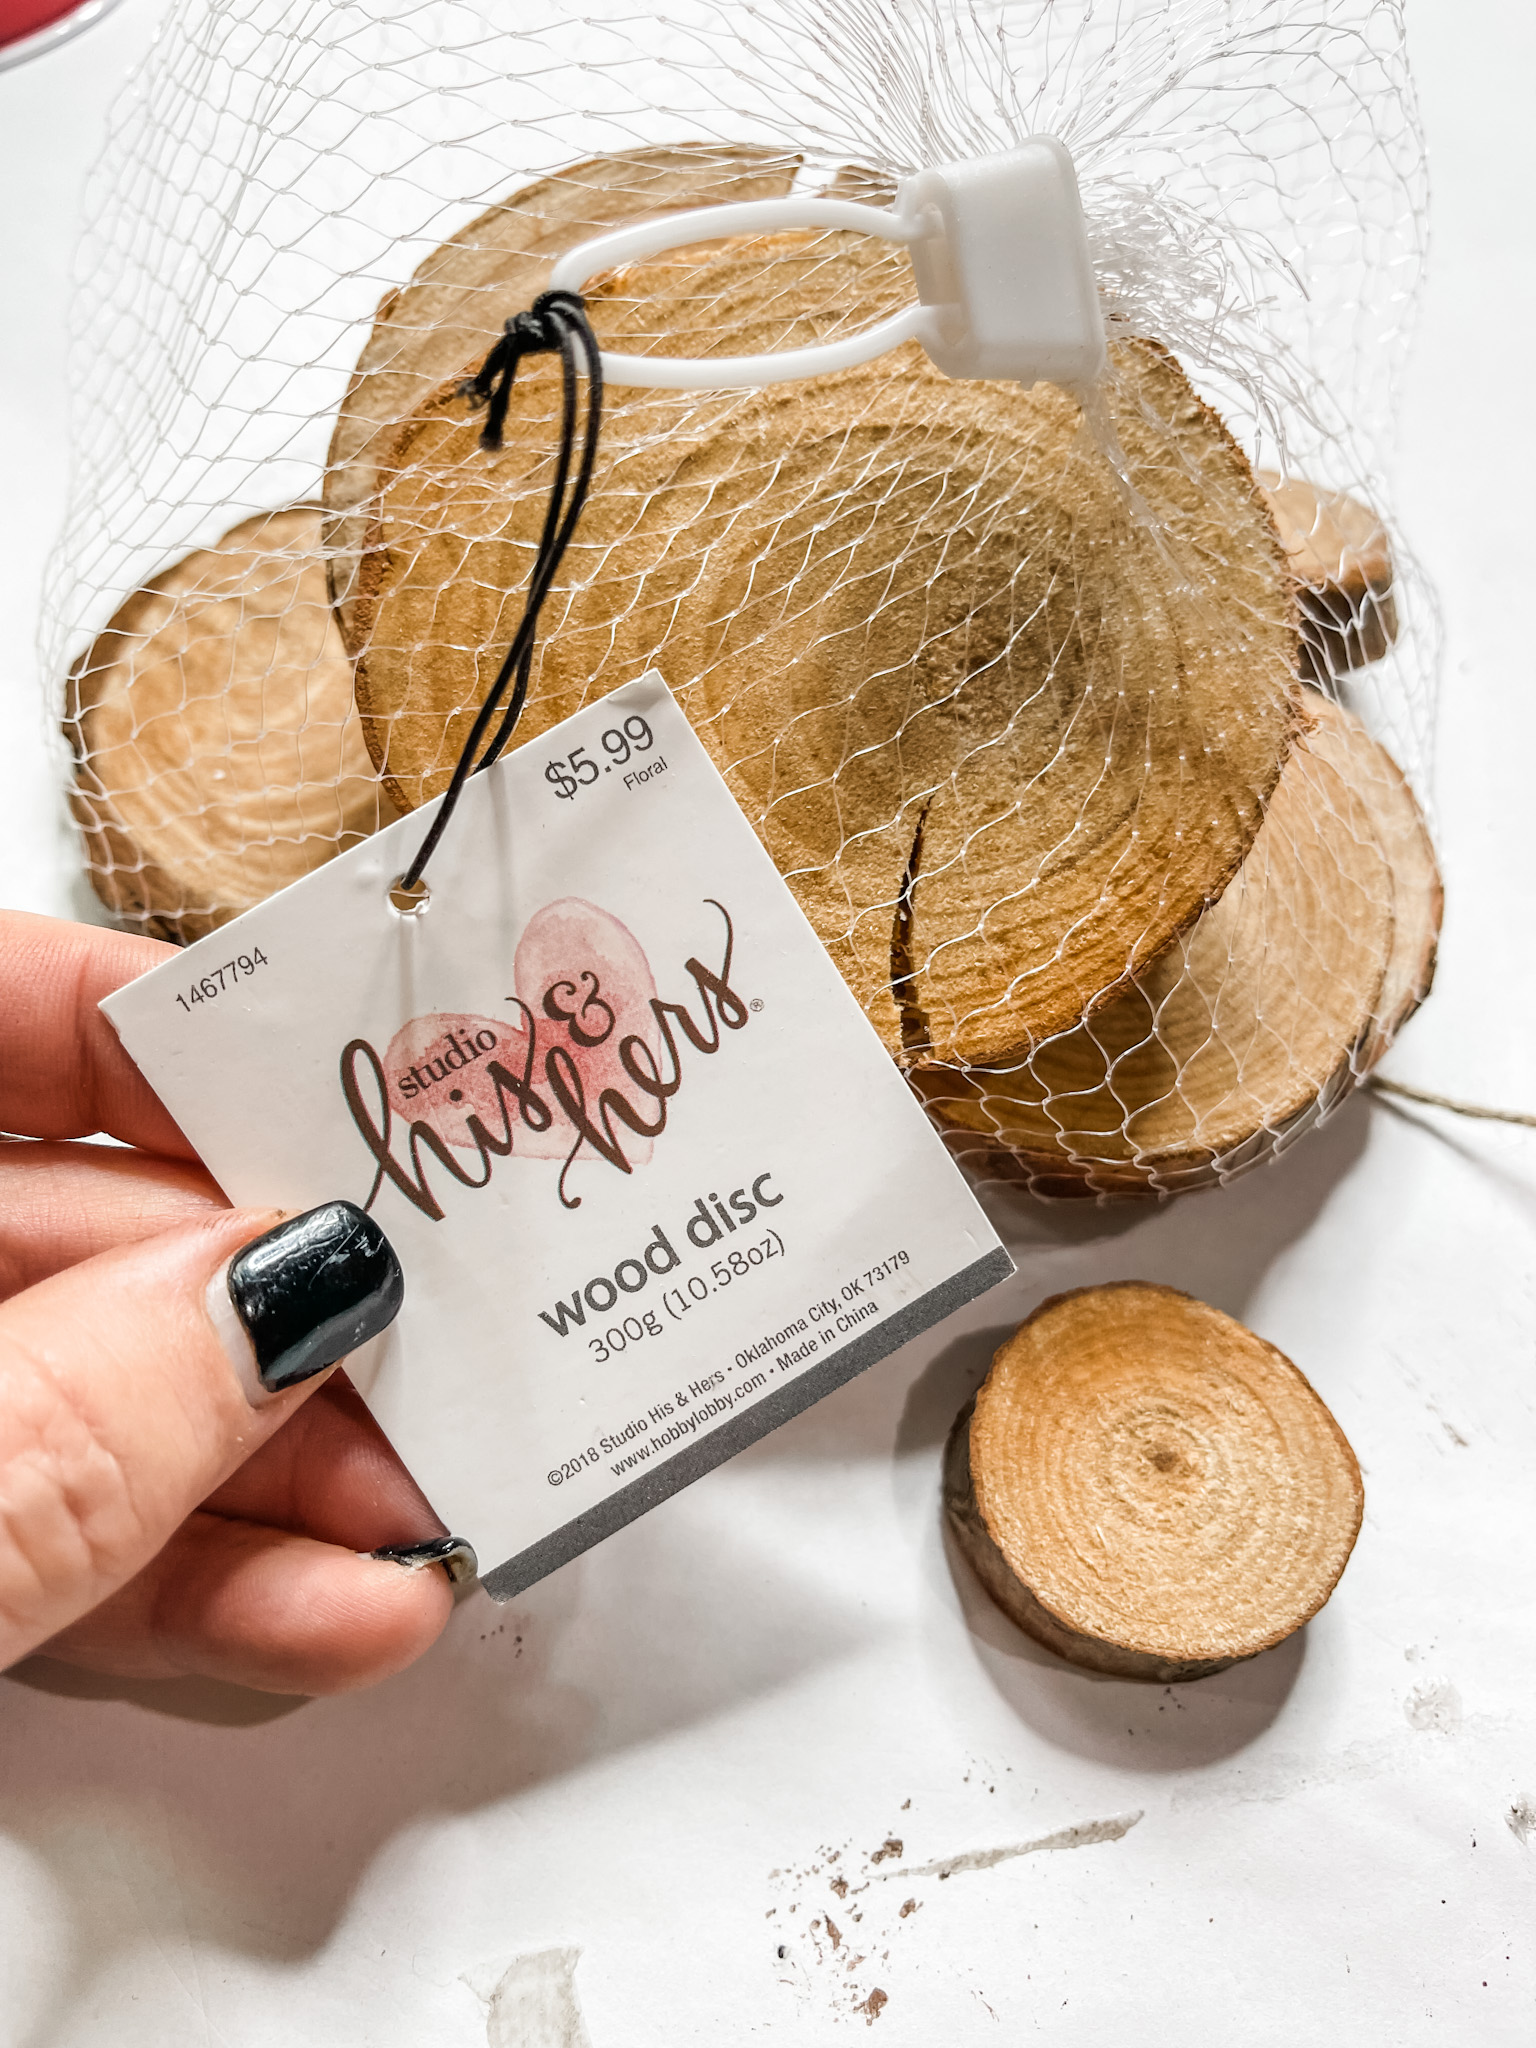
Hot glue the wood disk where the bottom of the sock meets the mop string to create the nose for your DIY Christmas piggy gnome.
Then, I hot glued the entire bottom of the sock in place to make sure it didn’t start to scrunch up.
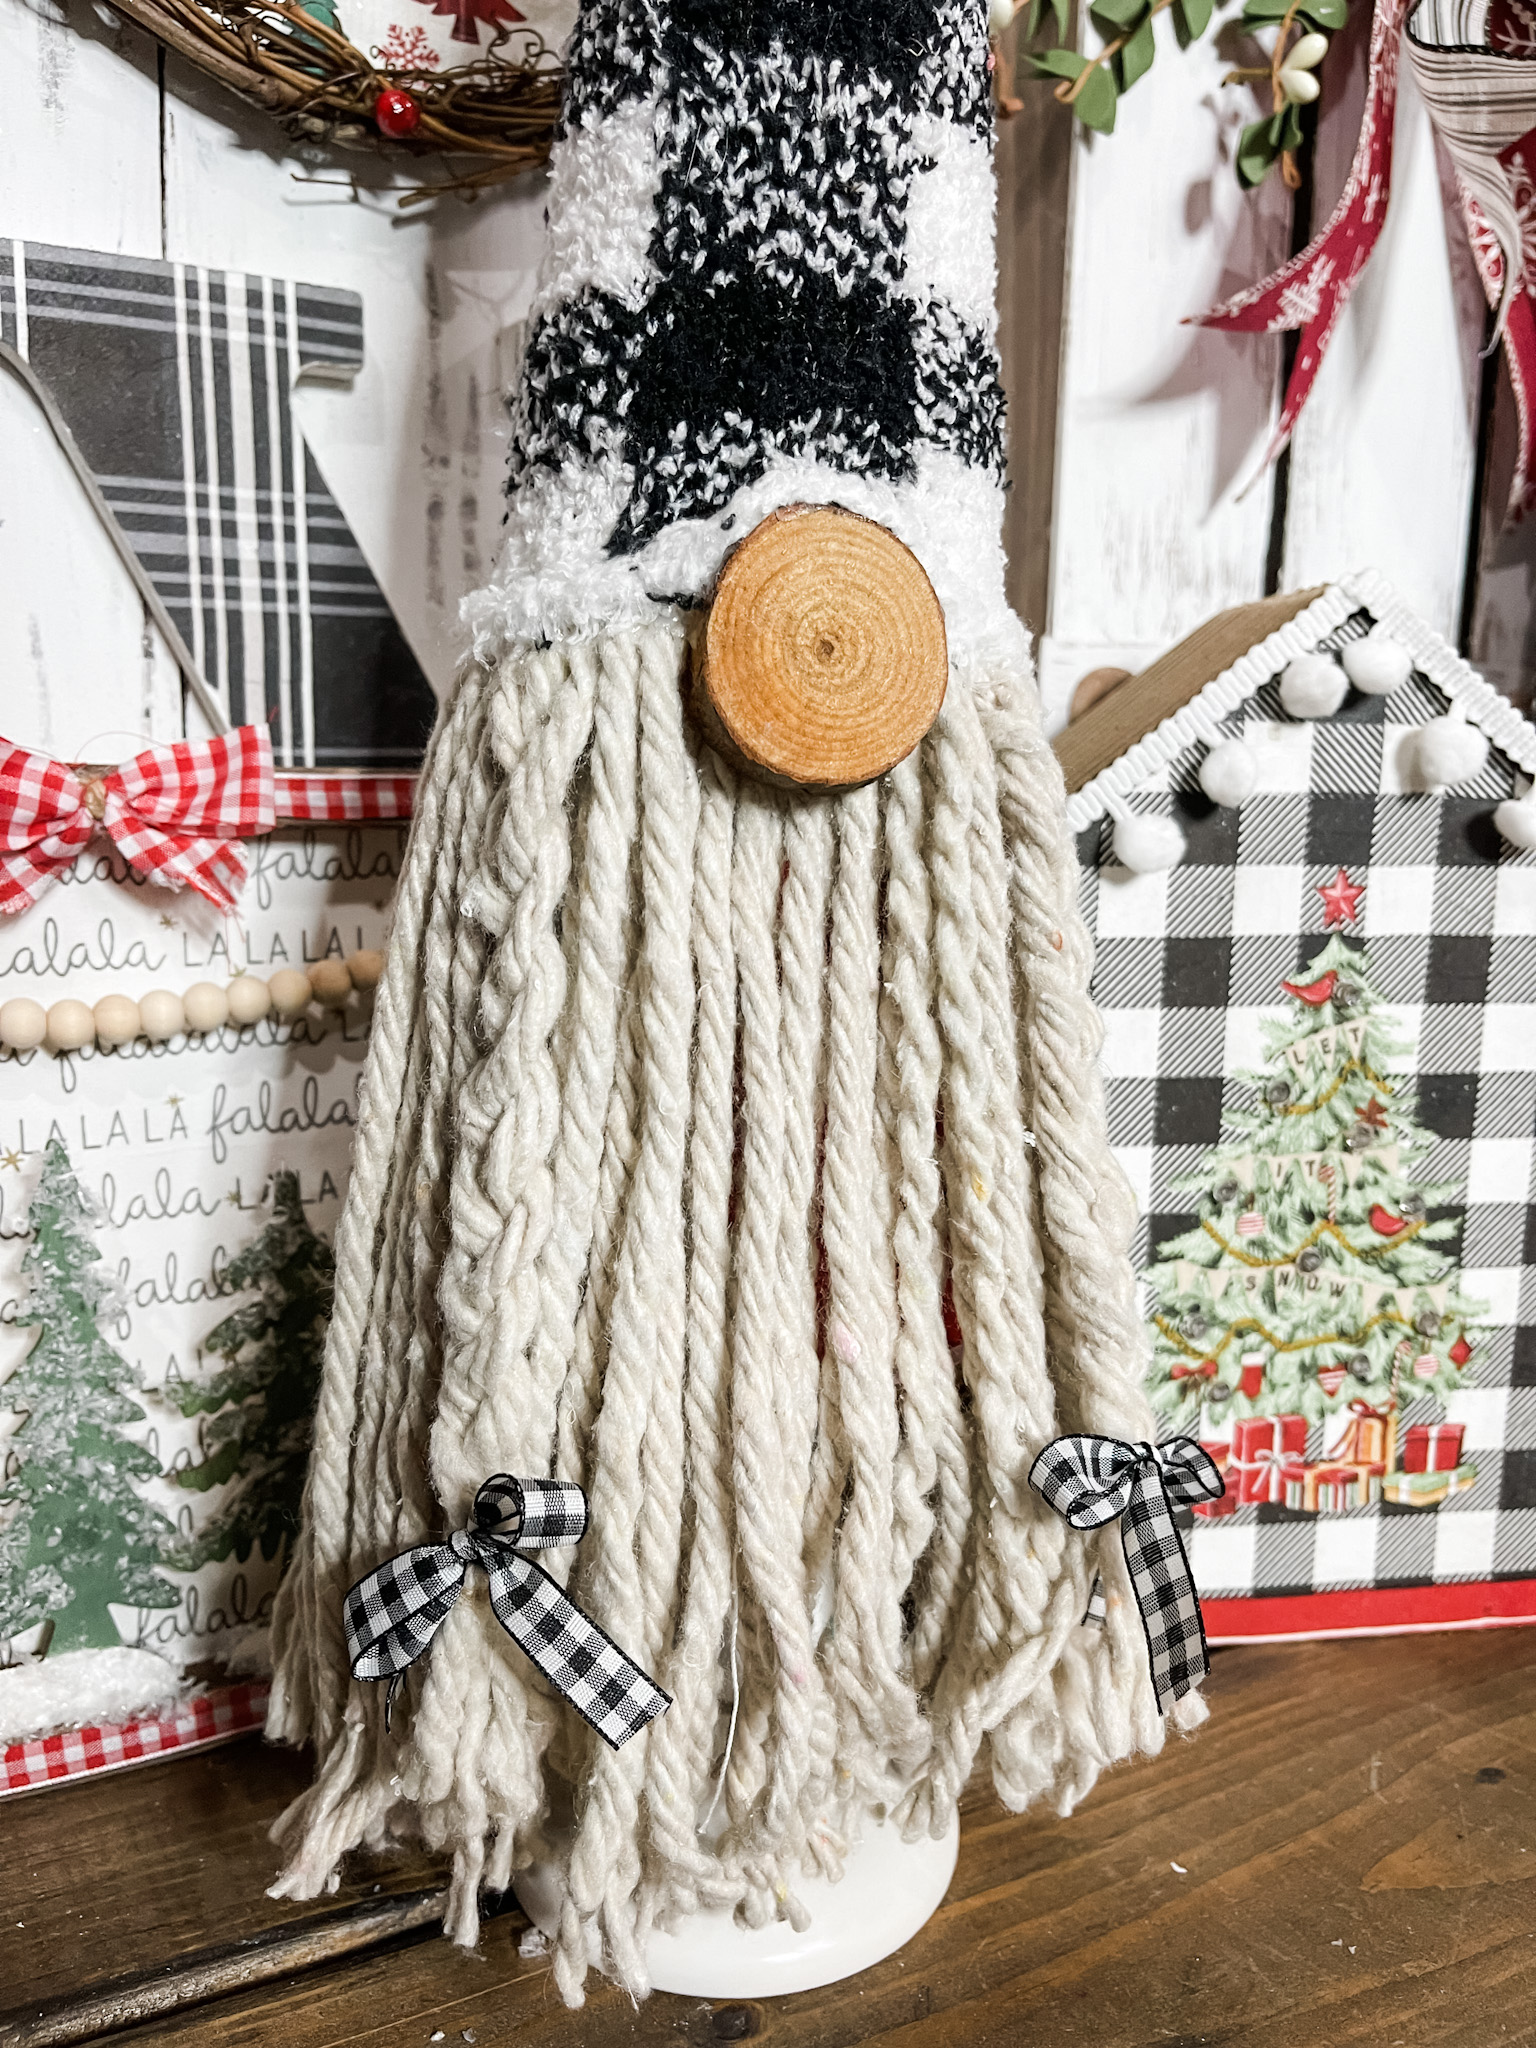
You don’t have to do this part, but I braided some of the mop strings to frame the gnome’s face and secured the braids with Dollar Tree jute twine.
I made little bows out of the buffalo check ribbon and tied them at the bottom of each of the braids.
The finishing touches
Now it’s time to make a big pompom for the top of the DIY gnome’s hat! I used the chunky yarn from Dollar Tree.
Wrap the yarn around your hand many times until you have a big bundle. Tie a piece of yarn or twine through the center of the yarn bundle and cut the yarn on the other side of the bundle.
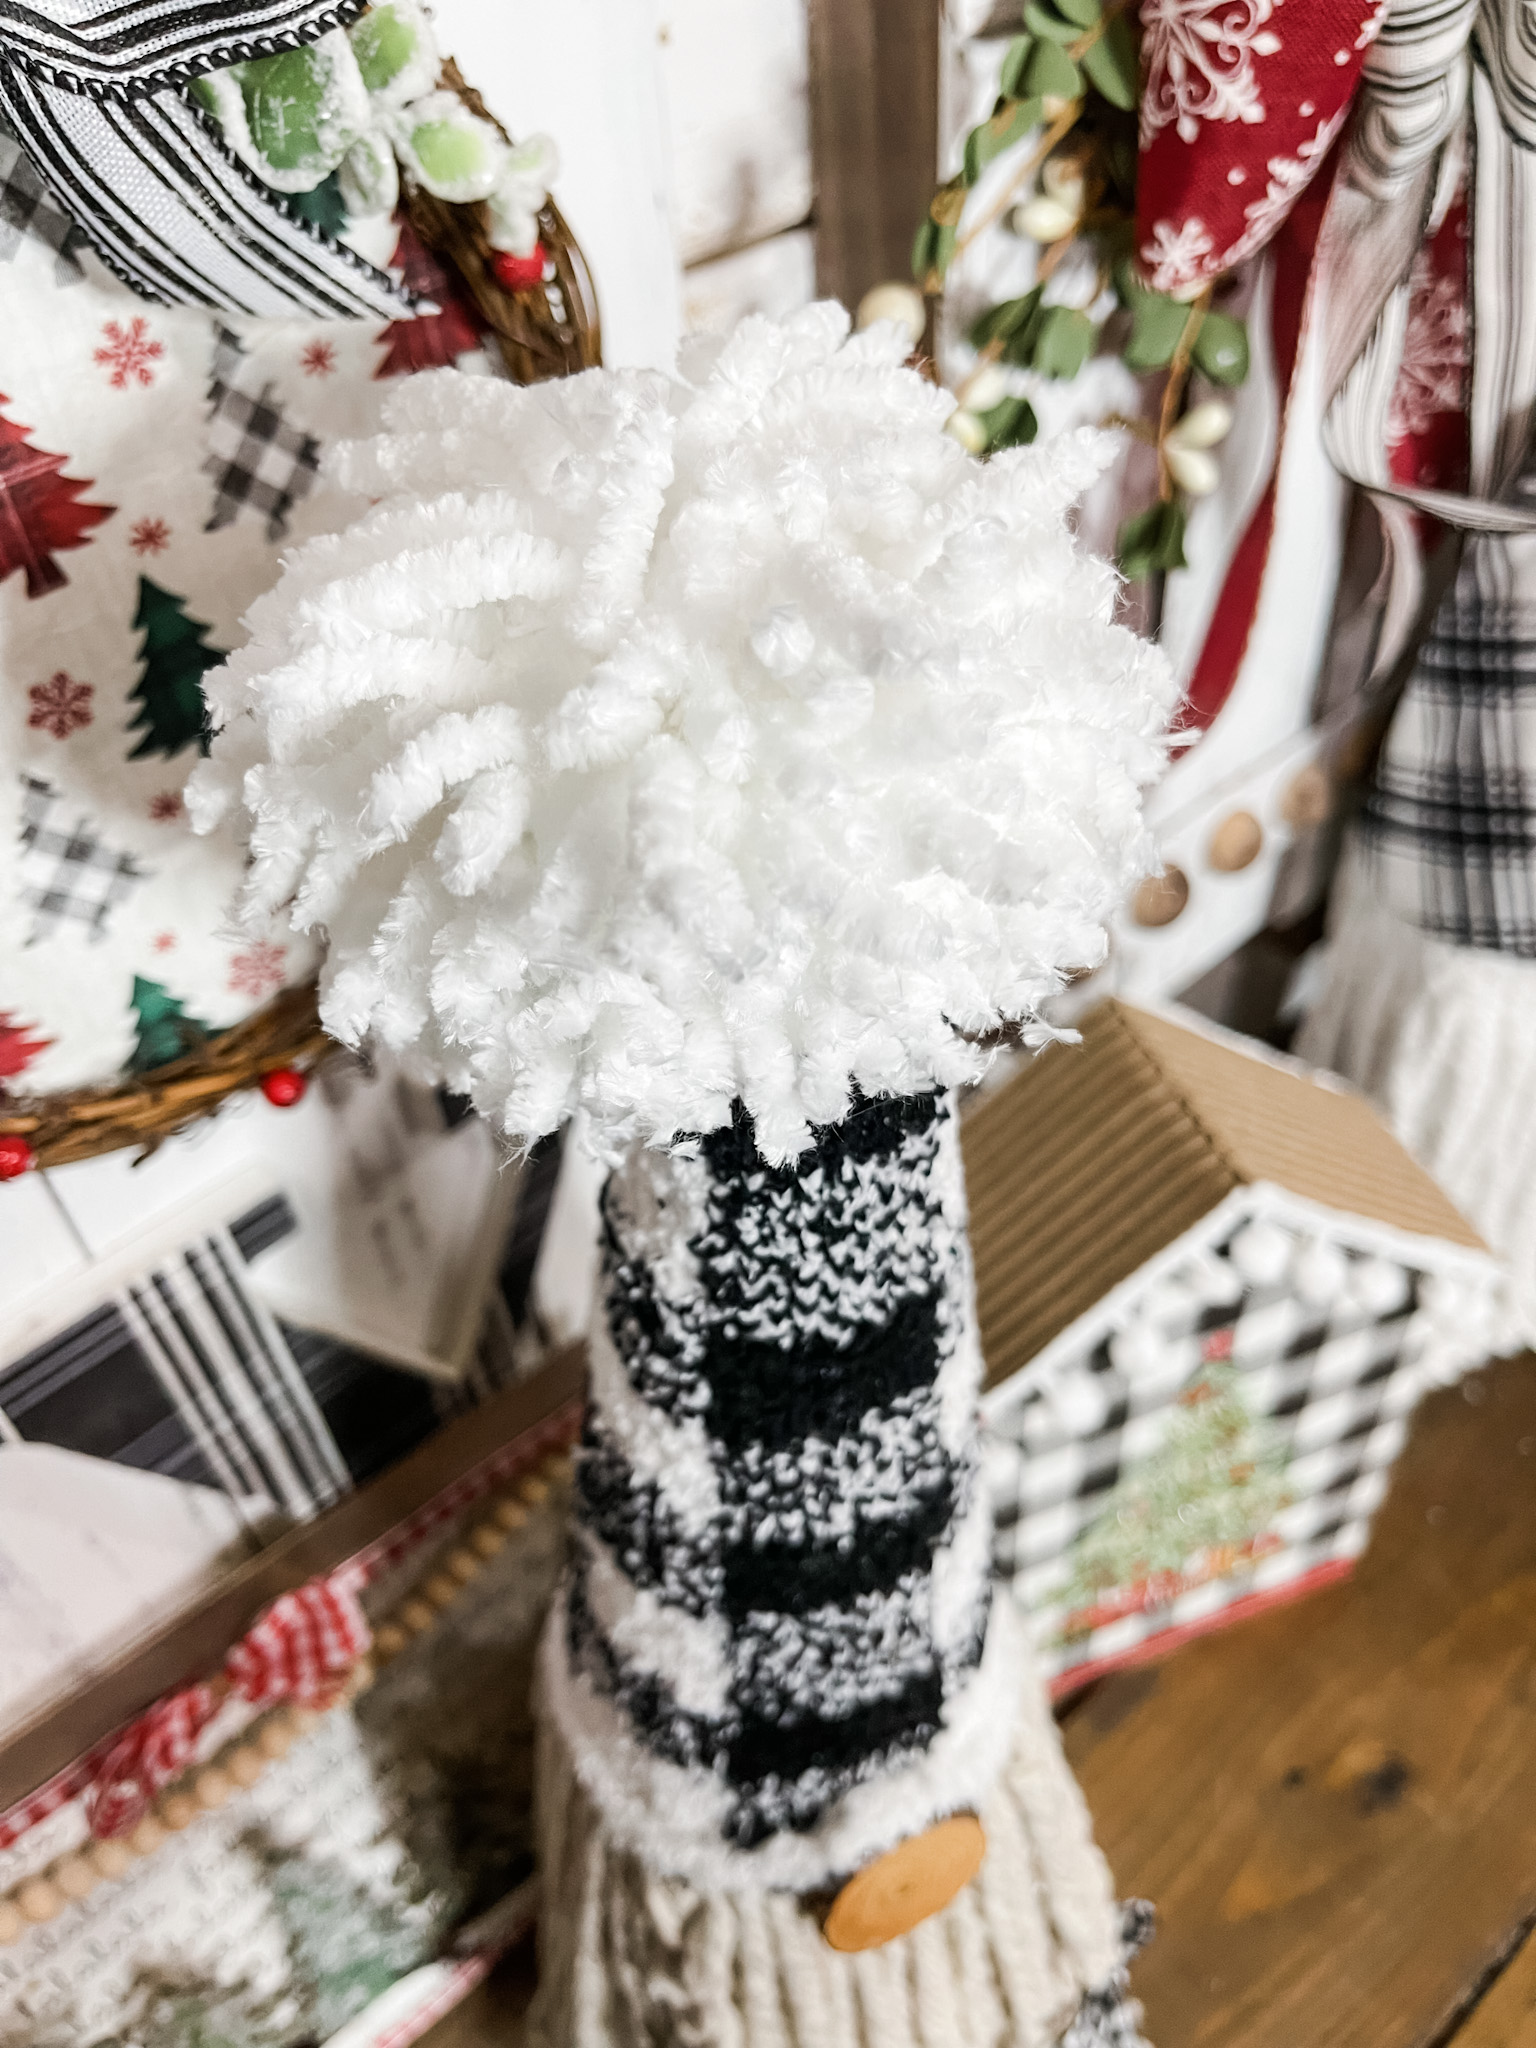
Trim up the yarn to make a round pompom, then hot glue it to the very top of your gnome’s hat! Lastly, I hot glued the entire gnome to the top of a white candle base to raise my gnome up!
I hope you enjoyed this DIY Christmas Piggy Gnome as much as I did and decide to make one for yourself! I would love to see how yours turns out!
You should totally join my FREE Facebook group called On A Budget Crafts! It is a judgment-free community for DIY crafters to show off their projects and ideas.
If you loved this DIY you might also like this DIY Christmas Tree Shelf Decor!
Thanks for stopping by! XOXO Amber
You can also shop my ENTIRE AMAZON Favorites shop just click here! It’s packed full of all the things I use and love.
Here is the supply list I highly recommend every creative have on hand!! Would you also pin my blog for later and get on my newsletter alerts? I would love to have you join my #craftycrew.

Join my free “ON A BUDGET CRAFTS” Facebook group!
PIN THIS POST FOR LATER!
You have so many beautiful ideas and completed beautiful pieces. Curt promises he will help me empty a huge computer desk we no long use. That will allow me to organize the supplies I have. Then I can buy the things I need. He’s off 10 days after the 23rd. Yes!
Adorable, love it