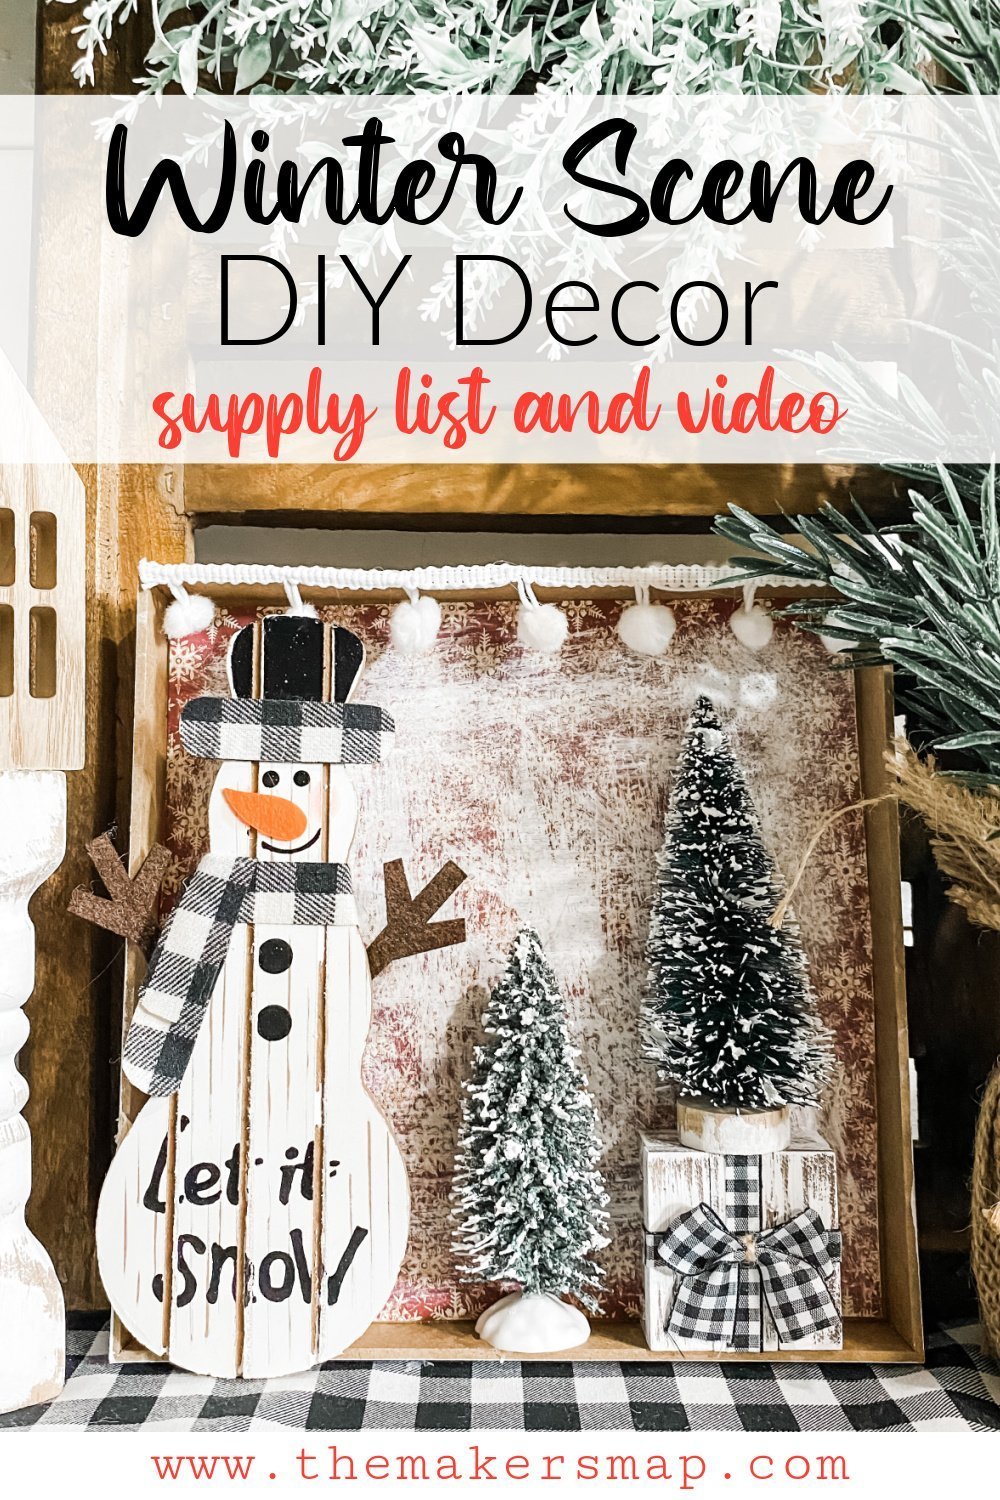
Winter Scene with a Snowman DIY Decor
If you’re looking for a winter DIY that doesn’t require a lot of experience or technique, this winter scene with a snowman DIY decor is definitely what you’ve been looking for.
This DIY craft is all about bringing already cute pieces together to form an adorable winter decor DIY. I had a lot of fun creating this winter scene, and I think you will really enjoy it too!
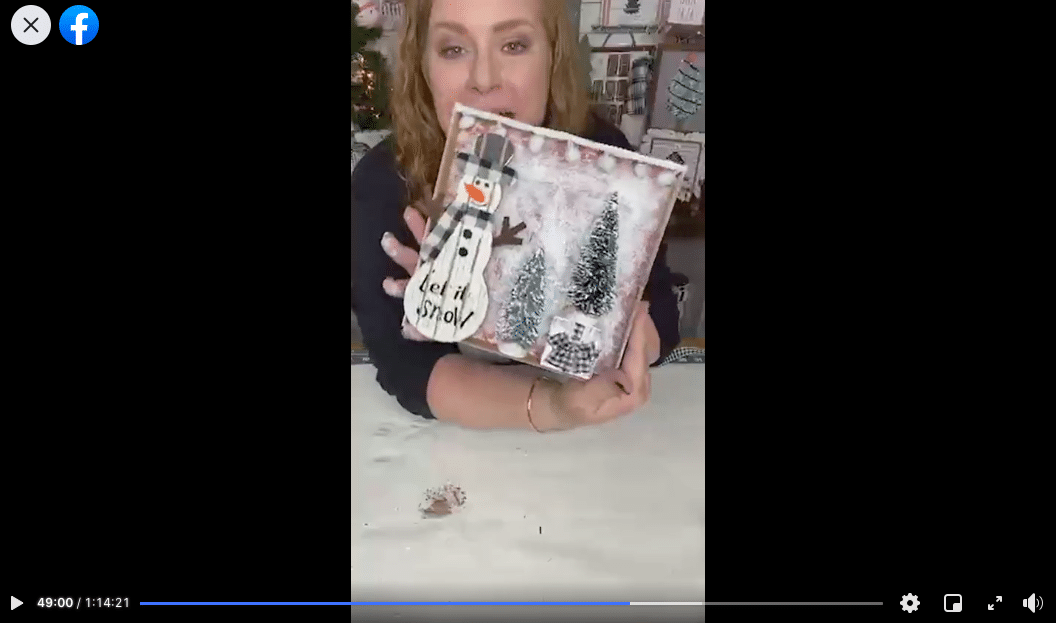
Watch the replay
Are you looking for a crafting buddy? Well, I do most of my DIY crafts LIVE on my Facebook page! I get to chat, craft, and laugh with my Crafty Crew, and it’s always a good time.
I brought this winter DIY idea to life during a LIVE video, and you can watch the replay if you want to join in on the crafting and fun time!
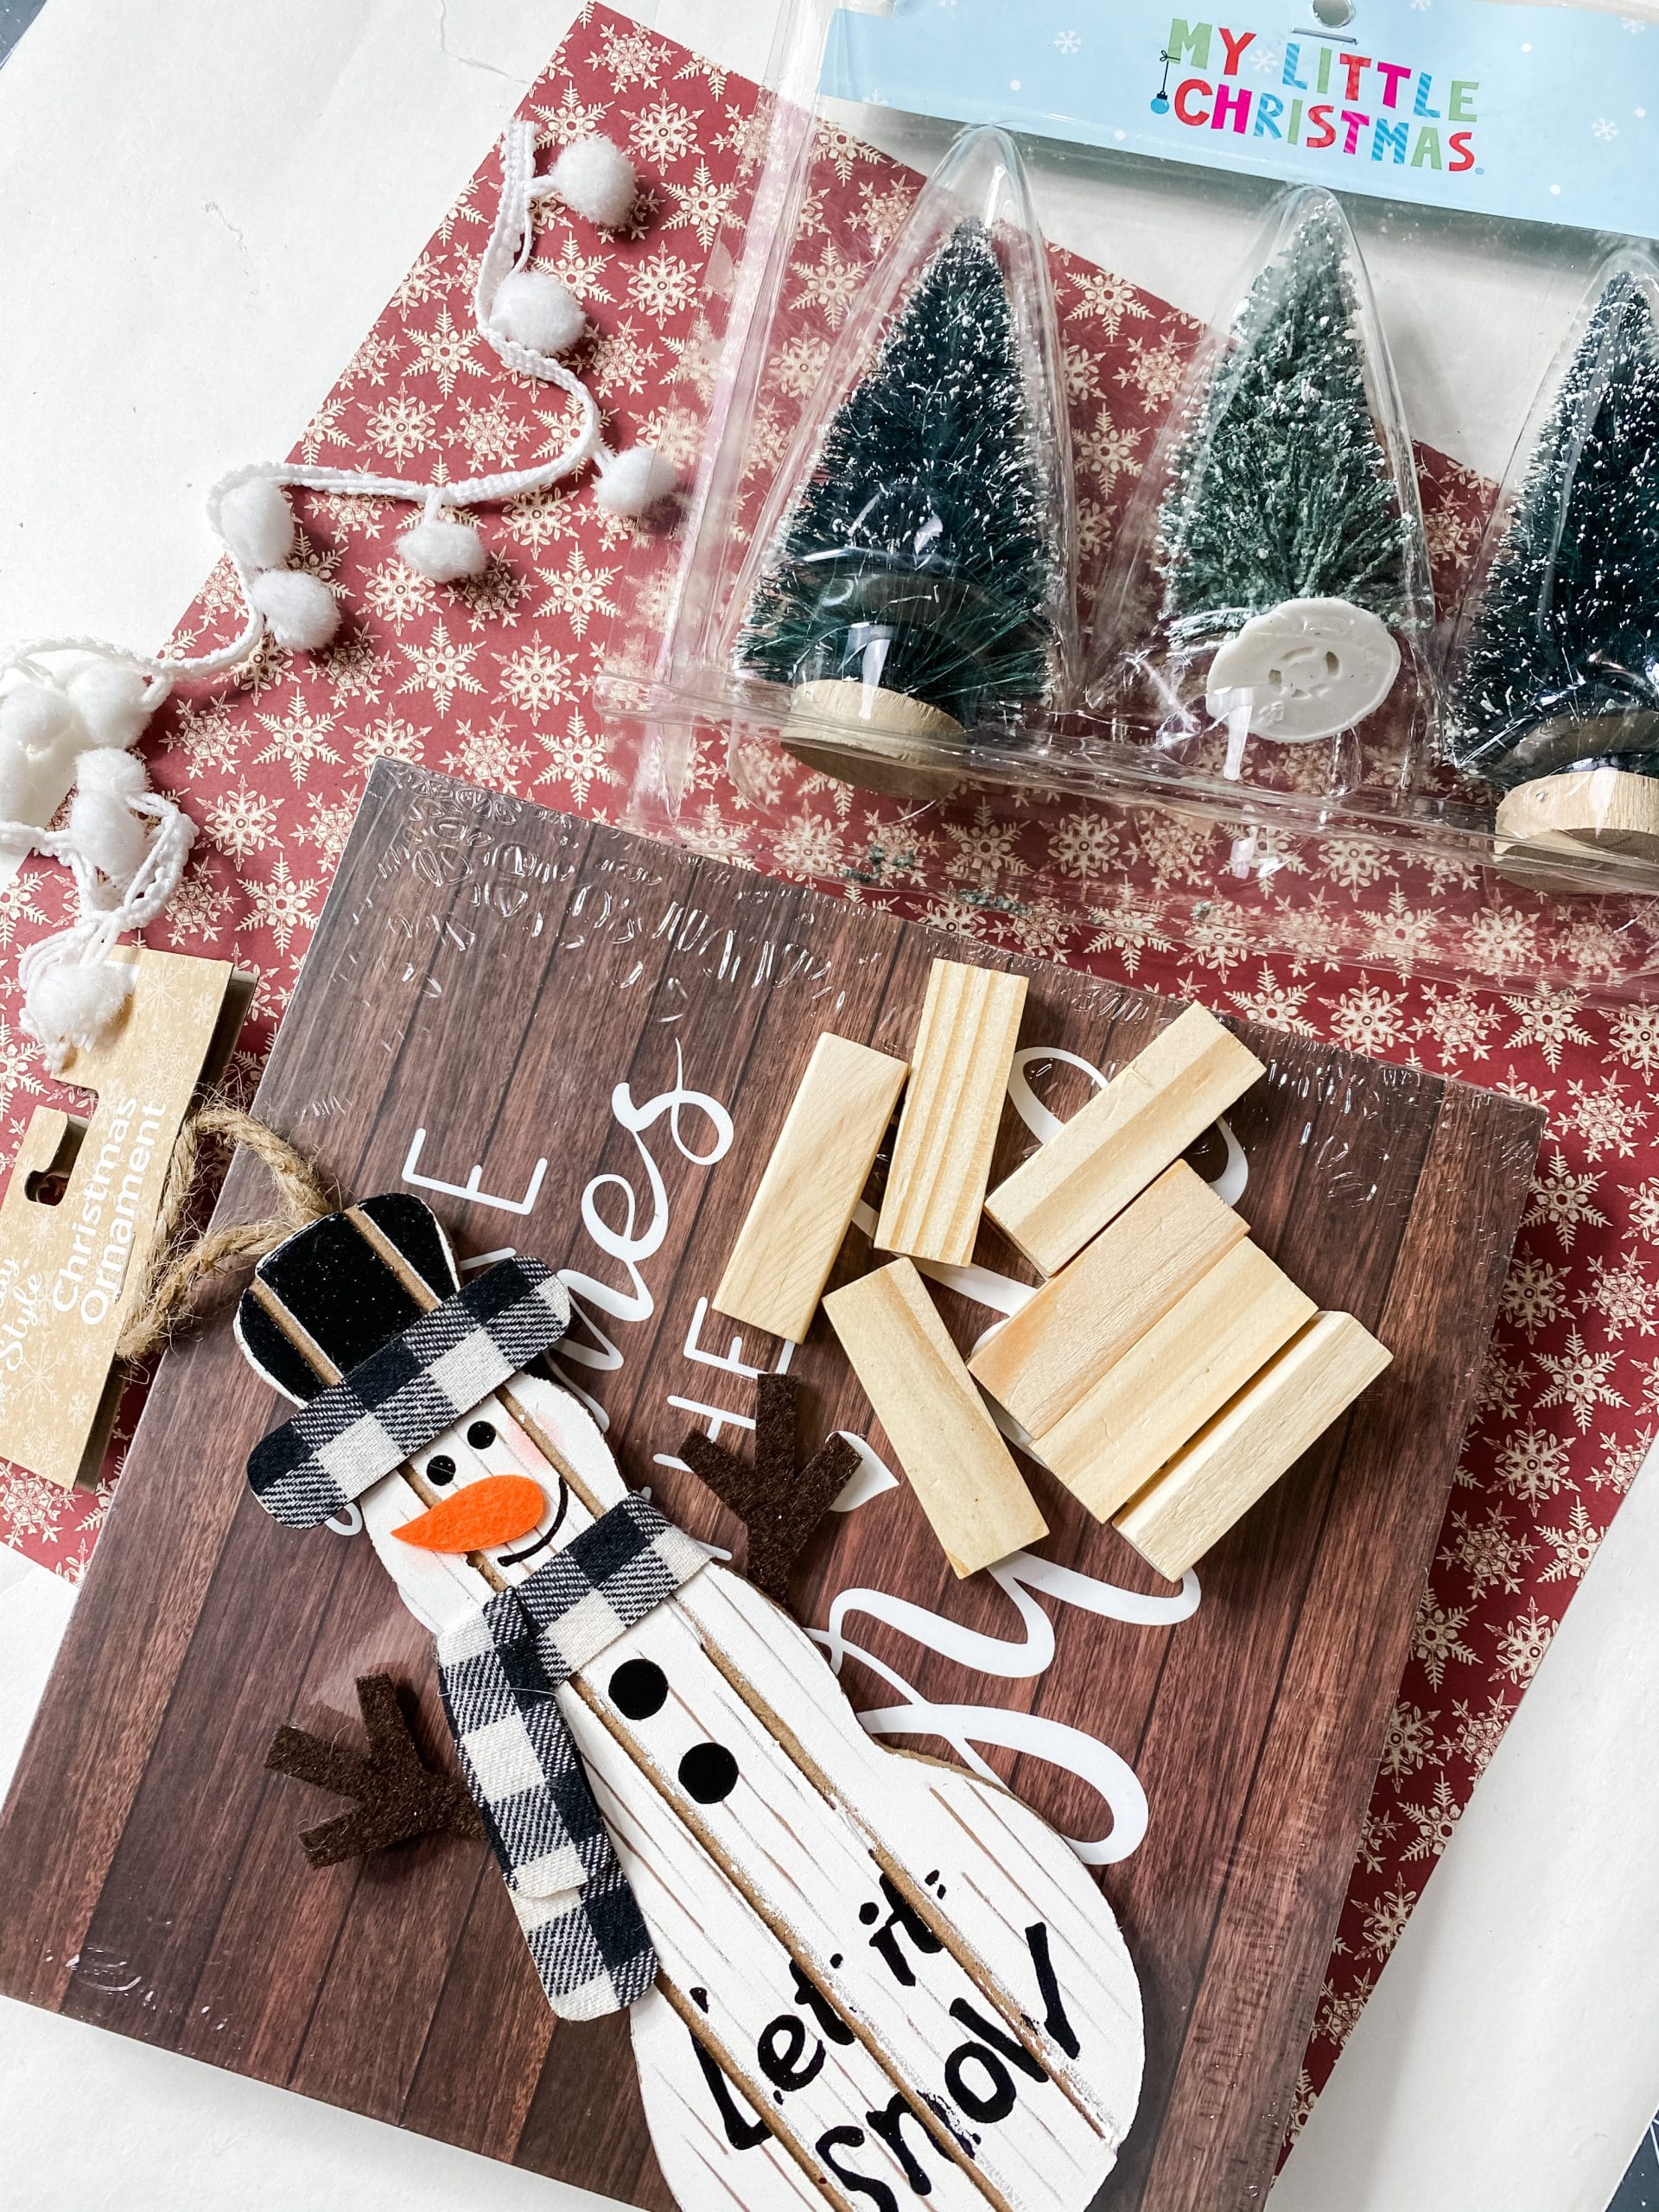
For this project, I will be using these items but you can substitute where you want.
“As an Amazon Associate, I earn from qualifying purchases.”
- Dollar Tree Sign Box
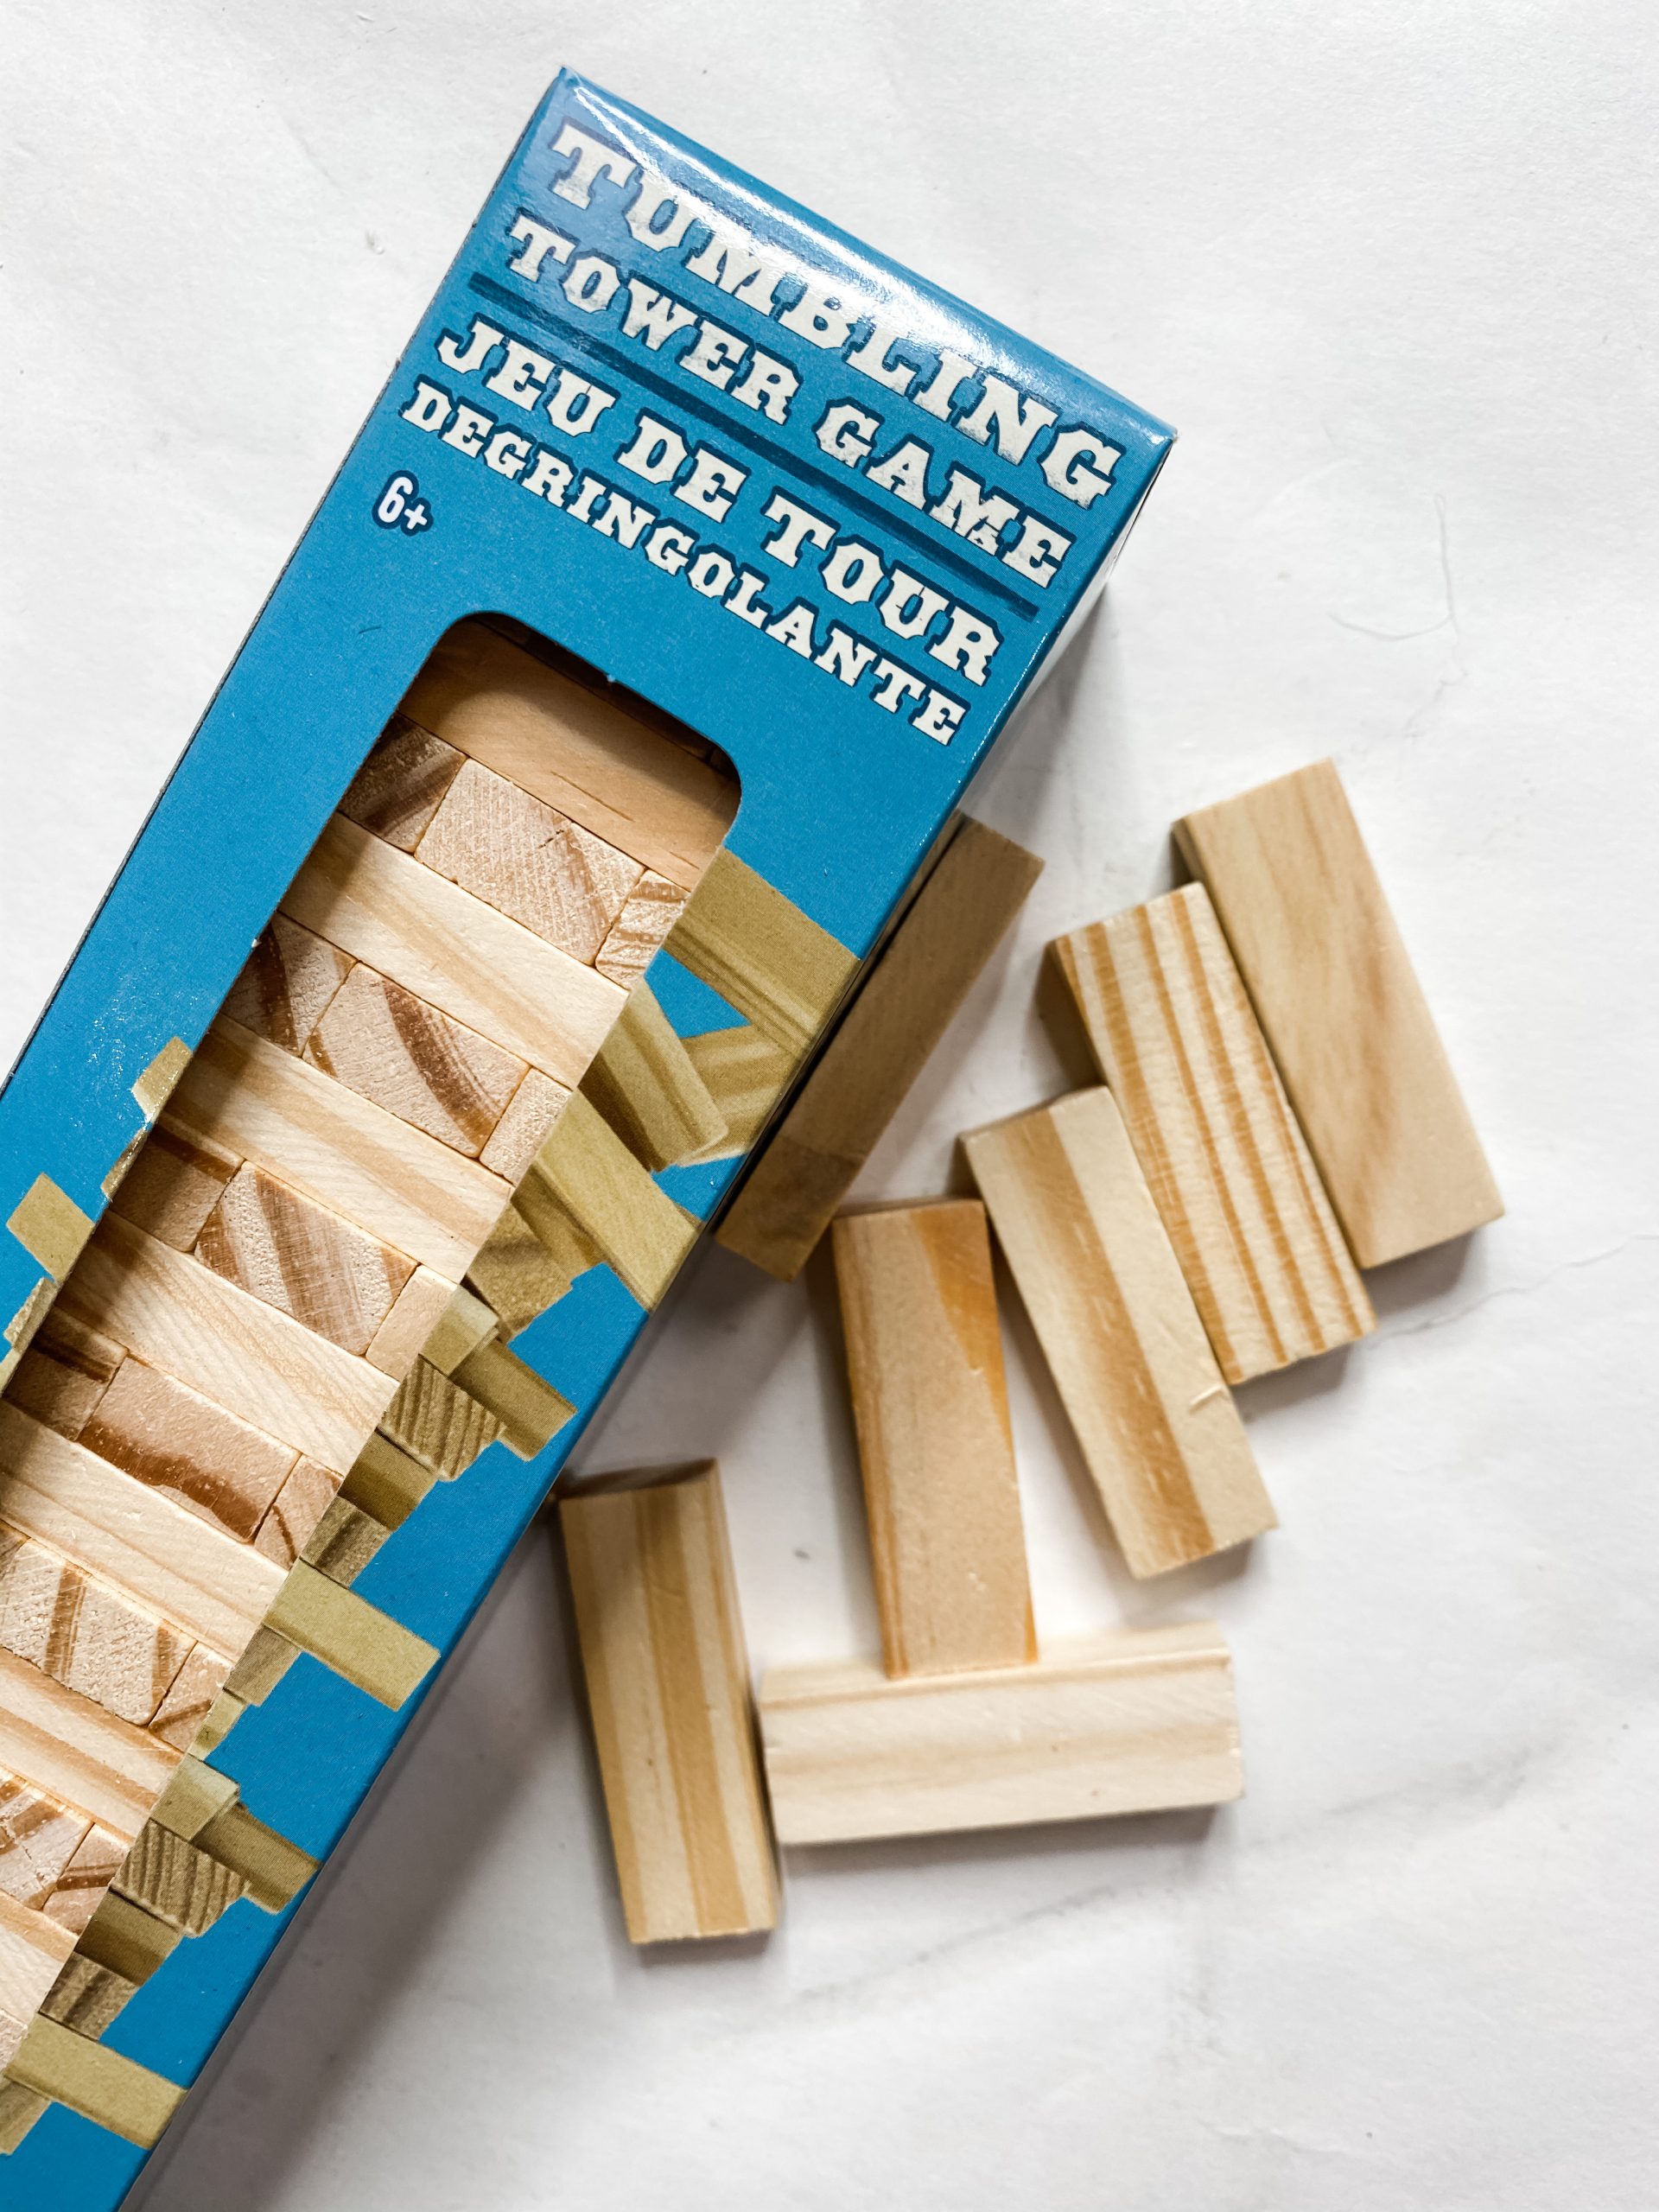
- Dollar Tree Tumbling Tower Blocks
- Mini Christmas Trees (Dollar General)
- Snowflake Scrapbook Paper (Hobby Lobby)
- Mini Christmas Trees (Hobby Lobby)
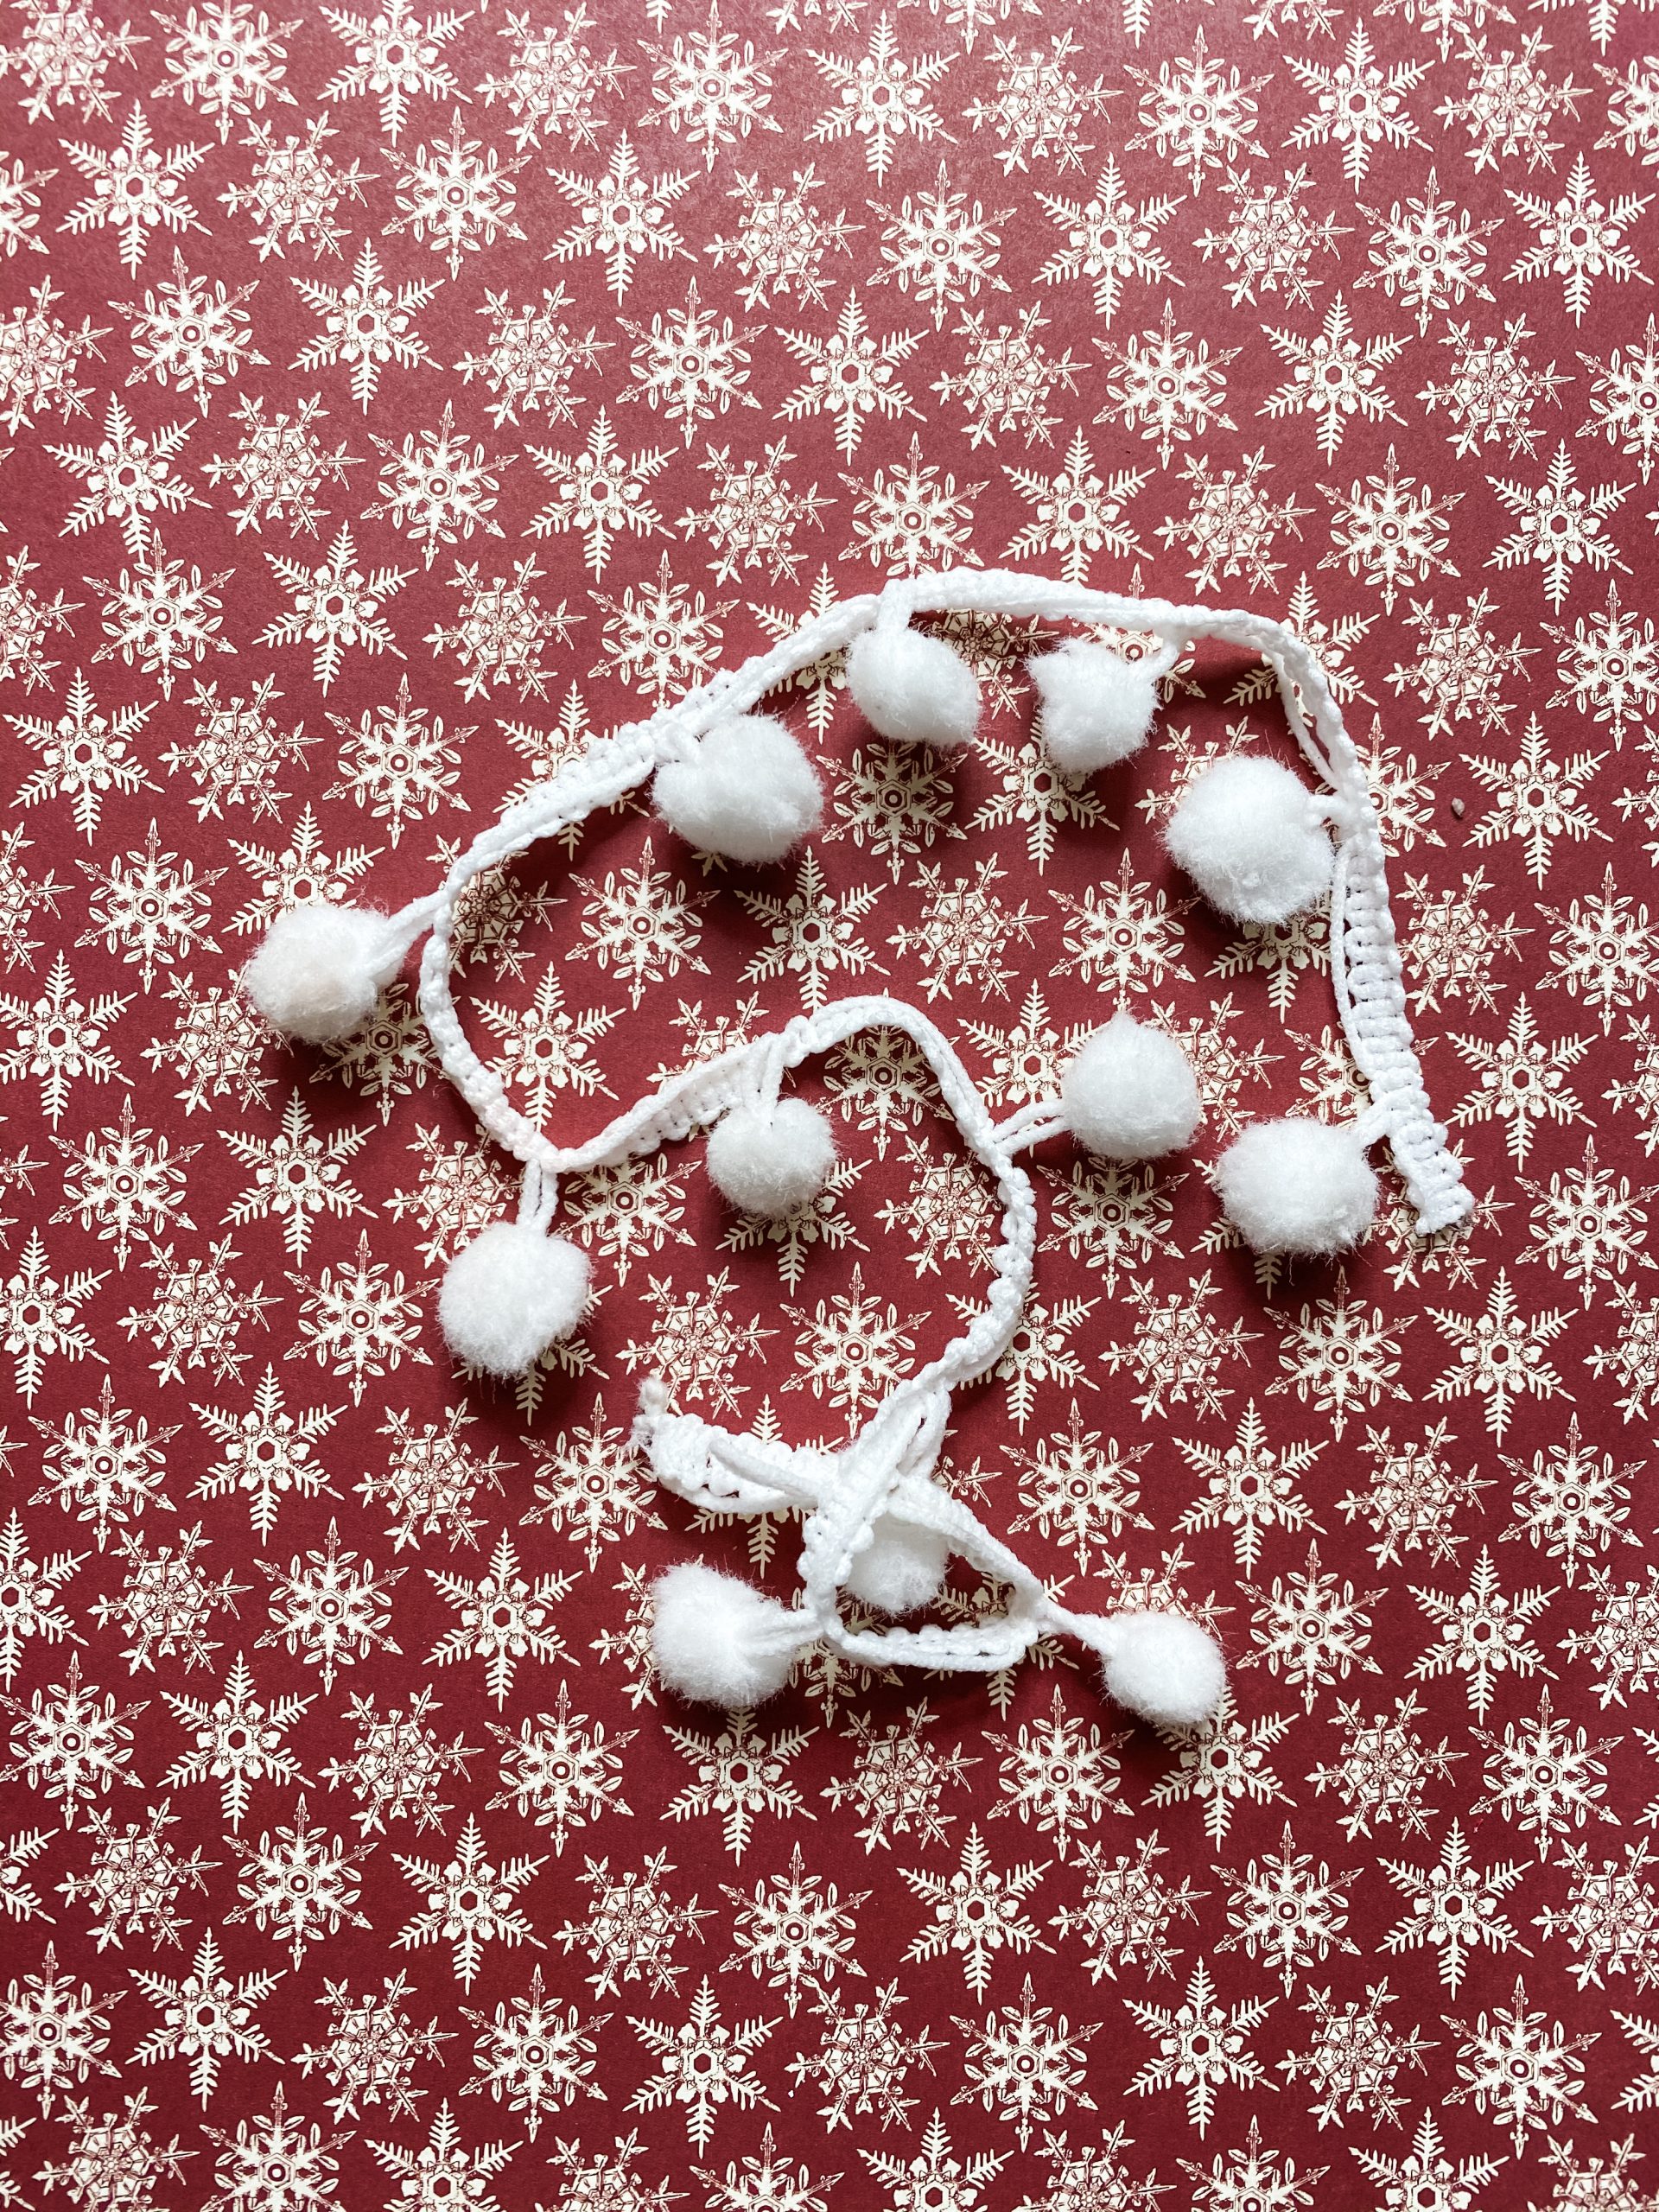
- White pompom trim
- Mod Podge
- Glue Gun and Glue Sticks
- Heat gun
Let’s get to the good stuff
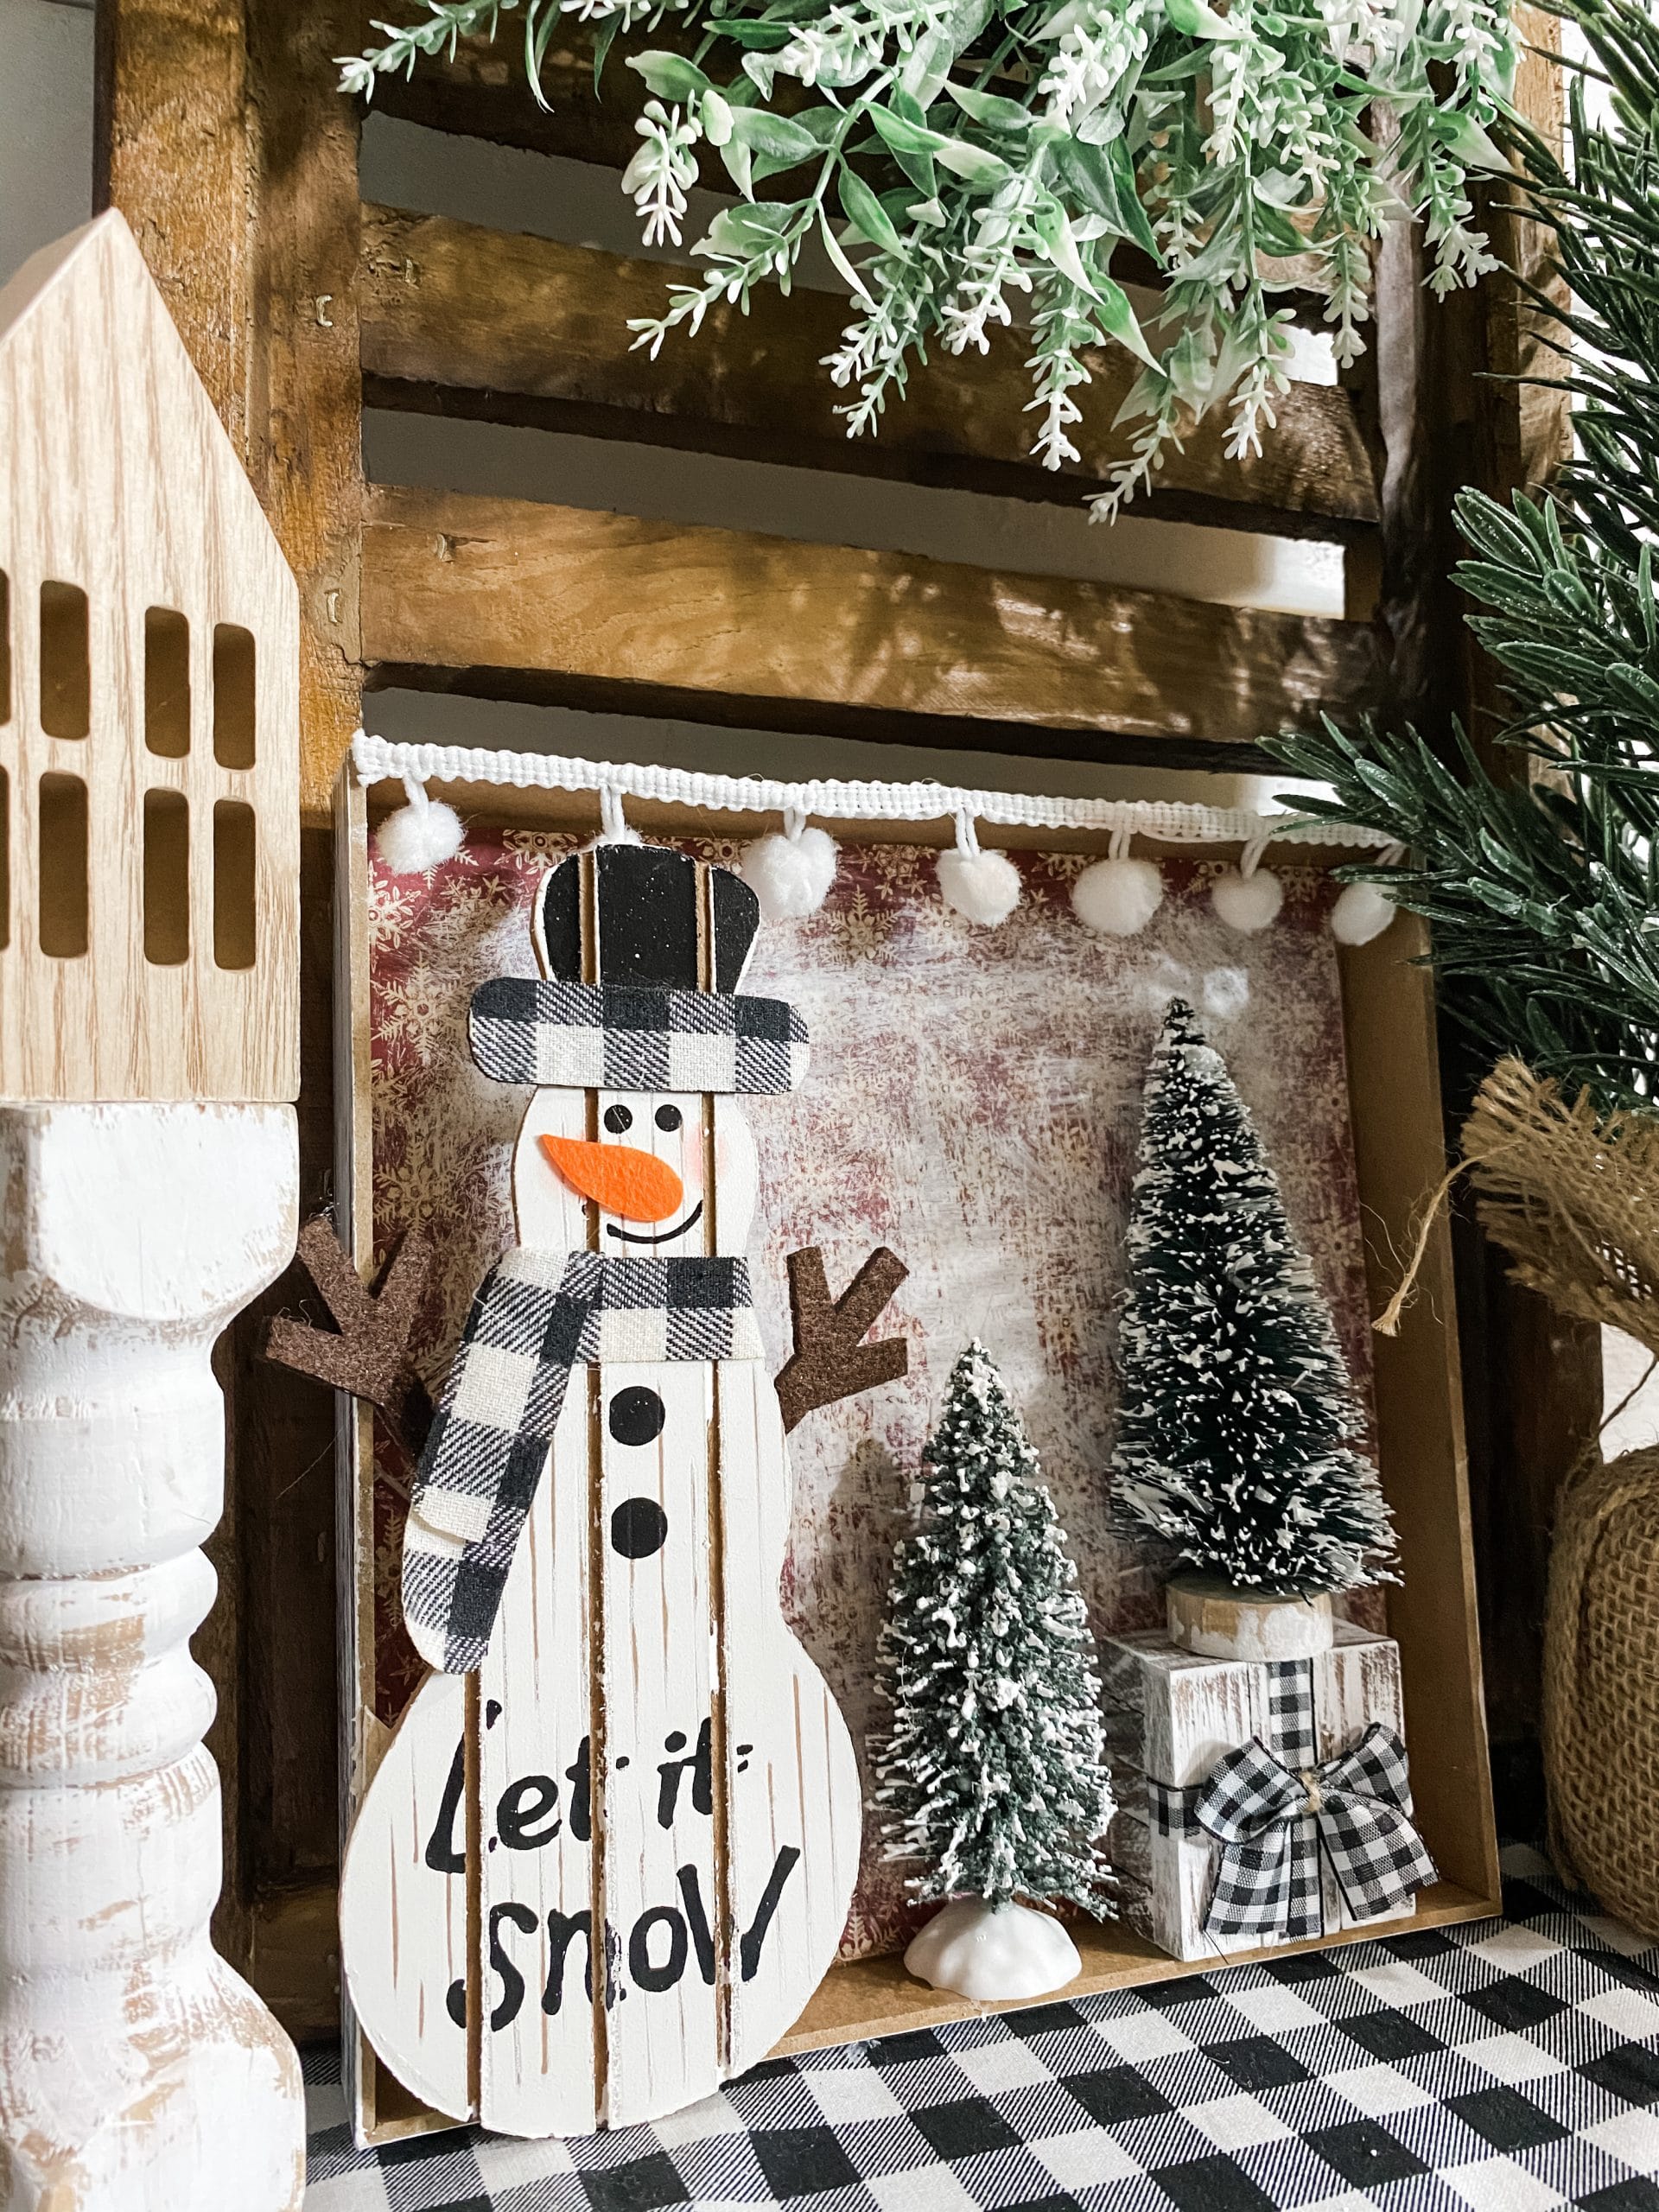
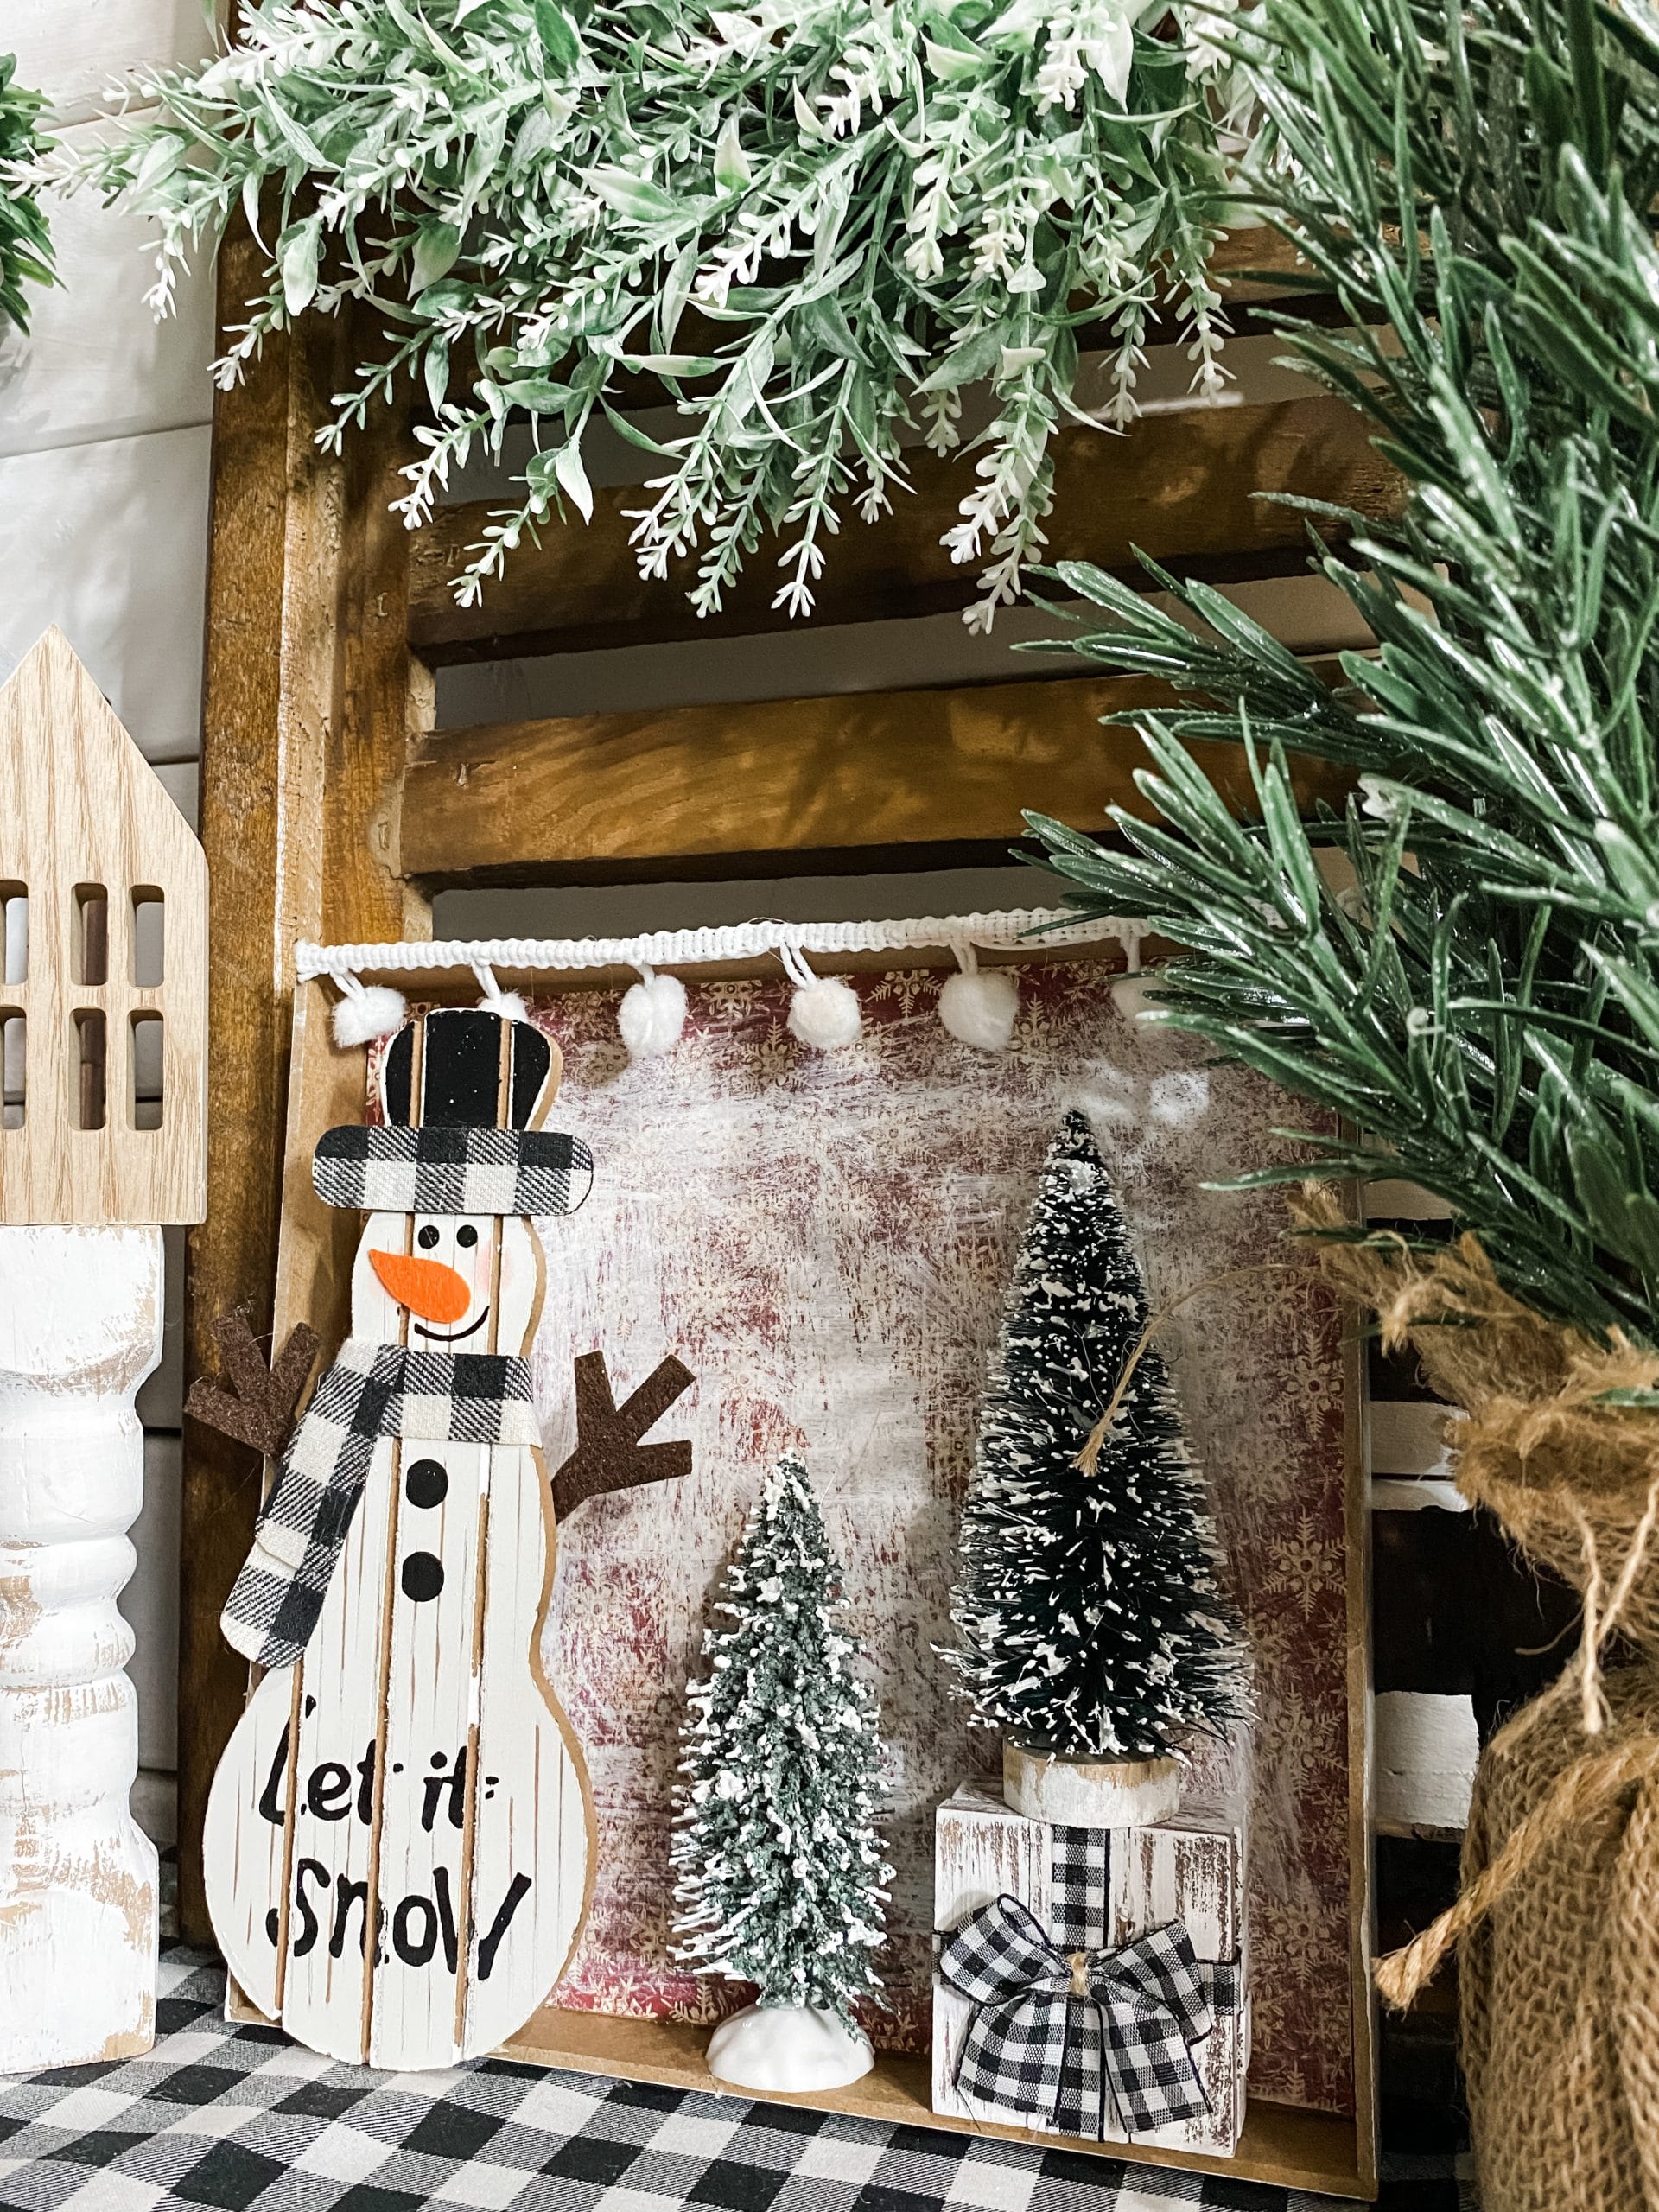
It’s no secret that I just love a good Dollar Tree sign box. I love using them in my crafts because it is easy to cover up the original design, or turn the sign box around and use the inside instead.
For this Winter Scene with a Snowman DIY Decor, I turned the Dollar Tree sign box over and used the inside of it. I decoupaged the inside of the sign box with an adorable snowflake scrapbook paper from Hobby Lobby.

First, put the snowflake scrapbook paper pattern down and set the sign box on top. Then, trace around the sign box with a pencil to mark where you have to cut the scrapbook paper.
It will be a little larger than needed, but we can trim that down more. Remember, it’s easier to trim the scrapbook paper than it is to use paper that is too small.
You can also use a ruler if you want to get the scrapbook paper the perfect size.
Let it snow
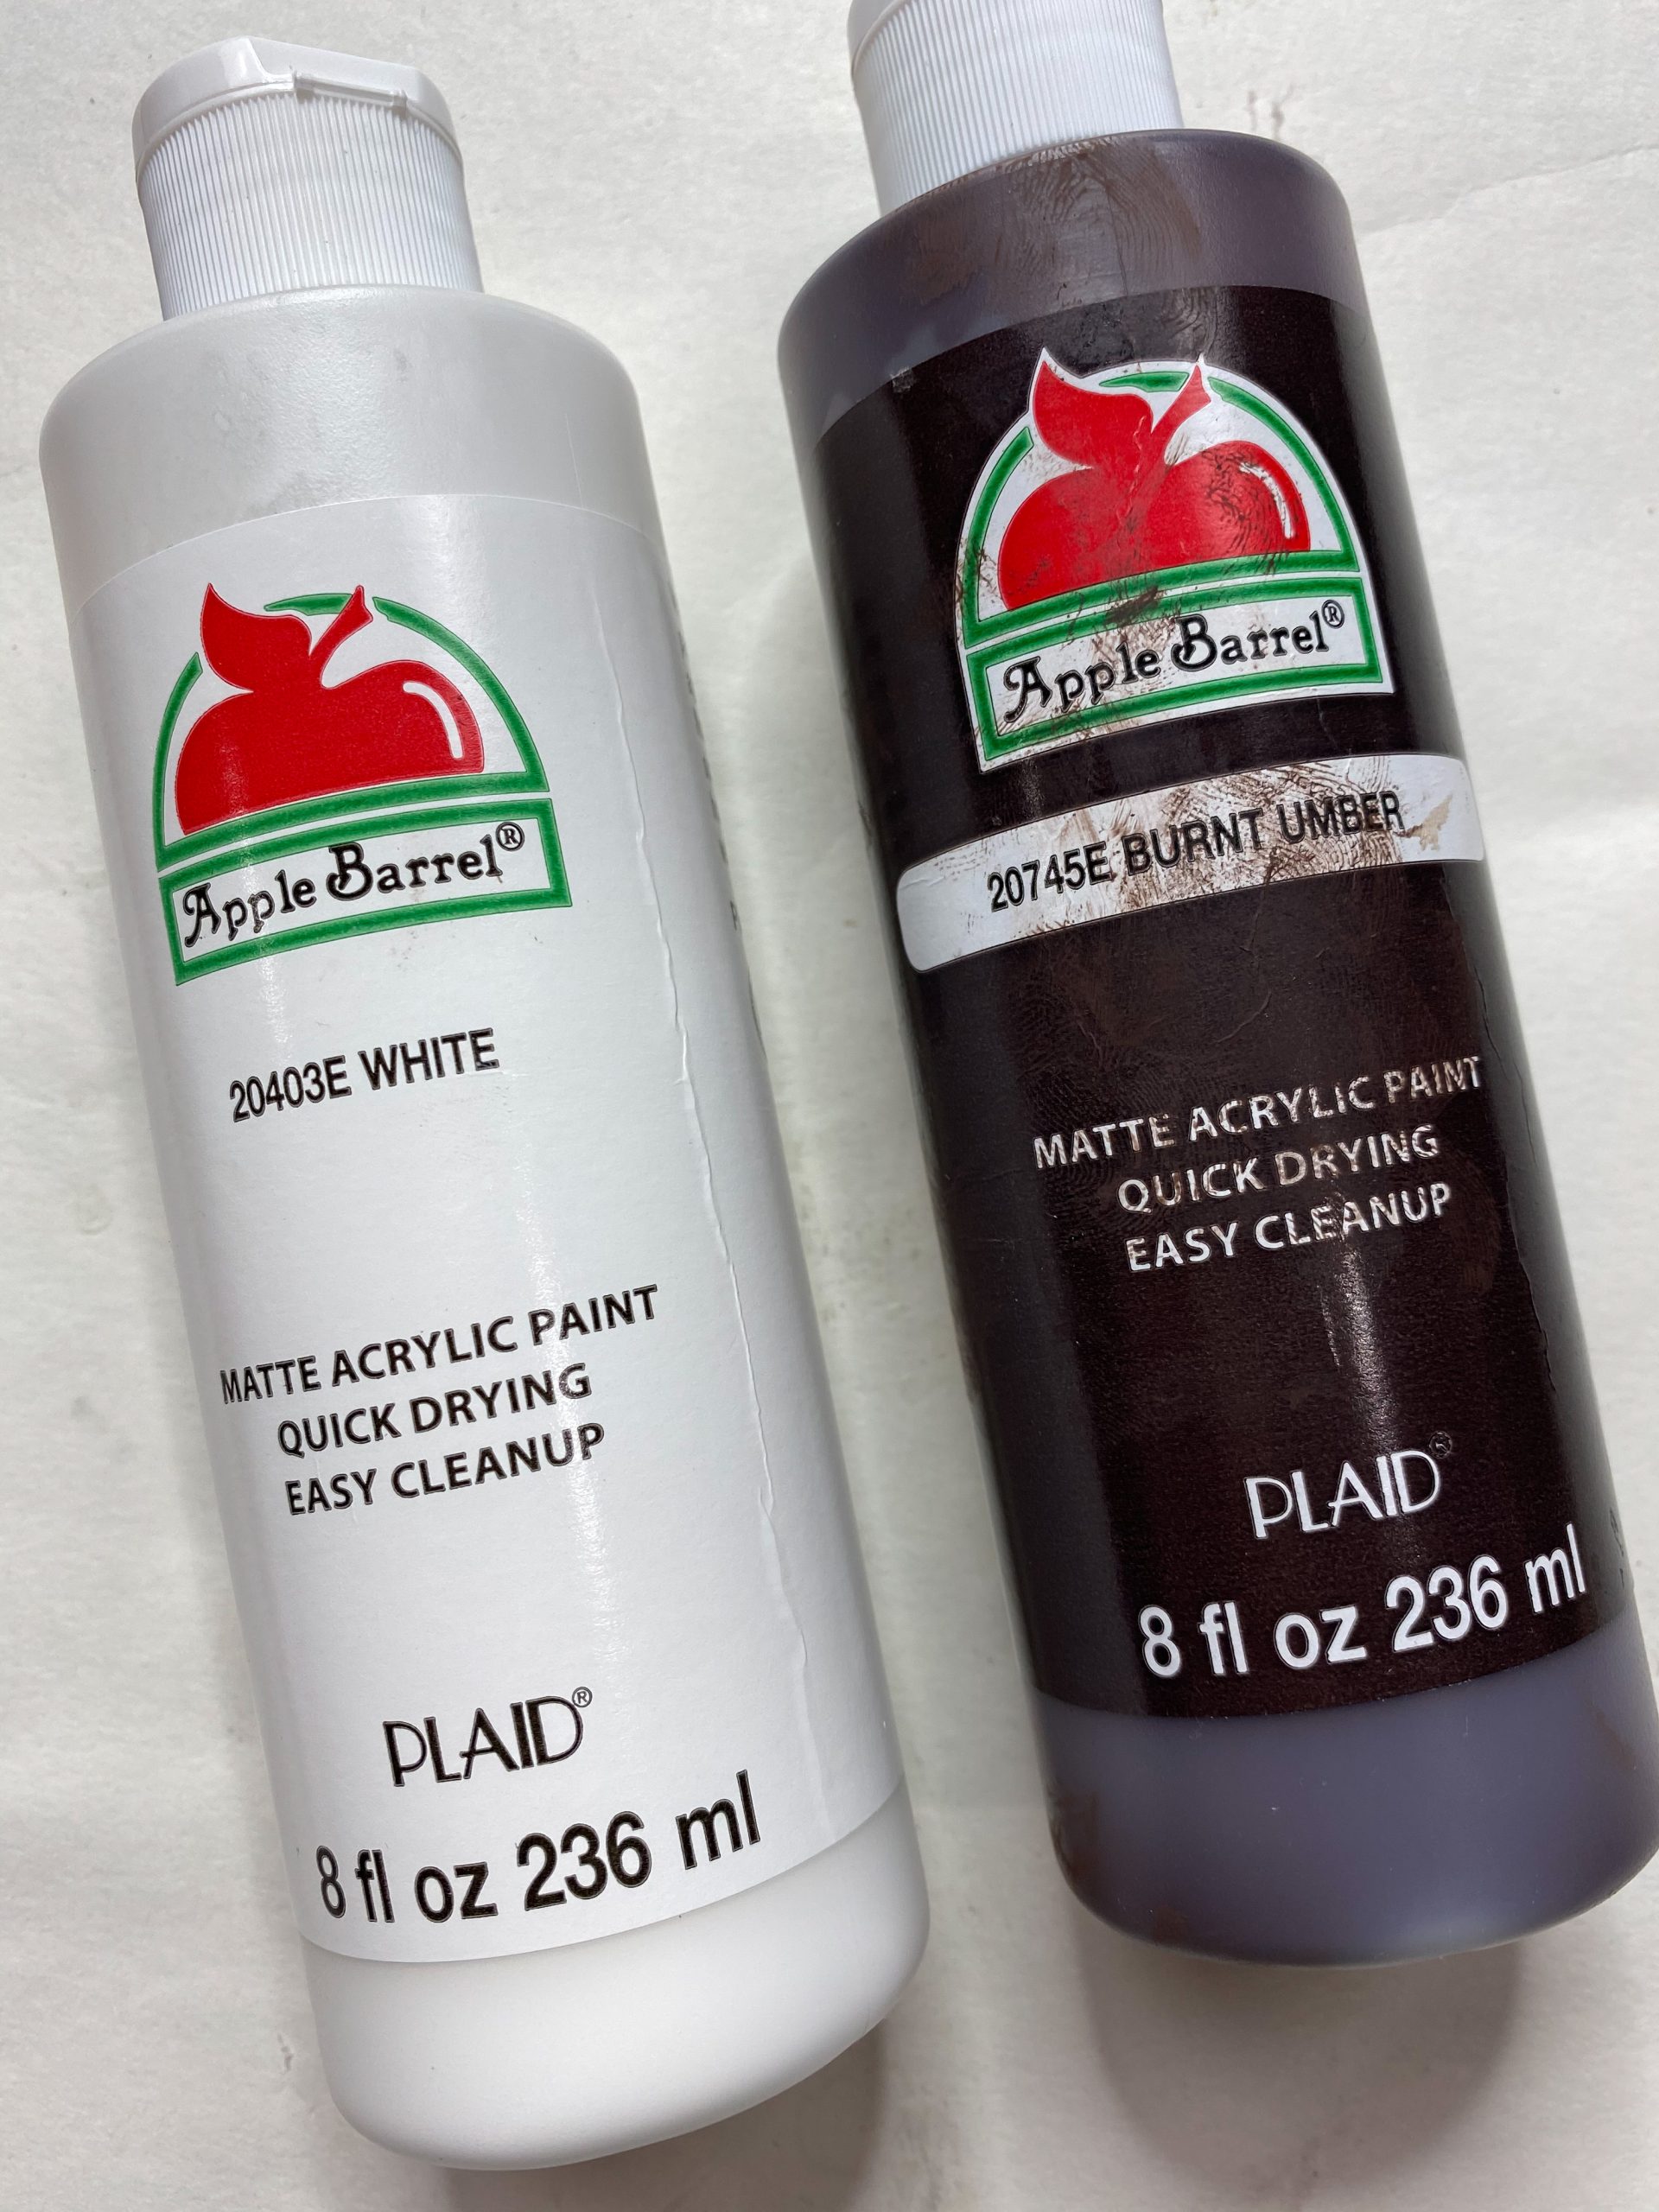
I wanted the scrapbook paper to have a snowy look since it was going to be the background of my winter scene. So, I used a chippy paintbrush to lightly dry brush Apple Barrel White Acrylic Paint.
Set the painted scrapbook paper to the side to dry. Before we apply the scrapbook paper, we need to paint the outside edges of the Dollar Tree sign box.
Again, use a chippy paintbrush to lightly dry brush white paint around the outside edges of the sign box.
Keep a light hand to get the perfect, effortless distressed finish. Allow your sign box to dry before moving on.
I used my heat gun to speed up the drying process. If you don’t have a heat gun, you can use a blow dryer on the low cool setting.
Typically, I would decoupage the scrapbook paper to the inside of the sign box, but unfortunately, I ran out of Mod Podge (*GASP*).
I know, I know, Mod Podge is a must-have in a craft stash. But, you can use hot glue if you run out as I did. Apply the hot glue to the inside of the sign box and press the scrapbook paper into place.
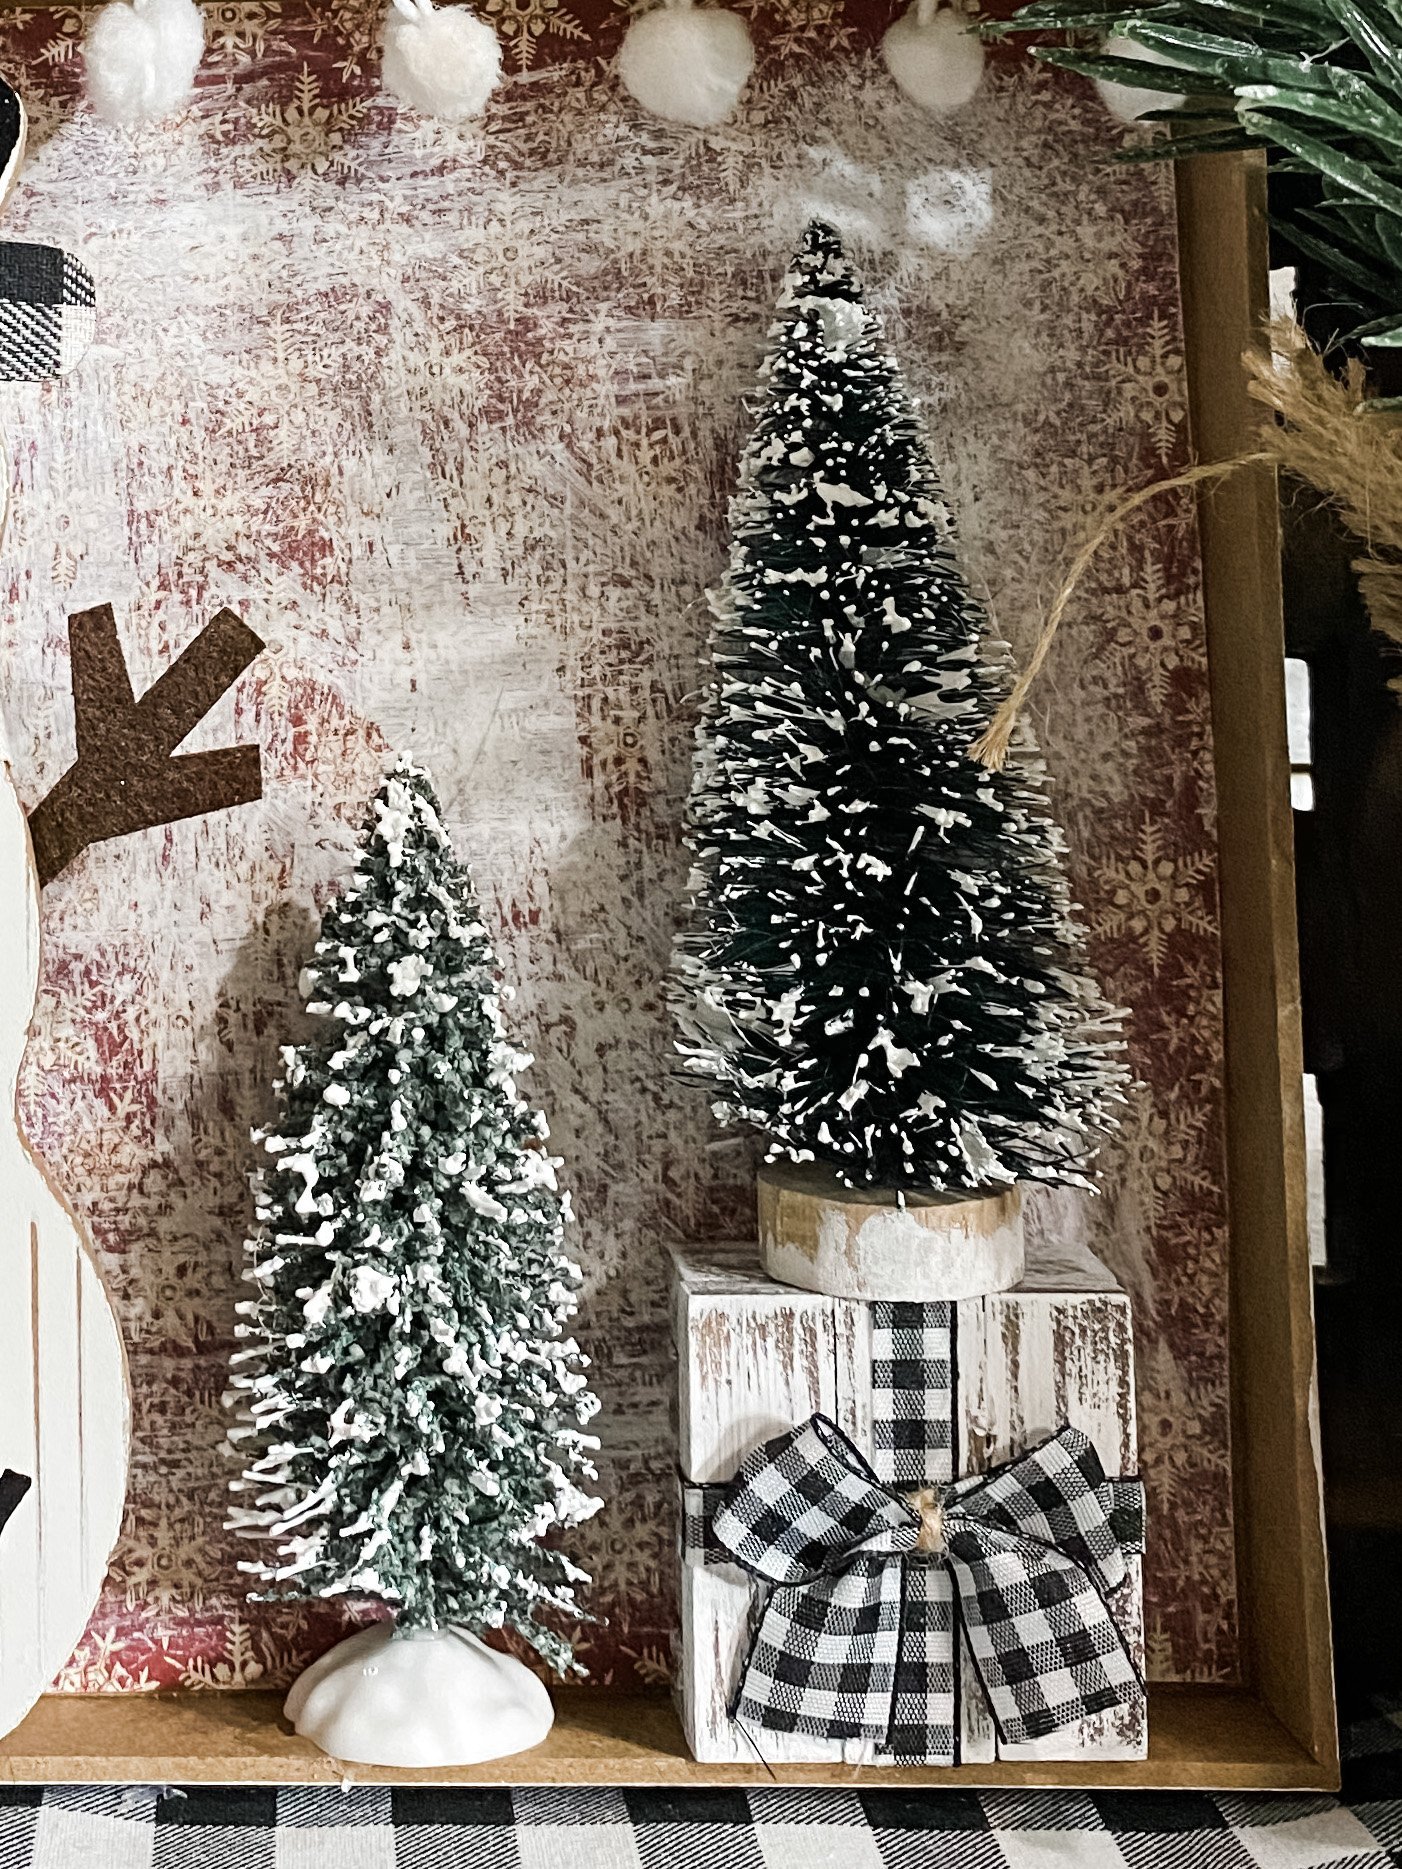
It’s a winter wonderland!
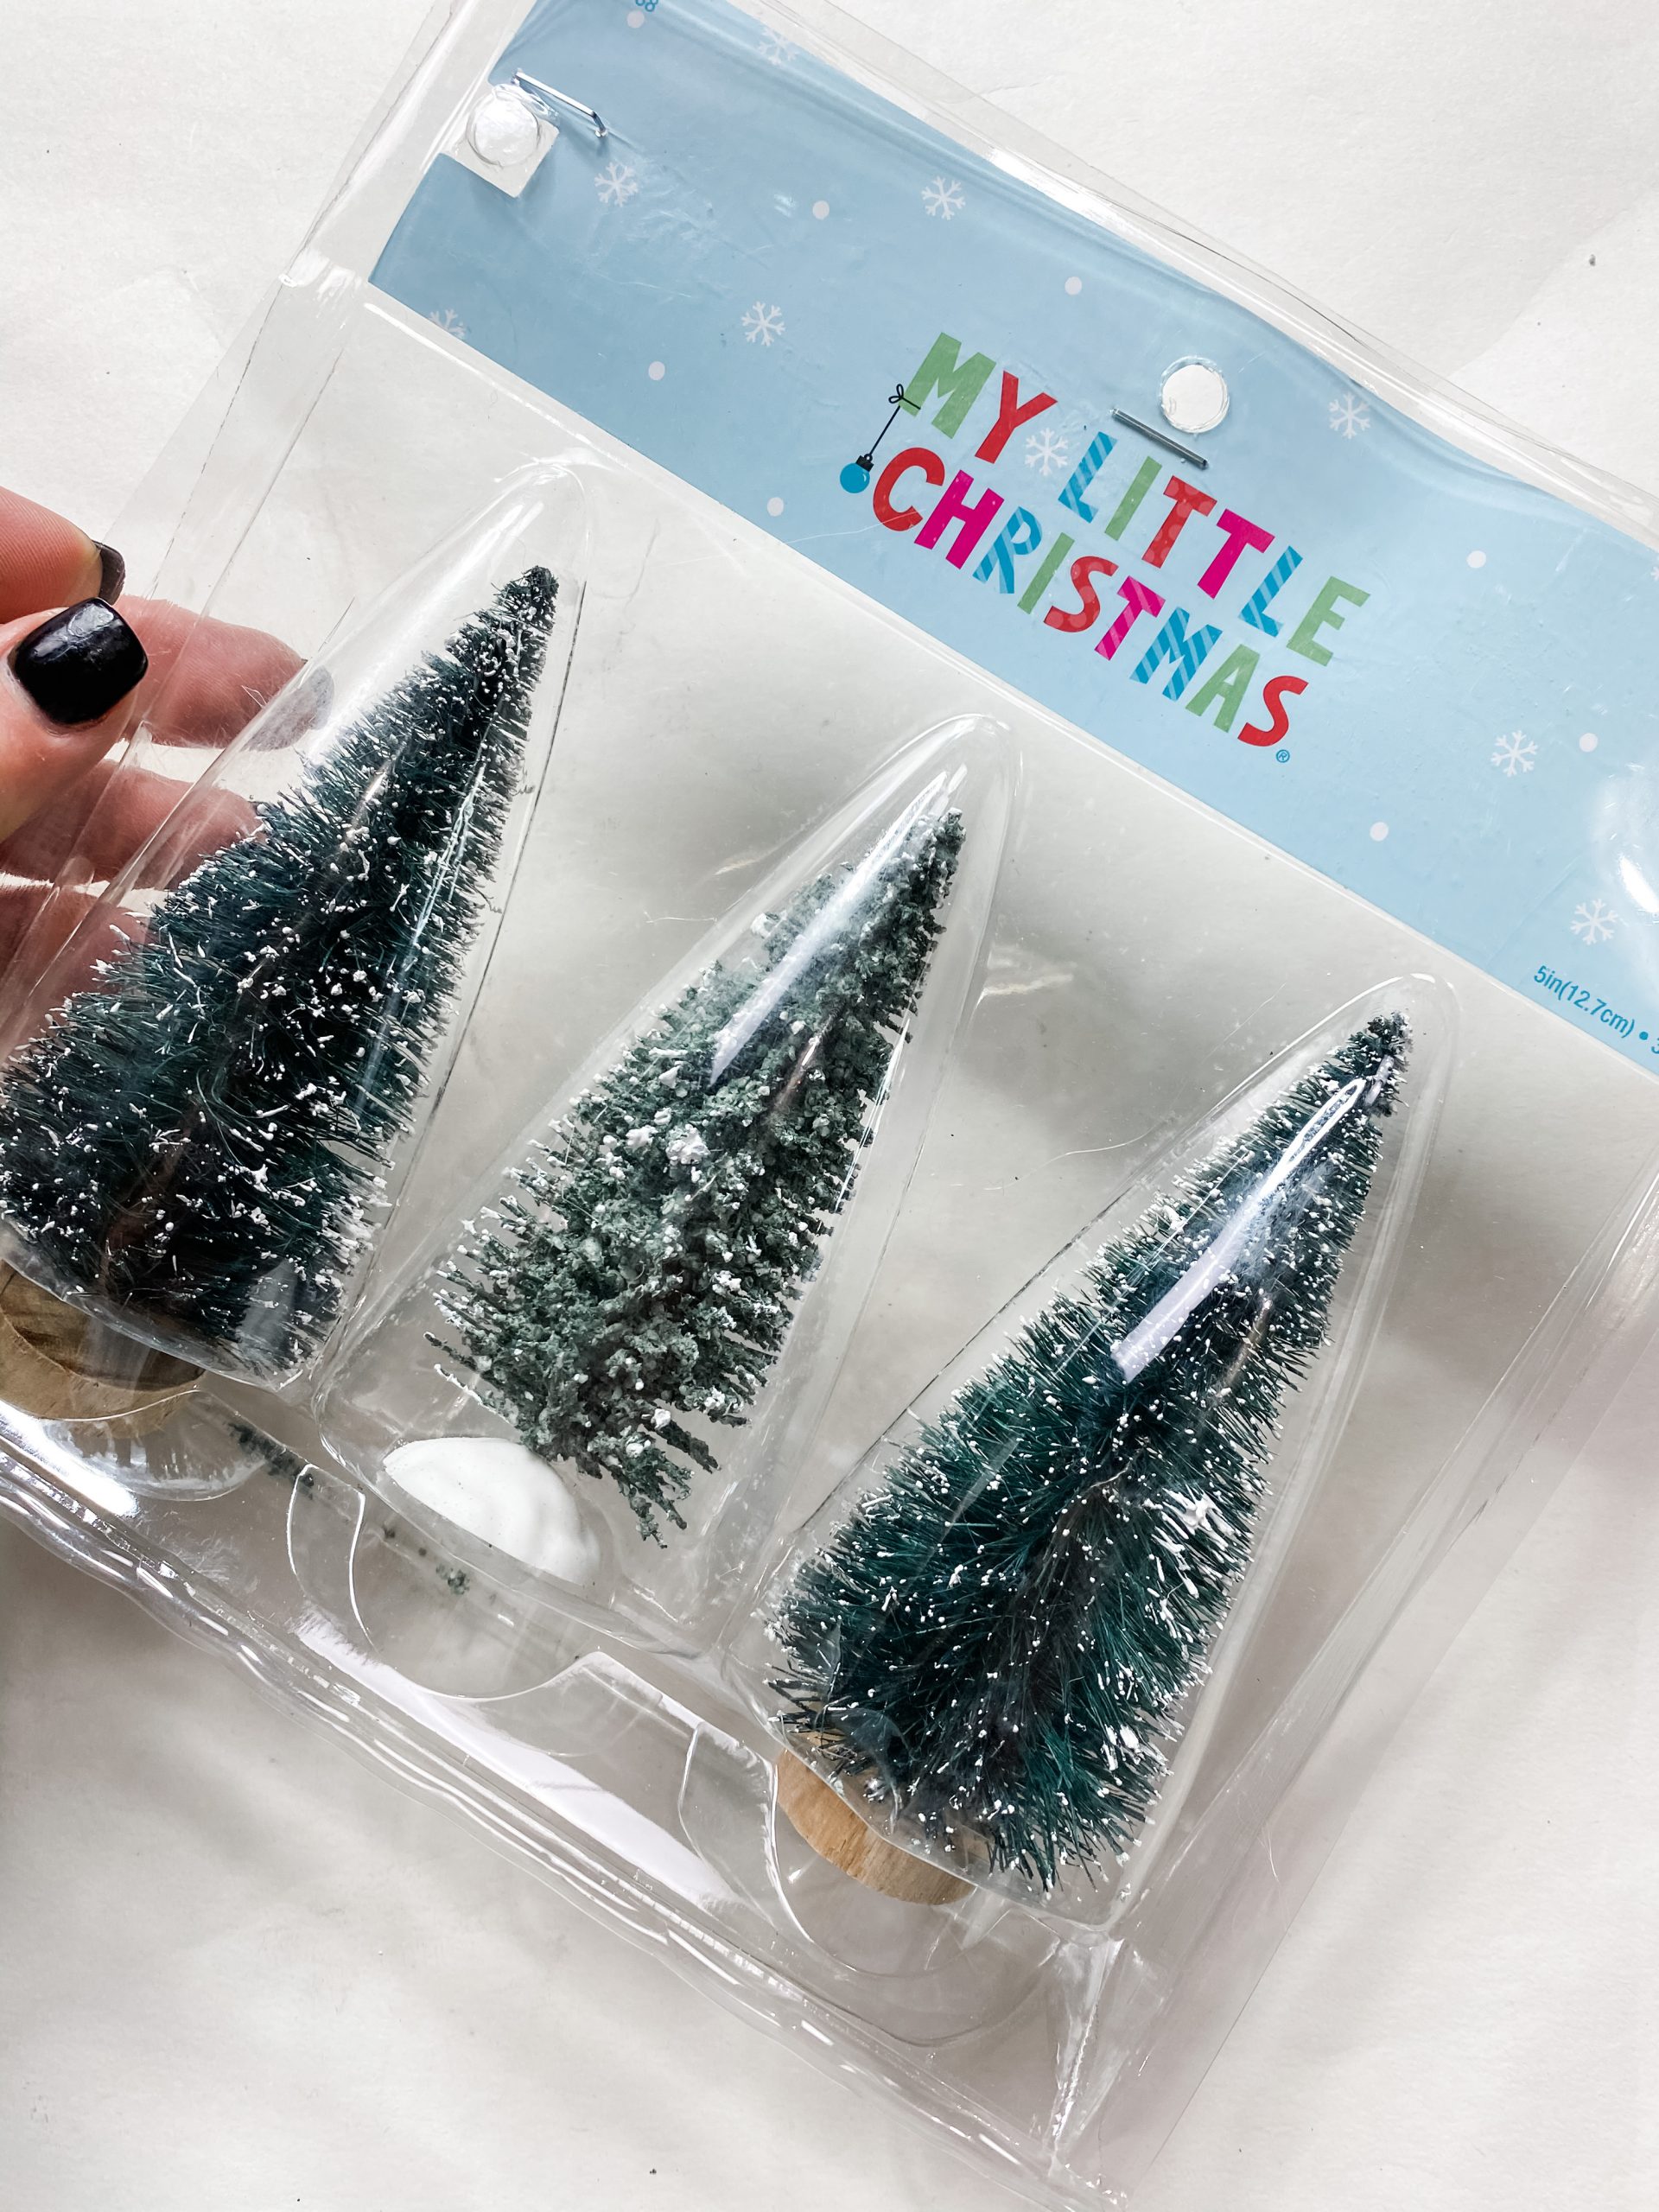
I’ve used Dollar Tree mini Christmas trees a lot, but these cute little Christmas trees came from Hobby Lobby this time!
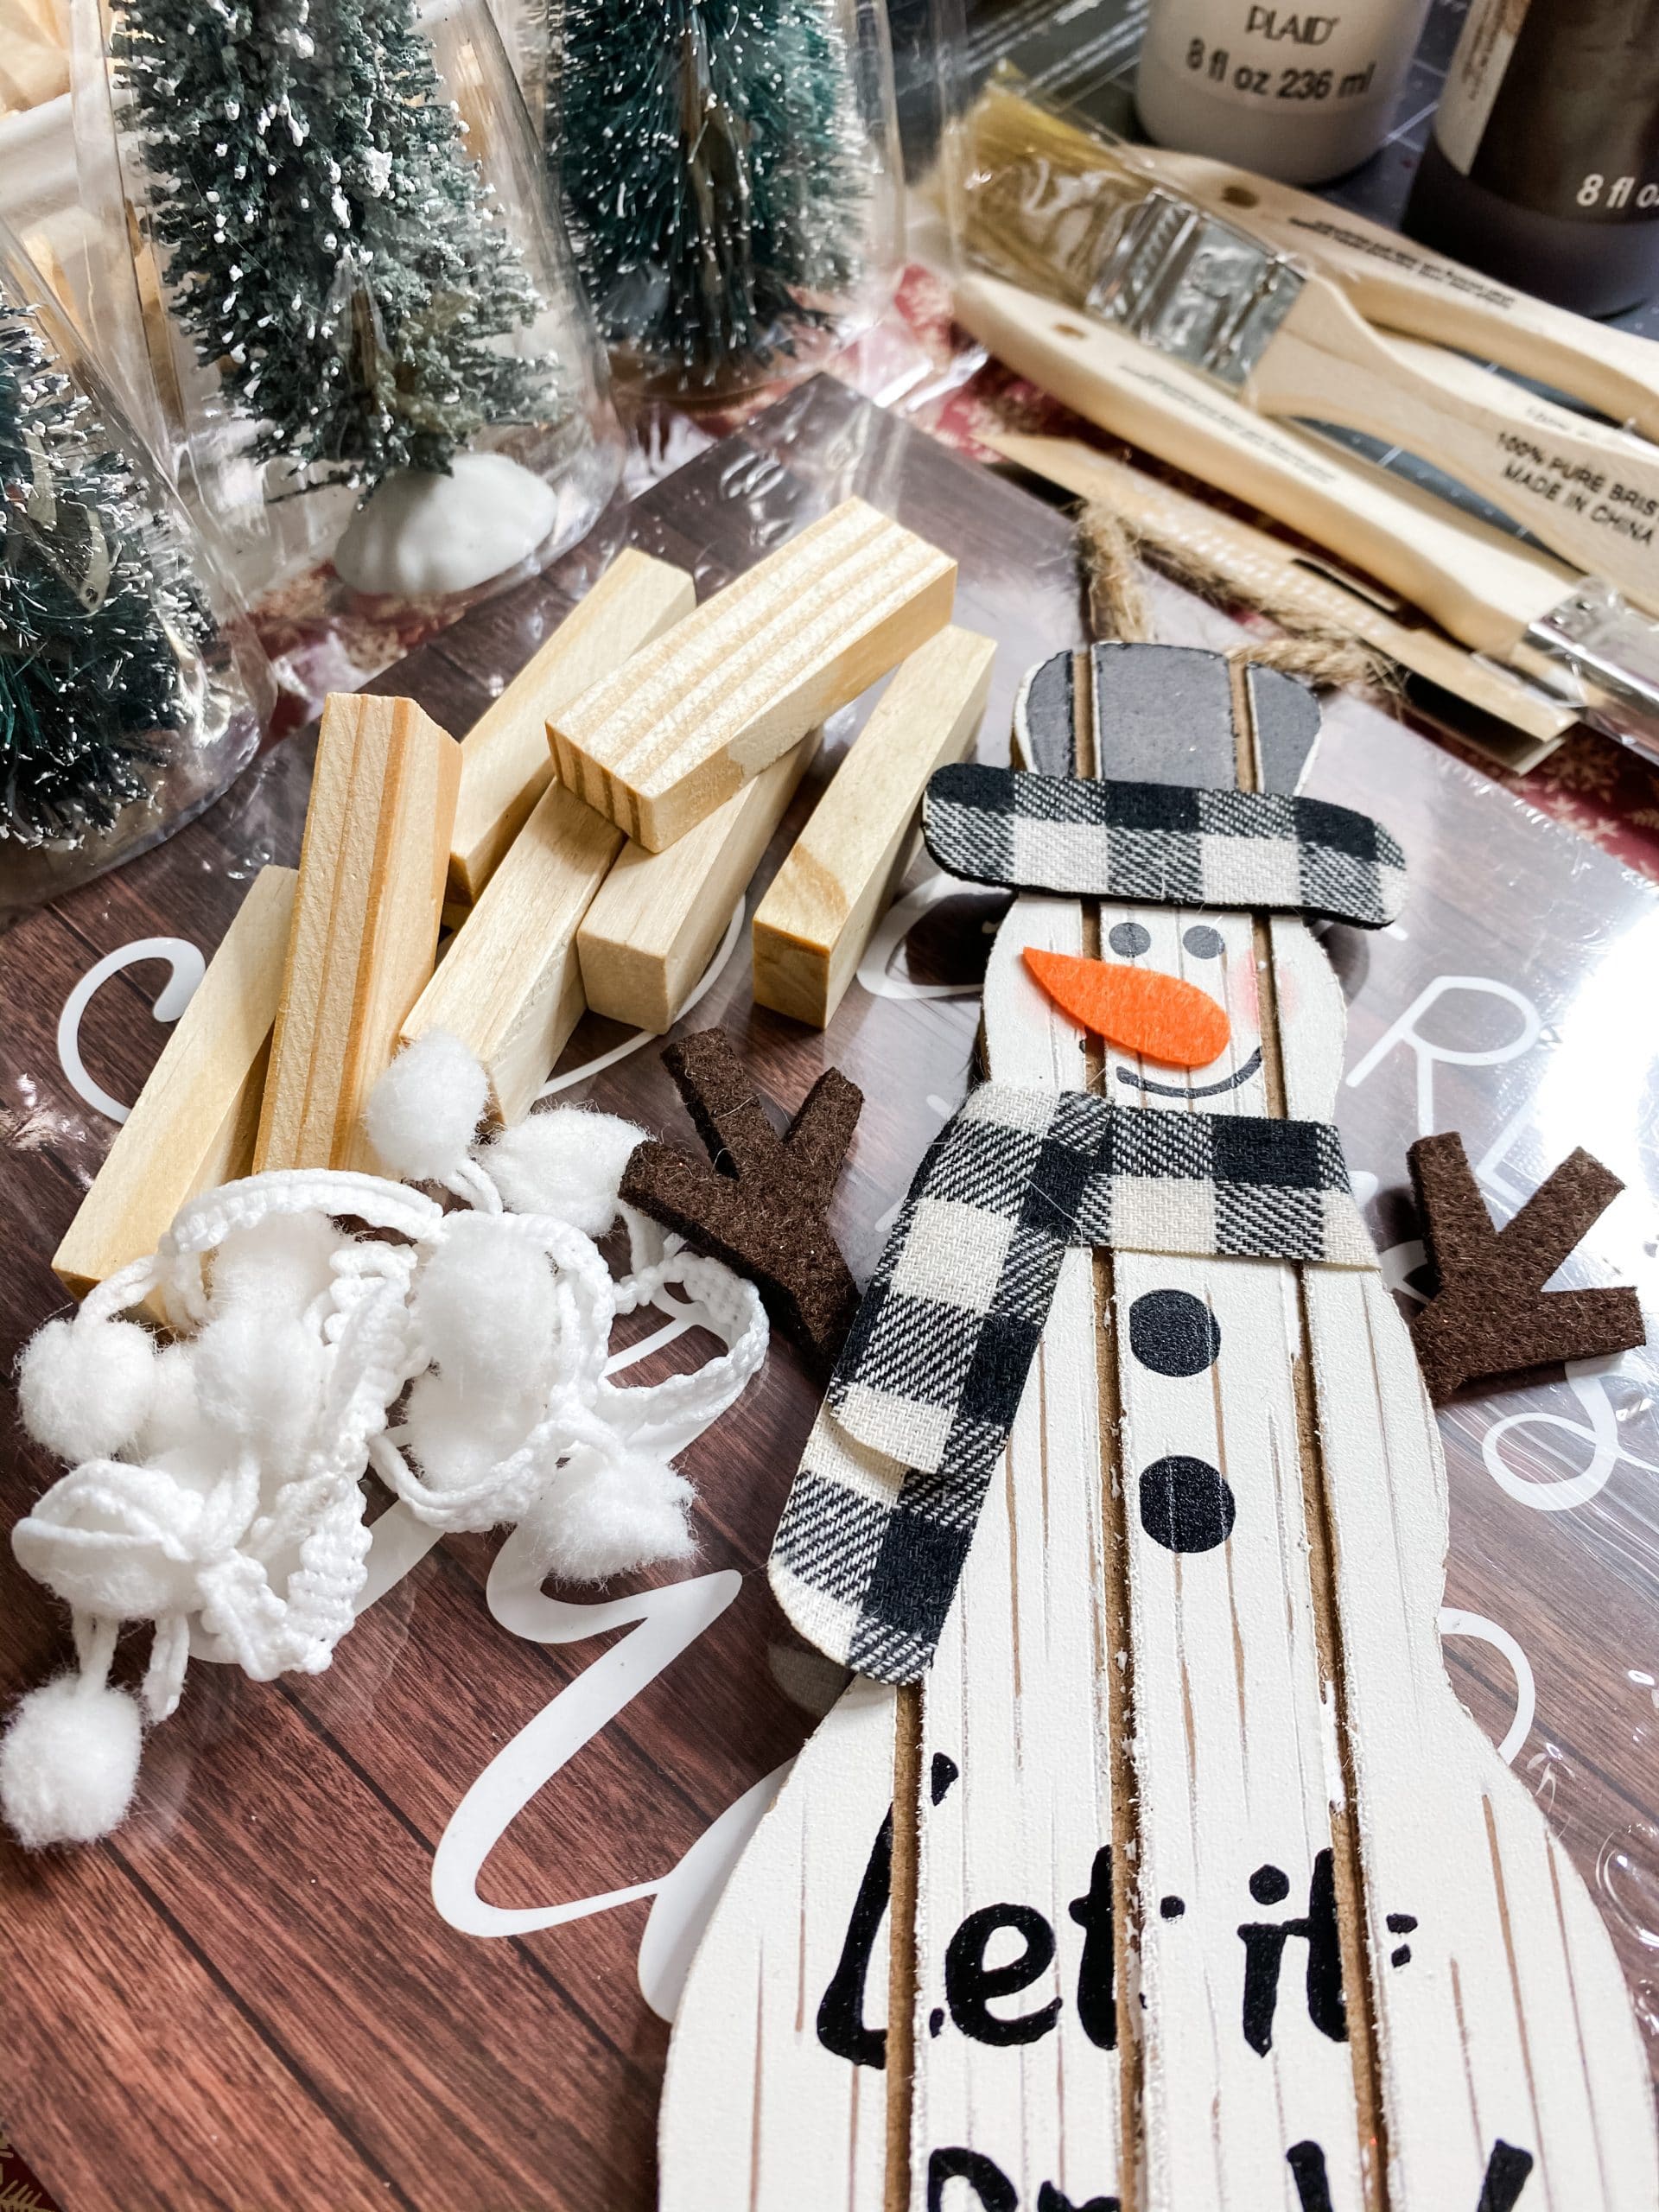
I wanted to raise one of the trees just a little bit, so I hot glued 3 Dollar Tree Tumbling Tower blocks (Jenga blocks) together as a stand for the Christmas tree. Connect them by their long sides.
Then, hot glue 5 more Tumbling Tower blocks flat on top of one another. Once the glue dries, it is time to stain.
How to stain wood
Pour a small amount of Apple Barrel Burnt Umber Acrylic Paint onto a piece of wax paper and spray it with water.
Then, spread the paint/water mixture over the wood with a baby wipe. Make sure to stain the sides of the blocks as well.
Once the stain dries, use a chippy paintbrush to dry brush Apple Barrel White Acrylic Paint across the Tumbling Tower blocks. Keep a light hand to get an effortless distressed look.
Allow the white paint to dry before moving to the next step. Next, you’re going to hot glue two pieces of Dollar Tree buffalo check ribbon across the front of the 3 painted Tumbling Tower blocks.
Then, hot glue the 3 painted Tumbling Tower blocks to the front of the 5 blocks.
Start putting the pieces together
Before I attached the blocks and trees to the sign box, I had to decide which trees I would use and where I would put them in the sign box.
I chose to use the tree with the white base, but the base was just a little too wide. I used a pair of aviation snips to trim one side of the base so it would fit.
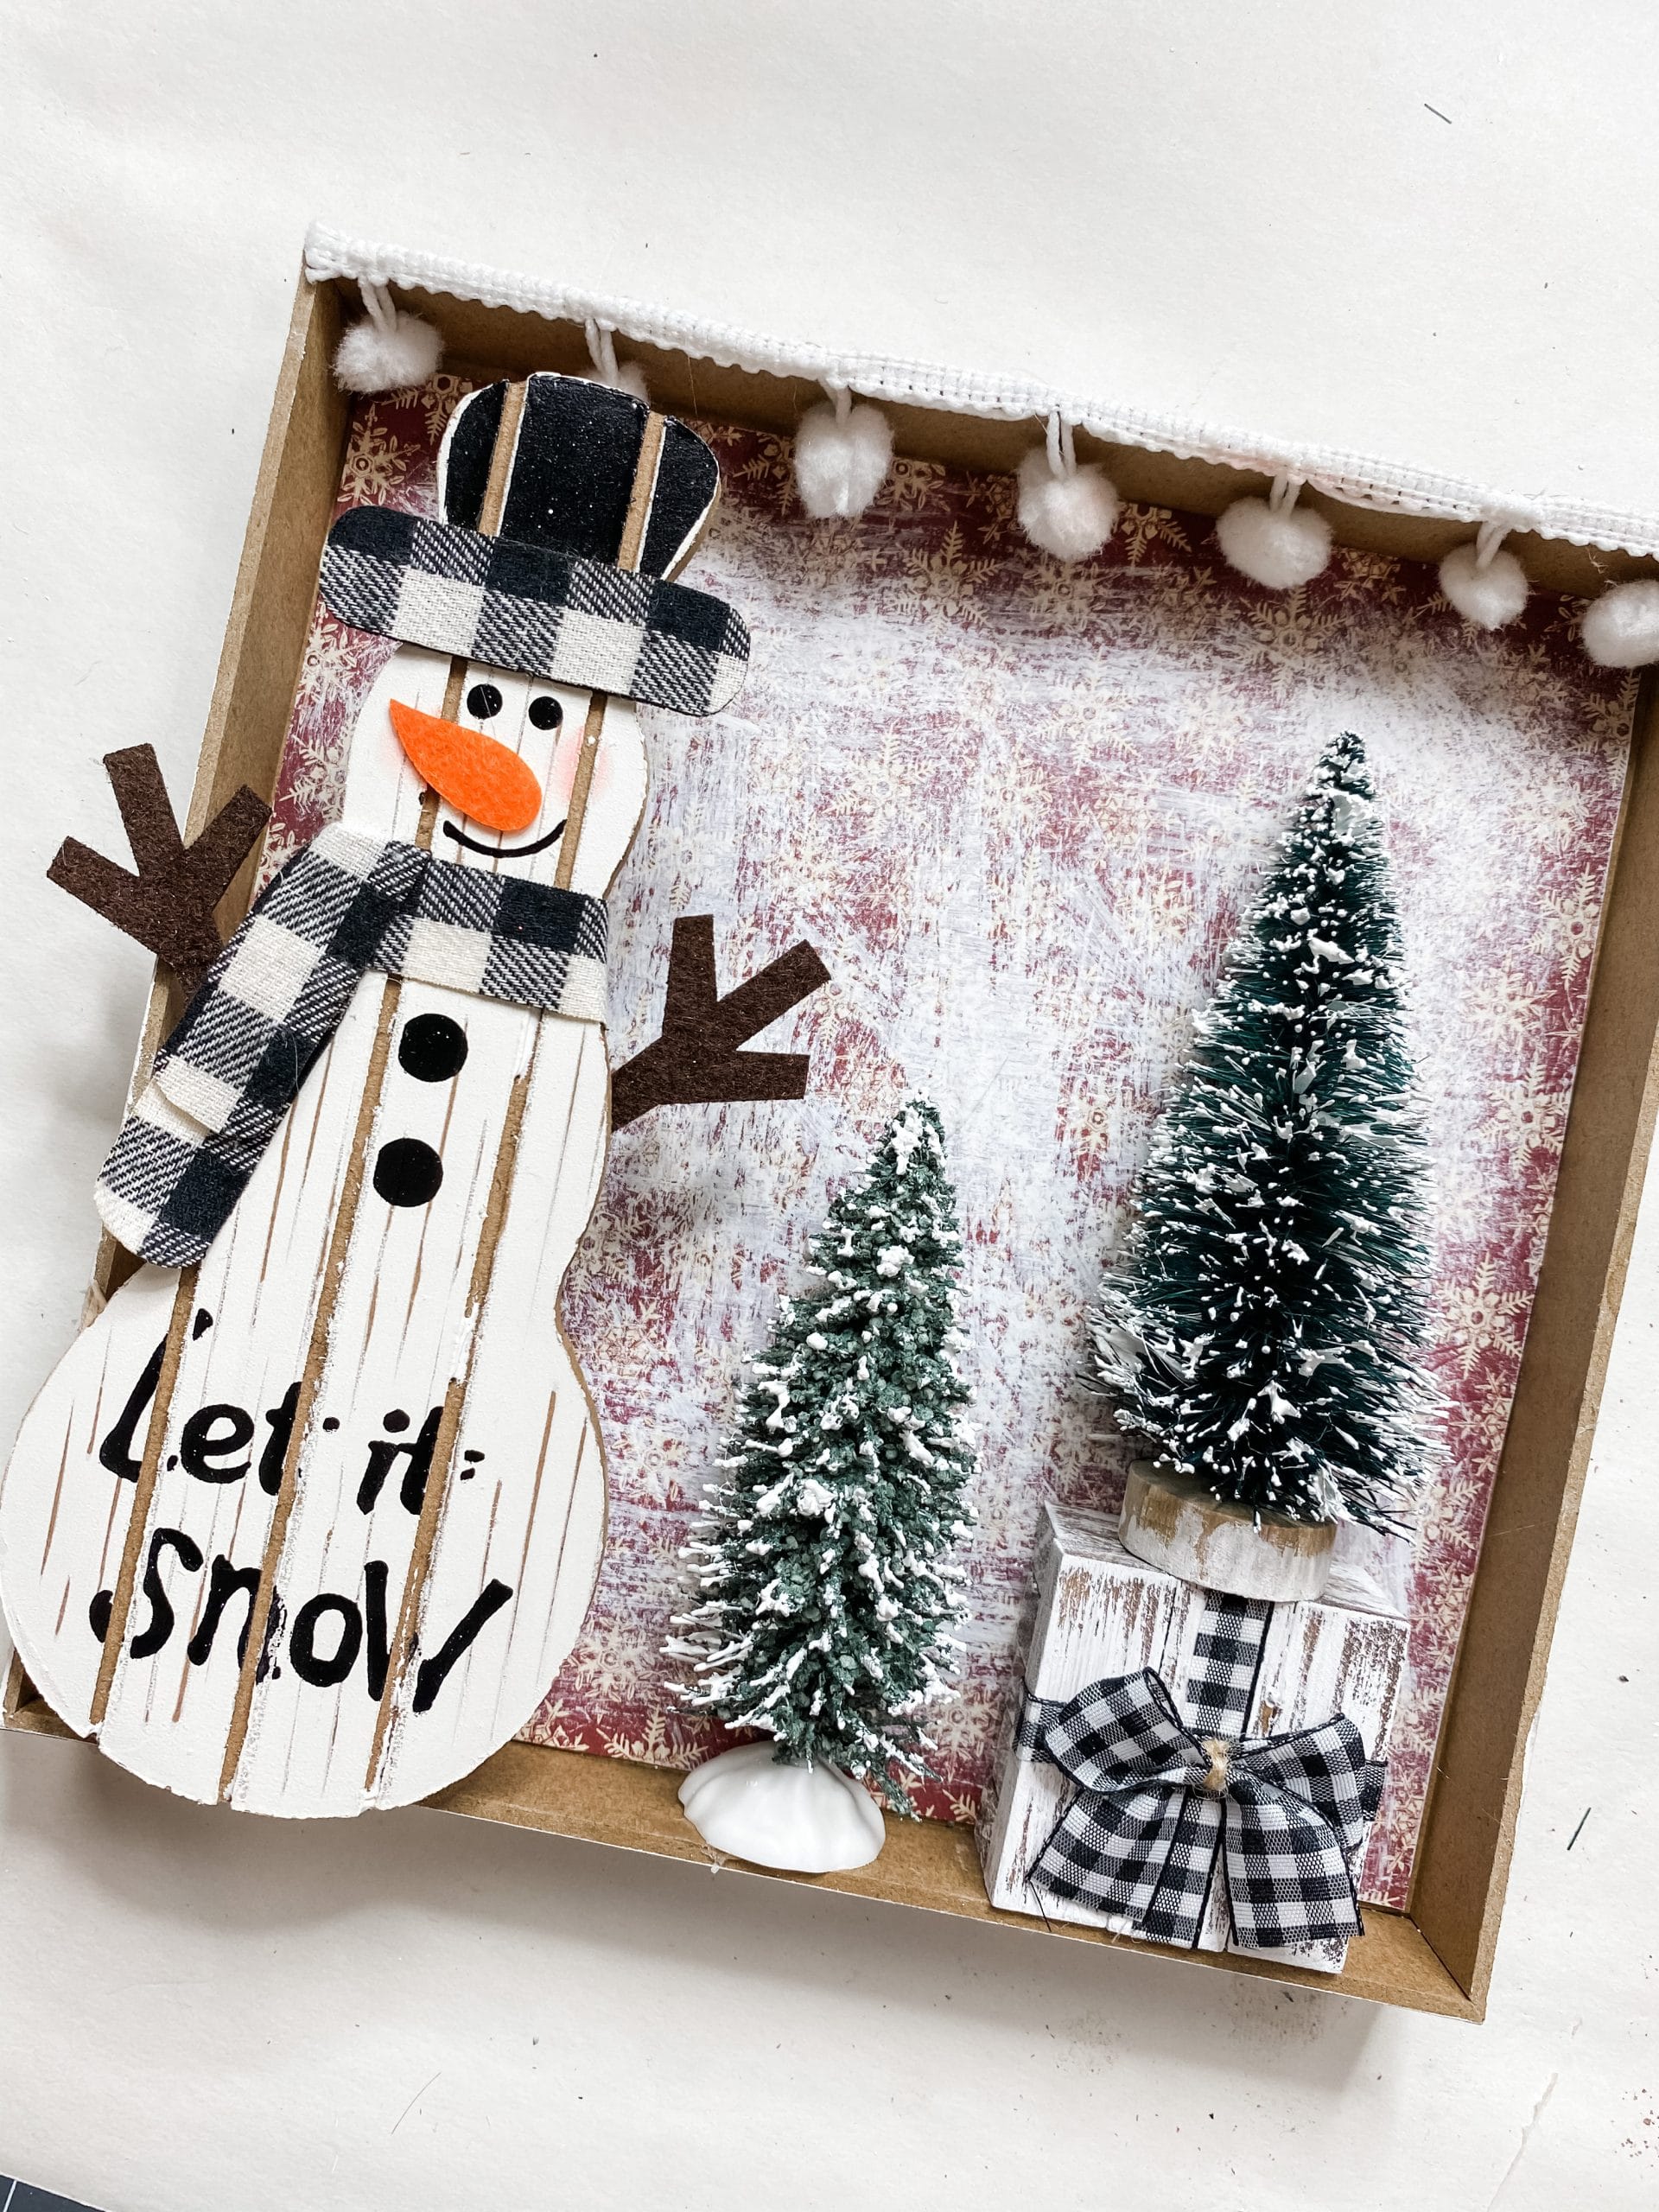
Go ahead and hot glue the 3 Tumbling Tower blocks with the ribbons attached to the 5 stacked blocks, and hot glue your DIY gift box to your sign box.
Next, I flocked the mini Christmas trees with Apple Barrel White Acrylic Paint. I used my heat gun to dry the mini Christmas trees quickly.
Once the trees were dry, I hot glued them into place. I put the one with the wooden circle base onto the woodblock gift box, and the one with the trimmed white base directly on the sign box right next to the wood gift box.
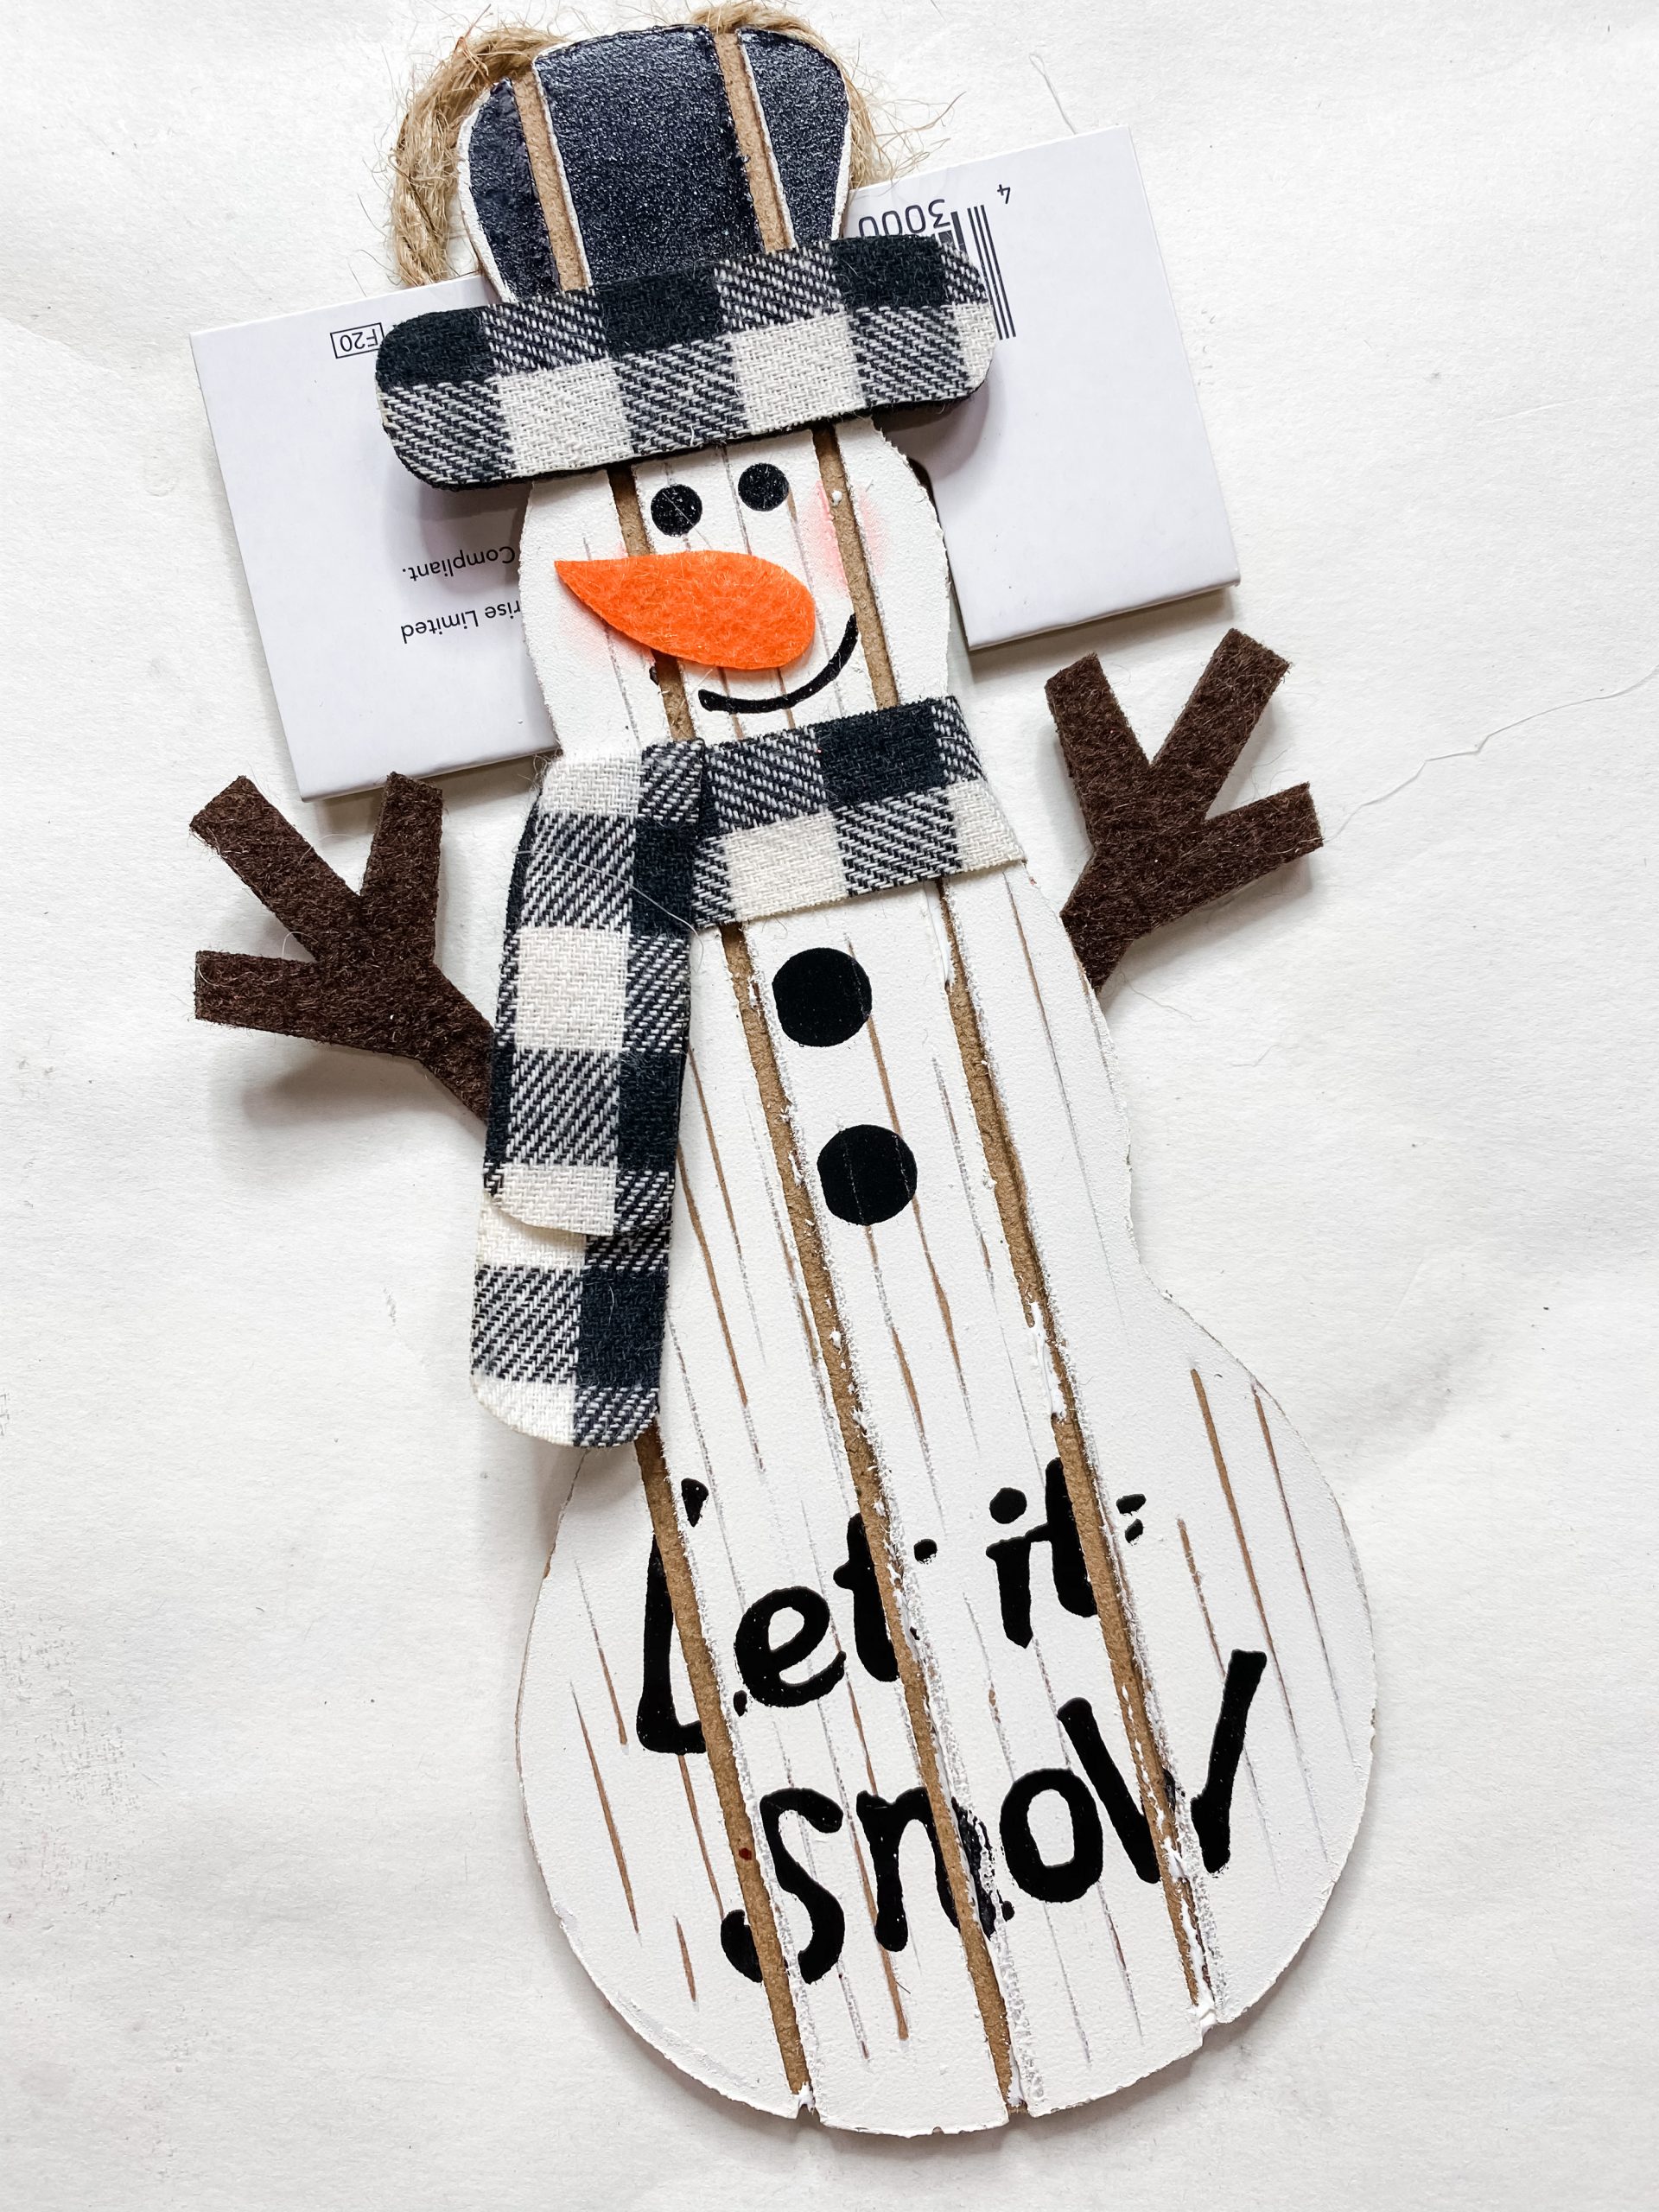
Add your snowman
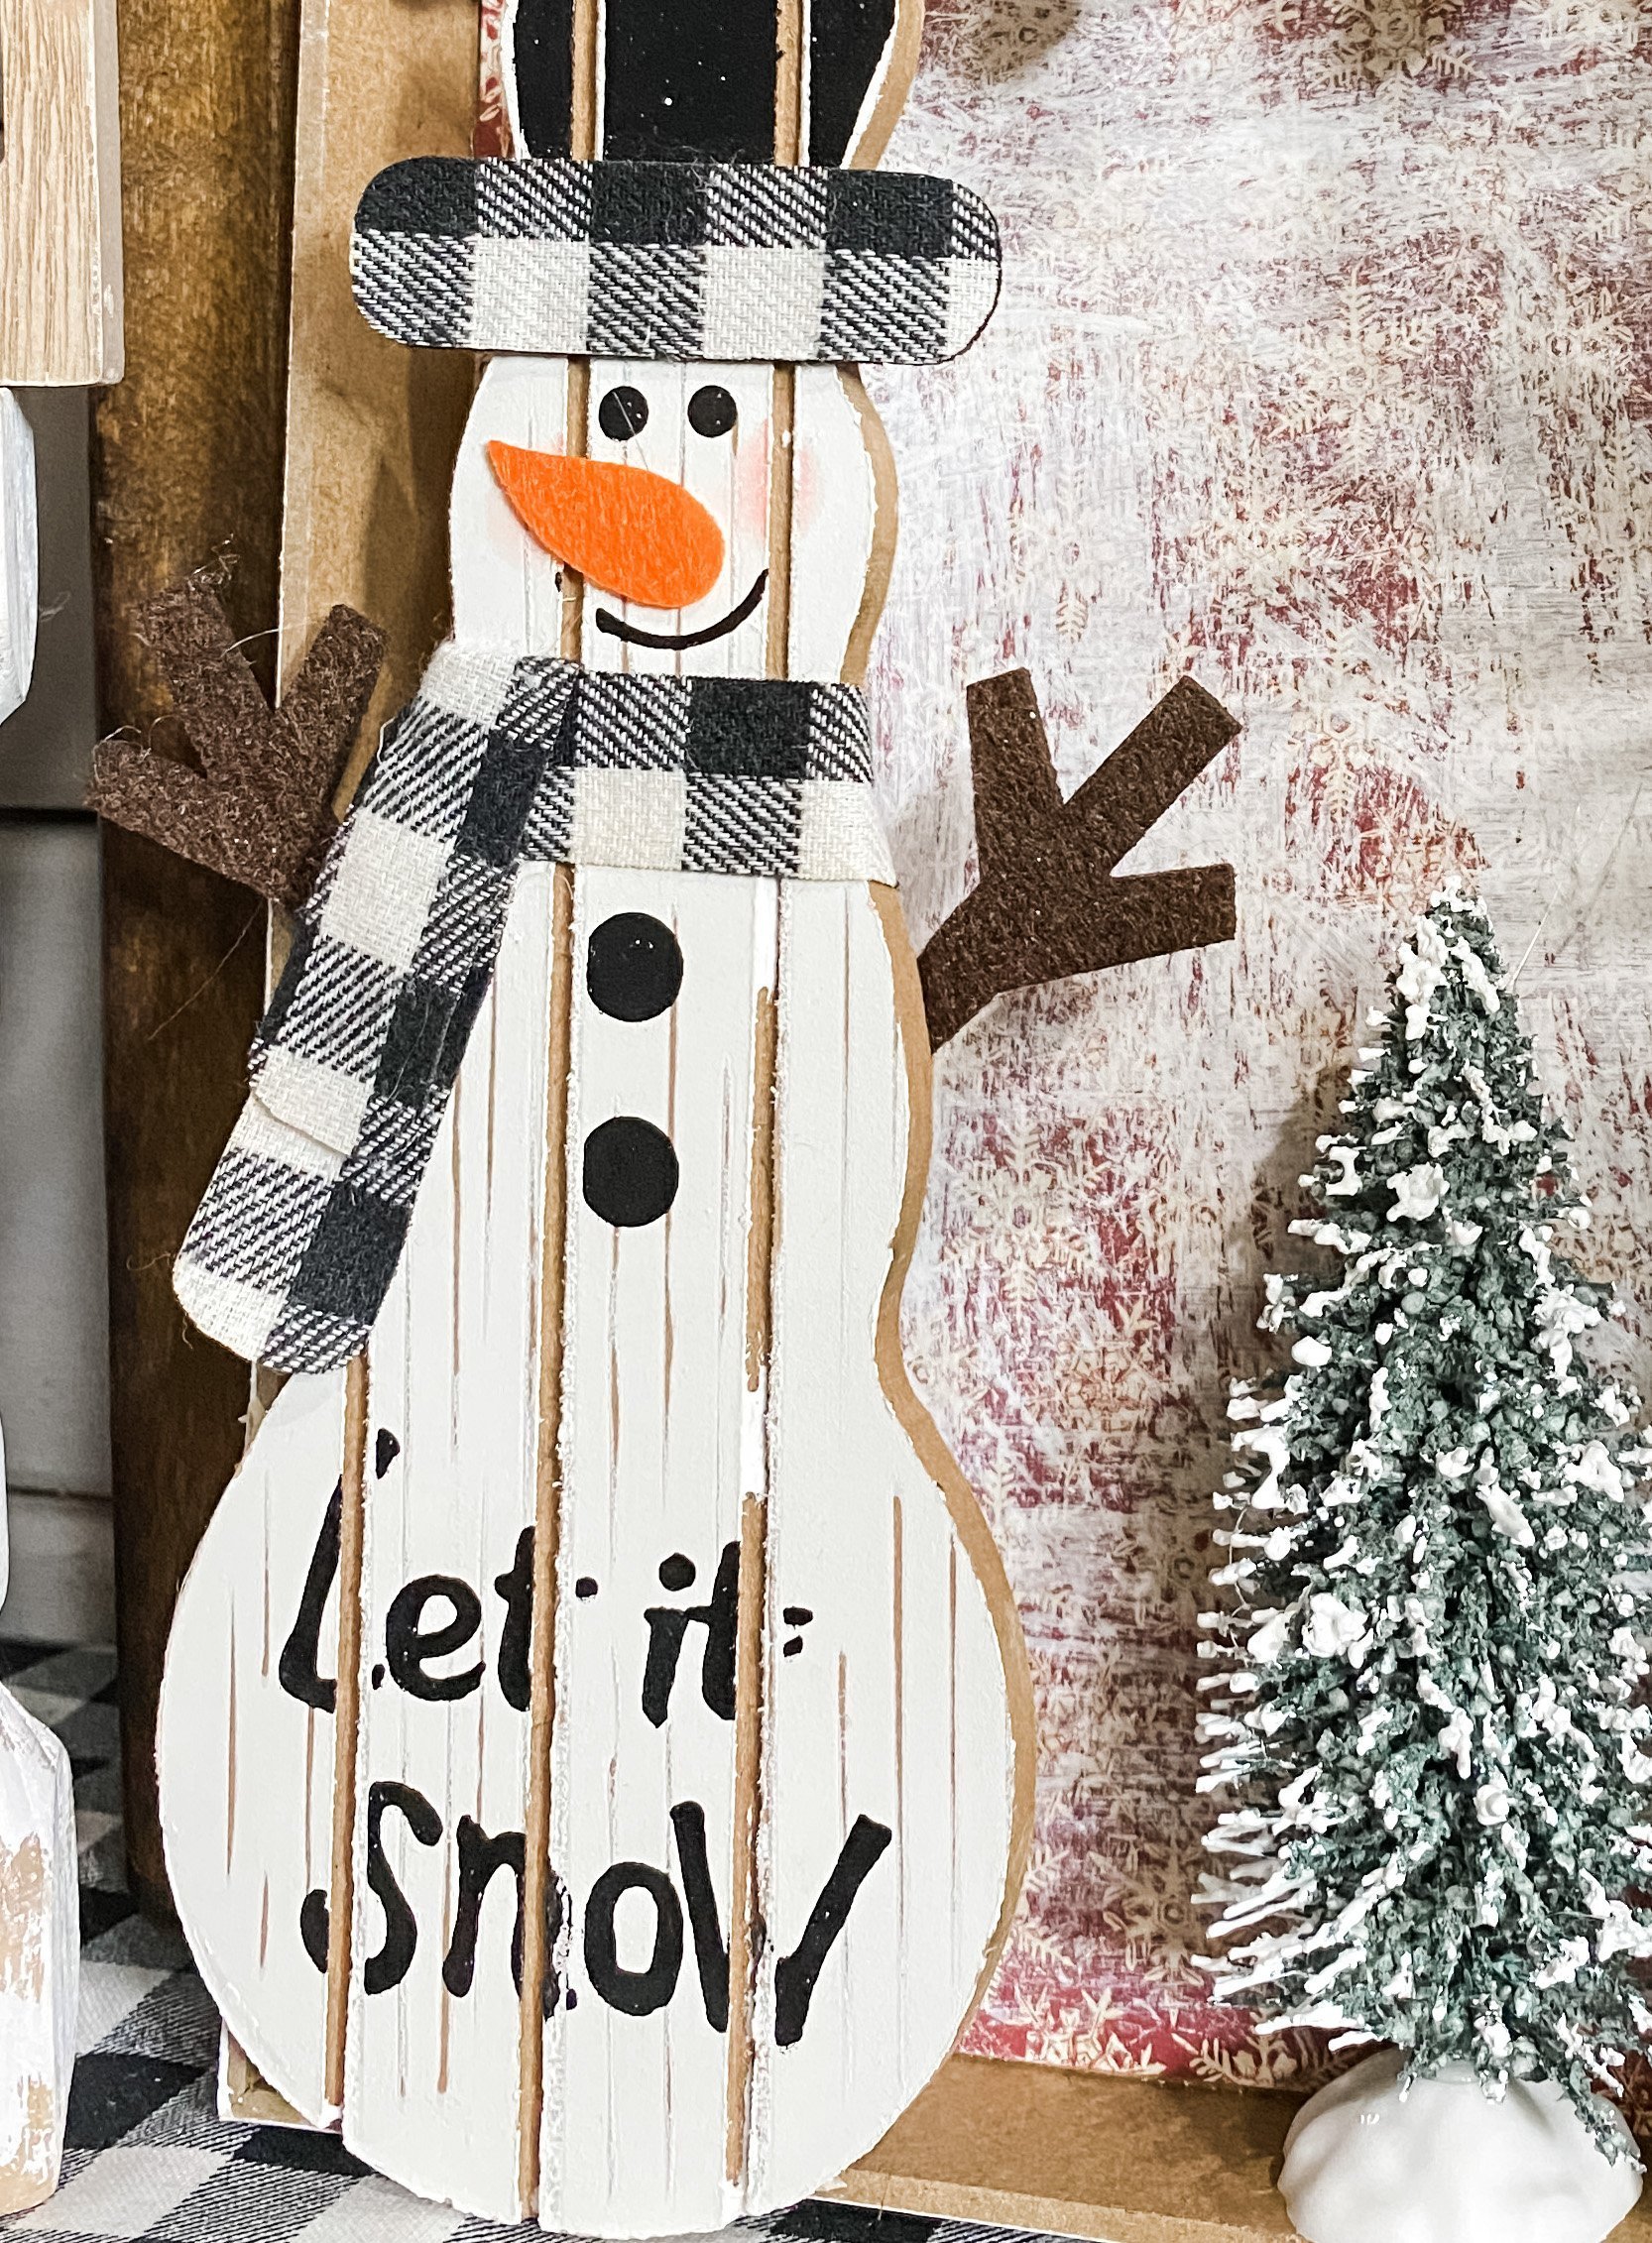
I found this adorable snowman ornament at my local Dollar General and just knew I had to have it! Remove the tag from the snowman ornament, and hot glue it in place next to the middle Christmas tree. I didn’t put the snowman onto the back of the sign box.
Instead, I hot glued it to the edges of the sign box to give this winter DIY some more dimension. I did have to use a popsicle stick to brace the bottom of the snowman.
Let’s embellish
We are almost done! There are only two more steps to completing this adorable DIY winter scene! The first step is to add the white pompom trim to the top of the Dollar Tree sign box.
Next, we have to make a little bow to go on the front of our DIY wood gift box. I used the same buffalo check ribbon as before and folded it into the shape of a bow.
Then, secure the center with a piece of jute twine. Finally, hot glue the little bow into place on the wood gift box.
I hope you enjoyed this Winter Scene with a Snowman DIY Decor as much as I did and decide to make one for yourself! I would love to see how yours turns out!
You should totally join my FREE Facebook group called On A Budget Crafts! It is a judgment-free community for DIY crafters to show off their projects and ideas.
If you loved this DIY you might also like this DIY Christmas Tree Shelf Decor!
Thanks for stopping by! XOXO Amber
You can also shop my ENTIRE AMAZON Favorites shop just click here! It’s packed full of all the things I use and love.
Here is the supply list I highly recommend every creative have on hand!! Would you also pin my blog for later and get on my newsletter alerts? I would love to have you join my #craftycrew.

Join my free “ON A BUDGET CRAFTS” Facebook group!
PIN THIS POST FOR LATER!

Need to go shopping
Those are sooo cute
This Christmas DIY is adorable!!! I will have to look for the snowman at dollar general starting now I think. I really want make this!! Since I wasn’t with you last Christmas I’ve missed a few things so thanks for sending me this! As always you’re the best!❤️
Love your ideas. I love snowman. I will try this one
Really like him. So cute. You do a great job of crafting