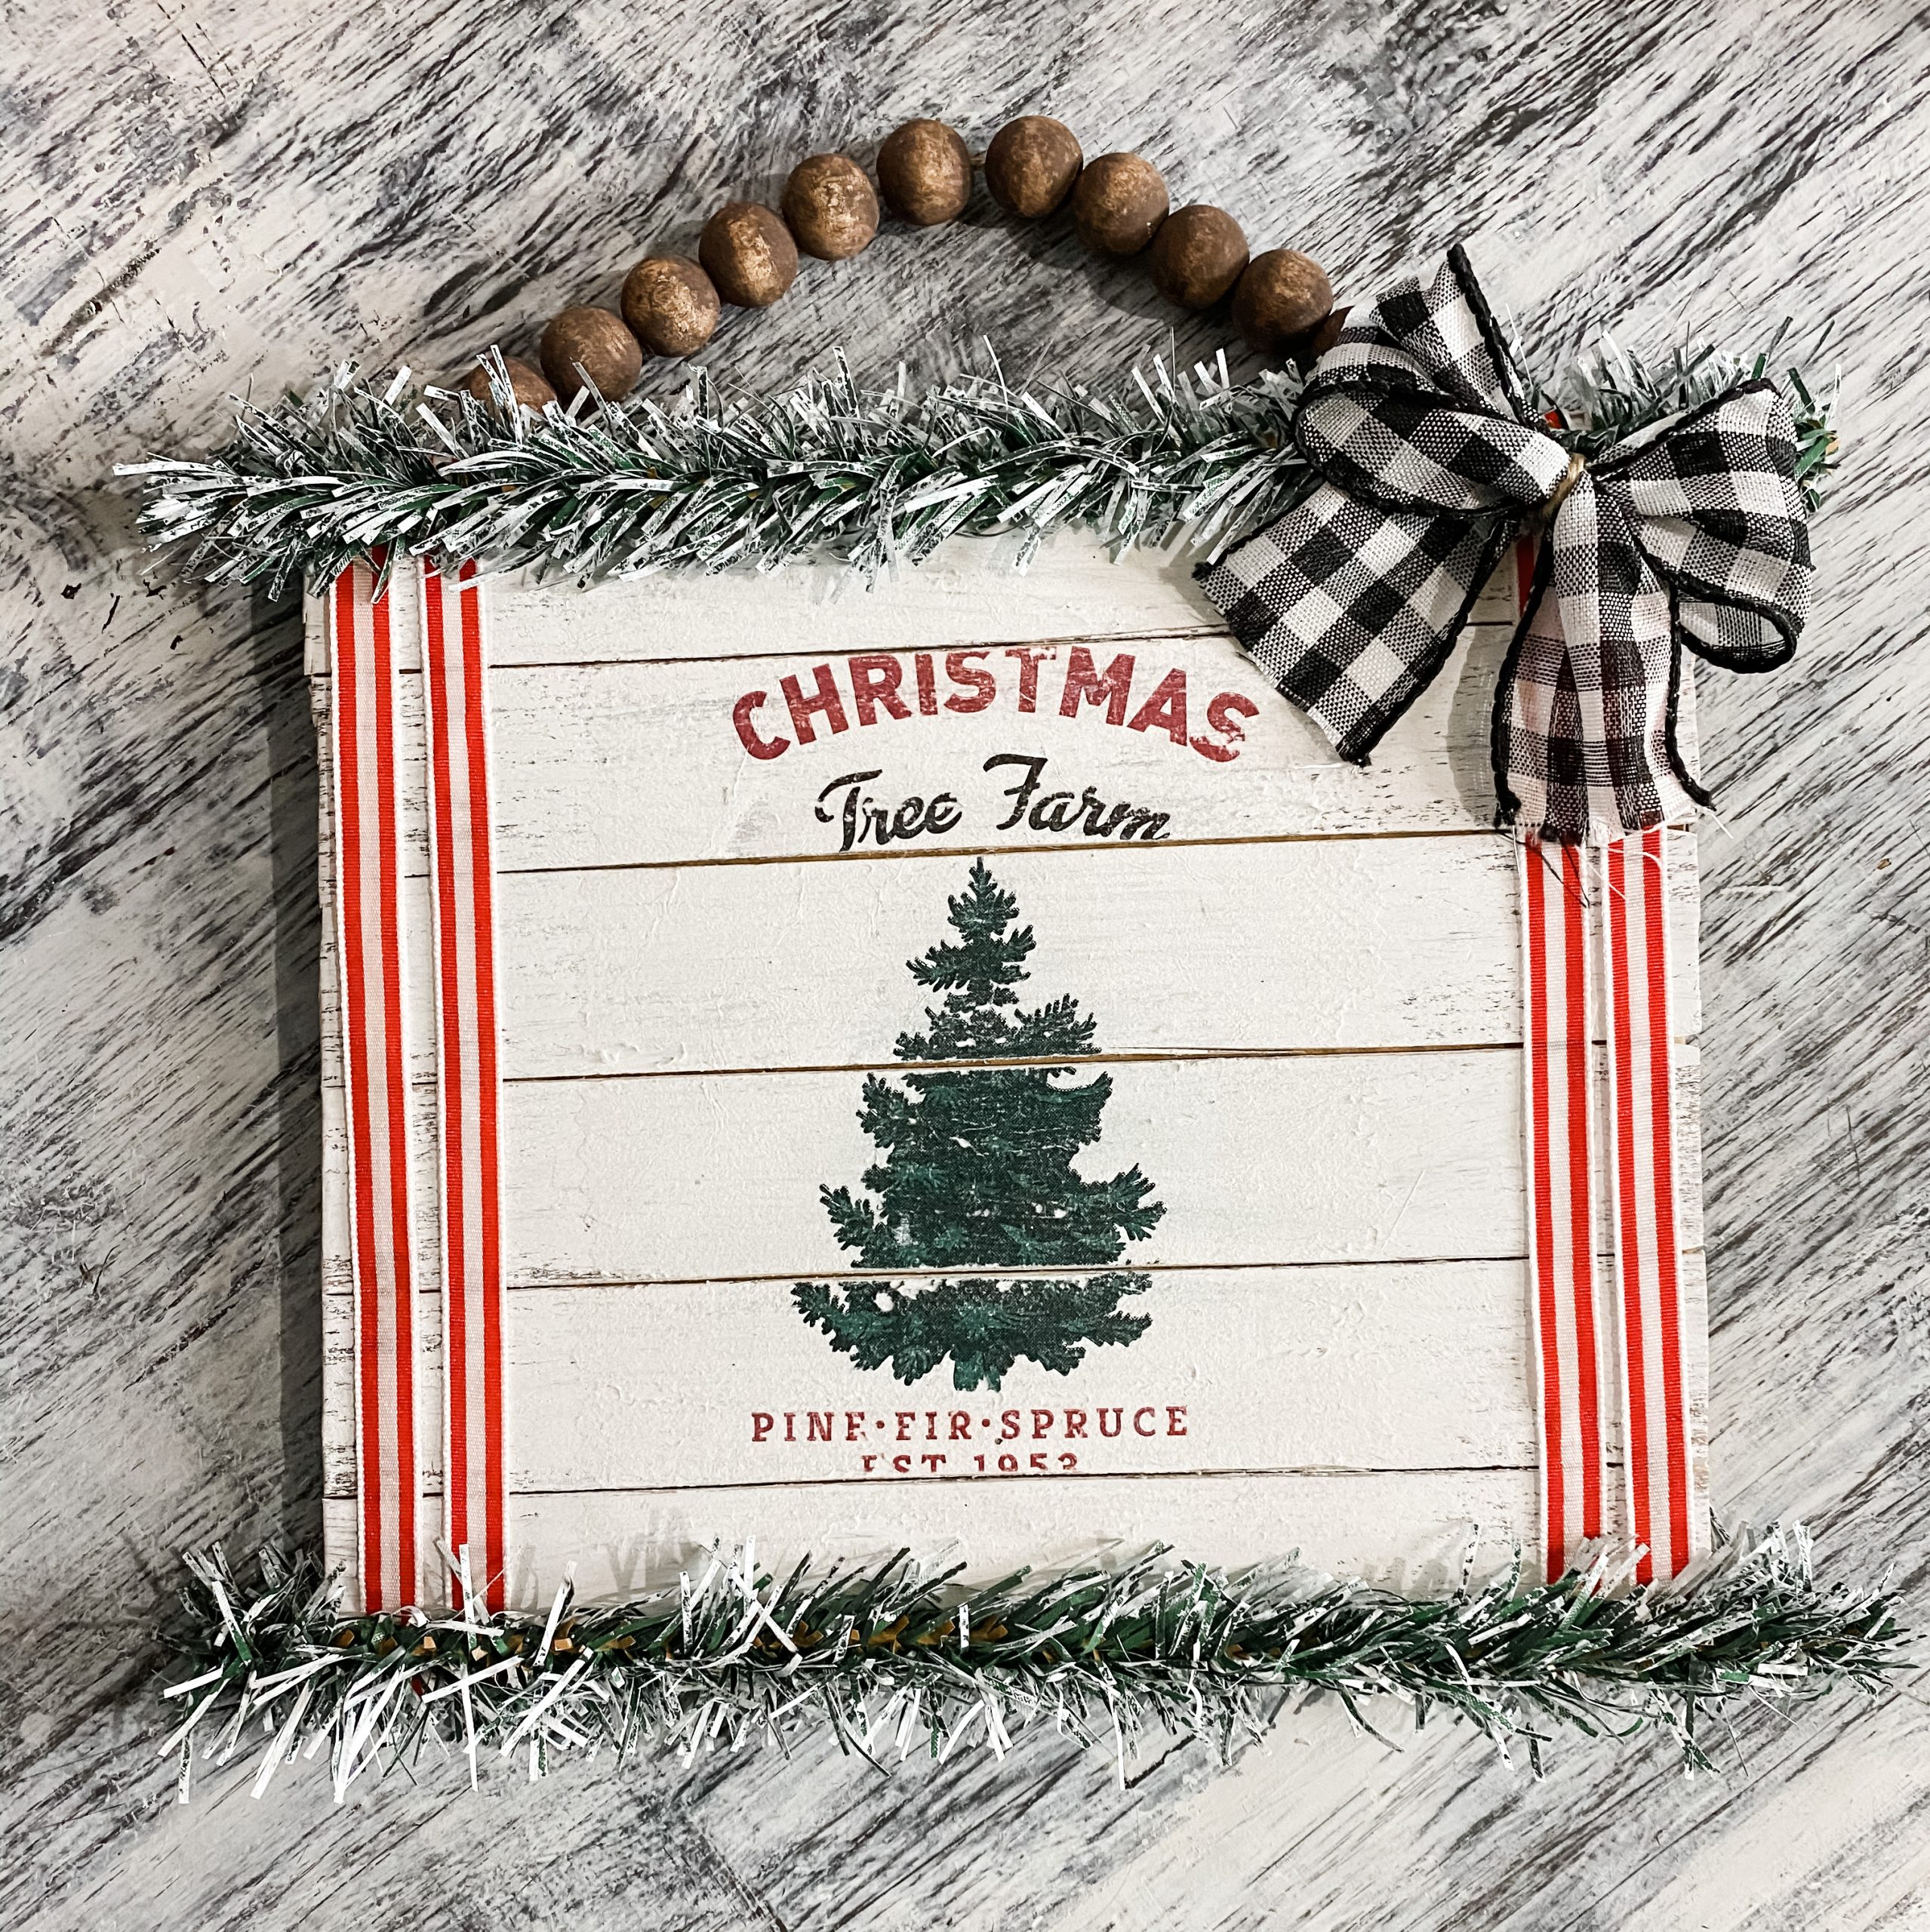
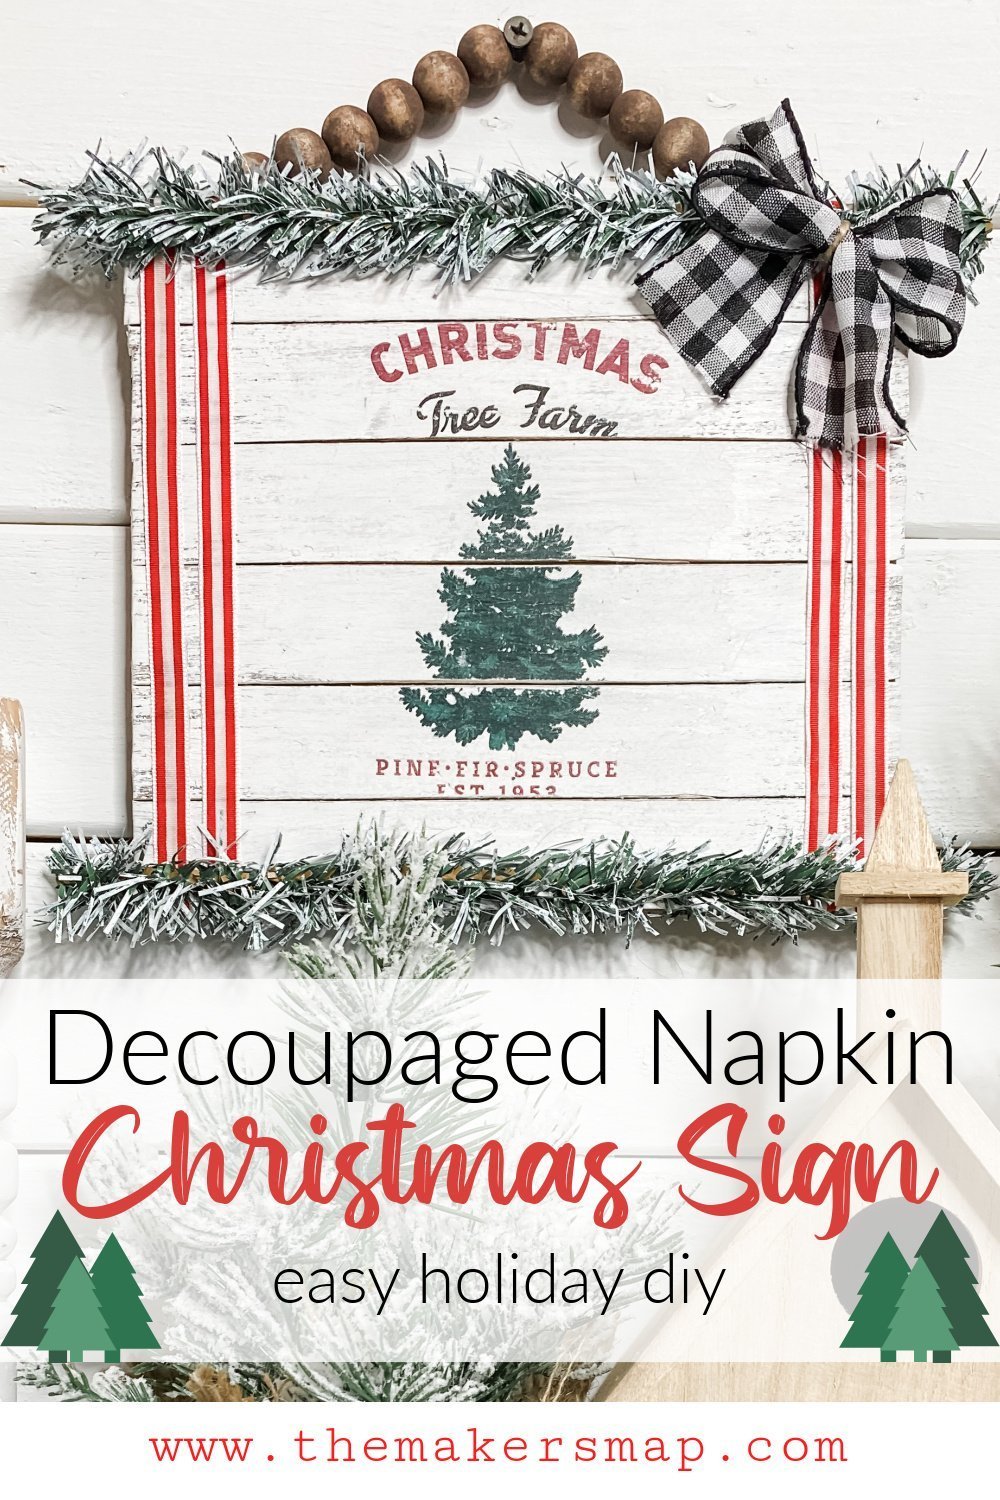
Easy Napkin Decoupage DIY Christmas Sign
Do you ever get those crazy DIY ideas and you’re just like “I don’t know how to do it, but it would be so cute!”? That was how I felt with this easy decoupage napkin DIY Christmas sign!
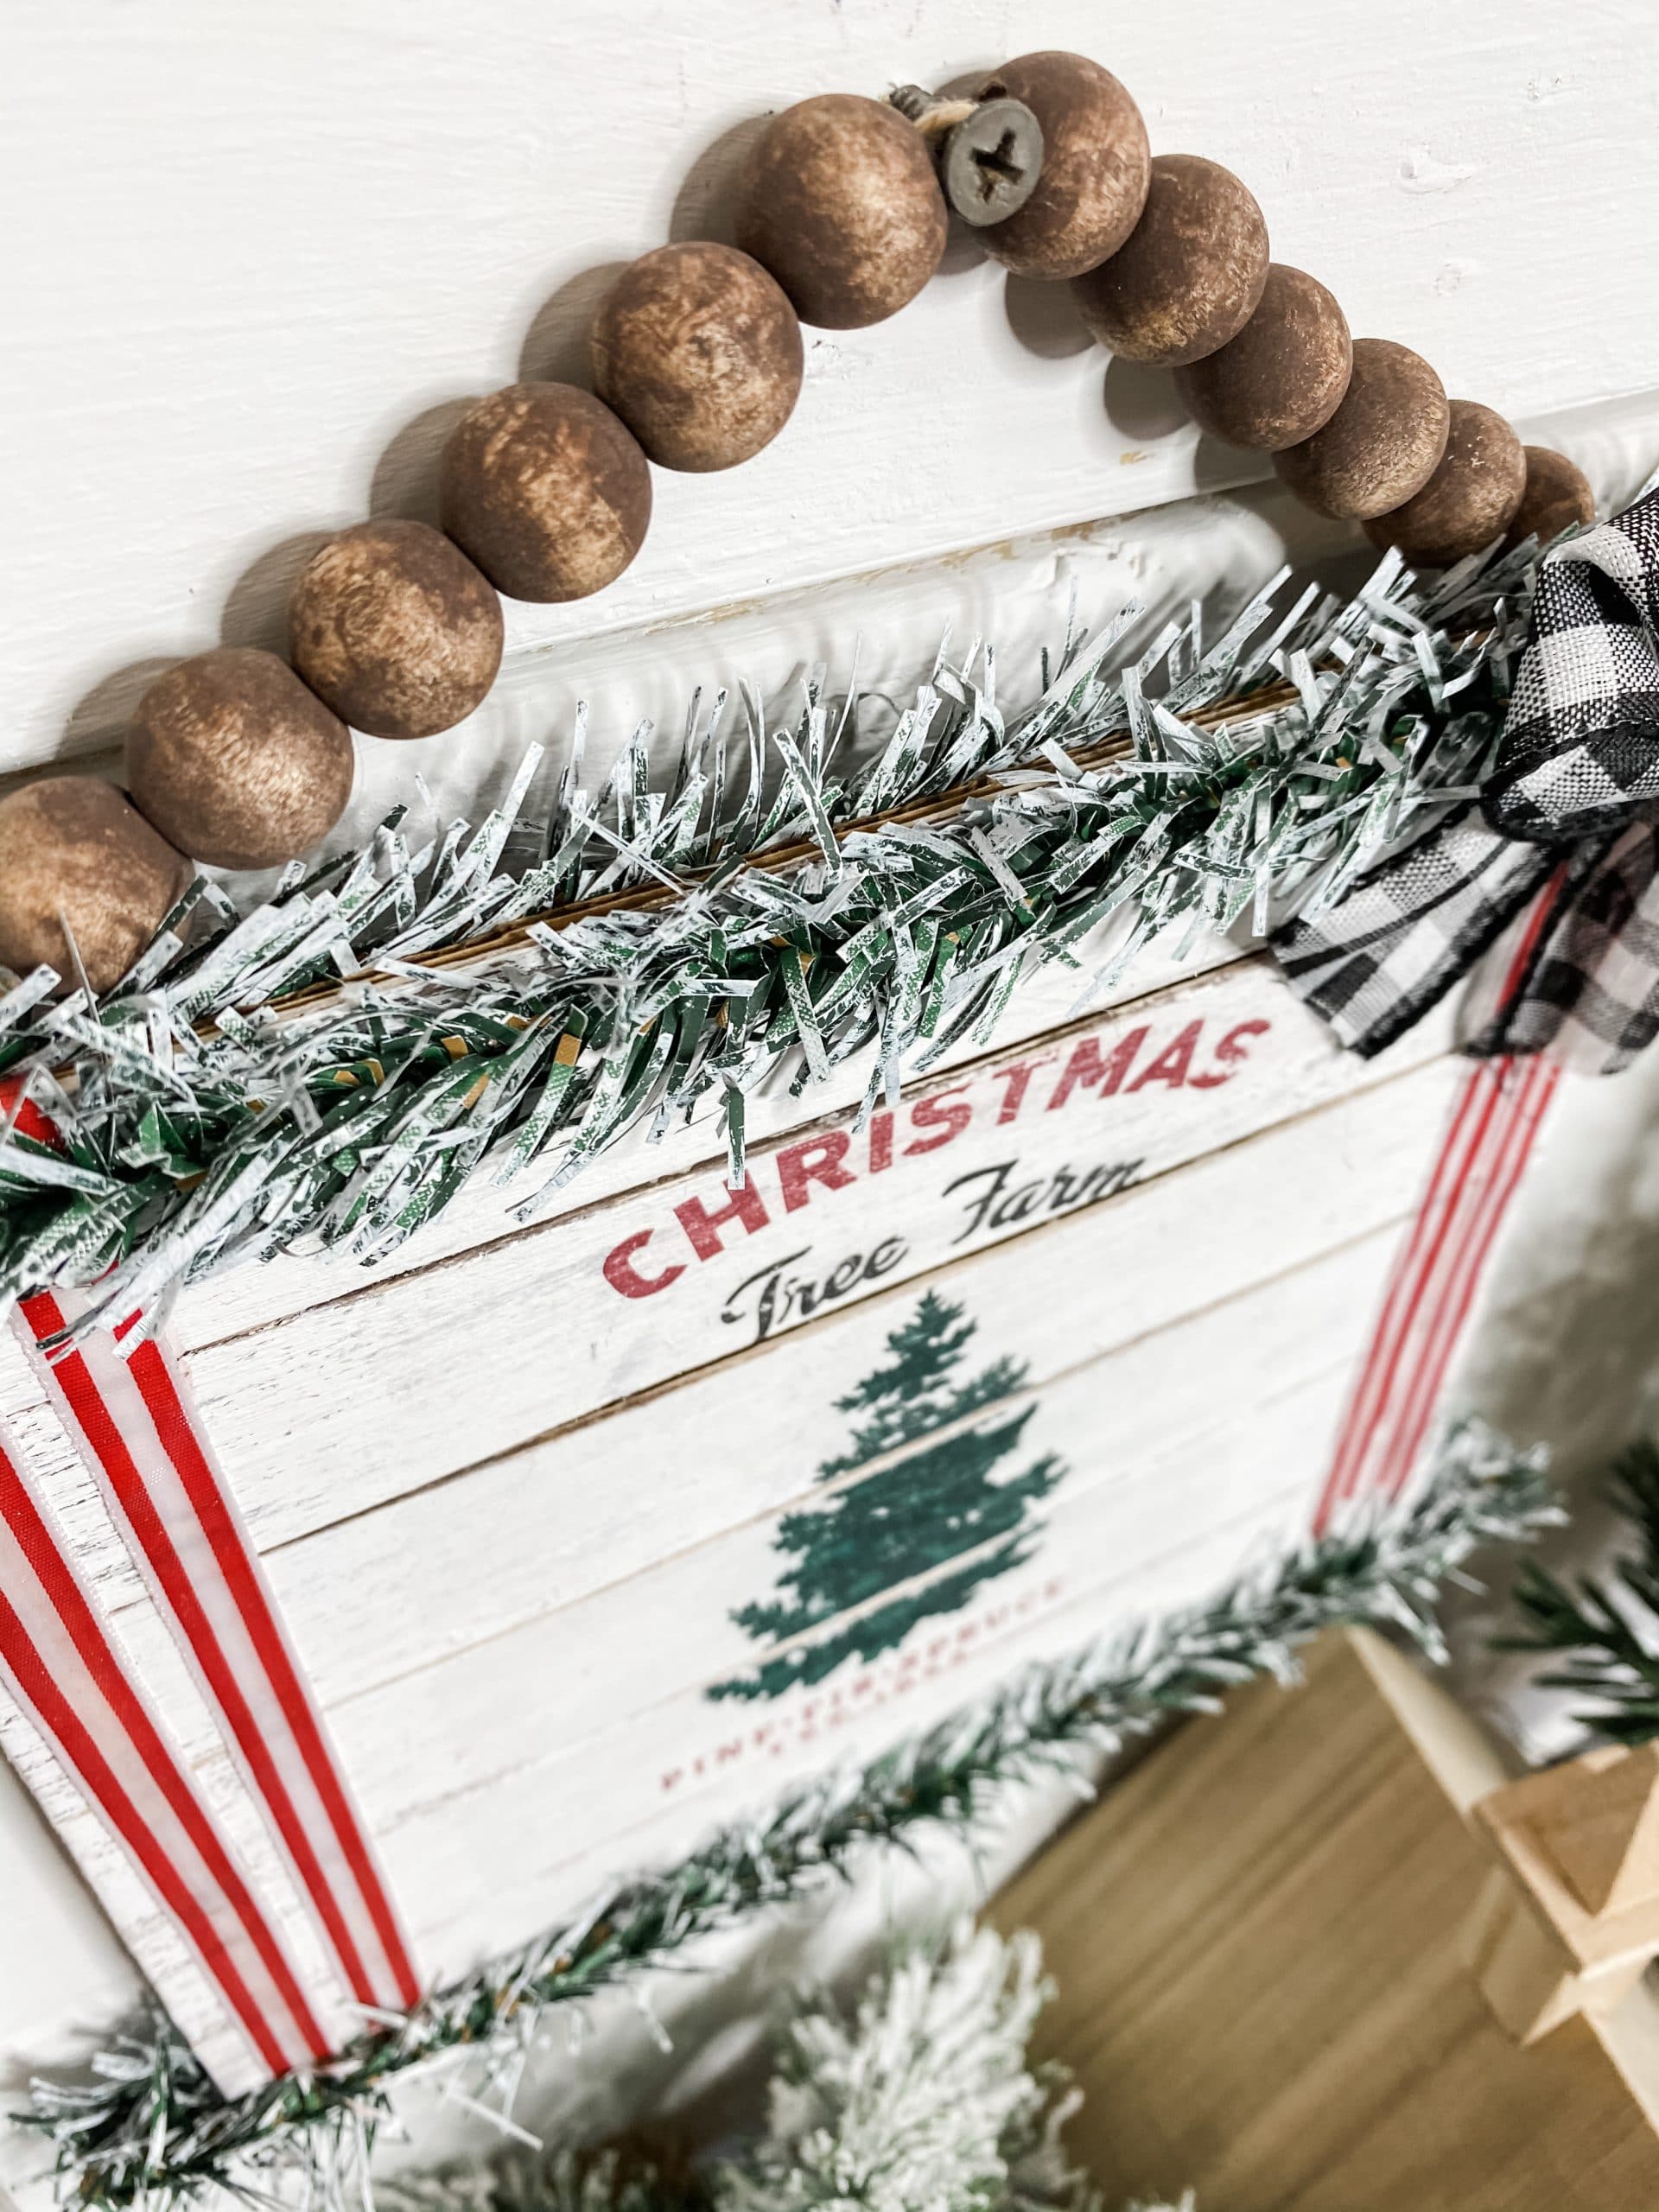
I had the idea to decoupage a napkin onto wood craft sticks and give it a planked look rather than just putting the napkin on a flat wood surface or a piece of cardboard. I wasn’t sure I’d like it, but I am SO HAPPY with how so stinking cute this DIY Christmas sign turned out!
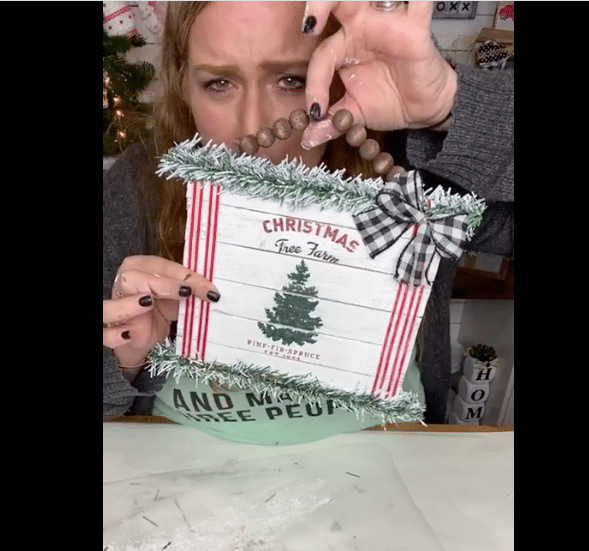
Watch the replay
When I say this DIY idea was so much fun to bring to life, I mean it! I recorded how to make this easy DIY Christmas decor during a Facebook LIVE video, so I was able to chat and interact with my Crafty Crew while I crafted.
Honestly, this video is so funny to rewatch because I talk through my idea, and keep reassuring myself that it would be cute in the end (it was!)
If you want to craft along or see exactly how I made this adorable Christmas DIY, you can watch the replay on my Facebook page!
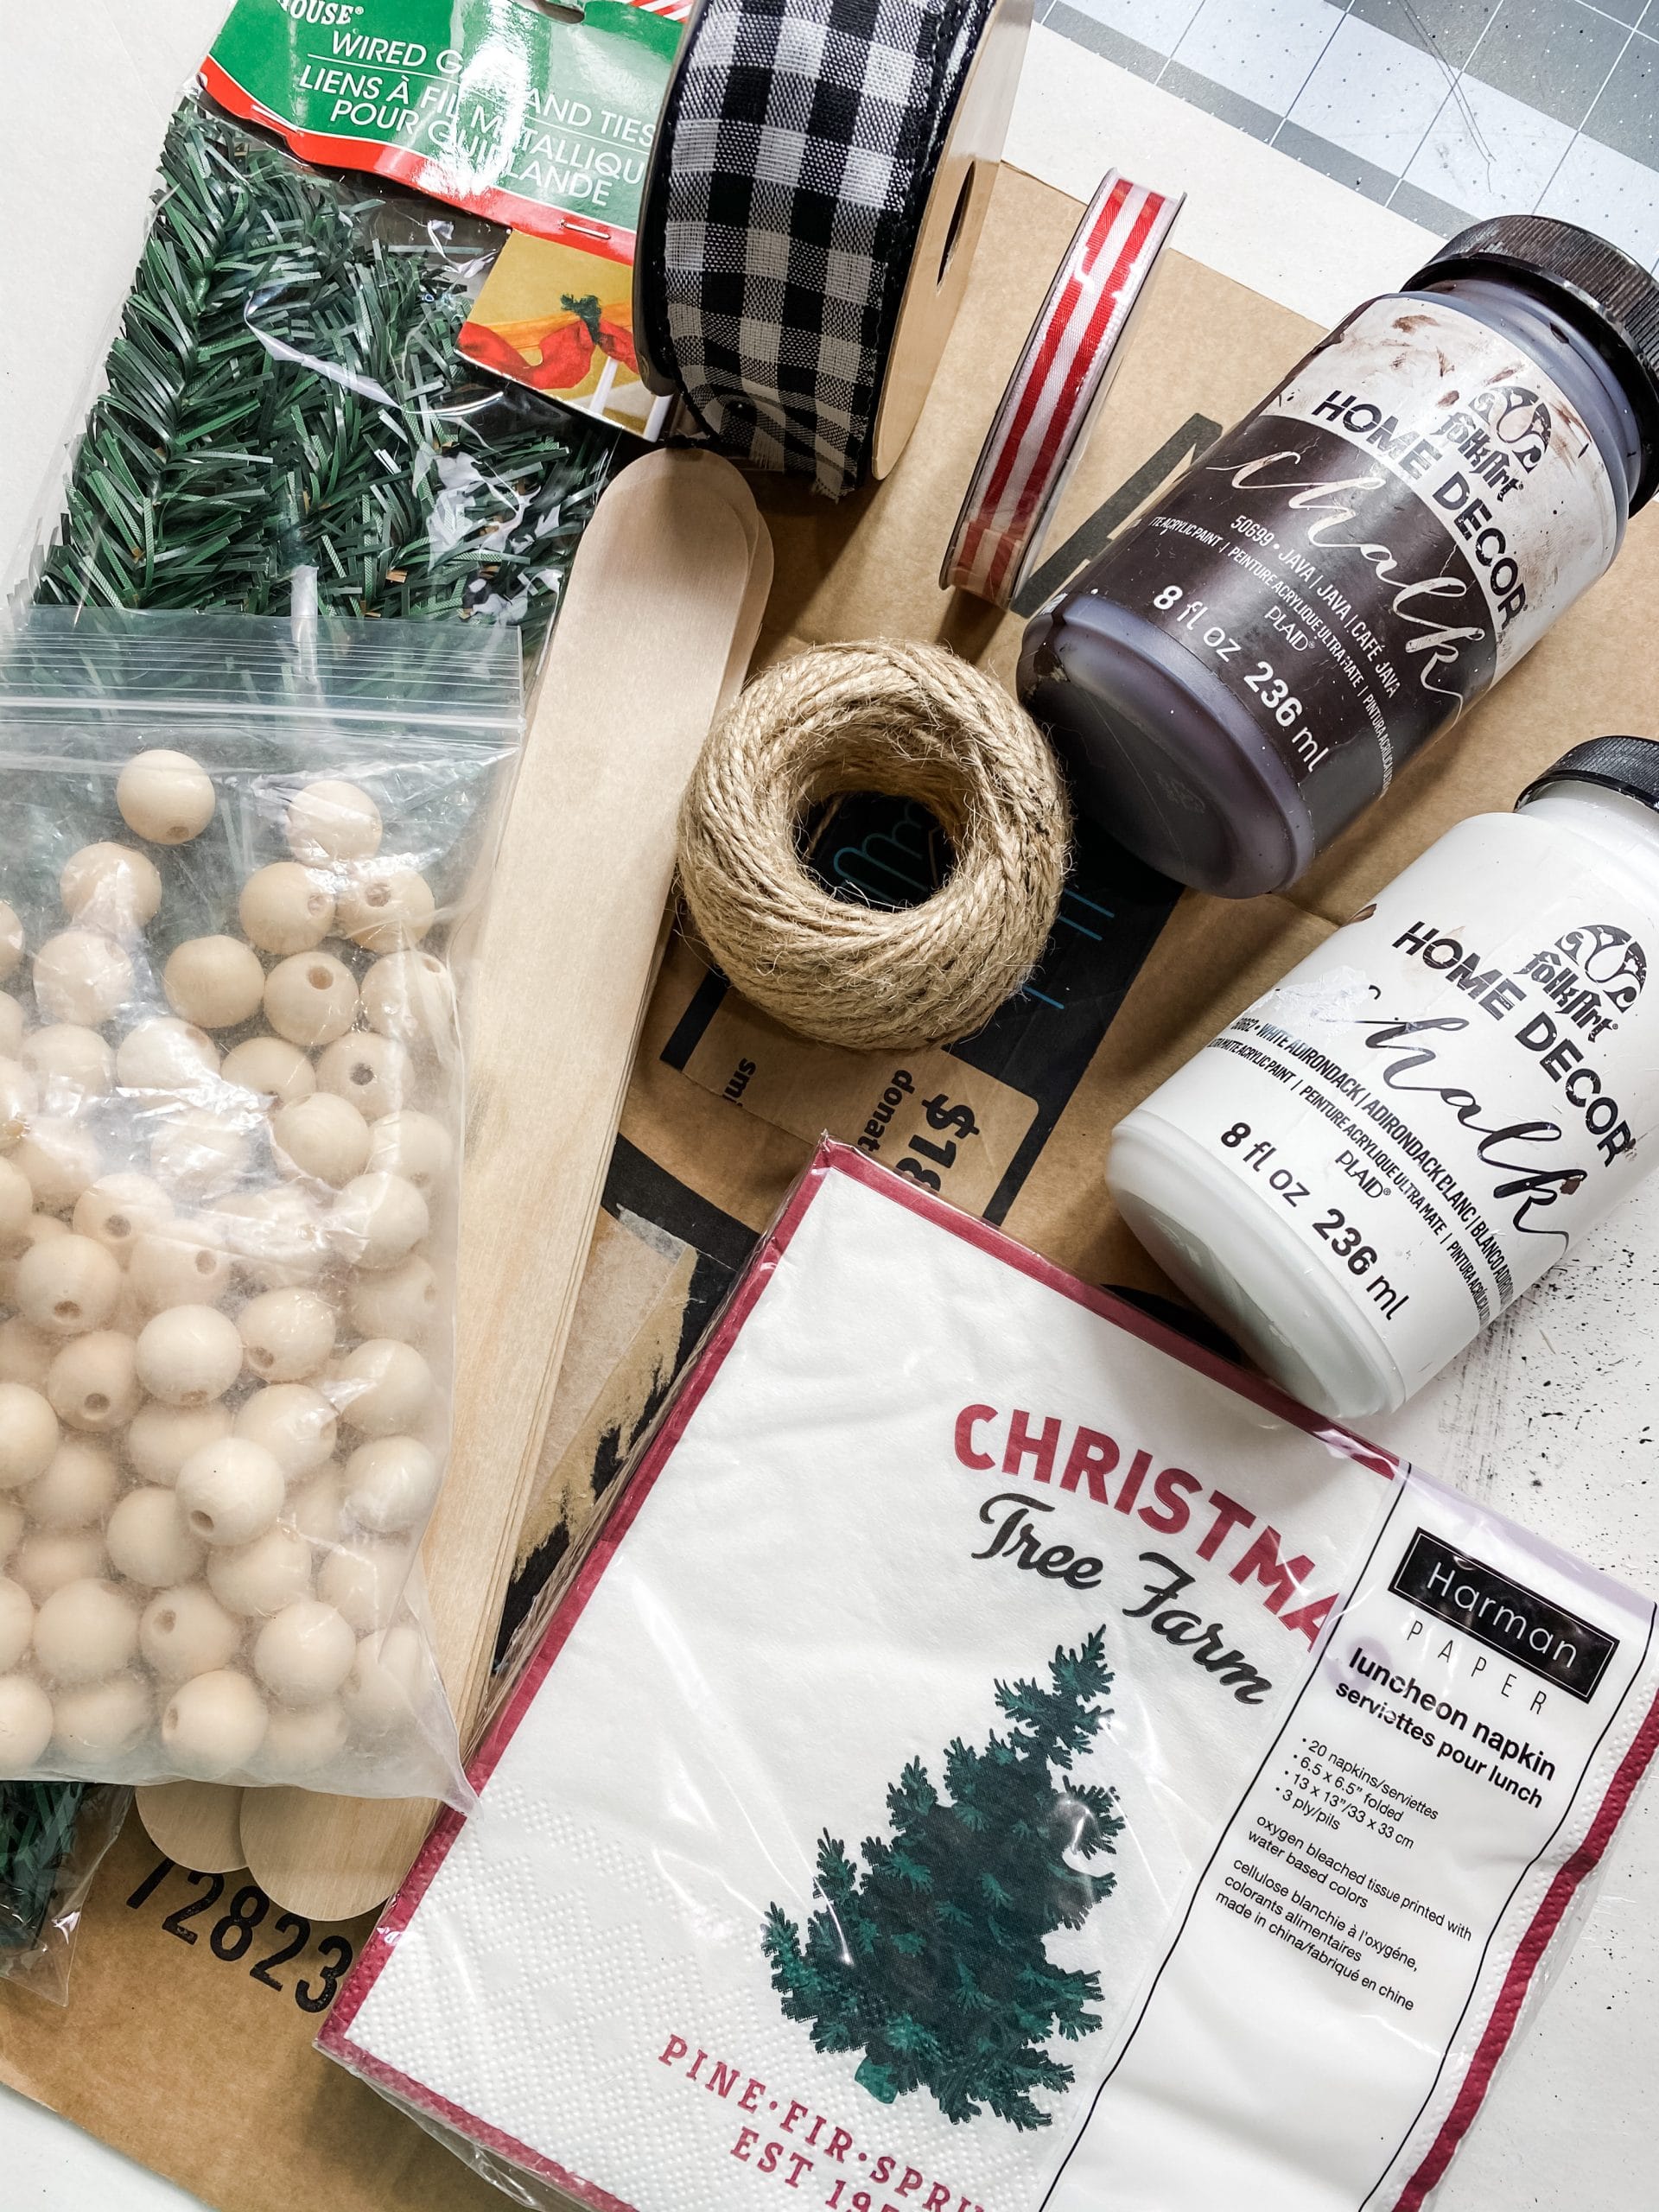
For this project, I will be using these items but you can substitute where you want.
“As an Amazon Associate, I earn from qualifying purchases.”
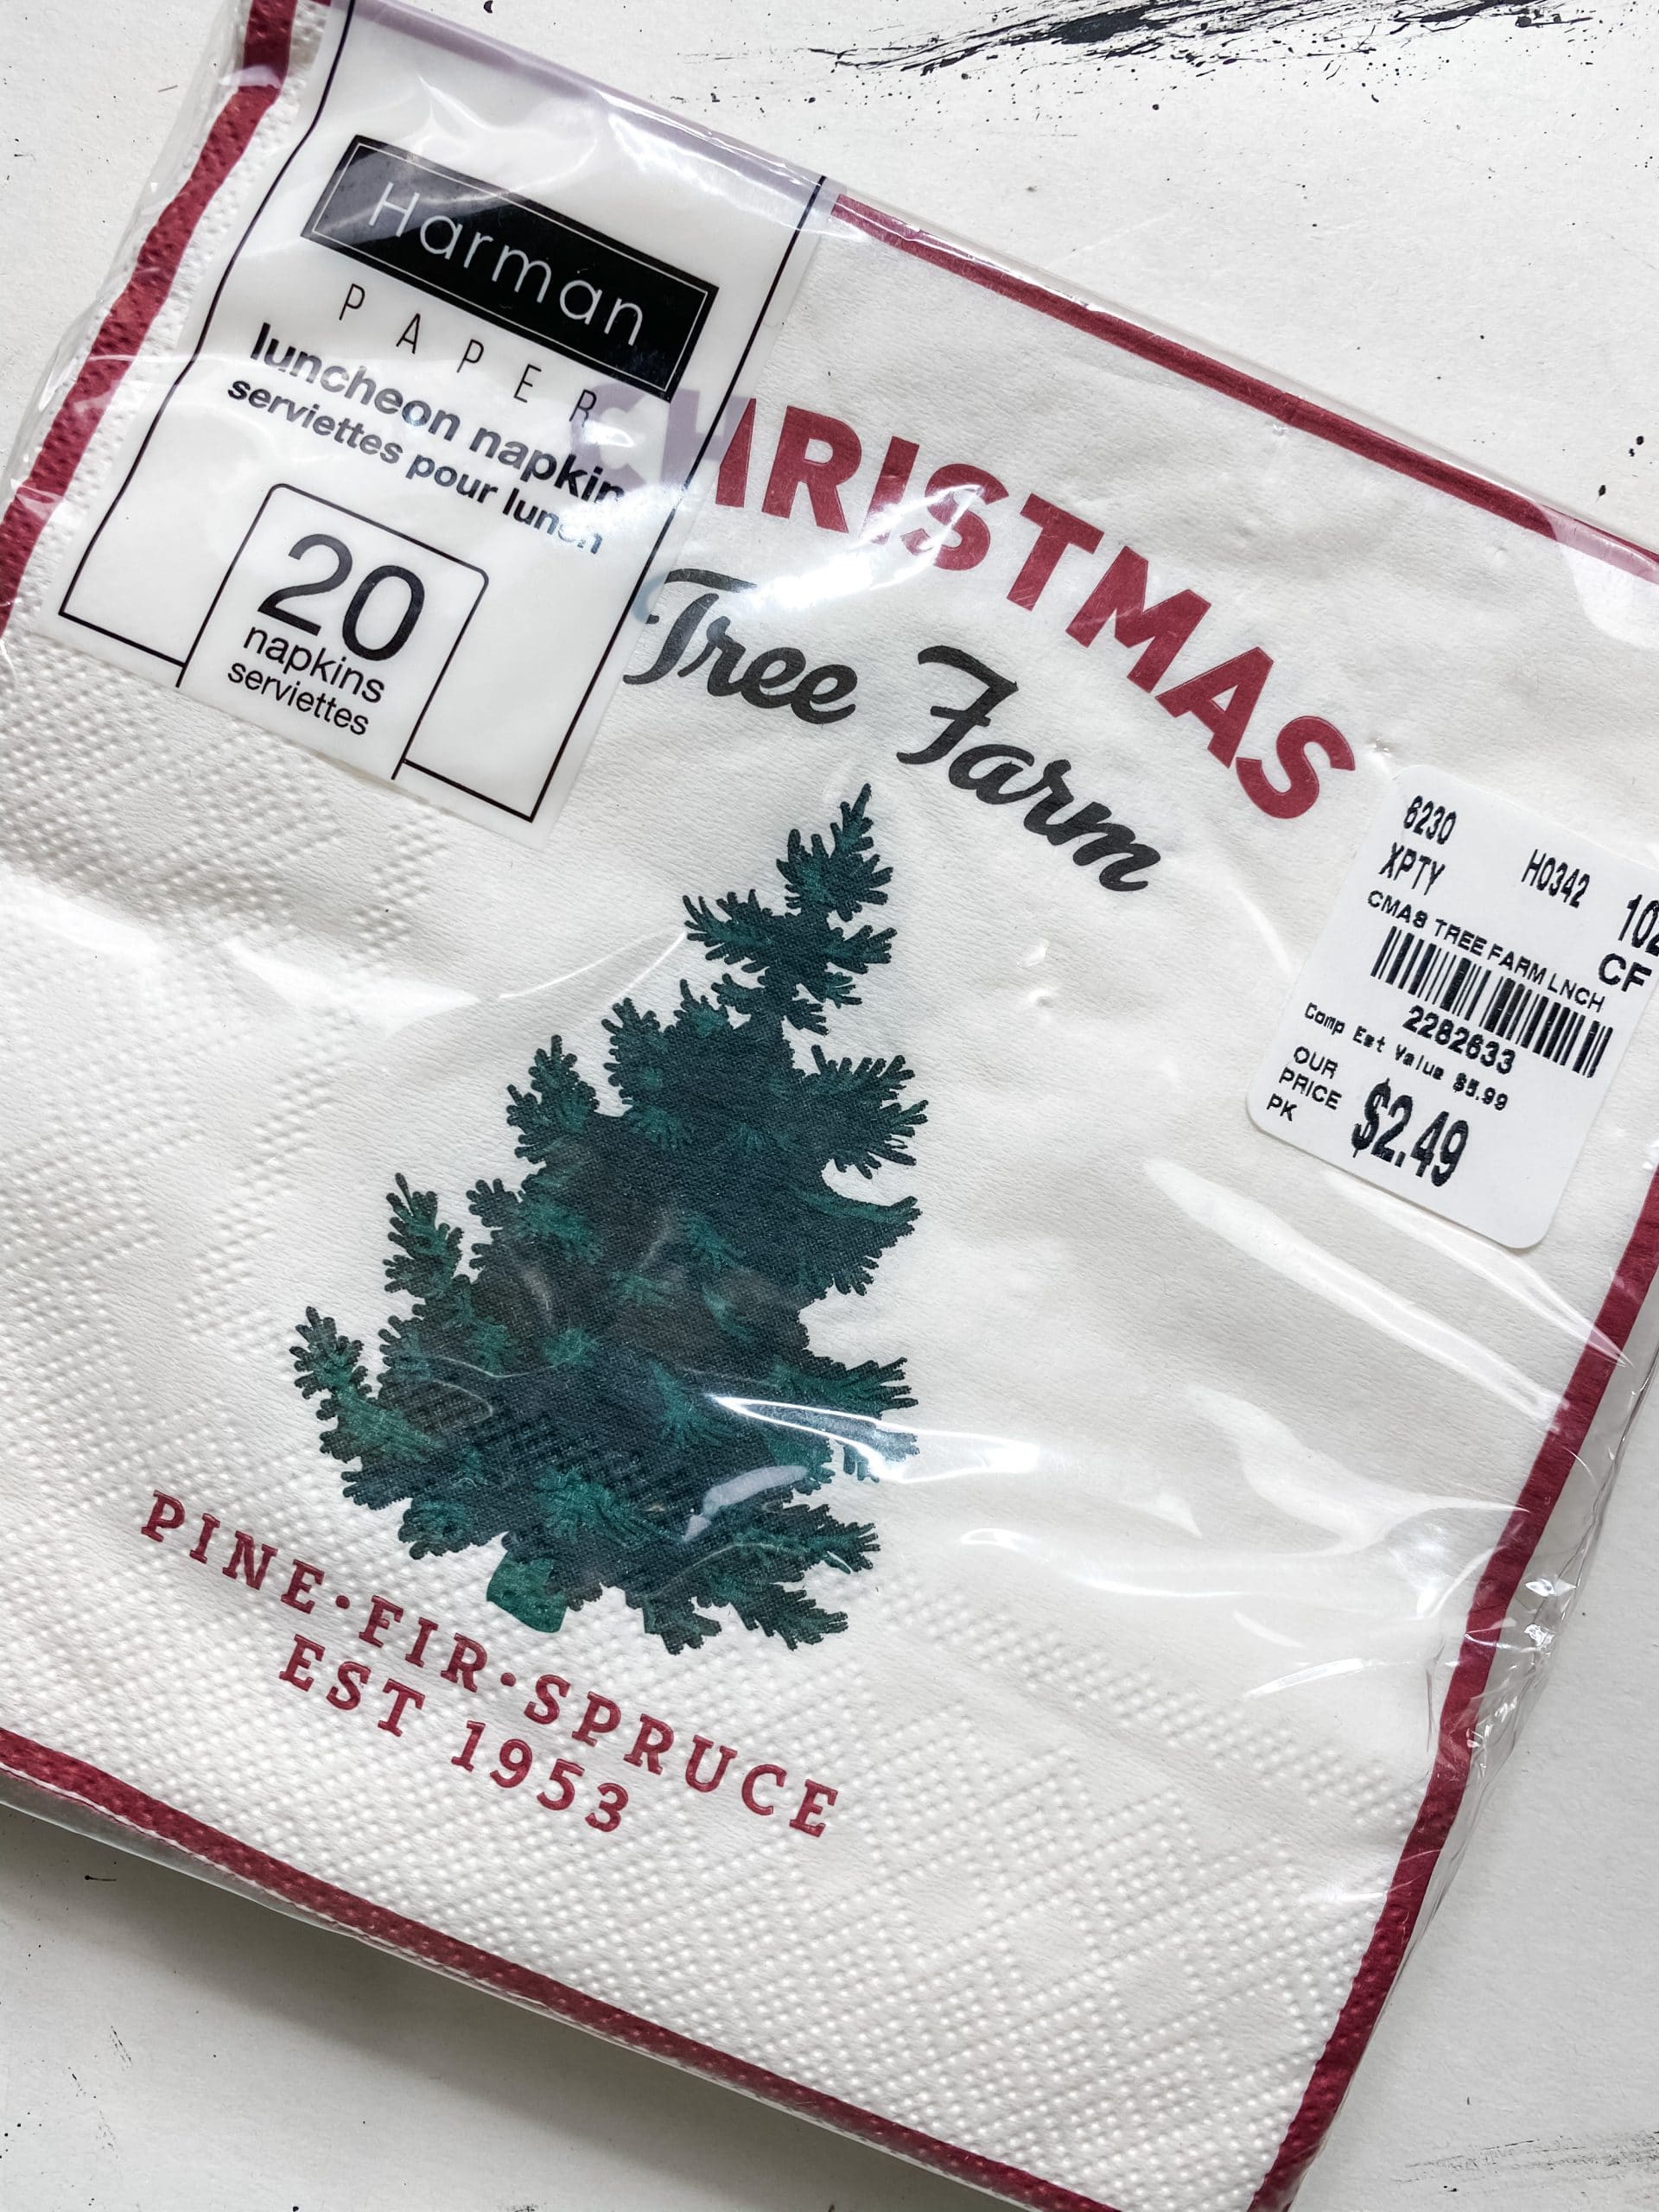
- Christmas Napkin
- Dollar Tree Wired garland
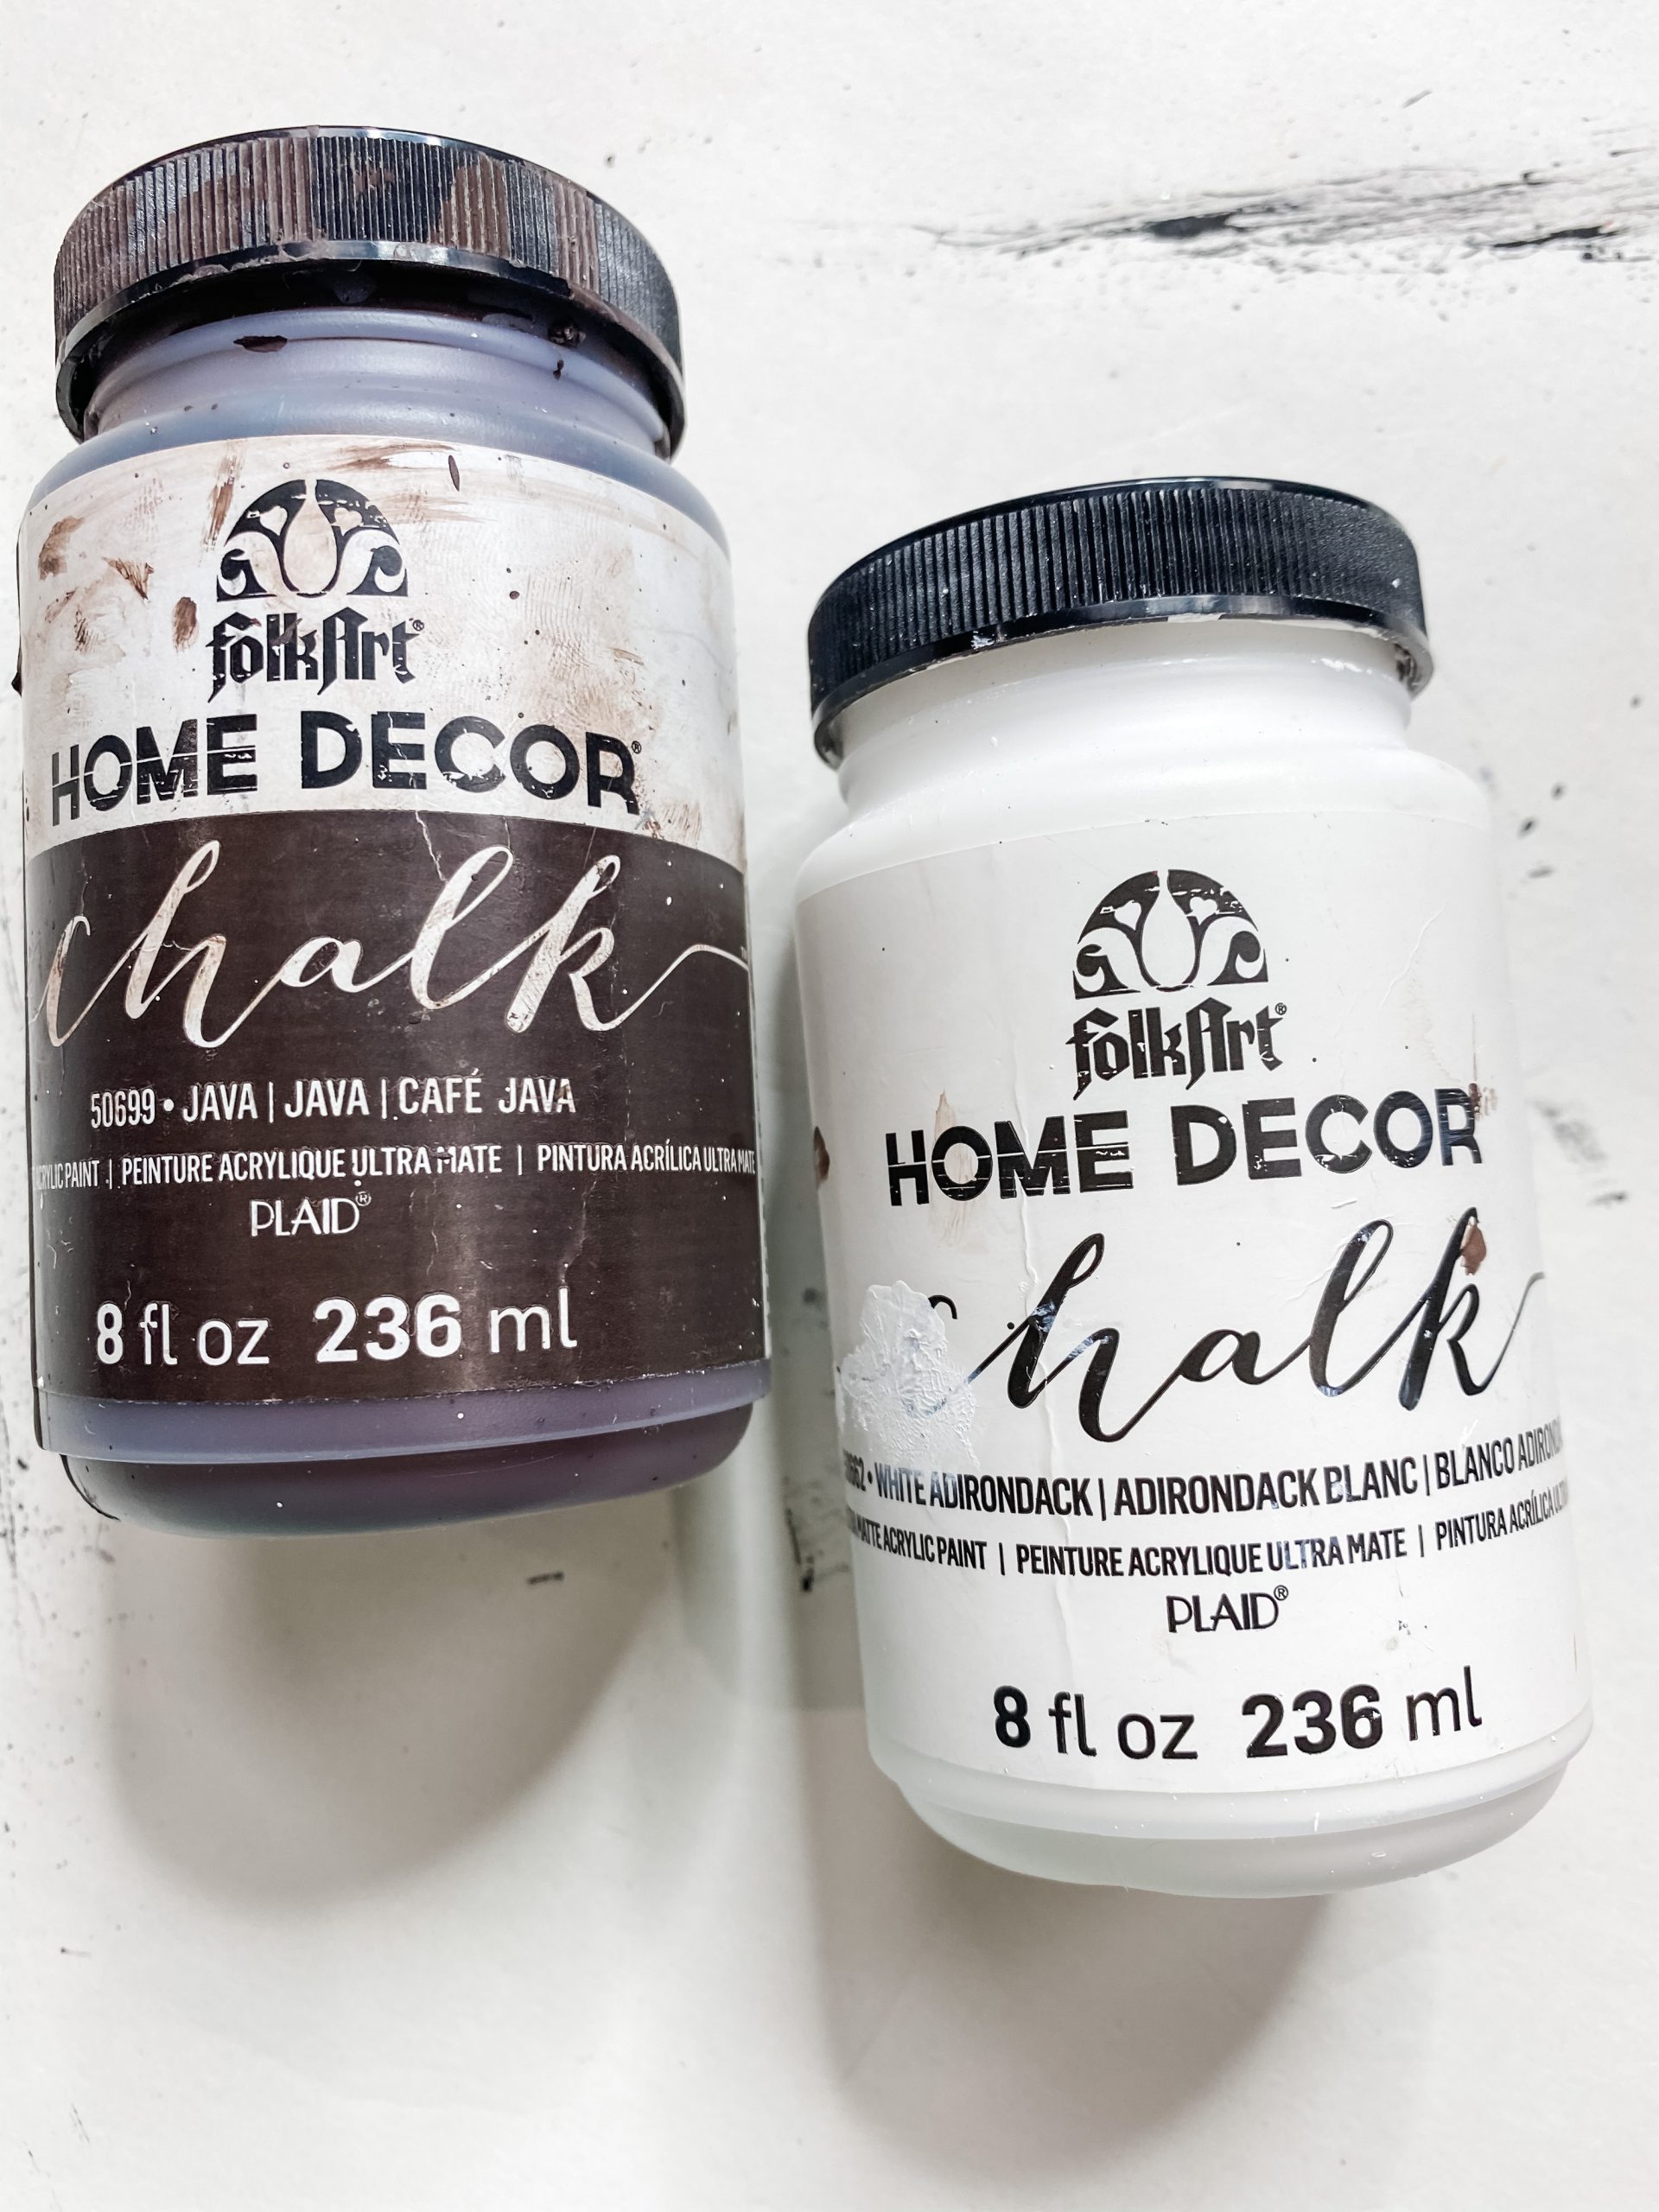
- Folkart Java Chalk Paint
- Folkart White Chalk Paint
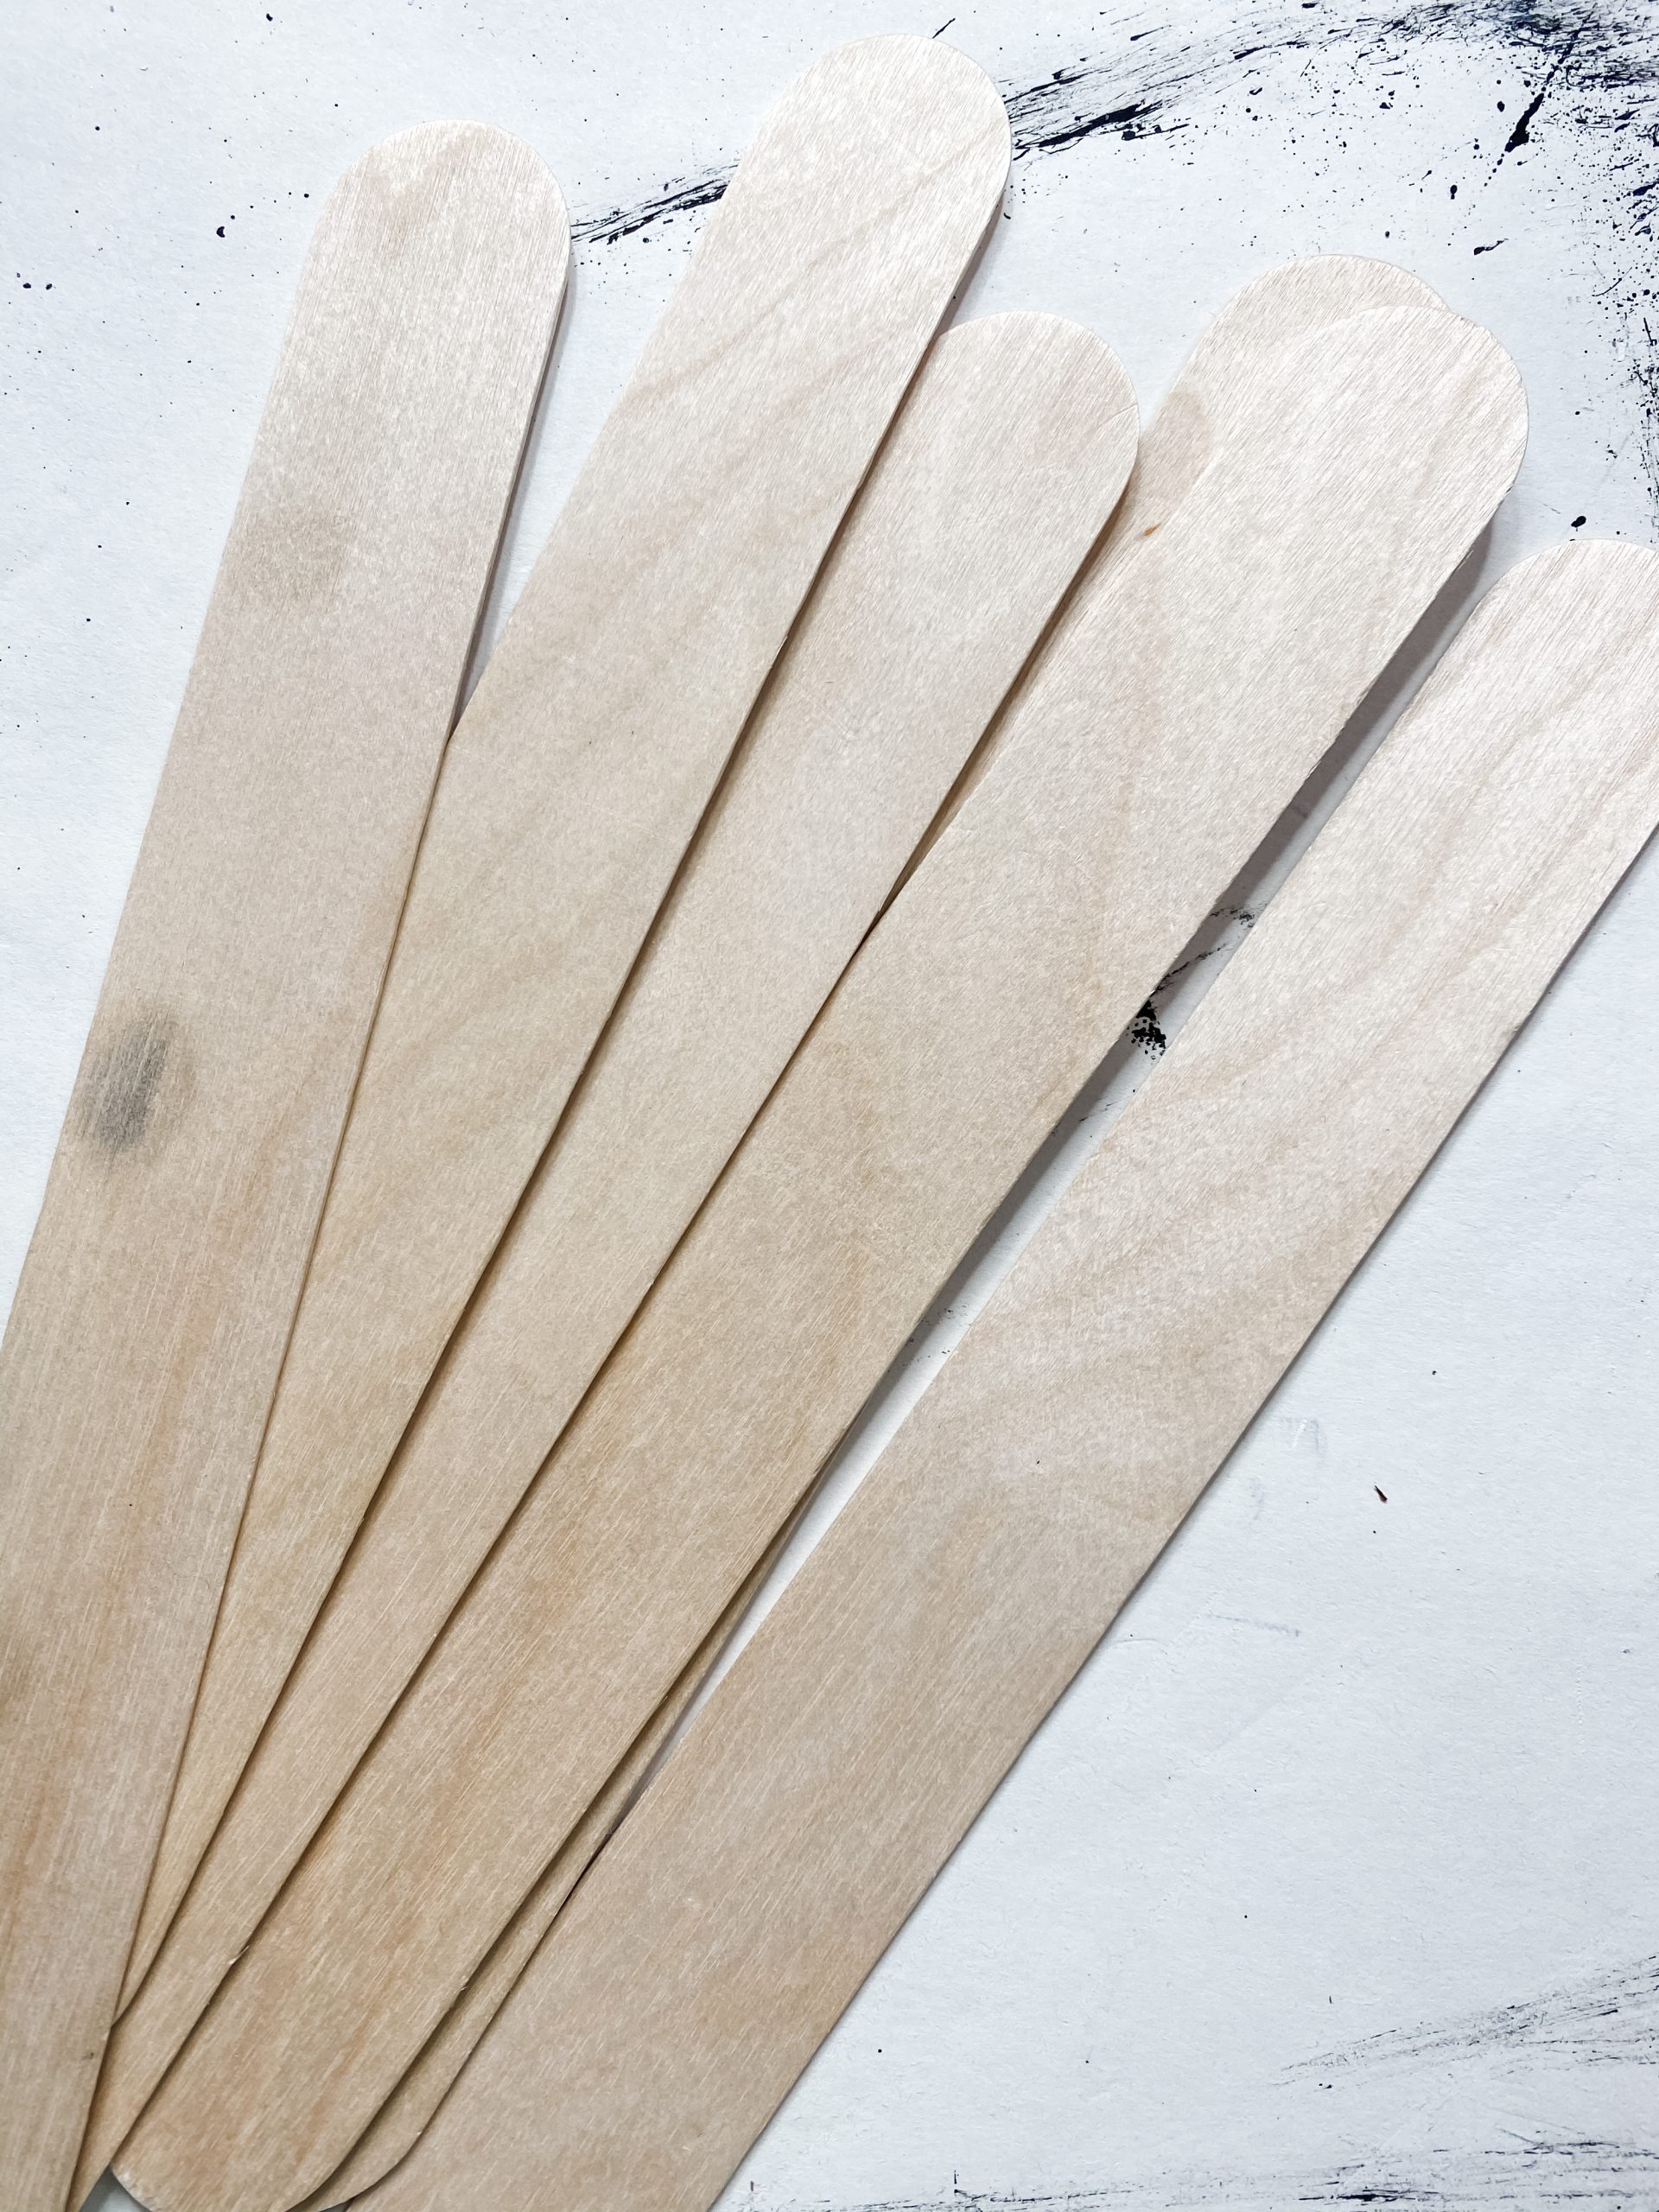
- Giant Craft Sticks
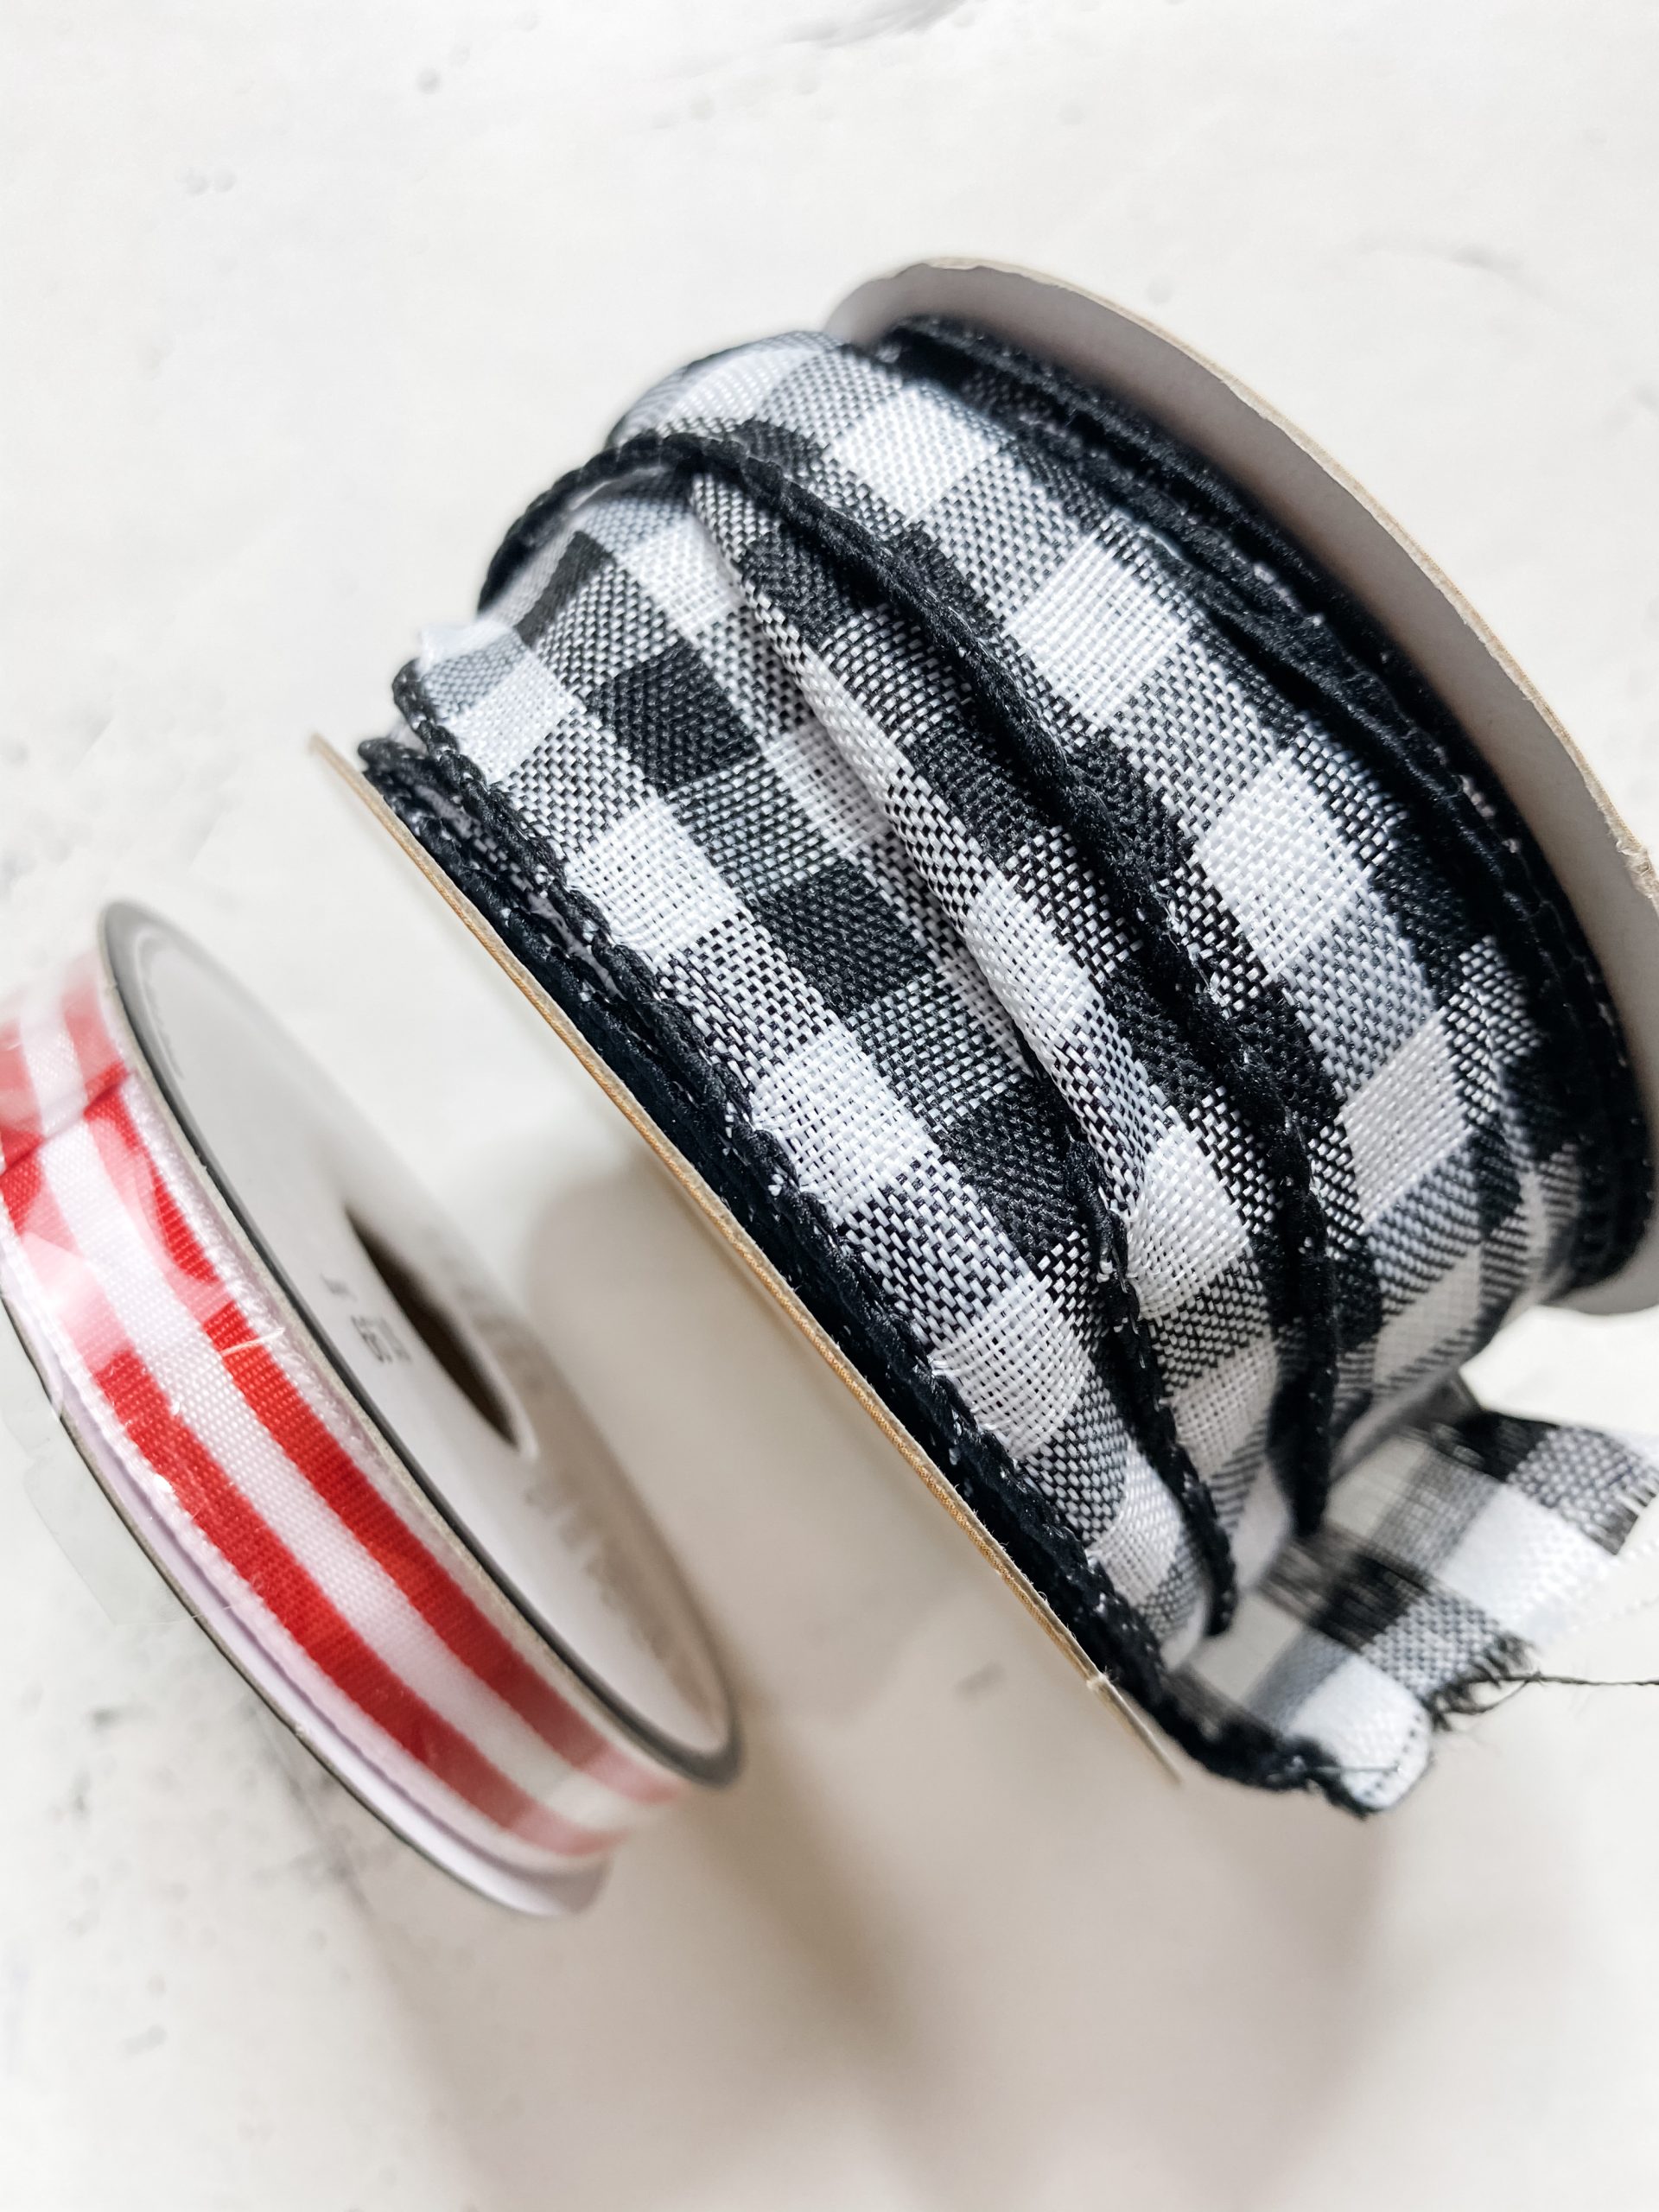
- Buffalo Check ribbon
- Red/White Striped ribbon
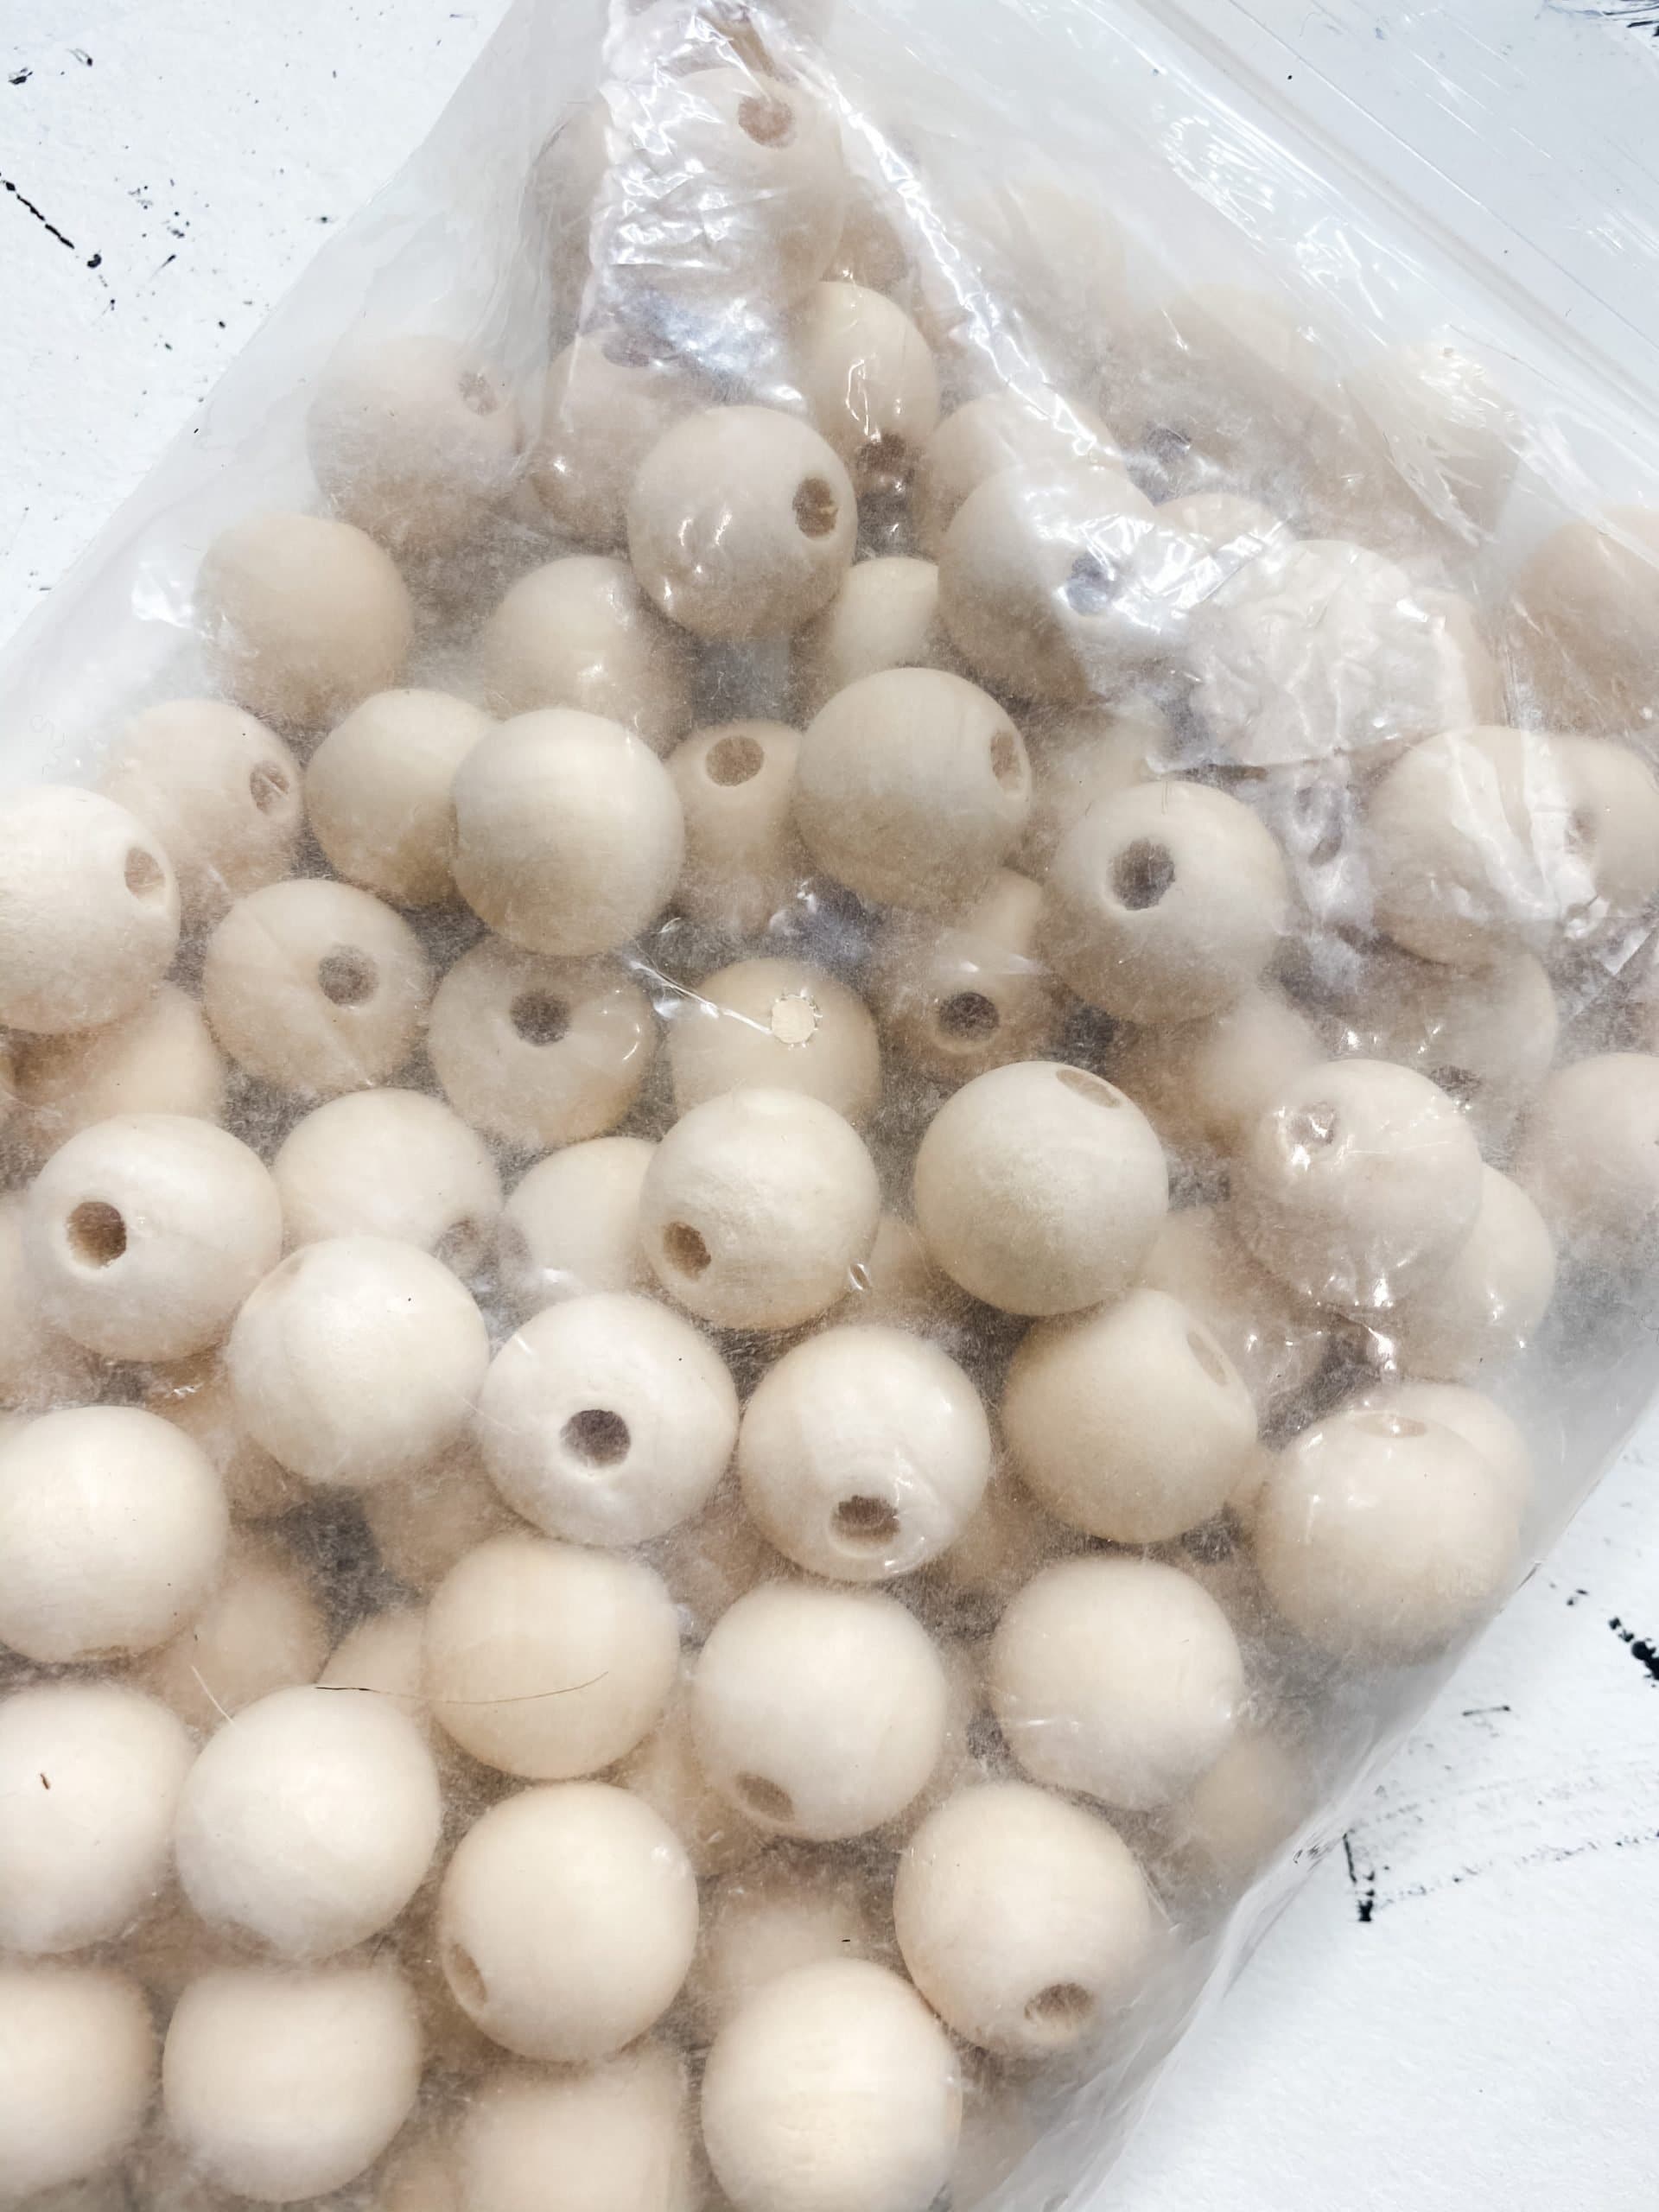
- Wood beads
- piece of cardboard
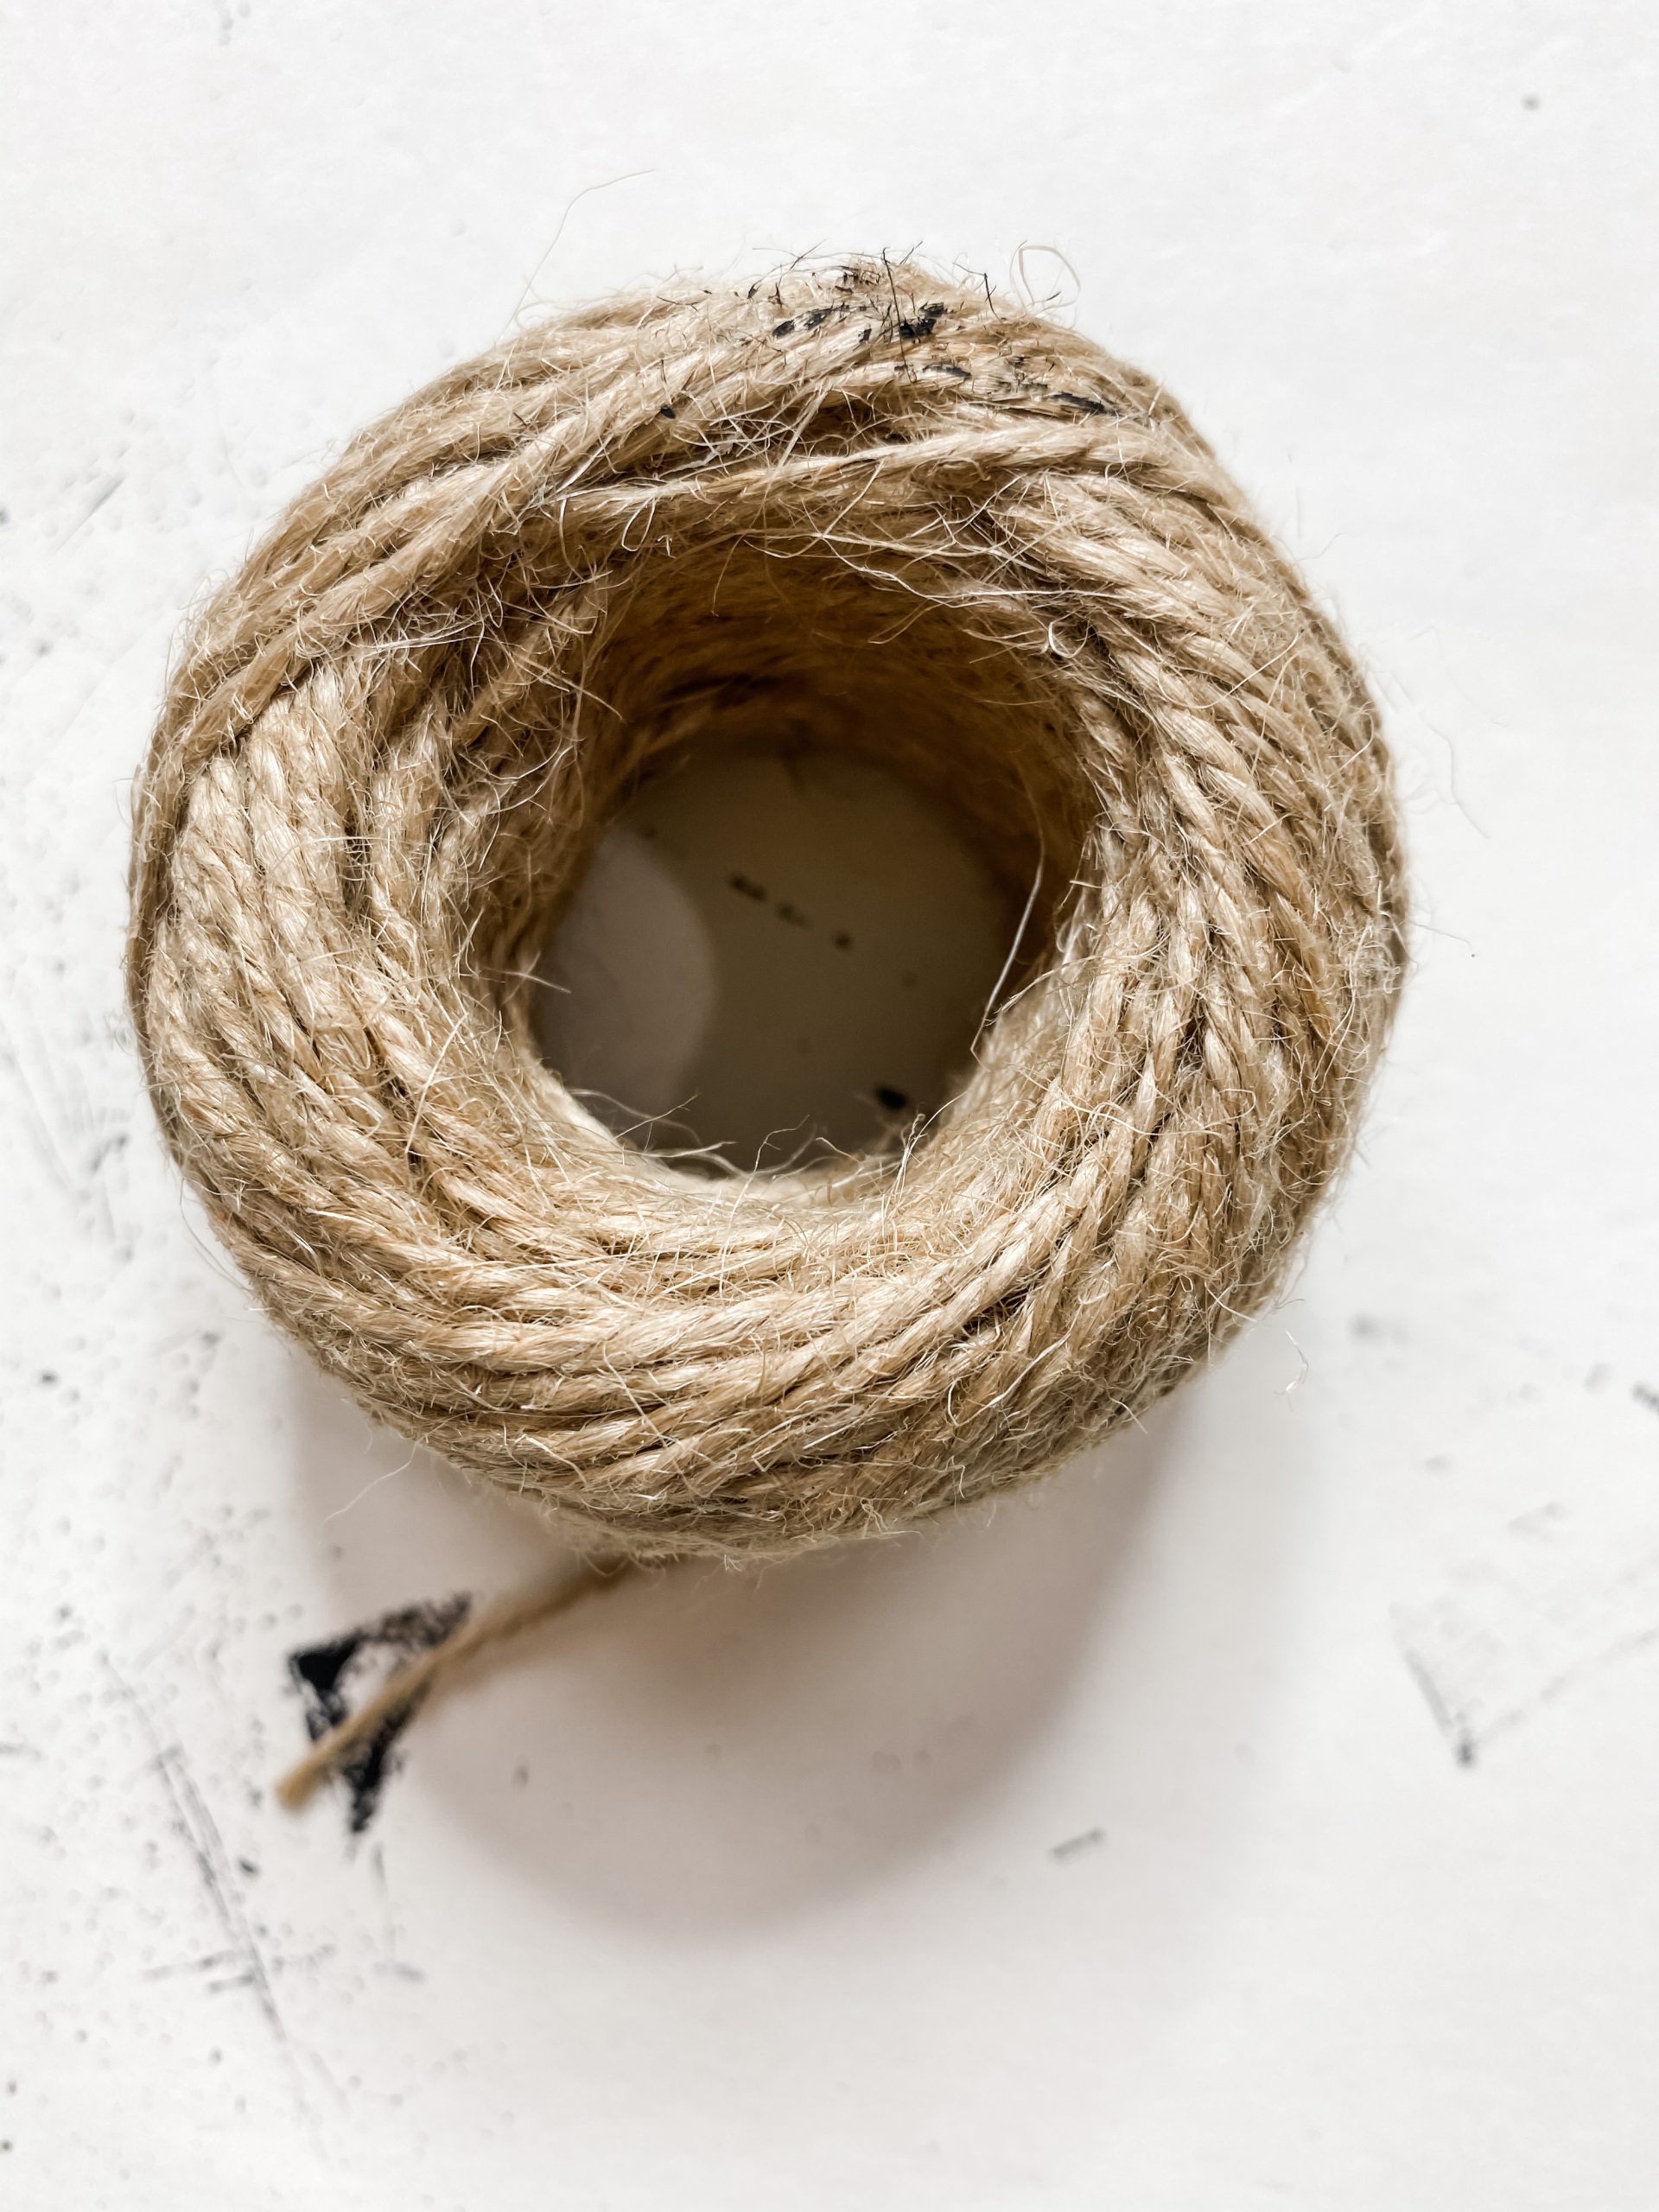
- Jute Twine
- Glue Gun and Glue Sticks
- Heat gun
- Sanding Sponge
- Baby wipe
- Scissors
Let’s get started!
This adorable Christmas Tree napkin, when unfolded, actually has 4 designs. First, we have to separate the napkin plies. Carefully pull apart the napkin plies from one corner.
Next, cut one of the designs out. I used some pinking shears (*GASP* I know! But they’re an old, crappy pair!) to give the edges a patterned edge.
Turns out that you can’t even see the patterned edge when you decoupage the napkin, so you can use regular scissors!
Set your extra patterns somewhere safe so you can use them for future crafts! Now it’s time to get the surface ready for our Christmas sign.
First, grab 6 craft sticks and lay them onto your piece of cardboard. Cut the cardboard to the right size. You want it to be slimmer than the craft sticks are wide, but the same height.
Trust the process
I had a very certain idea for this project, but the process might seem a little odd. Just trust me!
Hot glue a craft stick across the back of the 6 sticks that you will be decoupaging on. This is just to make them more sturdy while we decoupage.
To stain the wood craft sticks, spray them with water, then spread the Folkart Java Chalk Paint across the sticks with a baby wipe or napkin. Be gentle because the only thing holding them together is a single craft stick!
Allow the paint to dry (I like to use my heat gun to speed up the drying process), then lightly dry brush the Folkart White Chalk Paint across the wood craft sticks. You don’t want full coverage, so make sure you have a light hand.
This is going to give you a distressed look that is a good base for underneath the napkin. When you separate napkin plies, it can make the paper so thin that you can see the surface underneath the napkin.
How to decoupage
Once your white paint has dried, it’s time to decoupage! Spread Mod Podge over the area that you are decoupaging the napkin on to. It’s better to cover more space than not cover enough and have the napkin not properly adhere to the wood.
Carefully place the napkin onto the Mod Podge. Cover the napkin with a piece of plastic saran wrap and smooth out any wrinkles or creases. The plastic wrap protects the napkin and prevents it from tearing or sticking to your fingers.
Allow the decoupaged napkin to dry, then use an Exacto knife to cut between each craft stick. This is going to give our decoupaged napkin the planked look I wanted!
Now you can pop off the craft stick you glued to the back! I just used a putty knife to pry it off the back. Be careful not to break your decoupaged wood craft sticks, though!
Finally, I used a sanding sponge to lightly distress the decoupaged craft sticks even more. Don’t distress too much or you could damage the napkin!
Put it together!
It may seem counterproductive, but now hot glue the decoupaged wood craft sticks onto the piece of cardboard that you cut out at the beginning. Use your Exacto knife to trim the edges of the cardboard and get more precise edges.
This next step is completely optional, but was a must for me because I didn’t decoupage the napkin on the center of my craft sticks!
So, I trimmed the edges of the craft sticks down to the edge of the cardboard. You definitely don’t have to do this, but I think it helps make it look more finished and I was much happier after I trimmed them!
Add your details!
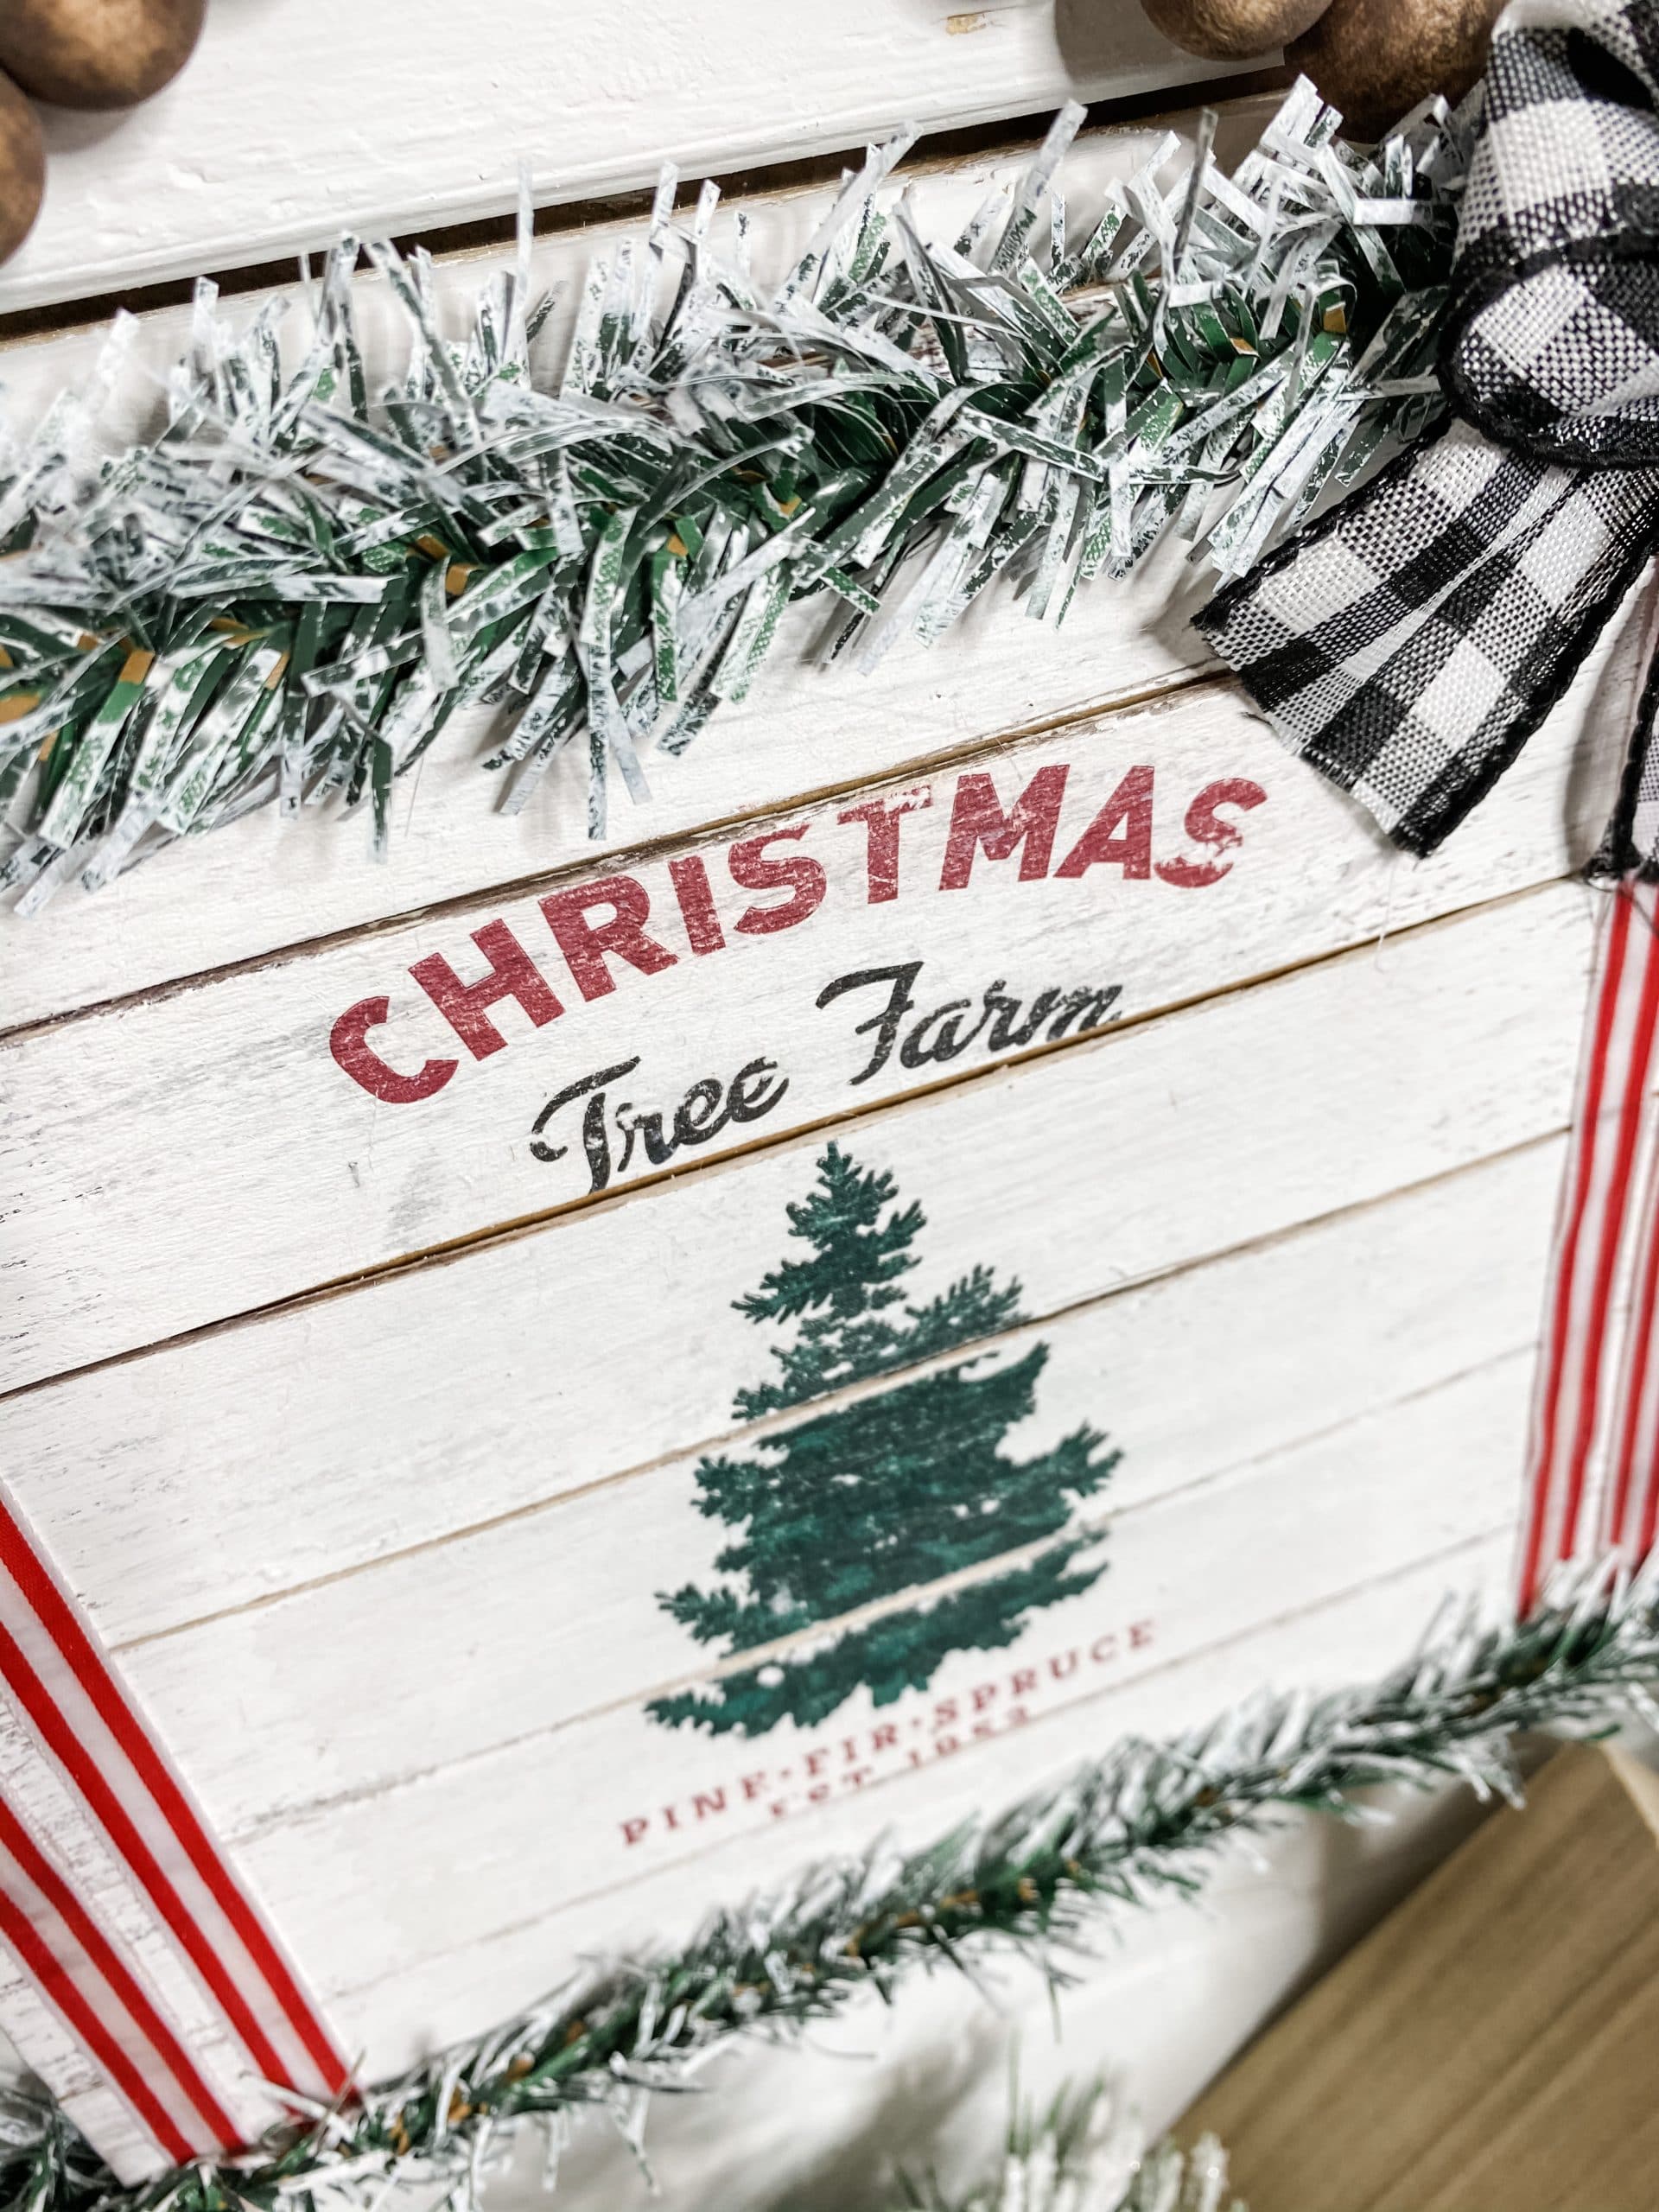
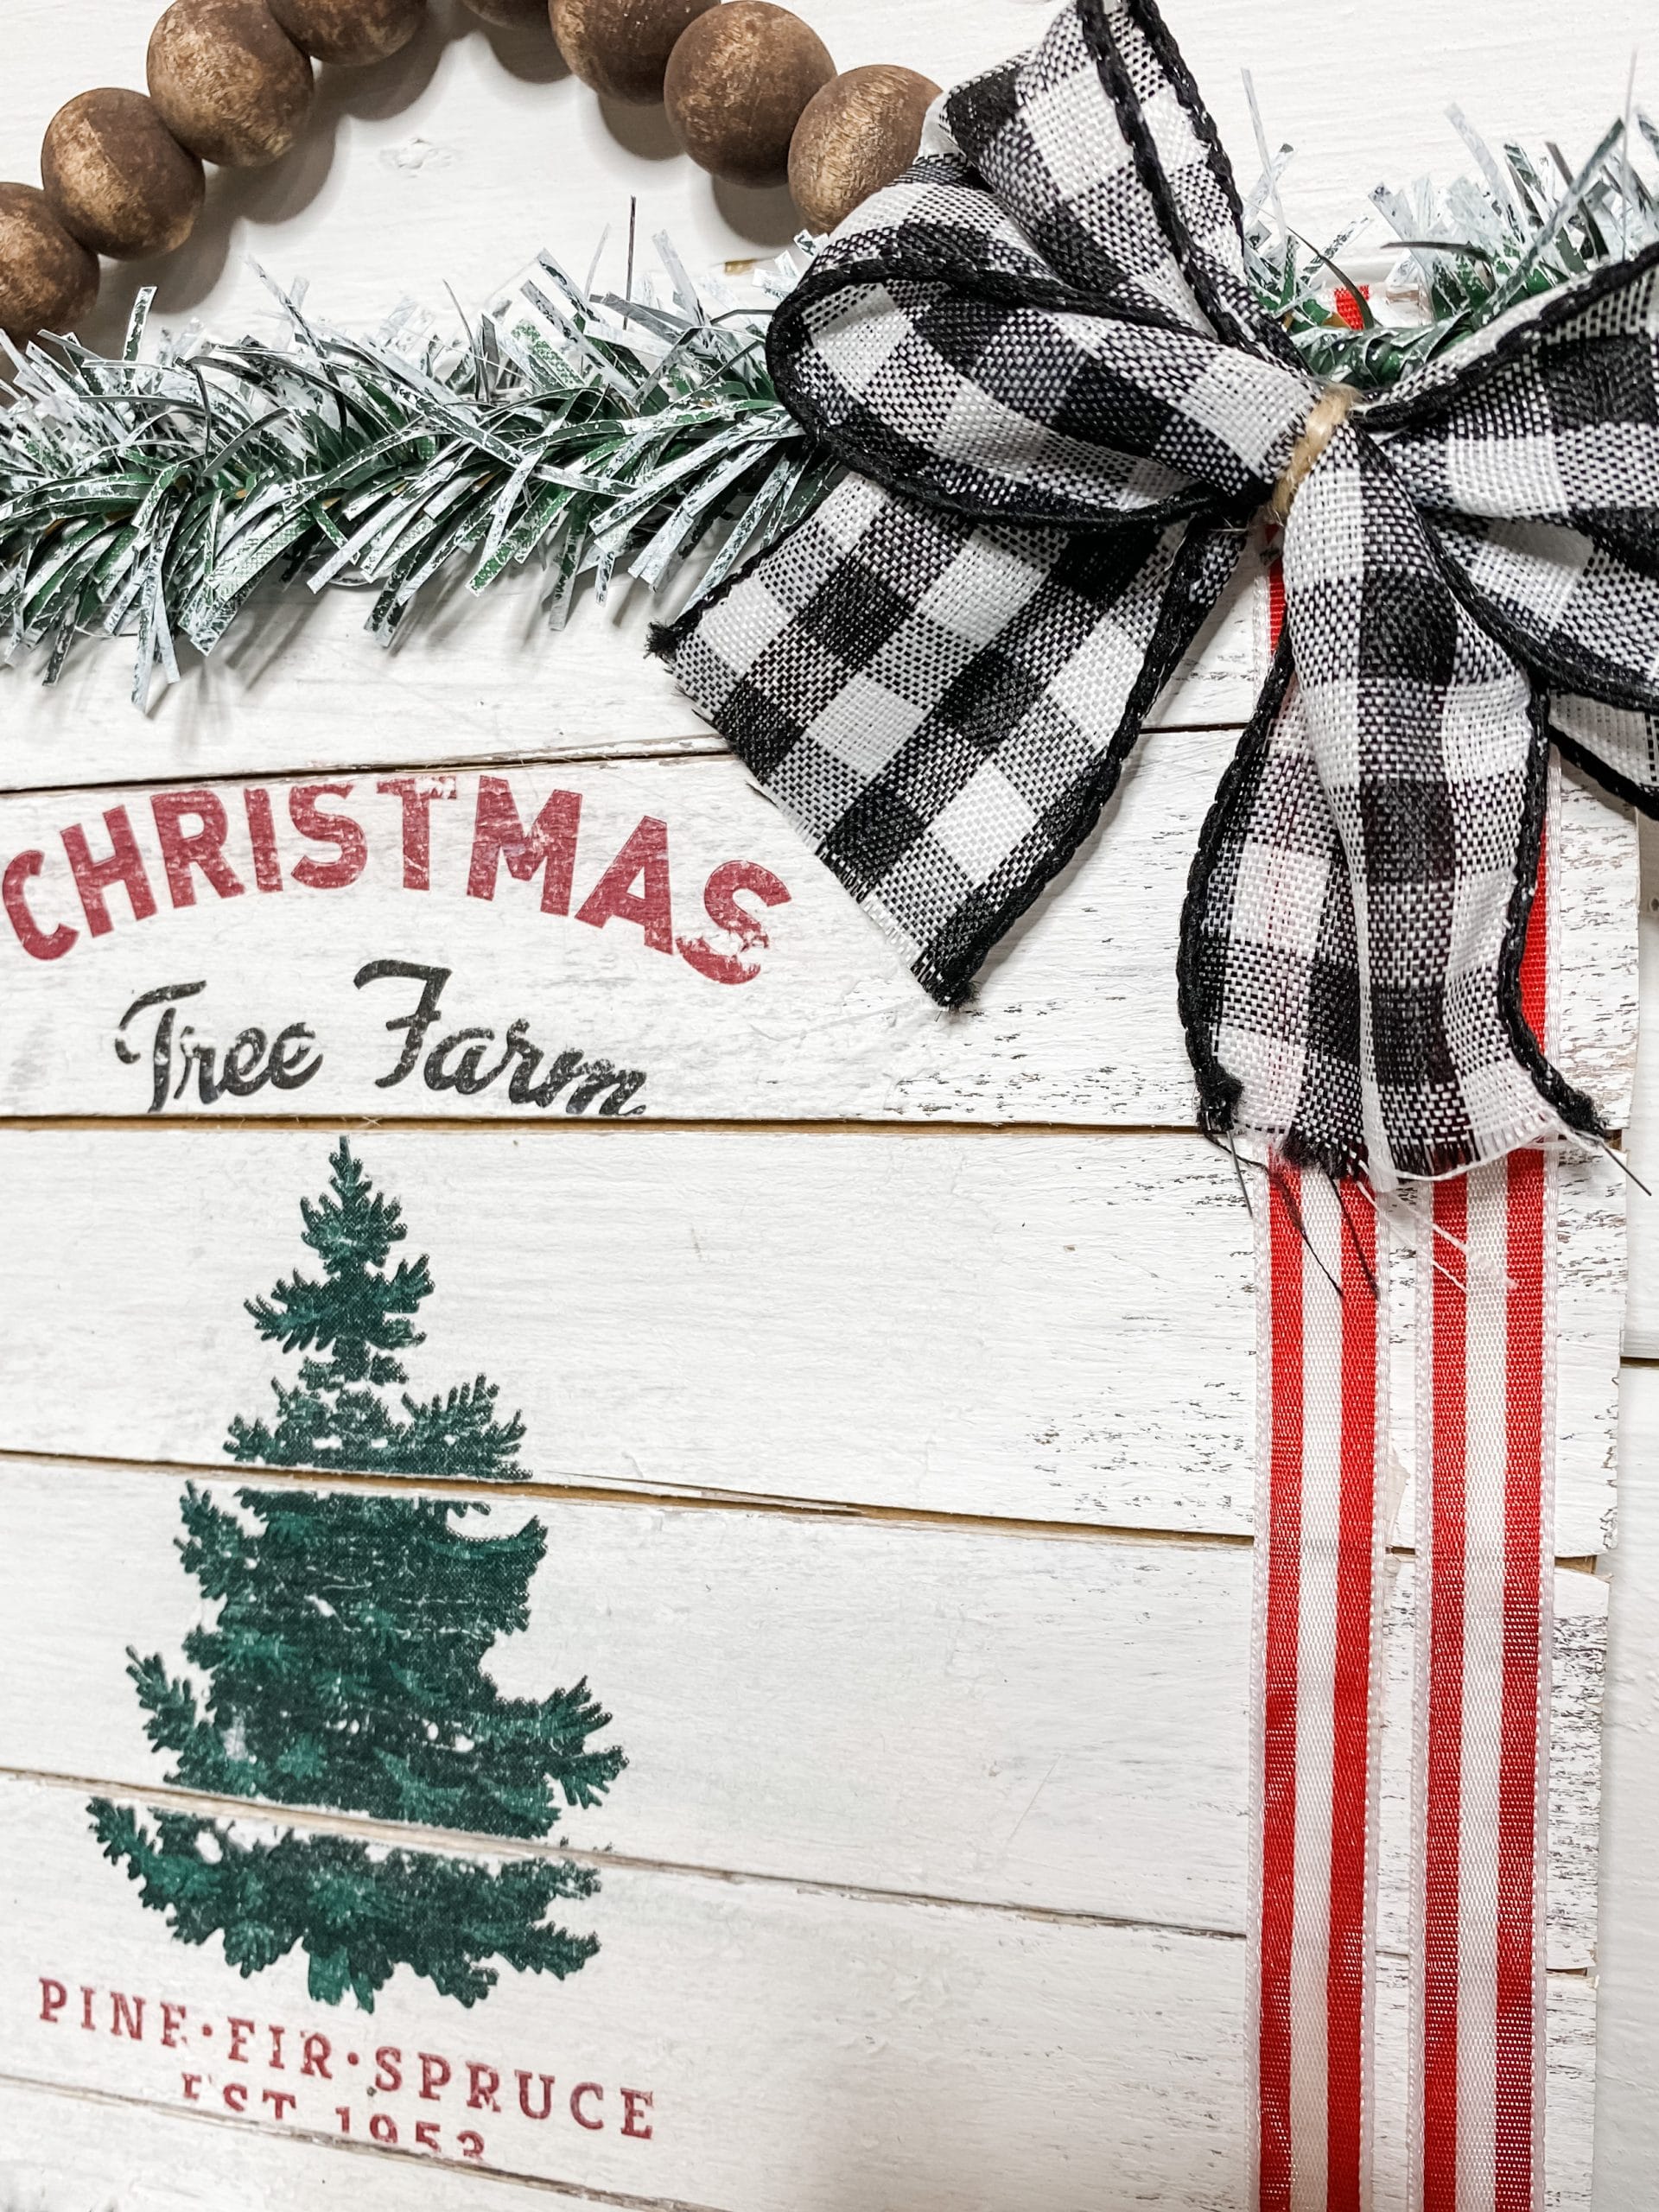
I hot glued 2 strips of red striped ribbon down each side of the DIY decoupaged Christmas sign. I had a very specific idea for how I wanted this DIY craft to look, but you can change out any part of it and make it your own!
Next, I used 4 pieces of the Dollar Tree wired garland. First, I flocked each piece of garland with Folkart White Chalk Paint. Just use a chippy brush and lightly brush the paint across the wired garland.
Let the paint dry before moving on to the next step.
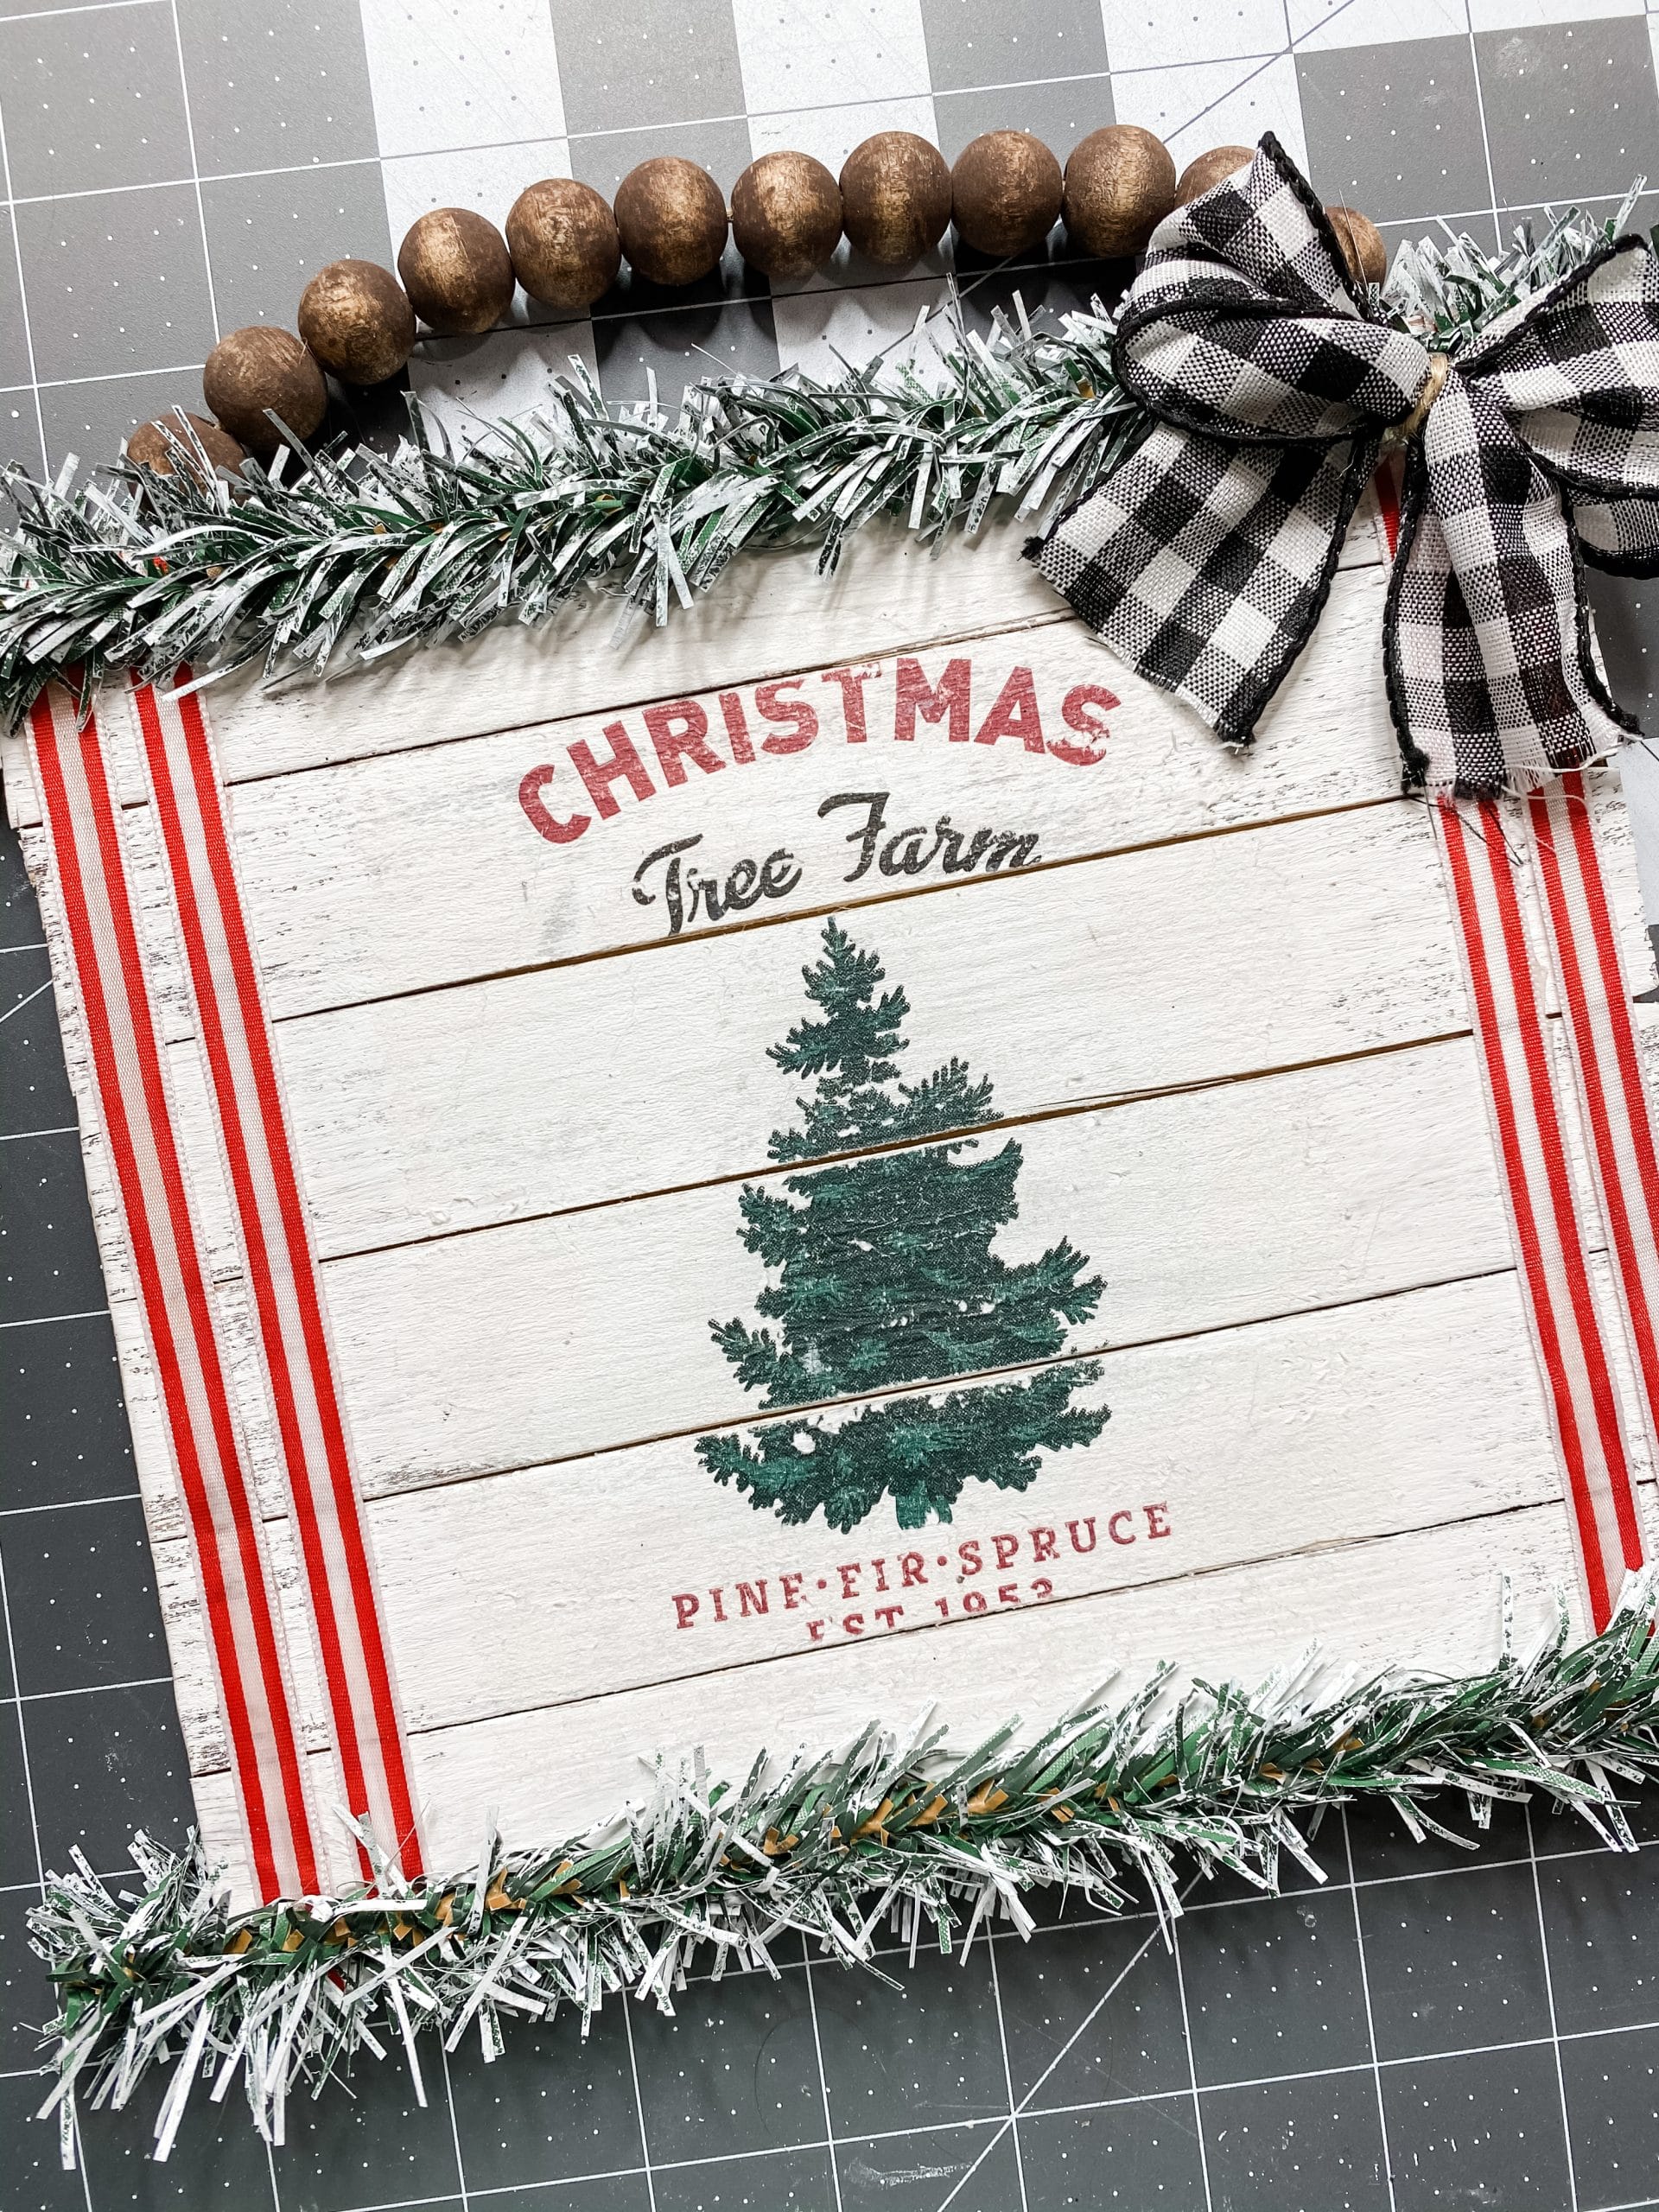
Okay, hot glue one piece of flocked wired garland to the top and bottom of the DIY Christmas sign. I hot glued them to the back of the sign as well to give it more volume.
Then, trim the ends so that they barely hang over the edge of the sign.
Make the hanger
To make the hanger for this Easy Napkin Decoupage DIY Christmas Sign, I used a piece of jute twine and some wood beads. First, I stained the beads.
Put the beads into a small cup or bowl and spray them with water. Then, pour a tiny bit of the Folkart Java Chalk Paint into the bowl or cup and swirl the beads around until they are all covered with paint.
Use a baby wipe to blot the excess paint off, and put them on a dry paper towel. Fold the paper towel into a little pocket, then use a heat gun or blow dryer to dry the beads.
Thread the dry beads onto the piece of jute twine, and hot glue the ends onto the back of the cardboard. I also glued some pieces of ribbon, almost like a bandaid, over the ends of the twine to help secure it to the cardboard.
Make a bow!
I almost forgot this part during my live video, but an amazing member of my Crafty Crew reminded me! (I was so distracted just talking with my online friends!)
So, use a piece of black buffalo check ribbon and fold it into the shape of a bow. Then, use a piece of twine to cinch the center of the bow and secure it. Just hot glue it into place on your sign, and you’re done!
I am so happy with this easy DIY decoupage craft! It was so much fun to make and was just something different that I wanted to try. Sometimes I get these crazy ideas that I just have to try.
If it doesn’t work out, then that’s fine! But sometimes, it does work out and I get something cute just like this Easy Napkin Decoupage DIY Christmas Sign!
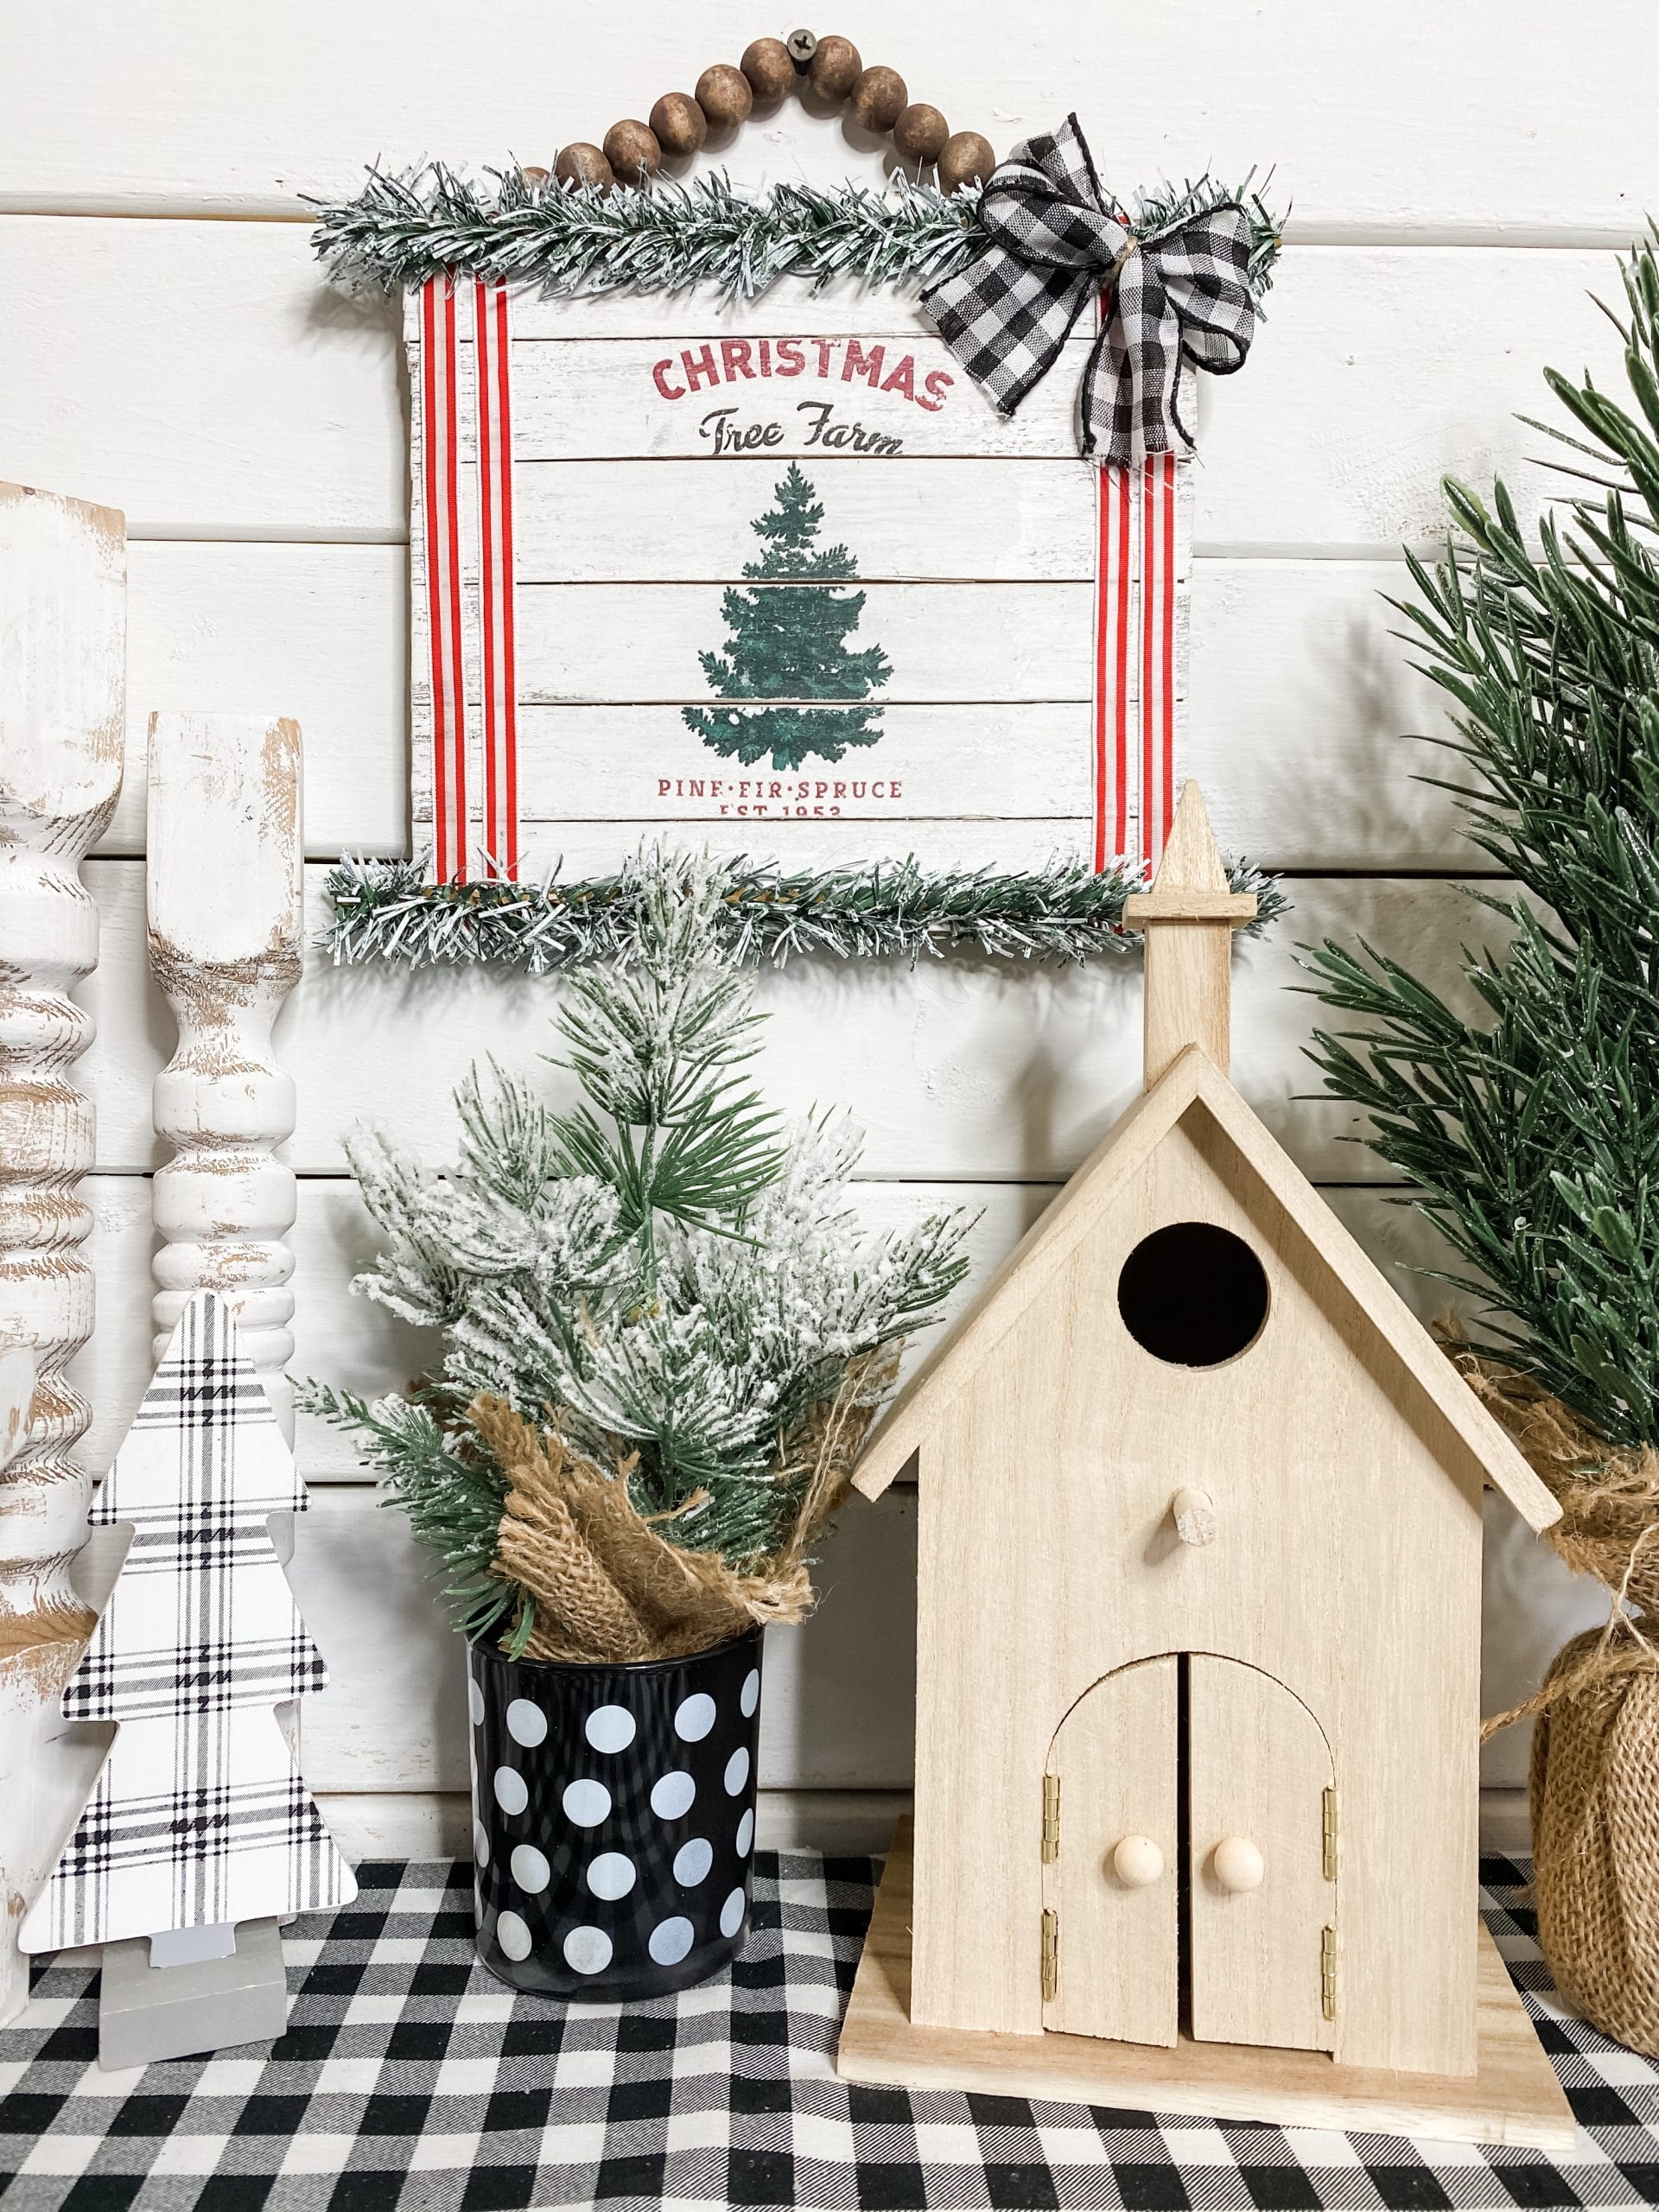
I hope you enjoyed this Easy Napkin Decoupage DIY Christmas Sign as much as I did and decide to make one for yourself! I would love to see how yours turns out!
You should totally join my FREE Facebook group called On A Budget Crafts! It is a judgment-free community for DIY crafters to show off their projects and ideas.
If you loved this DIY you might also like this DIY Christmas Tree Shelf Decor!
Thanks for stopping by! XOXO Amber
You can also shop my ENTIRE AMAZON Favorites shop just click here! It’s packed full of all the things I use and love.
Here is the supply list I highly recommend every creative have on hand!! Would you also pin my blog for later and get on my newsletter alerts? I would love to have you join my #craftycrew.

Join my free “ON A BUDGET CRAFTS” Facebook group!
PIN THIS POST FOR LATER!

Love your projects