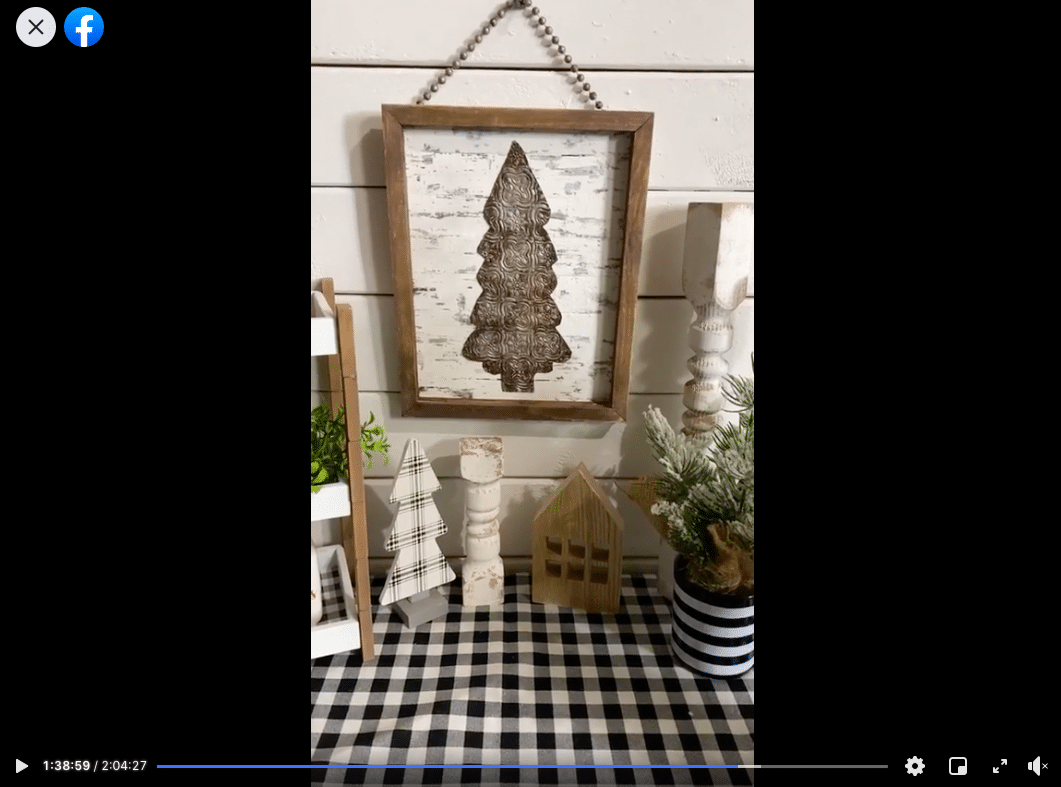
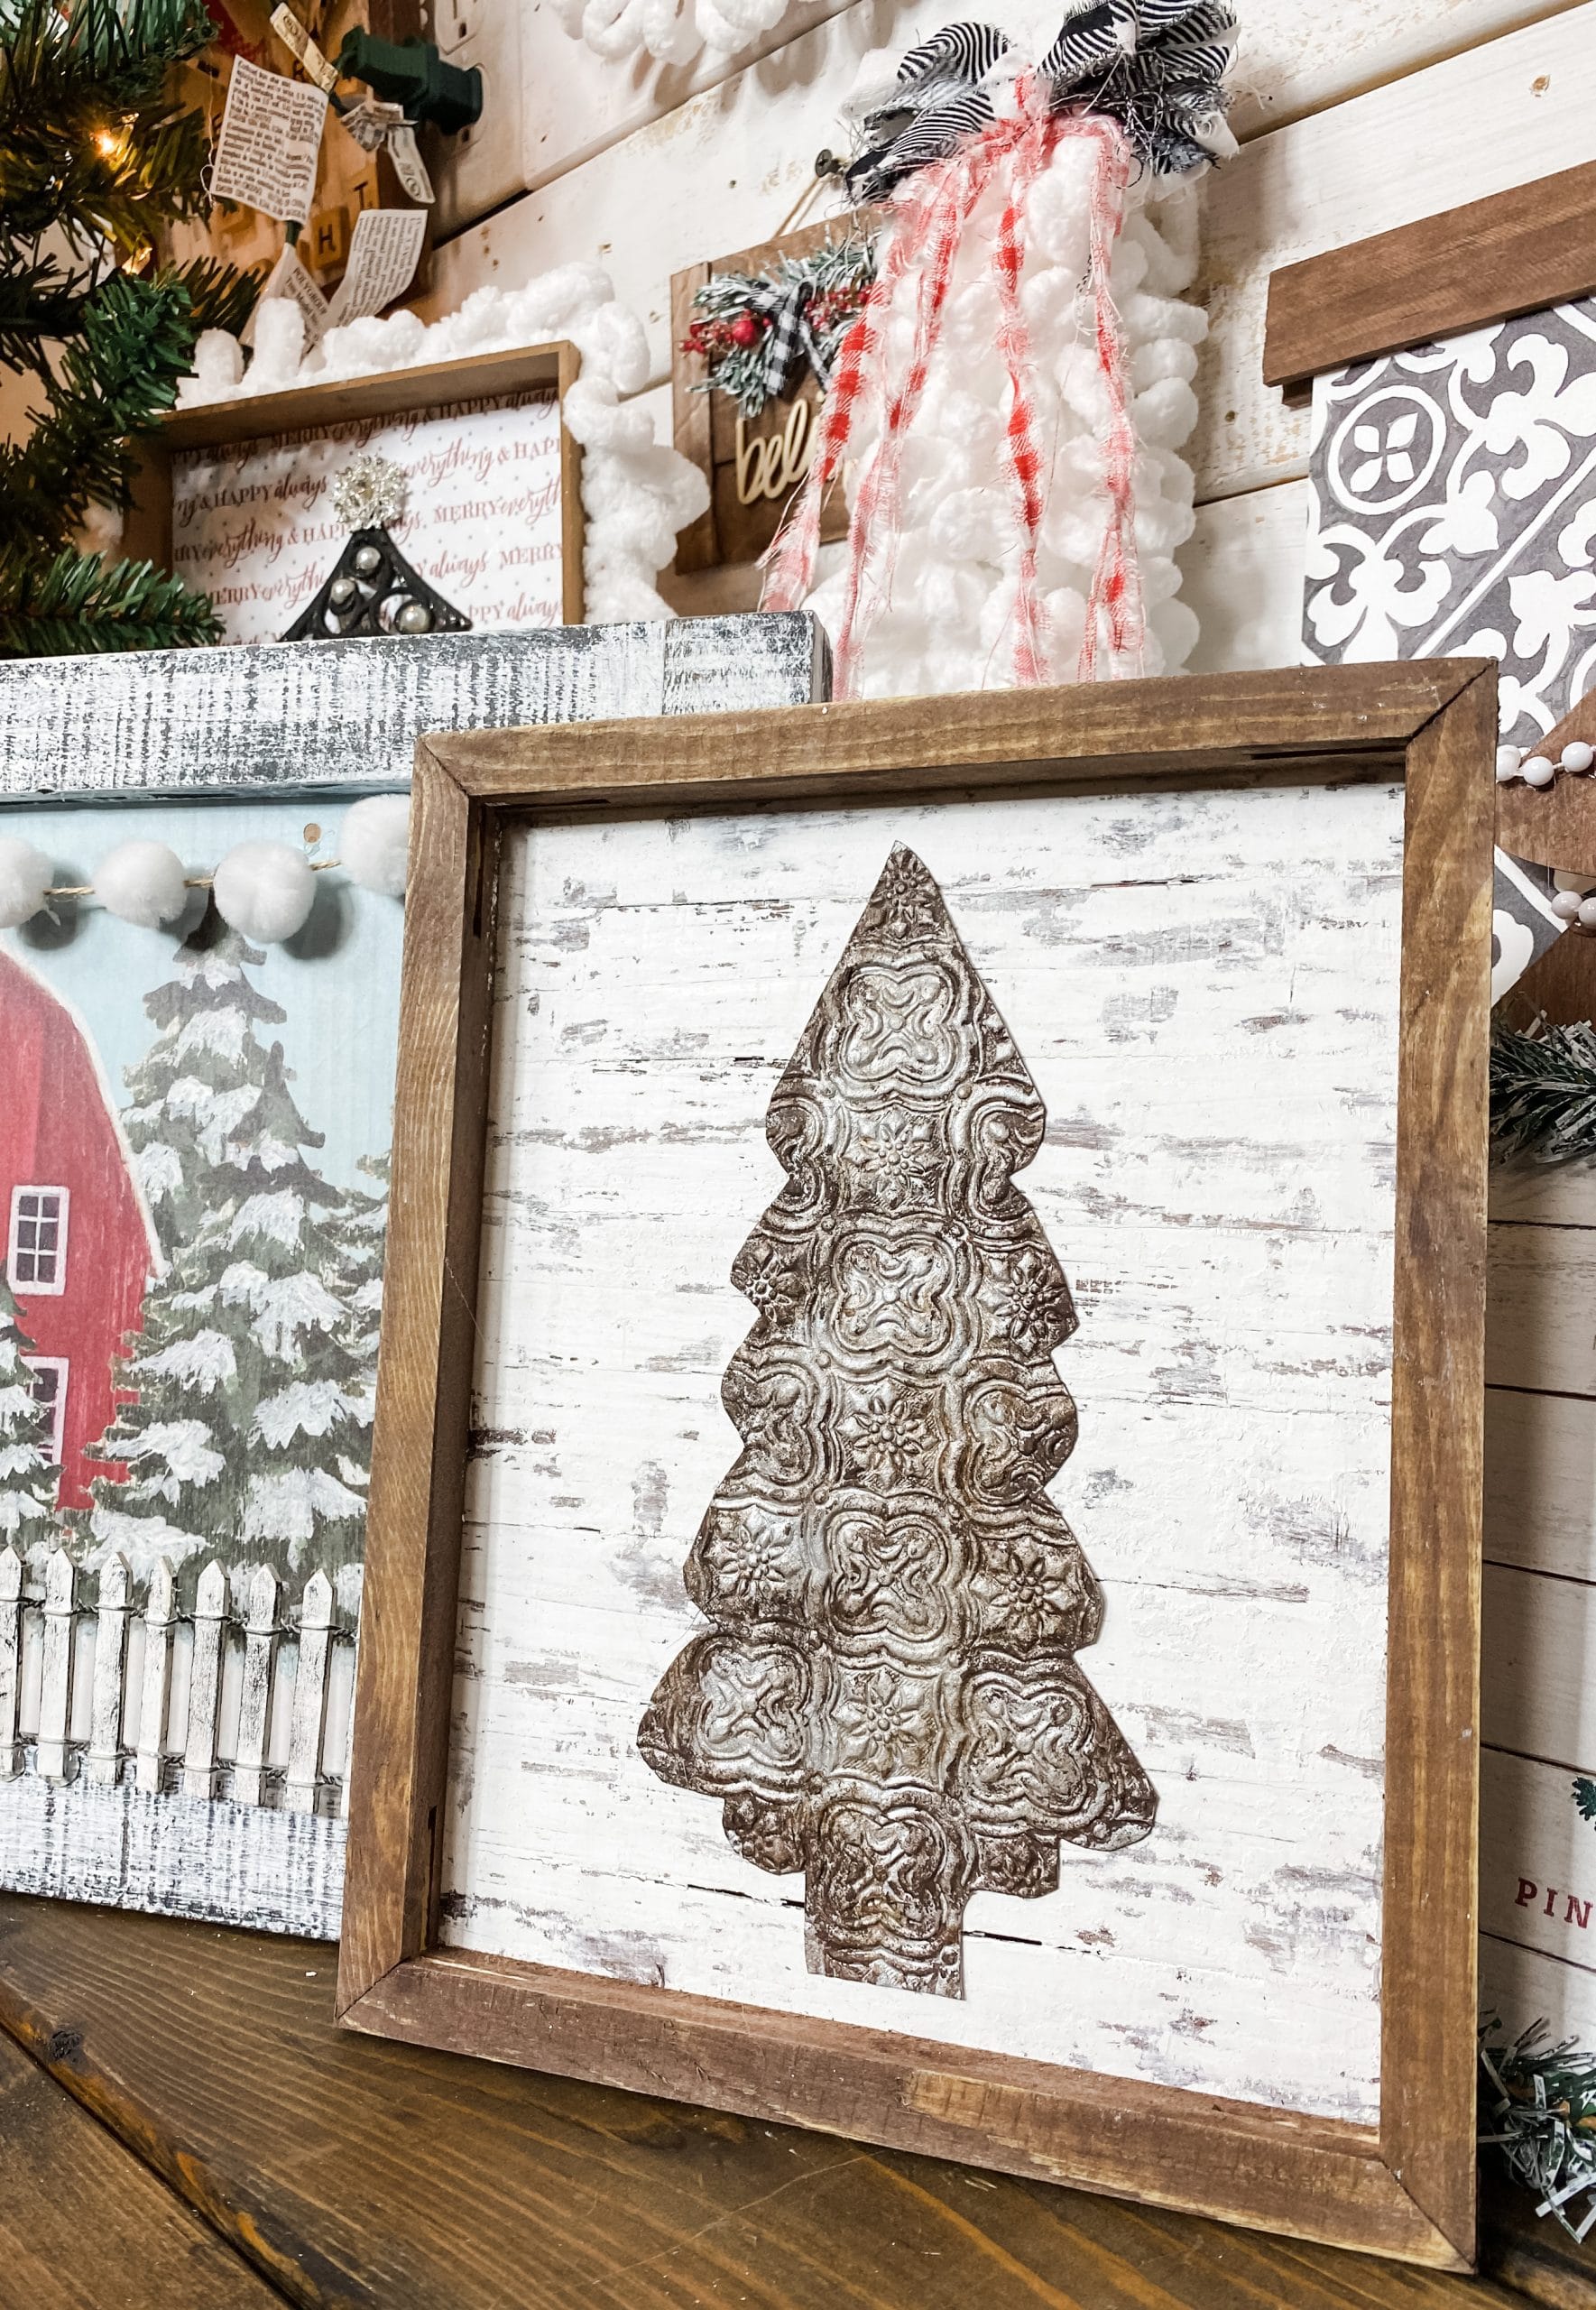
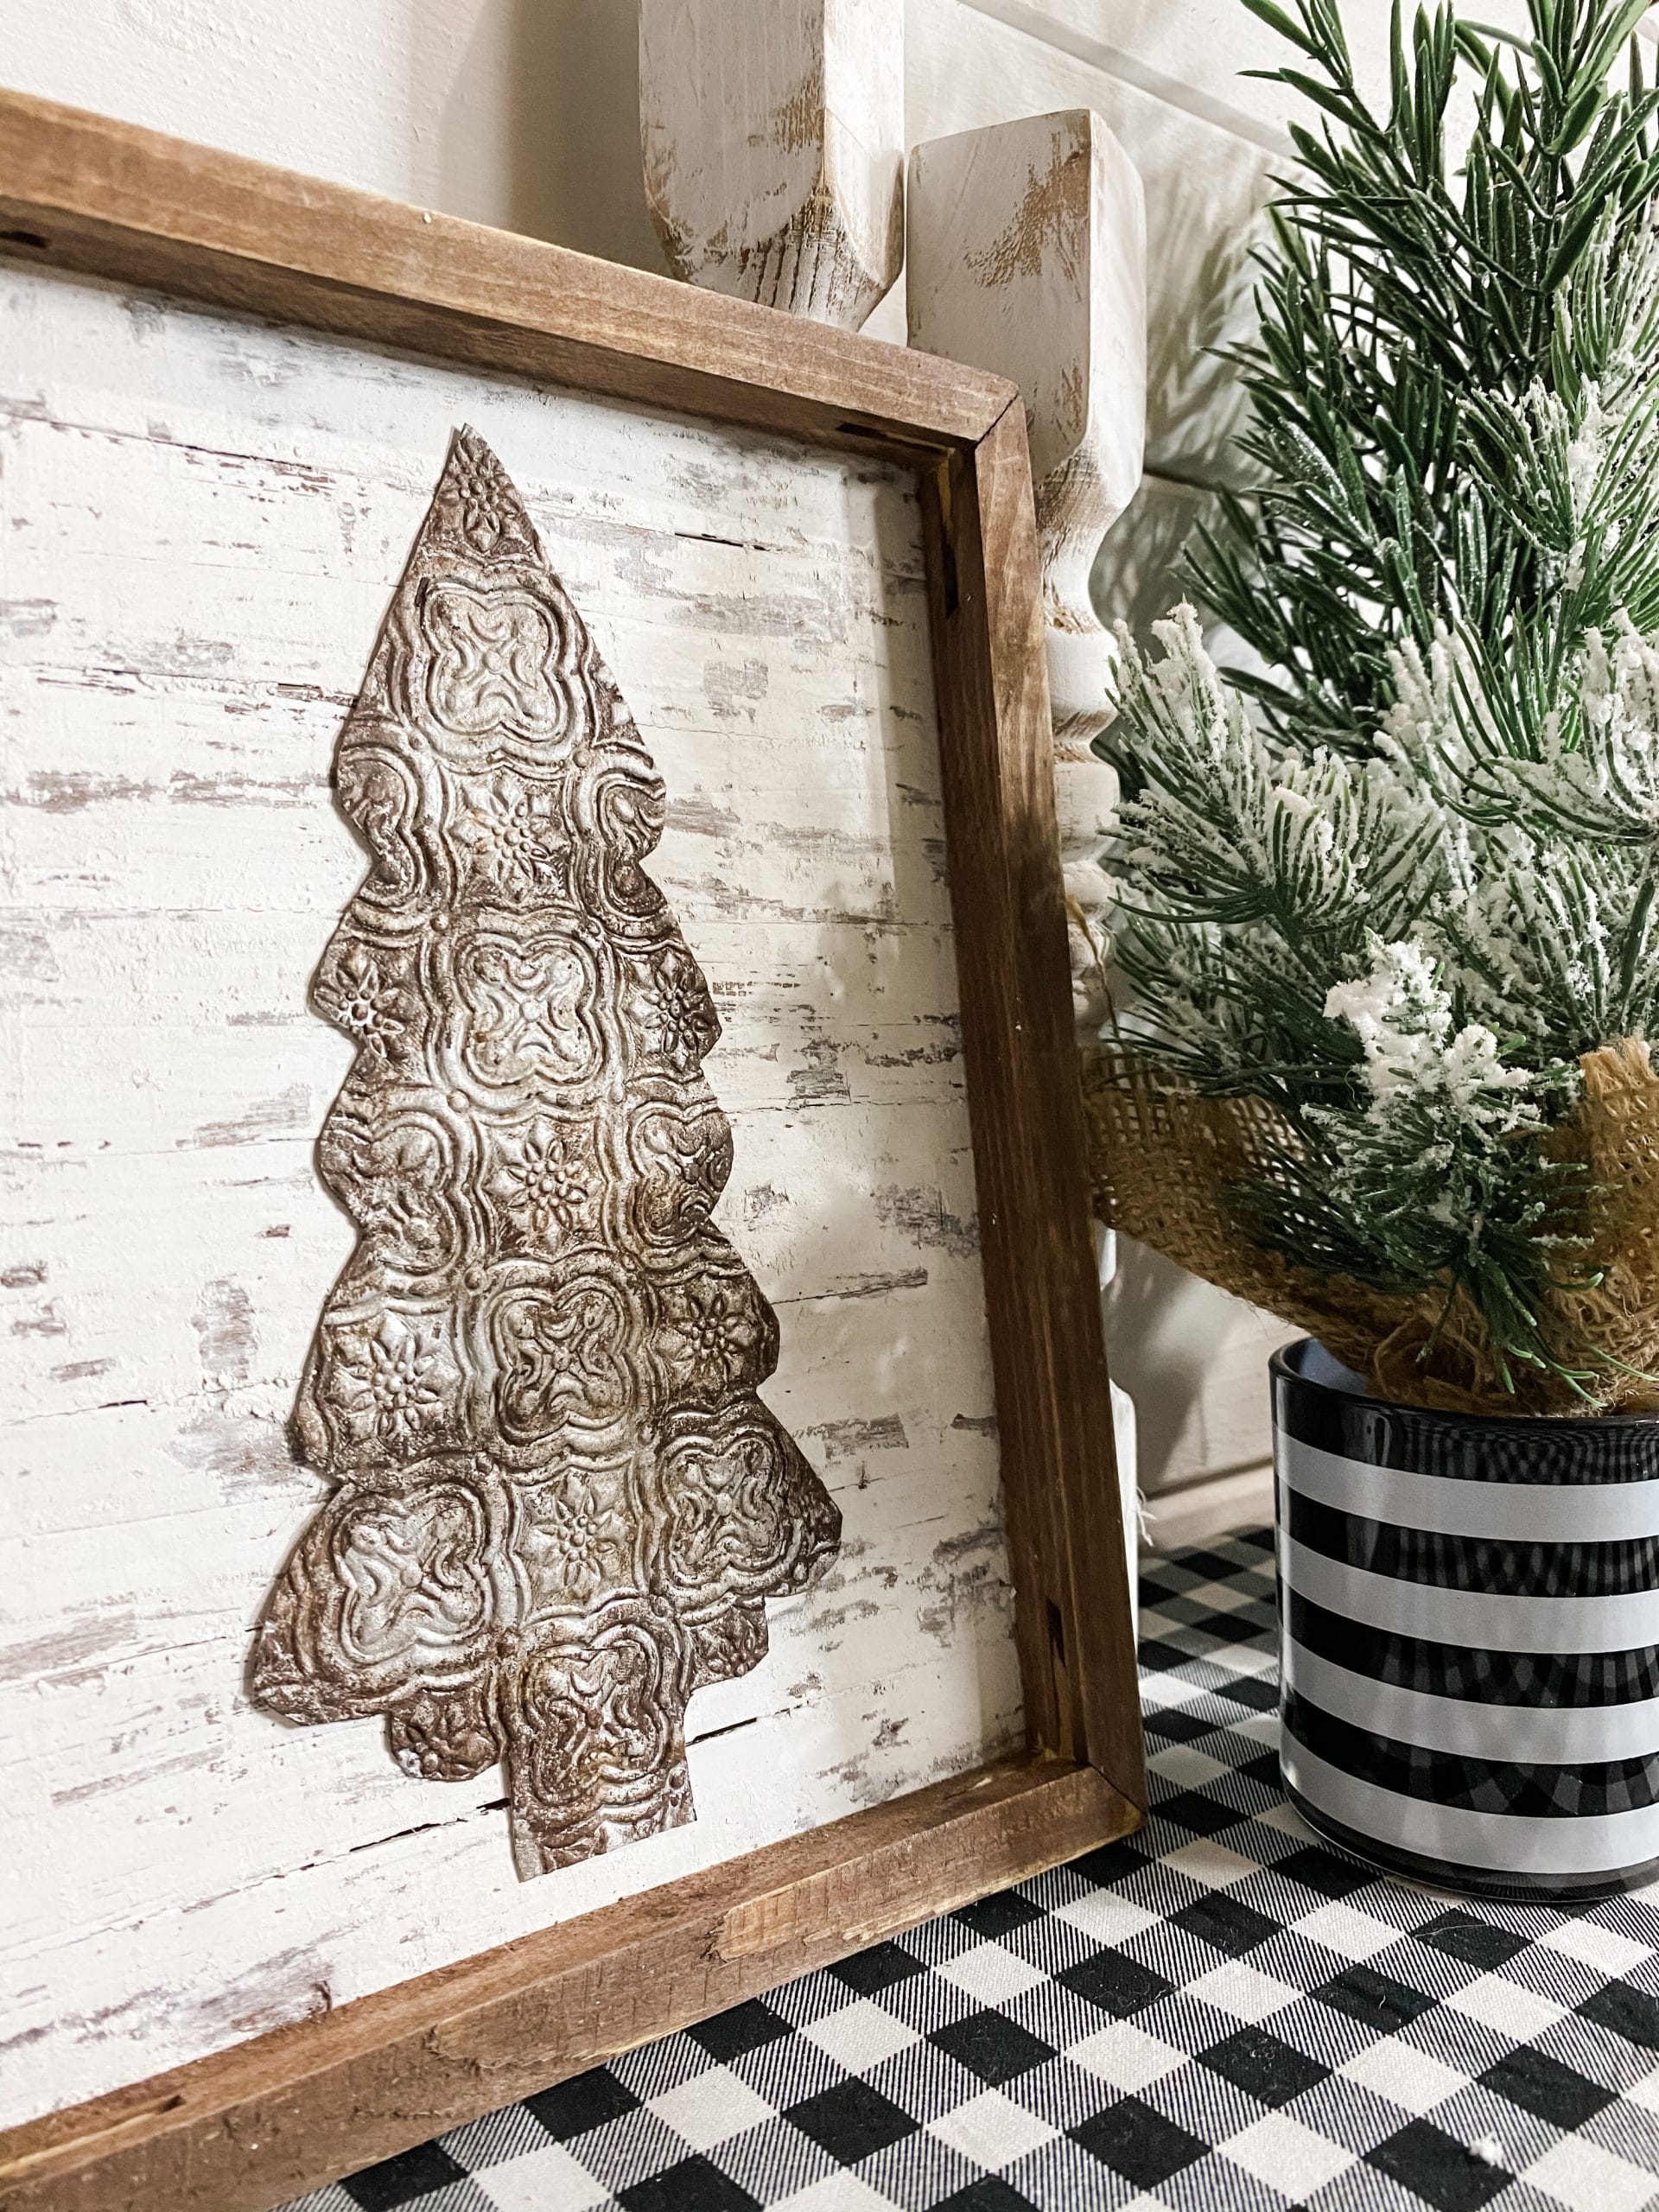
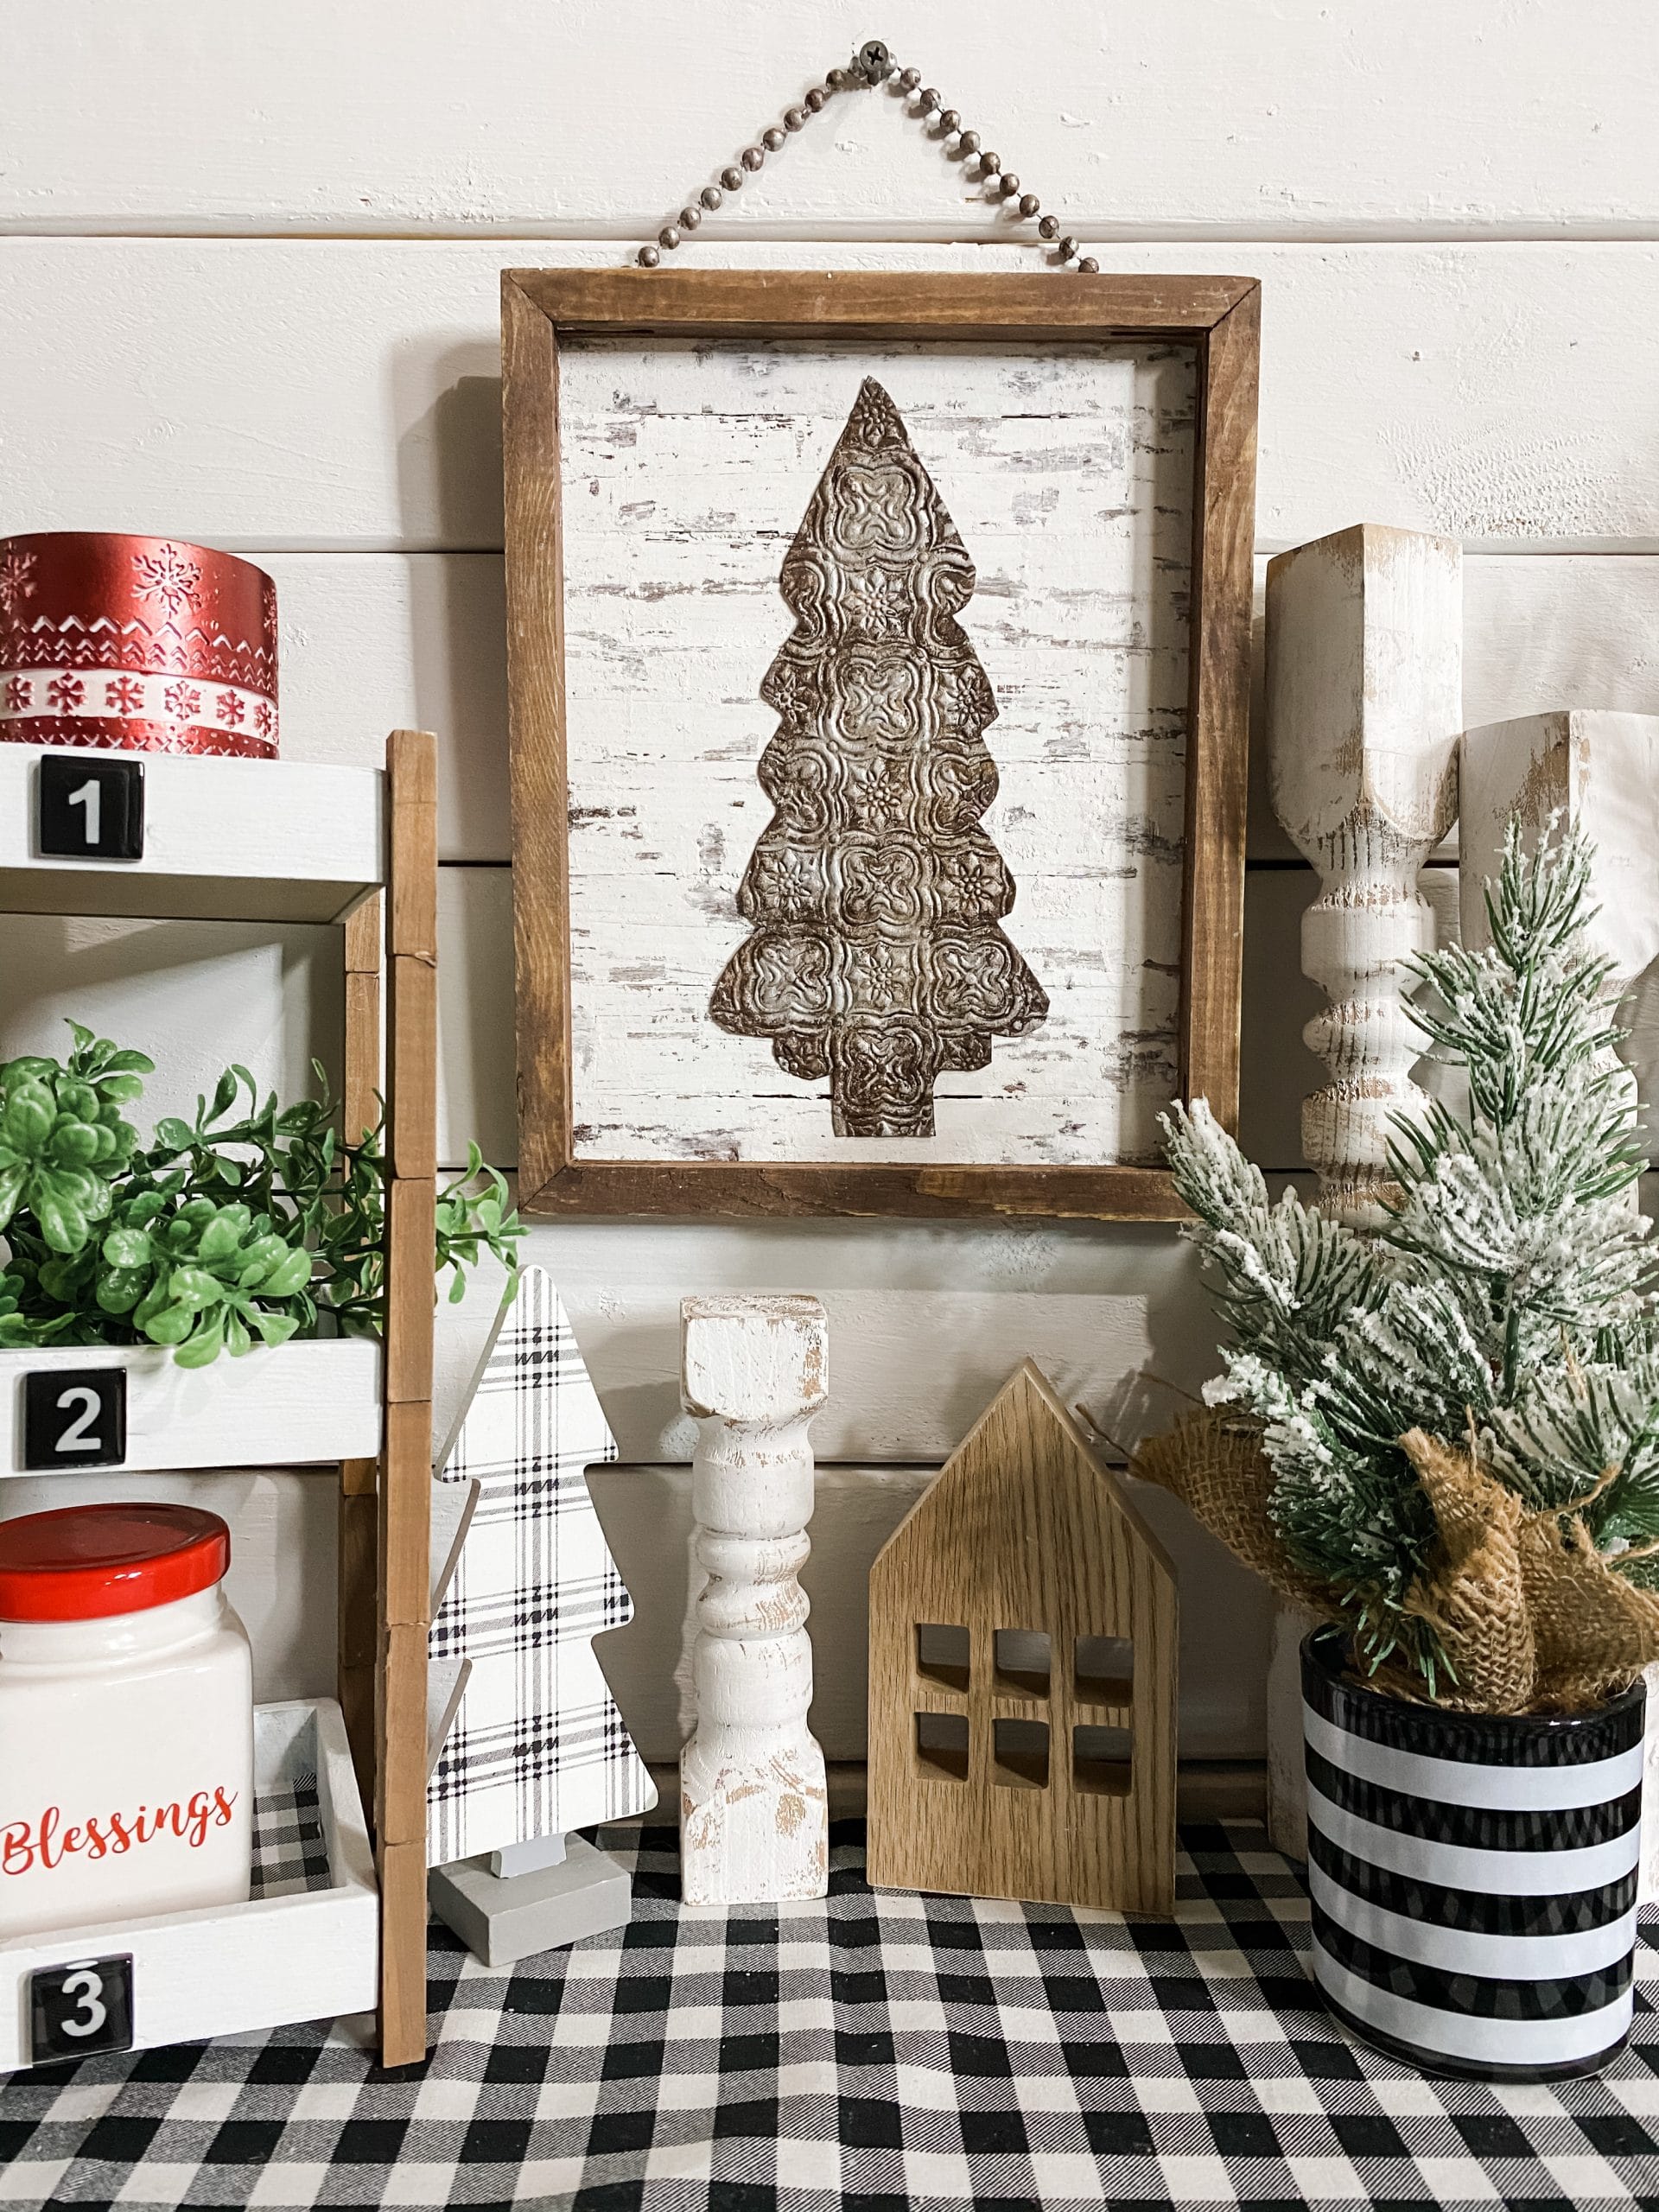
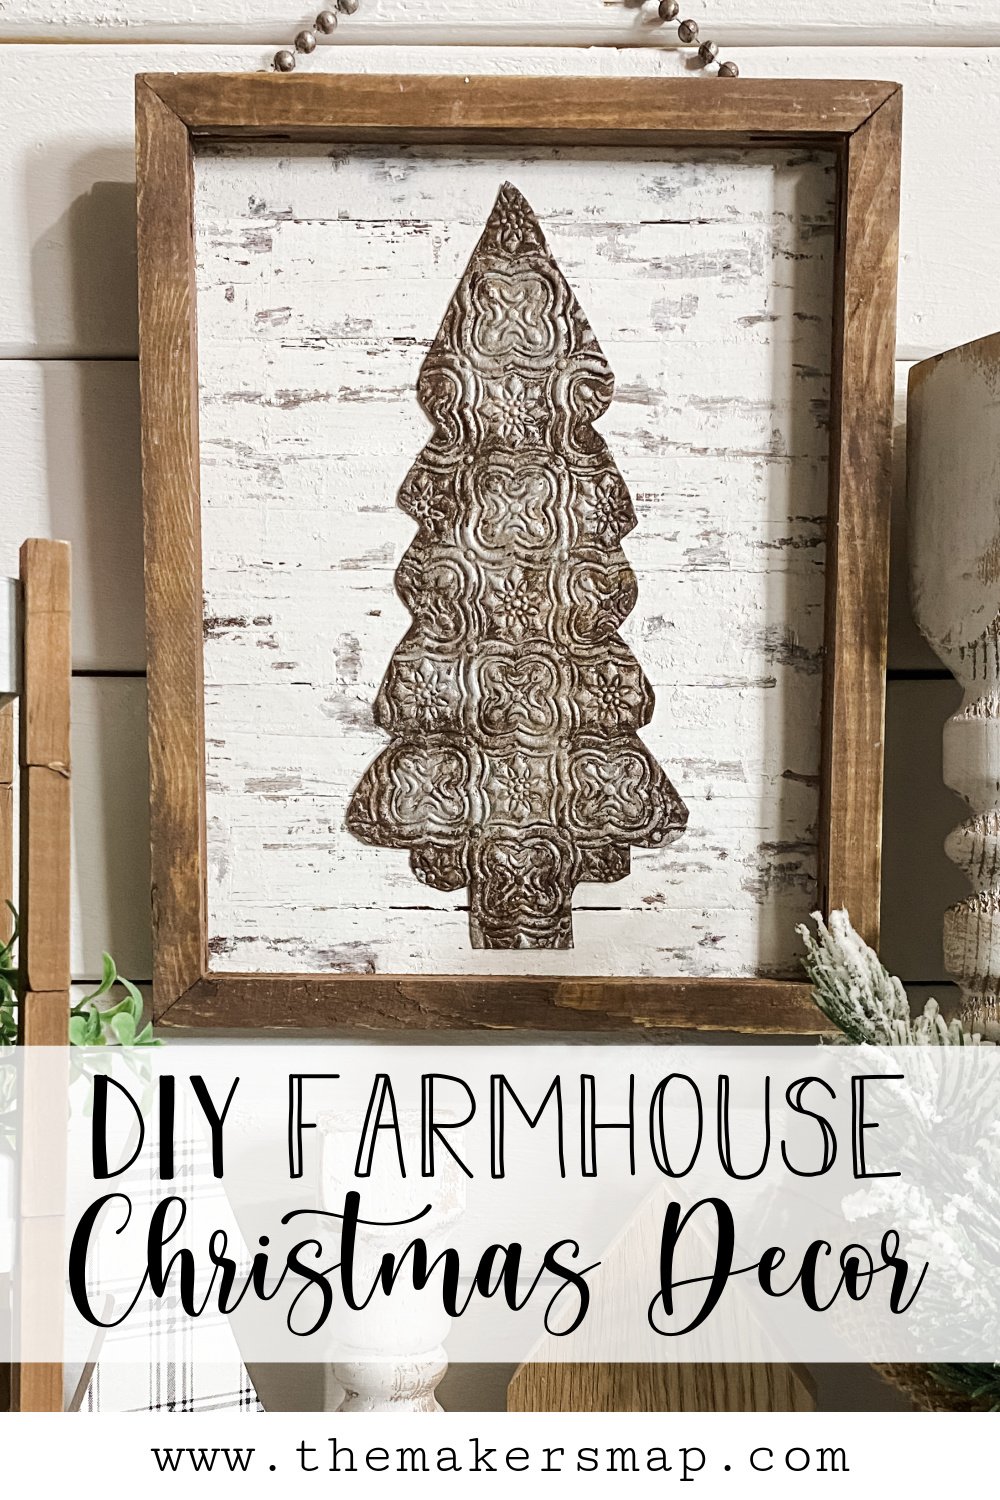
DIY Faux Rust Finish Scrapbook Paper Christmas Tree Sign
I don’t say this often, but I kind of blew myself out of the water with this incredible DIY Faux Rust Finish Scrapbook Paper Christmas Tree Sign.
Now, I know that rustic decor isn’t everyone’s style, but I am a huge fan of it. I mean, if you saw my house decor, it just screams rustic farmhouse.
I always put my heart into my crafts, and honestly, a piece of myself goes into every DIY idea I have. This DIY Christmas decor is no different.
I was able to combine two of my favorite DIY techniques in this craft – a chippy finish and a faux rust effect!
Watch the replay
For the members of my Crafty Crew who are always asking how I do the chippy finish and faux rust effect, this video is for you! I show you my technique for both finishes in this LIVE video replay.
I had such a fun time crafting and chatting with my Facebook followers, so if you are only here for the craft, you may need to fast forward to the parts you want to see.
Enjoy the replay of this DIY Faux Rust Finish Scrapbook Paper Christmas Tree Sign tutorial!
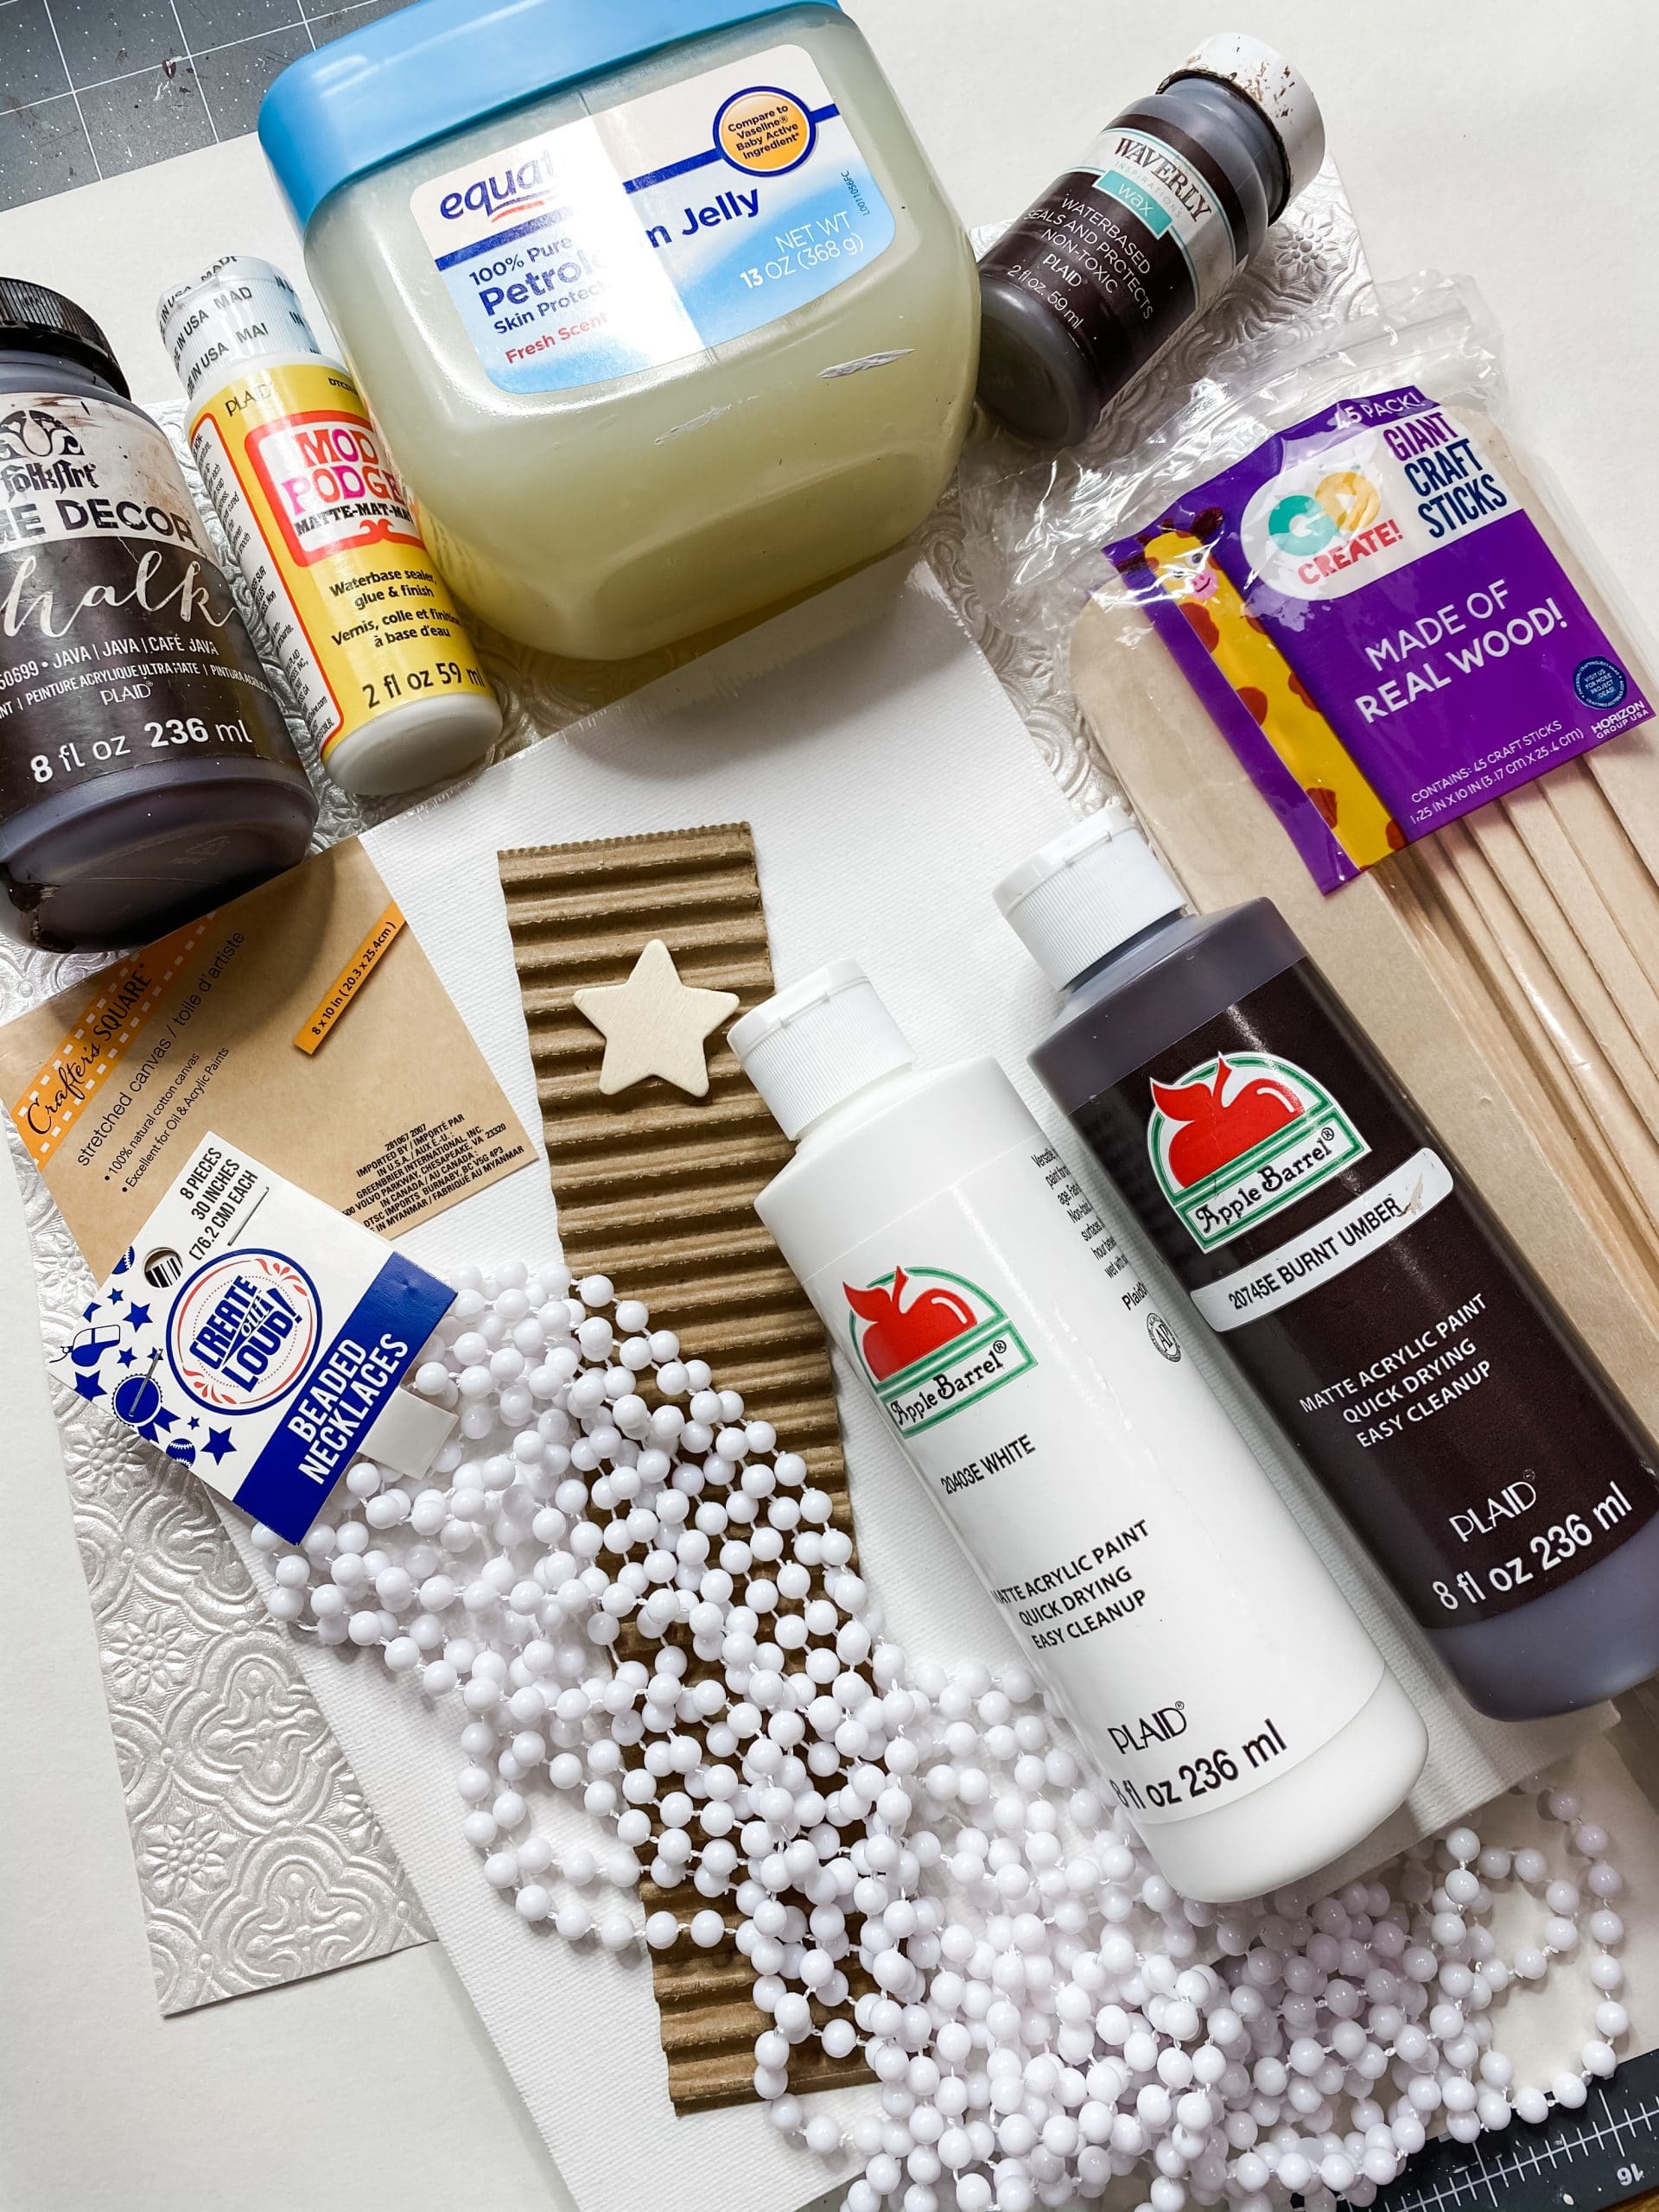
For this project, I will be using these items but you can substitute where you want.
“As an Amazon Associate, I earn from qualifying purchases.”
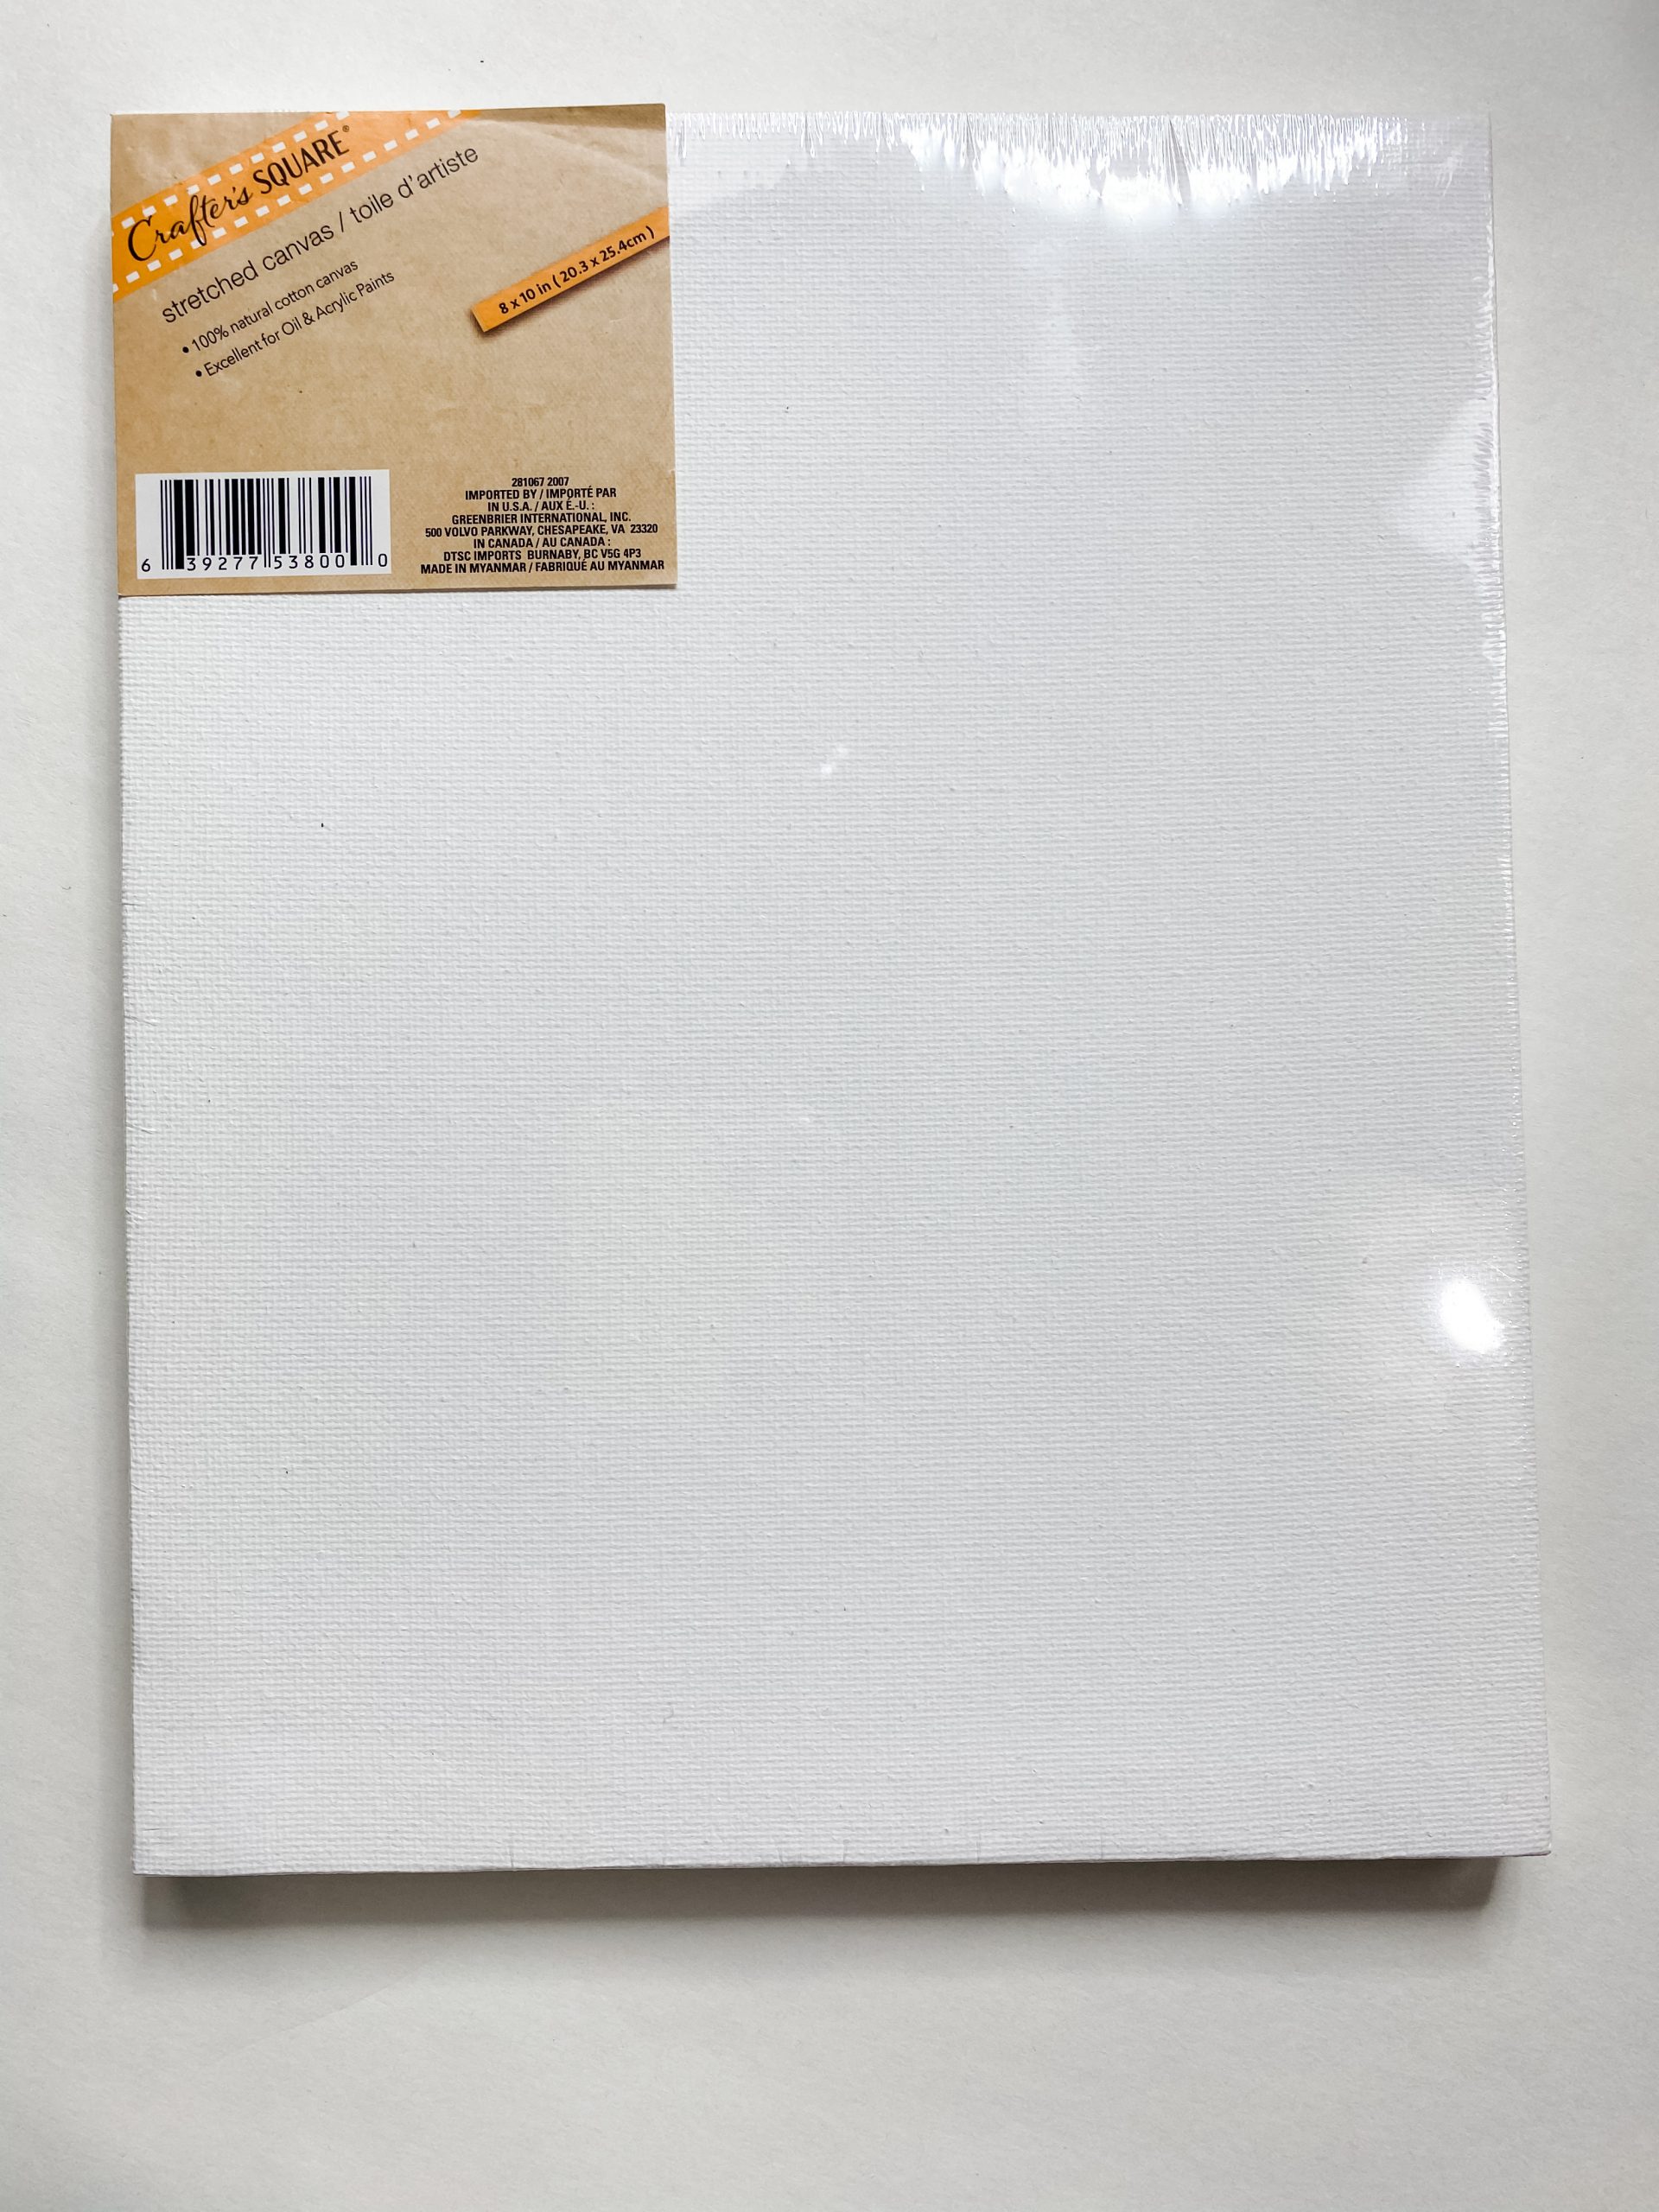
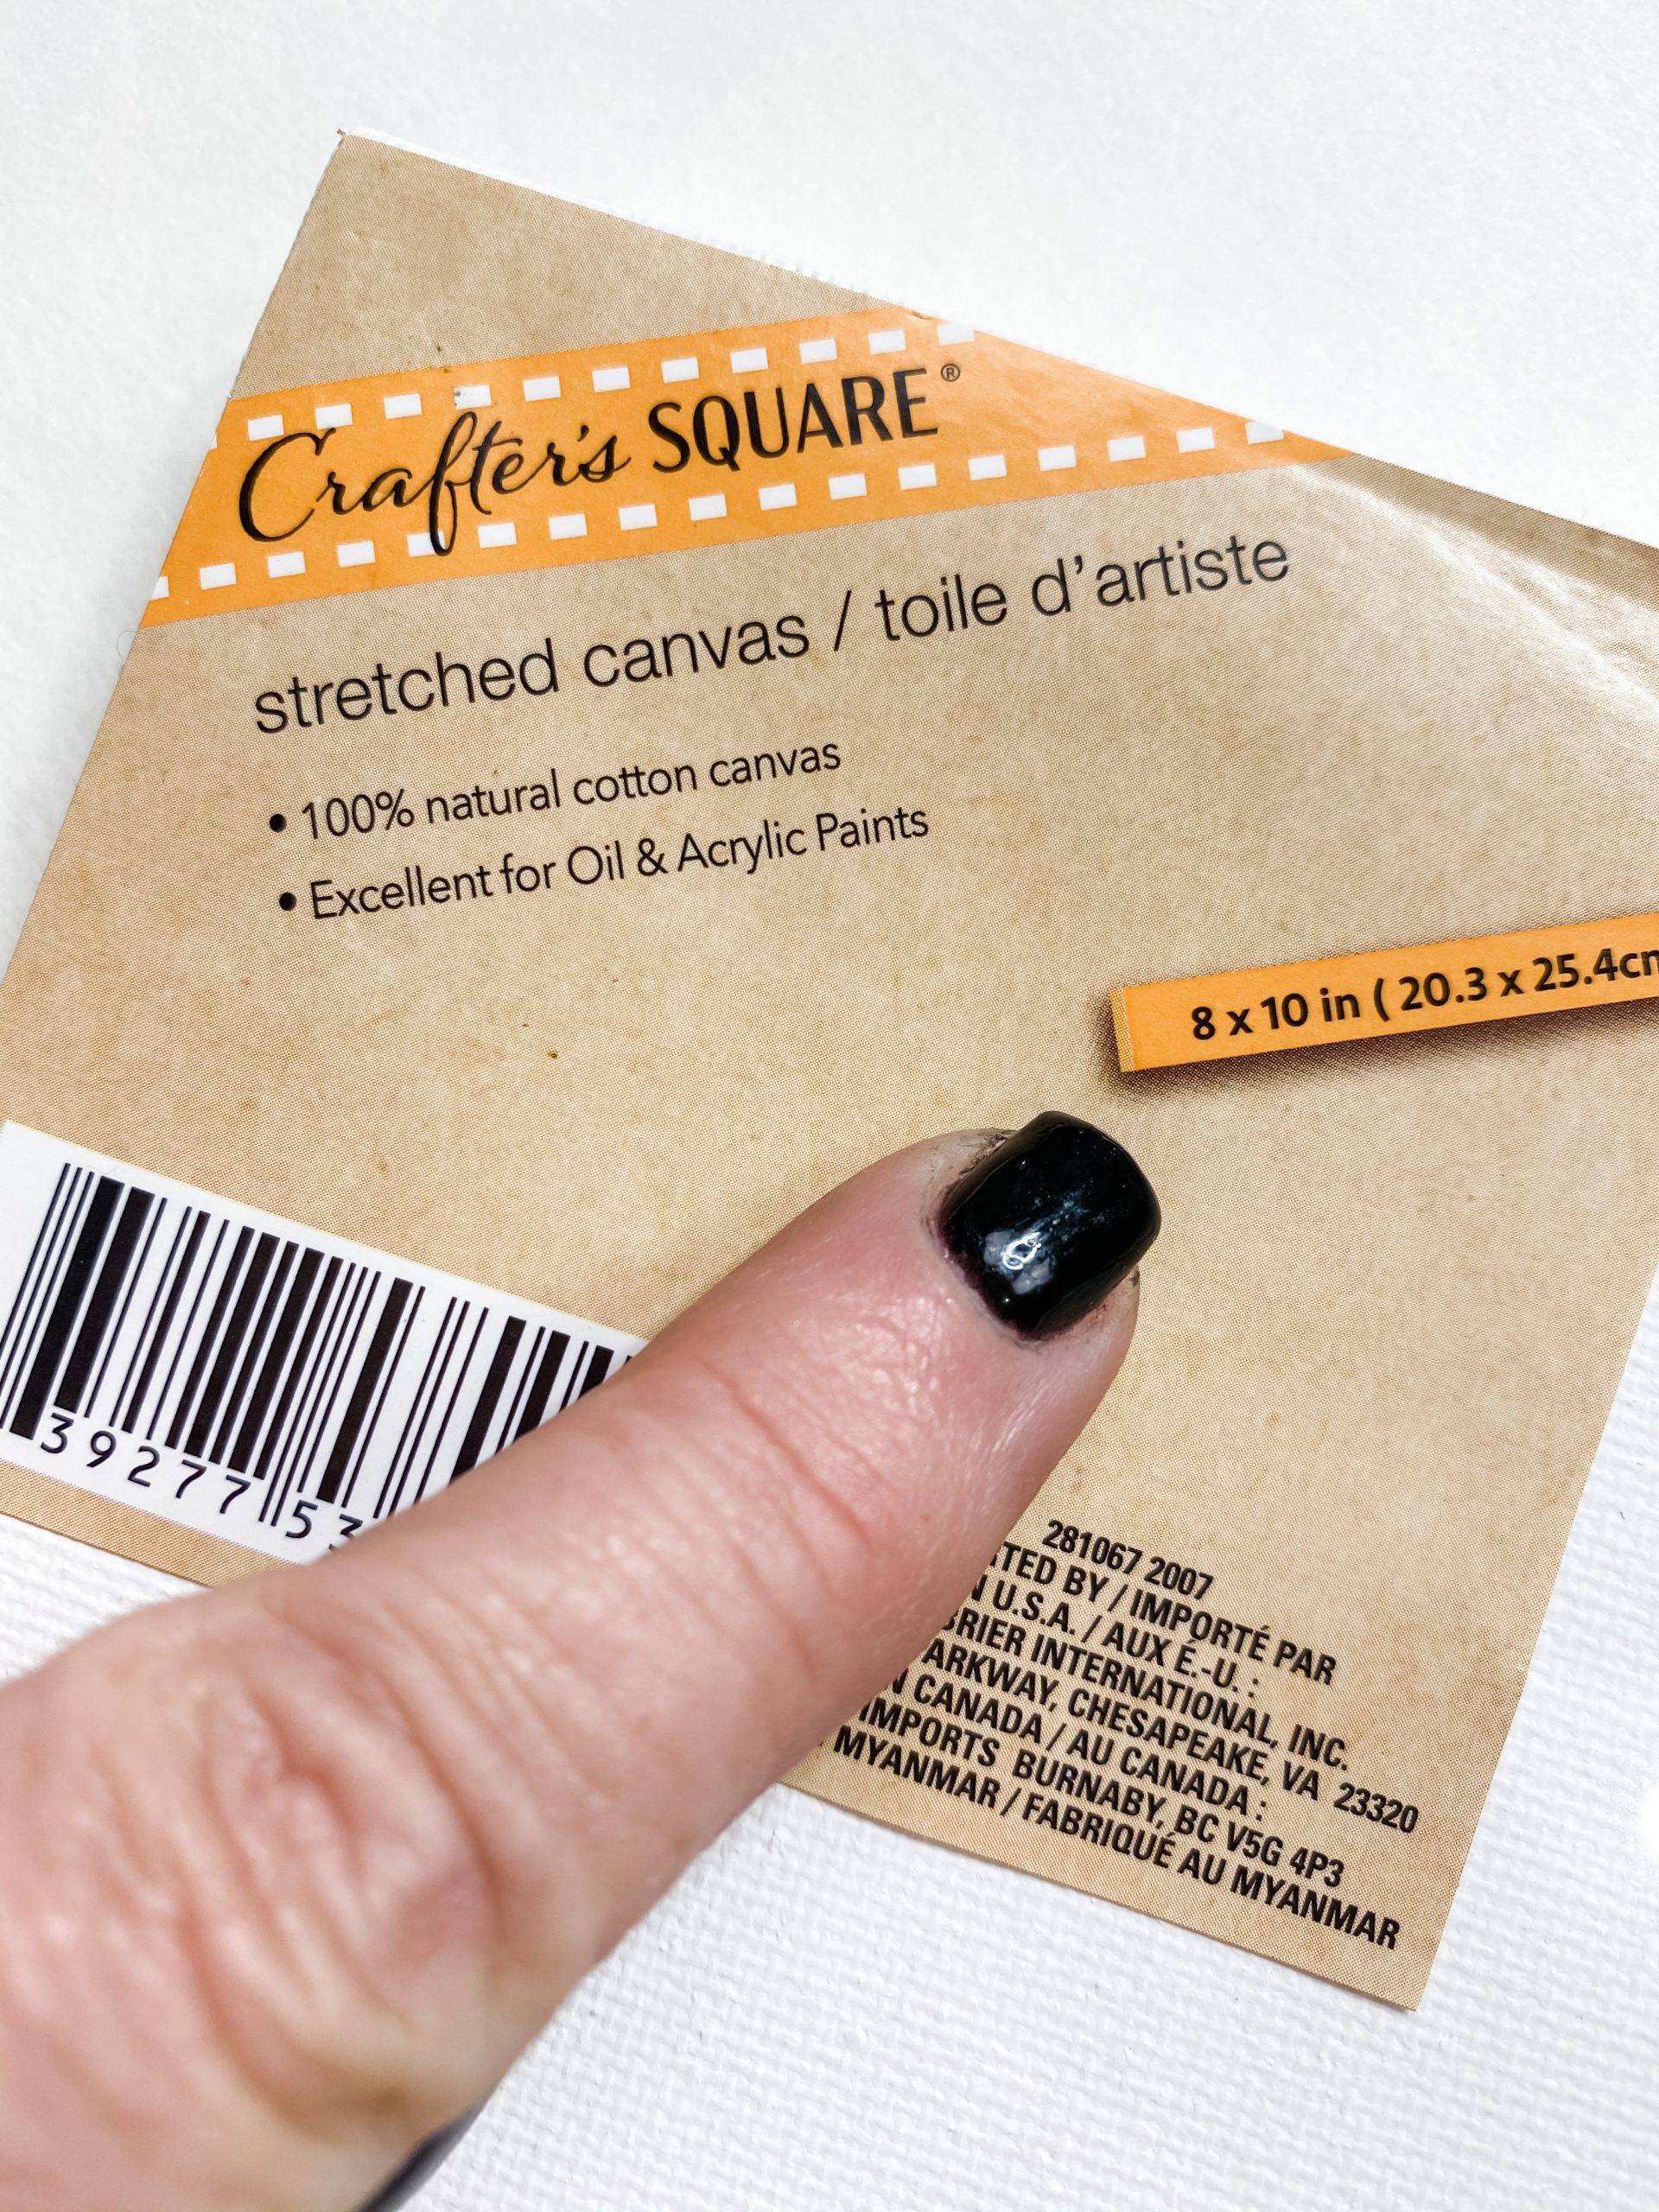
- Dollar Tree 8×10 canvas
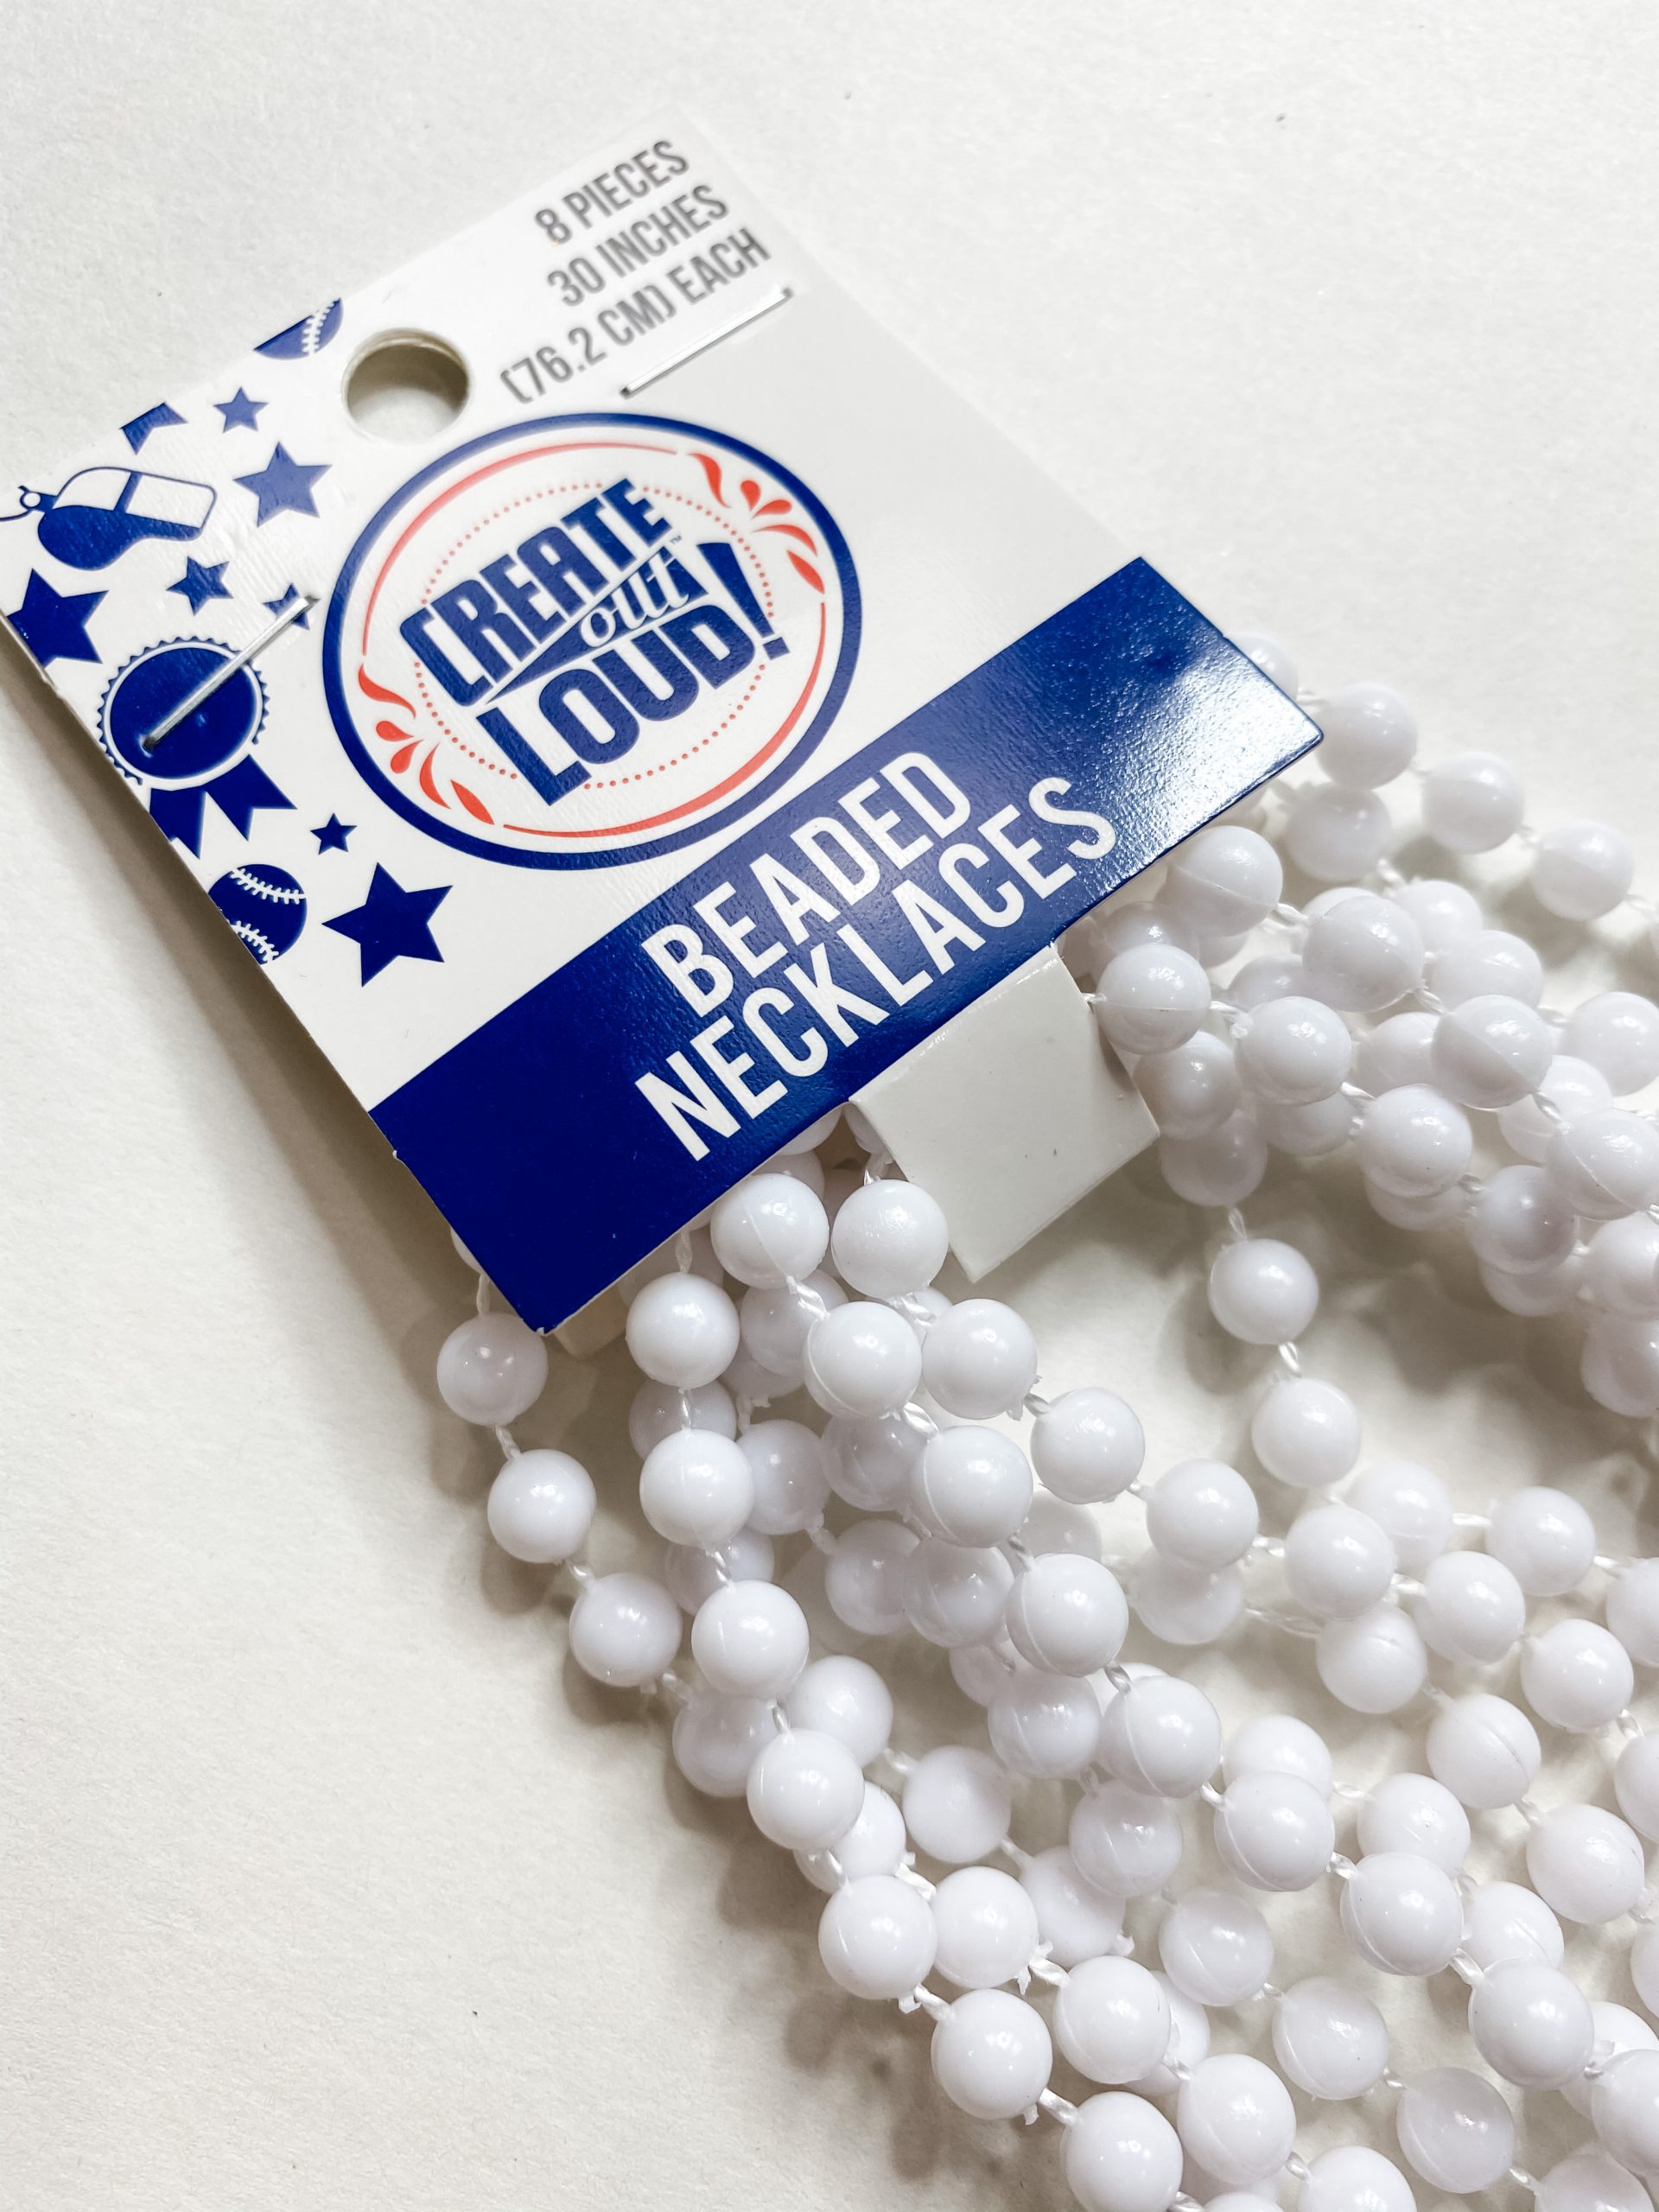
- Dollar Tree Beaded necklace
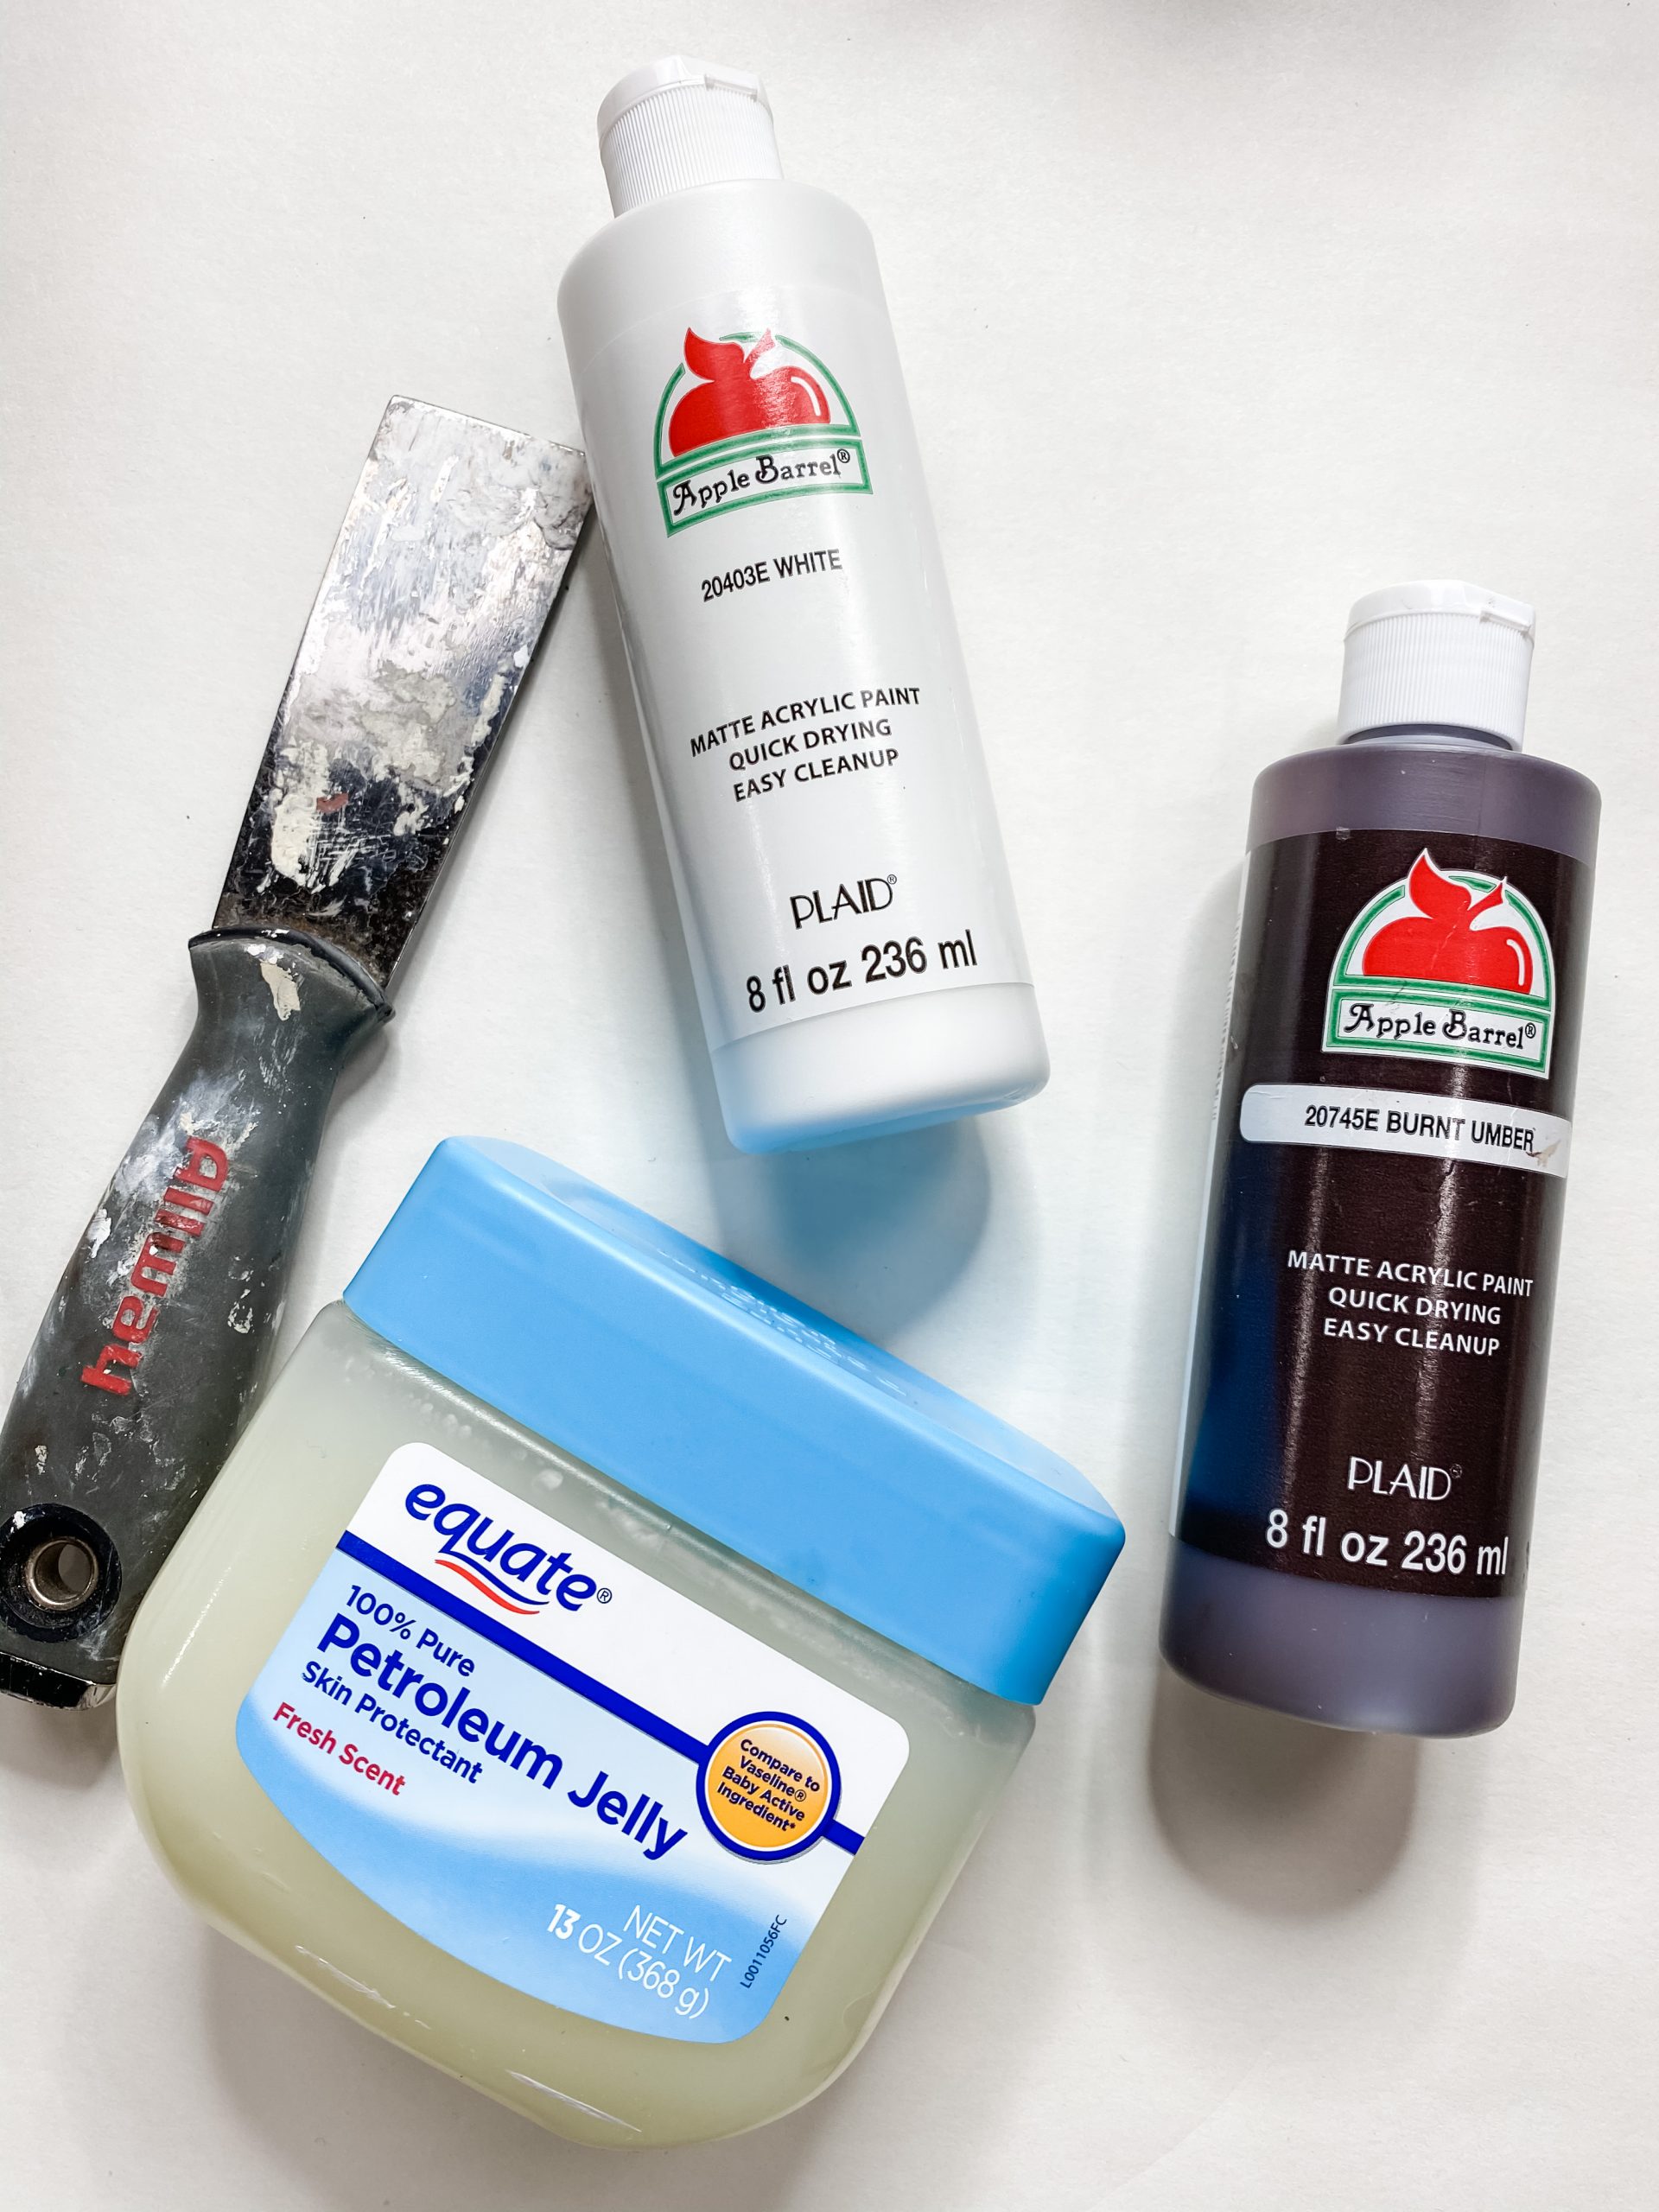
- Apple Barrel White Acrylic Paint
- Apple Barrel Burnt Umber Acrylic Paint
- Petroleum Jelly
- Waverly Antique Wax
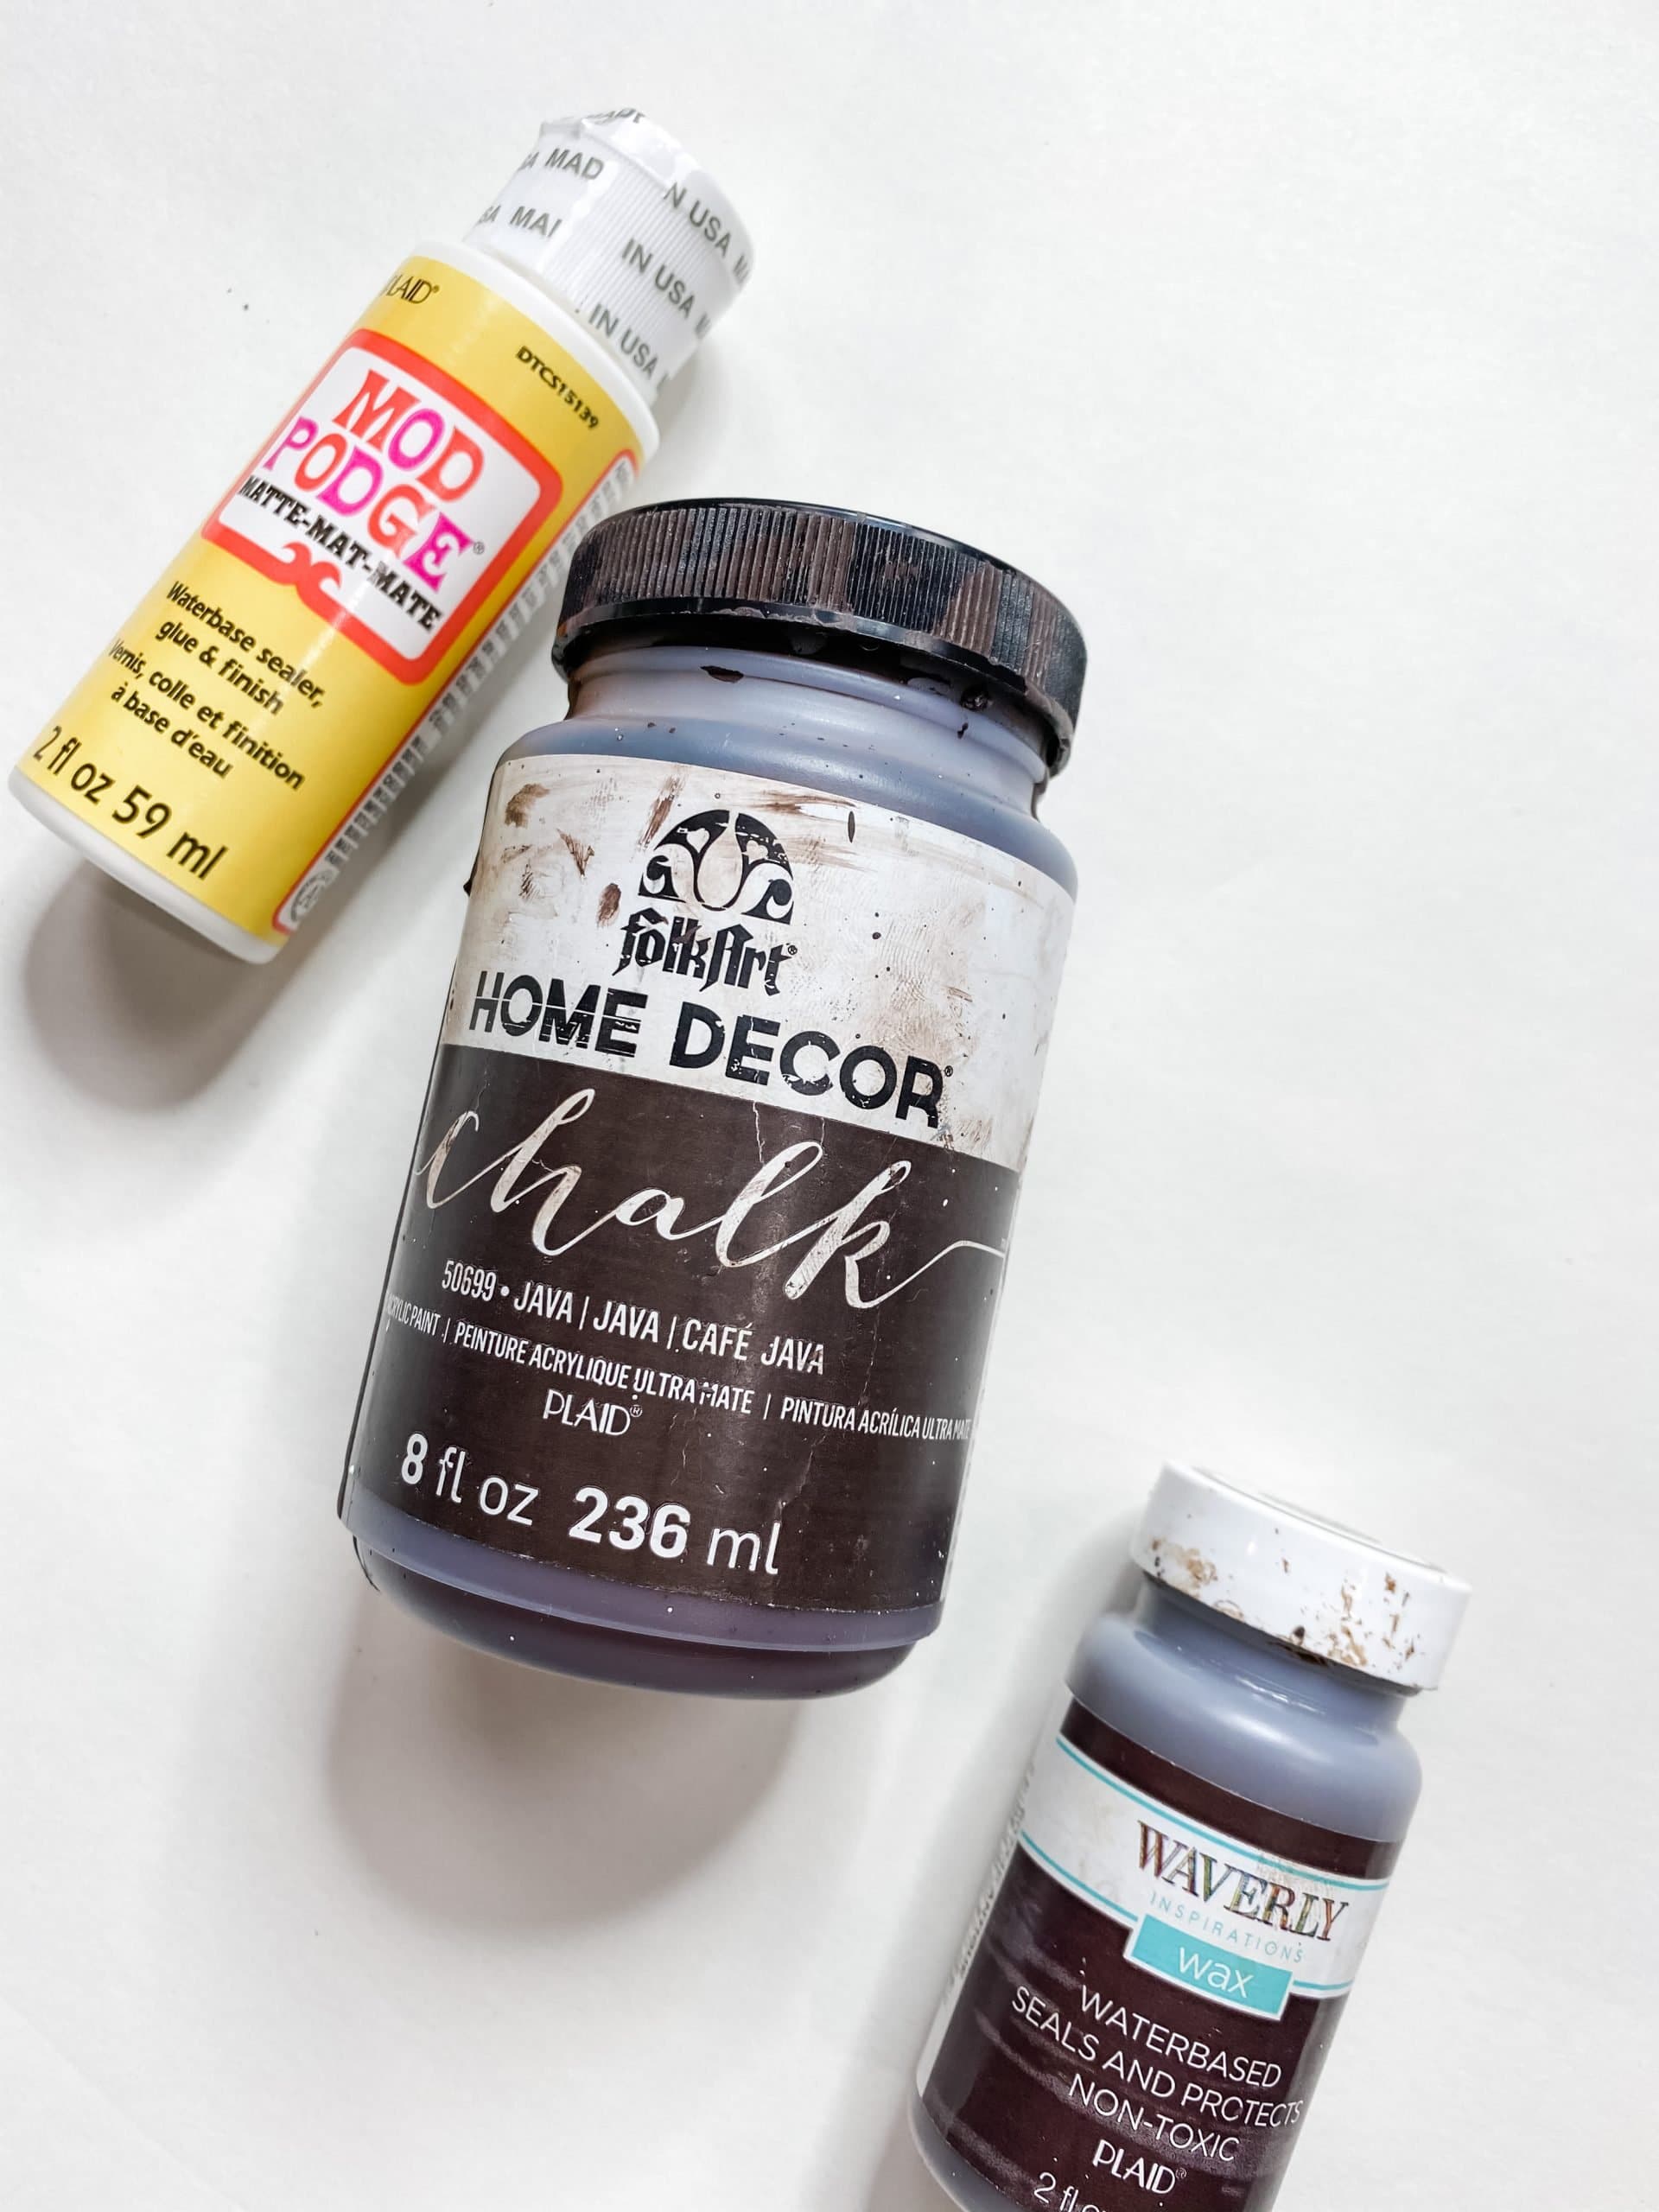
- Folkart Java Chalk Paint
- Mod Podge
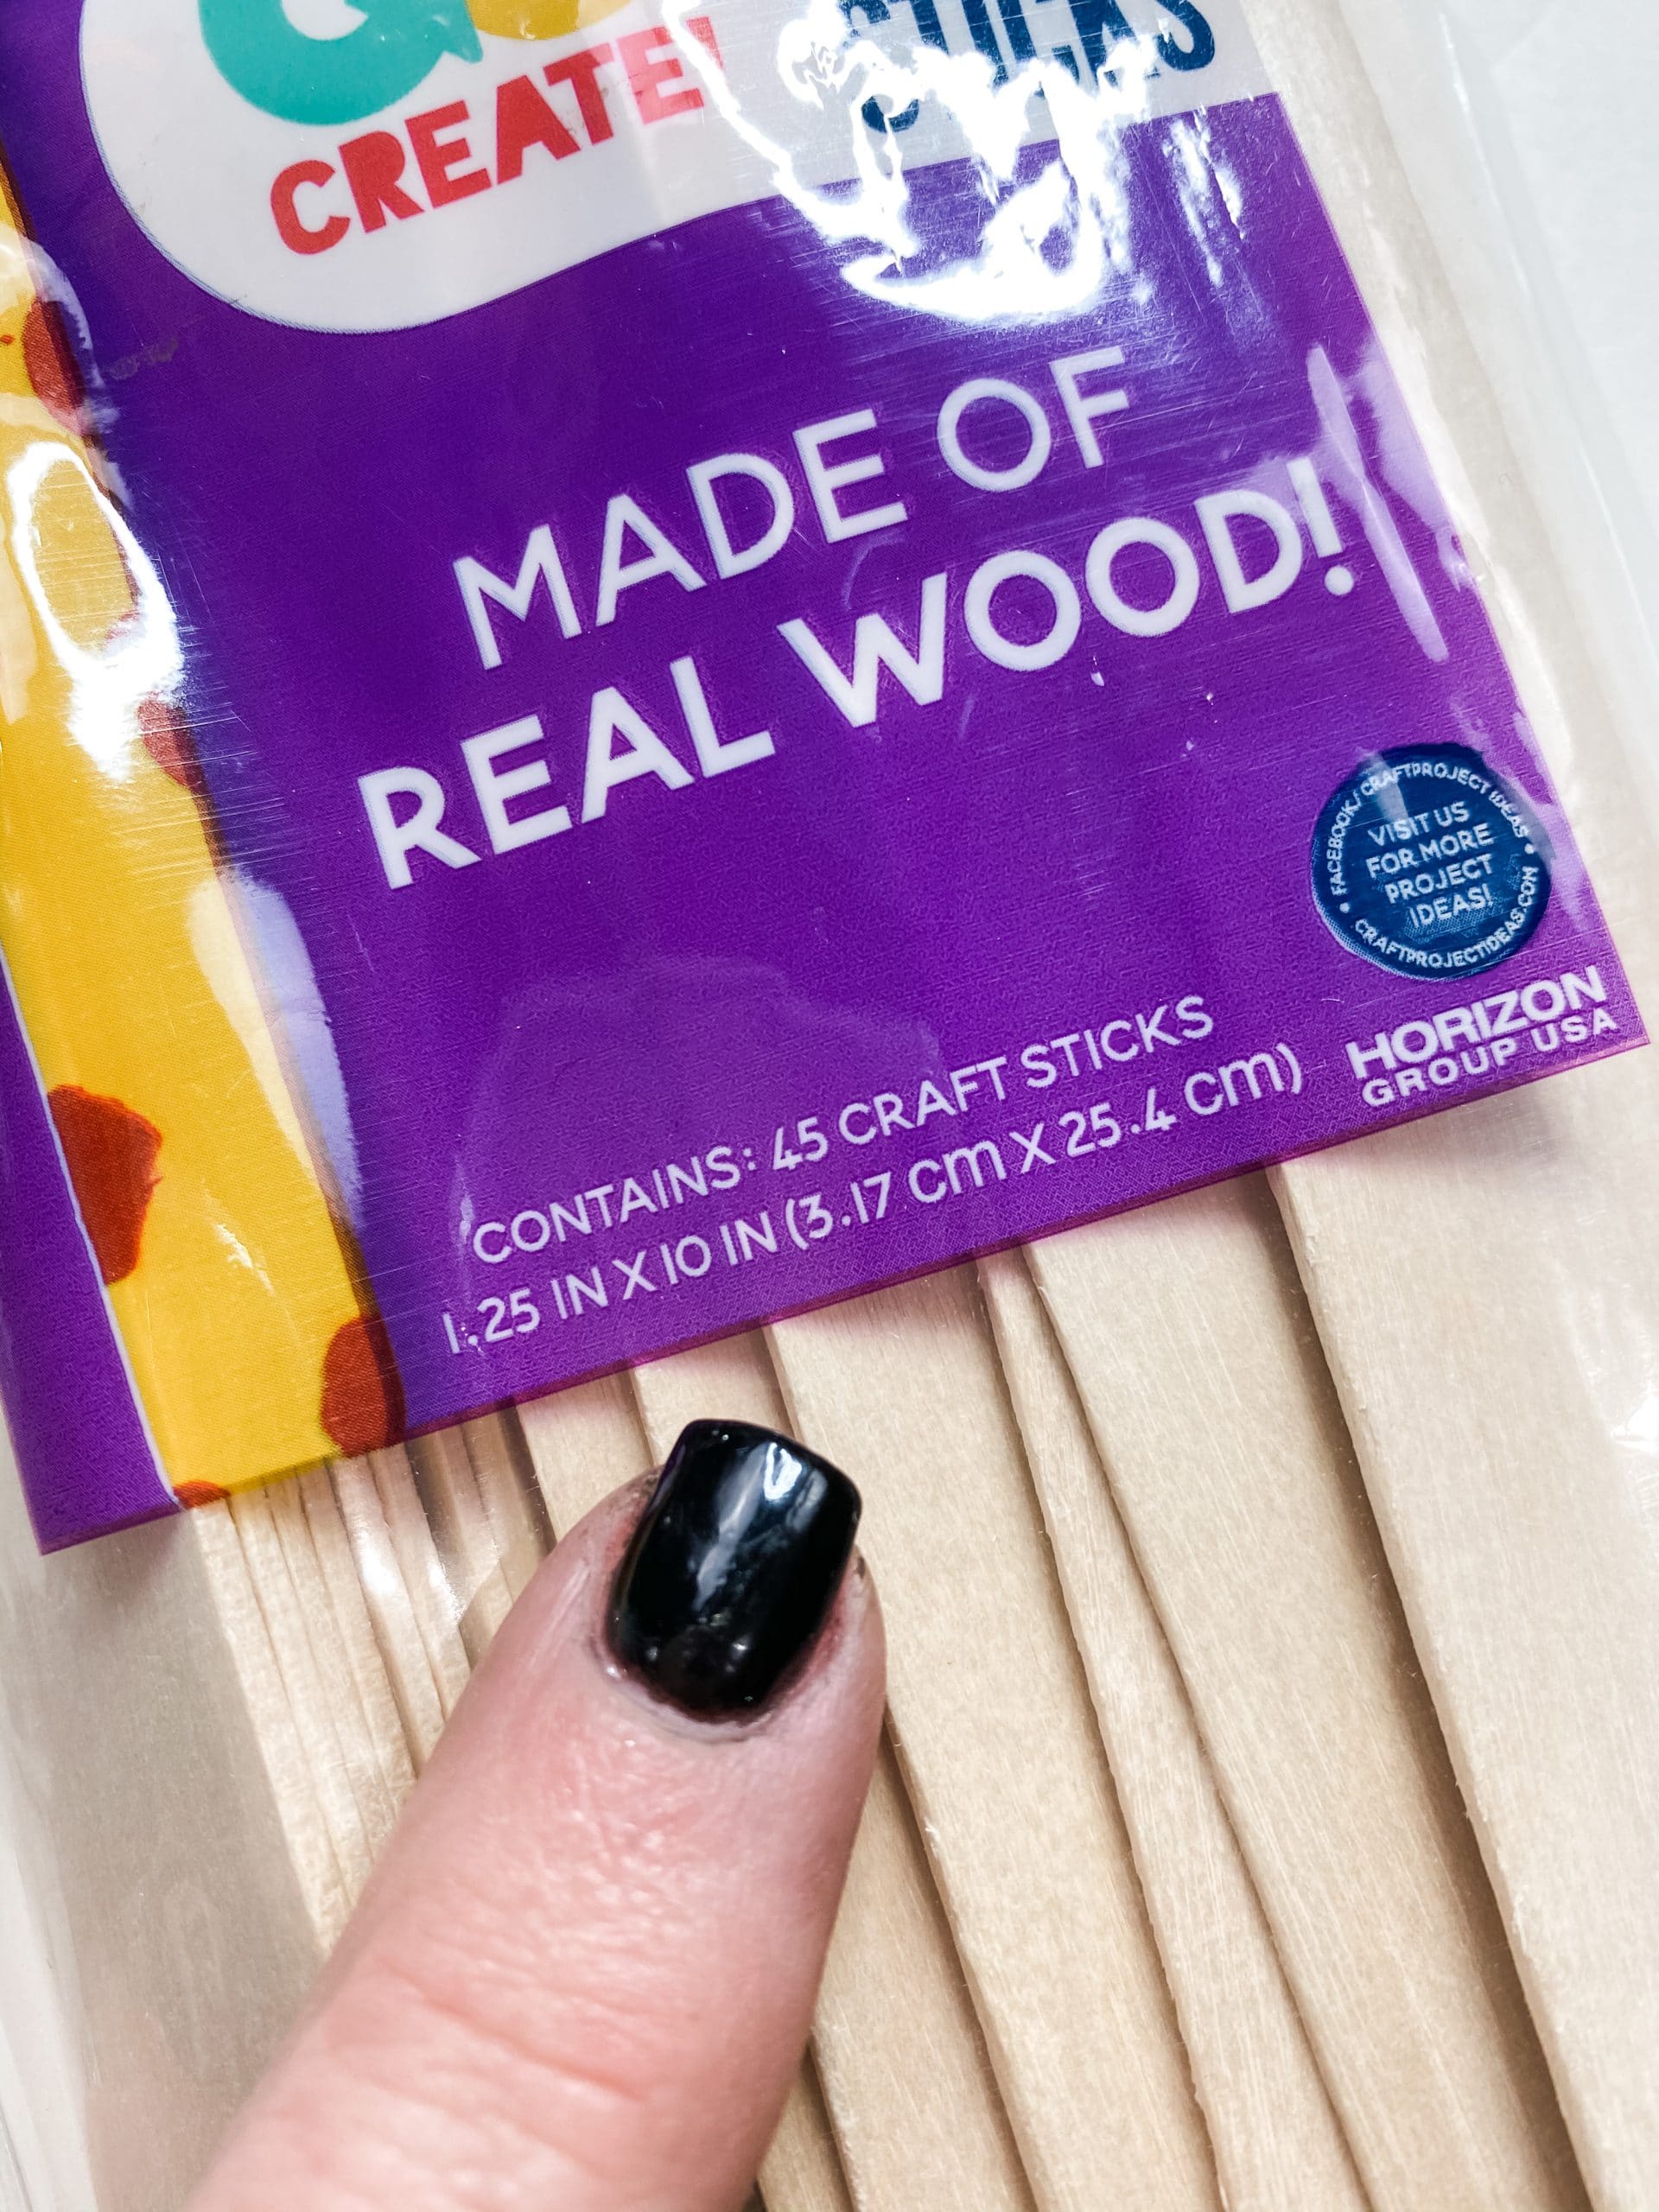
- Giant Craft sticks
- Corrugated Scrapbook paper
- Medallion Embossed Ivory Scrapbook Paper (700369) – Hobby Lobby
- Little wood star
- Glue Gun and Glue Sticks
- Heat gun
Let’s get started!
Alright, y’all. I am so excited to share all the details of how I made this adorable scrapbook paper Christmas tree!
Honestly, this was a super fun DIY project to make because of the faux rust finish on the embossed scrapbook paper. I love doing this faux rust effect in my DIY crafts, but I don’t think I do it enough.
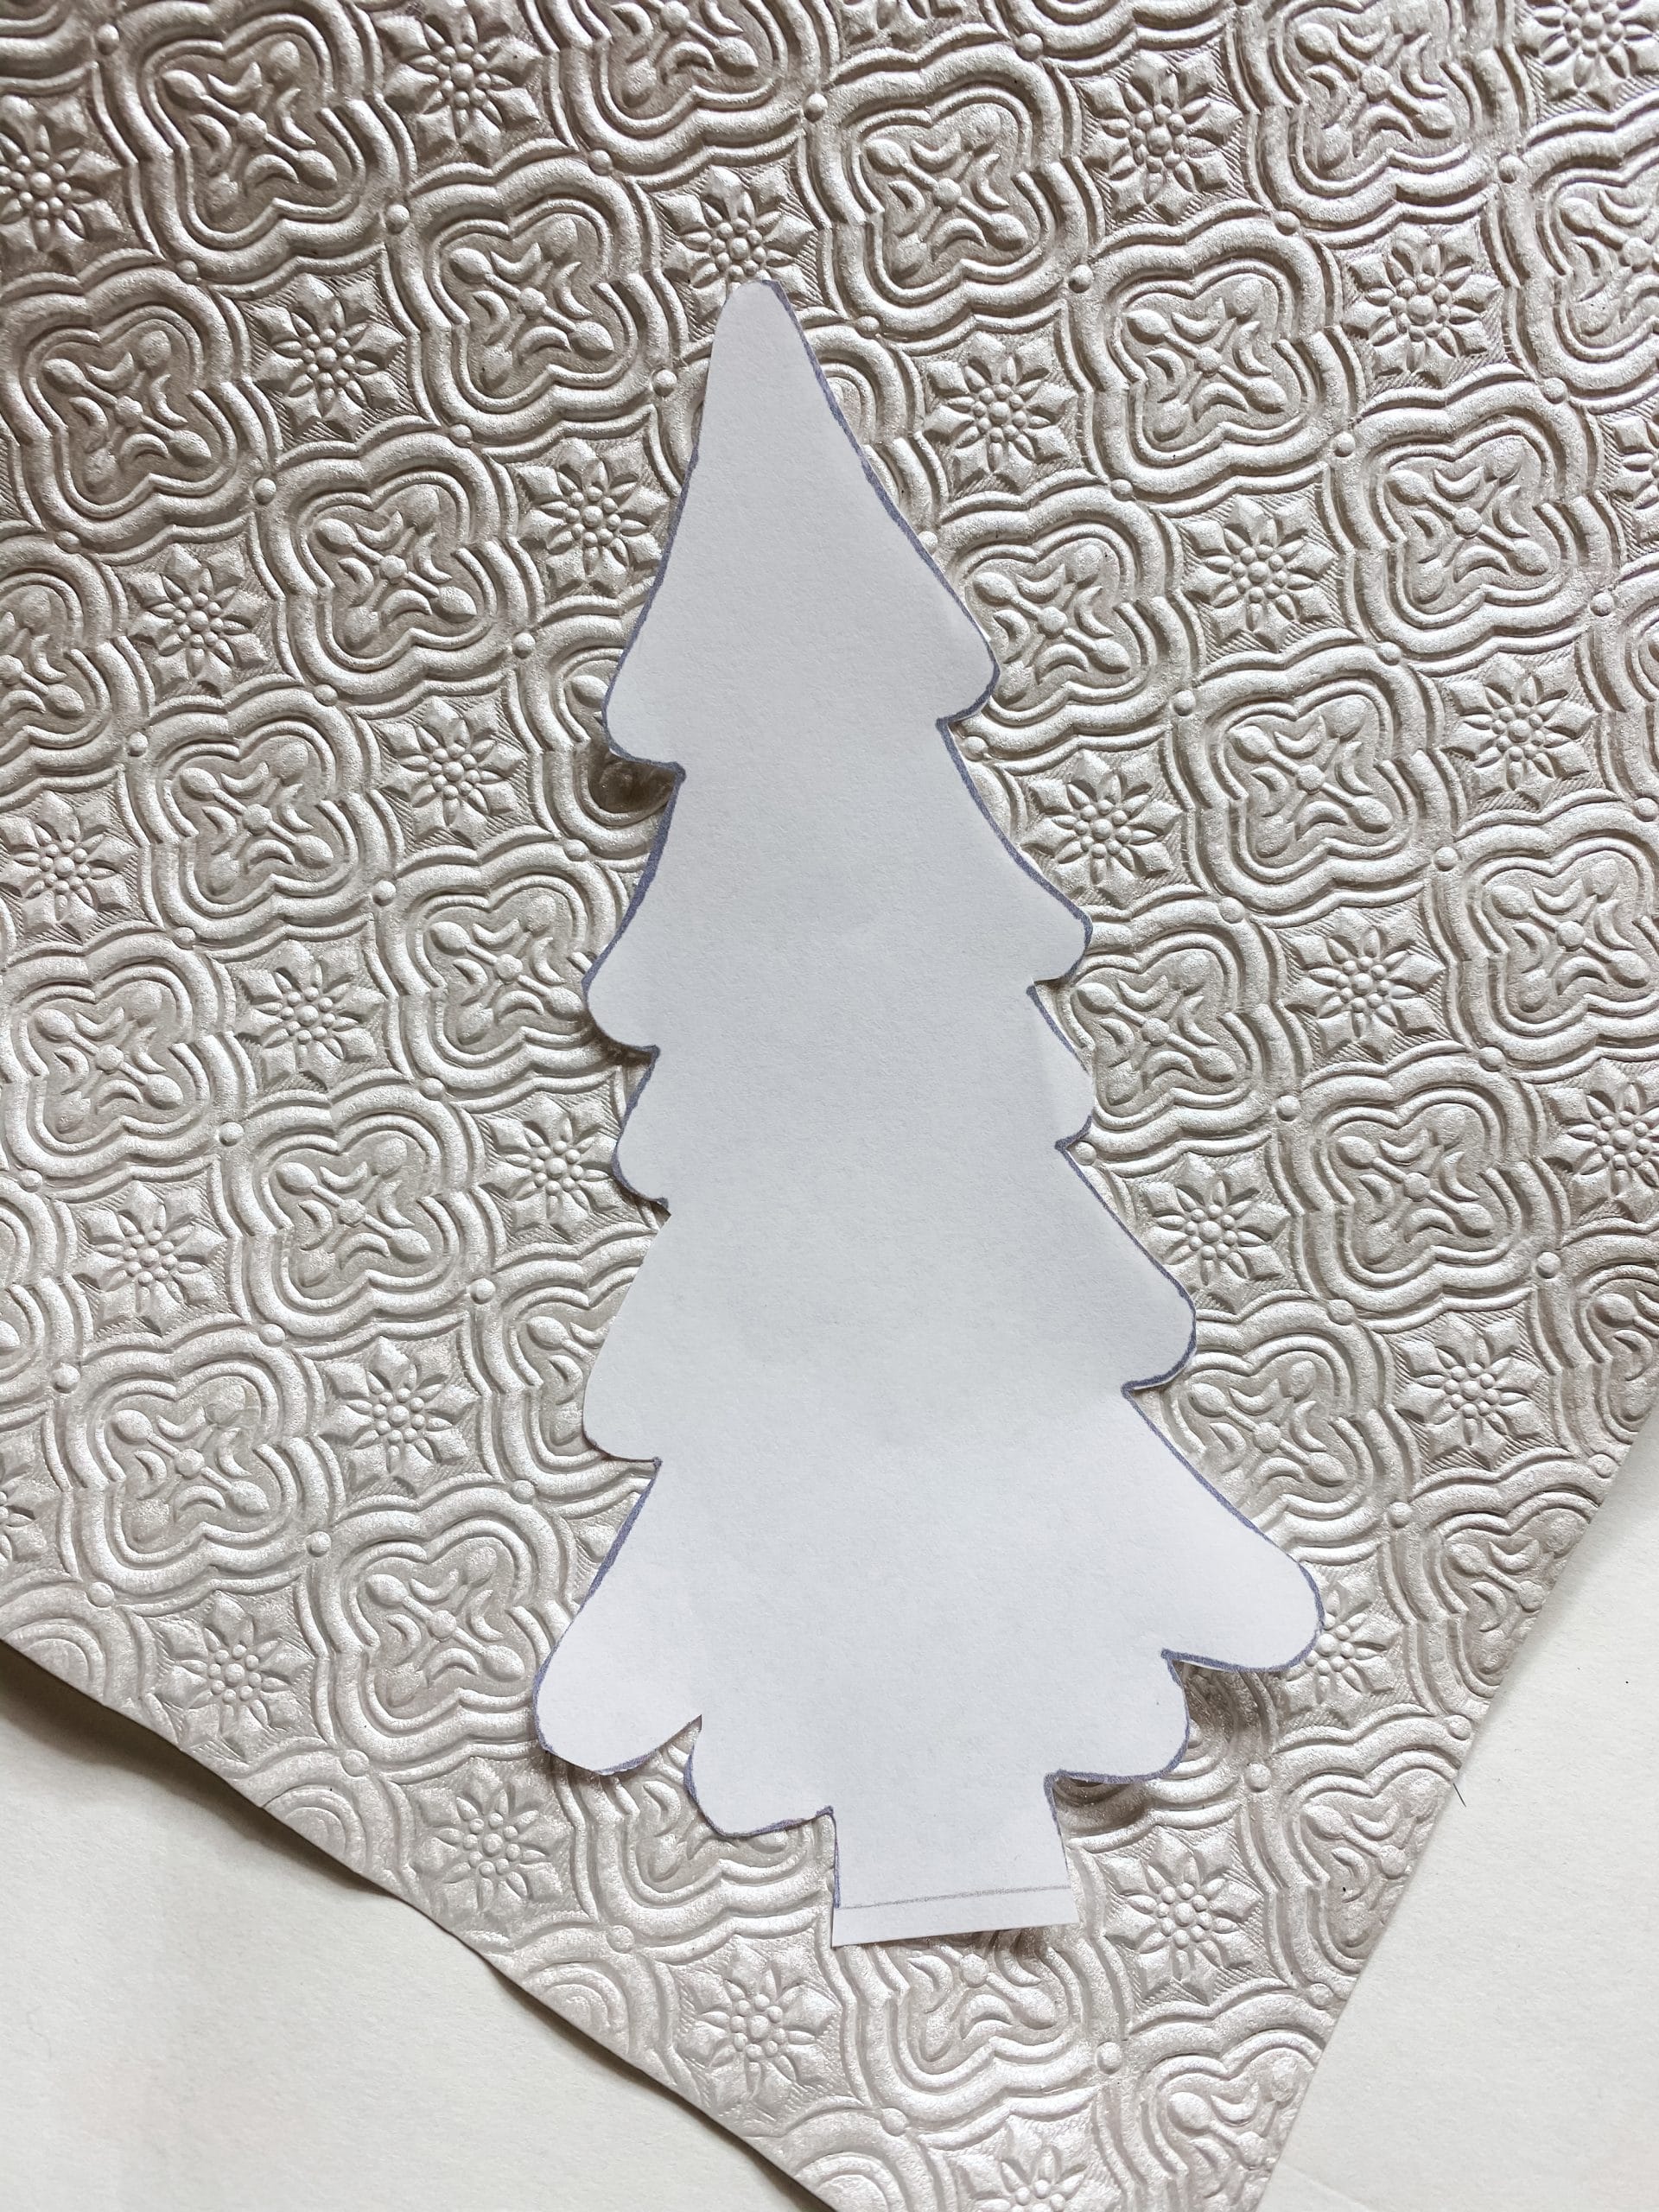
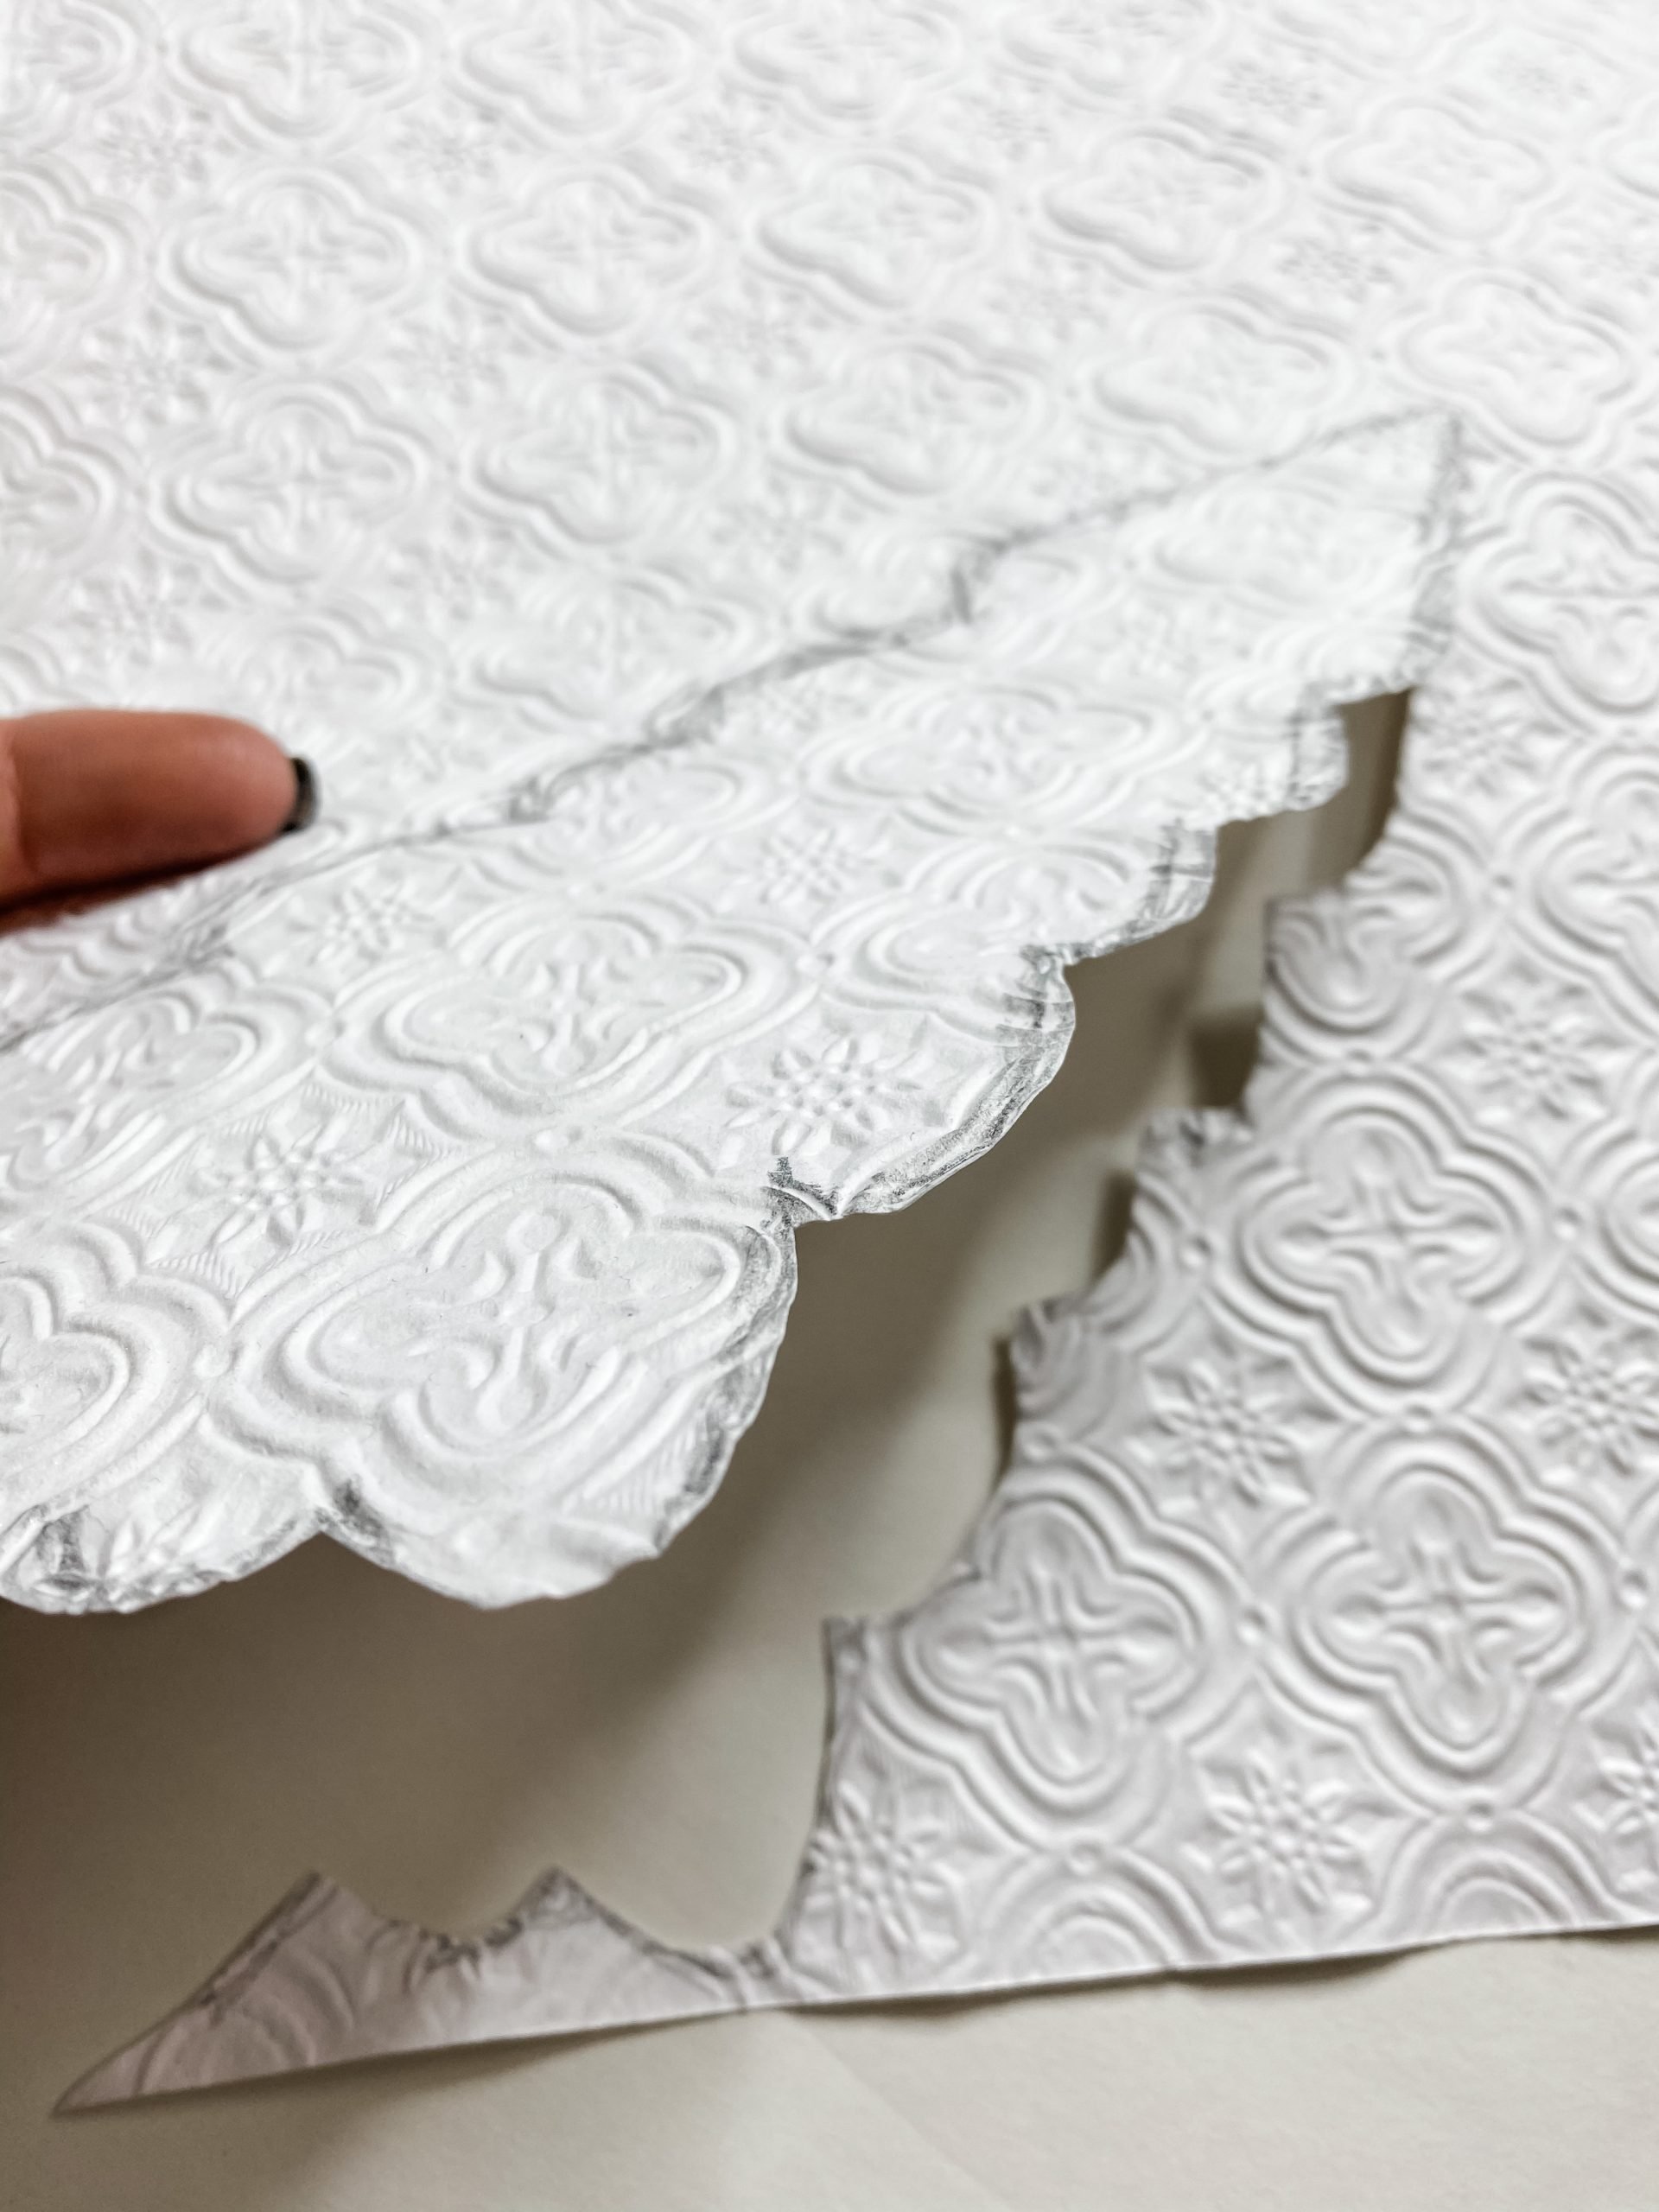
Anyways, let’s get to the details you’re here for! The first step to recreating this affordable Christmas sign is to cut the scrapbook paper into the shape of a Christmas tree.
I have a handy template that I used to get my tree shape just right.
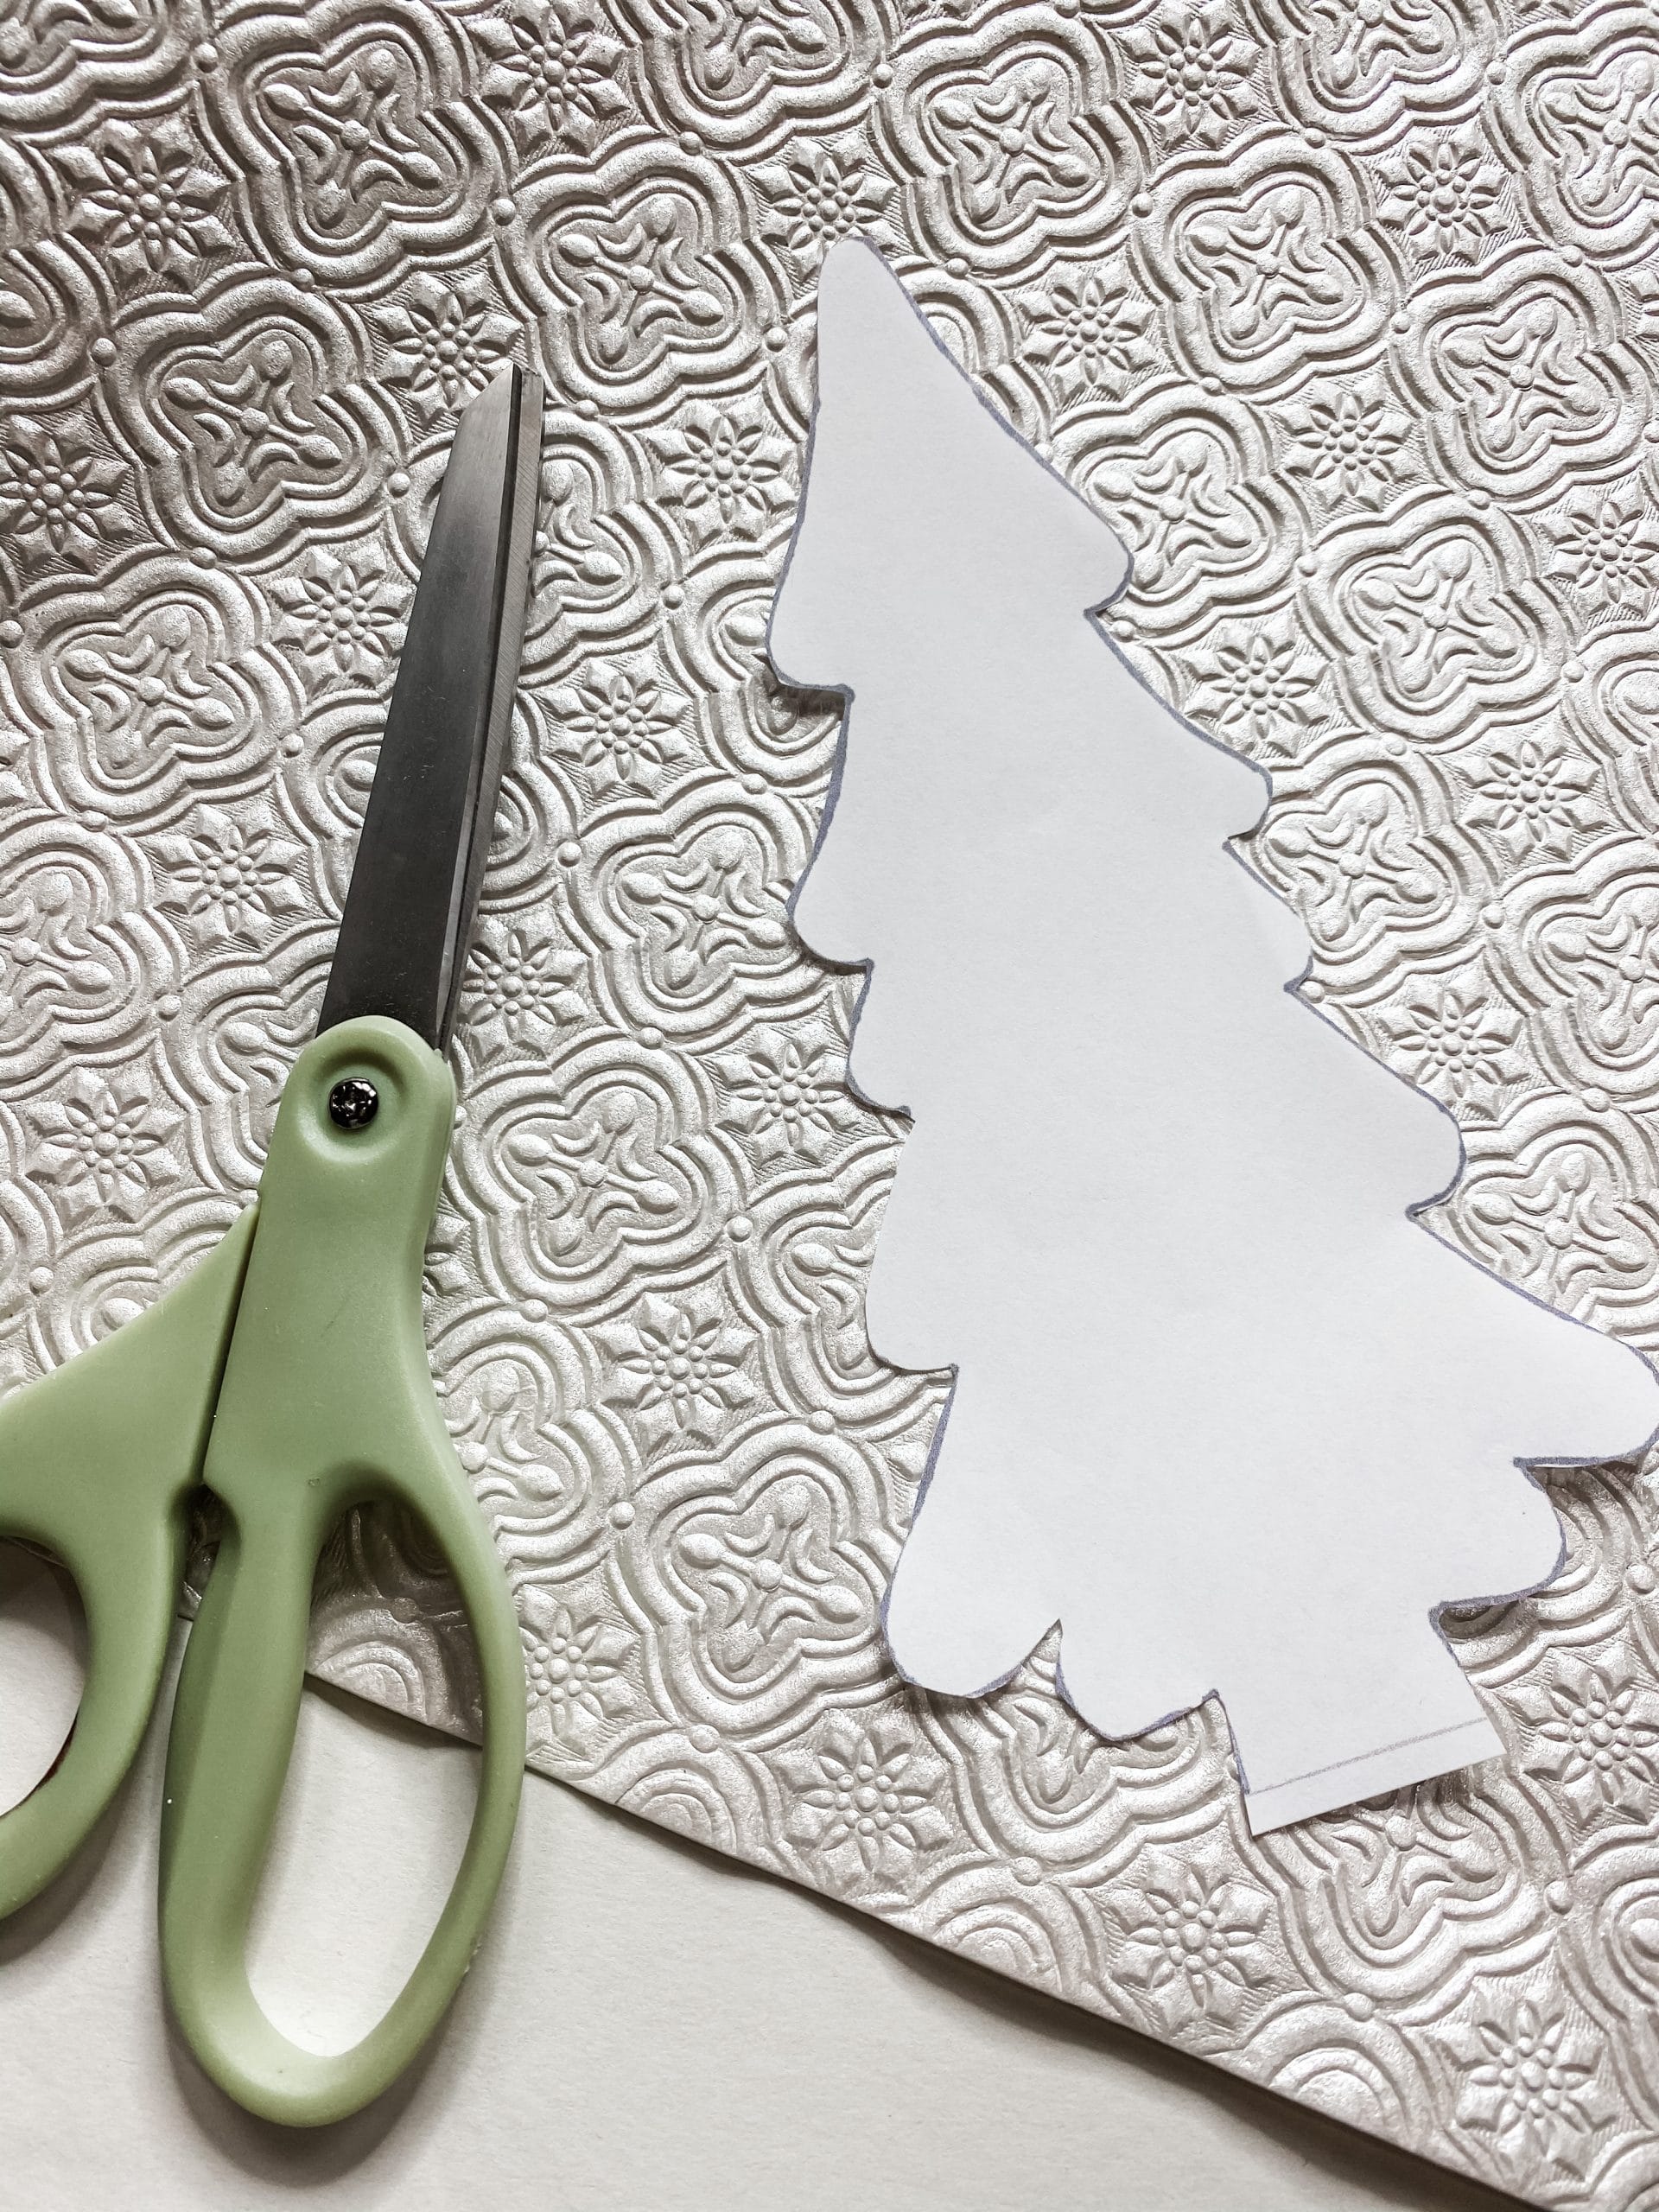
I used the template for a different project first, but it was so perfect for this rustic DIY too. You can get a FREE copy of my Christmas Tree template sent straight to your email!
I used a super cute embossed scrapbook paper from Hobby Lobby for this rustic Christmas tree. I don’t usually splurge on the more expensive scrapbook papers, but I FOUND THIS ONE ON SALE!! Seriously, I was happy dancing in the Hobby Lobby!

Dollar Tree Canvas
If you’ve seen any of my blog posts, you’ve undoubtedly seen me use a Dollar Tree canvas before. They’re just so versatile (AND CHEAP!) that I can use them for almost everything!
The first thing I did to this Dollar Tree canvas for this project was remove the canvas from the frame. Now, you can do this one of two ways.
The first option is just to tear it off in any way possible. Rip it open and pull it off. The second way, and the way I did it for this project, is to cut around the edges of the frame and carefully remove the canvas.
I chose to be a little more careful and thoughtful this time (I’ve definitely just ripped it off before) because I have plans for the canvas. I won’t use it for this DIY, but it will come in handy later on!
Once you have the canvas removed, you have to do something with the staples. Again, you have two options.
First, you could remove the staples. Or, you could just hammer them back into place. I’m more likely to injure myself by removing staples, so I just lightly tapped each staple back into place with a hammer.
My frame was actually a little wobbly, so I did use a stapler to add a staple to one of the corners to make the frame a bit sturdier. This isn’t necessary, though.
Make the background
Alright, we removed the canvas from the frame, so now we need to replace it with something. I used giant craft sticks from Walmart! I love doing this because then I can give it a chippy finish!
It took 8 of the giant craft sticks to cover the back of the Dollar Tree canvas frame. Trim the ends so there are straight edges instead of curved ones.
Then. secure the craft sticks together by hot-gluing a popsicle stick or craft stick across the back as a brace.
I had to do this before I attached the craft sticks to the Dollar Tree canvas frame because I wouldn’t be able to get that perfect chippy finish if the sticks were already glued to the frame.
By securing the craft sticks together with a brace, I can adequately paint the surface and get the look I wanted.
Let’s get chippy!
Once your craft sticks are secured, you can start painting! The first step of any chippy finish is to stain the wood.
I used Apple Barrel Burnt Umber Acrylic Paint to stain the craft sticks and the wood canvas frame.
First, spray the wood with water. The water helps the wood absorb the paint and gives it a stained finish rather than a painted look.
Next, use a baby wipe to spread the brown paint across the entire surface of the wood. You can use a clean wipe or paper towel to wipe off any excess paint from the wood.
Allow the wood to dry before moving to the next step. I like to use my heat gun to speed up the drying process.
Set the canvas frame to the side, because we are only giving the craft stick backing a chippy finish.
Once the sticks are dry, you’re going to use a chippy paintbrush to apply petroleum jelly to random areas of the craft sticks. Where ever you apply the petroleum jelly is where you will have a chippy finish.
After you’ve applied the petroleum jelly, you’re going to paint the entire surface with Apple Barrel White Acrylic Paint.
Use a 1-in chippy brush and start with strokes going the same direction. You won’t get an even coat from the first coverage, and that’s okay.
Wet the brush again and go across the entire surface, but this time use strokes perpendicular to your last ones.
This is going to help prevent streaks and obvious lines. There still won’t be complete coverage of paint.
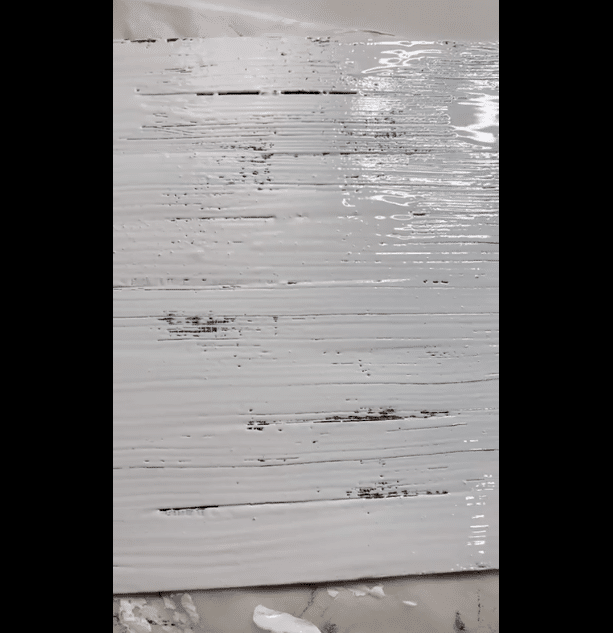
Allow the white paint to dry almost completely. It will still be wet in the places that you applied the petroleum jelly to.
Now, use your putty knife to lightly drag over the wet places and pull the paint up. Keep dragging the putty knife over the spots where the paint was wet and you’ll notice that the paint dries with the chippy look as you go.
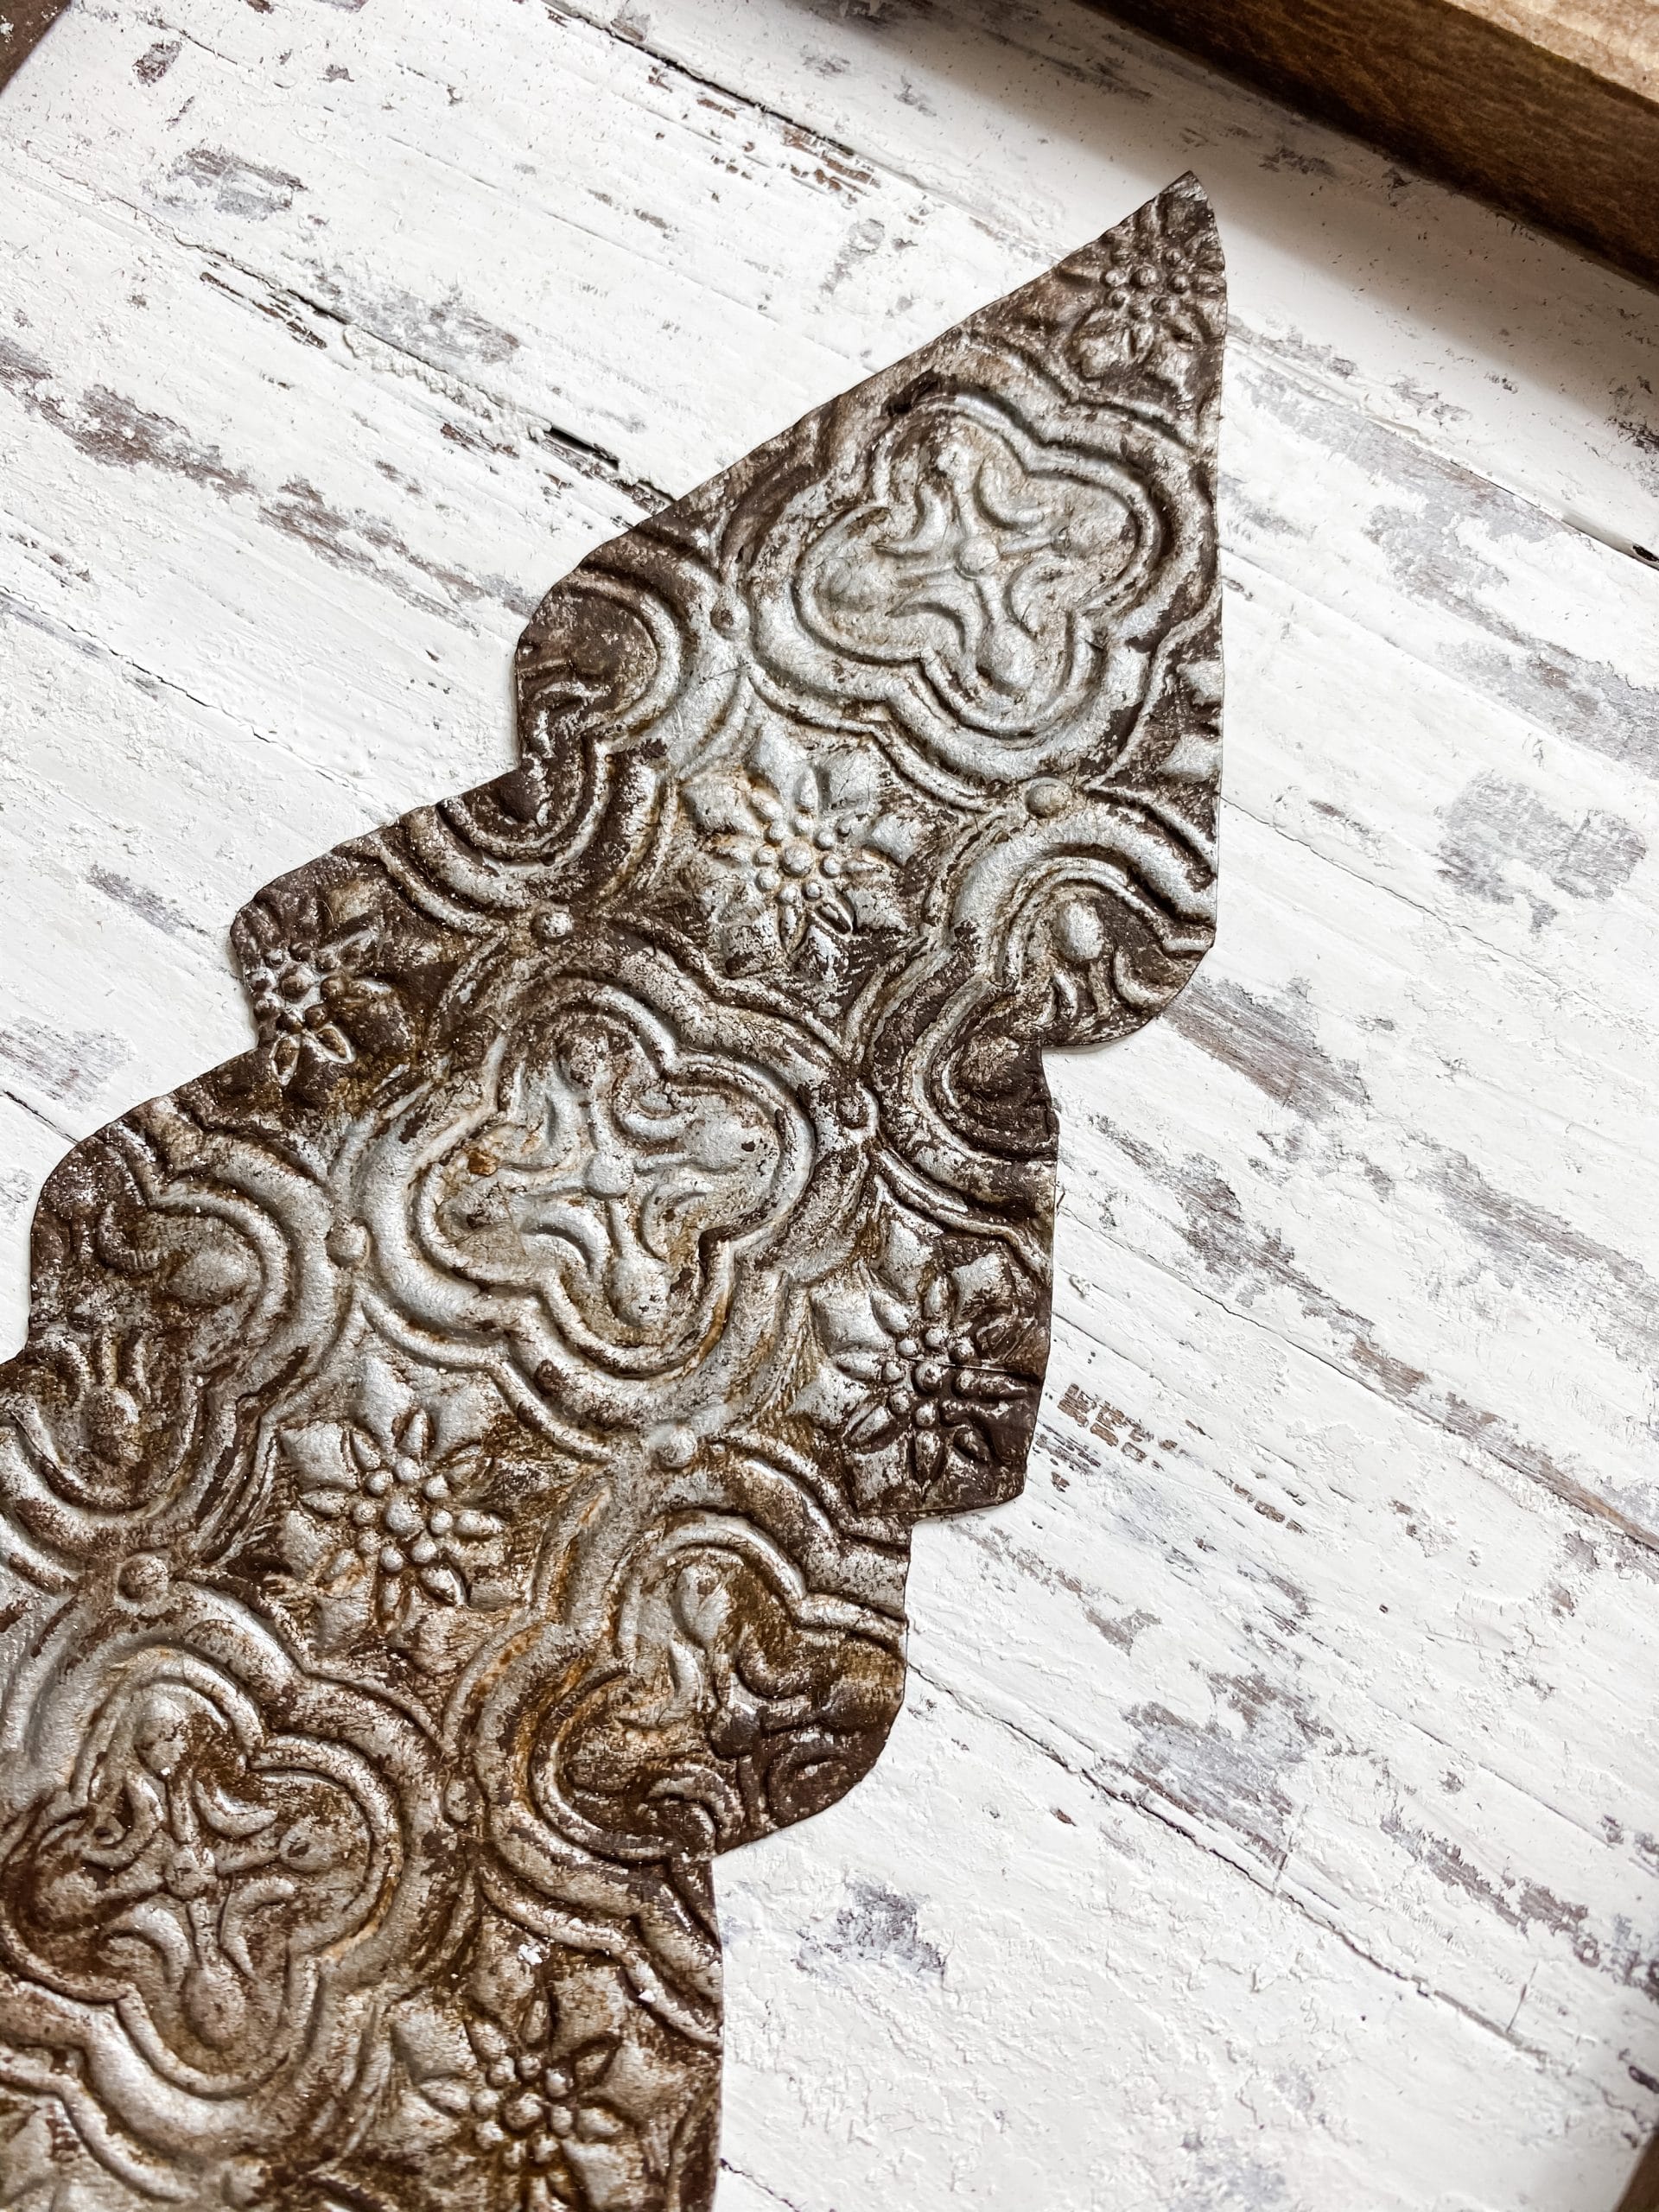
Faux Rust Effect
Now it’s time to work on the scrapbook paper Christmas tree. For this process, you’re going to need the Modern Masters Silver Metallic Paint, Waverly Antique Wax, Folkart Java Chalk paint, and Mod Podge.
Start by lightly painting the scrapbook paper with silver paint. You don’t have to worry about getting into the crevices of the embossed scrapbook paper.
Just get a fairly even coat of silver metallic paint. Allow it to dry. Again, I like to use my heat gun to speed up the drying process.
Next, you’re going to cover the entire Christmas tree cutout with Mod Podge. This is going to help give the tree some texture and really bring the faux rust finish to life.
Dry the Mod Podge and then grab the Folkart Java Chalk paint. Get a clean artist’s brush and lightly dab the brown paint around the edges of the scrapbook paper Christmas tree cutout.
Next, dab your fingertip in the brown chalk paint, and then dab it around the Christmas tree.It is going to have much lighter coverage than when you used the paintbrush.
Finally, use a baby wipe to dab up where you’ve applied the brown paint and pick up the excess paint.
This is going to blend out the brown paint and gives you the perfect faux rust effect. Repeat this process with the Waverly Antique Wax.
Let’s bring it all together
Alright, once your faux rust Christmas tree cutout has dried, we can start putting all the pieces together.
Start by hot-gluing the chippy craft sticks onto the Dollar Tree canvas frame. I also stapled the craft sticks to help secure them.
We all know that when you paint a craft stick, they sometimes try and bend and warp.I didn’t want that to happen and the glue not to be strong enough to hold the craft sticks in place.
Next, I used a sanding sponge and lightly distressed the wood frame. This isn’t going to create a drastic change in the look of this DIY Christmas craft, but I like to have attention to even the smallest details!
Now just hot glue the rusted Christmas tree cutout into place in the center of the frame. I was planning on adding a small piece of corrugated scrapbook paper to the Christmas tree for its trunk, but I decided I didn’t like the way it looked.
Let this be a lesson to always trust your gut and be open to creative changes while you’re crafting!
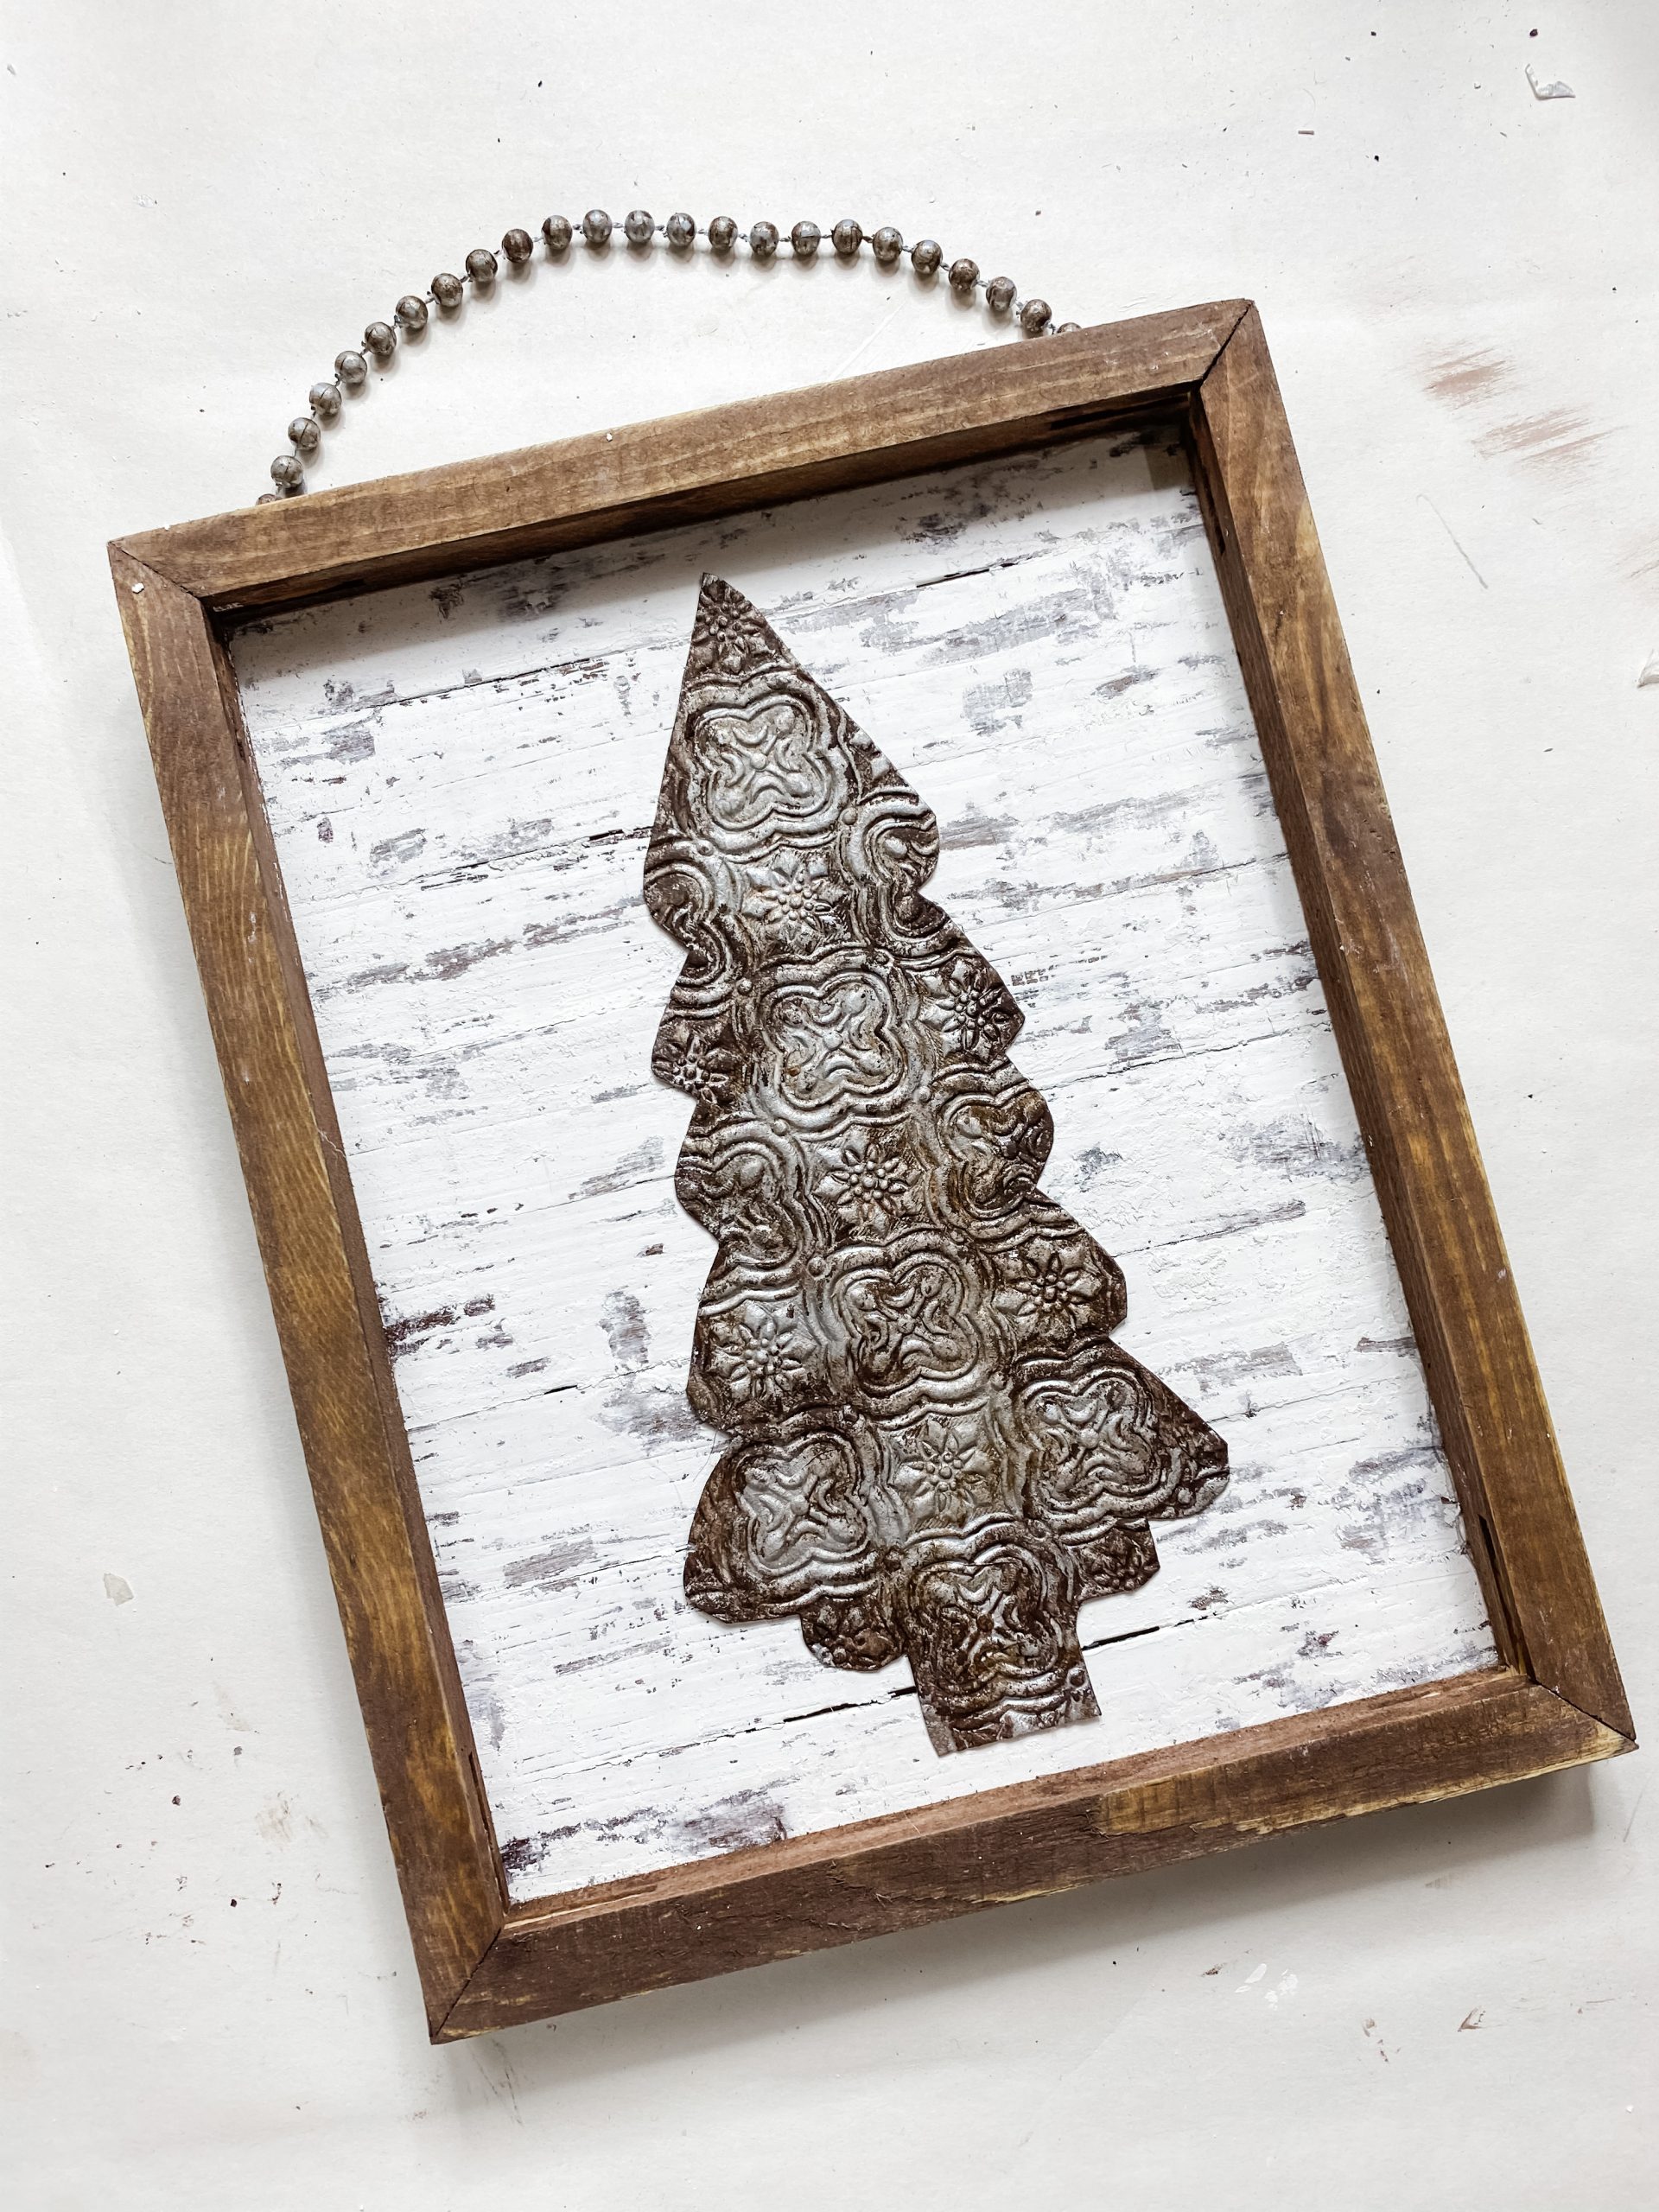
Add your hanger
Finally, it is time to create the hanger. I used Dollar Tree beaded necklace for my hanger. First, I painted the beads with the Modern Masters Silver Metallic Paint.
You could leave them white, but I felt the silver would match this DIY project better than the white.
Once your painted bead necklace has dried, lightly dab some of the Waverly Antique wax across the necklace. Repeat this process with the Folkart Java Chalk Paint. This helps it match the rusted look of the Christmas tree.
Allow the painted necklace to dry completely. This is where my heat gun came in handy, again!
Now, hot glue the ends of the necklace to the back of the Dollar Tree canvas frame. I kept the ends pretty long so the hanger would be more secure when I hot glued it into place.
Let the glue dry, and you’re ready to hang this adorable chippy Christmas sign anywhere in your home!
I hope you enjoyed this DIY Faux Rust Finish Scrapbook Paper Christmas Tree Sign as much as I did and decide to make one for yourself!
I would love to see how yours turns out! You should totally join my FREE Facebook group called On A Budget Crafts! It is a judgment-free community for DIY crafters to show off their projects and ideas.
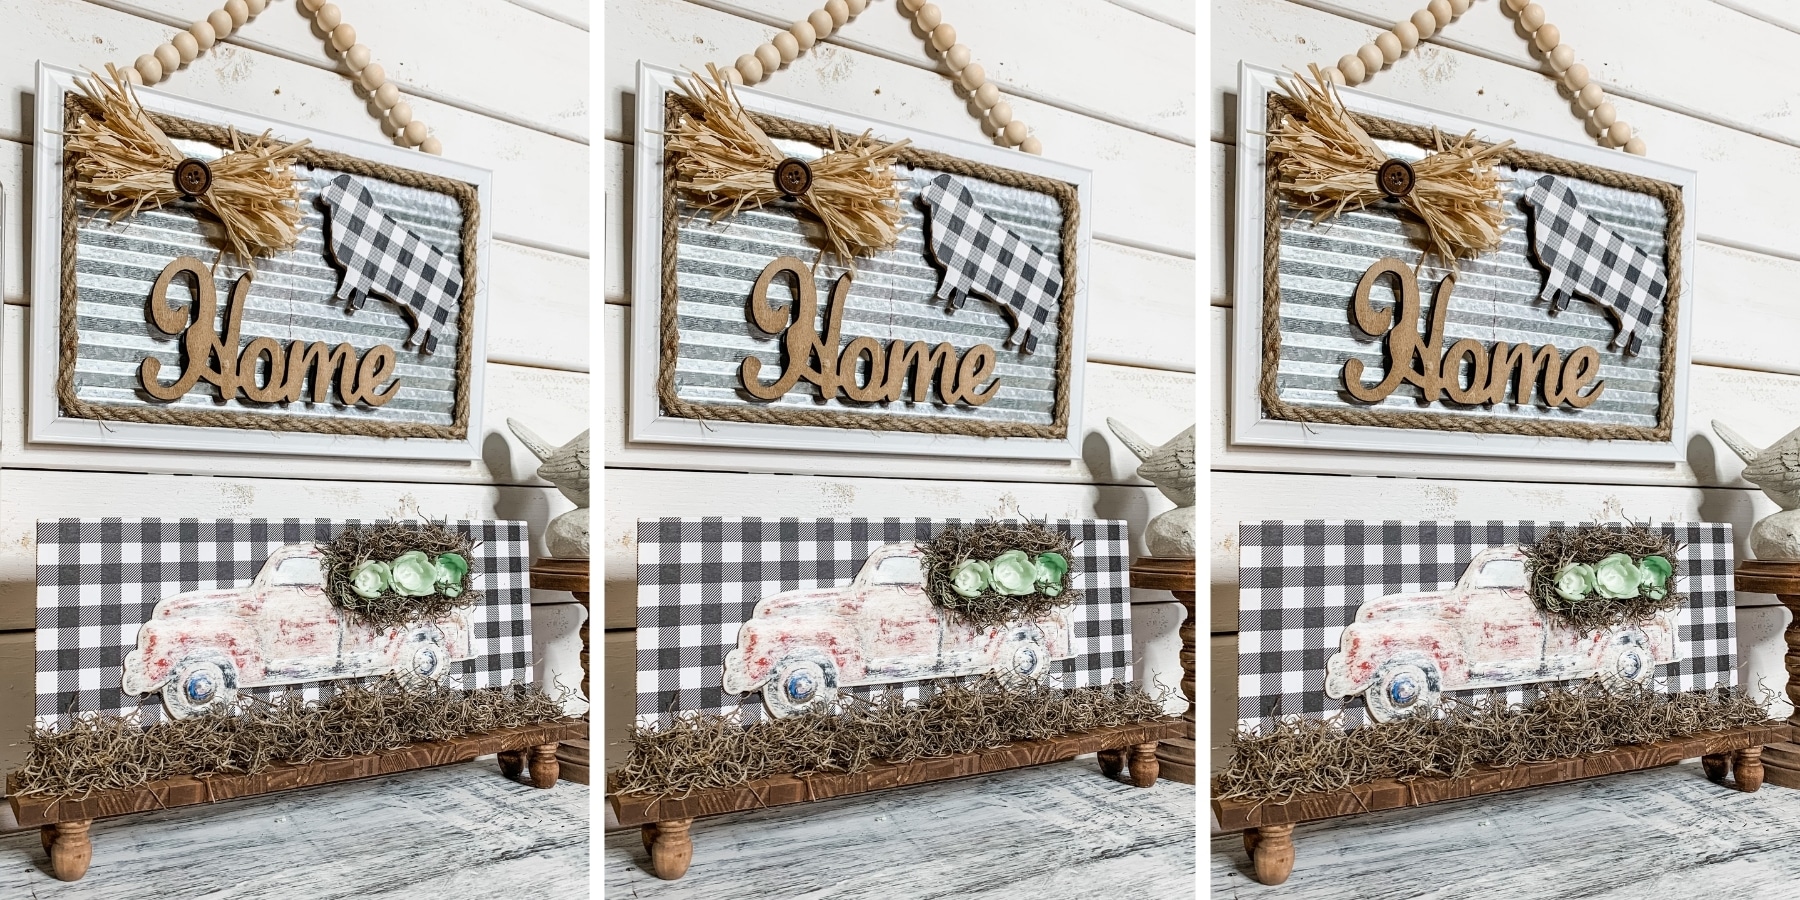
If you loved this DIY you might also like this Dollar Tree Gift Box DIY Christmas Decor!
Thanks for stopping by! XOXO Amber
You can also shop my ENTIRE AMAZON Favorites shop just click here! It’s packed full of all the things I use and love.
Here is the supply list I highly recommend every creative have on hand!! Would you also pin my blog for later and get on my newsletter alerts? I would love to have you join my #craftycrew.

Join my free “ON A BUDGET CRAFTS” Facebook group!
PIN THIS POST FOR LATER!


One Comment