Dollar Tree Windmill DIY Home Decor Ideas

Okay, I am so excited to share these two Dollar Tree Windmill DIY Home Decor Ideas with you! Both of these easy DIY farmhouse decors were made with a Dollar Tree windmill welcome sign, and they both will go great with pretty much any decor style!
I have step-by-step instructions for each of the projects individually. All you have to do is keep scrolling to see all the amazing DIY details!
Watch the replay for idea #1
I recorded the hot-to steps for the first windmill DIY during a LIVE video in a Facebook video. If you want to see the process, craft along, or just join in on the fun conversations, you can watch the replay!
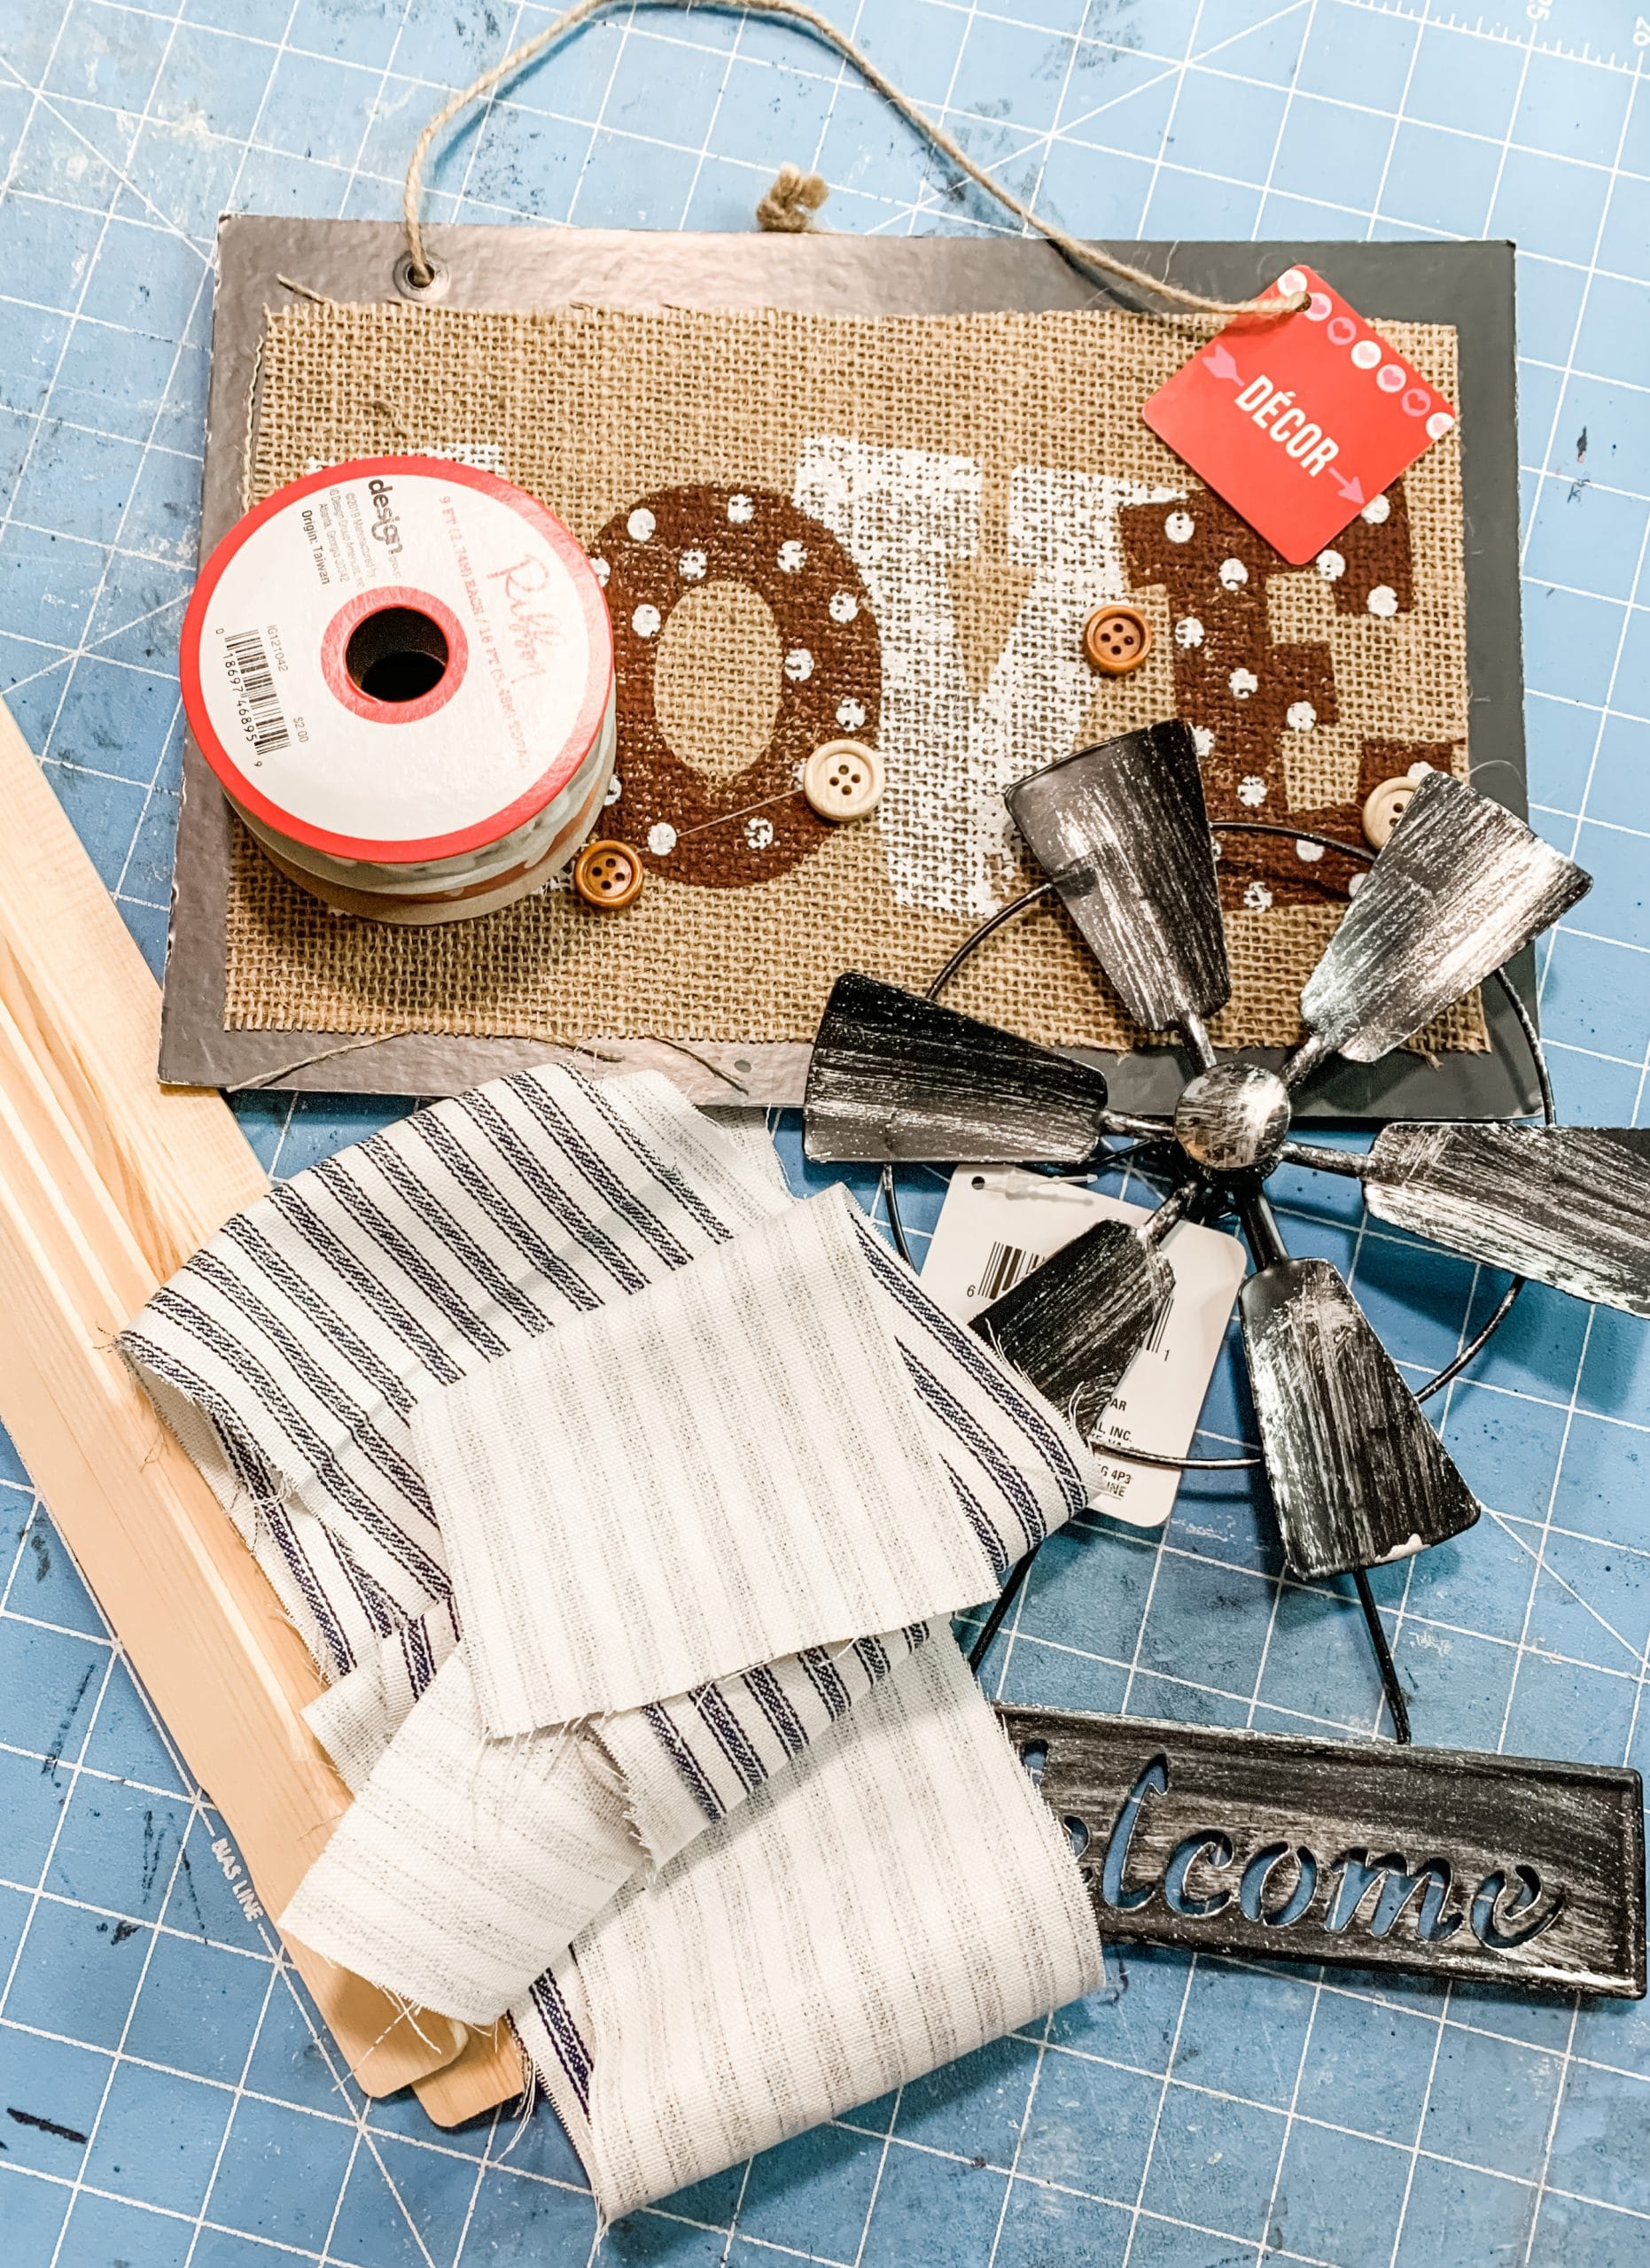
For this project, I will be using these items but you can substitute where you want.
“As an Amazon Associate, I earn from qualifying purchases.”
- Dollar Tree hanging sign
- Dollar Tree Windmill Welcome Decor
- Paint Sticks (x4)
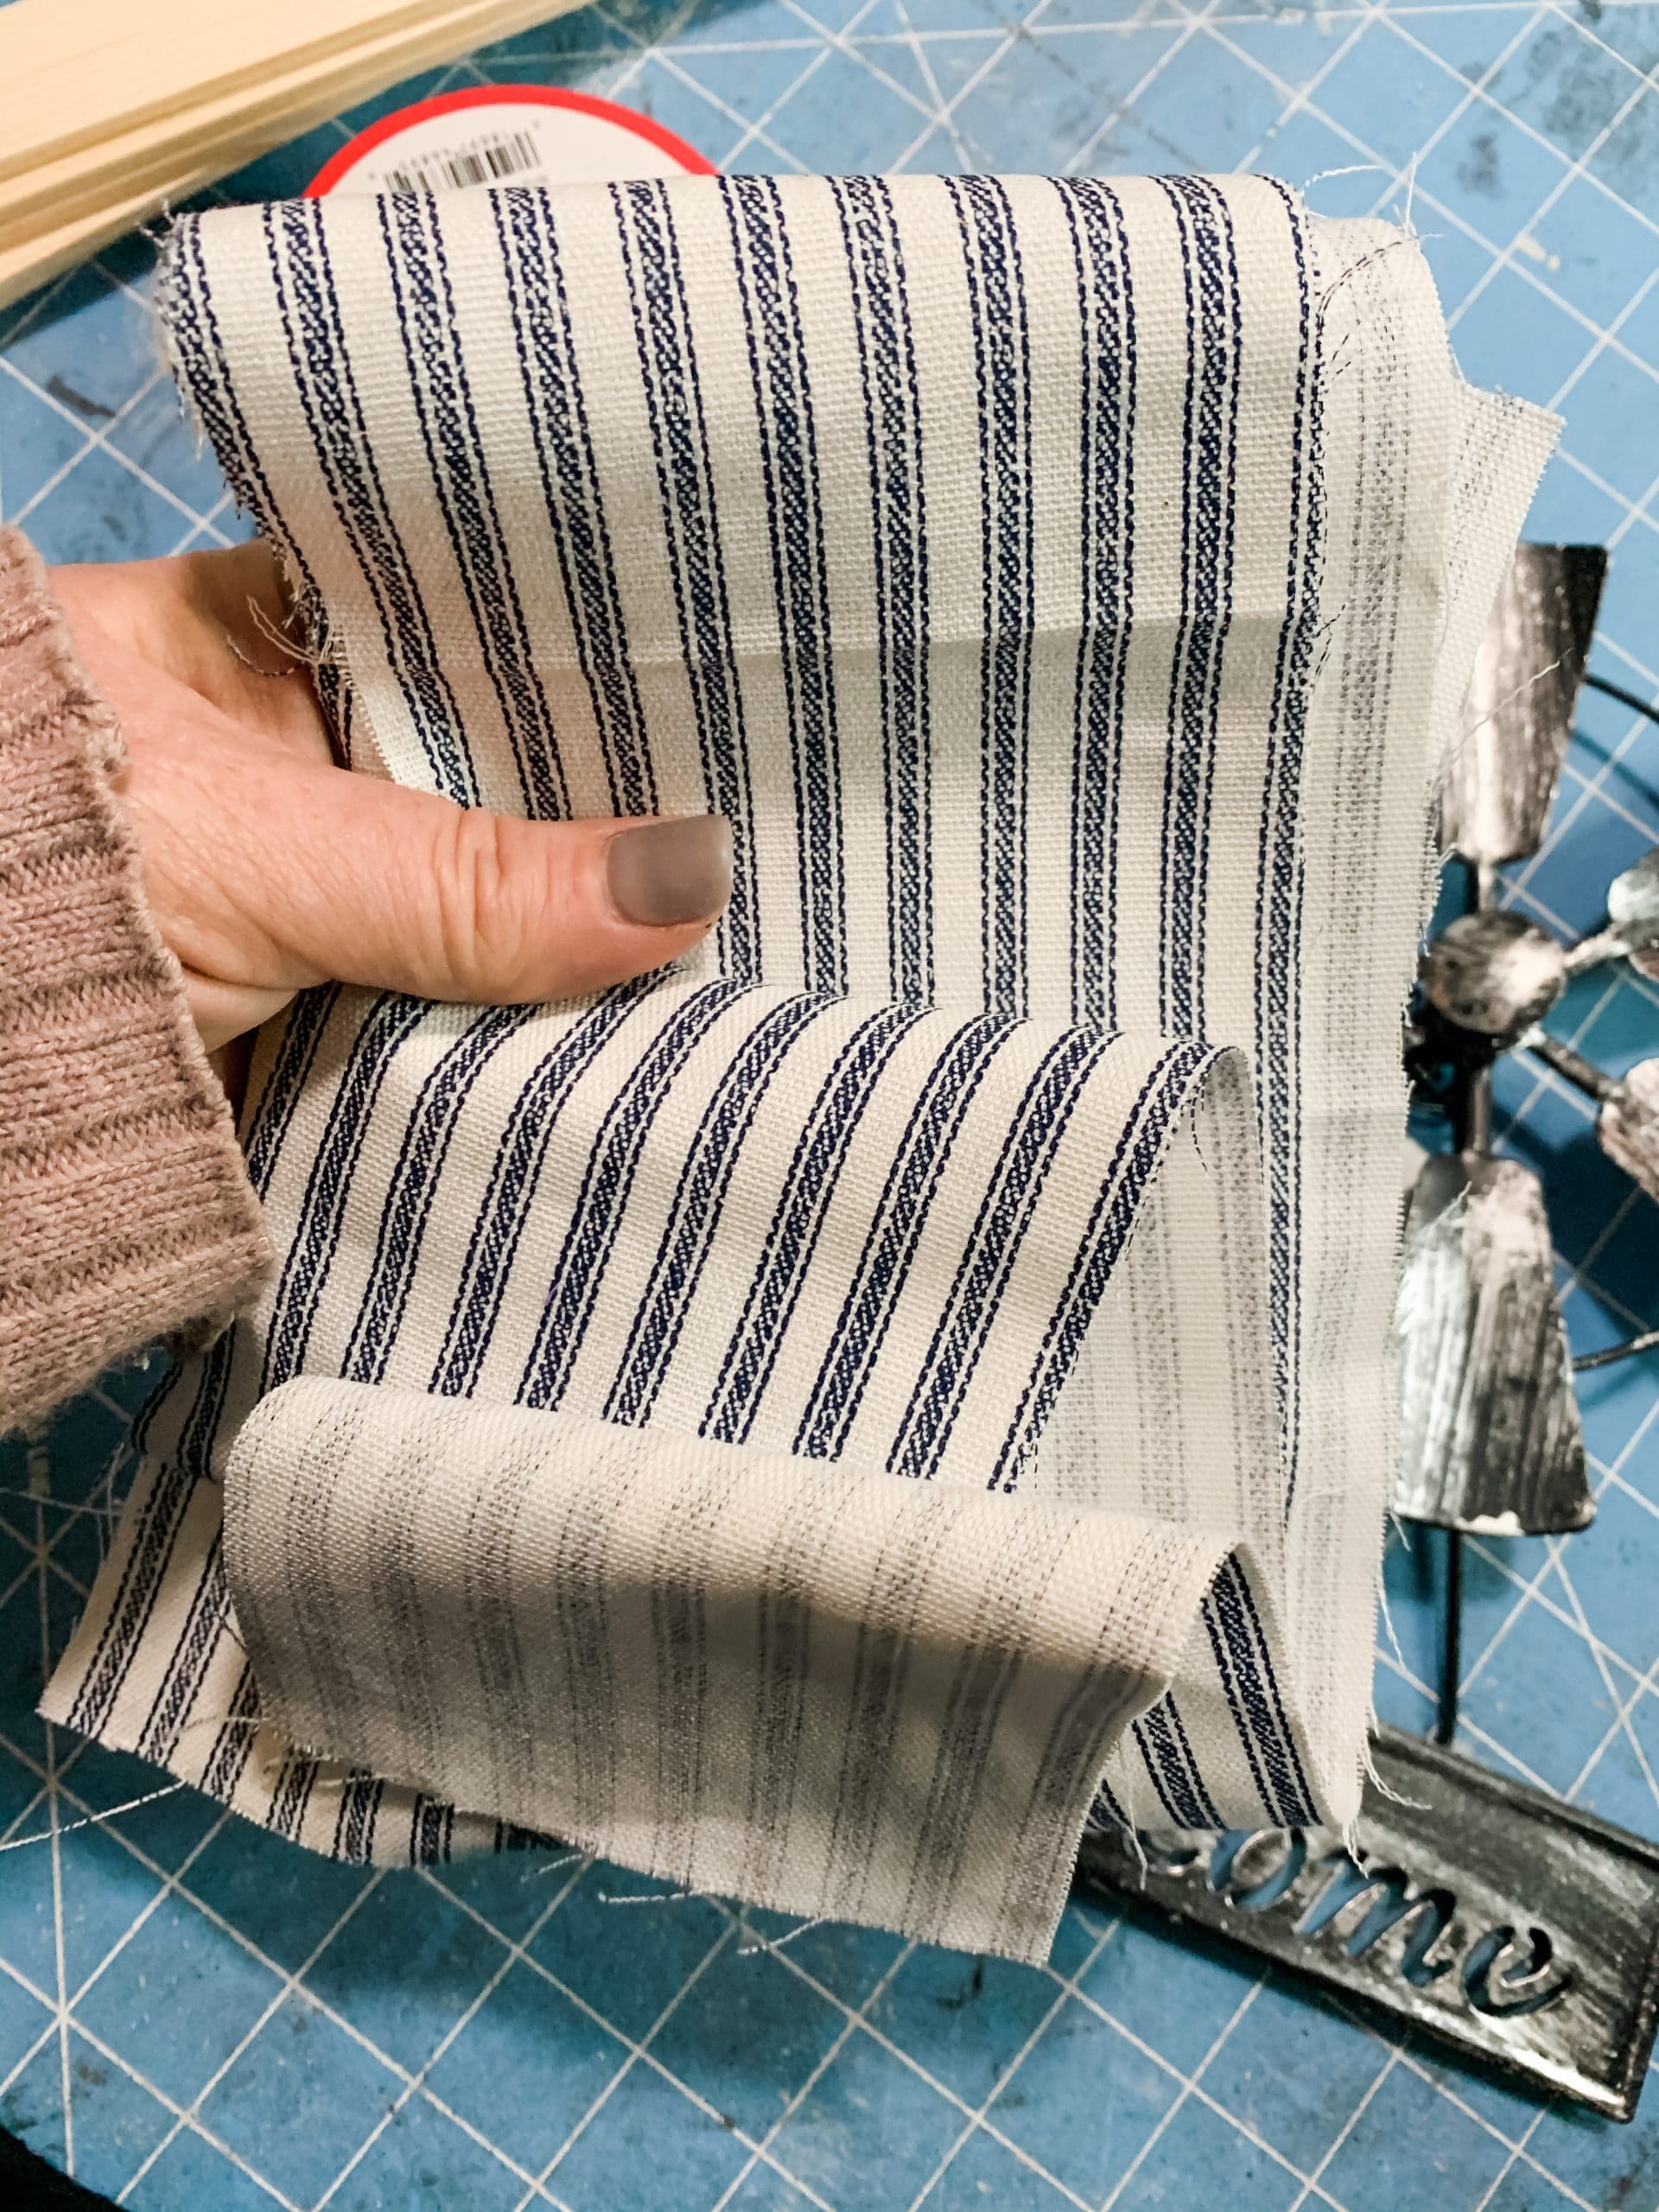
- Ticking Fabric
- Brown Paint
- Hot glue gun and glue sticks
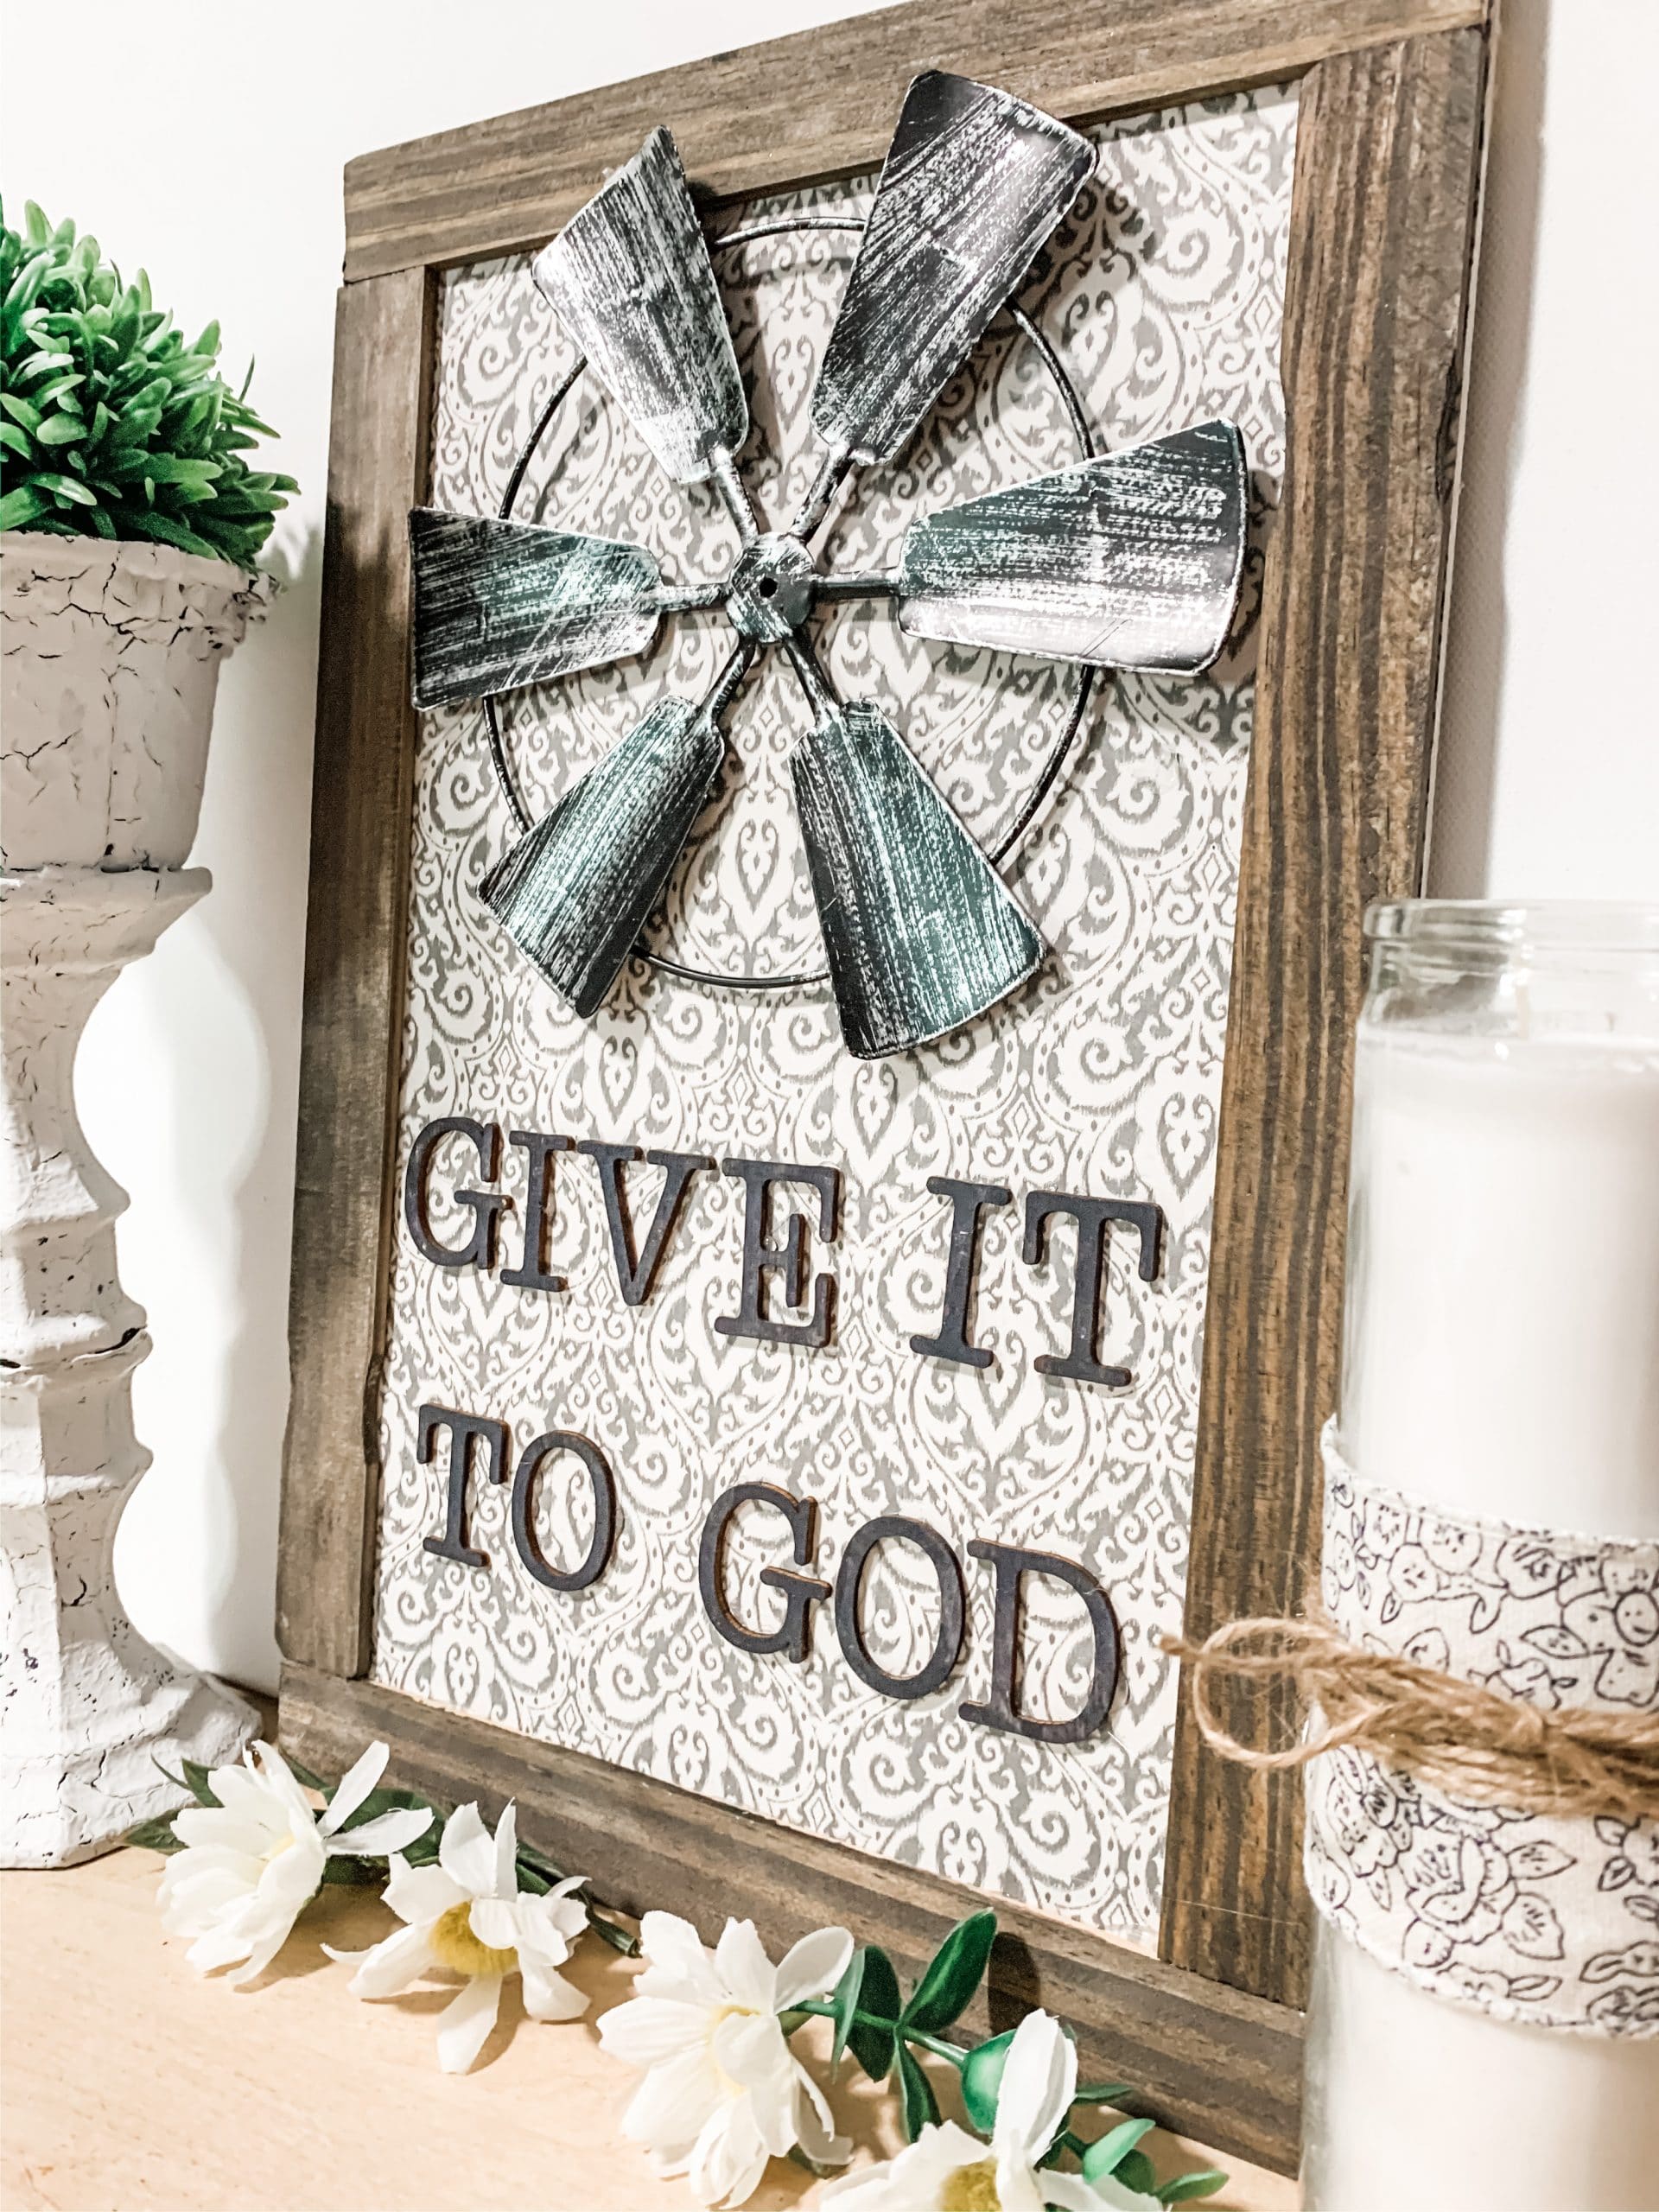
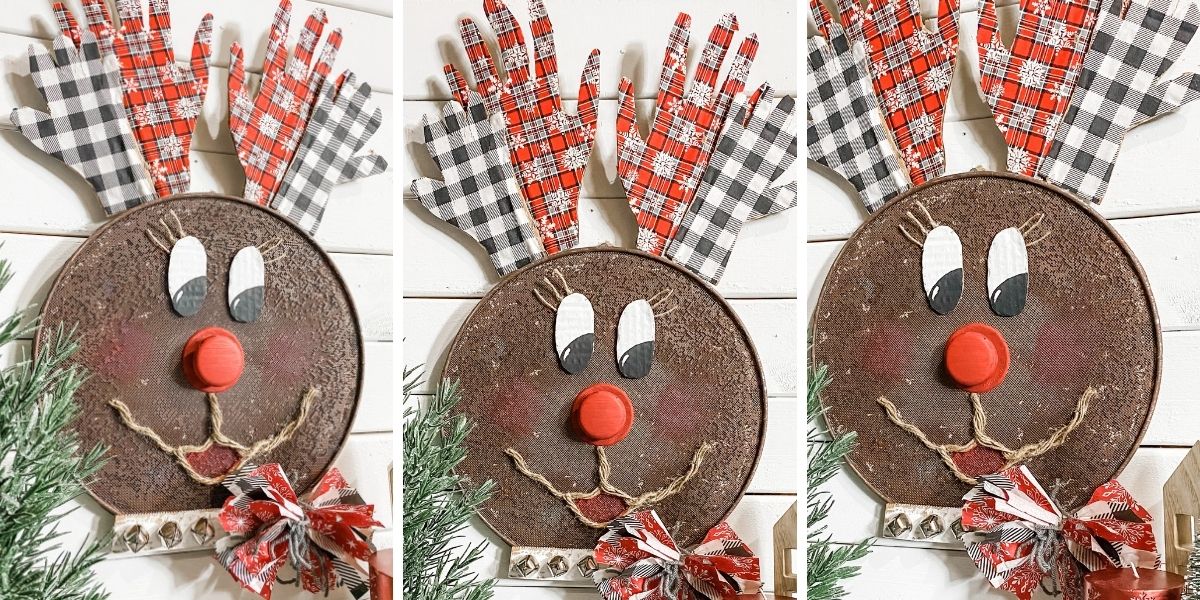
#1 Dollar Tree Windmill DIY Home Decor Idea
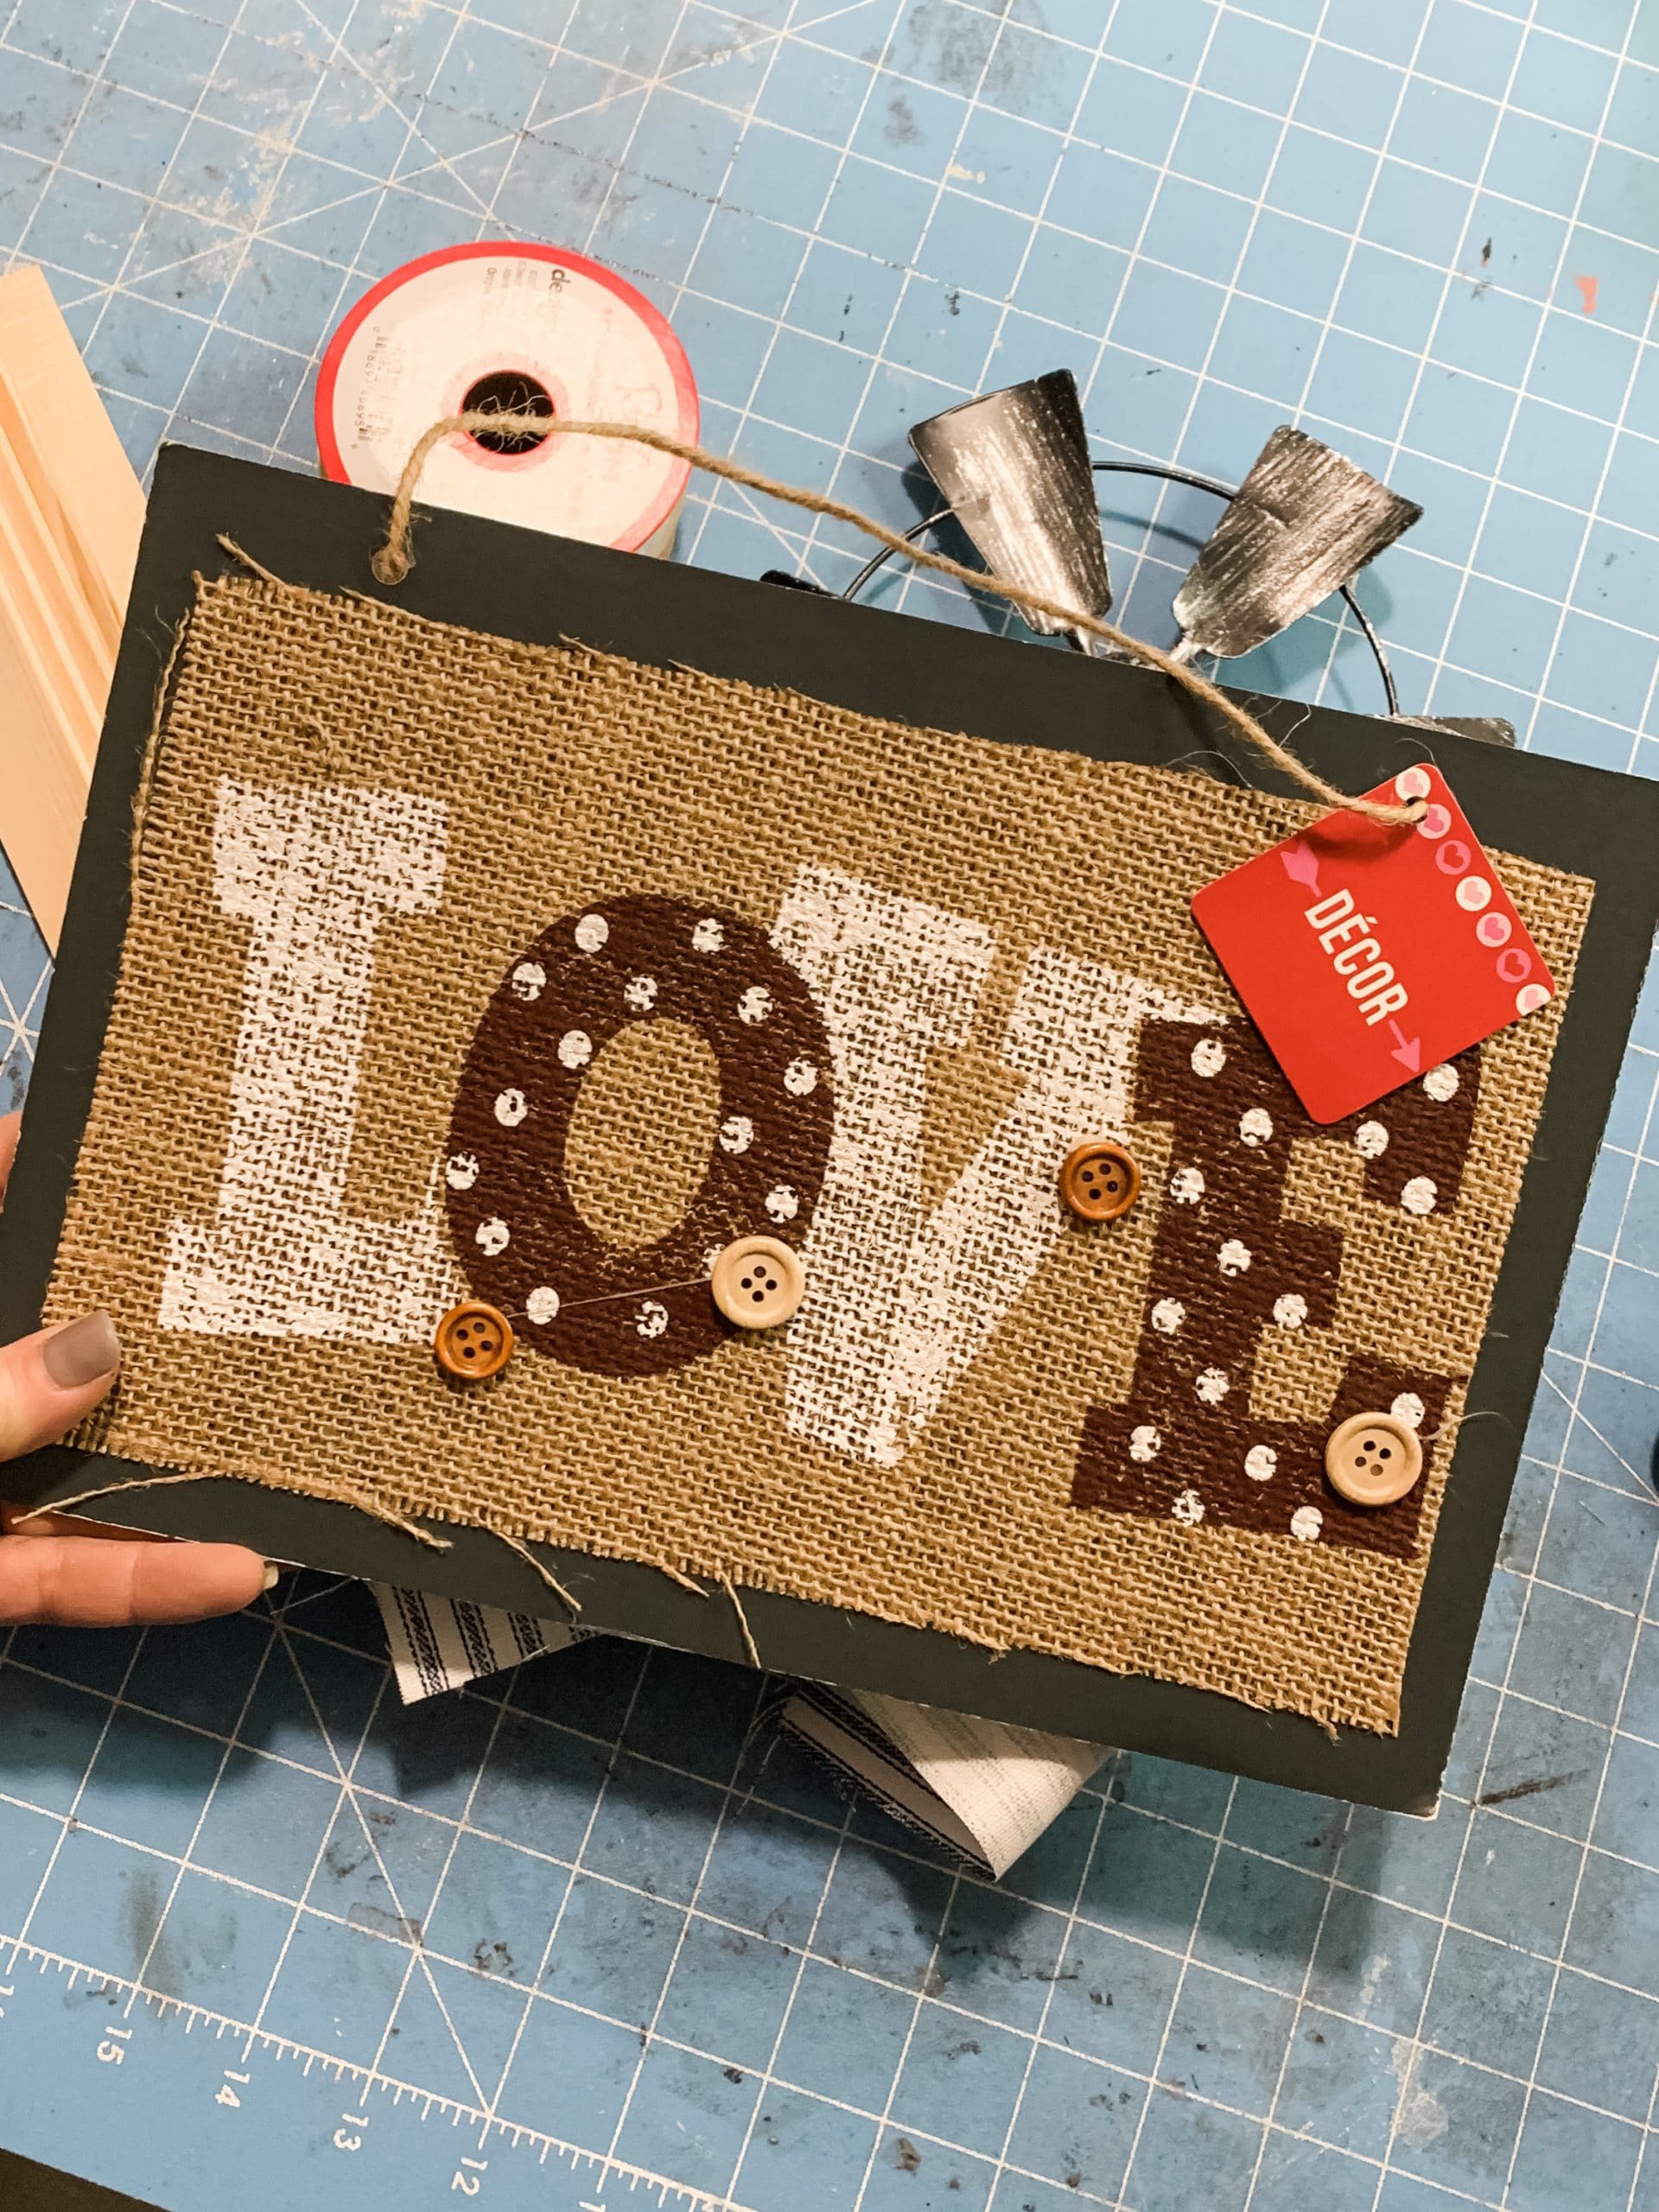
The Dollar Tree sign that I used had a burlap cover over it, so I started by removing it. I just pulled the burlap off the sign. You can use a different Dollar Tree sign that doesn’t have the burlap on it.
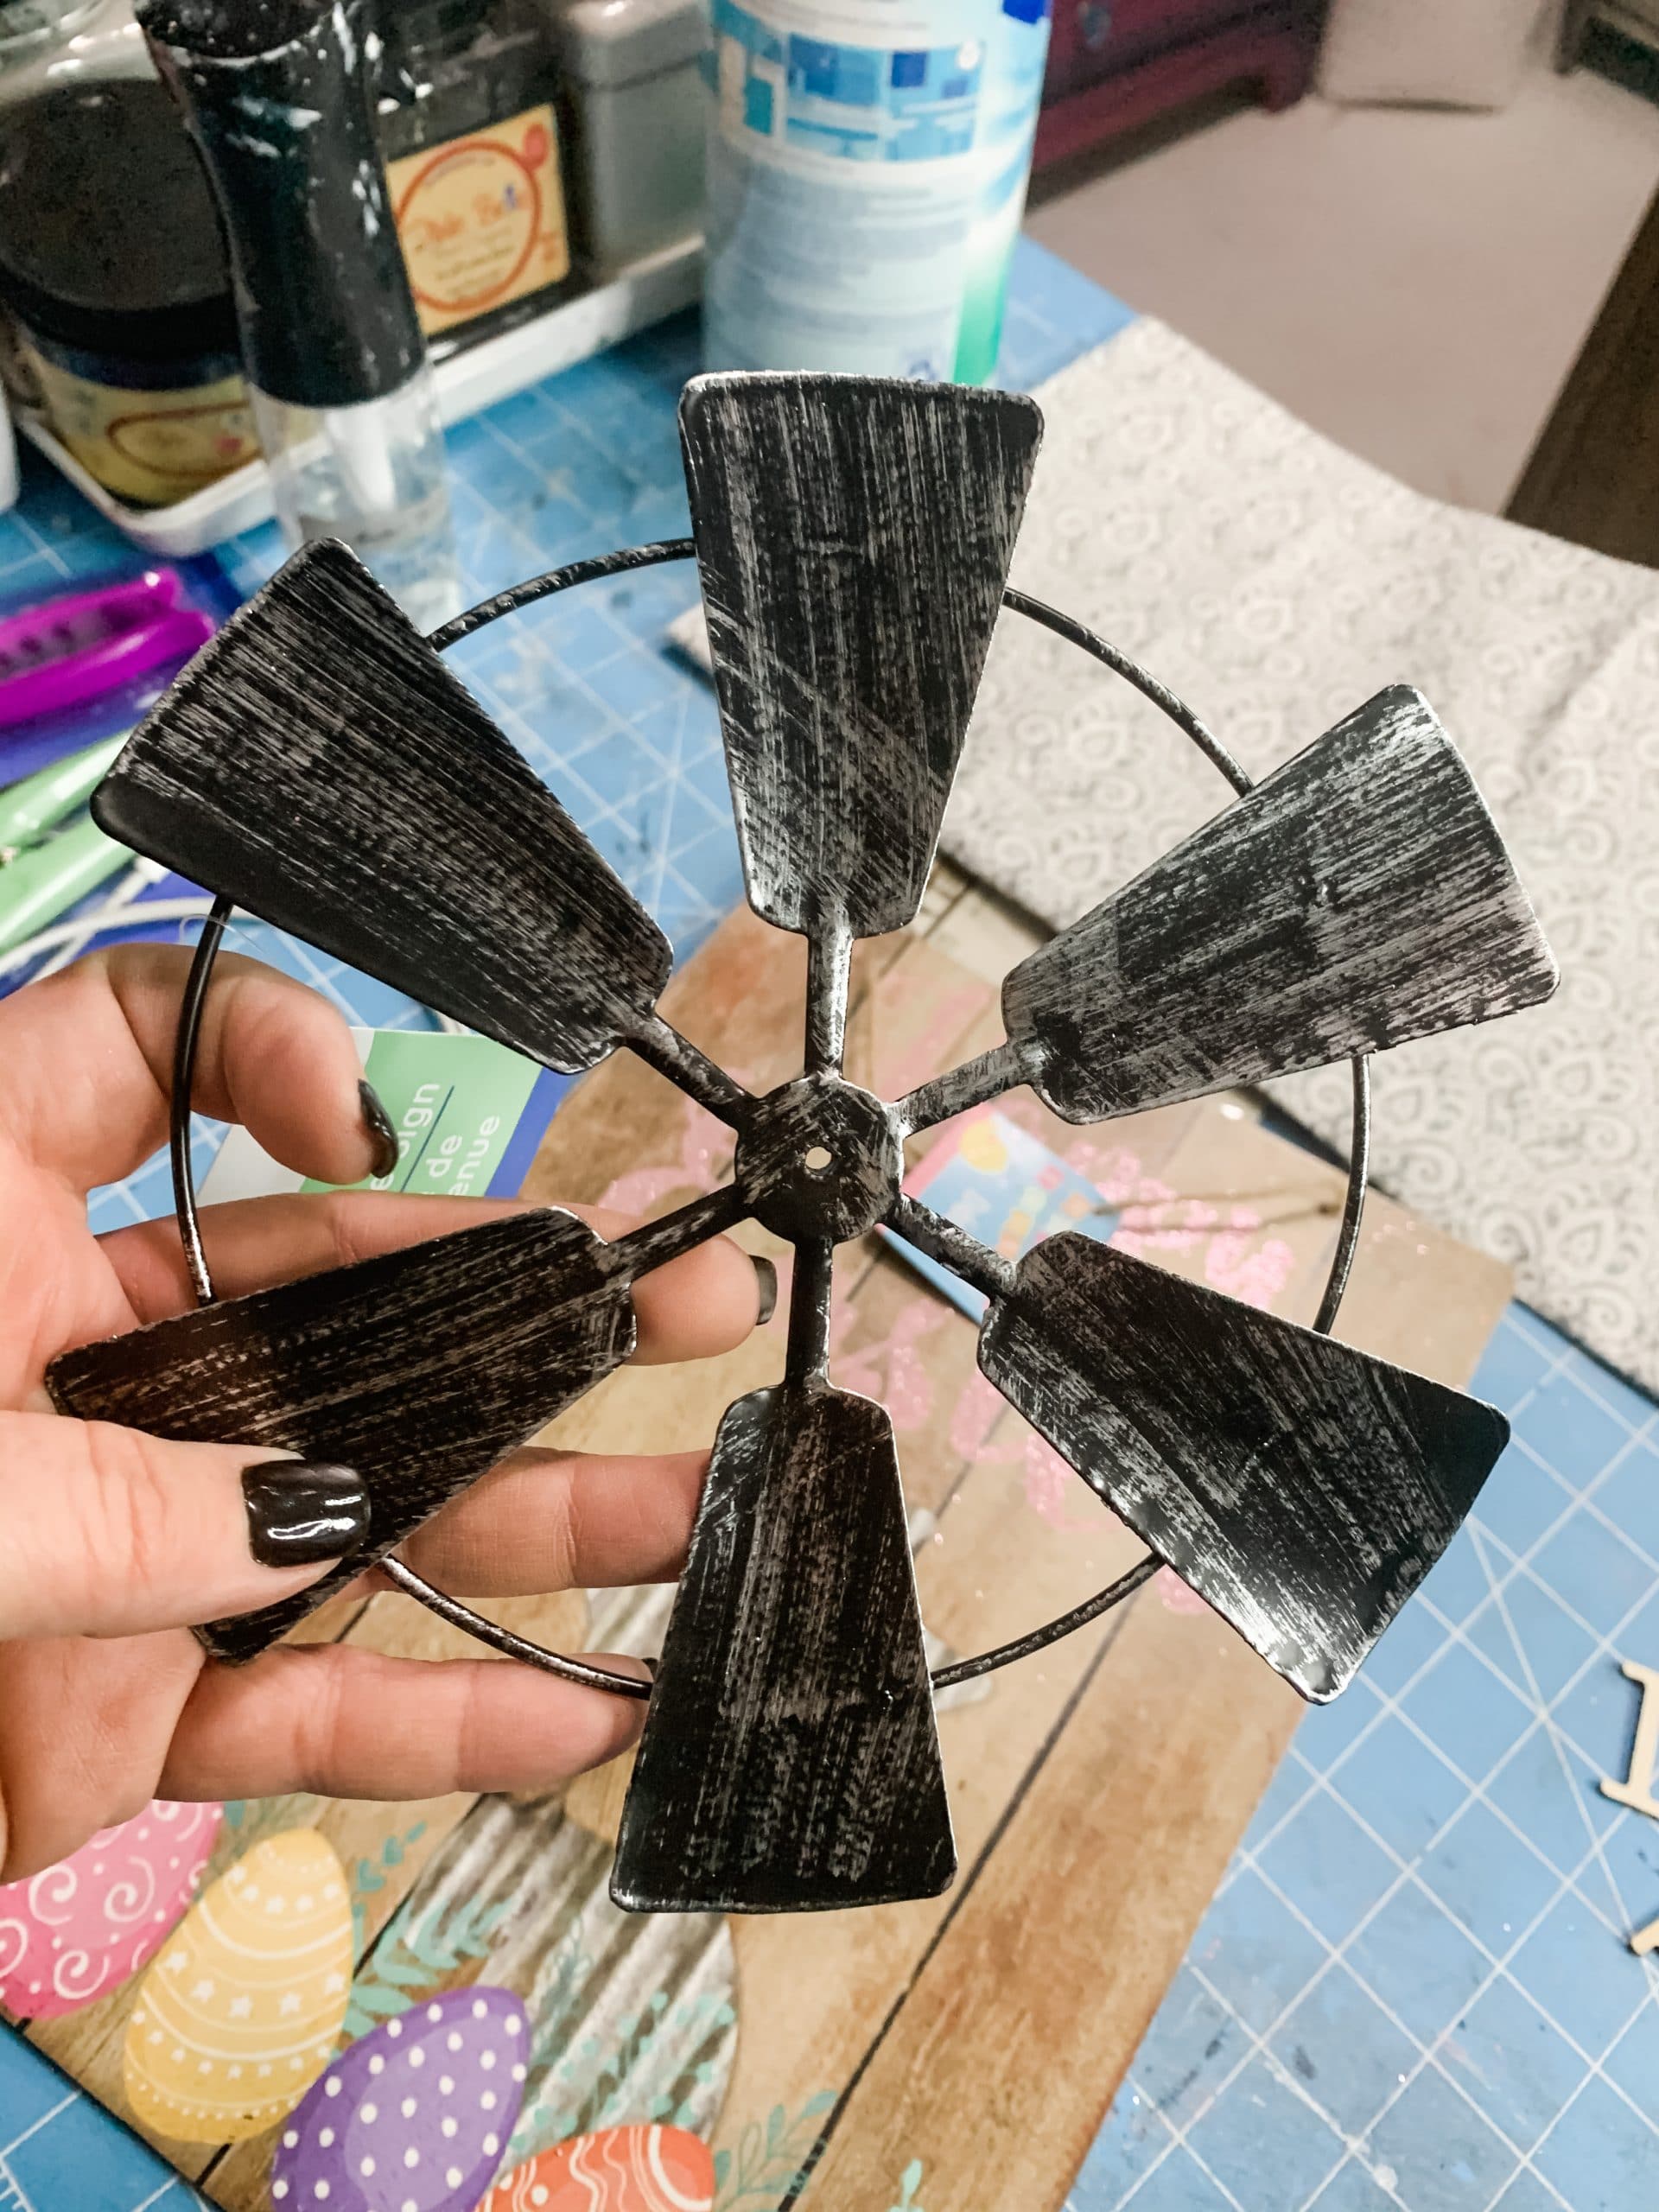
Next, you need to separate the windmill from the welcome piece. You can use a pair of aviation snips or pliers to bend or cut the metal and separate the pieces.

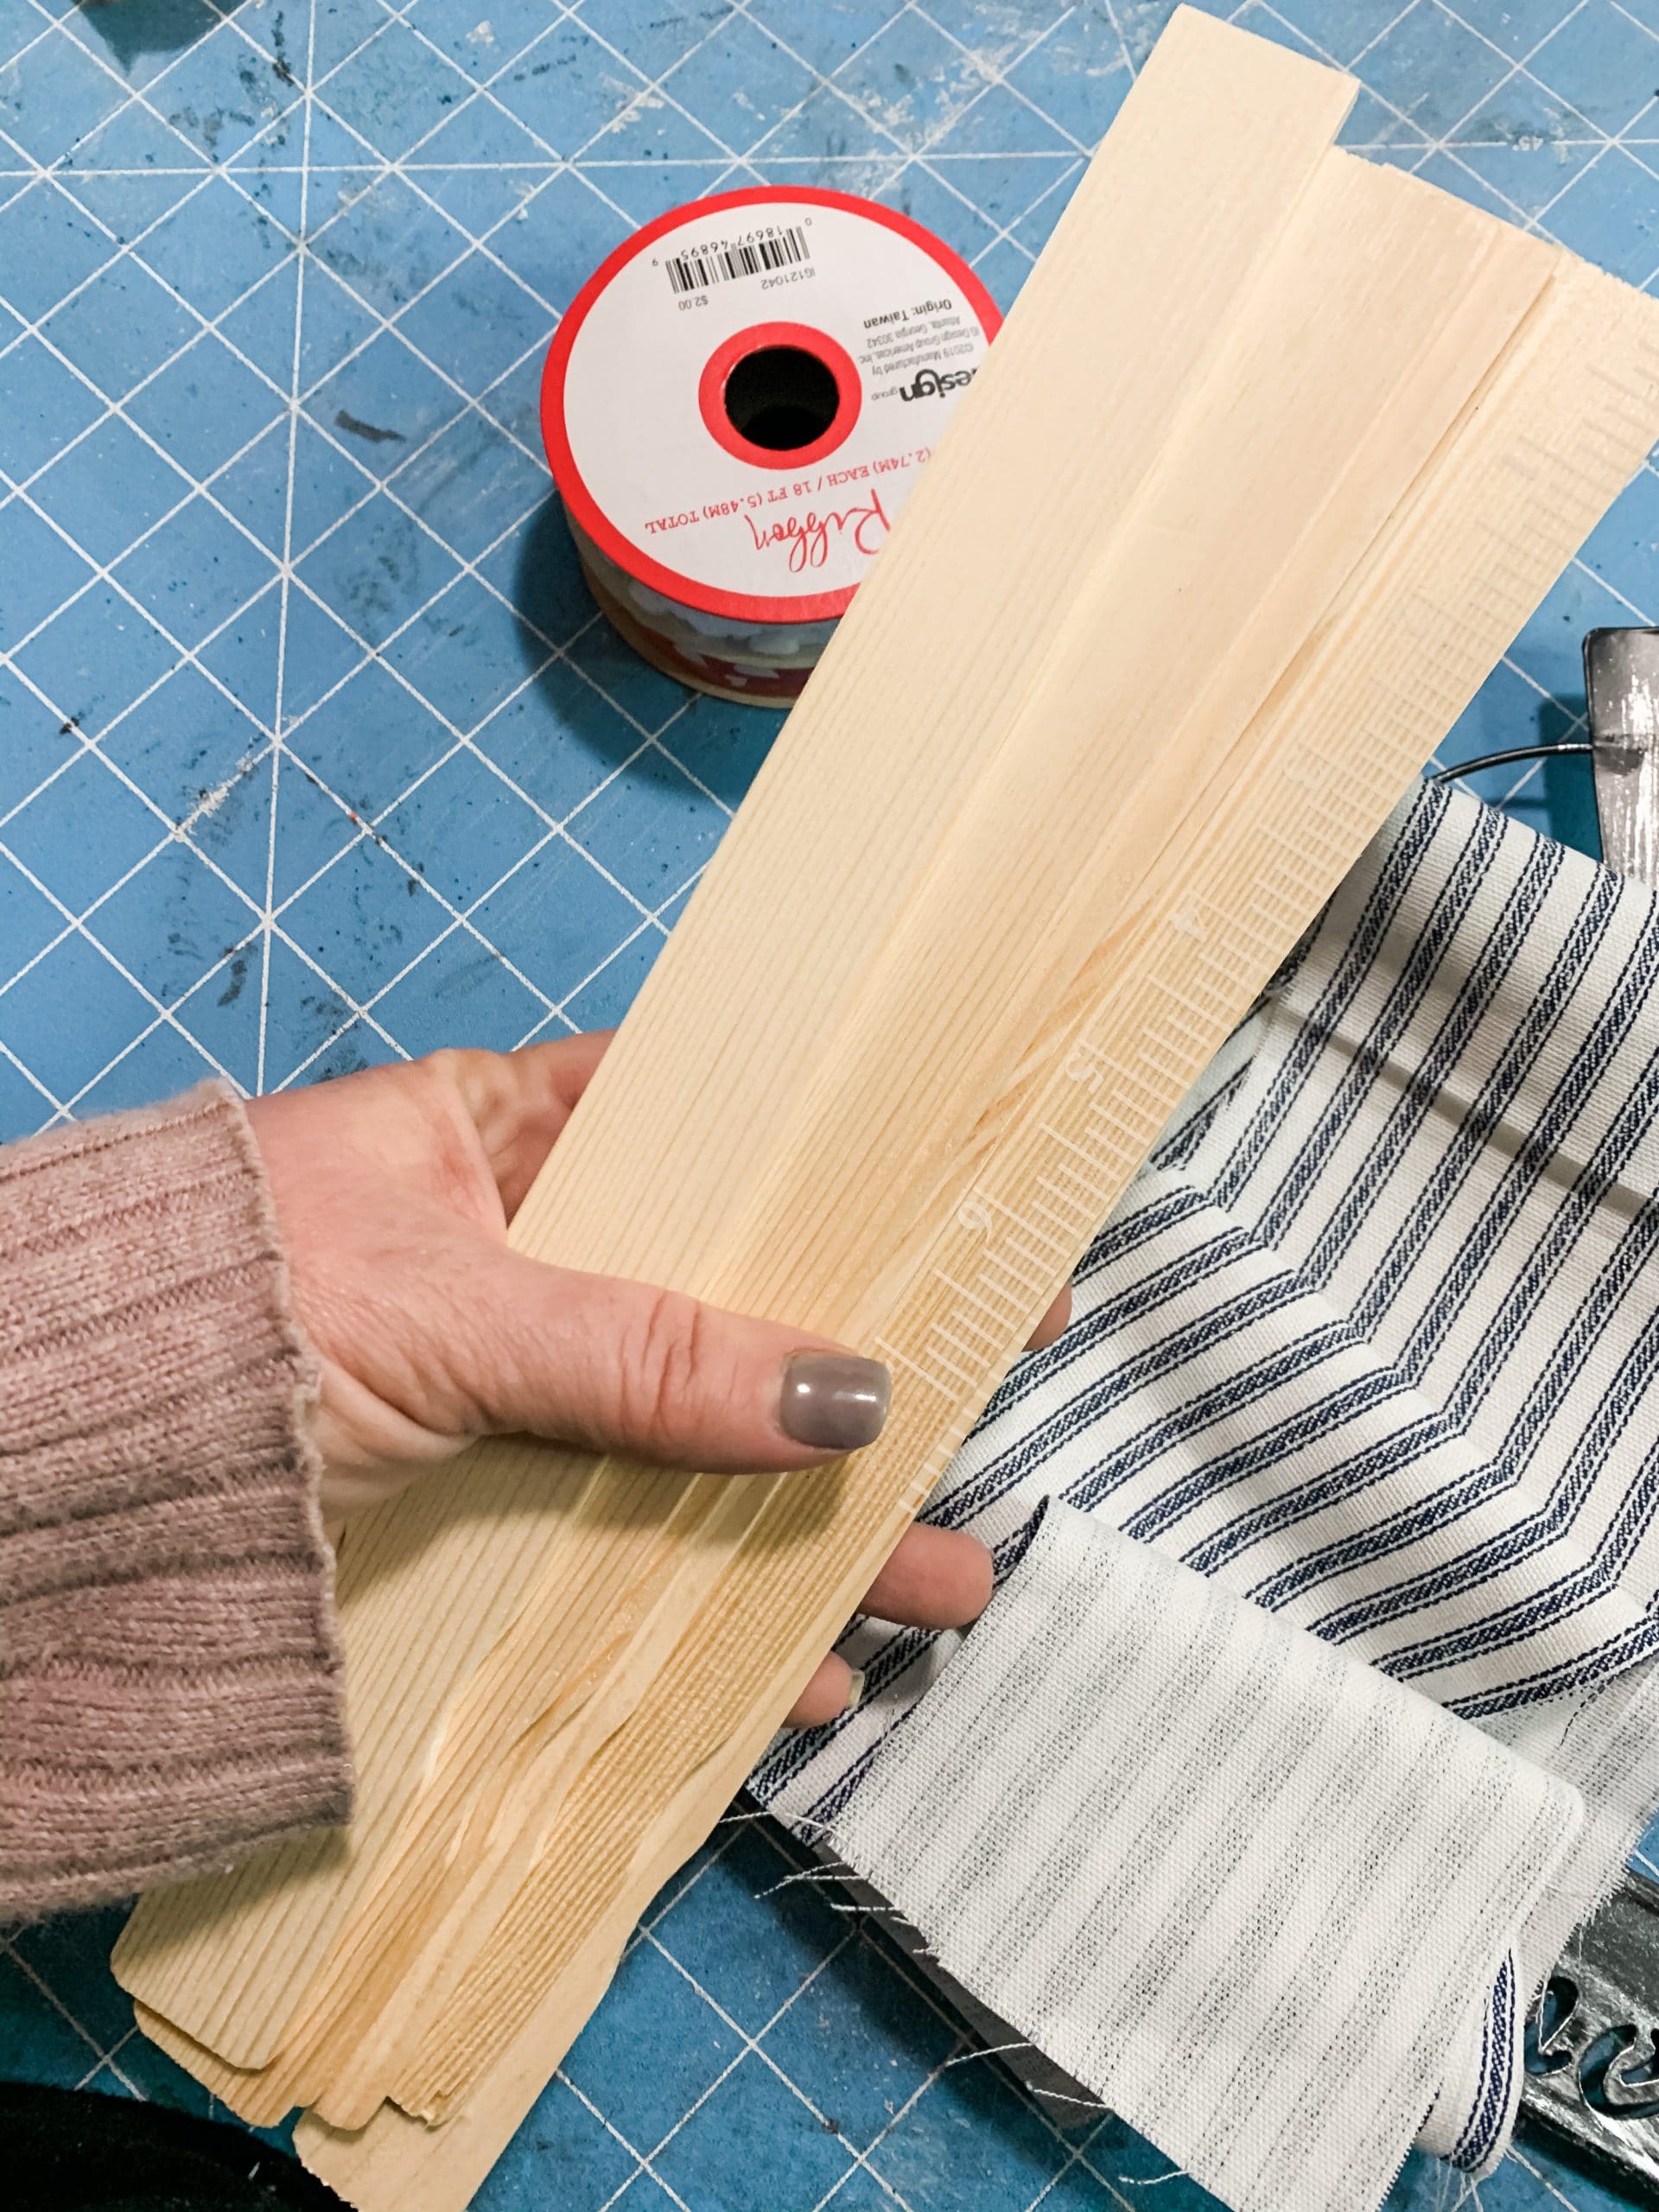
Lay your paint sticks next to each edge of the Dollar Tree sign and mark the length of each side. Use your aviation snips to trim the paint sticks to the proper size to frame your sign.
The ticking fabric I used for this project was leftover from another project, so I only had a thin strip. To make this fabric work for this project, I cleaned up the edges of the strip and cut three strips to cover the Dollar Tree sign.
I hot glued the fabric pieces onto the Dollar Tree sign, making sure the entire surface was covered with fabric. Before I attached the trimmed paint sticks to the sign, I stained them.
How to stain wood
To stain the paint sticks, you need brown paint and wet wipes. Use the wet wipes to spread the brown paint across the surface of each of the sticks. The water will help the wood absorb the paint pigment and gives it a stained finish rather than a painted look.
Allow the paint sticks to dry completely (I used my heat gun to speed up the drying process), then hot glue them around the edges of the sign to create a frame.
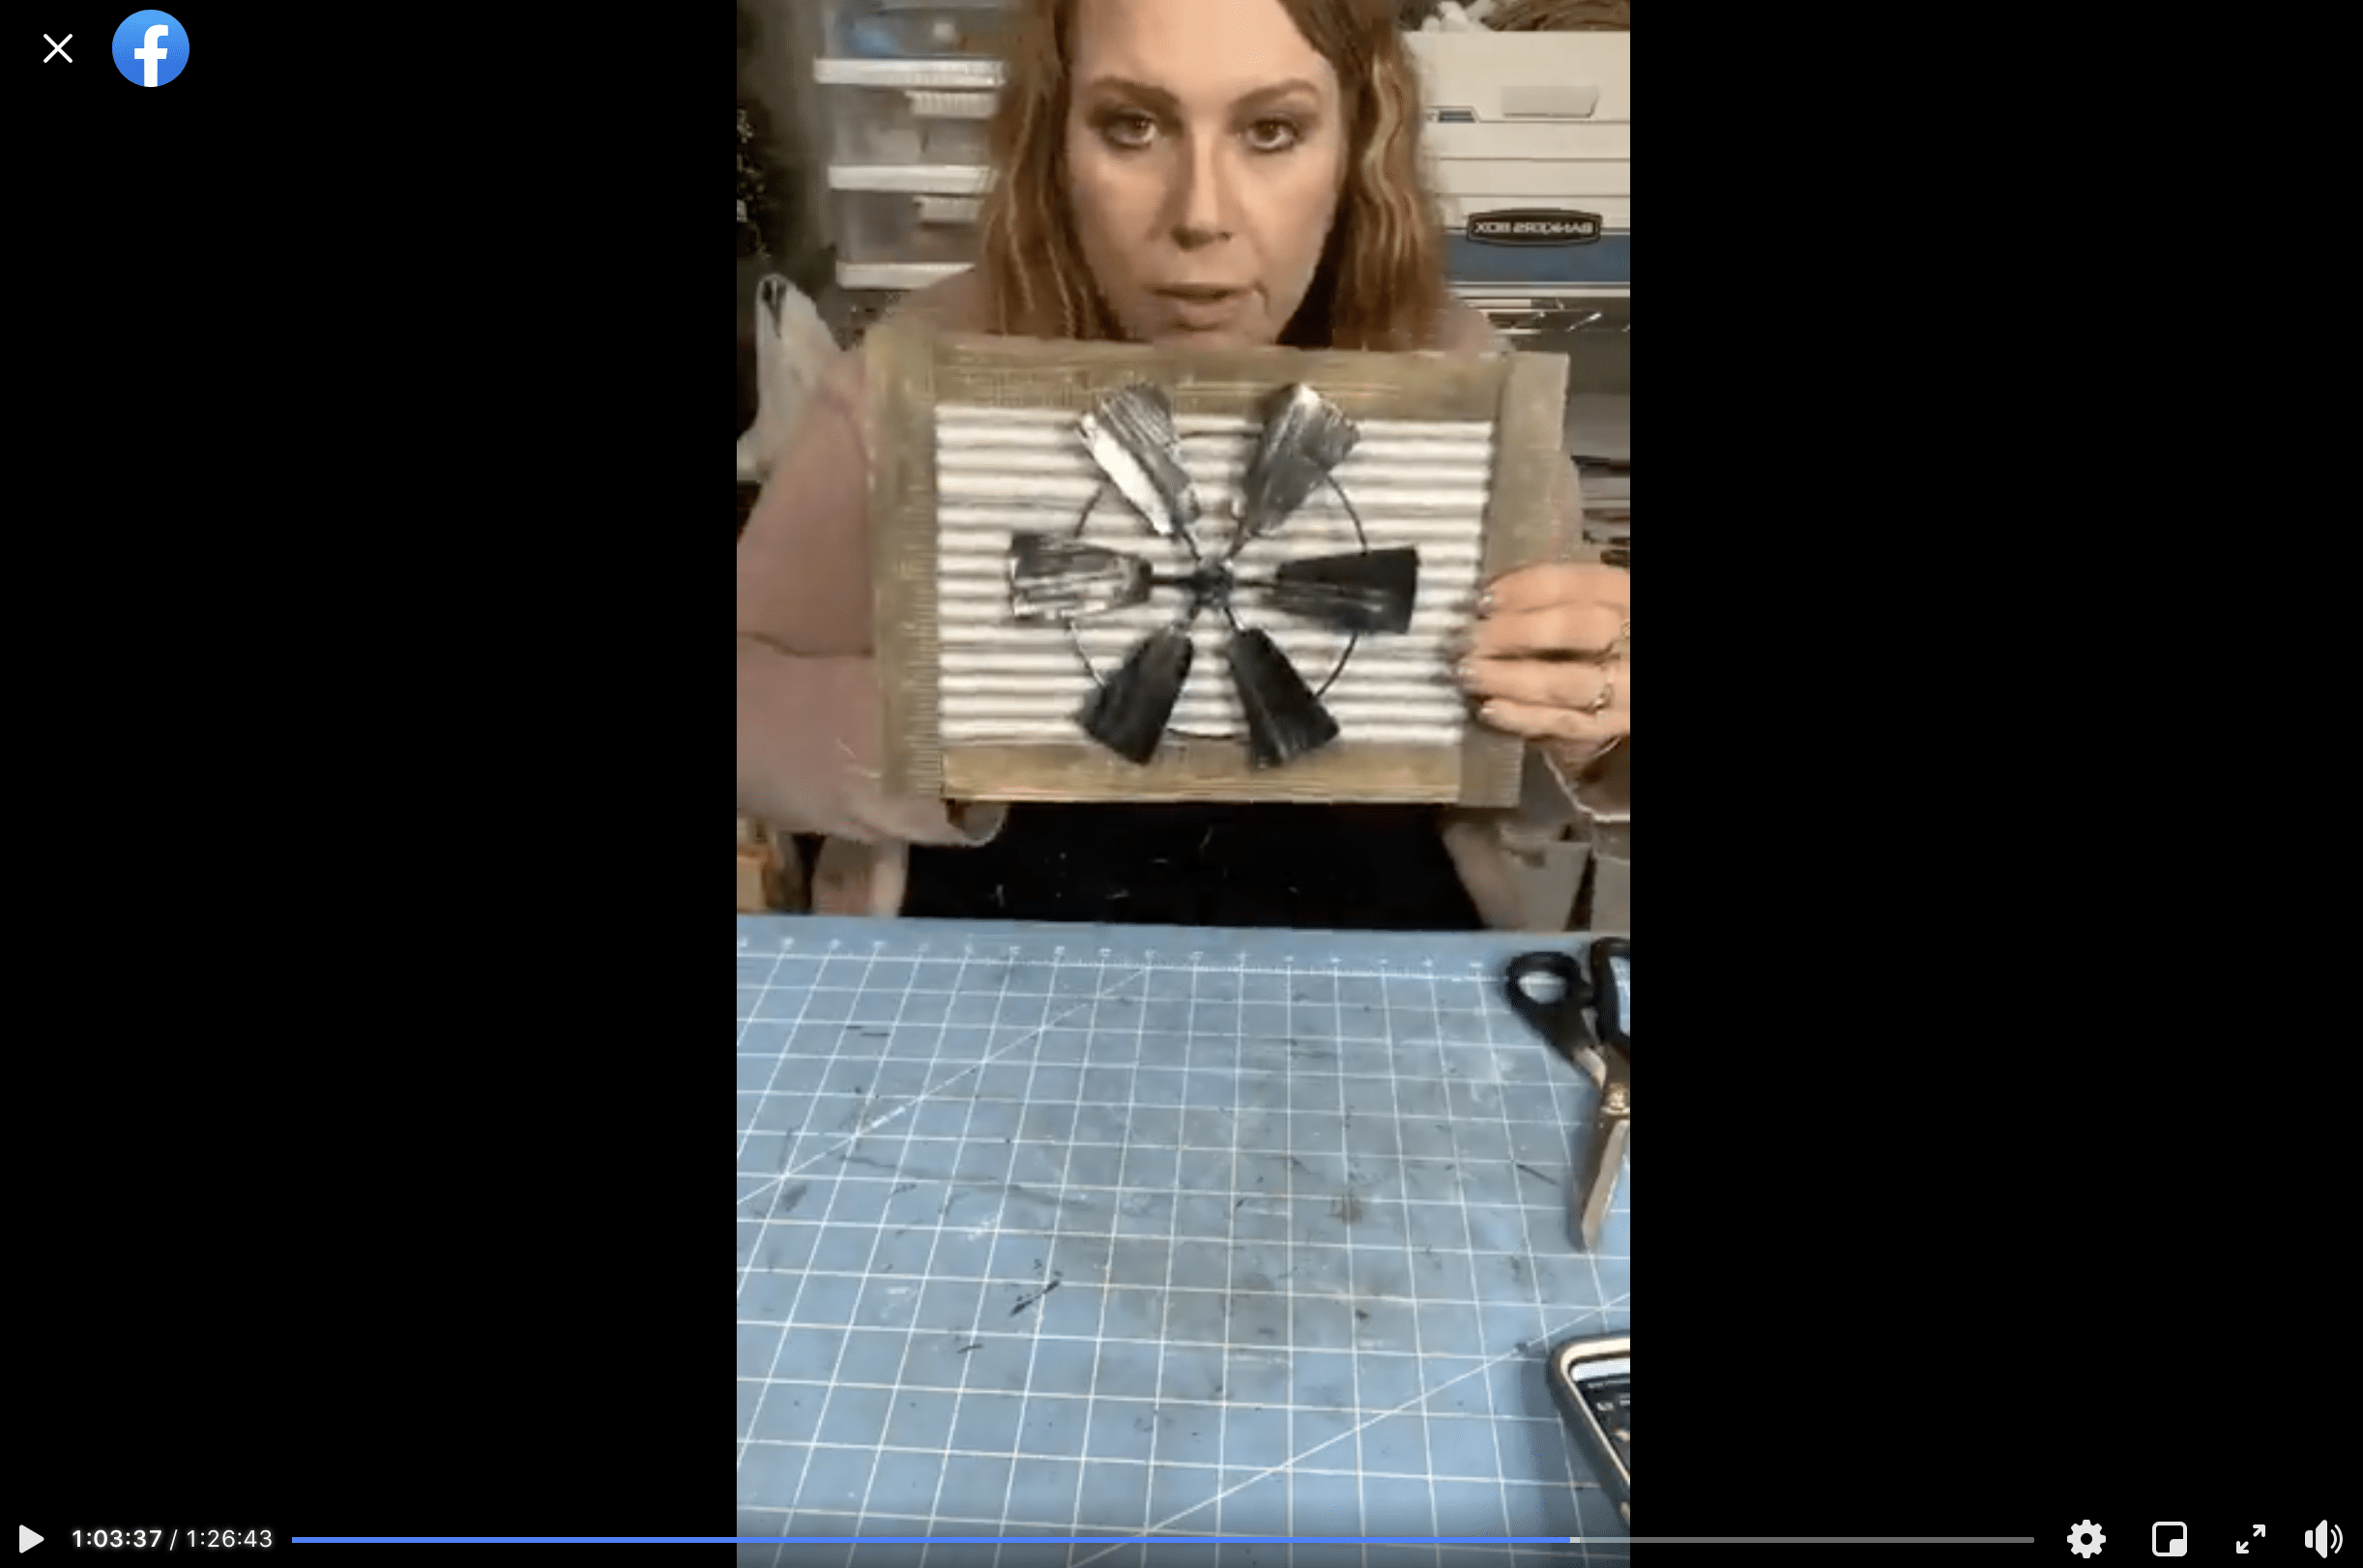
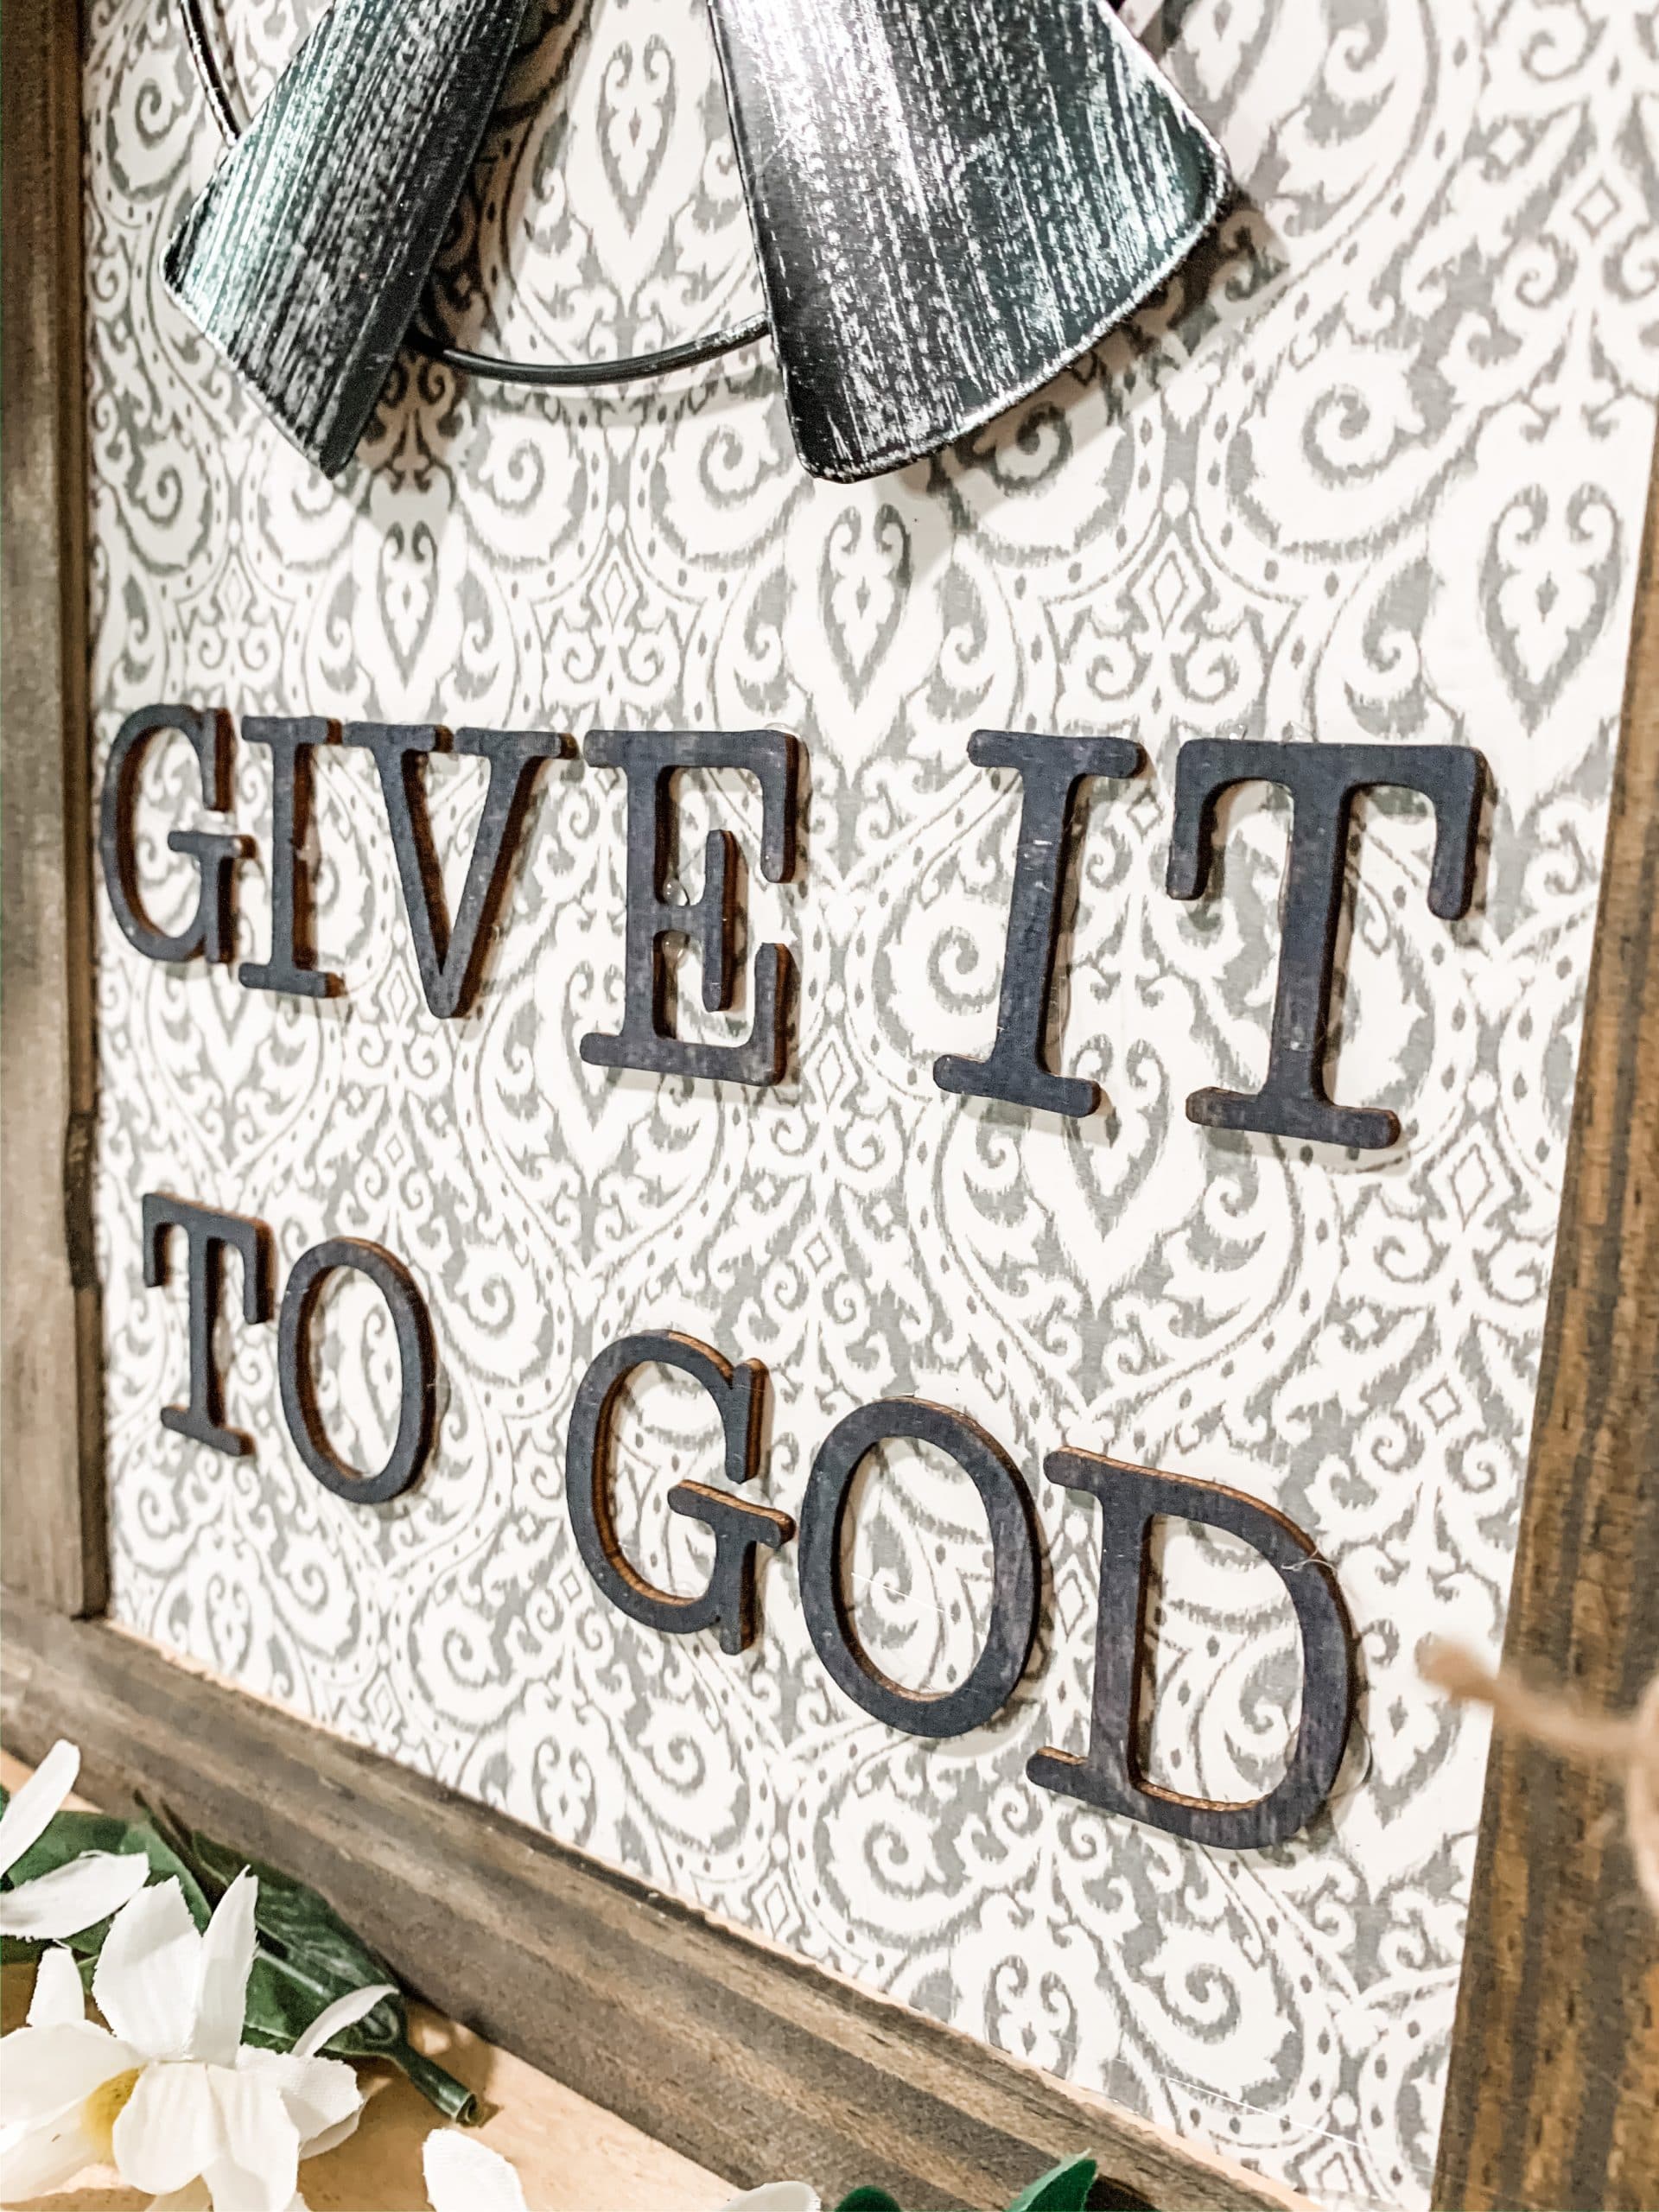
Hot glue the Dollar Tree windmill to the center of your DIY framed sign. Press the windmill into the glue to make sure you get a secure bond. Finally, you’re going to create the hanger!
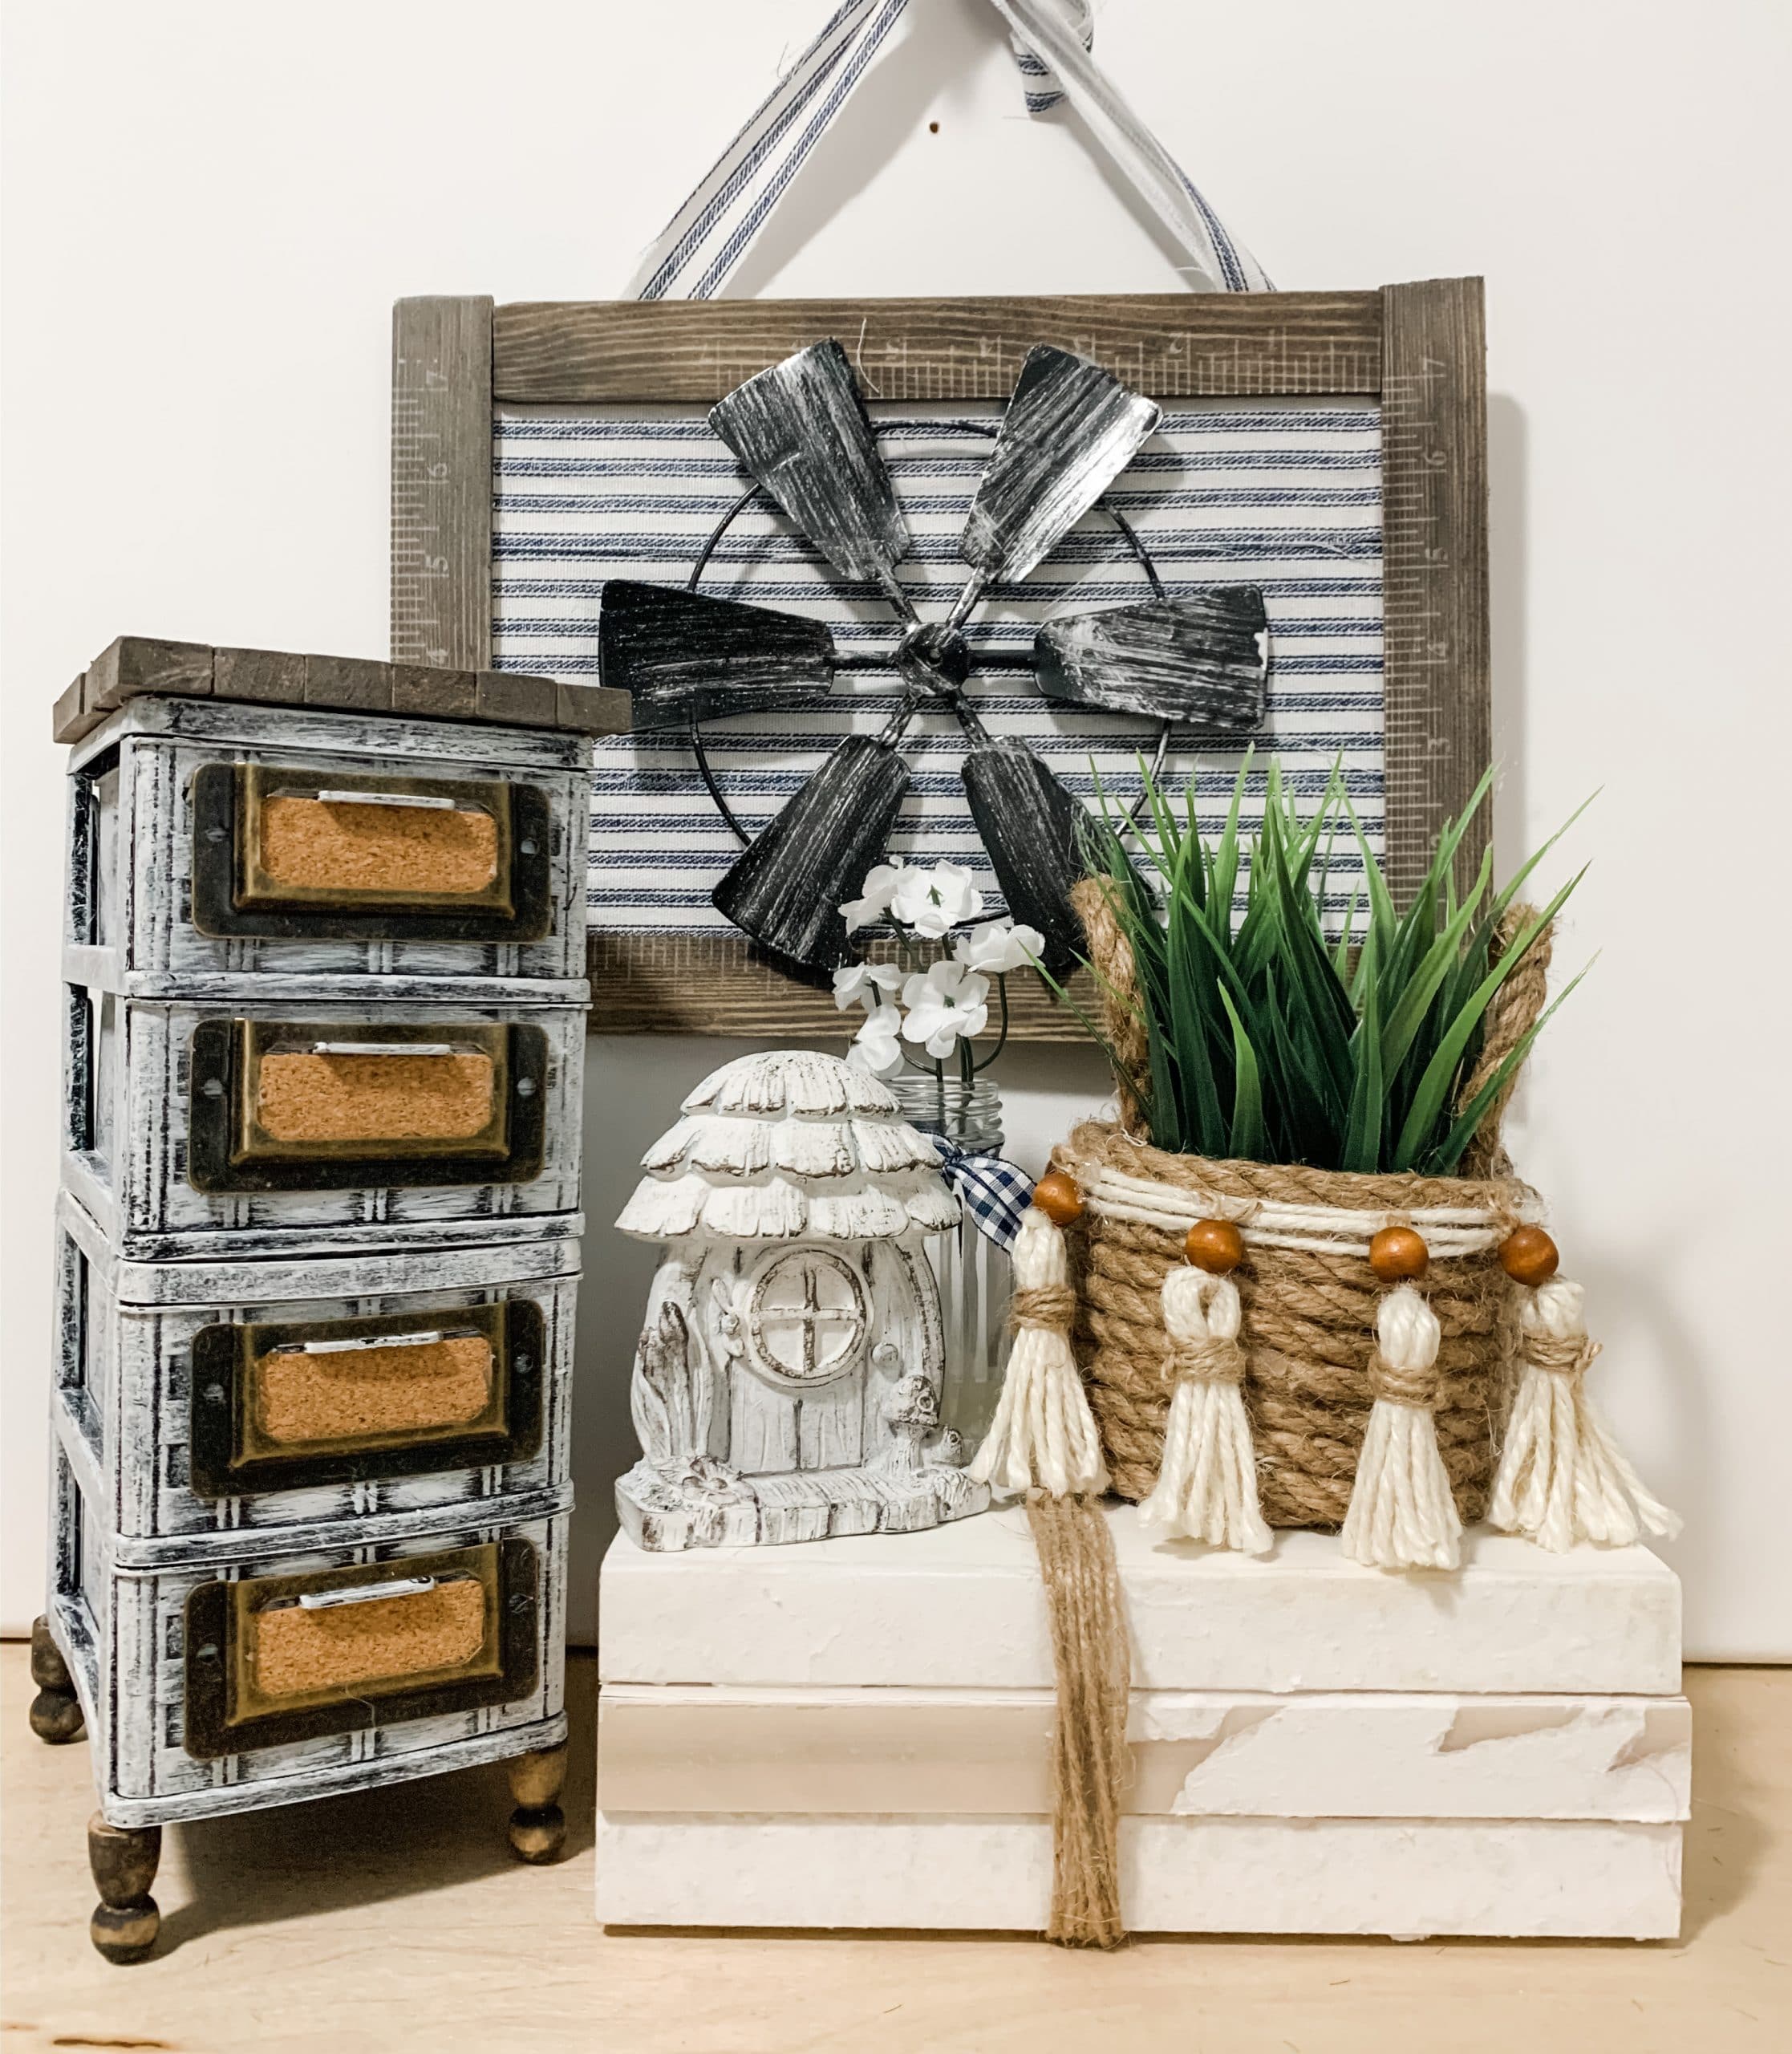
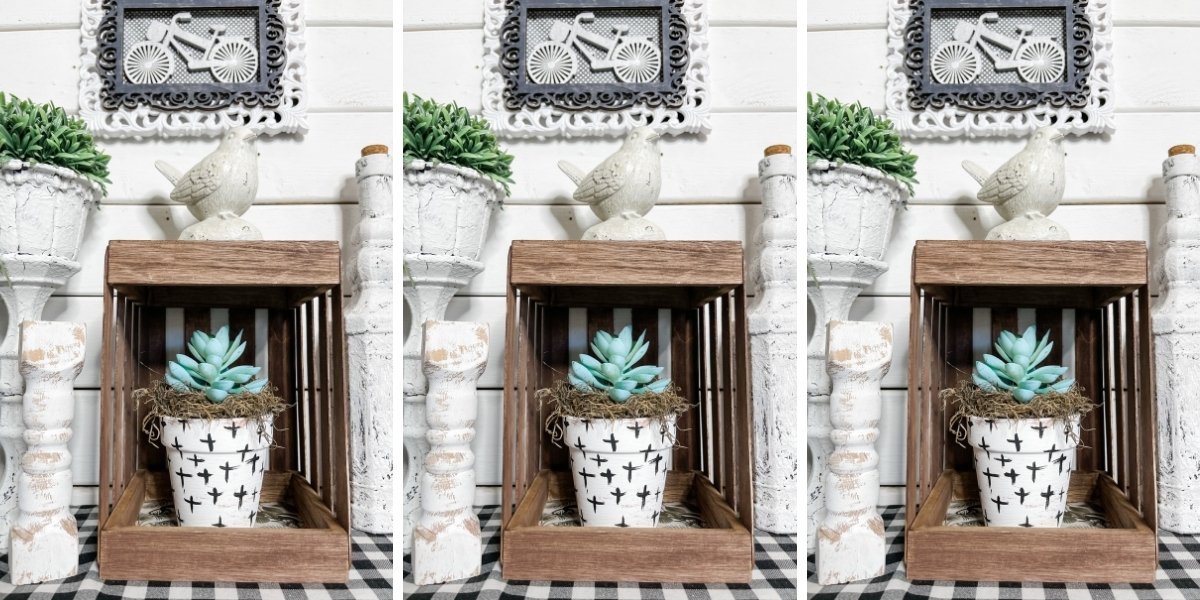
(The Dollar Tree Farmhouse Organizer and the Double-Sided Bee Skep Basket in the photo above are also on the blog!)
I used the same ticking fabric I put across the face of the sign to create the hanger. Cut two thin strips of fabric. Hot glue both ends of the first piece to the back of the sign.
Tie the second piece around the first, towards the top, leaving a small loop at the very top of the first fabric strip. Then, tie the second strip into a bow and trim its tails.
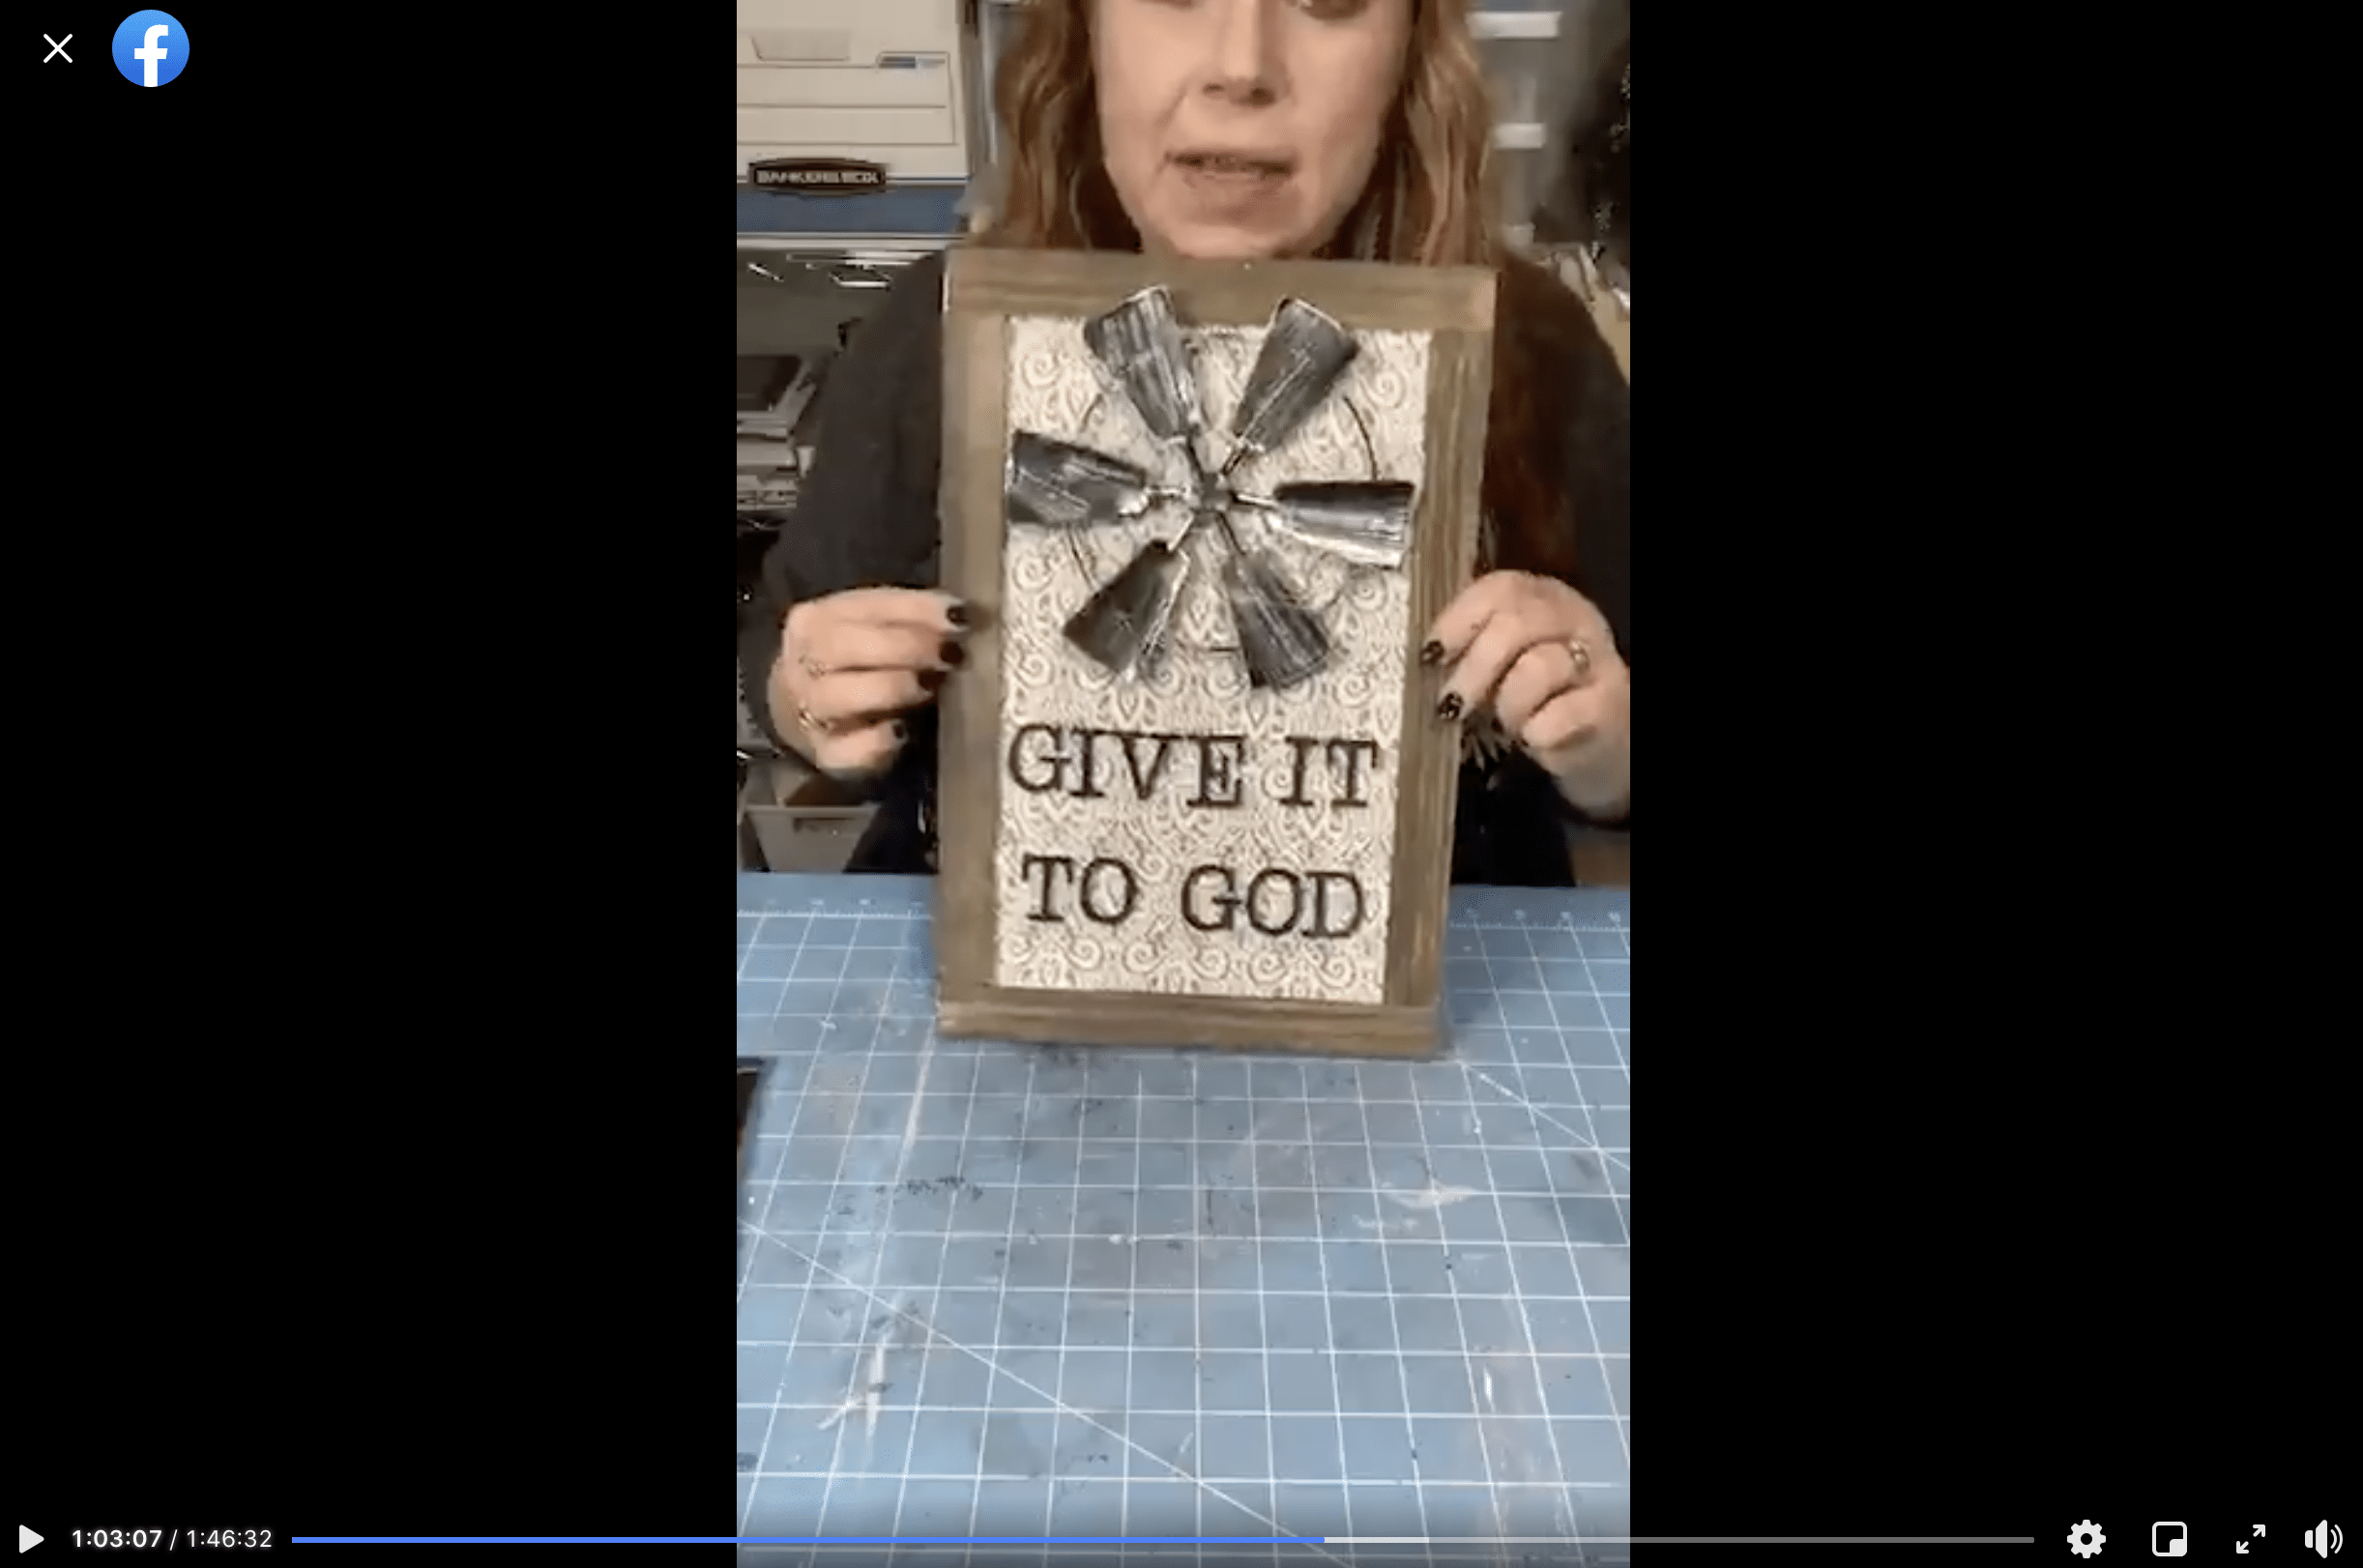
Watch the replay for idea #2
This second DIY is just as easy as the first, and I recorded the how-to steps during a LIVE video on my Facebook page! If you want to see how I brought this idea to life, you can watch the replay!
For this project, I will be using these items but you can substitute where you want.
“As an Amazon Associate, I earn from qualifying purchases.”
- Dollar Tree Windmill Welcome Decor
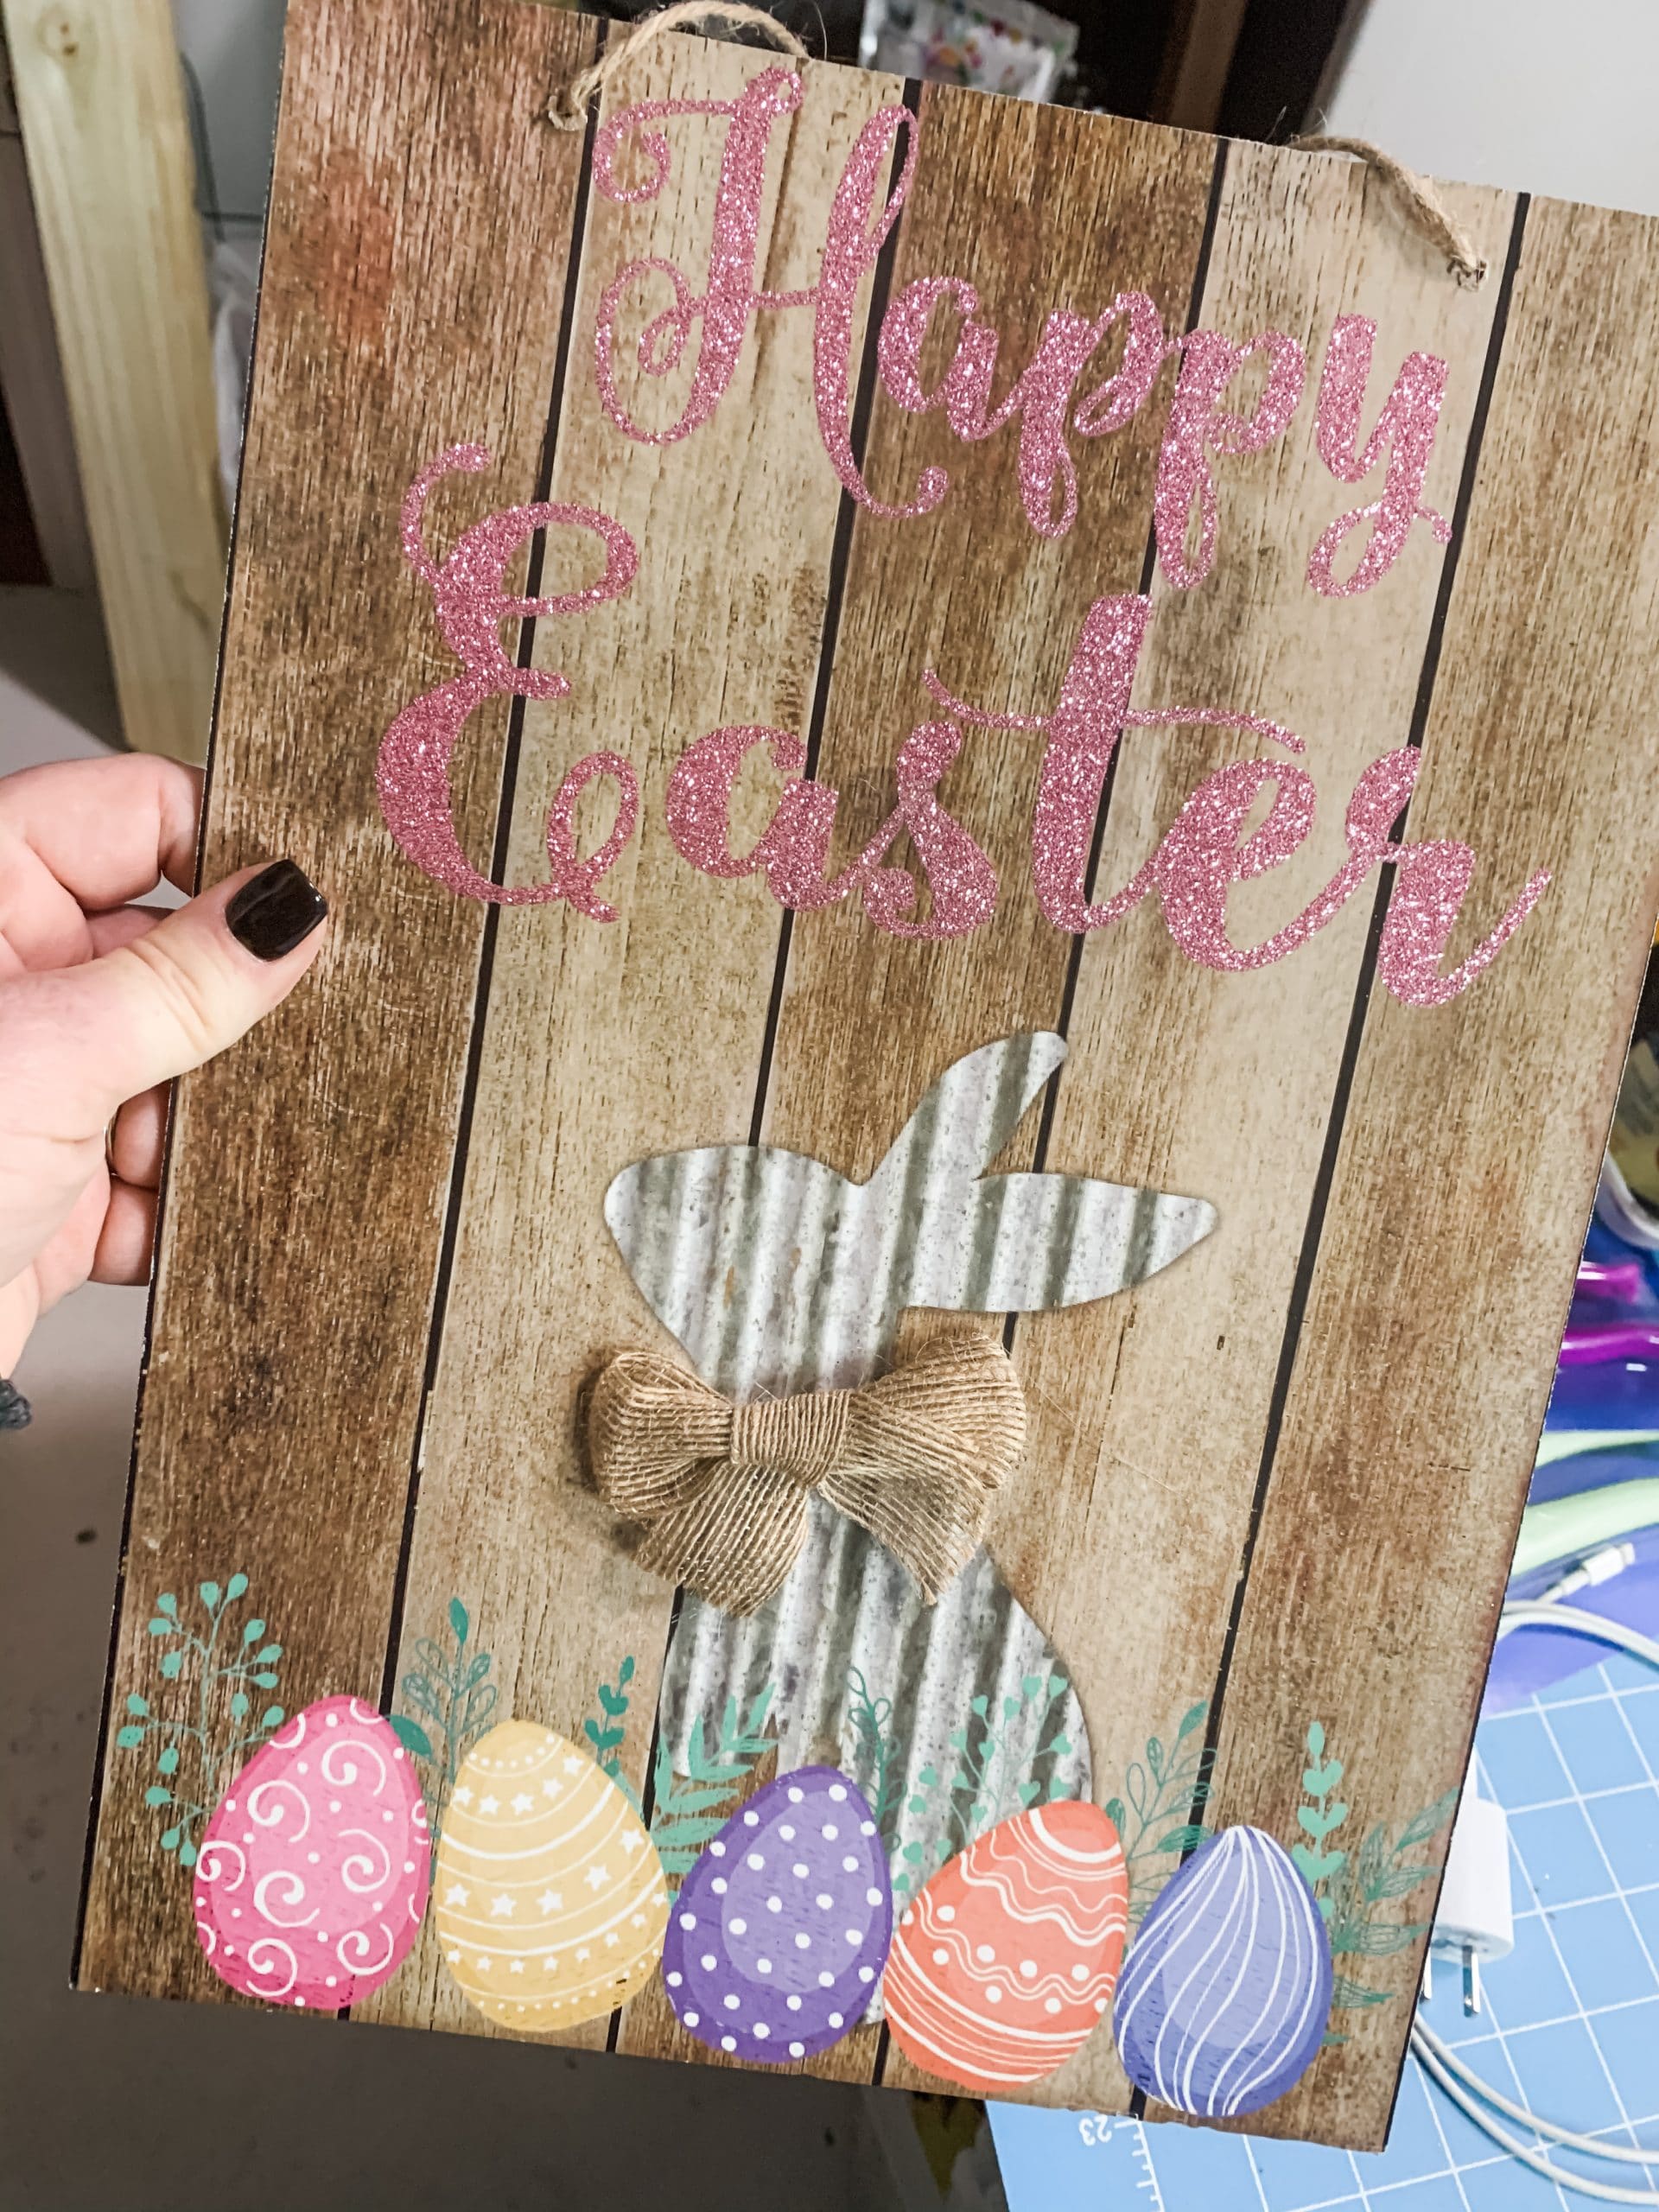
- Dollar Tree Easter Sign
- Tissue Paper
- Paint Sticks
- Wooden Letters
- Brown Paint
- Mod Podge
- Drill
- Hot glue gun and glue sticks
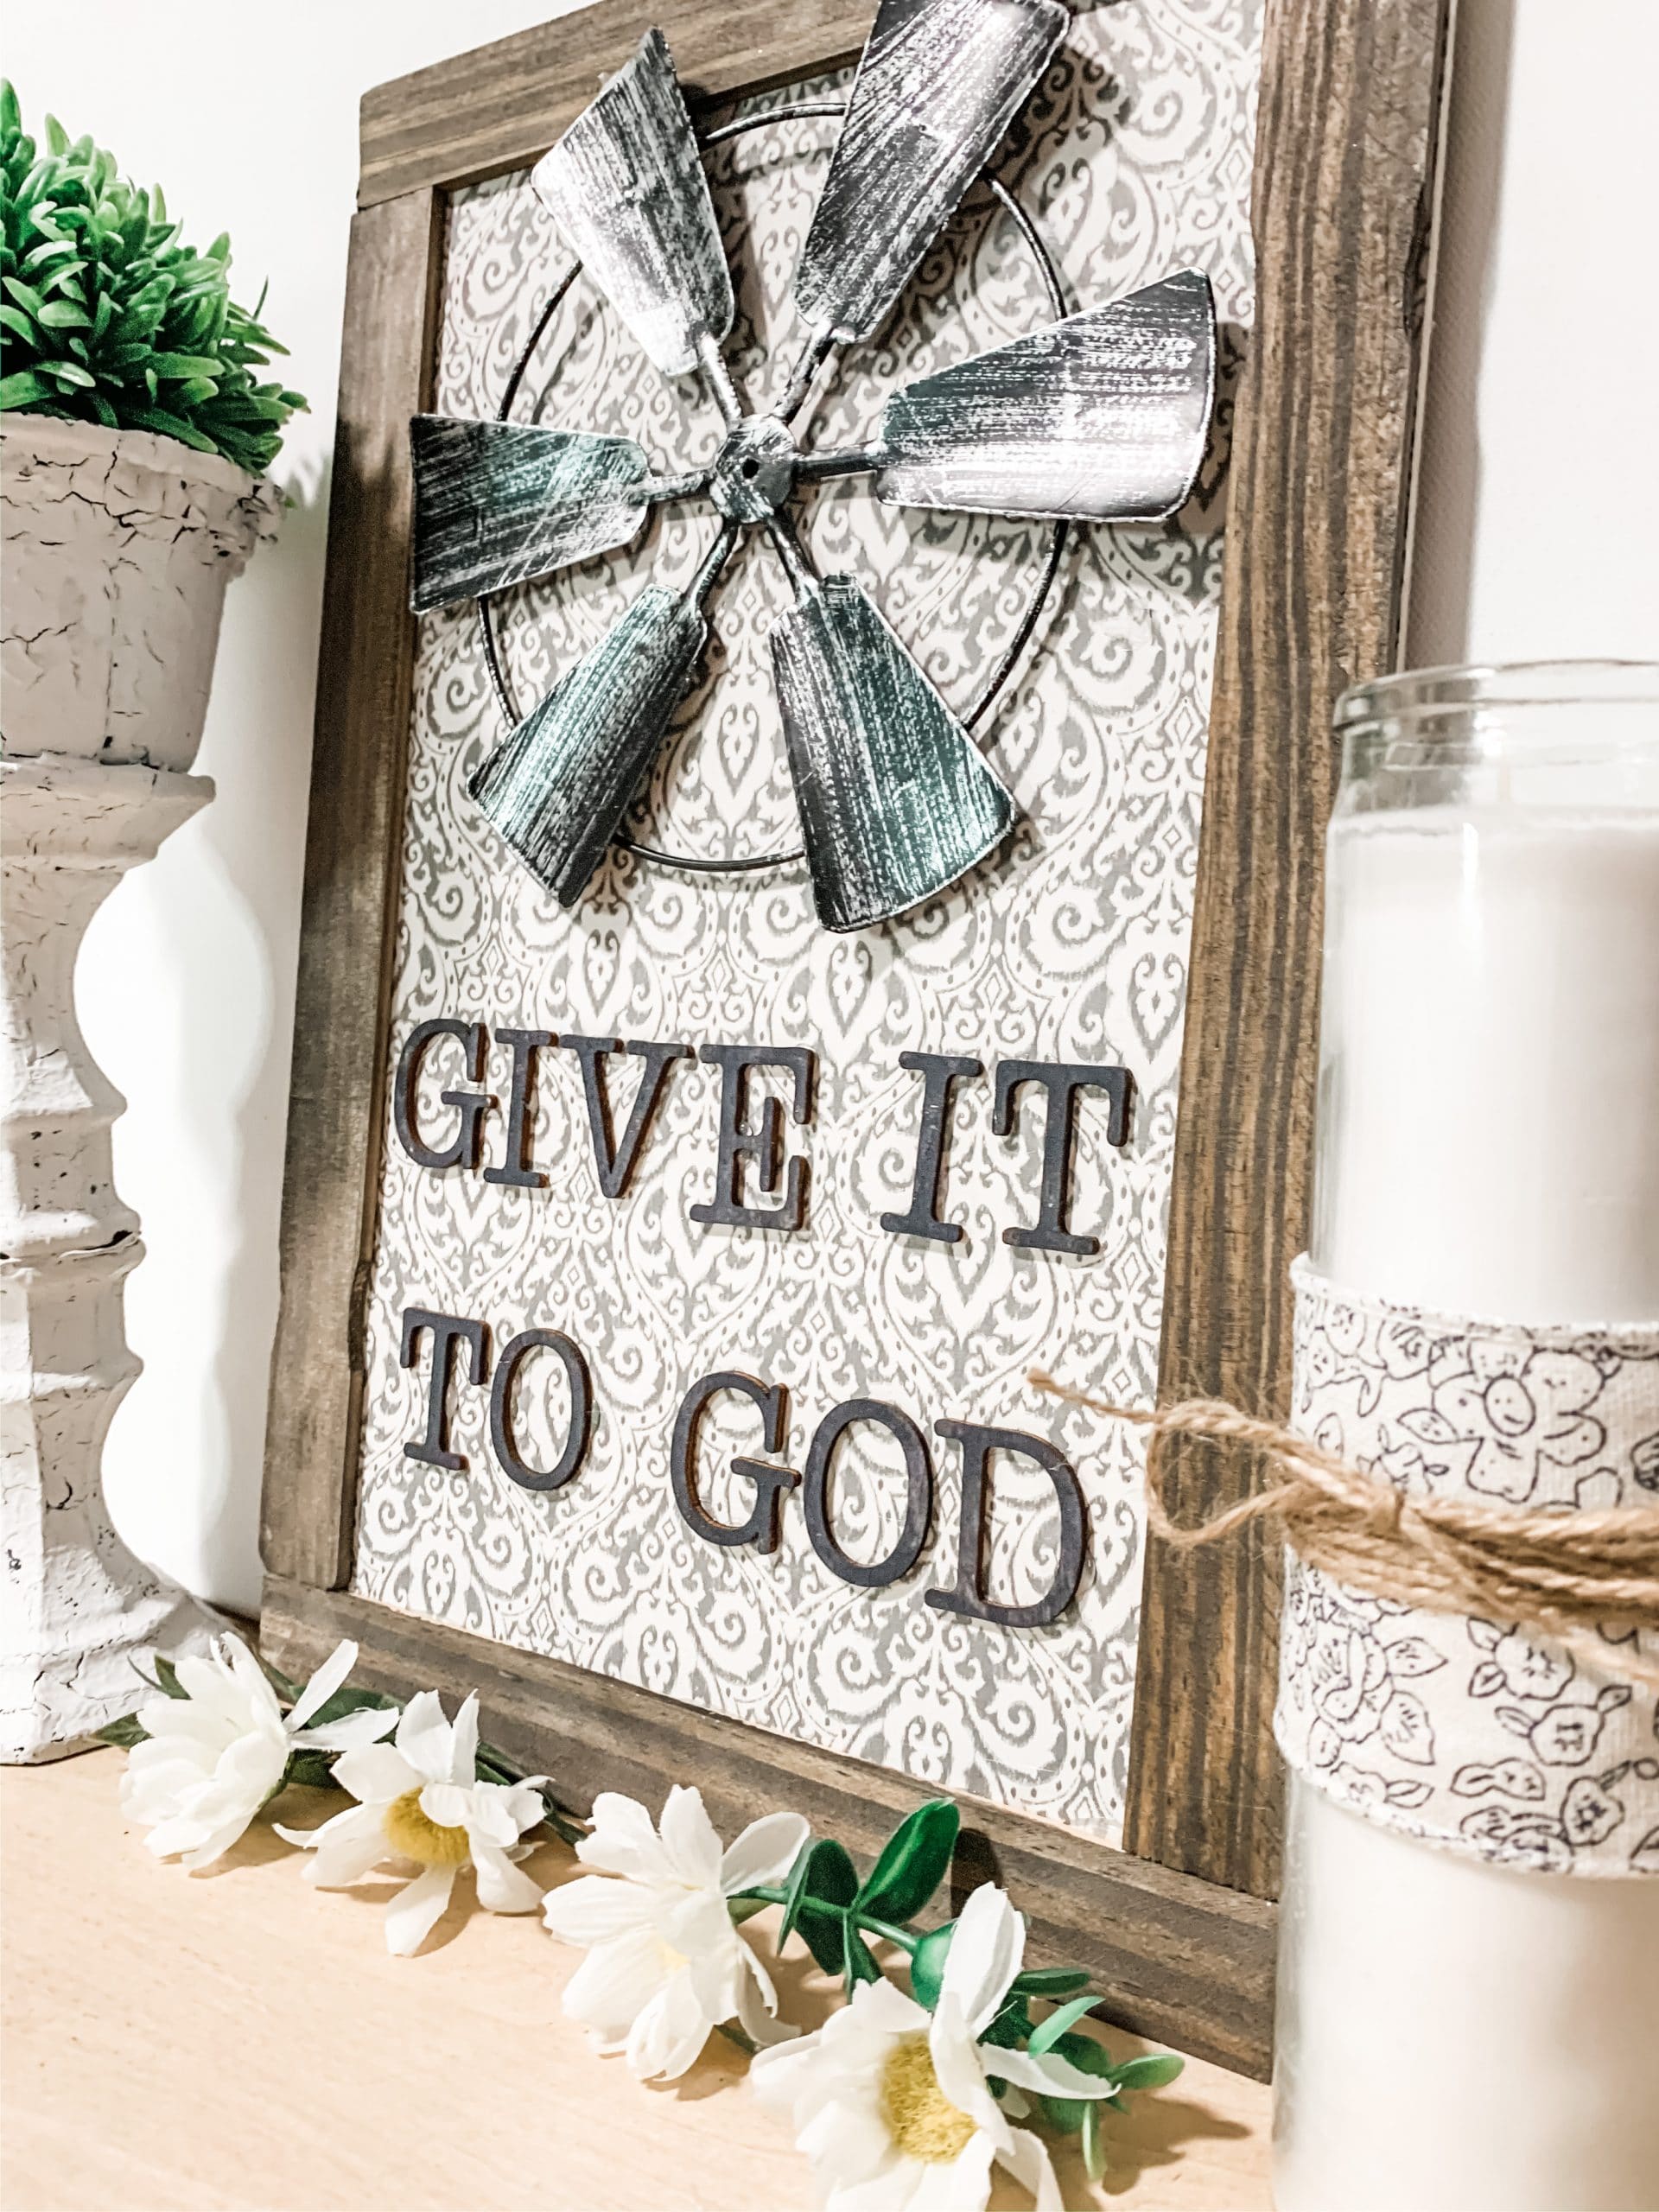
#2 Dollar Tree Windmill DIY Home Decor Idea
I started making this easy farmhouse DIY by removing the burlap bow and jute twine hanger from my Dollar Tree sign. If you use a different sign than I did, obviously you can skip these steps.
Just prep your sign so that you can paint one side and have the sign lay flat on a table or surface. I painted the back of my sign with Dixie Belle Chalk Paint, but you can use whatever white paint you have on hand.
We paint the sign white to keep the brown color of the sign from peeking through the tissue paper when we decoupage it to the surface. After you apply the white paint, apply a coat of Mod Podge and place your tissue paper onto the sign.
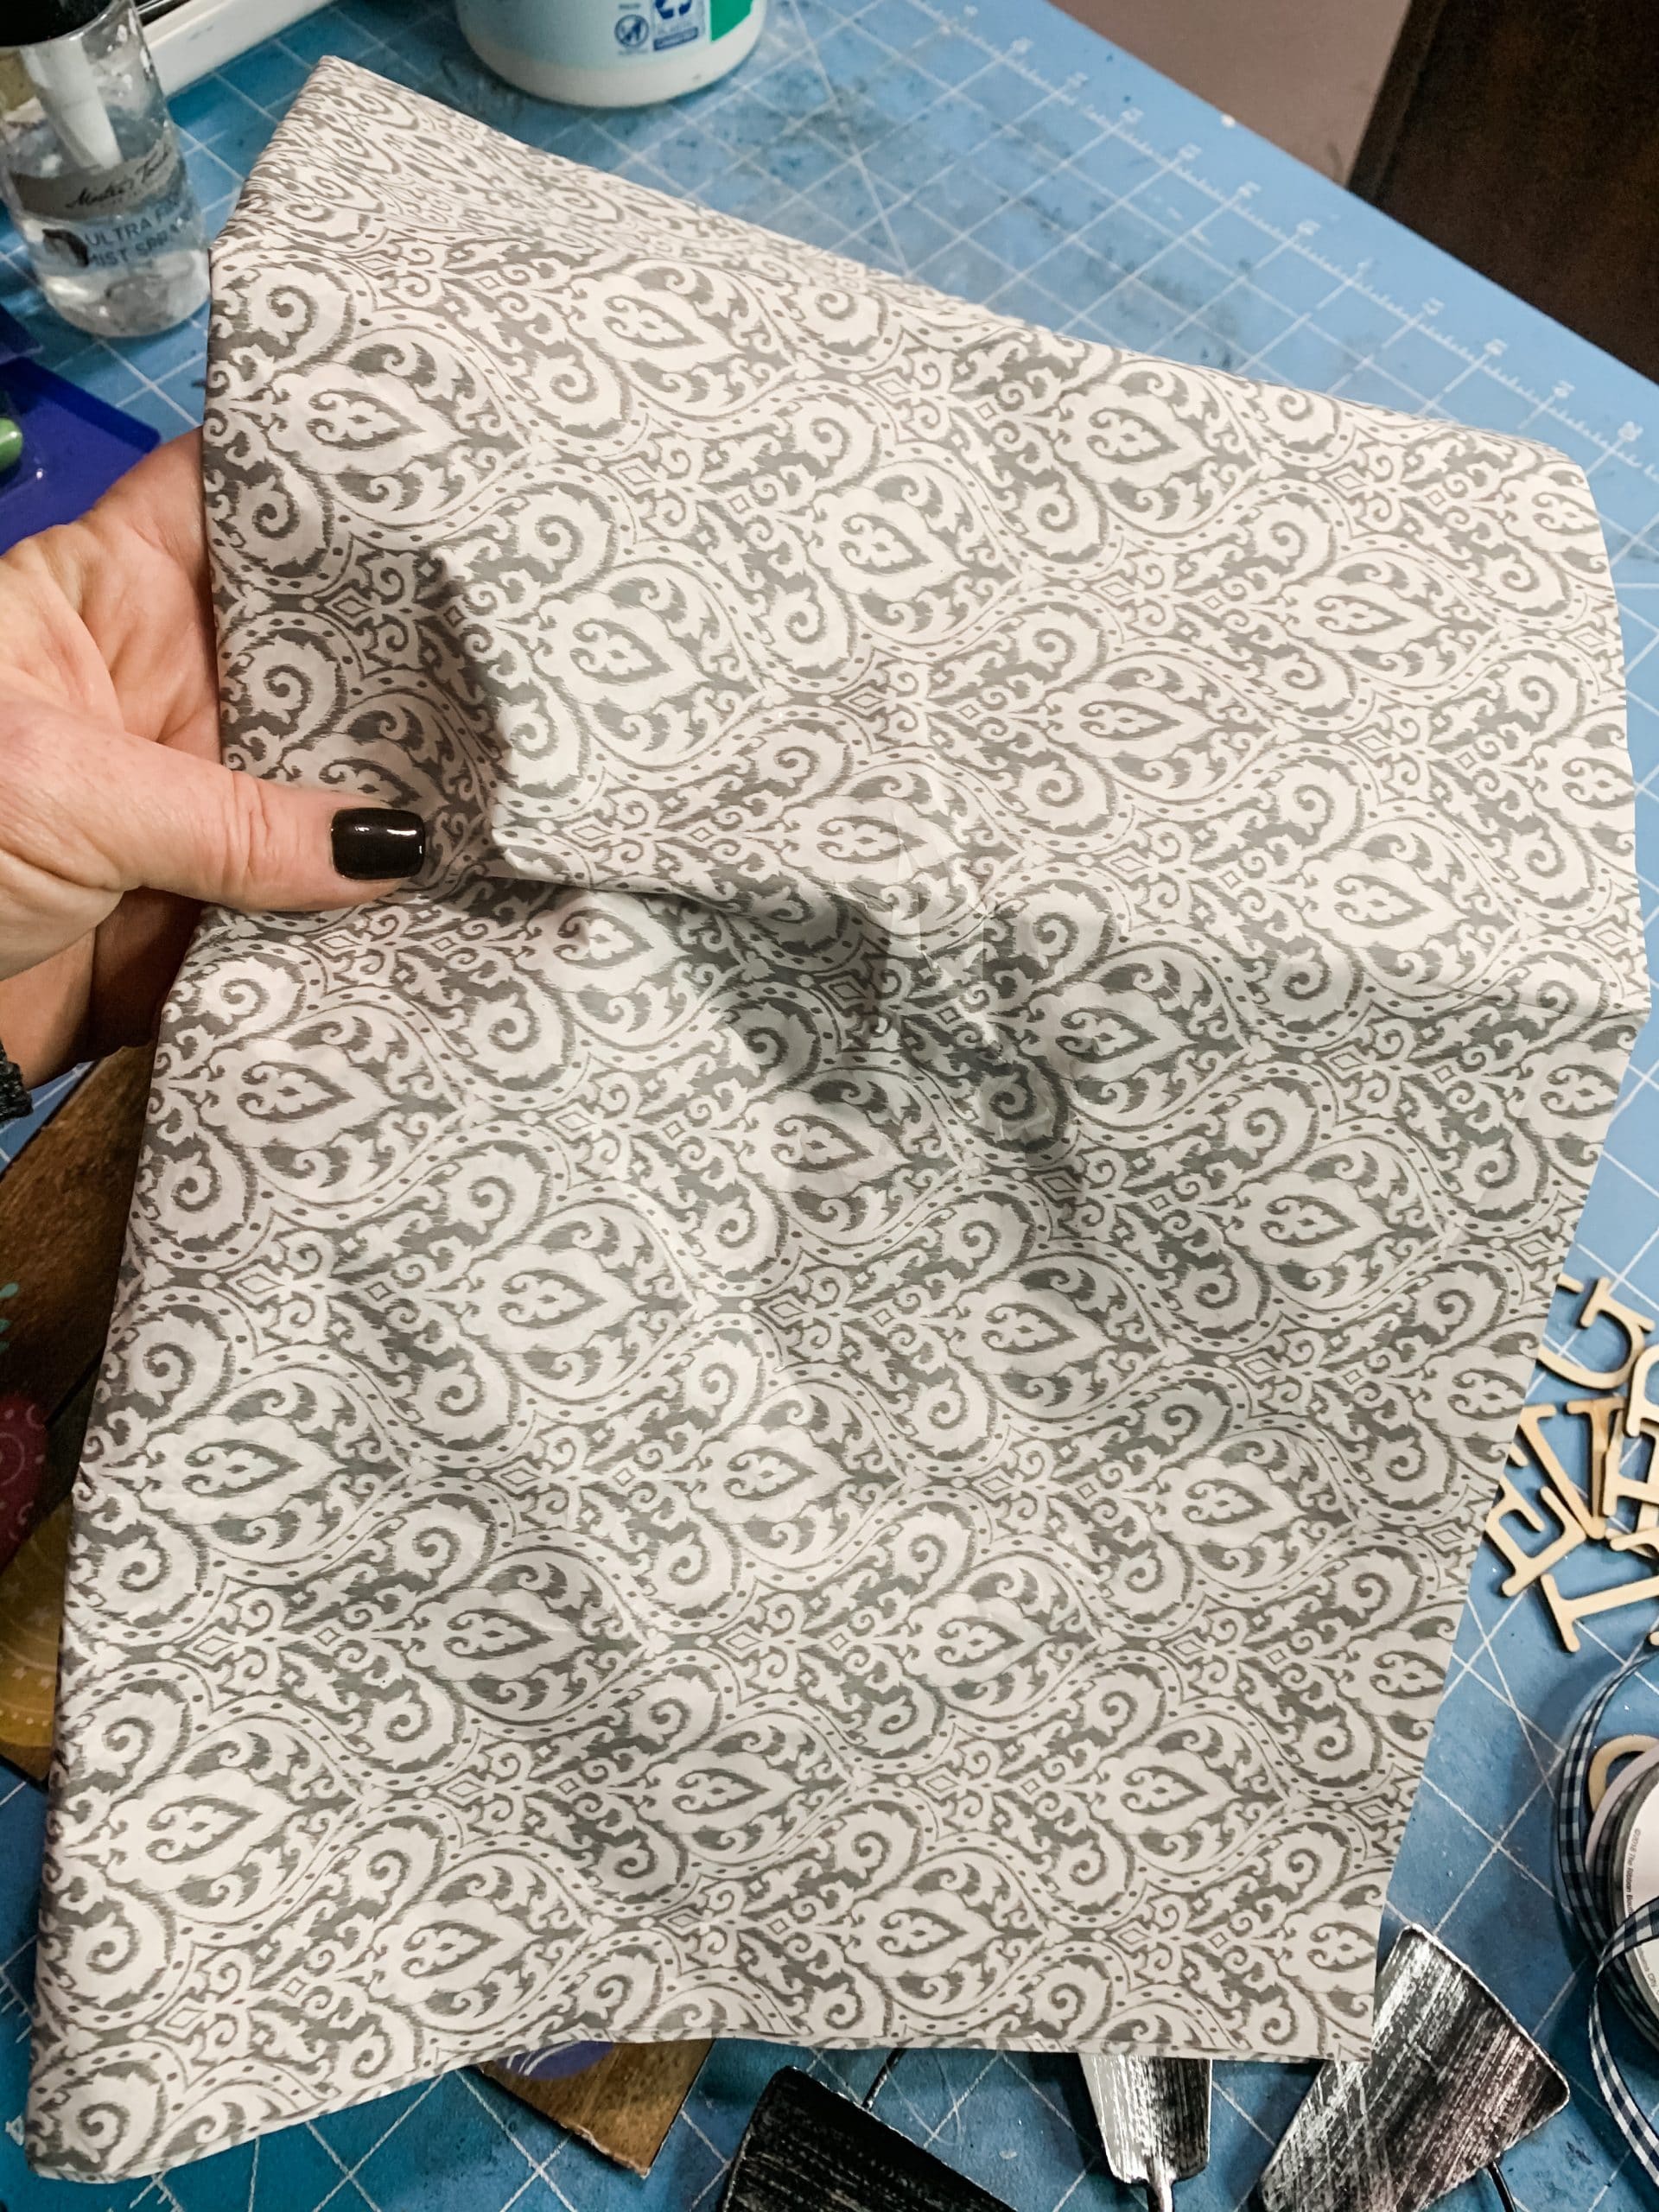
Use a rolling pin to smooth out any wrinkles or creases in the tissue paper and allow it to dry. Once the Mod Podge is completely dry, you can use a sanding sponge around the edges of the sign to remove the excess tissue paper.
How to create a DIY frame
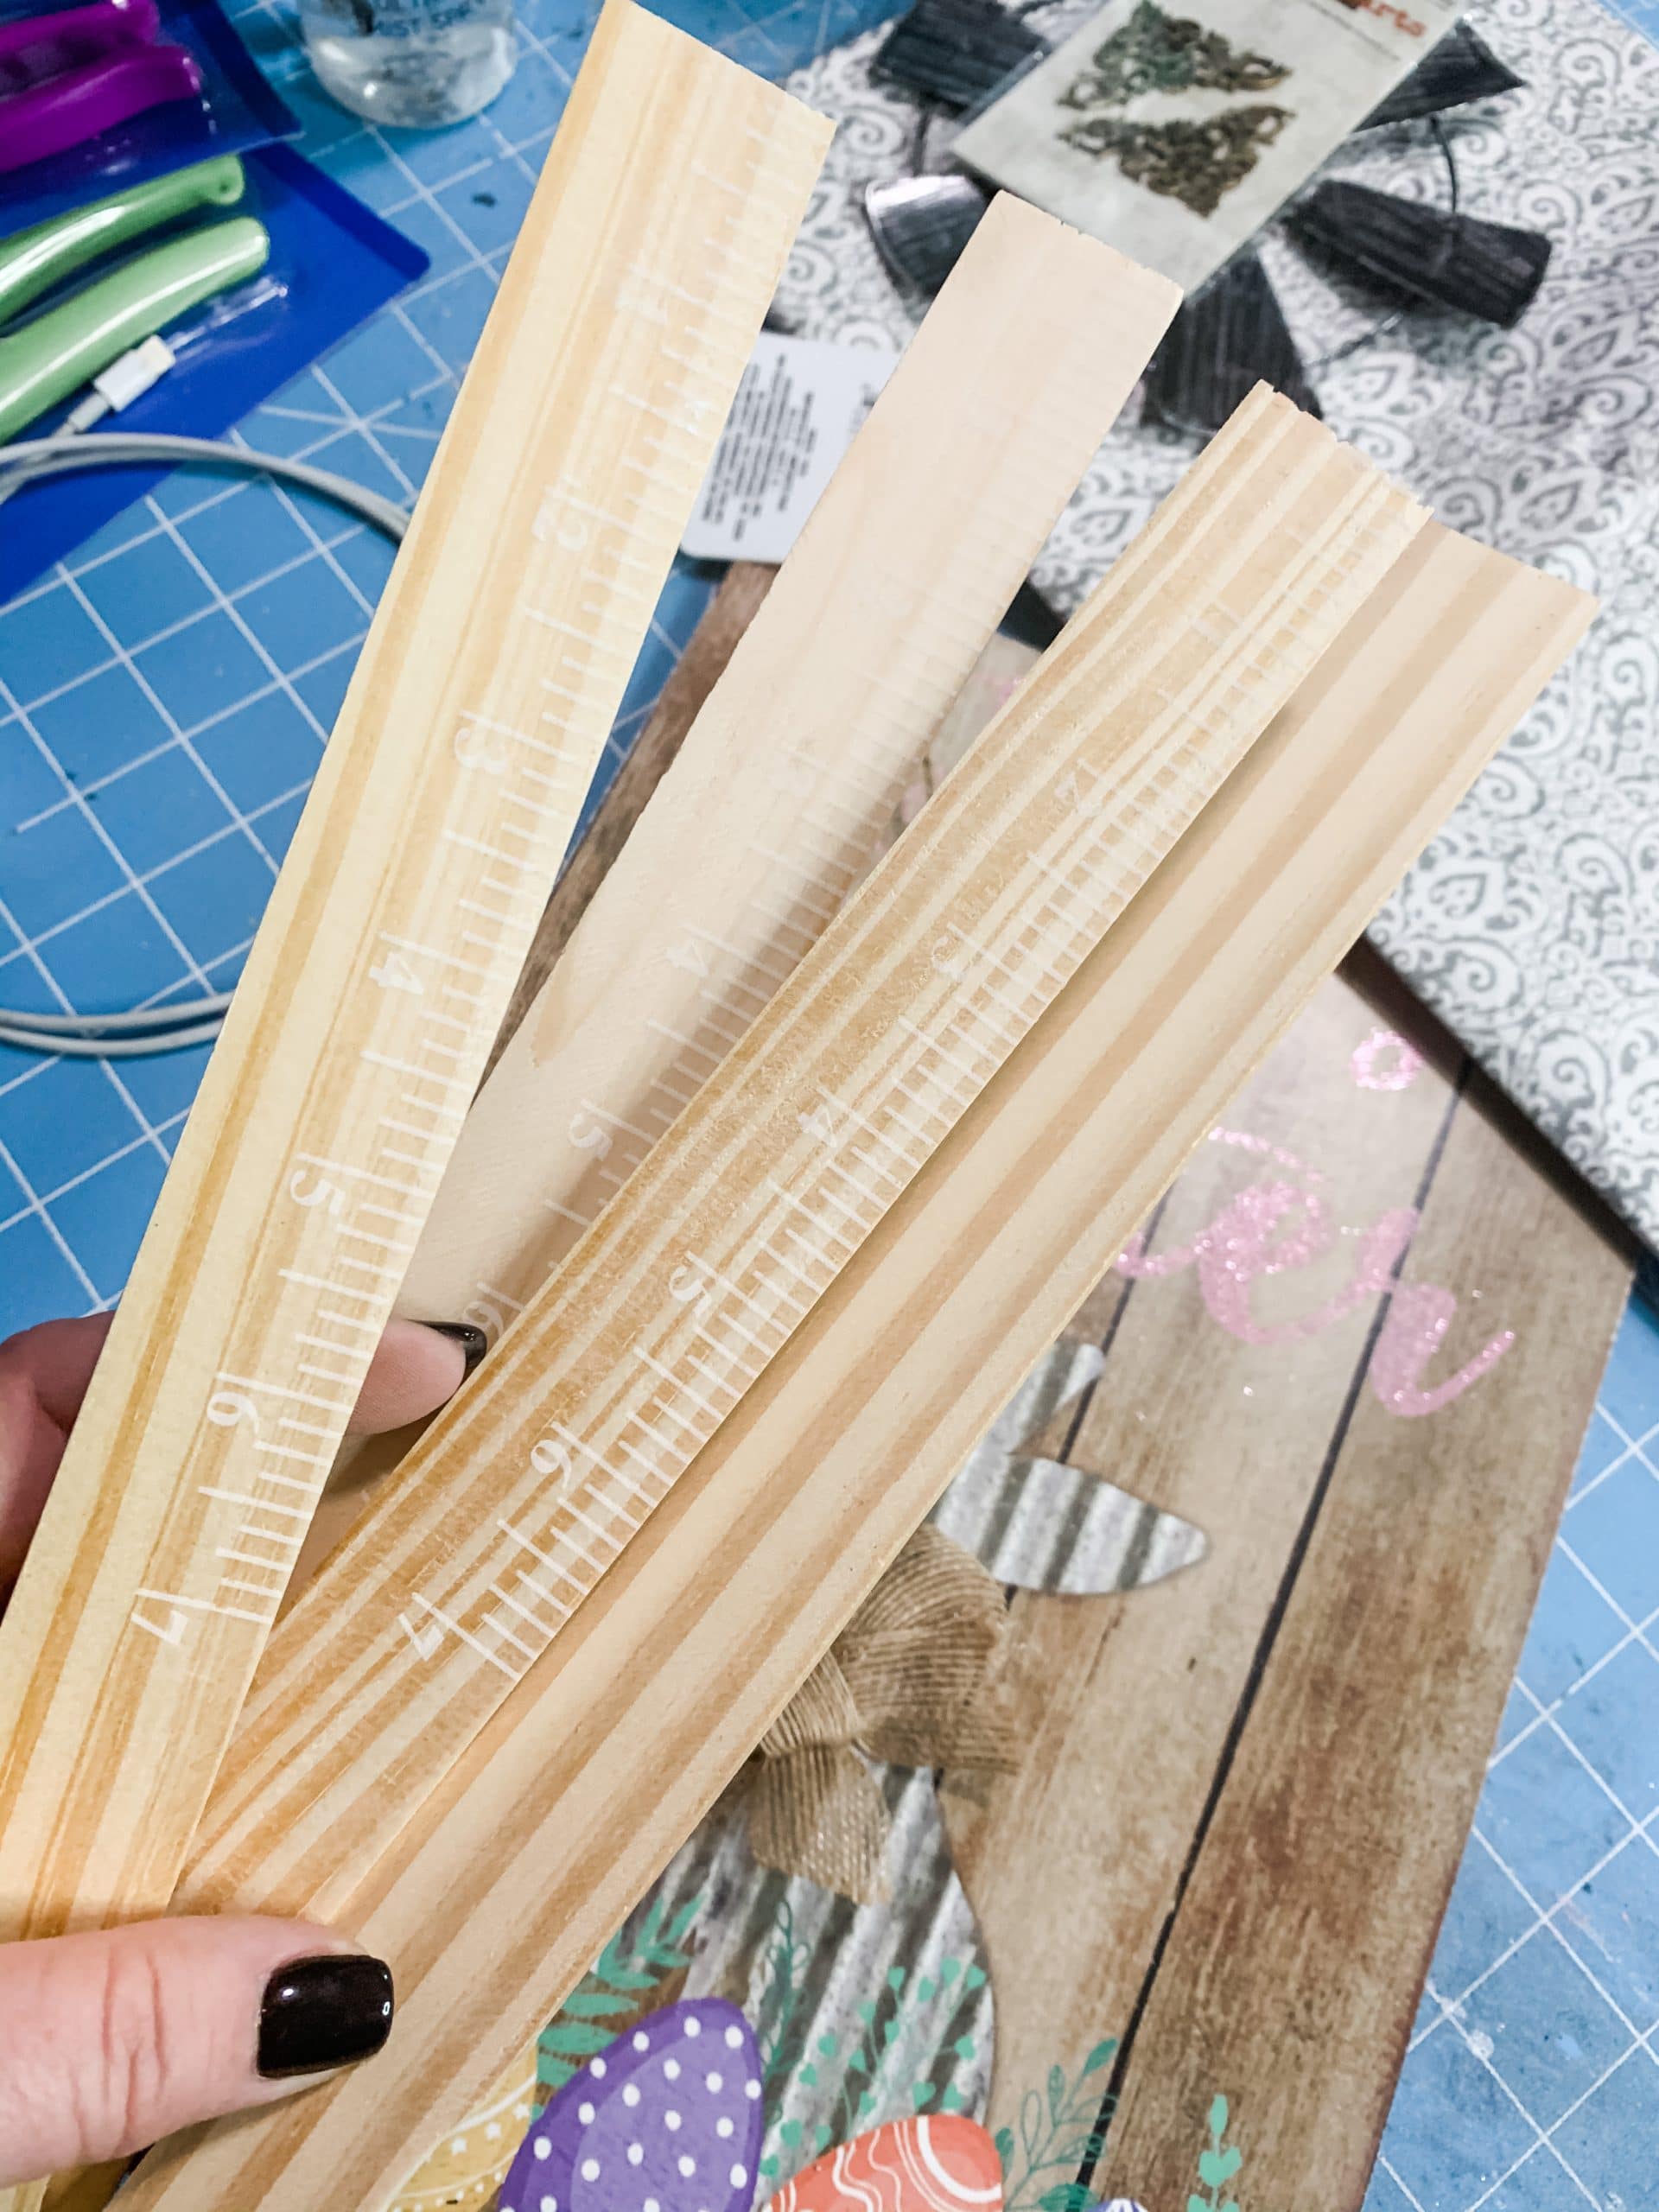
To make the DIY frame for this farmhouse decor, I used four paint sticks. I had to trim two of the paint sticks to fit on the shorter sides, but scissors won’t quite work for this. Instead, I used a pair of aviation snips to cut the sticks.
Once you have the pieces trimmed to the correct size, it’s time to stain! You’ll need brown paint and a wet wipe. I used Dixie Belle Coffee Bean chalk paint for this project, but Apple Barrel Burnt Umber works just as well!
Use the wet wipes to spread the brown paint onto the paint sticks. Make sure you cover the front and sides of each of the paint sticks. The water helps the wood absorb the paint pigment and gives it the perfect stained finish.
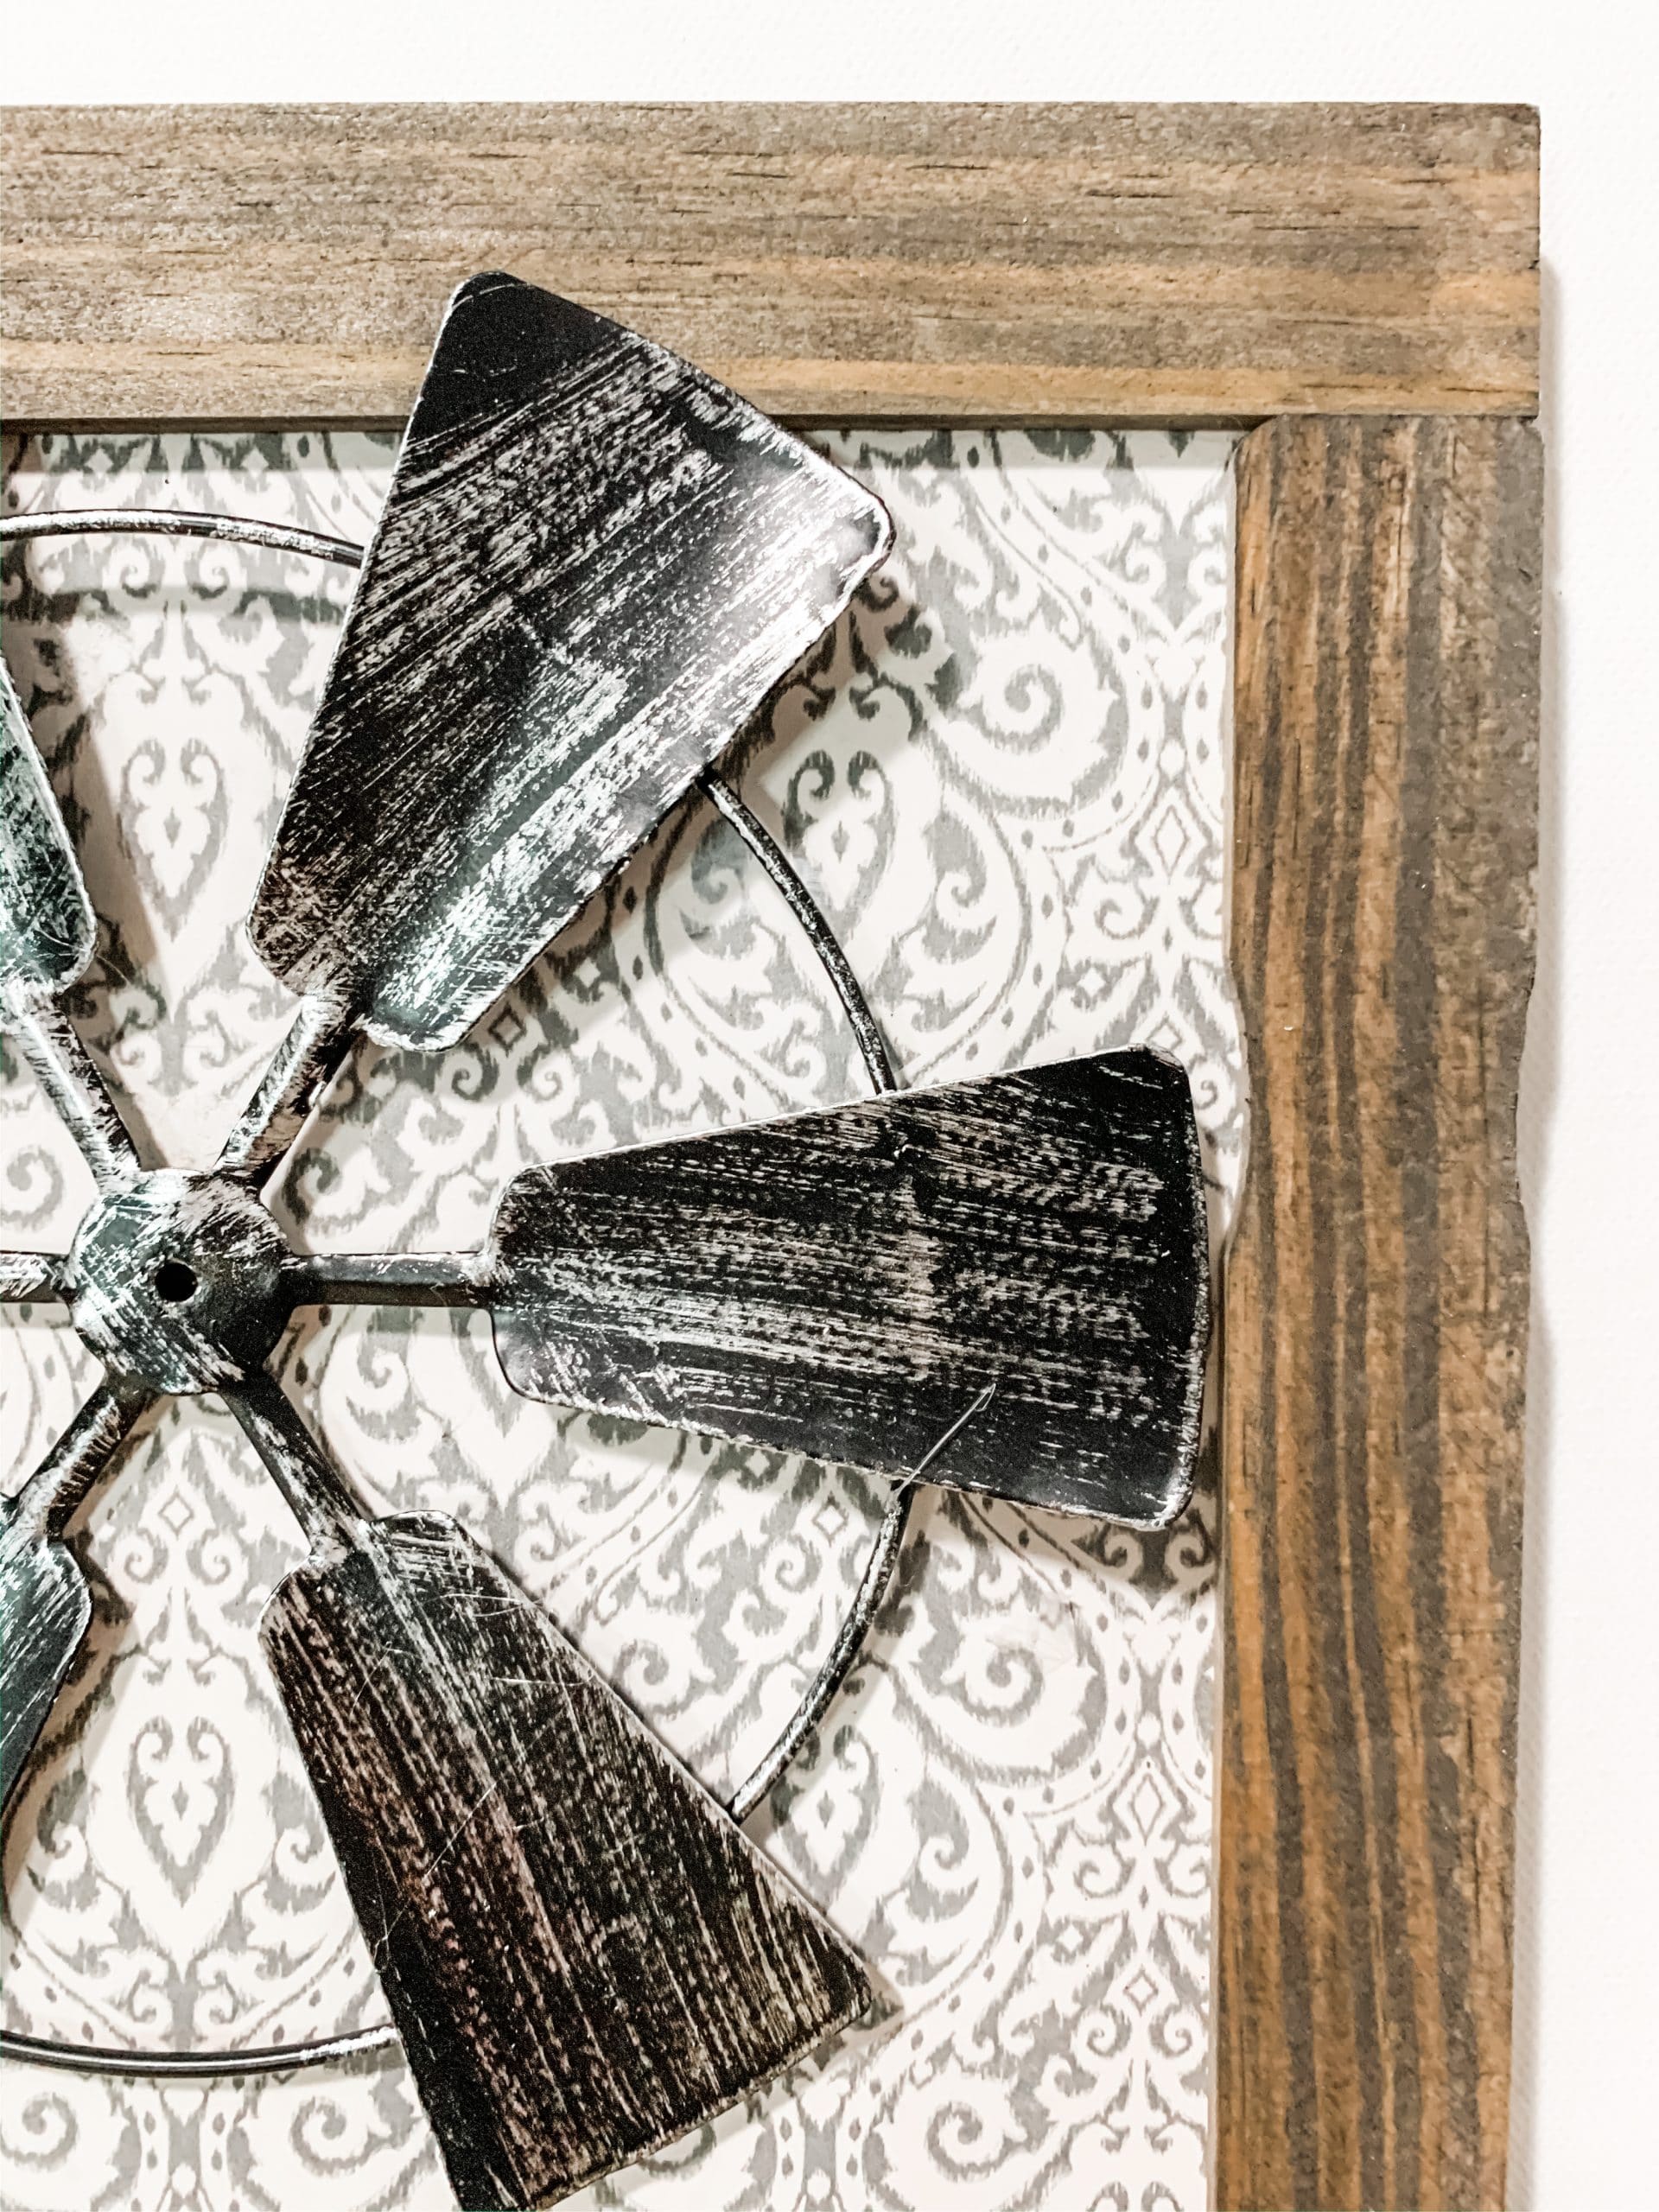
Let the wood dry, then hot glue them around the edges of the Dollar Tree sign to create your DIY frame. I stained my wooden letters with Dixie Belle In The Navy Chalk Paint, but you can use whichever paint you have on hand.
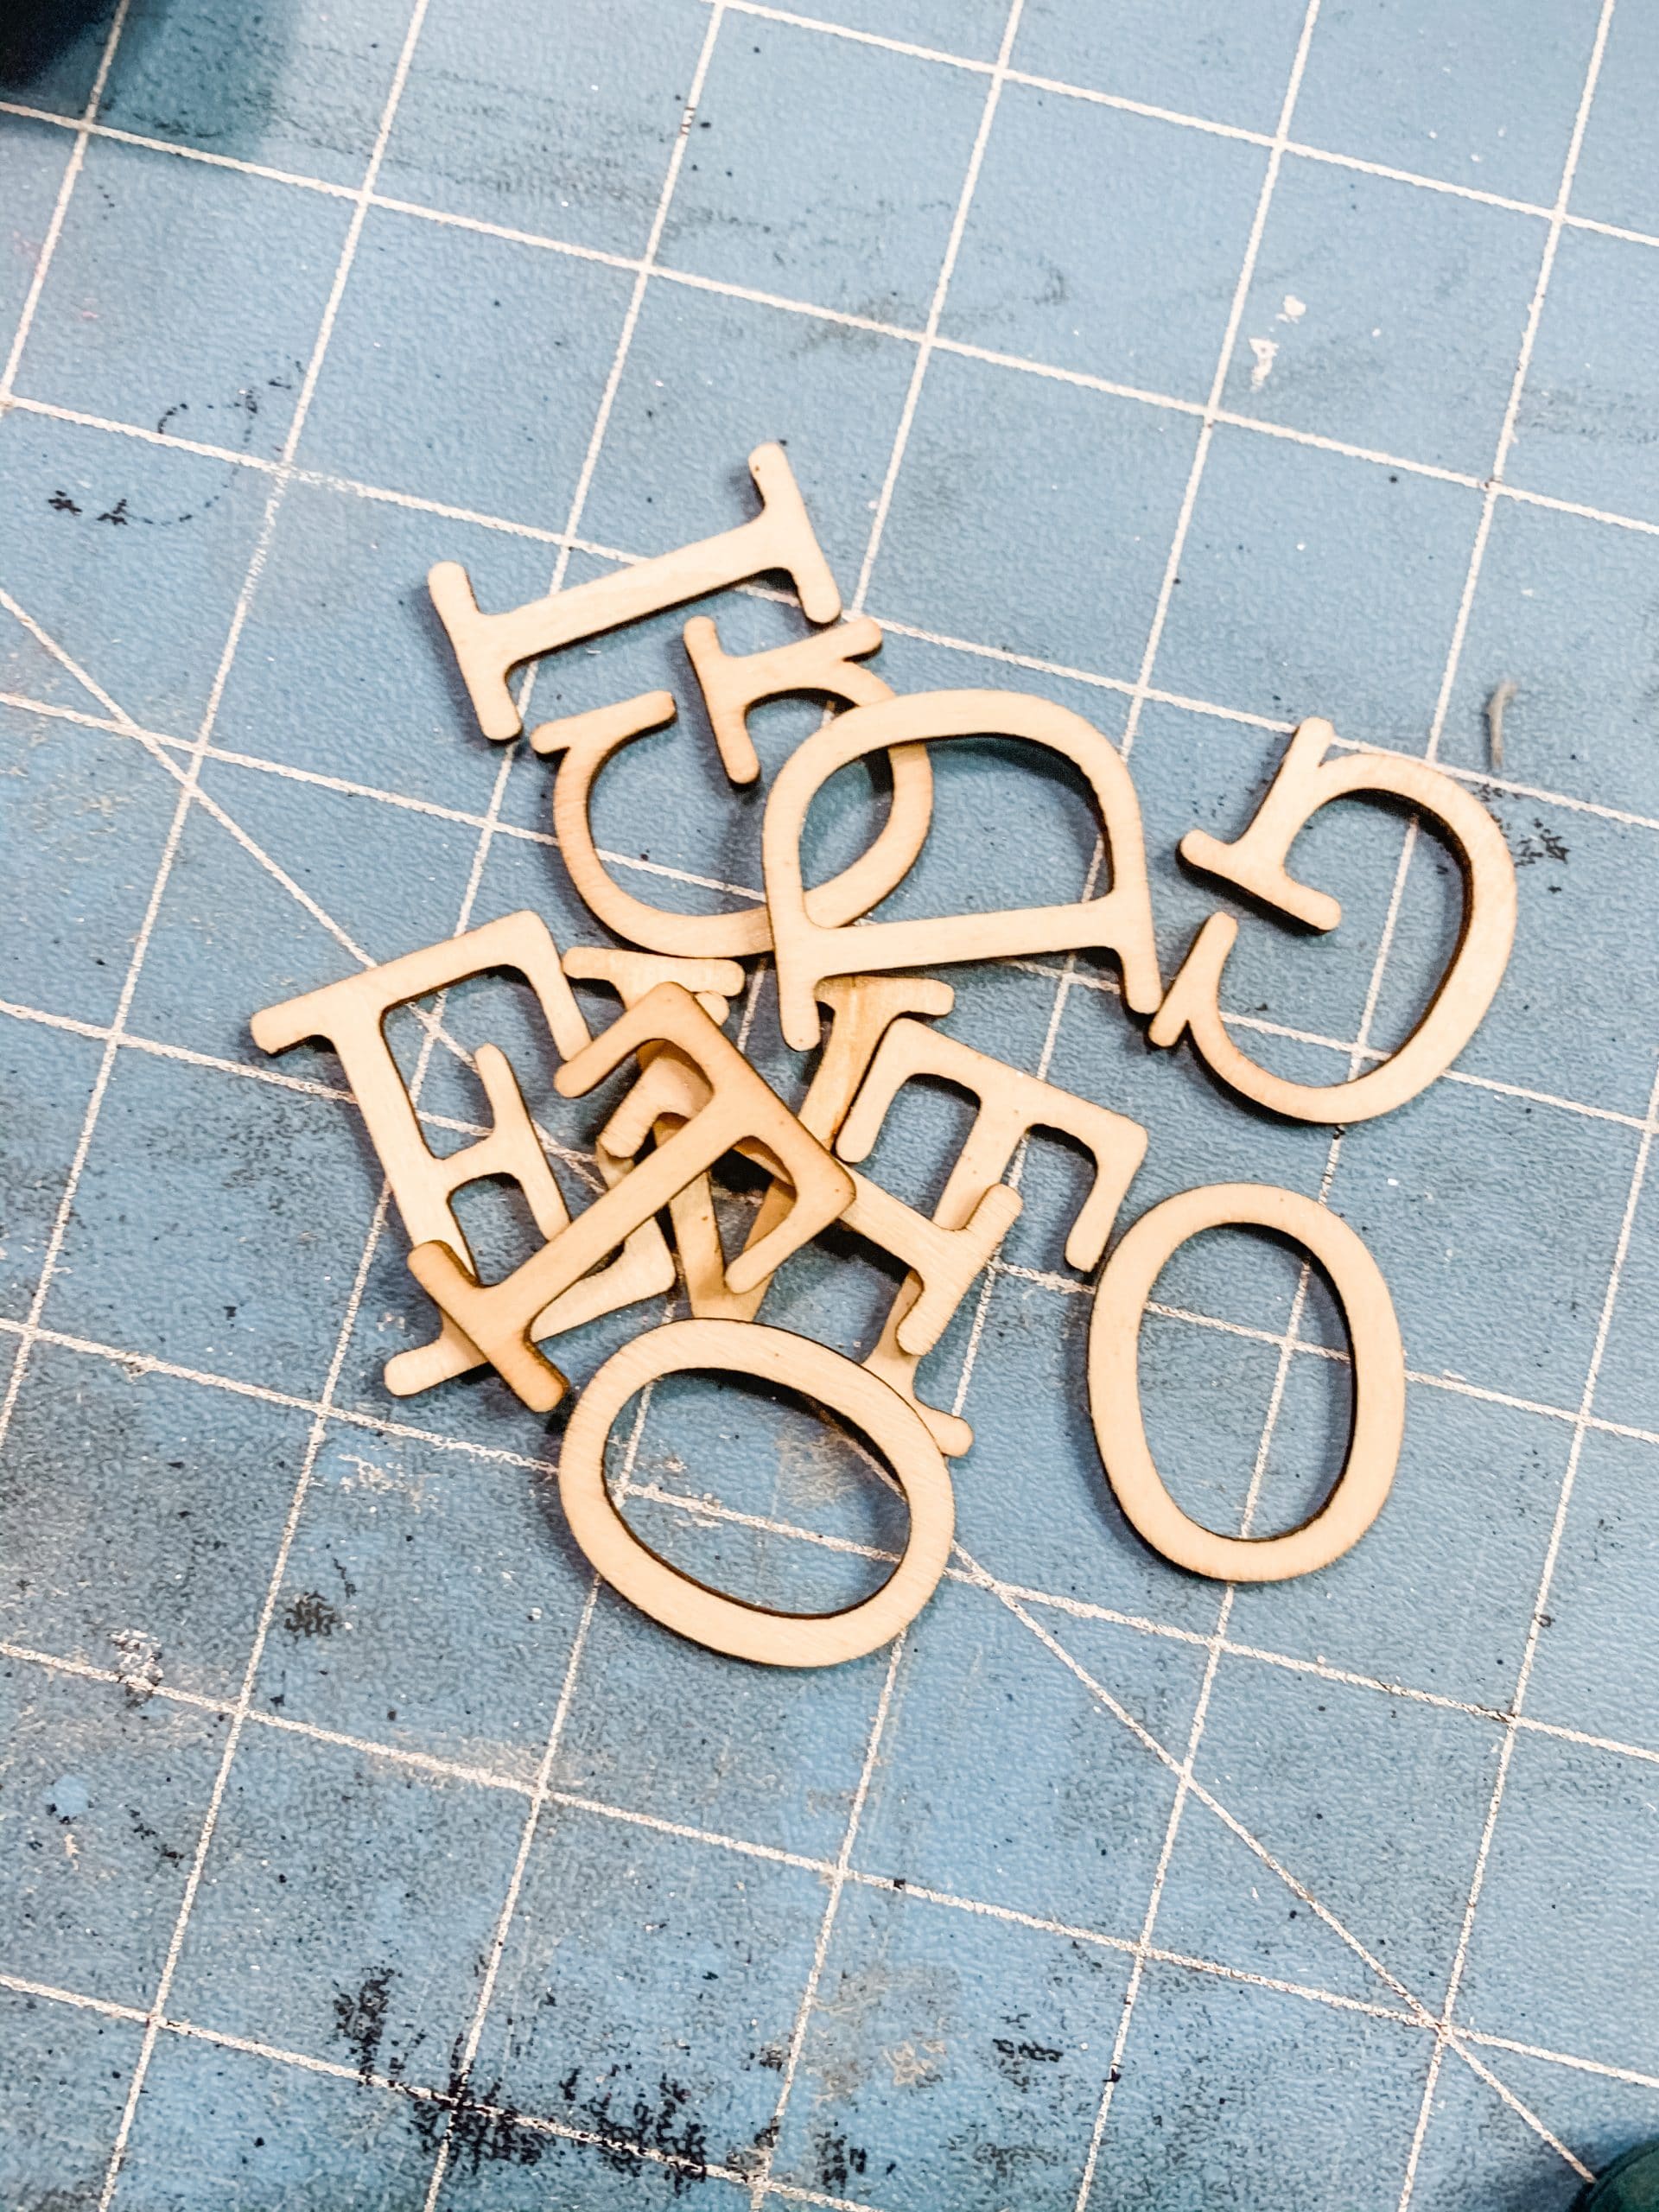
The navy paint matched my bedroom decor, but you can whichever paint matches your style best. Use the same staining technique that you used on the paint sticks to stain your wooden letters.
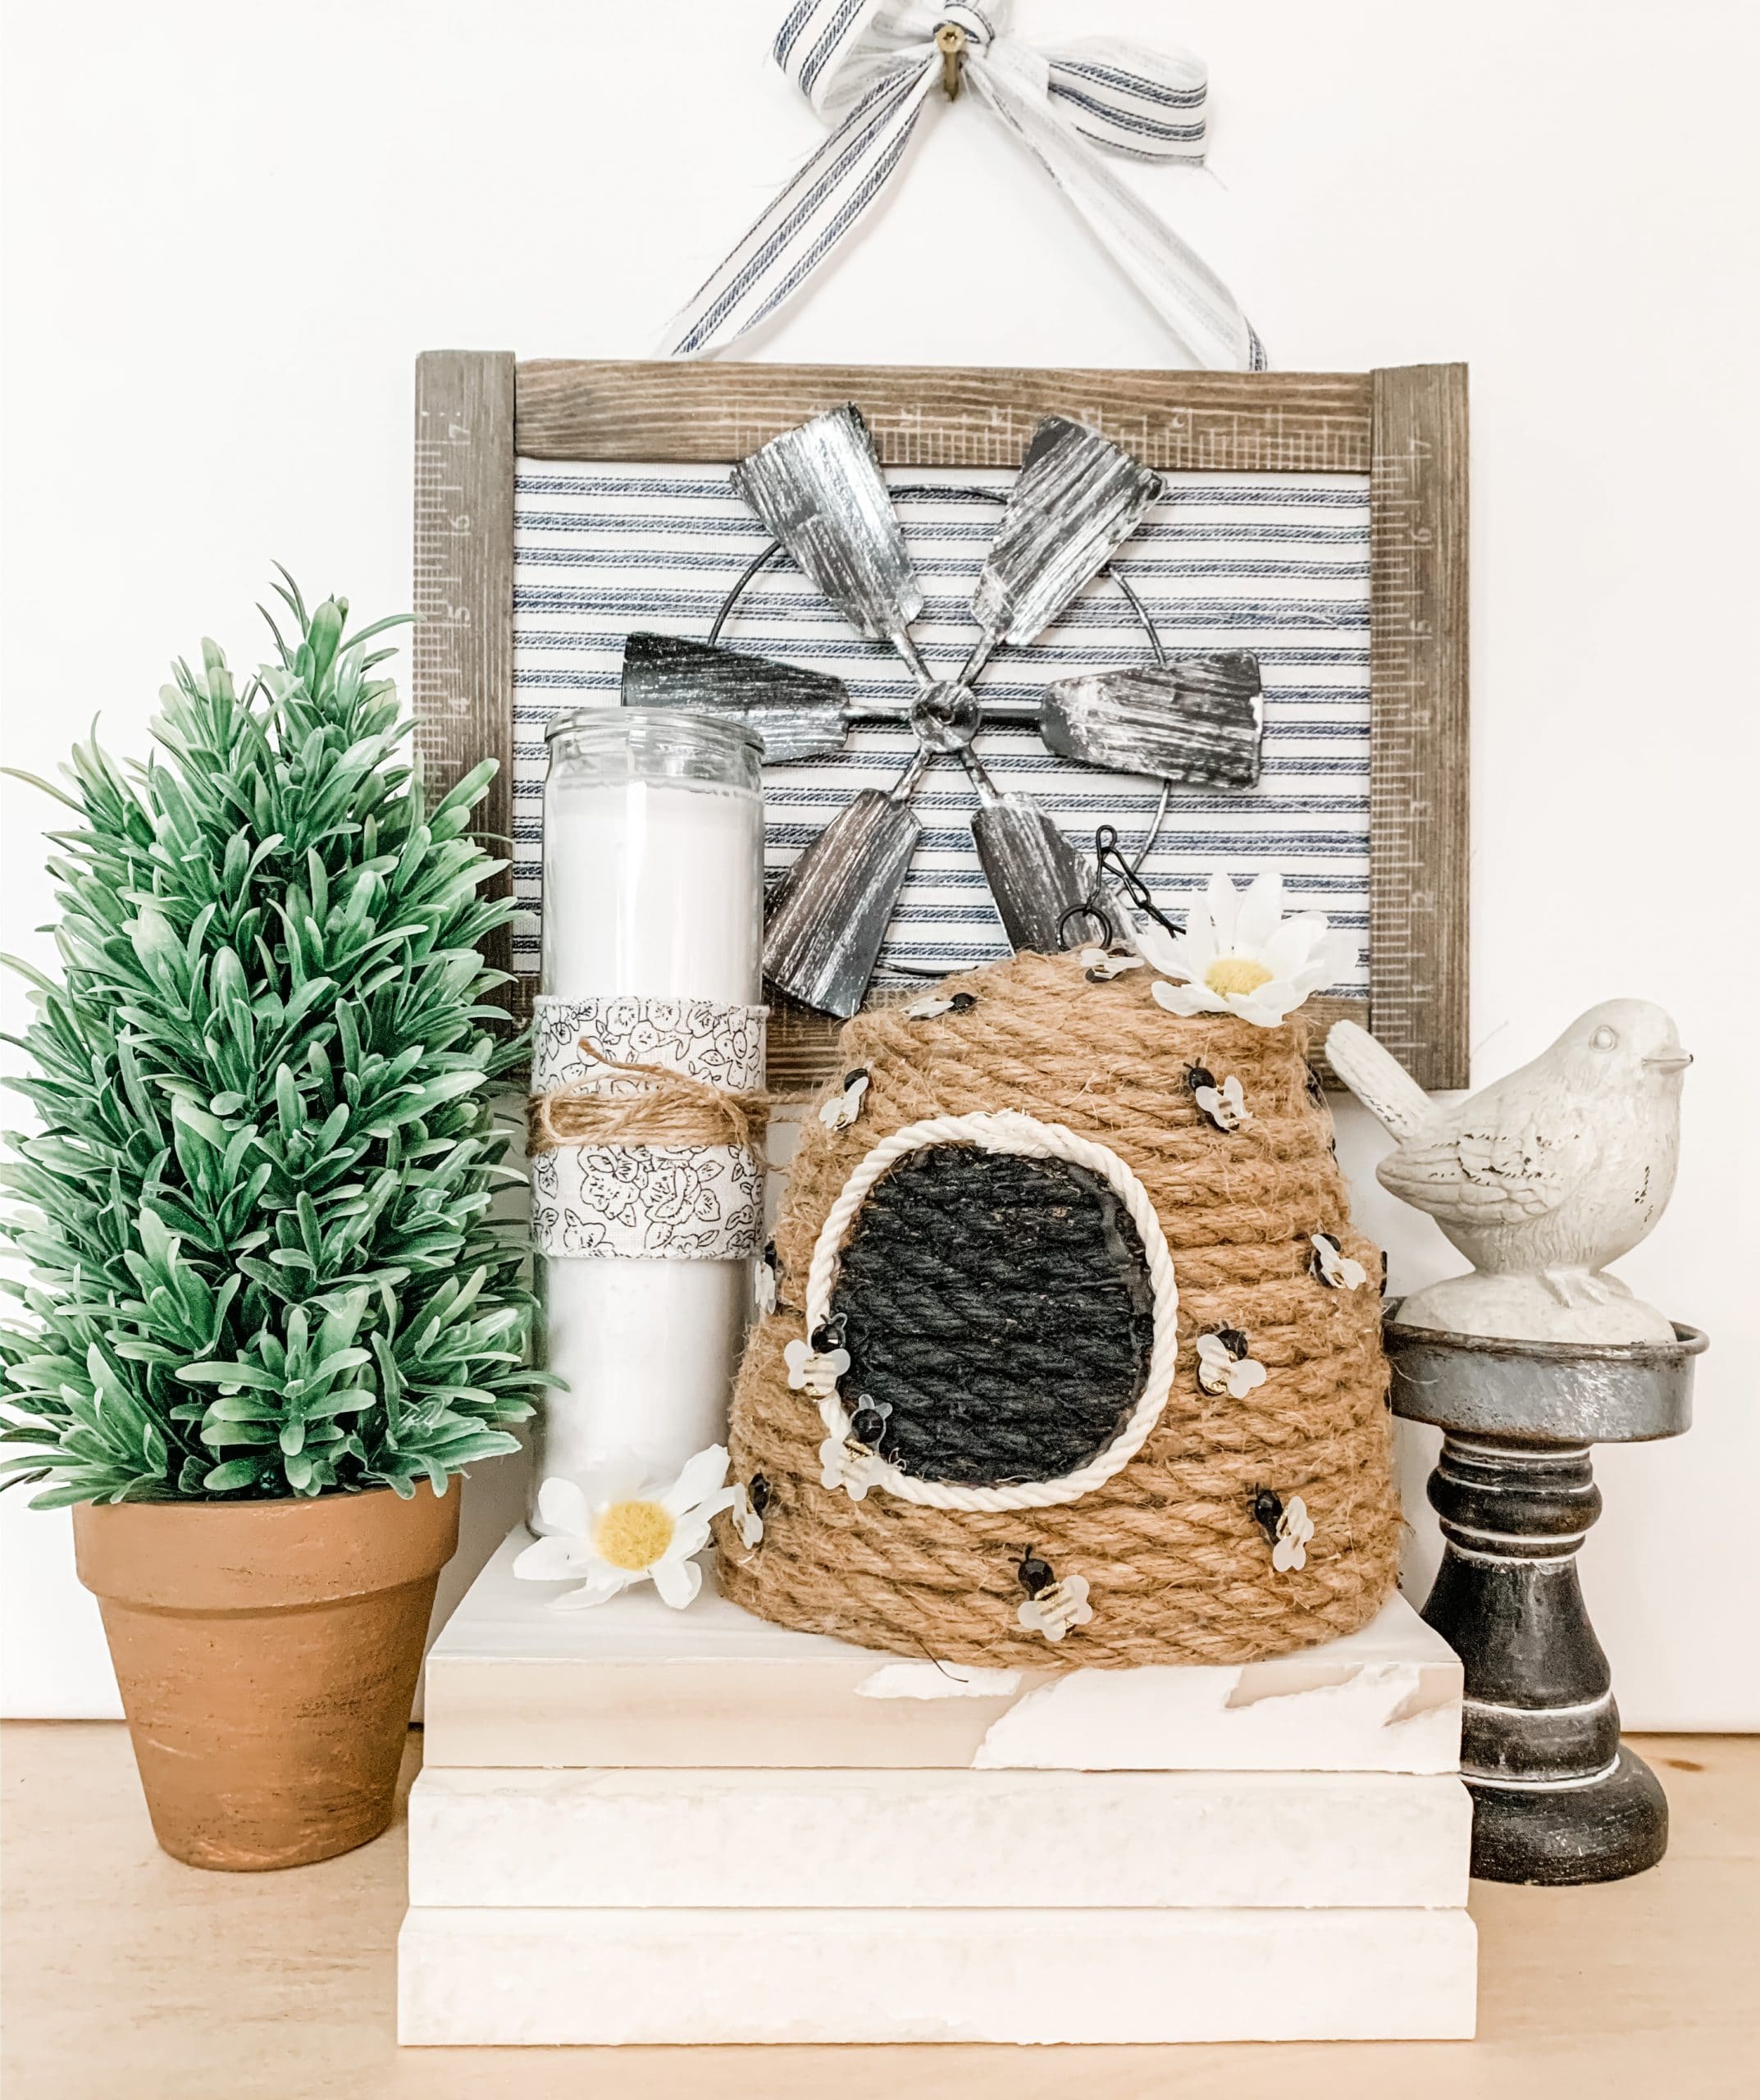
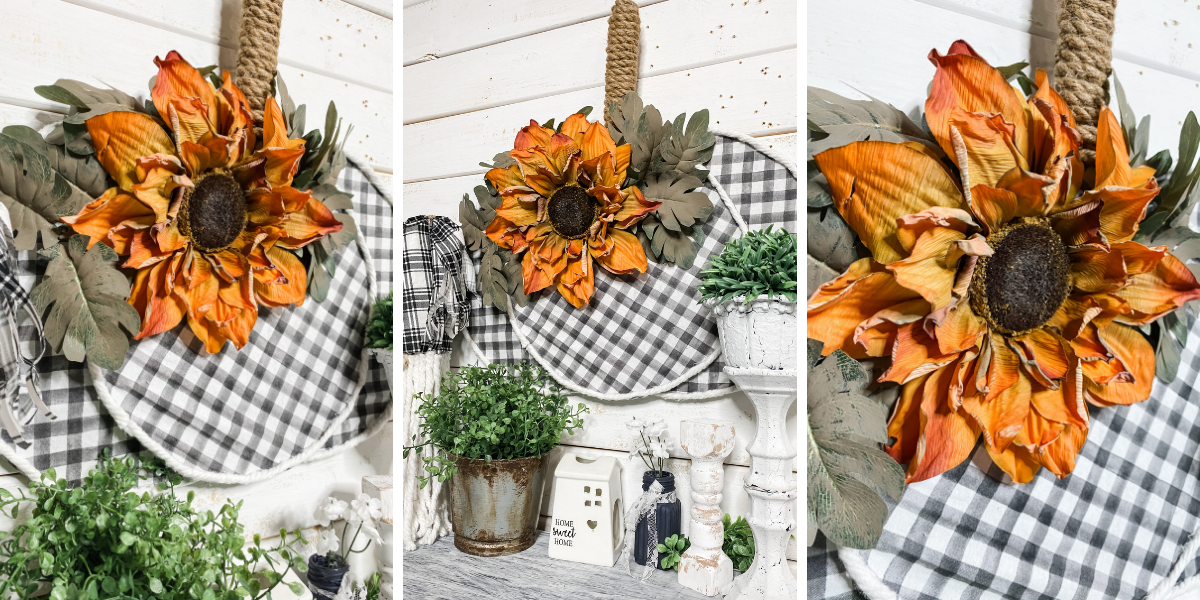
Bring it all together
Once your wooden letters have dried, it’s time to bring it all together and finish making the second of my two Dollar Tree Windmill DIY Home Decor Ideas! Hot glue the Dollar Tree windmill to the top of the sign. I hot glued beads underneath the blades of the windmill to help secure it to the sign.
Finally, hot glue your wooden letters underneath the windmill, and you’re ready to decorate your home with this adorable Dollar Tree DIY farmhouse decor!
I hope you enjoyed these Dollar Tree Windmill DIY Home Decor Ideas as much as I did and decide to make one for yourself! I would love to see how yours turns out!
You should totally join my FREE Facebook group called On A Budget Crafts! It is a judgment-free community for DIY crafters to show off their projects and ideas.
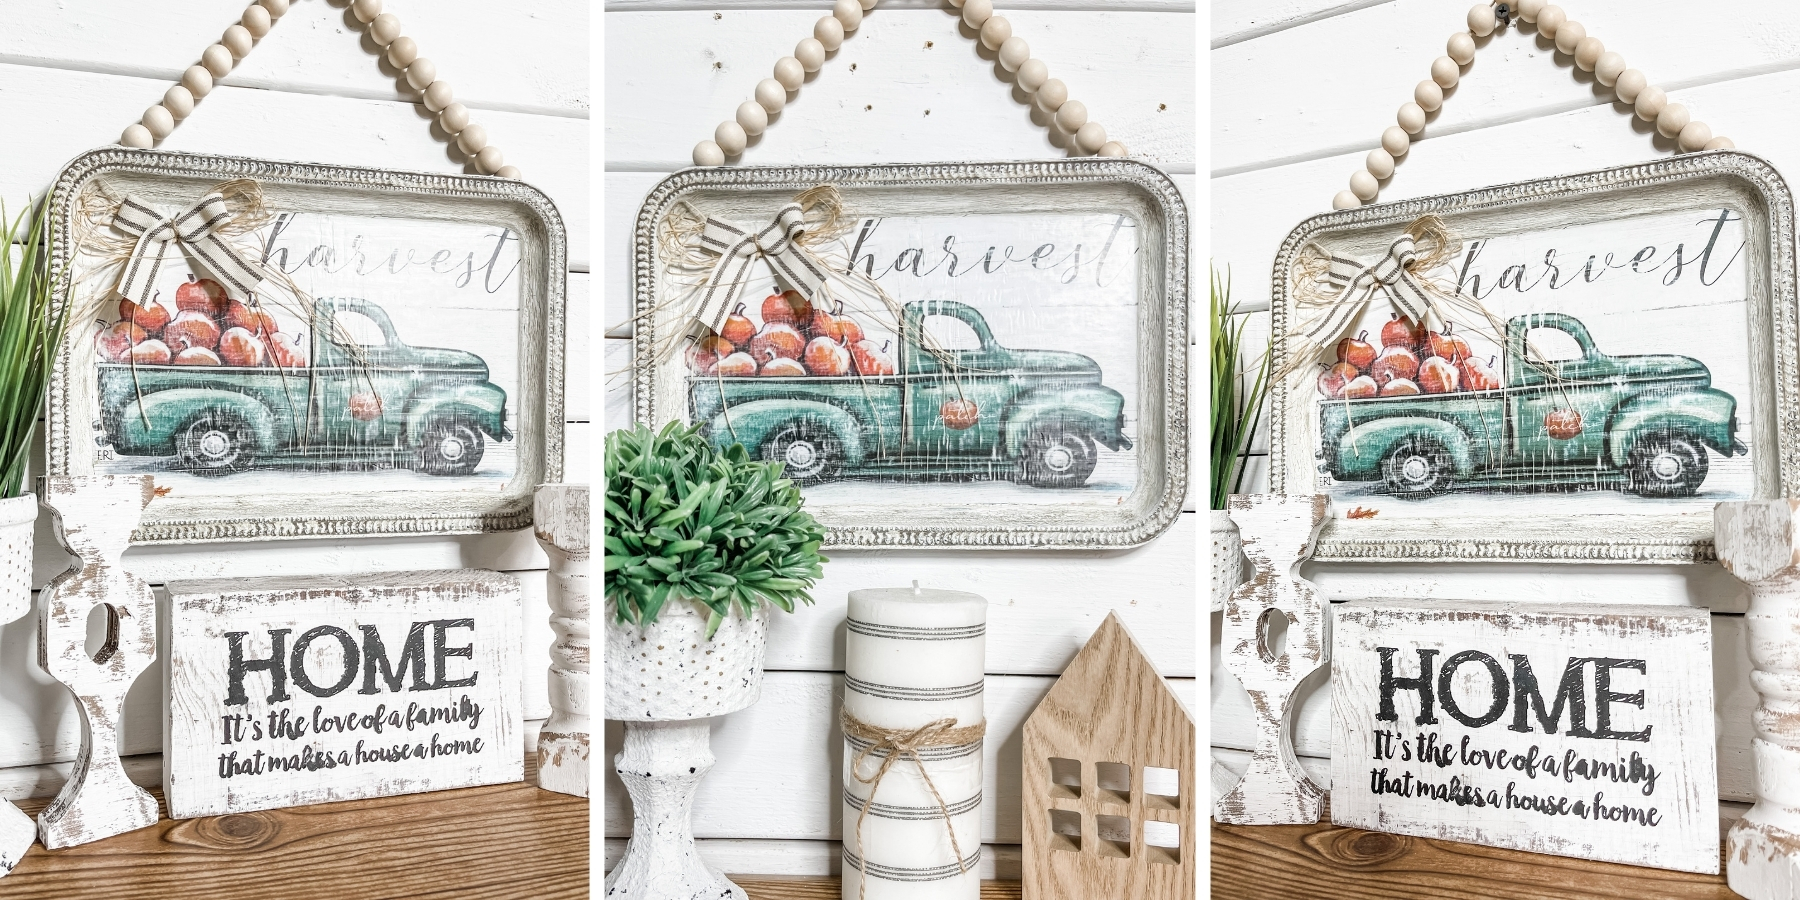
If you loved this DIY you might also like this one too!
Thanks for stopping by! XOXO Amber
You can also shop my ENTIRE AMAZON Favorites shop just click here! It’s packed full of all the things I use and love. Here is the supply list I highly recommend every creative have on hand!!
Would you also pin my blog for later and get on my newsletter alerts? I would love to have you join my #craftycrew.
Inspired? Leave me a comment below! I love hearing from my readers!

Join my free “ON A BUDGET CRAFTS” Facebook group!


Amber, I am always inspired when I am watching you crafting, laughing and sharing your real life stories. Love all your crafts but I just don’t have space to make and use them. I have found a new hobby that makes me happy! I’m a fellow Georgia girl too, southern drawl and all ya’ll!
I totally loved the windmill crafts but I really liked that storage cart in the display I’m gonna have to go check that one out as well. Thanks
Belinda Wright