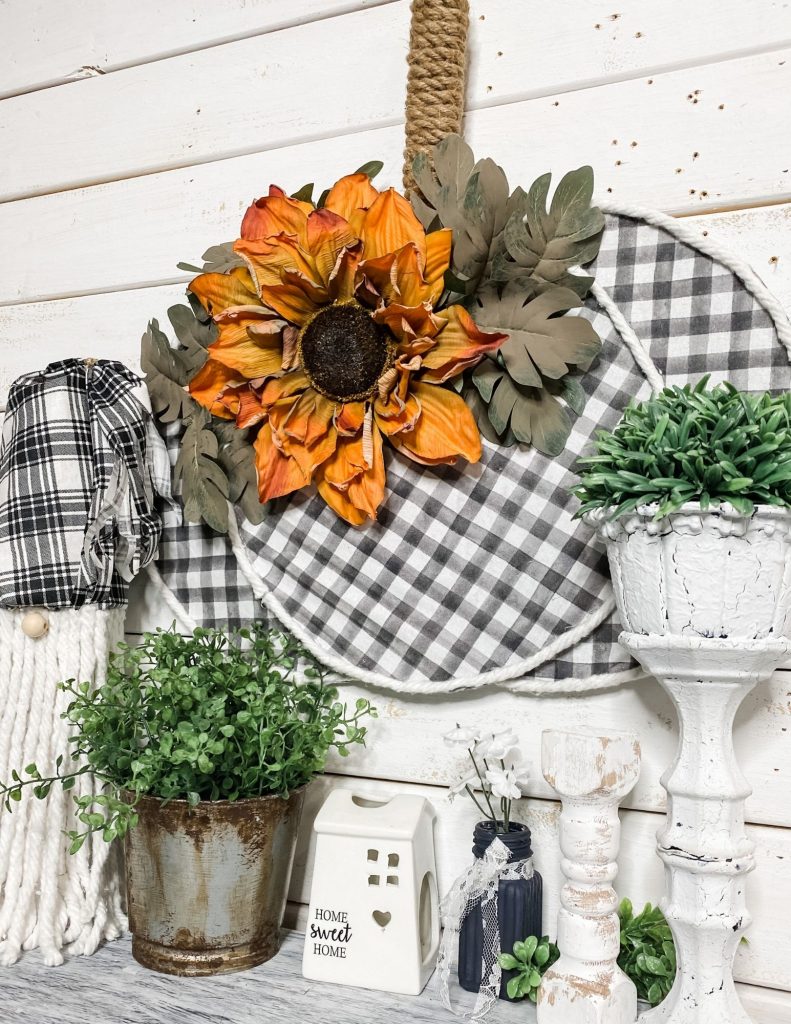
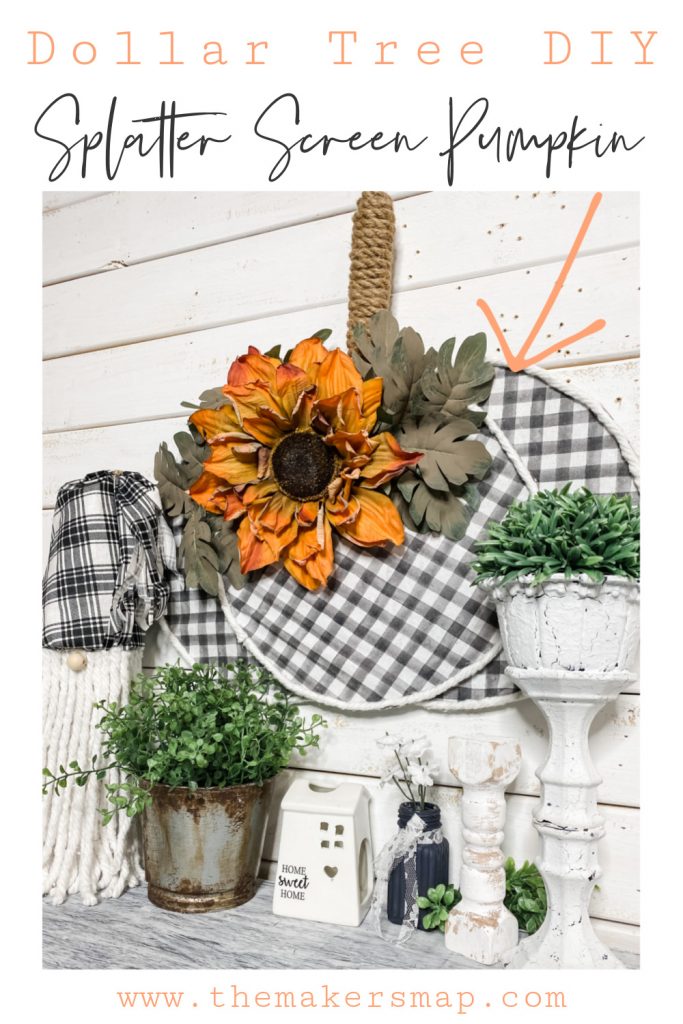
Dollar Tree Fall Splatter Screen Pumpkin
We can thank my #craftycrew for this adorable Dollar Tree Fall Splatter Screen Pumpkin! On a recent LIVE Video, I did during my Dollar Tree visit, I walked past an end cap with splatter screens and OH MY GOSH, everyone was like “You should do a splatter screen pumpkin!”
You can find splatter screen pumpkins on Pinterest, but I wanted to do something that would stand out from the crowd. That’s where the fabric, mop strings, and super cute fake sunflower come in.
By the way, this DIY was featured on Redfin!
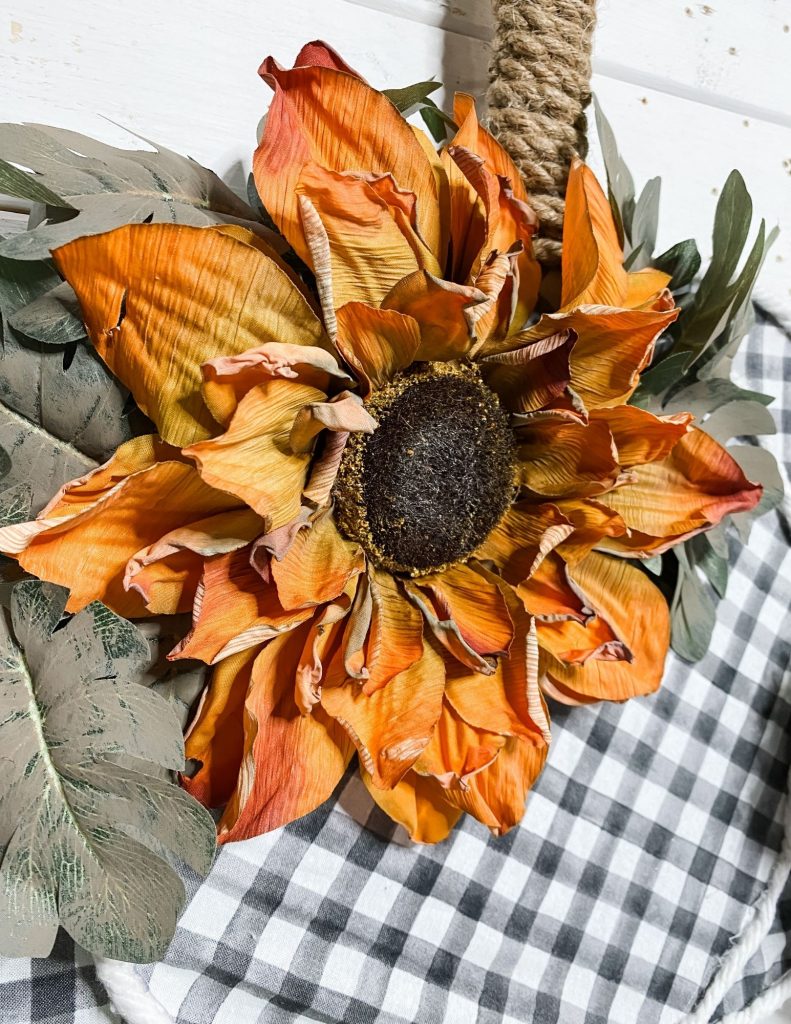
A POP of color!
A sweet member of the #craftycrew sent me the sunflower that I used for this project. I had been saving it for something just PERFECT, and I am sure that this Dollar Tree Fall Splatter Screen Pumpkin DIY was MADE for the burnt orange fake sunflower.
I did do this project on my Facebook page on a LIVE video. You can watch that replay right here! During the video, so many people were asking me where I got the sunflower from.
Unfortunately, because it was sent to me, I didn’t know where I could send them to buy their own. However, this isn’t a sad story!
My #craftycrew is honestly so amazing that some of them were able to recognize where they had seen the sunflower before. Drumroll please! ……. It came from HOBBY LOBBY!
I am a buffalo check fanatic!
Buffalo Check is probably one of my favorite patterns to use in my DIY decor projects. I think it is such a classic pattern and goes well with just about any design!
When you look at splatter screen projects on Pinterest, you see a lot of the same designs, but you don’t really see crafters using fabric with their splatter screen projects.
My goal in all the crafts I do is to be original and make my projects my own. Don’t get me wrong, I definitely pool inspiration from the crafting community, but I NEVER want to just copy what others are doing.
That’s why I decided to use a buffalo check fabric in this project. I love how it goes so well with the overall design of this project and helps showcase the amazing sunflower.
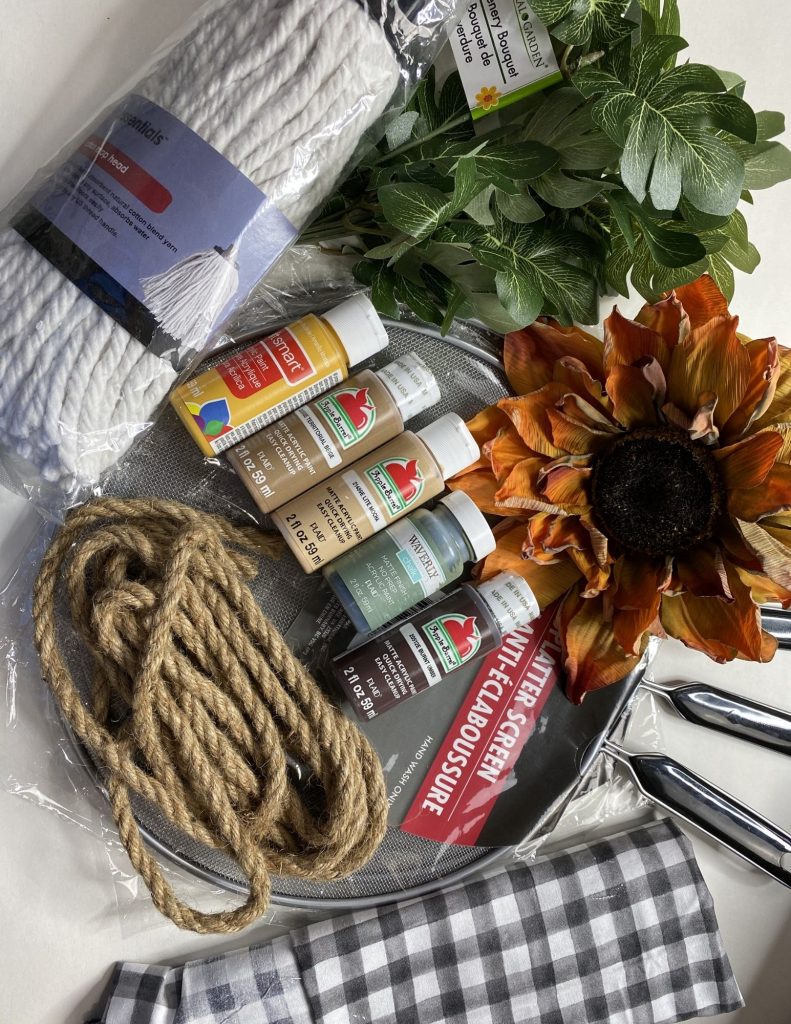
For this project, I will be using these items but you can substitute where you want.
We will be using items from Dollar Tree, Hobby Lobby, and of course Walmart for this Dollar Tree Fall Splatter Screen Pumpkin DIY. “As an Amazon Associate, I earn from qualifying purchases.”
- Dollar Tree Splatter Screen x3
- Dollar Tree Mop Head
- Fake Sunflower (This was gifted to me by a sweet follower, but my #craftycrew says it came from Hobby Lobby)
- Dollar Tree Rope
- Apple Barrel paint (Black, Beige, and Light Mocha)
- Waverly Chalk Acrylic Paint (Green)
- Yellow Craft Smart Paint
- Dollar Tree Greenery
- Aviation Snips
- Fiskar Fabric Scissors
- Glue Gun and Glue Sticks
- Chippy brush 1-inch
- Buffalo Check Fabric (I got mine from Walmart, but you can use your favorite pattern!)
I promise you are gonna want to make this DIY!
To make this Dollar Tree Fall Splatter Screen Pumpkin, I first had to remove the handles from 2 of my splatter screens.
You need to keep the handle on one of them because that will be your pumpkin stem! To do this, I used Aviation snips (my husband had to come and help me get the handles off without completely breaking the screens!).
Next, it is time to put the fabric on your screens. You’ll need to cut the fabric pig enough to cover the entire front of the splatter screens.
If you want, you can cut them just a little larger than your screen and slightly wrap them around the back of the screens.
All I did was lay the fabric down and traced the screen on the fabric, then I cut out the circles that I drew. It doesn’t have to be perfect by any means.
Let’s make a pumpkin!
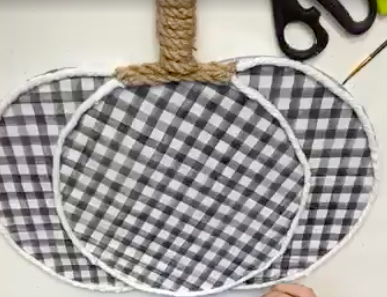
Once you get the fabric cut out, it’s time to glue it! Grab your hot glue gun and glue the circles of fabric to the edges of your screens.
Next, you’ll want to glue the screens together and make your pumpkin! You can watch how I glued my screens together in the video I did on Facebook!
Now it’s time for the stem! Remember the rope? You’re going to take that and wrap it around the handle of the splatter screen.
As you wrap it around, make sure you use your hot glue gun to glue it down. Go ahead and grab your mop head and remove the strings.
I took my mop strings and glued them around the edges of the screens. This will also help cover up any cutting mistakes you may have made on your fabric.
The final touches!
Congratulations! If you’ve made it this far, you have a pumpkin! But let’s be real, it looks a little boring.
We gotta add the finishing touches to our Dollar Tree Fall Splatter Screen Pumpkin – the flower and greenery! So, the Dollar Tree greenery that I used for this project was very shiny.
I mixed the green Waverly paint and Beige Apple Barrel paints and brushed them over the leaves to give them more of a matte finish. I think this makes them match the sunflower so much better!
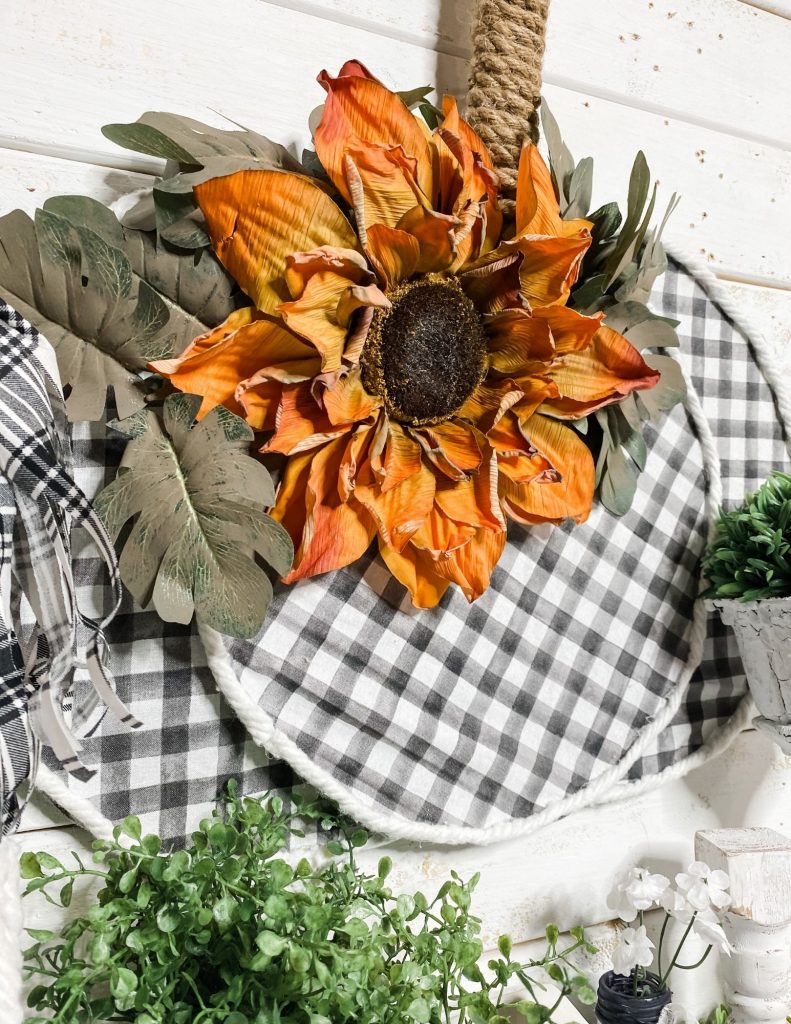
Once your leaves dry, it’s time to glue them and the sunflower onto your pumpkin. There is no specific place you should put them, but I chose to off-center them at the top of my pumpkin.
You’ll need your hot glue gun again for this. Just glue them down where ever looks best to you, and there you go! You have a Dollar Tree Fall Splatter Screen Pumpkin!
I hope you loved this Dollar Tree Fall Splatter Screen Pumpkin DIY. I would love to know in the comments what you think of it, and if you plan on making one of your own.
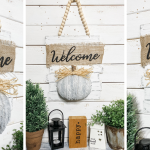
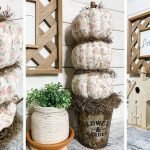
If you loved this DIY you might also like this one too!
Thanks for stopping by! XOXO Amber
You can also shop my ENTIRE AMAZON Favorites shop just click here! It’s packed full of all the things I use and love.
Here is the supply list I highly recommend every creative have on hand!! Would you also pin my blog for later and get on my newsletter alerts? I would love to have you join my #craftycrew.

Join my free “ON A BUDGET CRAFTS” Facebook group!
PIN THIS POST FOR LATER!

I will be making this have all the supplies to do it. Love it
I been waiting for them to come to our dollar tree but haven’t seen them yet so I can make it
Loved this have all the supplies just need to make time to get it done ty