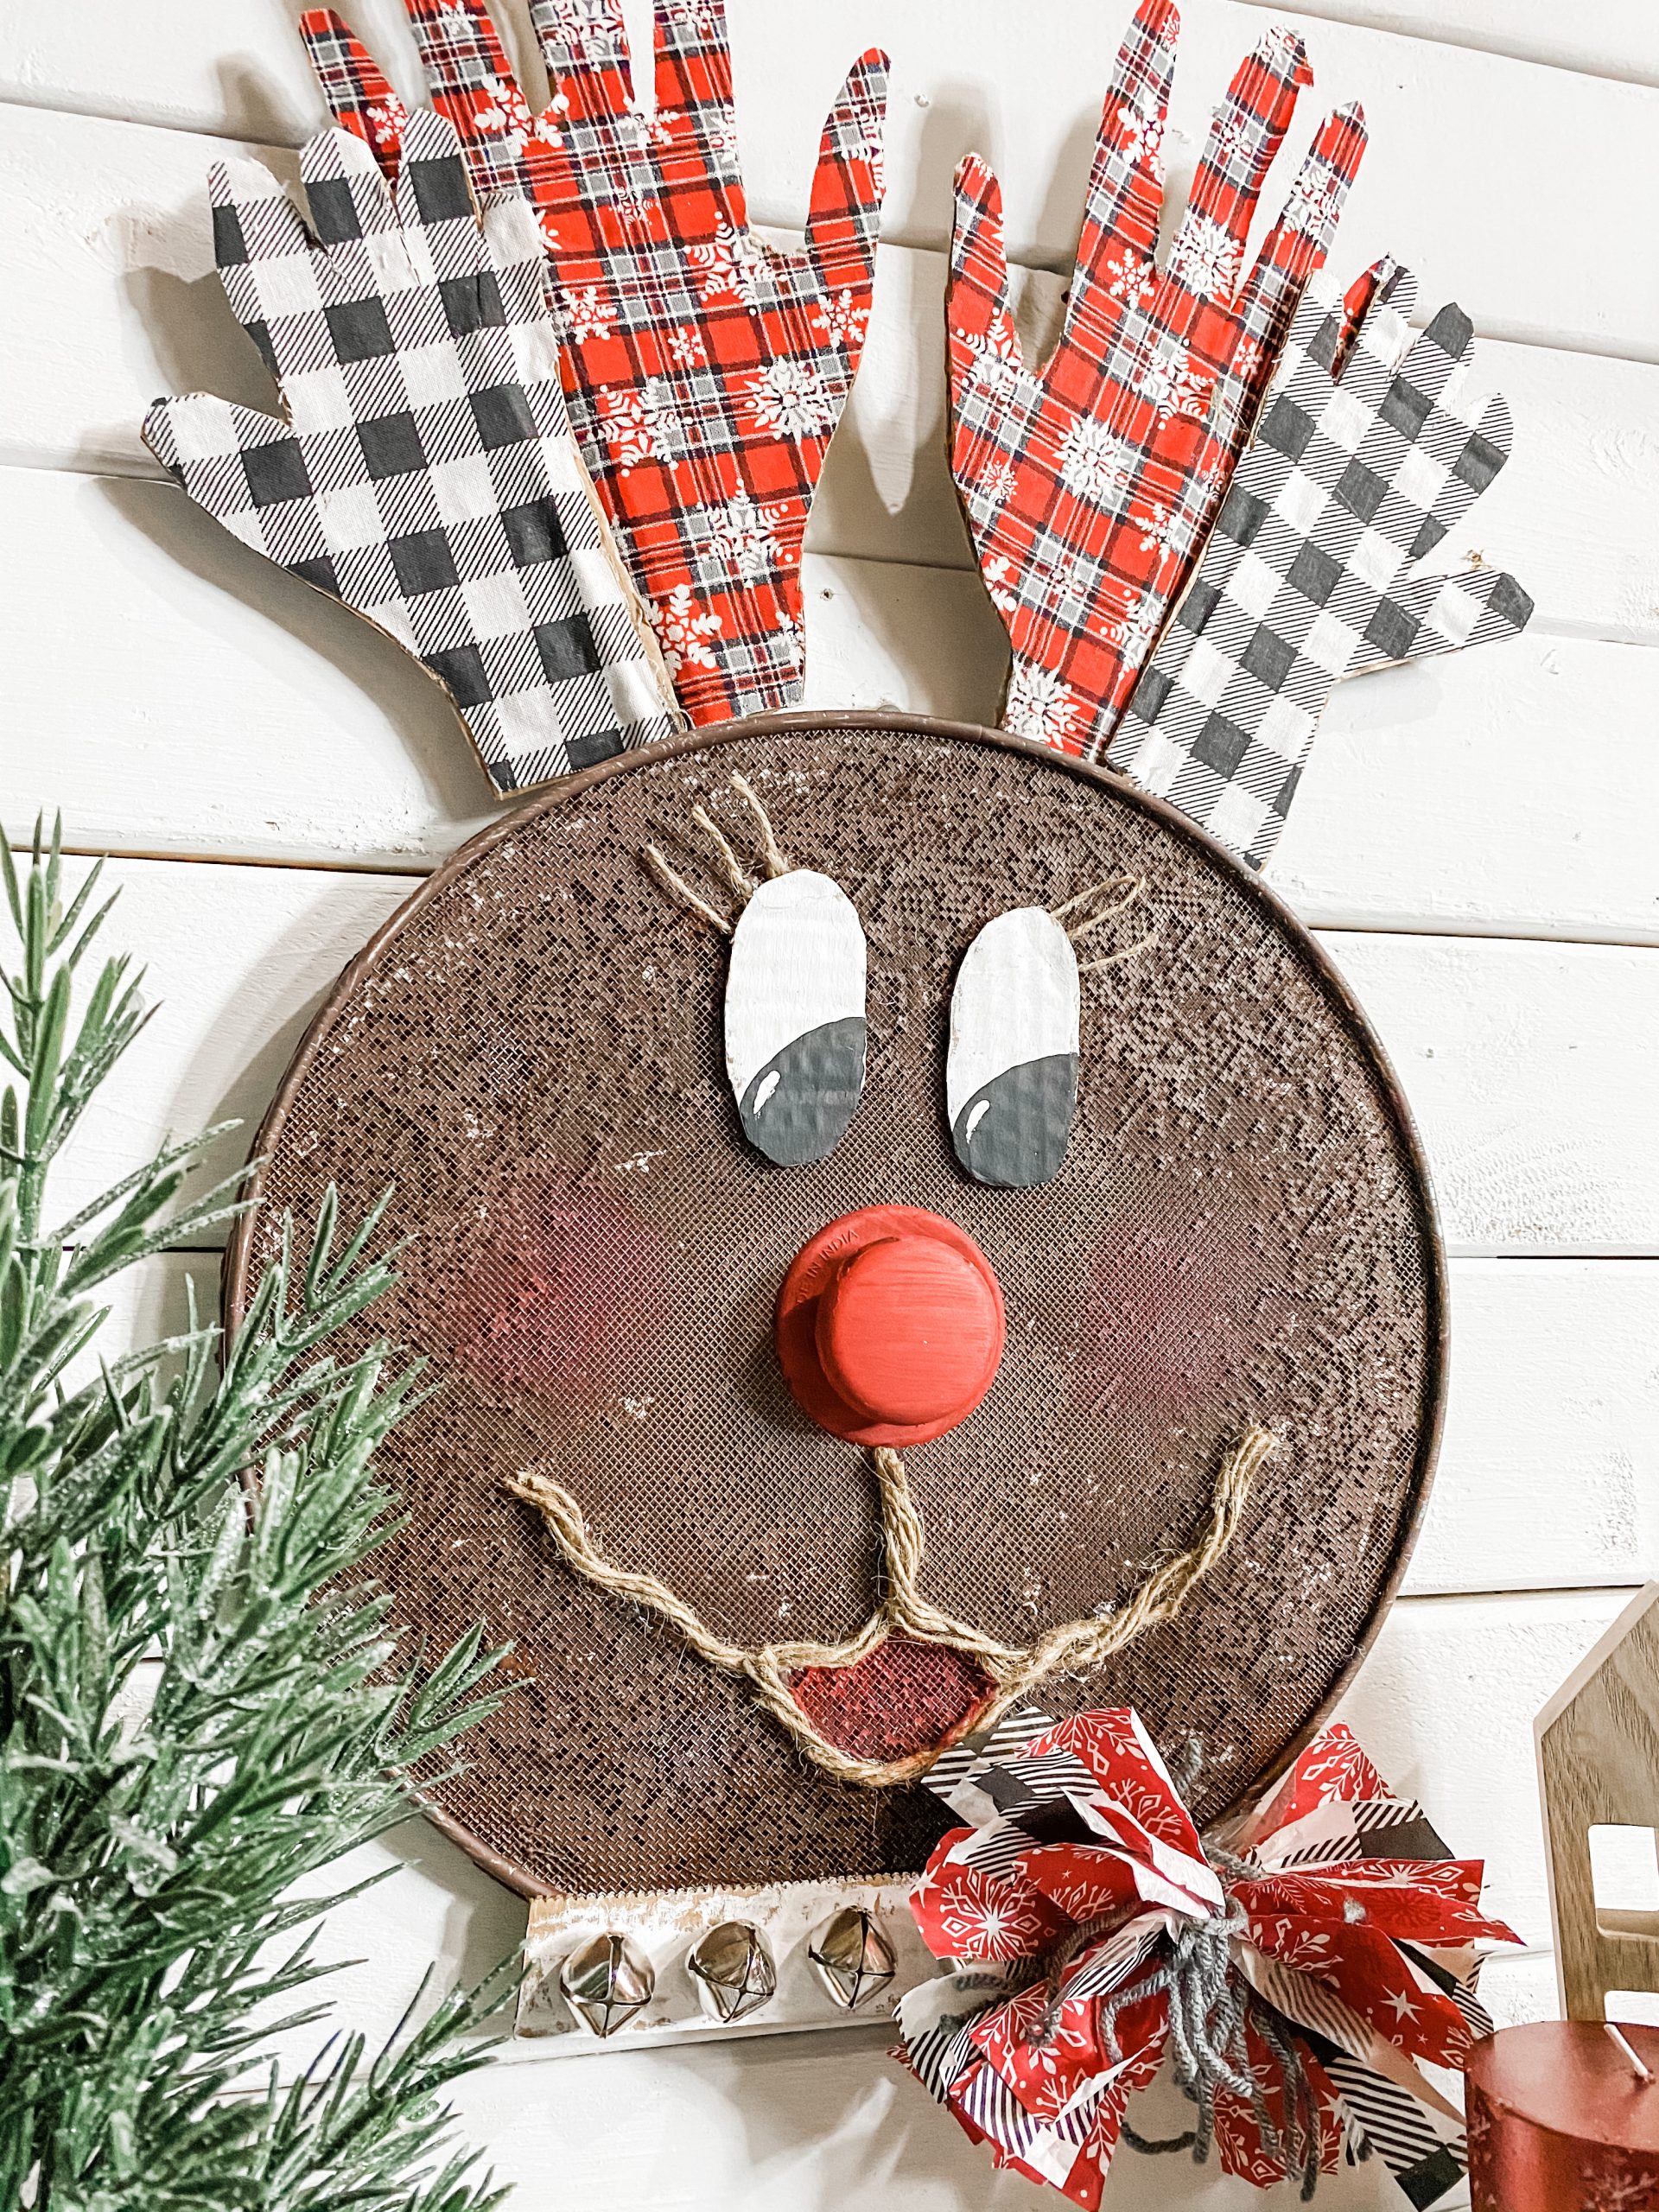
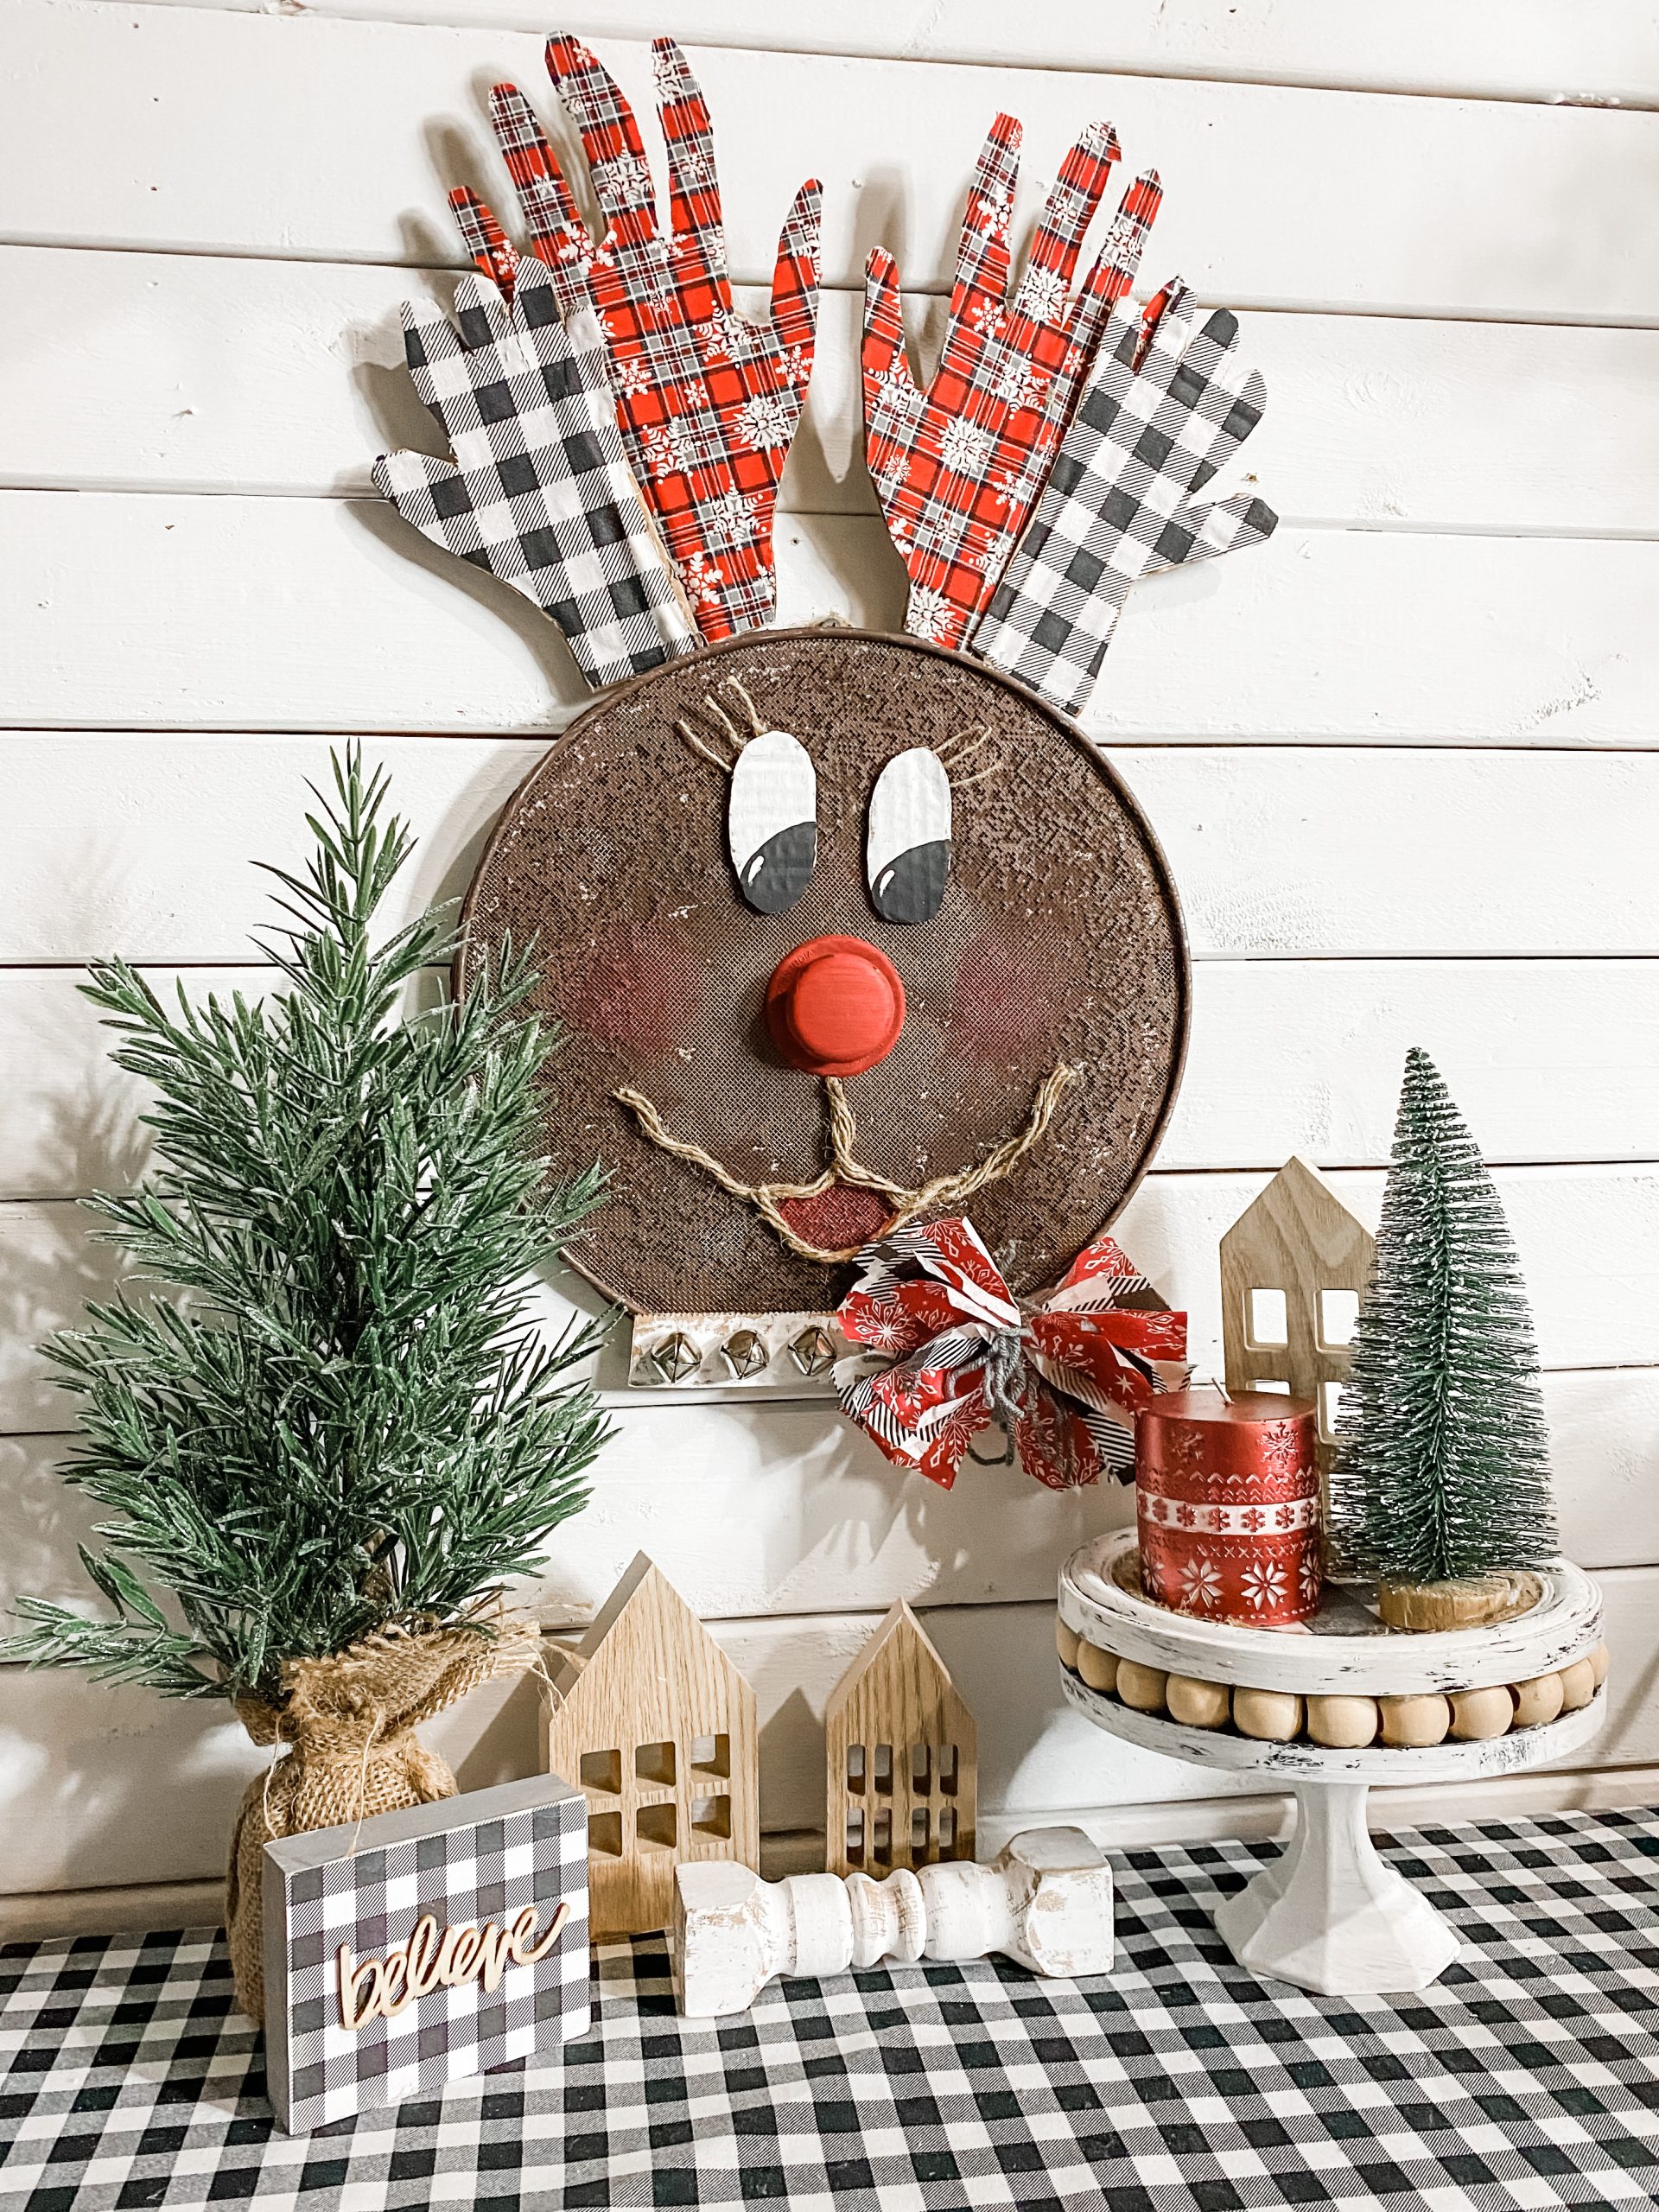
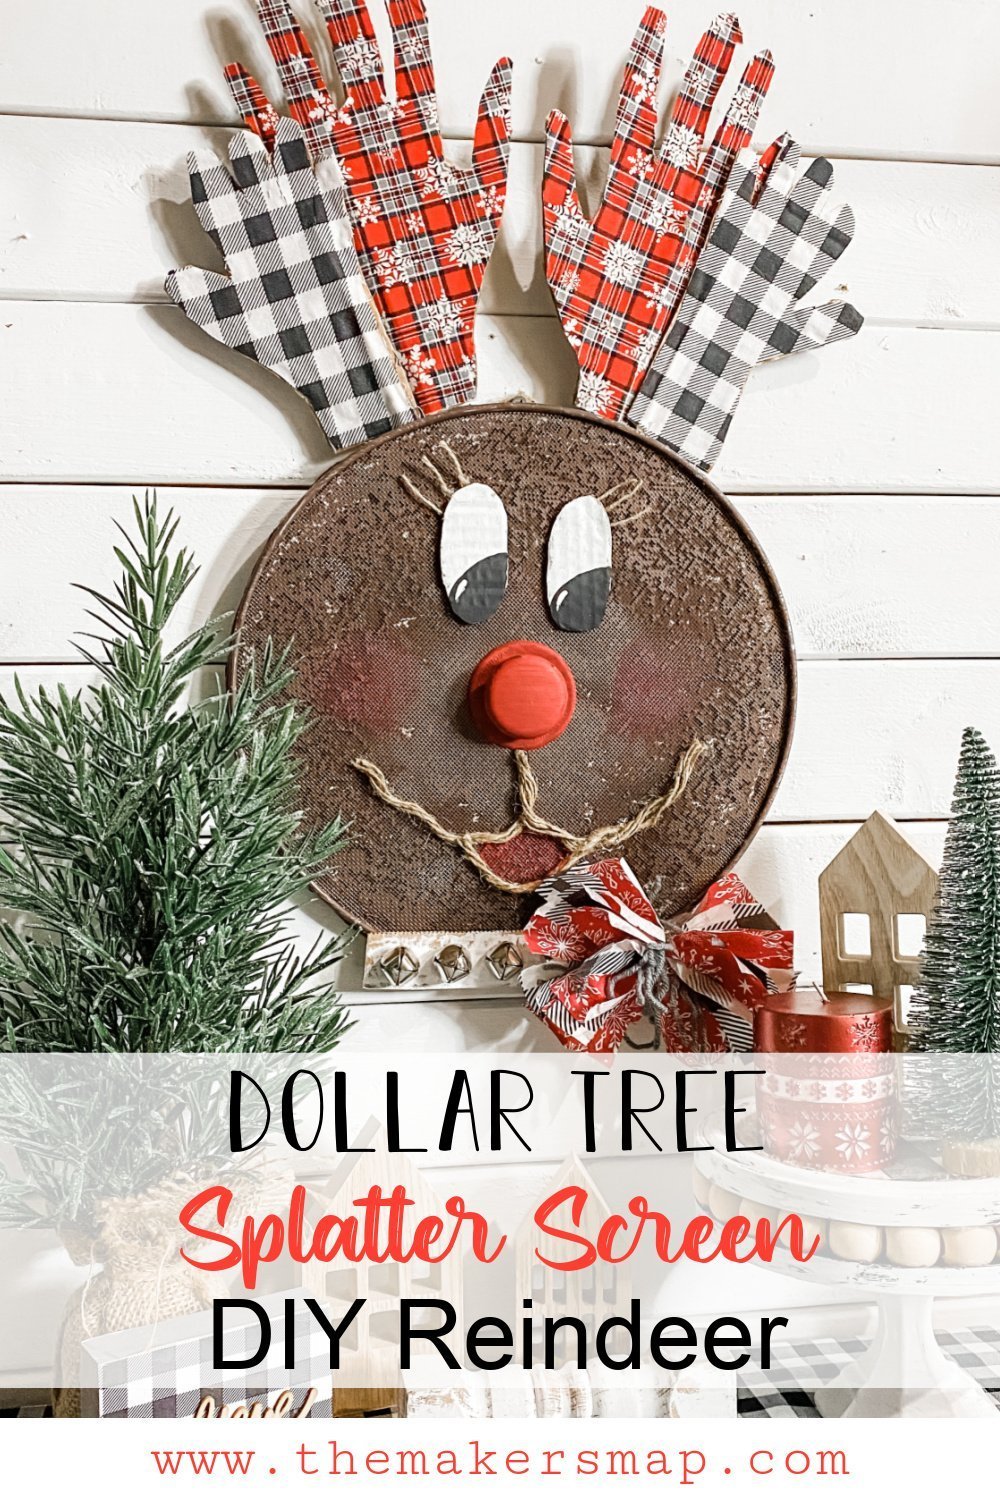
DIY Dollar Tree Splatter Screen Reindeer
Have you been searching for a fun and easy kid’s craft? Well, I may have found it for you! This DIY Dollar Tree Splatter Screen Reindeer is so easy and affordable to make and would be so much fun to do with your children or grandchildren.
I’m always looking for new and creative things to make, and I was so excited when I was working this idea out in my head. I just knew it would be so cute and making it with Avery would be such a sweet memory for me.
Watch the replay
This might have been one of the most fun DIY projects I’ve done. Maybe it’s because of how special this craft is to me. I was able to bring two of my favorite things together – my love for crafting and my granddaughter, Avery.
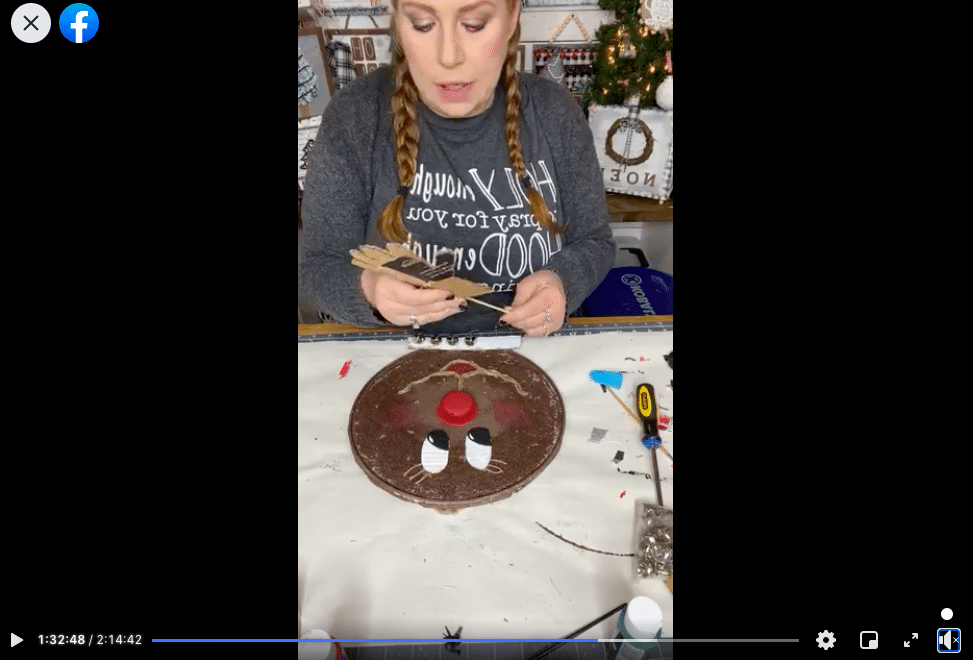
I recorded myself making this easy DIY Dollar Tree Splatter Screen Reindeer during a LIVE video on my Facebook page.
We started the video with sweet Avery painting a picture on a piece of cardboard. If you want to craft along, see the process, or just join in on the fun conversations, you can watch the replay!
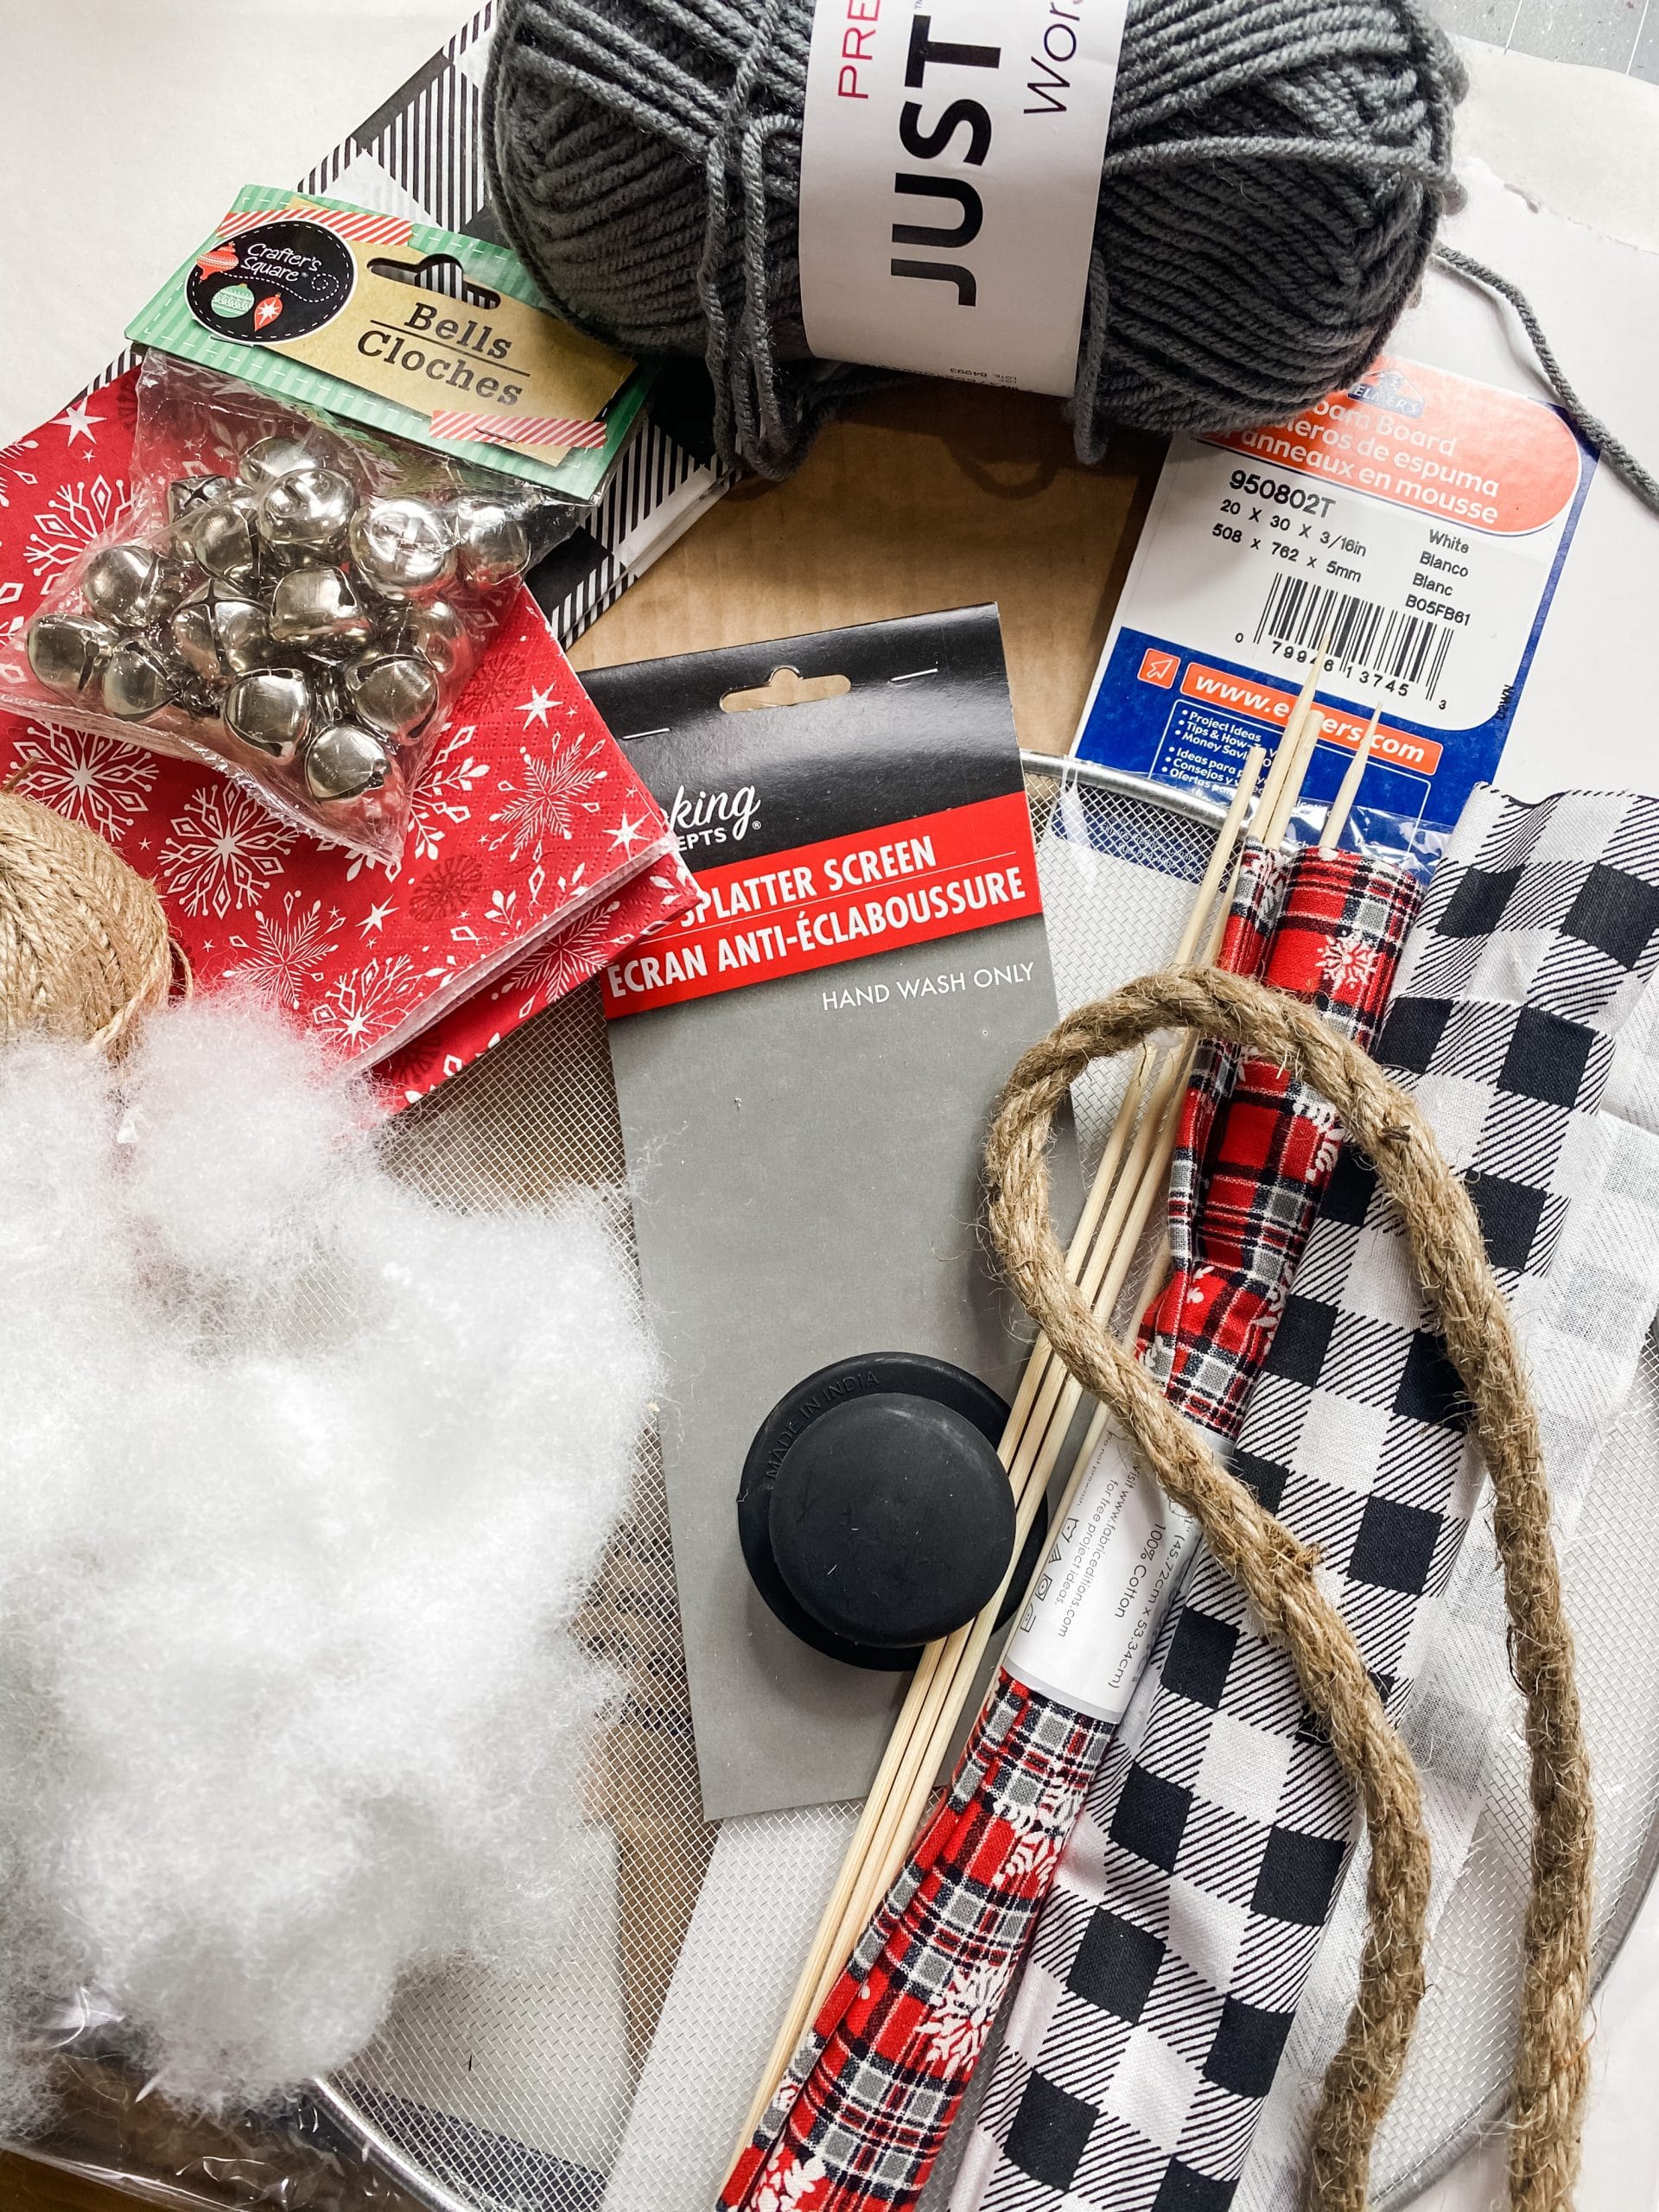
For this project, I will be using these items but you can substitute where you want.
“As an Amazon Associate, I earn from qualifying purchases.”
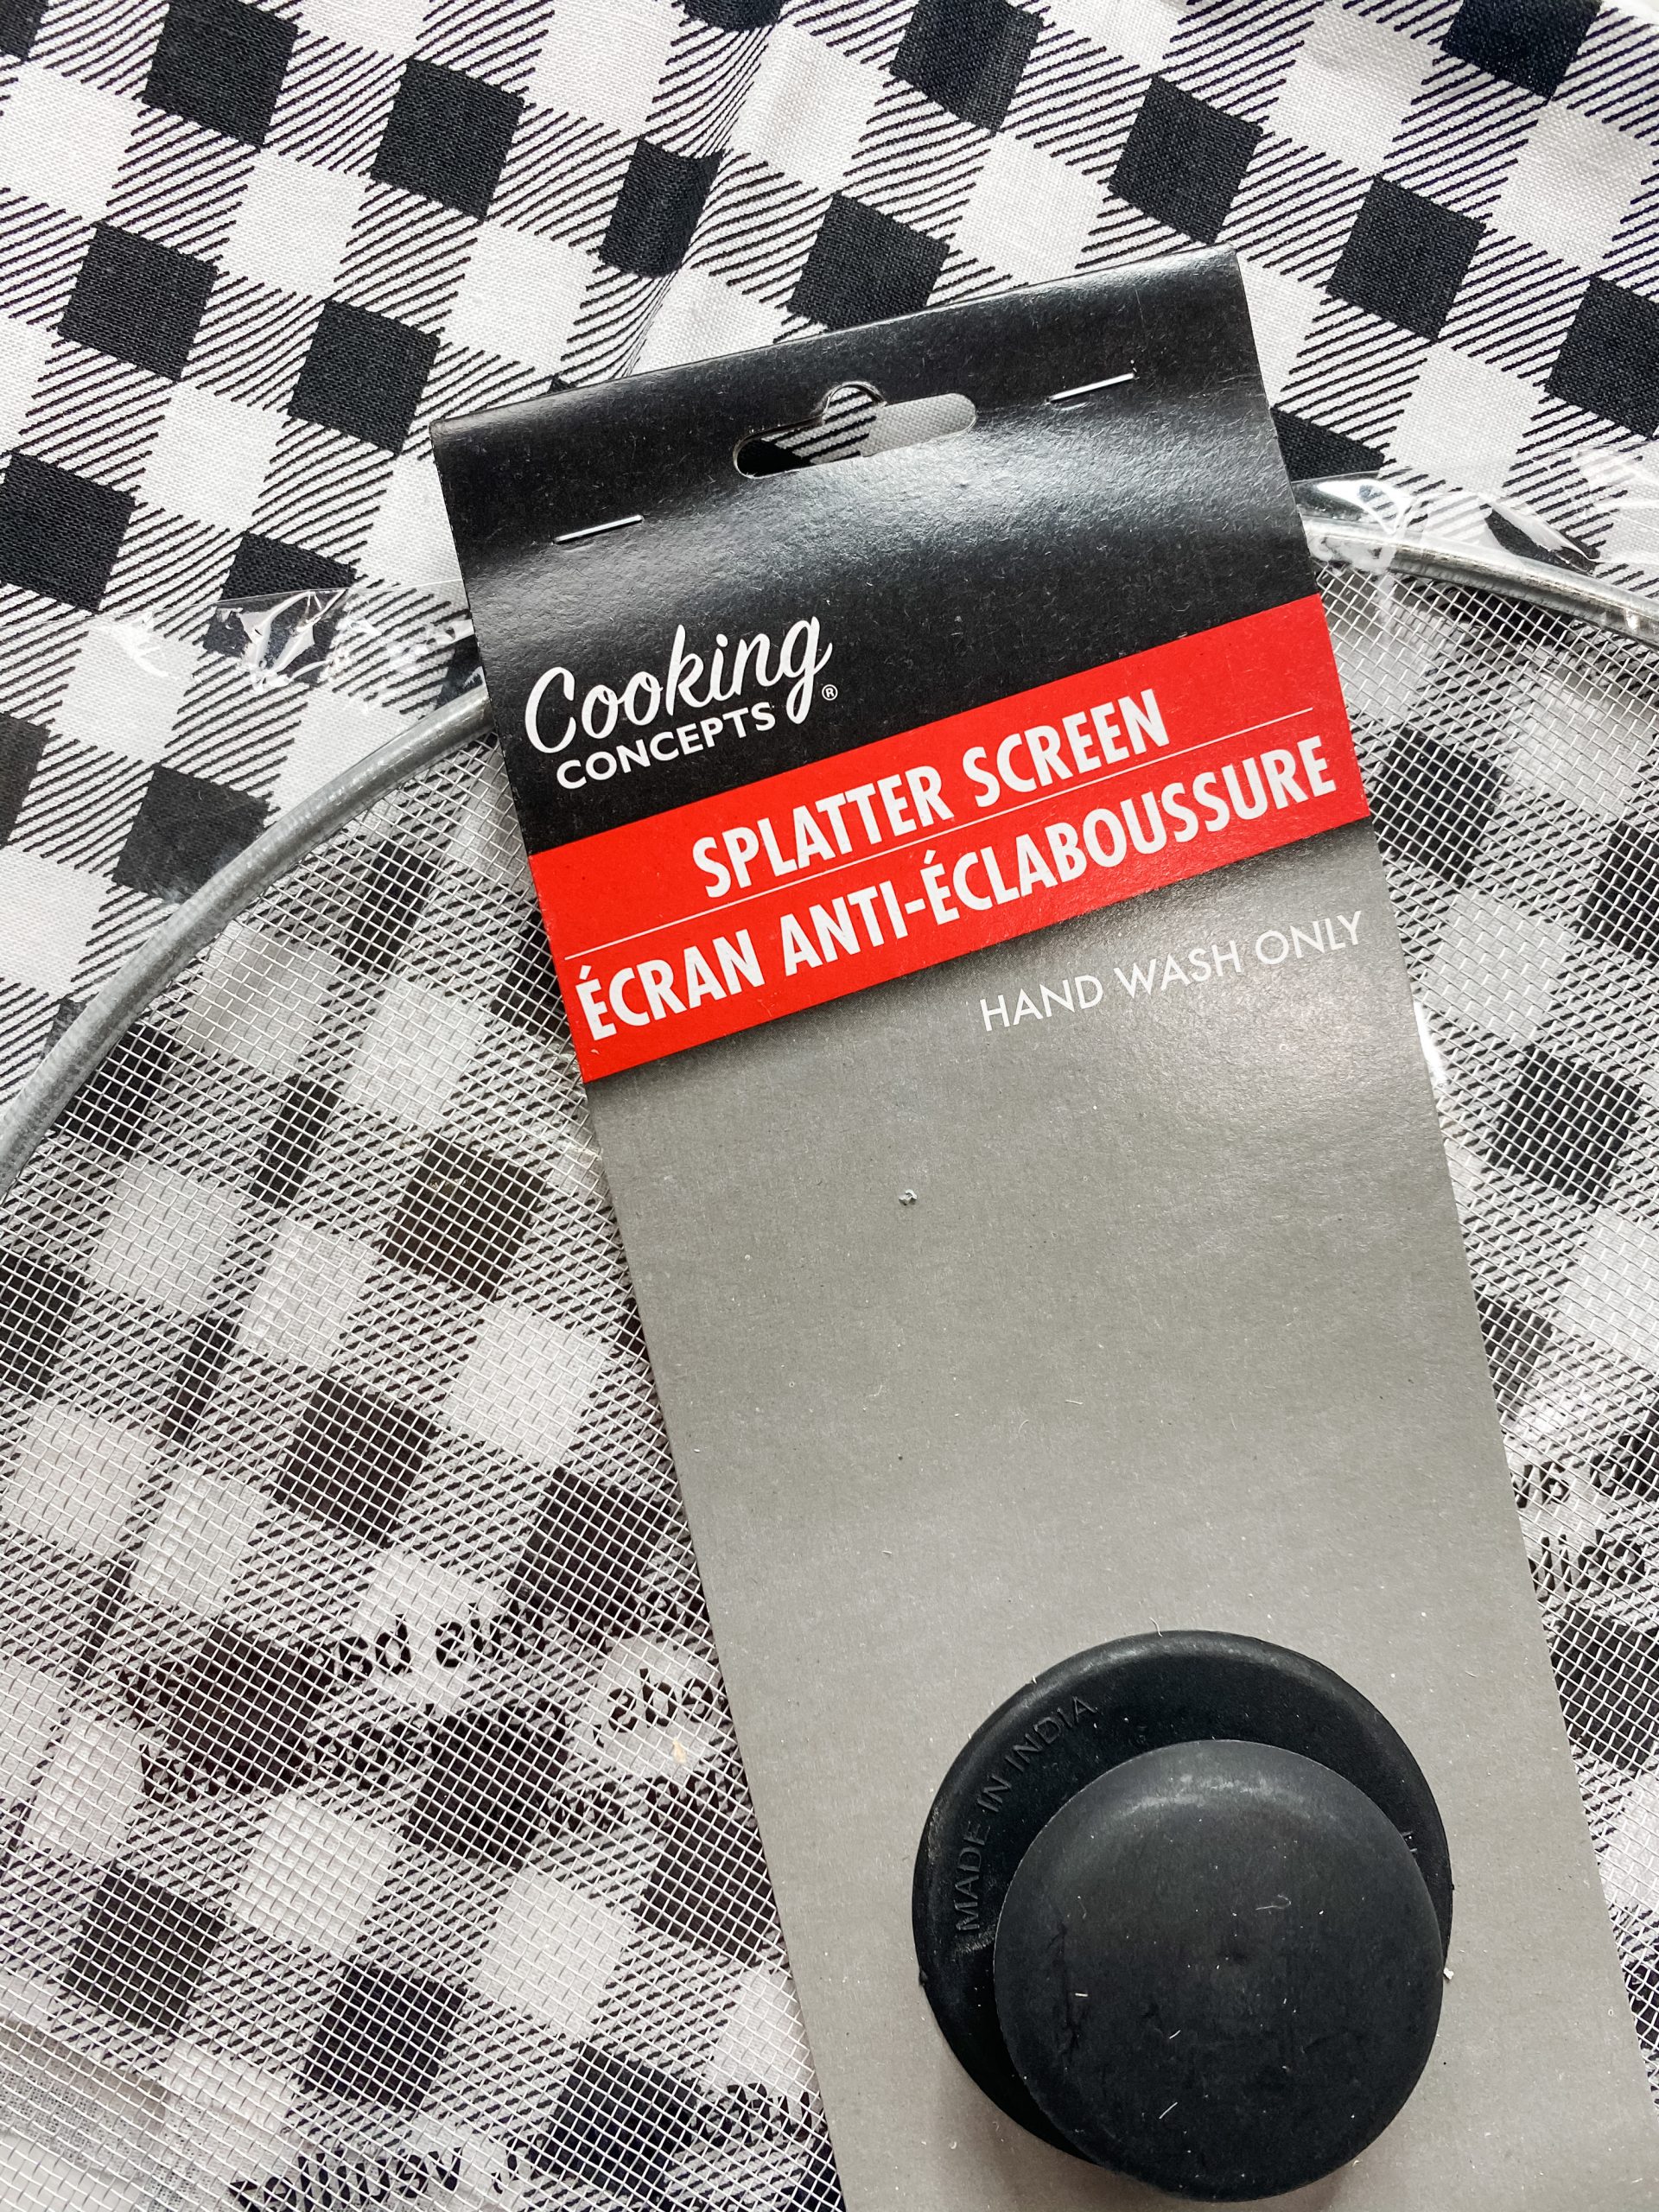
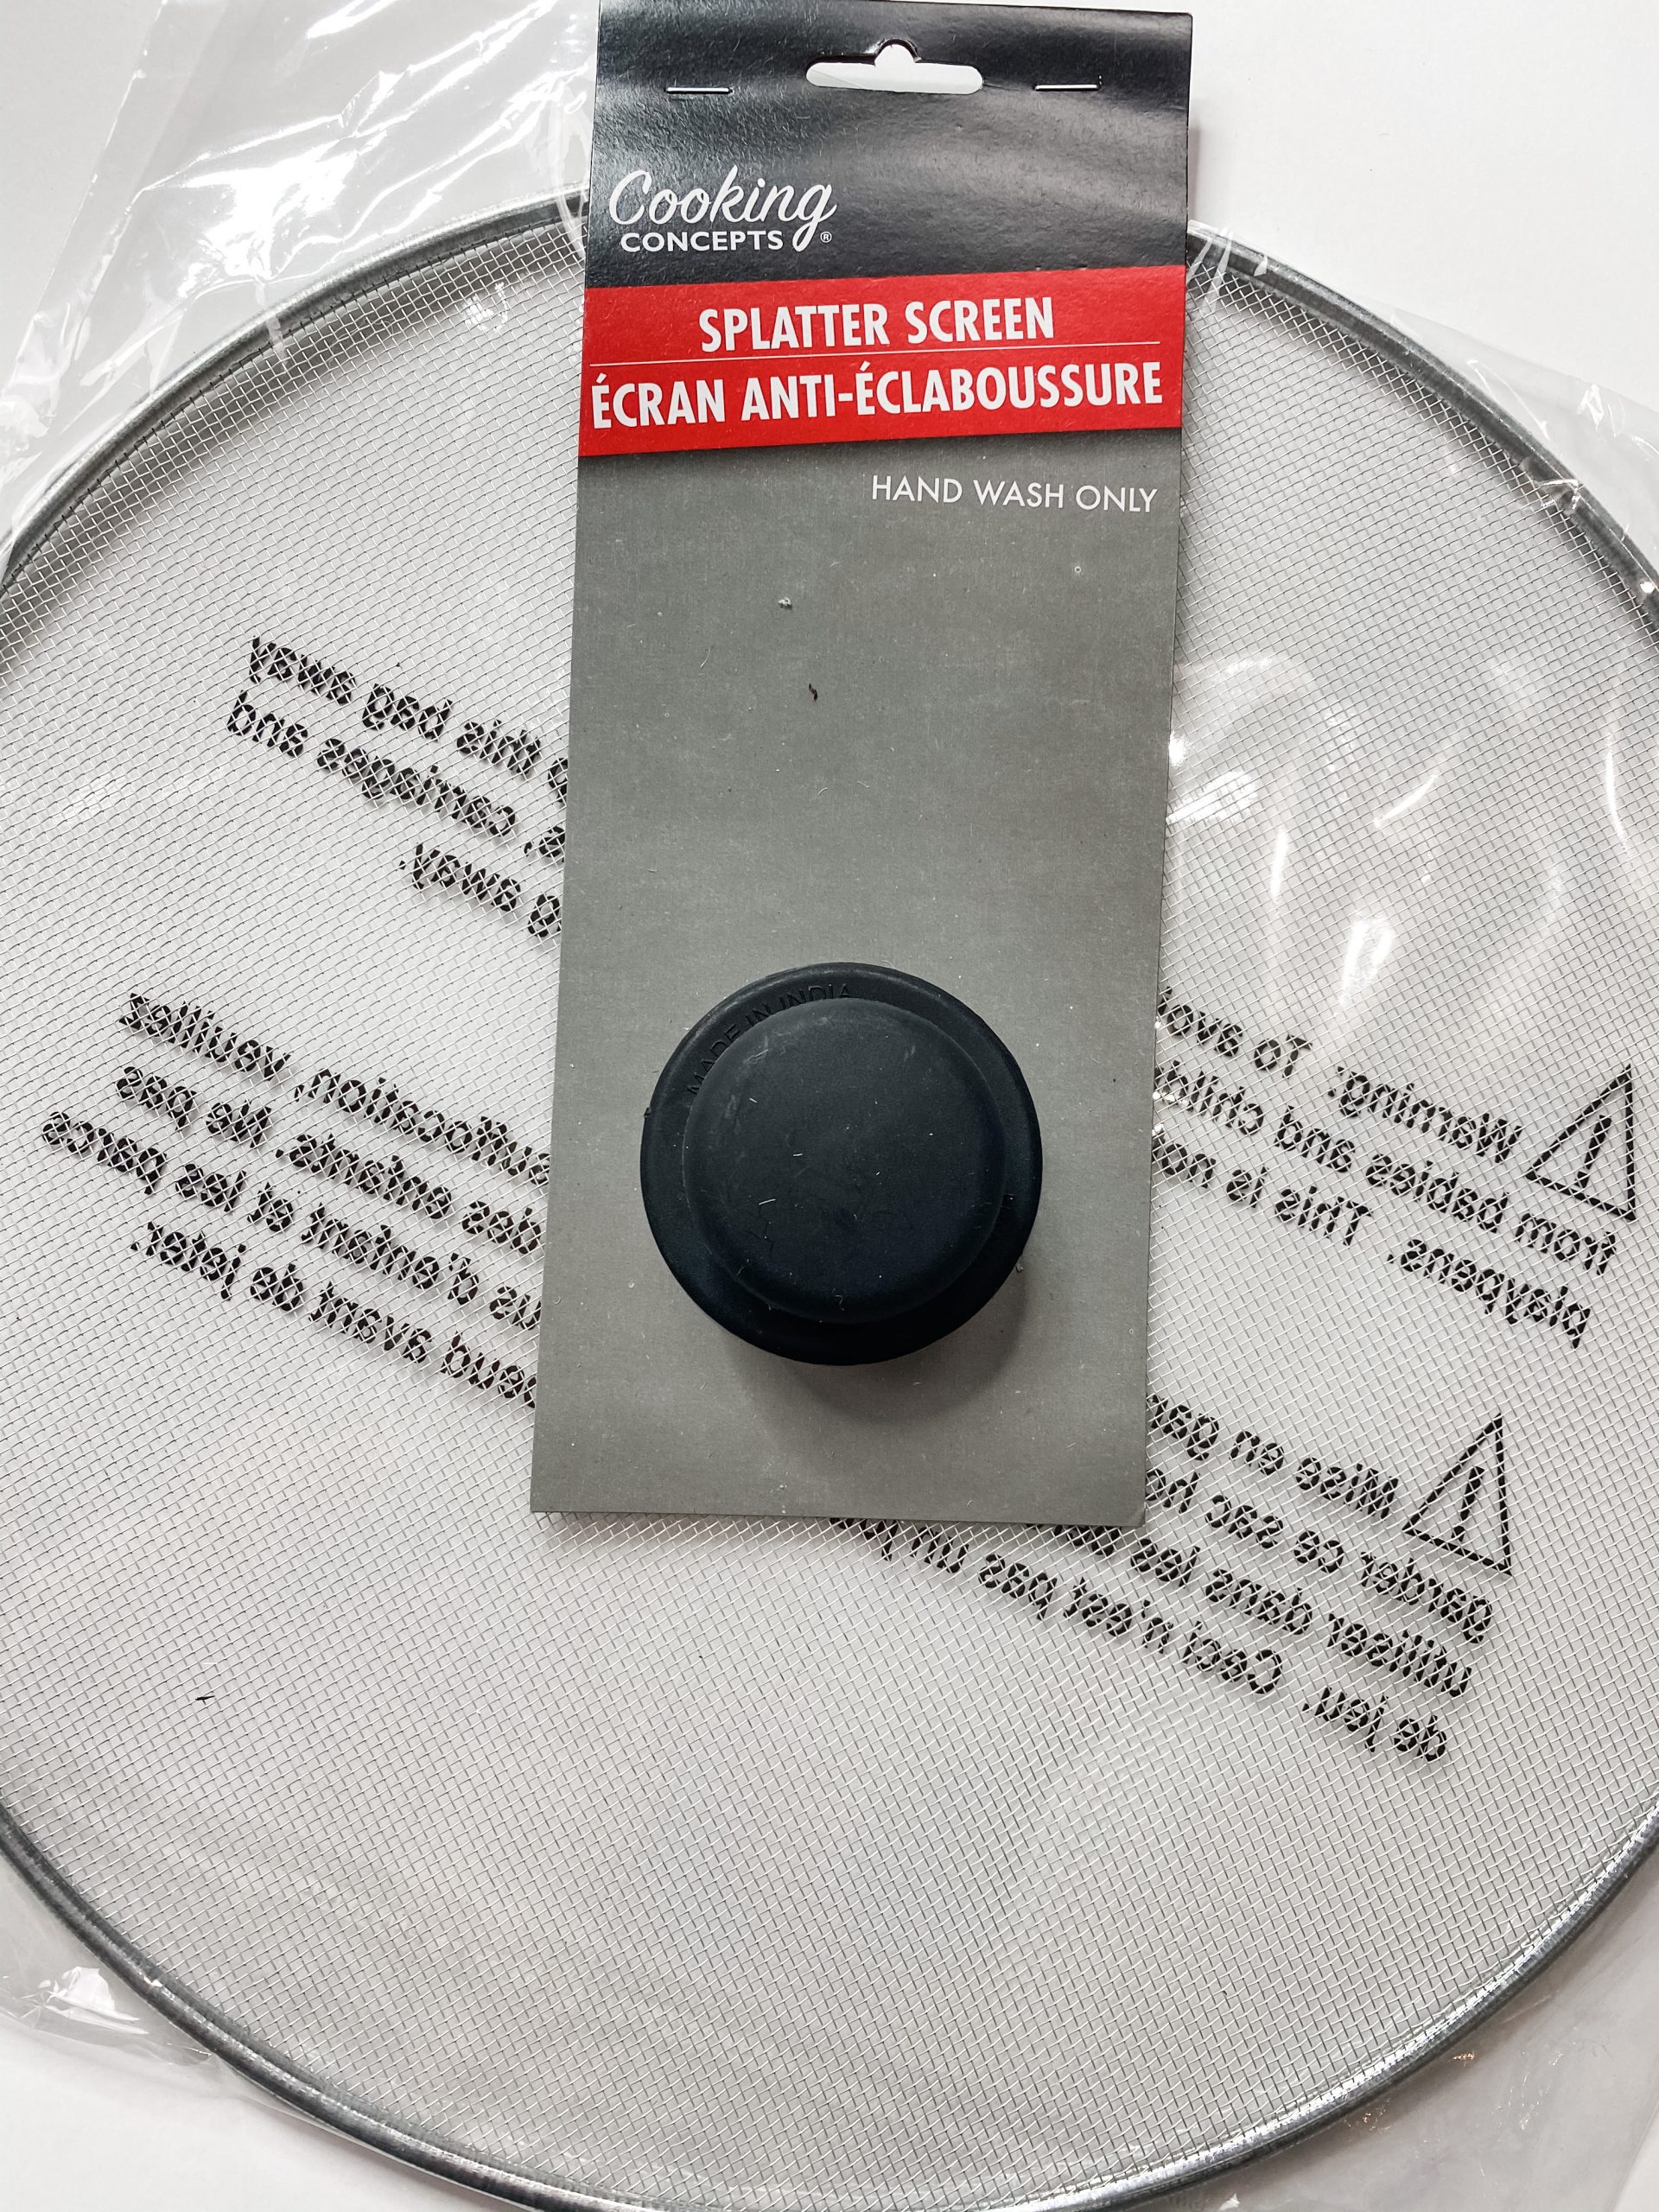
- Dollar Tree Splatter Screen
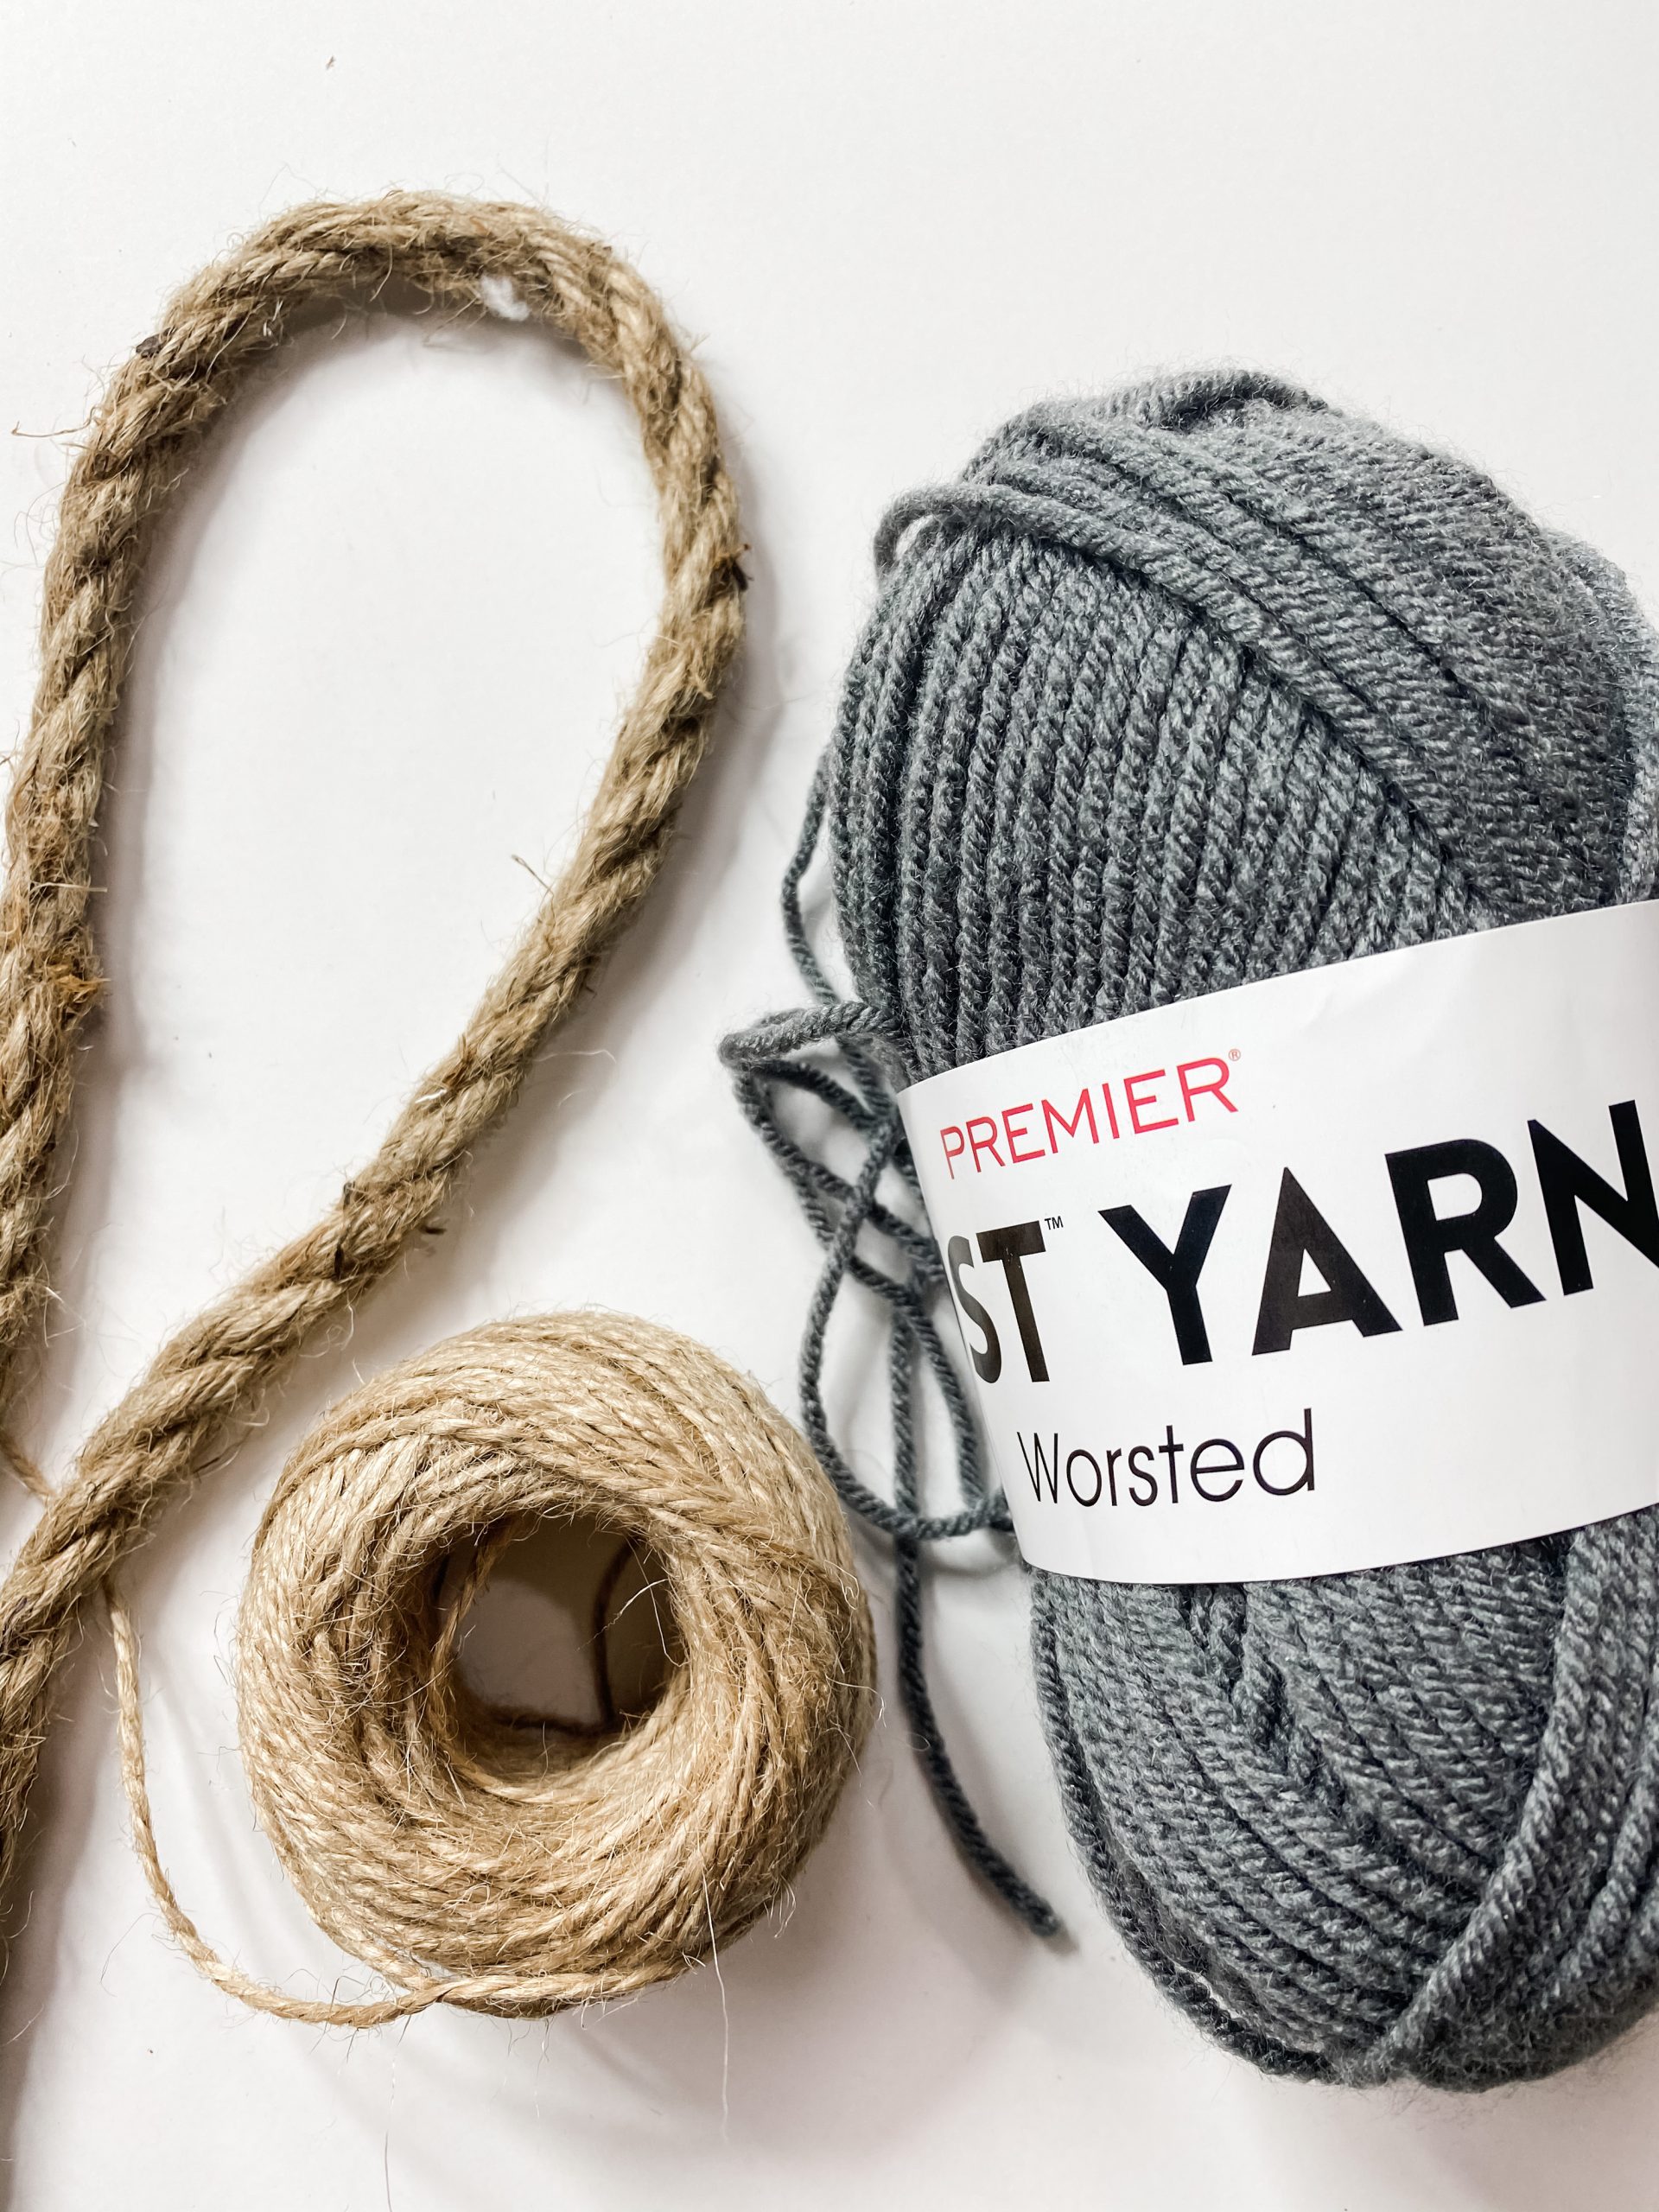
- Dollar Tree Yarn
- Buffalo Check Tissue Paper (Hobby Lobby)
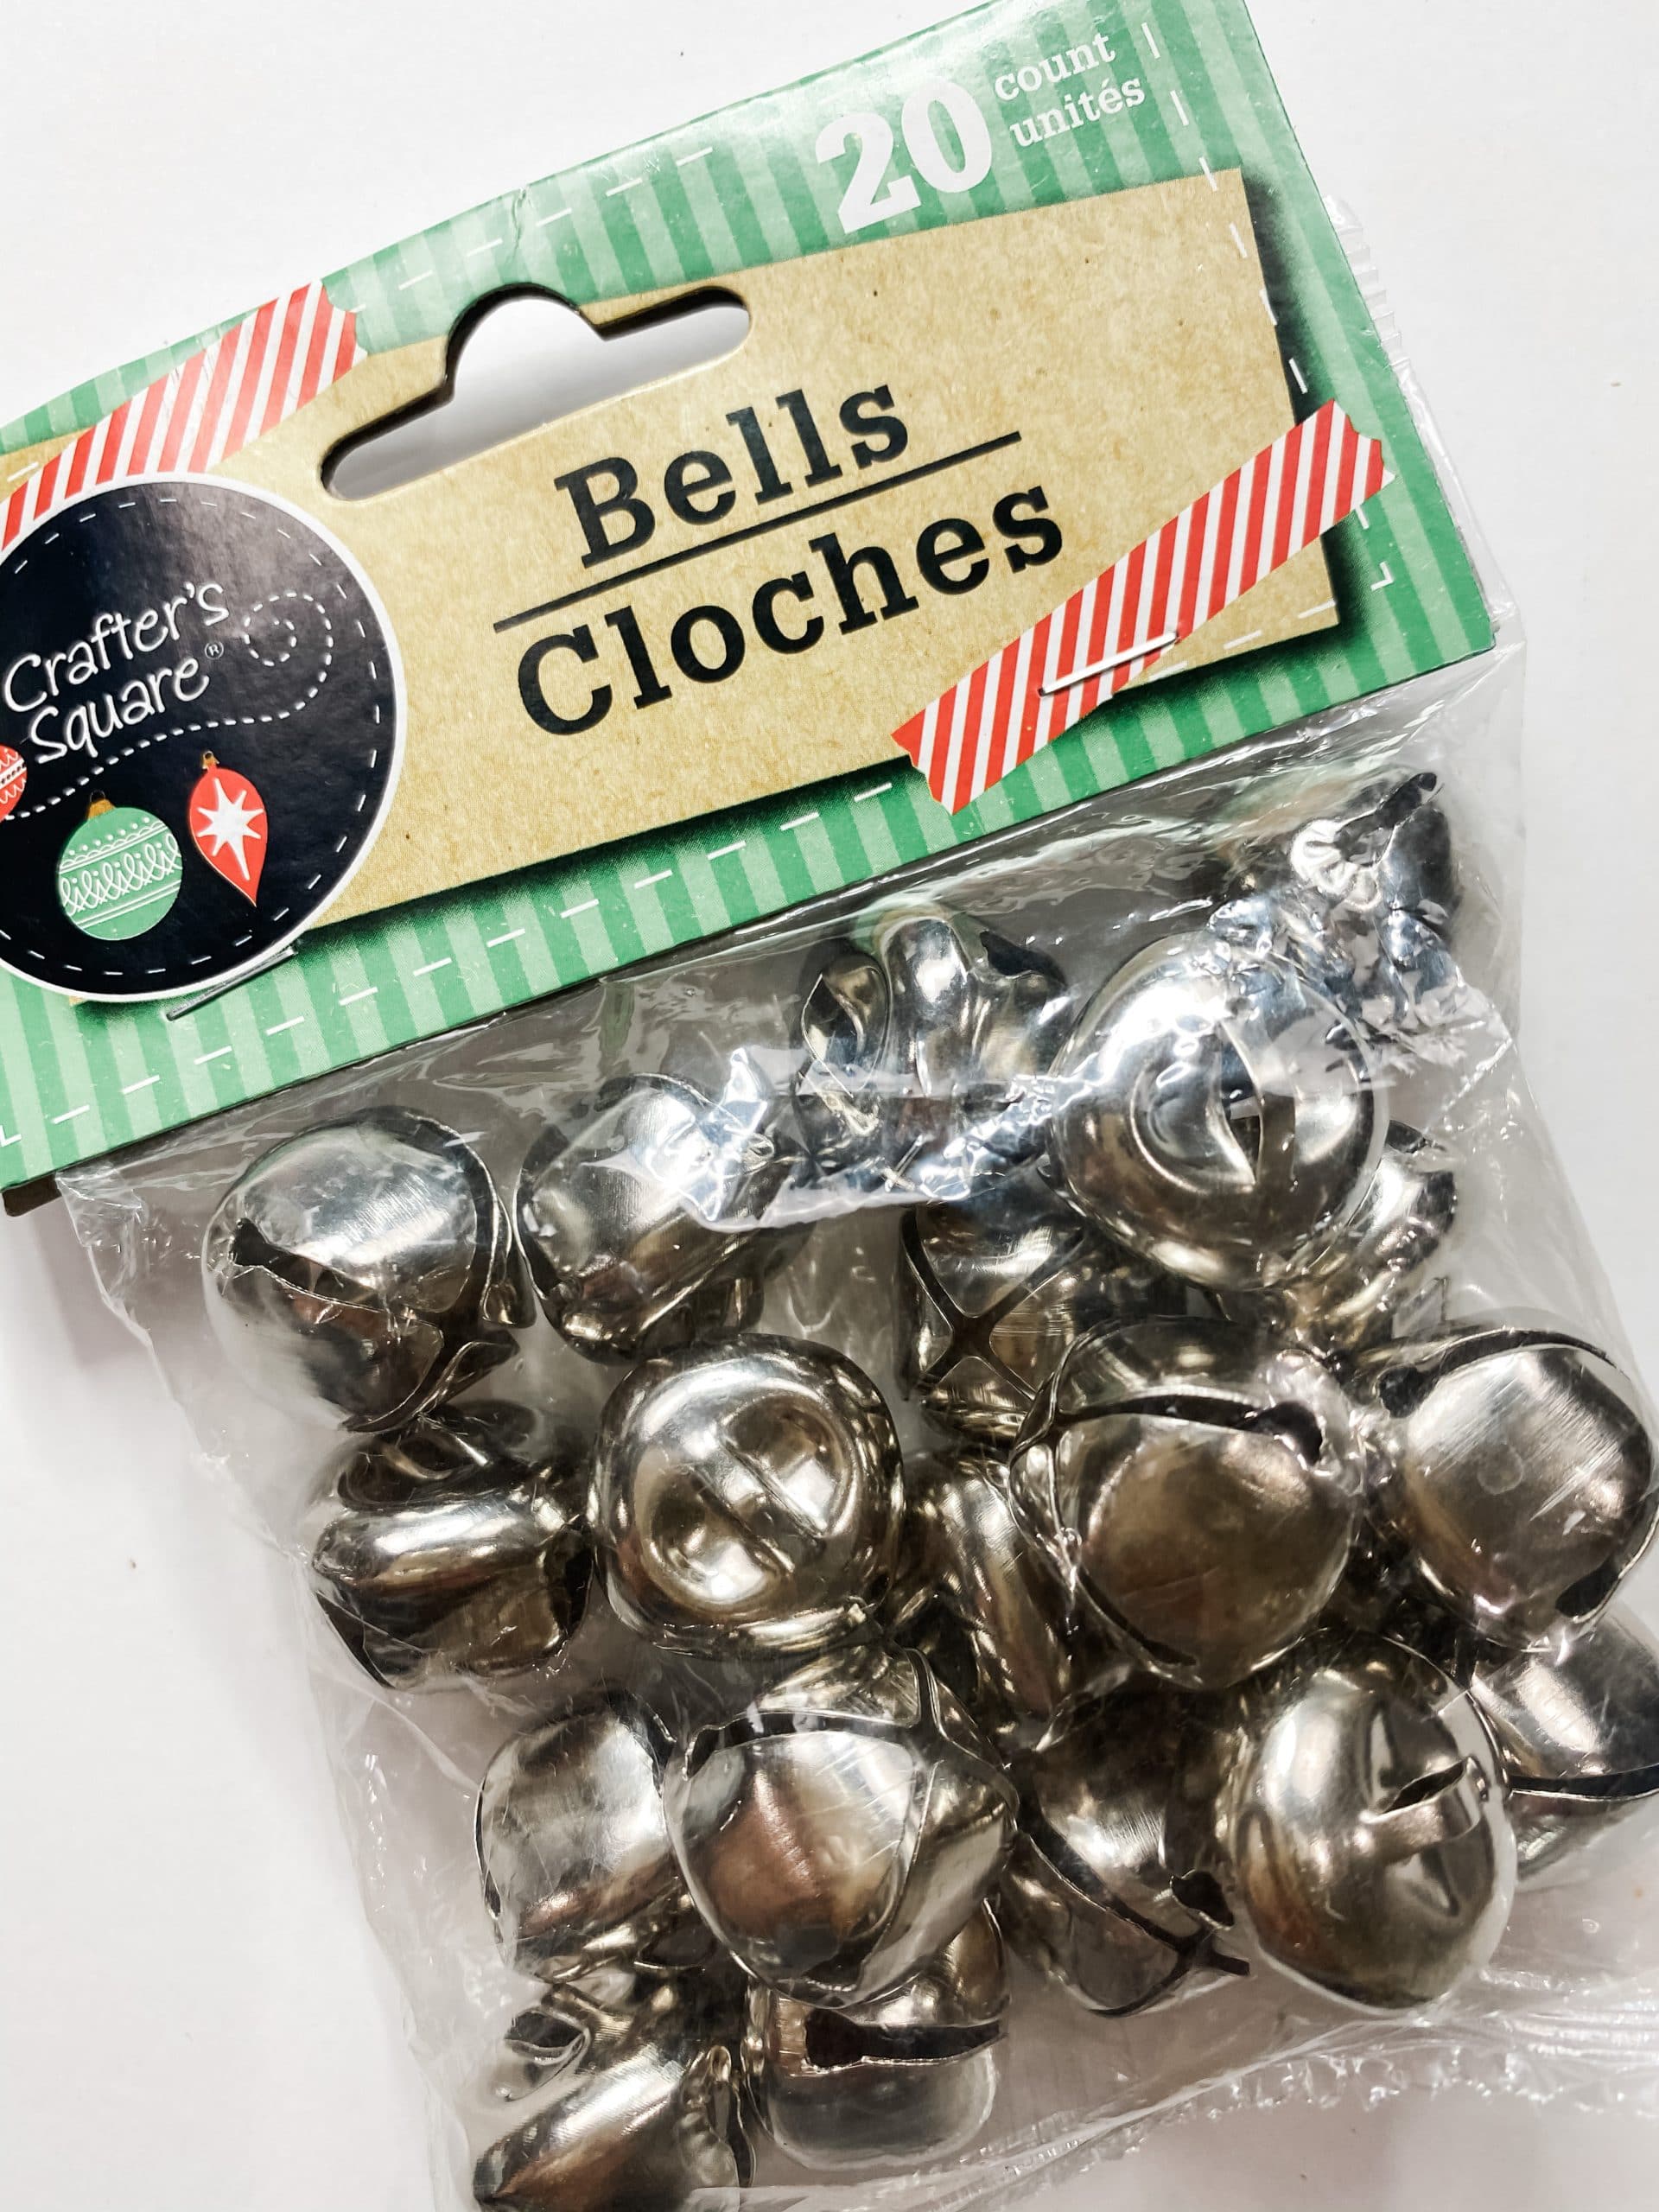
- Dollar Tree Bells
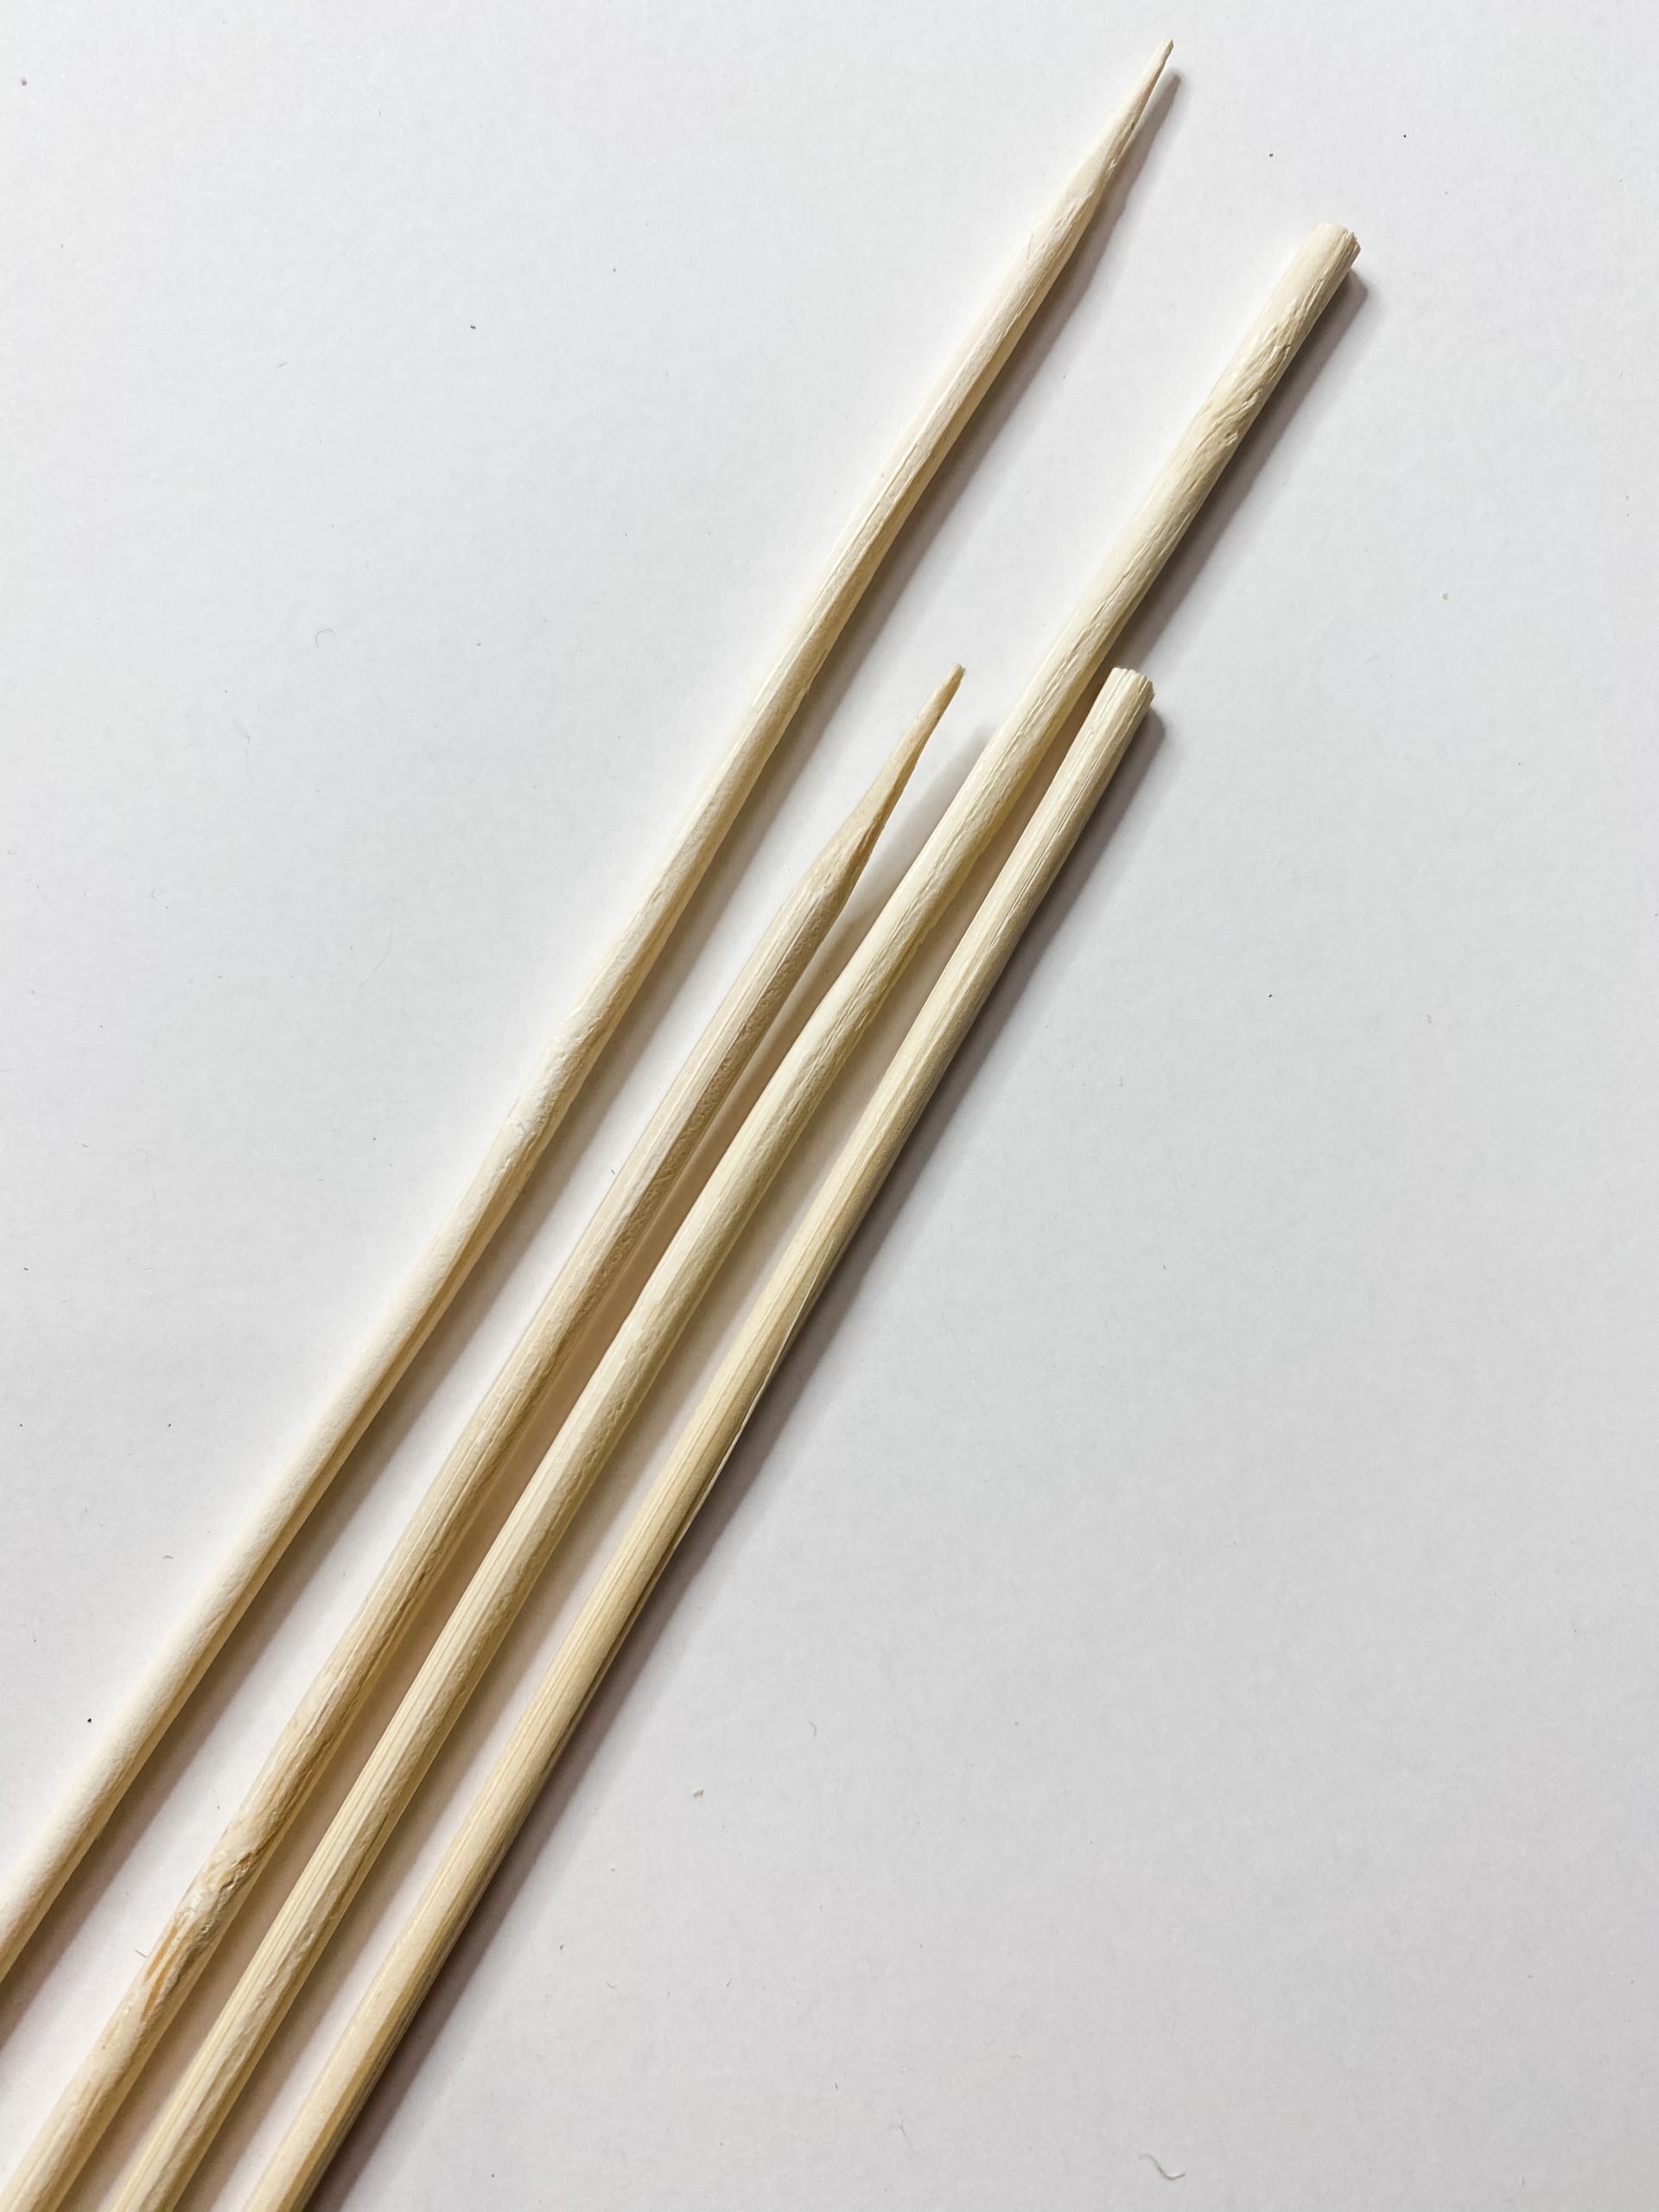
- Dollar Tree Wood Skewers
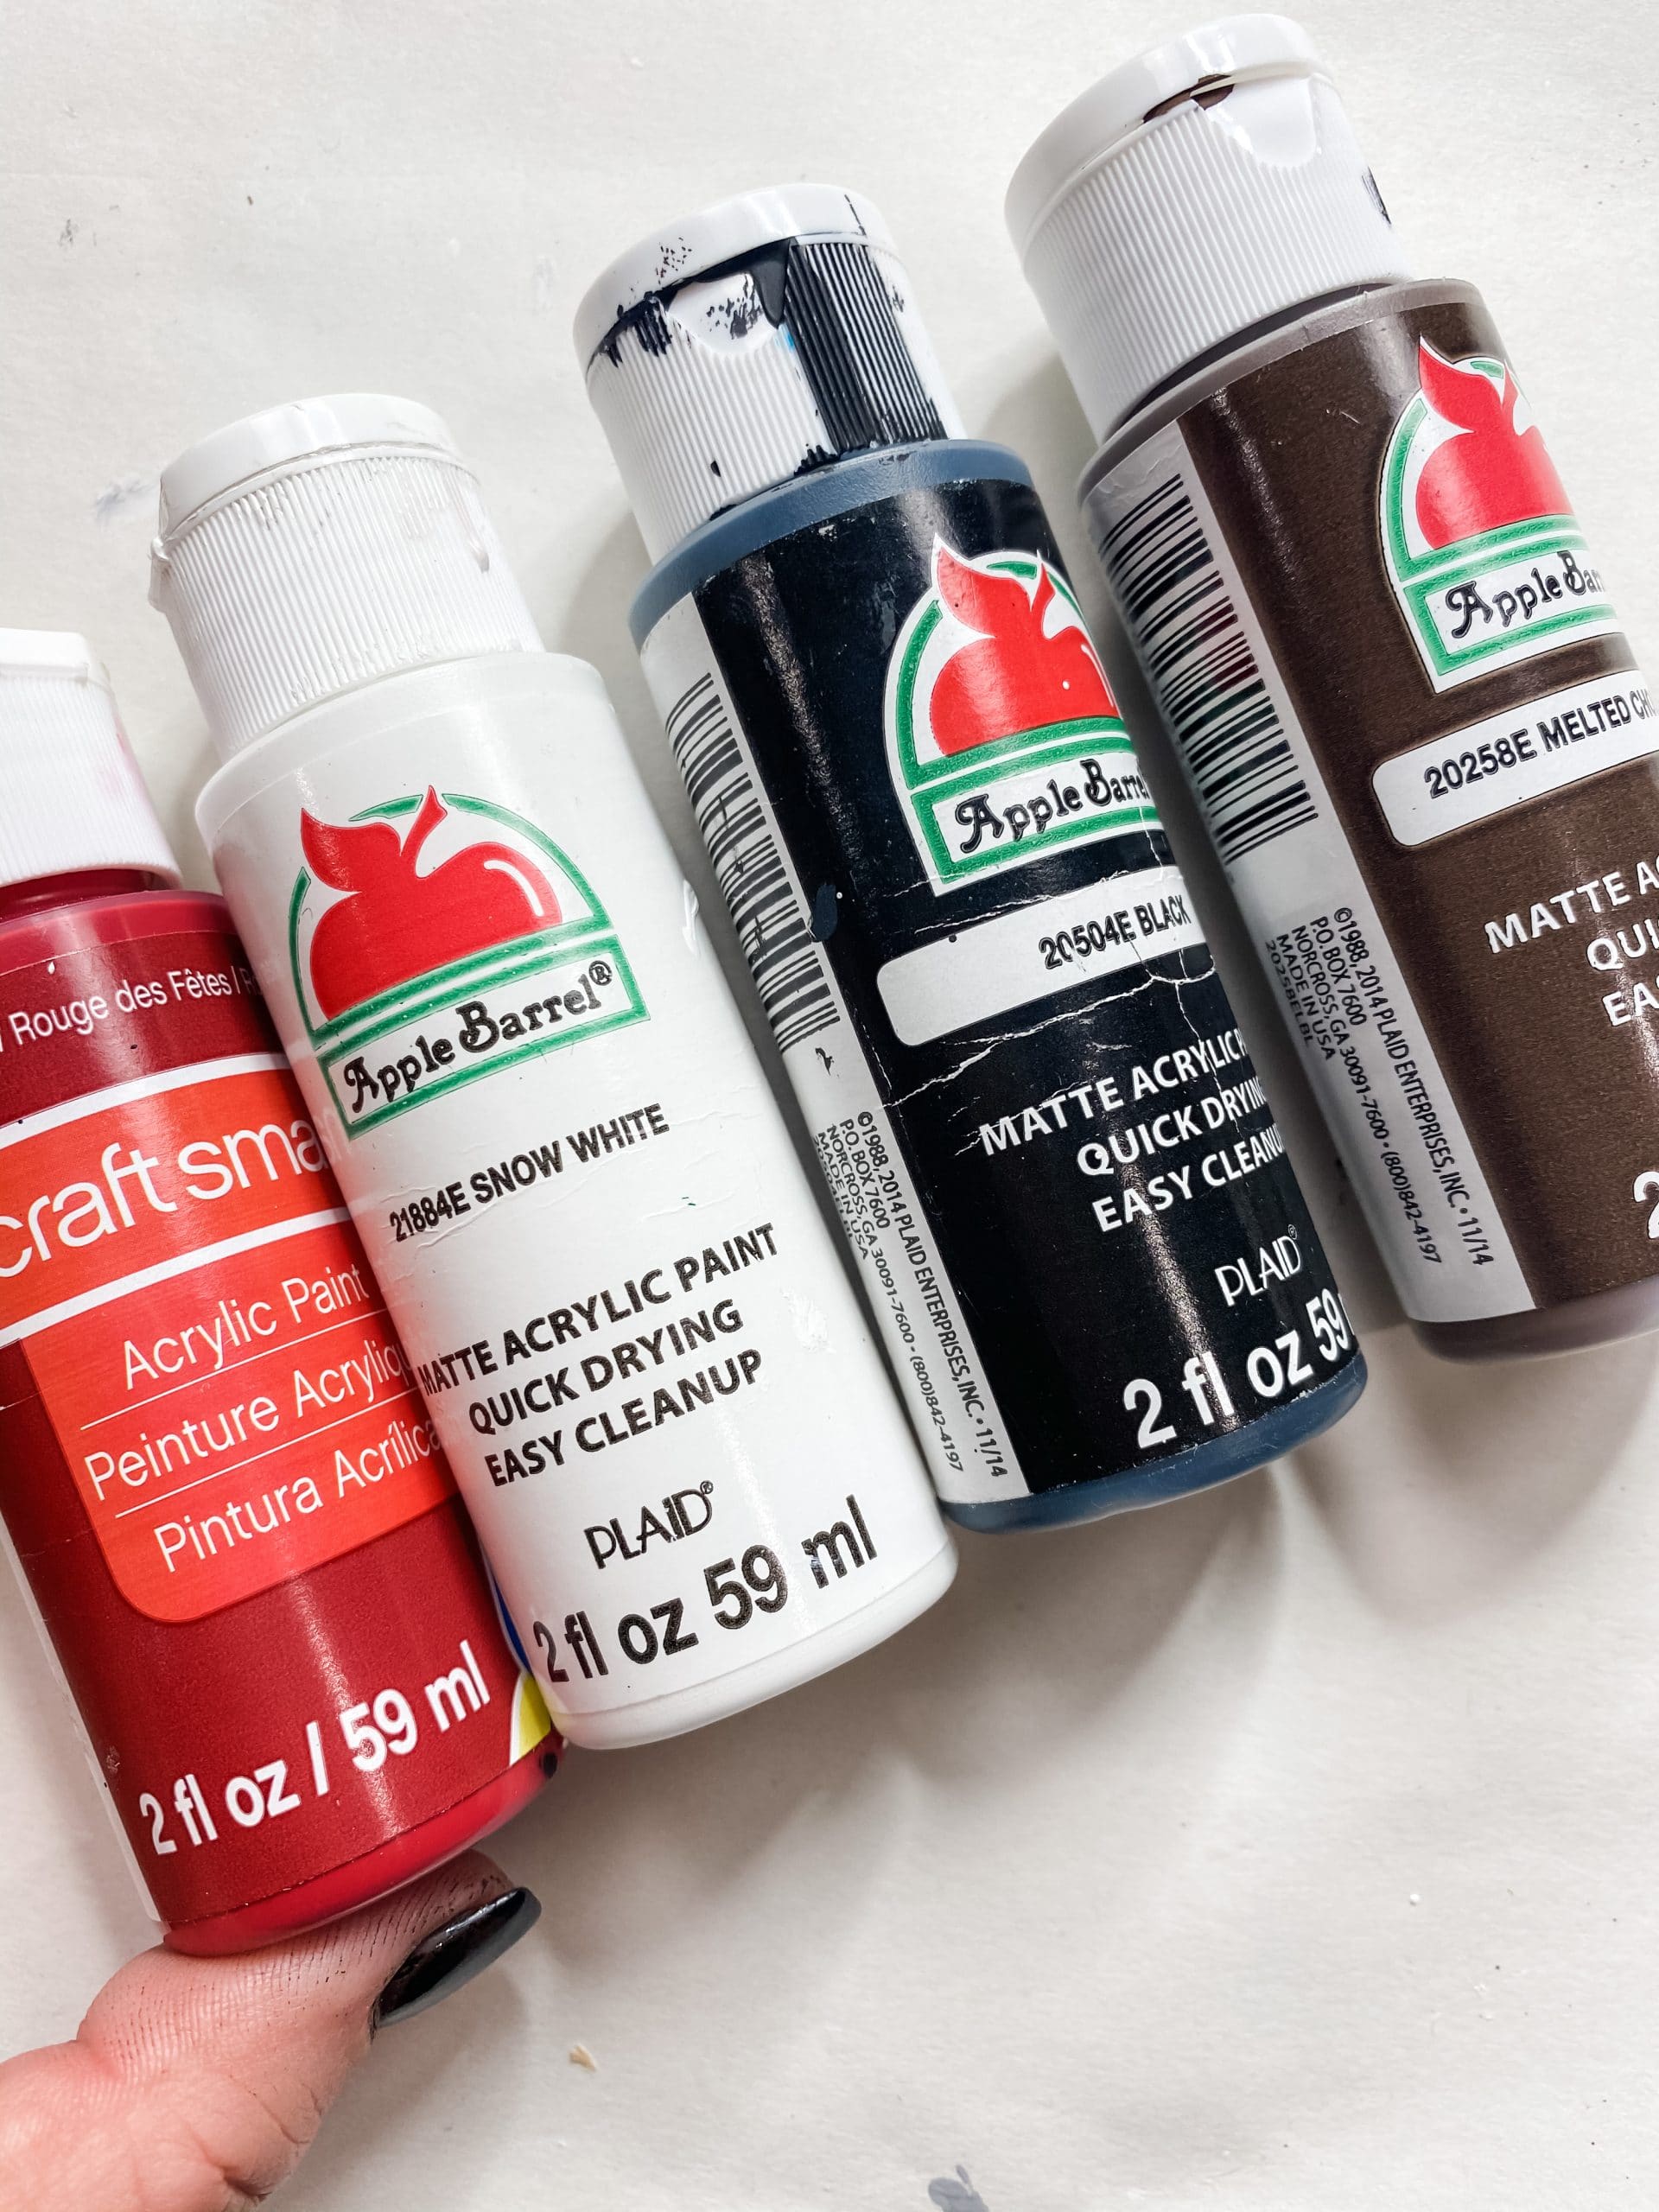
- Apple Barrel White Acrylic Paint
- Dollar Tree Nautical Rope
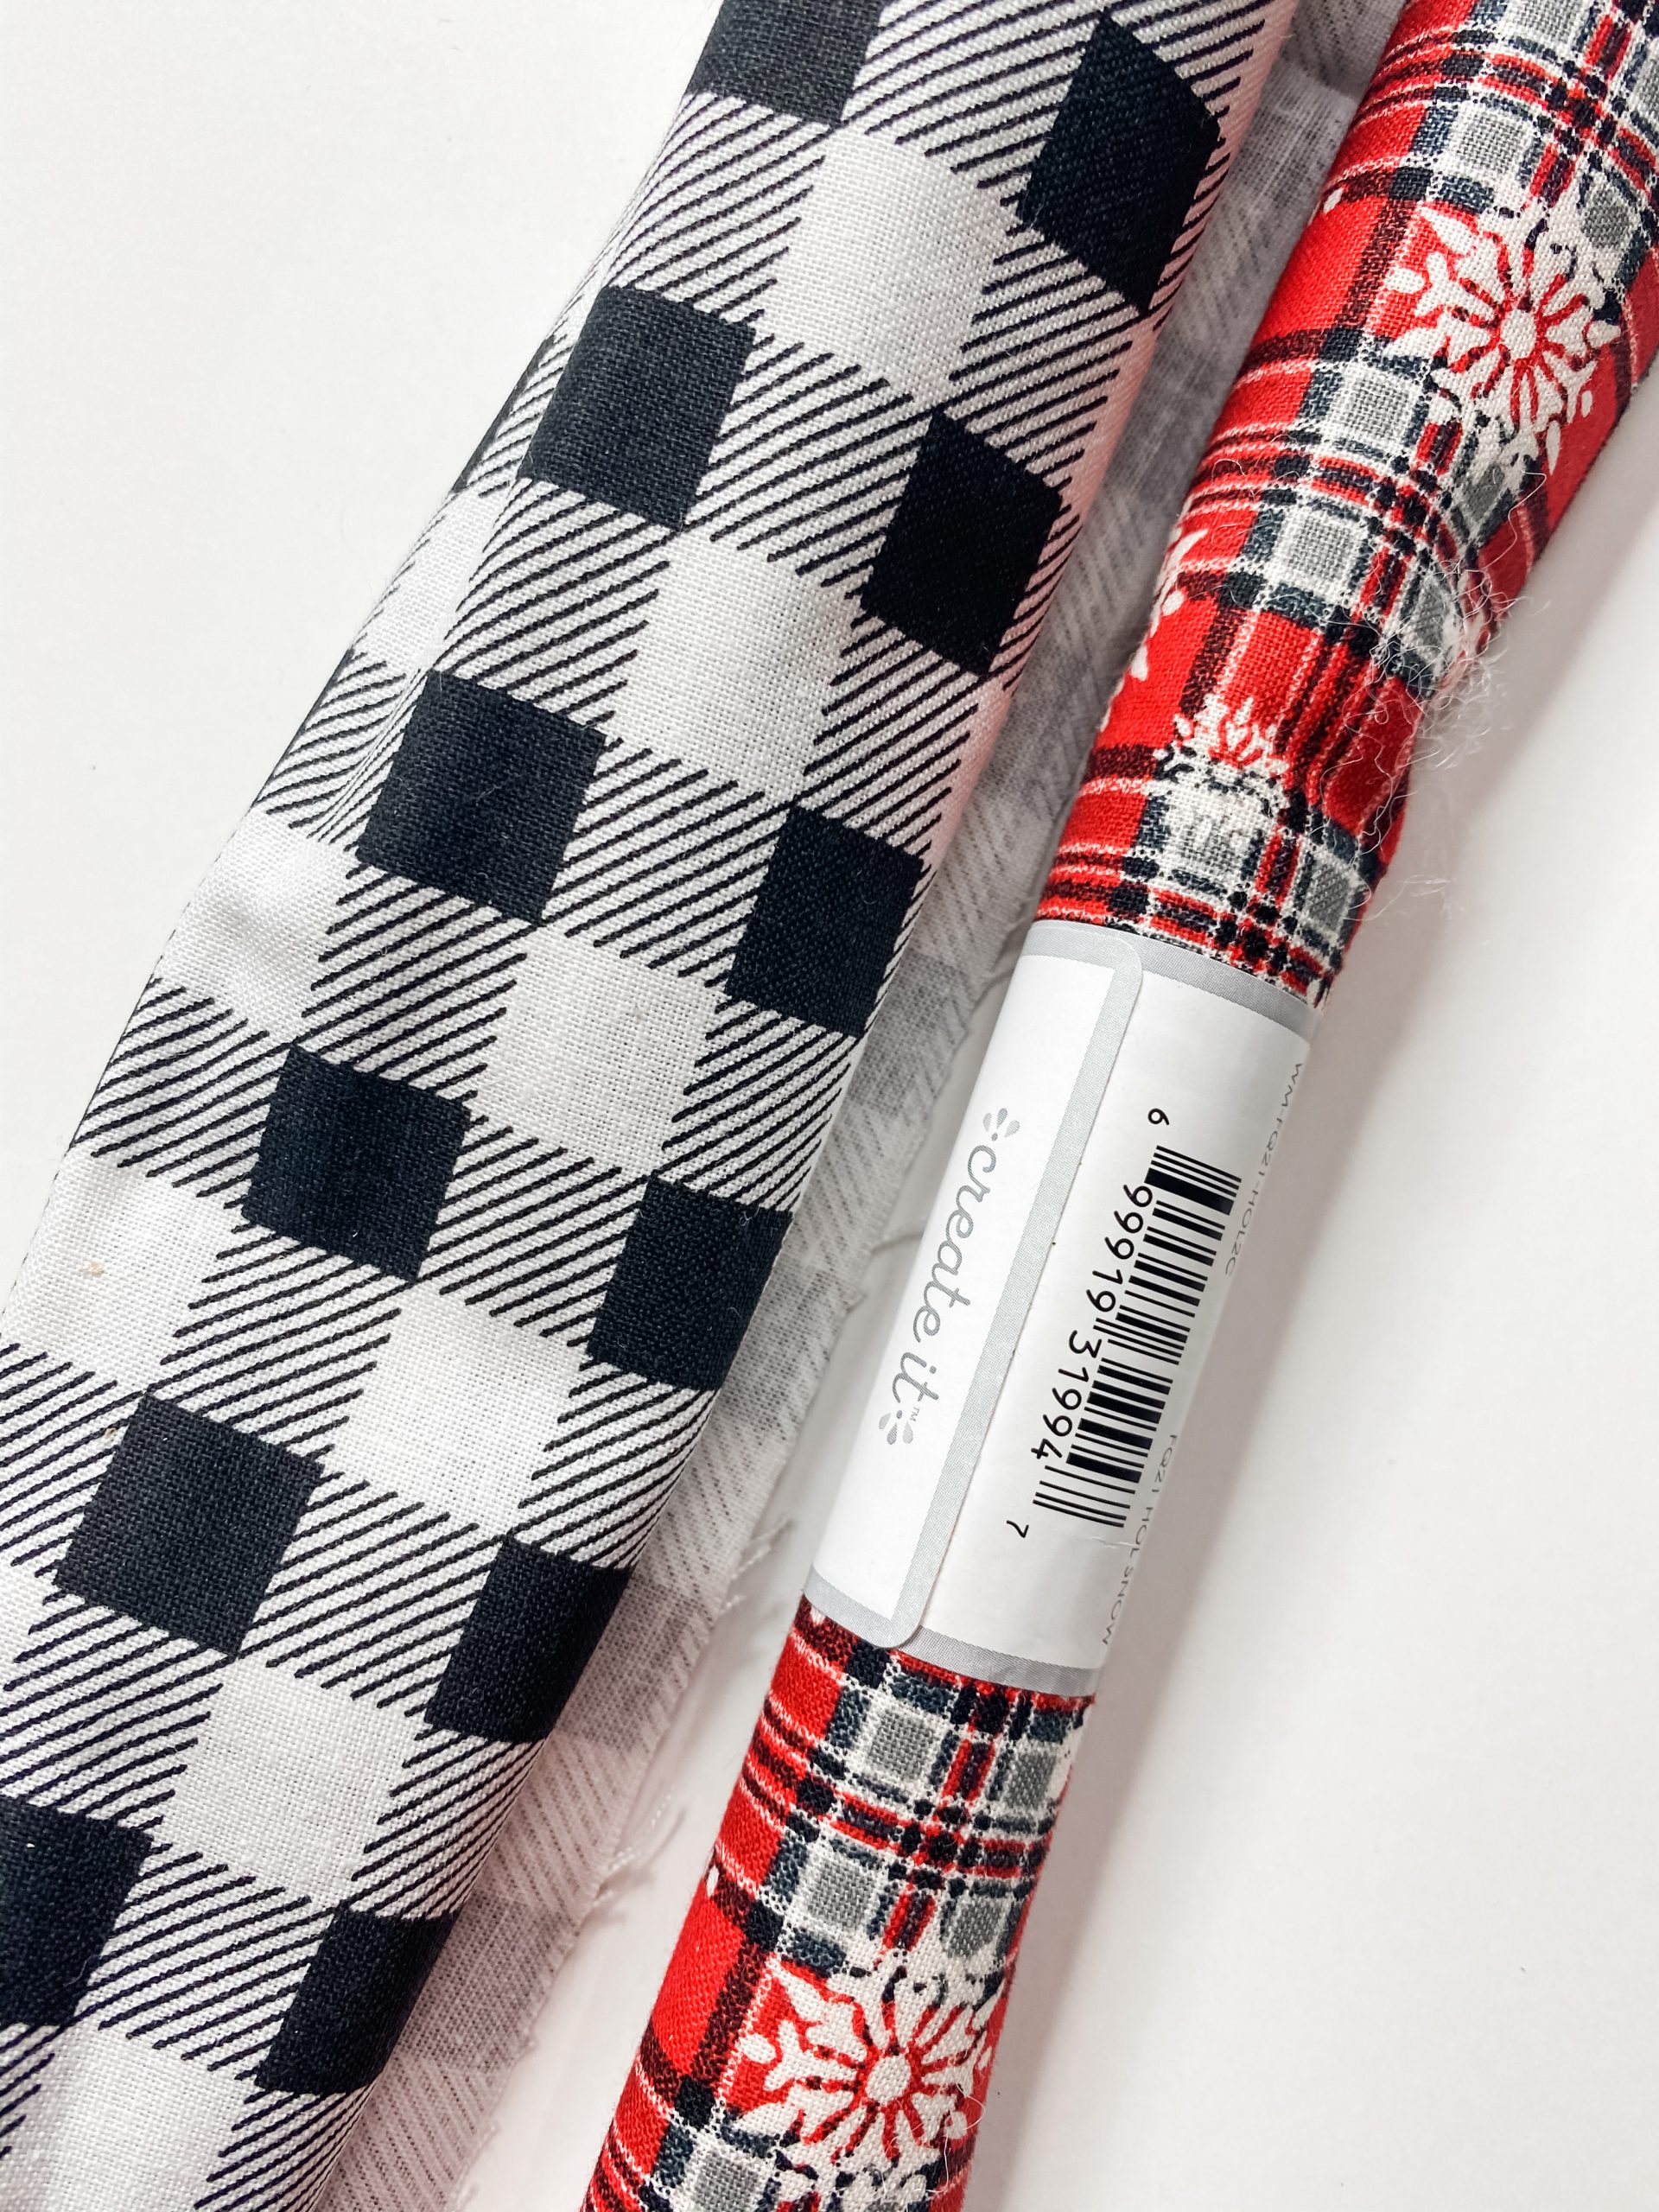
- Dollar Tree Buffalo Check fabric
- Apple Barrel Melted Chocolate Acrylic Paint
- Dollar Tree Red buffalo check with snowflakes fabric
- Dollar Tree Red napkin with snowflakes
- Apple Barrel Black Acrylic Paint
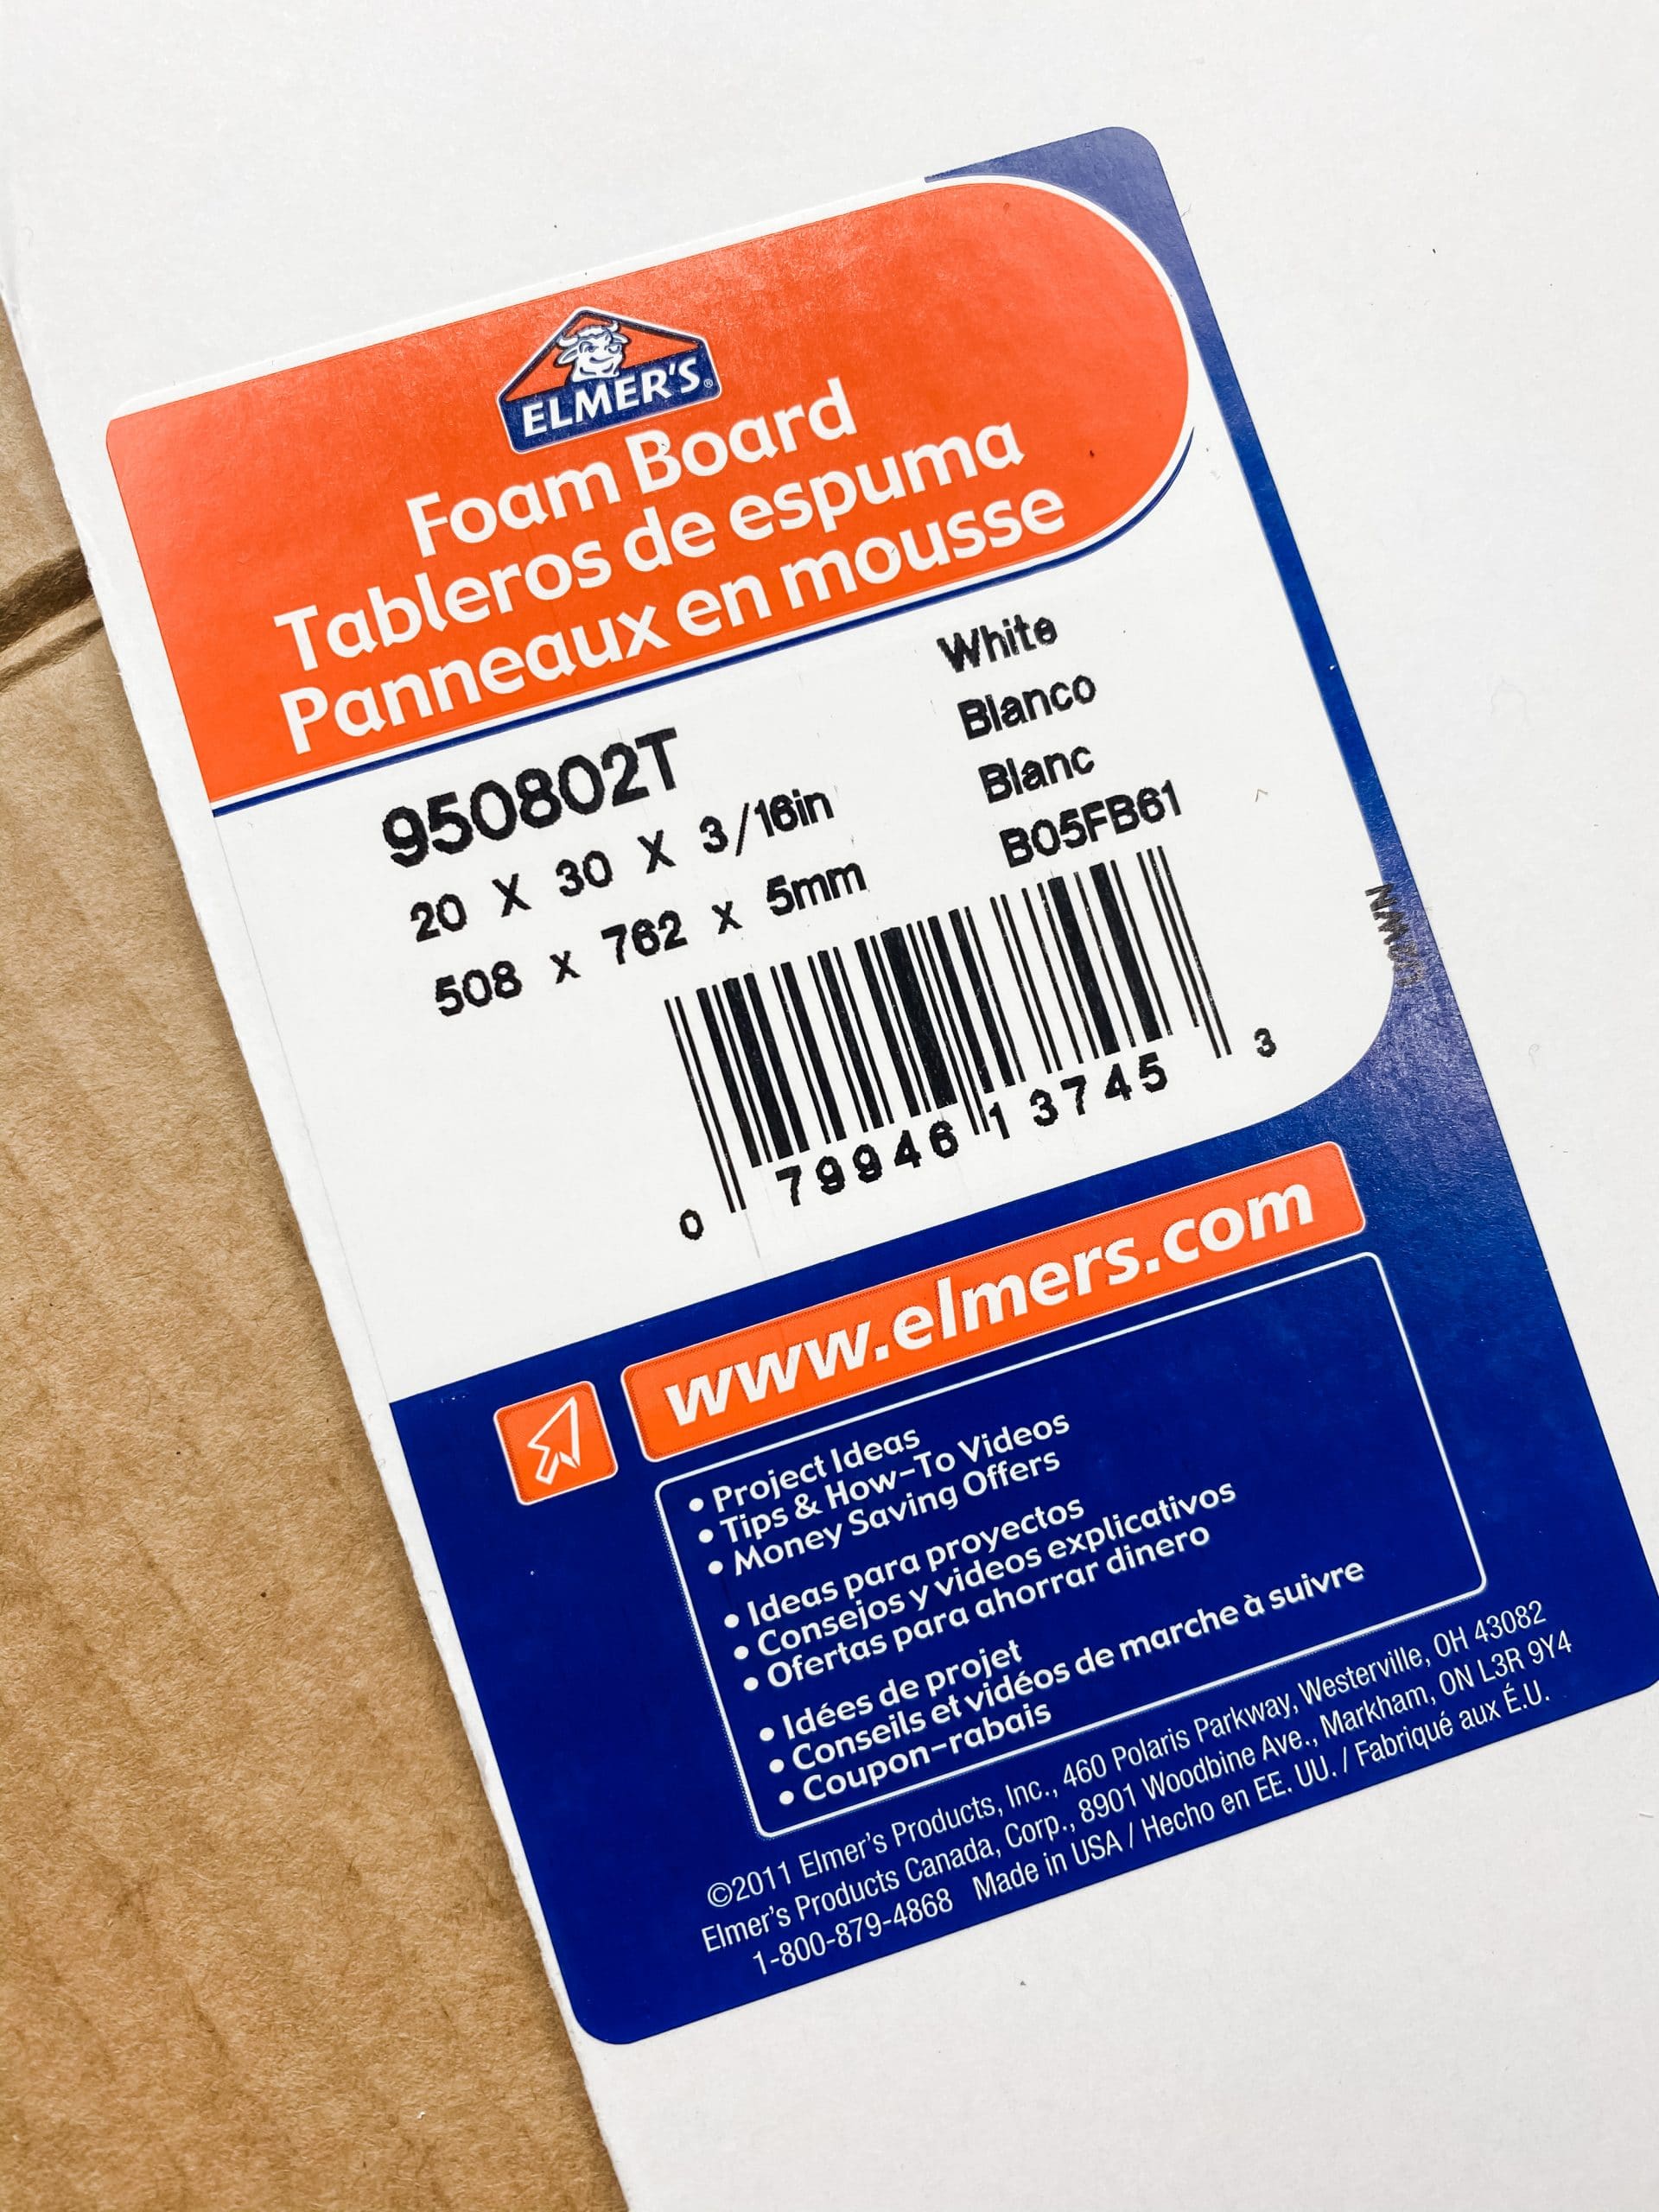
- Dollar Tree Elmer’s Foam Board
- Craft smart Red Acrylic Paint
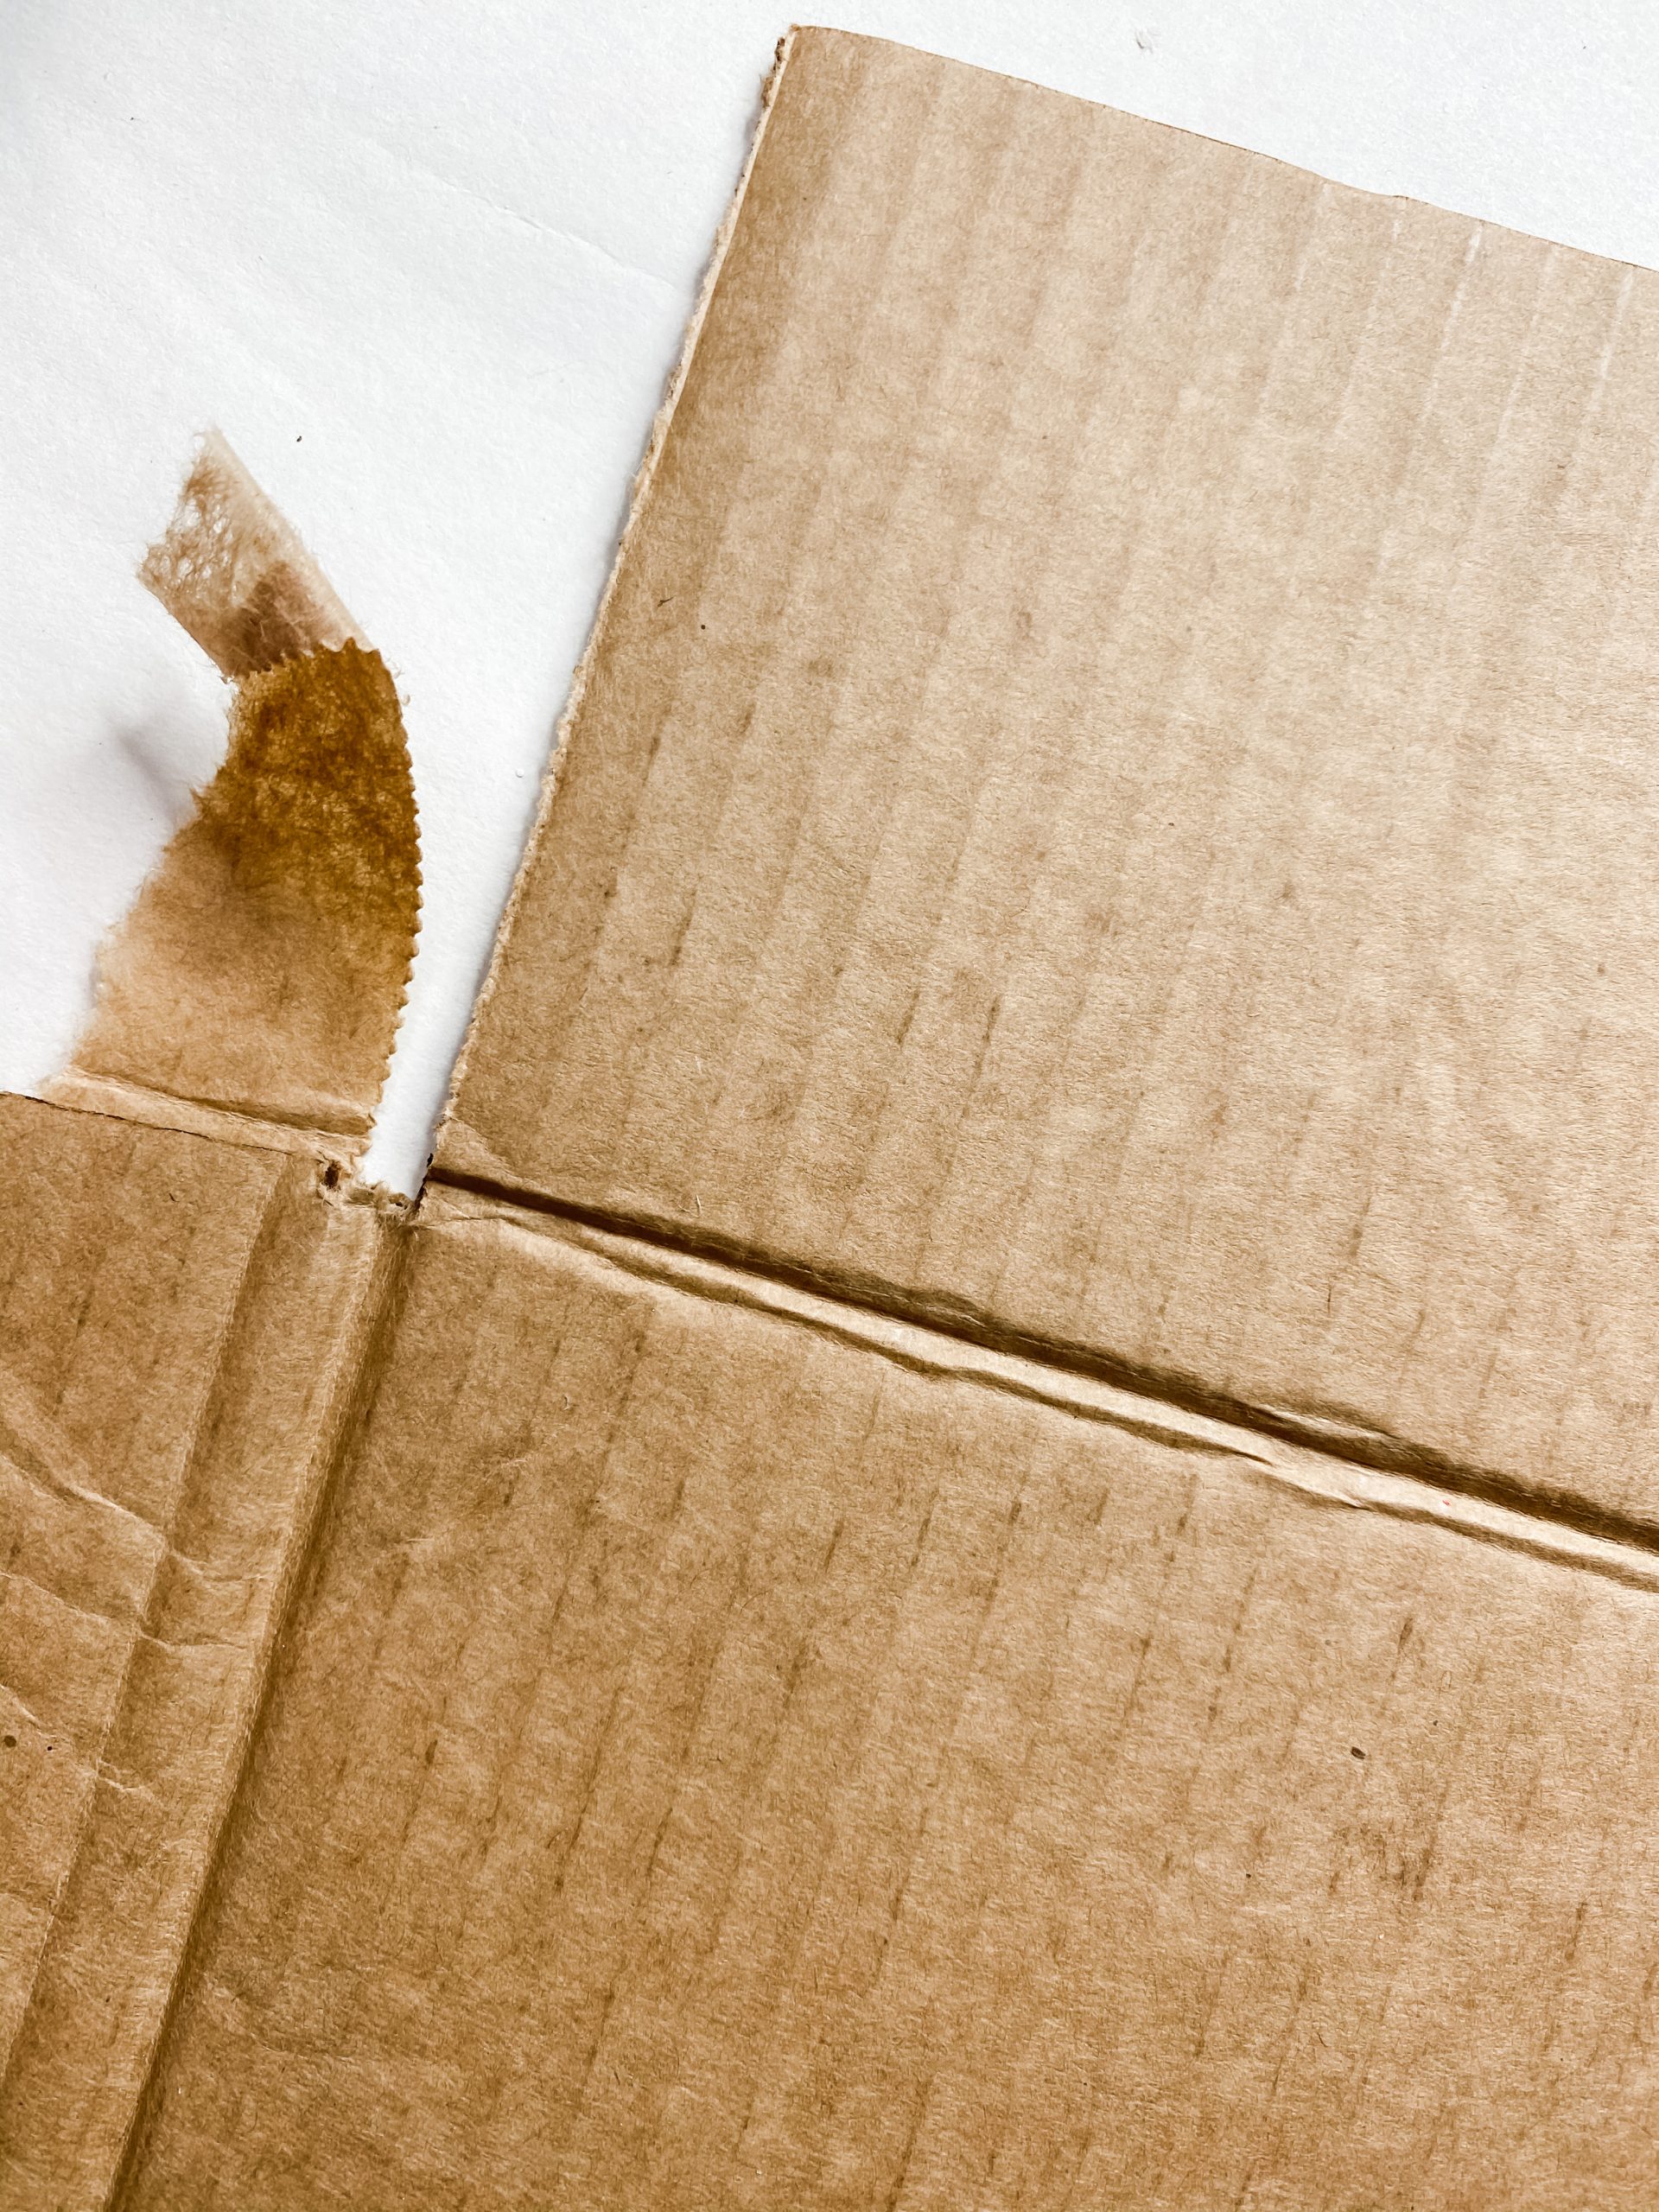
- piece of cardboard
- Jute Twine
- Glue Gun and Glue Sticks
- Heat gun
You know Dasher
This project was about a week in the making! I got the idea of making a Dollar Tree splatter screen reindeer and knew I wanted to include my granddaughter, Avery, in making it.
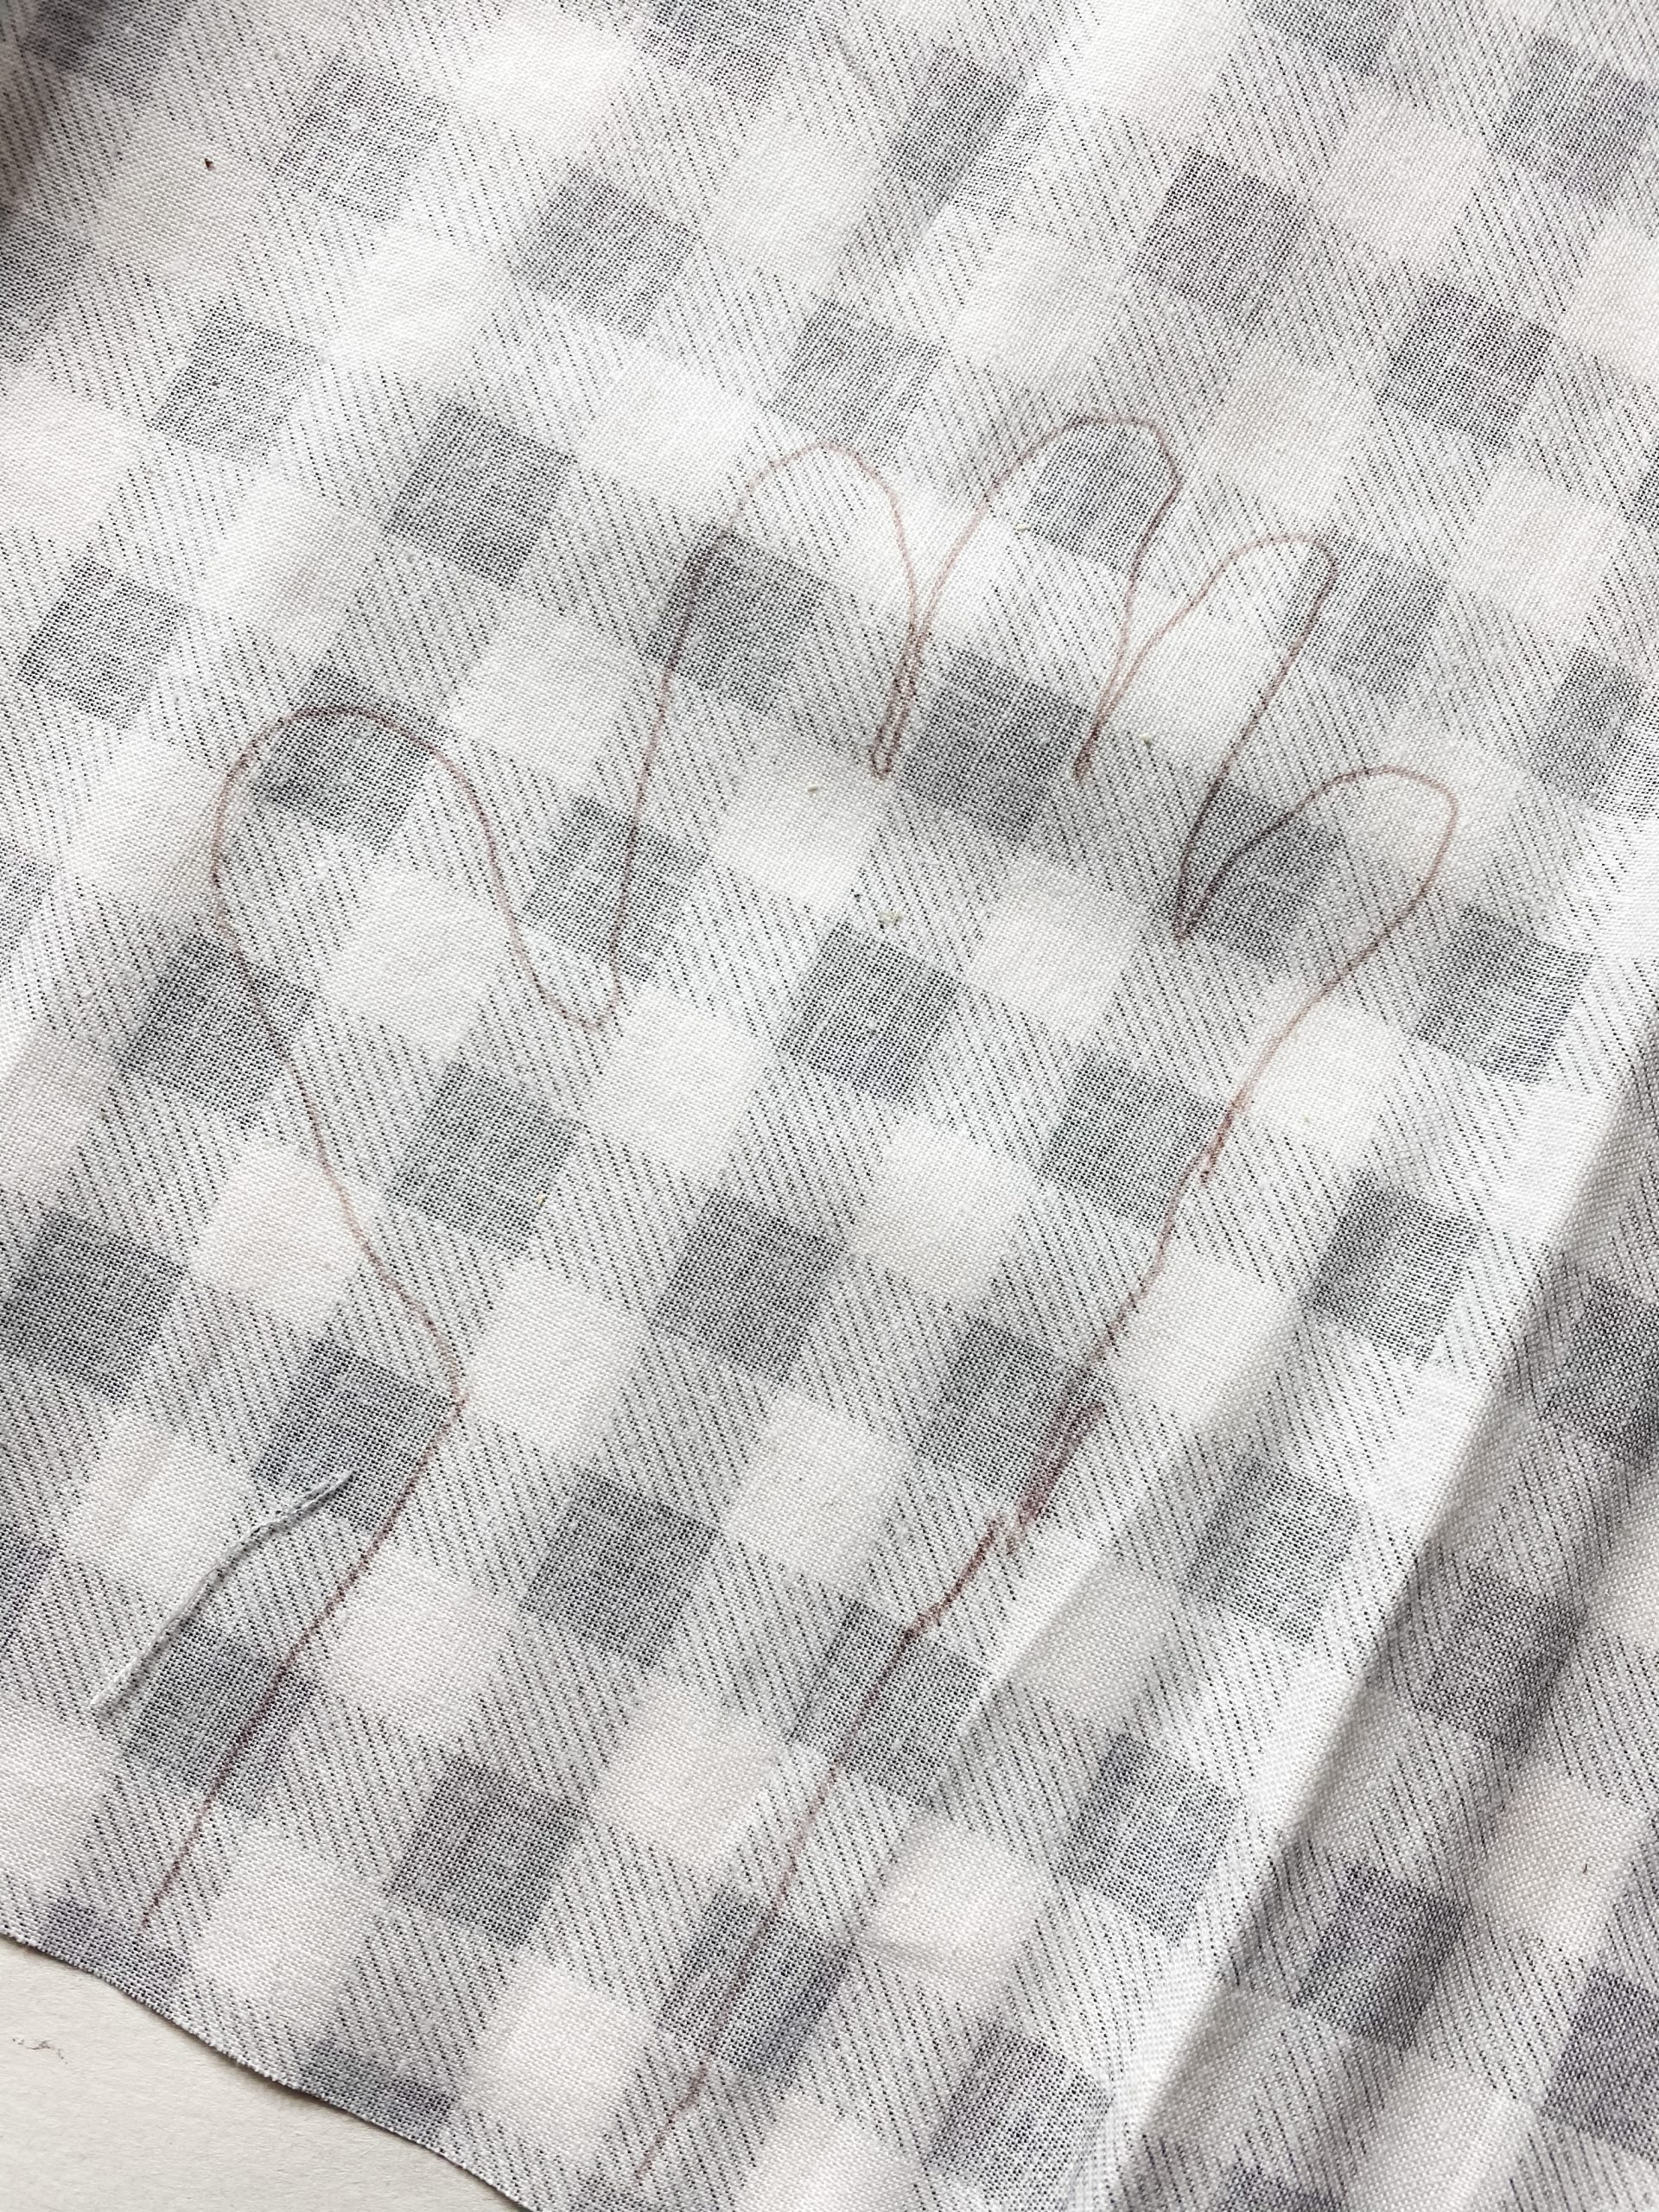
I started by tracing Avery’s little hands on the Dollar Tree buffalo check fabric. Place the fabric pattern down and trace the child’s hands on the back of the fabric.
Your child’s little hands will be your reindeer’s antlers!
You can set the buffalo check fabric to the side, and we will use it later. Grab your Dollar Tree splatter screen and trace around it on the Elmer’s Foam Board.
I wasn’t sure if I was going to stick with this step, but I didn’t want to be able to see through the splatter screen when I painted it brown.
Once you’ve traced the splatter screen onto the white foam board, use an Exacto knife to cut out the circle. I used a Slice Exacto knife that one of my sweet followers sent to me!
Remove the handle from your splatter screen. You should be able to just unscrew the handle. Now, hot glue the splatter screen onto the foam board cut out.
Just put the hot glue around the edges of the splatter screen and press it down onto the foam board to secure it in place.
and Dancer and Prancer
Let’s cut the little traced hands out the fabric from earlier. Do both the left and right hands of your kid or grandkid. Now, trace the fabric hand cut-outs onto a piece of cardboard.
We are going to hot glue the Dollar Tree buffalo check fabric onto the cardboard.
Once you’ve hot glued the fabric hand cutouts onto the piece of cardboard, go ahead and cut the cardboard with scissors.
Be careful not to cut the fabric while you’re doing this. You could also use an Exacto knife to cut the cardboard around the fabric hand cutouts.
Once you have both hands cut out, slide one Dollar Tree wood skewer into the cardboard hands at the wrists. Set them to the side for now.
and Vixon
Let’s paint the reindeer splatter screen now. I used Apple Barrel Melted Chocolate Acrylic Paint and a chippy paintbrush.
I dabbed the paintbrush into the brown paint and then pressed it onto the splatter screen. It’s easier to get the coverage I wanted by dabbing the paintbrush onto the screen rather than brushing it across.
I also painted around the edges of the foam board to cover up the white color. Get as even coverage as you can around the edge of the foam board and Dollar Tree splatter screen.
Set the painted Dollar Tree splatter screen to the side and clean up your workspace. It’s time to make a bow!
For this bow, I used a Dollar Tree Christmas napkin and a Hobby Lobby buffalo check tissue paper. Cut each of them into strips about an inch wide.
For the tissue paper, you are going to cut 1-inch wide strips and trim the lengths to be just a little longer than the napkins.
Comet and Cupid
I also used Dollar Tree grey yarn in this bow, so cut several strips of the yarn about the same length as the napkin strips.
Now, lay the strips down in an x bow pattern. Alternate the strips that you lay down (napkin, then tissue paper, then string) in an order that you are happy with.
Once you’re happy with the number of layers of the bow, secure the center with a piece of jute twine.
Grab your splatter screen and make sure that the paint is dry. If it isn’t, you can use a heat gun to fully dry the paint. If you don’t have a heat gun, you can also use a hairdryer on the low cool setting.
I used cardboard to make the eyes for my DIY reindeer. Cut two ovals out of the cardboard. Cut a rectangle strip out for the reindeer collar.
Use an artist’s brush and Apple Barrel White Acrylic Paint and paint the collar white. I didn’t go for full coverage because I wanted it to have a slightly distressed look.
Also, go ahead and paint the eye ovals white. Allow the collar and both eye ovals to dry before moving to the next step.
You’re going to use Apple Barrel Black Acrylic Paint to paint the pupils of the eyes. I made my eyes look down and to the side, but you can paint your eyes however you want.
I used white paint on the pupil for the extra detail of the eyes.
Donner and Blitzen
It’s almost time to add the handle back onto the splatter screen. First, use Craft smart Red paint to paint the handle of the Dollar Tree splatter screen. We are using the handle as our reindeer’s nose!
Make sure all the paint is dry on the splatter screen, eyes, collar, and nose, and let’s start putting it all together!
Screw the handle back on and hot glue the eyes into place. I used jute twine to make eyelashes. Hot glue 3 pieces of jute twine to each eye.

Our reindeer still needs a mouth! I used some Dollar Tree nautical rope that I untwined for the mouth of my DIY reindeer. Untwist the nautical rope almost all the way, but keep about an inch still wrapped together.
Hot glue the one-inch piece right below the Dollar Tree splatter screen handle. Then, have the two pieces of unwrapped rope go out to each side to form the mouth. Have each side form a small u-shape.
Finally, use another small piece of unwrapped nautical rope to form a u-shape directly underneath where the rope splits. This creates the open mouth of the reindeer.
But do you recall
Use some more red paint to paint inside the reindeer’s mouth. Also, paint two circles on your reindeer’s cheeks. Now, hot glue the painted collar onto the reindeer’s neck.
Now it’s time to hot glue the Dollar Tree bells onto the cardboard collar. Leave a space at the end of the cardboard for your messy bow to go.
Before we hot glue the bow in place, we need to add the hanger. I don’t want the bow to get crushed when we flip the reindeer over to hot glue the hanger onto the back.
I used a piece of Dollar Tree nautical rope for the hanger on the back of the Dollar Tree splatter screen.
The most famous reindeer of all
Our DIY Dollar Tree Splatter Screen Reindeer is almost done! We need to add our antlers. You can push the ends of the Dollar Tree wood skewers into the foam board.
Before you make your hands to go with your kid’s or grandkid’s hands on the antlers, go ahead and hot glue the messy bow into place on the cardboard collar.
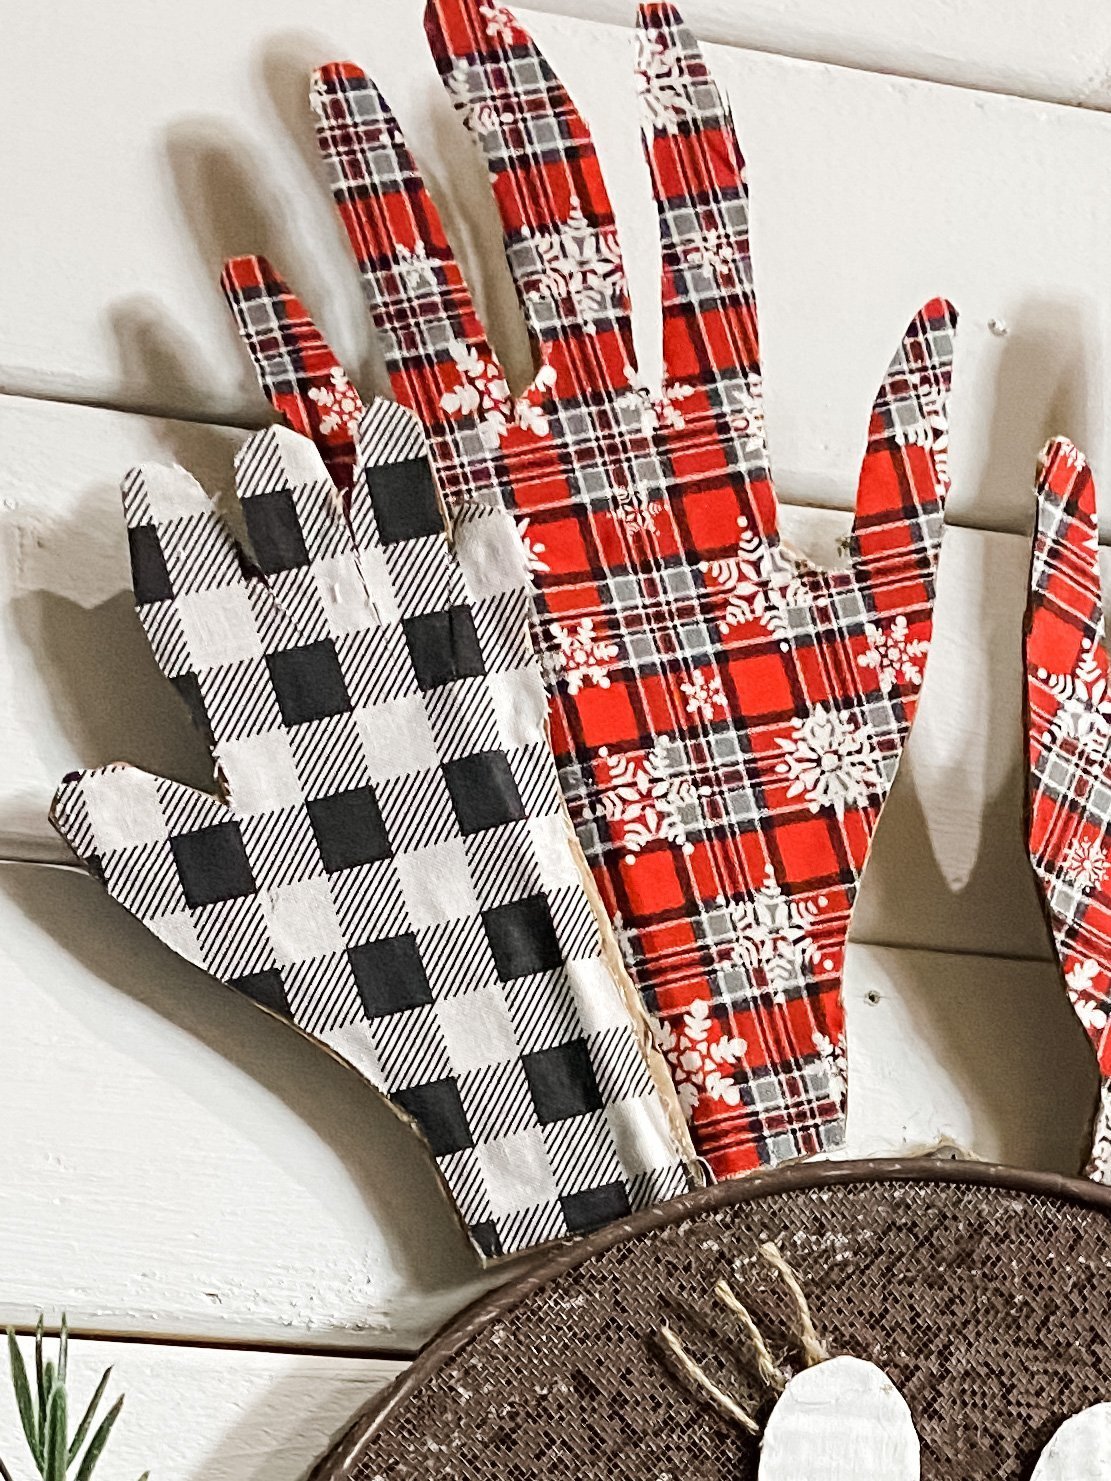
To make your hands, just go ahead and trace your hands onto a piece of cardboard and cut them out.
Next, grab the fabric pattern you want for your hands. I used a Dollar Tree red buffalo check with snowflakes fabric.
Hot glue the fabric onto the cardboard cutout hands and then use a pair of scissors to cut the fabric around the cardboard hands.
Push a Dollar Tree wood skewer into the cardboard as you did with the kid’s hand and push the end into the foam board behind where the kid’s hands are.
I added just a little bit of hot glue between my hands and Avery’s hands to make the antlers more secure.
Rudolph the Red-Nosed Reindeer
If you’ve followed along this far, then you’re all done making your DIY Reindeer! This was so much fun to make and it was so special being able to include my sweet granddaughter with this DIY craft.
I hope you enjoyed this DIY Dollar Tree Splatter Screen Reindeer as much as I did and decide to make one for yourself!
I would love to see how yours turns out! You should totally join my FREE Facebook group called On A Budget Crafts! It is a judgment-free community for DIY crafters to show off their projects and ideas.
If you loved this DIY, you might also like these!
- Dollar Tree Chalkboard Countdown to Christmas Sign
- Dollar Tree Cookie Sheet Craft with FREE Christmas Printable
Thanks for stopping by! XOXO Amber
You can also shop my ENTIRE AMAZON Favorites shop just click here! It’s packed full of all the things I use and love.
Here is the supply list I highly recommend every creative have on hand!! Would you also pin my blog for later and get on my newsletter alerts? I would love to have you join my #craftycrew.

Join my free “ON A BUDGET CRAFTS” Facebook group!
PIN THIS POST FOR LATER!


One Comment