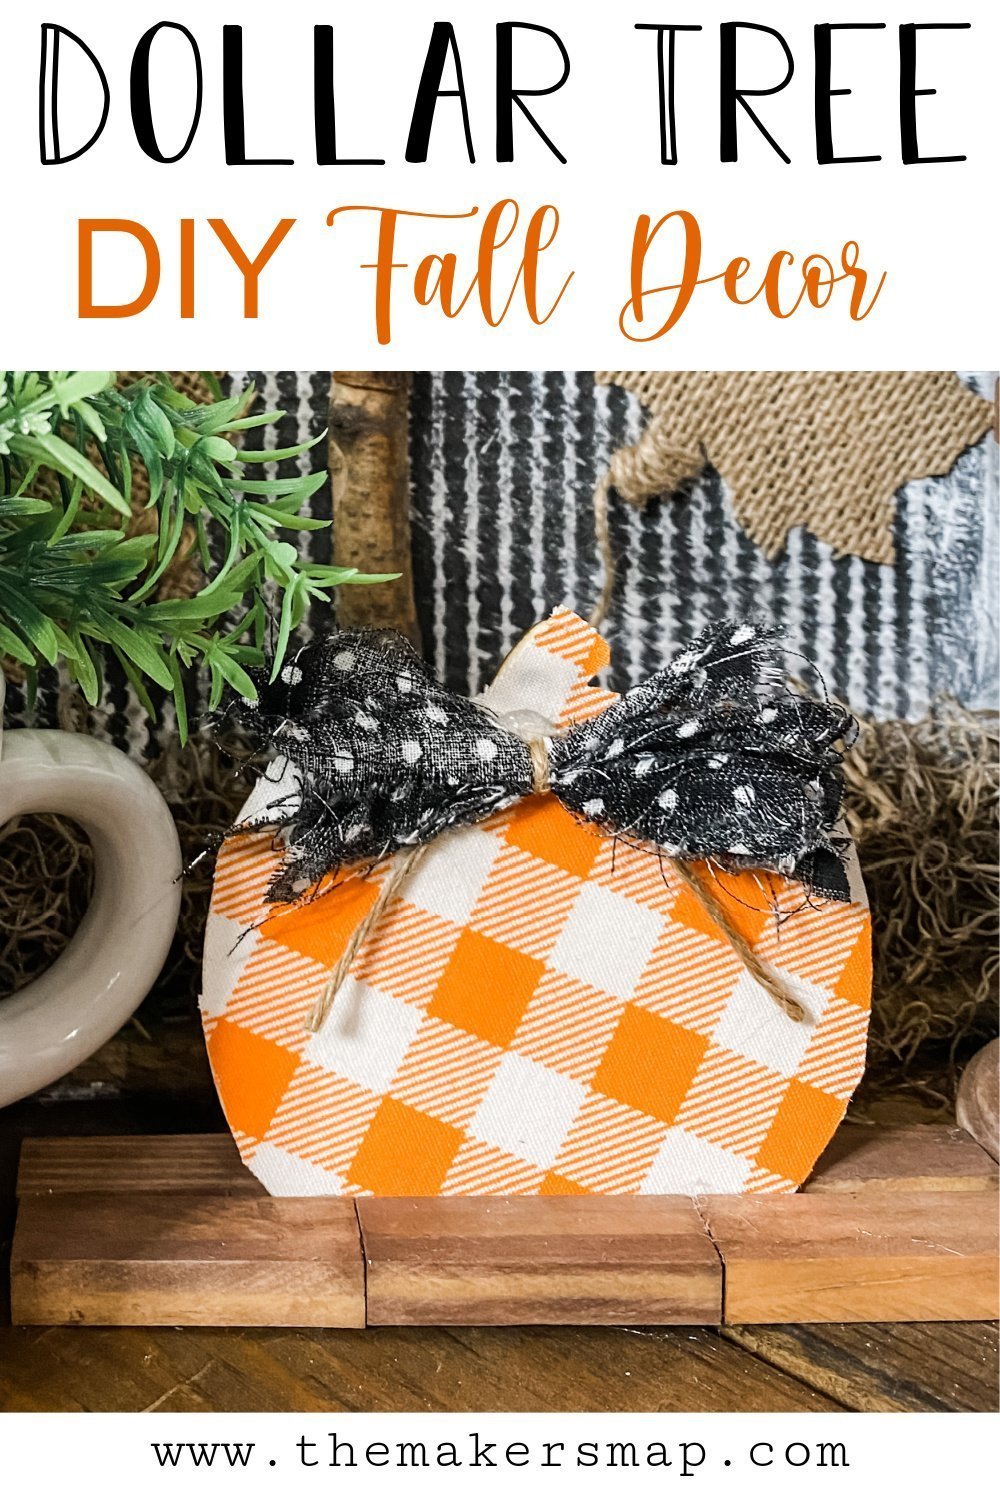
How to Make a Dollar Tree Mini Pumpkin DIY Fall Decor
I know what you’re thinking, “Halloween is almost over, why are you still doing fall crafts??” Well, the answer is this Dollar Tree Mini Pumpkin DIY Fall Decor was TOO CUTE to not do!
Plus, we still have Thanksgiving! This easy DIY would be perfect for your Thanksgiving decorations!
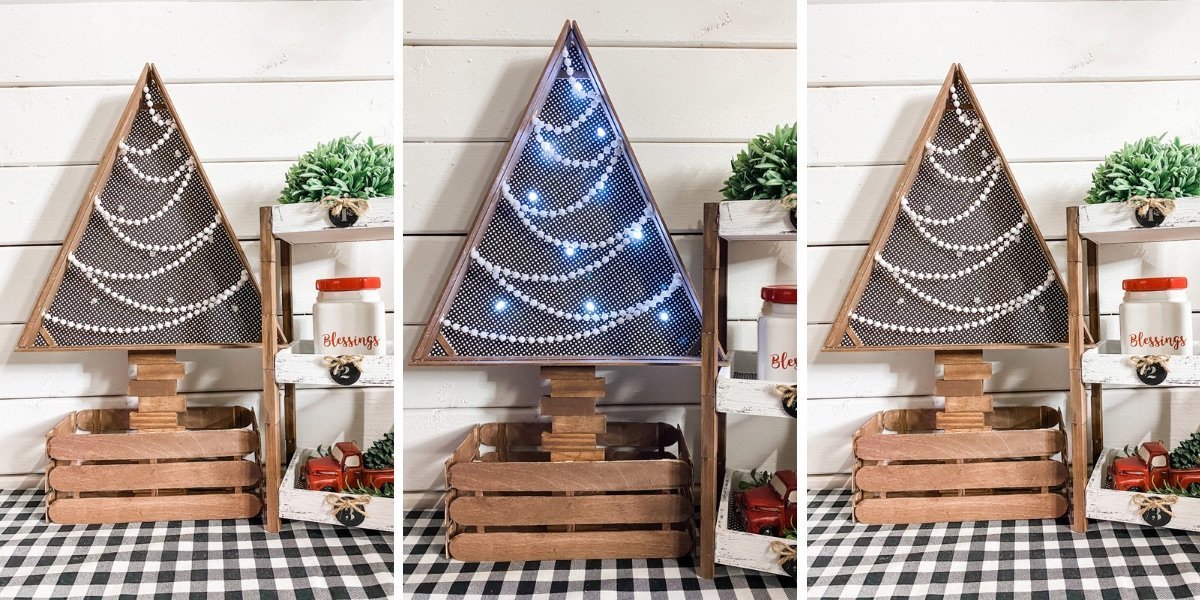
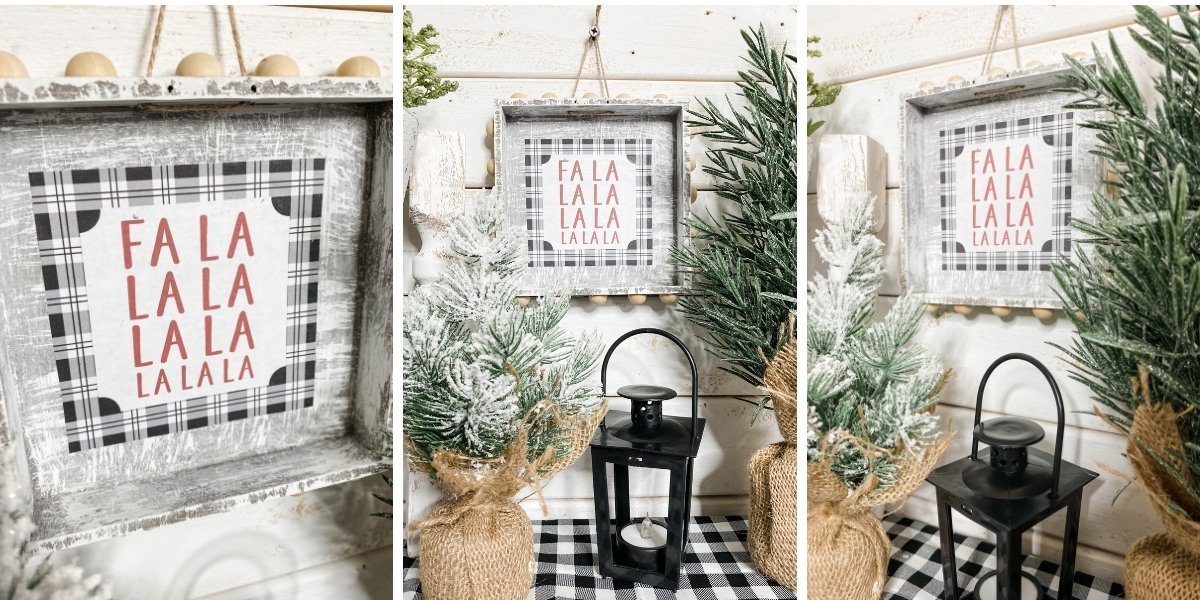
If you’re not having all the Fall Feels anymore, no worries. You could easily switch the pumpkin and orange buffalo check for a Christmas tree and red buffalo check. The great thing about DIY crafts is the possibilities are ENDLESS!
Watch the tutorial
This is such an easy Fall DIY decor to make, I was able to make a quick tutorial video that I uploaded to Facebook.
If you want to see exactly how to make a Dollar Tree Mini Pumpkin DIY Fall Decor, you can watch the quick Facebook video!
You should also find me on TIKTOK! I add short clips of fun DIY projects there too!

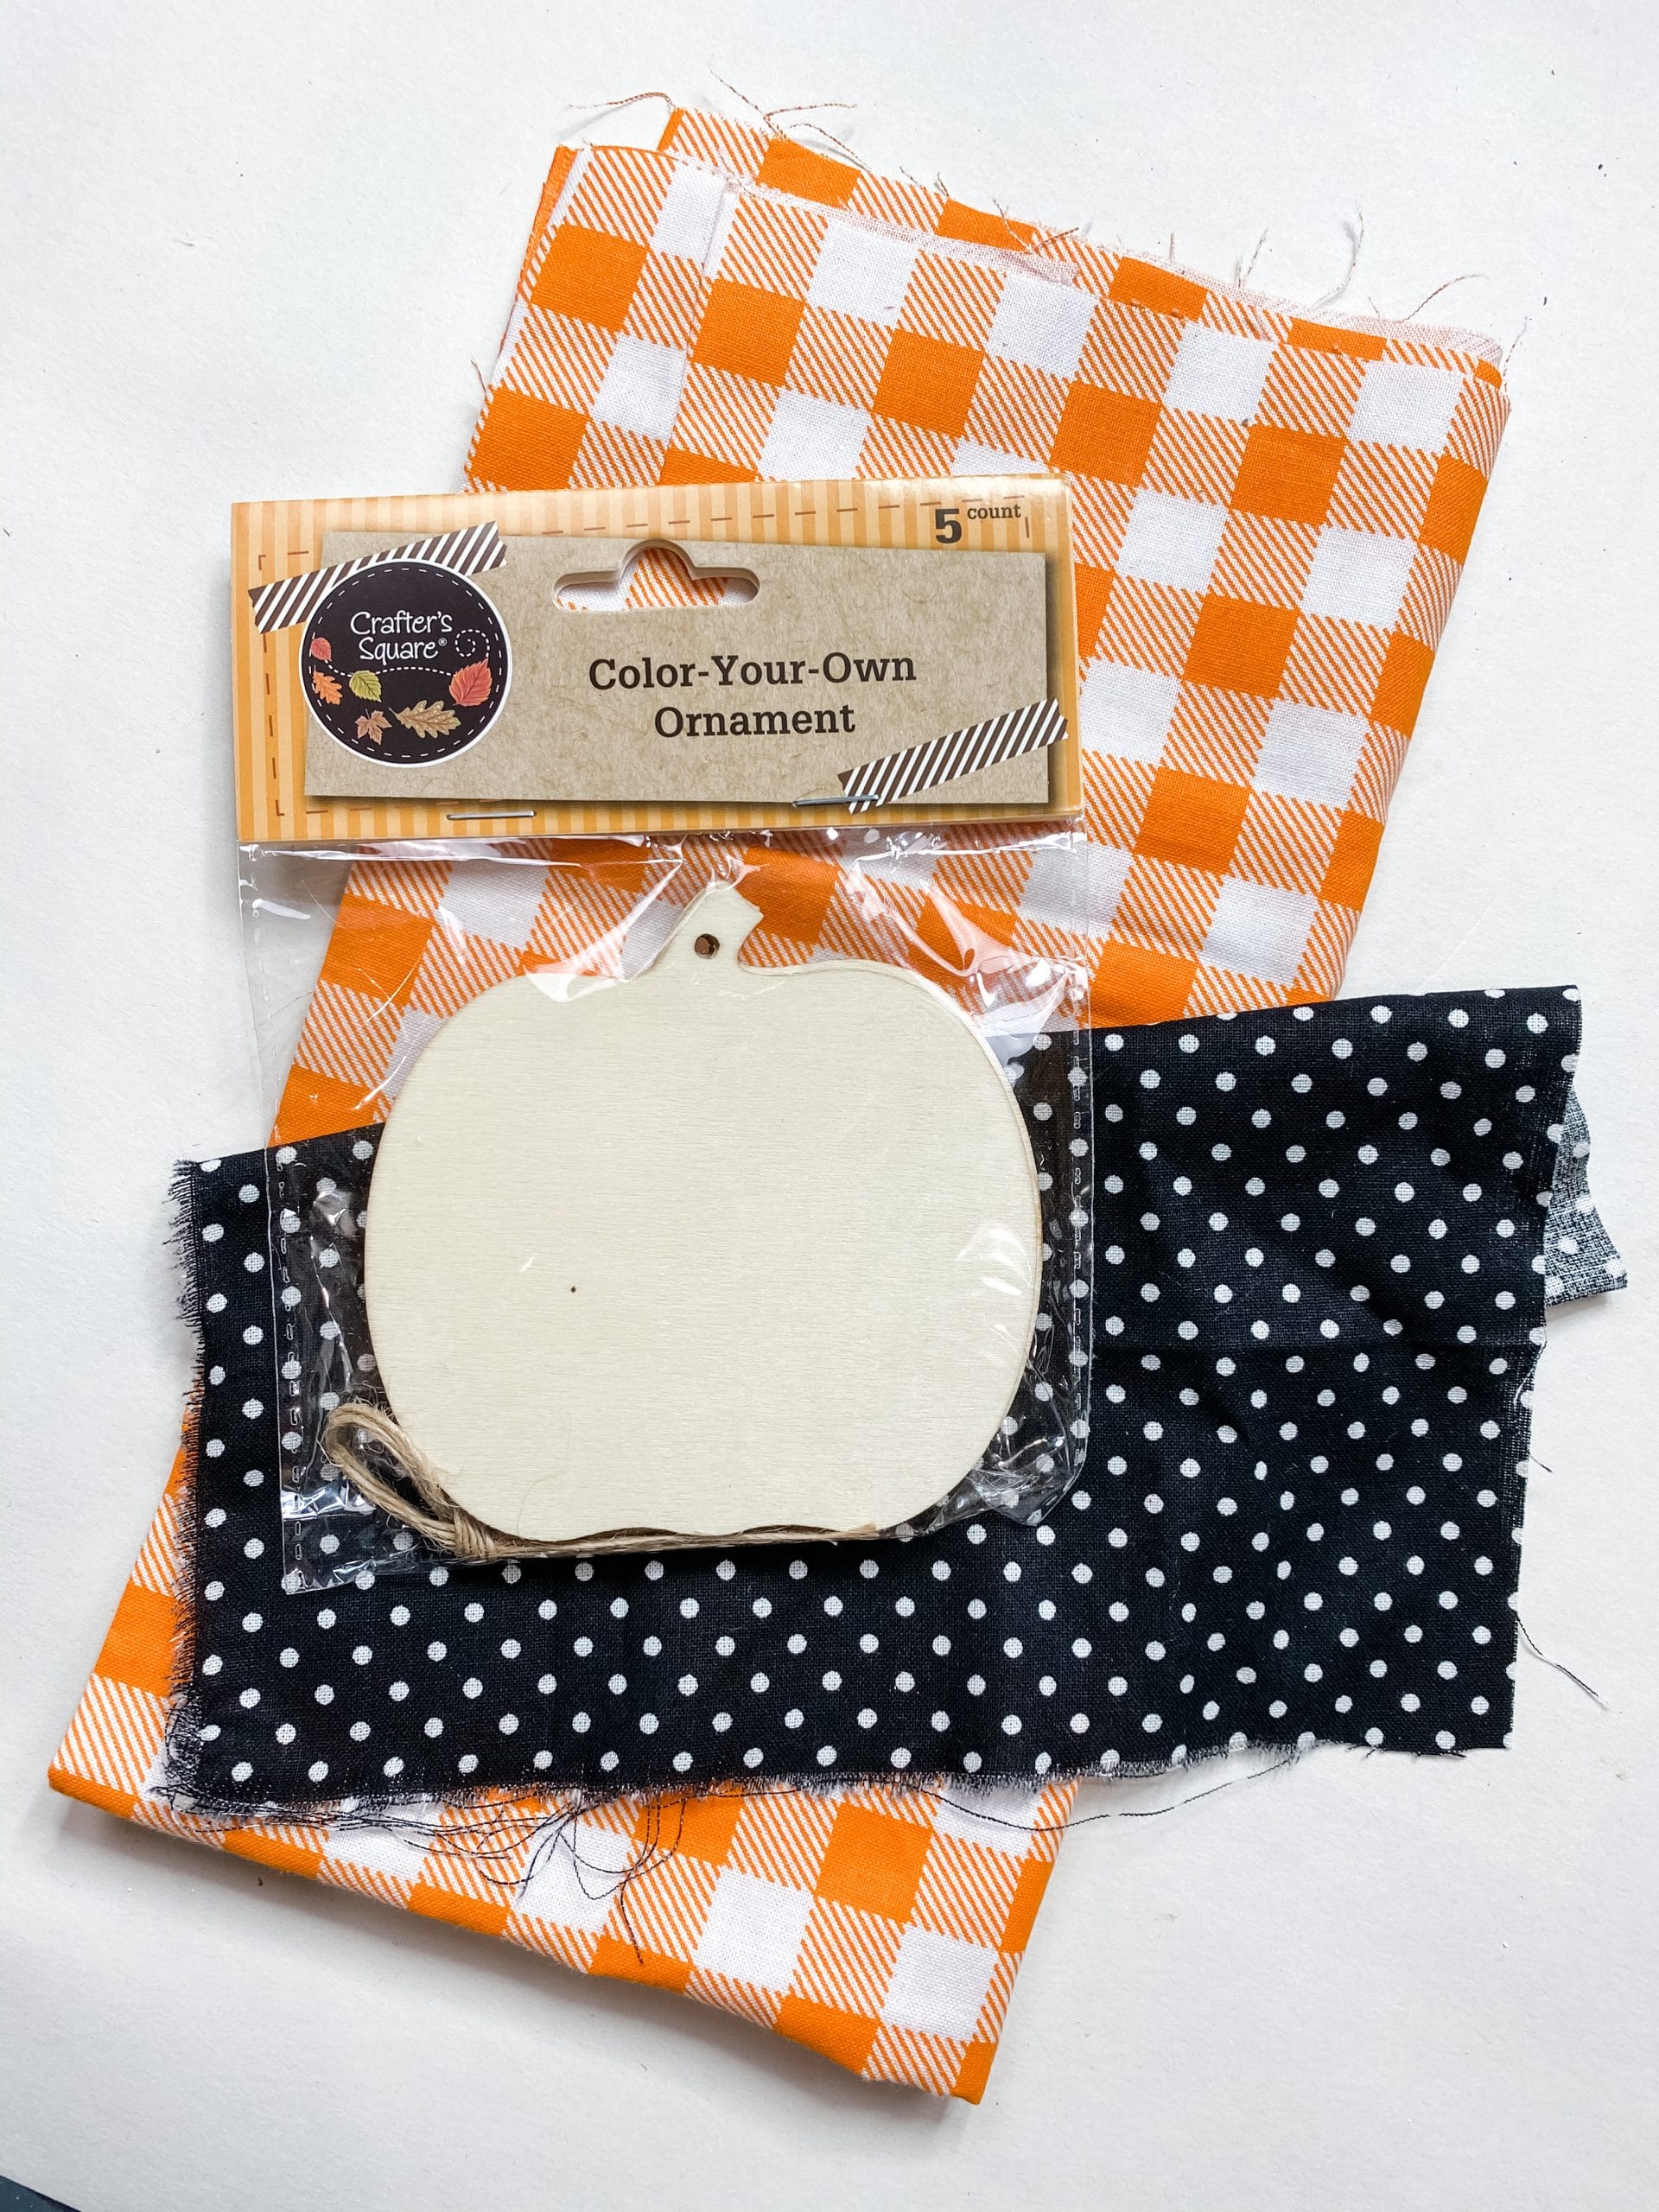
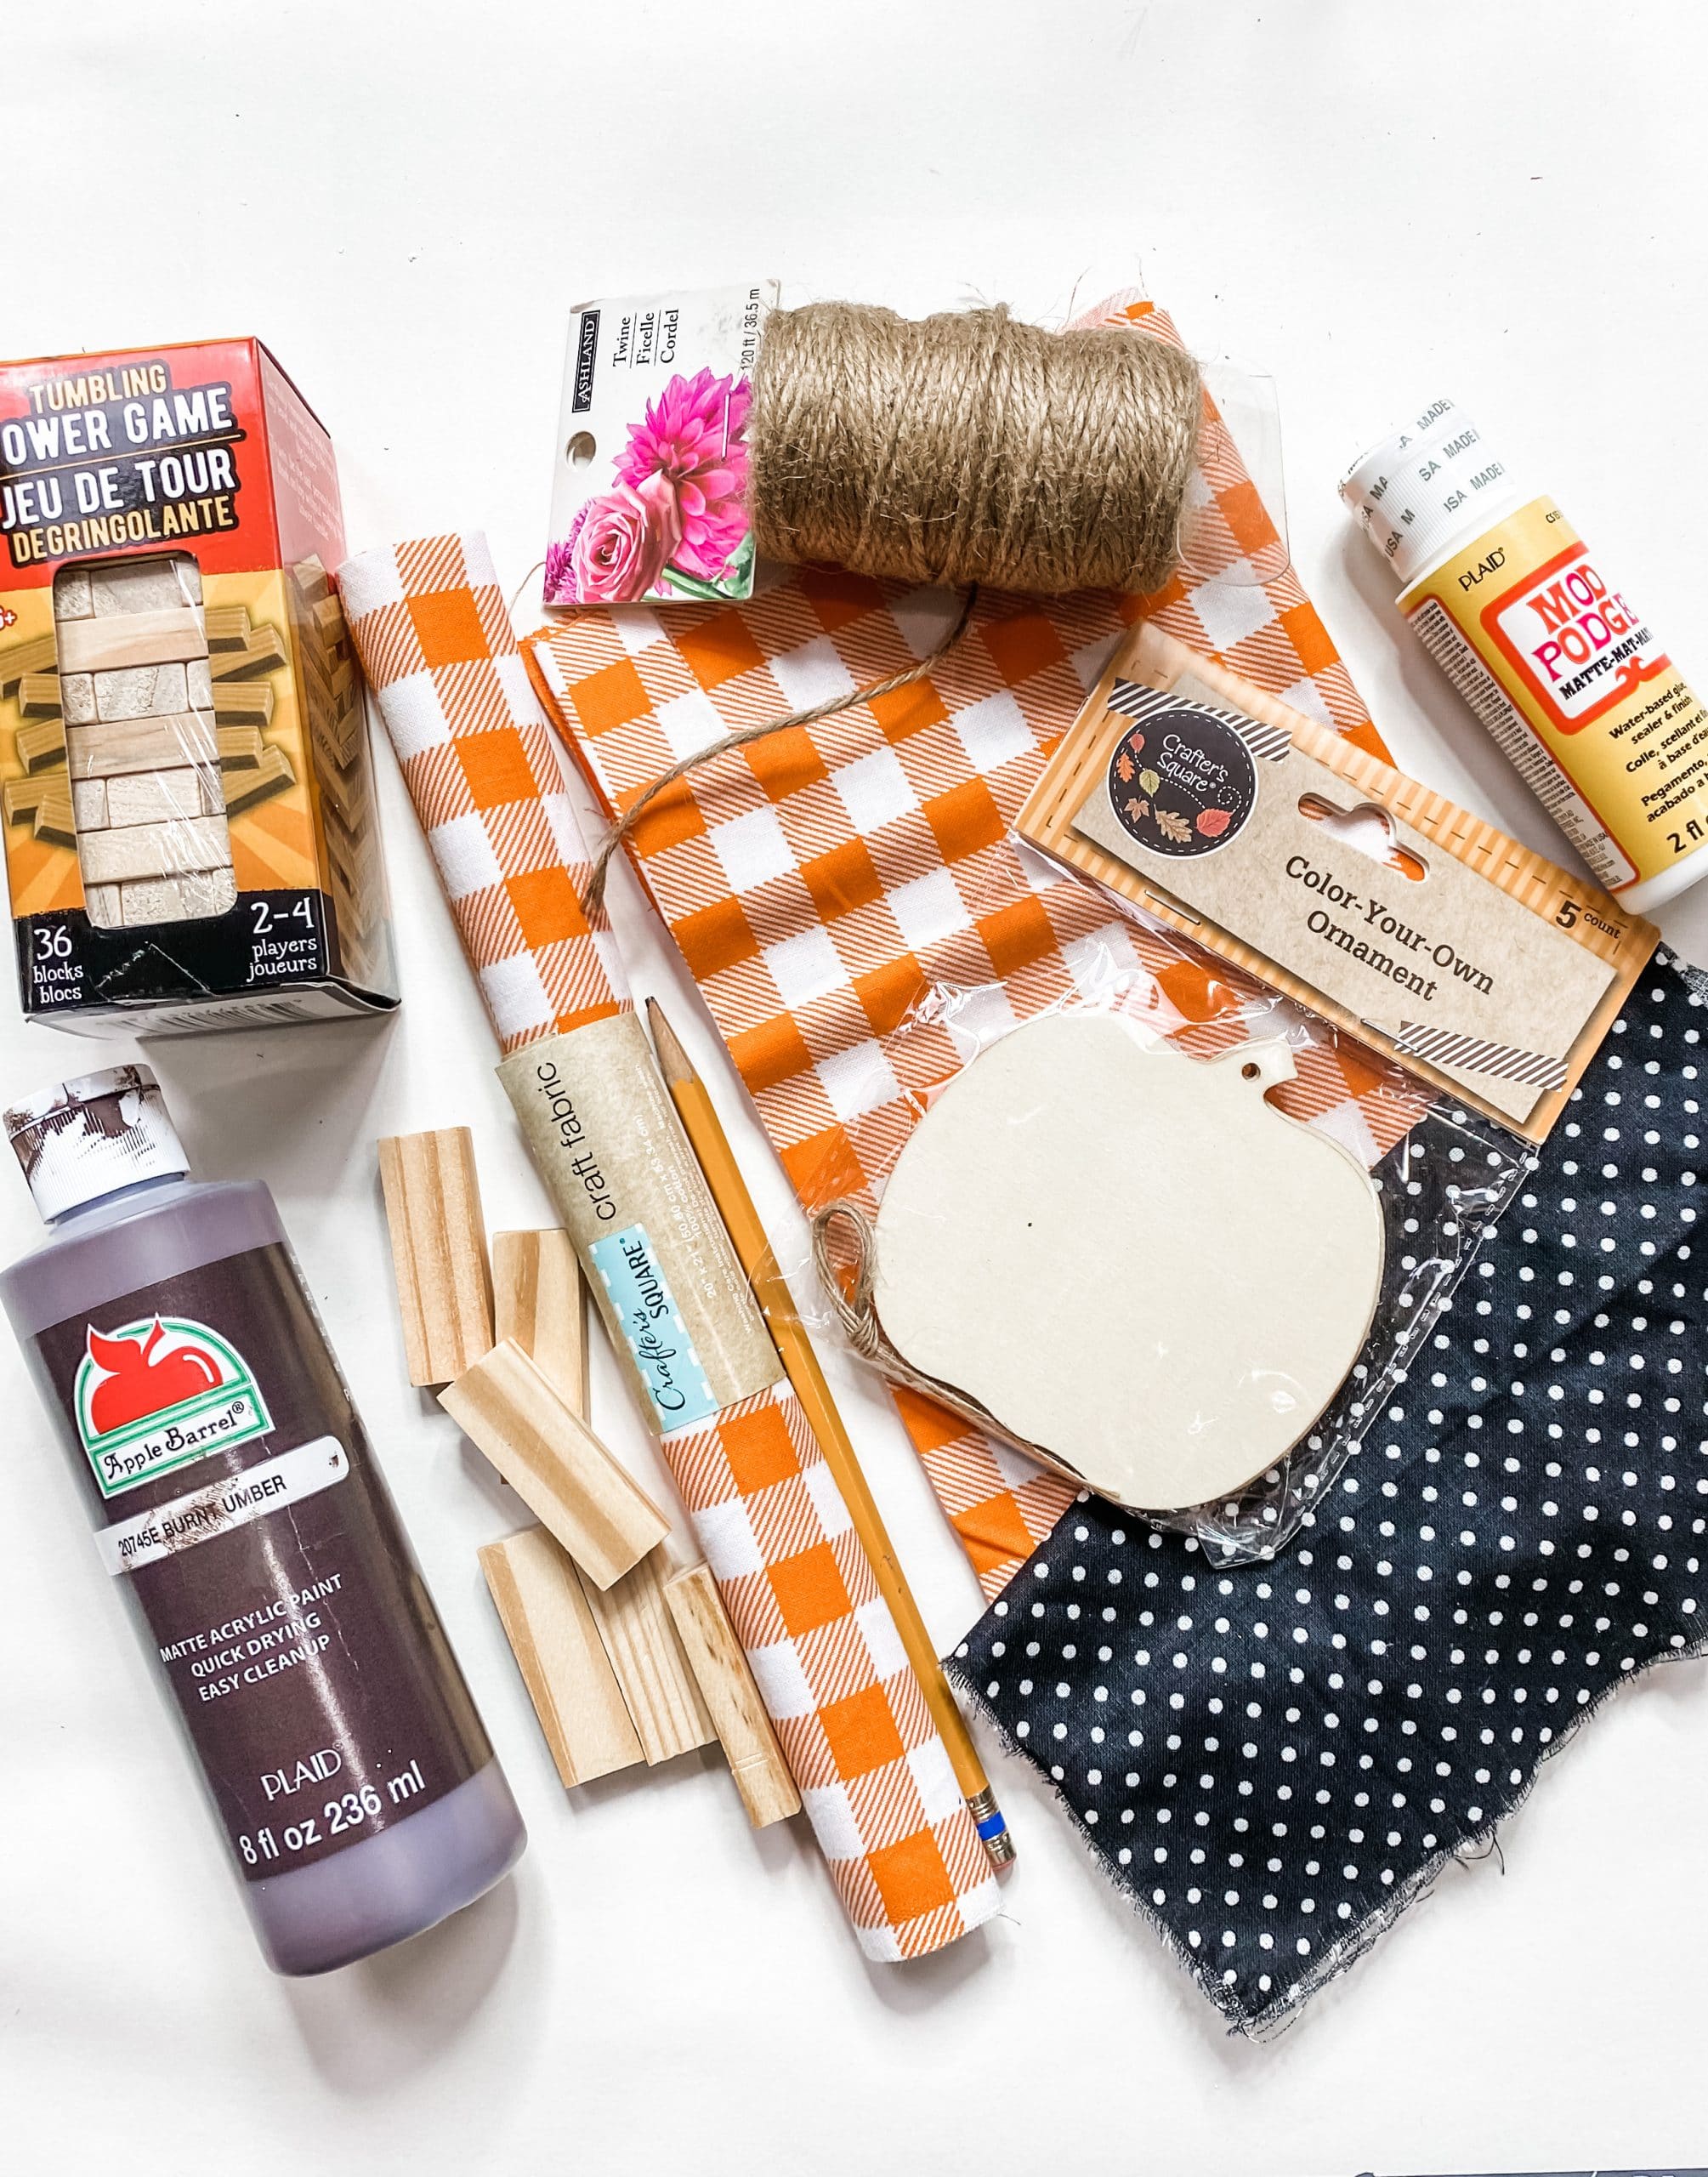
For this project, I will be using these items but you can substitute where you want.
“As an Amazon Associate, I earn from qualifying purchases.”
- Dollar Tree Orange Buffalo Check Fabric
- Dollar Tree Mini Pumpkin Ornament
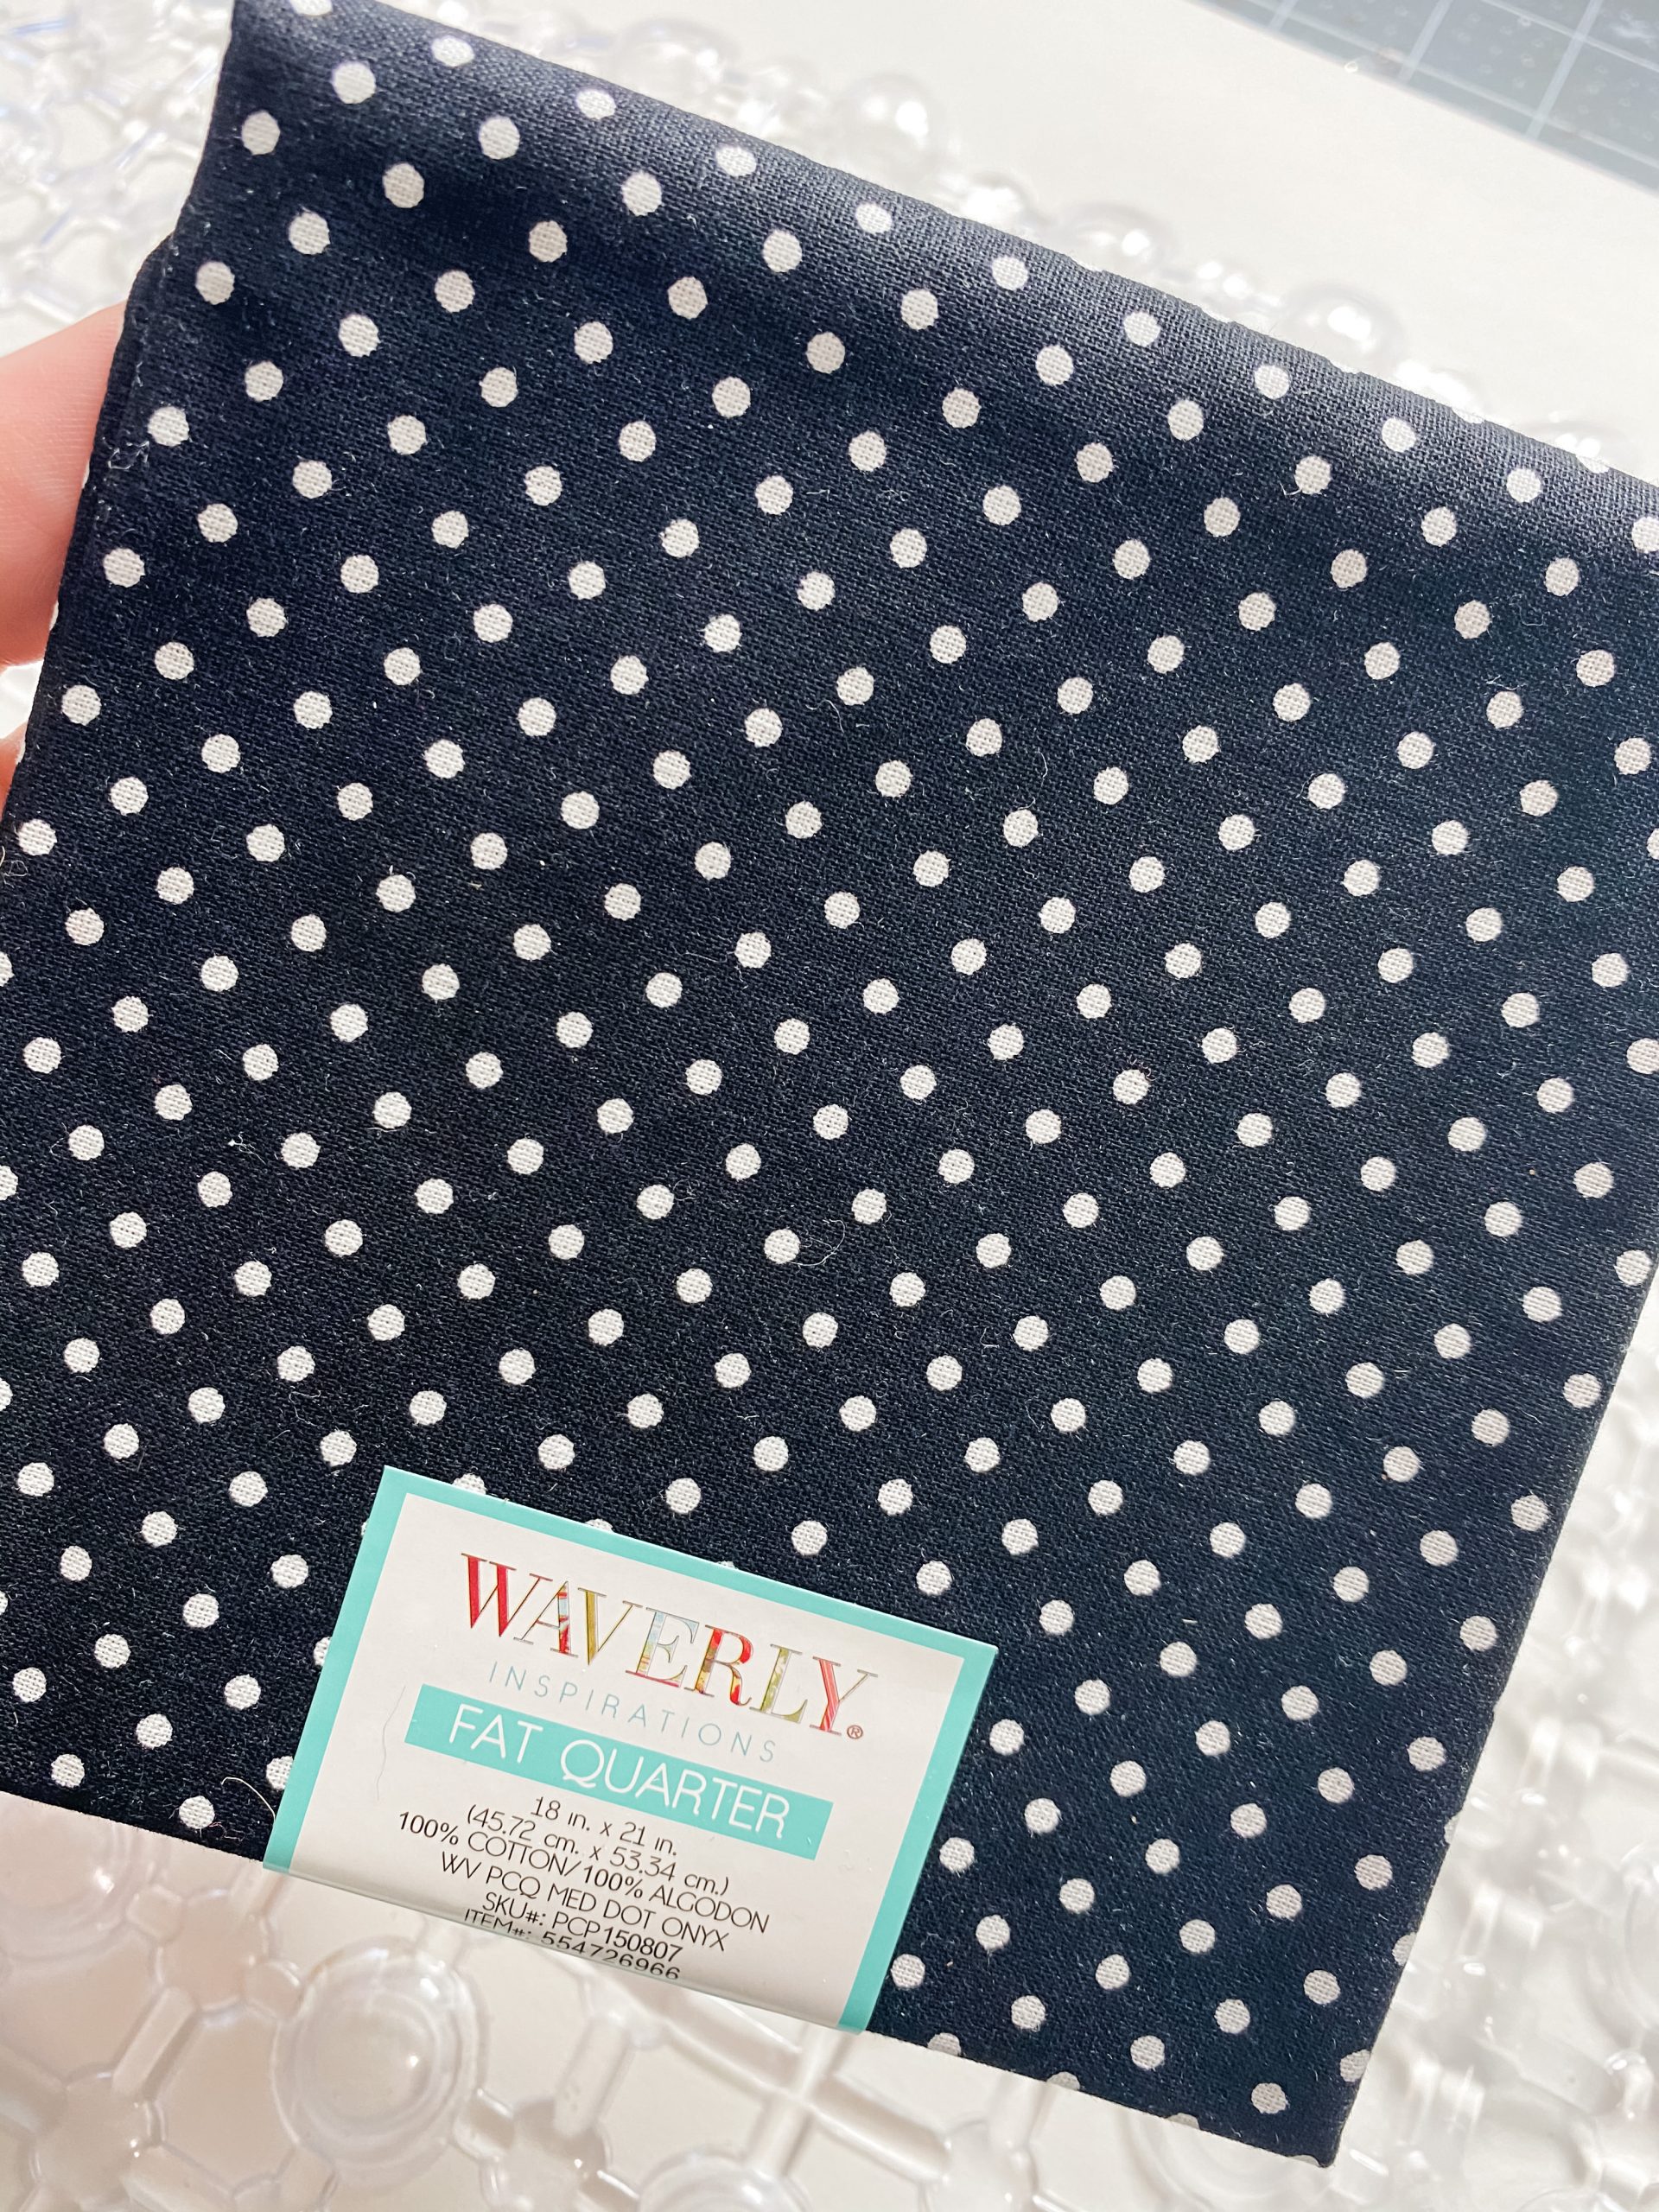
- Black and white polka dot fabric
- Jenga Blocks (Dollar Tree Tumbling Tower)
- Jute Twine
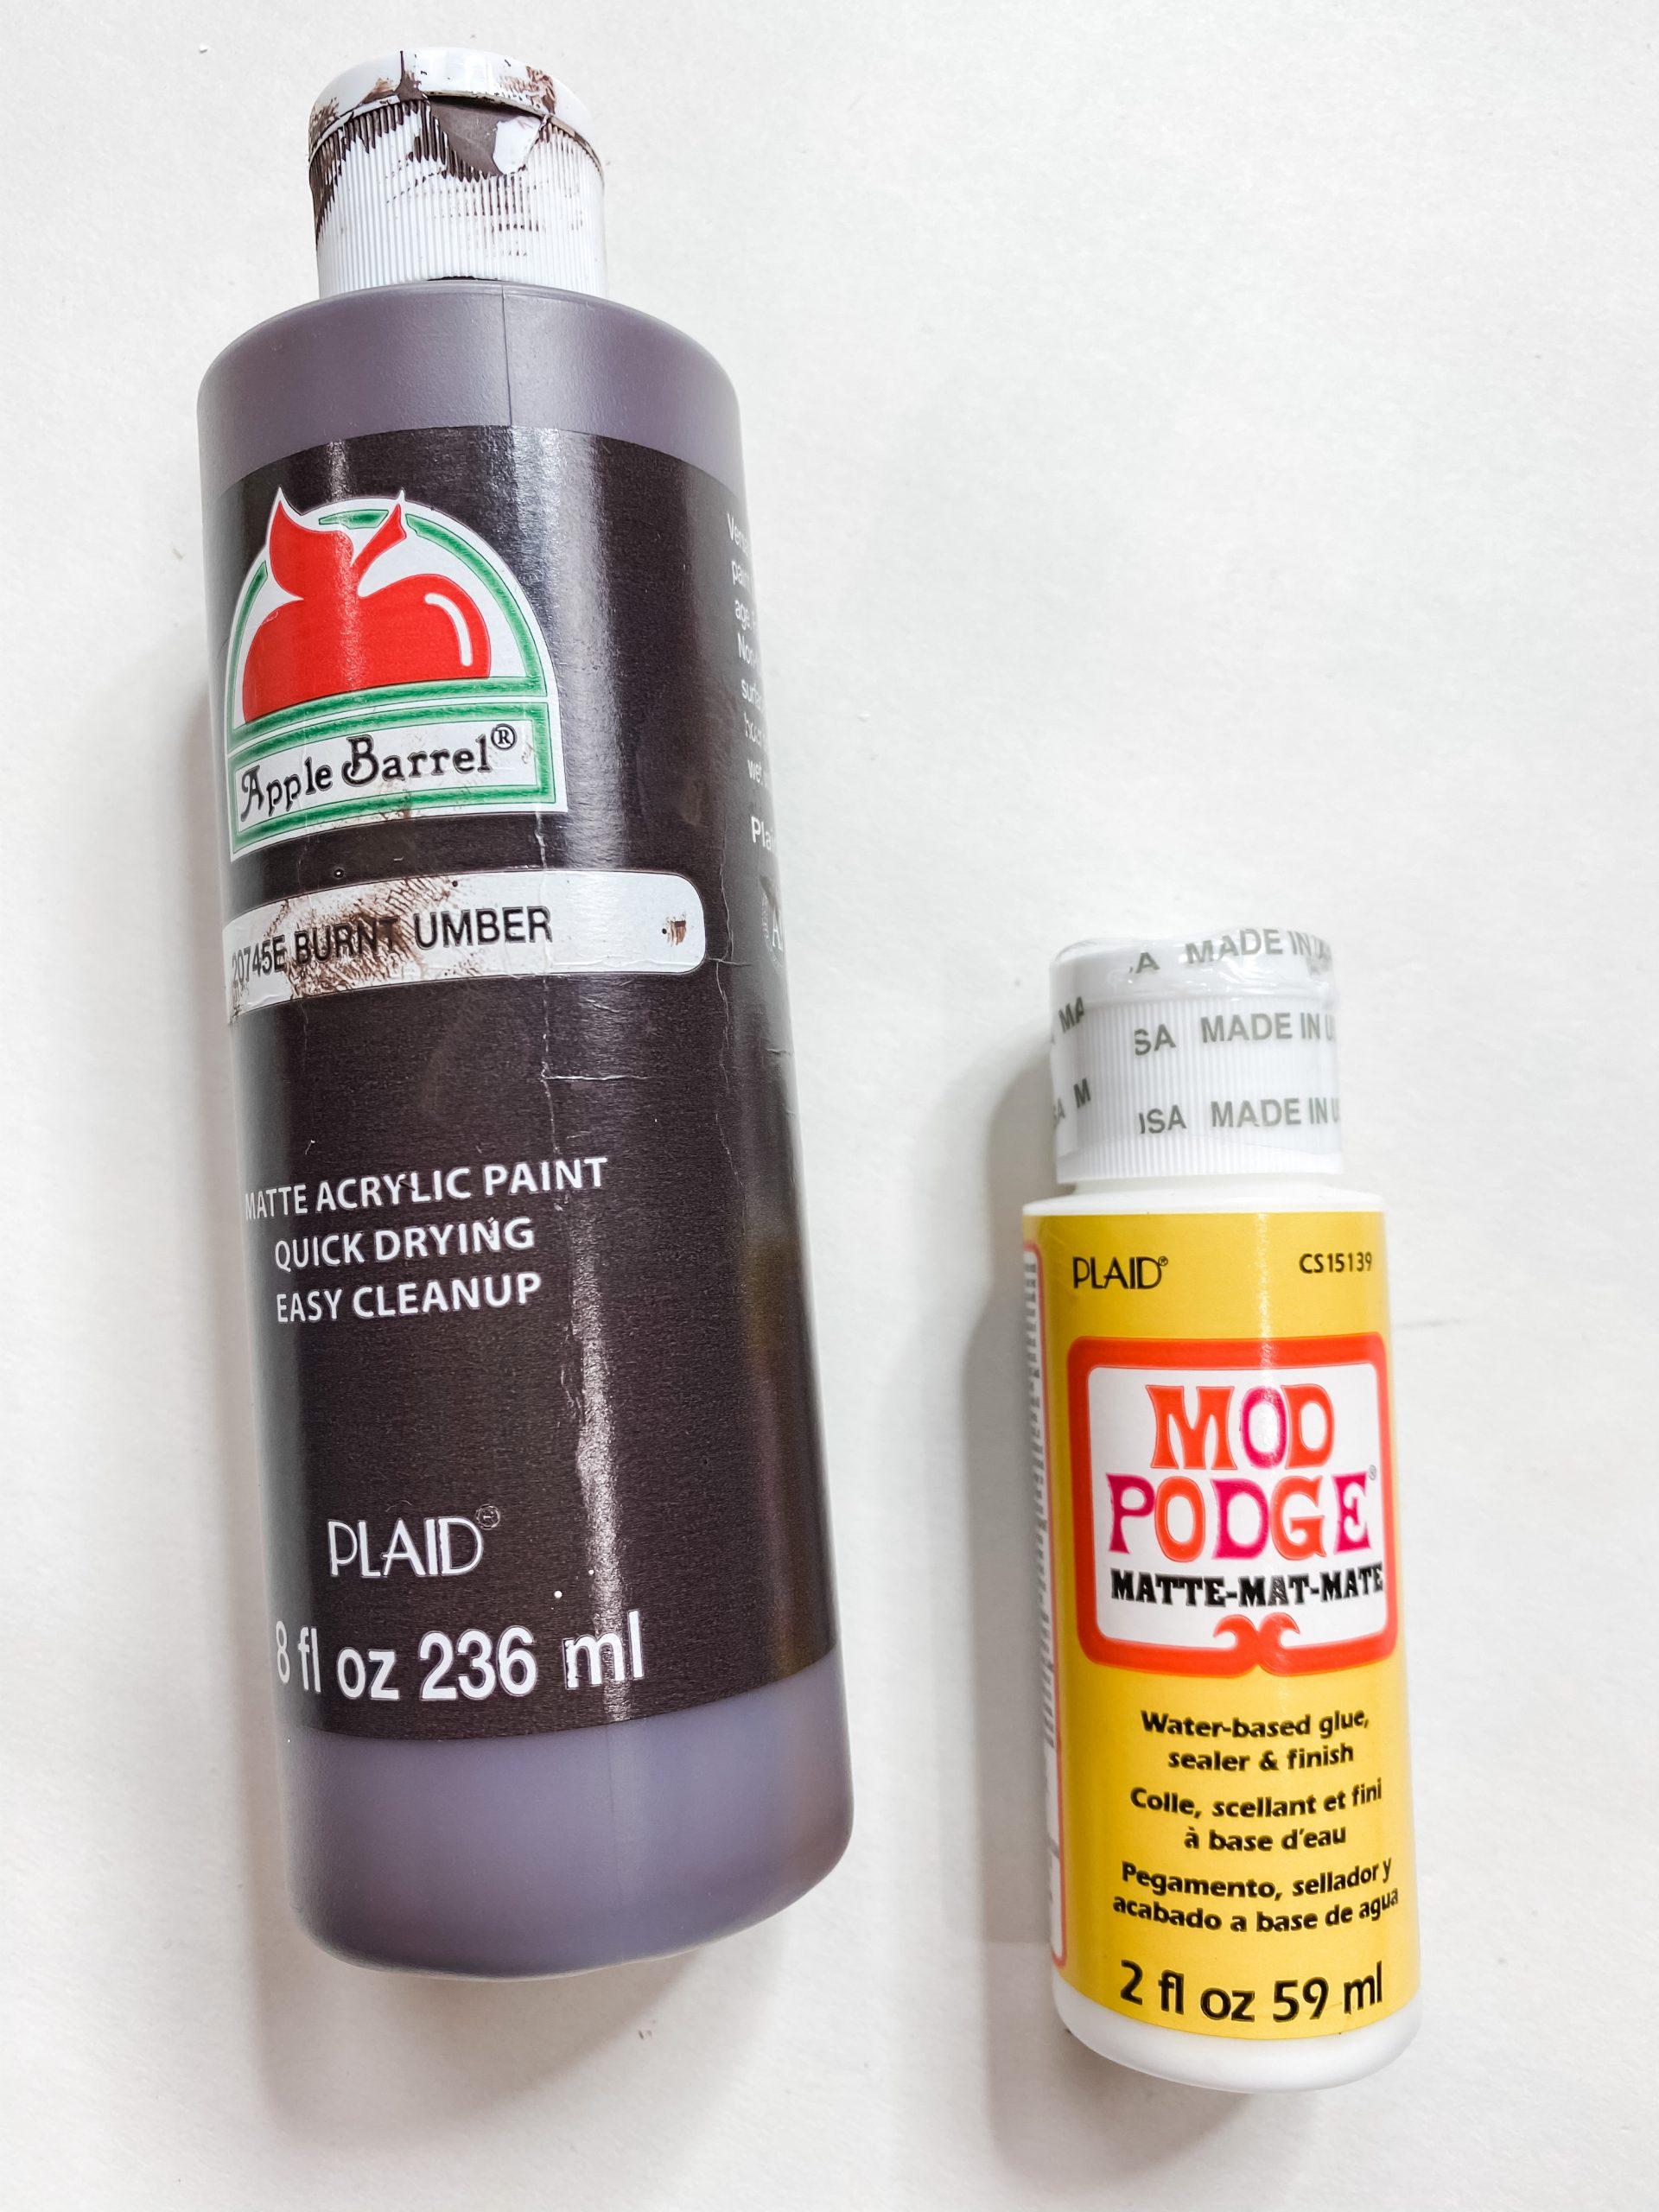
- Mod Podge
- Apple Barrel Burnt Umber Acrylic Paint
- Glue Gun and Glue Sticks
- Heat gun
- Baby Wipe
- Pencil
- Fabric Scissors
Let’s get started!
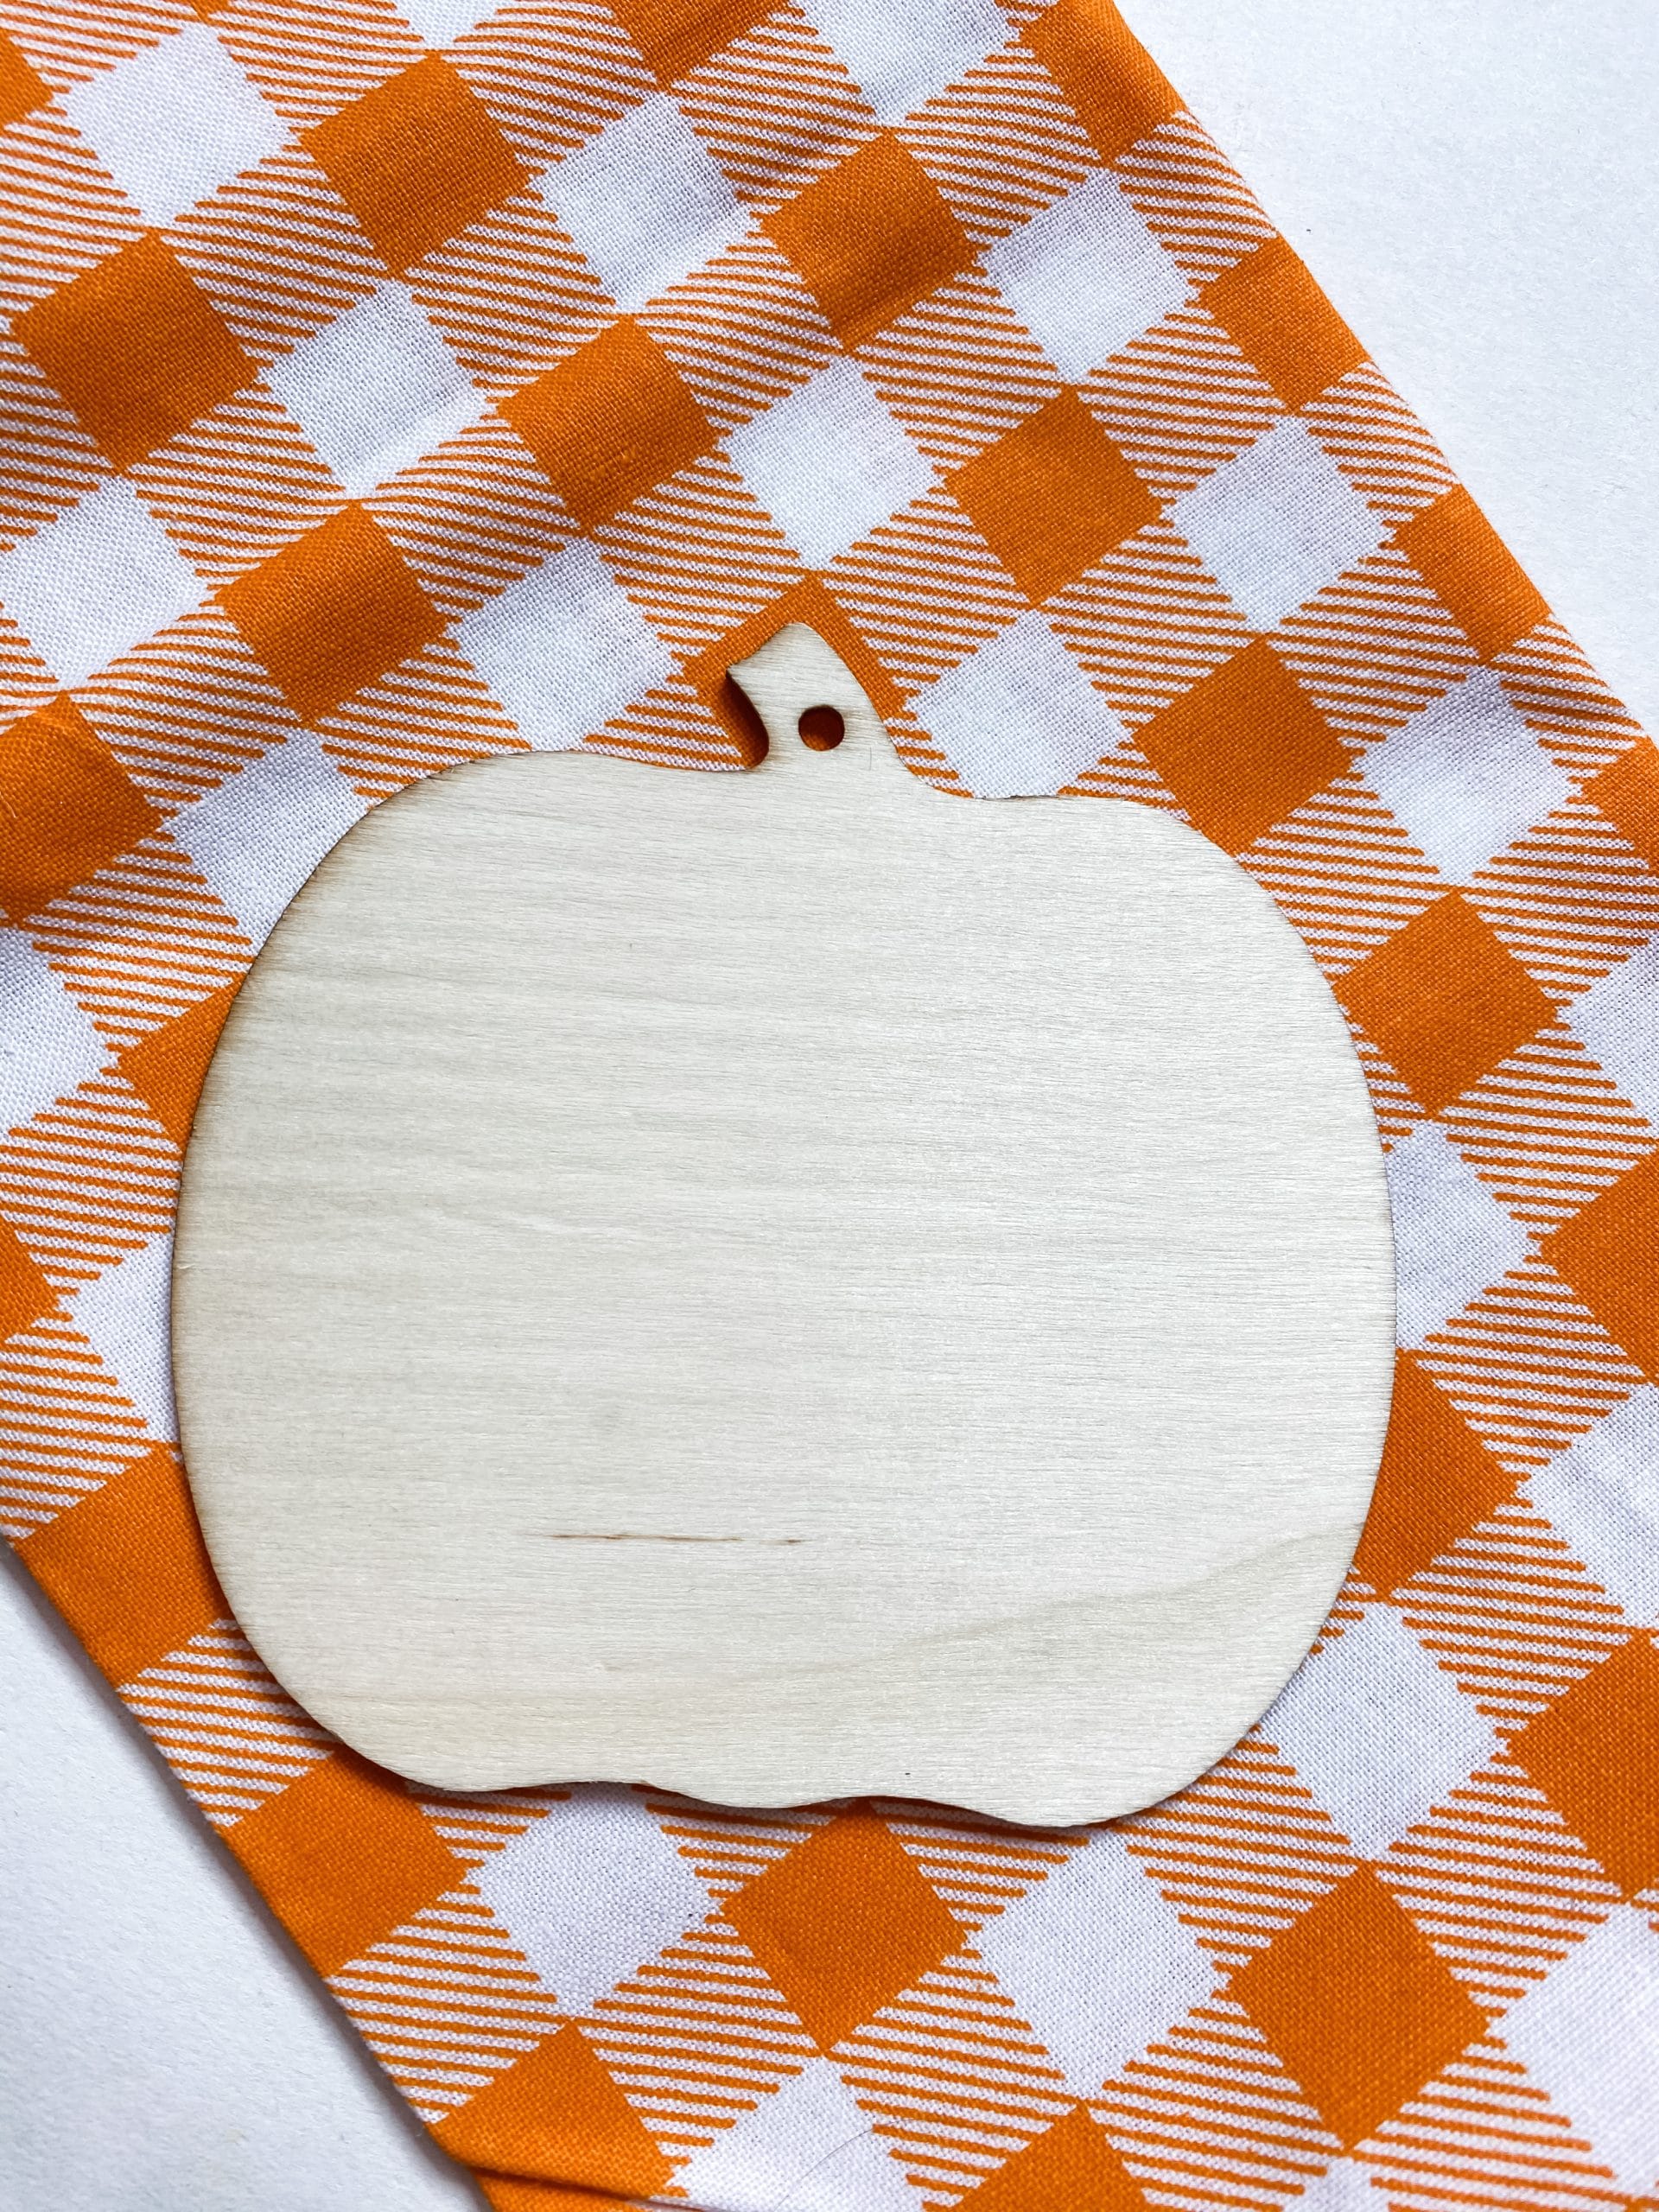
When I say this is a quick and easy Fall DIY, I mean it! You’re going to start by tracing the shape of the mini pumpkin ornament onto the orange buffalo check fabric, then cutting the fabric to fit.
You can also catch the full video right here on my website for your convenience!
Next, cover the front of the mini pumpkin ornament with a layer of Mod Podge, and apply the fabric carefully on top of the Mod Podge. I like to use a credit card to smooth out the creases and wrinkles.
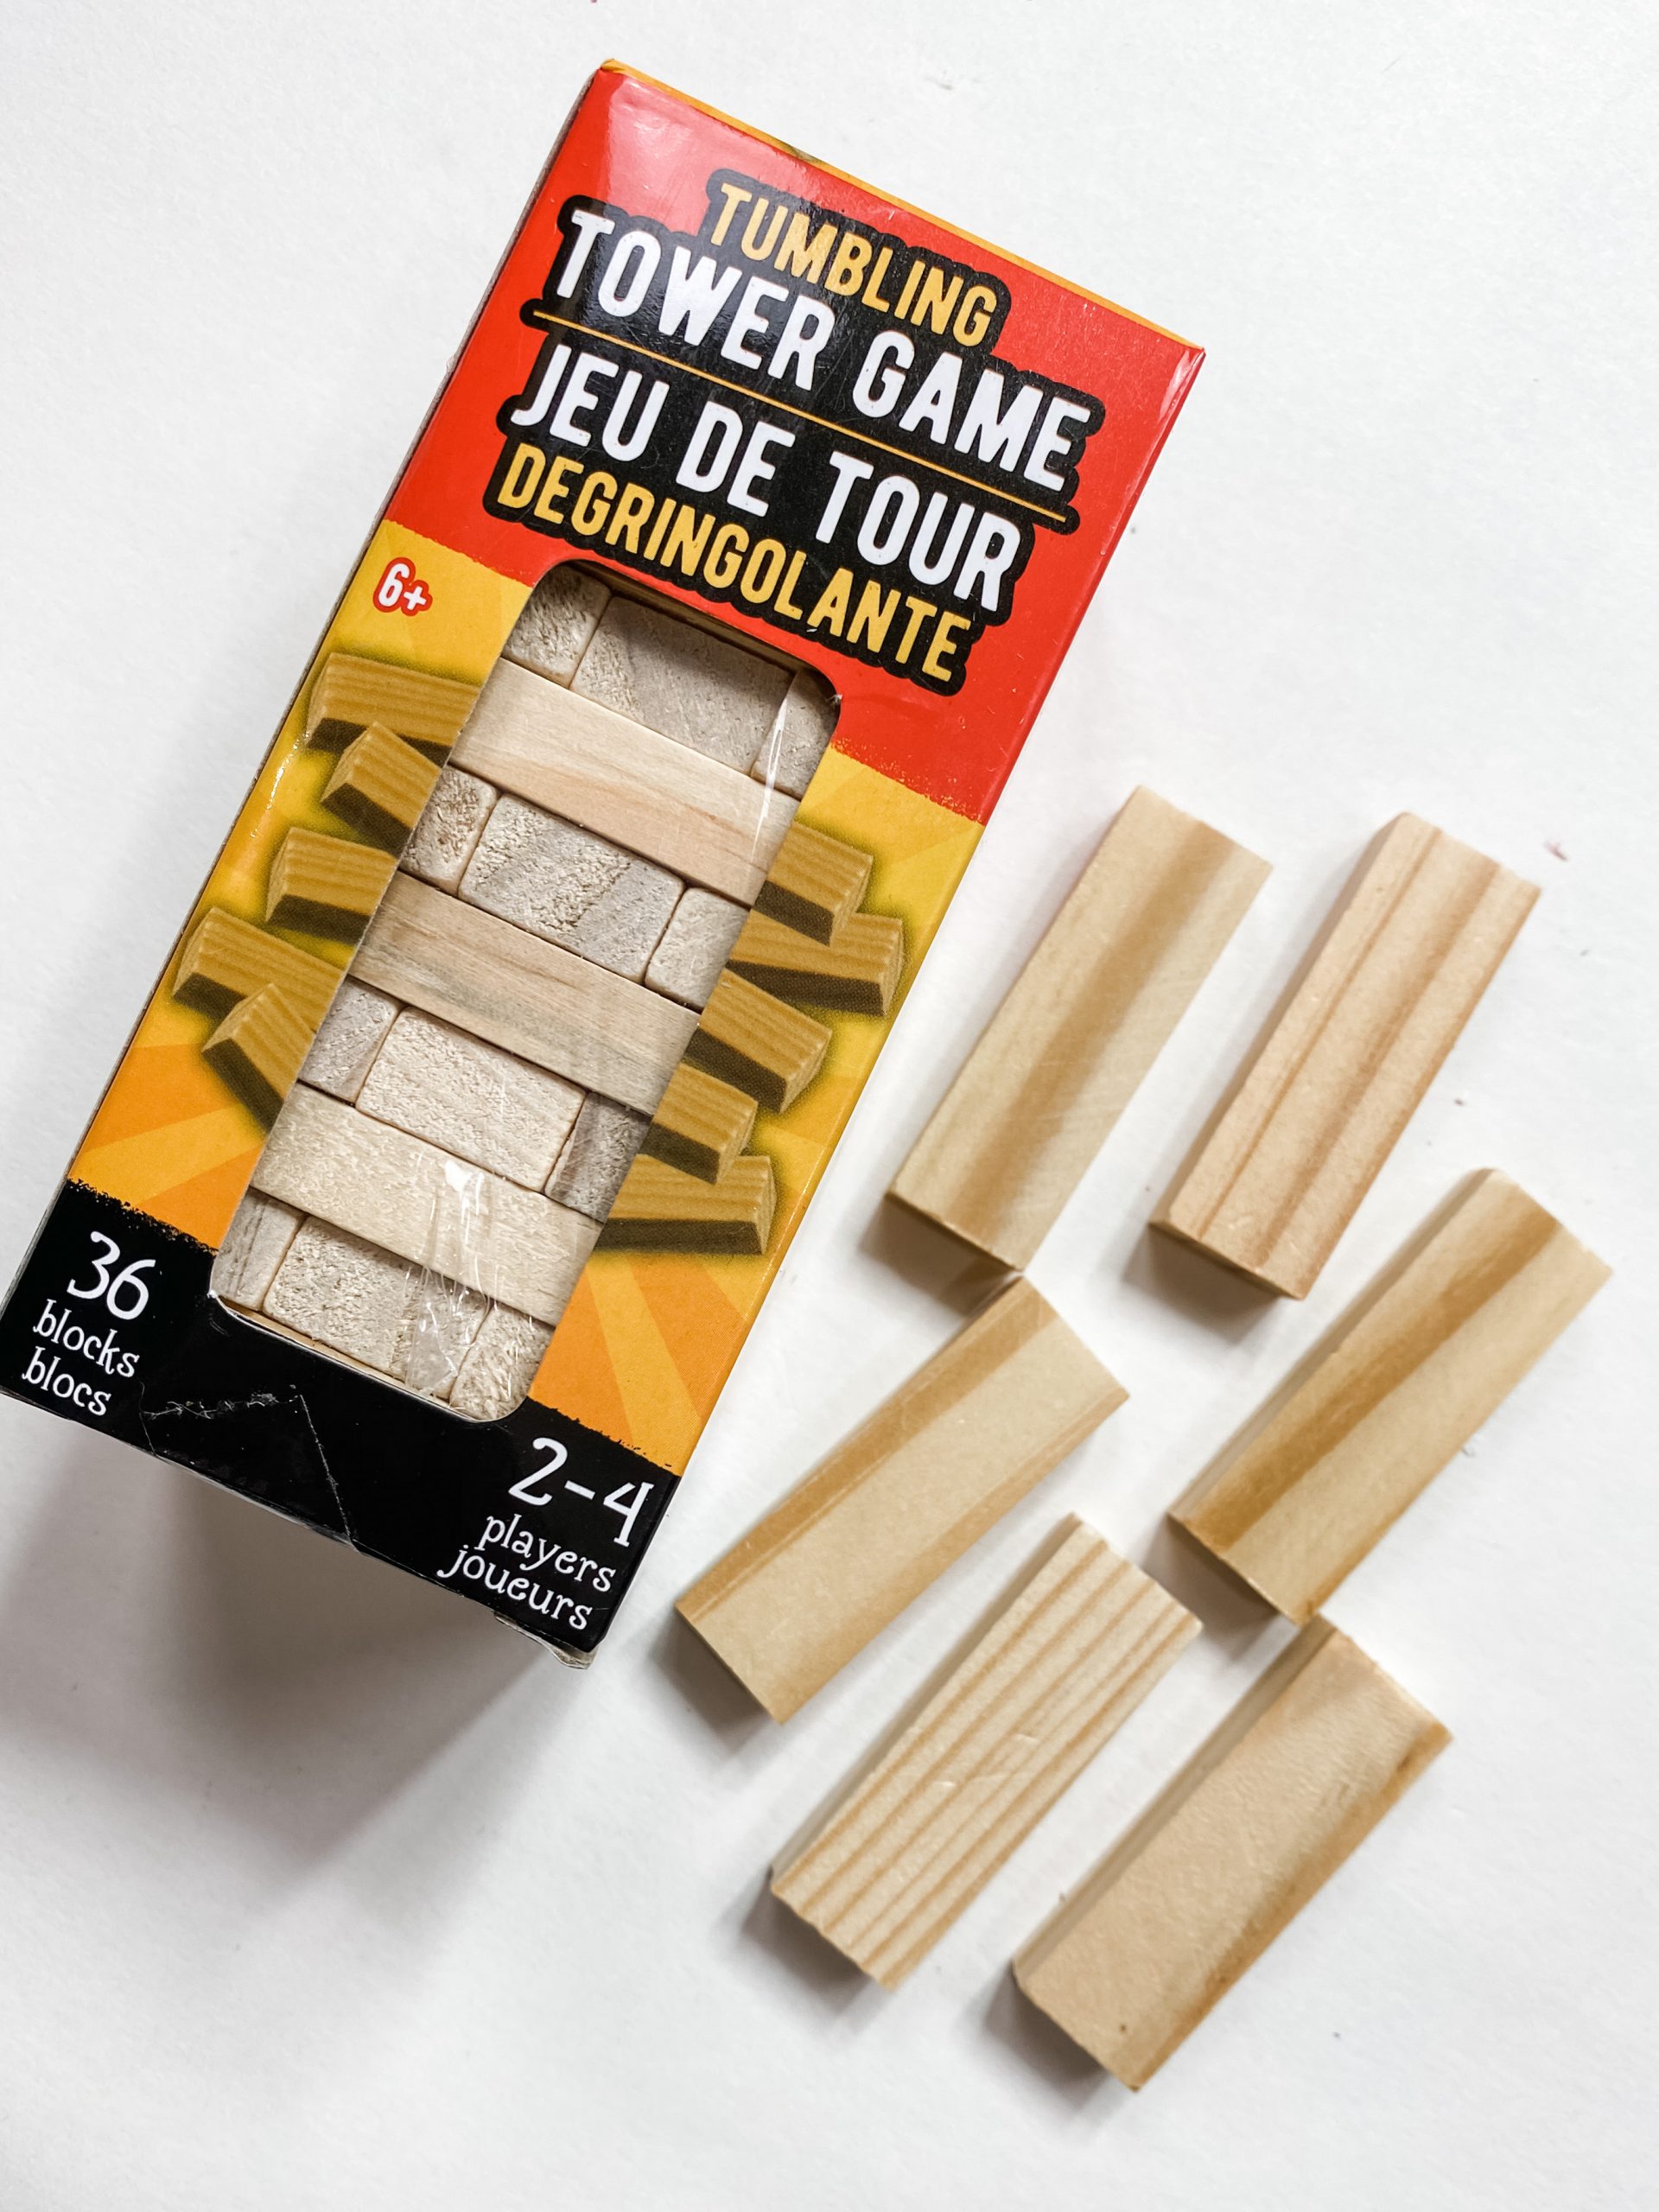
Stain the Jenga Blocks
While the Mod Podge is drying, you are going to stain the Jenga Blocks with the Apple Barrel burnt umber acrylic paint.
To do this, I wet the wood first, then pour the paint directly onto the blocks and spread it with a baby wipe.
Wetting the wood allows the wood to absorb the paint and get a stained look rather than a painted look. Set the blocks to the side so they can dry.
Make the mini messy bow
To make the mini messy bow, cut tiny slits on the edges of the fabric, and then pull the fabric and rip it into strips. Next, fold each strip in half and lay them parallel with alternating open ends.
I used 4 strips of the polka dot fabric, then pinched the center and secured the bow with a piece of the jute twine.
You could also just wrap another strip of fabric around the center and hot glue it down. Your choice!
Put it all together
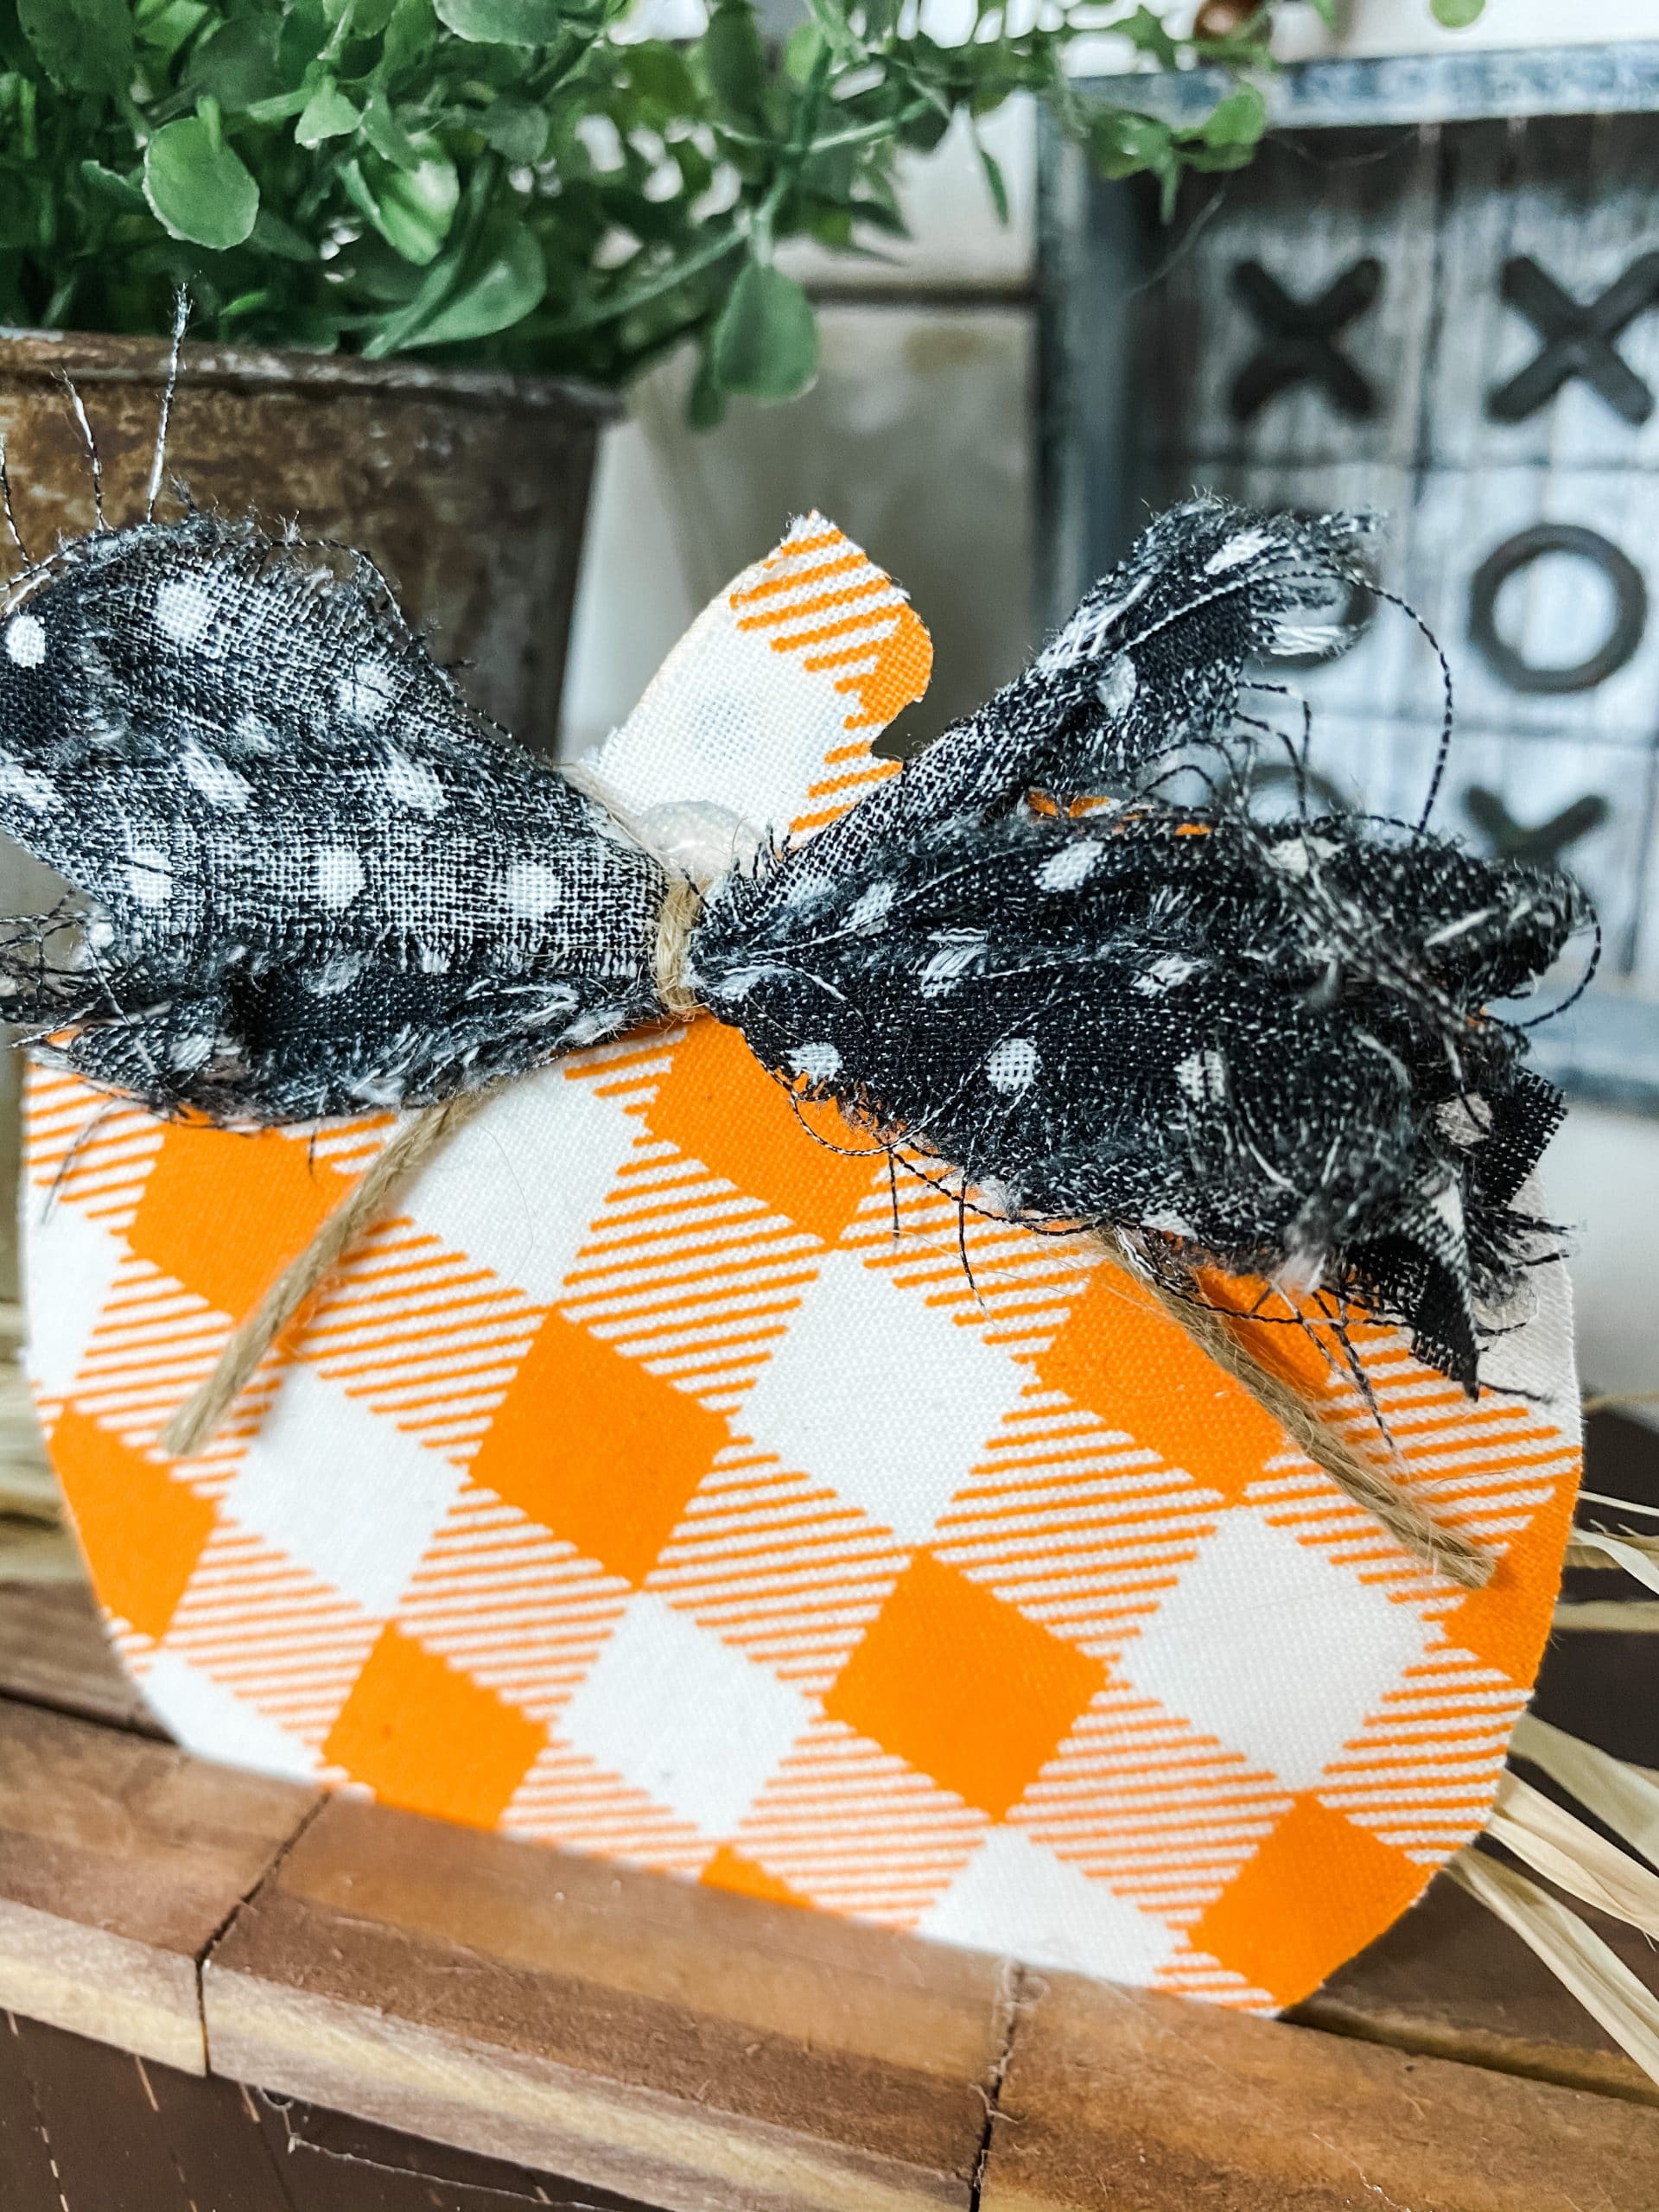
All that is left to do is put all the parts together! First, hot glue the mini messy bow to the pumpkin. Next, hot glue 3 Jenga blocks together, then do the other 3.
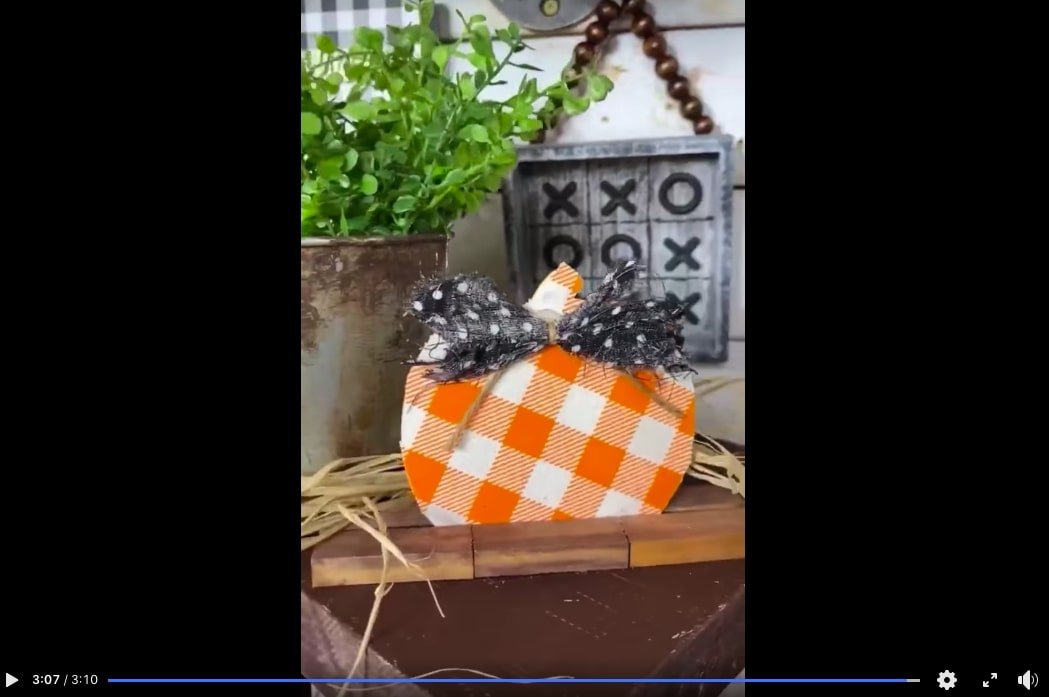
Finally, hot glue one strip of Jenga blocks to the front of the bottom of the pumpkin and the other strip to the back of the bottom of the pumpkin!
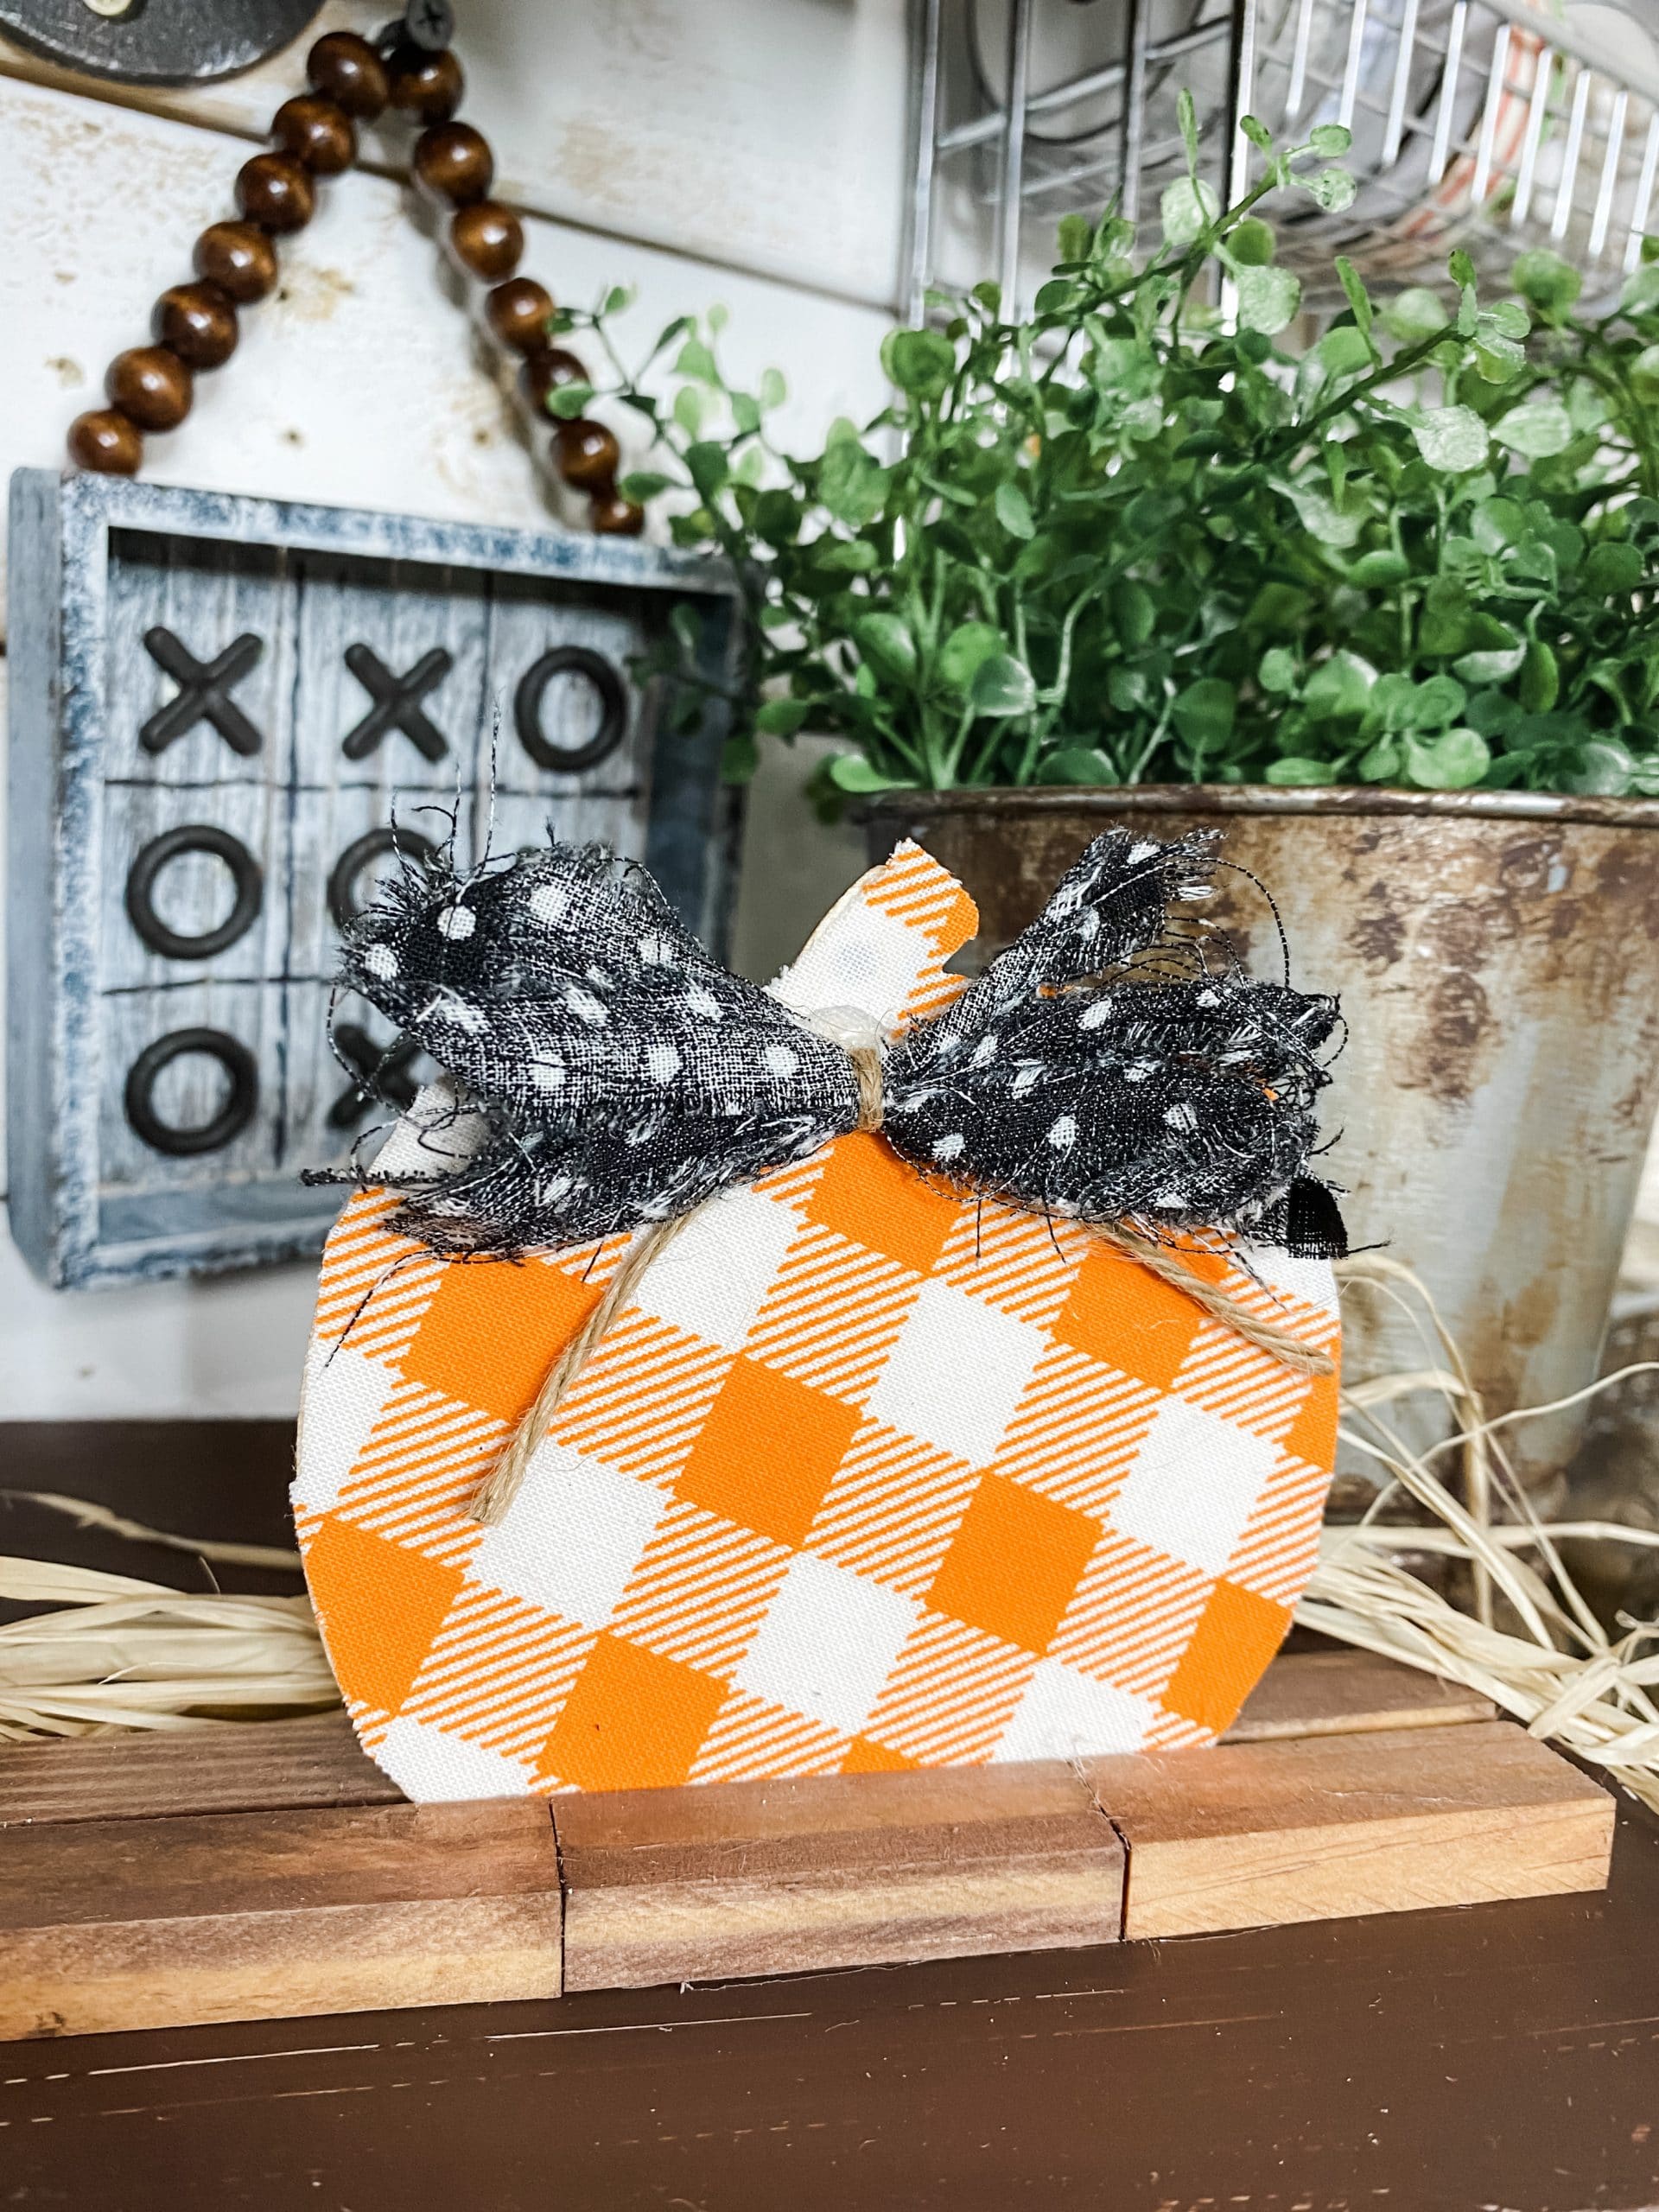
You can’t tell me you don’t think this Dollar Tree Mini Pumpkin DIY Fall Decor isn’t adorable! You just can’t!
I hope you have enjoyed this easy DIY craft and decide to make one for yourself! If you do, I would love to see how it turns out!
You should totally join my FREE Facebook group called On A Budget Crafts! It is a judgment-free community for DIY crafters to show off their projects and ideas.
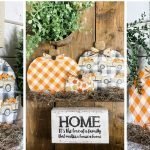
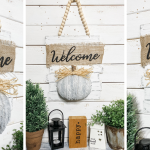
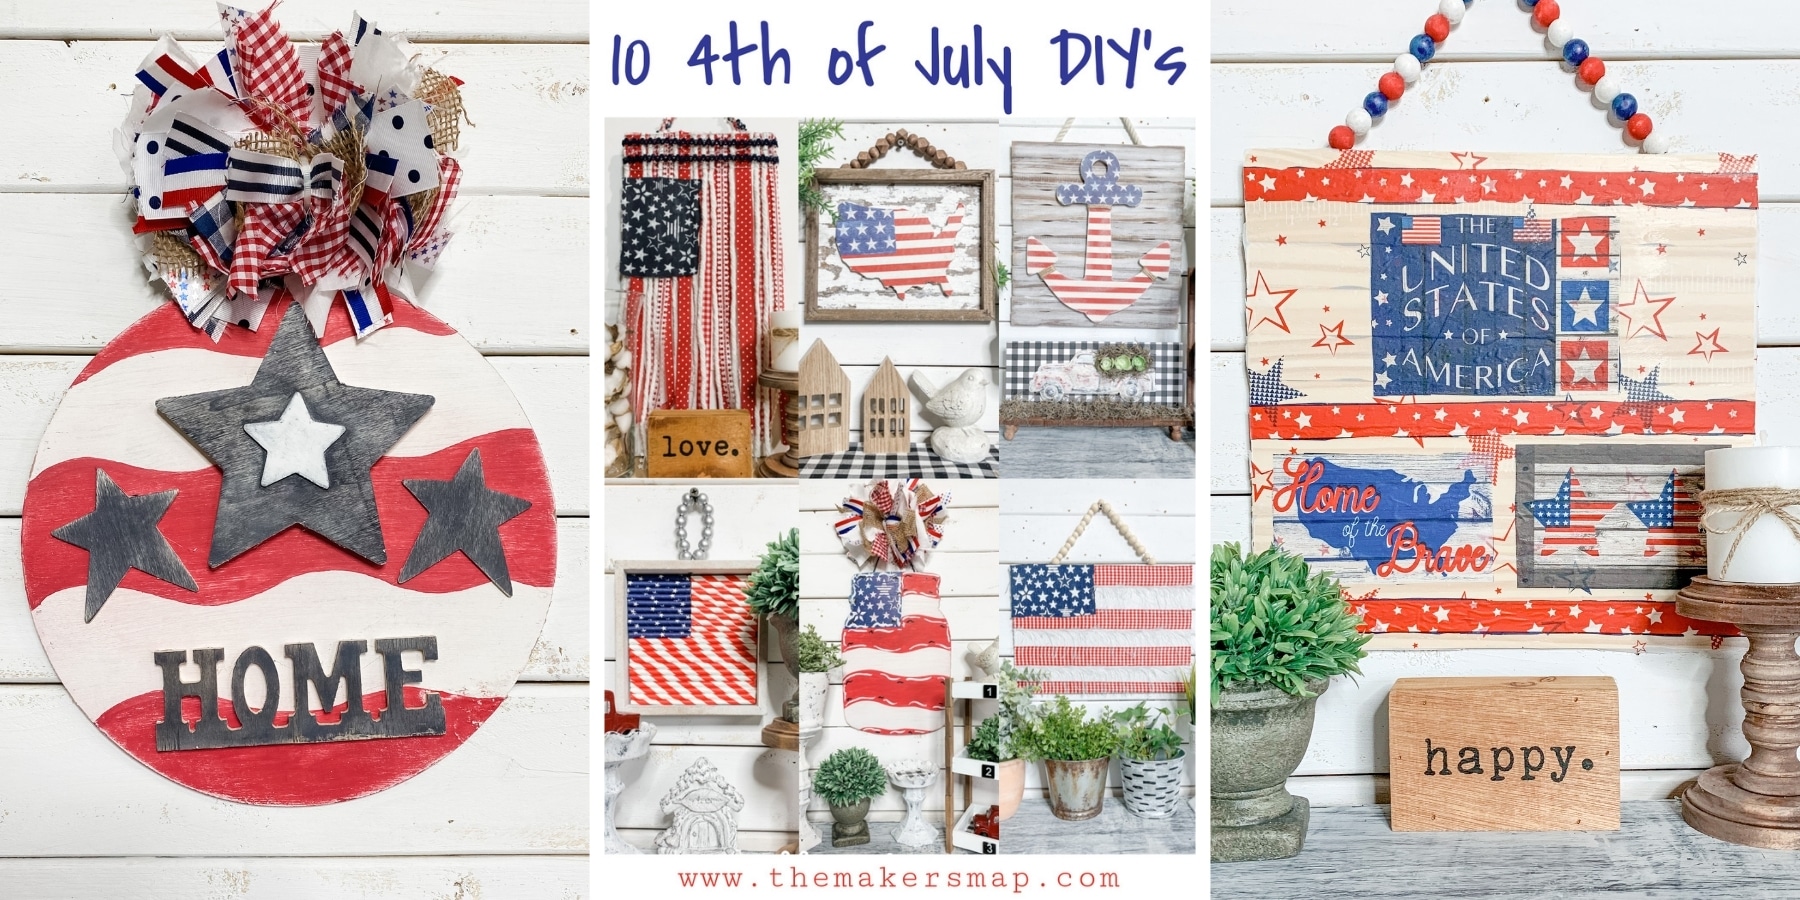
If you liked this DIY, you might like these too!
Thanks for stopping by! XOXO Amber
You can also shop my ENTIRE AMAZON Favorites shop just click here! It’s packed full of all the things I use and love.
Here is the supply list I highly recommend every creative have on hand!! Would you also pin my blog for later and get on my newsletter alerts? I would love to have you join my #craftycrew.

Join my free “ON A BUDGET CRAFTS” Facebook group!
PIN THIS POST FOR LATER!
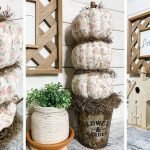
Adorable pumpkin orange gingham is a favorite of mine.