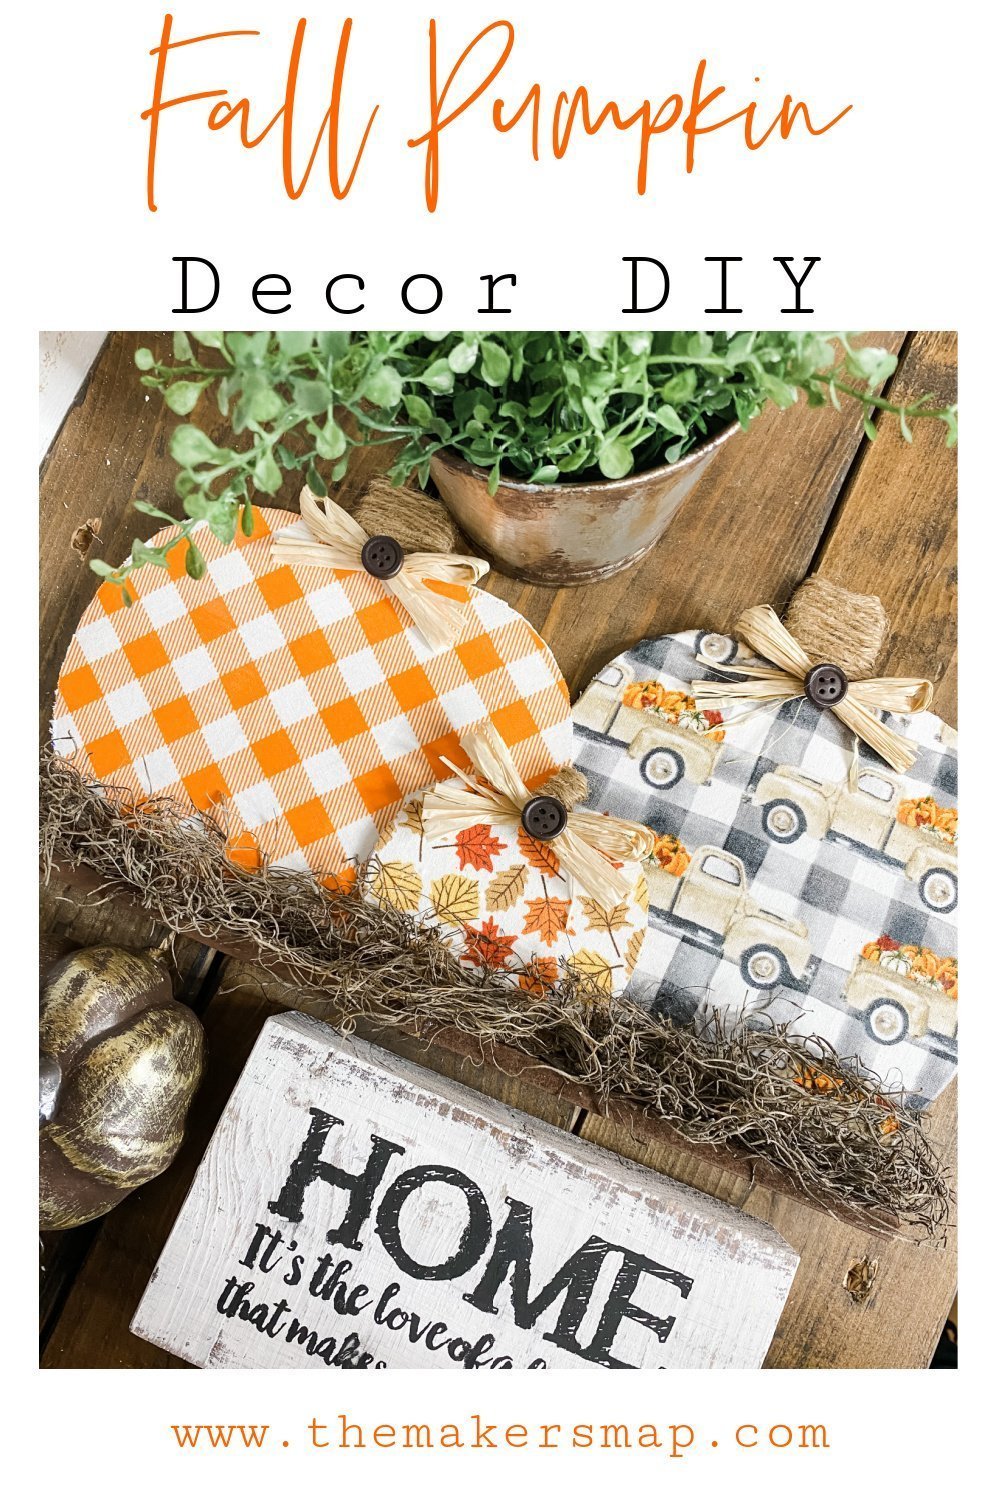
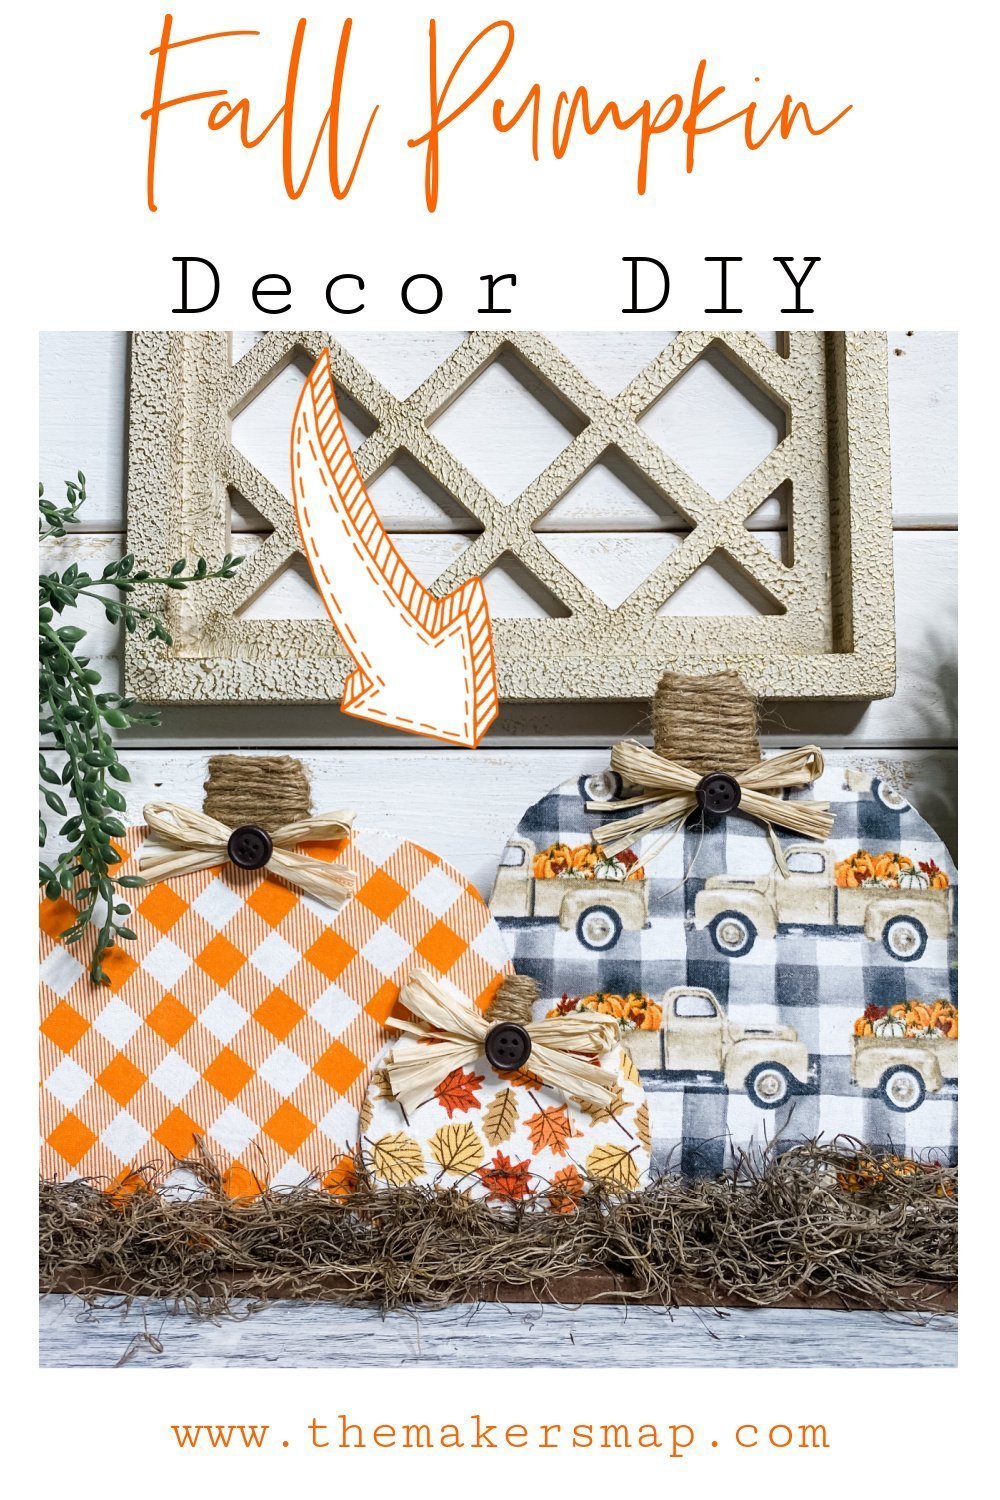
Fall Pumpkin Decor DIY
If you’re looking for a very easy fall decor DIY, this Fall Pumpkin Decor DIY is what you’ve been looking for!
I promise when you see how easy (and CUTE!) this craft is, you’re going to HAVE to make it!! I love finding ways to create adorable, high-end-looking DIY for my home, but I really love being able to share what I’ve done and learned with my friends and followers.
You can see me make this perfect Fall Pumpkin Decor DIY in a Facebook Live Replay that I did on my Facebook page, Amber Strong.
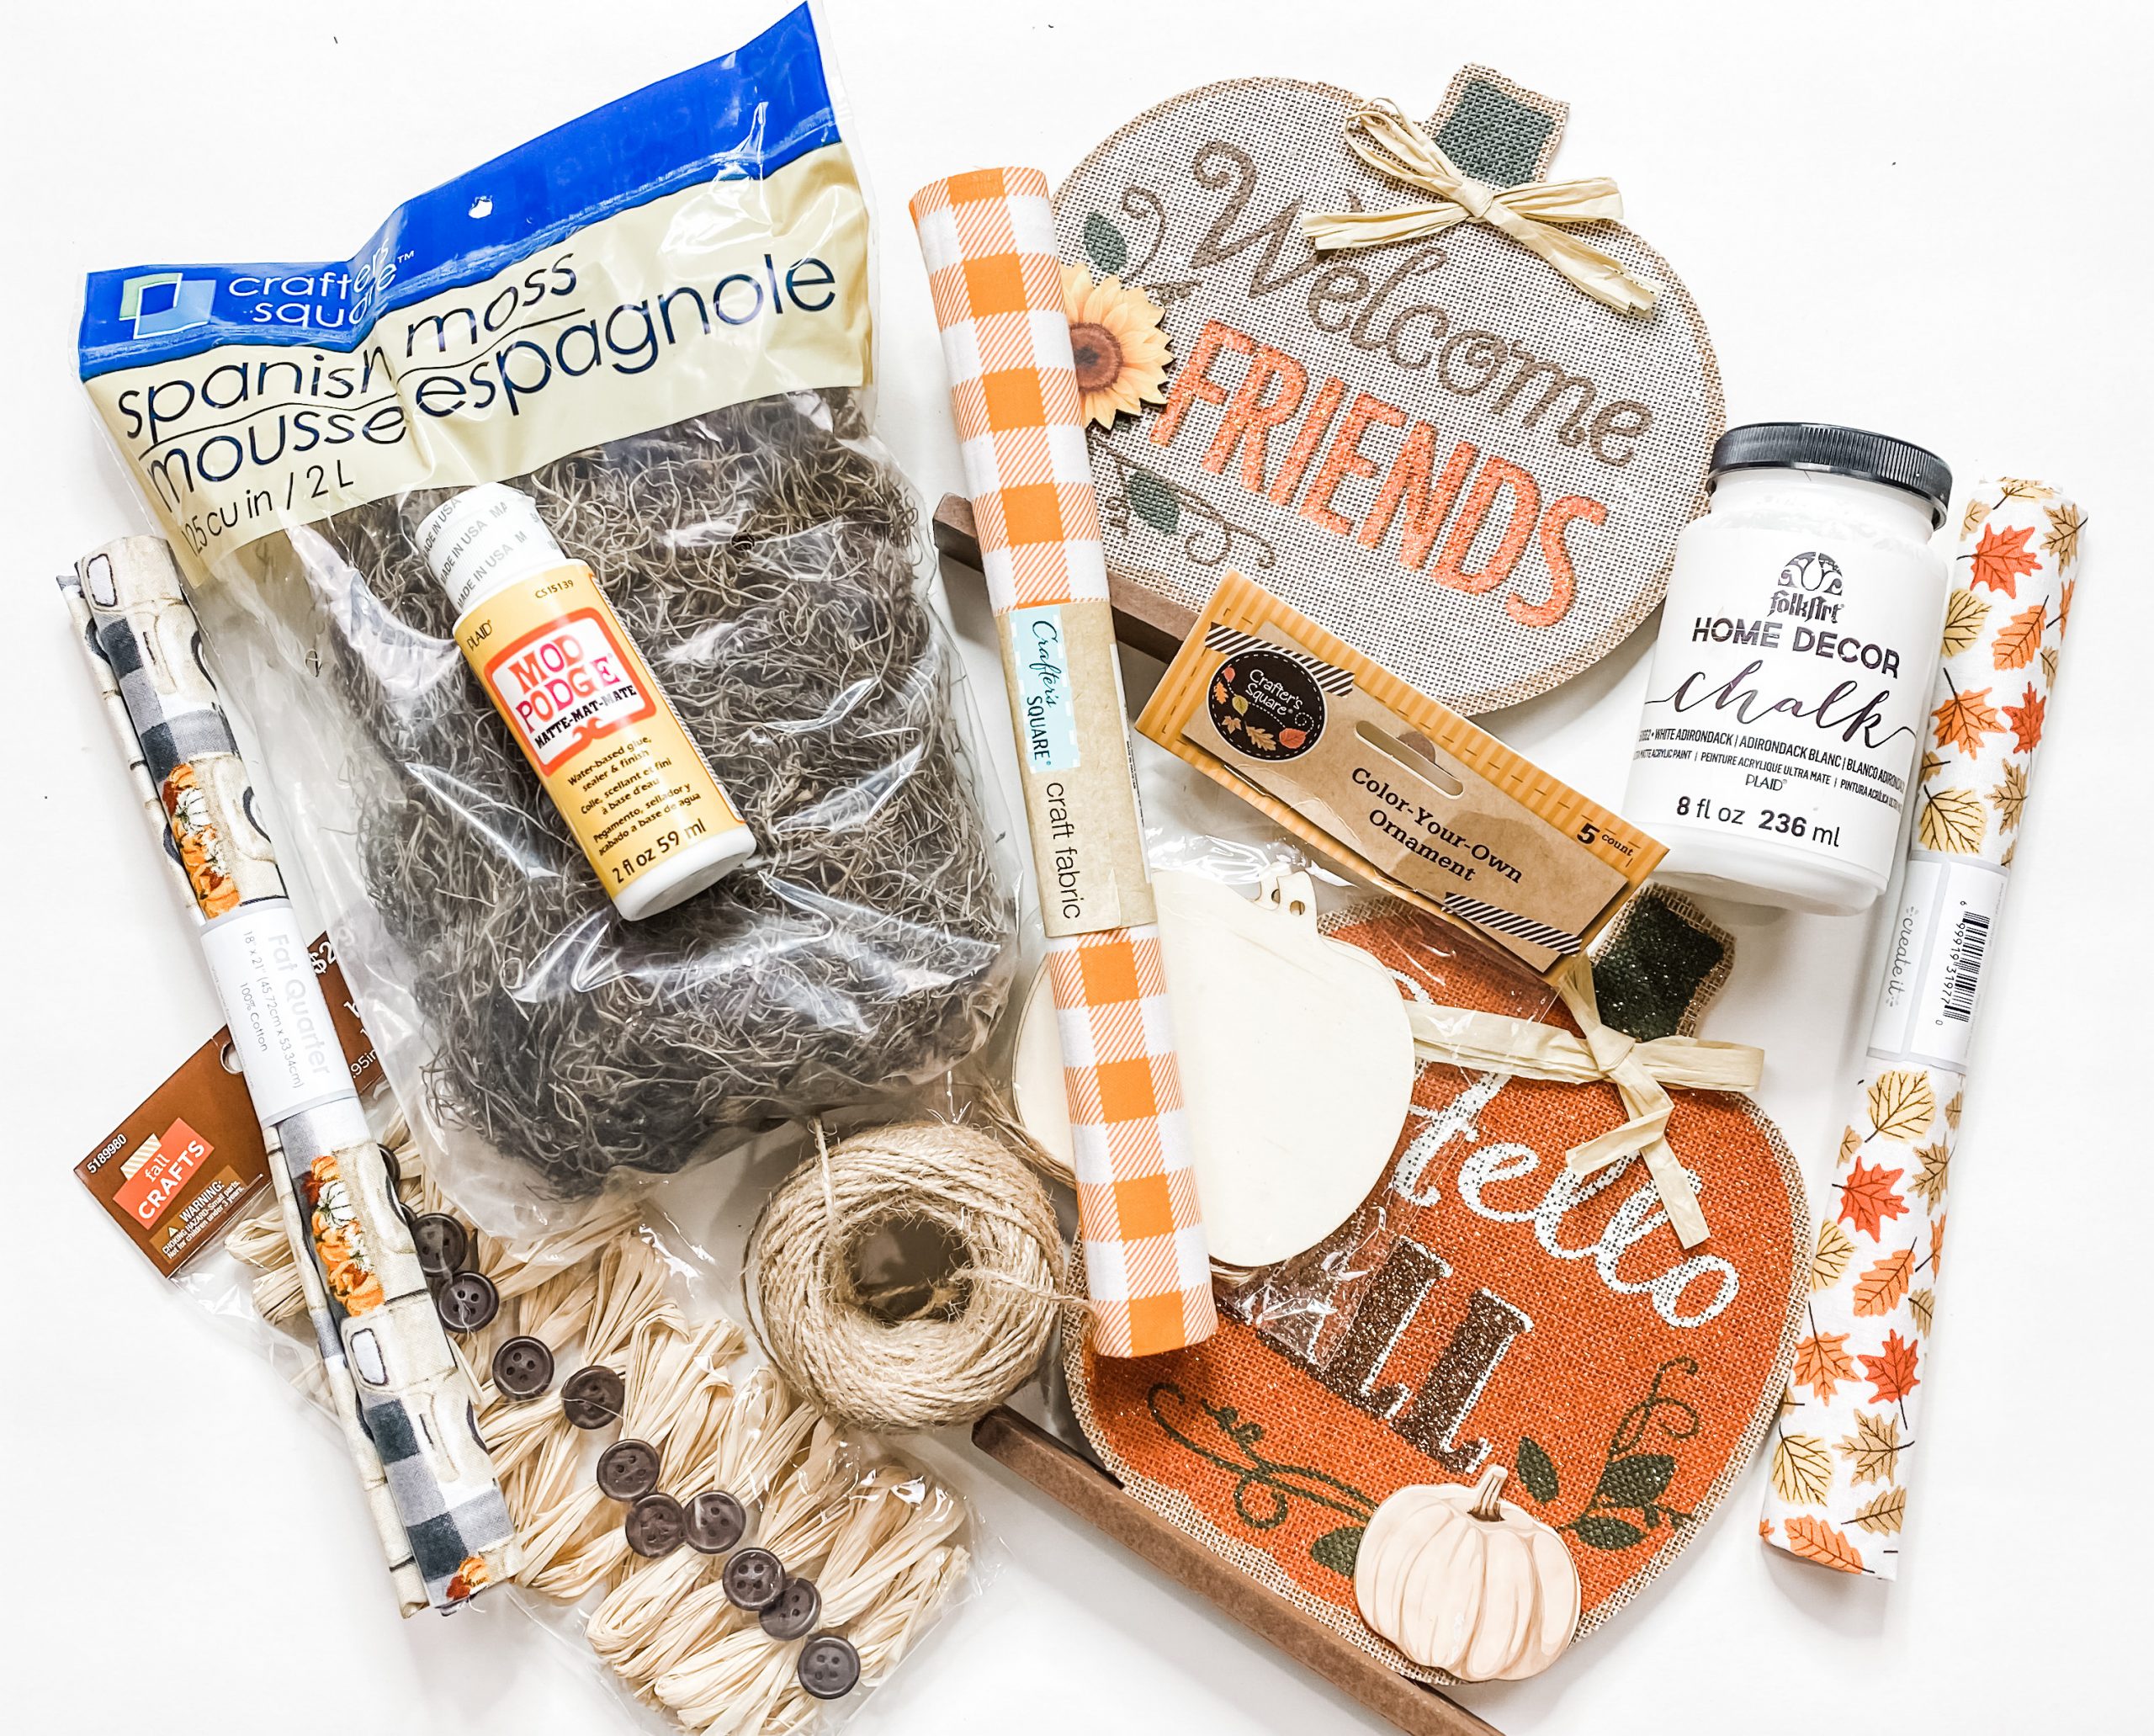
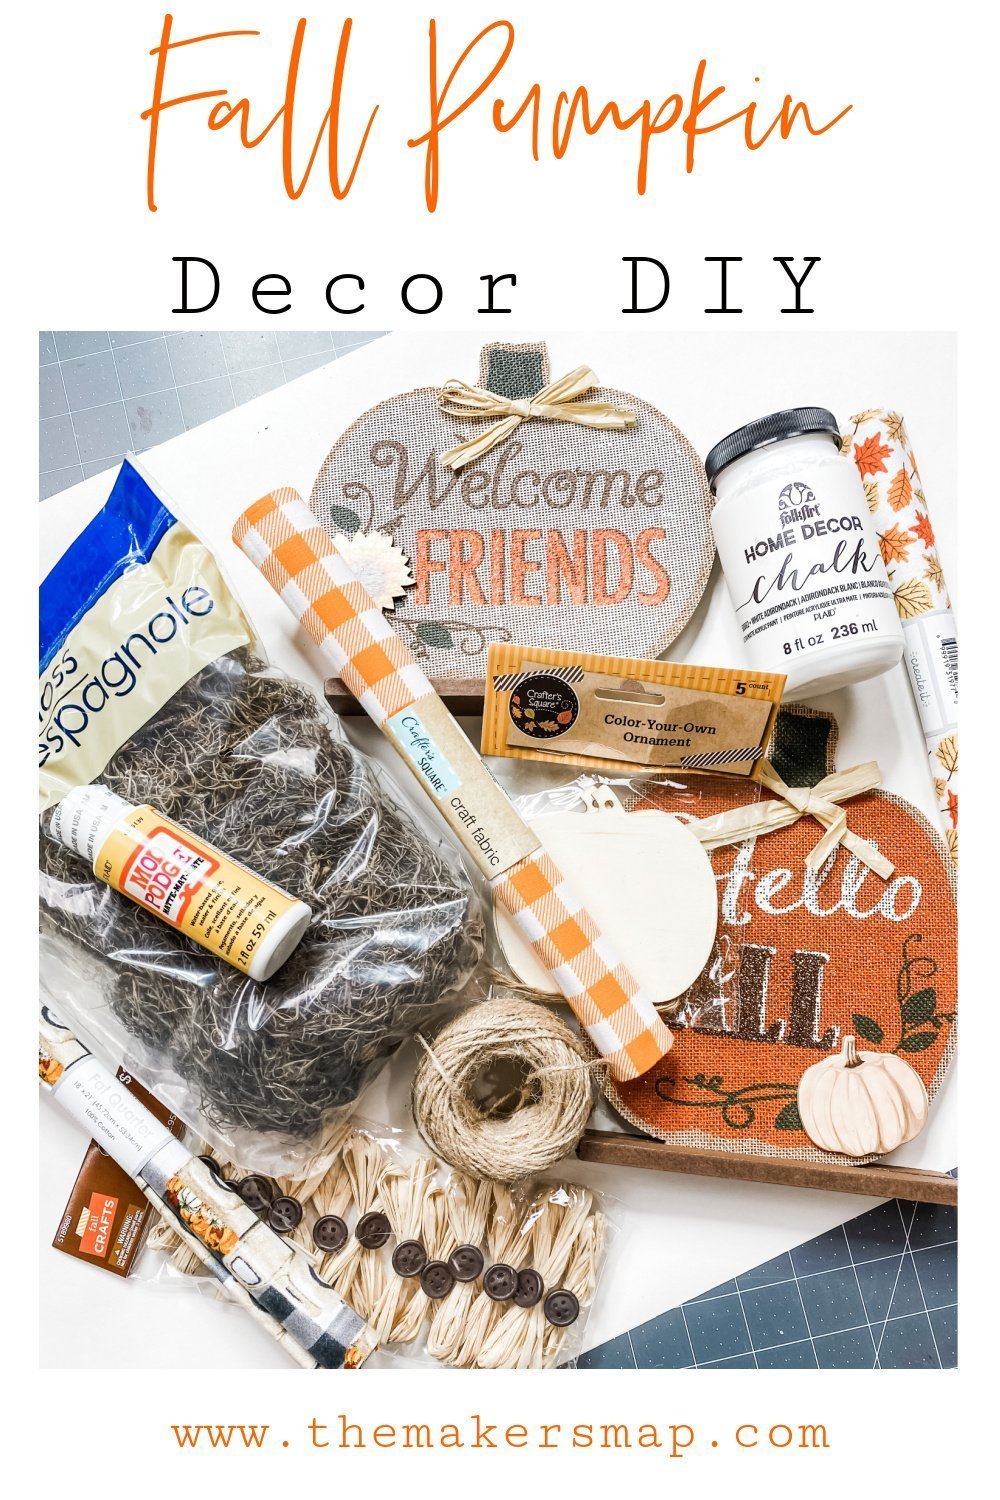
For this project, I will be using these items but you can substitute where you want.
“As an Amazon Associate, I earn from qualifying purchases.”
- Dollar Tree stand-up wood pumpkins (x2)
- Dollar Tree small pumpkin pack (you’ll use 1 out of the 3 pack)
- 3 fabrics of your choice
- Dollar Tree Orange Buffalo Check
- Walmart Fall Leaves
- Walmart Fall Trucks
- Mod Podge
- Raffia bows – Hobby Lobby
- Jute Twine
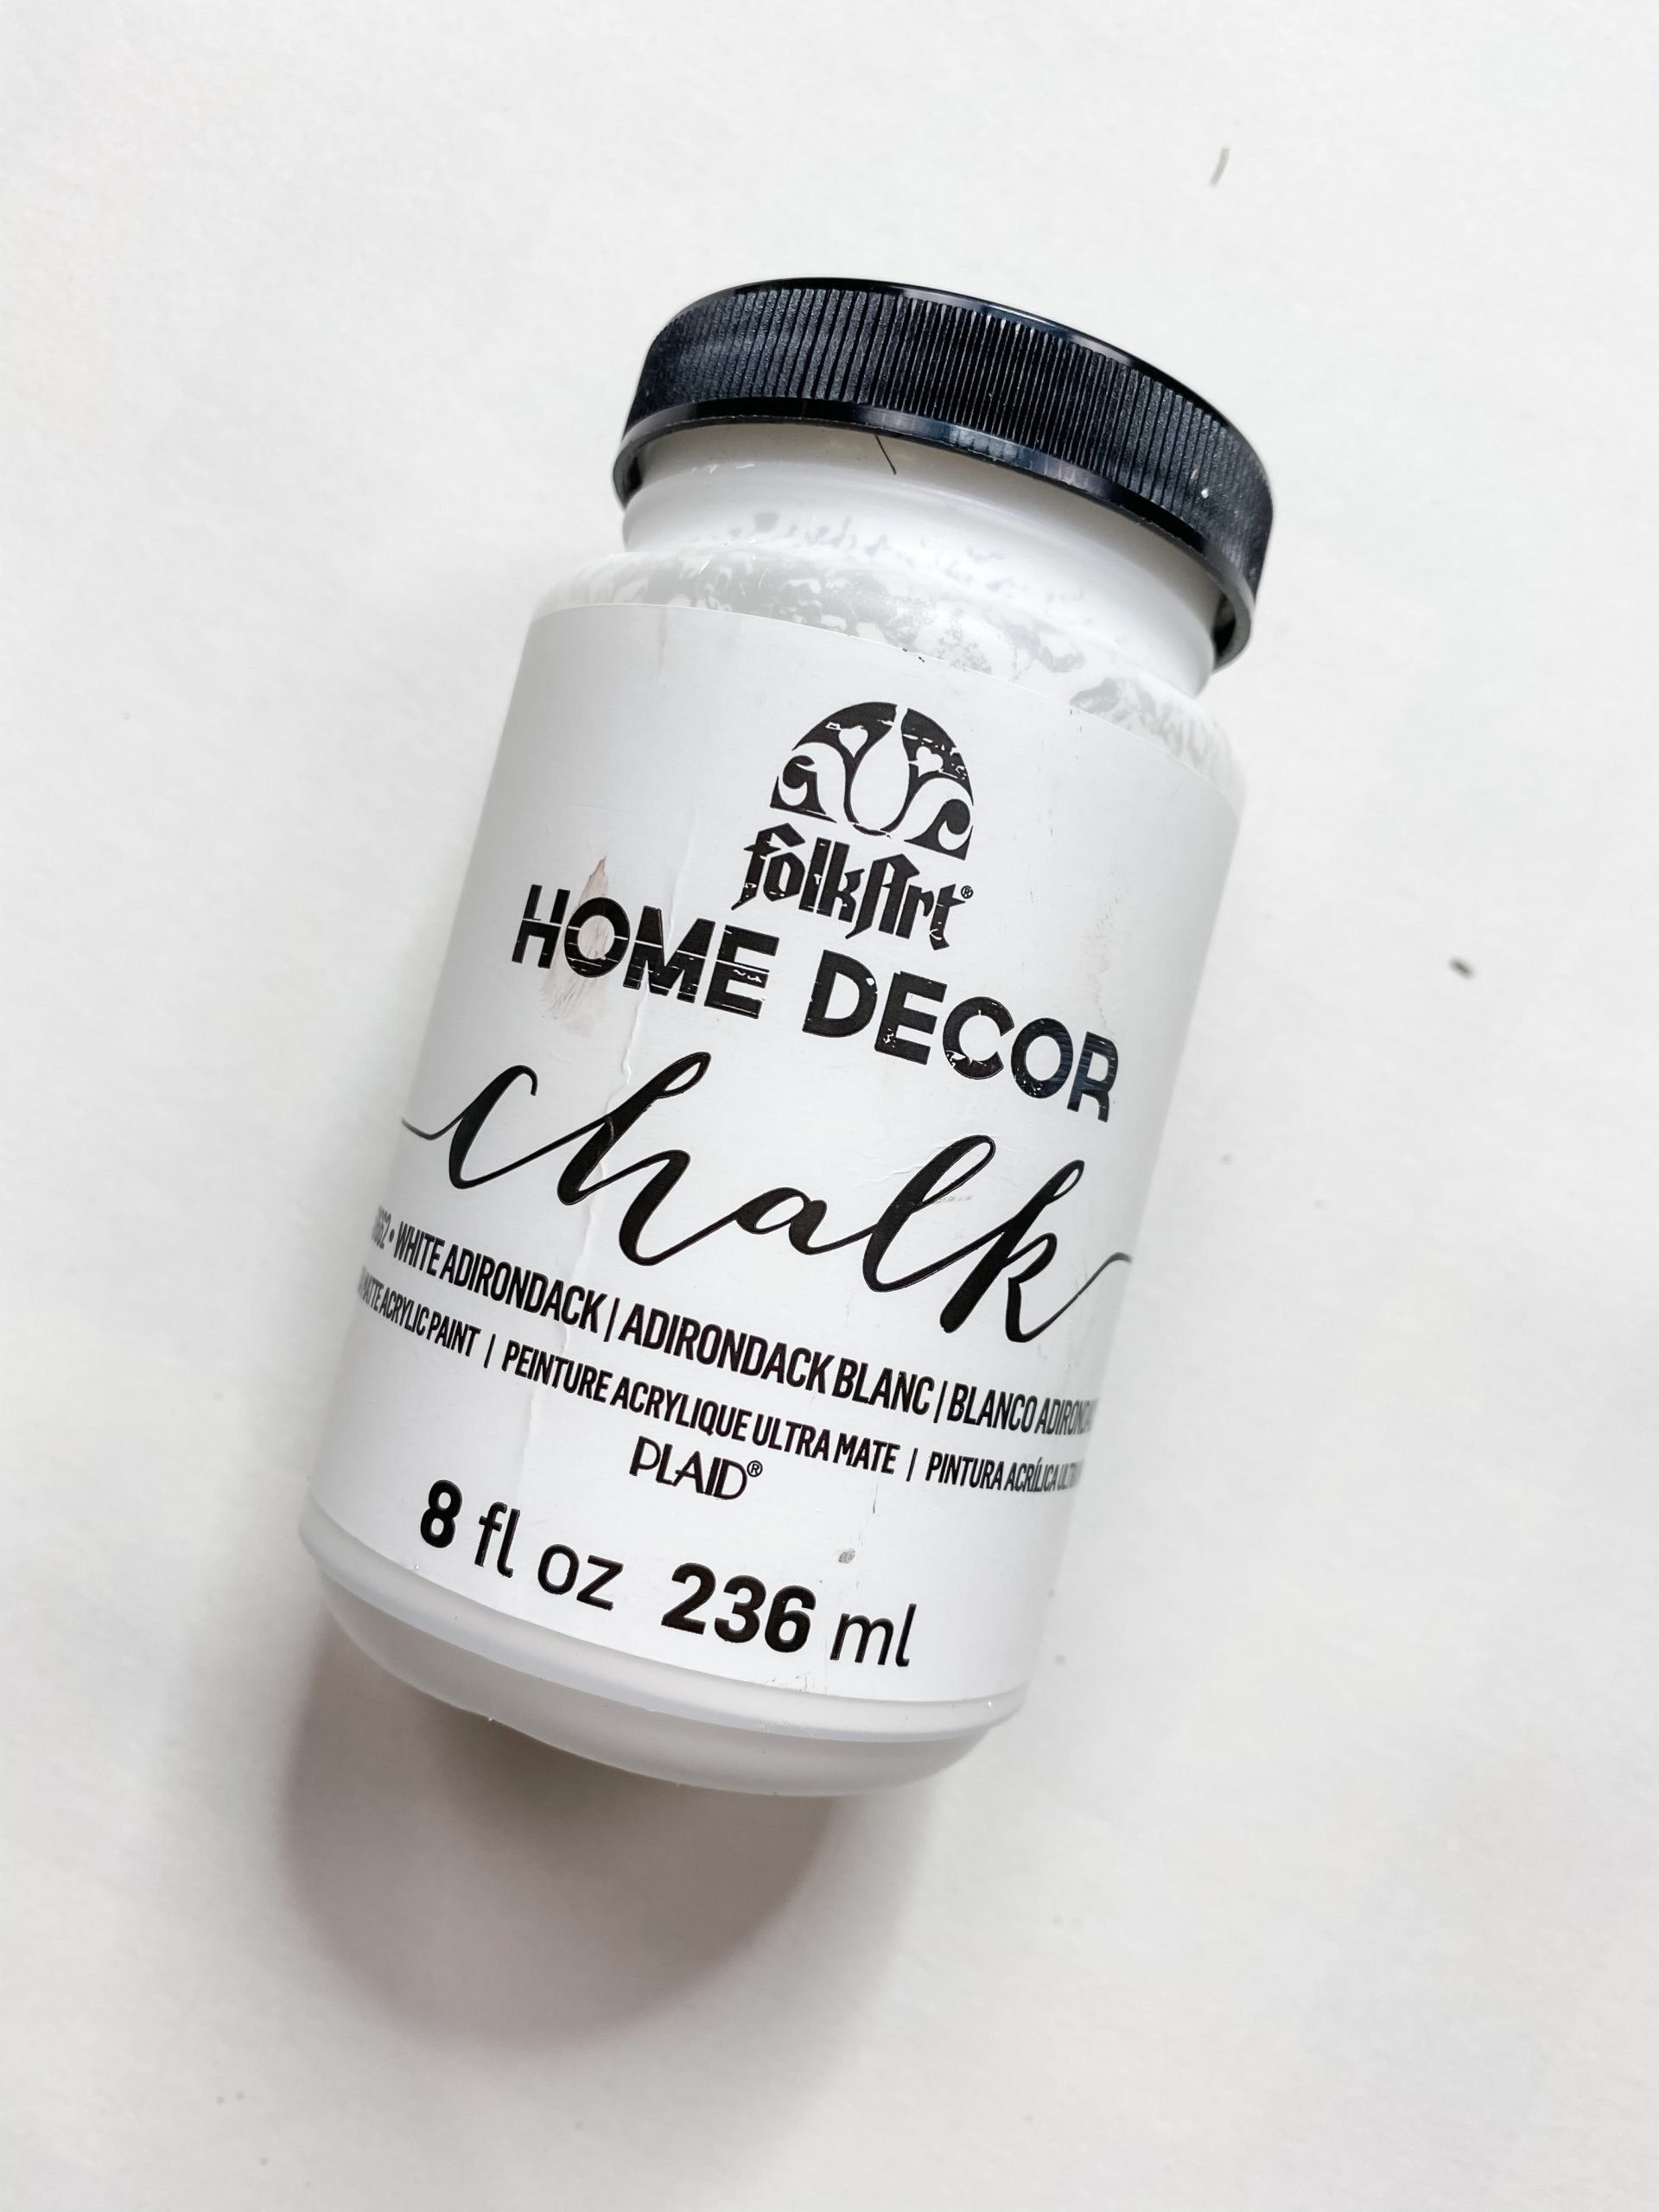
- White Chalk Paint
- Dollar Tree Spanish moss
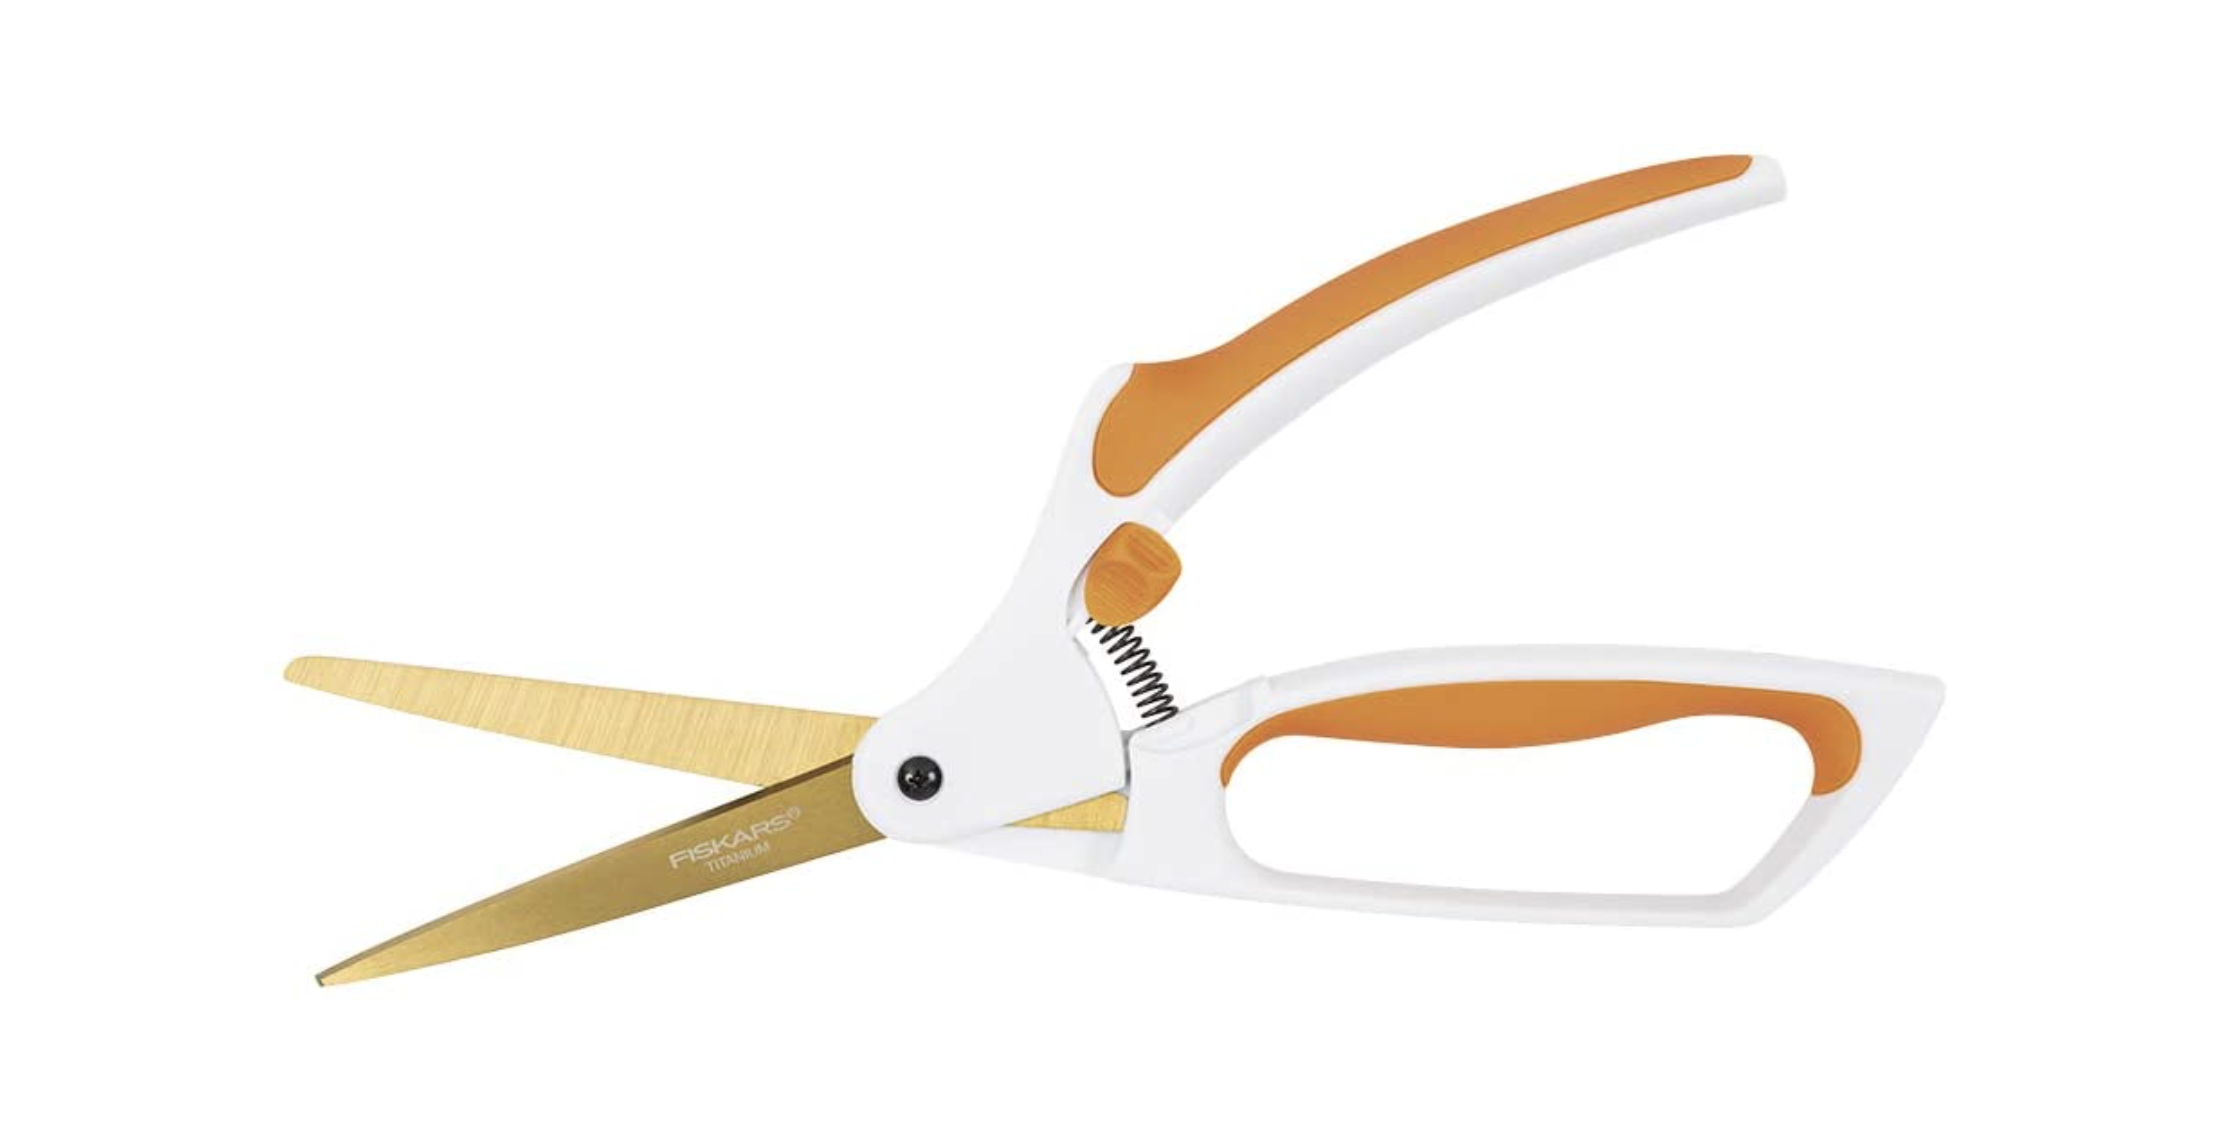
- Fiskar Fabric Scissors
- Glue Gun and Glue Sticks
- Heat gun
- Chippy brush 1-inch
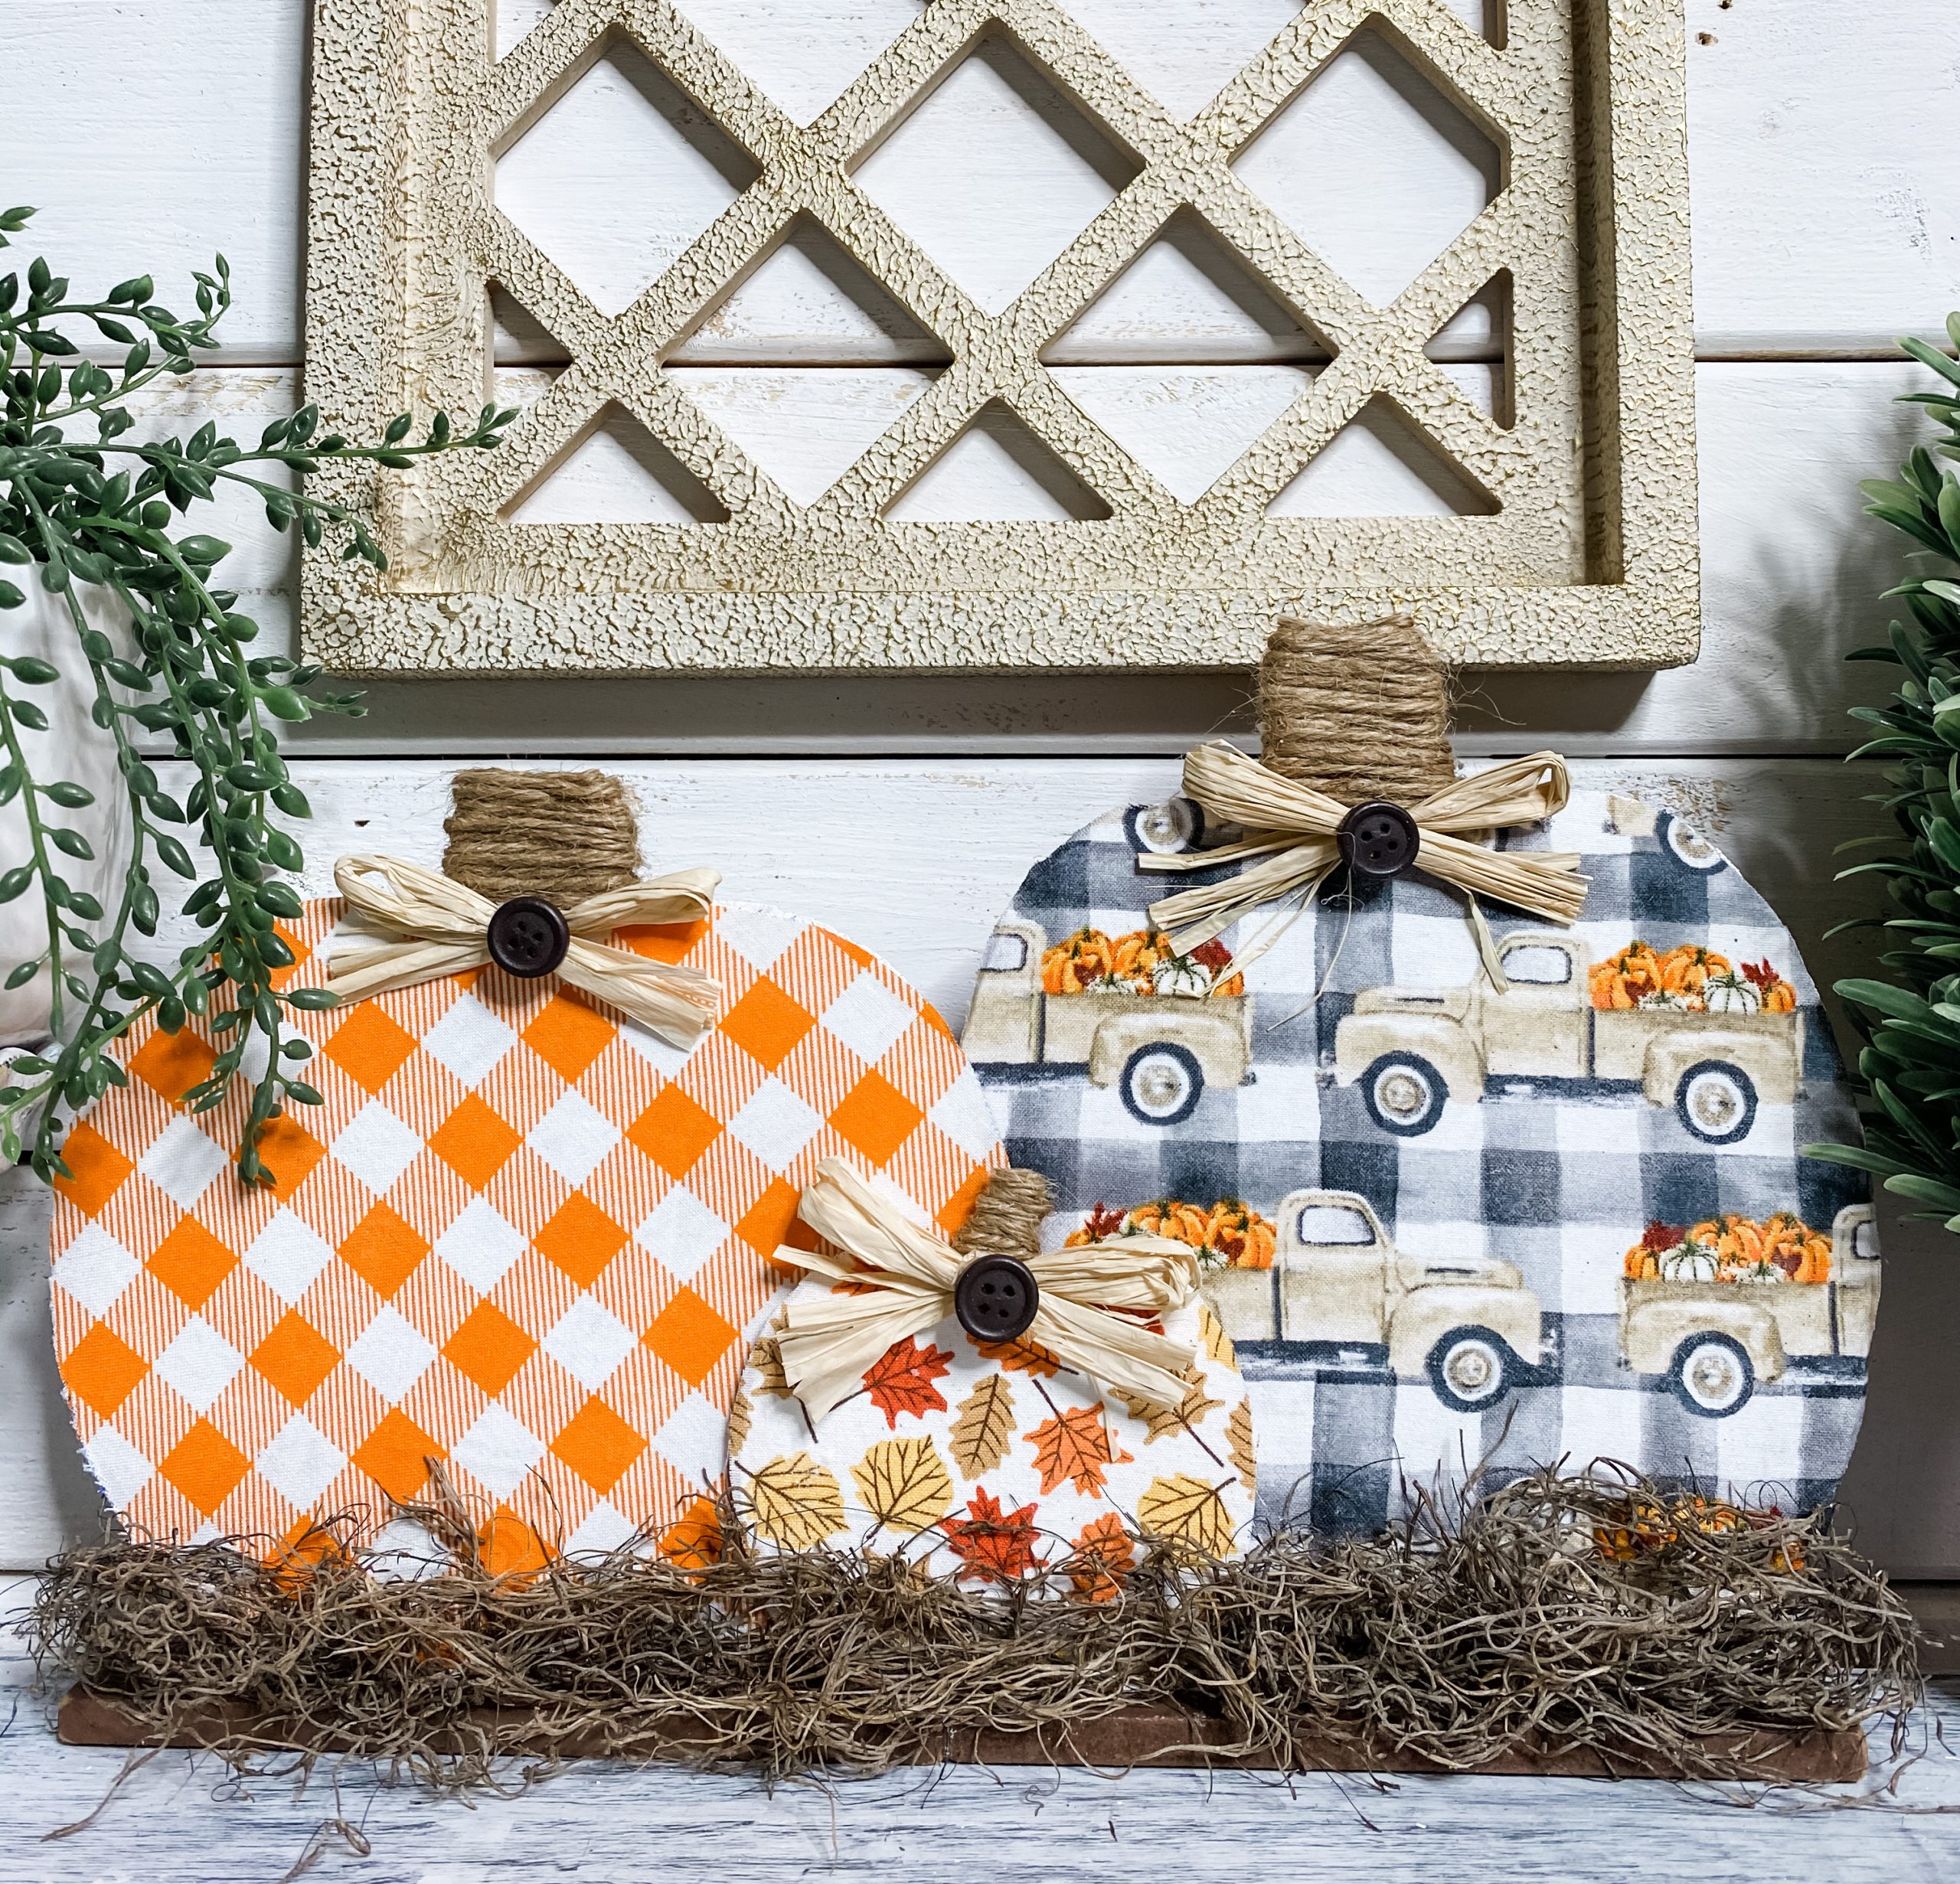
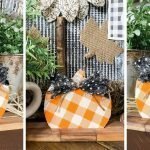
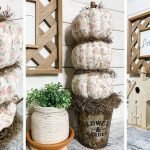
Welcome to the Pumpkin Patch!
I absolutely LOVE how adorable this little pumpkin patch turned out! It really is the perfect Fall Pumpkin Decor DIY! Let me tell you how I made this super easy DIY craft.
To start this craft, I removed everything off the front of the Dollar Tree stand-up pumpkins that were glued to them.
Even though I am using the back of these for my project, I didn’t want them to stick out or be noticeable.

Next, I applied an uneven coat of my white chalk paint to the back of stand-up pumpkins and the small wooden pumpkin.
It doesn’t have to be an even coating because you are going to apply Mod Podge and cover them with the fabric. The paint is just so that if you can see through the fabric, you don’t see the wood color.
Cut the fabric
While your paint is drying, you need to get the fabric ready. I laid each pumpkin on top of the fabric I wanted to apply to it and traced around them. Sometimes I use my heat gun to speed up the drying process.
Then, I cut the shape out with my Fiskers Fabric Scissors. It doesn’t have to be a perfect fit, but you would rather the fabric cut out be larger than the pumpkin than smaller. It is easier to remove extra fabric than it is to attach more!
Mod Podge
Make sure your paint is dry before you apply a coat of Mod Podge to your pumpkins. Apply an even coat of the Mod Podge and then lay the fabric precisely onto the Mod Podge.
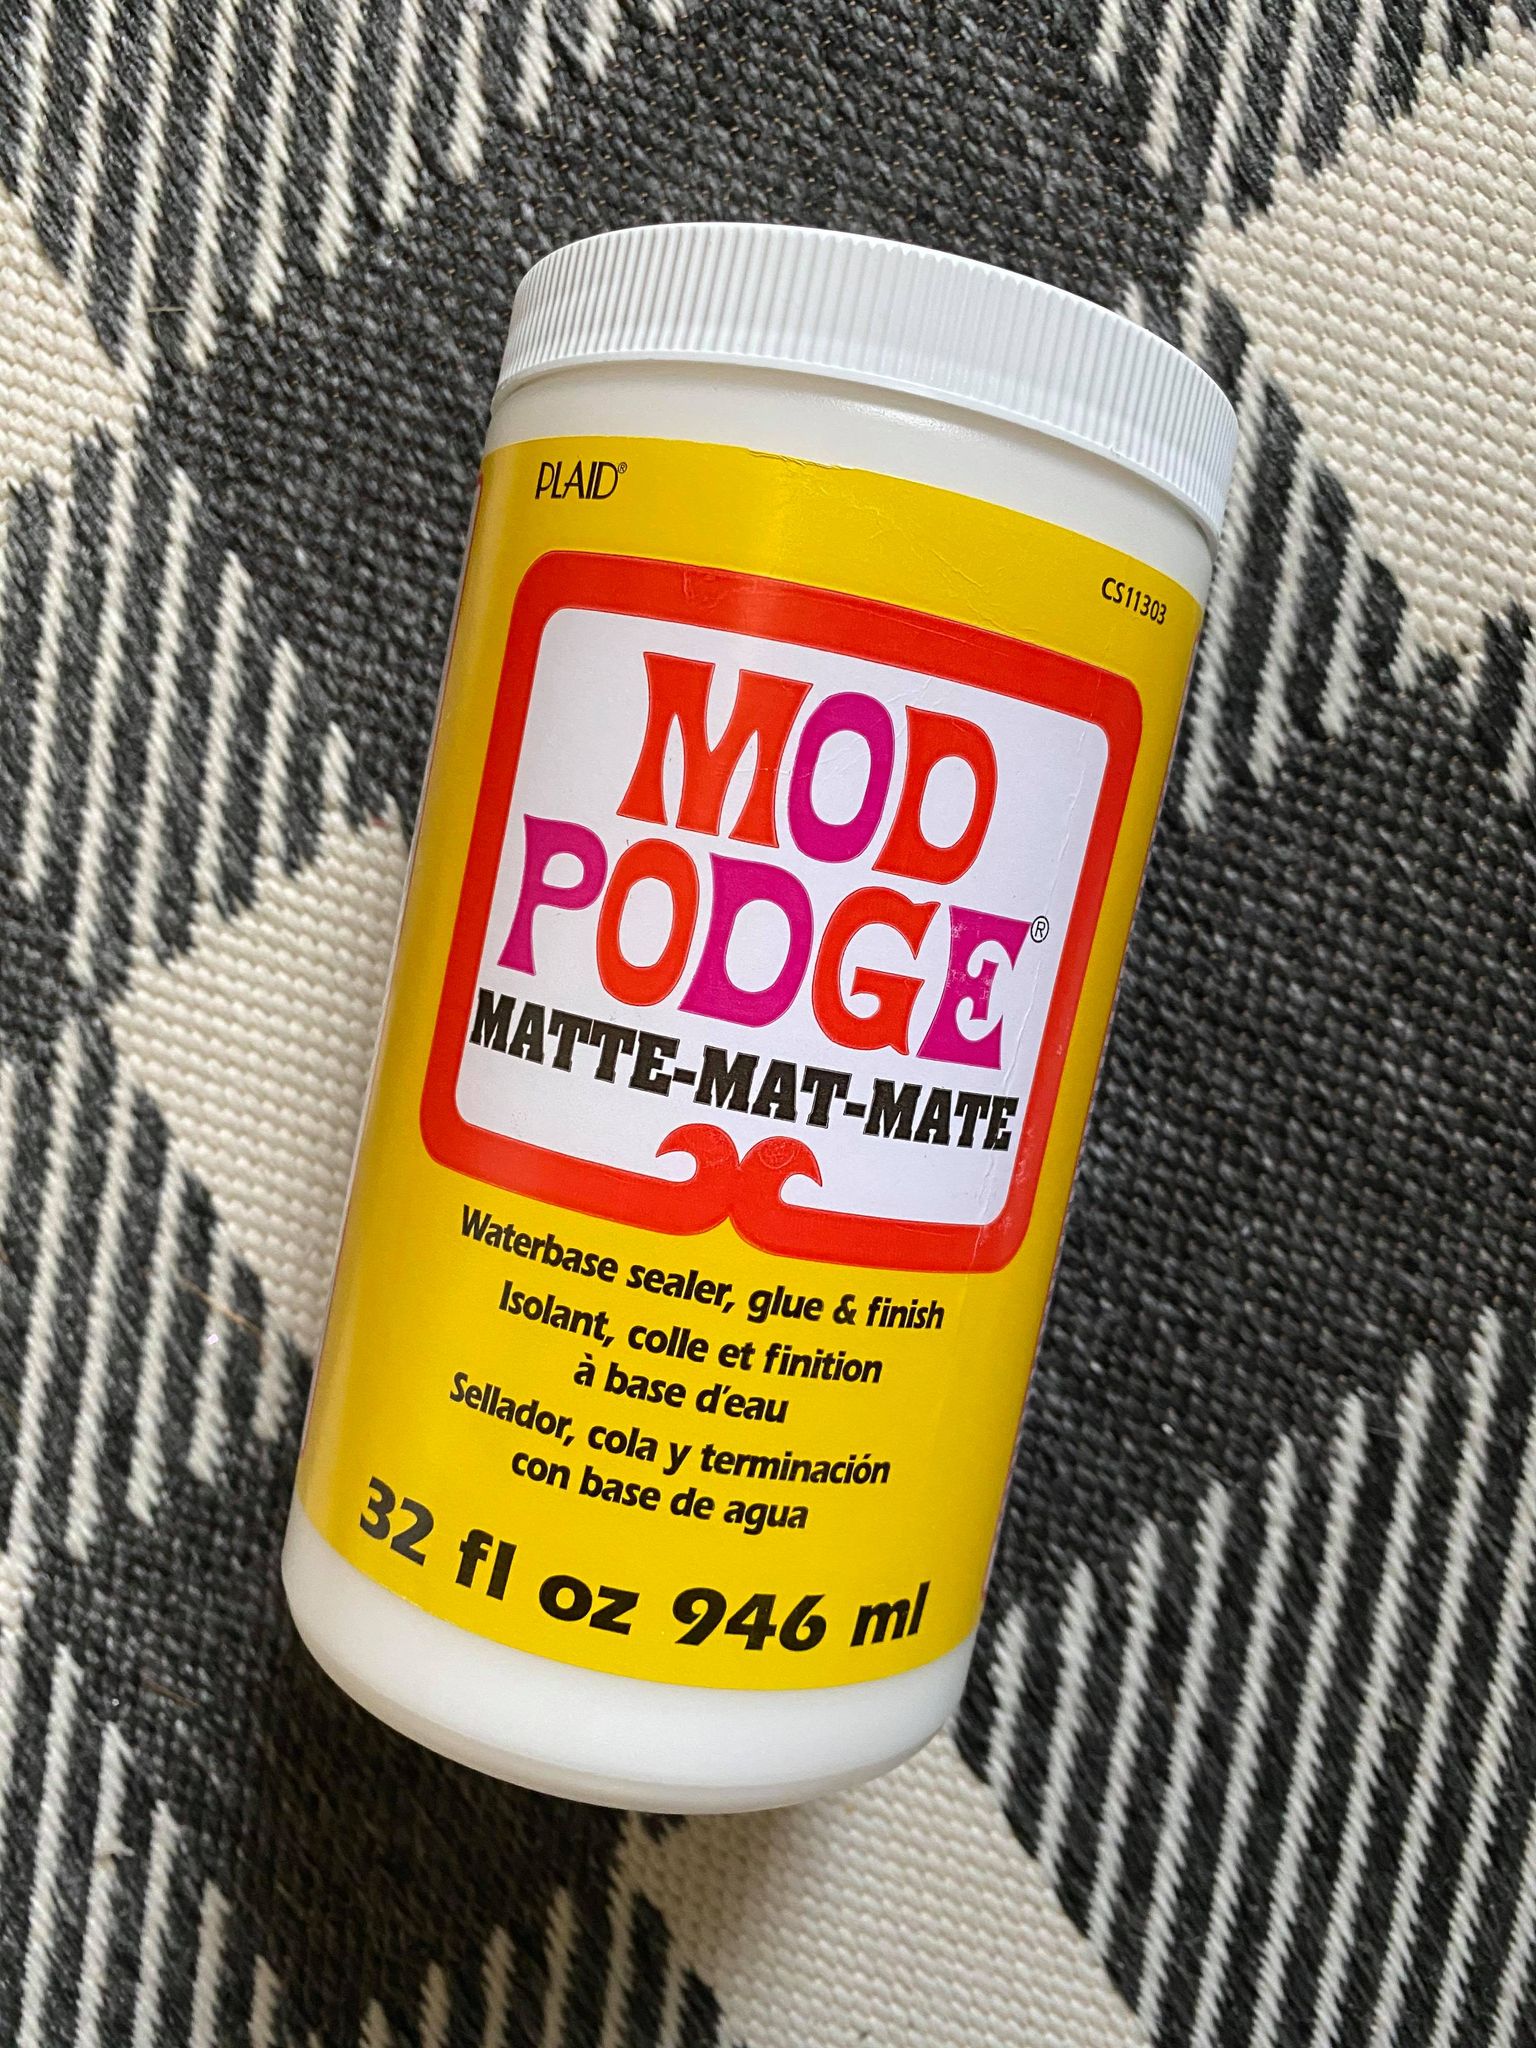
If it hangs over the edges in some places, that is okay. Just make sure you don’t leave any of the wood exposed. Do this for all 3 pumpkins and then allow the Mod Podge to dry. Again, I like to use my heat gun to speed up the drying process!
Make sure you get all the bubbles and creases out! I just run a credit card over the fabric and it smooths it right out!
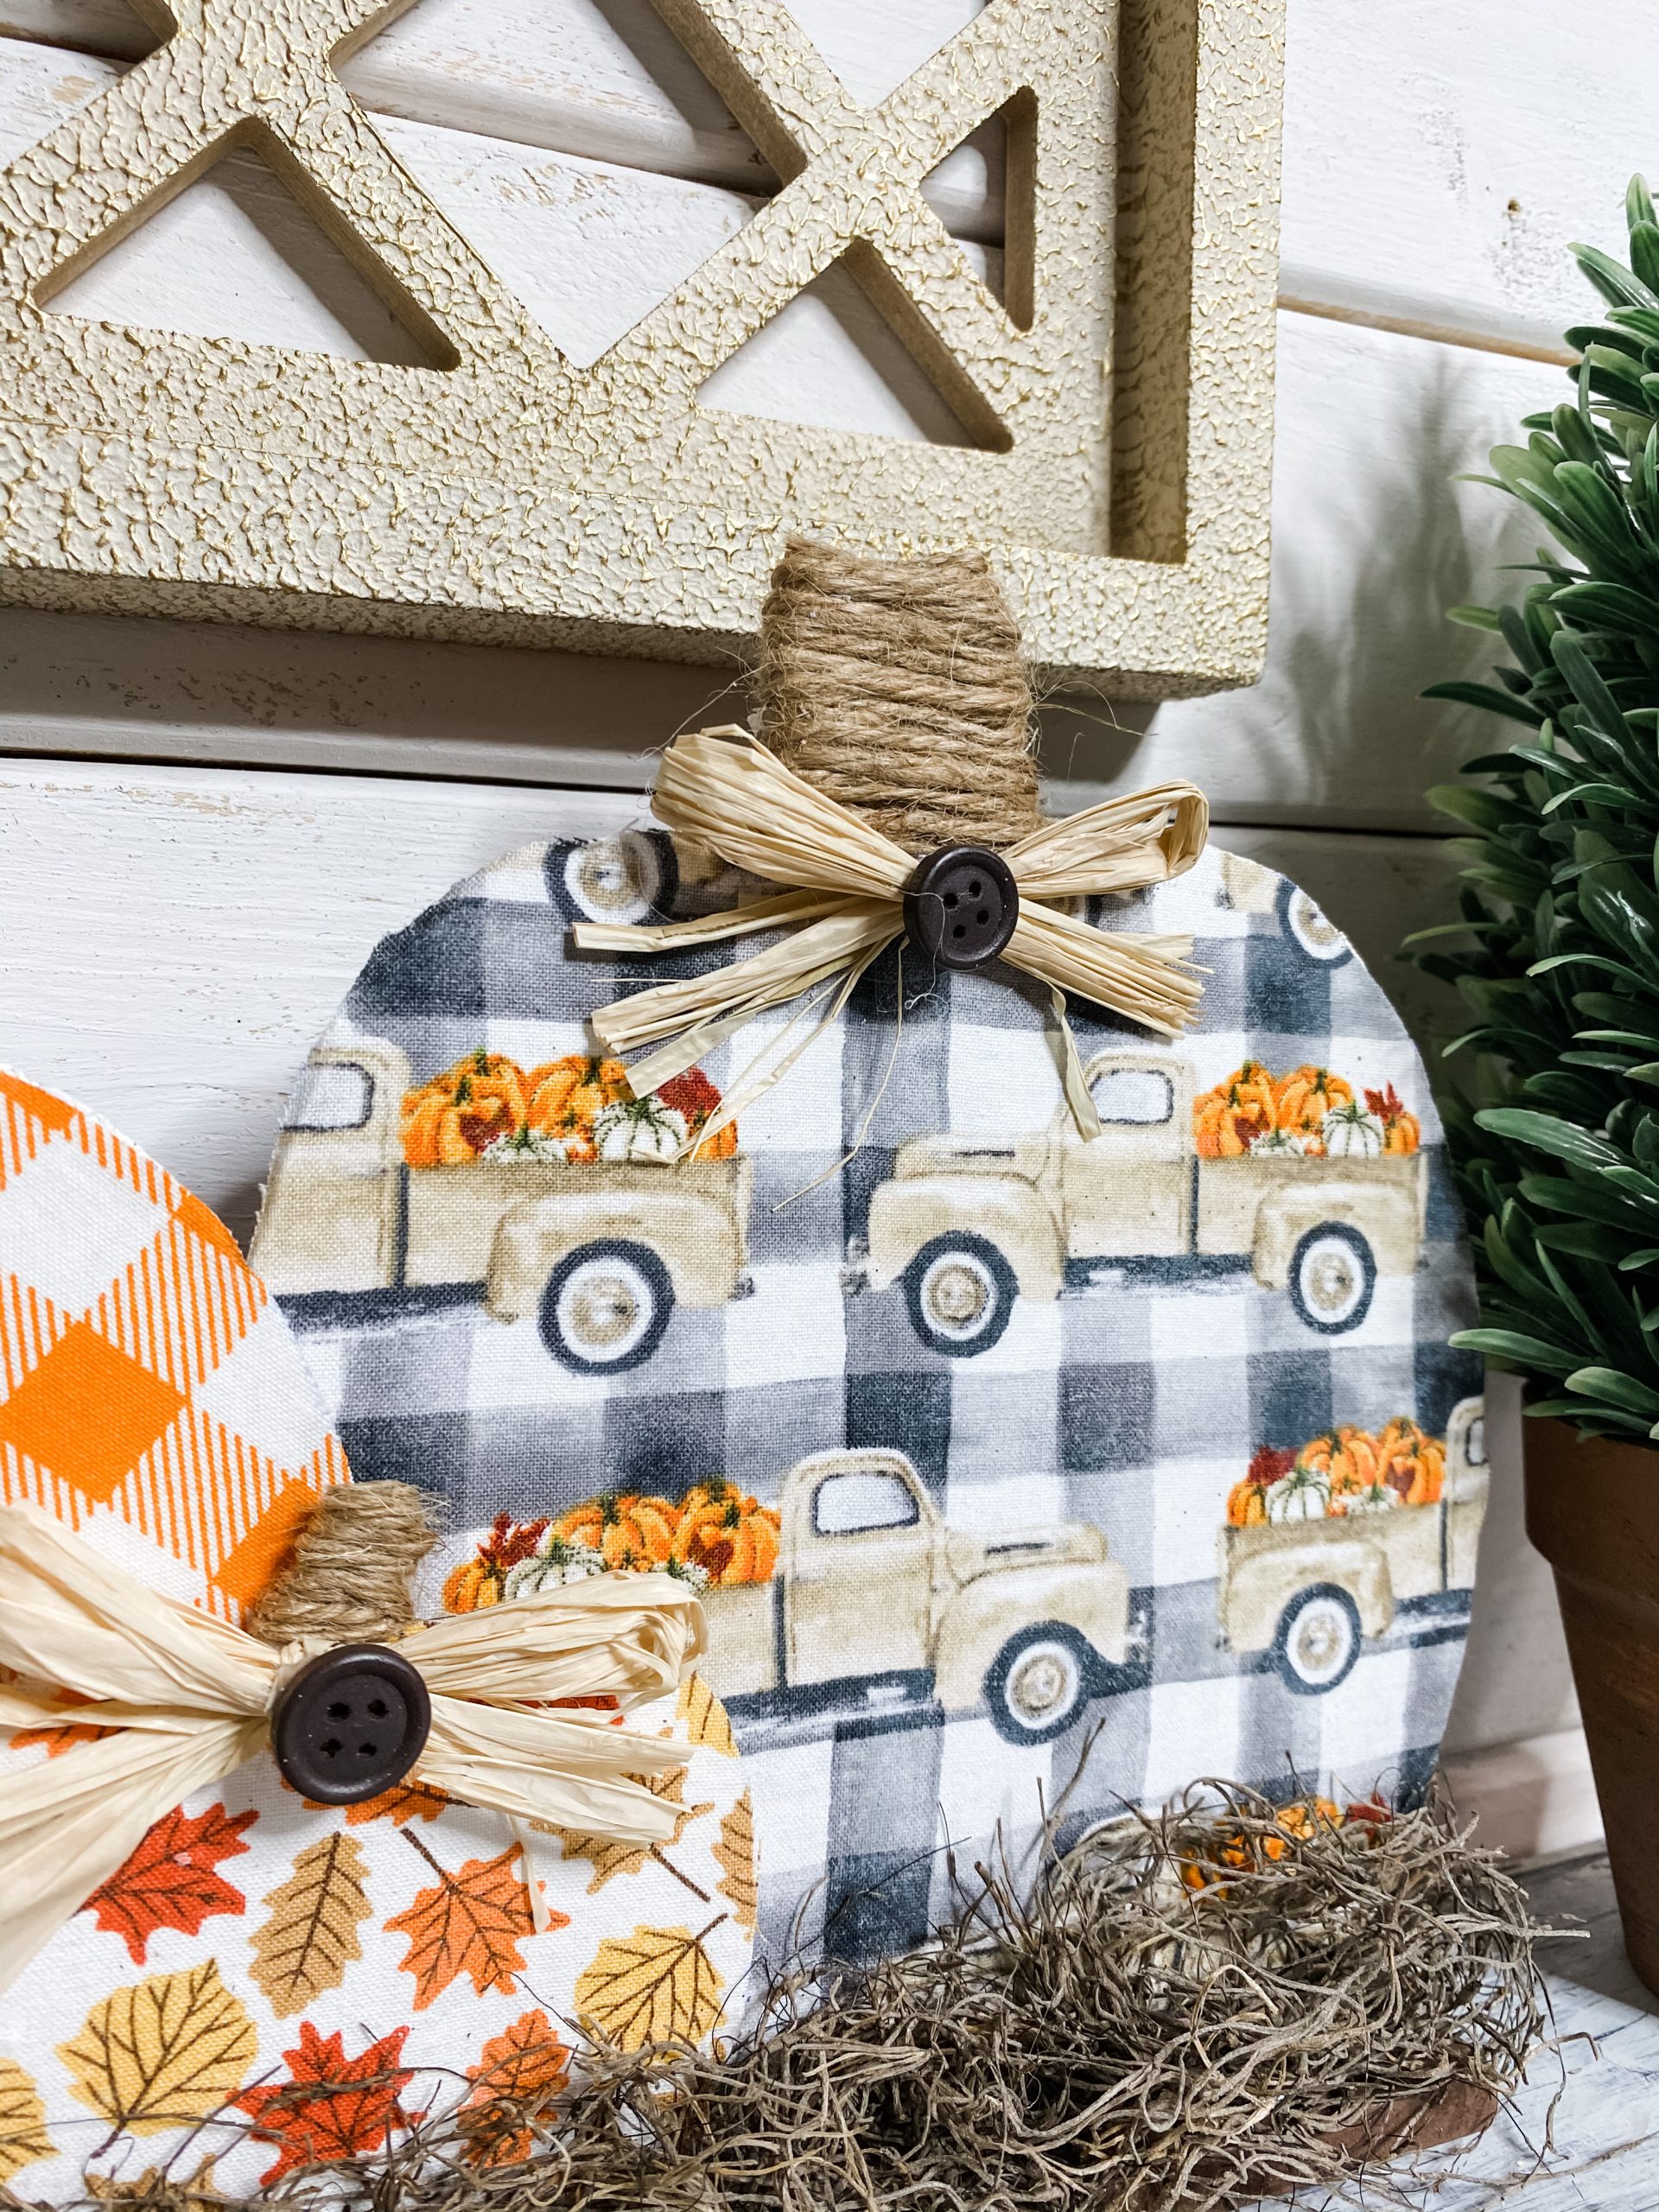
Make your stem
Now grab your twine and a hot glue gun! You’re going to hot glue your twine to the pumpkin as your wrap it around the stem of the wooden pumpkins.
Make sure you wrap it pretty tight that way the twine doesn’t separate and show the wood beneath.
Put them together
It’s time to glue your pumpkins together! I glued the bases of the stand-up pumpkins together and then laid the smaller pumpkin on top and glued it down.
Don’t worry if you make a huge mess gluing the stand-up pumpkins together because your Spanish moss will cover most of the base!
Finishing touches:
All that is left to do is add the cute little raffia bows and Spanish moss! I used my hot glue gun for both of these steps. So, hot glue the little raffia bows onto each pumpkin right at the base of the stem.
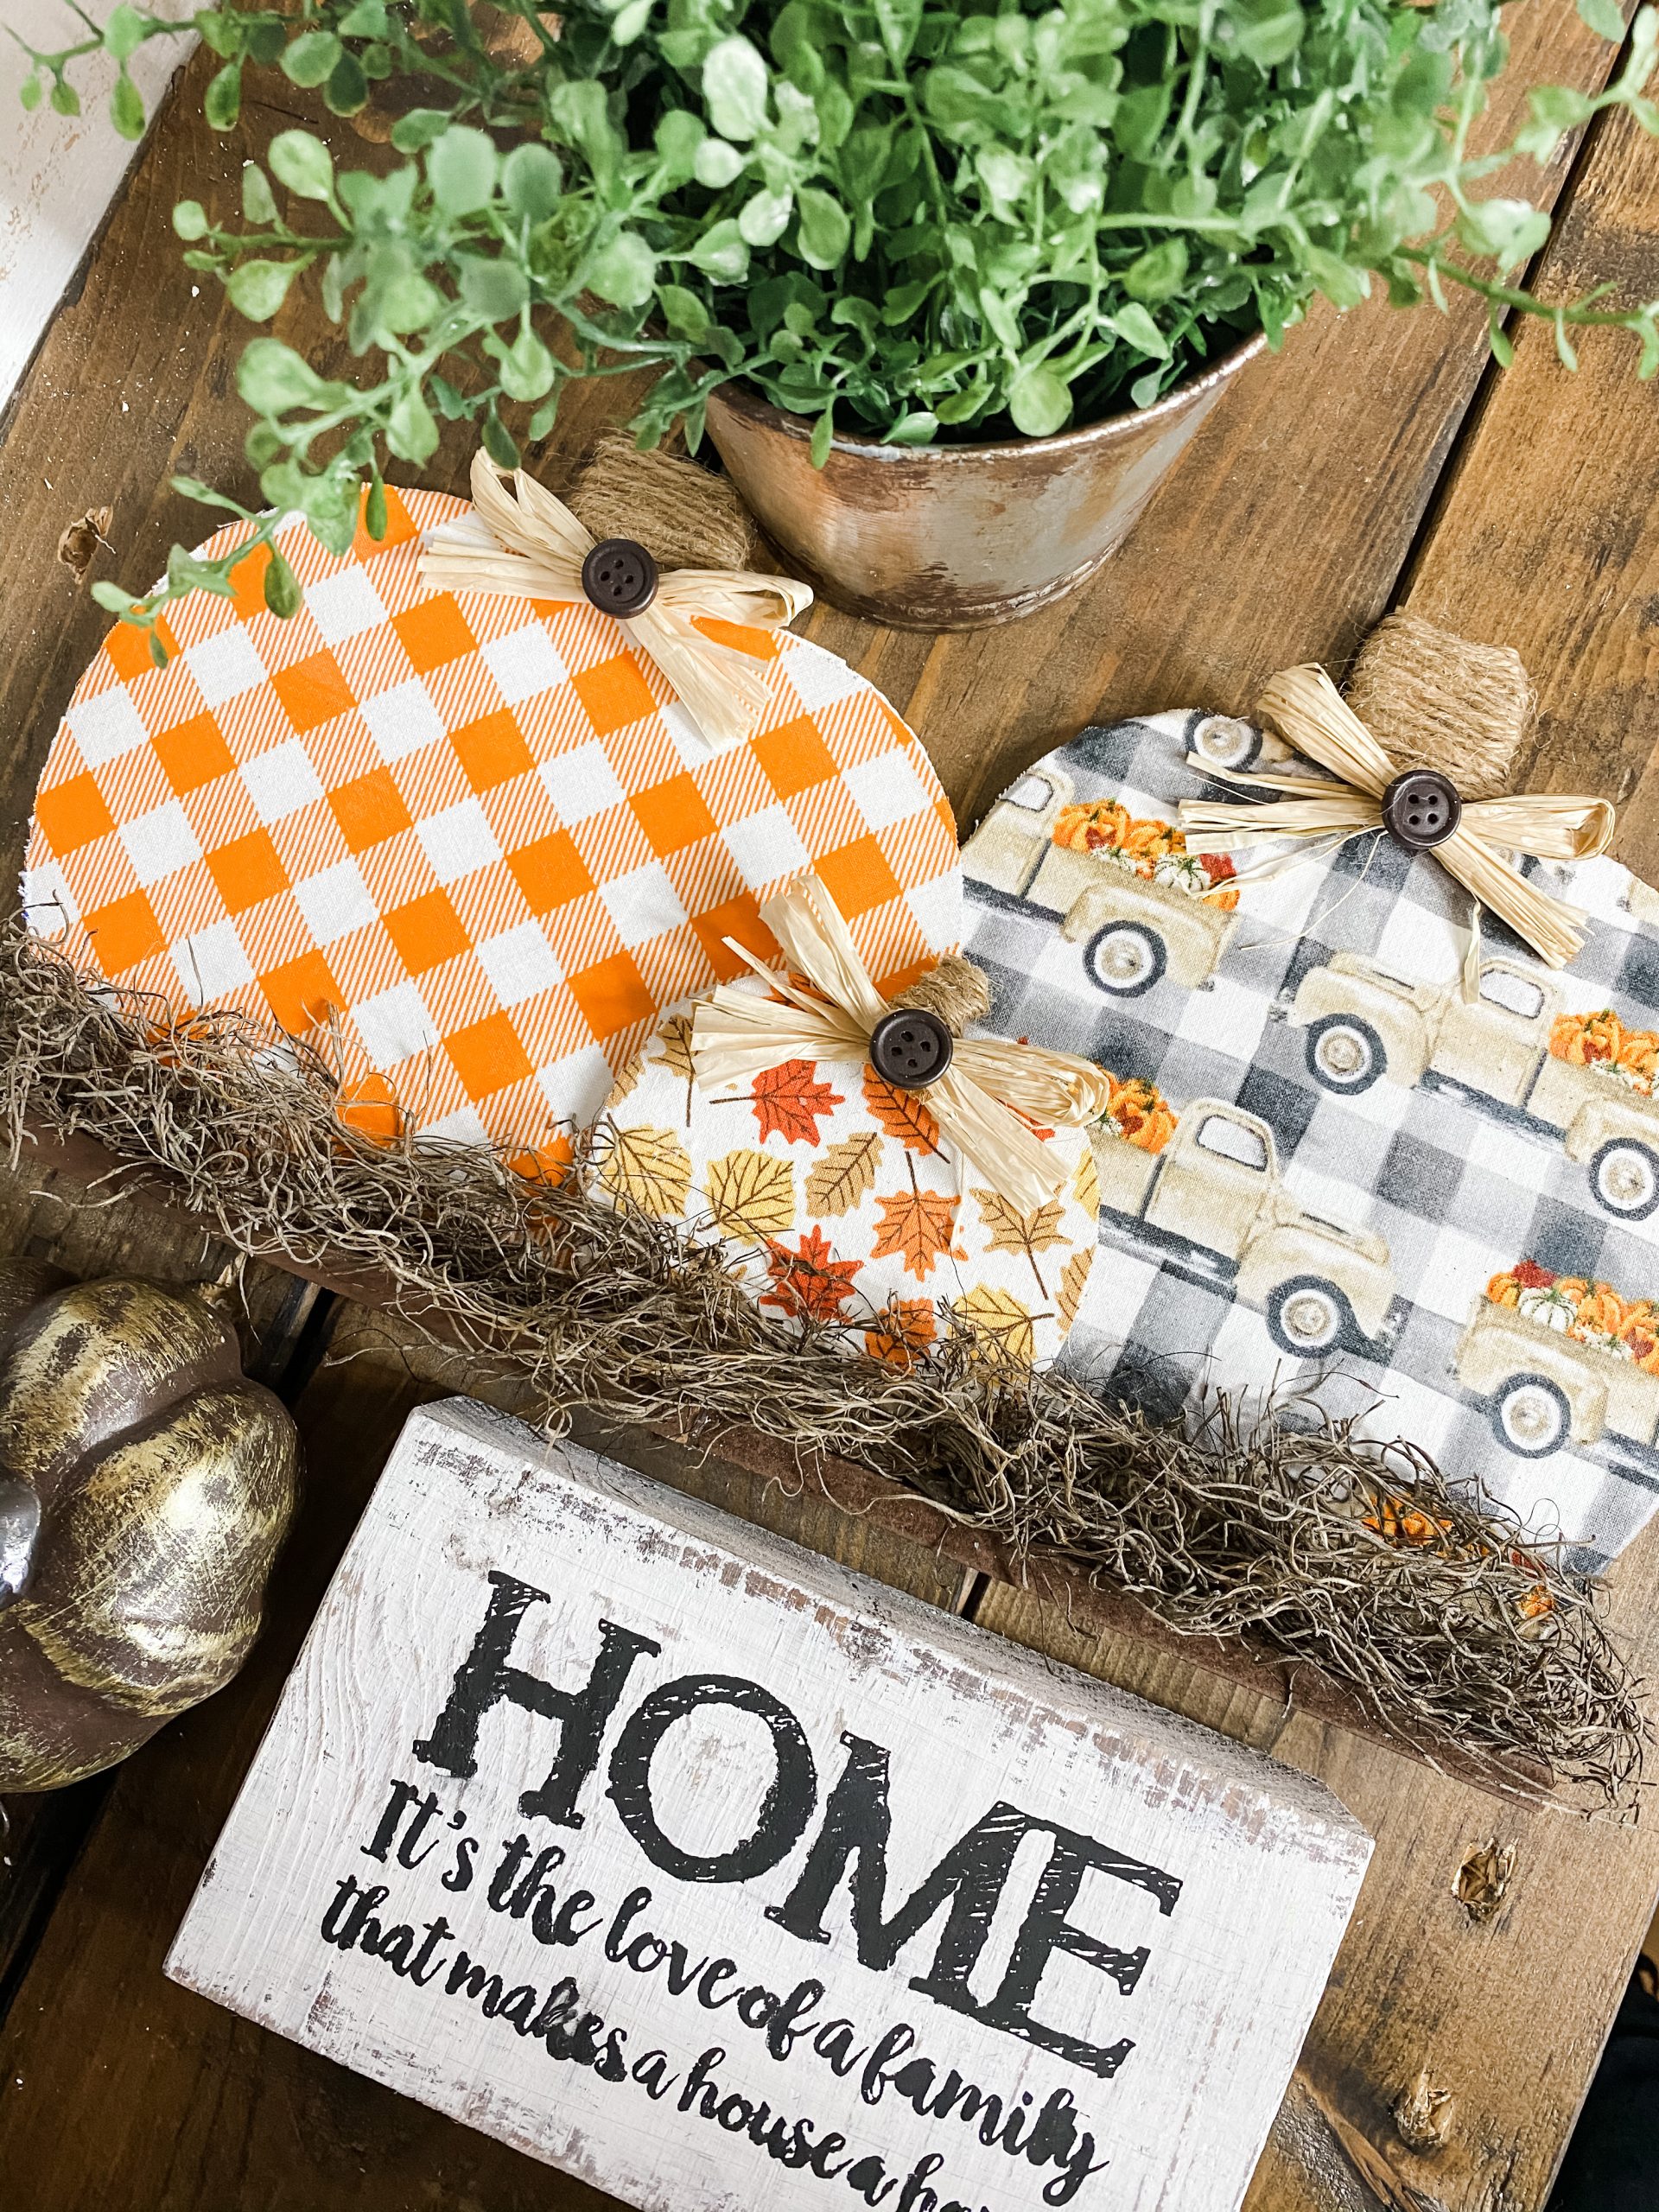
Next, generously apply hot glue to the base and press the Spanish moss onto it as you go. Don’t press it down too hard because you want the moss to have some volume to it.
Just look at how cute!

Y’all, I am SO HAPPY with how amazing this Fall Pumpkin Decor DIY looks! I LOVE IT!! I am so excited to add this to my home decor!
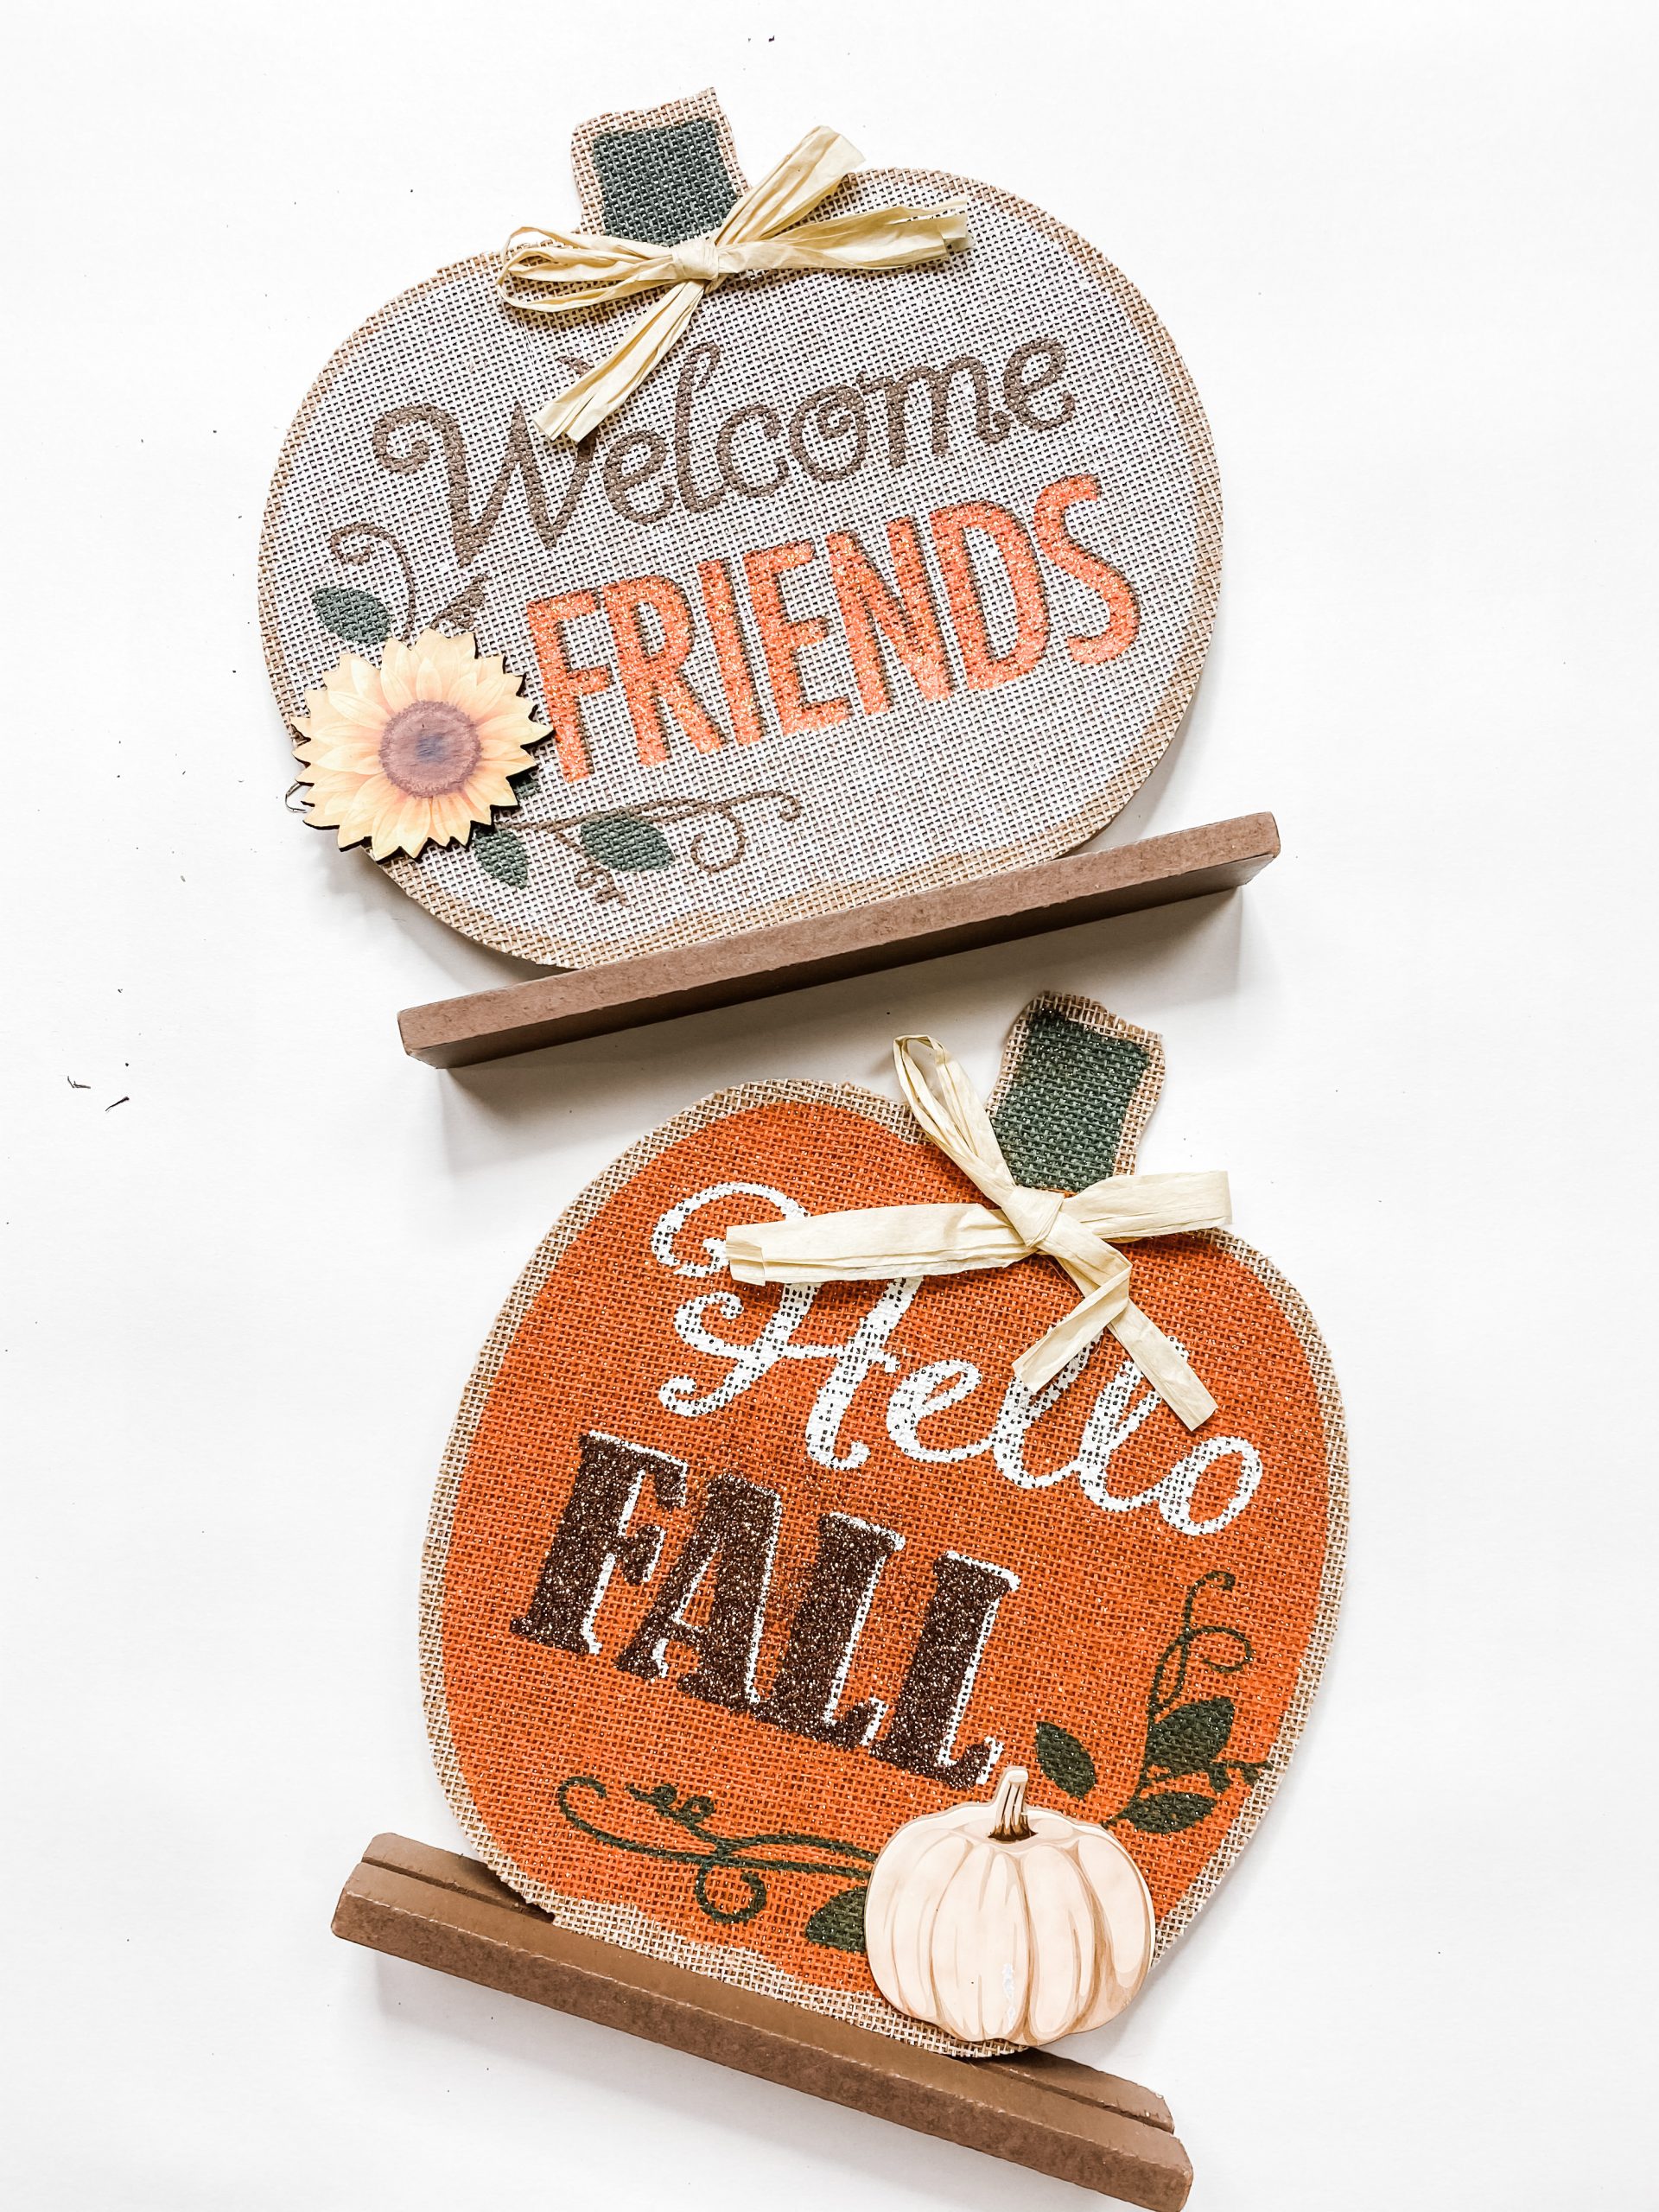
If you loved this DIY you might also like this Dollar Tree Fall Splatter Screen Pumpkin!
Thanks for stopping by! XOXO Amber
You can also shop my ENTIRE AMAZON Favorites shop just click here! It’s packed full of all the things I use and love.
Here is the supply list I highly recommend every creative have on hand!! Would you also pin my blog for later and get on my newsletter alerts? I would love to have you join my #craftycrew.

Join my free “ON A BUDGET CRAFTS” Facebook group!
PIN THIS POST FOR LATER!


Are there instructions for the pumpkin diy /3picture frames