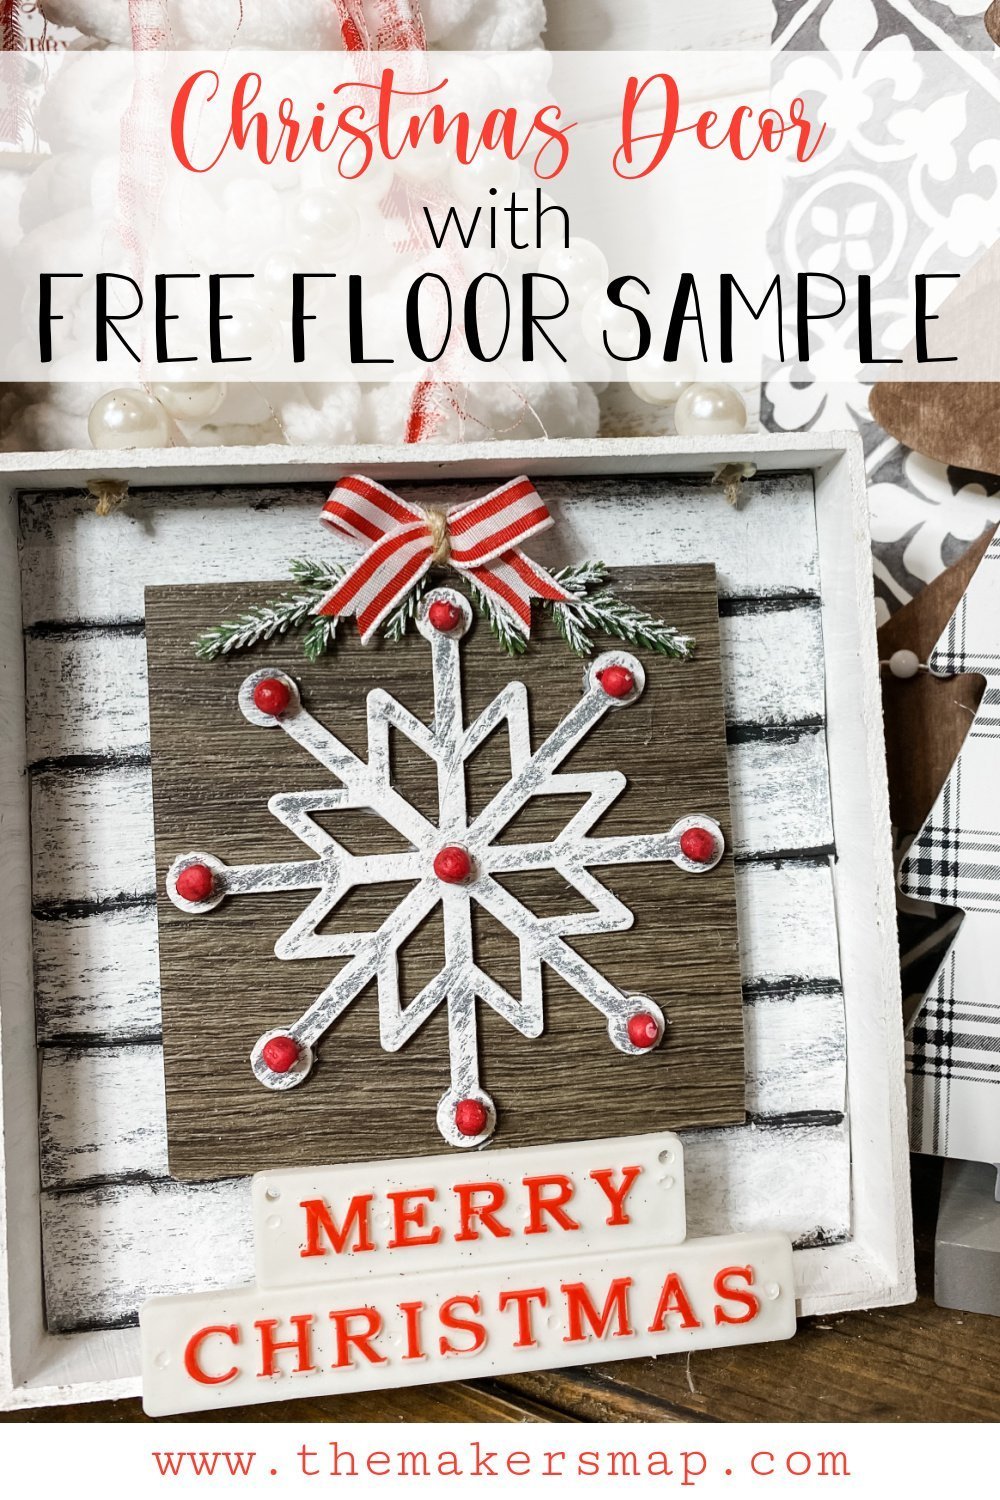
DIY Dollar Tree Snowflake Christmas Decor
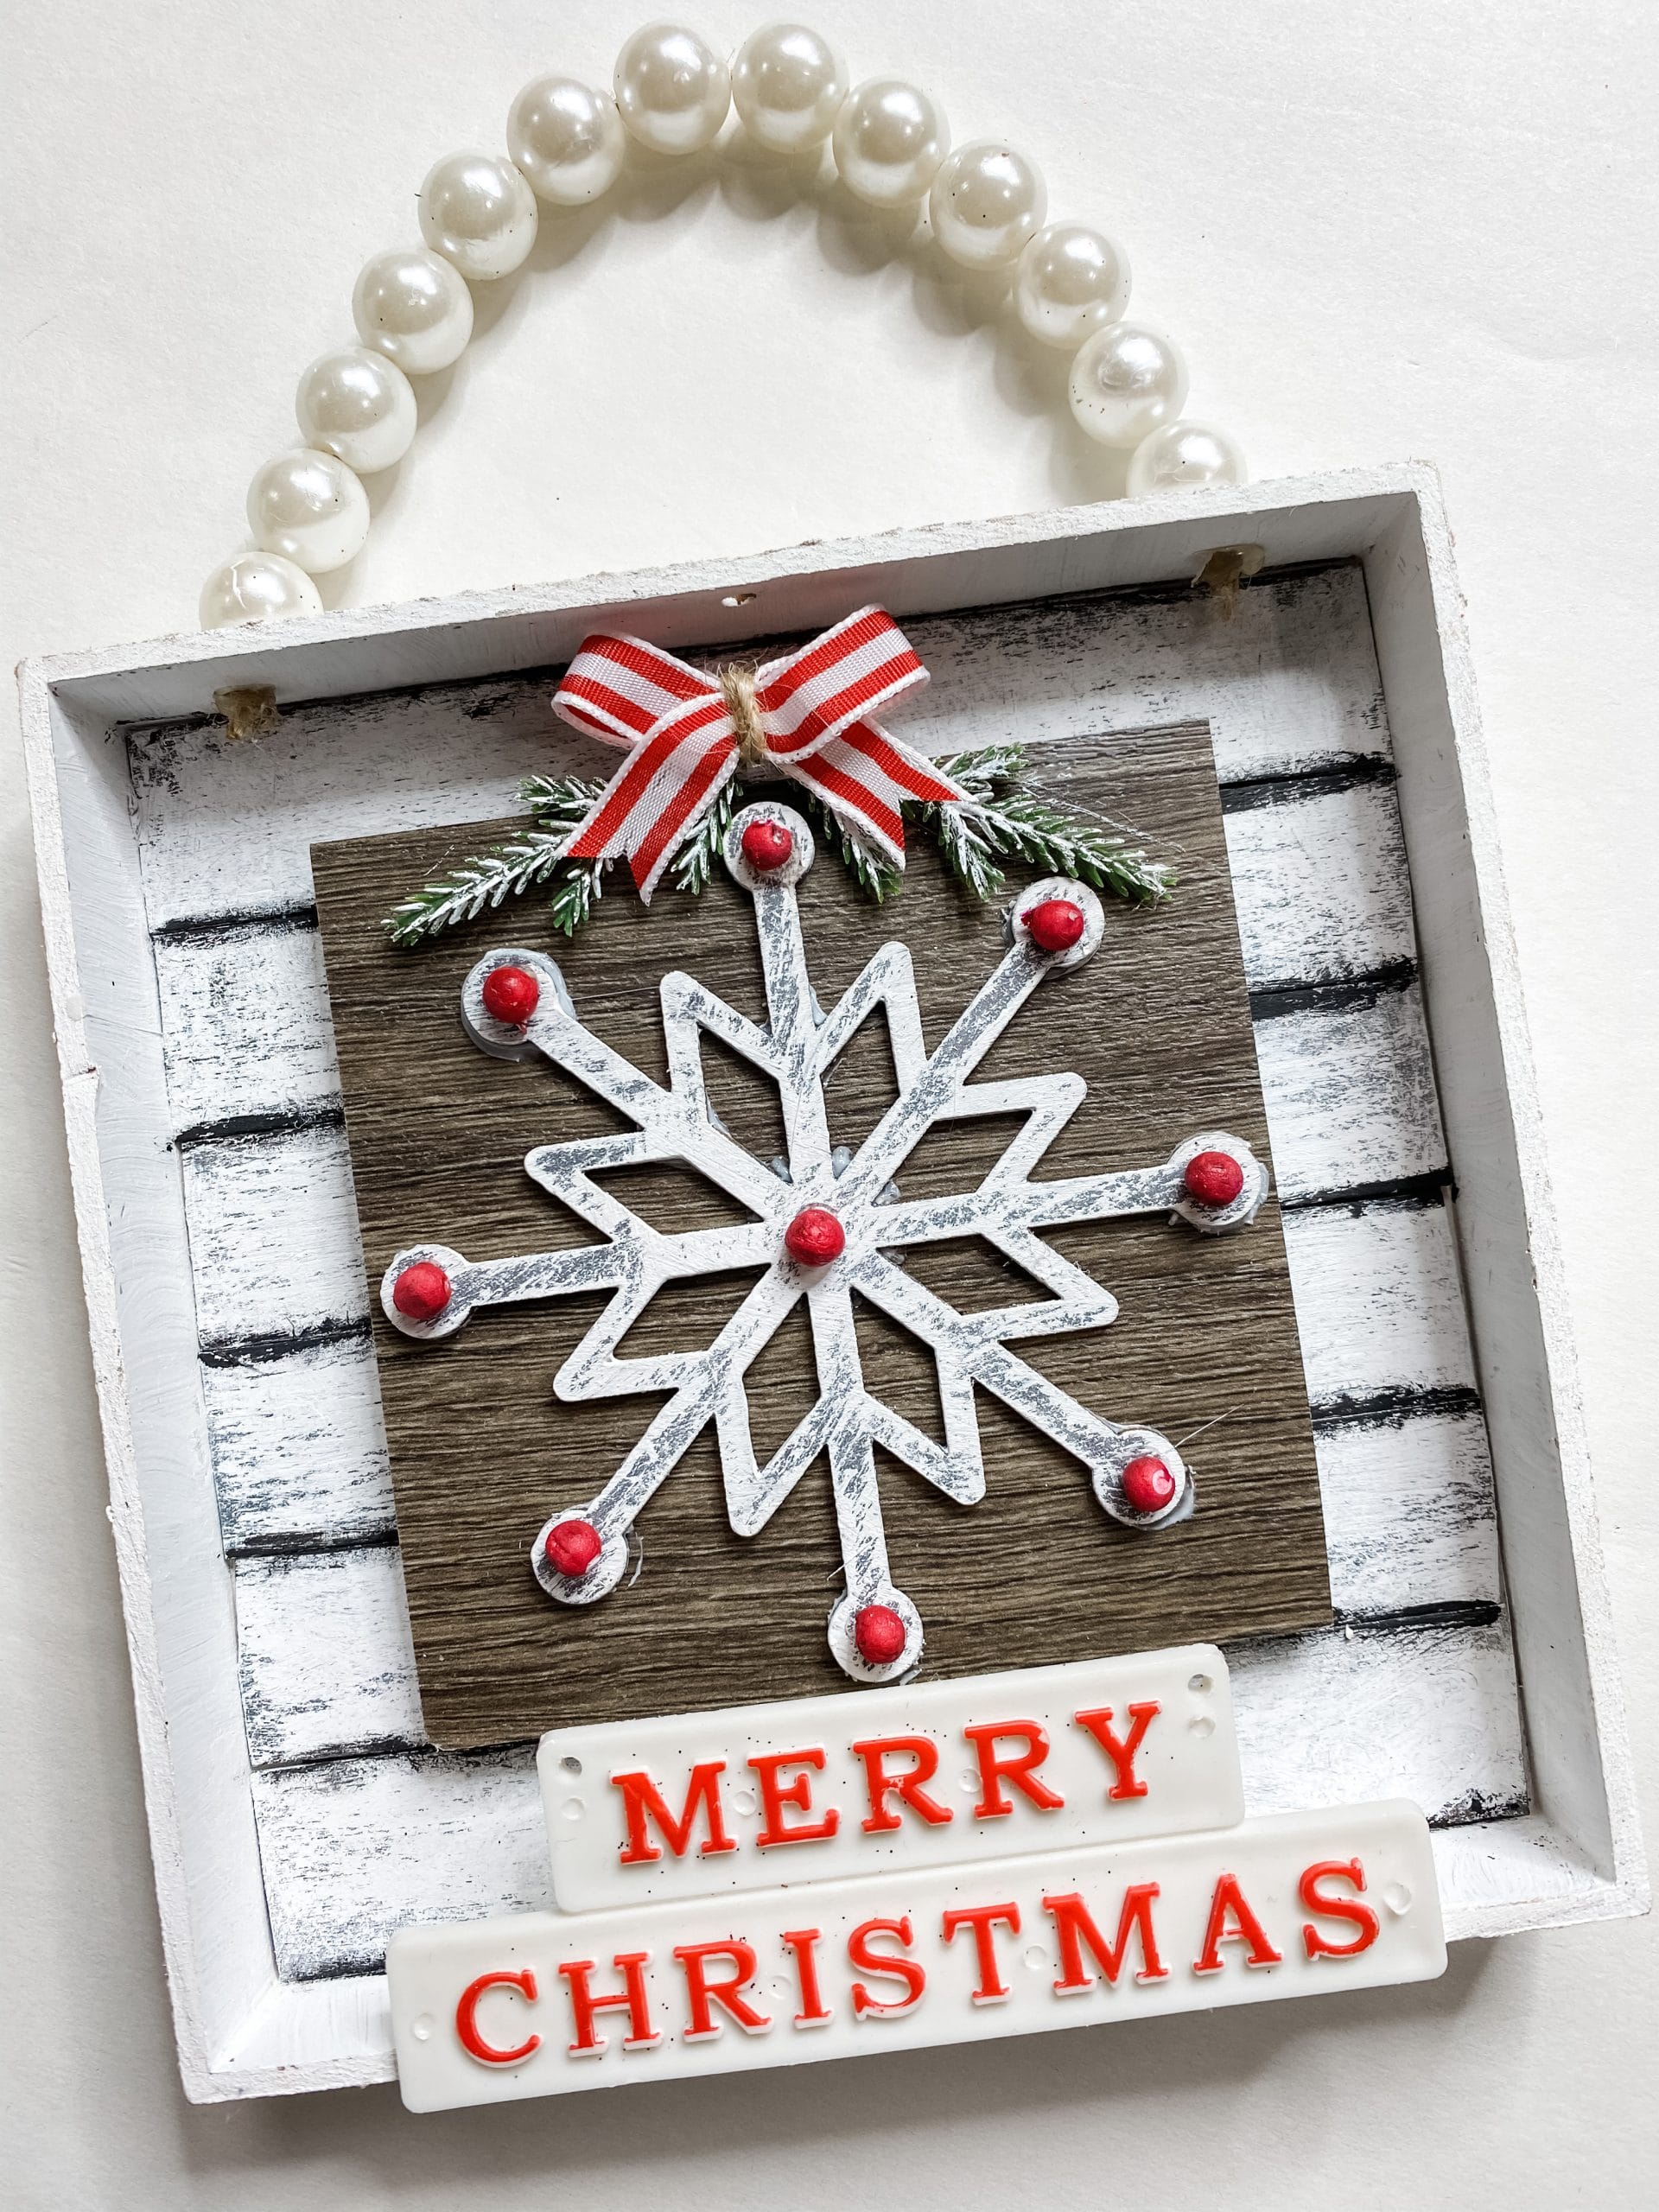
Did you love my Home Depot Floor Sample Ornaments? Well, here is another amazing floor sample DIY! This DIY Dollar Tree Snowflake Christmas Decor is so cute and would be a really fun kid’s craft.
With almost all of the supplies from Dollar Tree, and even a Home Depot free floor sample, it doesn’t get more affordable than this!
I think you will really enjoy the simplicity of this Christmas DIY, and I can’t wait to explain how I made this easy Dollar Tree craft!
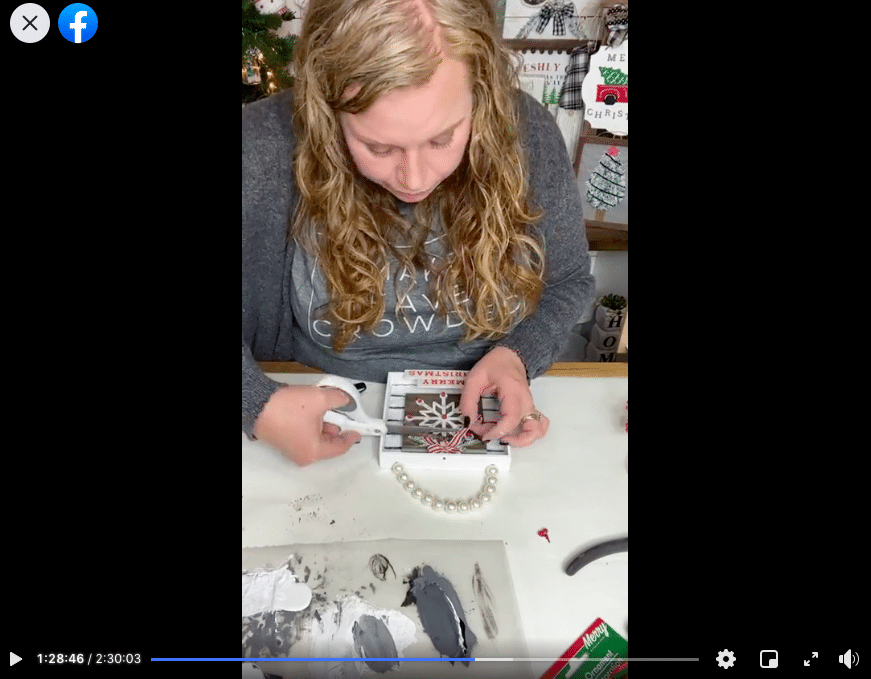
Watch the replay
Like most of my DIYs, I created this DIY Dollar Tree Snowflake Christmas Decor during a LIVE video on my Facebook page. I love having the chance to inspire and teach others, and a LIVE video is the best way to do that!
If you want to craft along or see my techniques, you can watch the replay!
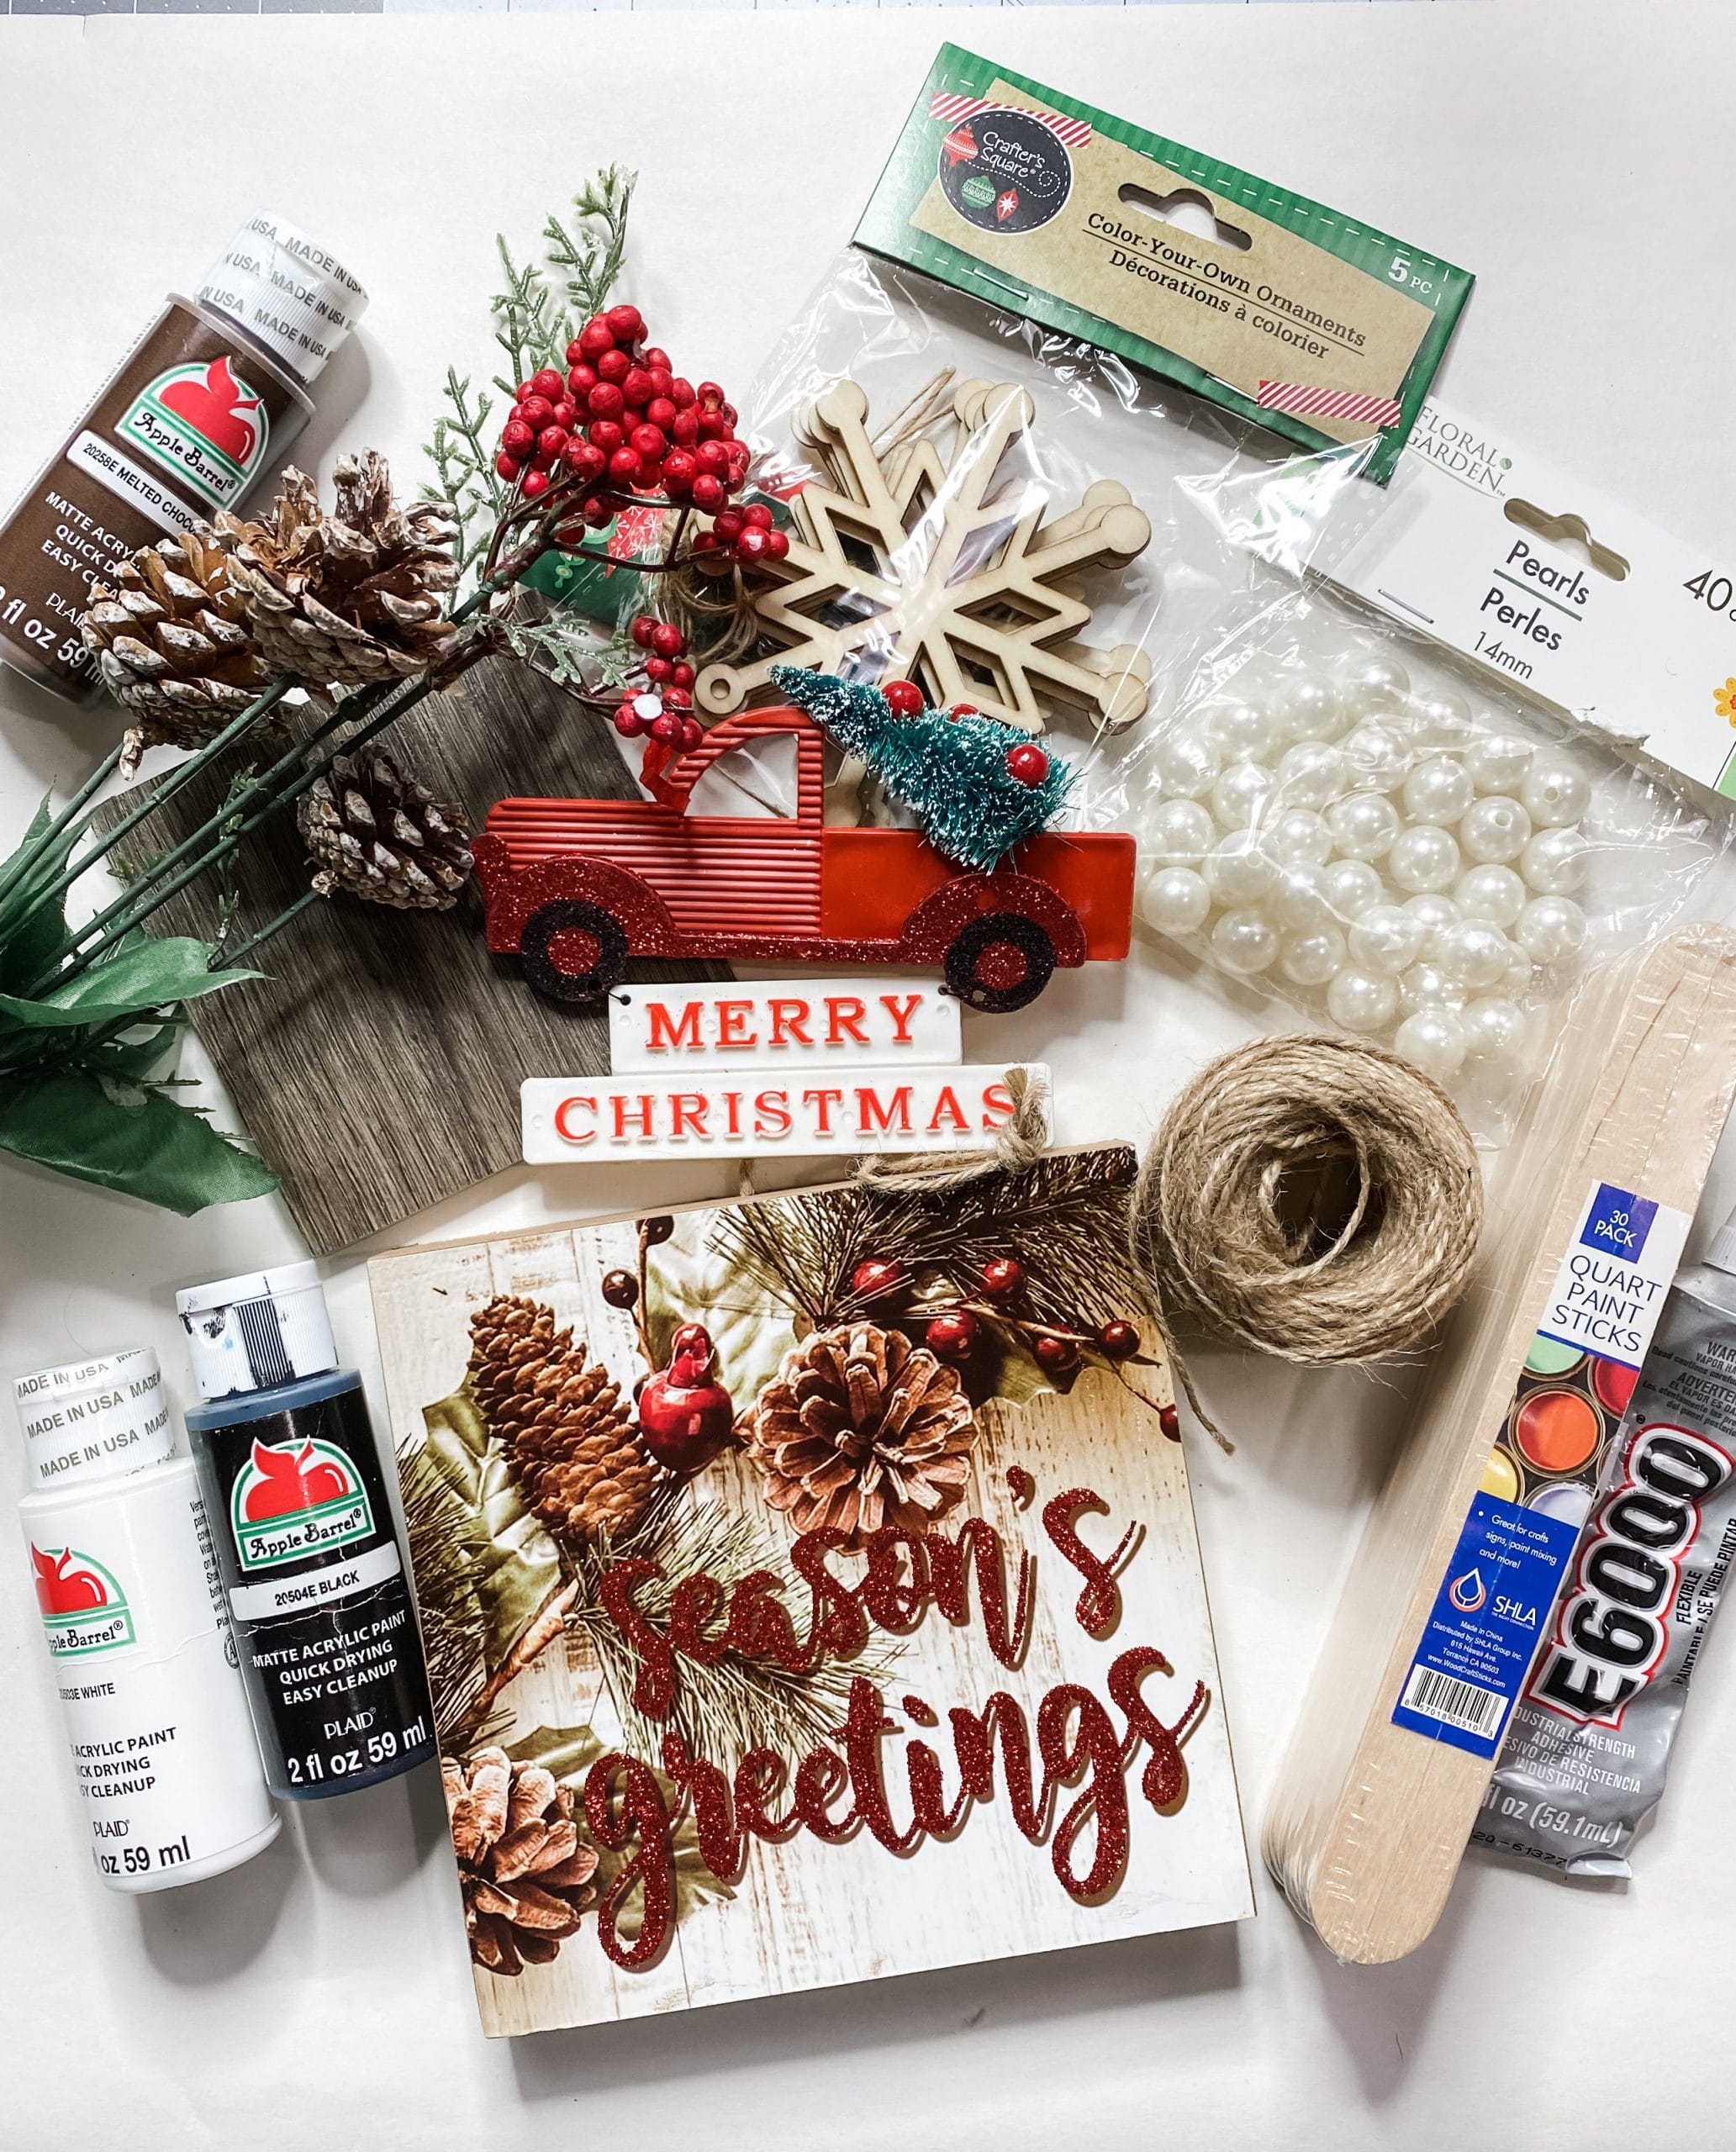
For this project, I will be using these items but you can substitute where you want.
“As an Amazon Associate, I earn from qualifying purchases.”
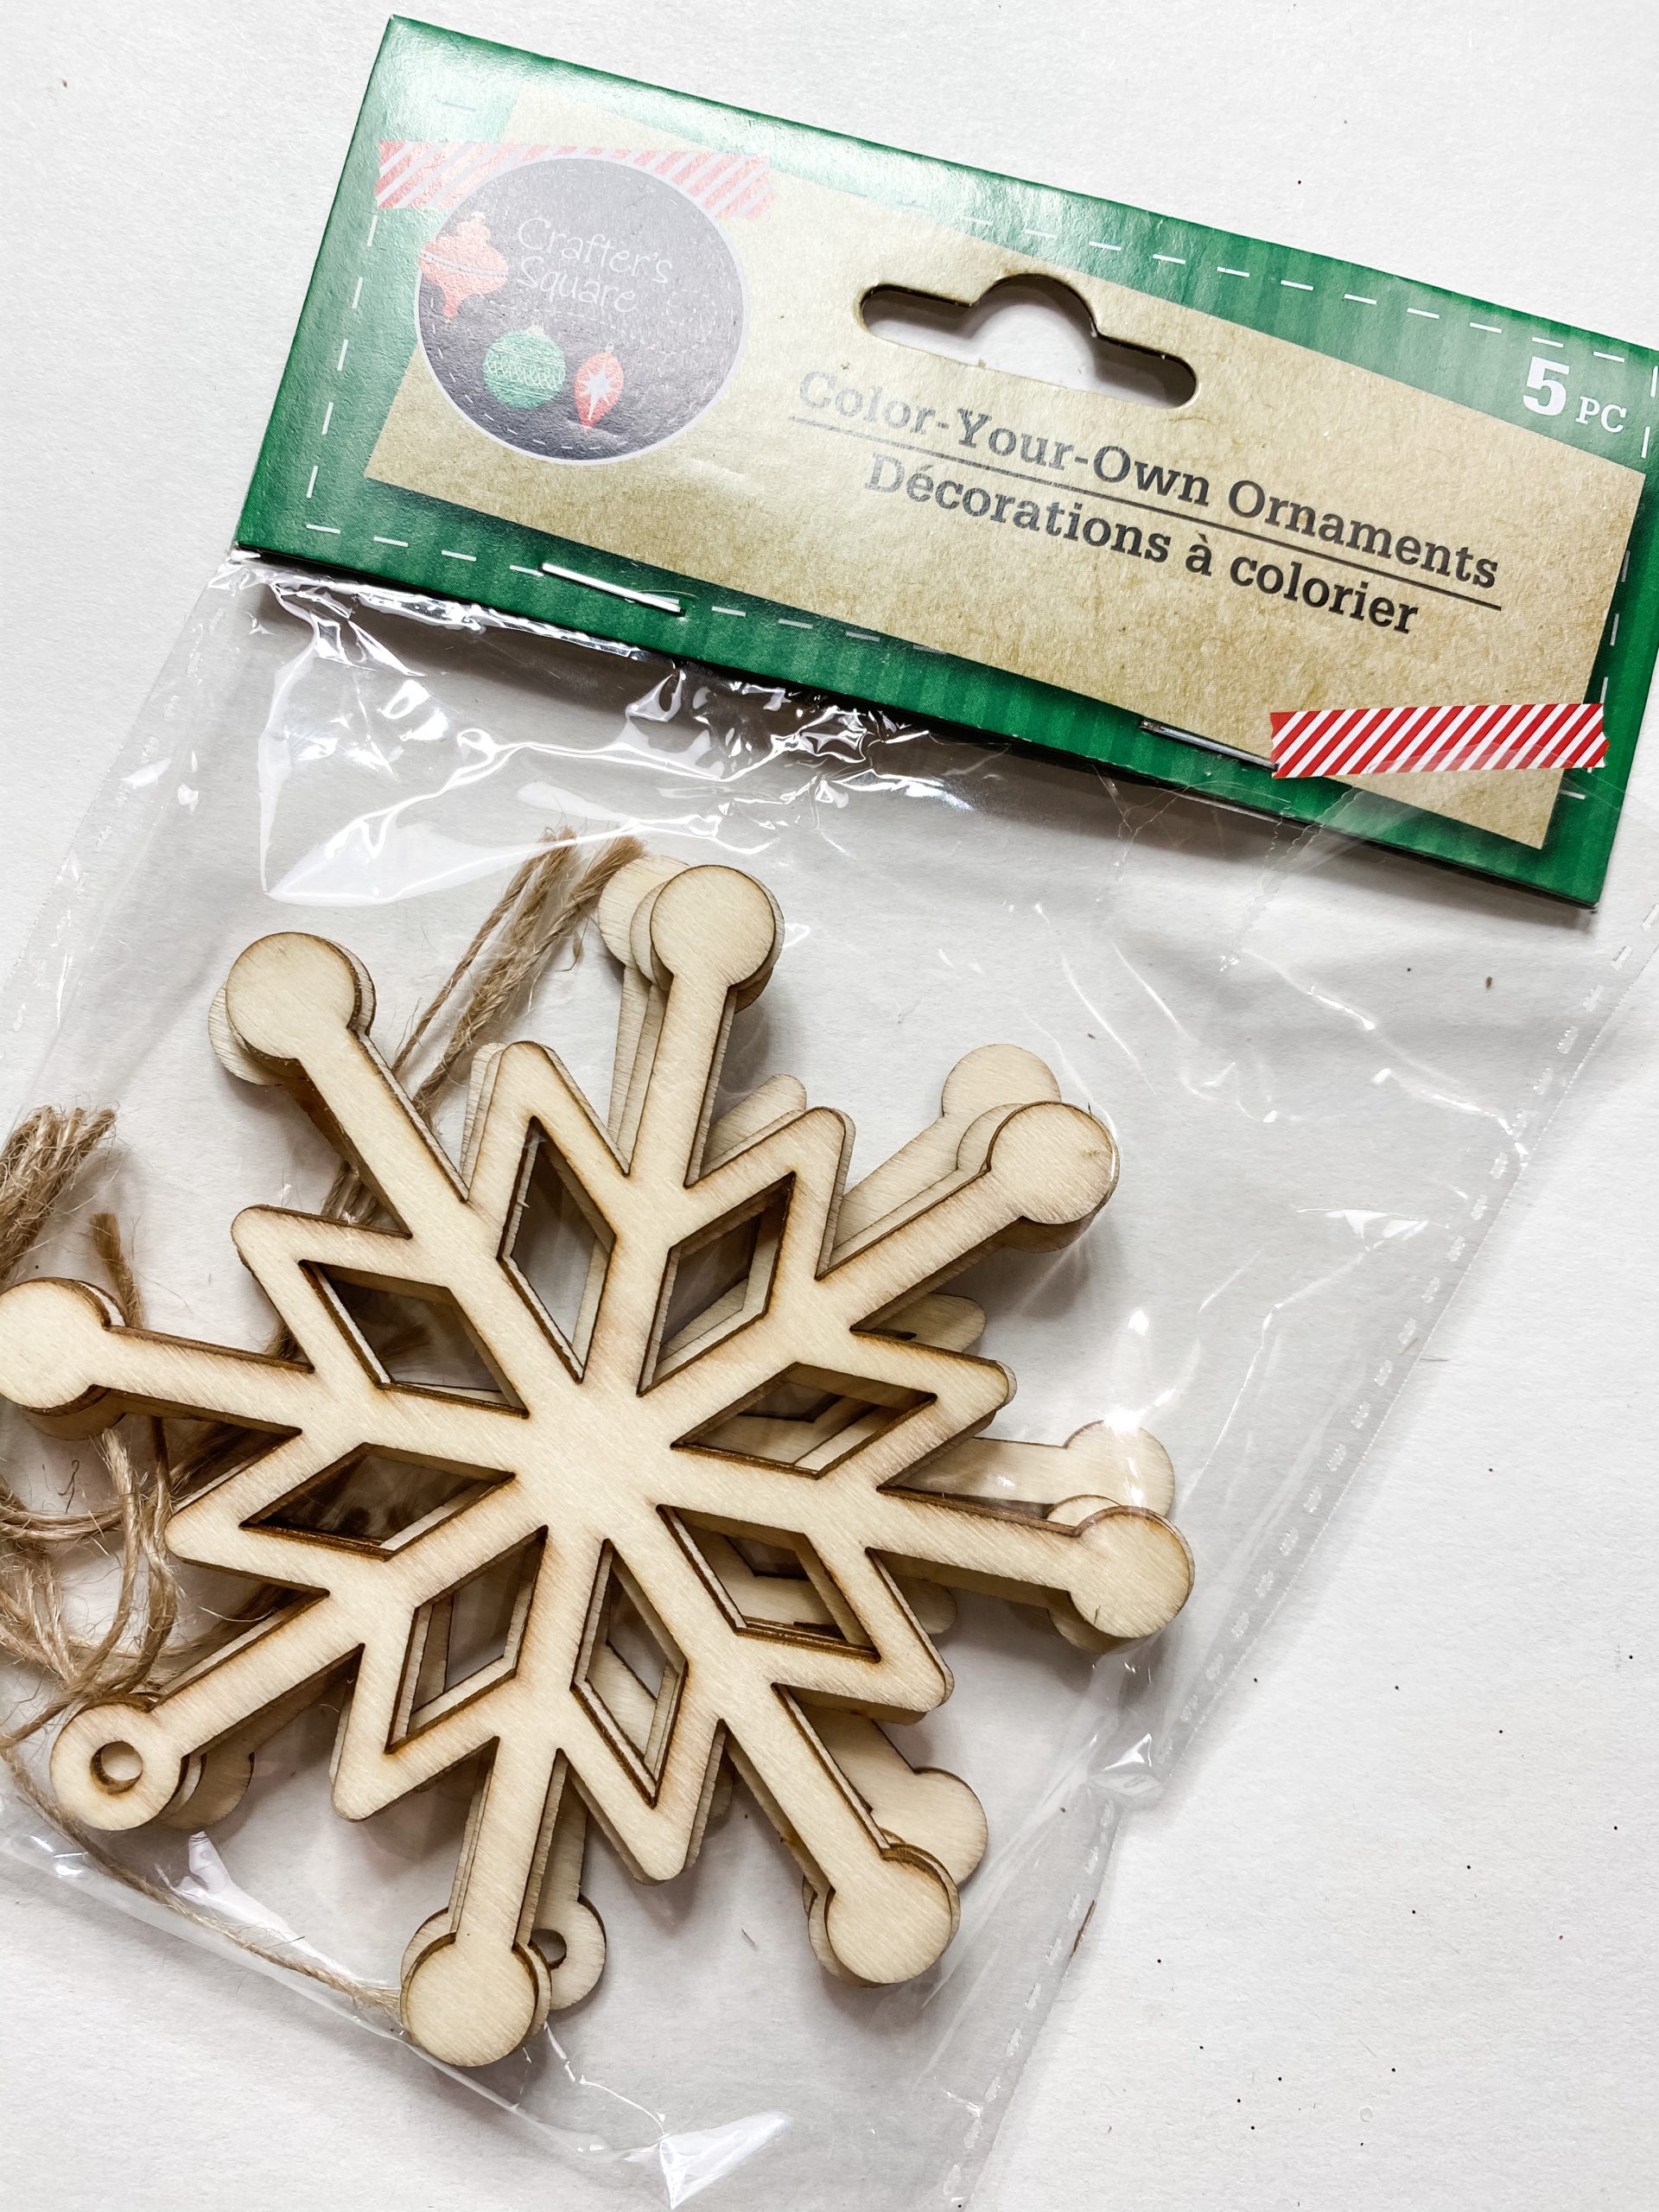
- Dollar Tree Snowflake Ornament
- Dollar Tree Christmas Greenery with berries and pinecones
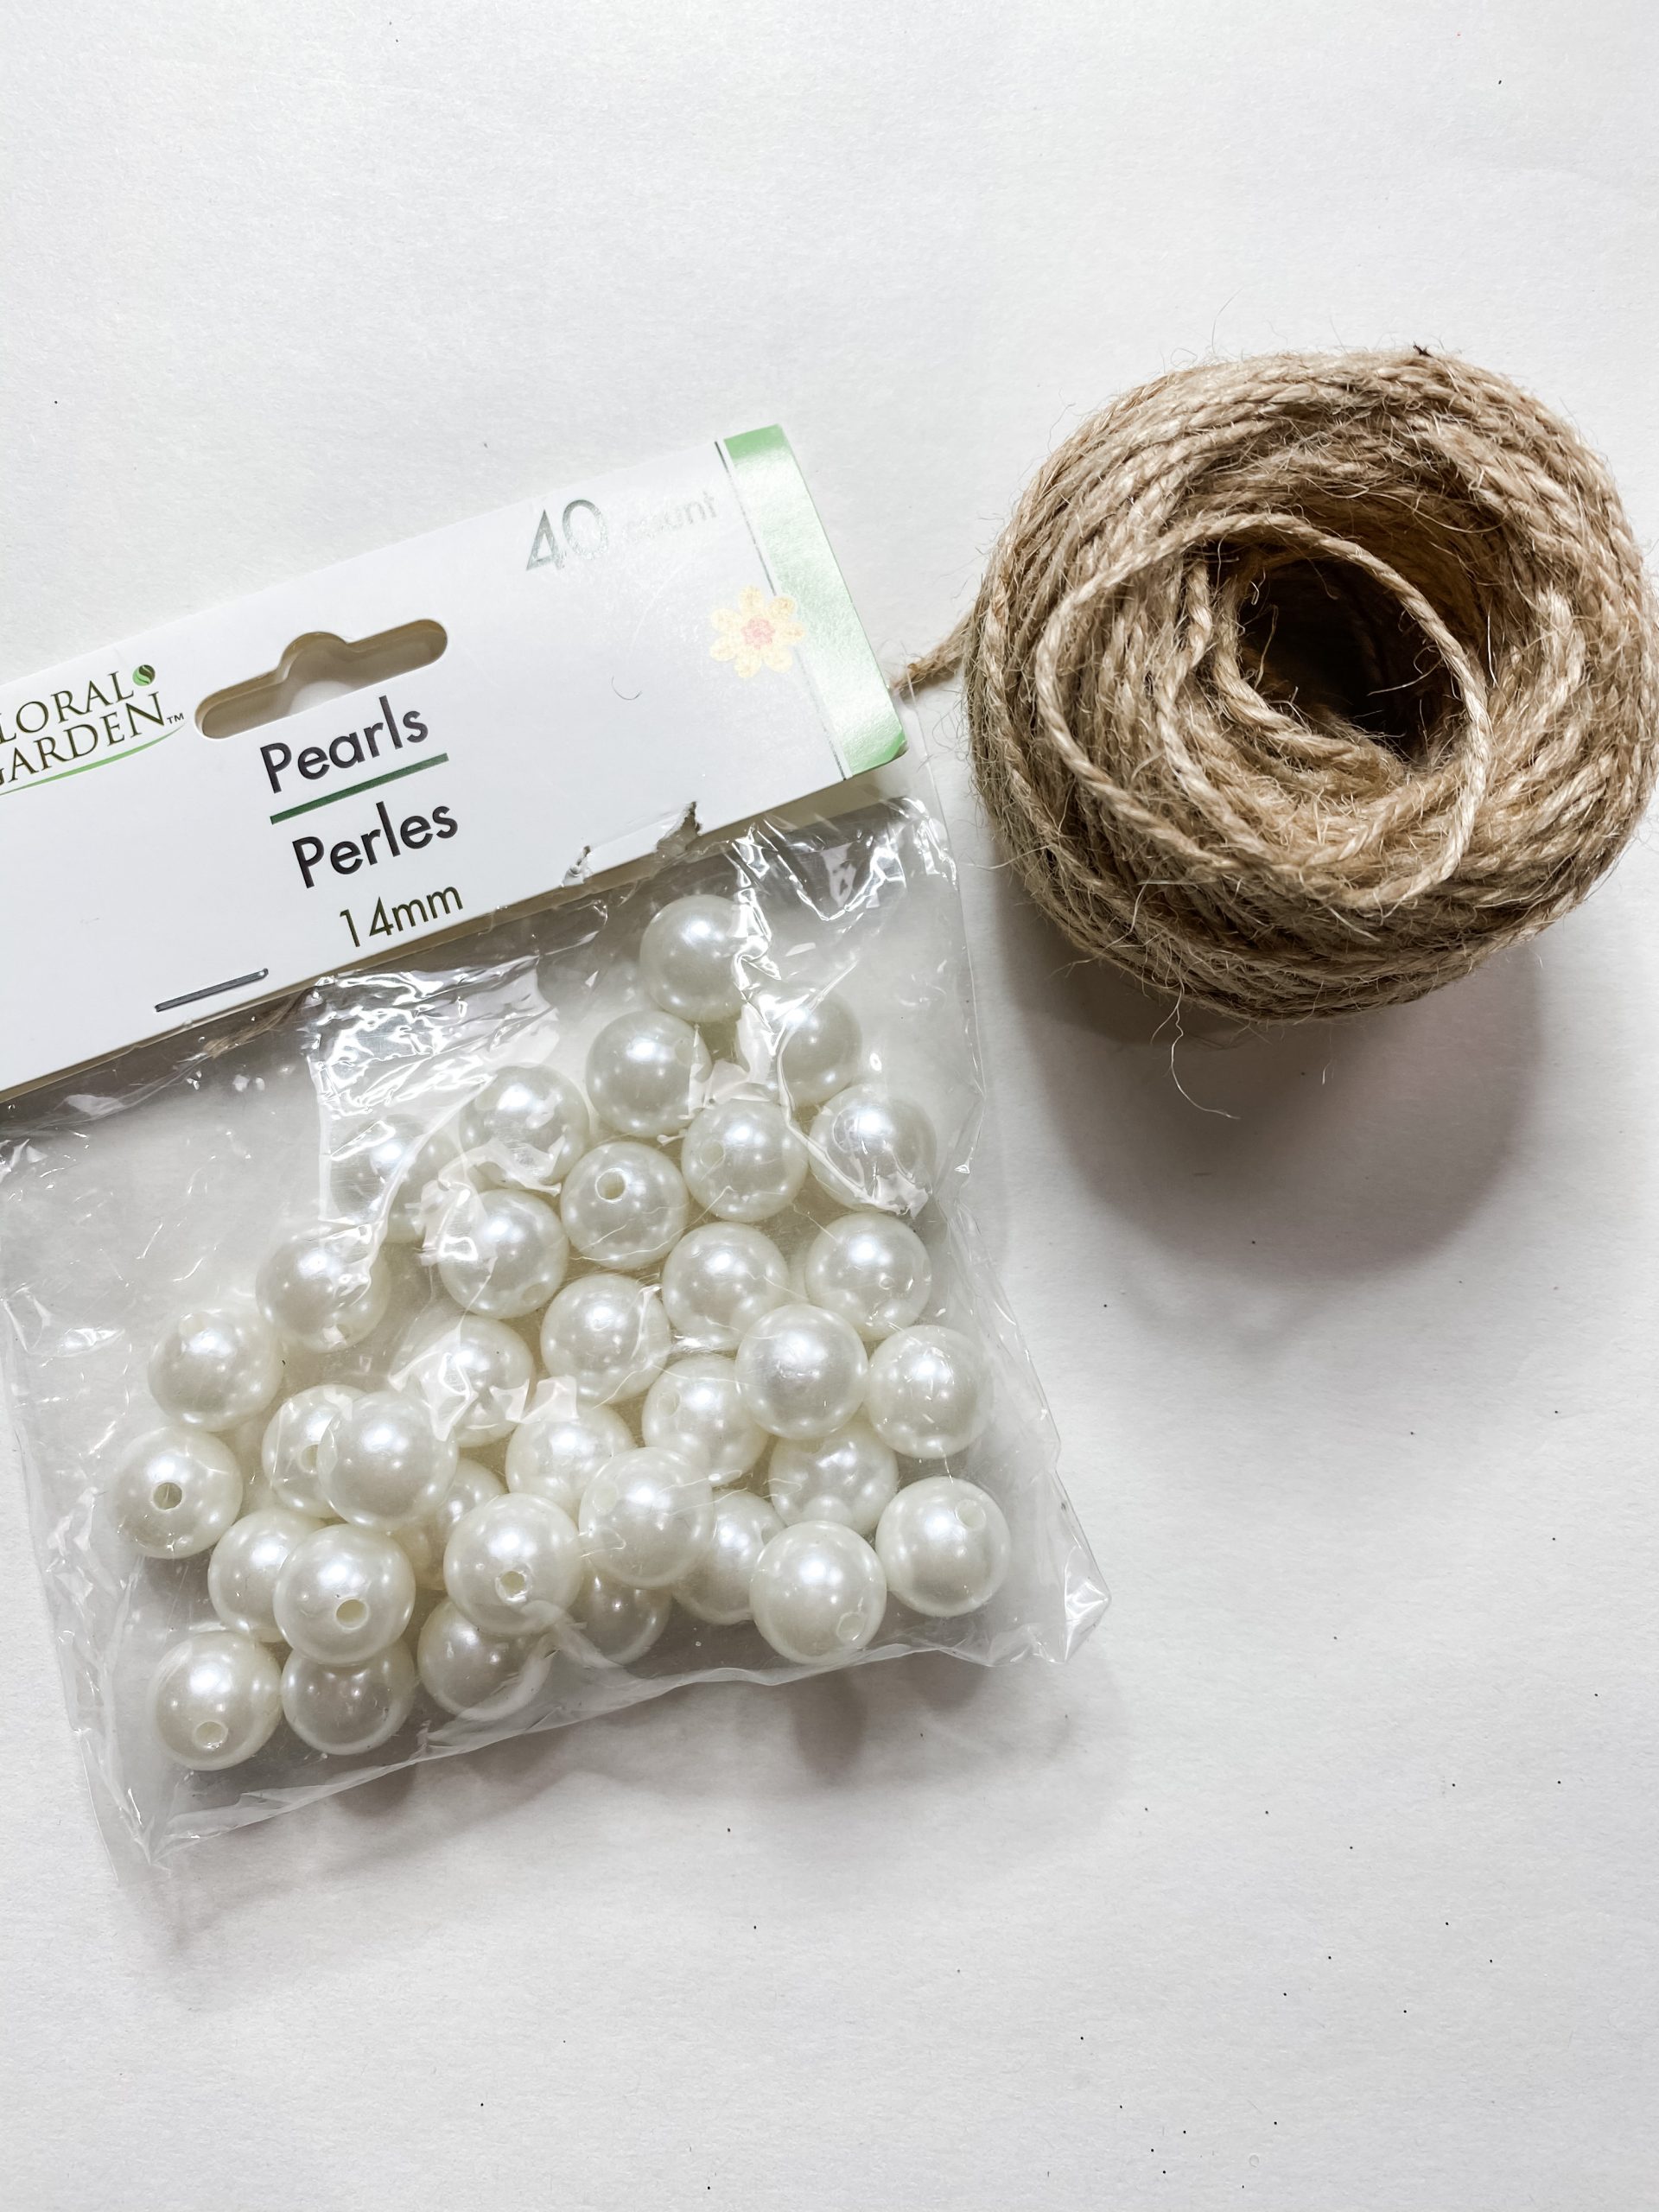
- Jute Twine
- Dollar Tree Pearls
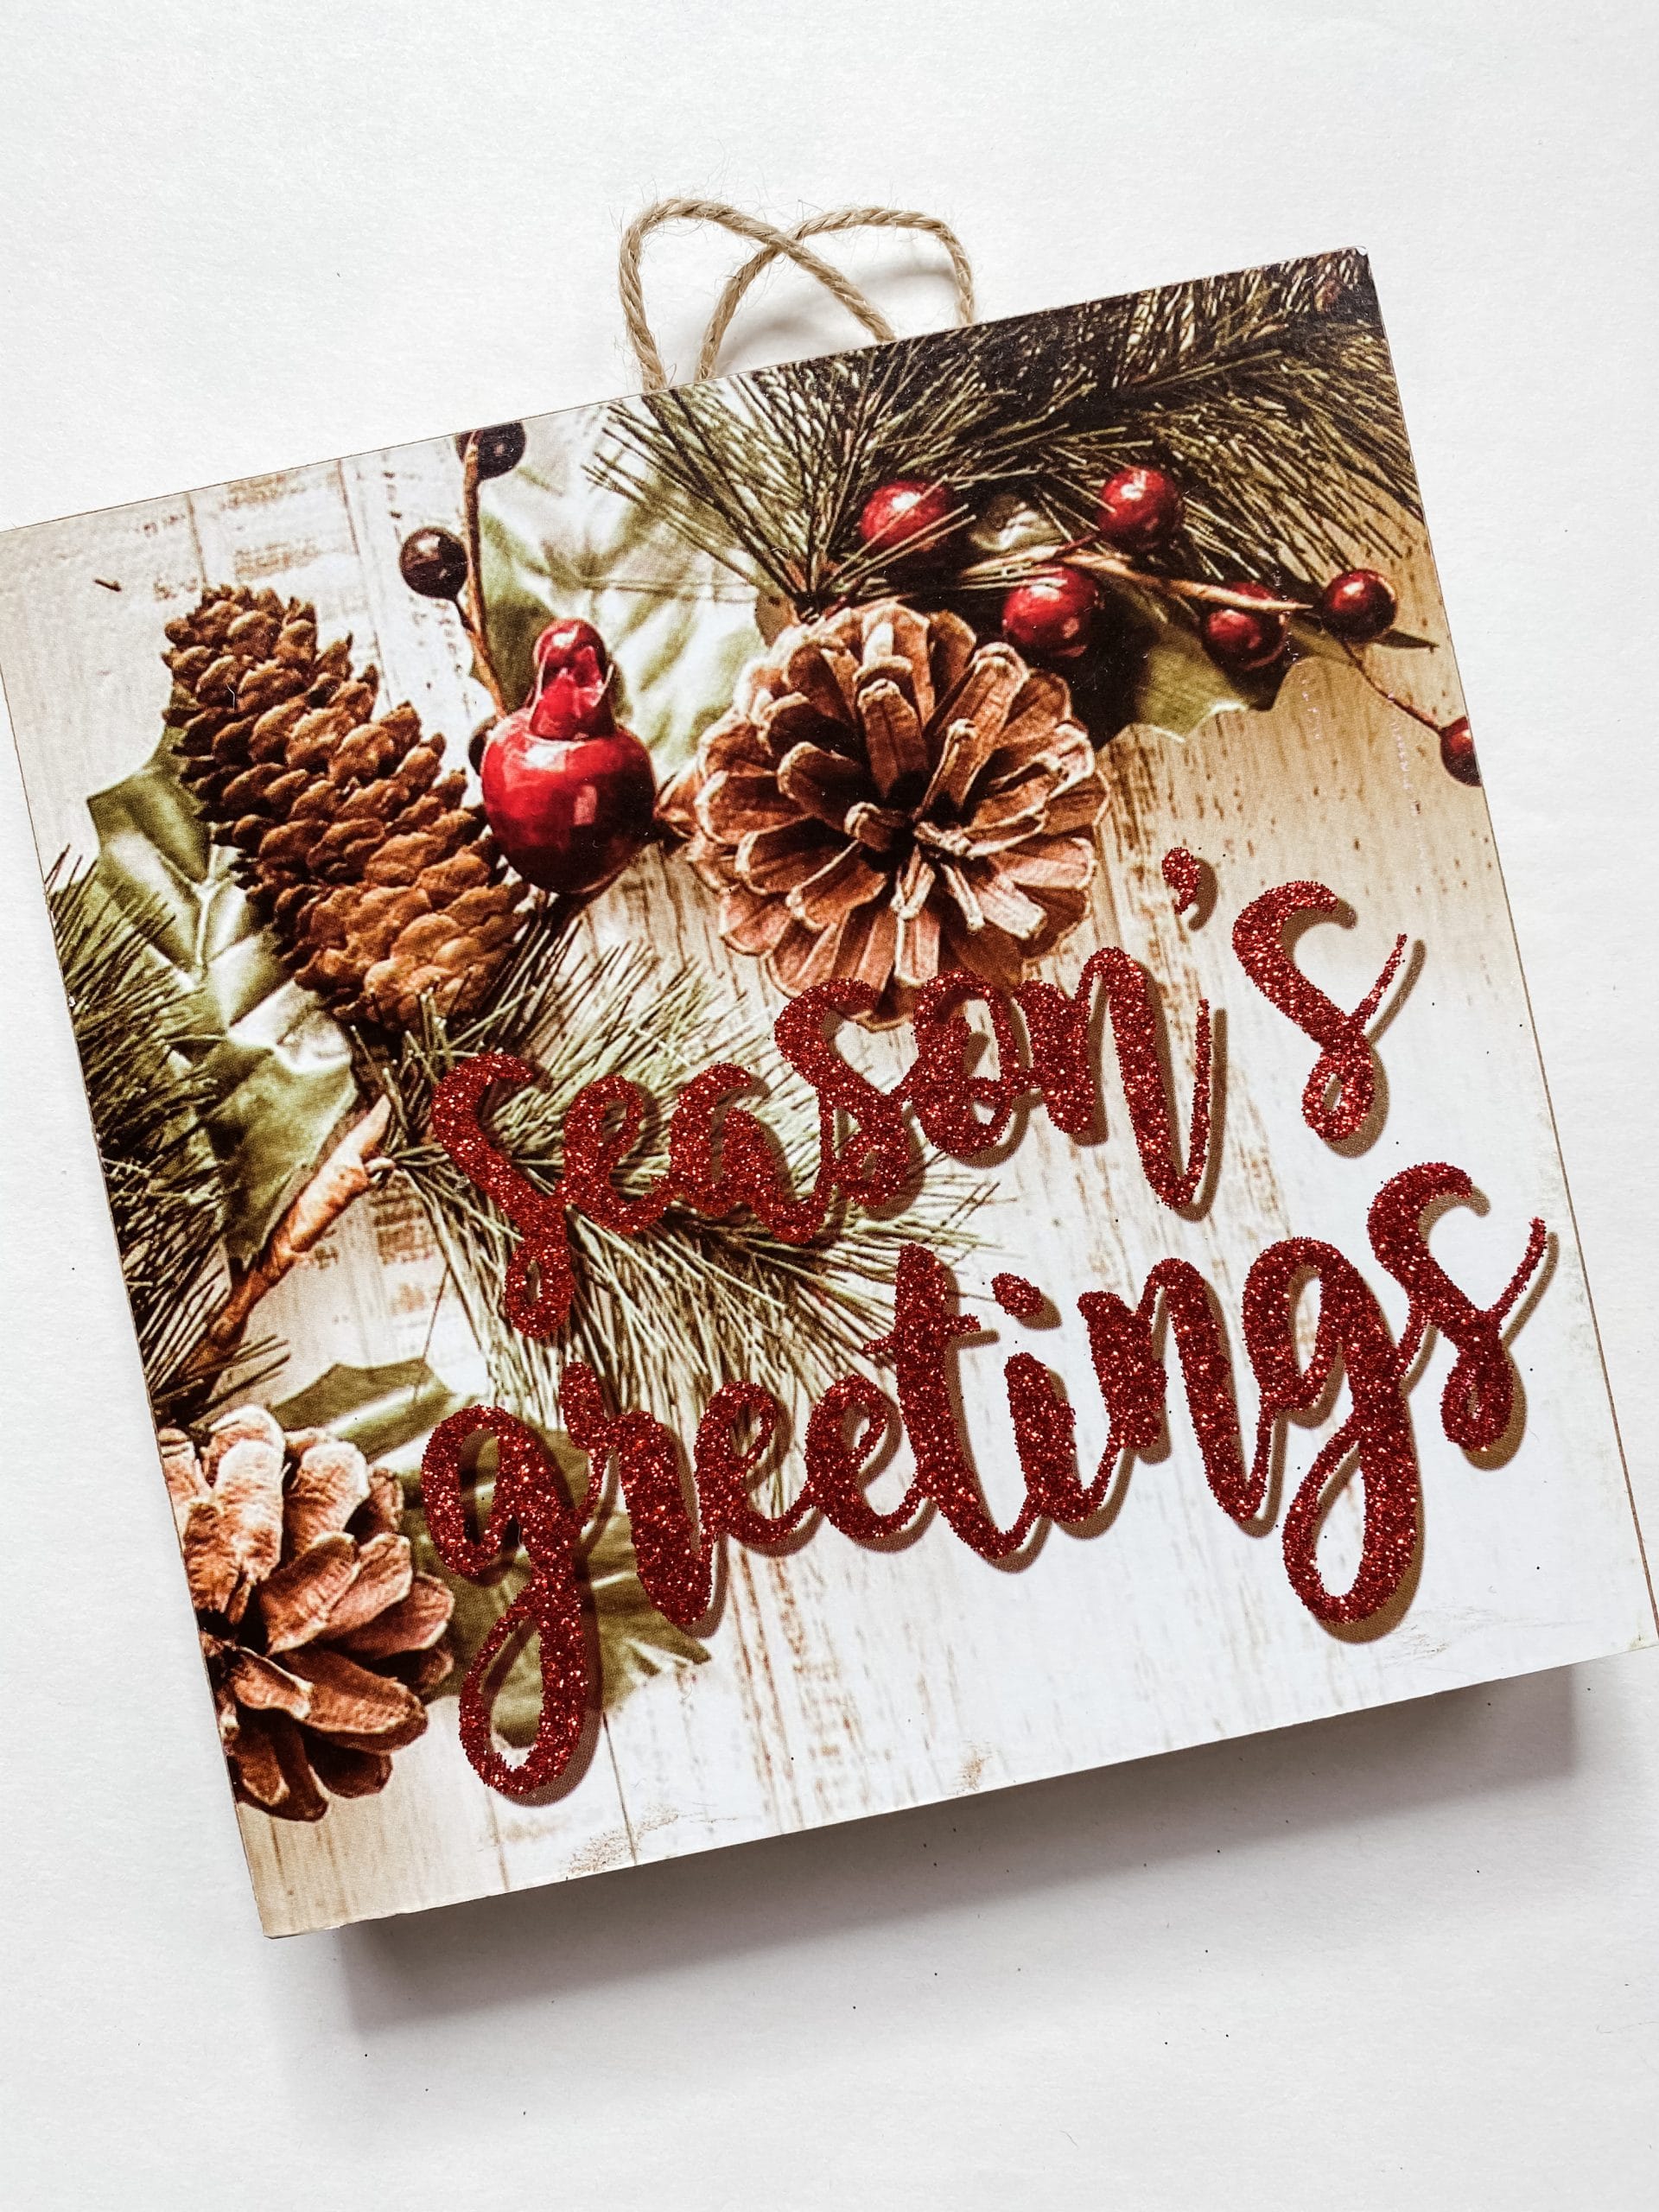
- Dollar Tree Sign Box
- Apple Barrel Melted Chocolate Acrylic Paint
- Dollar Tree Metal Red Truck with Merry Christmas sign
- Apple Barrel White Acrylic Paint
- Apple Barrel Black Acrylic Paint
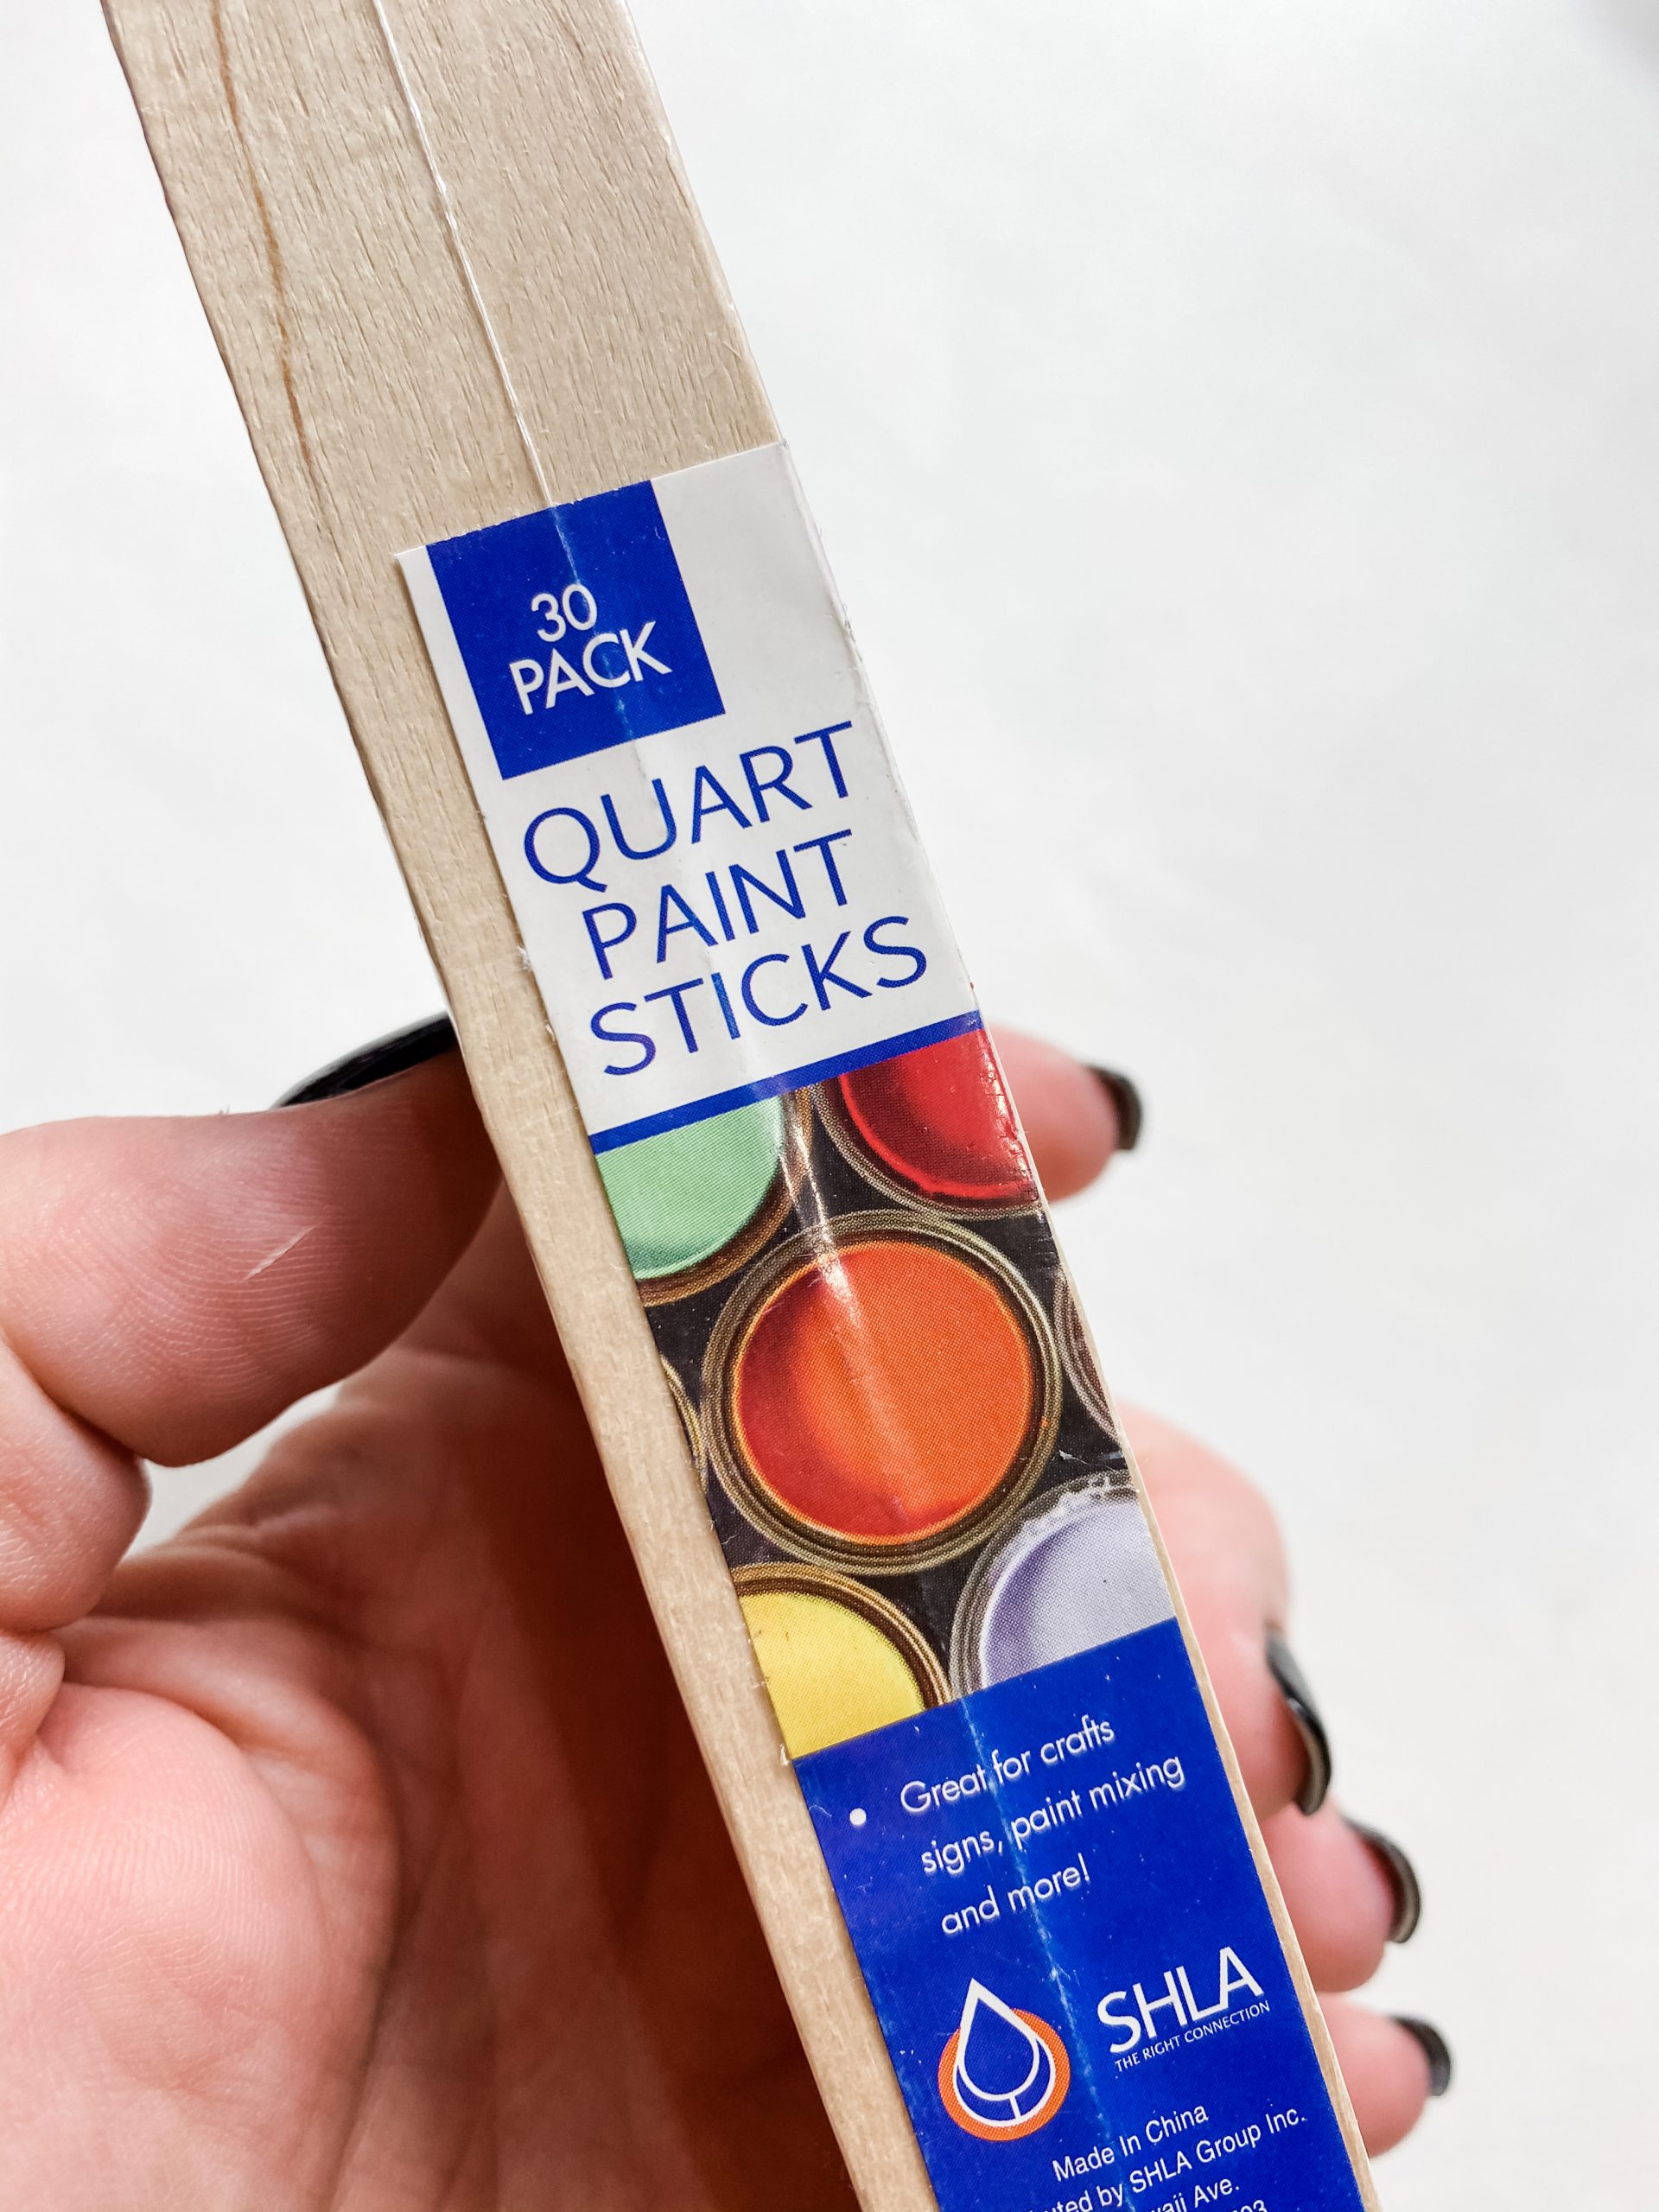
- Quart paint sticks
- E6000
- Glue Gun
- Heat gun
The DIY Details
I am so excited to share how I brought this adorable Christmas sign to life! To start, you’re going to need the Dollar Tree sign box and Quart Size Paint Sticks.
It takes 6 paint sticks to cover the inside of the sign box. Use a pencil to mark where you’ll need to trim the paint sticks.
We are going to plank the inside of the sign box with the paint sticks, so we have to trim them to fit inside first.
You can use a regular pair of scissors to trim the craft sticks to the right size. Just be careful not to cut yourself or get a splinter!
Before we insert the paint sticks into the sign box, let’s add some color first! At first, I stained my paint sticks brown with Apple Barrel Melted Chocolate.
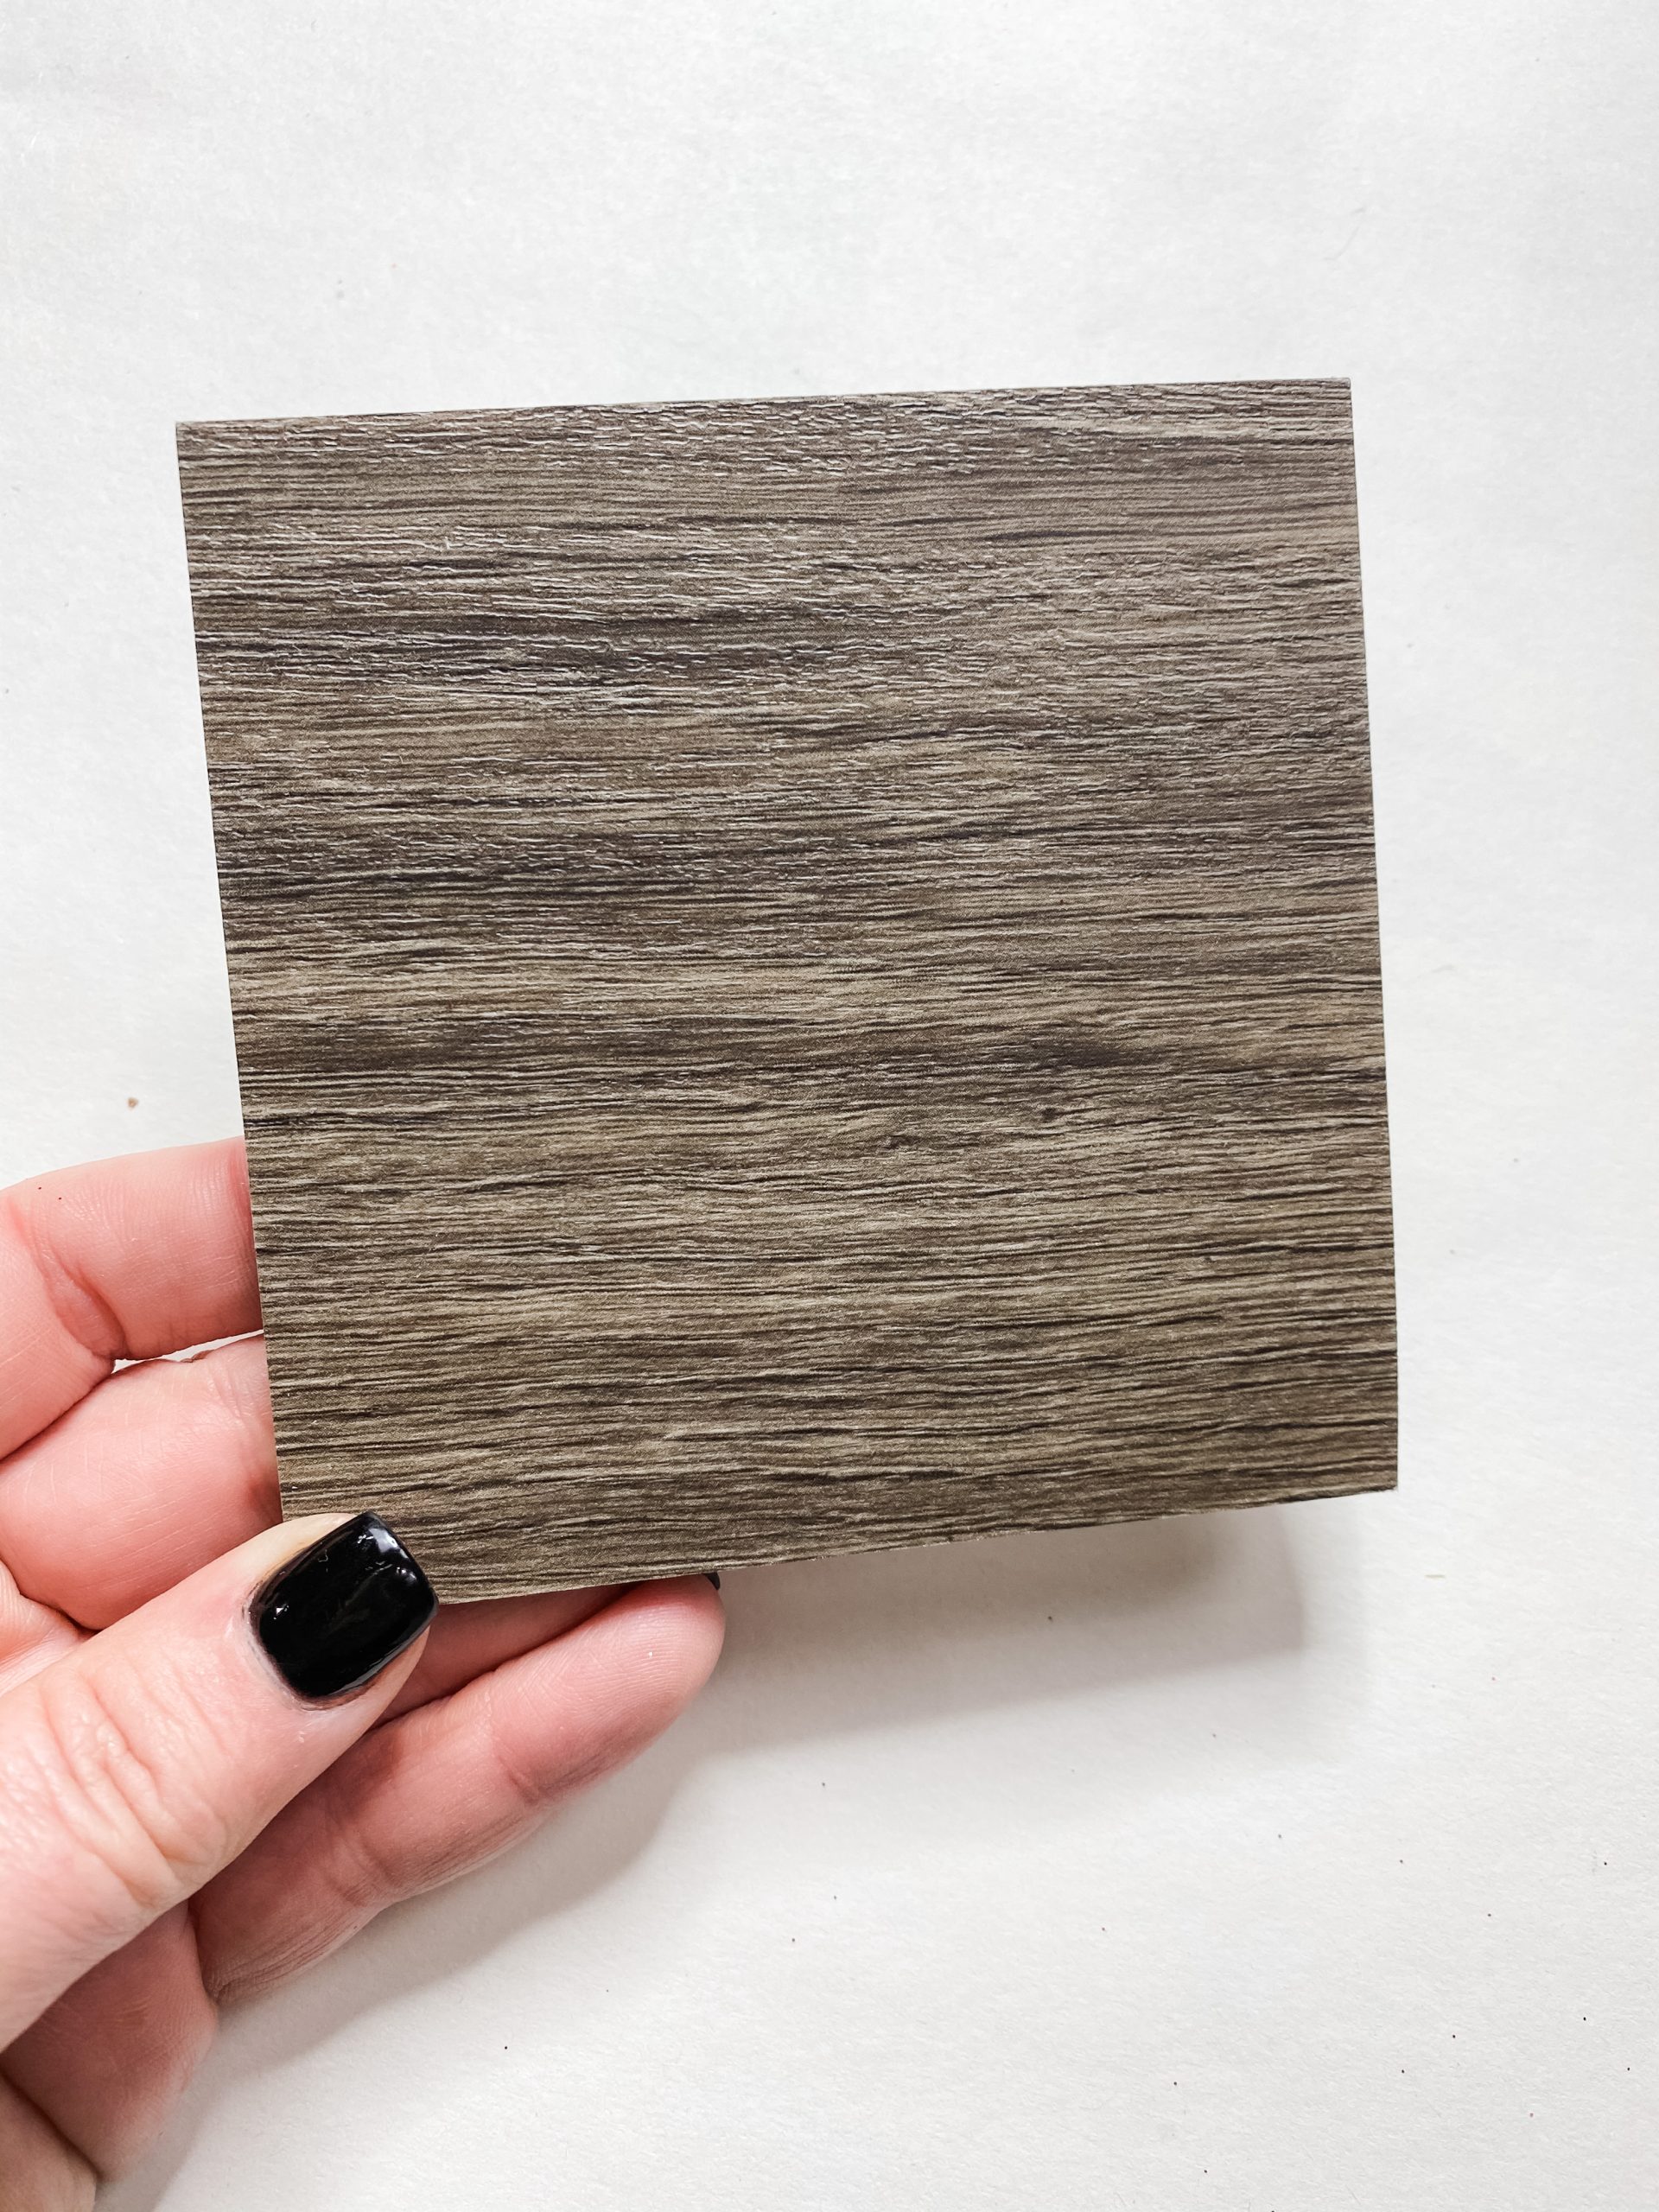
I quickly realized that if I continued with the brown paint sticks, it would be too similar a color to the Home Depot Floor Sample I was going to use later on.
I ended up painting over the brown stain with grey paint. To get the perfect grey color, I mixed a bit of the Apple Barrel White and Black paints. Get an even coating on the craft sticks with the grey paint and allow them to dry.
Paint the sign box
I needed to paint the sides of the Dollar Tree sign box white. I used an artist’s brush to cover the sides with Apple Barrel White Acrylic Paint.
Make sure to get an even coating on the inner and outer sides of the sign box. You don’t have to paint the back of the inside though, because we will cover it with the stained paint sticks.
I did paint over the sticker on the inside of the sign box with black paint. I didn’t want the stick to peek through the paint sticks after I hot glued them into place.

Once the black paint dries, you can hot glue each of the paint sticks into place inside the Dollar Tree sign box.
Once the paint sticks are secured in place, use a chippy paintbrush to dry brush the Apple Barrel White Acrylic Paint across the craft sticks.
You don’t want an even cover because you want them to have a sort of distressed look.
Faux Shiplap
At this point, you can kind of see the lines between each paint stick, but I wanted them to be more defined and give the DIY a shiplap look.
So, I used an artist’s brush and a bit of black paint to add definition to the lines between the craft sticks. This gives us the perfect faux shiplap finish.

Set your sign box to the side, and let’s work on the other elements of our DIY Christmas decor.
Let it snow
I used a Dollar Tree wood snowflake ornament. First, I painted it grey by mixing the Apple Barrel black and white paints together.
Use an artist’s brush to paint your snowflake, and make sure to get the edges and sides of the snowflake.
Allow the grey paint to dry, and then use a chippy paintbrush to dry brush white paint across the snowflake. This will help it match the shiplap background of the sign.
How to make a hanger
I pulled out my drill for this next part. I drilled two holes – one on each end of the top of the sign box. The hanger will be threaded and secured through those holes.
To make the hanger for this DIY sign, I used jute twine and Dollar Tree pearl beads. Thread each pearl onto the jute twine until the hanger is the length that you want it to be.
Then, thread the end of the twine through the hole in the sign box and tie it in a knot. You can add a dab of hot glue where the knot touches the hole to secure the hanger in place.
Bring it all together
Let’s start putting some of these pieces together. I attached the flooring sample to the wood sign box with hot glue.
To secure the snowflake to the Home Depot Floor Sample, I had to use E6000 glue. E6000 provides a more secure bond, but it does take about 24 hours to dry completely.
I’ve used Home Depot’s flooring samples before, for a Christmas ornament DIY! Oh my gosh, that was so much fun and they turned out adorable. You can see how they turned out, I made a blog post about it!
Remember the Dollar Tree red truck with the Merry Christmas sign? Well, for this DIY, you only need the Merry Christmas part. You can set the red truck to the side and use it for another Christmas project in the future!
I am a lover of a good Christmas red truck, and honestly, not using this one immediately was a little hard for me. But, I know that truck will be adorable on another DIY idea of mine!
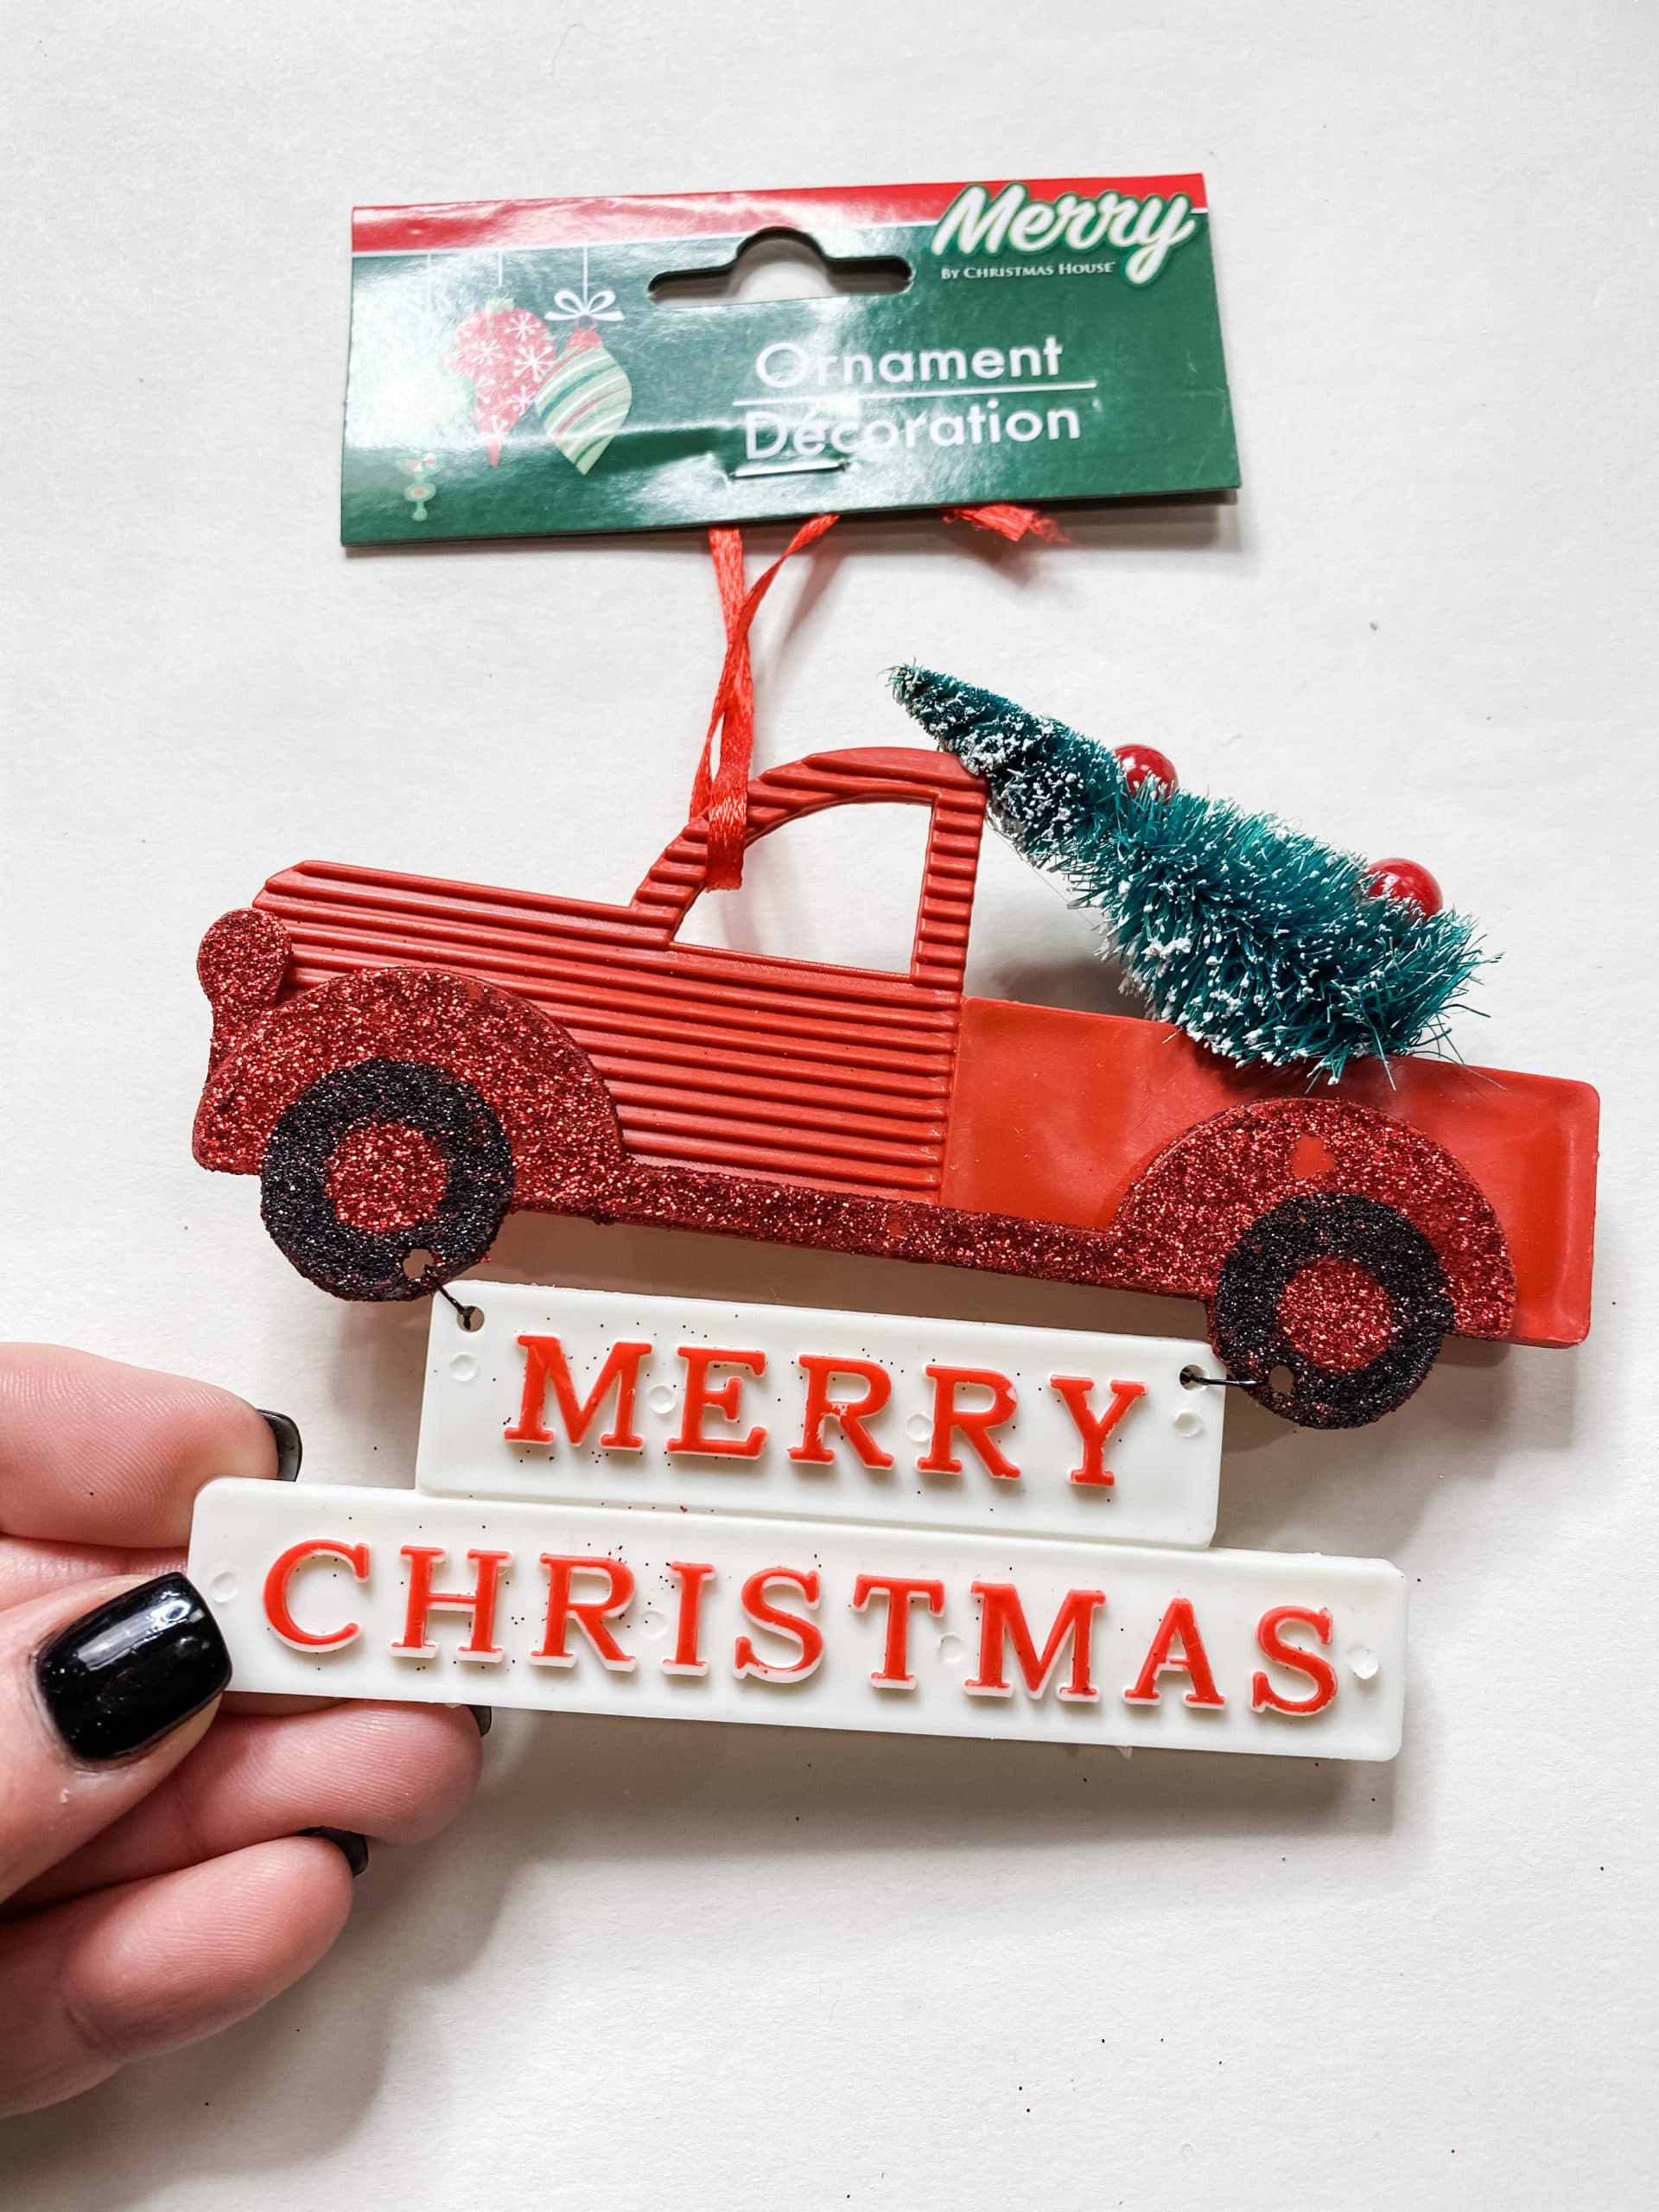
I hot glued the Merry Christmas sign to the bottom of my Dollar Tree sign box. Doing this made me realize that there wasn’t enough color on my sign!
So, I pulled some of the berries off the Dollar Tree Christmas greenery spray and hot glued them on the circles at the end of all the tips of the snowflake except the top one.
I also glued a berry to the center of the snowflake.
Next, I trimmed 2 small pieces of the greenery off and hot glued them just above the top circle. They weren’t “snowy” enough, so I flocked them just a bit with some white paint and an artist’s brush.

How to make a bow
I needed a bow to cover up the ends of the trimmed Christmas greenery spray, so I grabbed a piece of red and white striped ribbon.
Folk it into the shape of a bow, and secure the center with a piece of jute twine. You could secure the center with another piece of ribbon or just hot glue, but I like to use twine.
Once you’re satisfied with your DIY bow, hot glue it into place over the ends of the greenery.
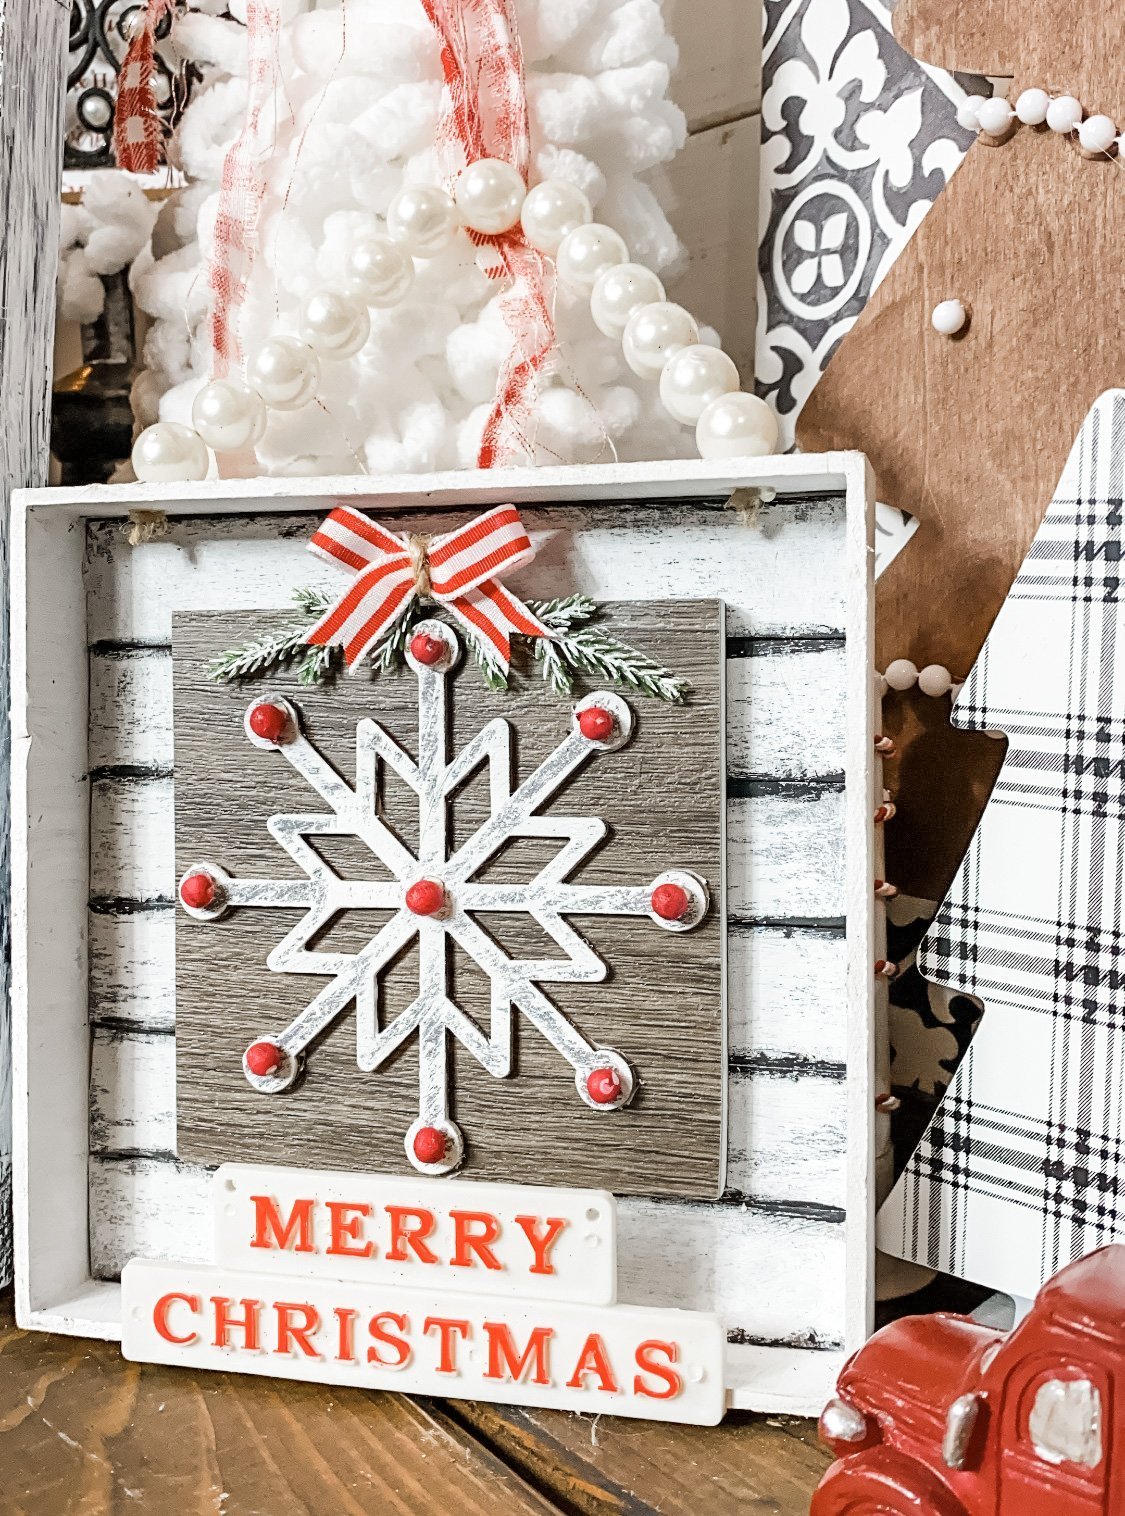
I hope you enjoyed this DIY Dollar Tree Snowflake Christmas Decor as much as I did and decide to make one for yourself! I would love to see how yours turns out!
You should totally join my FREE Facebook group called On A Budget Crafts! It is a judgment-free community for DIY crafters to show off their projects and ideas.
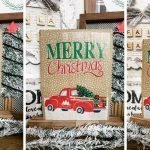
If you loved this DIY you might also like this DIY Christmas Tree Shelf Decor!
Thanks for stopping by! XOXO Amber
You can also shop my ENTIRE AMAZON Favorites shop just click here! It’s packed full of all the things I use and love.
Here is the supply list I highly recommend every creative have on hand!! Would you also pin my blog for later and get on my newsletter alerts? I would love to have you join my #craftycrew.

Join my free “ON A BUDGET CRAFTS” Facebook group!
PIN THIS POST FOR LATER!