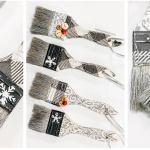
Home Depot Floor Sample DIY Christmas Ornaments

Have you ever seen something not even remotely craft-related and thought, “I can make something with that!”? That was me with these Home Depot Free Floor Samples!
I had a ton of ideas for how I could use these free flooring samples in my DIY crafts, including these Home Depot Floor Sample DIY Christmas Ornaments!
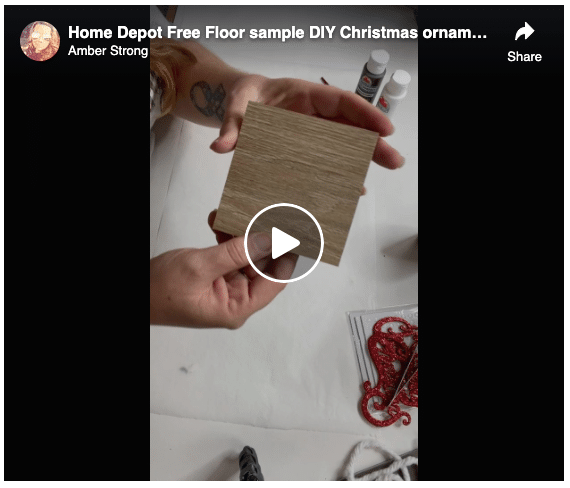
Watch the tutorial
Making these Floor Sample DIY ornaments is so quick and easy, so the tutorial video is just the same. I show you how to make both ornaments using Home Depot’s free floor samples in just 3 minutes!
If you want to see how to make these easy DIY Christmas ornaments, you can check out the tutorial video on my Facebook page.
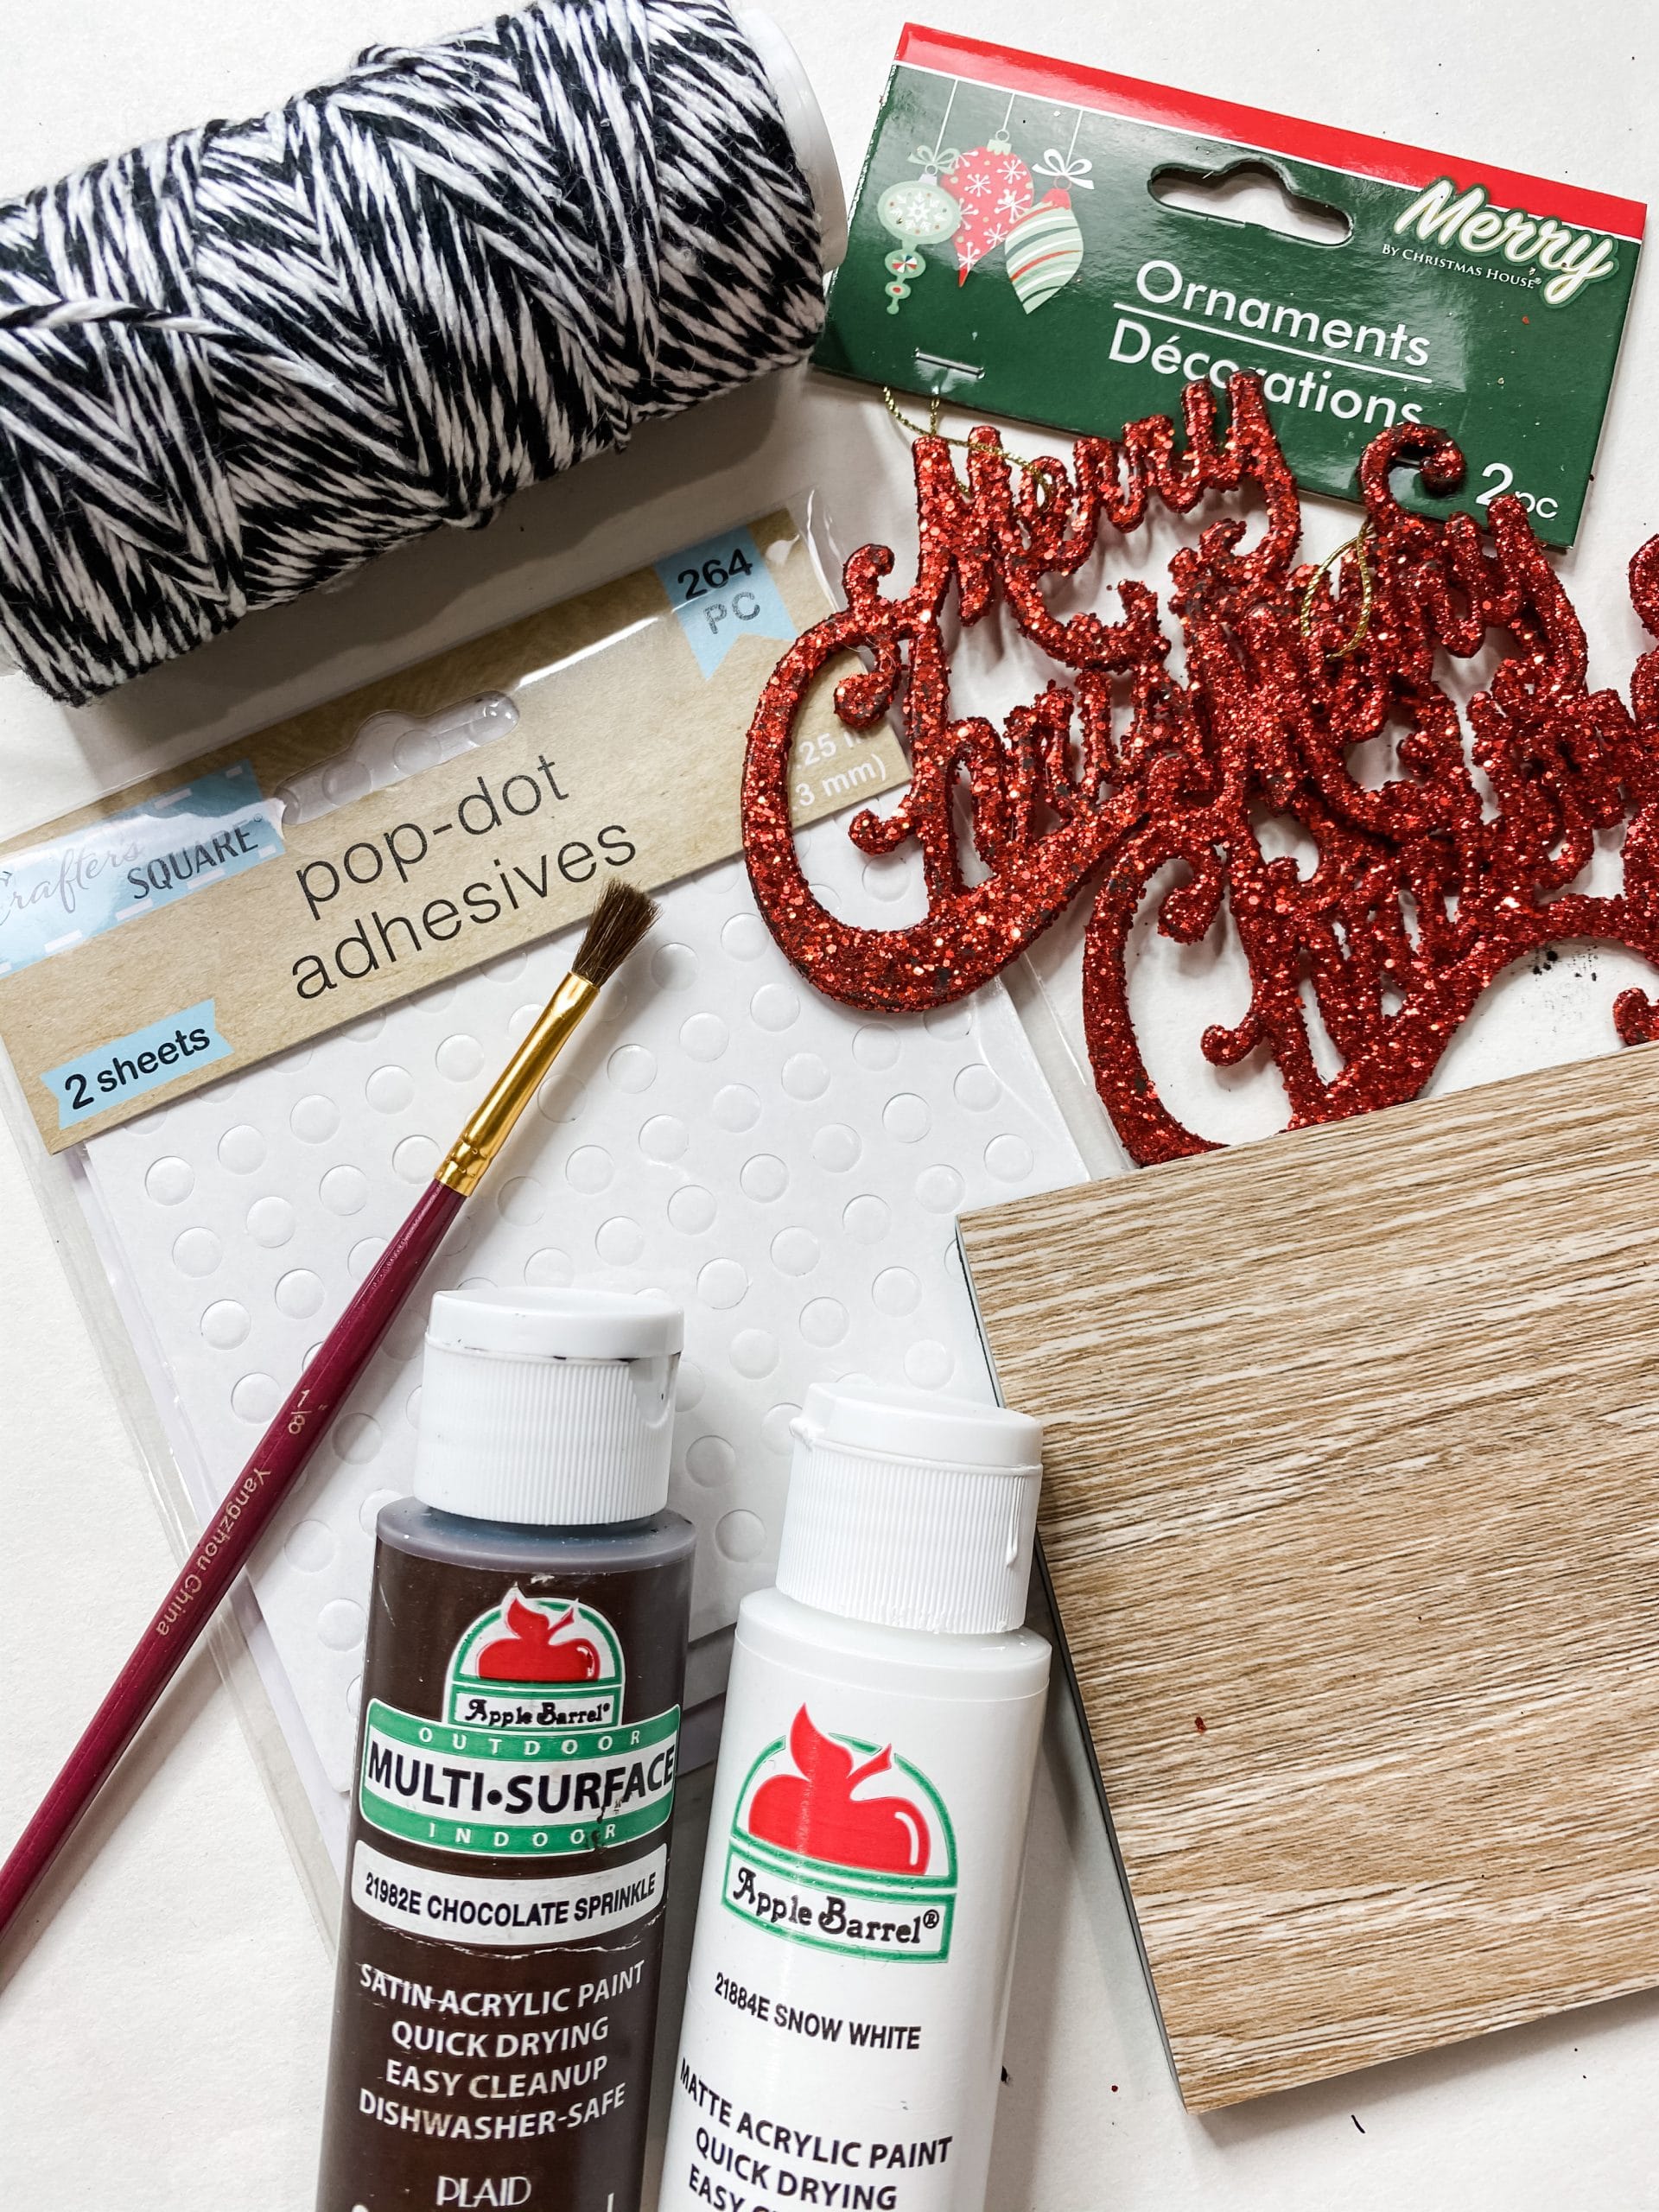
For this project, I will be using these items but you can substitute where you want.
“As an Amazon Associate, I earn from qualifying purchases.”
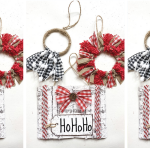
Ornament One
- Apple Barrel White Acrylic Paint
- Dollar Tree Merry Christmas Ornament
- Dollar Tree Baker’s twine
- Home Depot Free Floor Sample
- Dollar Tree Pop-Dot Adhesives
- E6000 glue
- Glue Gun and Glue Sticks
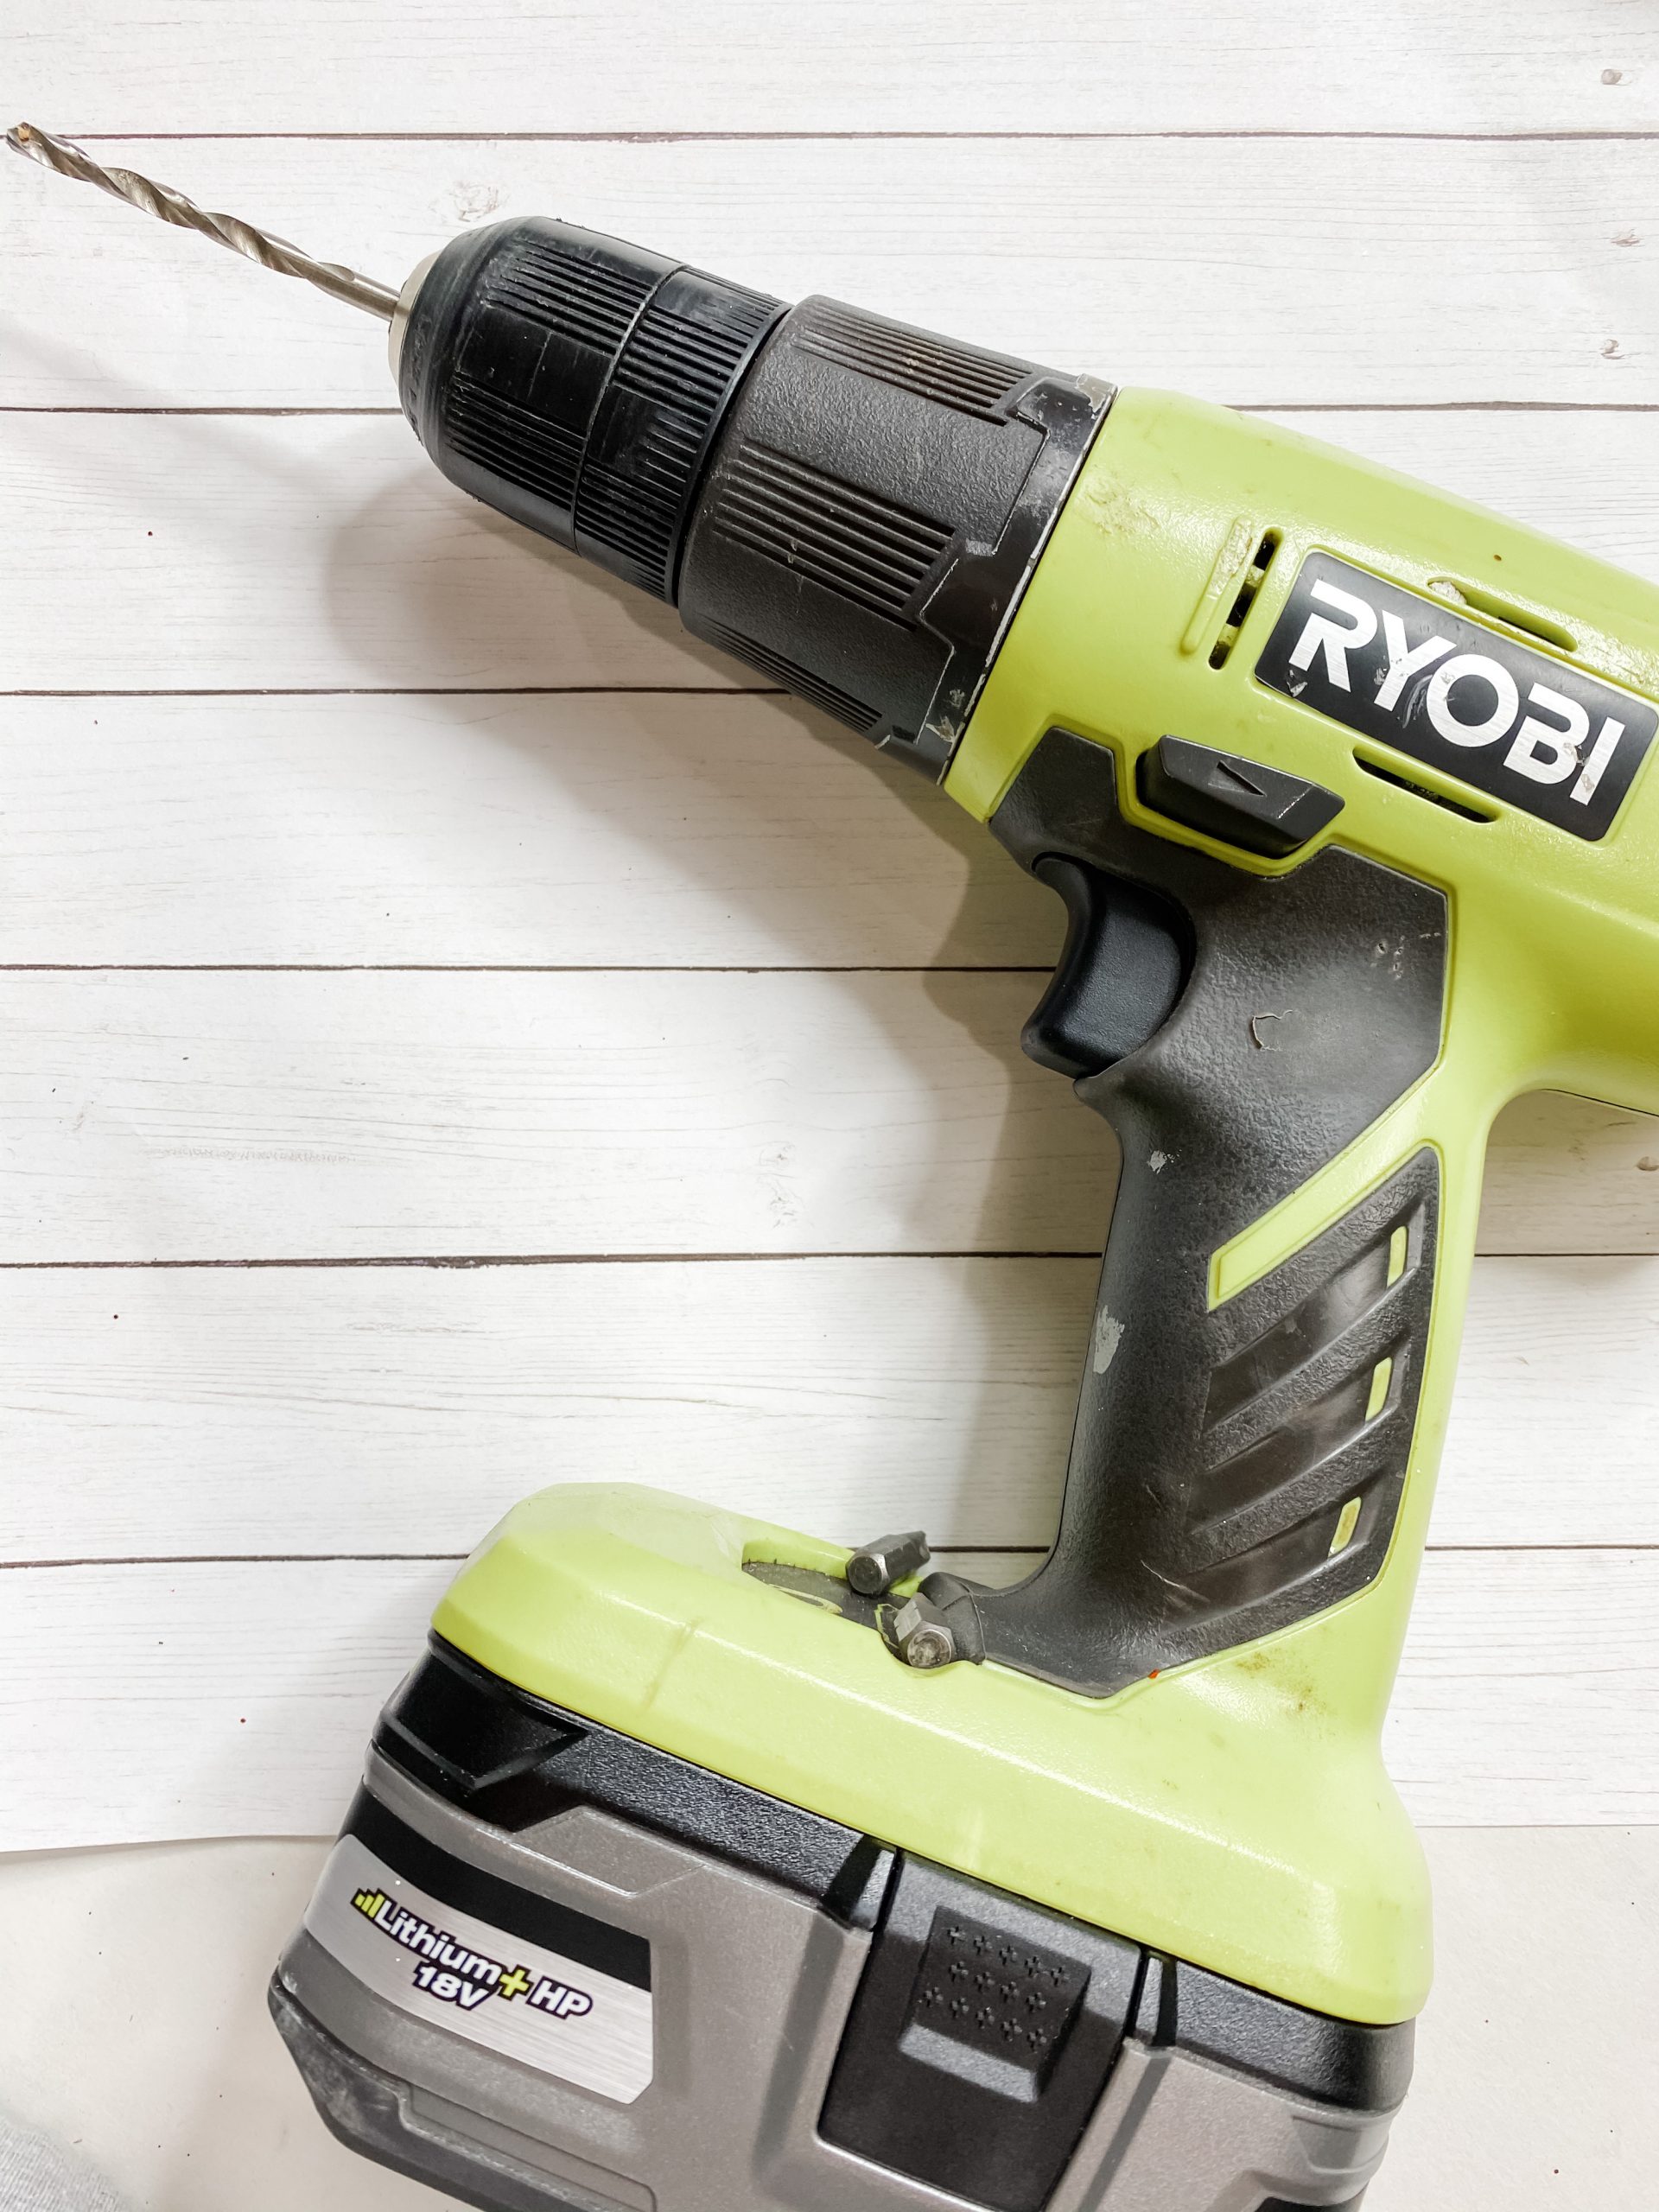
- Drill
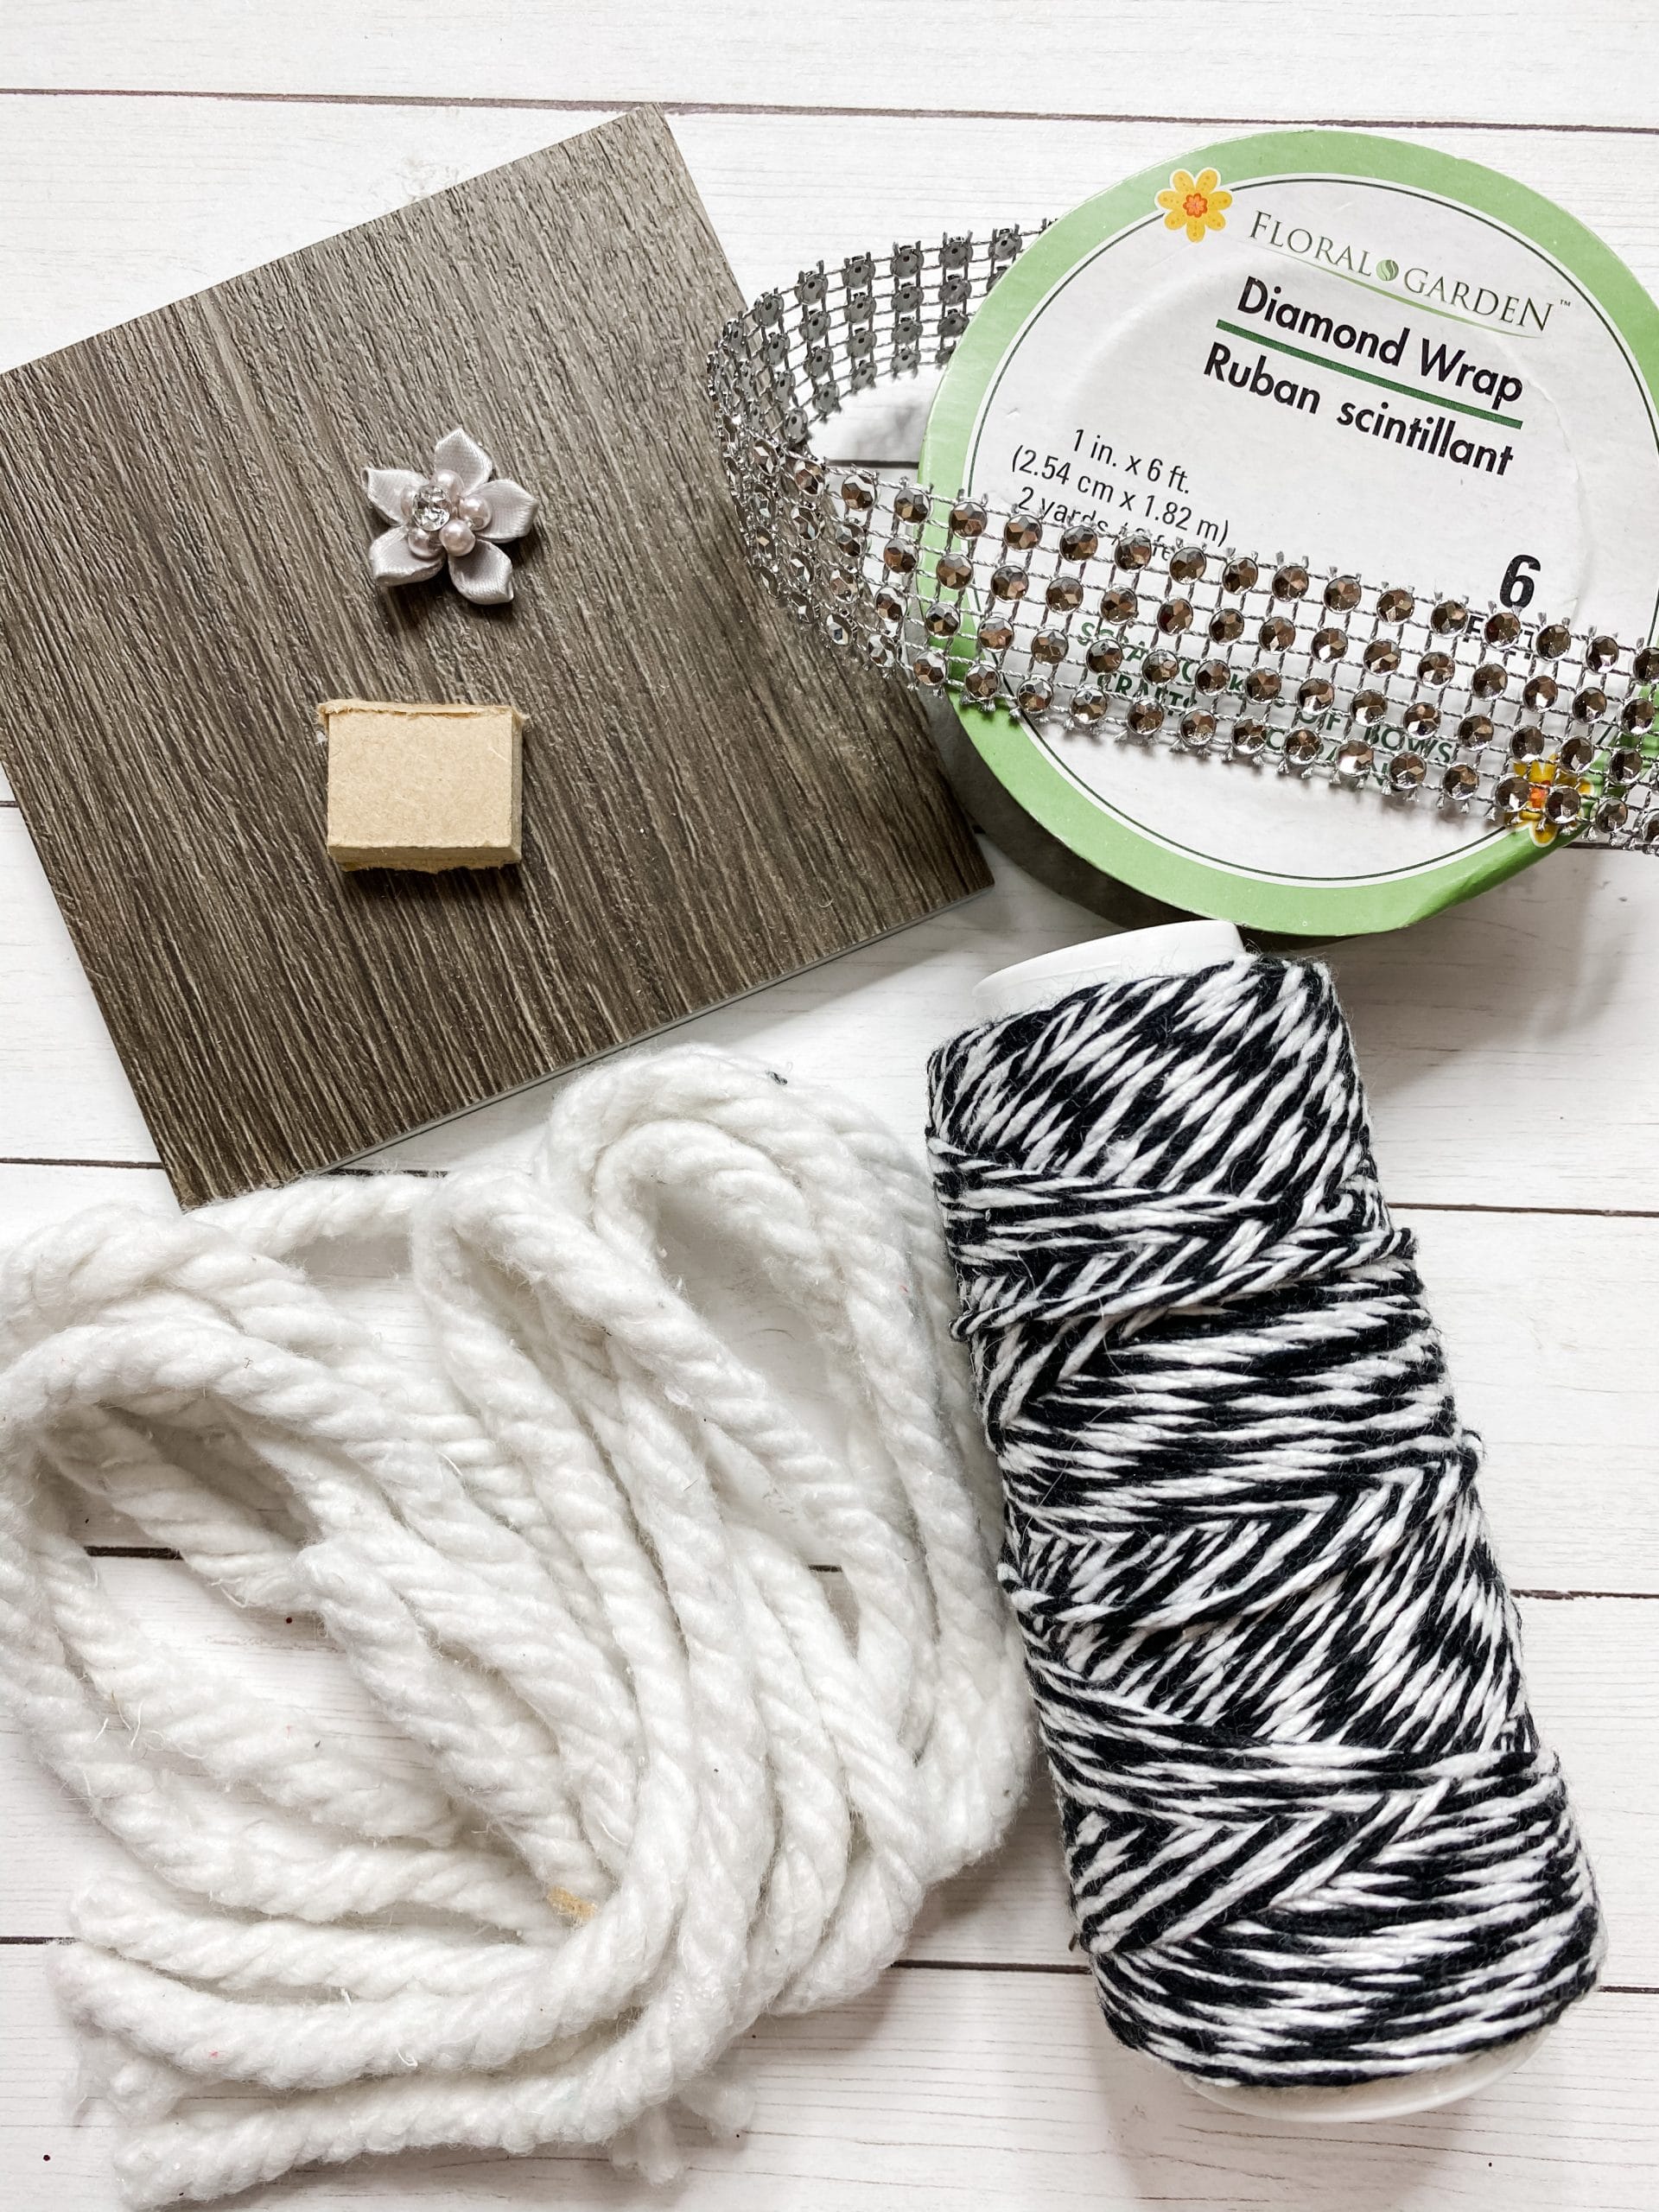
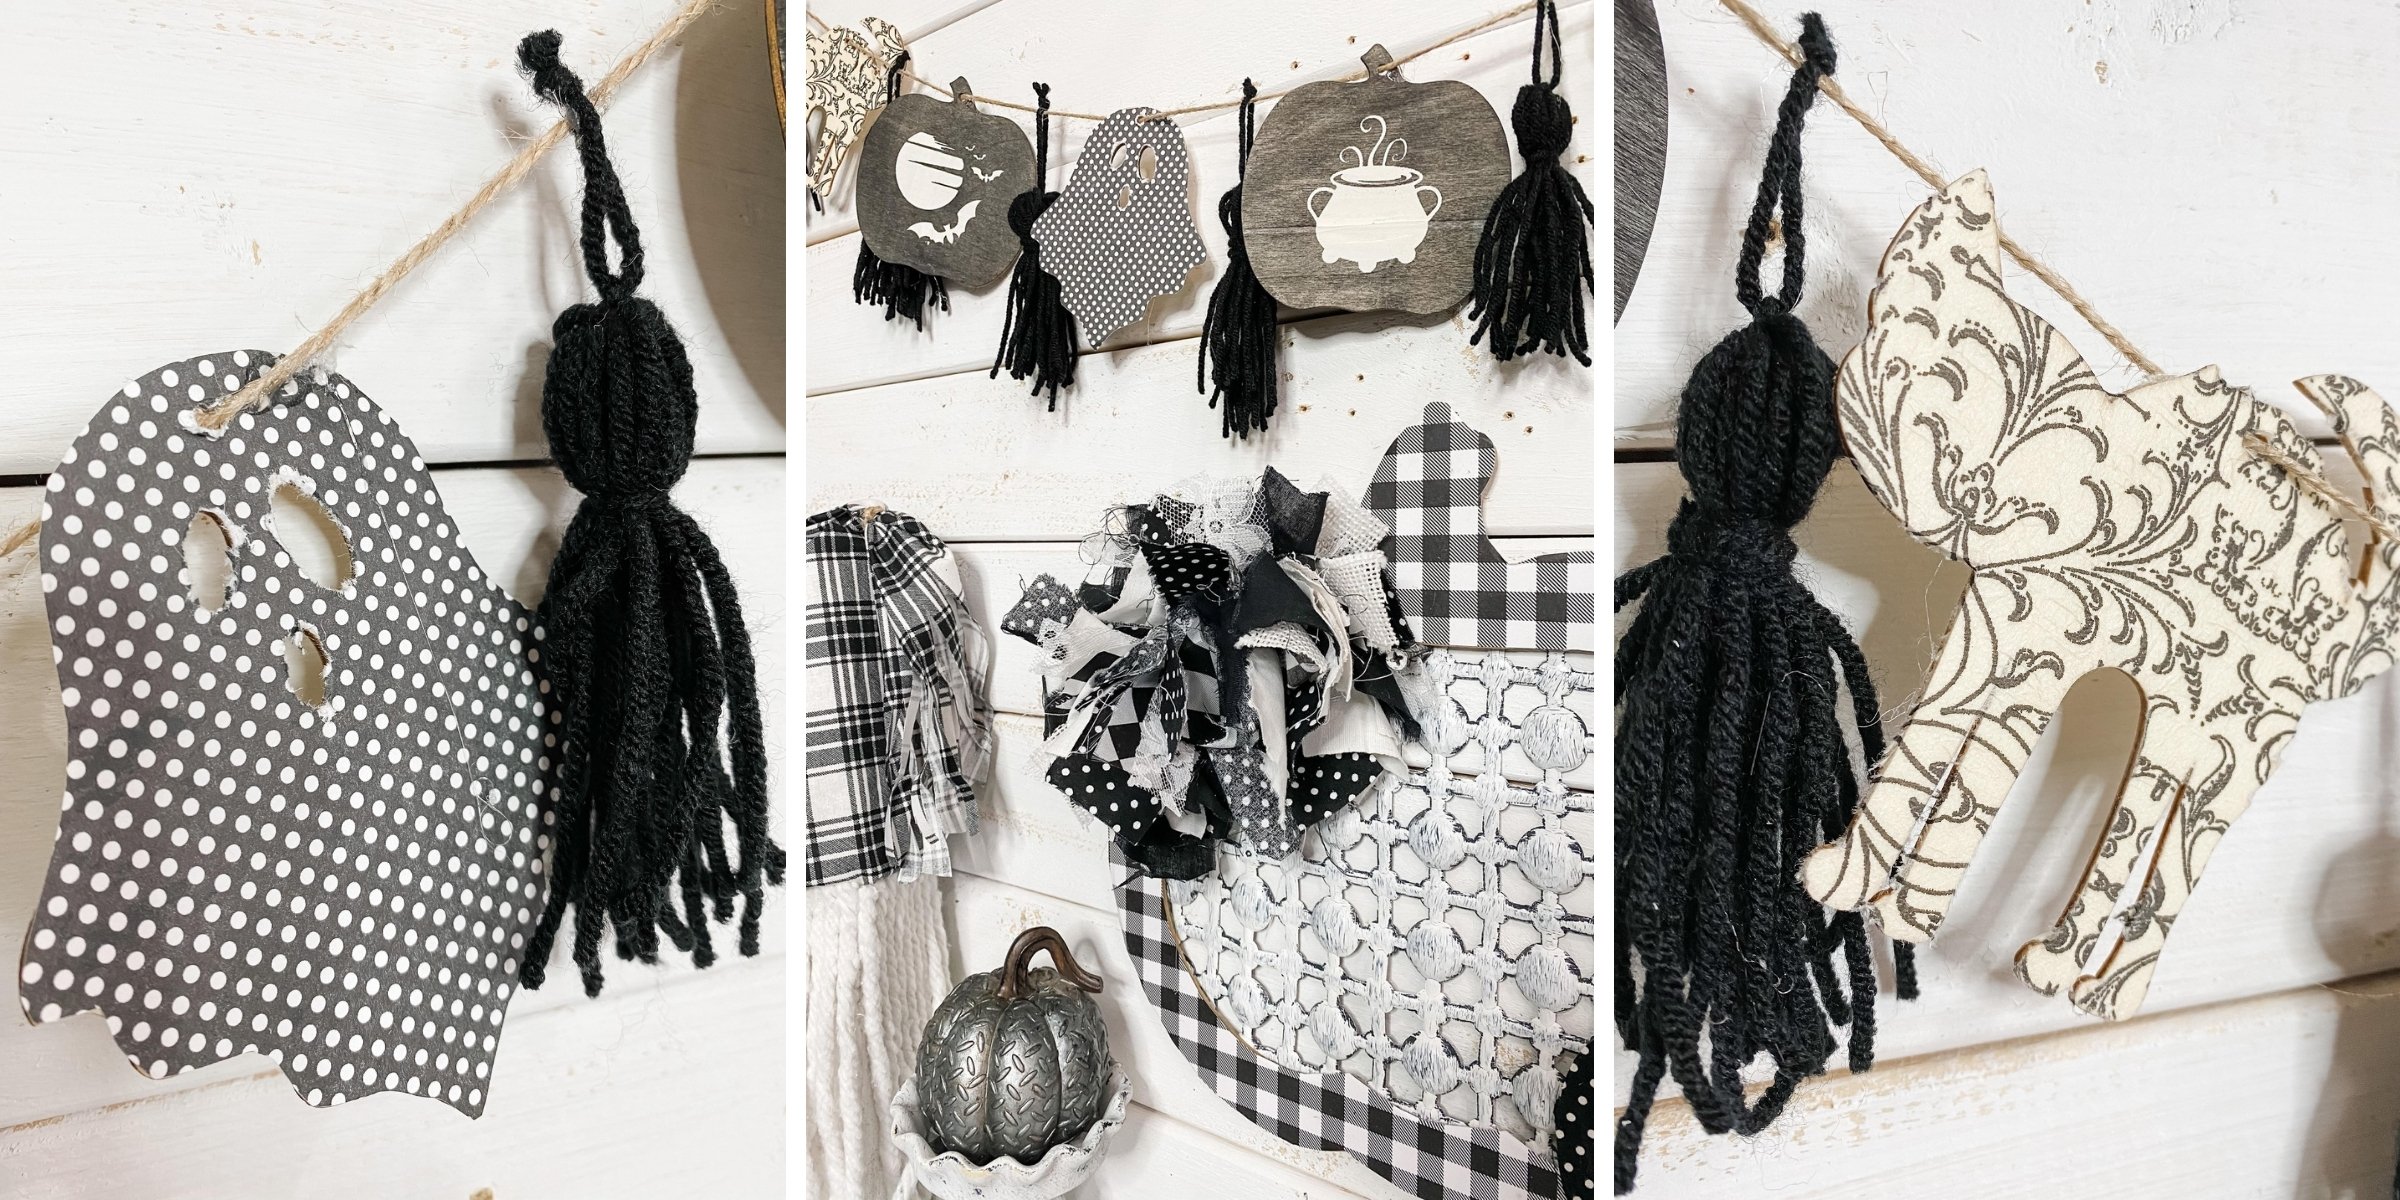
Ornament Two
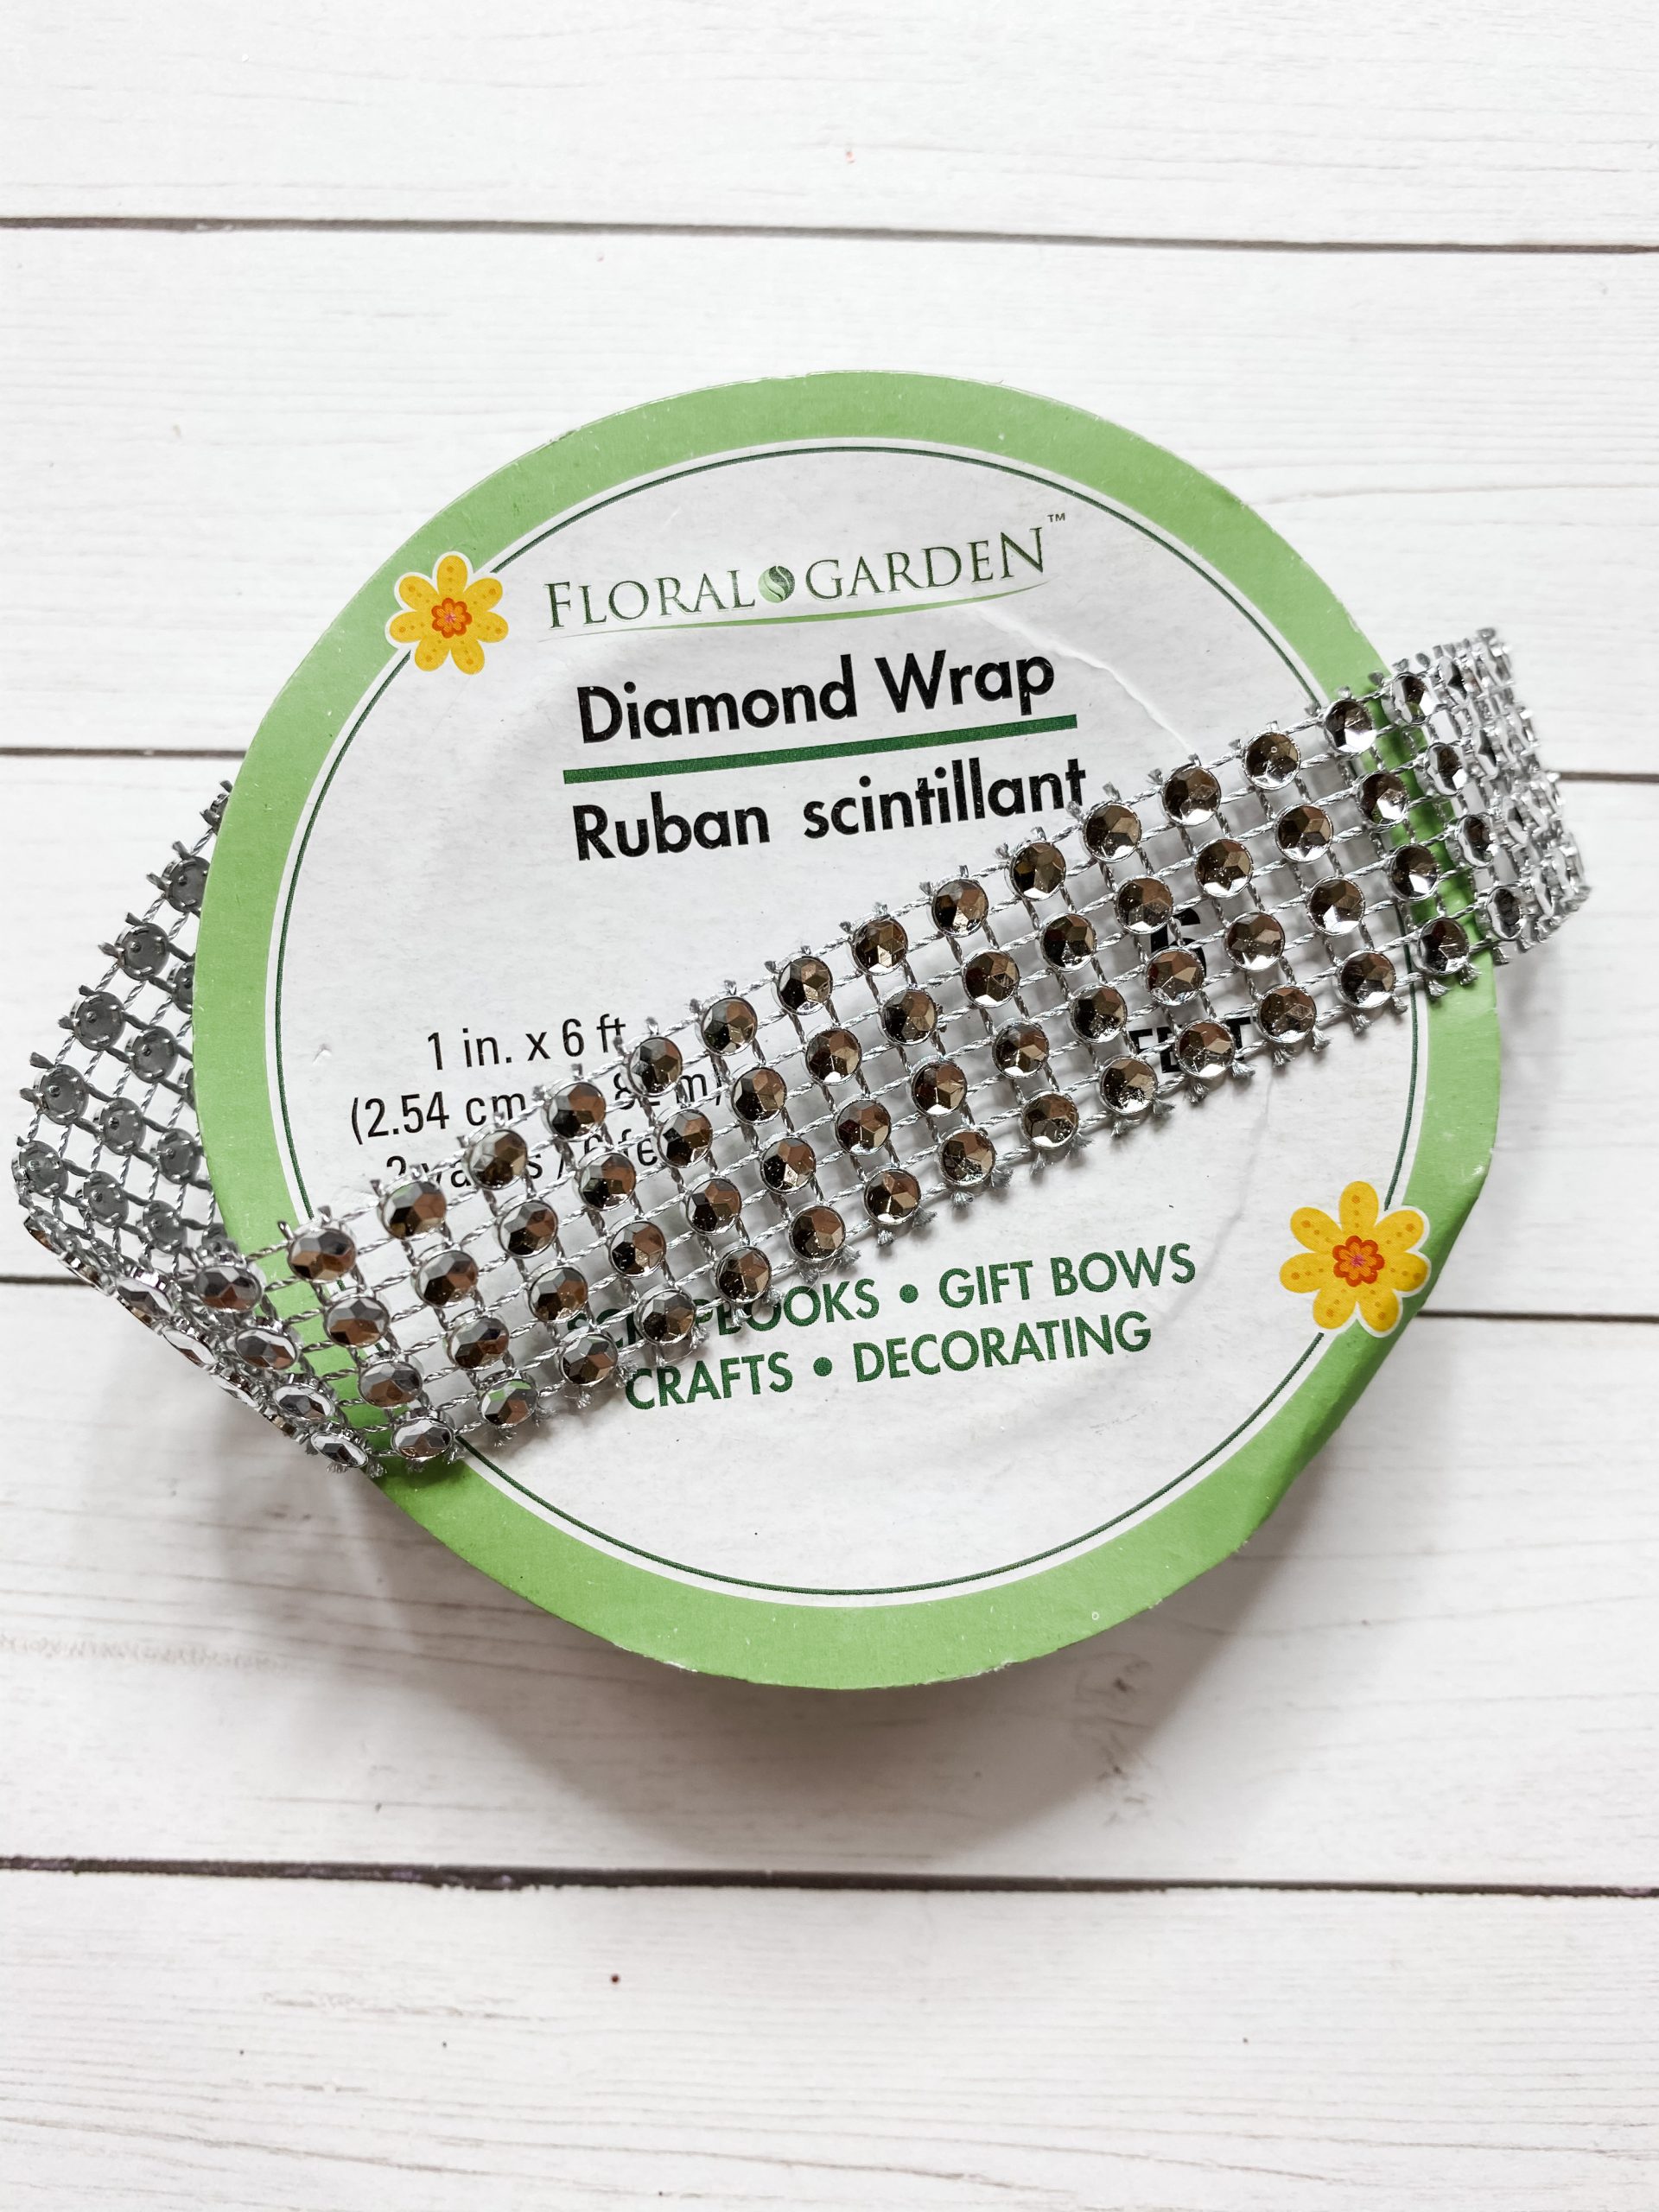
- Dollar Tree Diamond wrap ribbon
- Dollar Tree Baker’s twine
- Home Depot Free Floor Sample
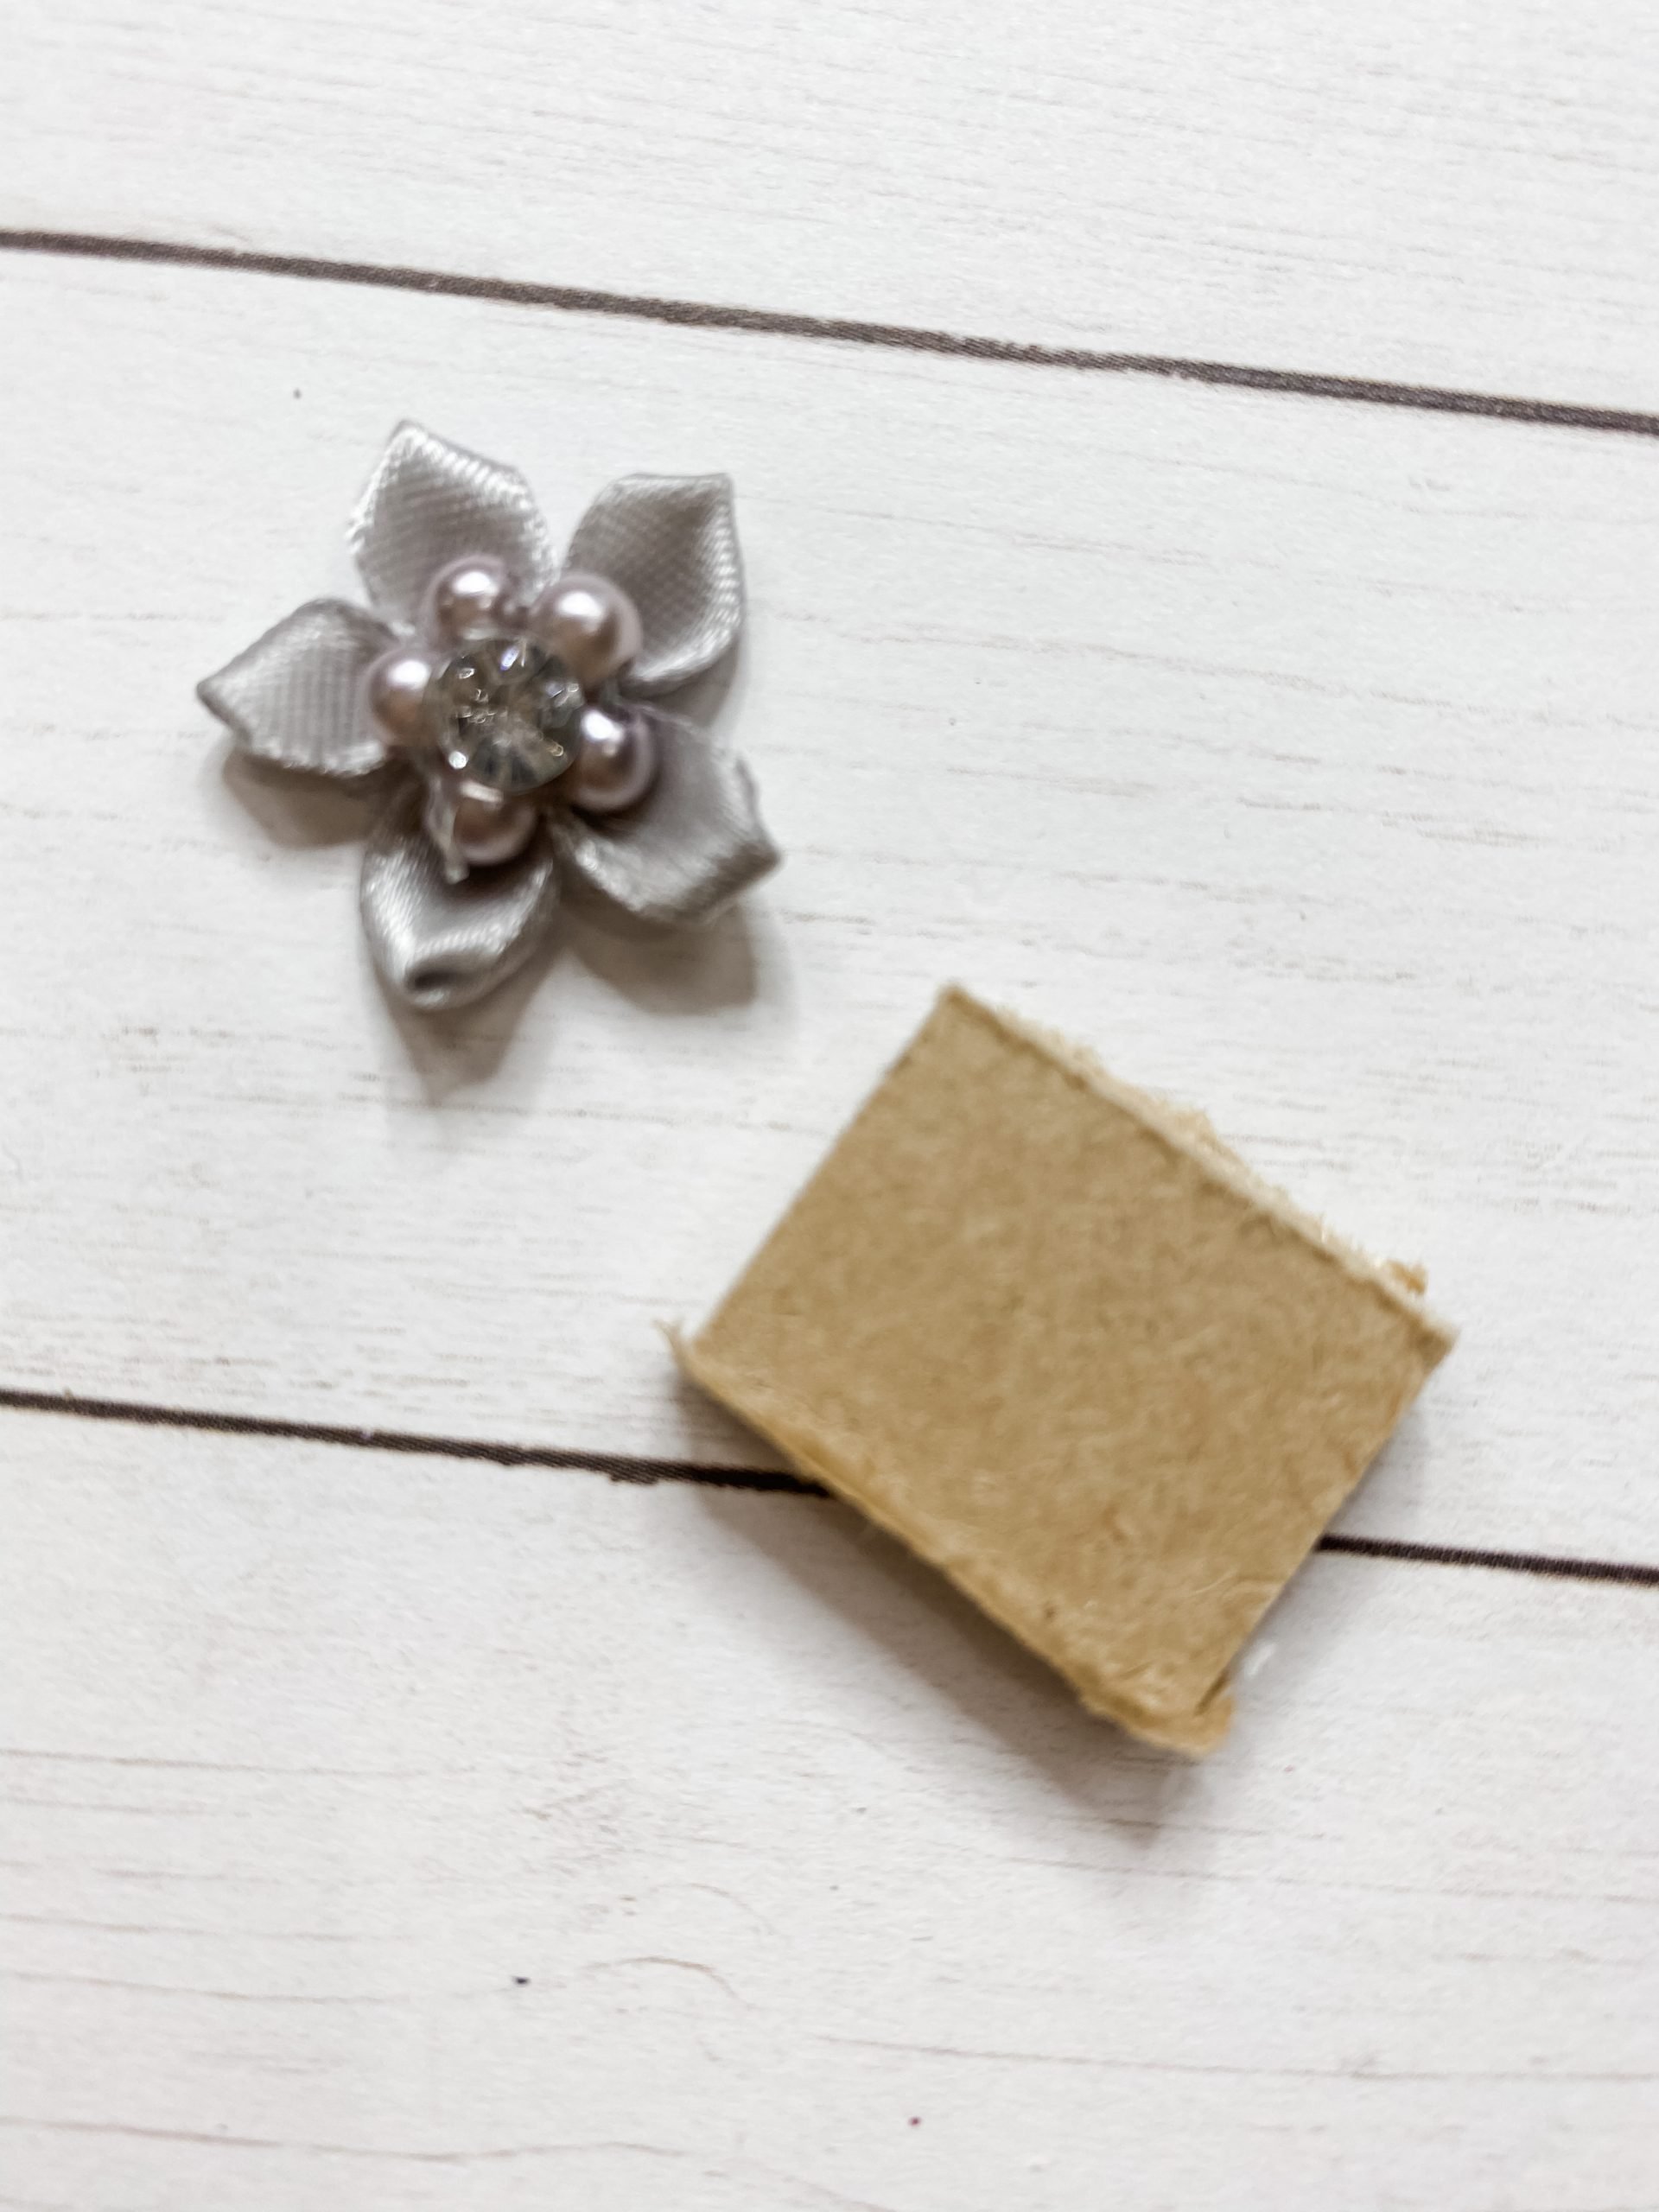
- Small decorative flower (Came in a pack of embellishments from Walmart)
- An MDF piece from Dollar Tree LED Wood Truck (See: Dollar Tree DIY Red Truck Christmas Decor)
- Glue Gun and Glue Sticks
- Heat gun
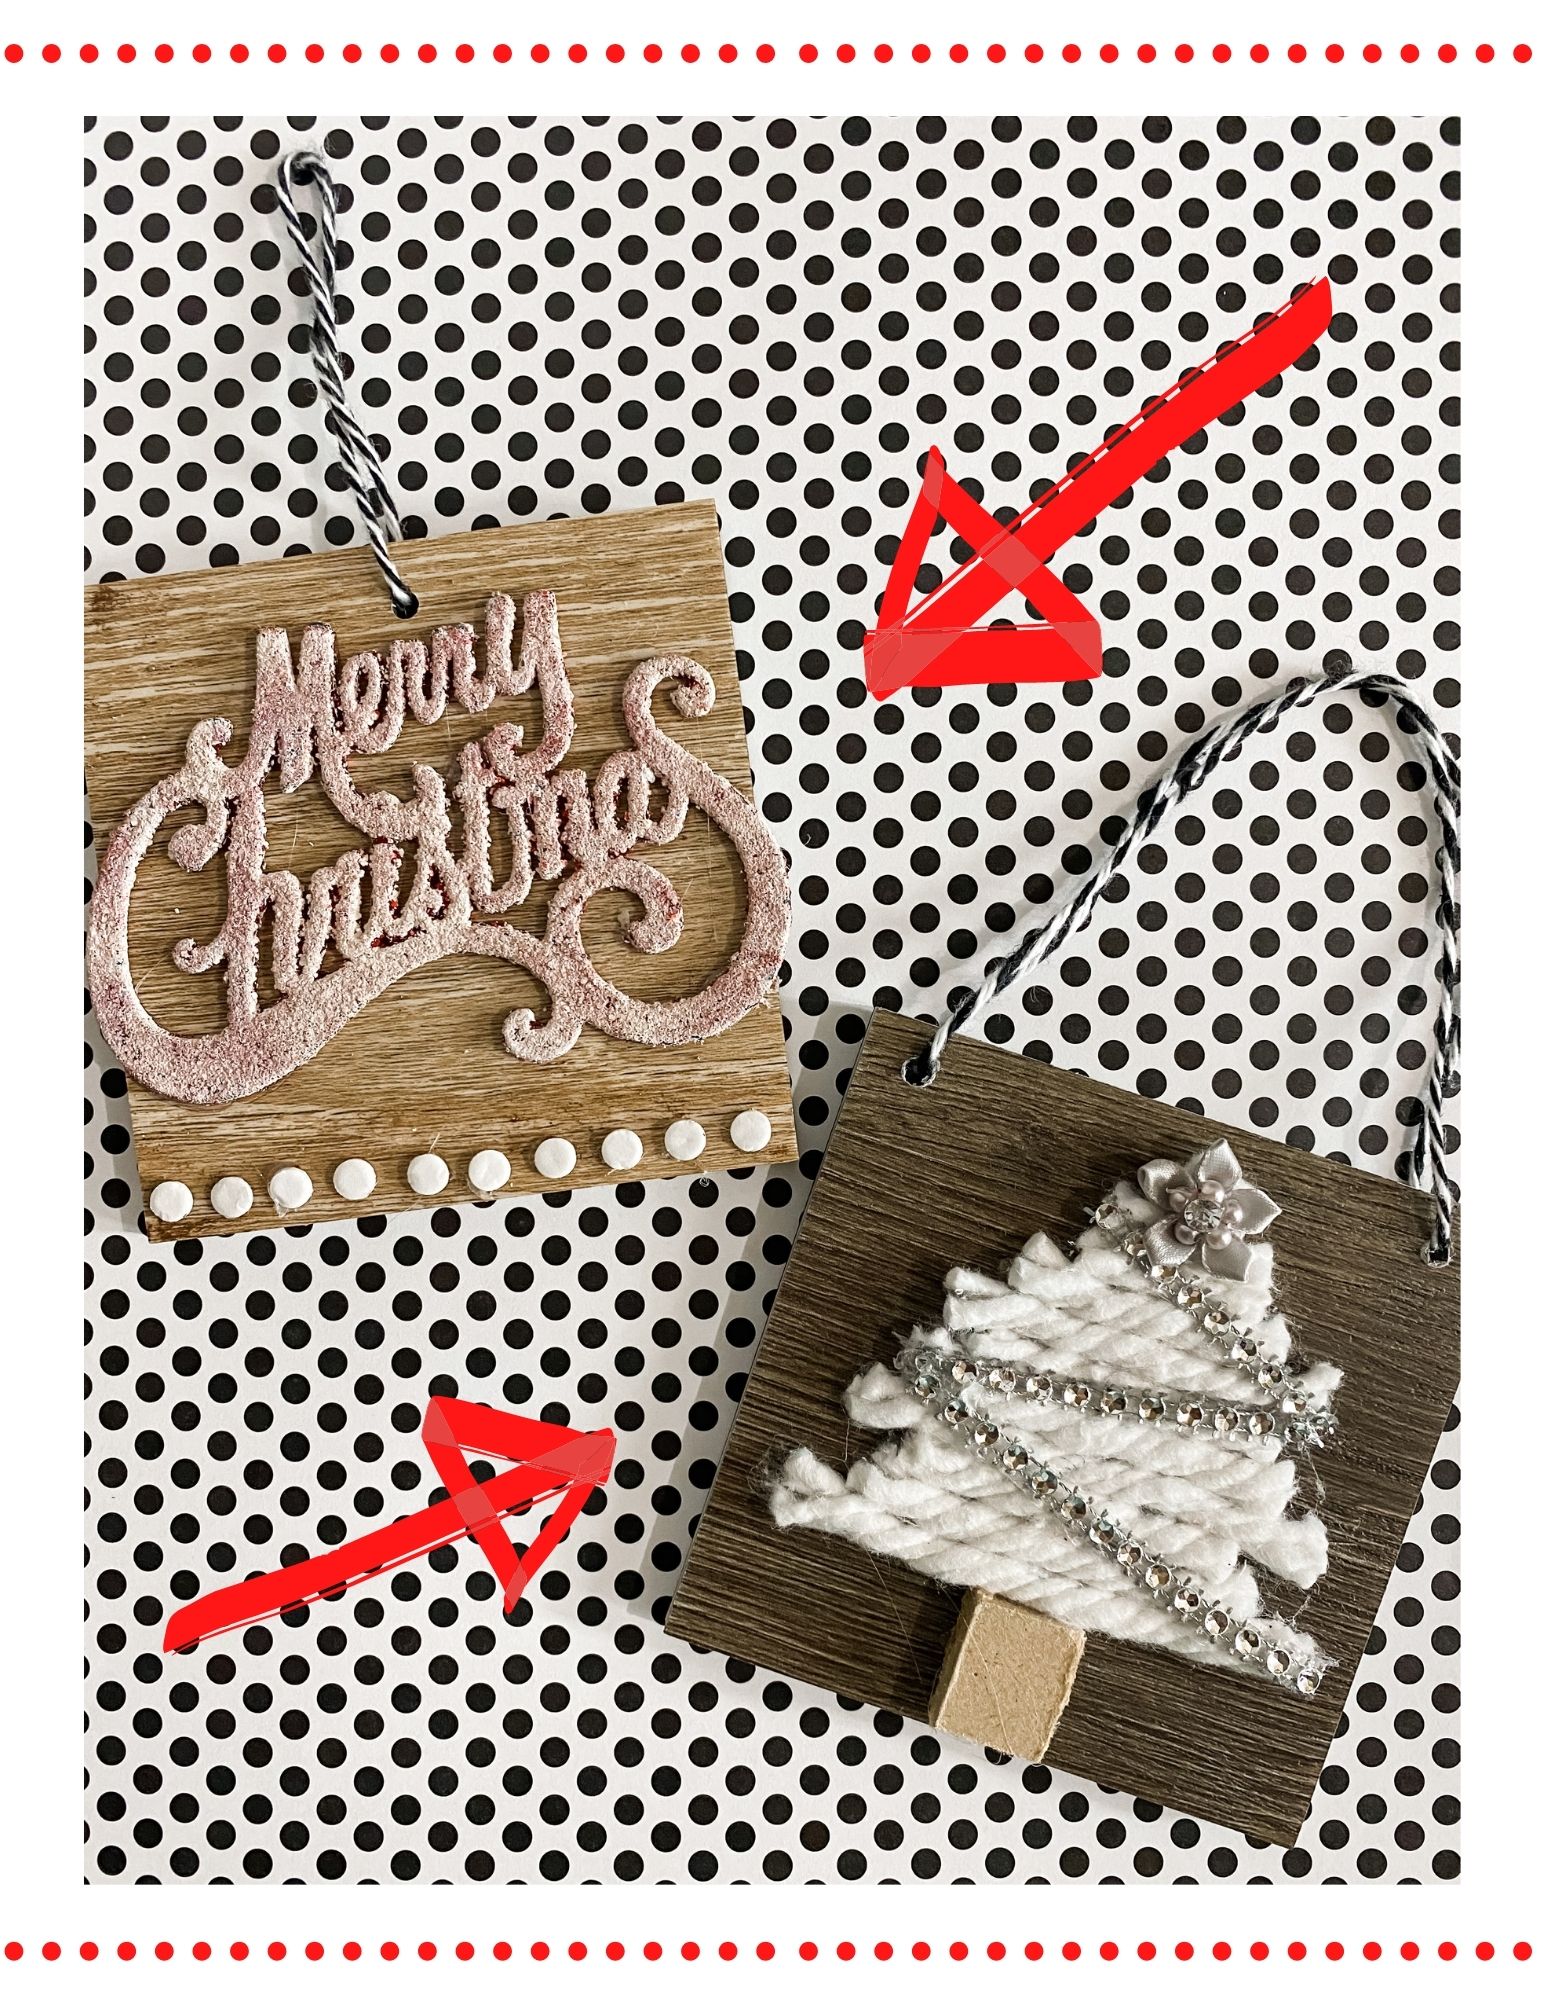
Let’s Make Ornament #1
Both of these Christmas DIY ornaments are super easy to make, but this first one is probably the easiest of the two.
To make the first DIY Christmas ornament, you’re going to start by painting the Glitter Red Dollar Tree Merry Christmas ornament with Apple Barrel White Acrylic Paint.
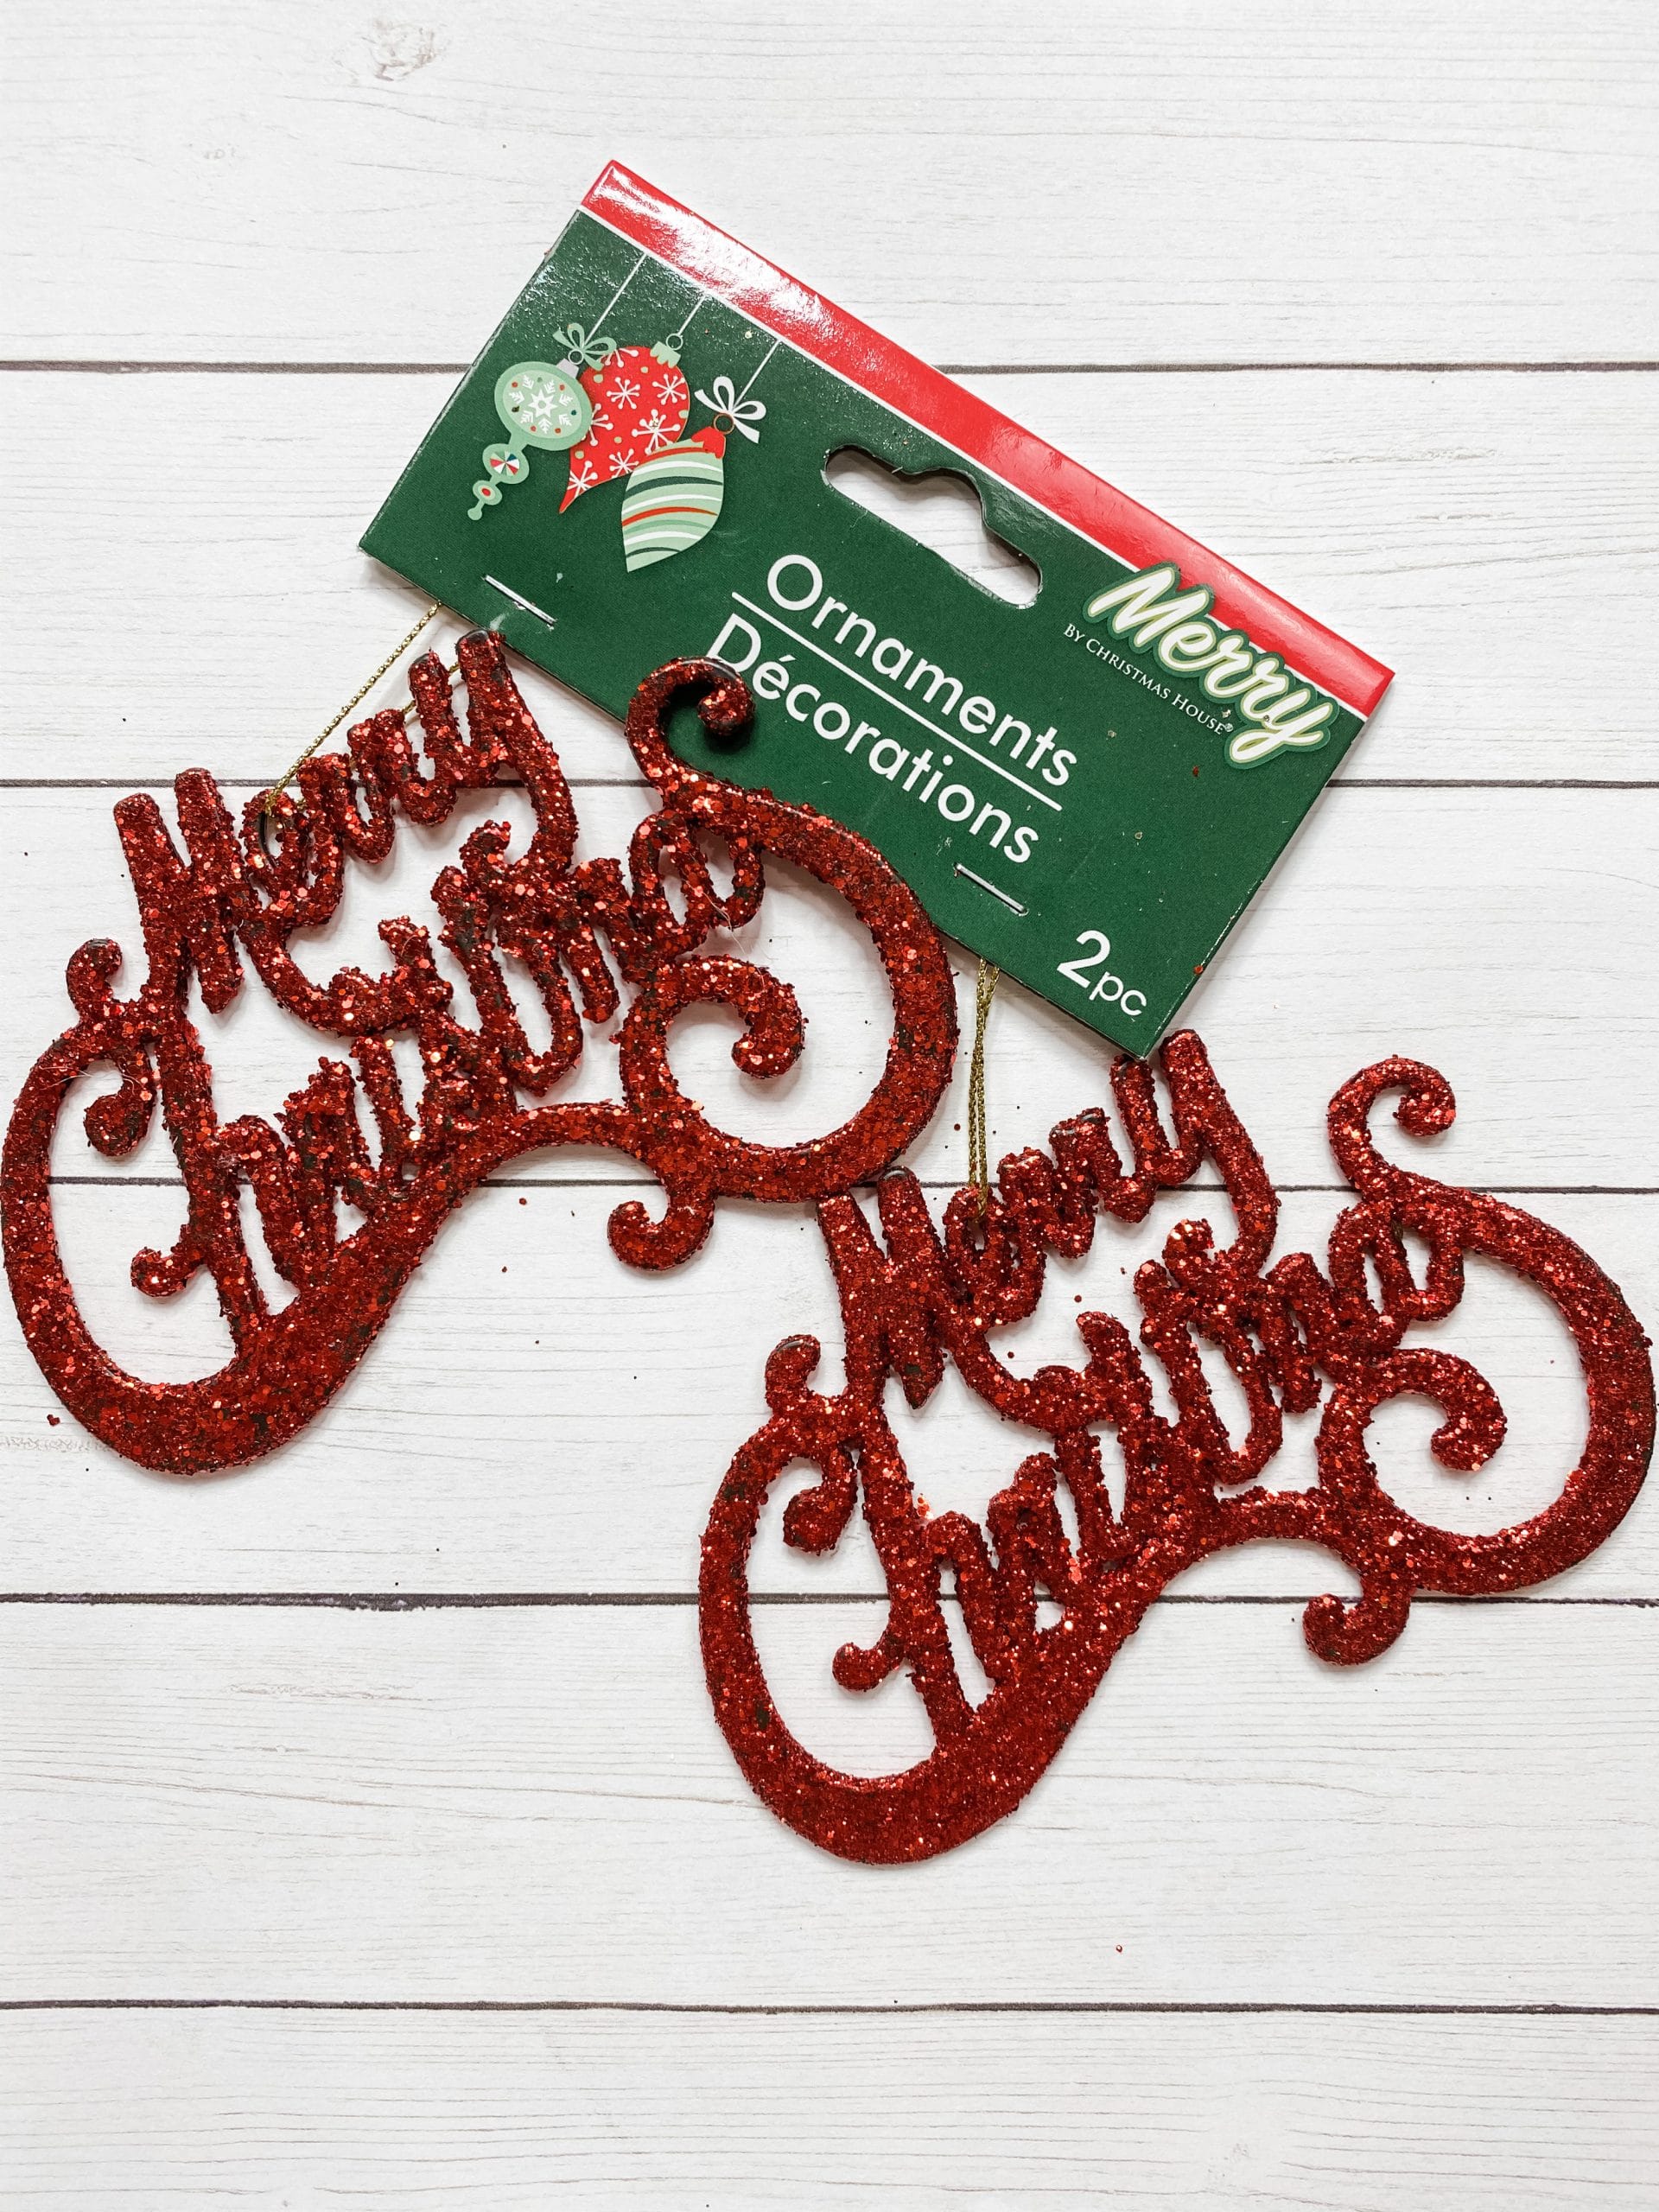
I left the glitter and painted over it to give it texture, but you could also sand off as much glitter as you want. I was going for a flocked Merry Christmas look.
Next, I popped out the pop-dot adhesives. They didn’t stick to the wood floor sample very well, so I hot glued each of them in place at the bottom of the Home Depot wood floor sample using my Surebonder cordless glue gun and my Gorilla glue sticks.
Crafters tip:
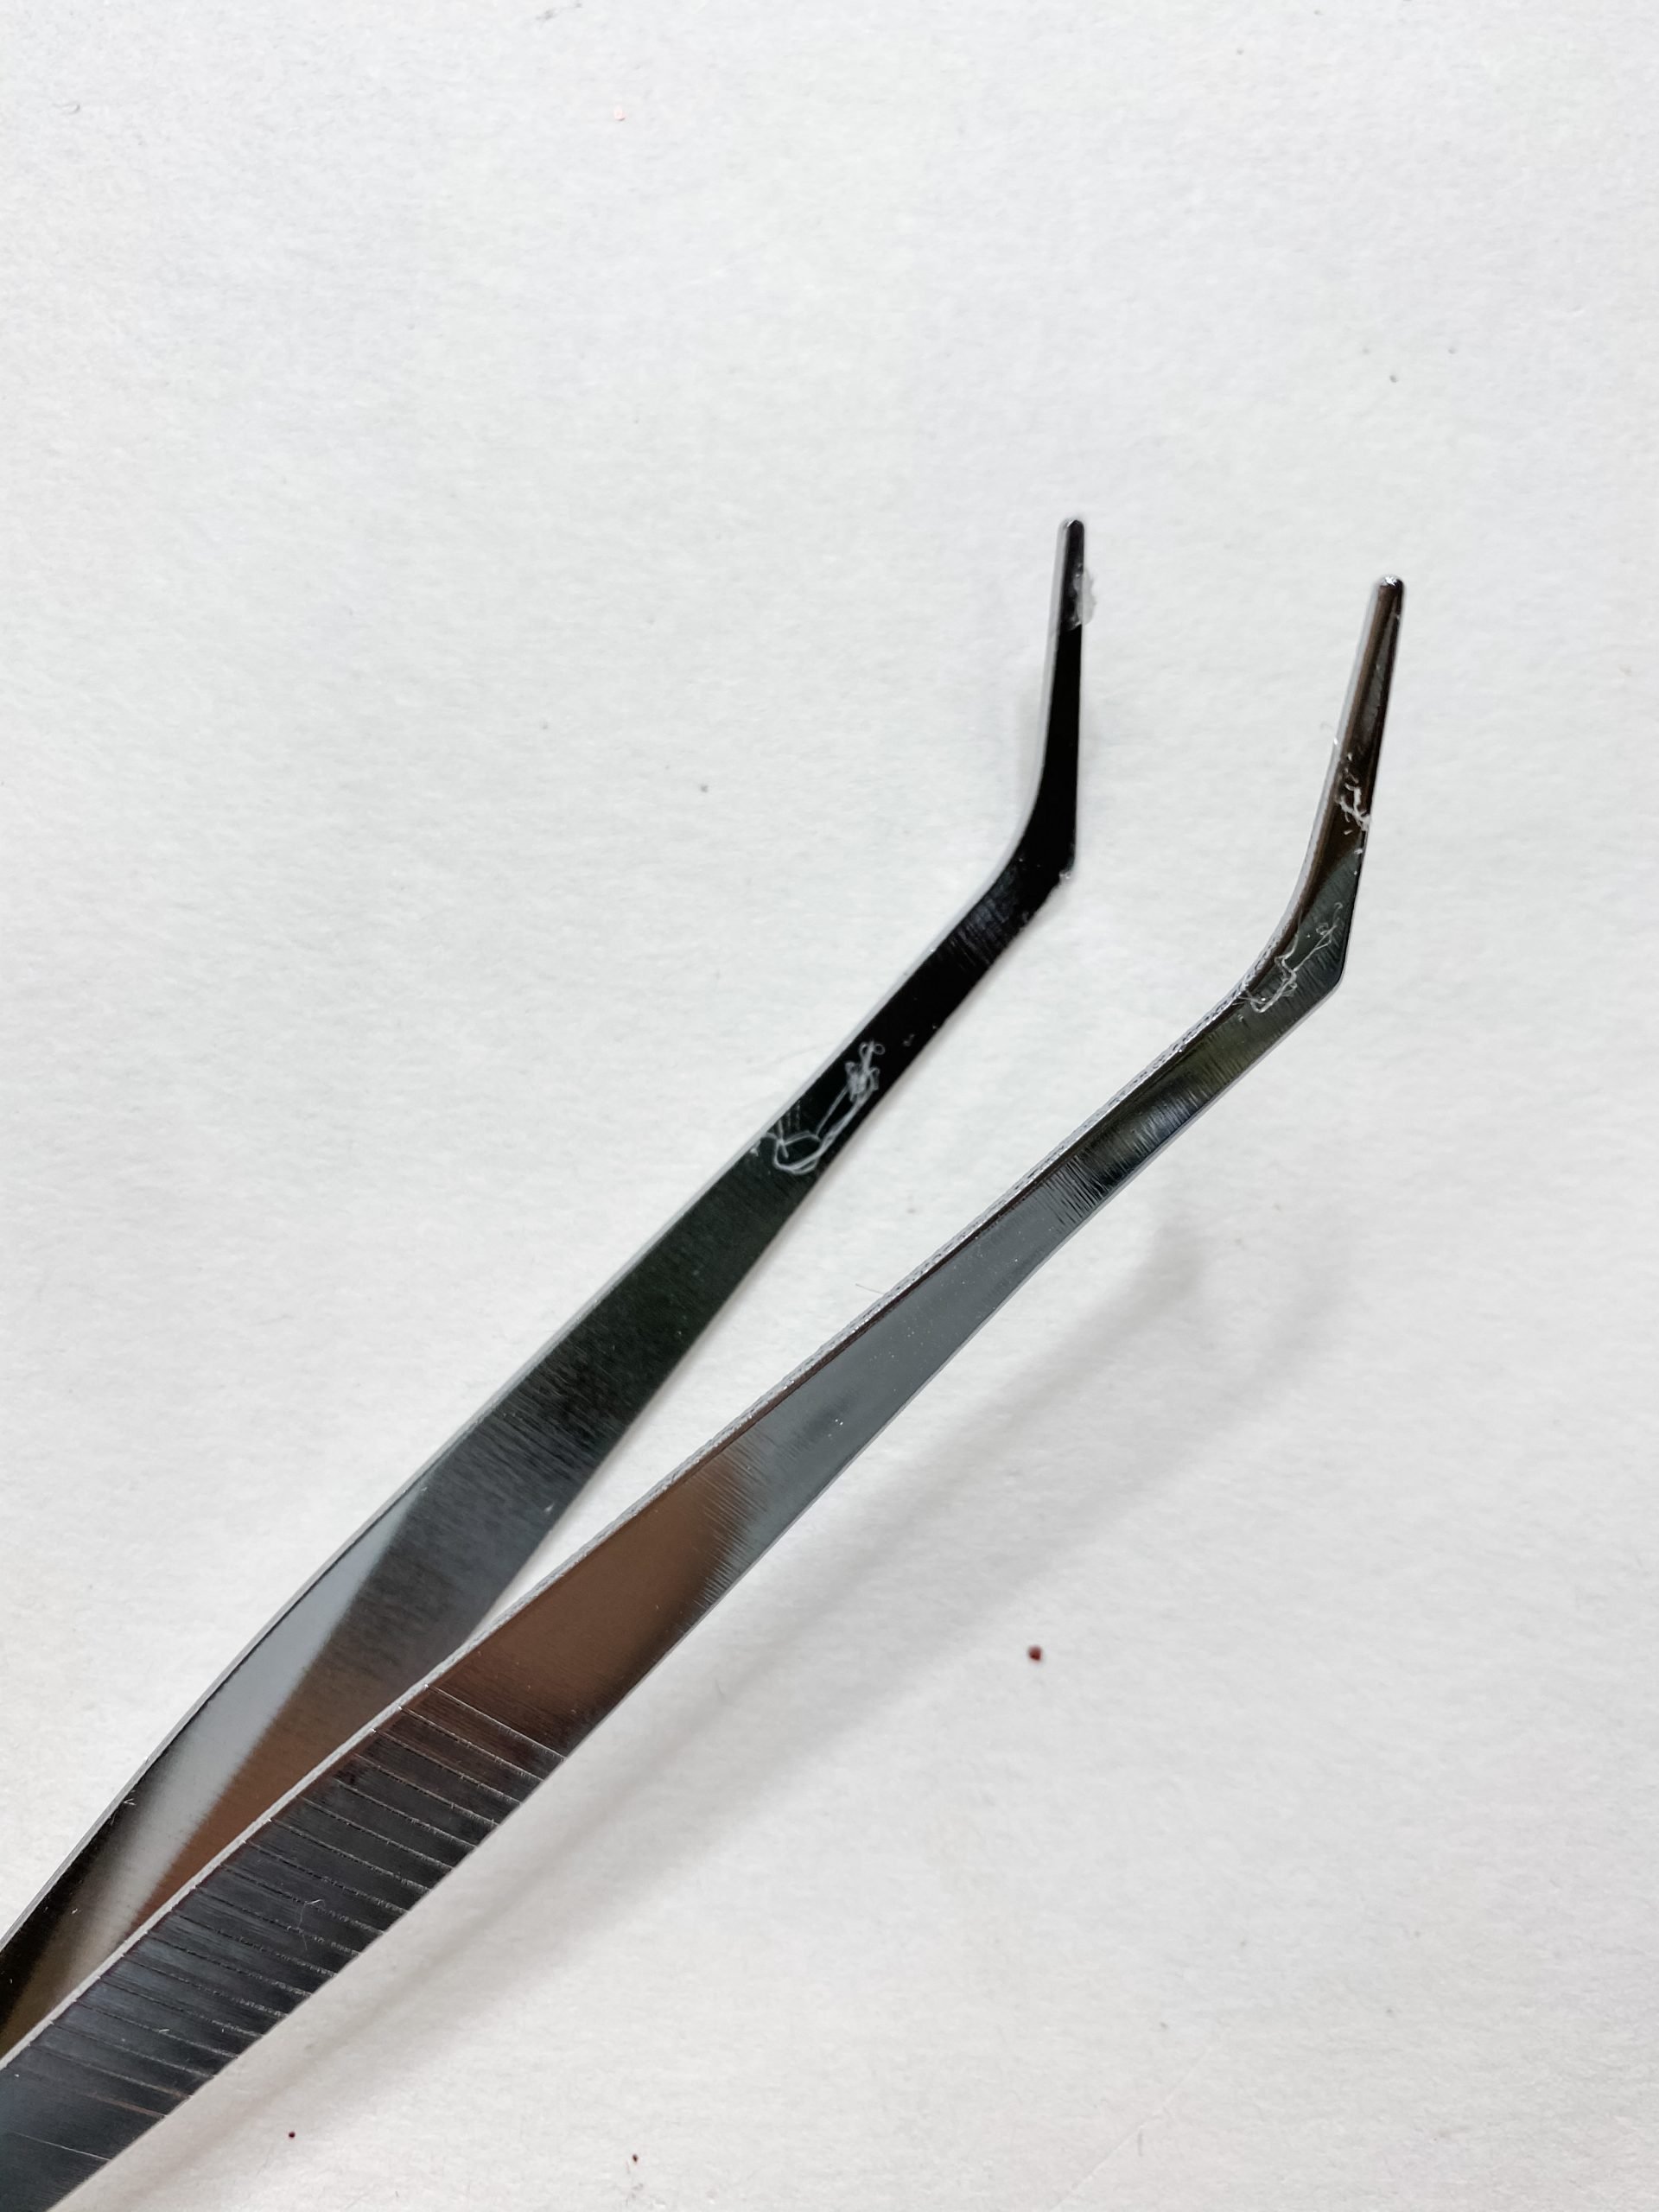
I used a pair of tweezers to place the Dollar Tree pop-dot adhesives after I applied a small dot of hot glue to keep from burning the tips of my fingers.
Once the Dollar Tree Merry Christmas ornament was dry, I used the E6000 glue to attach the ornament to the wood floor sample.
The E6000 provides a better bond between the wood and the ornament than regular hot glue would. Just remember that E6000 takes about 24 hours to dry.
All that is left to do is attach the hanger! I drilled a hole at the top of the Home Depot wood floor sample and threaded a strand of black and white baker’s twine through the hole.
For this job, I used my Ryobi cordless drill to drill the hole in the top of the Home Depot flooring sample.
I want to note that I had these floor samples leftover and I was no longer using them so I asked myself “what can you do with leftover flooring samples”?
Instantly, I knew I was going to try to make unique DIY Christmas ornaments with the floor samples.
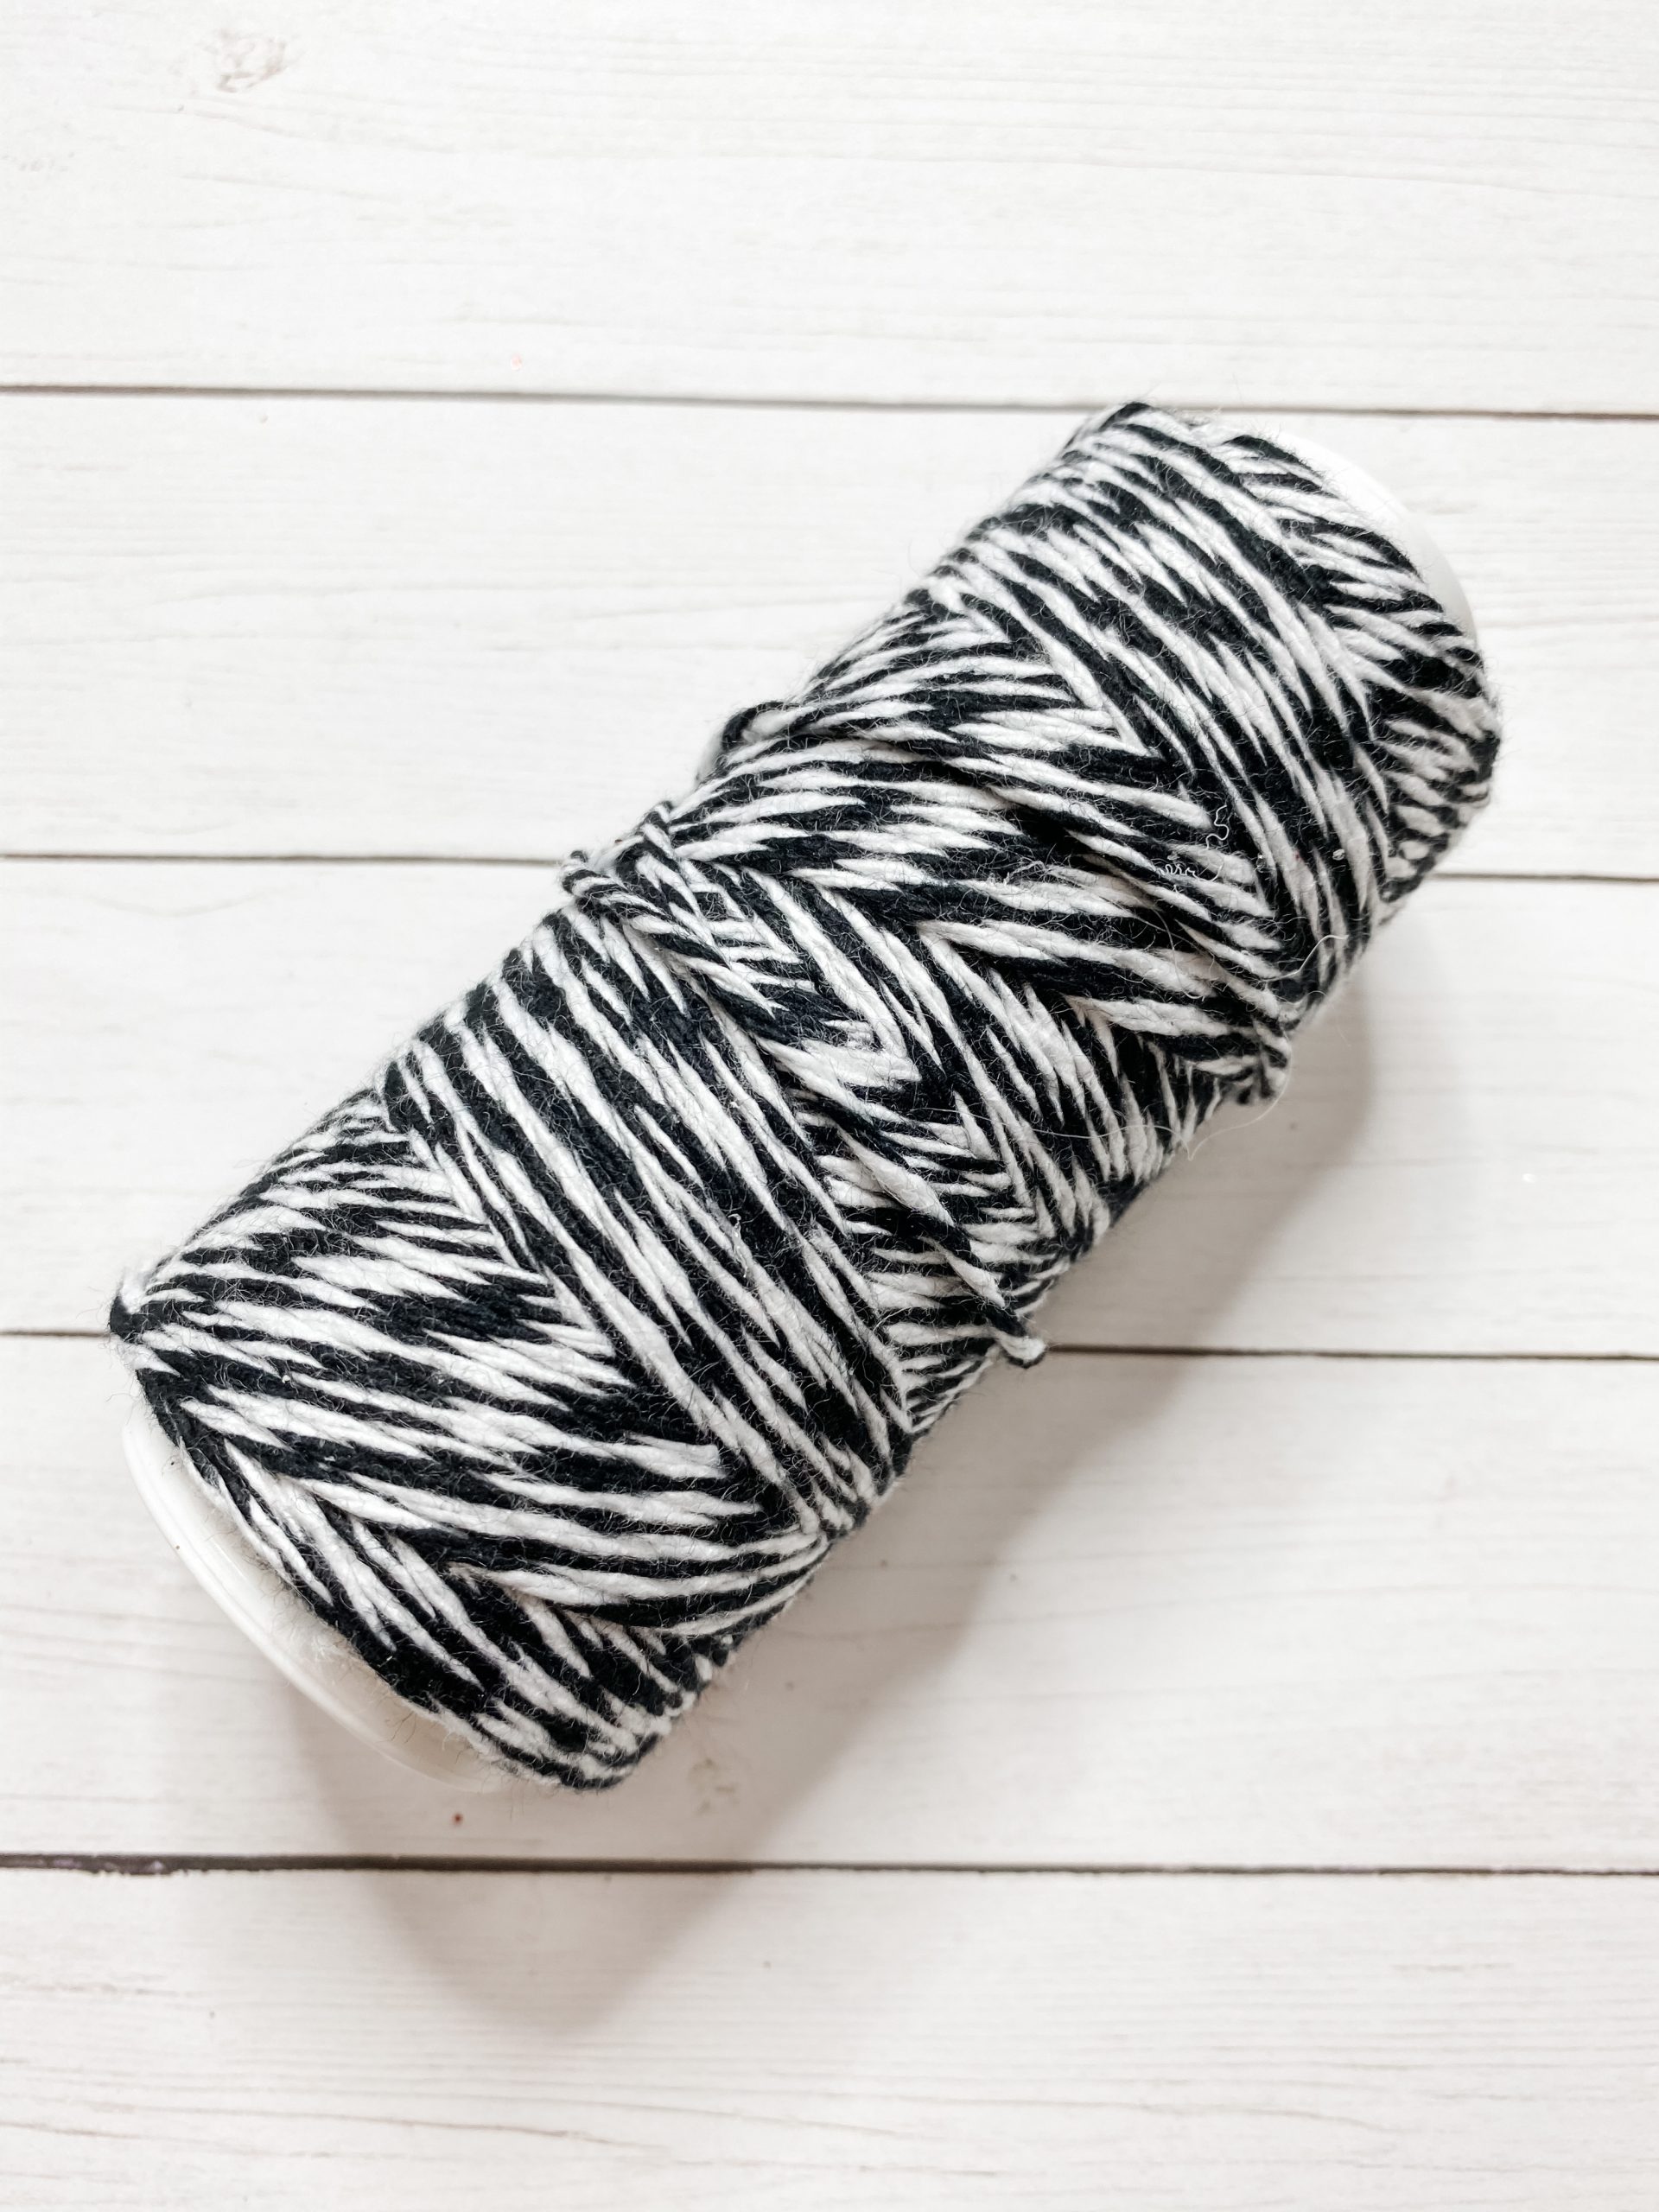
I tied the ends of the baker’s twine in a knot and hot glued the knot to the back of the wood floor sample to keep it from moving.
Allow your gorilla glue to dry, and you are ready to hang this super cute DIY ornament on your Christmas tree!
This Christmas ornament idea is also the perfect kid’s Christmas craft.

Let’s Make Ornament #2
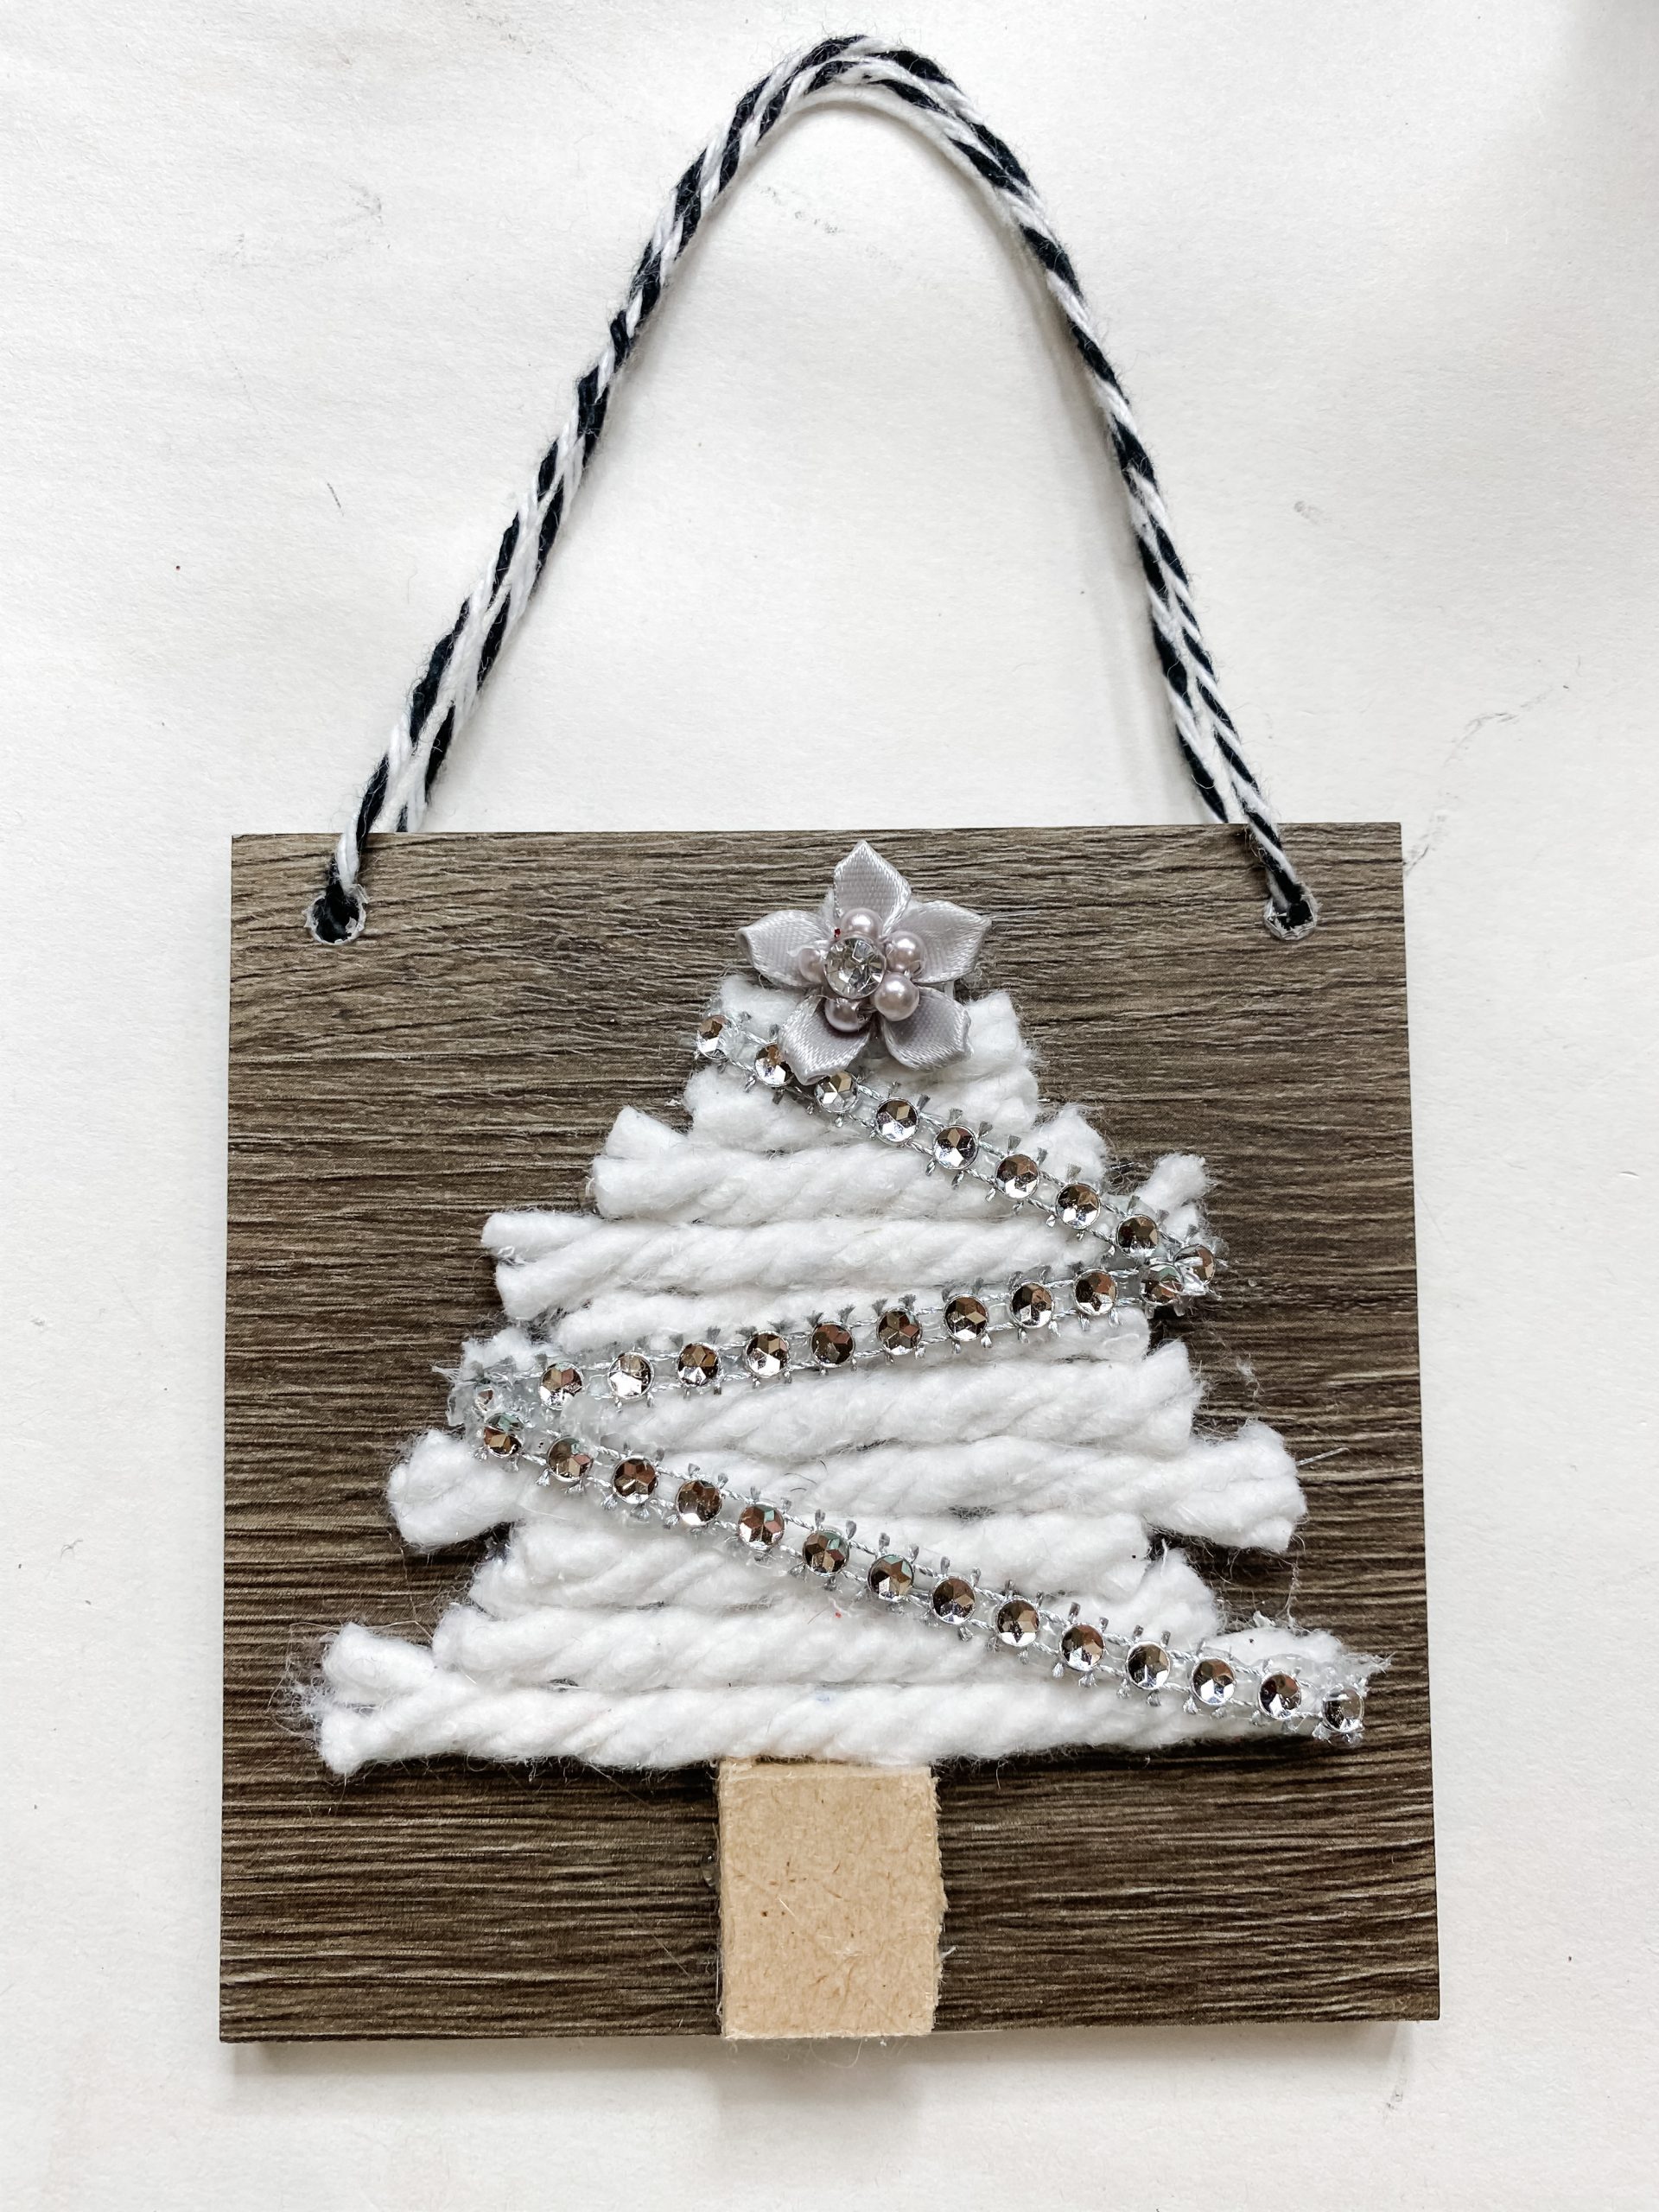
Let’s get started making the second DIY Christmas ornament! The first step is to trim the Dollar Tree diamond wrap ribbon to a single strand of jewels.
This piece of decorative Dollar Tree ribbon will be the garland on our Christmas tree ornament.
Next, you’re going to use your Surebonder hot glue gun and Gorilla glue and create a tree trunk. I used a leftover MDF piece from the Dollar Tree LED Wood Truck cut-out that I previously used for a fun Christmas decor project idea.
You will glue that at the bottom center of the mop head tree shape on the wood floor sample. It really did make the perfect Christmas Tree trunk.
I used Dollar tree mop head strings to make the Christmas Tree. Just cut the mop head strings into different lengths, and hot glue them above the MDF craft square in descending lengths to create a Christmas tree shape.

Once you are satisfied with your Christmas Tree’s shape, hot glue the diamond wrap ribbon in a zigzag shape across the Christmas Tree.
Every tree has to have a topper, so I used the small decorative flower and hot glued it at the top of my mop head string Christmas tree.
The finishing touches
Finally, it is time to hang up your ornament! I used baker’s twine for the ornament hanger and drilled two holes near the top corners of the floor sample using my Ryobi Drill that I showed before.
Tie the ends of the baker’s twine and hot glue the knot down, and you’re good to go!
I hope you had as much fun learning how to make this Home Depot Floor Sample DIY Christmas Ornaments as much as I did and decide to make it for yourself!
I would love to see how yours turns out! You should totally join my FREE Facebook group called On A Budget Crafts! It is a judgment-free community for DIY crafters to show off their projects and ideas.

If you loved this DIY you might also like this Christmas Ornament DIY with Cardboard!
Thanks for stopping by! XOXO Amber
You can also shop my ENTIRE AMAZON Favorites shop just click here! It’s packed full of all the things I use and love.
Here is the supply list I highly recommend every creative have on hand!! Would you also pin my blog for later and get on my newsletter alerts? I would love to have you join my #craftycrew.

Join my free “ON A BUDGET CRAFTS” Facebook group!
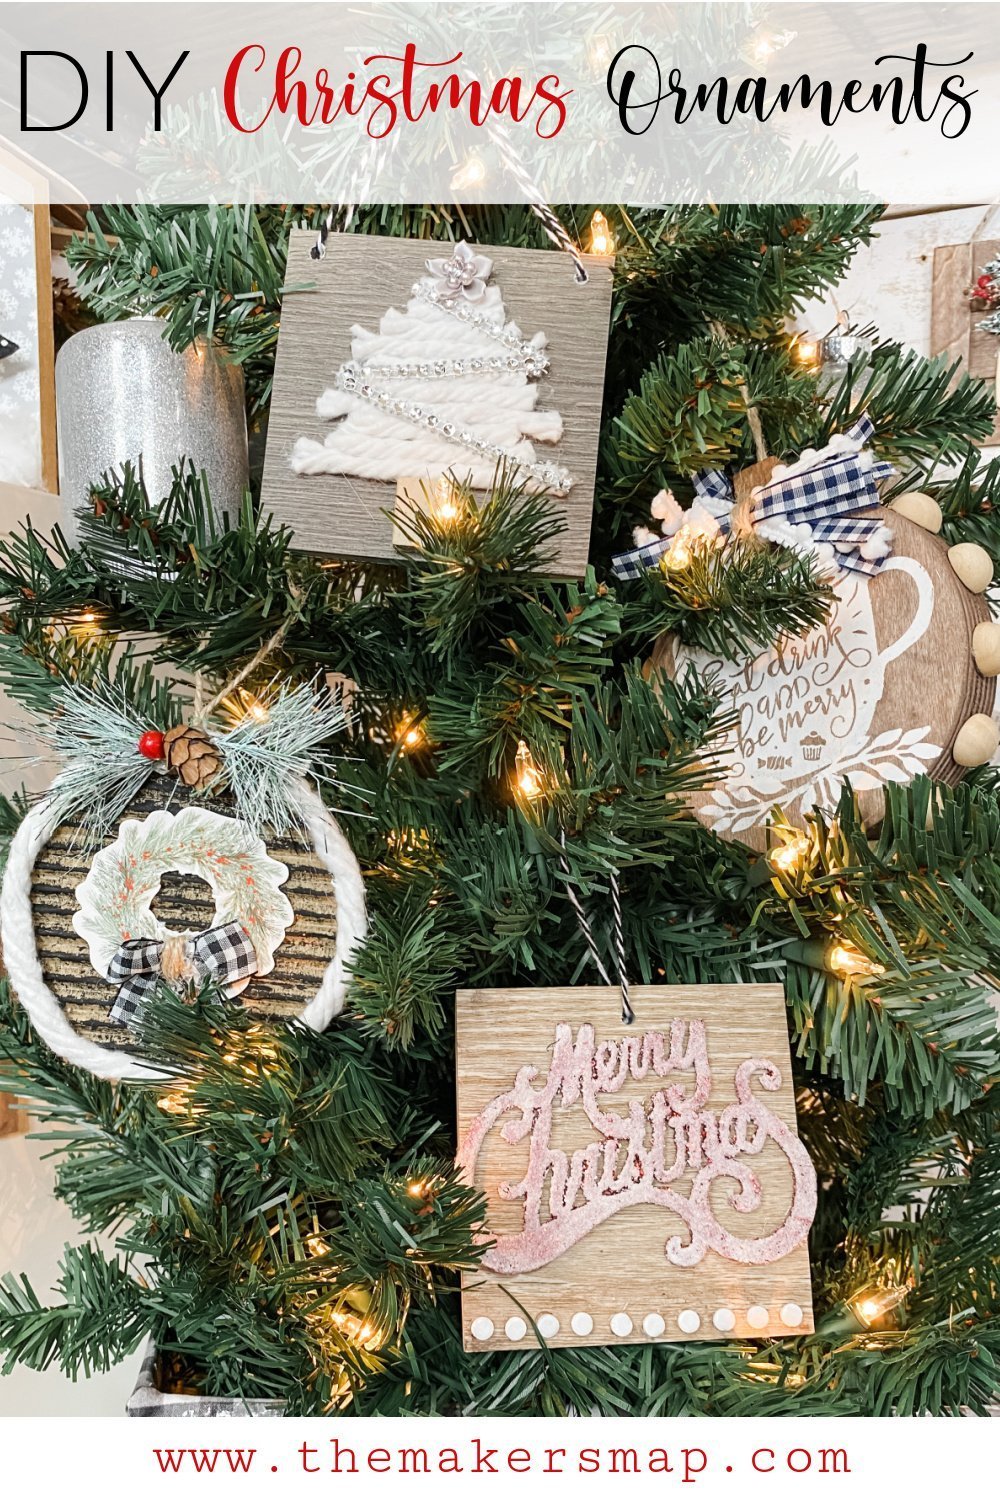
PIN THIS POST FOR LATER!


Wow, great minds think alike! I used those HD floor samples for a recent craft, too! 🙂
How exciting! I def need to check out your blog! Great to meet you Liberty!