Dollar Tree Picture Frame DIY Home Decor
I’ve said this before, but I think this might be the most simple DIY project I’ve ever done! This Dollar Tree Picture Frame DIY Home Decor is perfect for beginner crafters because it doesn’t require extensive crafting skills and has a small supply list!
This easy DIY decor is also very customizable. Change out the tissue paper and printable you use to make this perfect for your home!
If you want to get the Dear bed, you are my favorite printable you can get it right here!

Watch the replay
I made this adorable bedroom decor Dollar Tree DIY before I got my Creative Haven building, so the video style of this Facebook LIVE replay is a bit different than my most recent ones, but it still a great resource if you’re wanting to recreate this decor yourself.
If you want to craft along, learn my techniques, or join in the conversation, watch the replay!
For this project, I will be using these items but you can substitute where you want.
“As an Amazon Associate, I earn from qualifying purchases.”
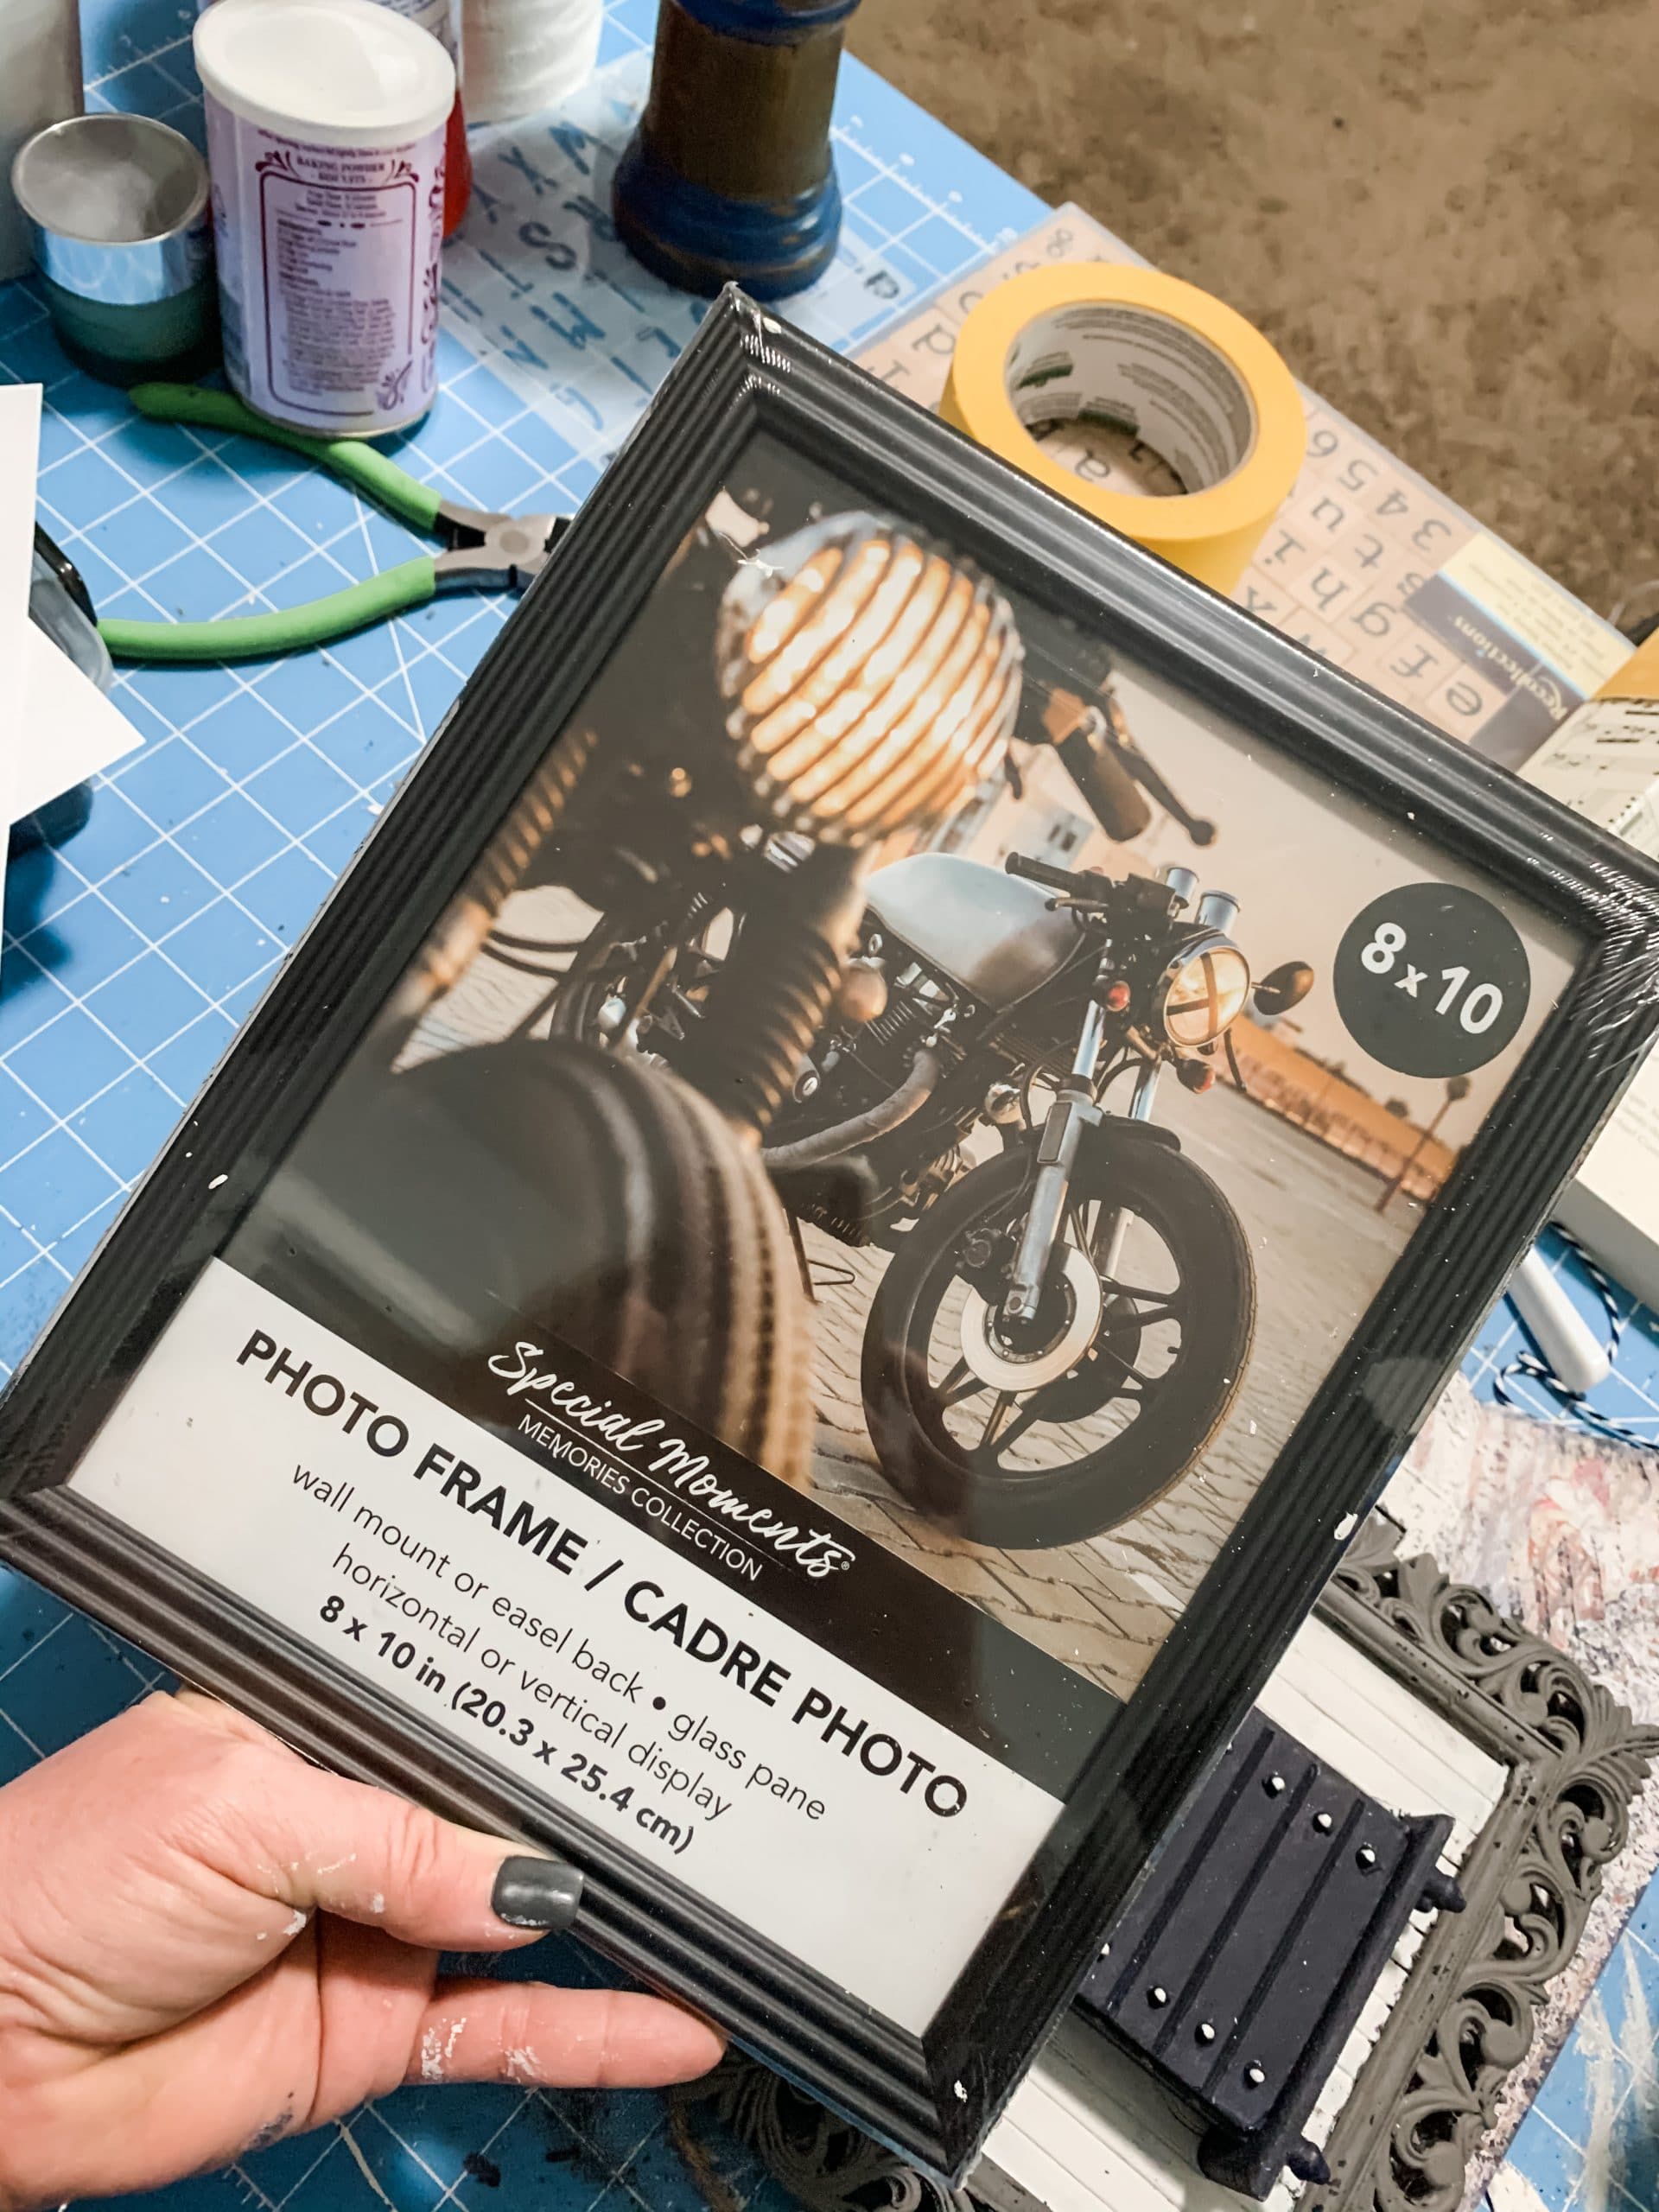
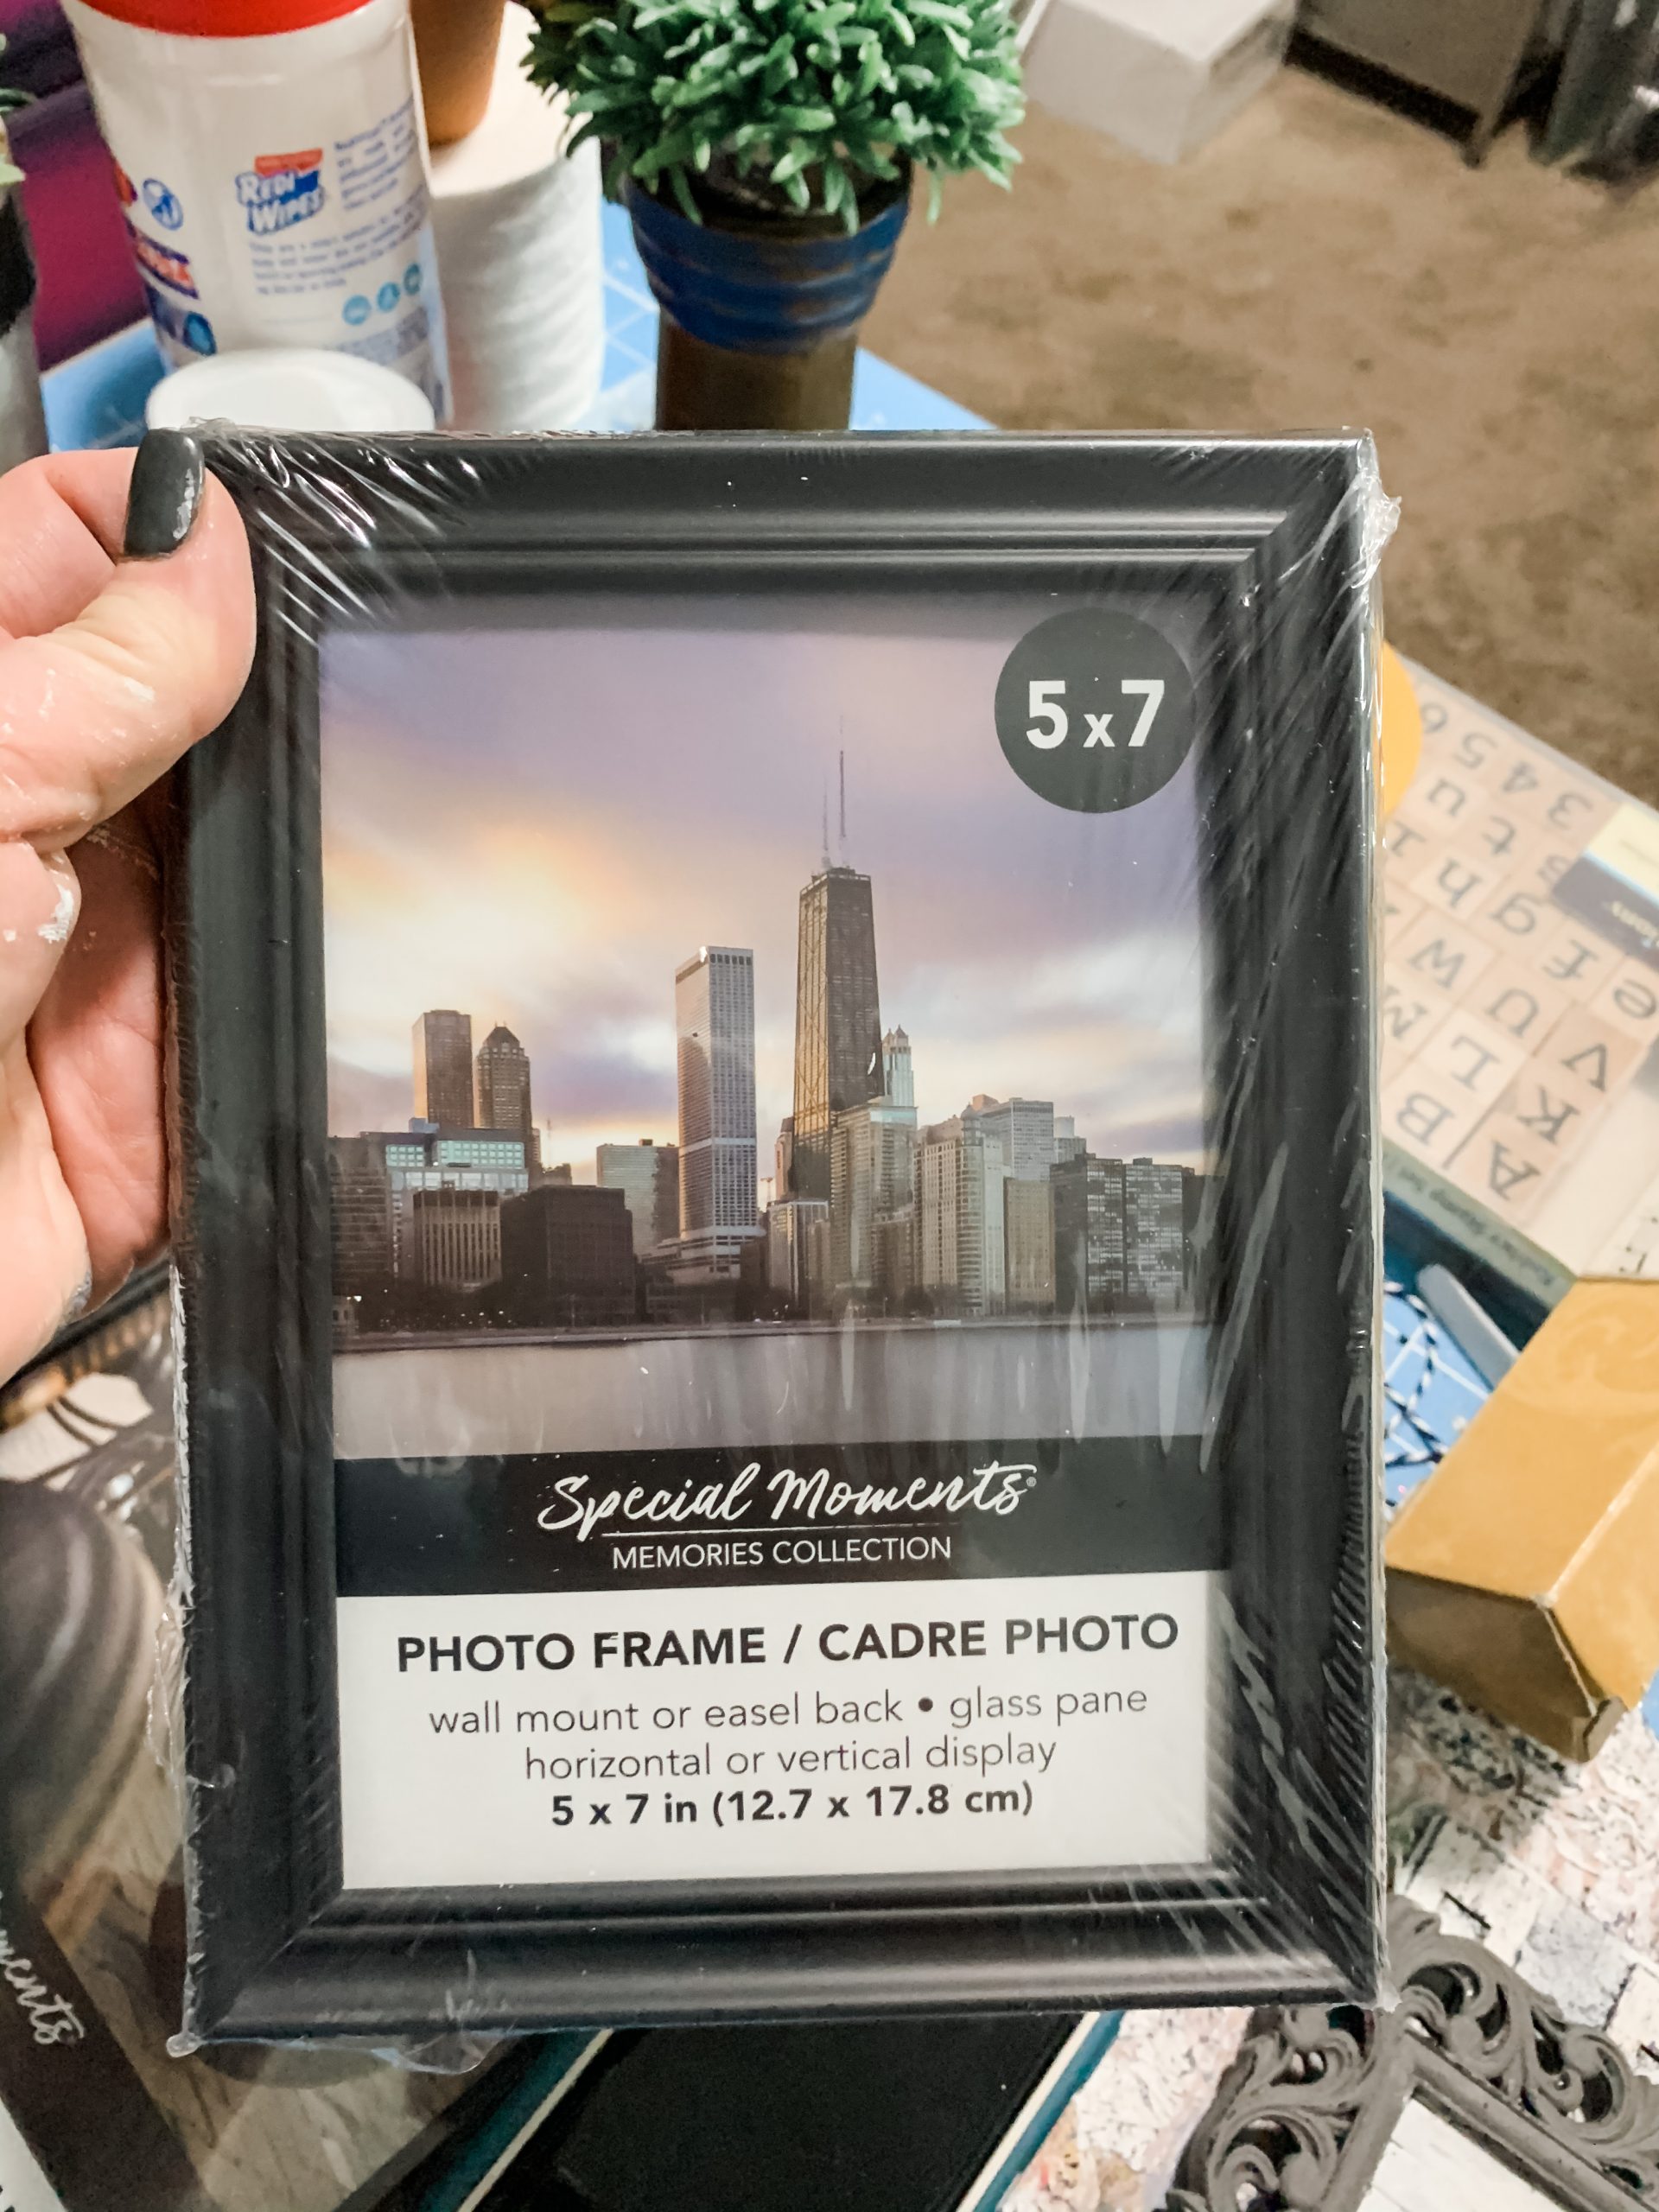
- Dollar Tree 5×7 Picture Frame
- Dollar Tree 8×10 Picture Frame
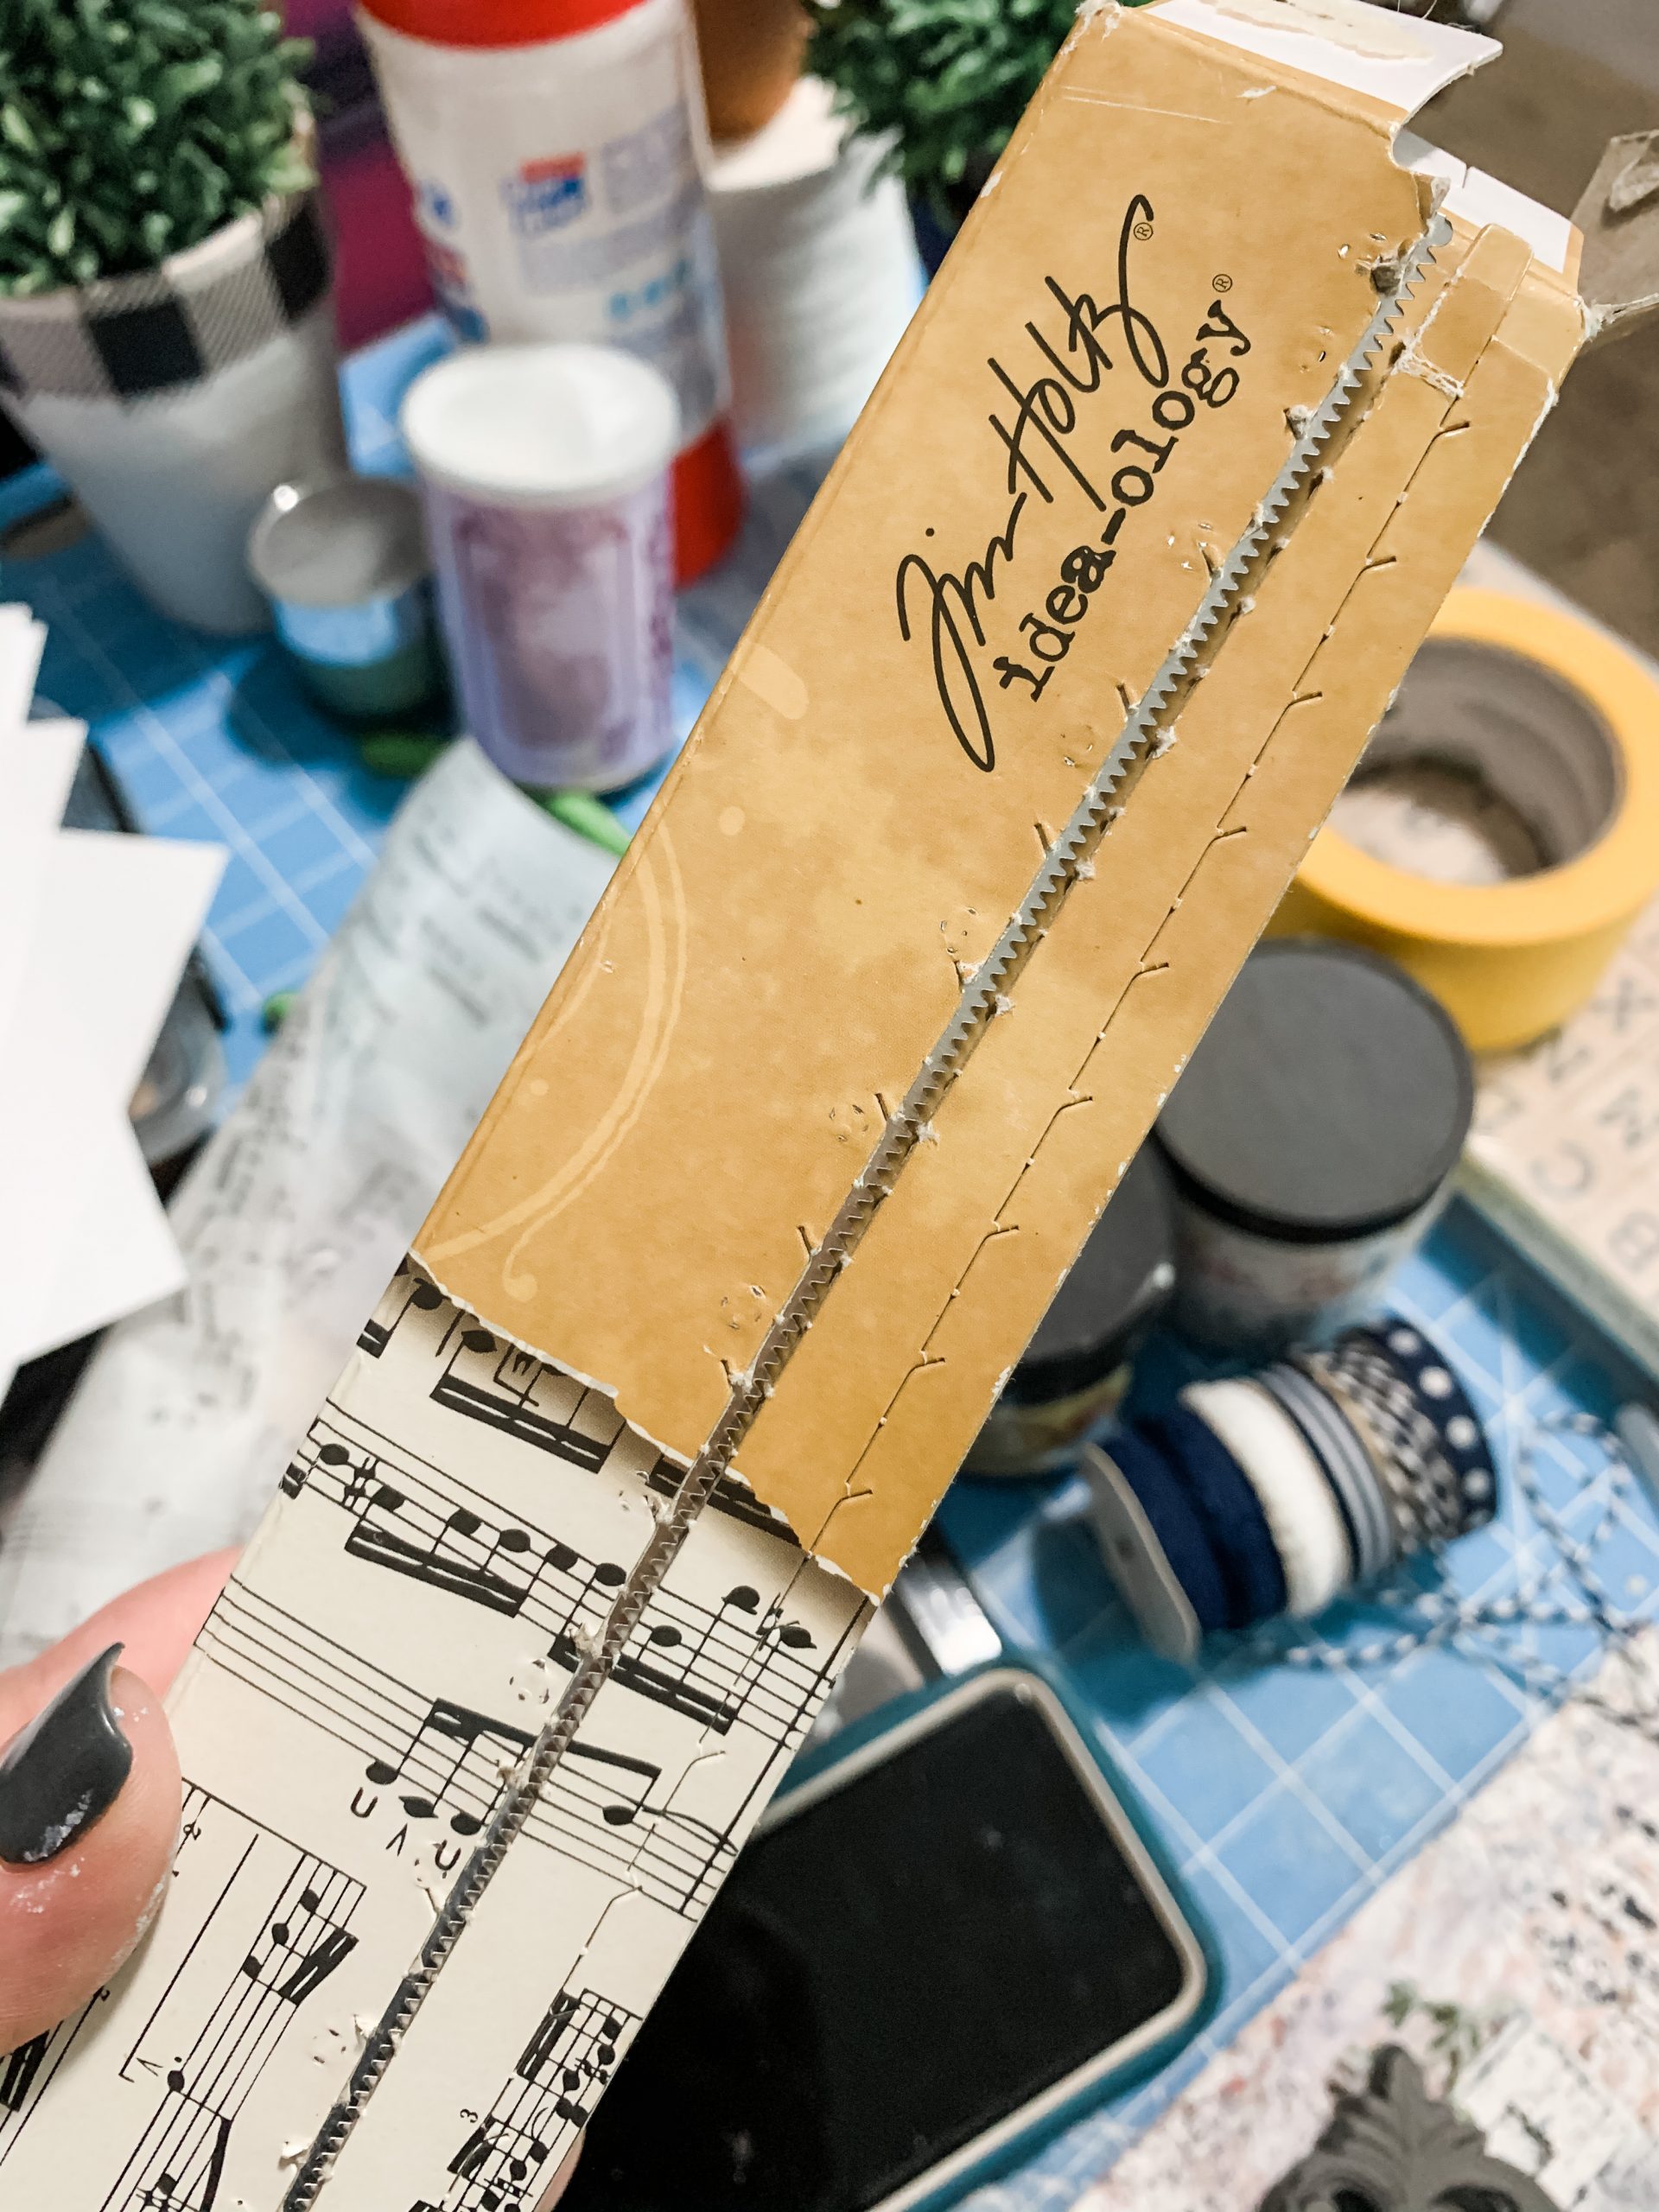
- Tim Holtz Music Tissue Paper
- Spackling
- Dear Bed printable
- Dixie Belle In The Navy Chalk Paint (navy blue)
- Dixie Belle Fluff Chalk Paint
- Baker’s Twine
- Hot glue gun and glue sticks
- Heat Gun
Let’s get started!
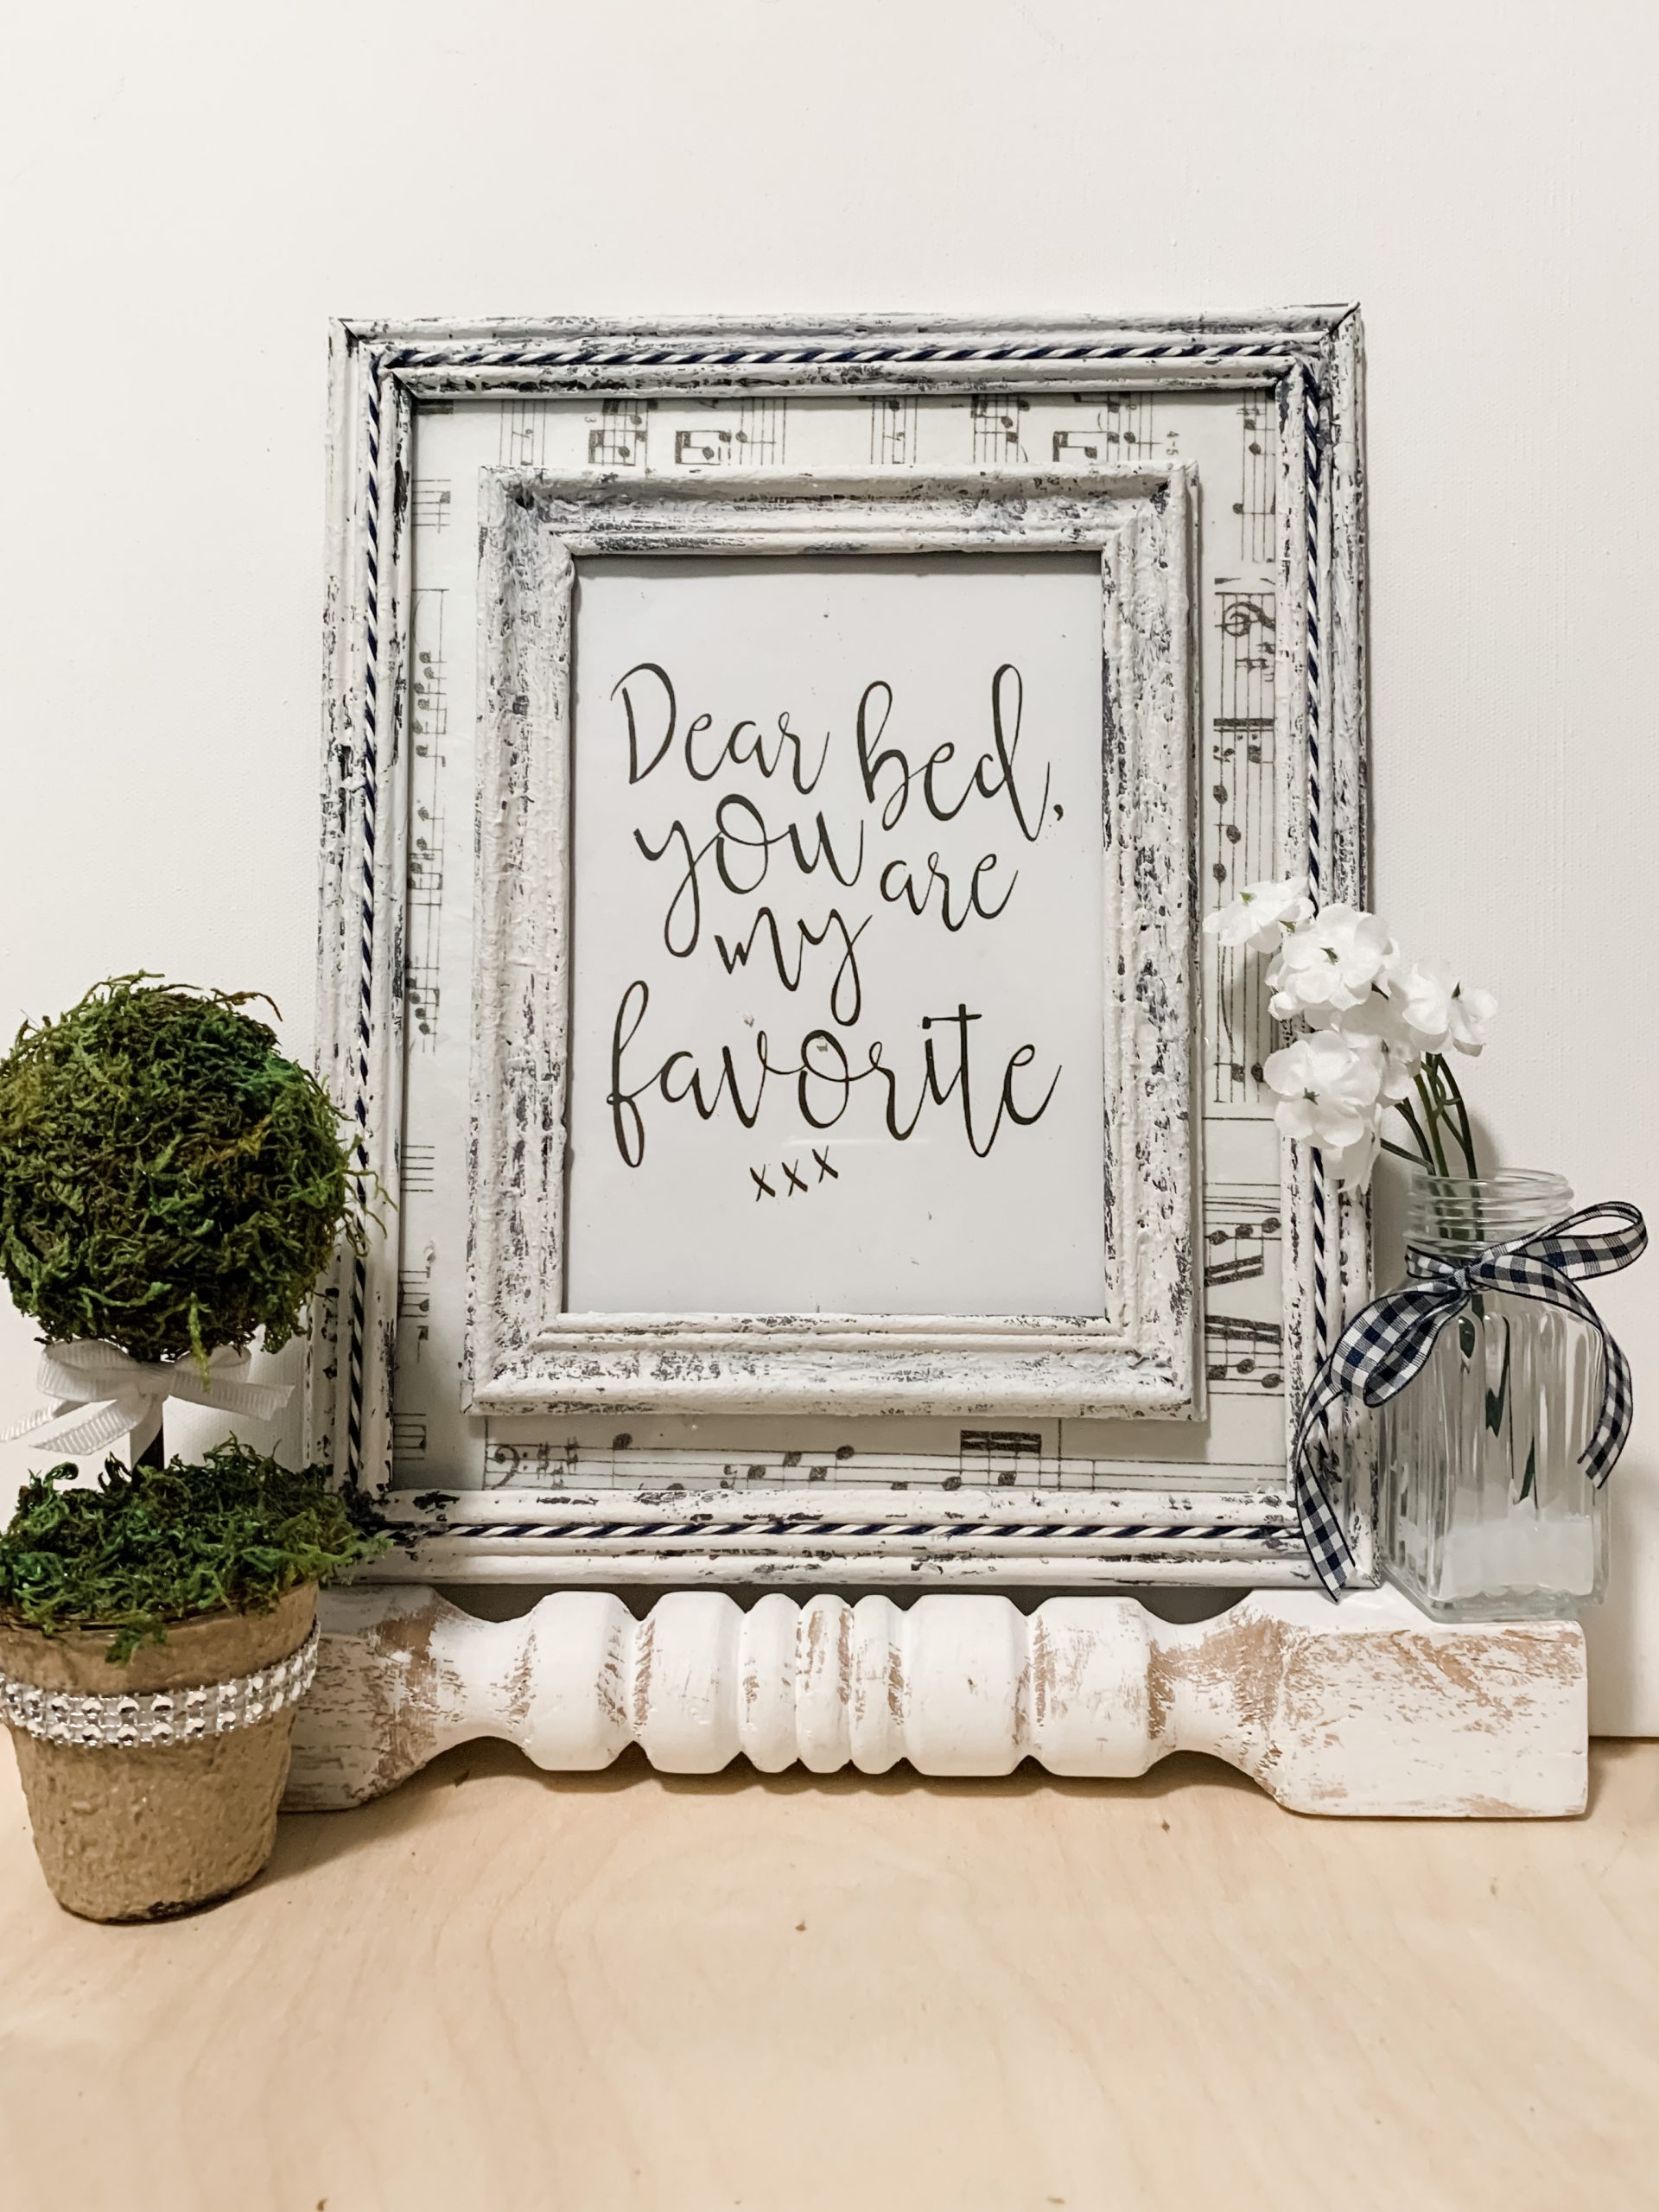
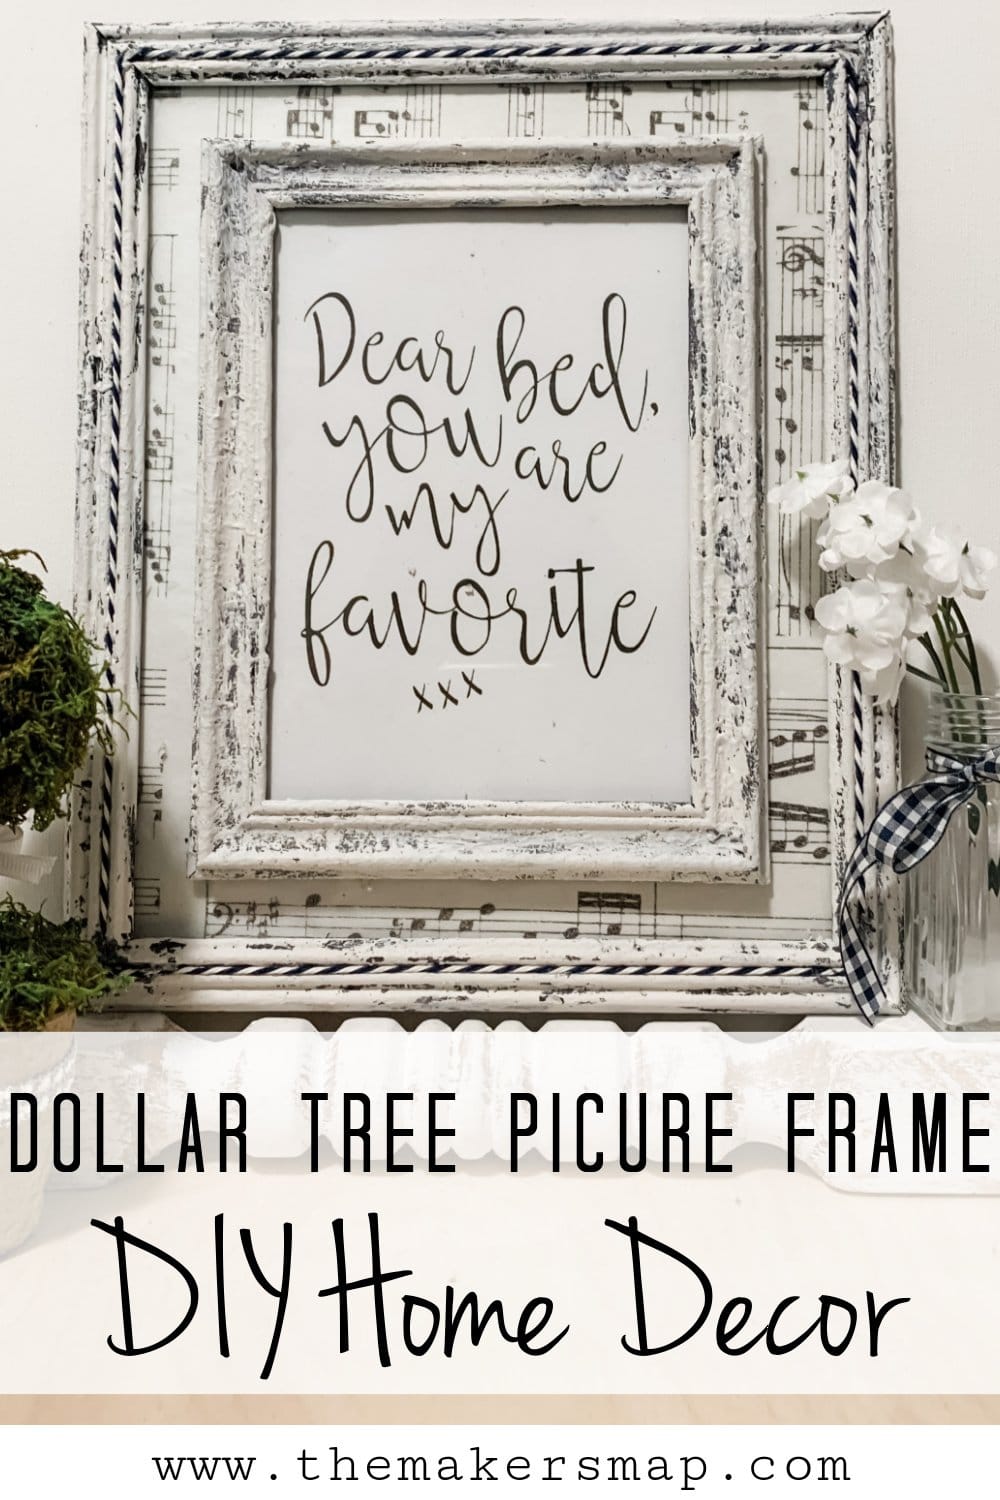
Let’s get to the good stuff! I started making this easy decor DIY by removing the glass and backing from the two Dollar Tree picture frames. You want picture frames that are different sizes because were are layering them.
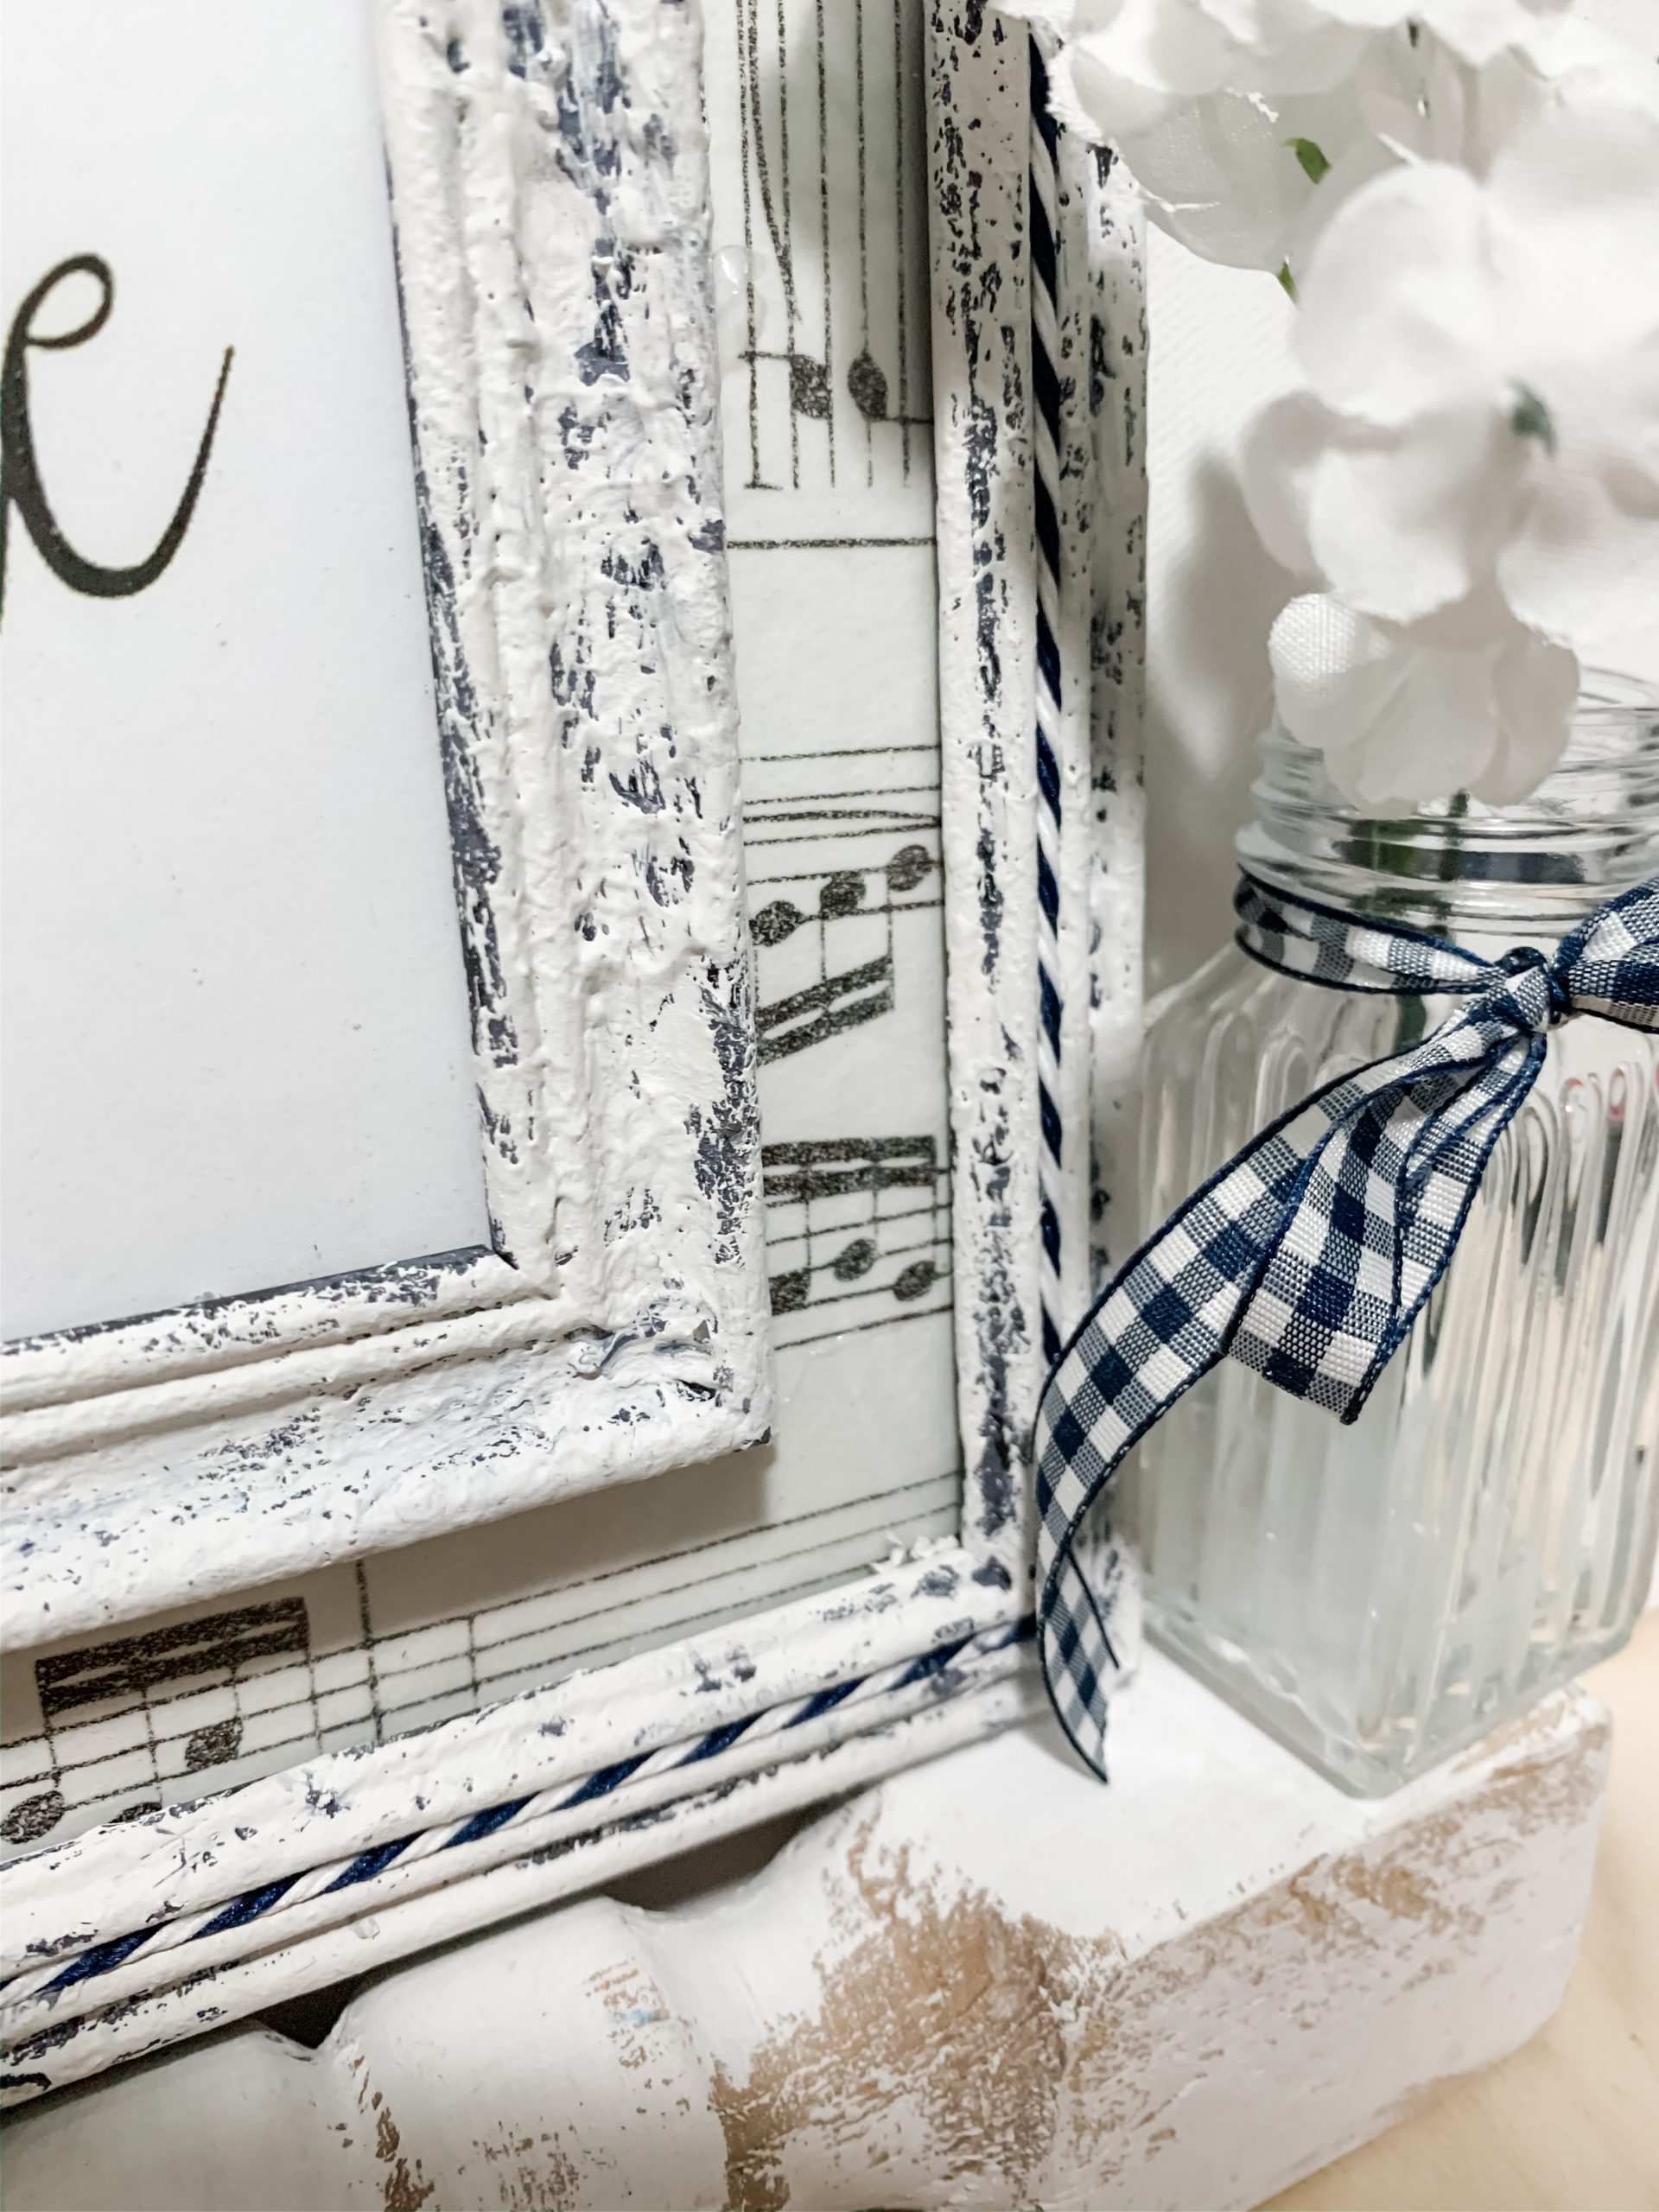
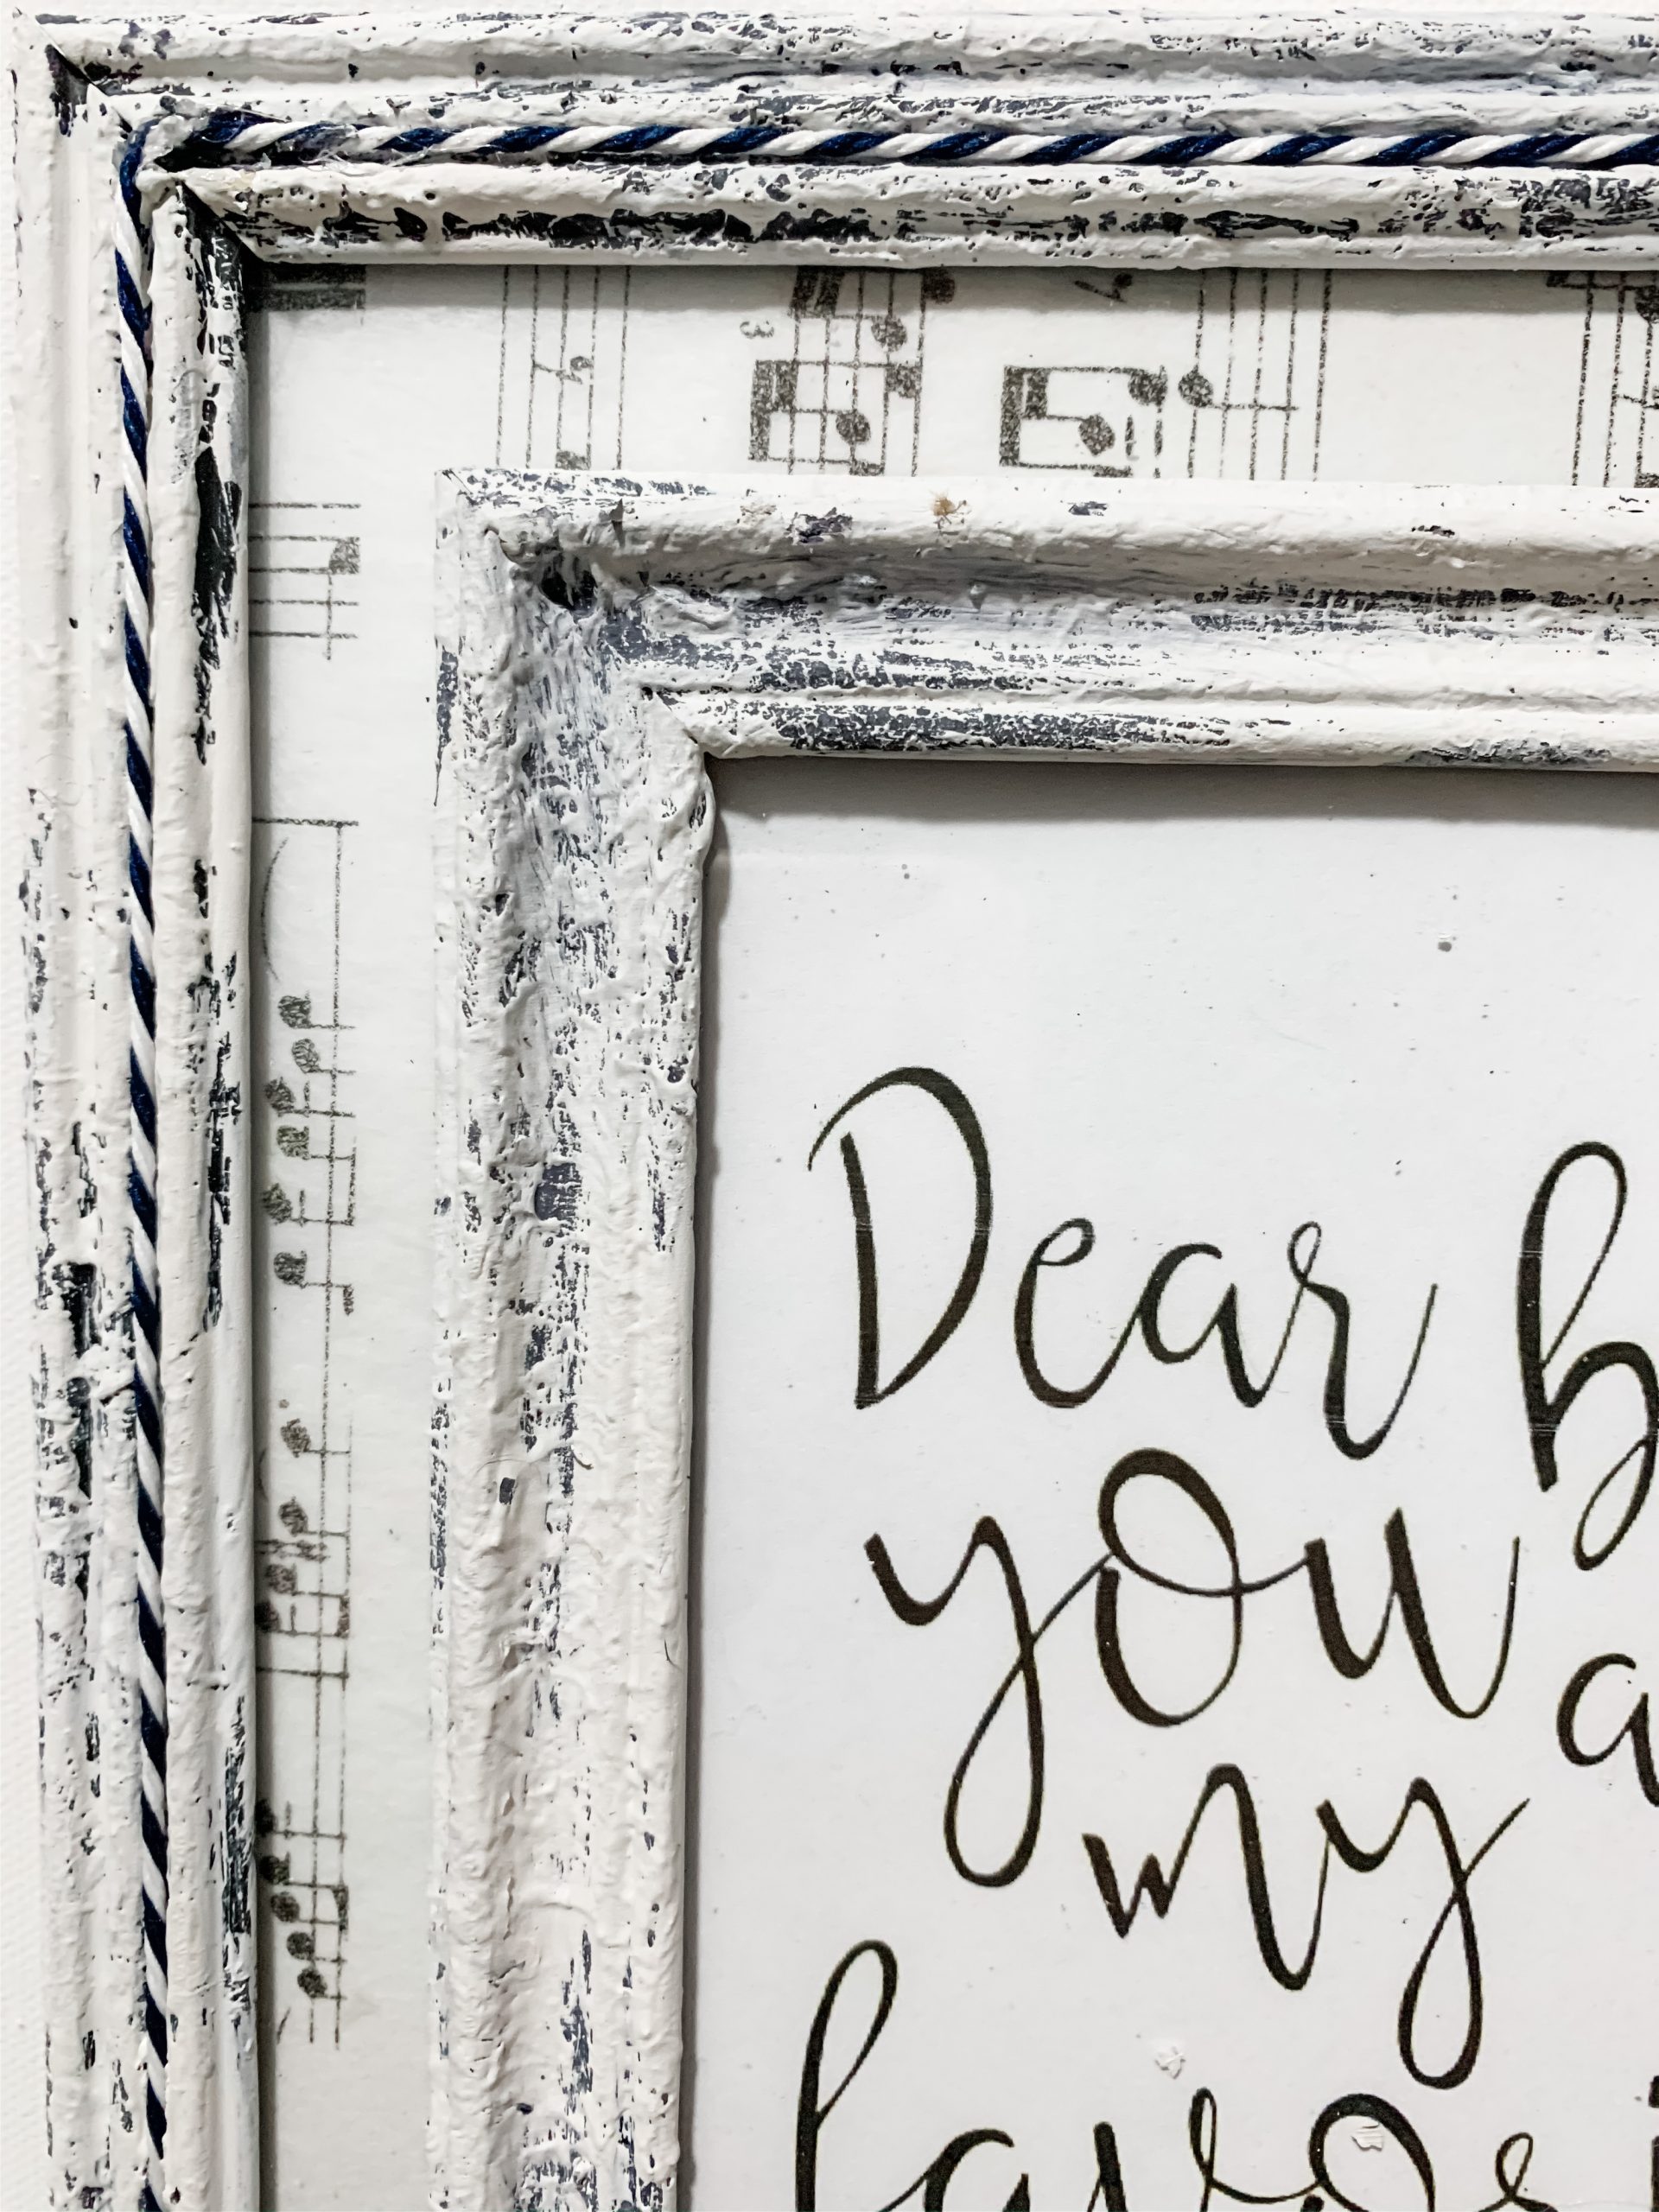
Once you have the Dollar Tree picture frames separated, you can set them to the side because we have some mixing to do. I mixed Dixie Belle In The Navy Chalk Paint with some spackling. This is going to give the frames some texture when we paint them white. I love adding texture to my decor.
You don’t have to worry about mixing the paint and spackling perfectly, because when we start pouncing the paint onto the frame, it will blend it more.
Mix it until you have a marbling effect, then use a paintbrush to dab the paint/spackling mixture onto both picture frames. I used my heat gun to quickly dry both of the Dollar Tree picture frames.
Once the paint/spackling mixture has dried on both the picture frames, you need a chippy paintbrush and Dixie Belle Fluff Chalk Paint (white). You’re going to lightly paint each of the picture frames.
Keeping a light hand will give you an effortless distressed finish on your picture frames. If you want the frames to be more distressed after you’re finished painting, you can always go back over with a sanding sponge.
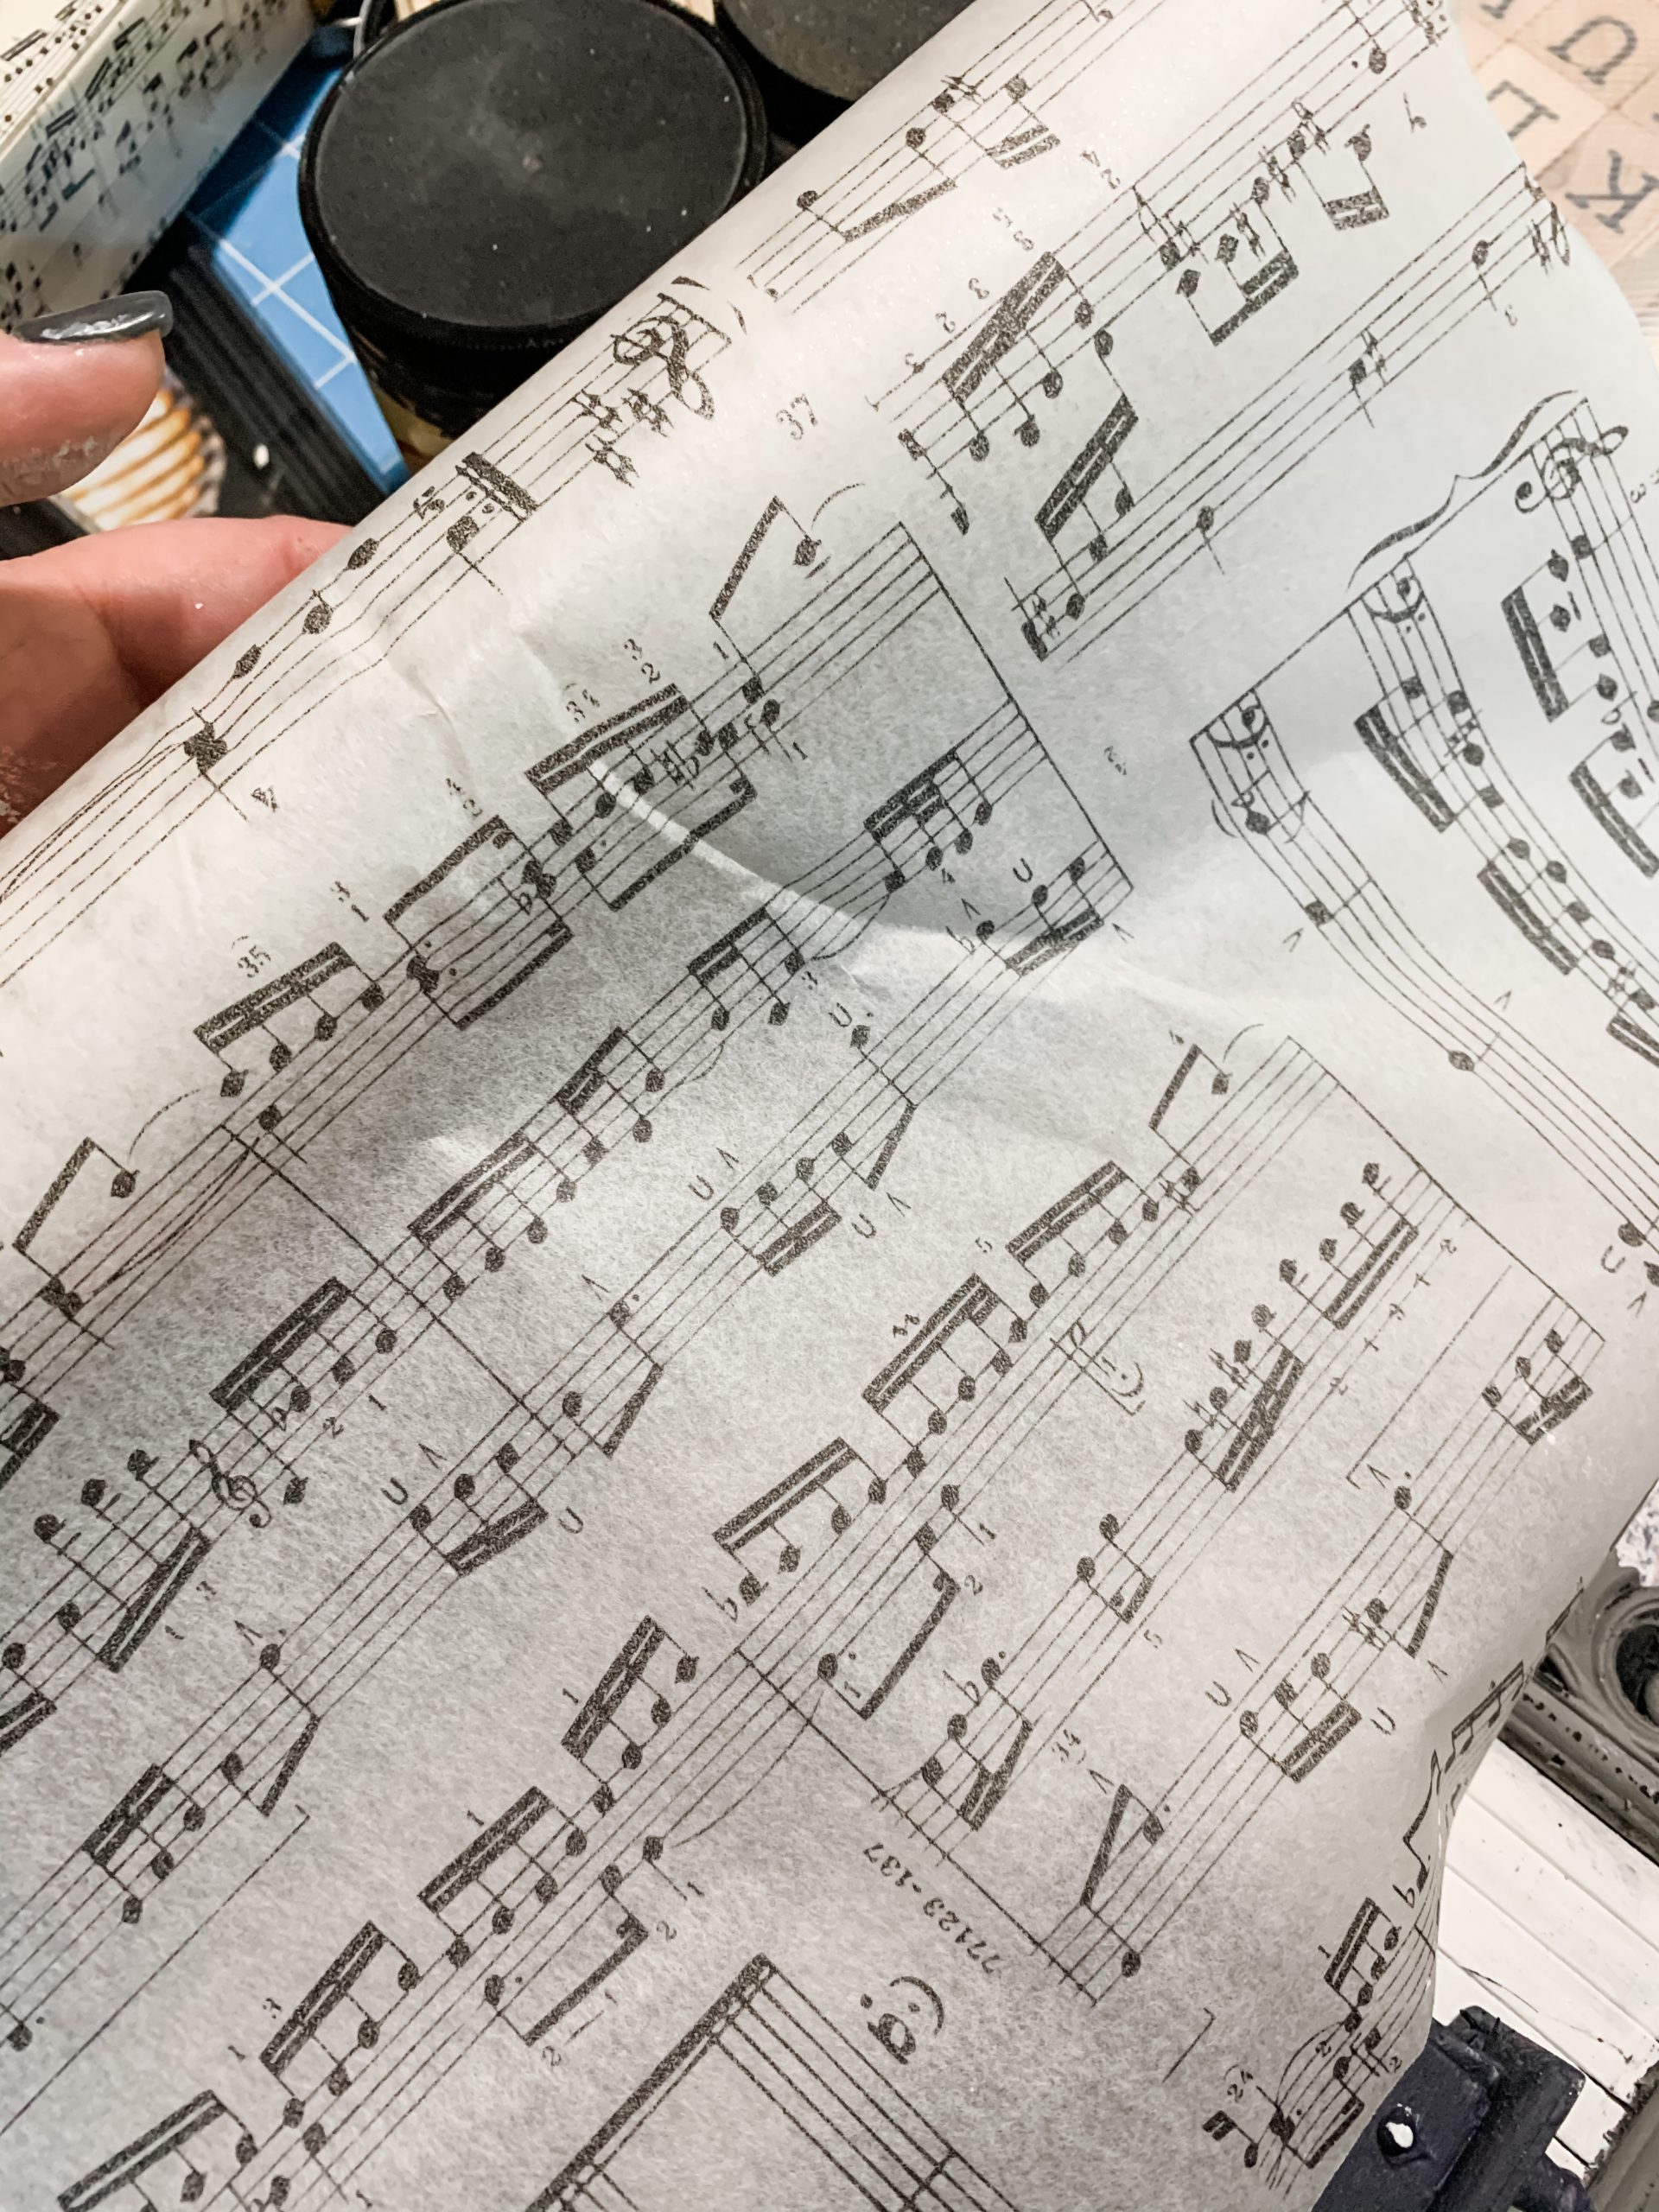
Music Note Tissue Paper
You’re going to need your music note tissue paper for this next step. Grab the paper insert from the larger picture frame and place it on the music note scrapbook paper. Next, I used an Exacto knife to cut the tissue paper to be the same size as the paper insert.
The tissue paper is very see-through, so I cut a piece of white printer paper to go behind the tissue paper. Remember you can choose scrapbook paper, a napkin or any tissue paper you like or create your own background.
I didn’t want the kickstand on the back of the large picture frame, so I used my Exacto knife to just remove the kickstand from the picture frame back. Then, I placed the printer paper, tissue paper, and glass into the picture frame and secured them in place.
You can set the large picture frame to the side for now. We are going to finish up the smaller picture frame now.
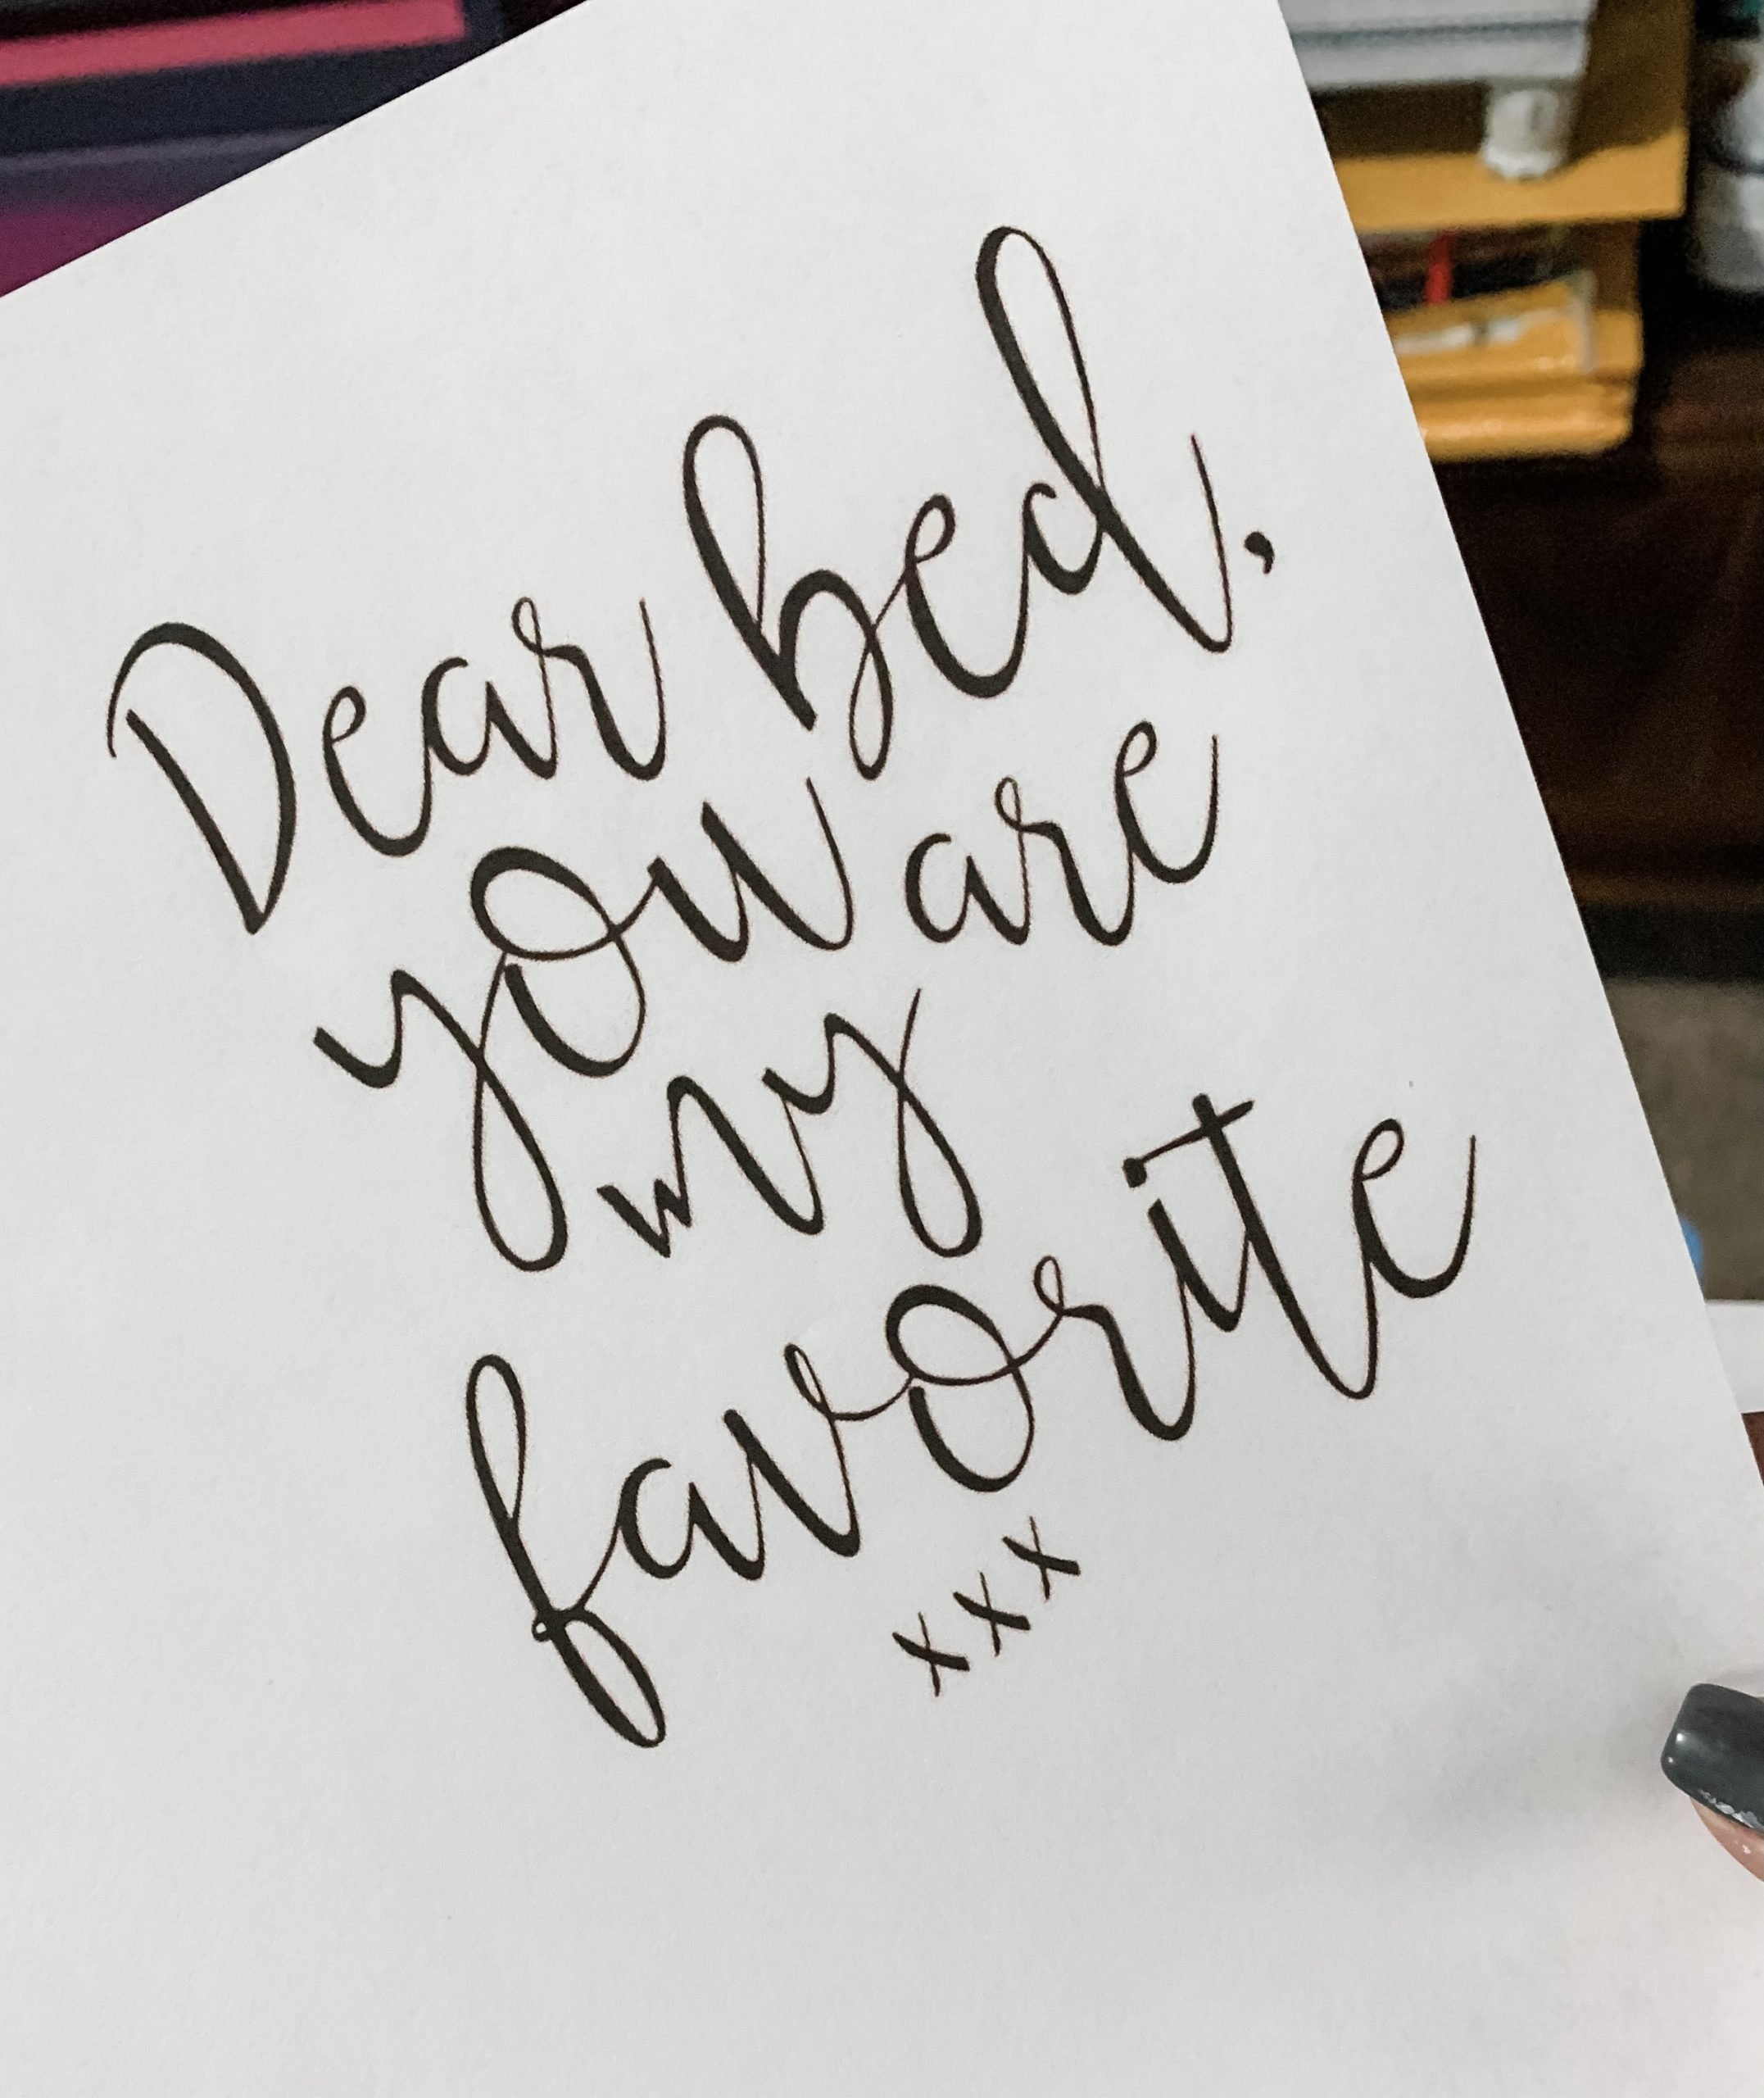
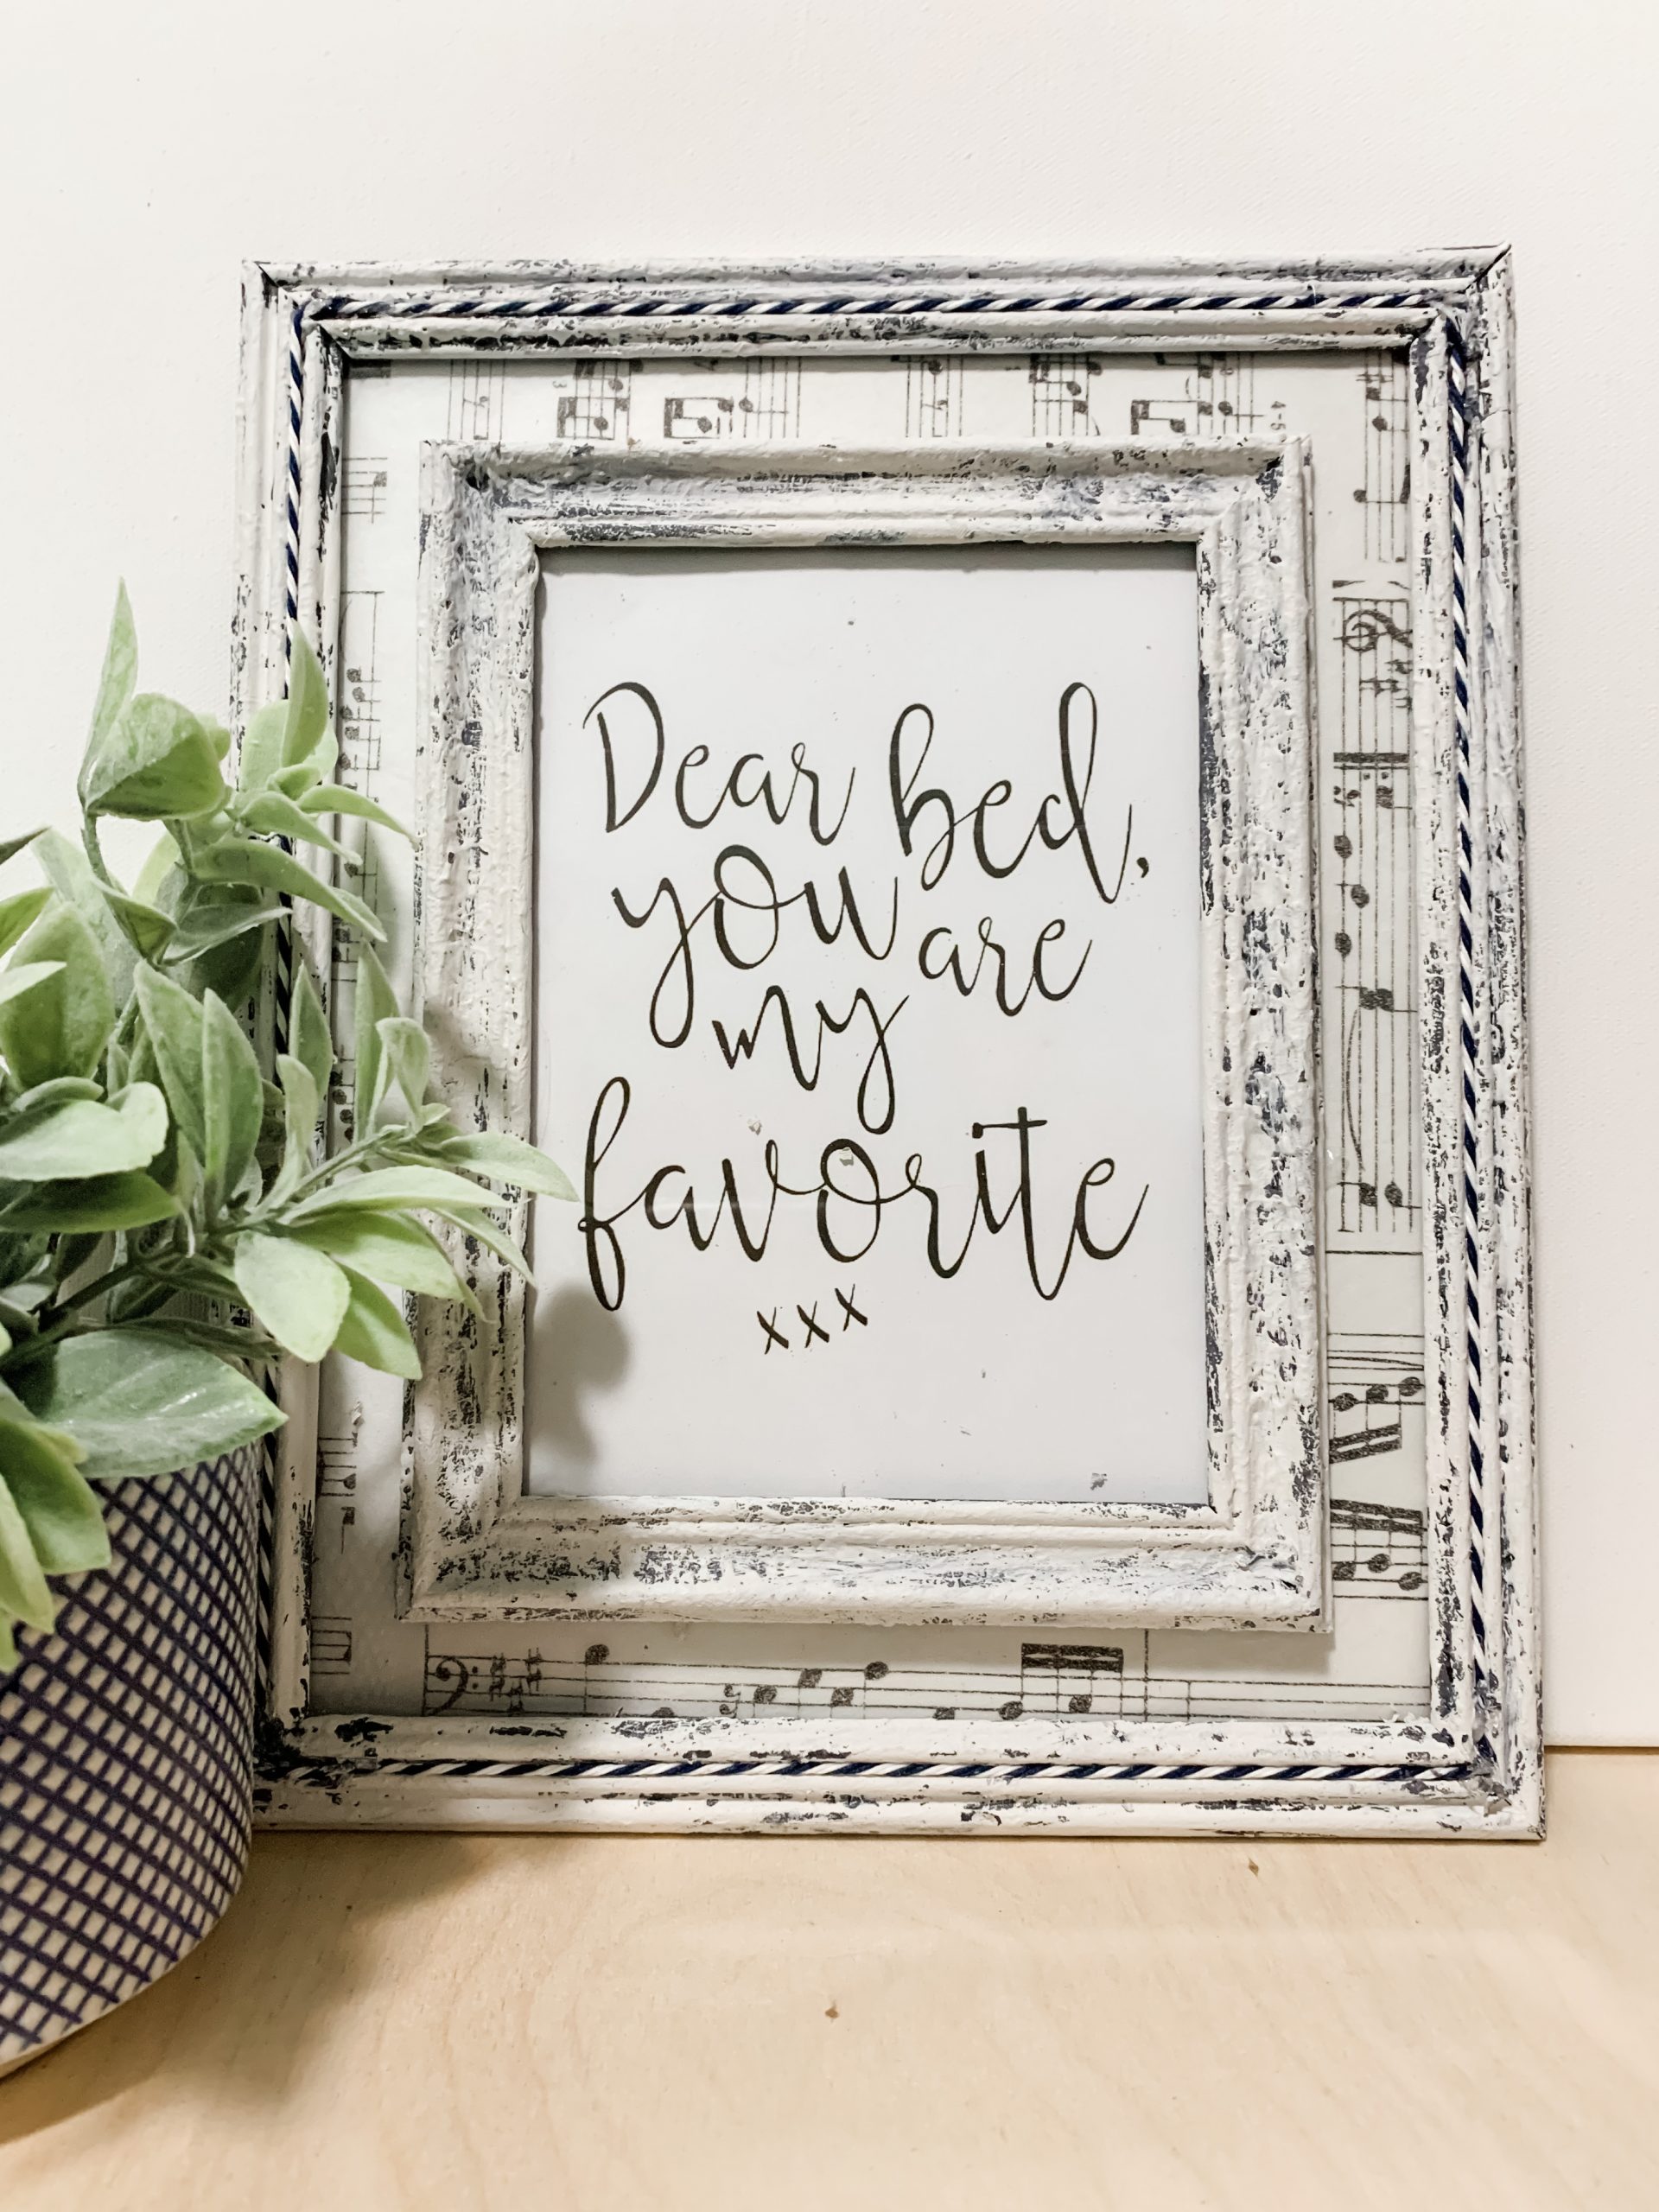
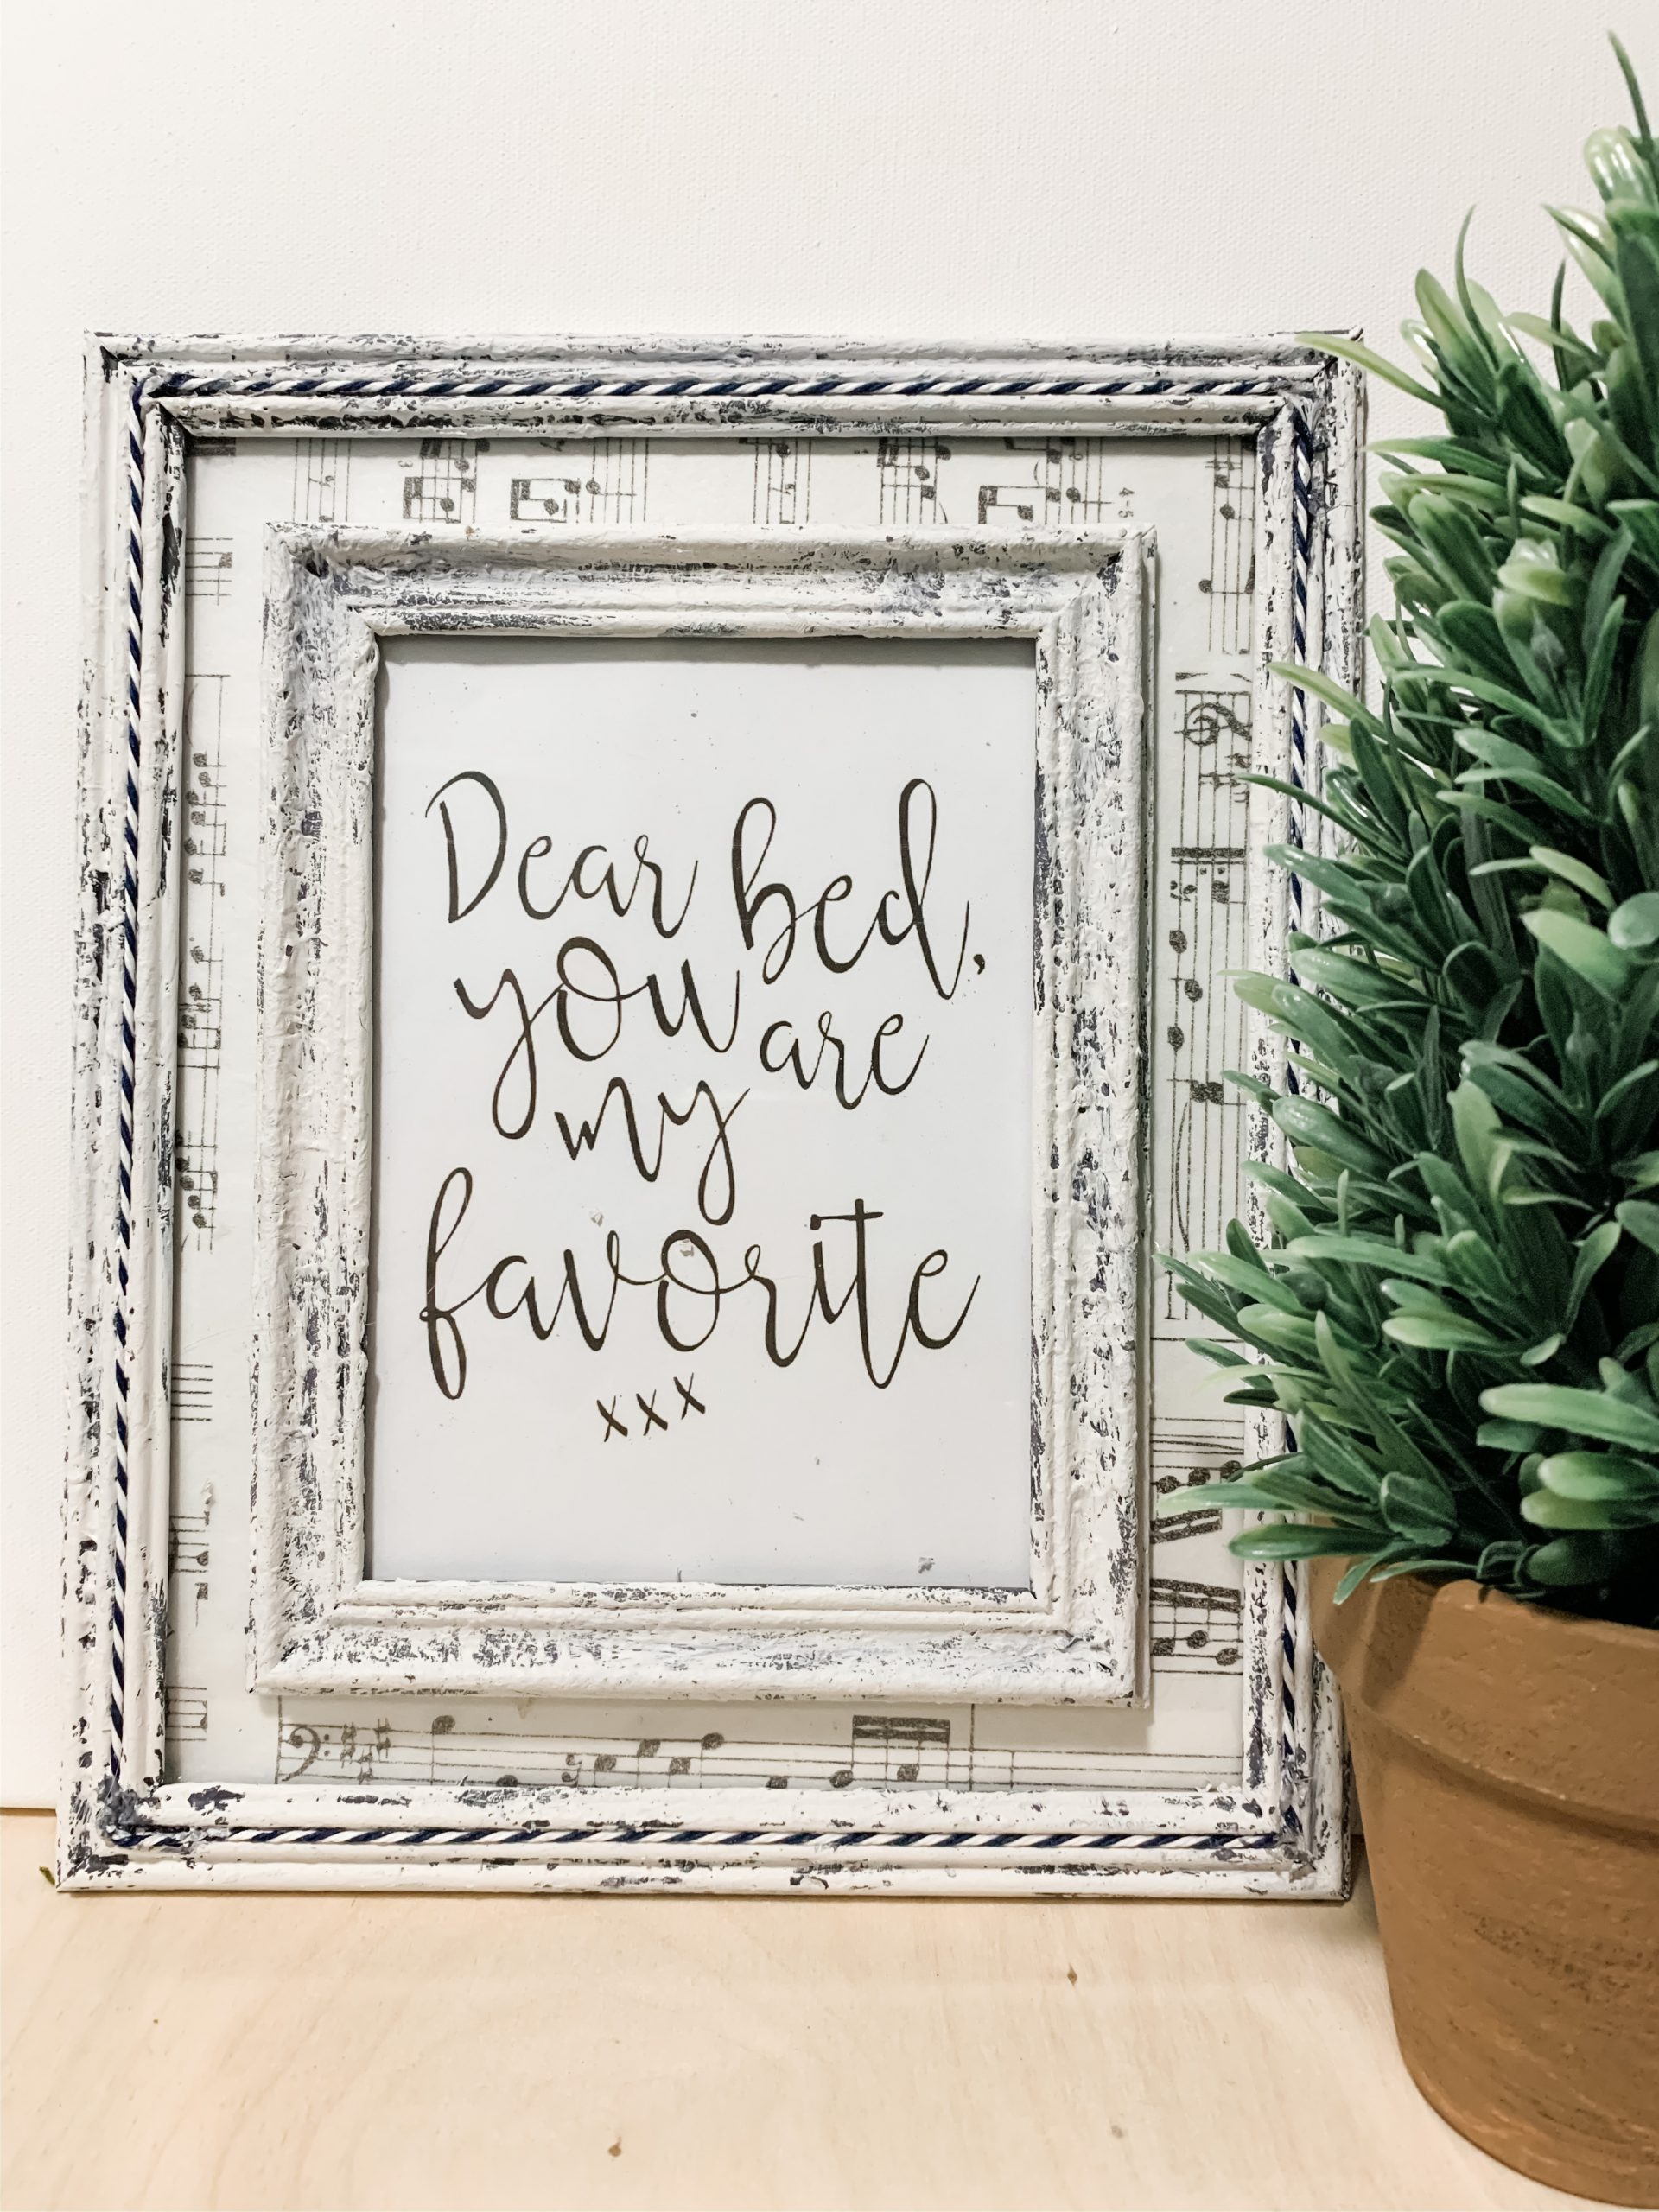
Dear bed, you are my favorite
I found this cute quote on Pinterest and I knew I wanted to make my own printable version just for you guys. All I did was search for cute quotes and went through them until I found some that I liked. Or you can get this free printable to use right here.
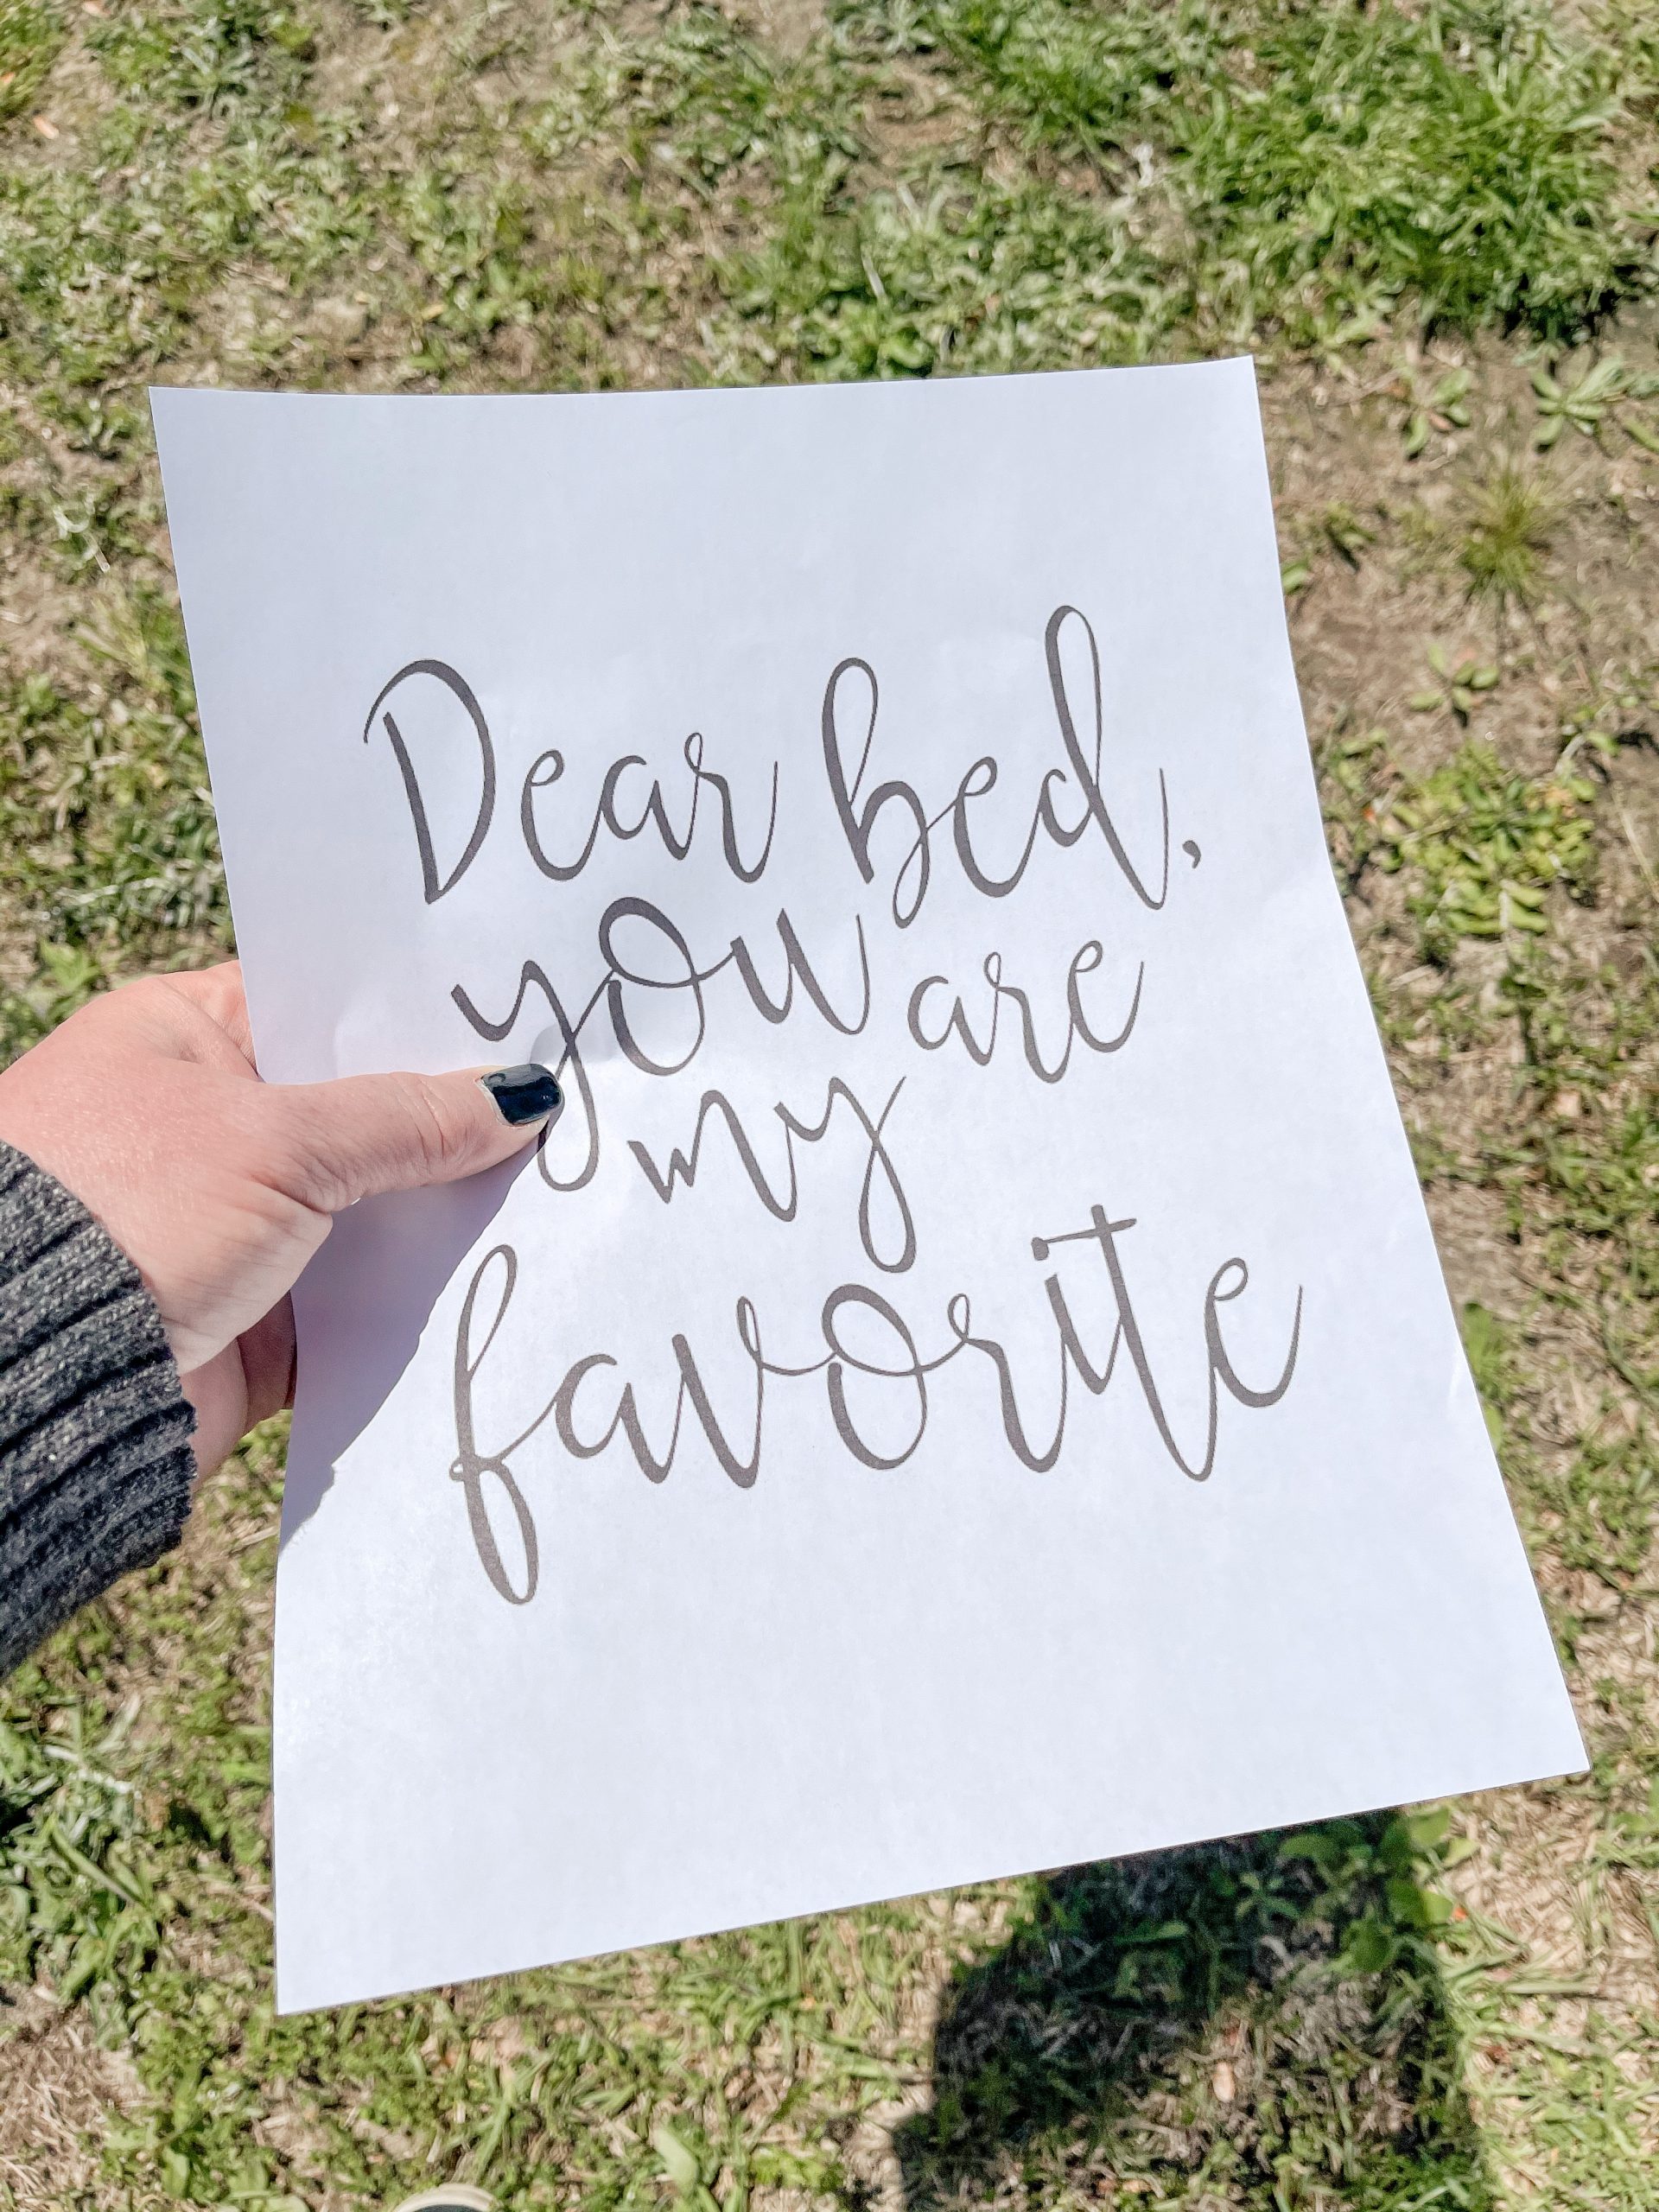
I used the glass for the small Dollar Tree picture frame to cut out the quote. I cut another piece of black paper to go behind the quote page. Then, just put the glass insert, printable, blank paper, and backing into the picture frame.
You’re going to remove the kickstand of the small Dollar Tree picture frame just like you did with the larger picture frame. Once you do that, you’re ready to overlay the picture frames.
I just used hot glue to attach the picture frames together. I hot glued the smaller picture frame onto the front center of the larger picture frame.
The finishing touches
When I made this rustic decor DIY, I had just purchased a variety of Michael’s ribbons that were on sale. I knew I wanted to incorporate them in somehow, but I wasn’t sure how.
I decided to use some black and white baker’s twine and hot glued a single strand around the center of the larger picture frame. Once your glue dries, you’re ready to decorate any room with this adorable DIY sign! I am in love with the old textured look of this home decor project.
I hope you enjoyed this Dollar Tree Picture Frame DIY Home Decor as much as I did and decide to make one for yourself! I would love to see how yours turns out!
You should totally join my FREE Facebook group called On A Budget Crafts! It is a judgment-free community for DIY crafters to show off their projects and ideas.
If you loved this DIY you might also like this one too!
Thanks for stopping by! XOXO Amber
You can also shop my ENTIRE AMAZON Favorites shop just click here! It’s packed full of all the things I use and love. Here is the supply list I highly recommend every creative have on hand!!
Would you also pin my blog for later and get on my newsletter alerts? I would love to have you join my #craftycrew.
Inspired? Leave me a comment below! I love hearing from my readers!

Join my free “ON A BUDGET CRAFTS” Facebook group!
2 Comments