DIY Thankful and Blessed Fall Sign
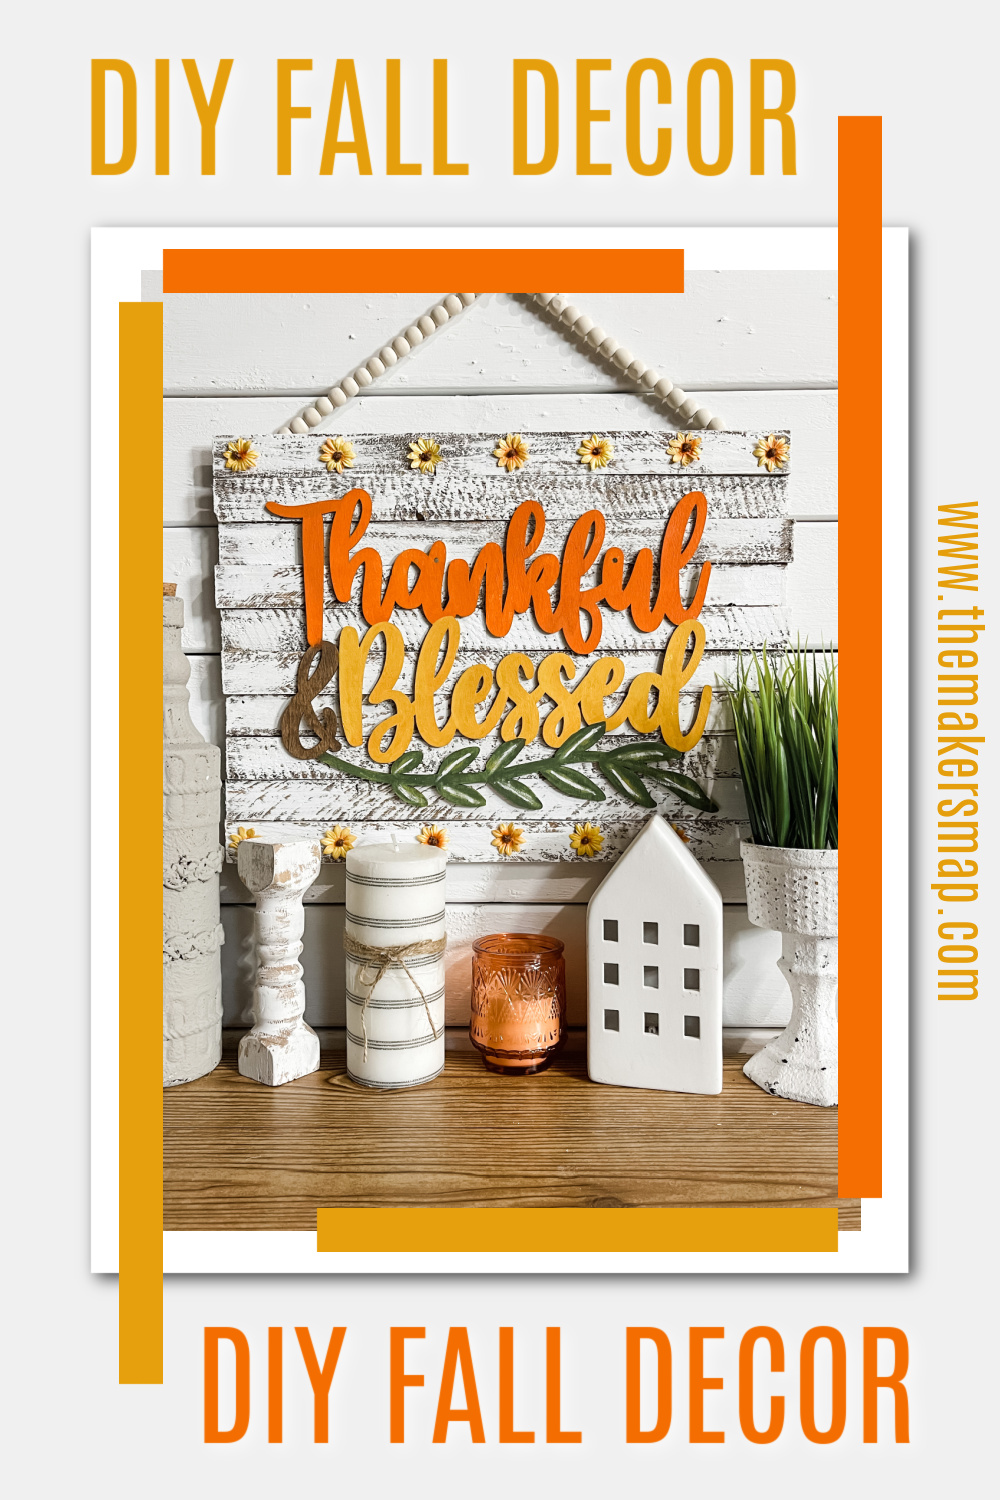
Sunflowers seem to be all the rage this fall, so of course I’ve been on a little bit of a sunflower kick! That’s how I came up with this adorable DIY thankful and blessed fall sign!
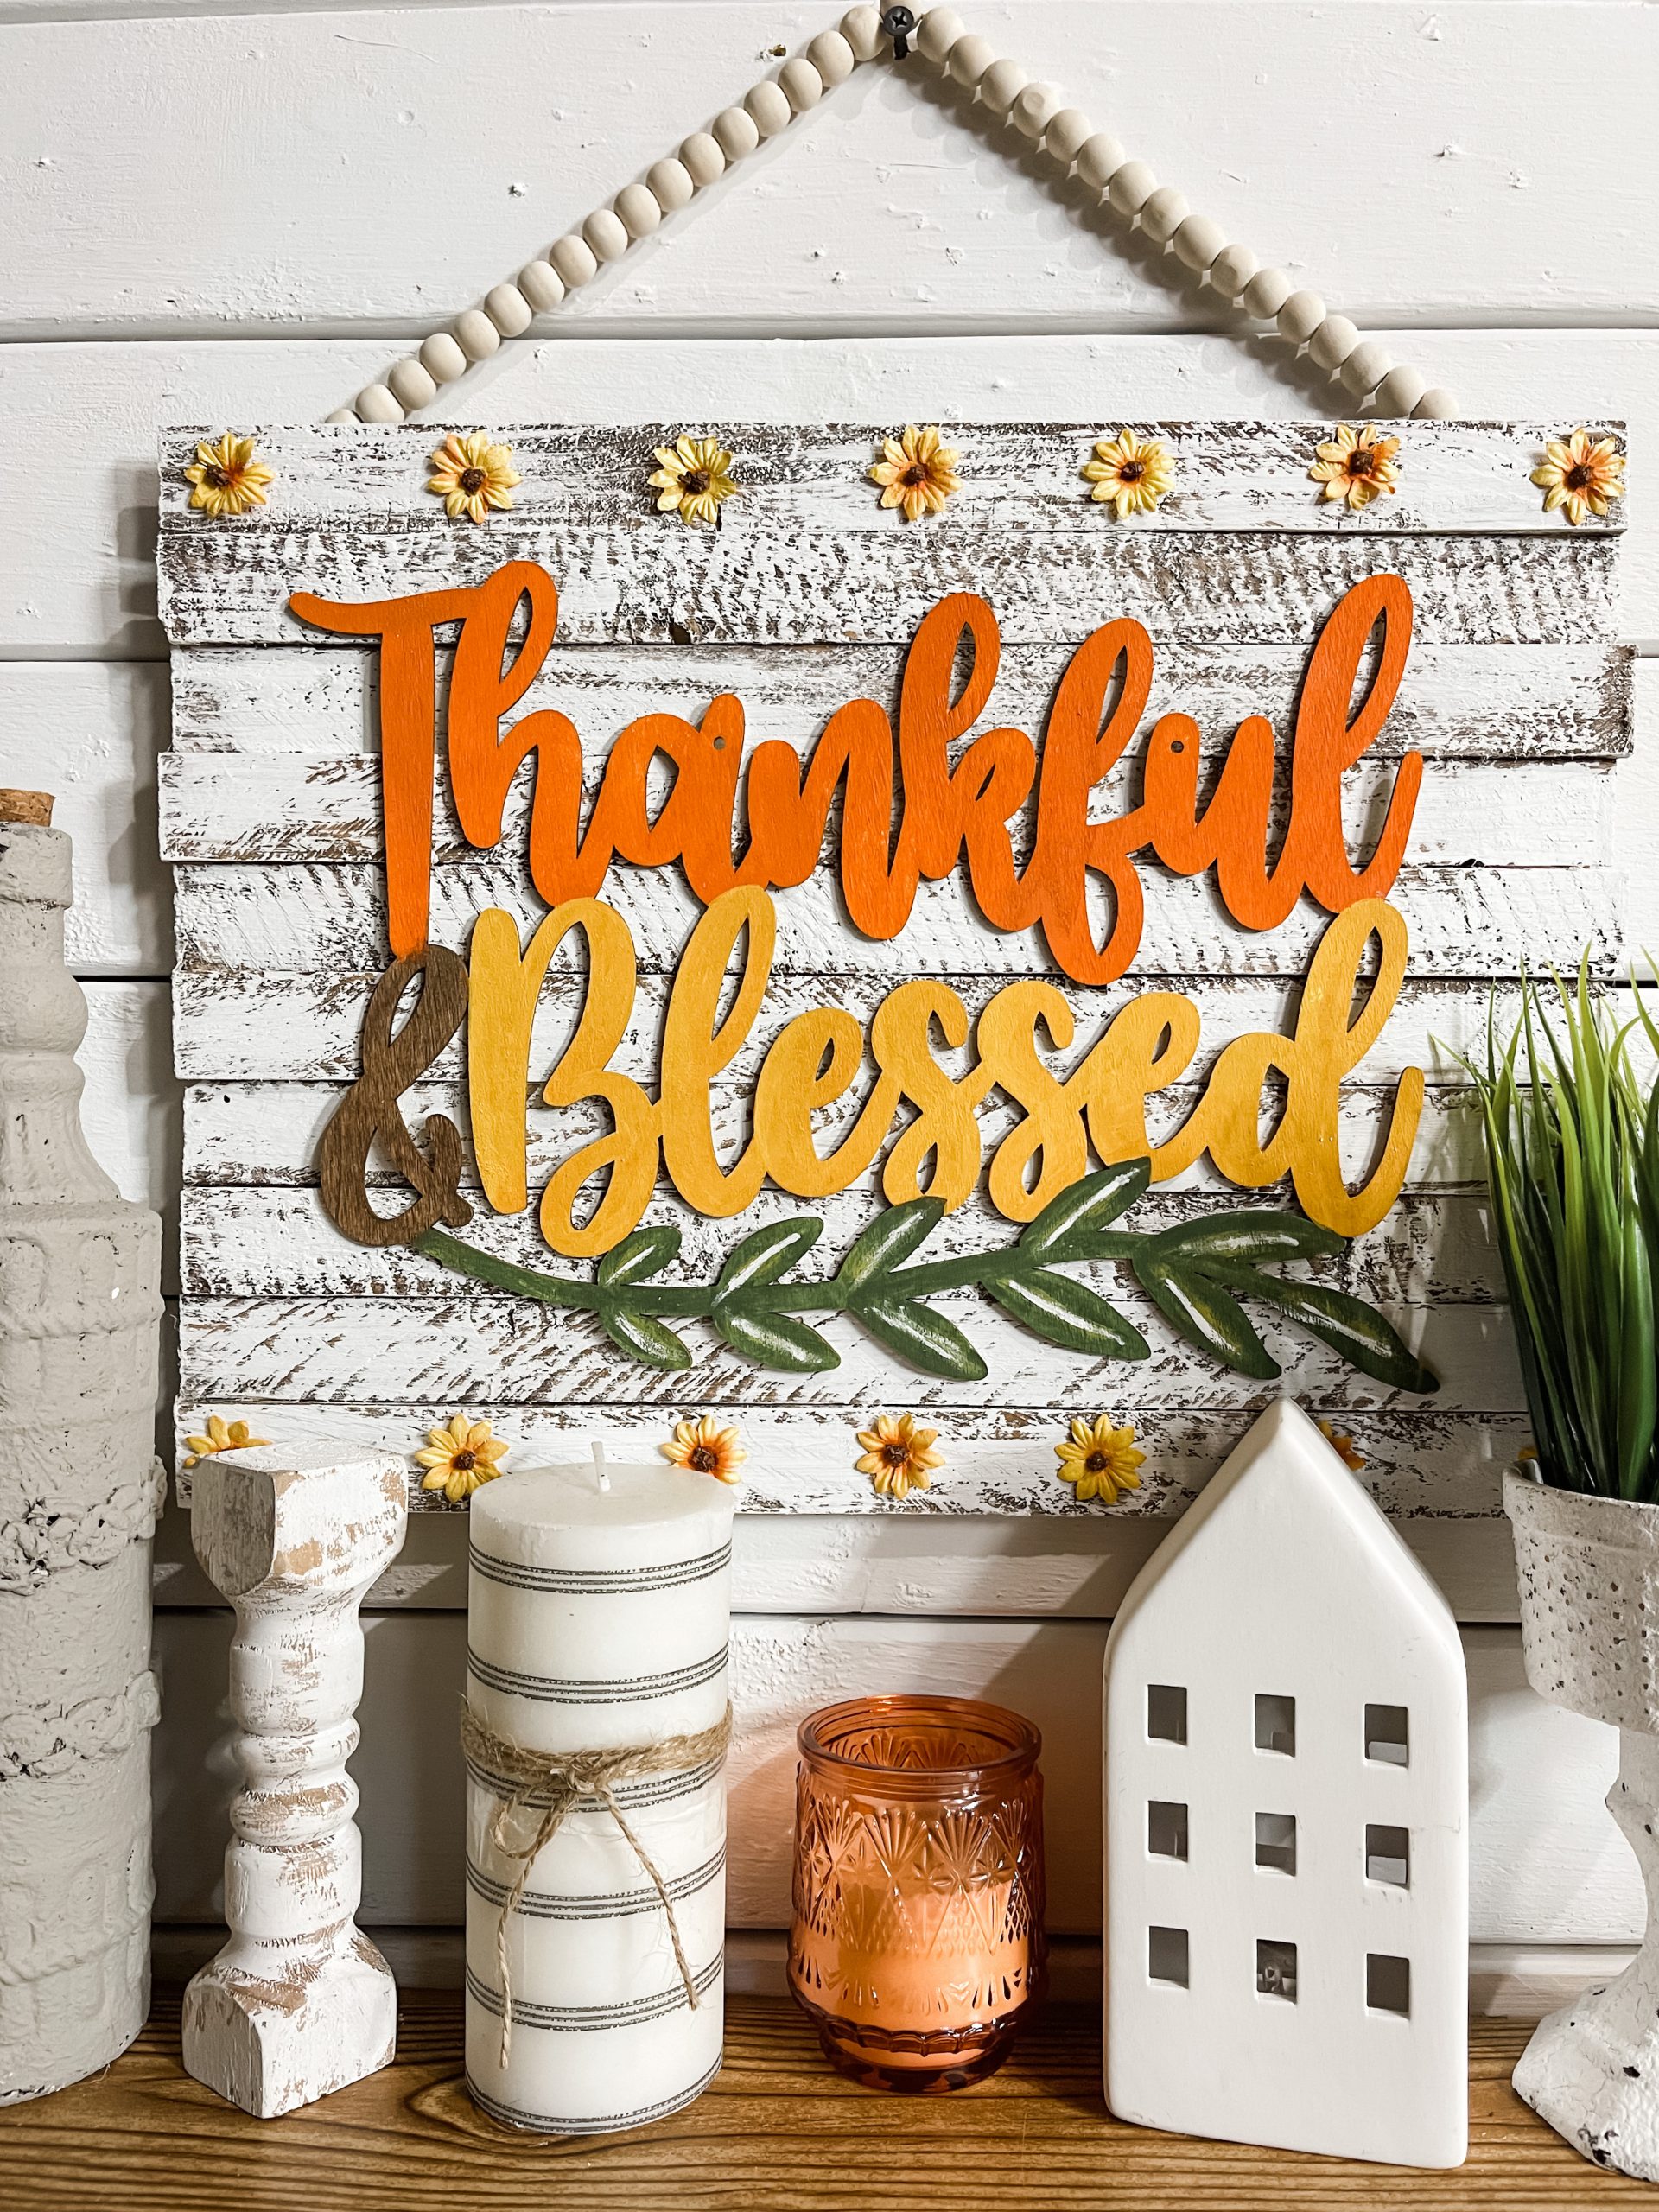
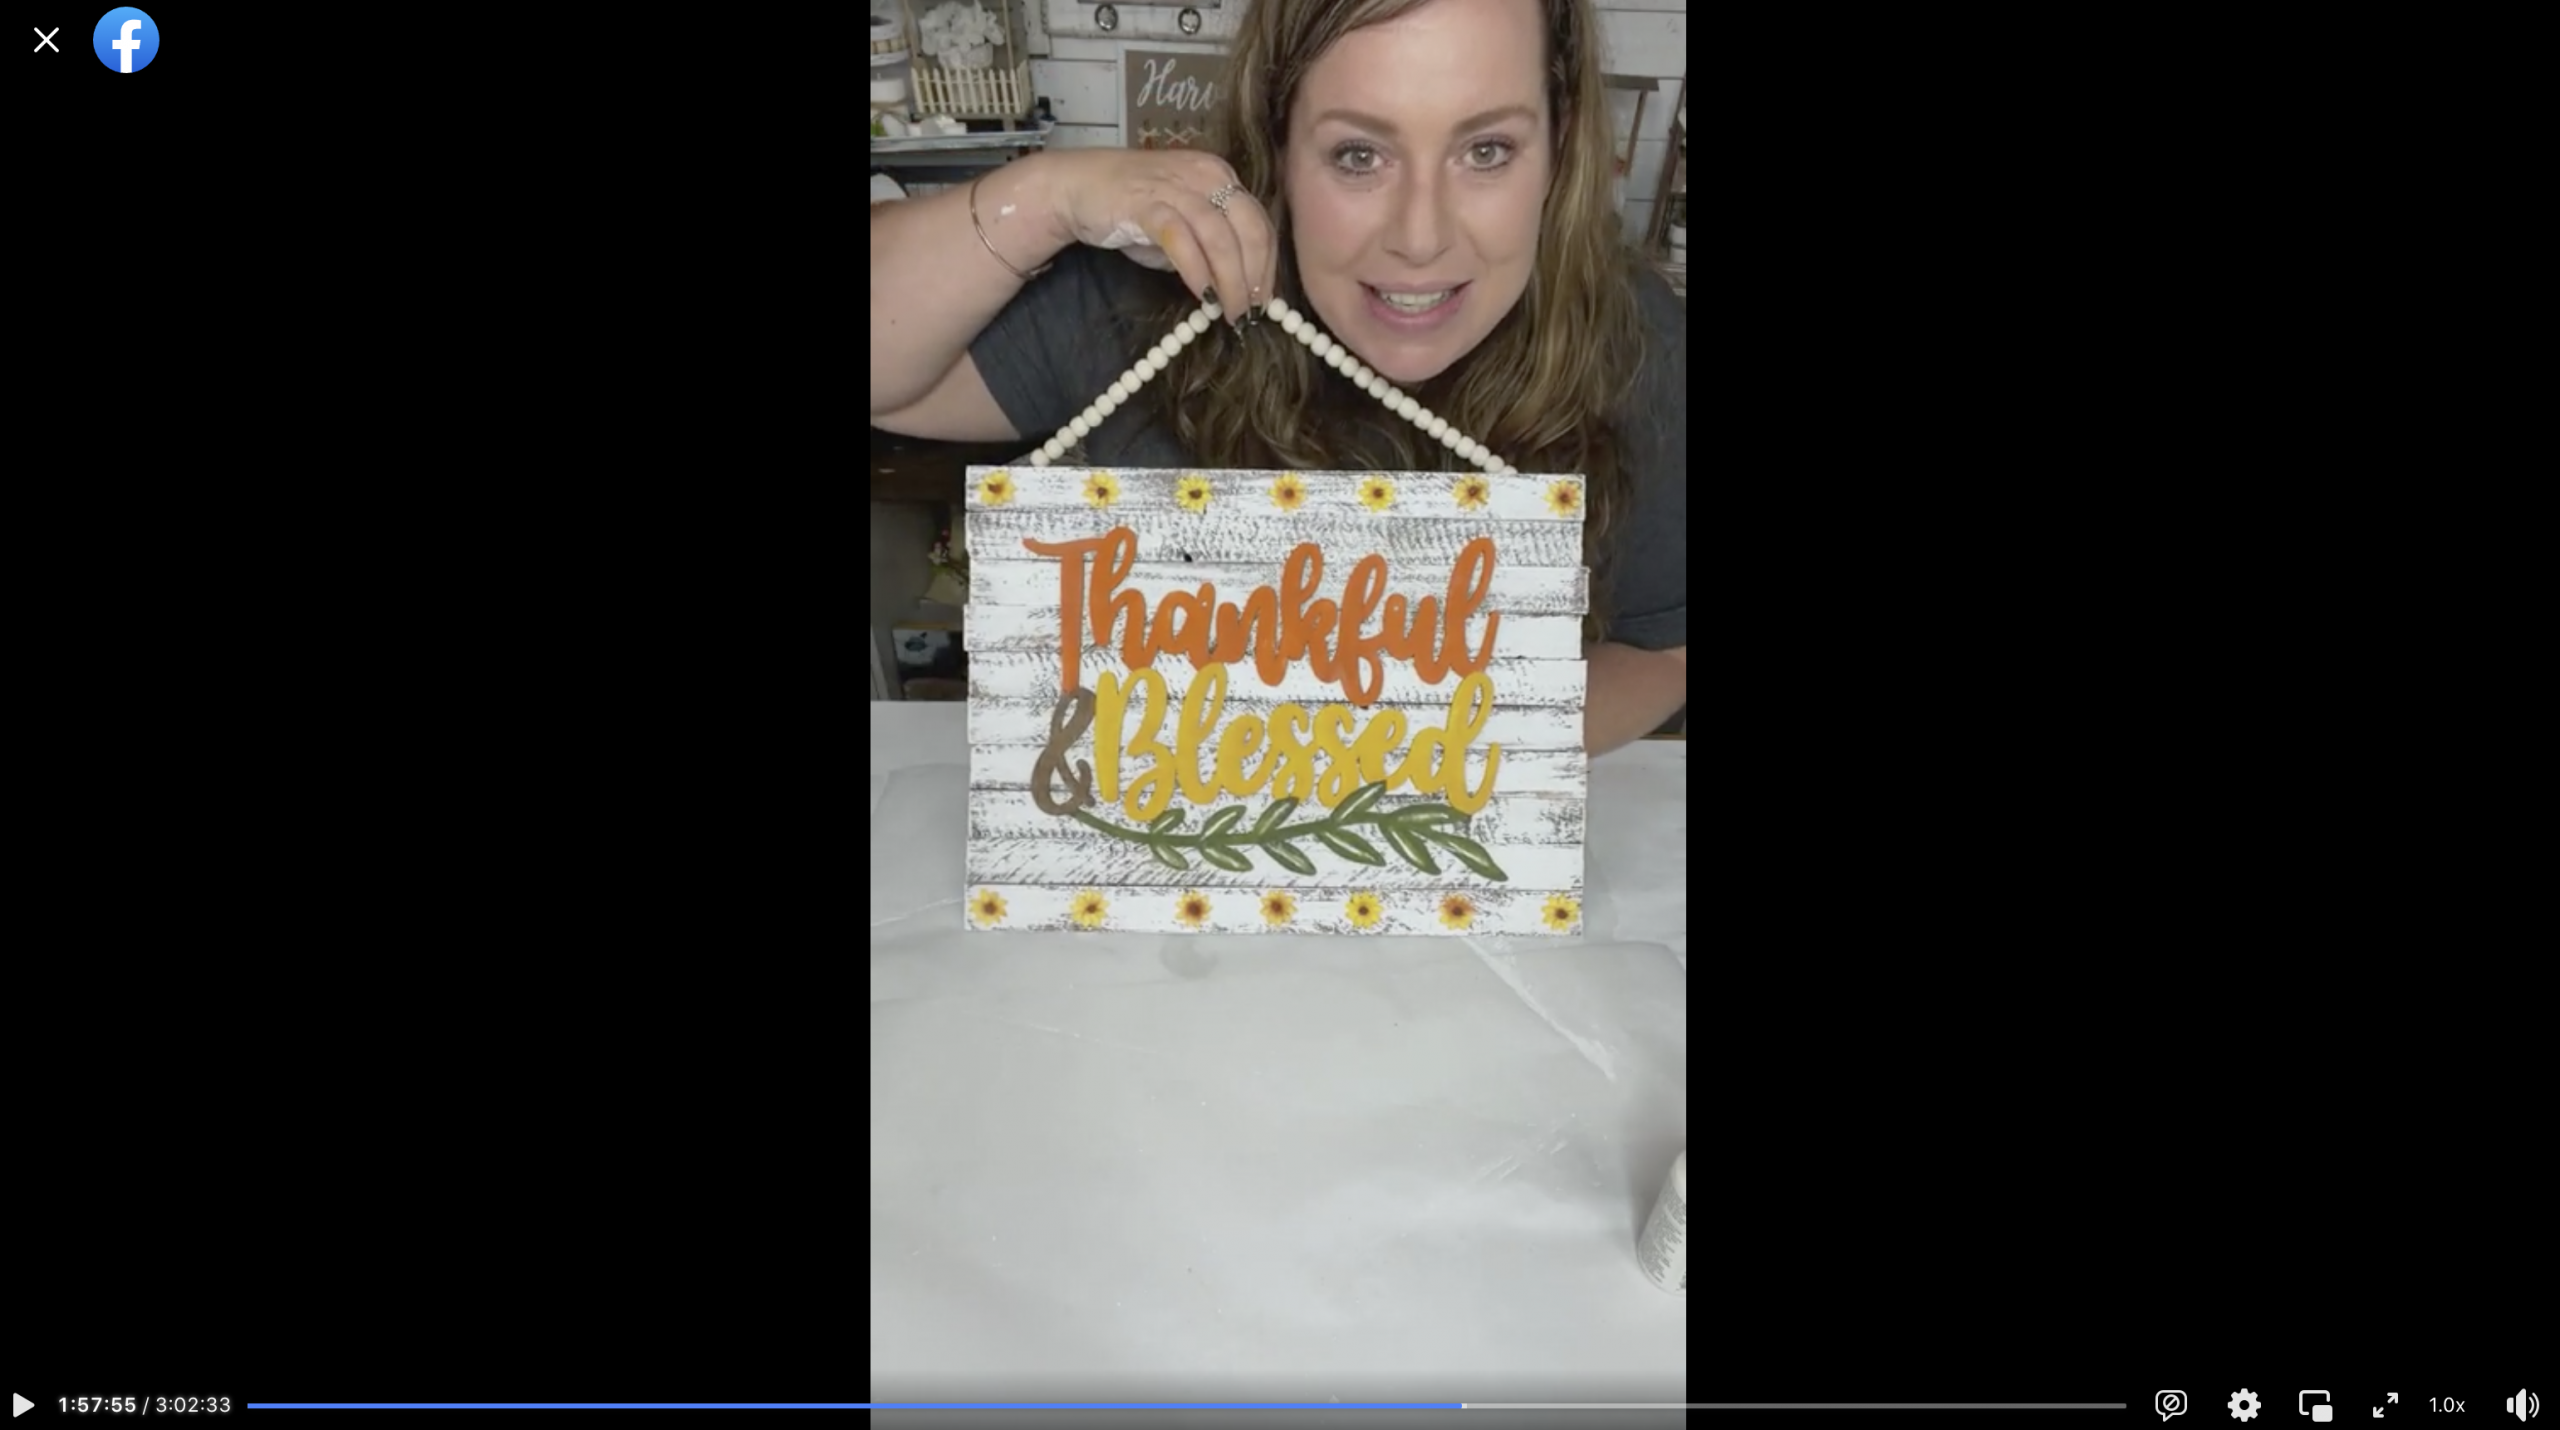
I painted the thankful and blessed with what I feel are “sunflower colors” and I abslutely LOVE the rows of sunflowers across the top and bottom!
How to Make a DIY Thankful and Blessed Fall Sign
I started this project by determining how big I needed to make my wood shim surface for my sign. I laid them out, side-by-side, and place the thankful and blessed sign on top to eyeball it.
For my sign, I used 10 of the wood shims. then, I used my aviation snips to trim three of the 12″ ruler sticks to fit perpendicularly across the shims and hot glued them to secure the shims together.
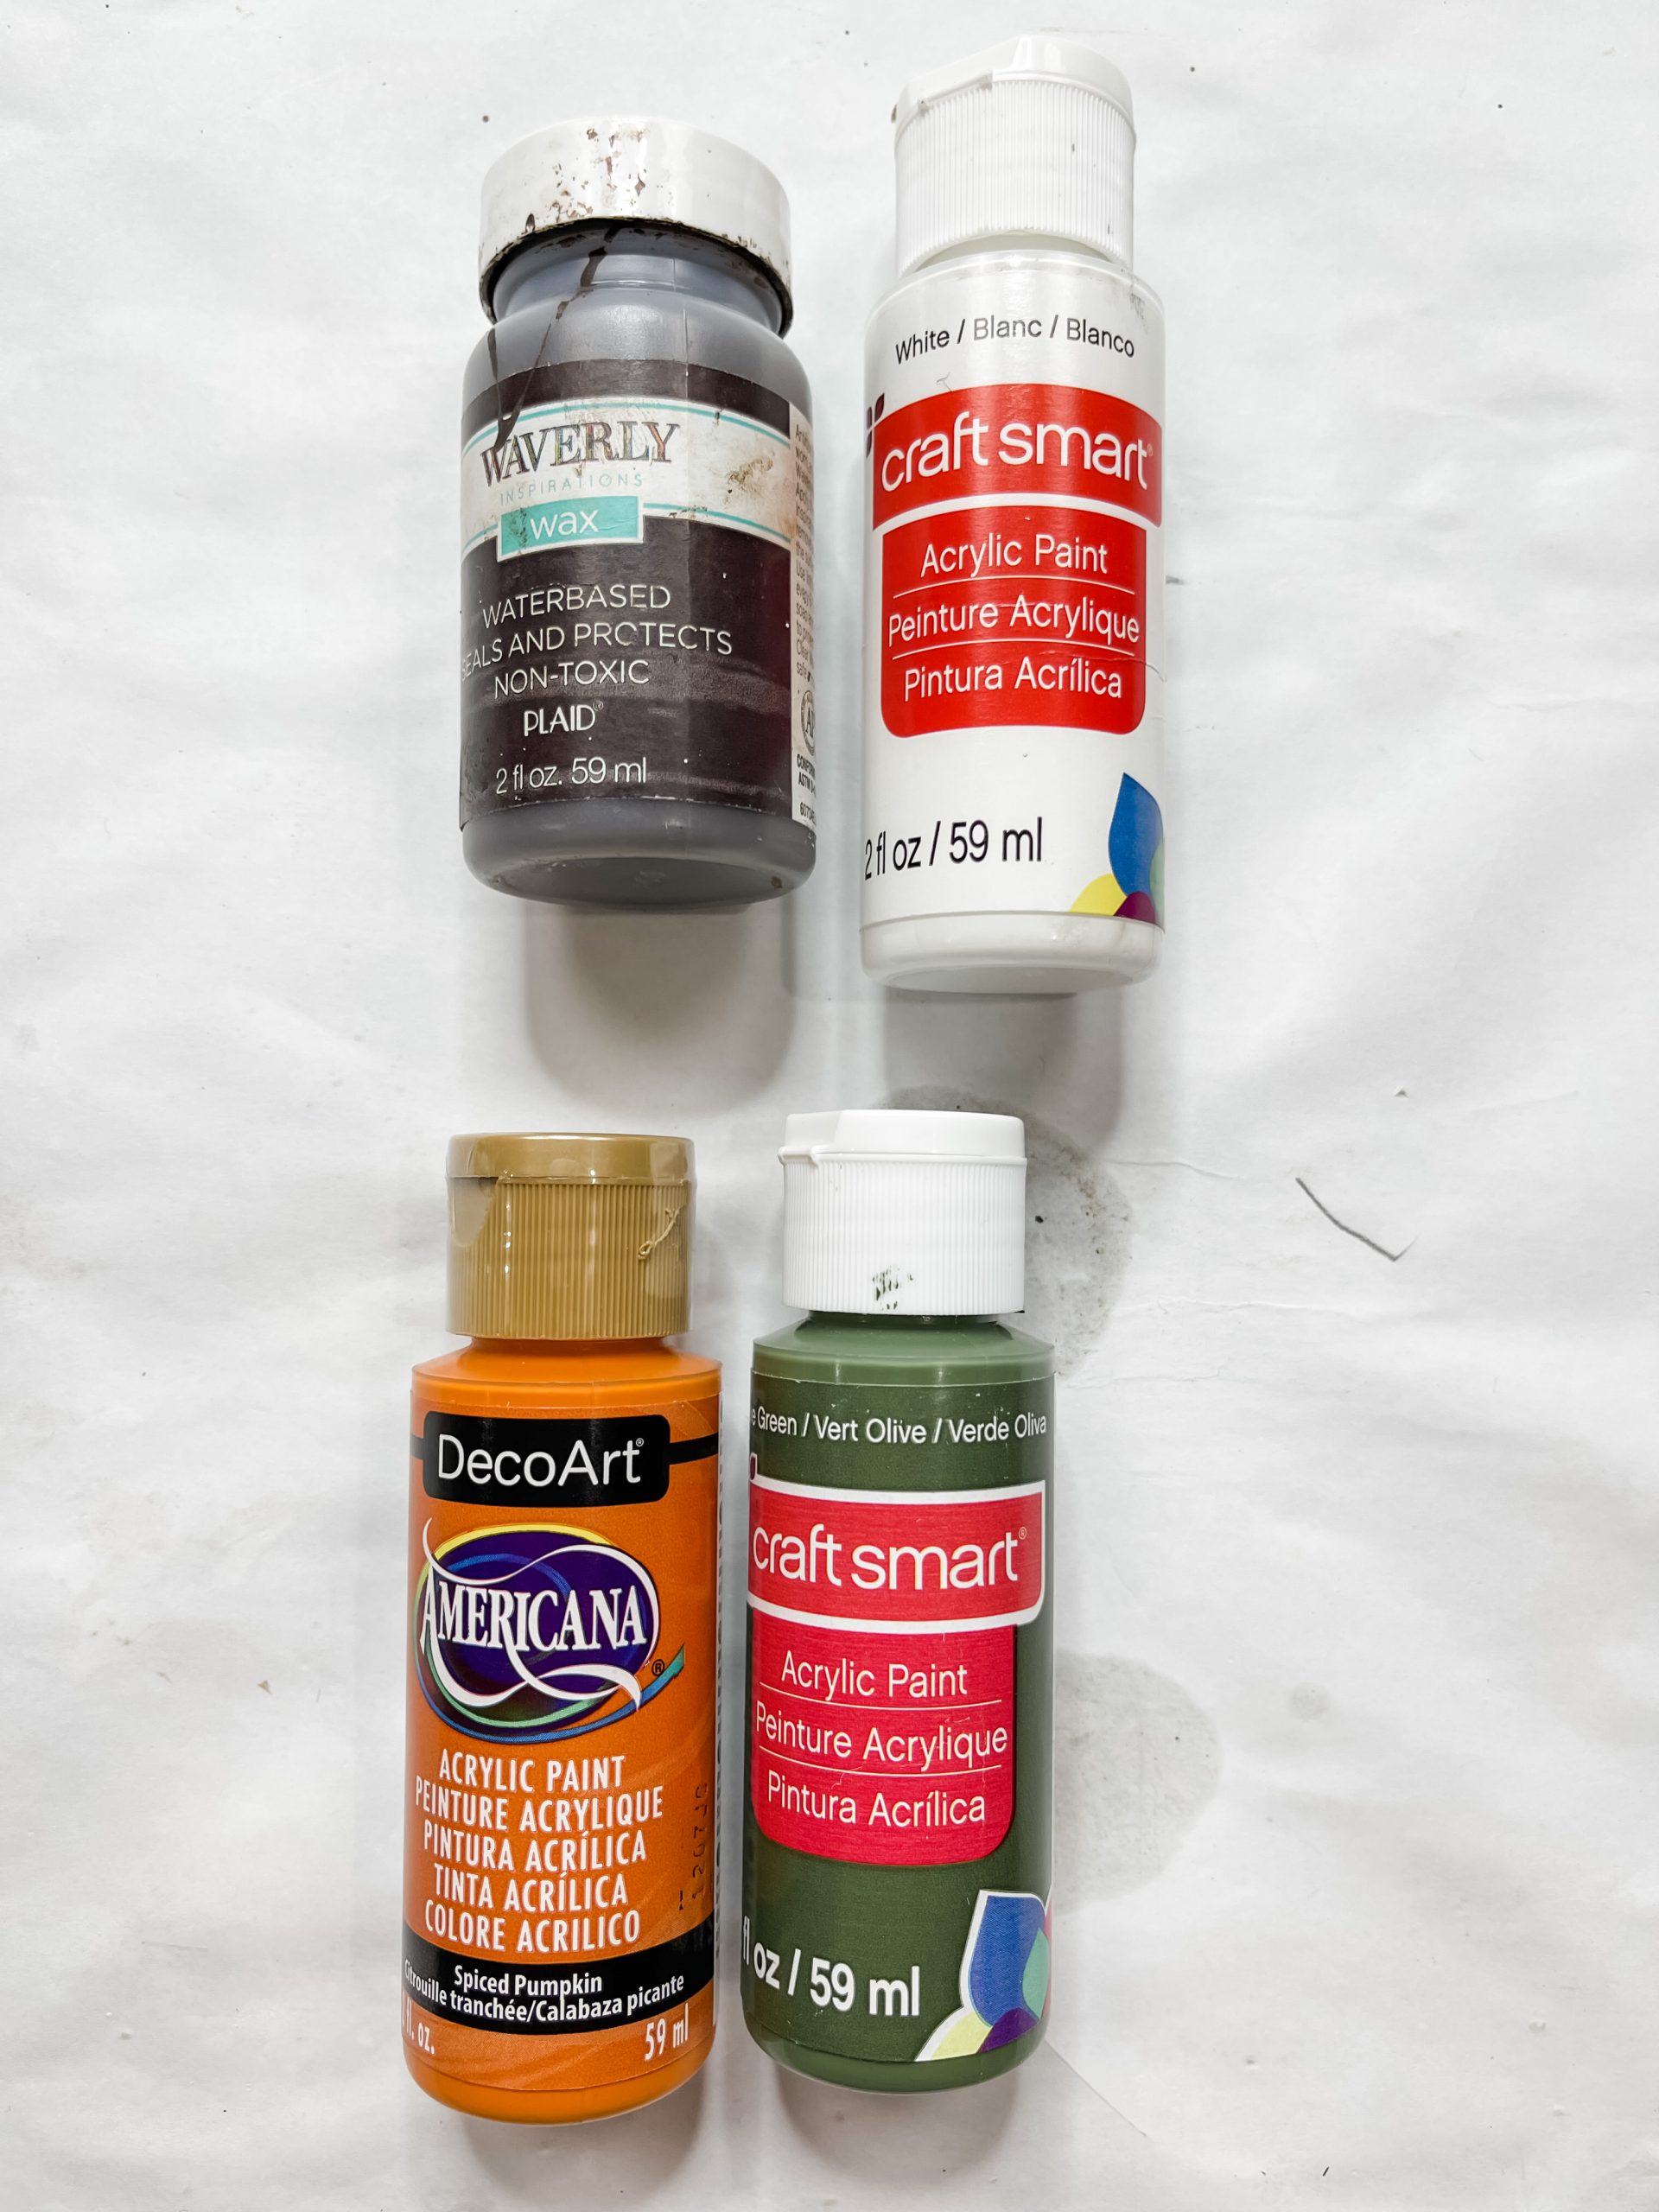
Once the glue was dry, I got ready to stain the wood with Waverly brown chalk paint. To use paint to stain you also need water.
First, I sanded down the front of the shims to get a bit of a smoother surface to work with. Then I brushed the brown paint randomly across the shims.
Here’s where the water comes in. Use a wet baby wipe to spread the paint across the surface and you’ll start to see a stained finish!
The water helps the wood absorb the paint’s pigments and gives it a stained finish rather than looking painted.
I went back over the surface with a clean wet wipe to remove any excess paint from the surface then allowed the wood to dry.
Thankful & Blessed
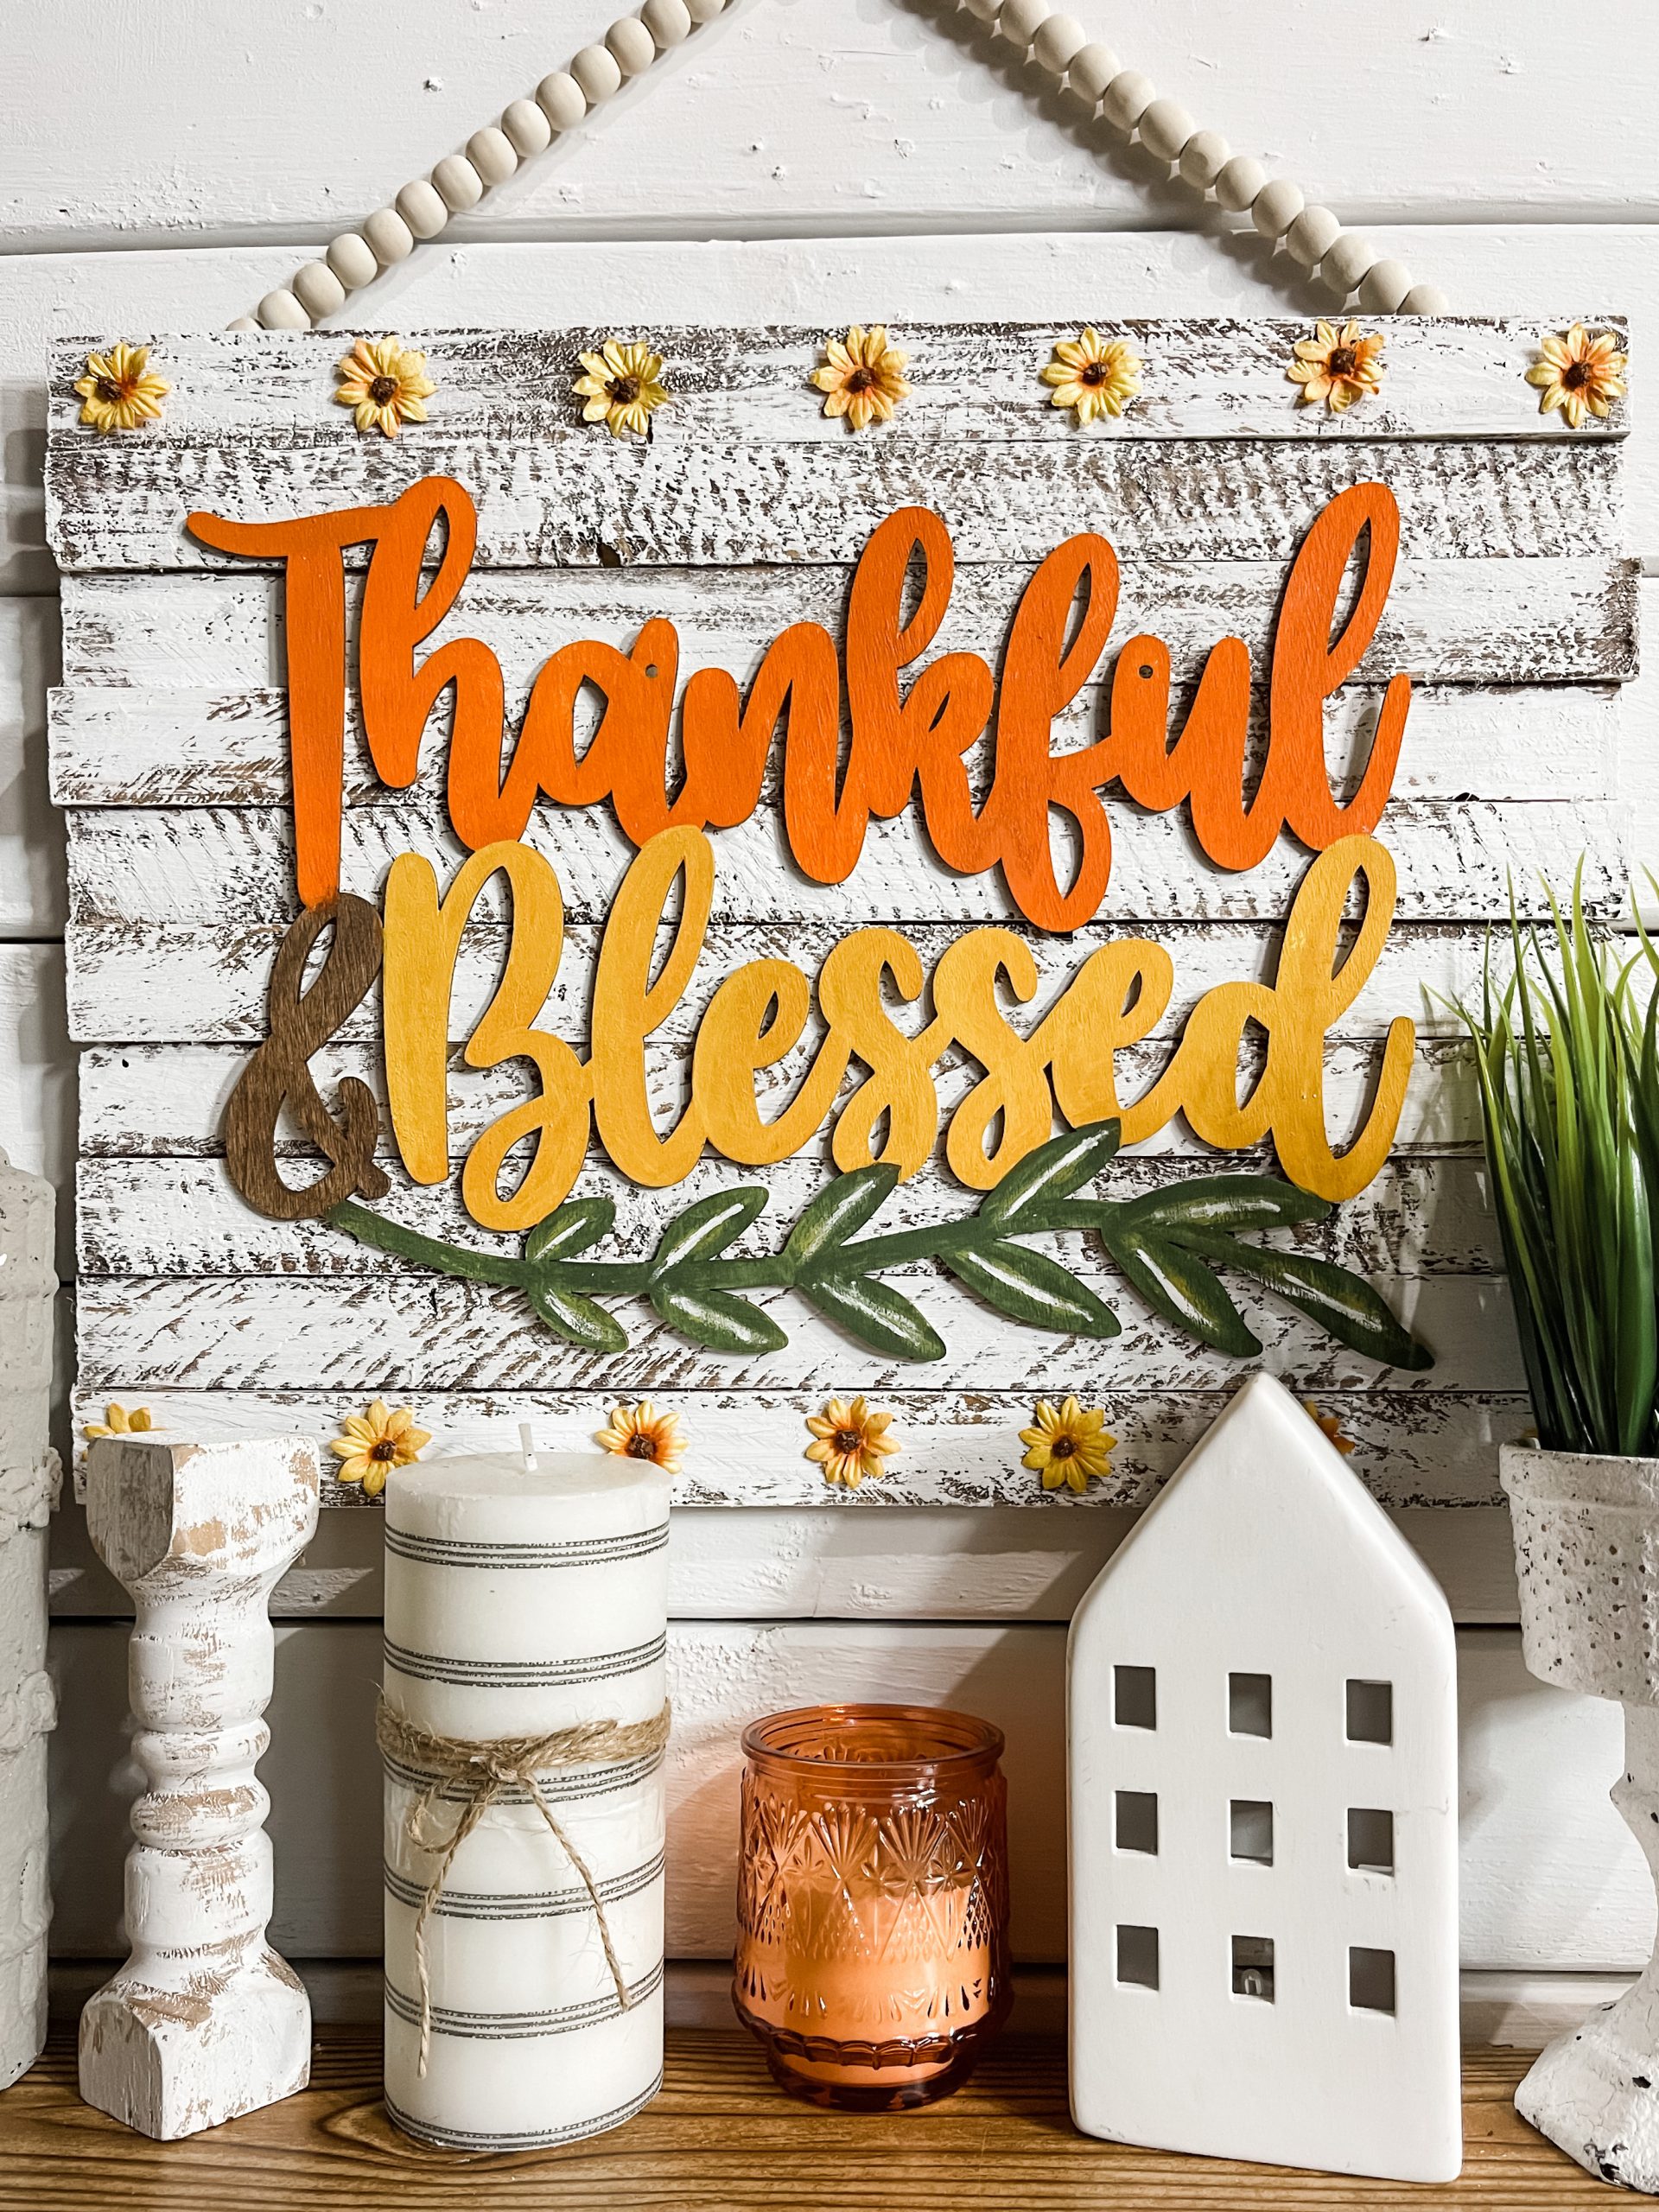
Now it’s time to paint the Dollar Tree thankful and blessed sign! I started by painting the letters all with DecoArt spiced pumpkin acrylic paint.
I dried the paint with my heat gun then painted the & with Waverly brown paint. Once that was dry, I painted the leaves across the bottom with Craftsmart olive green acrylic paint.
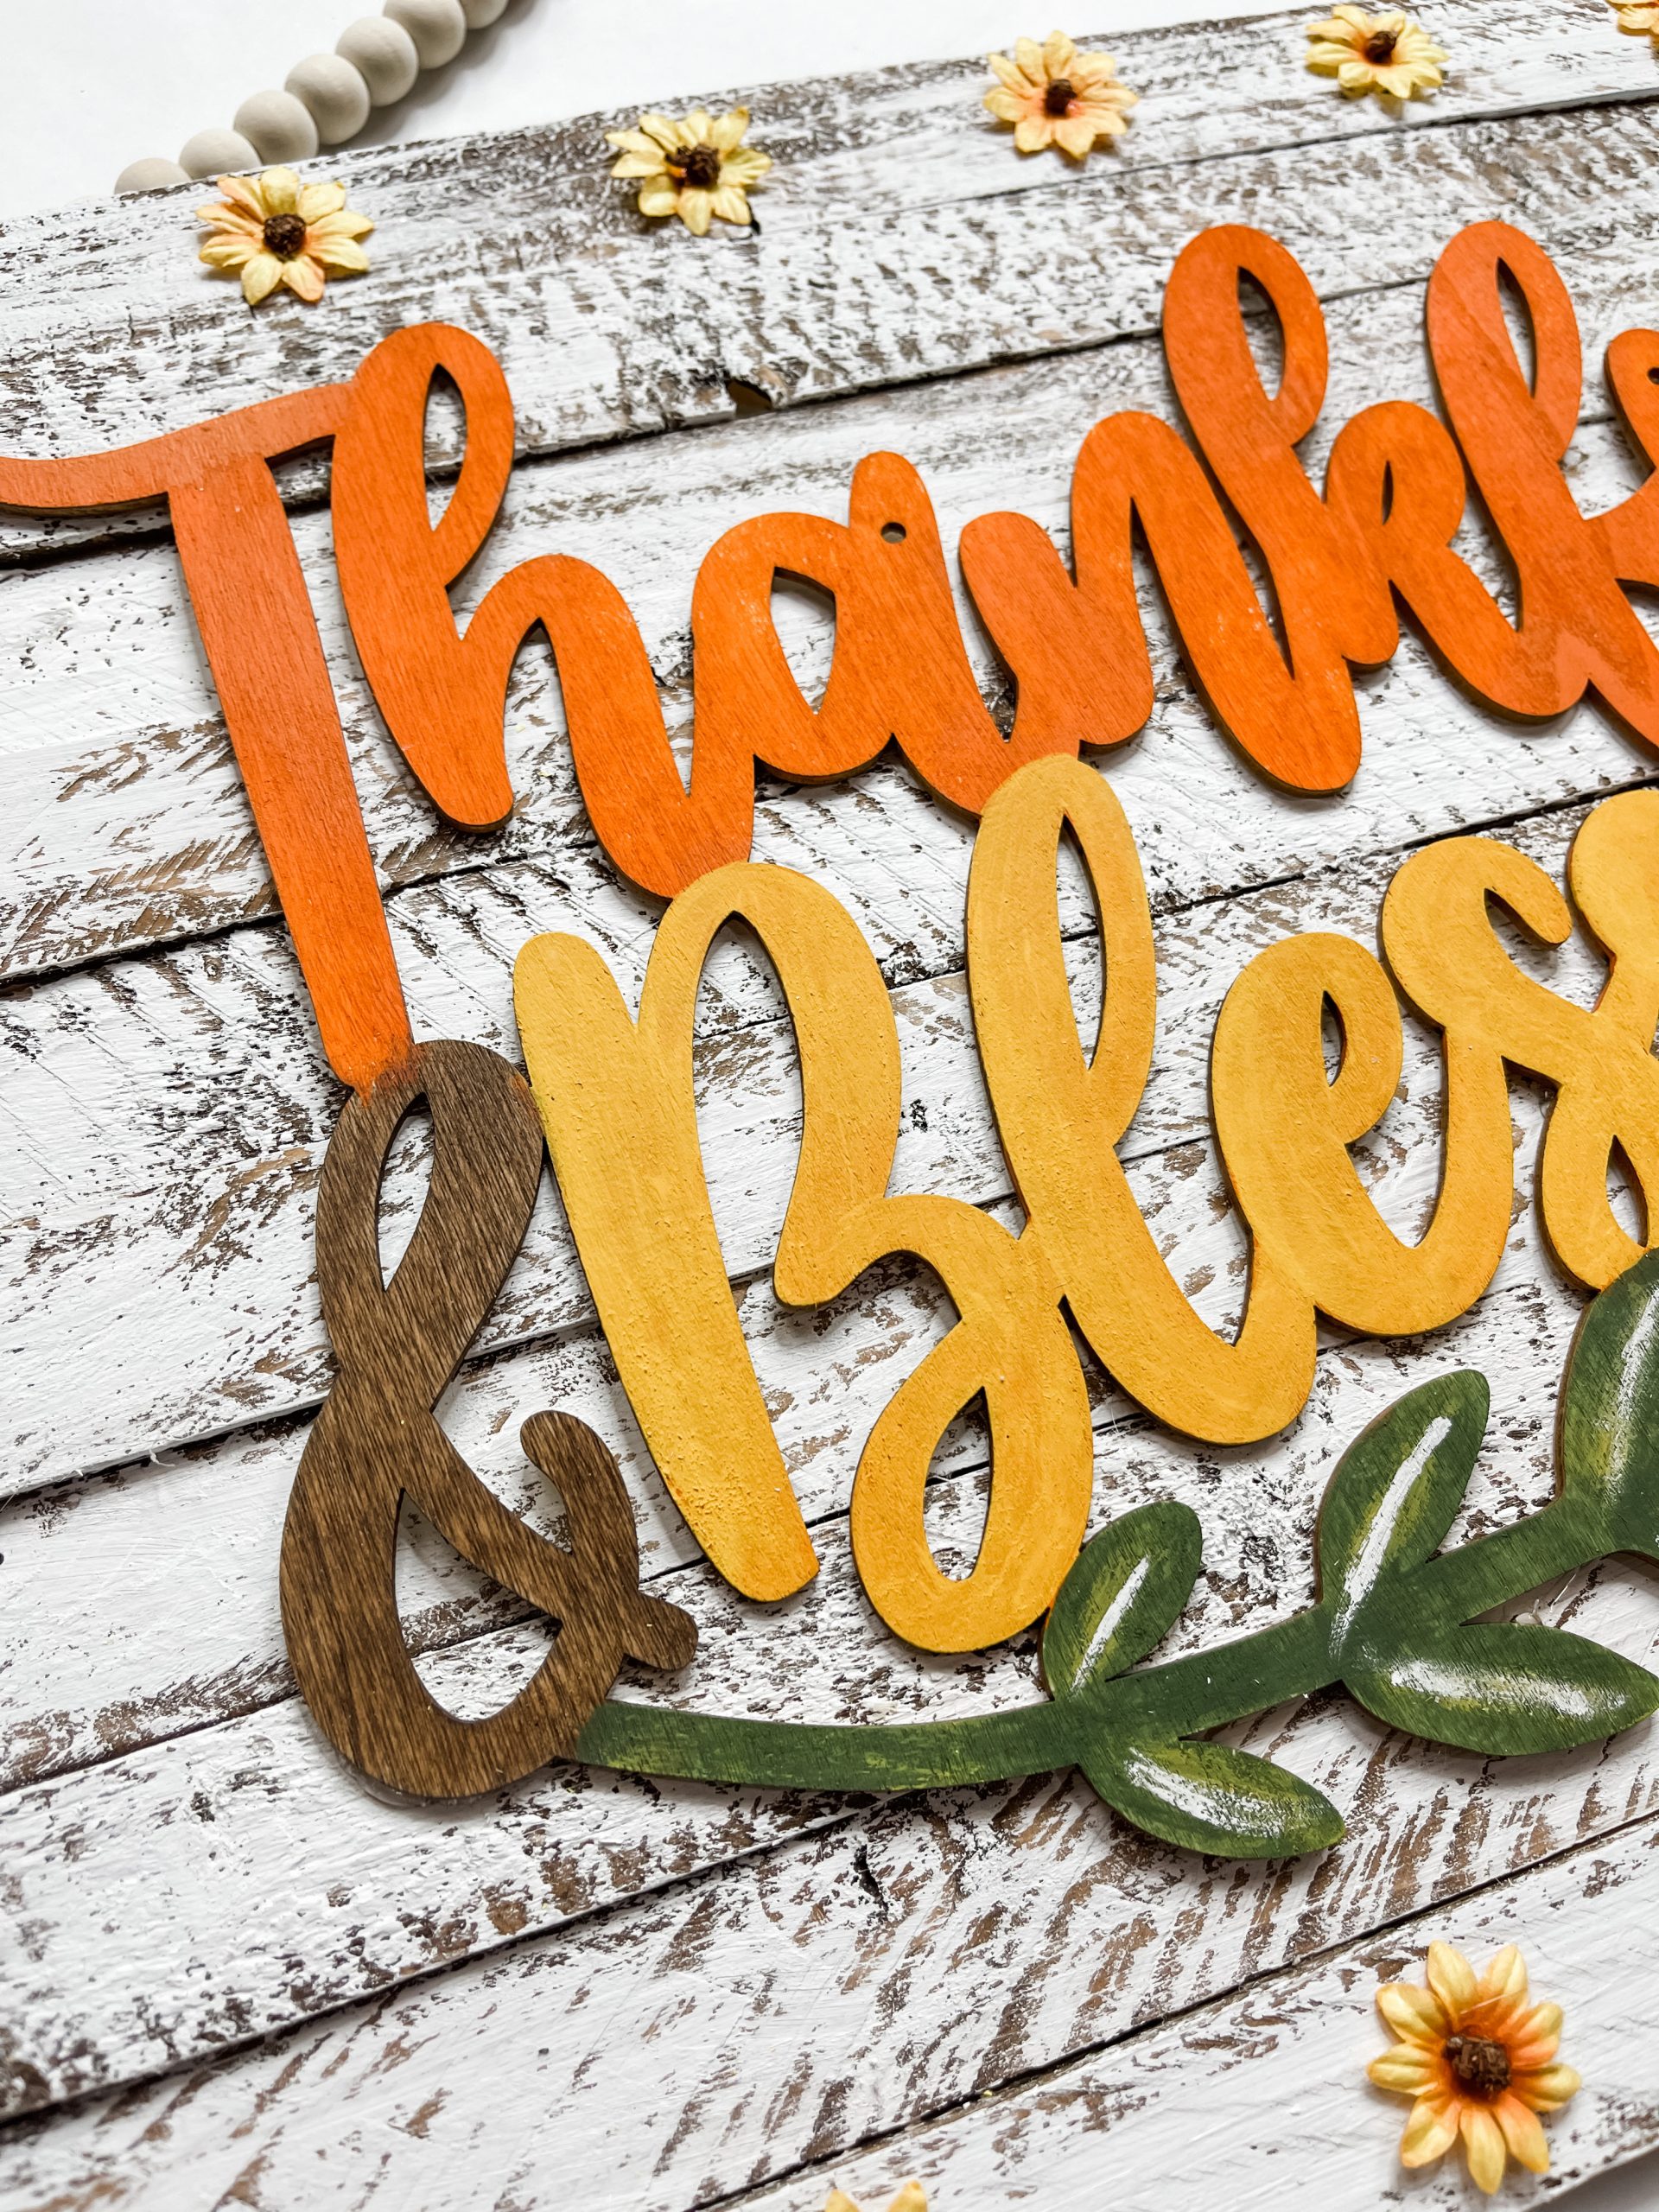
I wasn’t a fan of thankful and blessed both being orange, so I painted over the orange on blessed with yellow paint. I also brushed a little yellow paint on the leaves to highlight them.
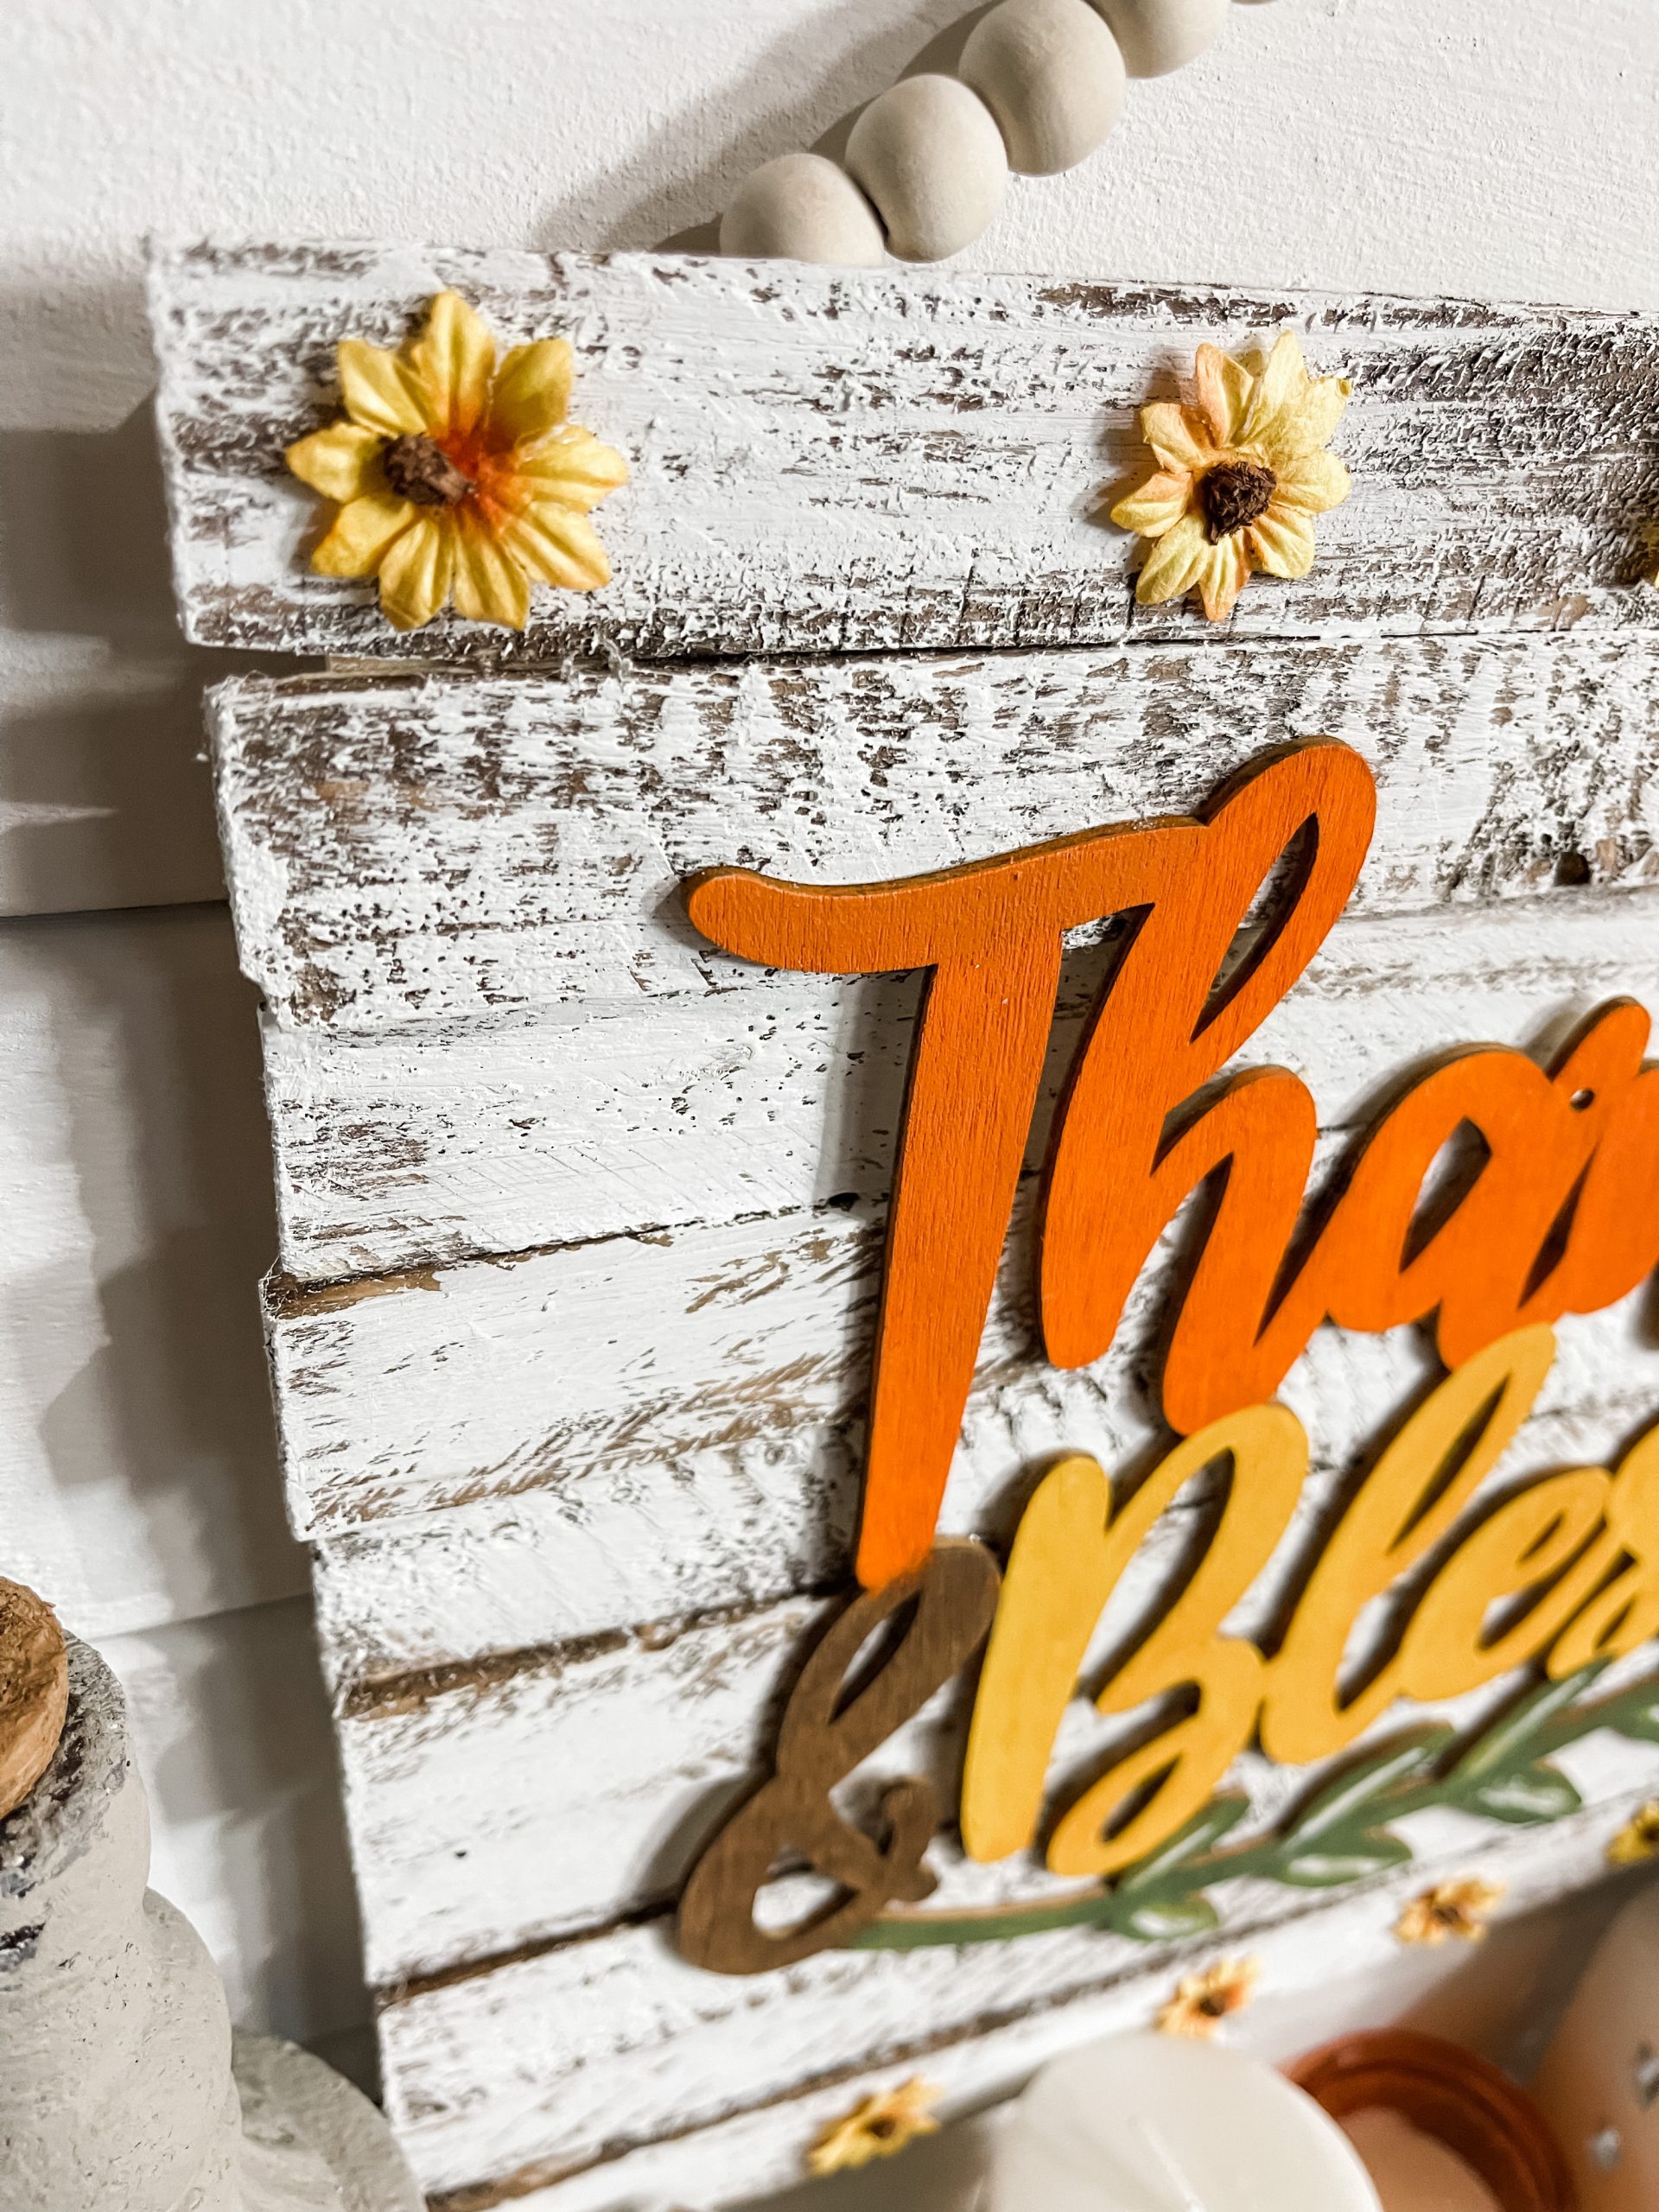
Next, get a dry chippy paintbrush and lightly brush white paint across the stained wood shims. Keep a light hand and you’ll get an effortless distressed finish on them!
Again, I used my heat gun to quickly dry the paint. Then I painted faint, thin lines of white paint on the center of the leaves to highlight them more. You can use a painter’s pen if you want to.
Bring it all together!
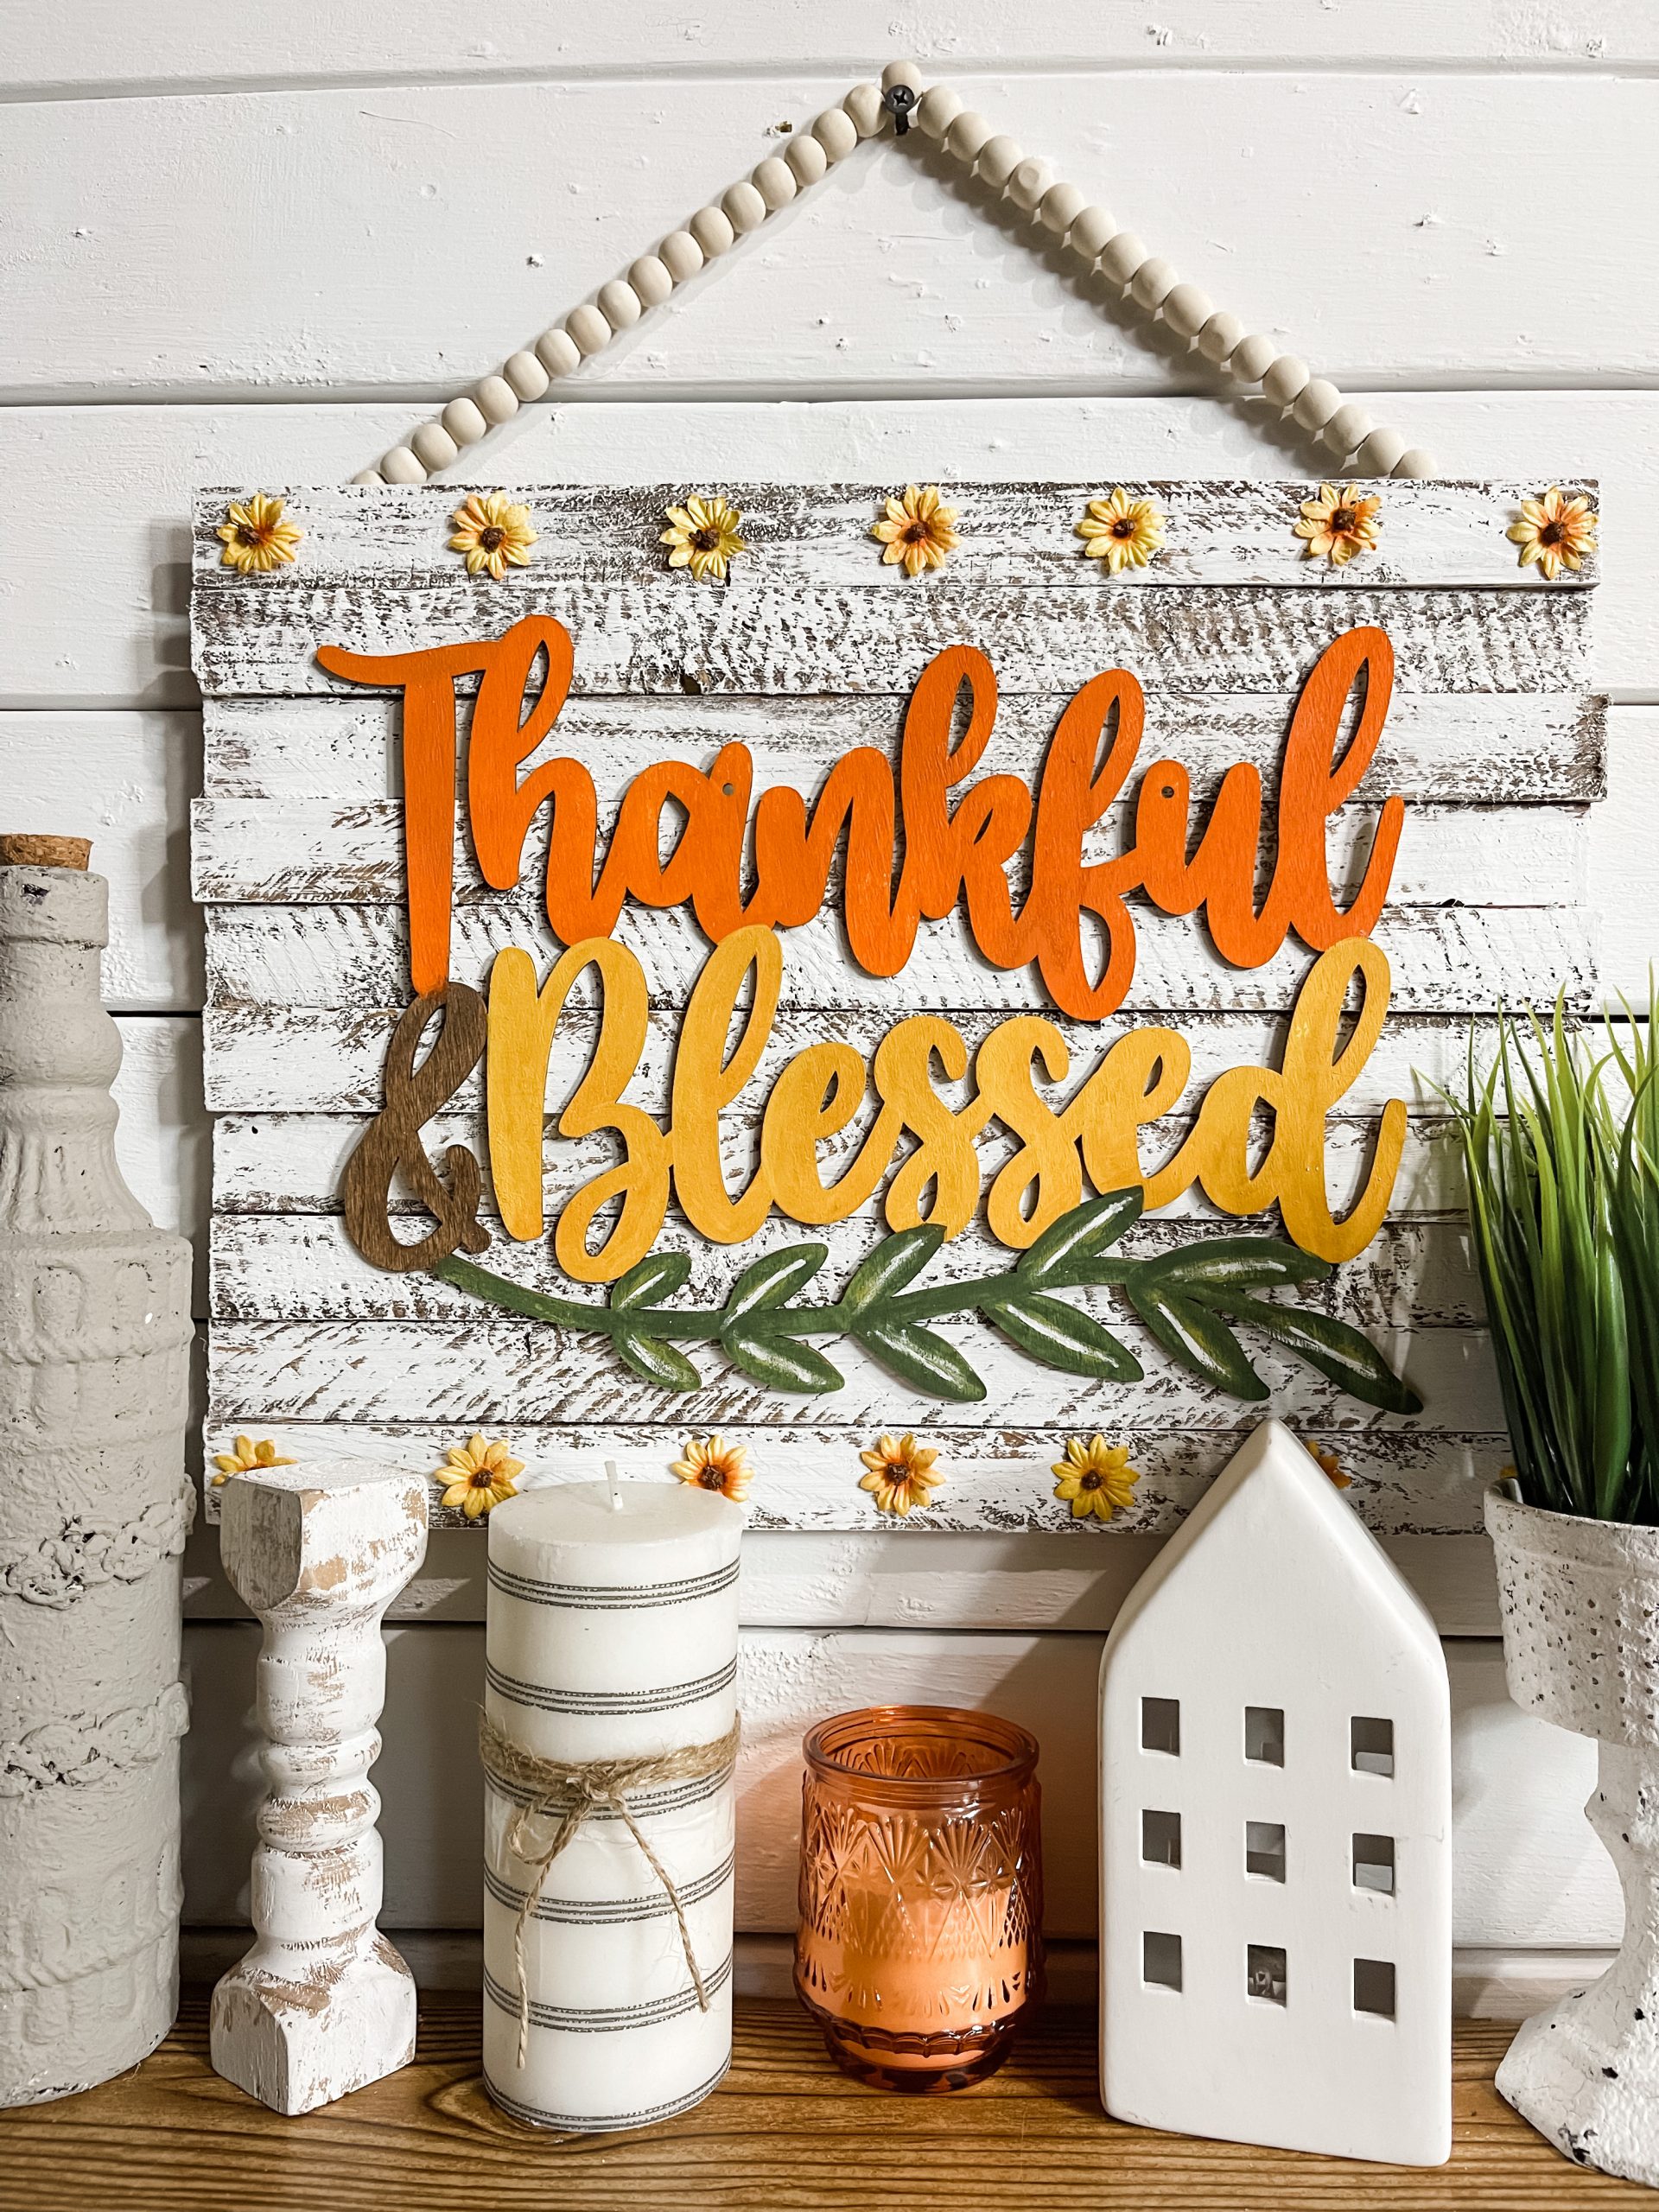
Once the paint is completely dry, go ahead and hot glue the painted thankful and blessed sign to the center of your wood shim surface.
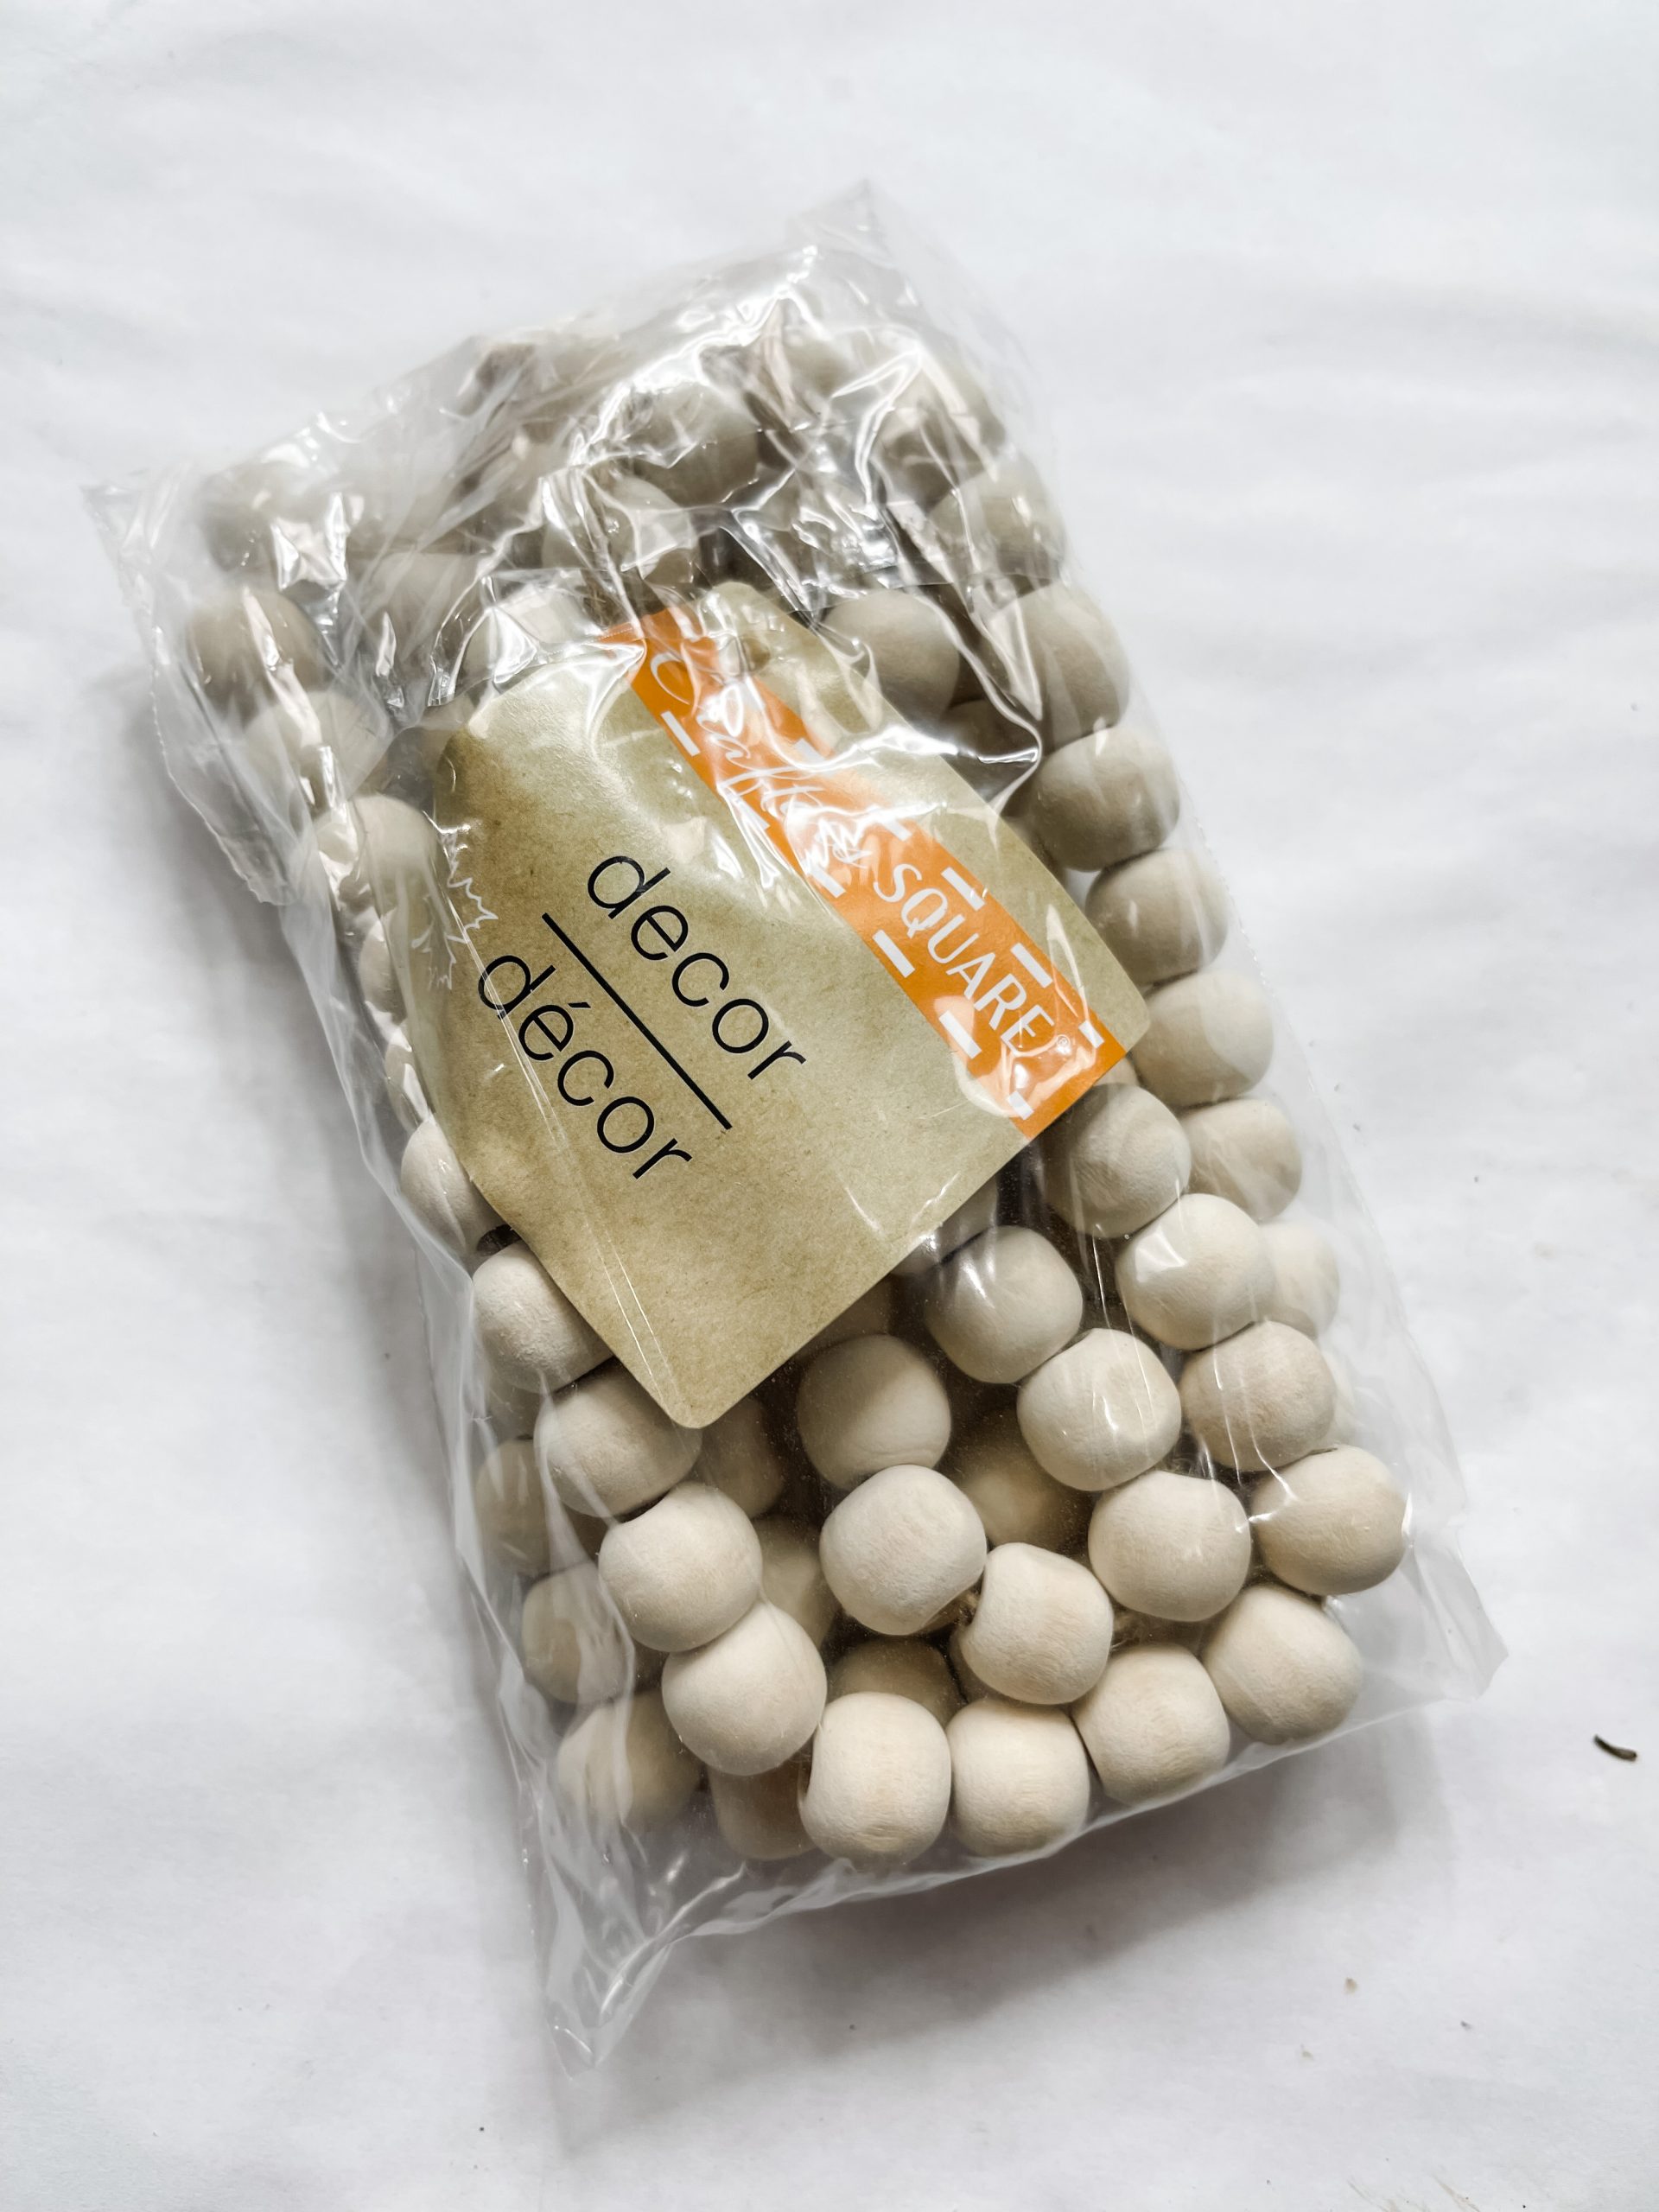
Hot glue the wood bead garland to the sign to create the hanger! You’ll need to trim the garland and secure an end or you’ll have a very large hanger!
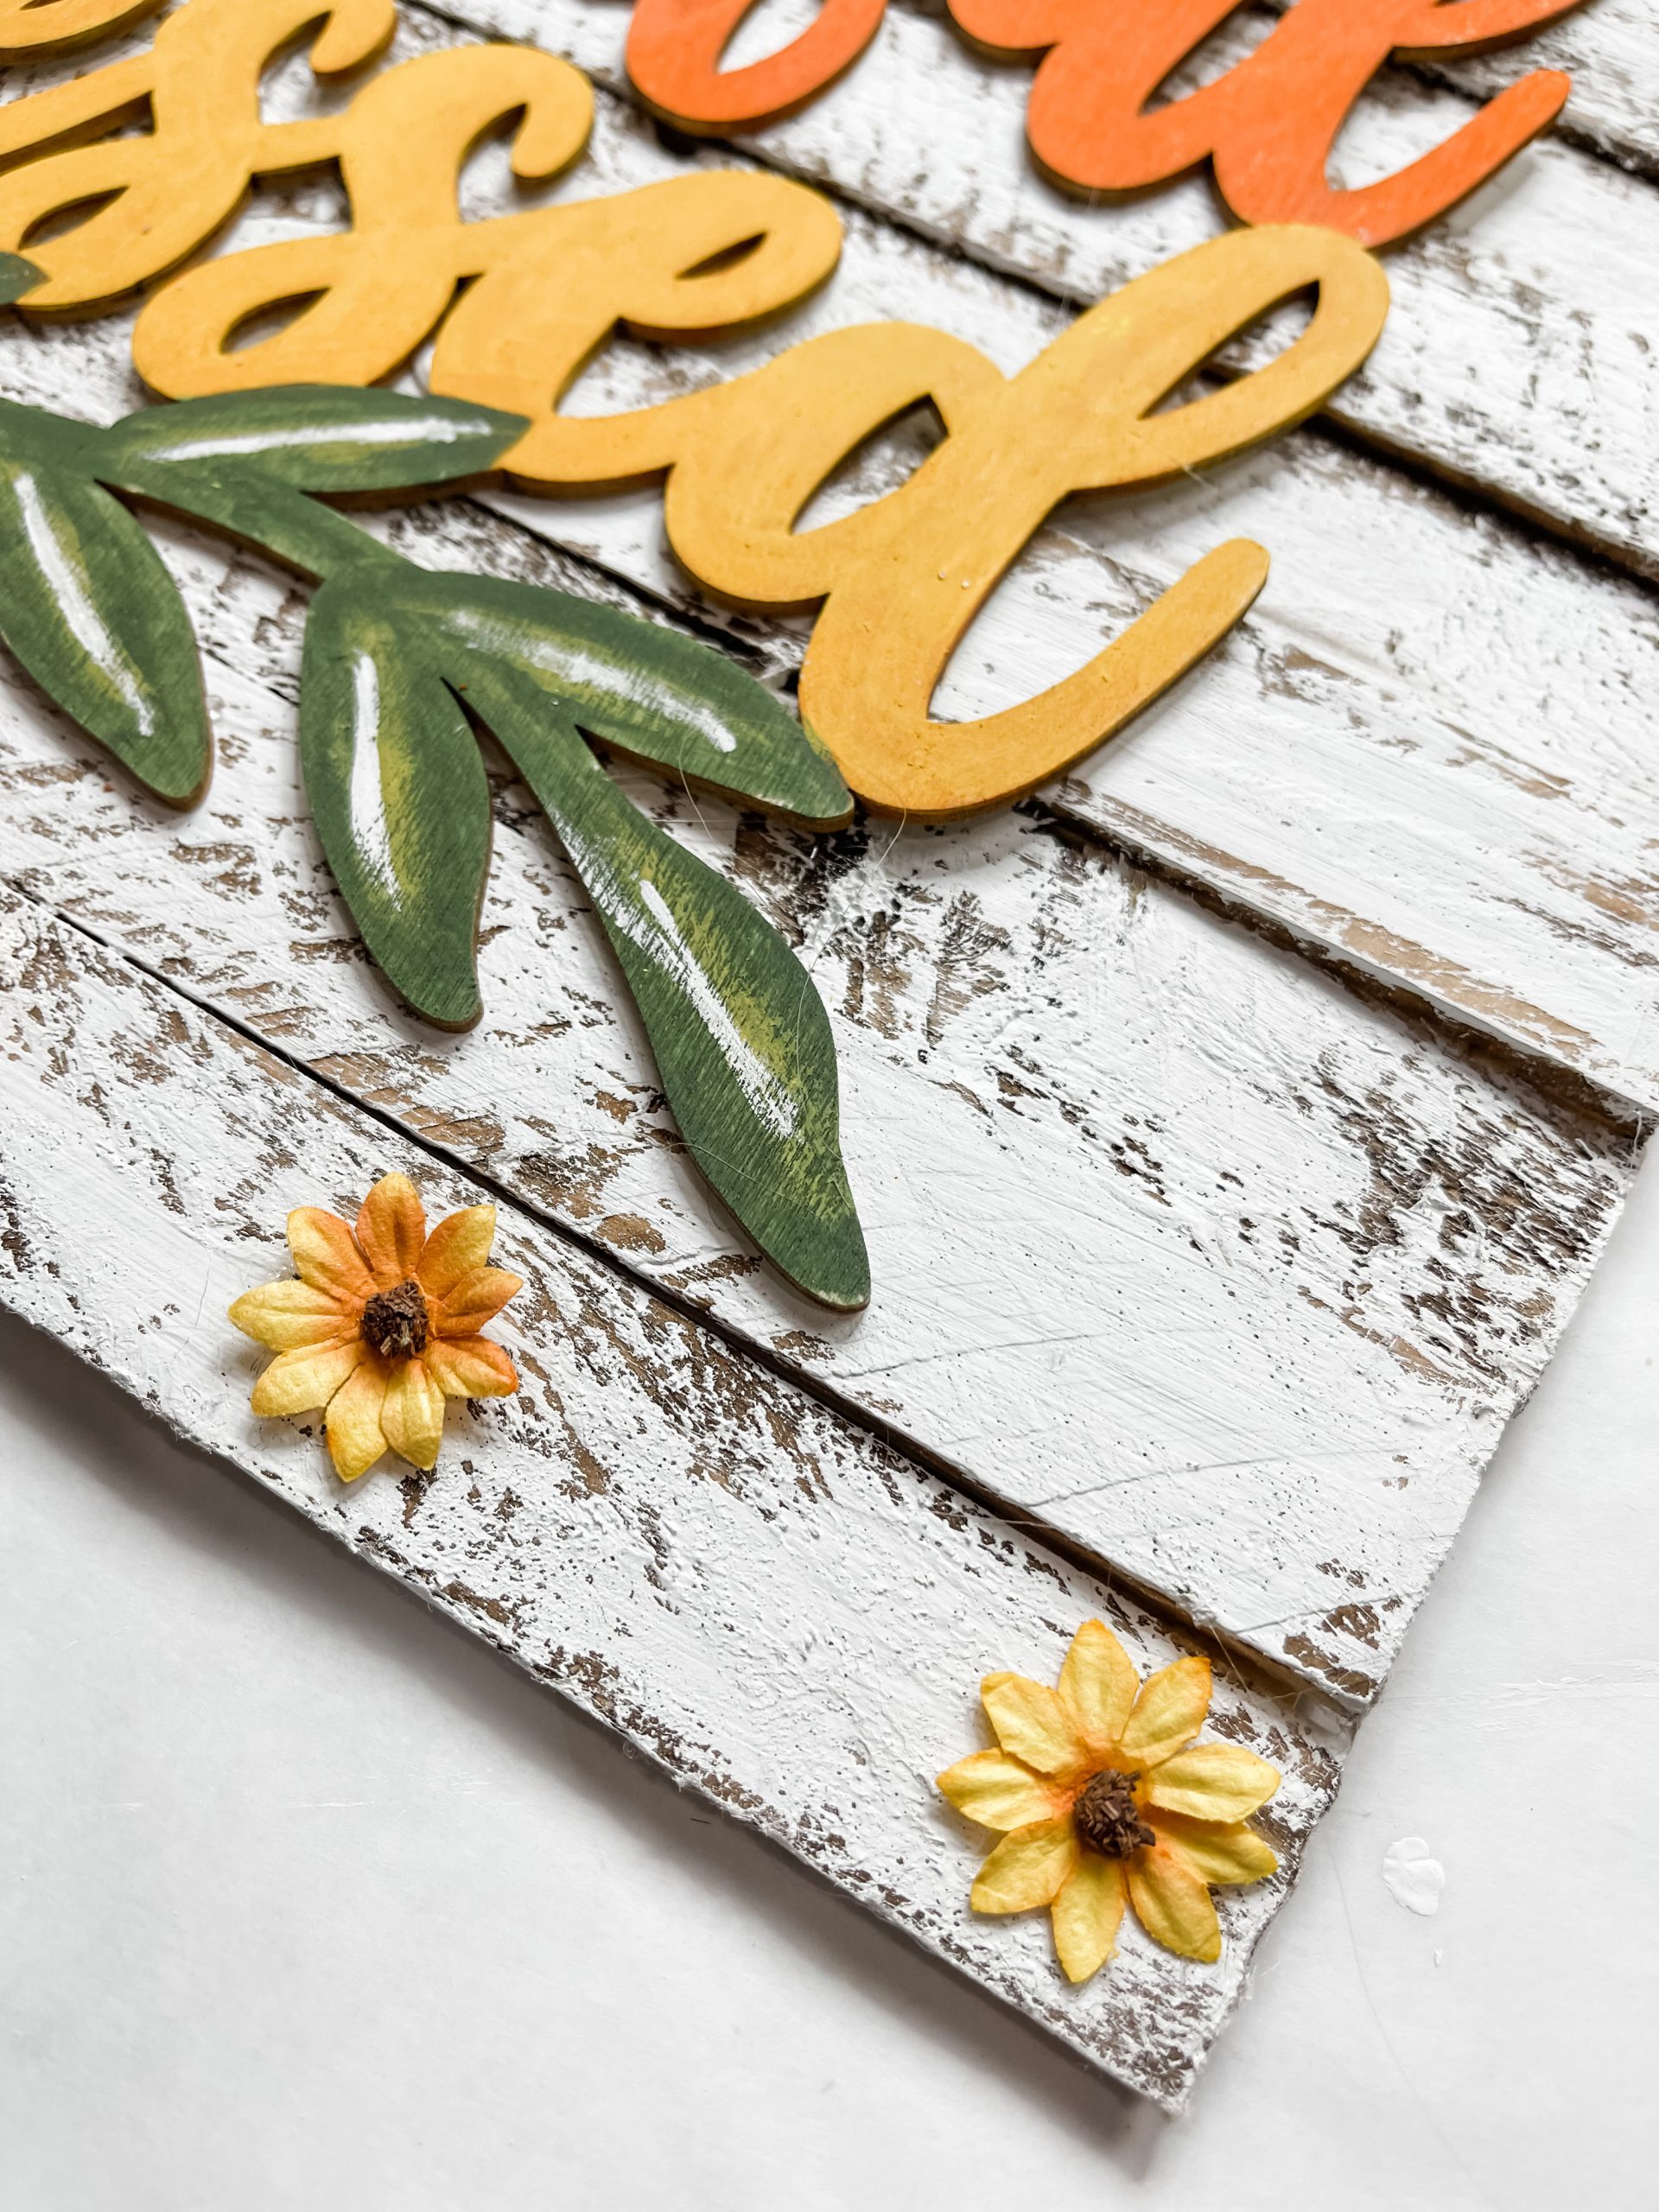
Lastly, hot glue the sunflowers evenly spaced across the top and bottom shims! Once the glue is dry, you’re ready to decorate with this adorable DIY fall sign!
I hope you enjoyed this DIY Thankful and Blessed Fall Sign as much as I did and decide to make it for yourself! If you do, I would love to see how yours turns out!
You should totally join my FREE Facebook group called On A Budget Crafts! It is a judgment-free community for DIY crafters to show off their projects and ideas.
Watch the DIY tutorial video
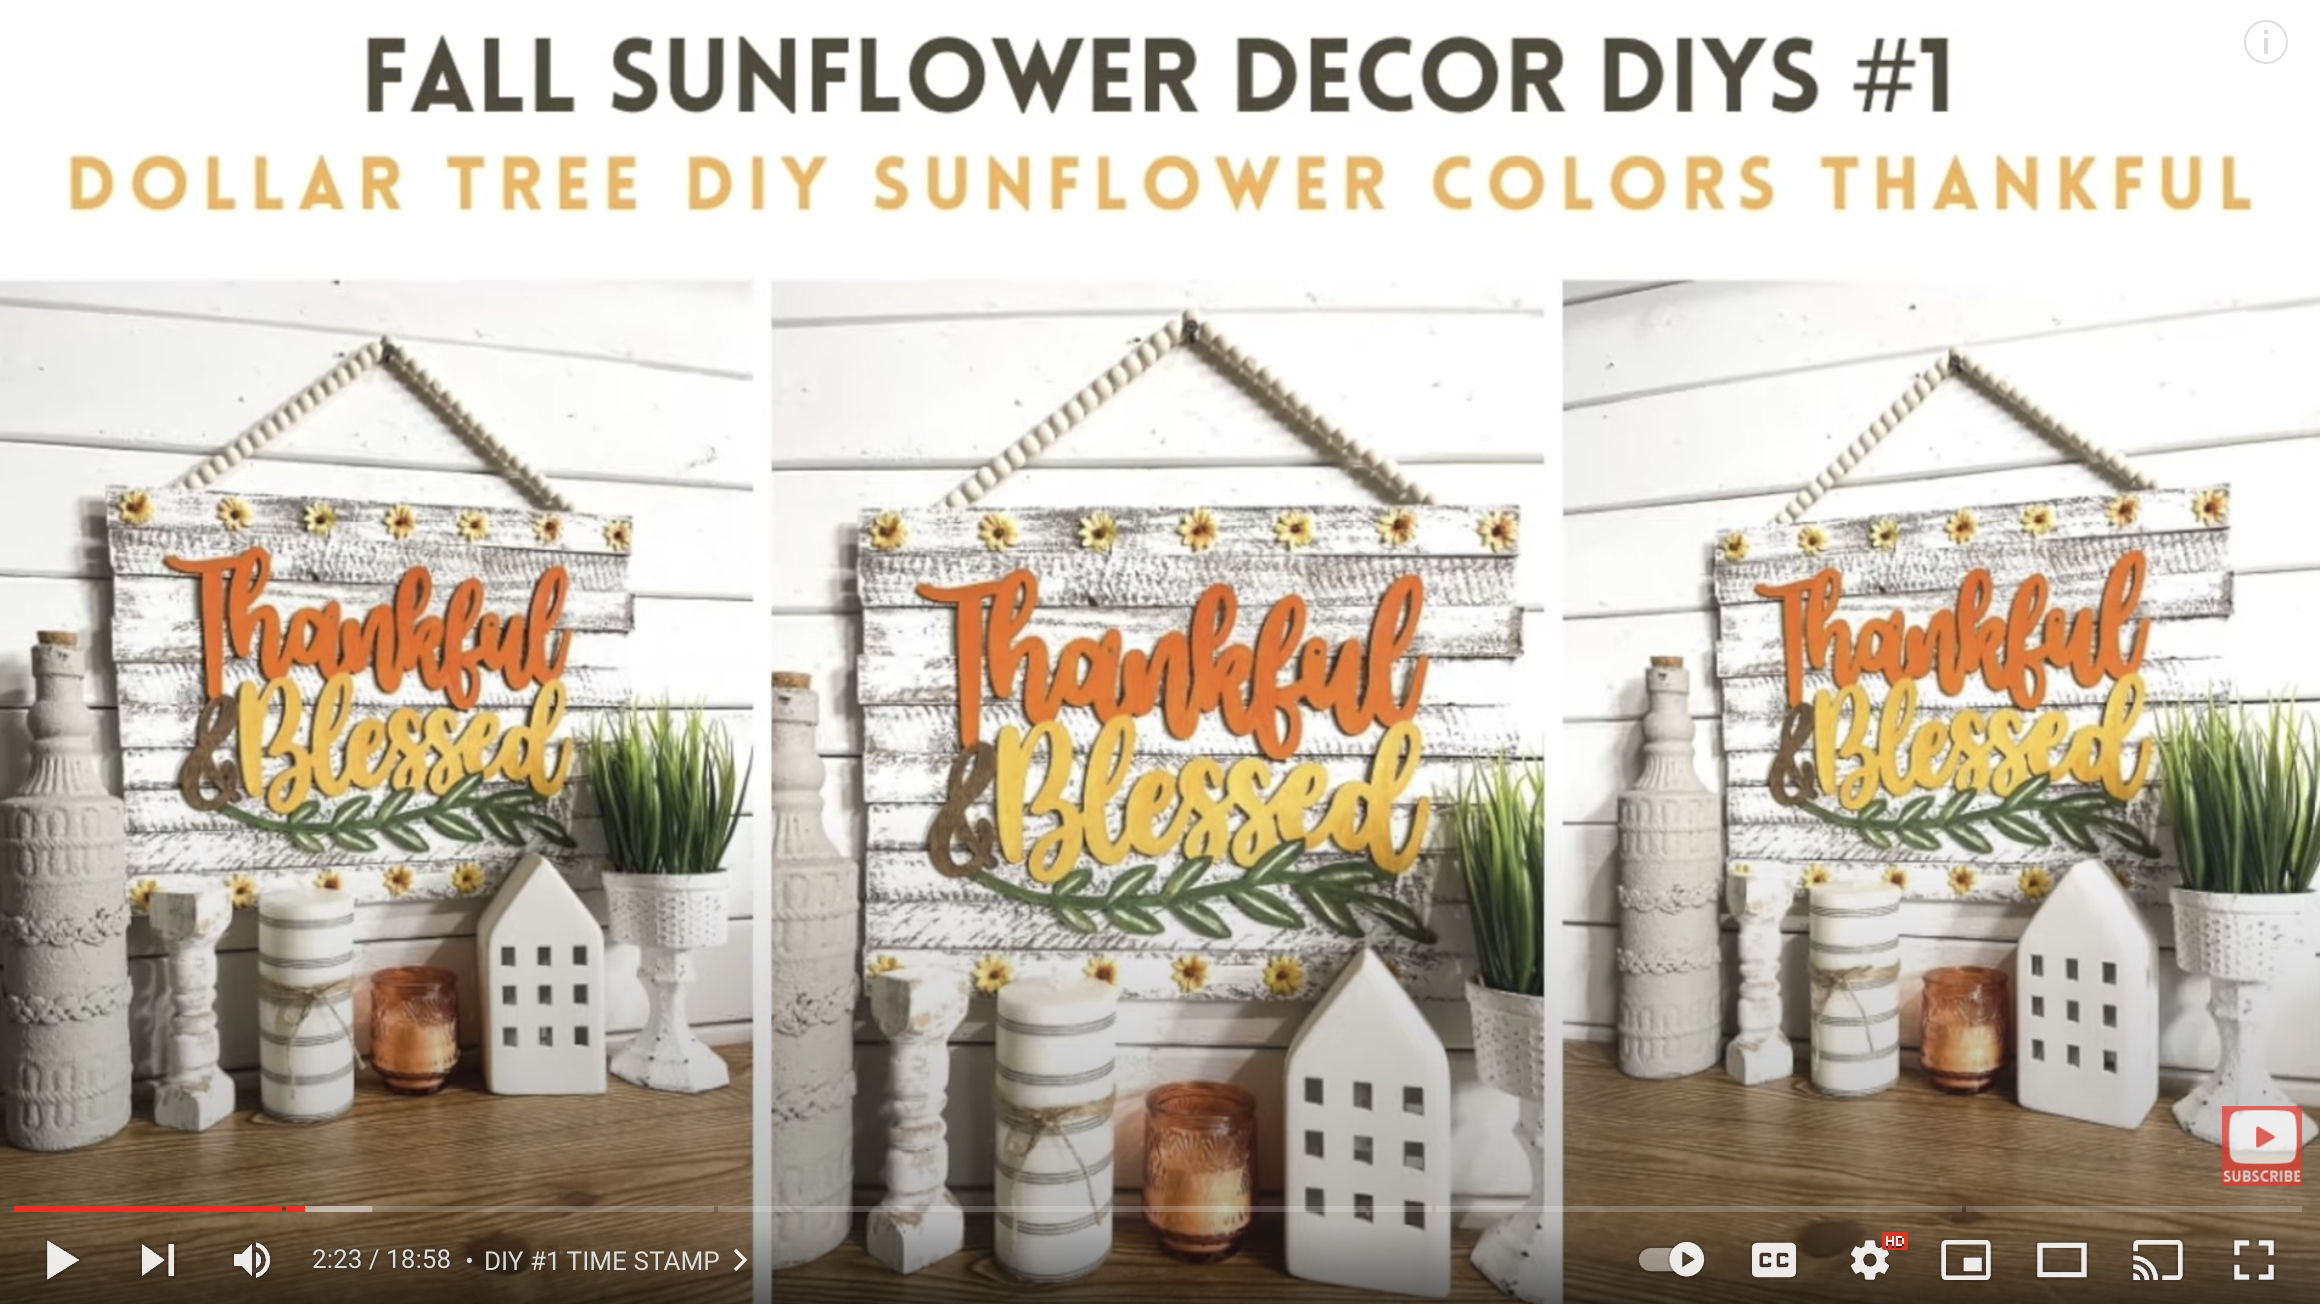
I shared the quick DIY tutorial for this adorable DIY thankful and blessed fall sign along with three other fall sunflower decor ideas on my Youtube channel!
I recorded how to make this adorable DIY Thankful and Blessed Fall Sign during a LIVE video on my Facebook page.
If you want to see the extended DIY process, craft along, or just join in on the fun conversations, you can watch the DIY tutorial replay on Facebook!
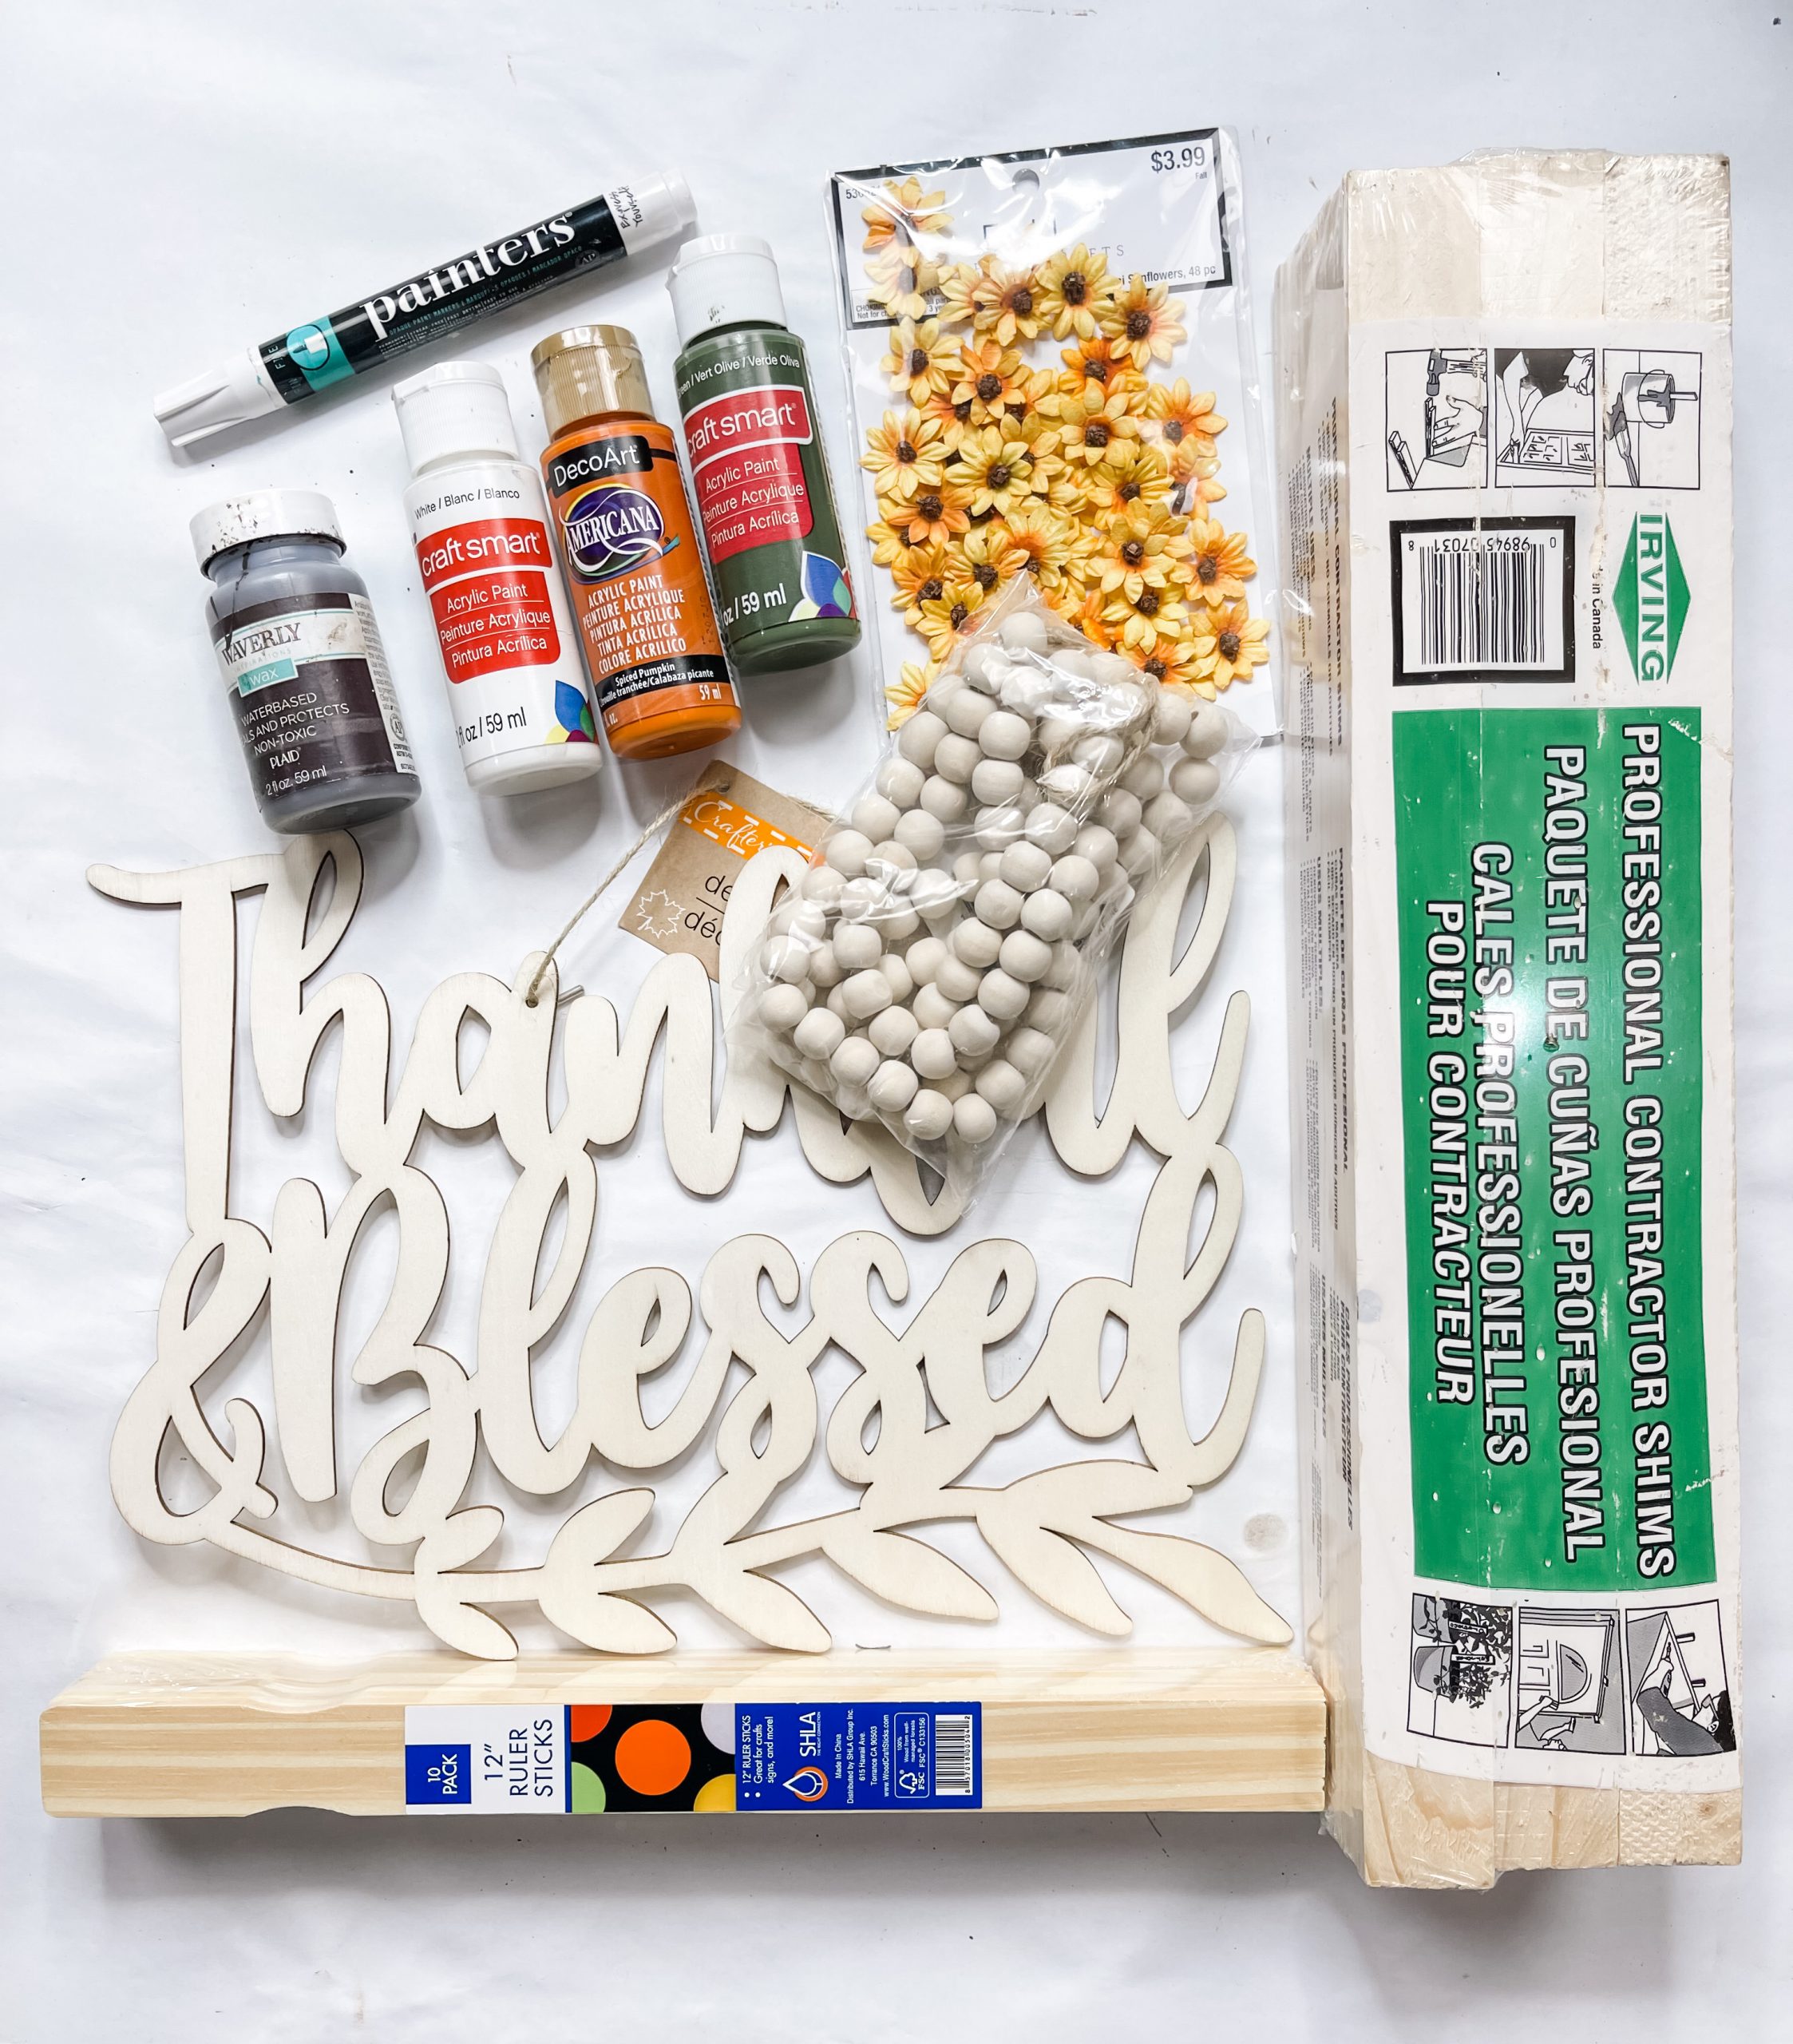
For this project, I will be using these items, but you can substitute where you want.
“As an Amazon Associate, I earn from qualifying purchases.”
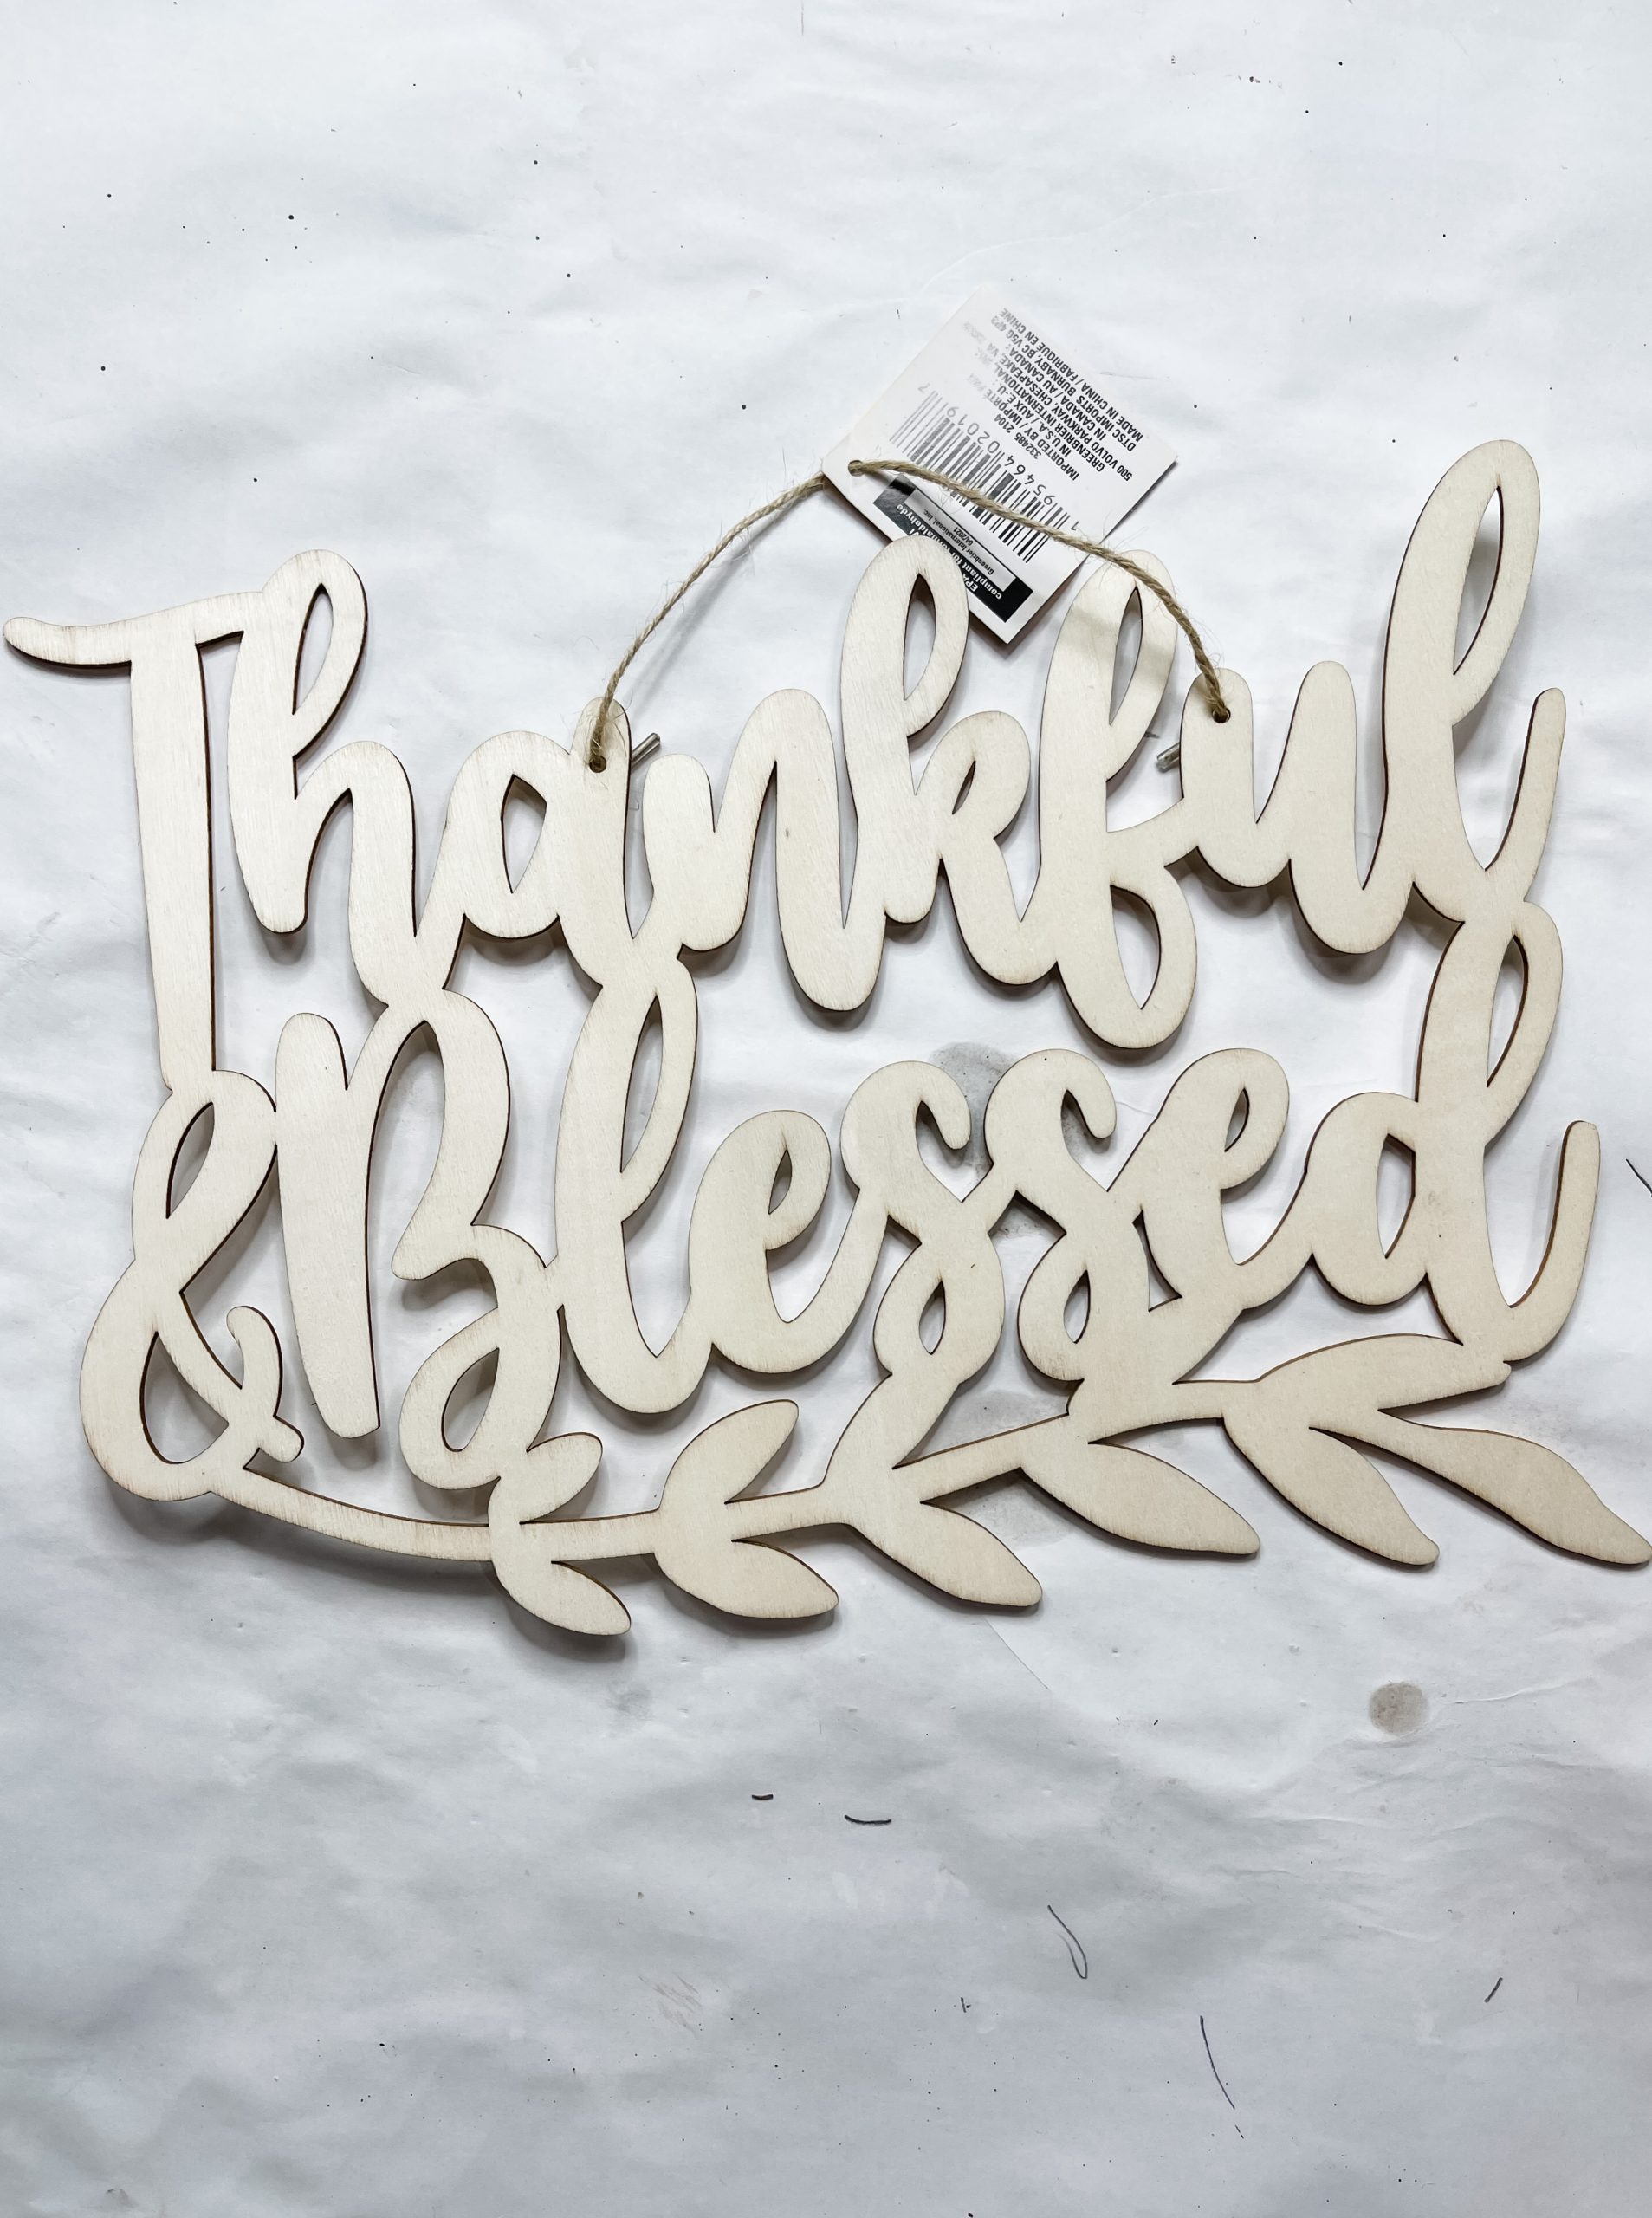
- Dollar Tree Thankful and Blessed sign
- Dollar Tree Wood bead garland
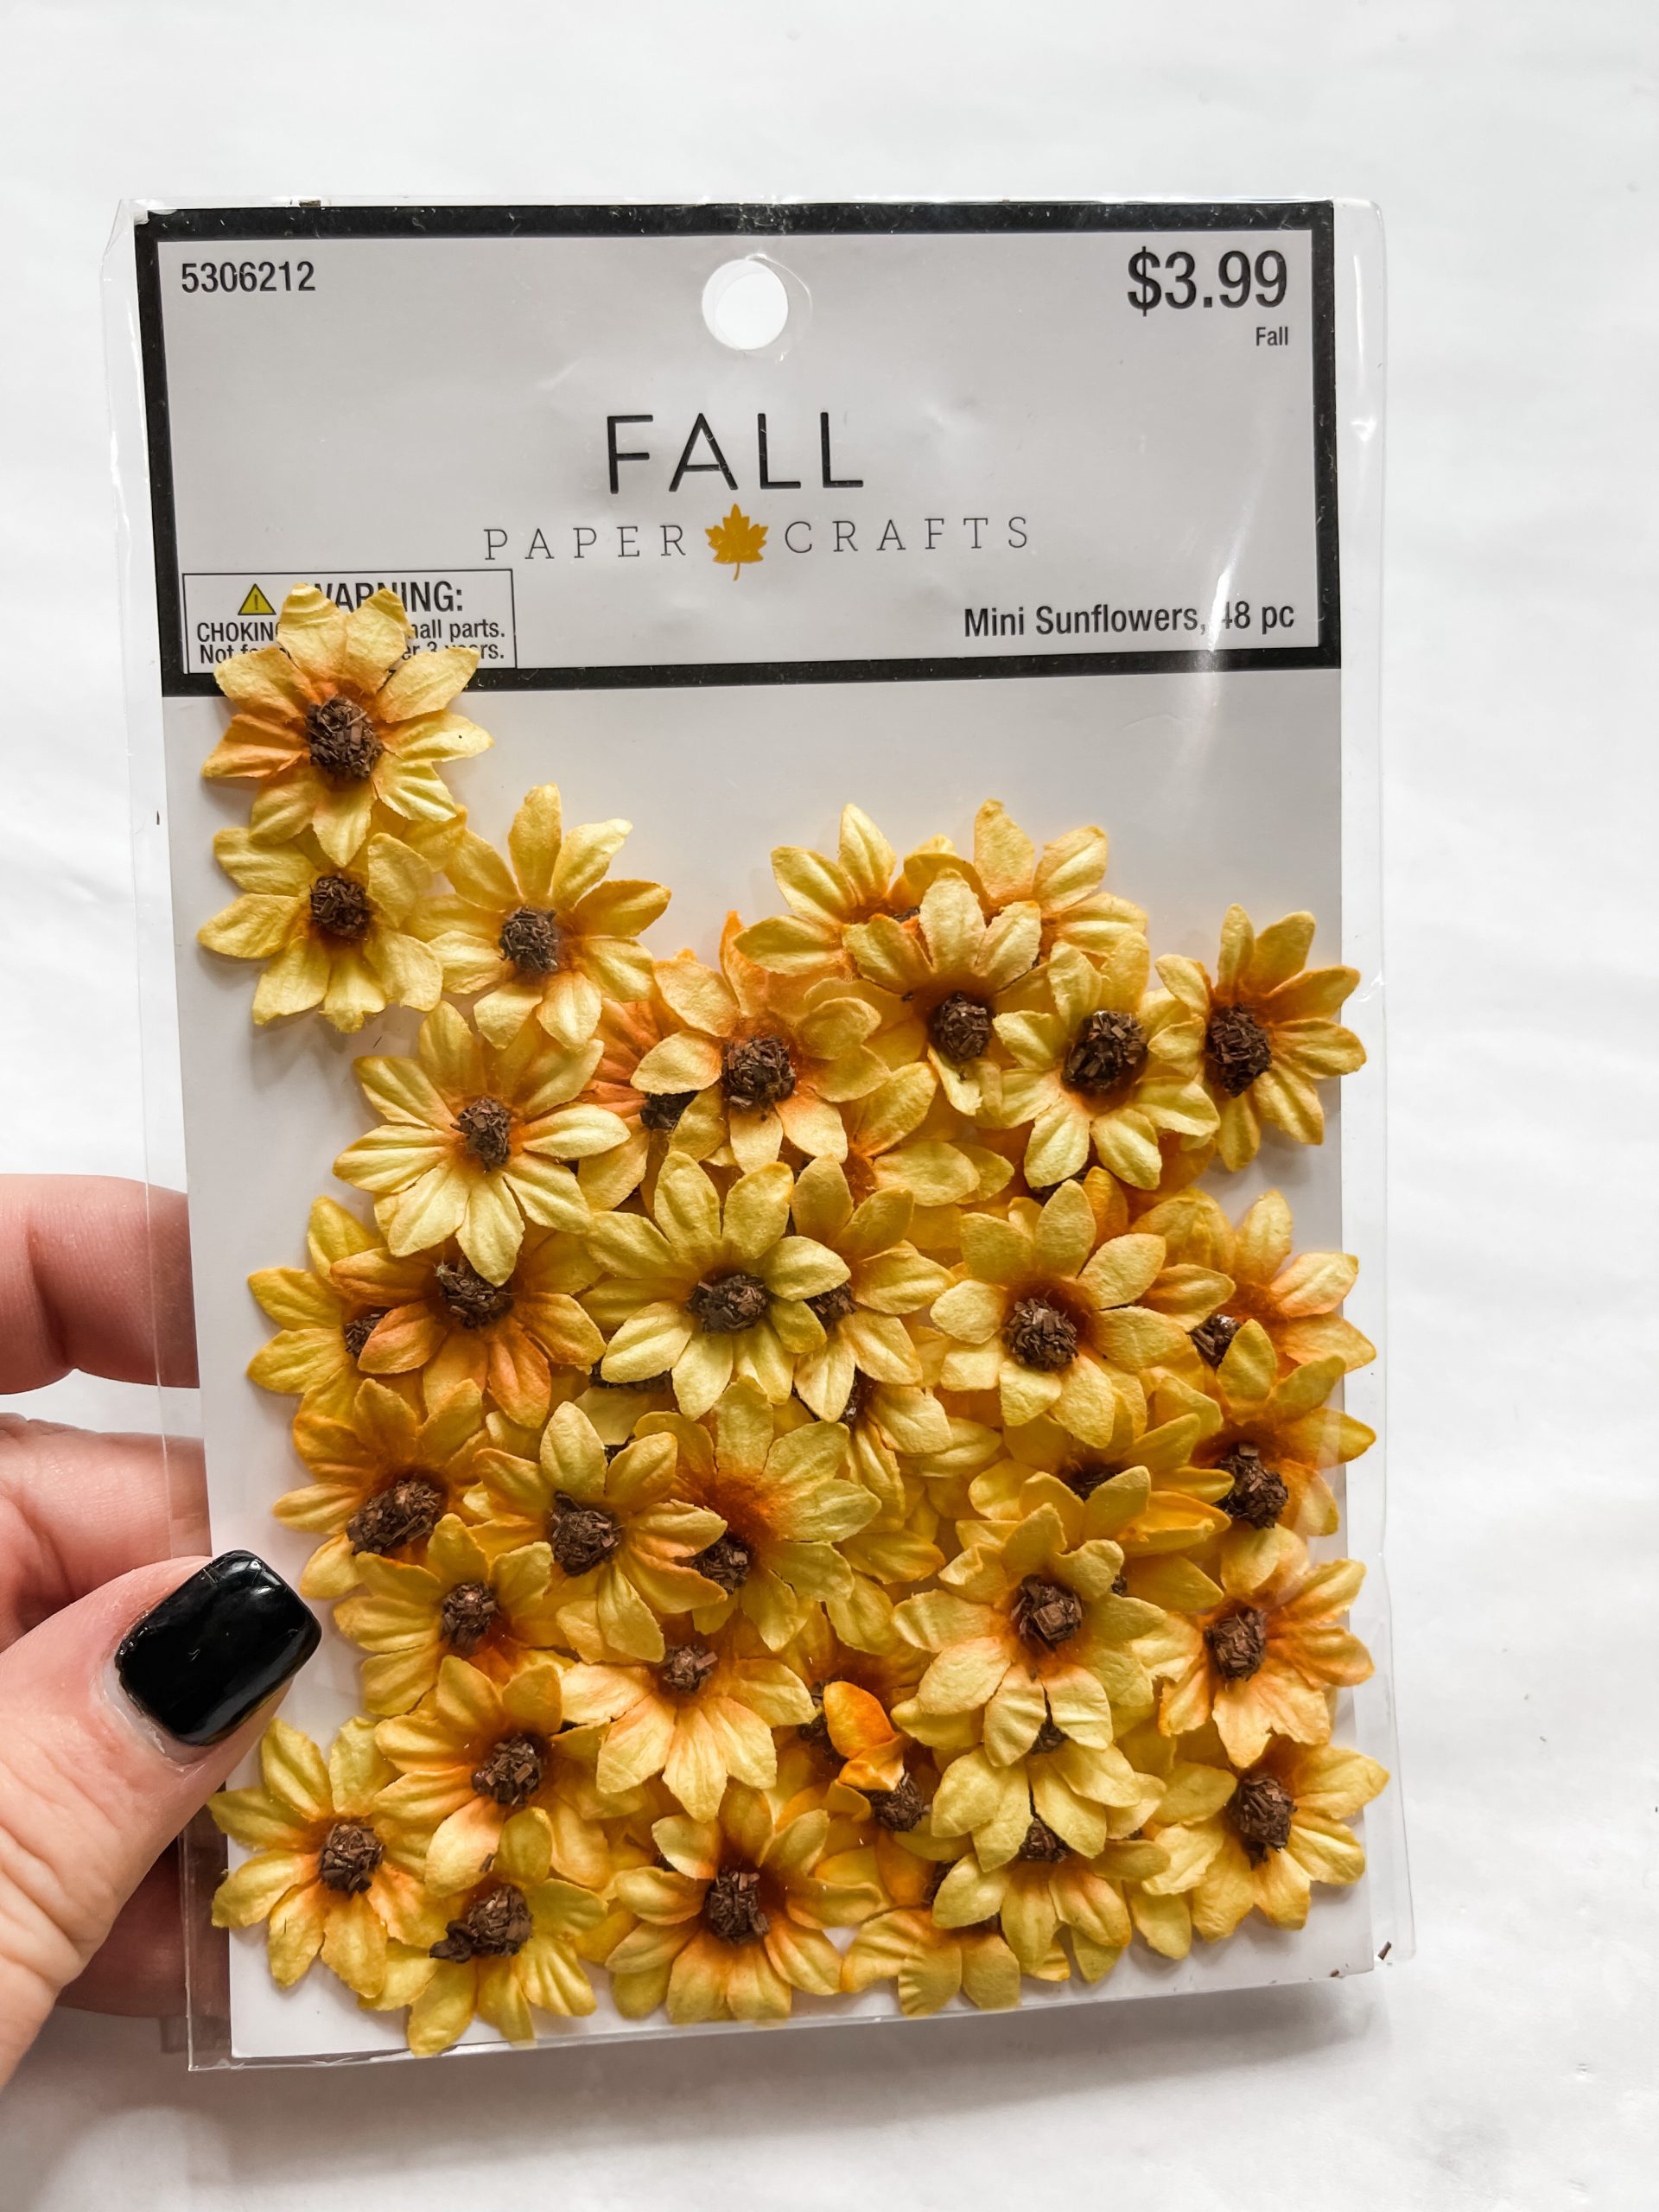
- Small sunflowers (Hobby Lobby)
- 12″ ruler sticks
- Wood Shims
- DecoArt Spiced Pumpkin Acrylic Paint
- Craftsmart Olive Green Acrylic Paint
- Craftsmart White Acrylic Paint
- Waverly Antique Wax
- Waverly Brown Chalk Paint
- Painter’s White Fine Tip Pen
- Aviation Snips
- Hot Glue gun
- Glue Stick
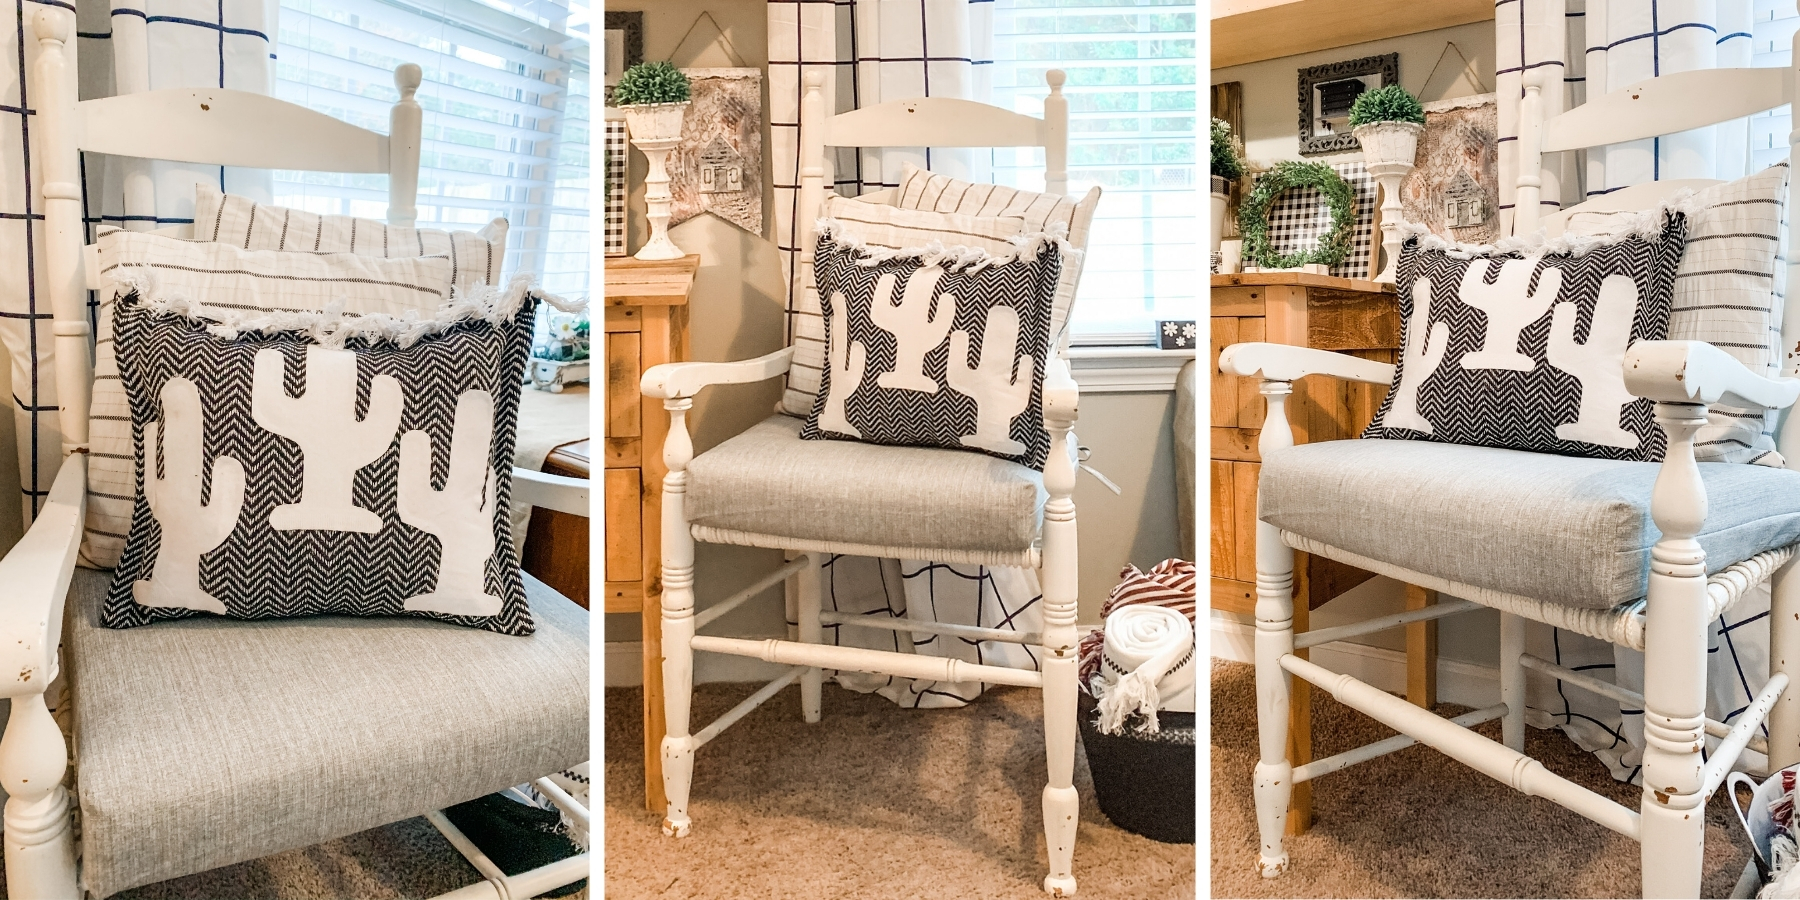
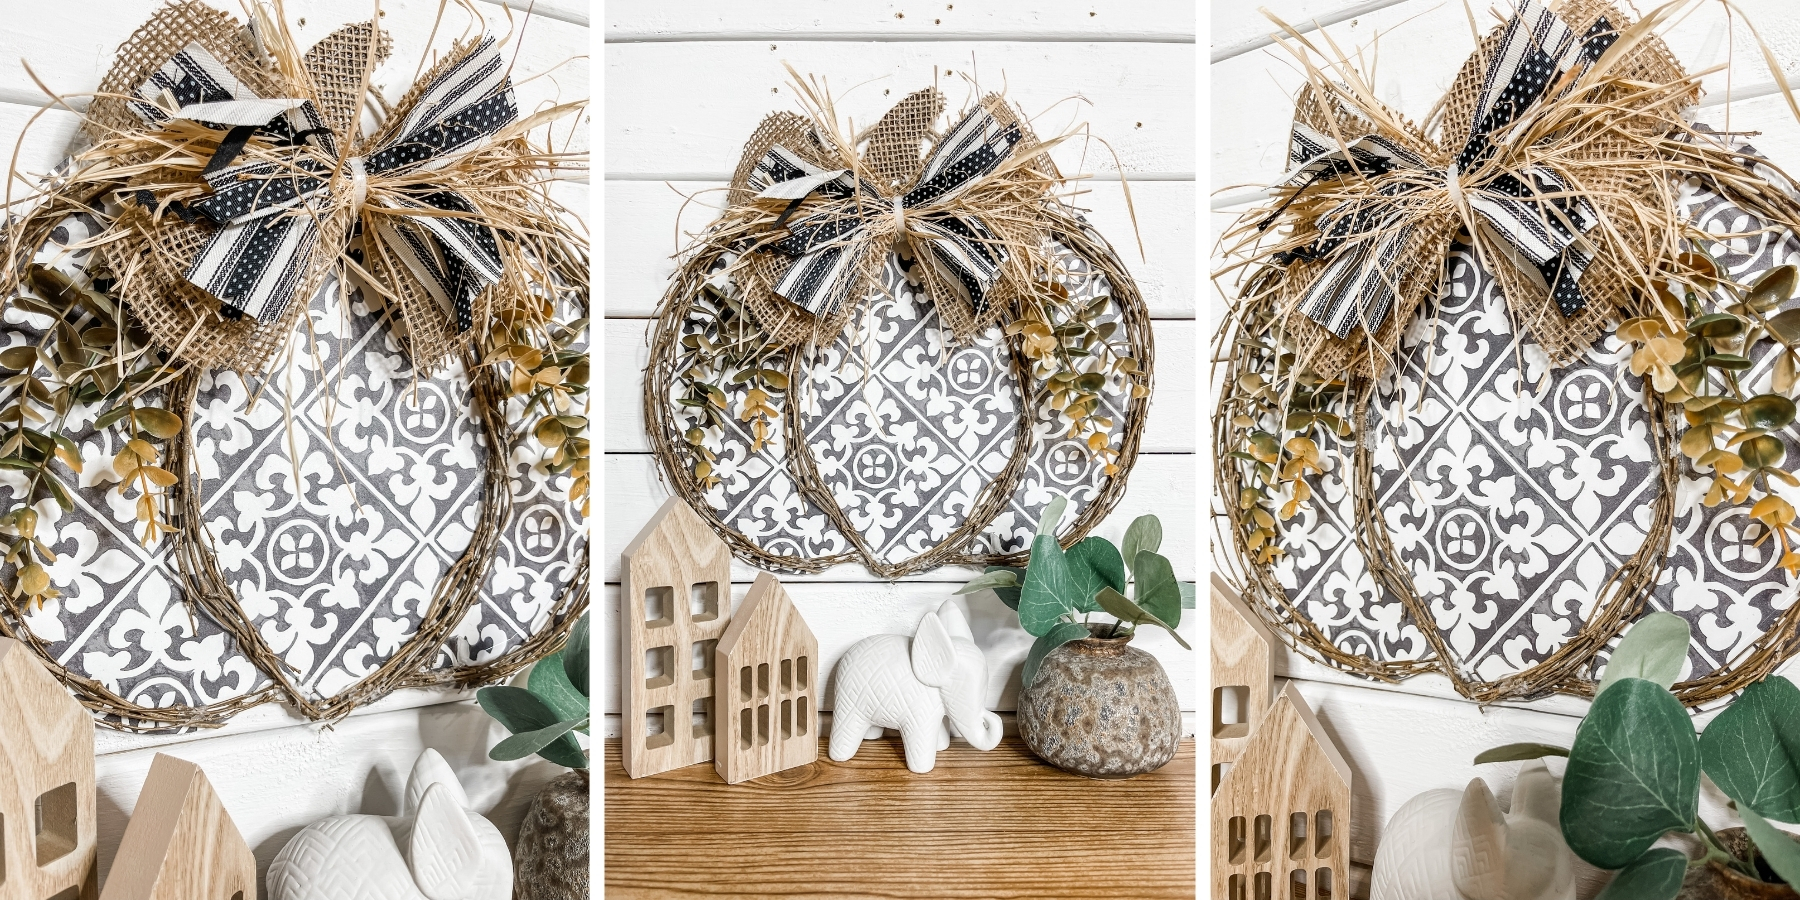
If you loved this DIY Thankful and Blessed Fall Sign, you might also like these DIY ideas!
Thanks for stopping by! XOXO Amber
You can also shop my ENTIRE AMAZON Favorites shop just click here! It’s packed full of all the things I use and love. Here is the supply list I highly recommend every creative have on hand!!
Would you also pin my blog for later and get on my newsletter alerts? I would love to have you join my #craftycrew.
I email alerts about new blogs like this DIY Thankful and Blessed Fall Sign so you’re always up to date on fun, new DIY ideas!
Inspired? Leave me a comment below! I love hearing from my readers!


I hope I can find that sign this year, probably already sold out. Love this craft, couldn’t get my hands on those word cutouts last year