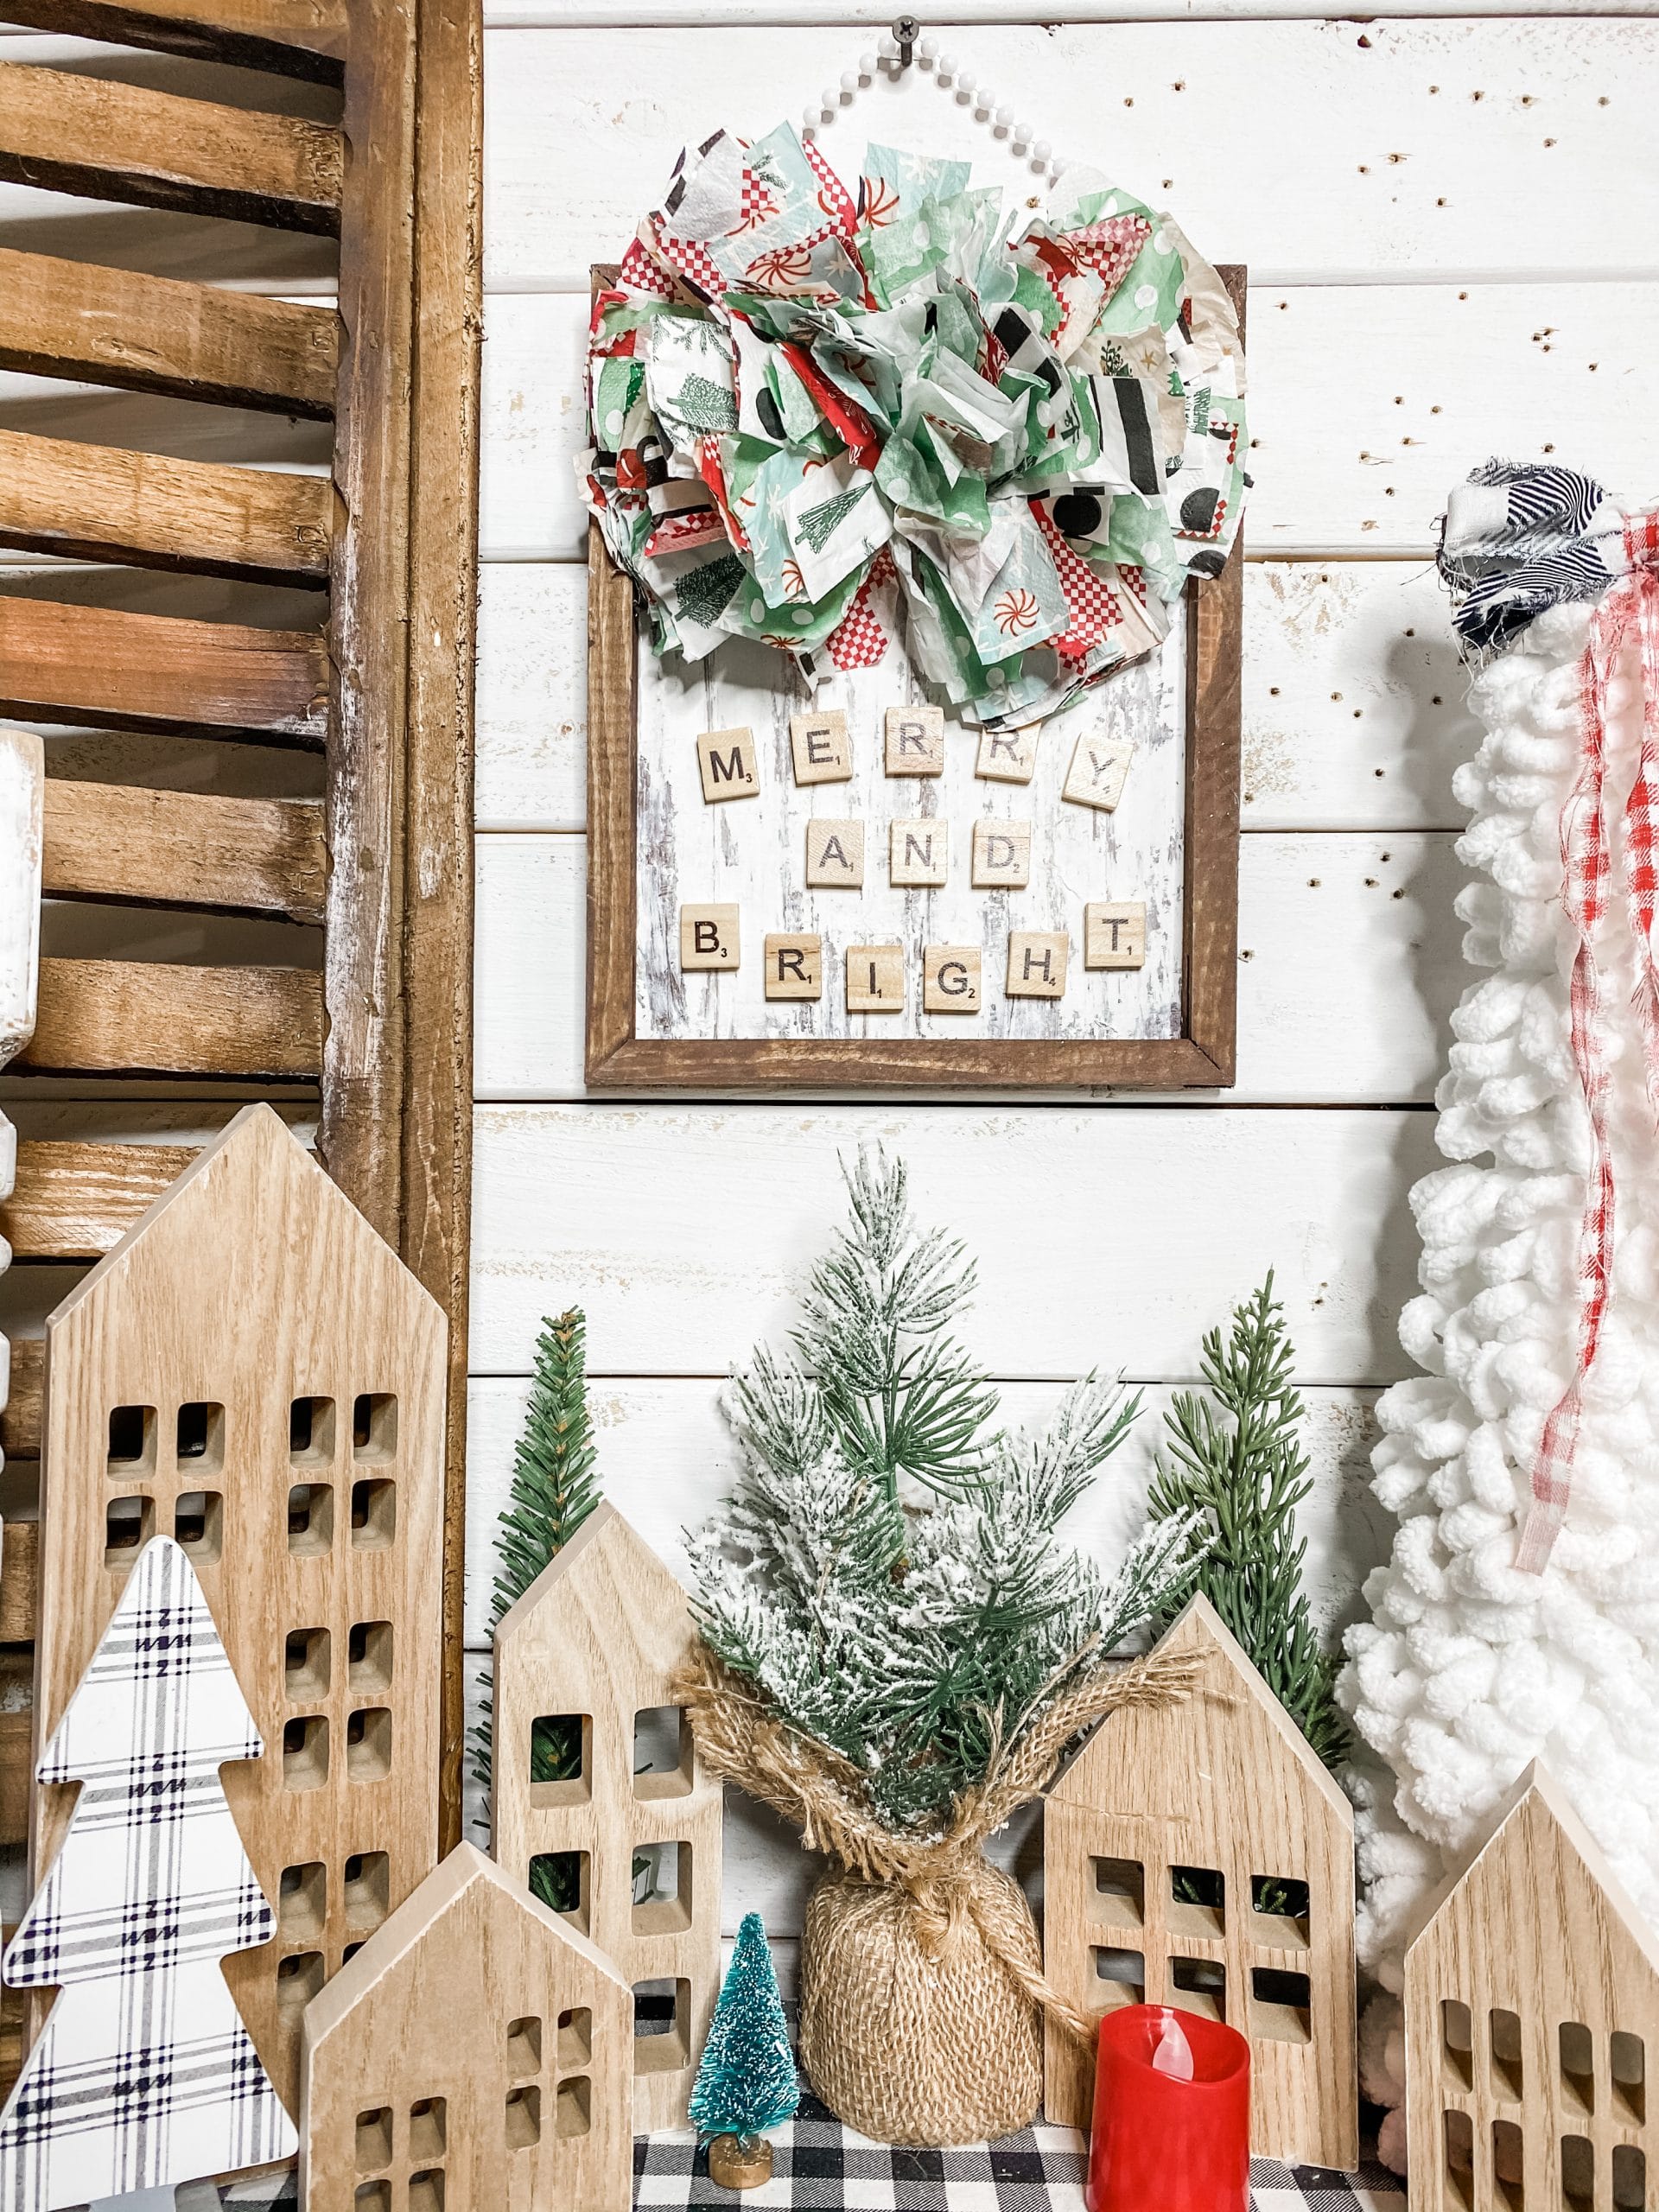
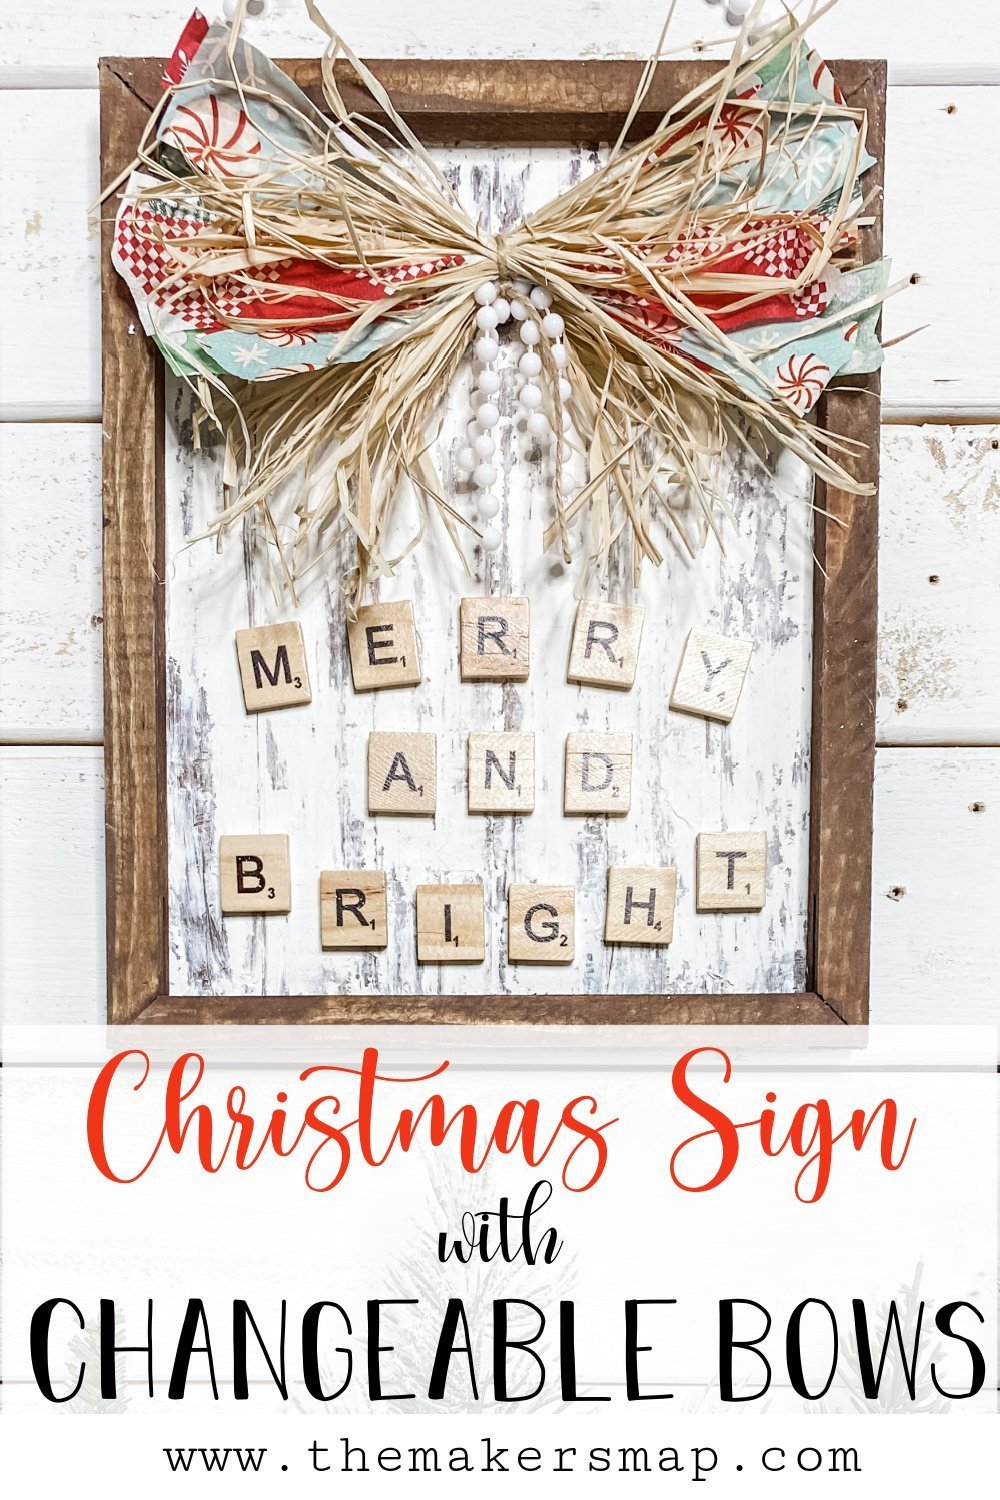
Farmhouse Christmas Sign with Changeable Napkin Bow
Have you ever just had an amazing ‘Ah-ha!” moment when you were crafting? I sure did while I was making this adorable Farmhouse Christmas Sign with Changeable Napkin Bow!
You read that right. I made 3 different napkin bows for this affordable Christmas DIY.
Honestly, I was so inspired by this farmhouse DIY decor, and I plan to use this as sort of a template for future projects. I really love the interchangeable bows because it makes the possibilities endless!
Instead of adding a Christmas phrase, you could do a quote and change the bows for the seasons!
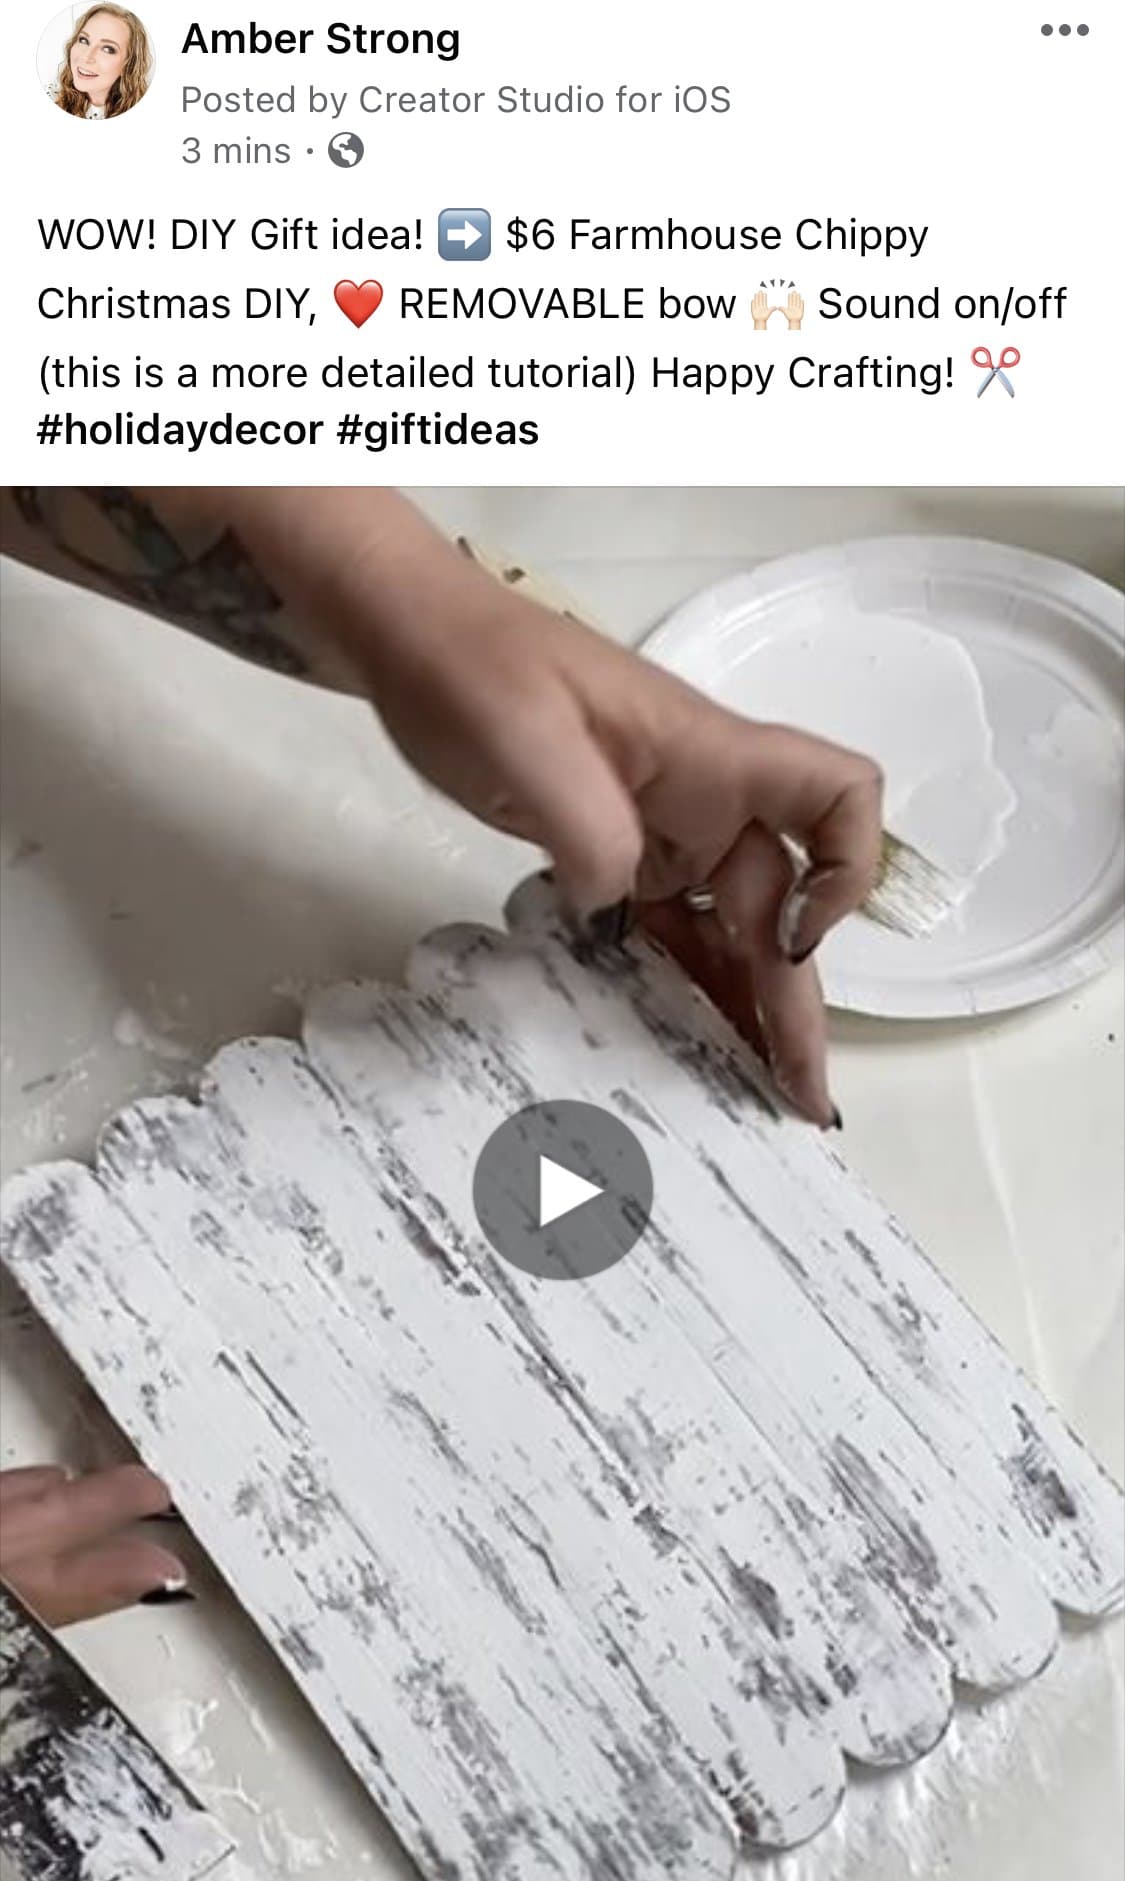
Watch the tutorial
Want a step-by-step tutorial for this DIY? I’ve made a quick DIY tutorial video over on my Facebook page!
You can check it out and see exactly how I made this interchangeable sign. Don’t worry though, I explain the steps in this post if you prefer to read about it!
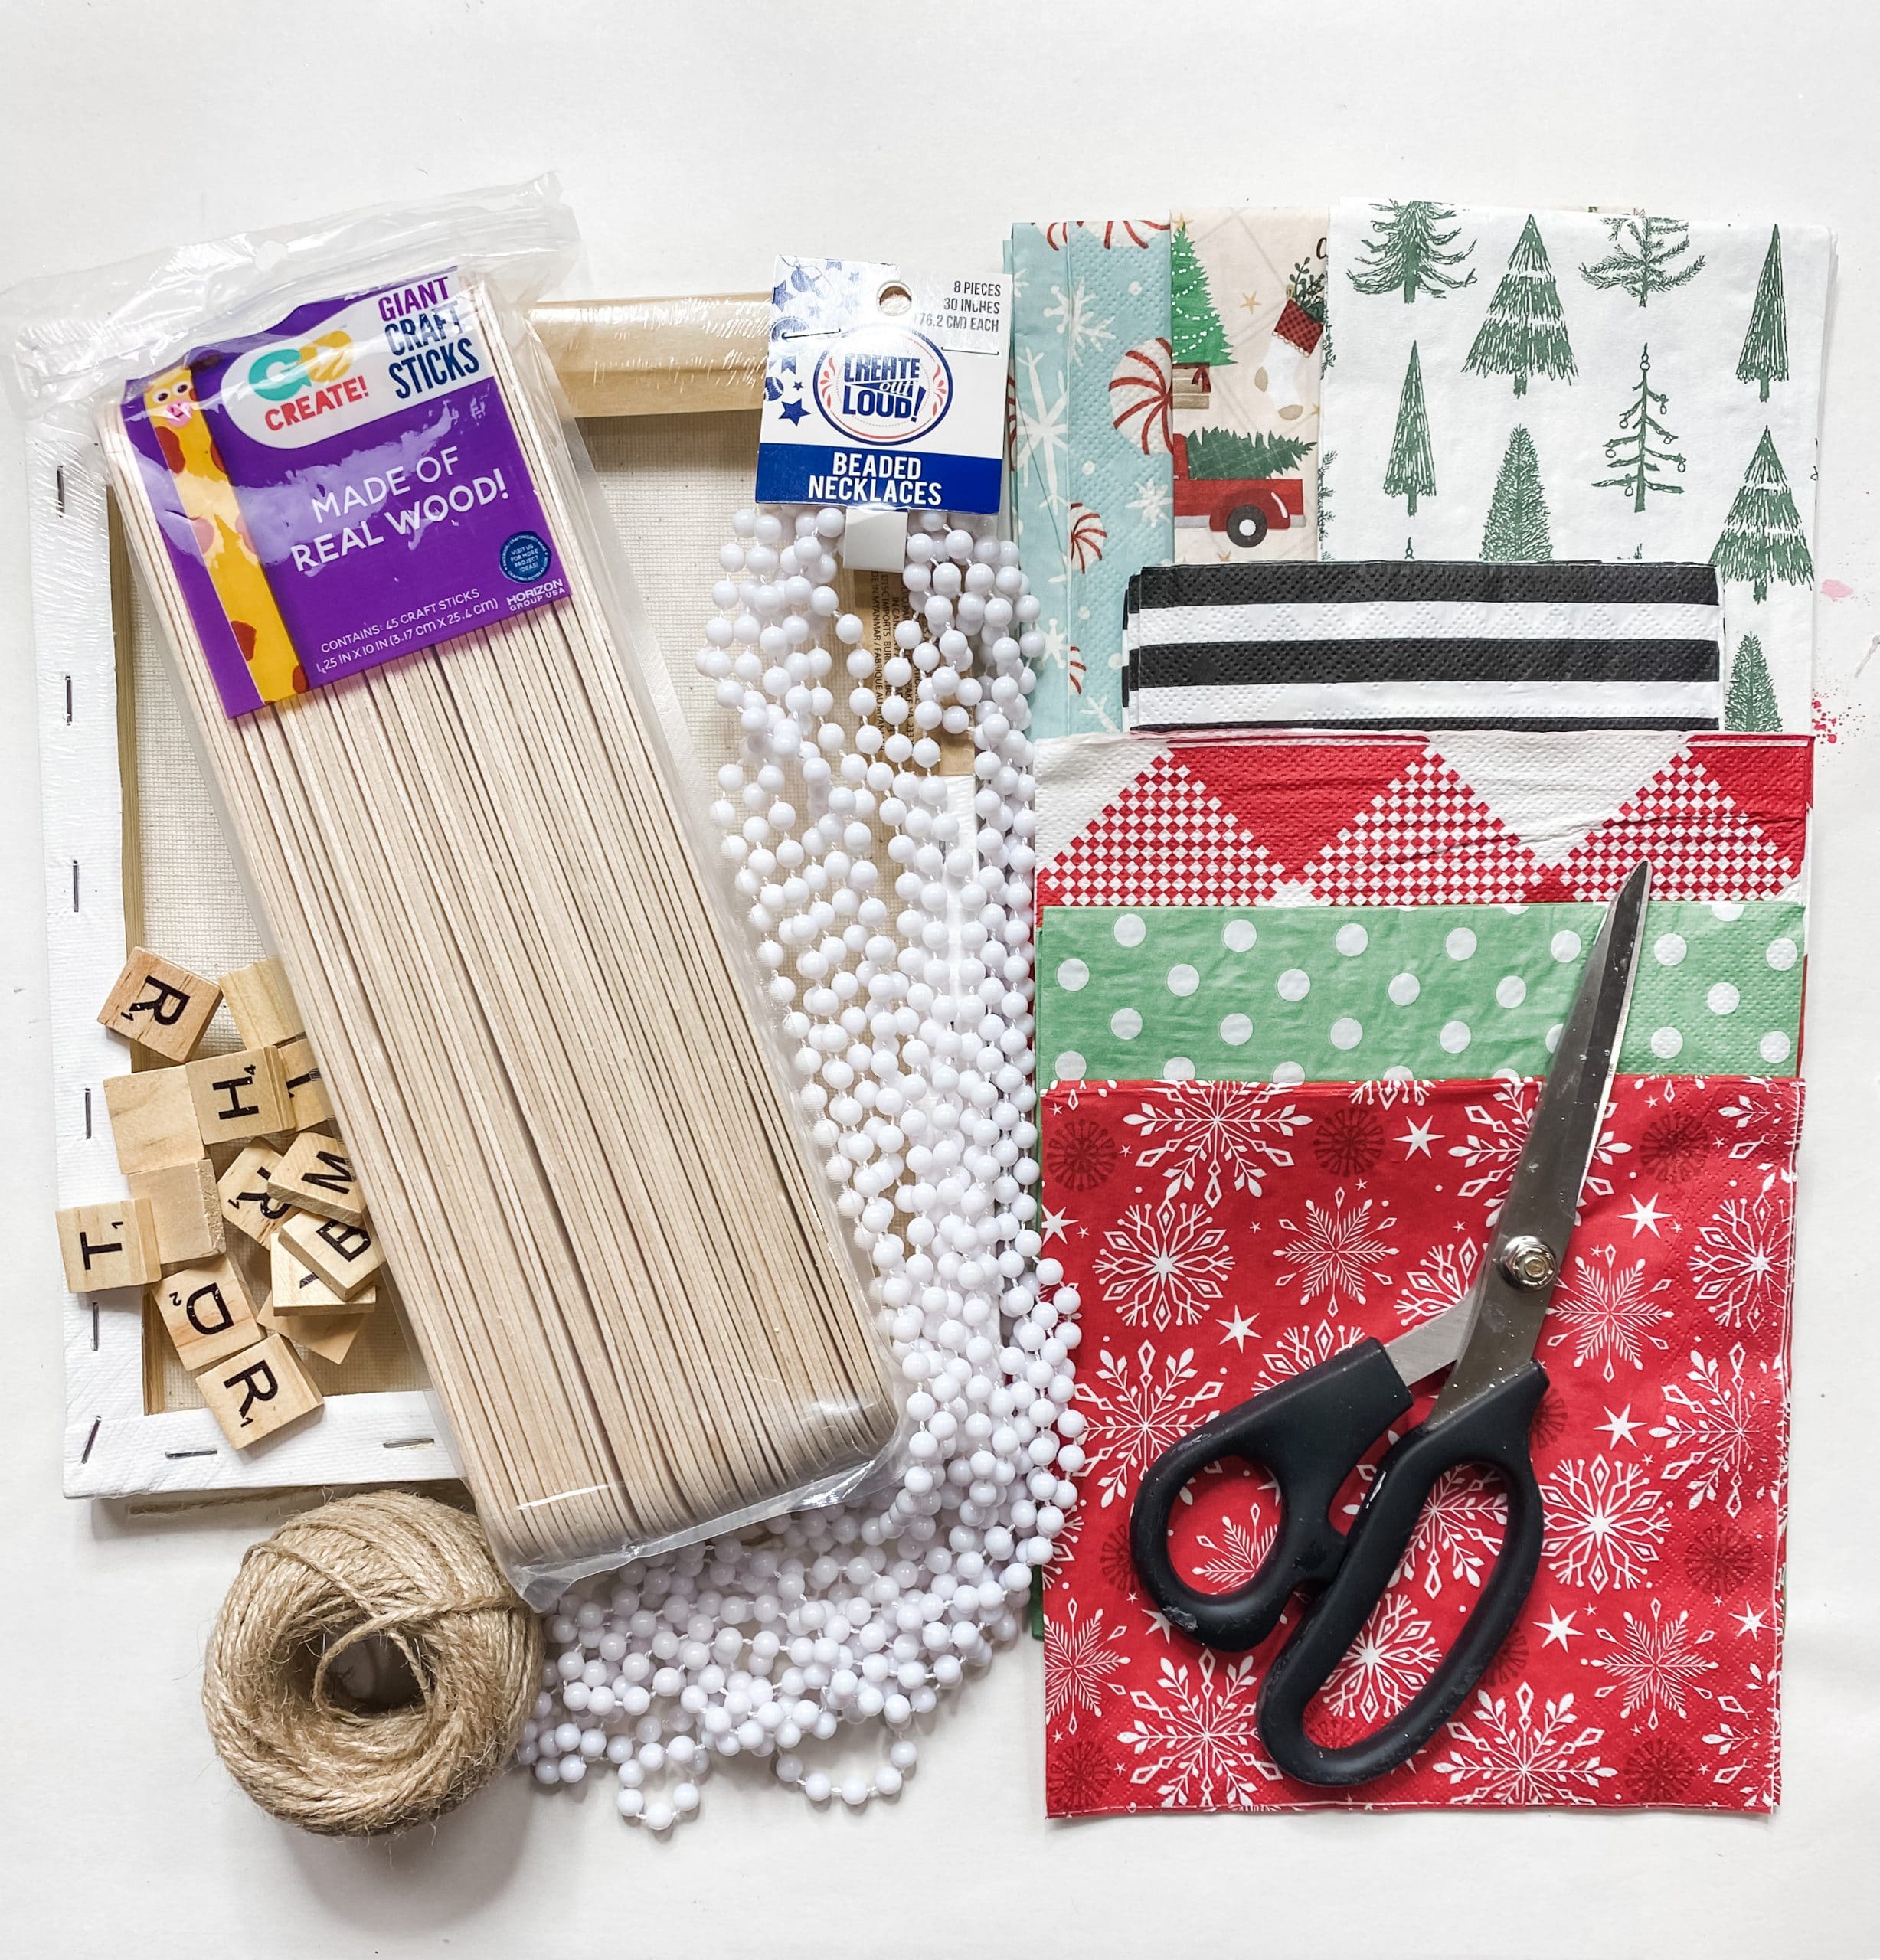
For this project, I will be using these items but you can substitute where you want.
“As an Amazon Associate, I earn from qualifying purchases.”
- Giant craft sticks
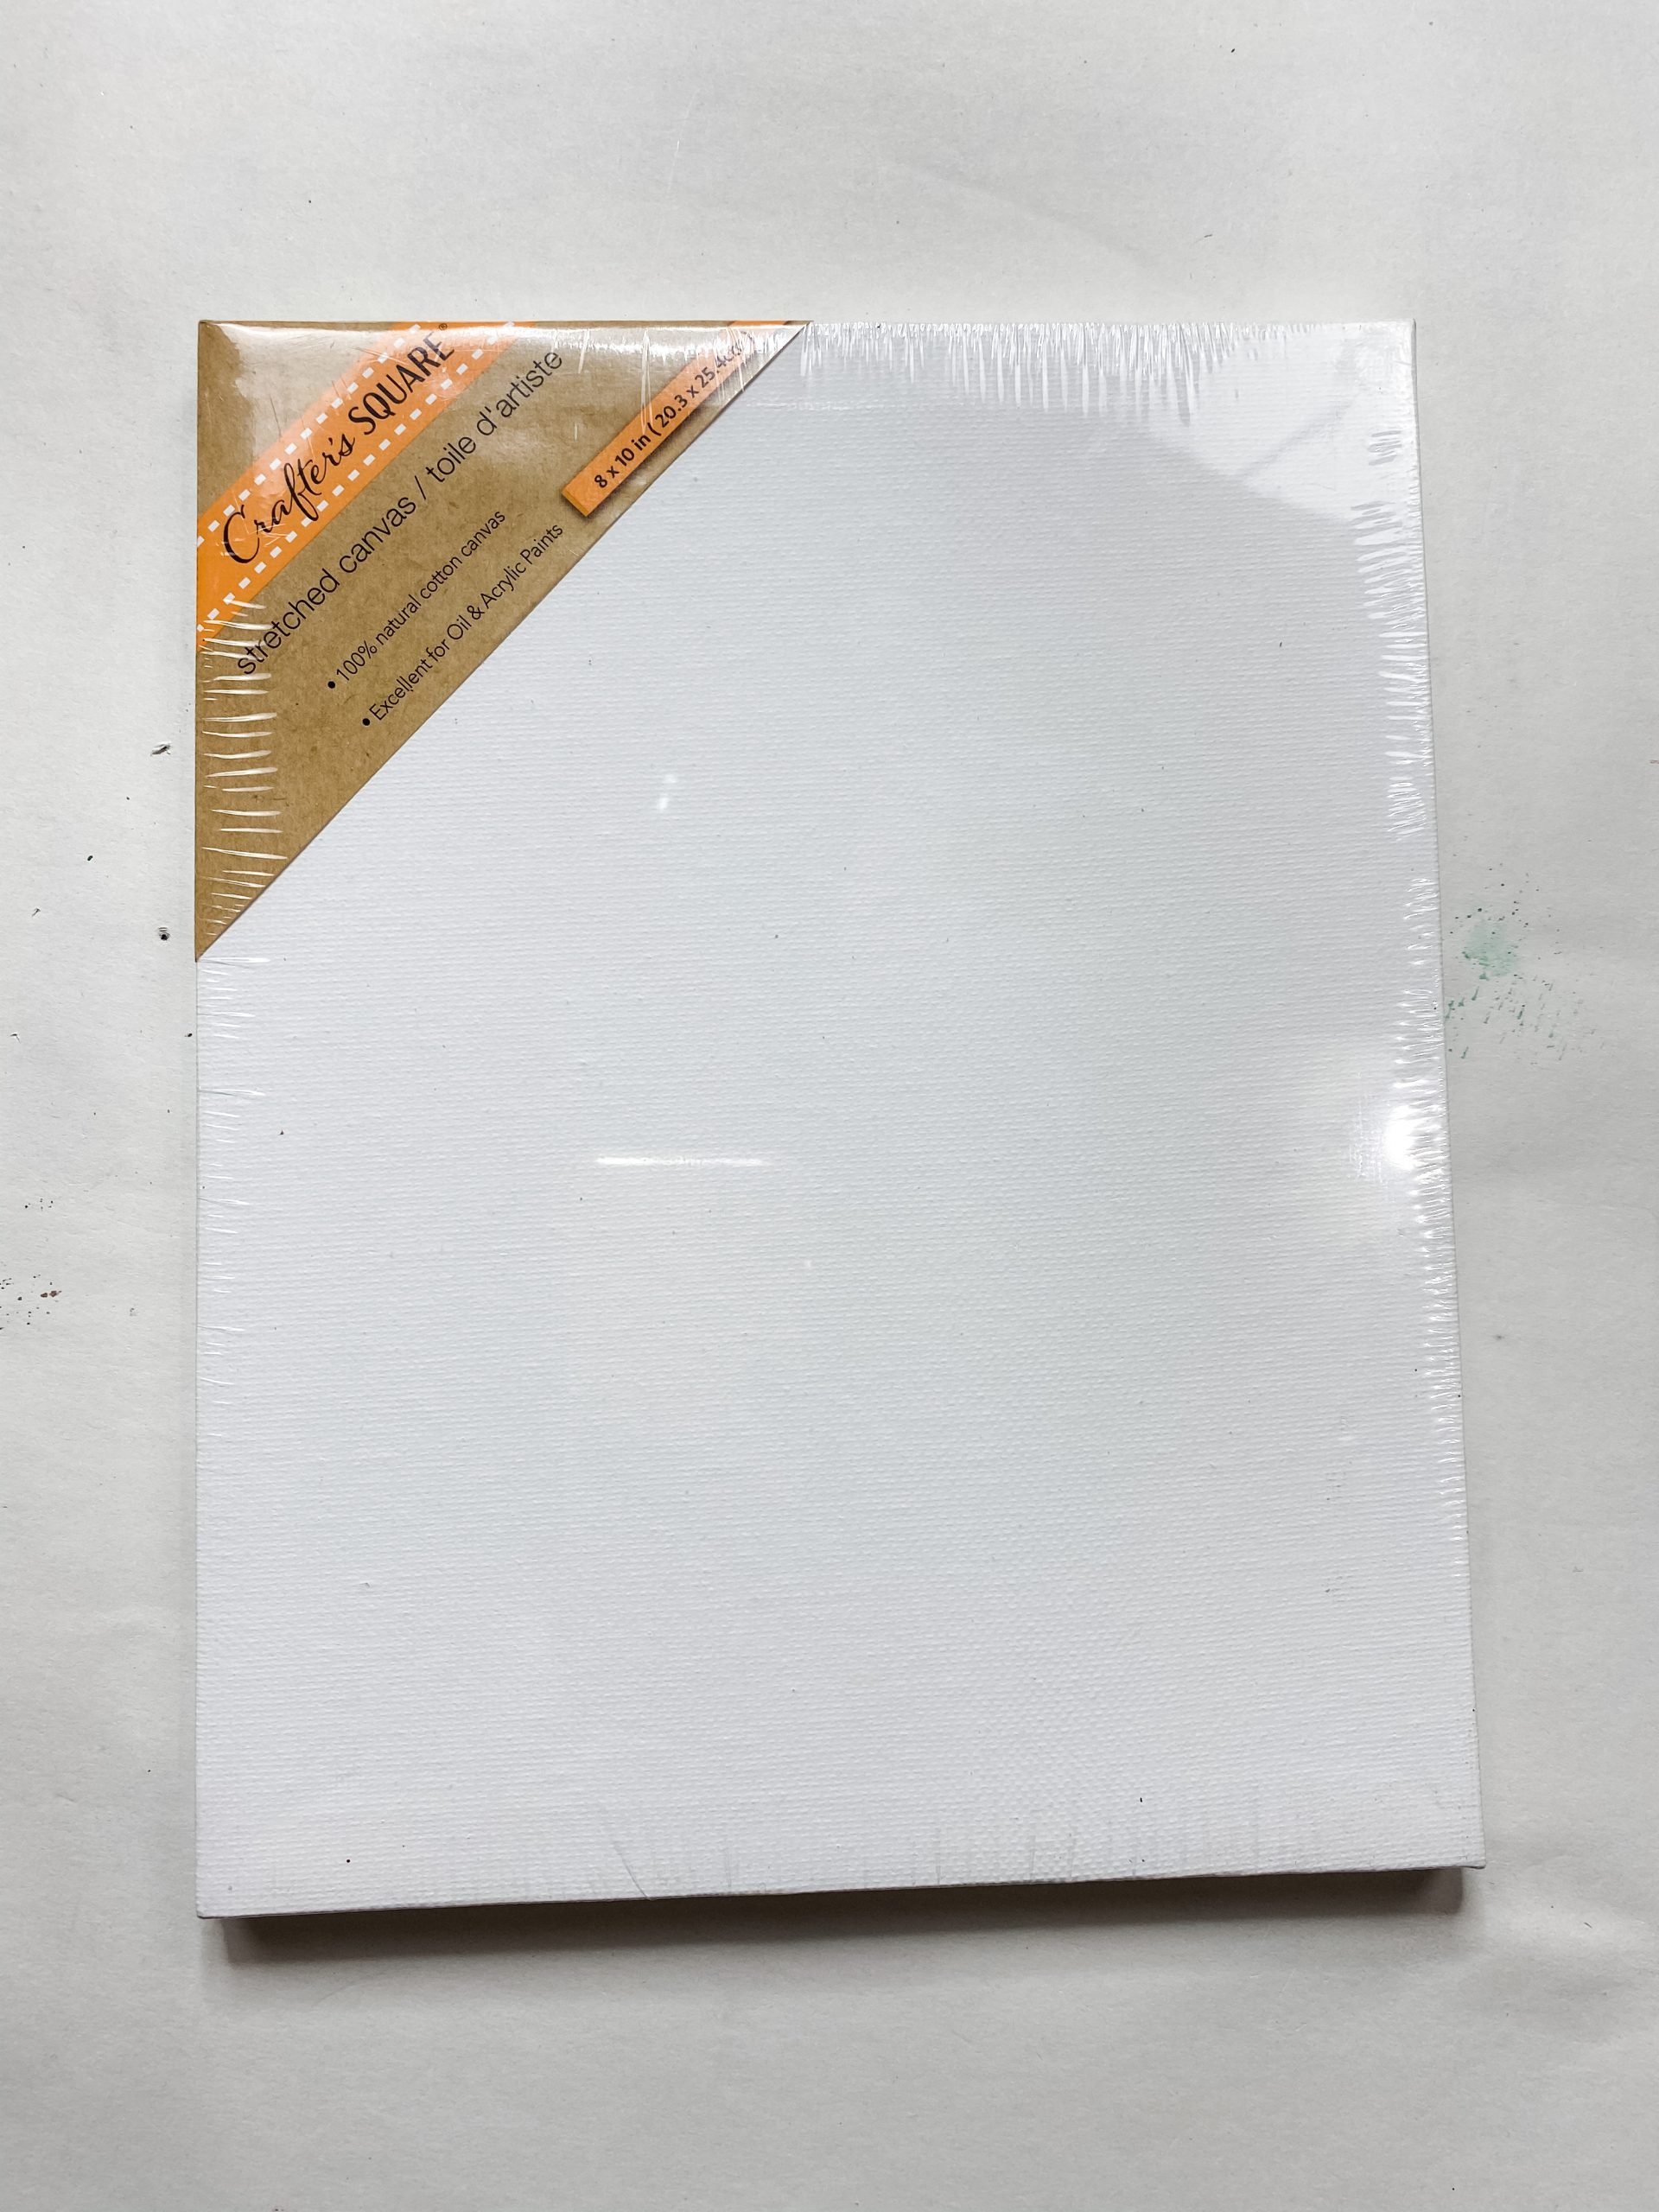
- Dollar Tree Canvas
- Dollar Tree magnets
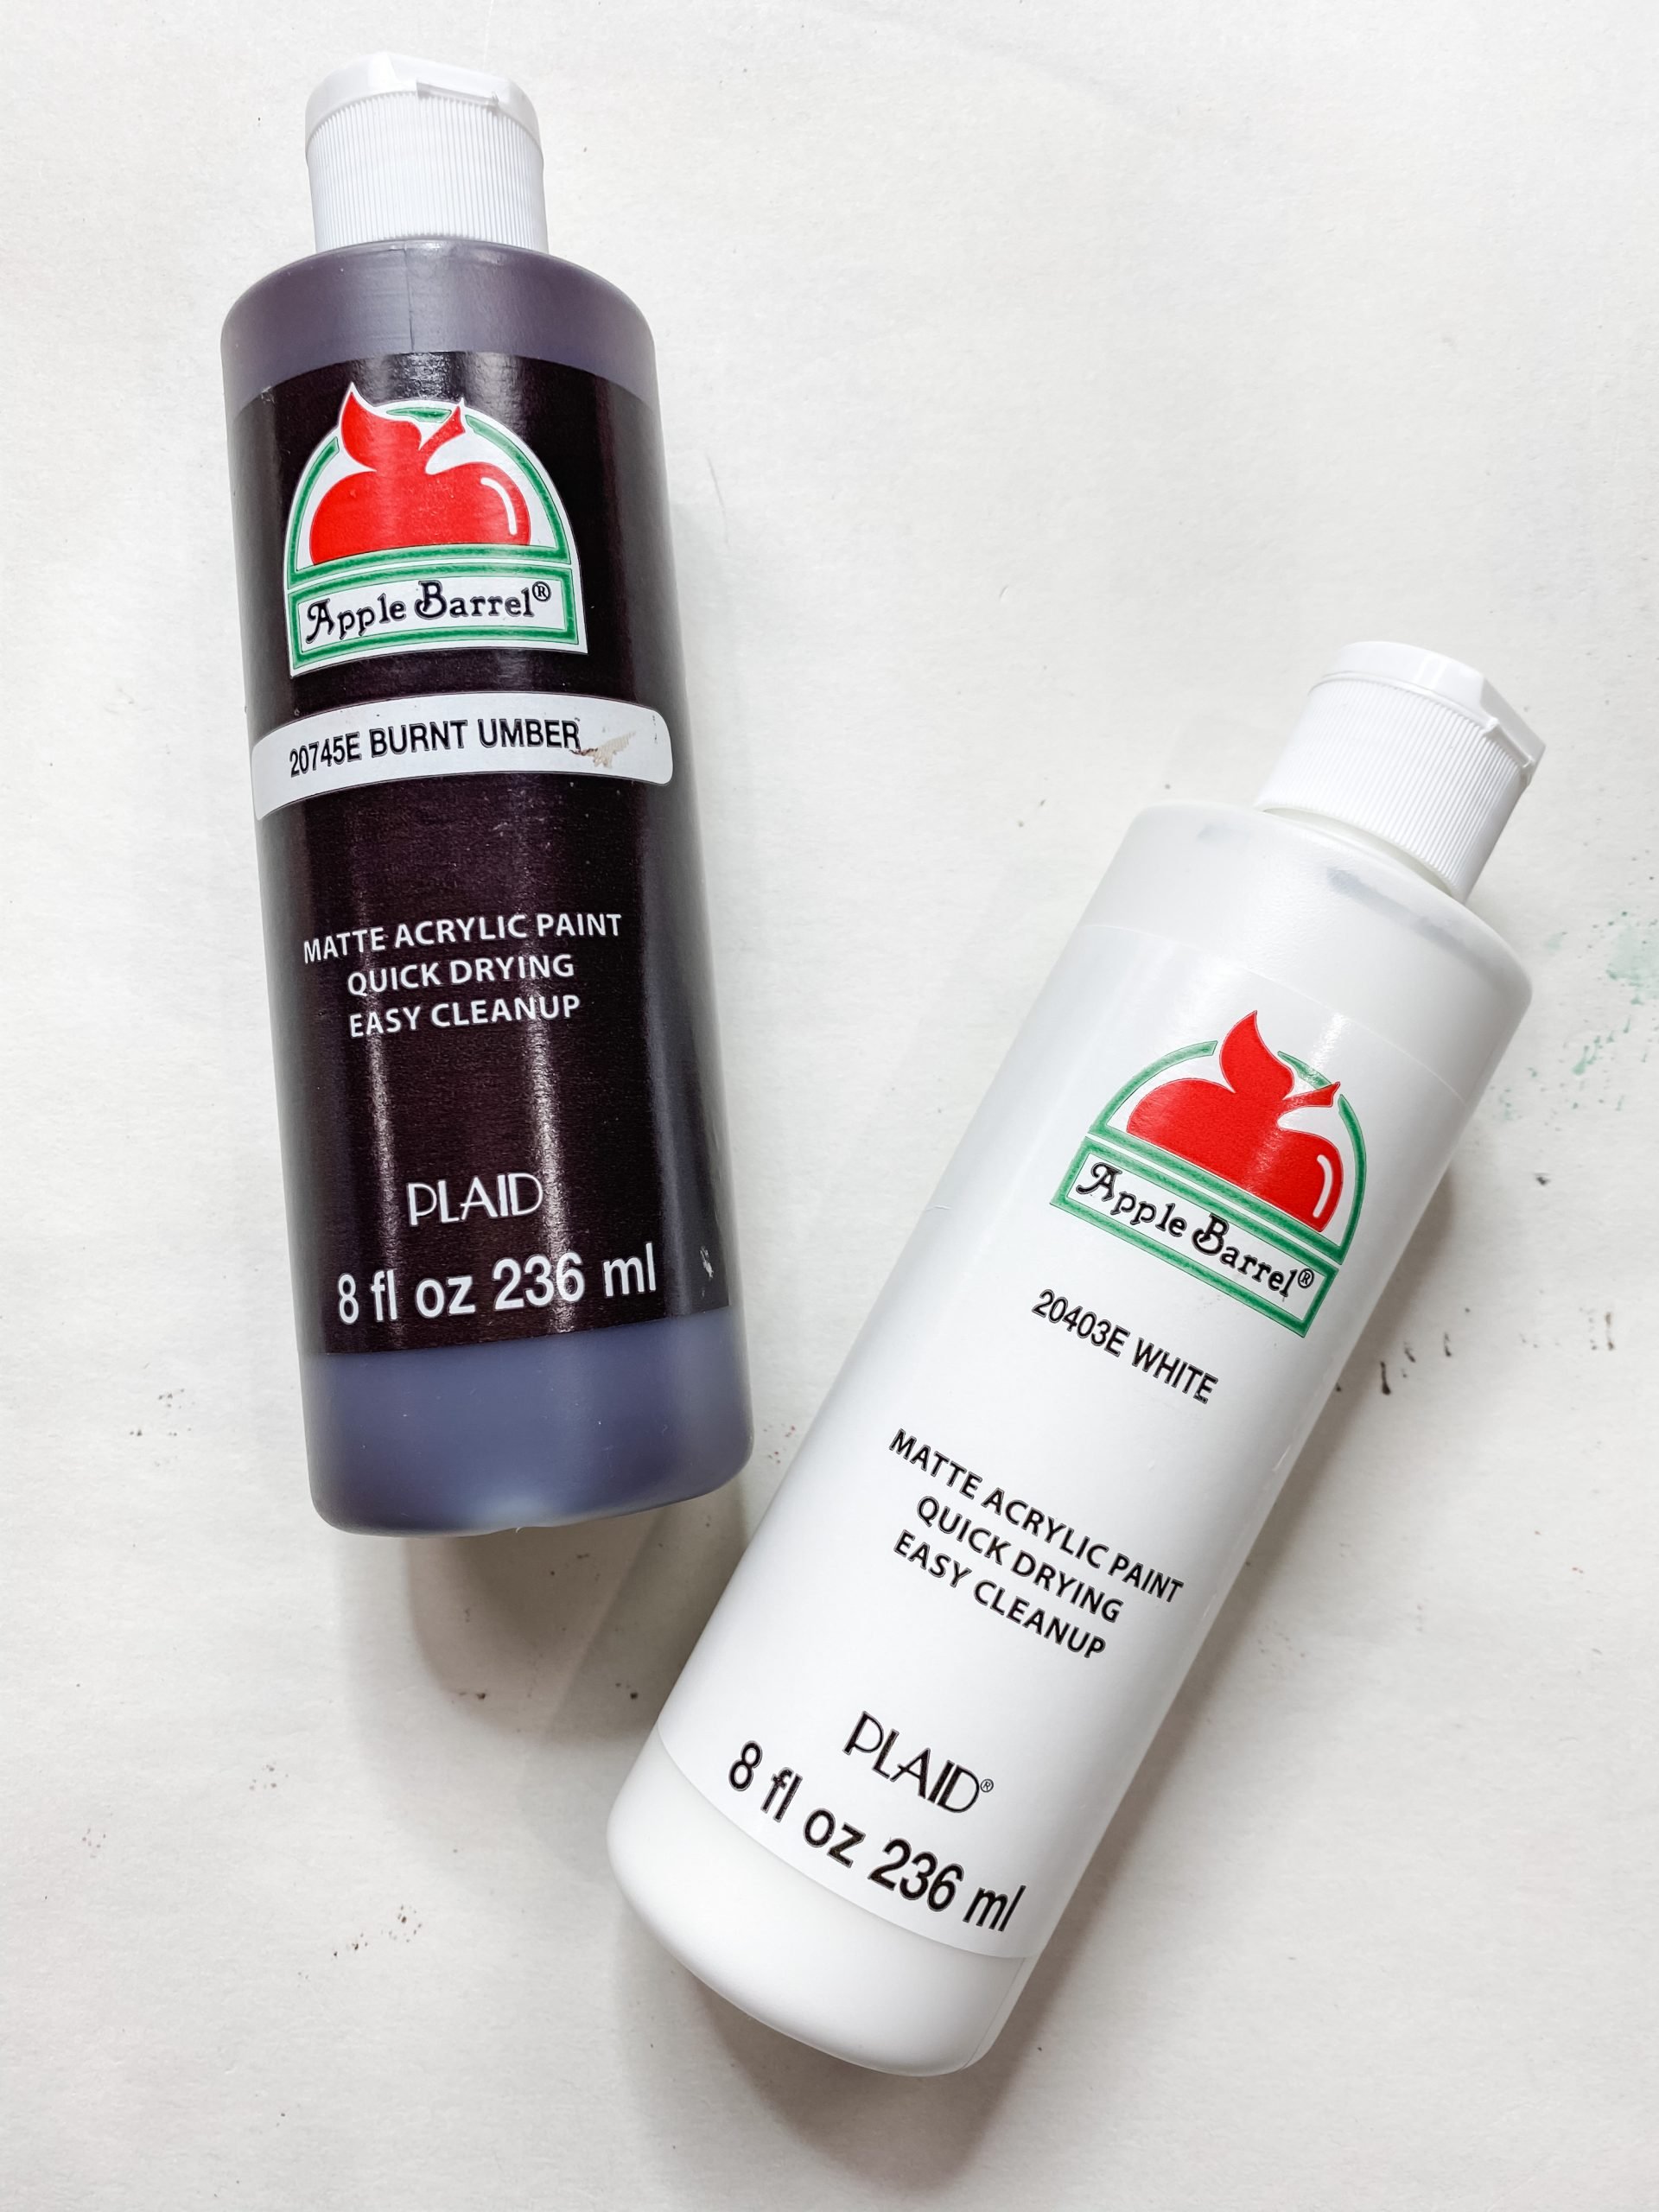
- Apple Barrel Burnt Umber Acrylic Paint
- Apple Barrel Snow White Acrylic Paint
- Dollar Tree white beaded necklace
- Scrabble letters
- jute twine
- Dollar Tree Raffia
- 7 napkin patterns
- Christmas Peppermints (sent to me by a member of the Crafty Crew)
- Christmas Trucks (sent to me by a member of the Crafty Crew)
- Black and white striped/polka dot Dollar Tree
- Red buffalo check Dollar Tree
- Green and white polka dot Dollar Tree
- Red with white snowflakes Dollar Tree
- Christmas Trees – Target
- Petroleum jelly
- Putty Knife
- Glue Gun and Glue Sticks
- Heat gun
- Scissors
Let’s get to the good stuff!
I love using Dollar Tree canvases, not because I am a fantastic painter, but because the frames of the canvases are so versatile (and affordable)!
To make this Farmhouse Christmas Sign with Changeable Napkin Bow, you’re going to need just one Dollar Tree canvas.
Pull the white canvas off the wood frame. You have two options for this next step.
You can either remove each of the staples from the frame, or you can hammer then staples back into the wood. It doesn’t really matter which method you choose.
How to stain wood
Next, you’re going to stain the frame of the Dollar Tree canvas. To do this, first, spray the wood with water.
Then, use a baby wipe to spread Apple Barrel Burnt Umber Acrylic Paint across the wood.
The water helps the wood absorb the paint and gives it a stained finish rather than a painted look.
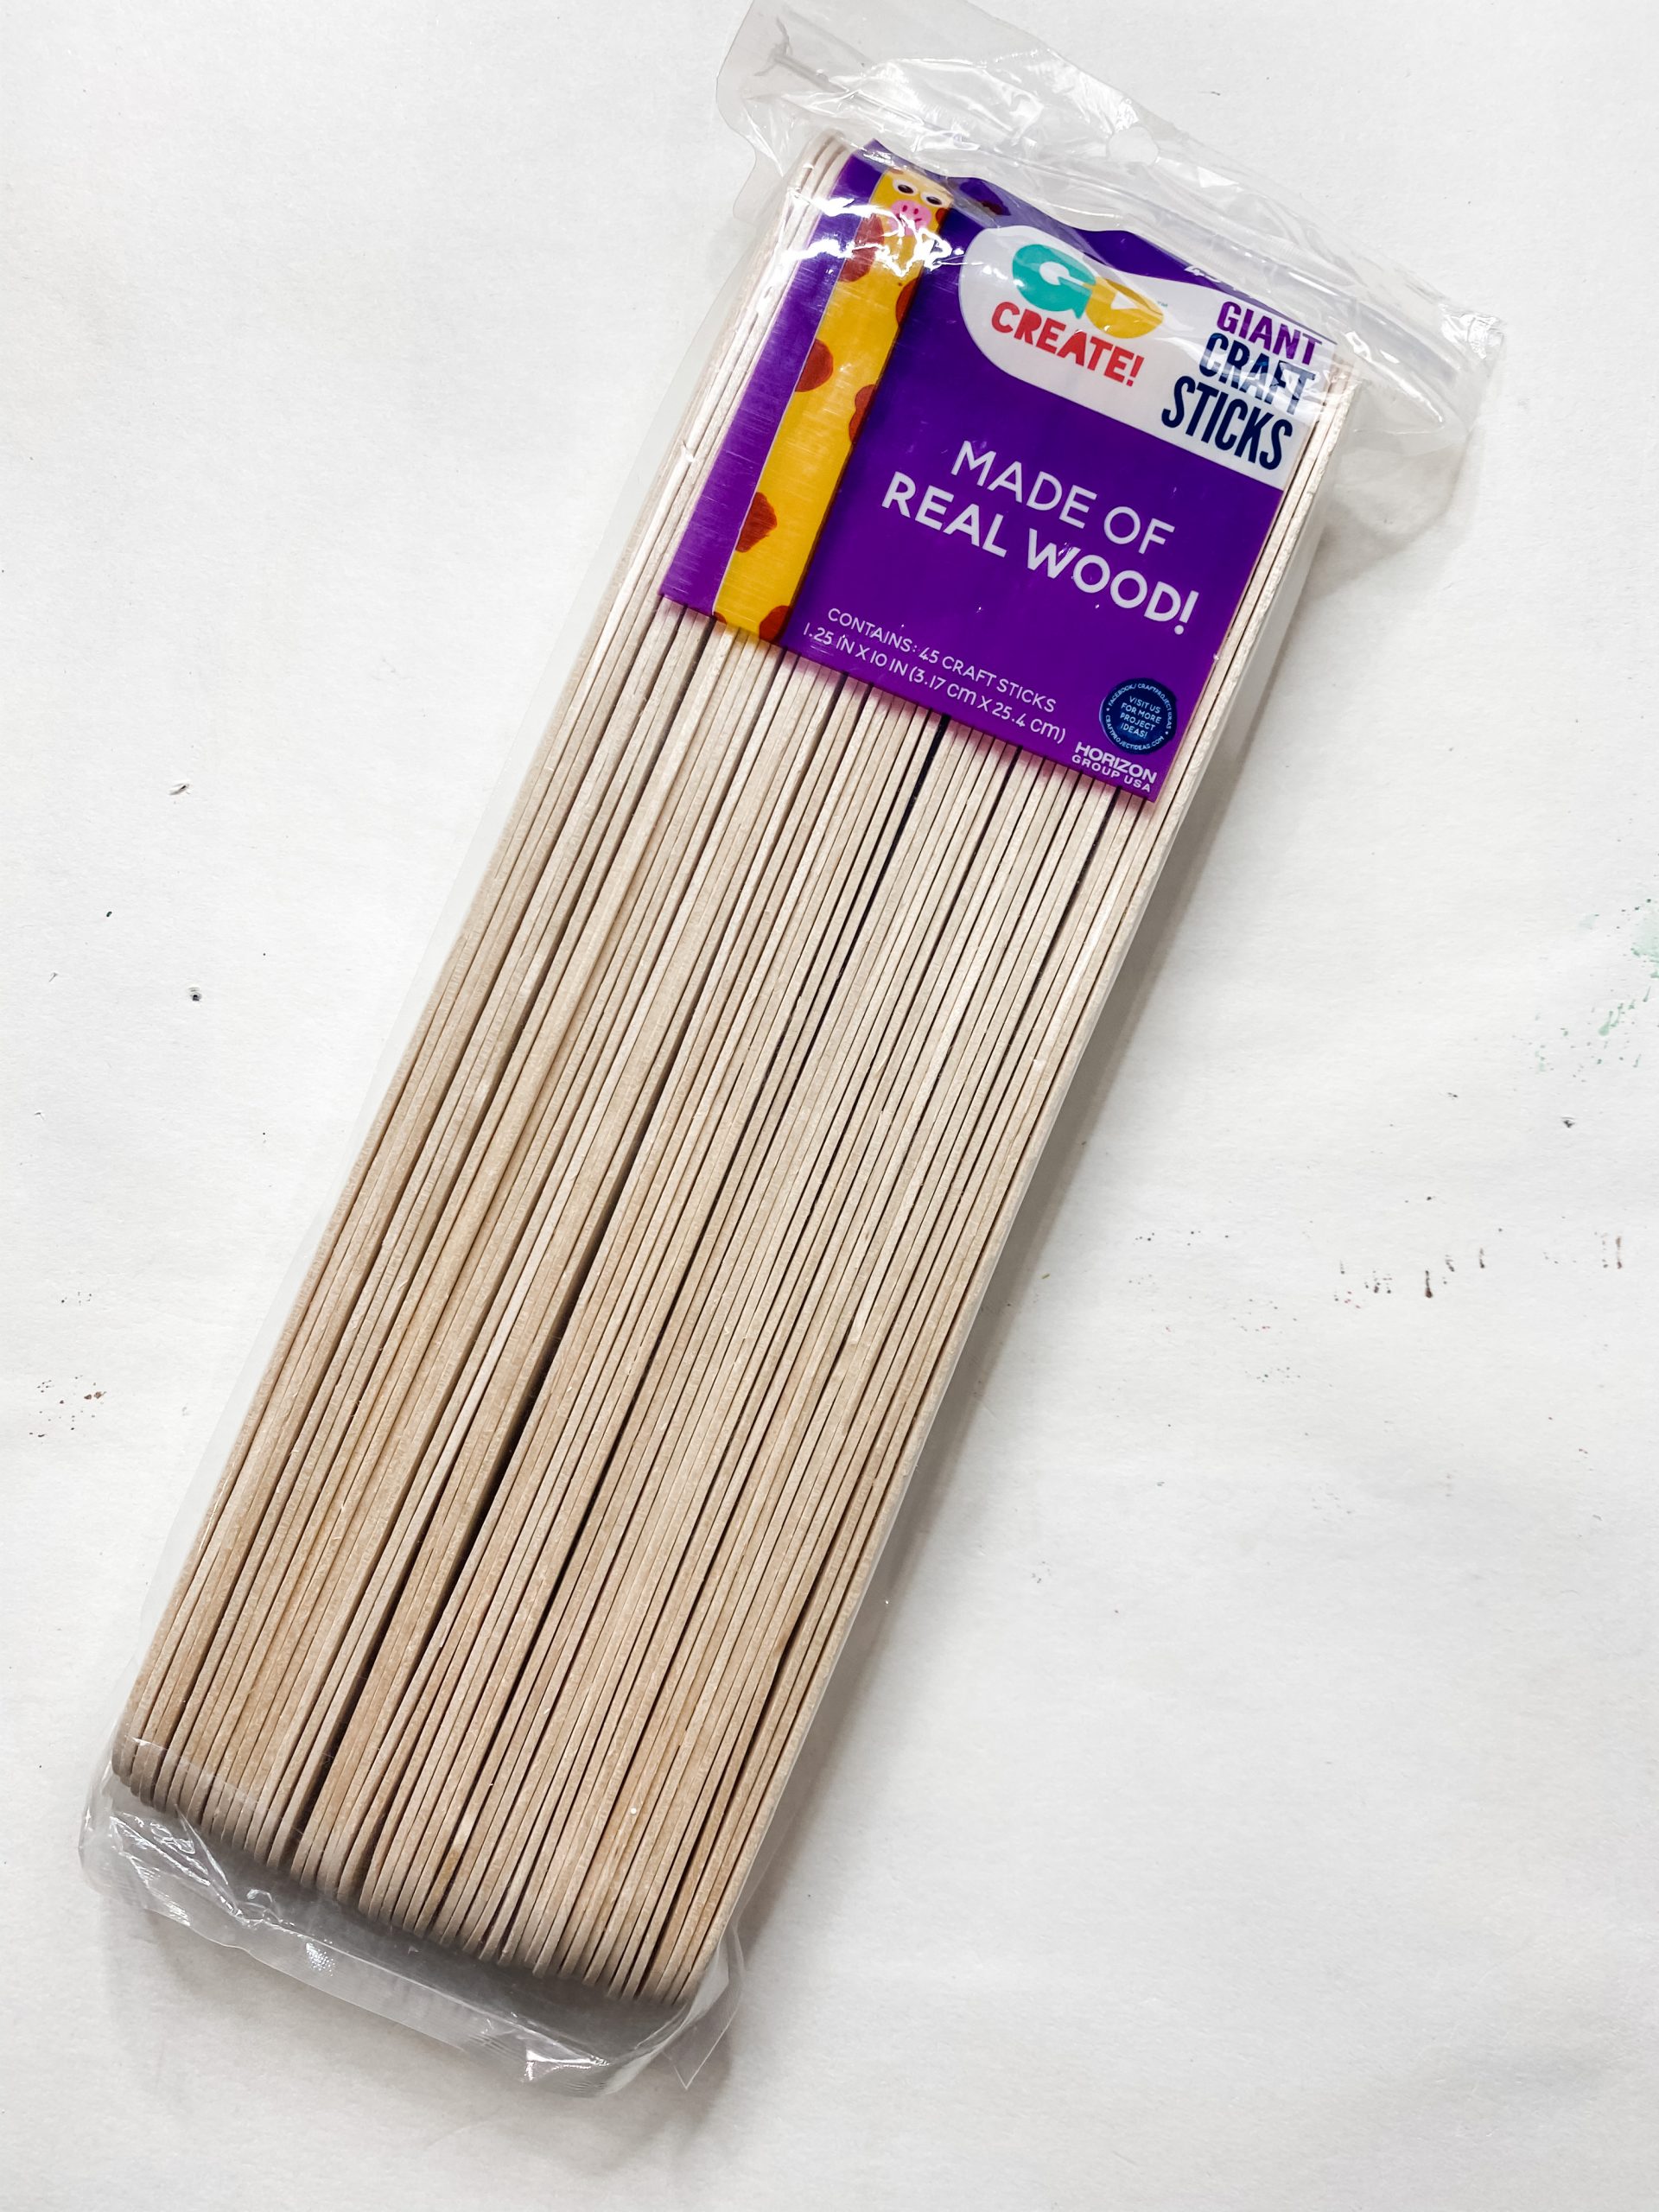
We are going to replace the canvas with a backboard made of giant craft sticks. I connected 6 giant craft sticks by hot-gluing 3 trimmed craft sticks across the back of the 6 giant craft sticks.
Next, stain the craft sticks with the same technique we used to stain the Dollar Tree canvas frame.
Let’s get chippy!
This wasn’t my original plan, but I decided to give the craft stick backboard a chippy finish! I absolutely love a good farmhouse chippy look and finish, and it’s really easier than you’d think!
First, make sure your stain is dry. I like to speed up the drying process by using my heat gun on a low cool setting.
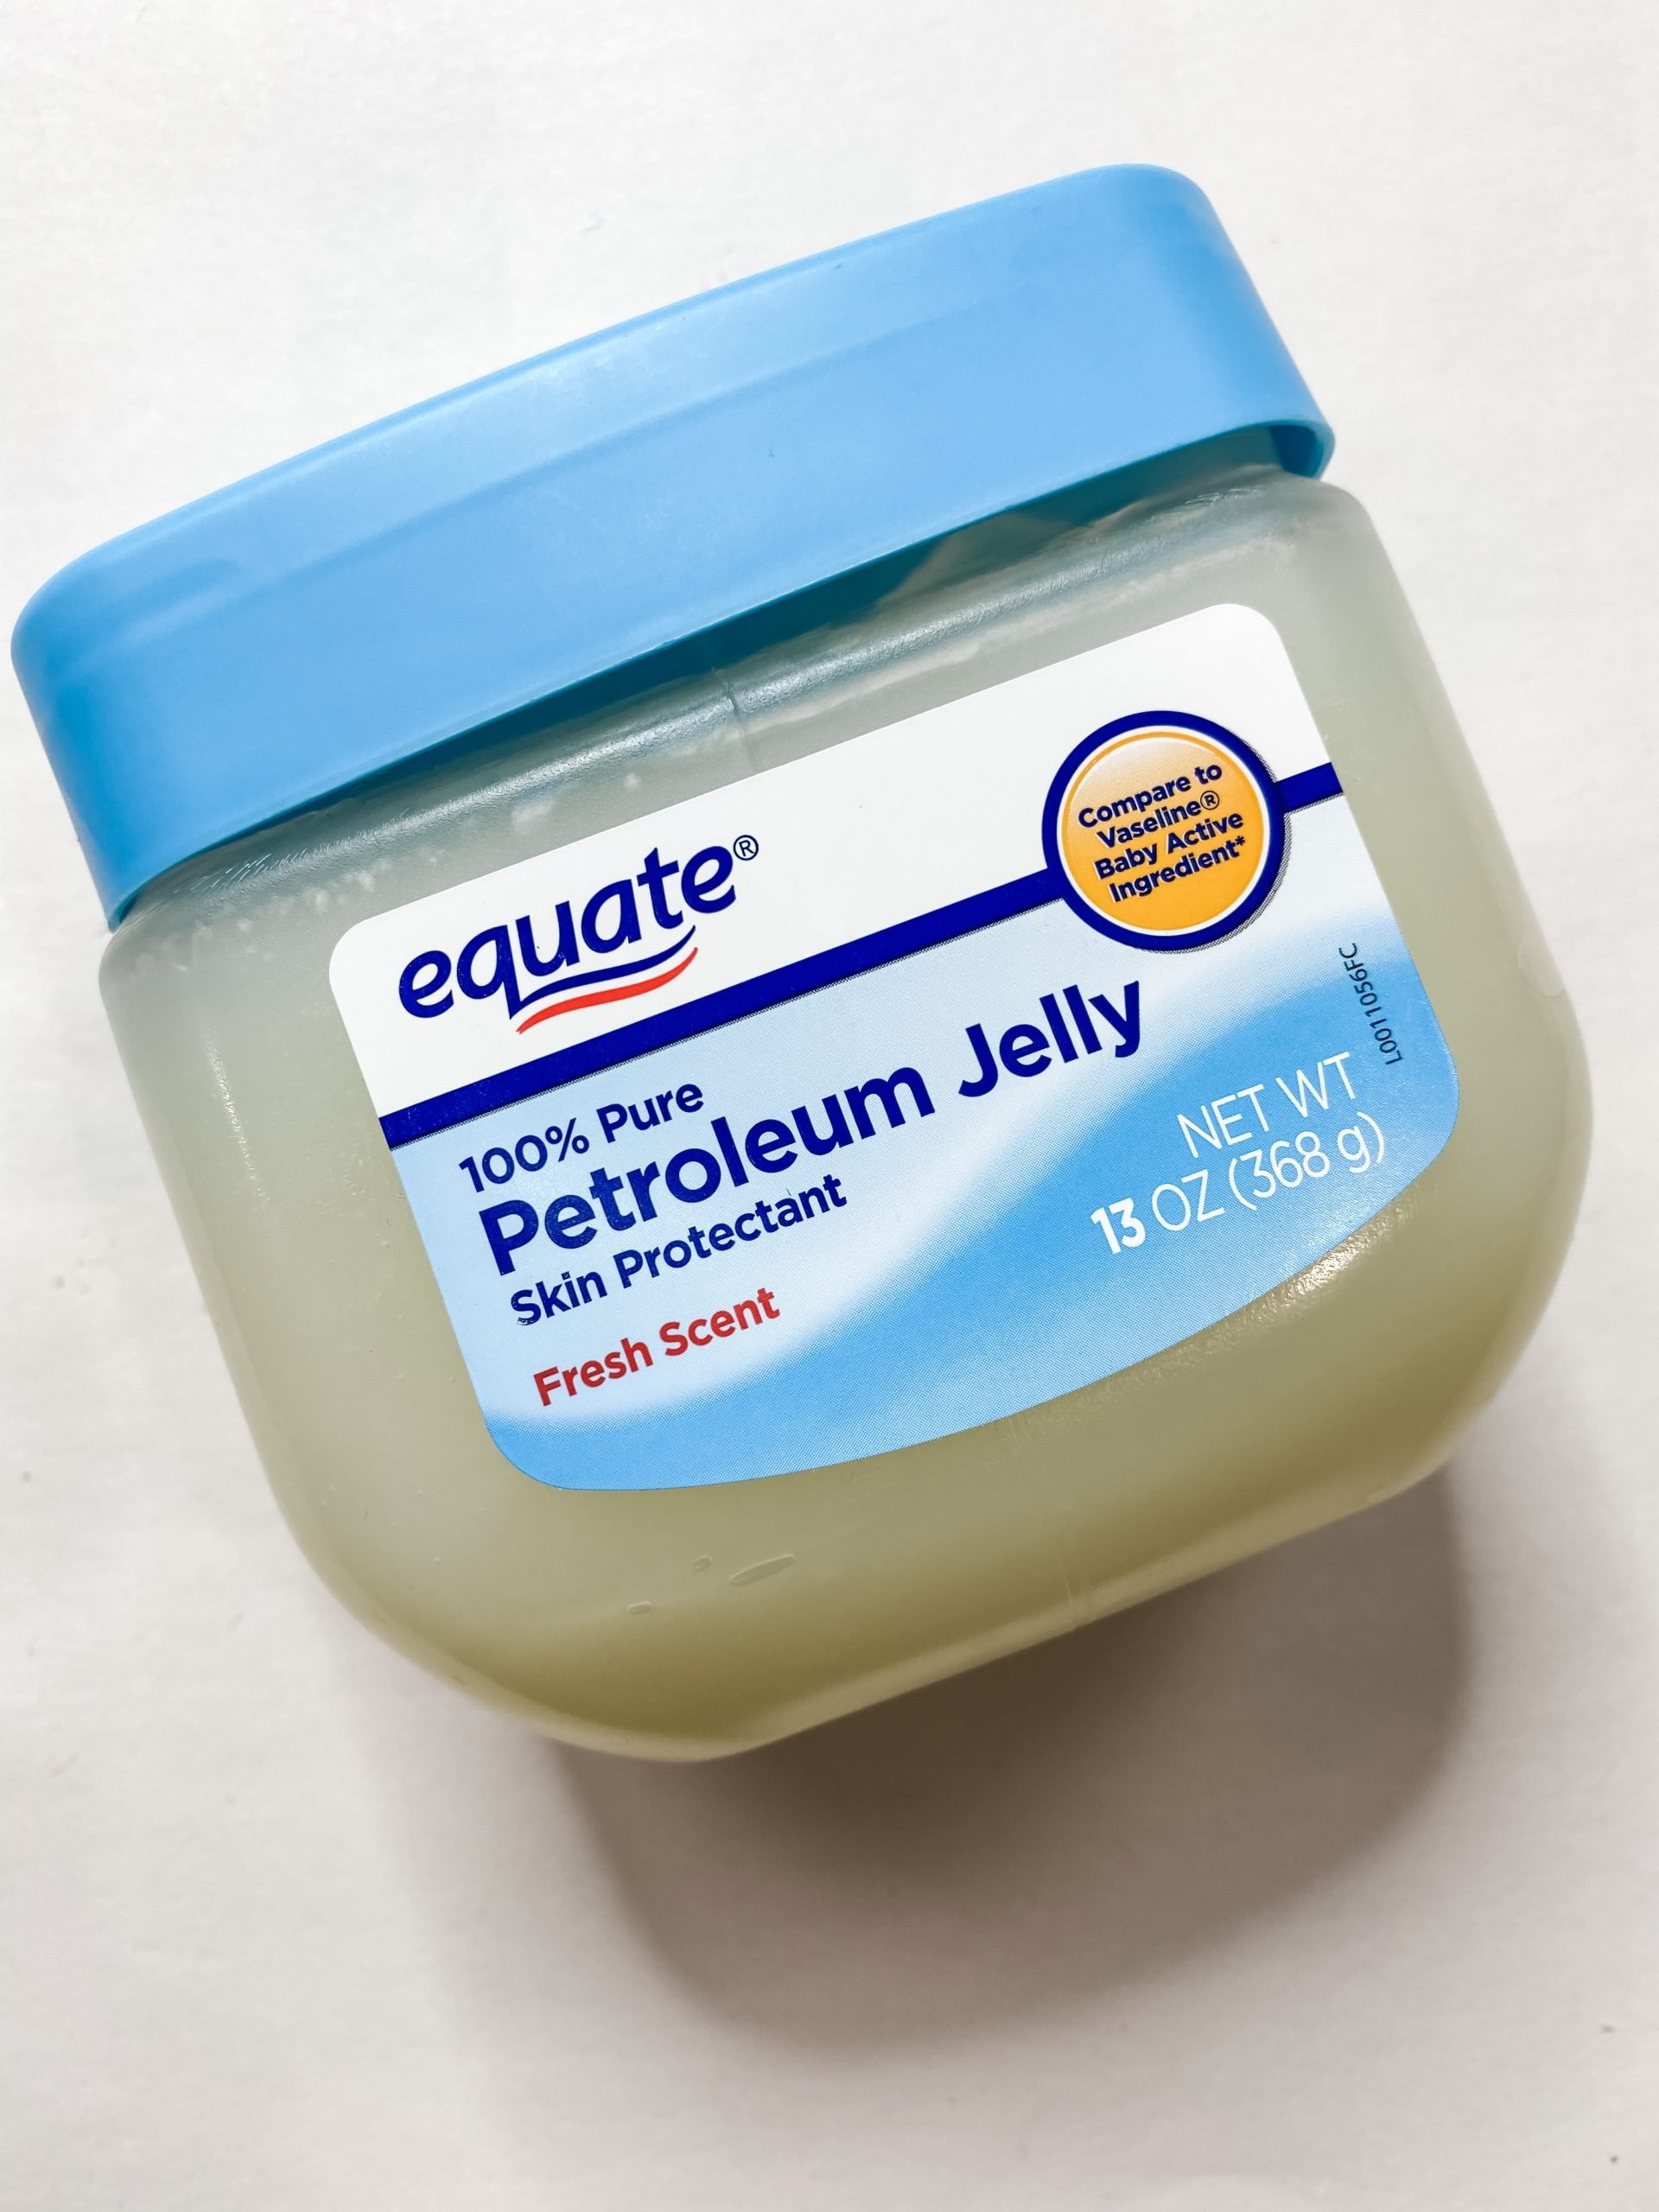
Use a chippy brush to apply petroleum jelly to different areas of the craft stick backboard. This is going to create a barrier between the wood and the white paint you’ll apply next. You need this barrier in order to get the chippy finish.
The perfect chippy finish
Use another chip brush to apply an uneven coat of Apple Barrel White Acrylic Paint. Apply the paint in a way that doesn’t mix the paint and the Vaseline. Be generous but not even. The uneven areas will help this look.
Allow the paint to begin to dry. The white paint won’t dry as quickly where you applied the petroleum jelly.
This is how you get the perfect chippy finish! some of the paint under the thicker spots will still be wet that’s ok
Use your putty knife and drag it over the places where you applied petroleum jelly. The paint should still be slightly wet and should start to peel up off the wood.
Drag the wet paint back over those same areas over and over until you get the chippy look you want!
Once your paint is dry, you’re going to attach the chippy backboard to the Dollar Tree canvas frame. I used a combination of E6000 glue and hot glue.
Apply a line of both types of glue around the edge of the frame and press the craft stick backboard into place.
To make it more secure, I also stapled the backboard onto the Dollar Tree canvas frame.
Amber’s Napkin Bow
I am super excited about this next part! I was brainstorming when I was making this adorable Christmas DIY about what kind of bow I wanted to make.
Now, I am no bow master, but I have gotten pretty good at making messy bows, x bows, and hot glue bows.
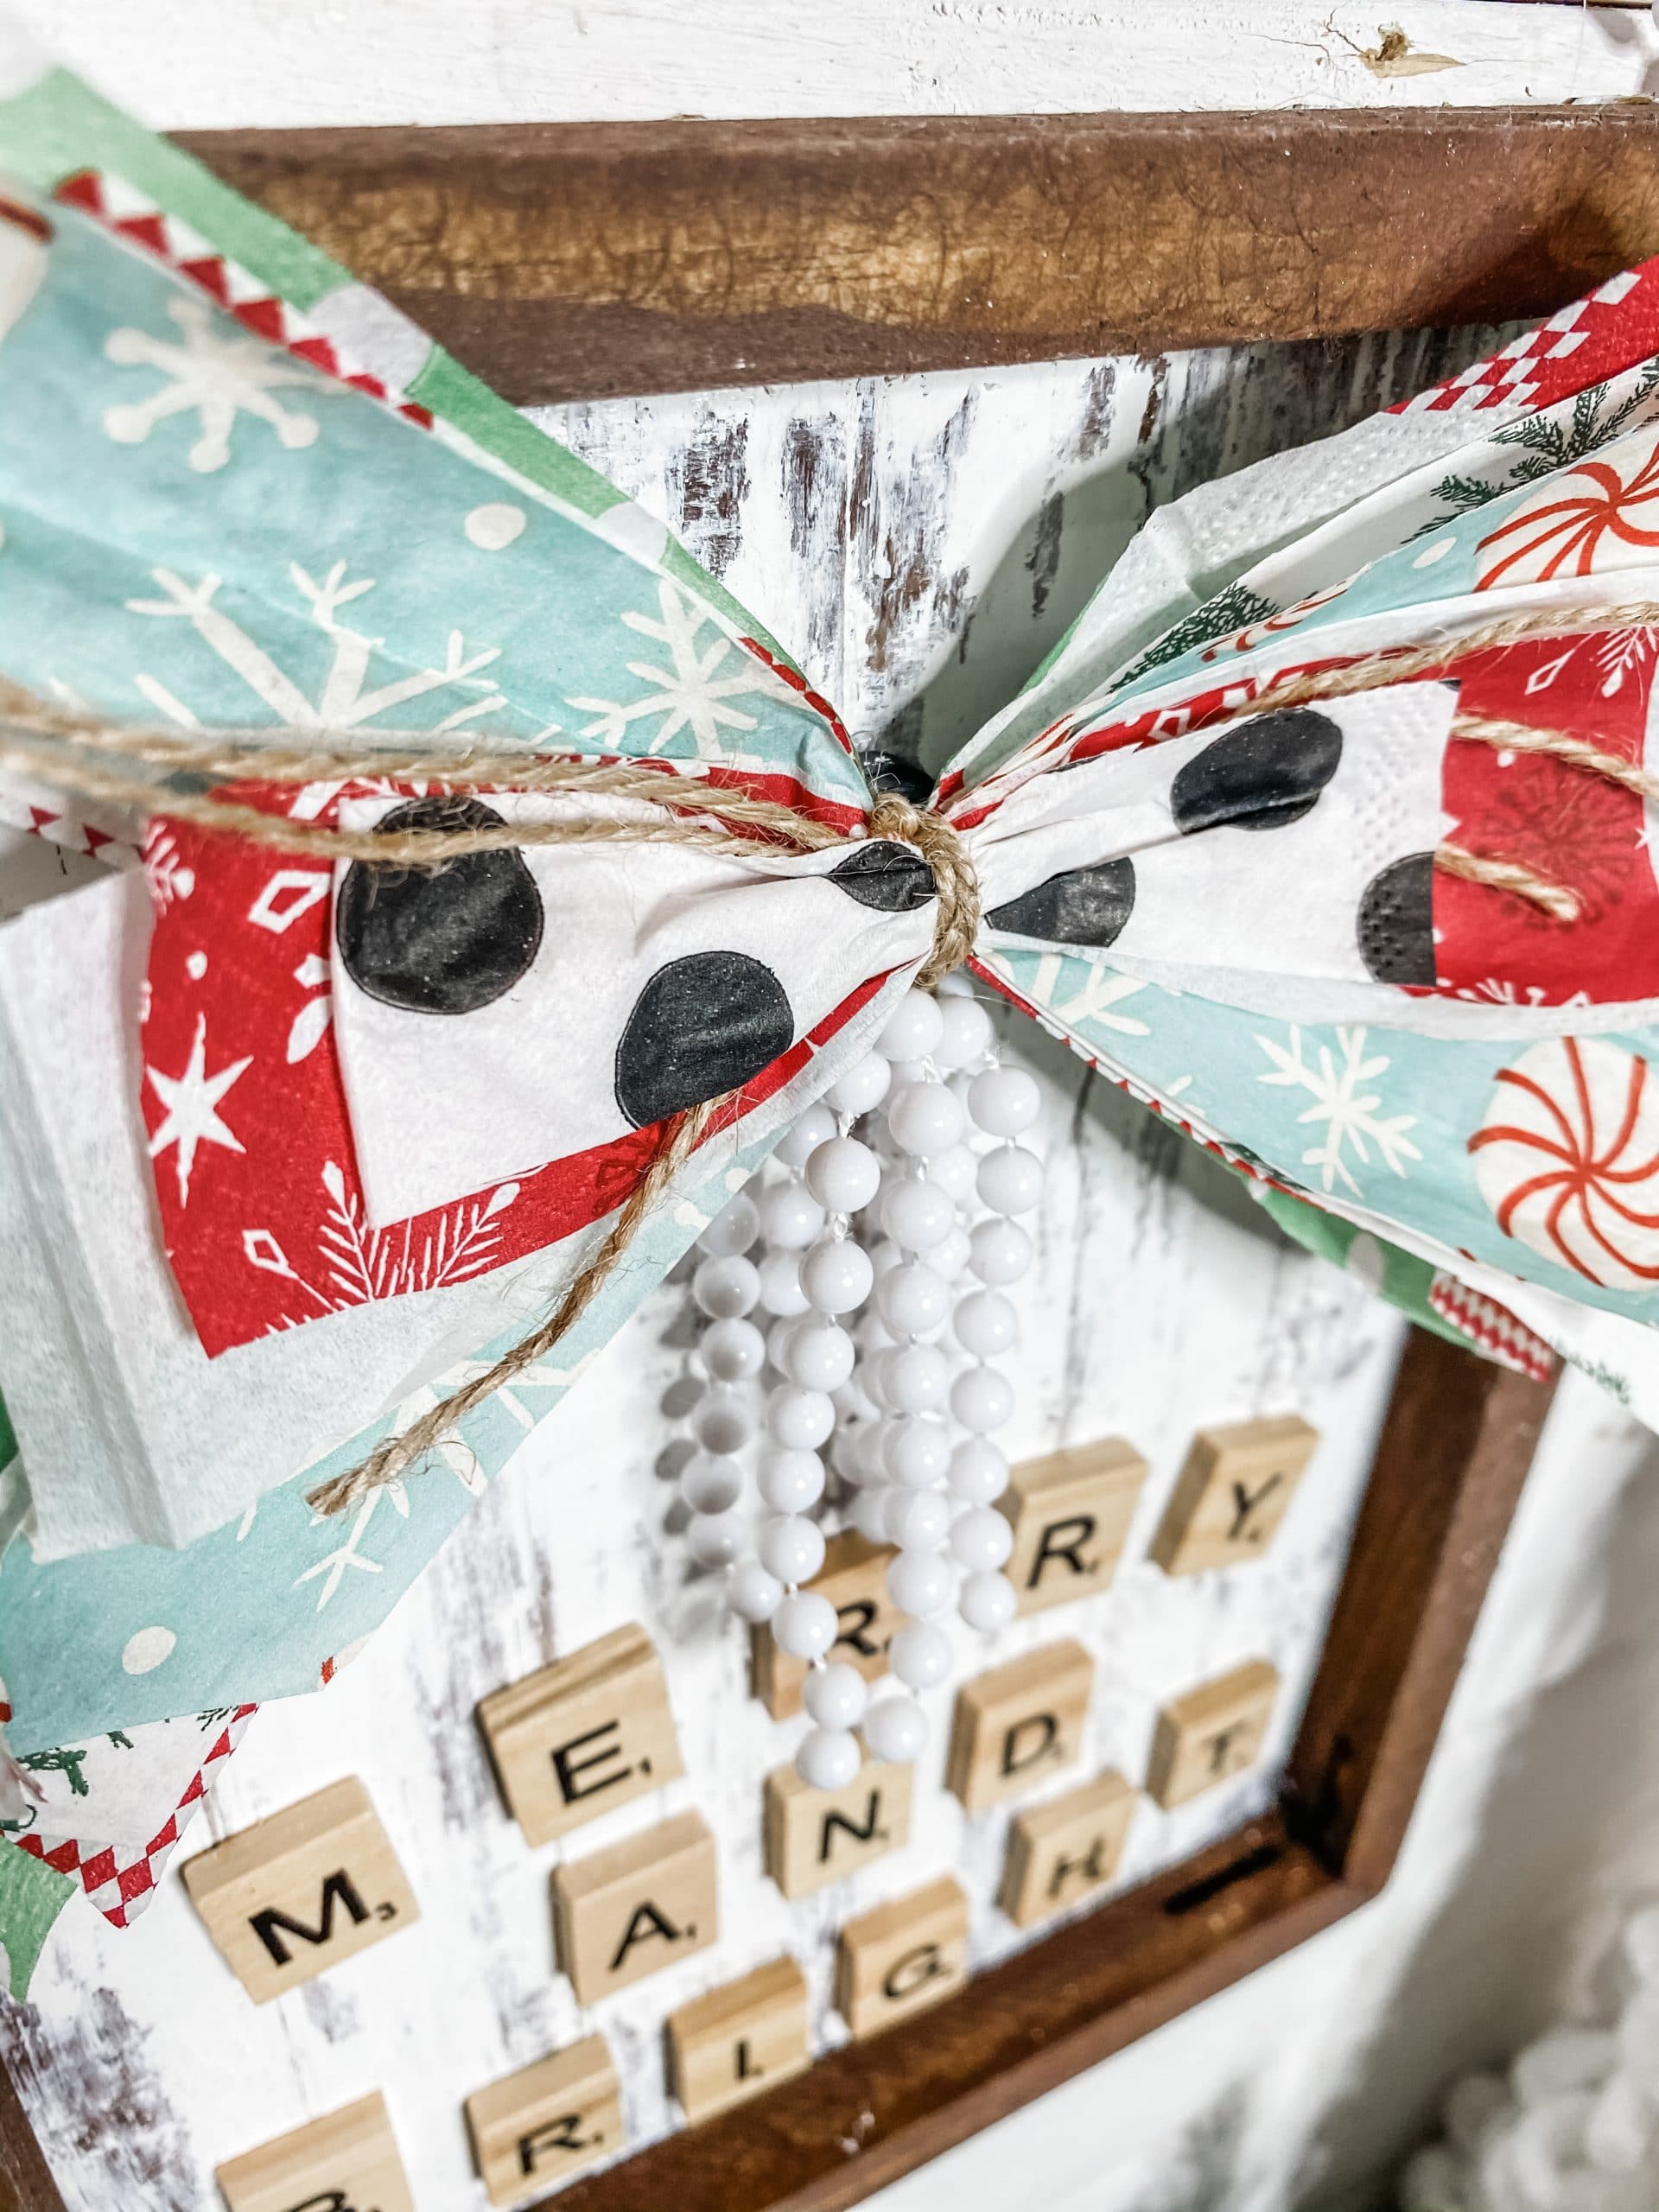
While thinking about what I was going to do with this farmhouse Christmas DIY, I thought about decoupaging with one of my thousands of napkins, but this crazy idea came into my head. I’m going to make a NAPKIN BOW!
Well, I actually made THREE napkin bows!
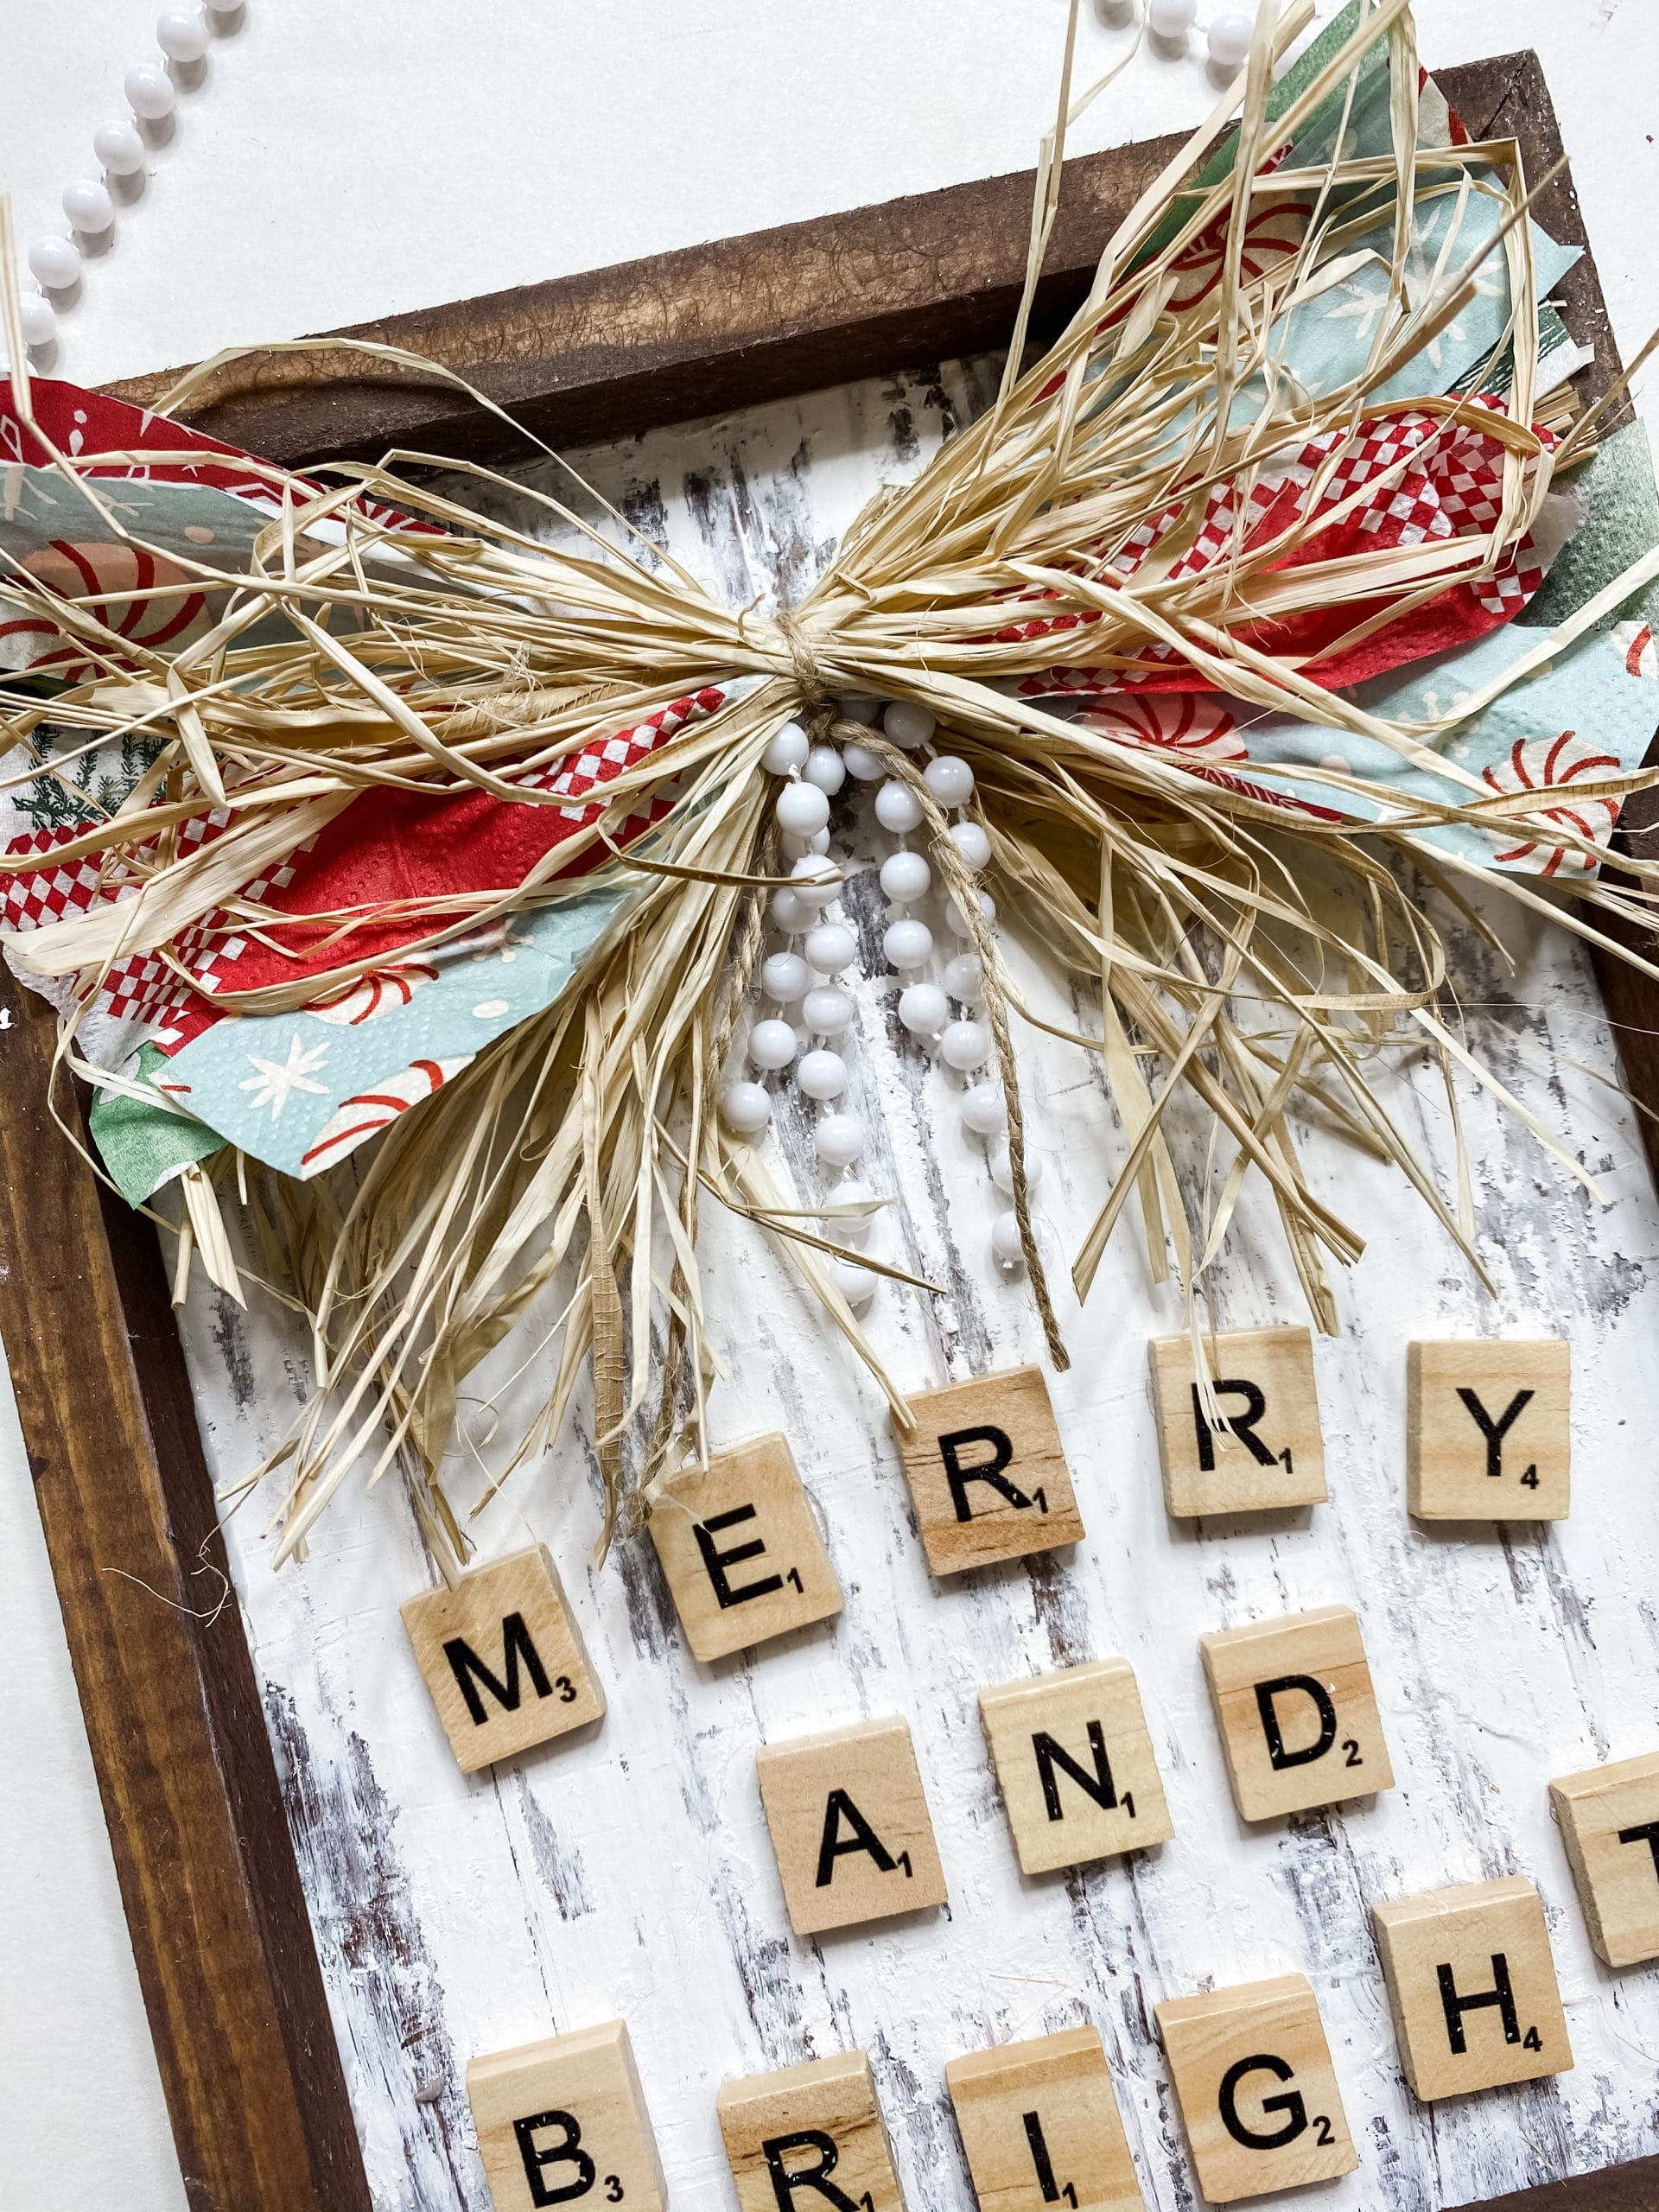
I used 7 different napkin patterns for these new napkin bows. I have them listed above in the supply list, but you can use any napkin patterns that you want to!
While I would love for you to learn how to make my napkin bows, this post is about my easy farmhouse Christmas sign with changeable napkin bows, so if you want to learn how to make my three different napkin bows, you can do so here: How to Make Amber’s Napkin Bow.

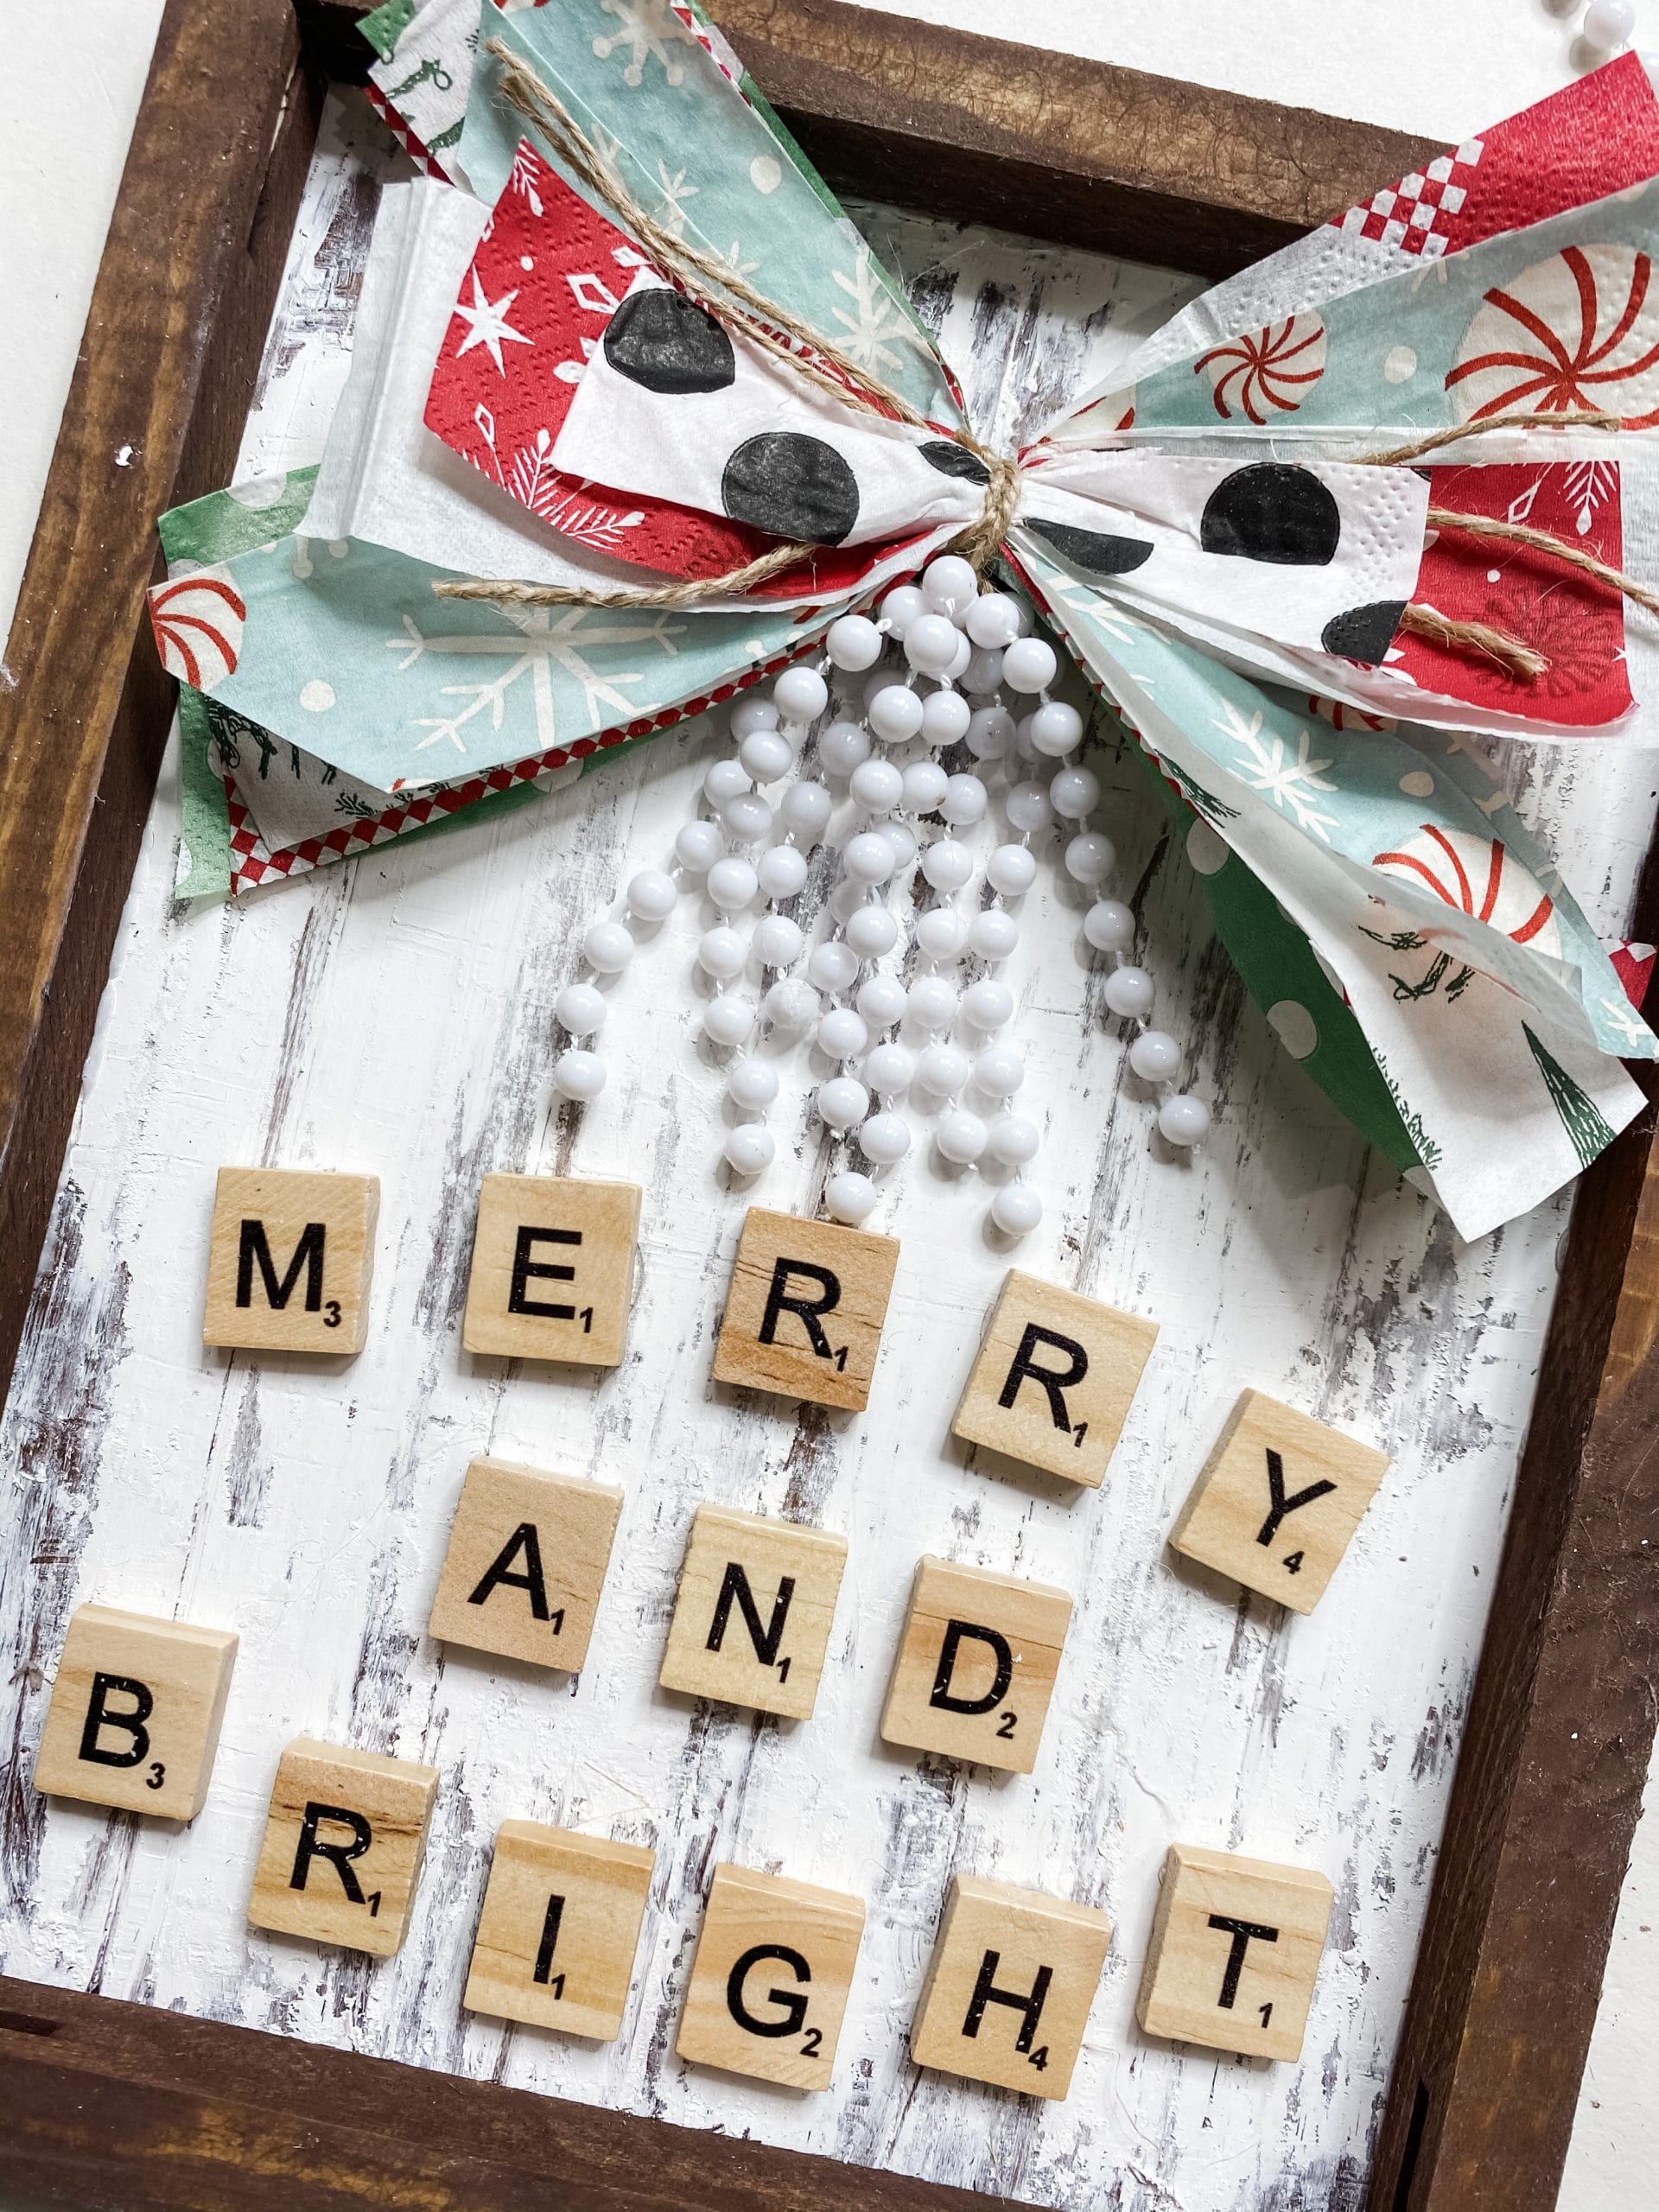
Merry and Bright
Let’s keep going! You should have already made the bows you are going to put on this Farmhouse Christmas Sign.
Set those aside and grab the scrabble tiles. I spelled out Merry and Bright with my scrabble tiles, but you can make your DIY farmhouse sign say anything that you want.
Pick your phrase and hot glue the letters into the place on your DIY Christmas sign. Make sure you leave space above the letters for your bows!

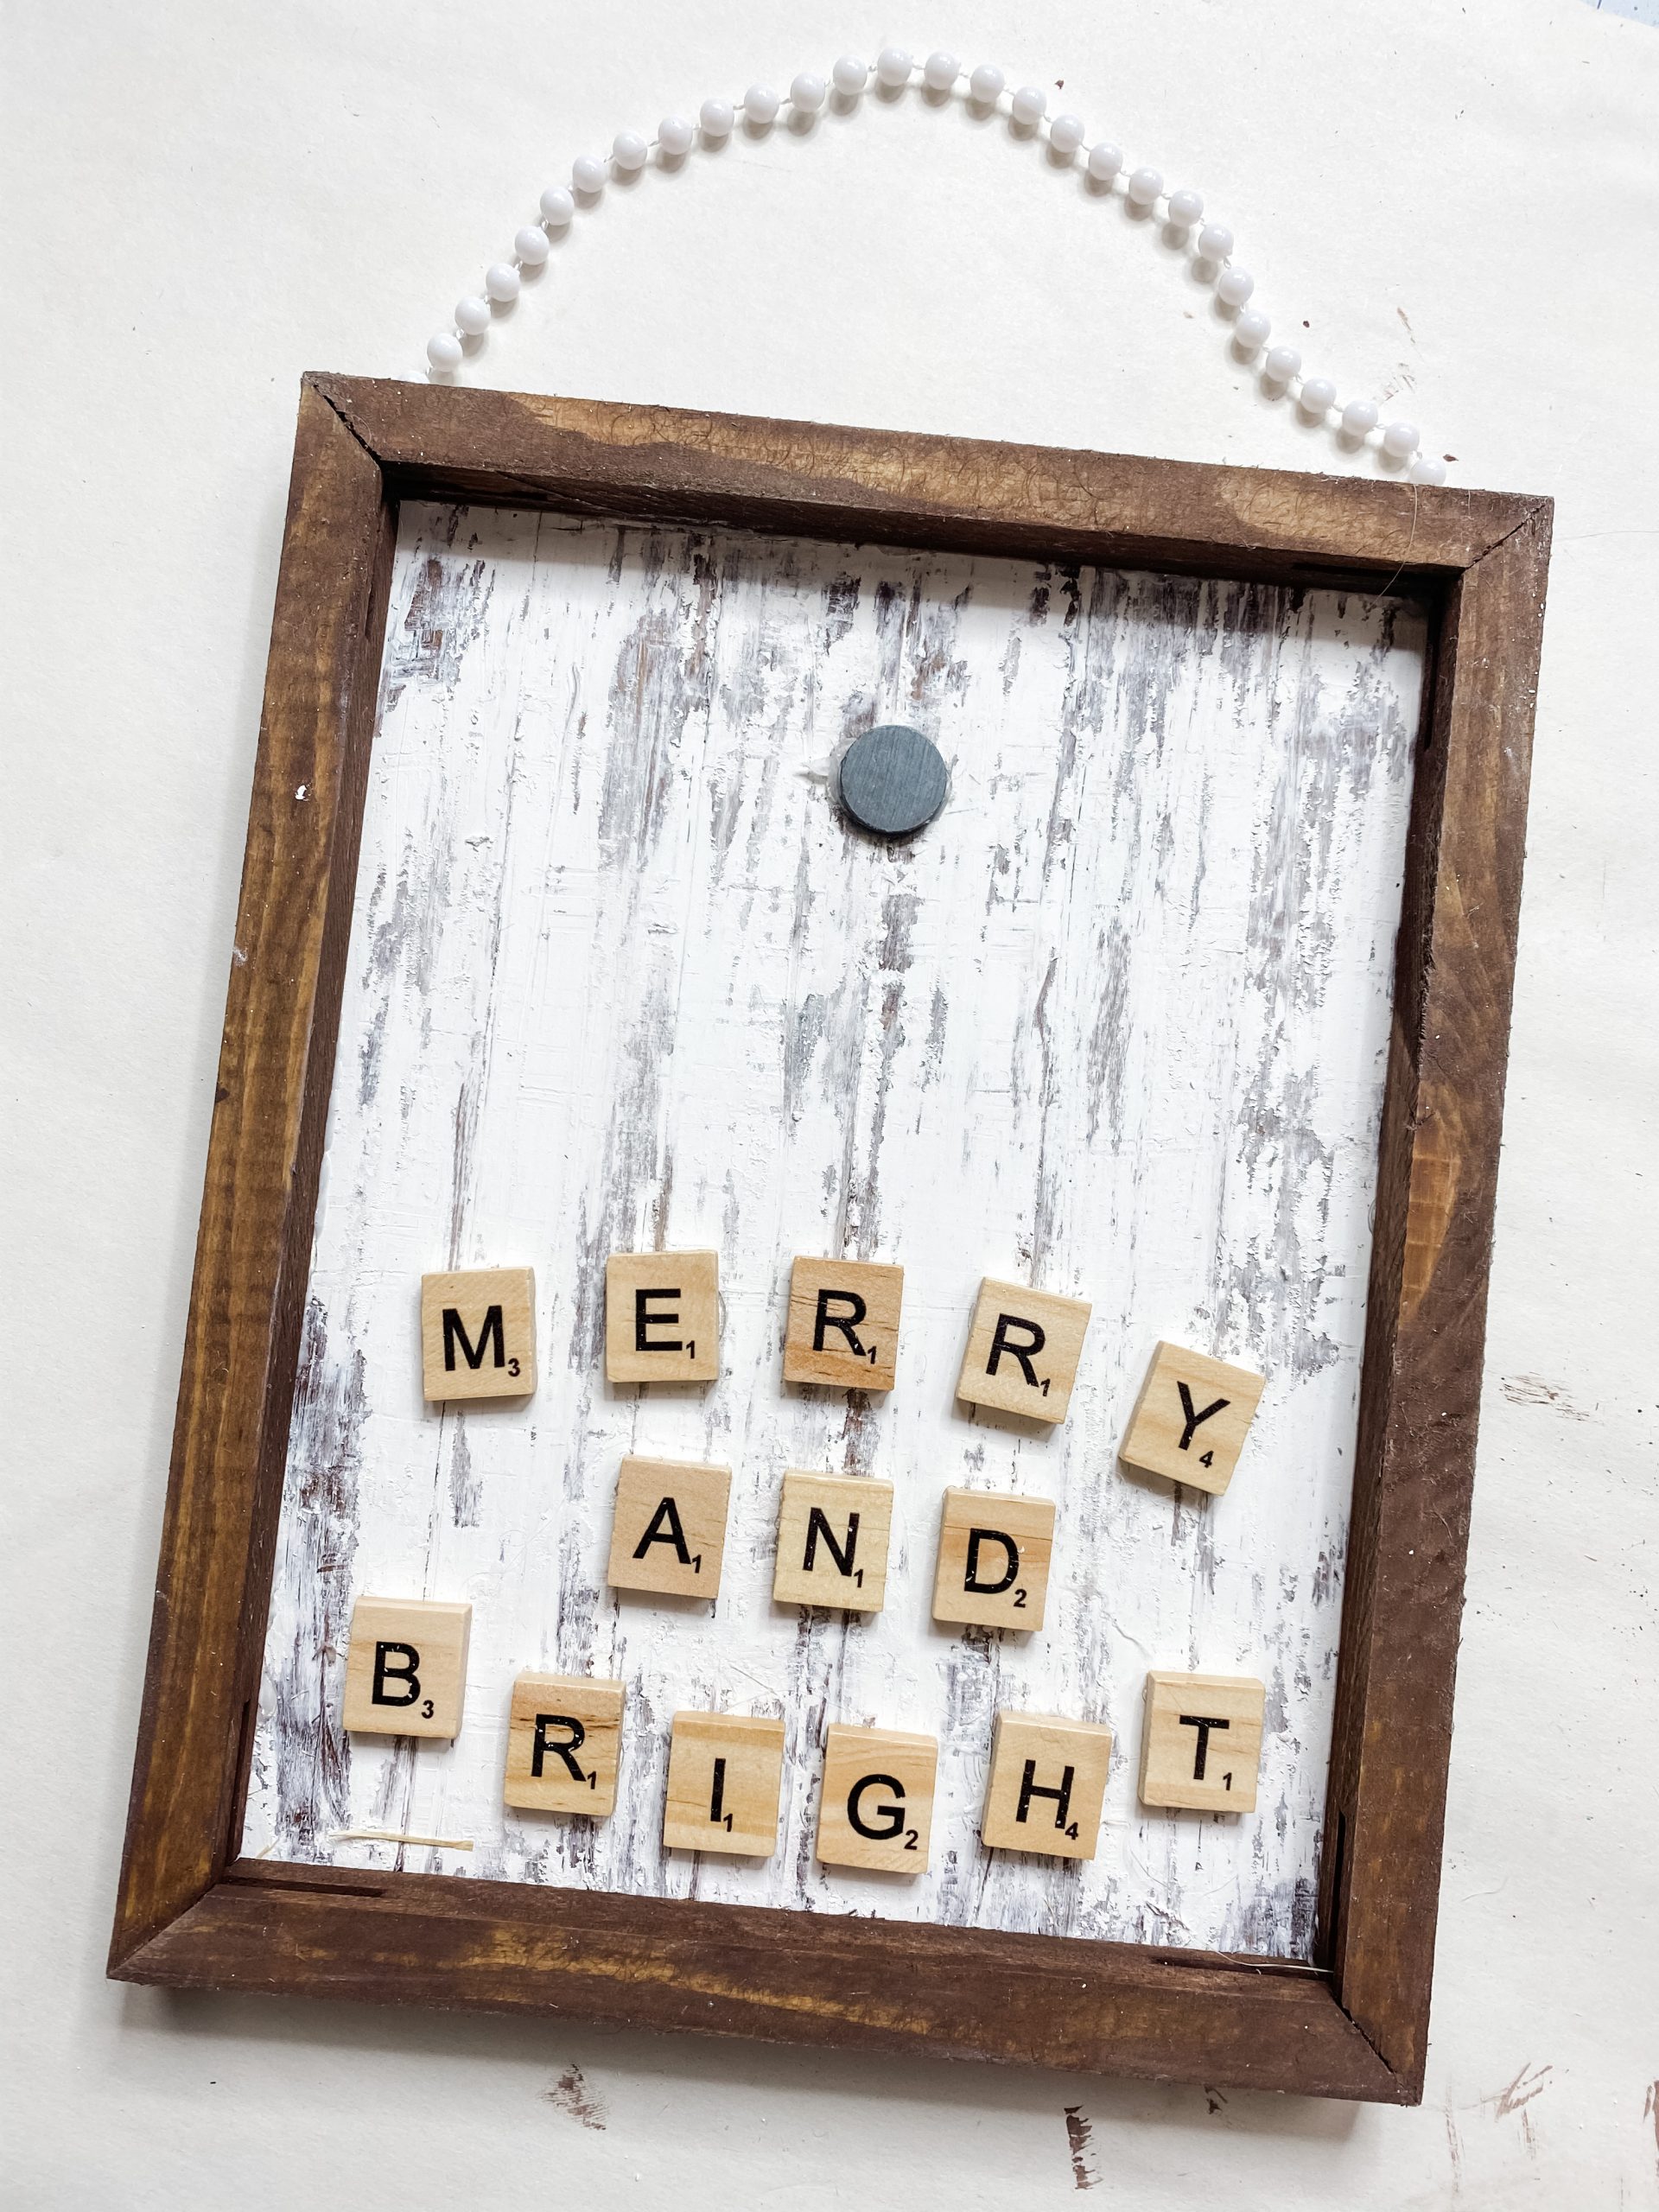
Add the magnets
We are almost done! You’re going to need some Dollar Tree magnets. Hot glue one magnet to the Christmas sign and one magnet to each of the DIY napkin bows.
Now you’re able to change out the bow on the sign!
The finishing touches
All that’s left to do is add your hanger! I used Dollar Tree beaded necklace for my hanger. Cut the necklace so that it is a single strip and hot glue the end to the back of the Christmas sign.
Now you’re ready to hang the sign anywhere in your house! This DIY would also make a great gift for Christmas, birthdays, or any special occasion!
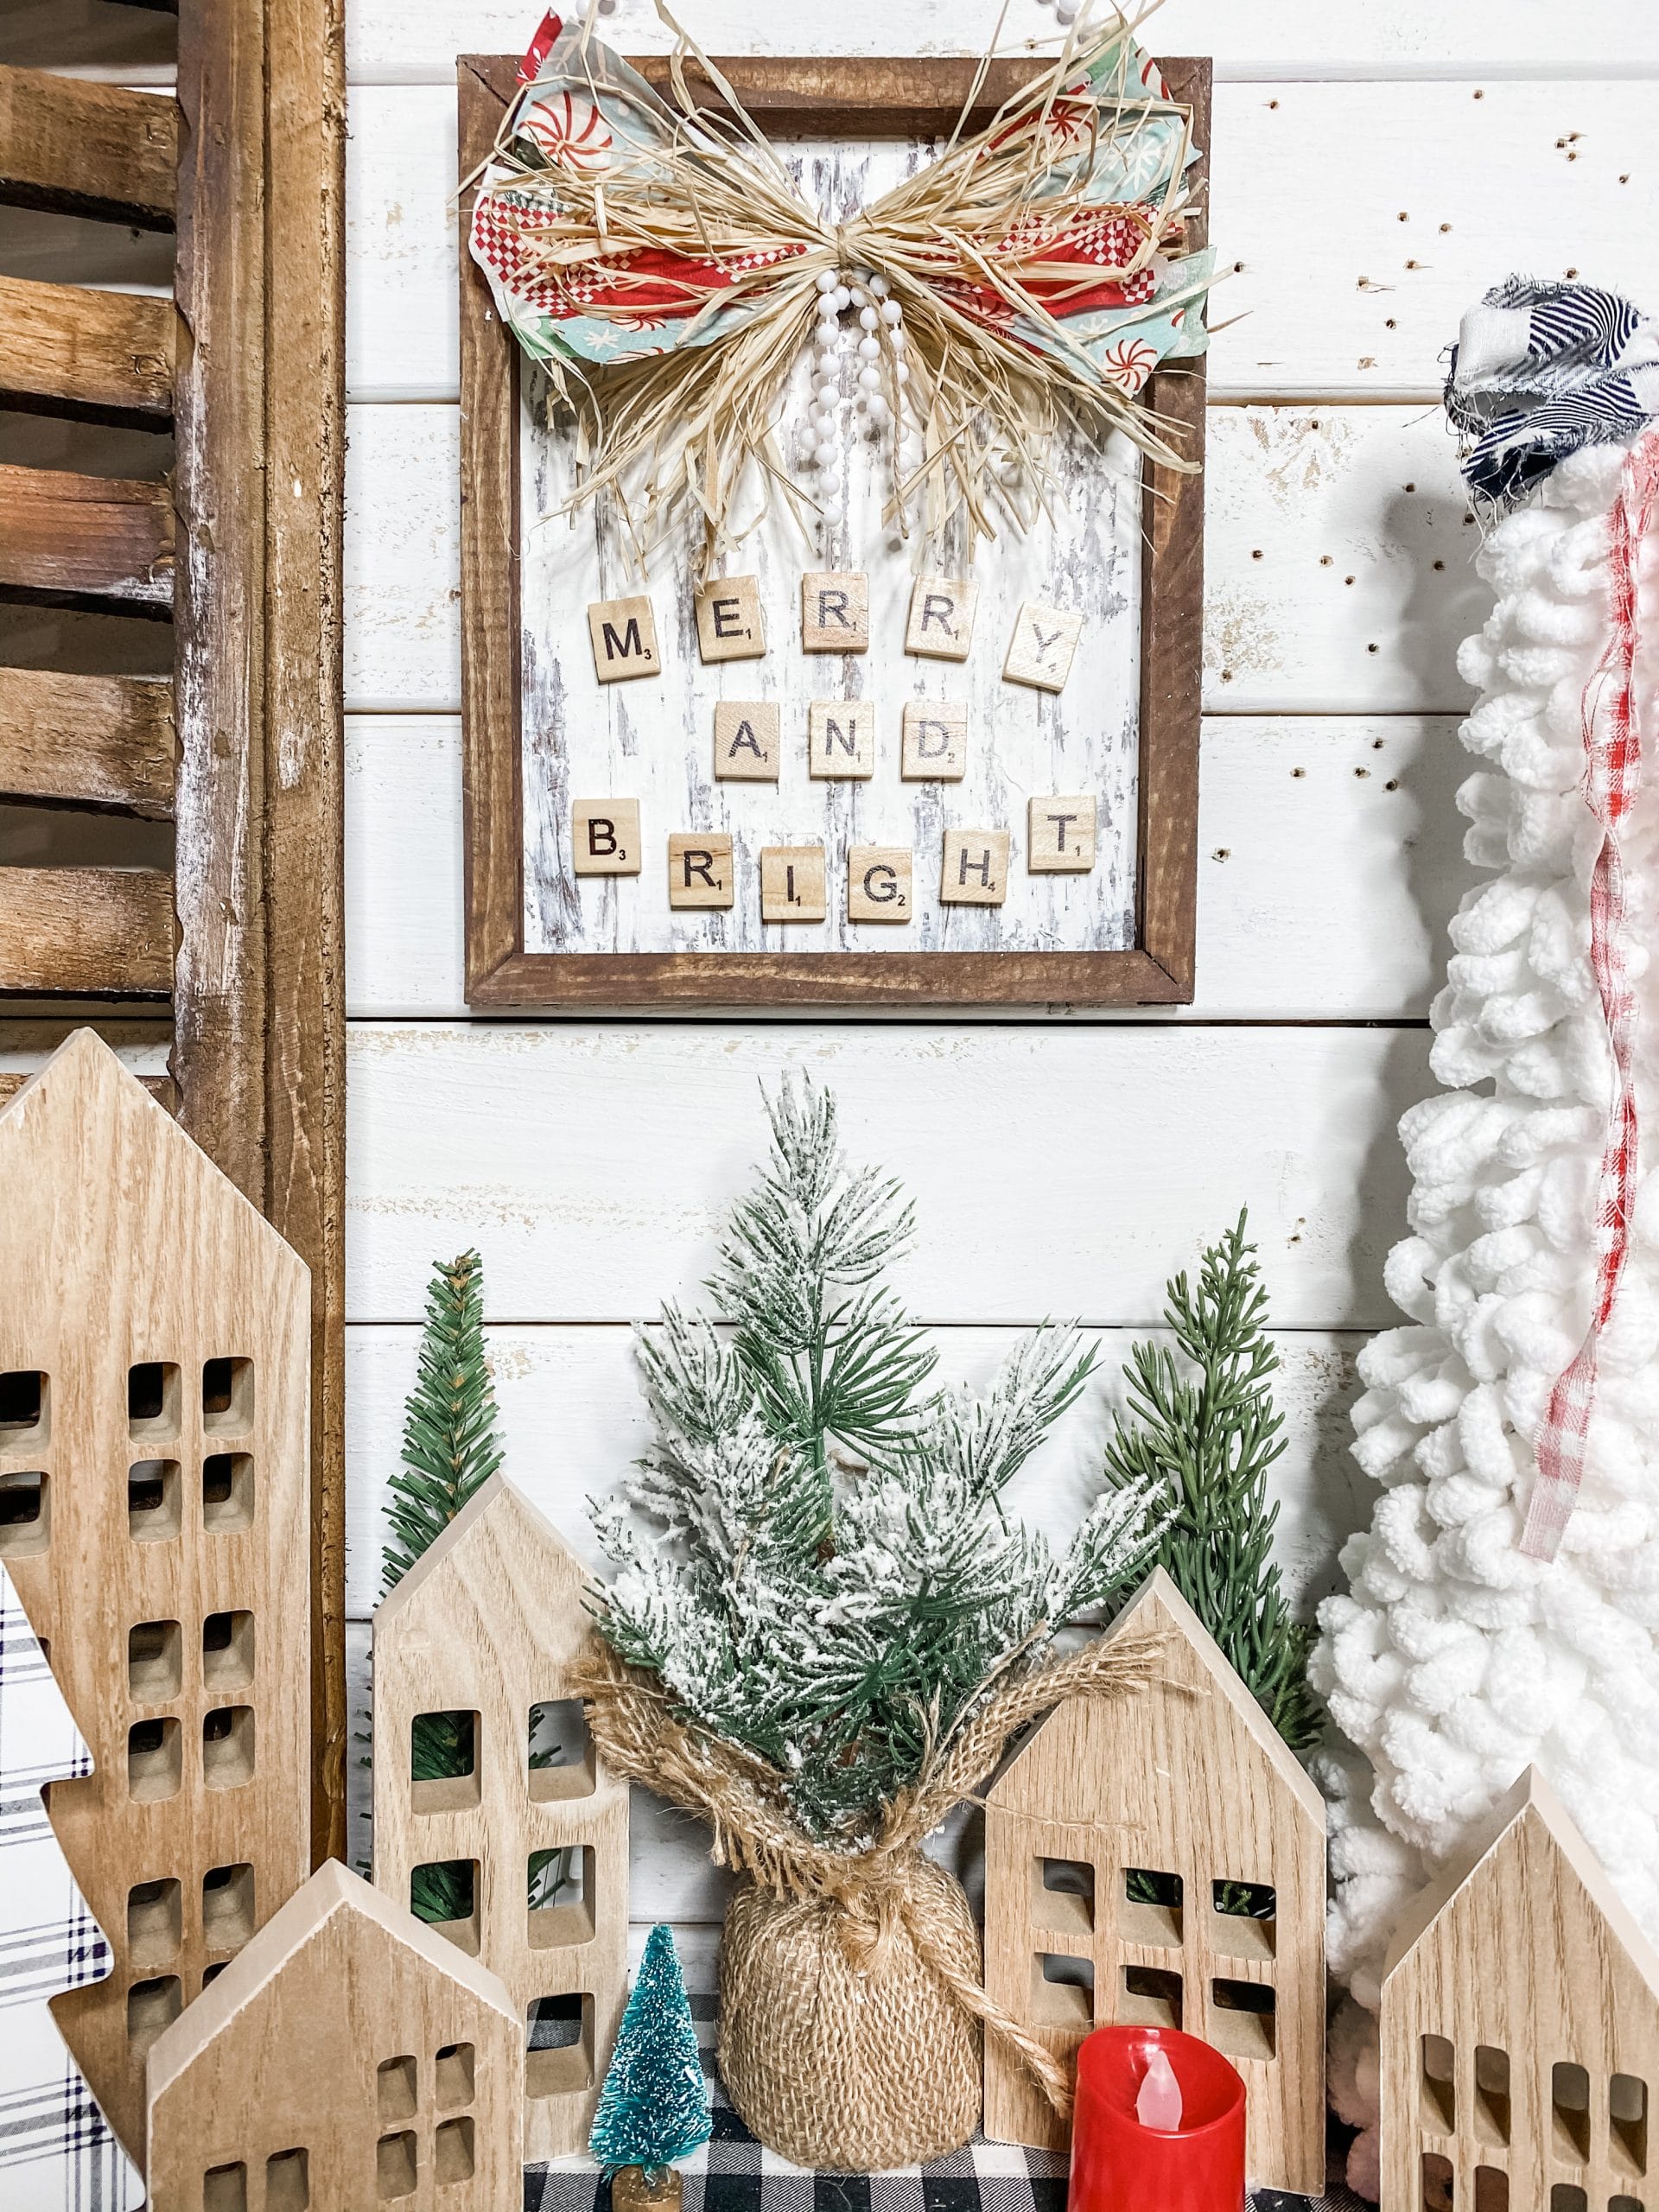
I hope you enjoyed this Farmhouse Christmas Sign with Changeable Napkin Bow as much as I did and decide to make one for yourself!
I would love to see how yours turns out! You should totally join my FREE Facebook group called On A Budget Crafts! It is a judgment-free community for DIY crafters to show off their projects and ideas.
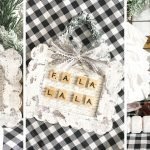
If you loved this DIY you might also like this DIY Christmas Tree Shelf Decor!
Thanks for stopping by! XOXO Amber
You can also shop my ENTIRE AMAZON Favorites shop just click here! It’s packed full of all the things I use and love.
Here is the supply list I highly recommend every creative have on hand!! Would you also pin my blog for later and get on my newsletter alerts? I would love to have you join my #craftycrew.

Join my free “ON A BUDGET CRAFTS” Facebook group!
PIN THIS POST FOR LATER!

I like it Amber ! It is not the ‘normal” , something different for a change and I love different ! You are not going to please everyone all of the time and sometimes you will please very few. Let it run off your back. Some people are natural complainers and are not happy doing anything other than fussing, seems to be a thing more and more lately. I think being shut in has made people grouchy which is a shame…kindness is easier. Keep being you and ignore ‘them’.
You are so sweet! Thank you for that word of encouragement!
I absolutely loved this craft. I made one similar to yours, my Chippy did not turn out as good as you do it but this was the first time I did the Chippy look, it is so fun to do. I love the napkin bow, I would have never thought of this, so thank you Amber for all the wonderful crafts you do with us and for always inspiring me to keep on crafting. You are absolutely adorable and I love watching you.
Keep on crafting my dear and don’t let the snakes with bad mouths get to you. Just ignore them. God has a wonderful plan for you, sharing your love of crafting is a wonderful gift you so willingly share.
Oh my gosh! People are soo mean and all the questions that got repeated one after the other! Just scroll up or down and see if it’s already been asked/answered. I just don’t understand how people comment such mean & nasty commments. Don’t like it, scroll on by.
Amber,
I think the sign is cute and the bow is awesome
Don’t have any idea why people can be so rude and crude
My advice, ignore them you are doing your thing girl and it’s awesome