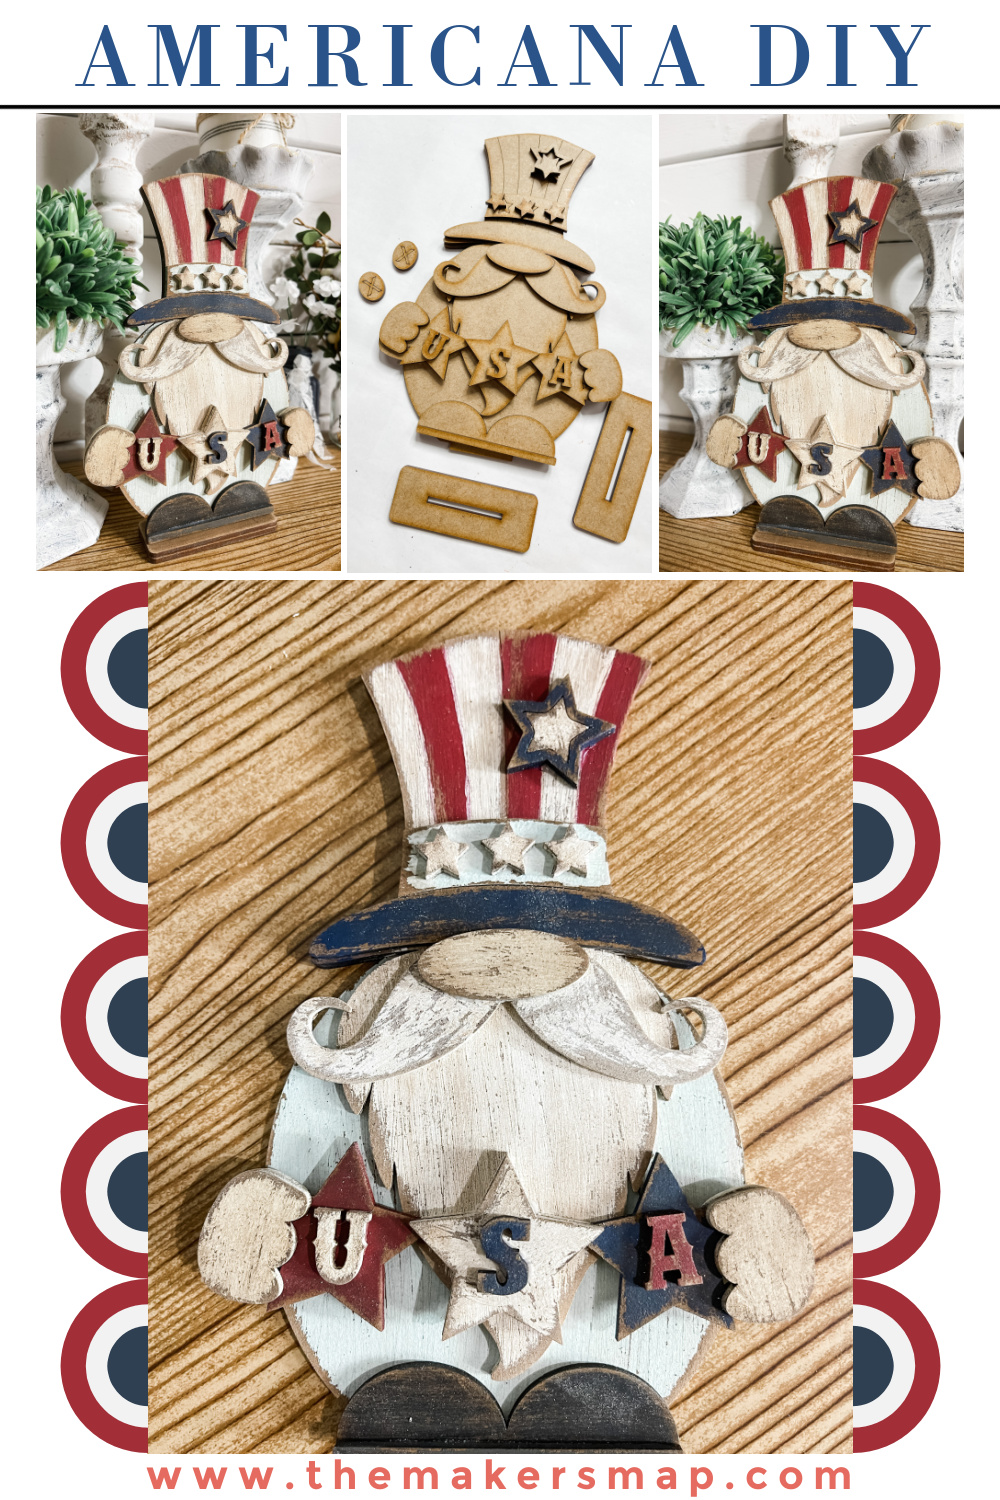
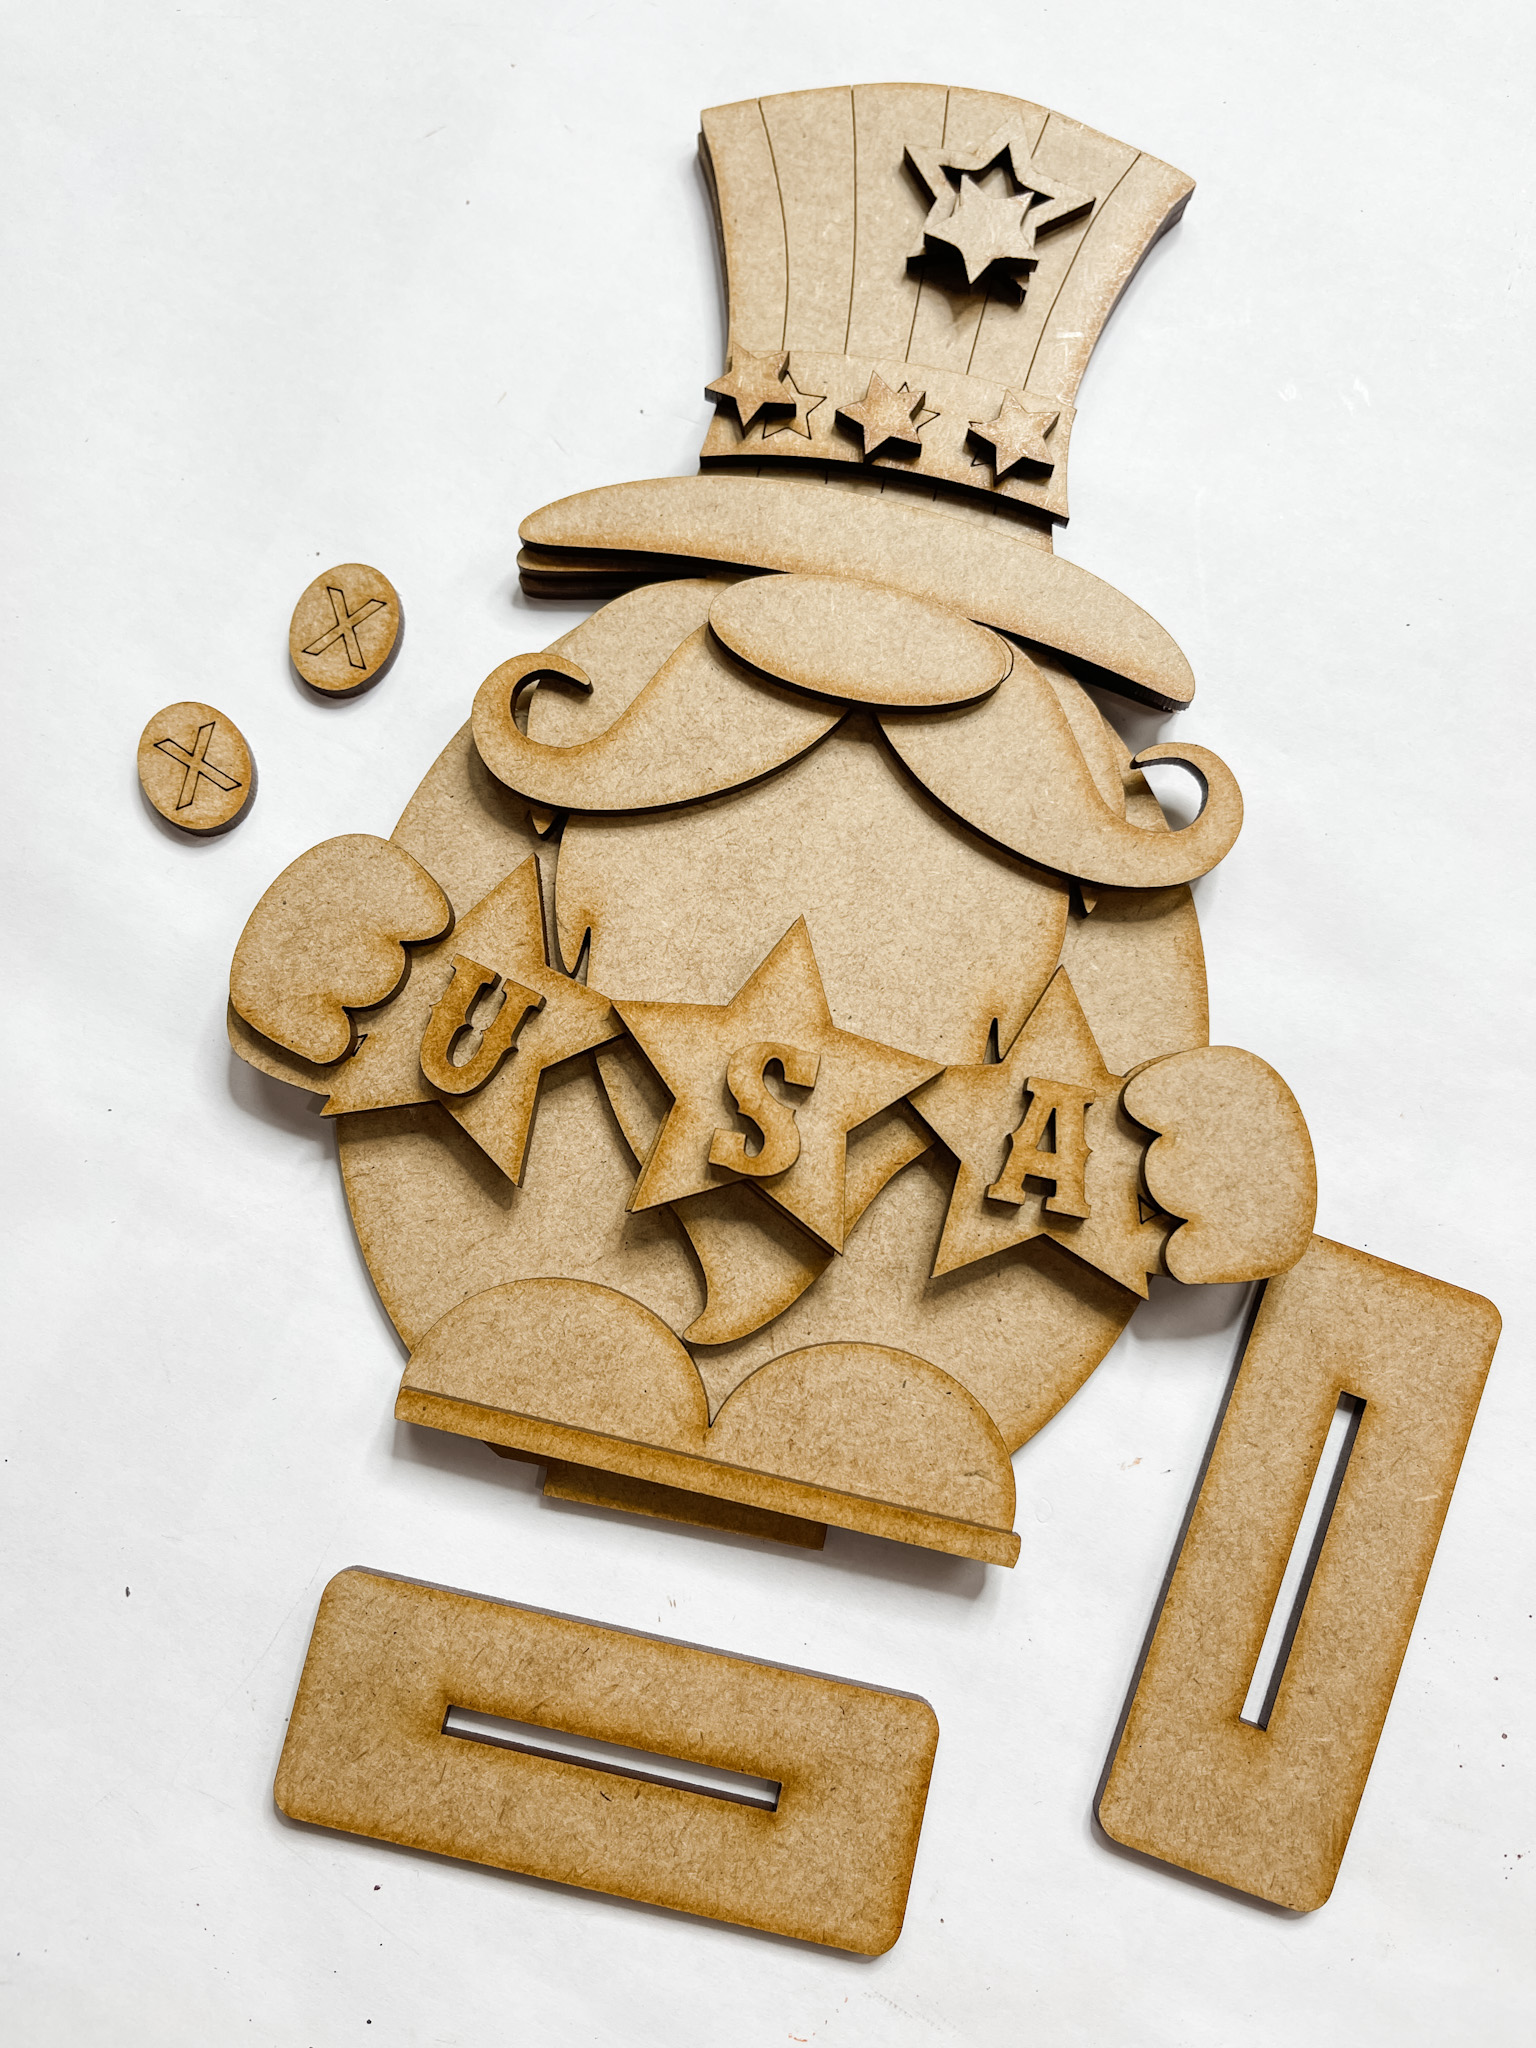
Uncle Sam Shelf Sitter
If you want to see the full supply list or video tutorial for this Uncle Sam Shelf Sitter, just scroll to the bottom of this page!
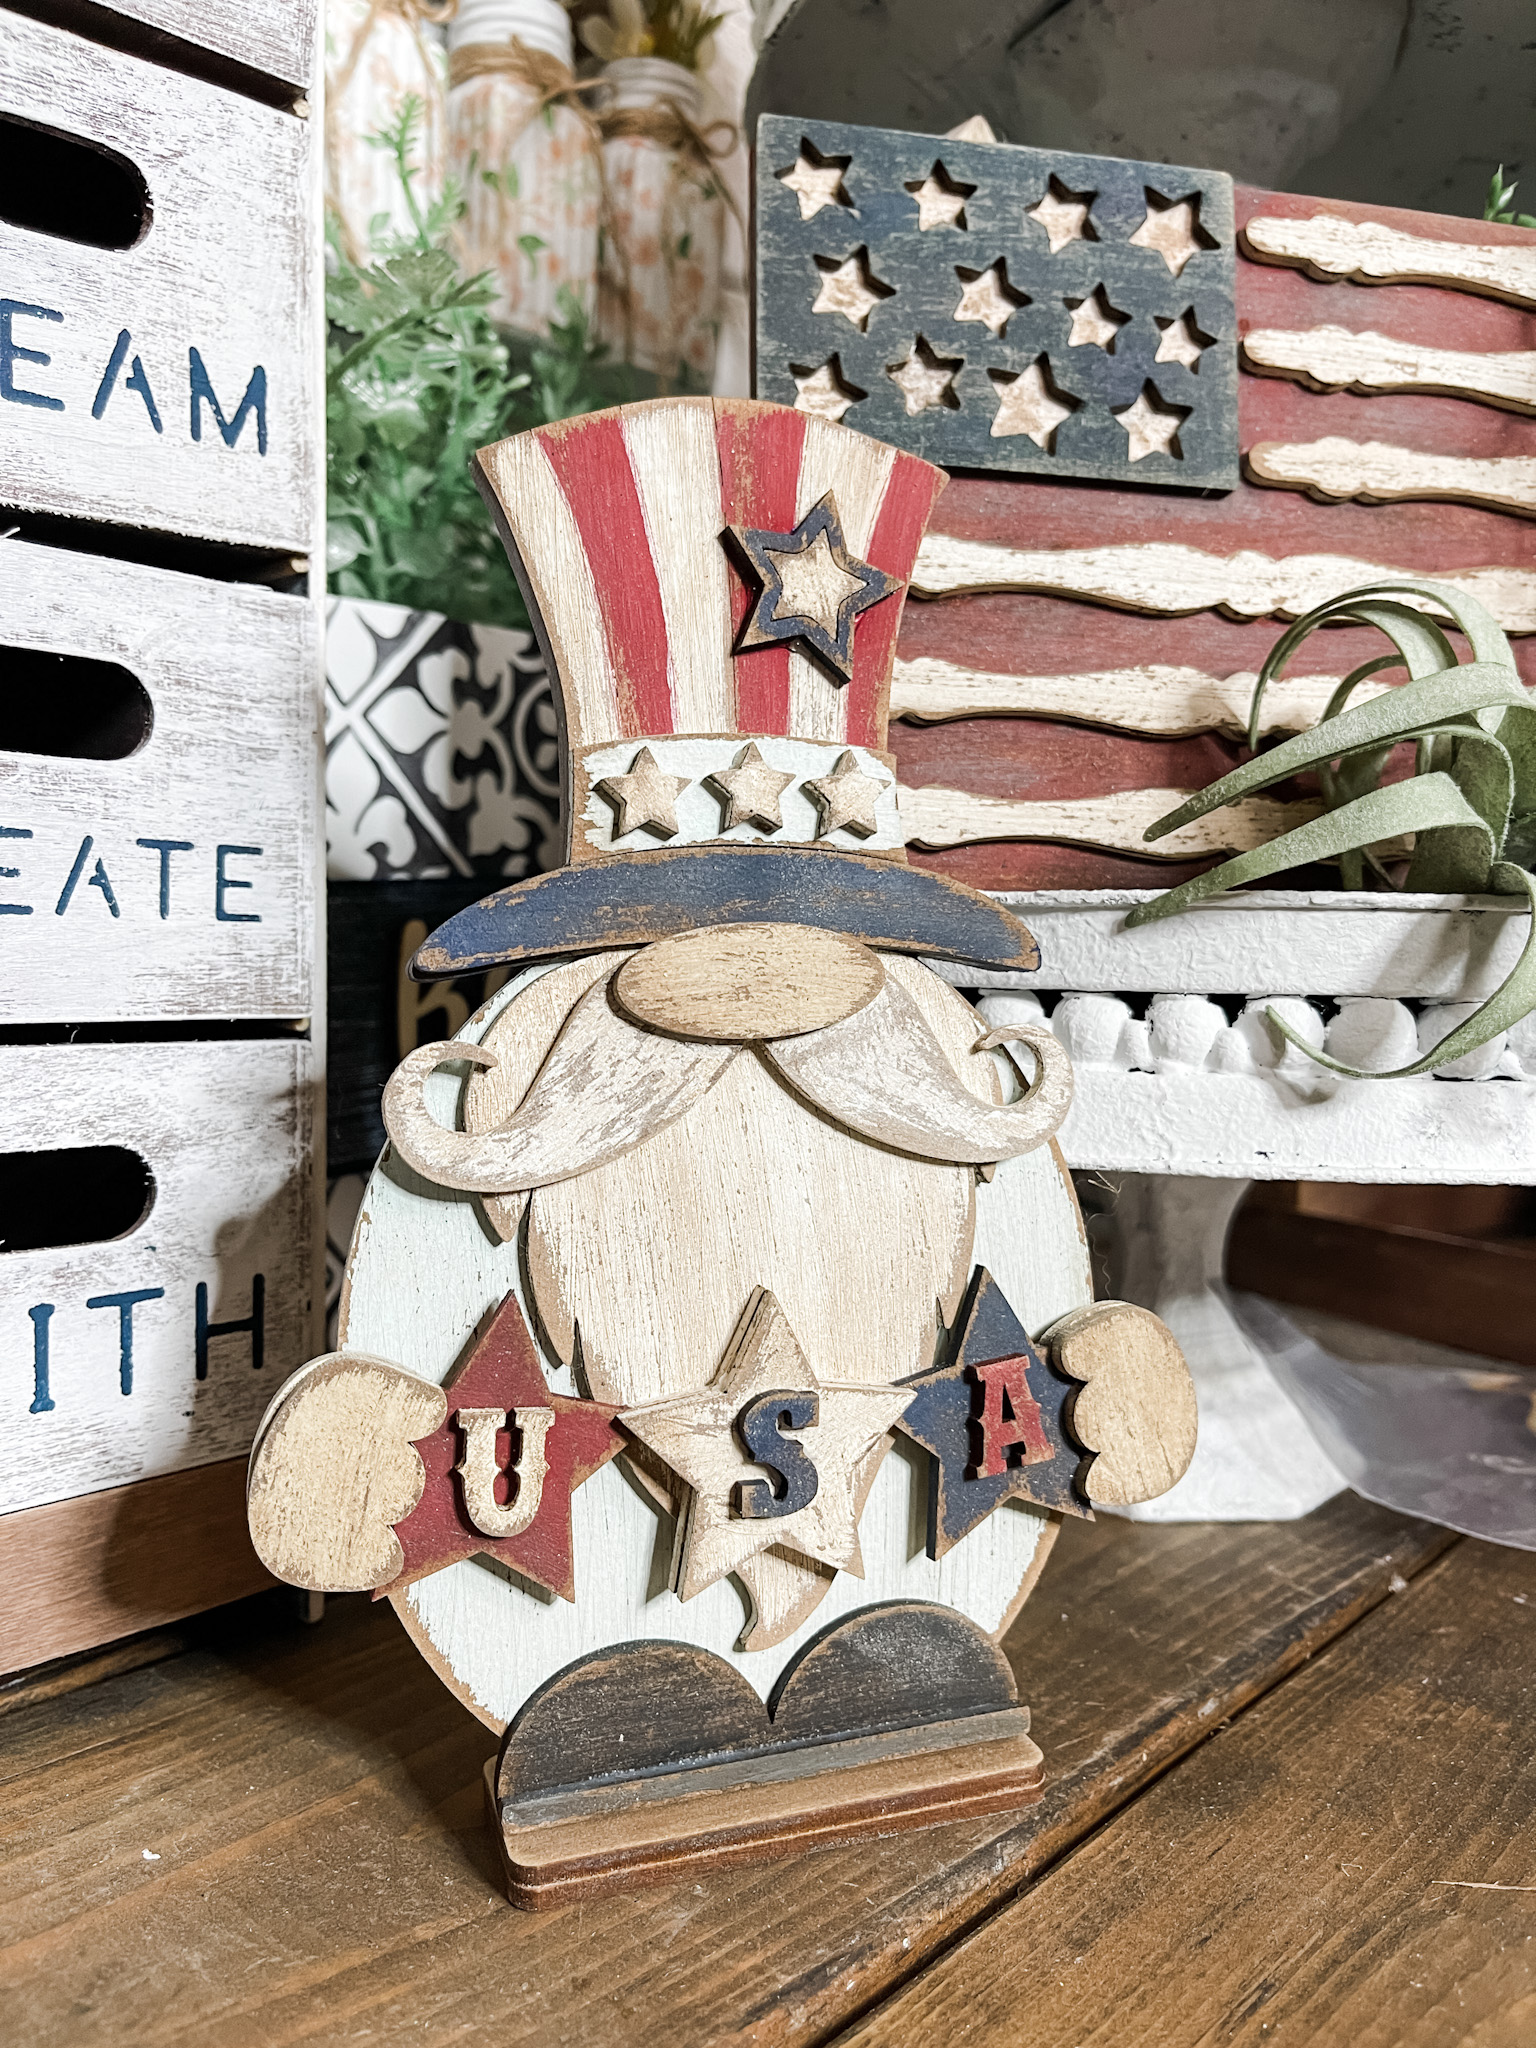
This Unlce Same Shelf sitter is so stinking cute and PERFECT for the 4th of July or any patriotic American holiday decor!
It’s the perfect craft for a beginner because all you have to do is paint and glue!
Check out the other kits in my shop!
Here are some more patriotic projects you might love!
- Reverse Canvas Patriotic USA Home Decor
- Let Freedom Ring Sign and Stand
- DIY Red Truck 4th of July Sign
- Rustic Patriotic American Decor
- Faux Shiplap DIY Patriotic Decor
- Simple Patriotic Home Decor with Dollar Tree’s Adhesive Wall Tile
If you want to see the full supply list or video tutorial, just scroll to the bottom of this page!
If you loved this DIY you might also like these patriotic DIYs!
- Repurposed Tablecloth DIY Patriotic Decor
- DIY Red White and Blue Rag Wreath
- DIY Dollar Tree Patriotic Door Hanger
- American Flag Anchor DIY Patriotic Decor
- DIY Ribbon American Flag
- DIY 4th of July Shirt Idea
- Blue Jean American Flag
- DIY Dollar Tree American Flag Decor
- DIY Patriotic Dollar Tree Mason Jar
How to make this Uncle Sam Shelf Sitter
If you want to see the full supply list or video tutorial for this Uncle Sam Shelf Sitter, just scroll to the bottom of this page!
For this adorable grunge, Americana Uncle Sam shelf sitter, there are no gimmicks or oddball craft techniques. All you need is the kit, your paints, and some glue.
Well, you’ll also want paintbrushes and baby wipes, but those are pretty standard craft supplies, in my opinion.
I started by staining all my pieces brown. To do so, use a wet wipe to apply brown paint to each piece of the kit. Allow each piece to dry completely.
Paint the body piece (not the hat) with the chiffon blue paint. I painted red stripes onto the hat portion of the beard piece.
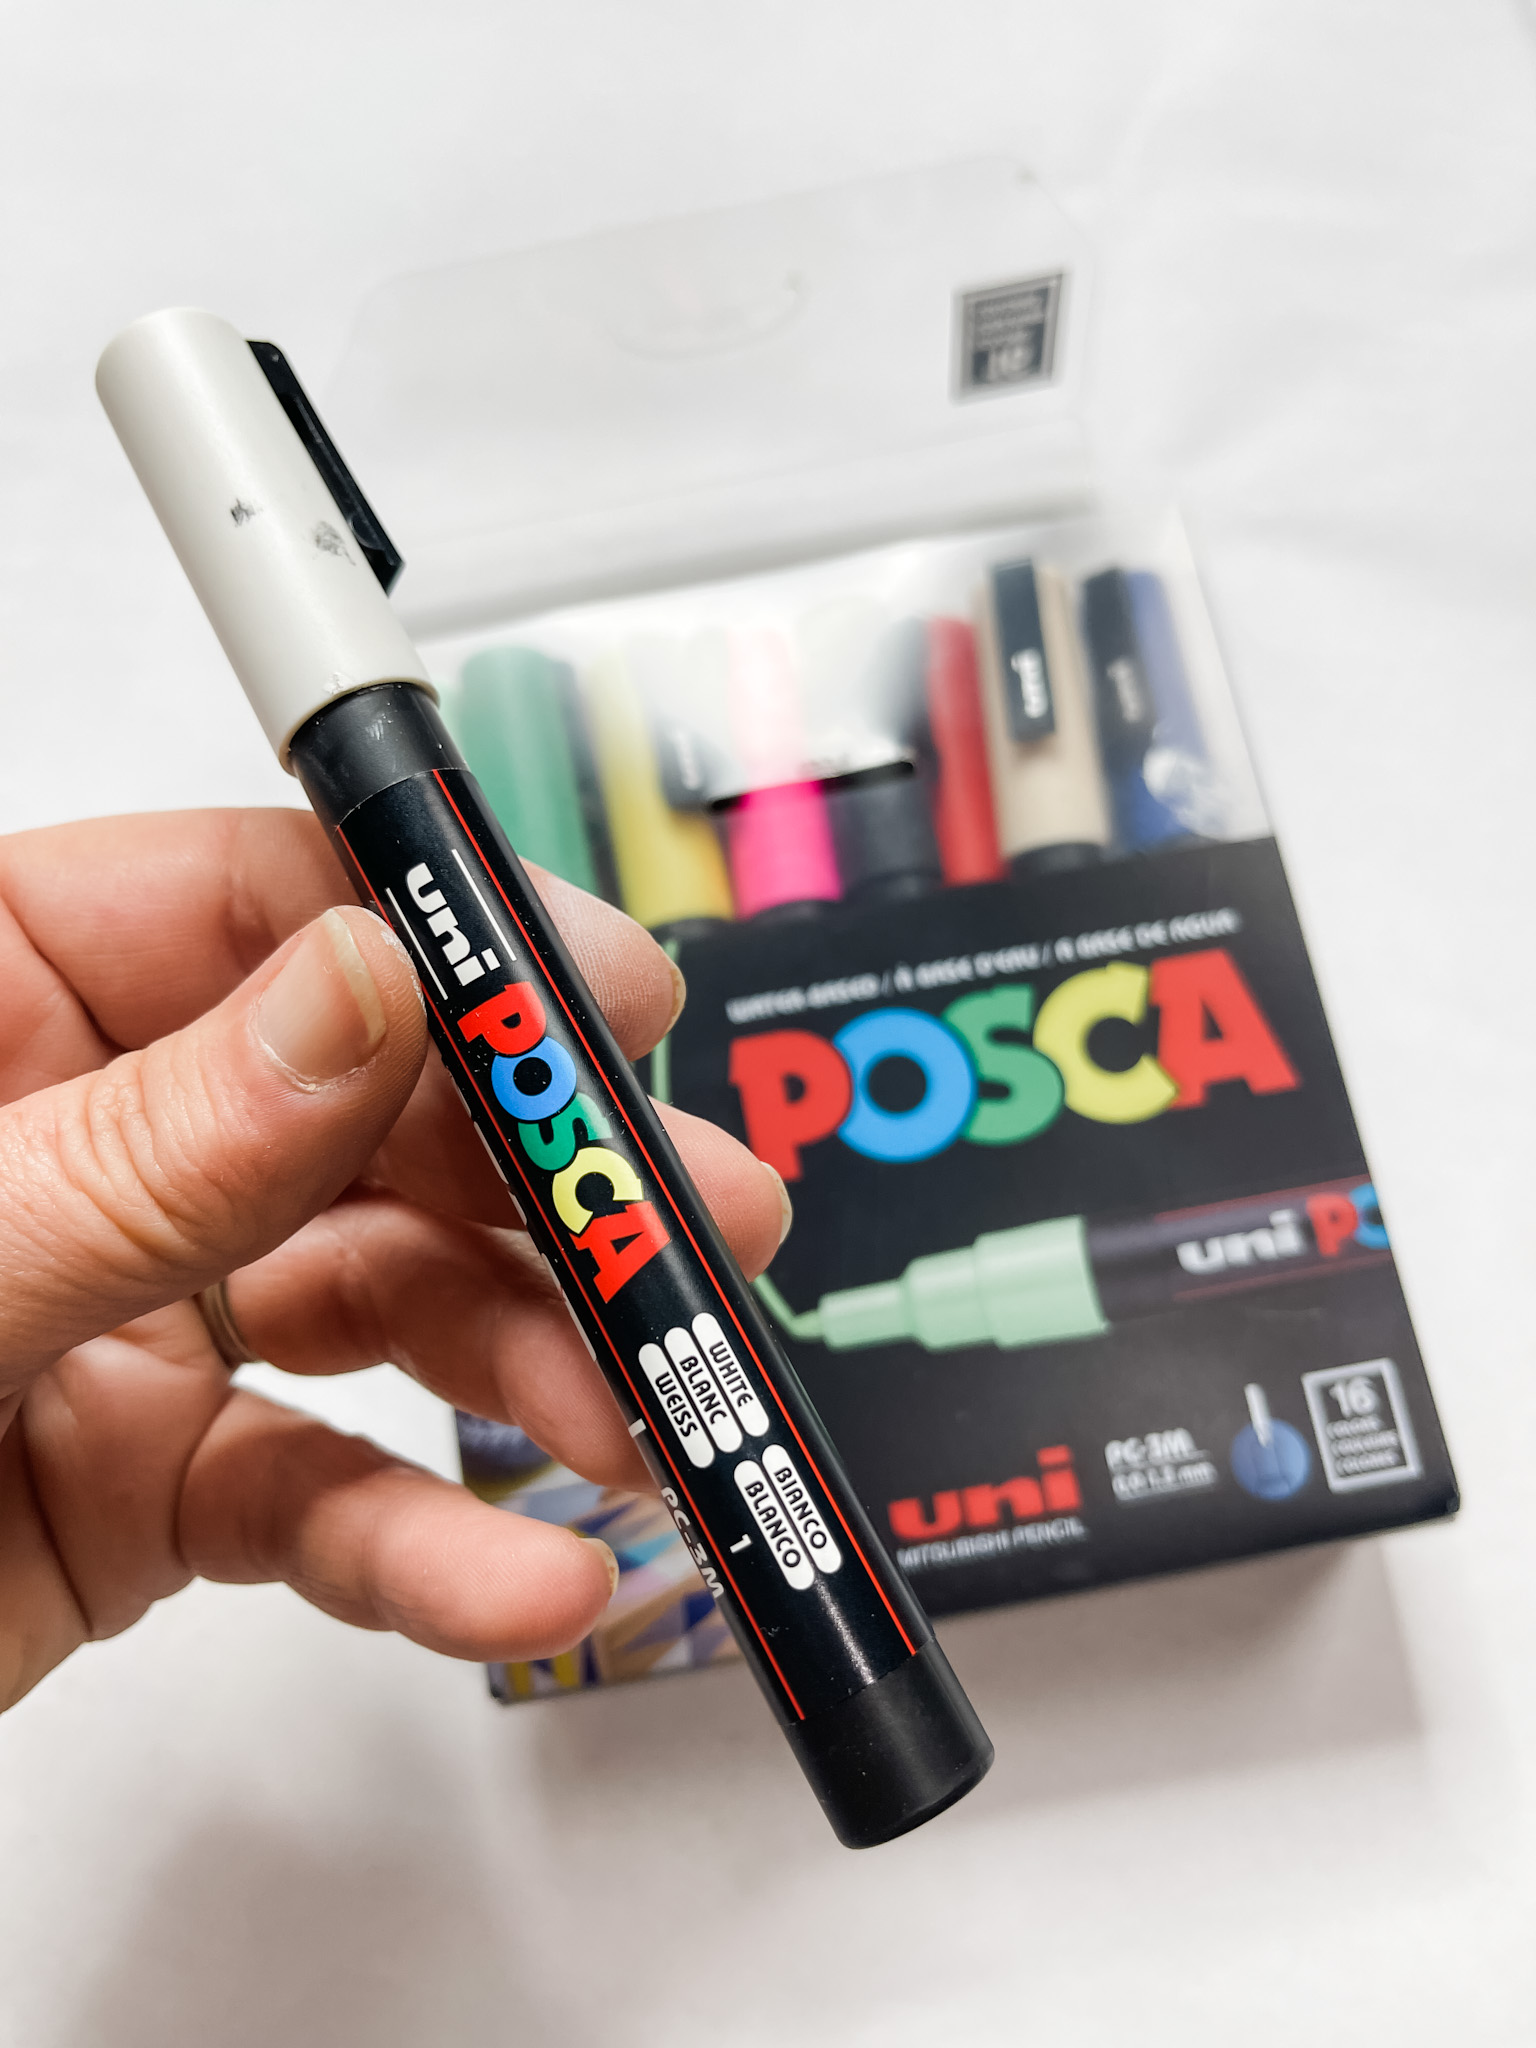
Then, I painted one of the stars on the banner red and one of the stars blue. I used my white paint pen to paint the white stripes on the hat piece between the red stripes.
Next, I painted the middle star, the beard, and the mustache with white paint. I painted the star outline with navy paint and the extra star with white paint.
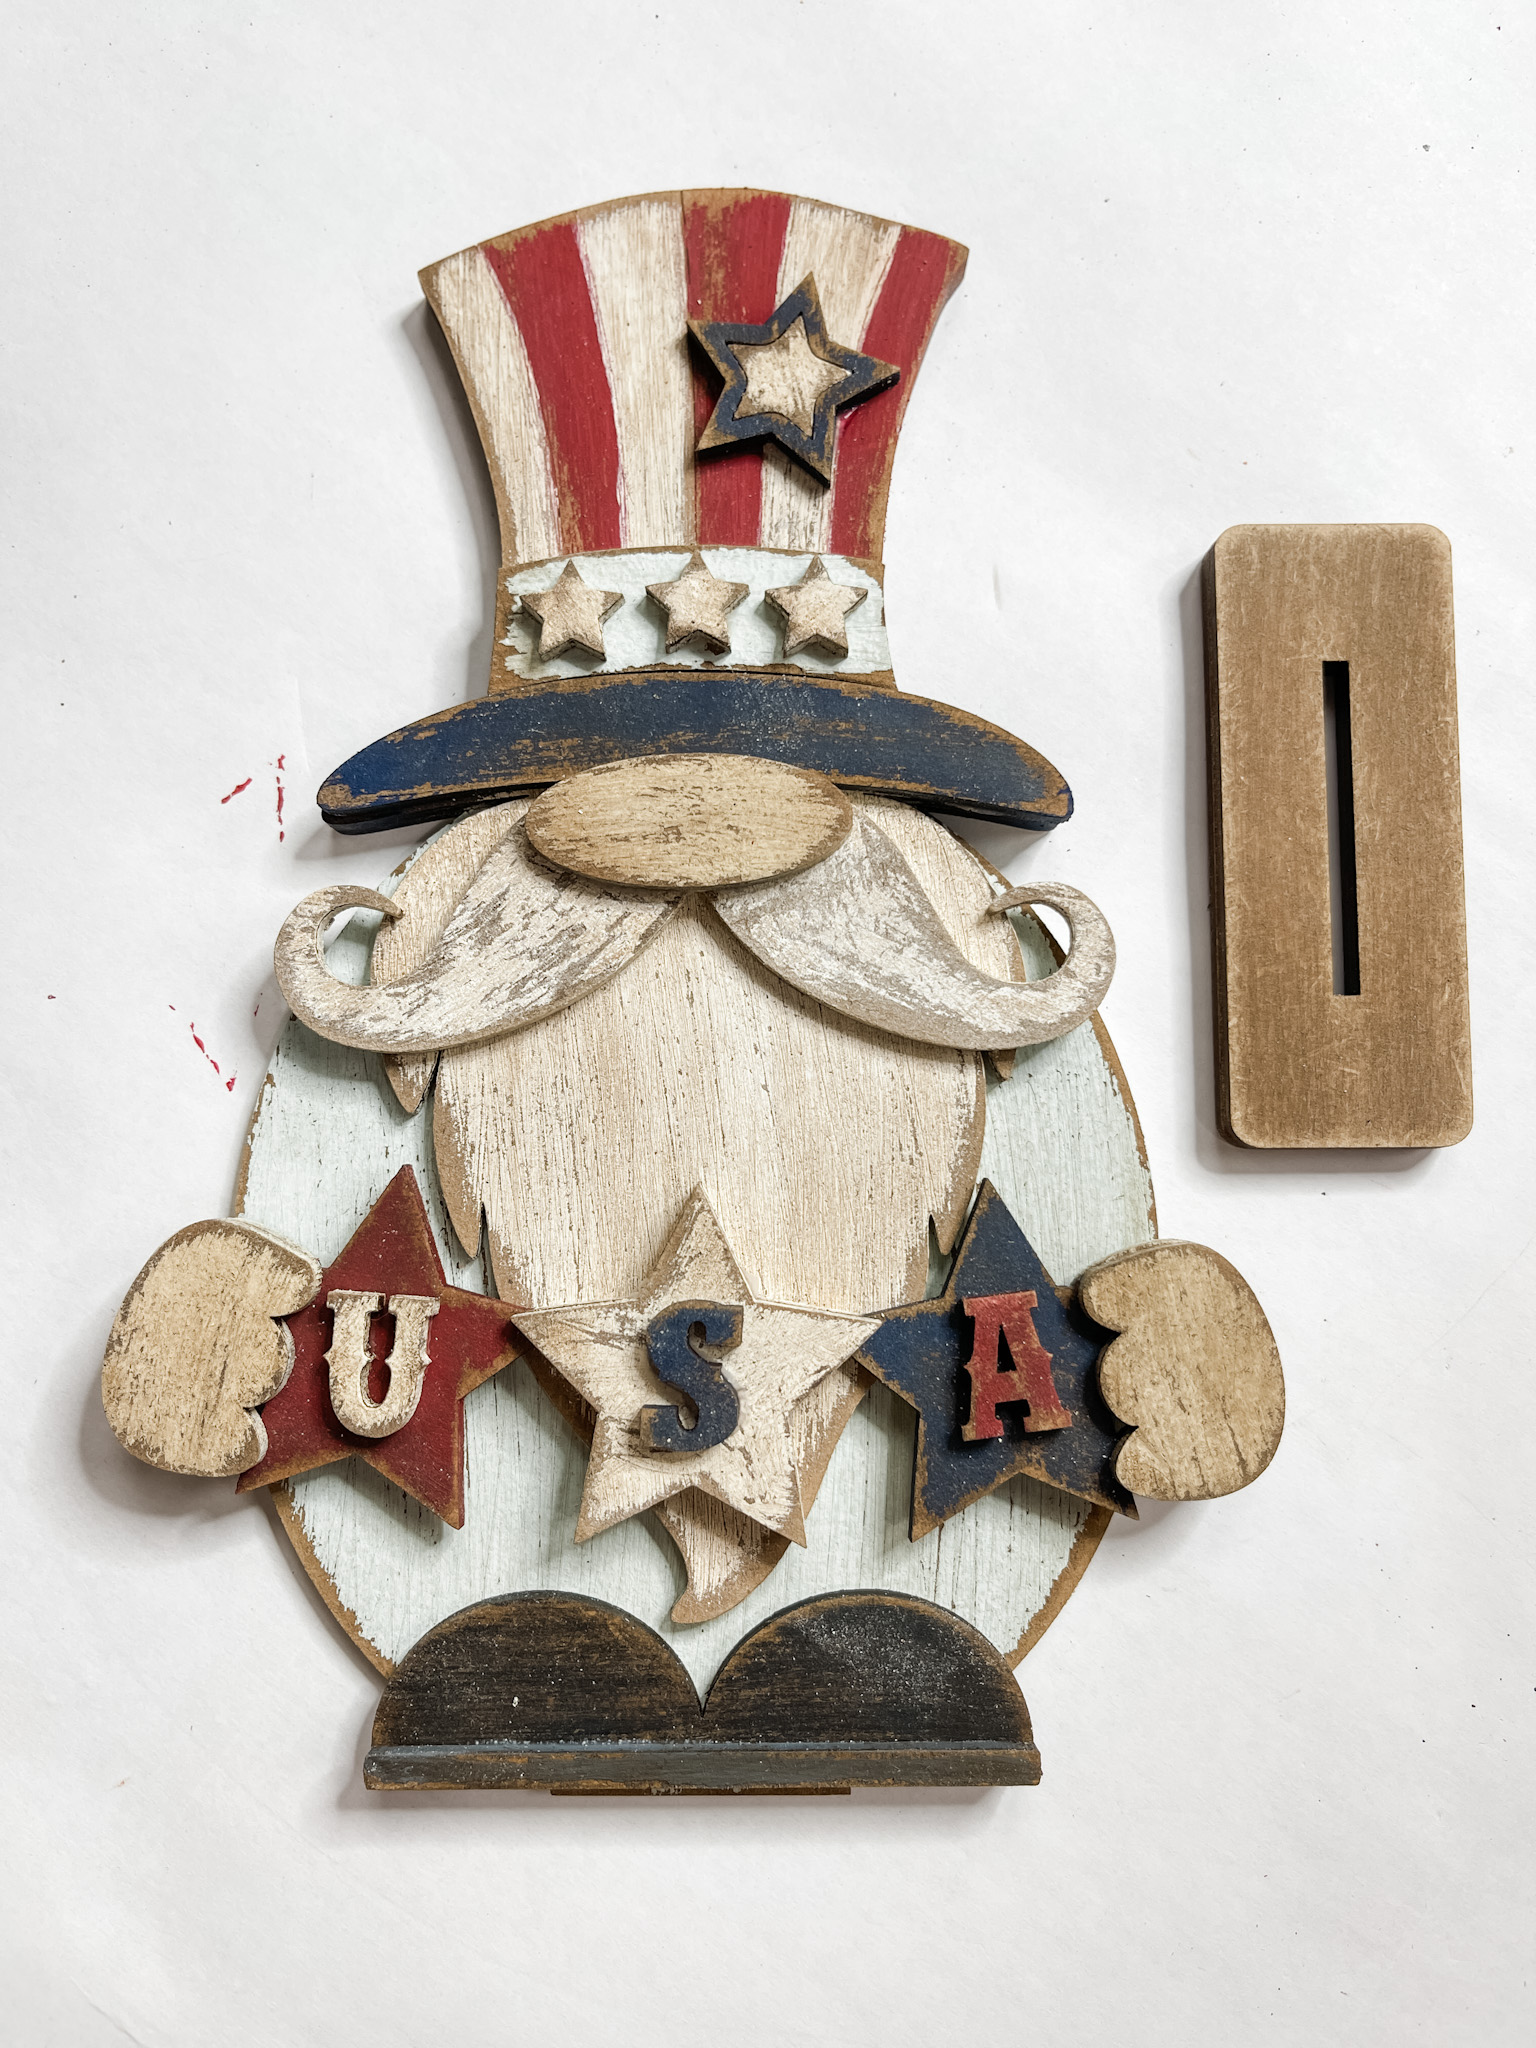
Next, I painted the USA letters to go on the star banner. I mixed a bit of white paint with khaki paint to get a light, tan color, then painted the nose and hands with that mixture.
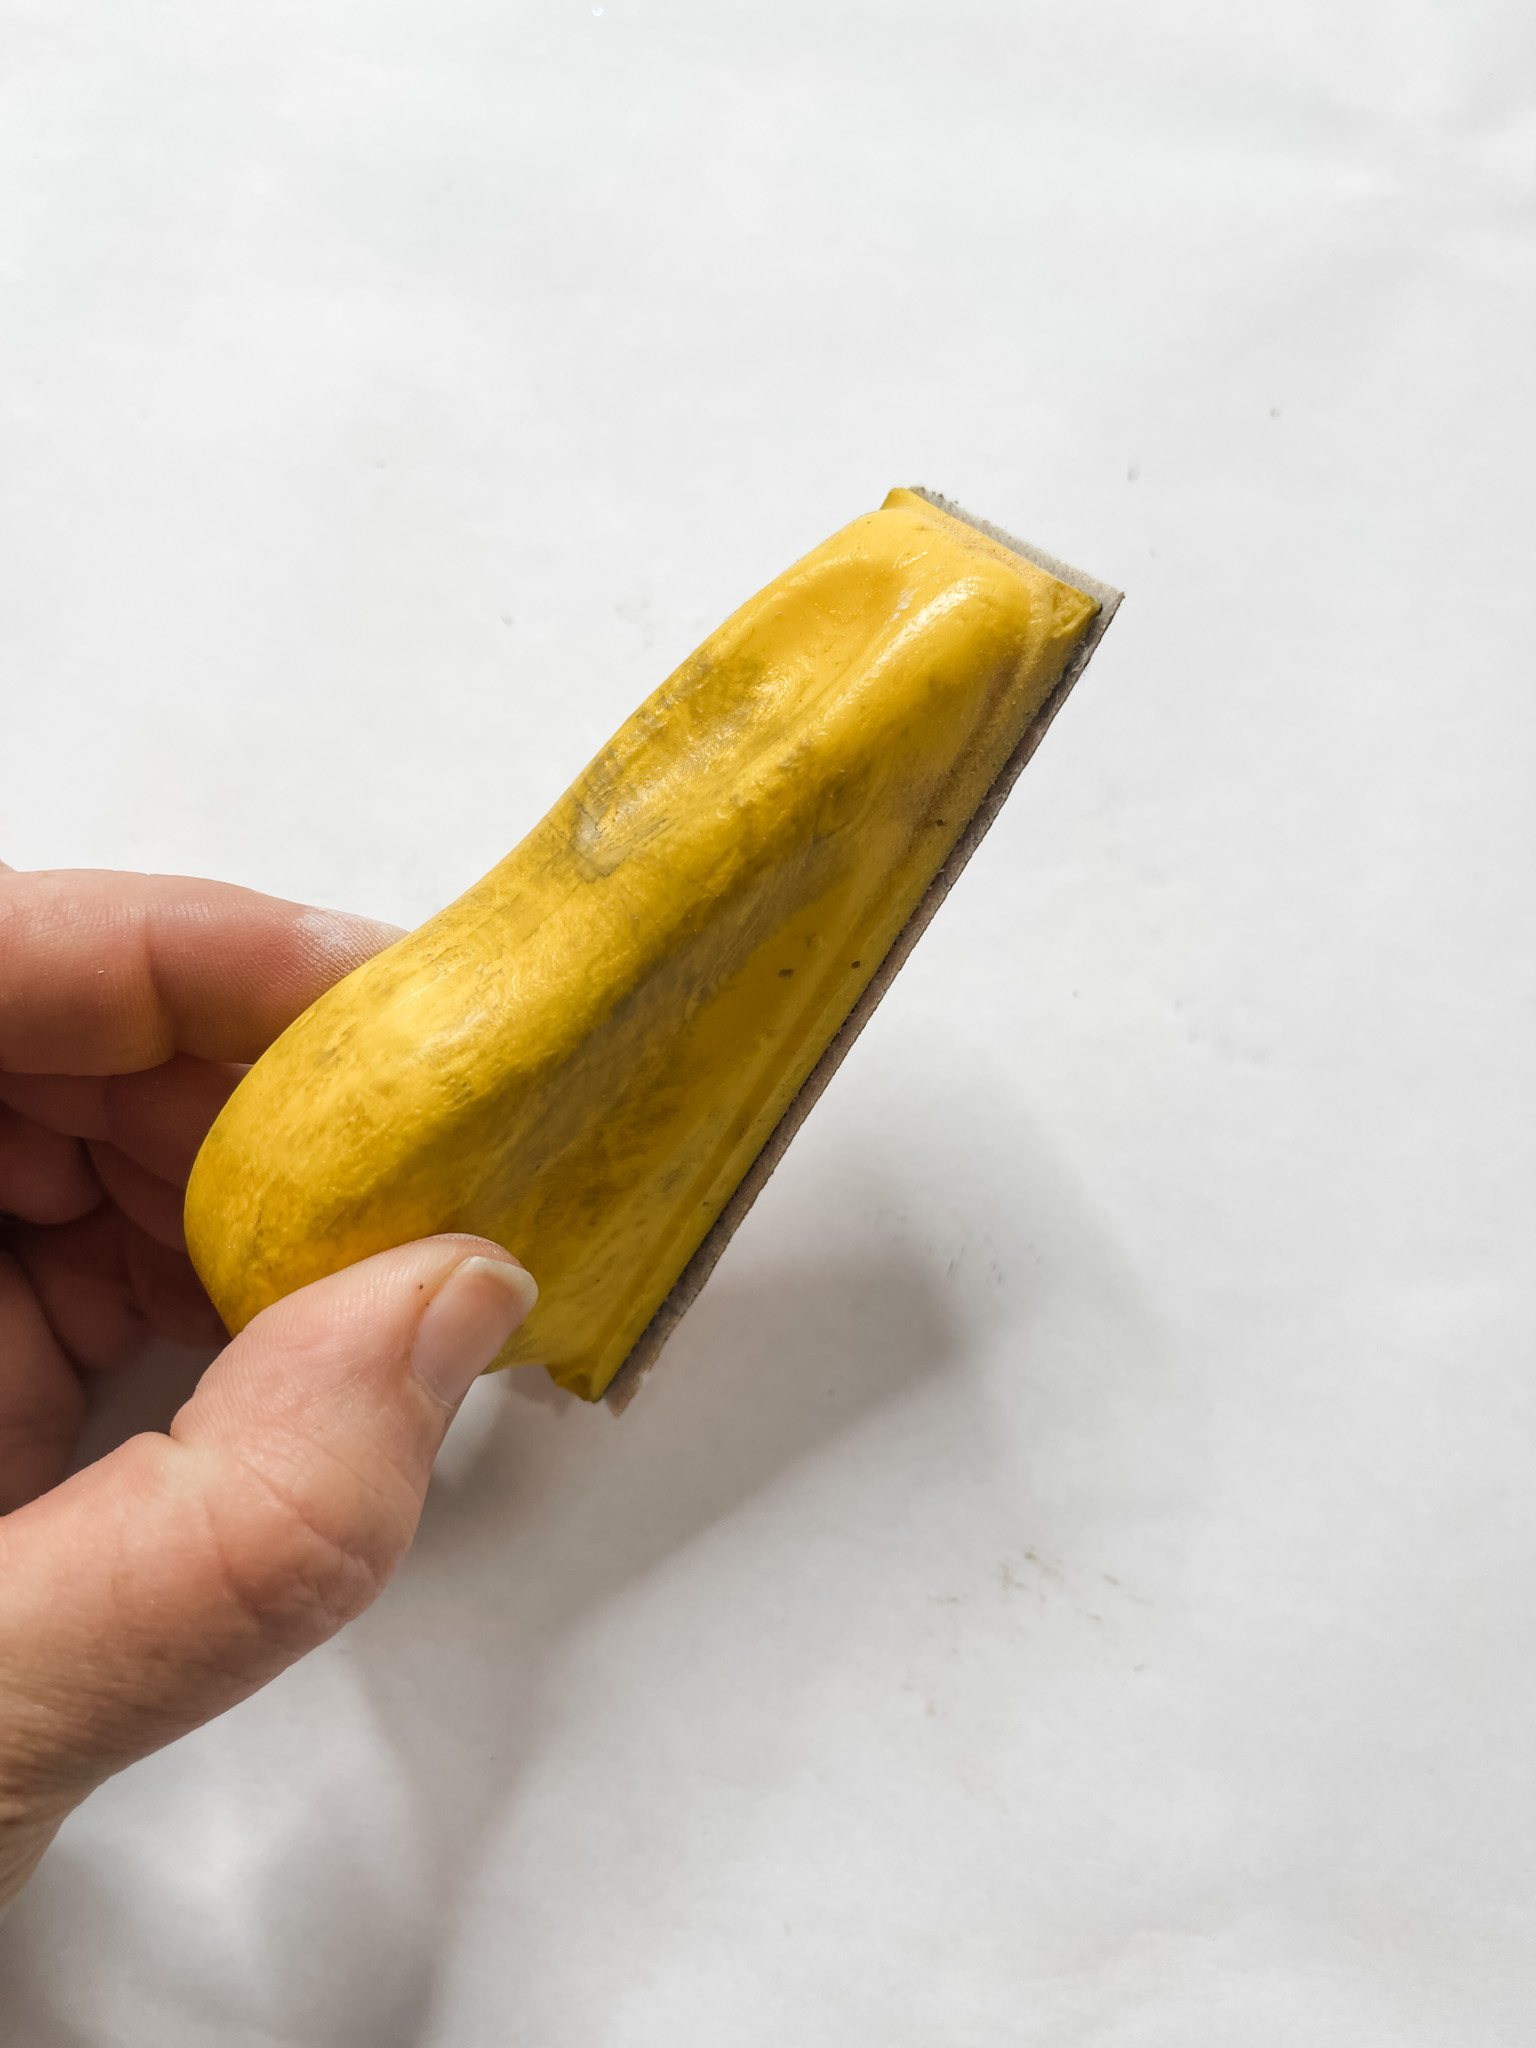
I painted the sunglasses black. Let all the pieces dry, then lightly distress each piece with sandpaper.

How to antique your kit
Use a brush to lightly apply a small amount of Waverly antique wax to each piece of your kit, then use a wet wipe to remove the excess from each piece.
What you’re left with are grungy, antiqued pieces. Allow each piece to dry, then it’s time to start gluing everything together!
For this Uncle Sam Shelf Sitter, I used these items but you can substitute where you want.
“As an Amazon Associate, I earn from qualifying purchases.”
- Uncle Sam Craft Kit
- Apple Barrel Jet Black Acrylic Paint
- DecoArt Spa Blue Acrylic Paint
- DecoArt Zinc Acrylic Paint
- Craftsmart Red Acrylic Paint
- DecoArt Blue Chiffon Acrylic Paint
- DecoArt White Acrylic Paint
- Crazy glue
- DecoArt Black Acrylic Paint
- Apple Barrel Khaki Acrylic Paint
- Apple Barrel Navy Acrylic Paint
- White Paint Pen
- Hot Glue gun
- Glue Sticks
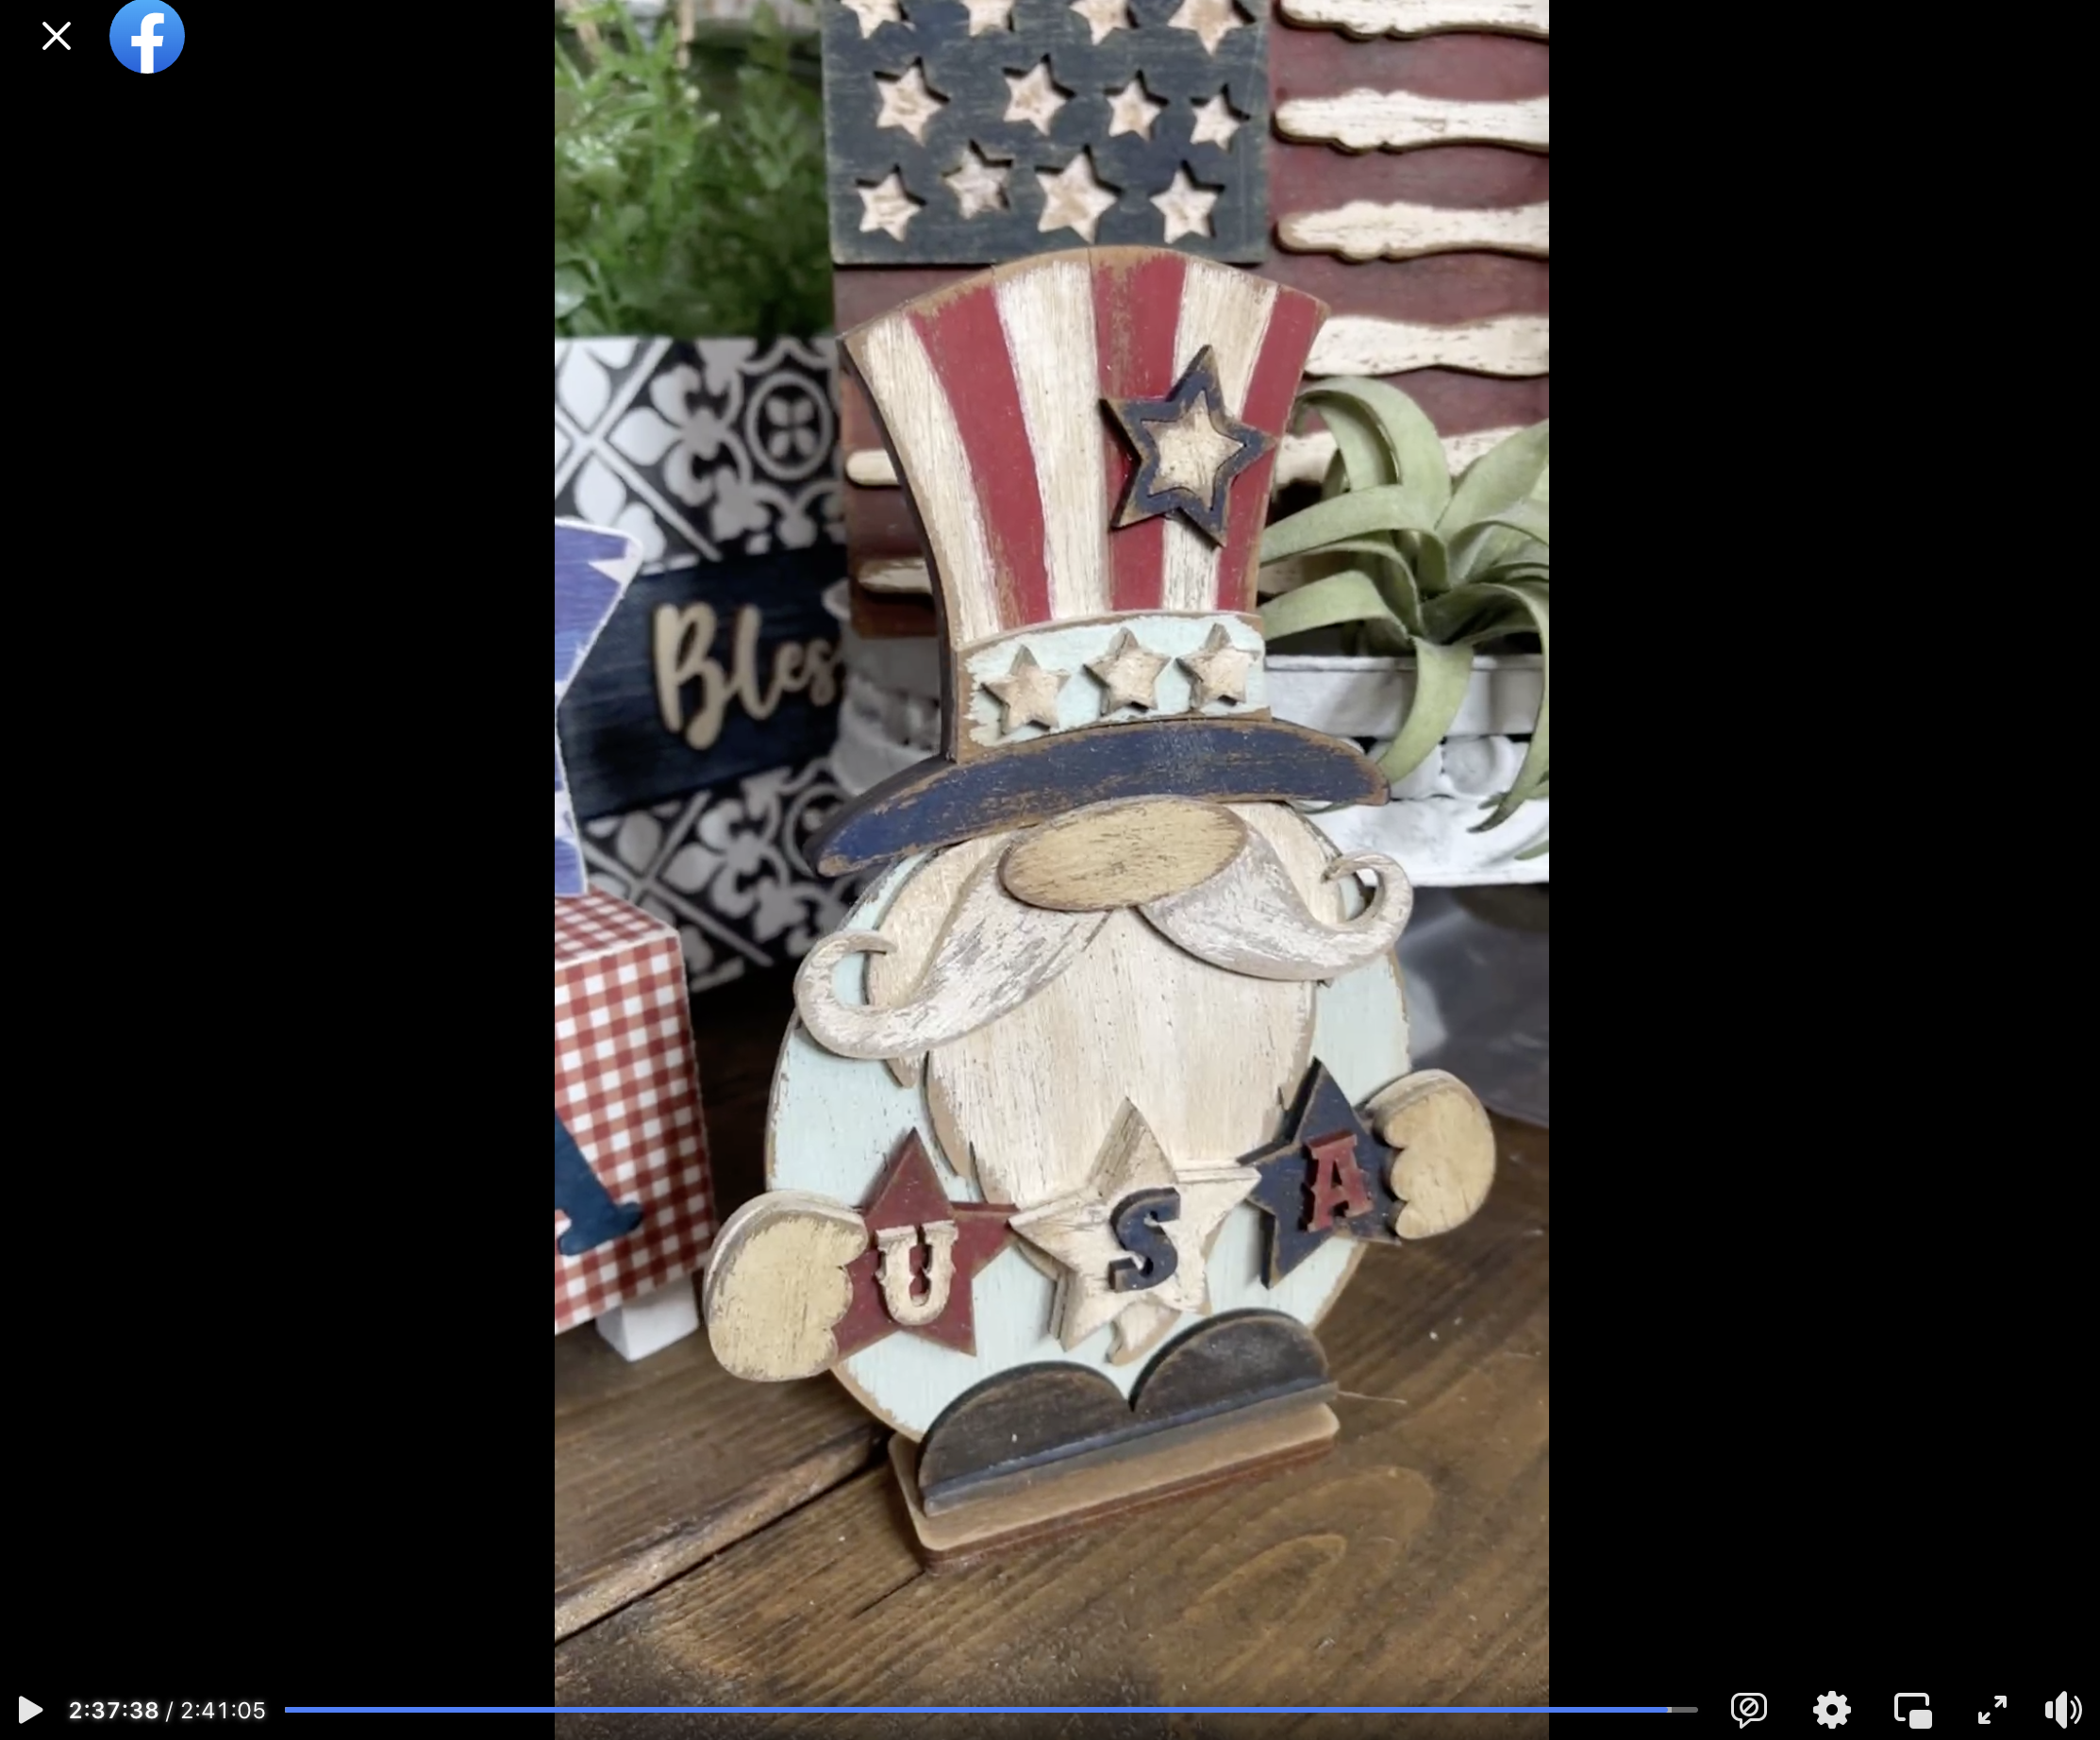
Watch the DIY tutorial
I shared how to make this Uncle Sam Shelf Sitter during a LIVE video on my Facebook page.
If you want to see the DIY process, craft along, or just join in on the fun conversations, you can watch the DIY tutorial video on Facebook!
I hope you enjoyed this Uncle Sam Shelf Sitter as I did and decide to make it for yourself! If you do, I would love to see how yours turns out!
You should totally join my FREE Facebook group called On A Budget Crafts! It is a judgment-free community for DIY crafters to show off their projects and ideas.
Thanks for stopping by! XOXO Amber
You can also shop my ENTIRE AMAZON Favorites shop just click here! It’s packed full of all the things I use and love. Here is the supply list I highly recommend every creative have on hand!!
Would you also pin my blog for later and get on my newsletter alerts? I would love to have you join my #craftycrew.
Inspired? Leave me a comment below! I love hearing from my readers!