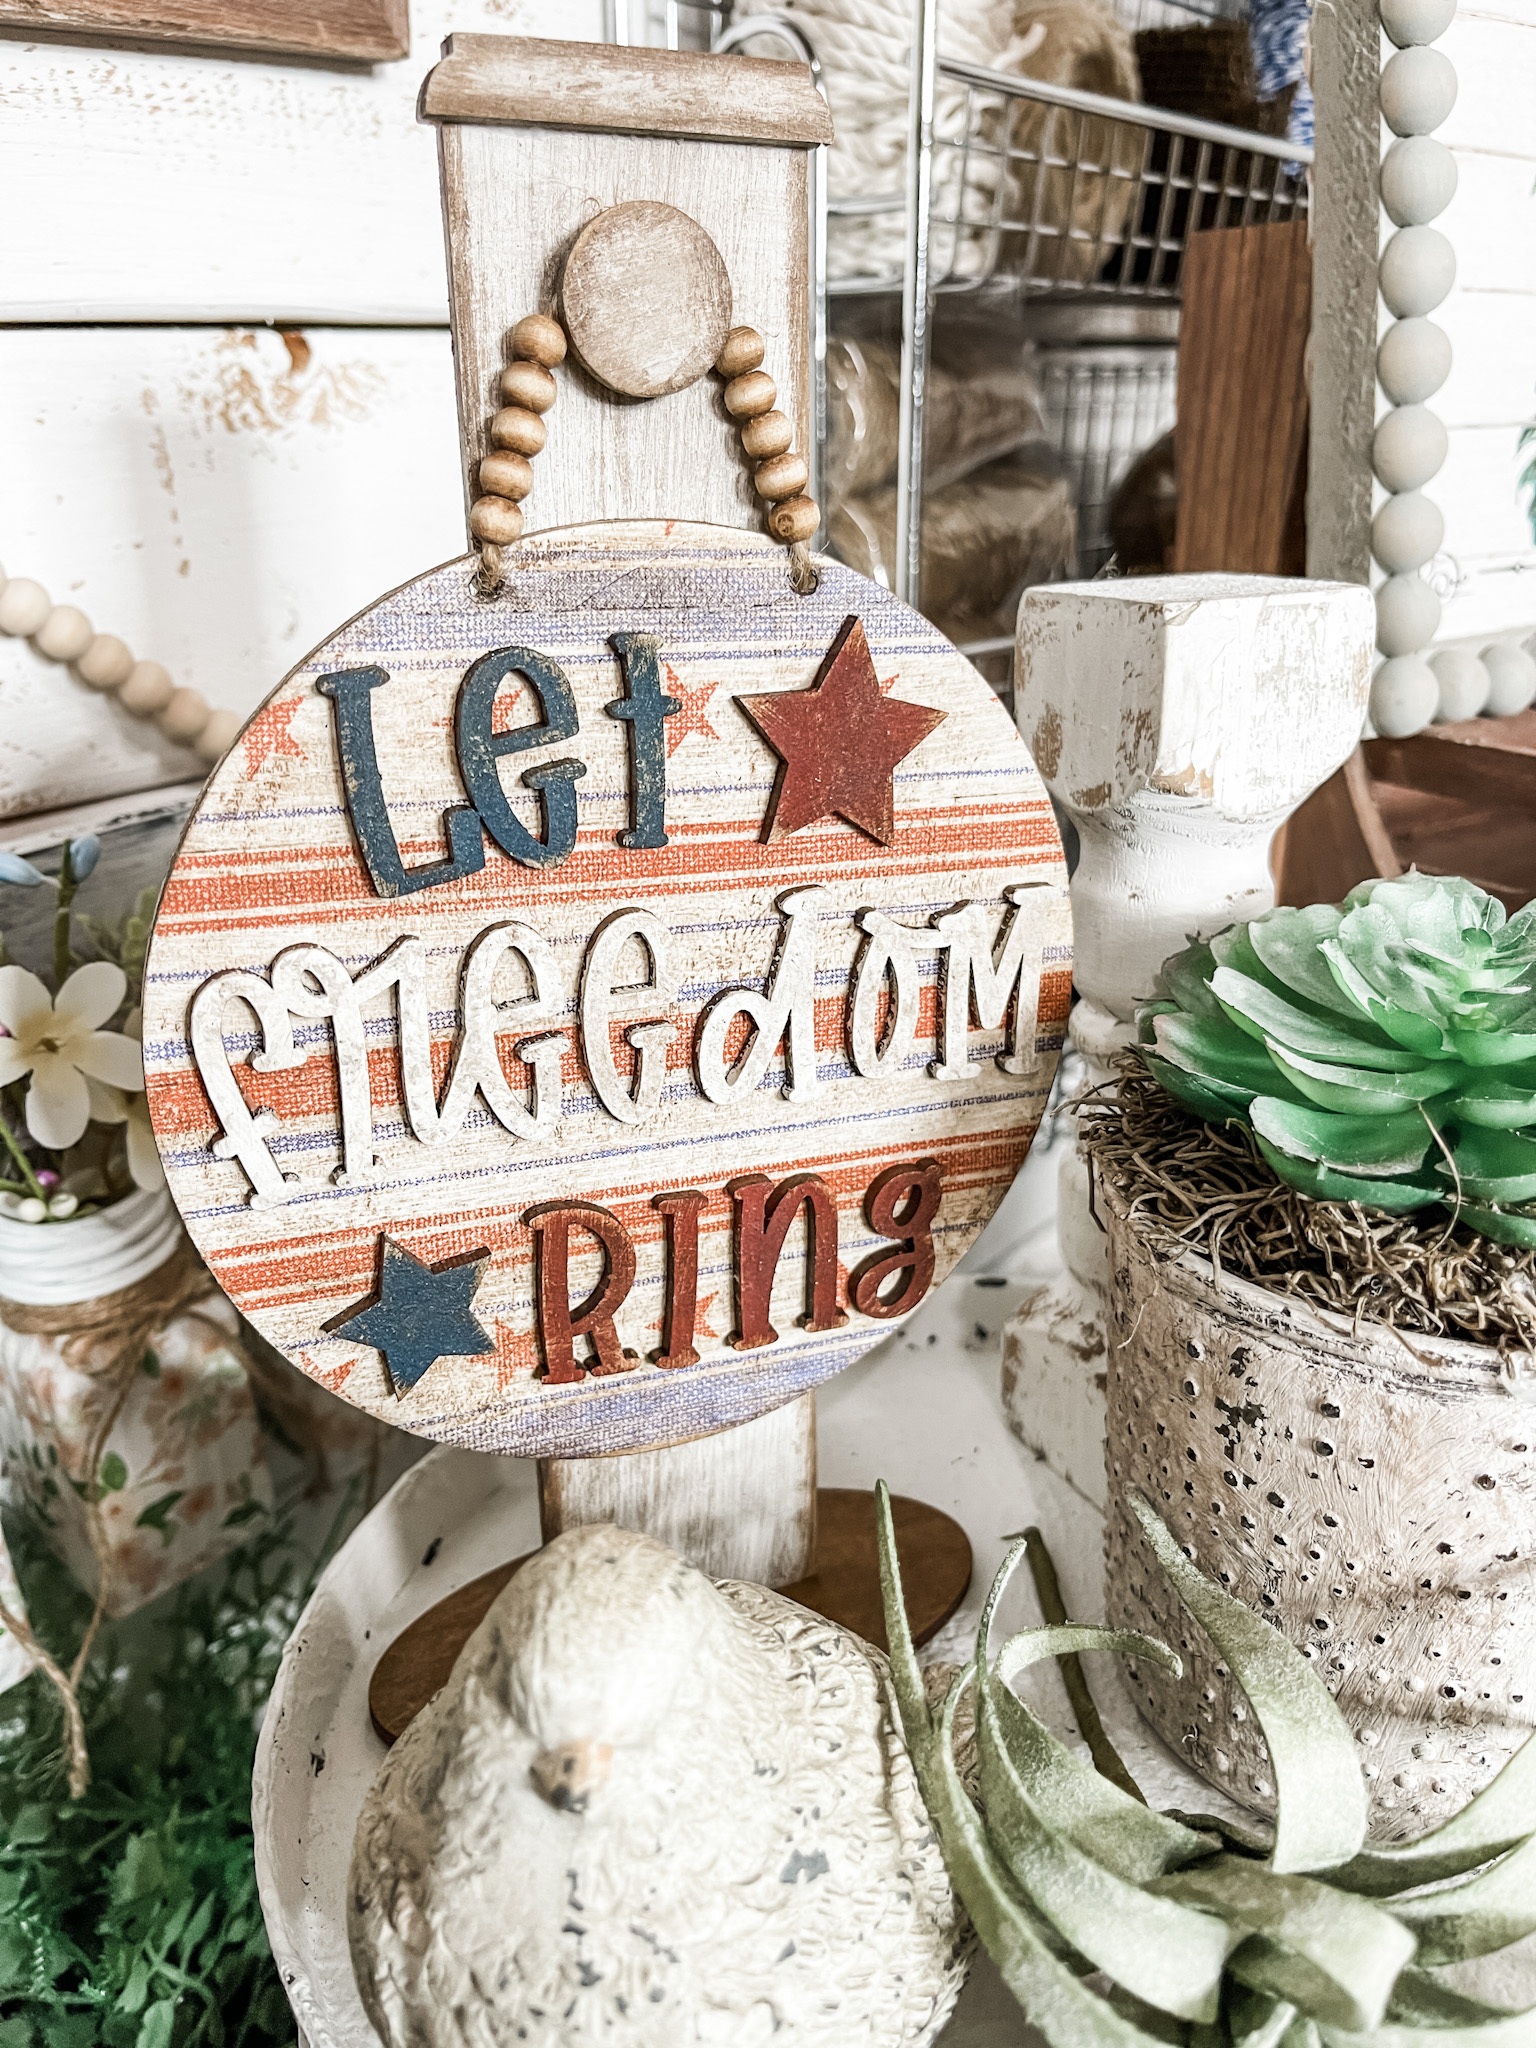
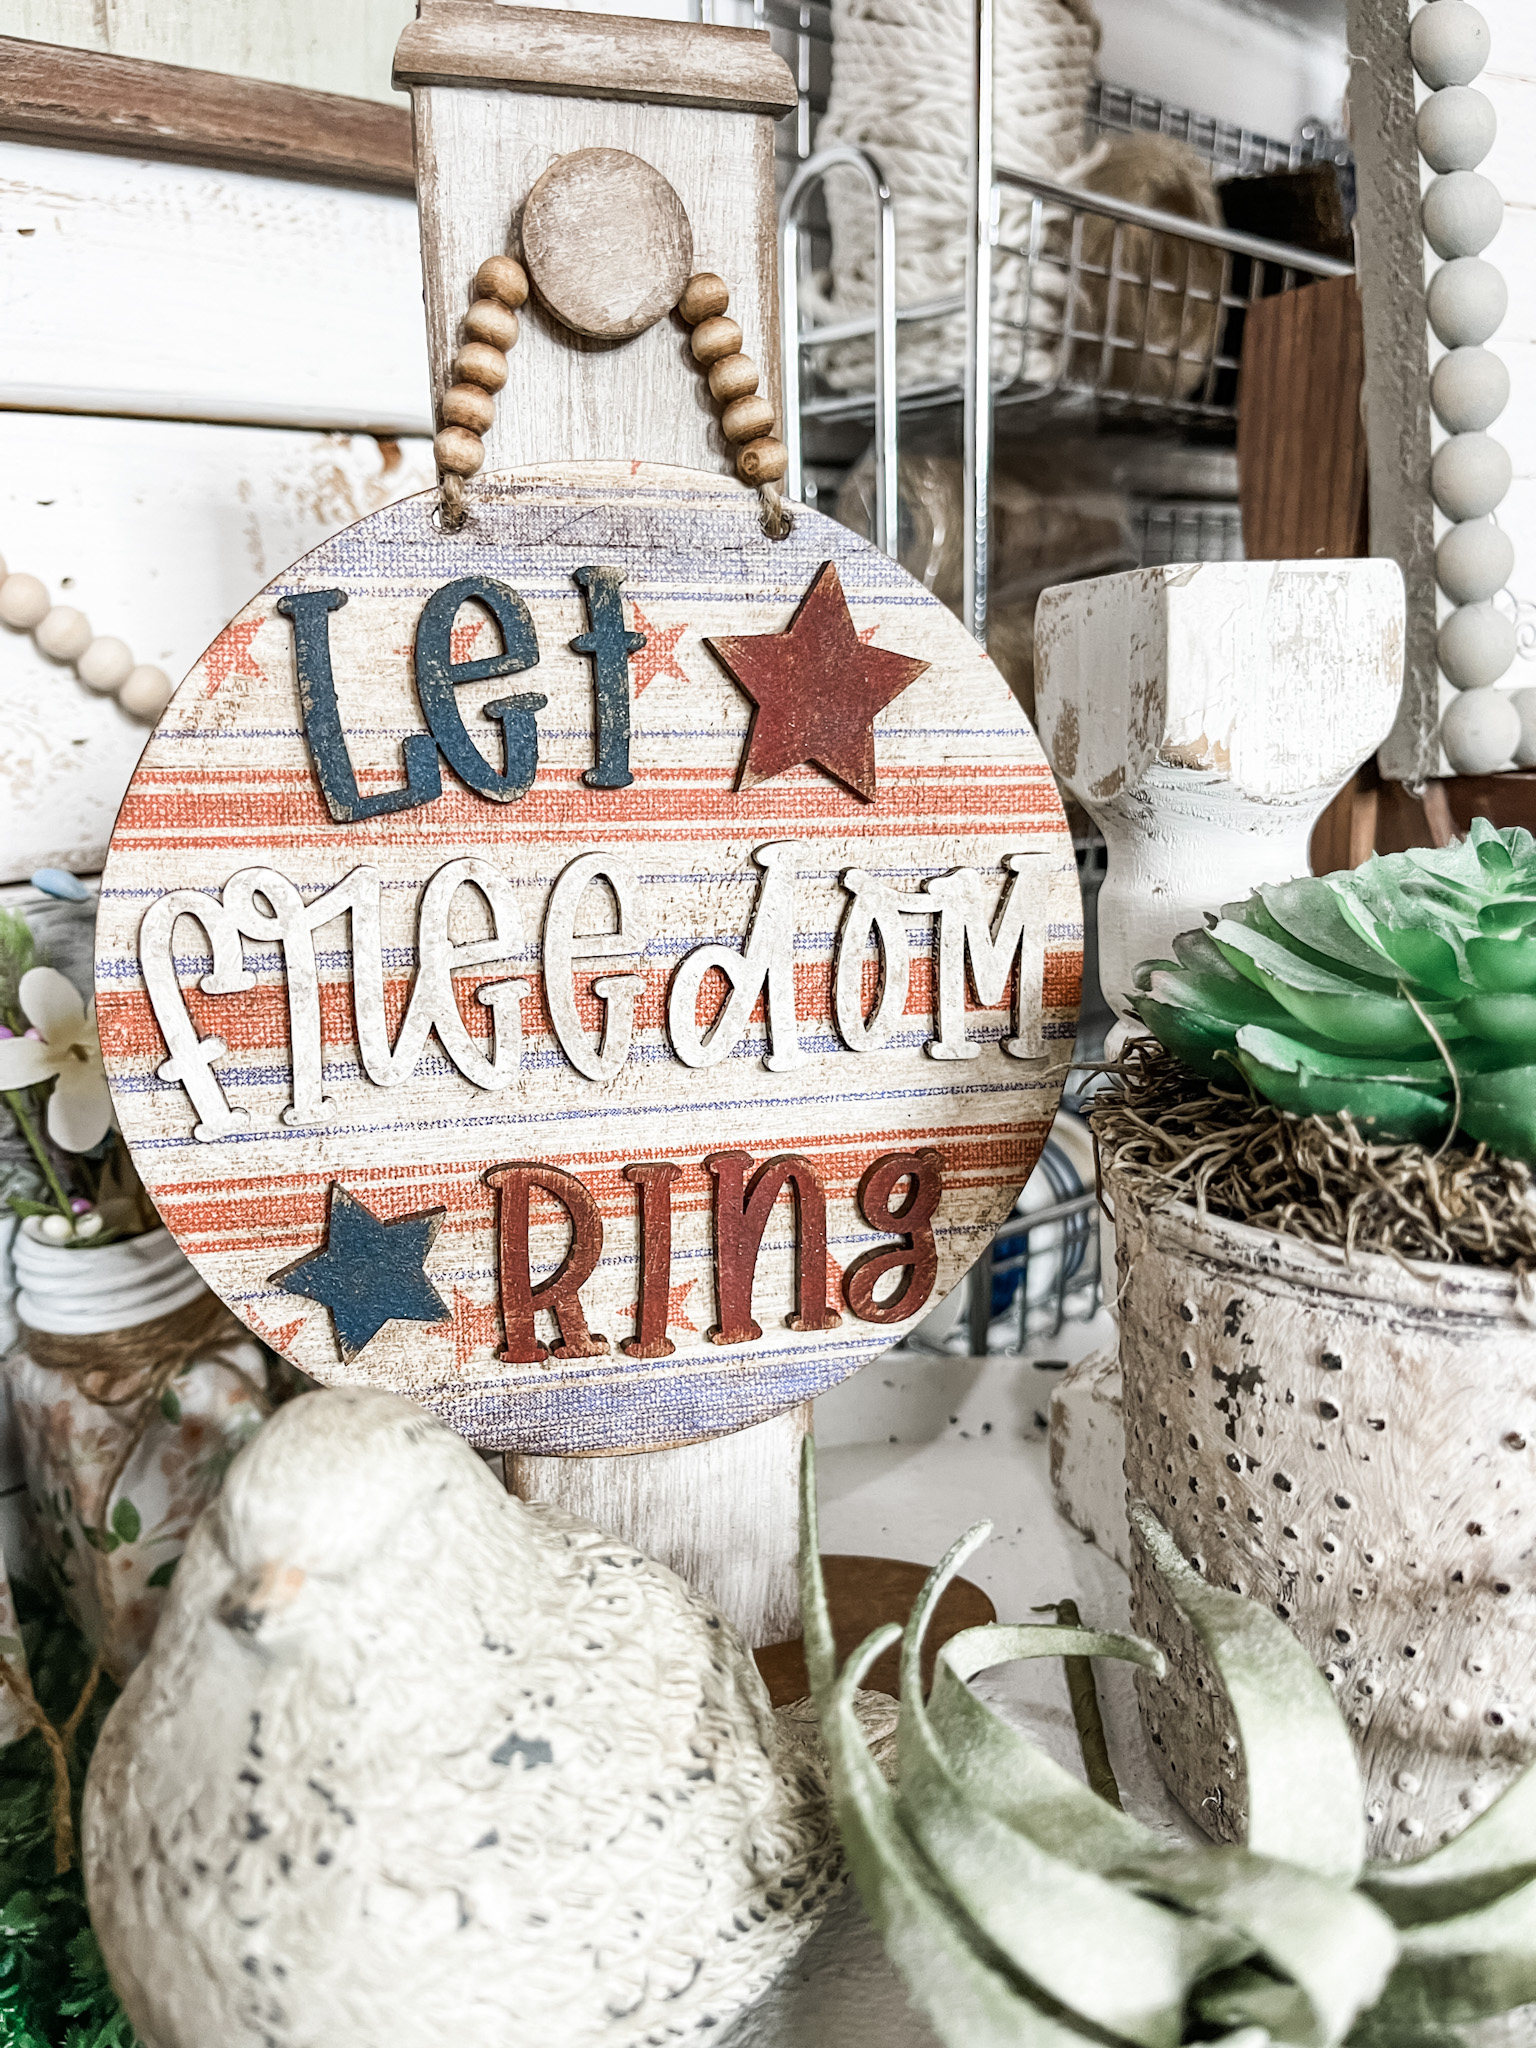
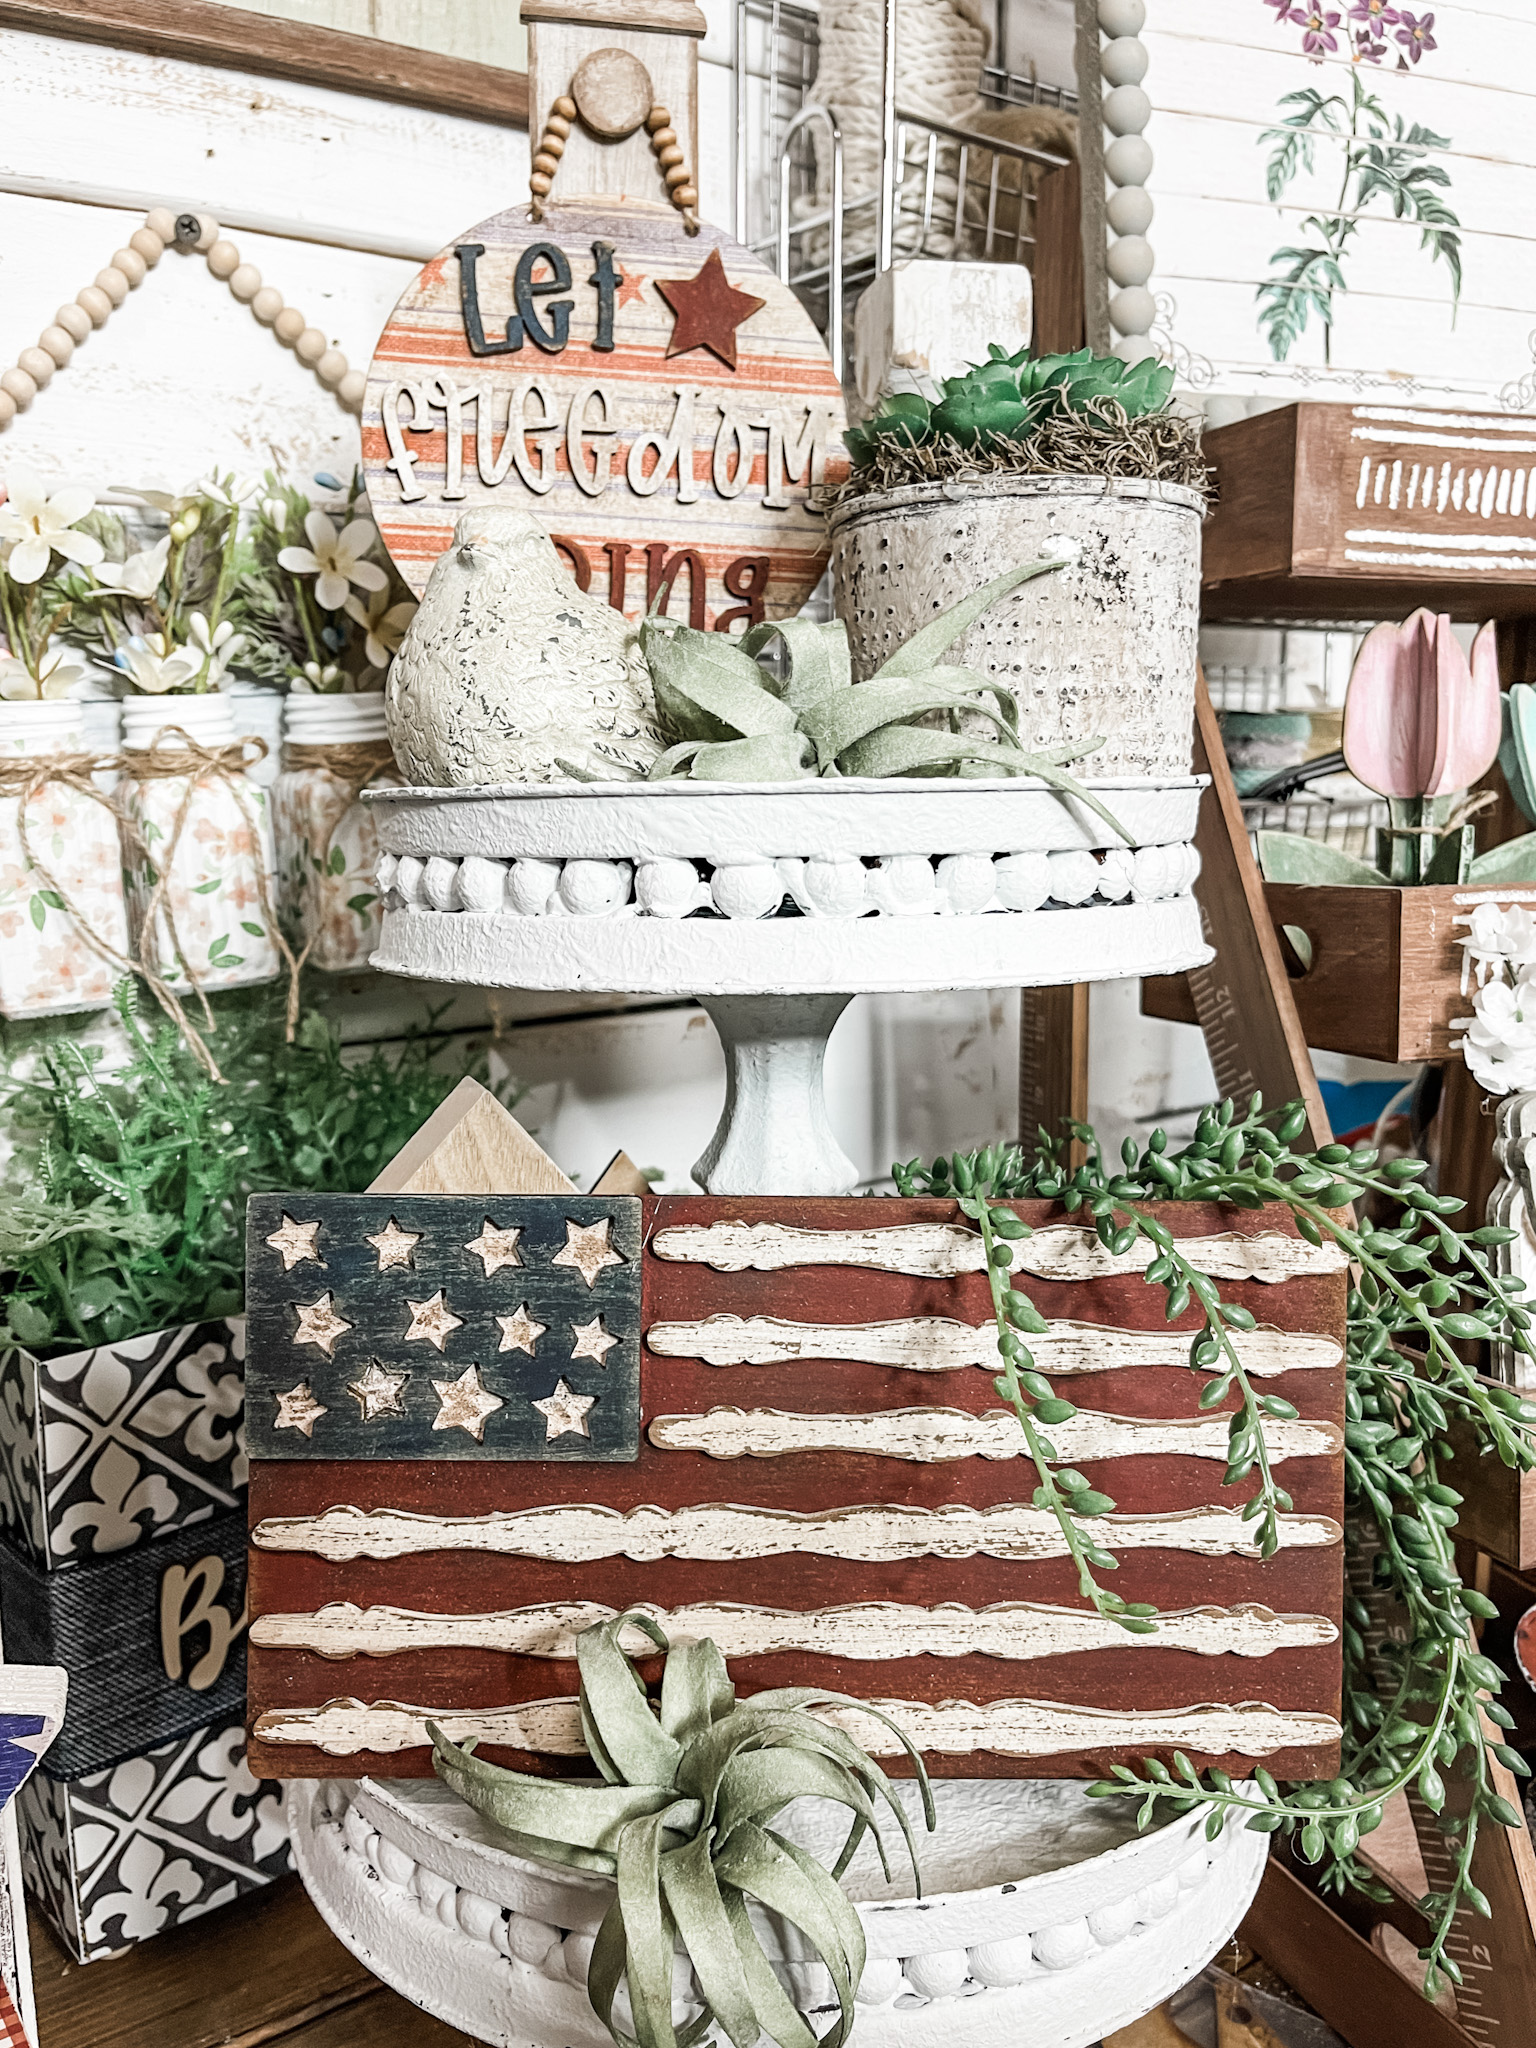
Let Freedom Ring Sign and Stand
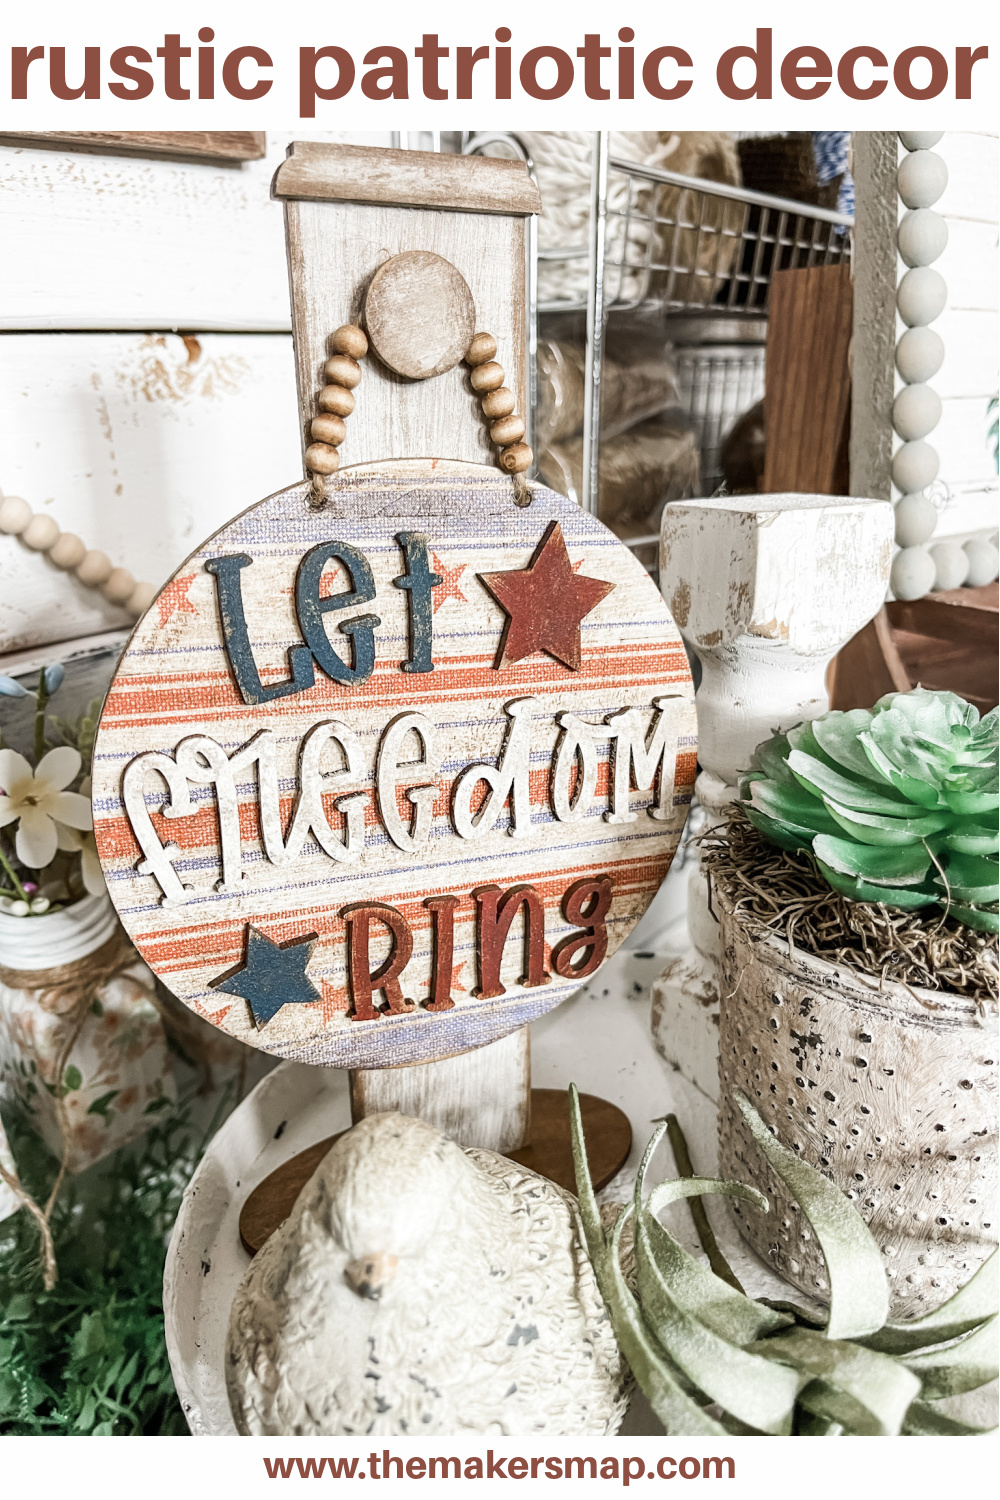
I’m super excited to show you how to make your own Let Freedom Ring Sign and Stand with one of my patriotic craft kits!
This project was so much fun to make, and I really think you’re going to love it! I hope it inspires you to get crafty and creative!
If you want to see the full supply list or video tutorial, just scroll to the bottom of this page!
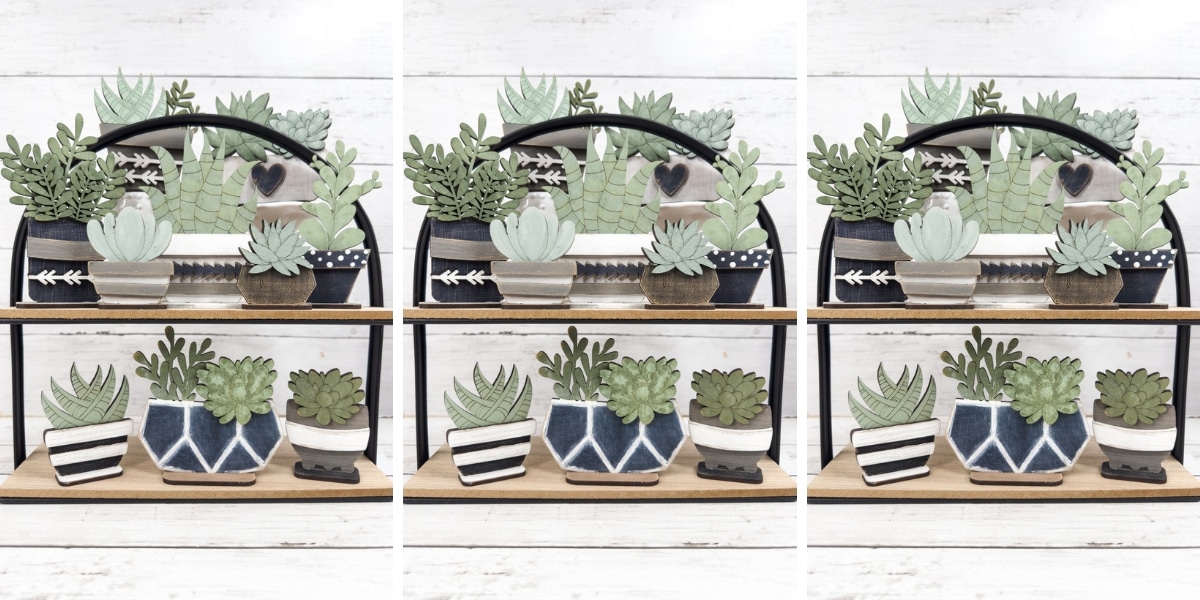
Check out the other craft kits in my shop!
If you loved this DIY you might also like these patriotic DIYs!
- Repurposed Tablecloth DIY Patriotic Decor
- DIY Red White and Blue Rag Wreath
- DIY Dollar Tree Patriotic Door Hanger
- American Flag Anchor DIY Patriotic Decor
- DIY Ribbon American Flag
- DIY 4th of July Shirt Idea
- Blue Jean American Flag
- DIY Dollar Tree American Flag Decor
- DIY Patriotic Dollar Tree Mason Jar
How to make this Let Freedom Ring Sign and Stand
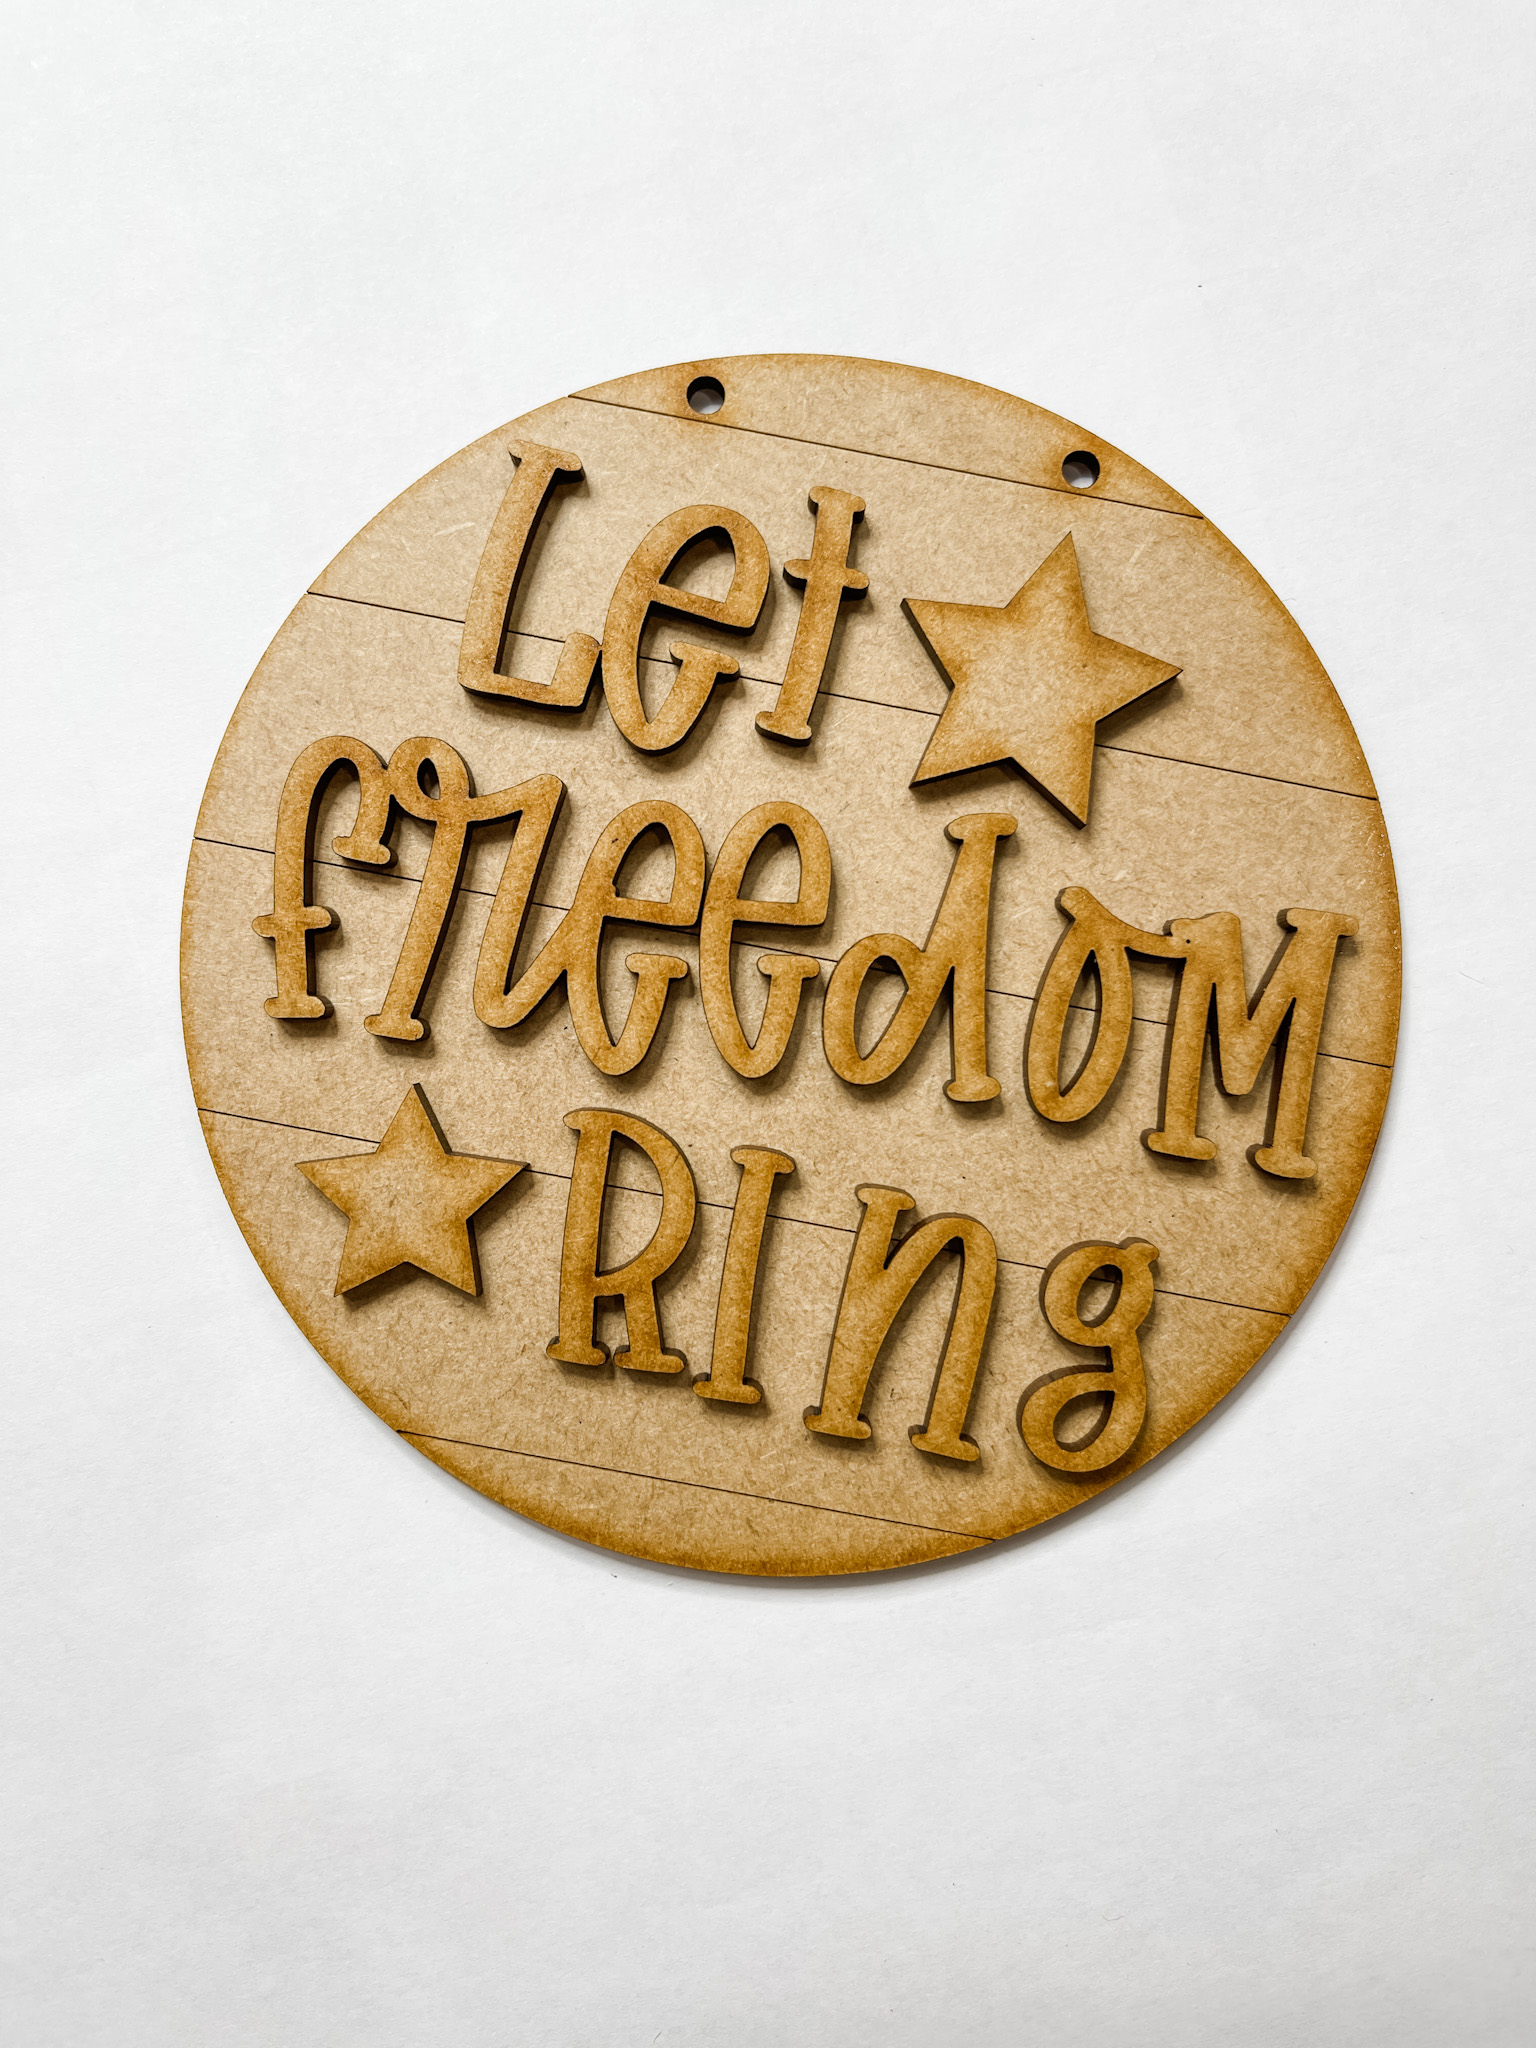
I started this project by sanding down the front of each piece of the let freedom ring sign and stand kit.
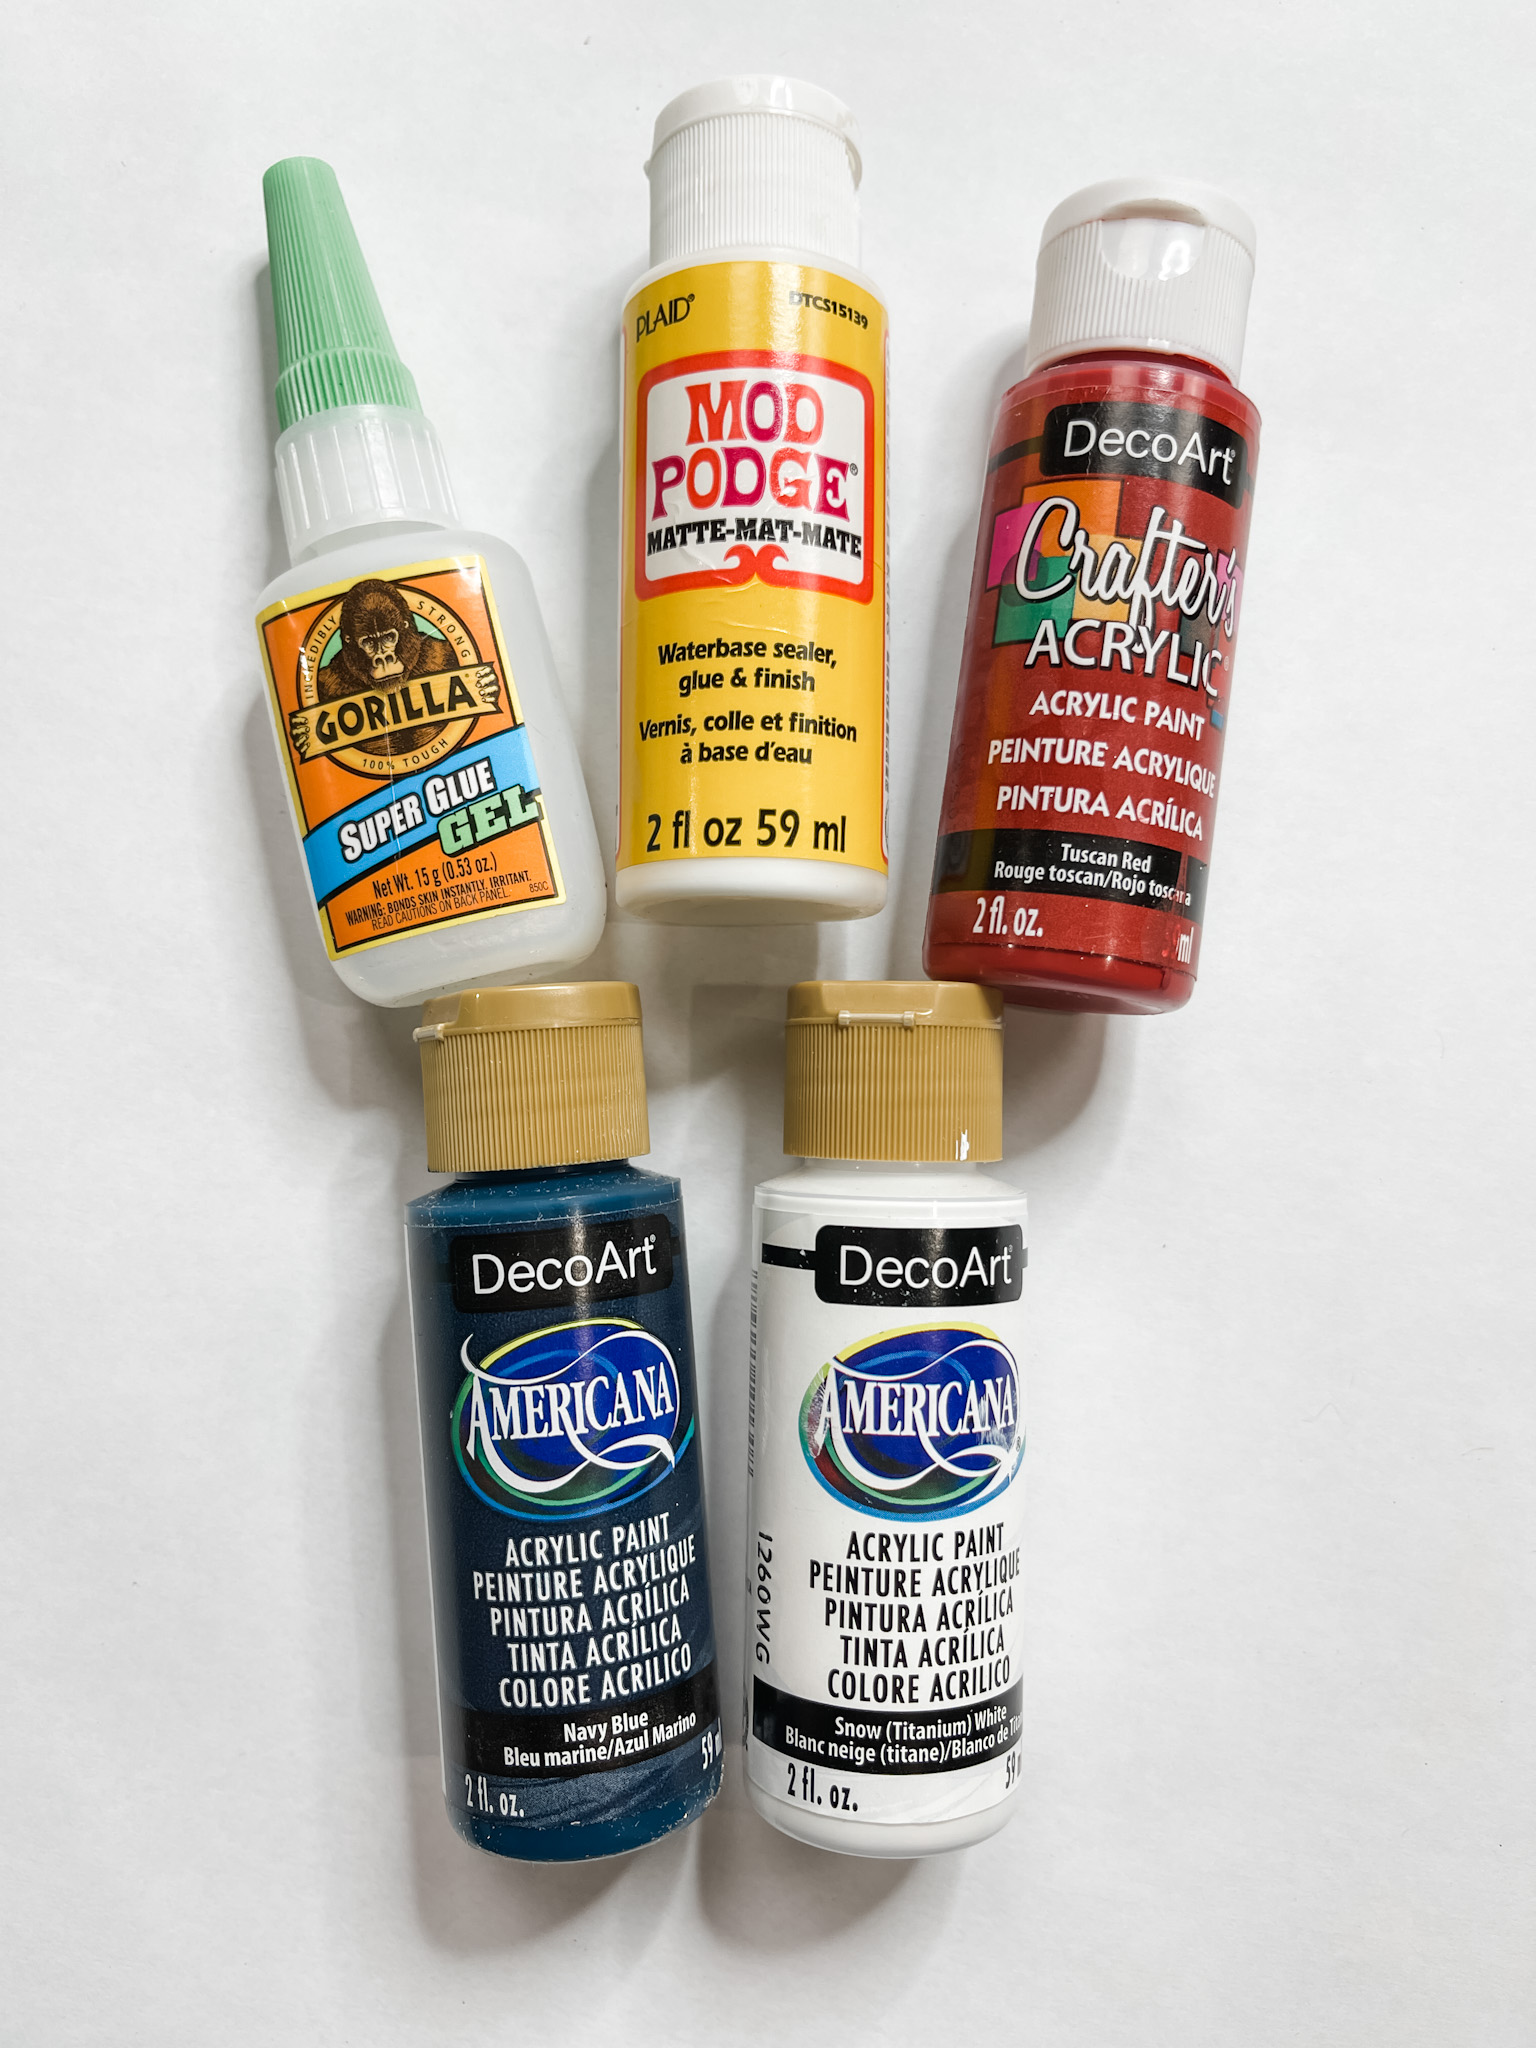
Clean any dust from sanding from your pieces and the craft table. Then, paint the front of the circle sign with white paint. I used DecoArt but Apple Barrel is also a good paint.
If you want to see the full supply list or video tutorial, just scroll to the bottom of this page!
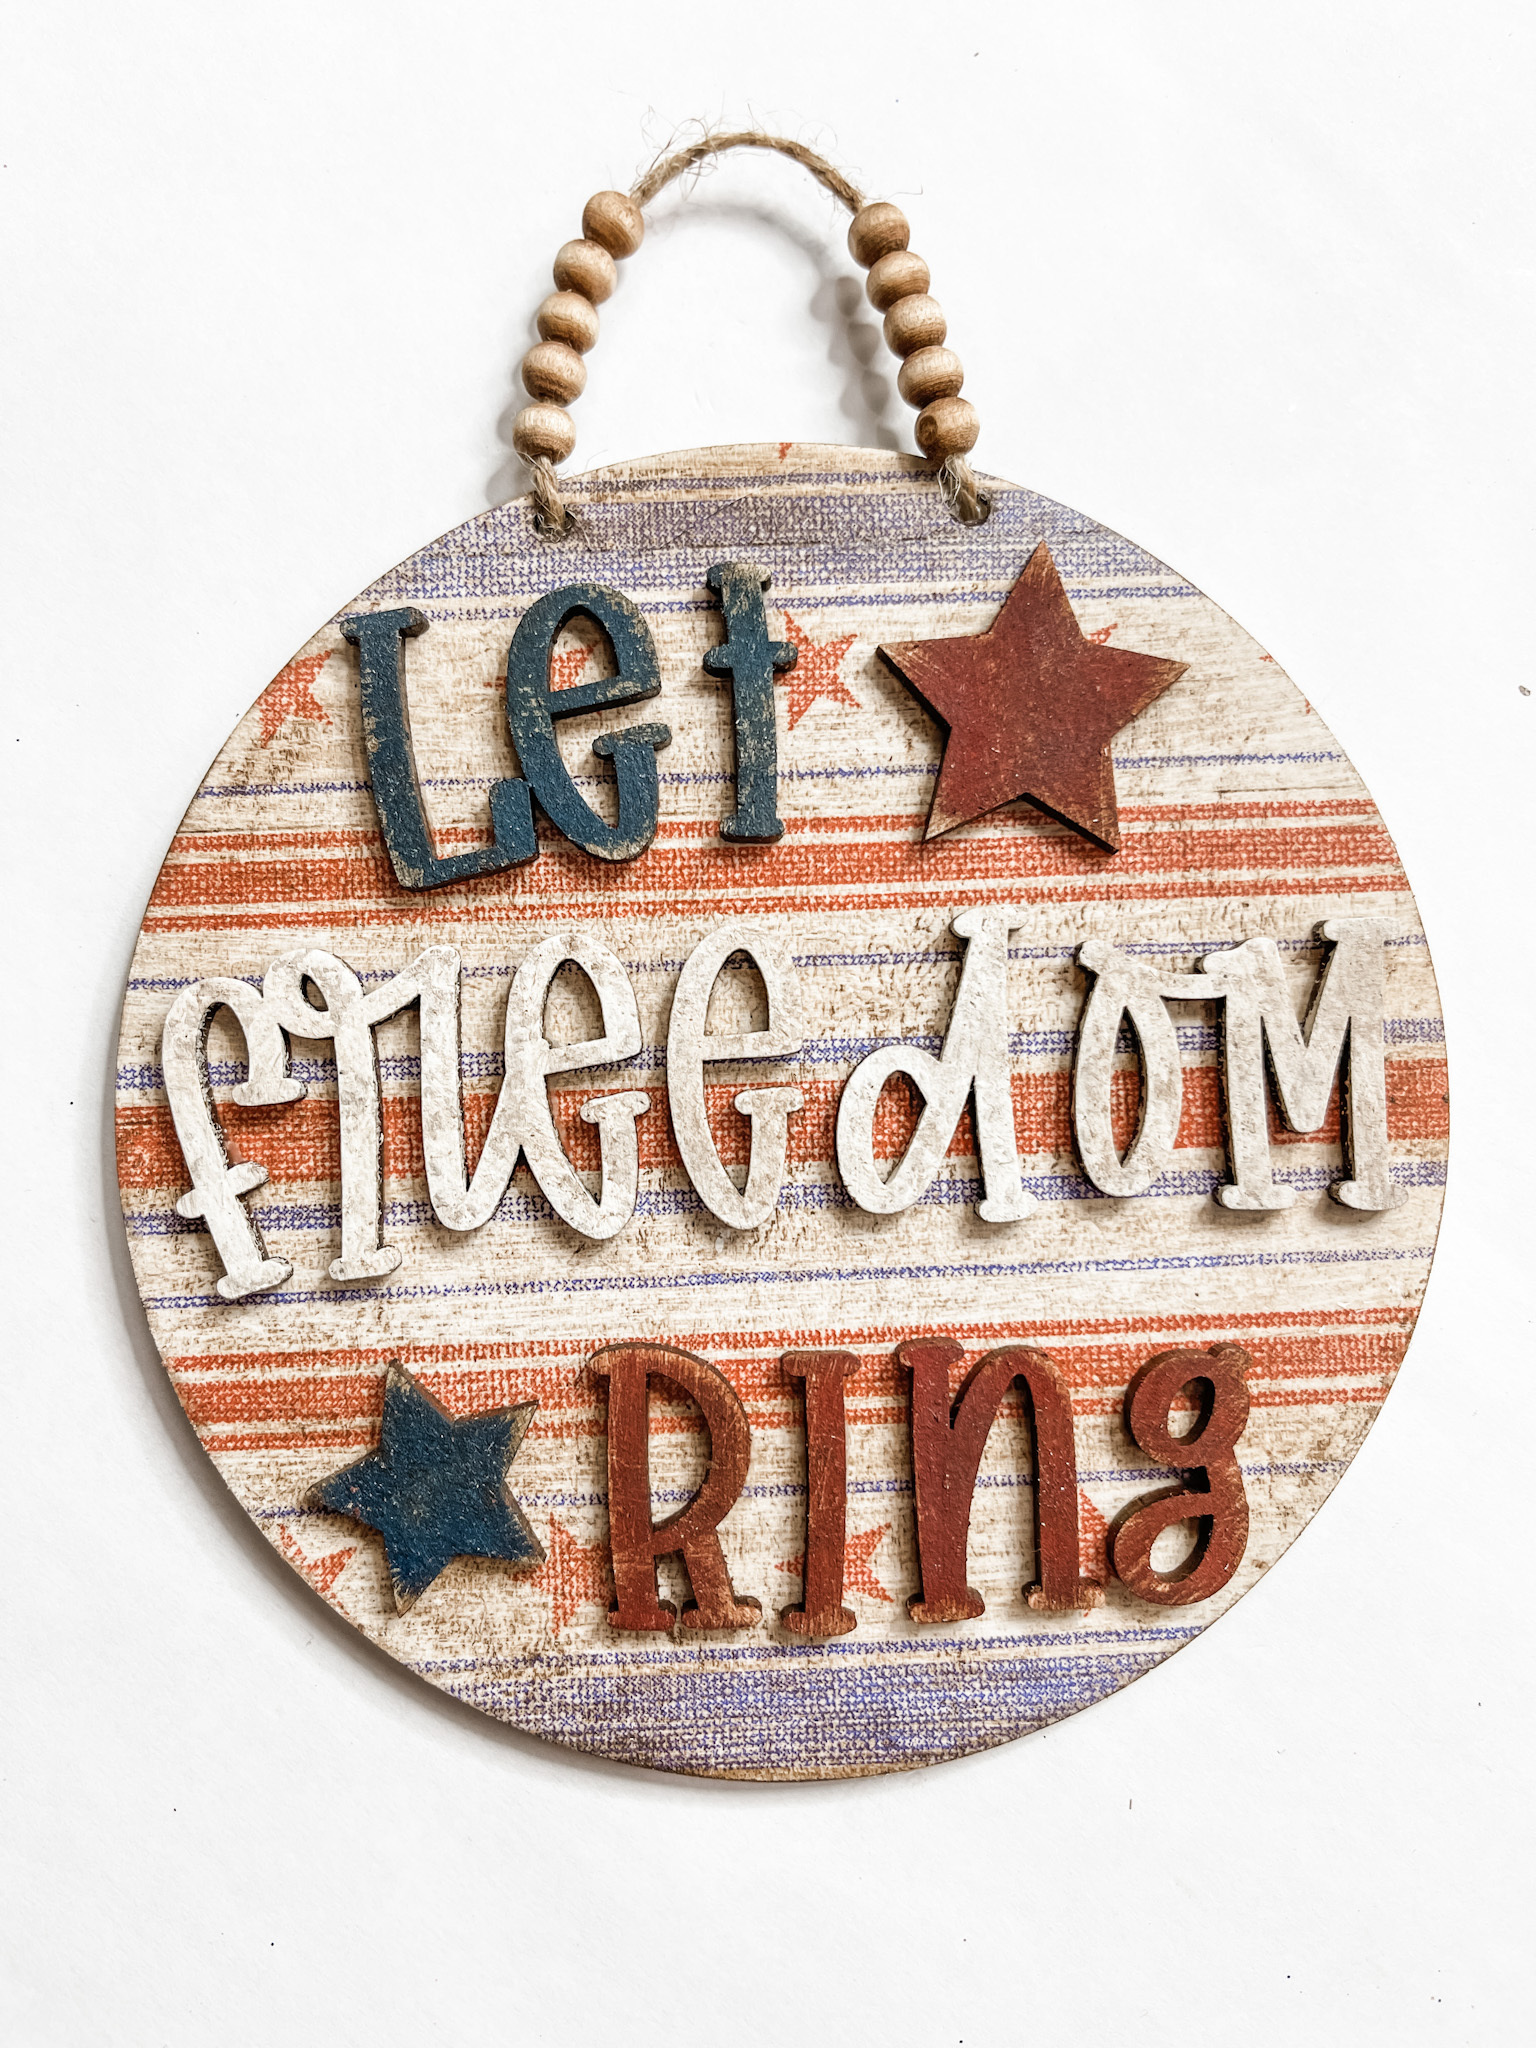
Allow the white paint to dry completely, then lightly distress the circle sign. Apply a coat of Mod Podge to the circle sign.
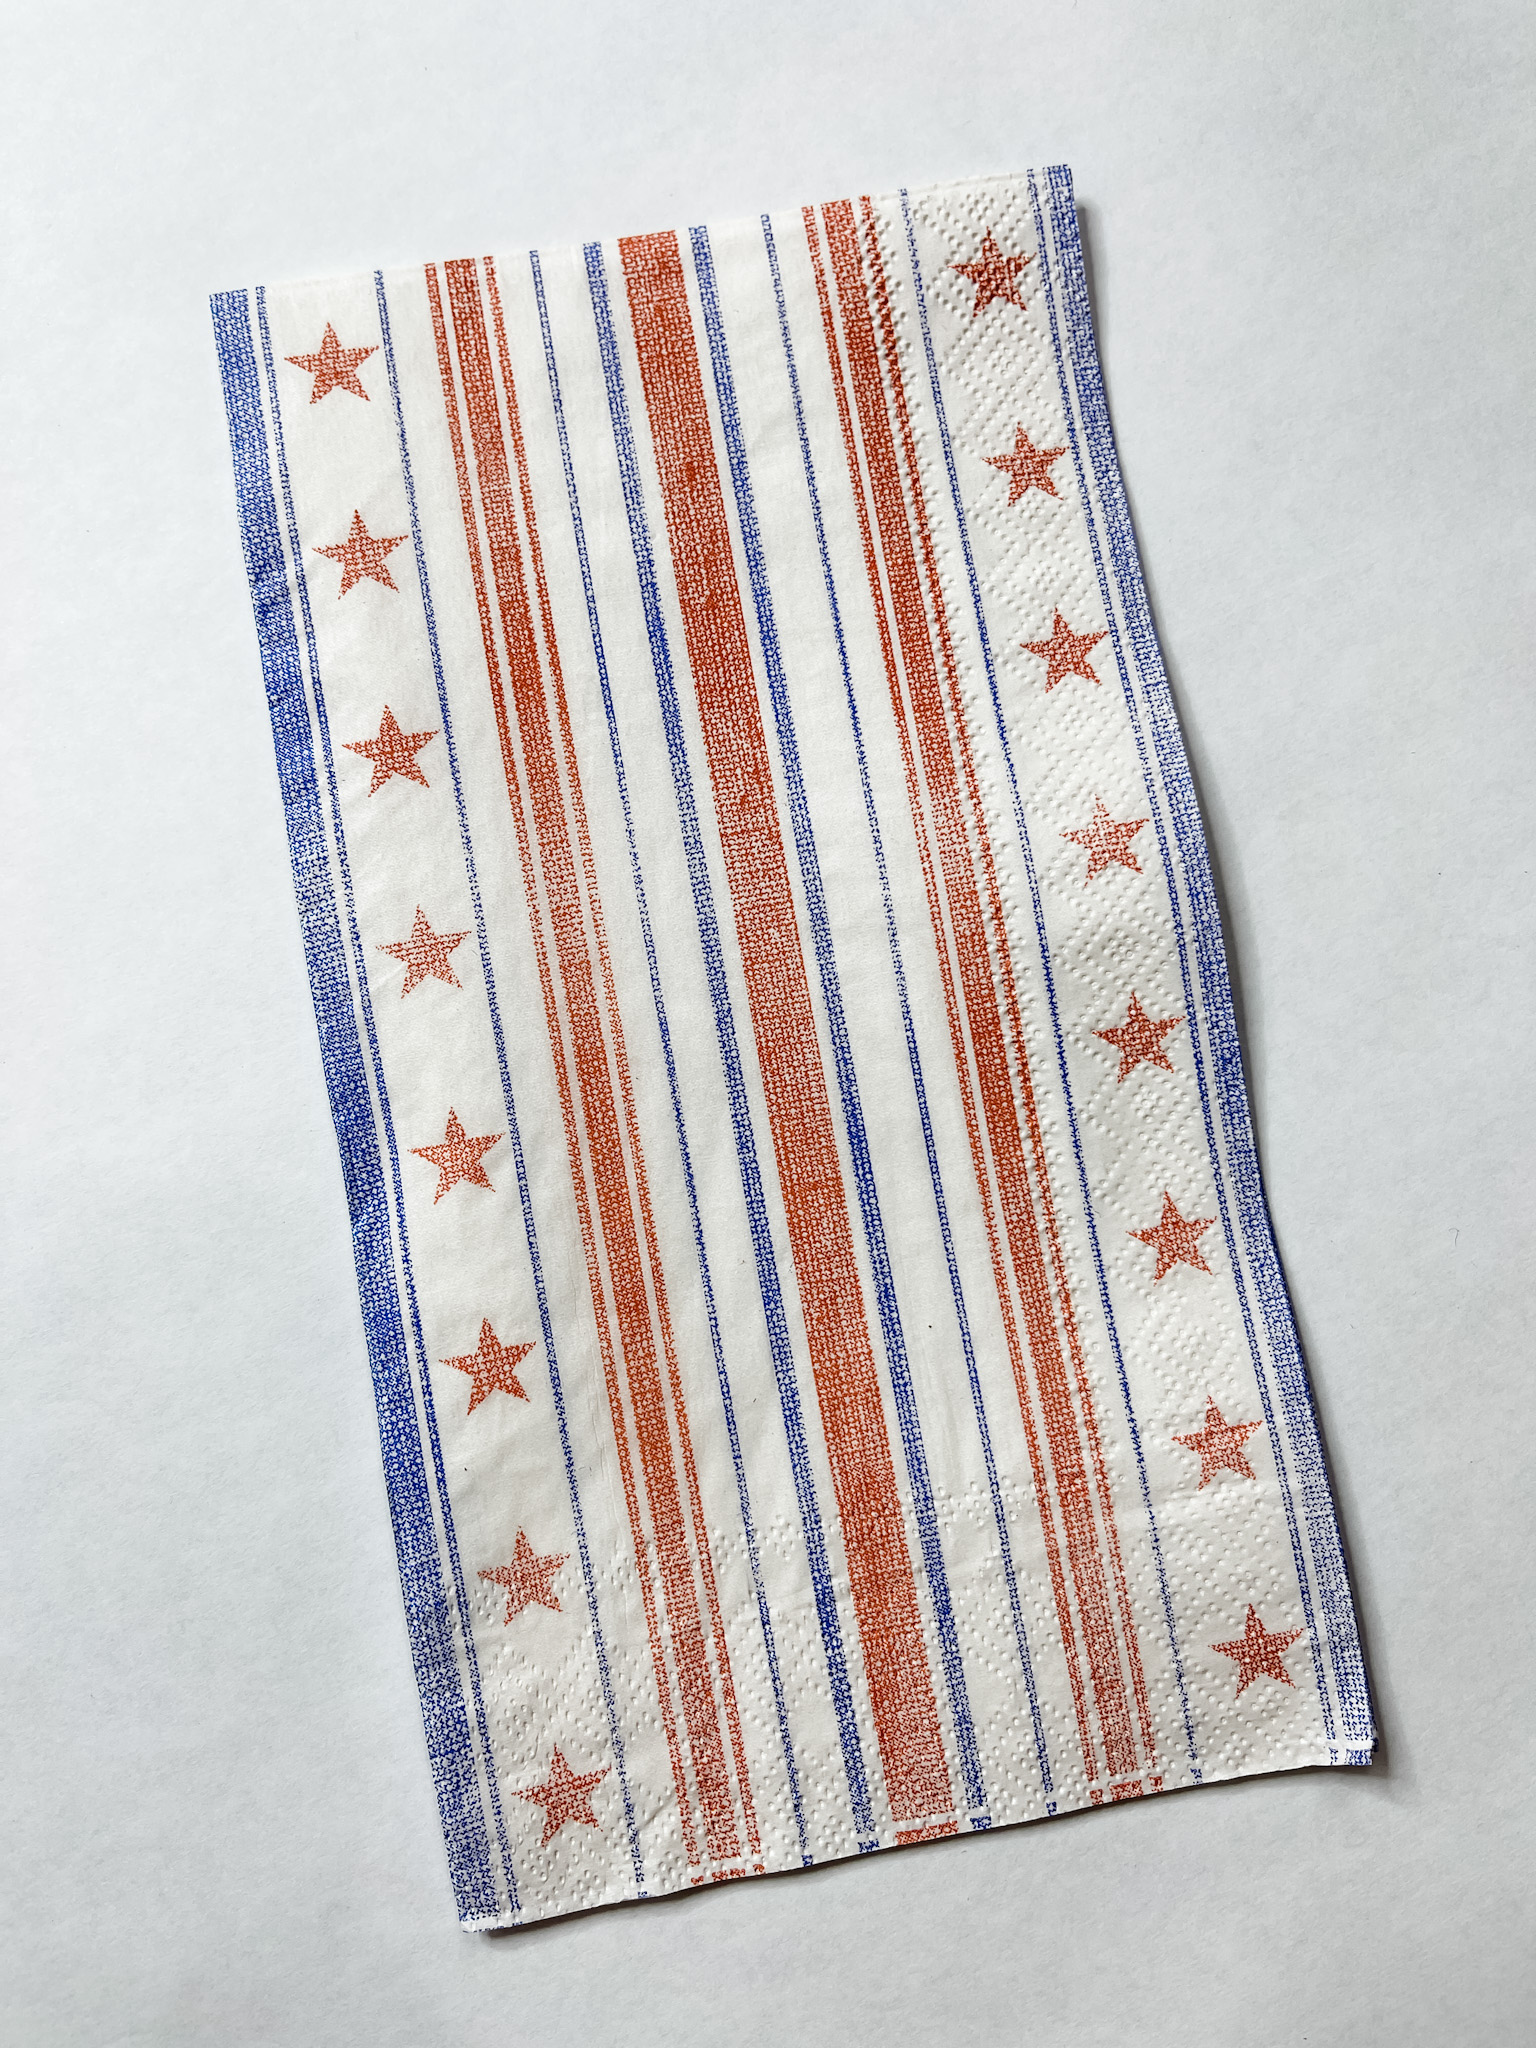
Separate the plies of your patriotic napkin and place the ply with the design onto the surface. Use a rolling pin to smooth out any wrinkles or bubbles in the napkin.
Let the Mod Podge dry completely (my heat gun comes in handy for that) and tear the excess napkin from the circle sign.
Next, I brushed brown paint (Apple Barrel Burnt Umber acrylic paint) overtop the napkin. Keep a light hand so you can still see the napkin’s design. You just want to make it look dirty.
Use a wet wipe to remove any excess paint from the napkin. Next, I worked on the letters and stars that come in the let freedom ring sign kit.
Put each letter and star on a long piece of tape. This helps them stay still while you paint each one brown. Use a wet wipe to remove excess paint while they’re wet and they will look stained.
Once the brown paint was dry, I painted LET blue, FREEDOM white, and RING red. I painted the stars red and blue as well.
I used a wet wipe to smudge brown paint on the letters and stars to make them look dirty as well. Once the paint was dry, I lightly distressed each piece.
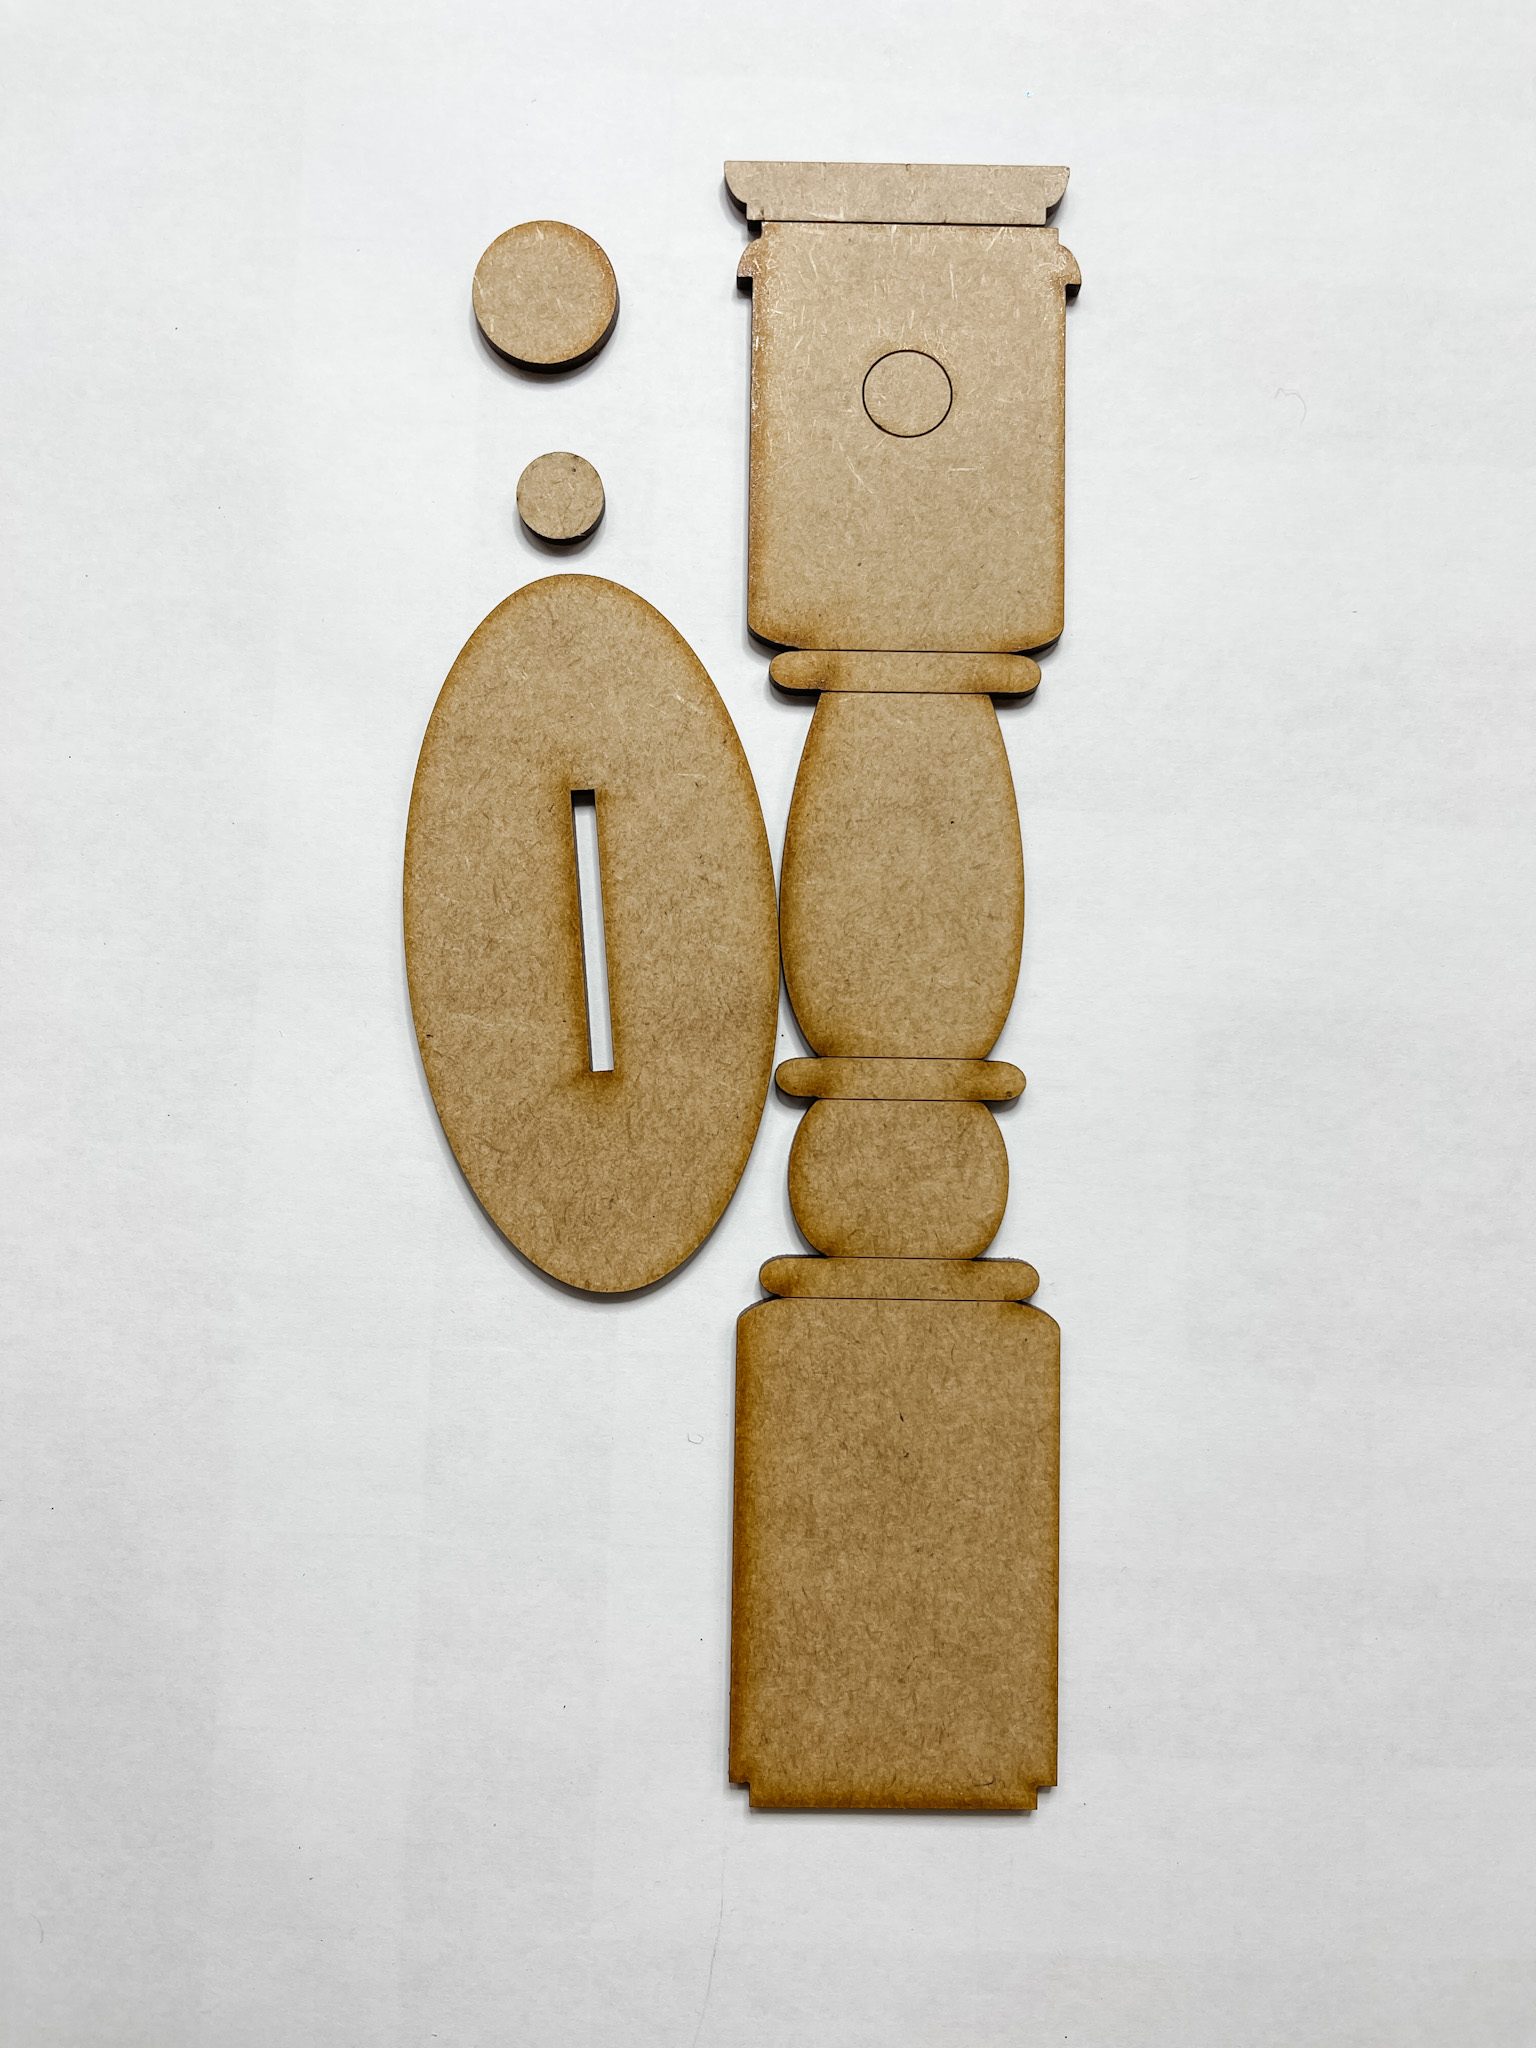
Mini Sign Stand kit
Next, I worked on the mini sign stand. It comes as its own kit or can be purchased as a package with a few different sign options.
Mix a bit of the brown paint with water and use a paintbrush to apply it to the stand pieces. Use a wet wipe to remove excess paint/water from the pieces and allow them all to dry.
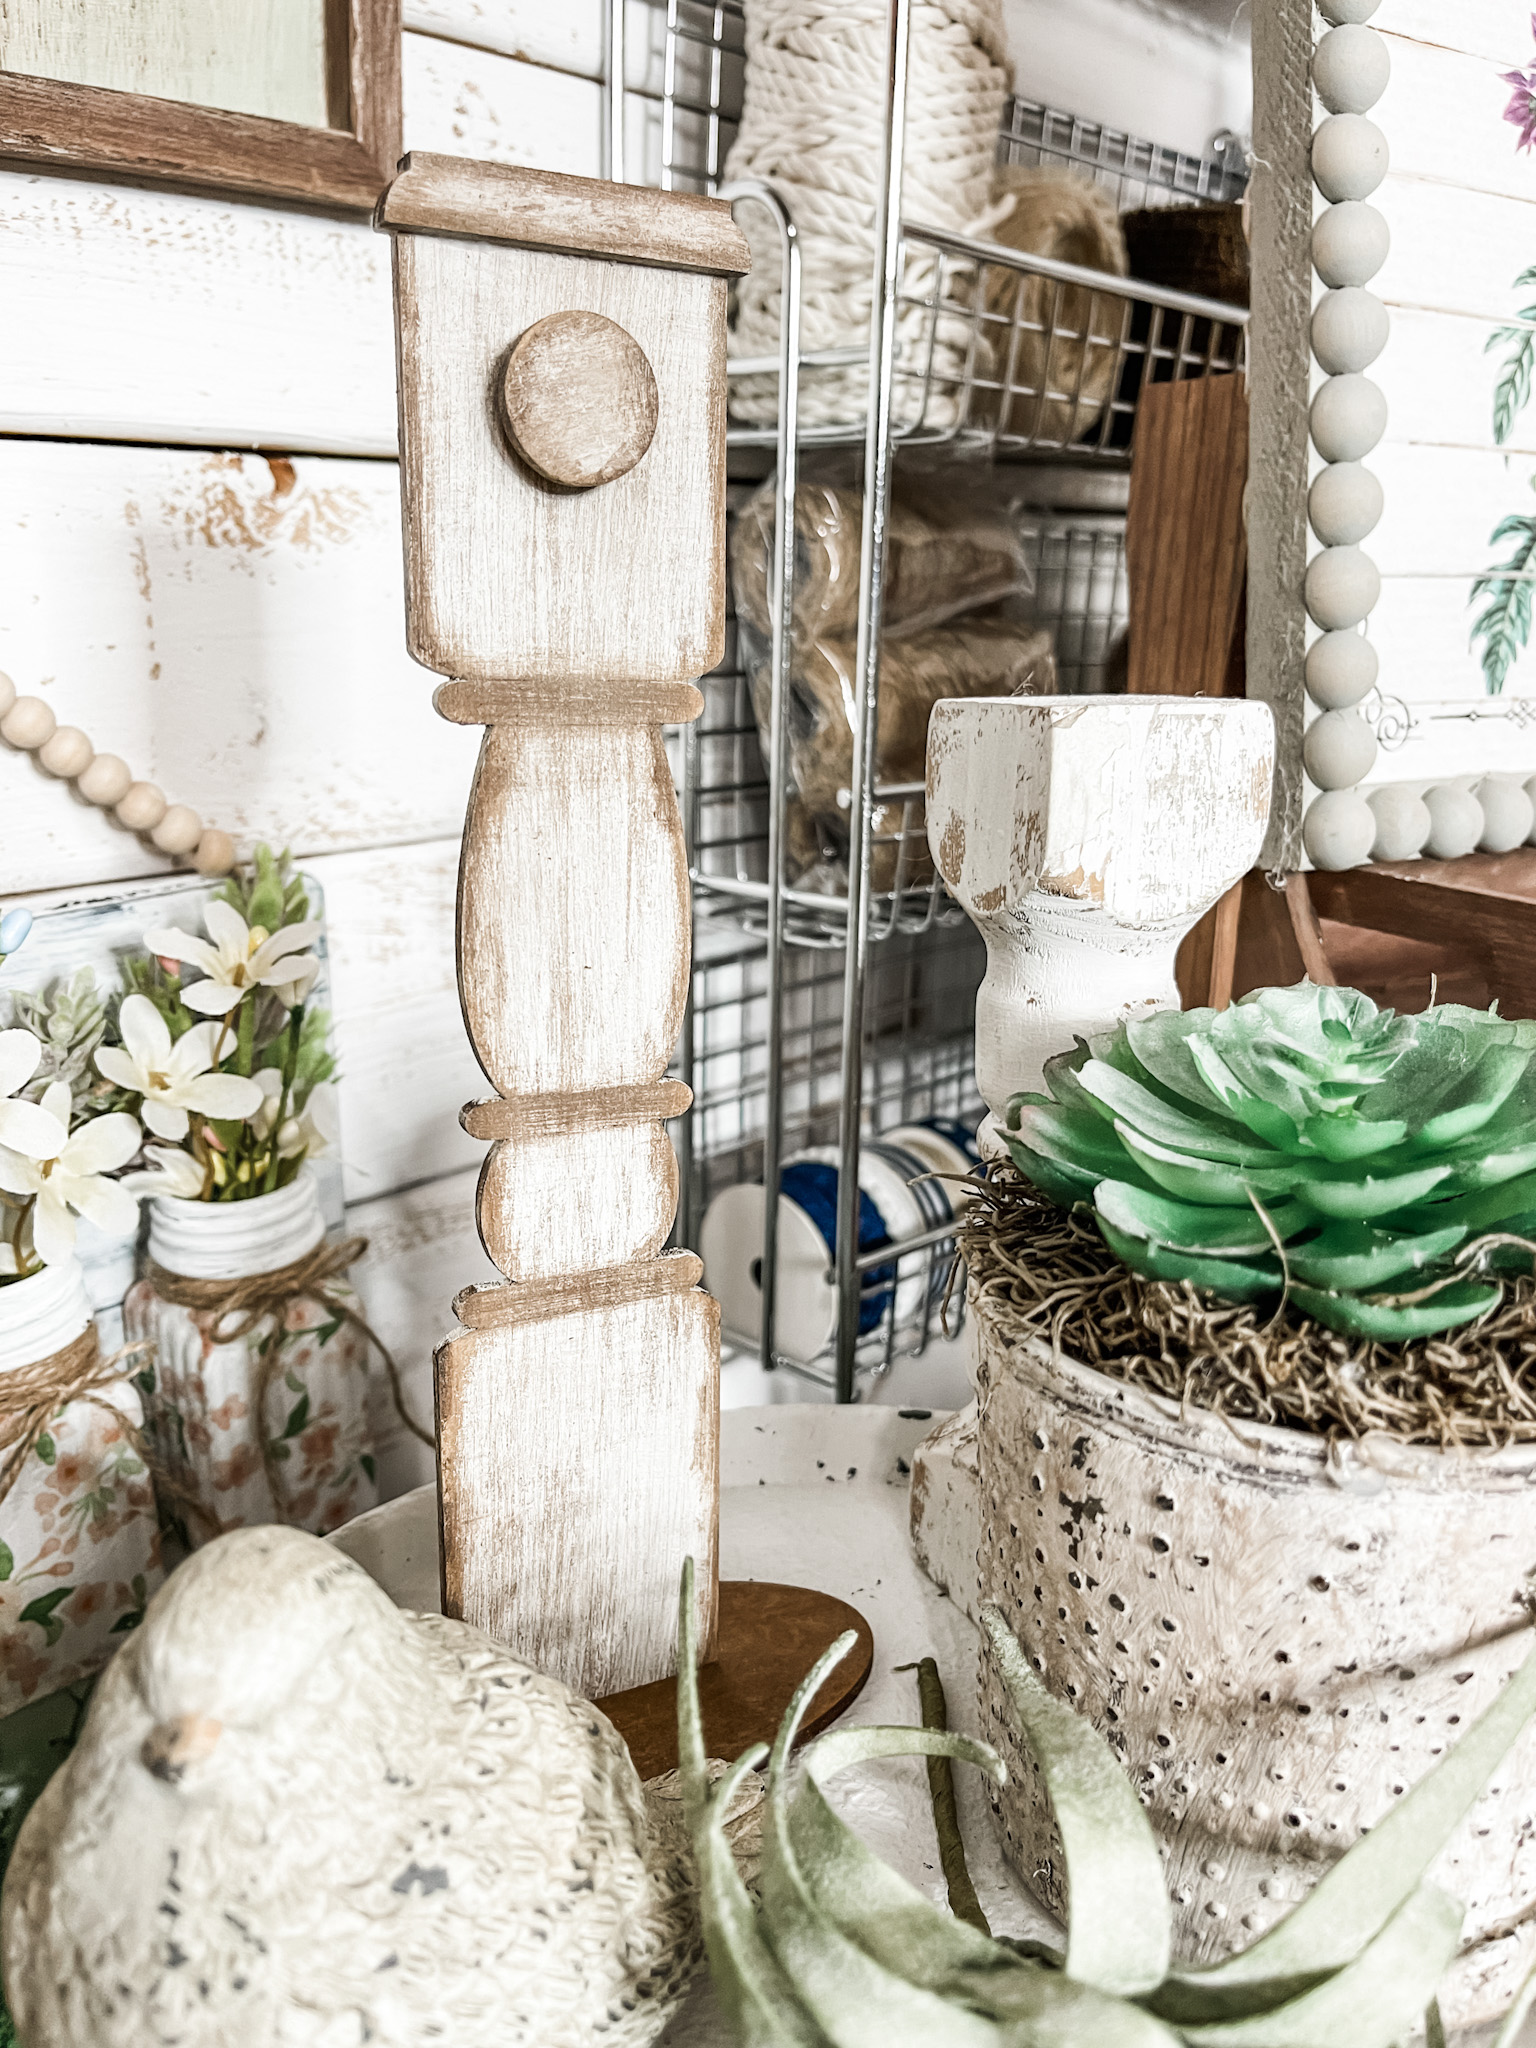
Lightly brush white paint onto the stand pieces and allow them to dry. Then, I painted some detailing onto the stand piece with brown paint.
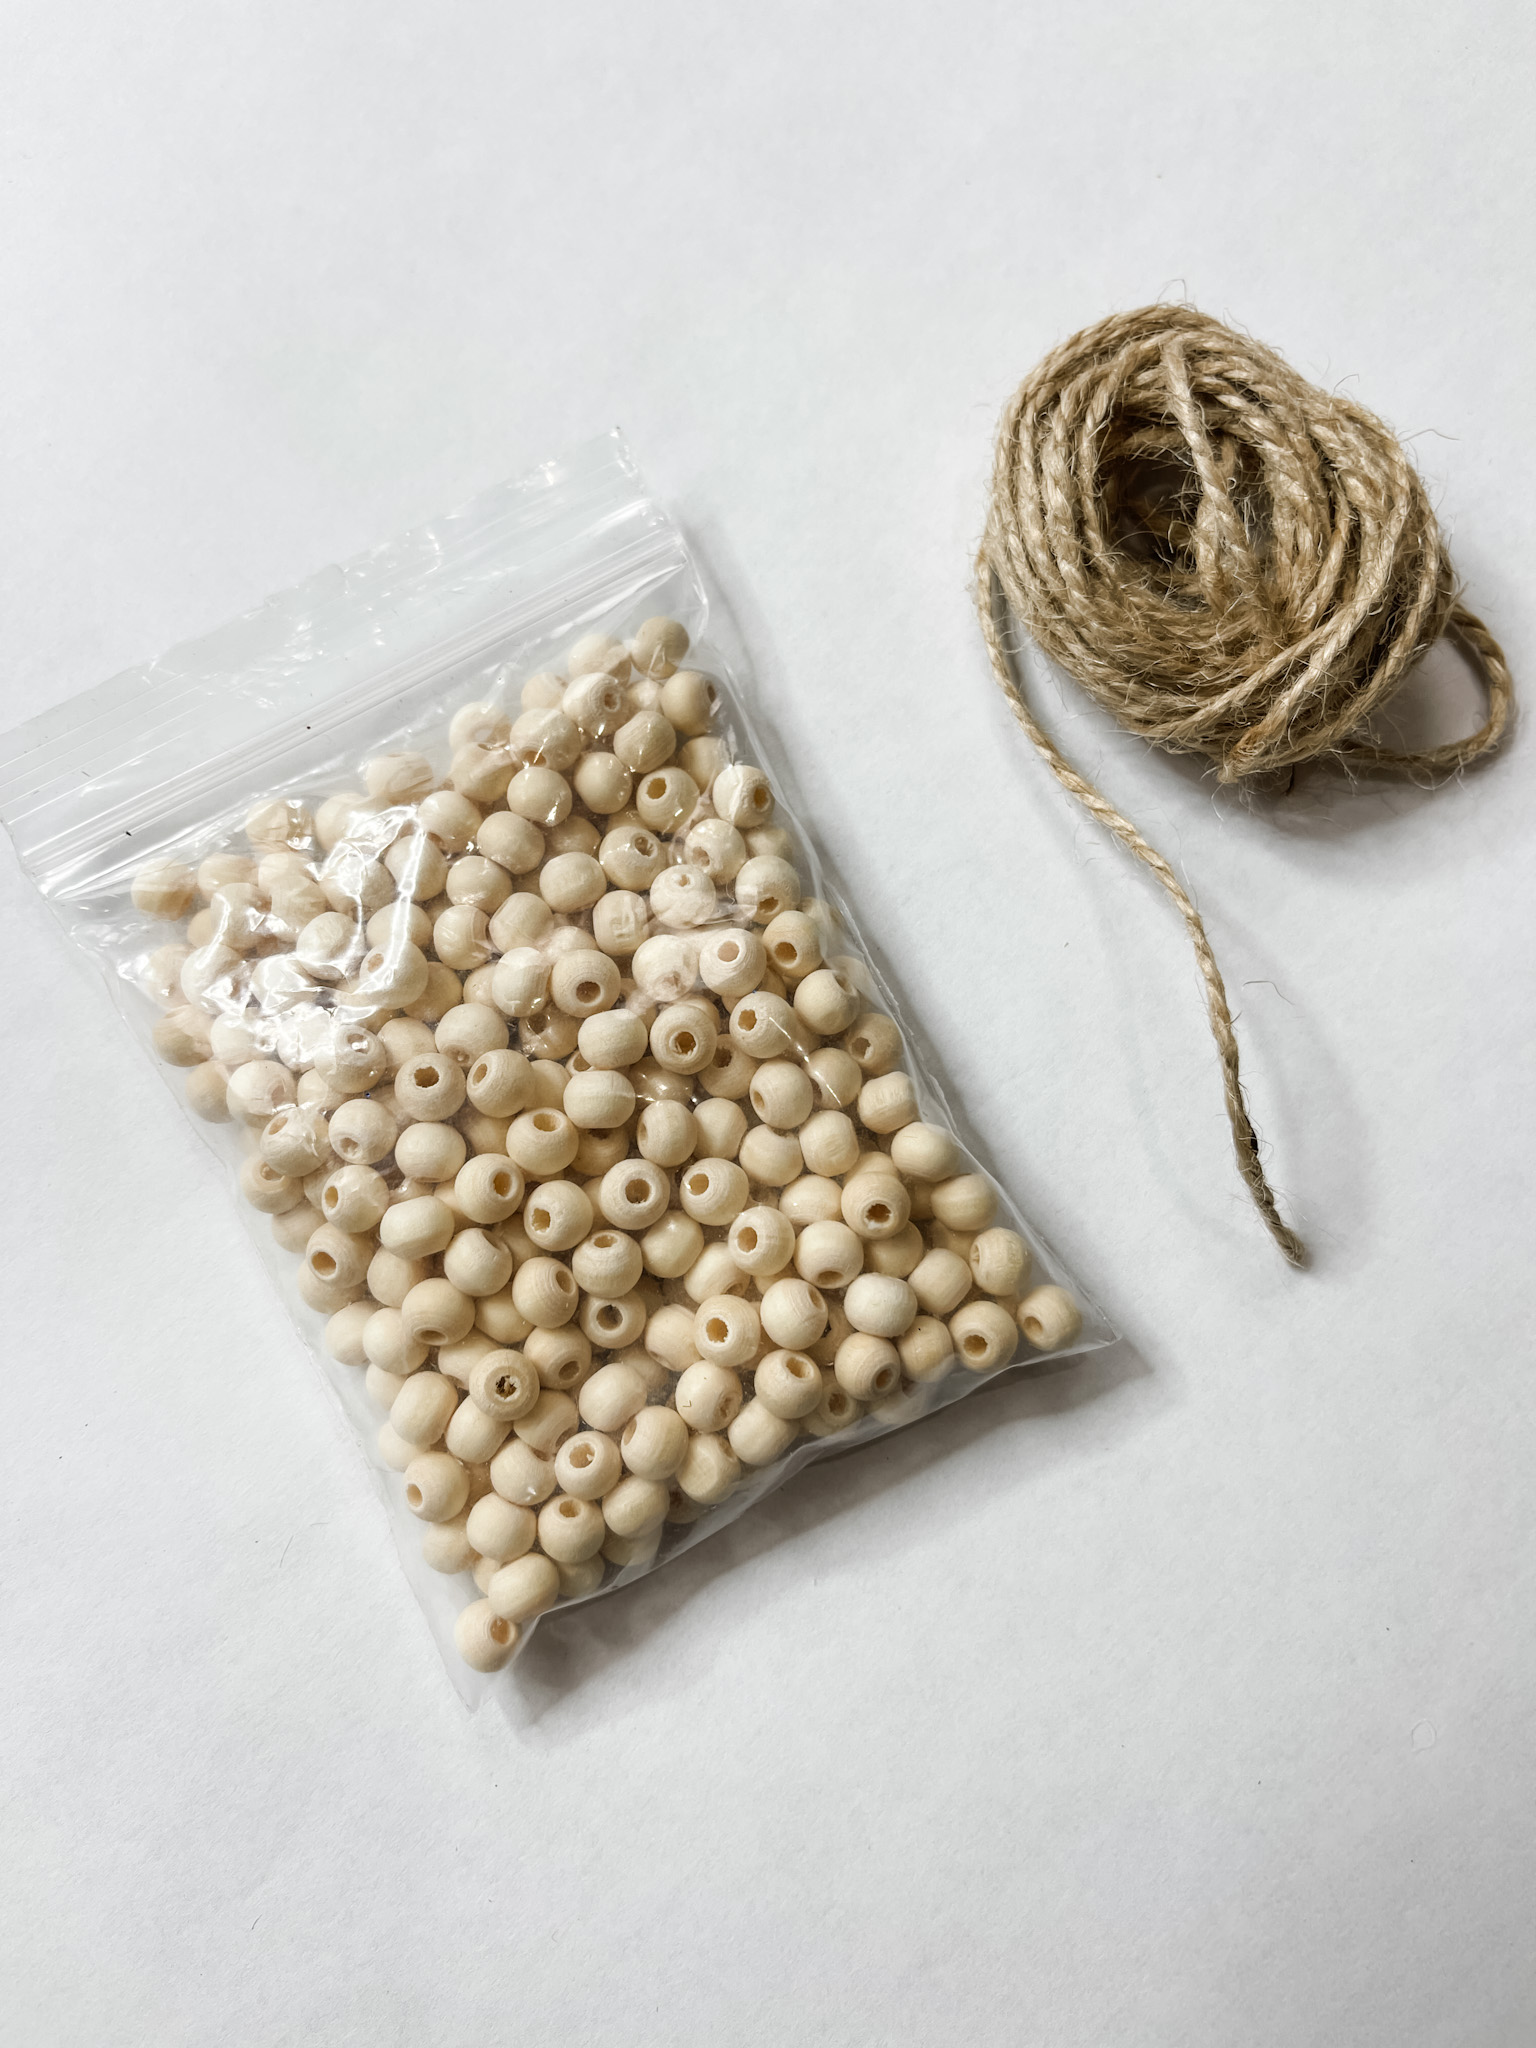
Once the paint is dry on all pieces, you can glue them together with super glue. Then, I threaded beads onto a piece of twine to create the hanger for my patriotic sign.
Bring it all together
Push the ends of the twine hanger through the holes in the circle sign and tie them in knots or glue them to the back of the sign to secure the hanger onto the sign.
I used a wet wipe to apply a small amount of brown paint to the beads. I just wanted them to look dirty to match the rest of the sign.
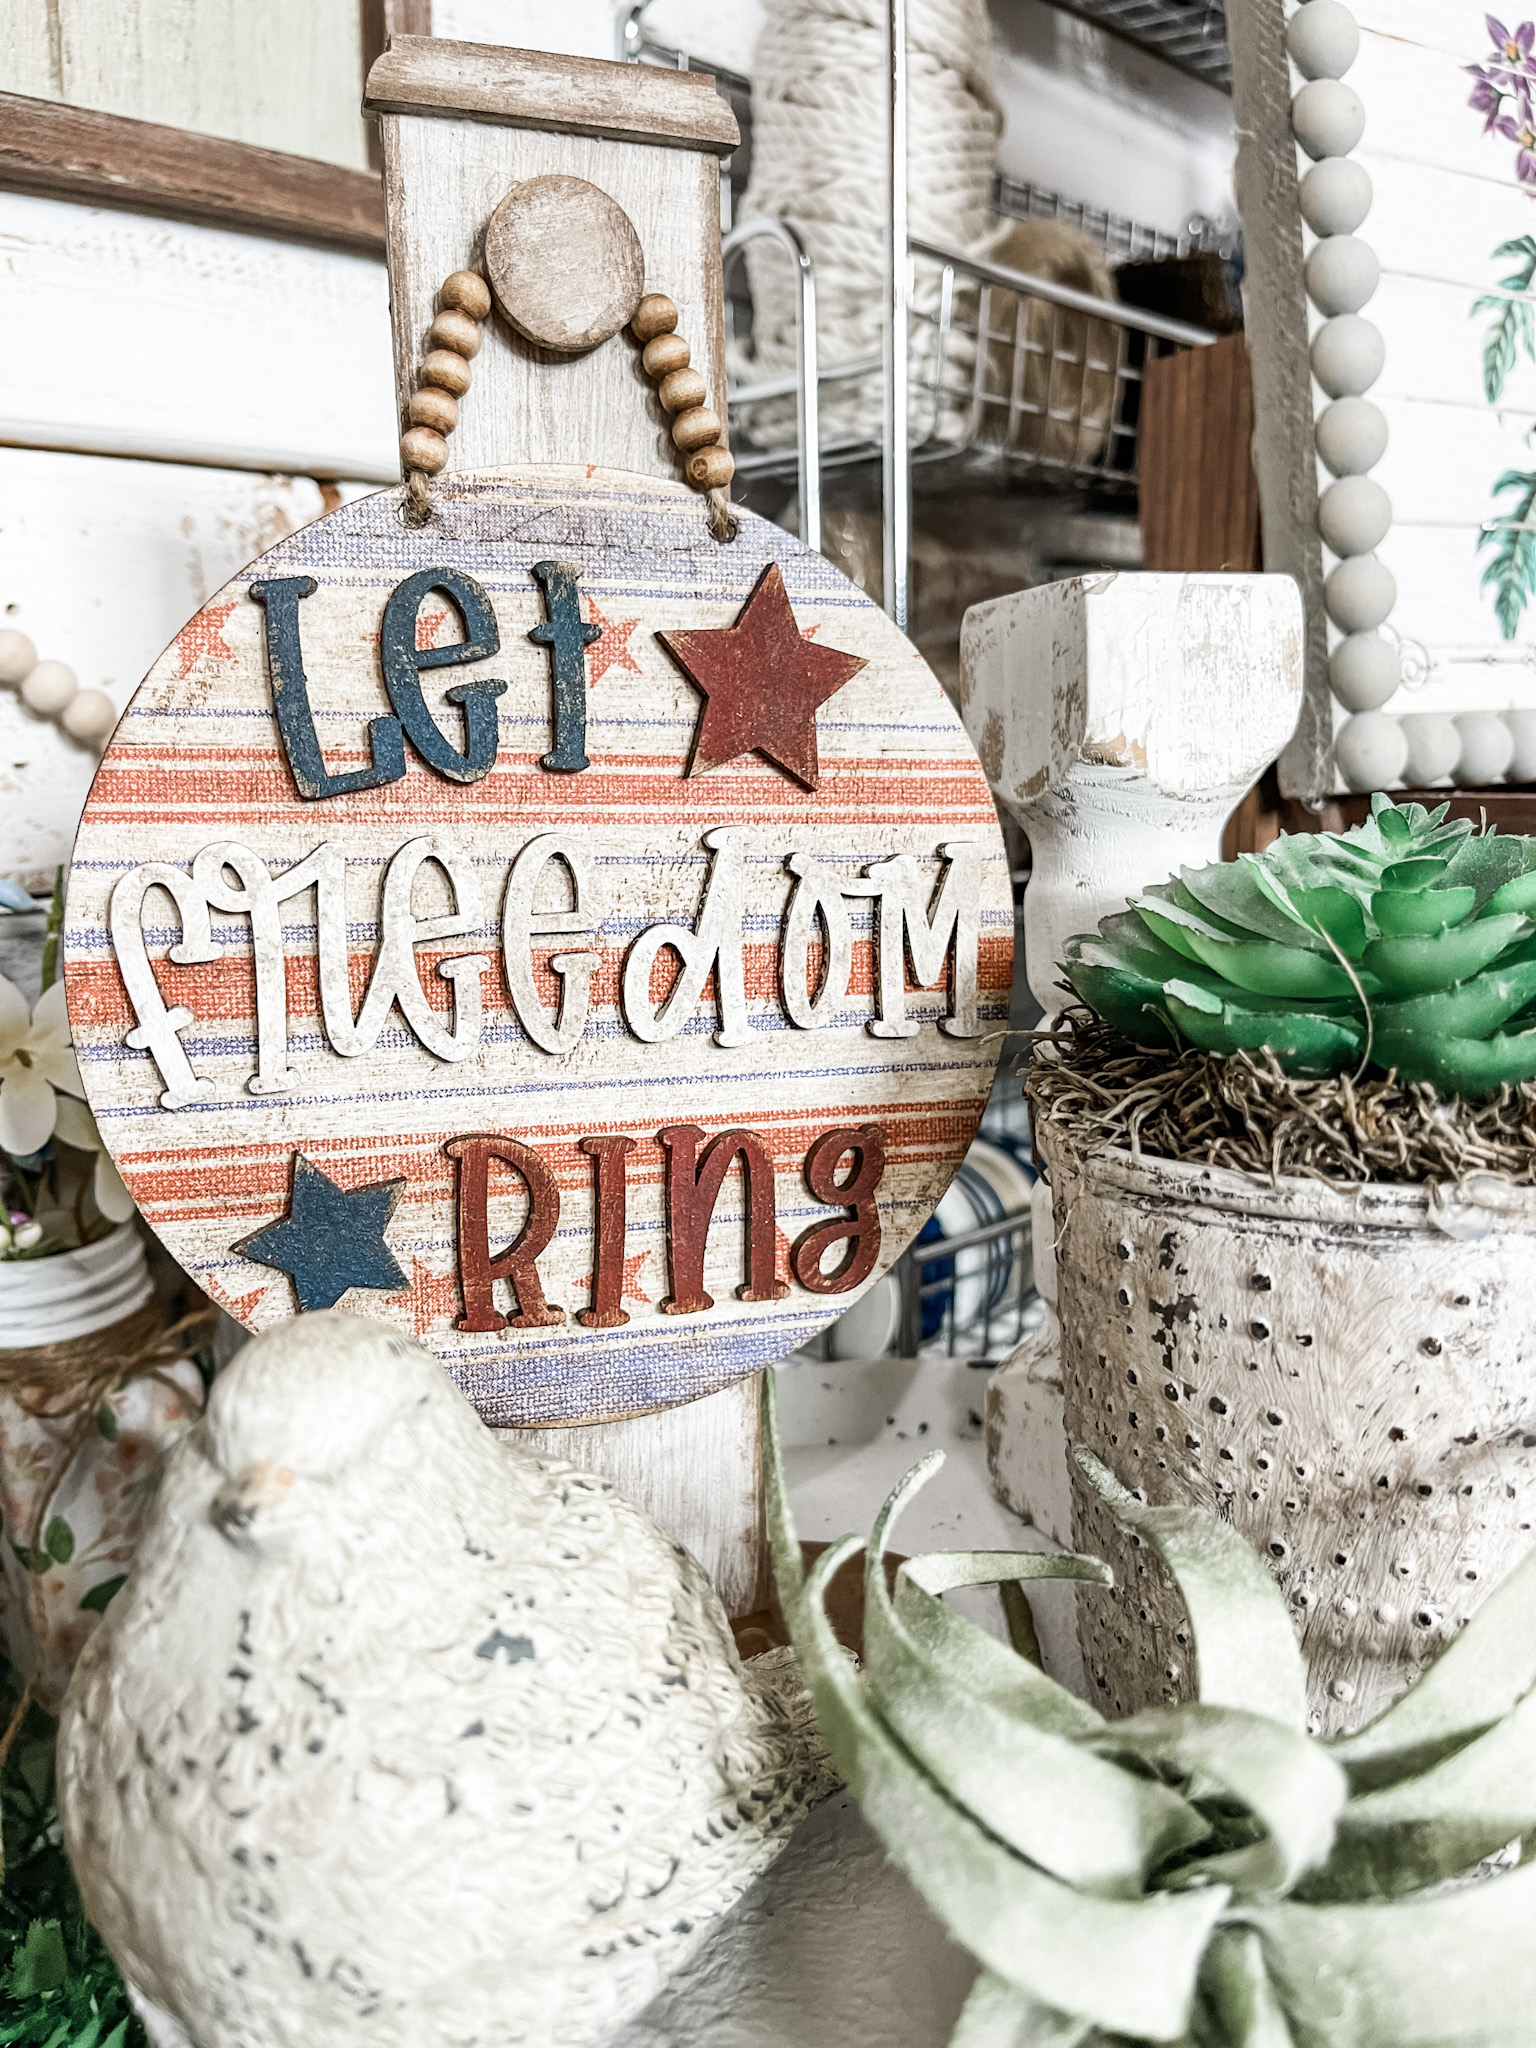
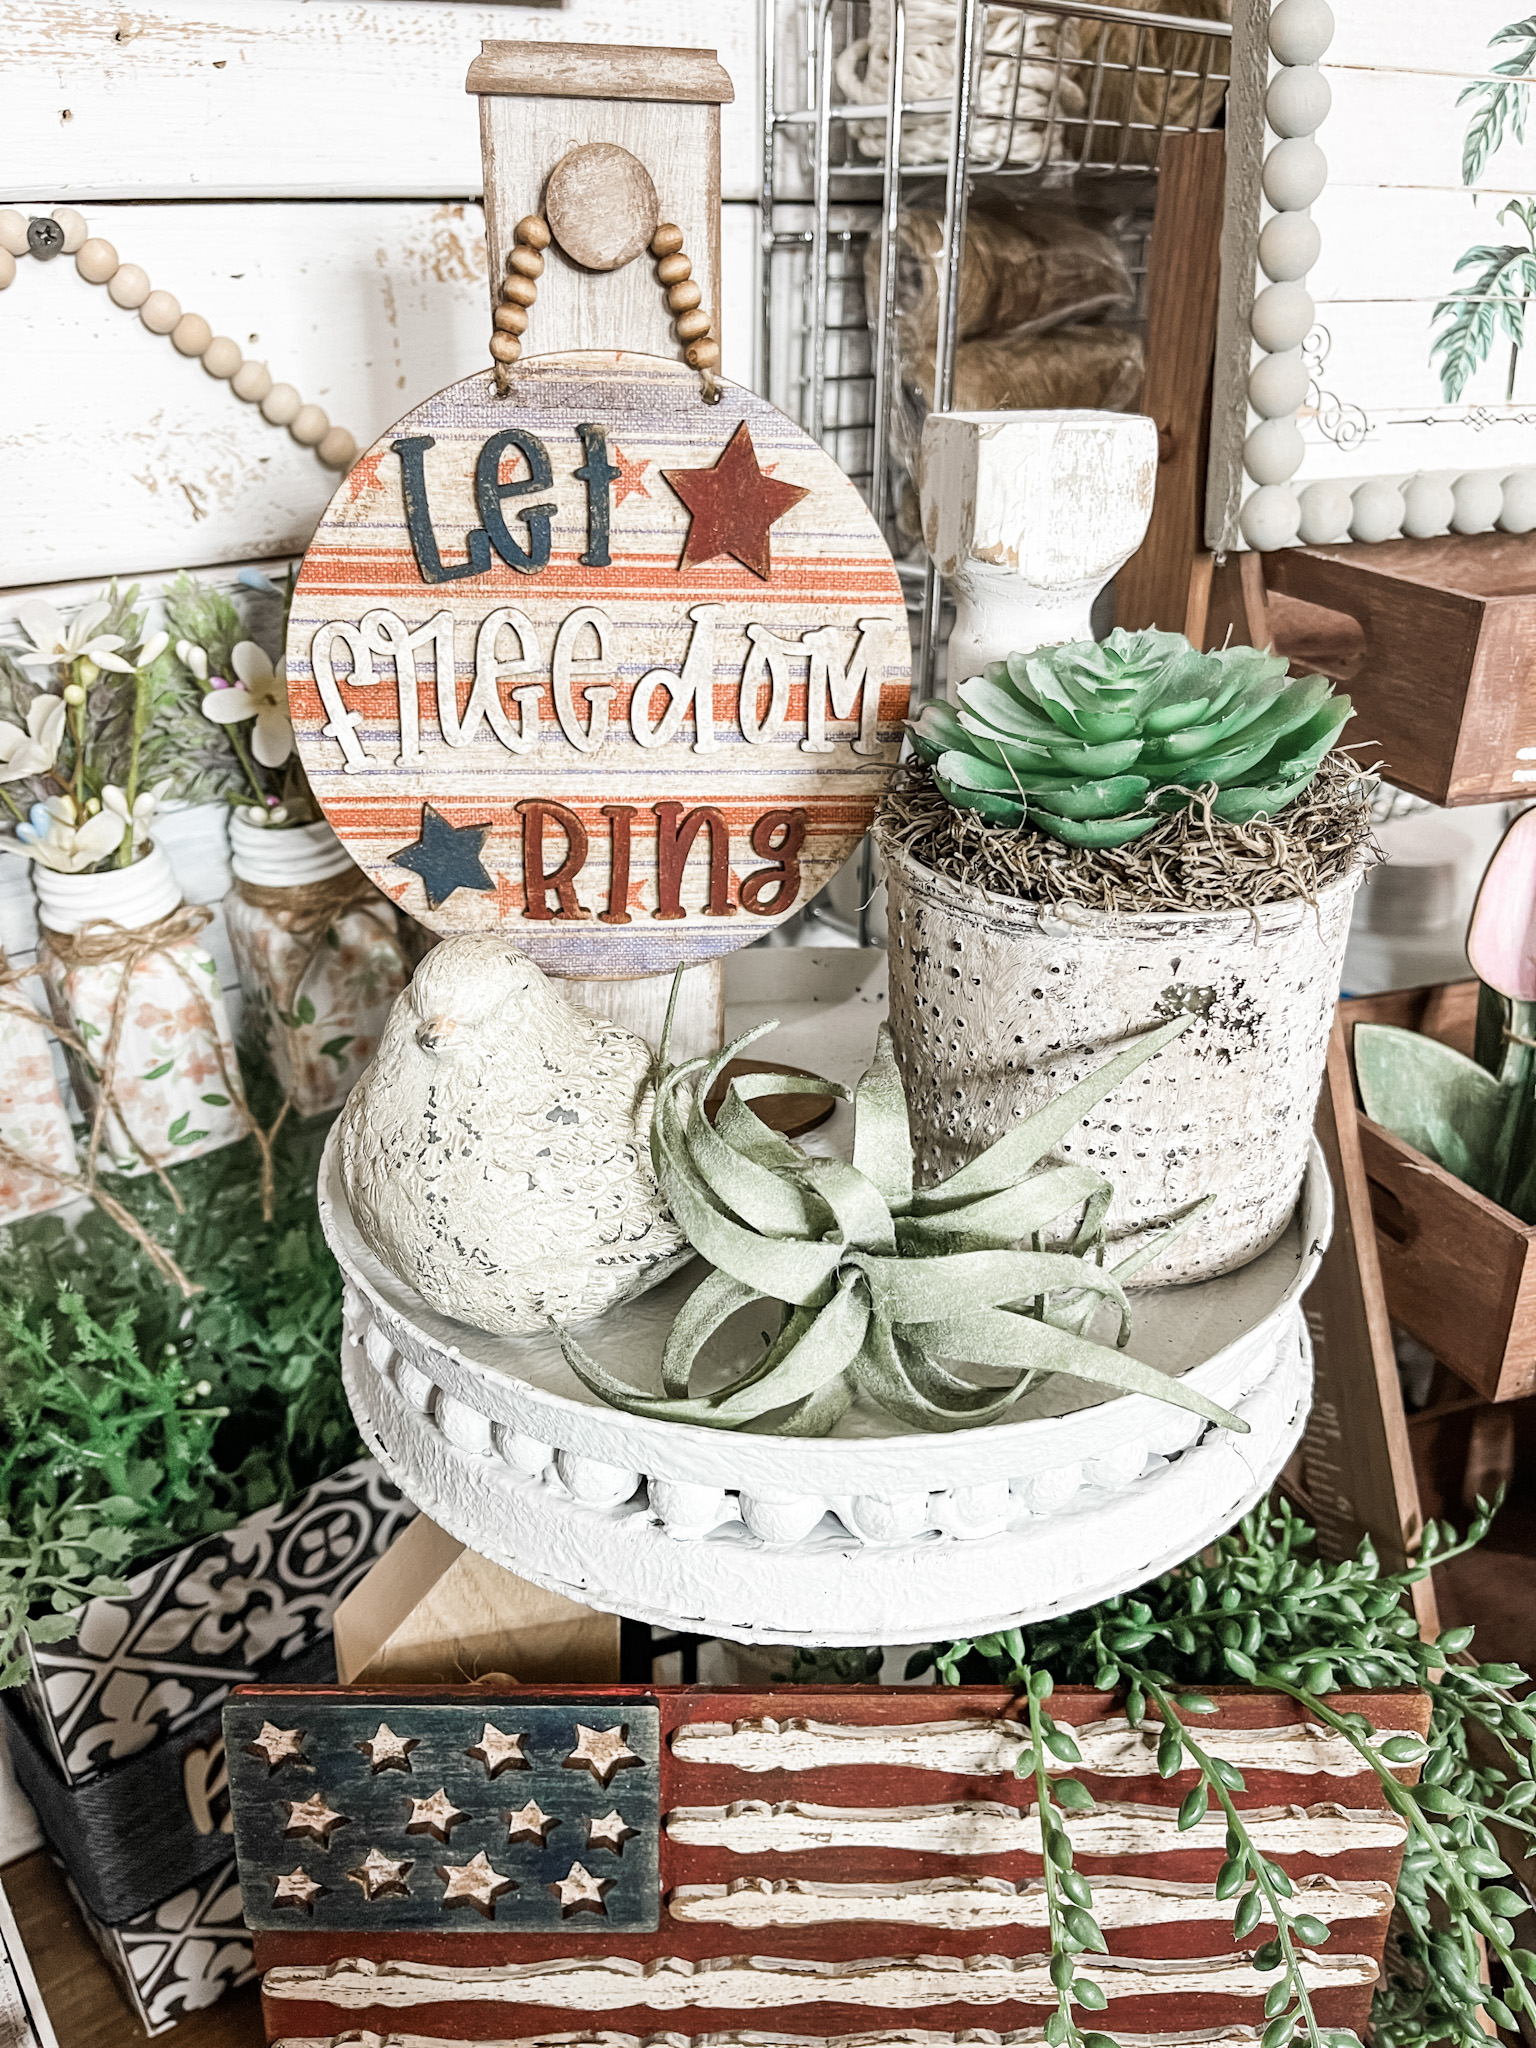
Next, I glued each of the letters and stars onto the decoupaged circle sign. Once the glue is dry, you’re ready to decorate with your new Let Freedom Ring sign and stand!
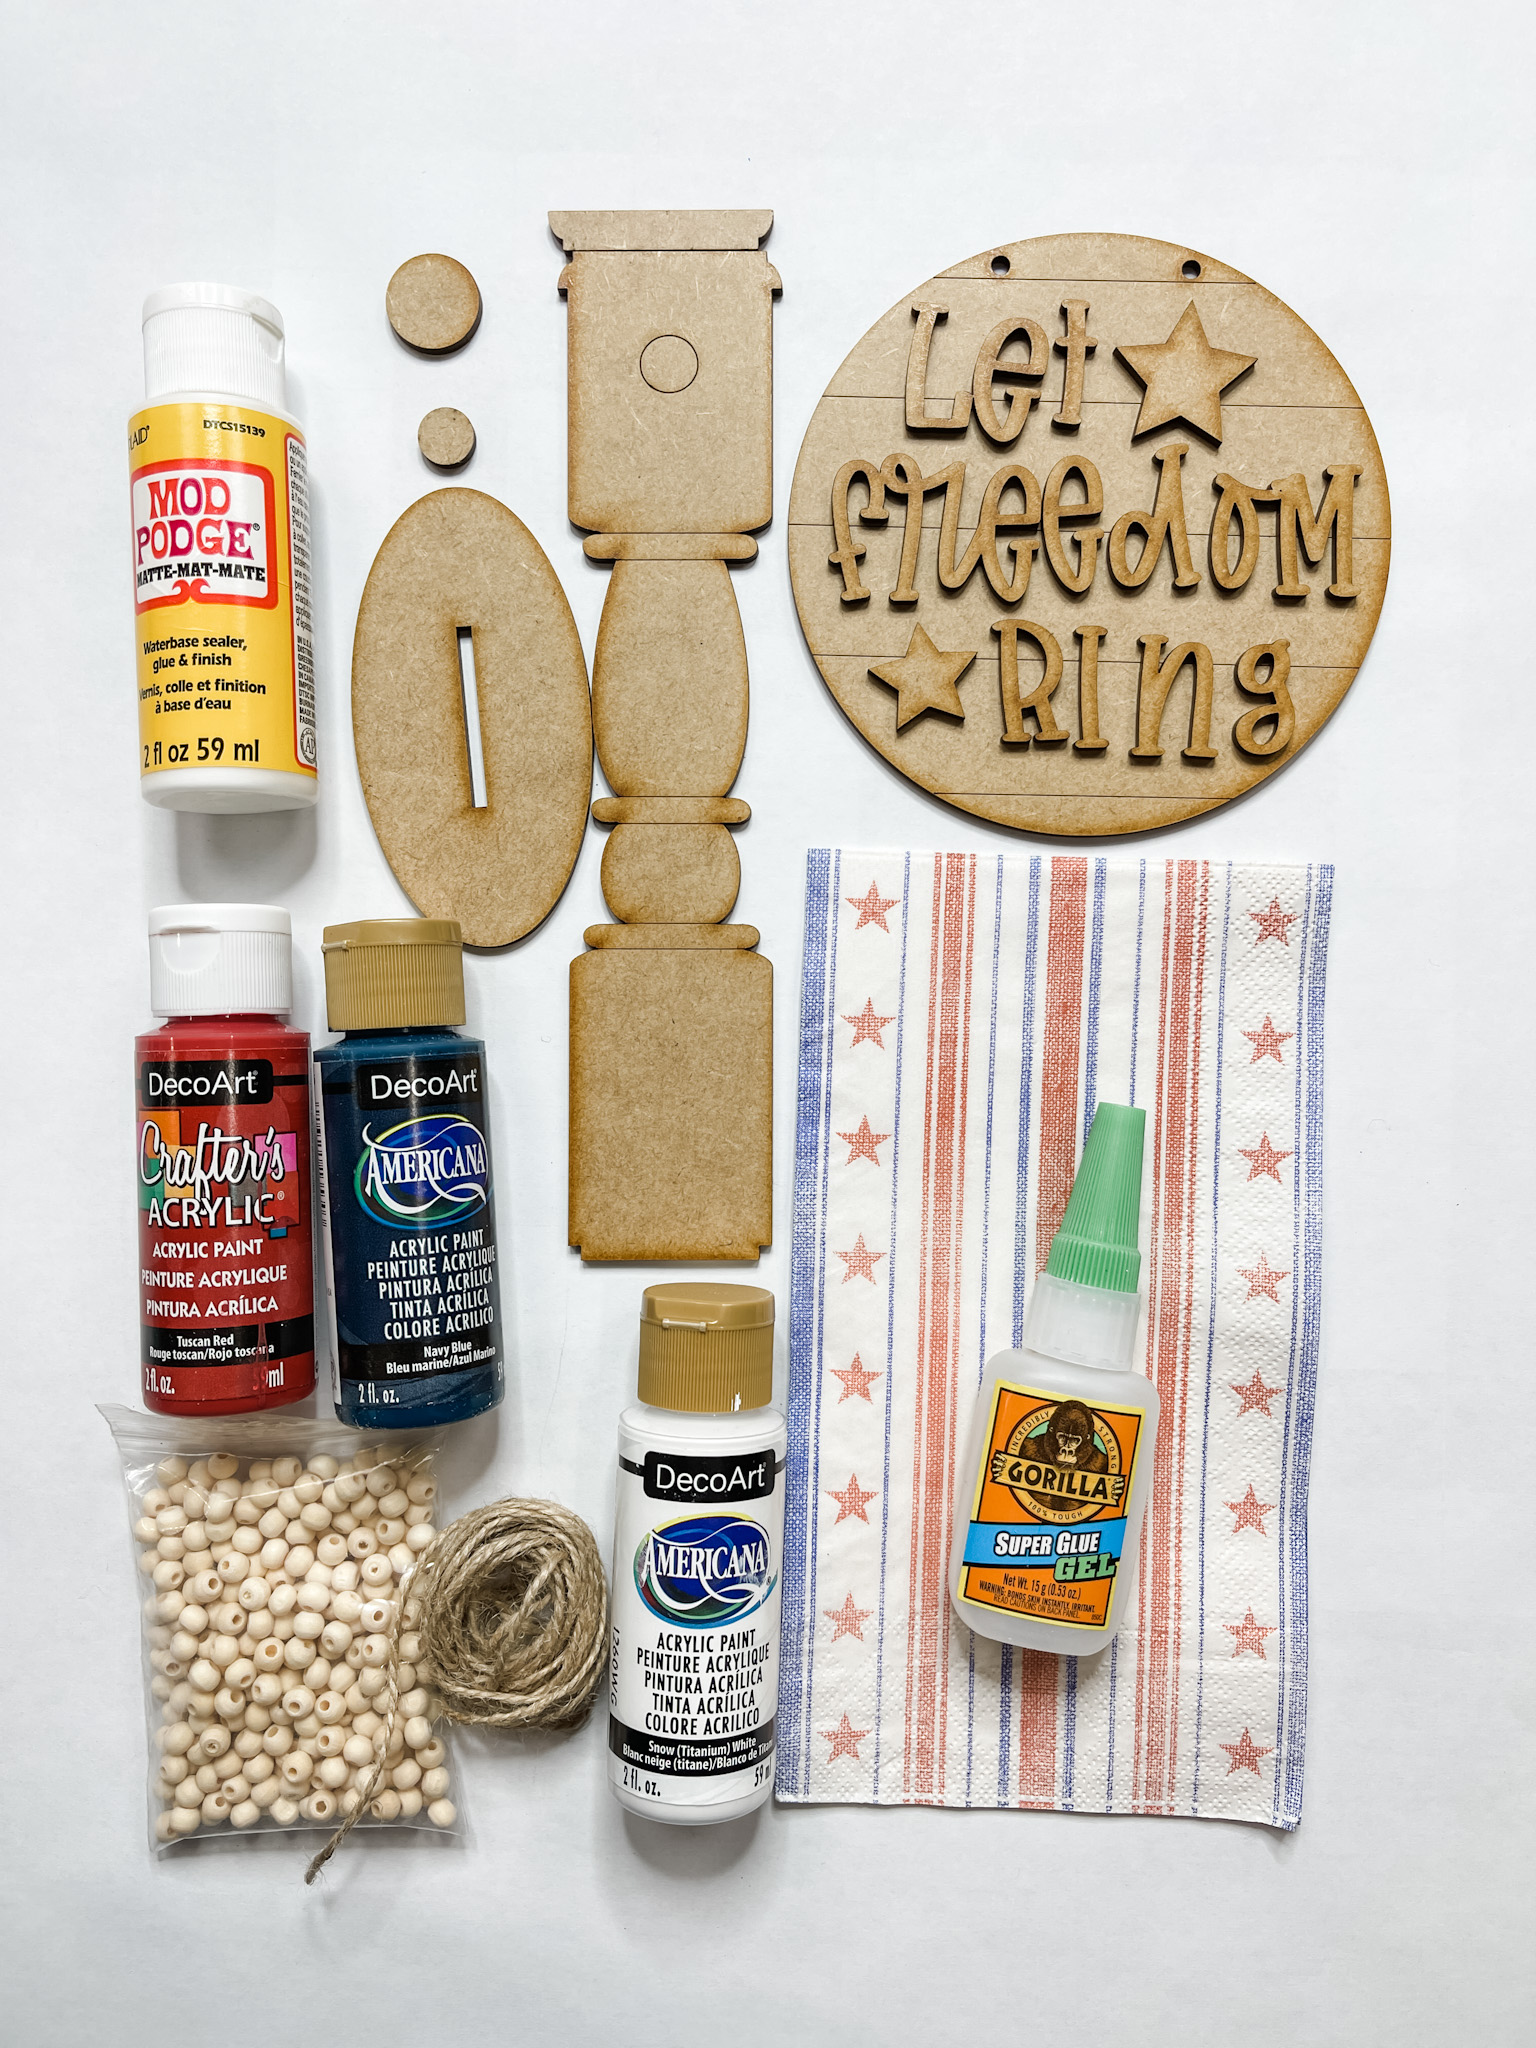
For this project, I used these items but you can substitute where you want.
“As an Amazon Associate, I earn from qualifying purchases.”
- Let Freedom Ring Sign and Stand Craft Kit (sold together or separately)
- Patriotic Napkin
- Dollar Tree Jute Twine
- Wood Beads
- Mod Podge
- DecoArt White Acrylic Paint
- DecoArt Tuscan Red Acrylic Paint
- Apple Barrel Burnt Umber Acrylic Paint
- DecoArt White Acrylic Paint
- Gorilla Superglue
- Tape
- Hot Glue gun
- Glue Sticks
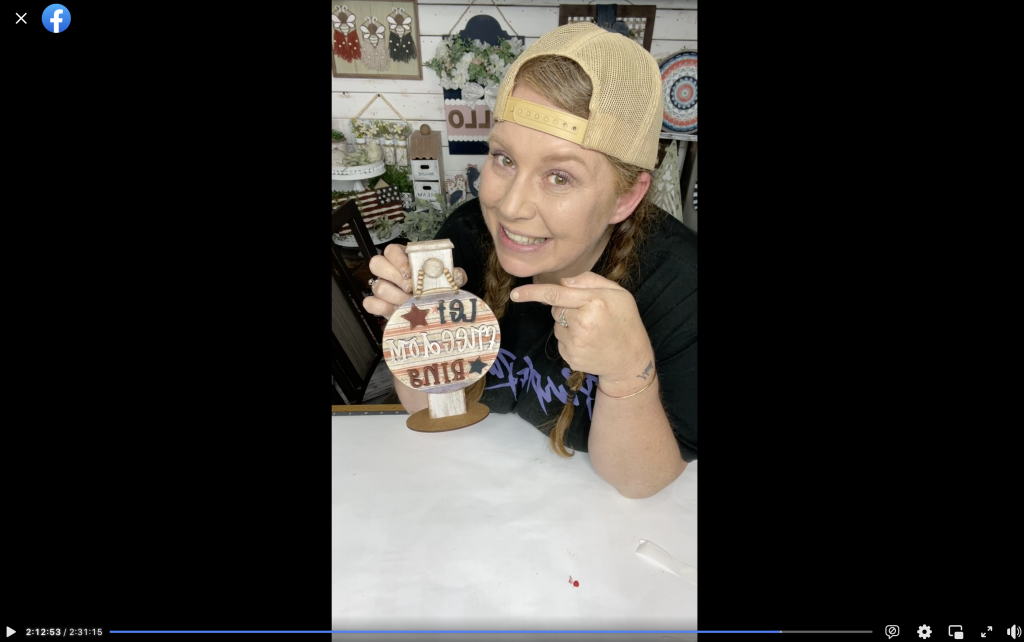
Watch the DIY tutorial
I shared how to make this simple Let Freedom Ring sign and stand during a LIVE video on my Facebook page.
If you want to see the DIY process, craft along, or just join in on the fun conversations, you can watch the DIY tutorial video on Facebook!
I hope you enjoyed this Let Freedom Ring Sign and Stand as I did and decide to make it for yourself! If you do, I would love to see how yours turns out!
You should totally join my FREE Facebook group called On A Budget Crafts! It is a judgment-free community for DIY crafters to show off their projects and ideas.
Thanks for stopping by! XOXO Amber
You can also shop my ENTIRE AMAZON Favorites shop just click here! It’s packed full of all the things I use and love. Here is the supply list I highly recommend every creative have on hand!!
Would you also pin my blog for later and get on my newsletter alerts? I would love to have you join my #craftycrew.
Inspired? Leave me a comment below! I love hearing from my readers!

I LOVE this.
Hello family! Love this one, too!