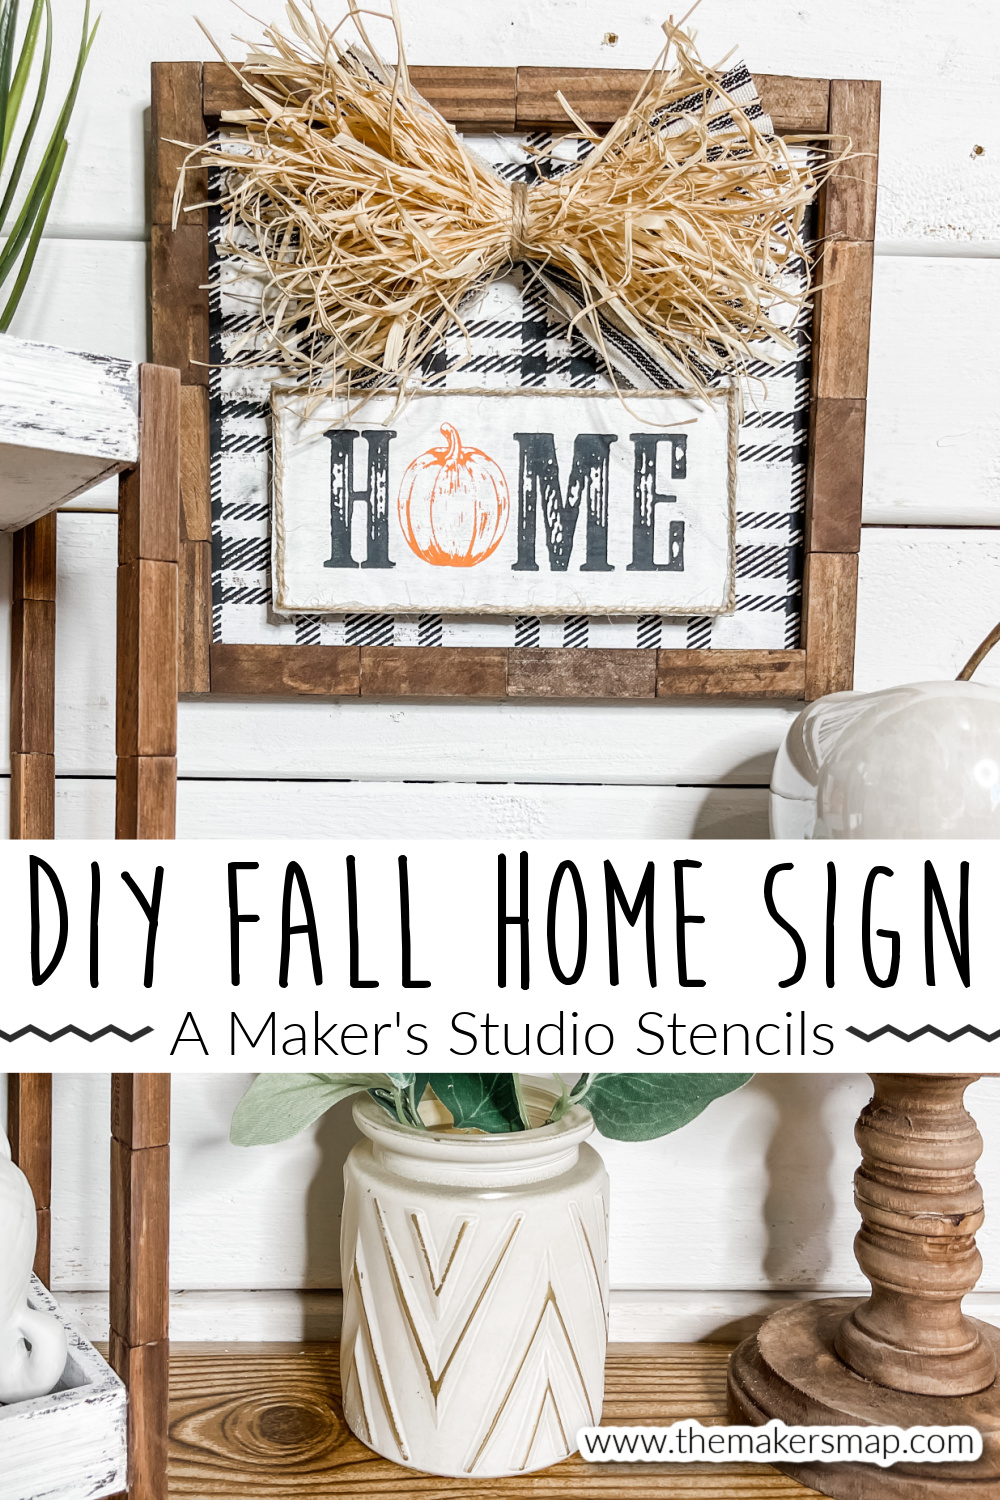
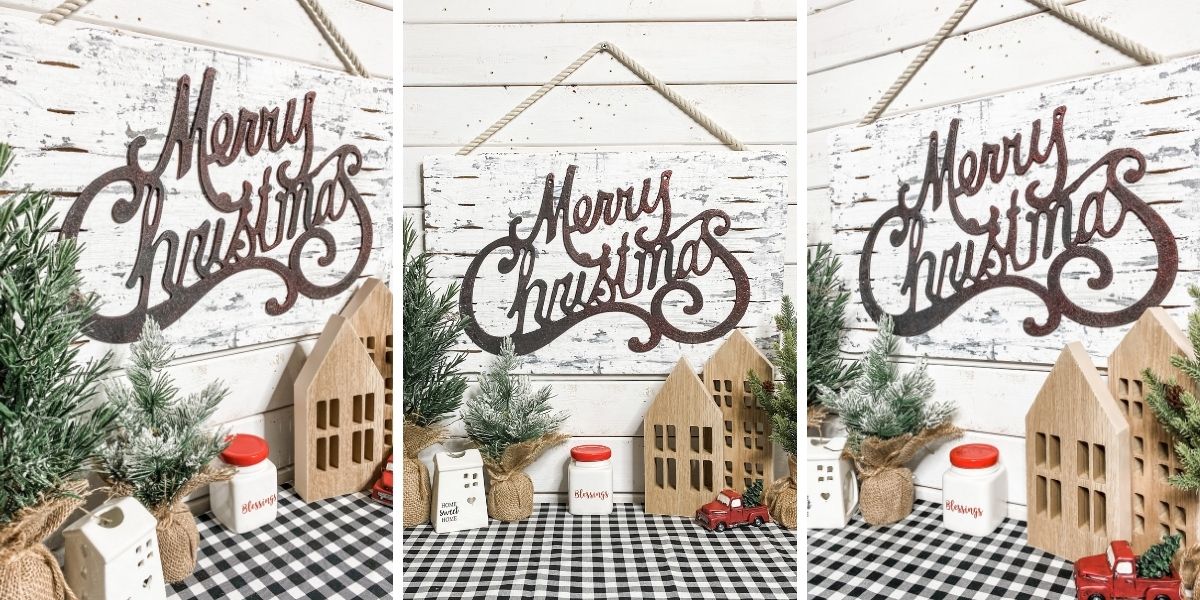
DIY Stenciled Home Fall Sign
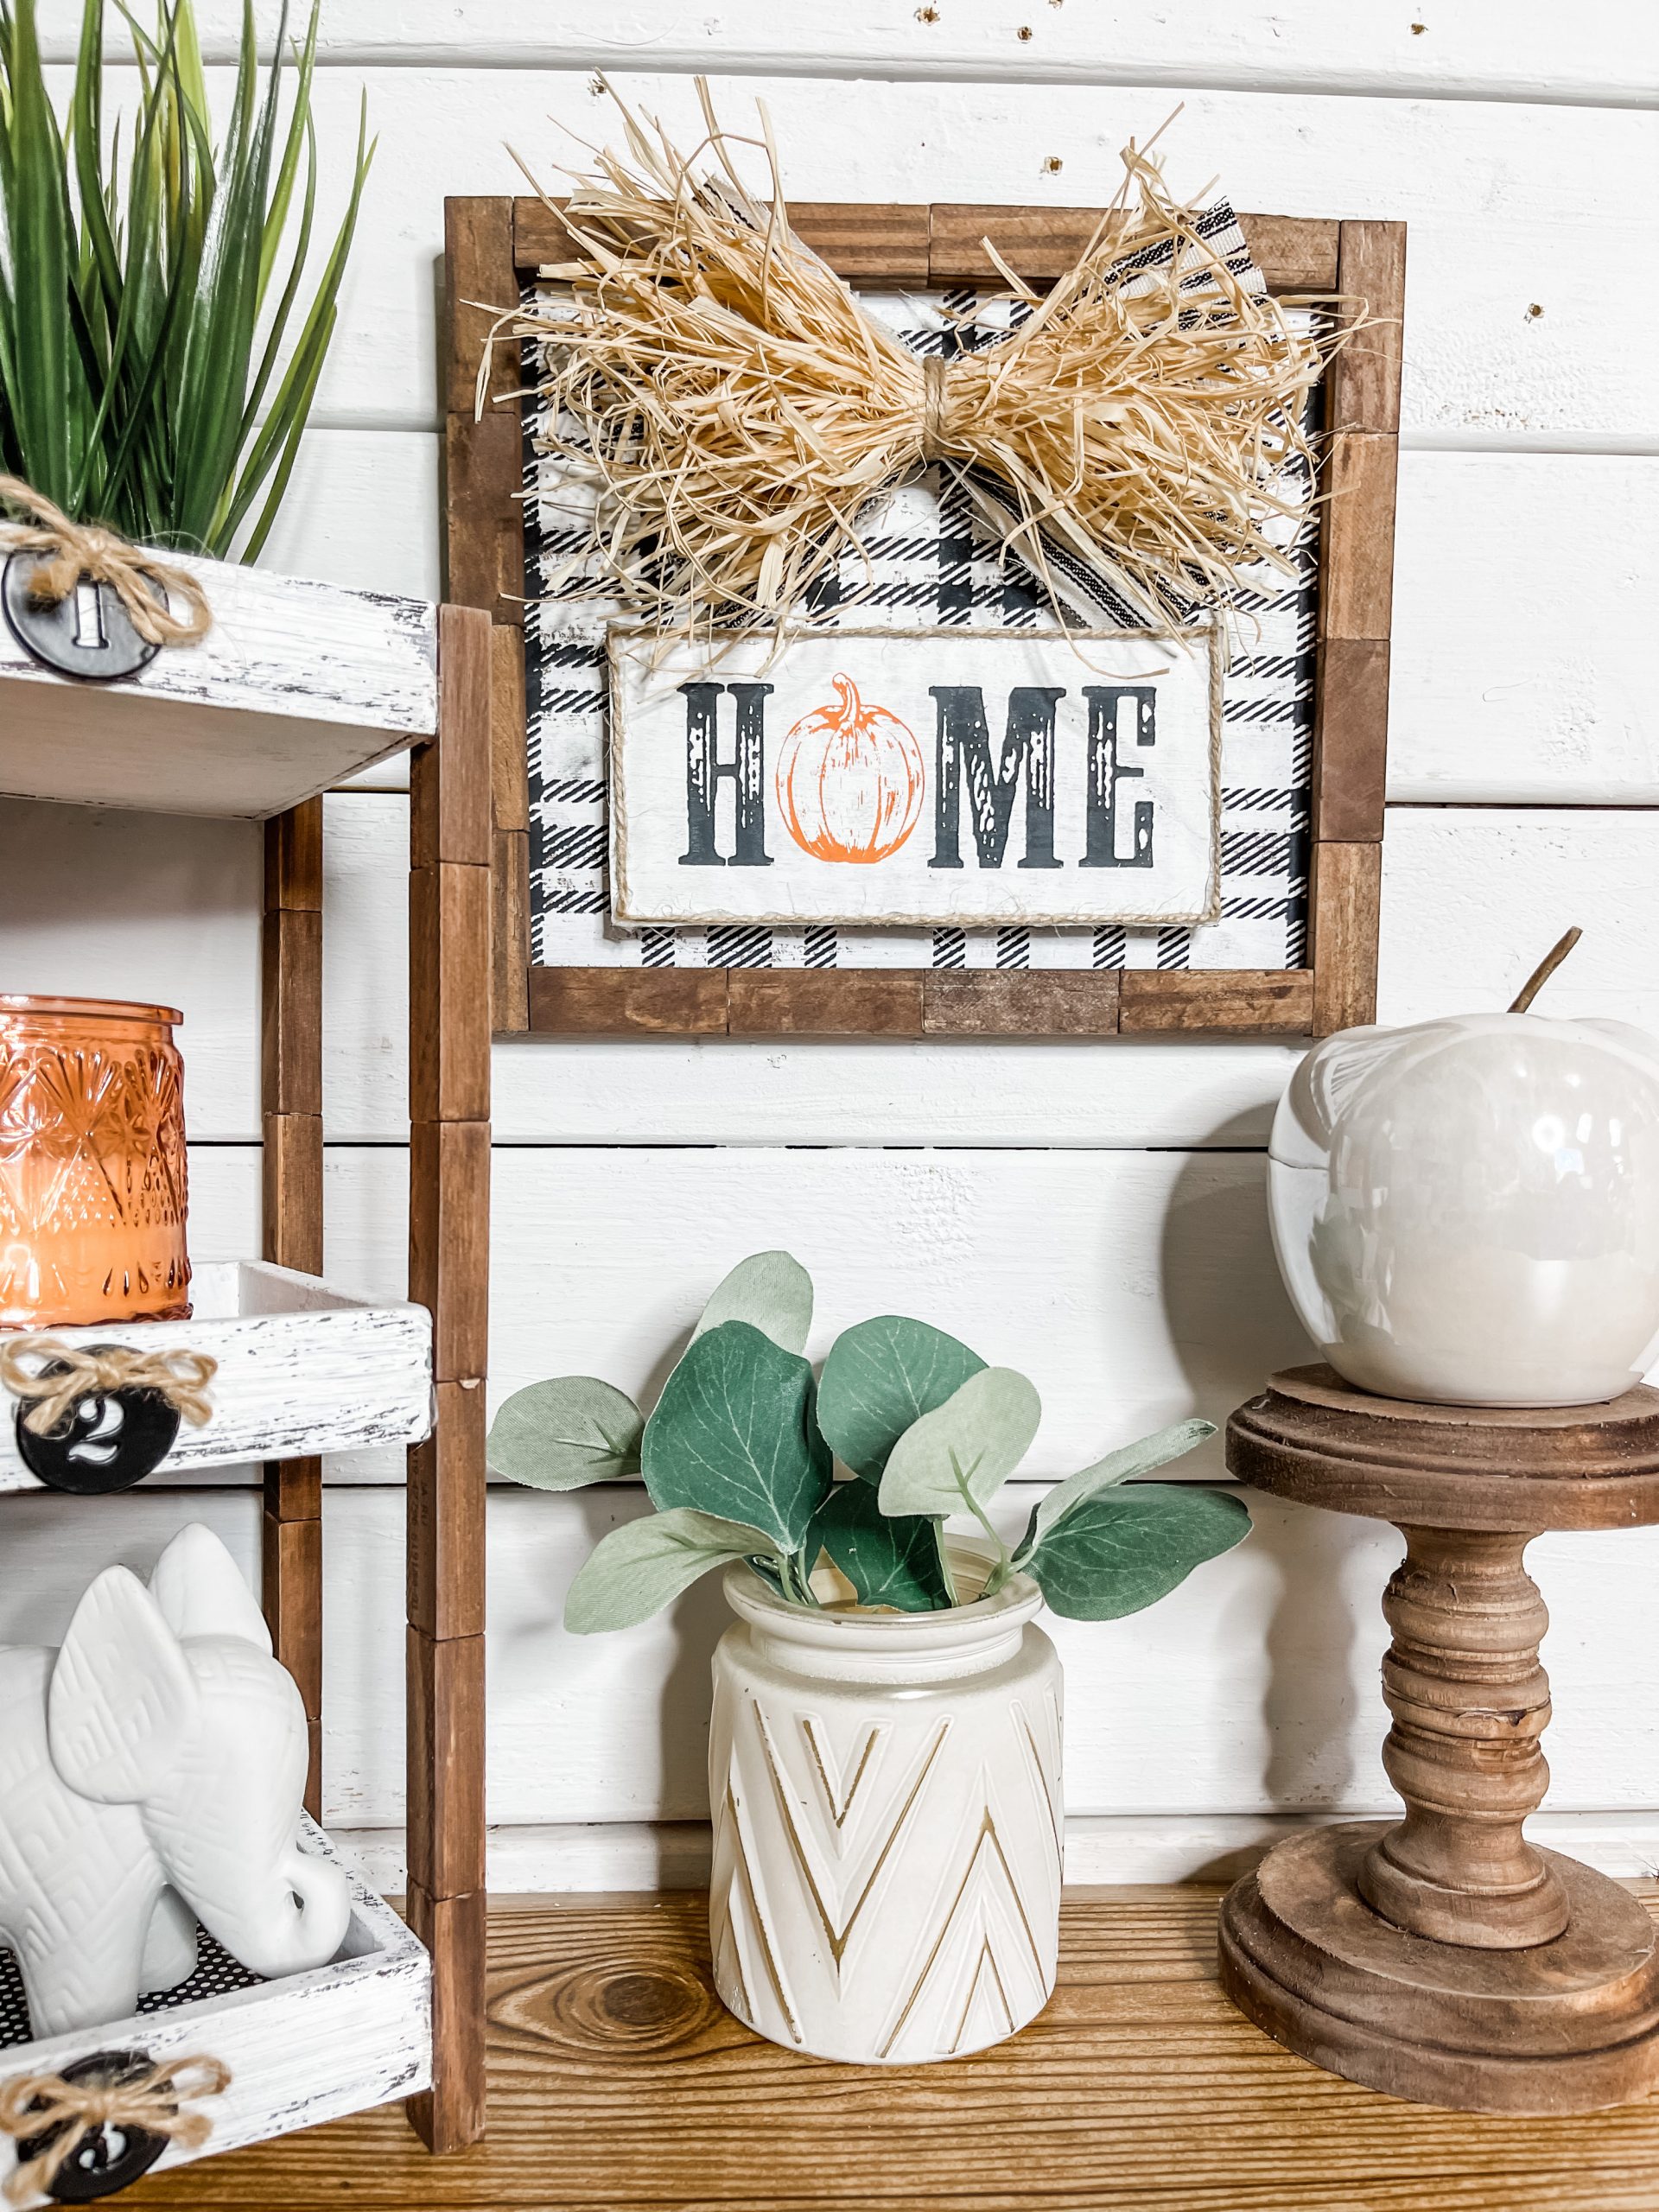
There are three things that I love about this DIY Stenciled Home Fall Sign. The first is how absolutely adorable it is. The second is how affordable it is to make! And the third is it is interchangeable!
Watch the DIY tutorial video
I shared the quick DIY tutorial for this adorable Dollar Tree magnetic Fall sign using cardboard on my Youtube channel.
If you’re looking for Fall decor inspiration, you are going to love this video! It has four other easy and affordable DIY ideas that you won’t want to miss!
Three more Black and White Fall Decor Ideas:
- Hobby Lobby Placemat DIY Pumpkin Door Hanger
- Black and White Fall Pumpkin Sign
- Dollar Tree Apple DIY Farmhouse Decor
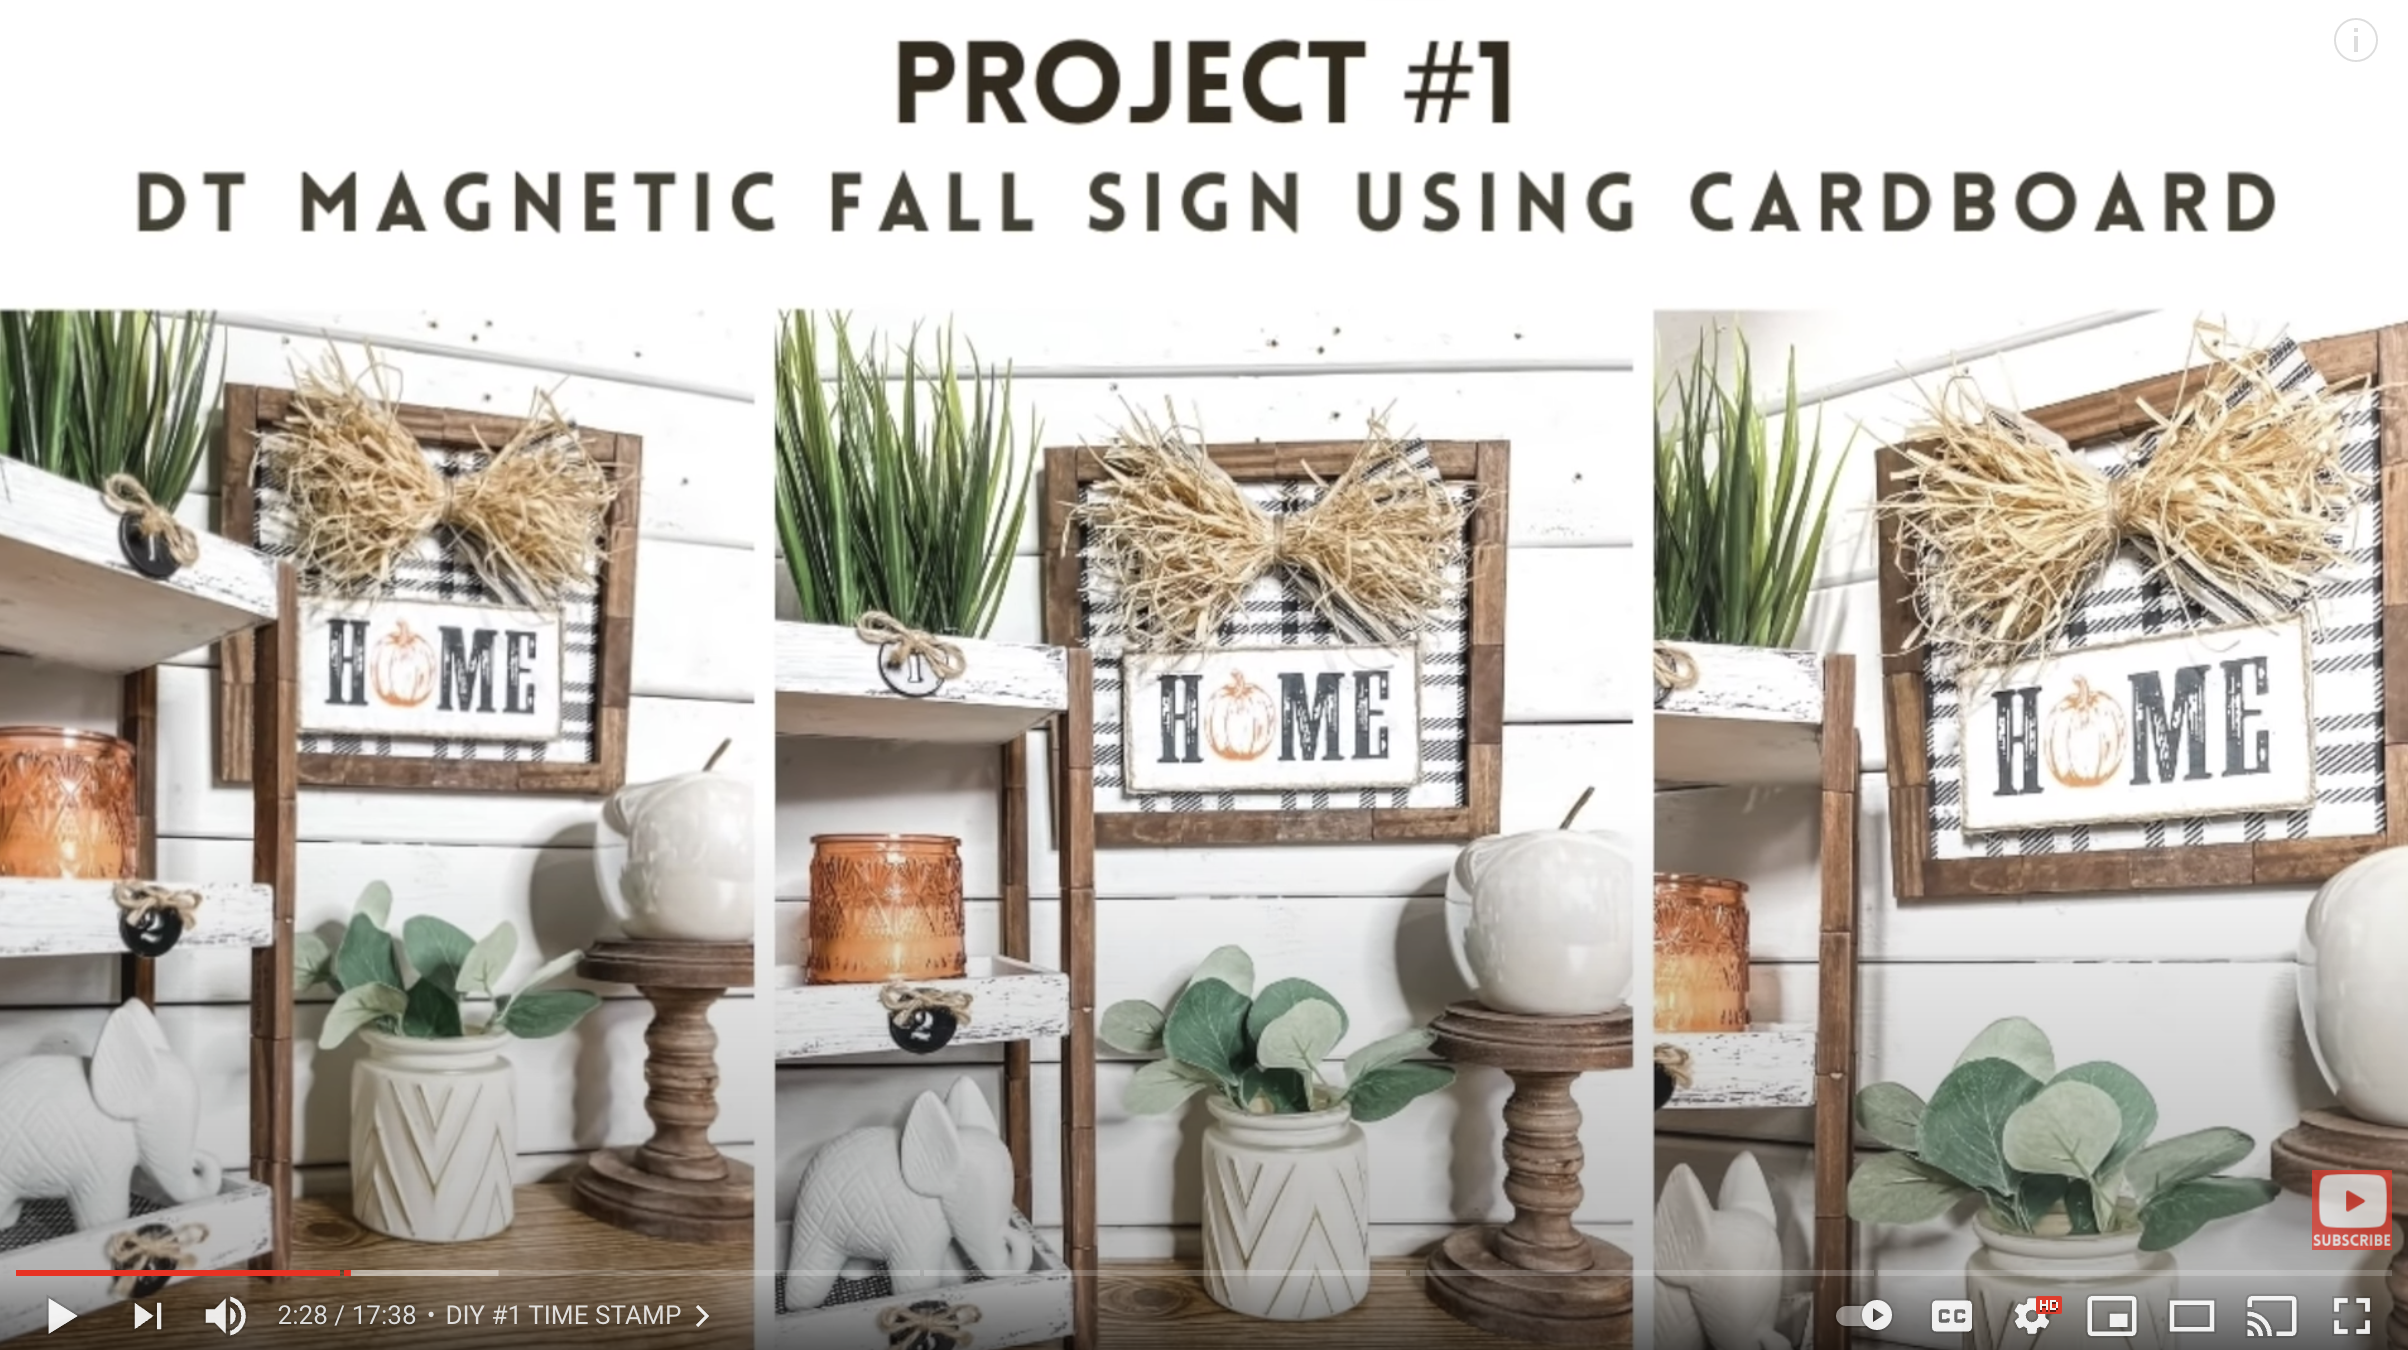
WATCH THE DIY TUTORIAL ON YOUTUBE
I recorded the how-to steps of making this adorable DIY Stenciled Home Fall Sign during a LIVE video on my Facebook page.
If you want to see the extended DIY process, craft along, or just join in on the fun conversations, you can watch the LIVE DIY tutorial replay on Facebook!
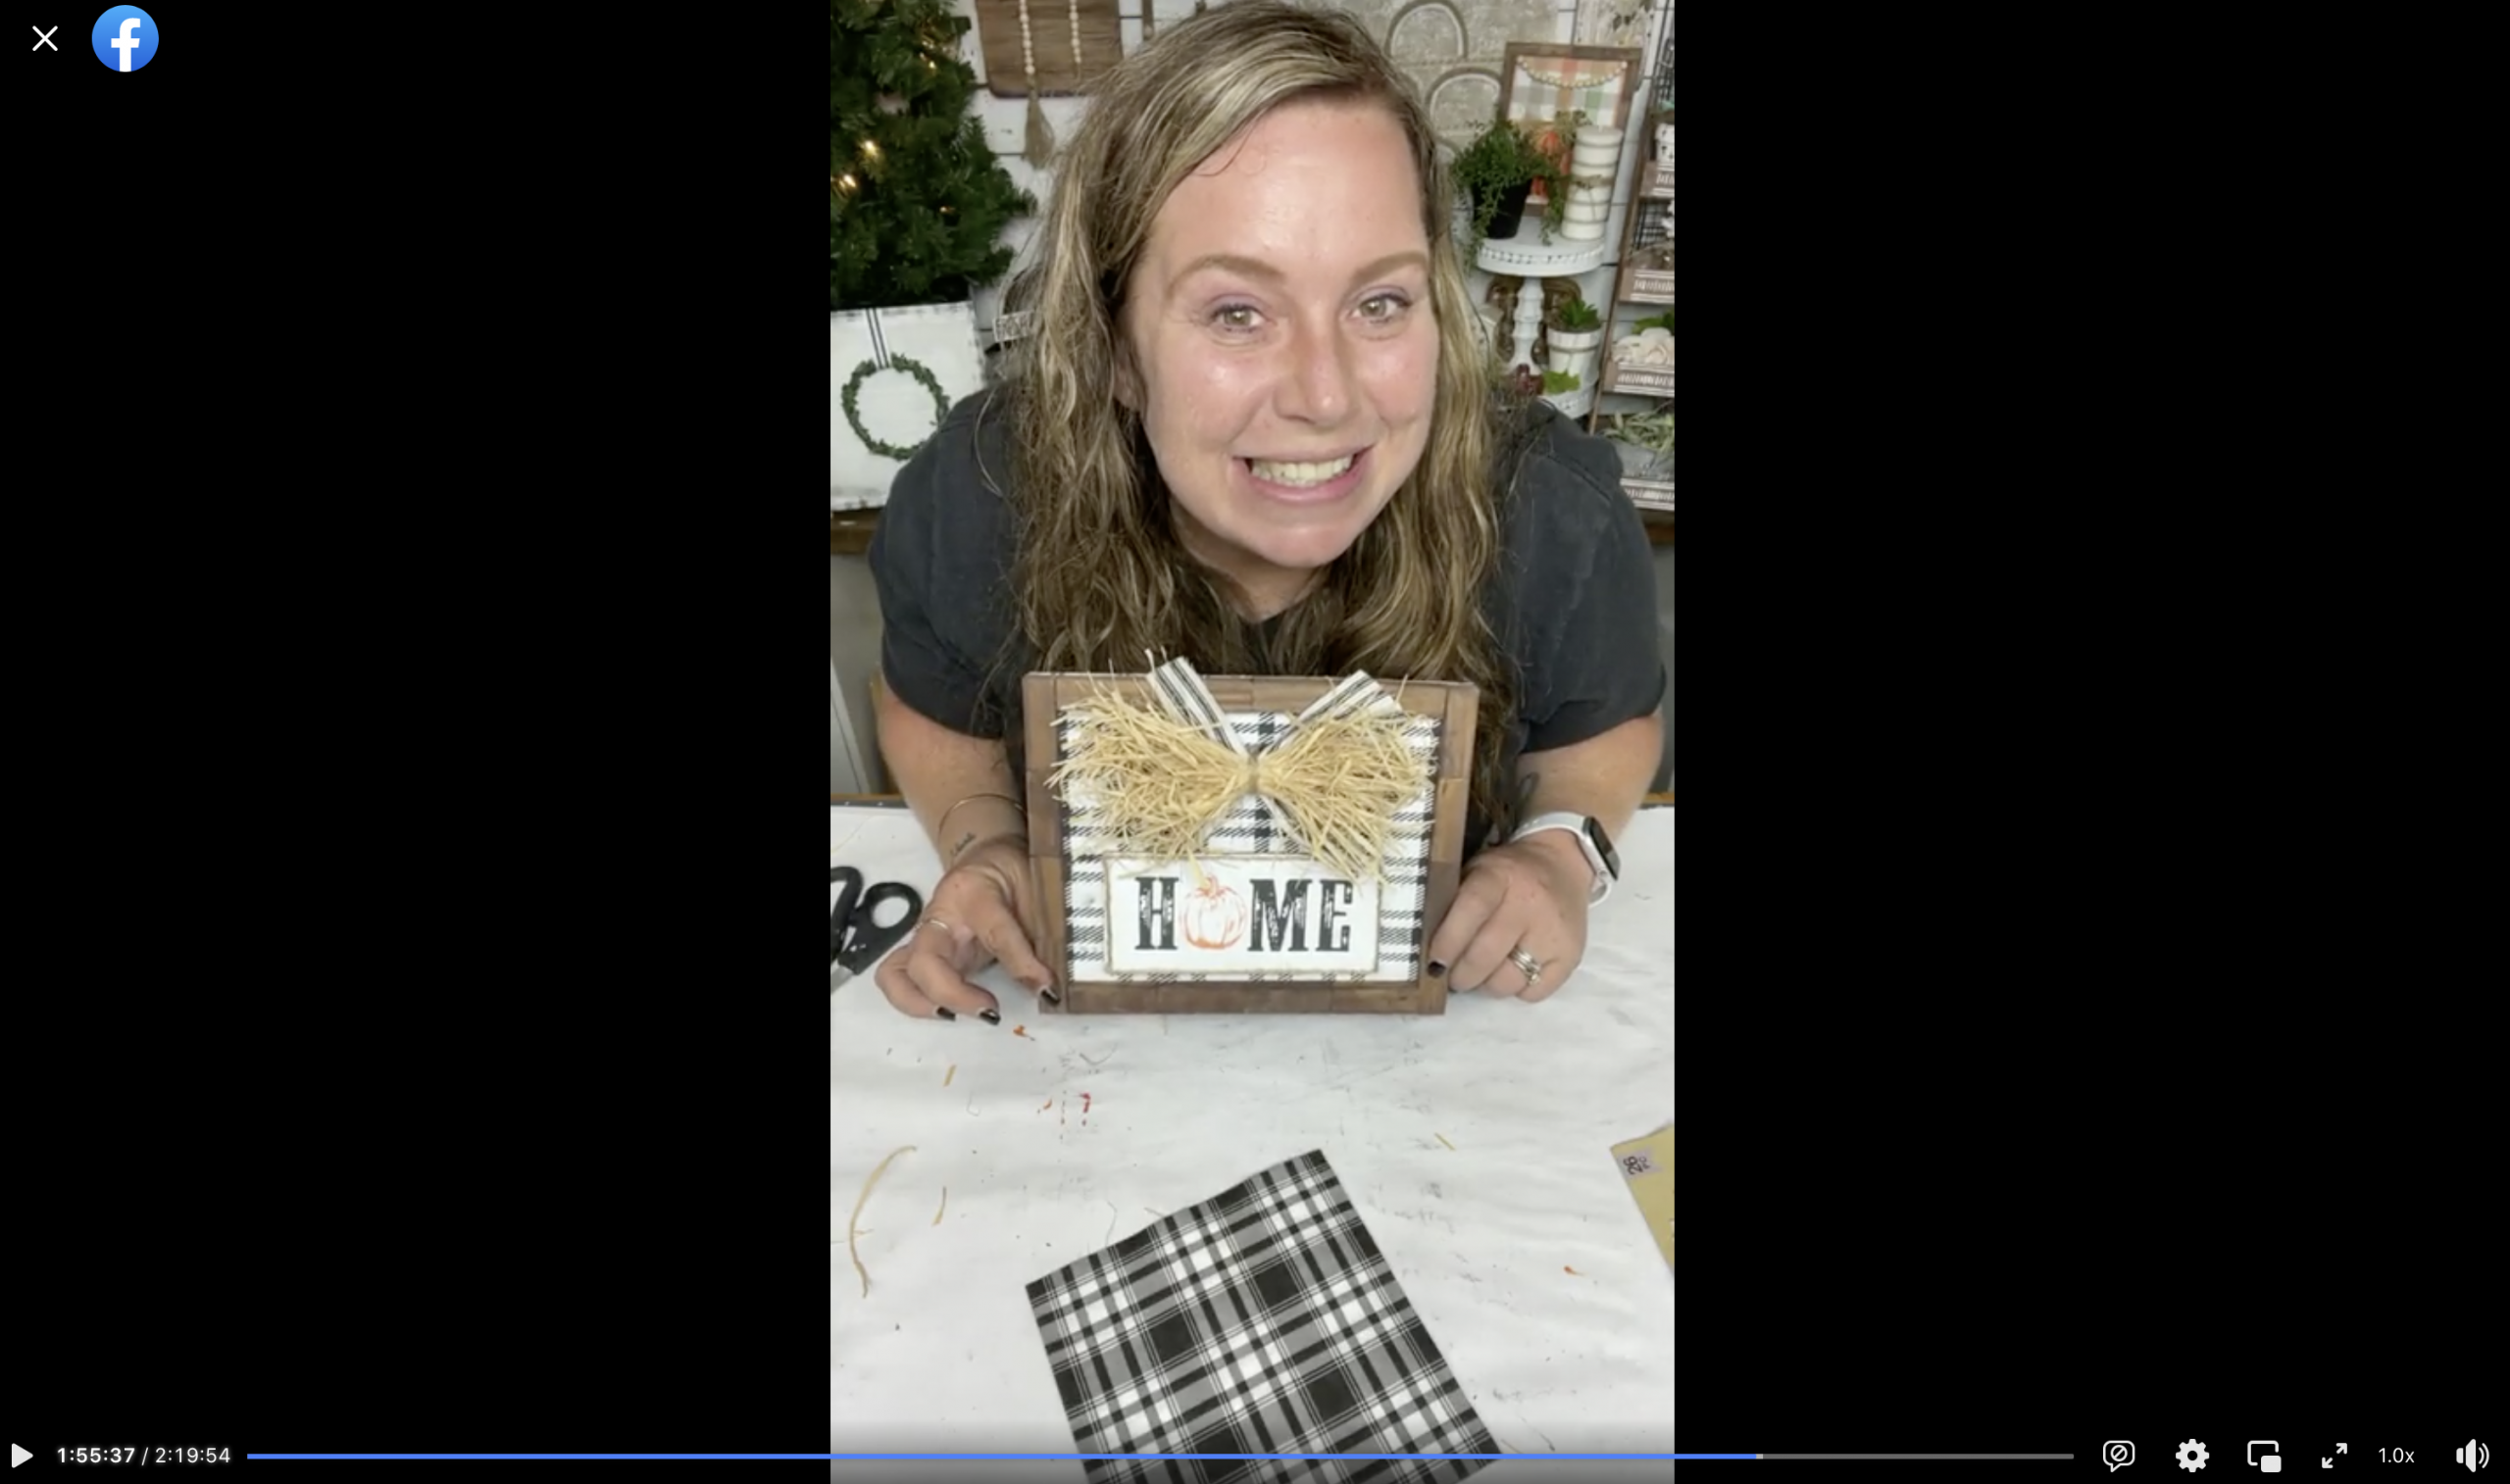
WATCH THE DIY TUTORIAL ON FACEBOOK
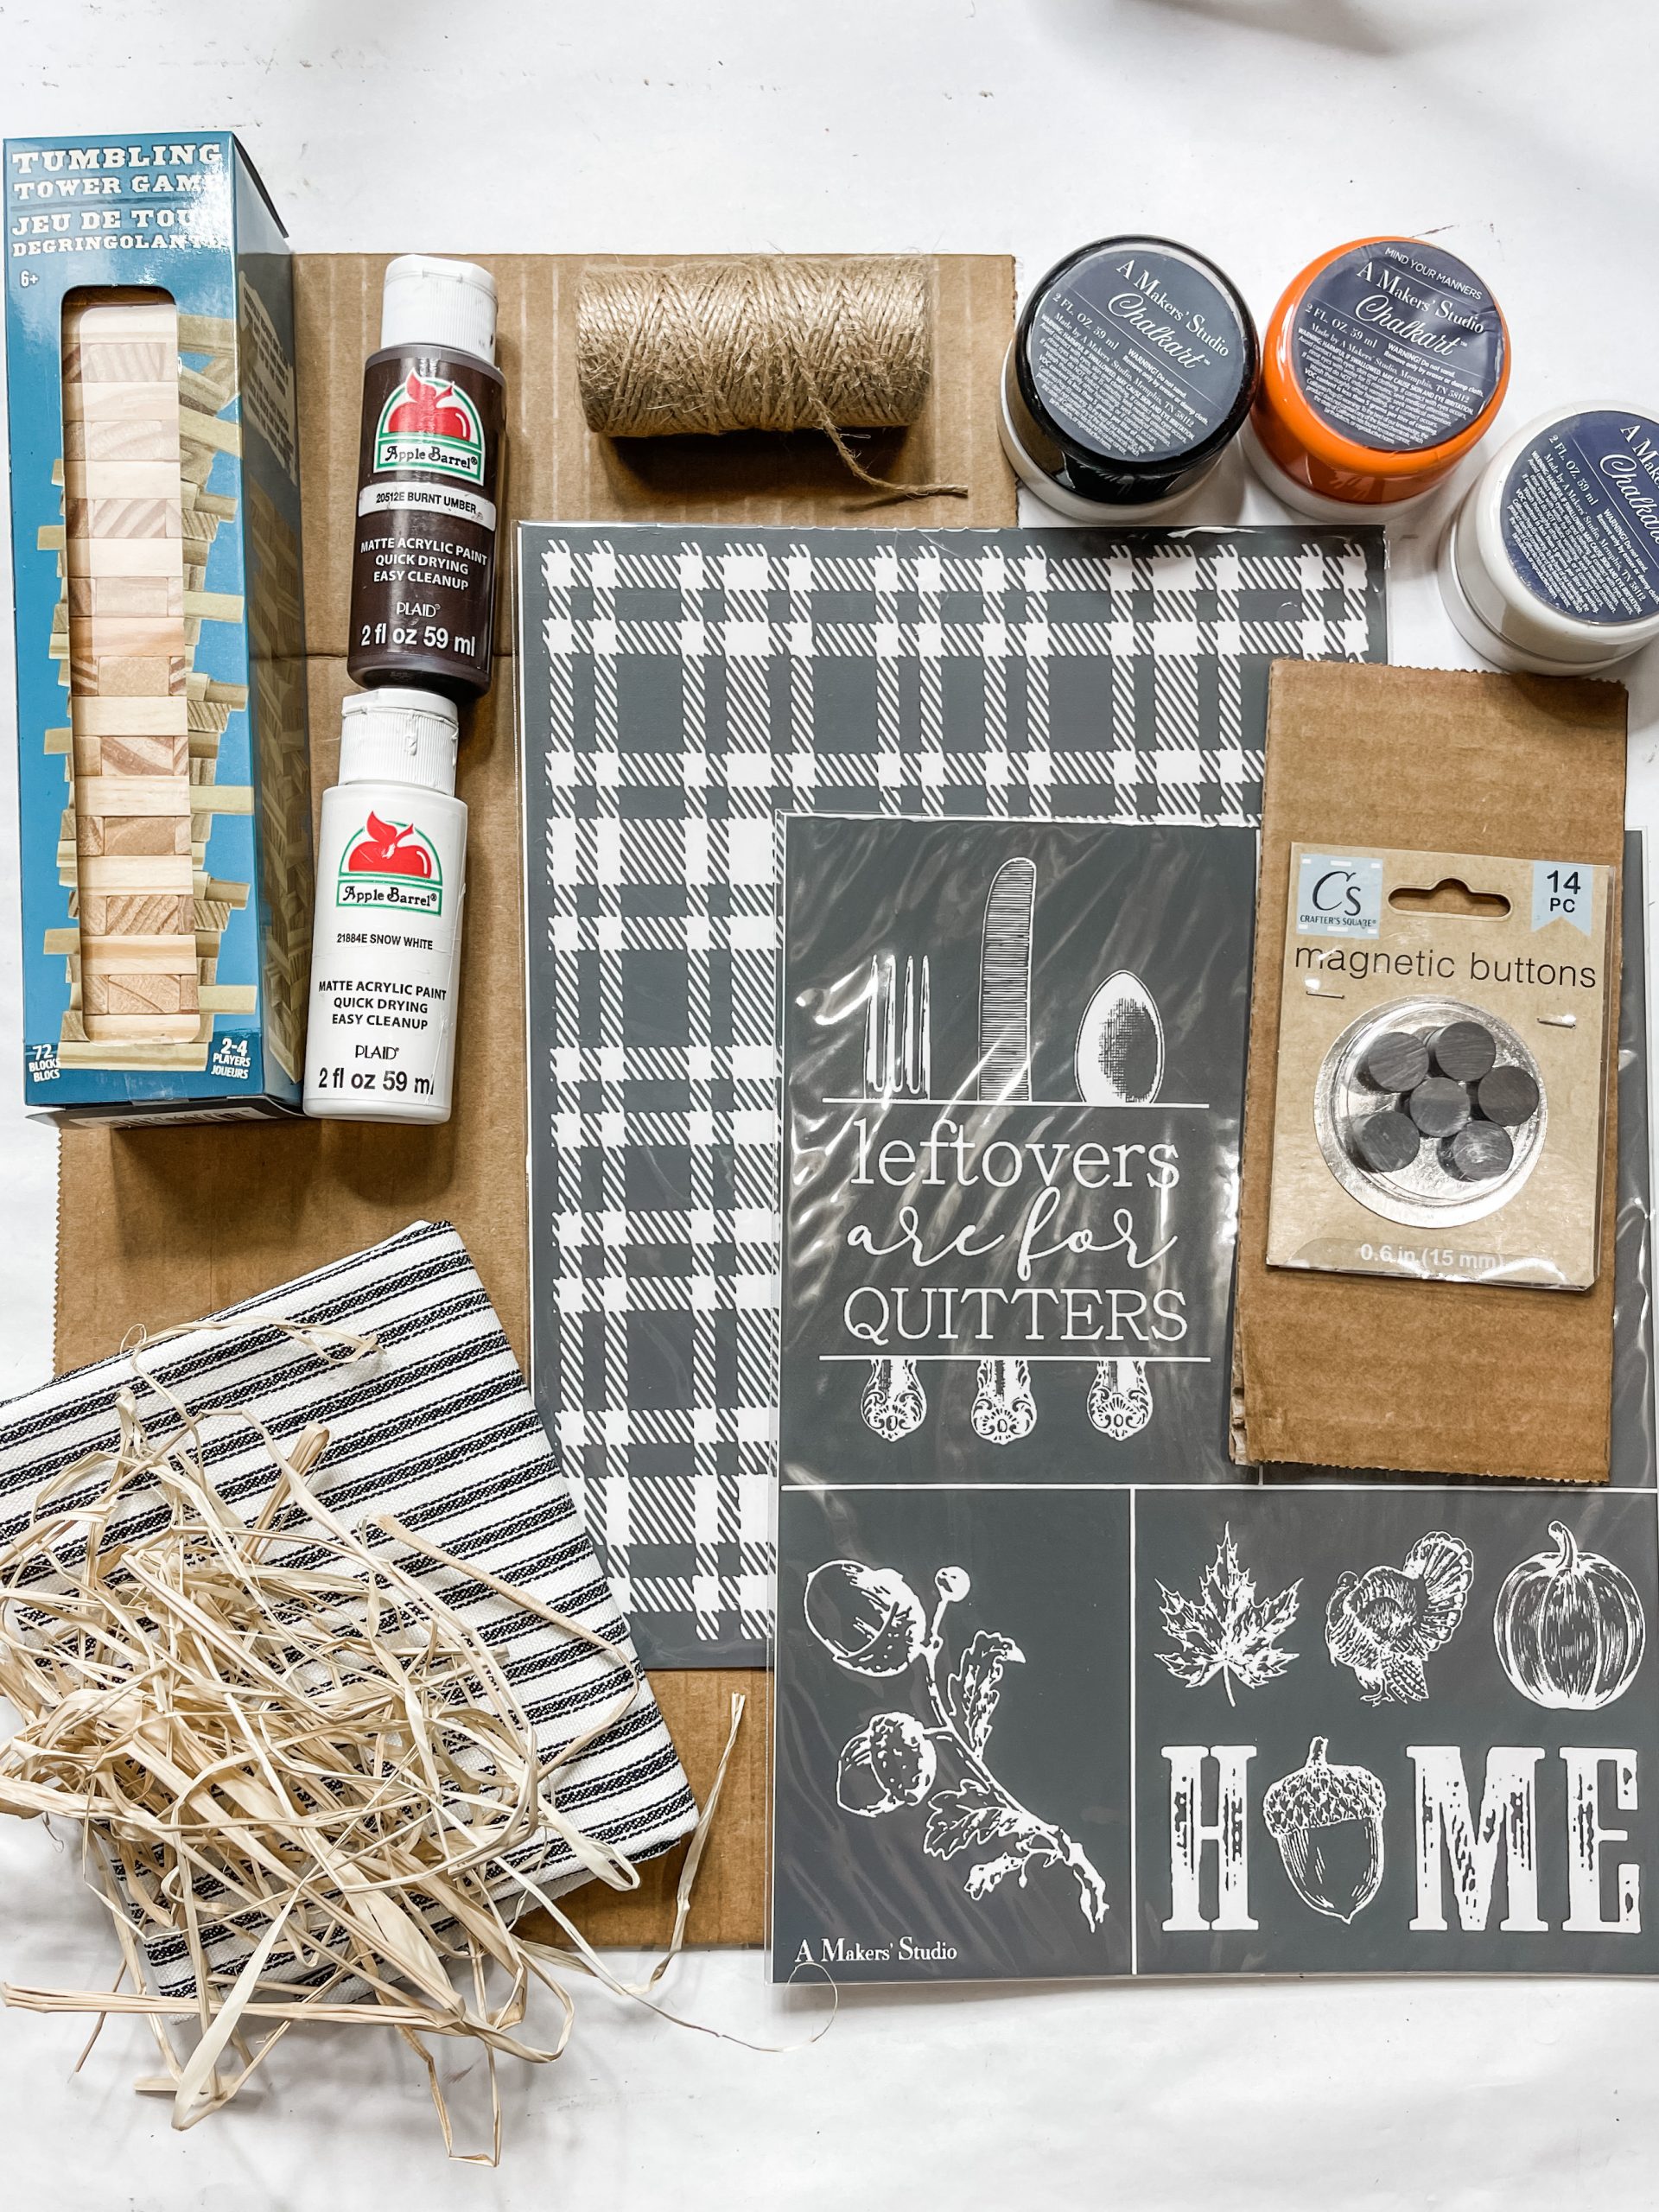
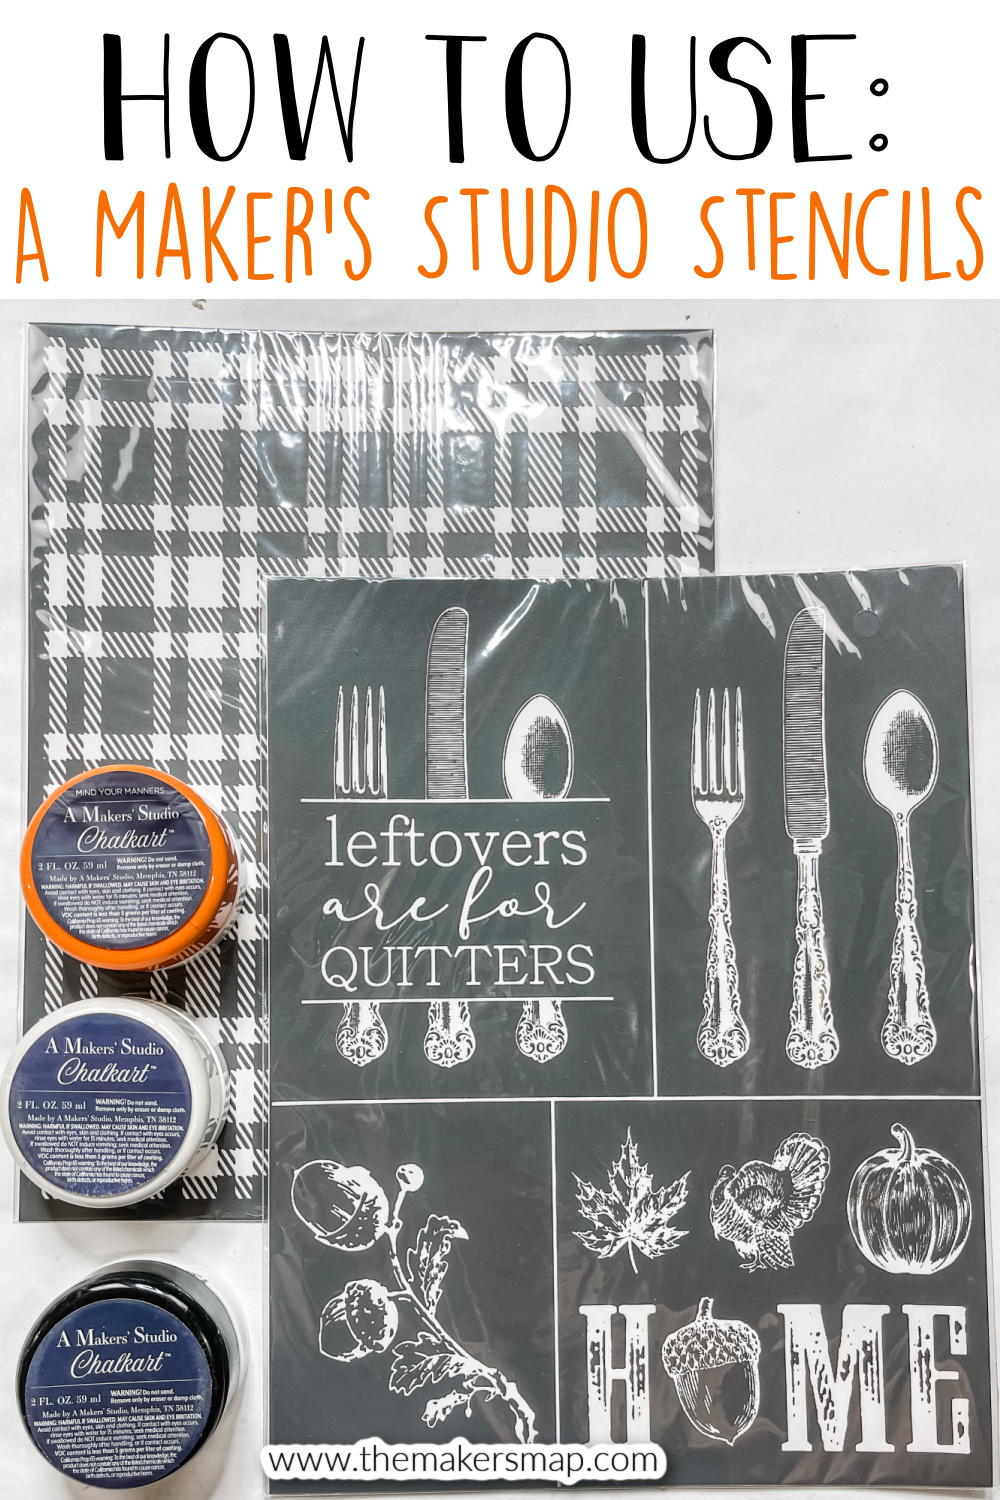
For this project, I will be using these items, but you can substitute where you want.
“As an Amazon Associate, I earn from qualifying purchases.”
- A Maker’s Studio Buffalo Check Stencil
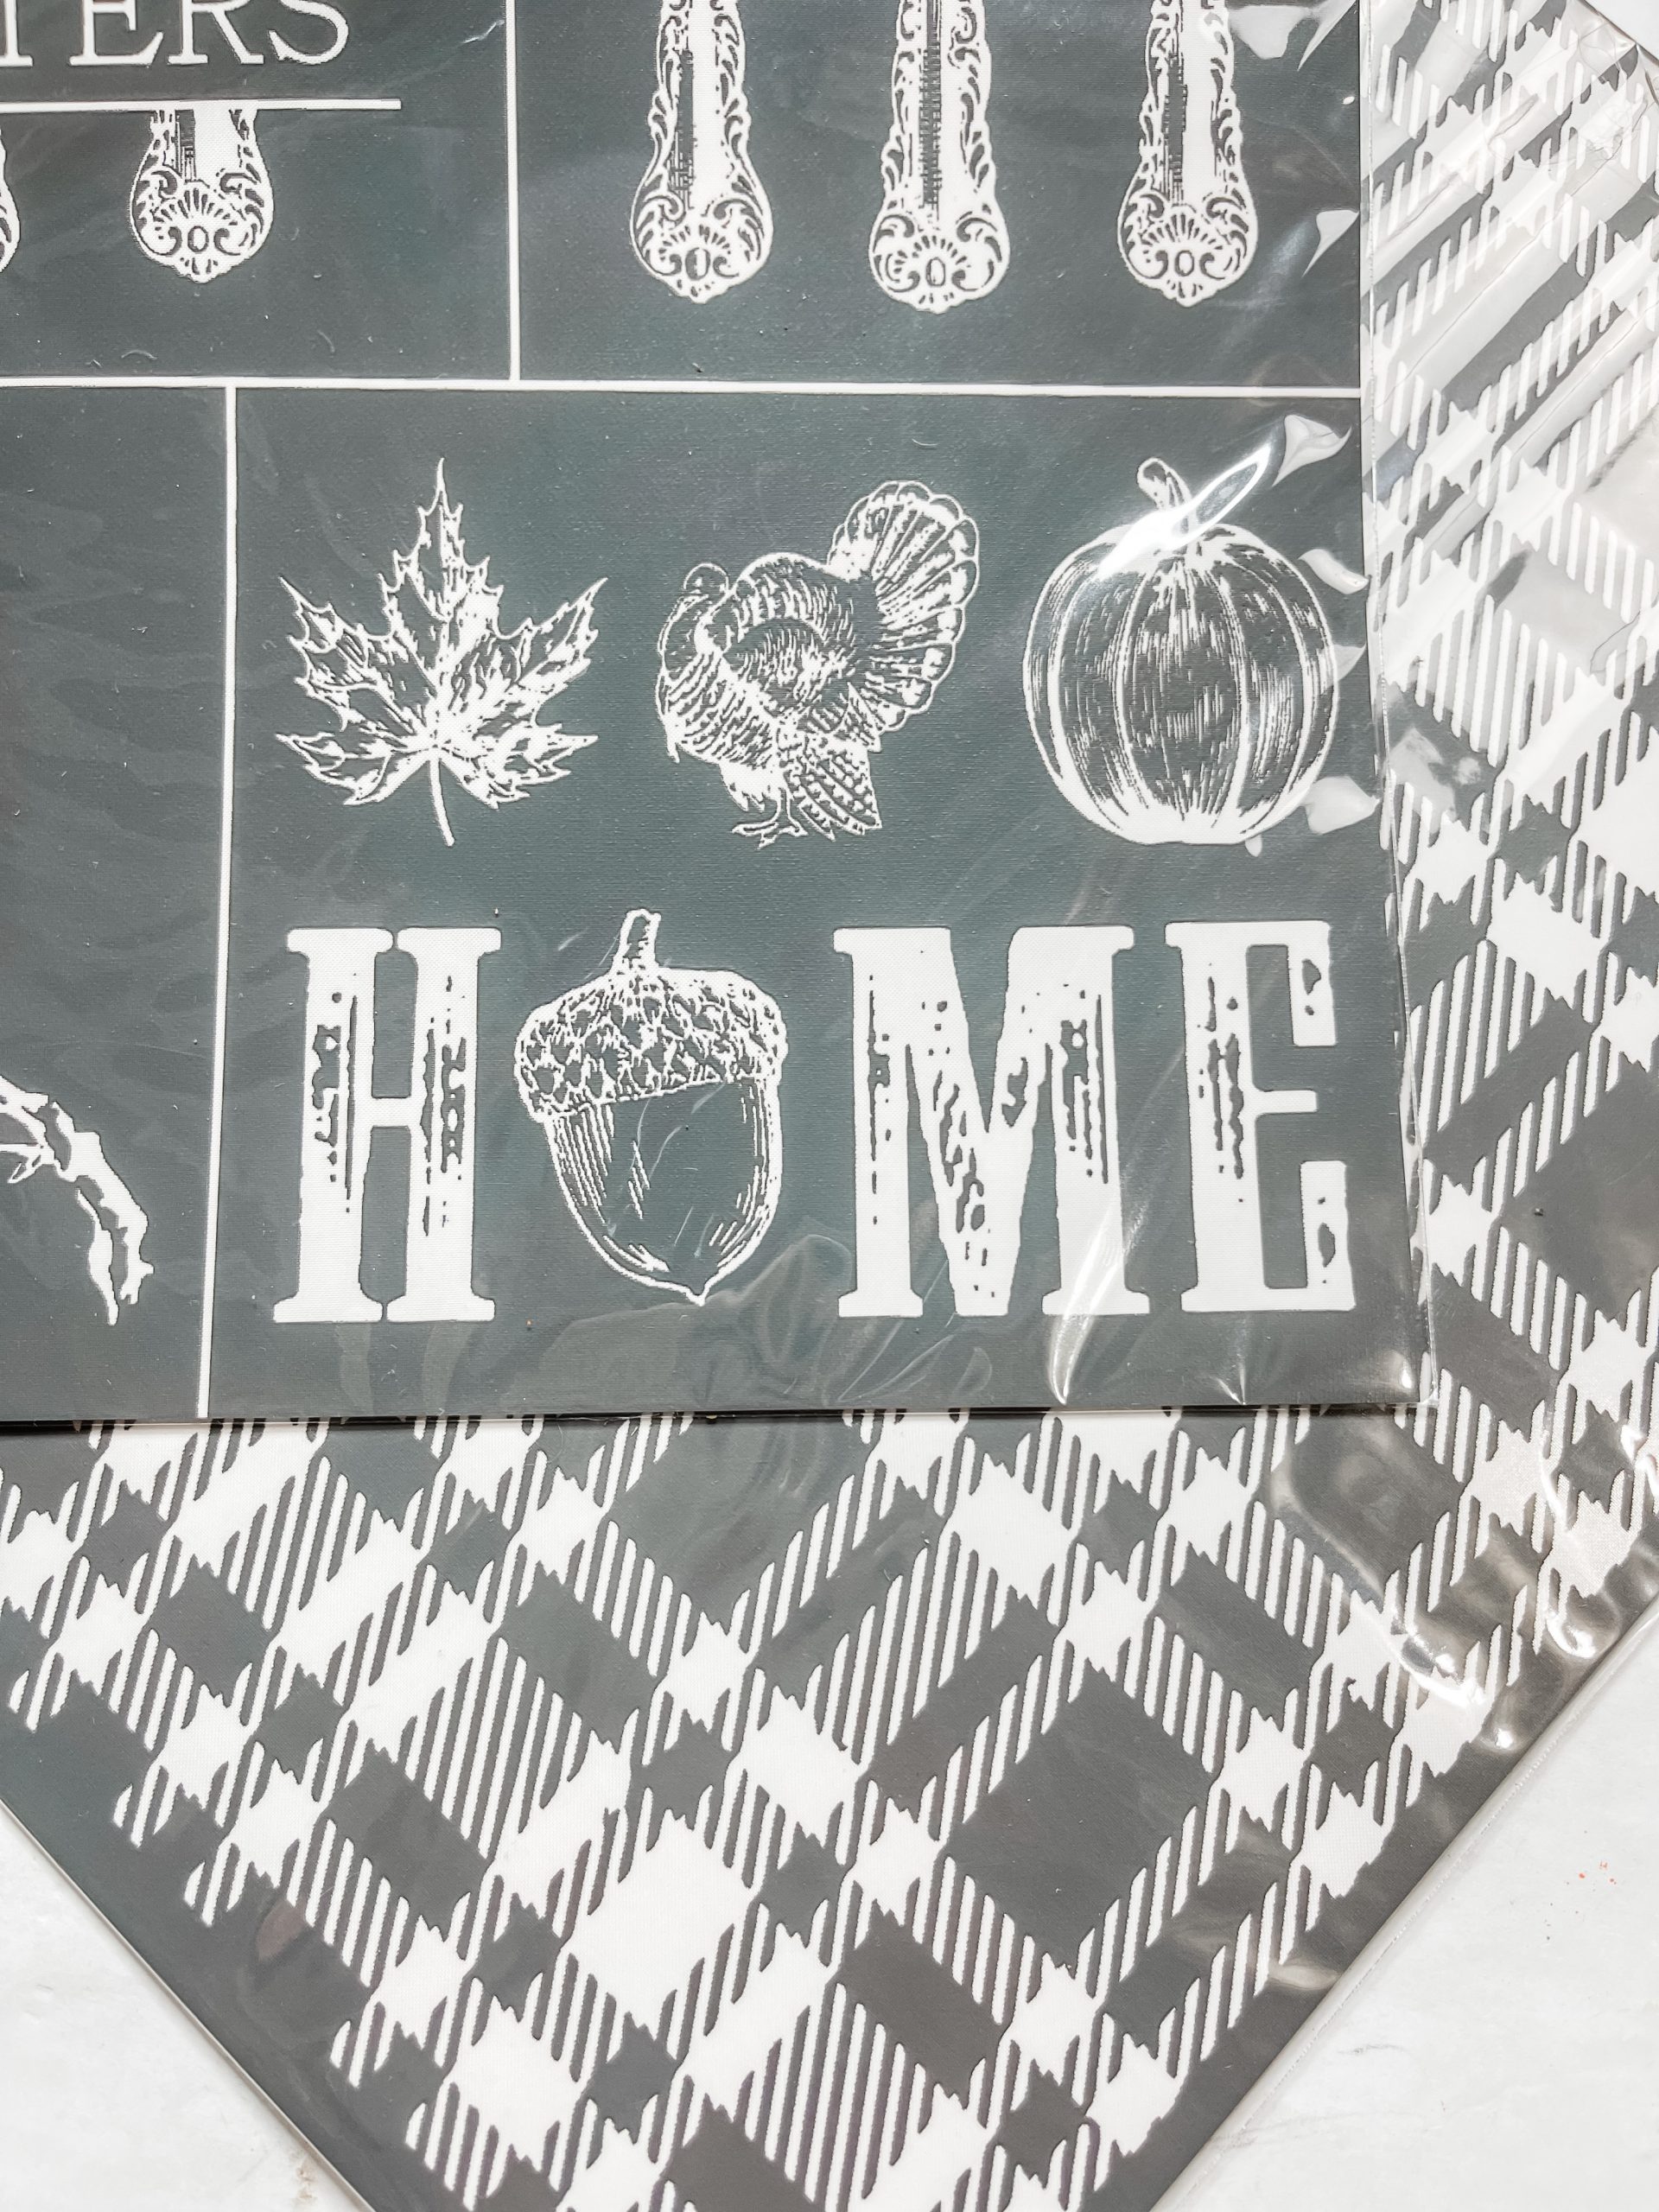
- A Maker’s Studio HOME Stencil
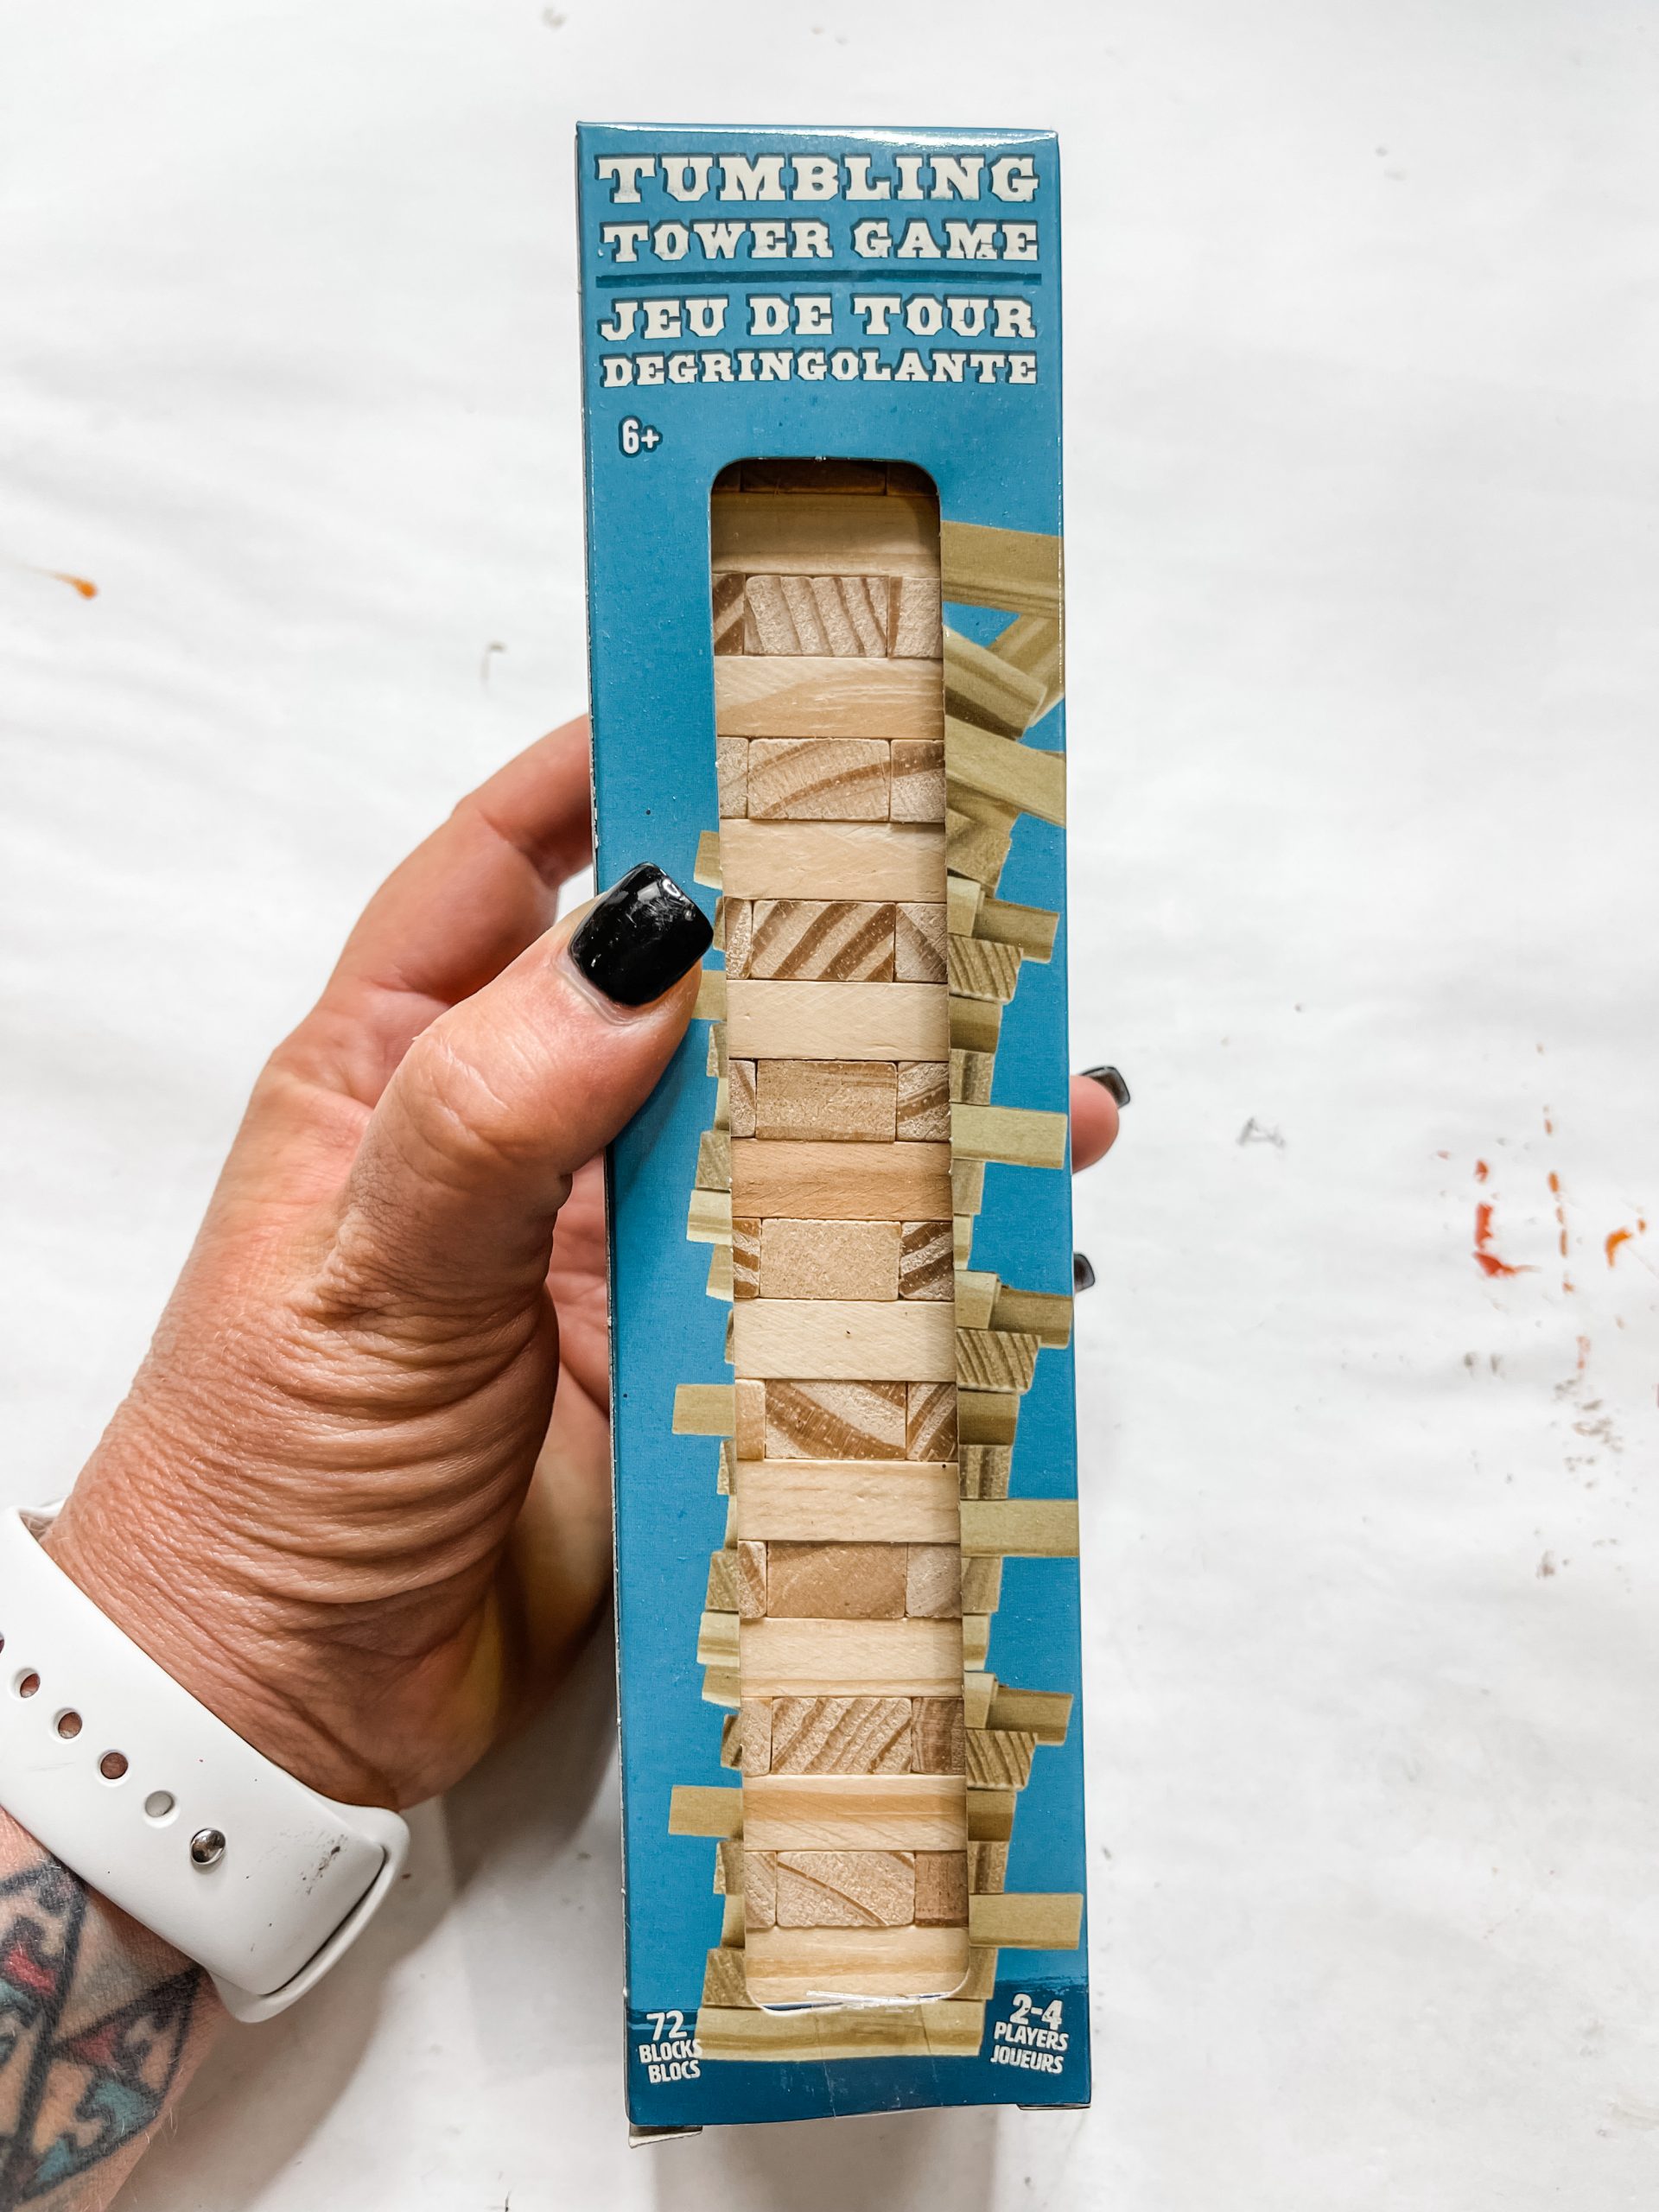
- Dollar Tree Tumbling Tower Blocks
- Dollar Tree Magnetic Buttons
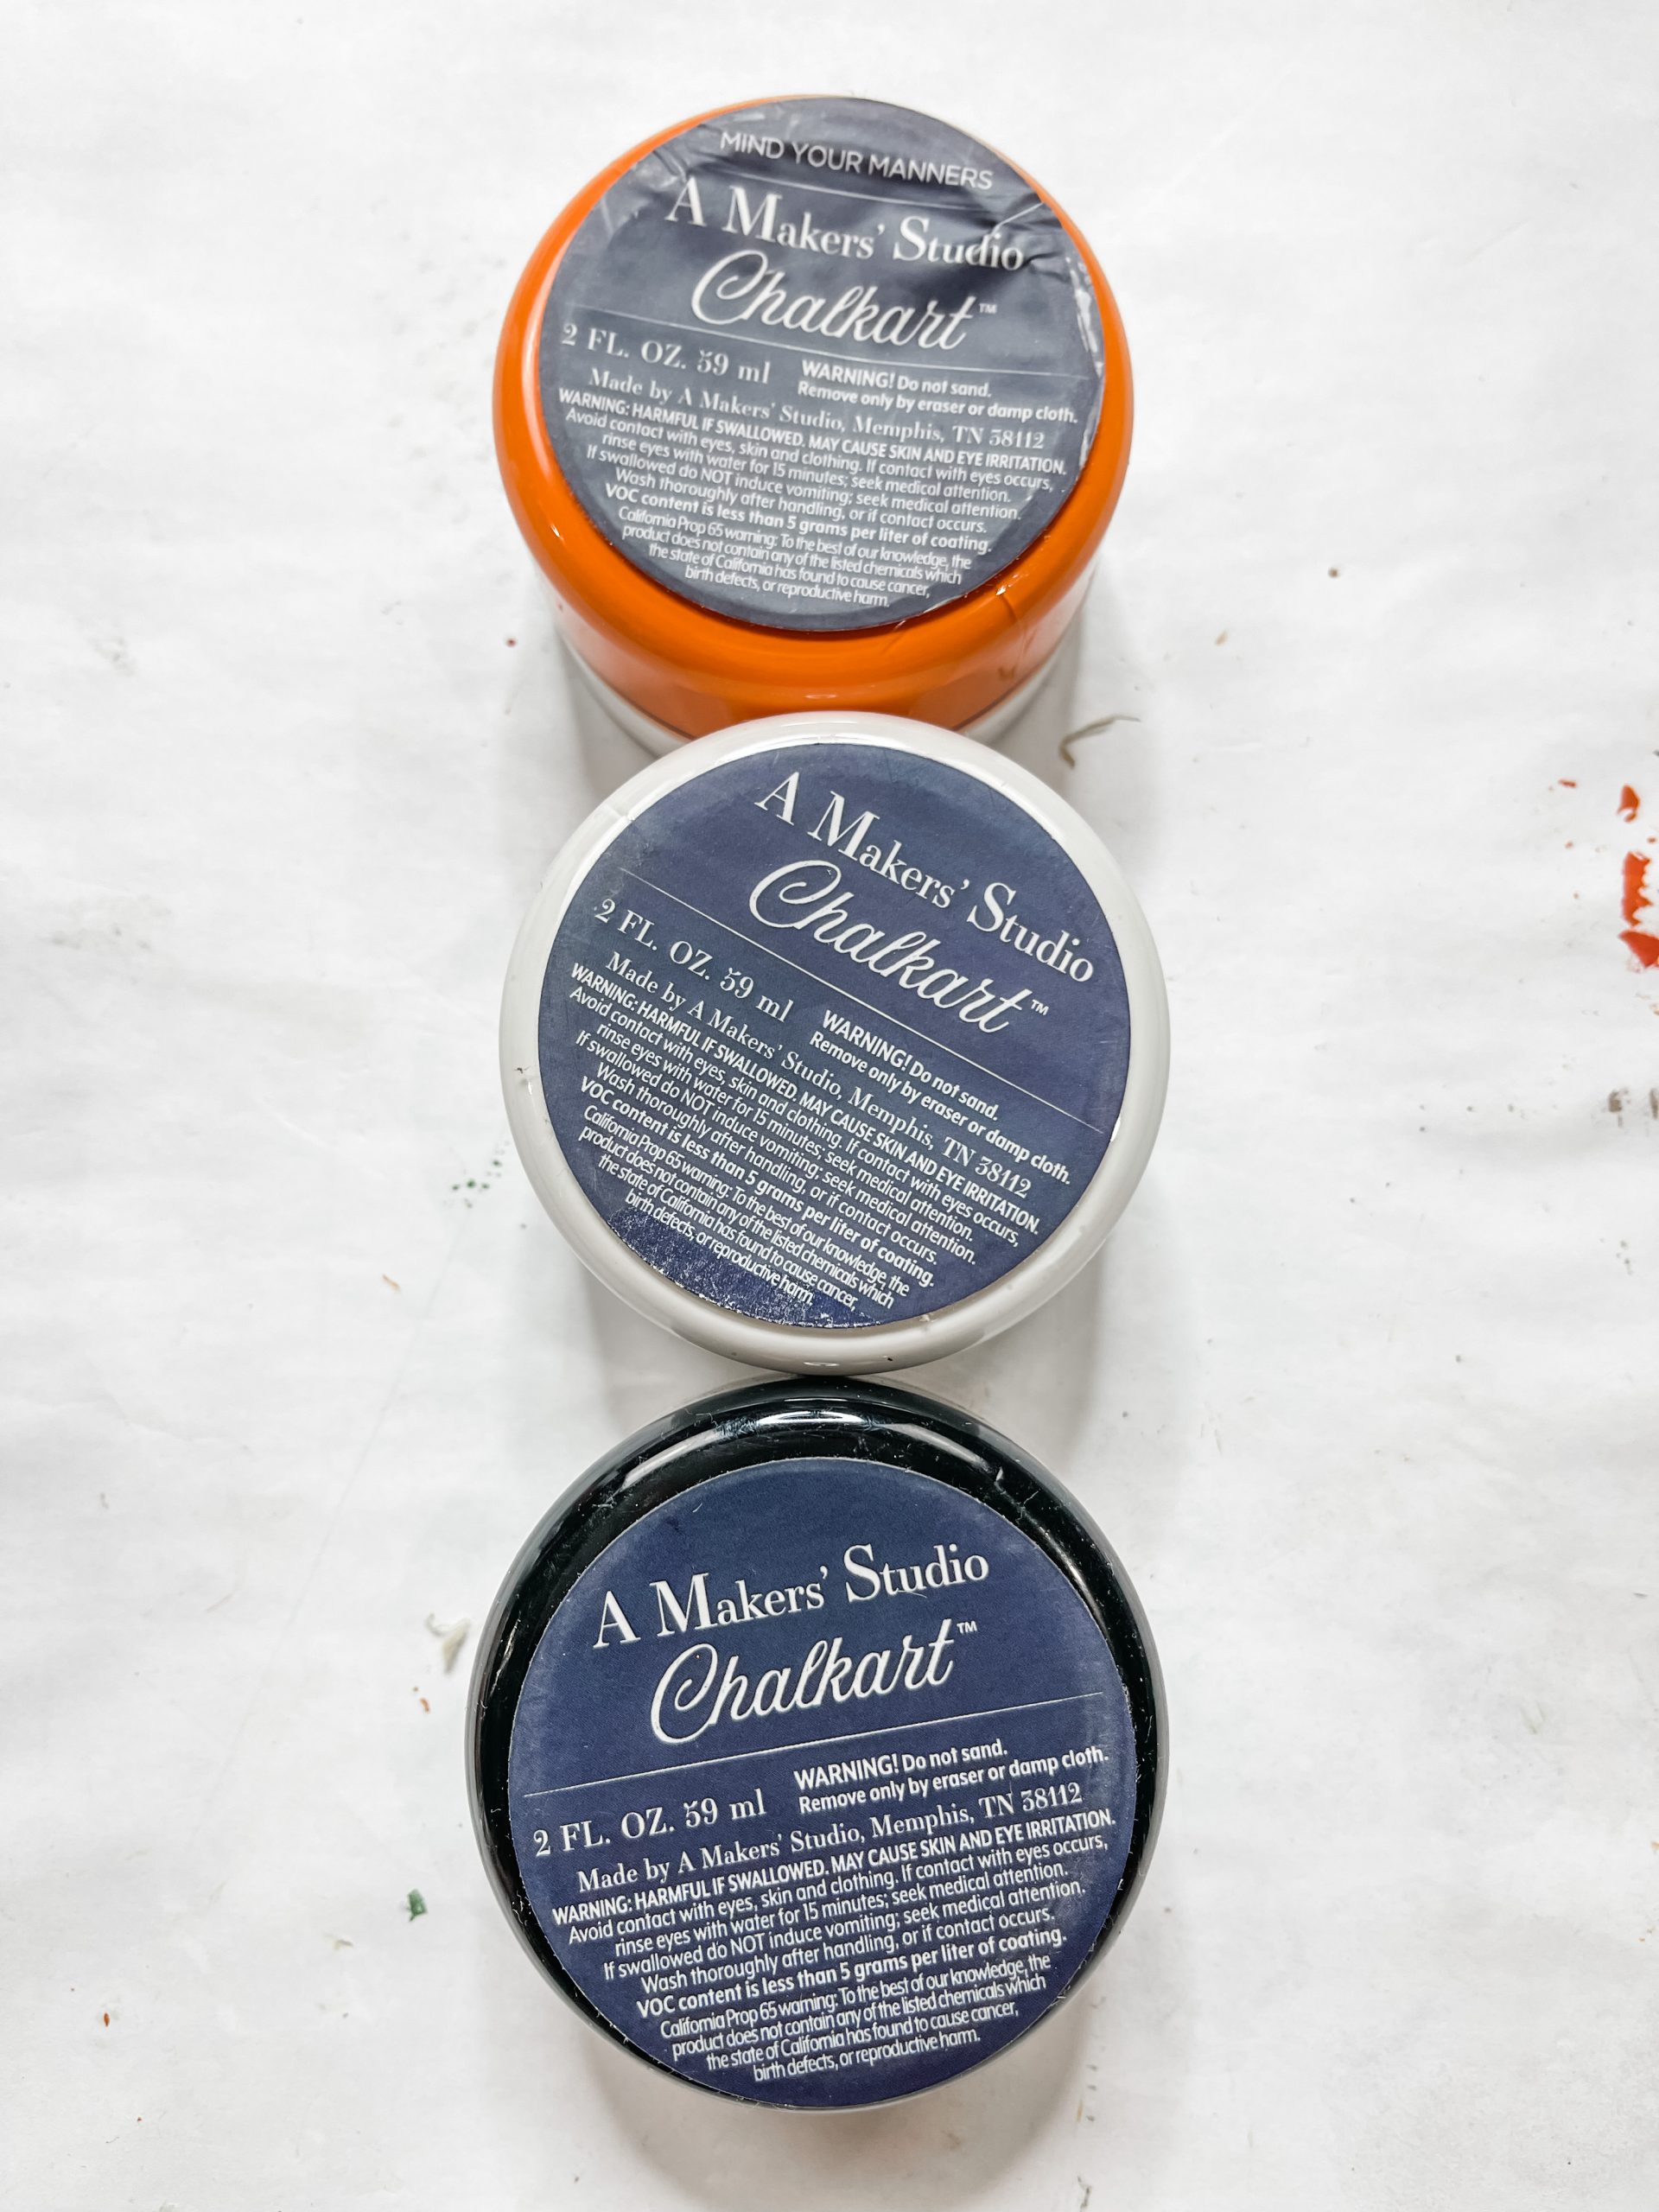
- A Maker’s Studio Orange, White, and Black Paint
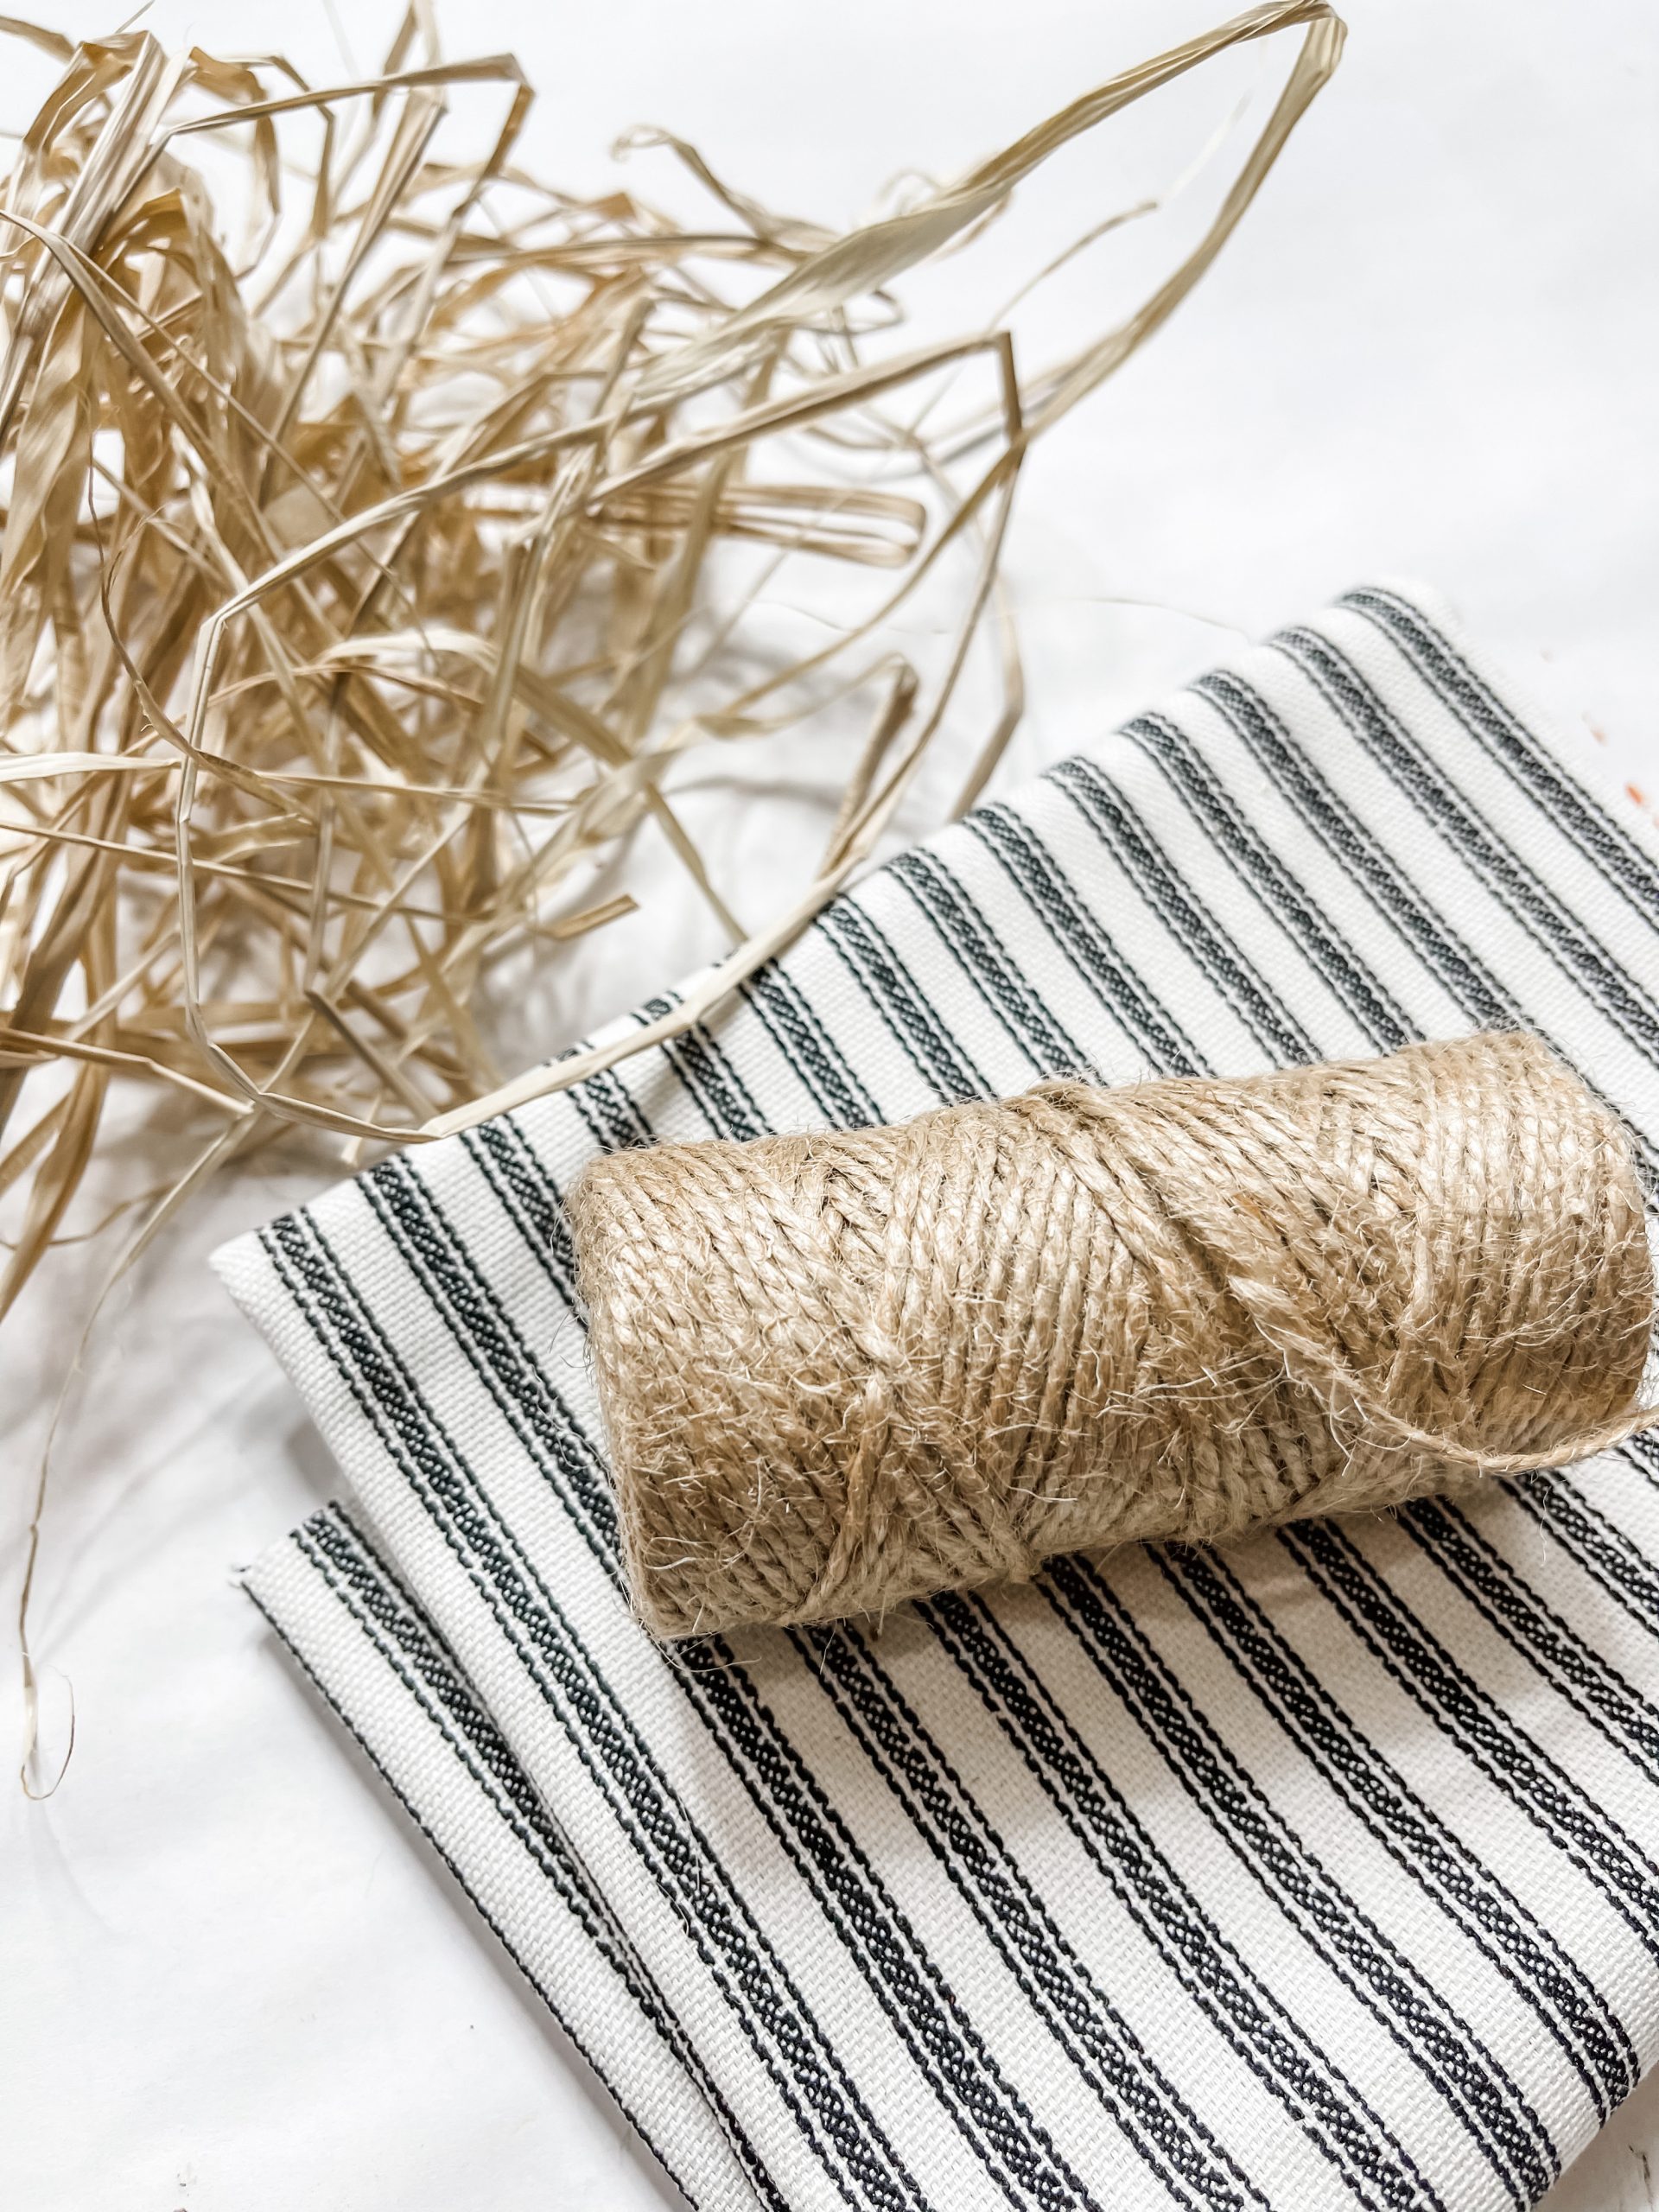
- Dollar Tree Twine
- Dollar Tree Raffia
- Ticking Fabric (Hobby Lobby)
- Cardboard
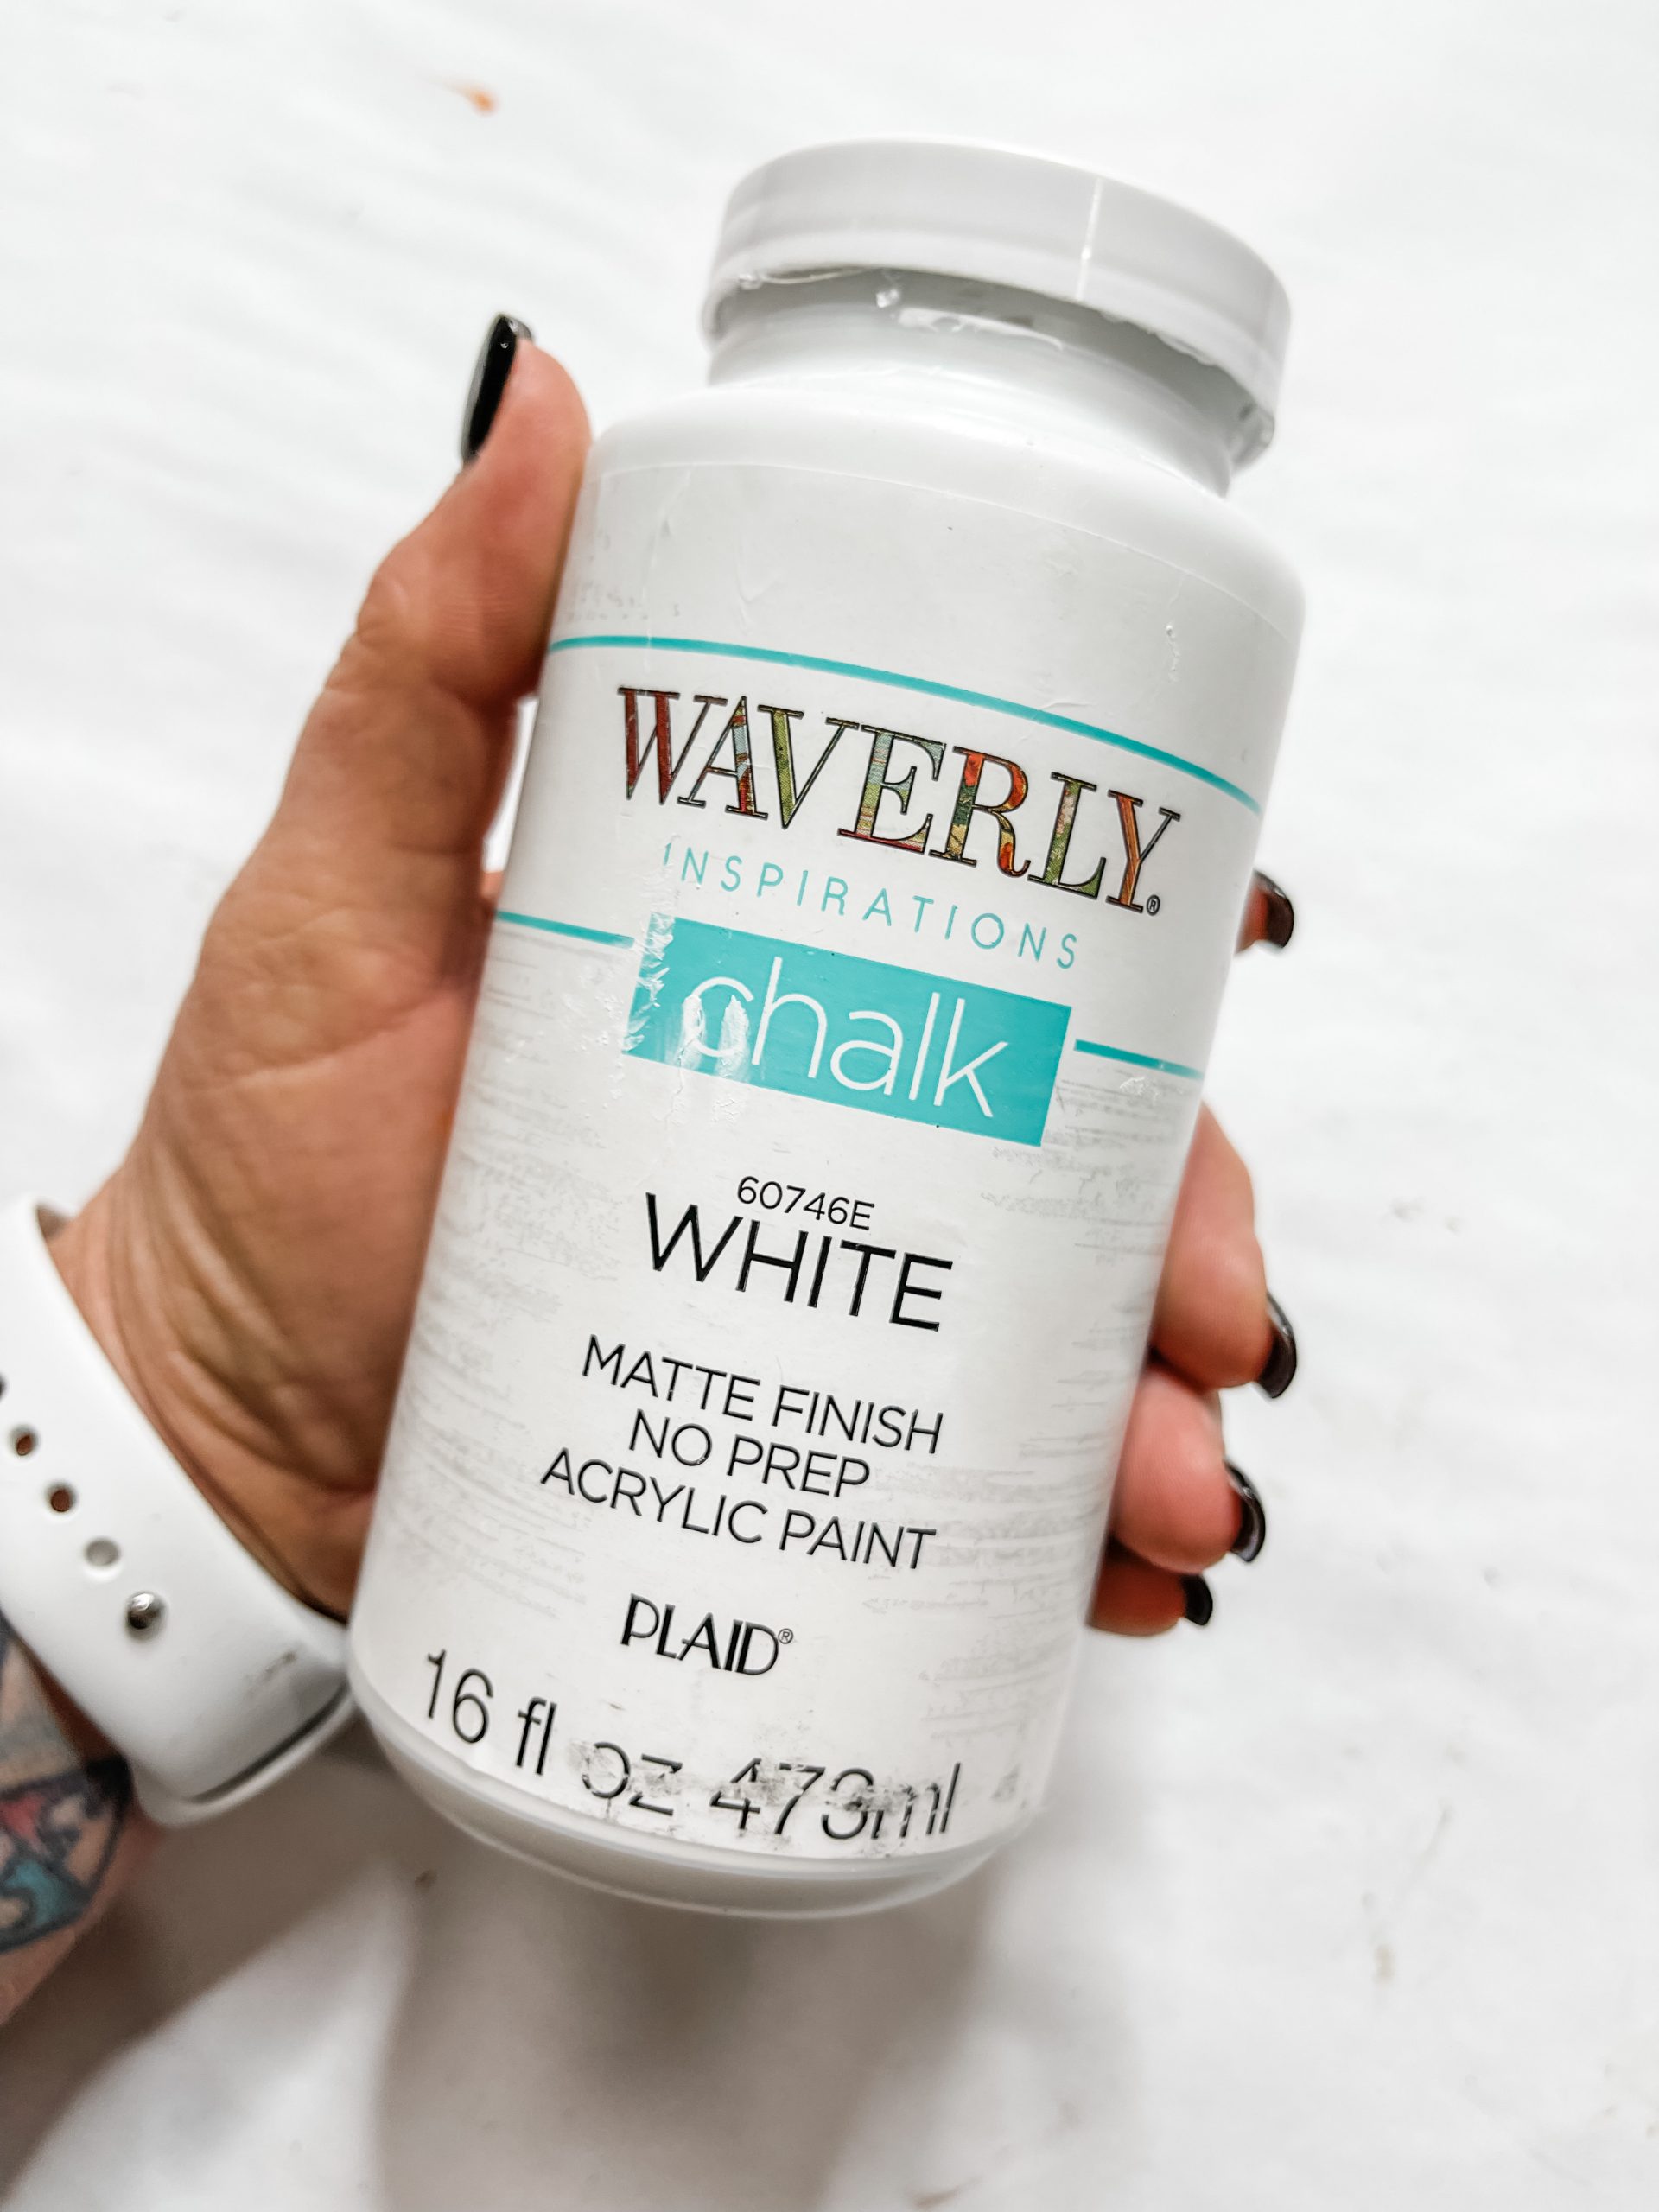
- Waverly White Chalk Paint
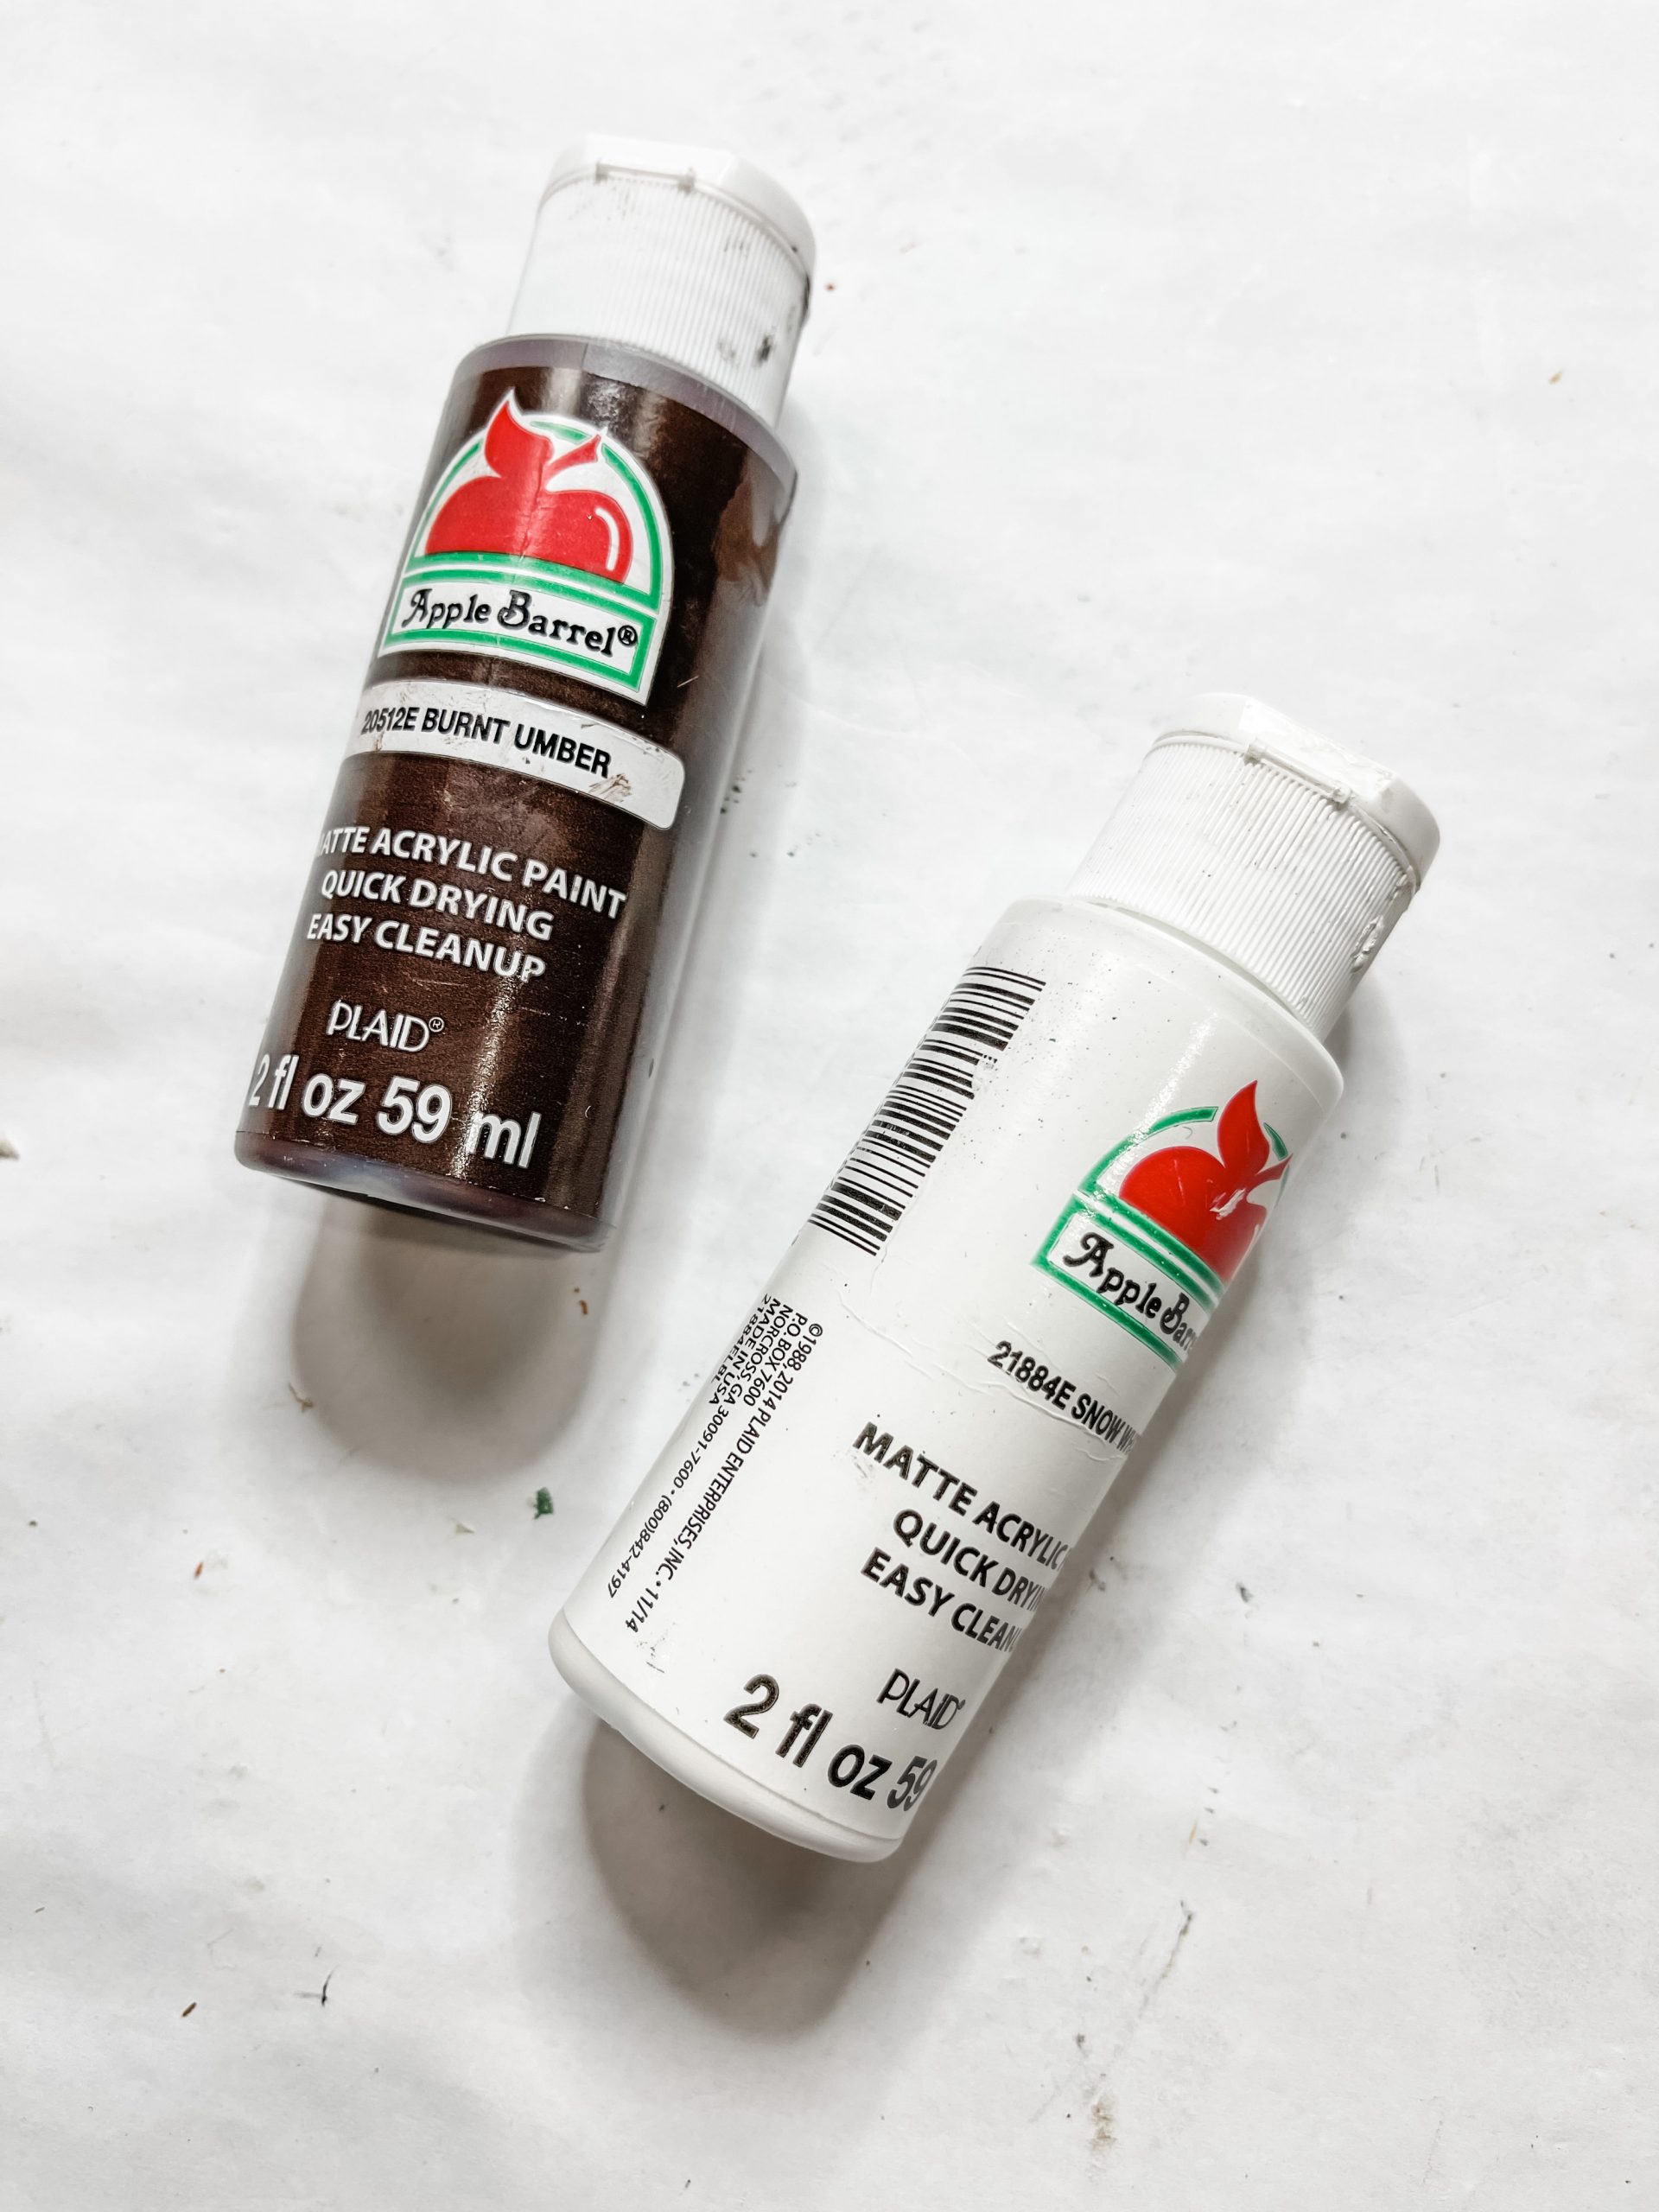
- Apple Barrel Snow White Acrylic Paint
- Apple Barrel Burnt Umber Acrylic Paint
- Hot Glue gun
- Glue Sticks
How to Make a DIY Stenciled Home Fall Sign
The size of your stenciled home sign depends on you. I placed the piece of cardboard on my craft table and laid out Dollar Tree Tumbling Tower blocks to frame out how large I wanted my sign to be.
Then, trace the outside of the blocks onto the cardboard and cut it to size. Then, apply a coat of Waverly White Chalk Paint to the surface of the cardboard.
Allow the white paint to dry completely, then place the adhesive buffalo check stencil (from A Maker’s Studio) onto the cardboard.
Use a plastic paint scraper (from A Maker’s Studio) to spread black paint (from A Maker’s Studio) across the stencil.
Then, carefully pull the adhesive stencil from the cardboard. Allow the paint to dry completely. I used my heat gun to speed up the drying process.
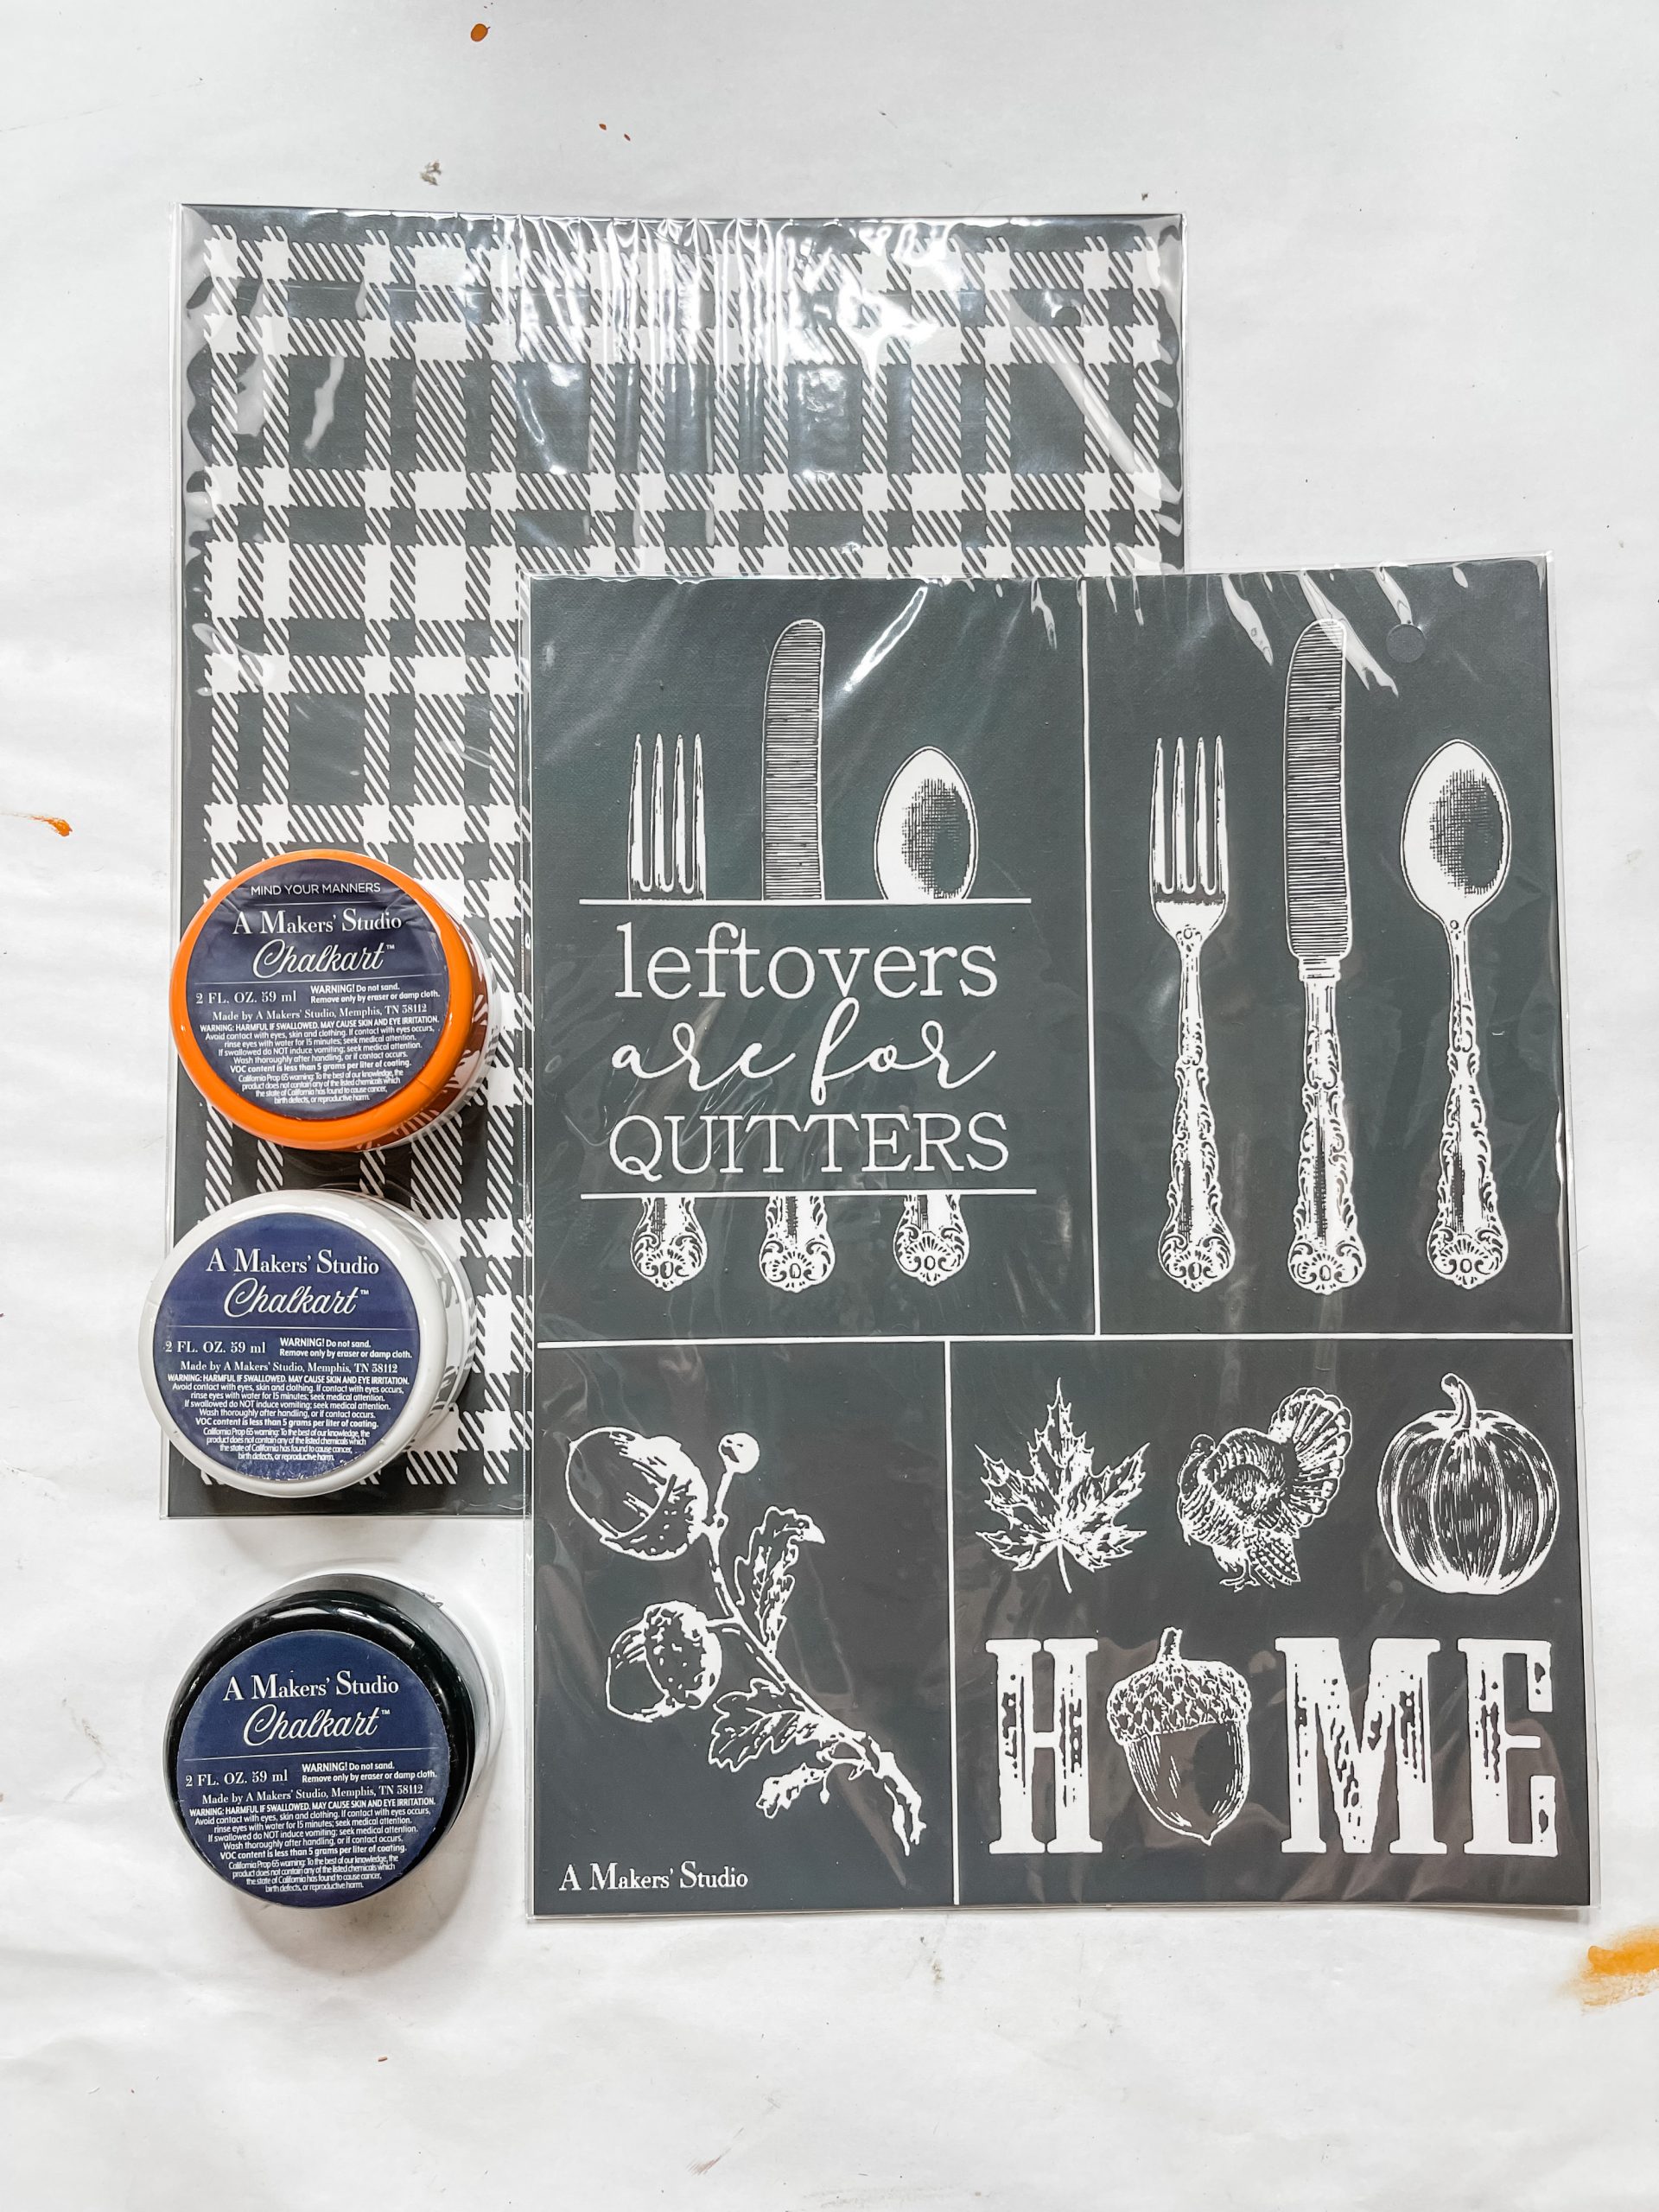
A Maker’s Studio HOME Stencil
Next, you need to make the HOME portion of your stenciled home sign! You’ll need another piece of plain cardboard for this.
Cut the cardboard into a rectangle that fits across about half the size of your buffalo check cardboard square.
Paint the cardboard rectangle with Waverly White Chalk Paint. Allow the white paint to dry, then place the HOME stencil on the cardboard.
The O in this stencil is an acorn, but that’s not what I wanted for my stenciled Fall home sign, so I didn’t stencil the acorn when I did the other letters.
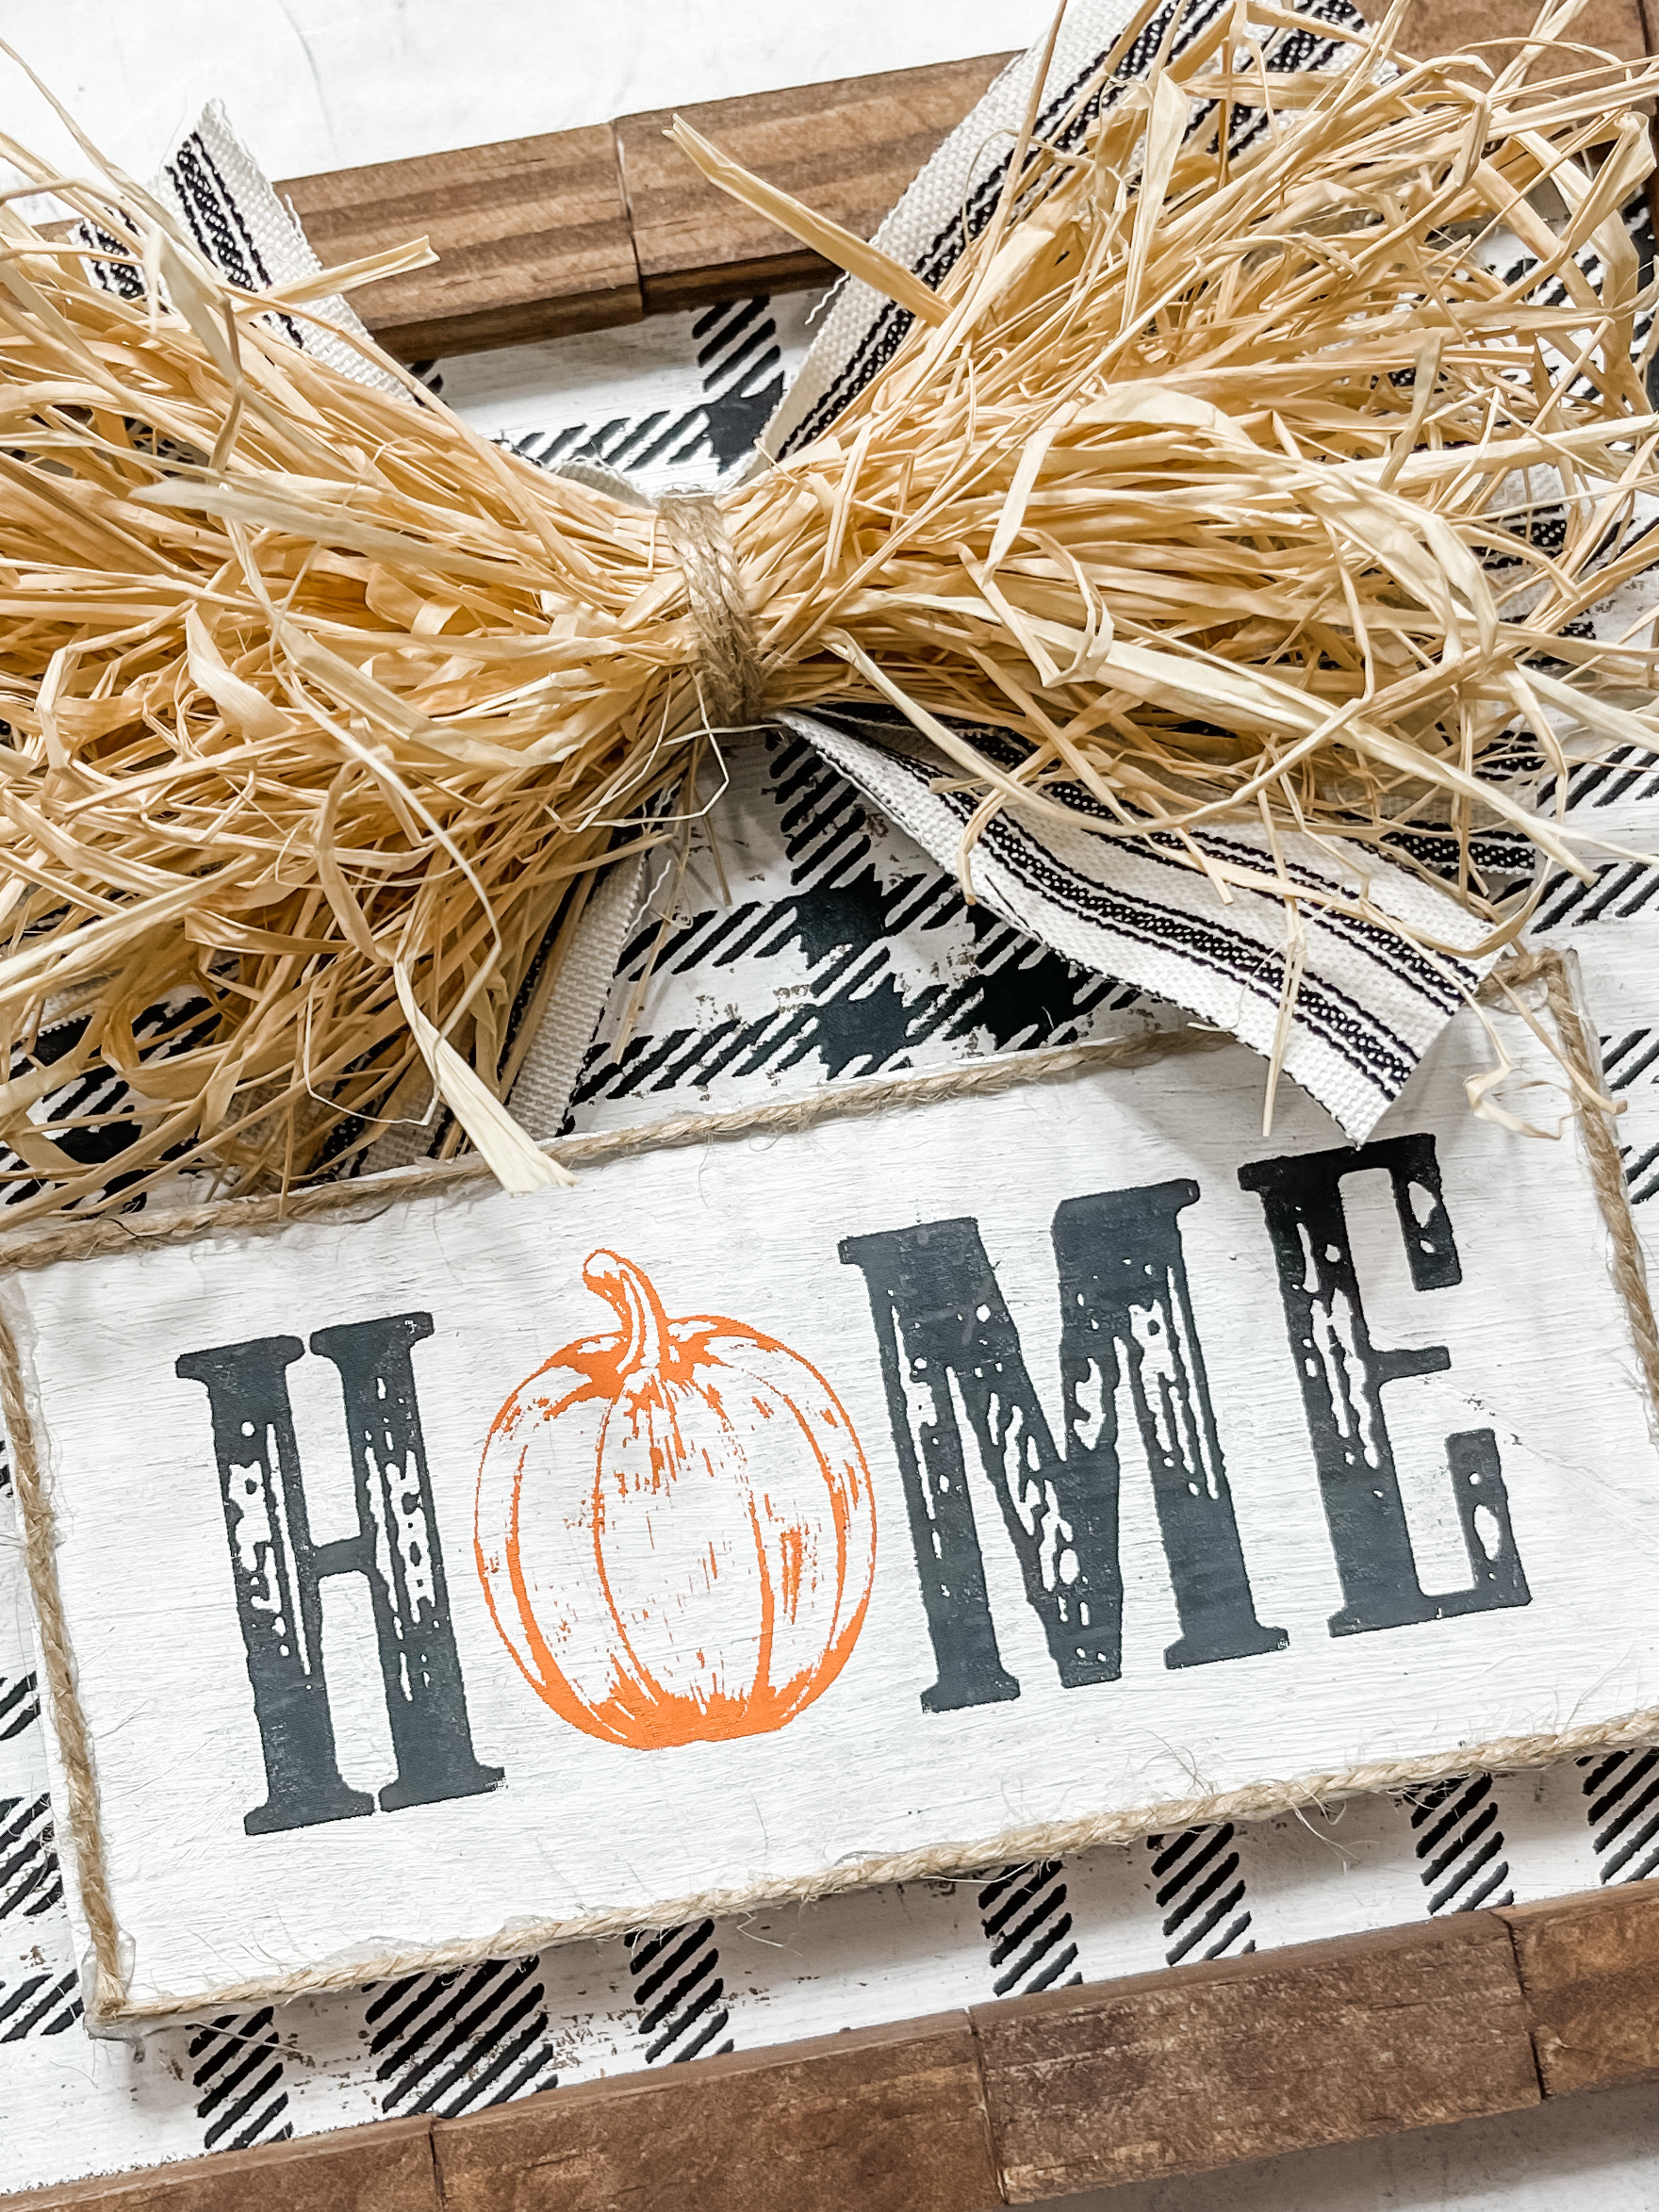
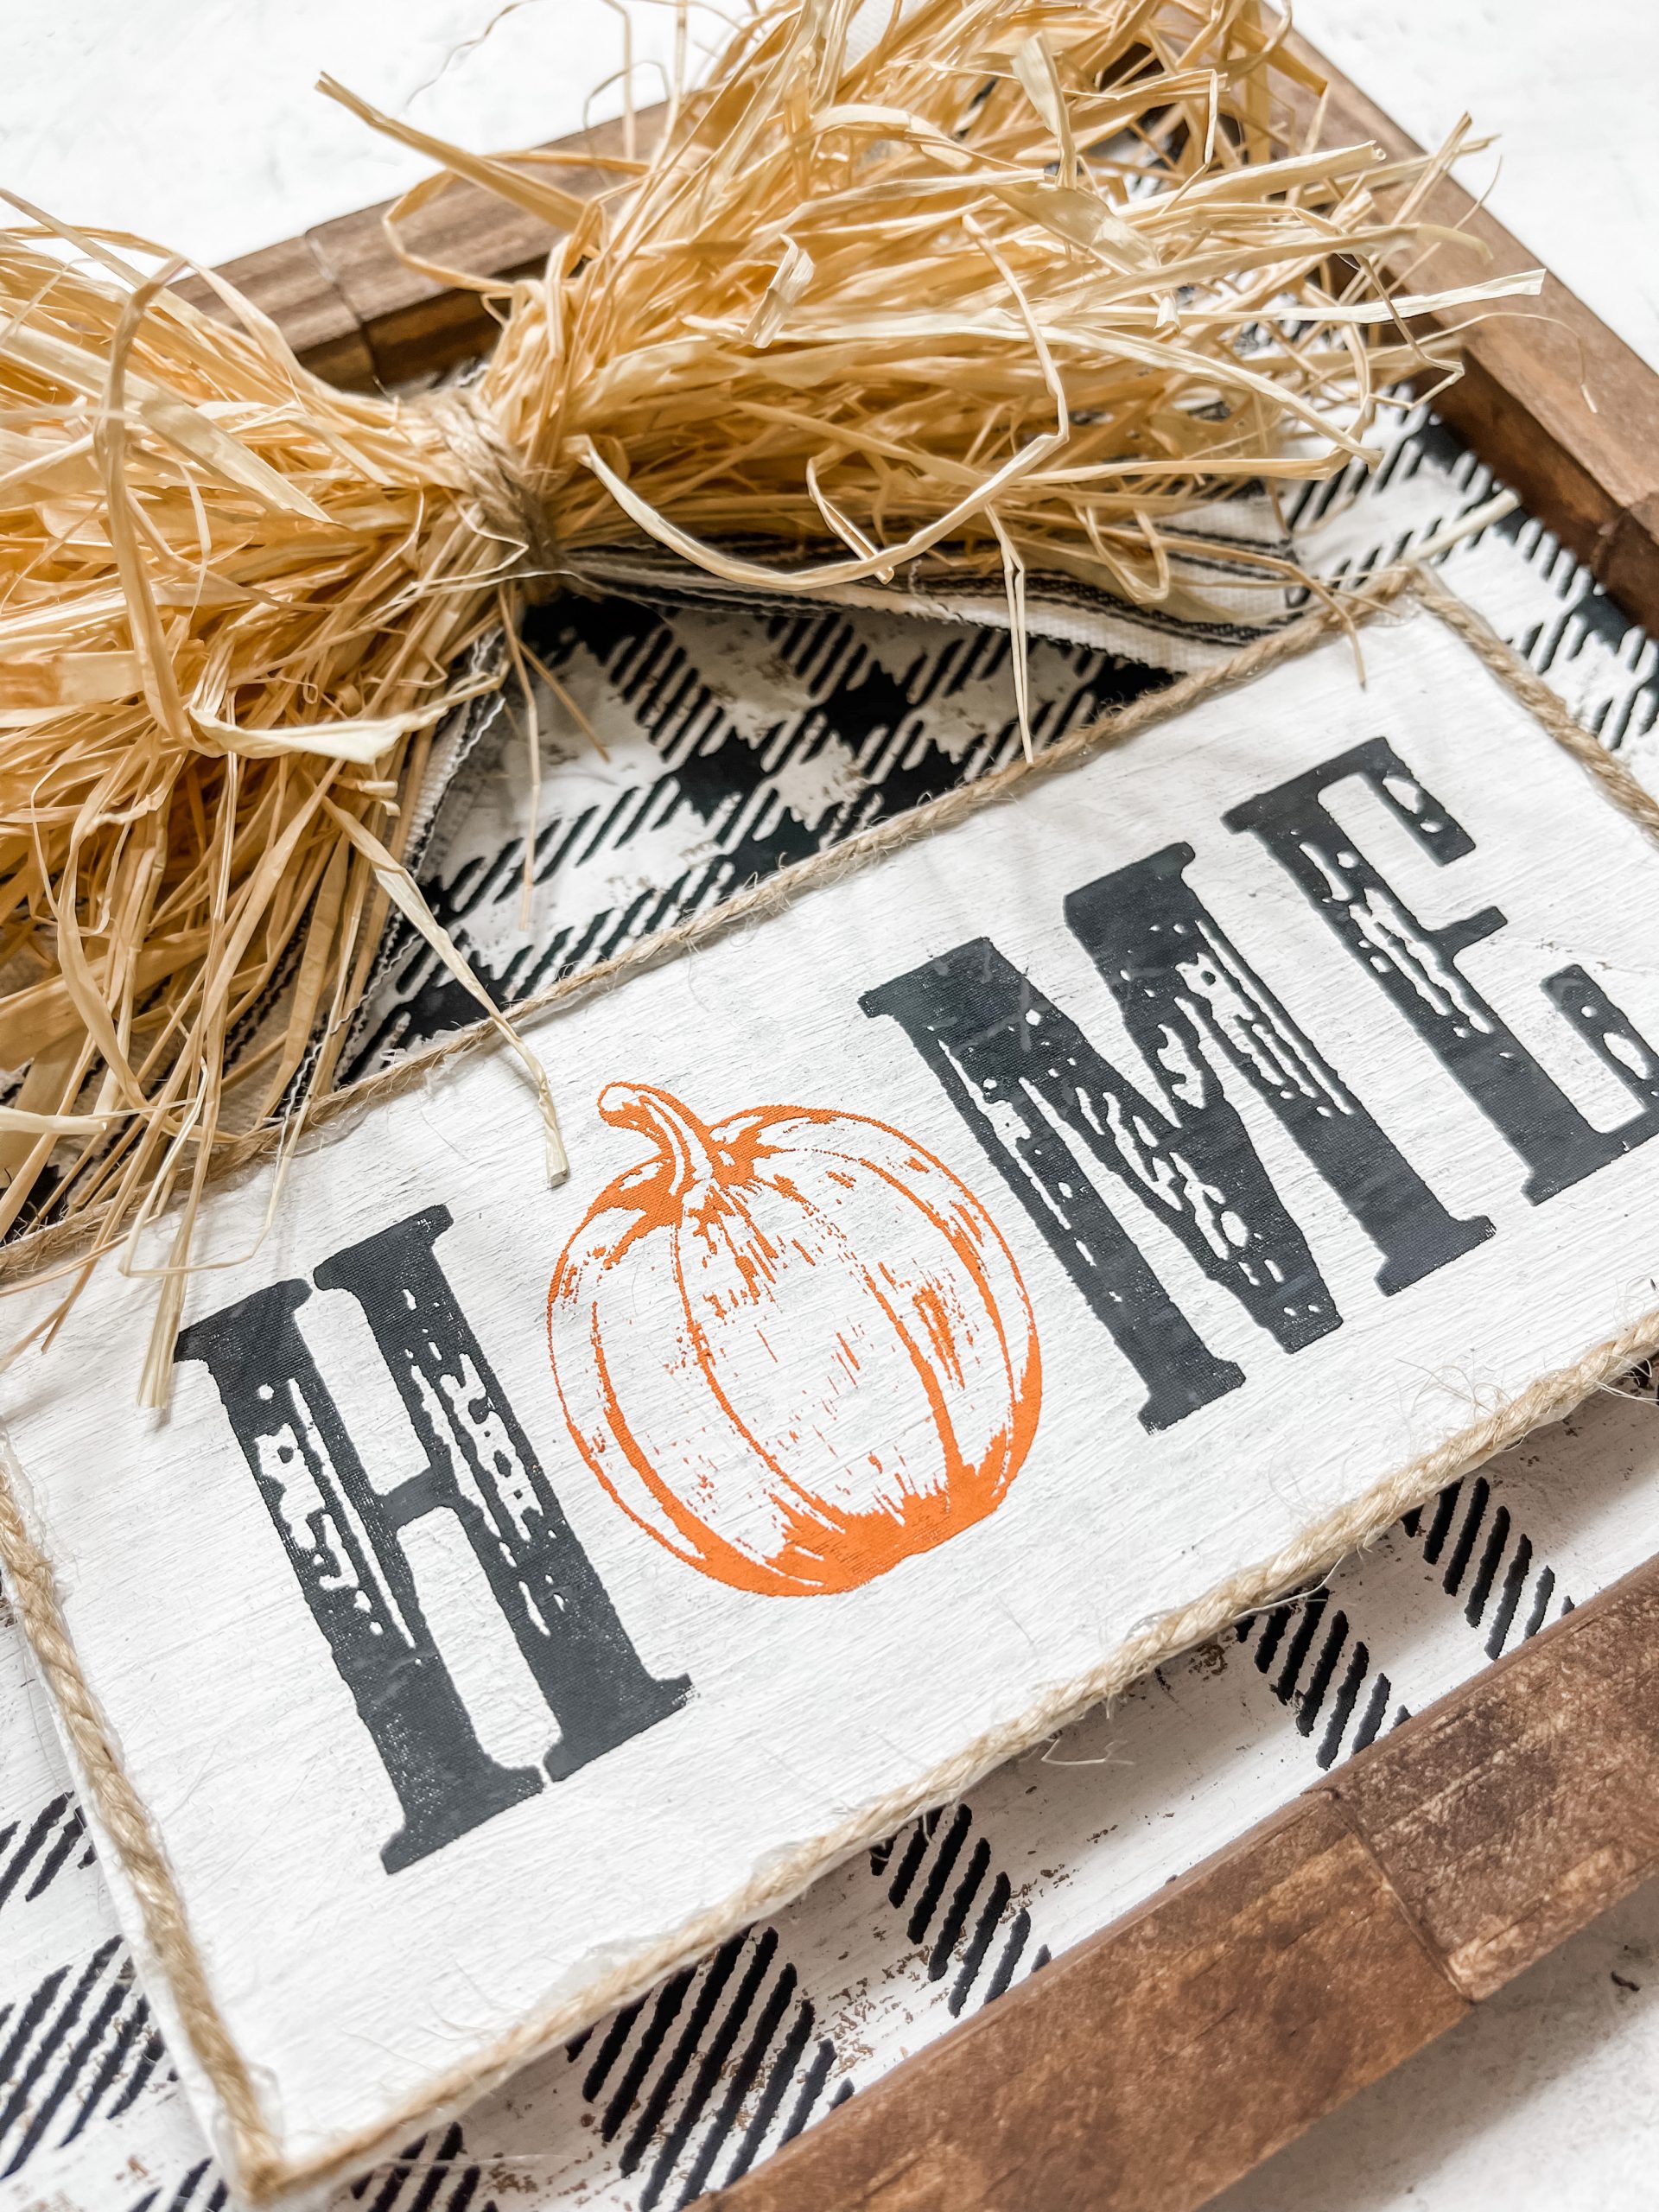
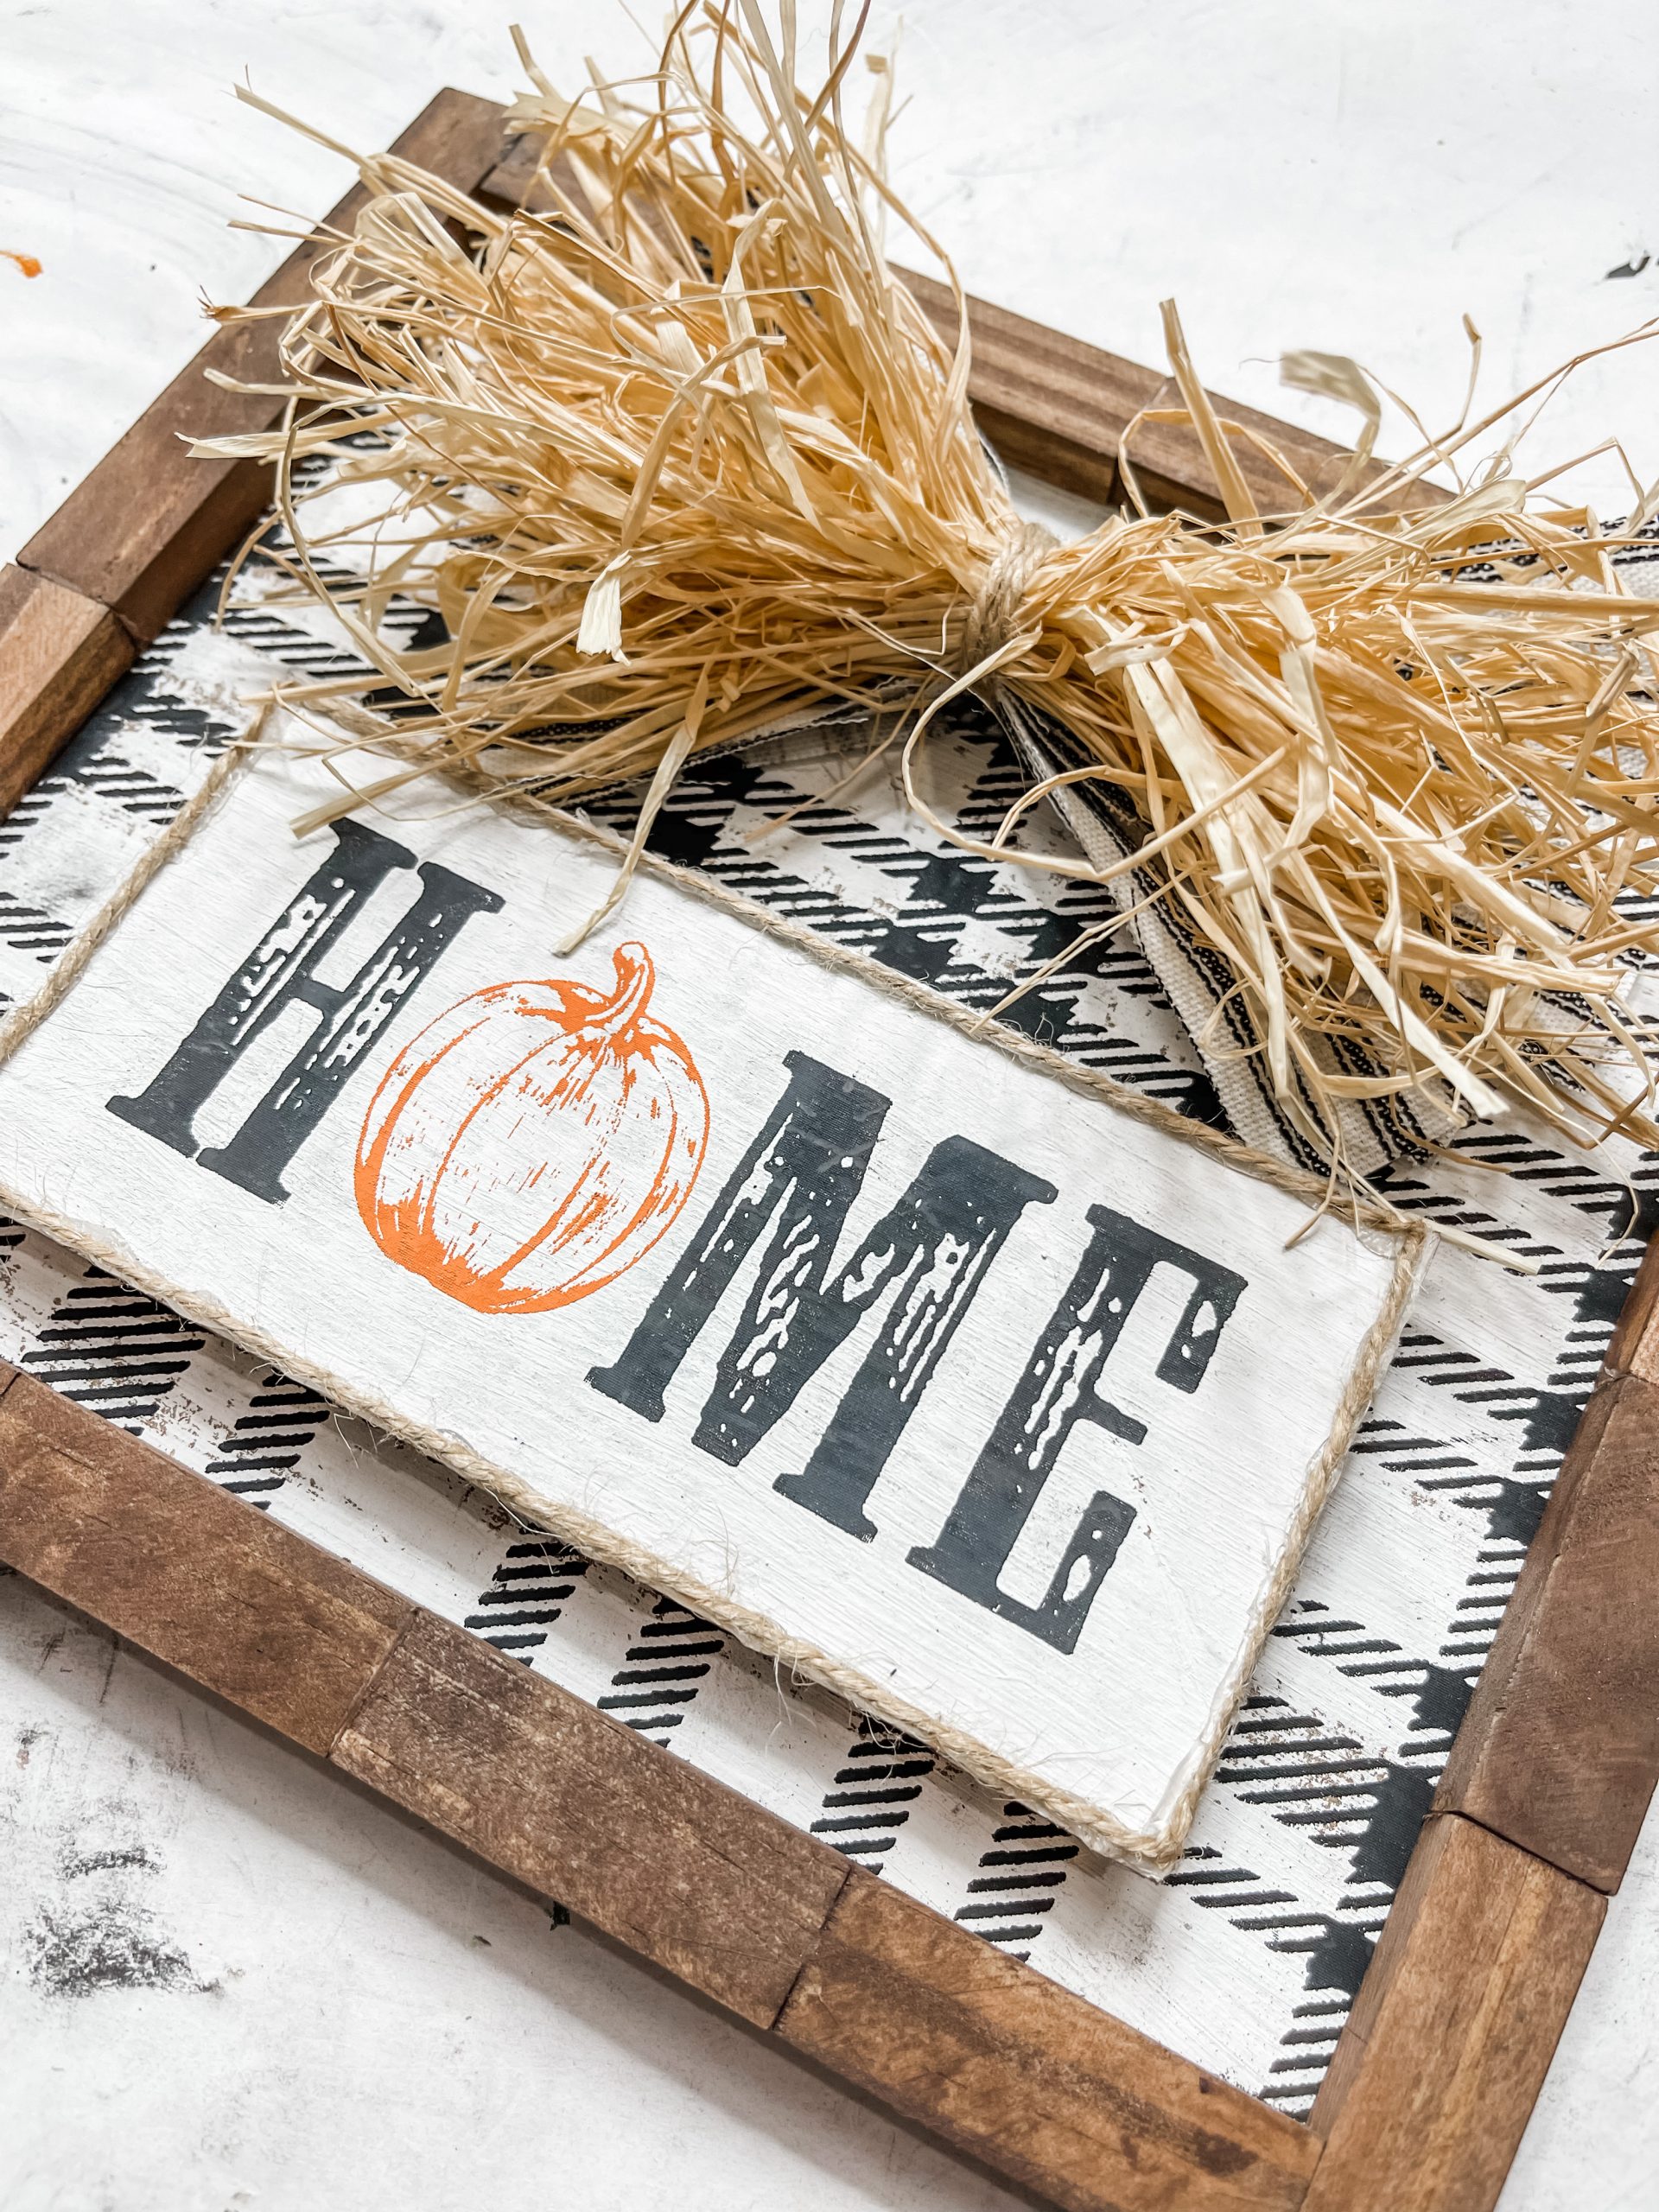
So, drag the black paint over the H, M, and E of the stencil and pull the stencil from the cardboard. Then, cut out the pumpkin from A Maker’s Studio’s stencil and place it where the acorn was.
Use orange paint (from A Maker’s Studio) to stencil the pumpkin onto the cardboard. The orange, in my opinion, helps the pumpkin really POP!
Then, trim the cardboard into a smaller rectangle with only a little white space around the stenciled design. Hot glue a strand of jute twine around the outer edge of the rectangle.
Make a DIY frame out of Dollar Tree Tumbling Tower blocks
Next, you’re going to use your Dollar Tree Tumbling Tower blocks to create the DIY frame for this stenciled home sign!
Make sure you have a straight edge that you can line the blocks up against. Hot glue them together in strips for each side of the frame.
Allow the glue to dry, then sand off any glue that squished out from in between the blocks. Then, you’re going to stain the blocks.
I like to use Apple Barrel Burnt Umber Acrylic Paint to stain wood because it is so affordable, yet gives me such a high-quality stained finish!
Wet your wood blocks. I use a continuous mist spray bottle that I found on Amazon. Then, pour the paint directly onto the wood and use a wet wipe to spread it across the surfaces.
Use a clean wet wipe to remove any excess paint from the blocks, and allow the wood to dry completely.
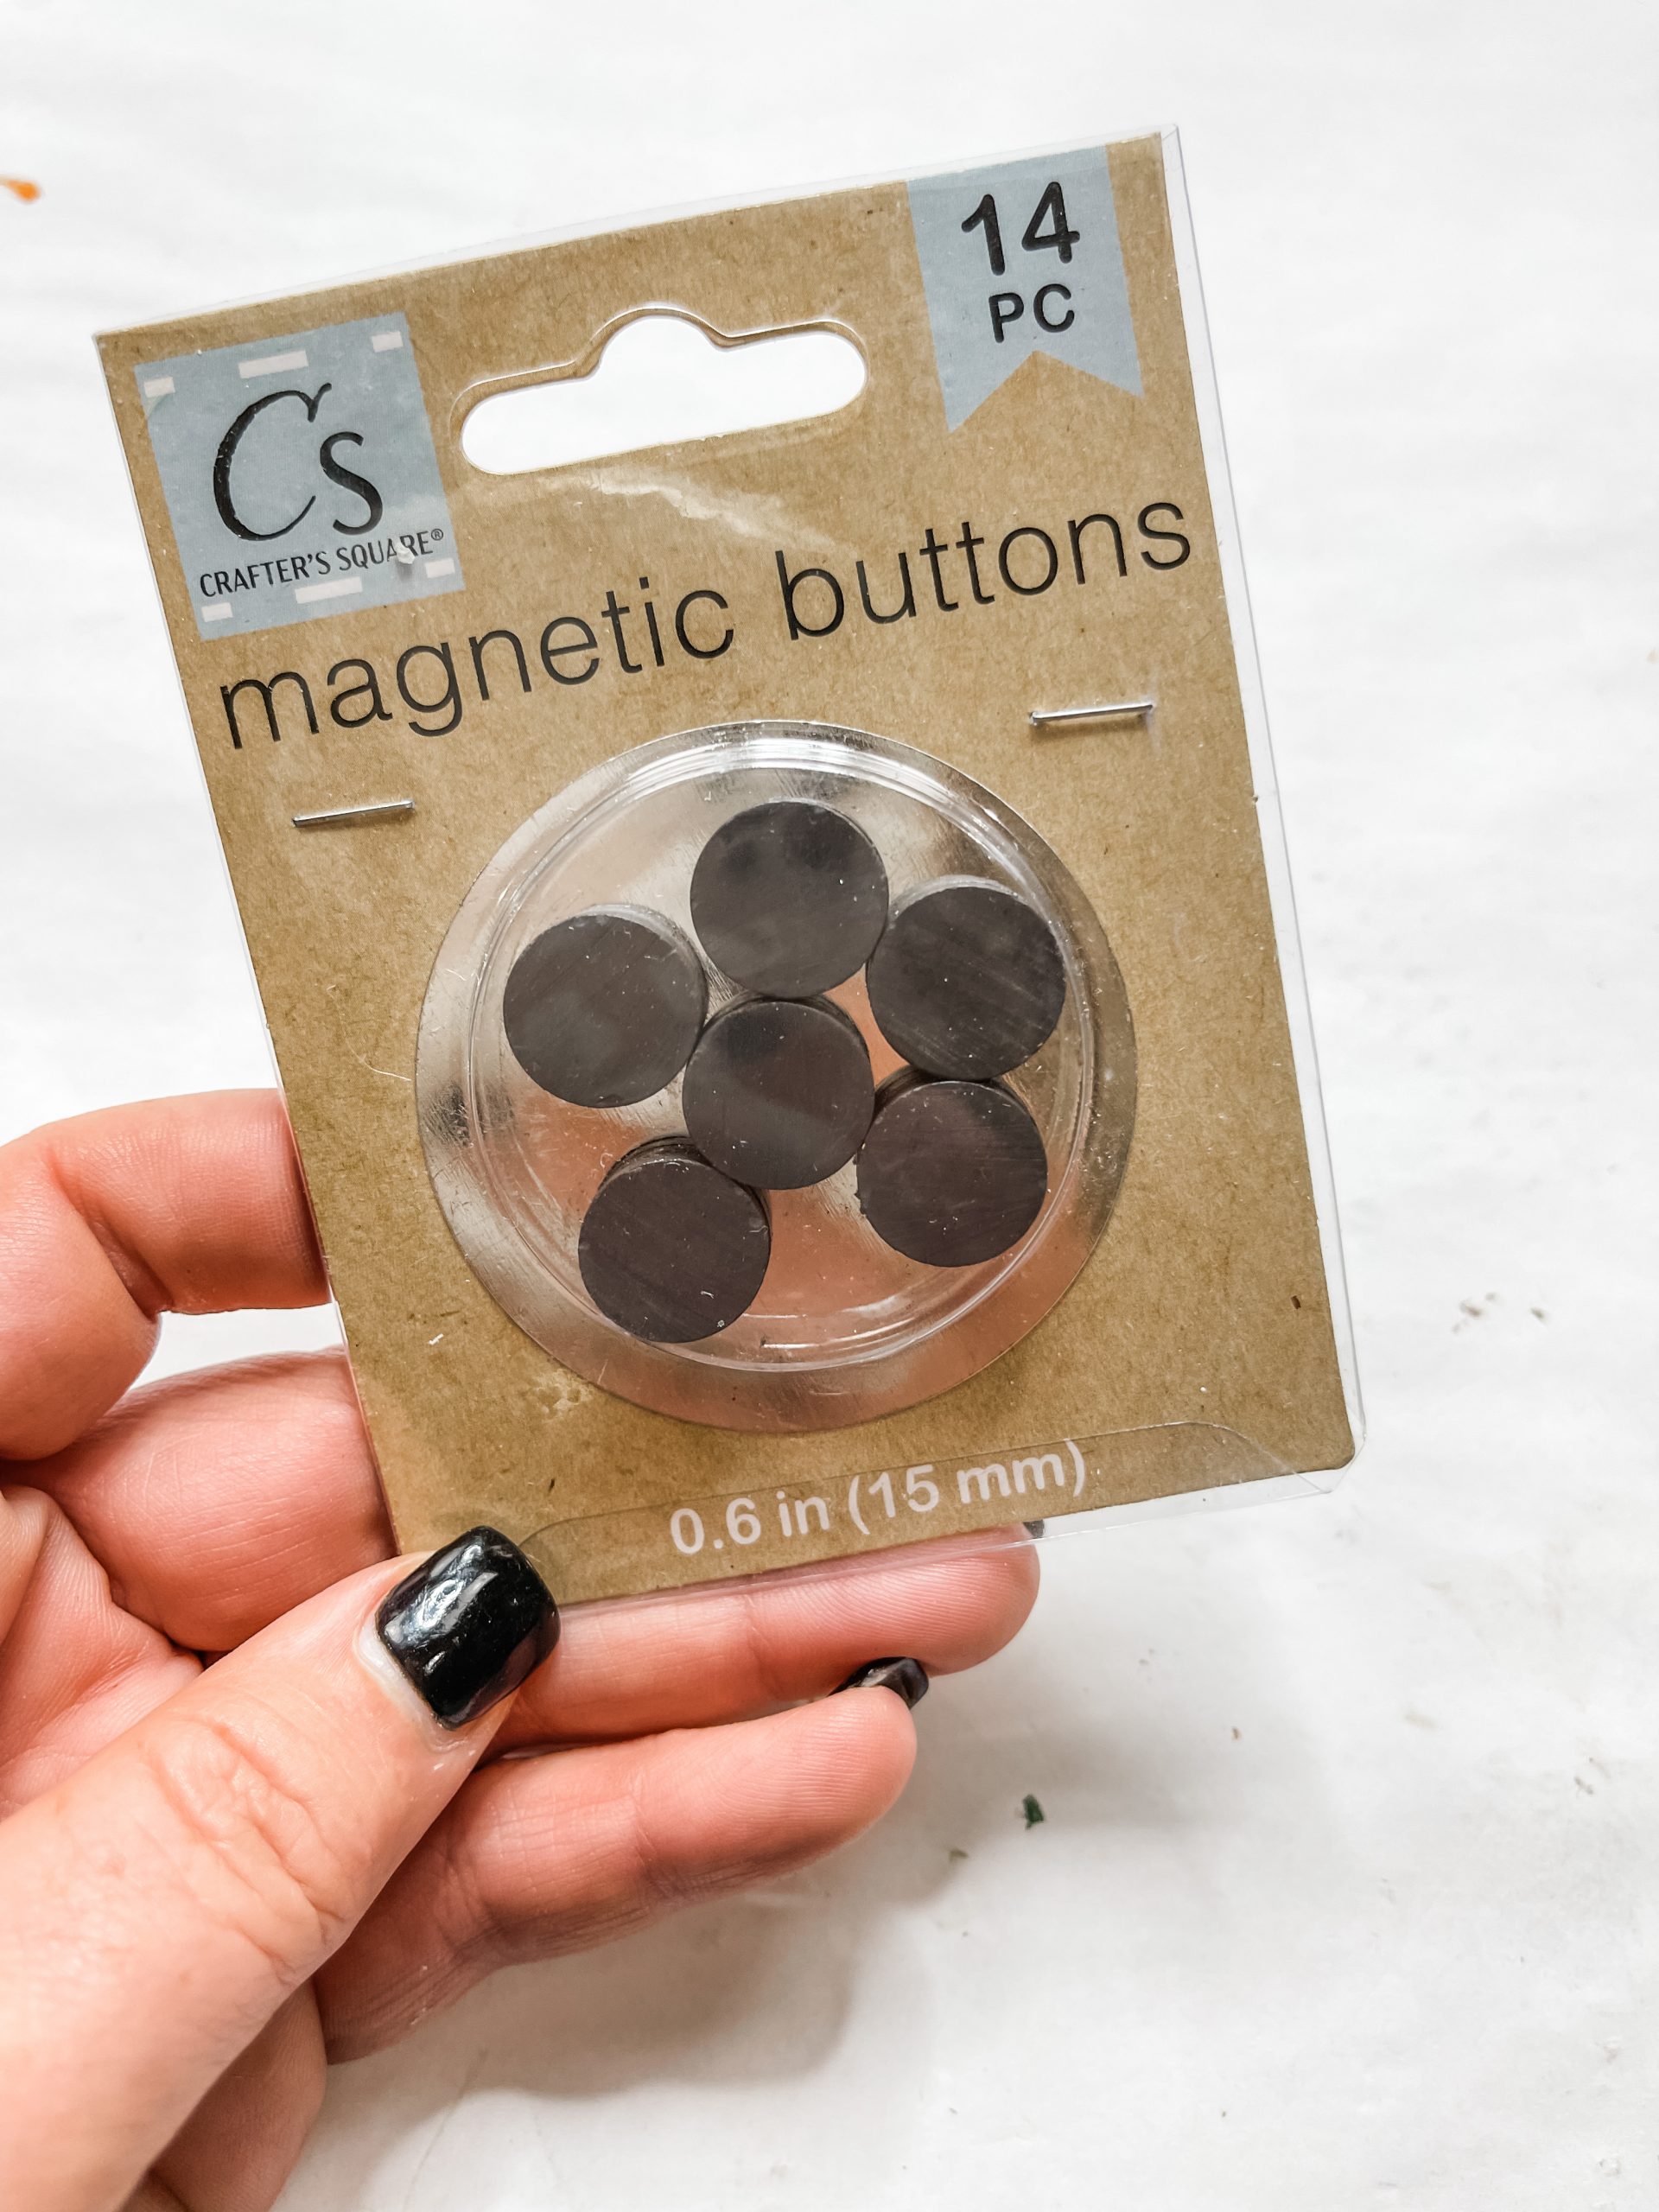
Hot glue the strips around the outside of the buffalo check stenciled cardboard. Then, hot glue 2/3 Dollar Tree magnetic buttons to the back of the HOME stenciled cardboard.
Hot glue 2/3 magnetic buttons in corresponding placements on the buffalo check stenciled cardboard.
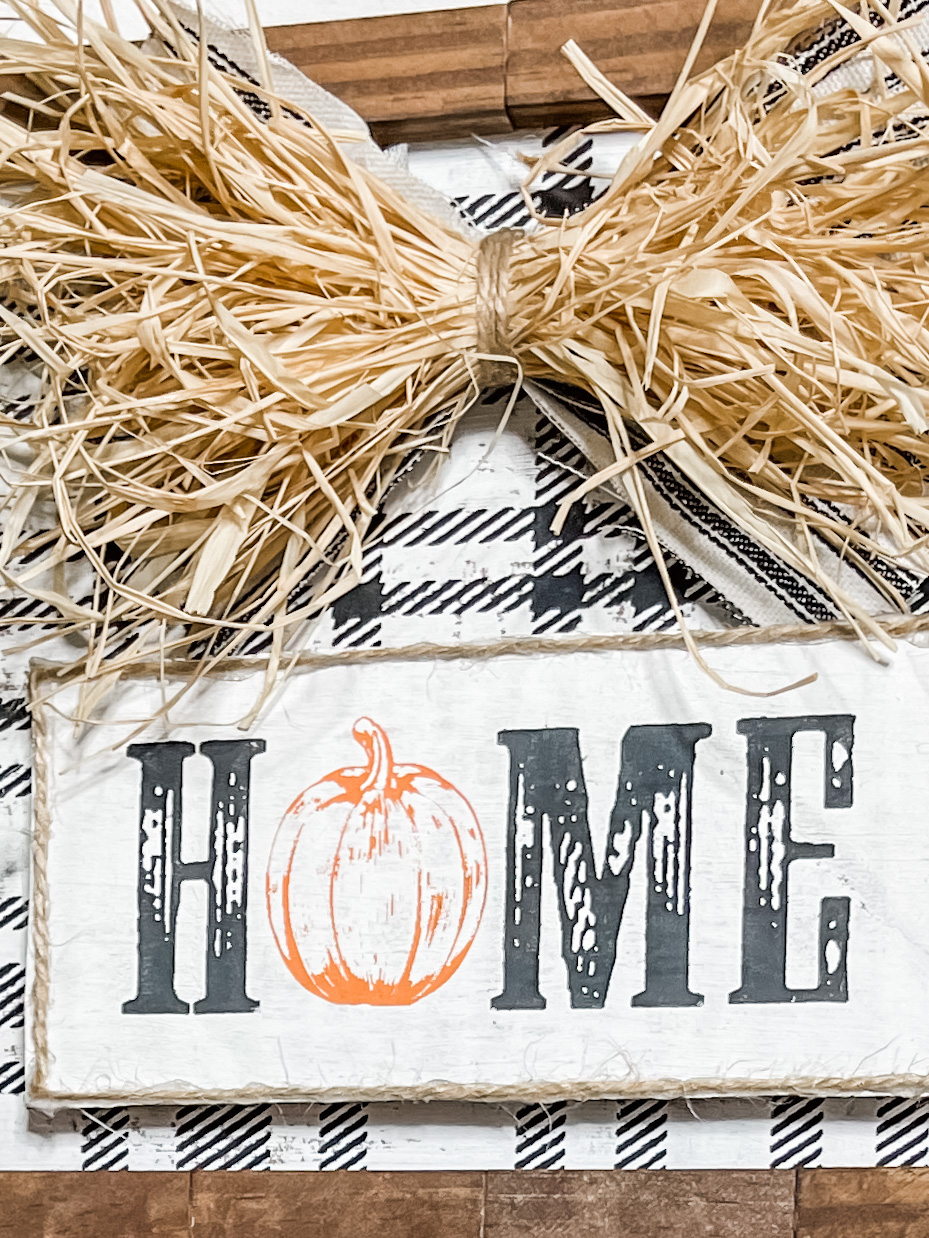
How to make a DIY Fall bow
To make your DIY Fall bow, cut several strips of the ticking fabric. I get mine from Hobby Lobby. Cut them so they are about the width of your sign.
Lay them in an X pattern, then place one horizontally across the center of the X. Then, lay your bundles up raffia over top the strips and secure the center with a piece of jute twine.
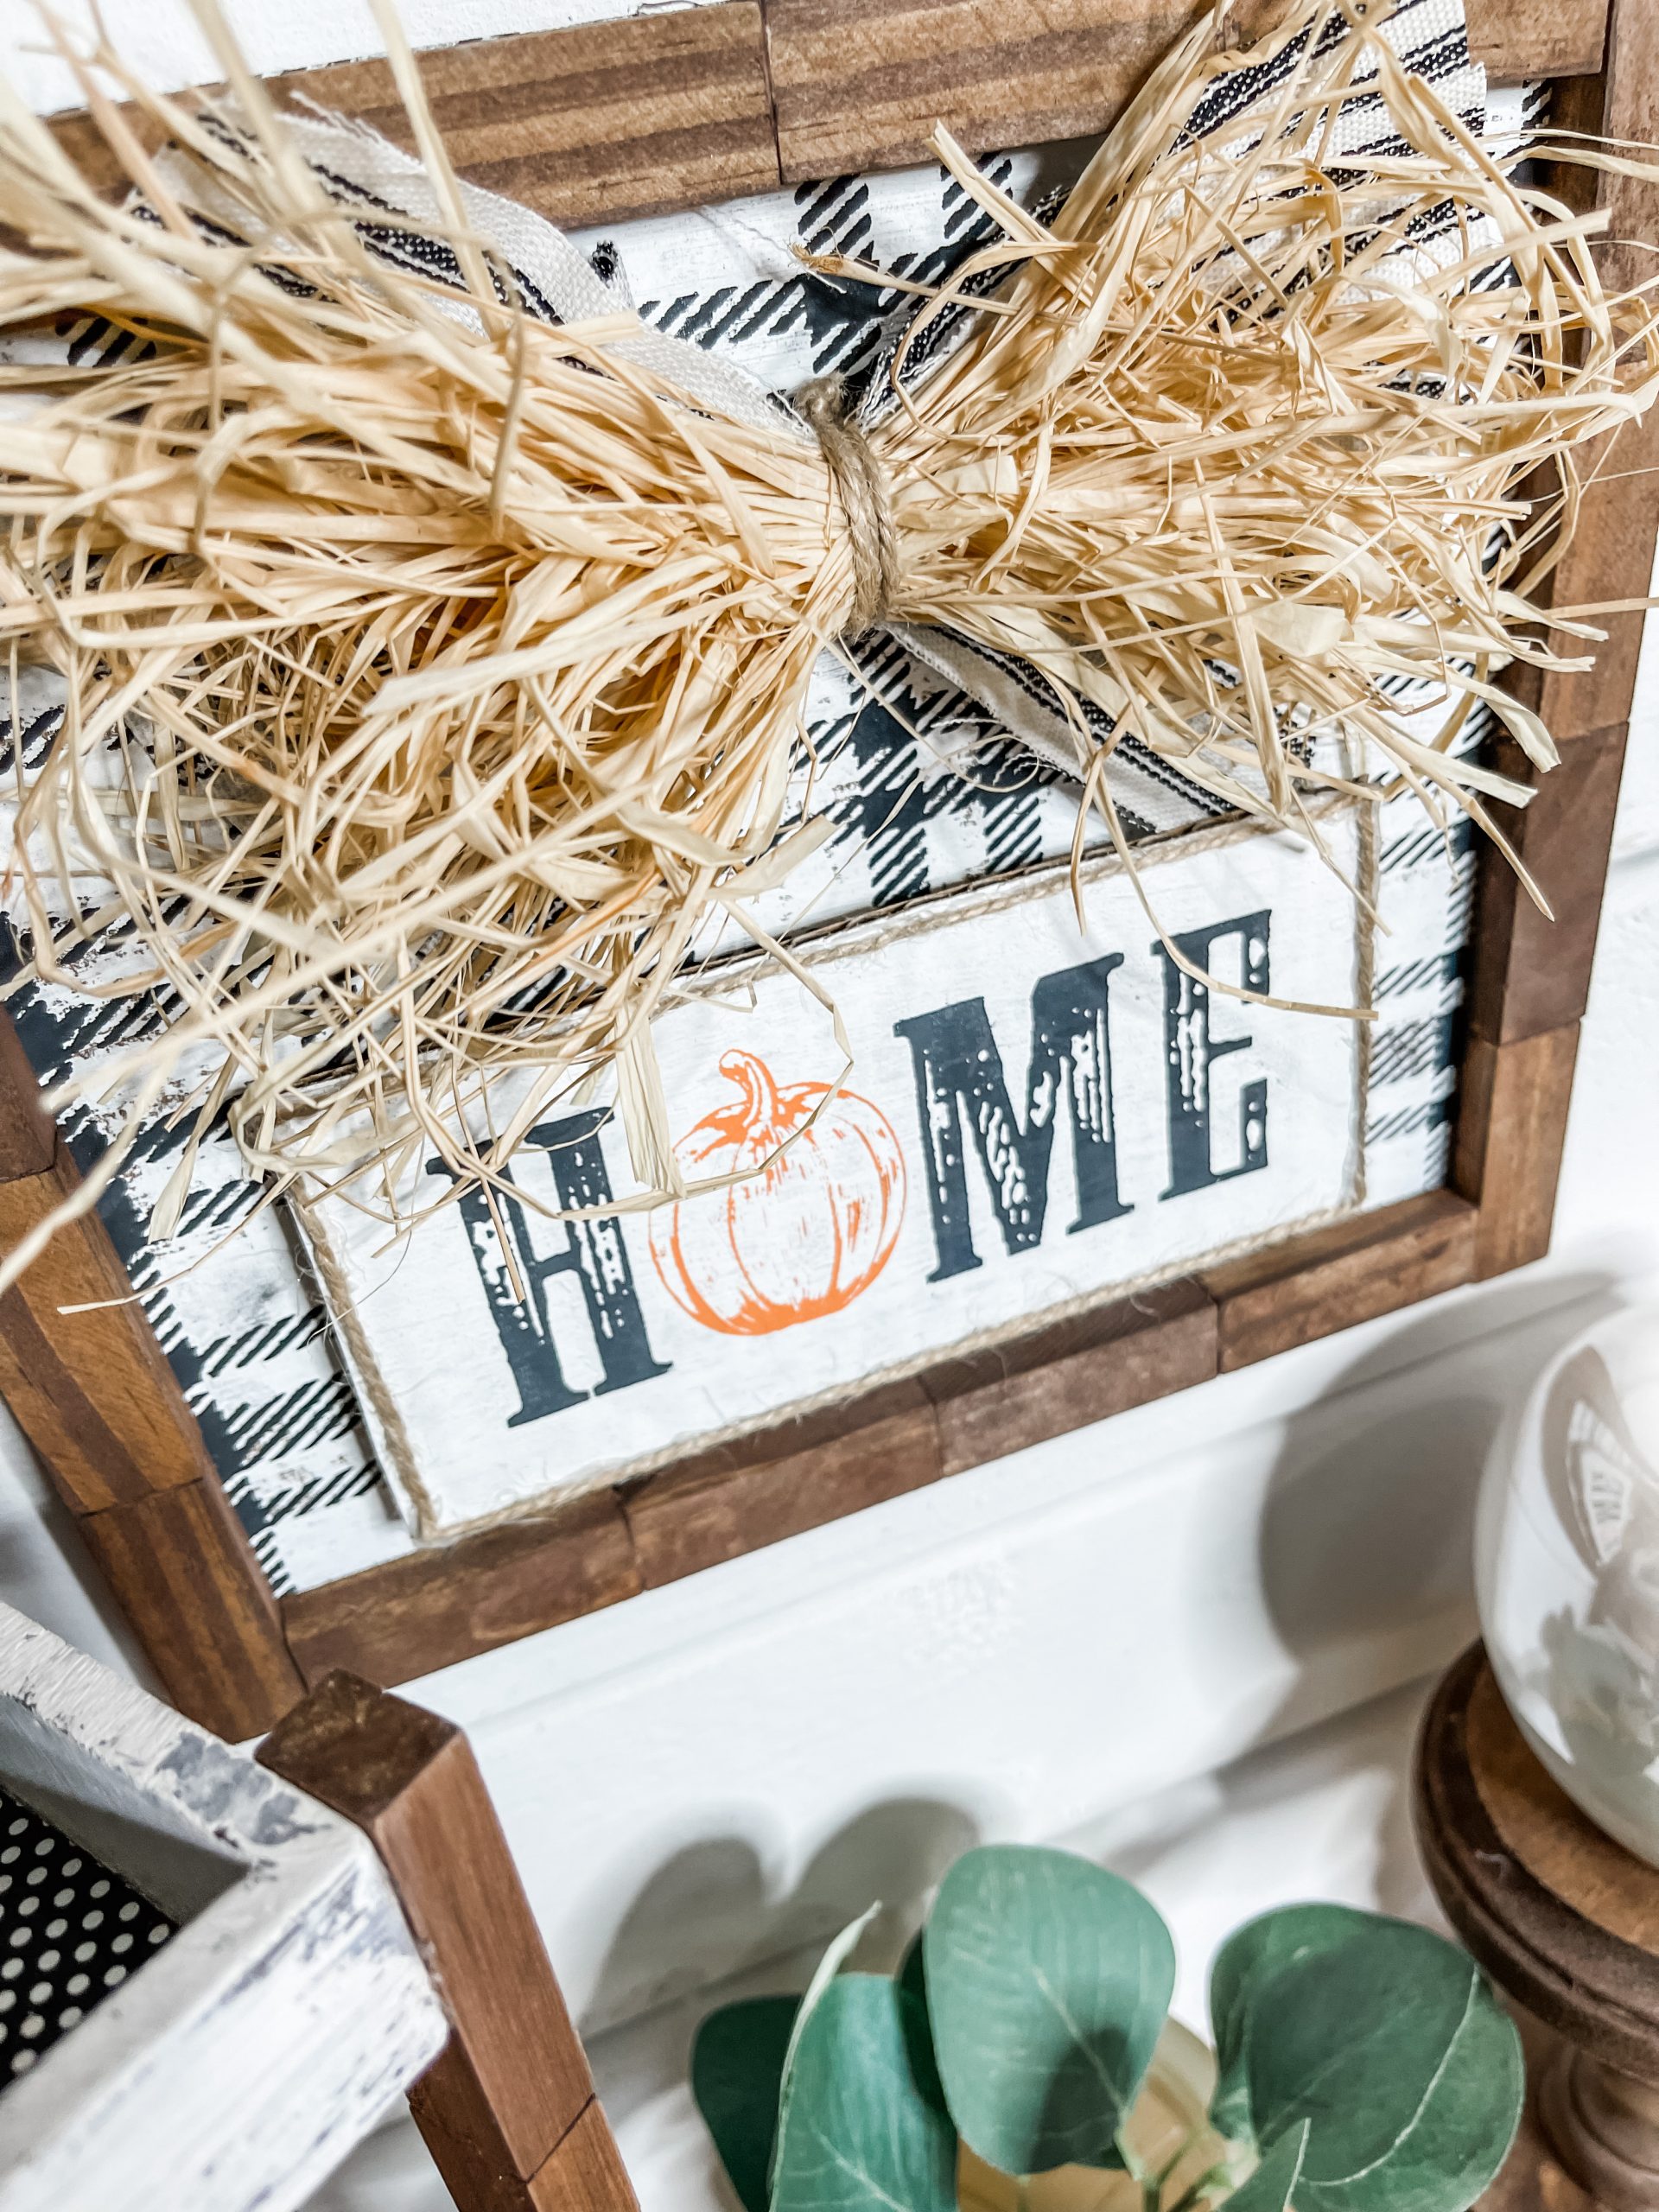
Now, just trim up the ends of the raffia and hot glue a magnetic button to the back of the bow. Lastly, hot glue another magnetic button to the sign where you want to attach the bow.
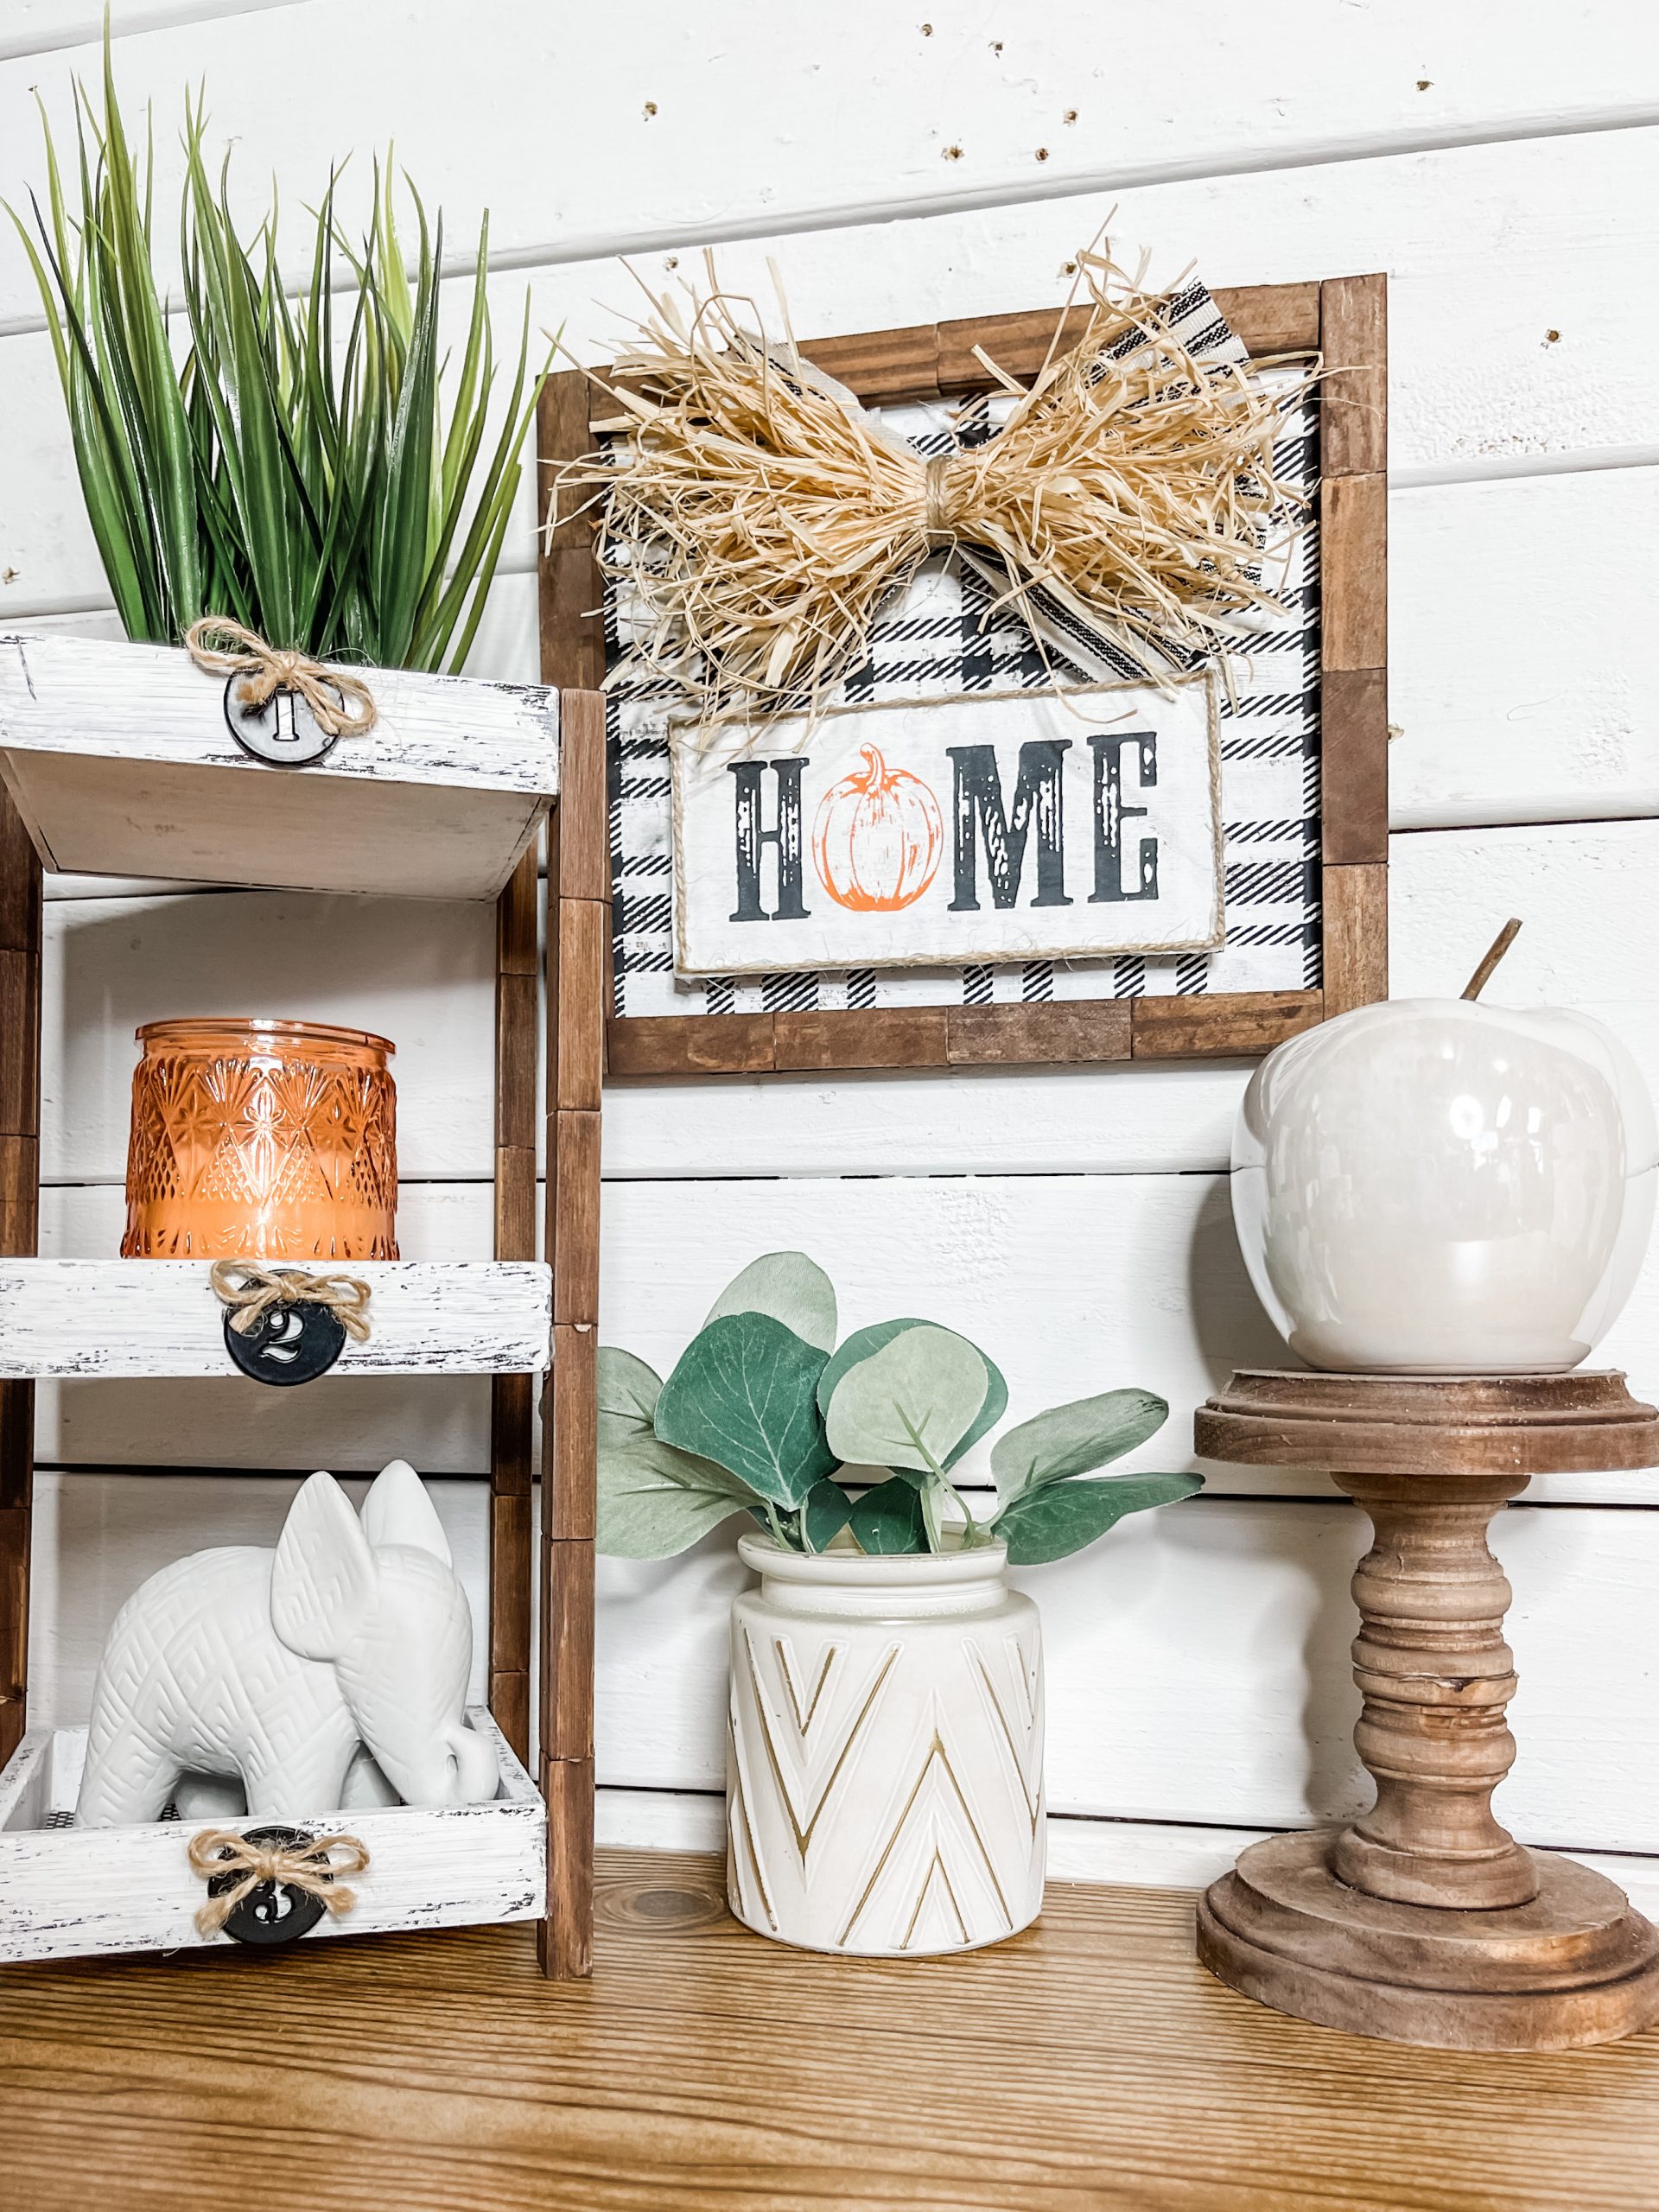
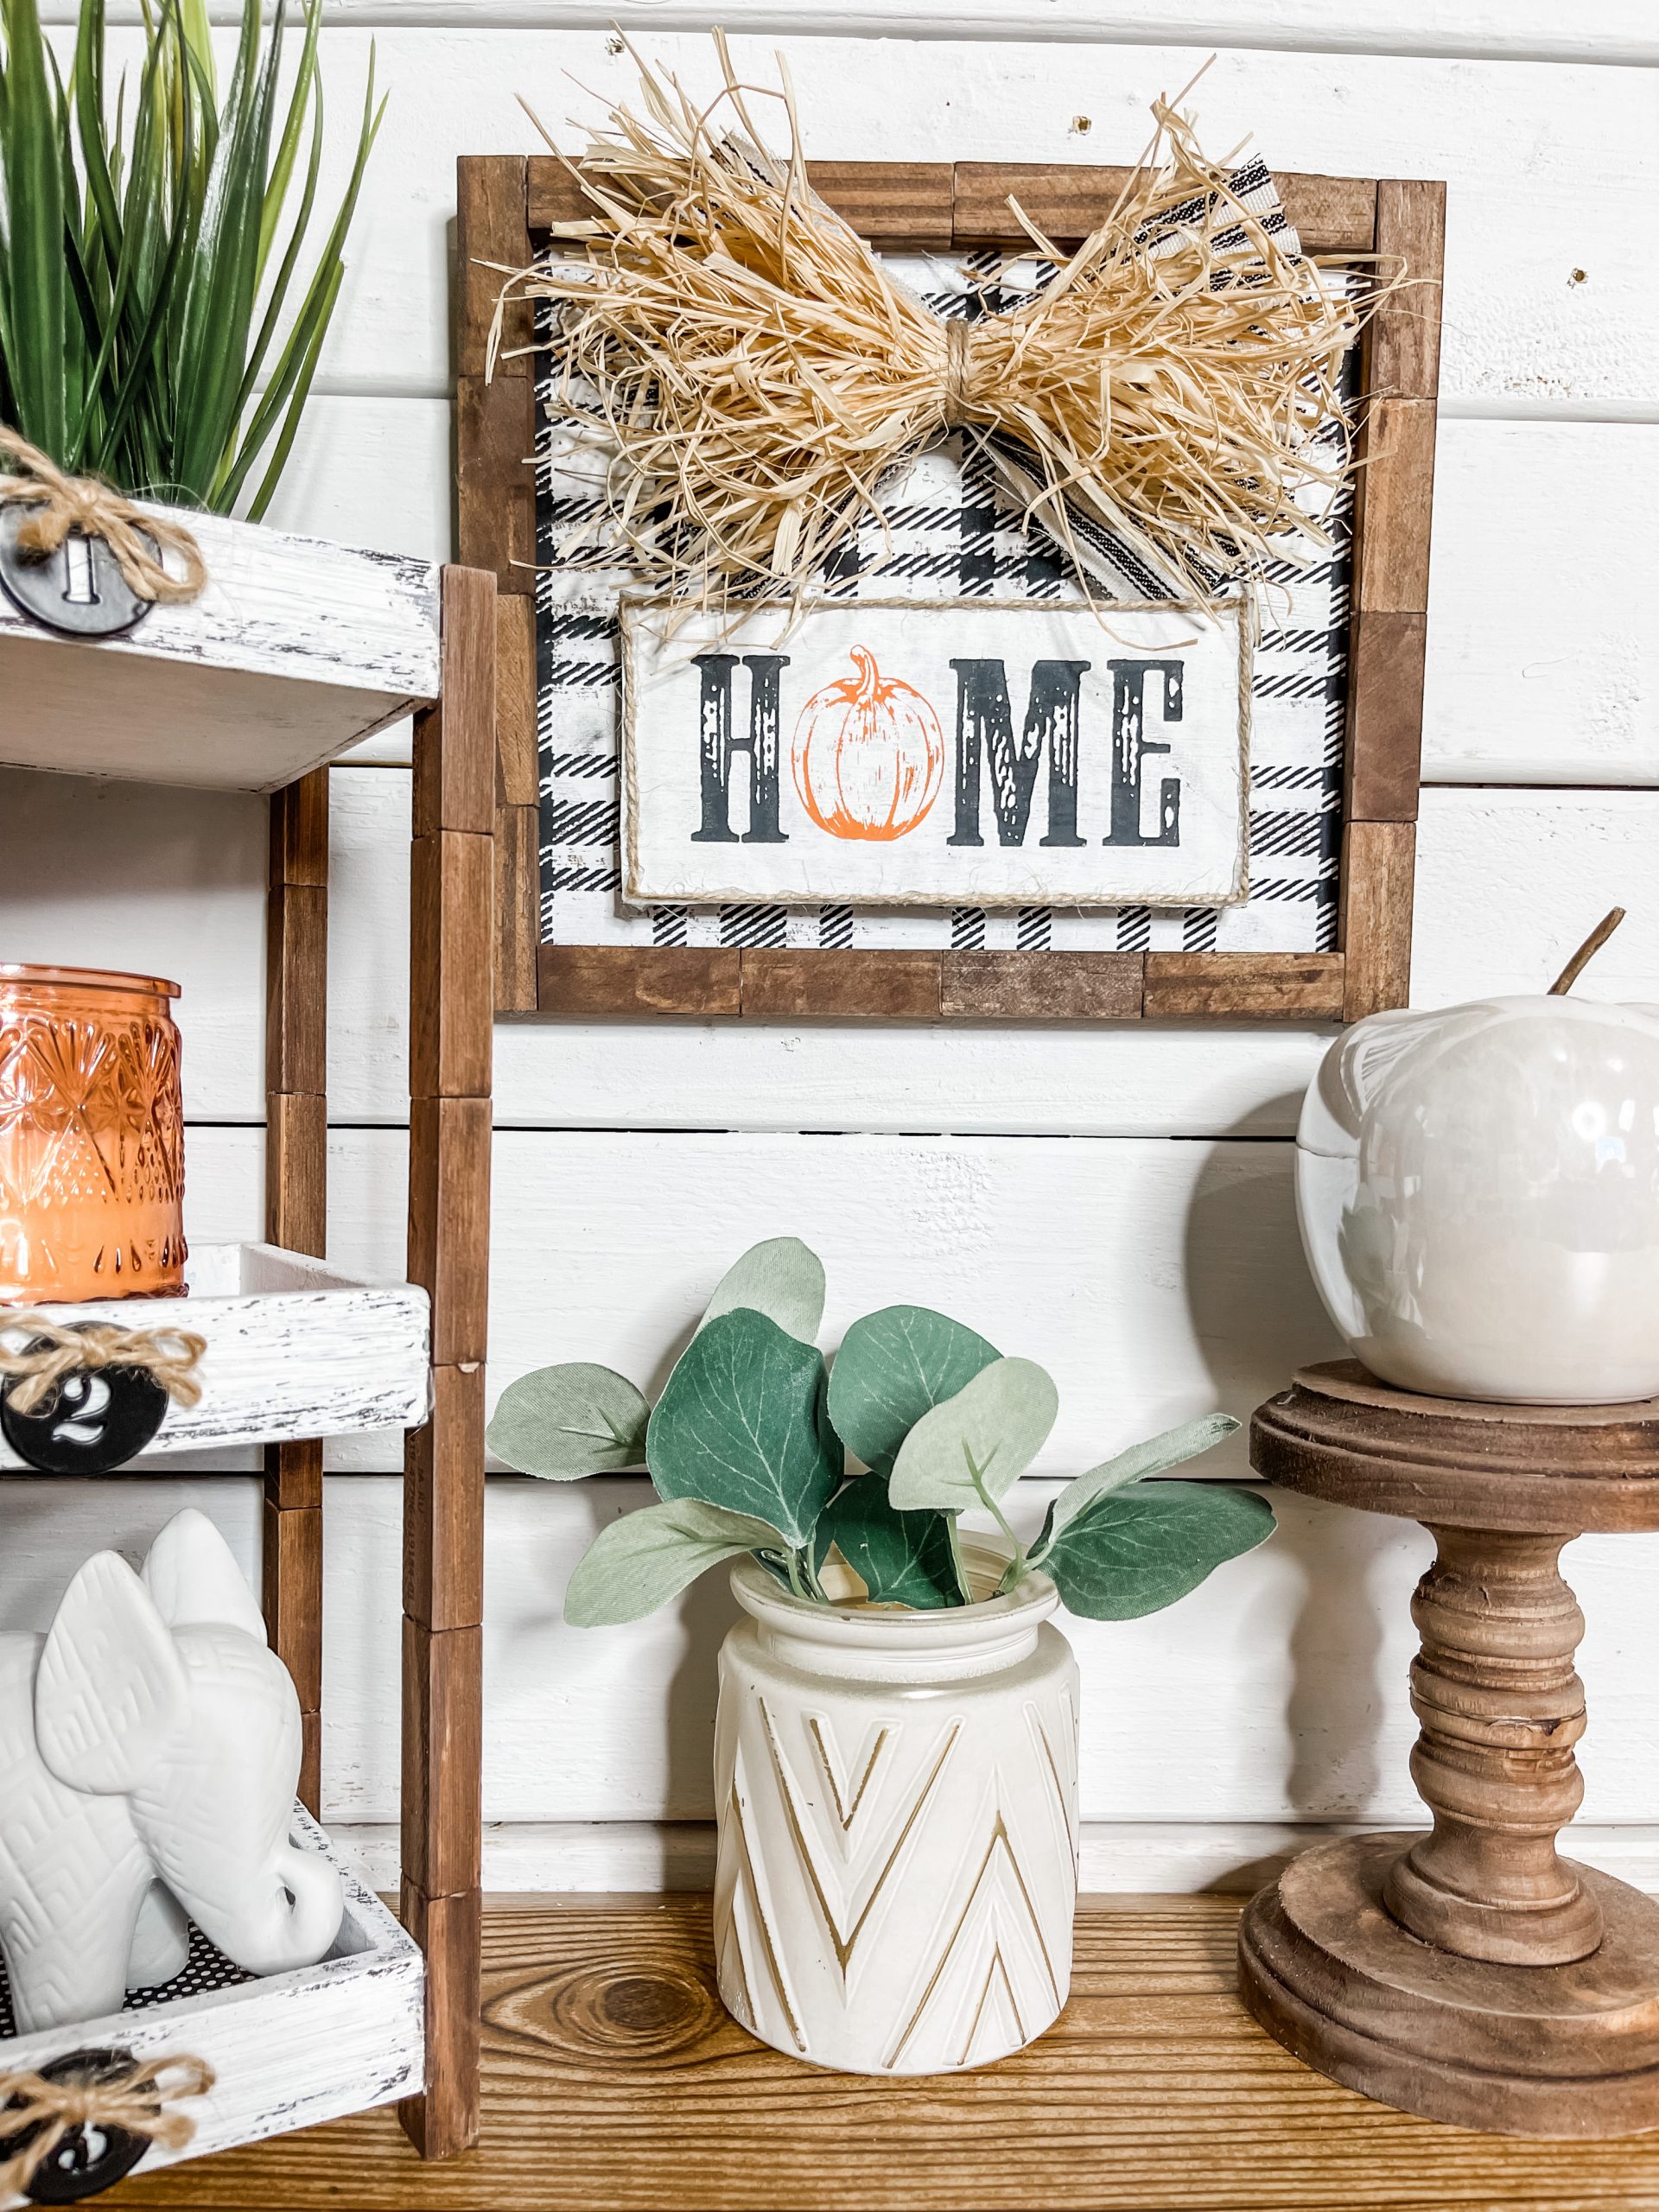
Finally, place your stenciled home sign and DIY Fall bow onto the buffalo check stenciled cardboard, and you’re ready to decorate for Fall!
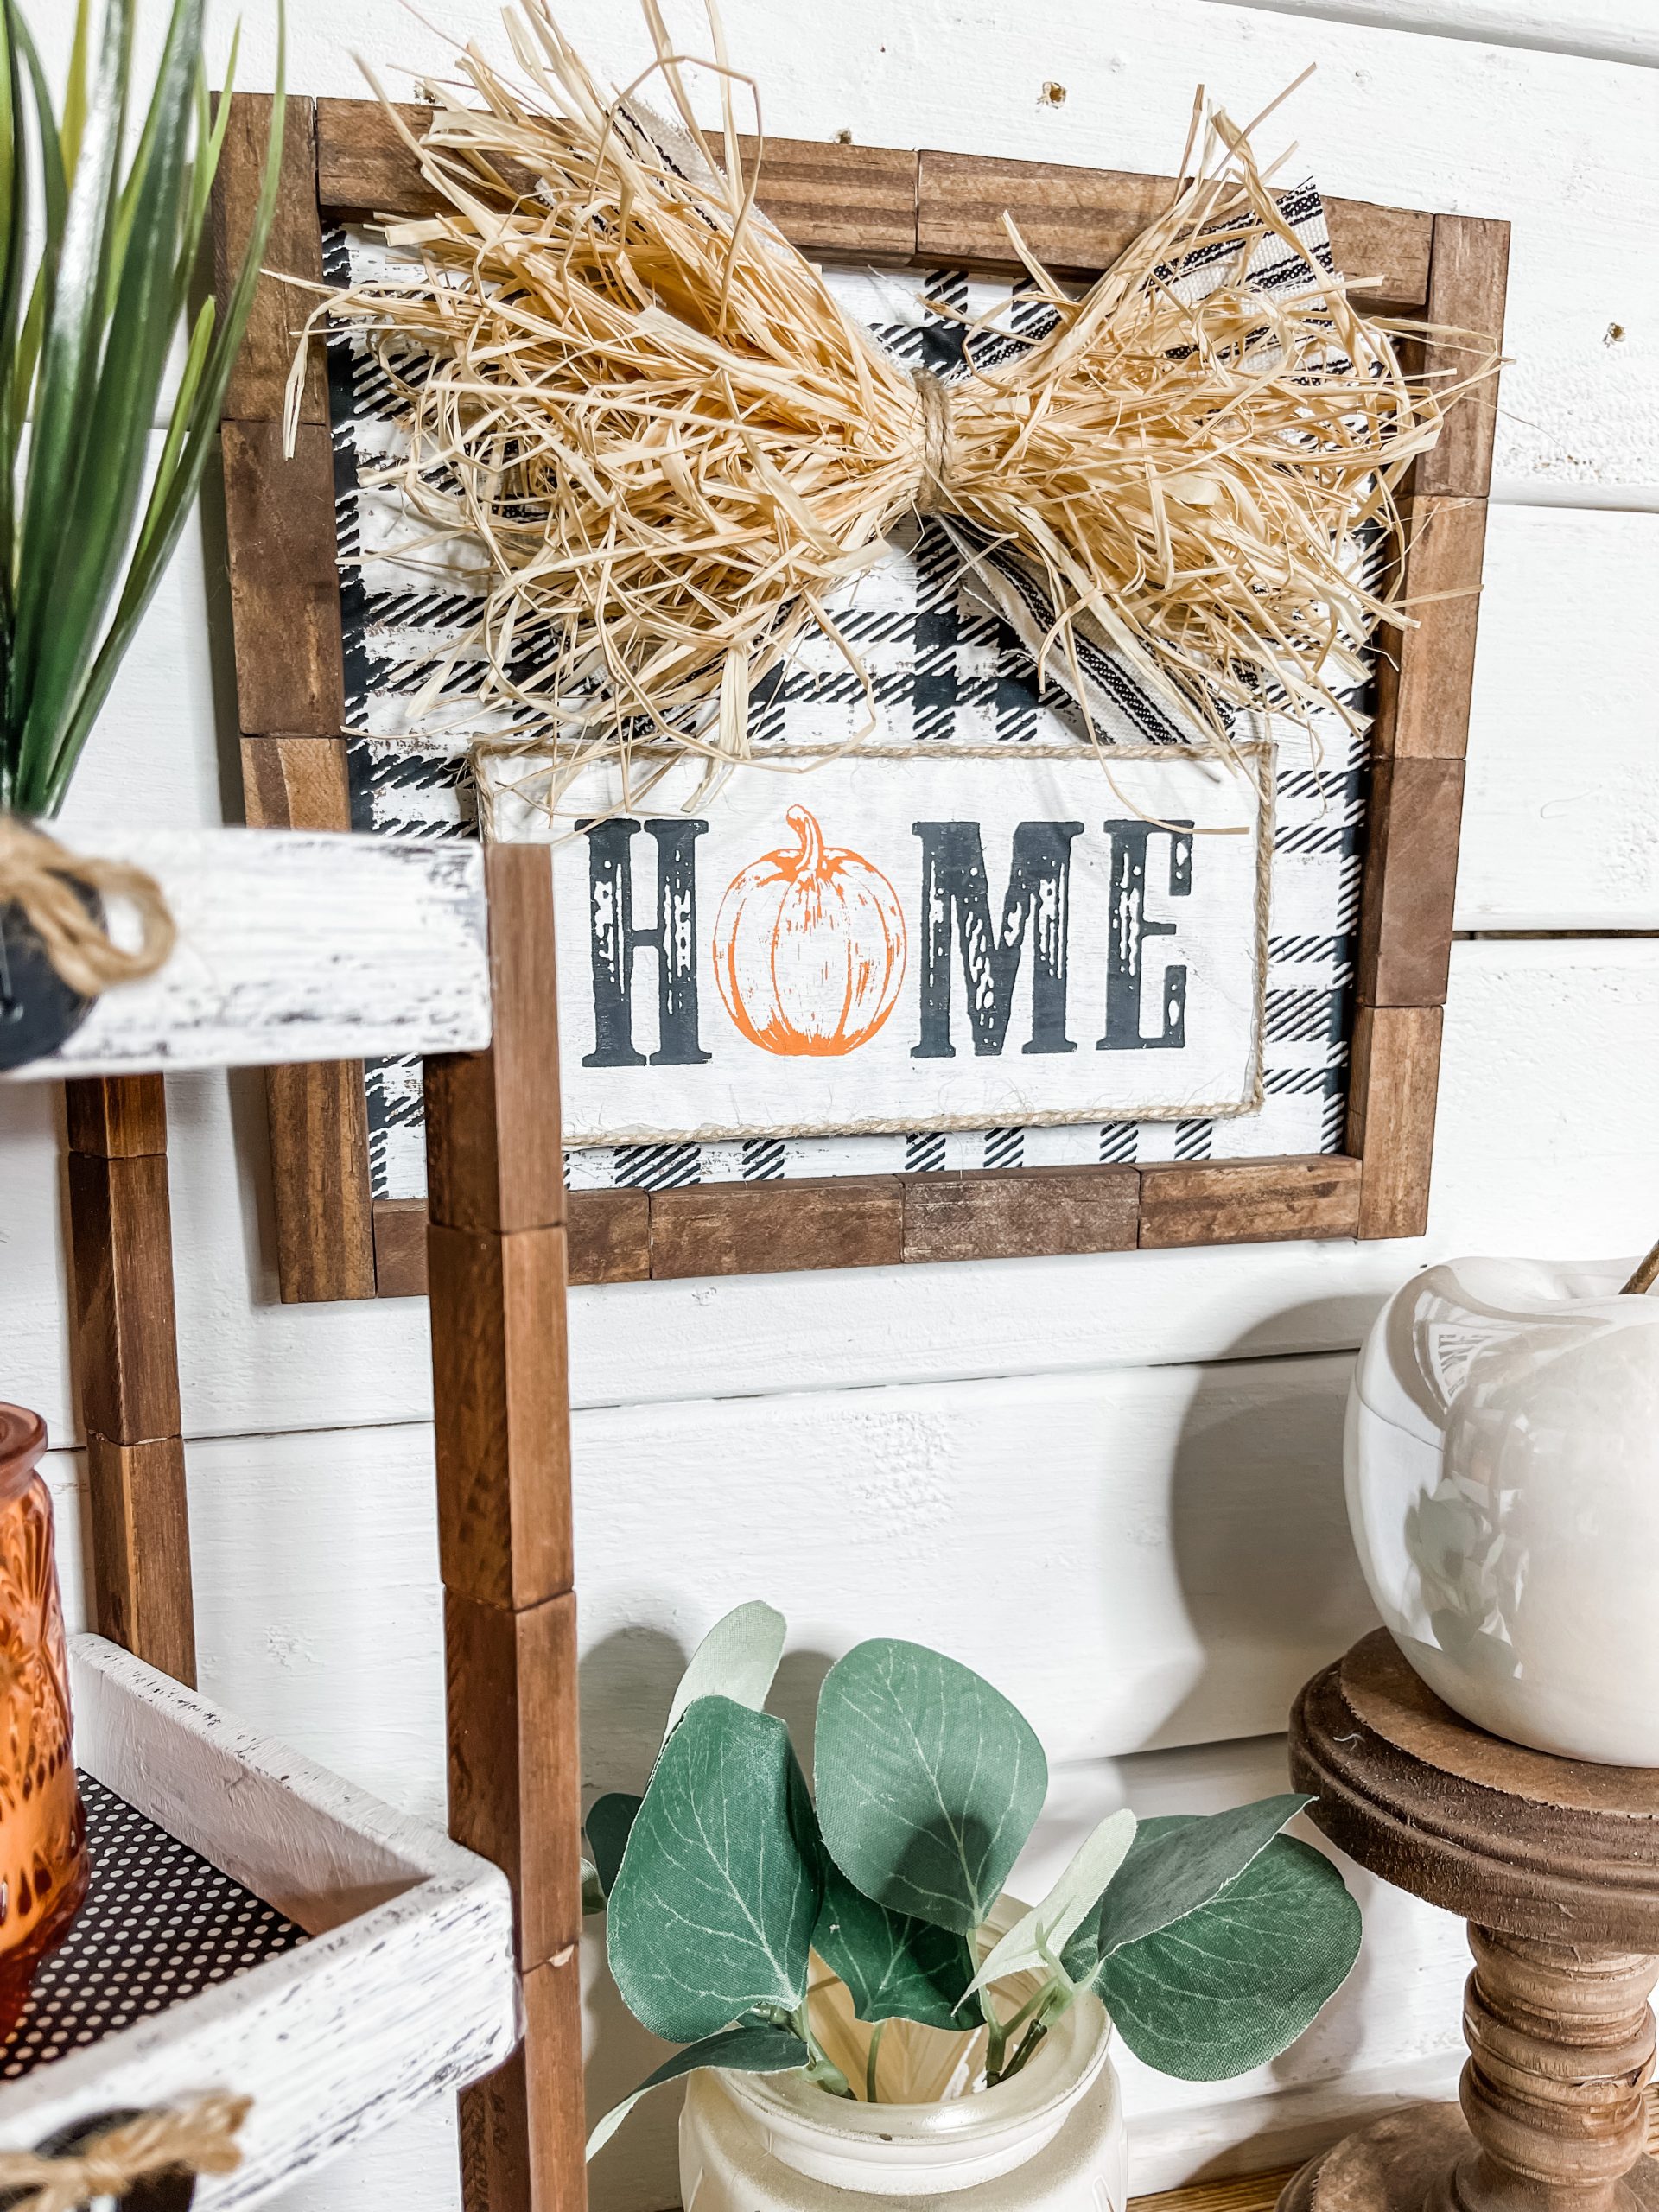
Because the bow and stenciled home are on magnetic buttons, you can change them out for the holidays and seasons!
I hope you enjoyed this DIY Stenciled Home Fall Sign as much as I did and decide to make it for yourself! If you do, I would love to see how yours turns out!
You should totally join my FREE Facebook group called On A Budget Crafts! It is a judgment-free community for DIY crafters to show off their projects and ideas.
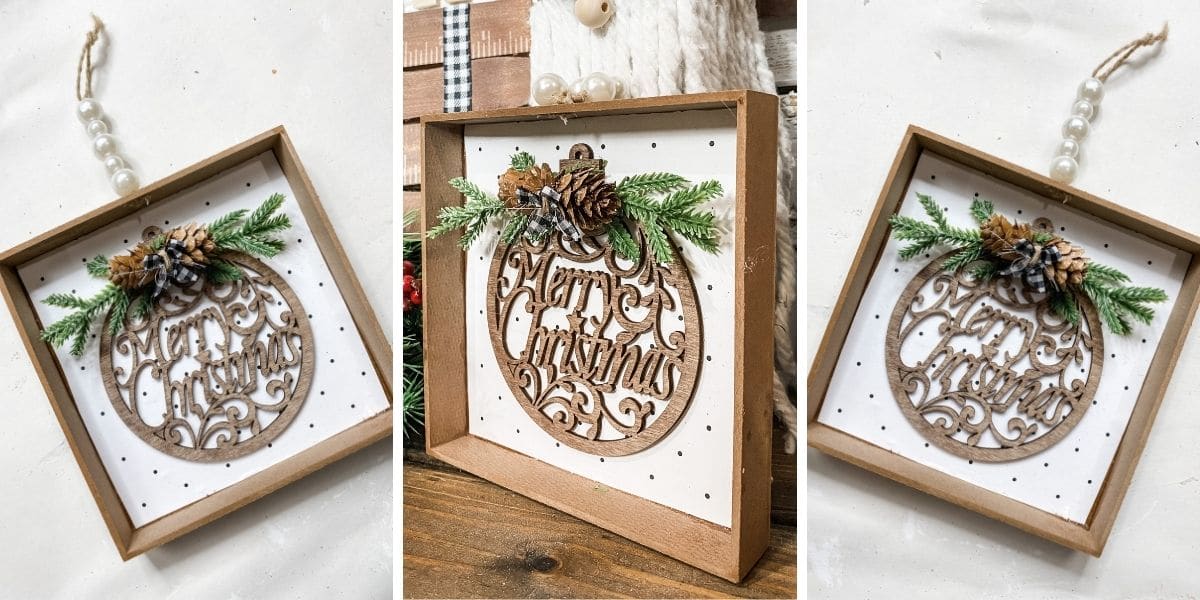
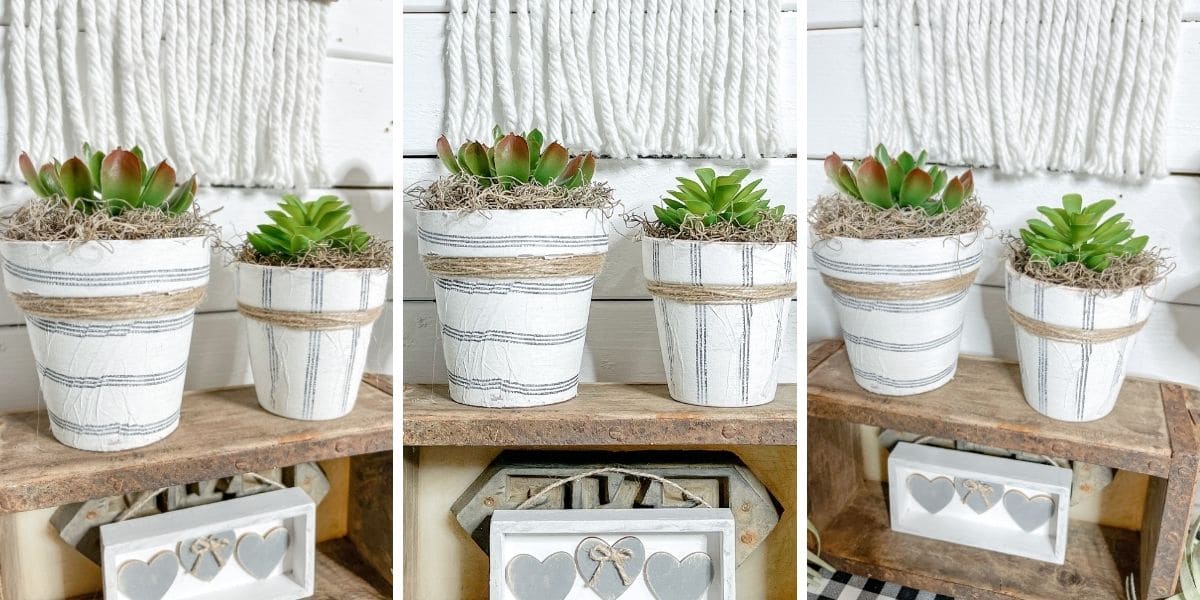
If you loved this DIY Stenciled Home Fall Sign, you might also like these DIY ideas!
Thanks for stopping by! XOXO Amber
You can also shop my ENTIRE AMAZON Favorites shop just click here! It’s packed full of all the things I use and love. Here is the supply list I highly recommend every creative have on hand!!
Would you also pin my blog for later and get on my newsletter alerts? I would love to have you join my #craftycrew.
I email alerts about new blogs like this DIY Stenciled Home Fall Sign so you’re always up to date on fun, new DIY ideas!
Inspired? Leave me a comment below! I love hearing from my readers!

Join my free “ON A BUDGET CRAFTS” Facebook group!
Love the interchangeable part a. Looks great