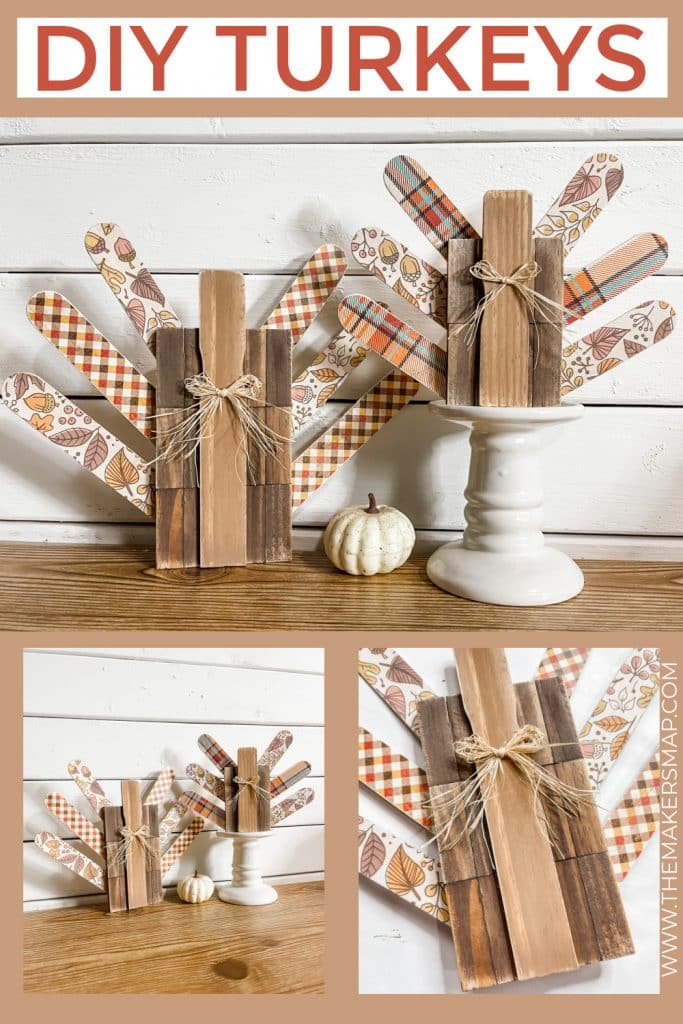
DIY Small Standing Turkeys
This Fall craft project is so much fun and it’s so easy to make these DIY small standing turkeys! With just a few supplies that you probably already have in your craft supply!
Even if you don’t already have these basic supplies in your craft stash, they’re super cheap and easy to pick up from the store! And, how fun would these little turkeys be to make with the kiddos in your life?
Whether you make it with your kids or grands at home or with children at your church, I just know they would have a blast!
How to Make DIY Small Standing Turkeys
I started this project by hot gluing the Dollar Tree Tumbling Tower blocks together to make the bodies for each of my small standing turkeys.
I hot glued 15 blocks in three rows of five to make the larger turkey and 8 blocks in two rows of four for the smaller of the two turkeys.
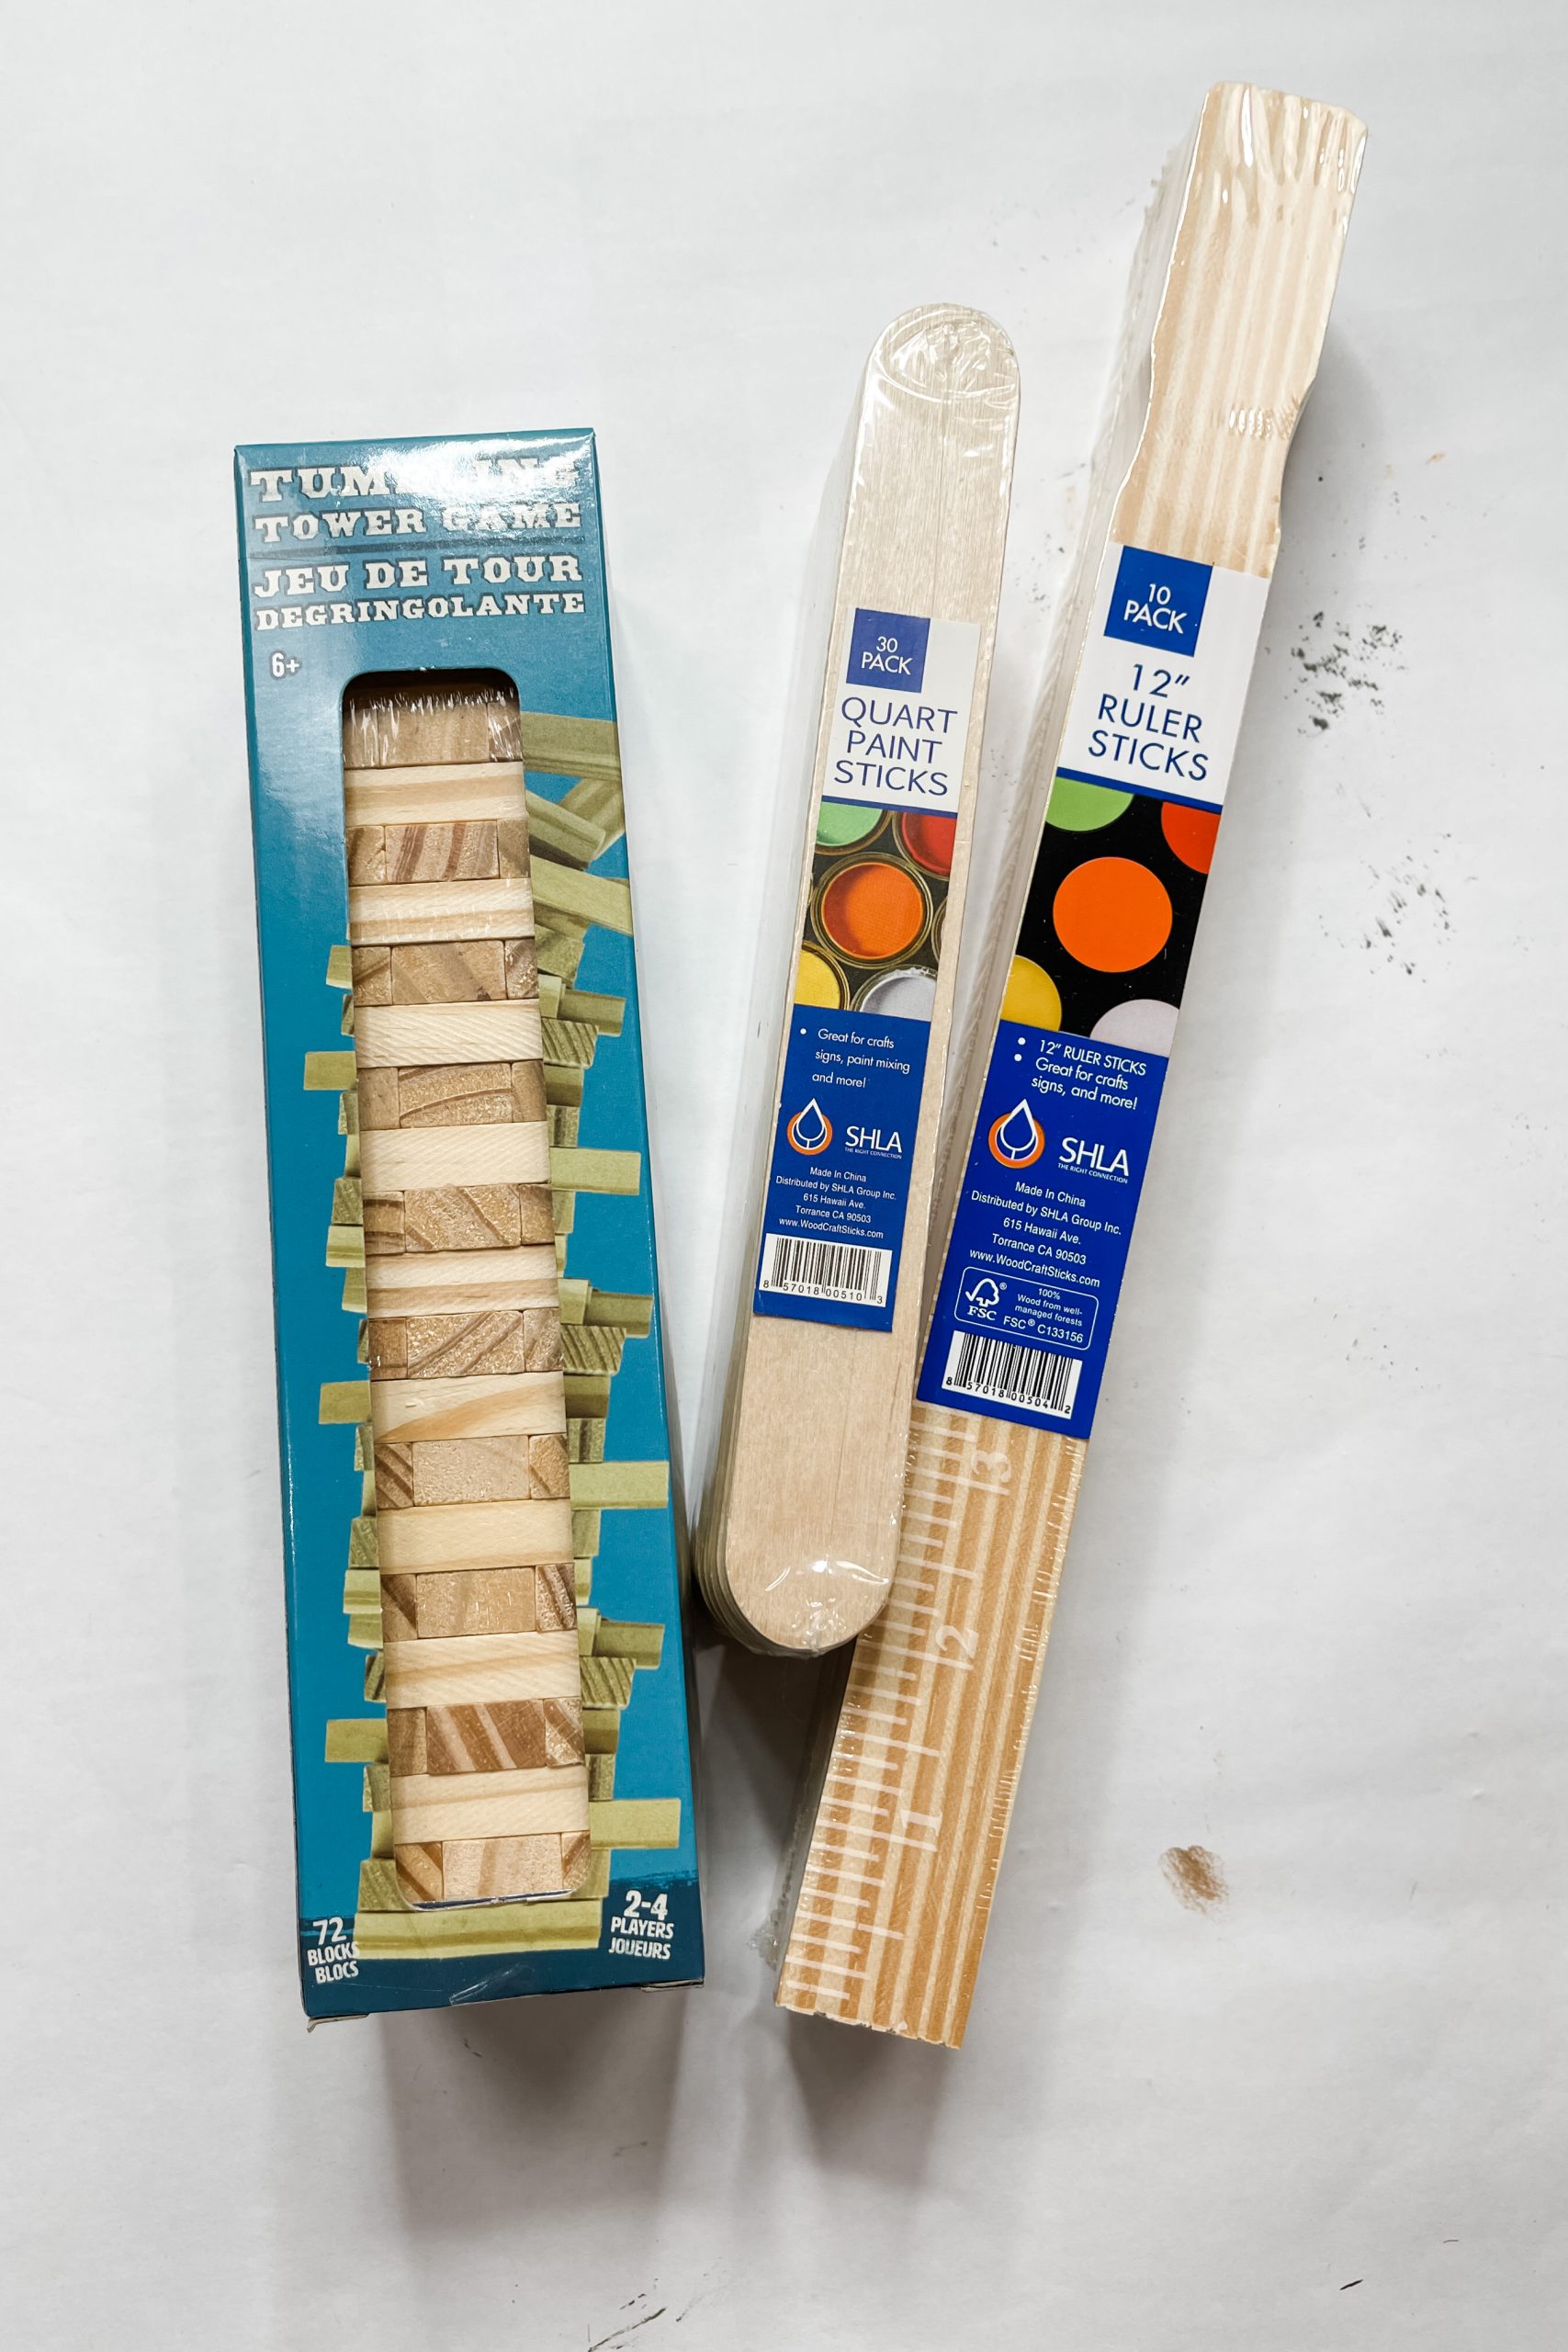
Then, I took two of the 12″ inch ruler sticks and measured them so they were just slightly taller than each of the turkey bodies and trimmed them to size. These would be the turkey’s necks/faces.
Once the glue is dry, it’s time to stain all the wood. I like to use paint to stain my wood because it is much more affordable but works just the same as a wood stain!
How to stain wood with paint
To stain wood with paint, spray the wood with water. I used a continuous mist spray bottle that I ordered on Amazon.
Then, pour paint onto the wood and use a wet wipe (I use baby wipes) to spread the paint across the surface. Go back over the wood with a clean wet wipe to remove any excess paint.
Once it dries, you’ll see you have an effortless and affordable stained finish on your wood! If you want to go darker, just repeat the process again.
I stained the bodies of the turkeys with Apple Barrel burnt umber acrylic paint and used Apple barrel territorial beige for the turkey’s necks/faces.
Once the paint was dry, I lightly sanded all the wood pieces with a sanding sponge. Then, I hot glued the trimmed ruler stick pieces to the front of each of the Tumbling Tower blocks.
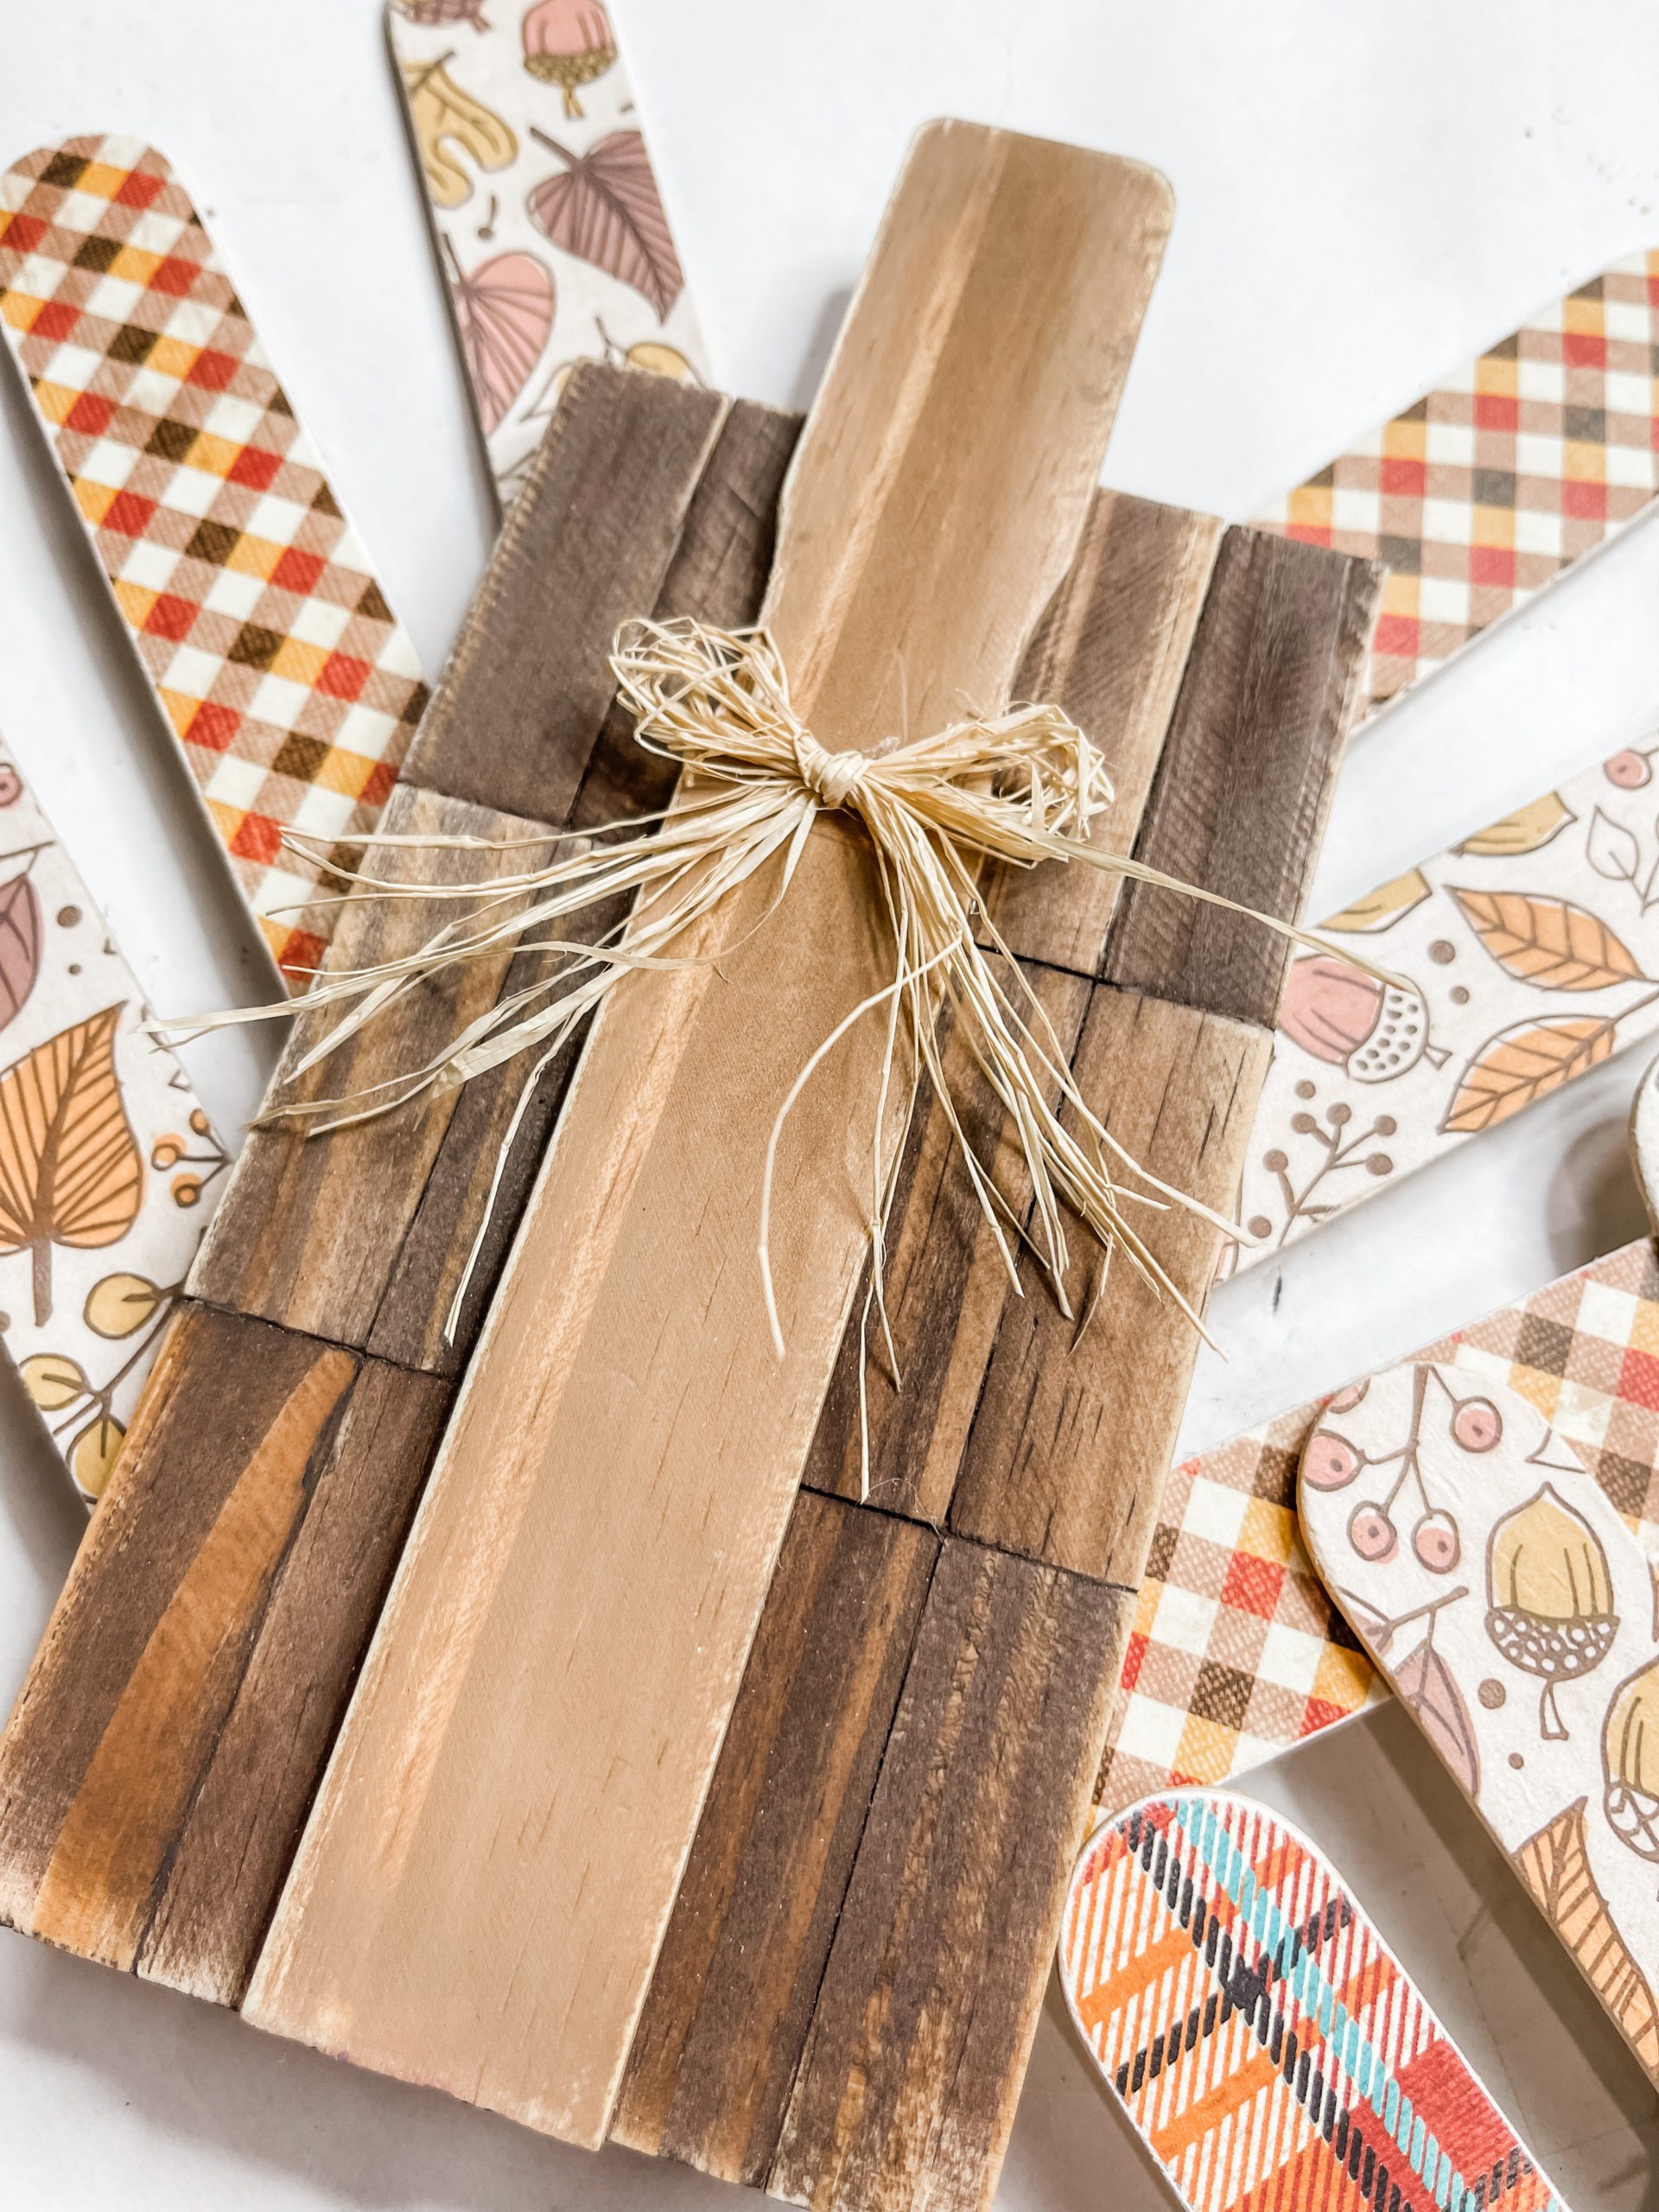
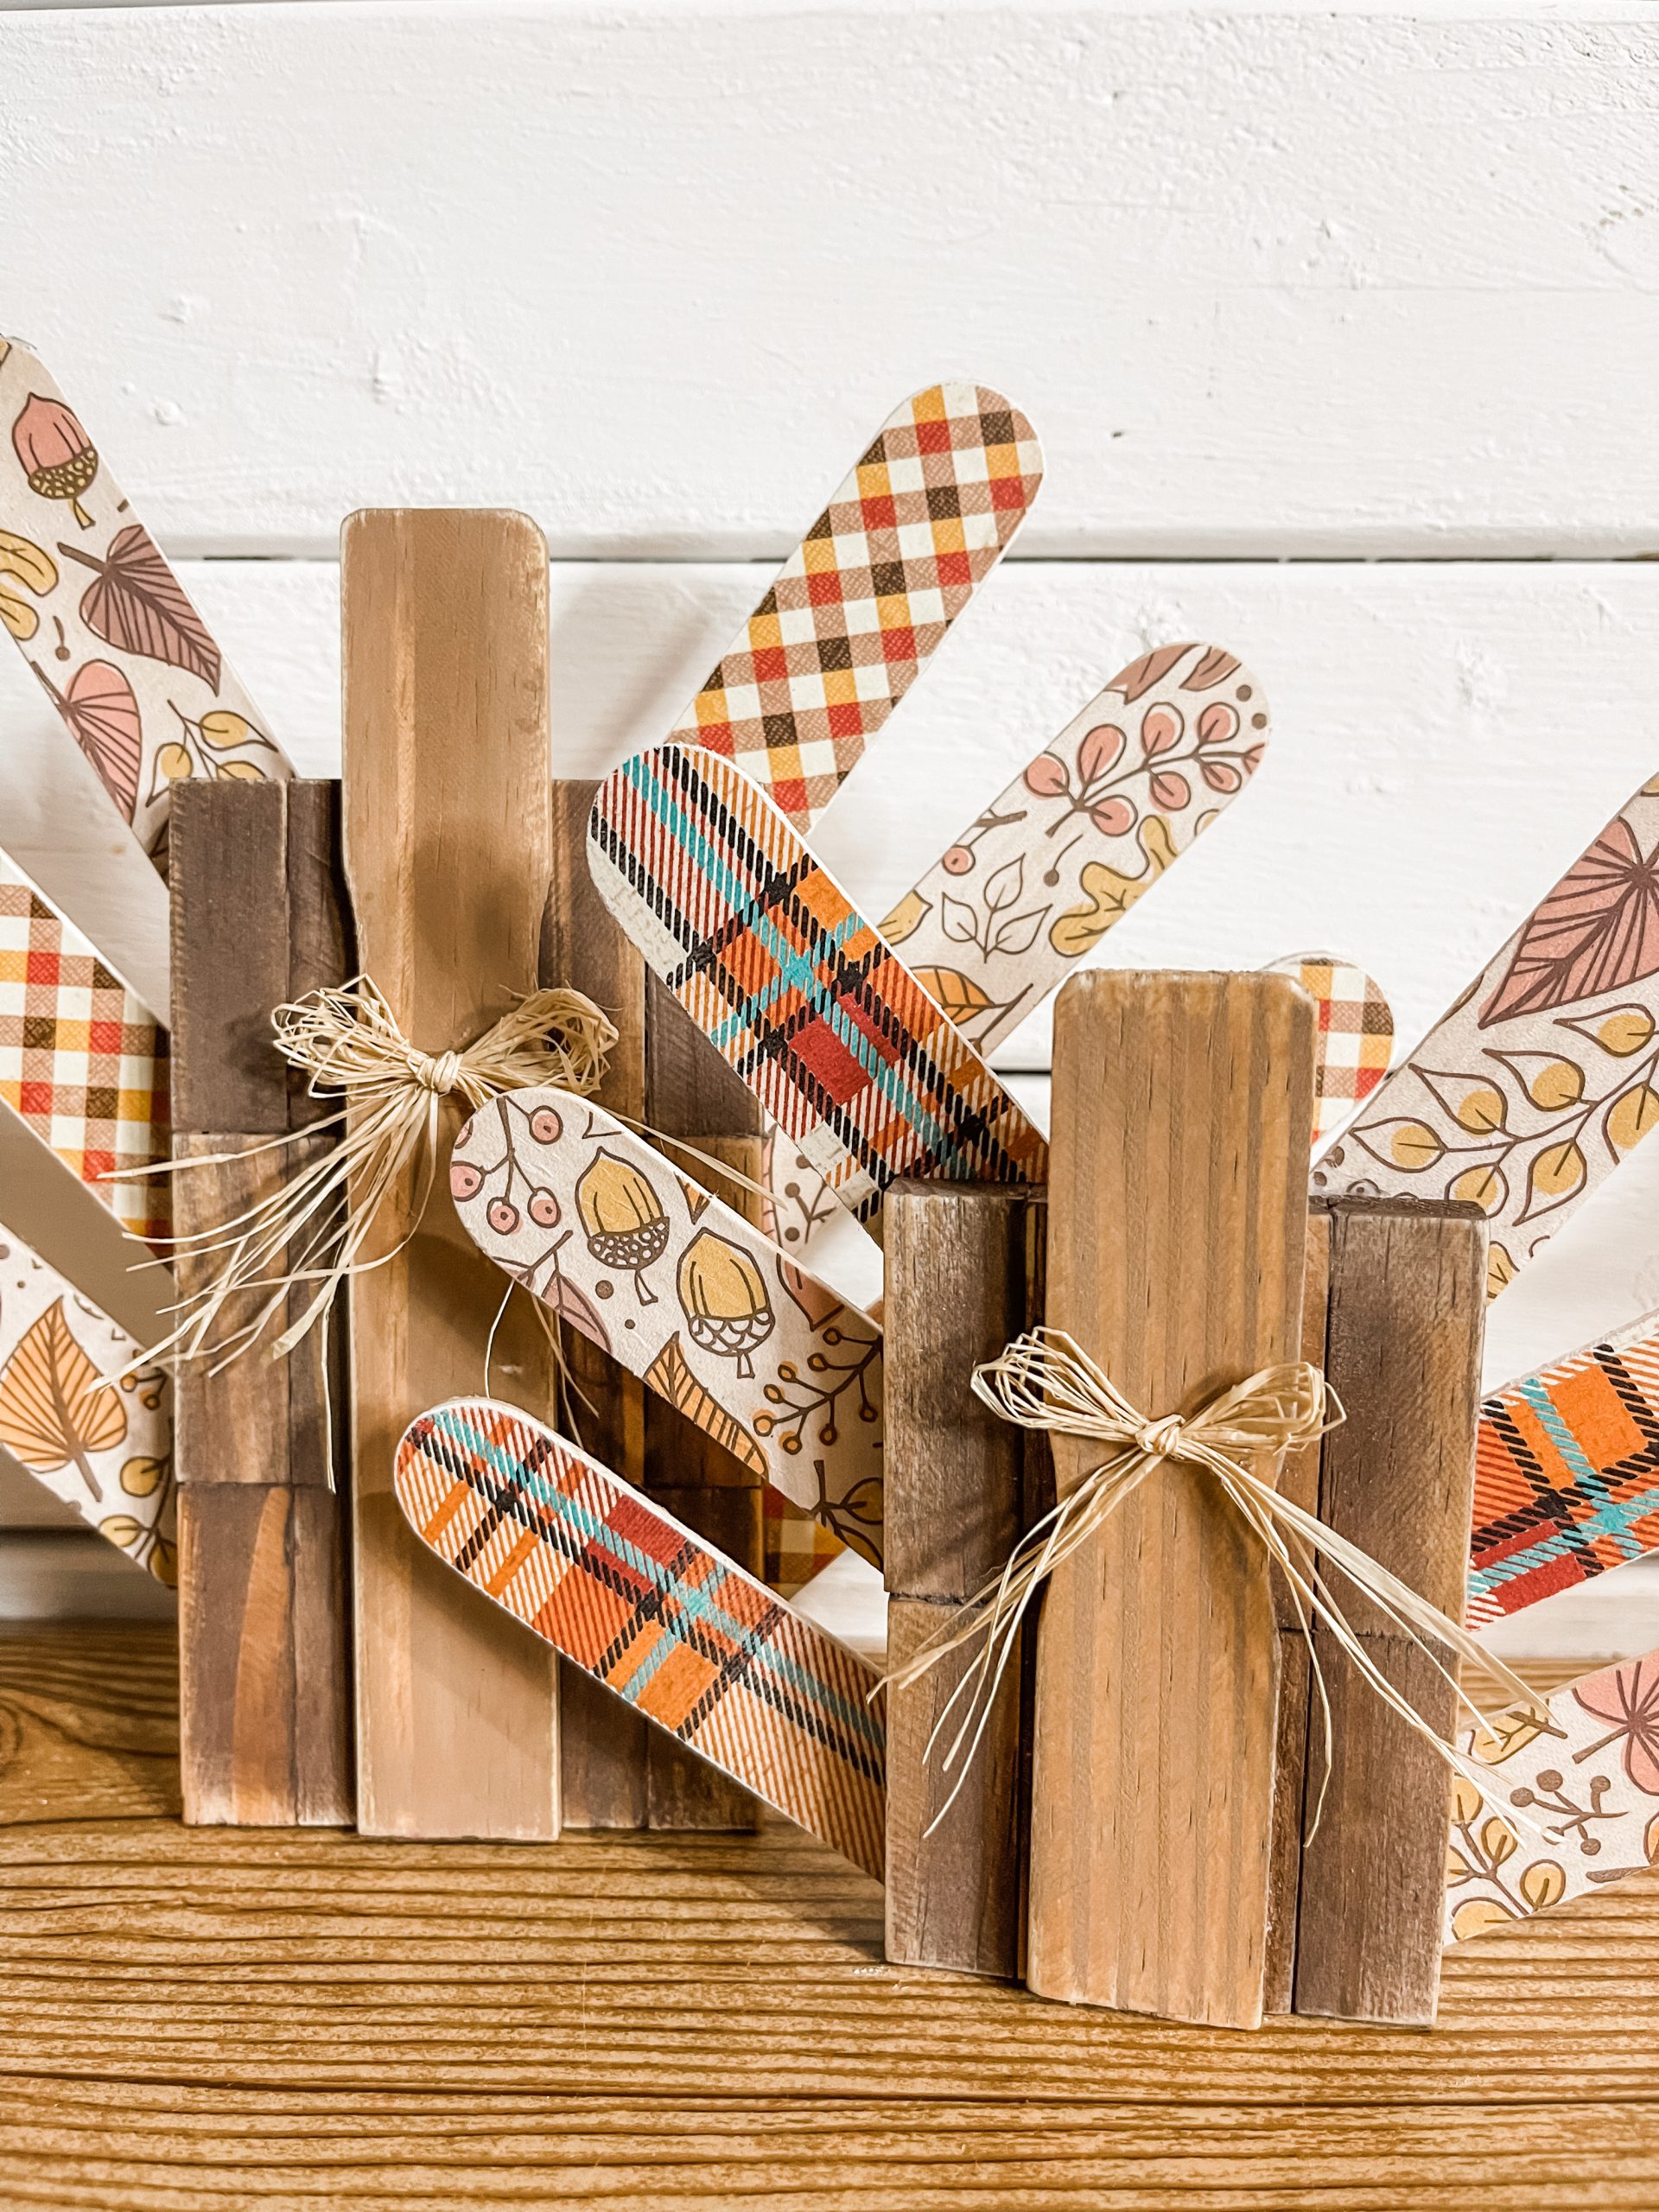
Next, you have to trim the quart paint sticks to make the tail feathers of both turkeys! I used 6 paint sticks for each of the turkeys.
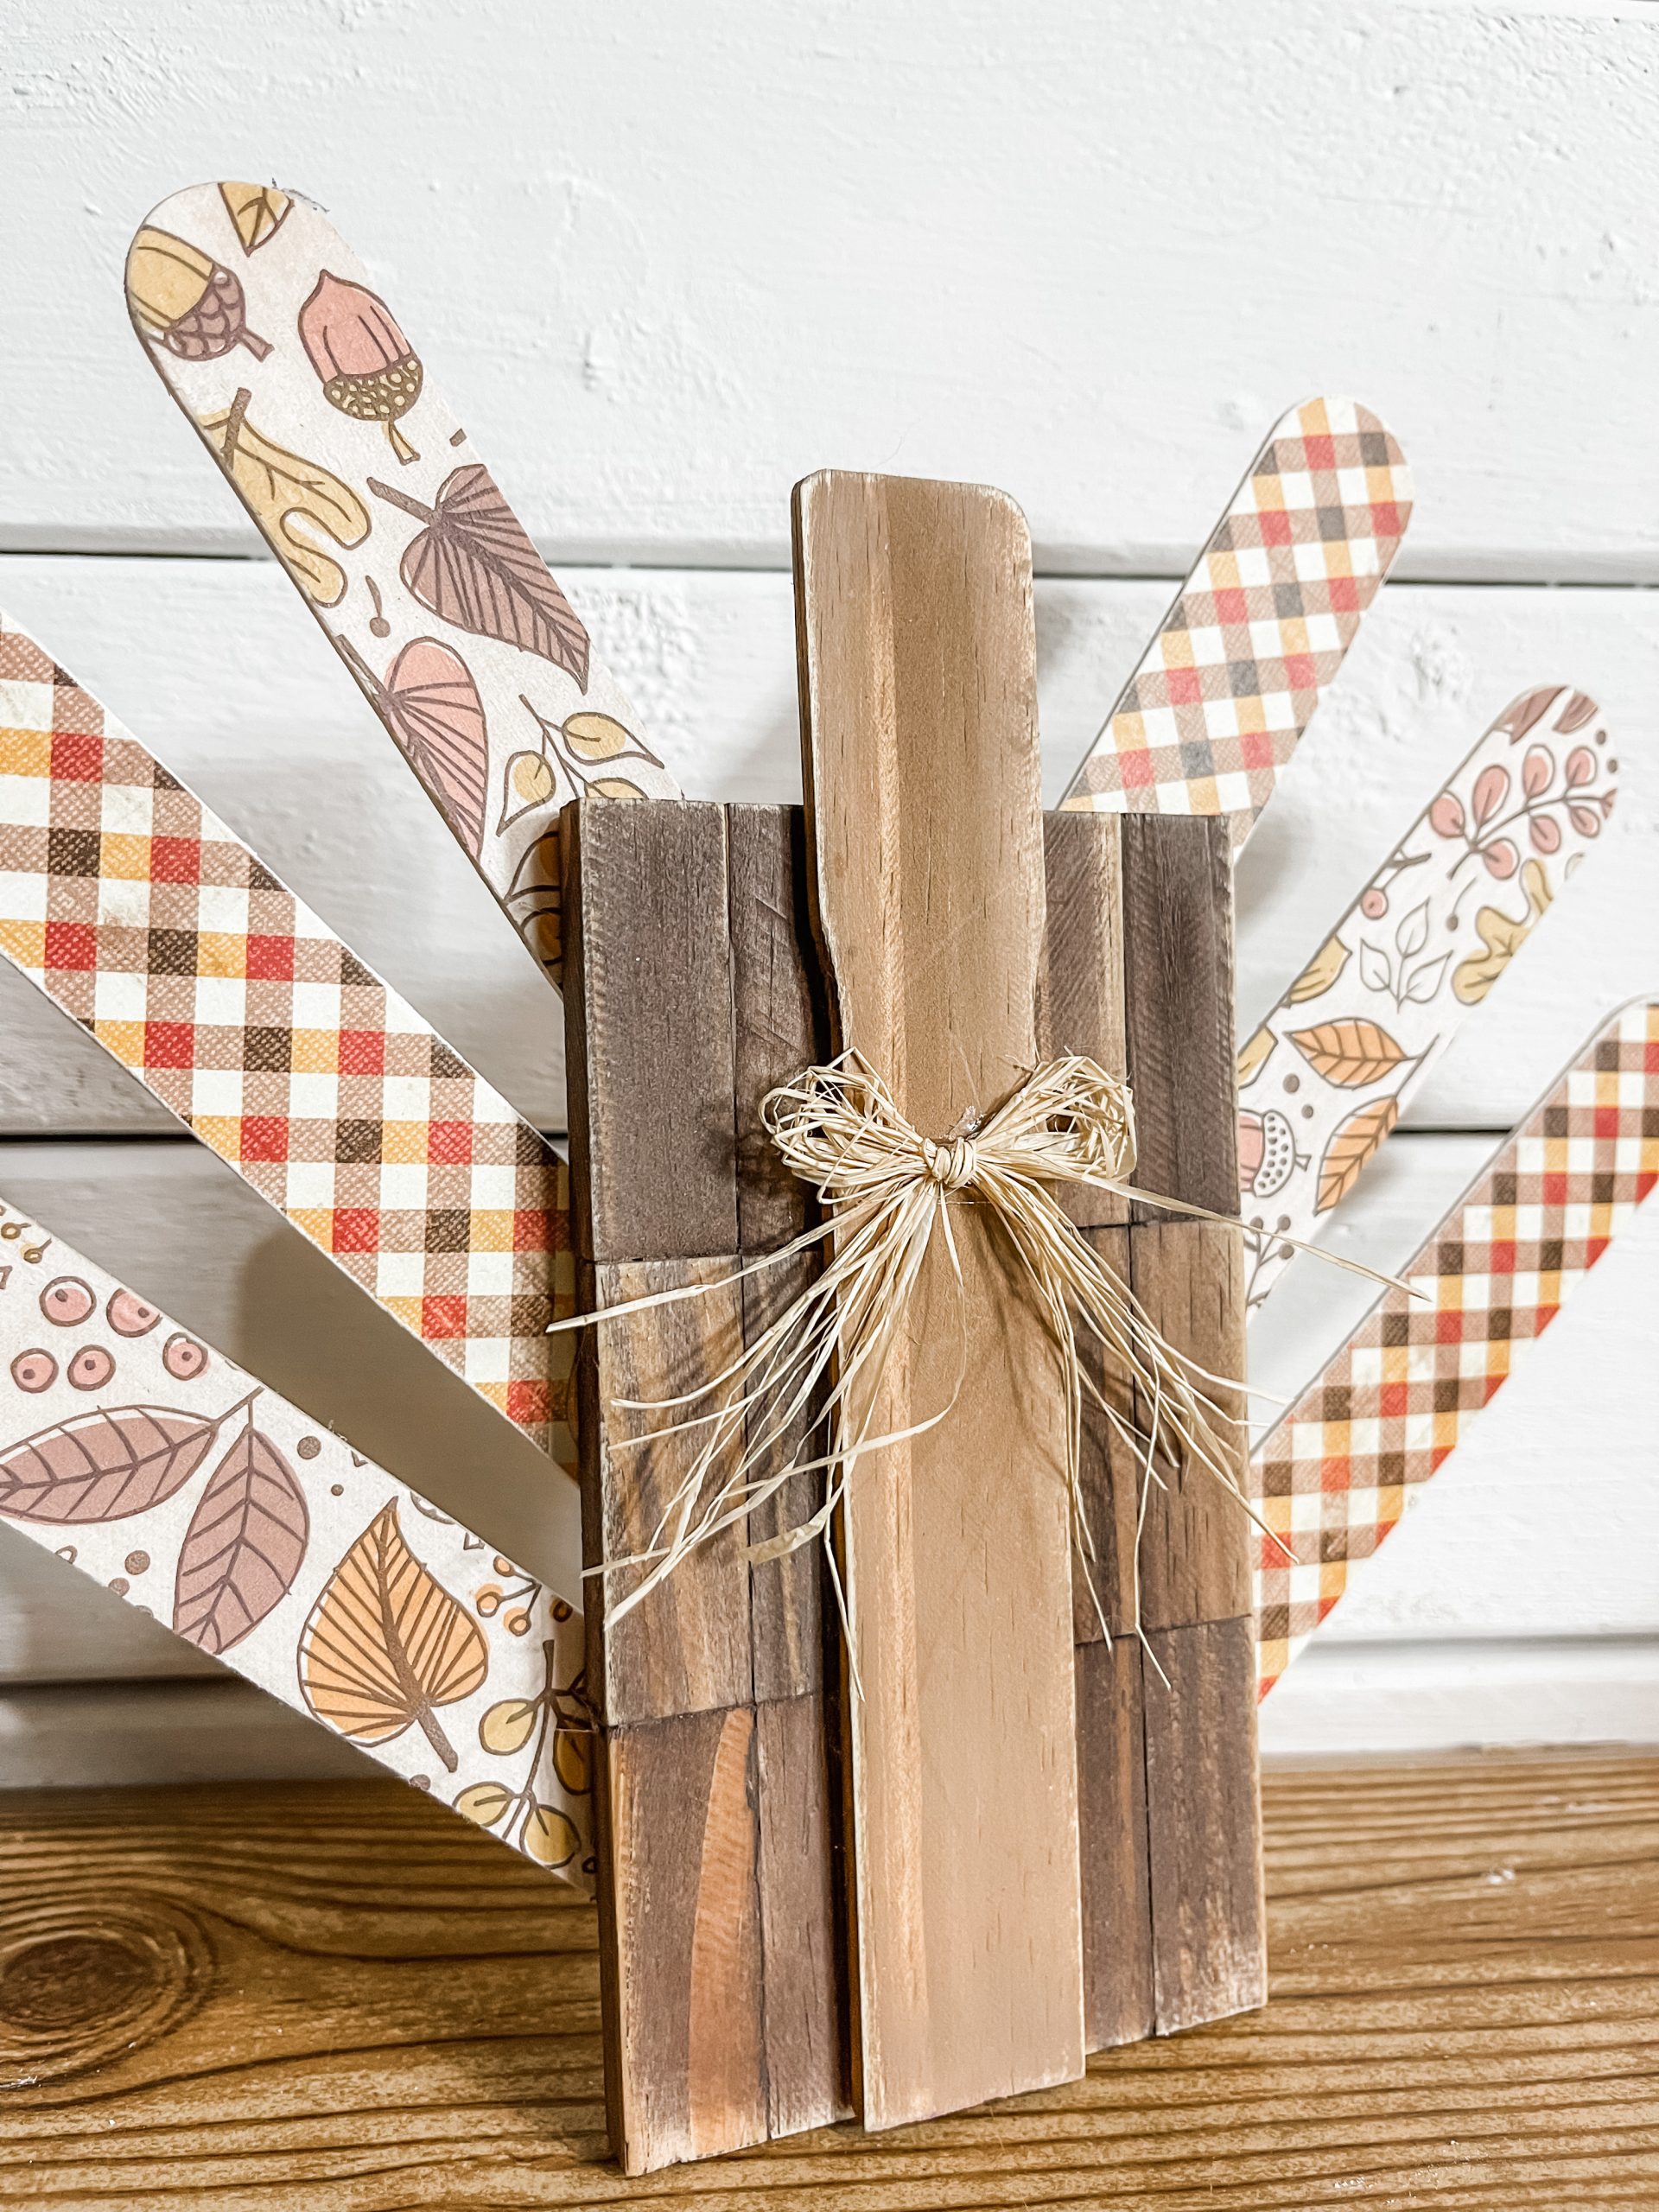
Once you have the paint sticks trimmed you need to decoupage each of them to decorate your turkey’s tail feathers!
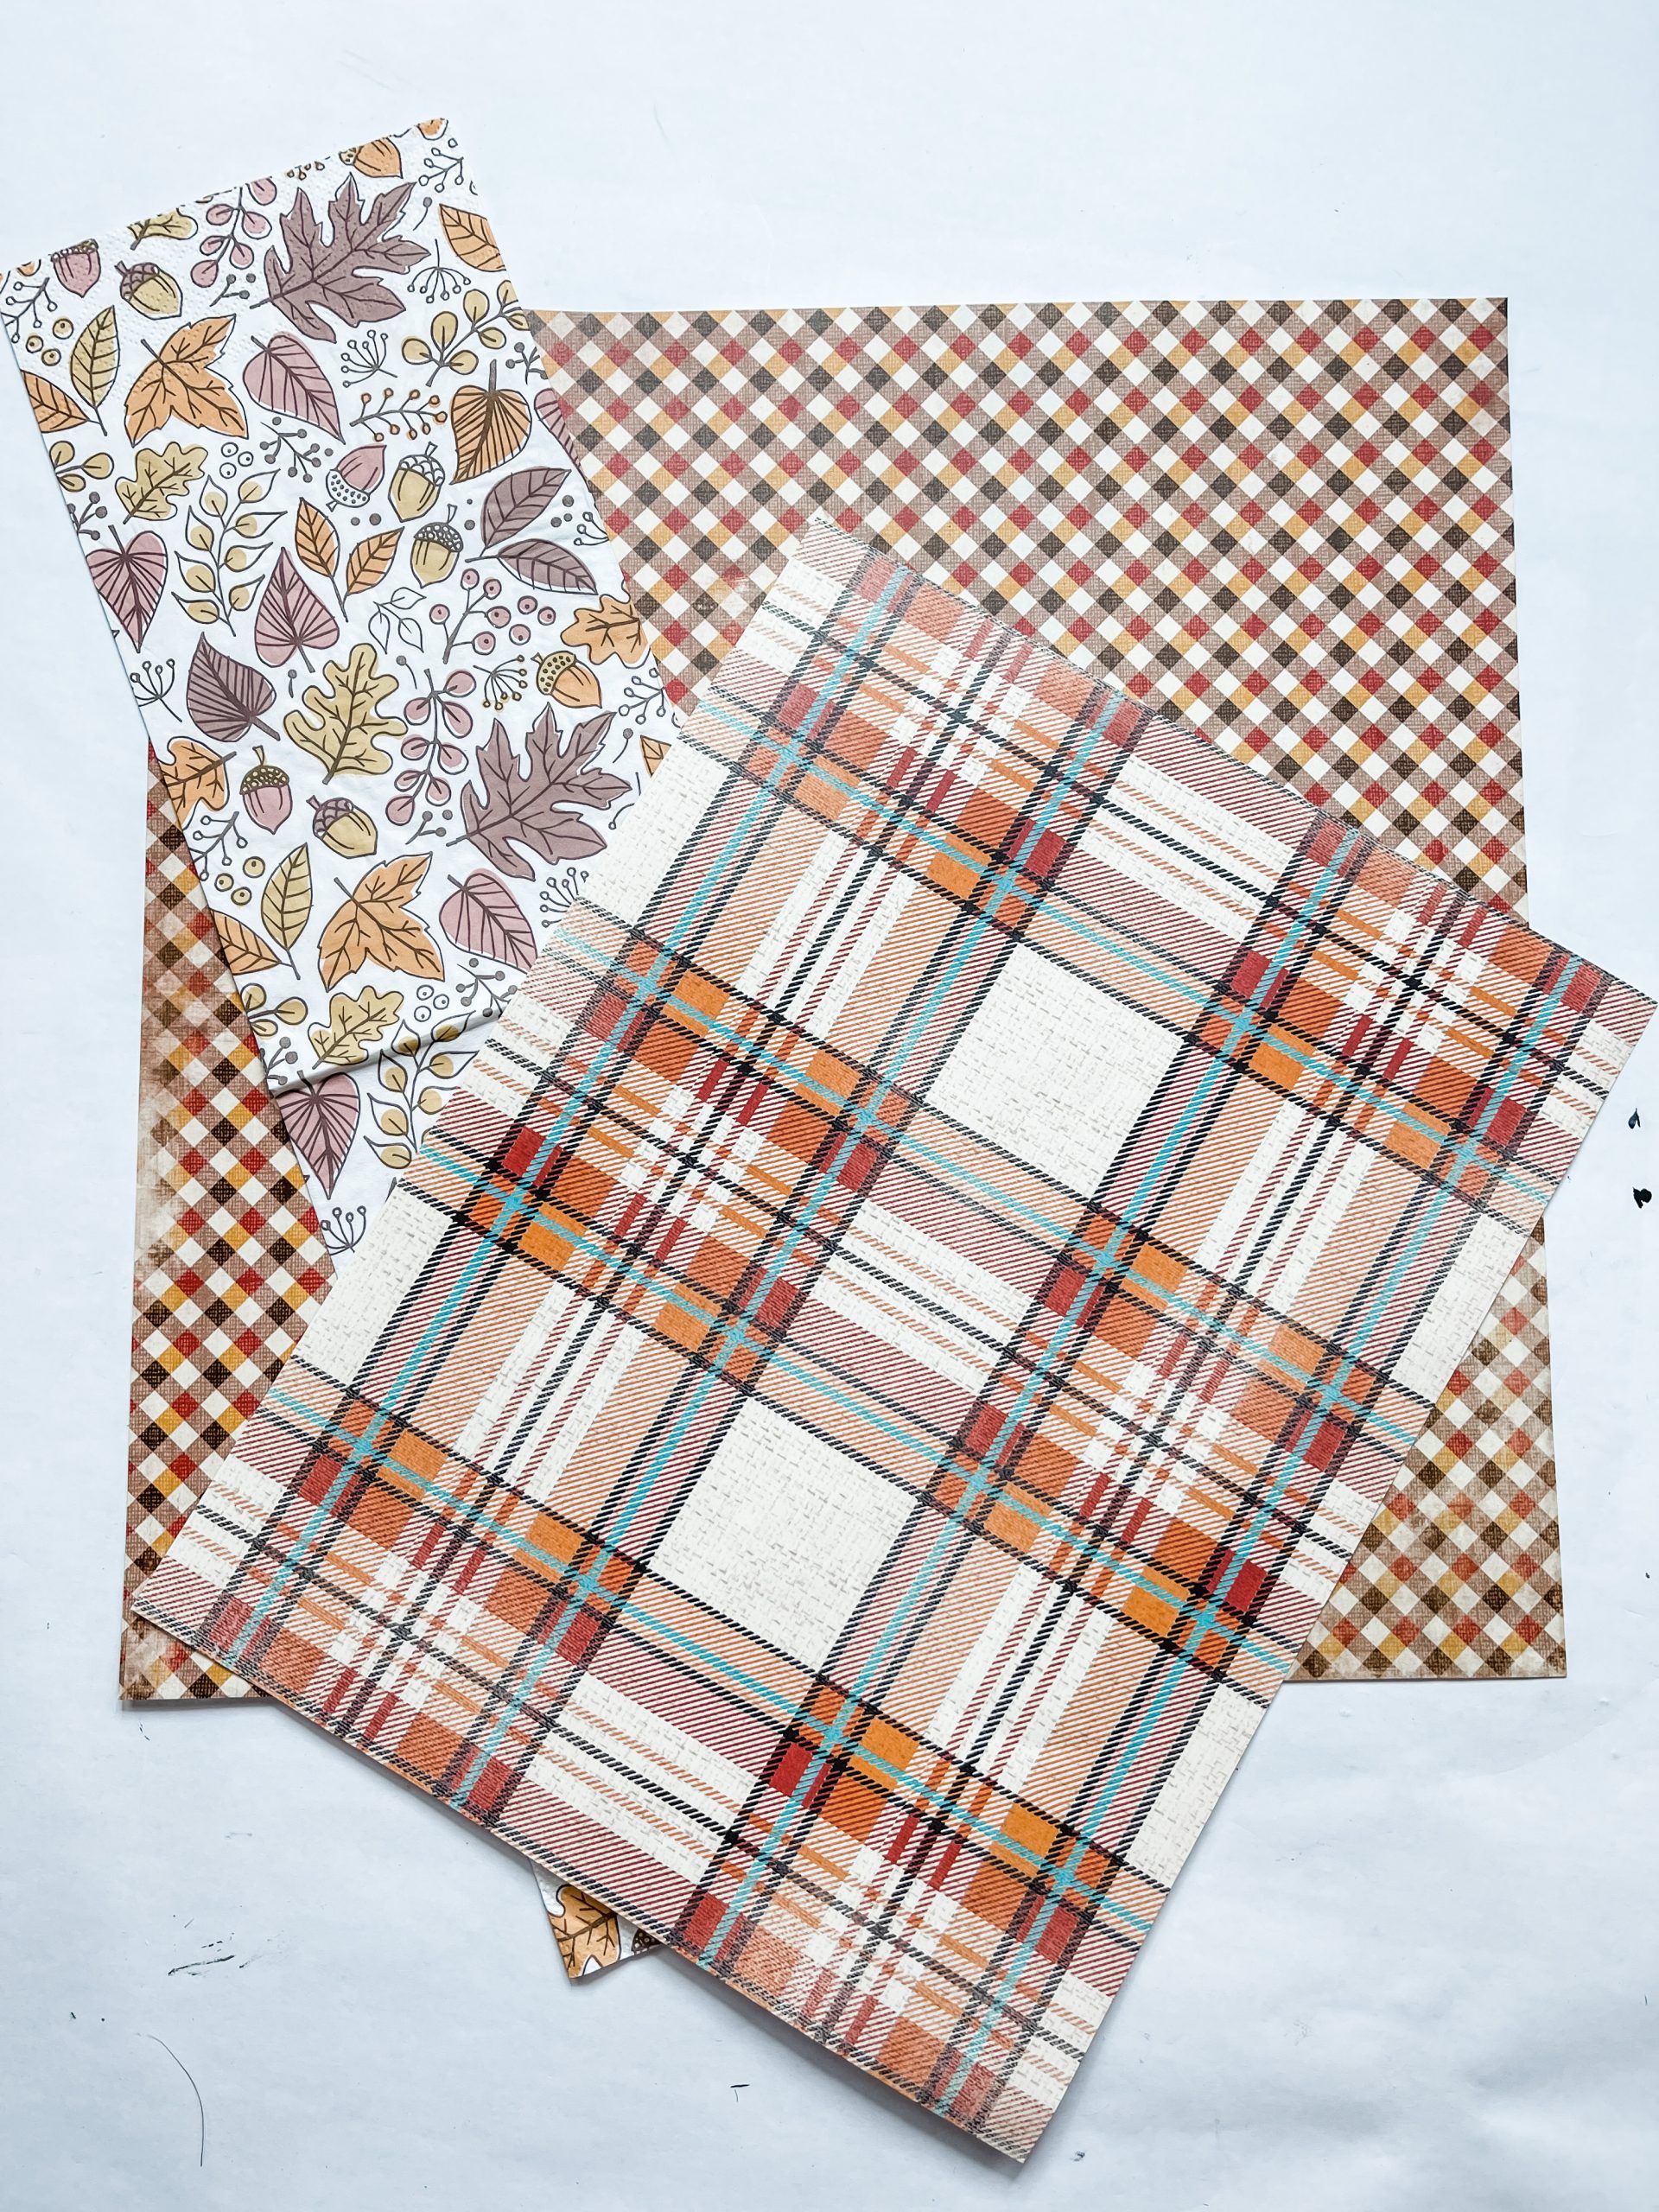
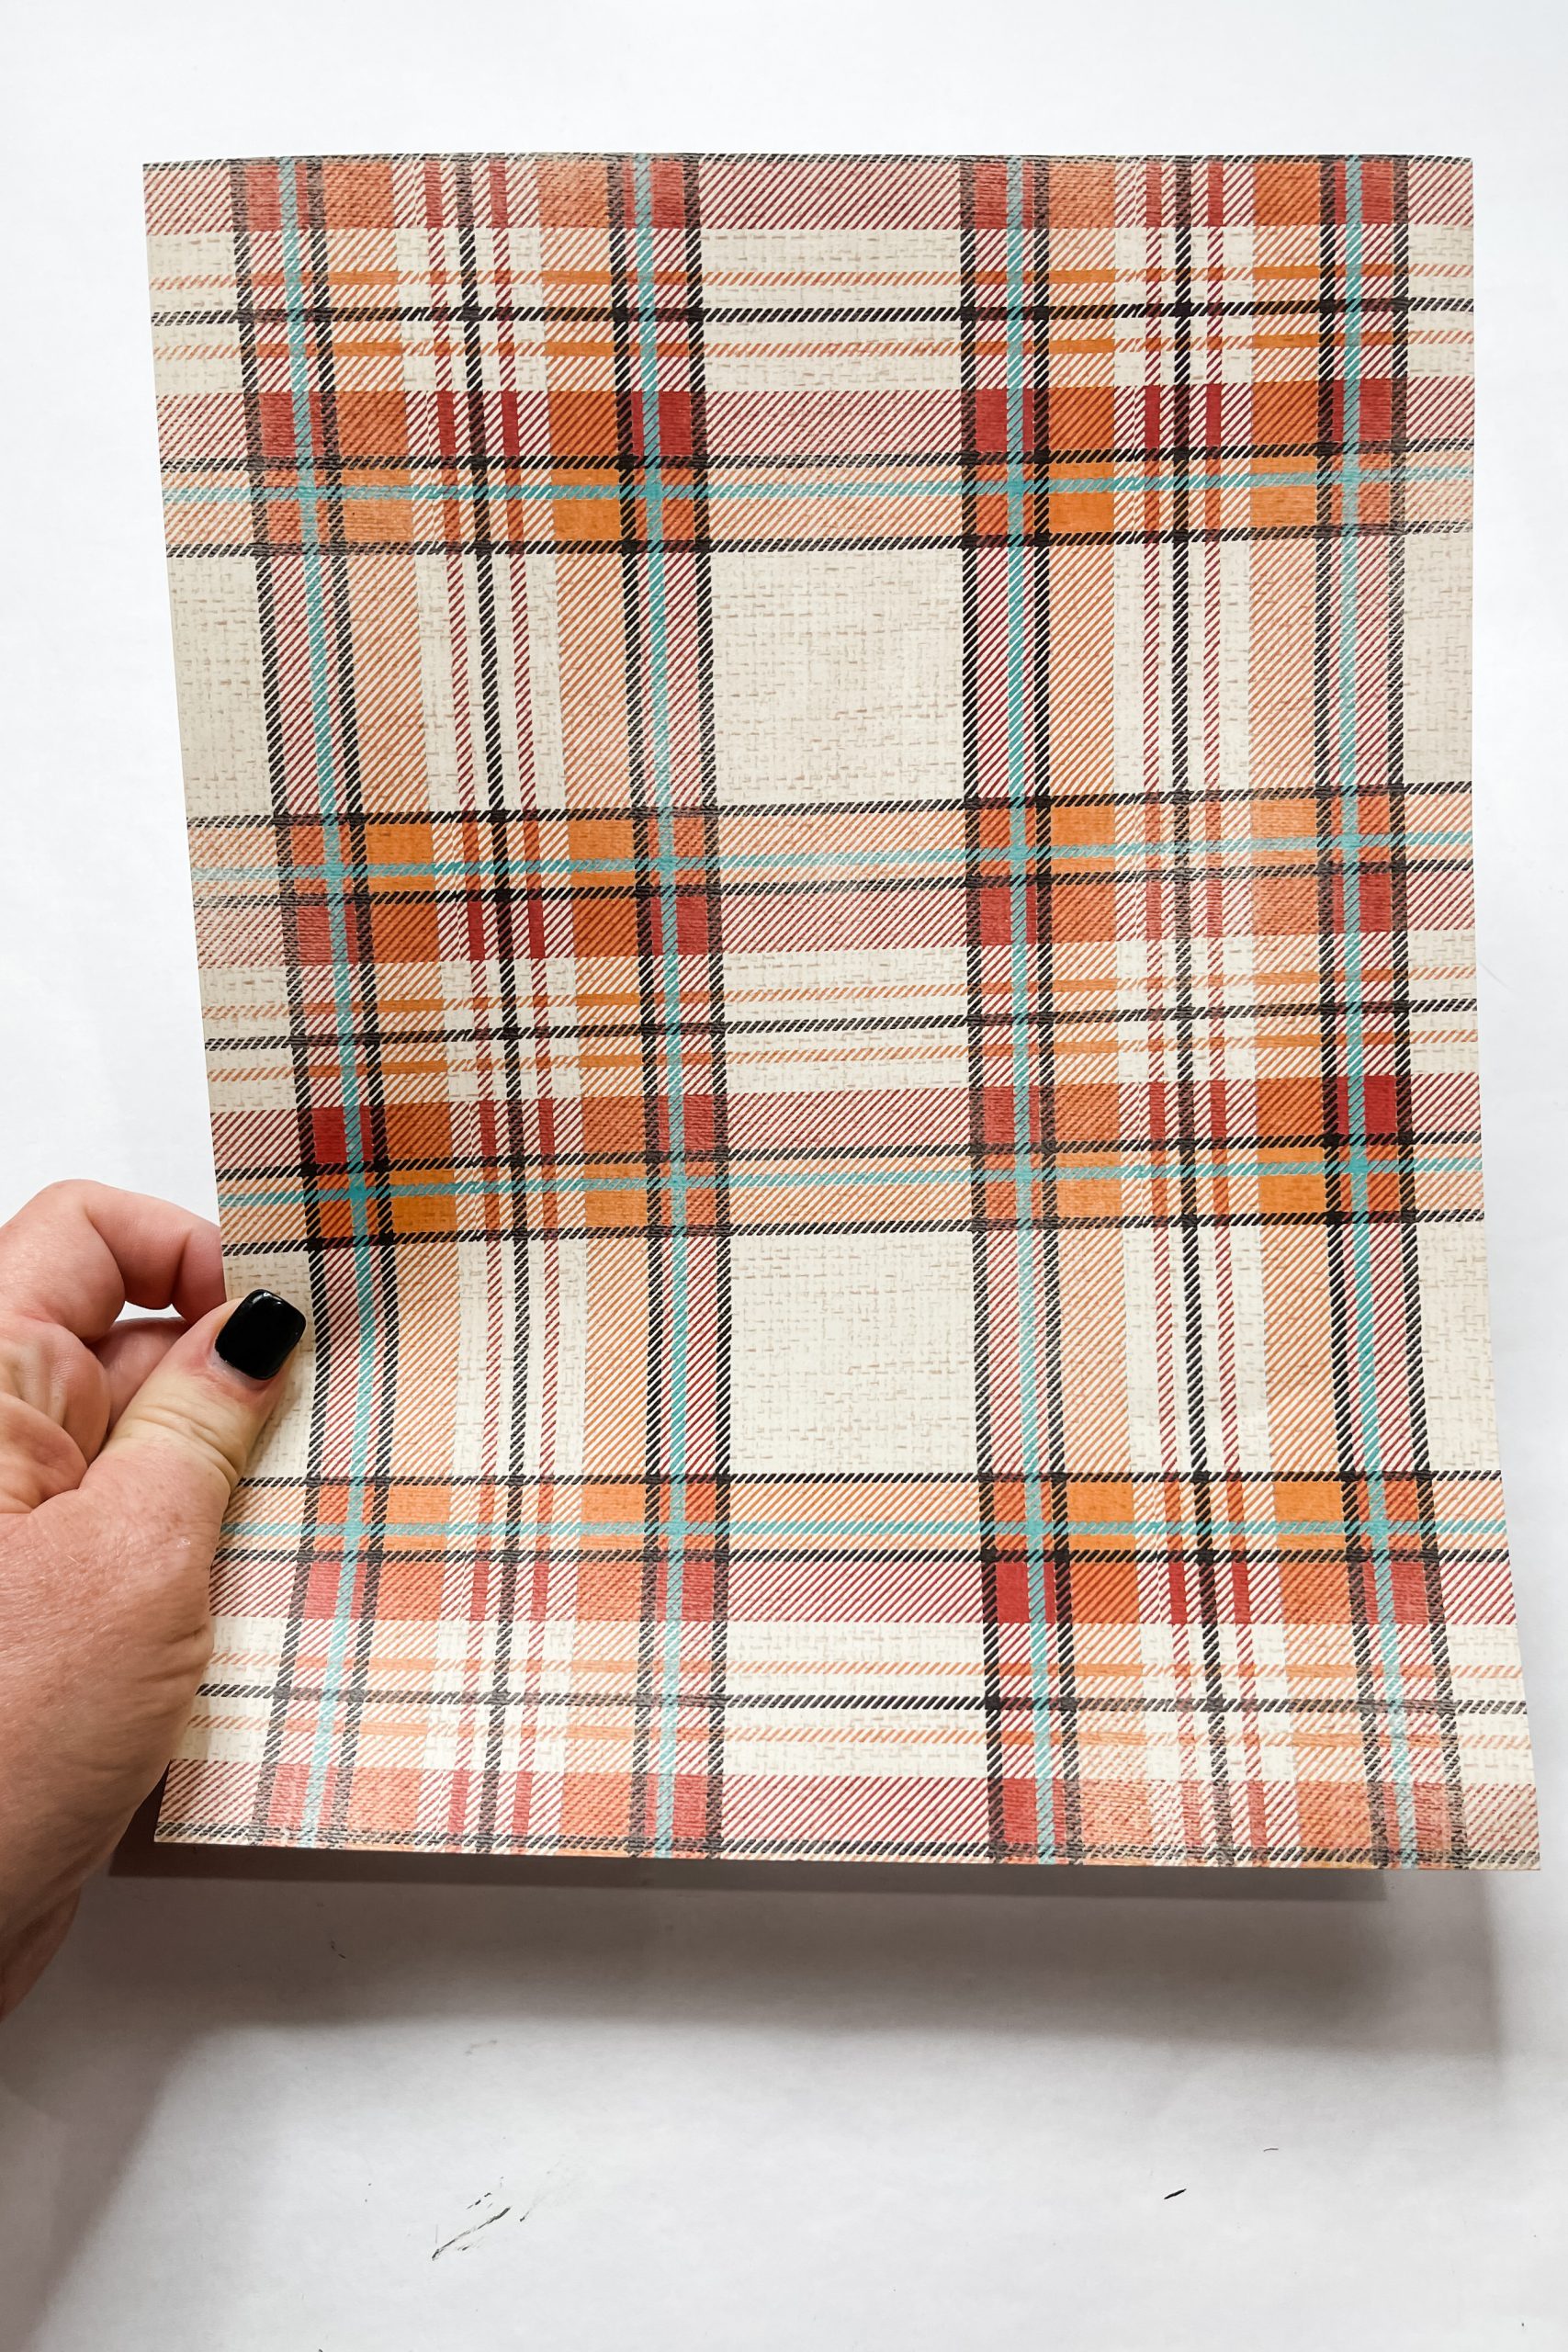
I had a fall leaves napkin, fall plaid scrapbook paper, and fall checkered scrapbook paper to use for both of these turkeys. I picked two patterns per turkey and decoupaged them onto the paint sticks.

To decoupage the napkin, you need to first separate the napkin plies before placing the napkin on the Mod Podged paint sticks’ surfaces.
Bring it all together
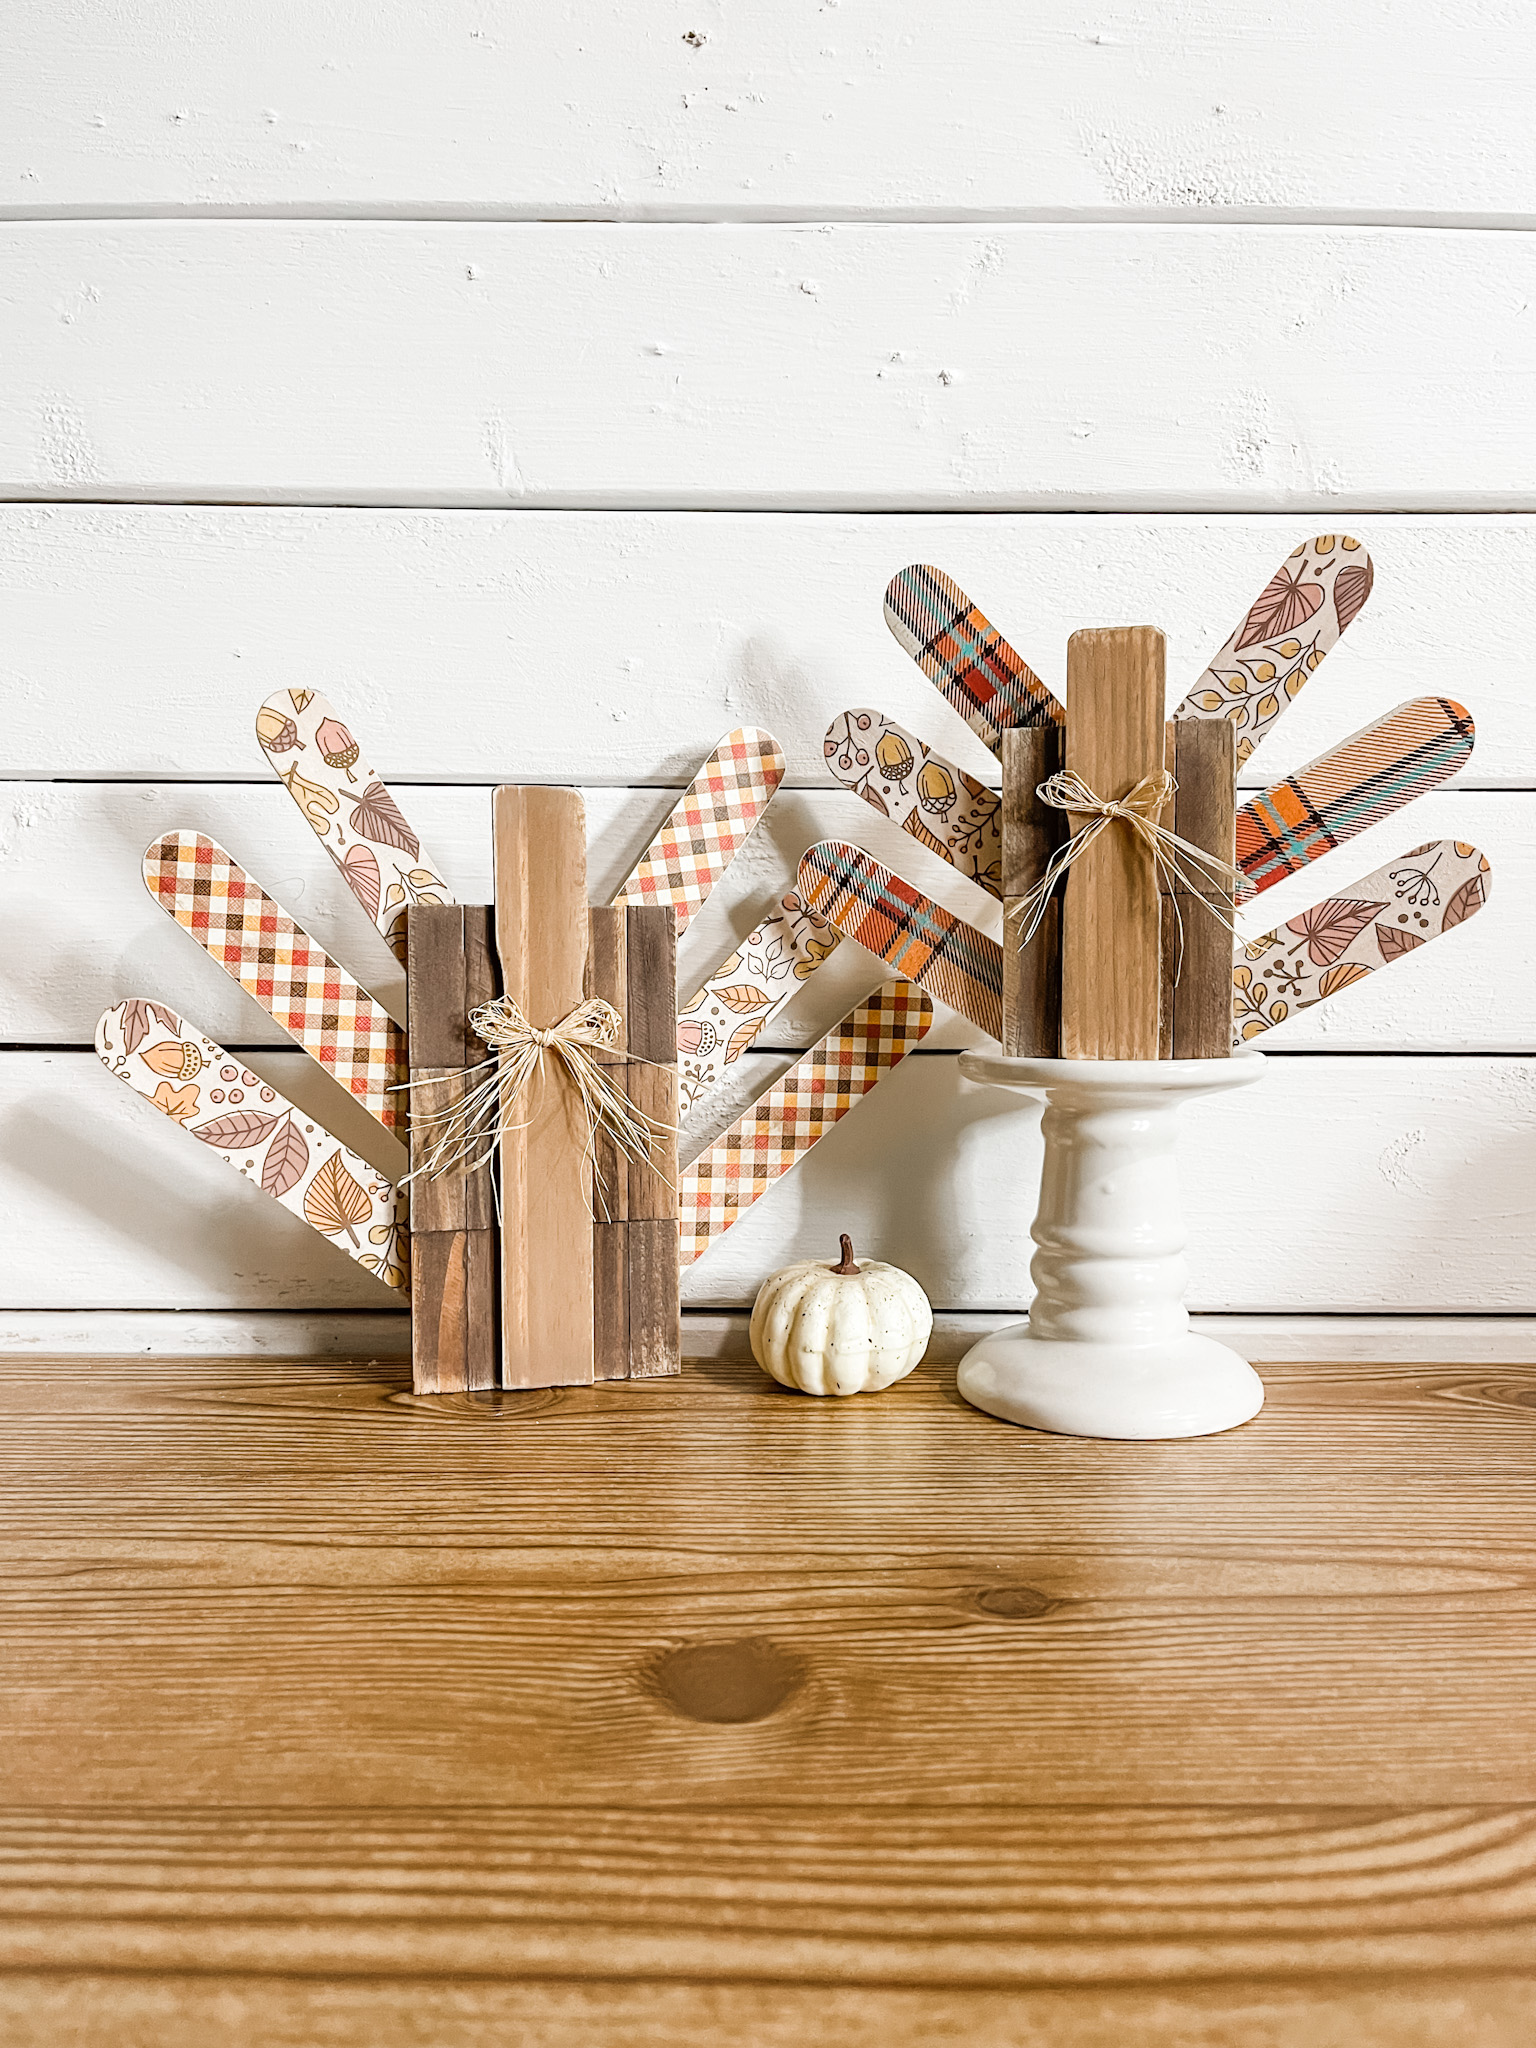
Once your quart paint sticks are decoupaged and the Mod Podge is dry, you can hot glue them to the turkeys’ bodies!
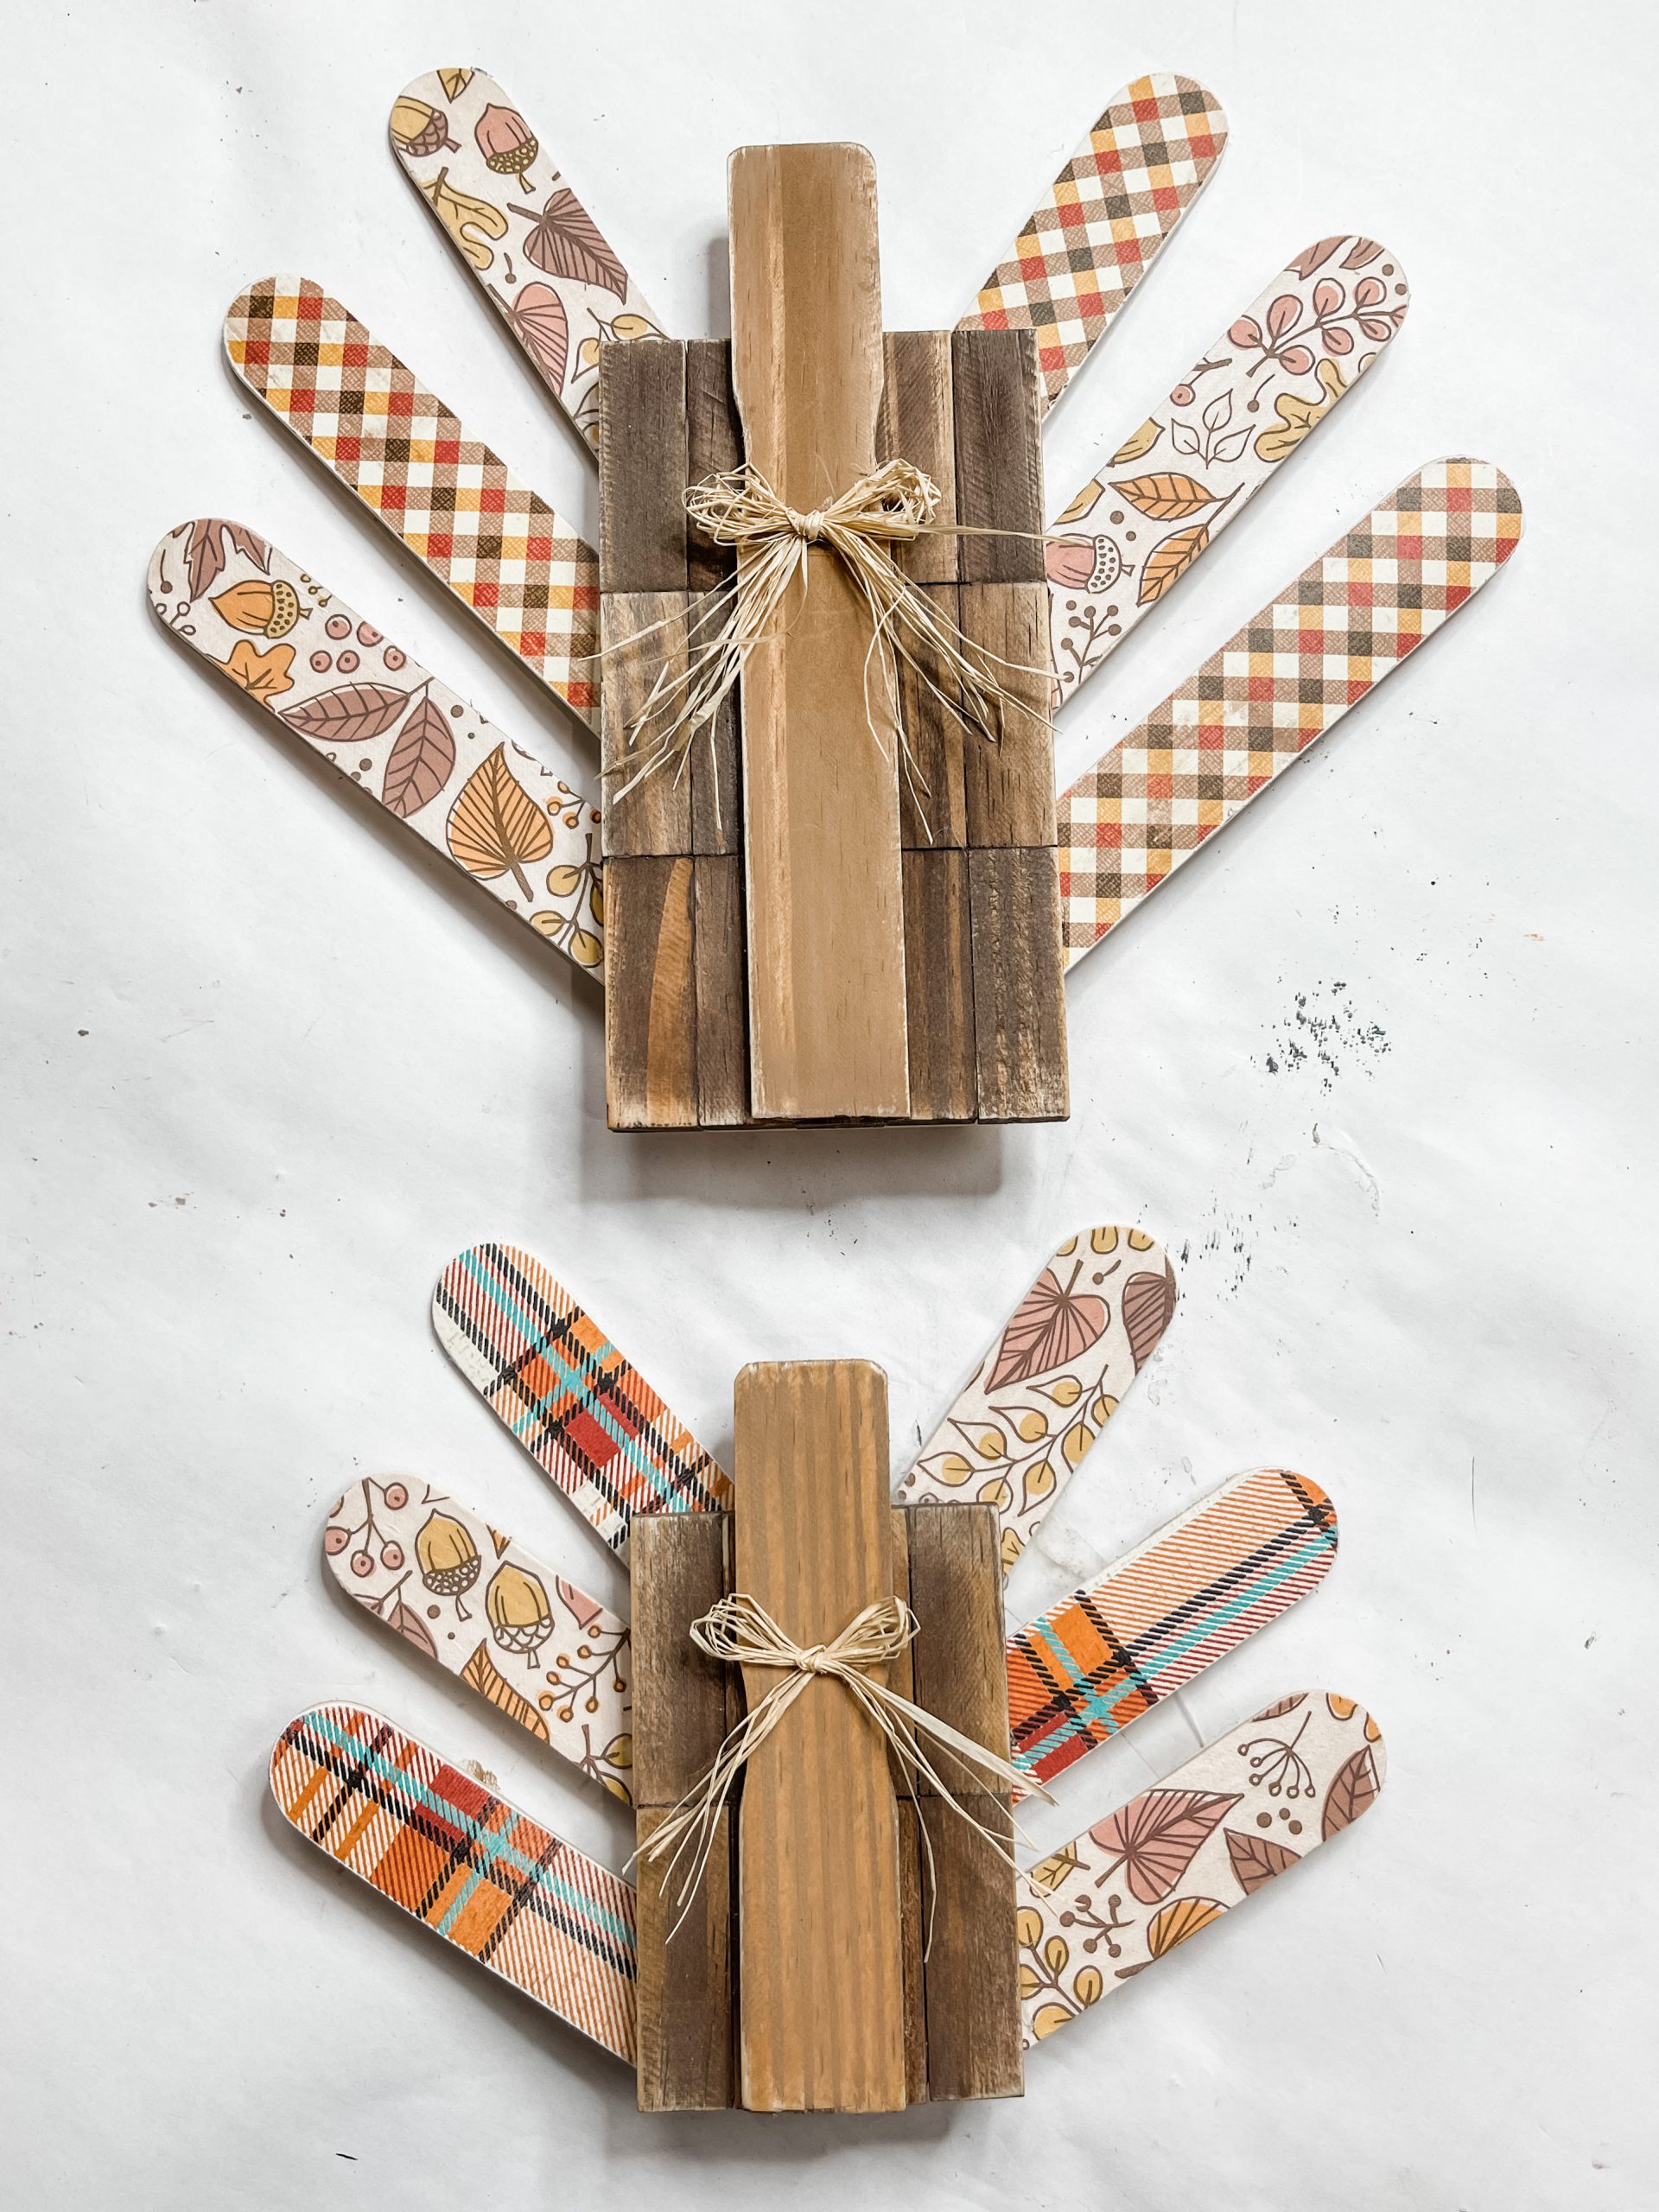
To make your turkeys stand up on their own, hot glue a Tumbling Tower block at the bottom on the back of each of your turkeys.
Lastly, I tied a little raffia bow for each of my turkeys and hot glued it just below where their heads would be on the ruler stick!
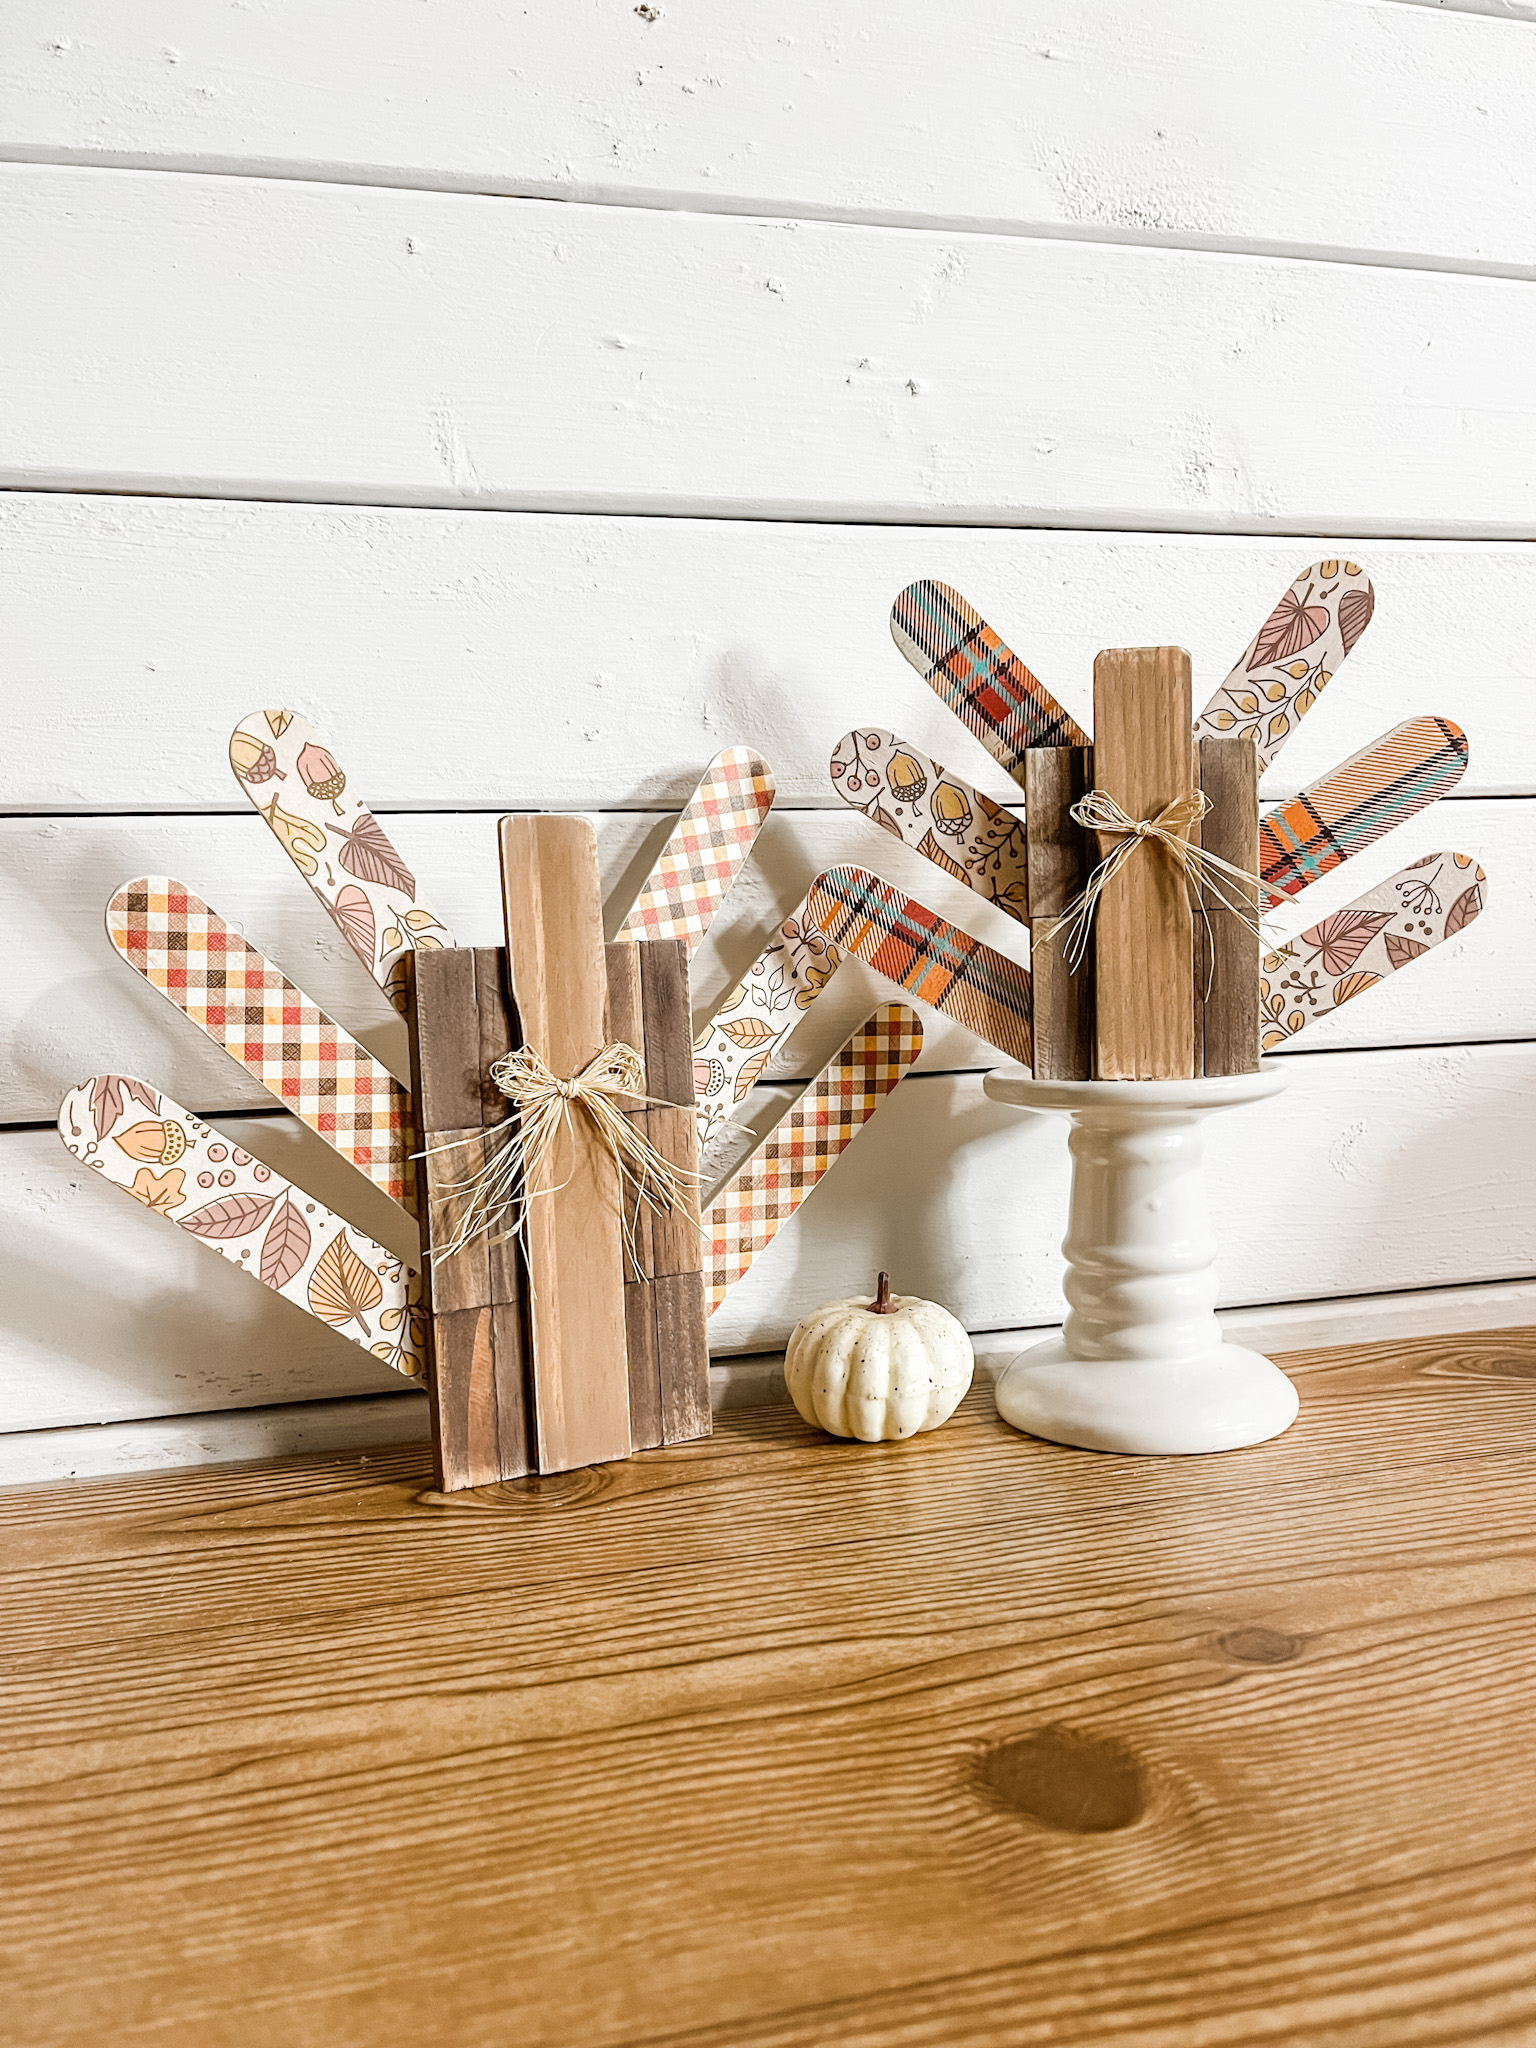
Feel free to paint a little face on your turkey, but I wanted to keep mine very simple. Whatever you choose, I hope you enjoyed these DIY Small Standing Turkeys as much as I did and decide to make it for yourself! If you do, I would love to see how yours turns out!
You should totally join my FREE Facebook group called On A Budget Crafts! It is a judgment-free community for DIY crafters to show off their projects and ideas.
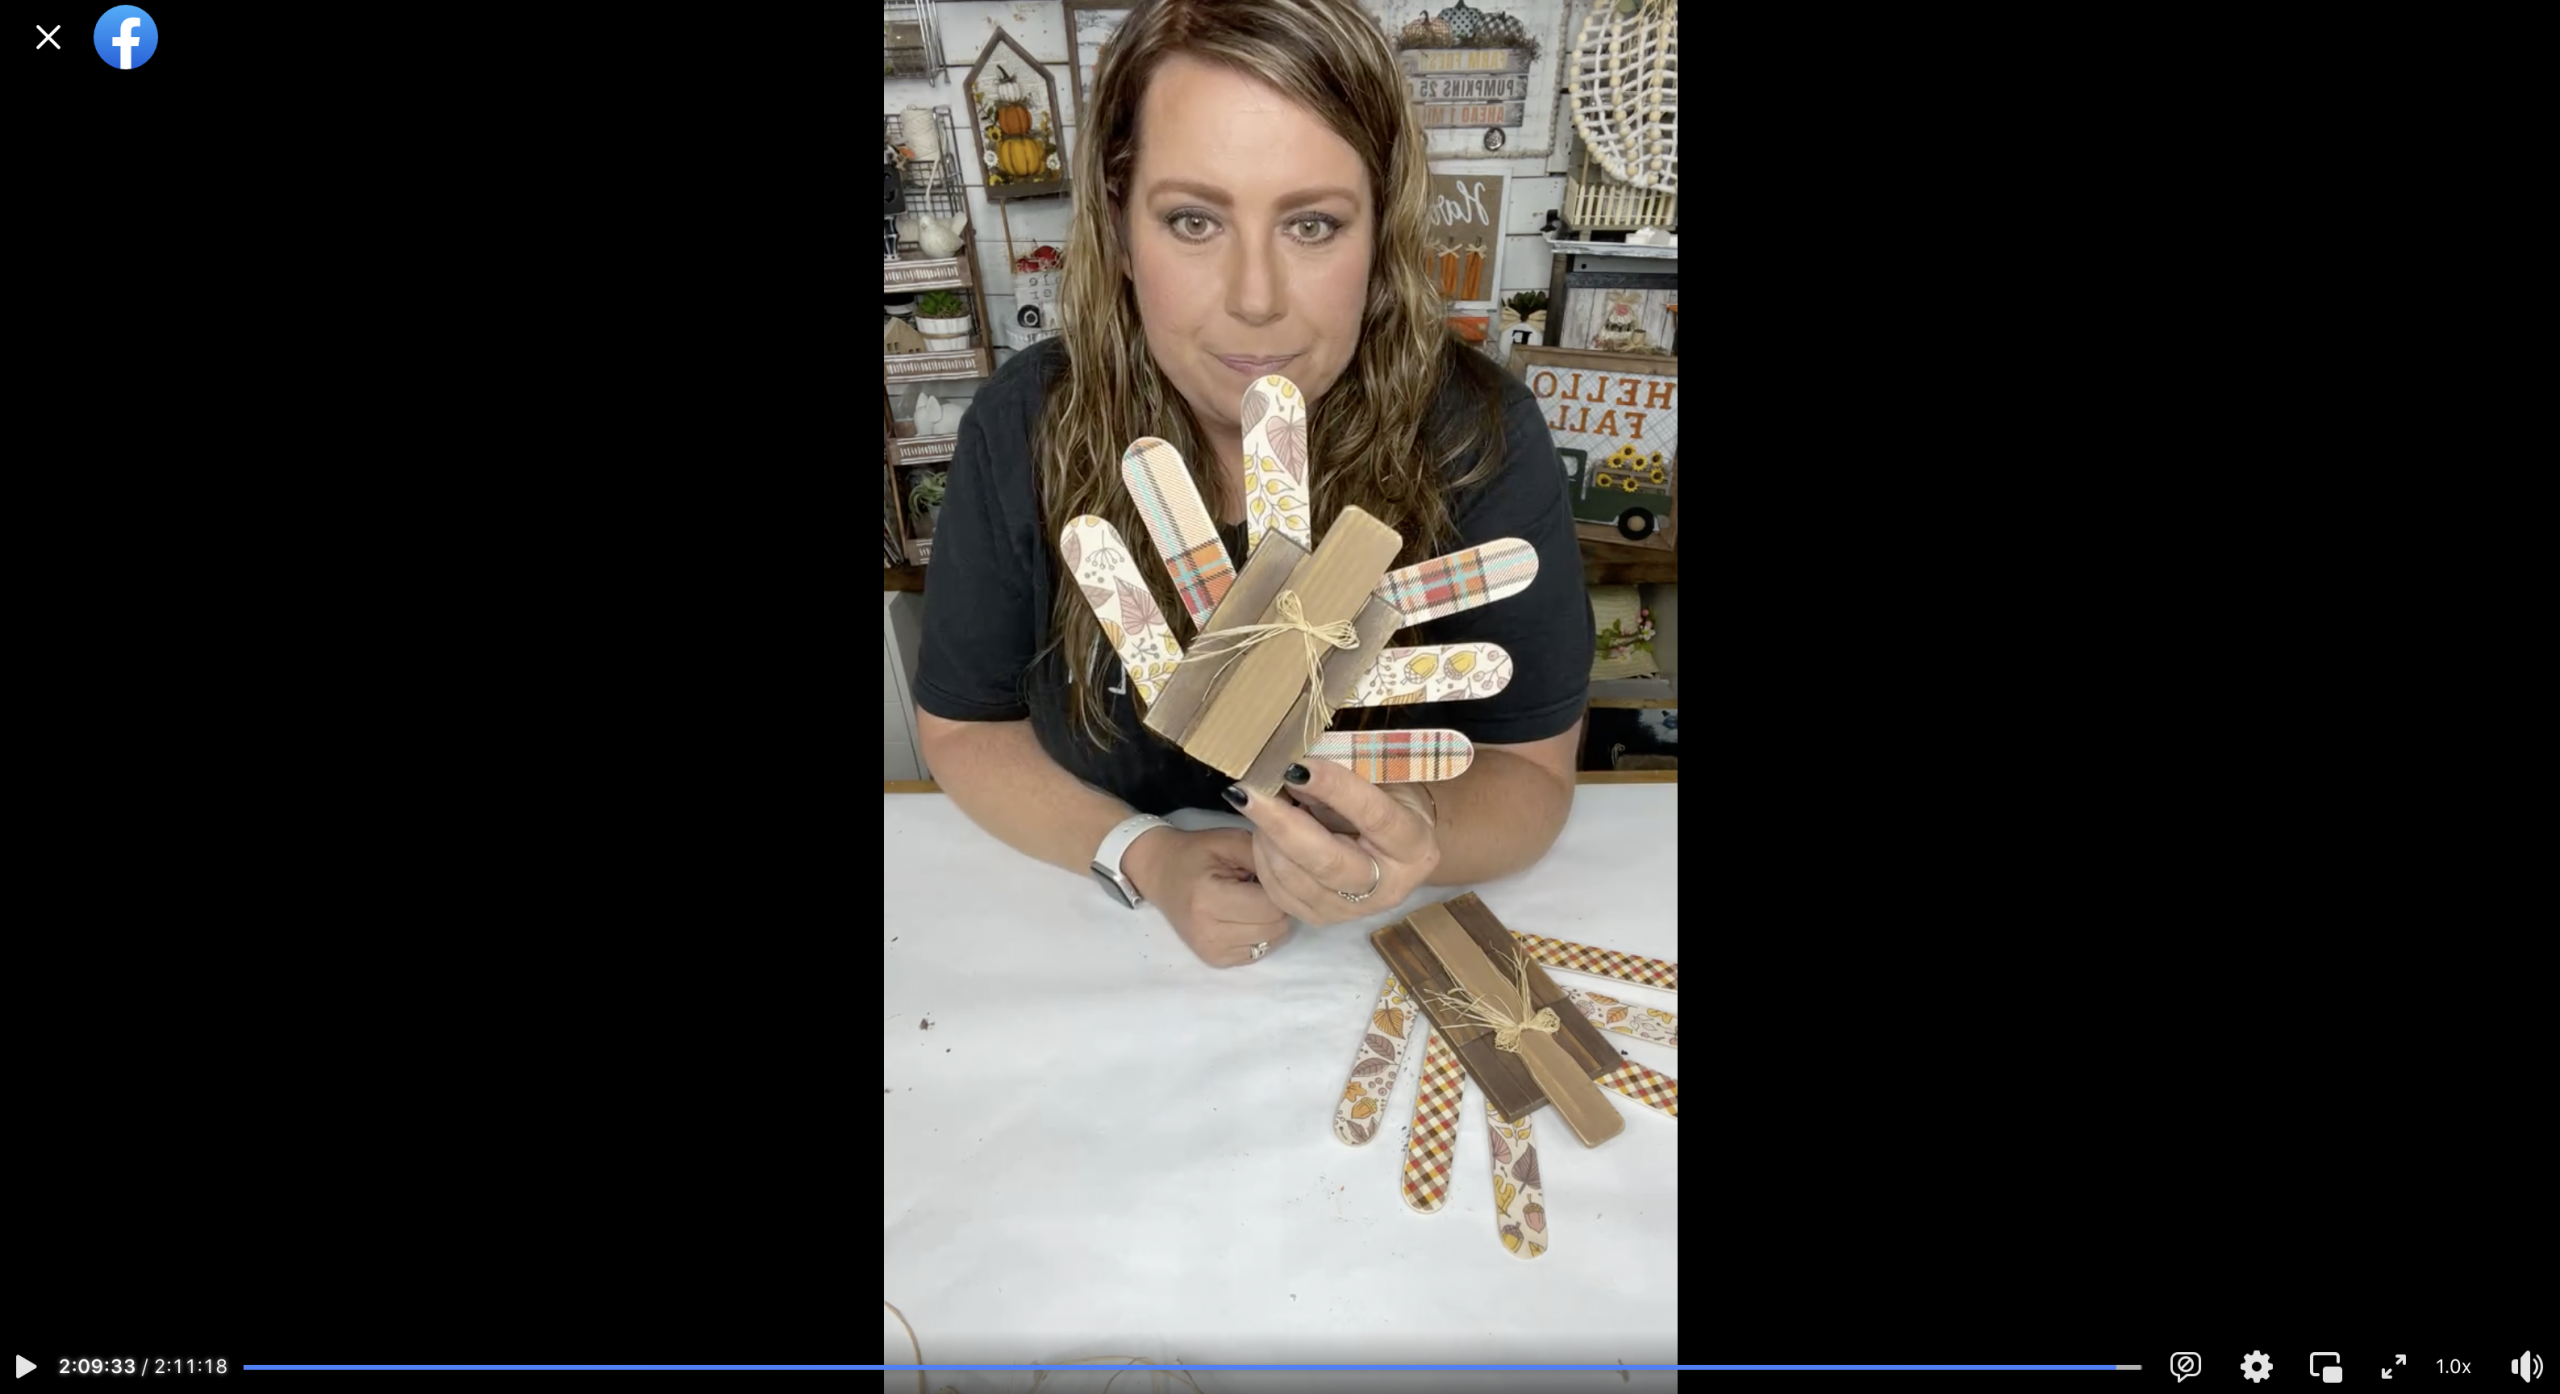
Watch the DIY tutorial replay
I recorded how to make these adorable DIY small standing turkeys during a LIVE video on my Facebook page.
If you want to see the DIY process, craft along, or just join in on the fun conversations, you can watch the DIY tutorial replay!
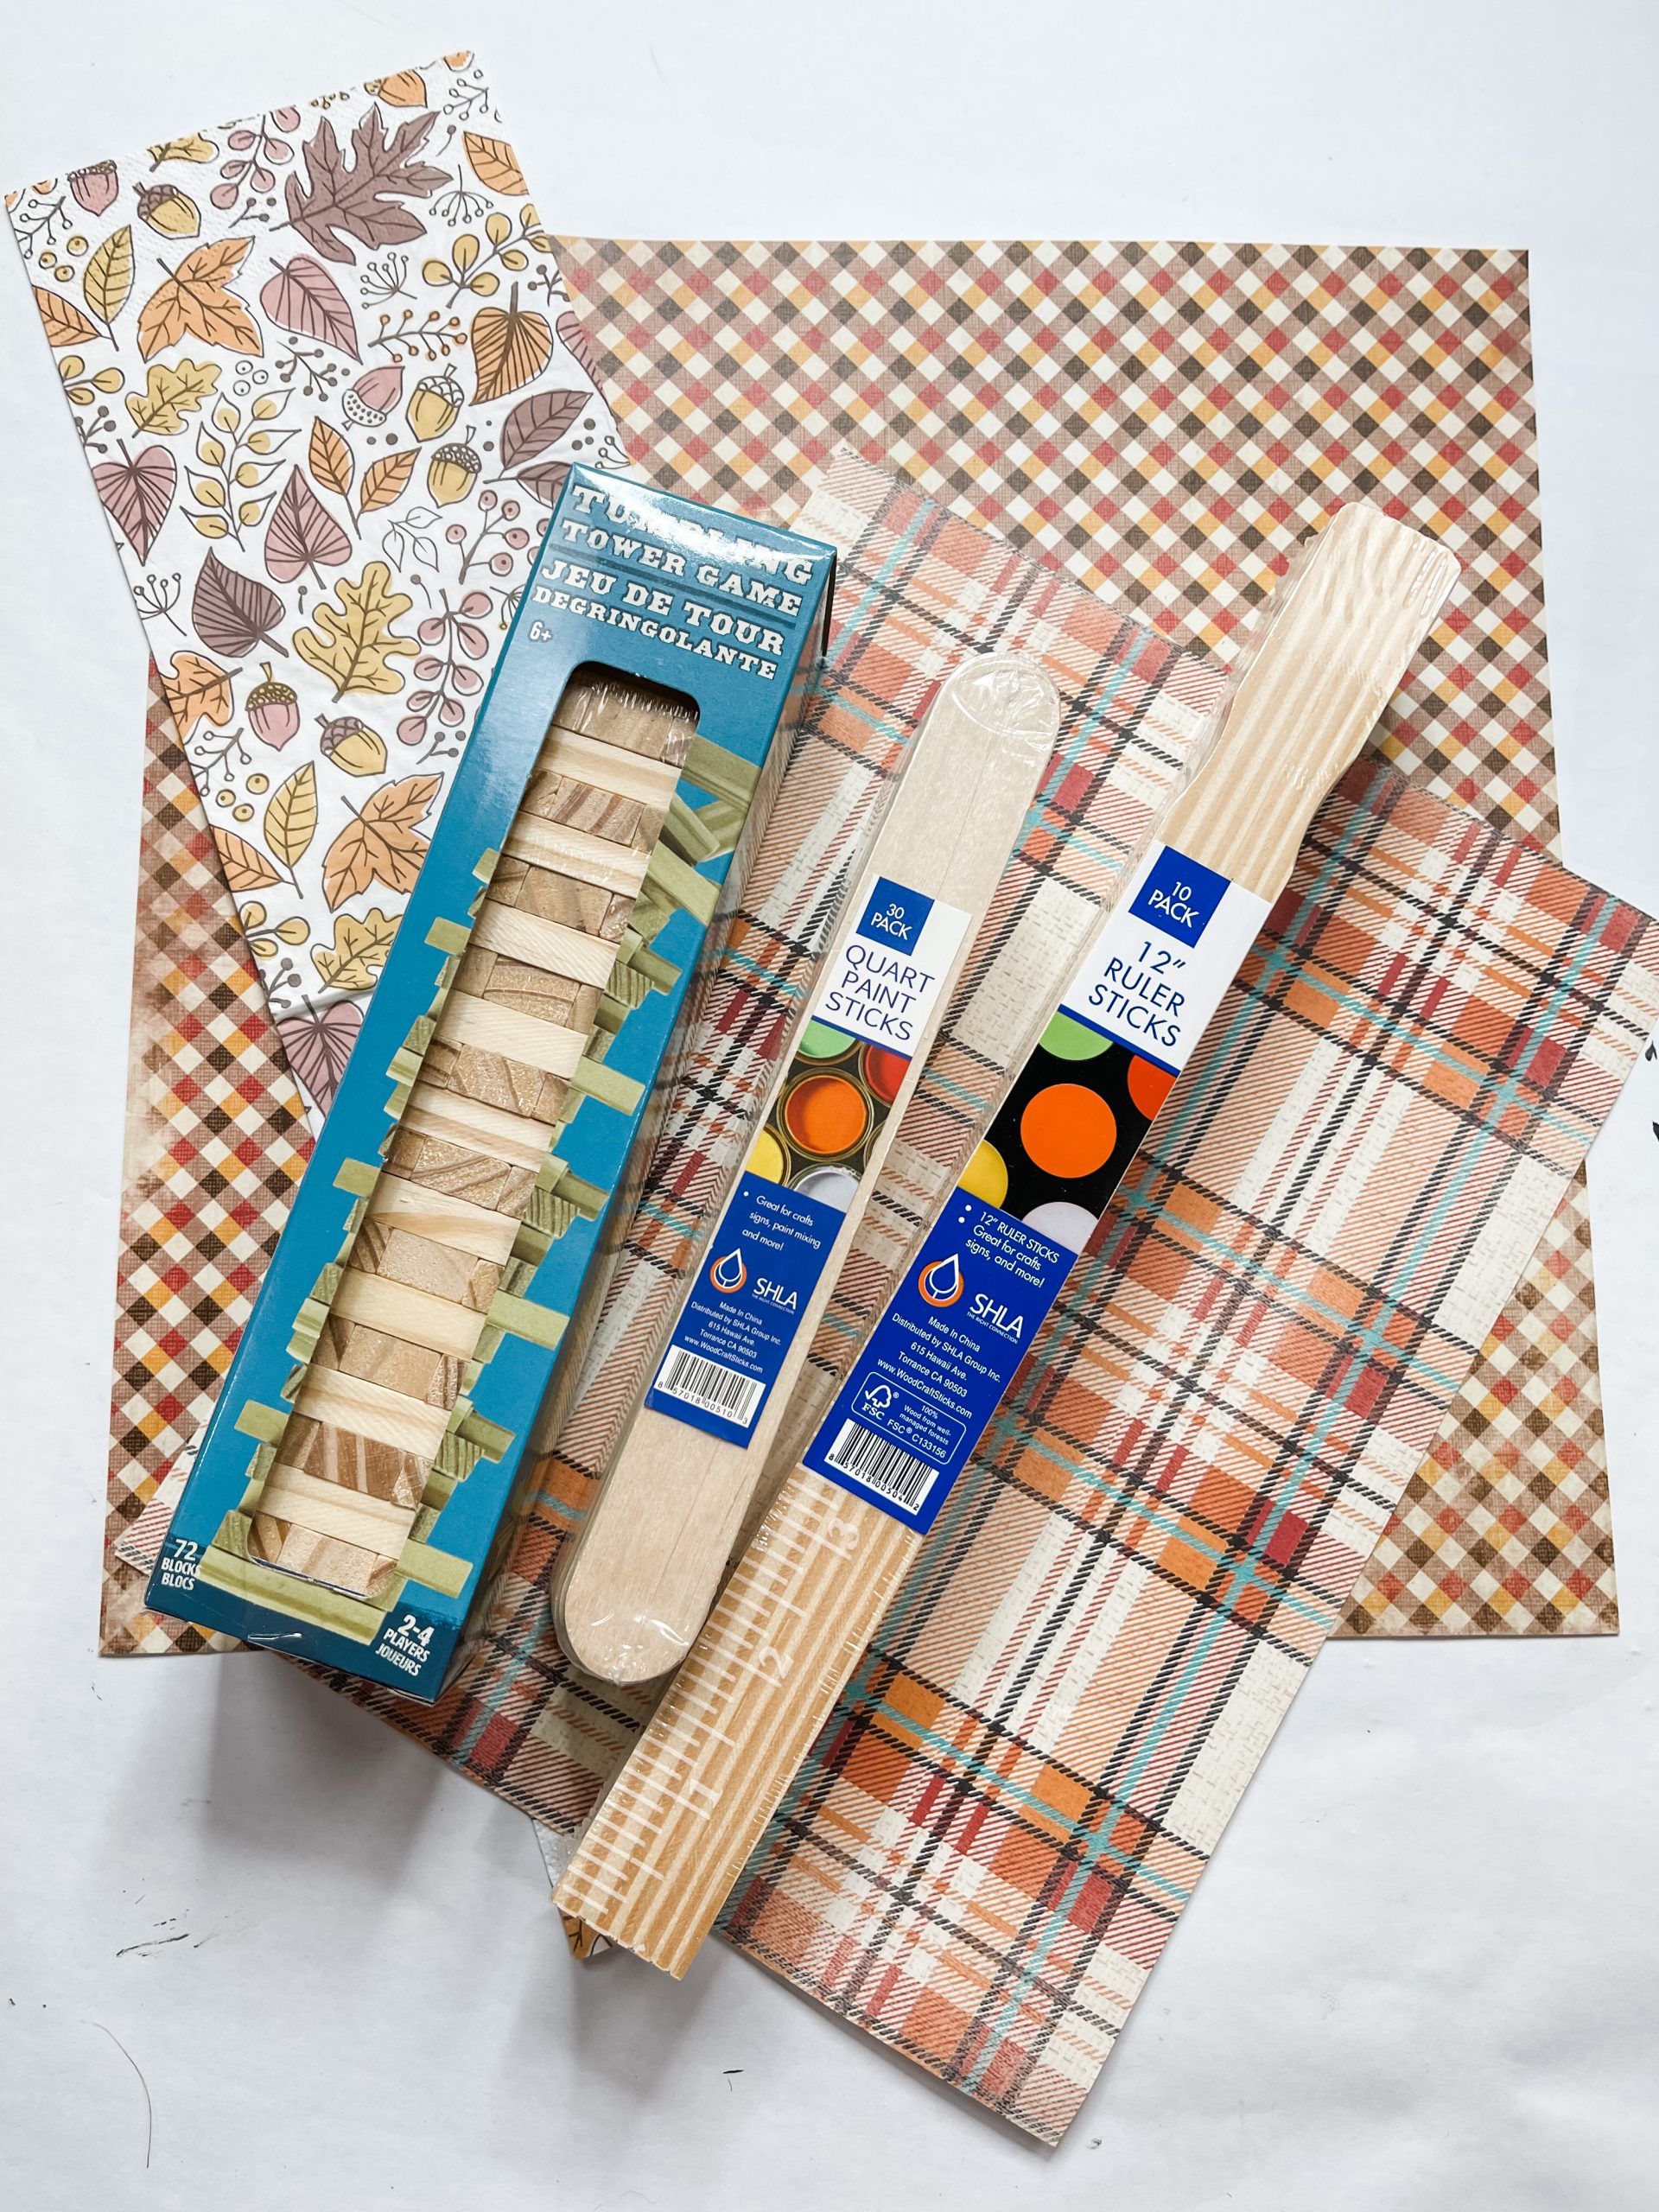
For this project, I will be using these items, but you can substitute where you want.
“As an Amazon Associate, I earn from qualifying purchases.”
- Dollar Tree Tumbling Tower Blocks
- Dollar Tree Raffia
- Fall Leaves Napkin
- Fall Plaid Paper
- 12″ Ruler Sticks
- Fall Checkered Scrapbook Paper
- Quart Paint Sticks
- Apple Barrel Burnt Umber Acrylic Paint
- Mod Podge
- Aviation Snips
- Hot Glue gun
- Glue Stick
If you loved these DIY Small Standing Turkeys, you might also like these DIY ideas!
Thanks for stopping by! XOXO Amber
You can also shop my ENTIRE AMAZON Favorites shop just click here! It’s packed full of all the things I use and love. Here is the supply list I highly recommend every creative have on hand!!
Would you also pin my blog for later and get on my newsletter alerts? I would love to have you join my #craftycrew.
I email alerts about new blogs like these DIY Small Standing Turkeys so you’re always up to date on fun, new DIY ideas!
Inspired? Leave me a comment below! I love hearing from my readers!


Hi Amber! What color are the turkey heads, I can’t find where you posted that?
This is adorable! I have six grandchildren so this should be fun for them! Thank you!
Super cute, I made some last year, I love them