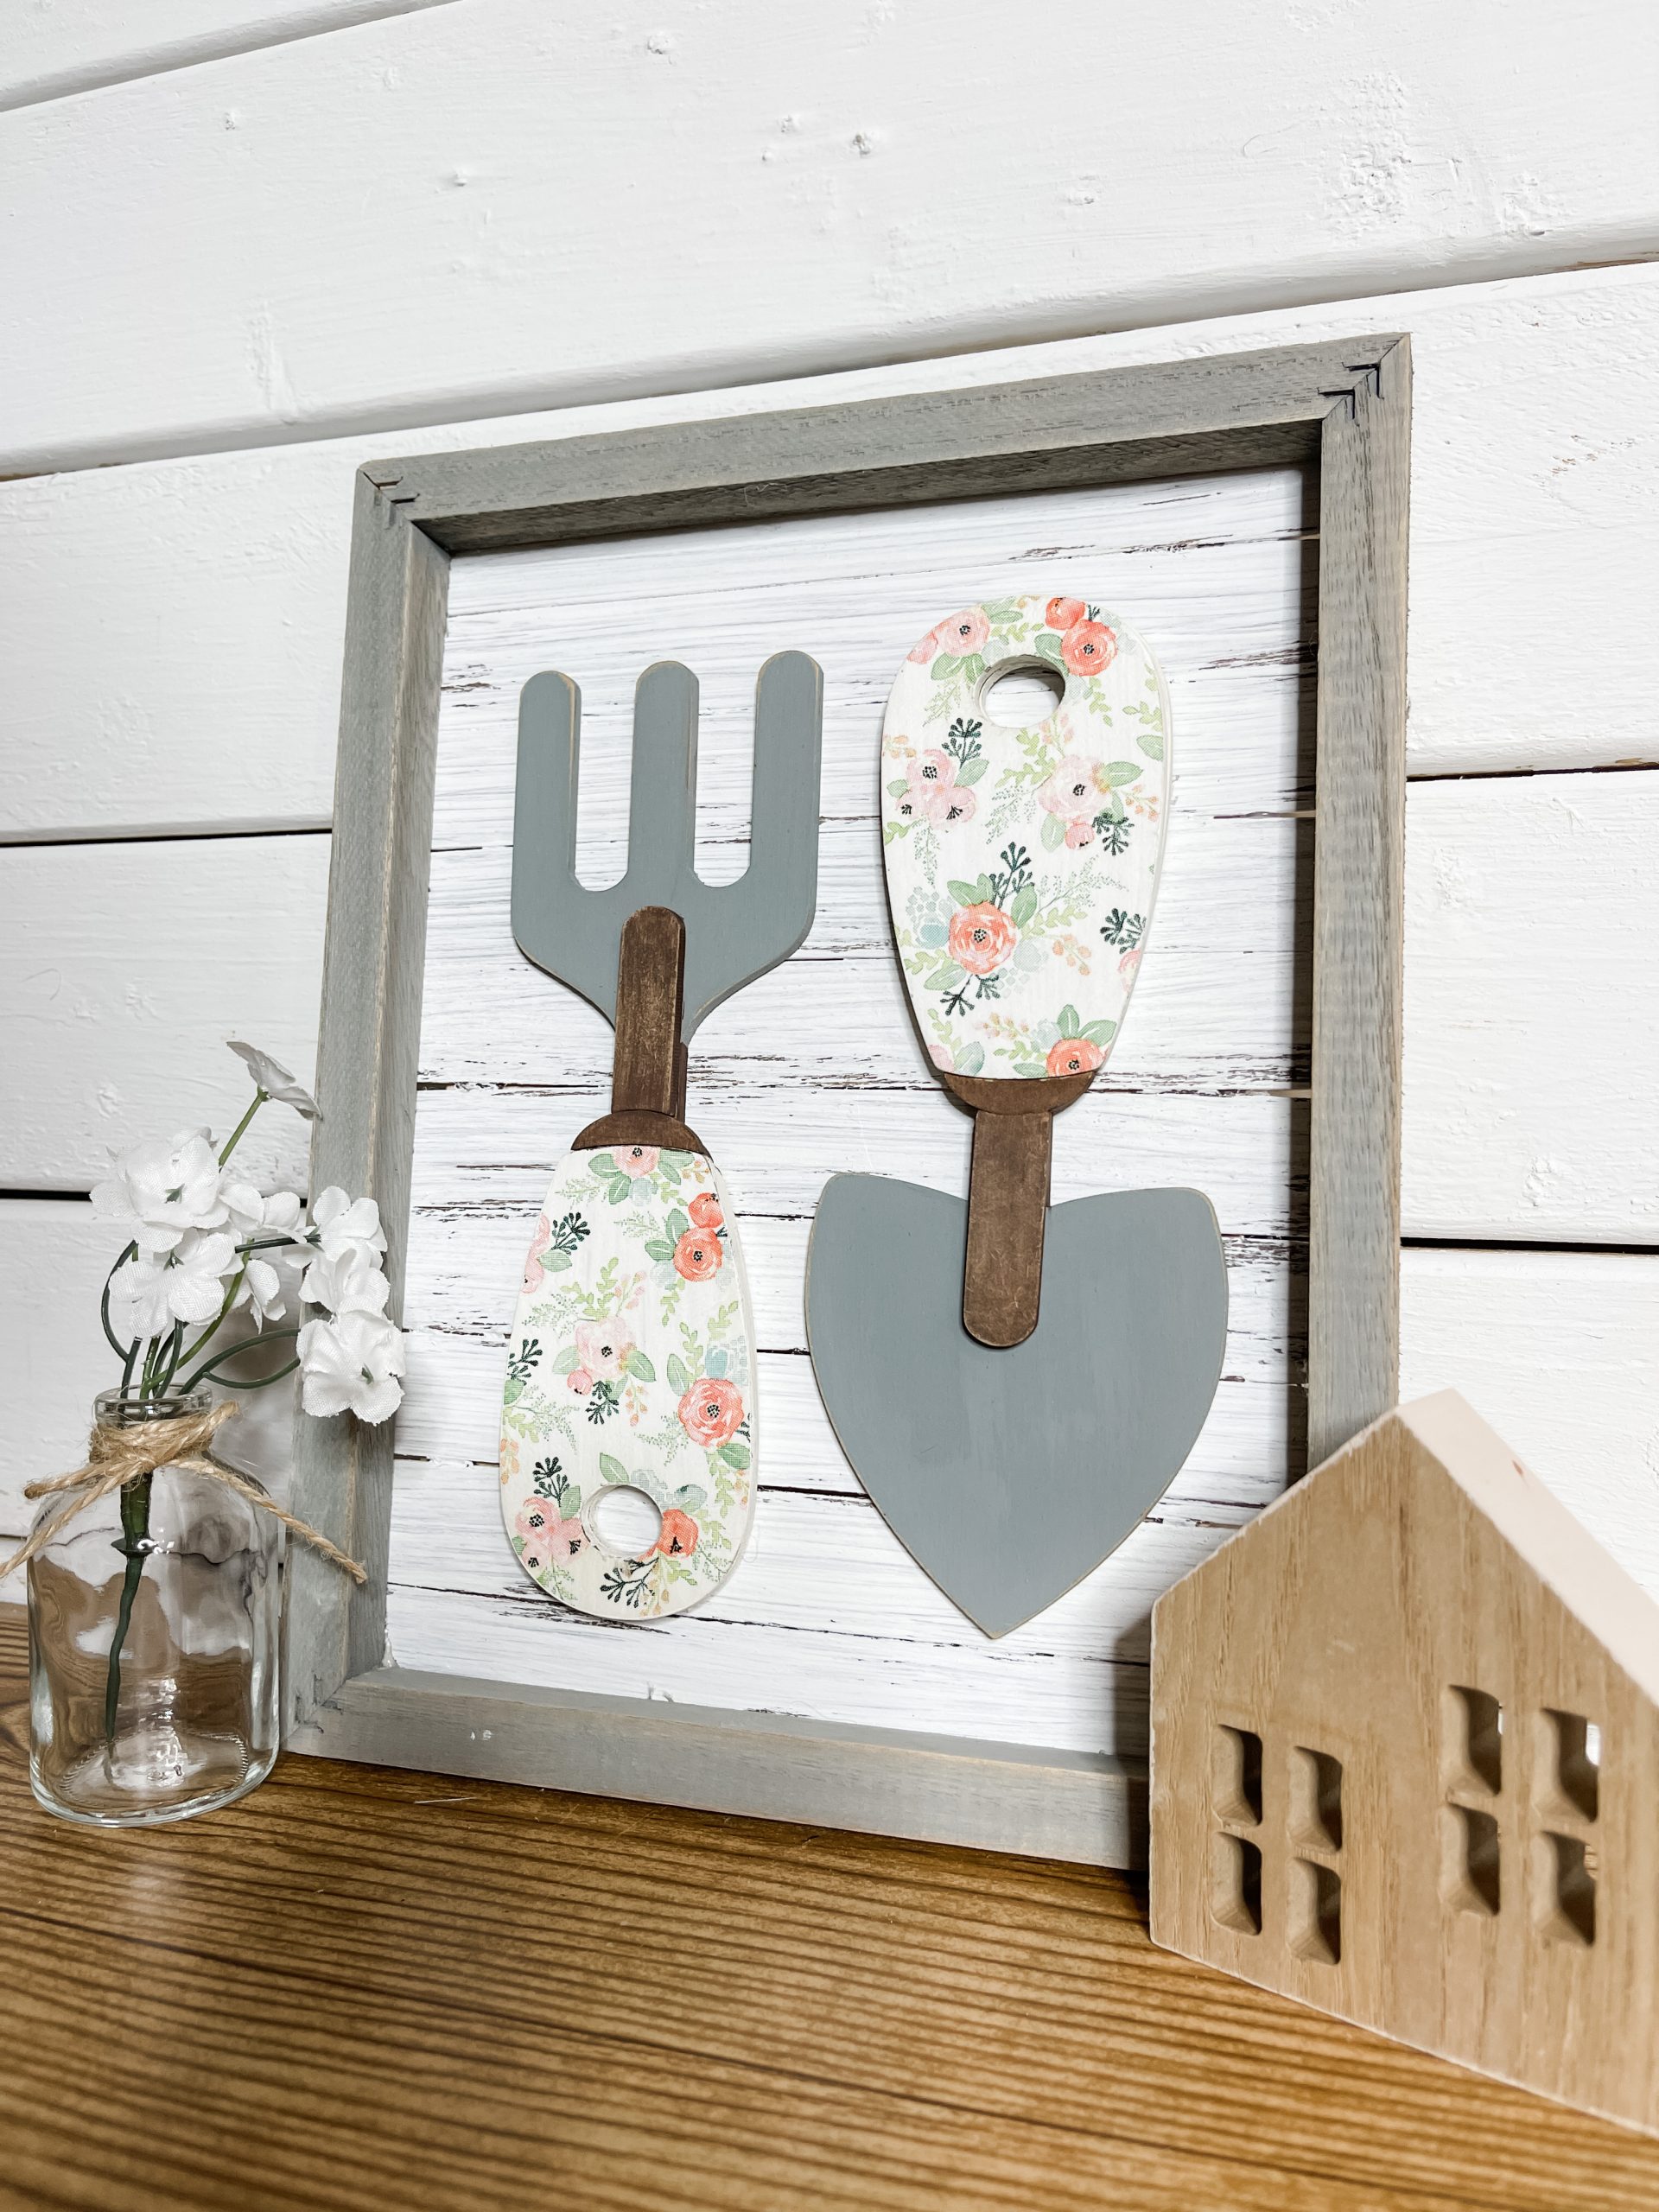
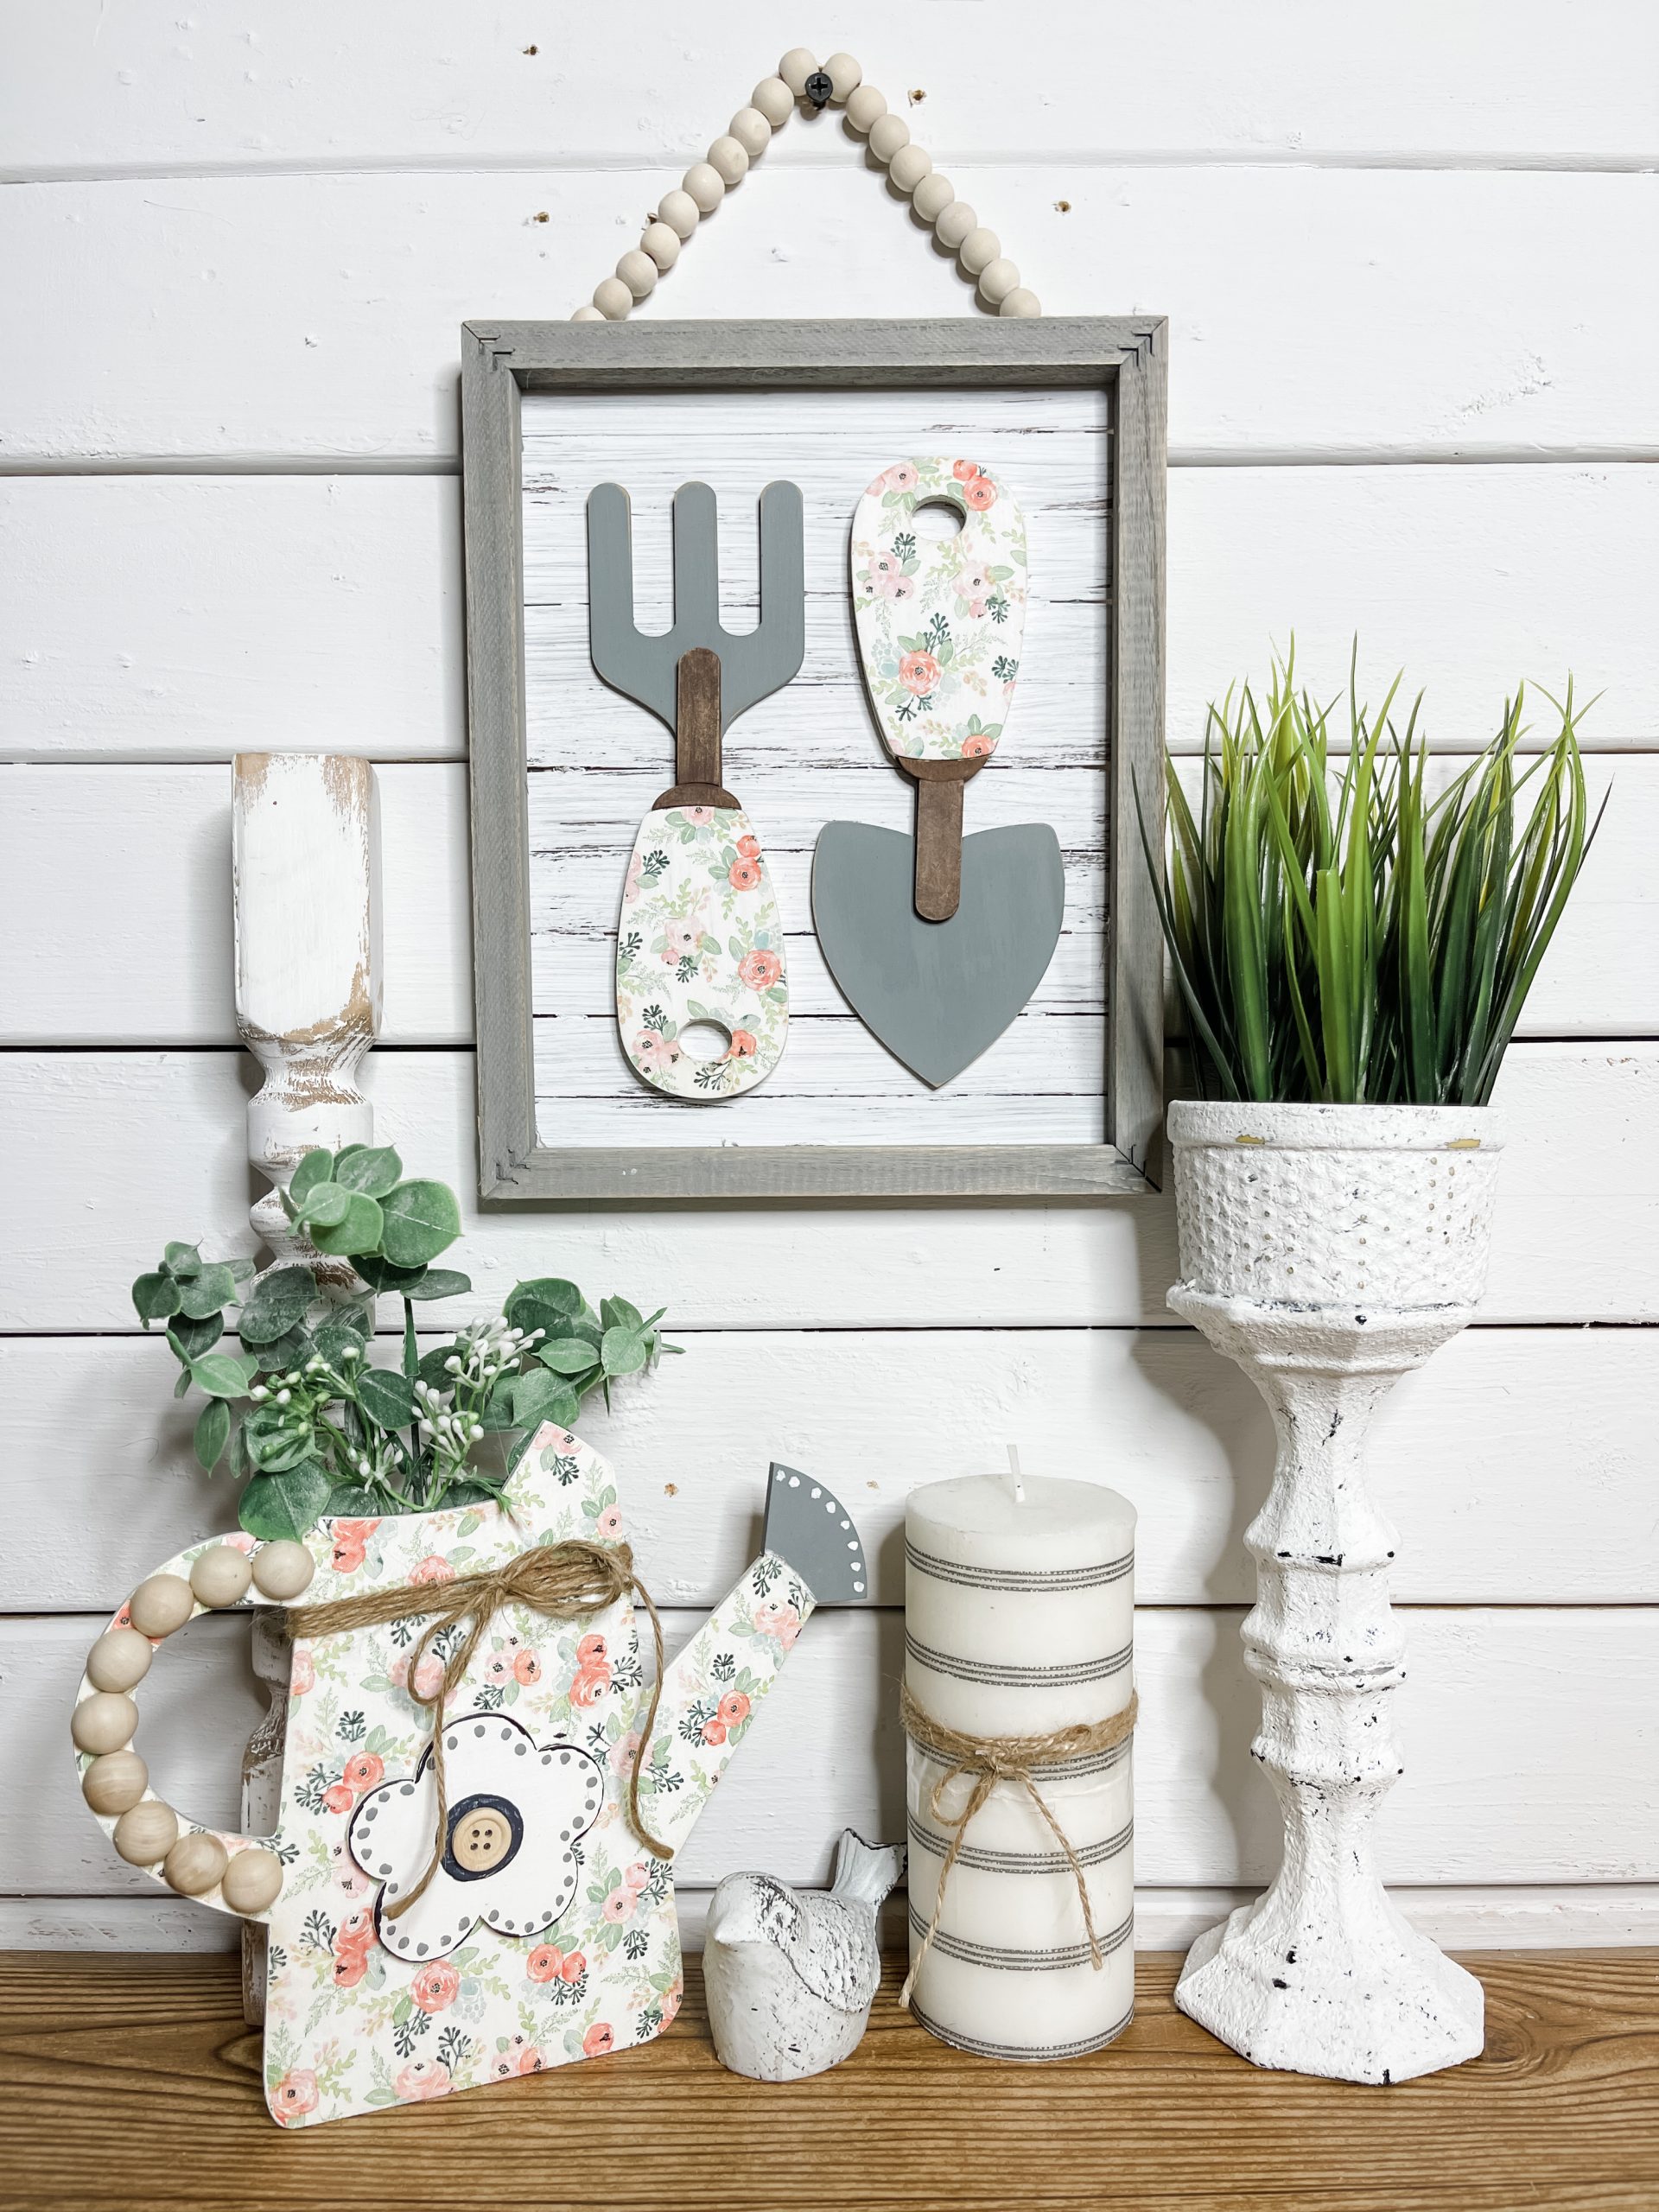
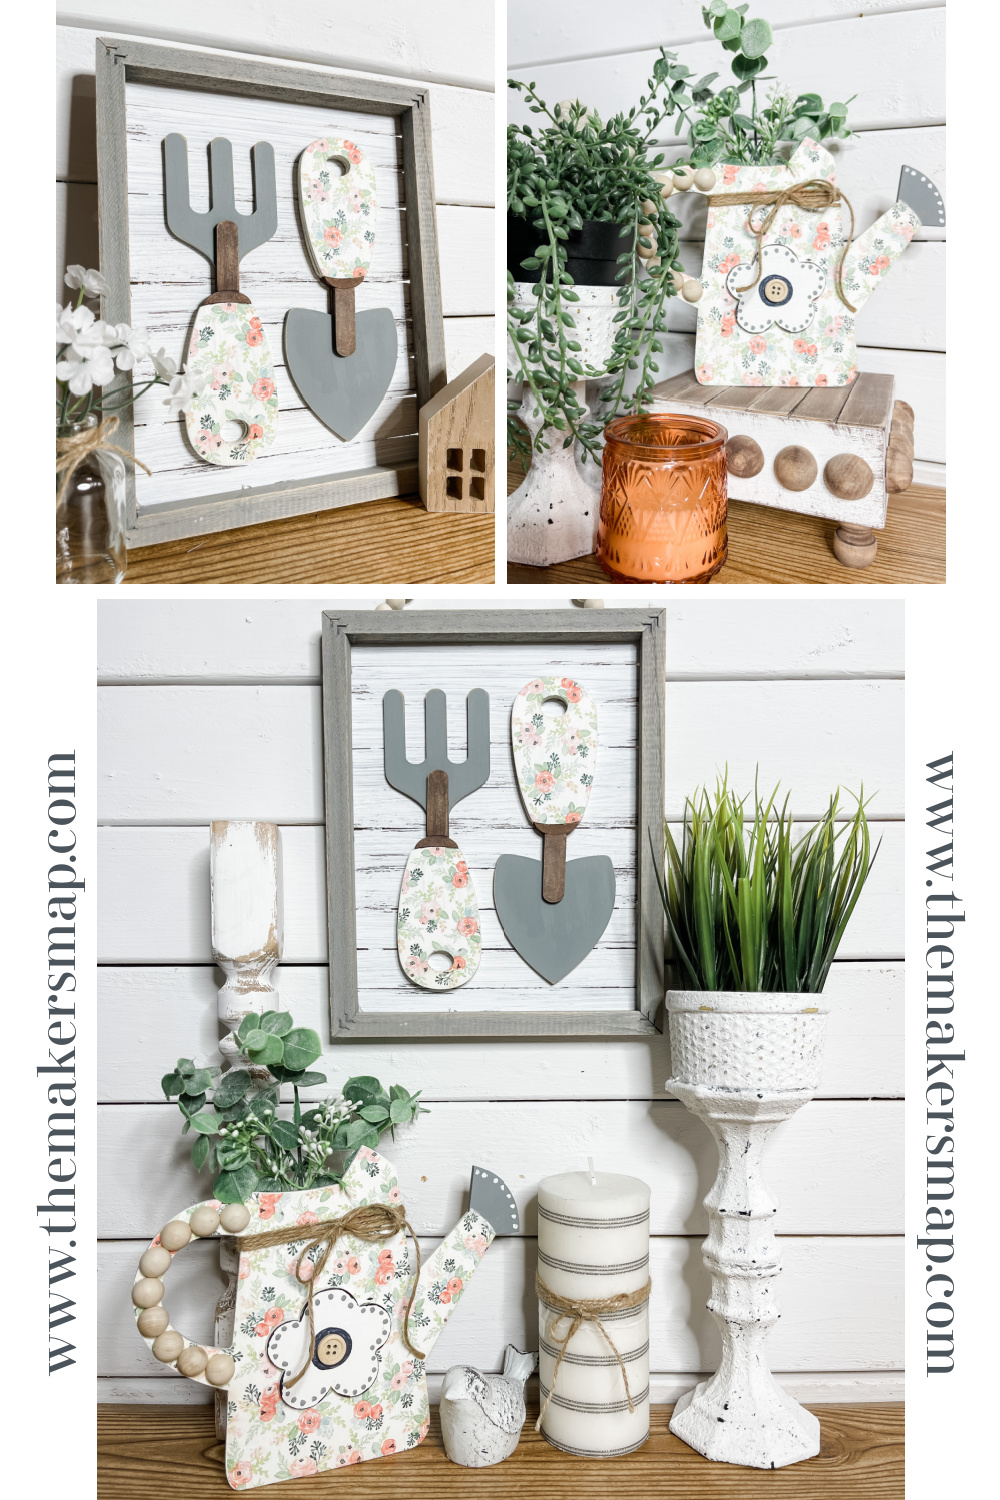
Spring Gardening Tools DIY Decor
What is something that you think of when you think of springtime? For me, I think of gardening! The bees come back out, the weather warms up, and flowers start to bloom. That’s why I think this spring gardening tools DIY decor is so perfect!
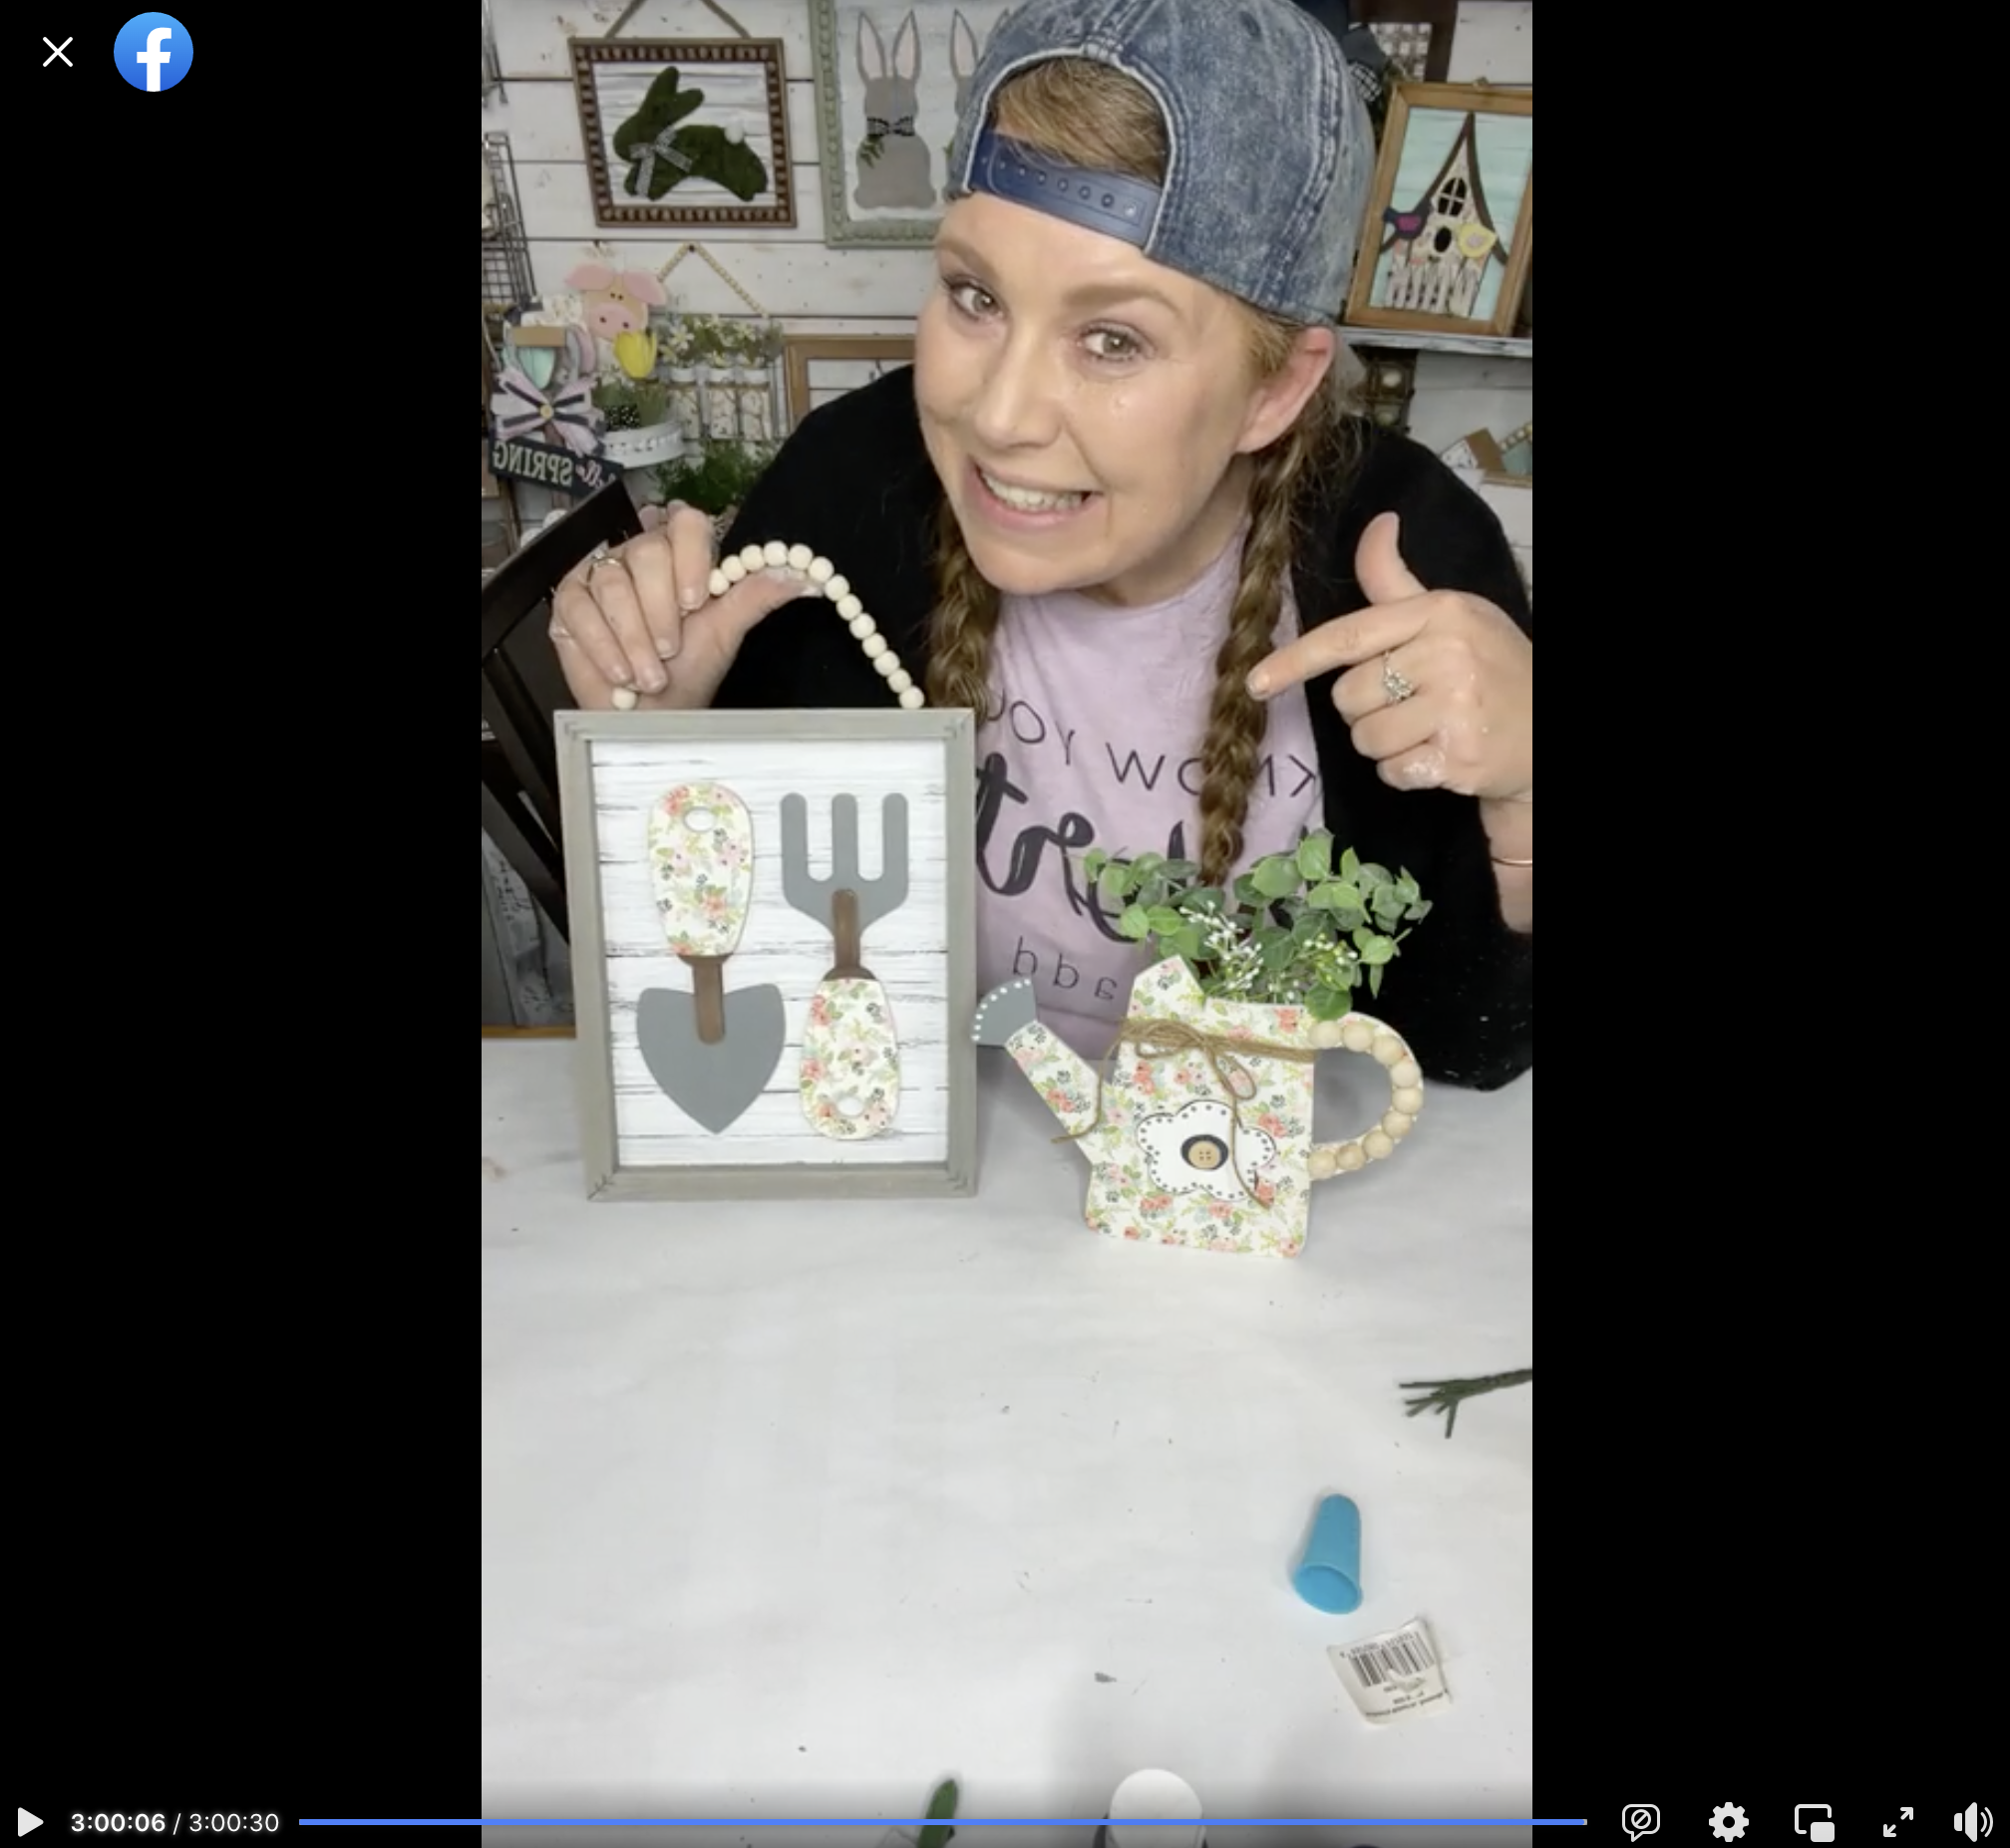
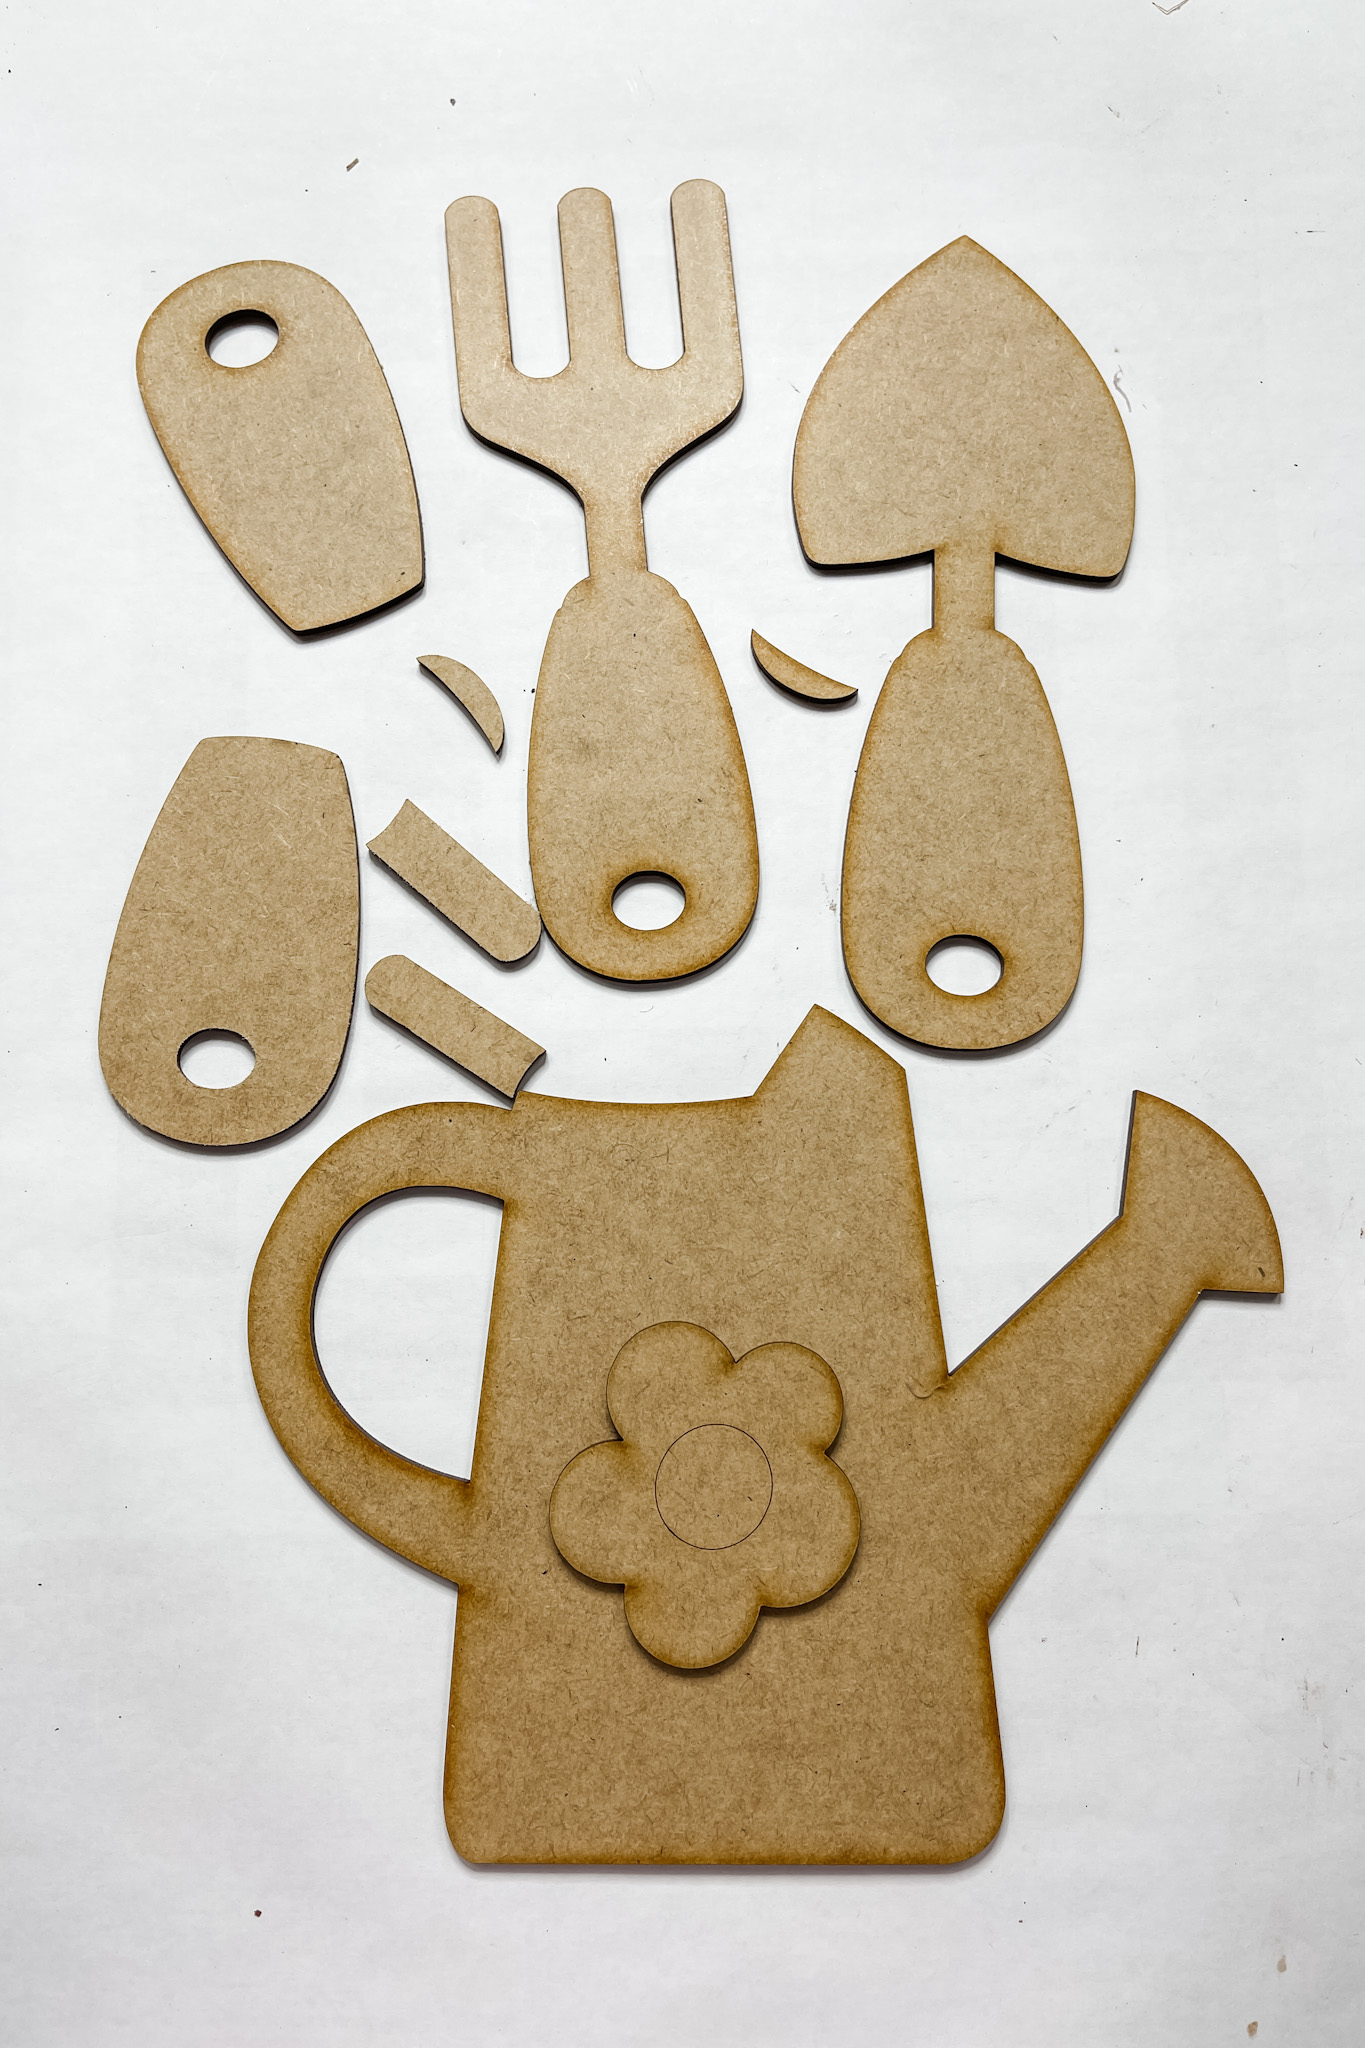
A rake, shovel, and watering can craft kit that can be decorated in any way to match your own home decor! It’s perfect!

Watch the DIY tutorial
I recorded how to make this Spring Gardening Tools DIY Decor with my craft kit during a LIVE video on my Facebook page.
If you want to see the DIY process, craft along, or just join in on the fun conversations, you can watch the DIY tutorial video on Facebook!
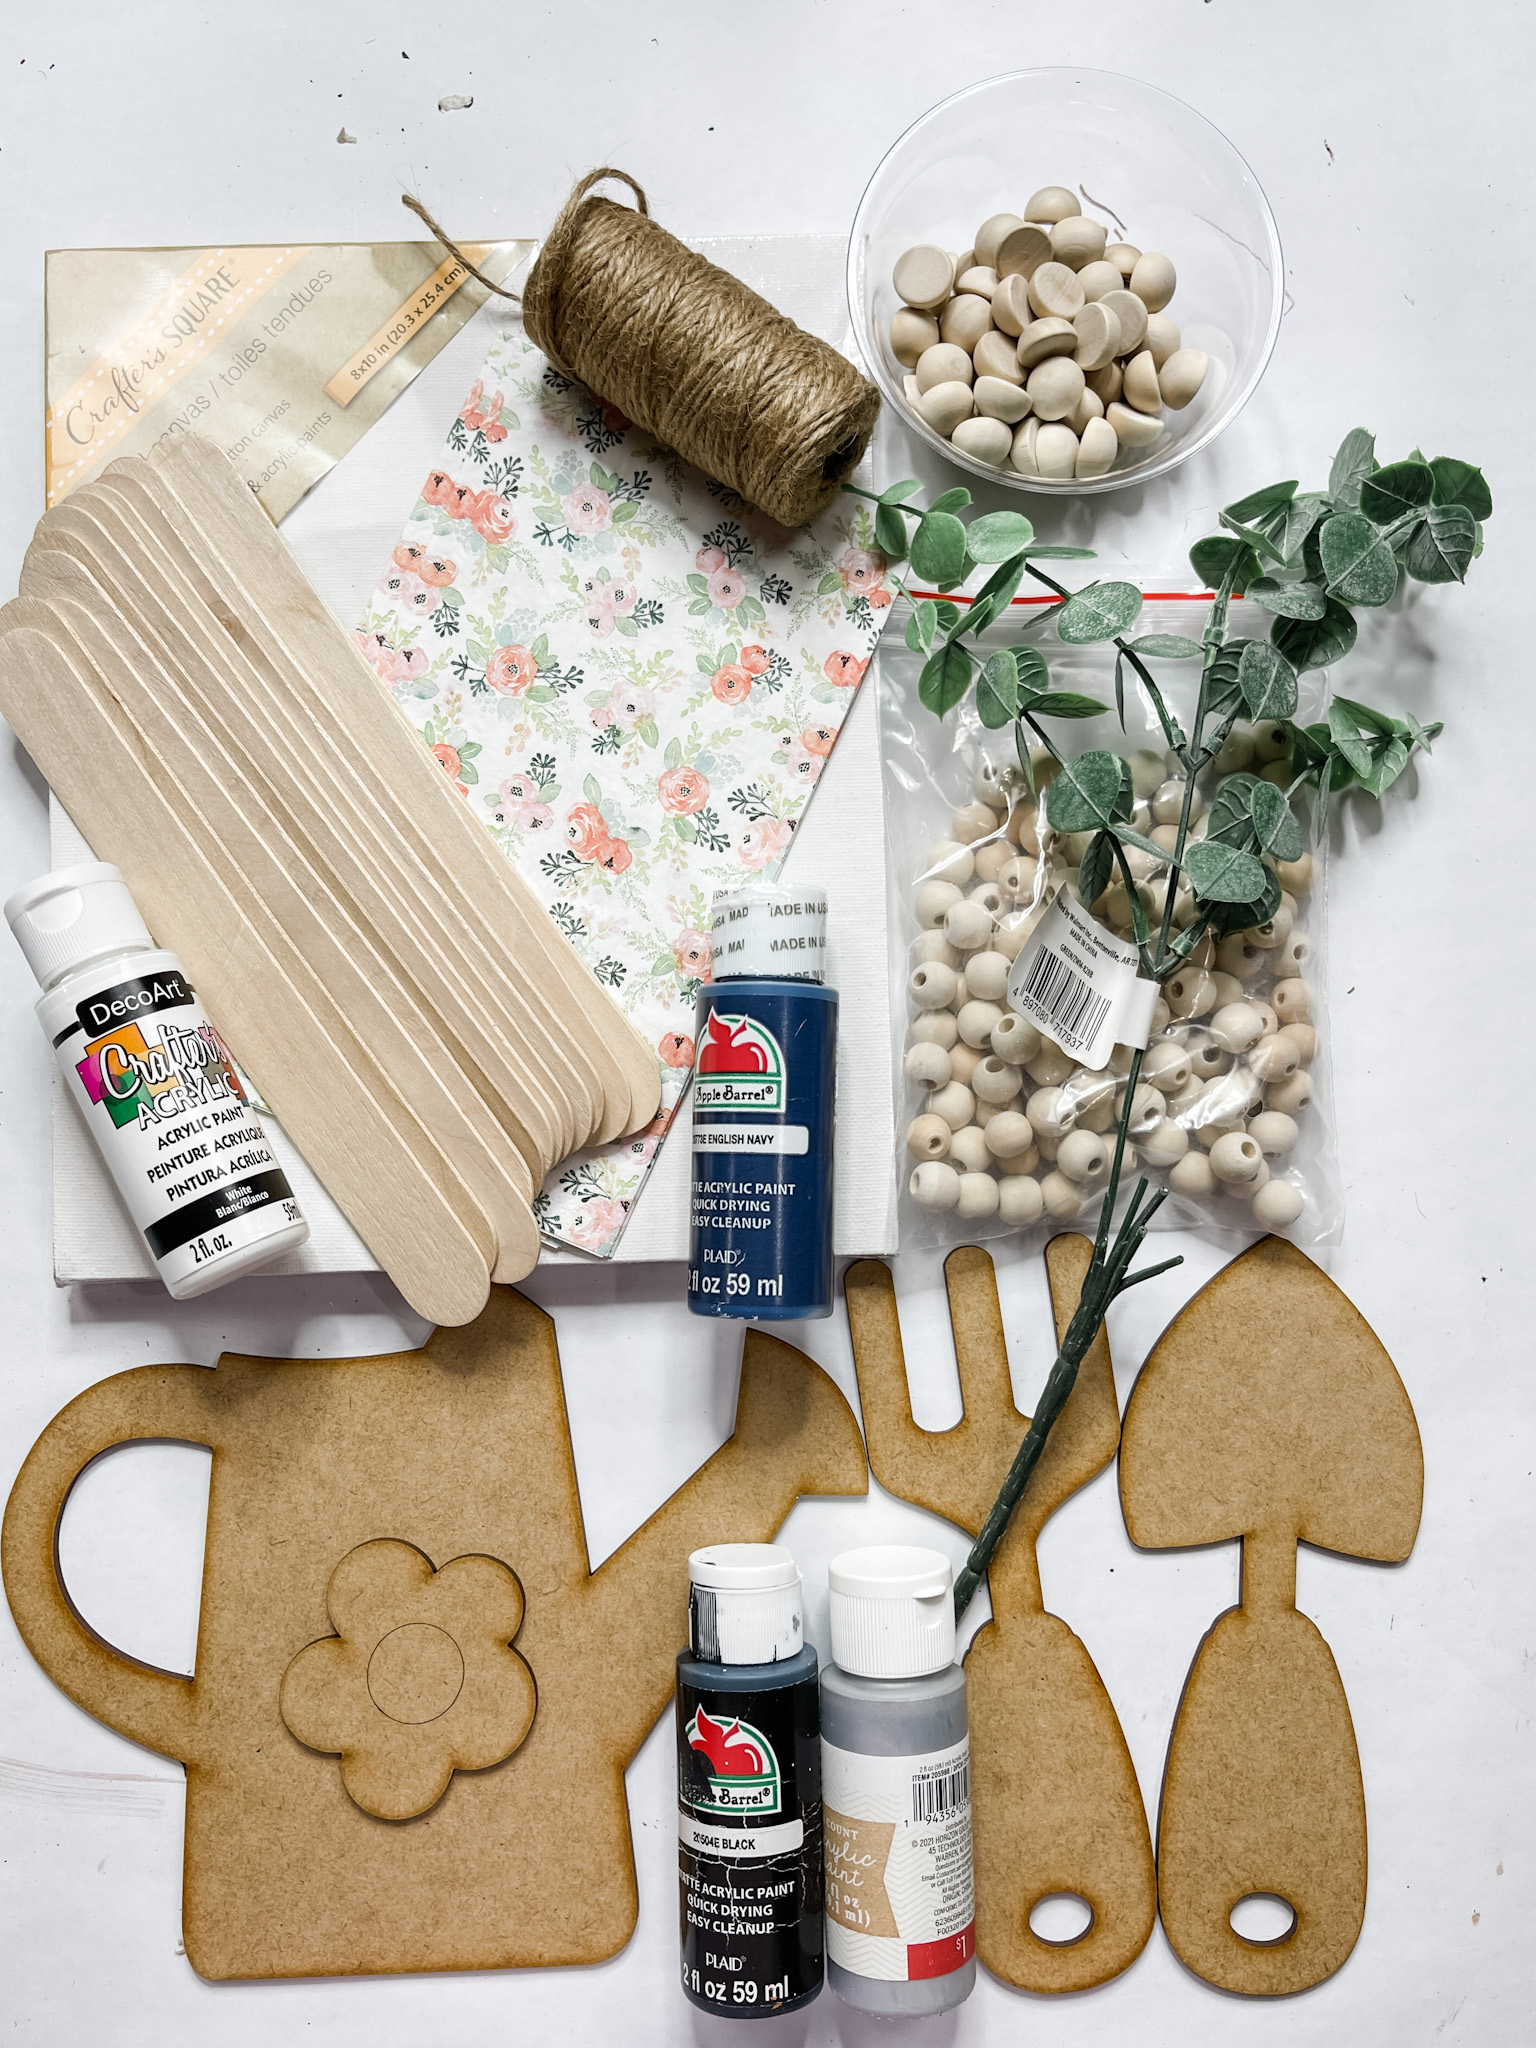
For this project, I will be using these items but you can substitute where you want.
“As an Amazon Associate, I earn from qualifying purchases.”
- Gardening Tools Craft Kit
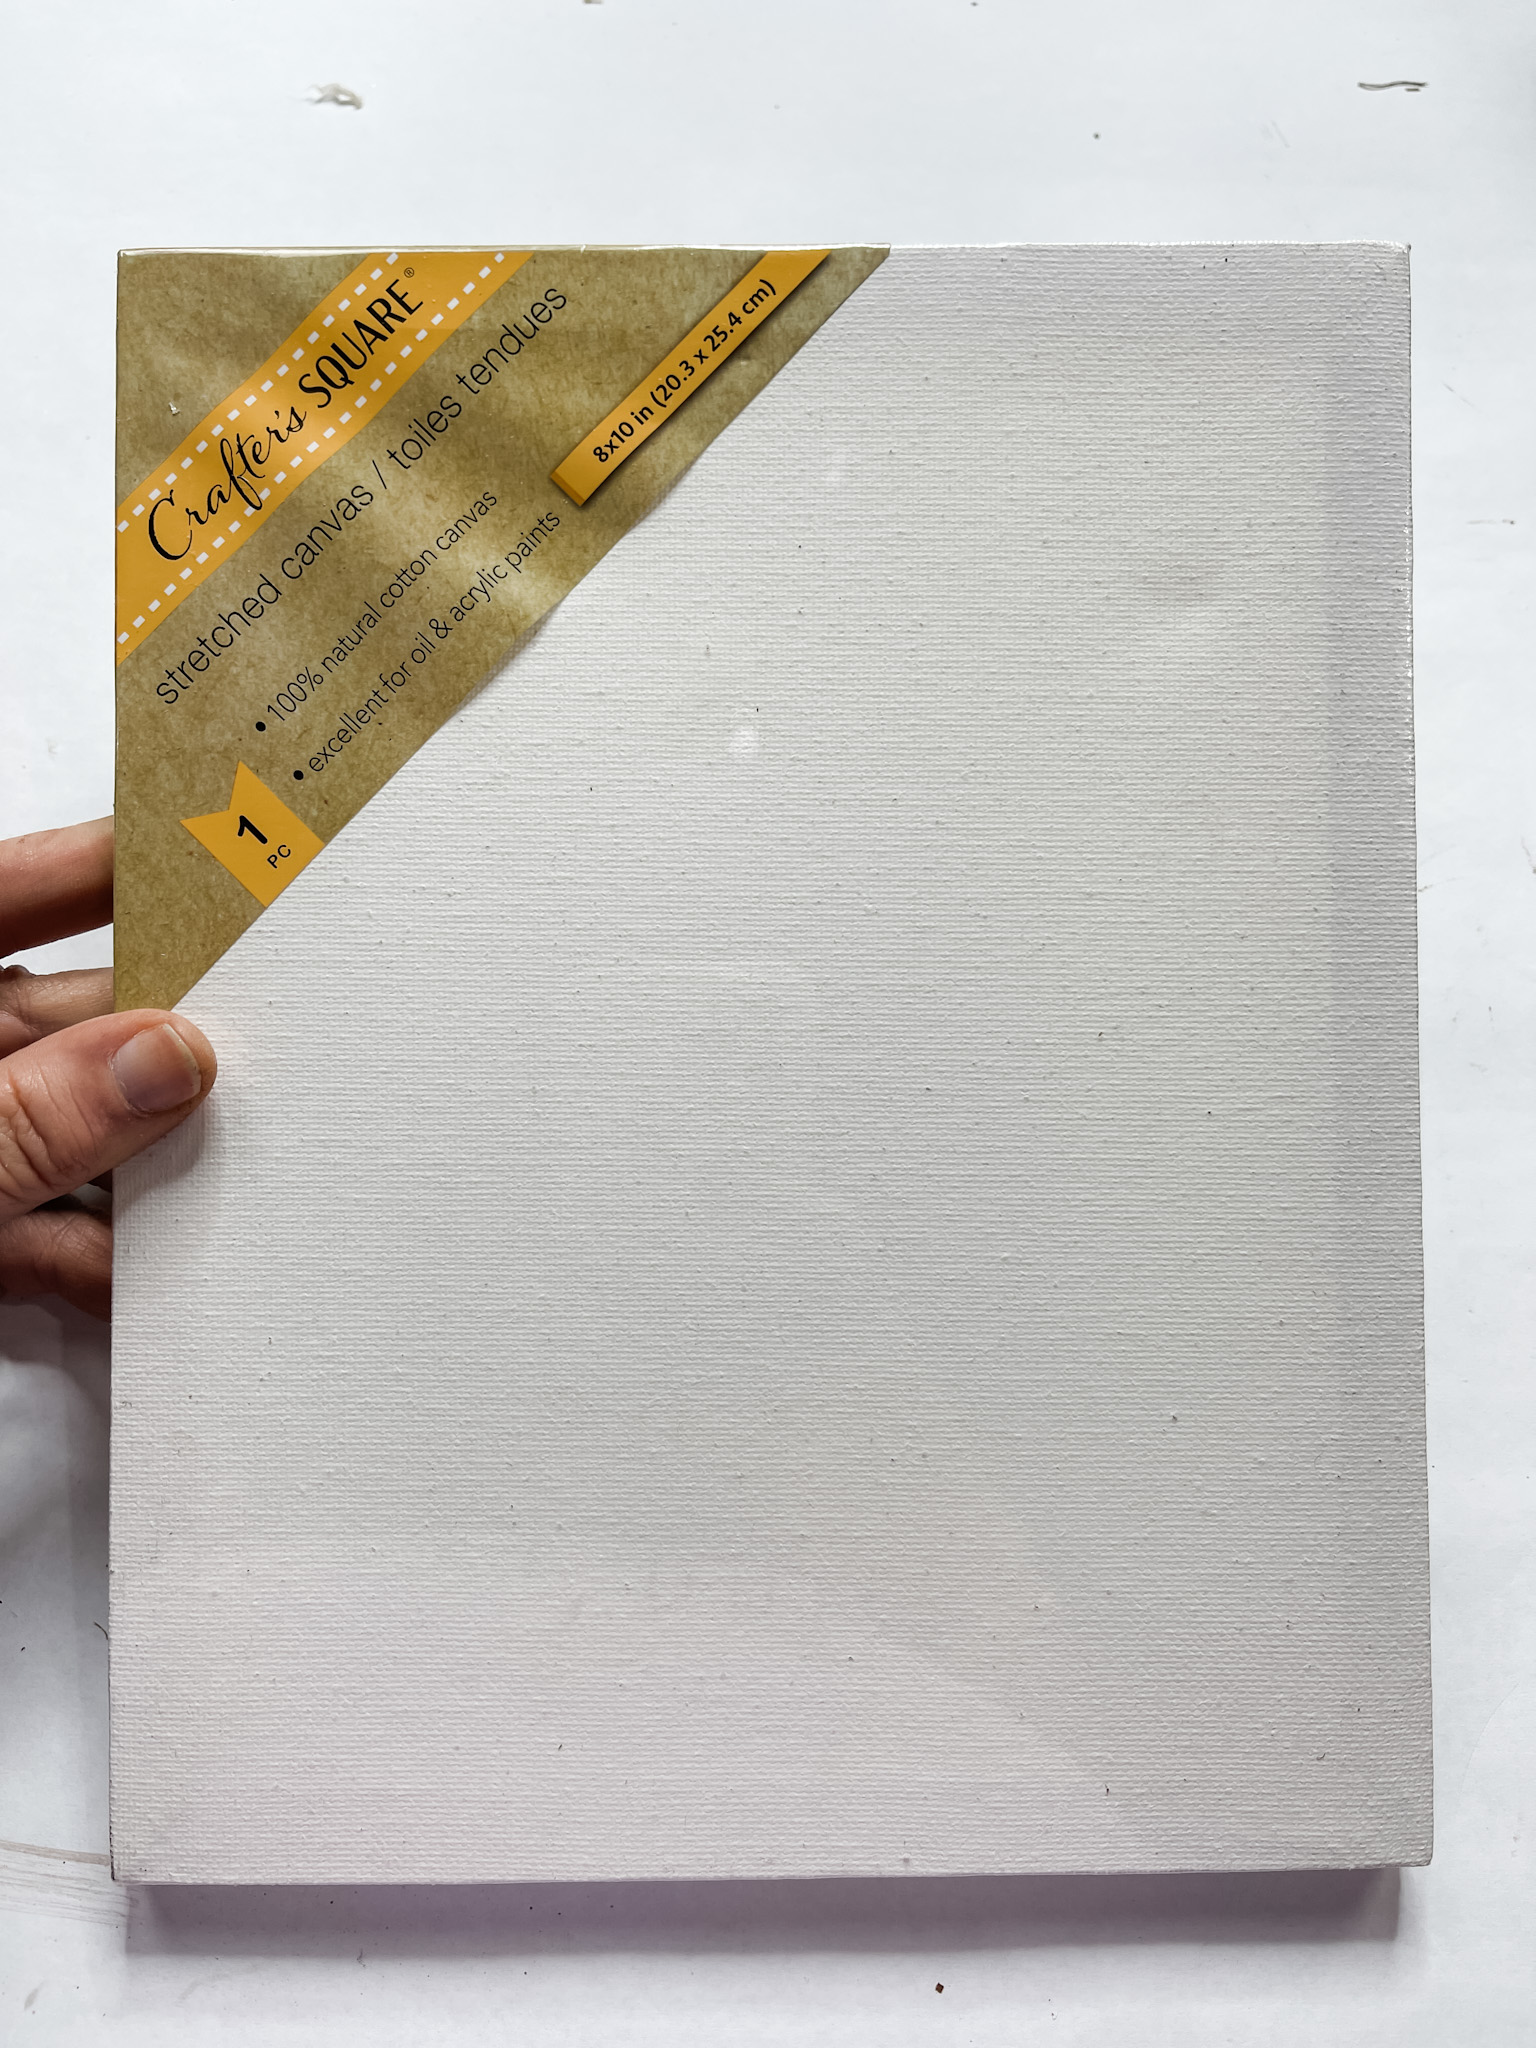
- Dollar Tree 8×10 Canvas
- Dollar Tree Jute Twine
- Paint Sticks (x13)
- Half wood beads 15mm
- Small wood beads
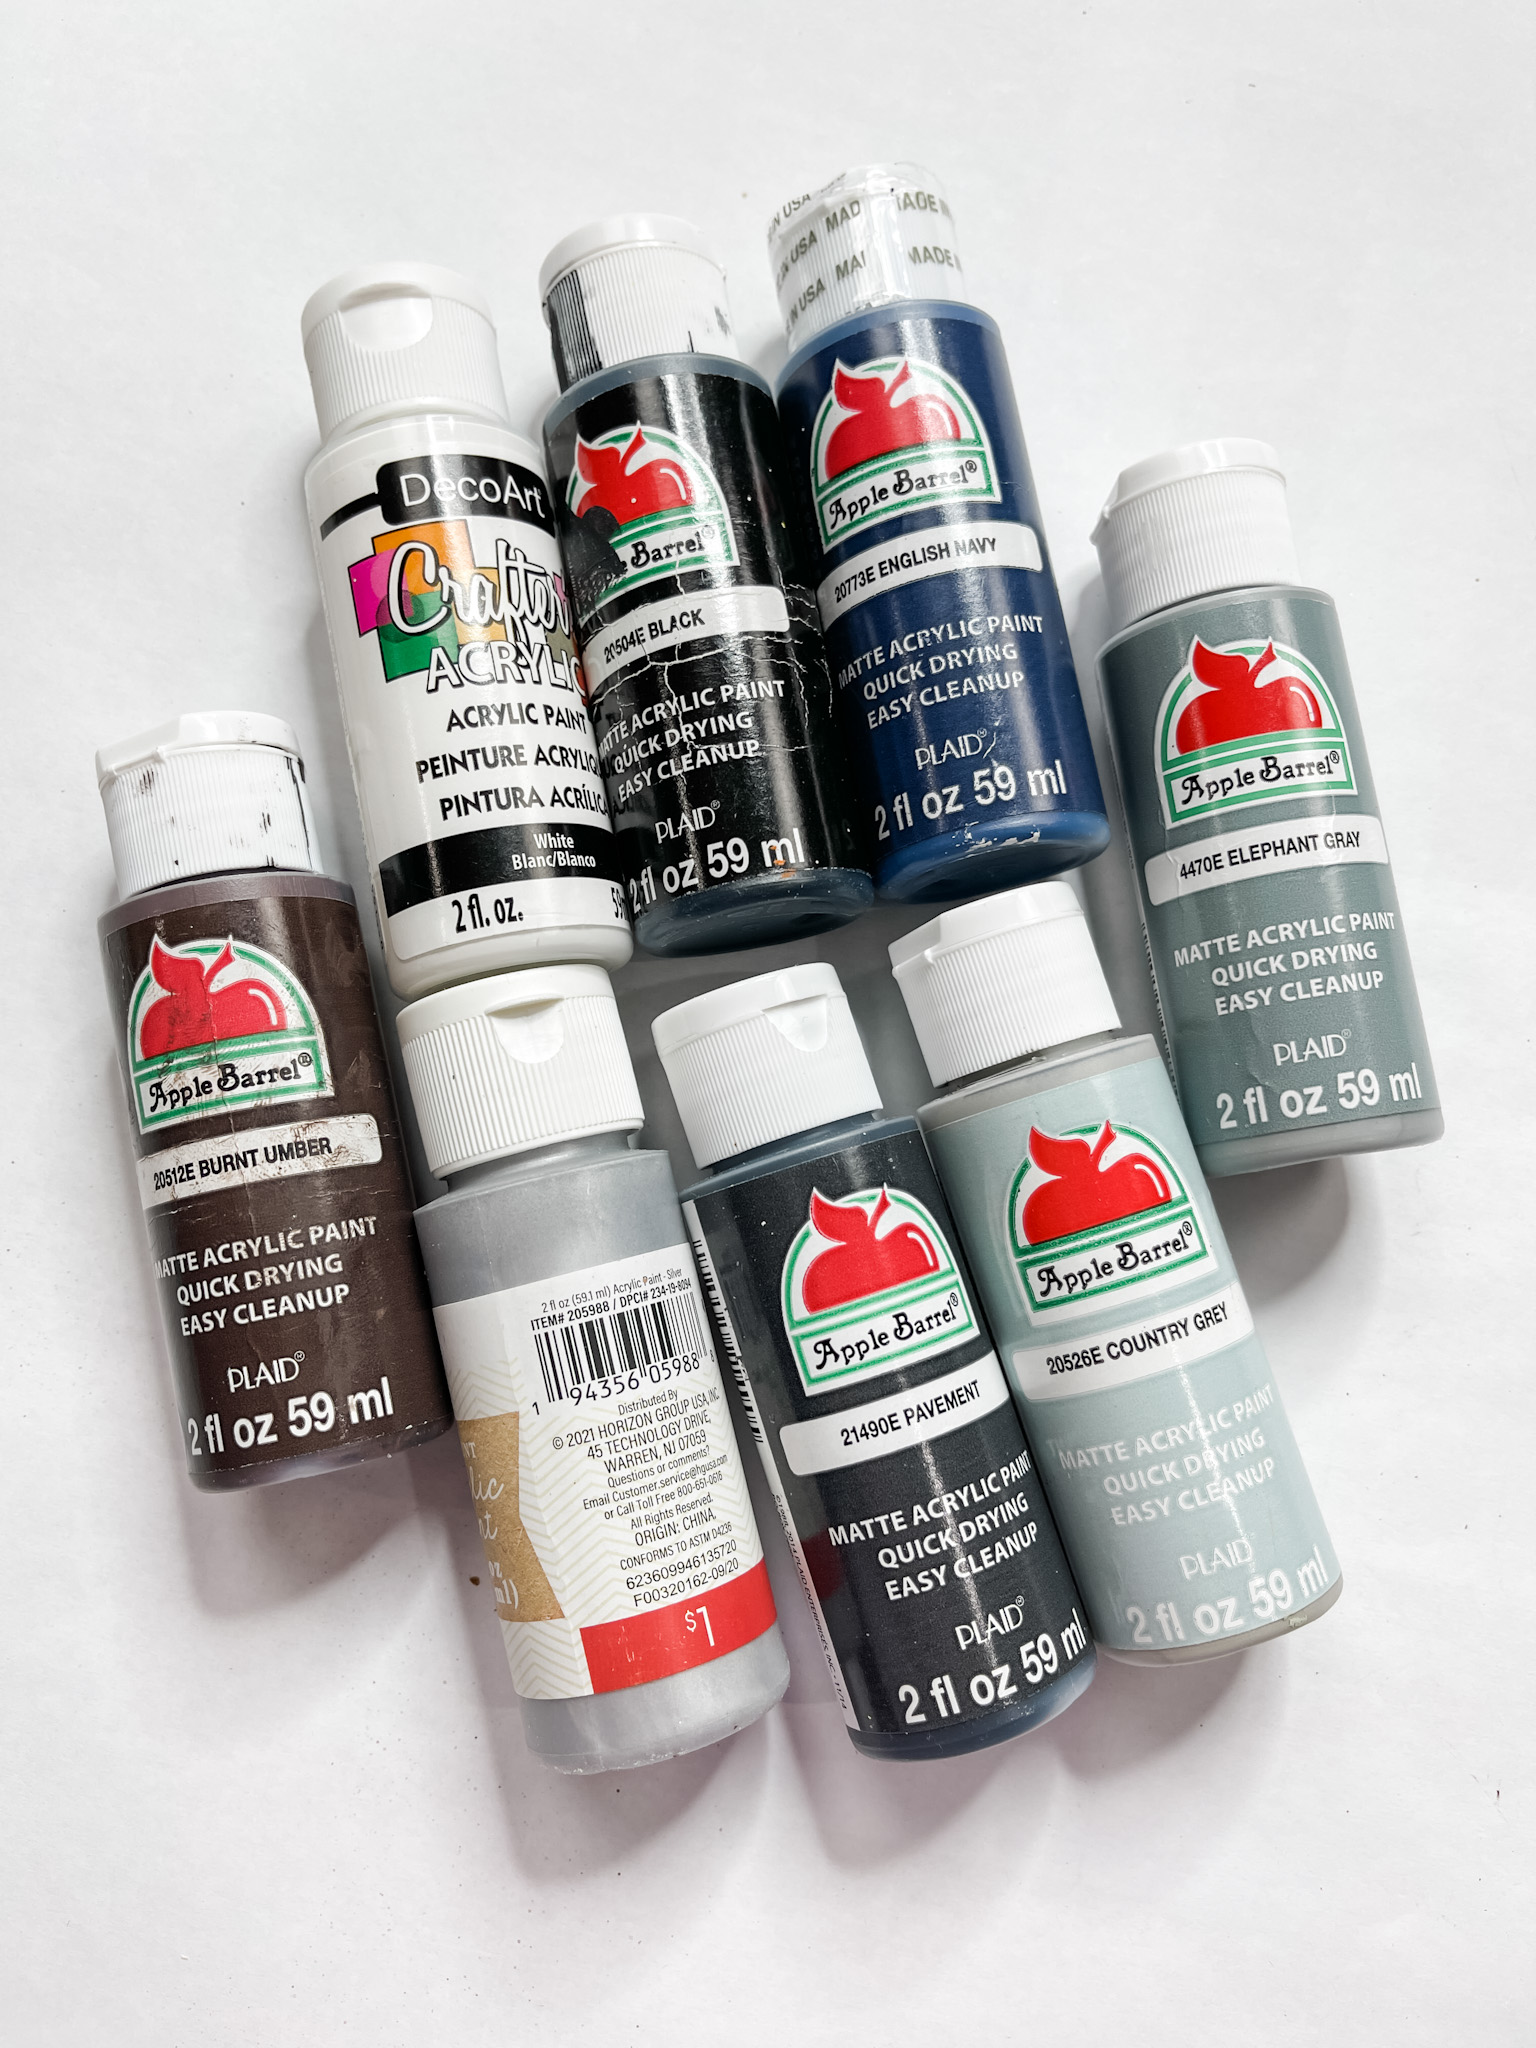
- Apple Barrel Burnt Umber Acrylic Paint
- Apple Barrel Pavement Acrylic Paint
- Greenery
- Apple Barrel English Navy Acrylic Paint
- Apple Barrel Black Acrylic Paint
- DecoArt white acrylic paint
- Apple Barrel Elephant Grey Acrylic Paint
- Apple Barrel Country Grey Acrylic Paint
- Hot glue gun and glue sticks
How to make a Spring Gardening Tools DIY Decor
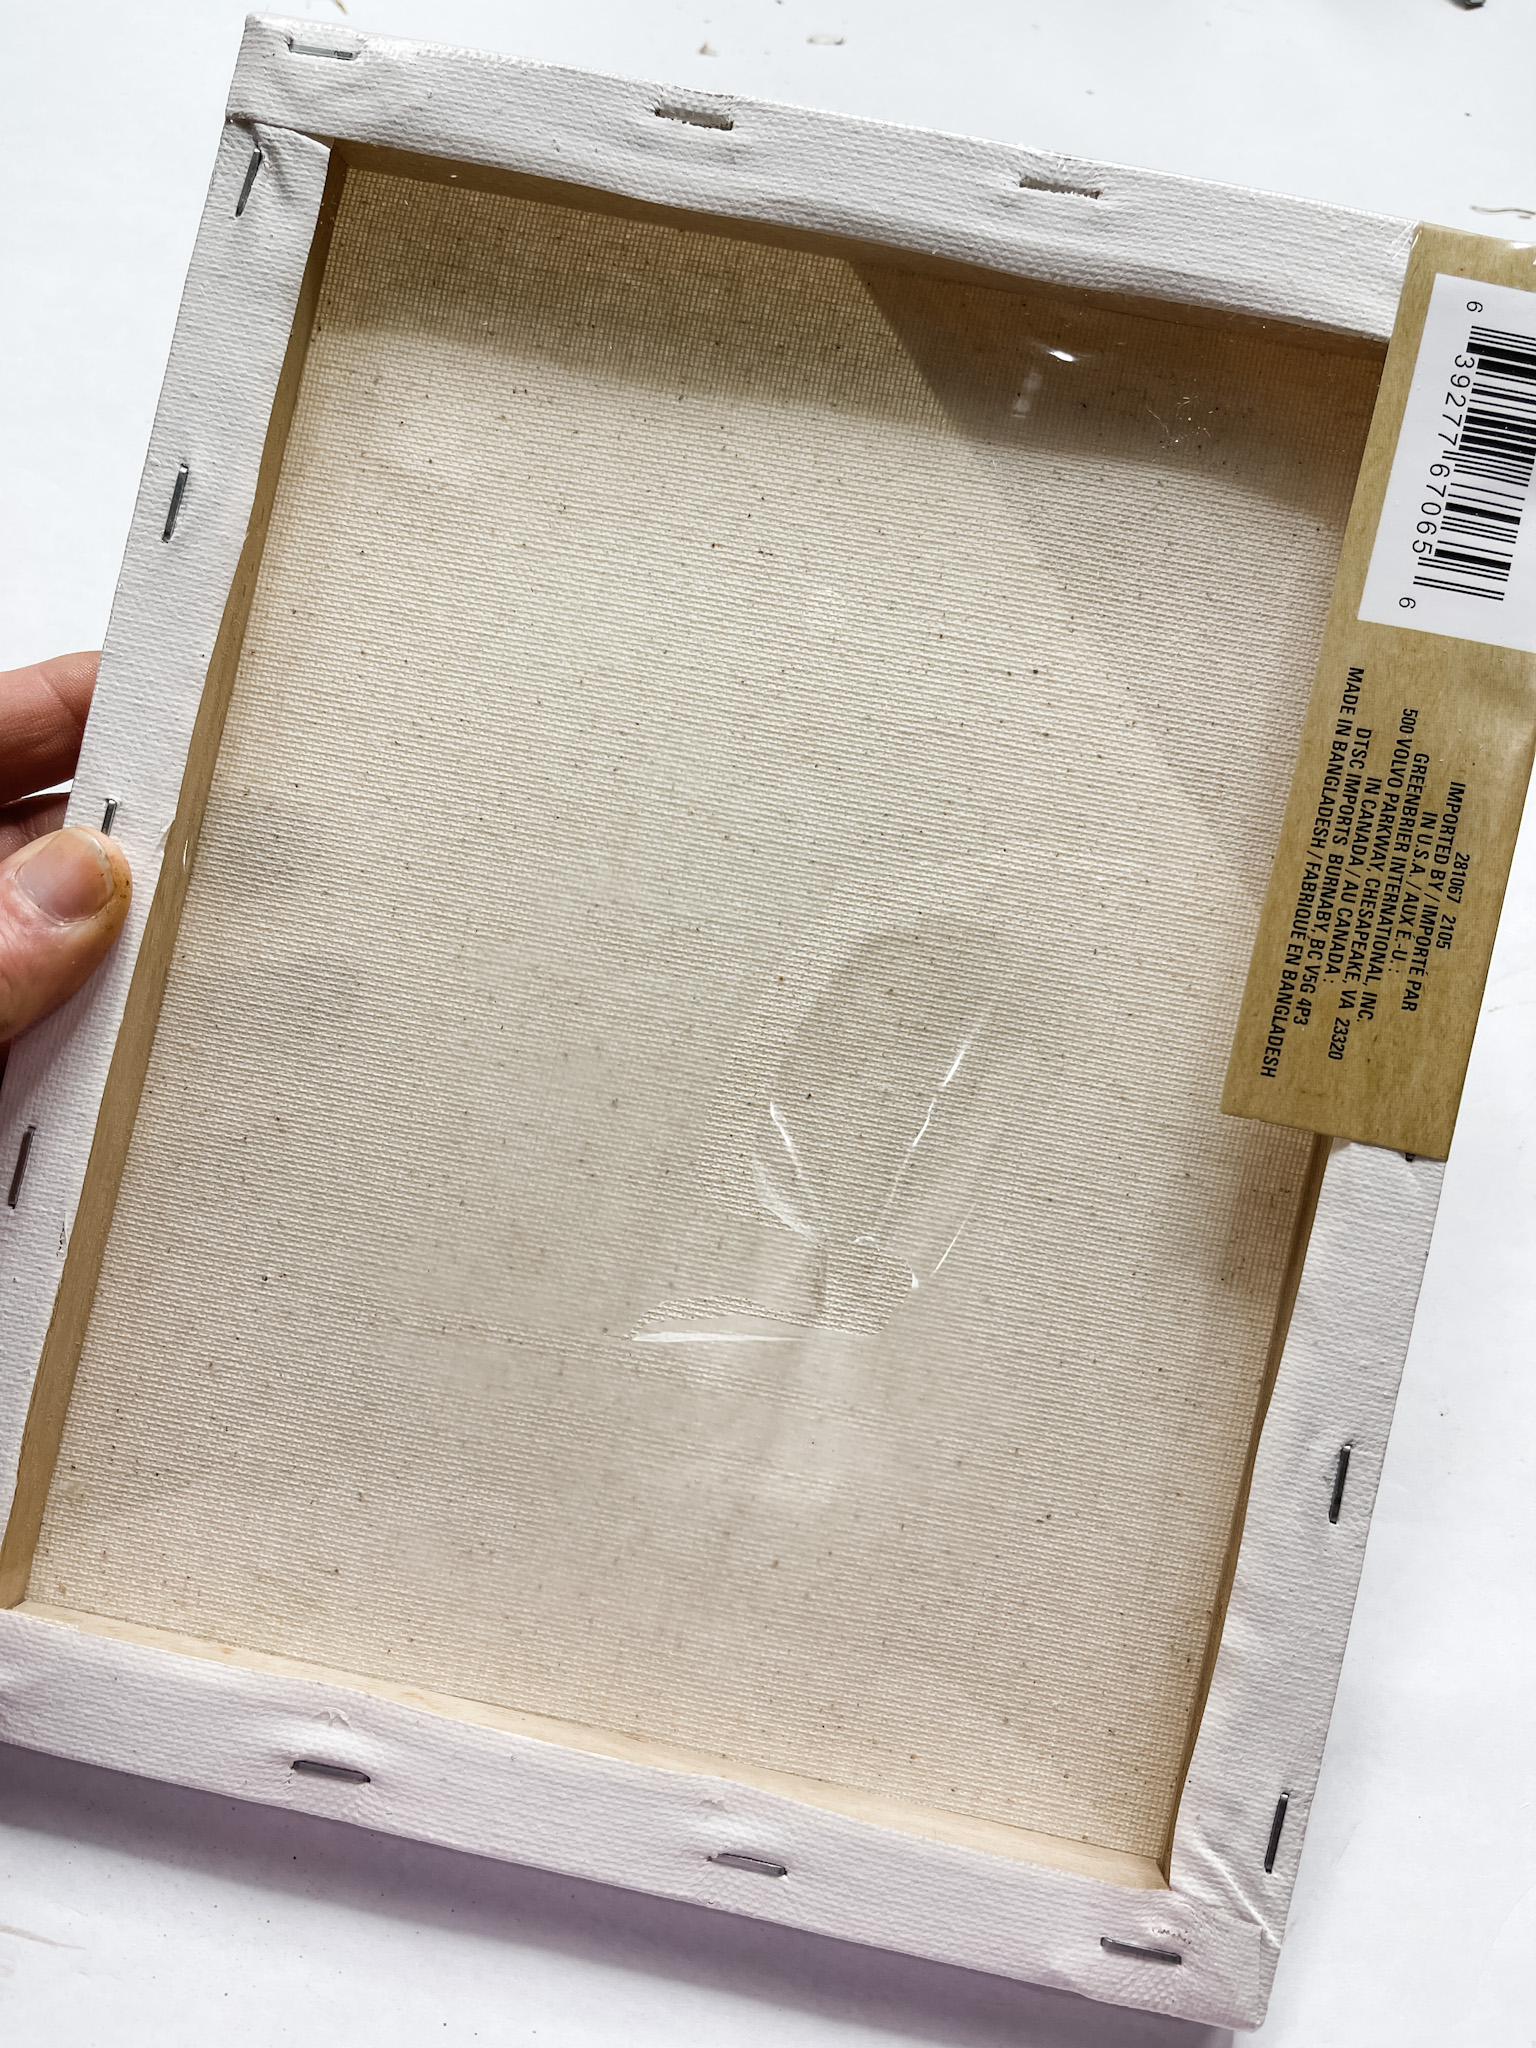
Start making these adorable spring decorations by removing the canvas from its frame. Try to keep the canvas as intact as you can by cutting it on the back of the frame.
Mix a bit of the Elephant Grey and Country Grey acrylic paints together. Then, use a wet wipe to apply the paint onto the wooden frame.
Use a clean wet wipe to remove the excess paint from the frame, and you’re left with an affordably stained wooden finish! Allow the frame to dry completely.
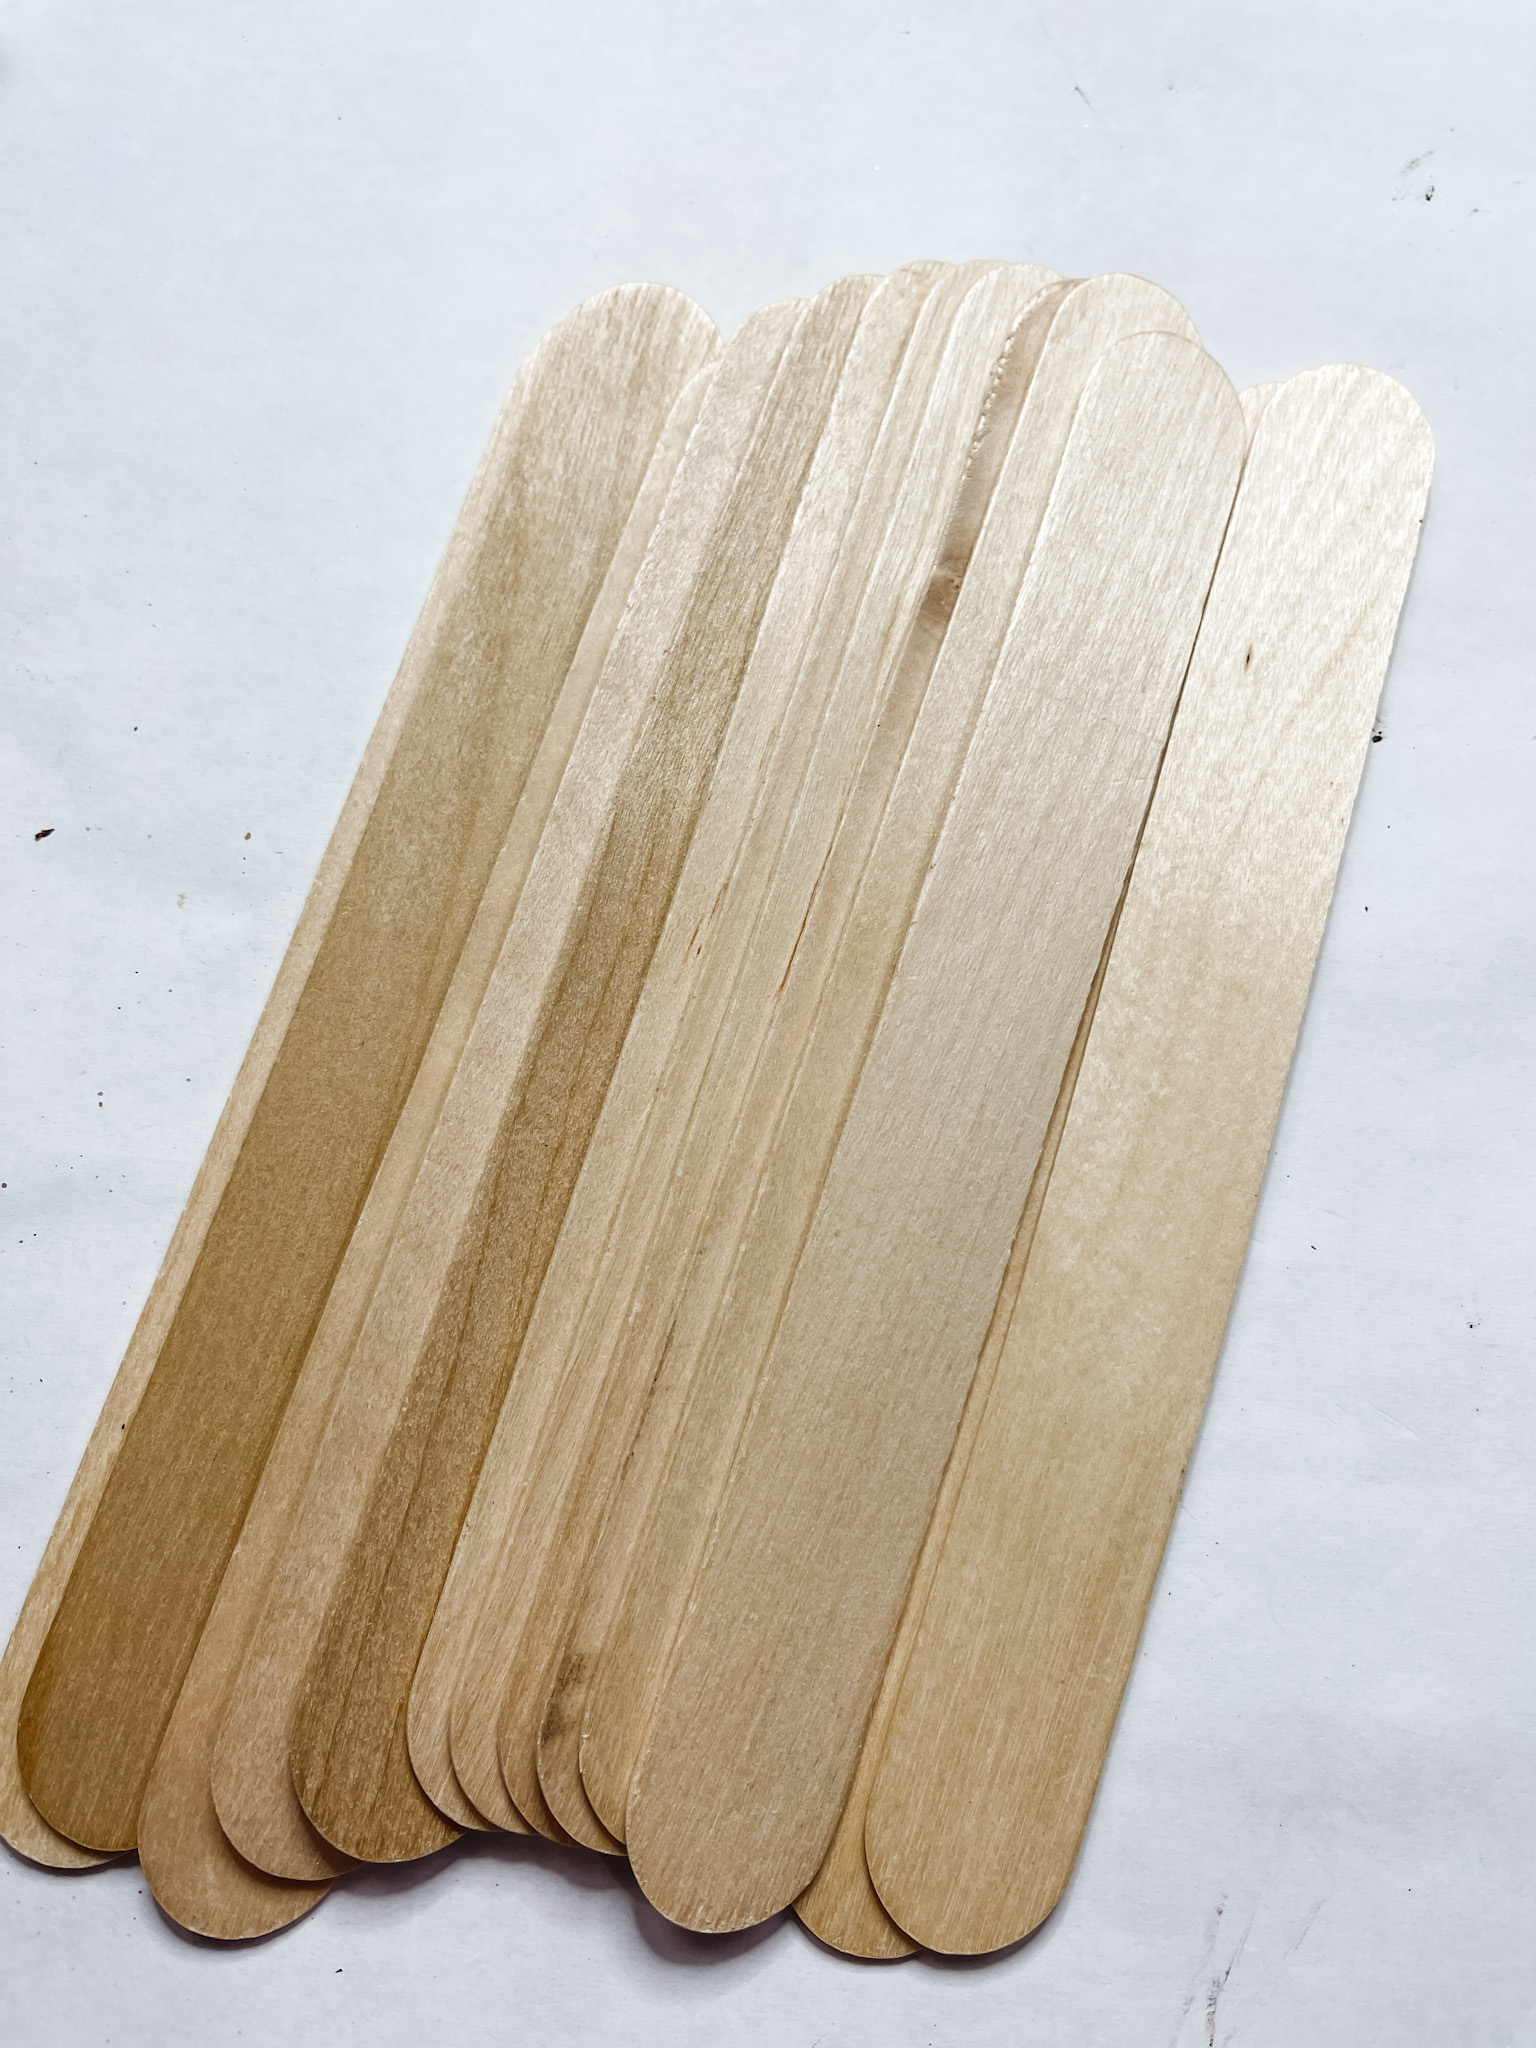
Next, lay quart paint sticks side-by-side on the wooden frame. Glue three of the quart paint sticks across the back of the ones laid on the frame to secure them together.
Once the paint sticks are secured together and the glue is dry, it’s time to stain the paint sticks. Use a wet wipe to spread brown paint across the wooden paint sticks.
Go over the surface with a clean wet wipe to remove any excess paint from the wood. Allow the wood to dry, lightly sand the surface with a piece of sandpaper, then dry brush white paint onto the paint sticks.
I used my heat gun to speed up the drying of the white paint, then I set the stained frame and painted paint sticks to the side and grabbed the gardening tools craft kit.
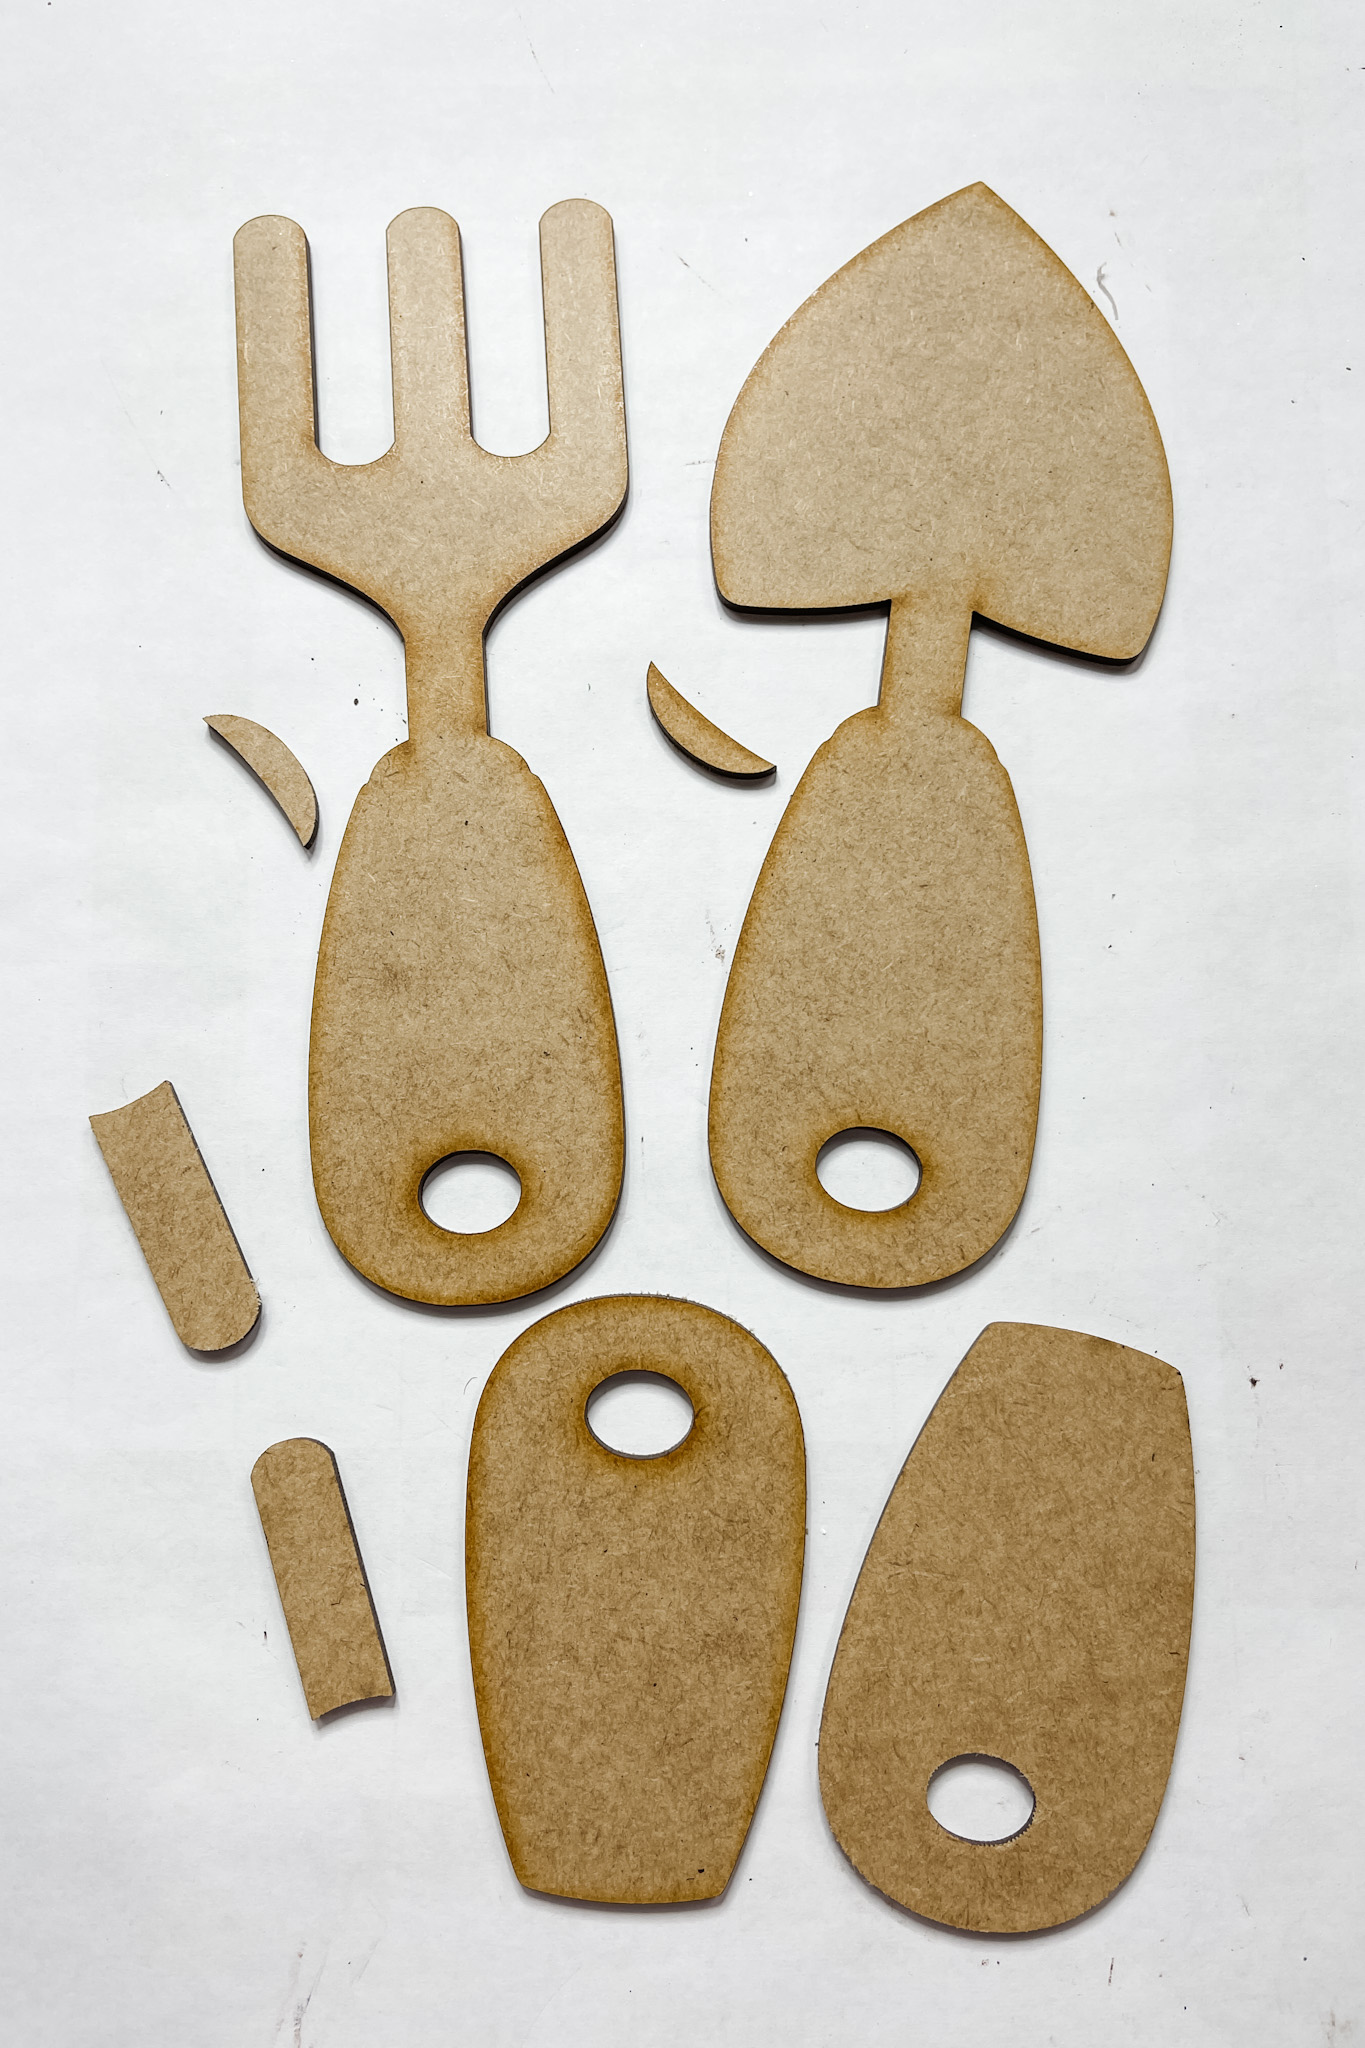
Spring gardening tools craft kit
I started with the rake and shovel from the gardening tools craft kit. Paint the handles with white paint – I applied two coats of paint and allowed the first coat to dry before the second coat.
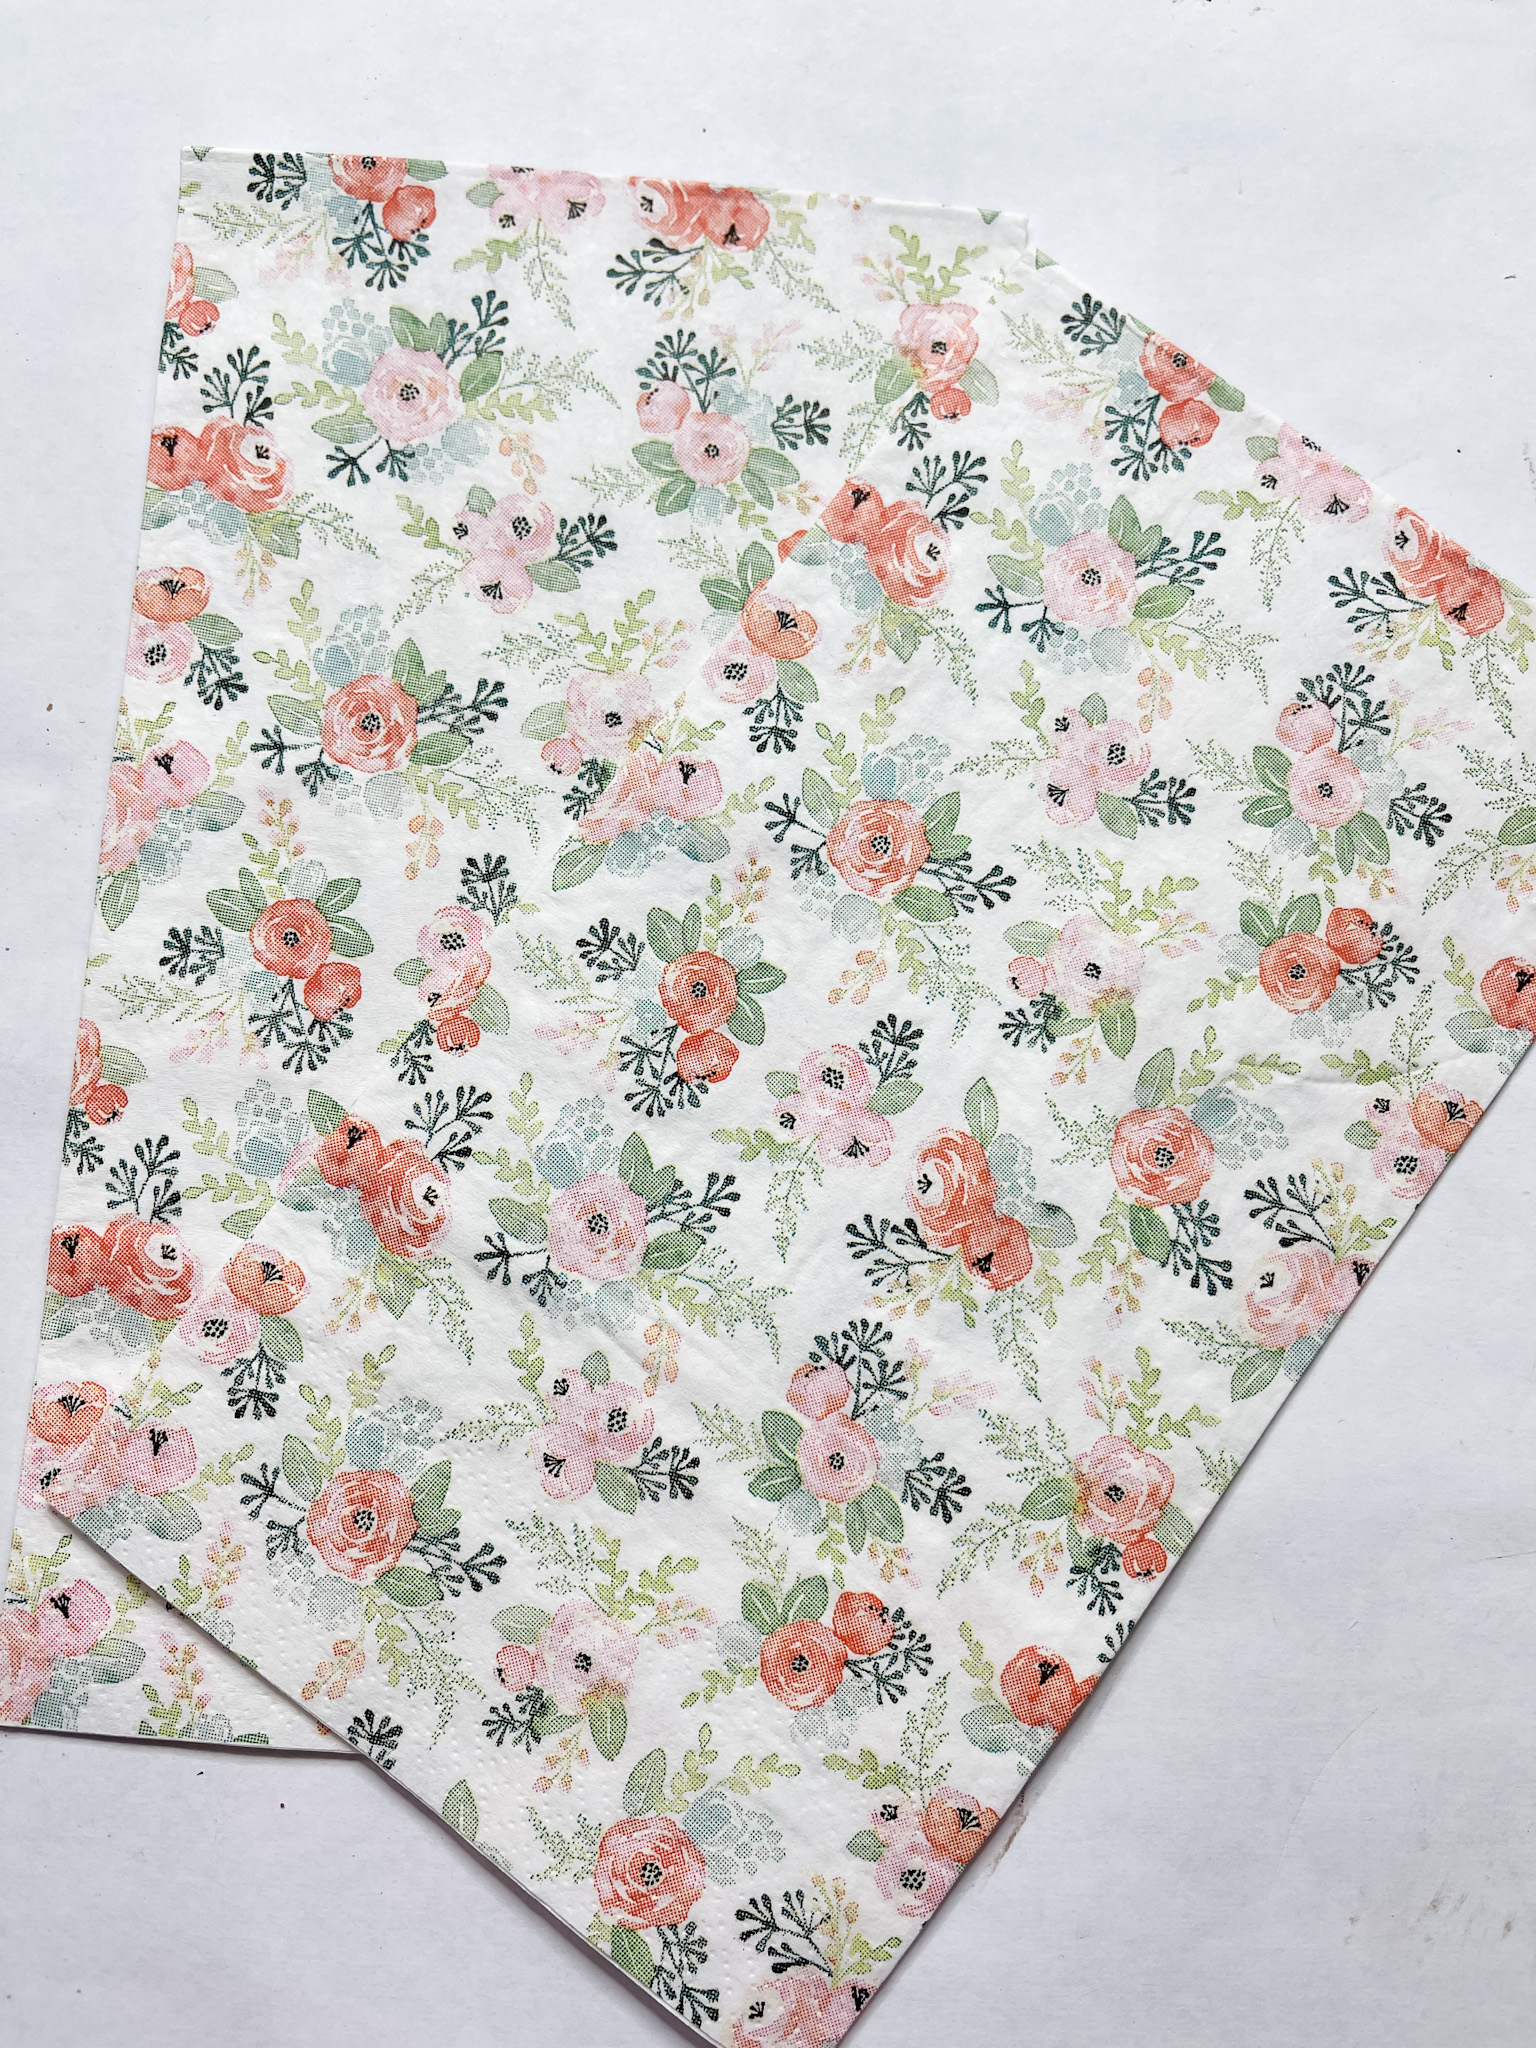
Once the second coat of white paint is dry, apply a coat of Mod Podge. Separate the plies of your napkin and press the decorative ply onto the Mod Podged surfaces.
Allow the Mod Podge to dry completely (I used my heat gun to speed that up), then remove the excess napkin from around each handle.
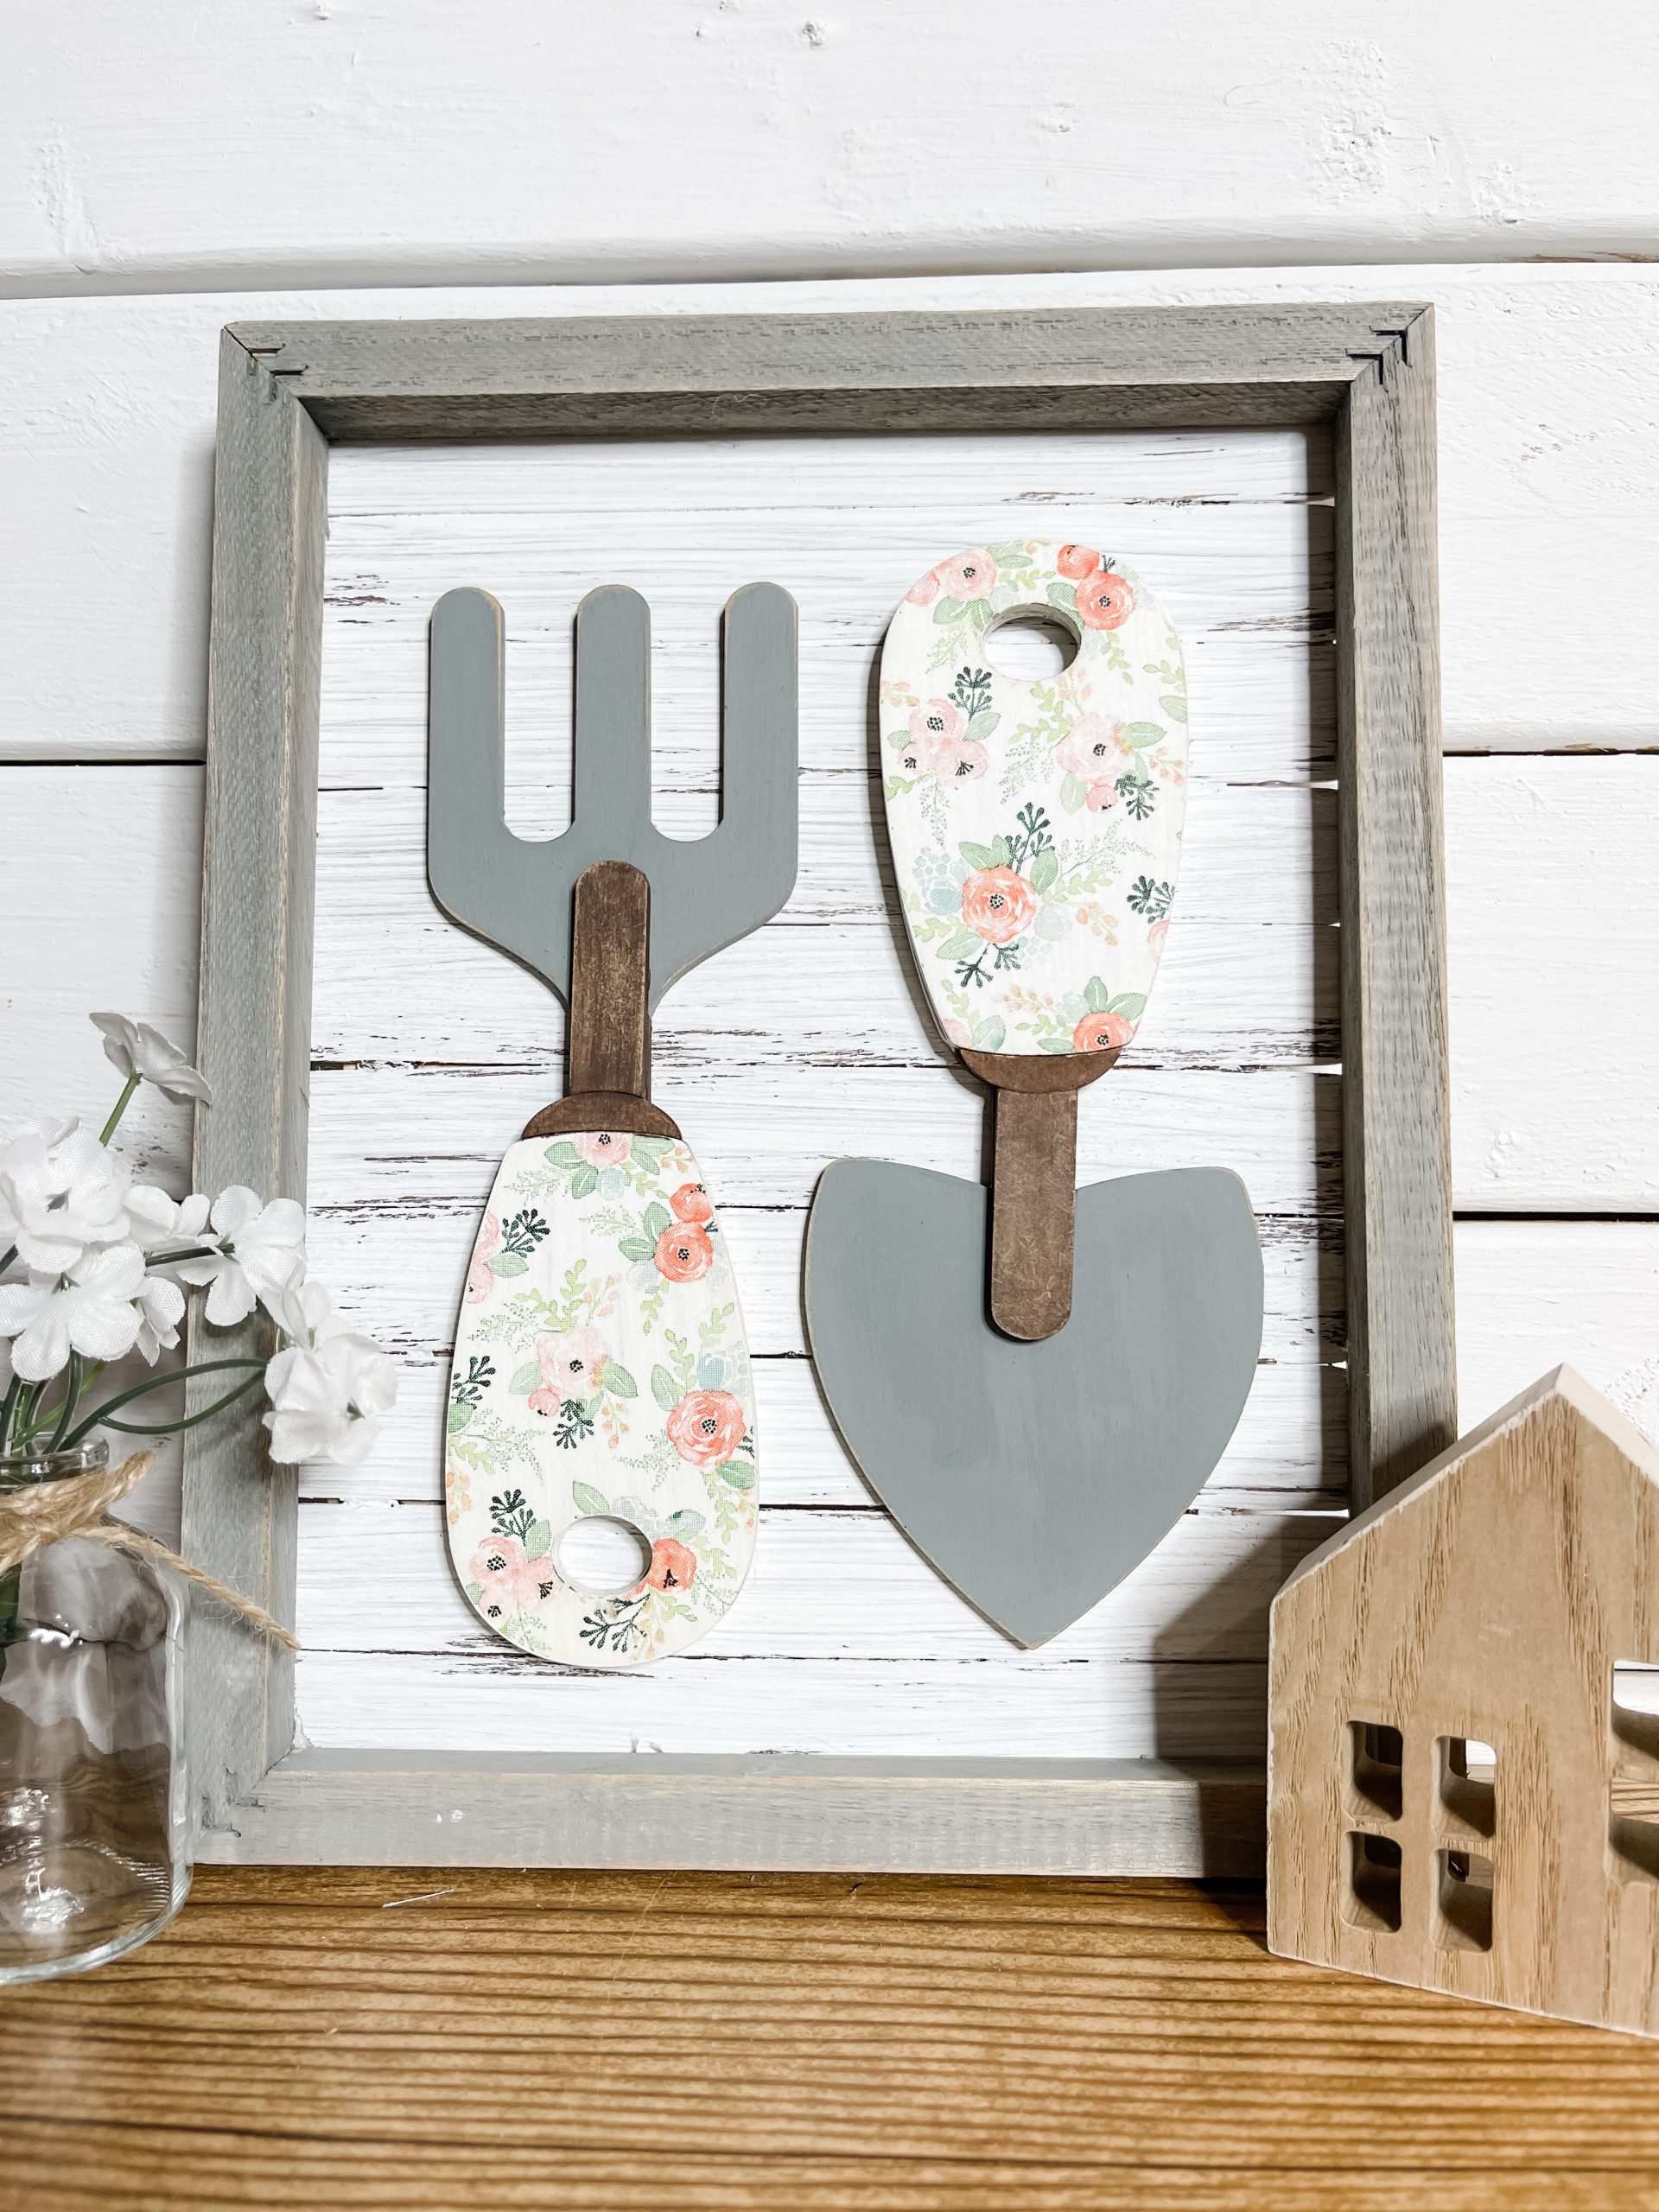
Paint the “metal” parts of the rake and shovel with your gray paint mixture from before. Once the paint is dry, glue all the pieces together for the rake and shovel.
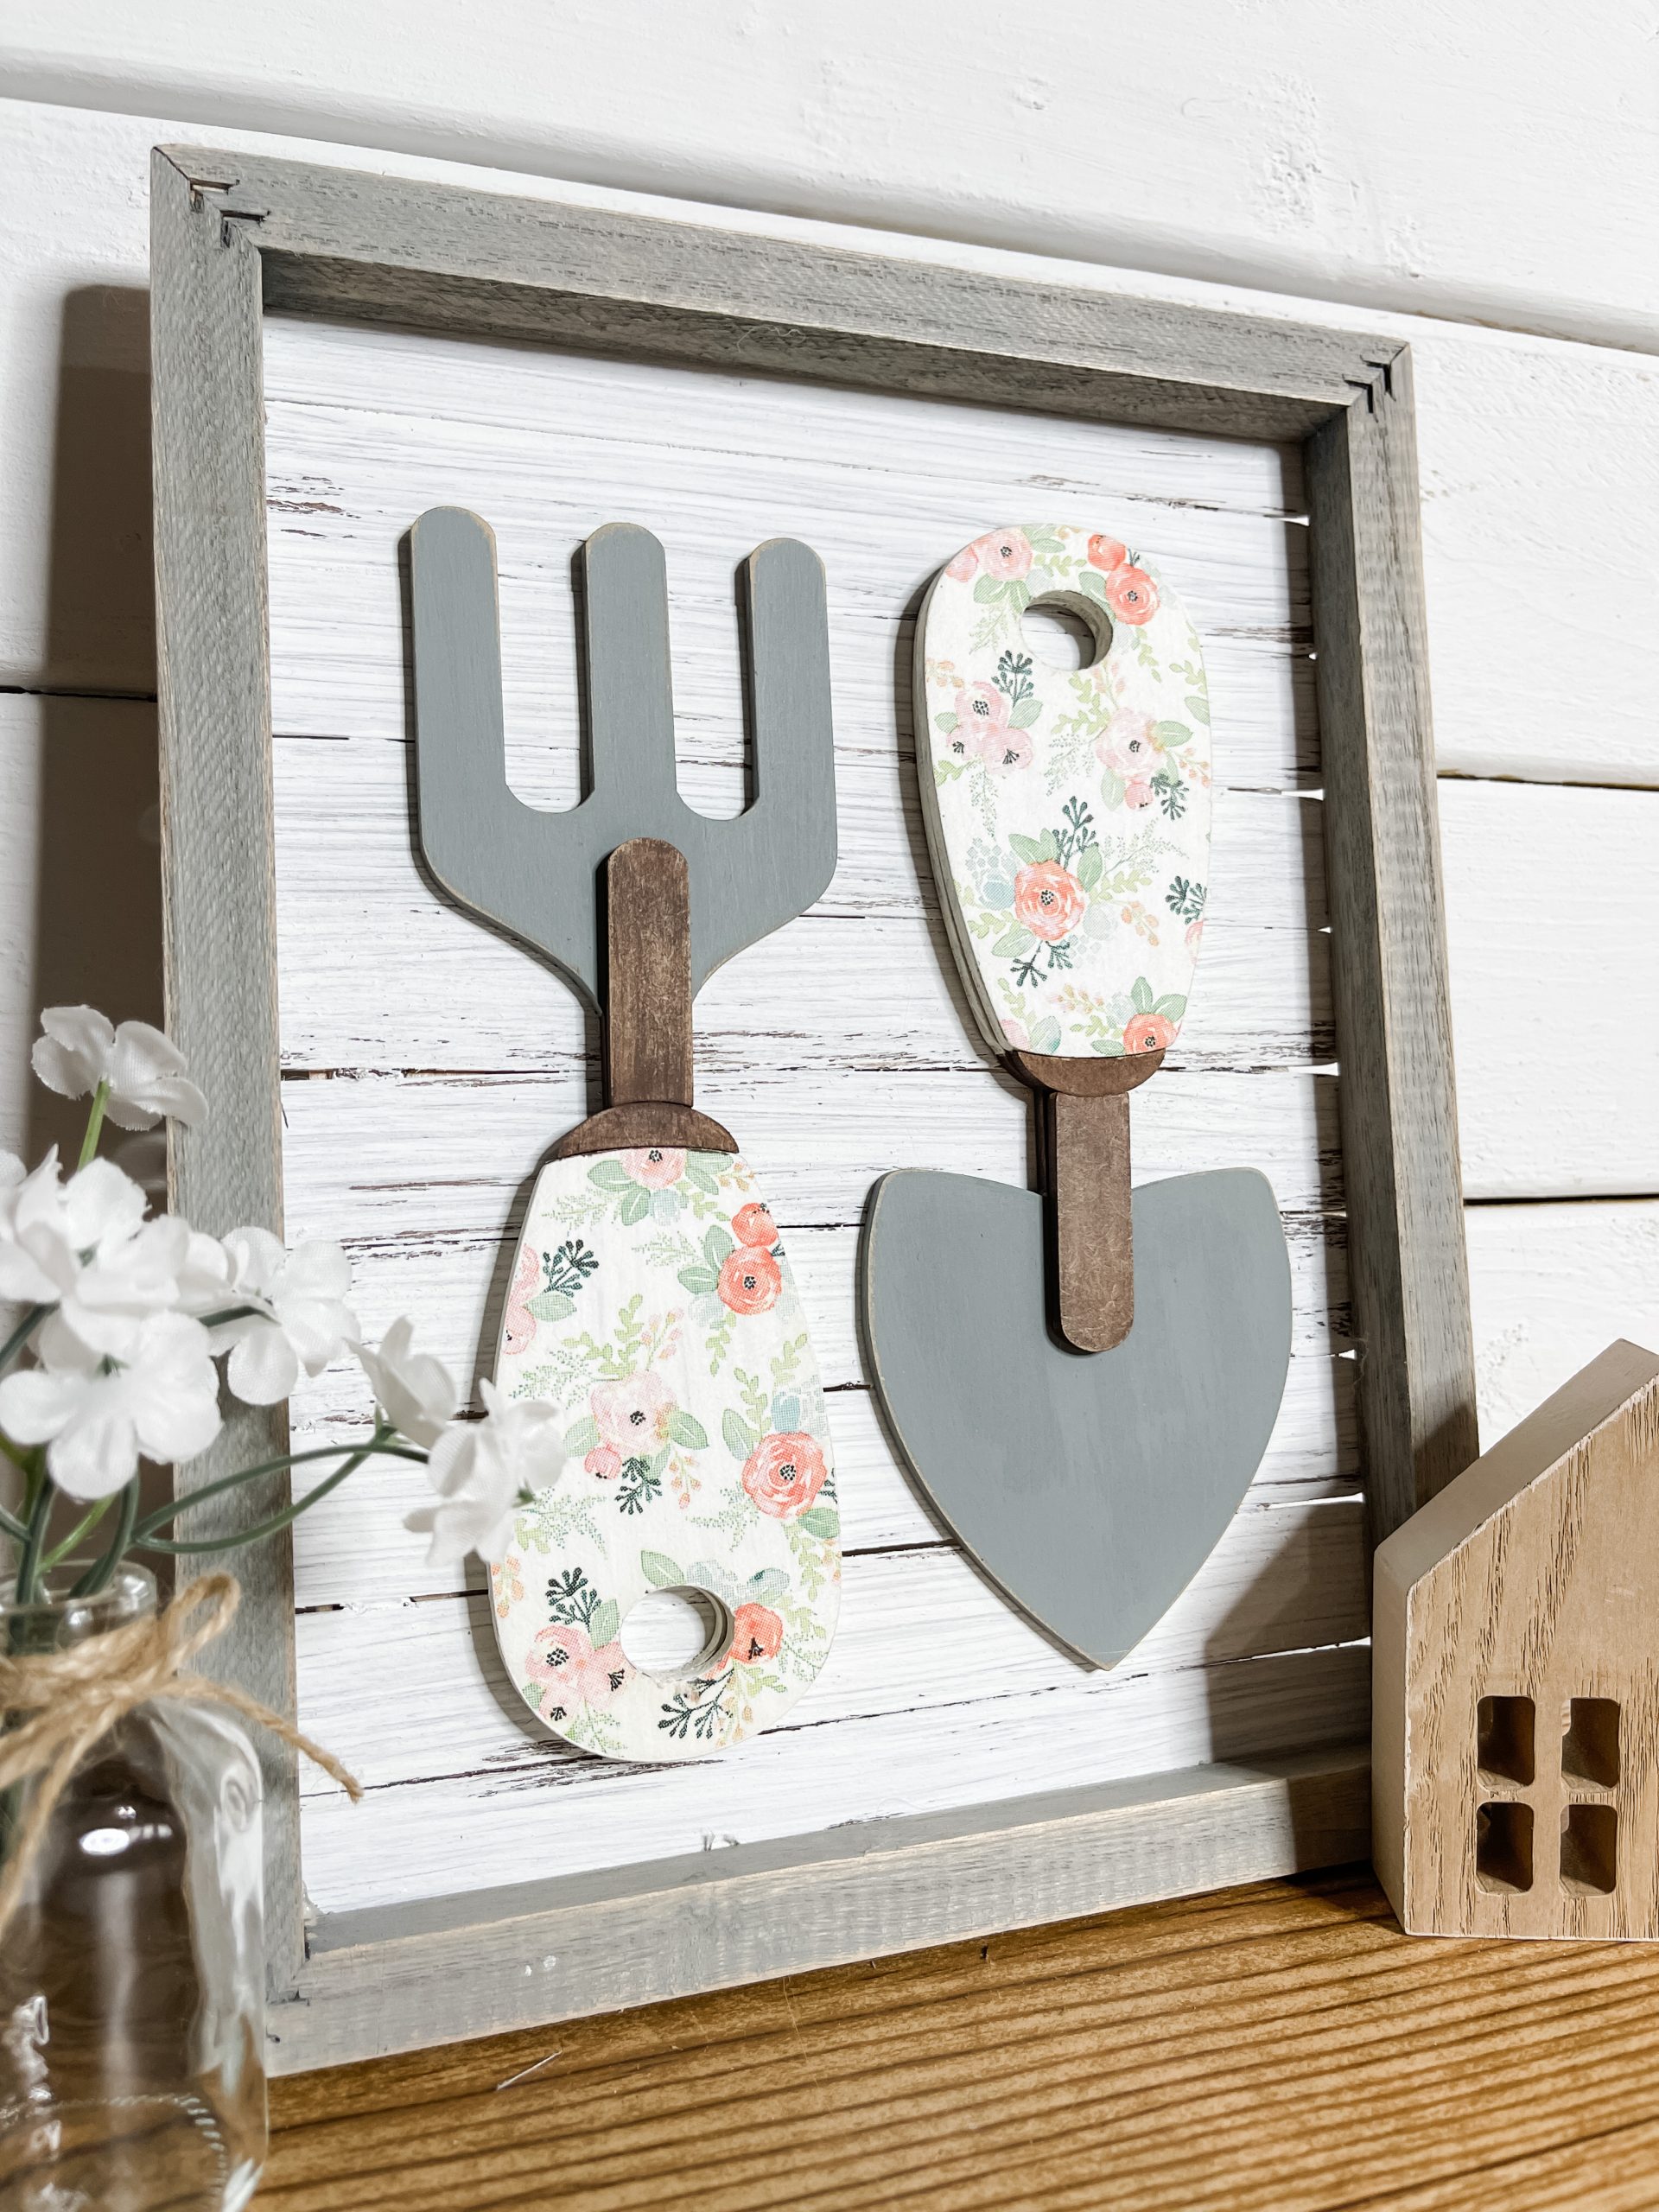
I painted the sides of the handles for the rake and shovel with white paint. Then, I painted the piece connecting the handle to the “metal’ part with brown paint.
Bring it all together
Once the paint was dry on both the rake and shovel, I lightly distressed each of them with a sanding sponge.
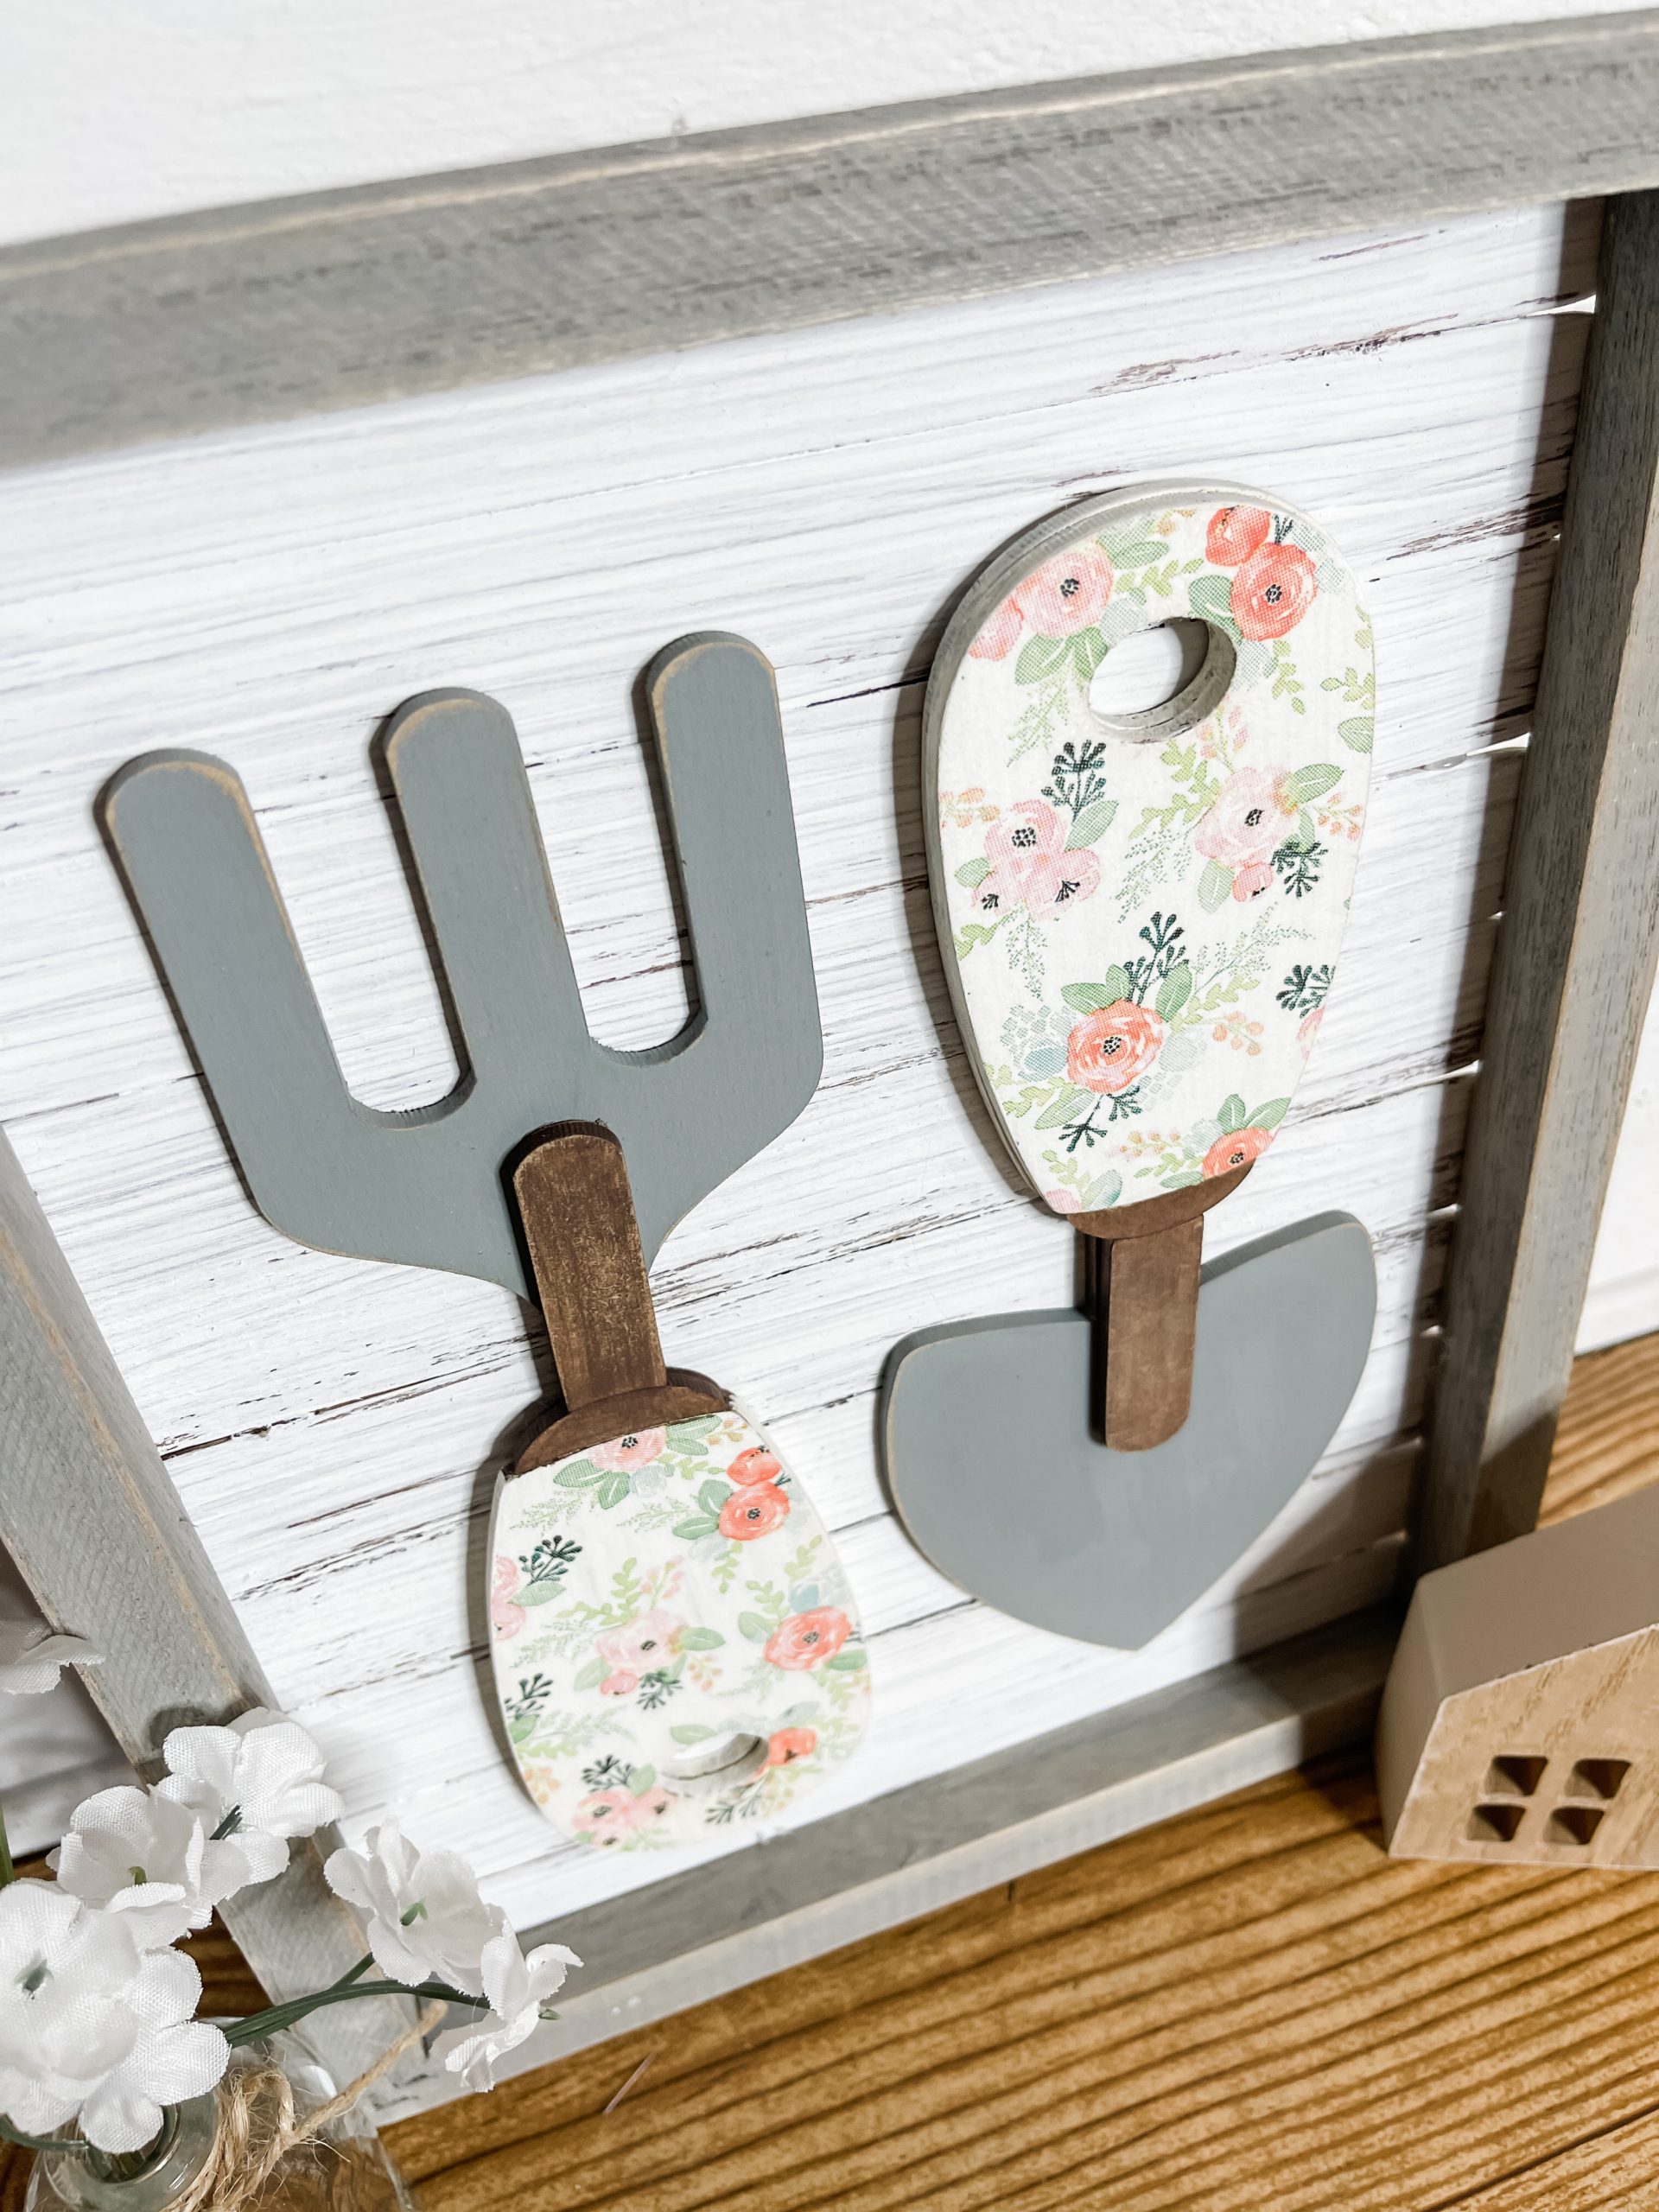
Glue the paint sticks onto the stained canvas frame. Then, glue the rake and the shovel onto the paint sticks in alternating orientations.
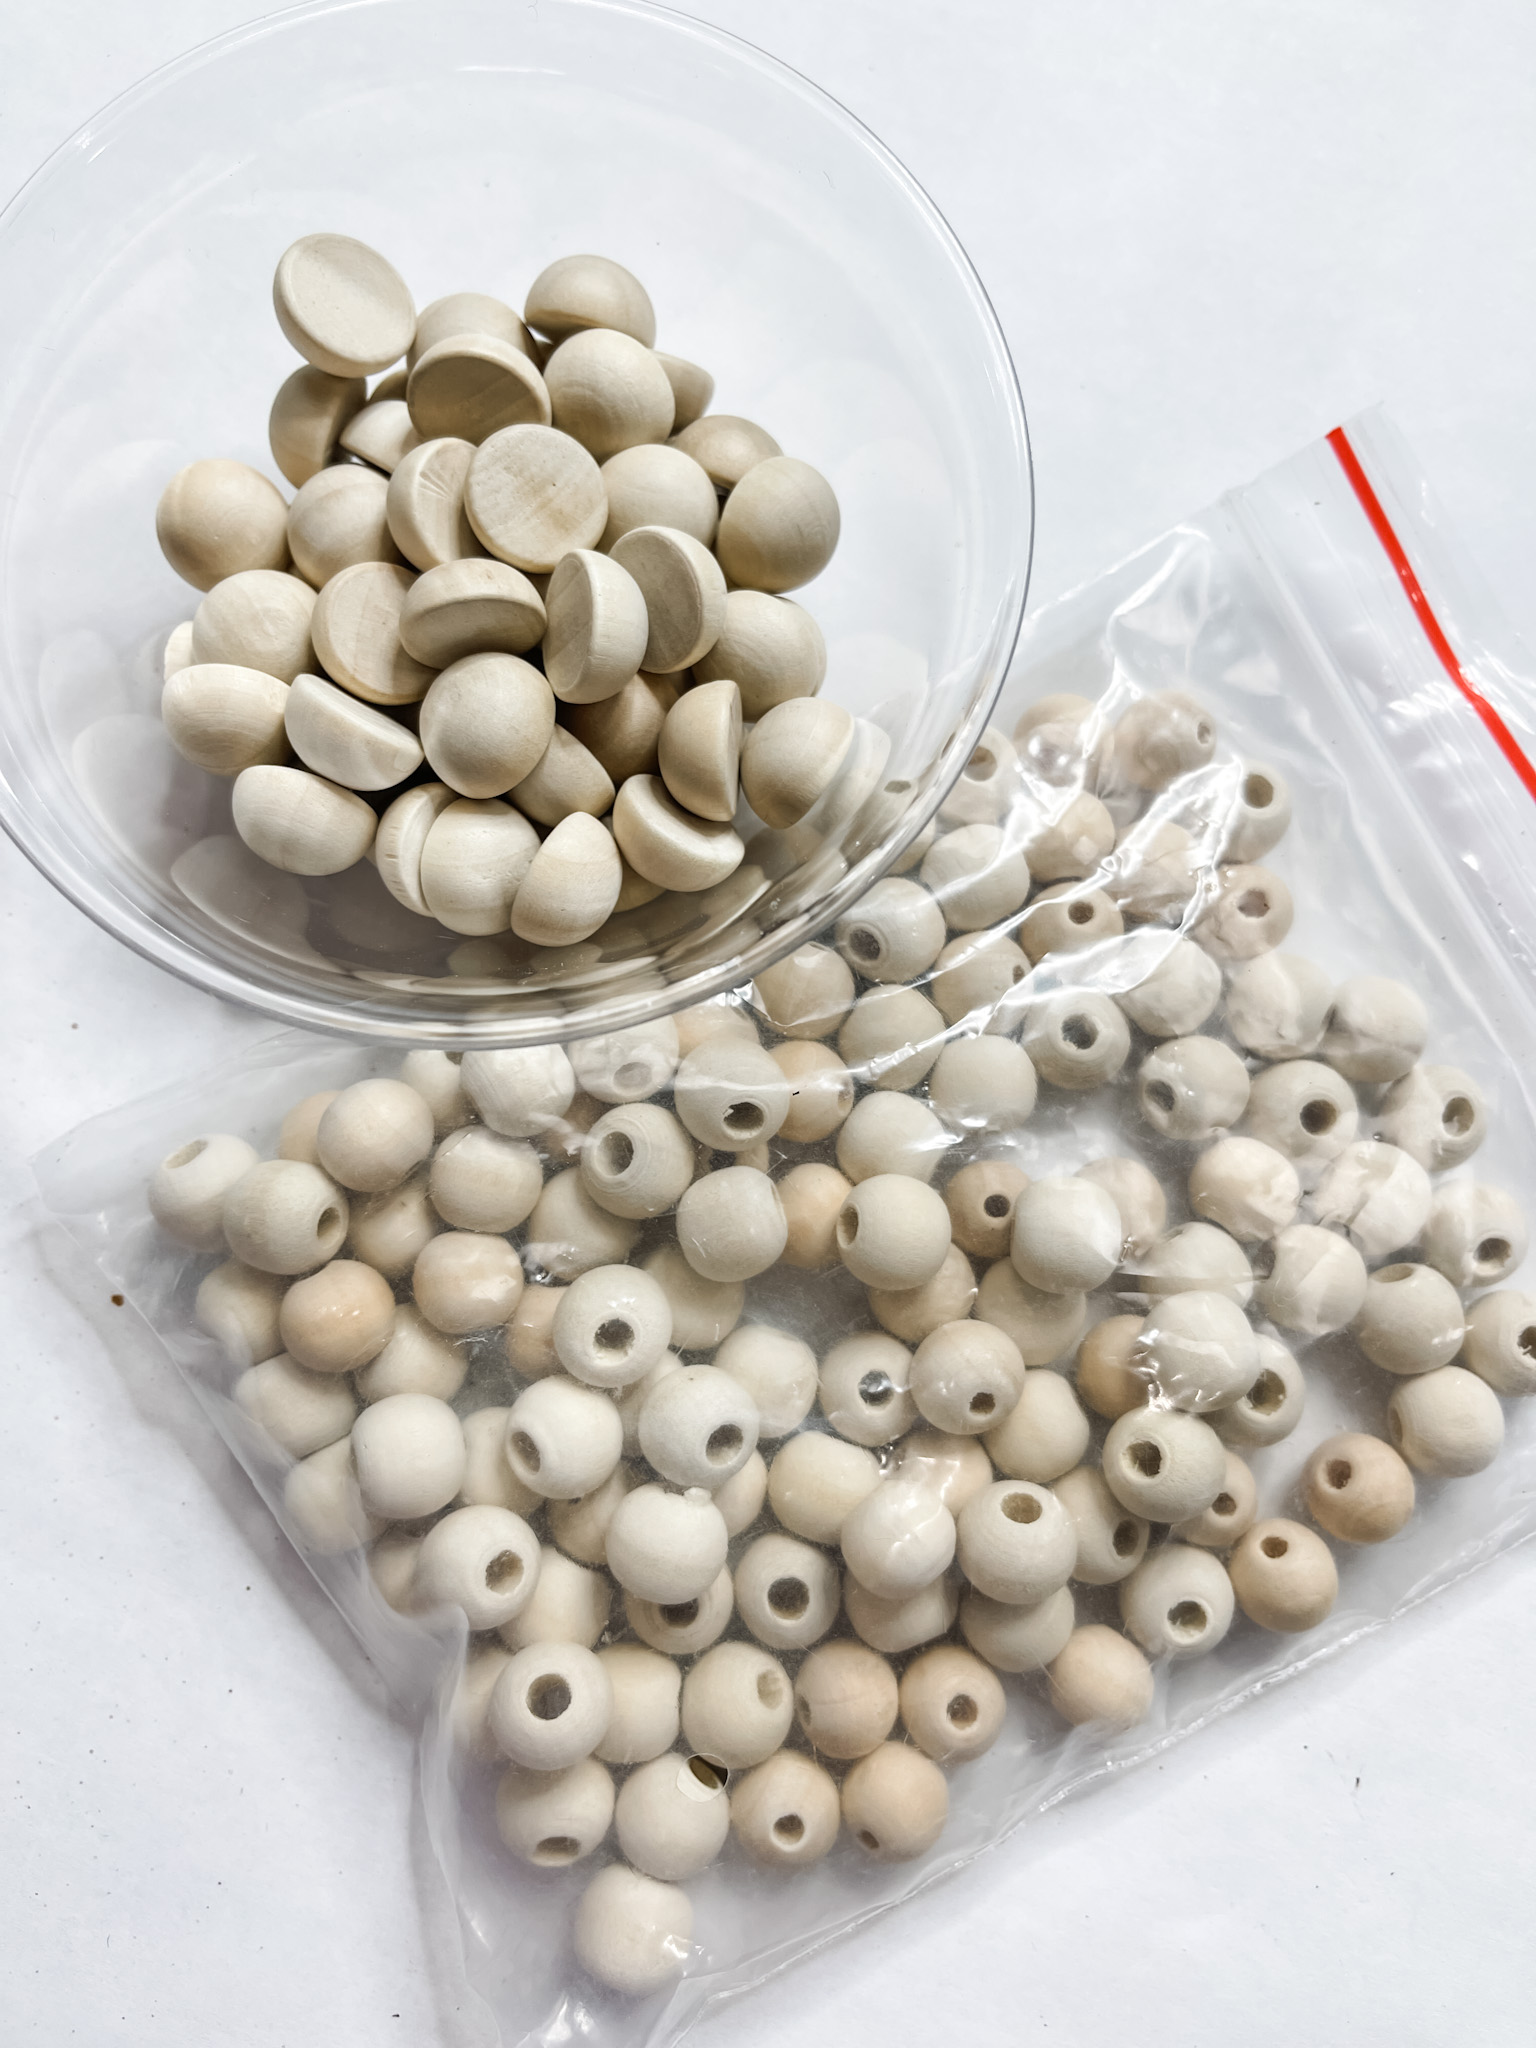
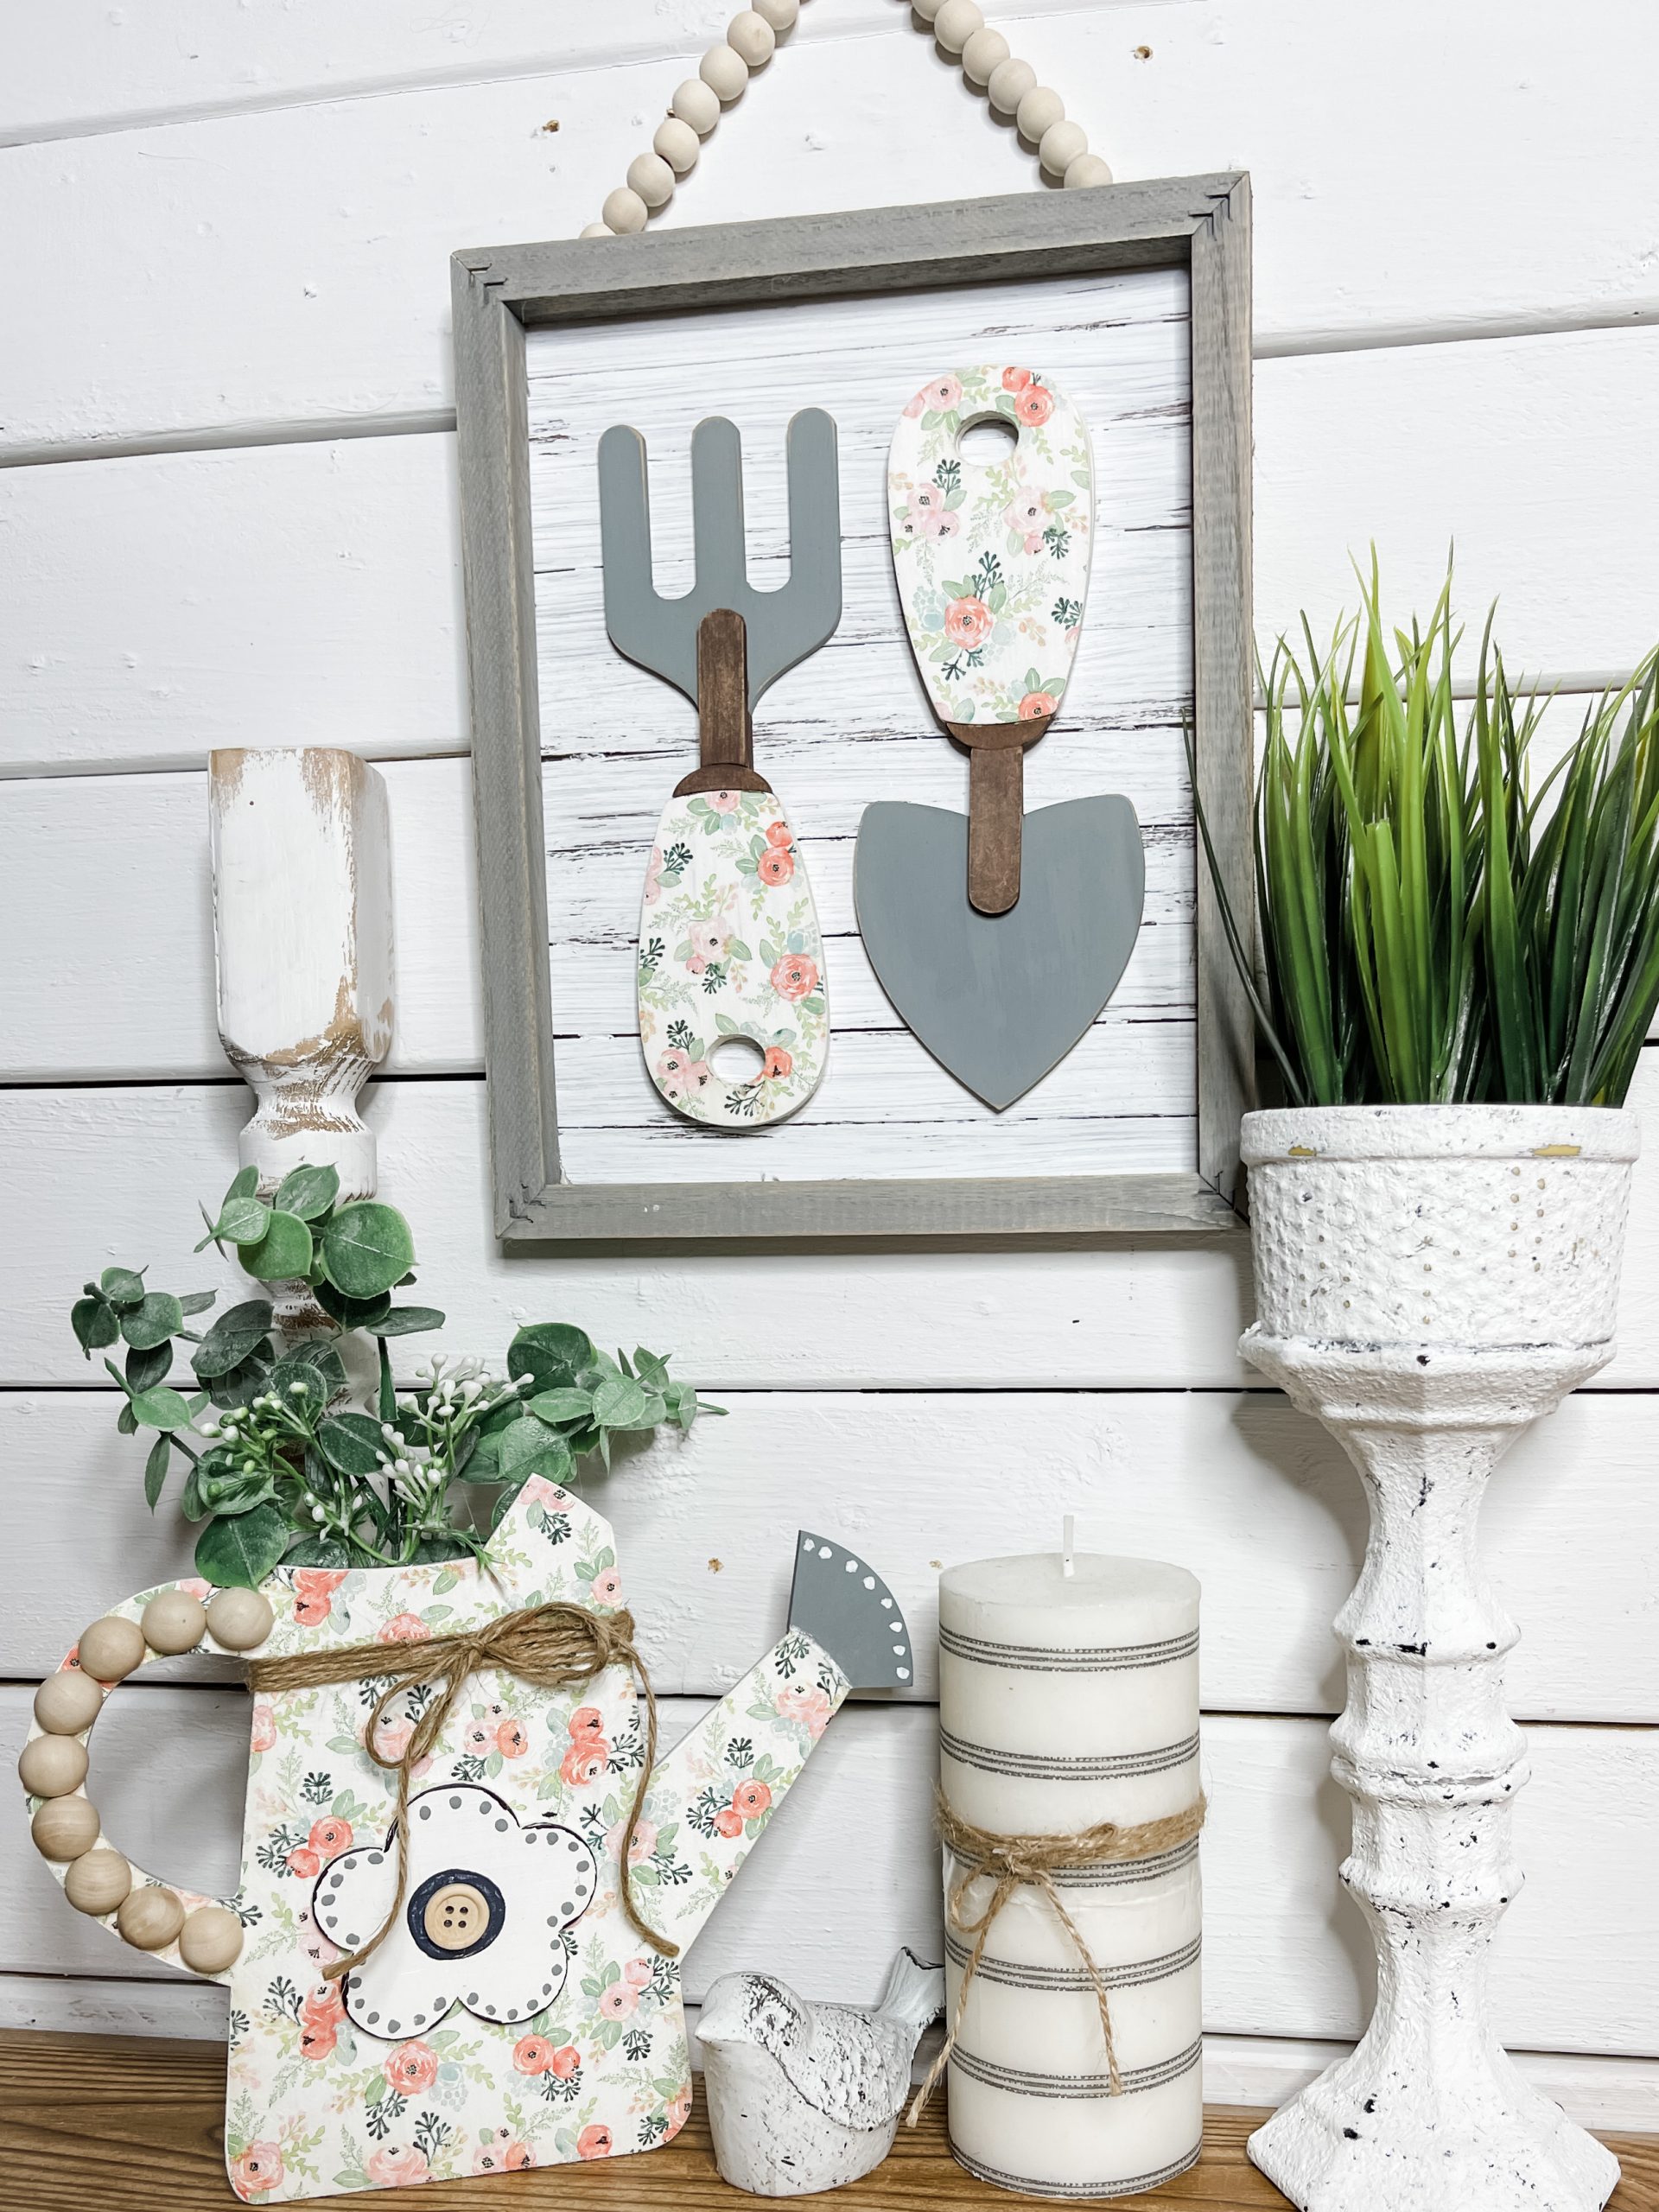
To make the hanger, I threaded the small wood beads onto a piece of jute twine and glued the ends of the twine to the back of the frame and paint sticks.
Watering can craft kit
Next, I worked on the watering can that comes in the spring gardening tools craft kit. I started by sanding each piece of the craft kit with a sanding sponge.
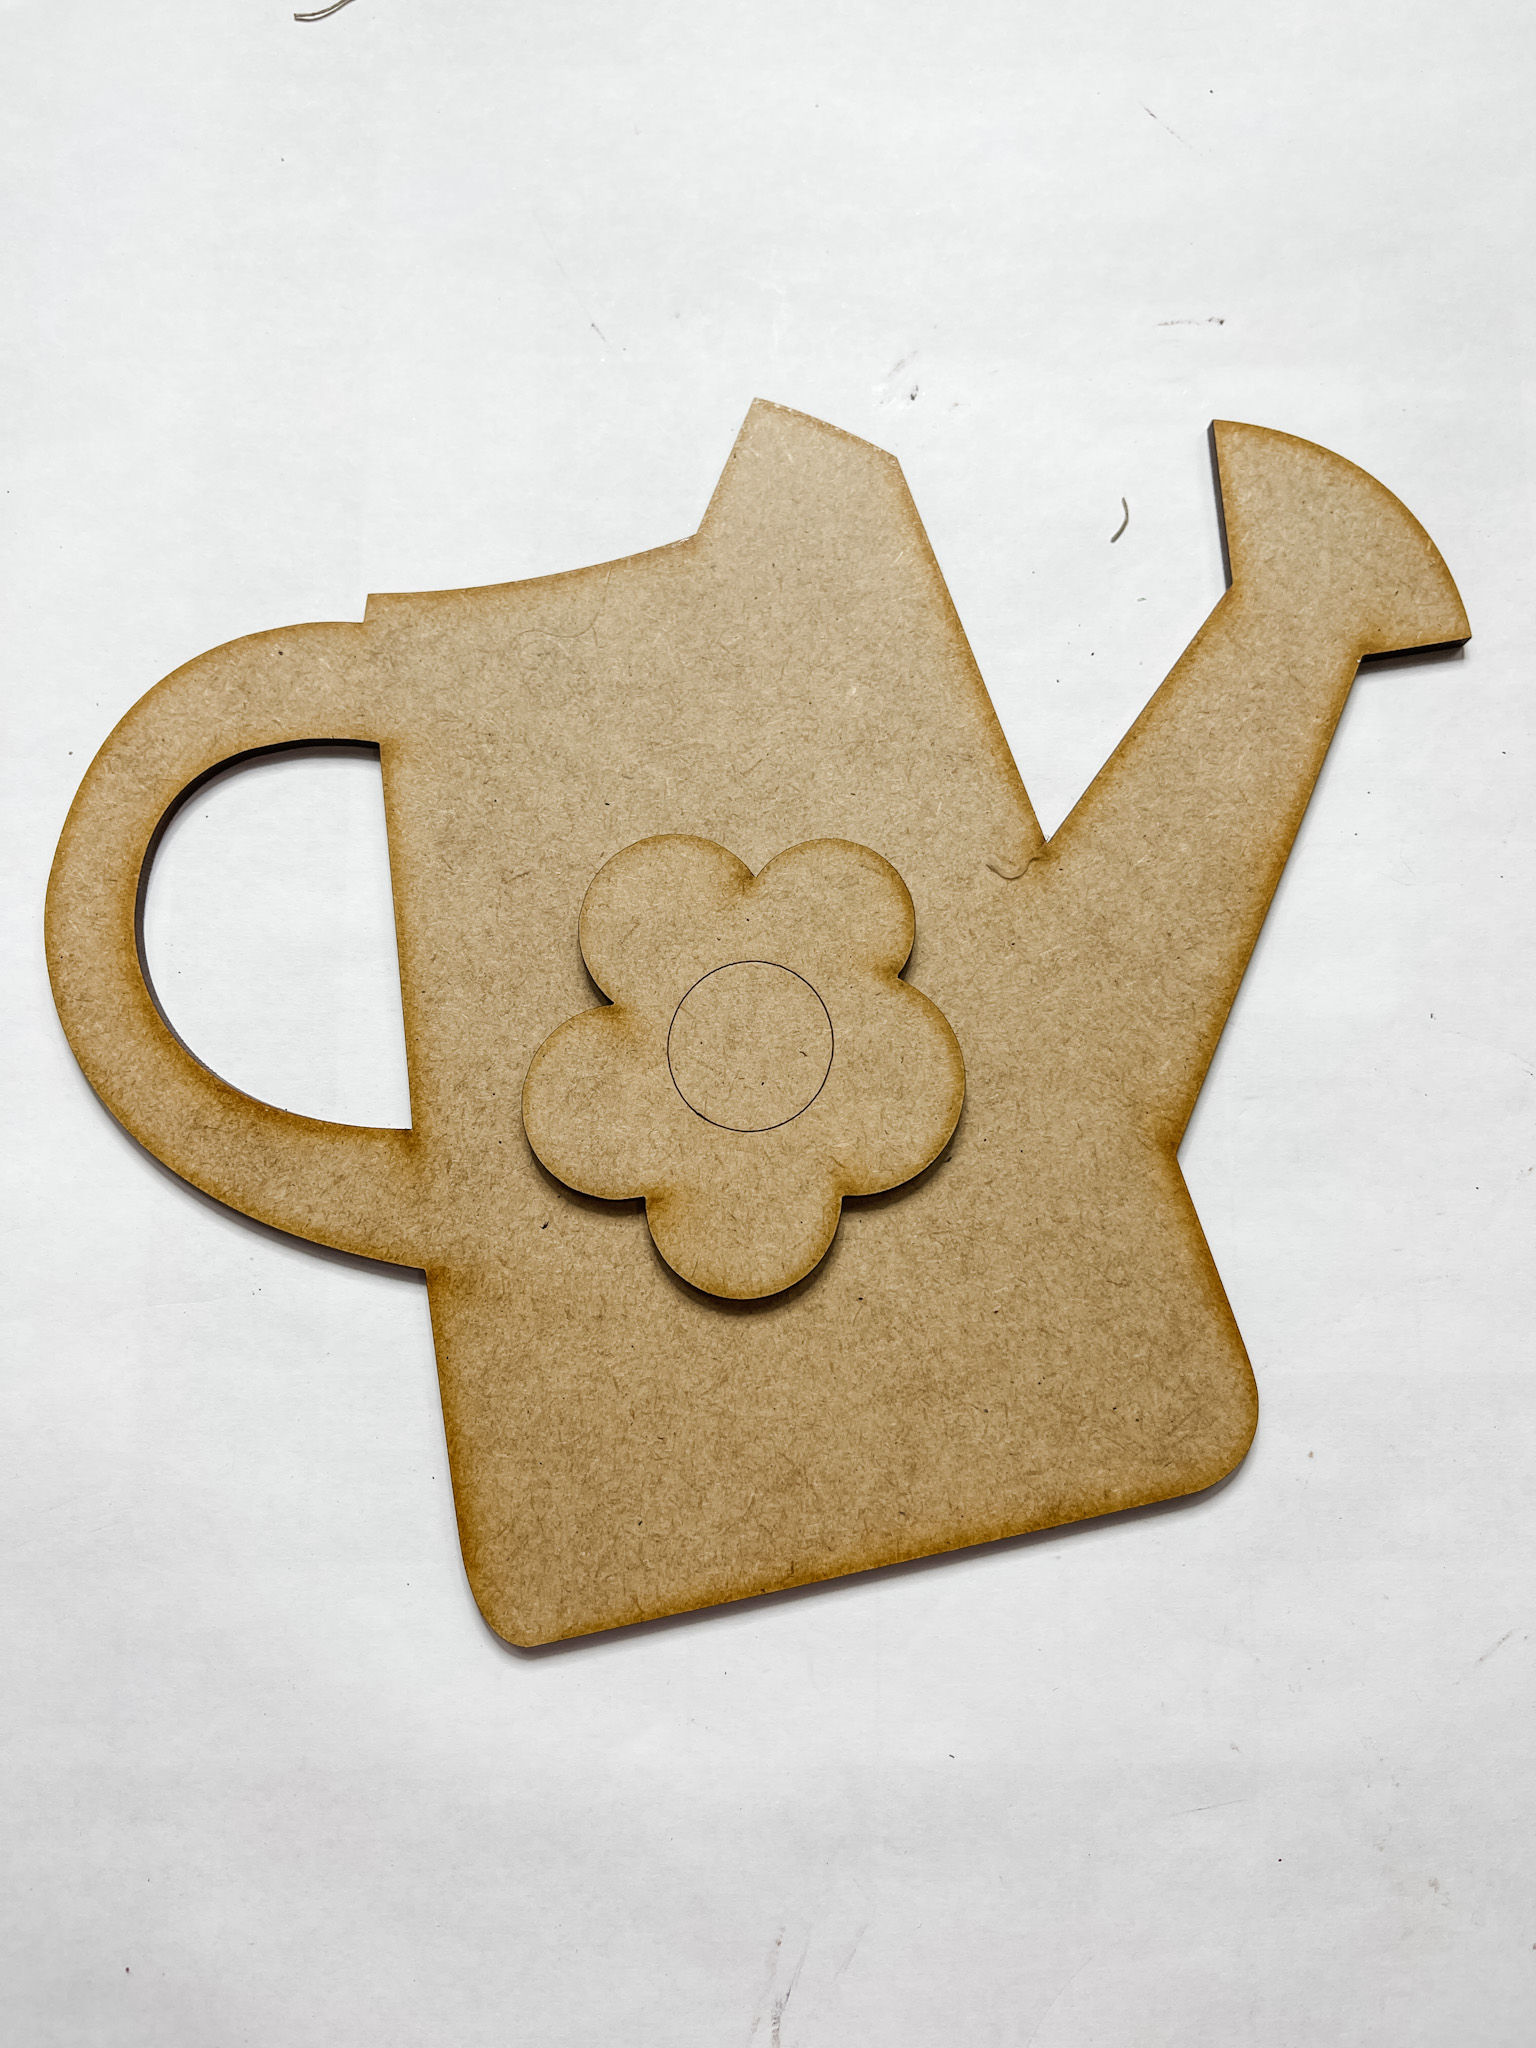
I applied two coats of white paint onto the base piece of the watering can (not on the spout). Once the white paint was dry, I applied a coat of Mod Podge and decoupaged the same floral napkin as I did on the rake and shovel.
Let the Mod Podge dry, then remove the excess napkin from the watering can. Paint the spout with your grey paint mixture and paint the sides of the watering can with white paint.

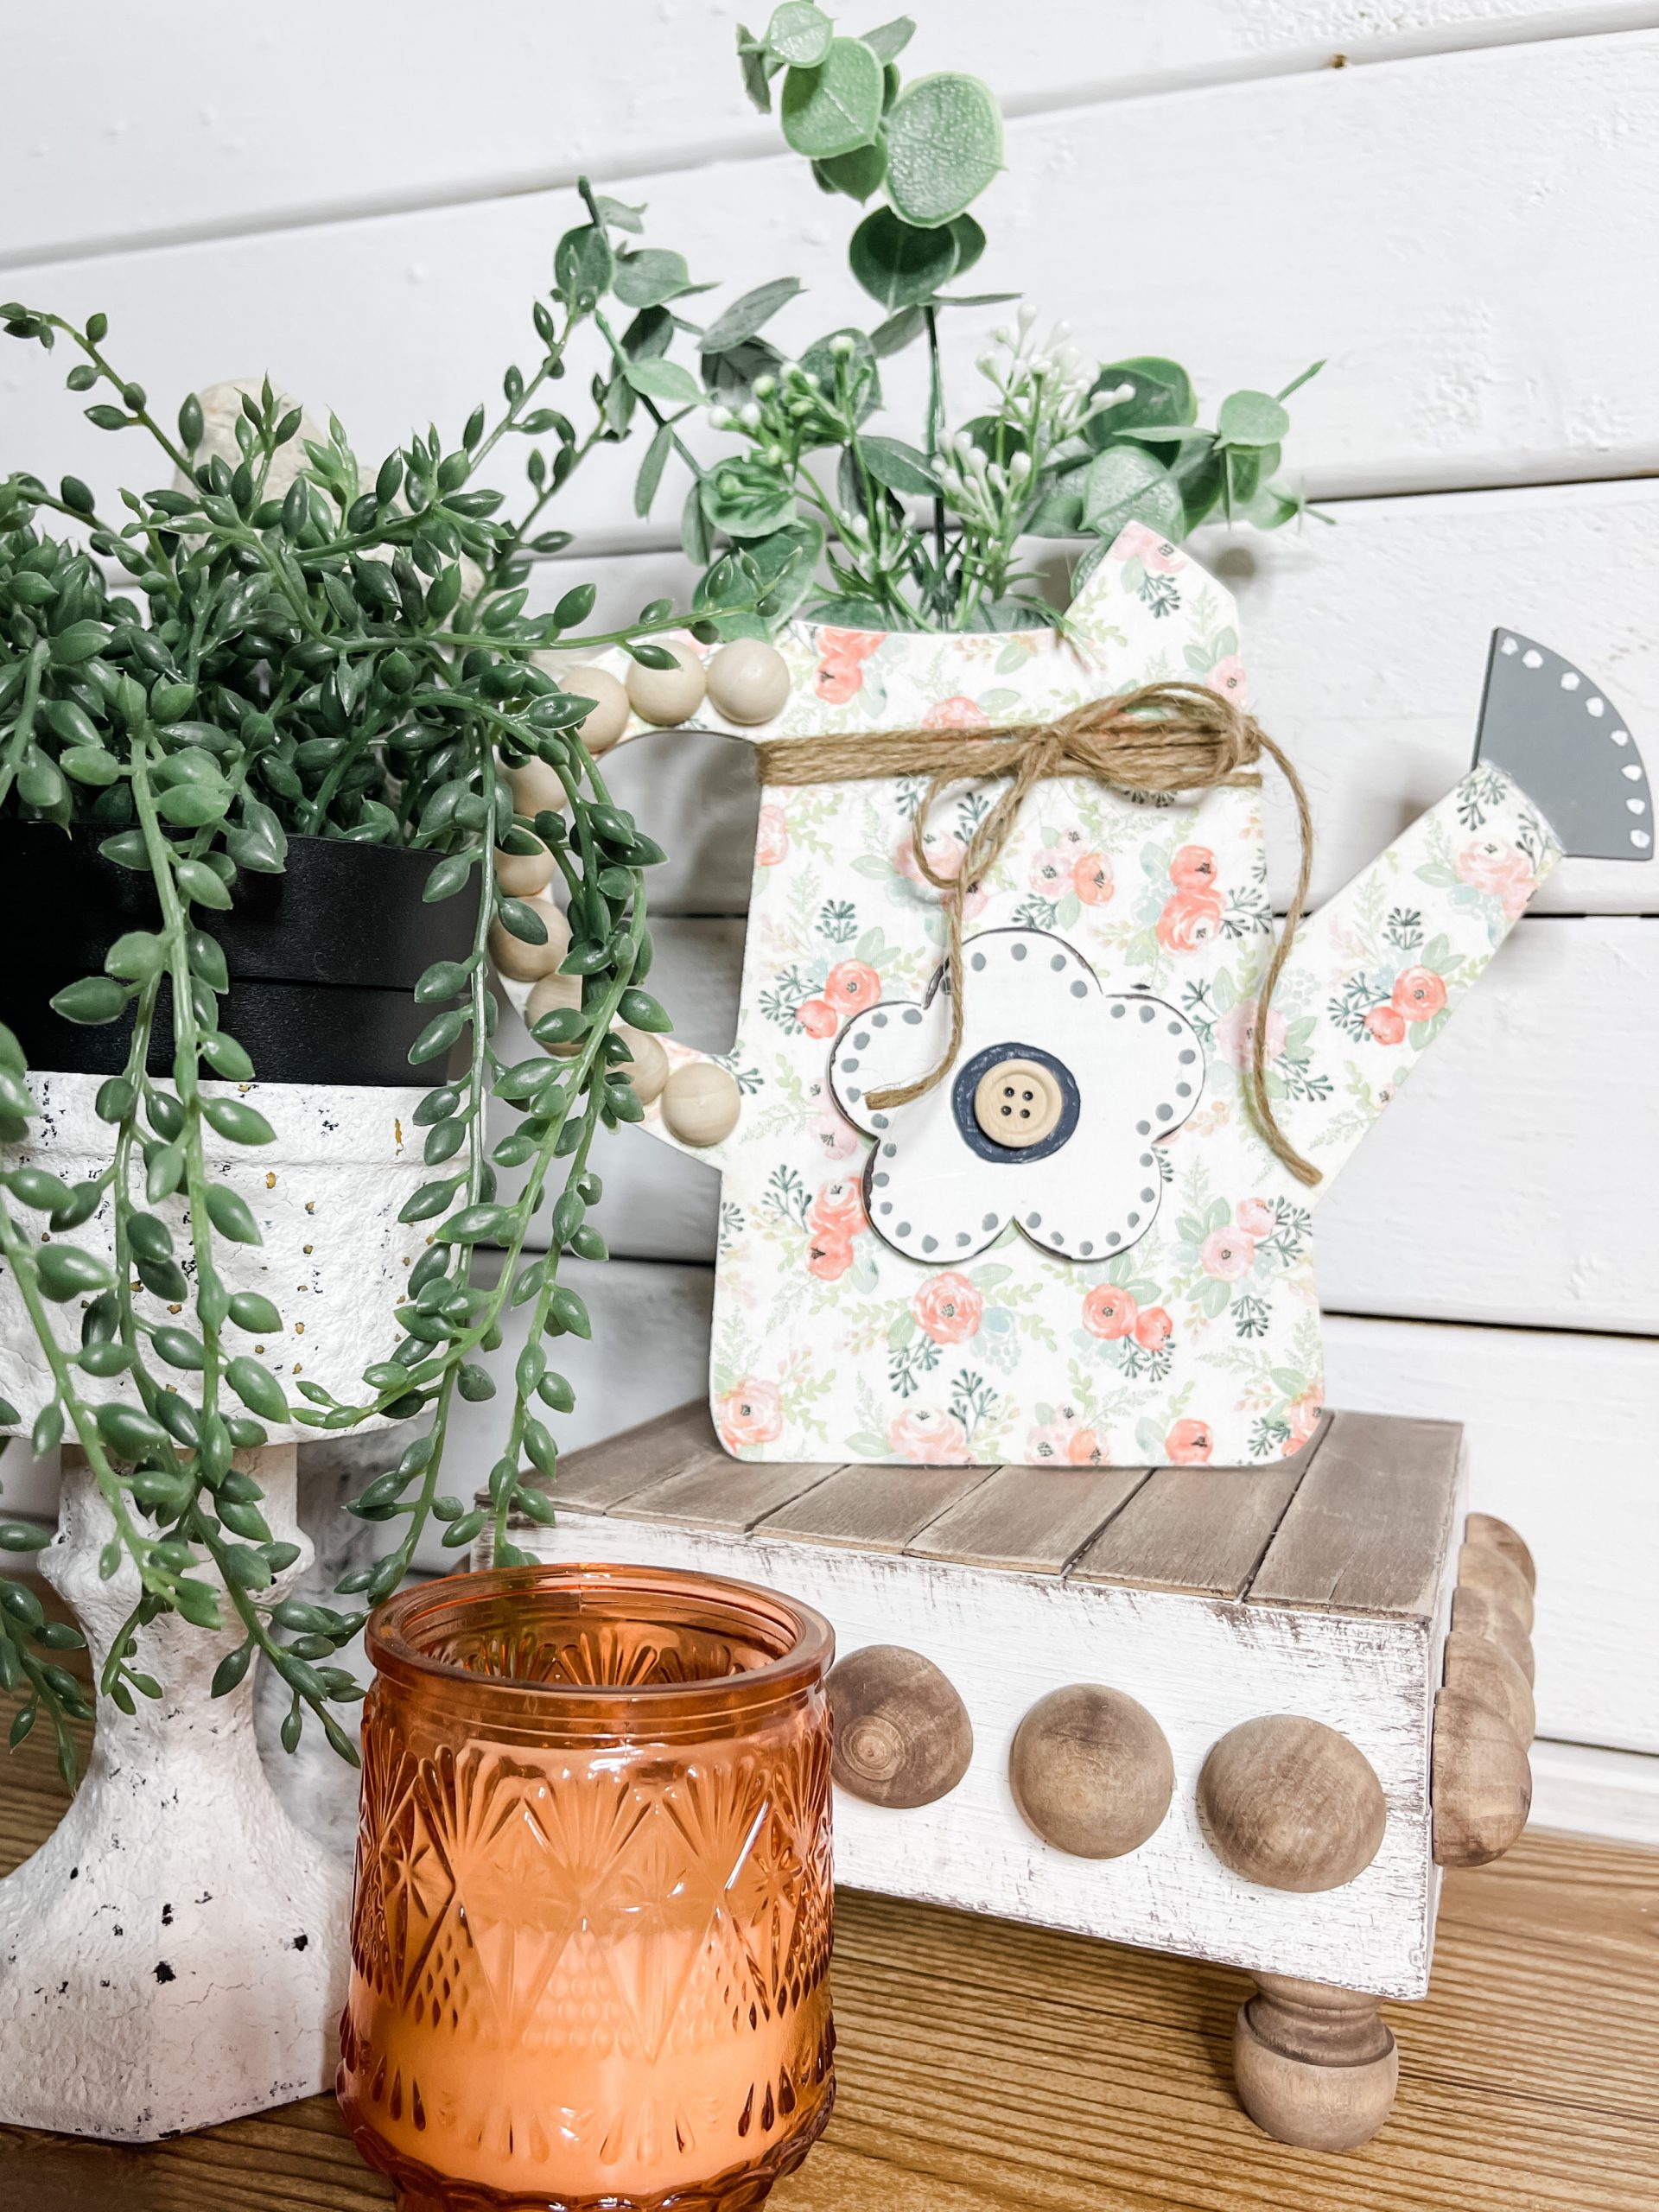
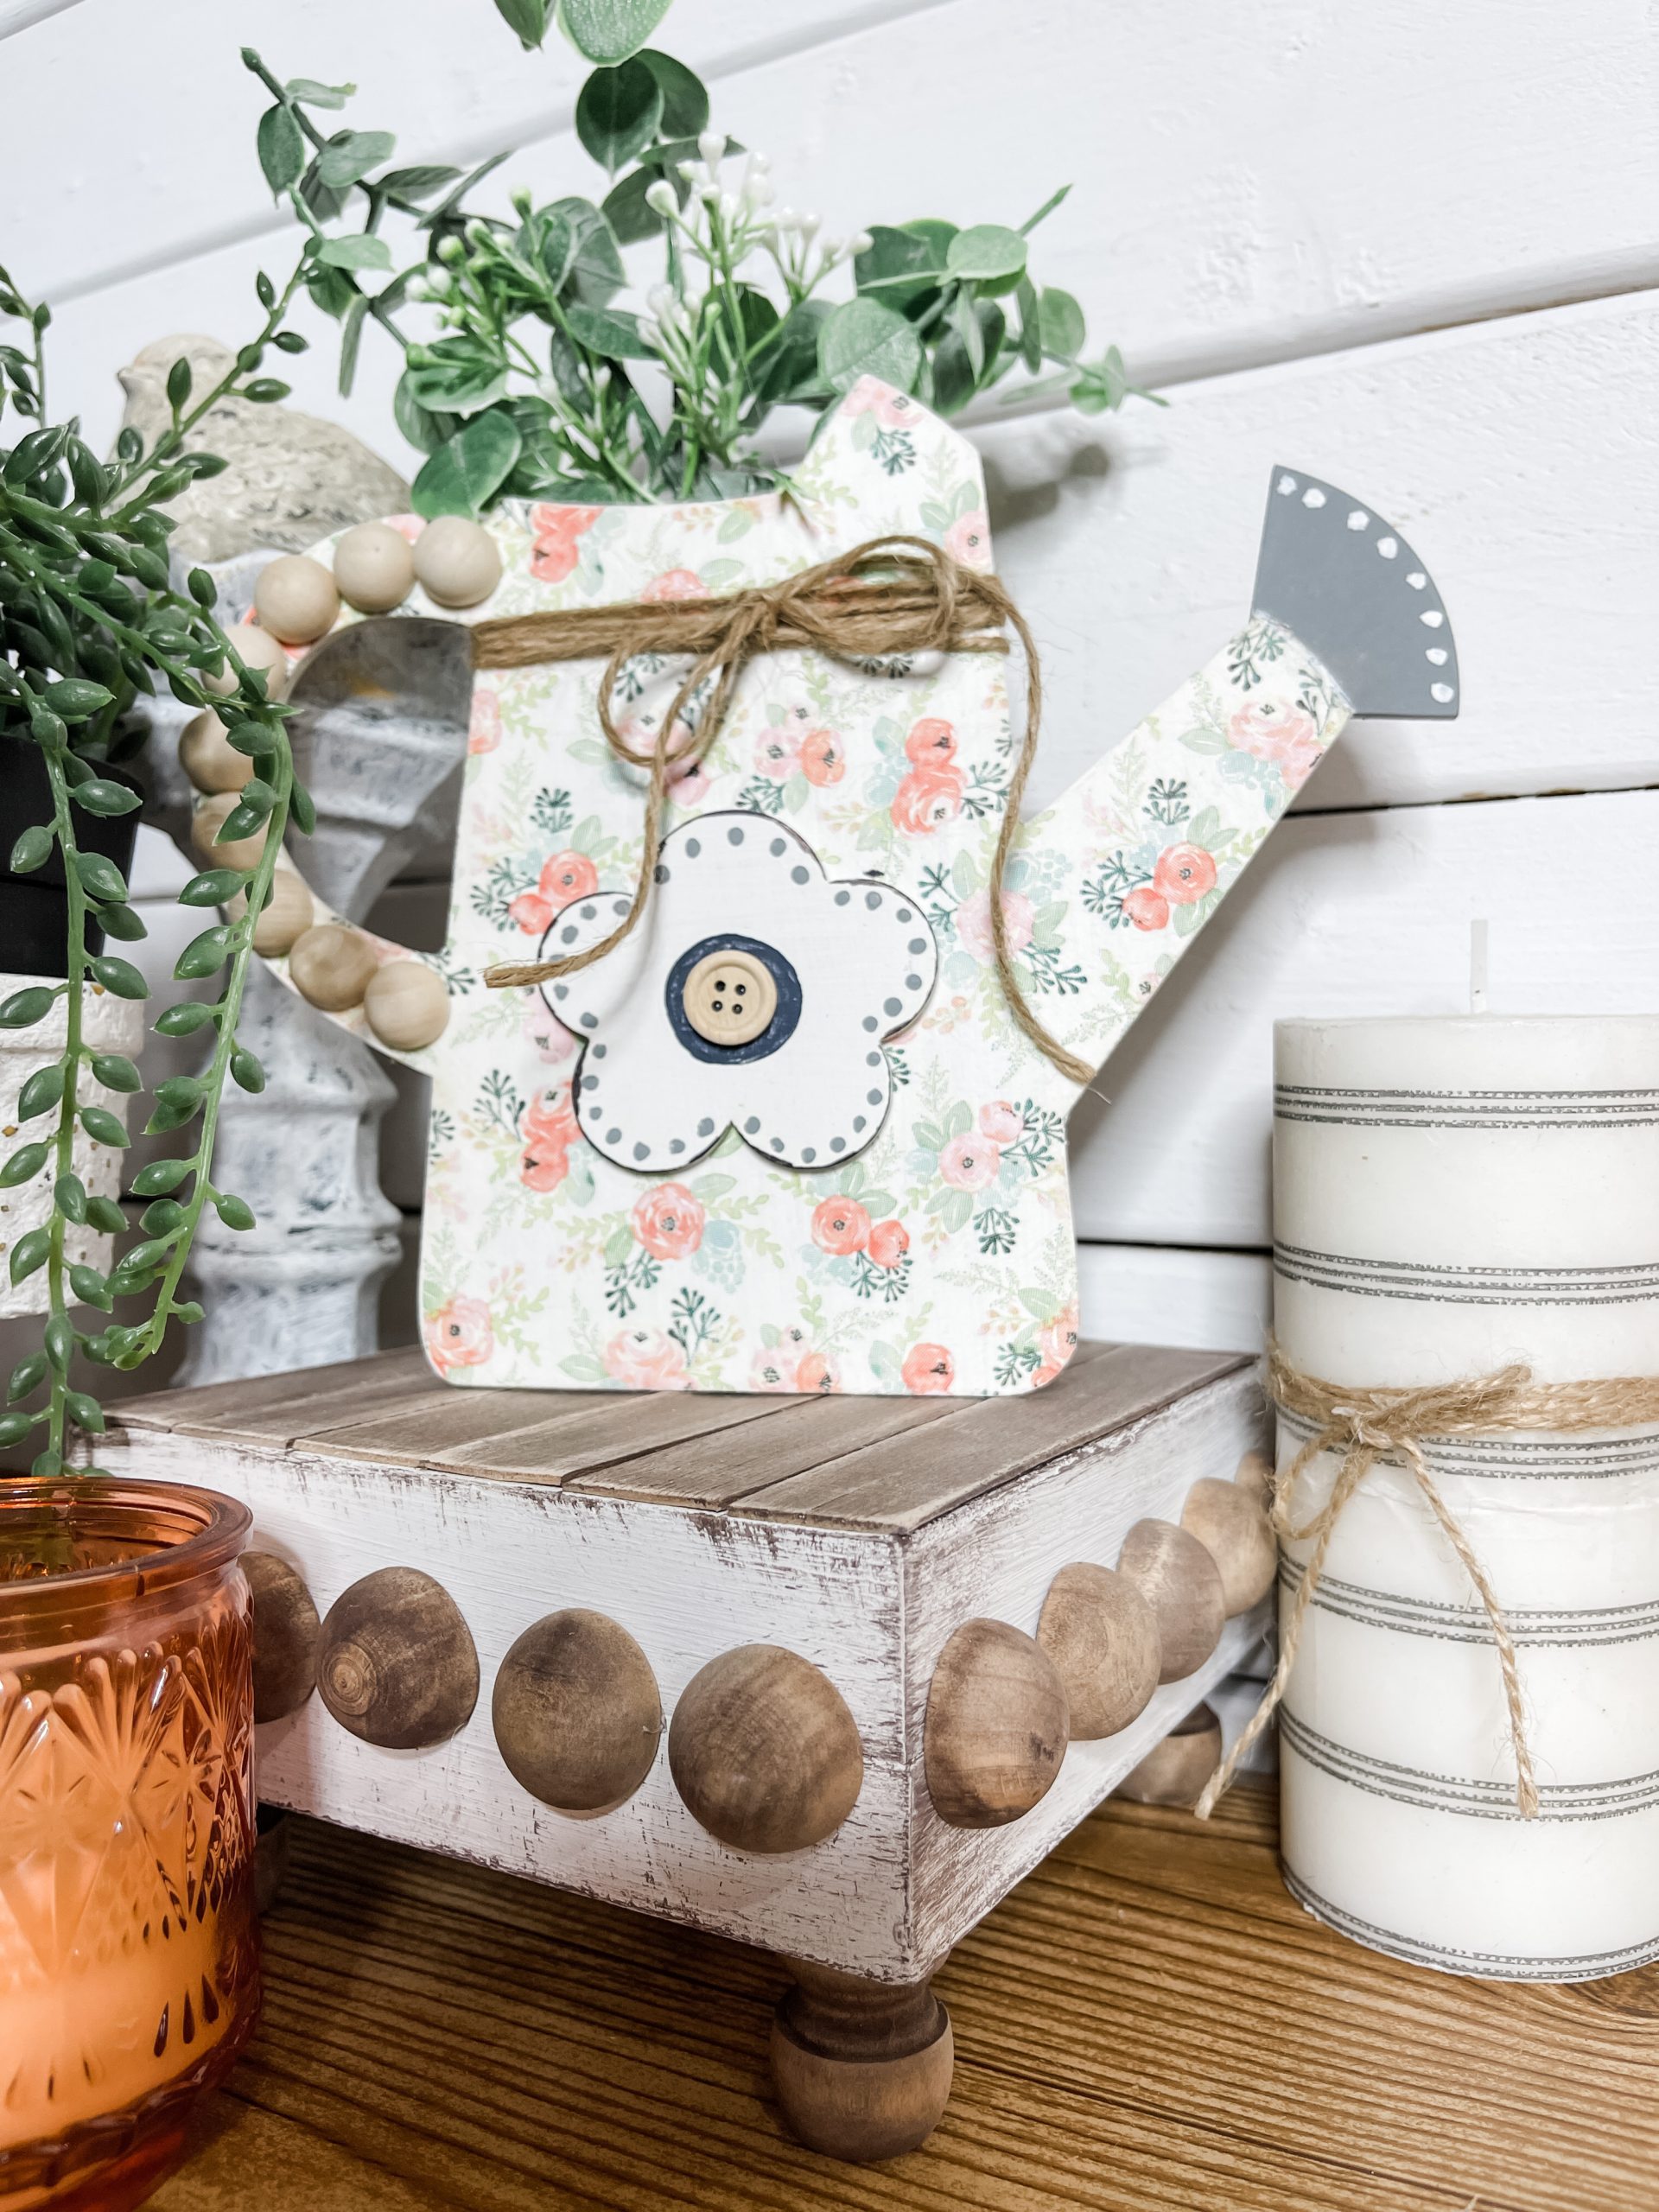
Next, I painted small dots on the spout of the watering can with white paint and painted the decorative flower for the watering can.
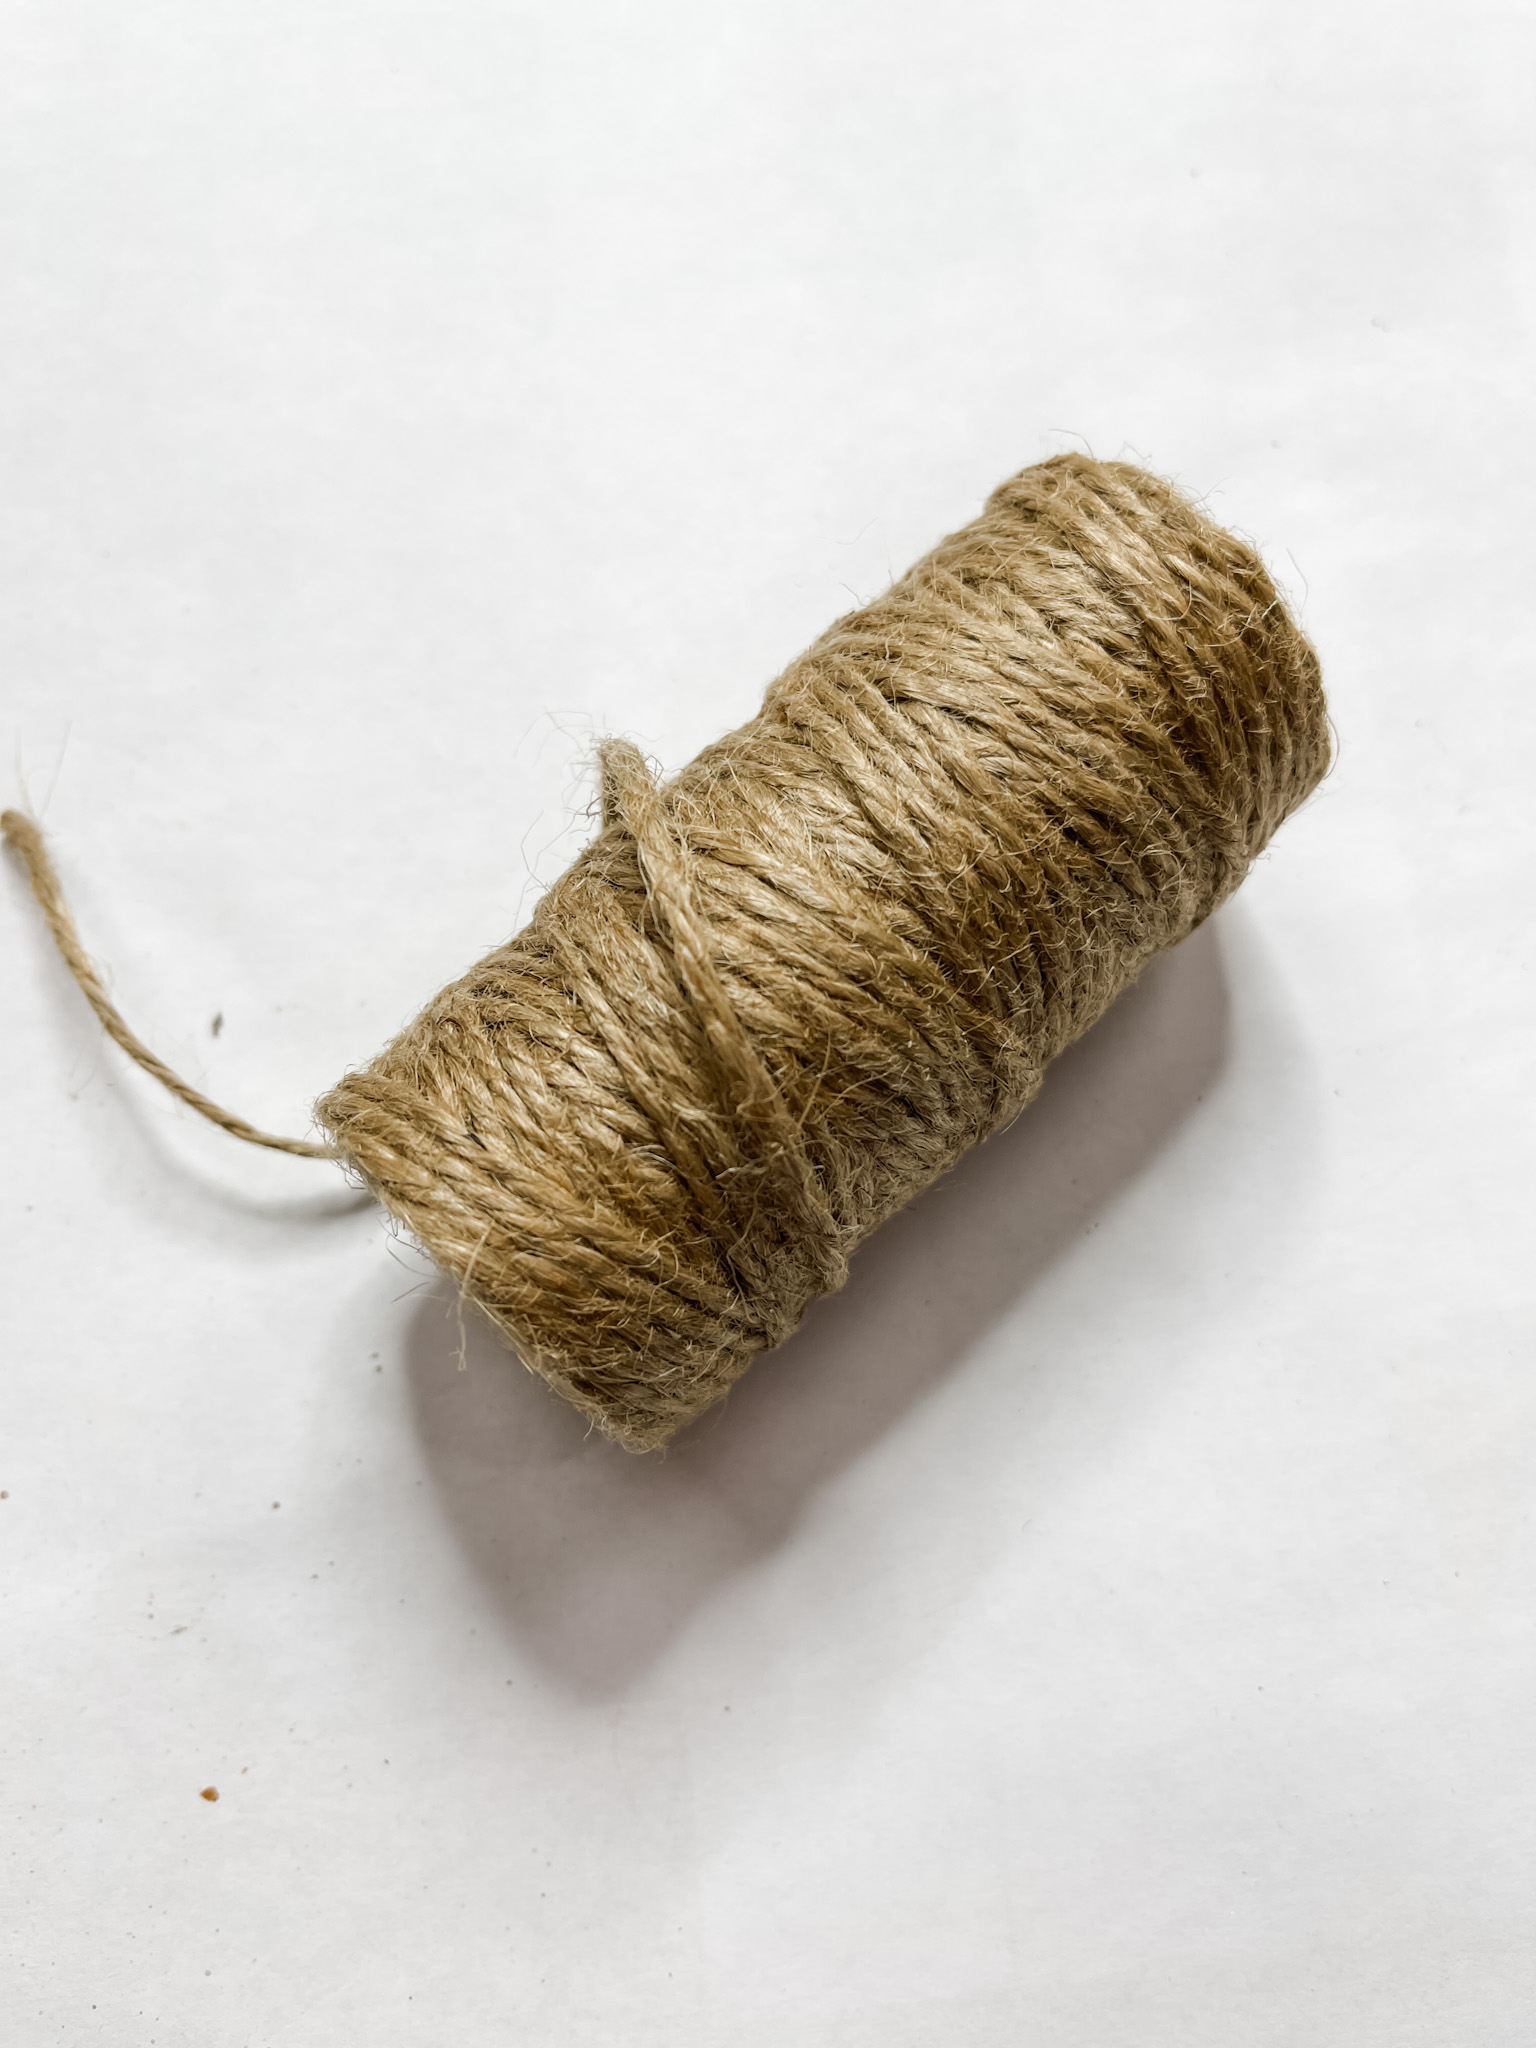
Glue half wood beads to the watering can’s handle and glue the painted flower onto the watering can. Then wrap jute twine around the top of the can and tie it in a bow.
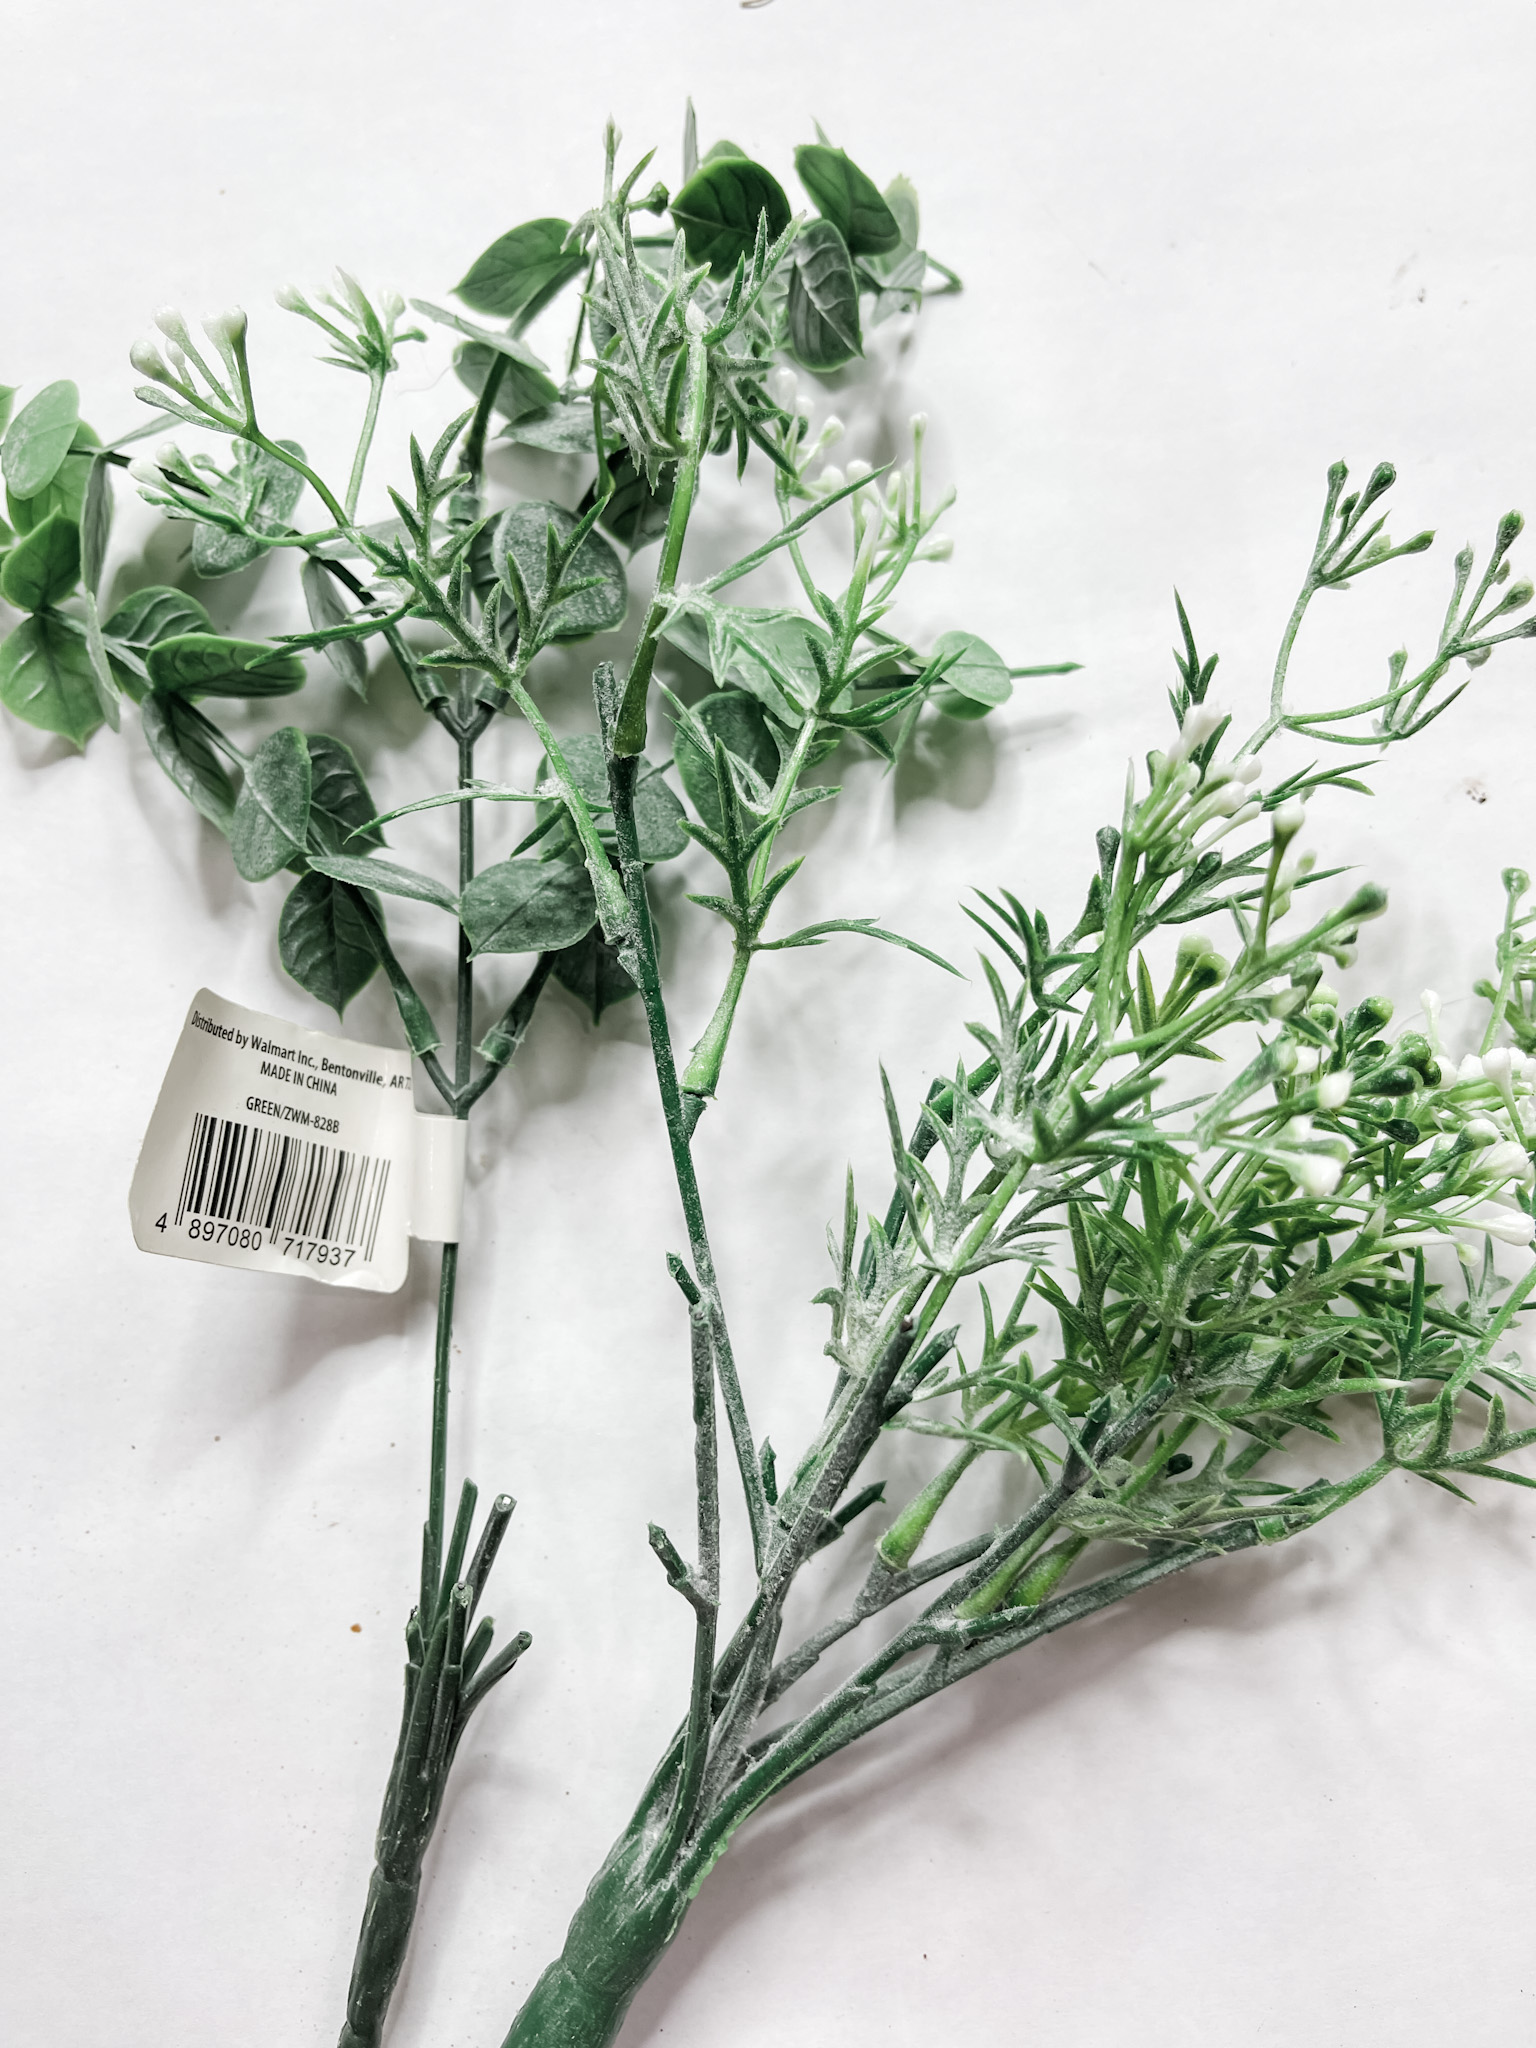
Glue your greenery and floral sprays of choice to the back of the watering can. Lastly, glue a Tumbling Tower block at the base on the back of the watering can like a kickstand.
I hope you enjoyed this Spring Gardening Tools DIY Decor as much as I did and decide to make one for yourself! I would love to see how yours turns out!
You should totally join my FREE Facebook group called On A Budget Crafts! It is a judgment-free community for DIY crafters to show off their projects and ideas.
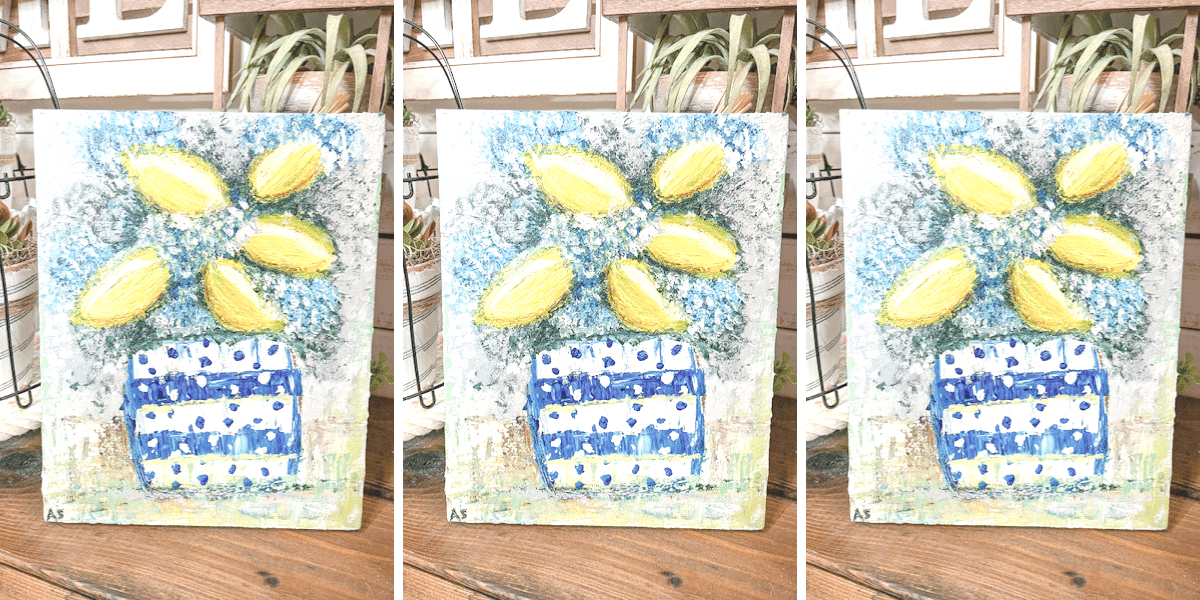
If you loved this DIY you might also like this DIY topiary!
Thanks for stopping by! XOXO Amber
You can also shop my ENTIRE AMAZON Favorites shop just click here! It’s packed full of all the things I use and love. Here is the supply list I highly recommend every creative have on hand!!
Would you also pin my blog for later and get on my newsletter alerts? I would love to have you join my #craftycrew.
Inspired? Leave me a comment below! I love hearing from my readers!

Join my free “ON A BUDGET CRAFTS” Facebook group!
So precious. Would be a great decor for any porch, deck or Sun room. I love this