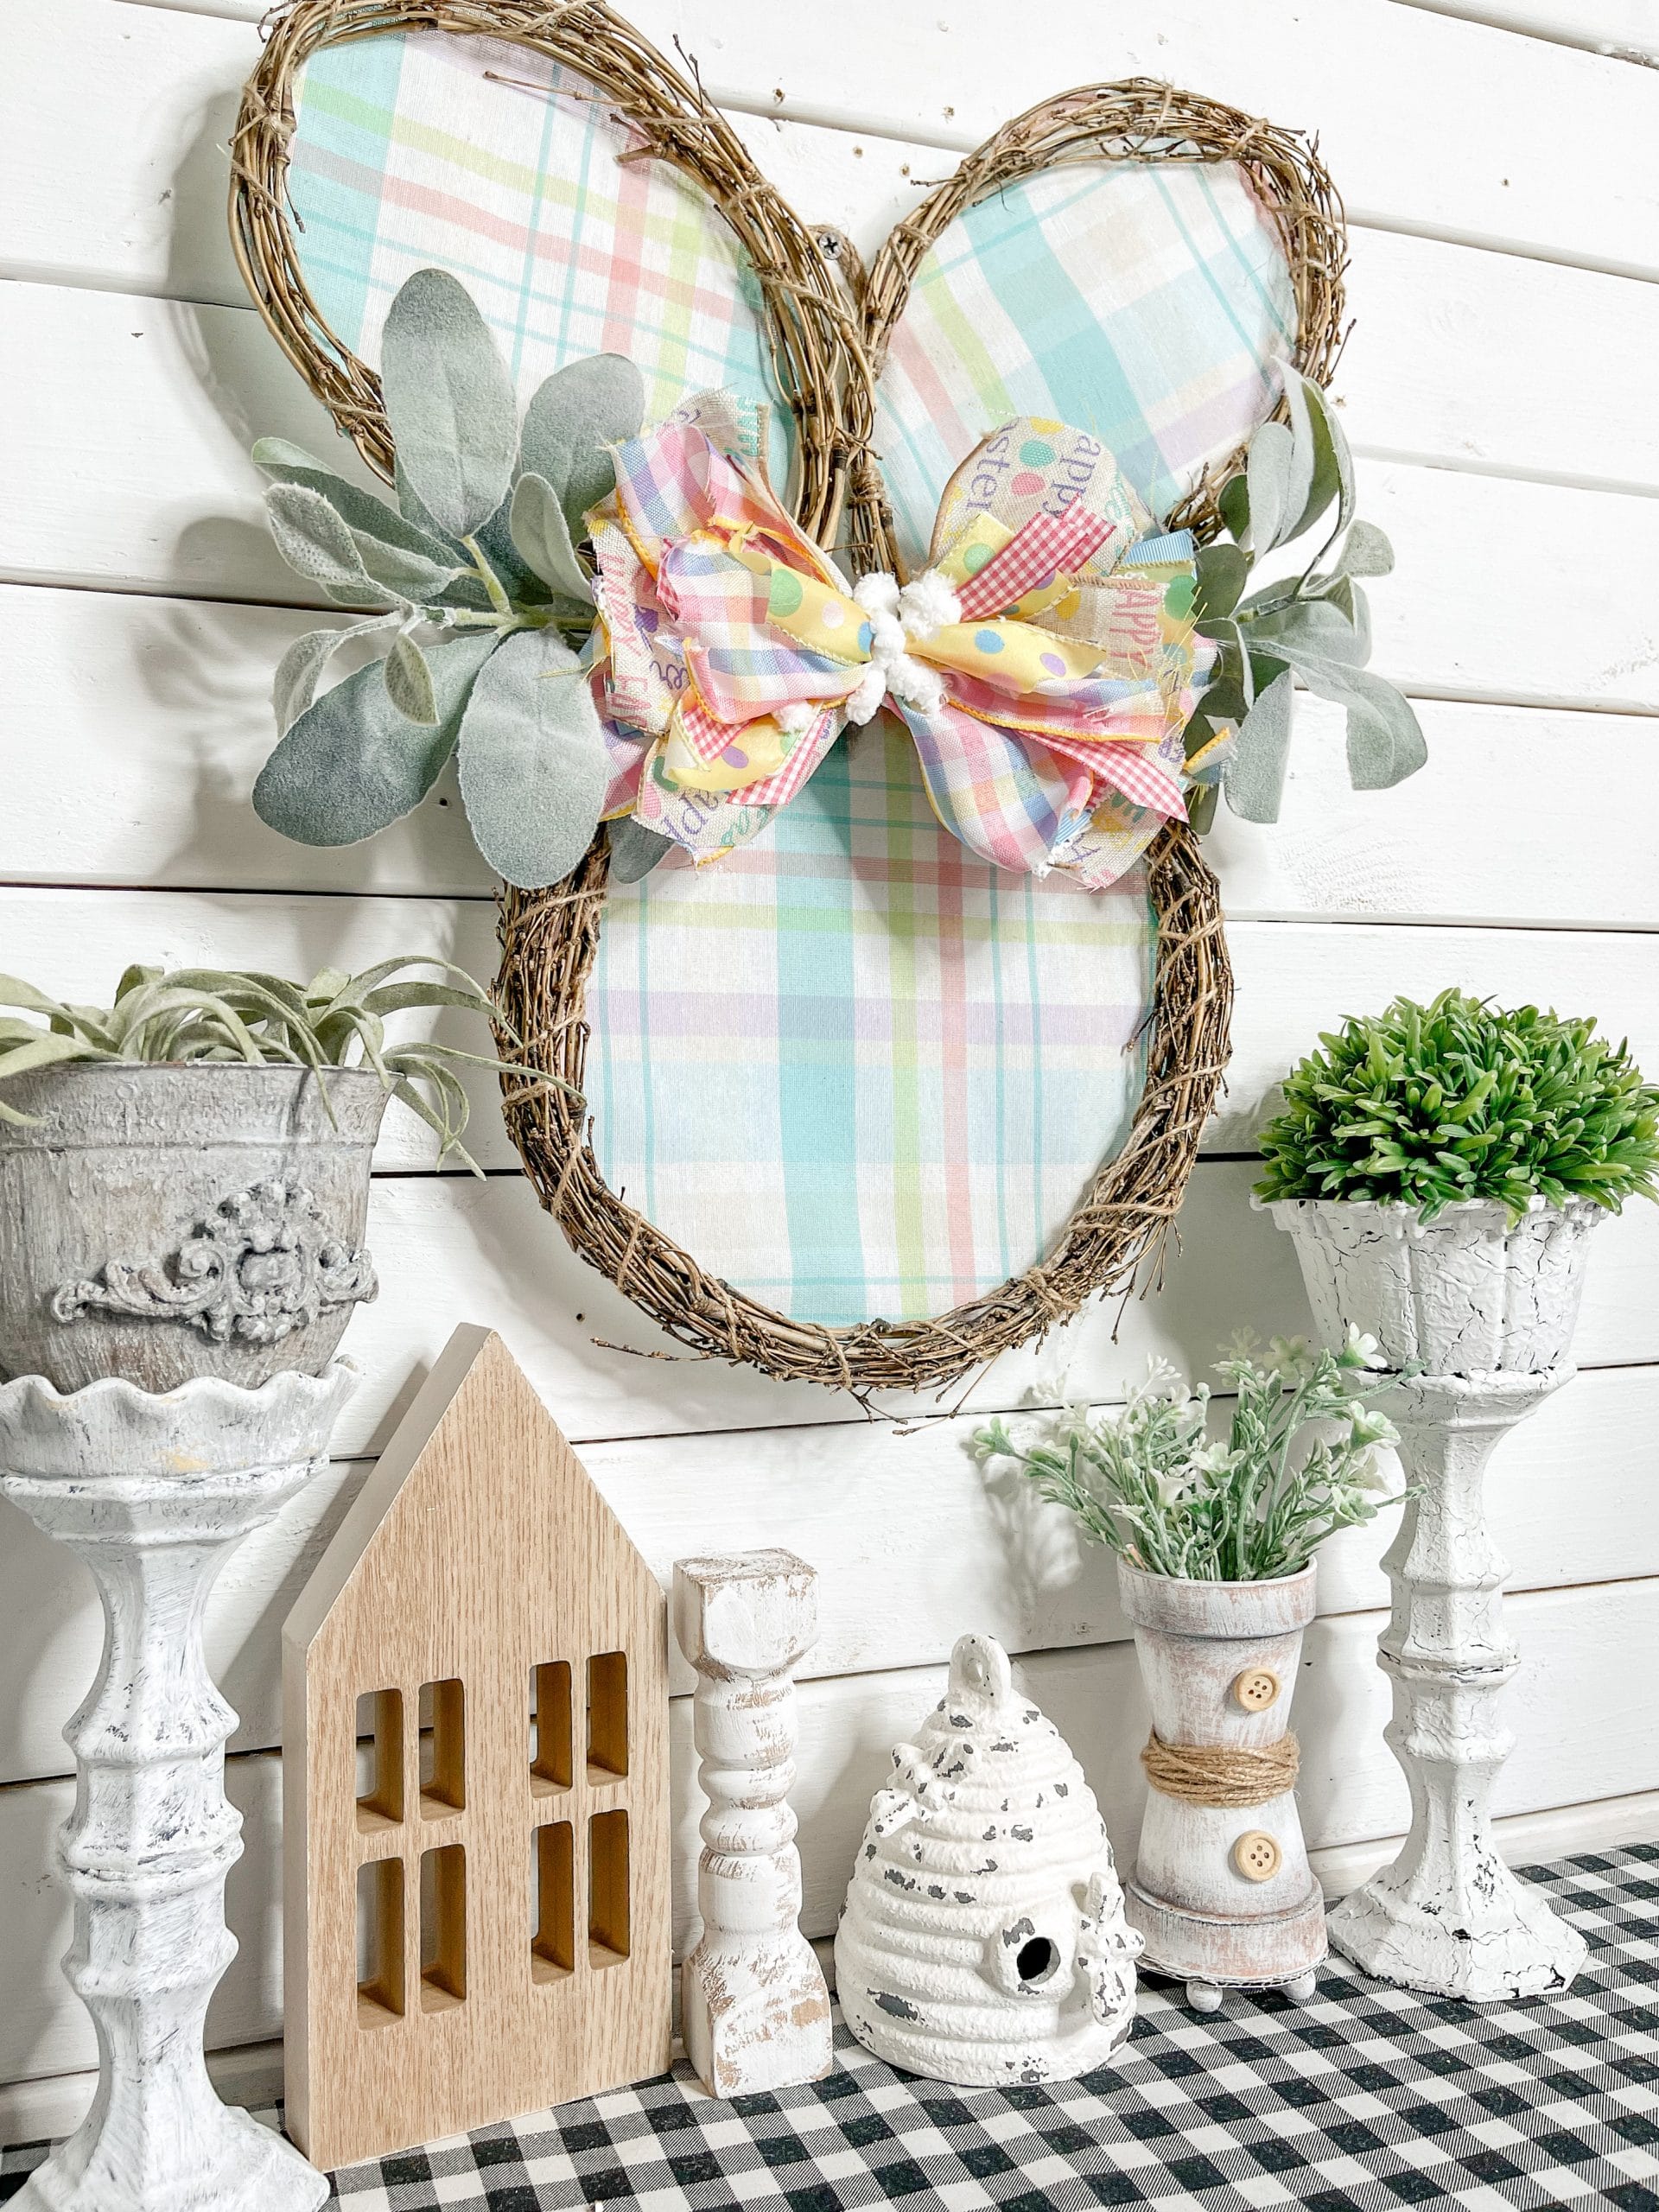
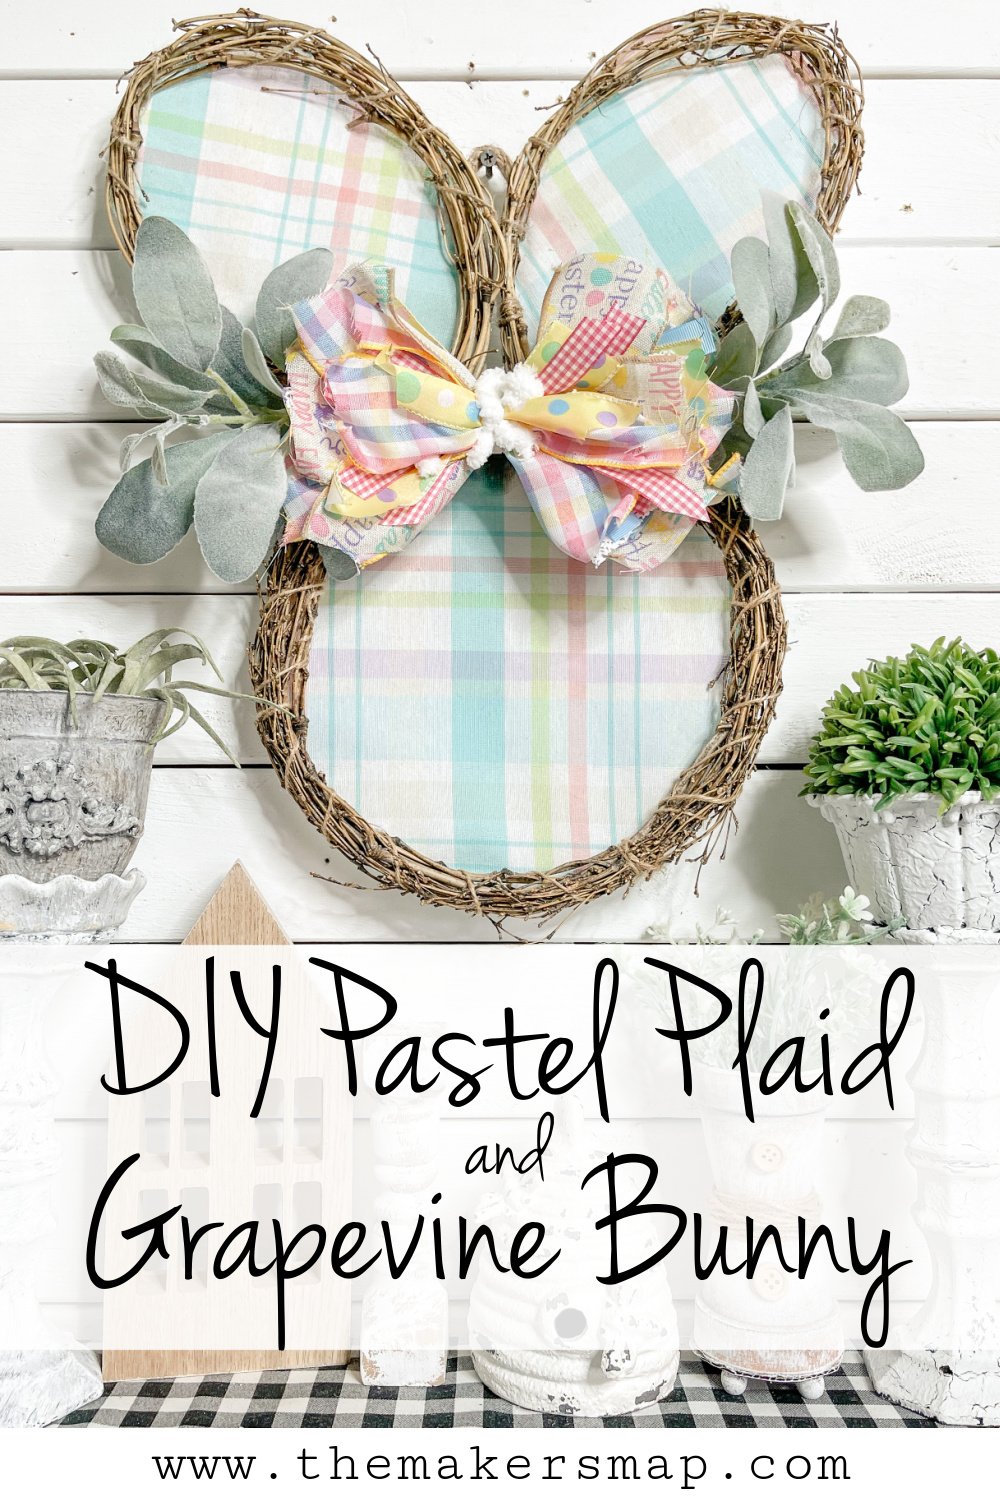
DIY Pastel Plaid and Grapevine Bunny
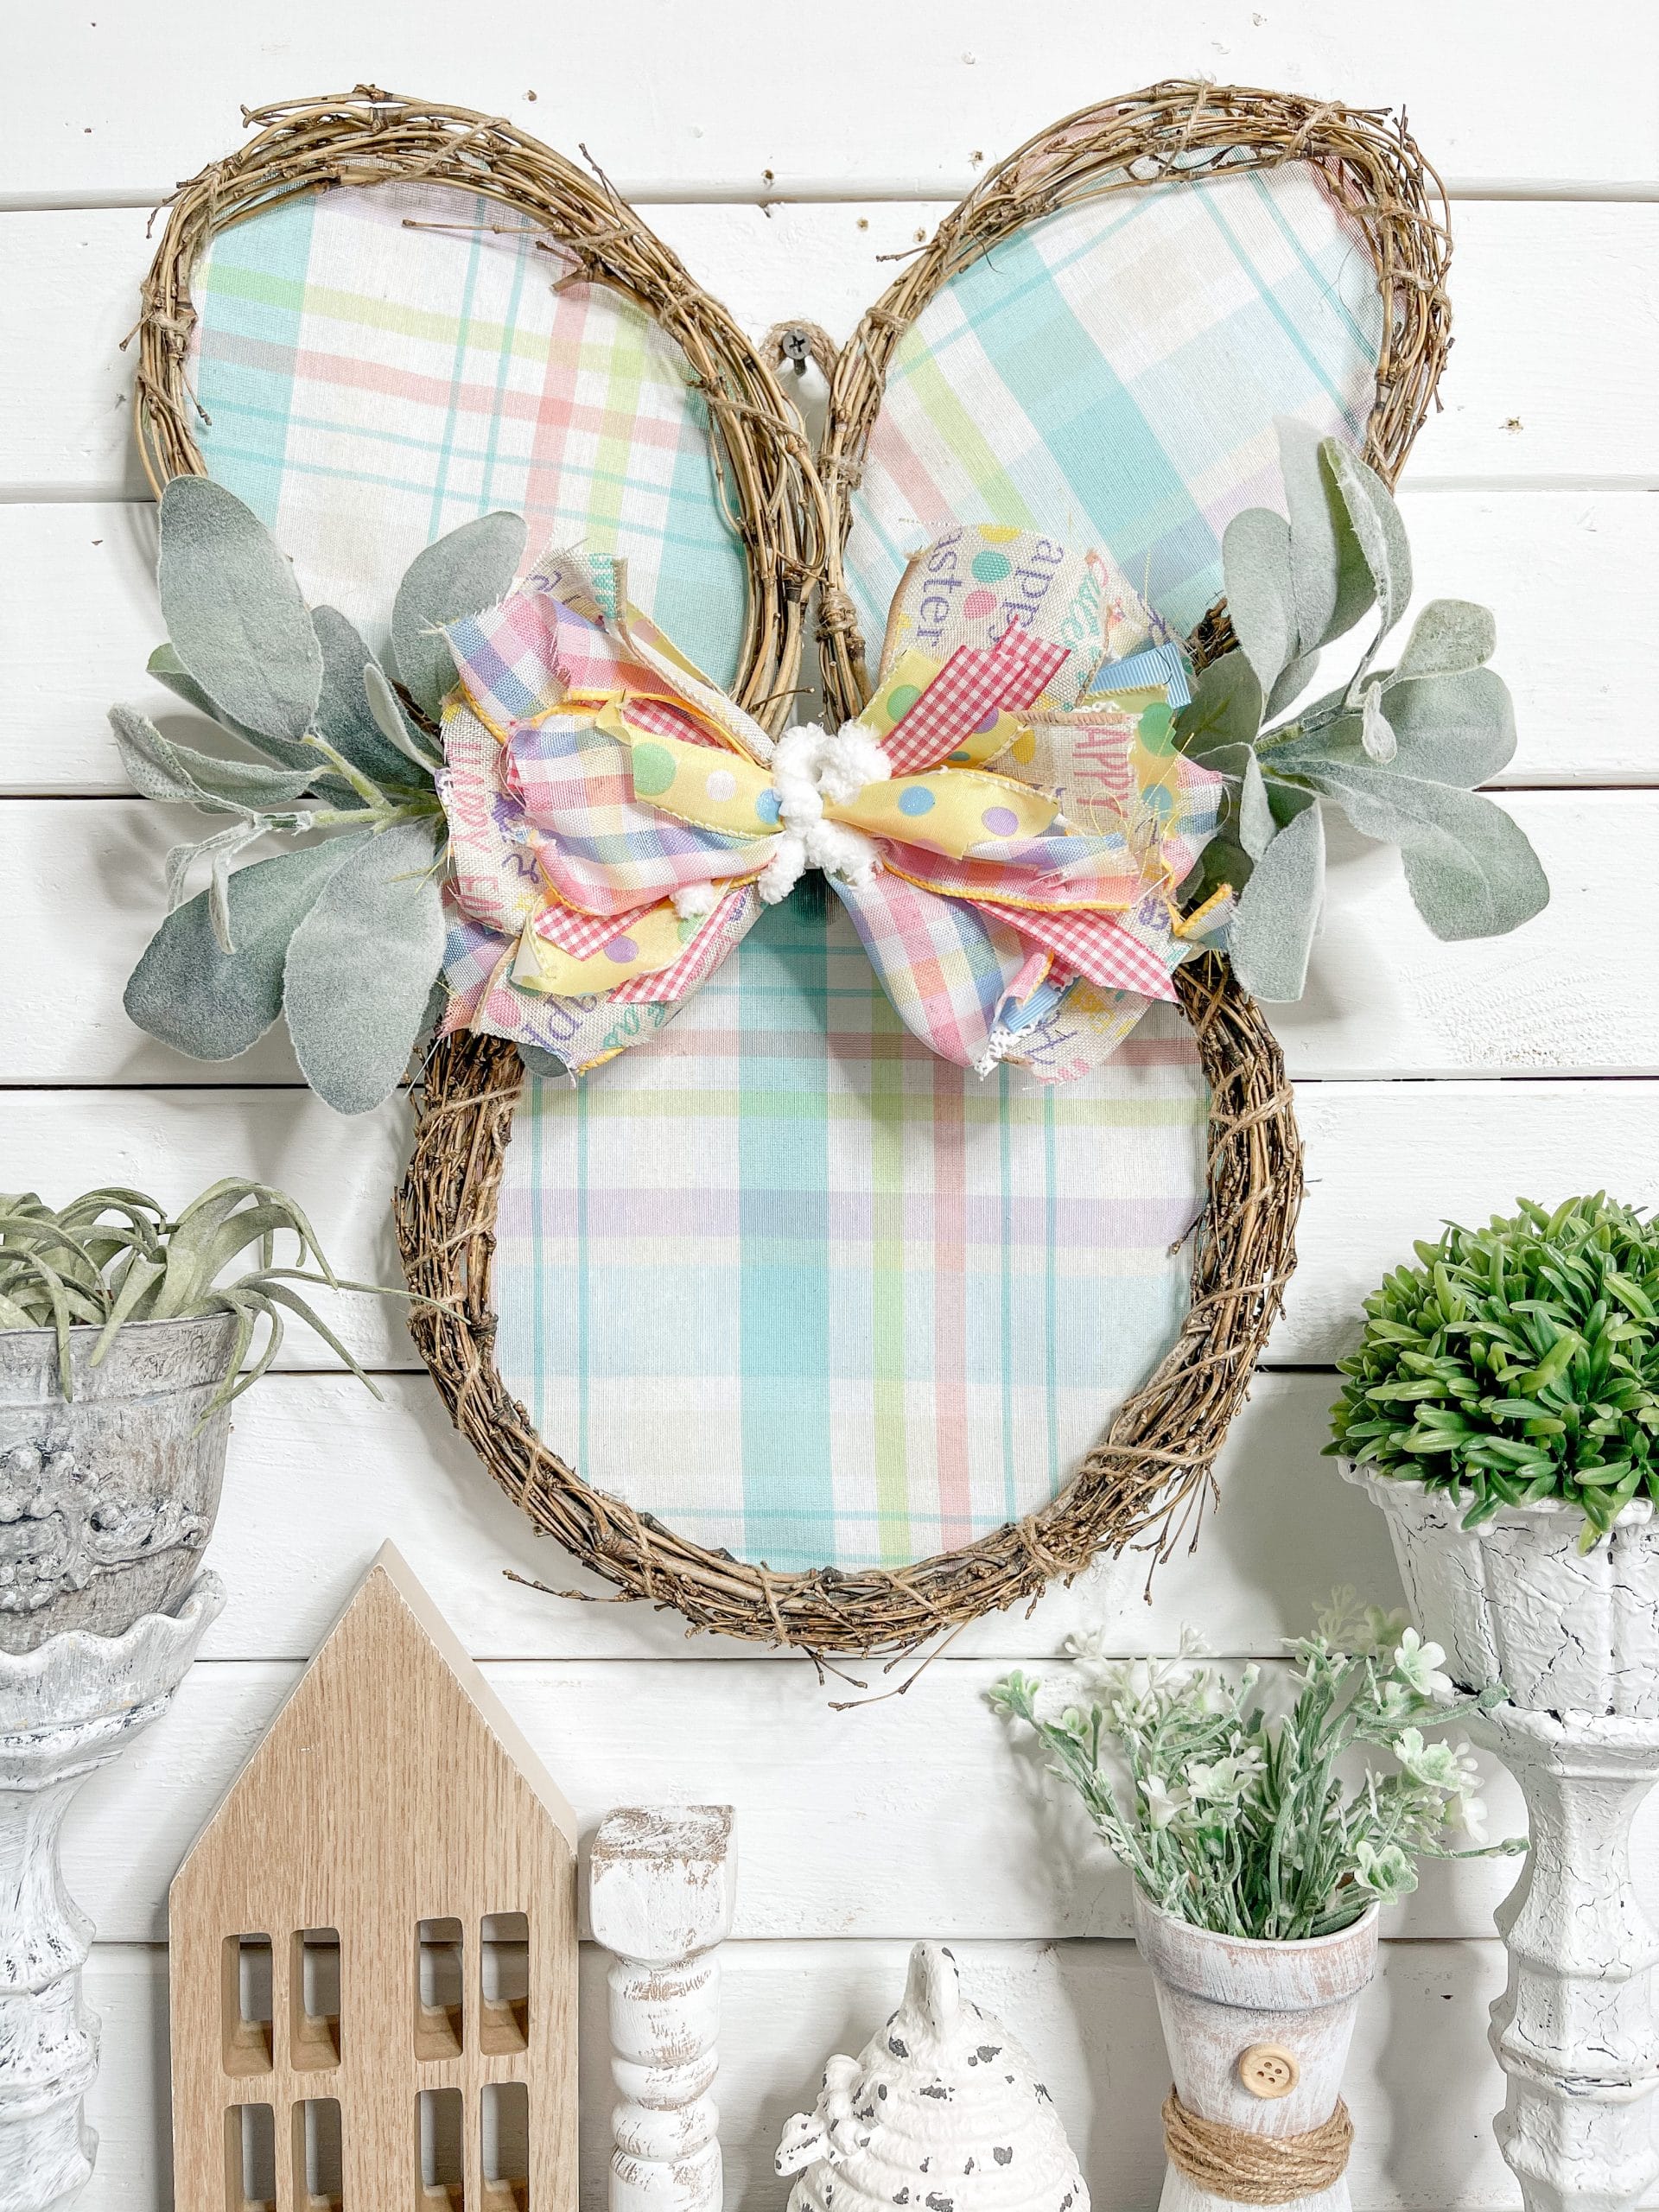
I don’t like to brag, but I really think I outdid myself with this DIY Pastel Plaid and Grapevine Bunny! This DIY decor is so stinking cute, I honestly feel like you would see something just like this at Hobby Lobby!
Making this DIY Pastel Plaid and Grapevine Bunny is so easy, even a beginner crafting could make it! If you’re looking for more easy Easter decor DIY’s, check these out:
- Shabby Chic Dollar Tree Easter Decor
- Dollar Tree Mossy Bunny Easter Decor
- Dollar Tree Duster DIY Easter Wreath
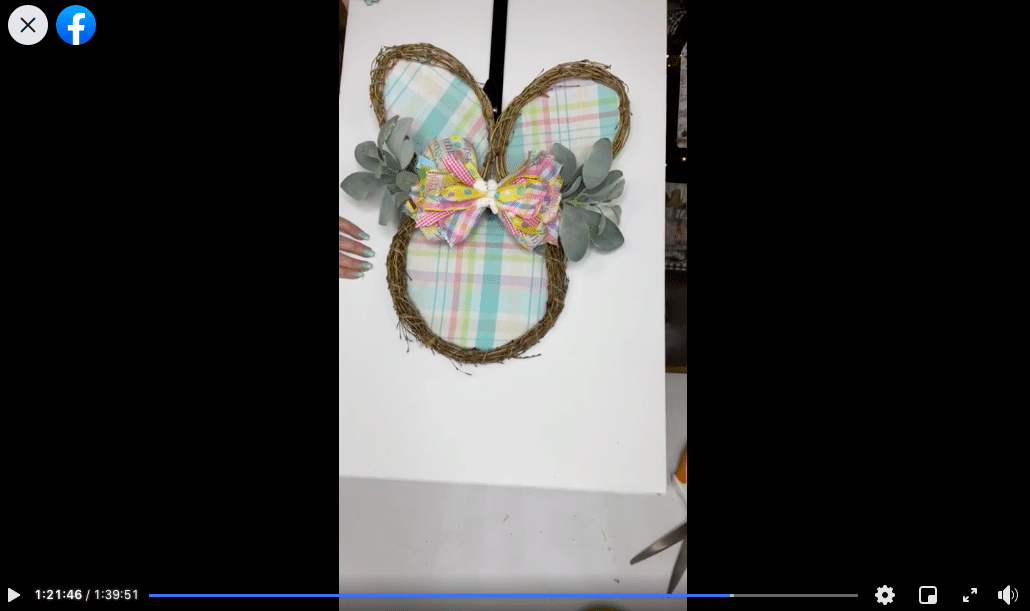
Watch the replay
Don’t believe me when I say this is an incredibly easy Easter DIY project? Well, I shared the how-to steps during a LIVE video on my Facebook page, and you can watch the replay to see how I made a DIY Pastel Plaid and Grapevine Bunny or just join in on the fun conversations!
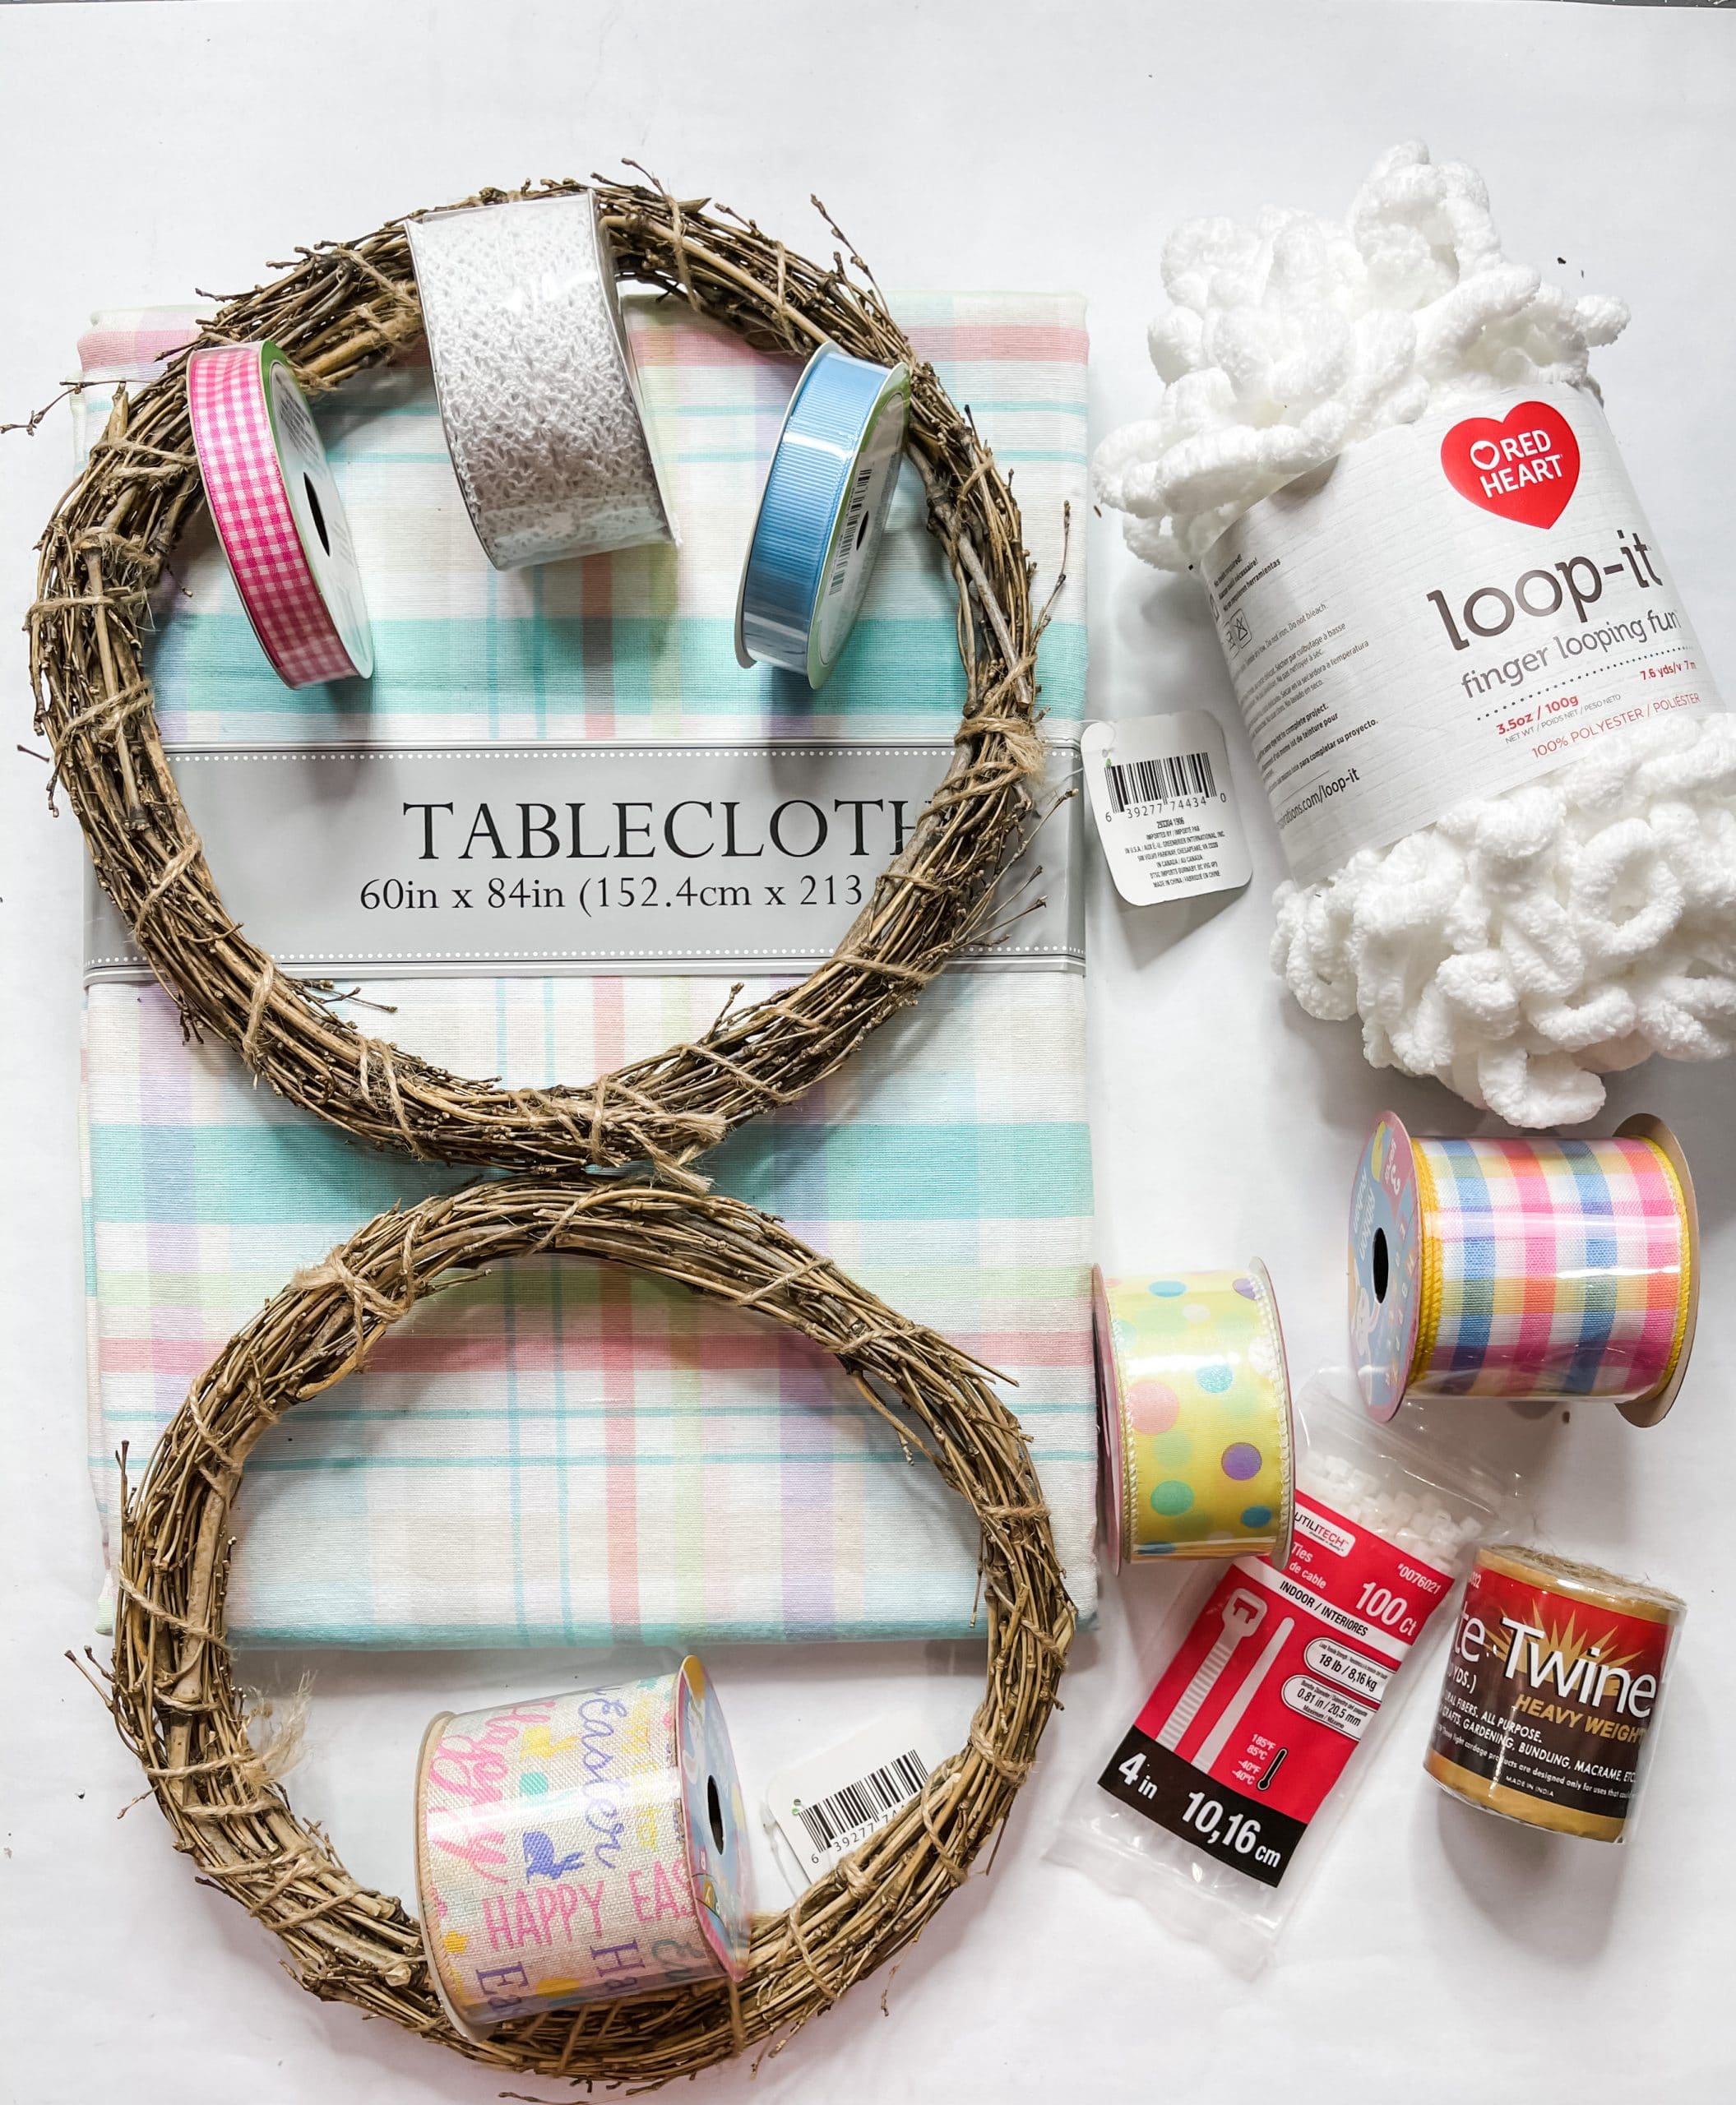
For this project, I will be using these items but you can substitute where you want.
“As an Amazon Associate, I earn from qualifying purchases.”
- Dollar Tree Grapevine wreaths (x2)
- Dollar Tree Nautical Rope
- Lamb’s Ear Greenery
- Jute Twine
- Loop-it Yarn (Hobby Lobby)
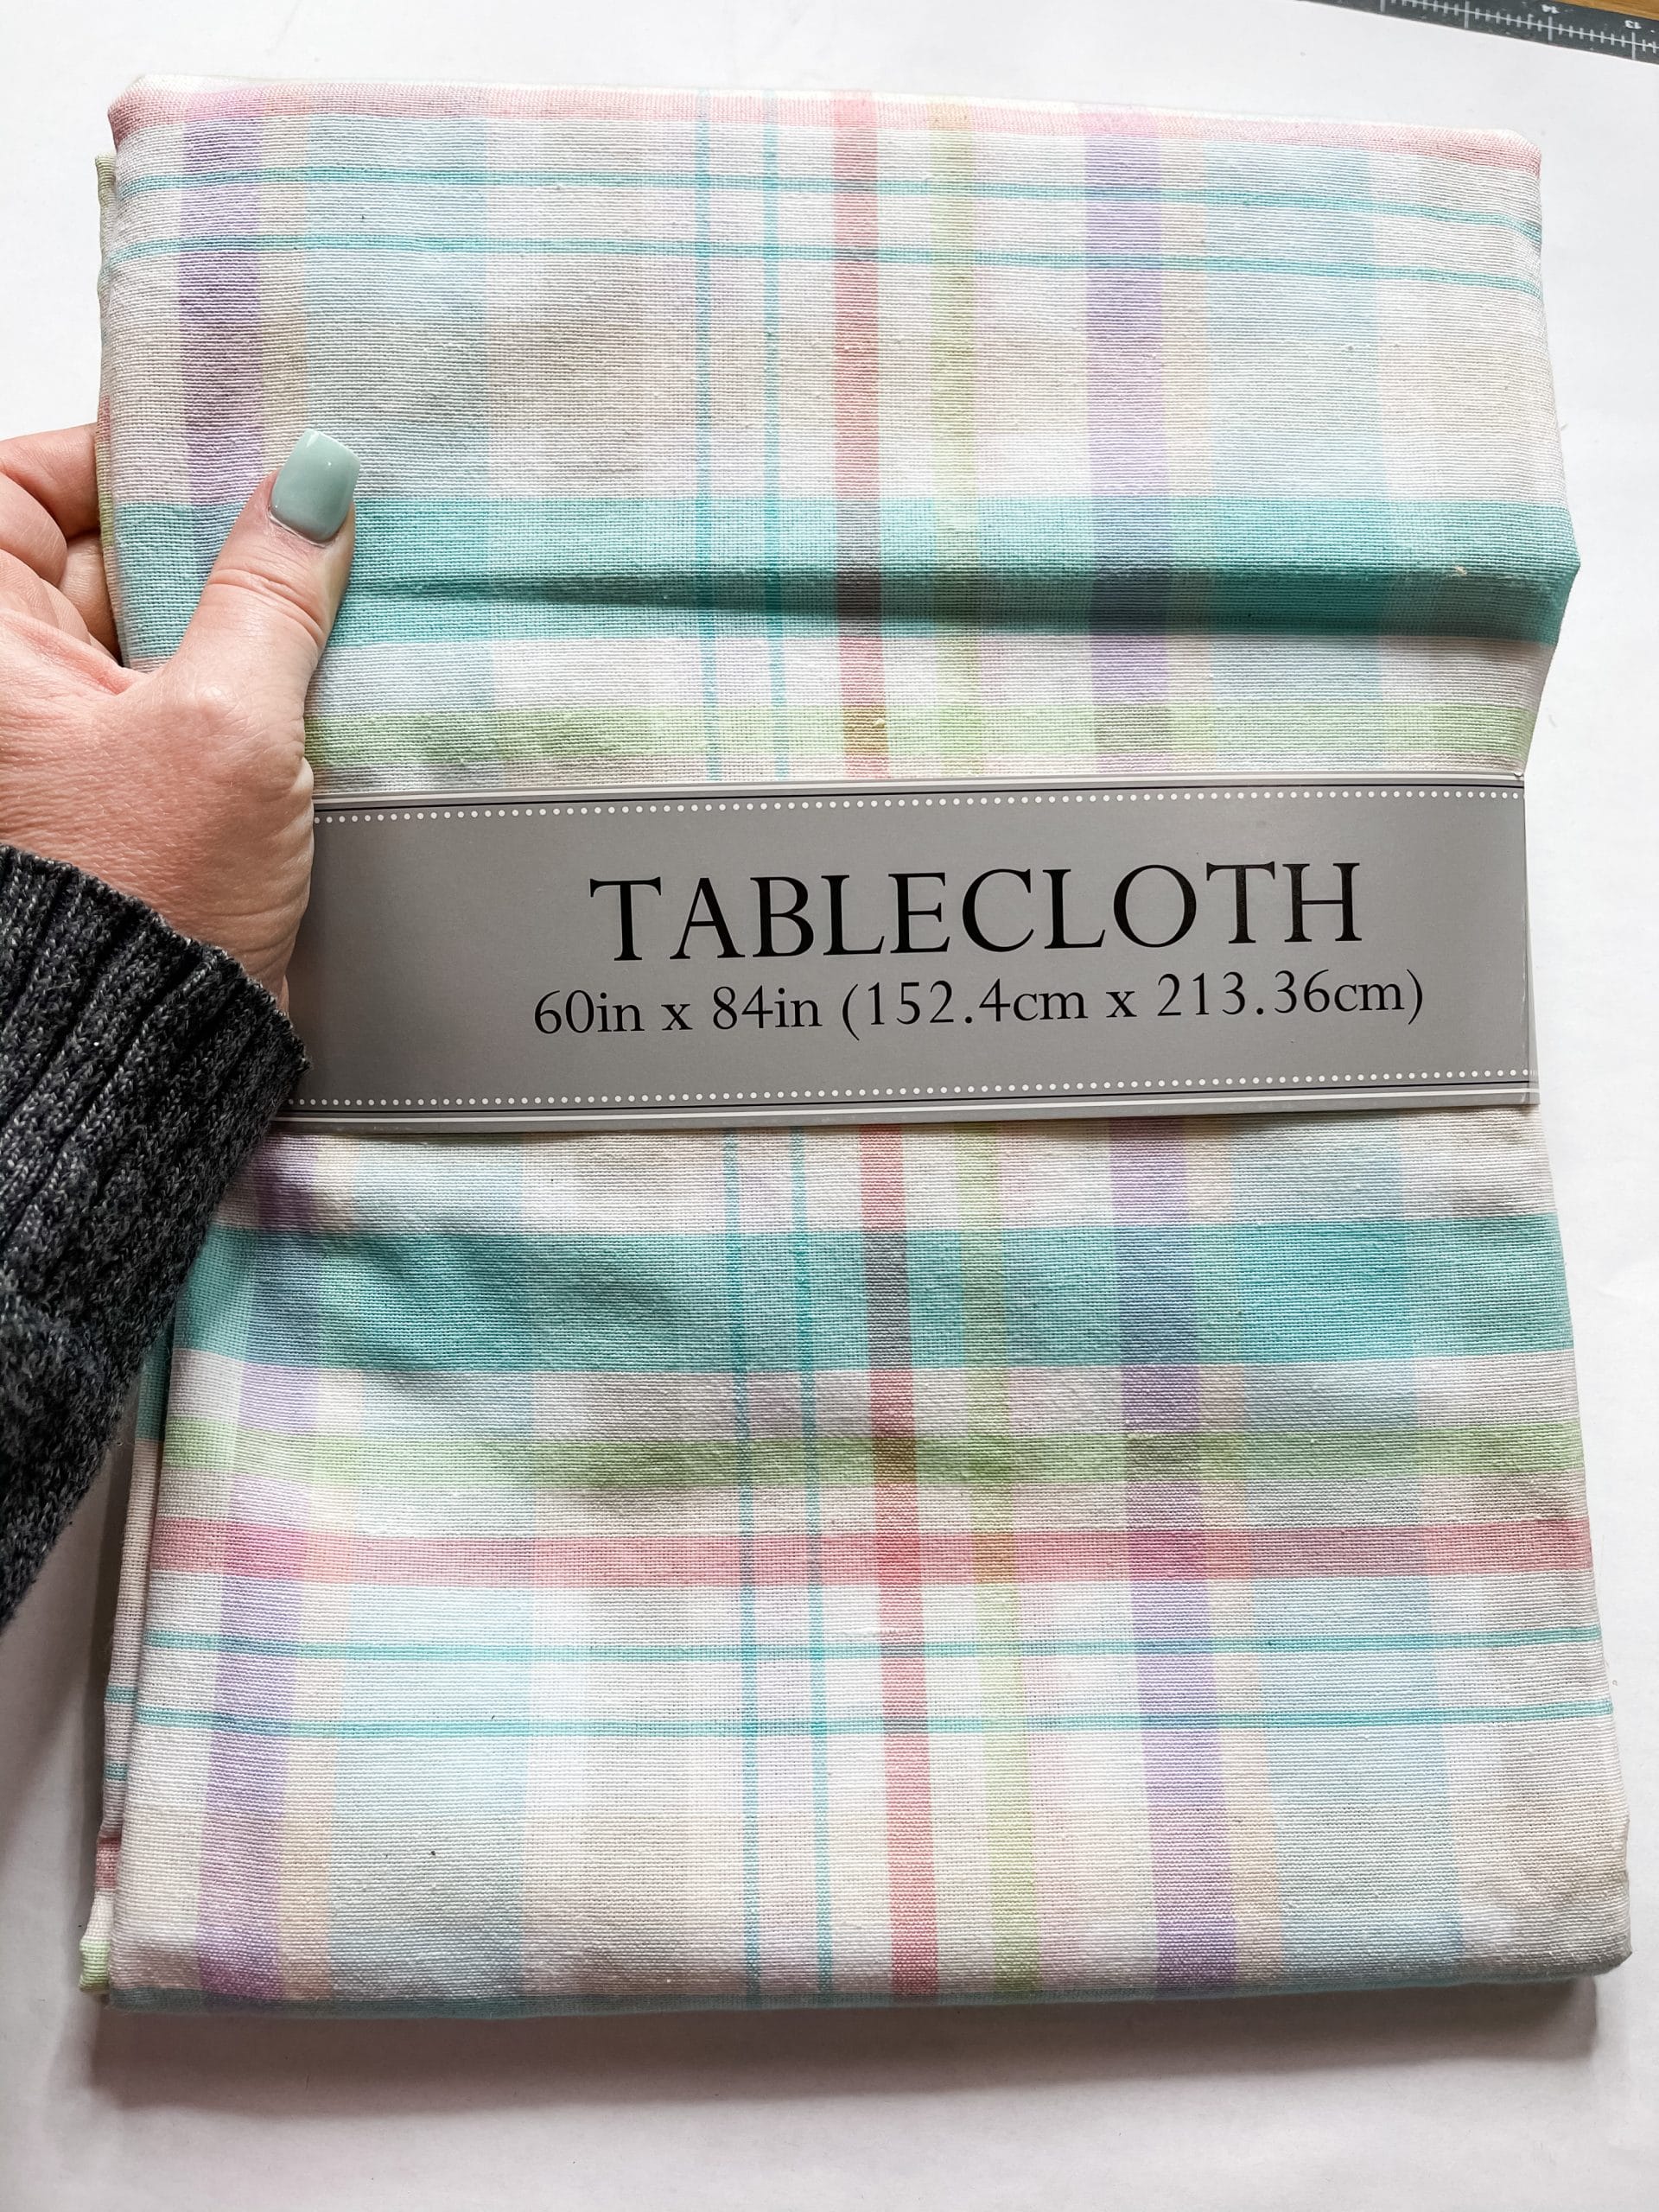
- Pastel Plaid Fabric (I used a tablecloth from Hobby Lobby!)
- Yellow with pastel polka dots ribbon
- Dollar Tree Happy Easter Ribbon
- Dollar Tree Blue Ribbon
- White Lace Ribbon
- Dollar Tree Pink Gingham Ribbon
- Dollar Tree Pastel Plaid Ribbon
- Hot Glue gun
- Glue Sticks
How to make a DIY Pastel Plaid and Grapevine Bunny
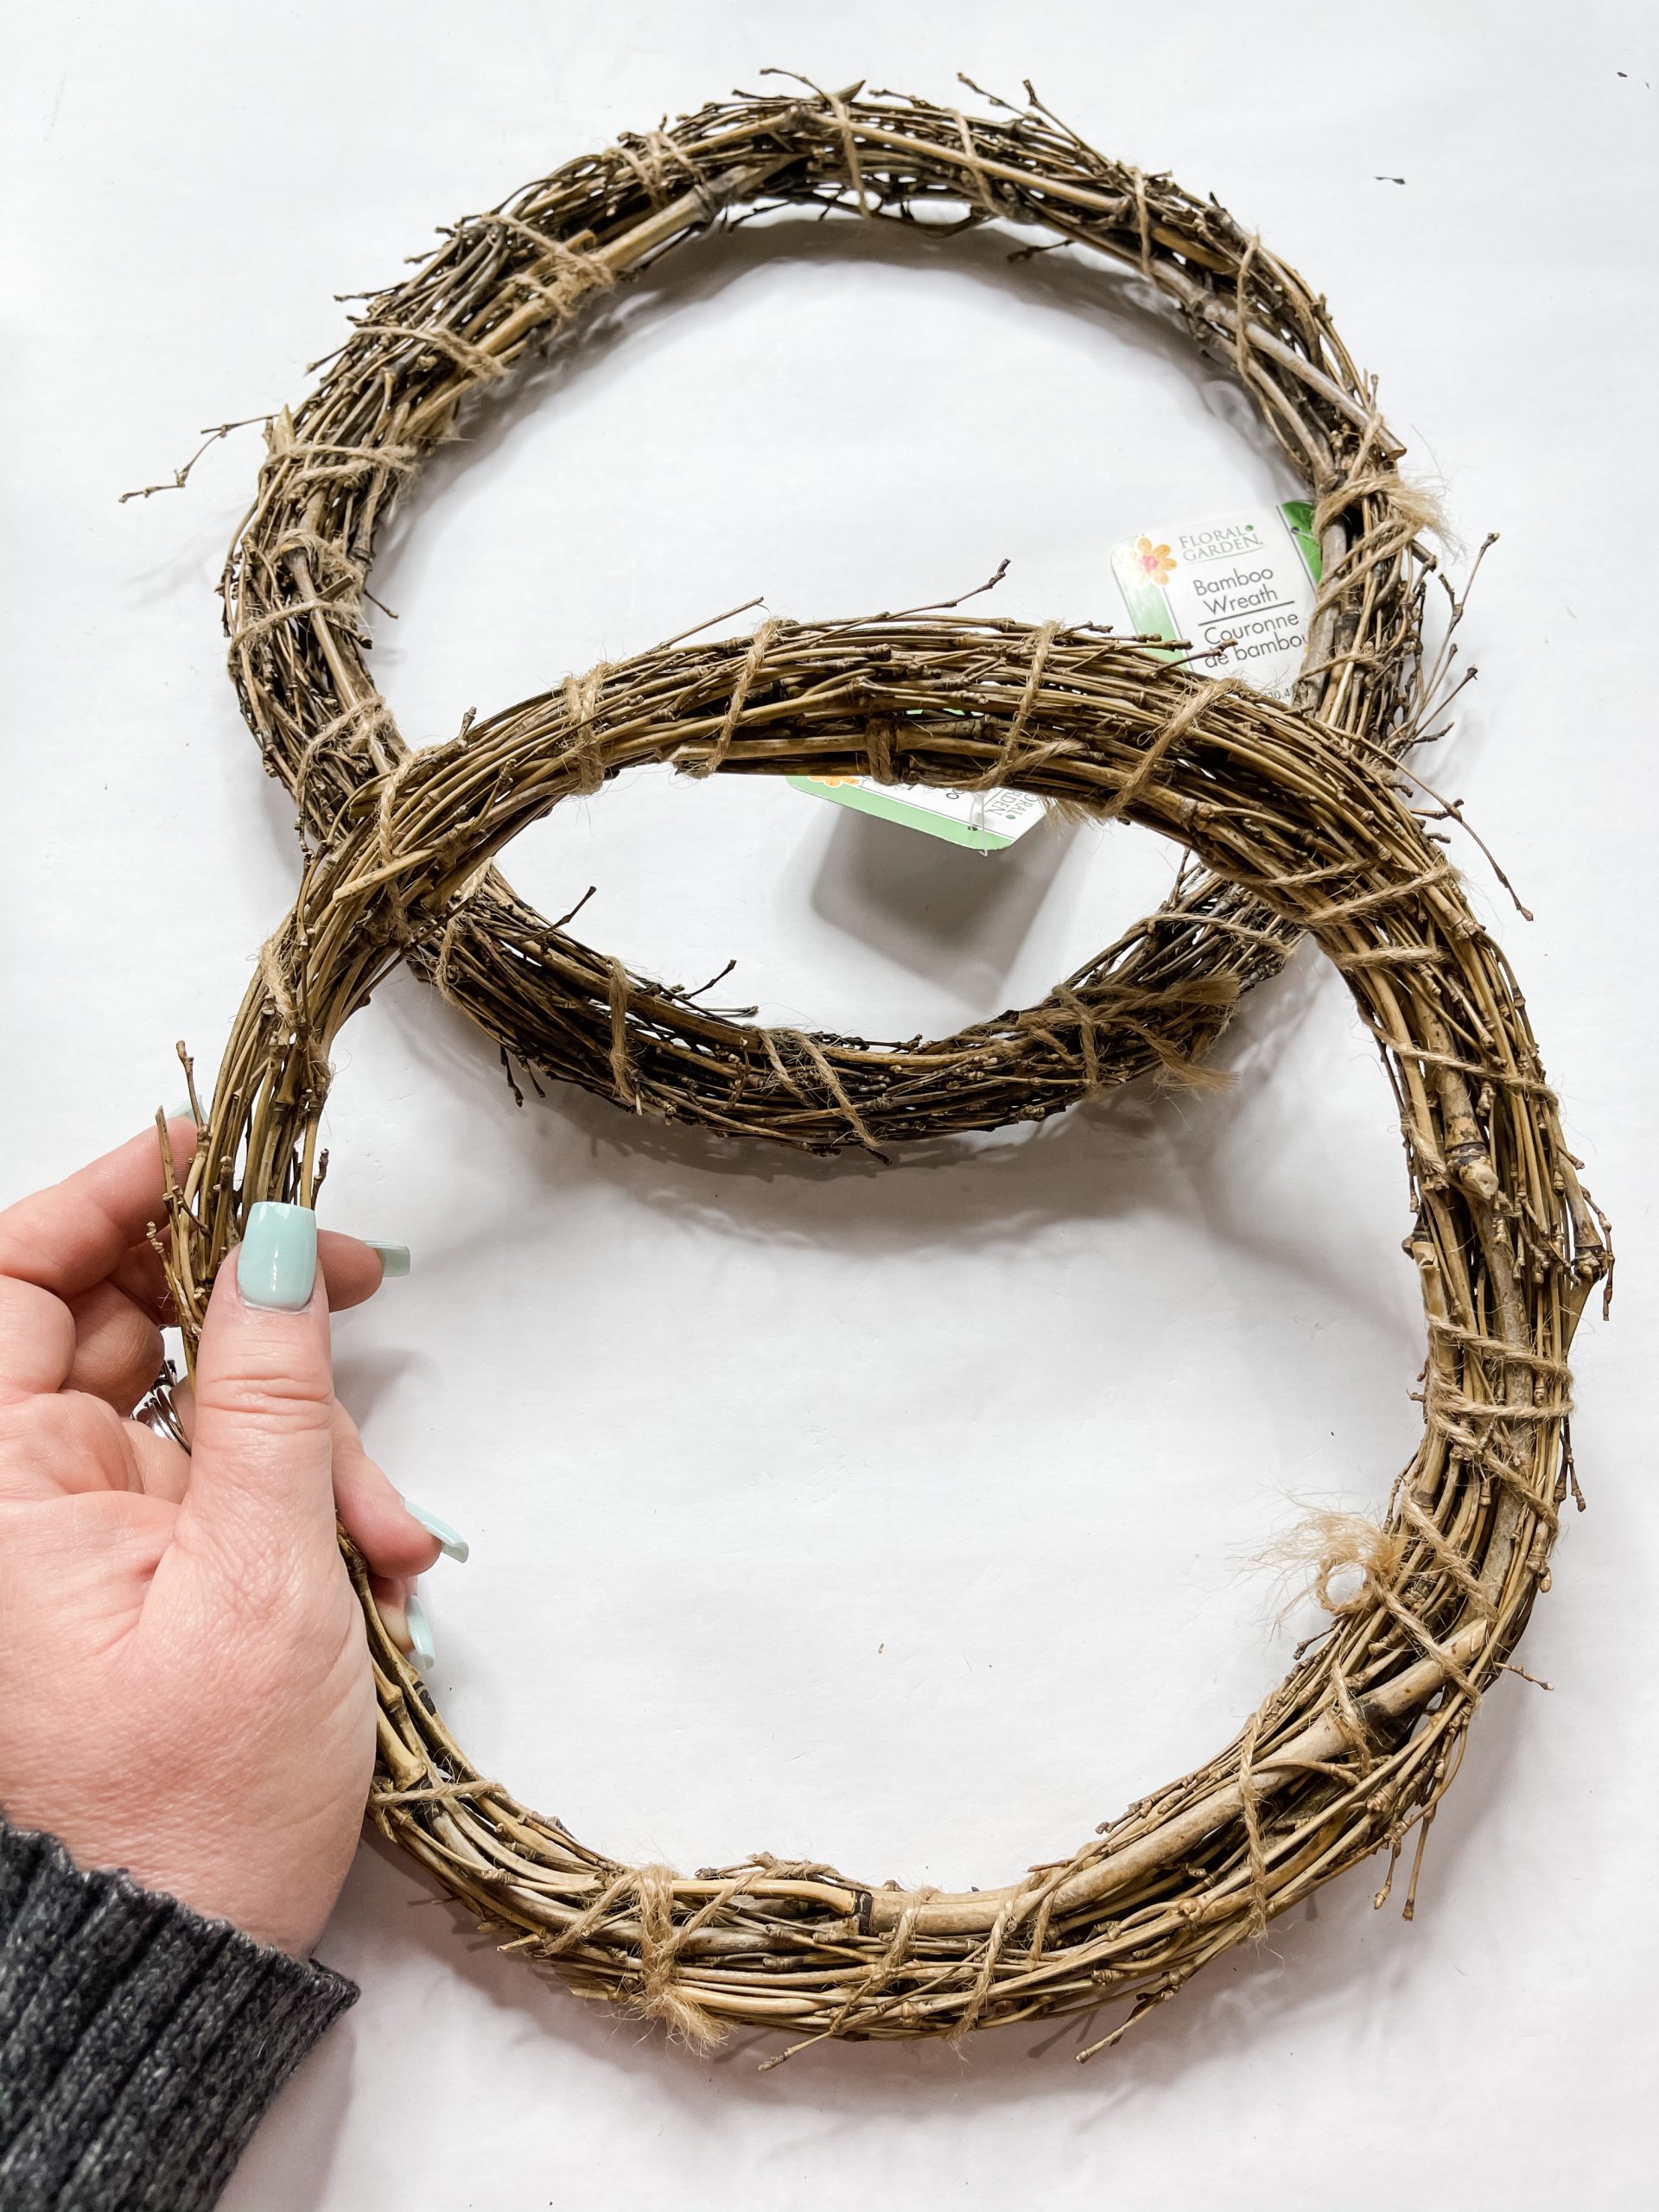
Start this Easter decor DIY by unraveling your grapevine wreaths. We are going to mold these into the outline of our bunny, so we need to remove the outer piece of the grapevine the secures the wreath in a circle.
Pull strands of the grapevine wreath out, and bend them into an oval. This will be your bunny’s ear, so you’ll need two of them. Once you have them the same size and bent into shape, secure the ends together with a piece of jute twine.
I used my aviation snips to trim the ends of the grapevine so I could make the bunny ears the size I wanted and secure the ends together properly.
Set your remaining loose grapevine to the side because you can use it for a project later on! You need a second grapevine wreath, and that will be your bunny’s head.
Trace the outline of the grapevine wreath onto your fabric, and cut the circle out. Make sure the circle is slightly larger than the size of the grapevine wreath. This will make it easier to secure the fabric to the wreath.
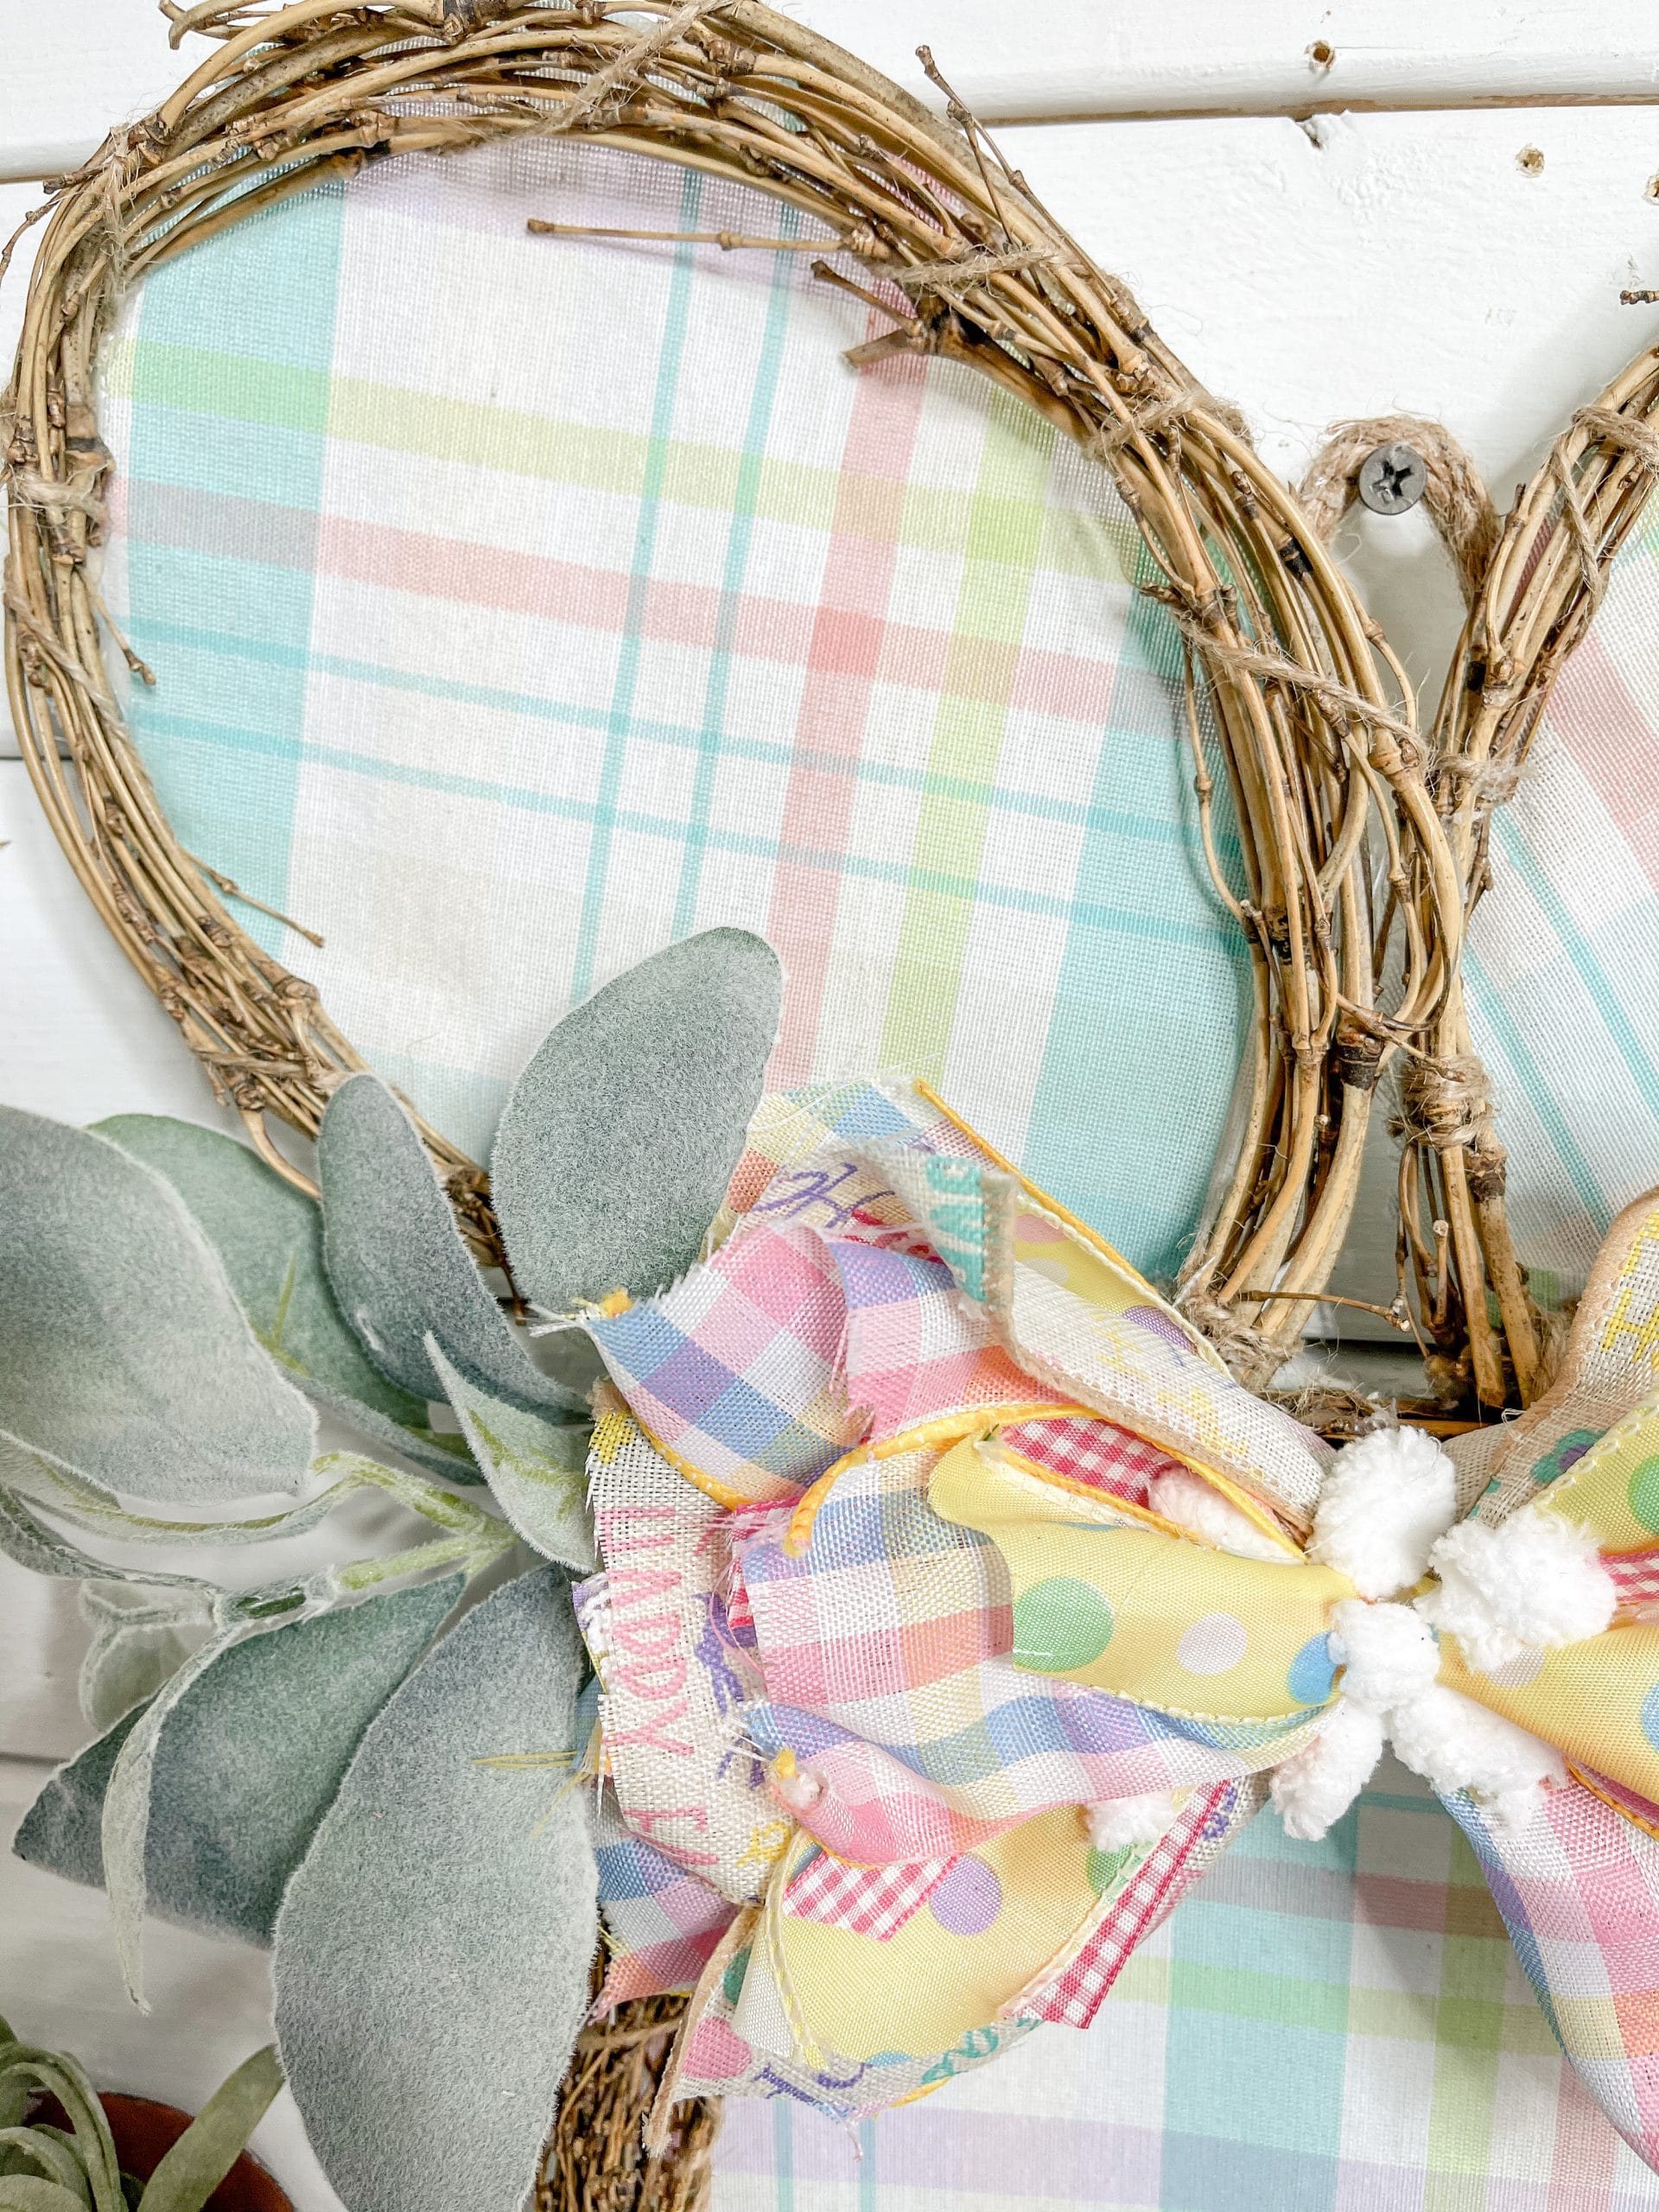
Secure the bunny ears to the grapevine wreath. I wrapped jute twine around the bottom of the ears and around the grapevine wreath to connect them.
Now, hot glue the fabric to the grapevine wreath. Then, cut out two ovals to go on the two bunny ears and hot glue them in place on the back of the ears.
Once the glue has dried and all your fabric is secured to the grapevine bunny form, use a pair of scissors to trim the excess fabric from around the edges of the grapevine.
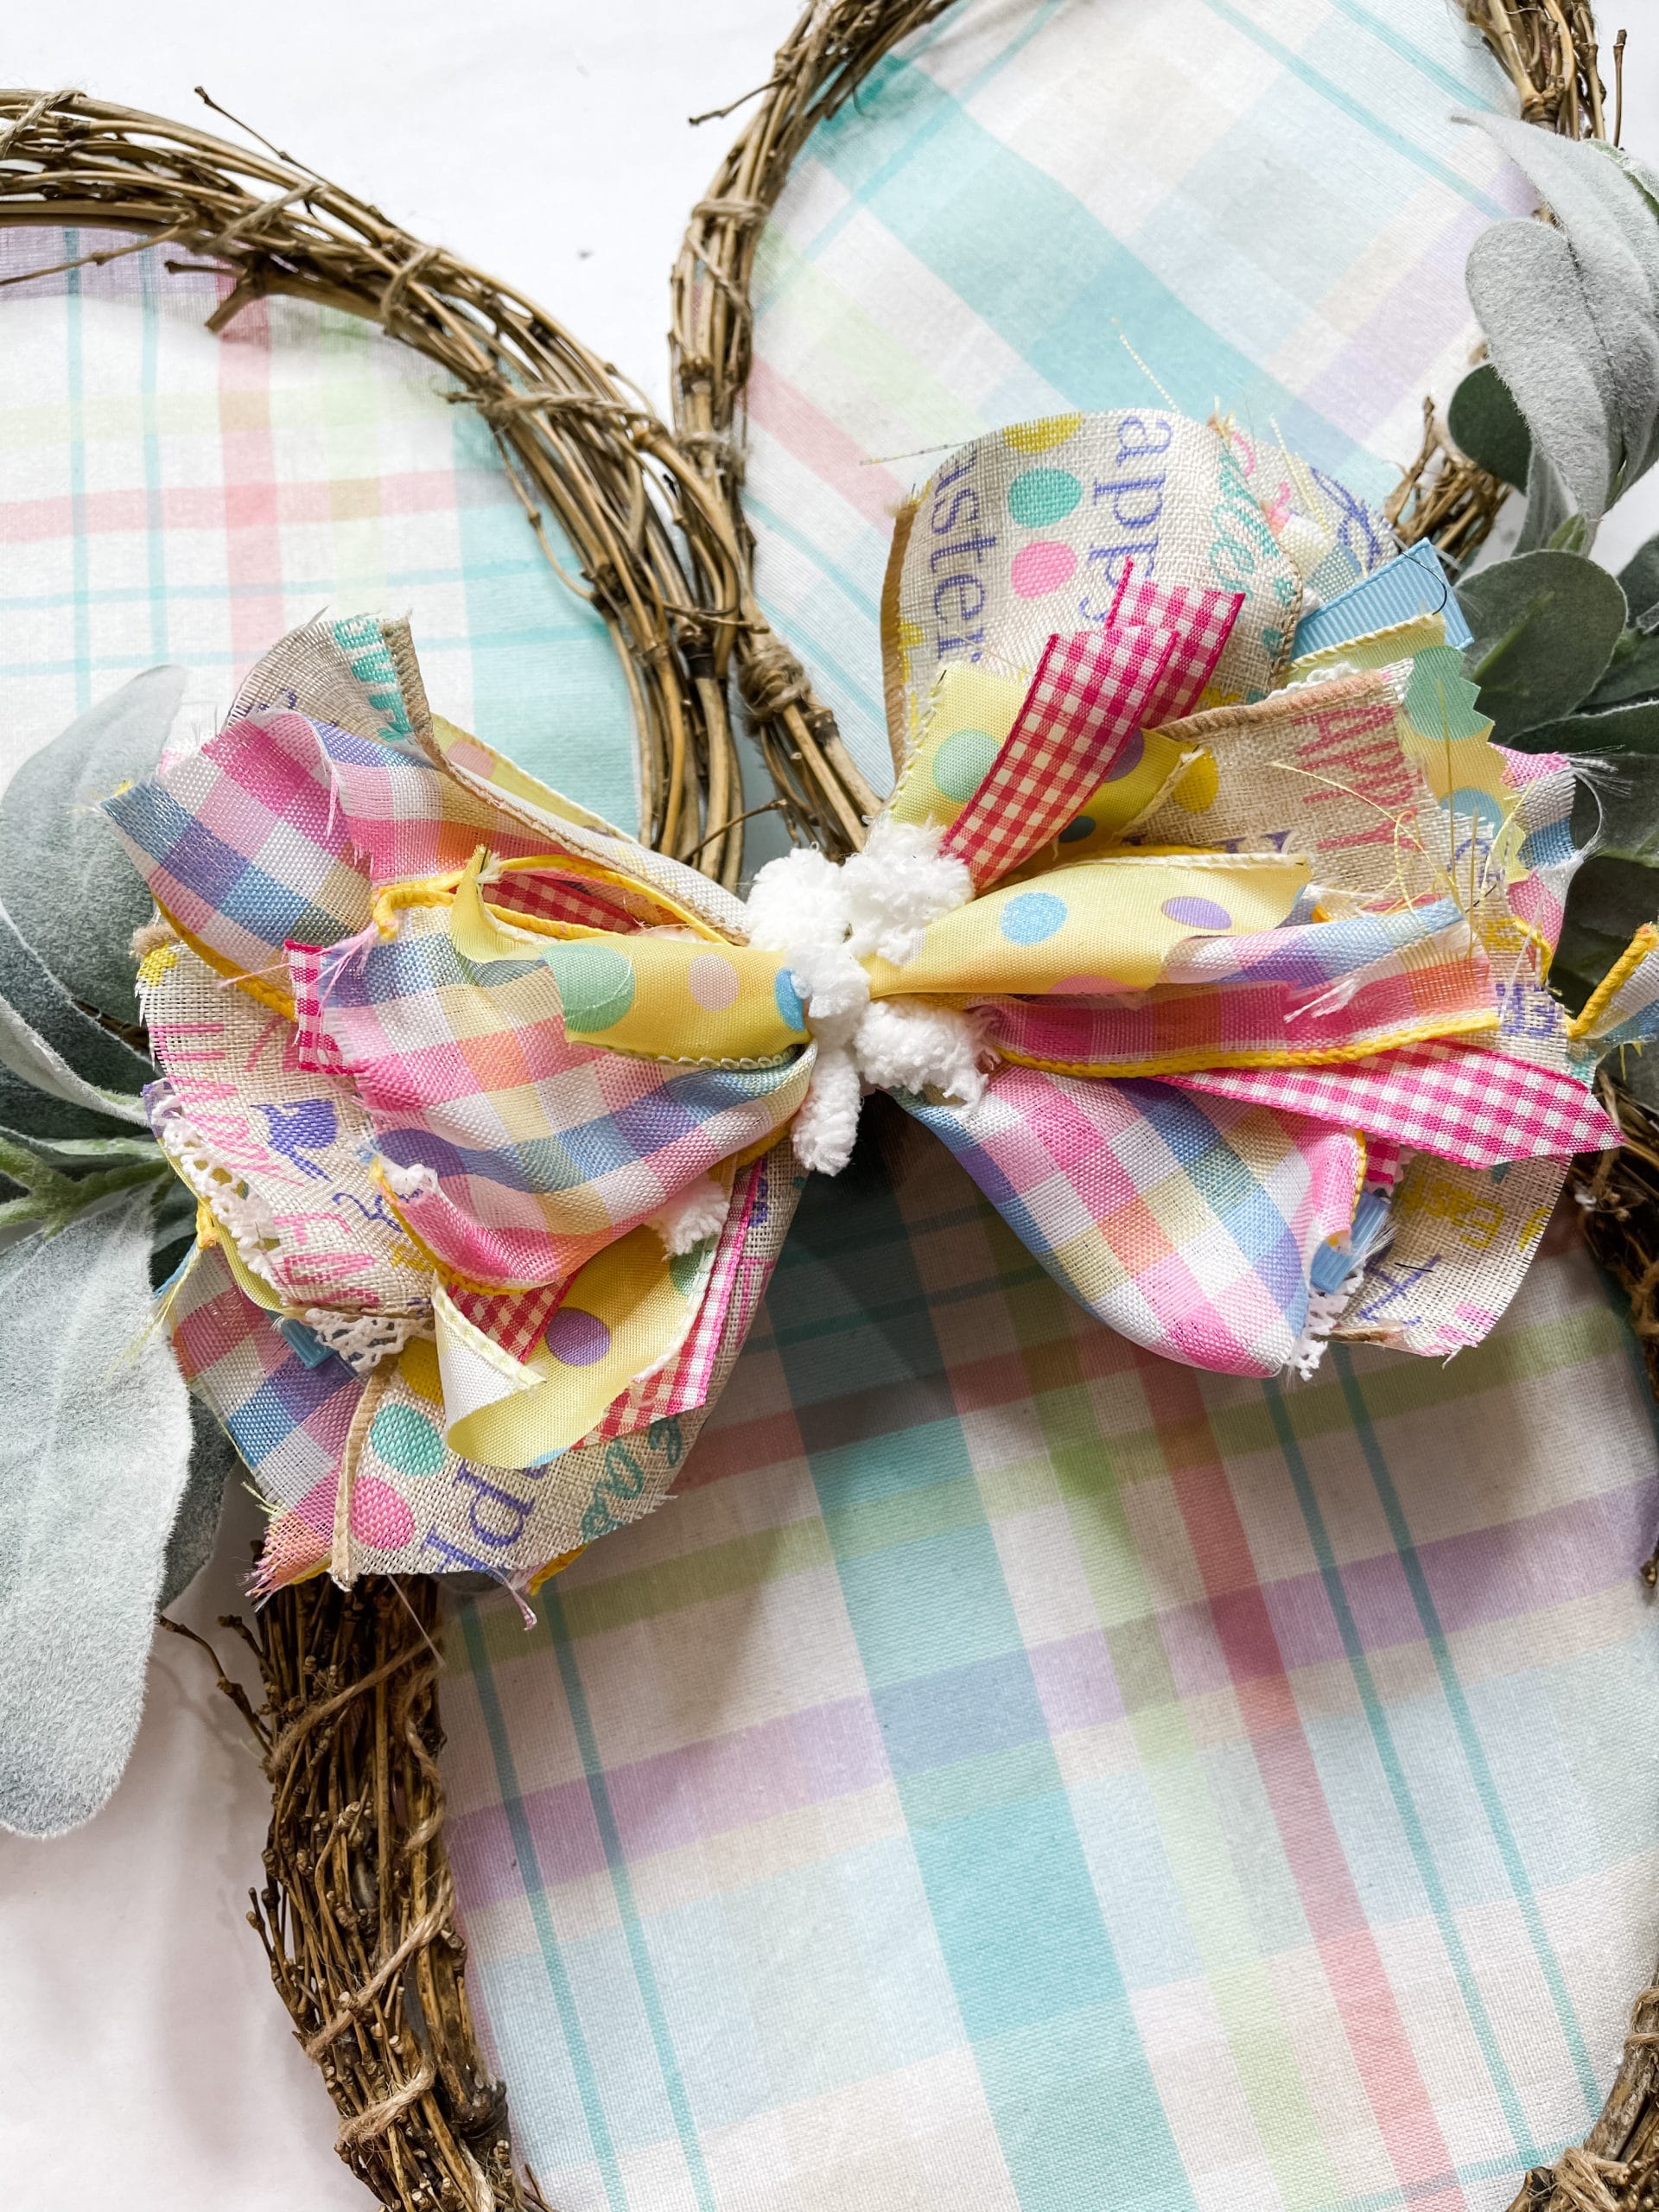
How to make a bow
Cut several strips of each of your ribbon patterns and a piece of the loop-it yarn. Then, place the ribbon strips in an x bow pattern, alternating patterns as you place them.

Place the loop-it yarn piece towards the top of your pile of ribbon, but put some ribbon on top of it. Once you’re happy with the amount of ribbon, secure the center of the bow with a zip tie.
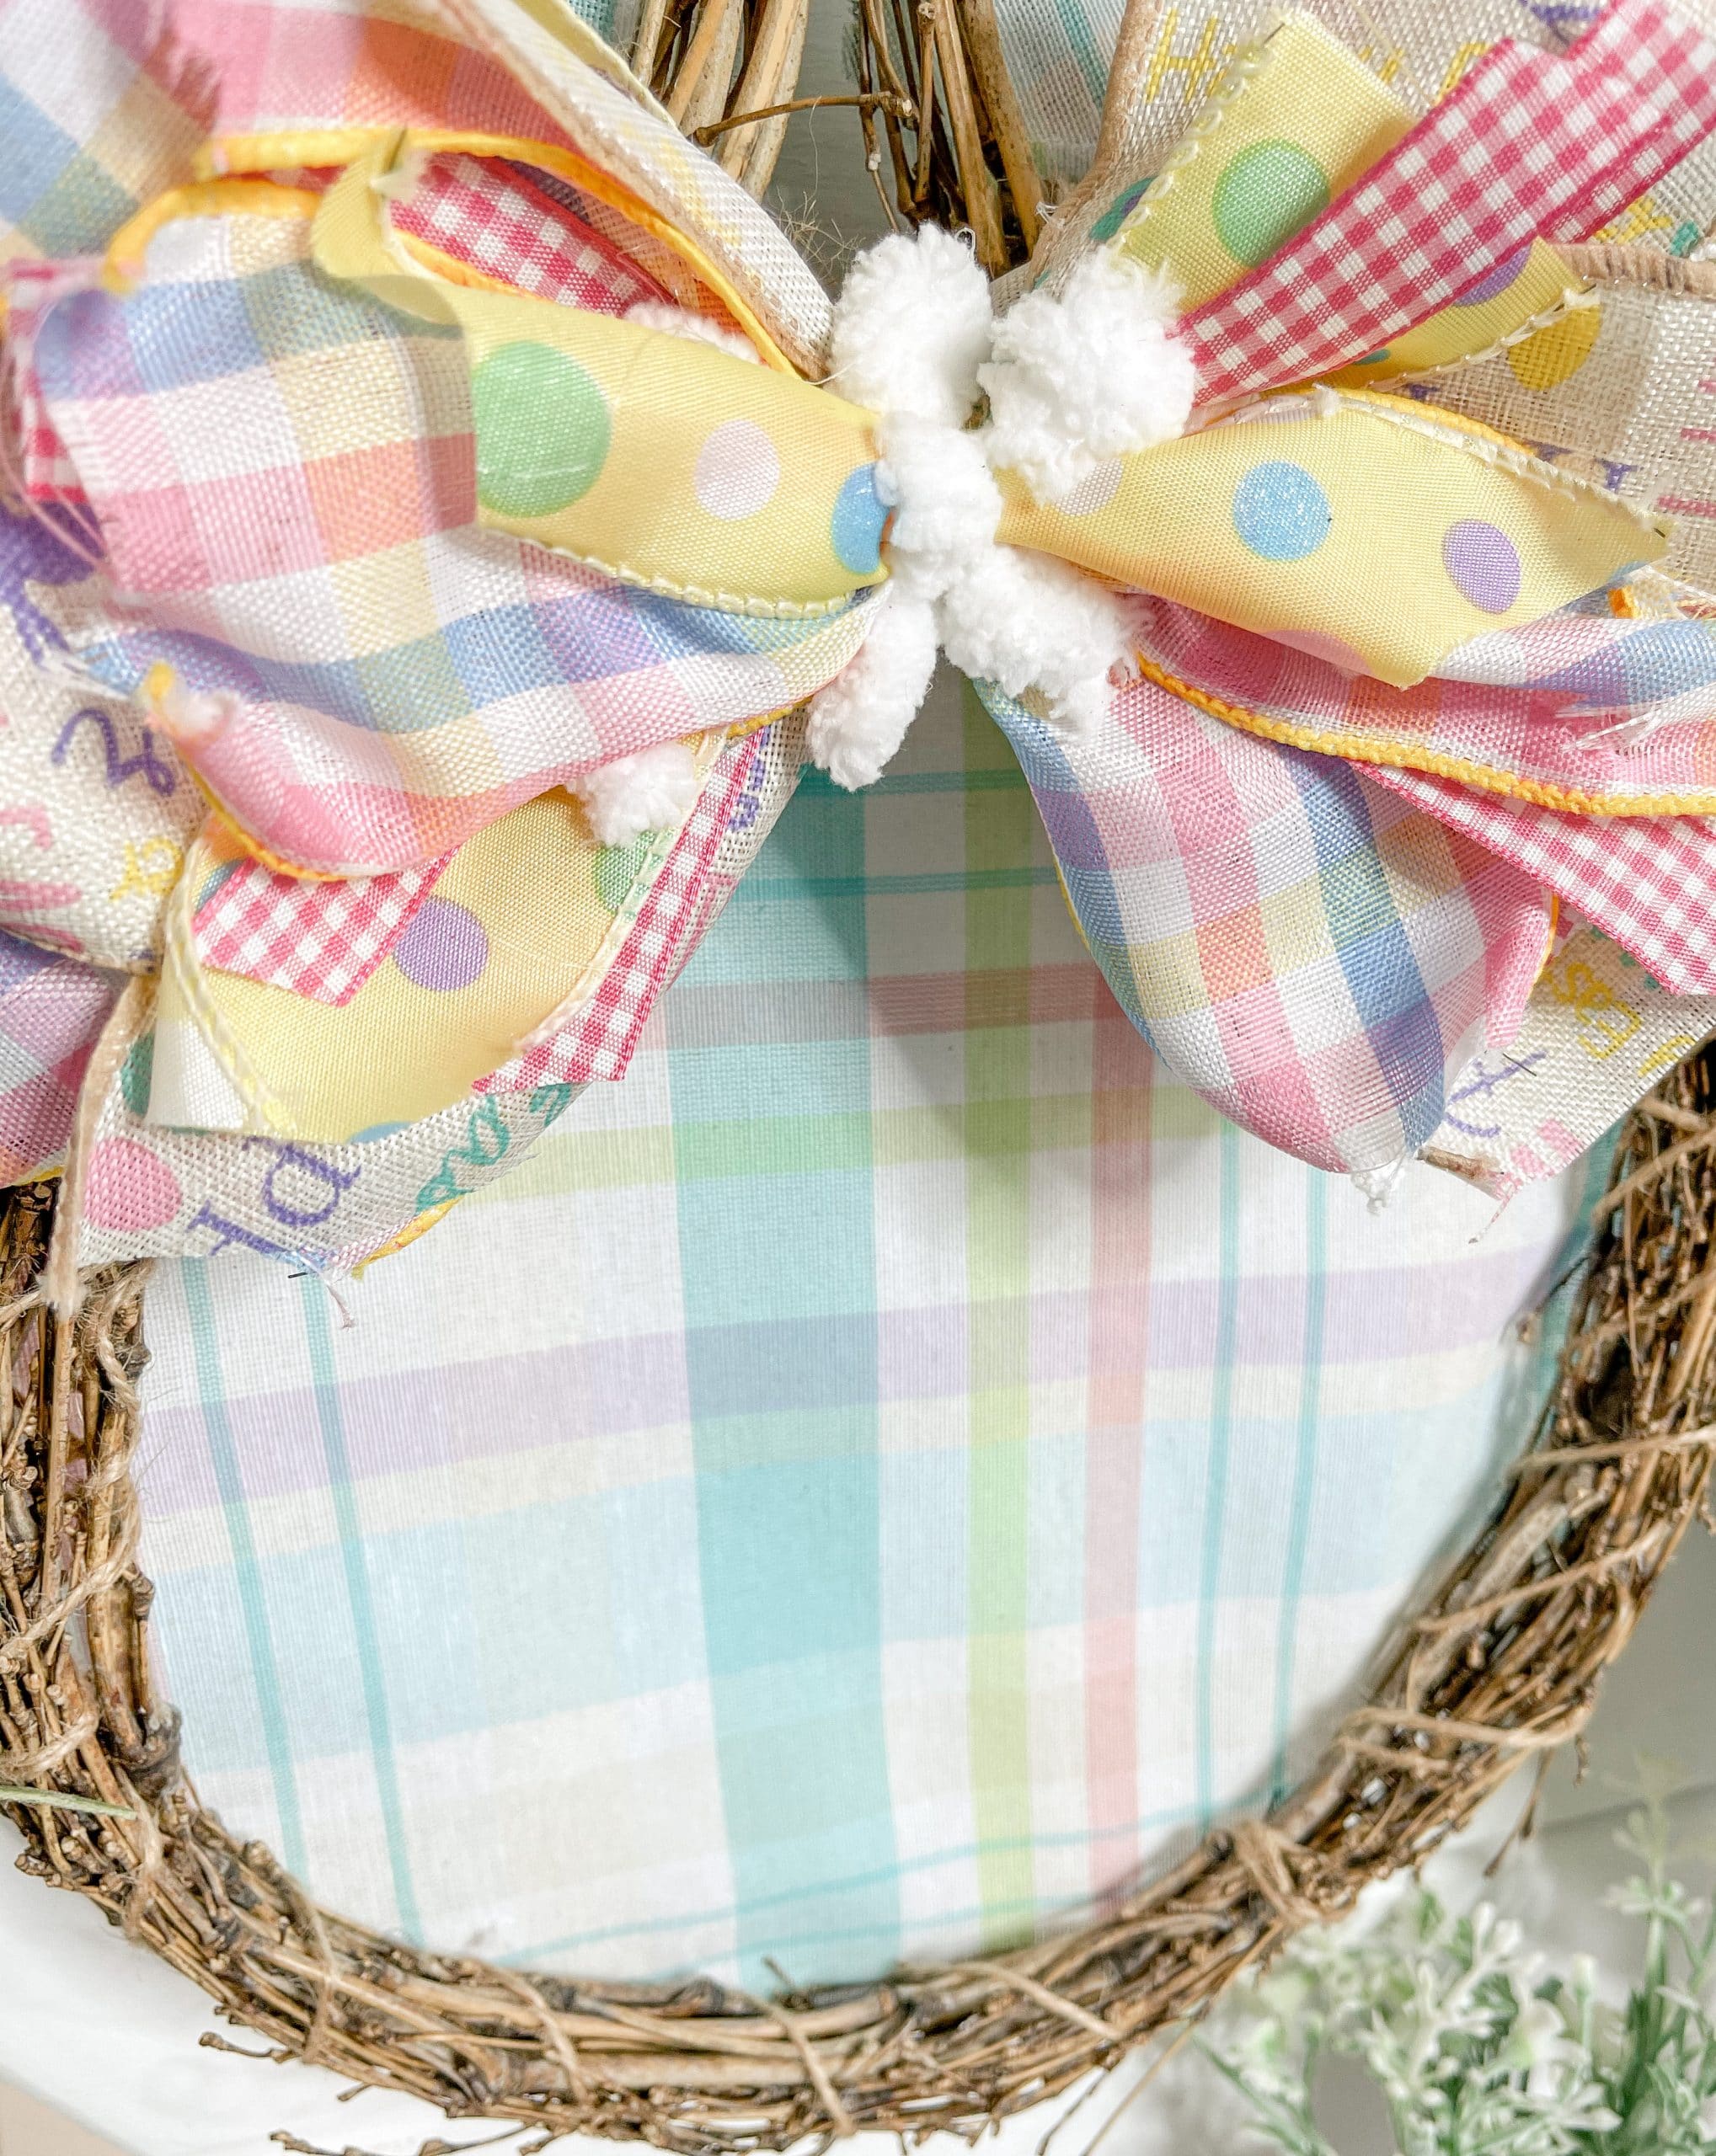
Trim the ends of the ribbon and loop it yarn to make them more even. I trimmed the loop-it yarn pretty short, so you could still see it, but it wasn’t hanging down from the bow, then I hot glued it to the top of the bunny’s head, below its ears.
I hot glued two pieces of lamb’s ear greenery to the back of the pastel plaid Easter bunny and had the greenery coming out of each side of the bow. It looked kind of like a headband for the bunny!
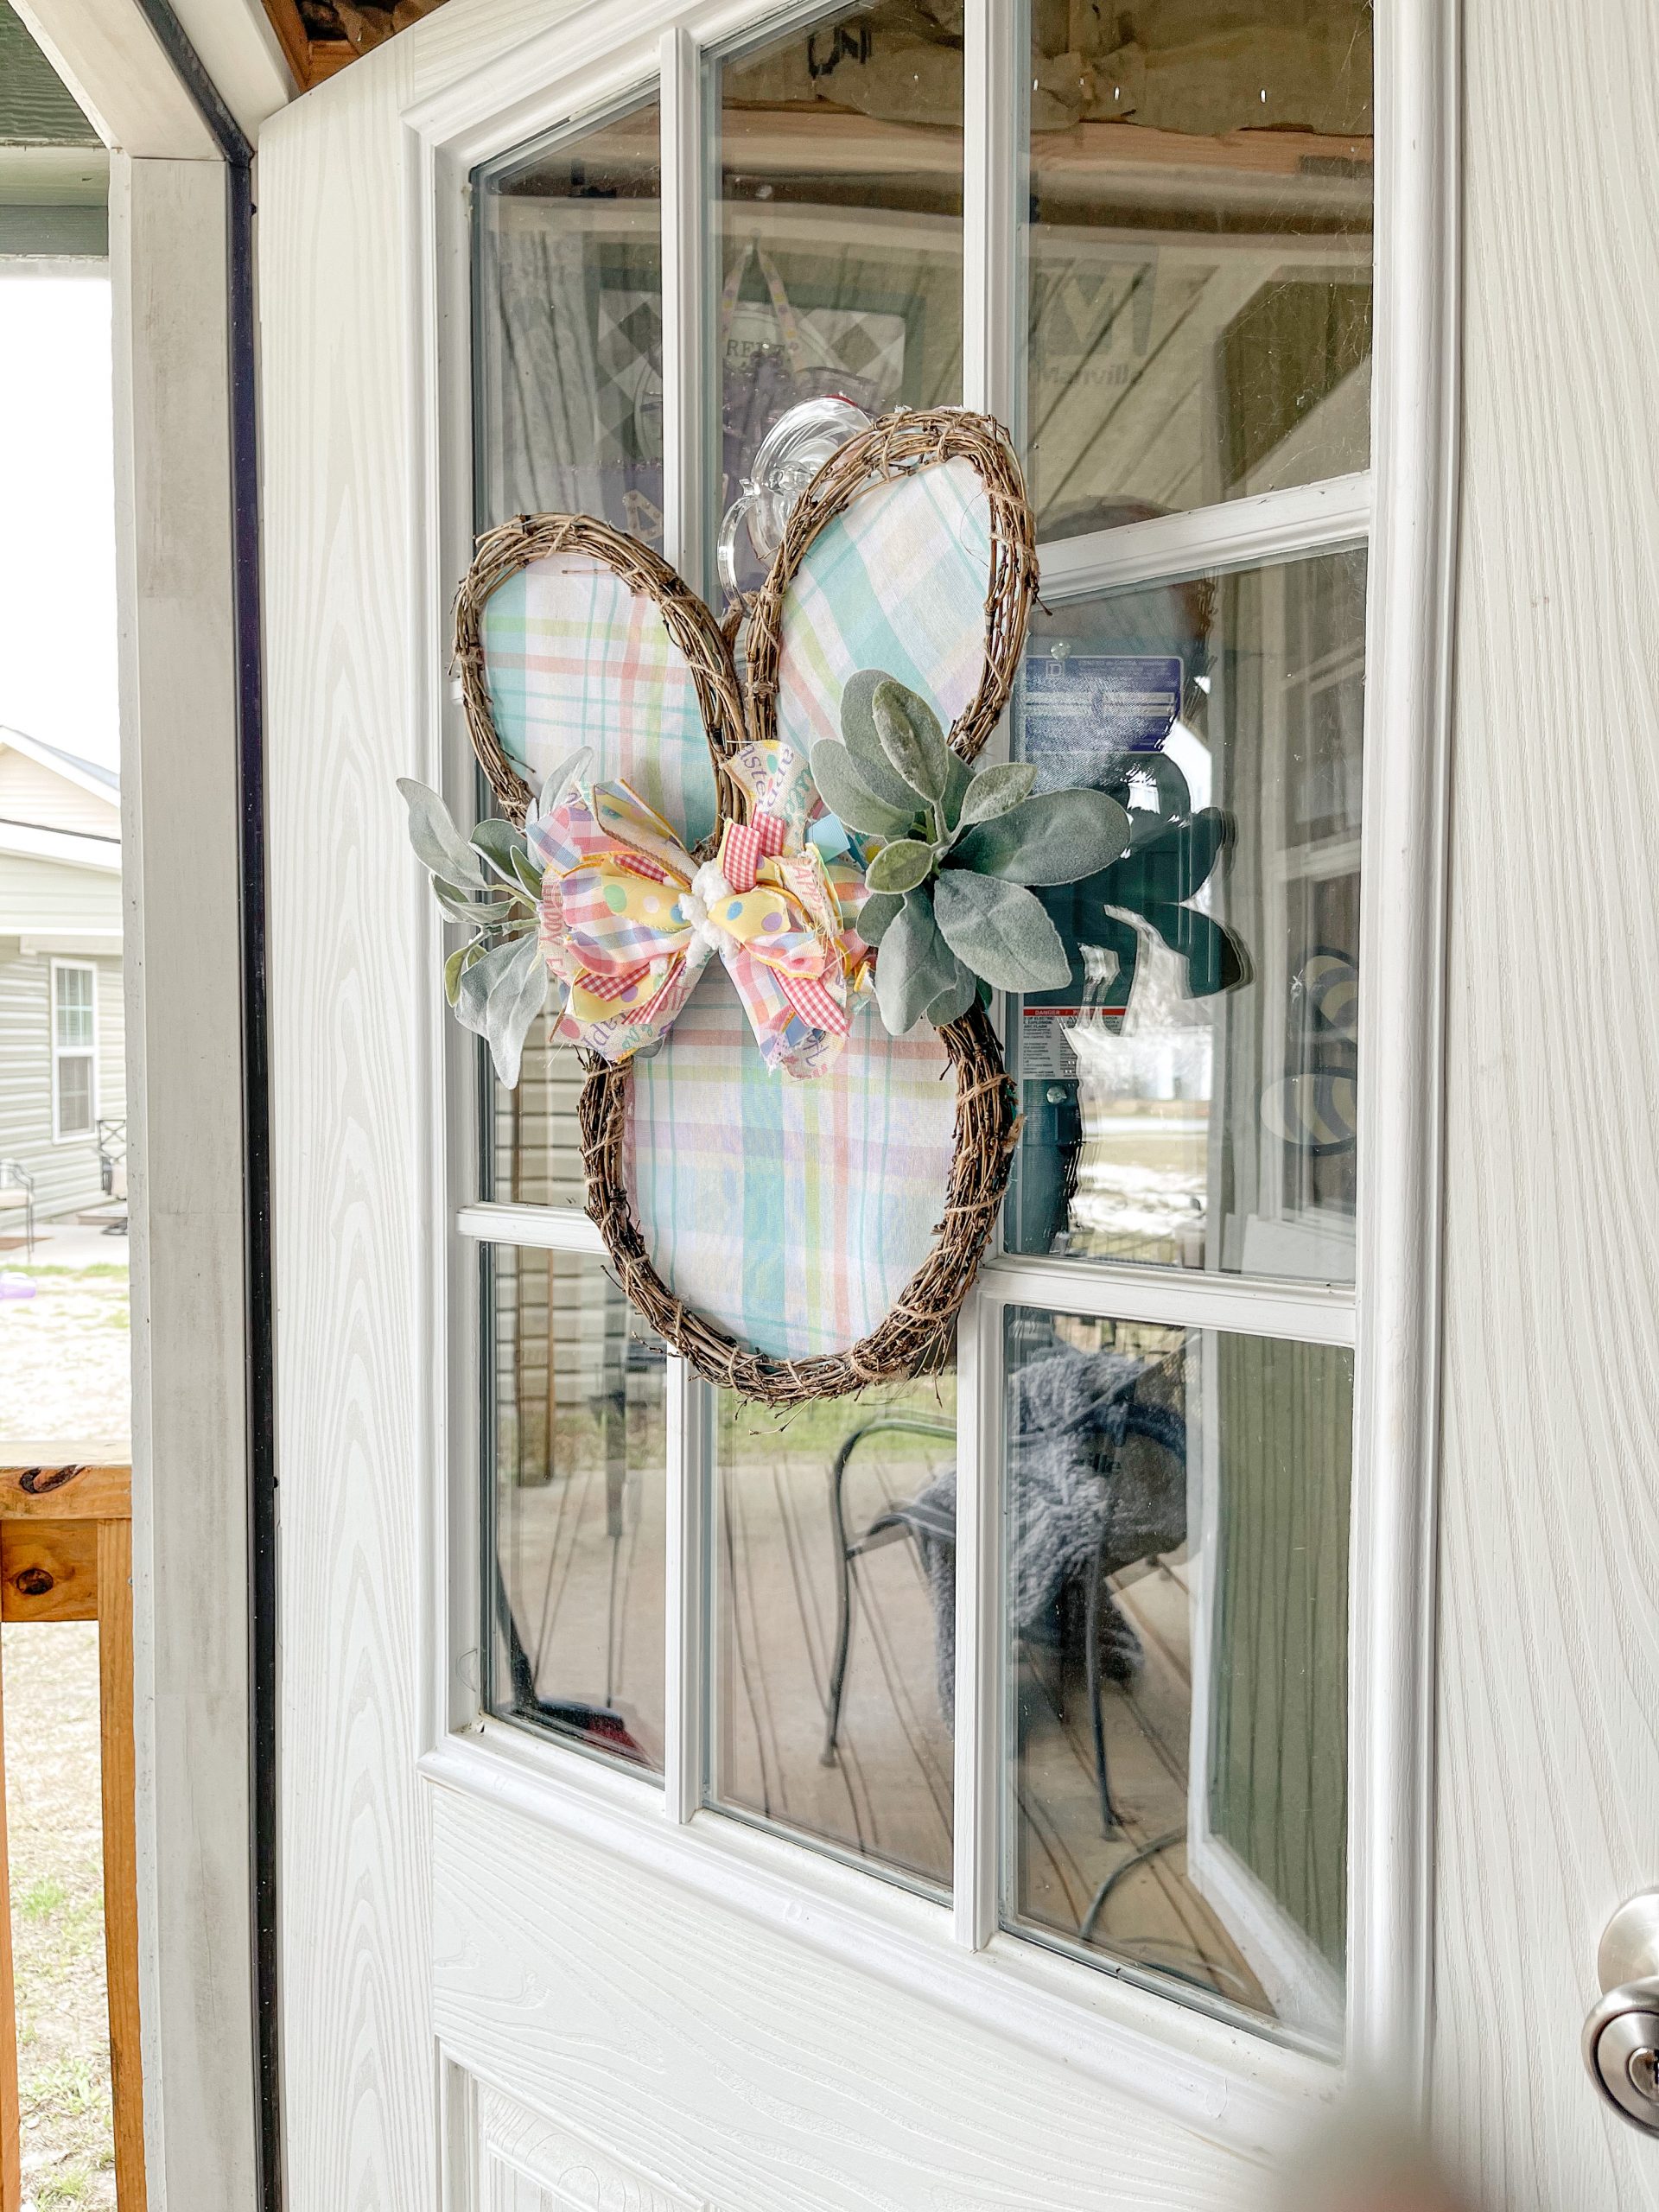
Lastly, I created a hanger for this adorable Easter DIY by hot-gluing a piece of nautical rope to the back of the bunny. All my DIY decor projects are for my home, but I loved this one so much, I hung it on the door of my Creative Haven!
I hope you enjoyed this DIY Pastel Plaid and Grapevine Bunny as much as I did and decide to make one for yourself! I would love to see how yours turns out!
You should totally join my FREE Facebook group called On A Budget Crafts! It is a judgment-free community for DIY crafters to show off their projects and ideas.
If you loved this DIY you might also like this one too!
Thanks for stopping by! XOXO Amber
You can also shop my ENTIRE AMAZON Favorites shop just click here! It’s packed full of all the things I use and love. Here is the supply list I highly recommend every creative have on hand!!
Would you also pin my blog for later and get on my newsletter alerts? I would love to have you join my #craftycrew.
Inspired? Leave me a comment below! I love hearing from my readers!

Join my free “ON A BUDGET CRAFTS” Facebook group!
Hi Amber
This is so cute & creative.
Thank u for sharing on ur blog.
This is absolutely adorable! It definitely looks great on your door!! Thank you for always inspiring us! Definitely got me consistently crafting and doing something for me and others. I haven’t had a hobby in a long time until now! 💗🐰😊
That bow is precious
One of my favorite Easter crafts