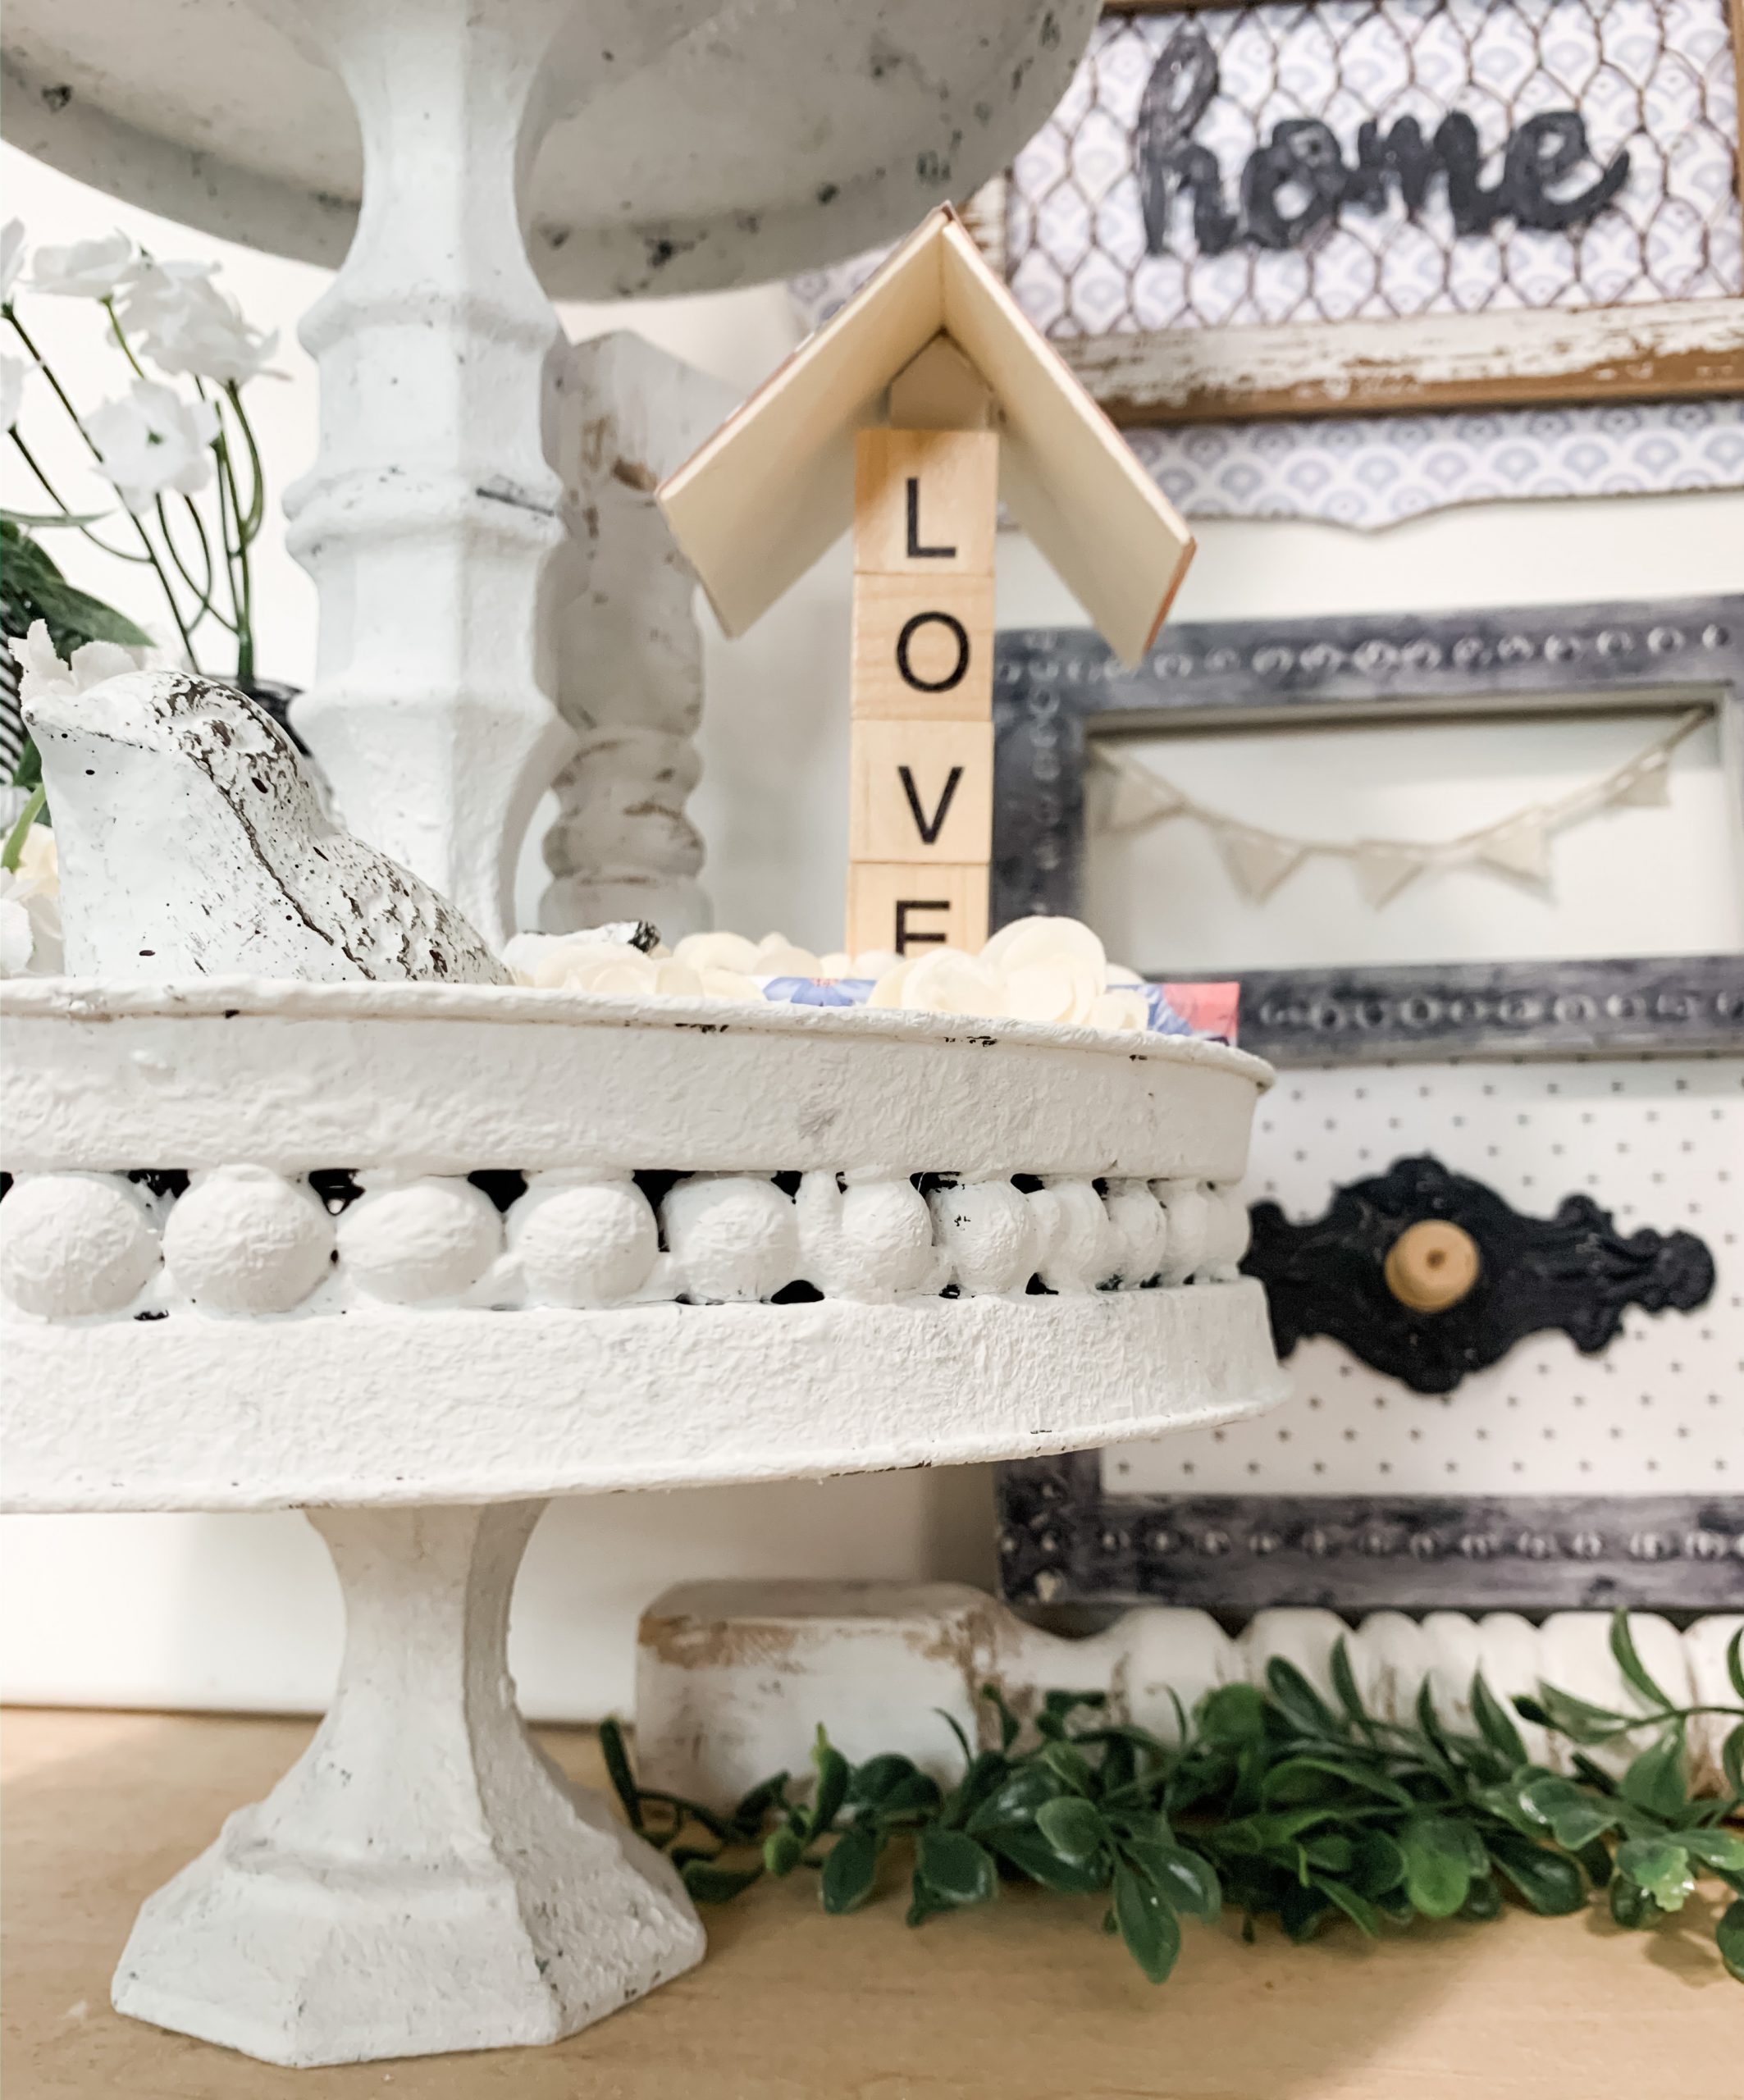
DIY Dollar Tree Burner Cover Tiered Tray
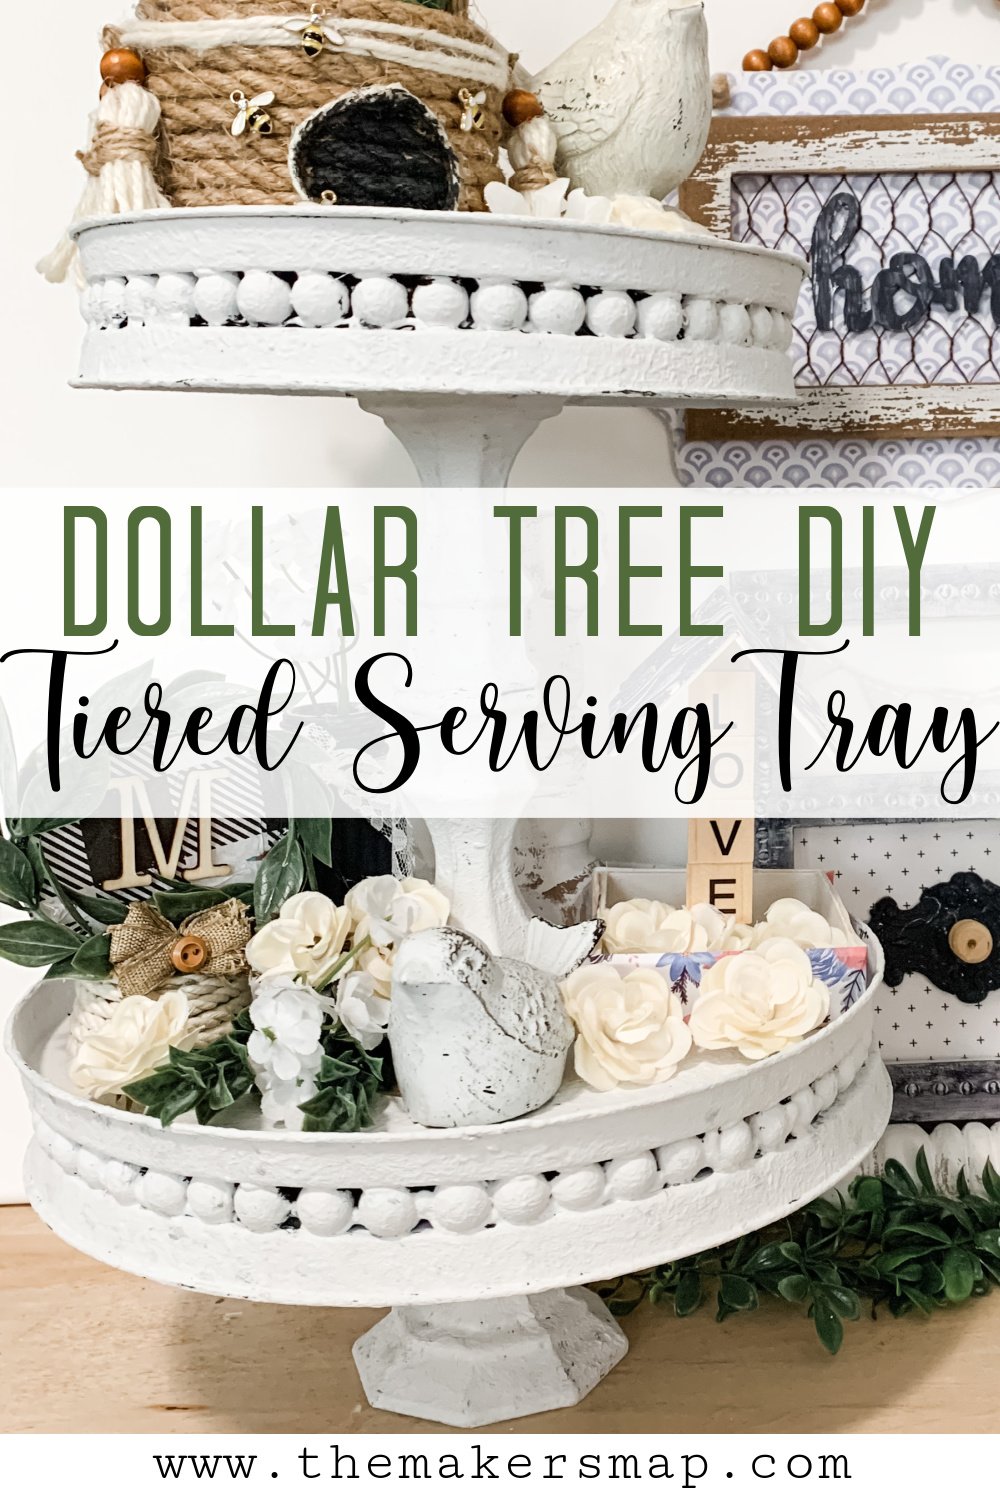
This DIY Dollar Tree Burner Cover Tiered Tray is so perfect and easy to make, I just had to share it with you!
This tiered tray would be so perfect for a wedding on a budget or on a bathroom counter to organize your toiletries. What do you think?
If you want to see the full supply list or video tutorial, just scroll to the bottom of this page!
The DIY Details
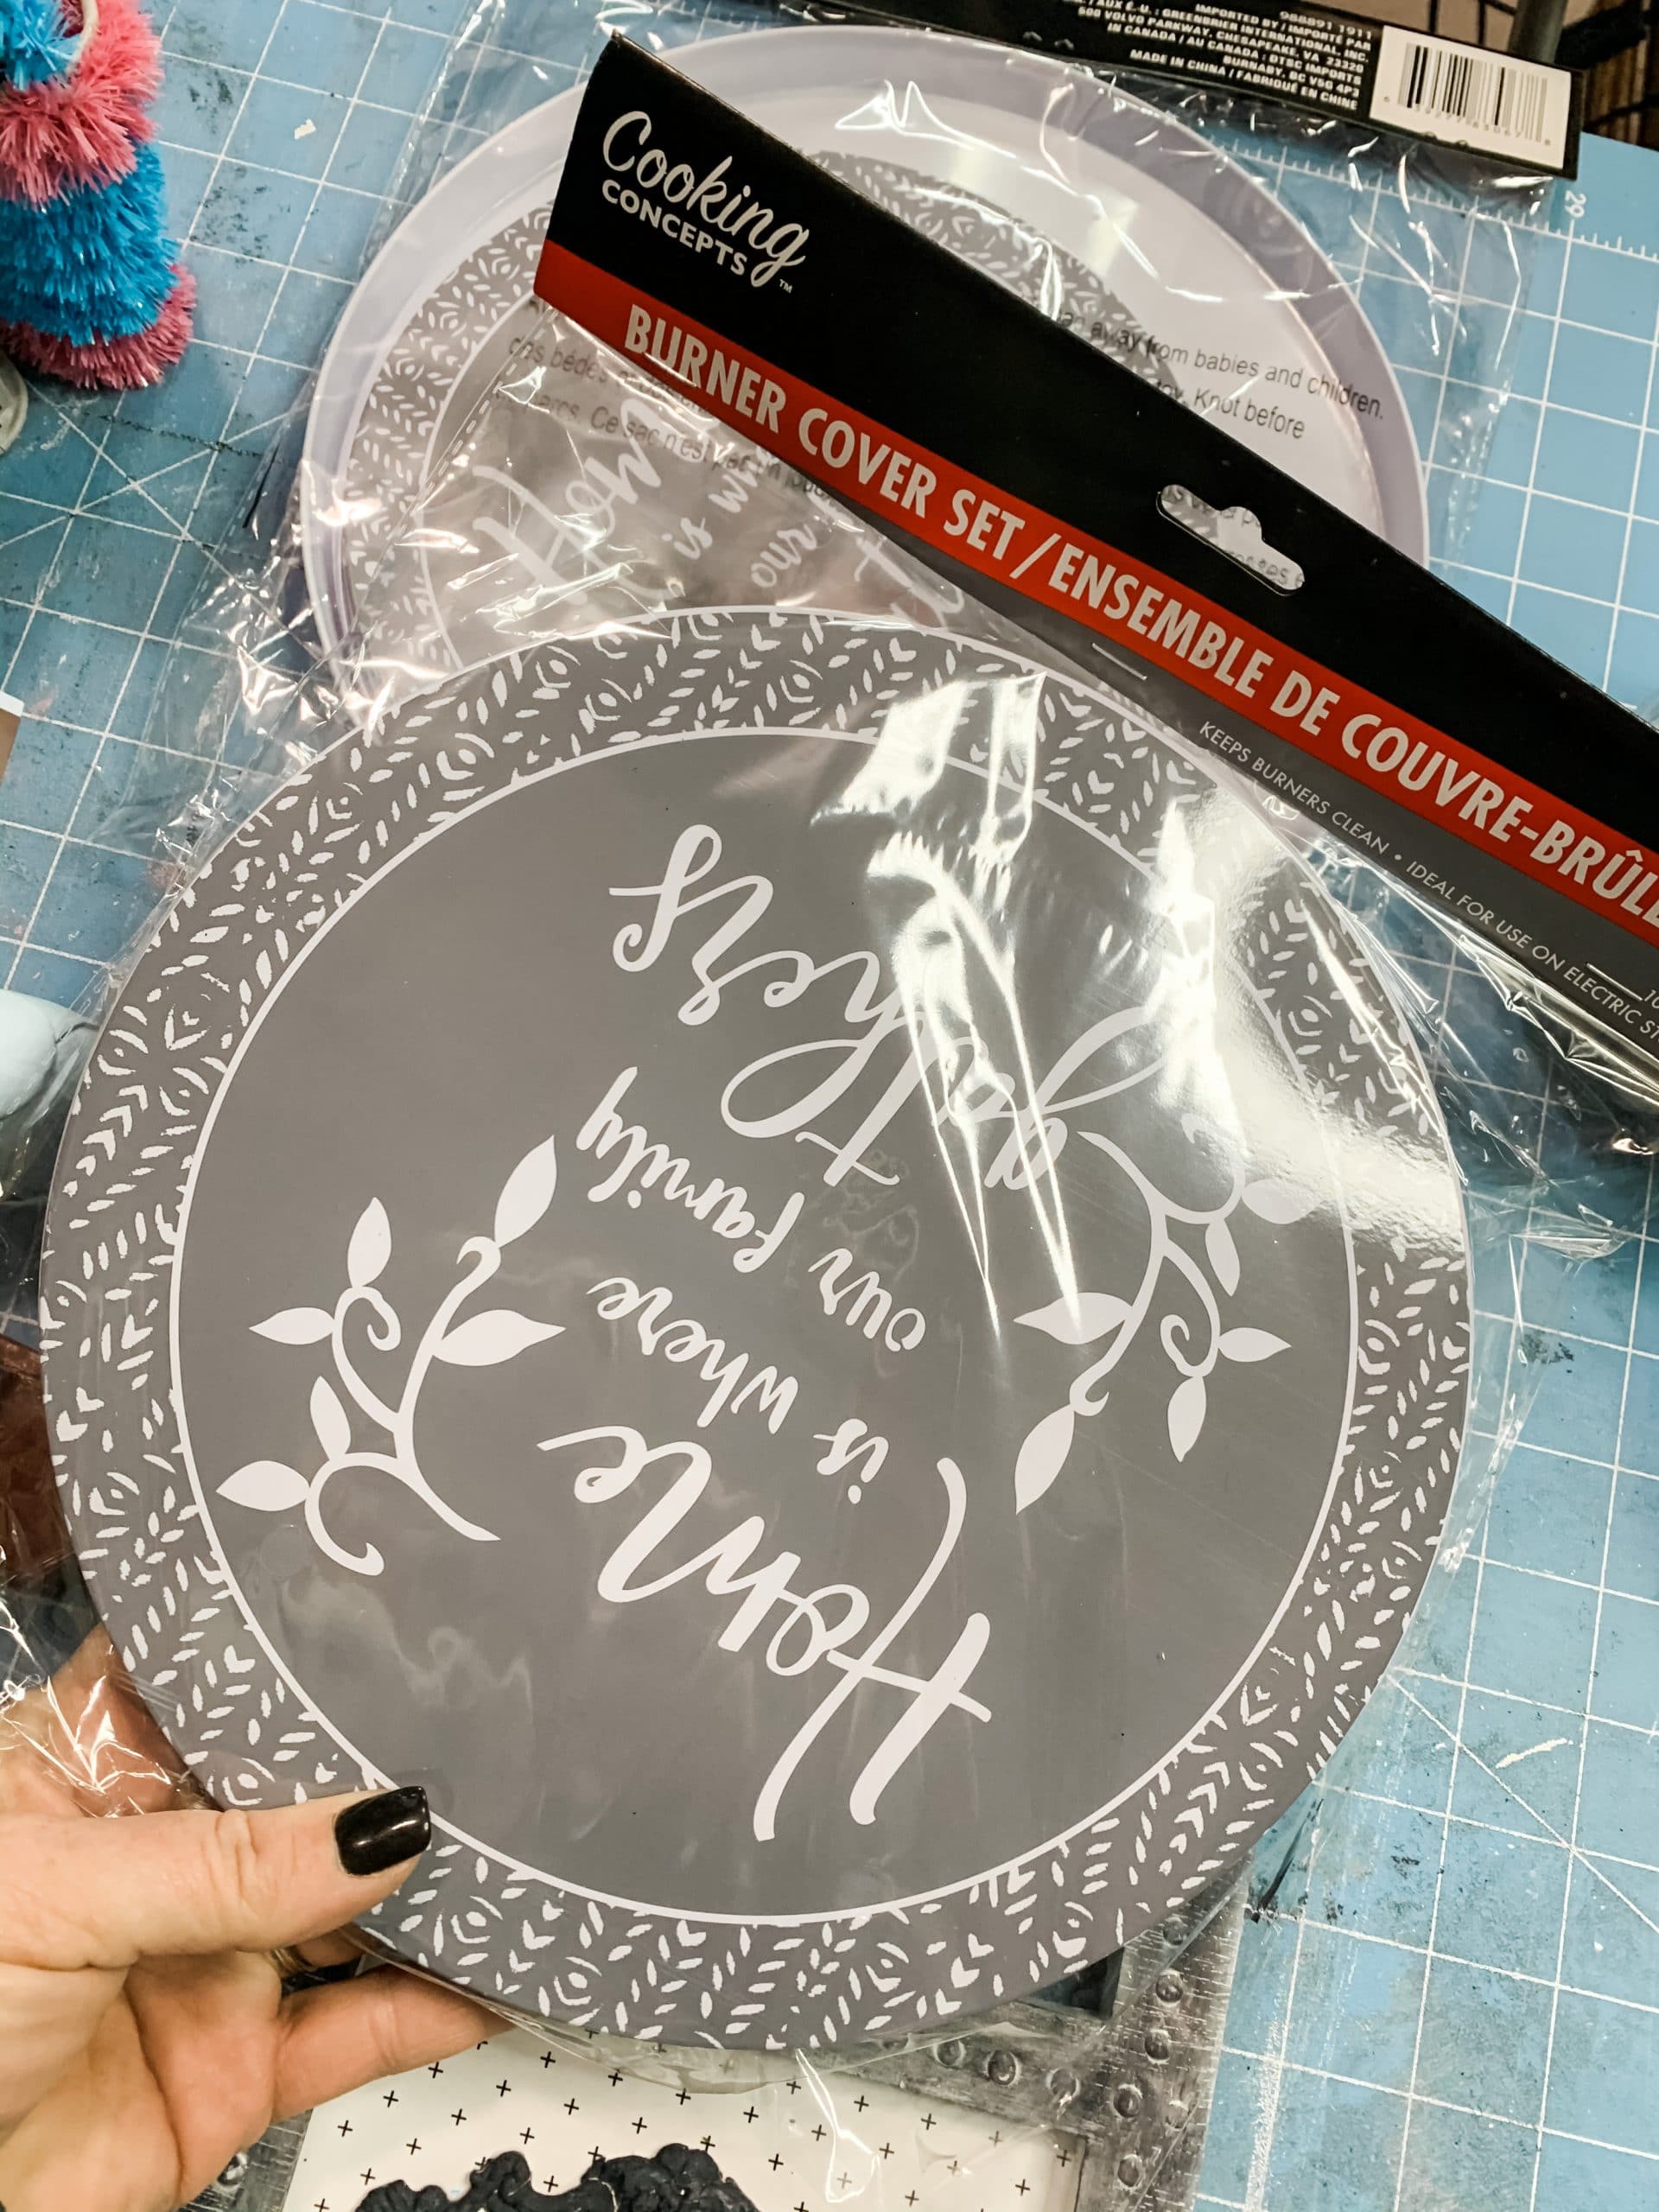
You’re going to start this DIY project by painting all four of your Dollar Tree burner covers. I had to buy two packs of these burner covers because each pack only comes with one large cover and one small cover.
If you want to see the full supply list or video tutorial, just scroll to the bottom of this page!
I painted each of the burner covers with Dixie Belle Slick Stick. This product is great for shiny or slick surfaces and for when you don’t want to spray paint your surface.
Paint the insides (not designed side), outer edges of the top sides, and the edges of the burner covers with the Dixie Belle Slick Stick.
Allow them to dry before moving on. I used my heat gun to speed up the drying process. If you don’t have one, you can use a hairdryer on the low cool setting.
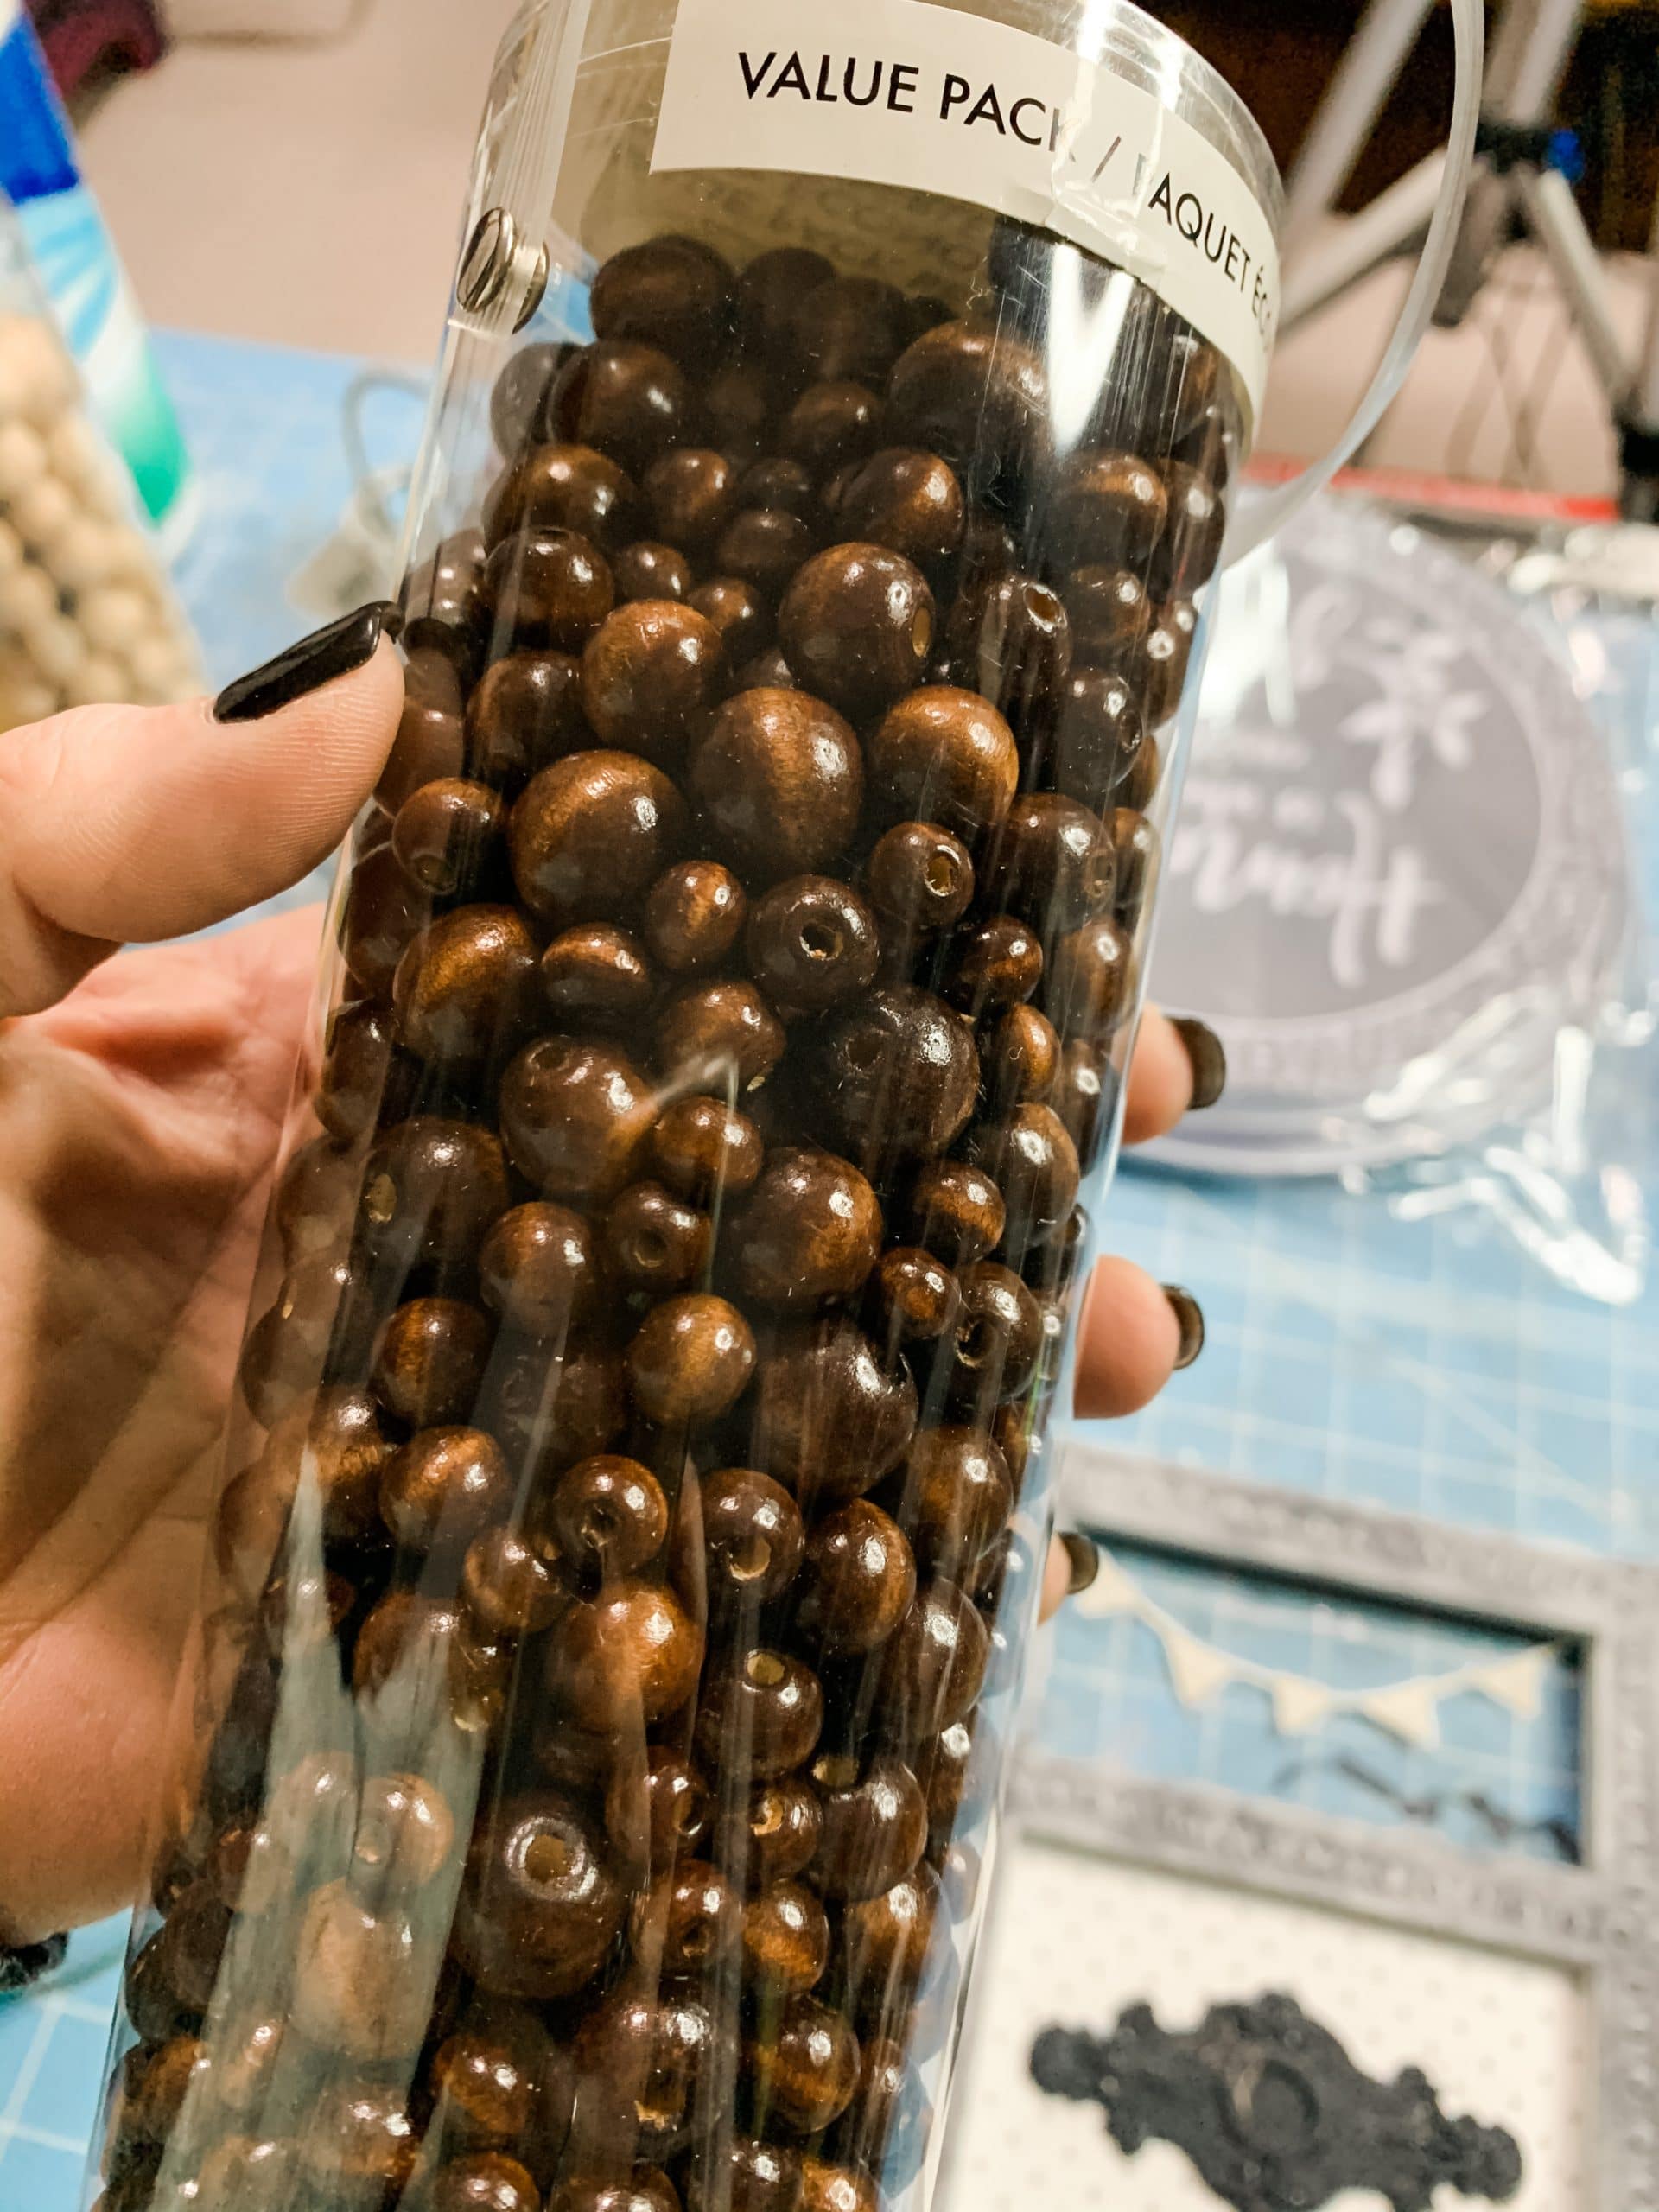
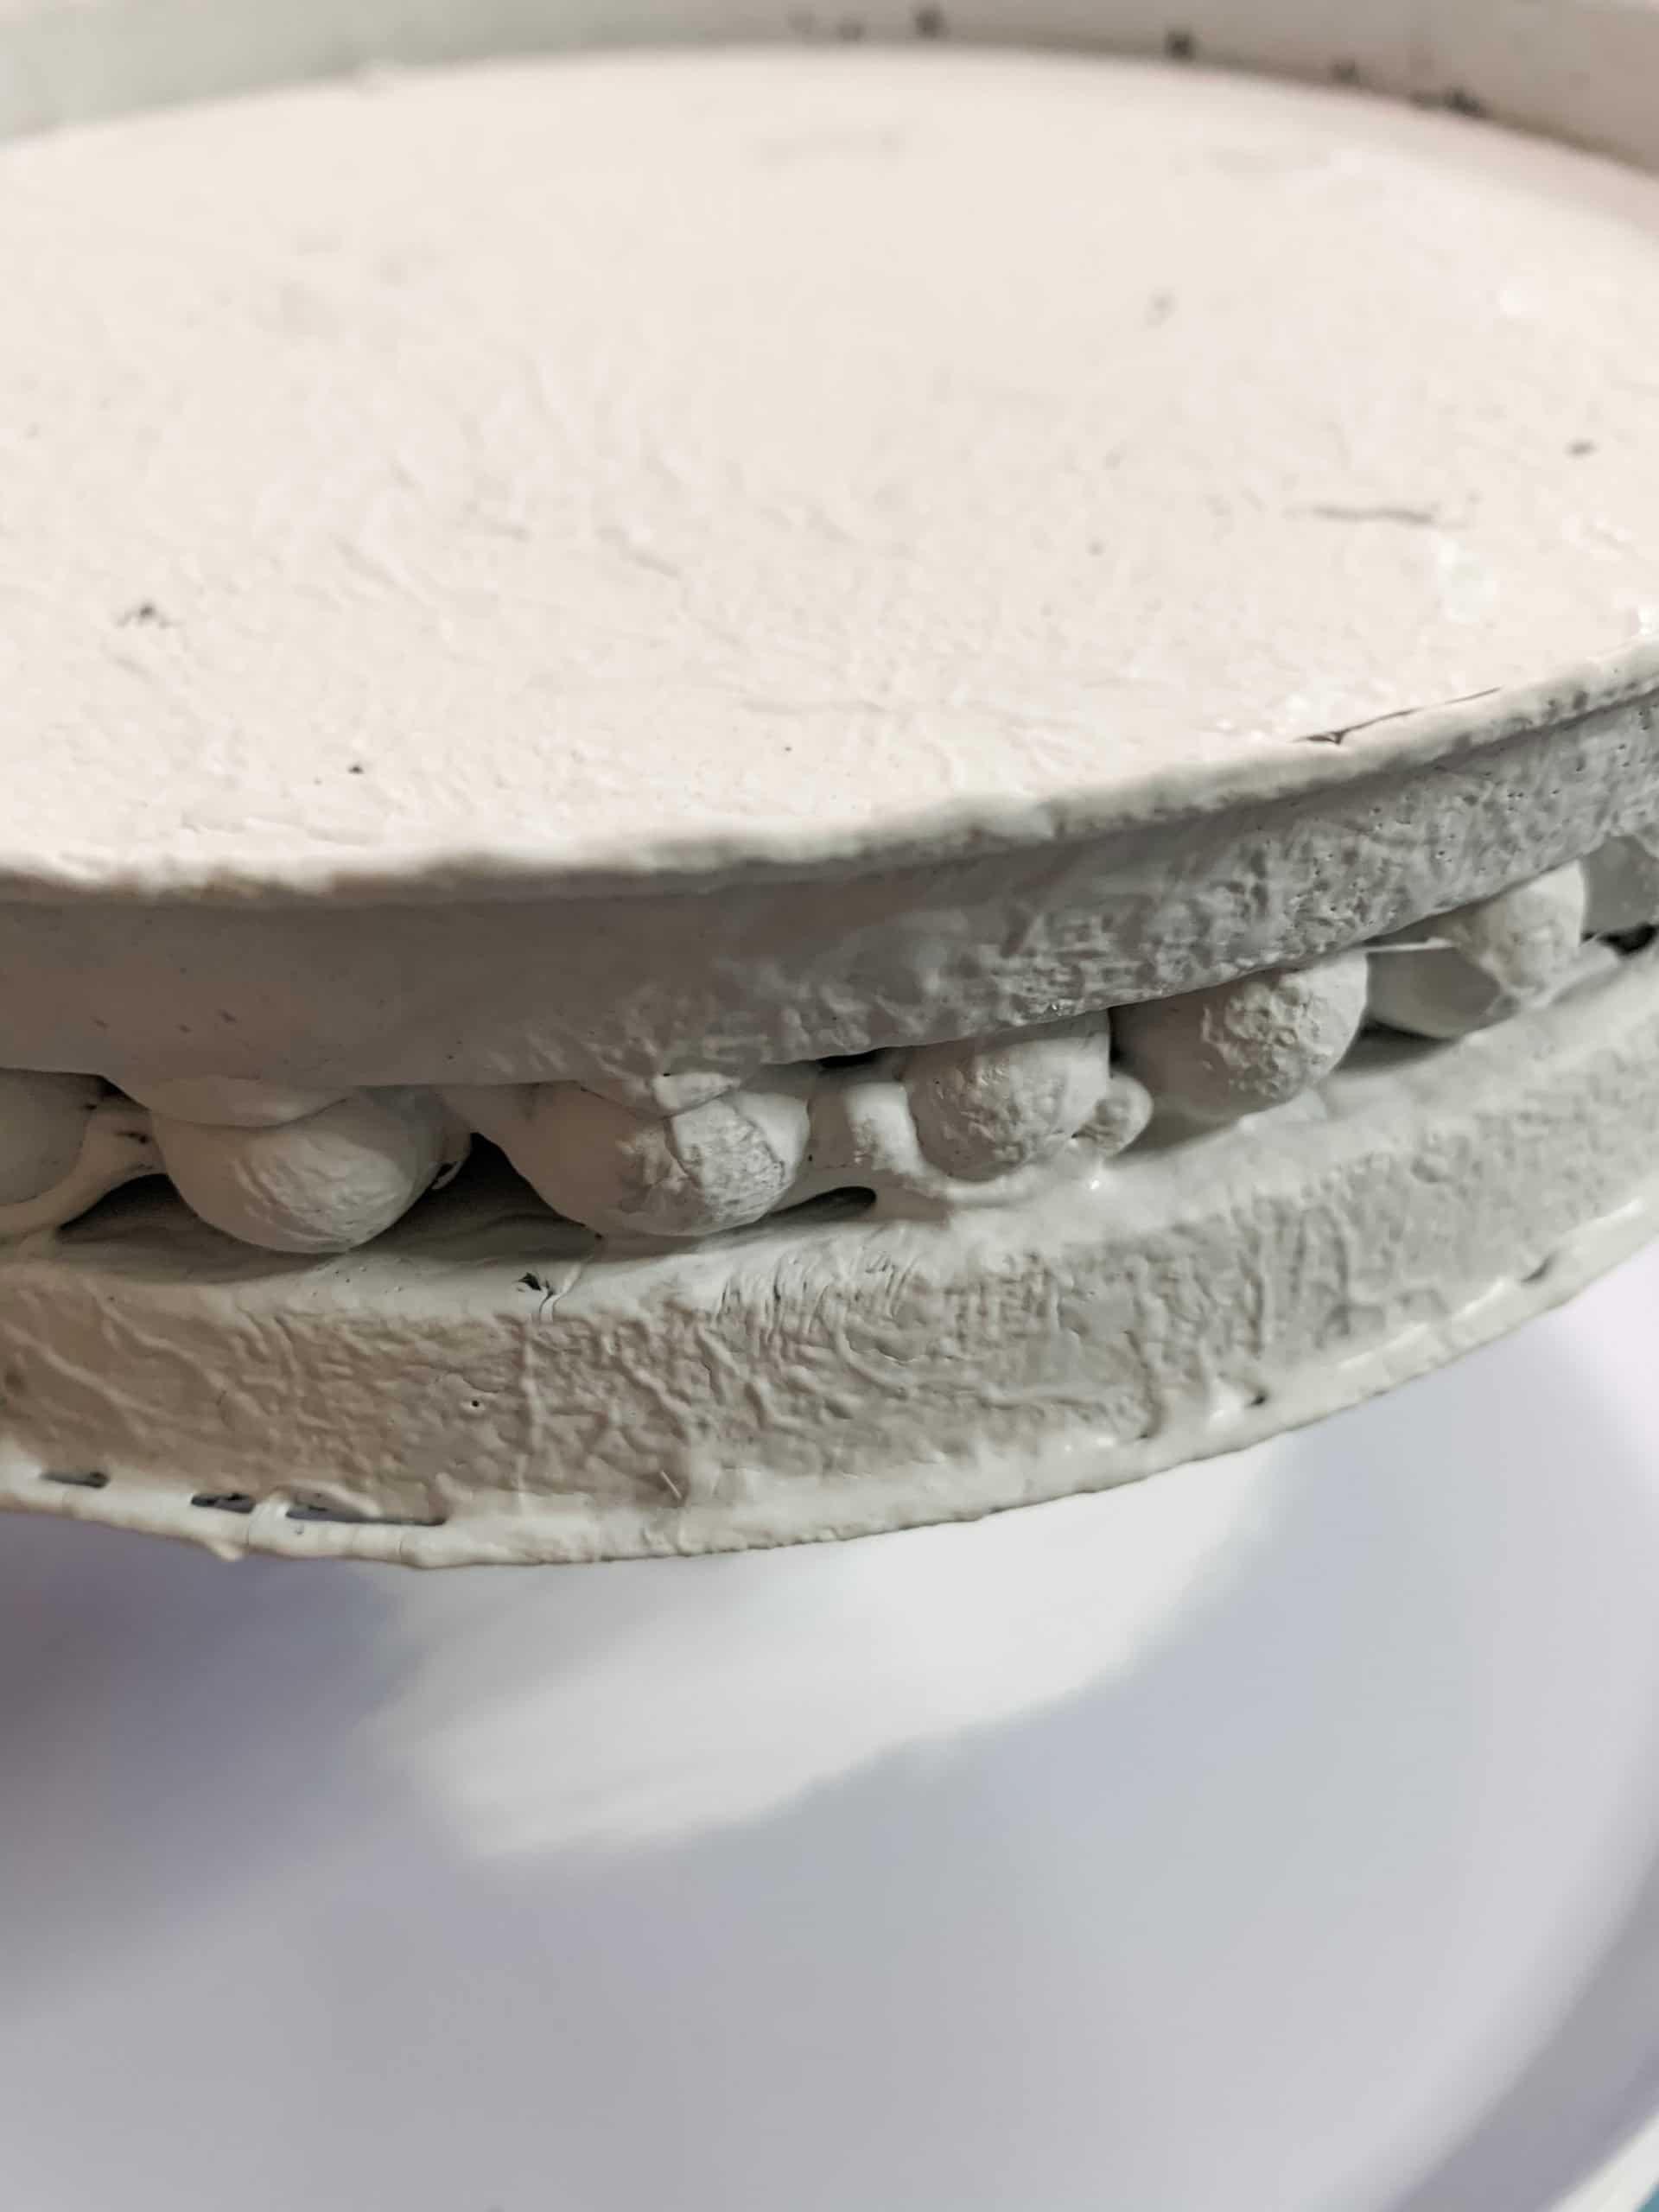
Once your burner covers are painted and dried, you can start adding your beads! Adding the wood beads is probably the most tedious part of this DIY project.
We are putting the burner covers together with their design sides facing one another, so place a burner cover of each size with the design side up.
Then, hot glue wood beads onto the tops of the burner covers around the outer edges.
If you want to see the full supply list or video tutorial, just scroll to the bottom of this page!
Then apply a line of hot glue to the top of the circle of wood beads and press the coordinating burner cover onto the hot glue.
If you want to see the full supply list or video tutorial, just scroll to the bottom of this page!
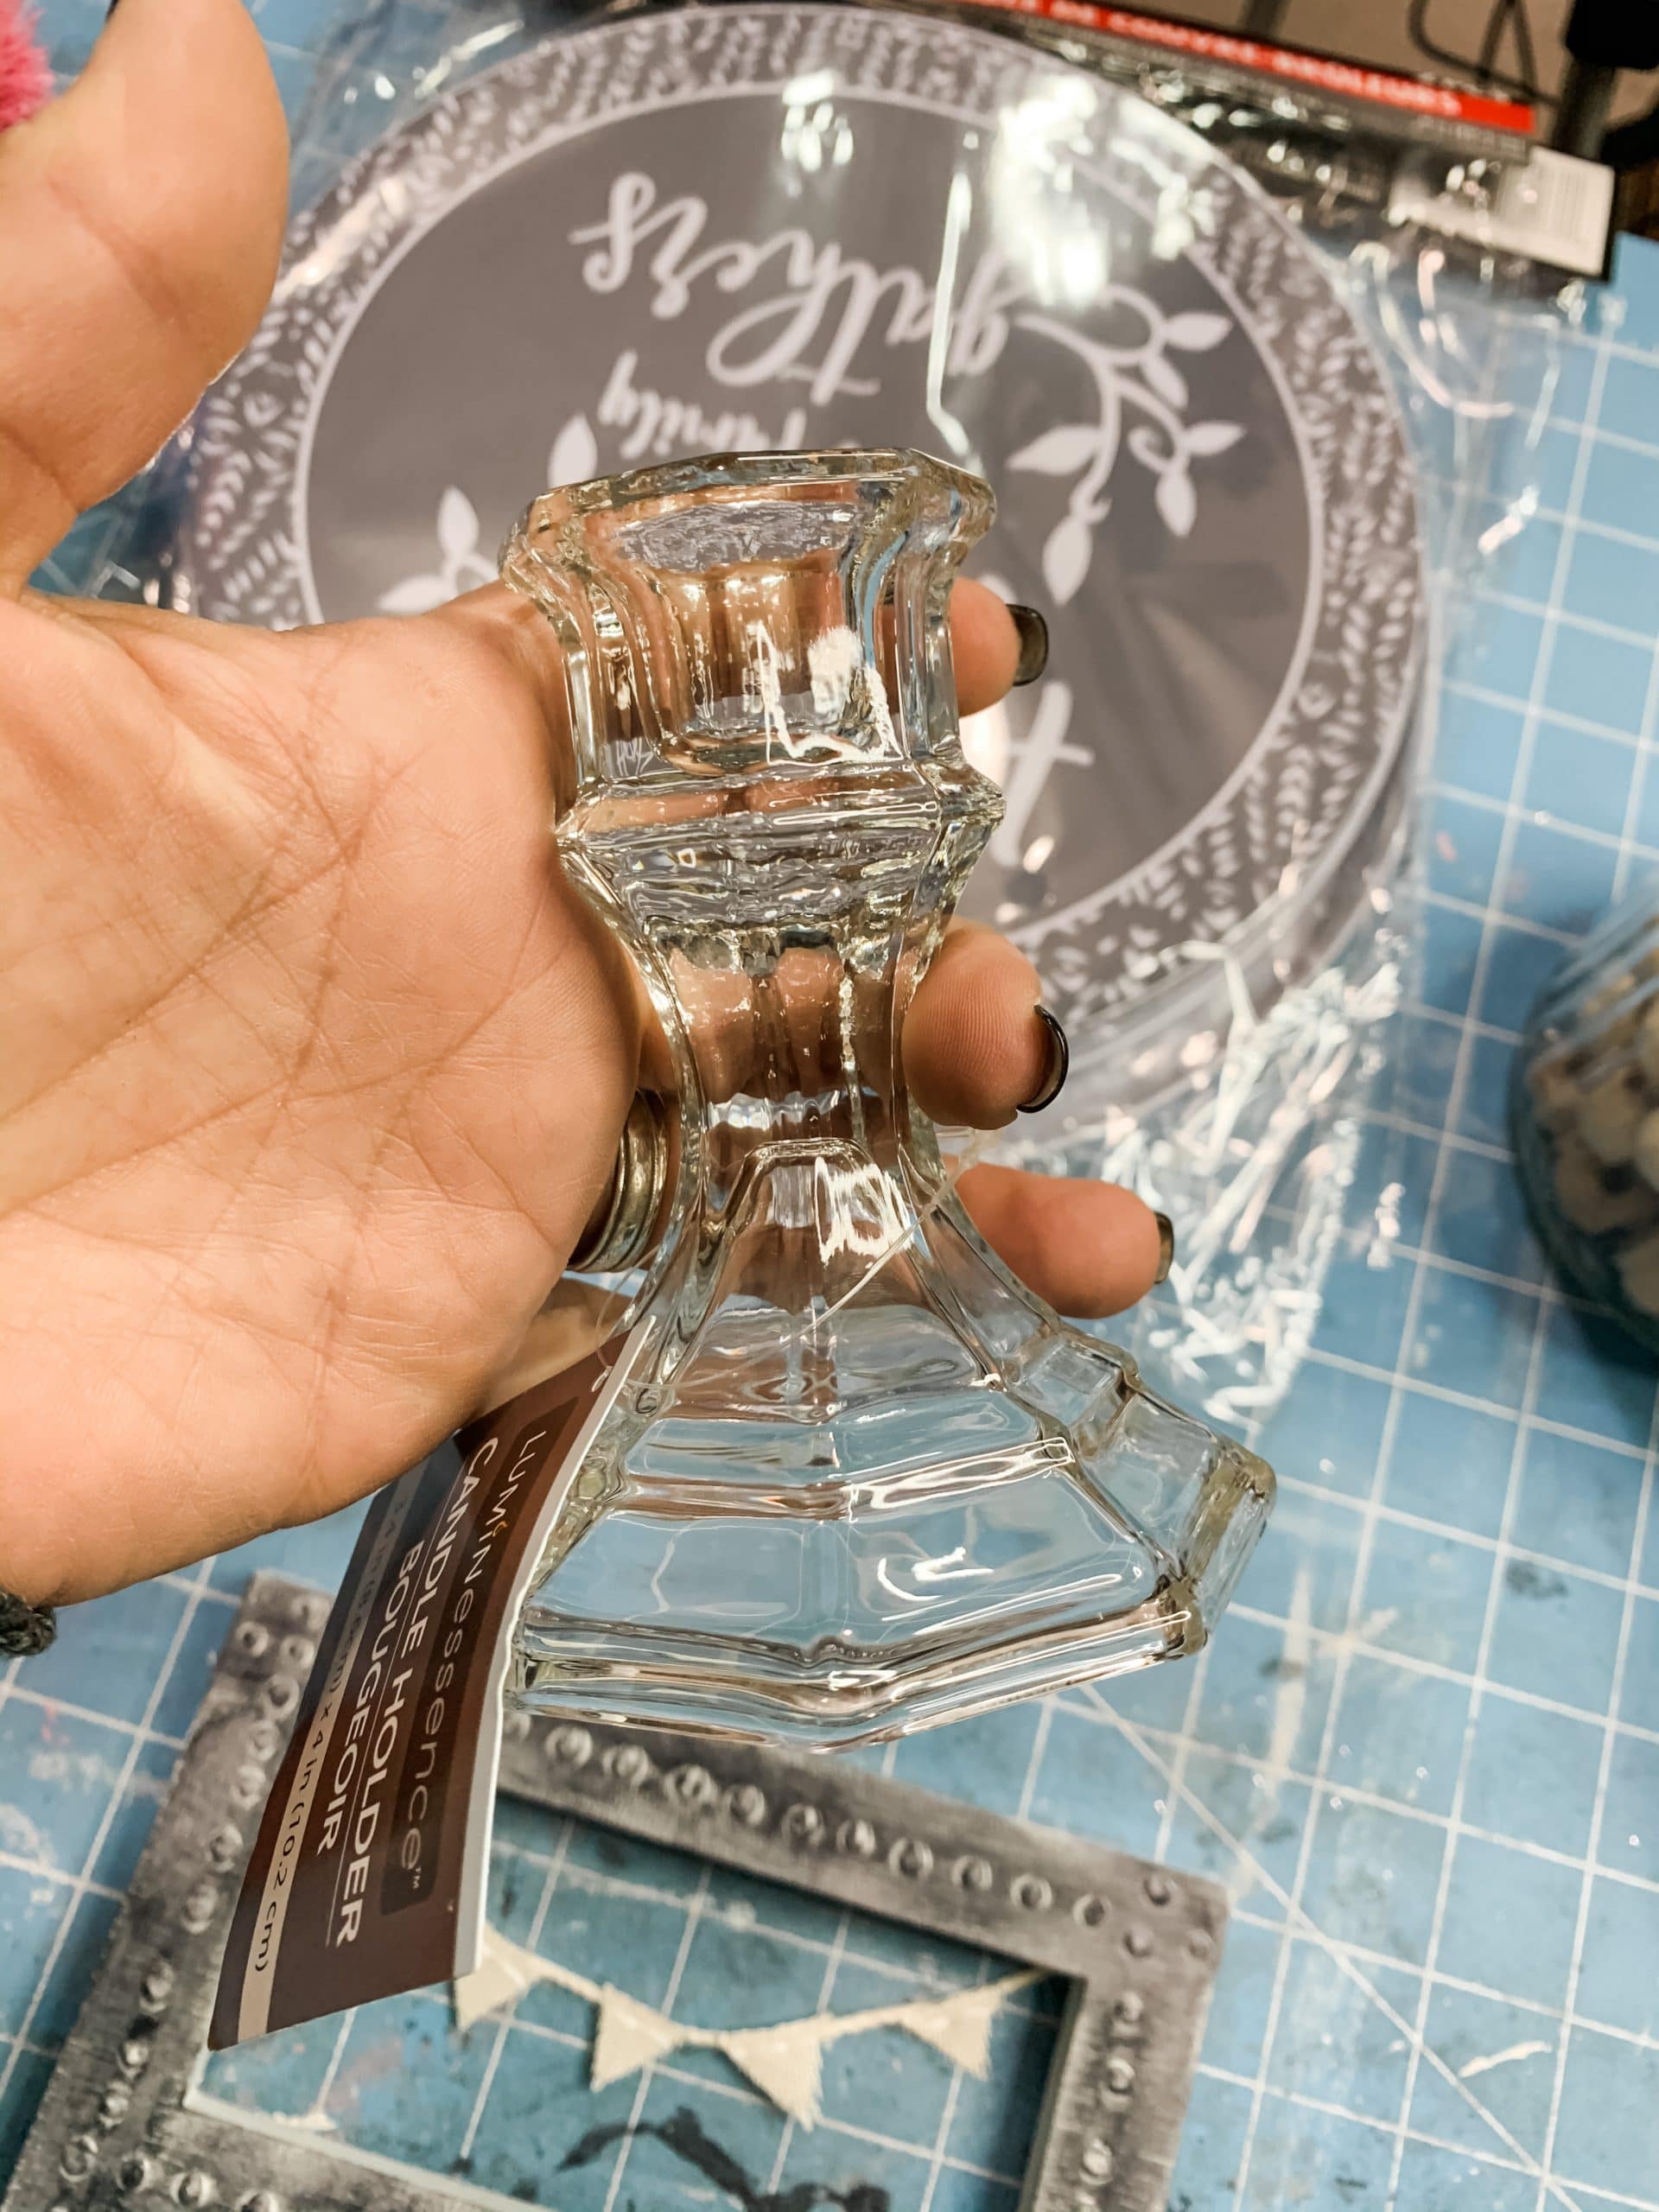
Add your Dollar Tree candle stands
The next thing I did was hot glue one of the Dollar Tree candle stands to the bottom of the smaller burner covers.
The small burner covers are going to be the top tier of our stand, so hot glue one candle stand to the bottom.
Then, I painted the small burner covers with DIY black clay-based paint. I used clay-based paint instead of chalk paint because it gives the project a textured look.
Once the black paint dried, I painted the burner covers with white DIY paint. Instead of brushing the paint onto the surfaces like you usually would, dab it onto the surfaces instead.
Repeat this process with the larger burner covers.
Hot glue a glass candle stand to the bottom of the large burner covers, paint the burner covers with black DIY paint, dry the black paint, then paint the burner covers with white DIY paint.
If you want to see the full supply list or video tutorial, just scroll to the bottom of this page!
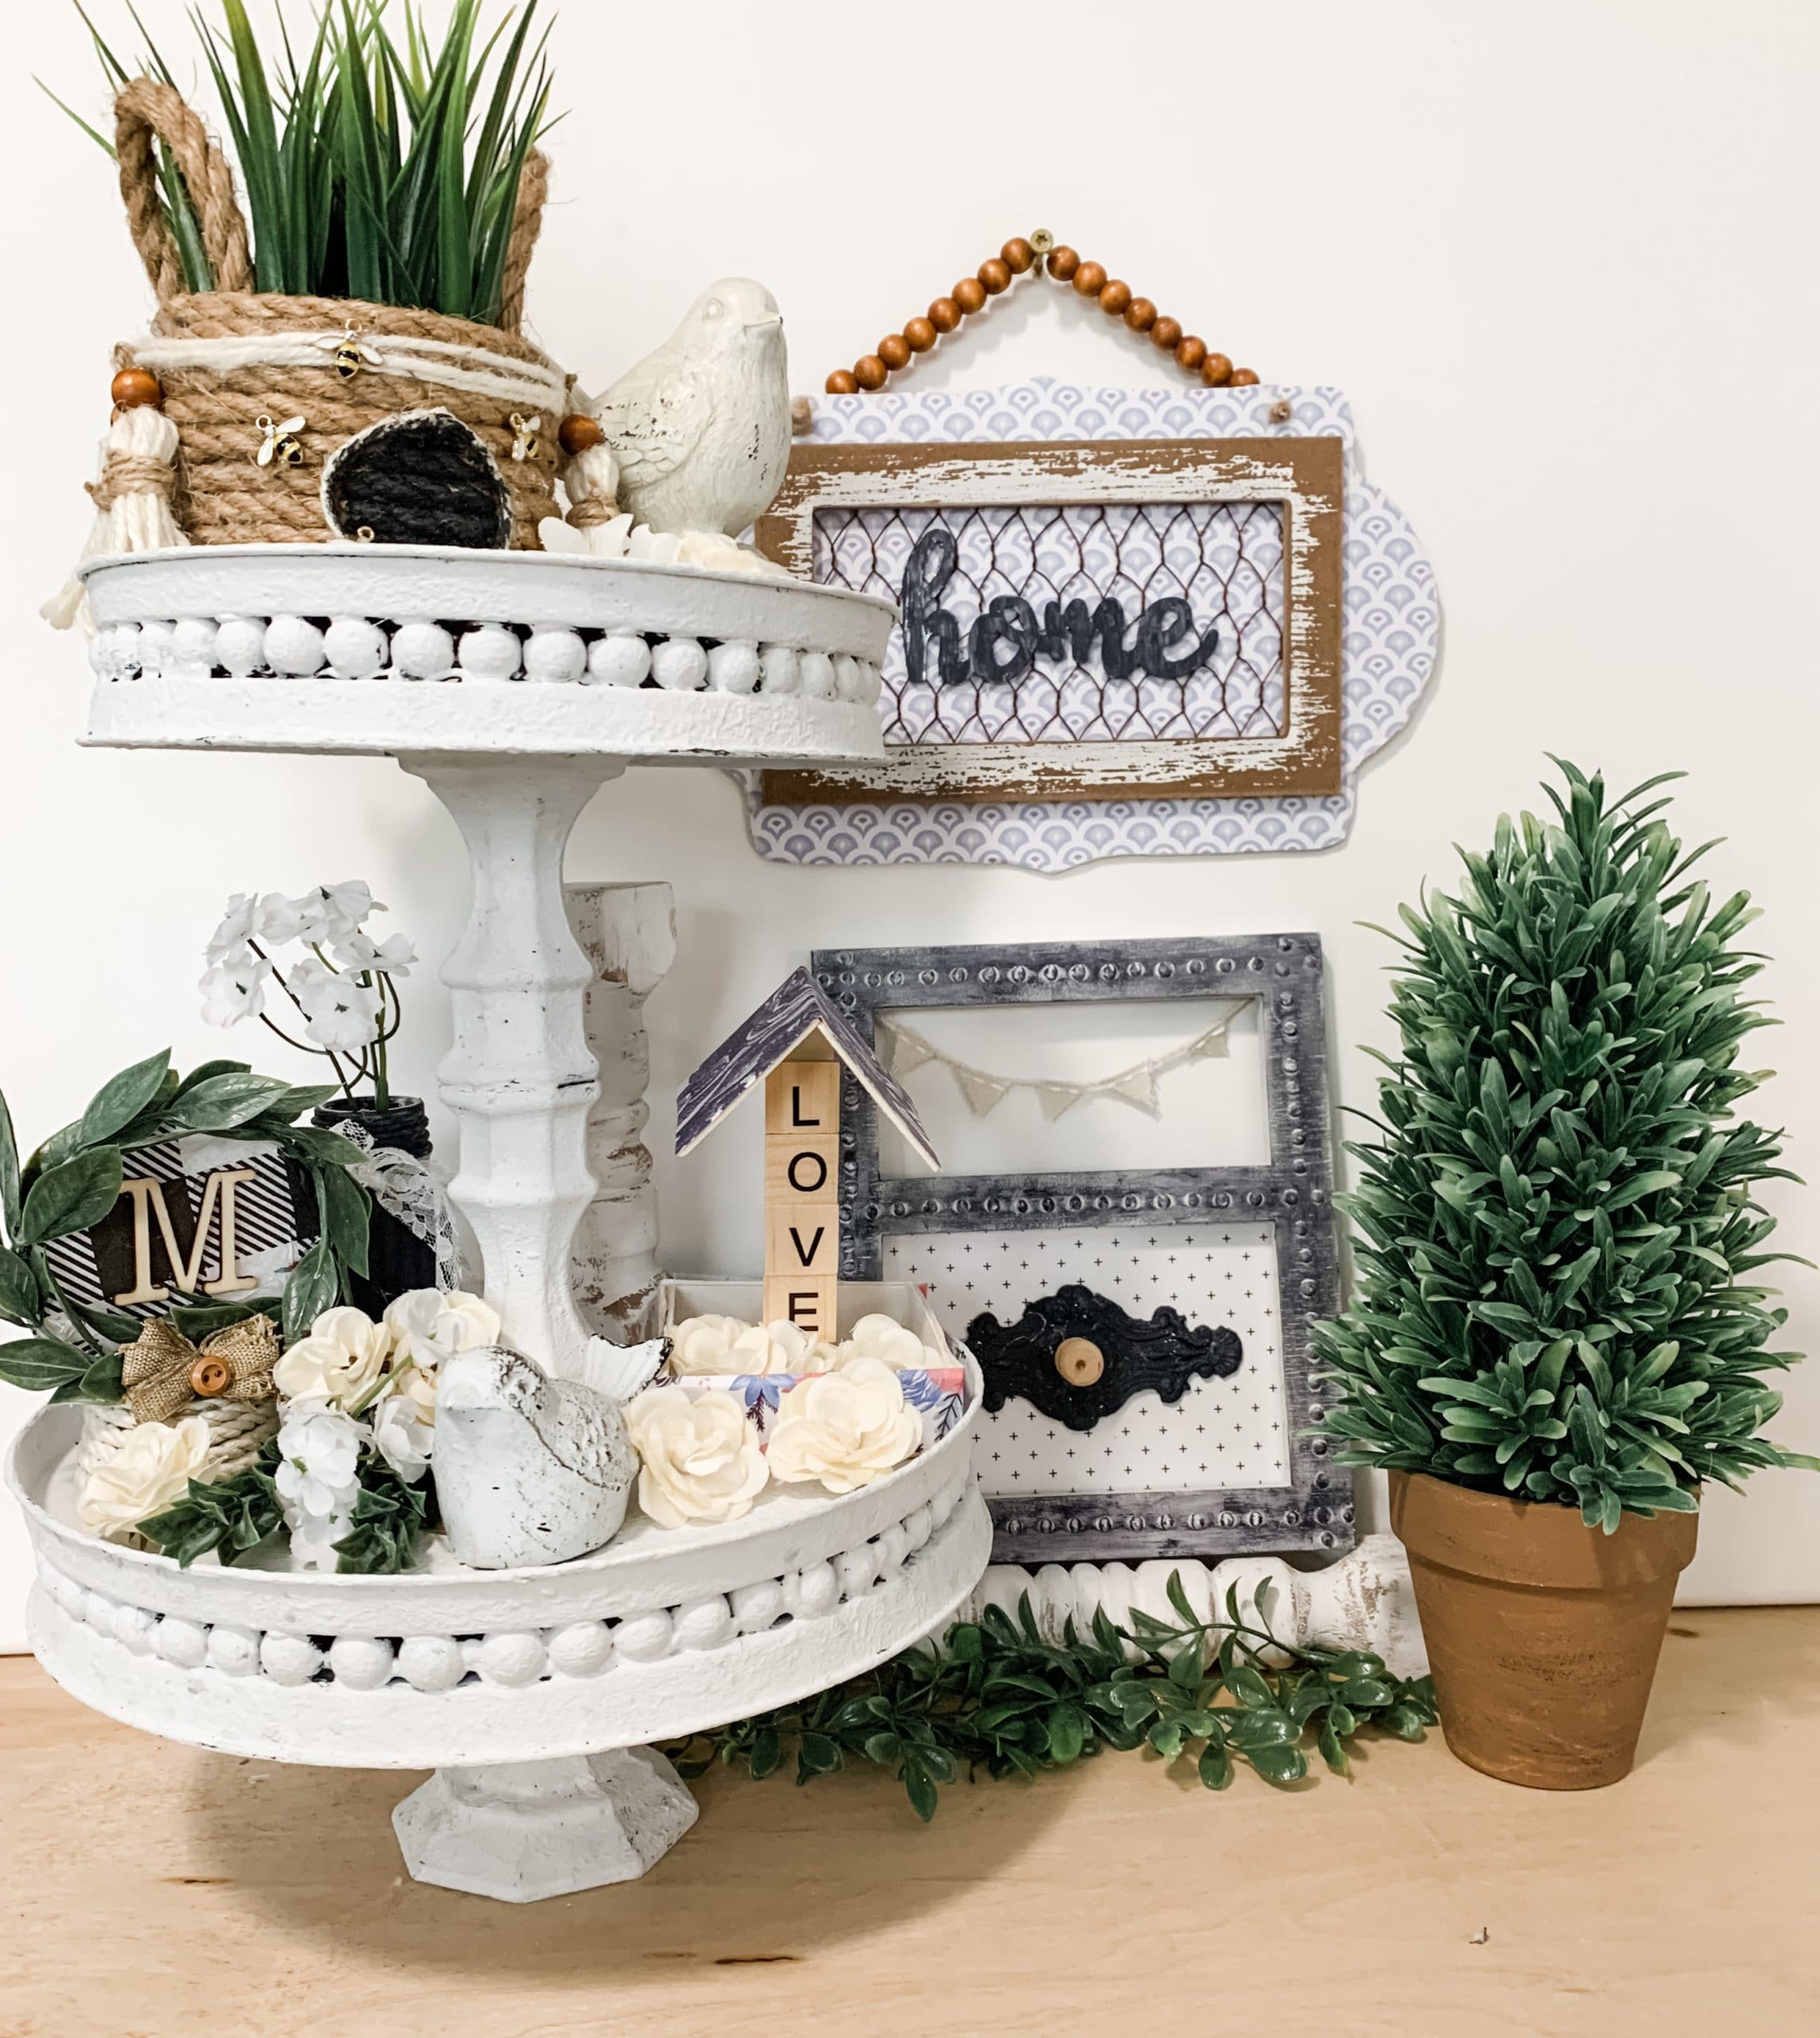
Bring it all together
Alright, at this point you should have two burner cover stands on glass candle holders. You only have a couple of steps left to finish up this DIY project!
To bring them together, turn a glass candle holder upside down and hot glue it to the top of the larger burner covers.
If you want to see the full supply list or video tutorial, just scroll to the bottom of this page!
Then, hot glue the top of that glass candle holder to the bottom of the small burner cover stand’s glass candle holder.
Lastly, paint all the glass candle holders with the black DIY paint, allow them to dry, and paint them with white DIY paint.
For this project, I used these items but you can substitute where you want.
“As an Amazon Associate, I earn from qualifying purchases.”
- Dollar Tree Burner Covers (2xlarge, 2xsmall)
- Dollar Tree Glass candle stands (x3)
- Dark Wood Beads
- DIY Black Clay Based Paint
- DIY White Clay Based Paint
- Dixie Belle Slick Stick
- Hot glue gun and glue sticks
Watch the replay
I recorded the DIY steps for this adorable Dollar Tree decor during a live video on my Facebook page. If you want to craft along or just join in on the fun, you can watch the replay!
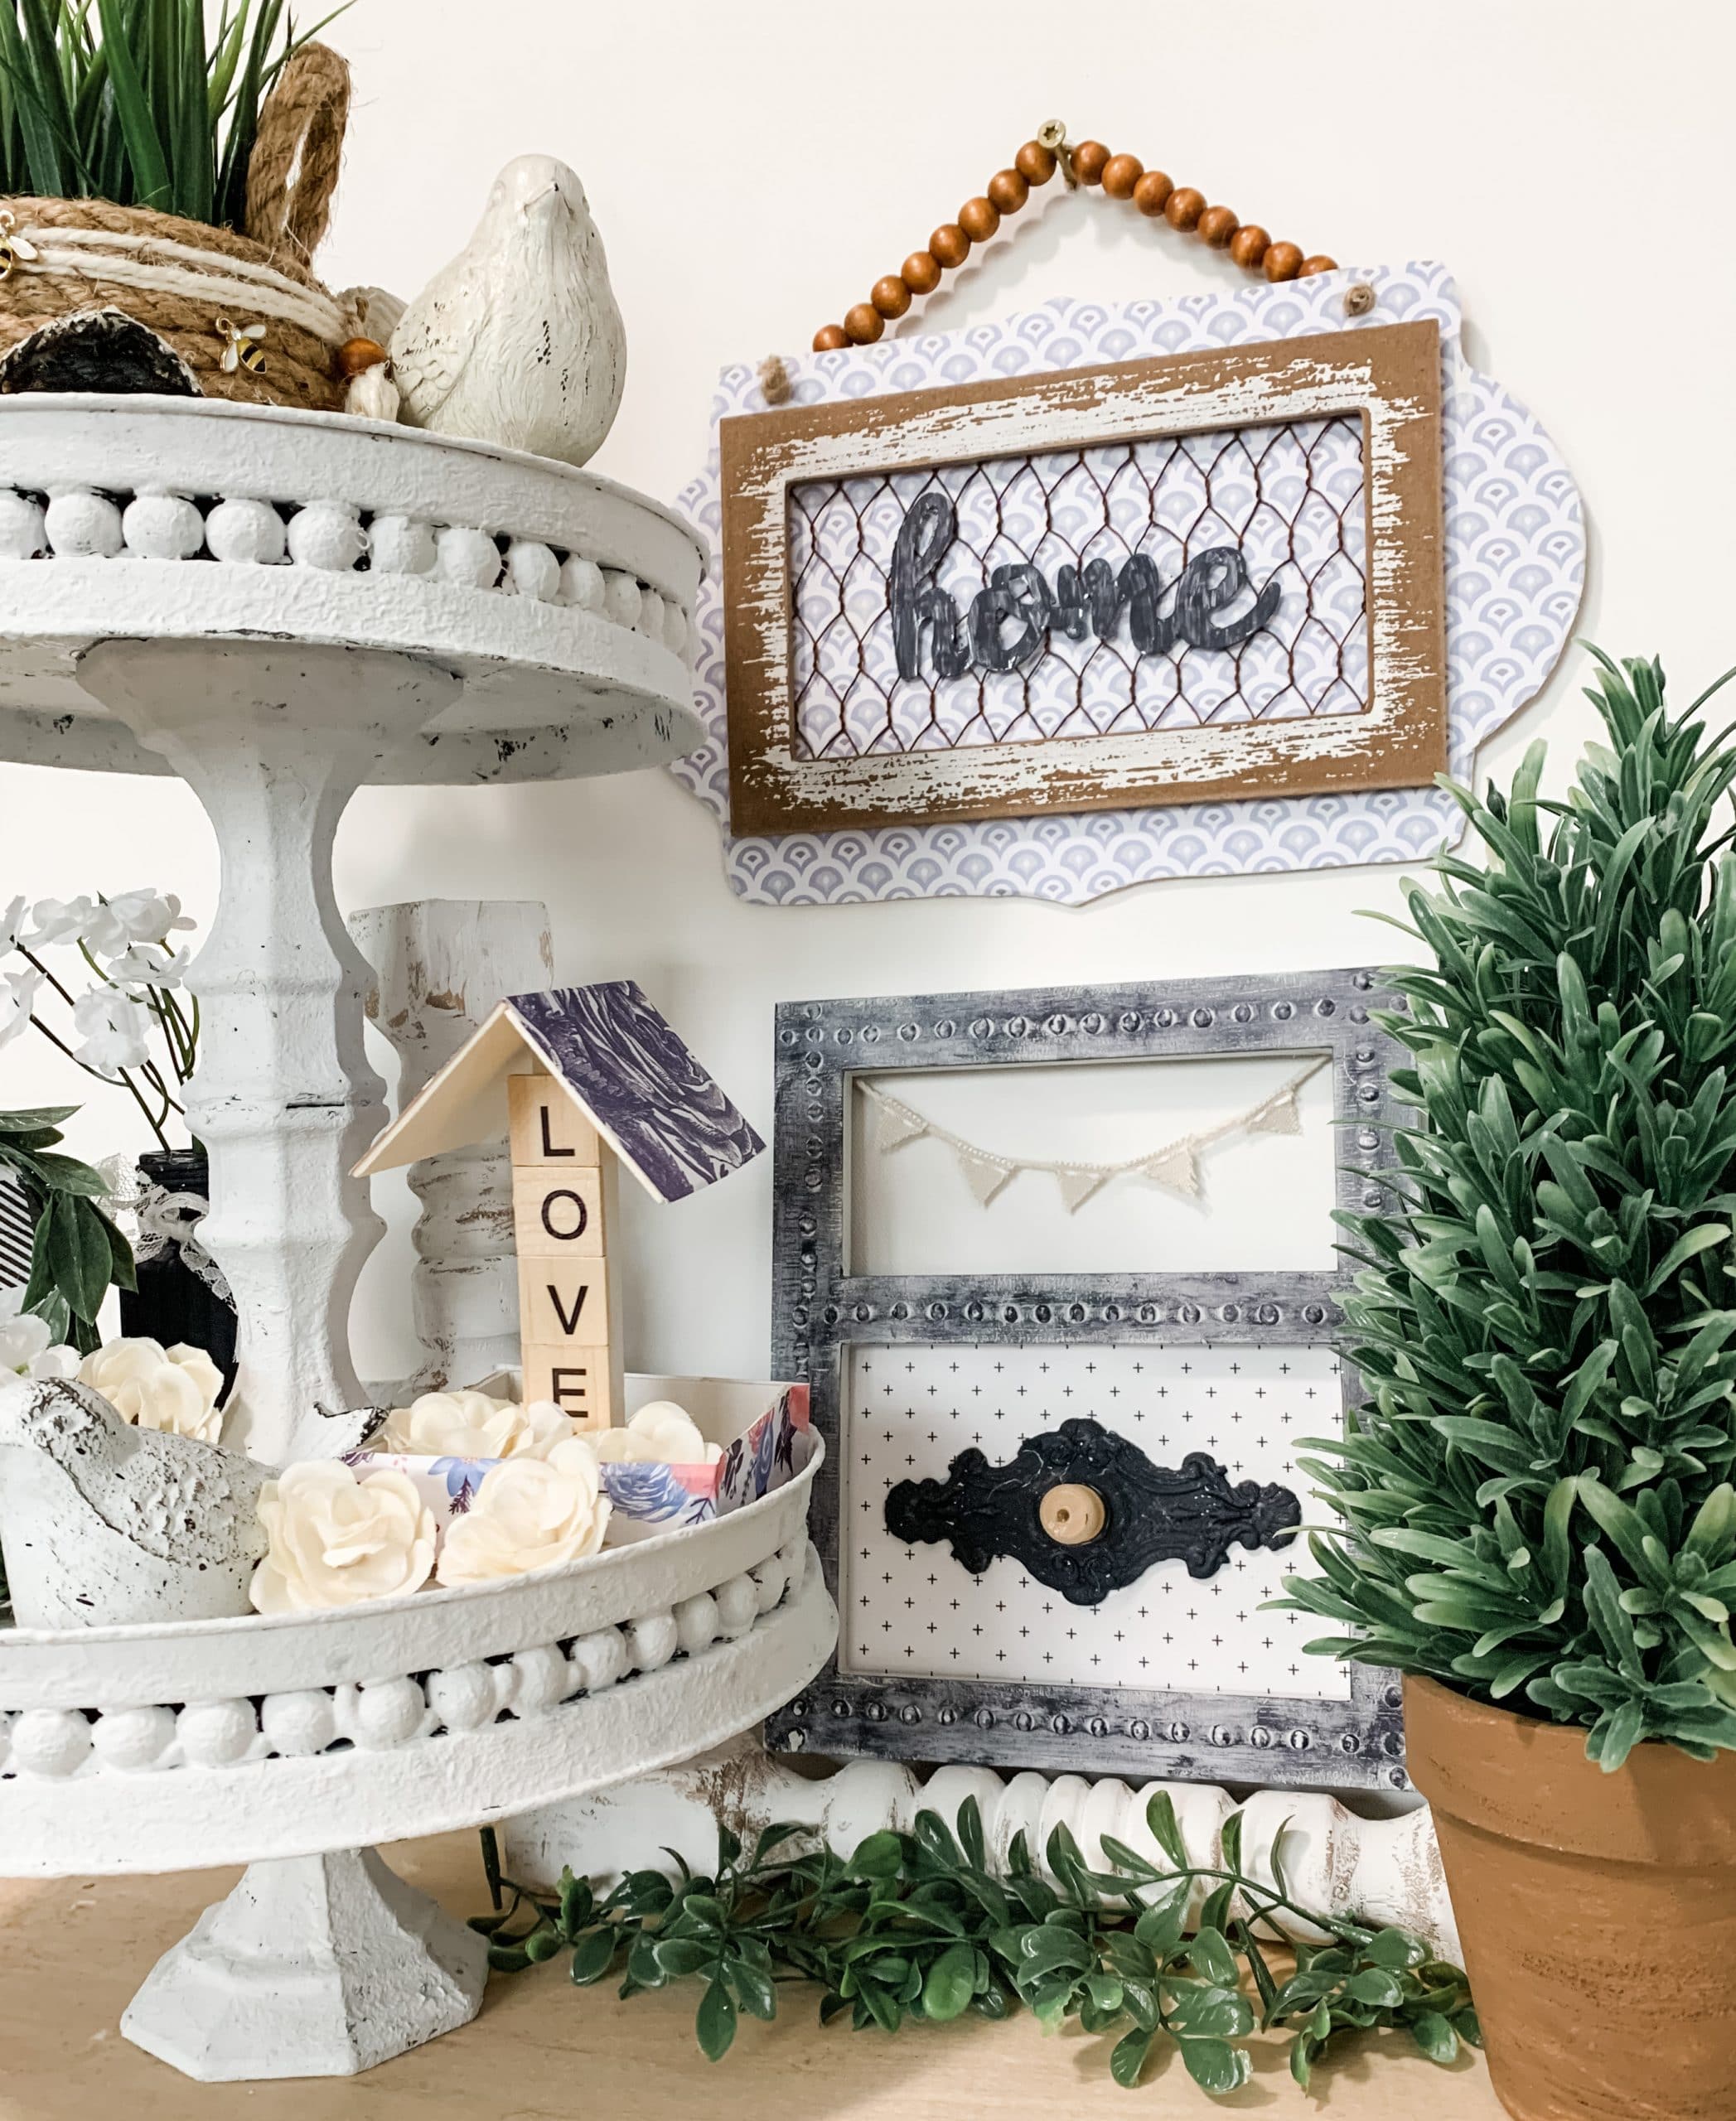
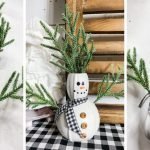
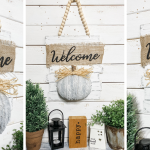
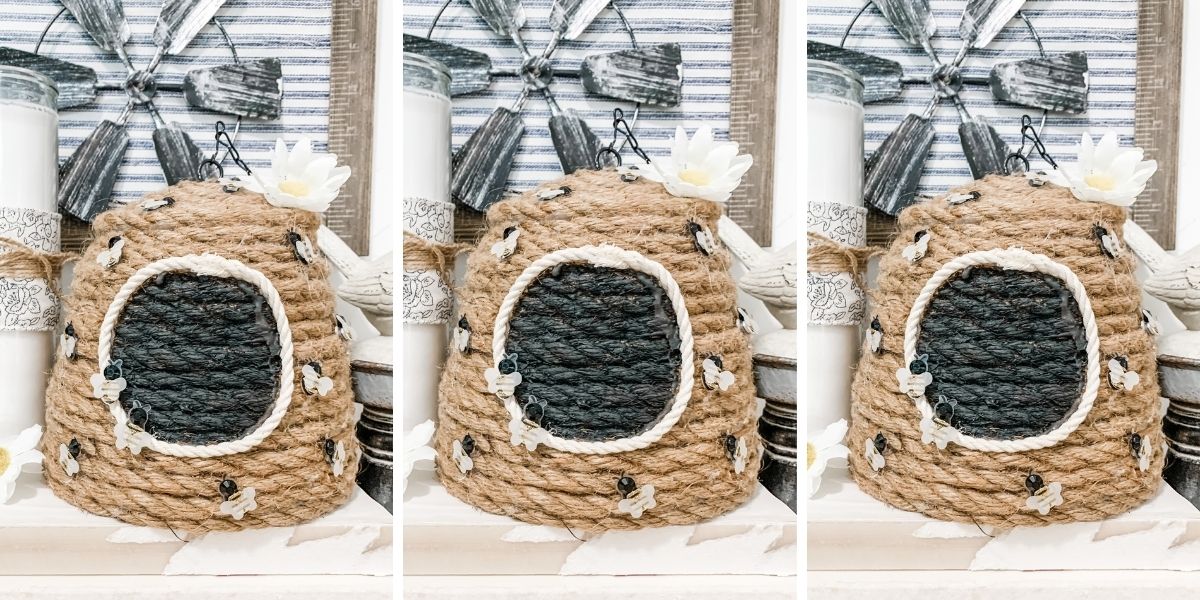
If you loved this DIY you might also like these home decor ideas!
I hope you enjoyed this DIY Dollar Tree Burner Cover Tiered Tray as much as I did and decide to make one for yourself! I would love to see how yours turns out!
You should totally join my FREE Facebook group called On A Budget Crafts! It is a judgment-free community for DIY crafters to show off their projects and ideas.
Thanks for stopping by! XOXO Amber
You can also shop my ENTIRE AMAZON Favorites shop just click here! It’s packed full of all the things I use and love. Here is the supply list I highly recommend every creative have on hand!!
Would you also pin my blog for later and get on my newsletter alerts? I would love to have you join my #craftycrew.
Inspired? Leave me a comment below! I love hearing from my readers!

Join my free “ON A BUDGET CRAFTS” Facebook group!

I am going to be moving into my brothers house in the spring and you have some wonderful ideas that I might try to make it my own
Love the finish on this, looks amazing
Thank you for inspiring me! I enjoyed your video and I am so excited to make my own tier tray. It turned out gorgeous. I was wondering if you had any suggestions for a handle? Also, you showed some big balls that could be used as feet ( I think). I would like to try one with the feet on the bottom as well as the one you made. Another ? for you. Did you use a larger bead around the larger burner. Also, approximately how many tier trays could you make with the Michaels’ pack of beads. Again, thank you very much.
What size beads are we supposed to use? The link to Michaels doesn’t work and I need to know what size to order thanks
They’re 25mm
I love all of your amazing projects! My only complaint is that I can’t watch the videos because I’m not on Facebook (and don’t plan on ever being). Would love it if you’d ever consider posting on Youtube, too! In the meantime, I’m enjoying perusing all of your fun projects and hopefully can figure them out without watch the video tutorials!