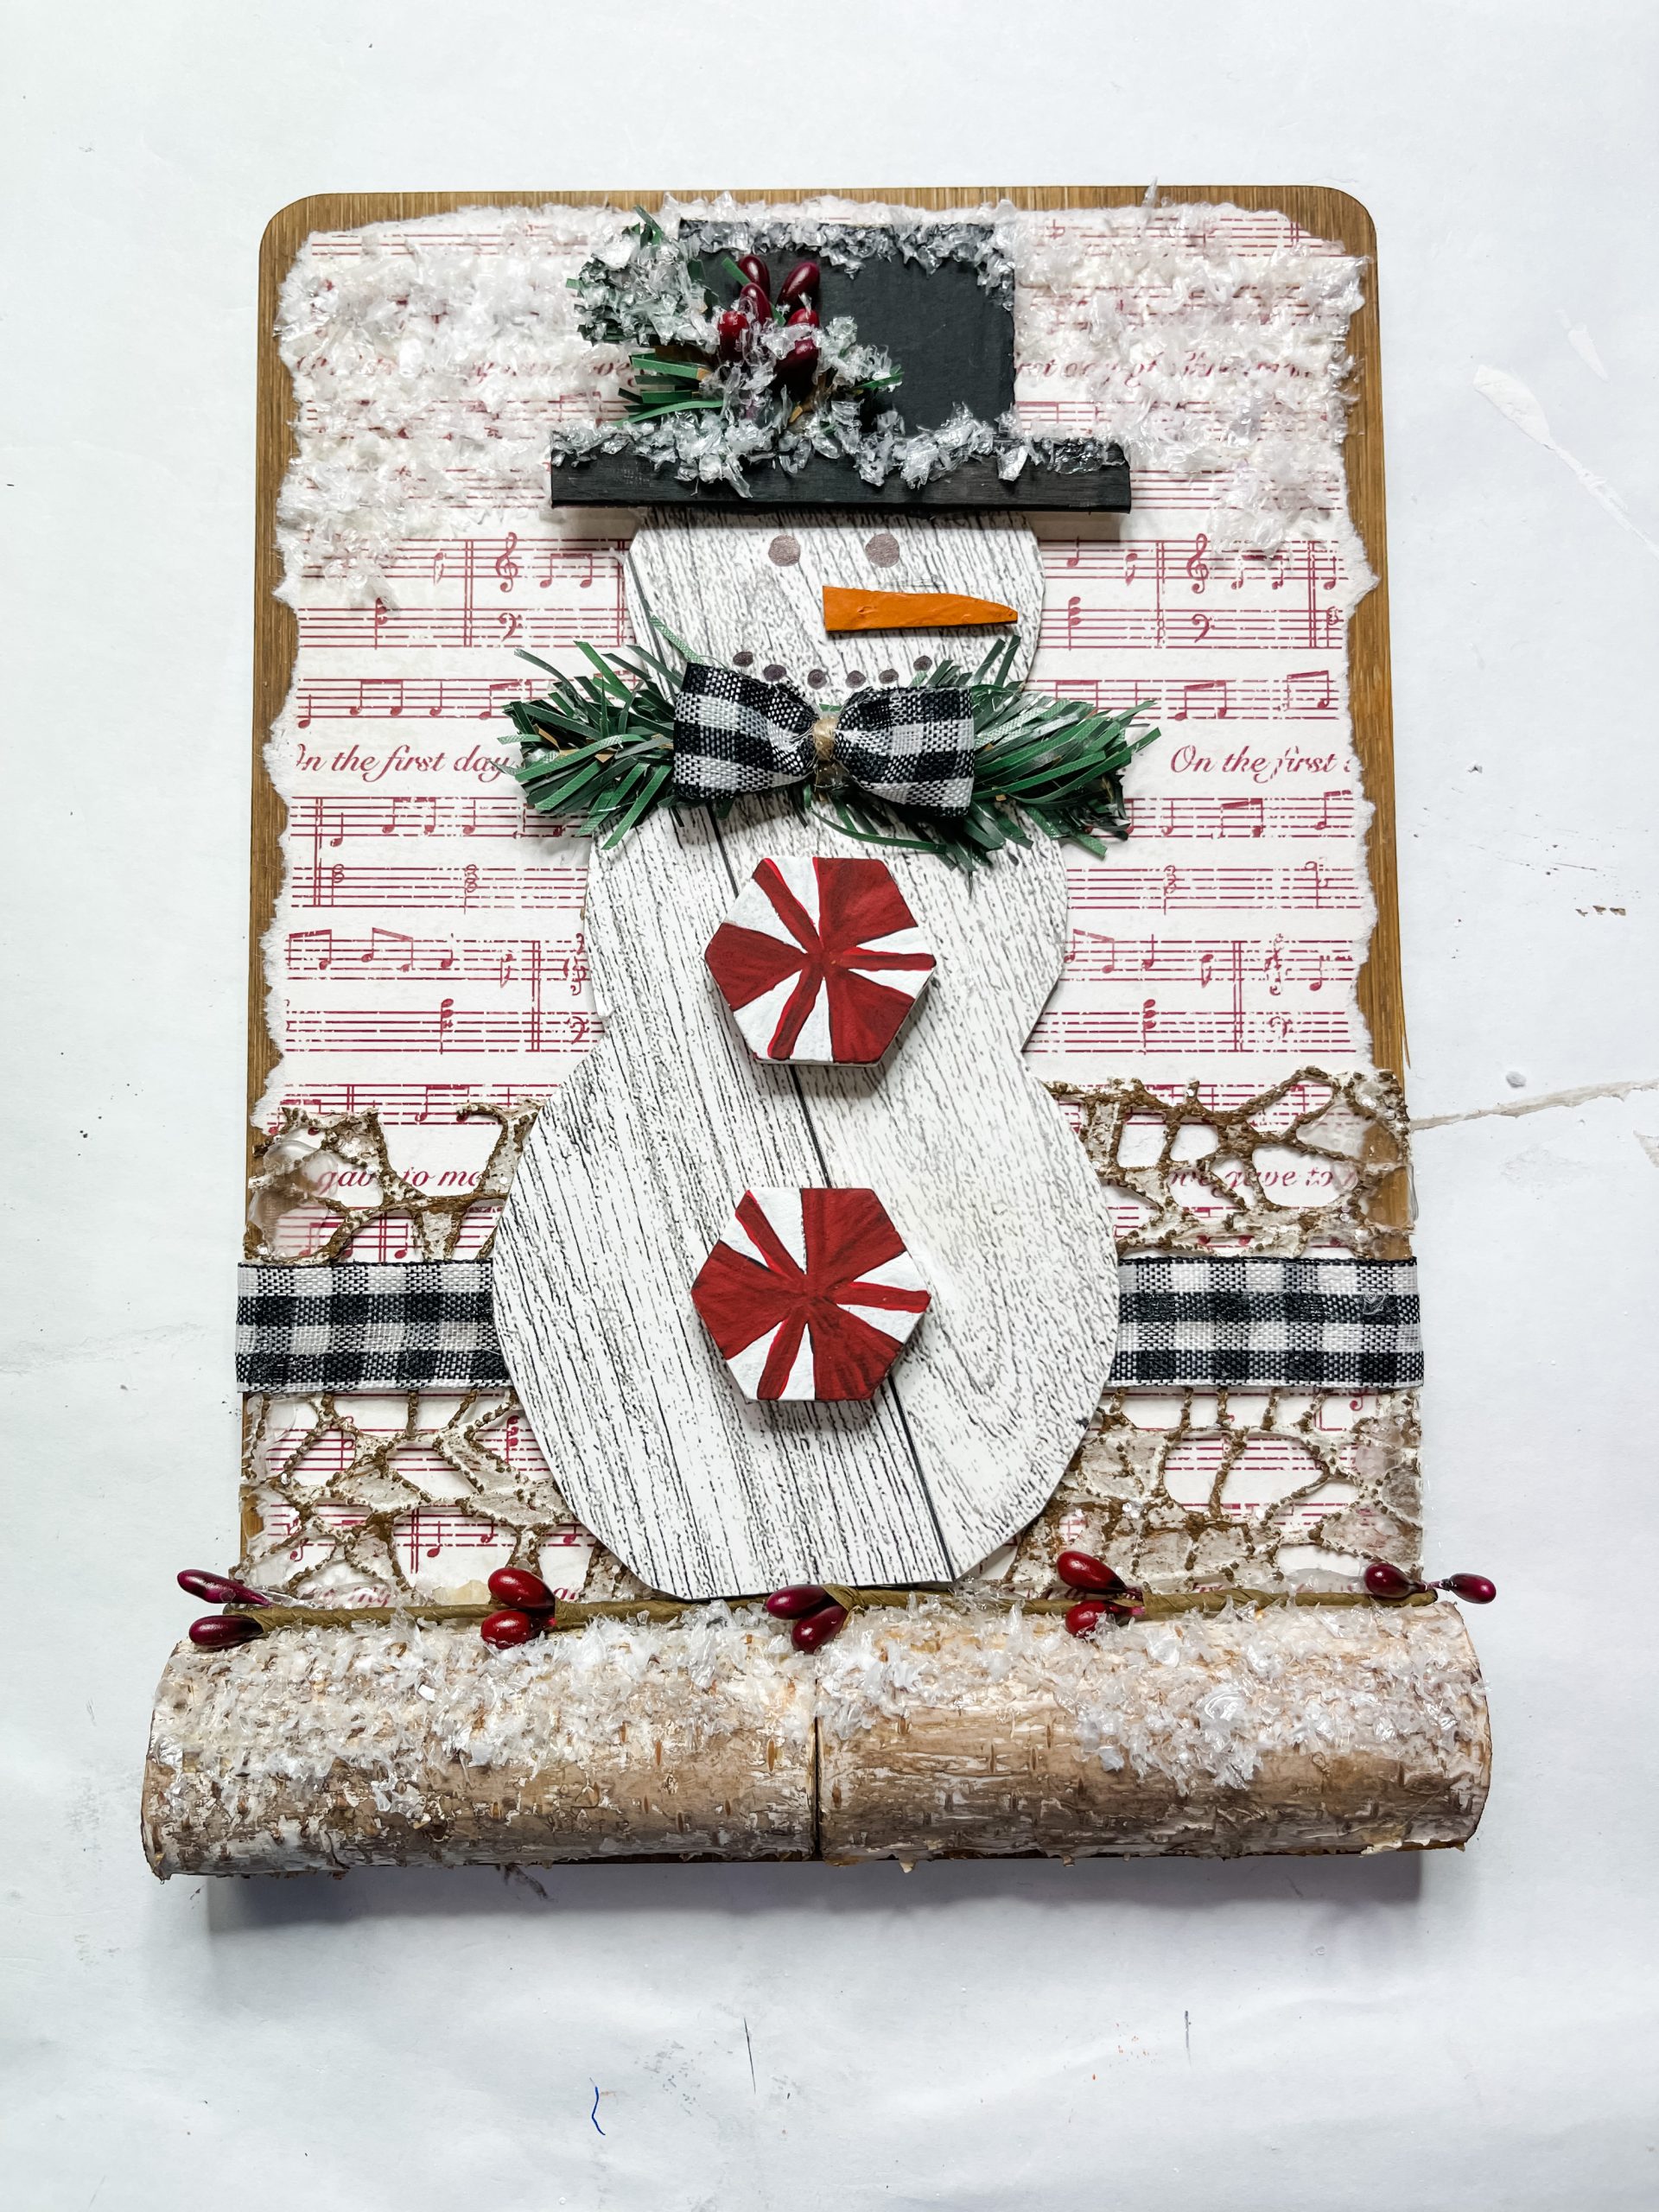
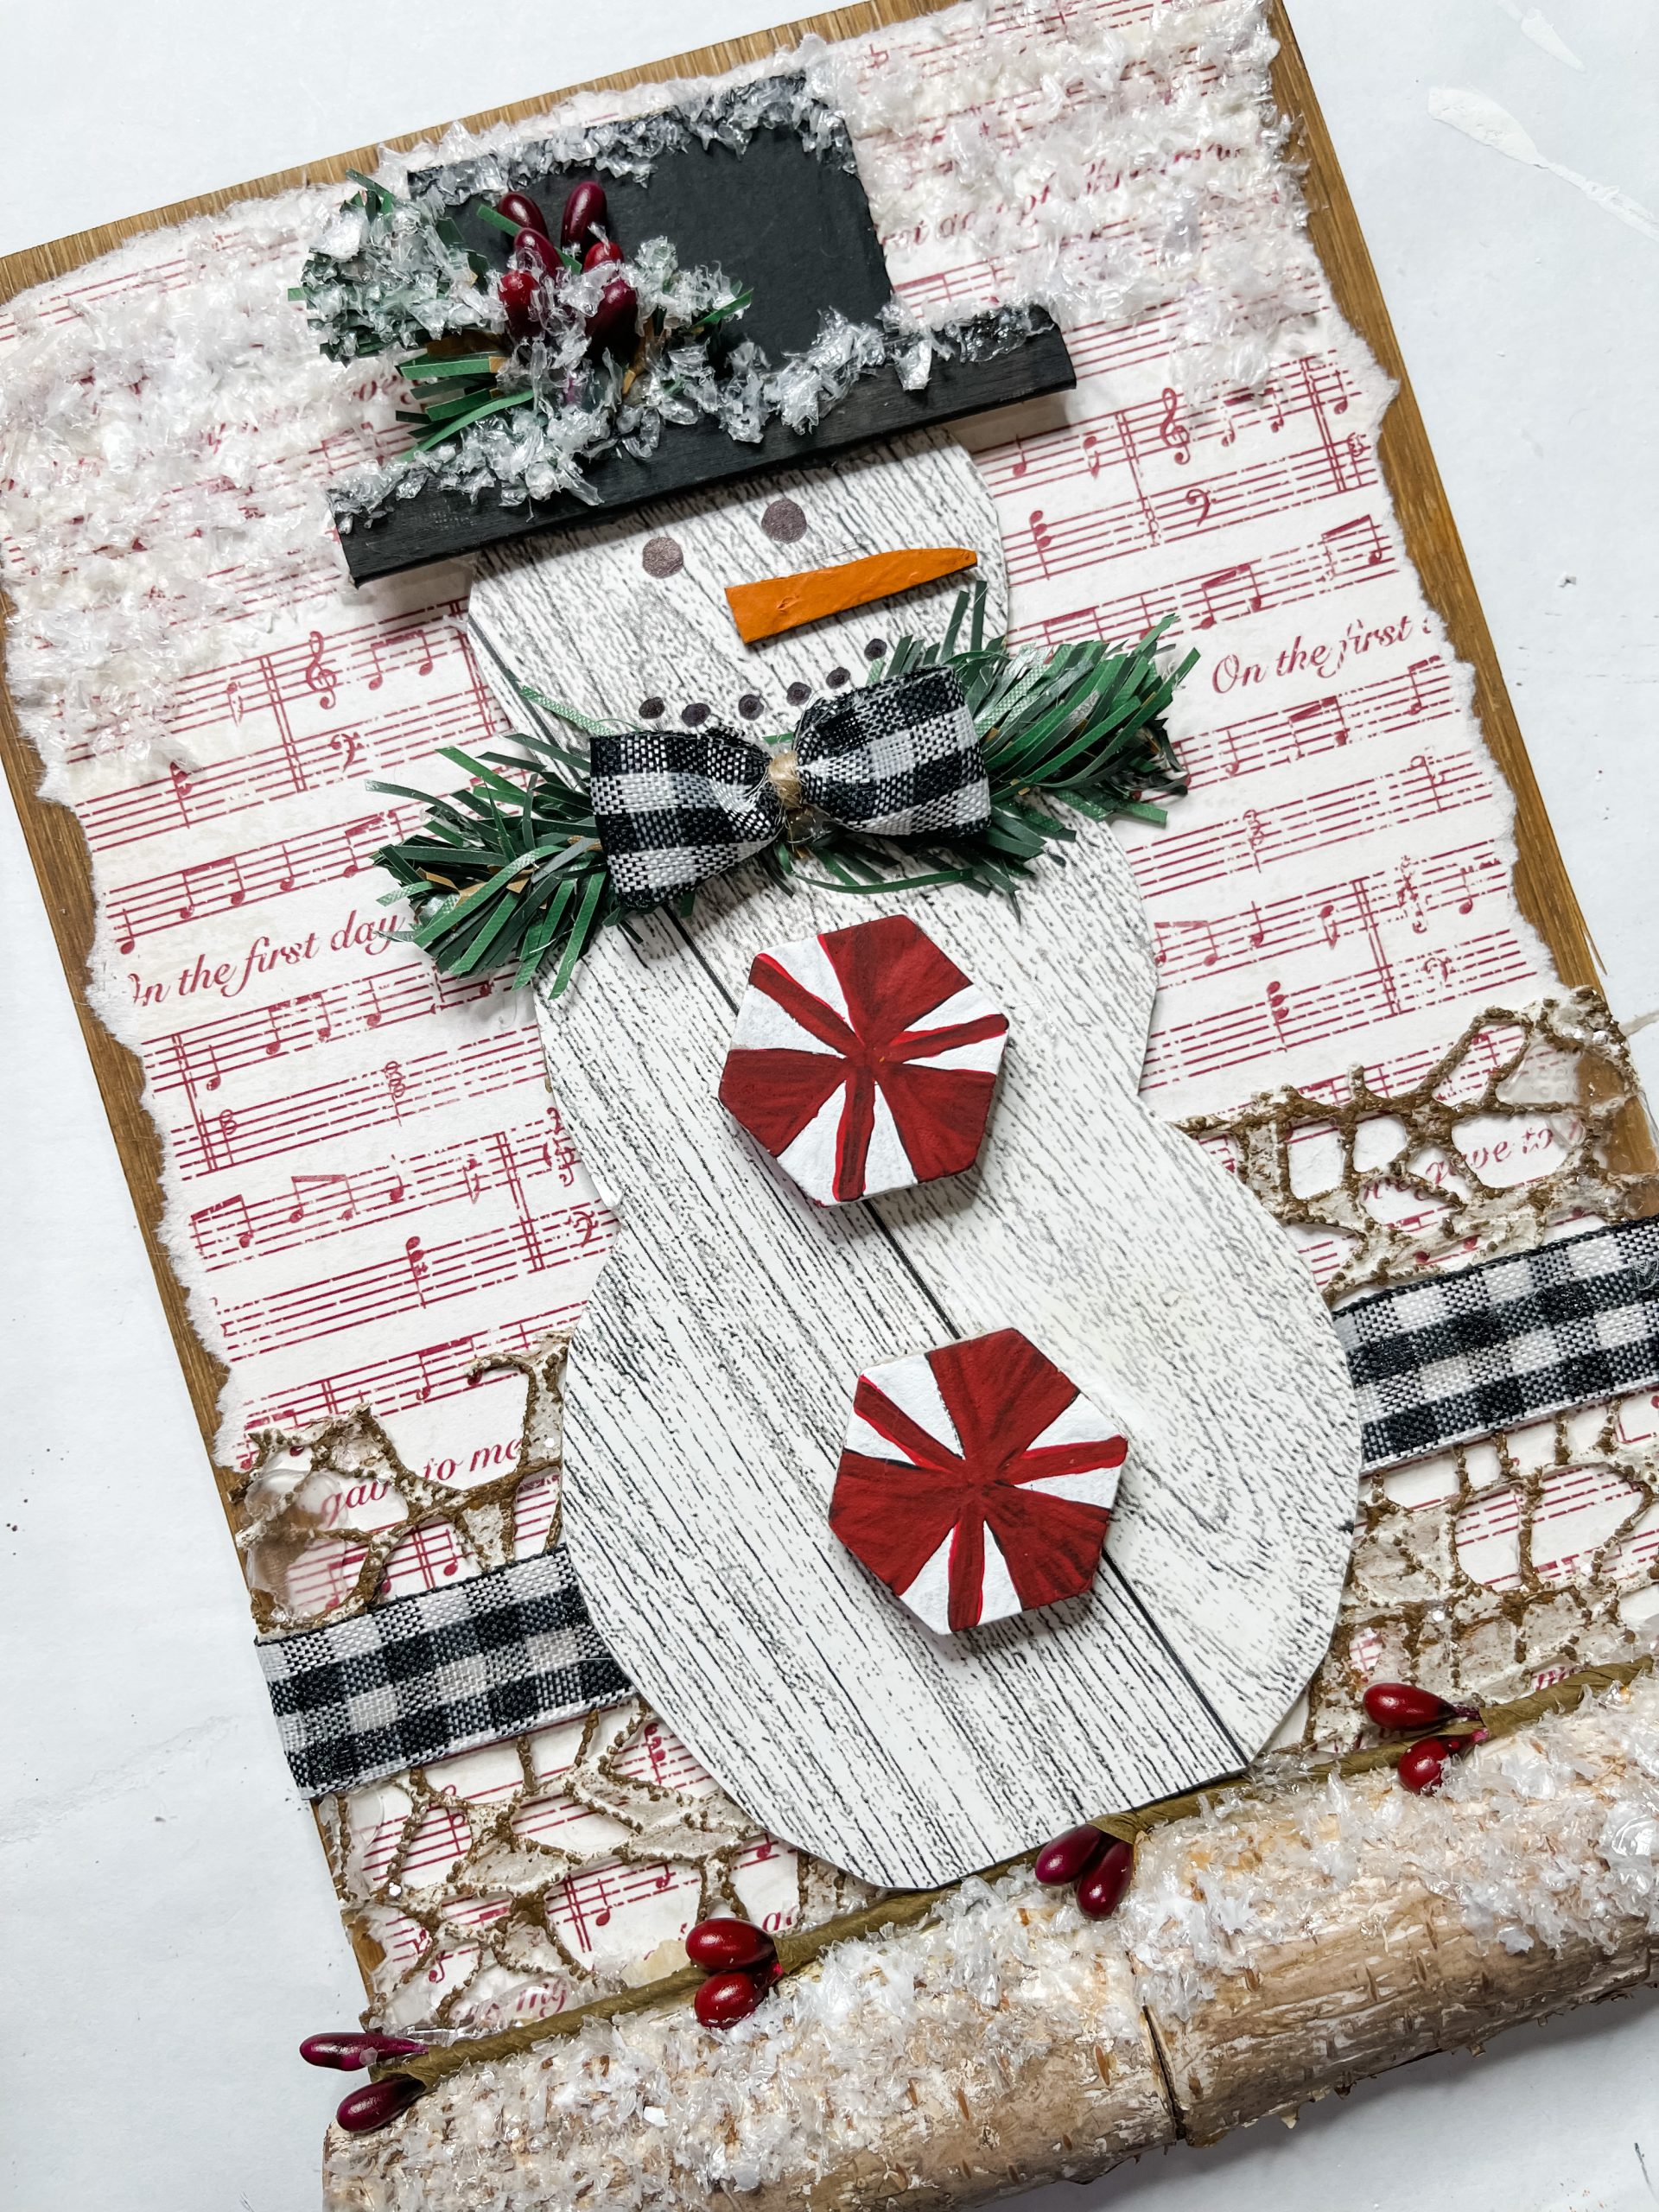
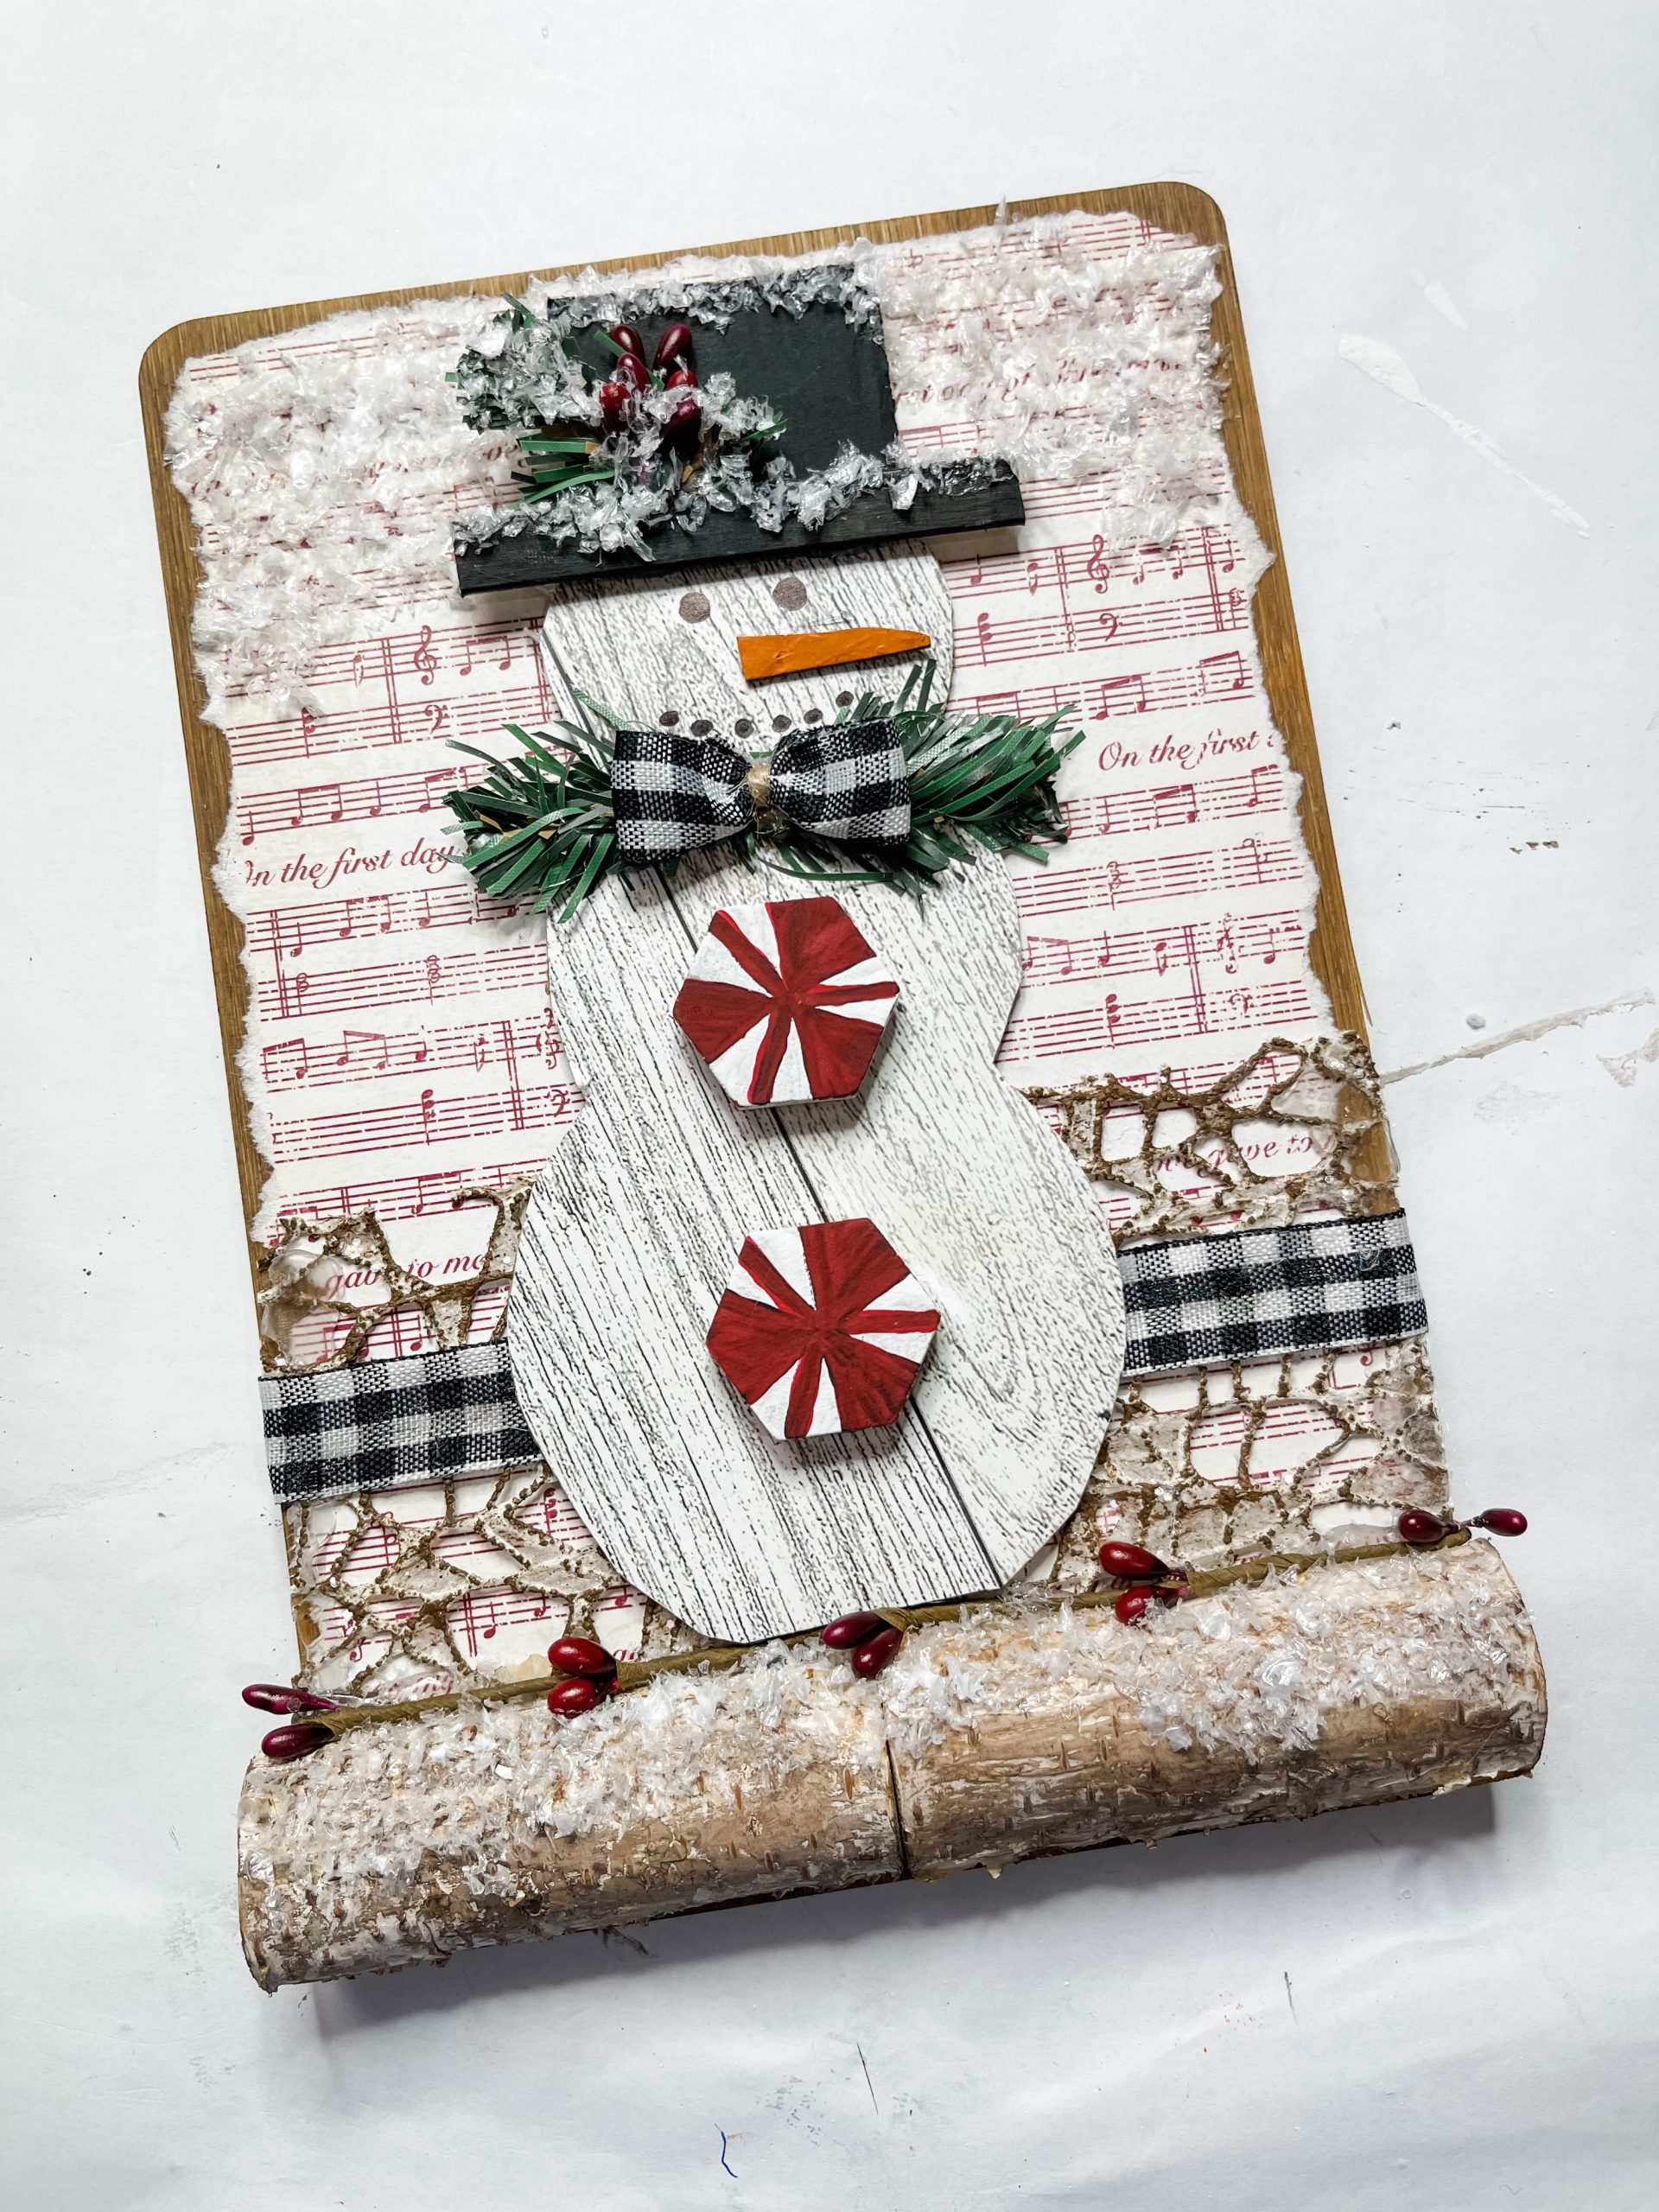
Cardboard Snowman DIY Decor
Would you believe the title of this Cardboard Snowman DIY Decor? That’s right, I used cardboard to make this adorable winter decor!
I love taking common, everyday items and turning them into stunning and fun home decor DIY projects – and it doesn’t get more common than cardboard!
I also use some supplies from Dollar Tree to keep this project affordable for those who craft on a budget like I do!

How to Make a Cardboard Snowman DIY Decor
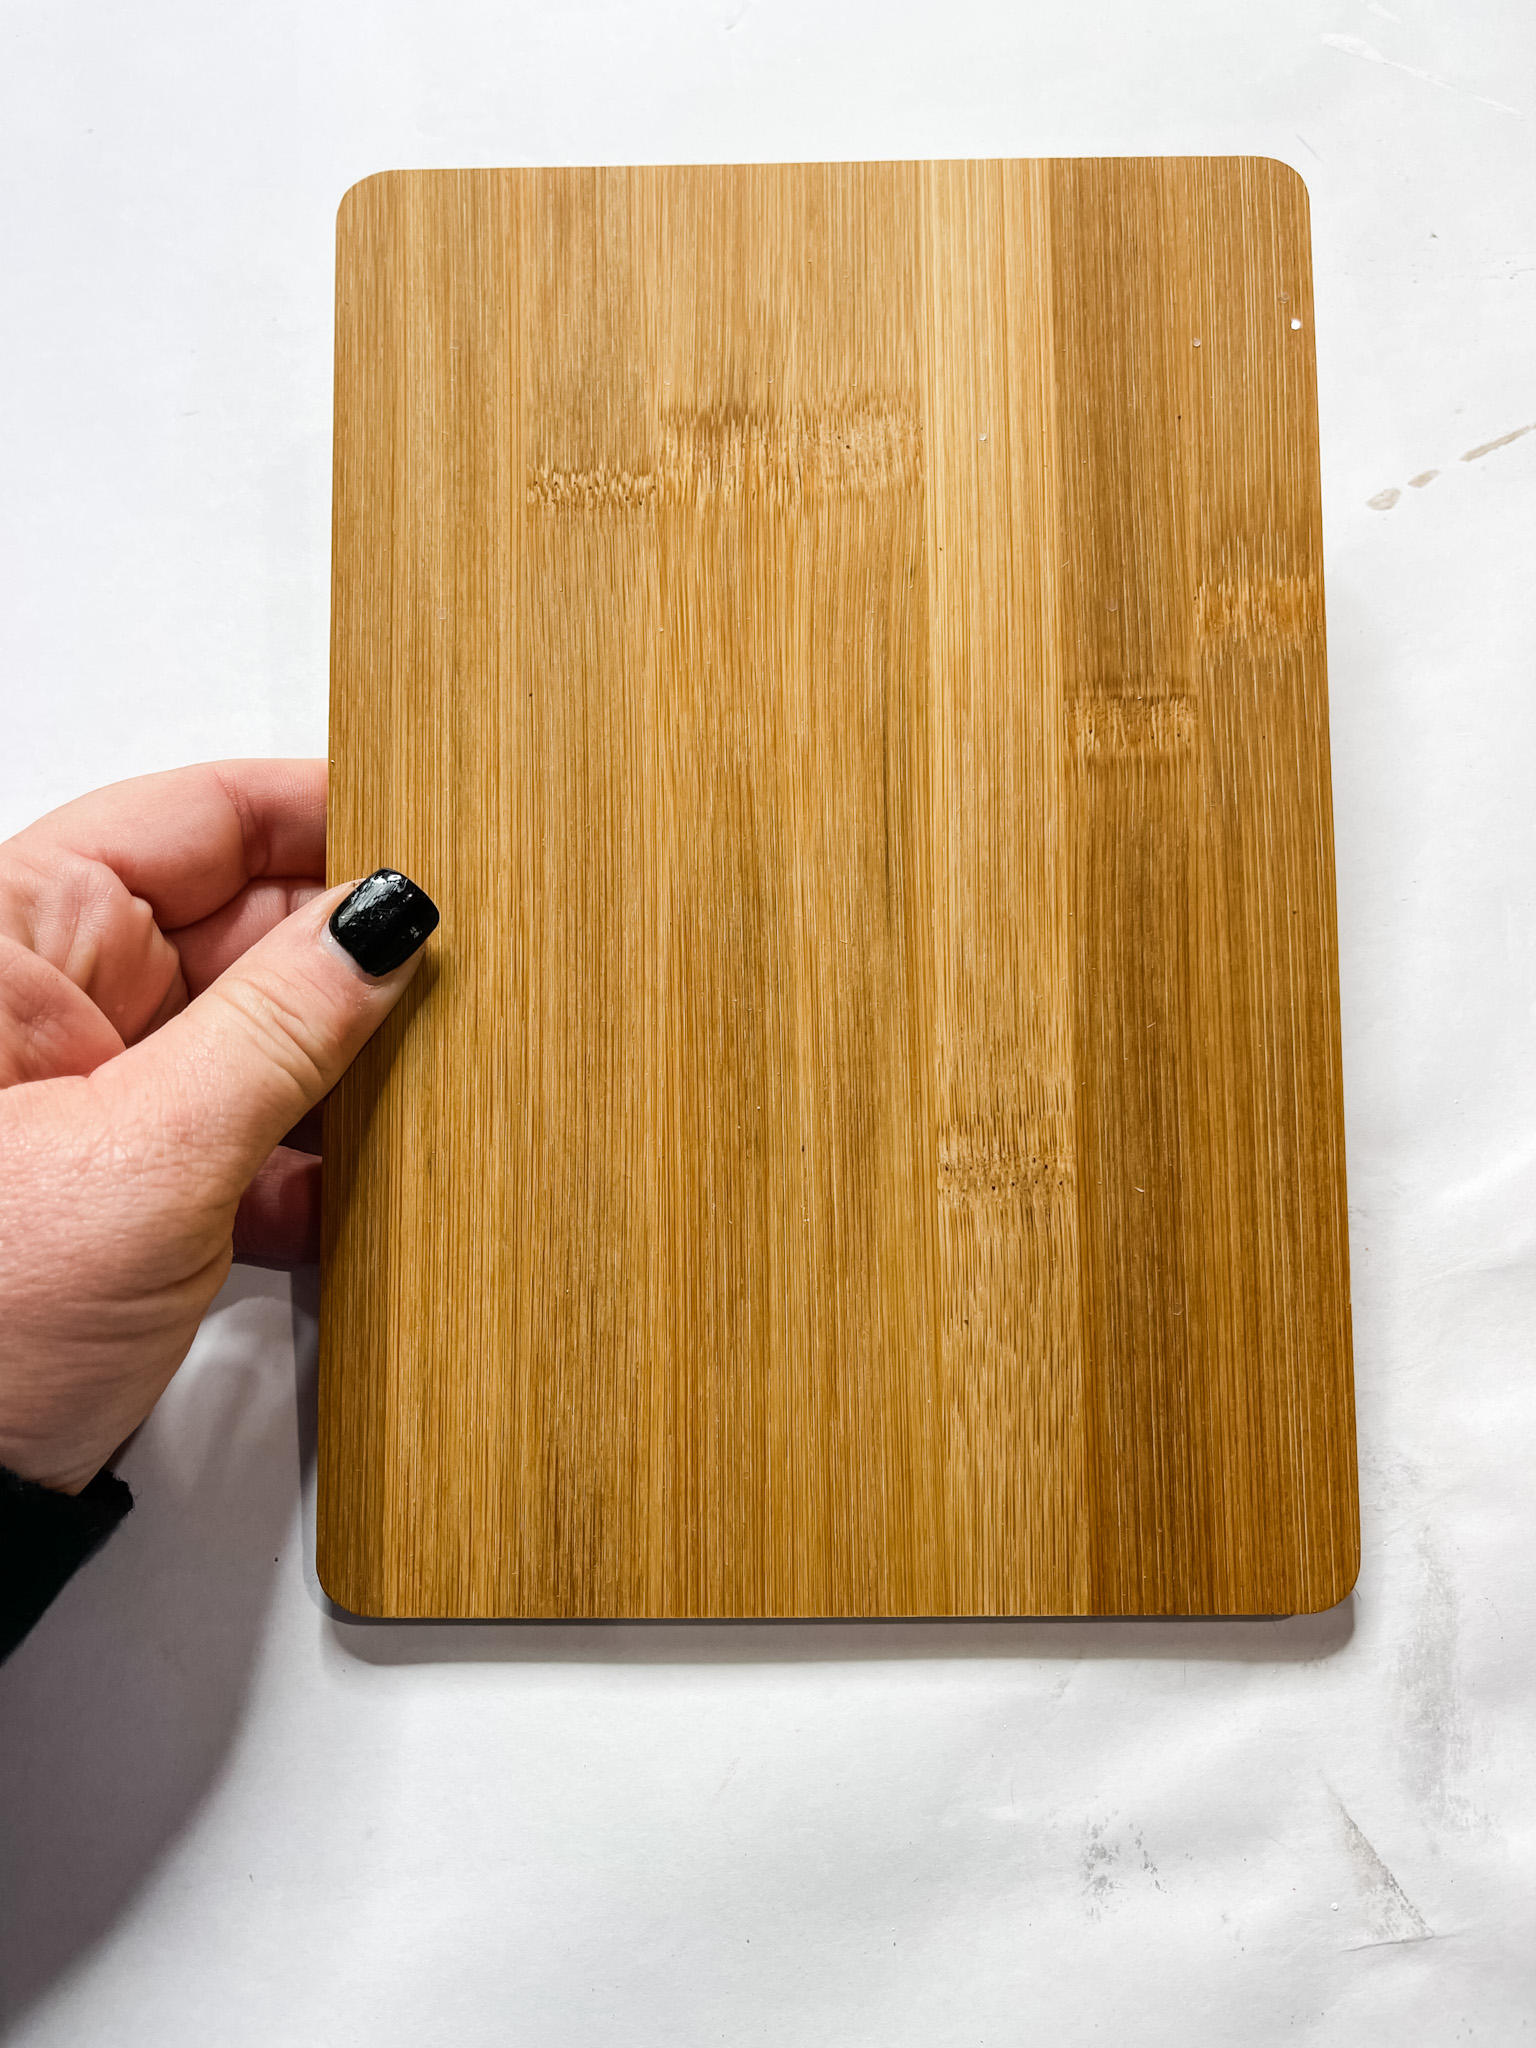
I started by lightly sanding the front of the Dollar Tree bamboo cutting board. Then, I poured brown paint onto the surface and spread it with a wet wipe.
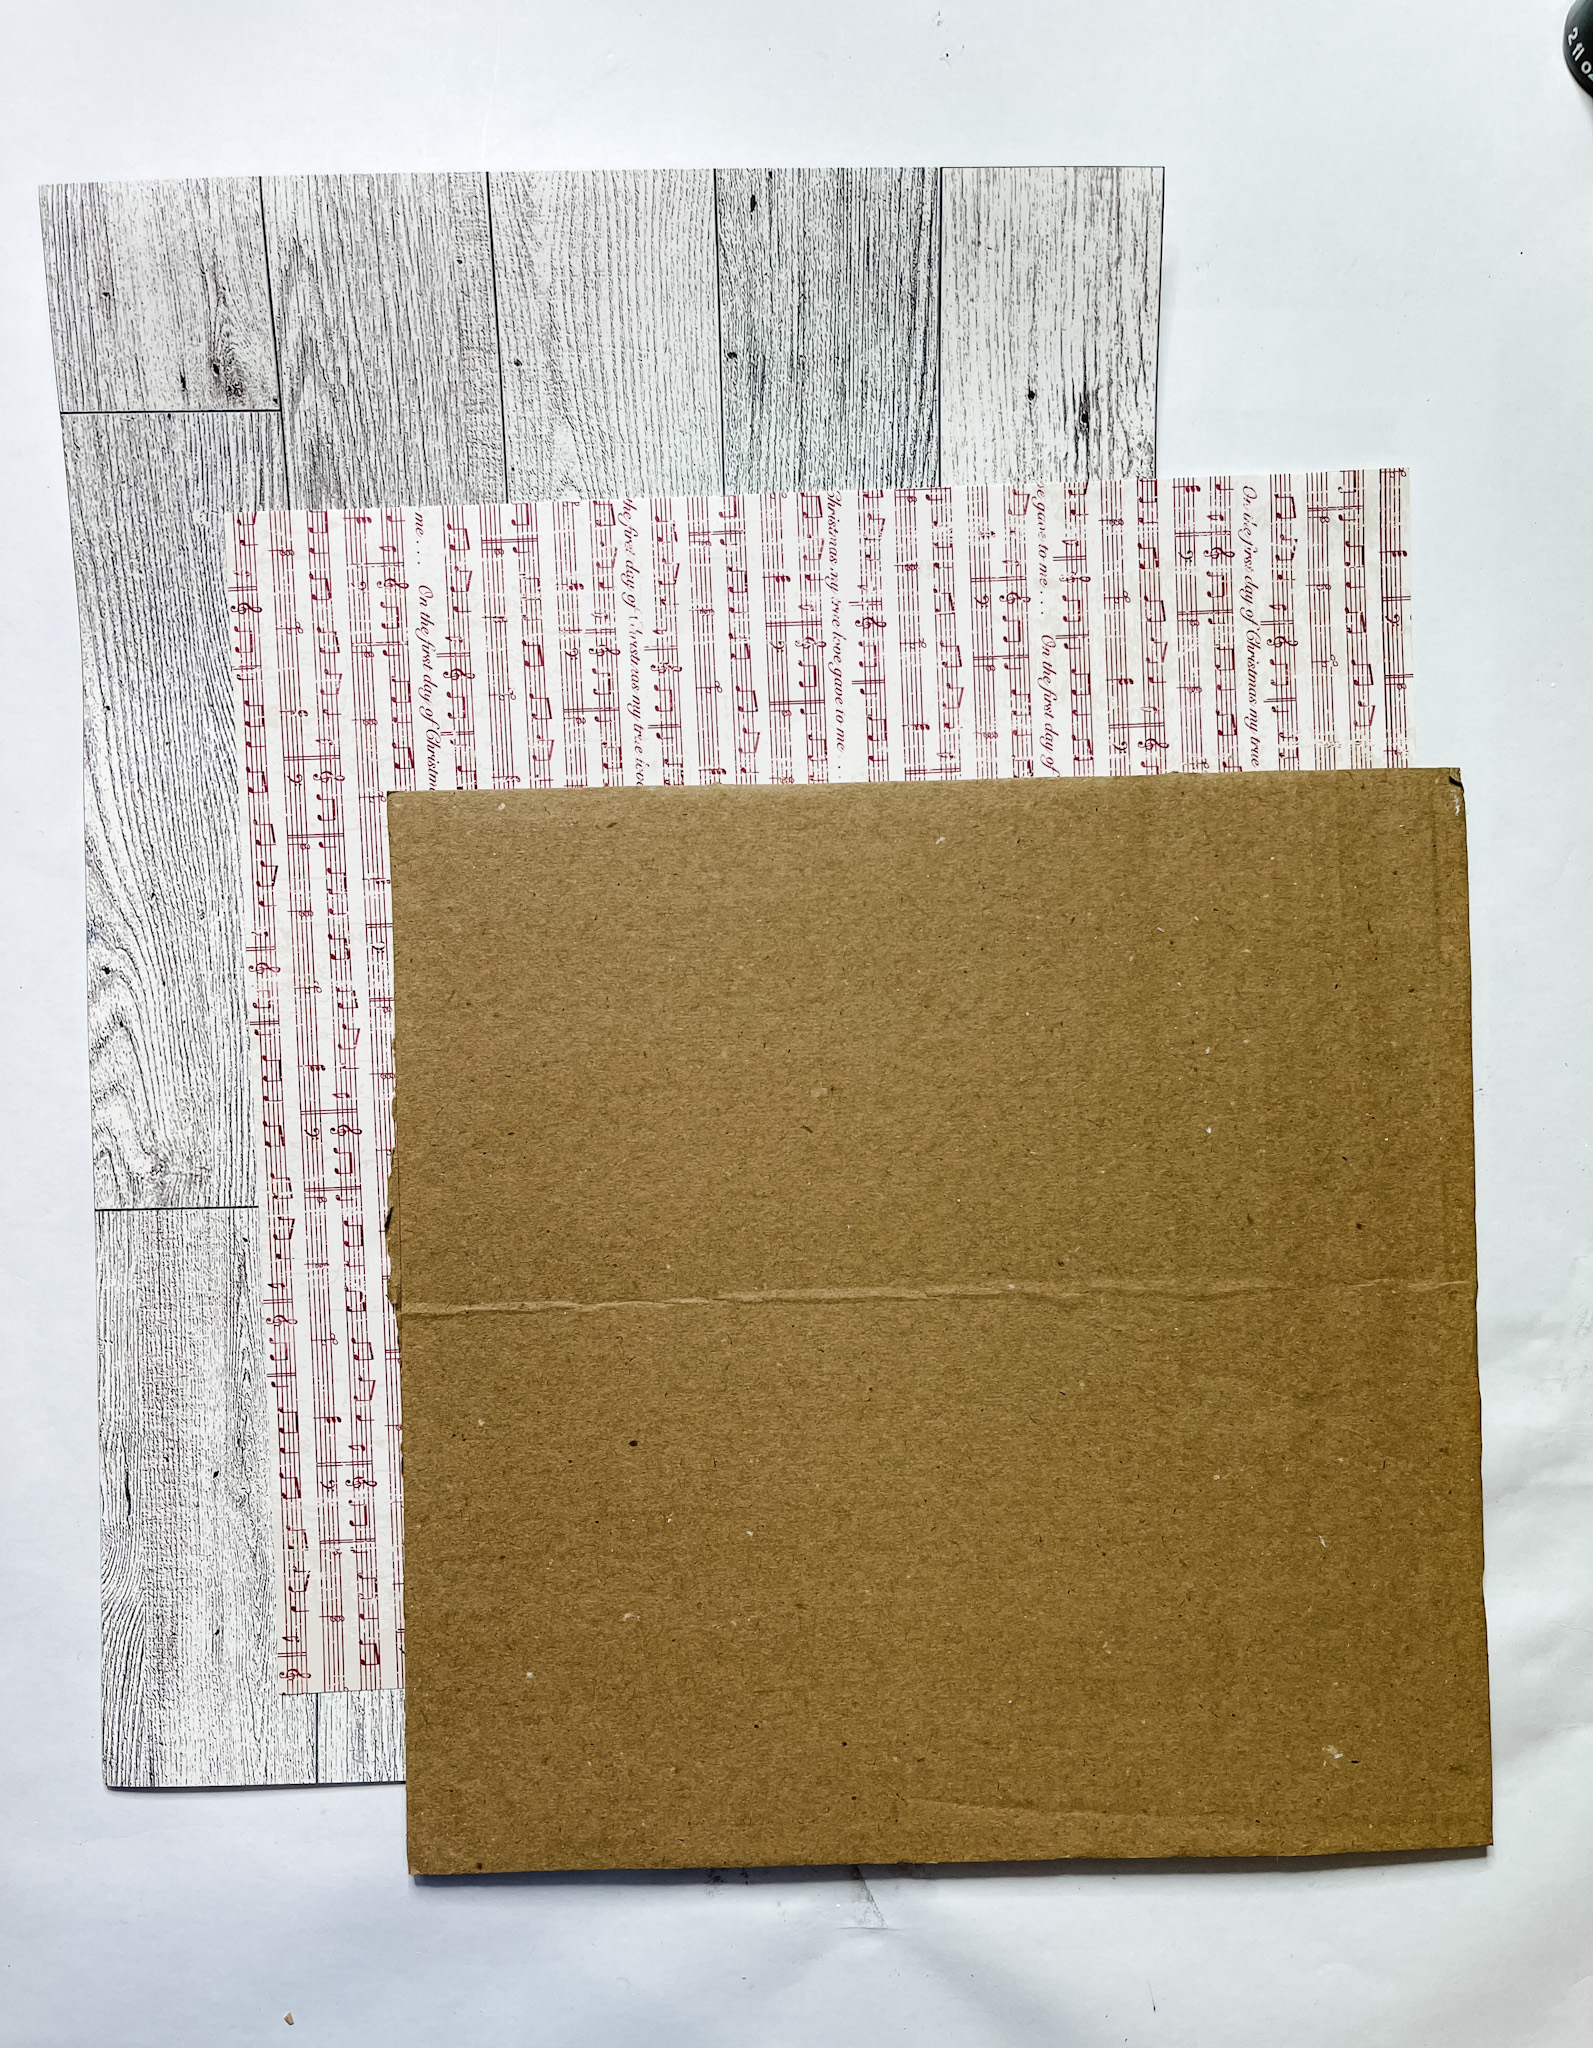
Make sure you get the sides of the cutting board as well. Allow the paint to dry completely, then place the cutting board on top of the music note scrapbook paper.
I tore the edges of the scrapbook paper around the cutting board. Apply a coat of Mod Podge to the cutting board and place the scrapbook paper on the surface.
Use a rolling pin to smooth out any wrinkles or bubbles in the paper and allow the Mod Podge to dry.
Make your cardboard snowman
I had to test out a few circlular items to get my snowman shape just right, but draw your snowman on a piece of cardboard and cut it out.
Then, adhere your peel-n-stick wallpaper to the snowman cutout and cut the excess off with a pair of scissors.
Now it’s time to start adding the layered details for this project! I started with a large ribbon across the bottom portion of the cutting board.
Then, I hot glued two of the Hobby Lobby wood stems across the very bottom of the cutting board, just below the large ribbon.
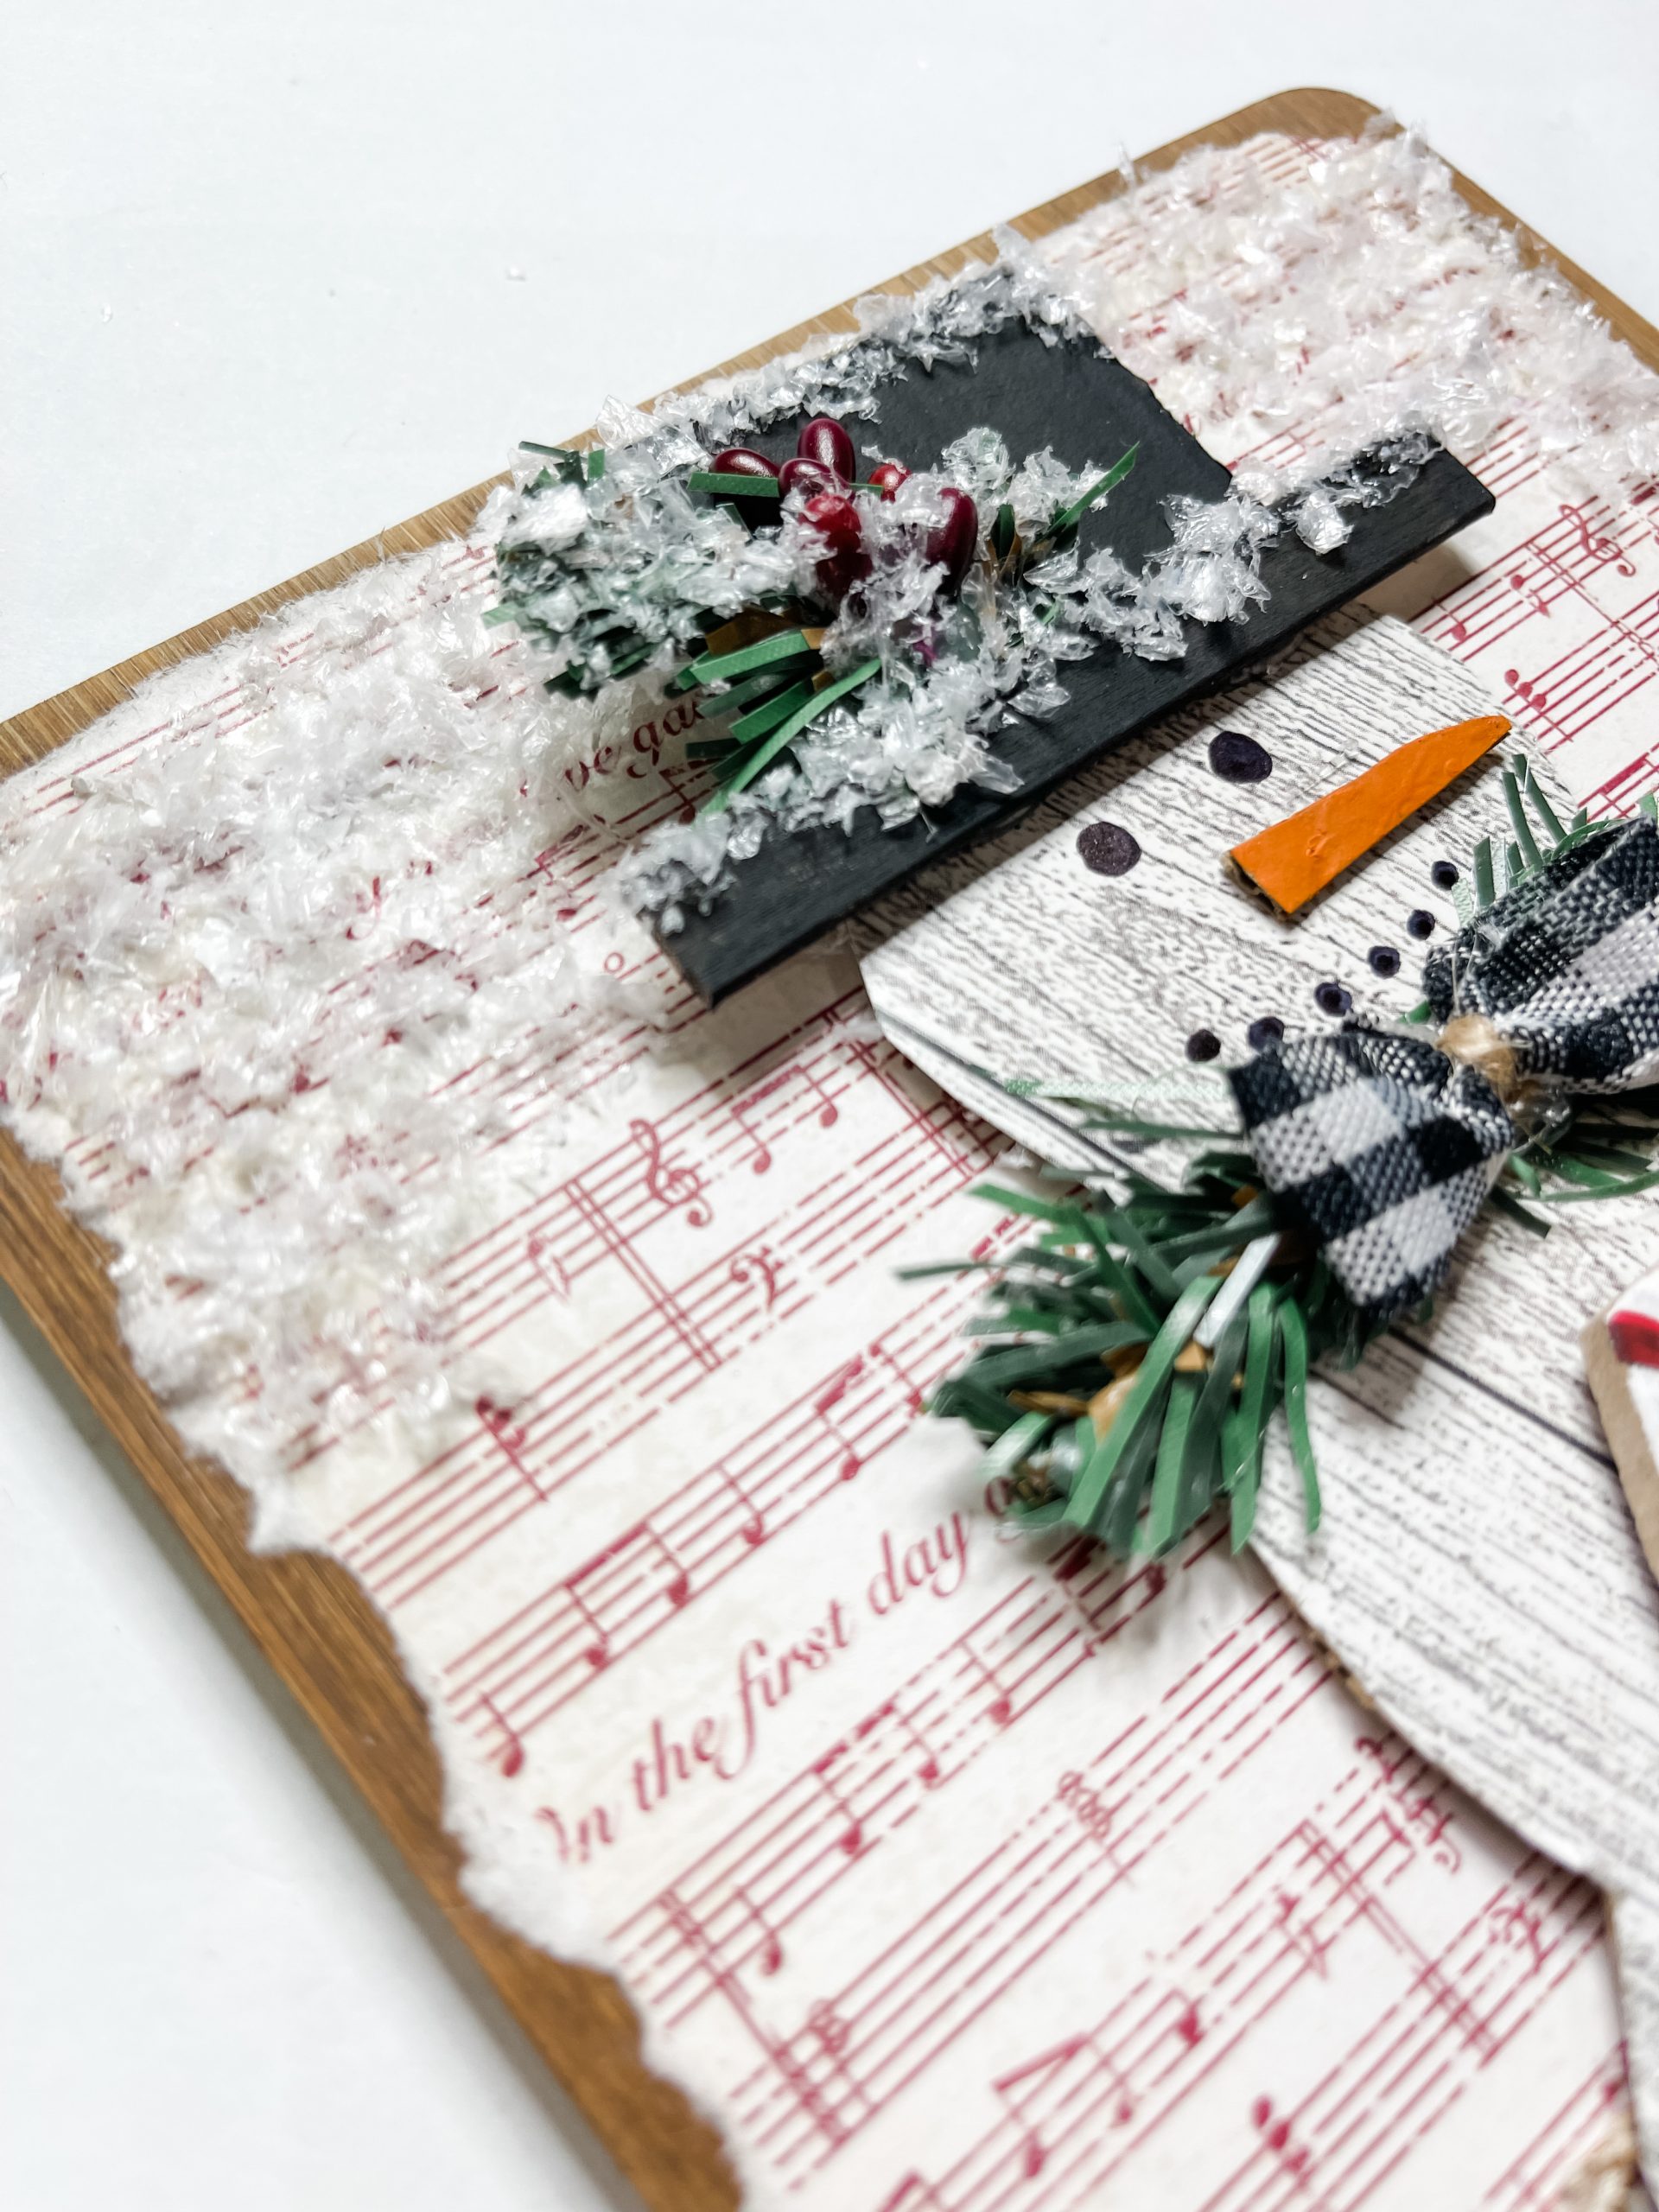
Next I made the hat for my snowman. I cut a piece of cardboard into a square and trimmed a popsicle stick to be the bill of the hat.
Paint both of them with black paint. Once the paint is dry, glue them to each other to bring the hat together. I trimmed some pieces of the Dollar Tree wired garland and berry garland and glued them onto the hat.
Paint on the details
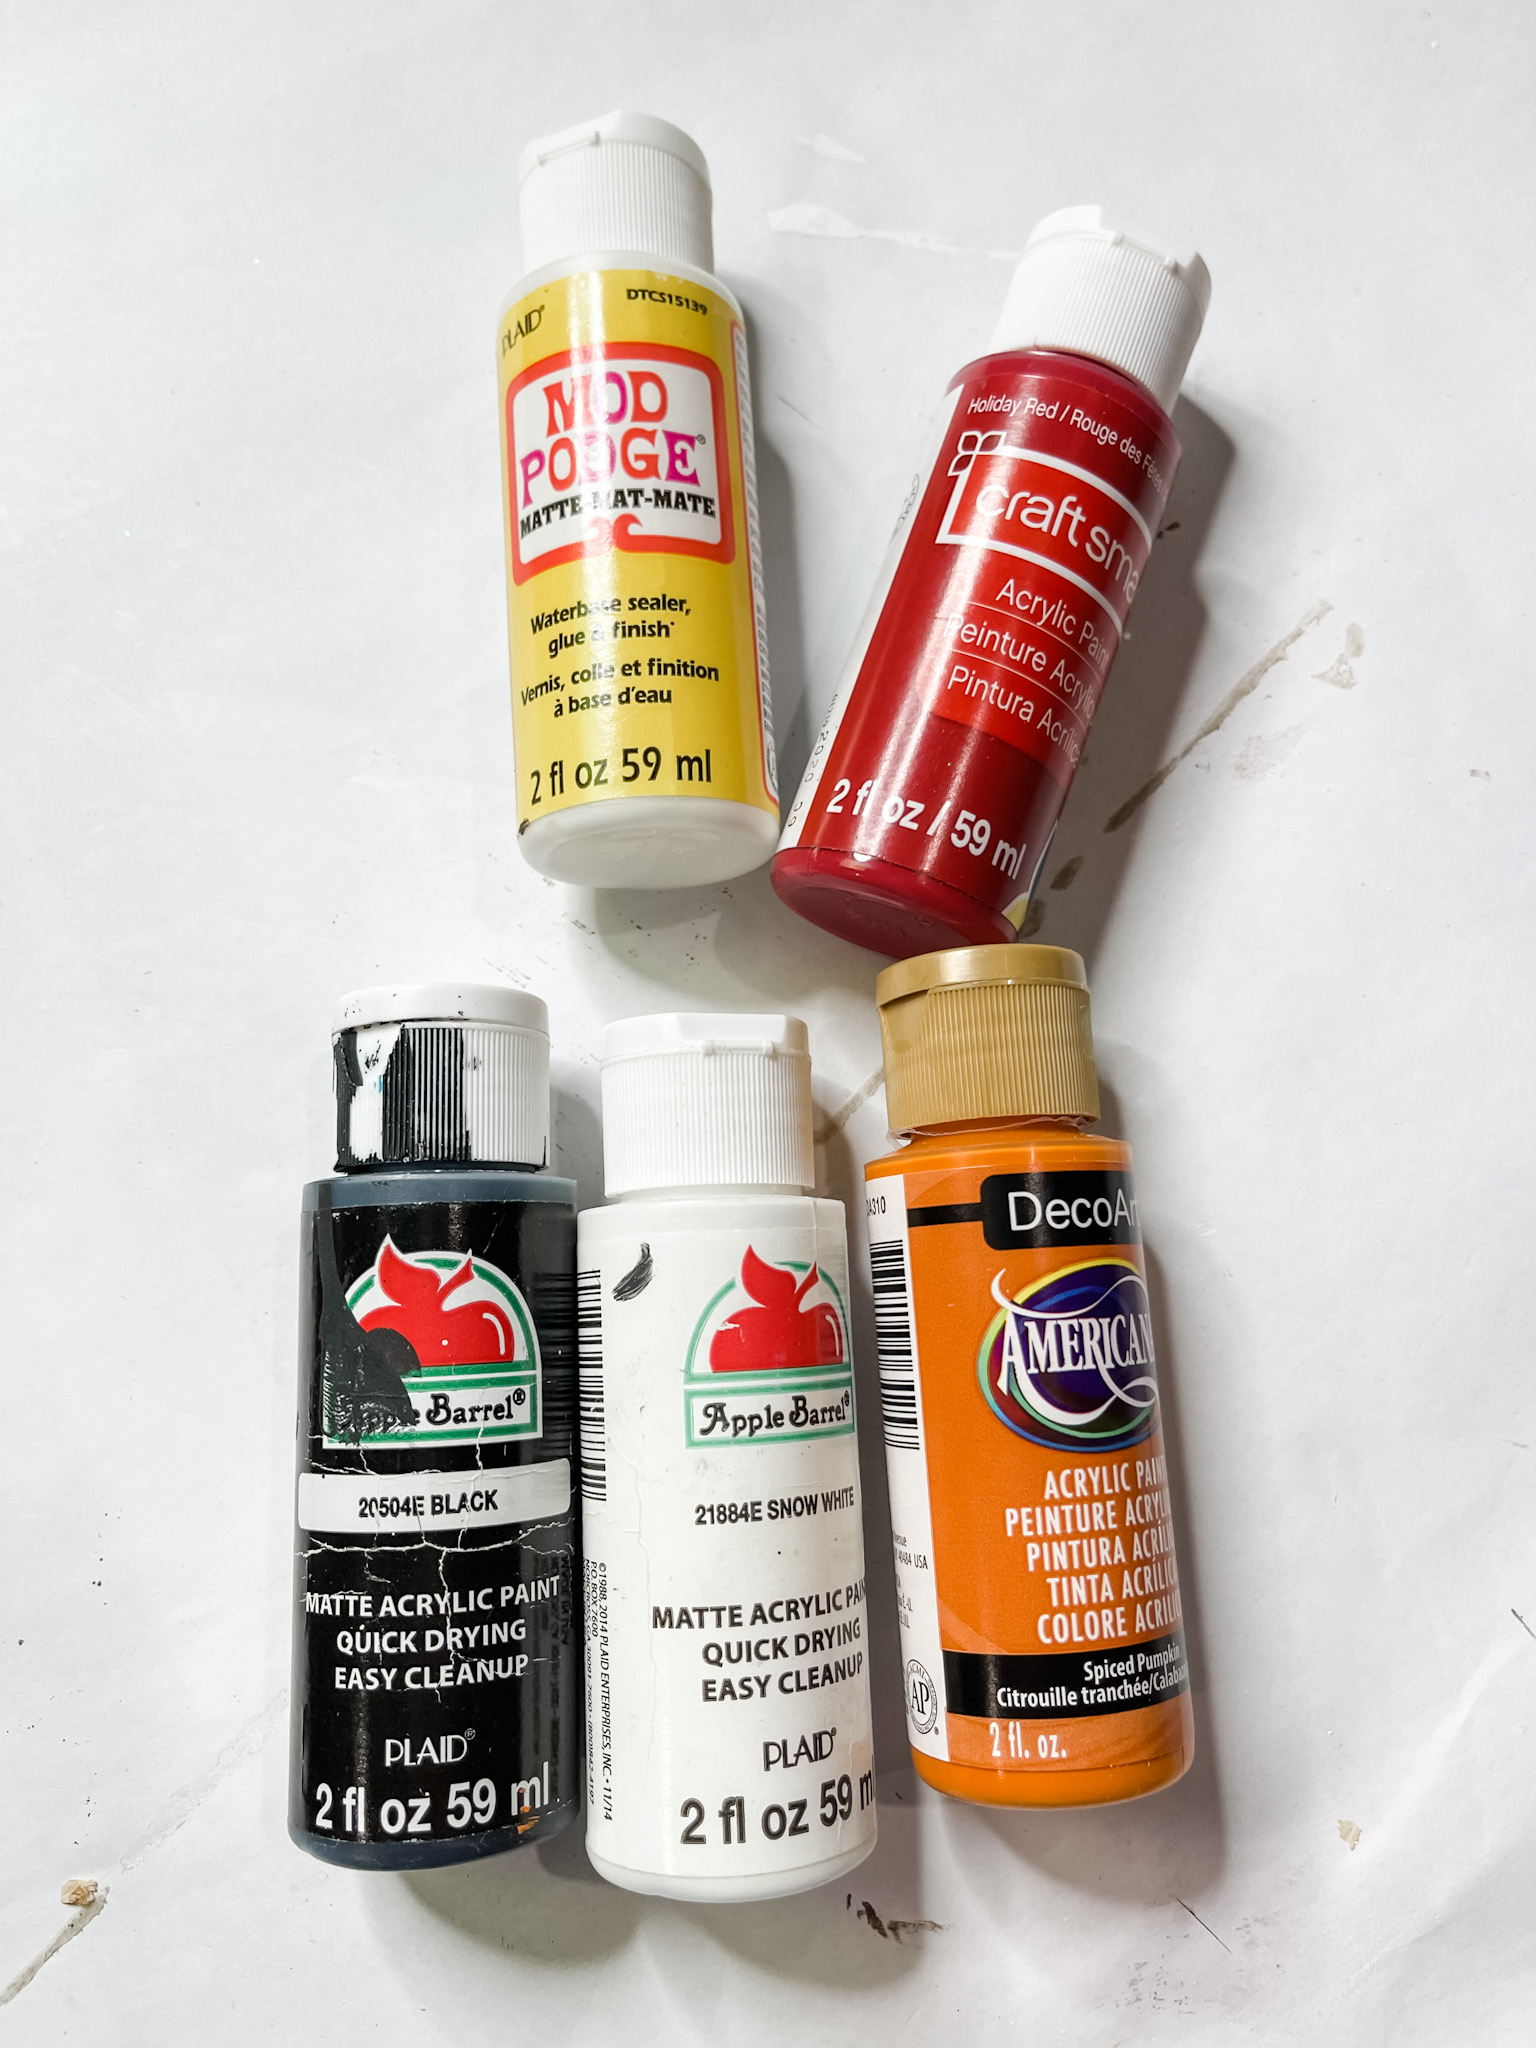
I used a sharpie marker to draw the snowman’s eyes. Then, I used DecoArt spiced pumpkin acrylic paint to make his little nose.
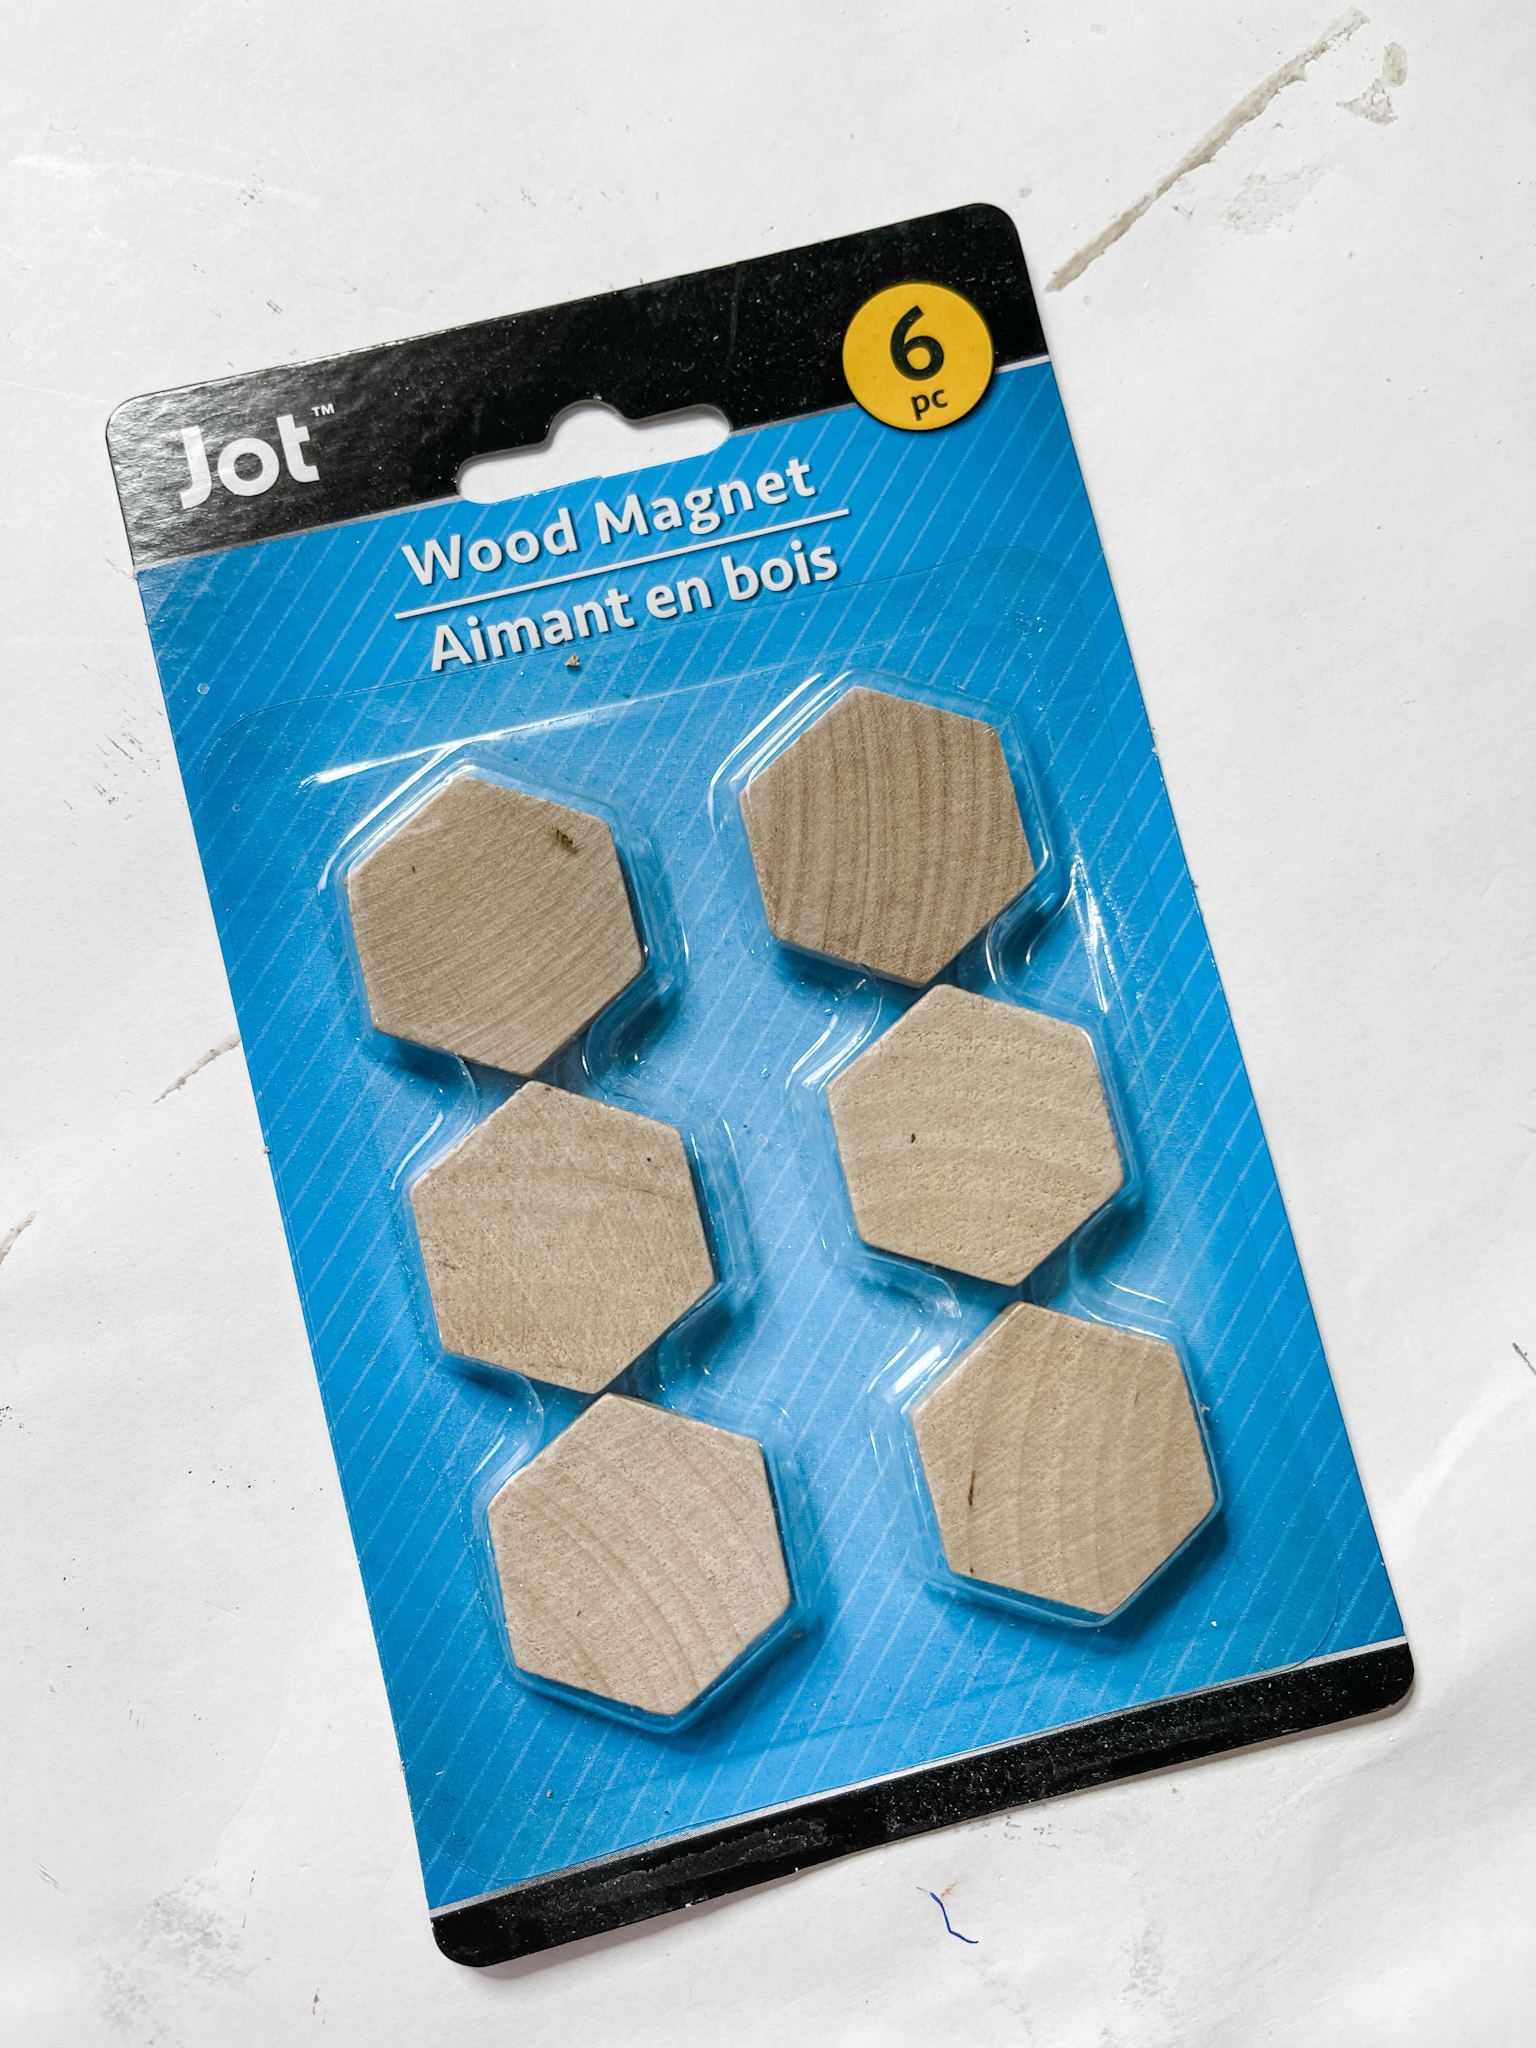
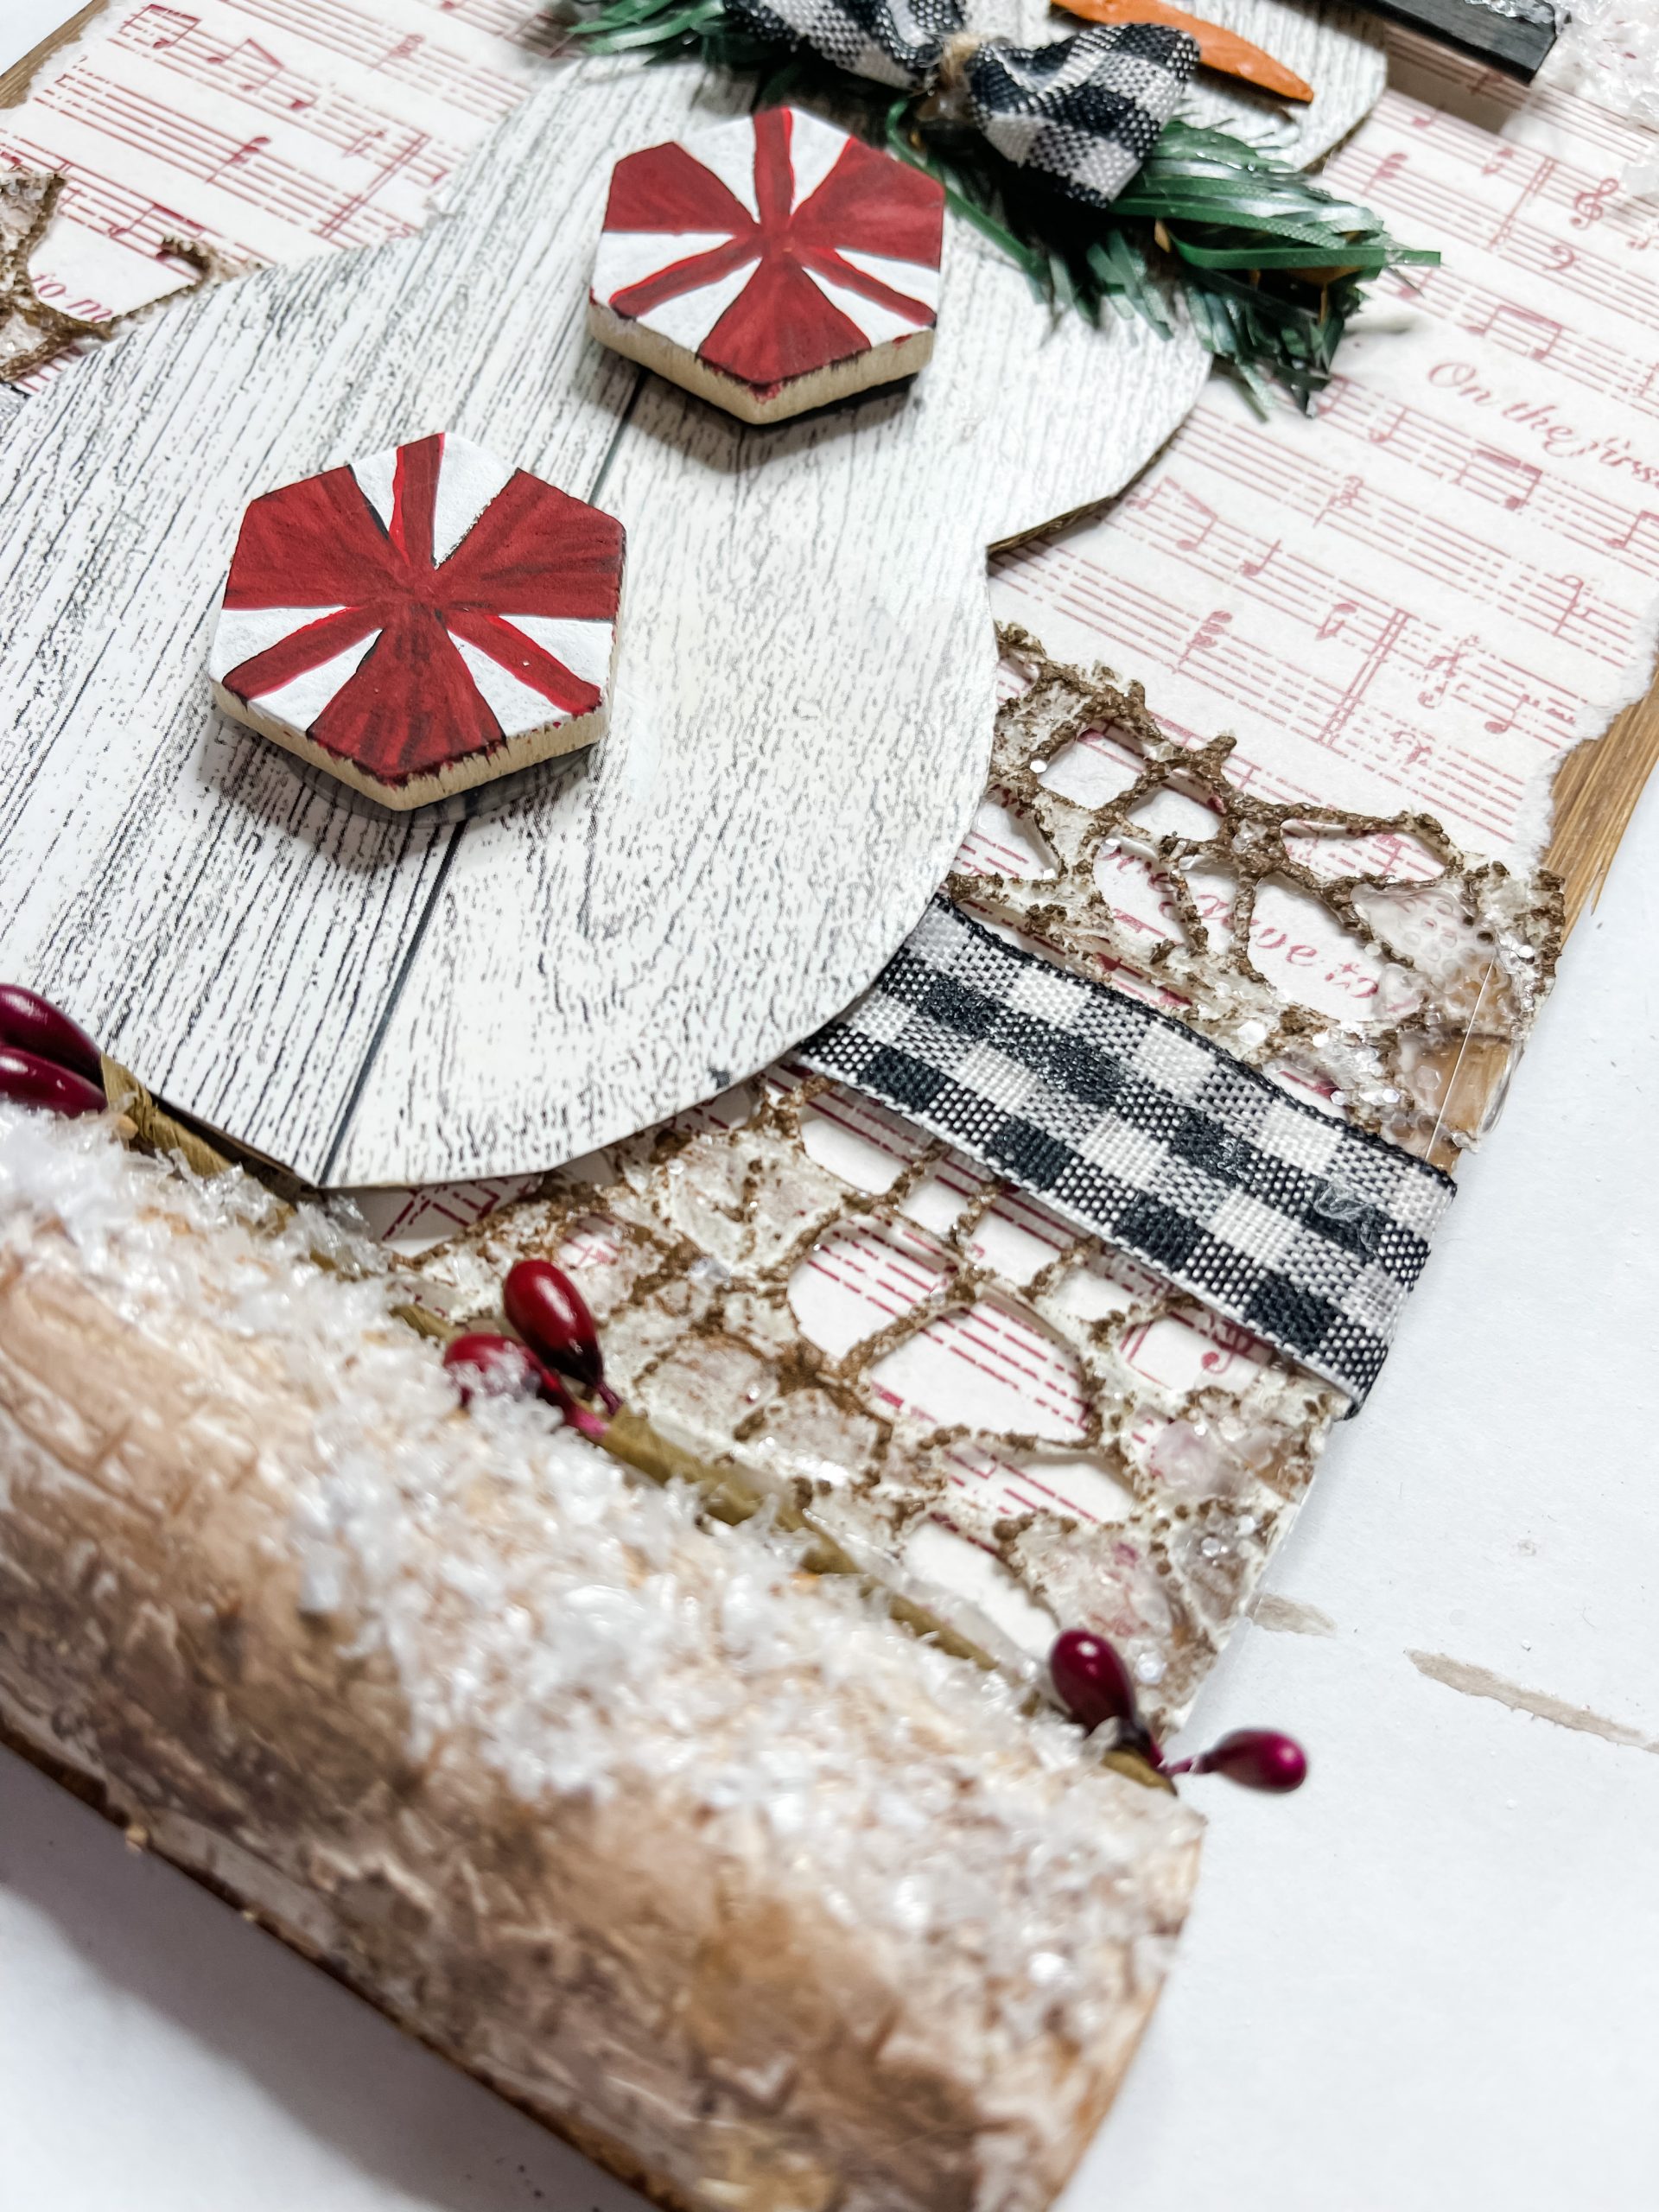
Next up I did the peppermint buttons! I used red and white paint on the Dollar Tree wood magnets to create the peppermint buttons.
Once the paint was dry on each of the magnets, I glued them onto my cardboard snowman. Then, I glued two pieces of the wired garland at the snowman’s neck.
I tied a little bow out of the black buffalo check ribbon, glued it onto the snowman’s neck, and drew on the snowman’s mouth with a black marker.
Bring it all together
I brushed a little bit of brown paint onto the wood stems and wiped them with a wet wipe to darked the color of each stem.
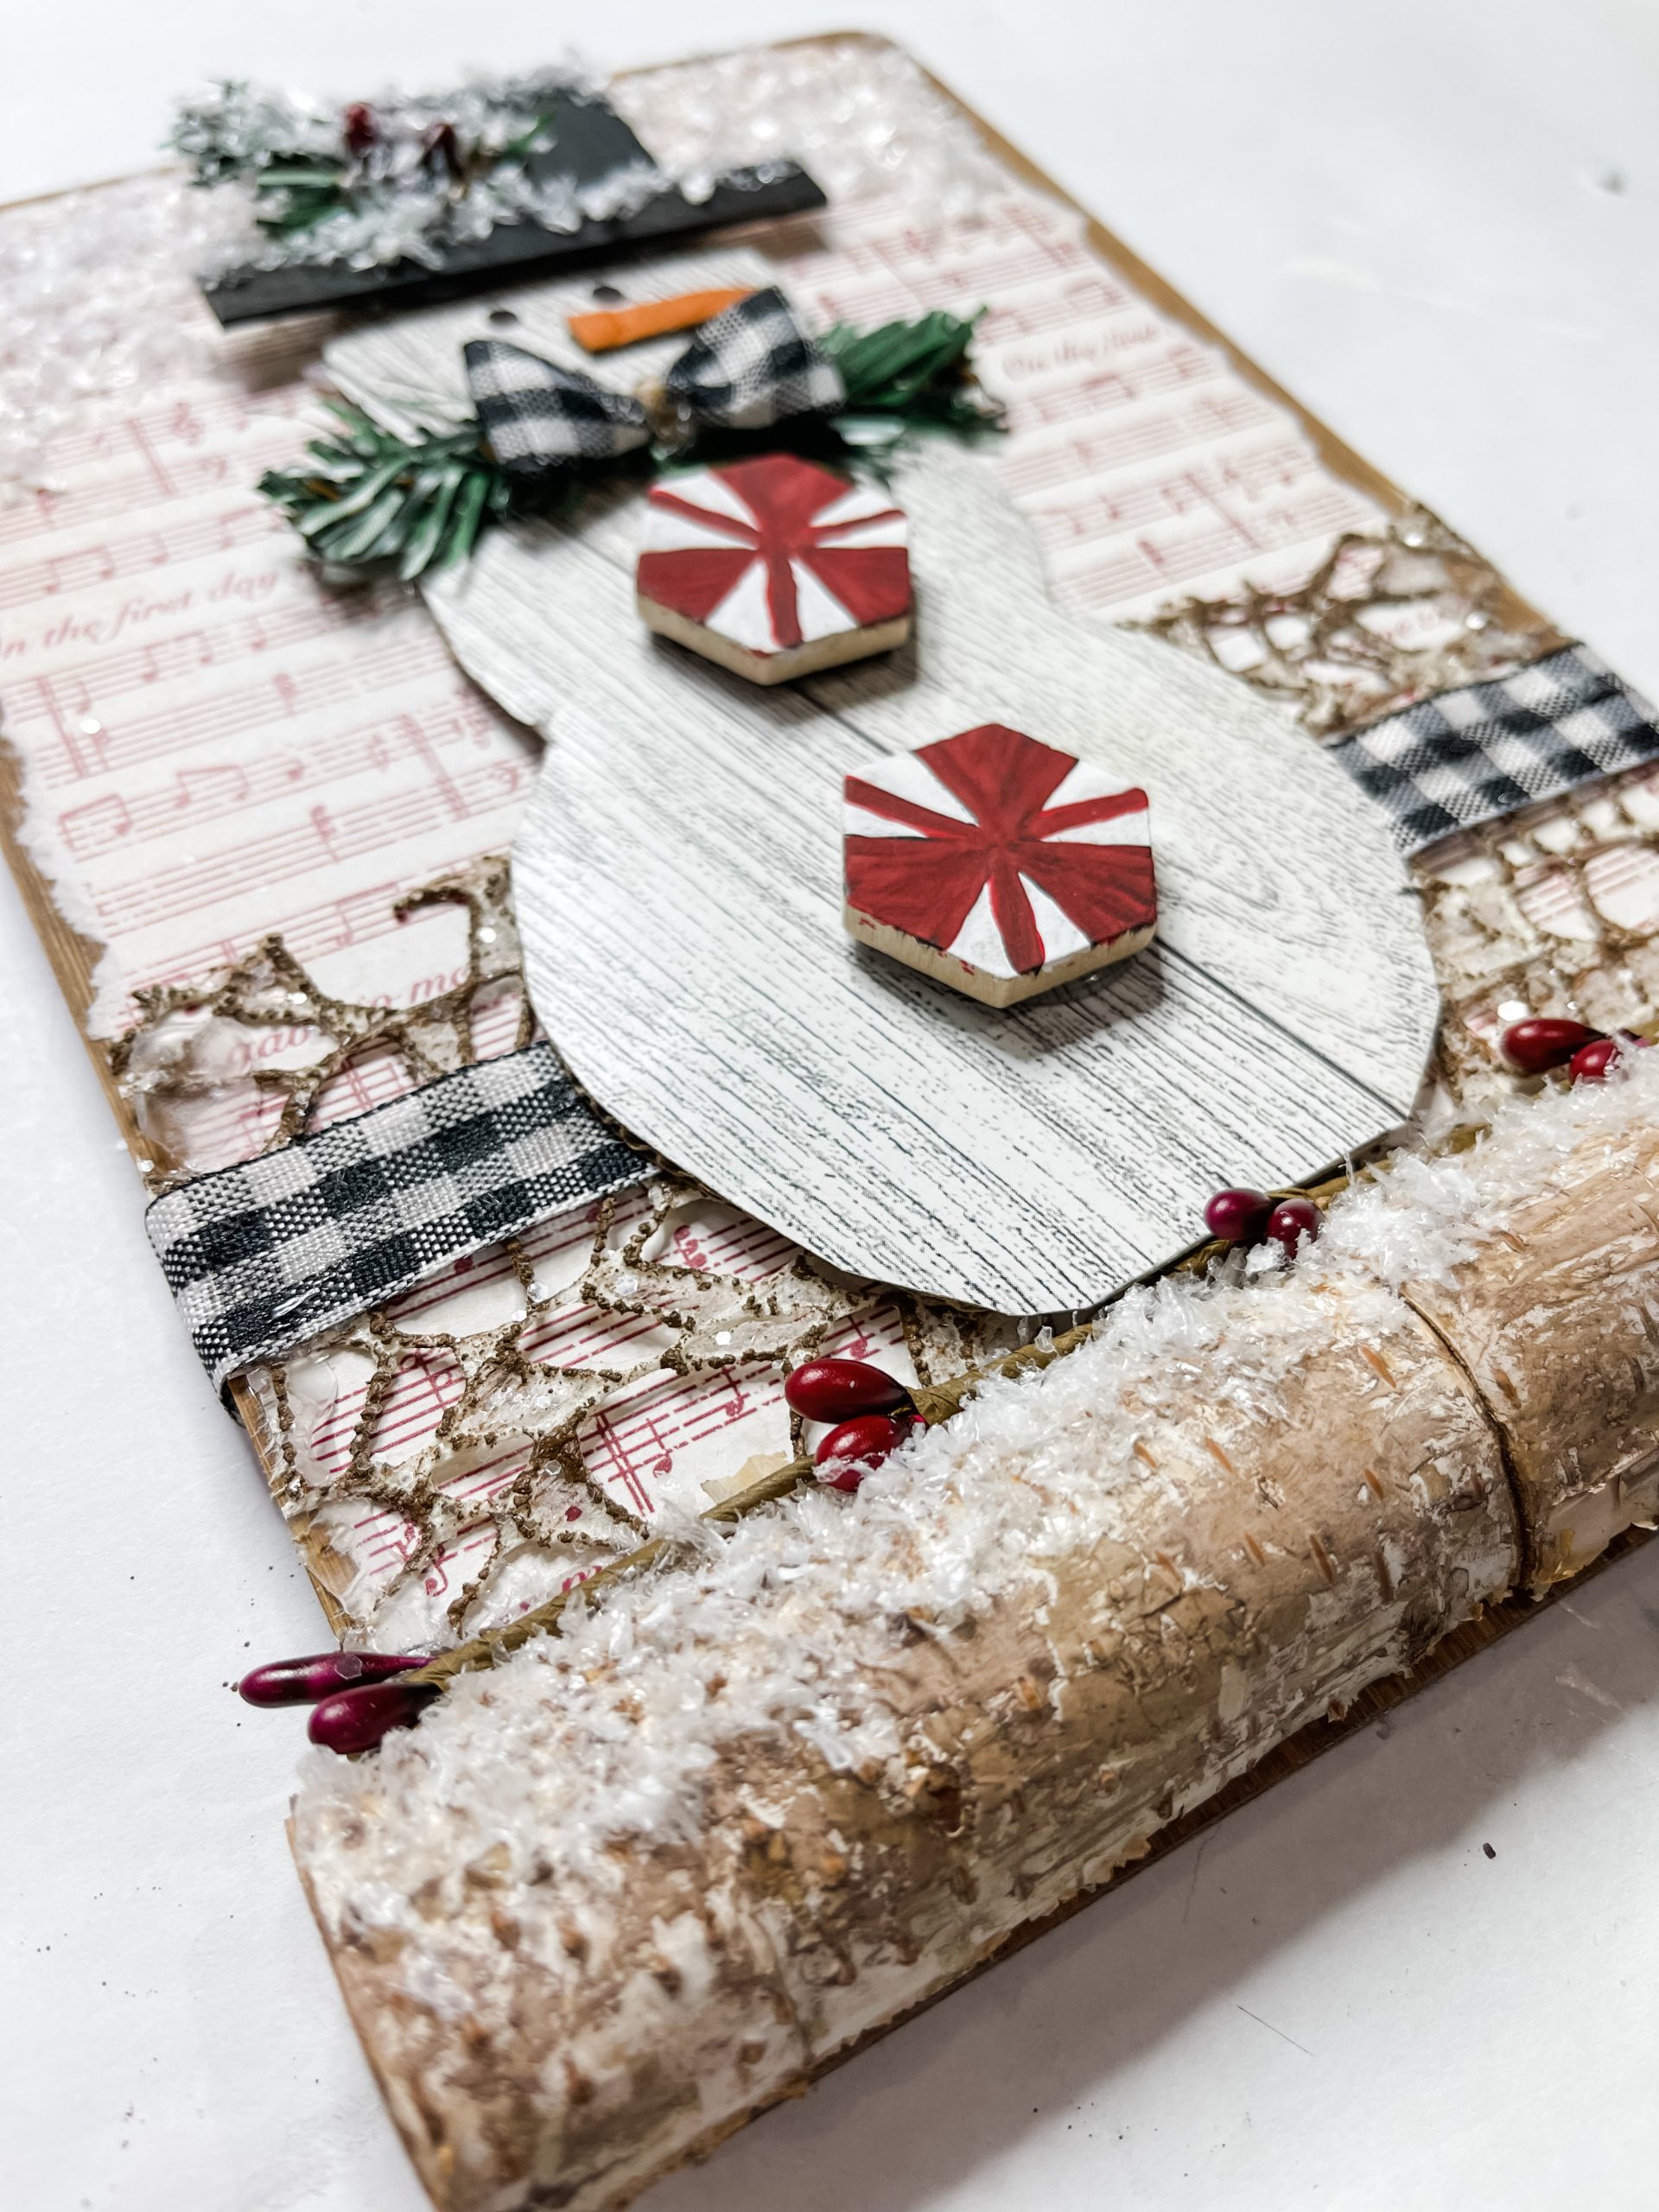
Hot glue a strip of buffalo check ribbon across the bottom ribbon and a piece of berry garland just above the wood stems.
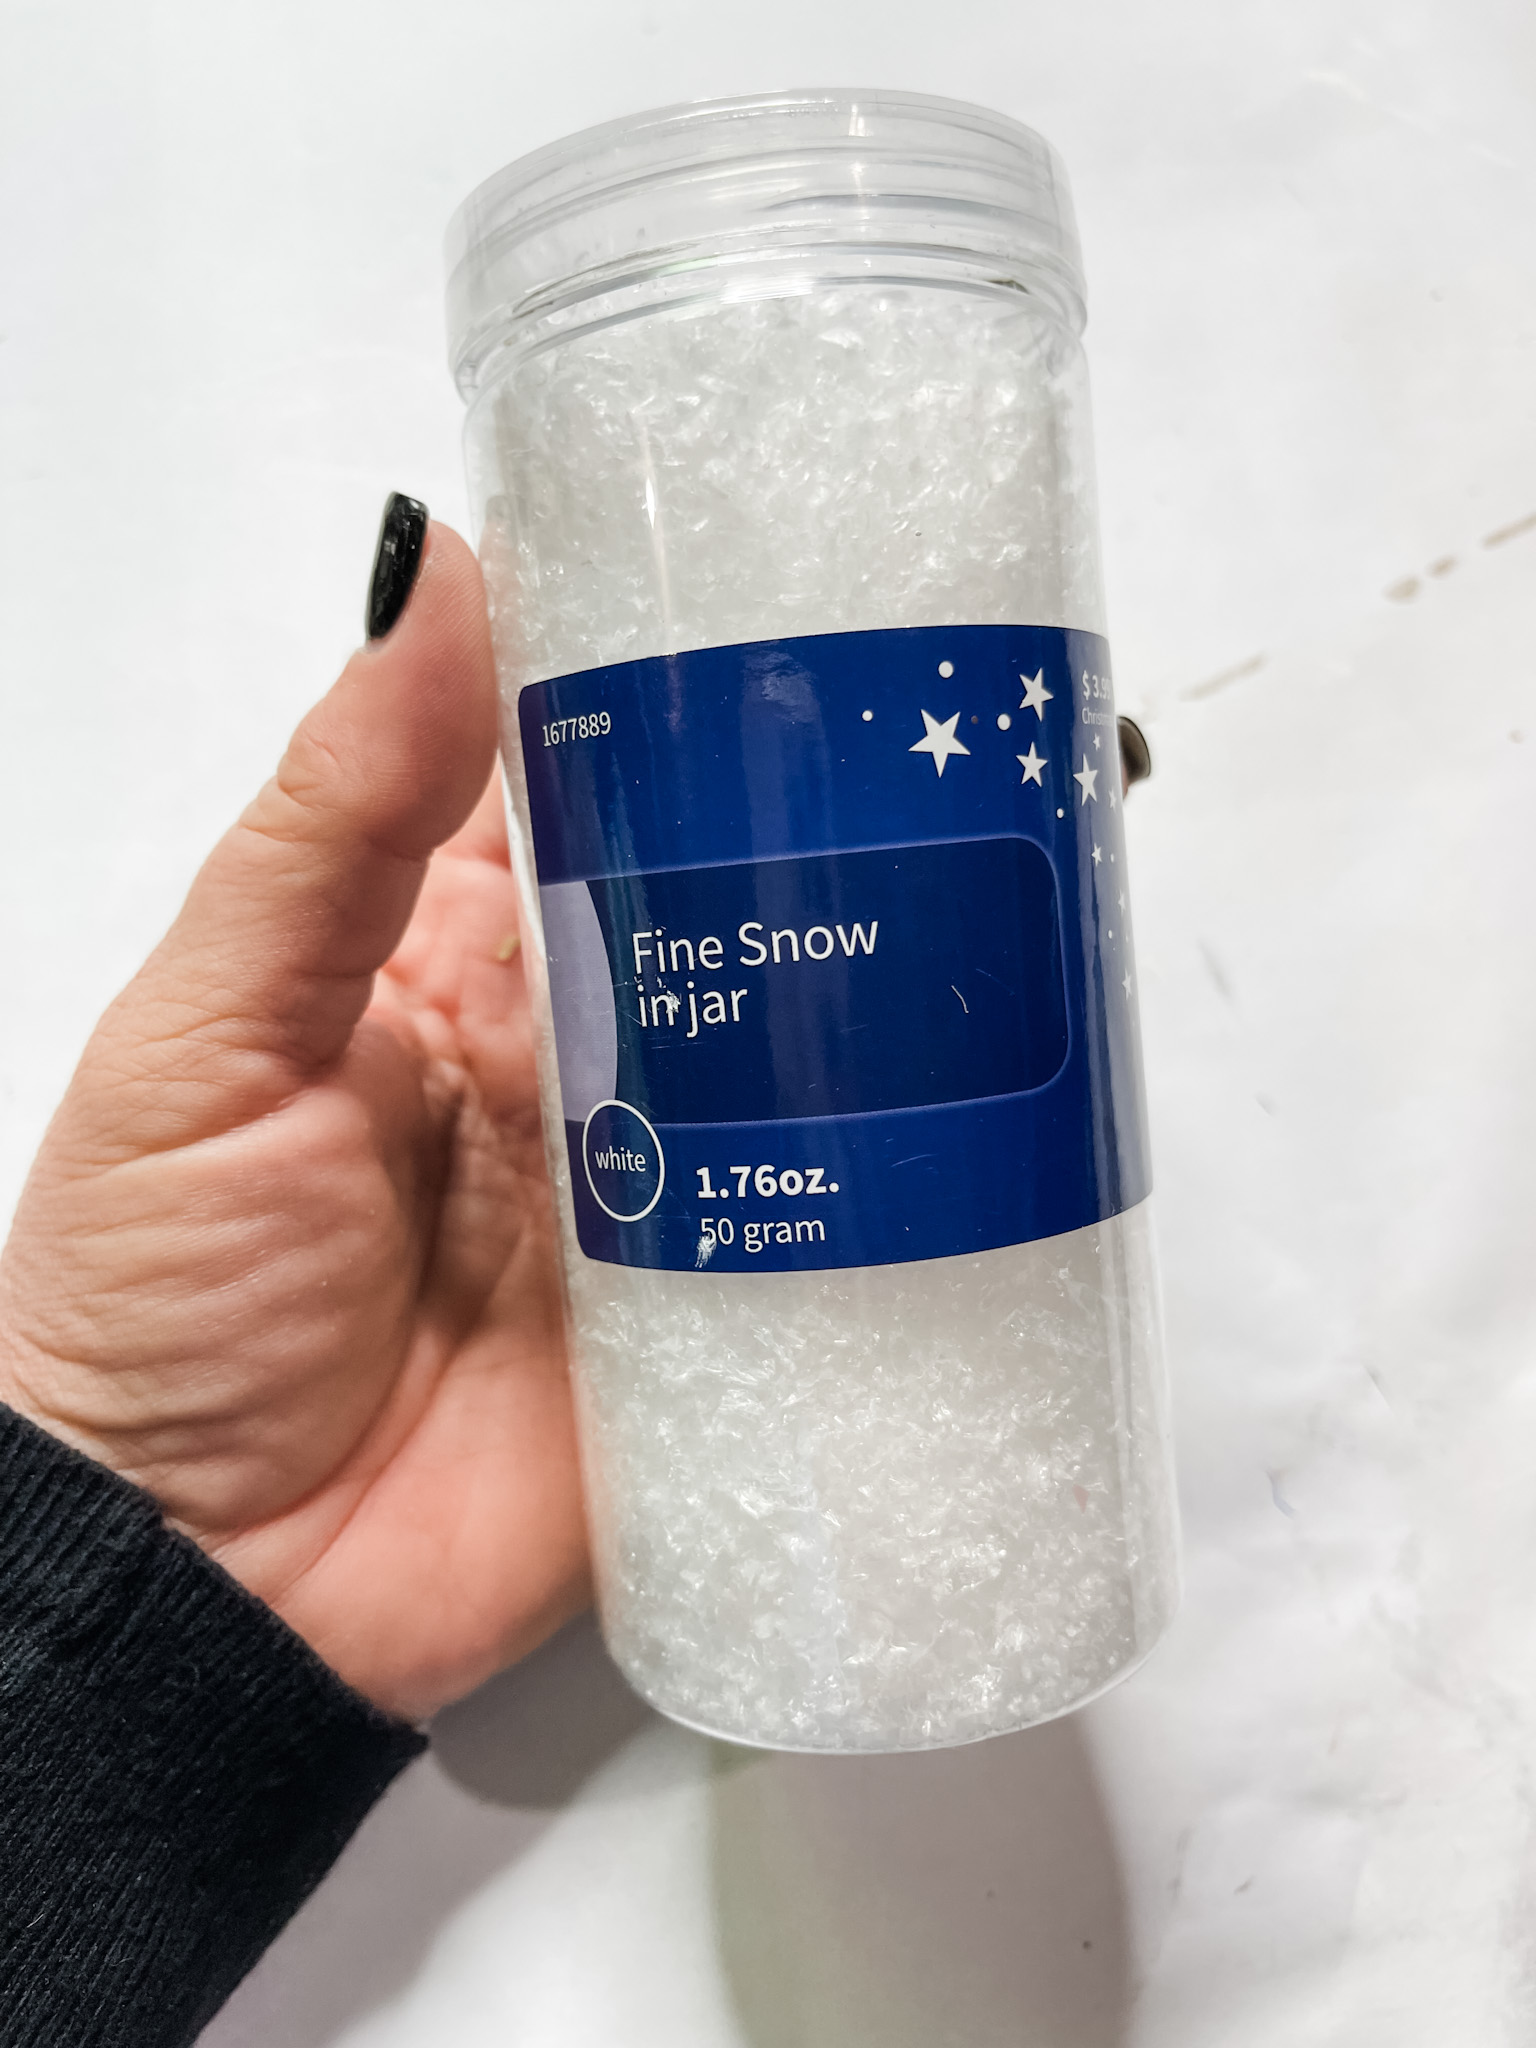
Last but not least is the snow. Apply Mod Podge anywhere you want the fine snow to stick, then sprinkle the snow onto the Mod Podge while it’s wet.
I hope you enjoyed this Cardboard Snowman DIY Decor as much as I did and decide to make one for yourself! If you do, I would love to see how yours turns out!
You should totally join my FREE Facebook group called On A Budget Crafts! It is a judgment-free community for DIY crafters to show off their projects and ideas.
Watch the DIY tutorial
I recorded how to make this adorable Cardboard Snowman DIY Decor during a LIVE video on my Facebook page.
If you want to see the DIY process, craft along, or just join in on the fun conversations, you can watch the DIY tutorial replay on Facebook!

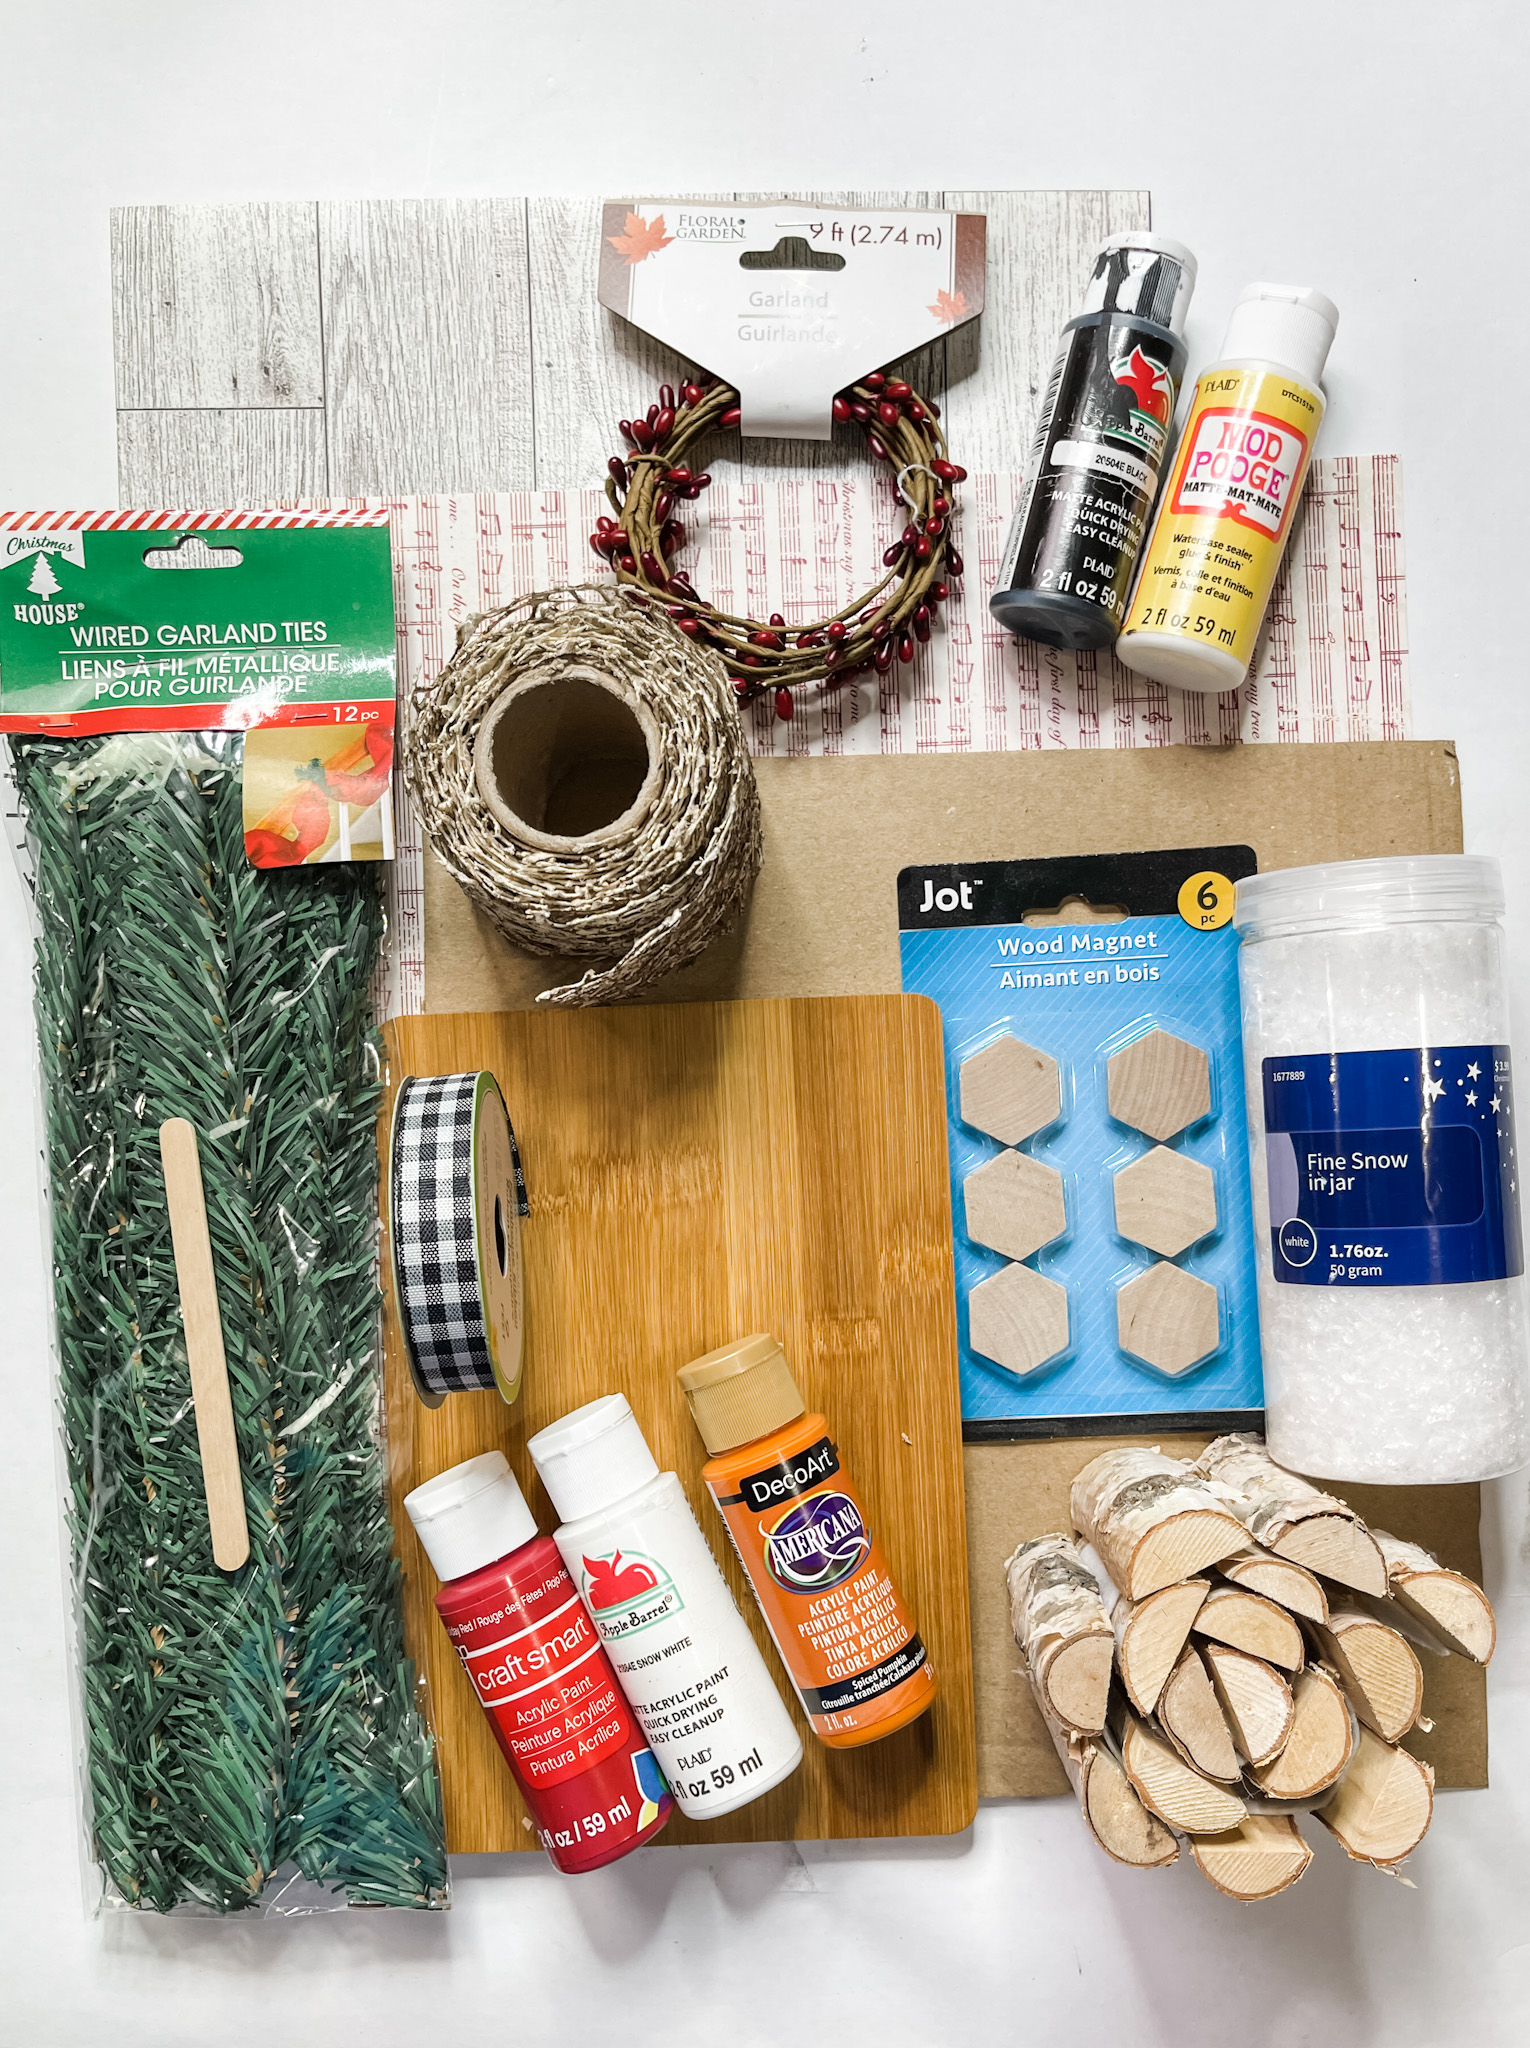
For this project, I will be using these items but you can substitute where you want.
“As an Amazon Associate, I earn from qualifying purchases.”
- Dollar Tree Wood Magnets
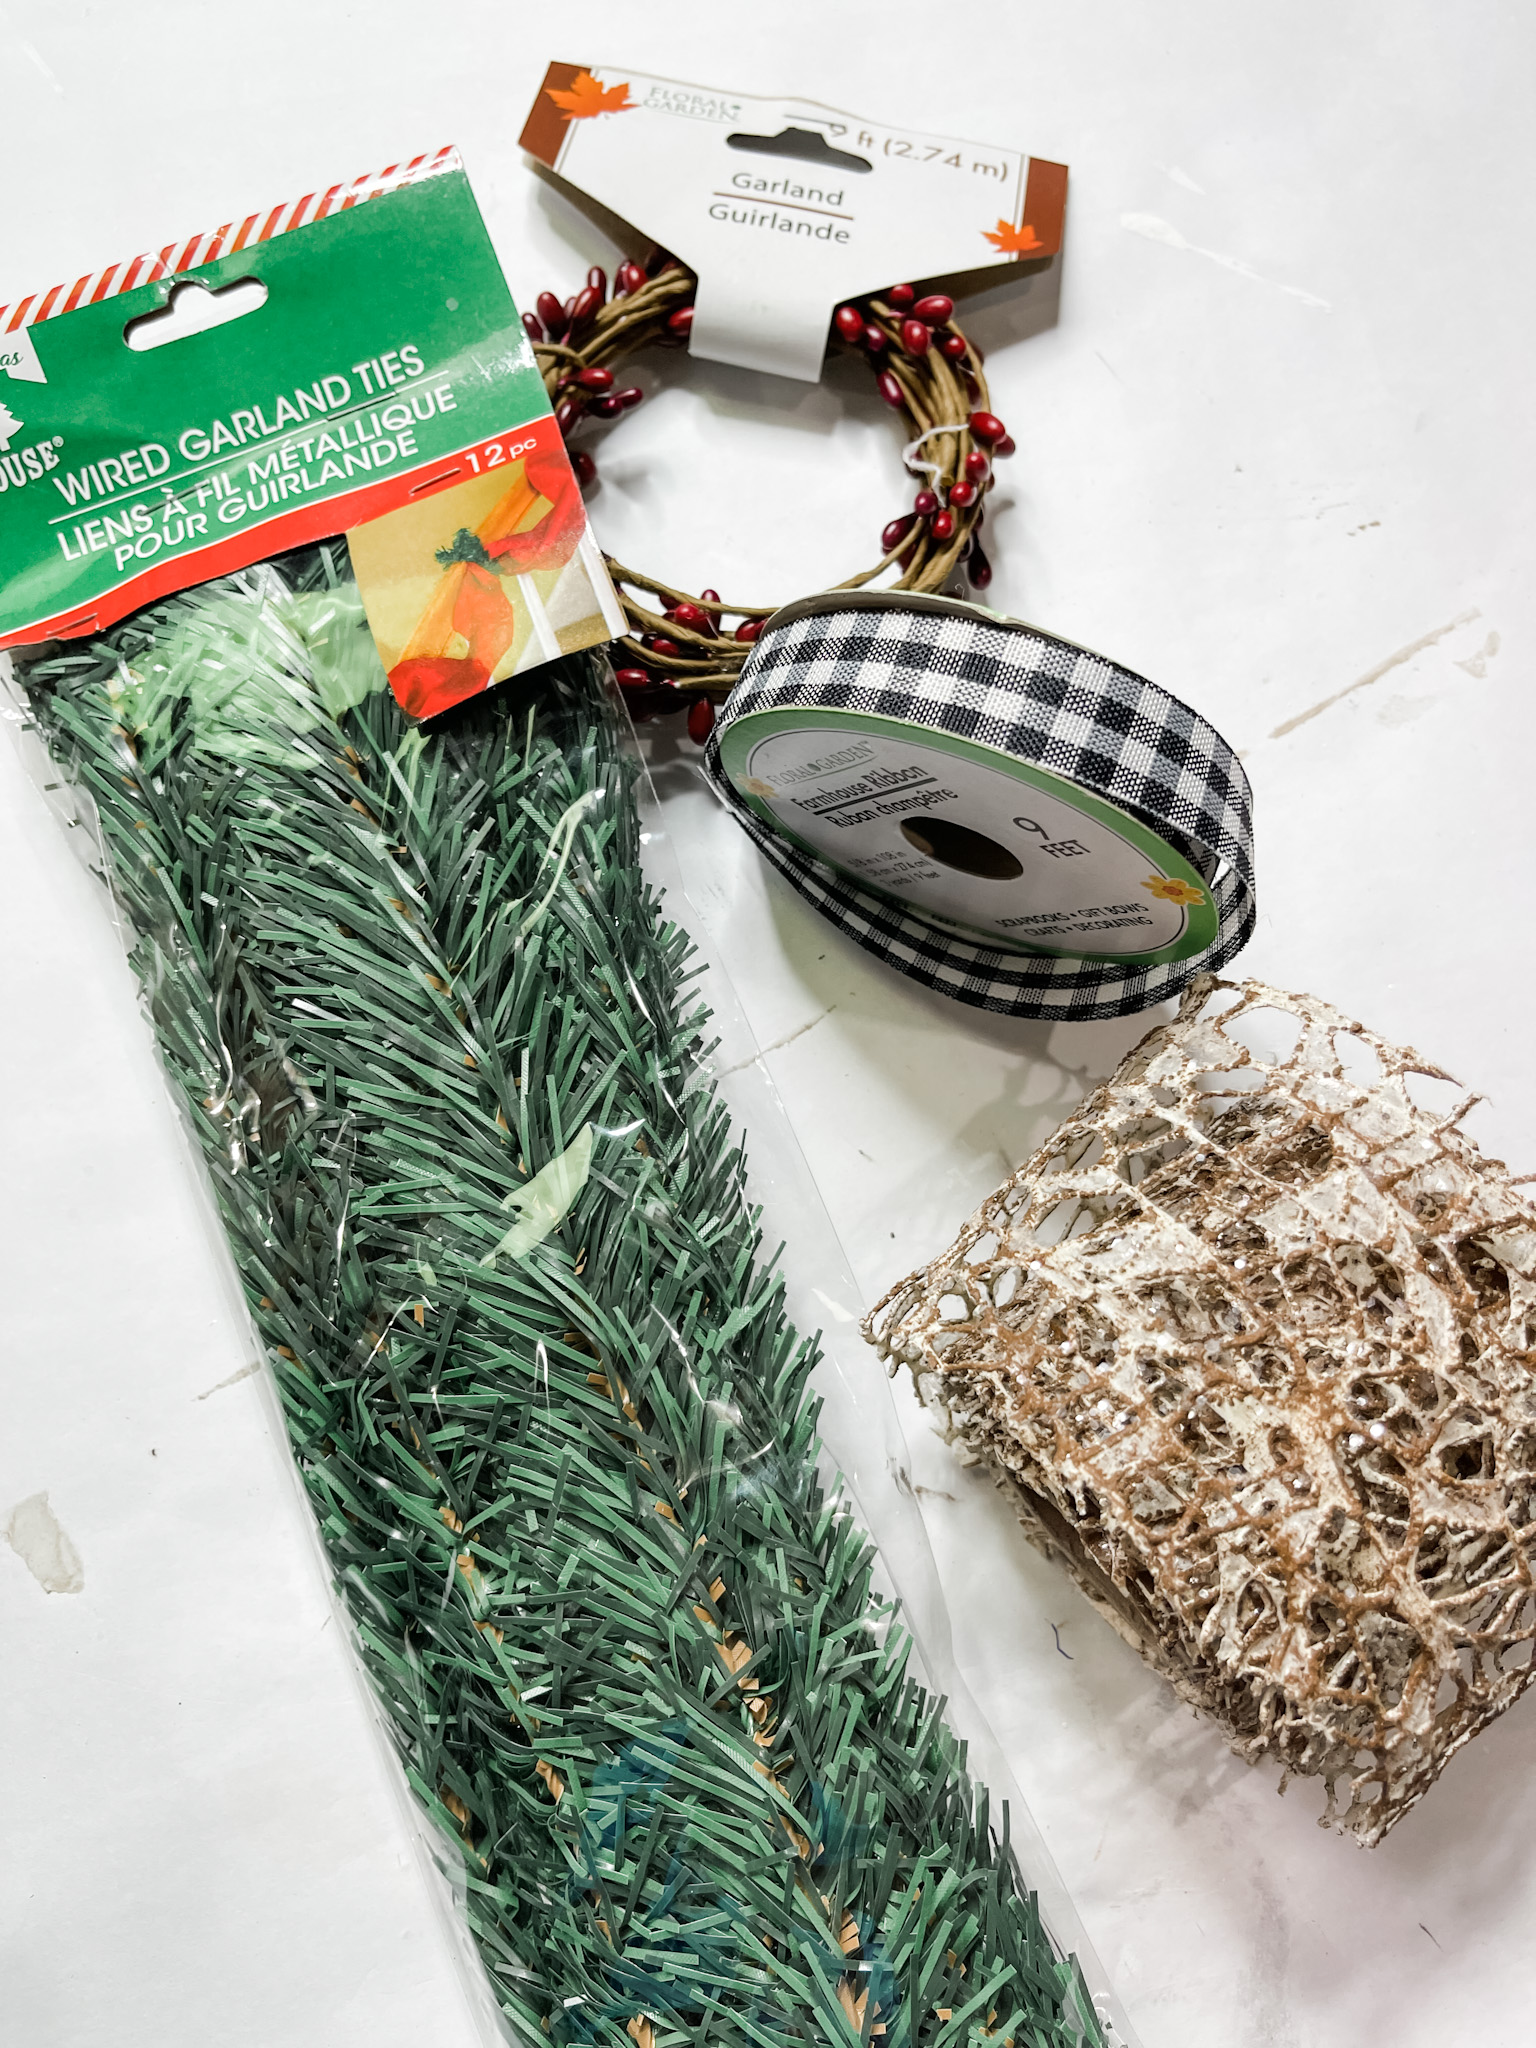
- Dollar Tree Wired Garland
- Music Note Scrapbook Paper
- Dollar Tree Snow in Jar
- Dollar Tree Bamboo Cutting Board
- Wood Stems (Hobby Lobby)
- Dollar Tree Berry Garland
- Dollar Tree Black Buffalo Check Ribbon
- Popsicle Stick
- Cardboard
- Faux Wood Peel-n-stick Wallpaper
- Craftsmart Holiday Red
- DecoArt Spiced Pumpkin
- Apple Barrel Black Paint
- White Paint
- Mod Podge
- Glue Gun
- Heat gun
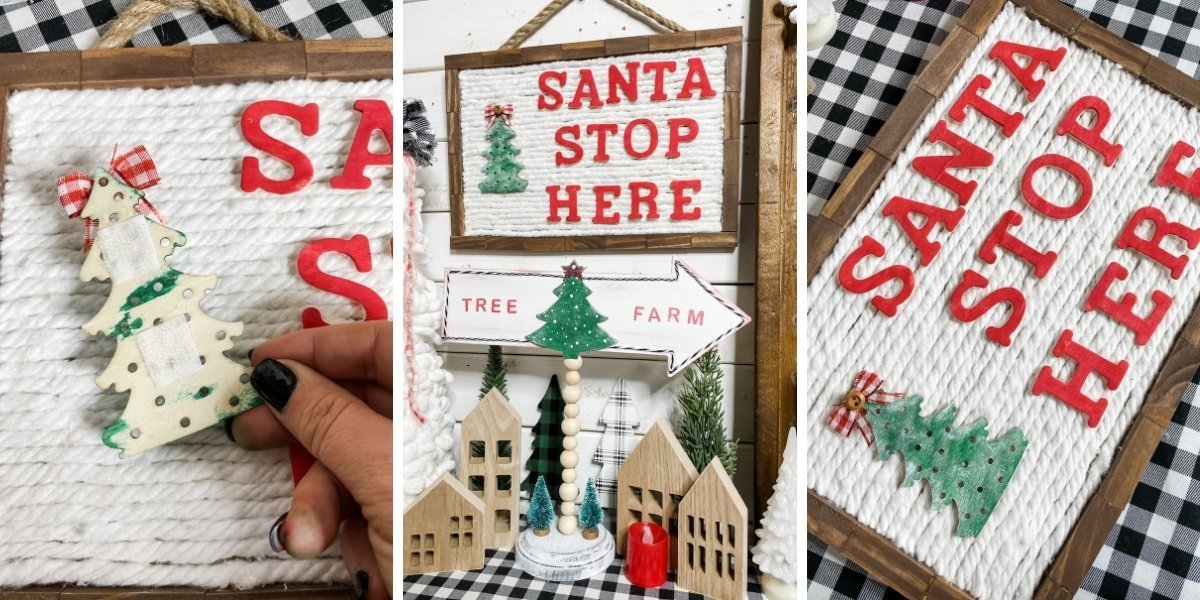
If you loved this DIY you might also like this DIY Christmas Tree Shelf Decor!
Thanks for stopping by! XOXO Amber
You can also shop my ENTIRE AMAZON Favorites shop just click here! It’s packed full of all the things I use and love.
Here is the supply list I highly recommend every creative have on hand!! Would you also pin my blog for later and get on my newsletter alerts? I would love to have you join my #craftycrew.

Join my free “ON A BUDGET CRAFTS” Facebook group!
So stinking cute. Love this!!!