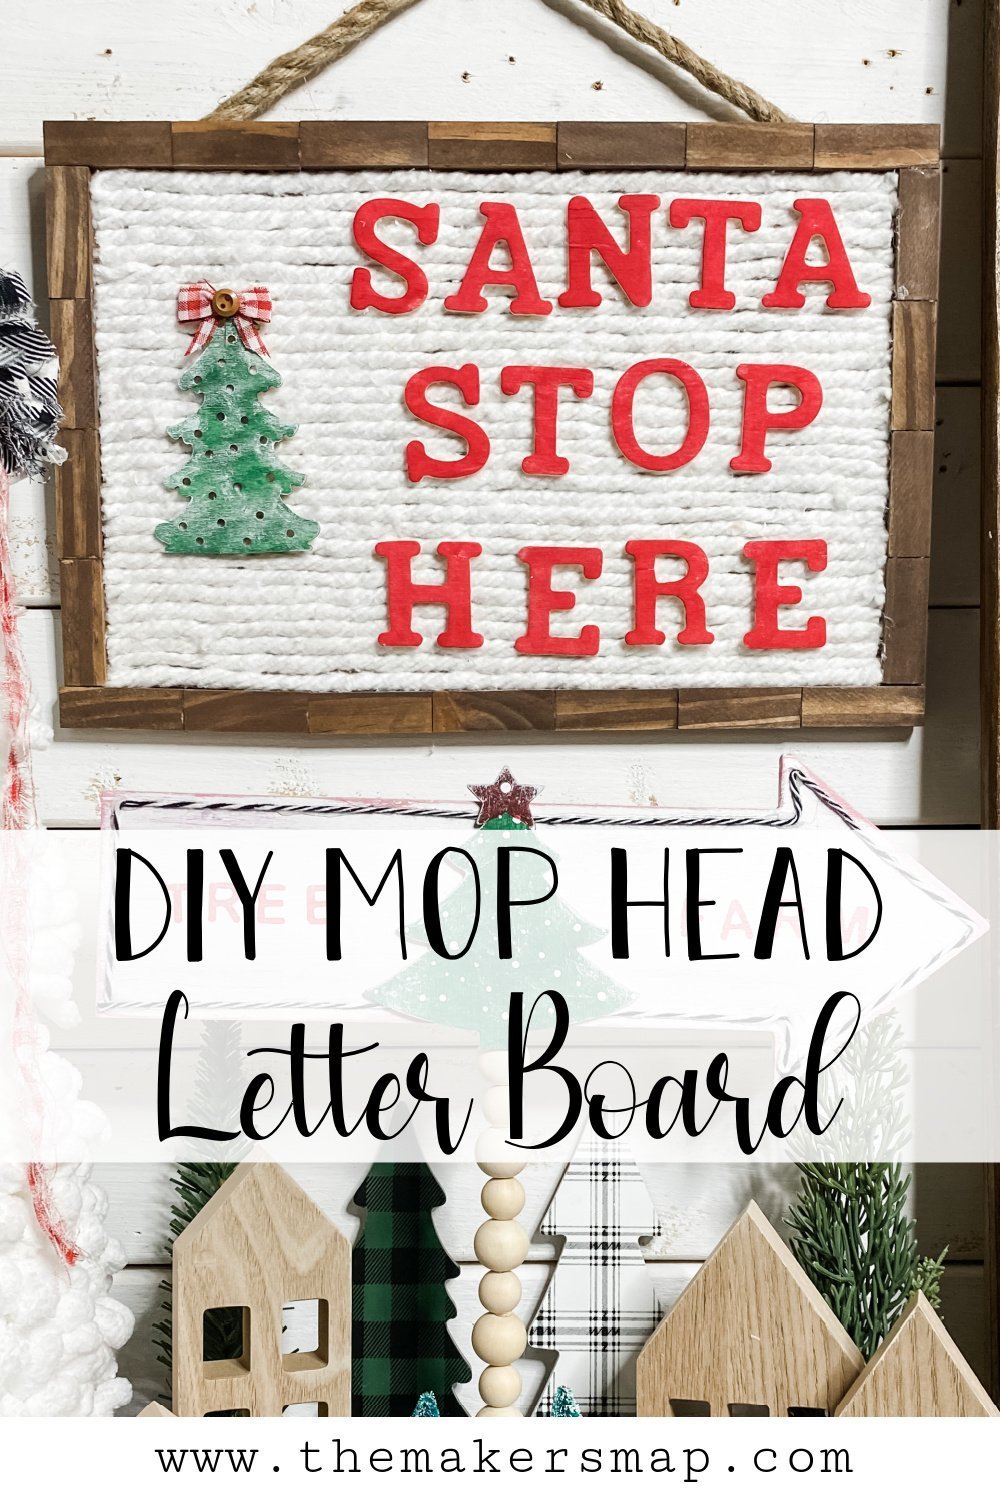
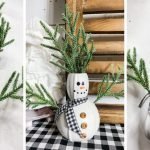
DIY Dollar Tree Mop Head Christmas Letter Board
This easy DIY Christmas sign is a prime example of my “I can make that” syndrome! I have a letter board that sits by my desk in my Creative Haven, and I thought how cute it would be to have a Christmas letter board. So, I put together this idea to make a DIY Dollar Tree Mop Head Christmas Letter Board!
I think this Christmas sign is a perfect kid’s craft and would be so fun to make with your children or grandchildren! You could make velcro numbers and count down to Christmas, too!
Check out these other crafts made with a Dollar Tree mop head!
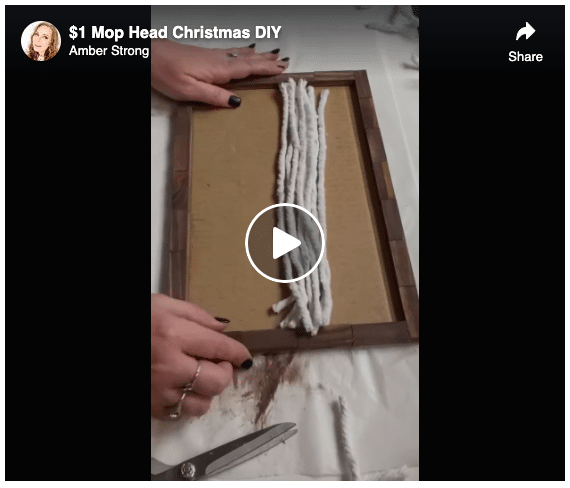
Watch the tutorial
I made a quick DIY tutorial video for this easy Christmas decor. You can check it out on my Facebook page! Make sure you share it or save it to your page so you don’t lose it!
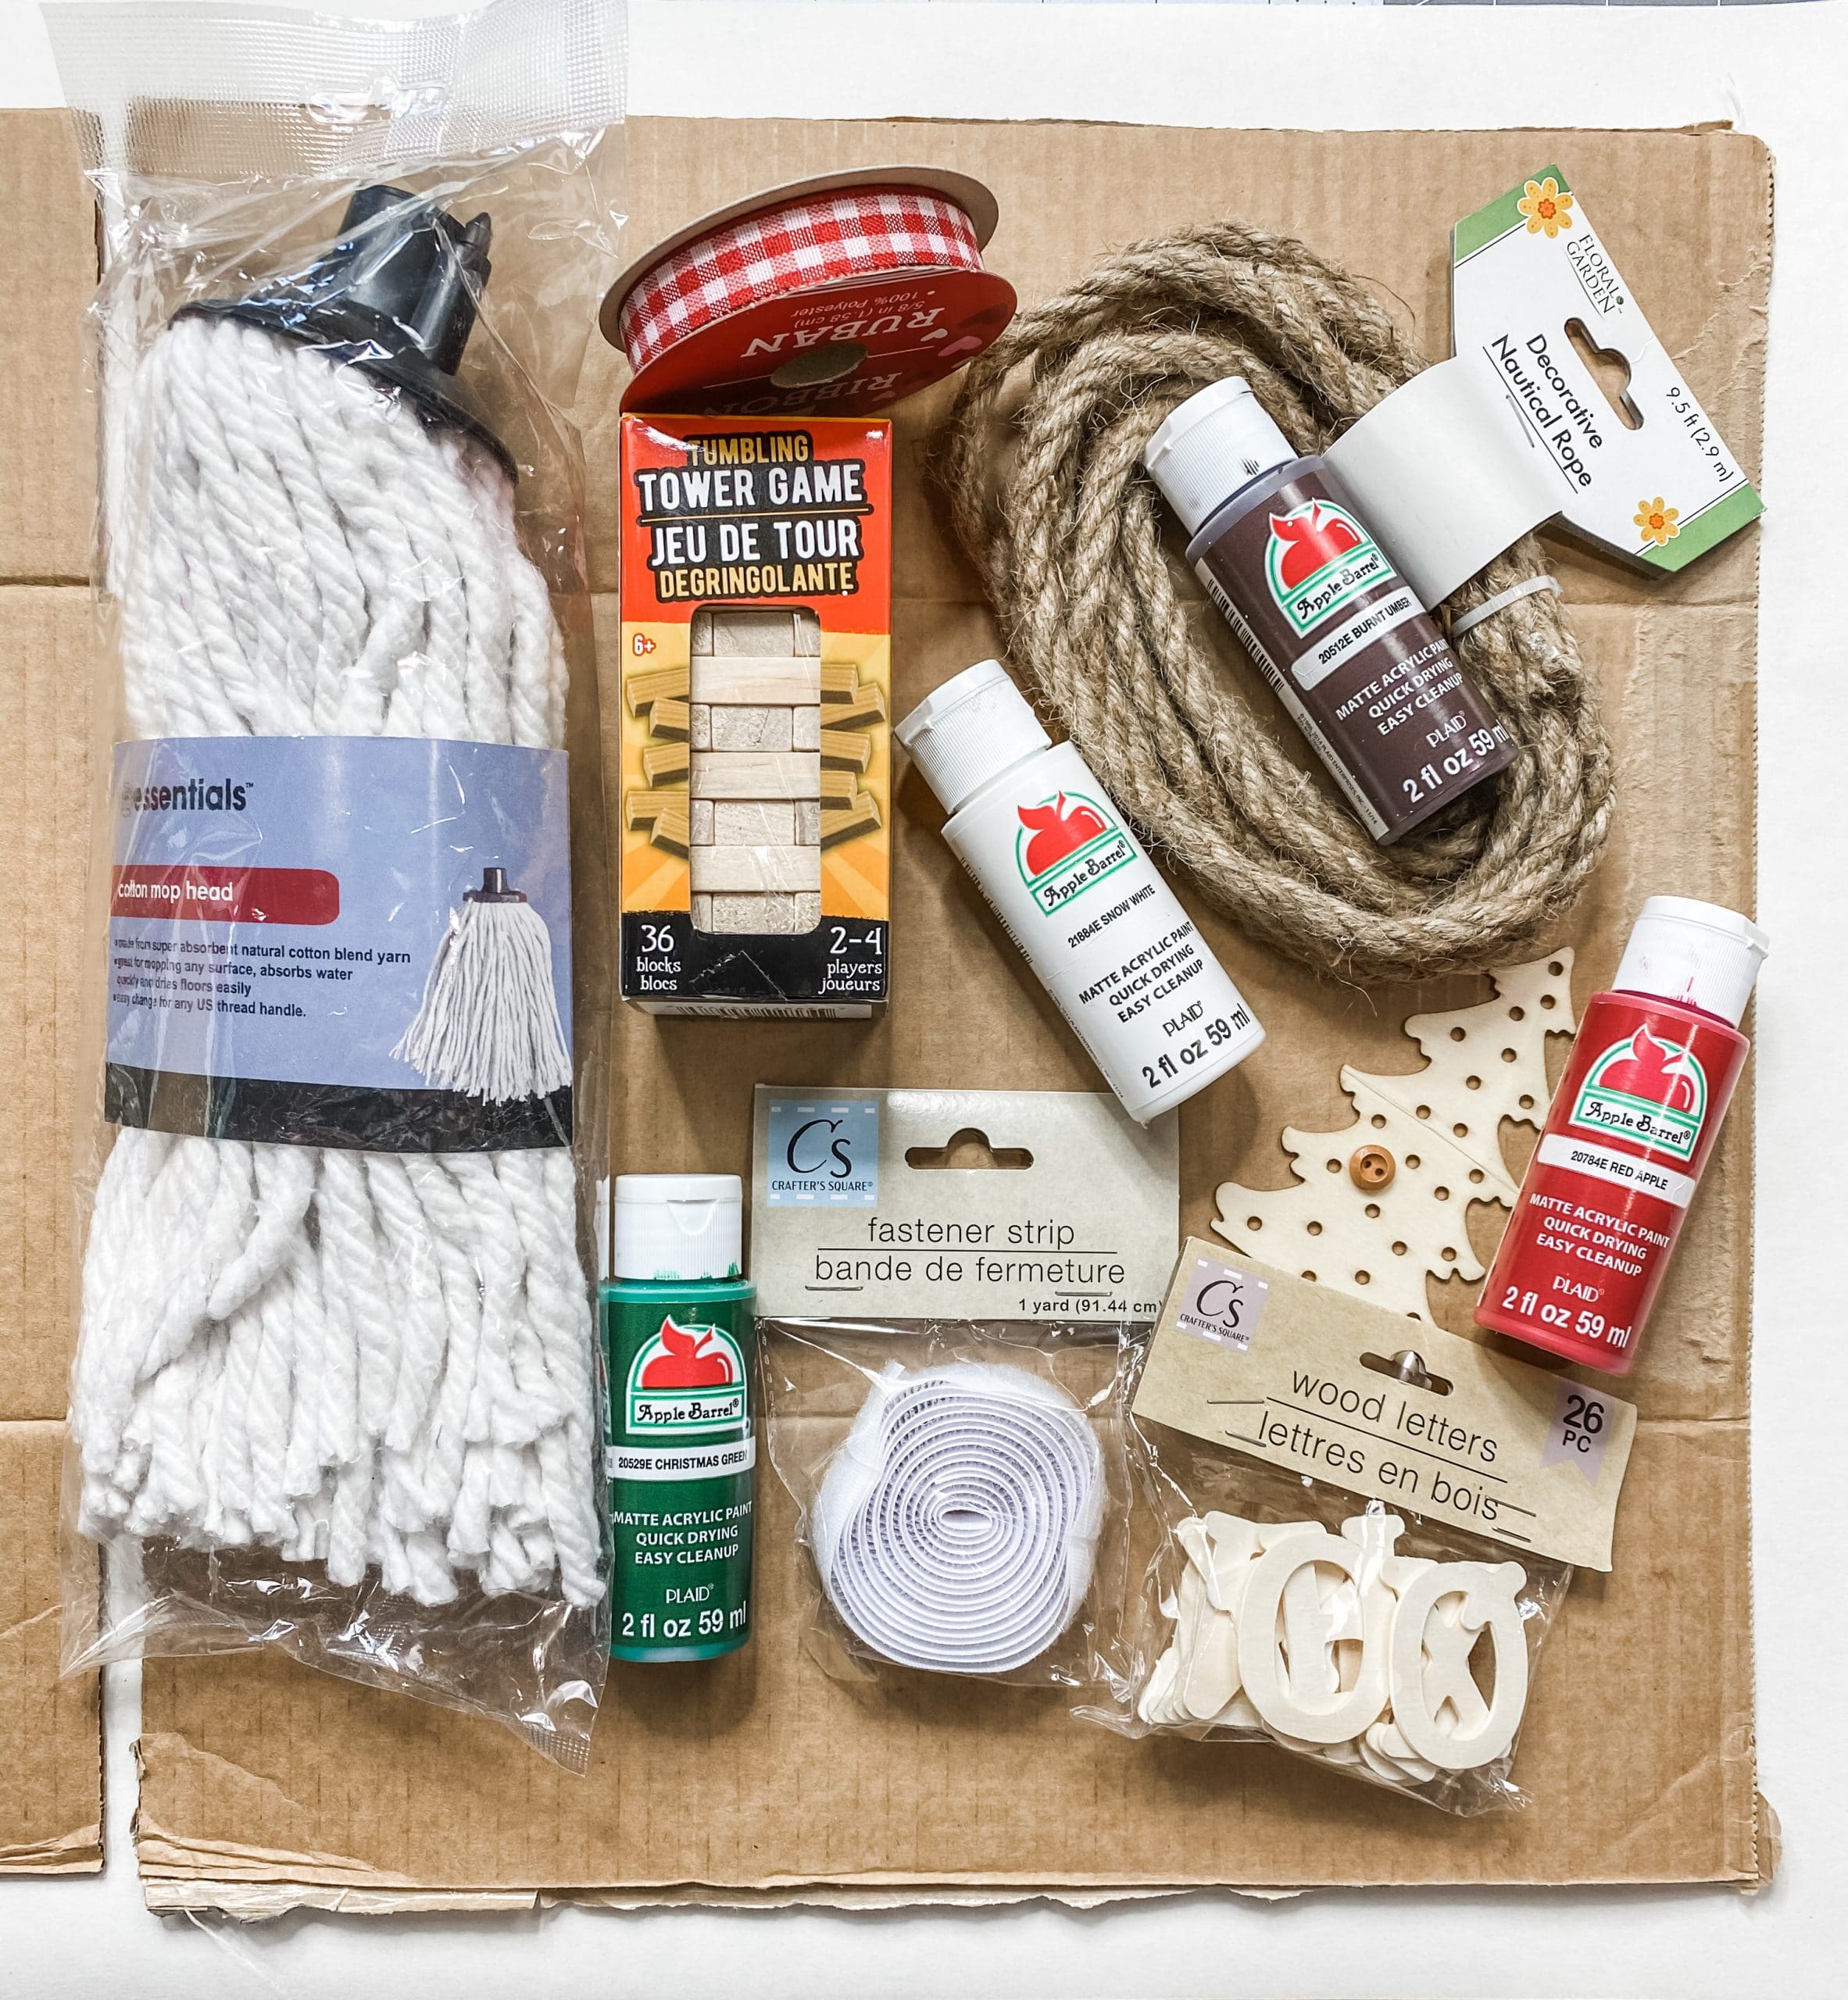
For this project, I will be using these items but you can substitute where you want.
“As an Amazon Associate, I earn from qualifying purchases.”
- Piece of cardboard
- Dollar Tree Mop Head
- Dollar Tree Velcro Fastener Strip
- Apple Barrel Burnt Umber Acrylic Paint
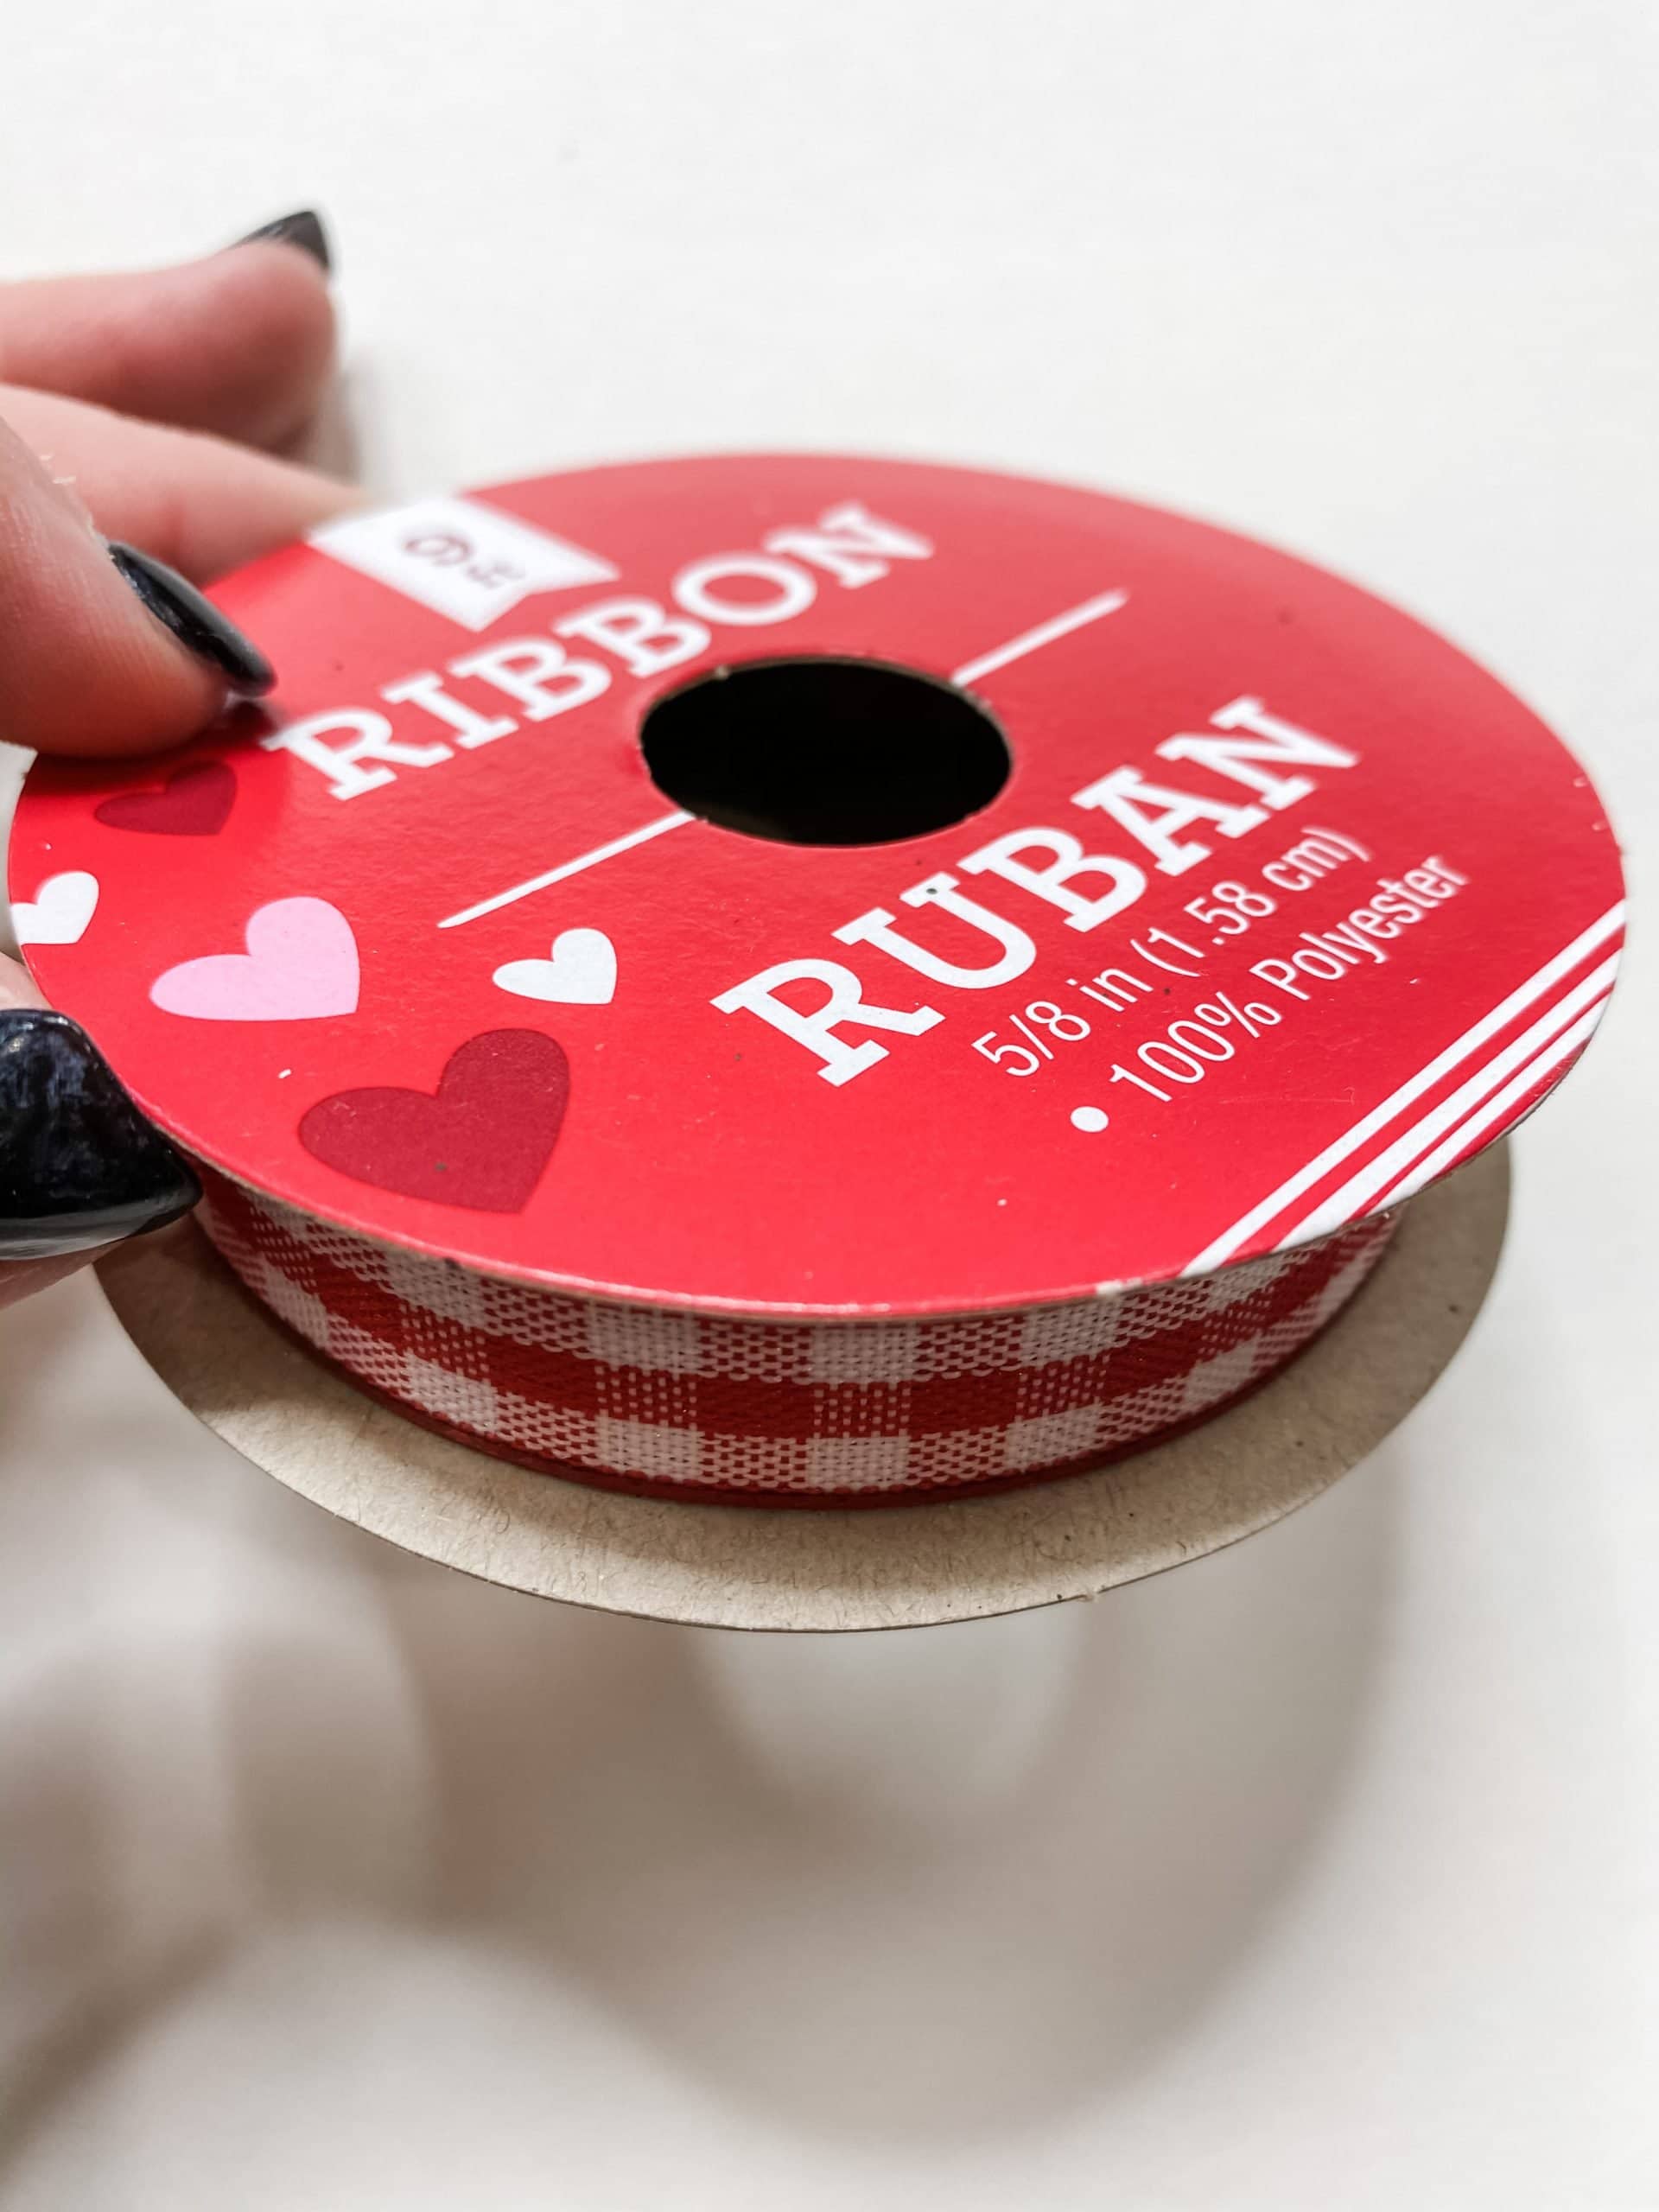
- Dollar Tree Valentine’s Day Red Buffalo Check Ribbon
- Dollar Tree Christmas Tree cutout
- Apple Barrel Red Apple Acrylic Paint
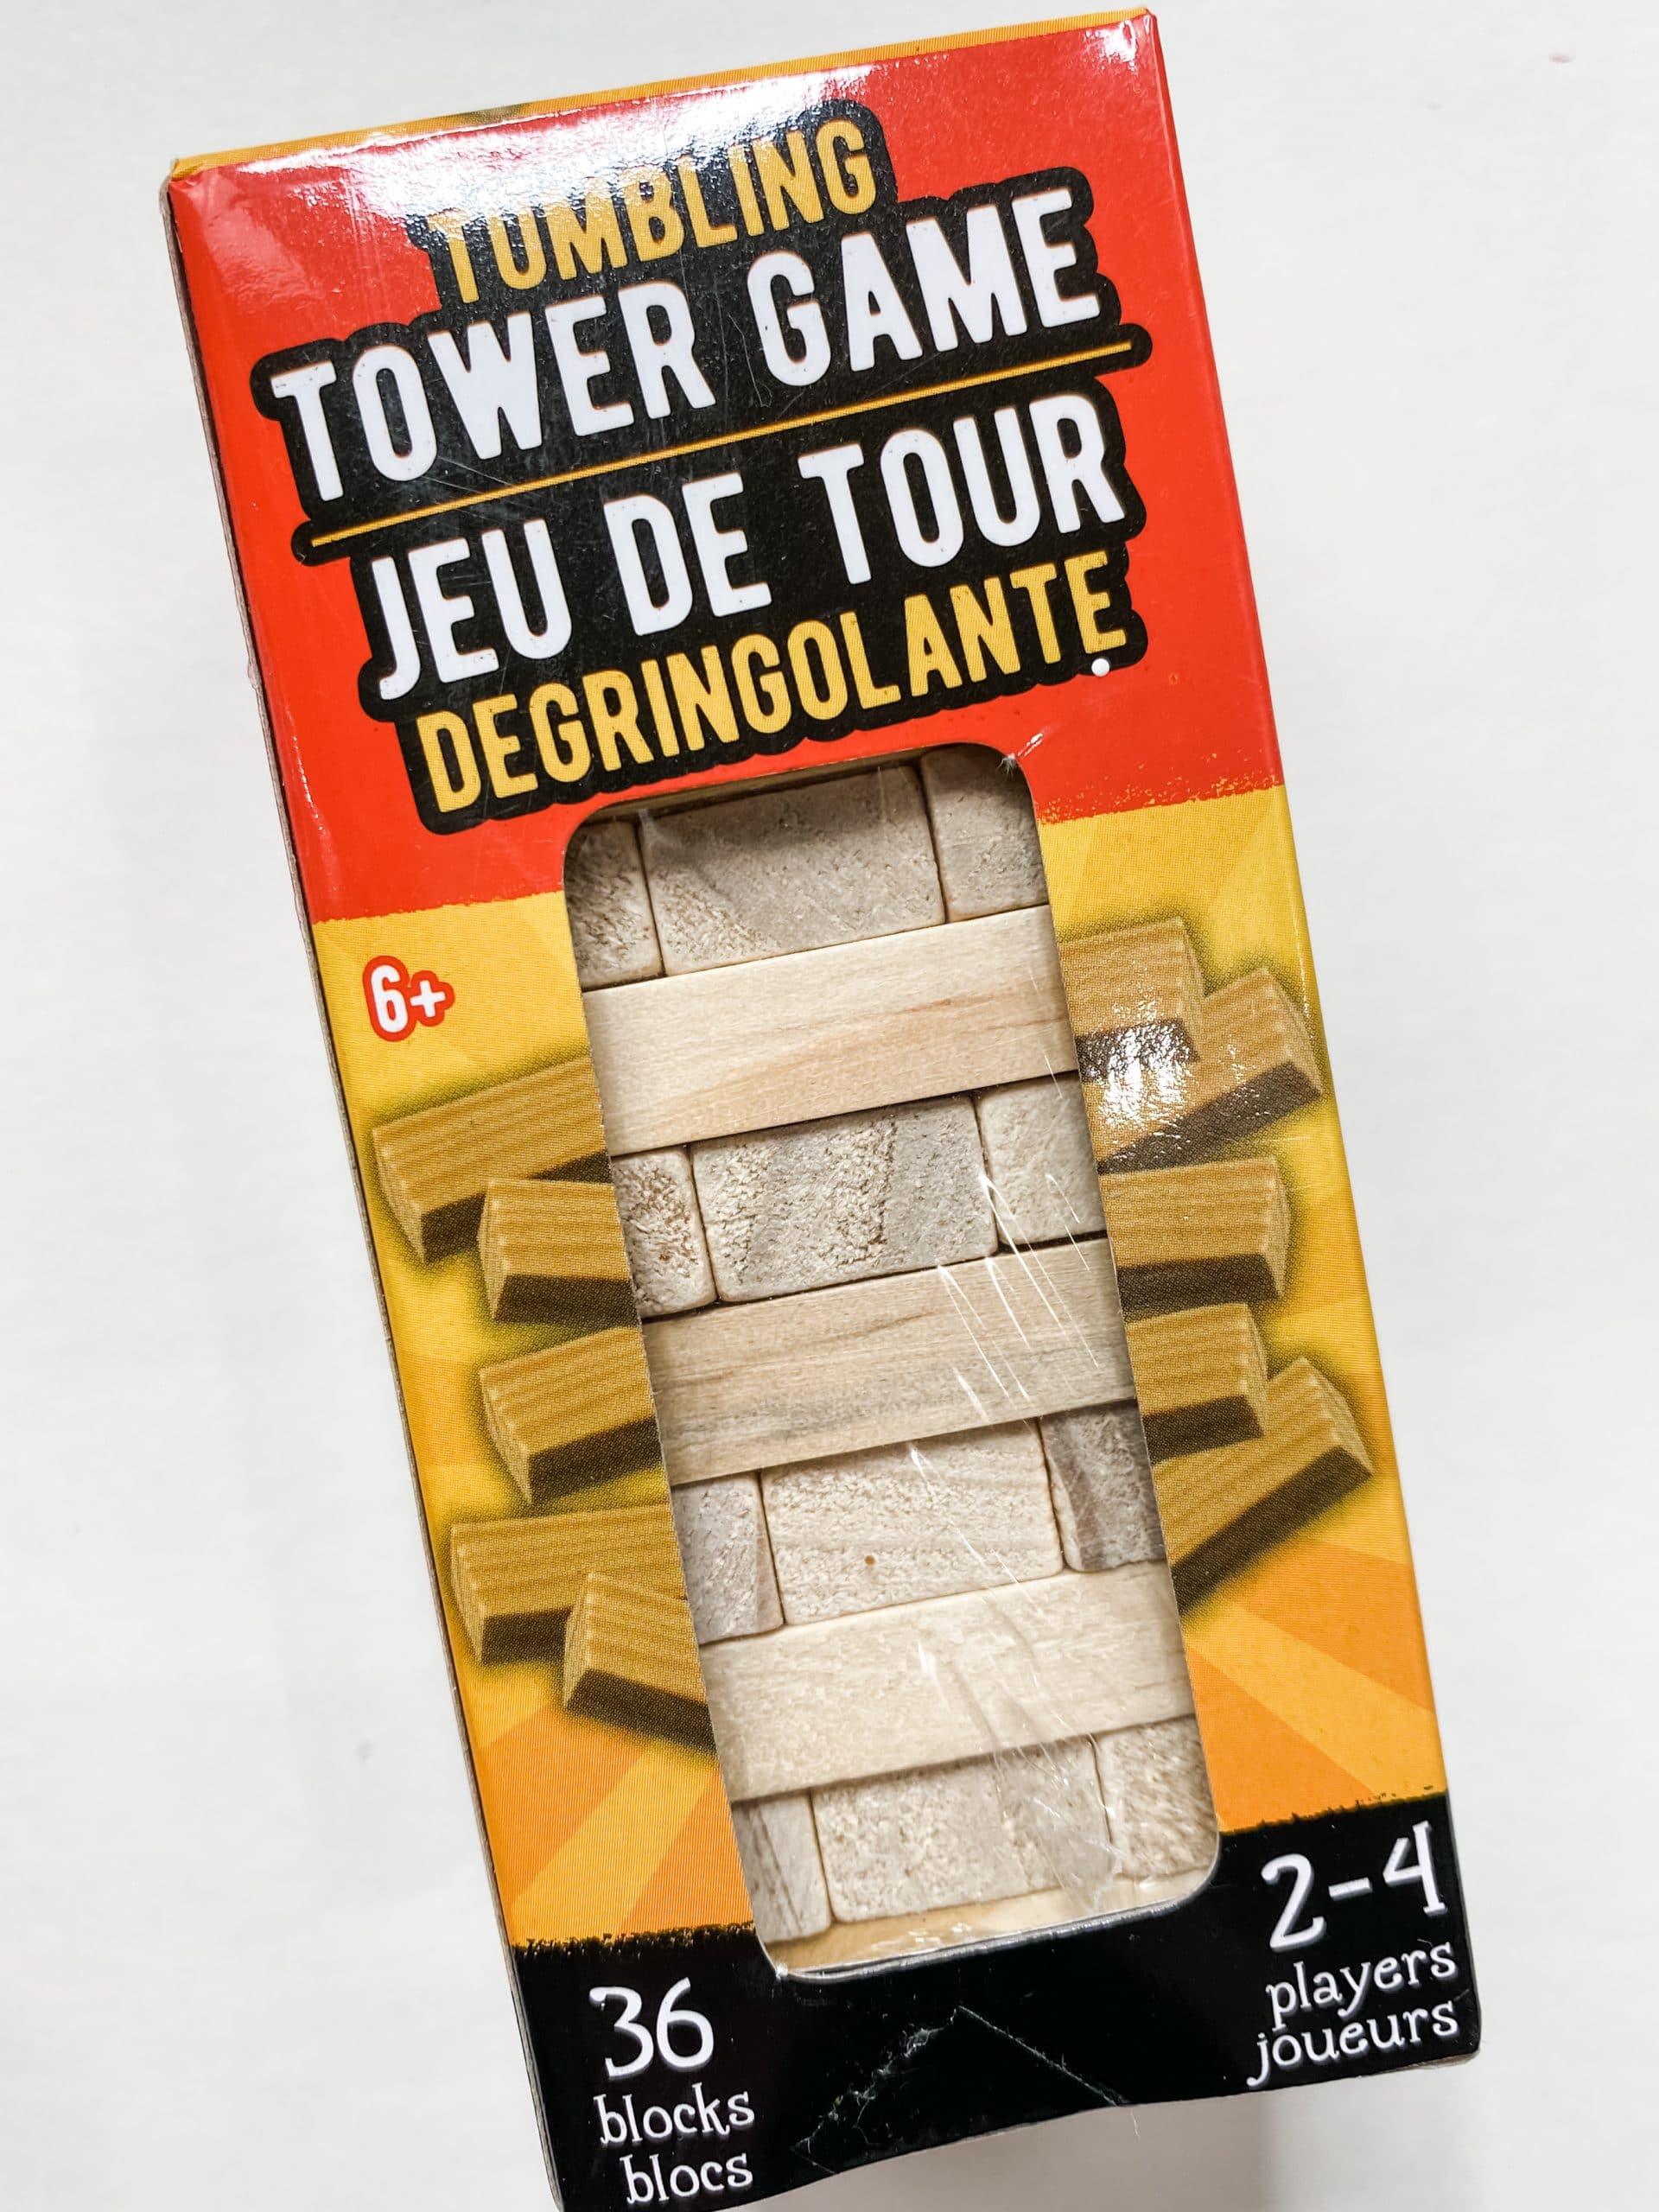
- Dollar Tree Tumbling Tower Blocks (Jenga Blocks)
- Dollar Tree Nautical Rope
- Apple Barrel Snow White Acrylic Paint
- Apple Barrel Christmas Green Acrylic Paint
- 1 button
- Glue Gun and Glue Sticks
- Heat gun
- artist’s brush
- Baby wipe
Let’s get started!
The first step to making this super cute Christmas sign DIY is to cut the cardboard to the right shape and size.
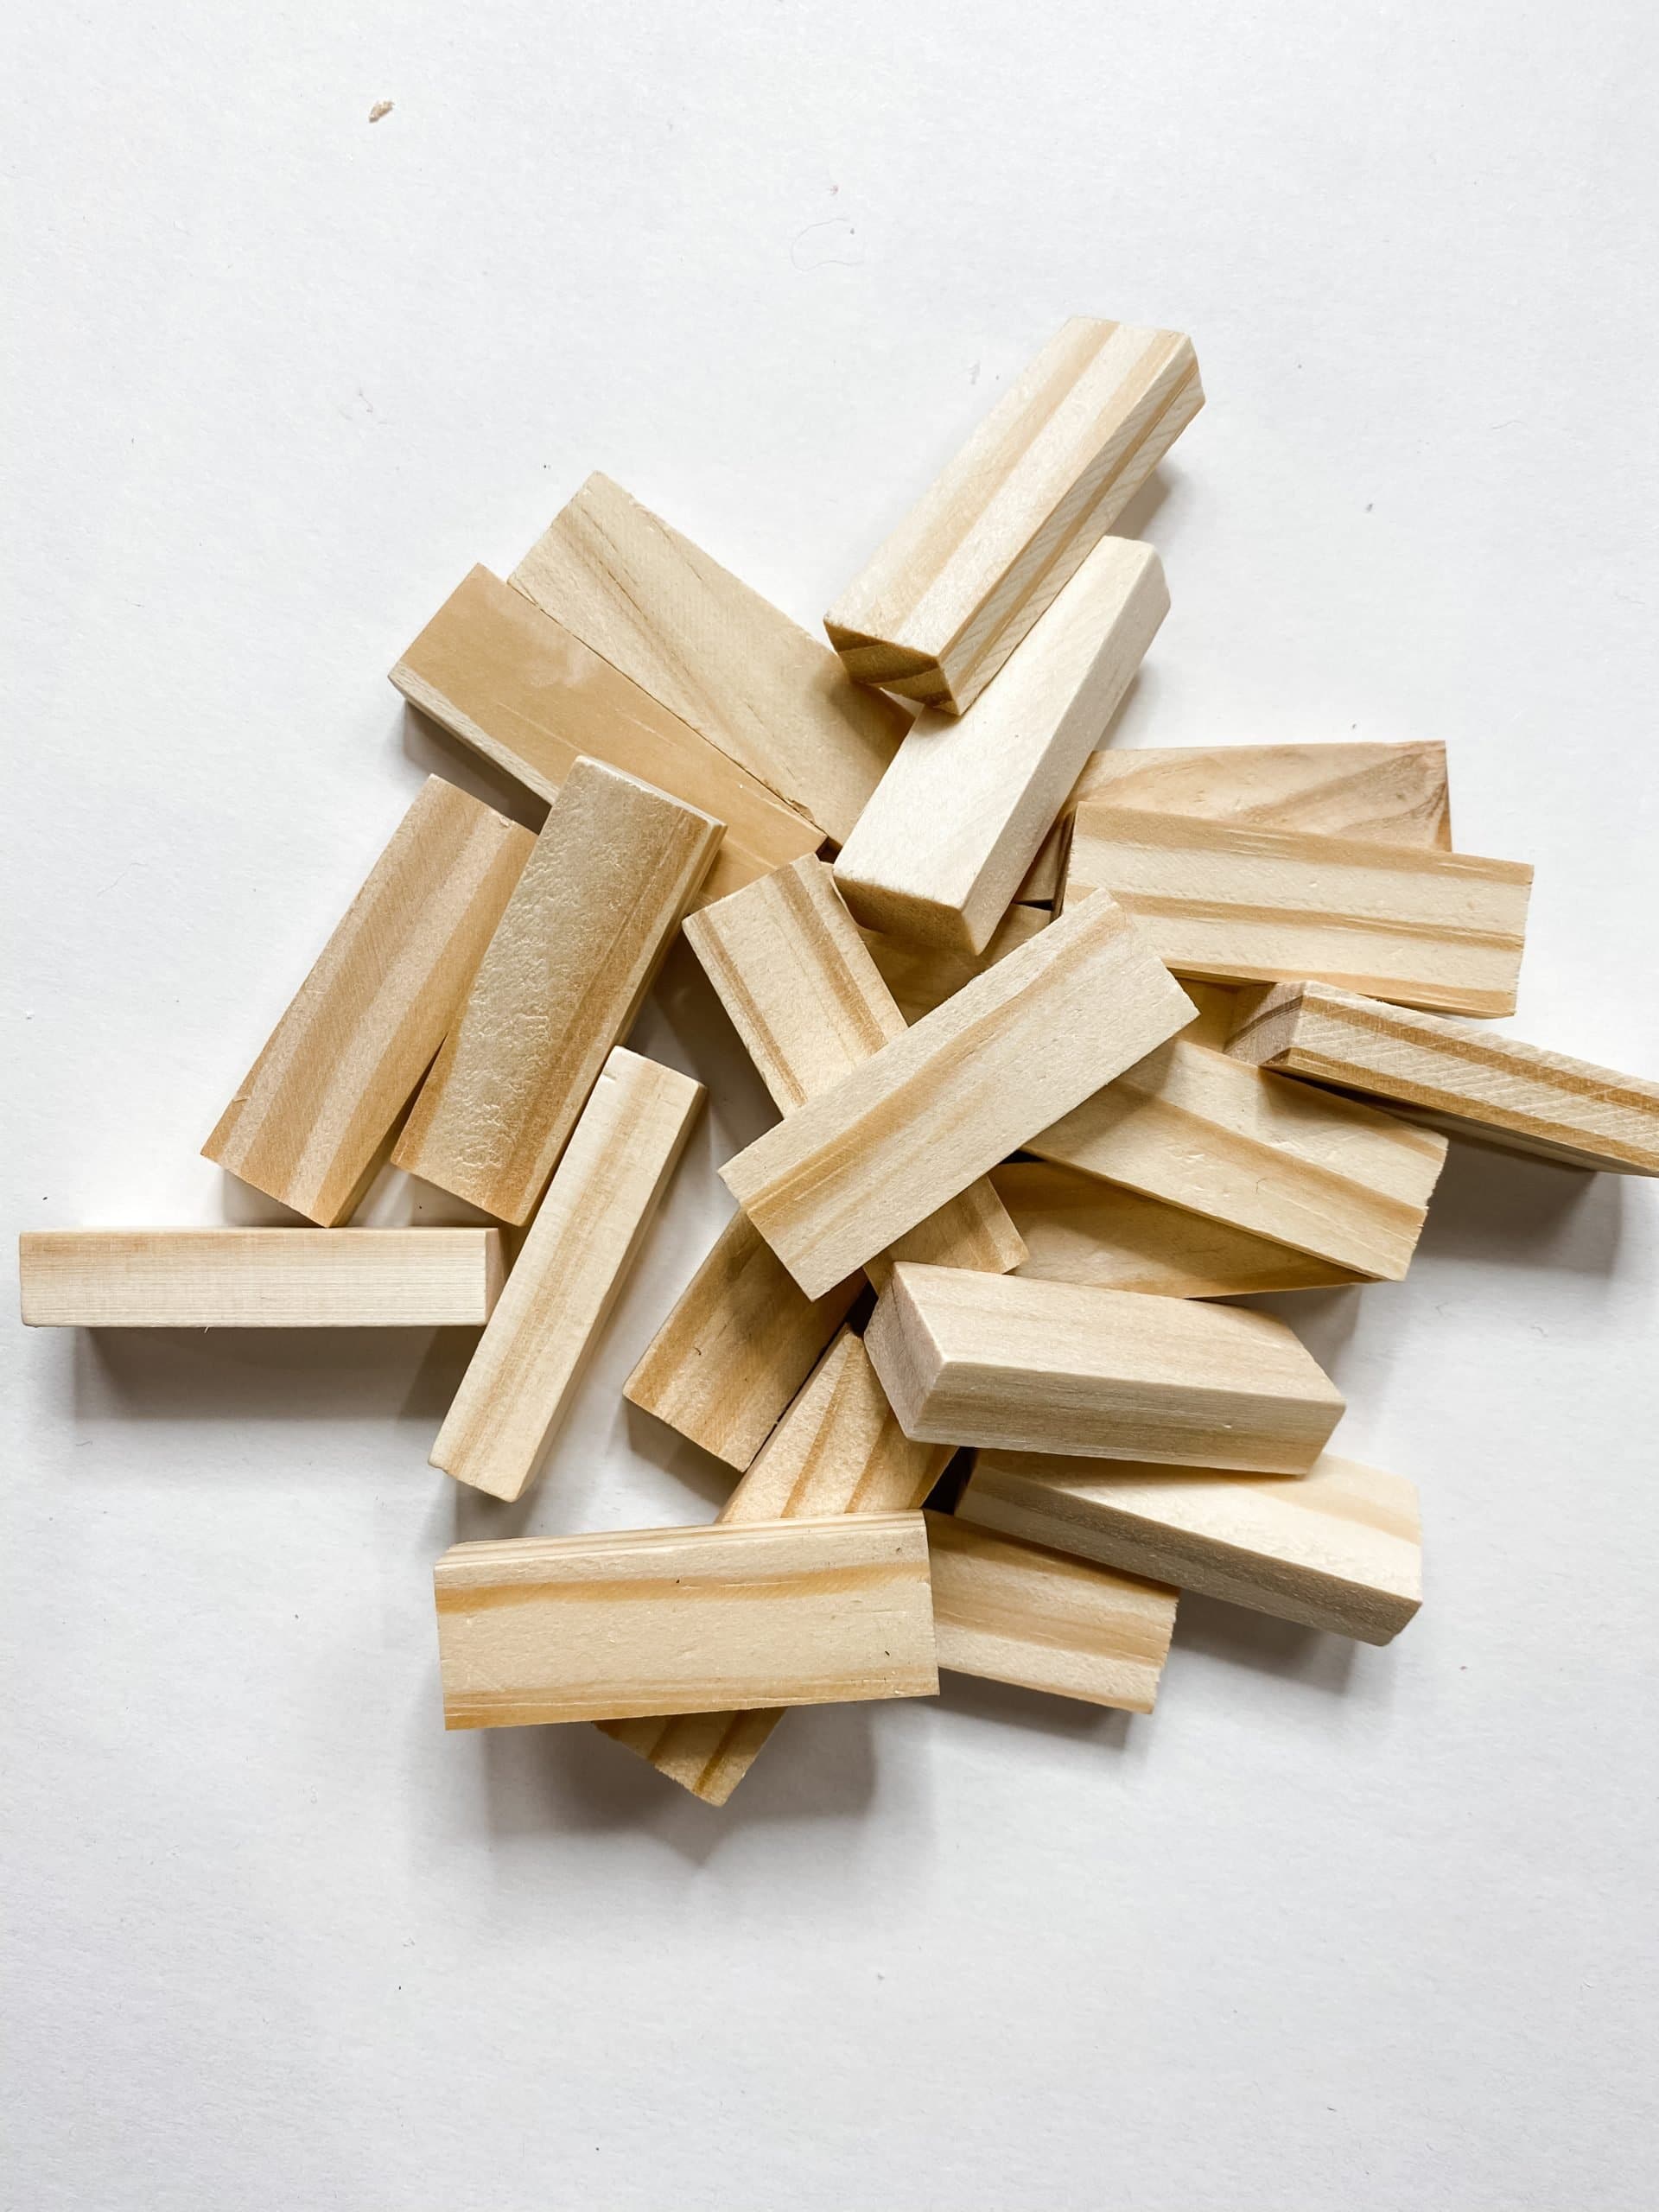
I used 22 of the Dollar Tree Tumbling Tower blocks (Jenga blocks) and laid them on the cardboard with 7 across the top and bottom and 4 across the sides.
By the way, did you know Dollar Tree now has a box of 72 tumbling tower blocks! That is double the box of 36 that they used to sell! Heck yeah!
Trace the size you’ll need the cardboard to be and use regular scissors to trim the cardboard. If you want a patterned edge, feel free to use a pair of pinking shears instead of regular scissors.
Once you have the cardboard cut to the right size, set it to the side, and grab your Dollar Tree Tumbling Tower blocks (Jenga blocks). I used the Apple Barrel Burnt Umber Acrylic paint to stain the blocks.
First, I hot glued the blocks into 4 strips – 2 of 7 blocks and 2 of 4 blocks. Next, I sprayed the strips with water.
Once the glue dried, I poured the brown paint directly onto the strips of tumbling tower blocks and spread it with a baby wipe.
Wetting the Dollar Tree Tumbling Tower blocks (Jenga blocks) helps the wood absorb the paint and gives it a stained finish rather than a painted look.
You do not have to use this paint stain trick. You can most certainly just use paint and a paintbrush and apply a light coat of paint.
Allow the paint to dry, and using your Surebonder glue gun and gorilla glue sticks hot glue the strips of blocks onto the piece of cardboard.
Prep the Dollar Tree Mop Head
I use Dollar Tree mop heads in my DIY crafts pretty often because I love the detail and look it gives to my DIY home decor.
To use Dollar Tree mop head strings, you have to remove the plastic piece at the top of the mop head.
I use a pair of aviation snips to break the plastic and remove the mop strings. Be careful doing this because you don’t want to cut your fingers!
Cut the plastic
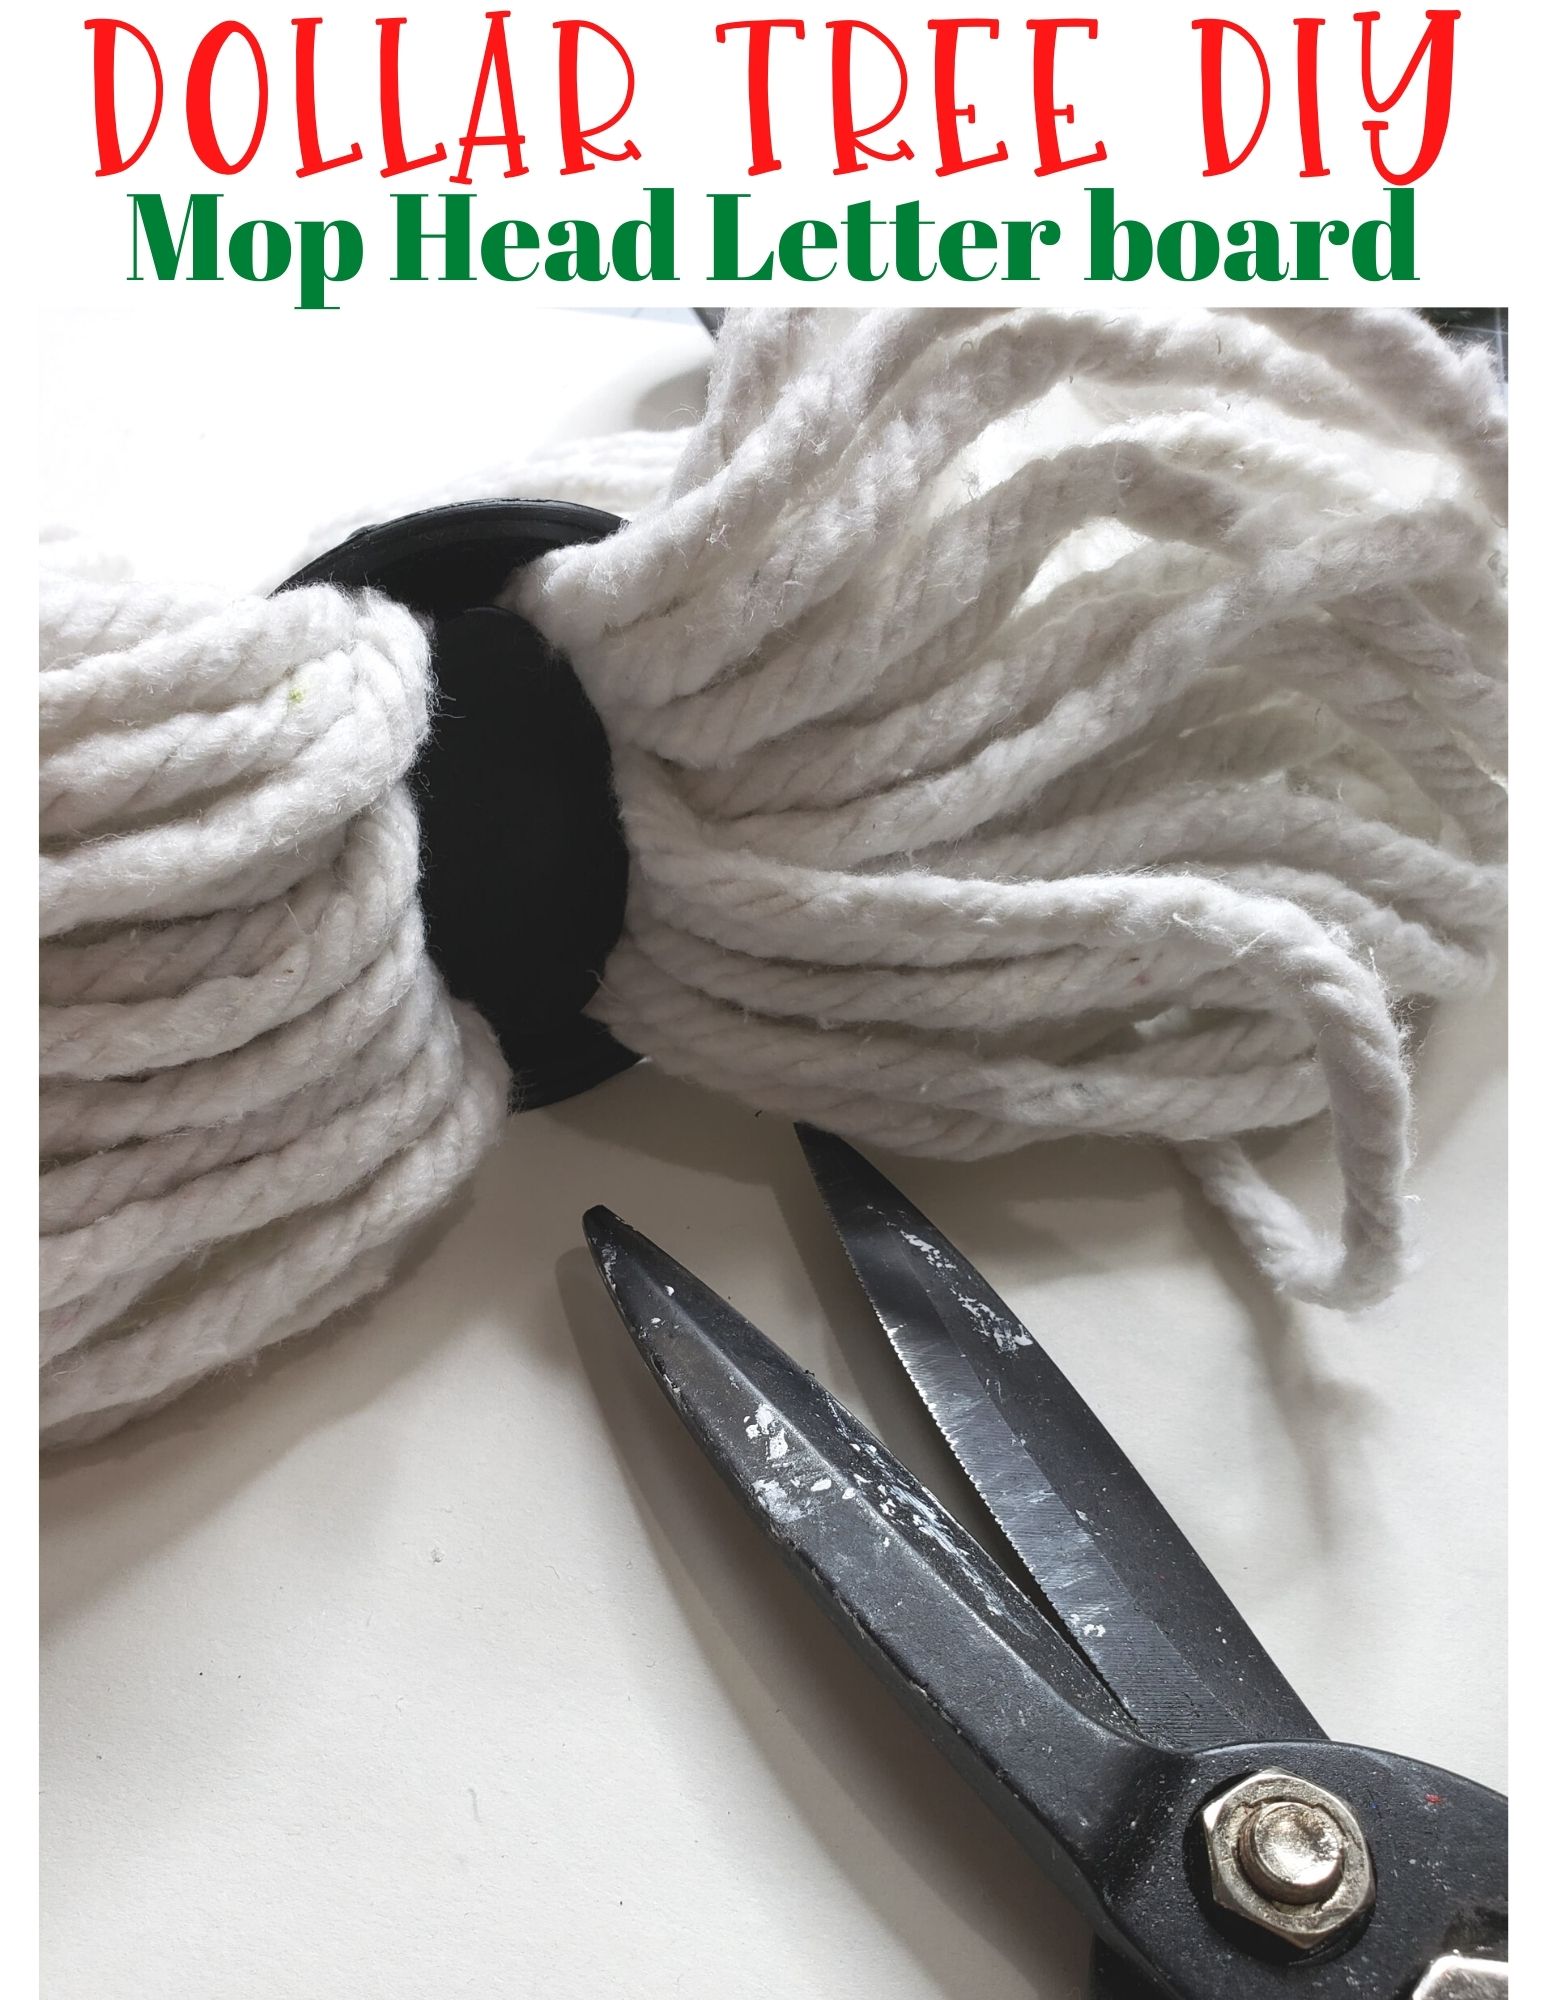
Once you cut the plastic part holding the mop head strings together you can easily pry it open to pull them out.
You do not have to cut the plastic to get the mop strings out, If you push the mop head strings open and apart you can pull one or two from the edge right out without cutting the plastic.
I like to cut the plastic because it is just fun to use cool tools to cut stuff!
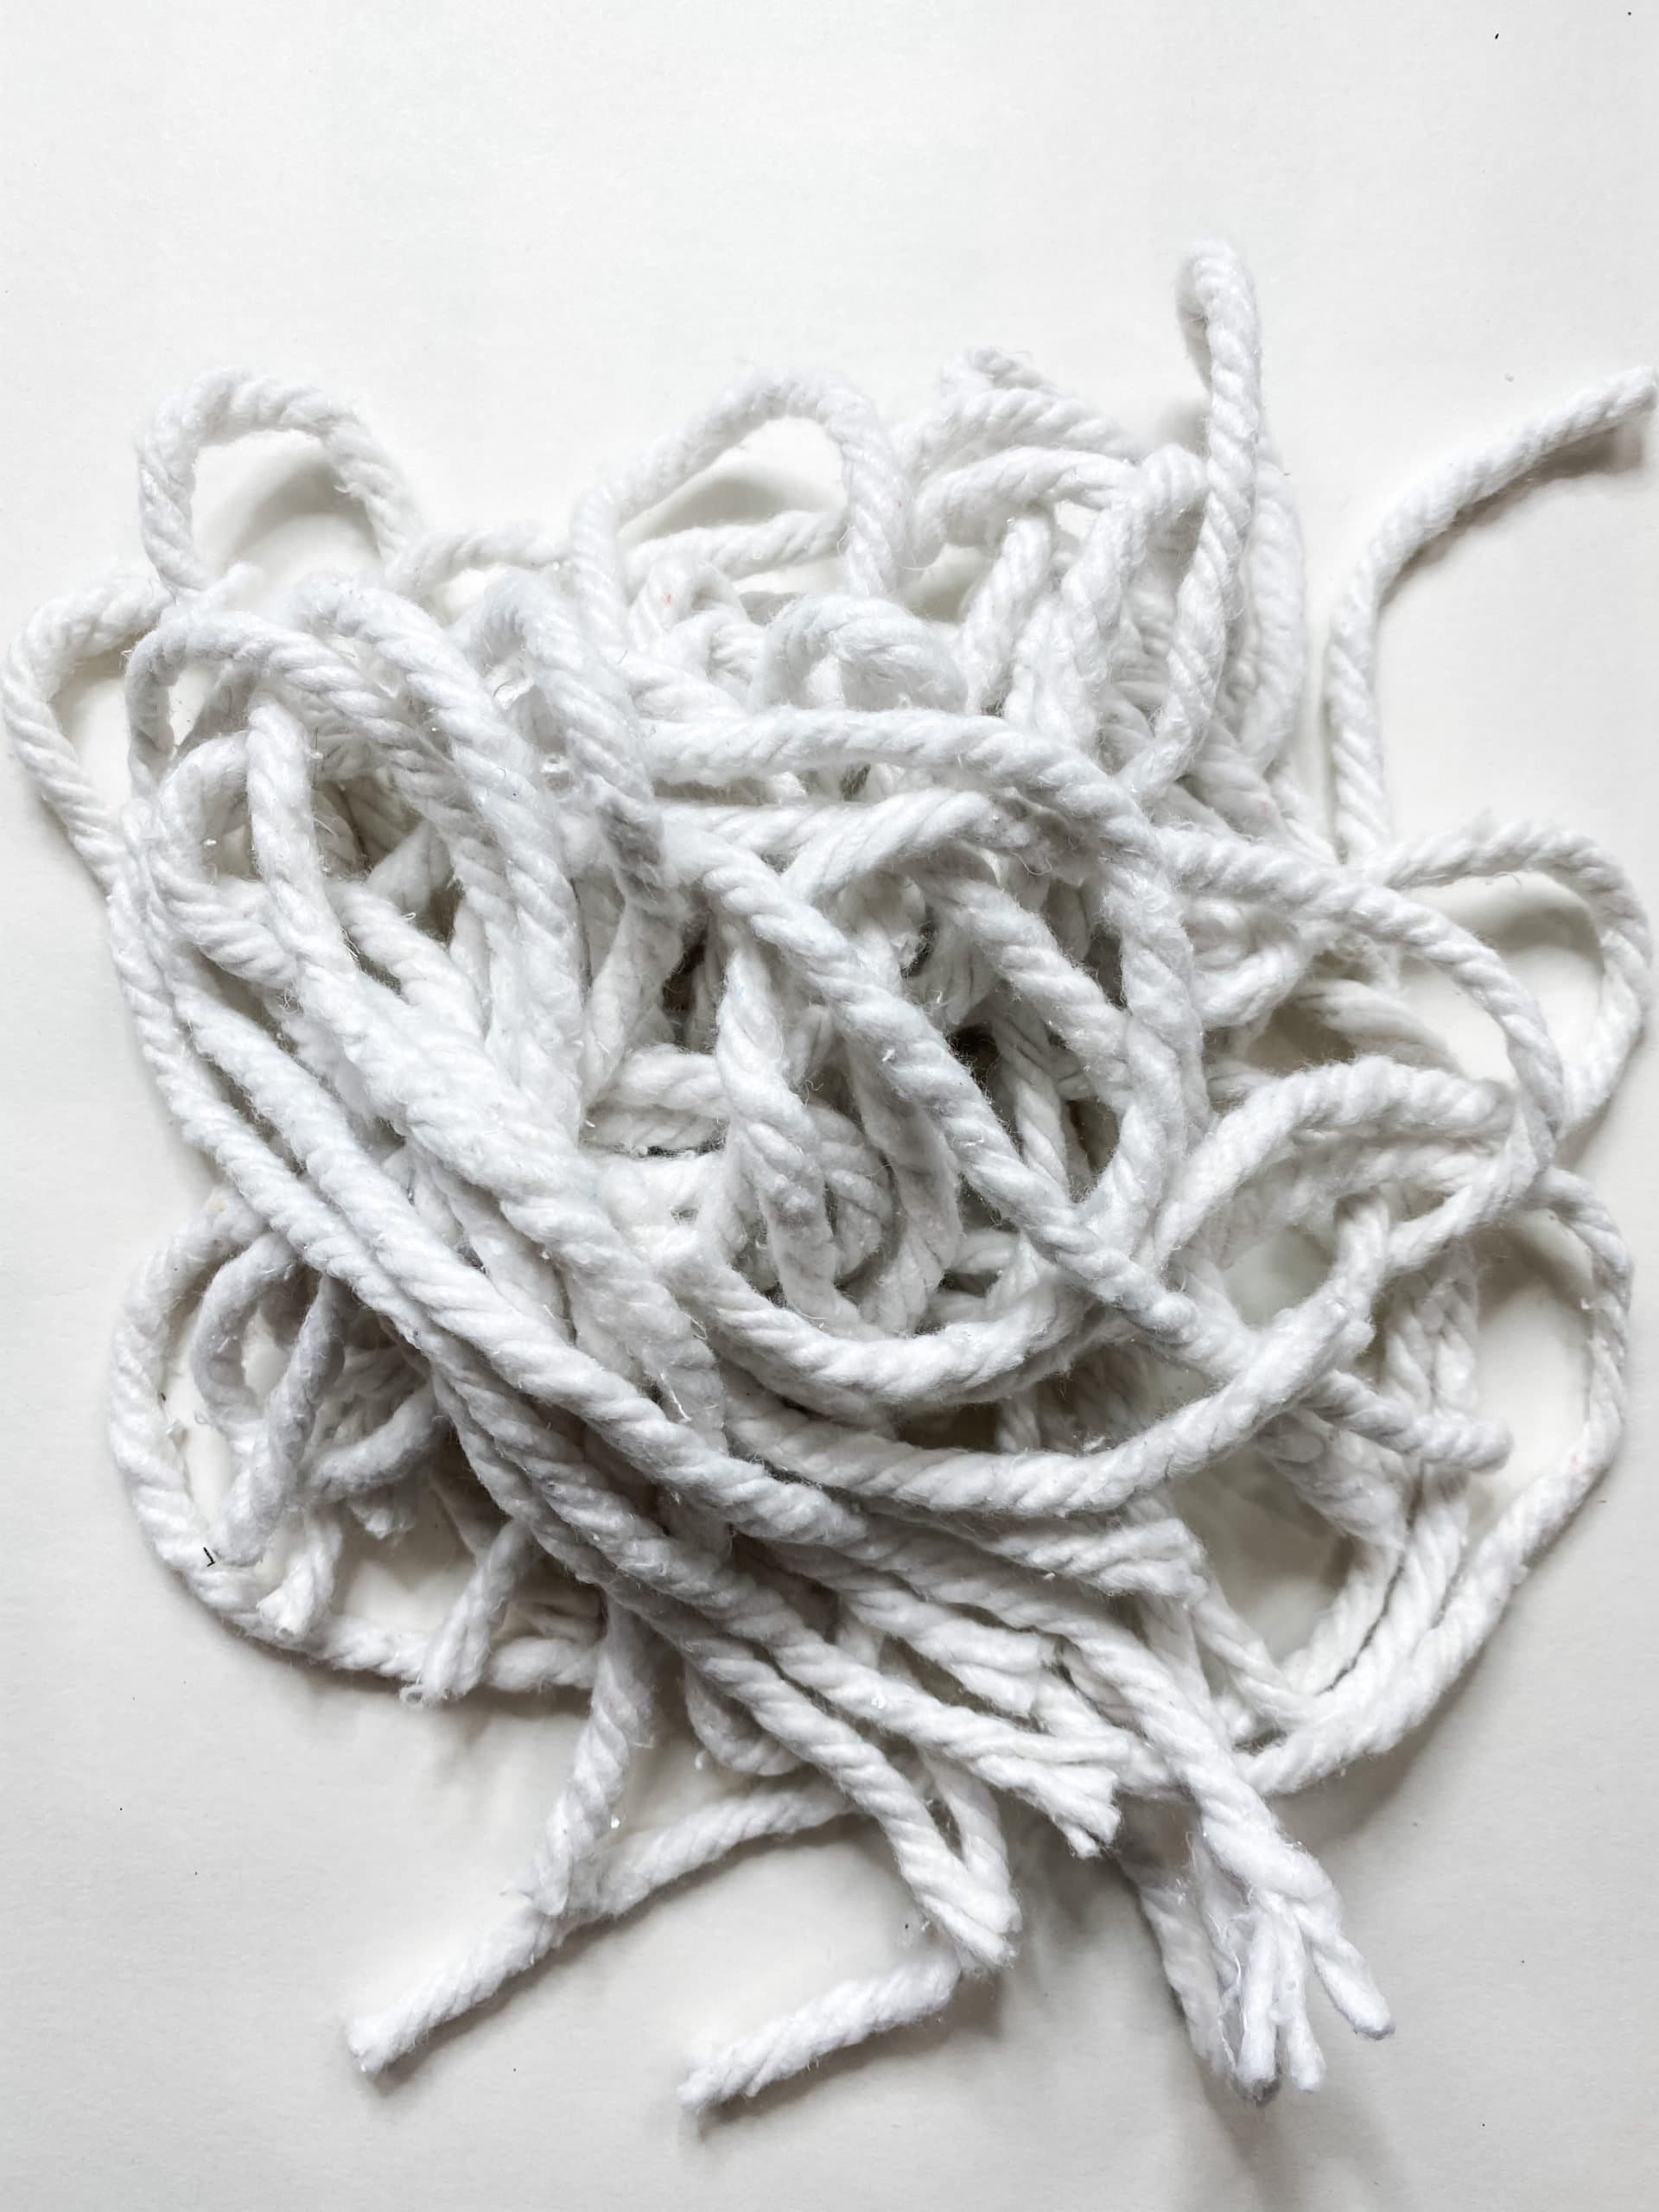
Lay the mop strings across the piece of cardboard and trim them to the right length. This next step might be a little tedious, but I promise it is worth it!
You’re going to have to hot glue each individual mop string onto the piece of cardboard. Be careful not to get the hot glue on your fingers!
I like to use finger protectors to press down mop strings, ribbon, or fabric to keep the glue from getting onto my fingers.
Santa, stop here!
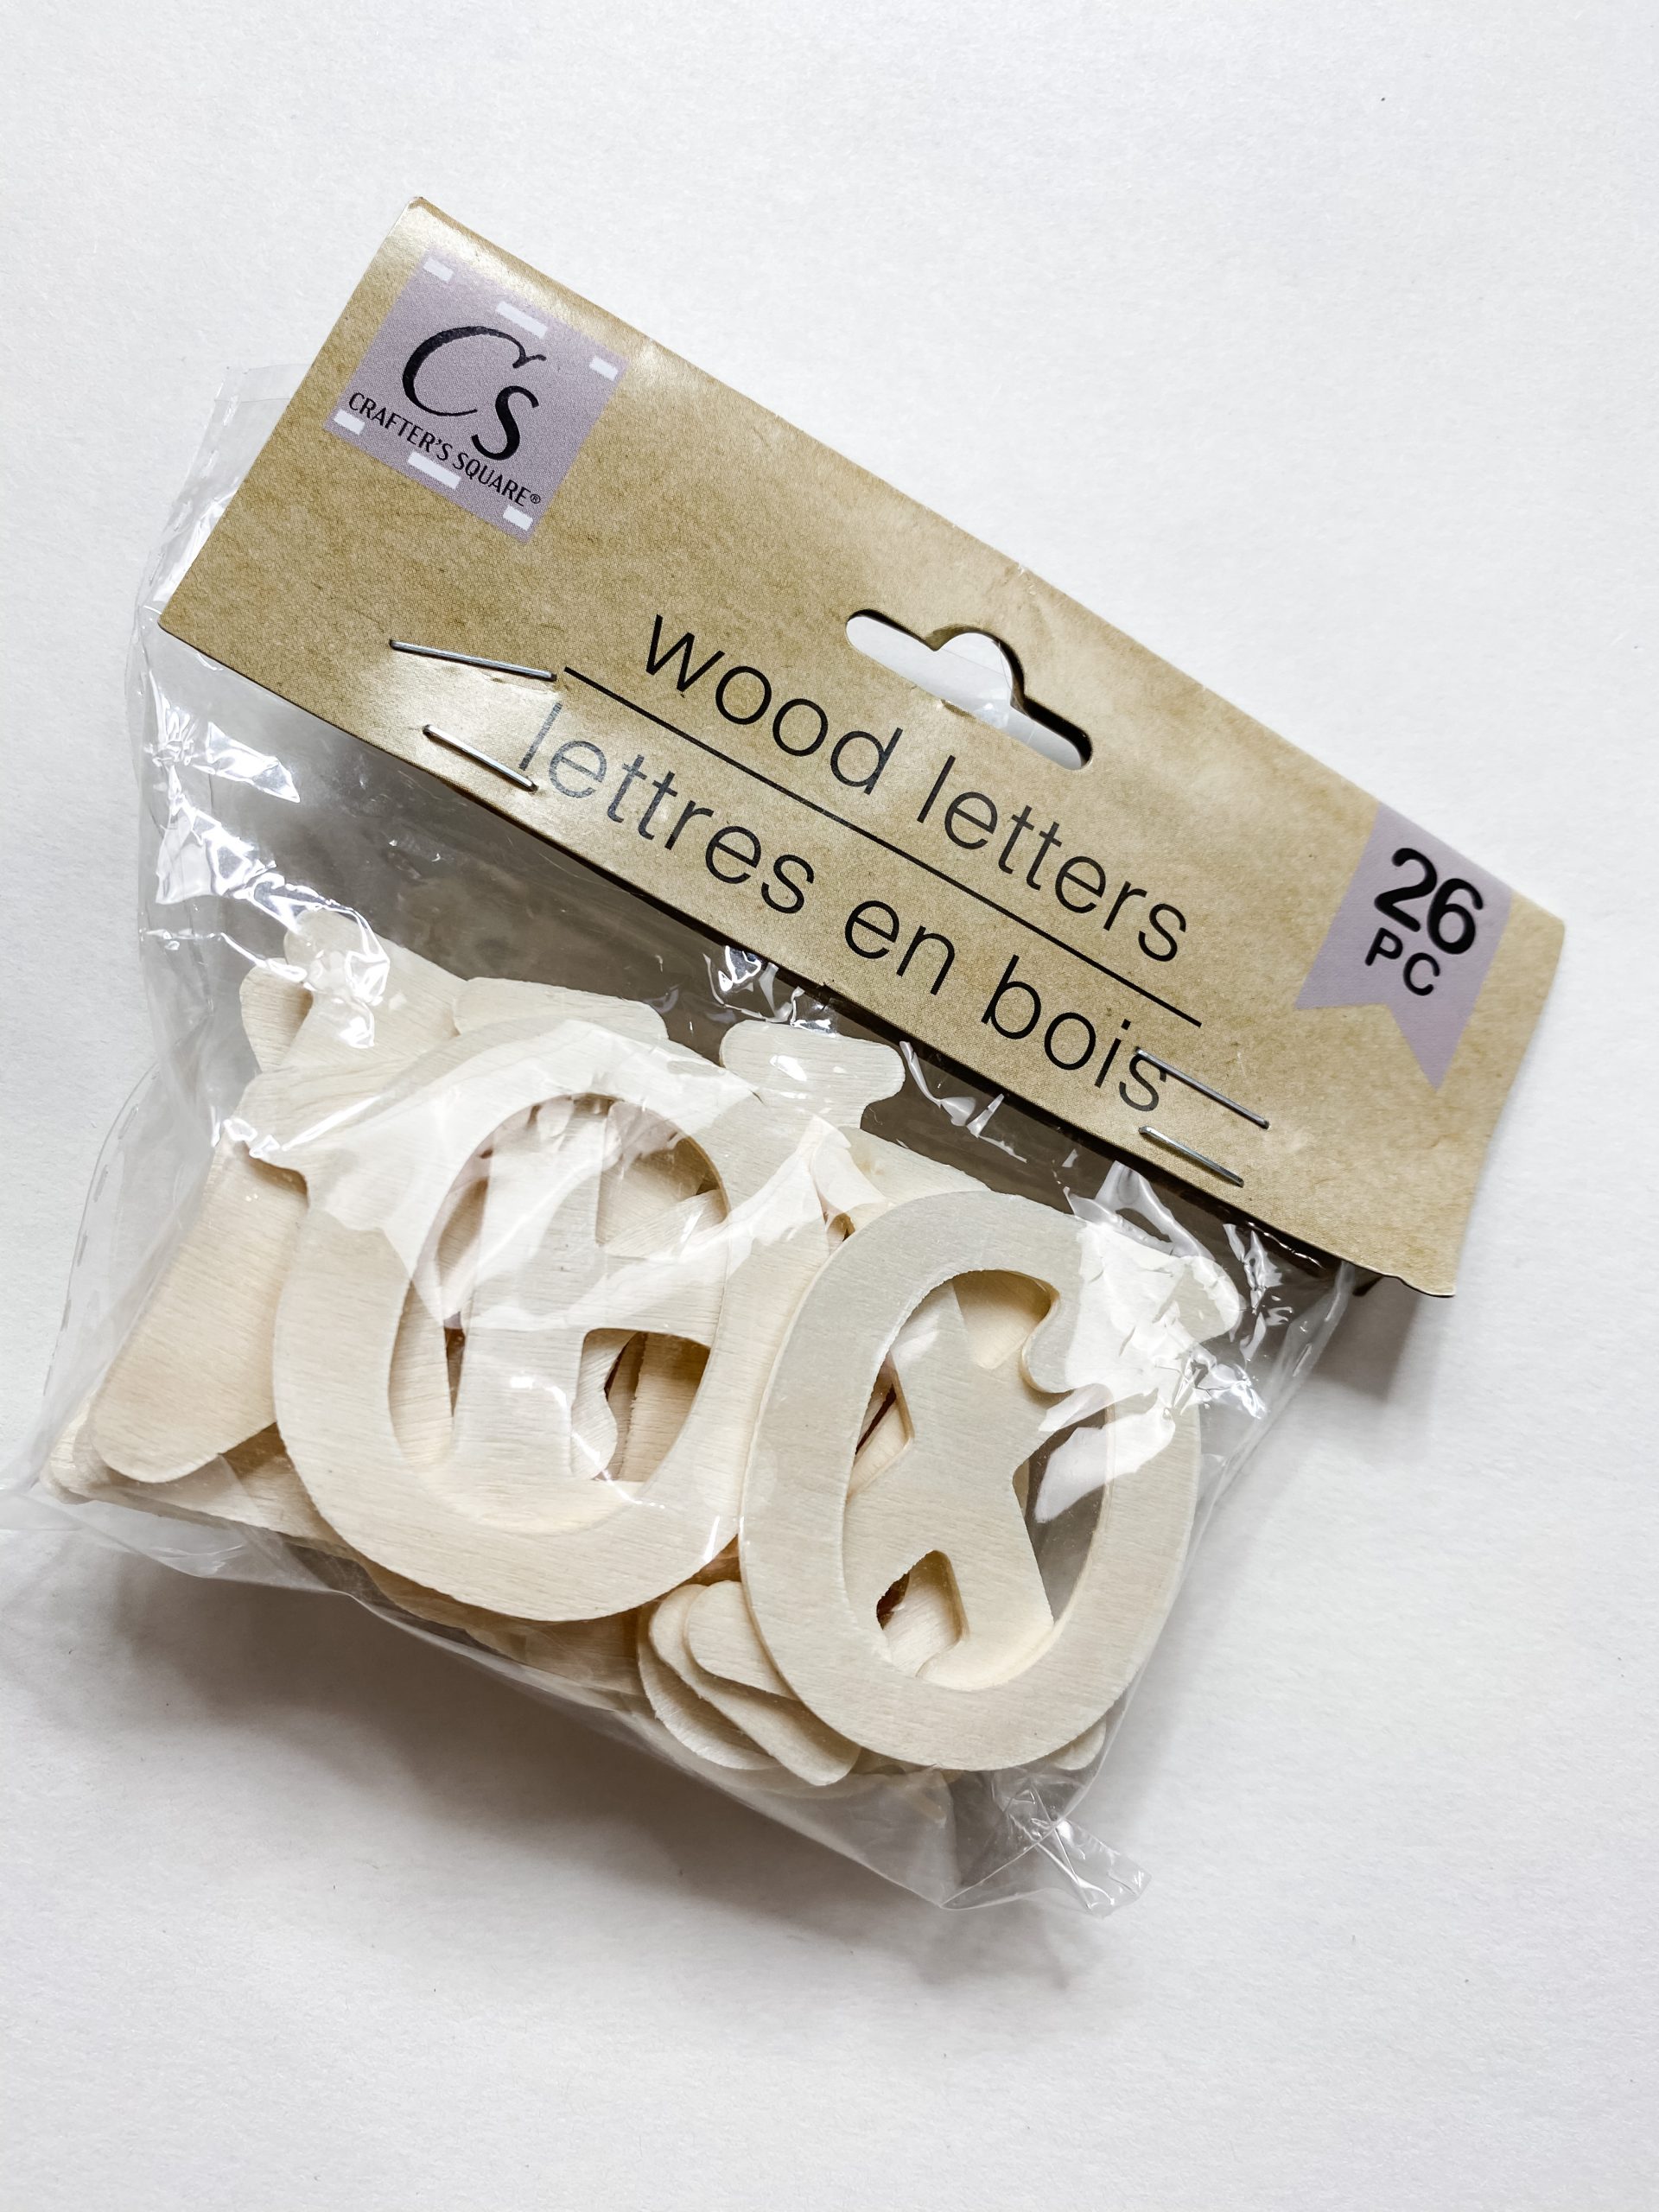
You can’t have a DIY Dollar Tree Mop Head Christmas Letter Board without letters, so let’s make some DIY letters!
I used Dollar Tree wood letters and spelled out “Santa stop here.” Next, I stained each of the letters with Apple Barrel Red Apple Acrylic Paint.
Instead of spraying each letter with water, I poured a small bit of the red paint onto a piece of wax paper and sprayed the water directly into the paint.
Dab the paint up with a baby wipe and spread the mixture across the letters. This step can be a little messy, so make sure to help out if you’re making this Christmas DIY with kids.
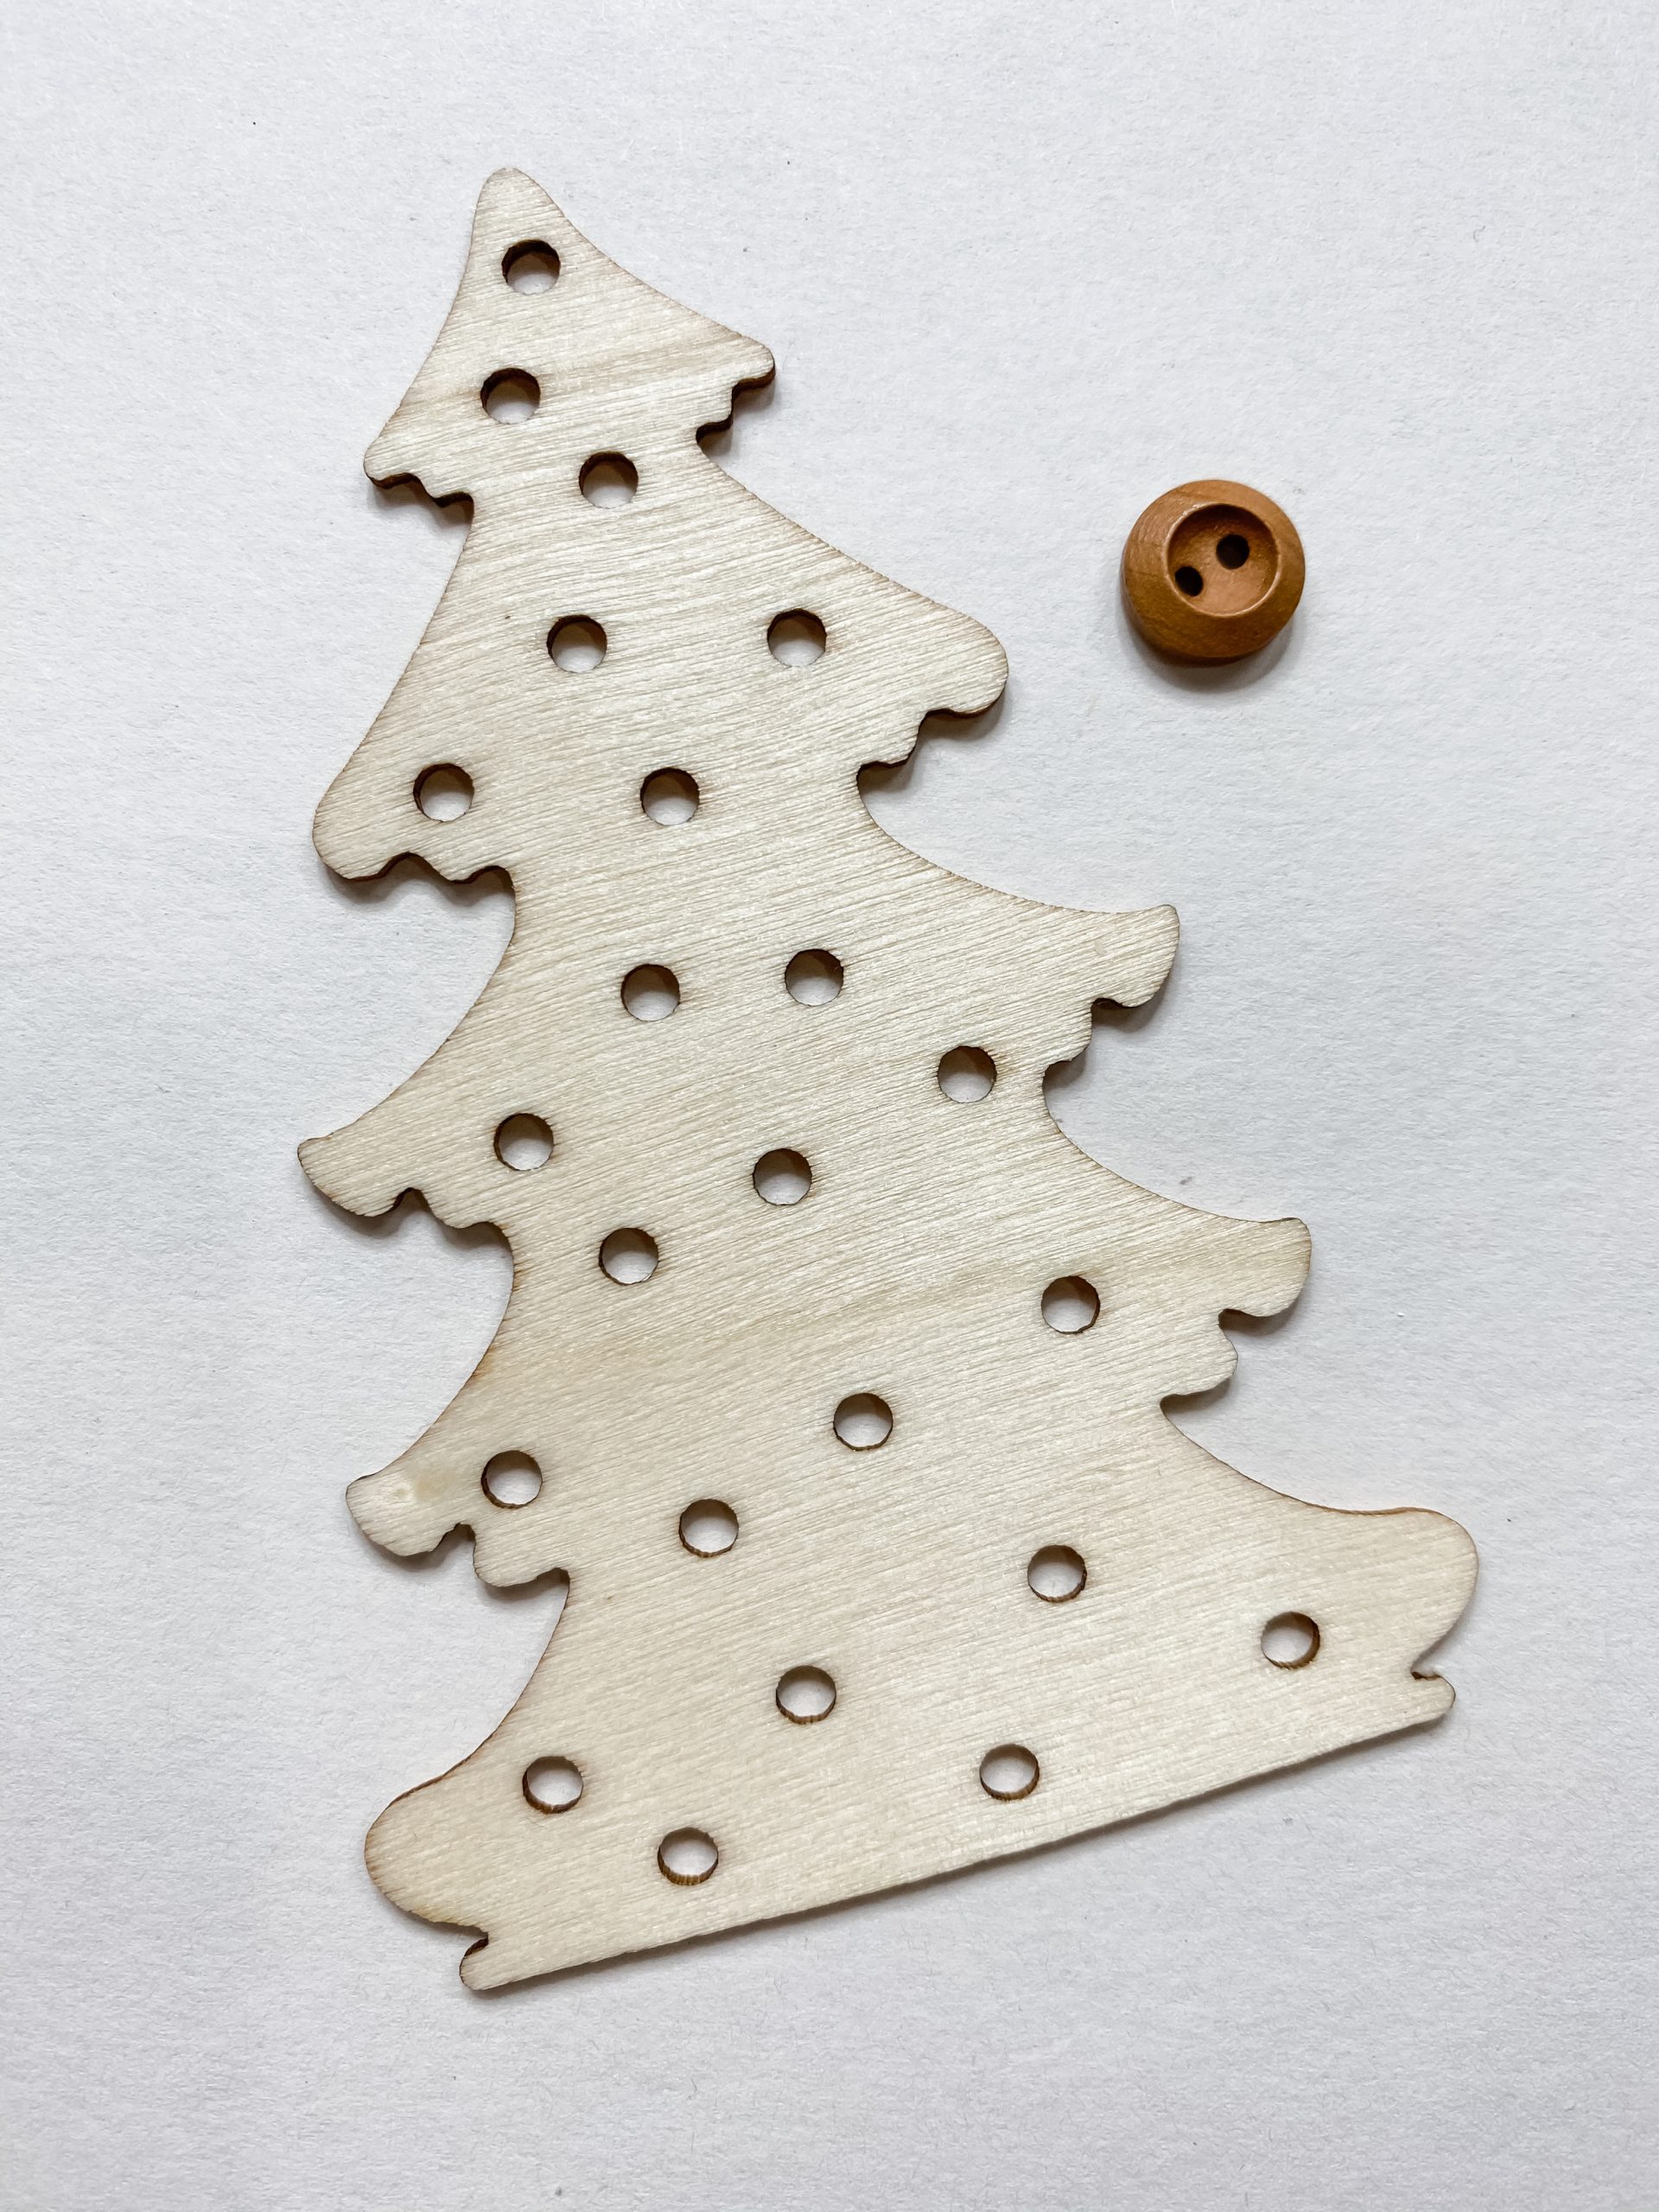
Paint the Christmas Tree
I used the same technique on the Dollar Tree wood Christmas Tree cutout that I used on the Dollar Tree wood letters.
Of course, I used Apple Barrel Christmas Green Acrylic paint instead of Red Apple paint. Allow the letters and the Christmas Tree to dry before moving to the next step.
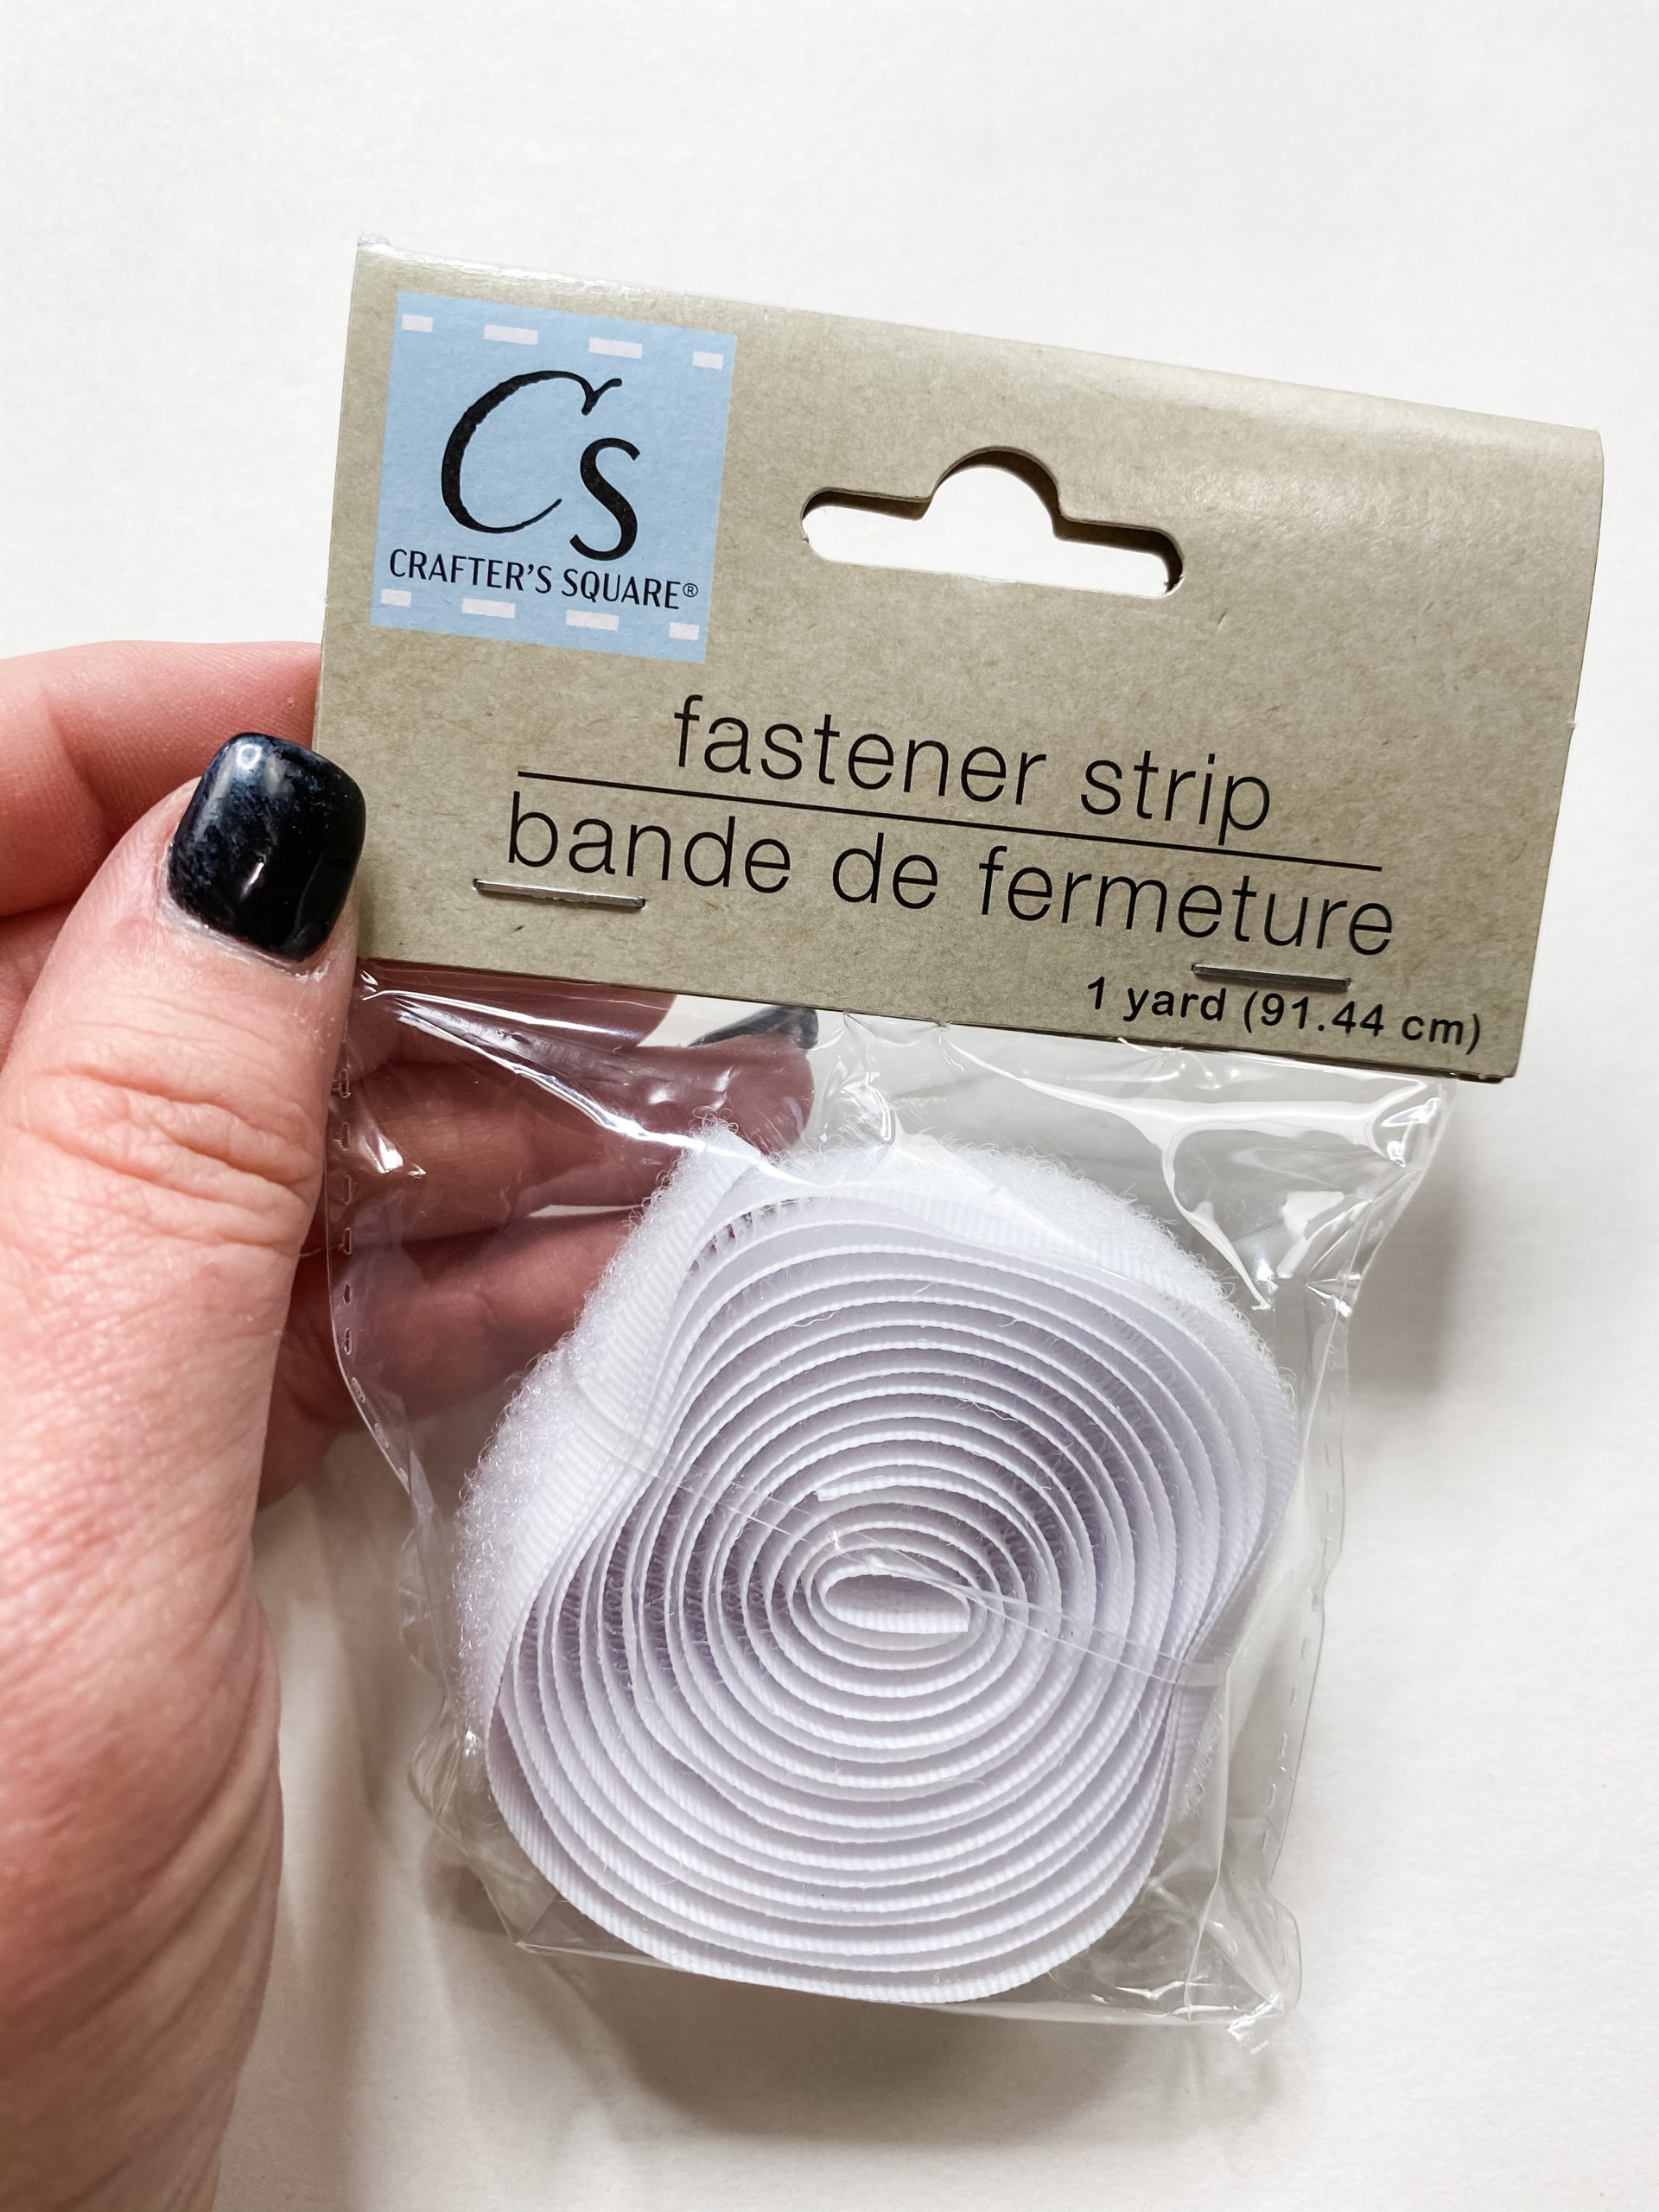
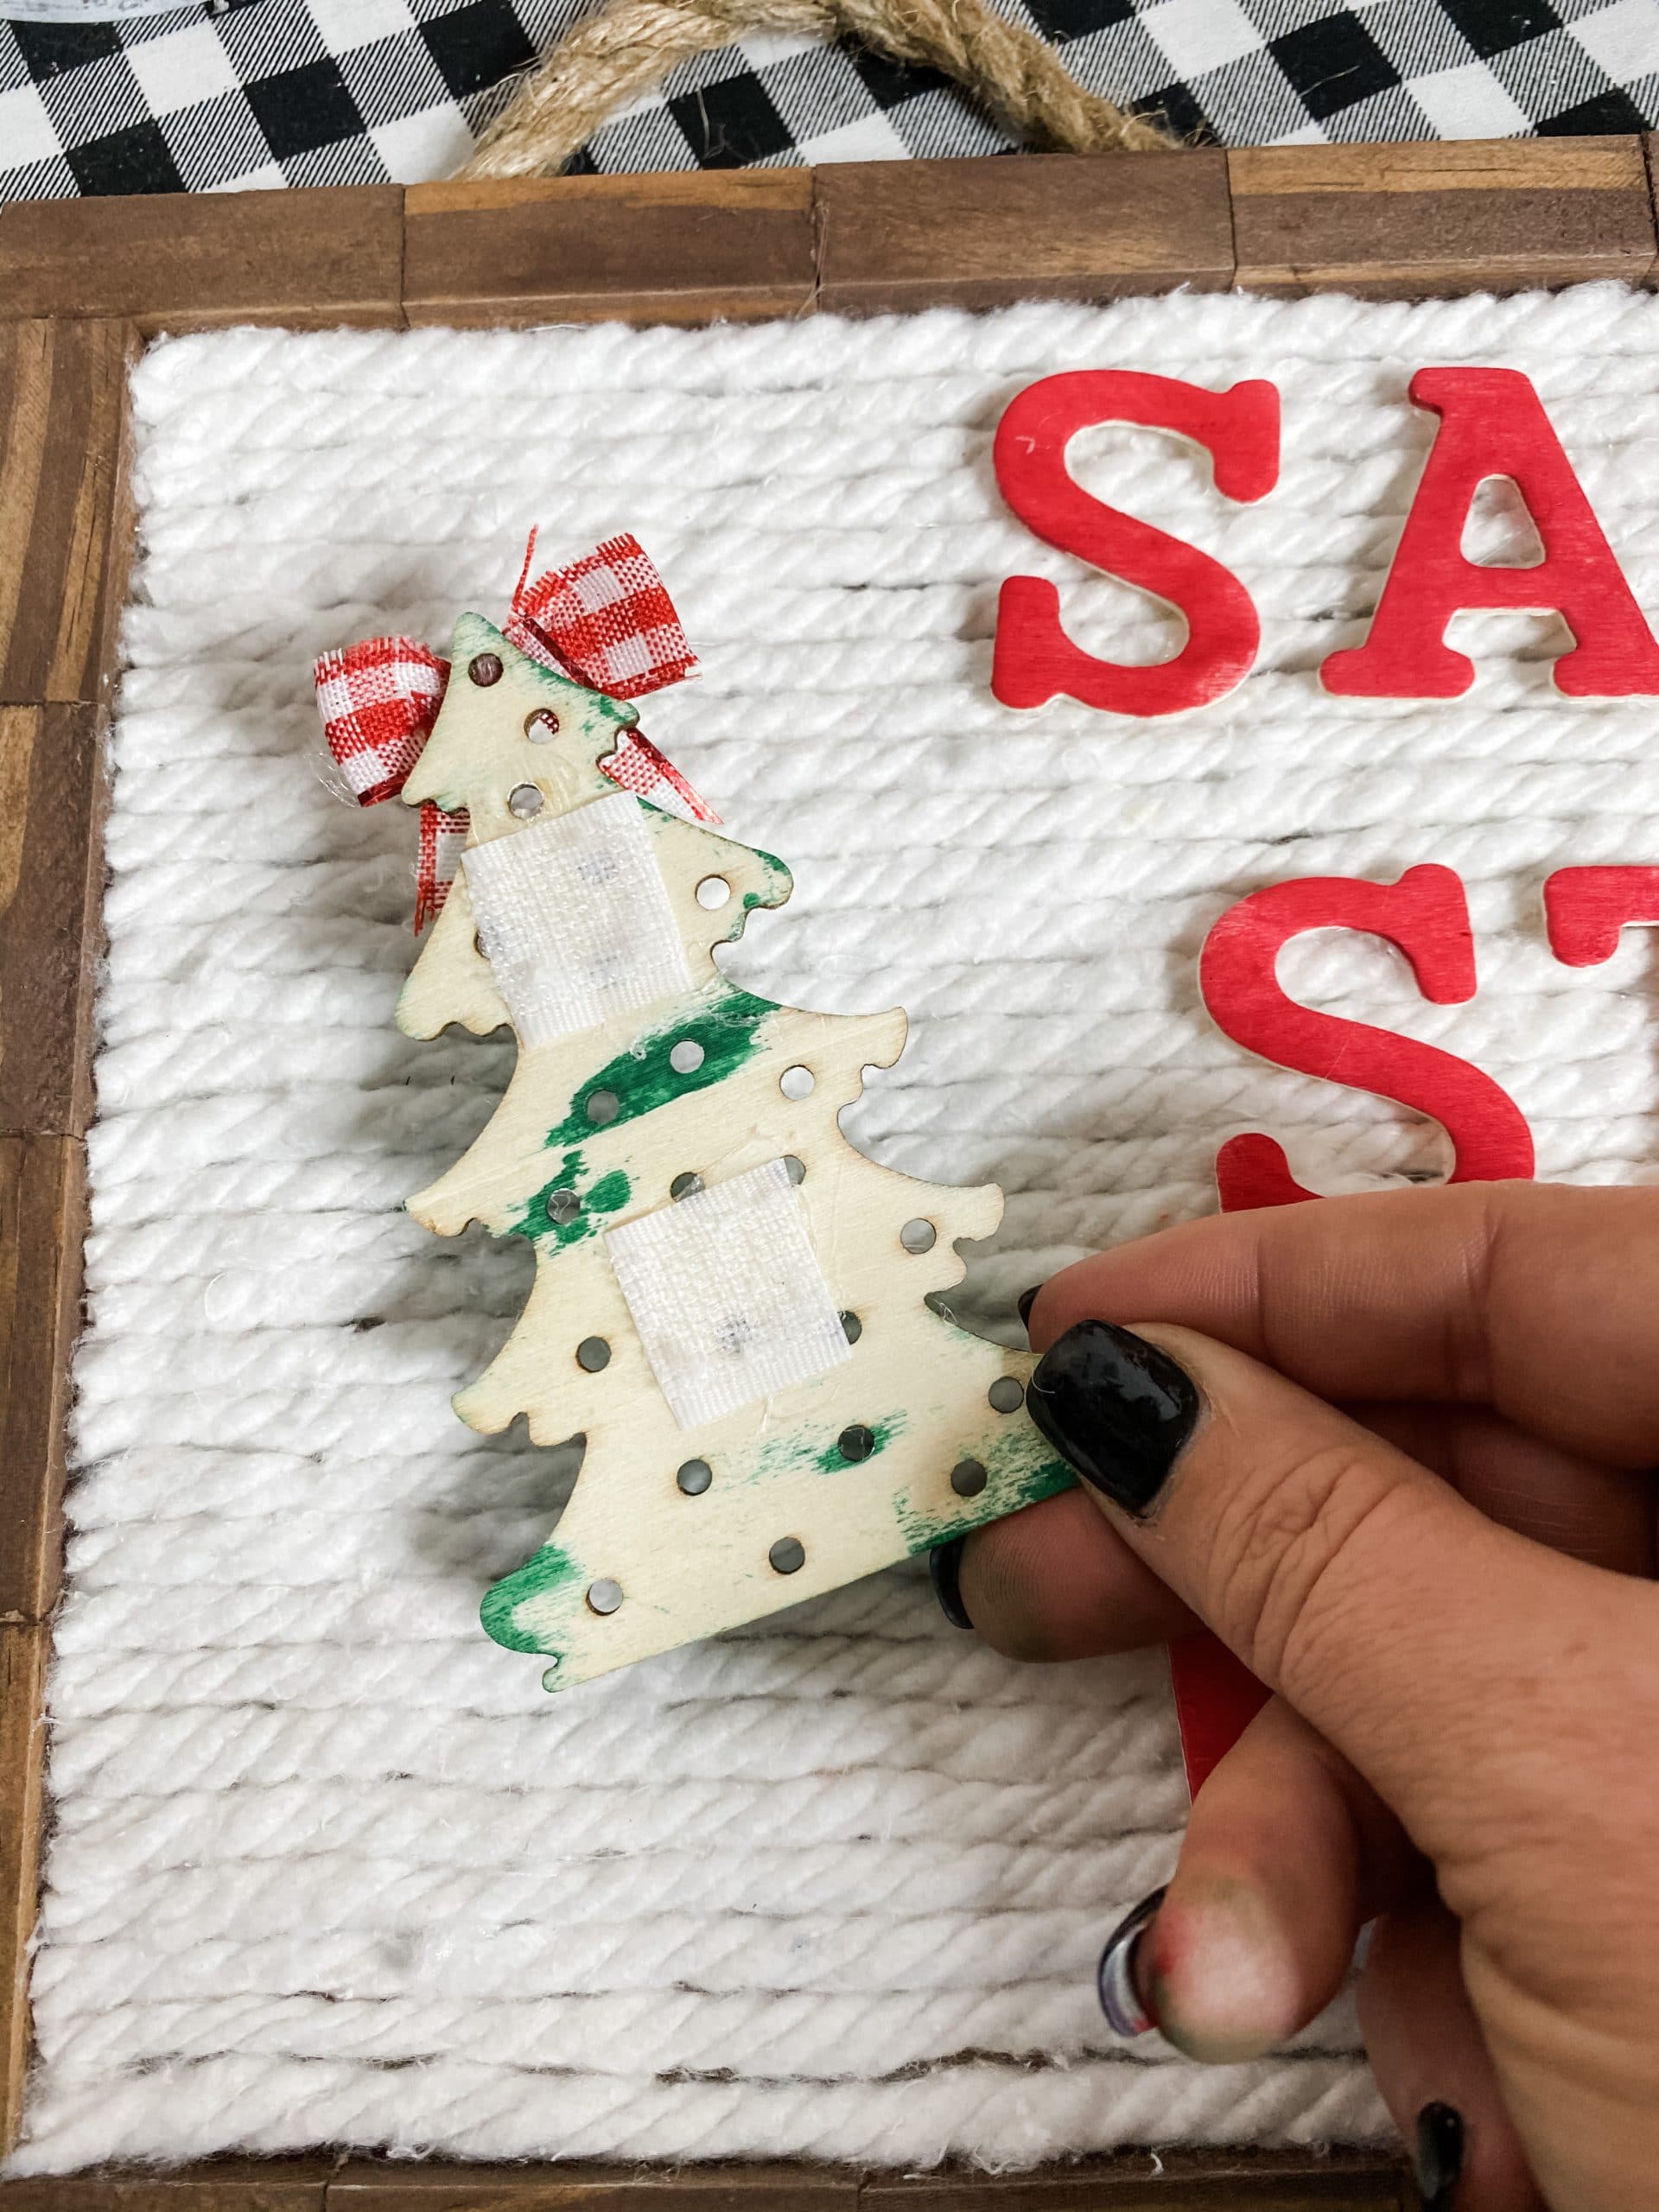
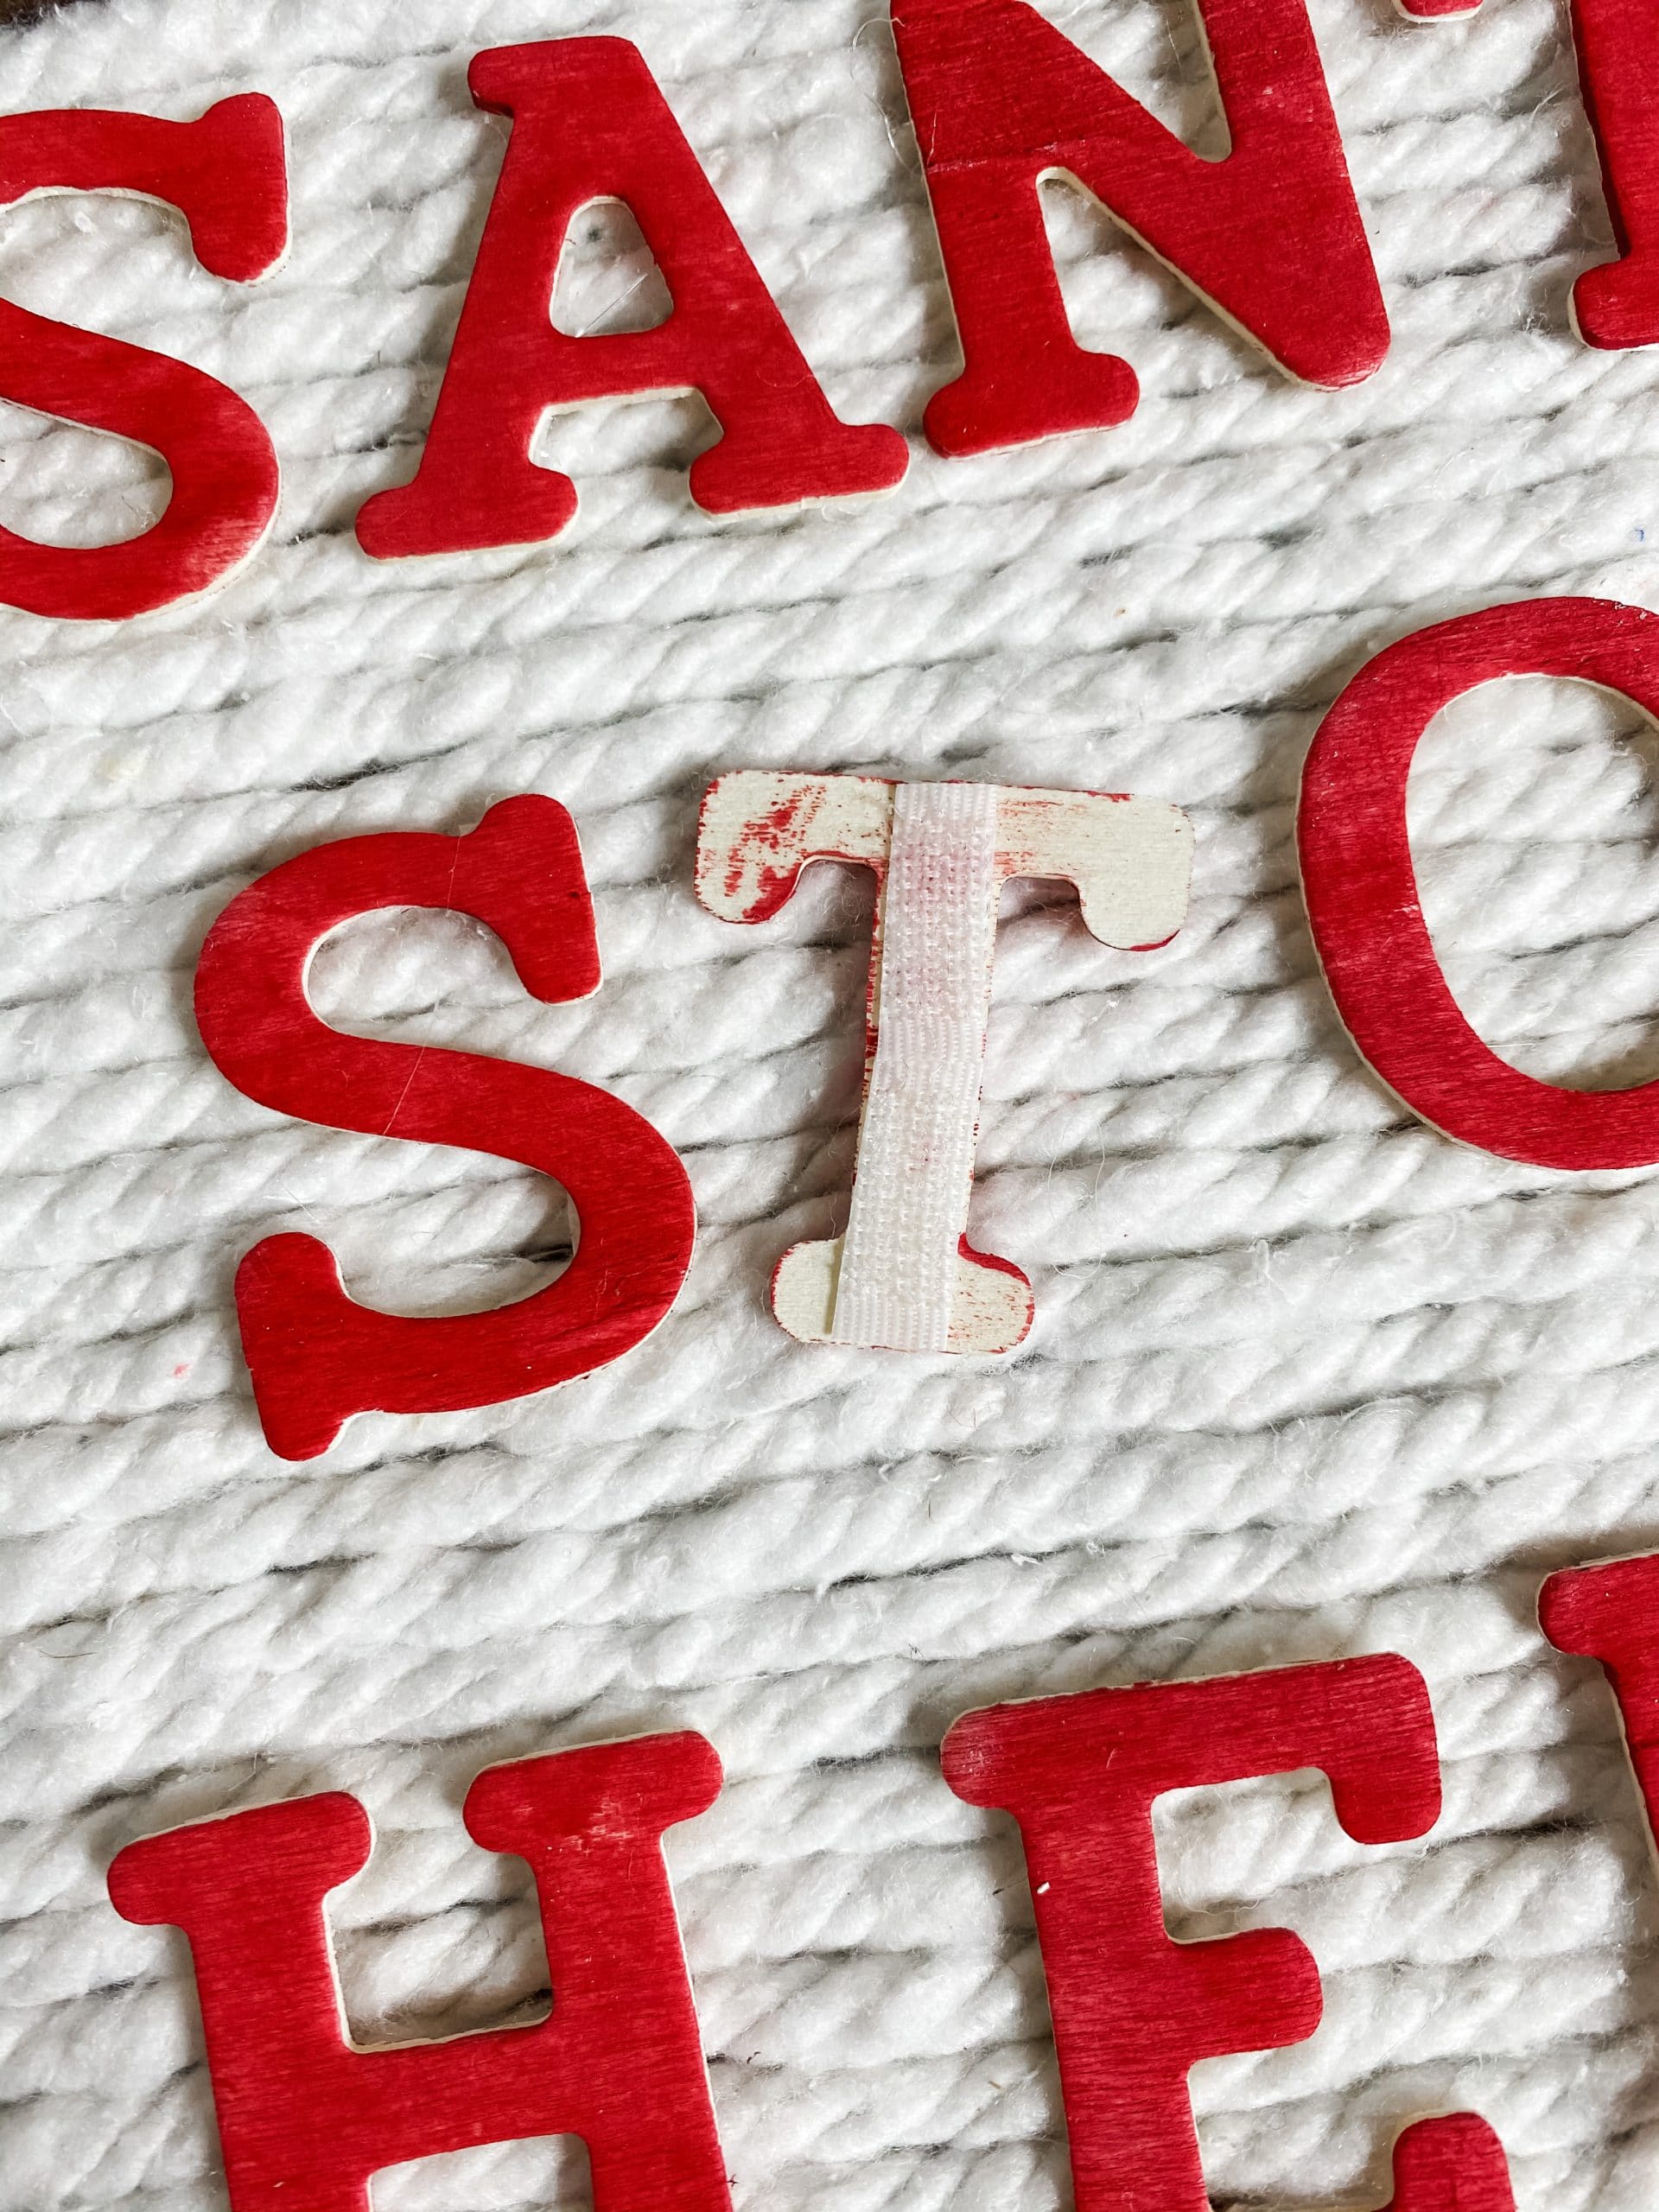
Your letters and Christmas Tree have to stick to the letter board somehow, so I used a Dollar Tree velcro fastening strip.
Cut the strip into smaller pieces, small enough to fit onto the back of the letters and Christmas Tree, and hot glue the strips into place.
You might want the finger protector for this step as well because the pieces of Dollar Tree velcro fastening strip will be pretty small in order to fit onto the back of the letters.
Make you tree topper
For the Christmas Tree topper, I decided to make a little ribbon bow out of Dollar Tree Valentine’s Day red buffalo check ribbon. The Dollar Tree ribbon had glitter edges, and you know I am not a big fan of glitter.
I trimmed the glitter edges off of the ribbon and folded a small piece into the shape of a bow. Next, I cut two long strips, trimmed the glitter edges off, and hot glued them to the back of the bow as the tails.
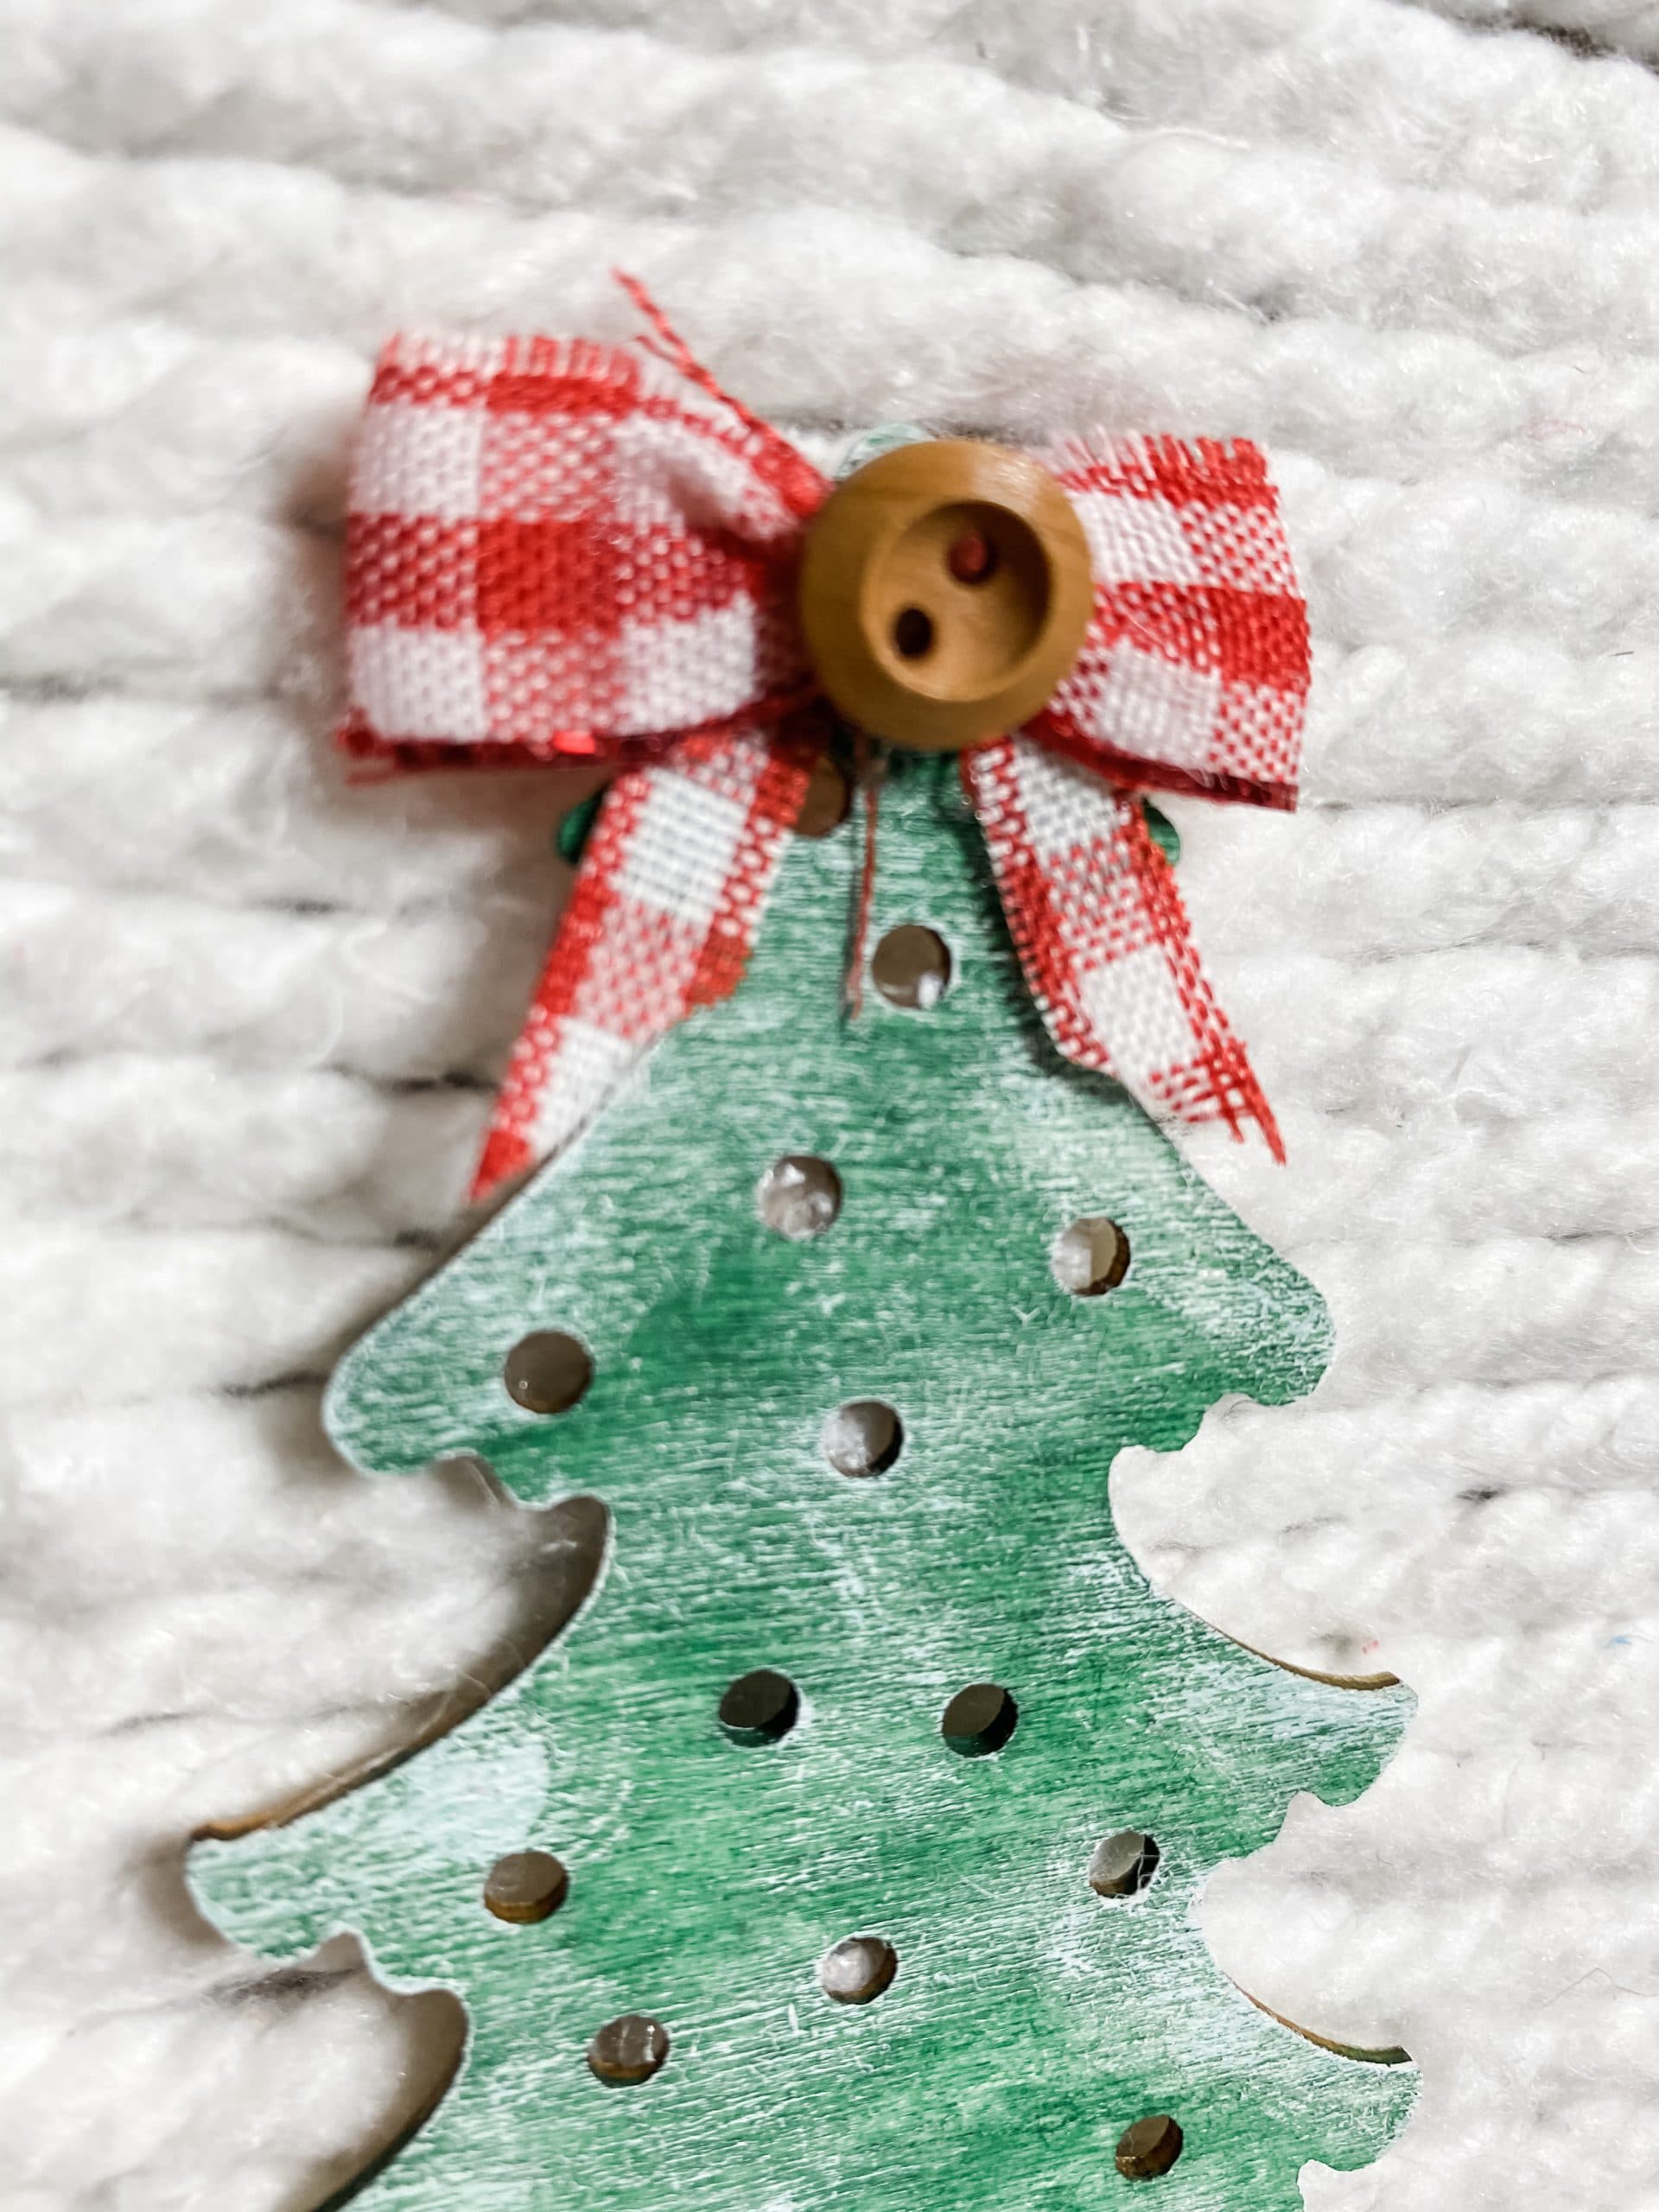
Finally, hot glue your new tiny bow to the top of your painted Dollar Tree Christmas Tree wood cutout. I wanted to embellish my tree topper just a little more, so I glued a little button to the center of the bow.
Let it snow
To make the Christmas Tree look like it had snow on it, I used an artist’s brush to lightly brush some Apple Barrel White Acrylic Paint across the Dollar Tree wood Christmas Tree.

The finishing touches
Now it’s time to make a hanger for your DIY letter board! I used Dollar Tree nautical rope for my Christmas sign hanger.
Cut the nautical rope to the length that you want and hot glue the ends to the back of the cardboard sign.
If you want to secure the hanger a little more, you can hot glue little pieces of ribbon over the ends of the nautical rope.
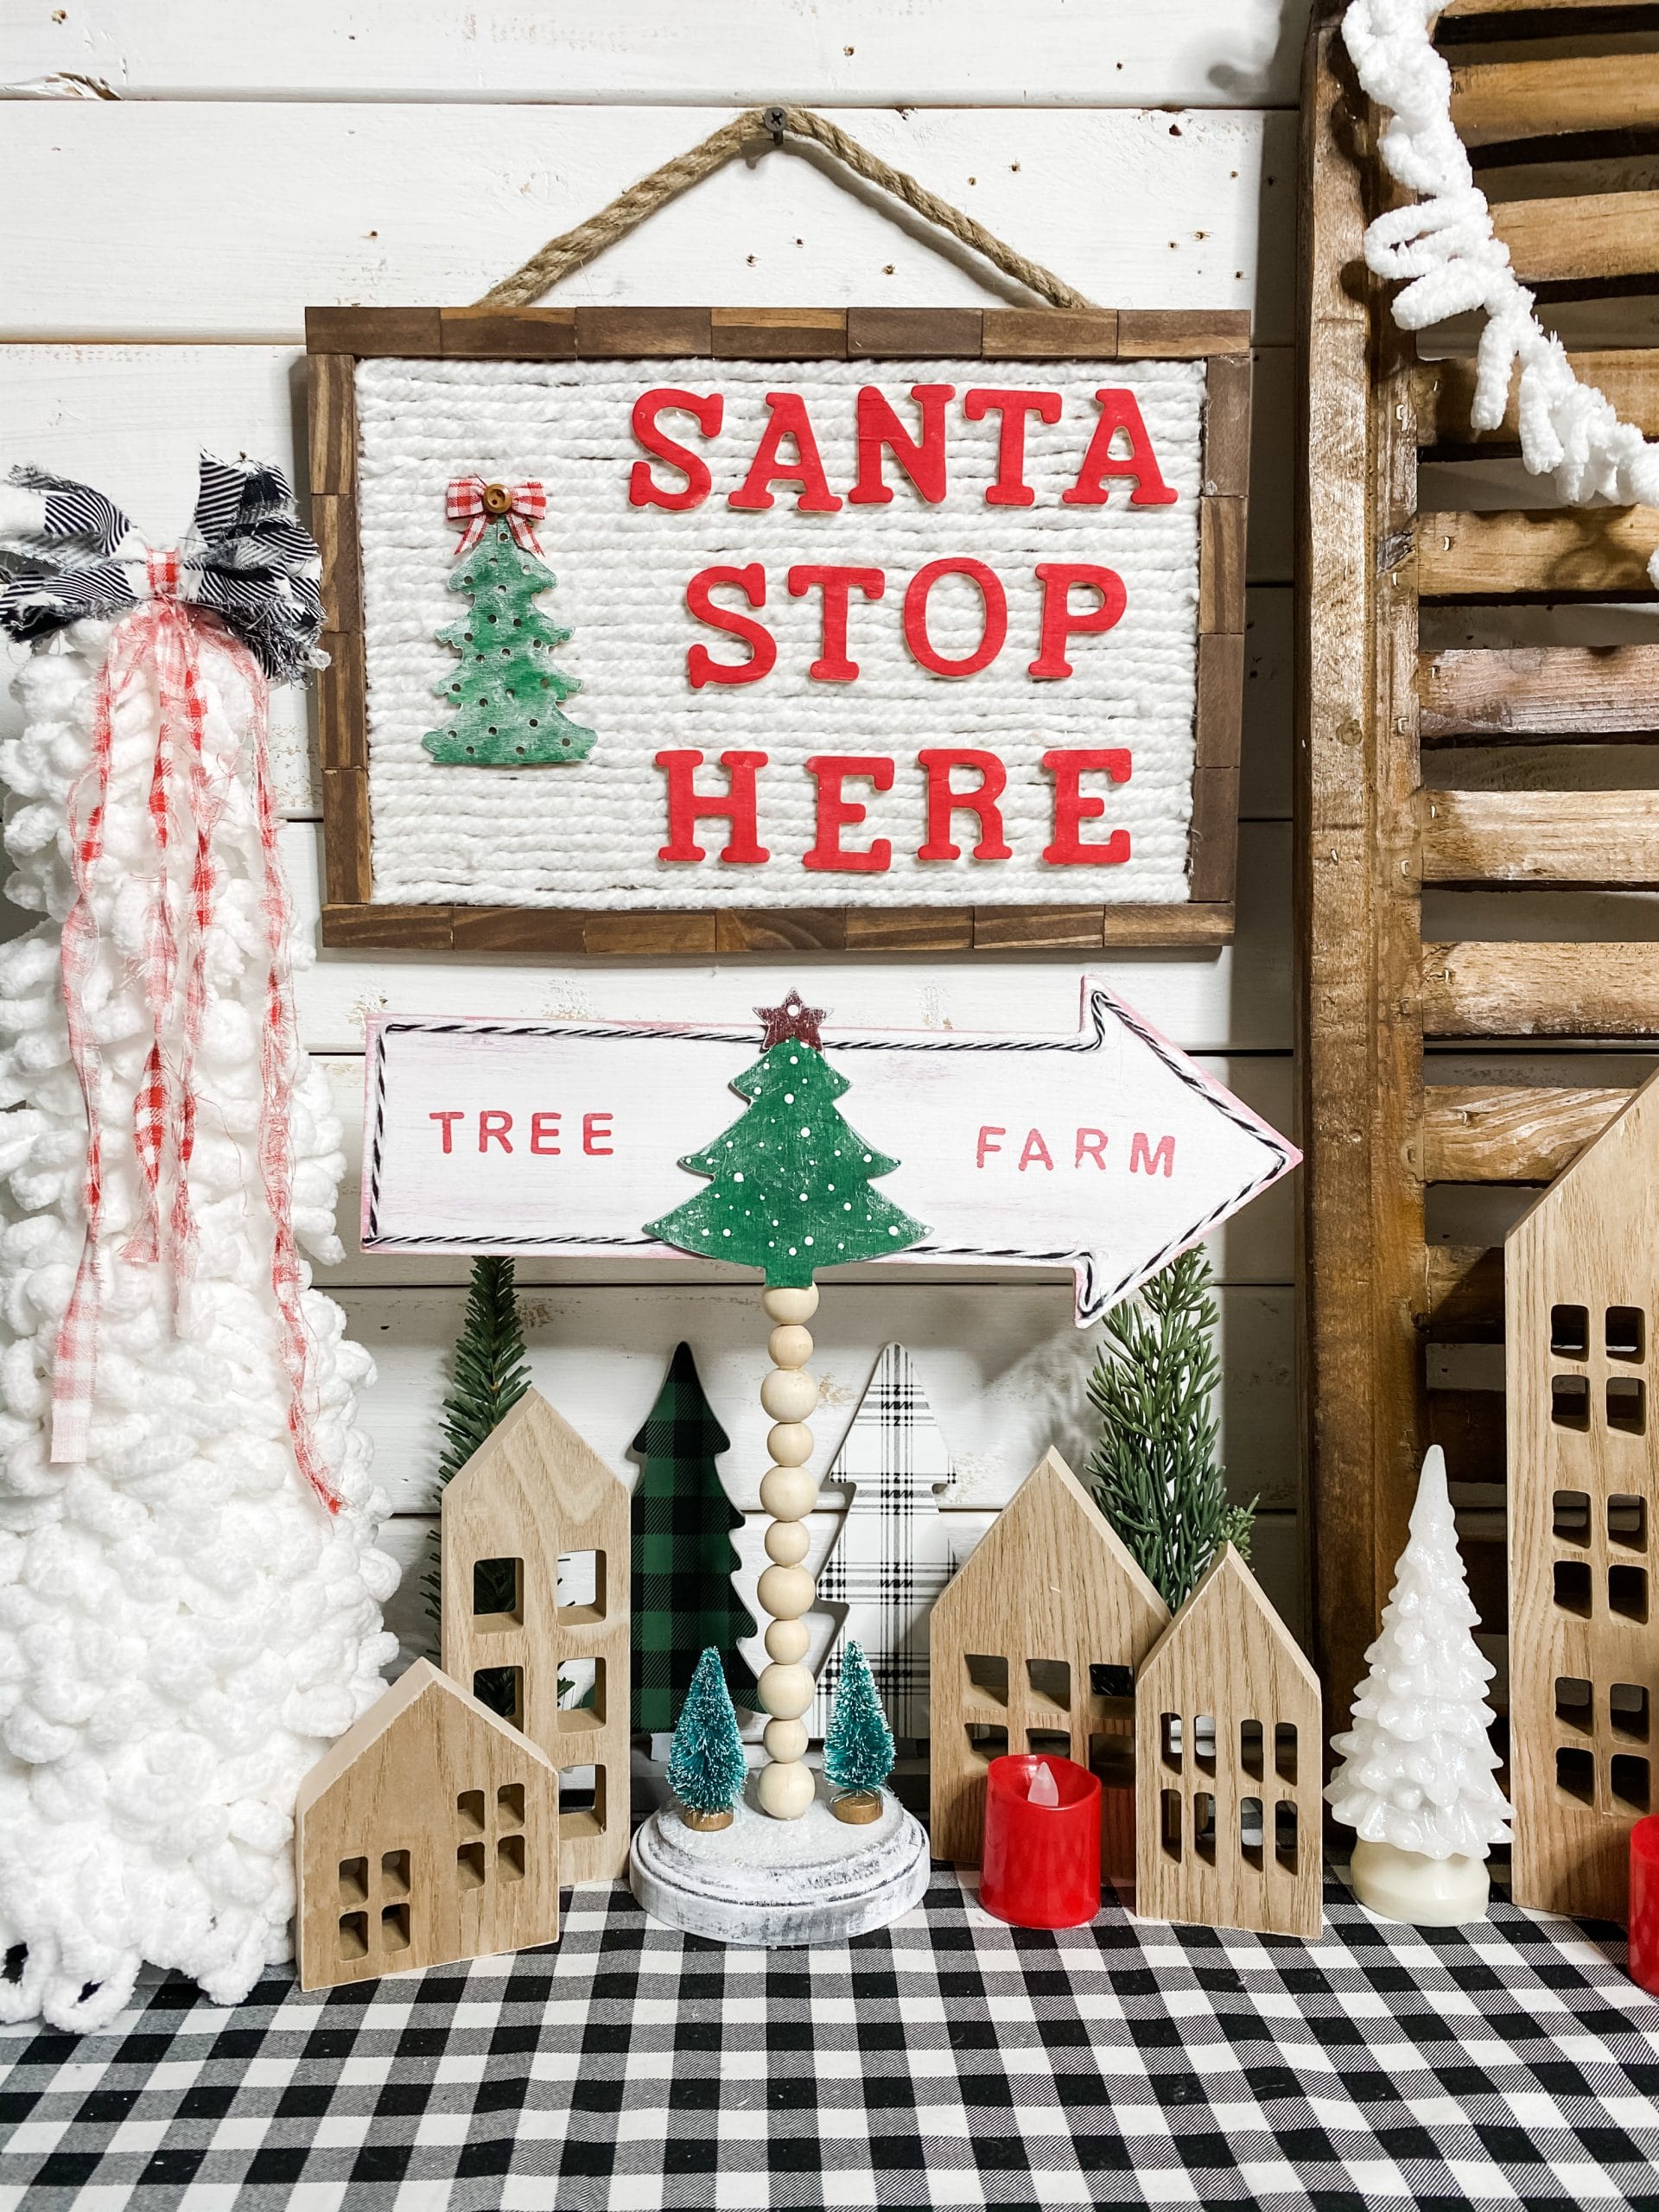
I hope you enjoyed this DIY Dollar Tree Mop Head Christmas Letter Board as much as I did and decide to make one for yourself! I would love to see how yours turns out!
You should totally join my FREE Facebook group called On A Budget Crafts! It is a judgment-free community for DIY crafters to show off their projects and ideas.
If you loved this DIY you might also like this DIY Christmas Tree Shelf Decor!
Thanks for stopping by! XOXO Amber
You can also shop my ENTIRE AMAZON Favorites shop just click here! It’s packed full of all the things I use and love.
Here is the supply list I highly recommend every creative have on hand!! Would you also pin my blog for later and get on my newsletter alerts? I would love to have you join my #craftycrew.

Join my free “ON A BUDGET CRAFTS” Facebook group!
PIN THIS POST FOR LATER!

One Comment