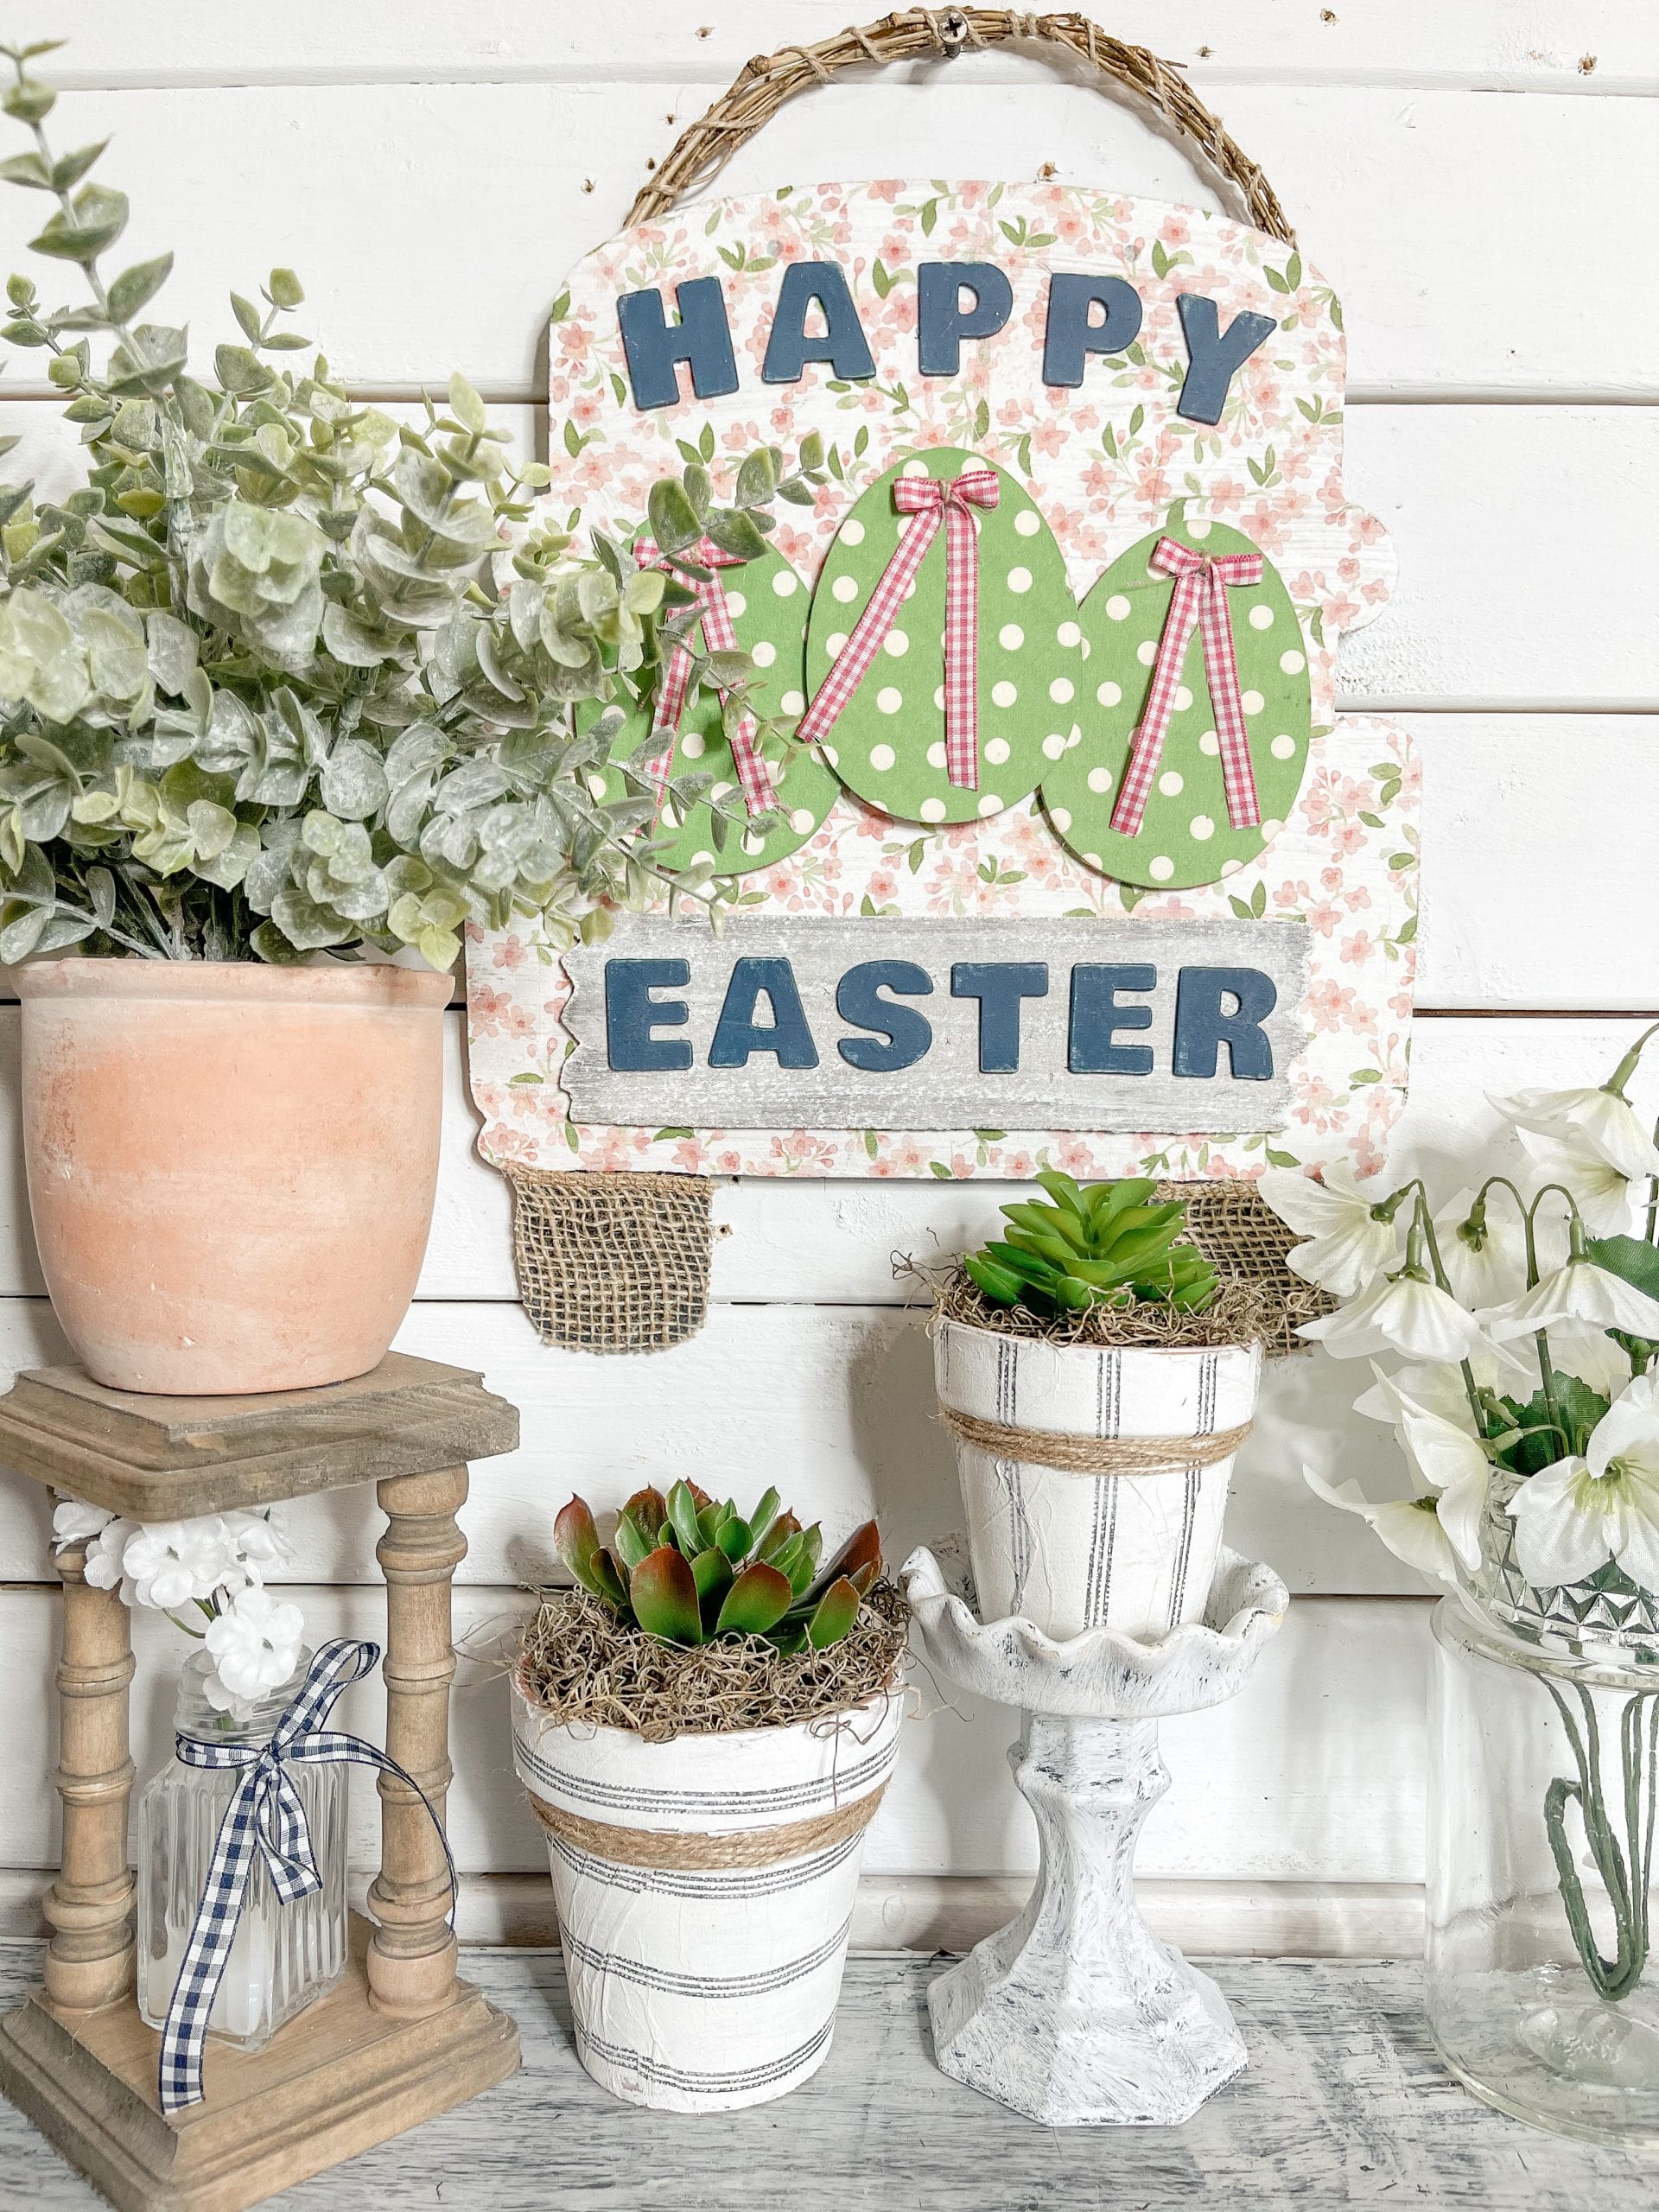
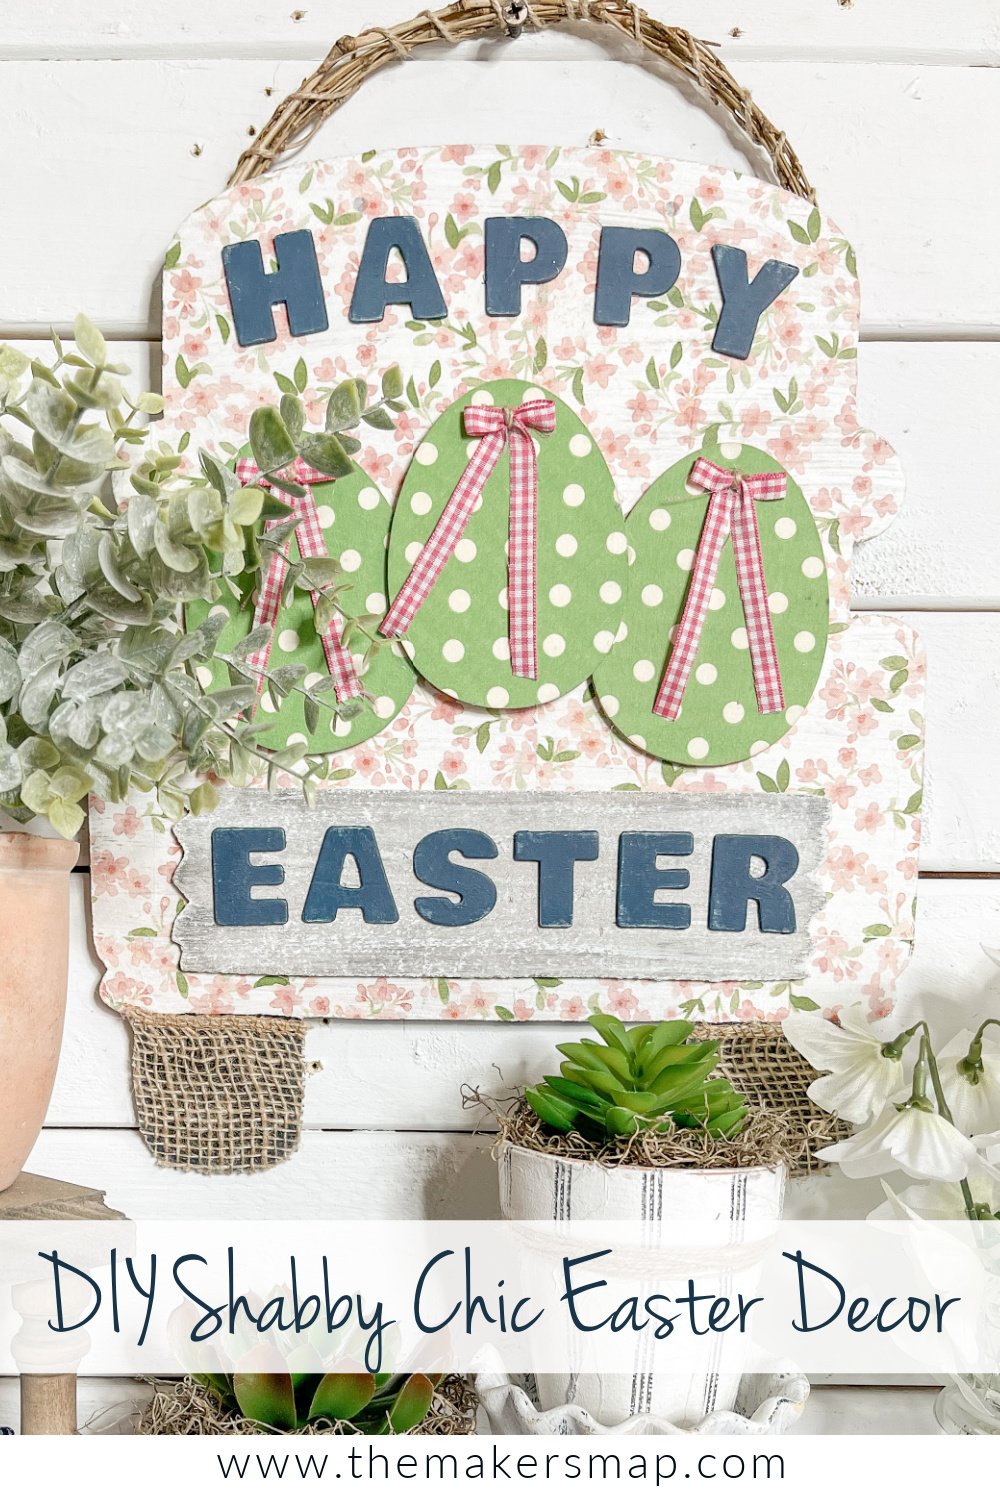
DIY Shabby Chic Happy Easter Truck
I’m back with another adorable Easter decor idea that I am just so in love with! This DIY Shabby Chic Happy Easter Truck is so easy to make, and it is very affordable too!
I’m always looking for DIY projects that are creative, easy to make and don’t hurt my budget. And when I find them, I always share them with my Crafty Crew!
Watch the replay
I recorded the how-to steps during a LIVE video on my Facebook page (I go live several times a week with new DIY ideas!), and you can watch the replay if you want to see the process, craft along, or just join in on the fun conversations!
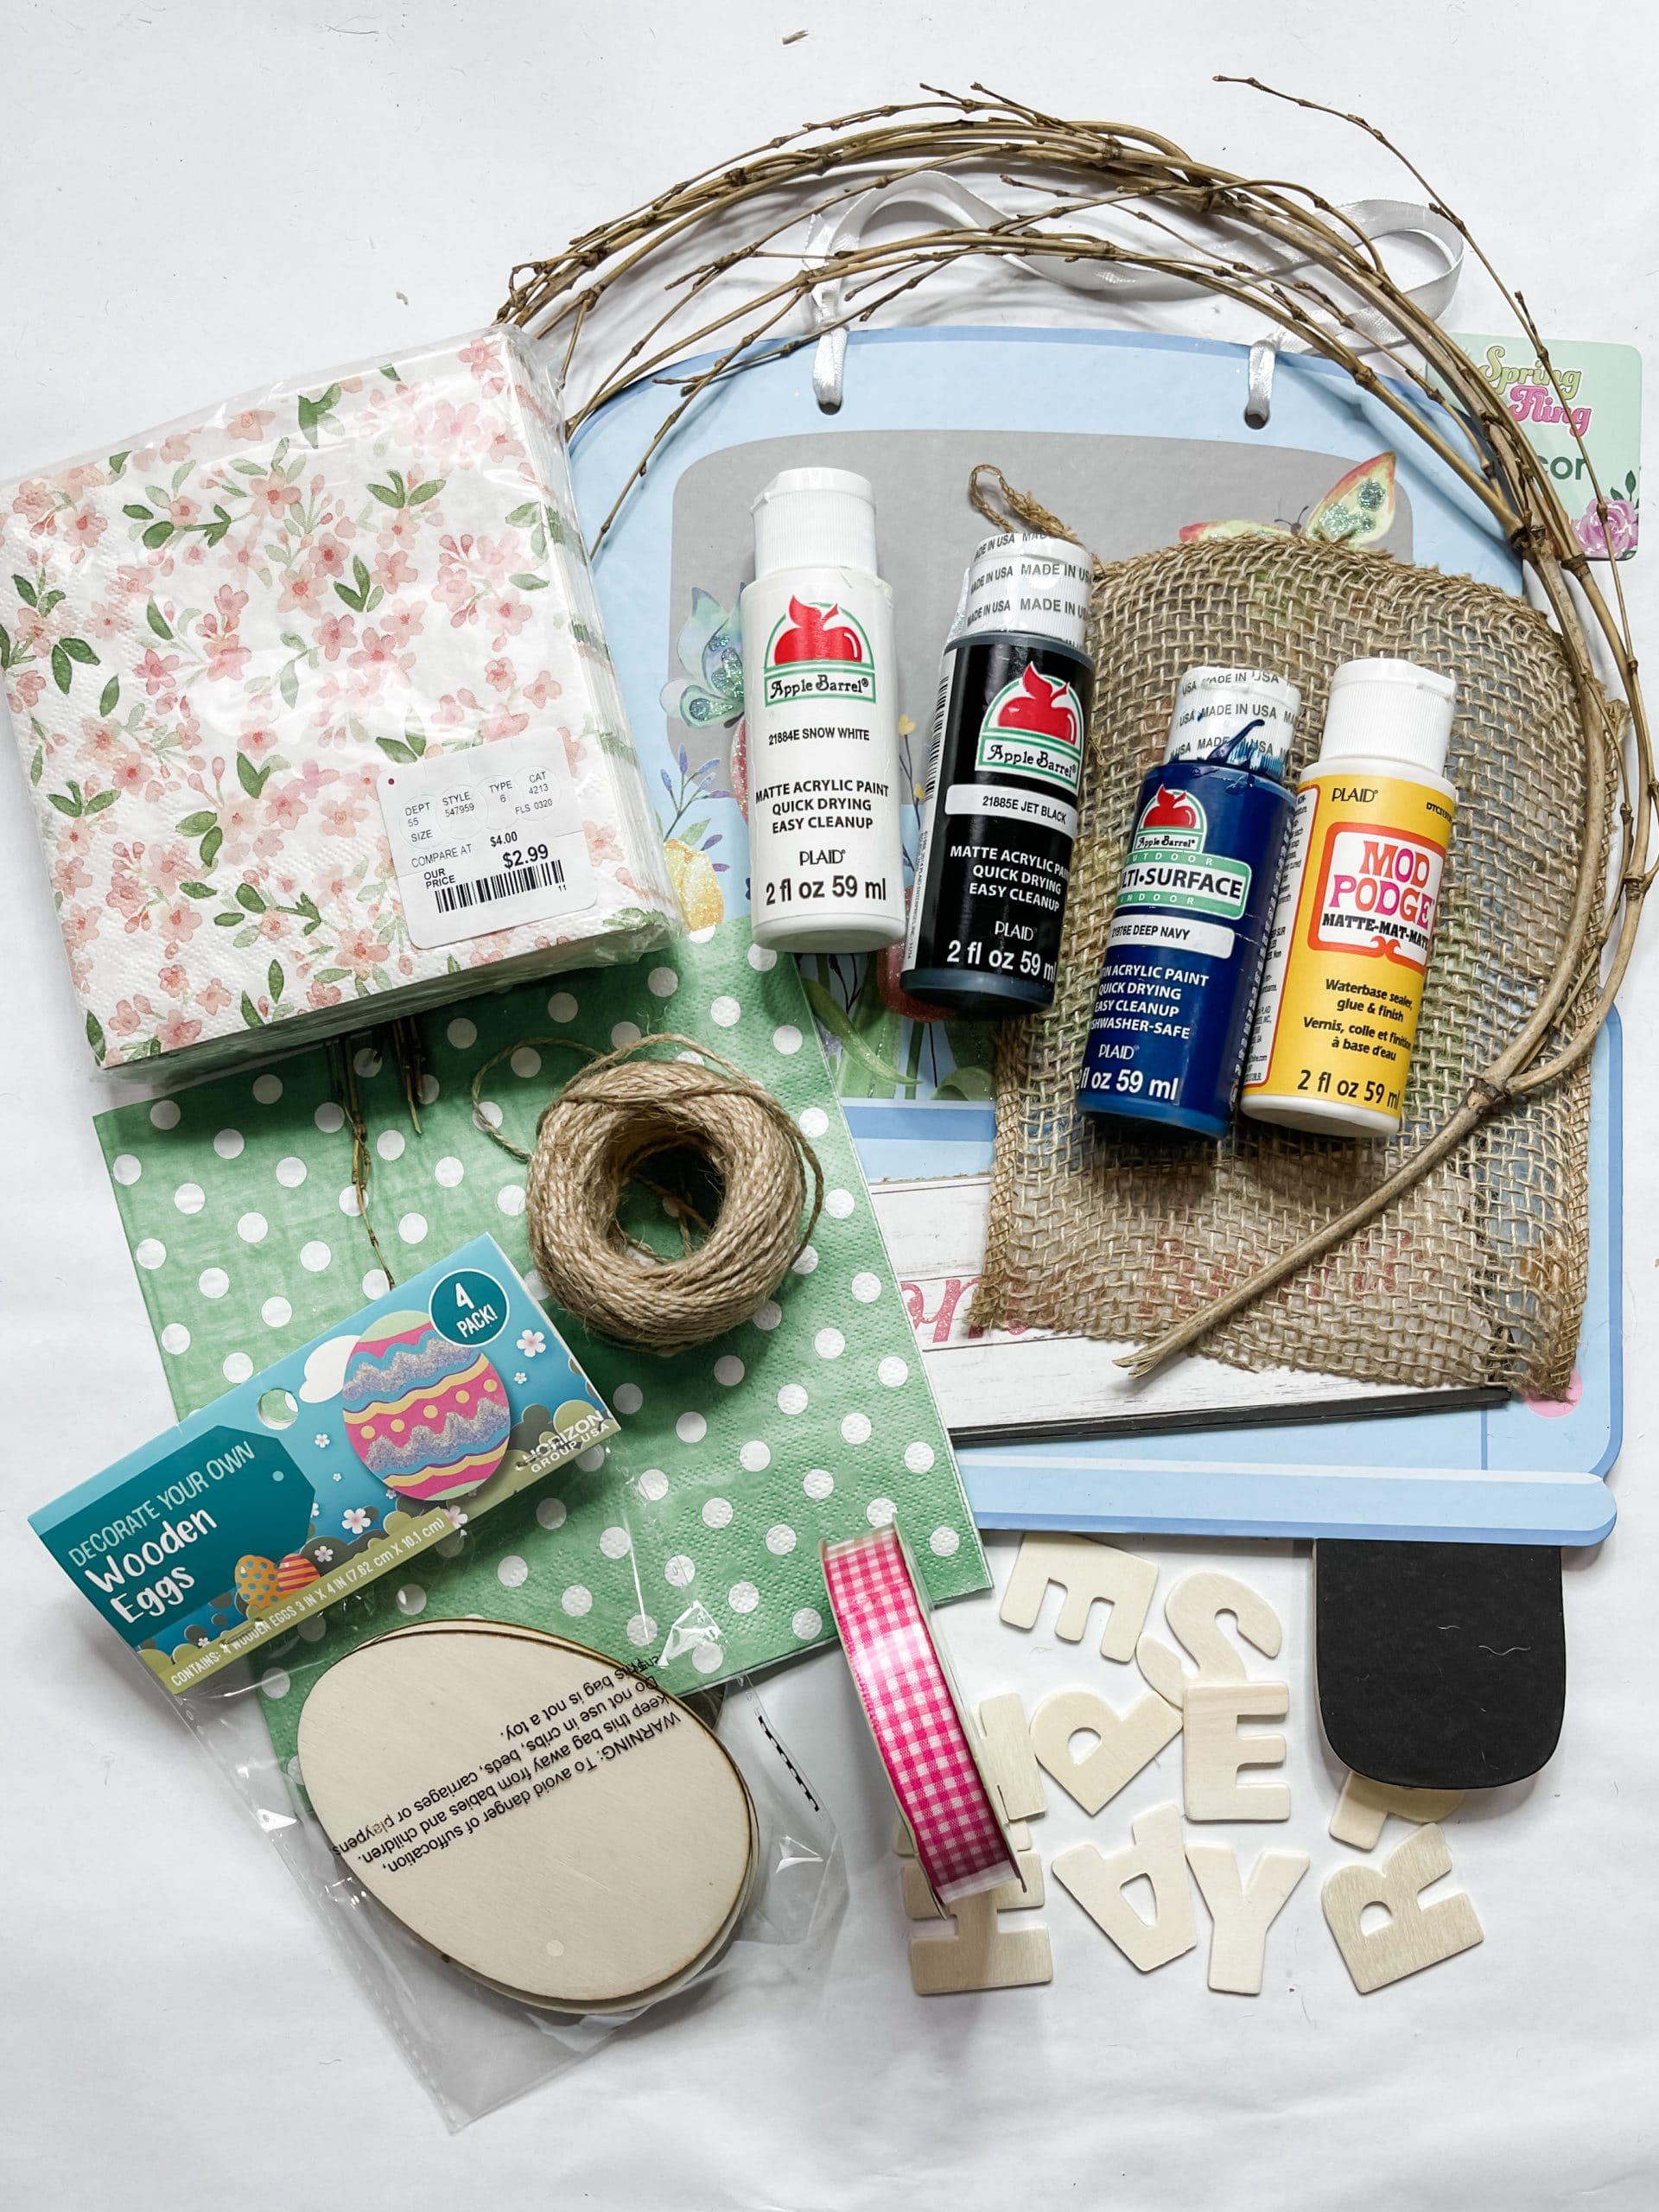
For this project, I will be using these items but you can substitute where you want.
“As an Amazon Associate, I earn from qualifying purchases.”
- Dollar Tree Truck shaped sign
- Dollar Tree Grapevine wreath
- Wooden Egg Shapes (Walmart)
- Dollar Tree Pink Buffalo Check Ribbon
- Dollar Tree Jute Twine
- Wooden Letters (Dollar General)
- Burlap Ribbon
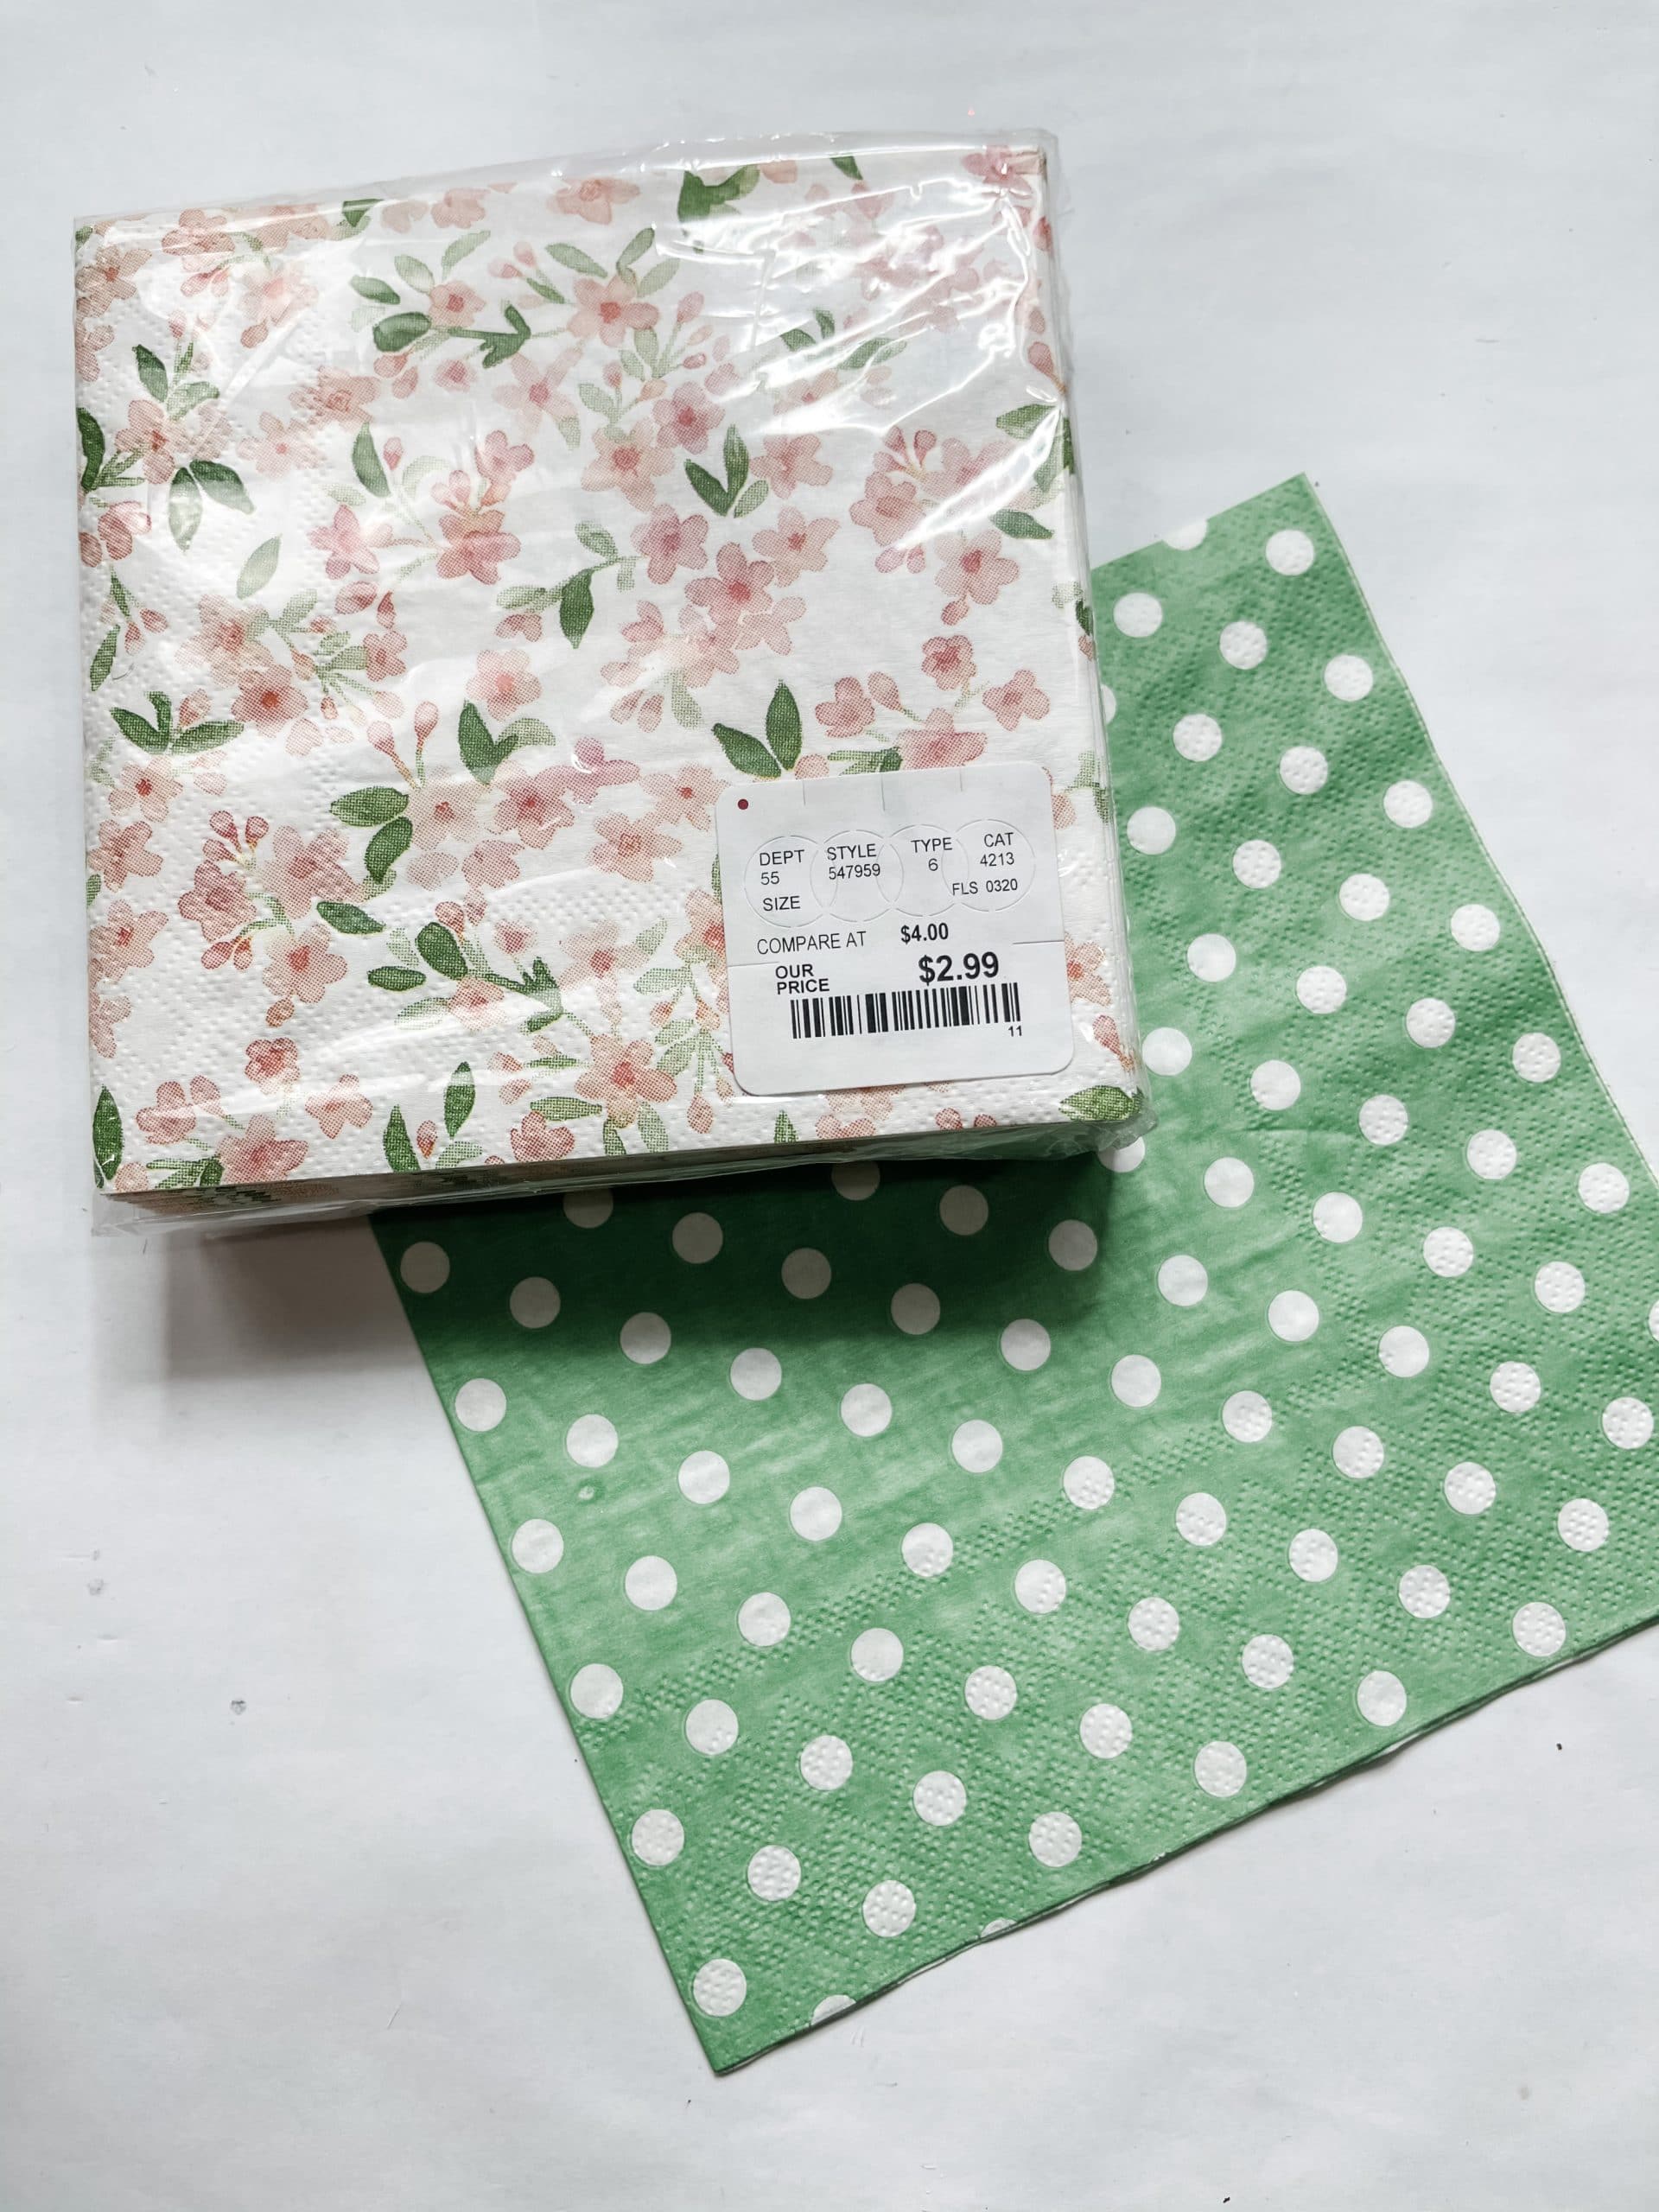
- Shabby Chic Cocktail Napkins (Tuesday Morning)
- Green and white polka dot napkins
- Dollar Tree Jute Twine
- Apple Barrel Black Acrylic Paint
- Apple Barrel White Acrylic Paint
- Folkart Navy Blue Paint
- Mod Podge
- Hot Glue gun
- Glue Sticks
How to Make a DIY Shabby Chic Happy Easter Truck
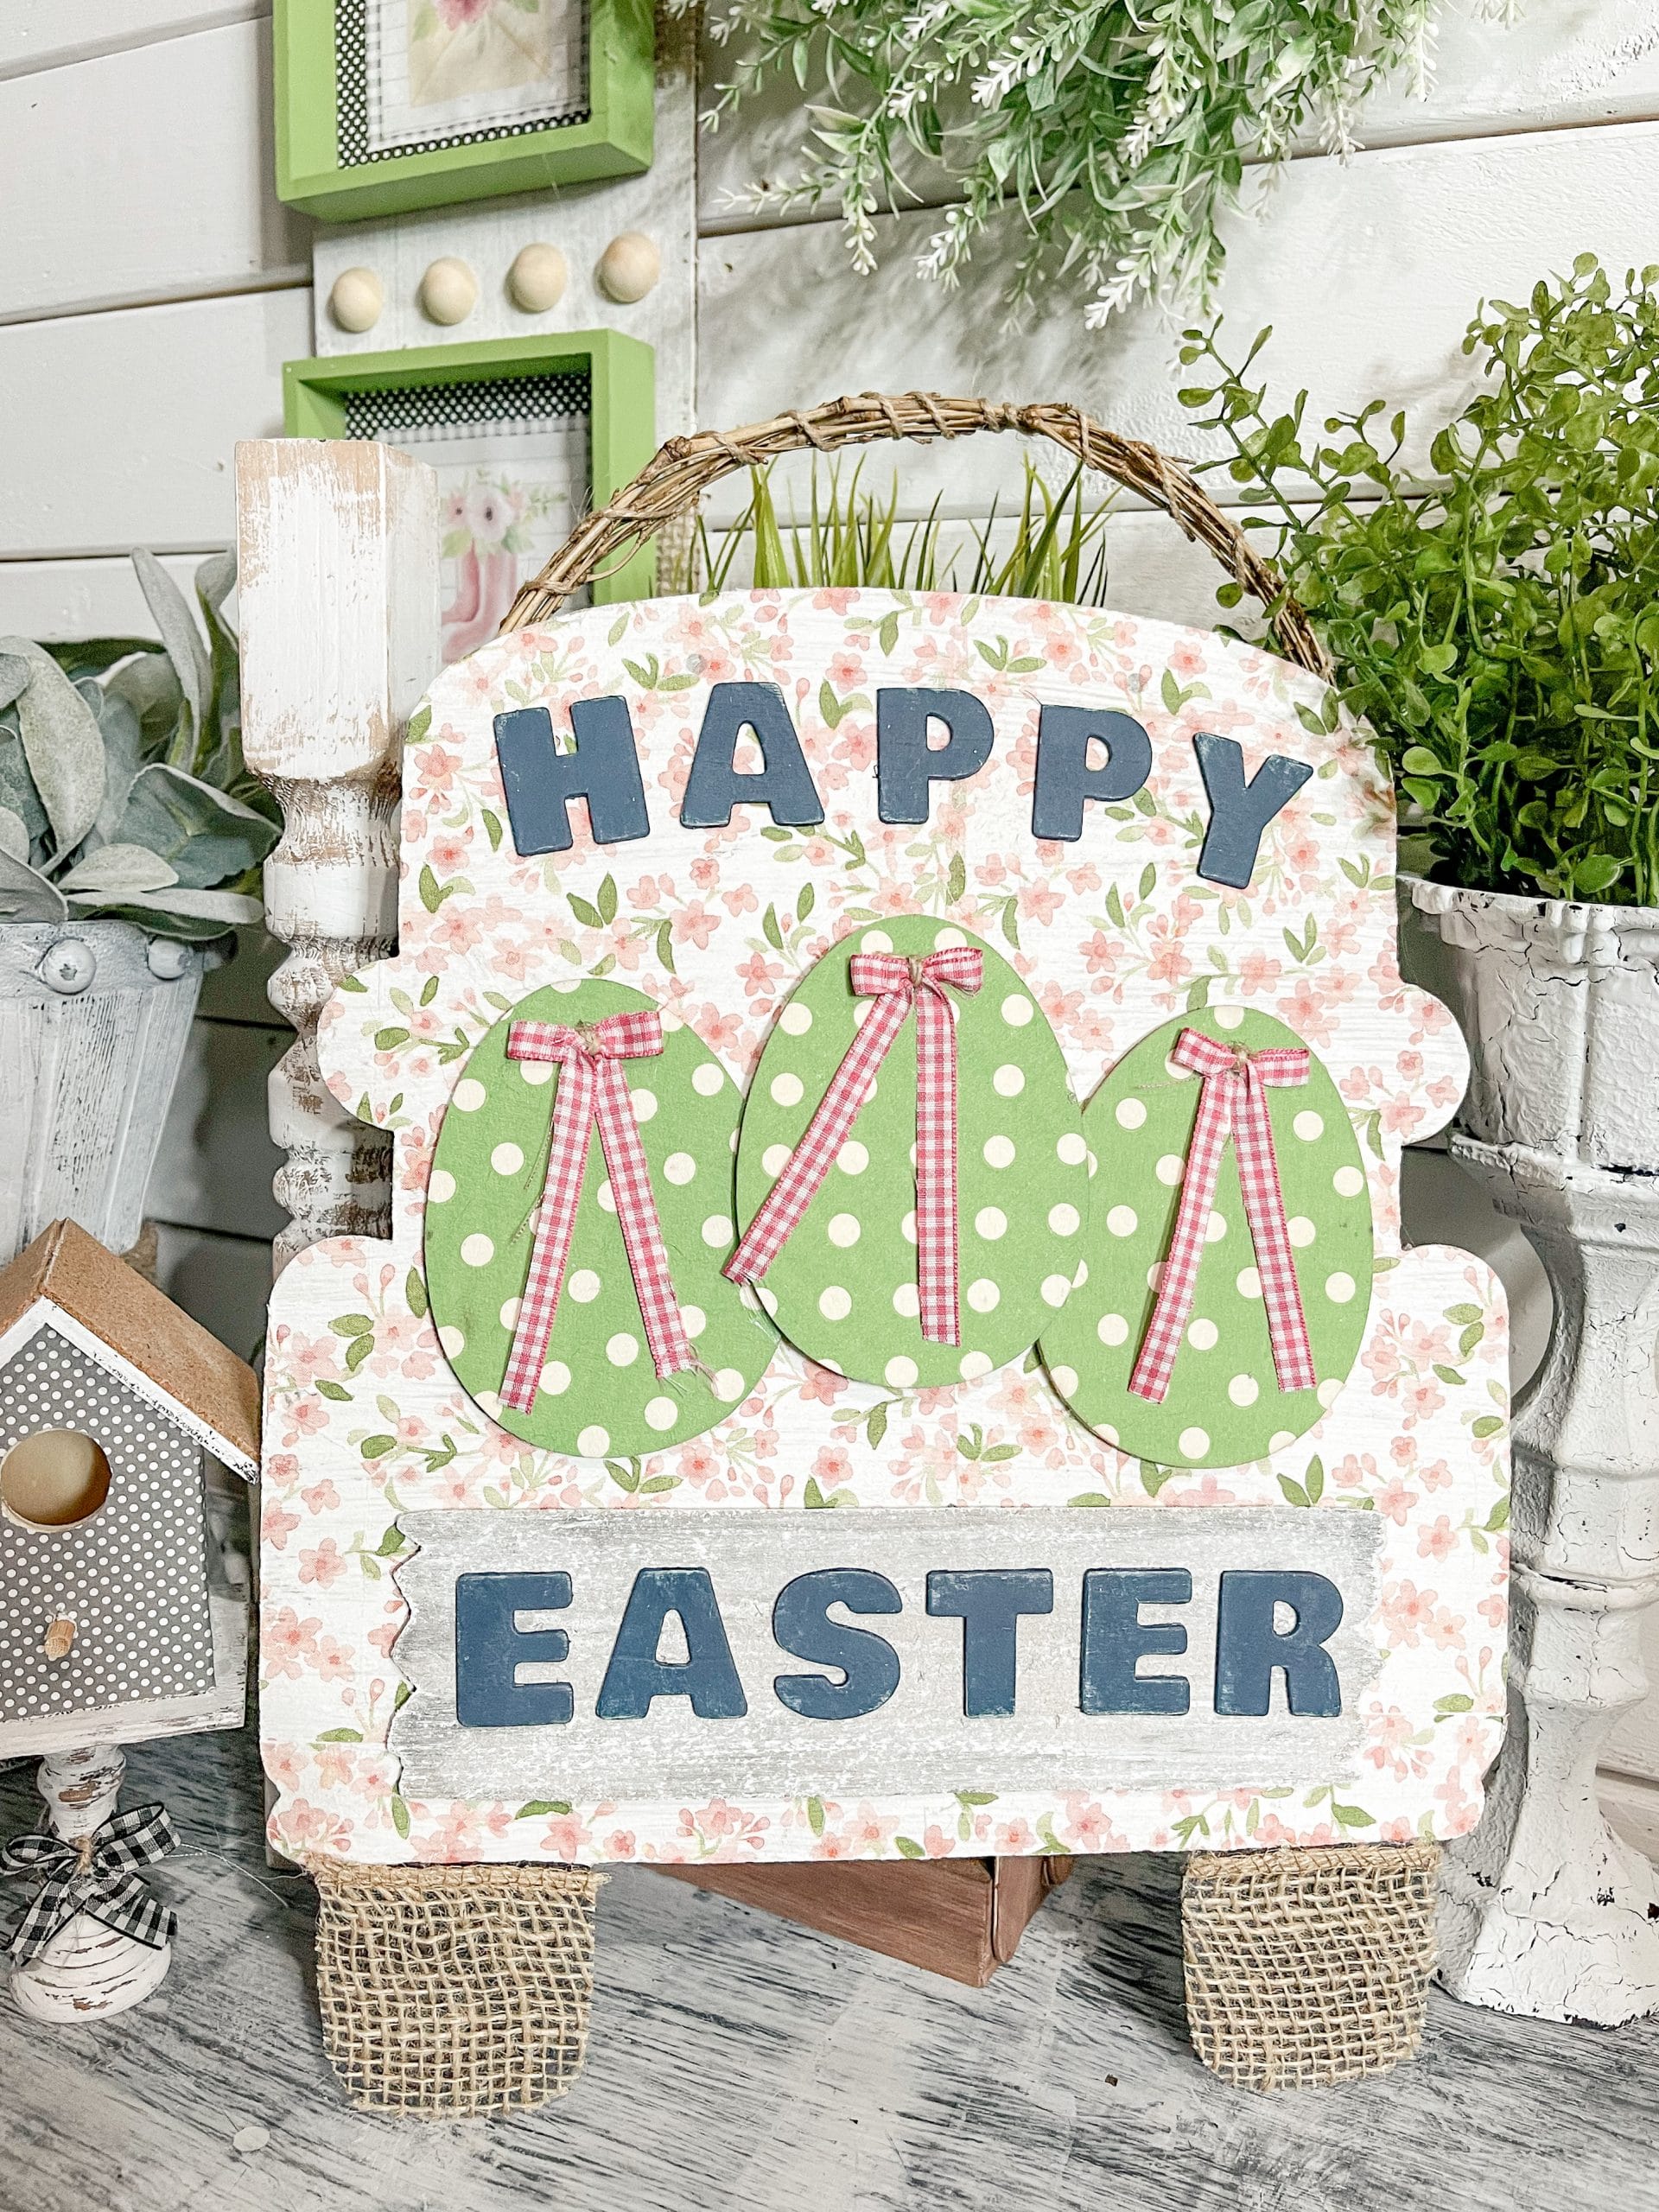
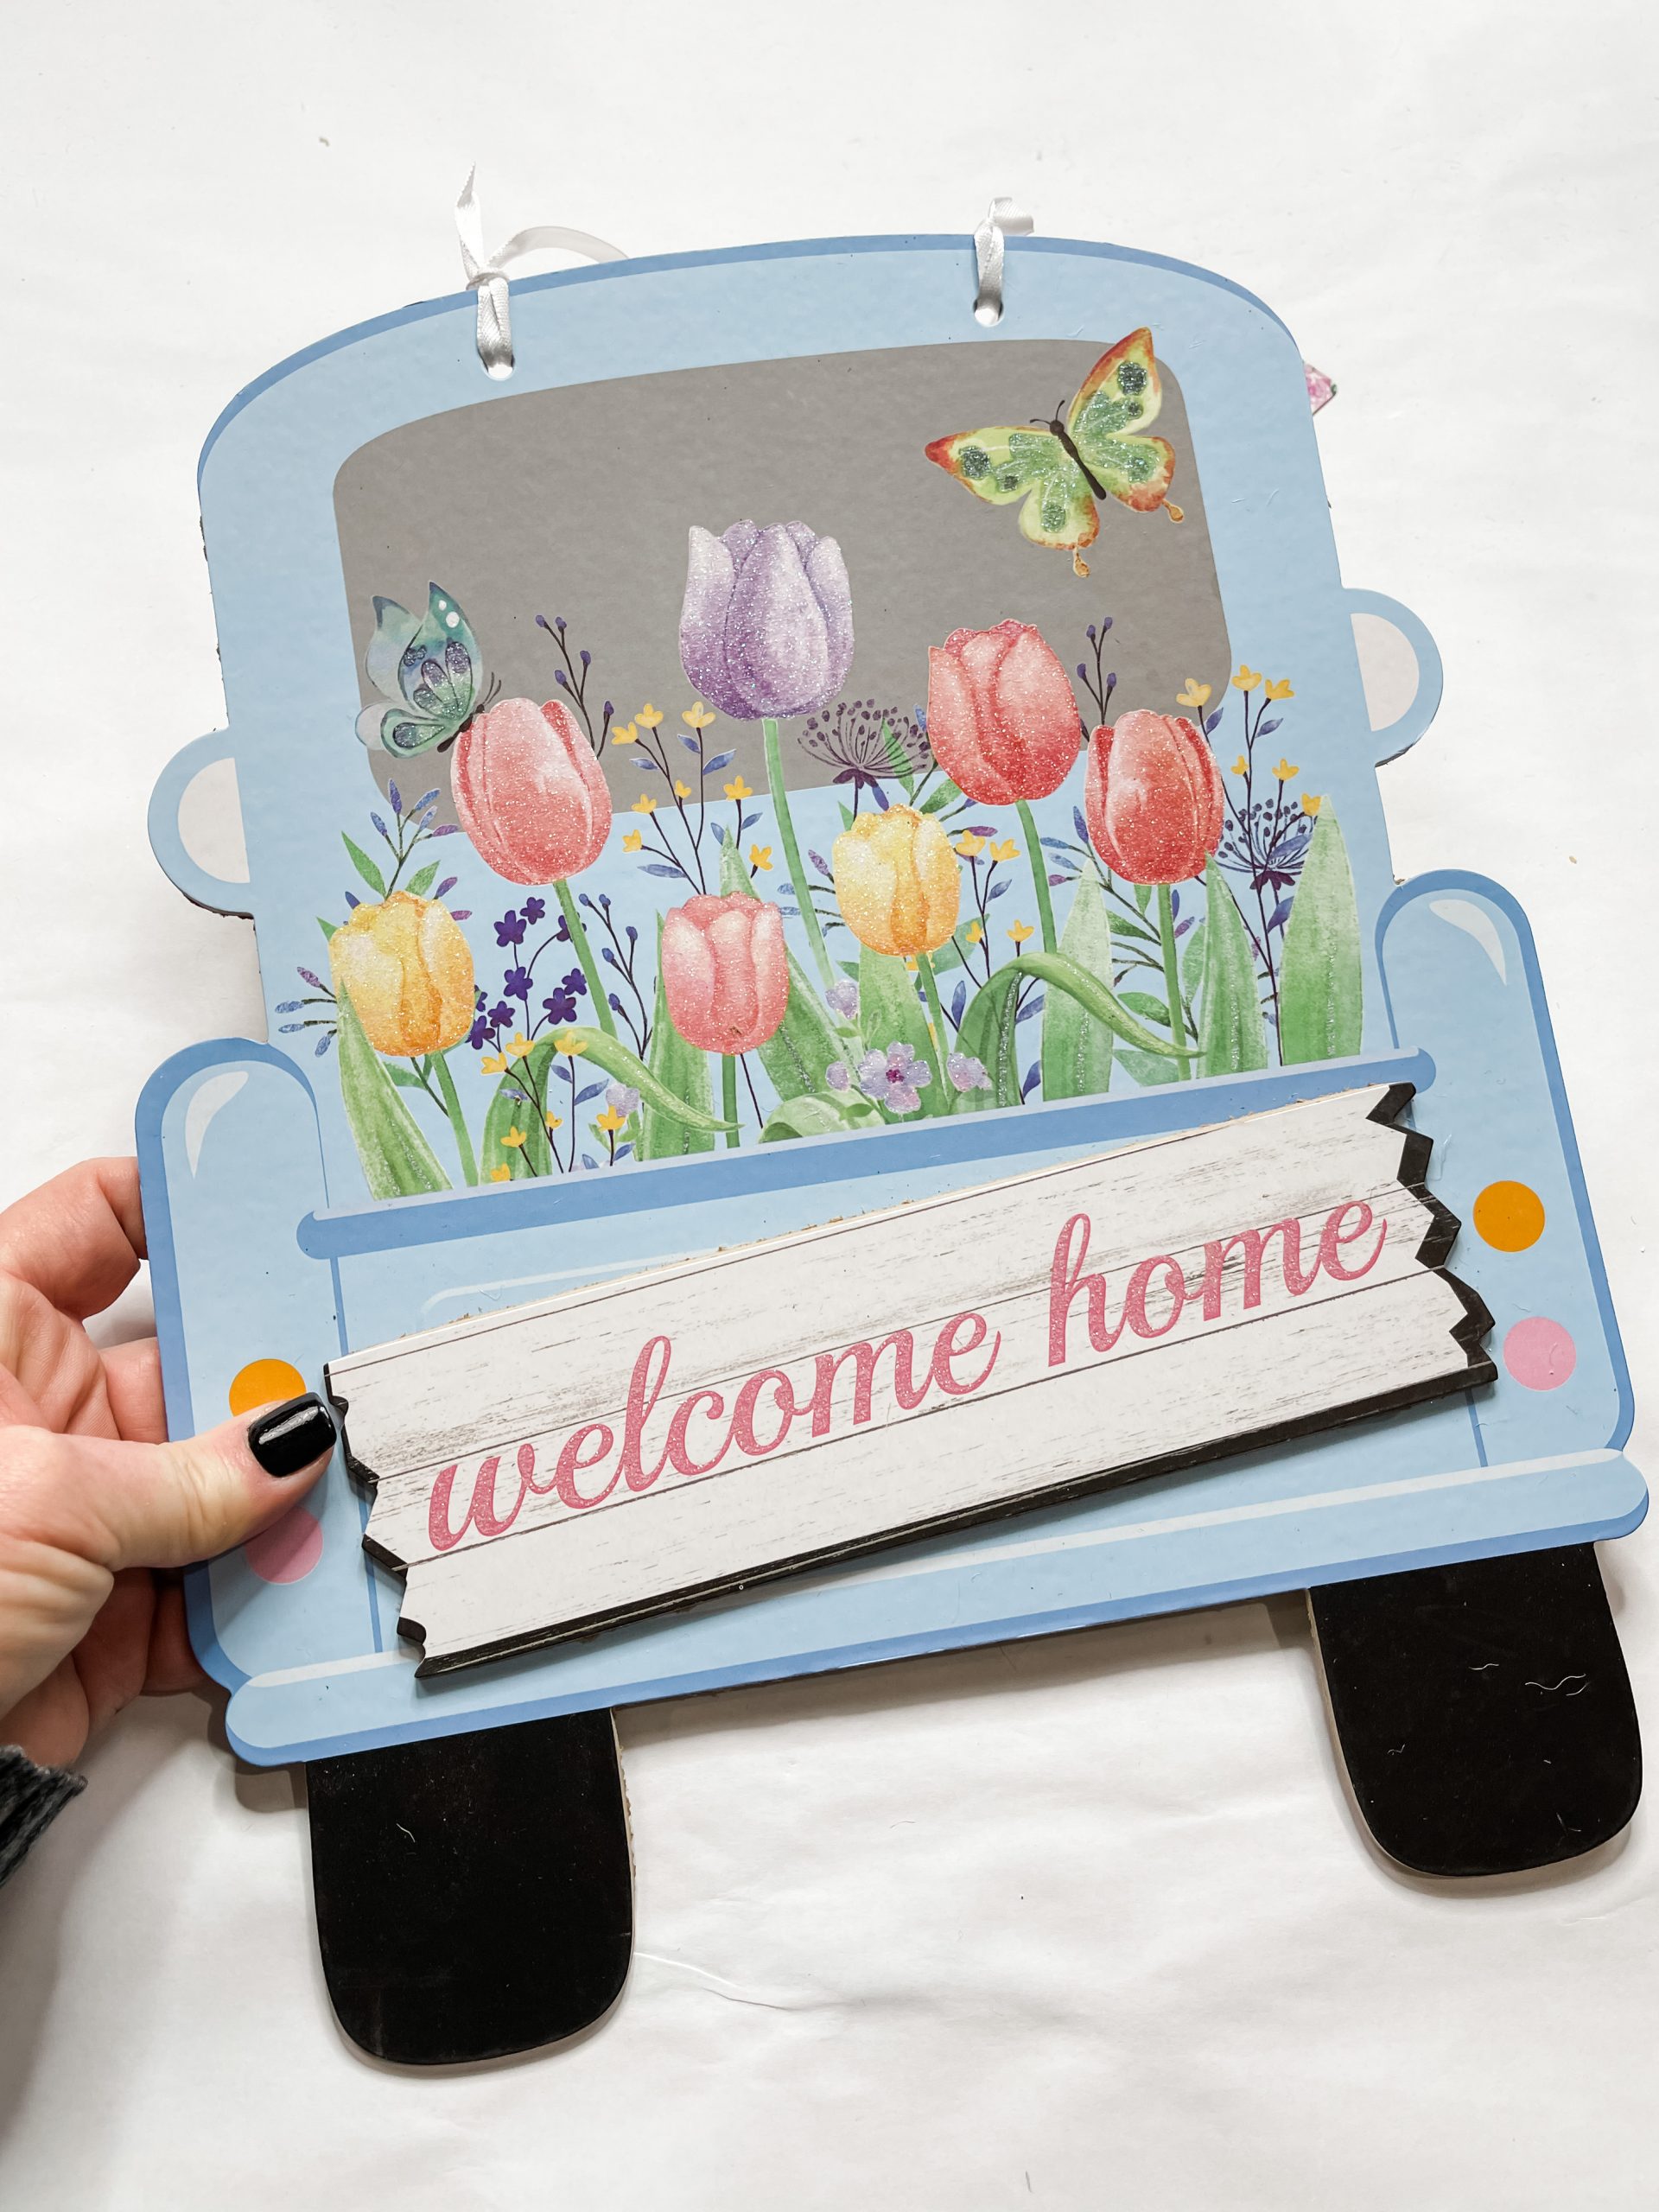
First, I removed the welcome home part of the Dollar Tree truck-shaped sign, then flipped the truck over and painted the entire back white except for the wheels.
Allow the white paint to dry completely (I used my heat gun to speed up the drying process), then apply a coat of Mod Podge over the white paint.
Before you place the napkin onto the Mod Podge, make sure you separate the napkin plies. If you don’t, the top ply with the design on it might not adhere properly to the surface and could start to peel up later on.
Use a rolling pin to smooth out any wrinkles or bubbles that may form when you place the napkin onto the Mod Podge, then trim the excess napkin from around the edges of the truck.
I went back over with the edges to get the excess napkin that I could cut of with a pair of scissors. If you try and rip the excess napkin off, be careful because you could end up pulling the napkin off the sign.
How to decoupage
You can set the decoupaged truck to the side because next, you’re going to decoupage the little wooden egg shapes with the green and white polka dot napkin!
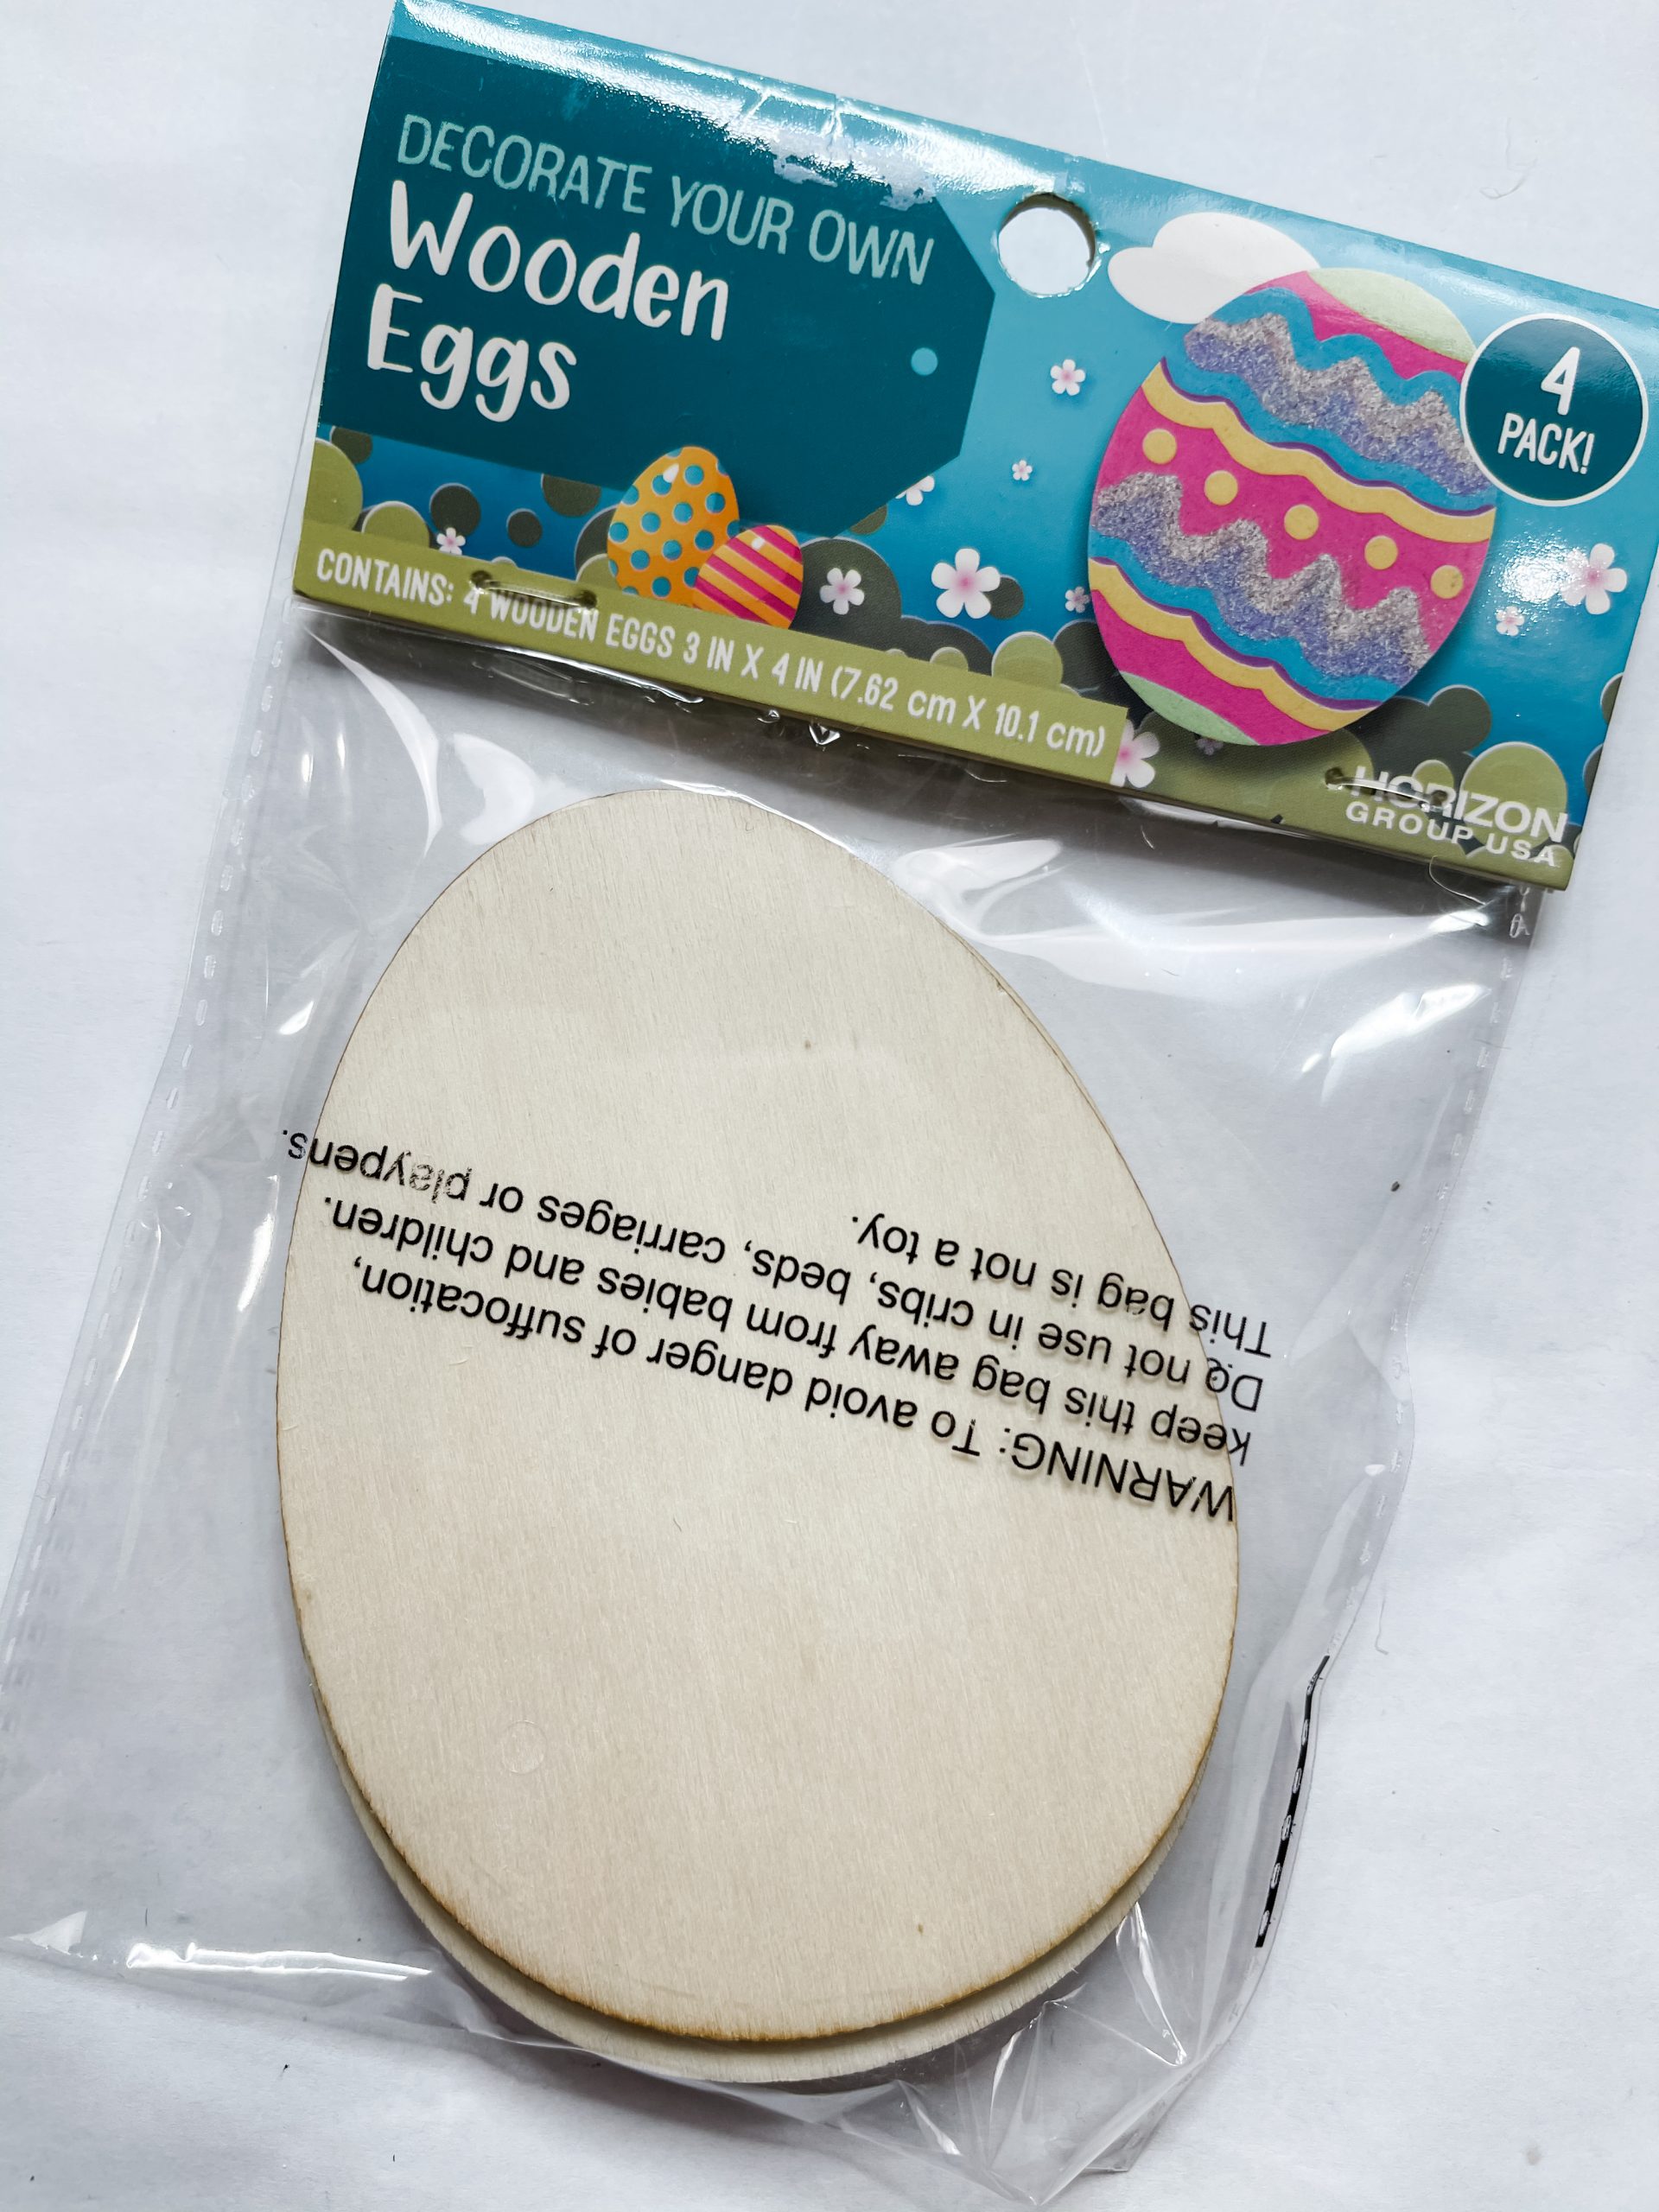
Just like with the truck, first, paint each of the three eggs white. Once the white paint is dry, apply a coat of Mod Podge, separate the napkin plies, and place the ply with the design onto the Mod Podge.
Use a rolling pin to smooth out any wrinkles or bubbles, and trim the excess from around each of the eggs. Remember to be careful so you don’t pull the napkin off the surface of the eggs.
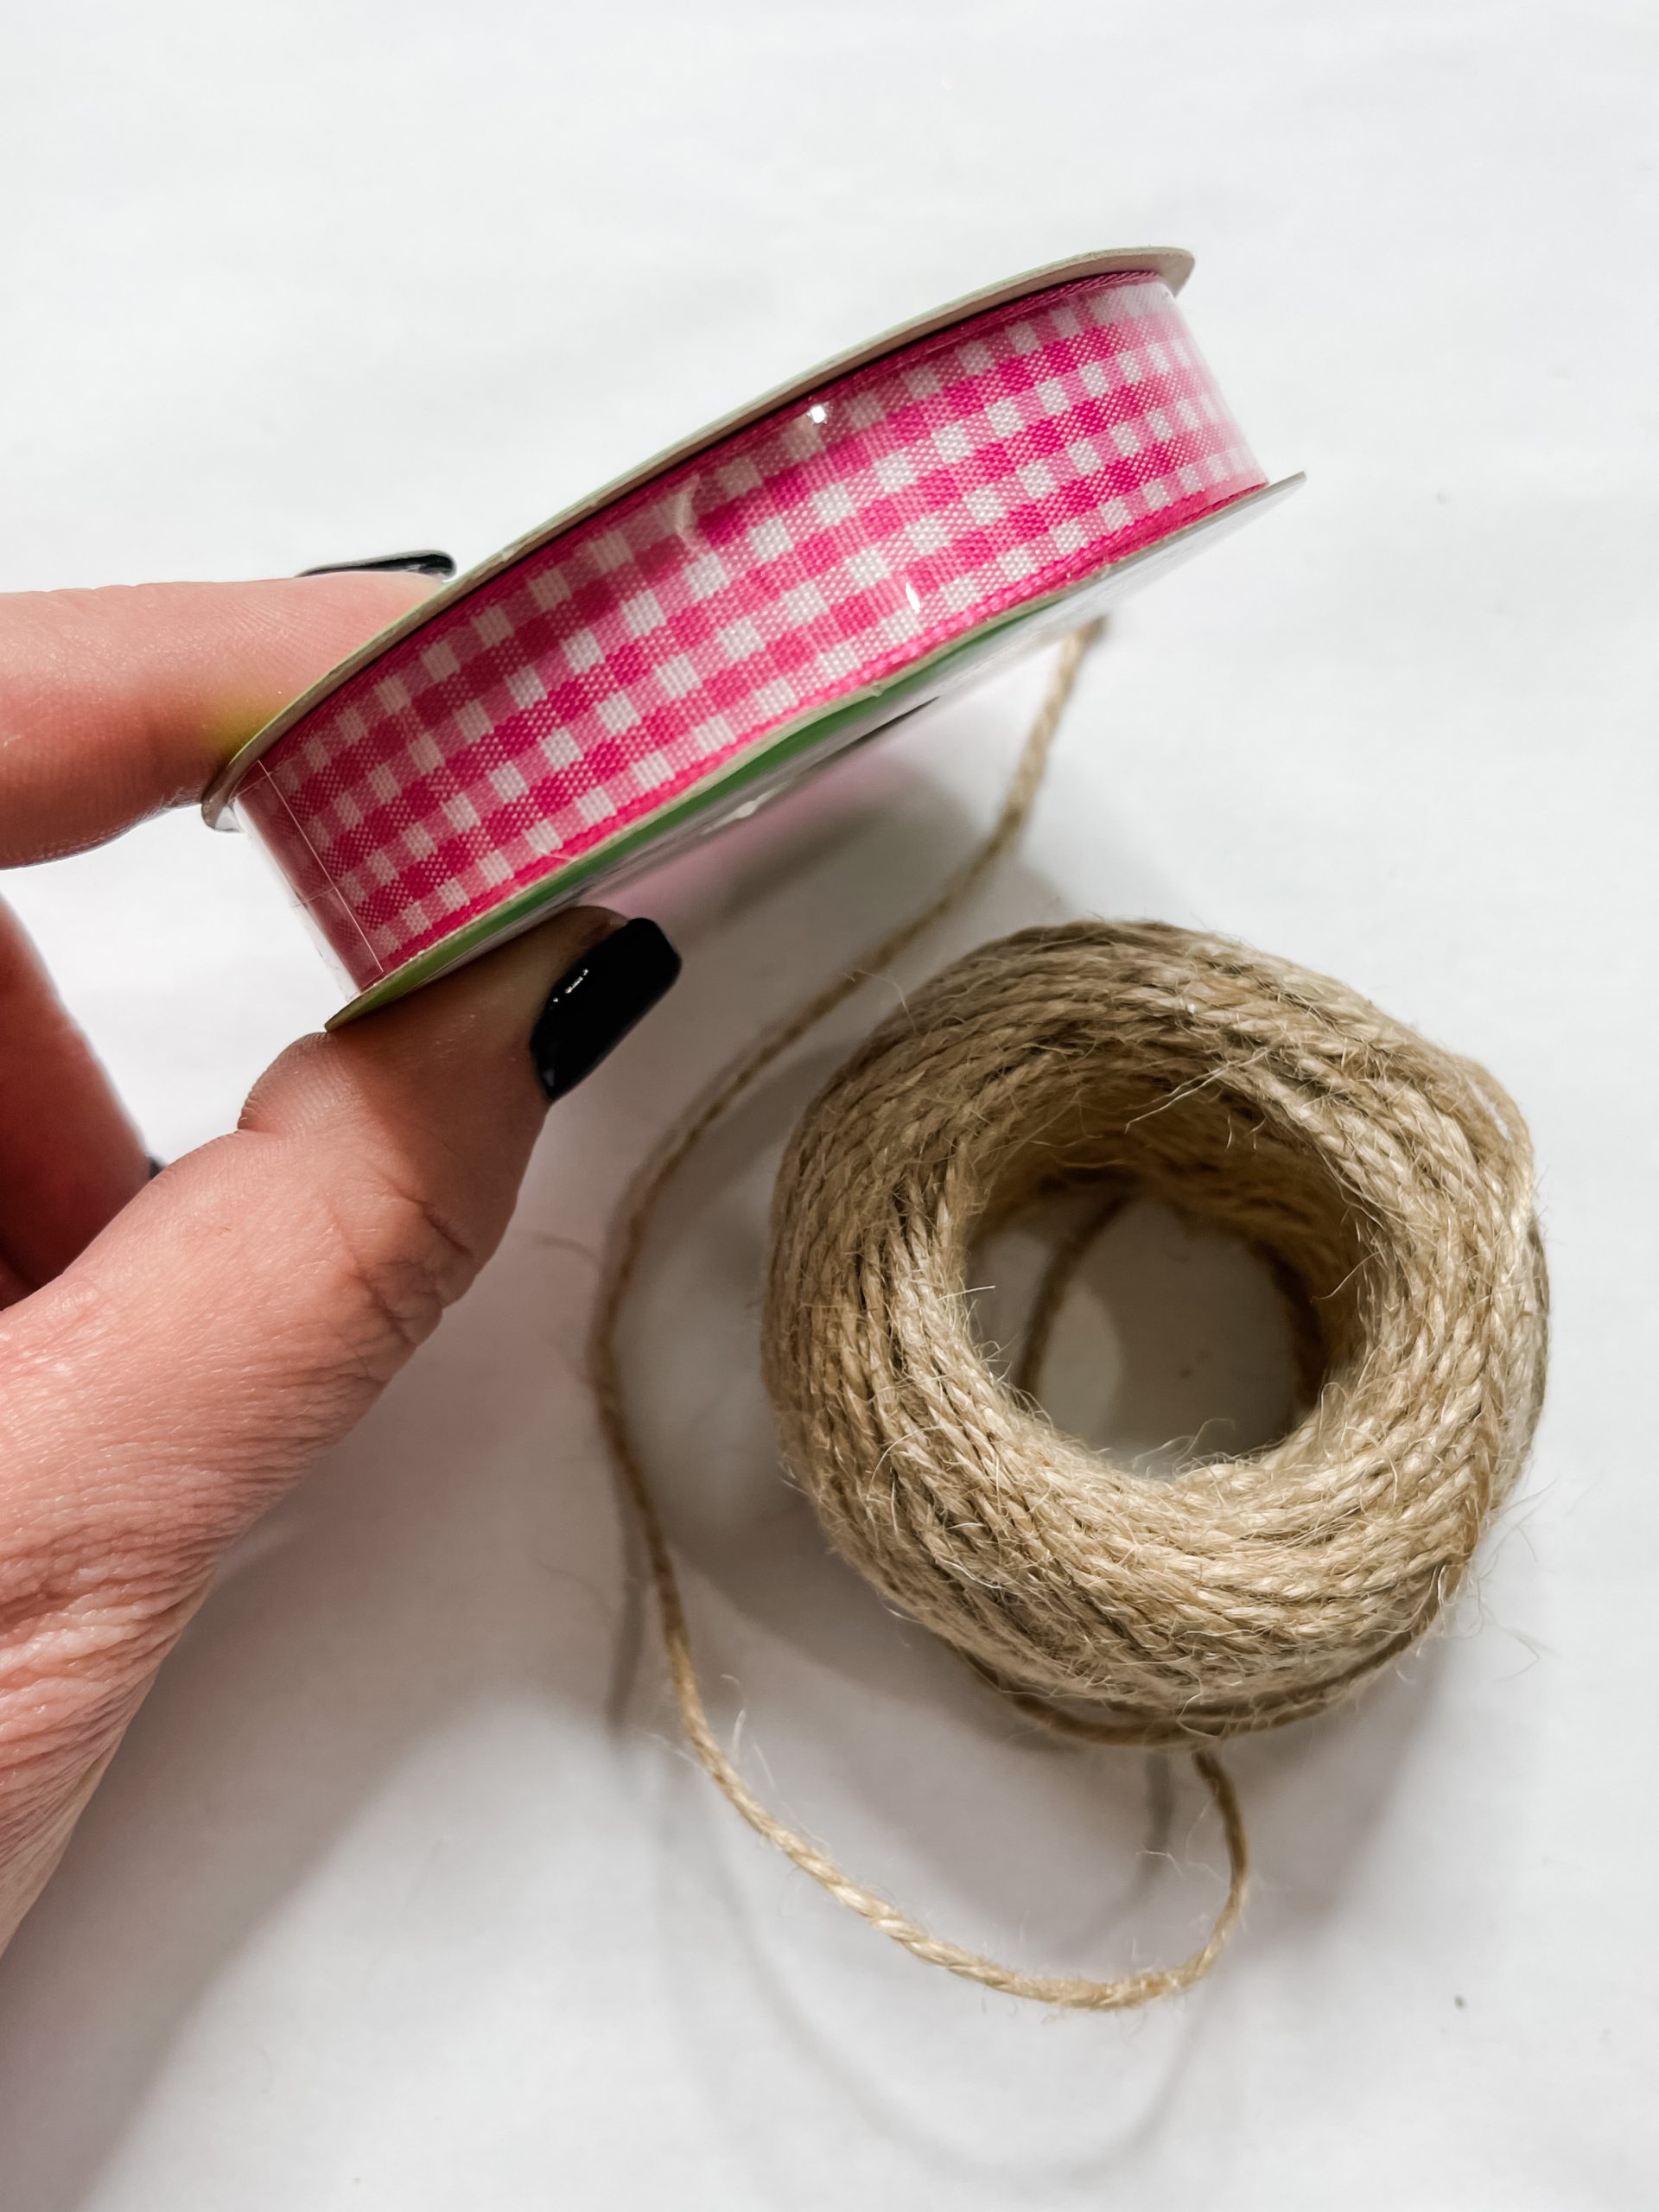
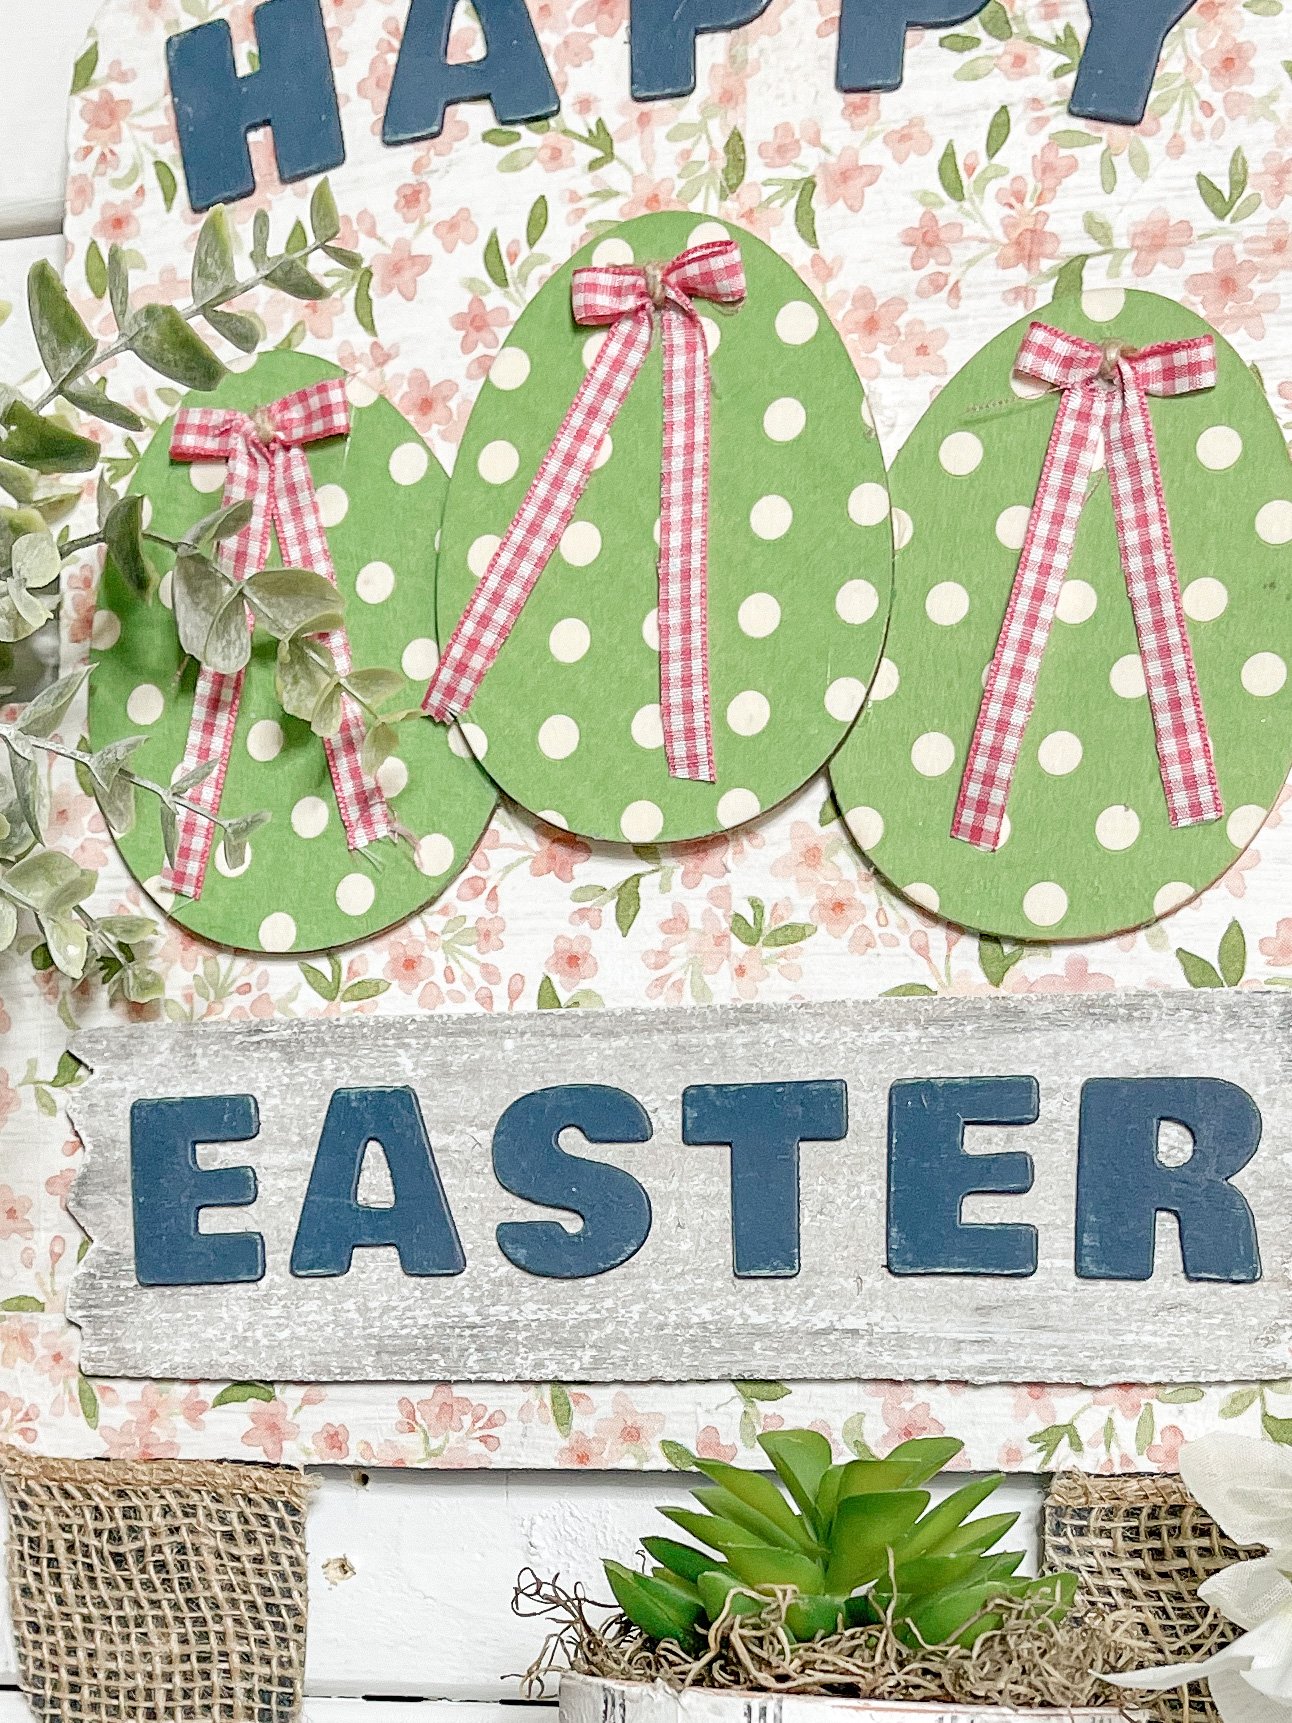
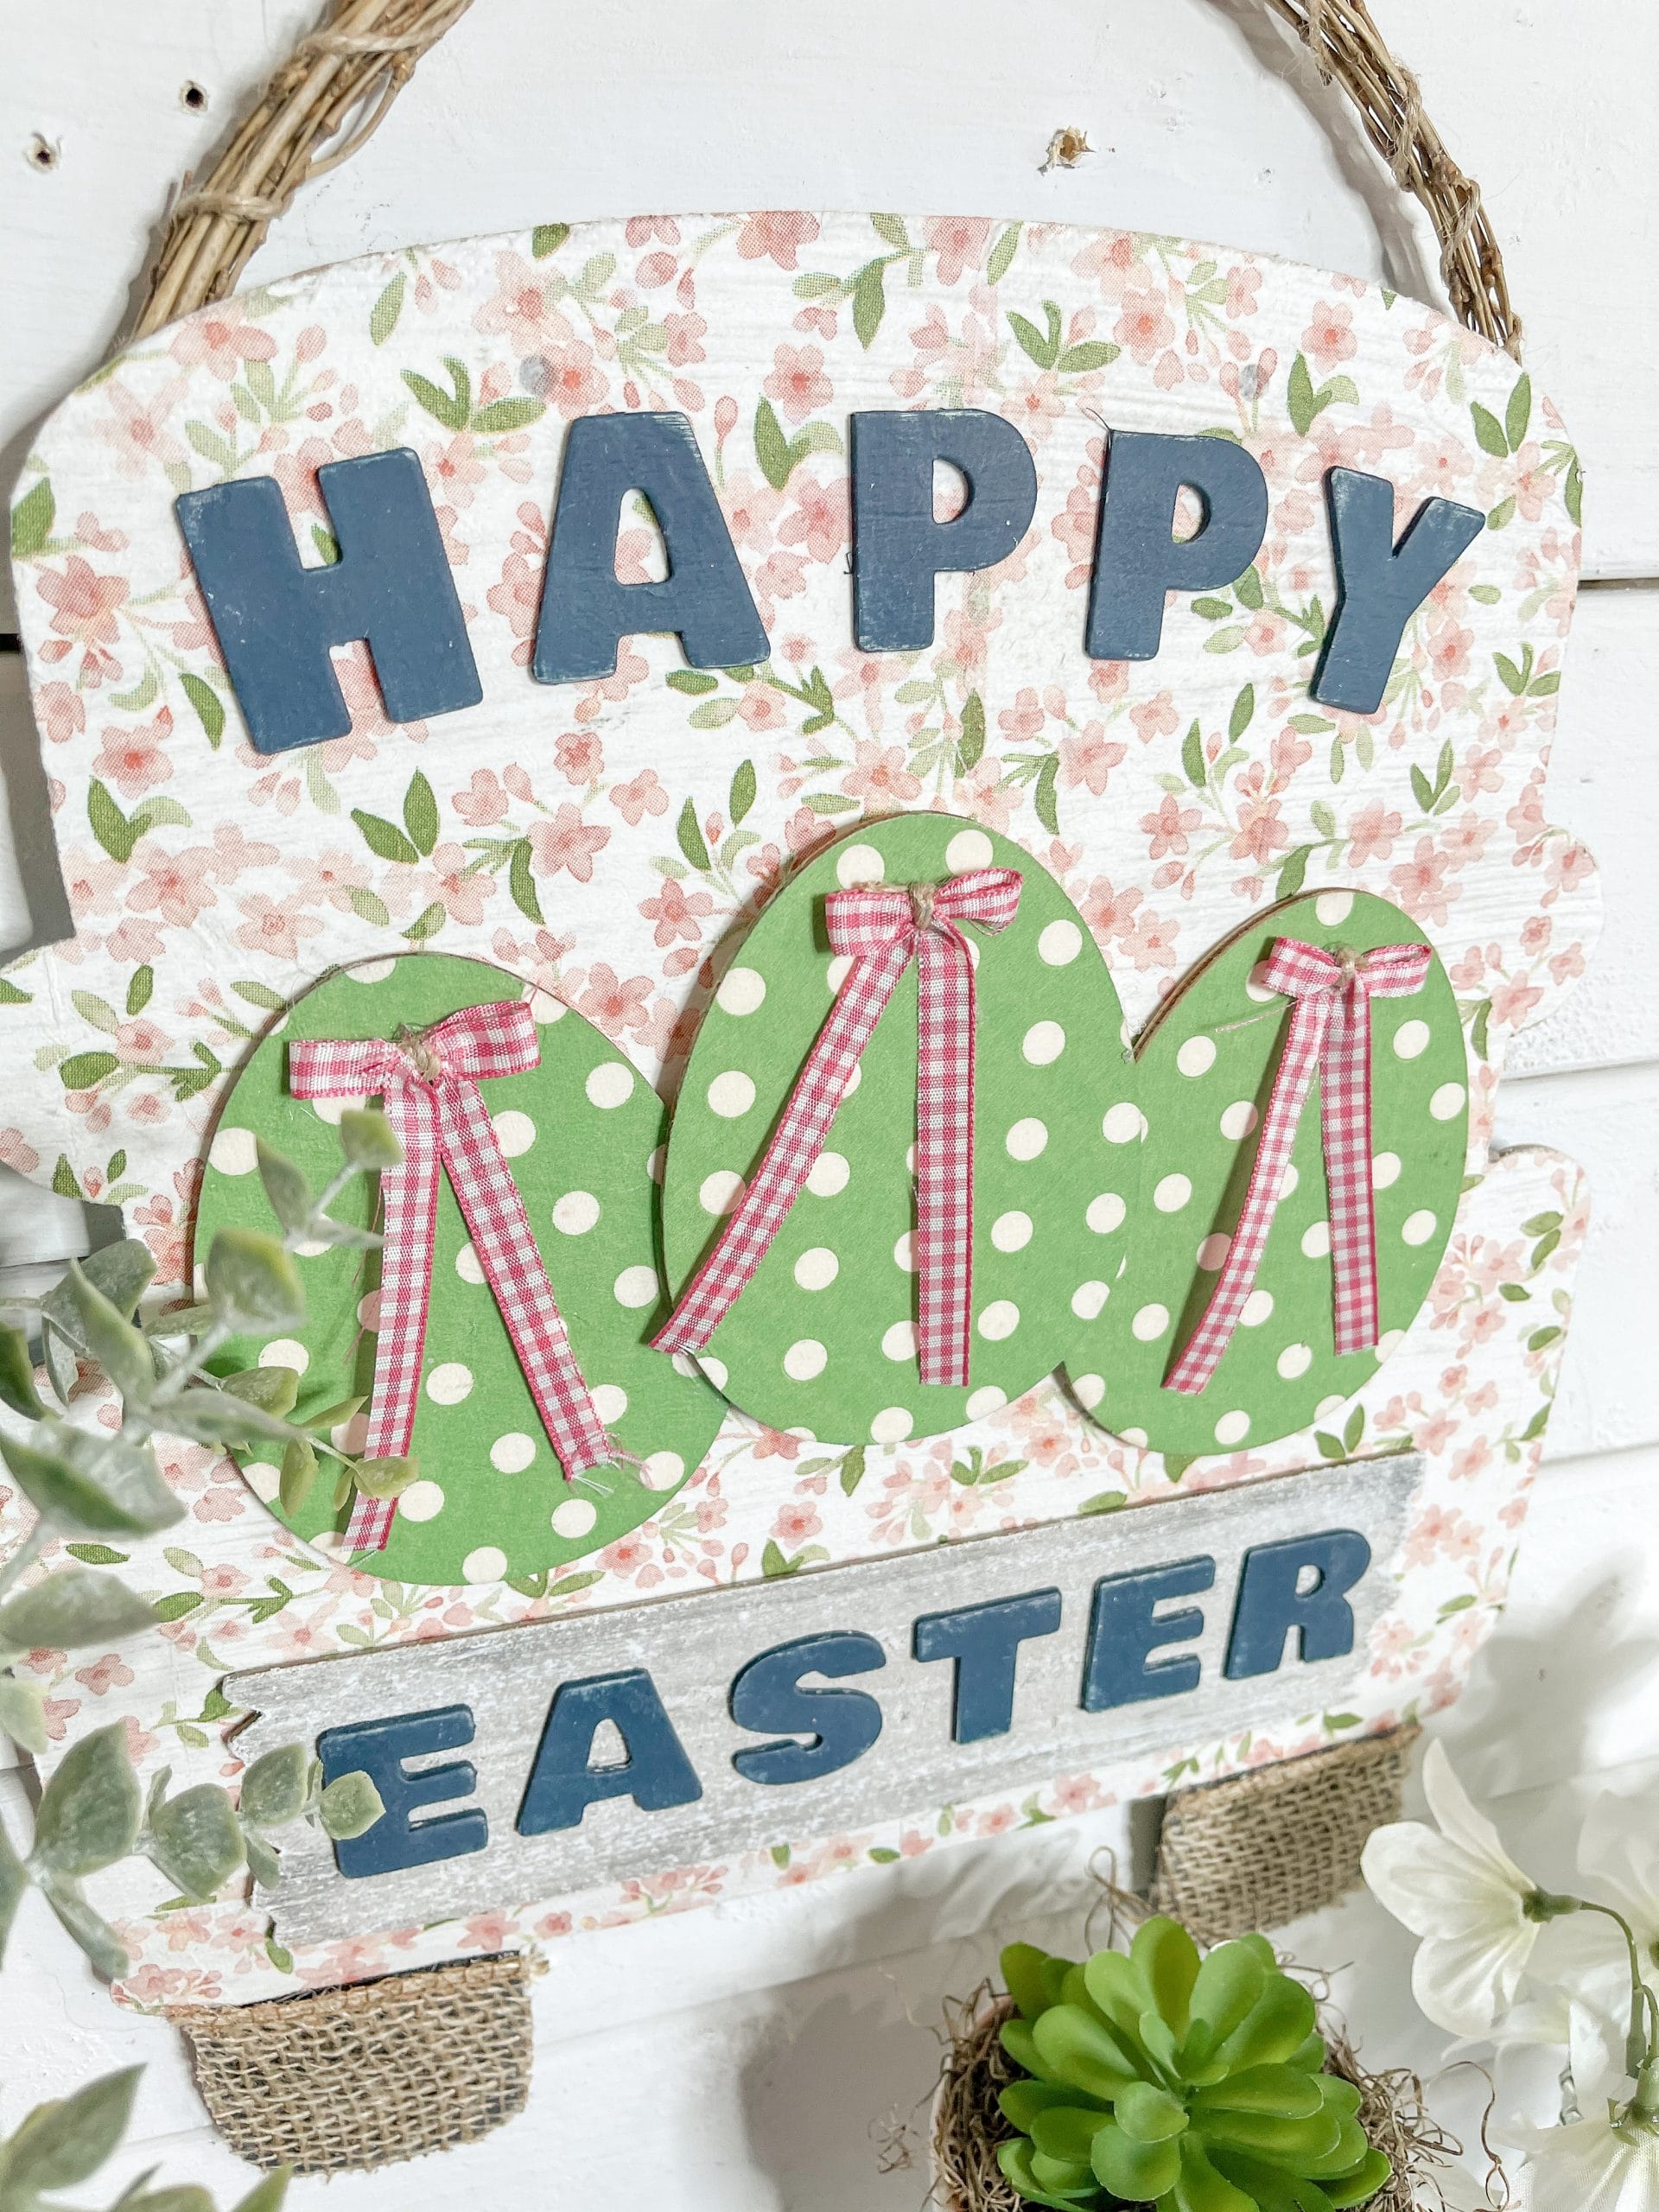
Next, make a little bow for each of your decoupaged eggs. I used pink buffalo check ribbon from Dollar Tree and jute twine to make my bows. First, I cut the ribbon in half to make the strips thinner, then cut the strips to make my bows.
Fold the ribbon into a bow and secure the center with a piece of jute twine, then hot glue a bow onto the top of each of the decoupaged eggs. I chose to keep the tails long on my bows, but you can cut them if you want them to be shorter.
It’s all in the details
Paint both of the wheels with black paint. I used Apple Barrel Black Acrylic Paint, but you can use whichever black paint you already have on hand or prefer. Then, cut the burlap ribbon to fit over each of the wheels and hot glue the pieces in place.
I wasn’t sure which blue paint I was going to use for my wood letters, but I ended up going with Folkart Navy Blue. Pick your color and paint all of your wood letters. (I made my sign say Happy Easter)
I painted the back of the welcome home sign that I removed at the beginning white. Then, I used my finger to spread just a little bit of blue paint across the sign and add some dimension to it.
To fade out the blue and make it look more natural, I went over the sign with a sanding sponge then lightly brush white paint back over the surface of the sign.
Bring it all together
Once all your paint is dry, it’s time to start bringing all the pieces together! Hot glue your three decoupaged eggs in the middle of the truck. I slightly overlapped the center egg over the two side eggs.
Hot glue the bluish sign beneath the decoupaged eggs, then hot glue your letters in place. Finally, I hot glued a piece of a grapevine wreath at the top of the sign to create a hanger for this adorable DIY Easter decor!
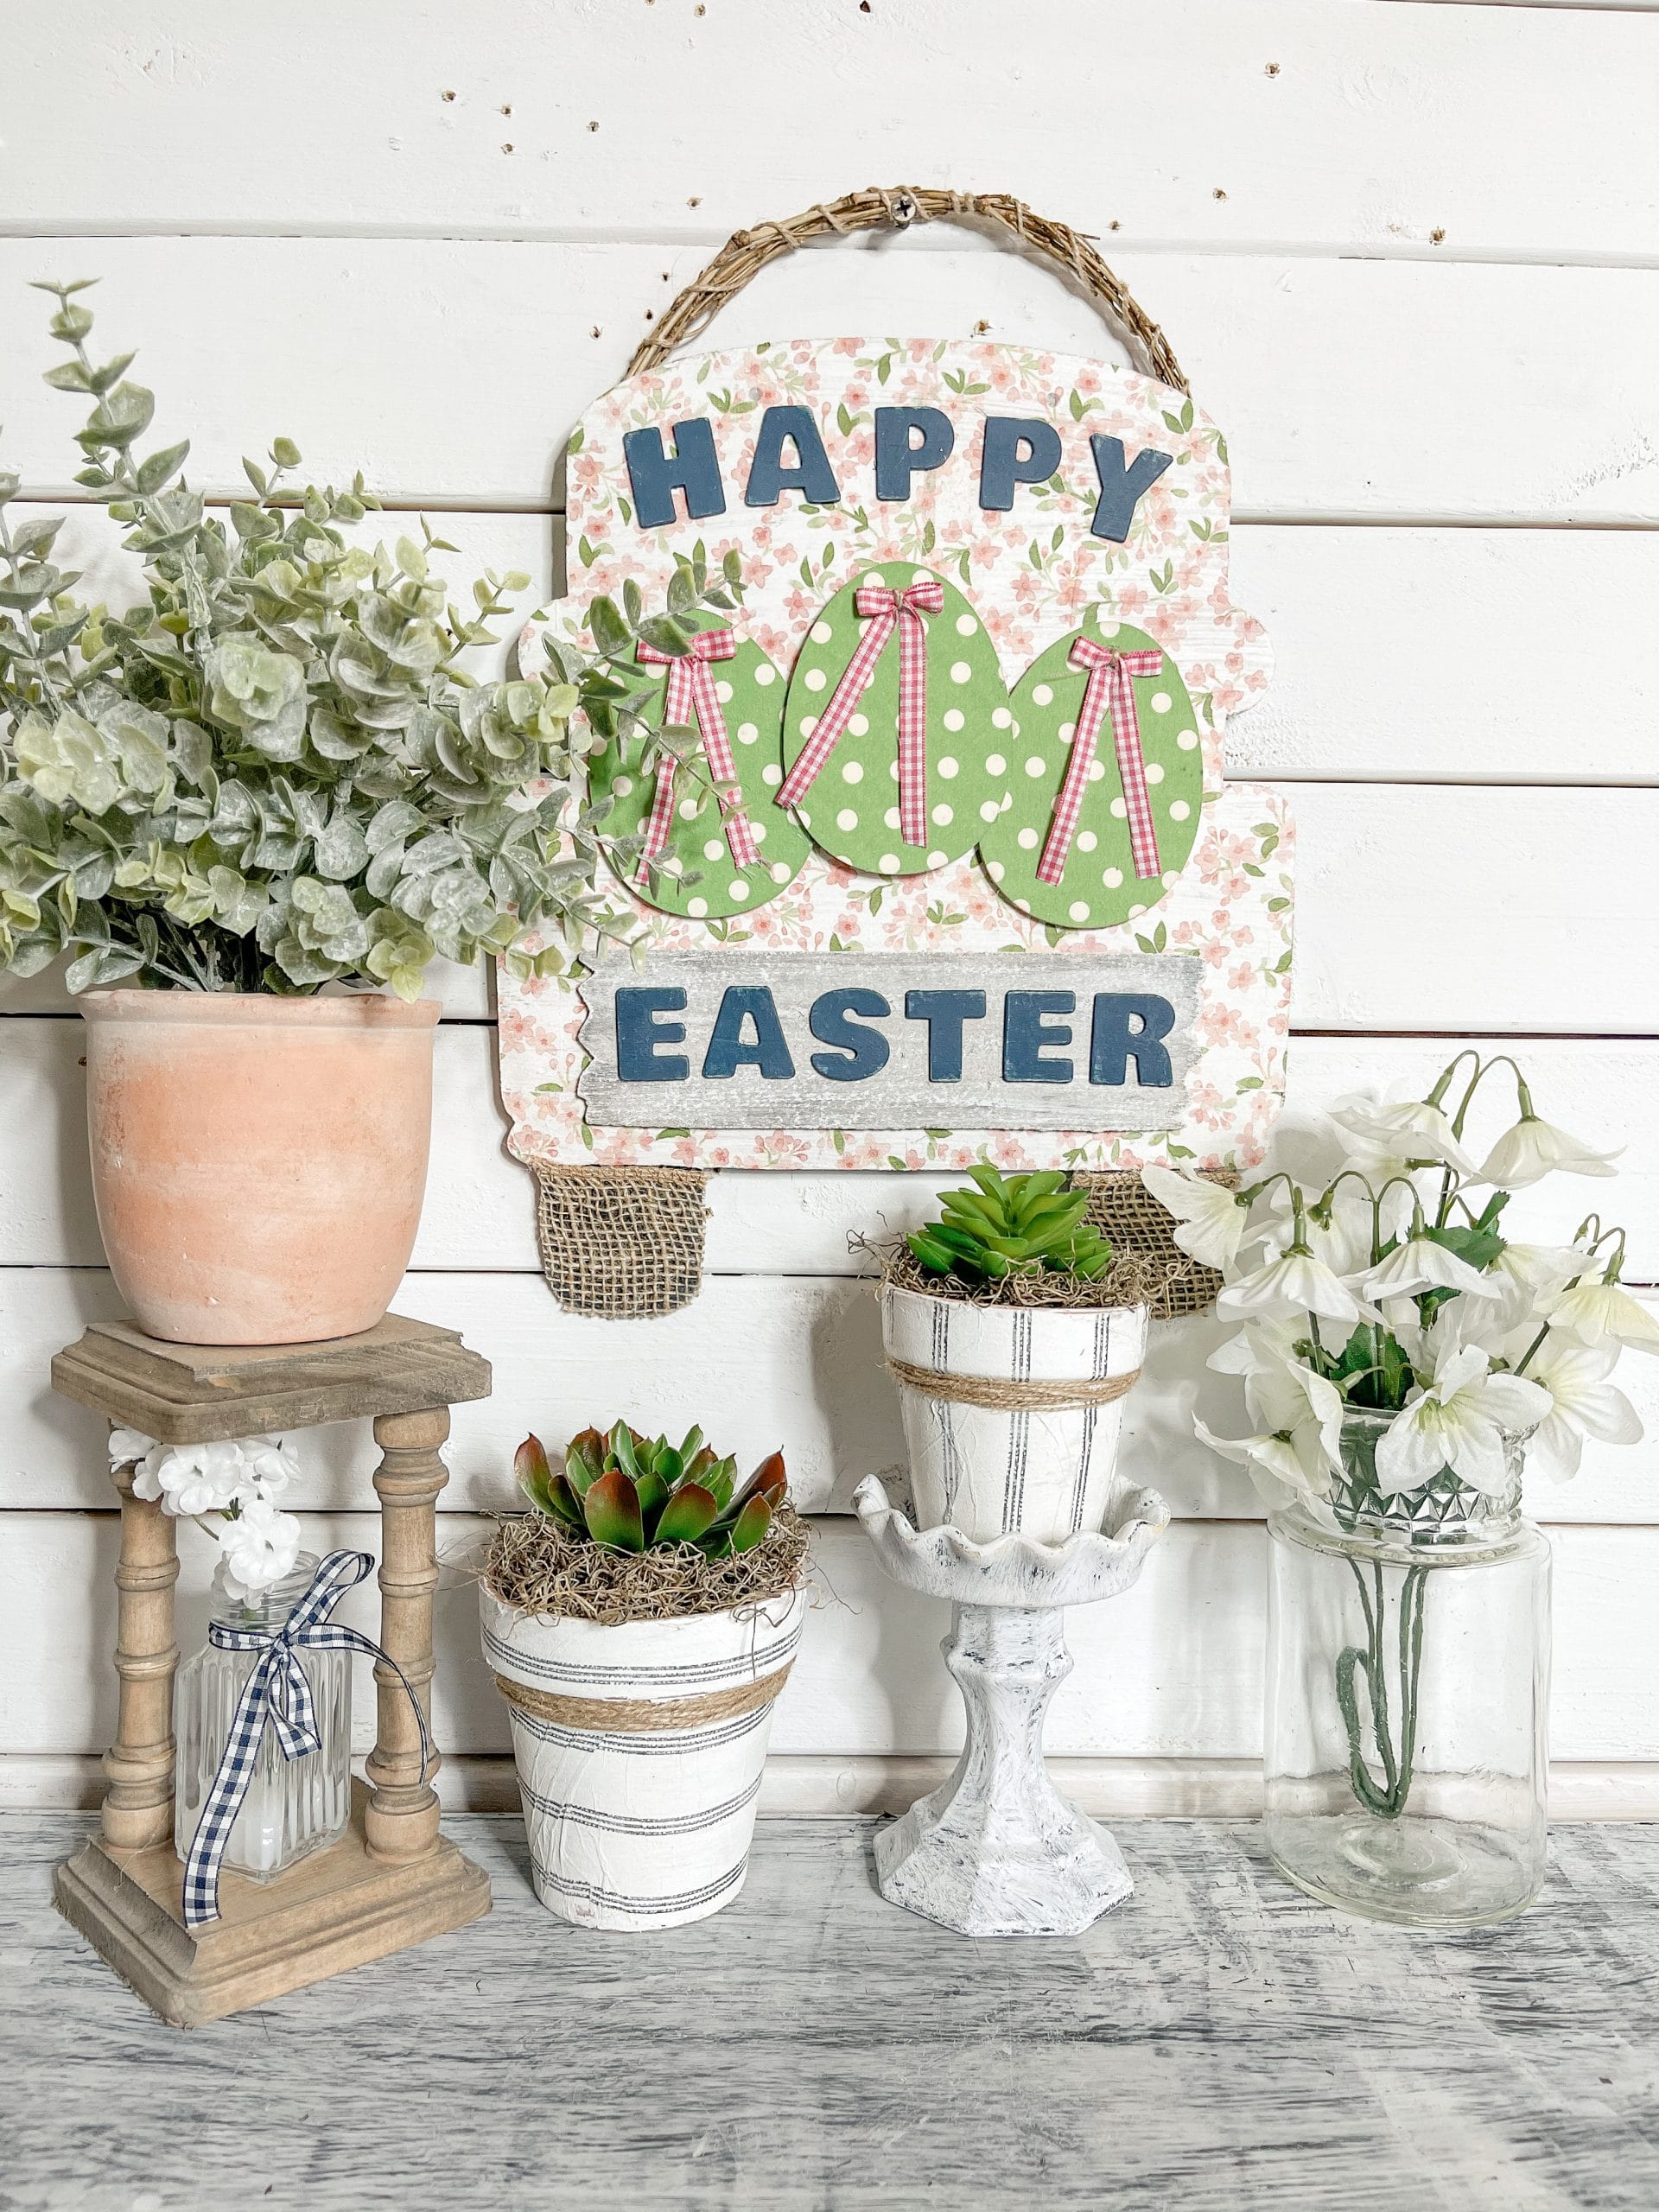
I hope you enjoyed this DIY Shabby Chic Happy Easter Truck as much as I did and decide to make one for yourself! If you do, I would love to see how yours turns out!
You should totally join my FREE Facebook group called On A Budget Crafts! It is a judgment-free community for DIY crafters to show off their projects and ideas.
If you loved this DIY you might also like this one too!
Thanks for stopping by! XOXO Amber
You can also shop my ENTIRE AMAZON Favorites shop just click here! It’s packed full of all the things I use and love. Here is the supply list I highly recommend every creative have on hand!!
Would you also pin my blog for later and get on my newsletter alerts? I would love to have you join my #craftycrew.
Inspired? Leave me a comment below! I love hearing from my readers!

Join my free “ON A BUDGET CRAFTS” Facebook group!
This truck is adorable. I love it. I have this truck. Might just use your idea. Thanks for the idea.
Very adorable