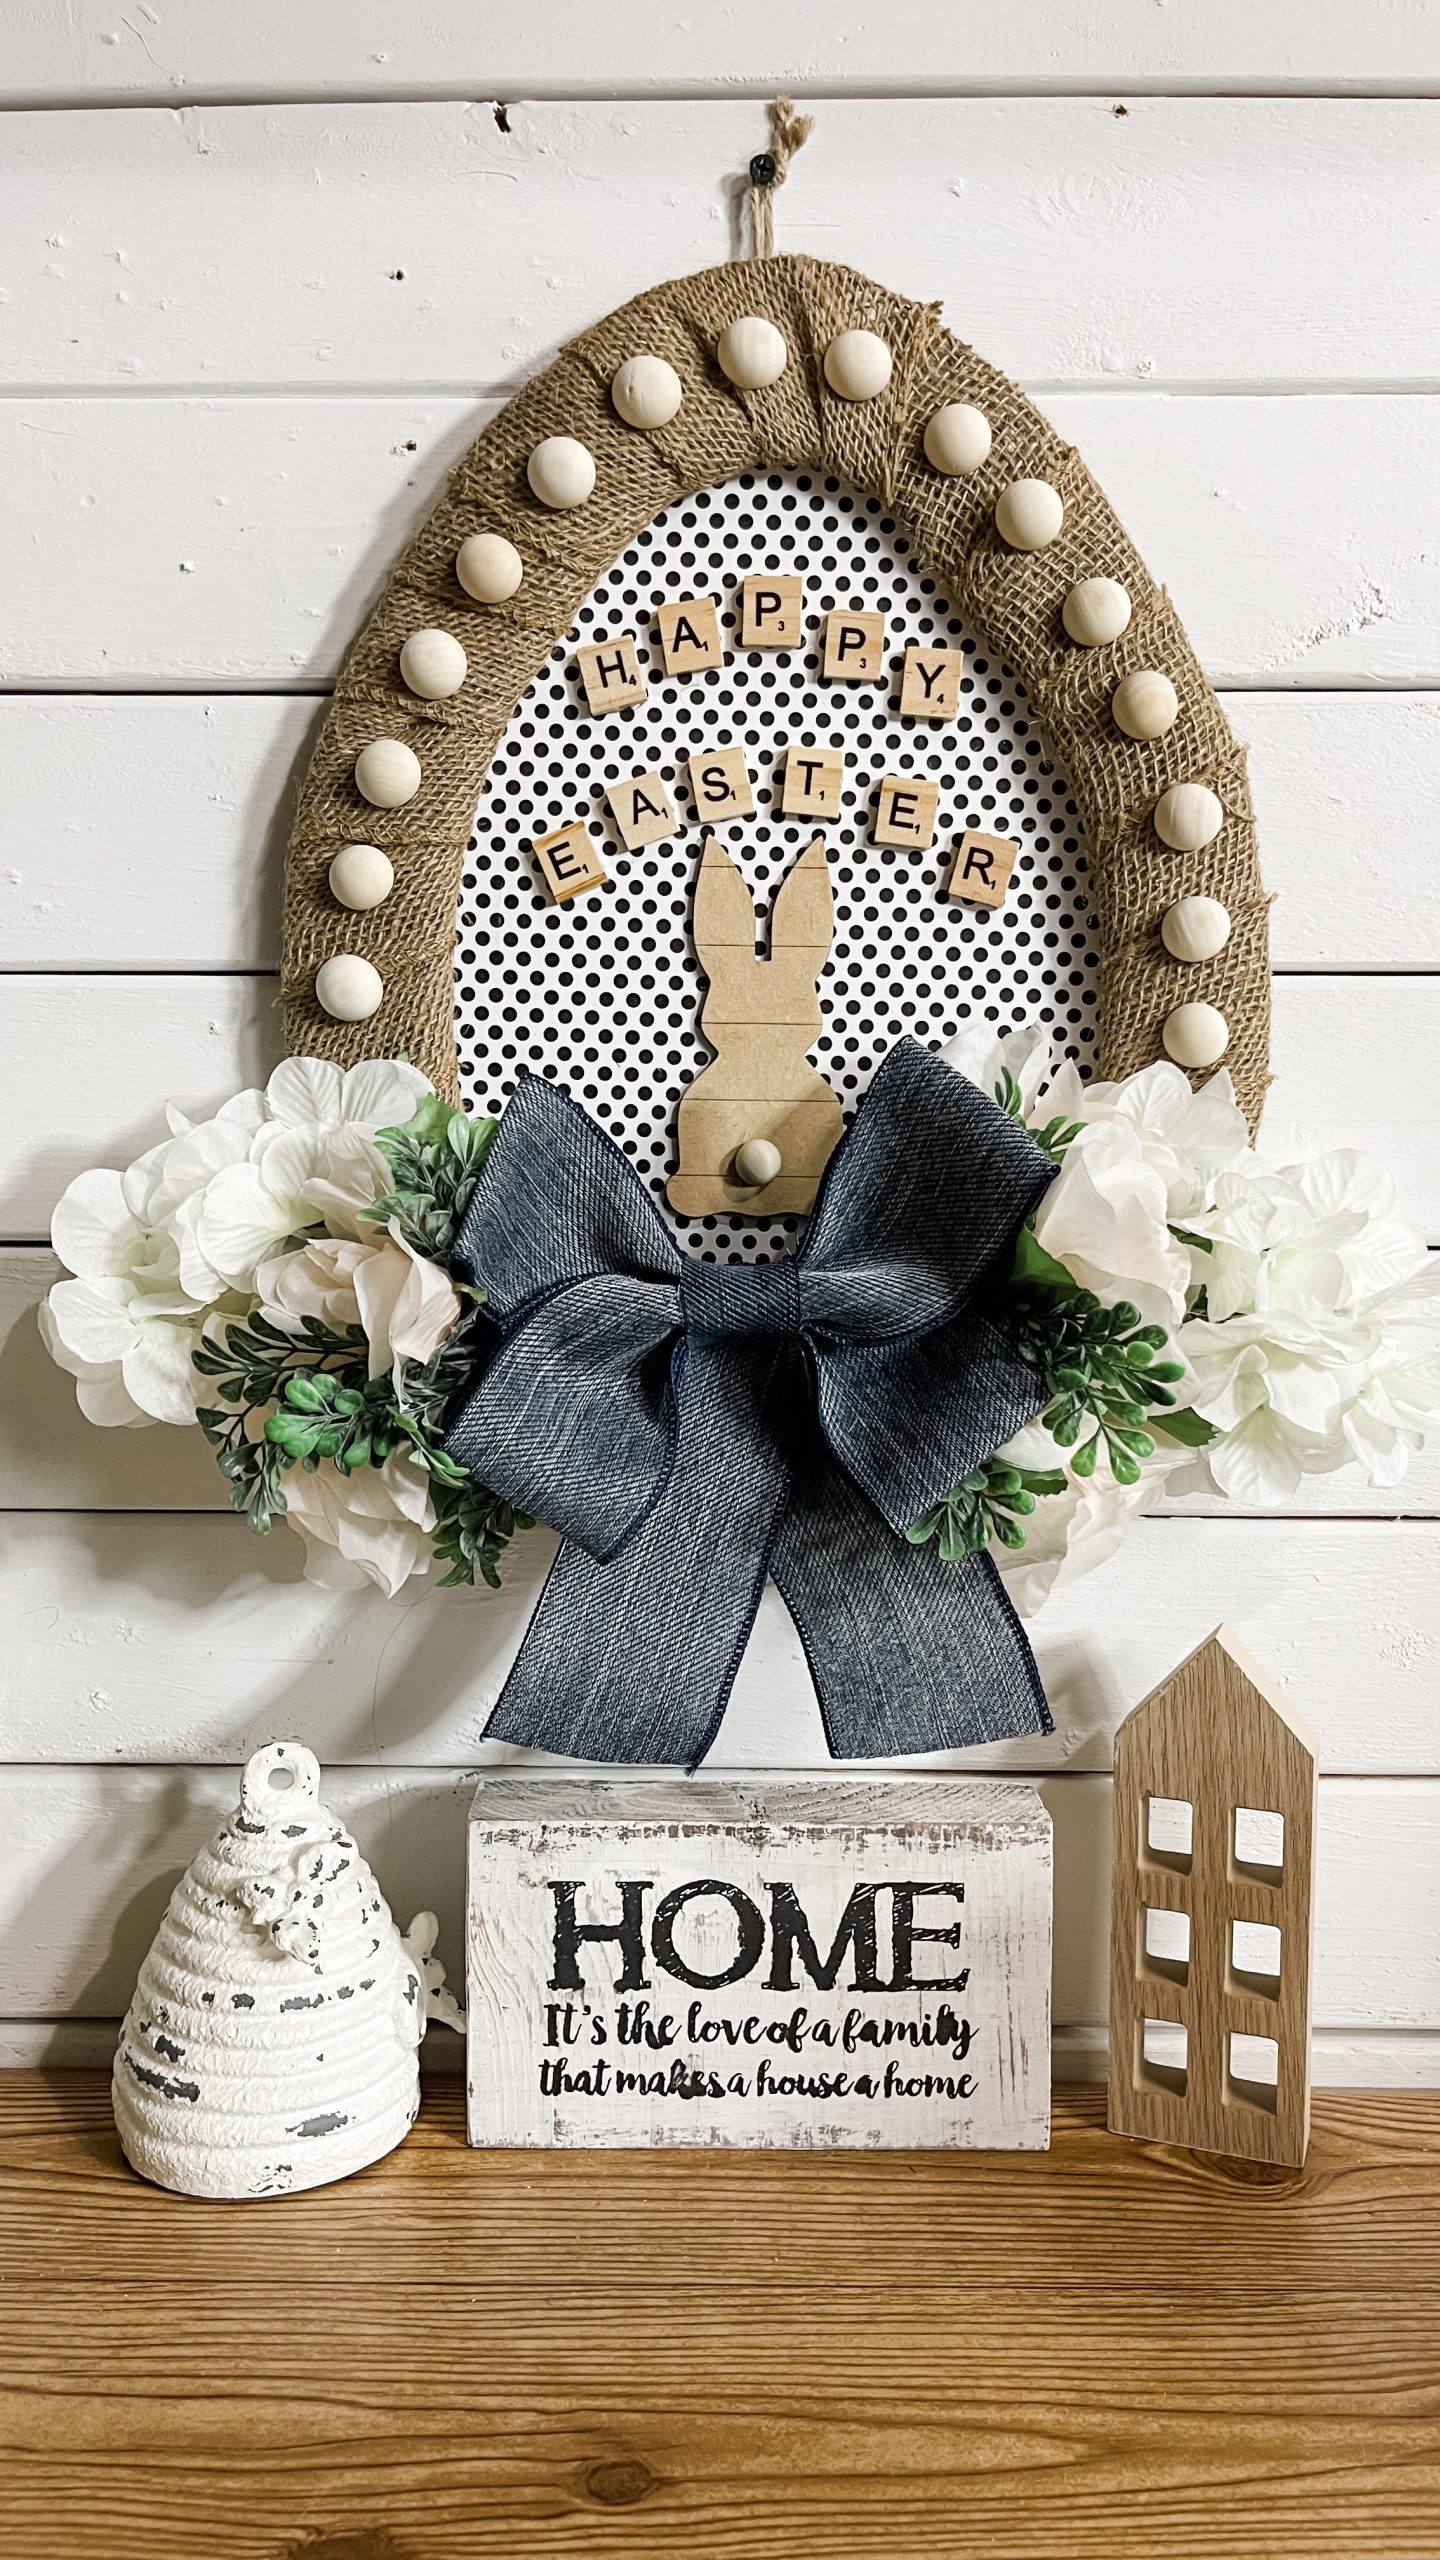
DIY Easter Door Wreath
I am SO EXCITED to share this DIY Easter door wreath with you today! I love literally everything about this wreath, but I think my favorite part might be that you can make it for any other holiday or keep it neutral too.
All you have to do is swap out the Happy Easter scrabble letters and the shiplap bunny for something else and BOOM, you’ve got a wreath for every day or another holiday!
More Easter decor inspiration
- Dollar Tree DIY Concrete Bunny
- Dollar Tree DIY Shabby Chic Easter Sign
- DIY Easter Gnomes Decor
- DIY Farmhouse Bunny Decor
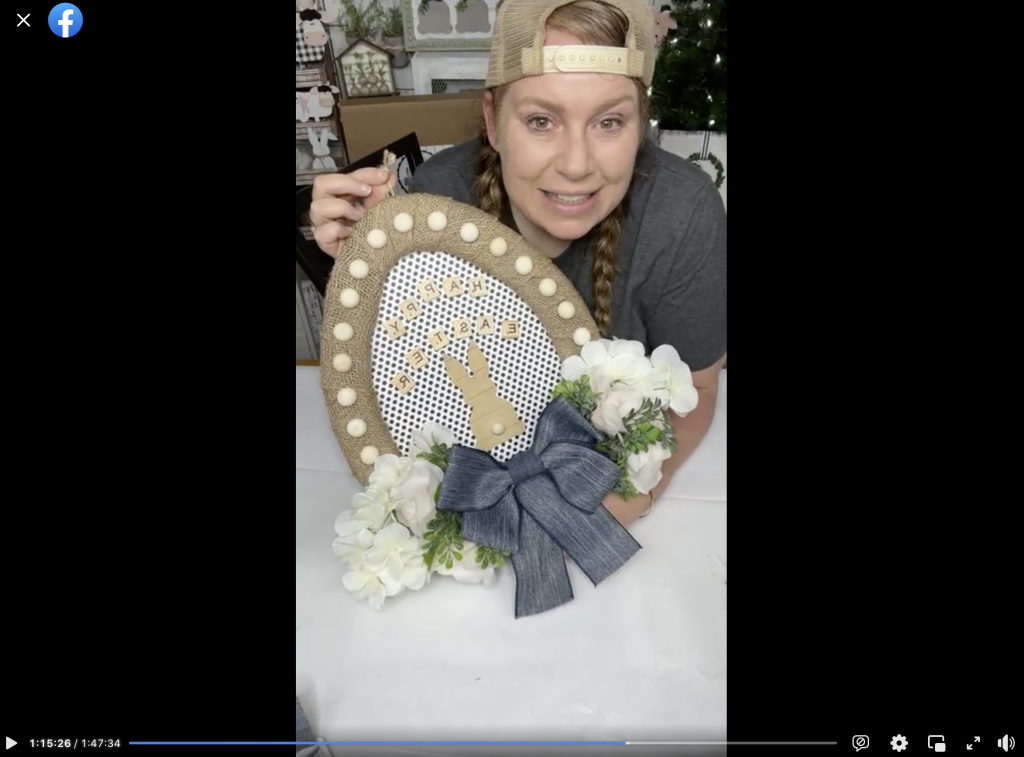
Watch the DIY tutorial
I recorded how to make this adorable DIY Easter door wreath during a LIVE video on my Facebook page.
If you want to see the DIY process, craft along, or just join in on the fun conversations, you can watch the DIY tutorial video on Facebook!
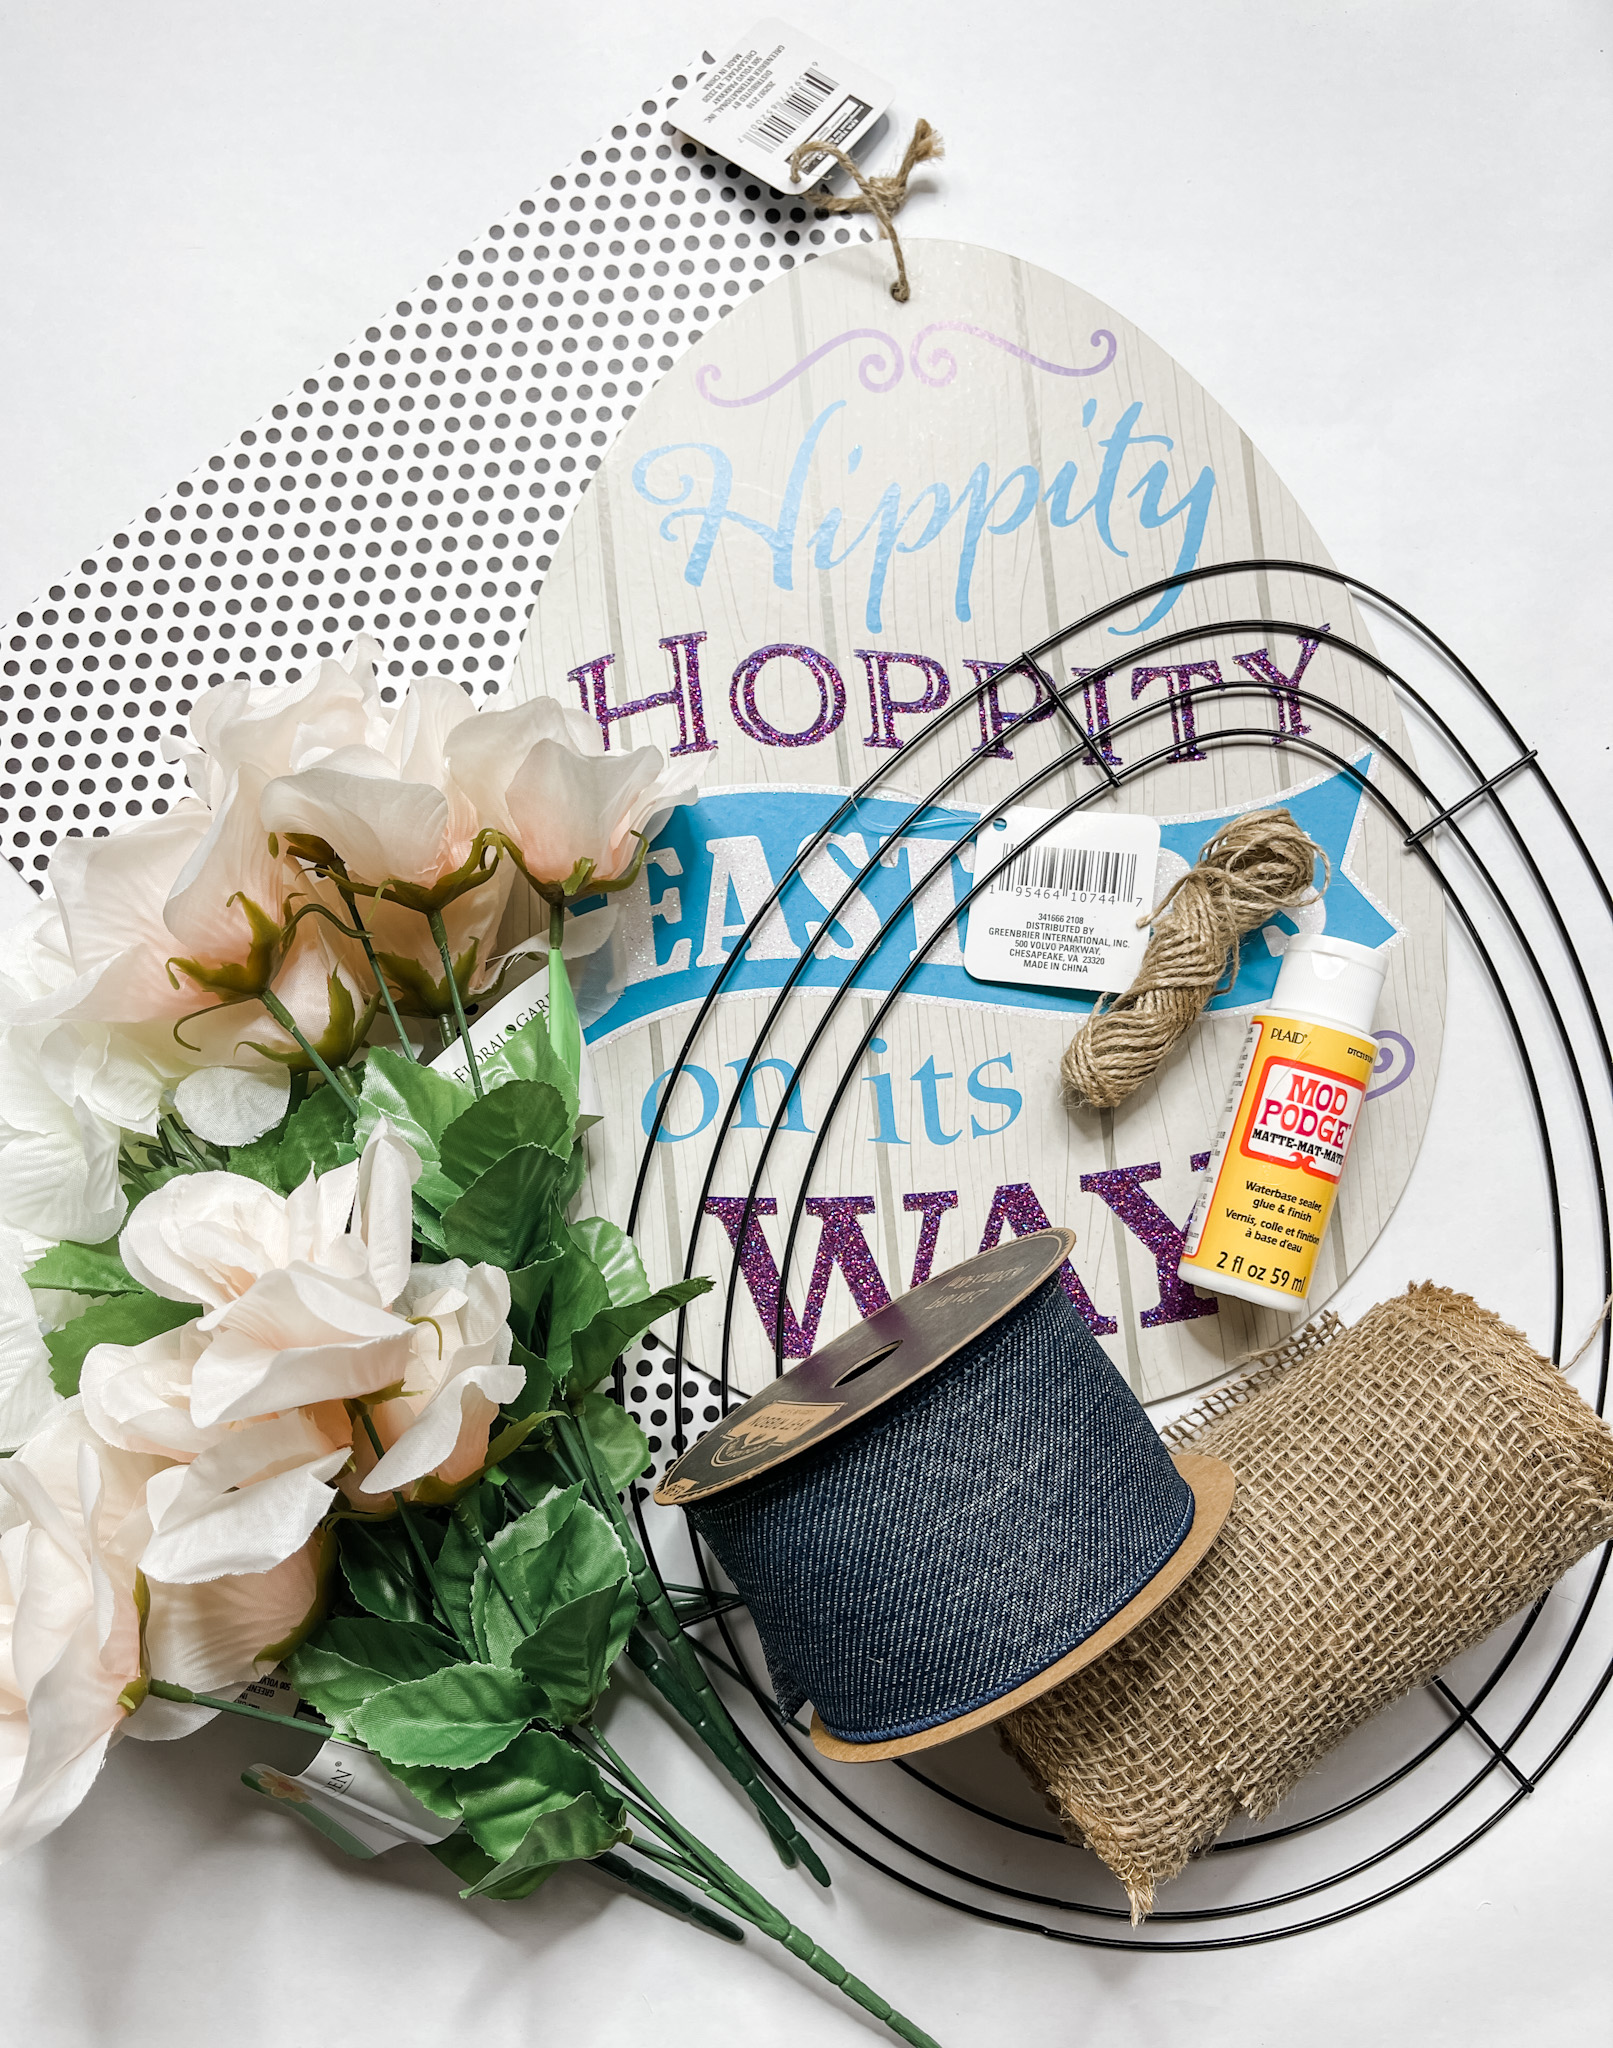
For this project, I will be using these items, but you can substitute where you want.
“As an Amazon Associate, I earn from qualifying purchases.”
- Shiplap Bunny (part of a DIY craft kit)
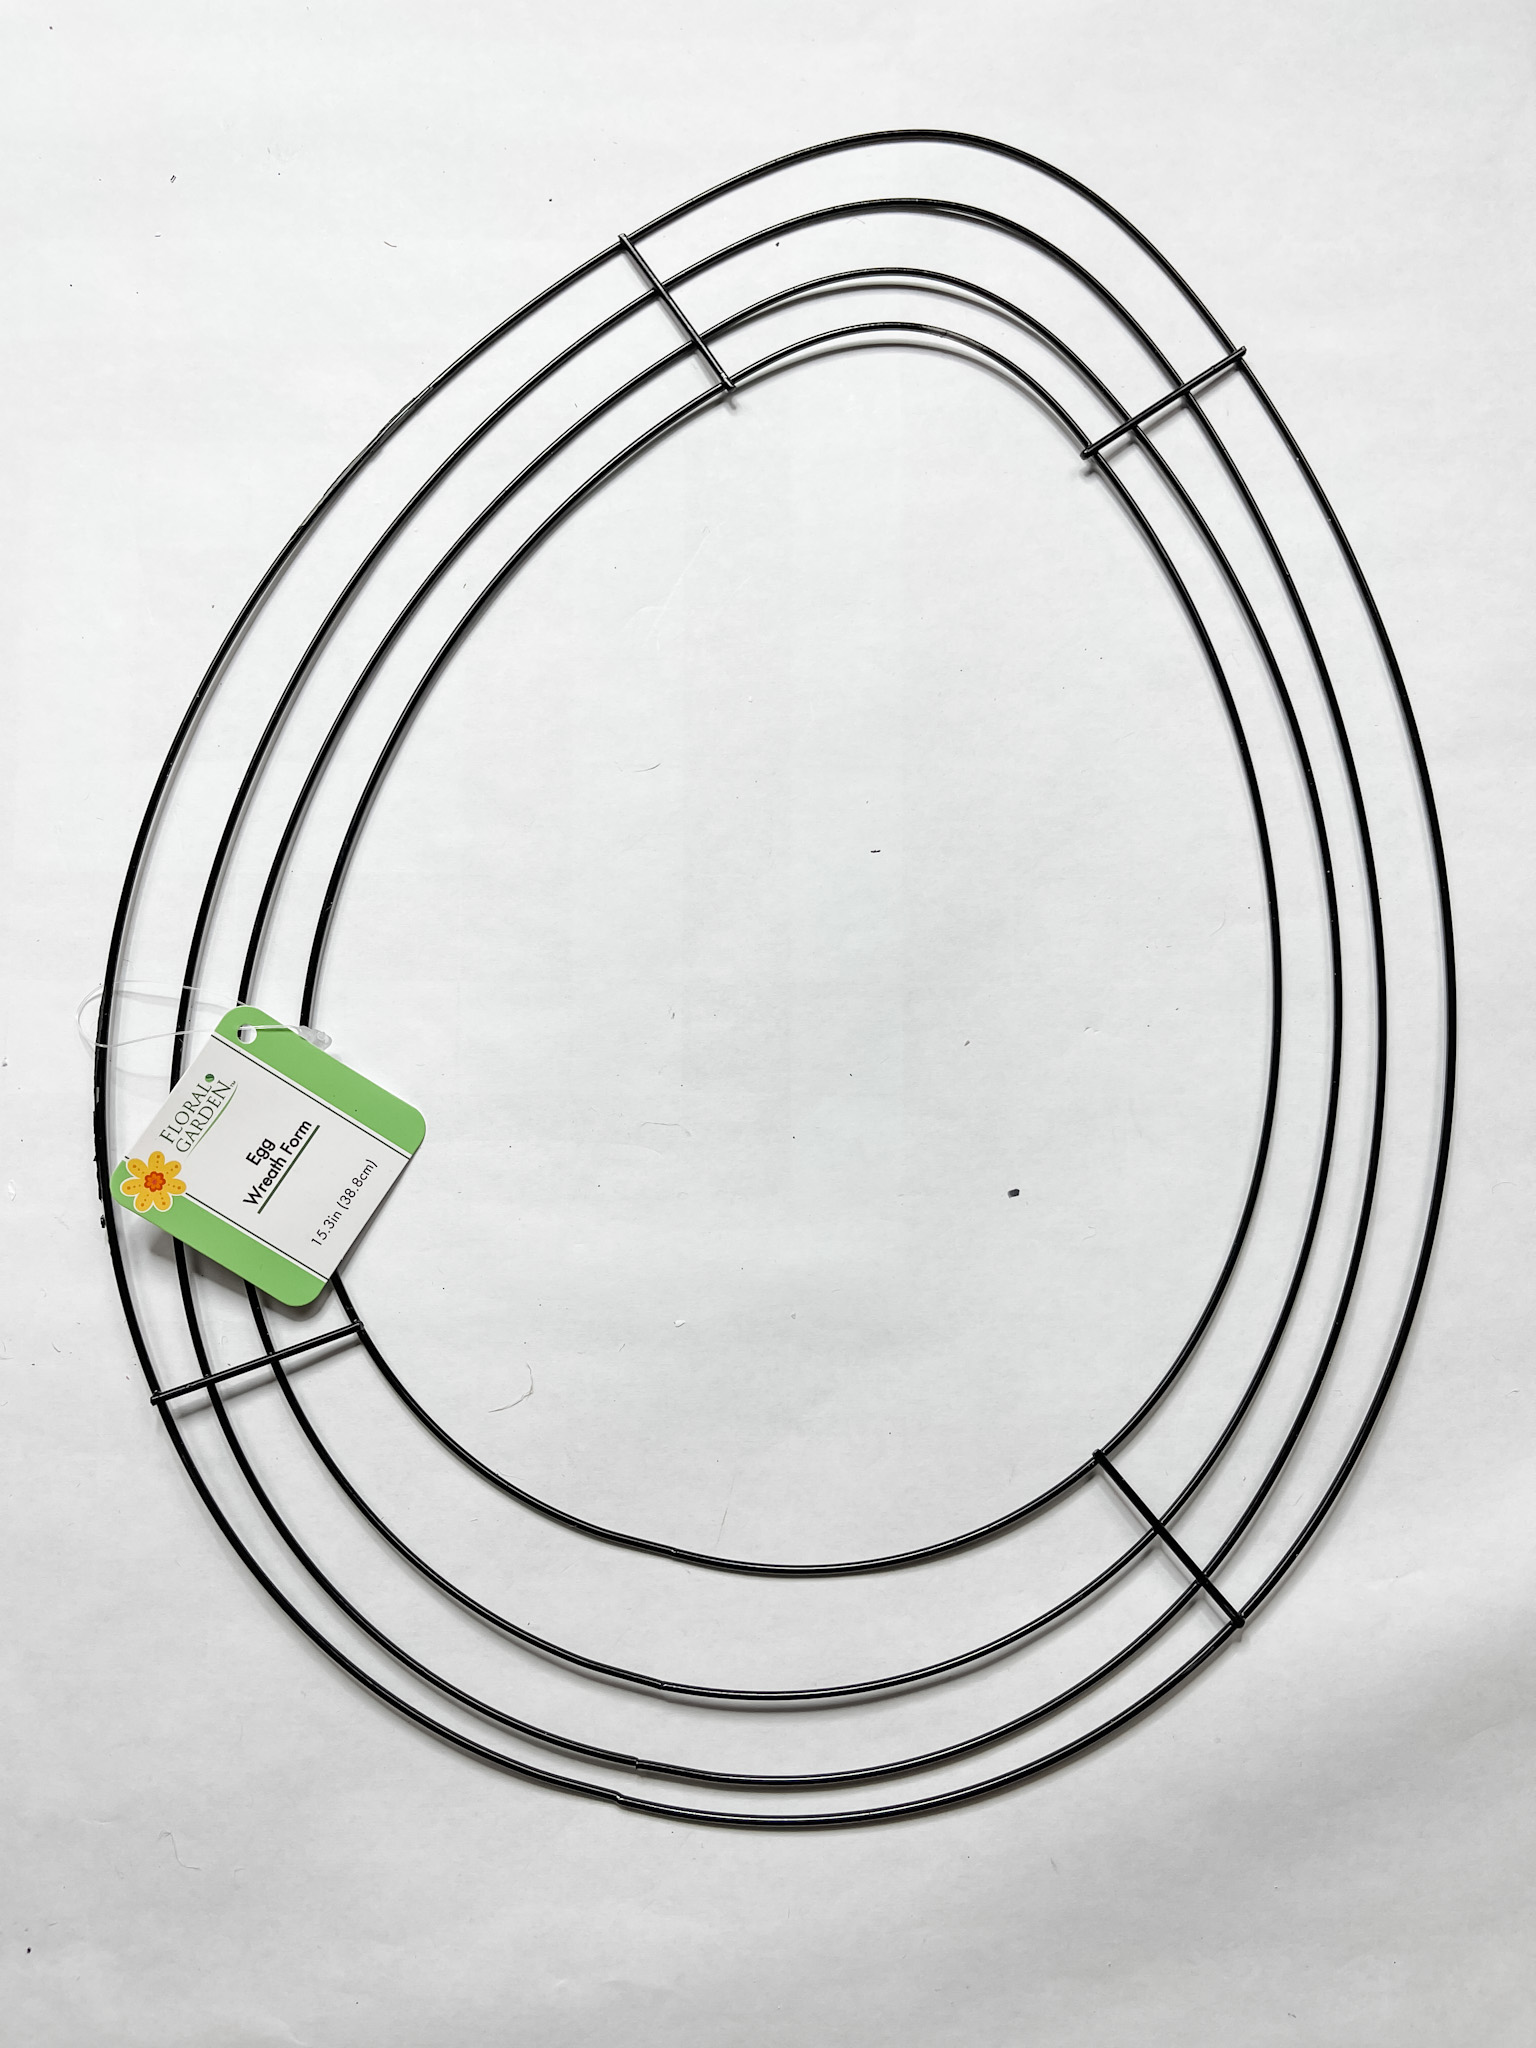
- Dollar Tree Egg Wreath Form
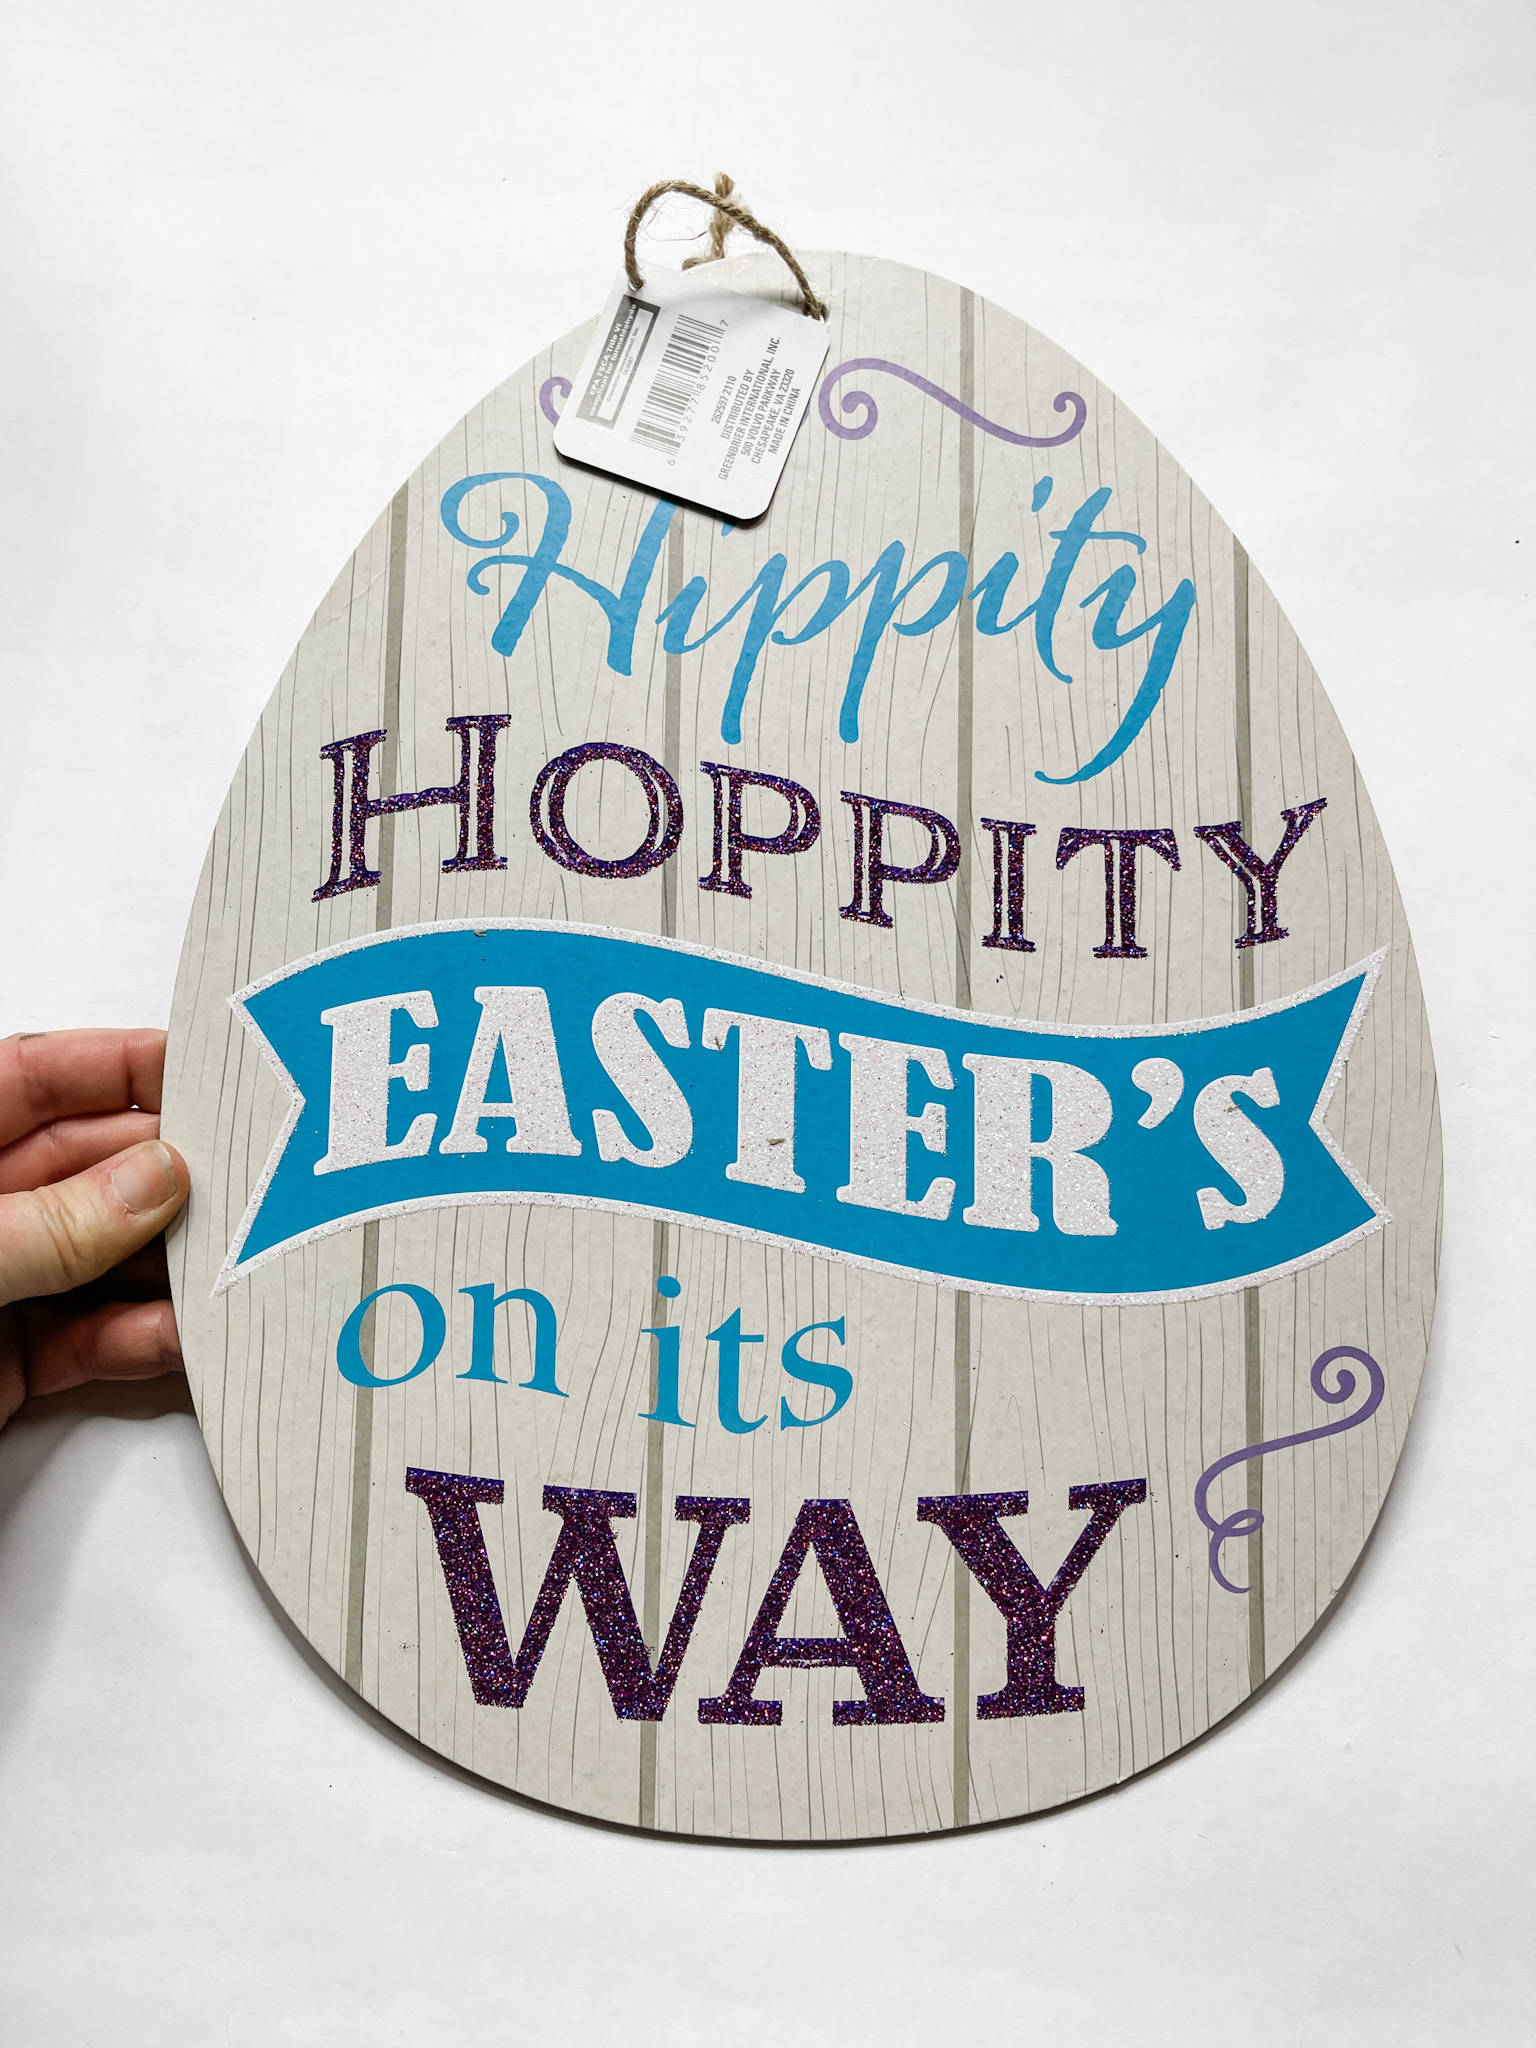
- Dollar Tree Egg Sign
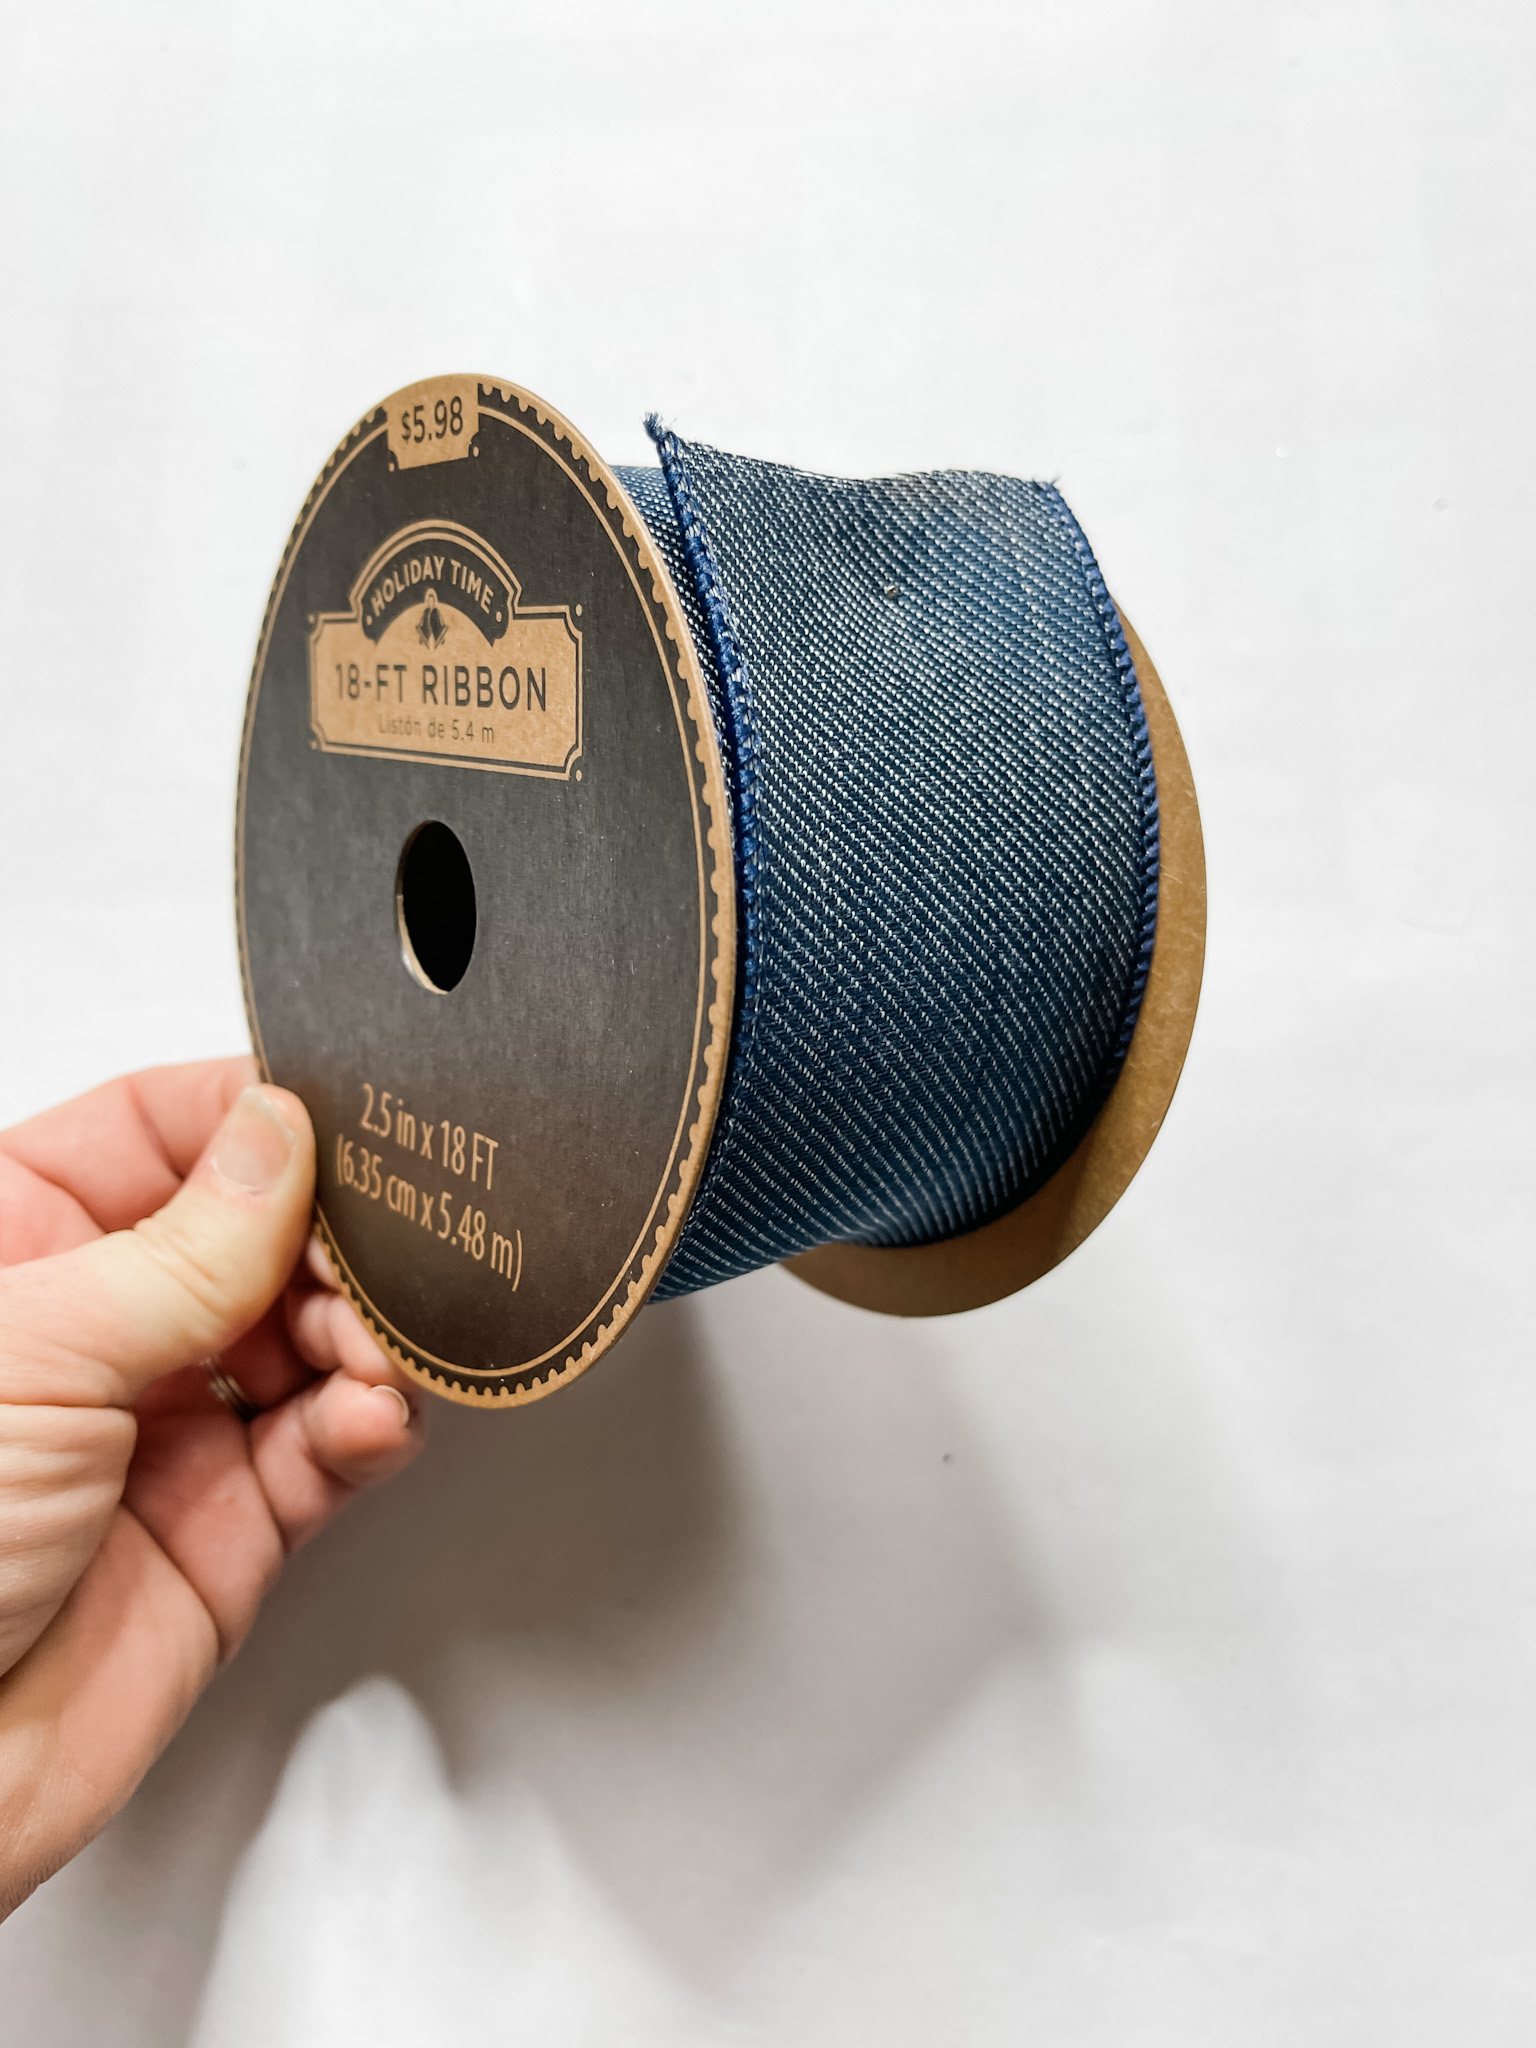
- Denim Ribbon
- Dollar Tree Flowers/Greenery
- Dollar Tree Jute Twine
- Mod Podge
- Burlap Ribbon
- Scrapbook Paper
- Zip ties
- Scrabble Tiles
- Hot Glue gun
- Glue Sticks
How to make a DIY Easter Door Wreath
I started this super cute Easter door wreath by wrapping the burlap ribbon around the Dollar Tree egg-shaped wreath form. I used hot glue to secure the ribbon in place.
Next, I decoupaged the scrapbook paper onto the back of the Dollar Tree egg-shaped sign. To decoupage, apply a coat of Mod Podge to the sign then place the scrapbook paper onto the surface.
Allow the Mod Podge to dry completely (I used my heat gun to speed up the drying process) then use a sanding sponge to tear off the excess scrapbook paper from the sign.
This next part is probably one of my favorites because it’s a step that allows you to really customize this project and show your design style!

It’s time to pick out your floral and greenery sprays! Choose the ones you want and zip tie them together.
Next, glue the burlap-wrapped egg-shaped wreath form onto the decoupaged egg-shaped sign, then glue the floral arrangement at the bottom of the egg.
Bring it all together
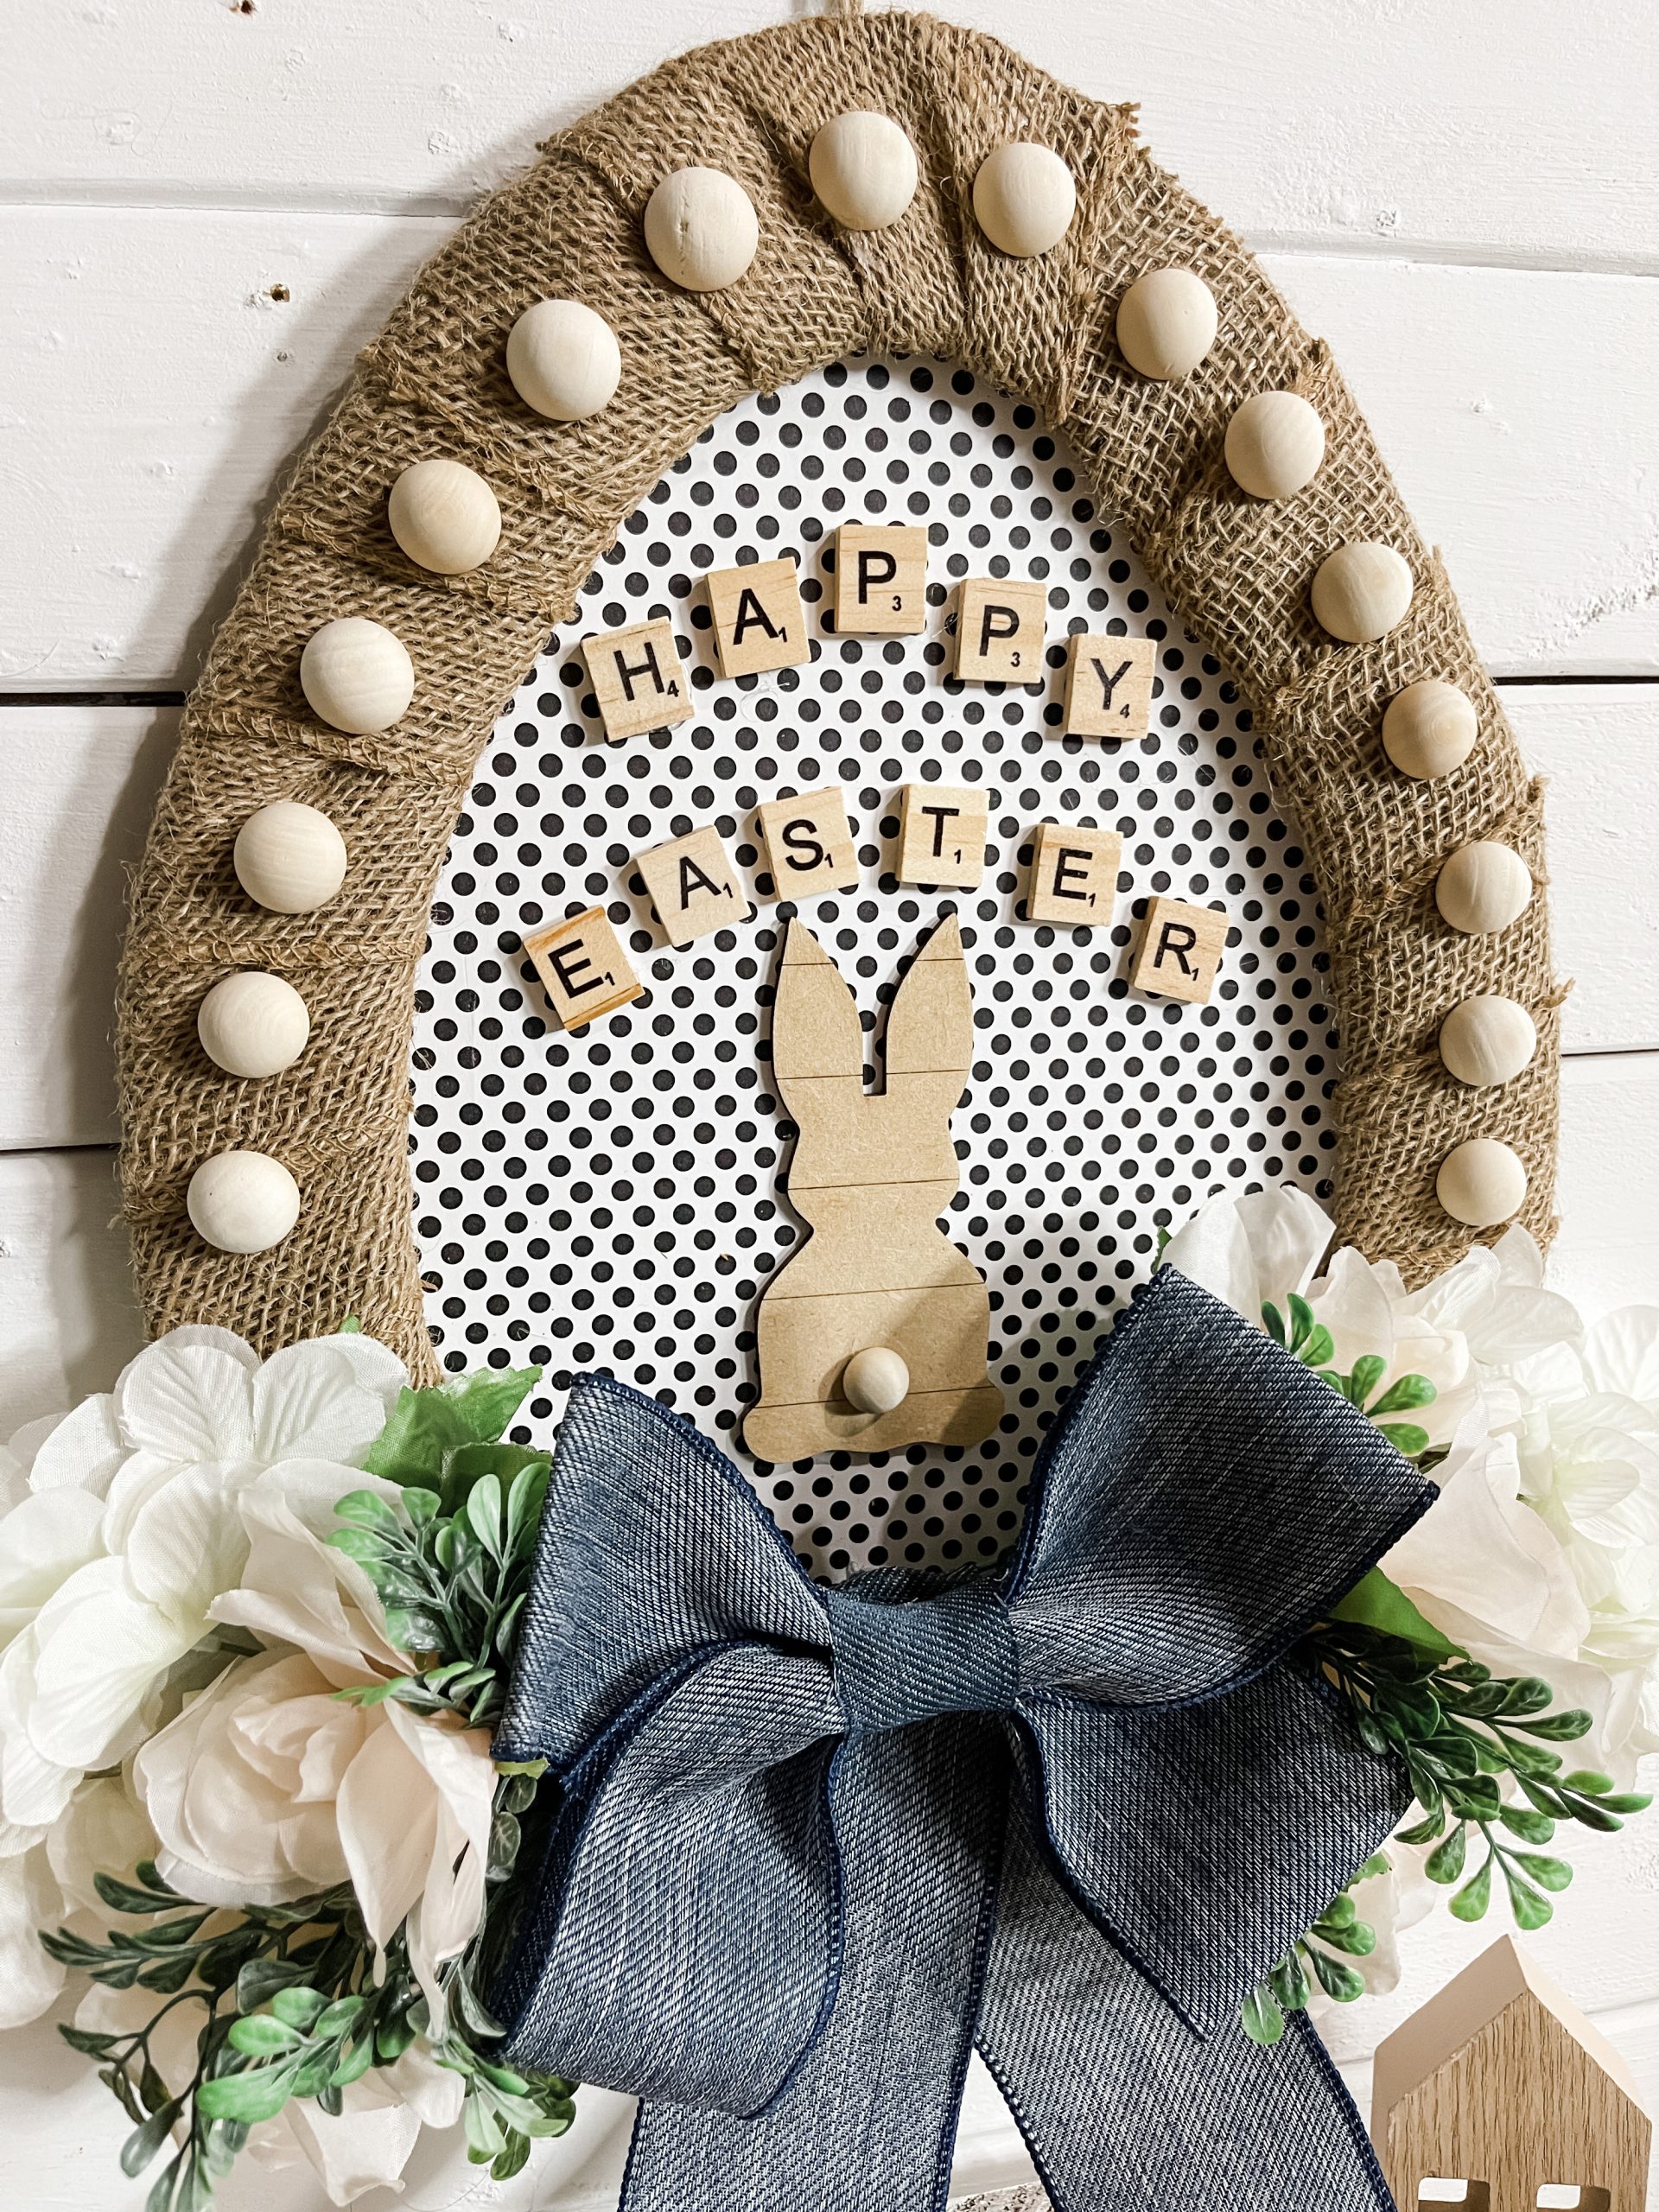
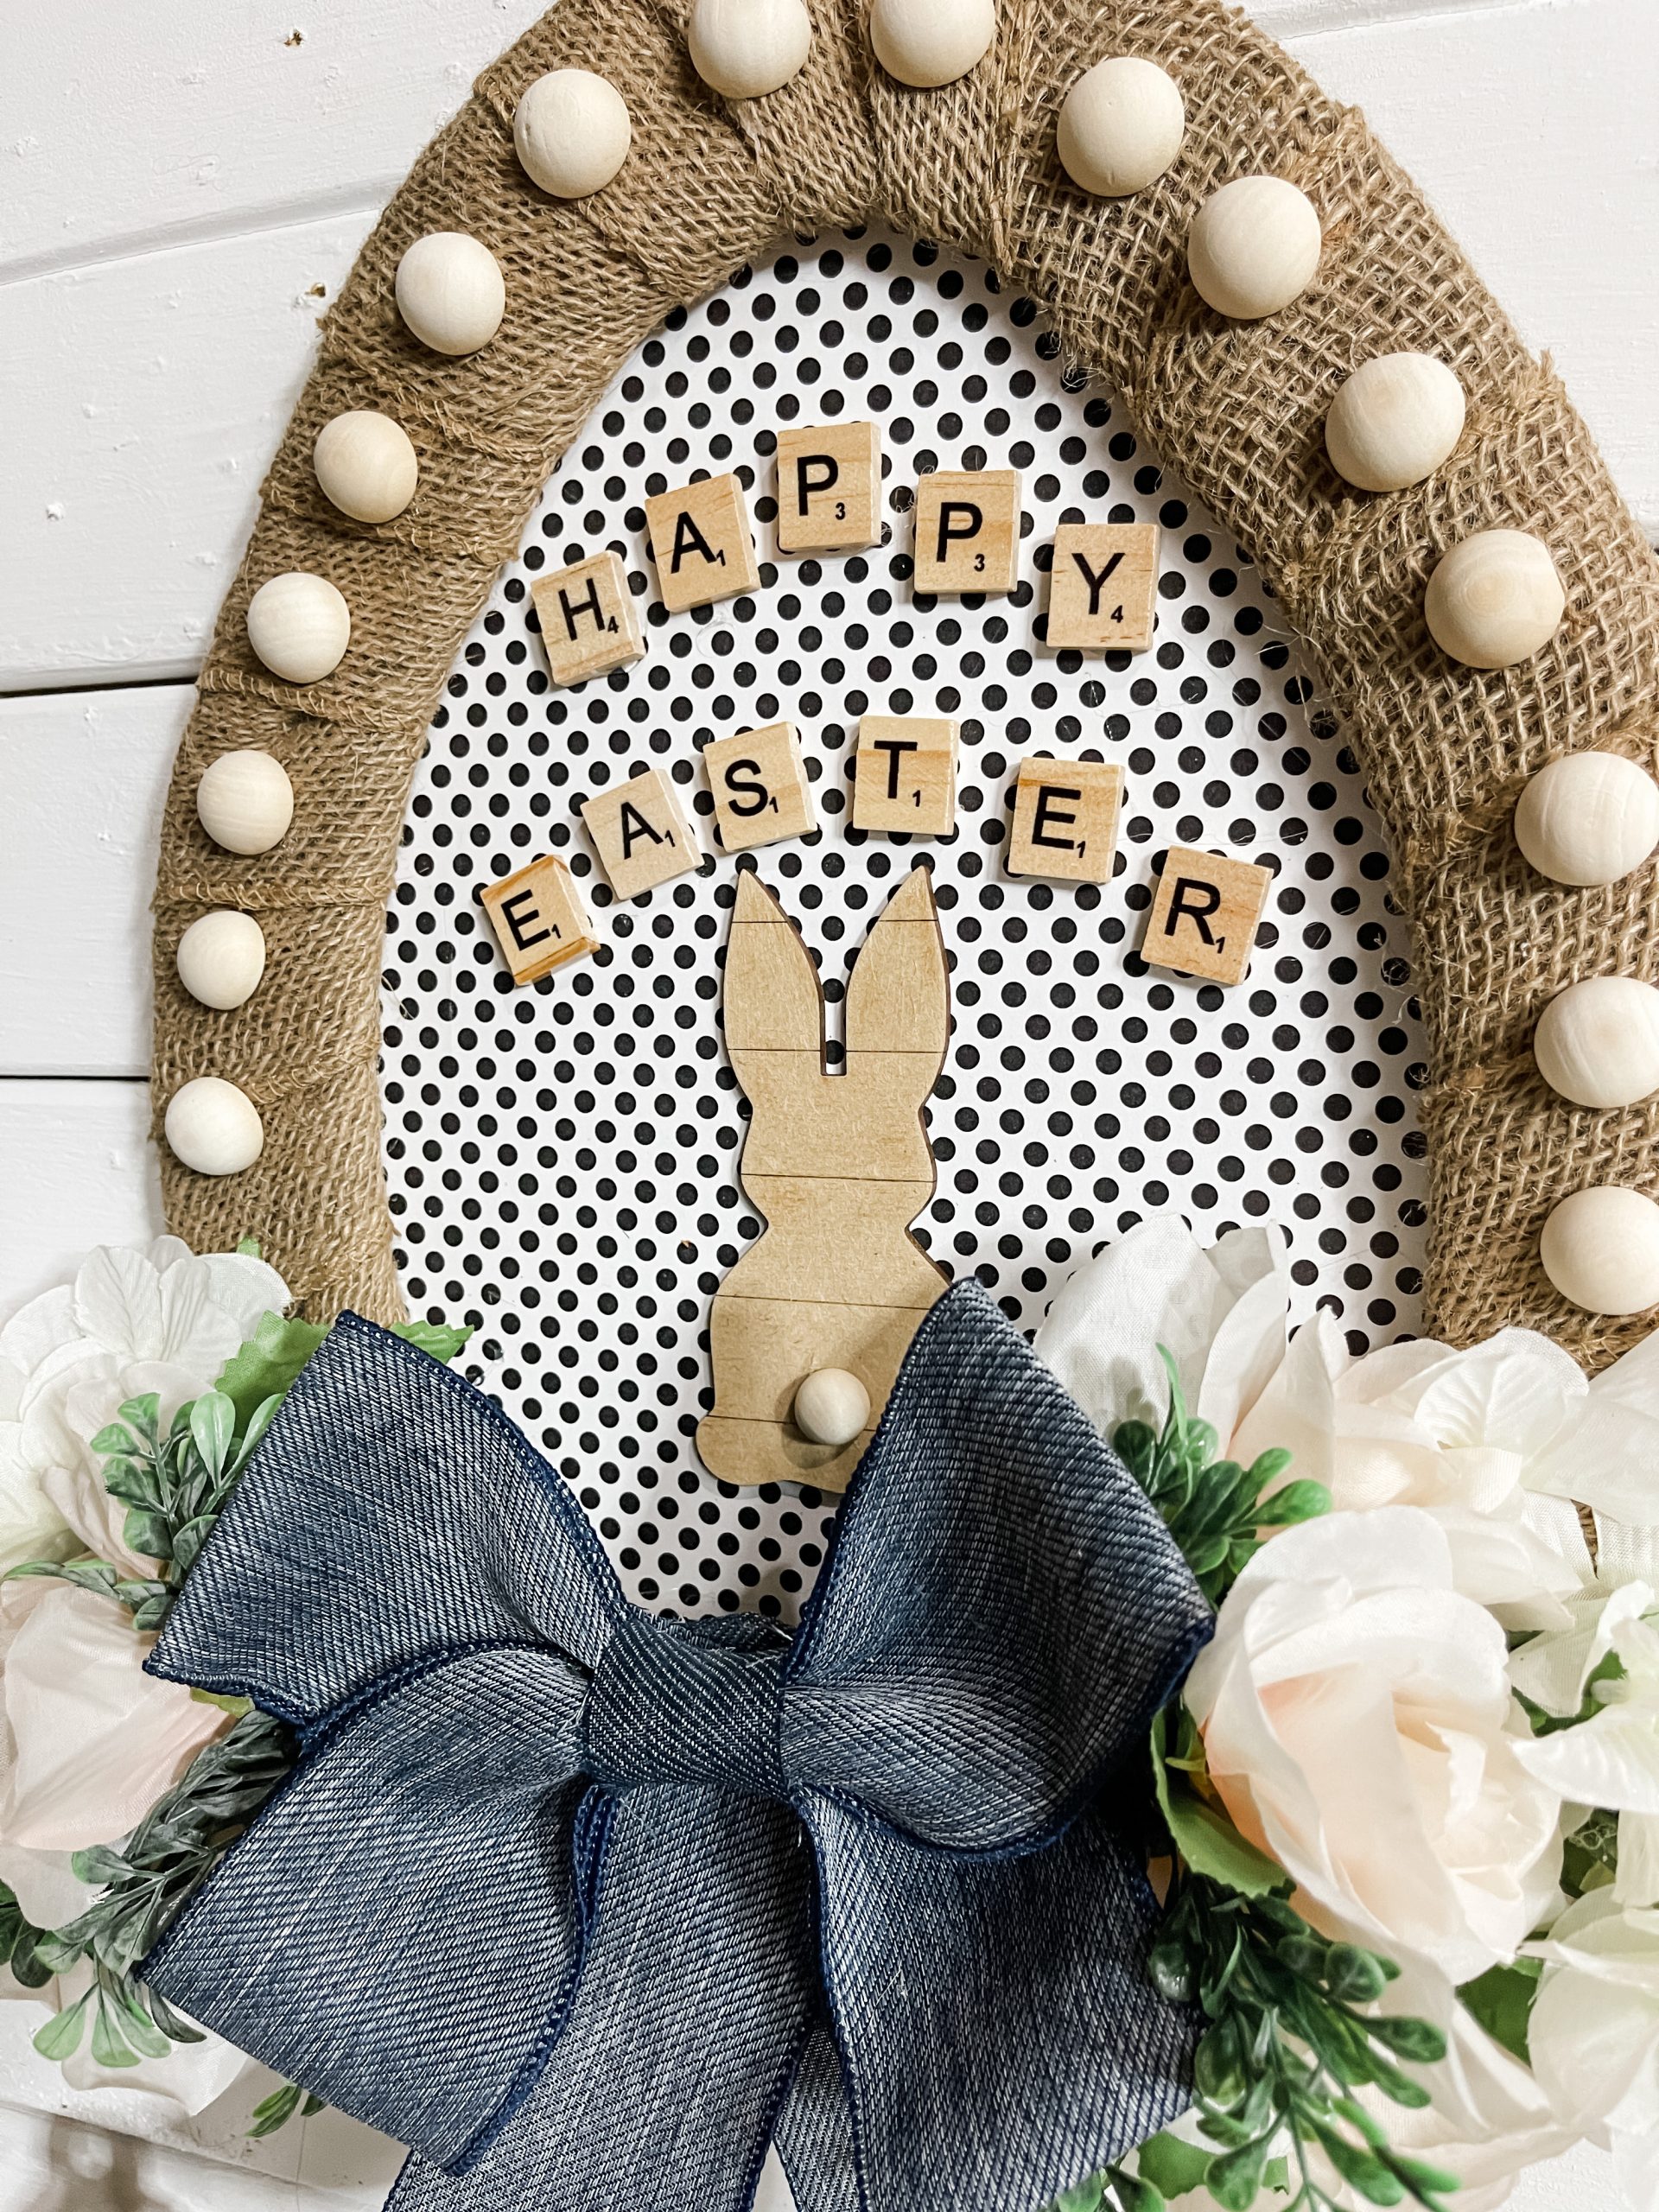
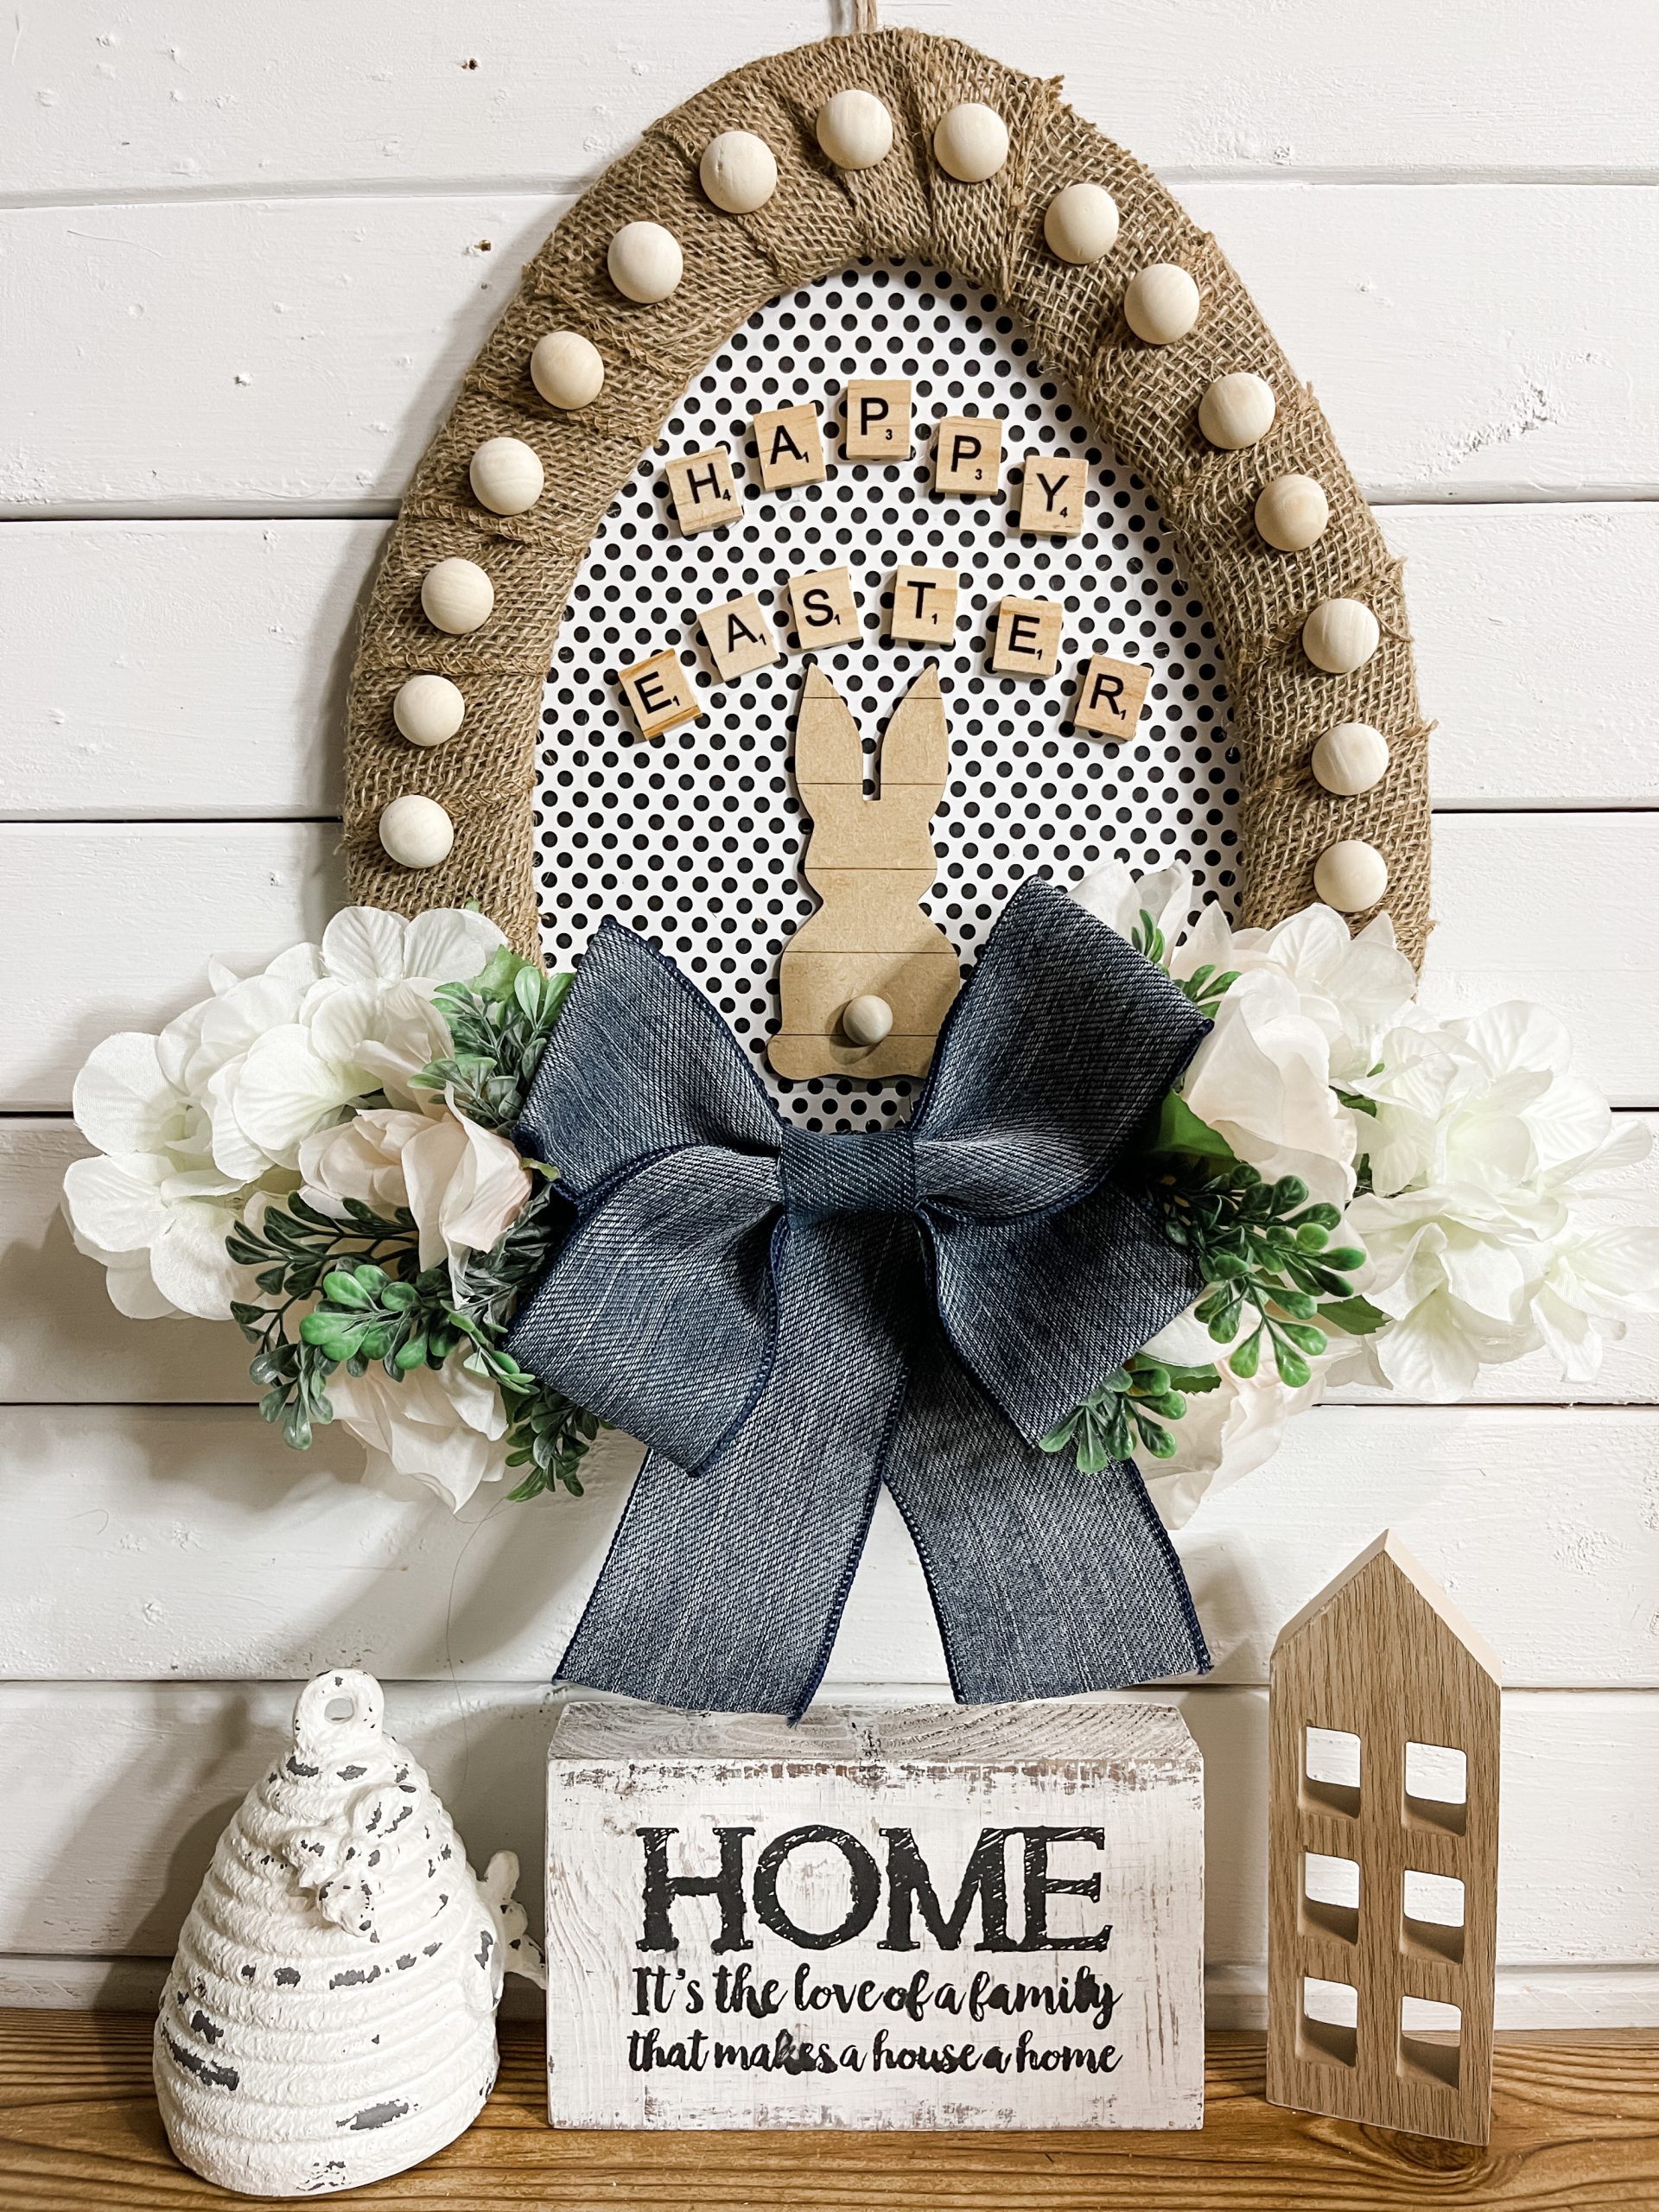
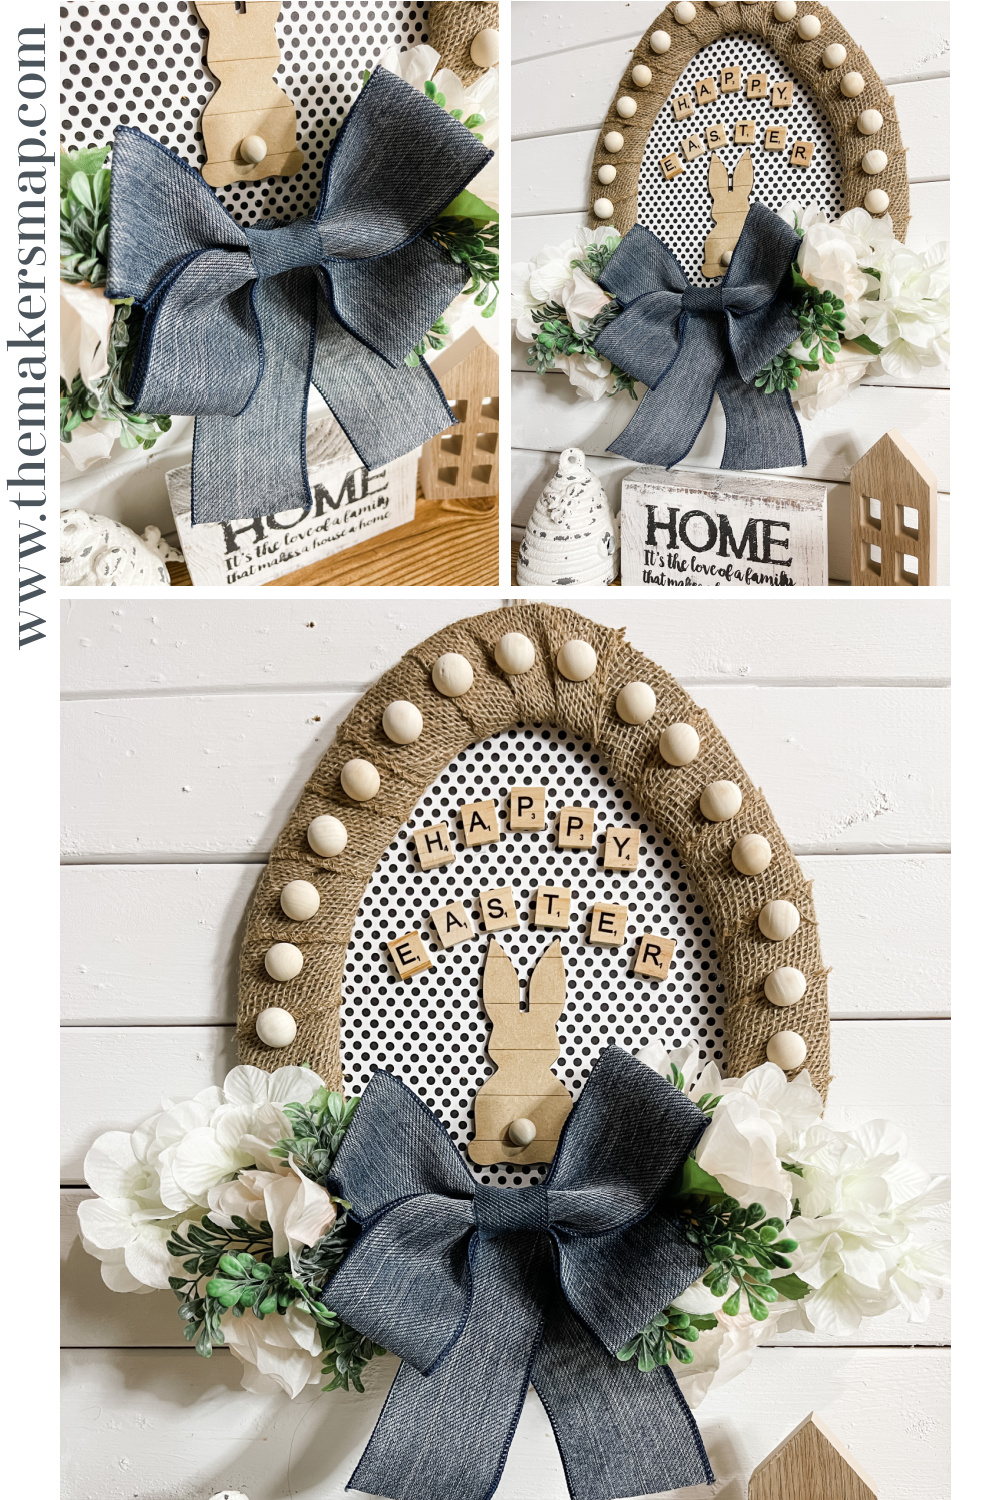
Next up, I glued the little shiplap bunny (it was a piece from a craft kit I made) onto the egg-shaped Easter wreath. Then, I glued the scrabble letters above the shiplap bunny.
Next, I made a bow out of the denim ribbon and glued it at the bottom of the Easter wreath, on top of the middle of the greenery/floral sprays.

Lastly, I glued a little white pompom onto the bunny’s bottom as its tail and I glued half wood beads onto the showing burlap on the door hanger.
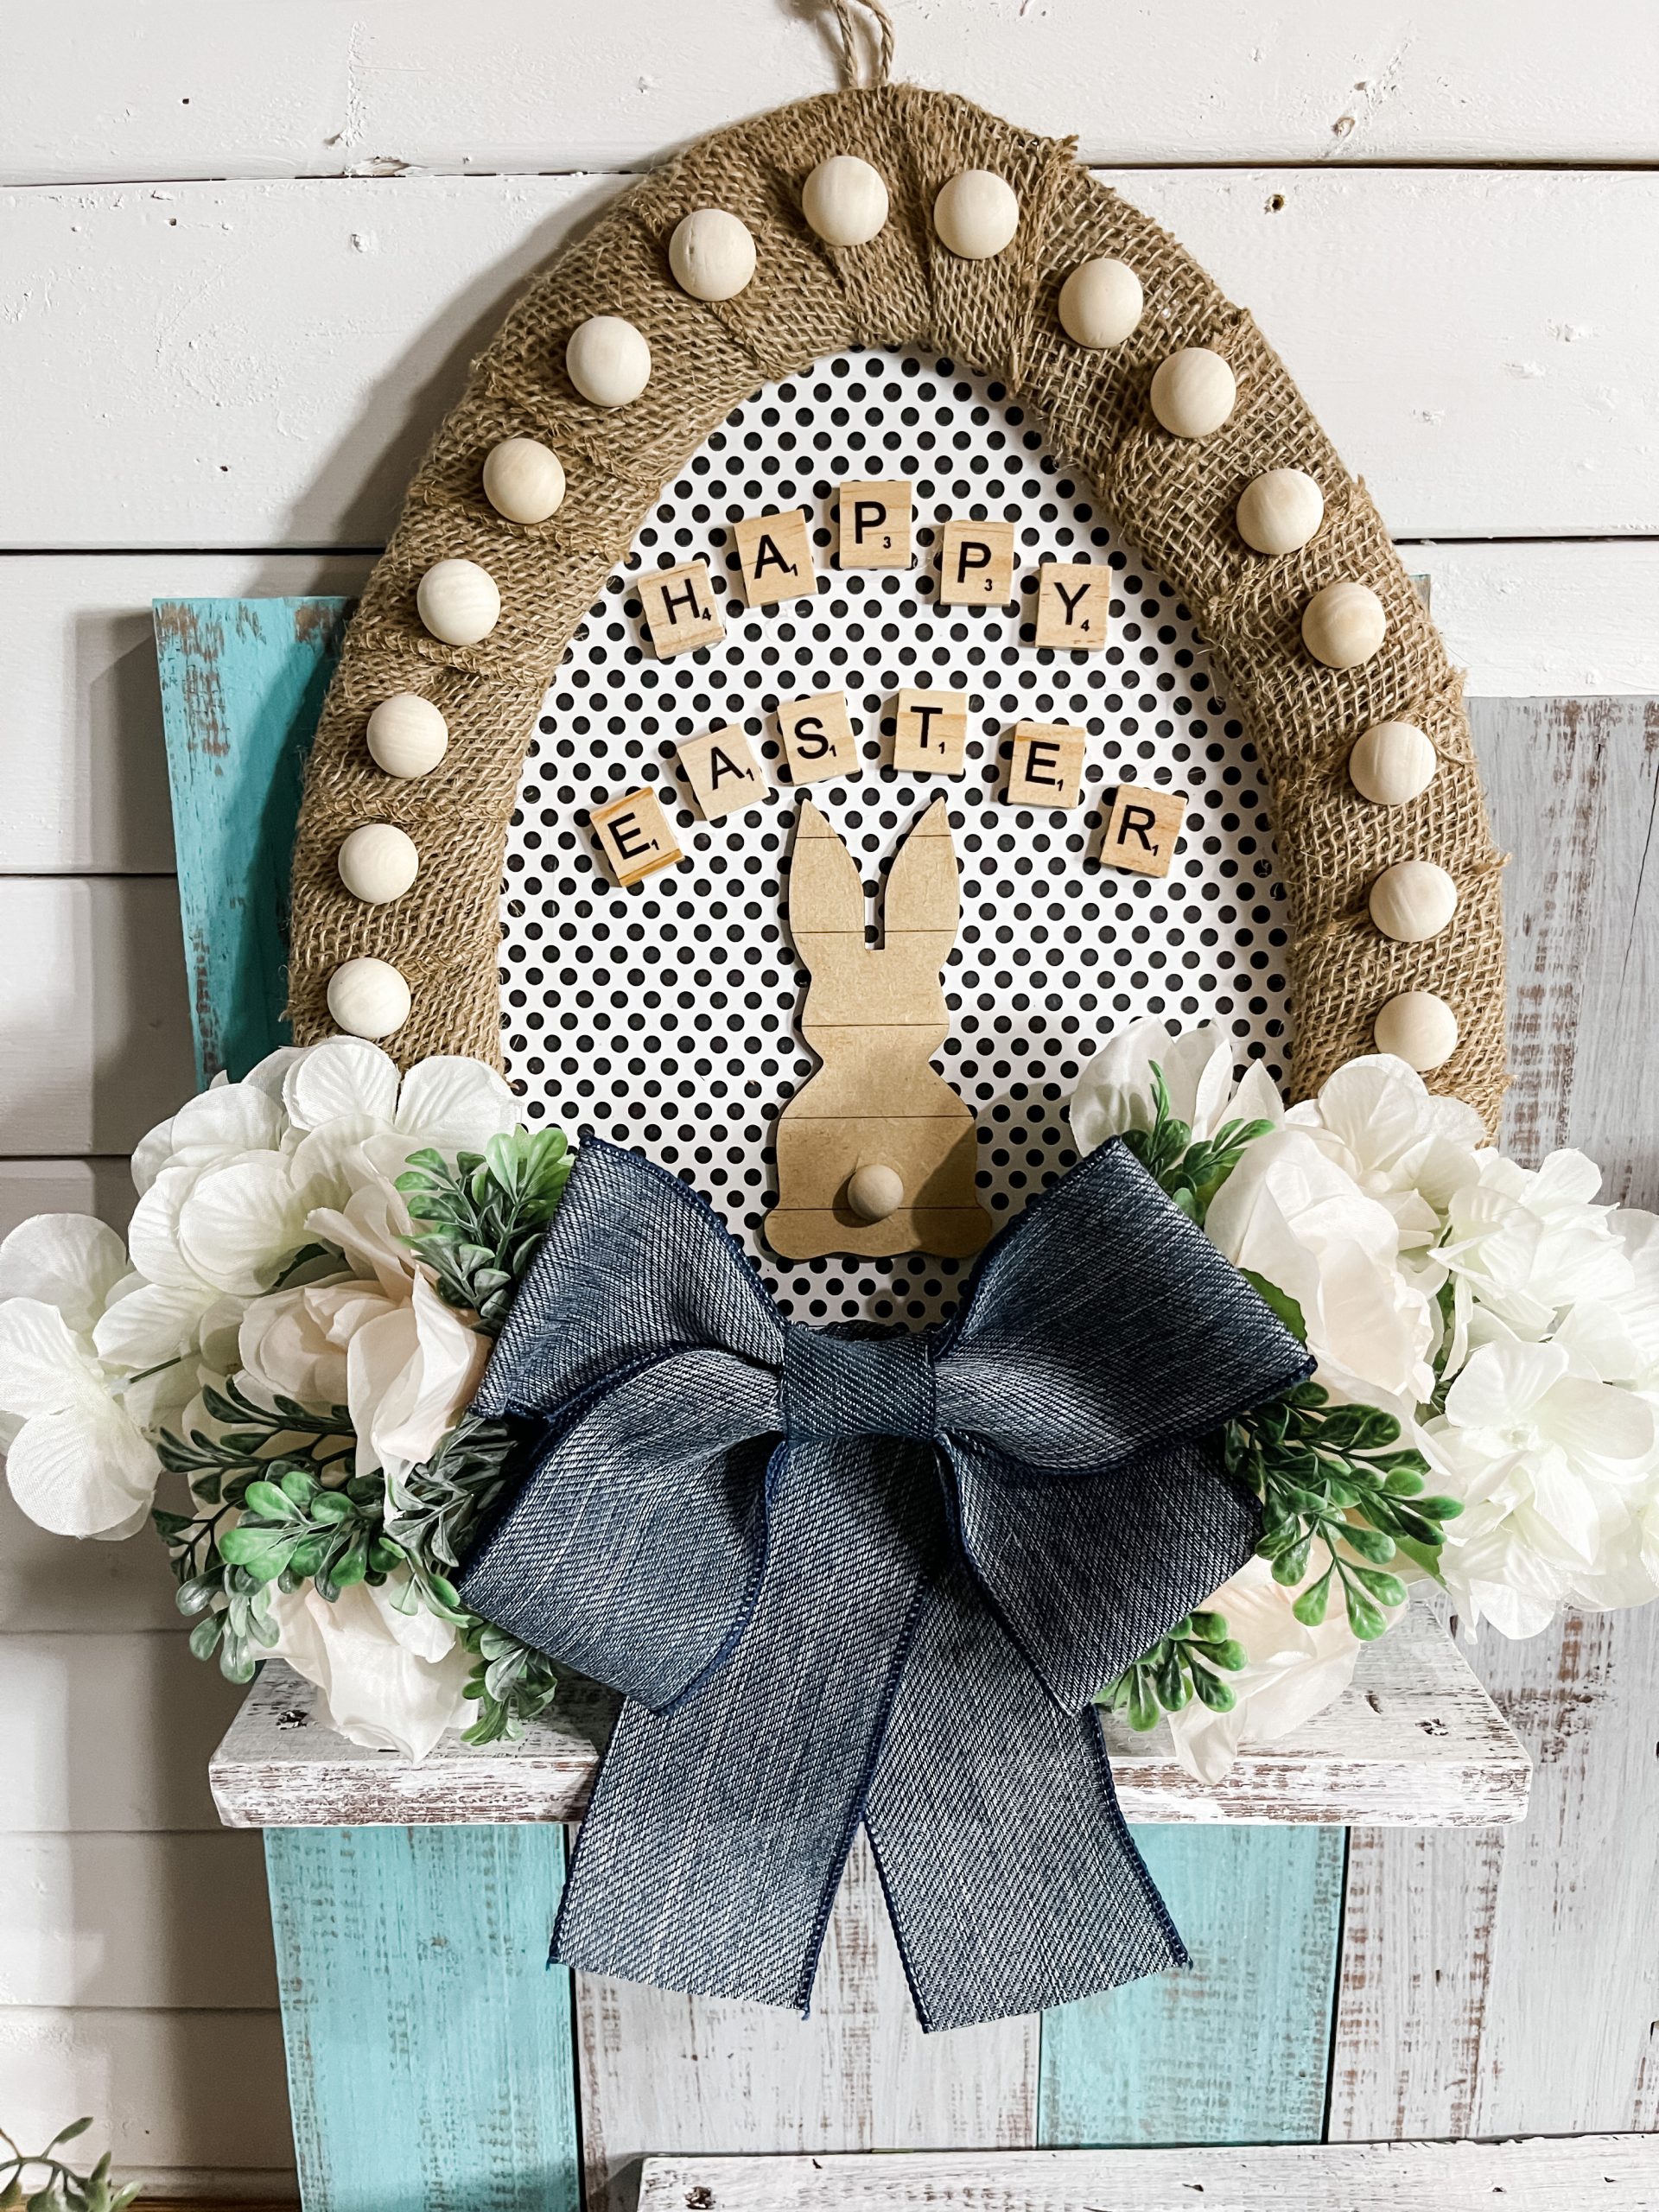
Secure a piece of twine at the top of the wreath to make a hanger for this adorable DIY Easter door wreath!
I hope you enjoyed this DIY Easter Door Wreath as much as I did and decide to make it for yourself! If you do, I would love to see how yours turns out!
You should totally join my FREE Facebook group called On A Budget Crafts! It is a judgment-free community for DIY crafters to show off their projects and ideas.
If you loved this DIY, you might also like these DIY ideas!
- Hot Glue Mold DIY Home Decor
- Dollar Tree Trophy DIY Farmhouse Decor
- DIY Farmhouse Buffalo Check Gather Sign
- Simple Buffalo Check Farmhouse Plant Jar
Thanks for stopping by! XOXO Amber
You can also shop my ENTIRE AMAZON Favorites shop just click here! It’s packed full of all the things I use and love. Here is the supply list I highly recommend every creative have on hand!!
Would you also pin my blog for later and get on my newsletter alerts? I would love to have you join my #craftycrew.
I email alerts about new blogs like this DIY Easter Door Wreath so you’re always up to date on fun, new DIY ideas!
Inspired? Leave me a comment below! I love hearing from my readers!

Join my free “ON A BUDGET CRAFTS” Facebook group!

This is super cute!! Thank you for inspiring us always Amber!!
This turned out awesome. Love the way you decorated the egg