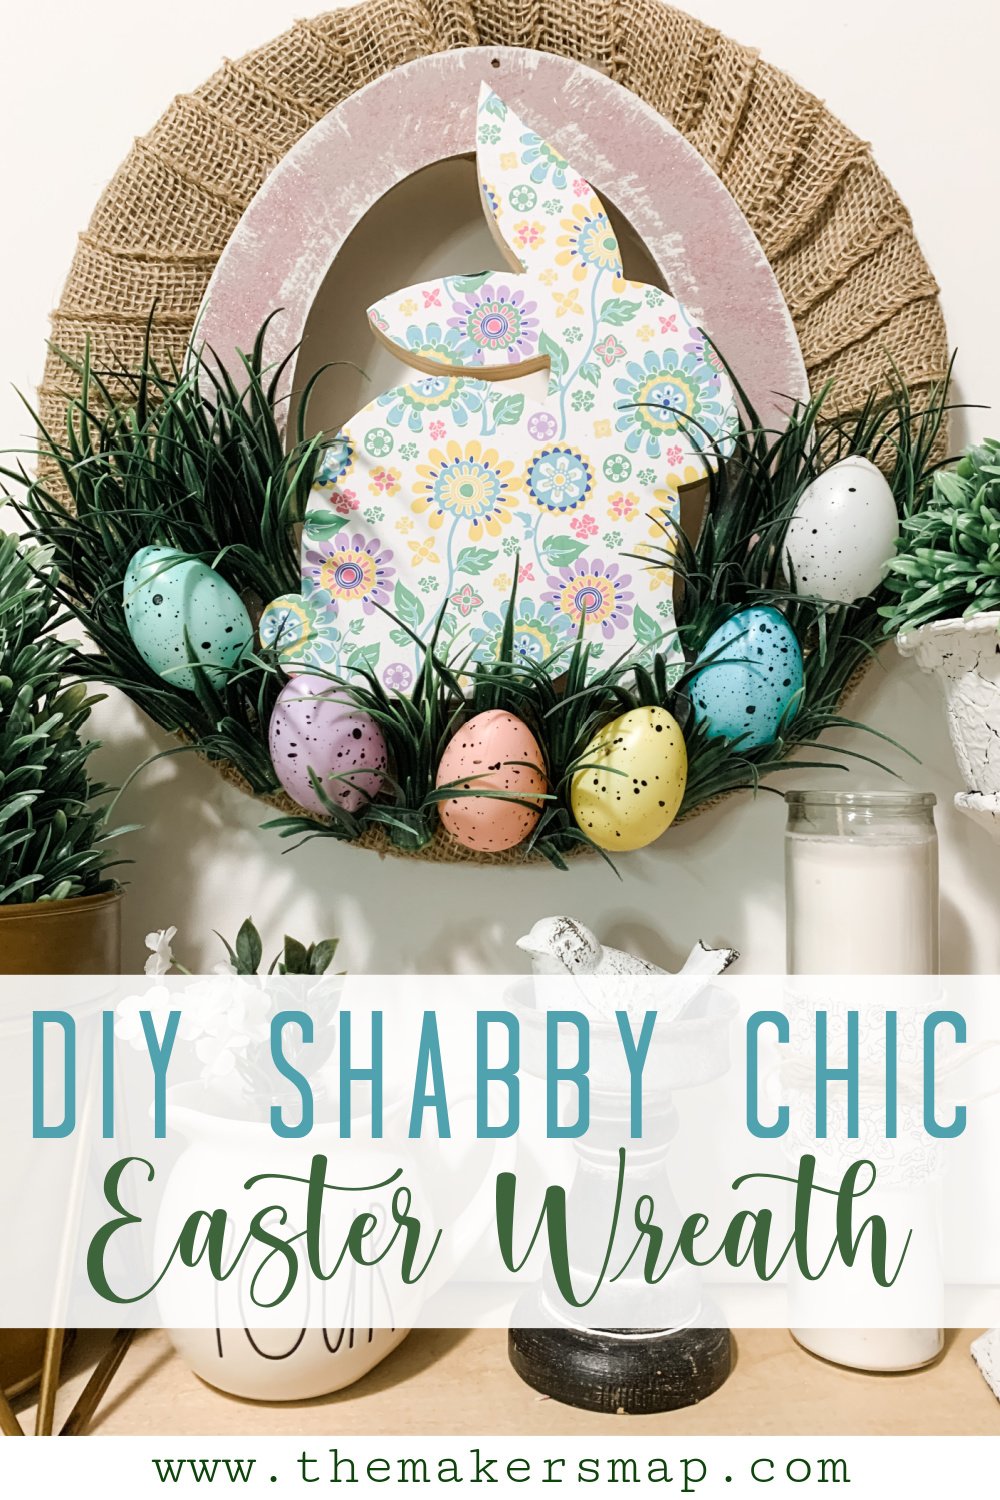
DIY Shabby Chic Easter Wreath
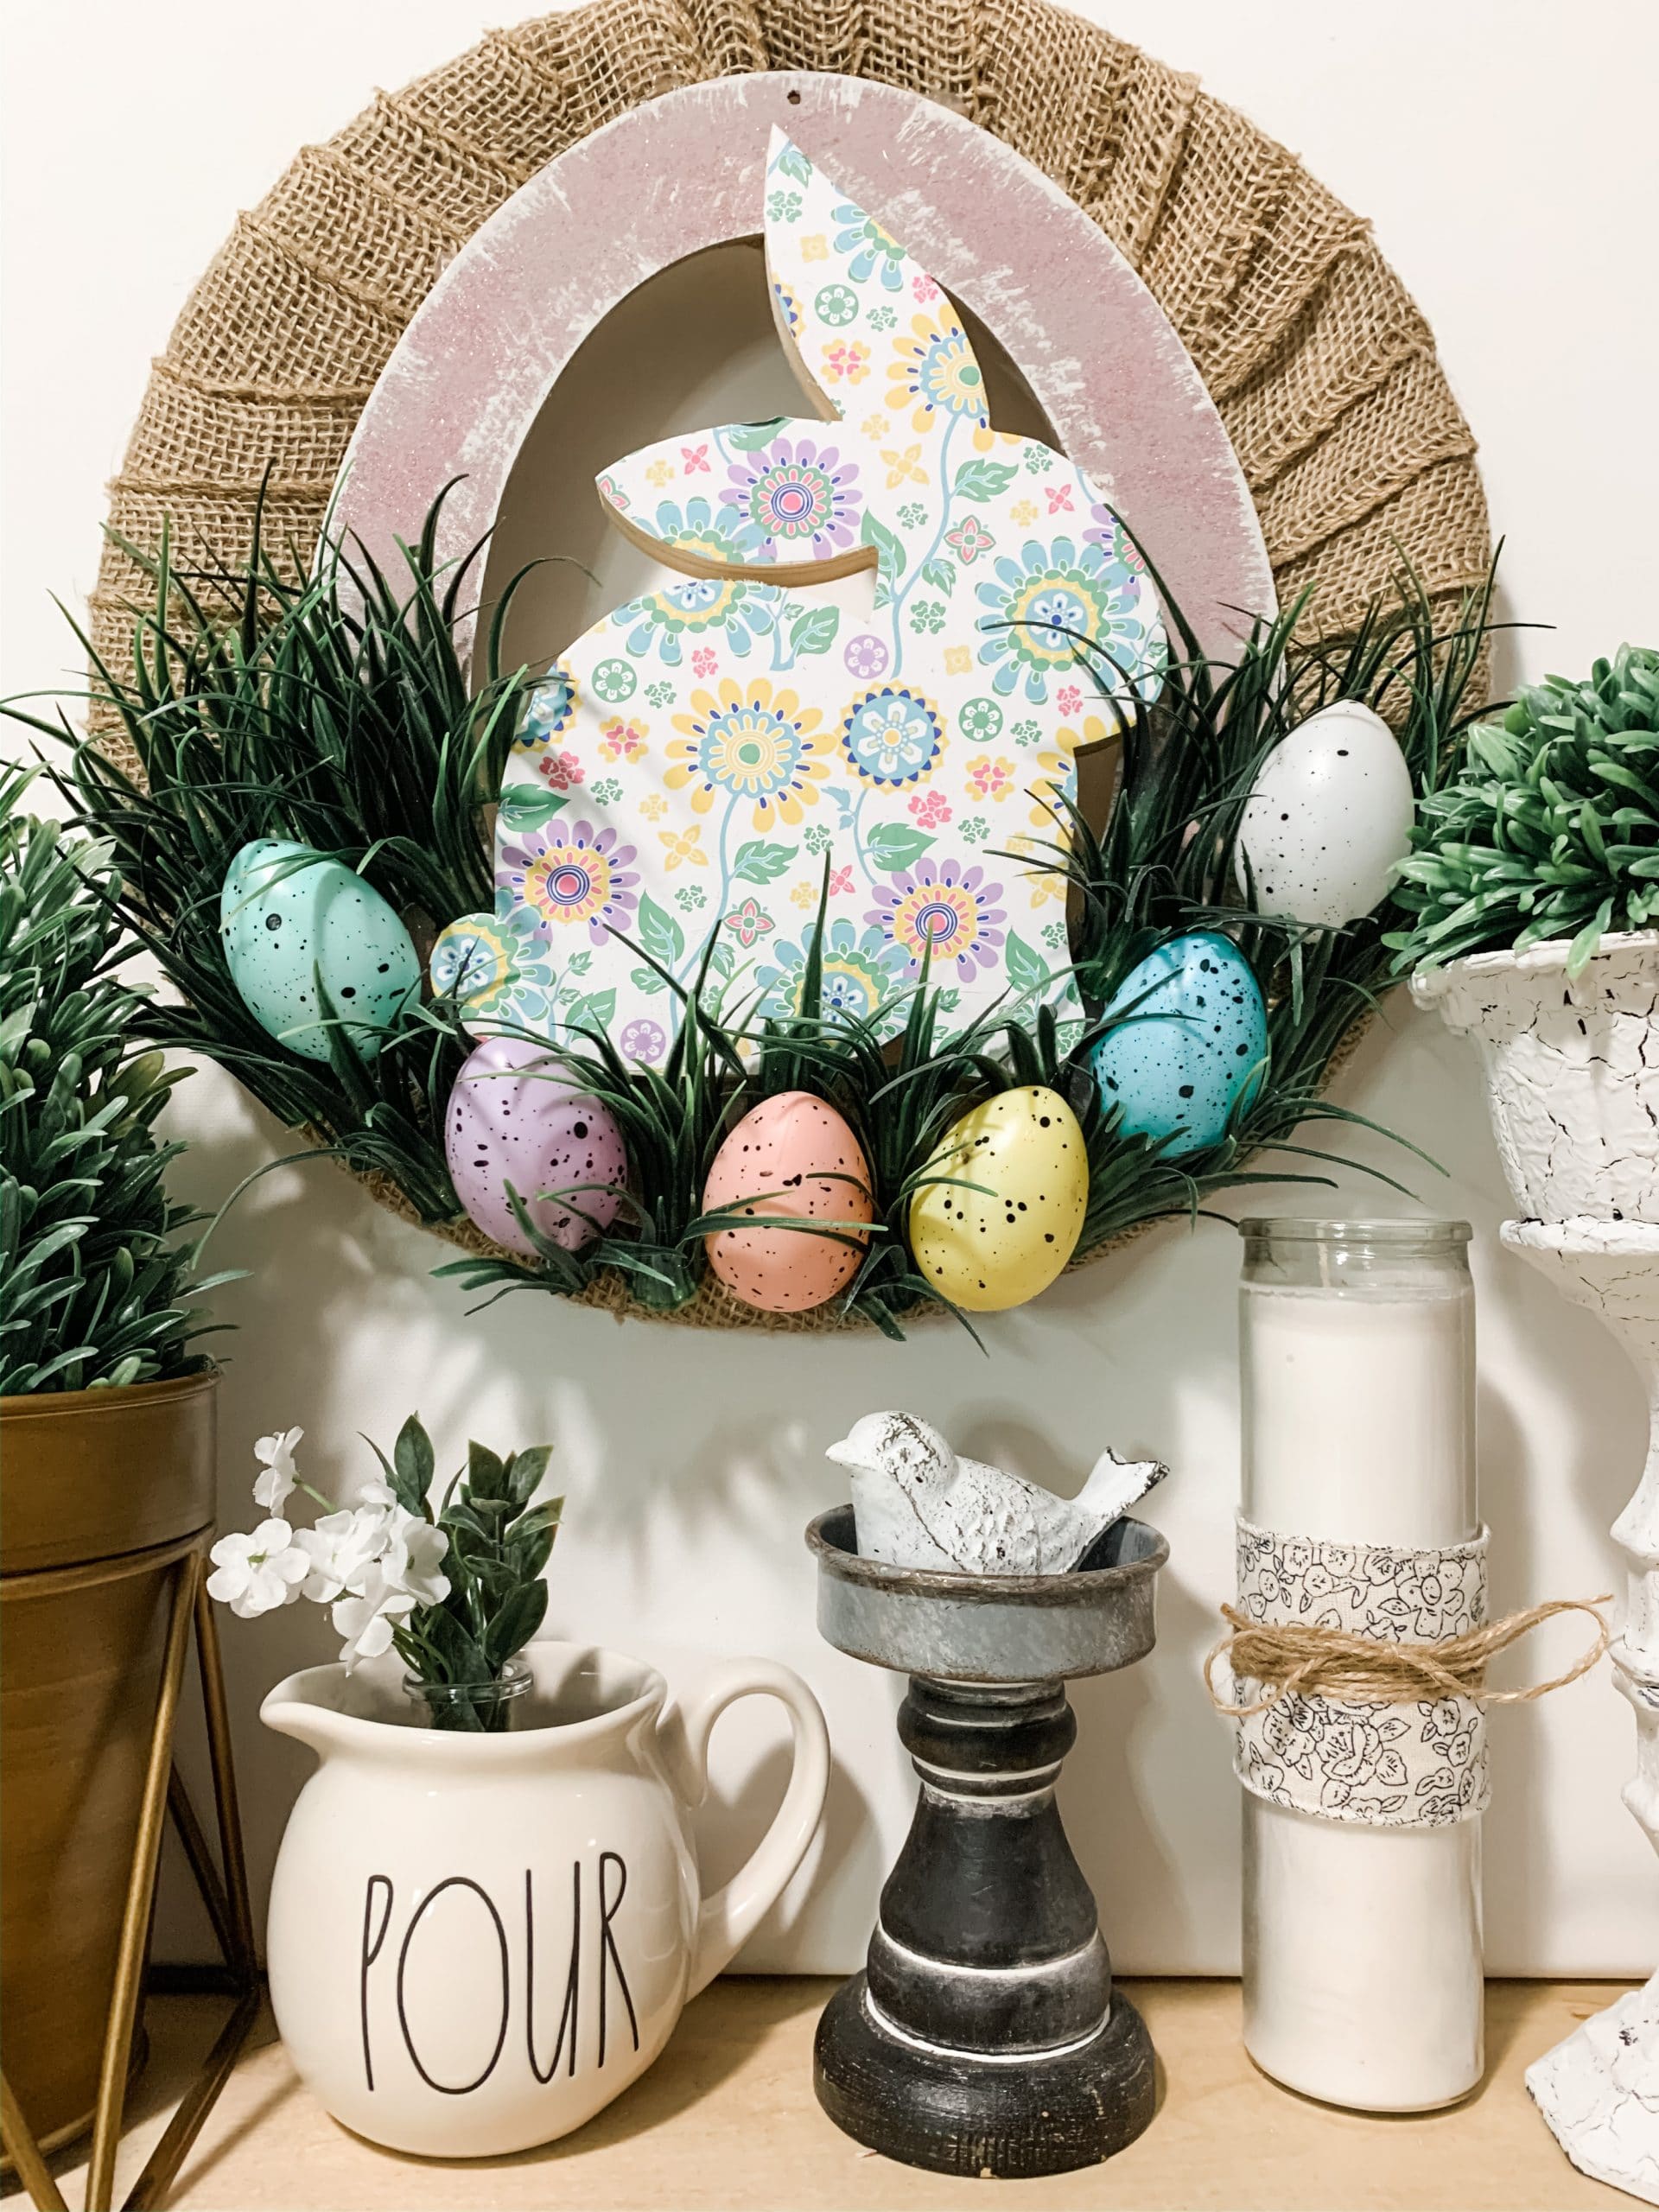
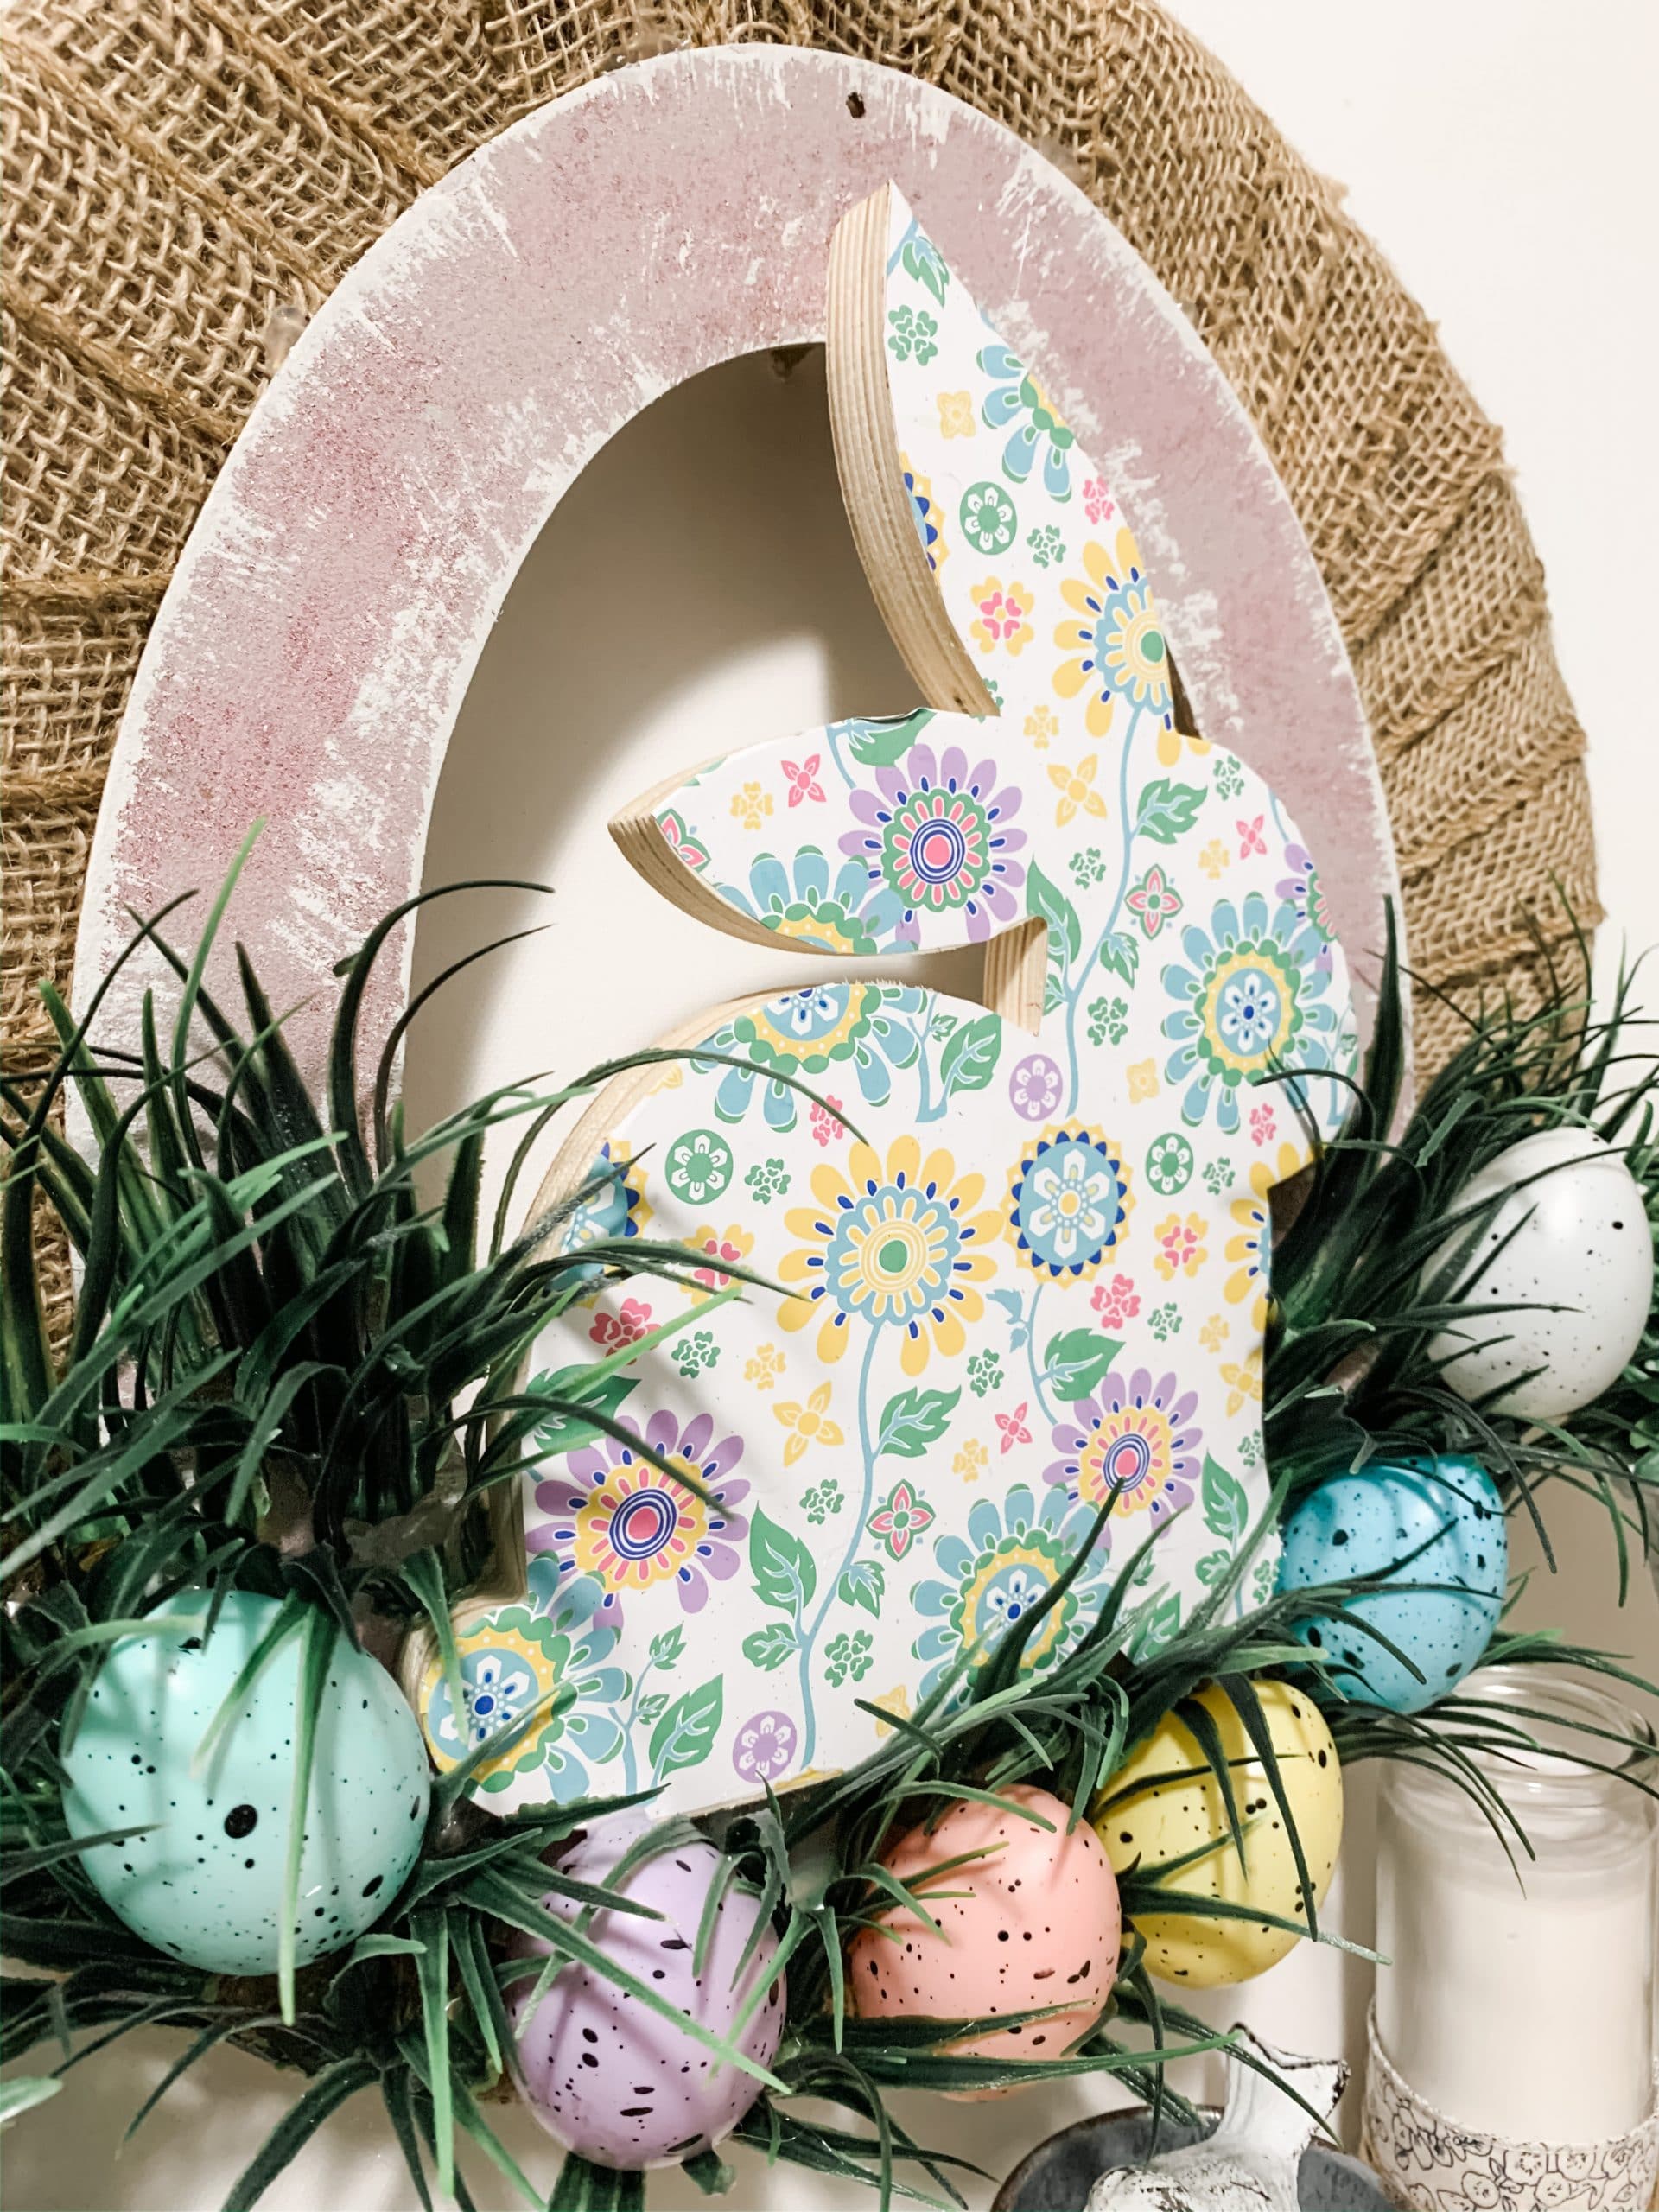
Does this adorable DIY Shabby Chic Easter Wreath not look like it was just picked up off the shelf at Hobby Lobby? I had so much fun bringing this Easter DIY idea to life, and I just know that you will love it too!
This honestly might be my favorite Easter DIY decor that I’ve ever made, and it is so simple to create!
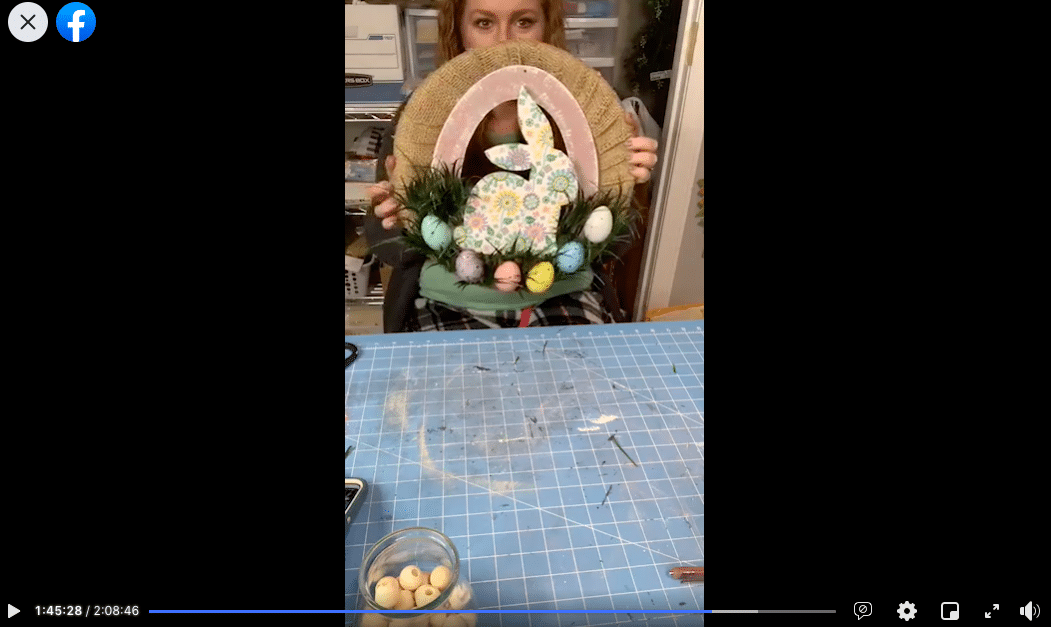
Watch the replay
I showed my Crafty Crew how to make this affordable DIY Shabby Chich Easter Wreath during a LIVE video on my Facebook page back in 2020, just before quarantine started, and we had so much fun!
If you want to join in on the fun and see the how-to steps for this Easter DIY project, you can watch the replay!
For this project, I will be using these items but you can substitute where you want.
“As an Amazon Associate, I earn from qualifying purchases.”
- Dollar Tree Glittery wooden egg
- Faux colored eggs
- Thick wooden bunny
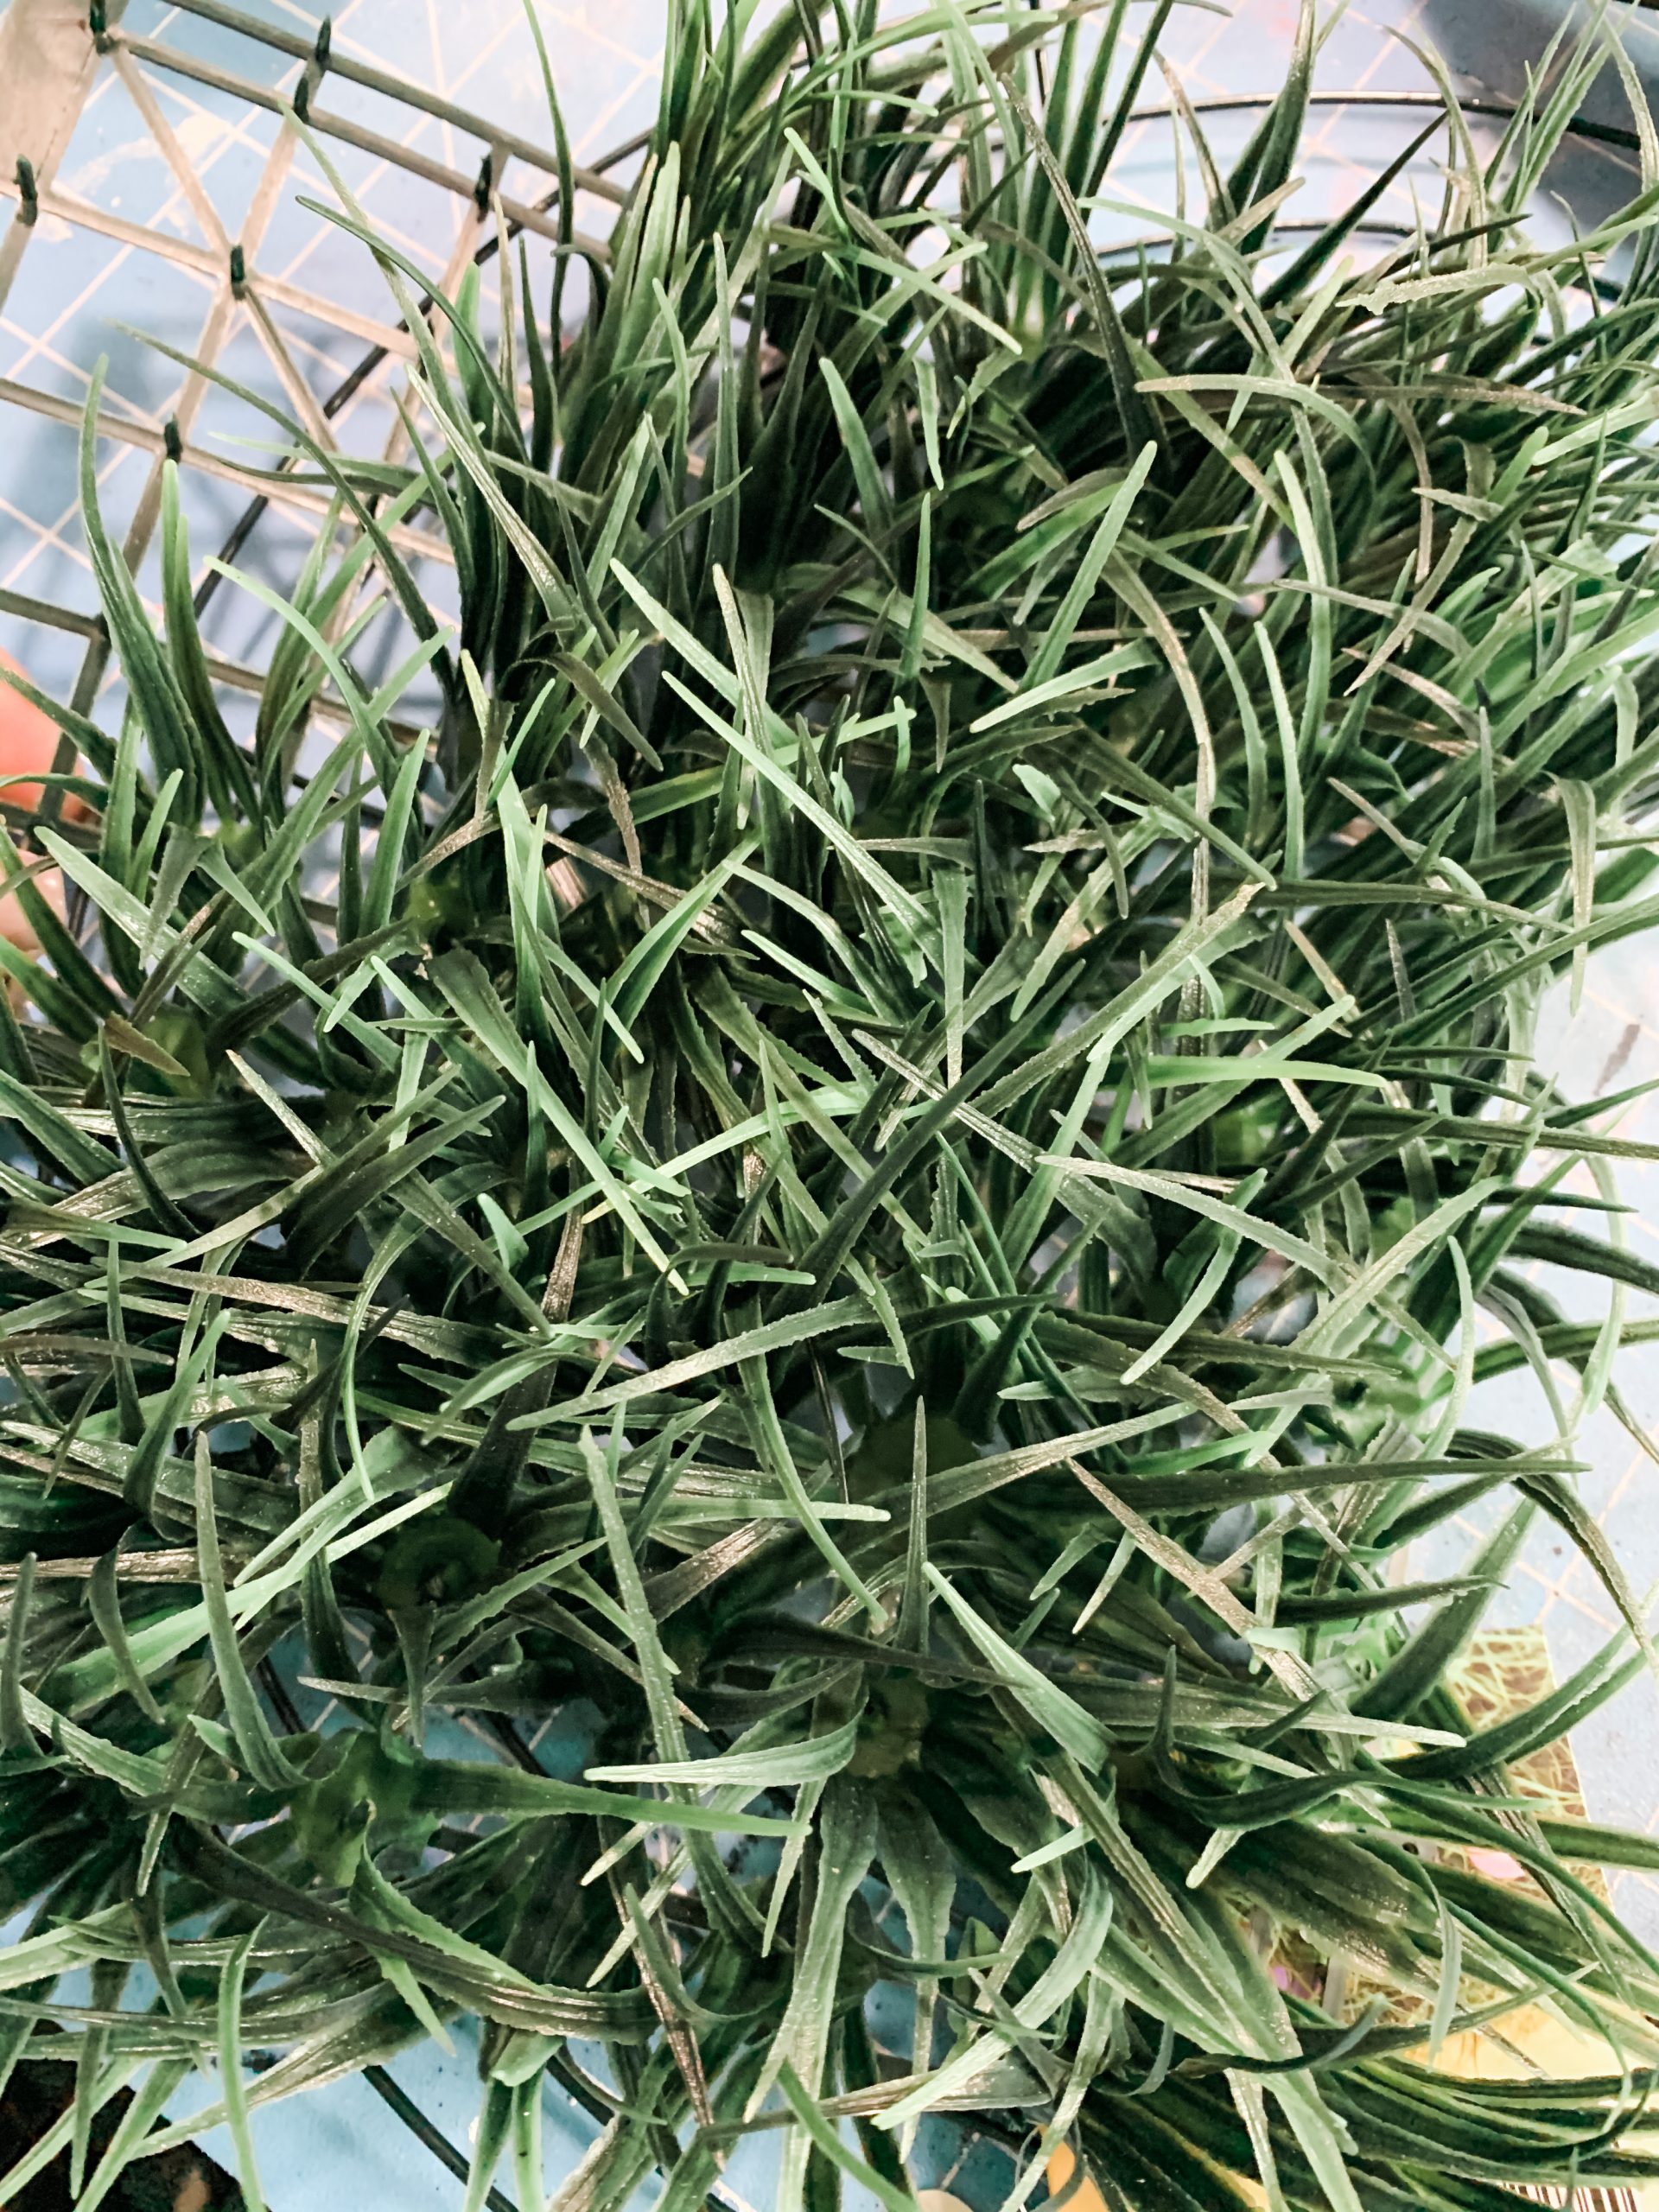
- Faux Green Grass
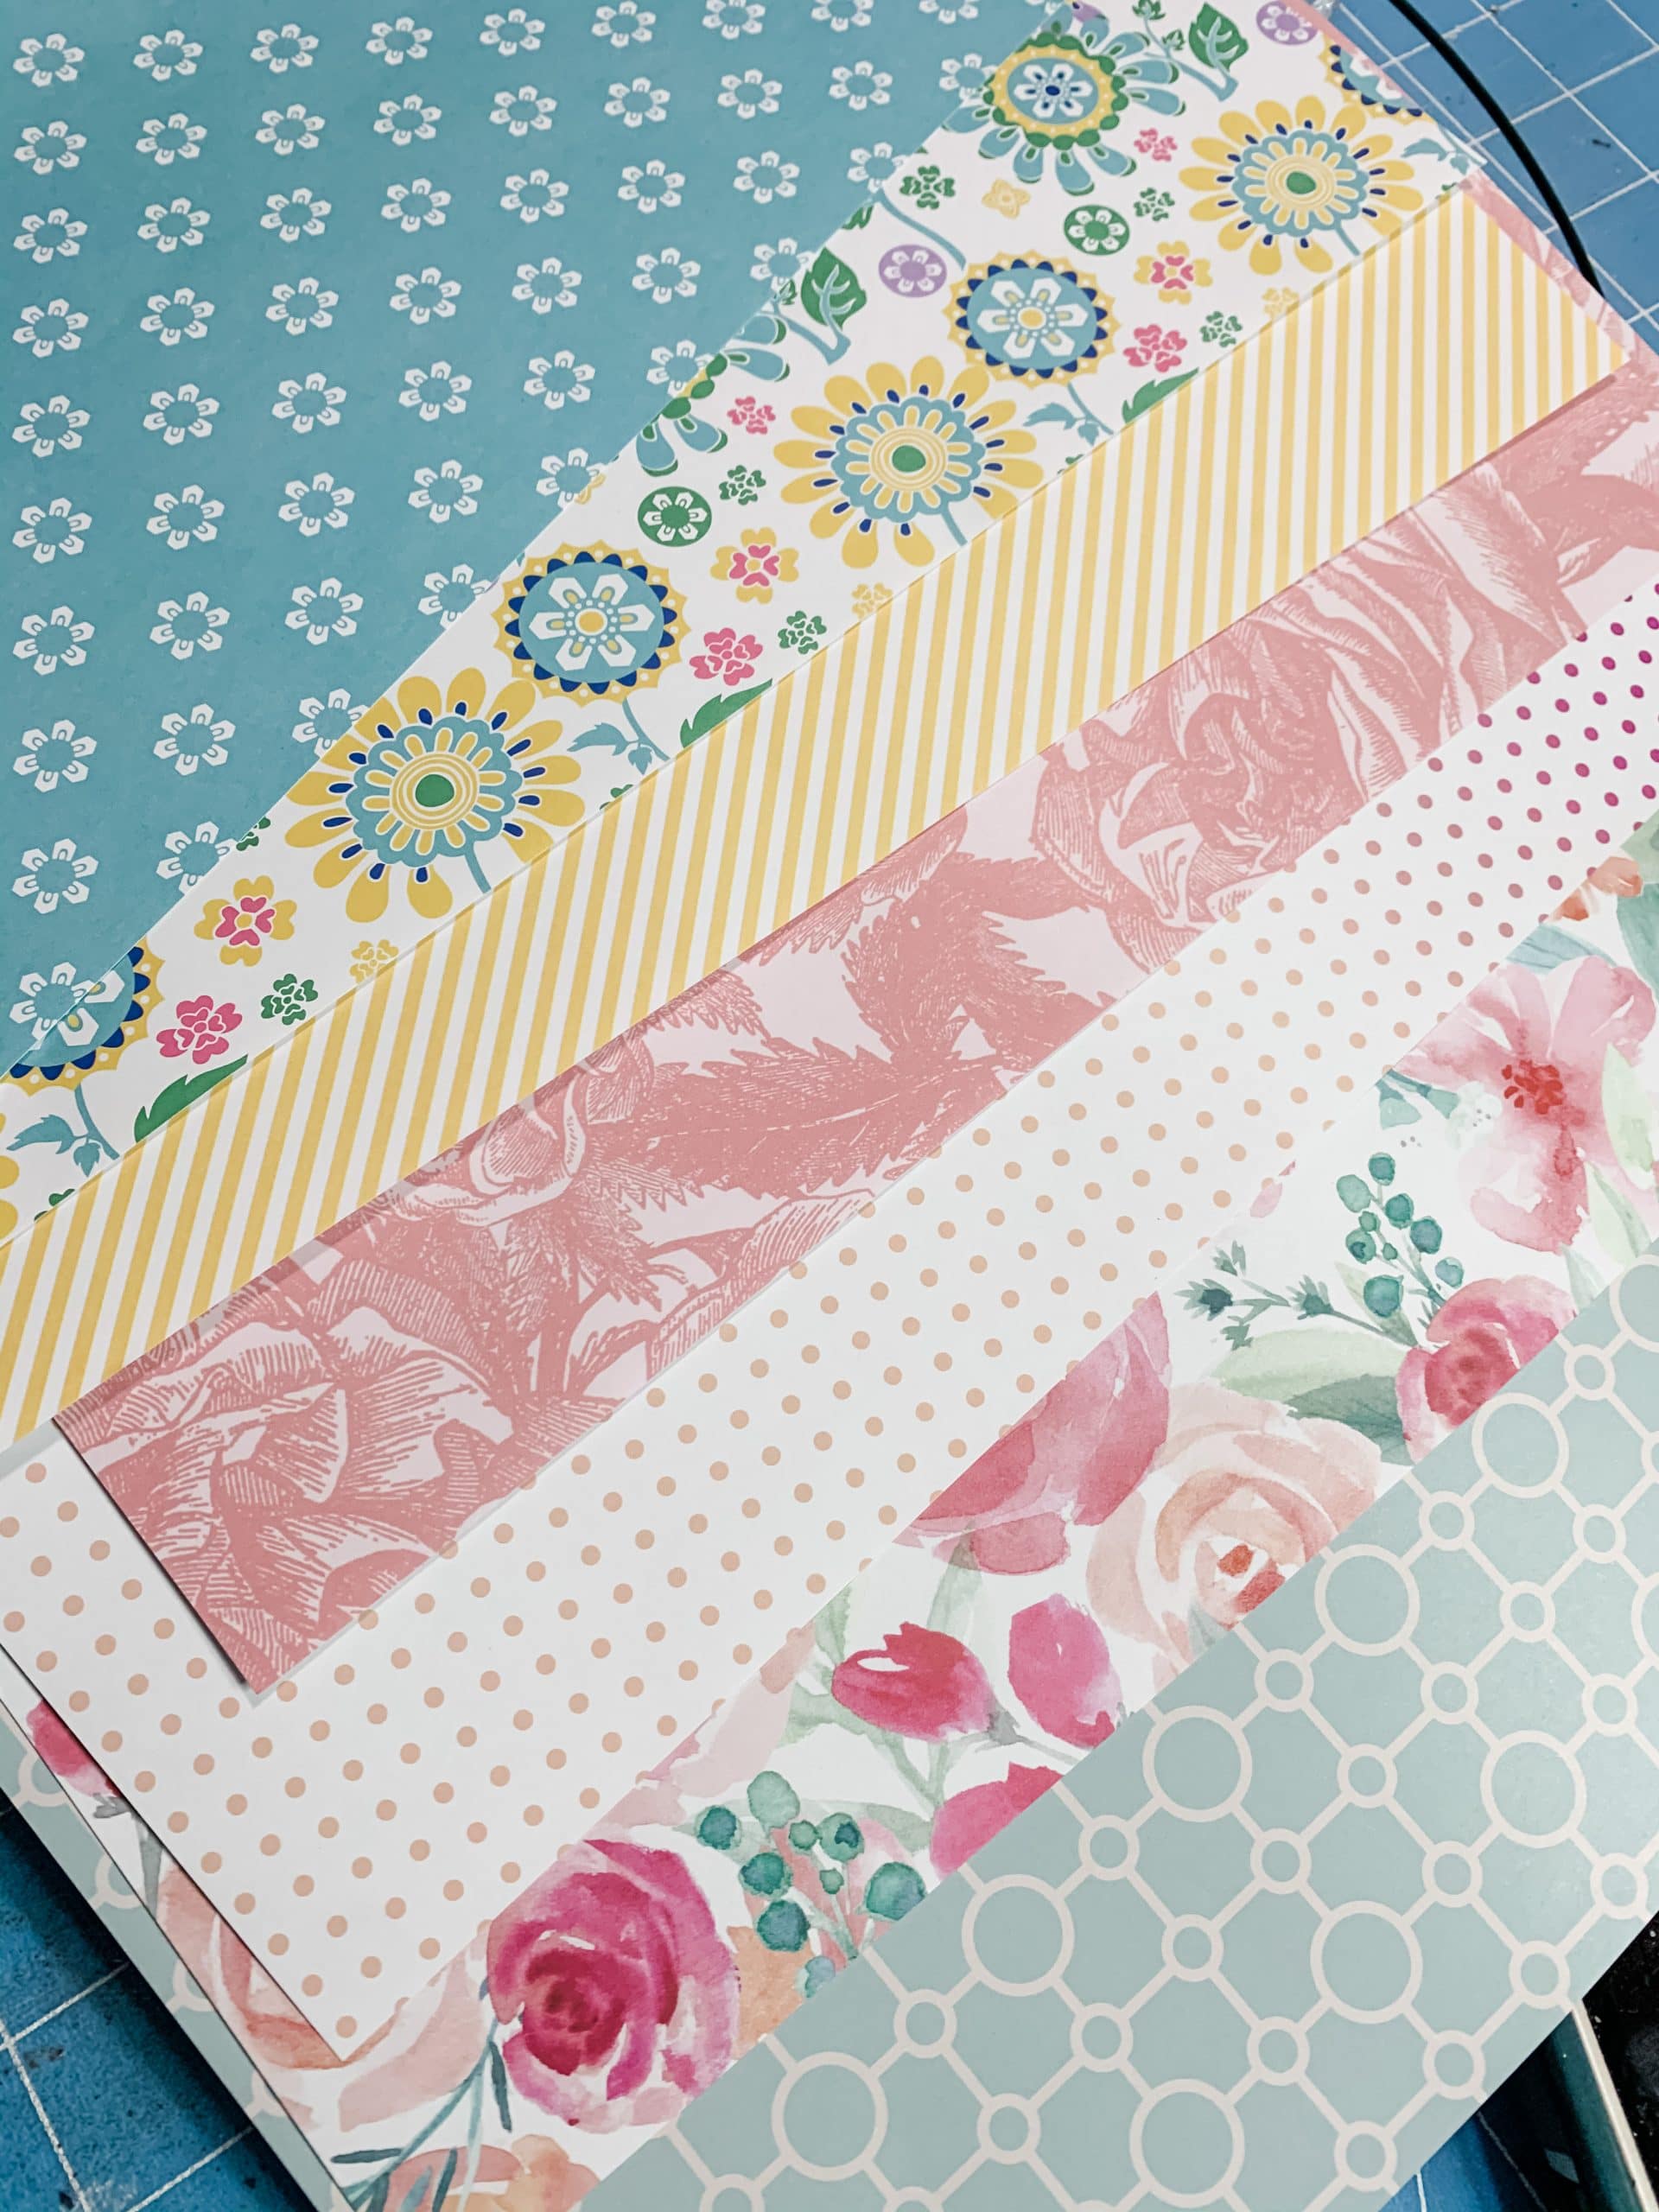
- Scrapbook Paper
- 14-in Wreath Form
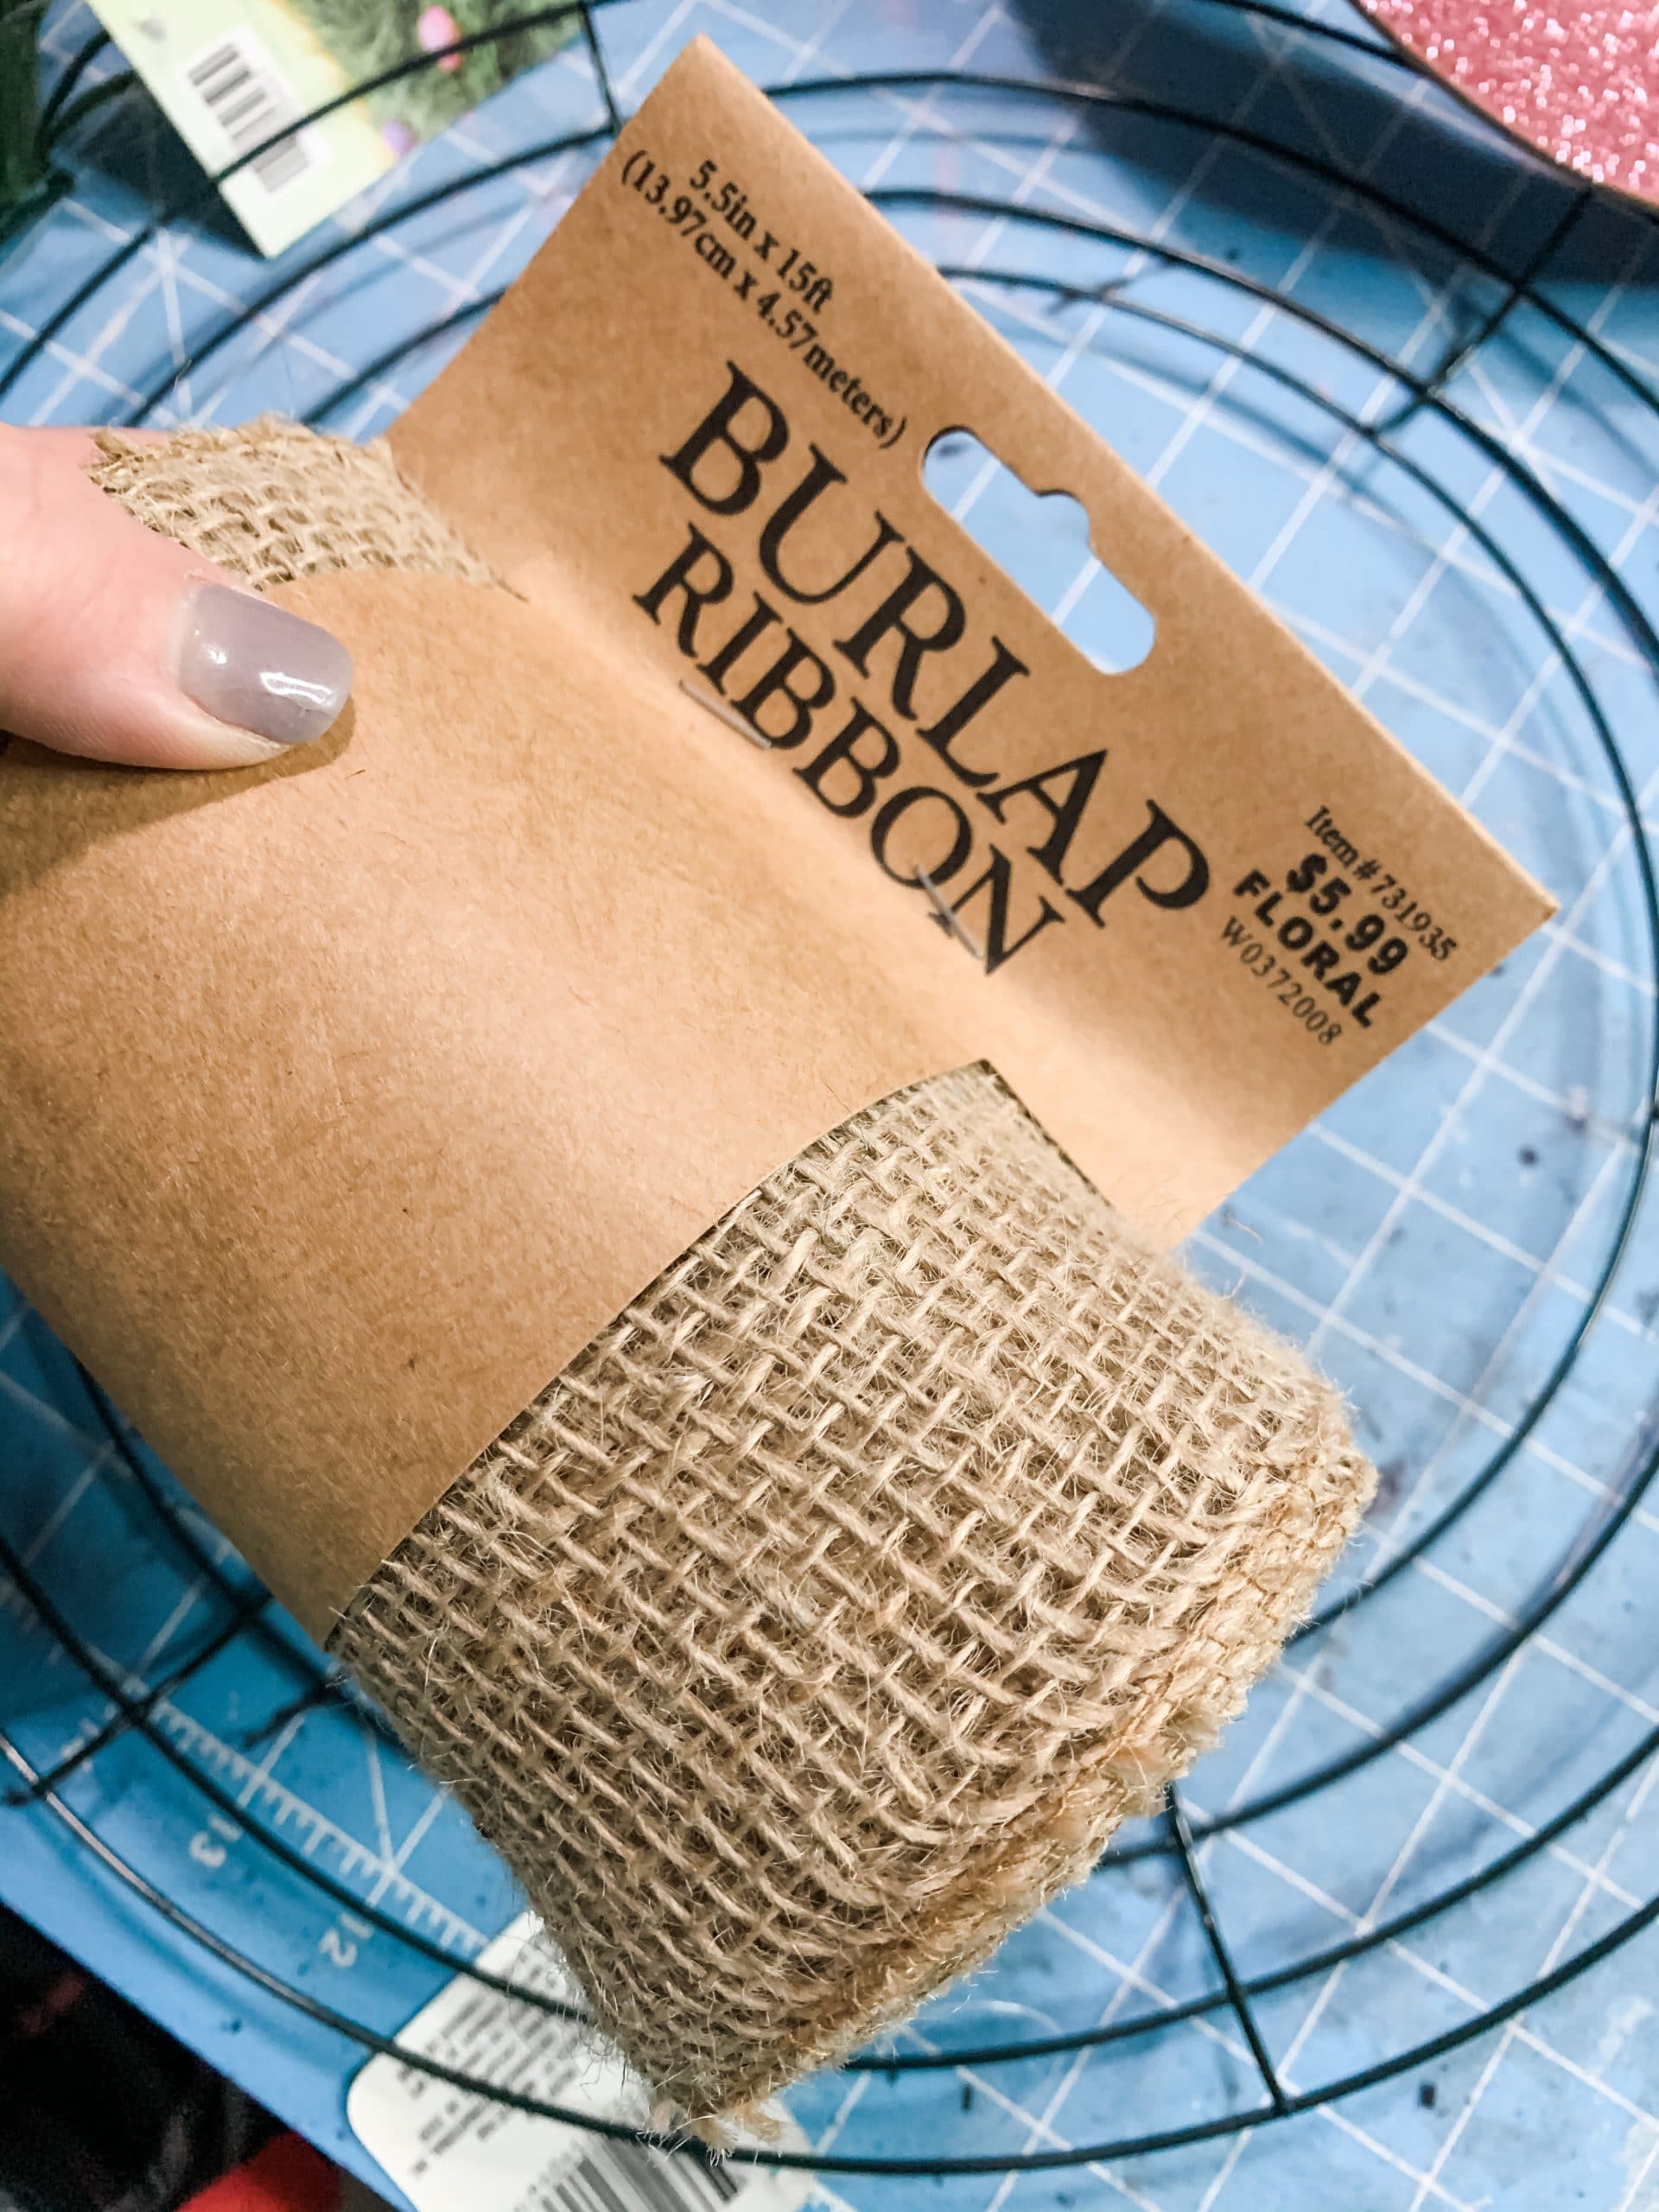
- Burlap Ribbon
- Dixie Belle Drift Wood Chalk Paint (light grey)
- Dixie Belle Fluff Chalk Paint (white)
- Hot Glue gun
- Glue Sticks
Let’s get started
Alright, y’all, the first step to making this adorable Easter wreath is to wrap your burlap ribbon around your wreath form.
You’re going to hot glue the end of the ribbon for your initial wrap, then continue wrapping the ribbon around the wreath form.
Make sure you keep the ribbon pulled rather tightly as you’re wrapping it. You’re going to want to watch the Facebook Live video replay to see how I stopped wrapping the burlap to make it look cohesive across the entire wreath!
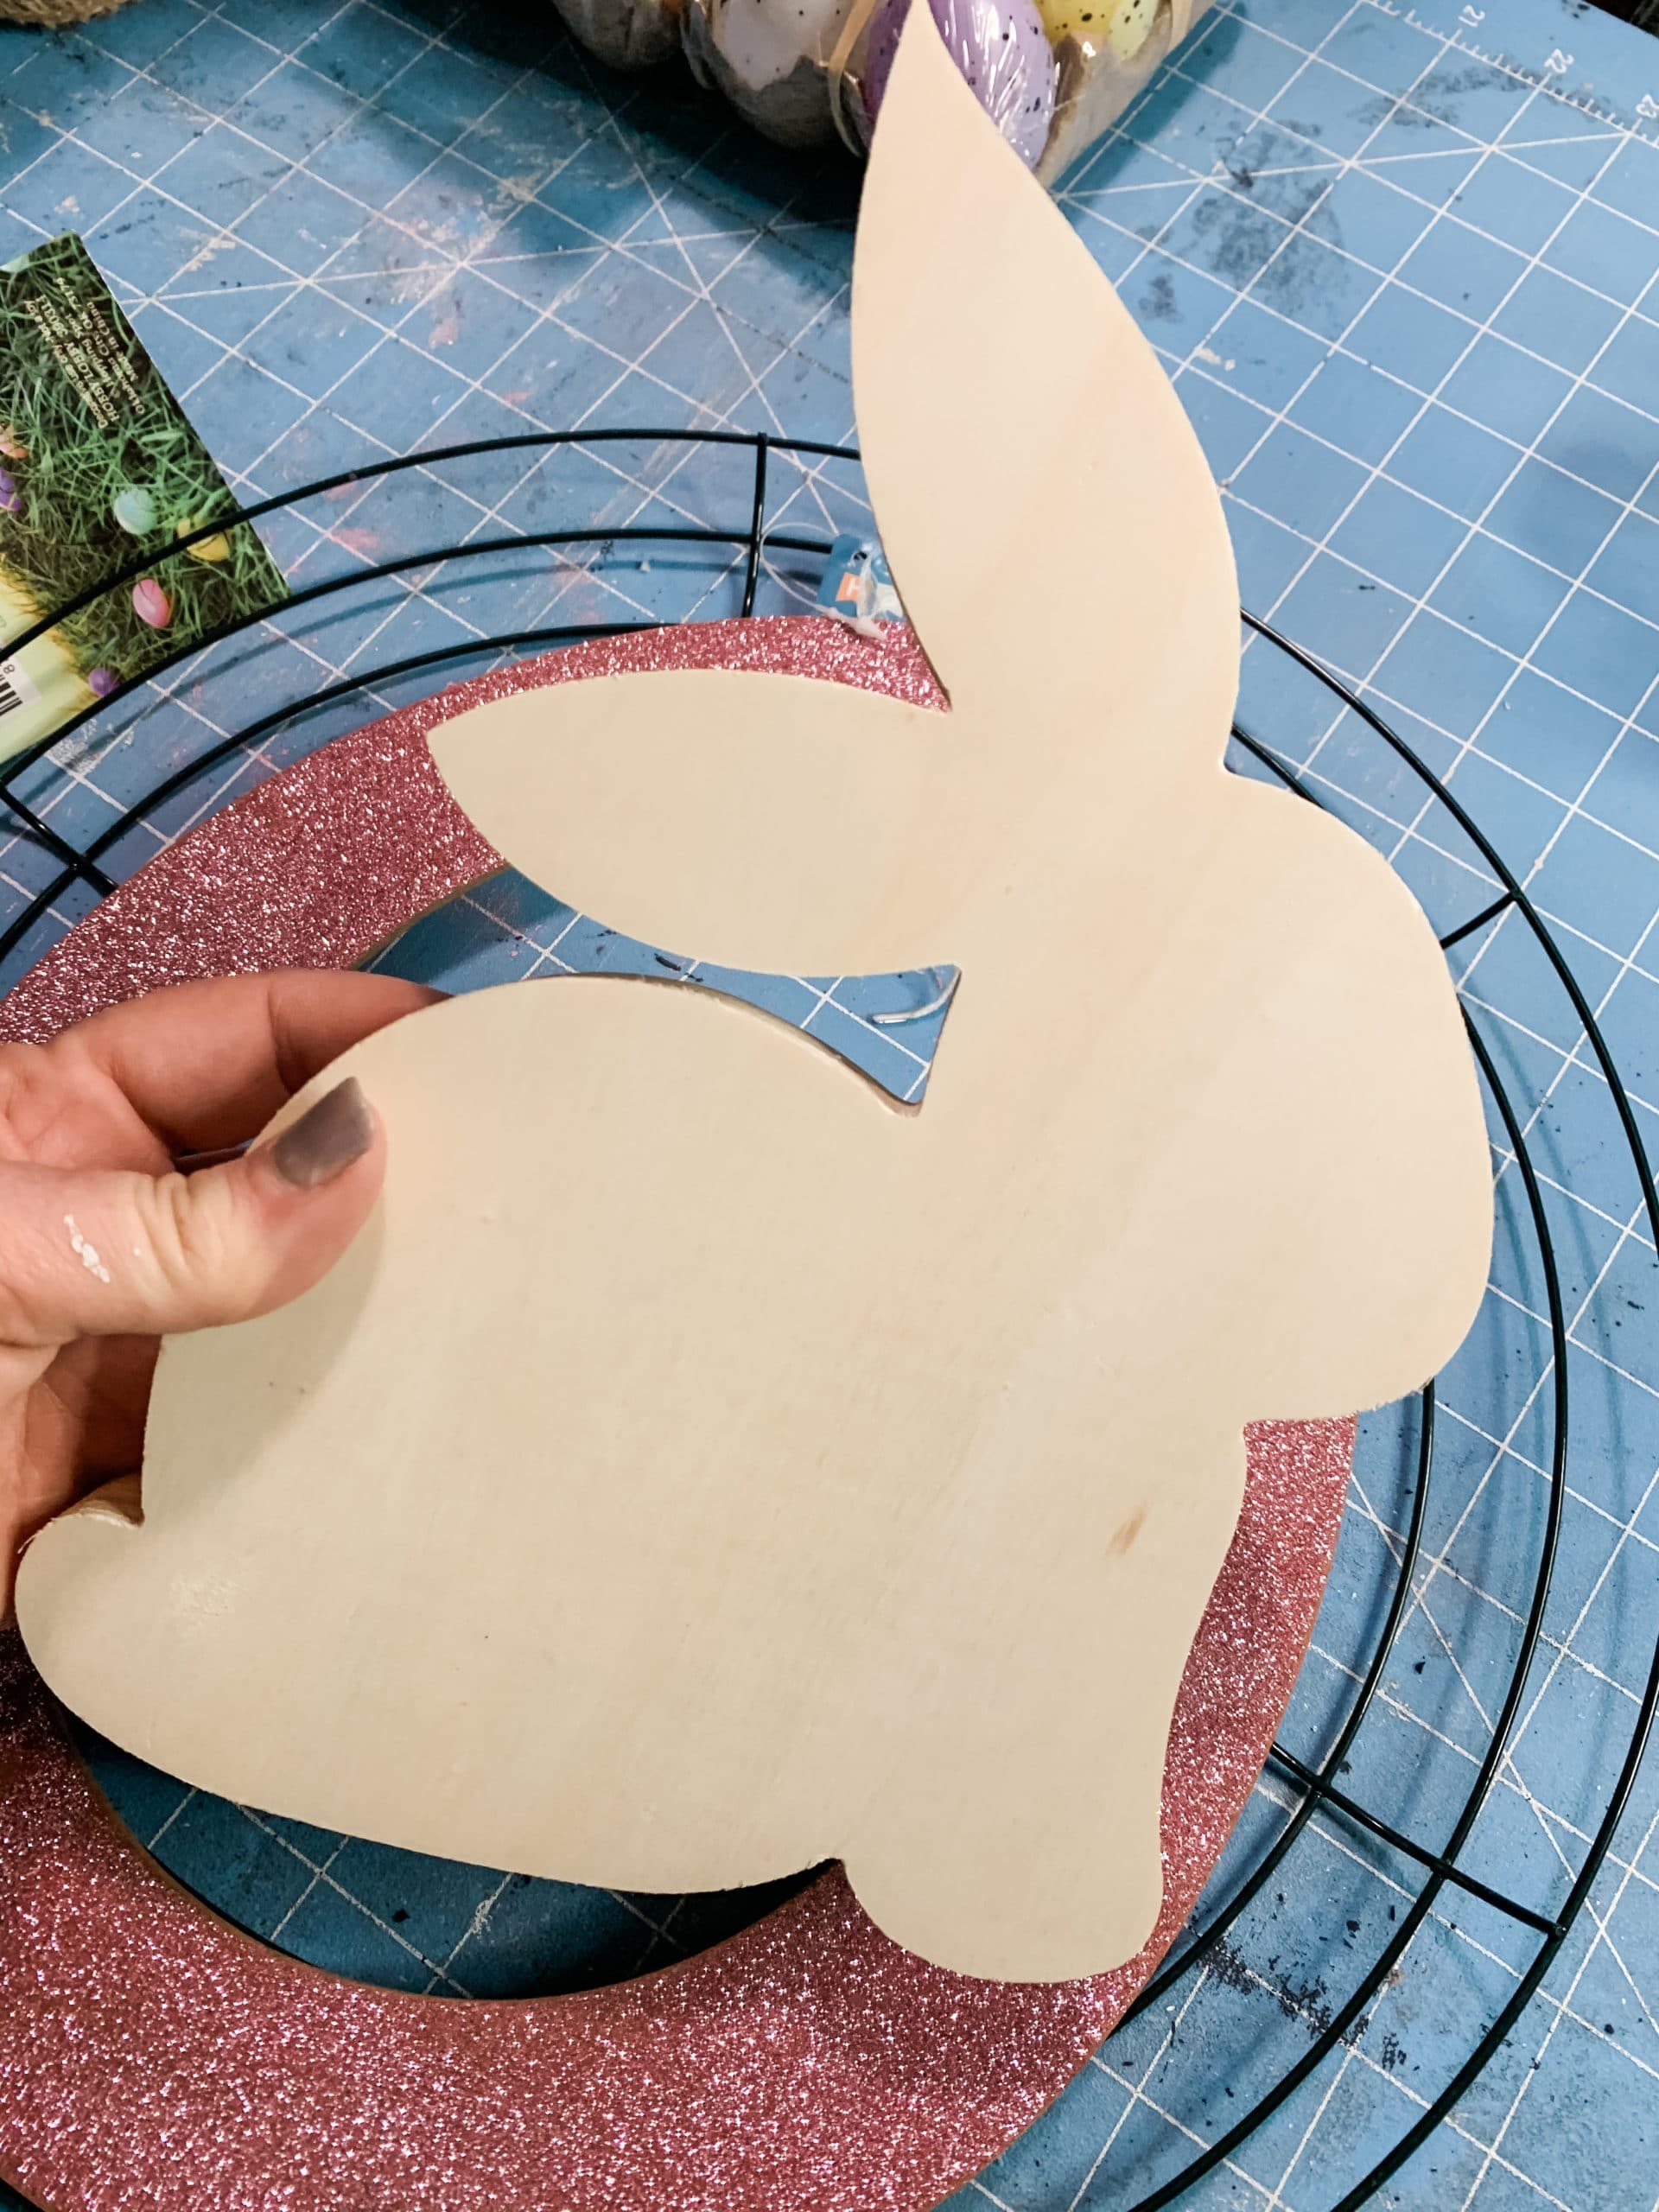
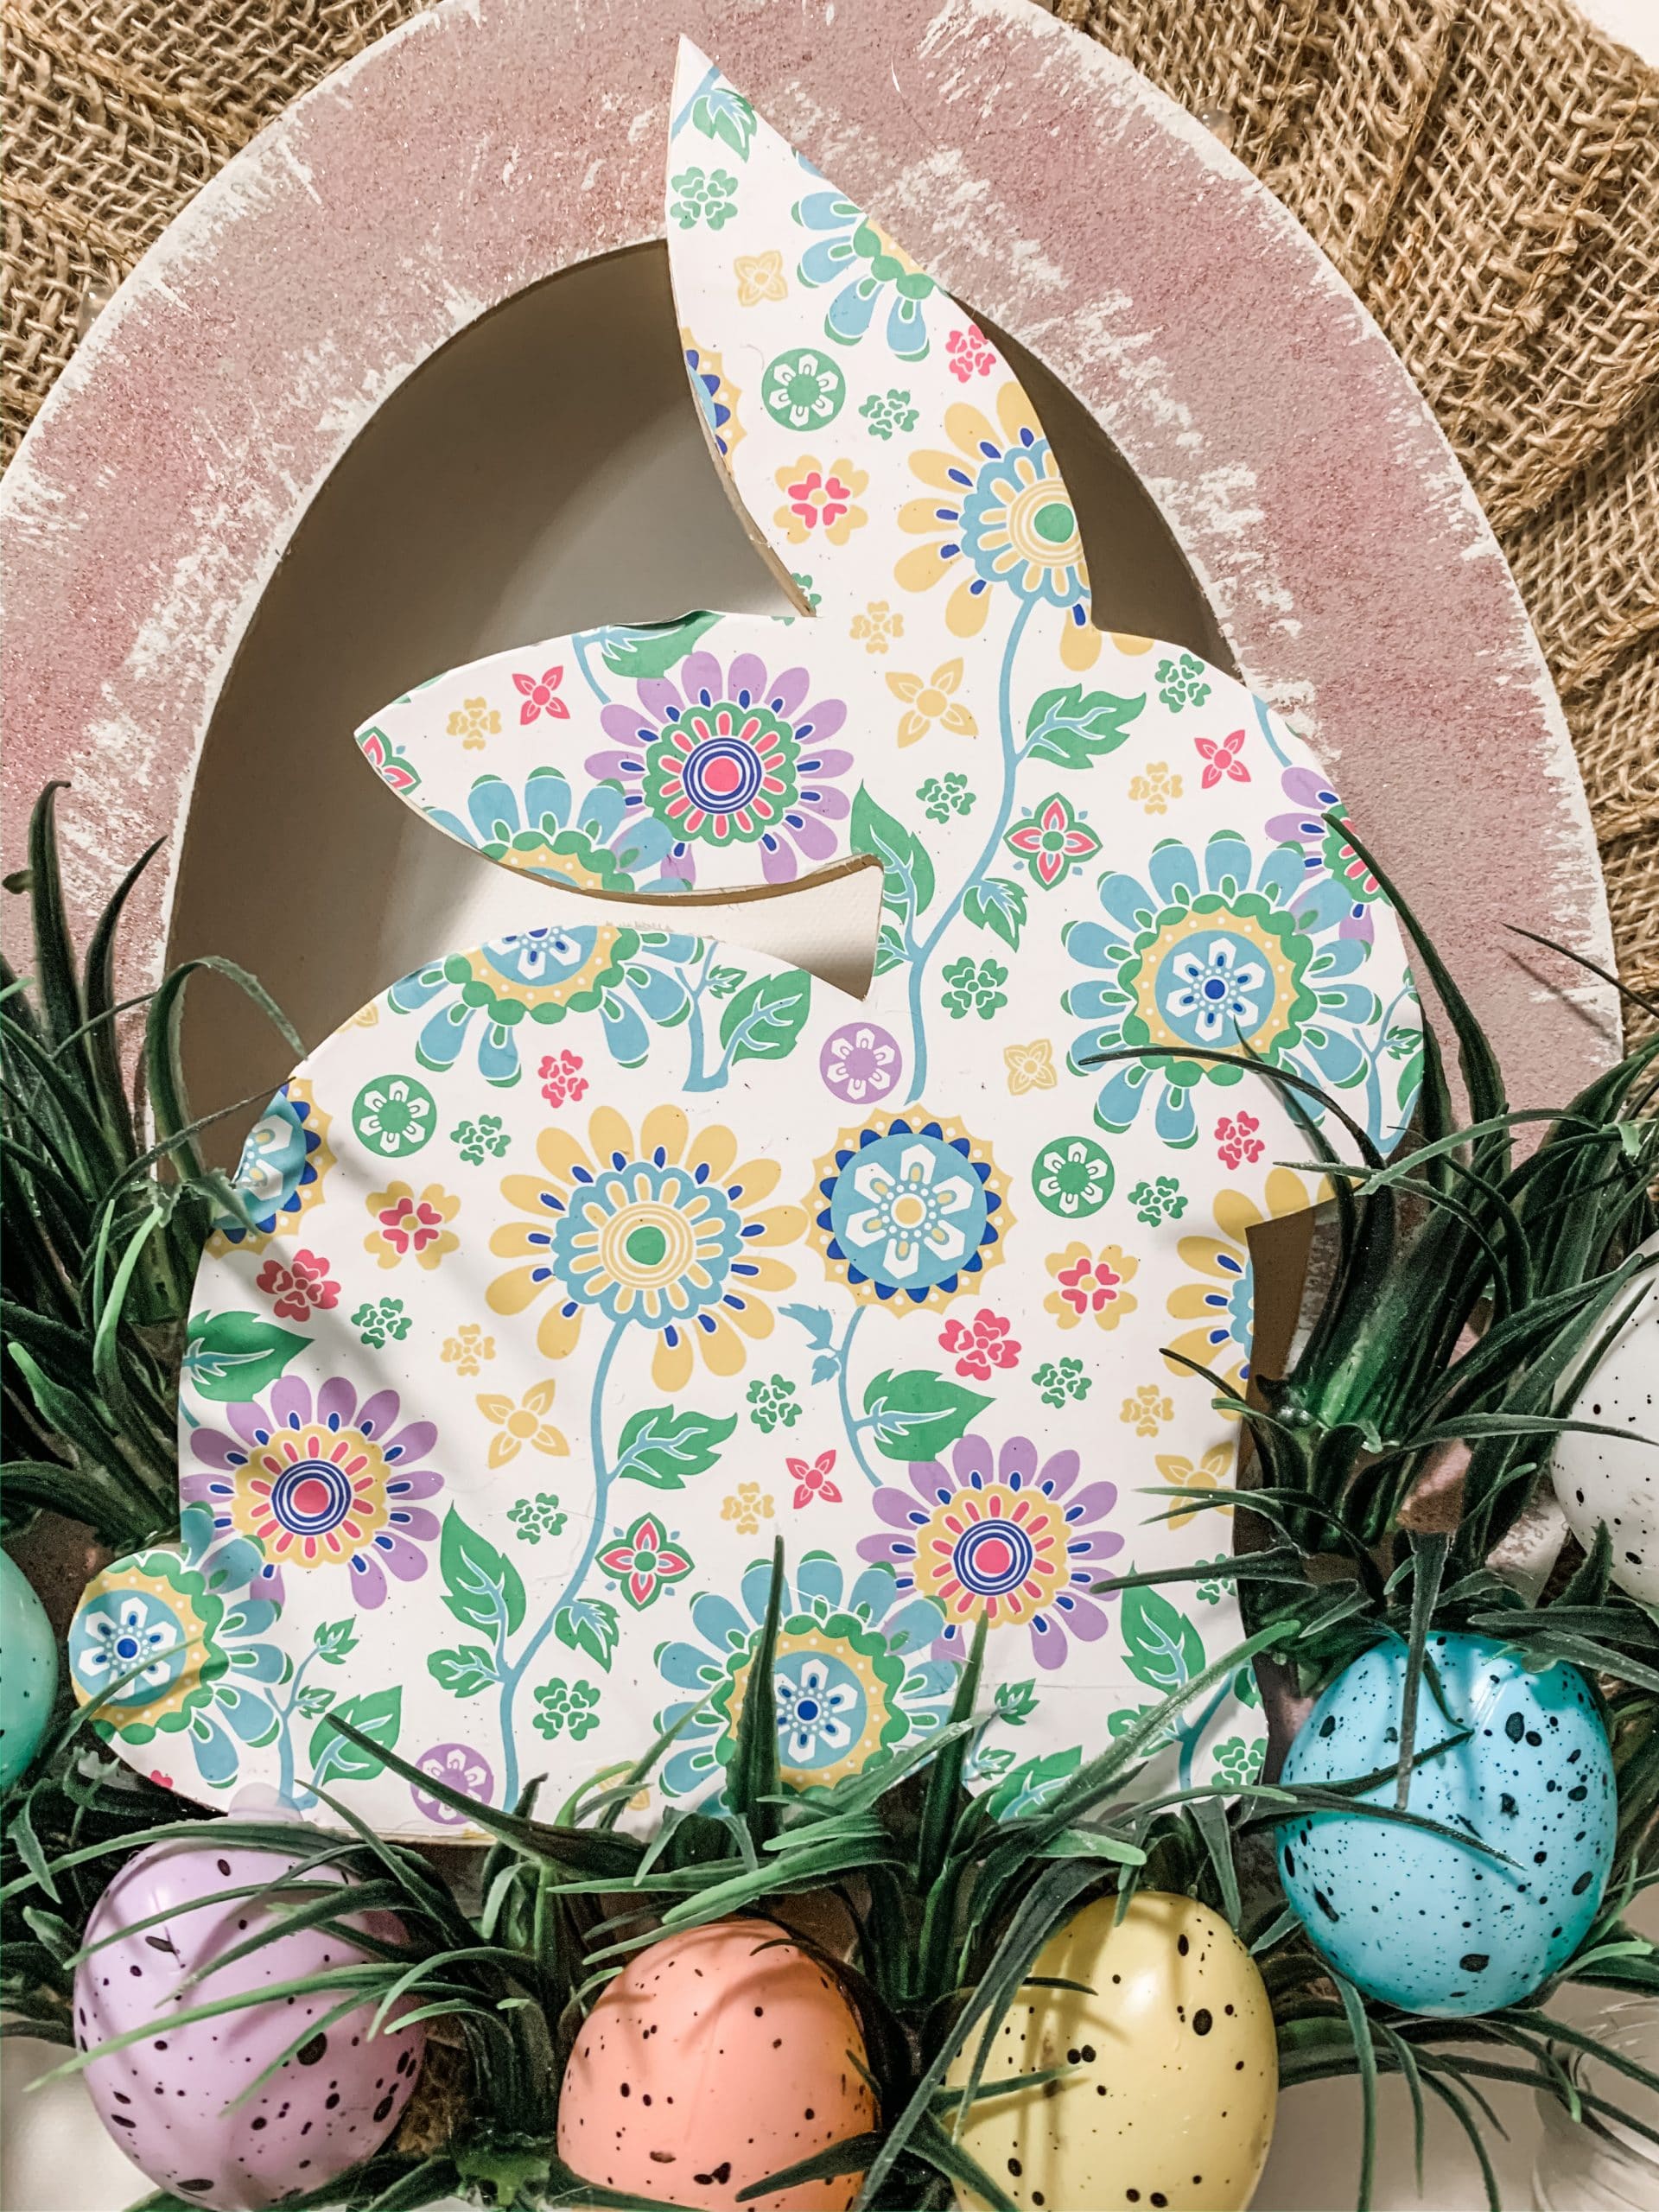
Set your burlap wreath to the side, and grab your wooden bunny. It’s time to decoupage the bunny with the scrapbook paper pattern of your choice!
First, place your scrapbook paper design down and put the bunny on top of it.
Then, trace around the bunny so you can trim the scrapbook paper to the exact size of the bunny. This will make decoupaging the scrapbook paper much easier.
How to decoupage
Apply a coat of Mod Podge to the front of your wooden bunny and carefully place the scrapbook paper onto the bunny.
You want to try and avoid creating any wrinkles or creases, but if they do happen, you can go over the paper with a rolling pin to smooth them out.
Next, I worked on the wooden egg. As y’all know, I am not a fan of glitter, so I used a sanding sponge to take off most of the glitter on the wooden egg.
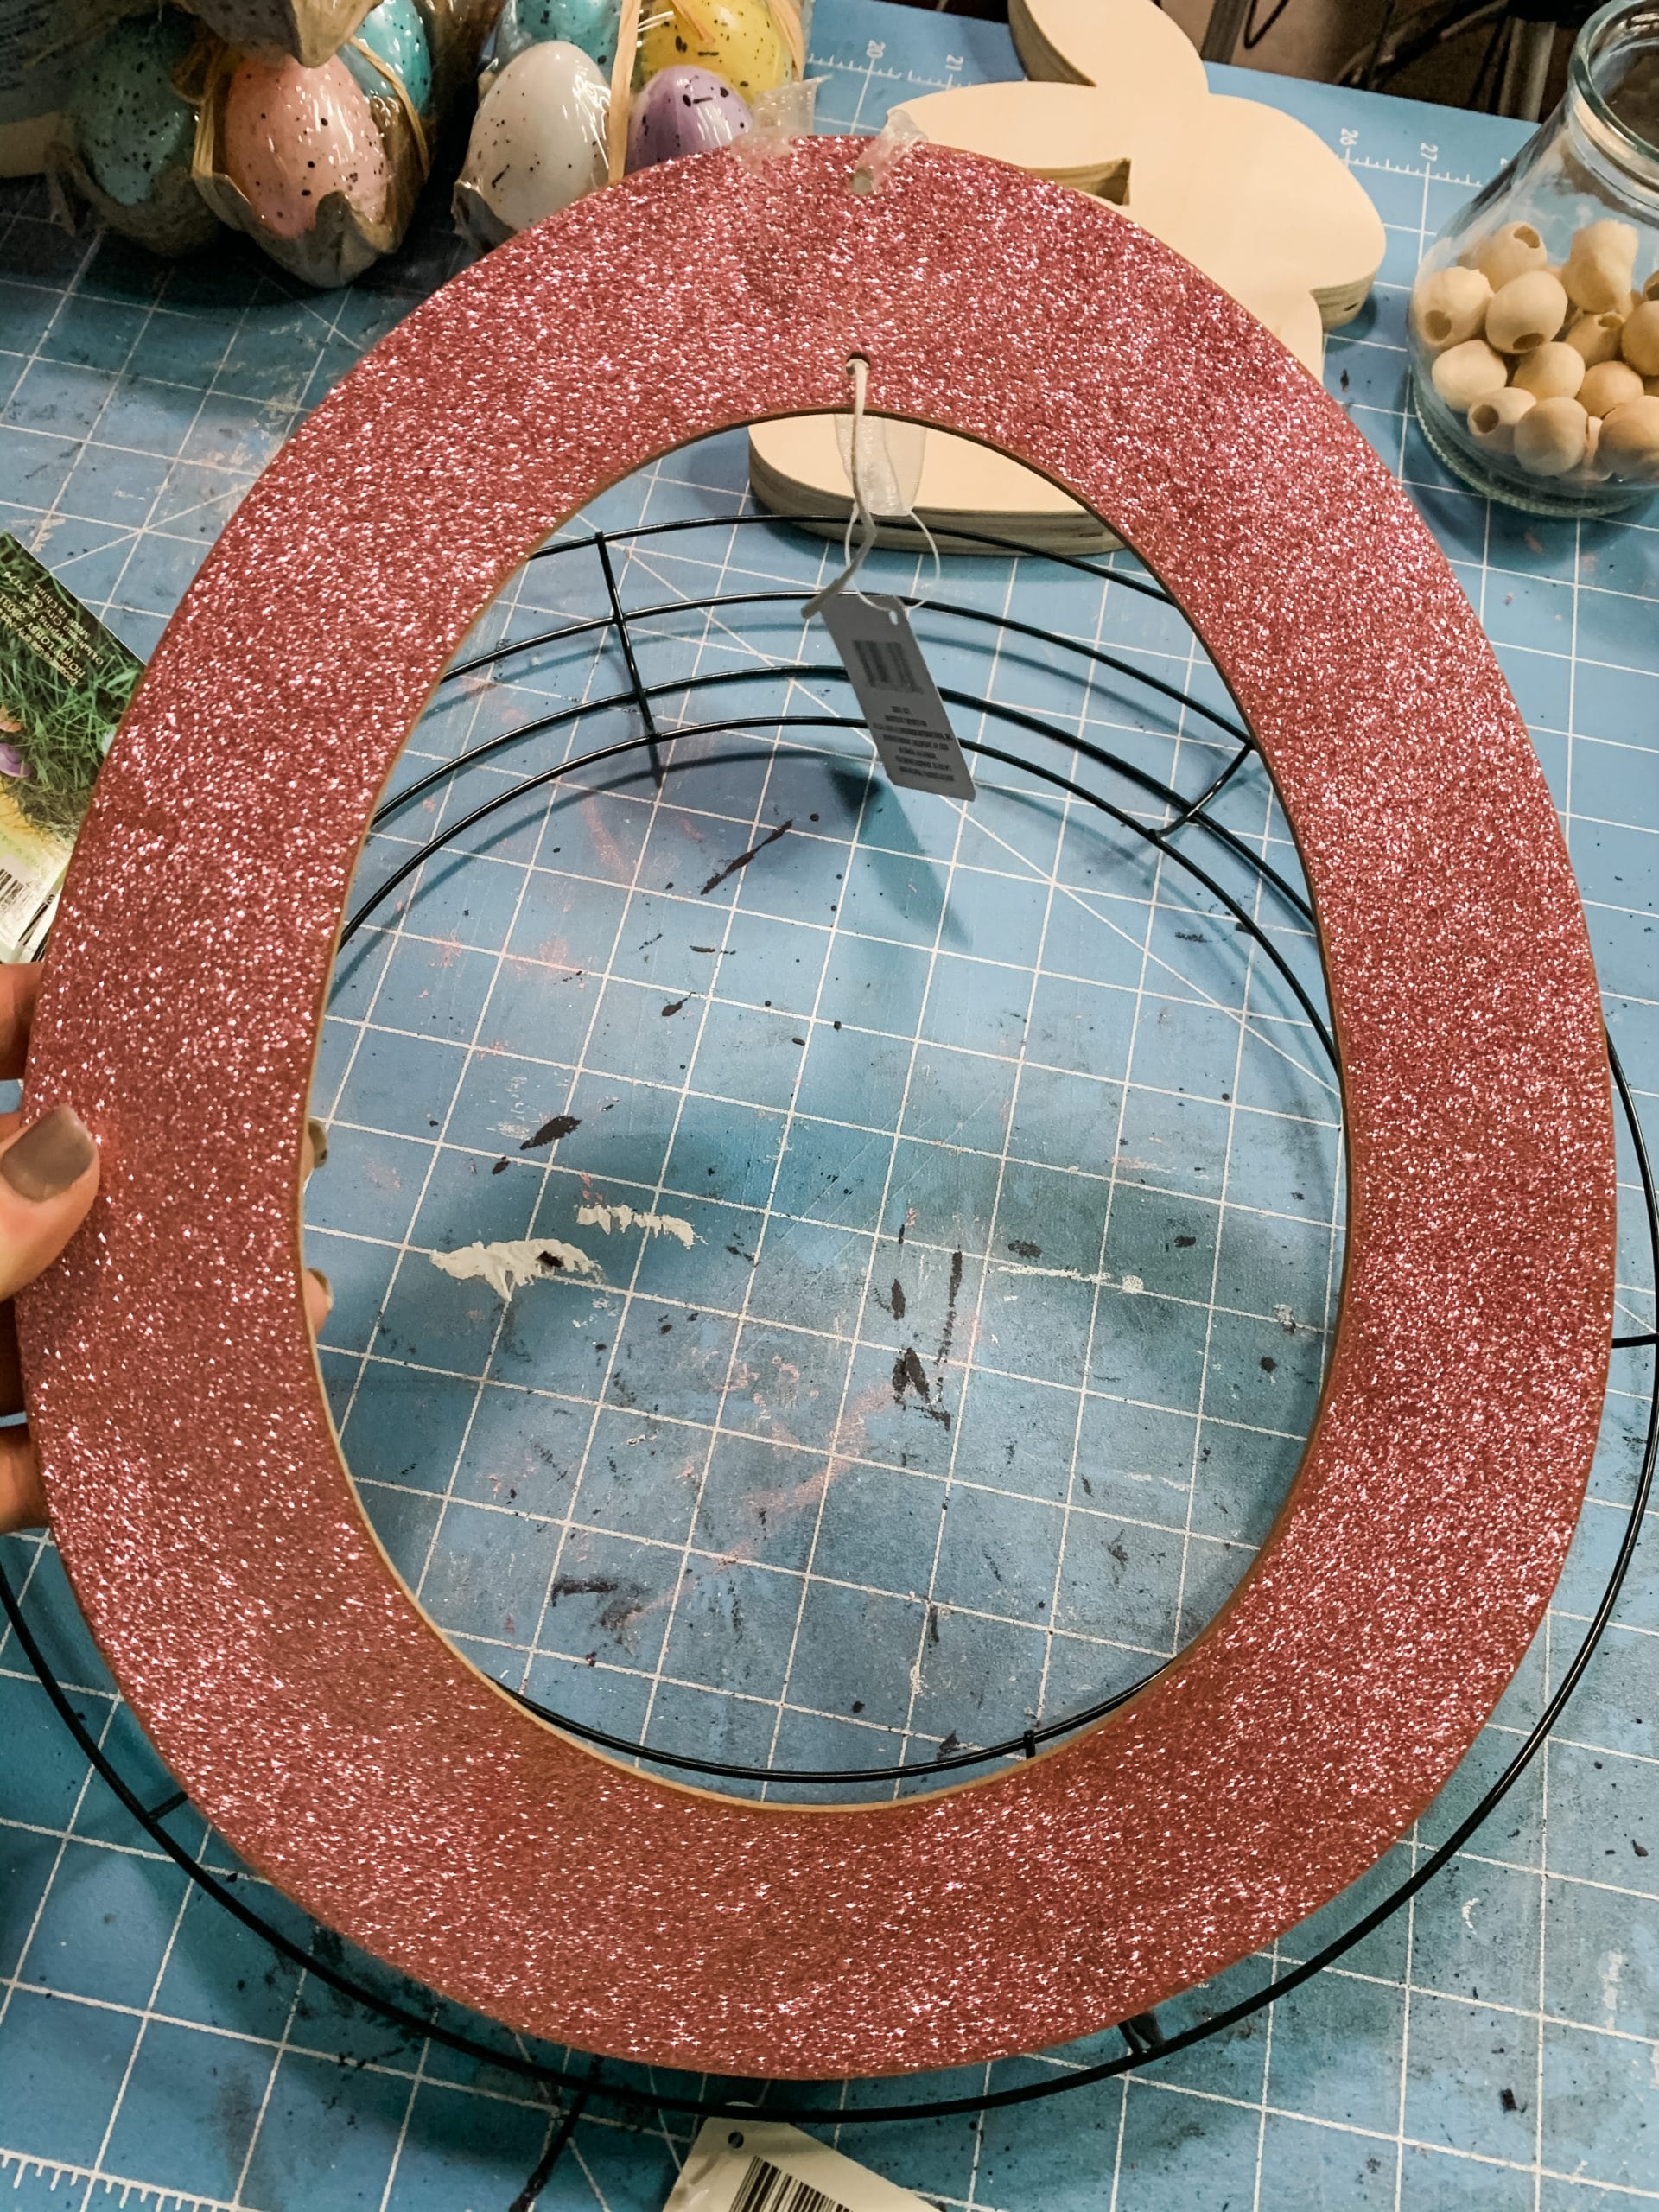
Use a clean paintbrush to dust off the loose glitter, then paint your egg light grey. I used Dixie Belle Drift Wood Chalk Paint and painted over the glitter to tone down the pink. I didn’t do an even coat so that I would still have a pink undertone, but it wouldn’t be so sparkly.
Then, I then dabbed around the edges of the wooden egg with Dixie Belle Fluff Chalk Paint just to add a bit of dimension to the color of the egg.
Once the paint is dry, hot glue the egg over the center of the burlap wreath, and hot glue the decoupaged bunny over the center of the egg.
The finishing touches
Now it is time to add the fake grass! I bought a mat of fake grass that you remove in small pieces. I hot glued them in place, one small piece at a time, to the bottom of the wreath, underneath the bunny.
As I was hot gluing the fake grass, I would hot glue the colored eggs to make them look like they were sitting in the grass! Once the glue dries, you’re ready to hang this adorable Easter wreath on your front door!

I hope you enjoyed this DIY Shabby Chic Easter Wreath as much as I did and decide to make one for yourself! I would love to see how yours turns out!
You should totally join my FREE Facebook group called On A Budget Crafts! It is a judgment-free community for DIY crafters to show off their projects and ideas.
If you loved this DIY you might also like Fun and Easy DIY Spring Door Hanger!
Thanks for stopping by! XOXO Amber
You can also shop my ENTIRE AMAZON Favorites shop just click here! It’s packed full of all the things I use and love. Here is the supply list I highly recommend every creative have on hand!!
Would you also pin my blog for later and get on my newsletter alerts? I would love to have you join my #craftycrew.
Inspired? Leave me a comment below! I love hearing from my readers!

Join my free “ON A BUDGET CRAFTS” Facebook group!


So precious
Absolutely precious
I really like this!!!
First time seeing this, it’s precious
This is absolutely adorable! 😍💗🐰Thank you for sharing!!