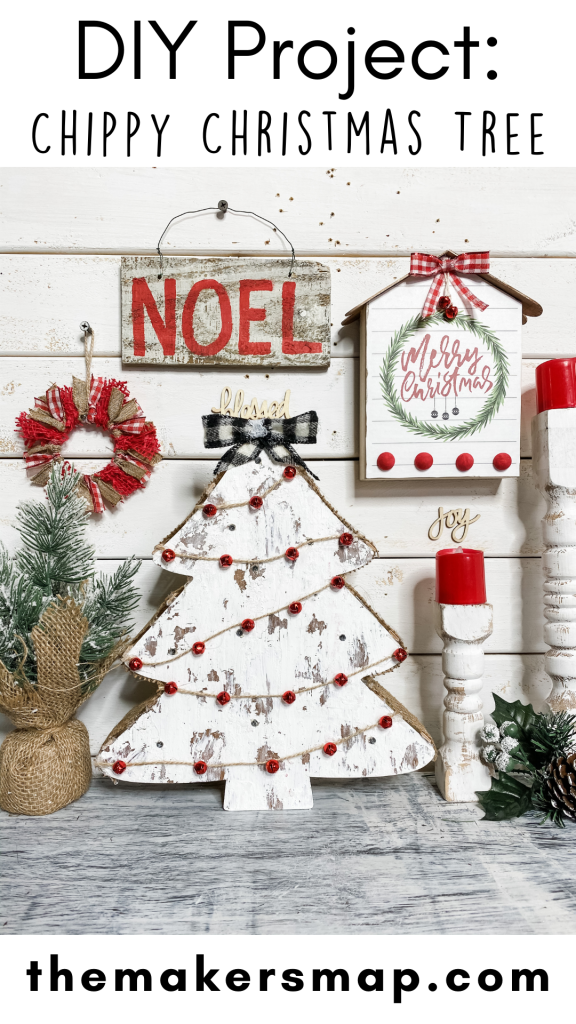
Chippy Christmas Tree DIY
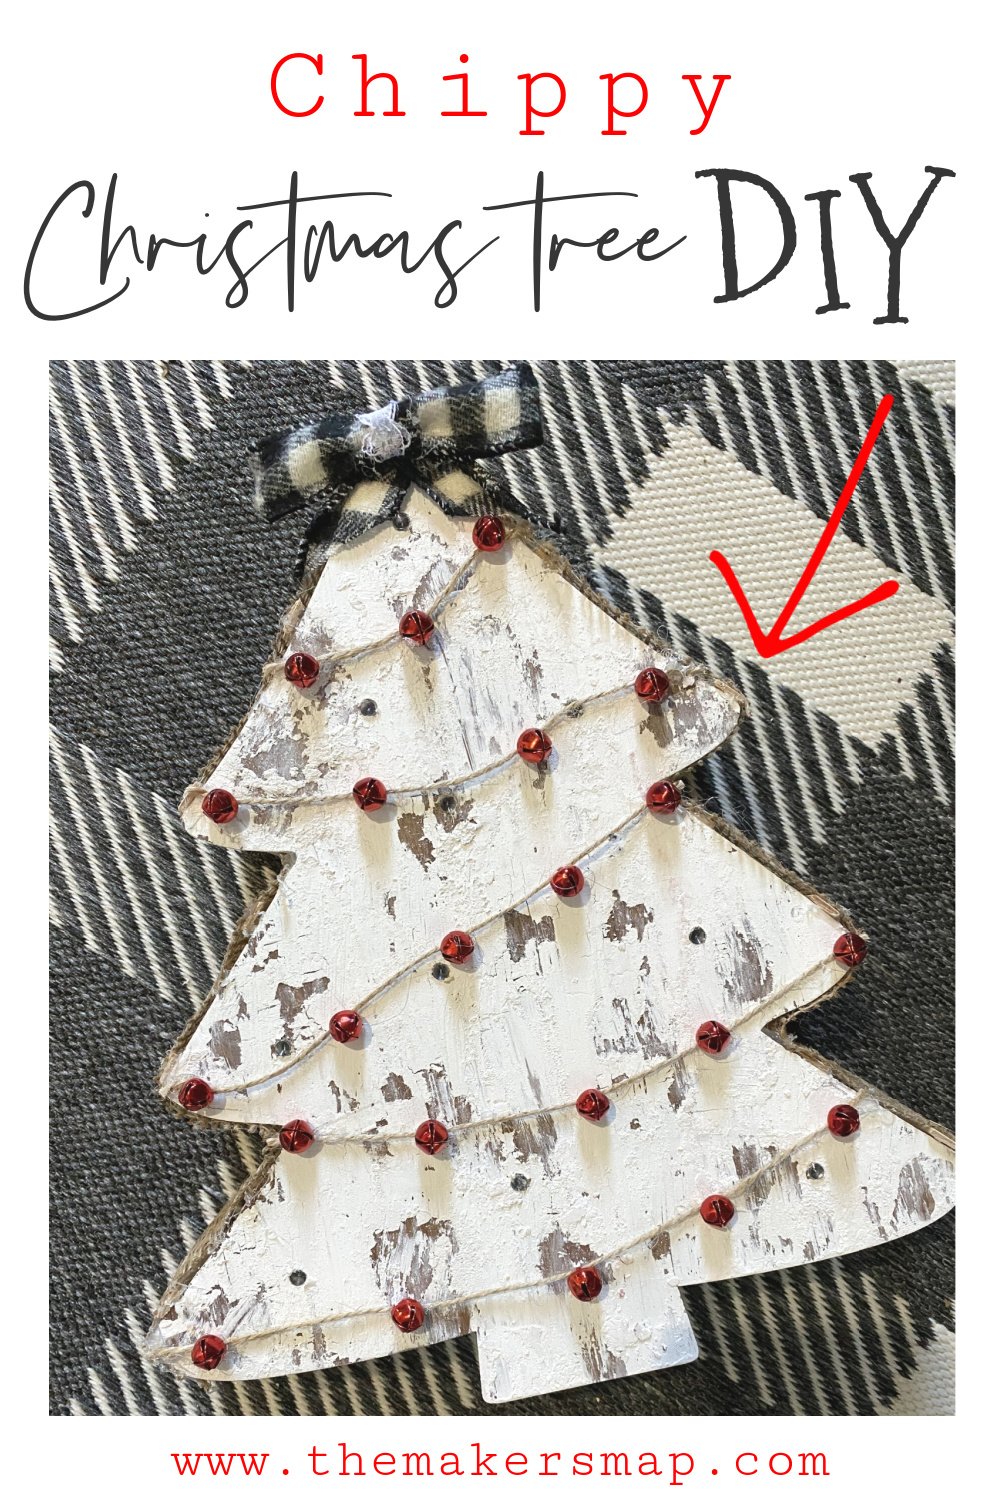
How CUTE is this Chippy Christmas Tree DIY?? This super fun project was actually a surprise. My daughter-in-law helped me come up with this one!
We put together a quick idea, and honestly, I wasn’t sure how it would turn out. This was SO FUN to make, I just had to share it!
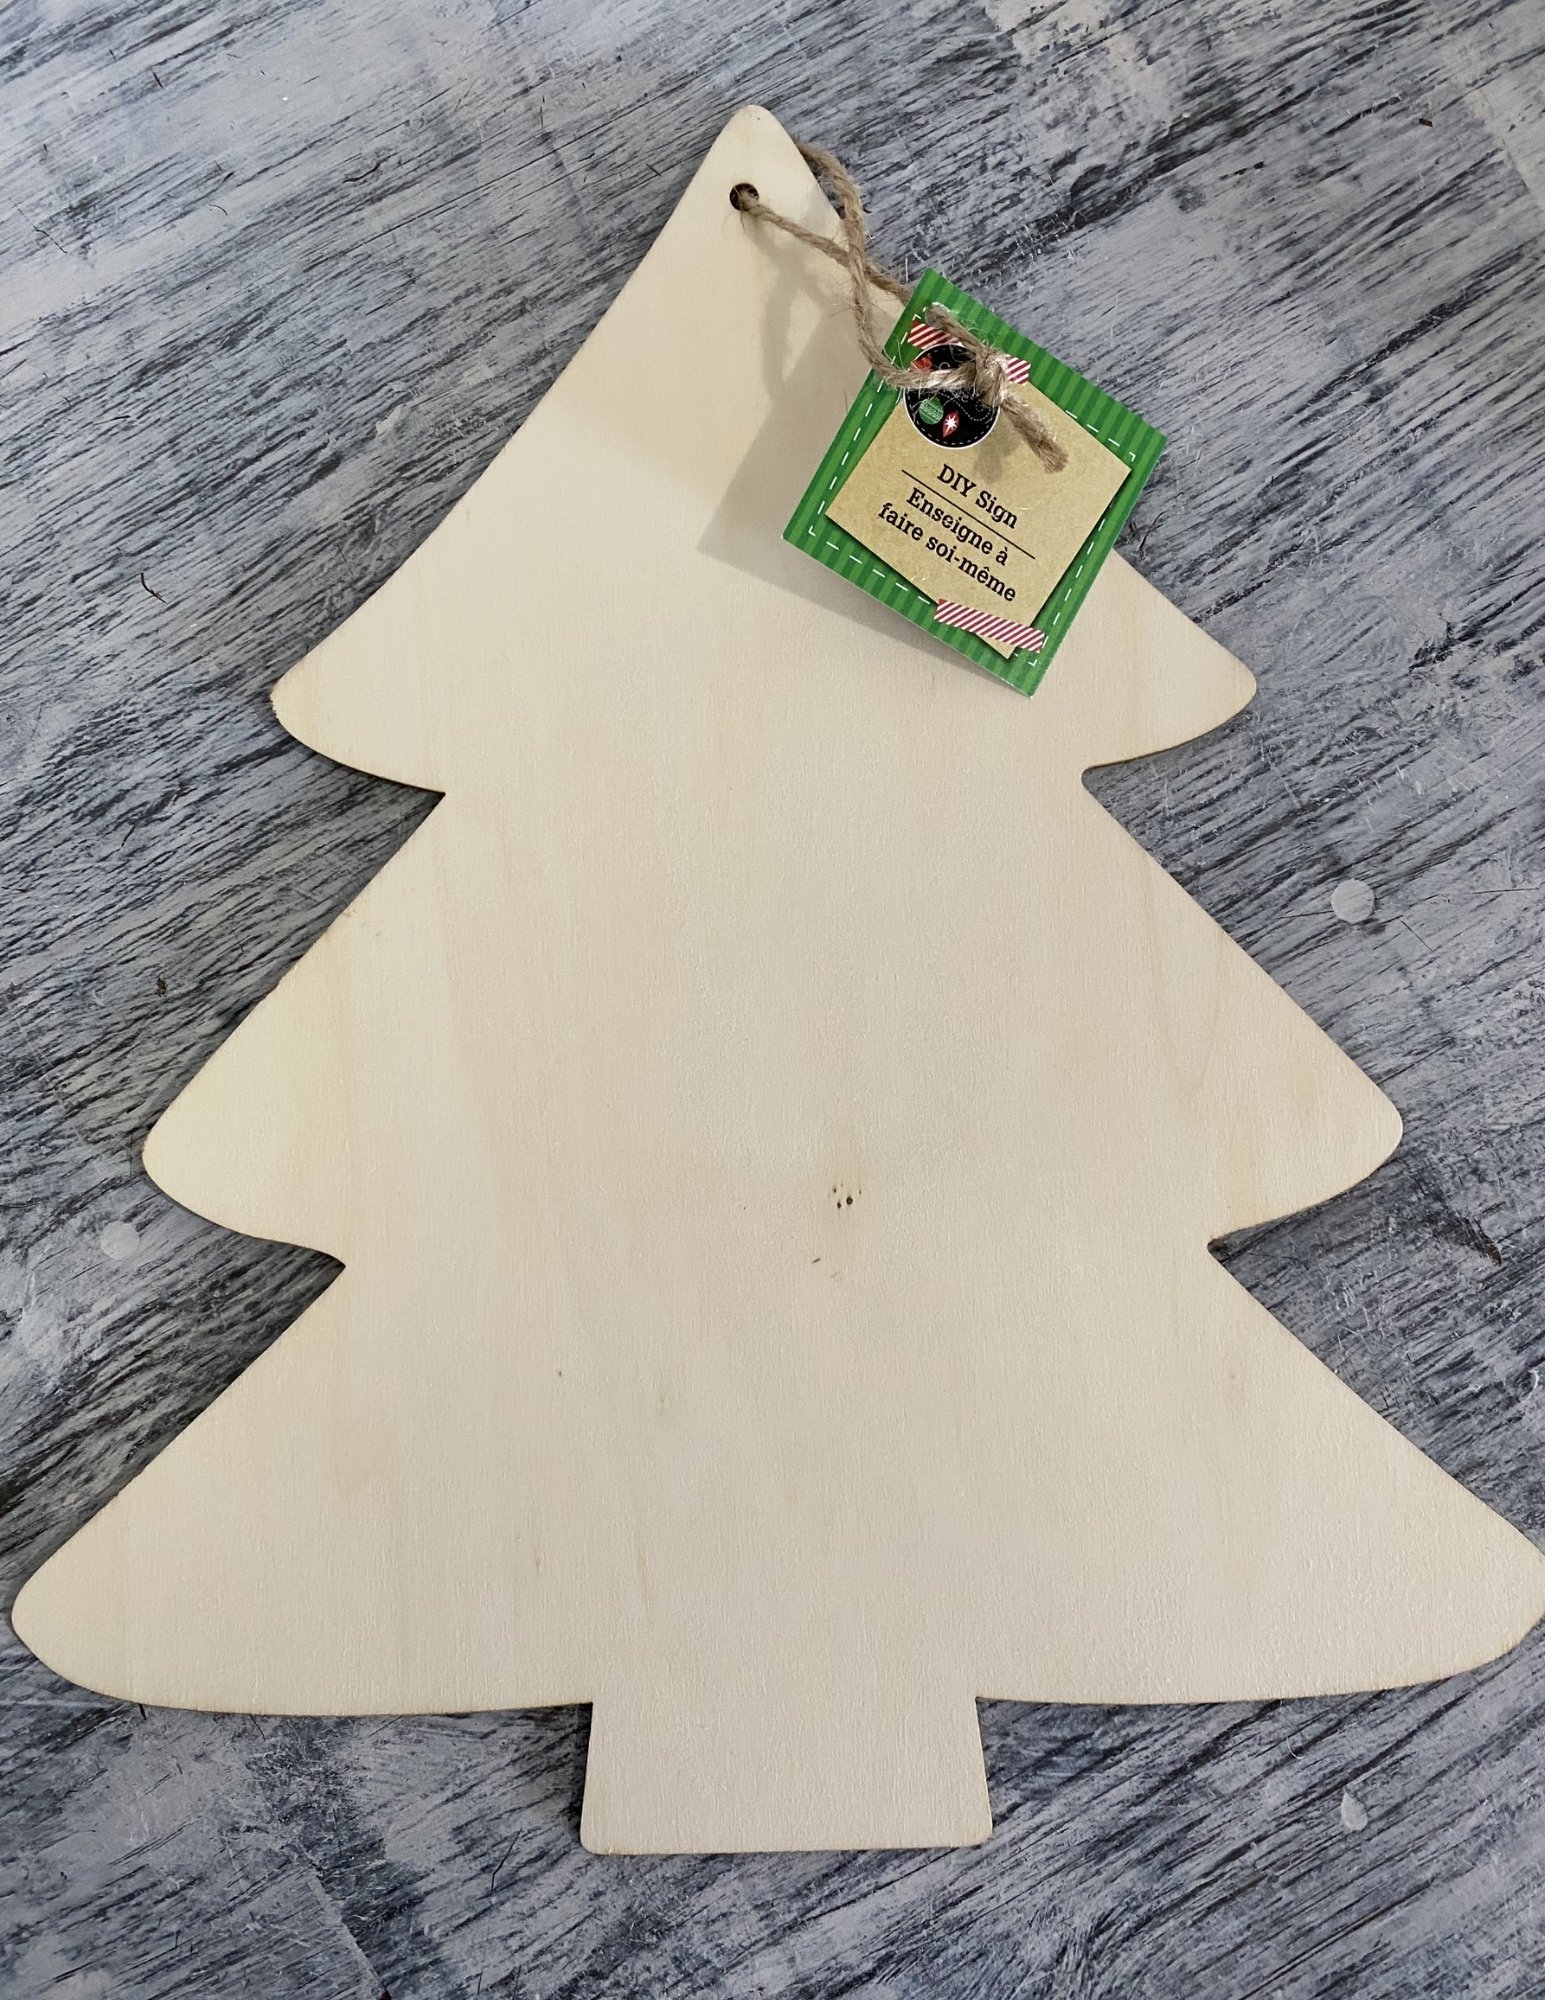
So, I had two Christmas Tree wood cutouts from Dollar Tree that I knew I wanted to use, but that was about as far as my idea was to start.
We thought this would be adorable with some garland, lights, and little red bells.
Time to have fun!
This project was so easy to make, that even my non-crafty daughter-in-law was able to help me put it together!
I know what you’re thinking, “We haven’t even made it through Halloween and Thanksgiving, WHY is she doing Christmas??” I get it, but this Chippy Christmas Tree DIY is too cute to wait.
If you’re looking for projects for Fall, I have plenty on my Facebook Page! I go LIVE often with DIY projects and even have groups DEDICATED to DIY projects.
Watch the DIY Tutorial
Anyways, back to the point. I think you will love this project. Just look at cute it turned out! You can watch the video of me making this adorable Farmhouse Chippy Christmas Tree DIY here.
If you don’t know by now, I absolutely love the “chippy” style. It is honestly one of my favorite things to do with my DIY crafts, but I thought it would be so perfect for this project.
Of course, there is no wrong way to DIY. If you decide to make this project for yourself, but you’re not a fan of the chippy look, absolutely feel free to change it up!

I even have a free group on Facebook where you can share your creations and get inspired by others too, it is called On a Budget Crafts.
Time to make this Chippy Christmas Tree DIY!
Alright! Let’s get right to it! (these are my affiliate links. If a purchase is made through one of my links I may earn a small commission but that does not cost you any extra)
To make a Chippy Christmas Tree DIY, you will need:
- 2 wood Christmas tree cutouts from Dollar Tree
- jute twine
- small red bells
- 2-inch burlap ribbon
- 1/2 inch buffalo check flannel ribbon
- popsicle sticks
- glue gun, glue sticks!
- White paint
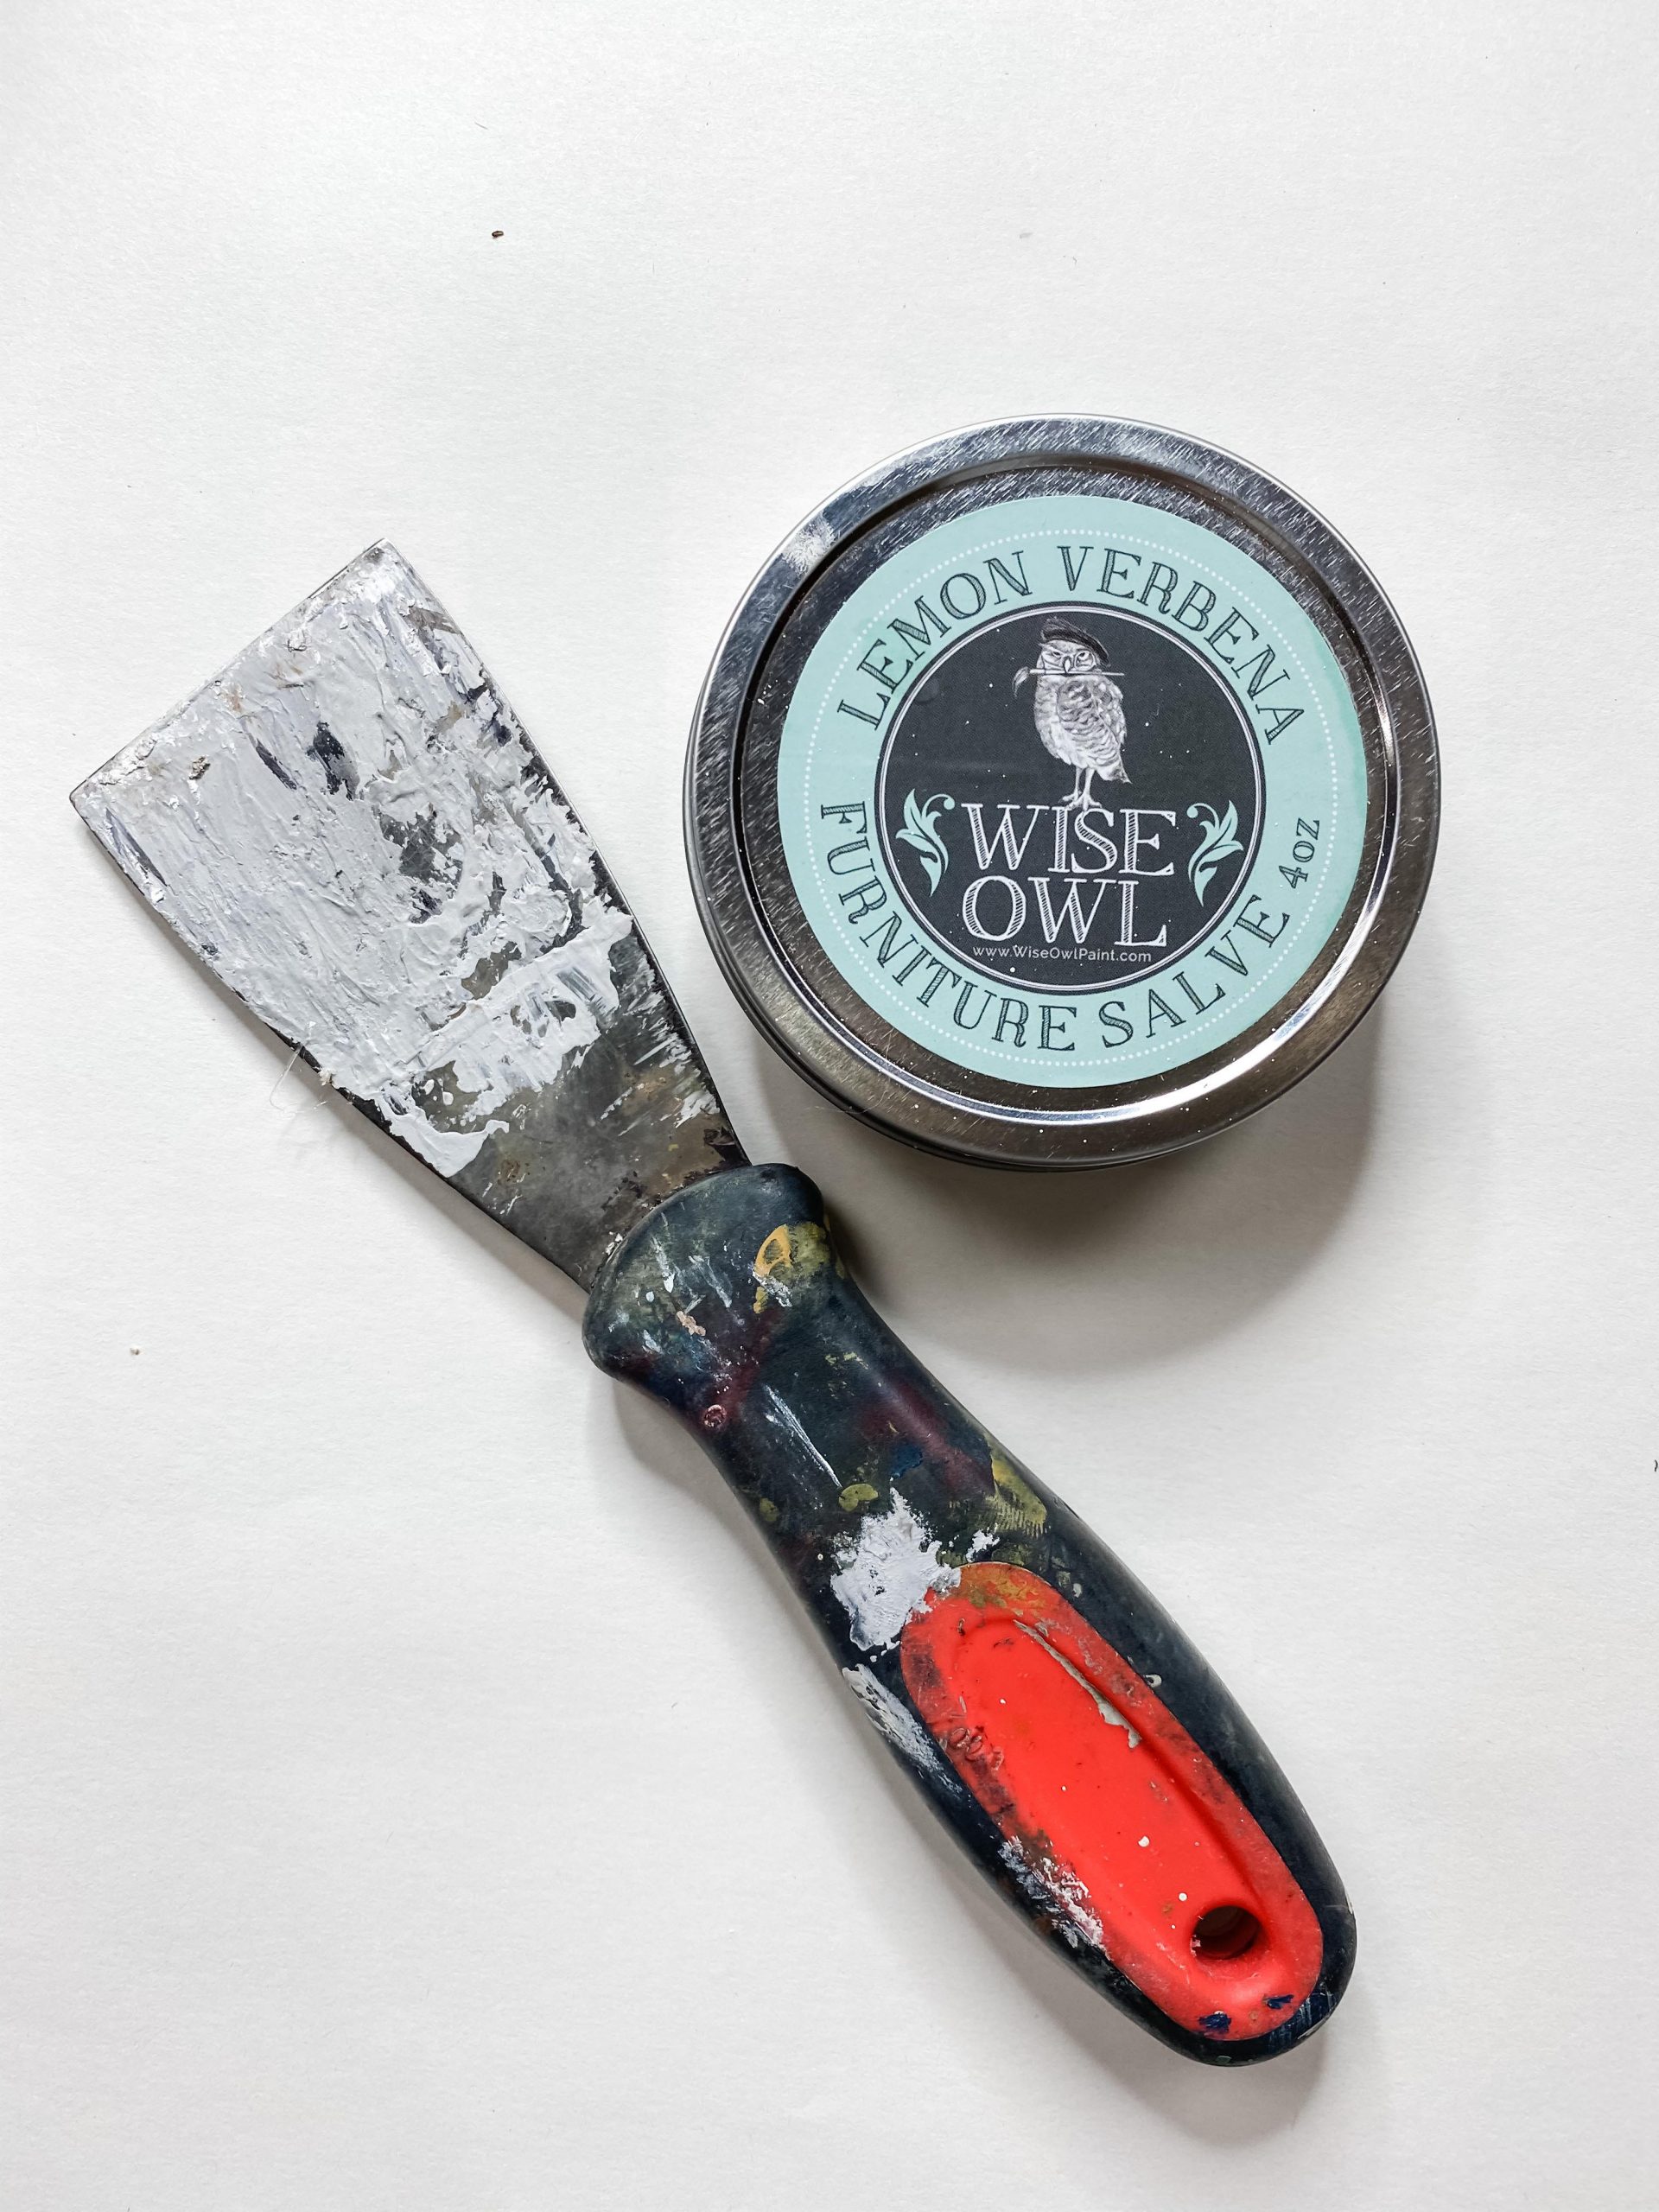
- Wise Owl Furniture Salve (but you can use vaseline, chapstick or candle)
- brown paint
- heat gun
- twinkle lights
- putty knife
- drill, drill bits
Let’s get started actually making it
I started by creating the Chippy finish on one of the Dollar Tree wood tree cutouts, you can see that process in the Facebook live video.
I used brown paint to stain, then I added the Wise Owl Salve to create the barrier then I added the white paint over. (watch the tutorial for the full details)
Once the finish was dry, I started gluing the popsicle sticks to the sides but not yet attaching the second tree to the back. We need to add the lights next.
So, I drilled holes for the lights to fit in the holes. Check the size of your drill bit based on the size of the lights you will be using.
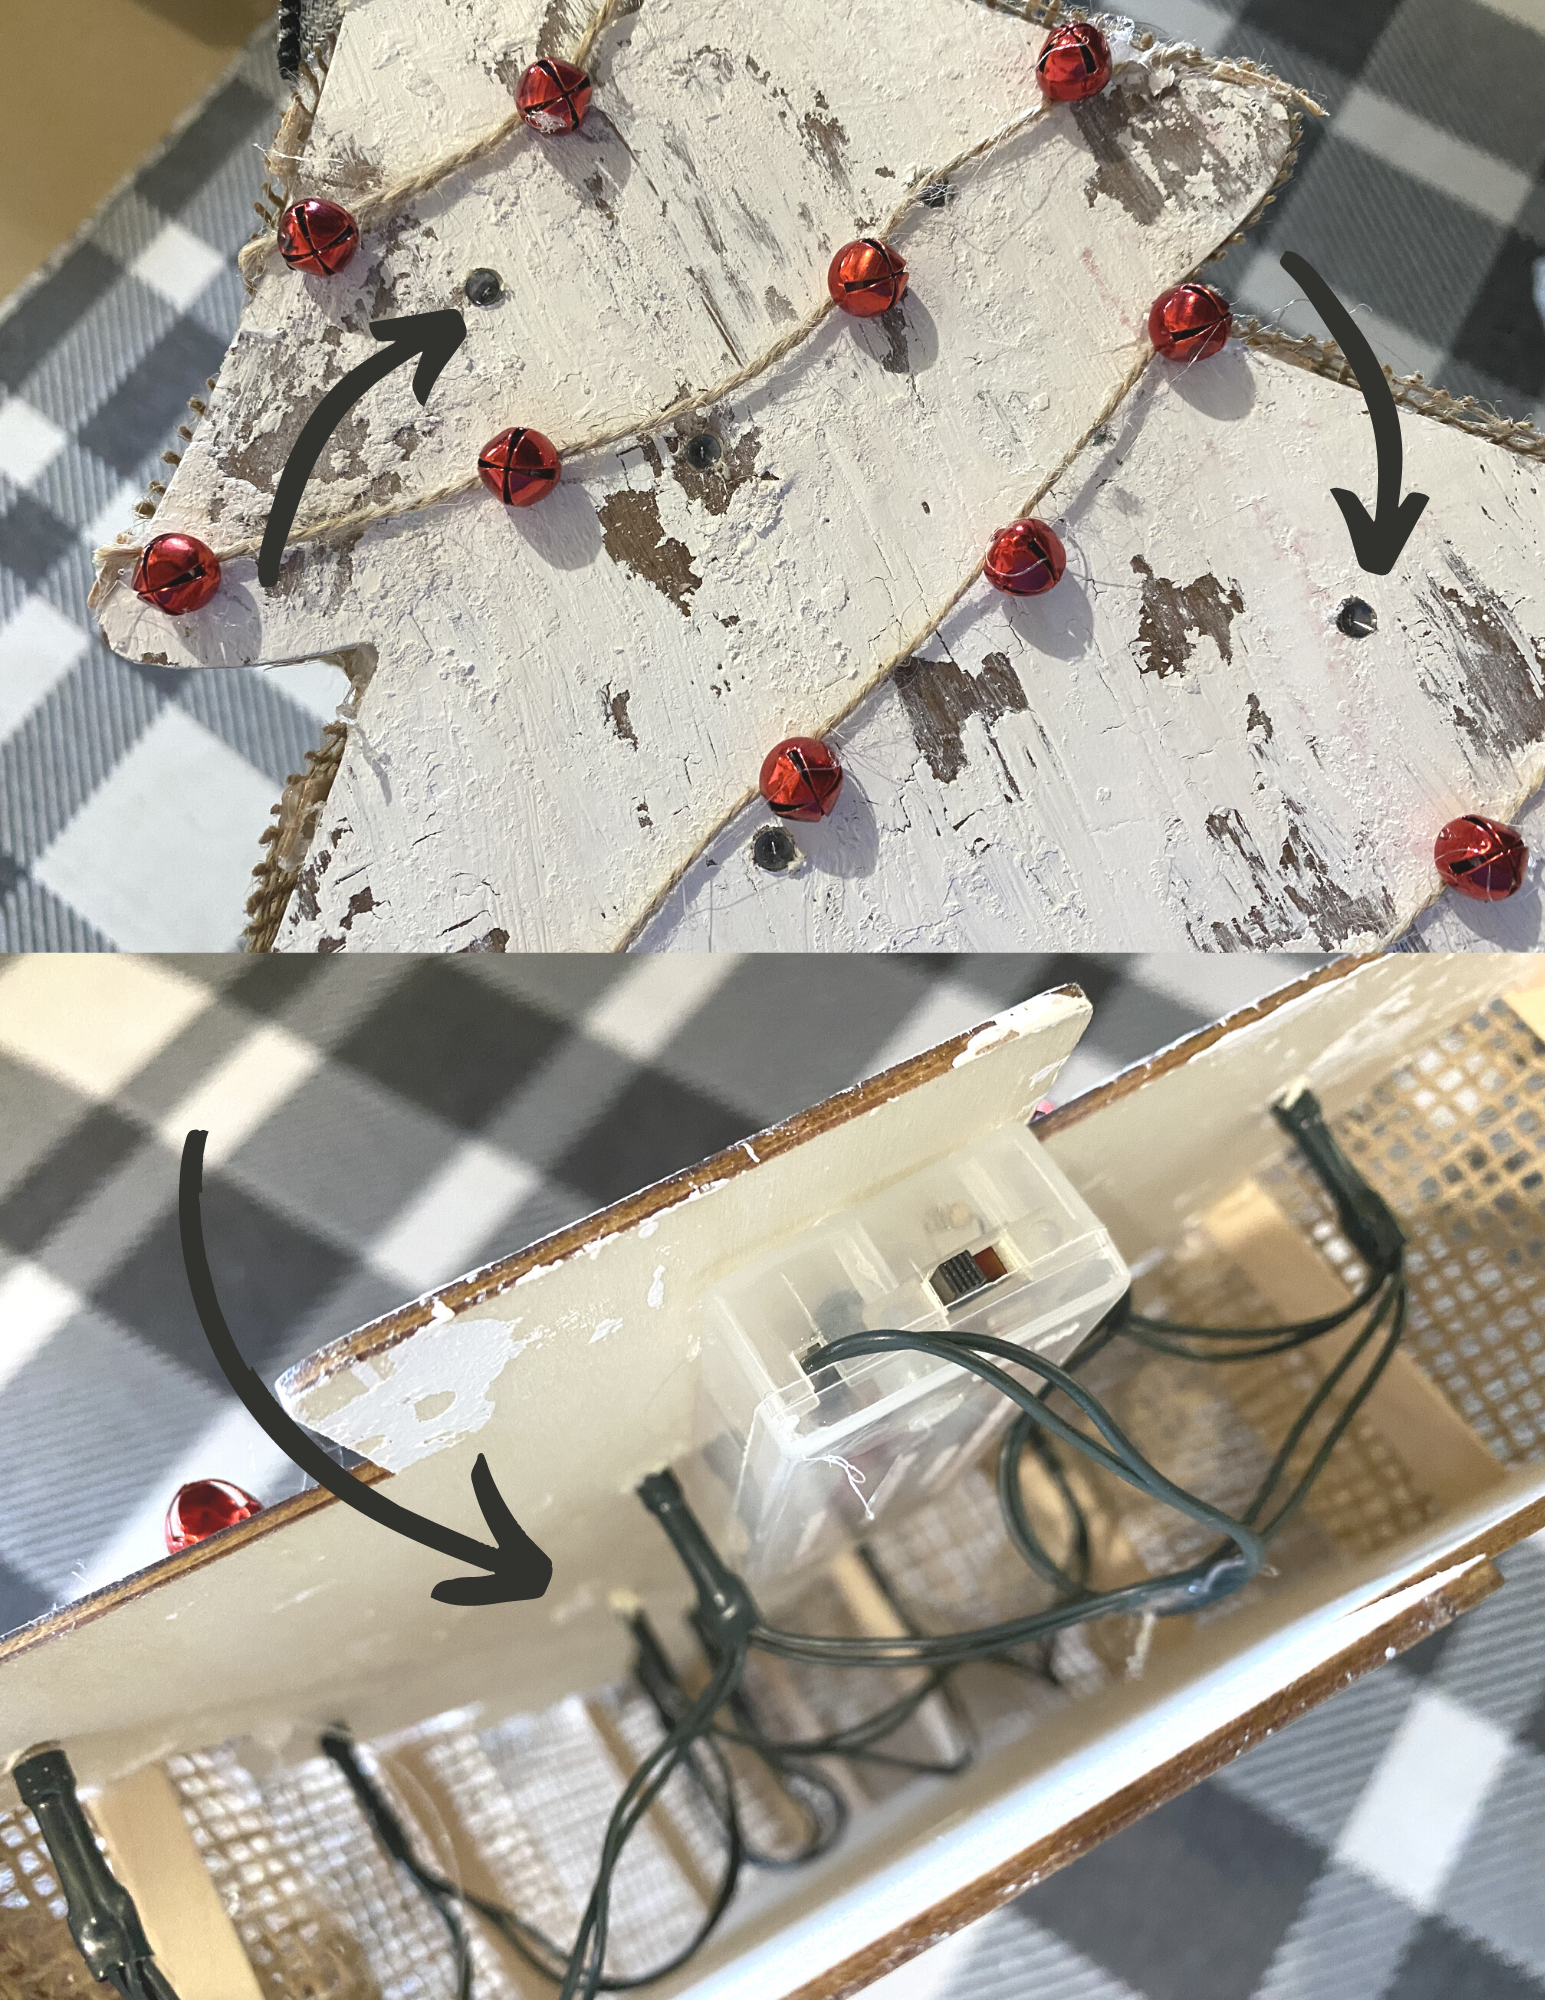
After adding the lights to the front part of our Chippy Christmas Tree, I got the back of our tree and started gluing all the popsicle sticks where ever they touched the back.
You may need to glue your battery pack in before doing this so it doesn’t move around.
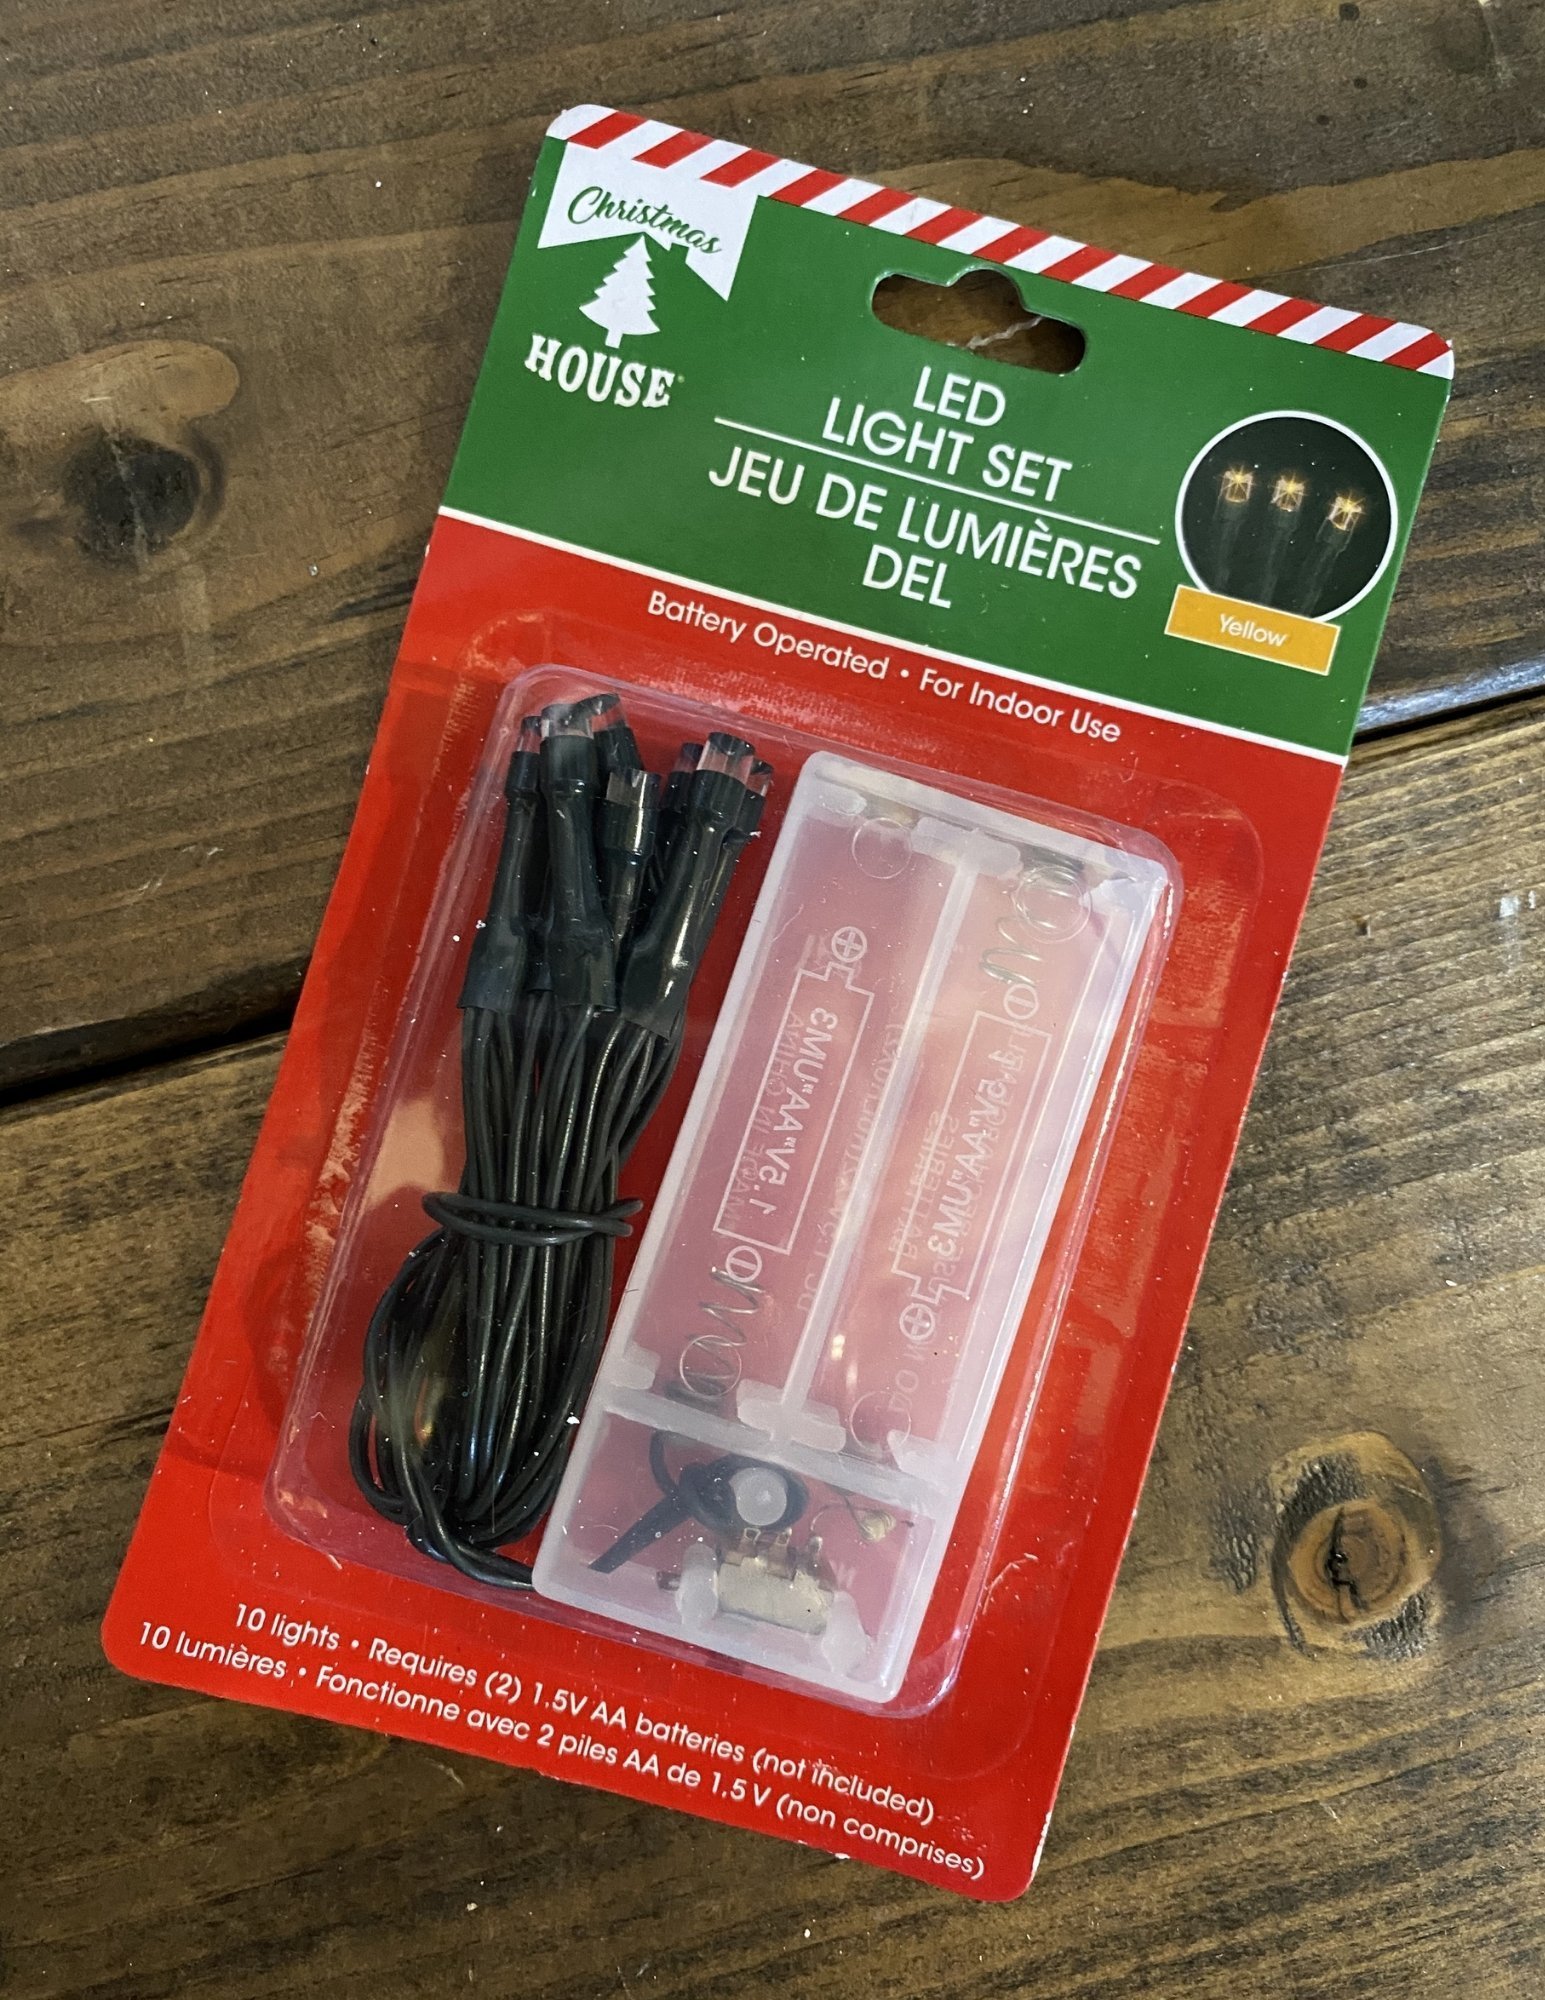
I wasn’t a fan of the yellow lights but that is all I happened to have in my craft stash. In the end, they looked ok.
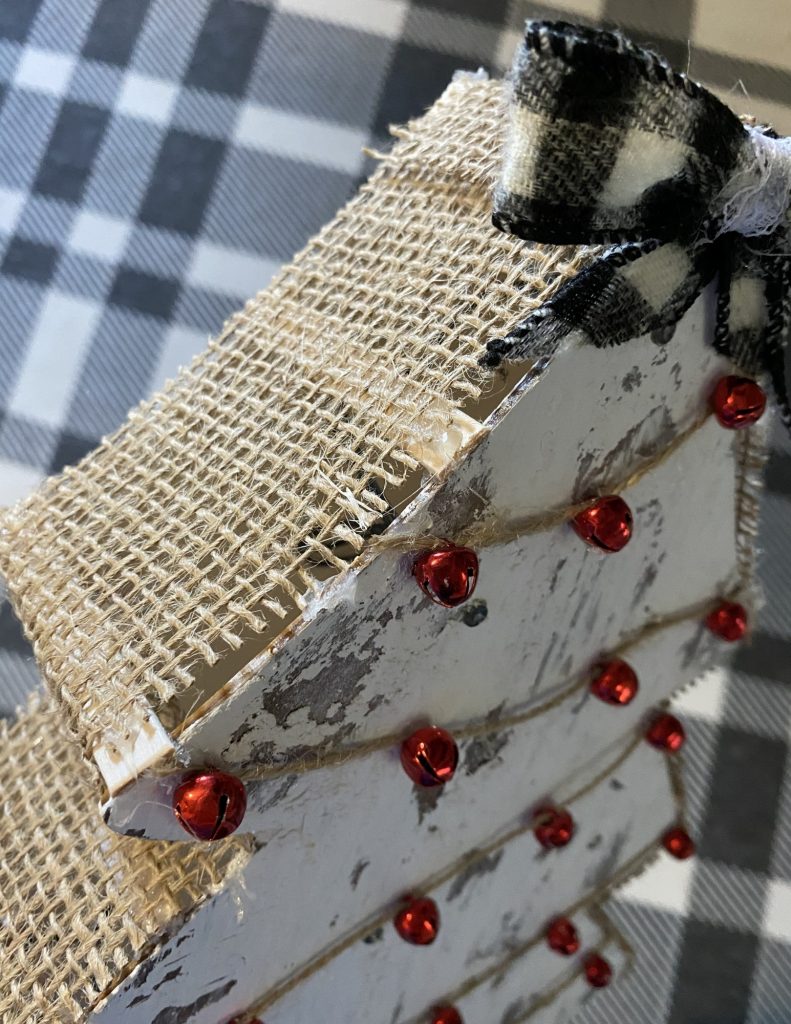
Once the popsicle sticks were glued to the back part of our tree I added a burlap cover to the sides. Not to fully cover the sides but they give it a rustic farmhouse Christmas feel.
Let’s Embellish!
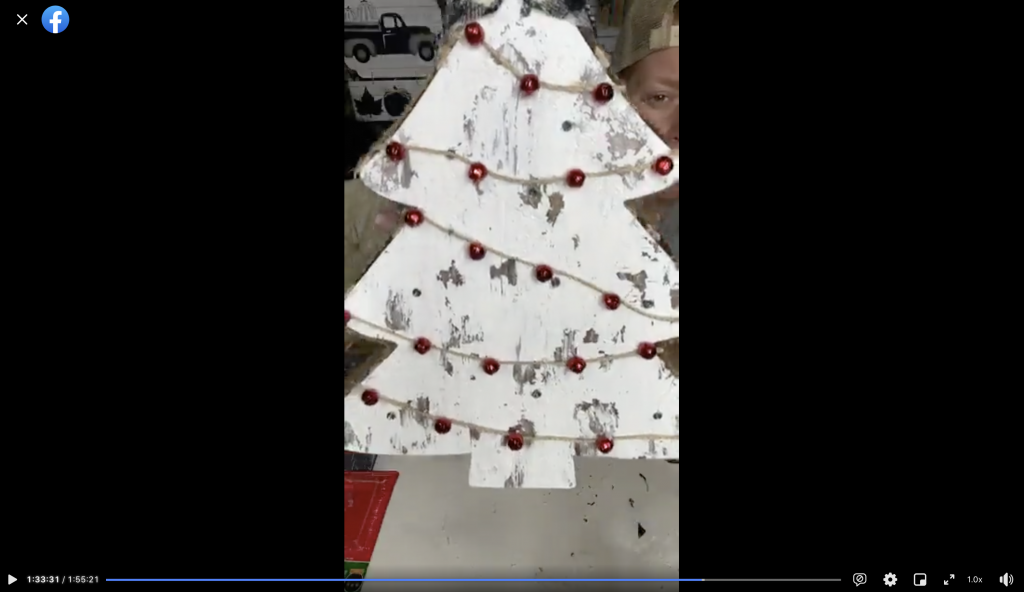
Once the sides were done we added a cute little bell garland to the tree. If you are an avid Dollar Tree item collector like me, you might have scored those red bells.
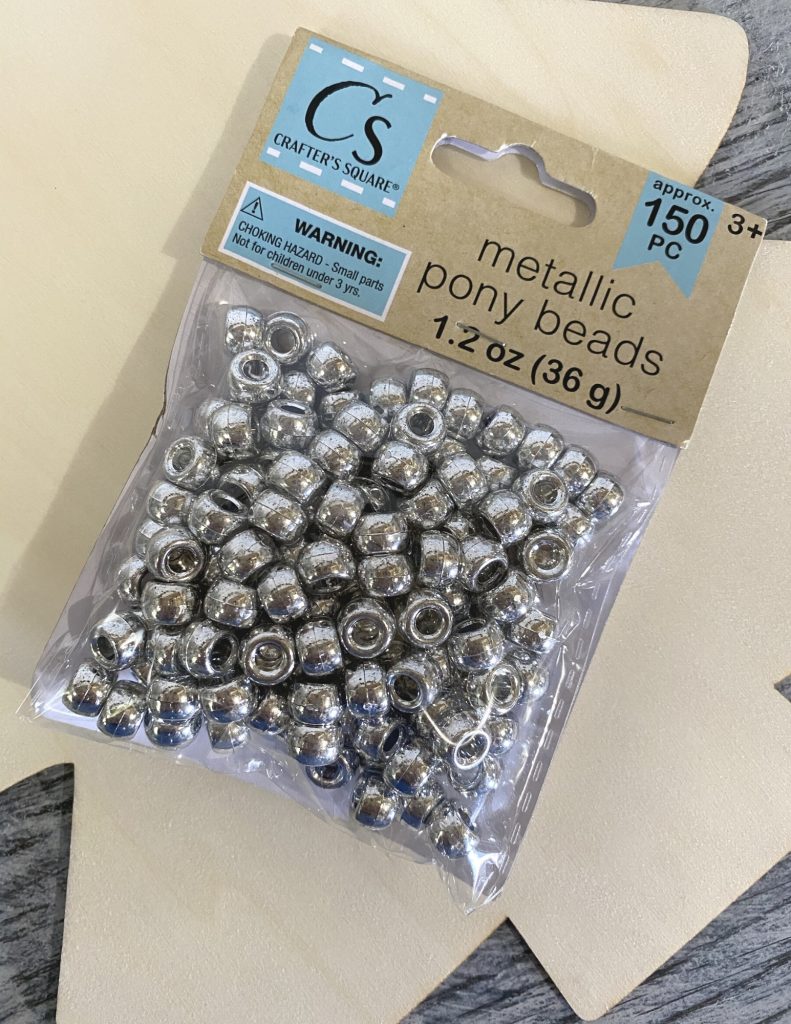
If you didn’t then you might be able to use the metallic pony crafter beads in place of them.
For this project, we ended up using the red bells I scored at Dollar Tree and some jute twine to make the garland.
I had my daughter-in-law Michelle string the bells on the twine and then we just glued them onto the front of our Chippy Christmas Tree.
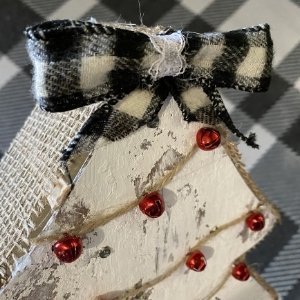
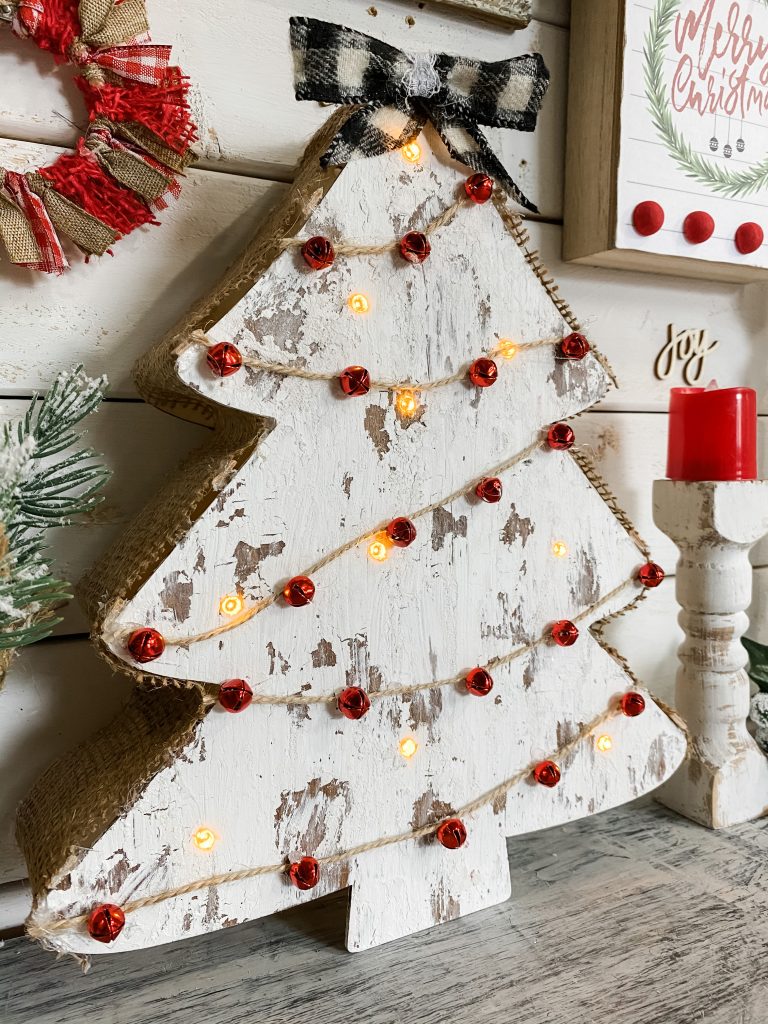
We finished off our Chippy Christmas Tree DIY with a flannel ribbon buffalo check bow. I wrapped the center of it with a little lace. Can I tell you a secret?
I made this bow with hot glue. I am not the best bow maker but what can I say? Figure out how to make a bow even if you gotta use hot glue and layer it together.
Now that our Chippy Christmas tree is finished I really want to make a little village of them. It turned out so cute and was actually a lot of fun to make.
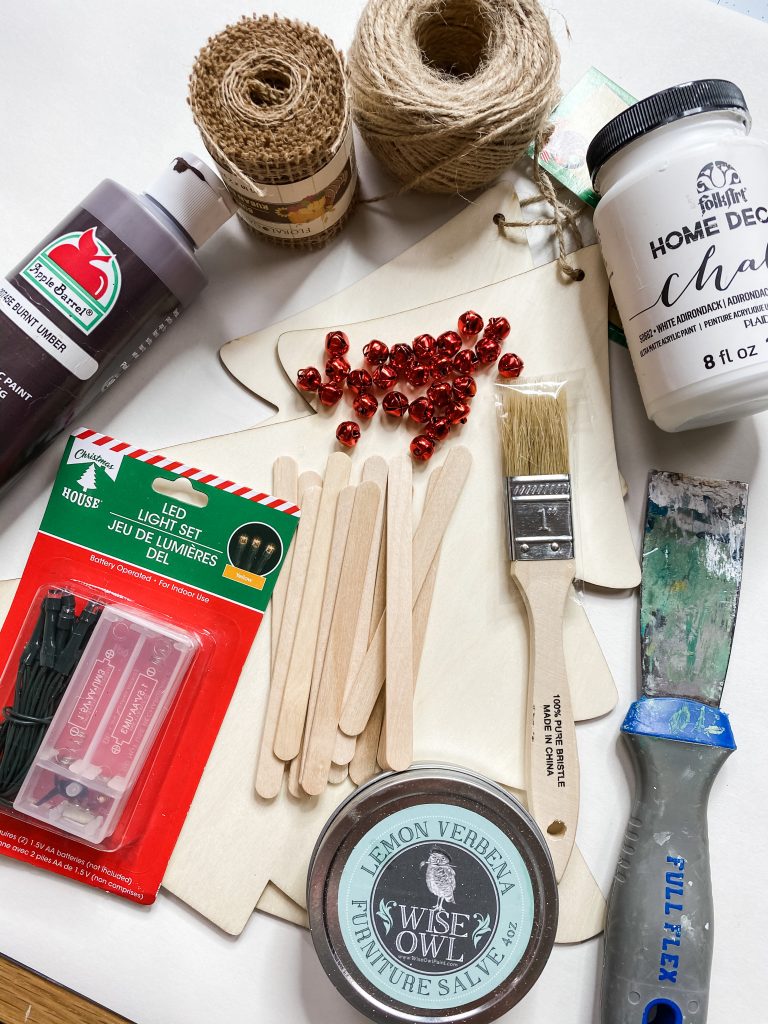
Here is the full view of the supplies I used.
Remember to Think outside the box!
Like I said before, there is no wrong way to DIY. Make this Chippy Christmas Tree DIY your own by customizing the ribbon used or paint color.
I just want to be your inspiration! Find ways to make this project your own, but most importantly, HAVE FUN!
I hope you love this Chippy Christmas Tree DIY and are inspired! A great big thank you to PILLAR BLUE BOX for featuring my DIY on her blog! Check out her Christmas Roundup here!
See you later, #craftycrew!
XOXO – Amber
Pin this for later!


I can’t wait to get me some trees to make this Chippy tree! I didn’t know anything about Amber Strong last year so I’m excited I know her this year and get to see what’s going on in that head of yours for Christmas and get started . In the mean time I’m gone binge watch your last year’s Christmas cause I’m sure I’ll have no problem finding something to do! Thanks foe sharing your talents 😃