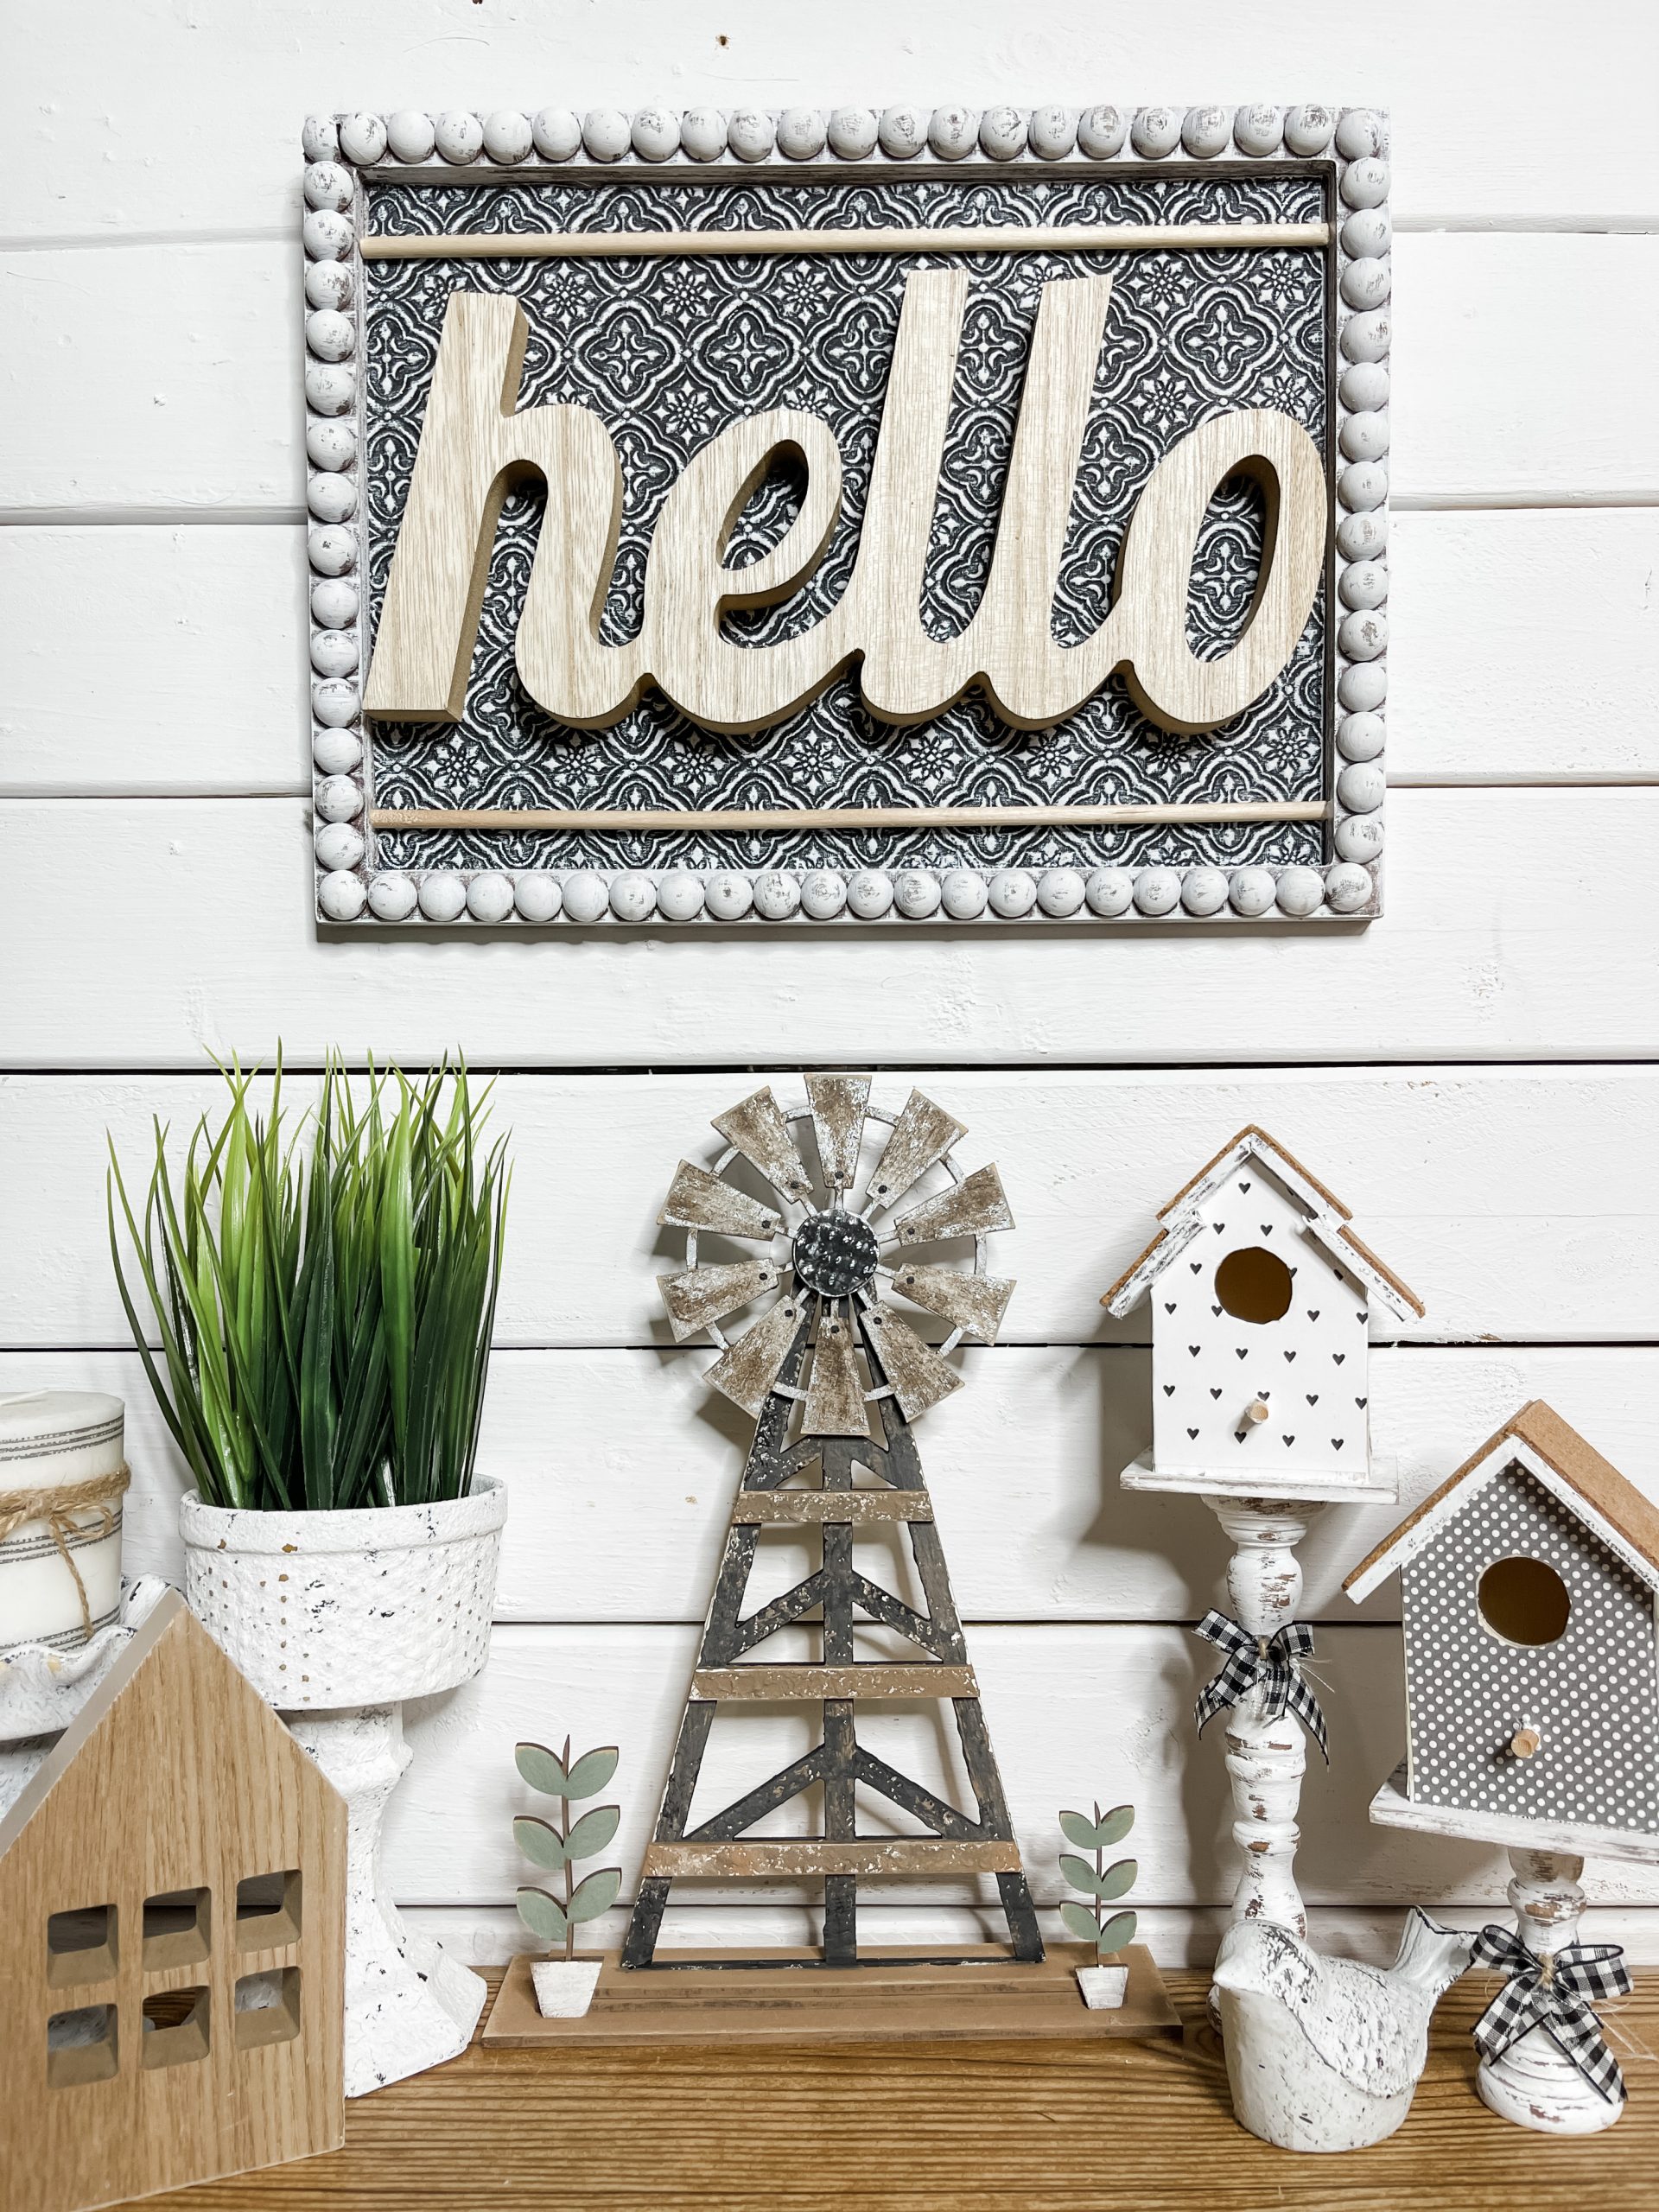
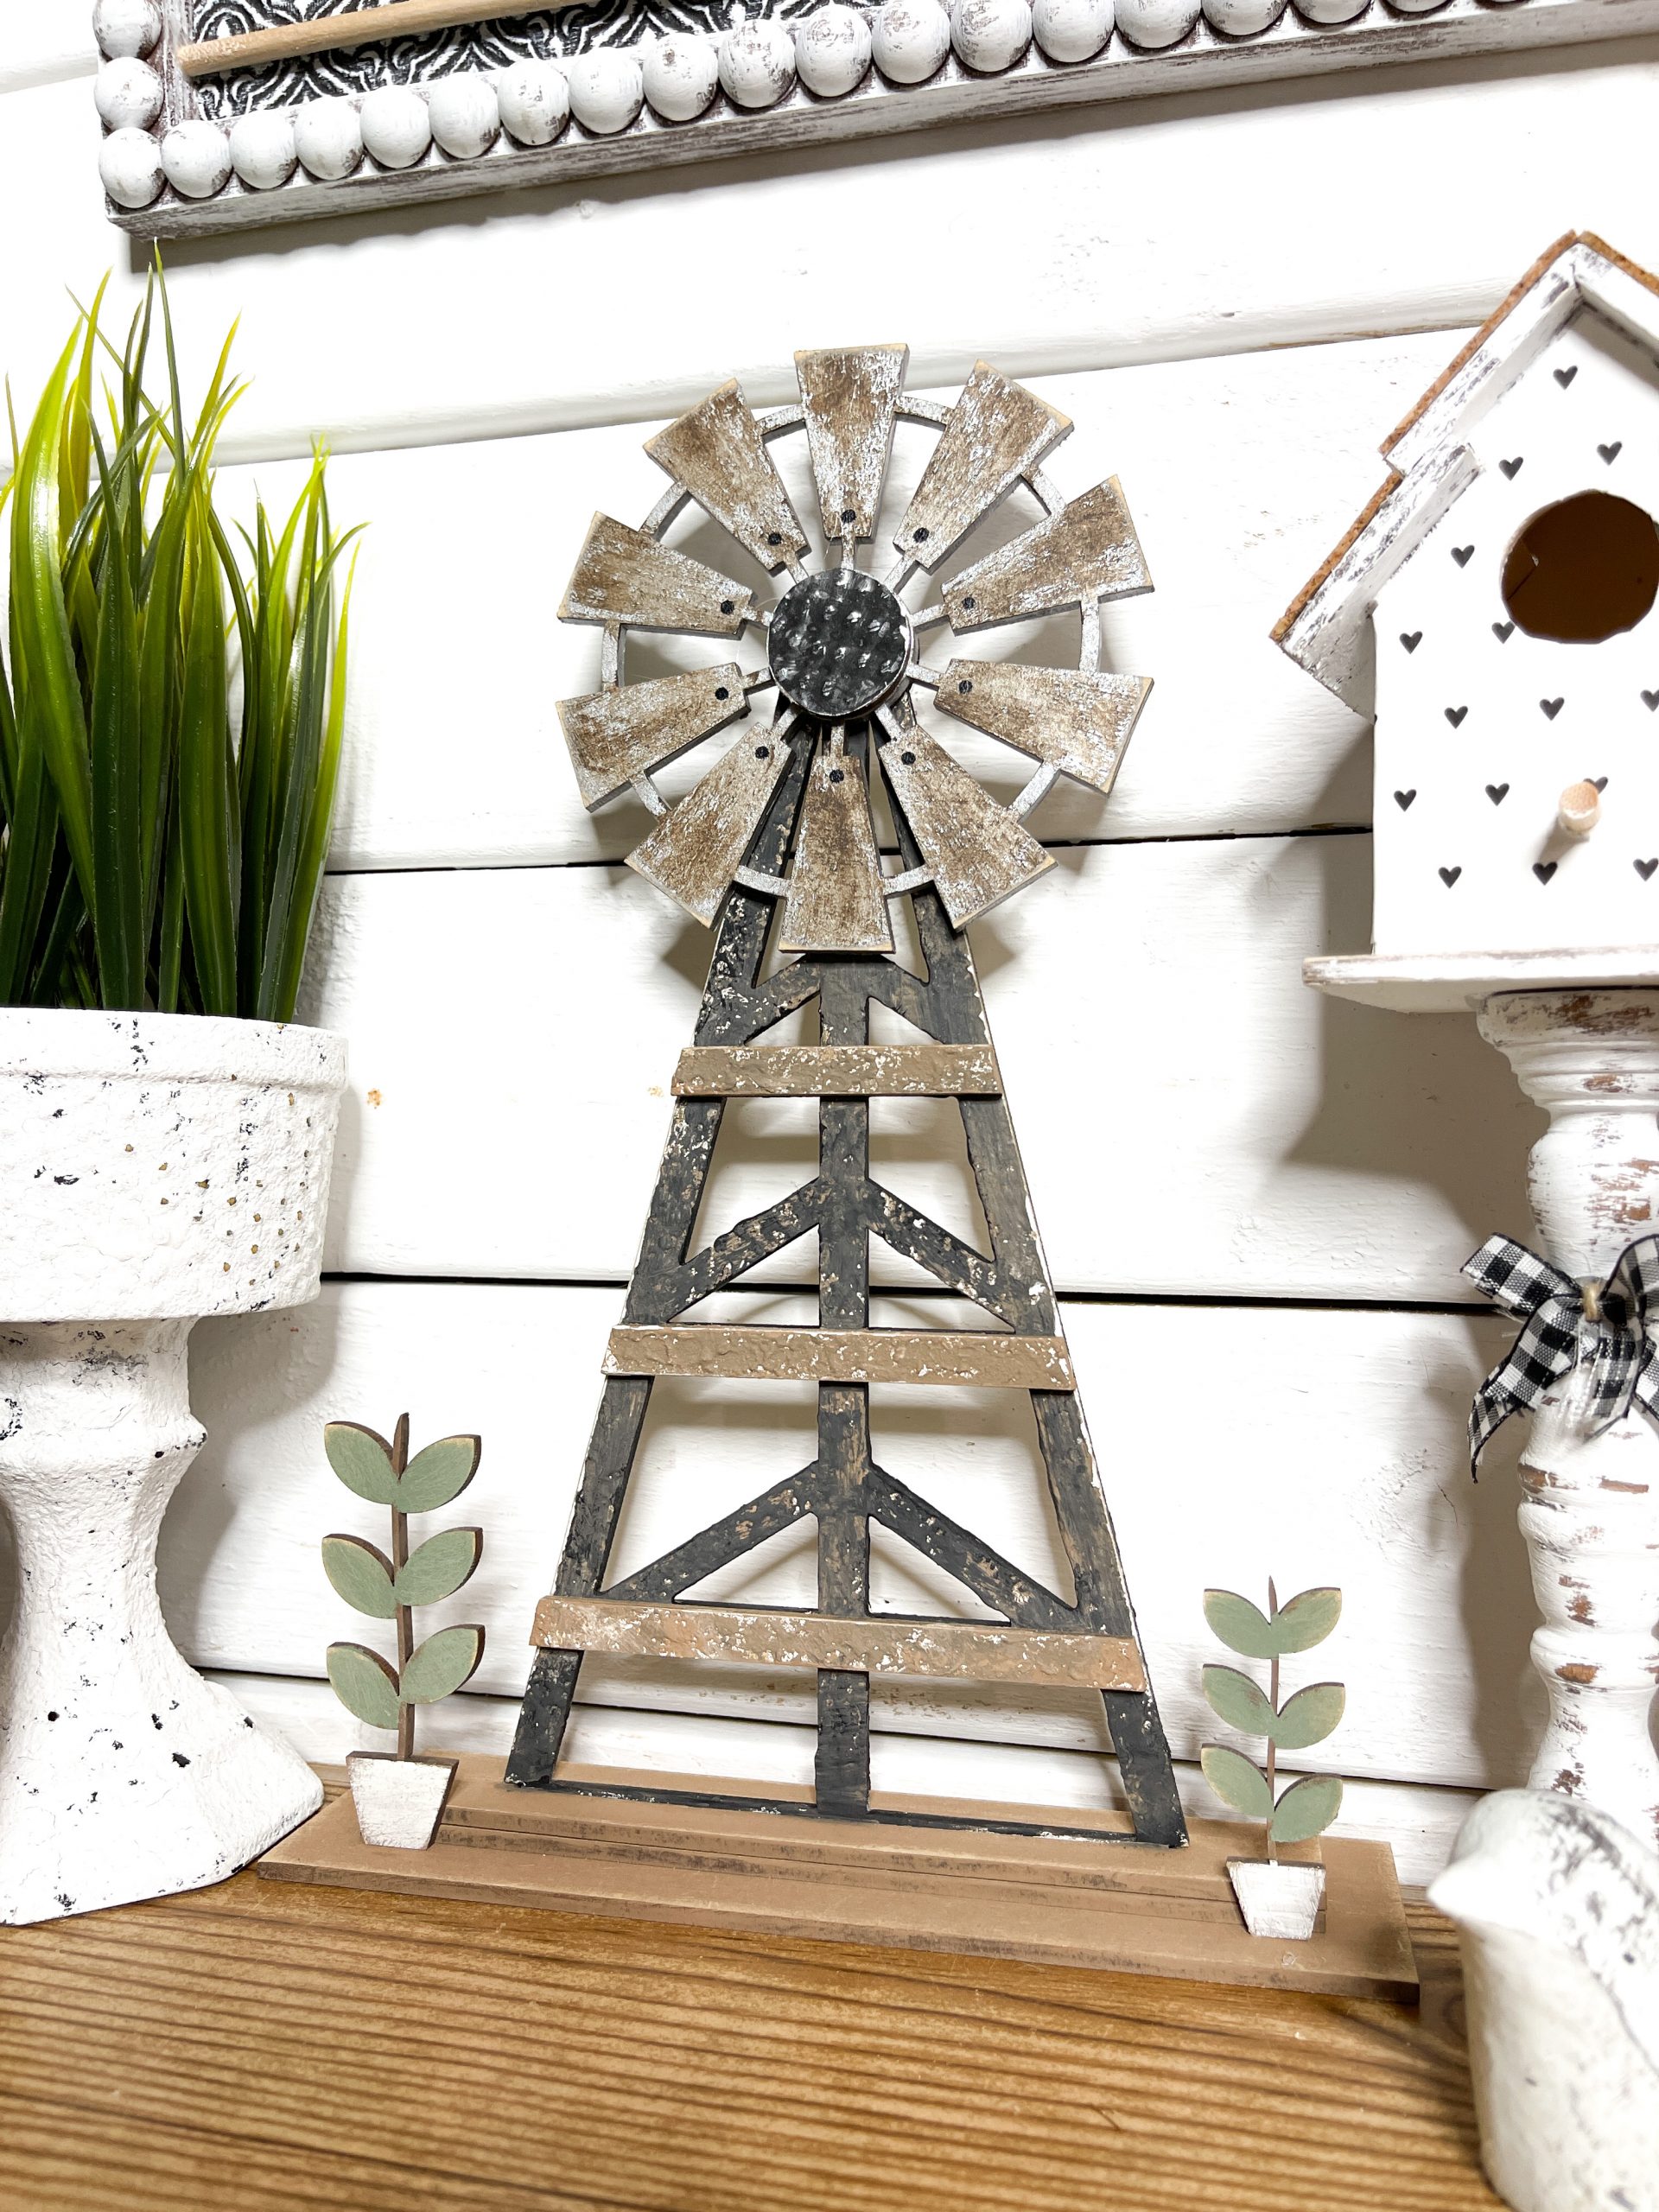
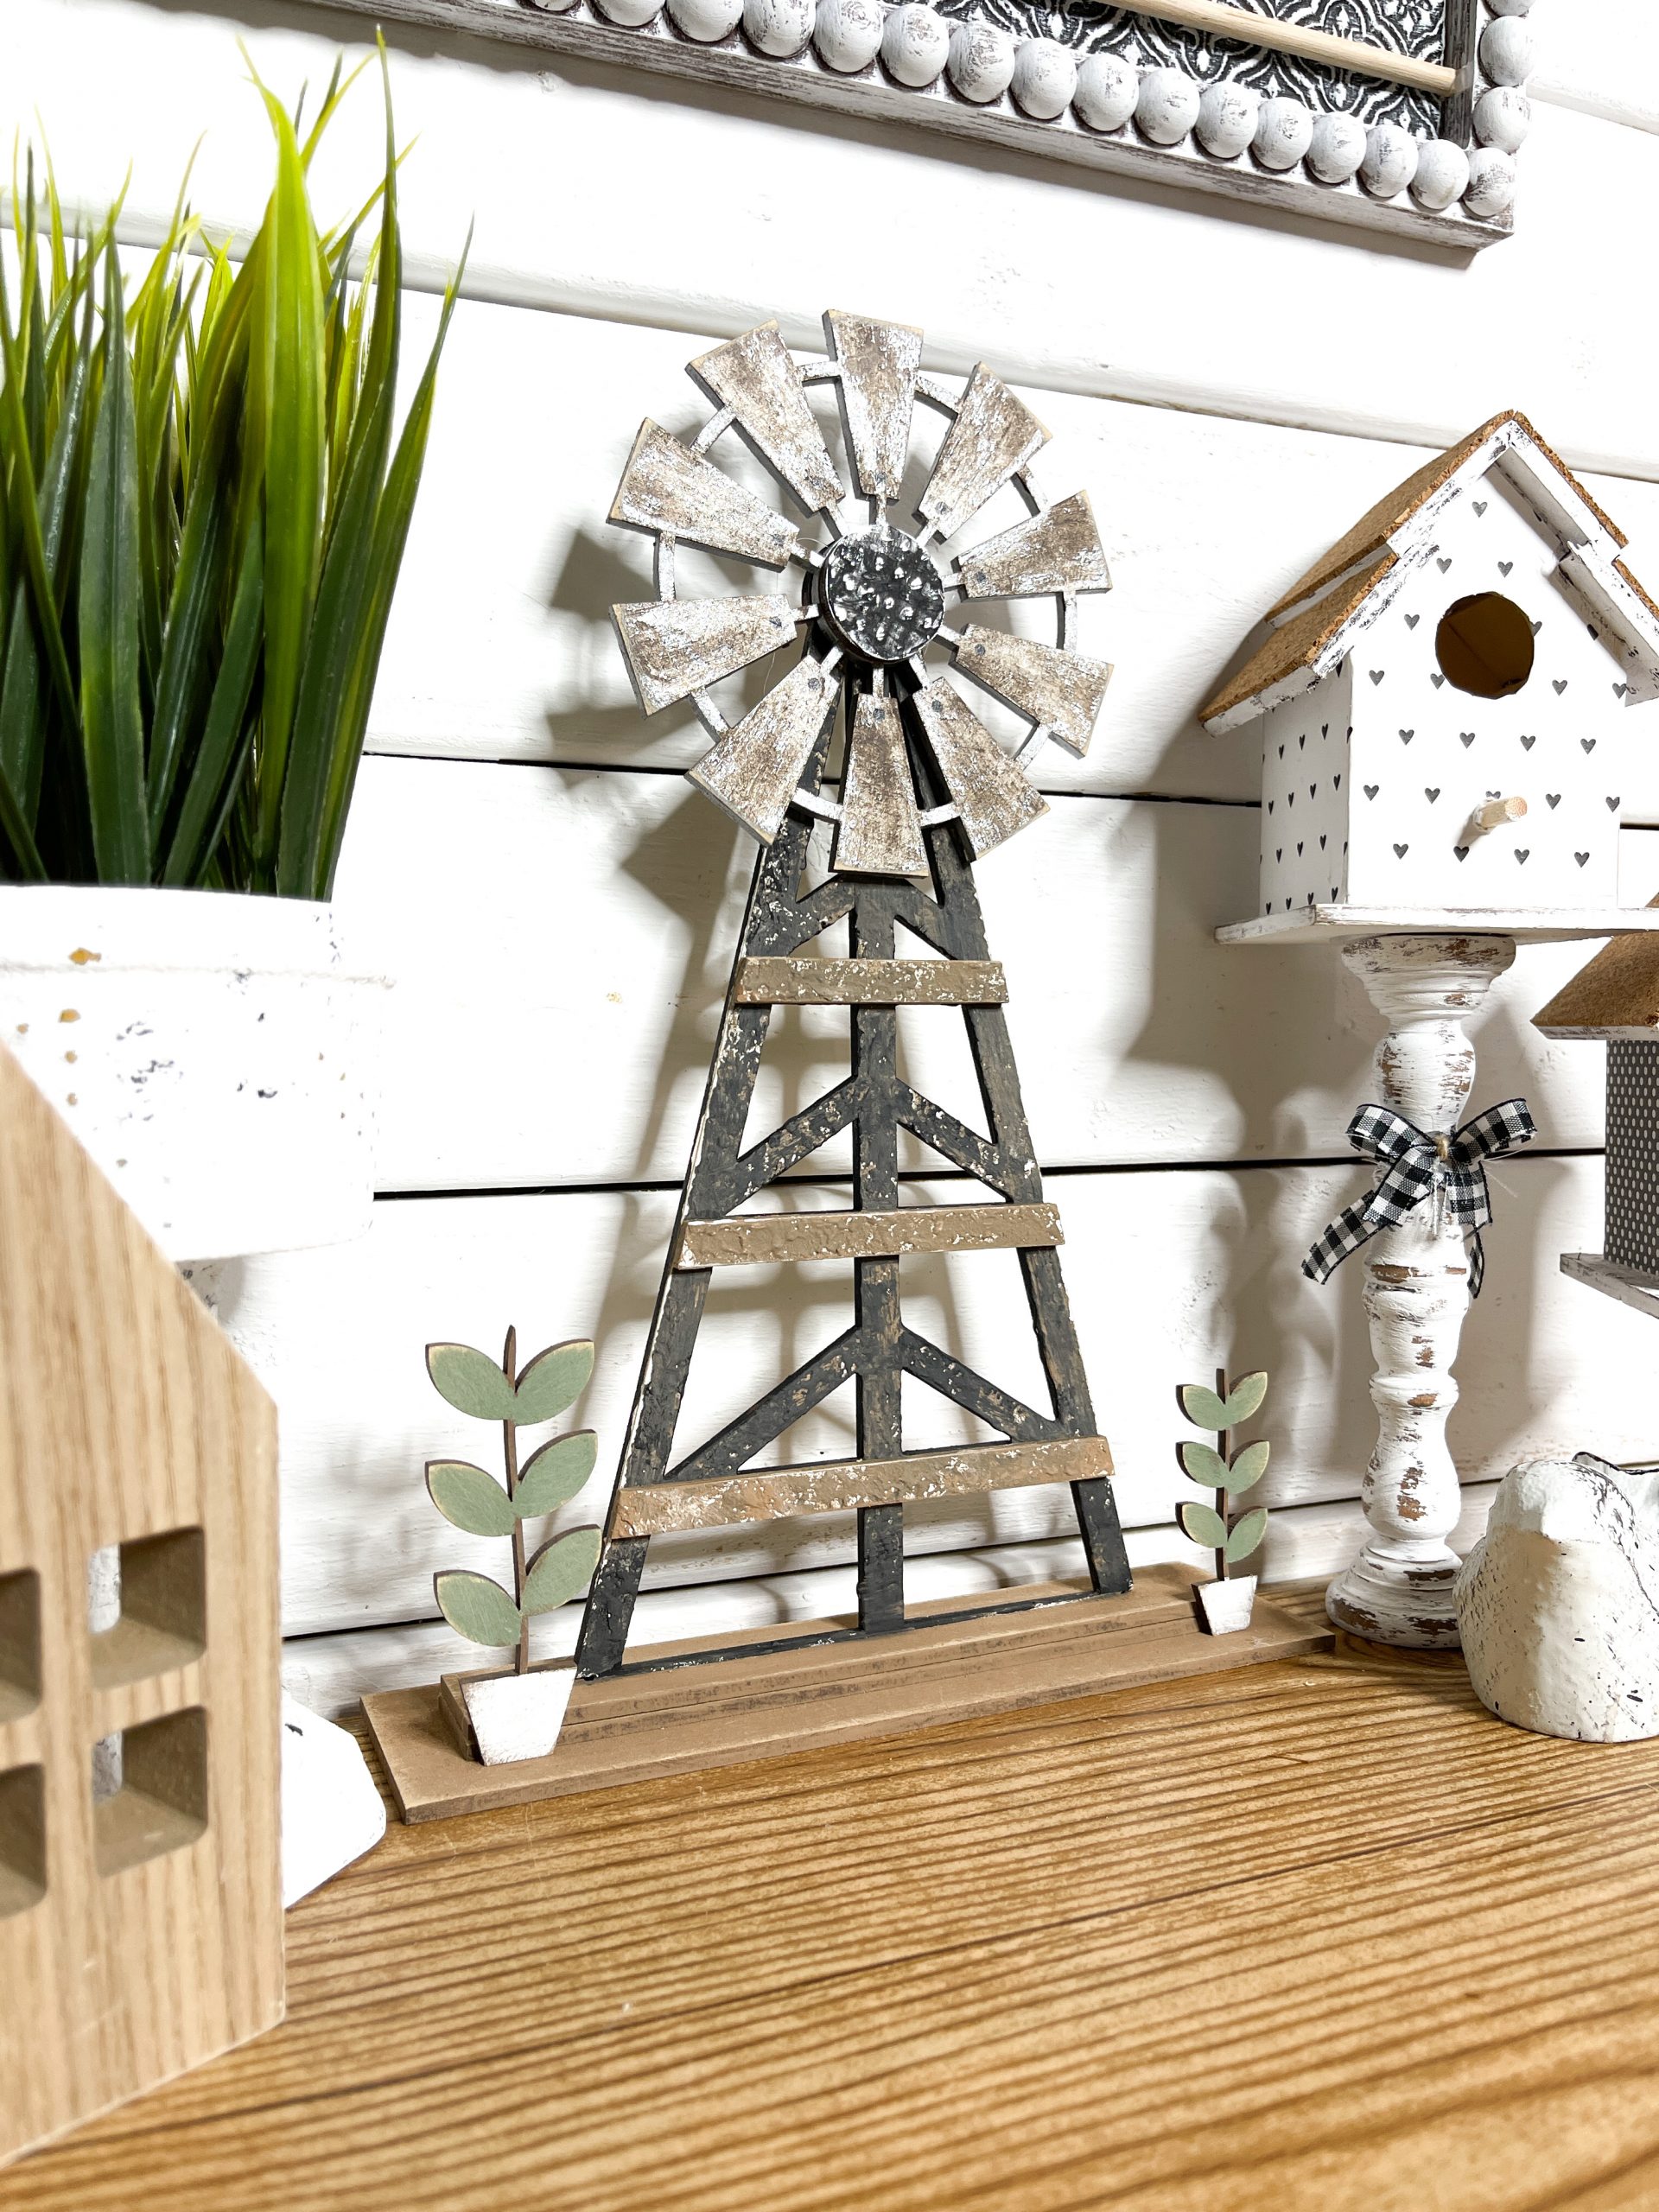
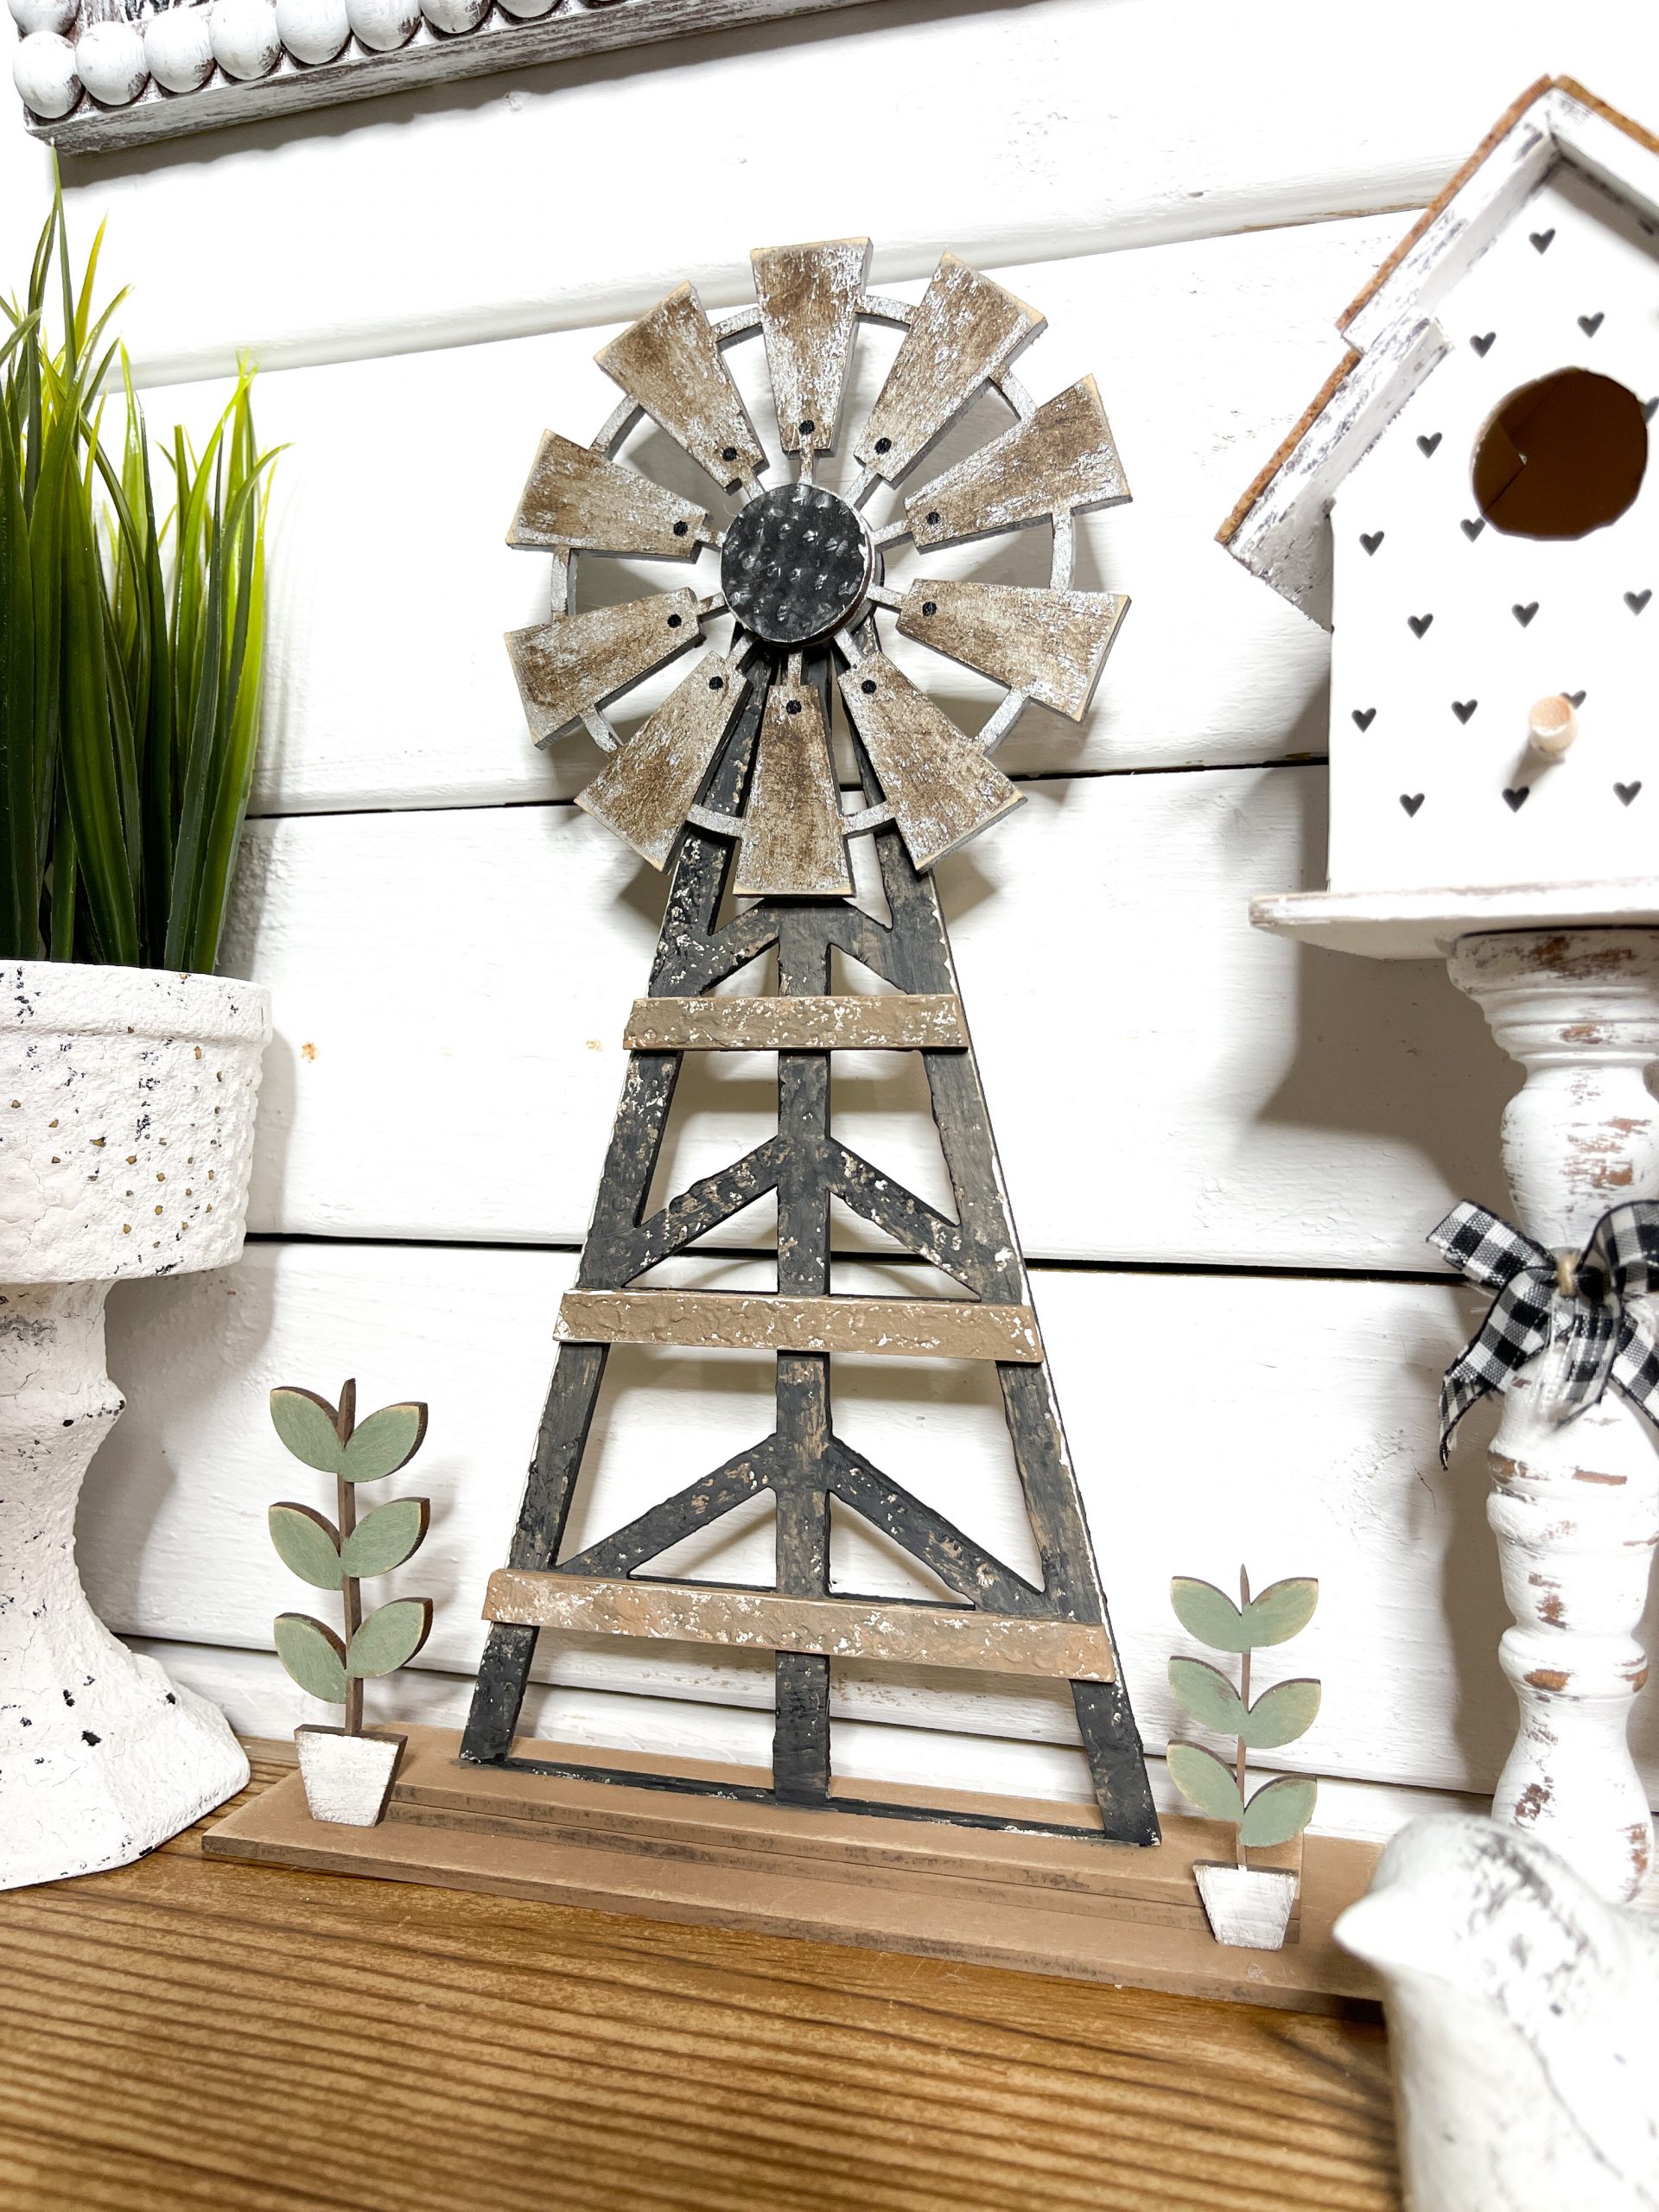
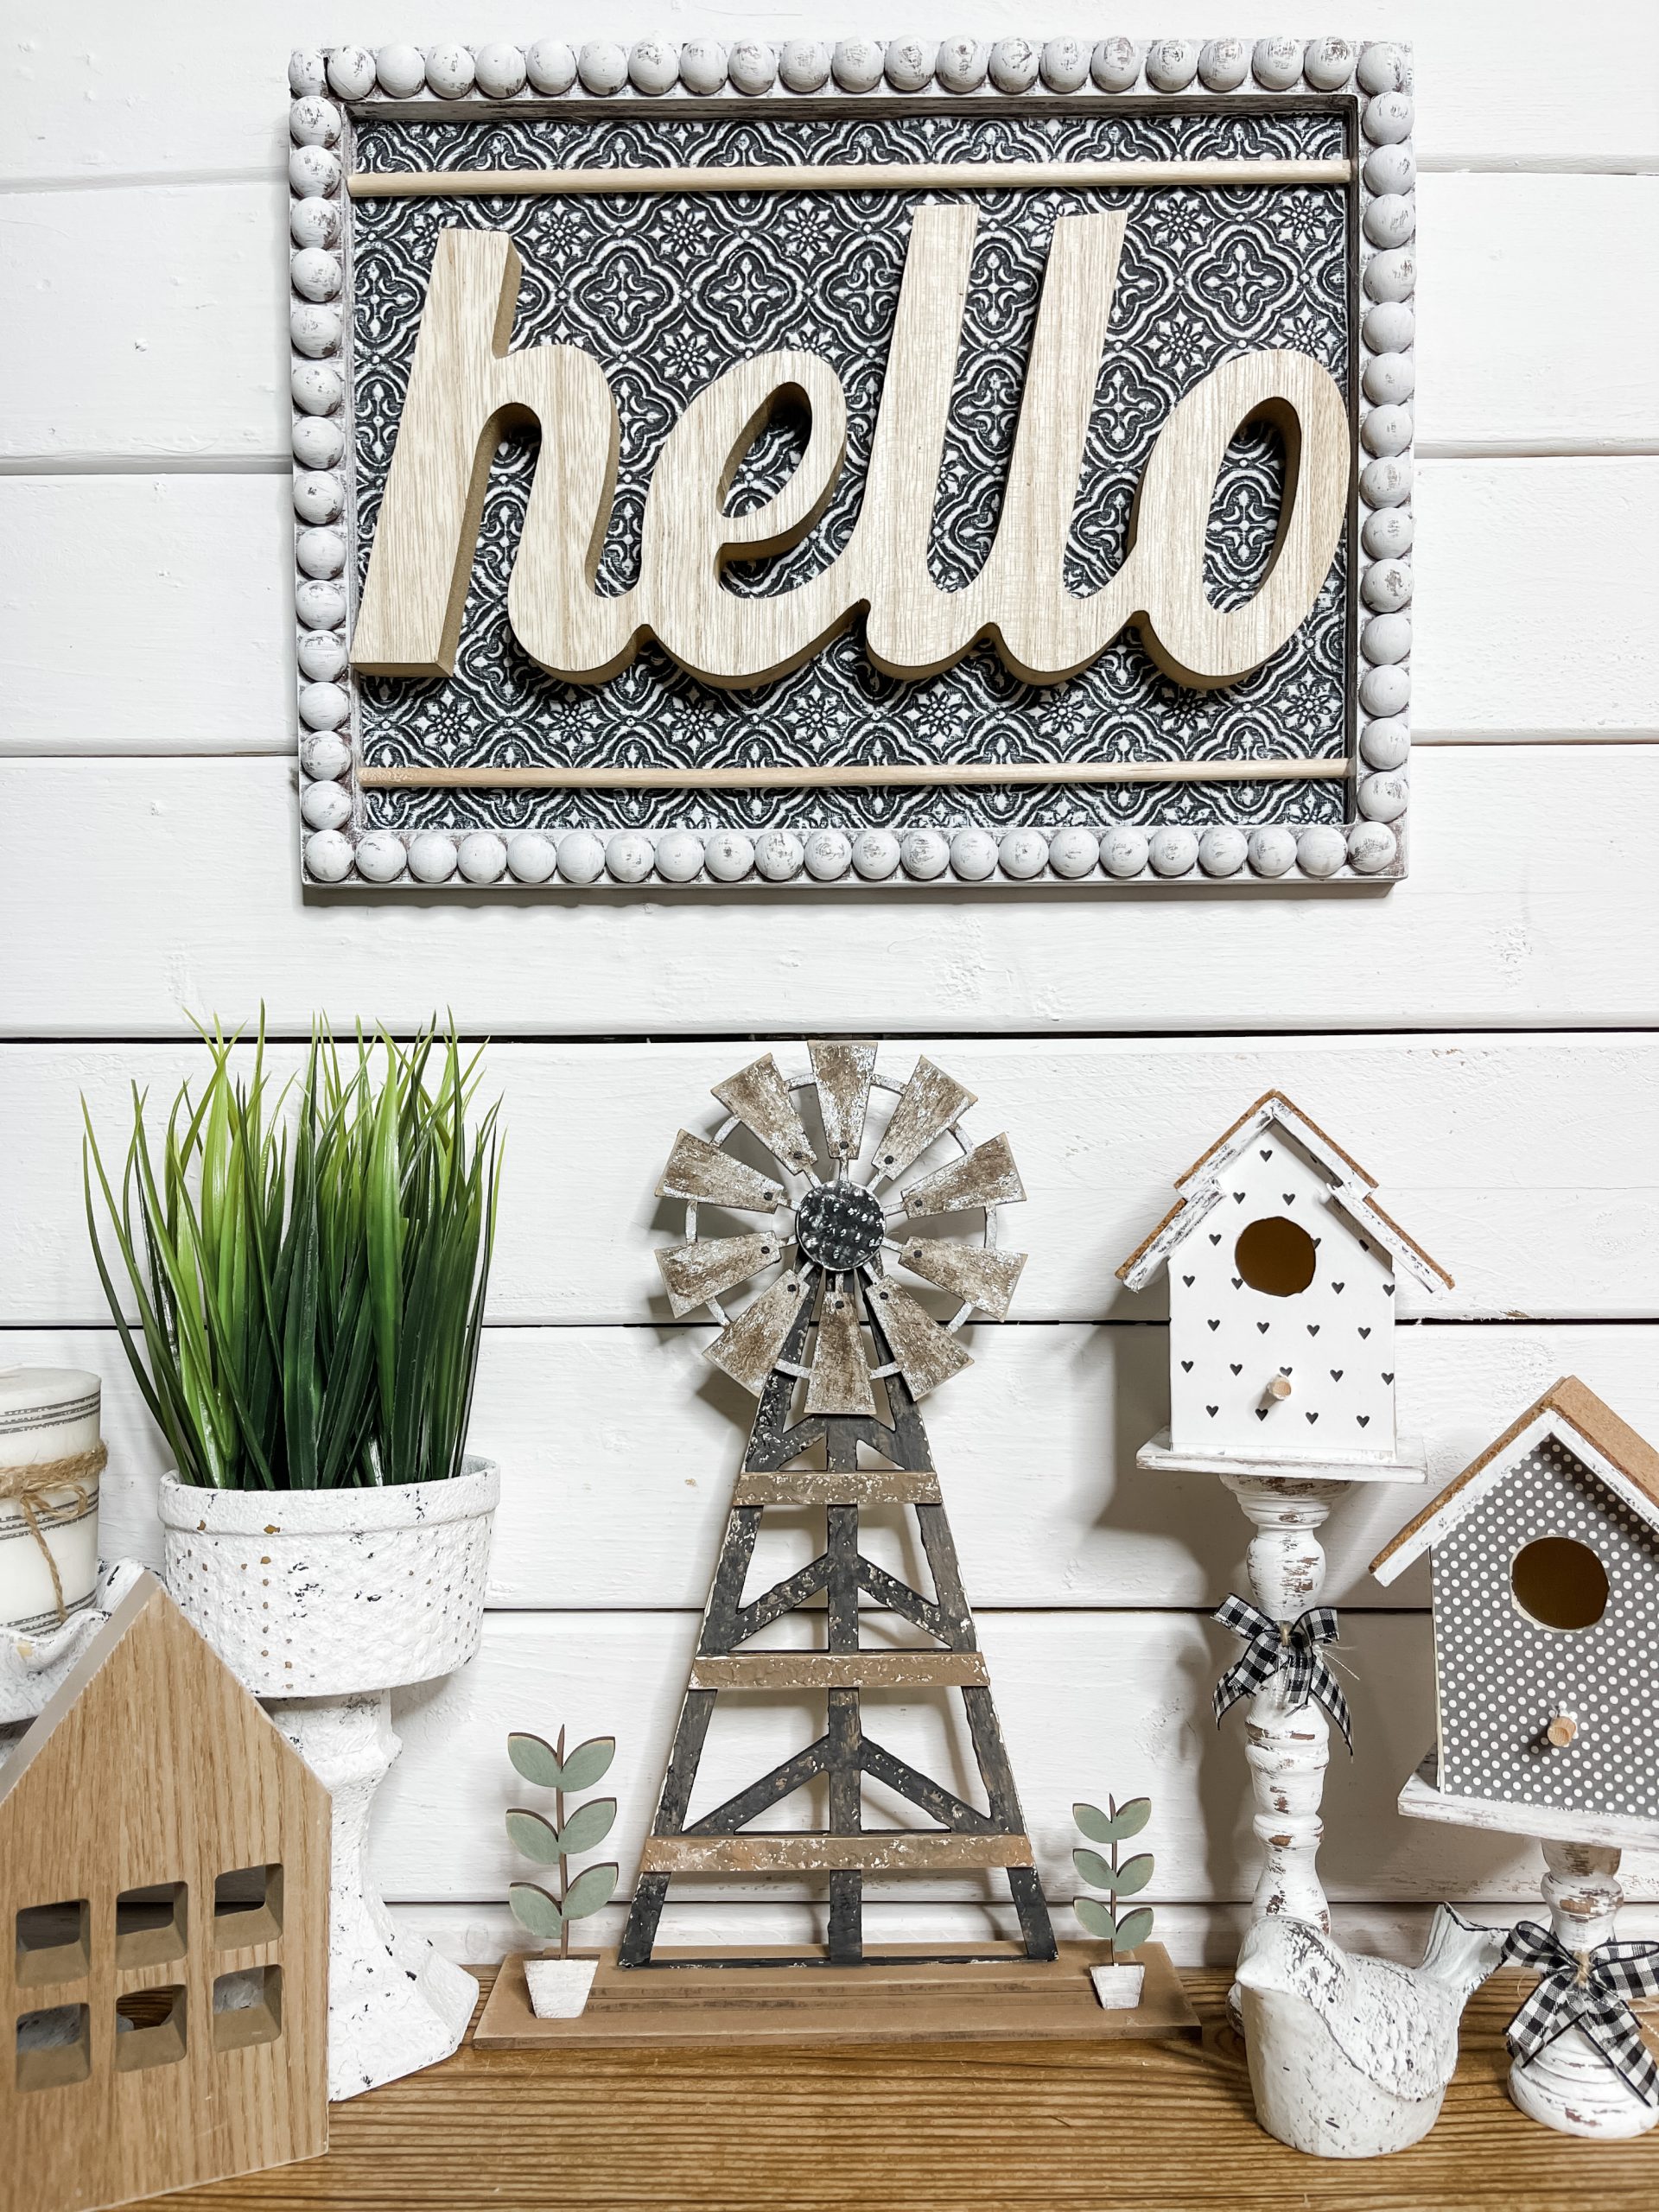
DIY Decorative Windmill
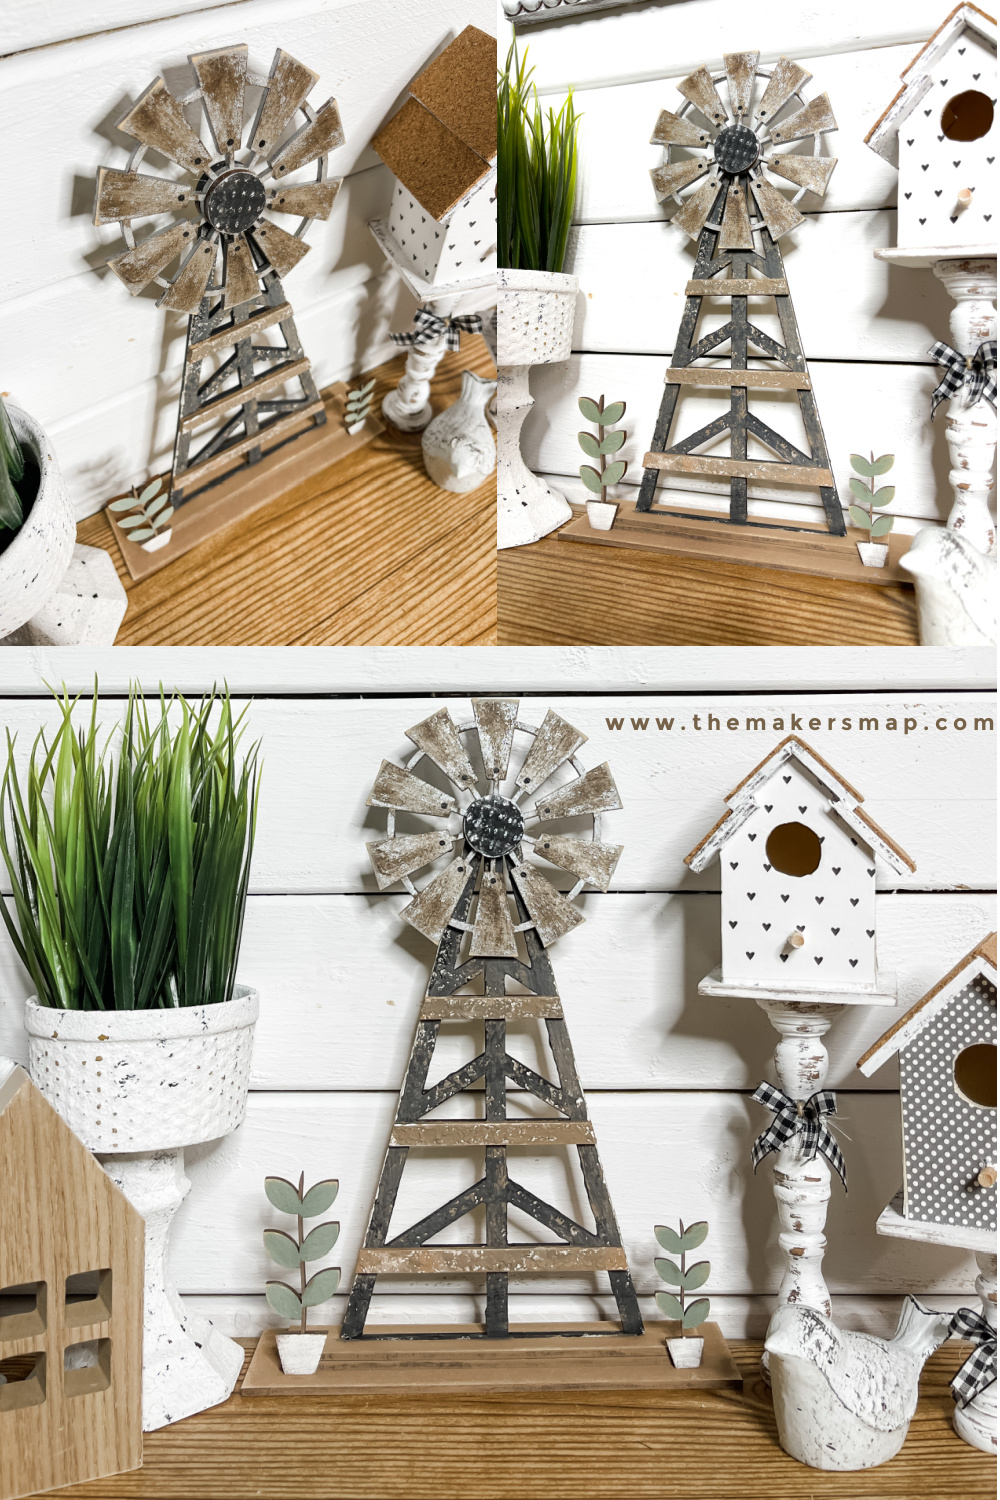
I’m so excited to share this super rustic DIY decorative windmill because 1. it is stinking adorable 2. I used some cool techniques and 3. these techniques are so simple and can be used in so many different ways!
I don’t want to just teach specific craft projects. Instead, I want to teach how to DIY in general, and that includes different techniques that can be used in a variety of projects.
If you want to see the full supply list or video tutorial, just scroll to the bottom of this page!
Check out the other craft kits available in my shop!
How to make a DIY Decorative Windmill
If you want to see the full supply list or video tutorial, just scroll to the bottom of this page!
Okay, so with this DIY decorative windmill, there aren’t a lot of written instructions I can give you.
Unlike most of my DIYs where there are several processes and steps, I mostly just painted and assembled this windmill!
I’ll do my best to guide you through it though!
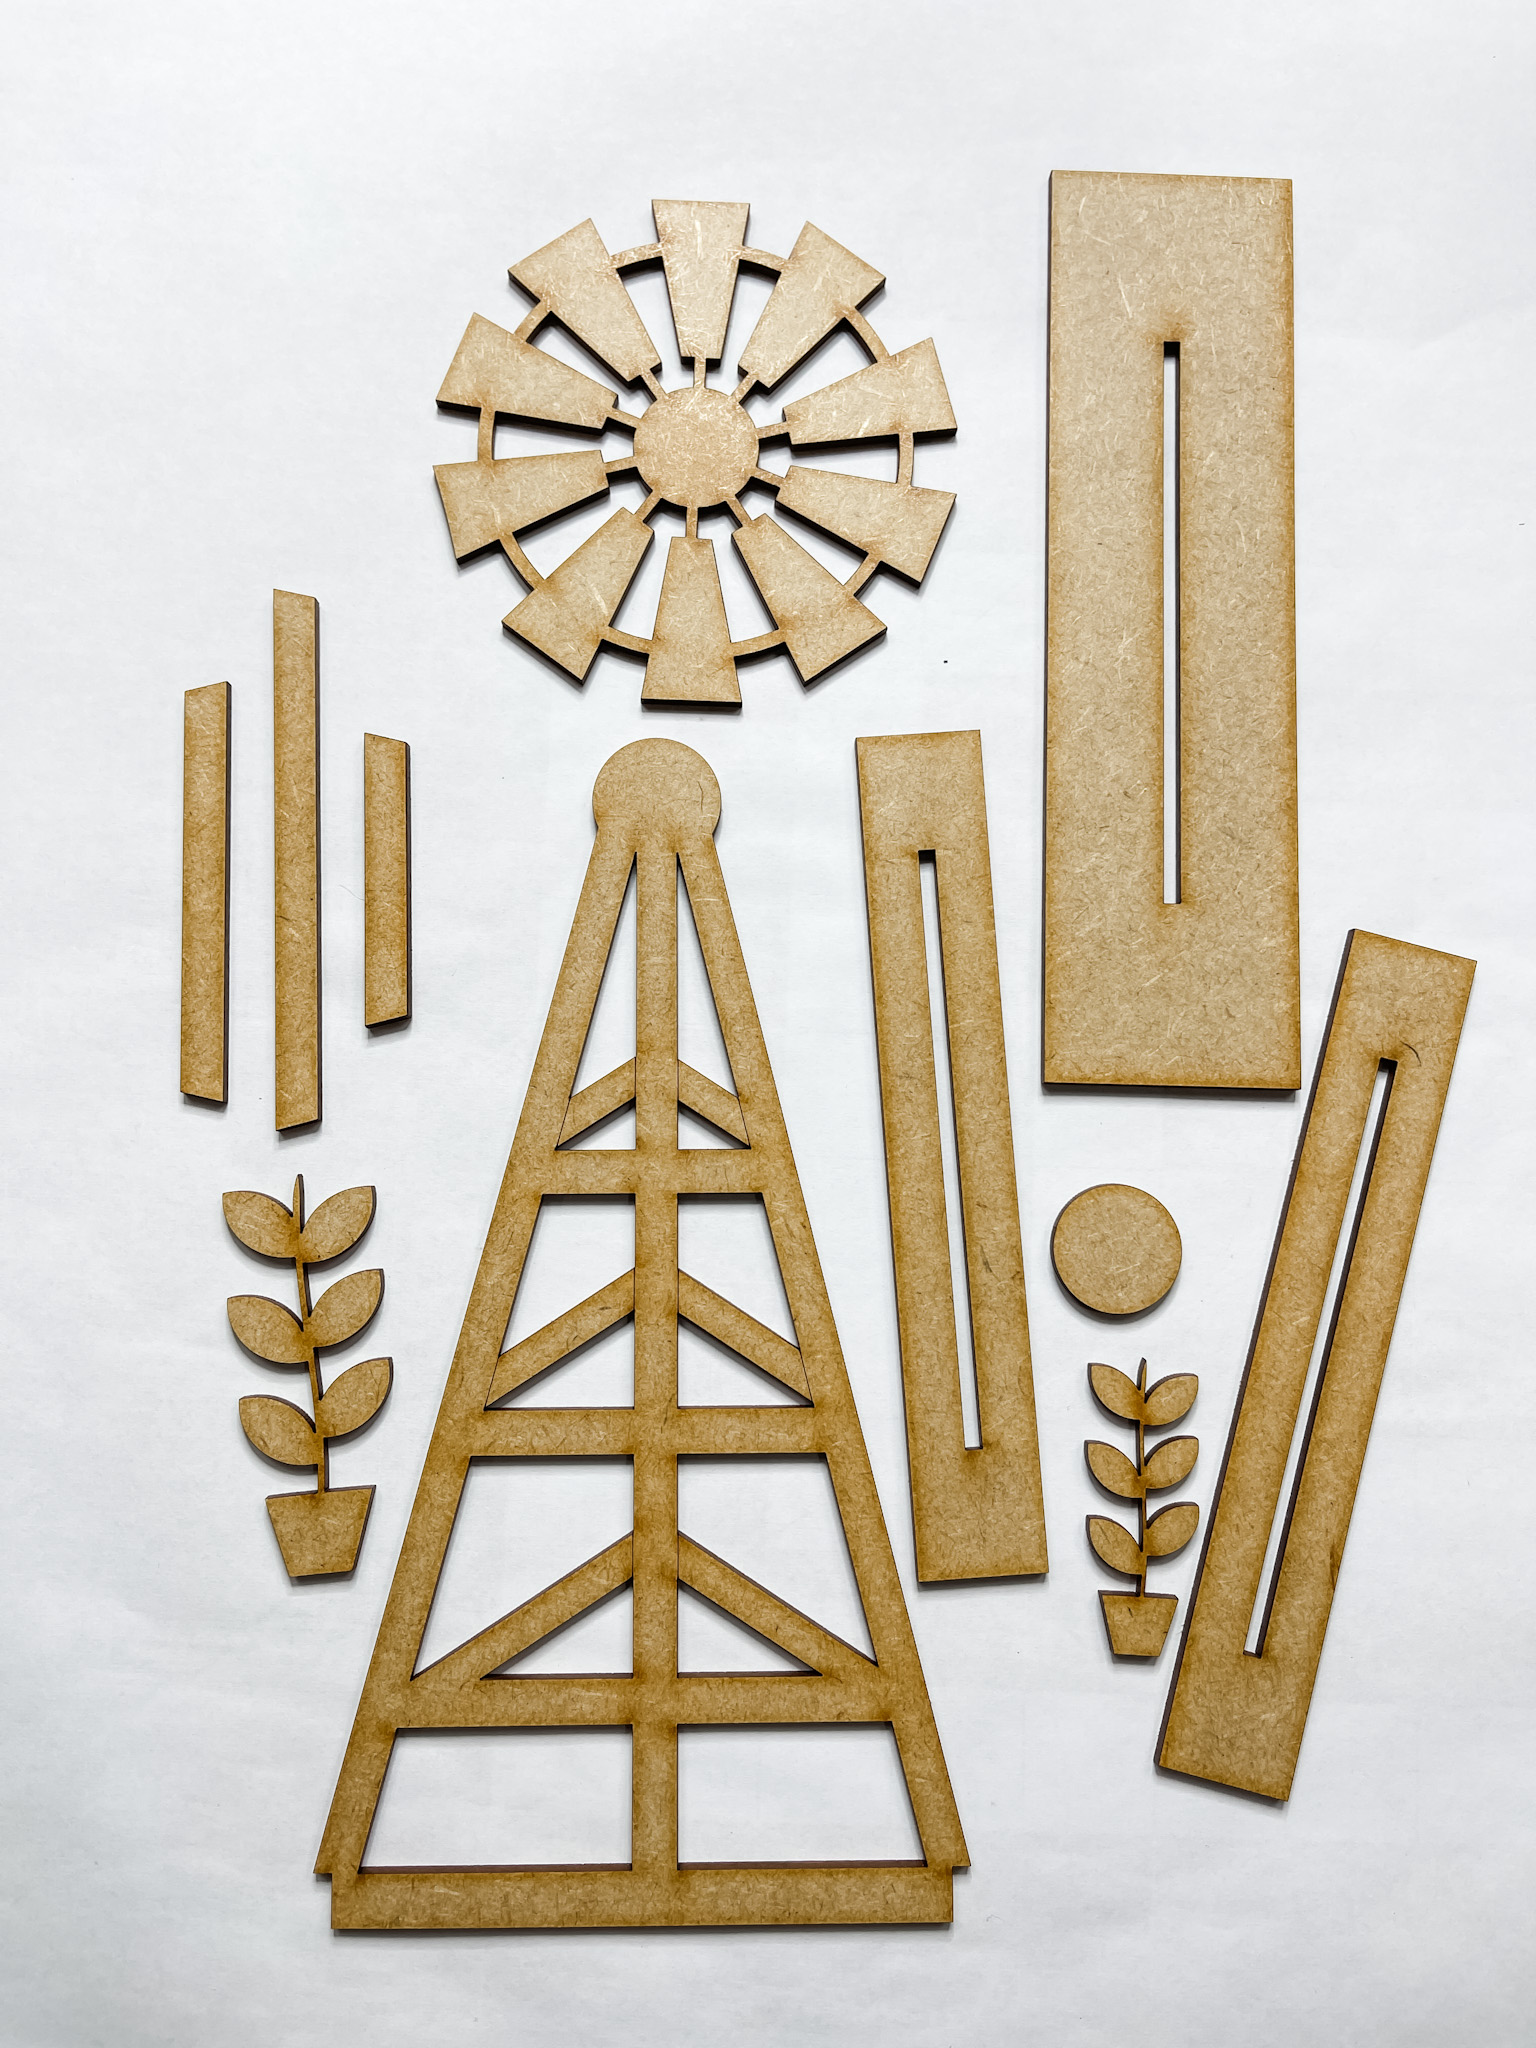
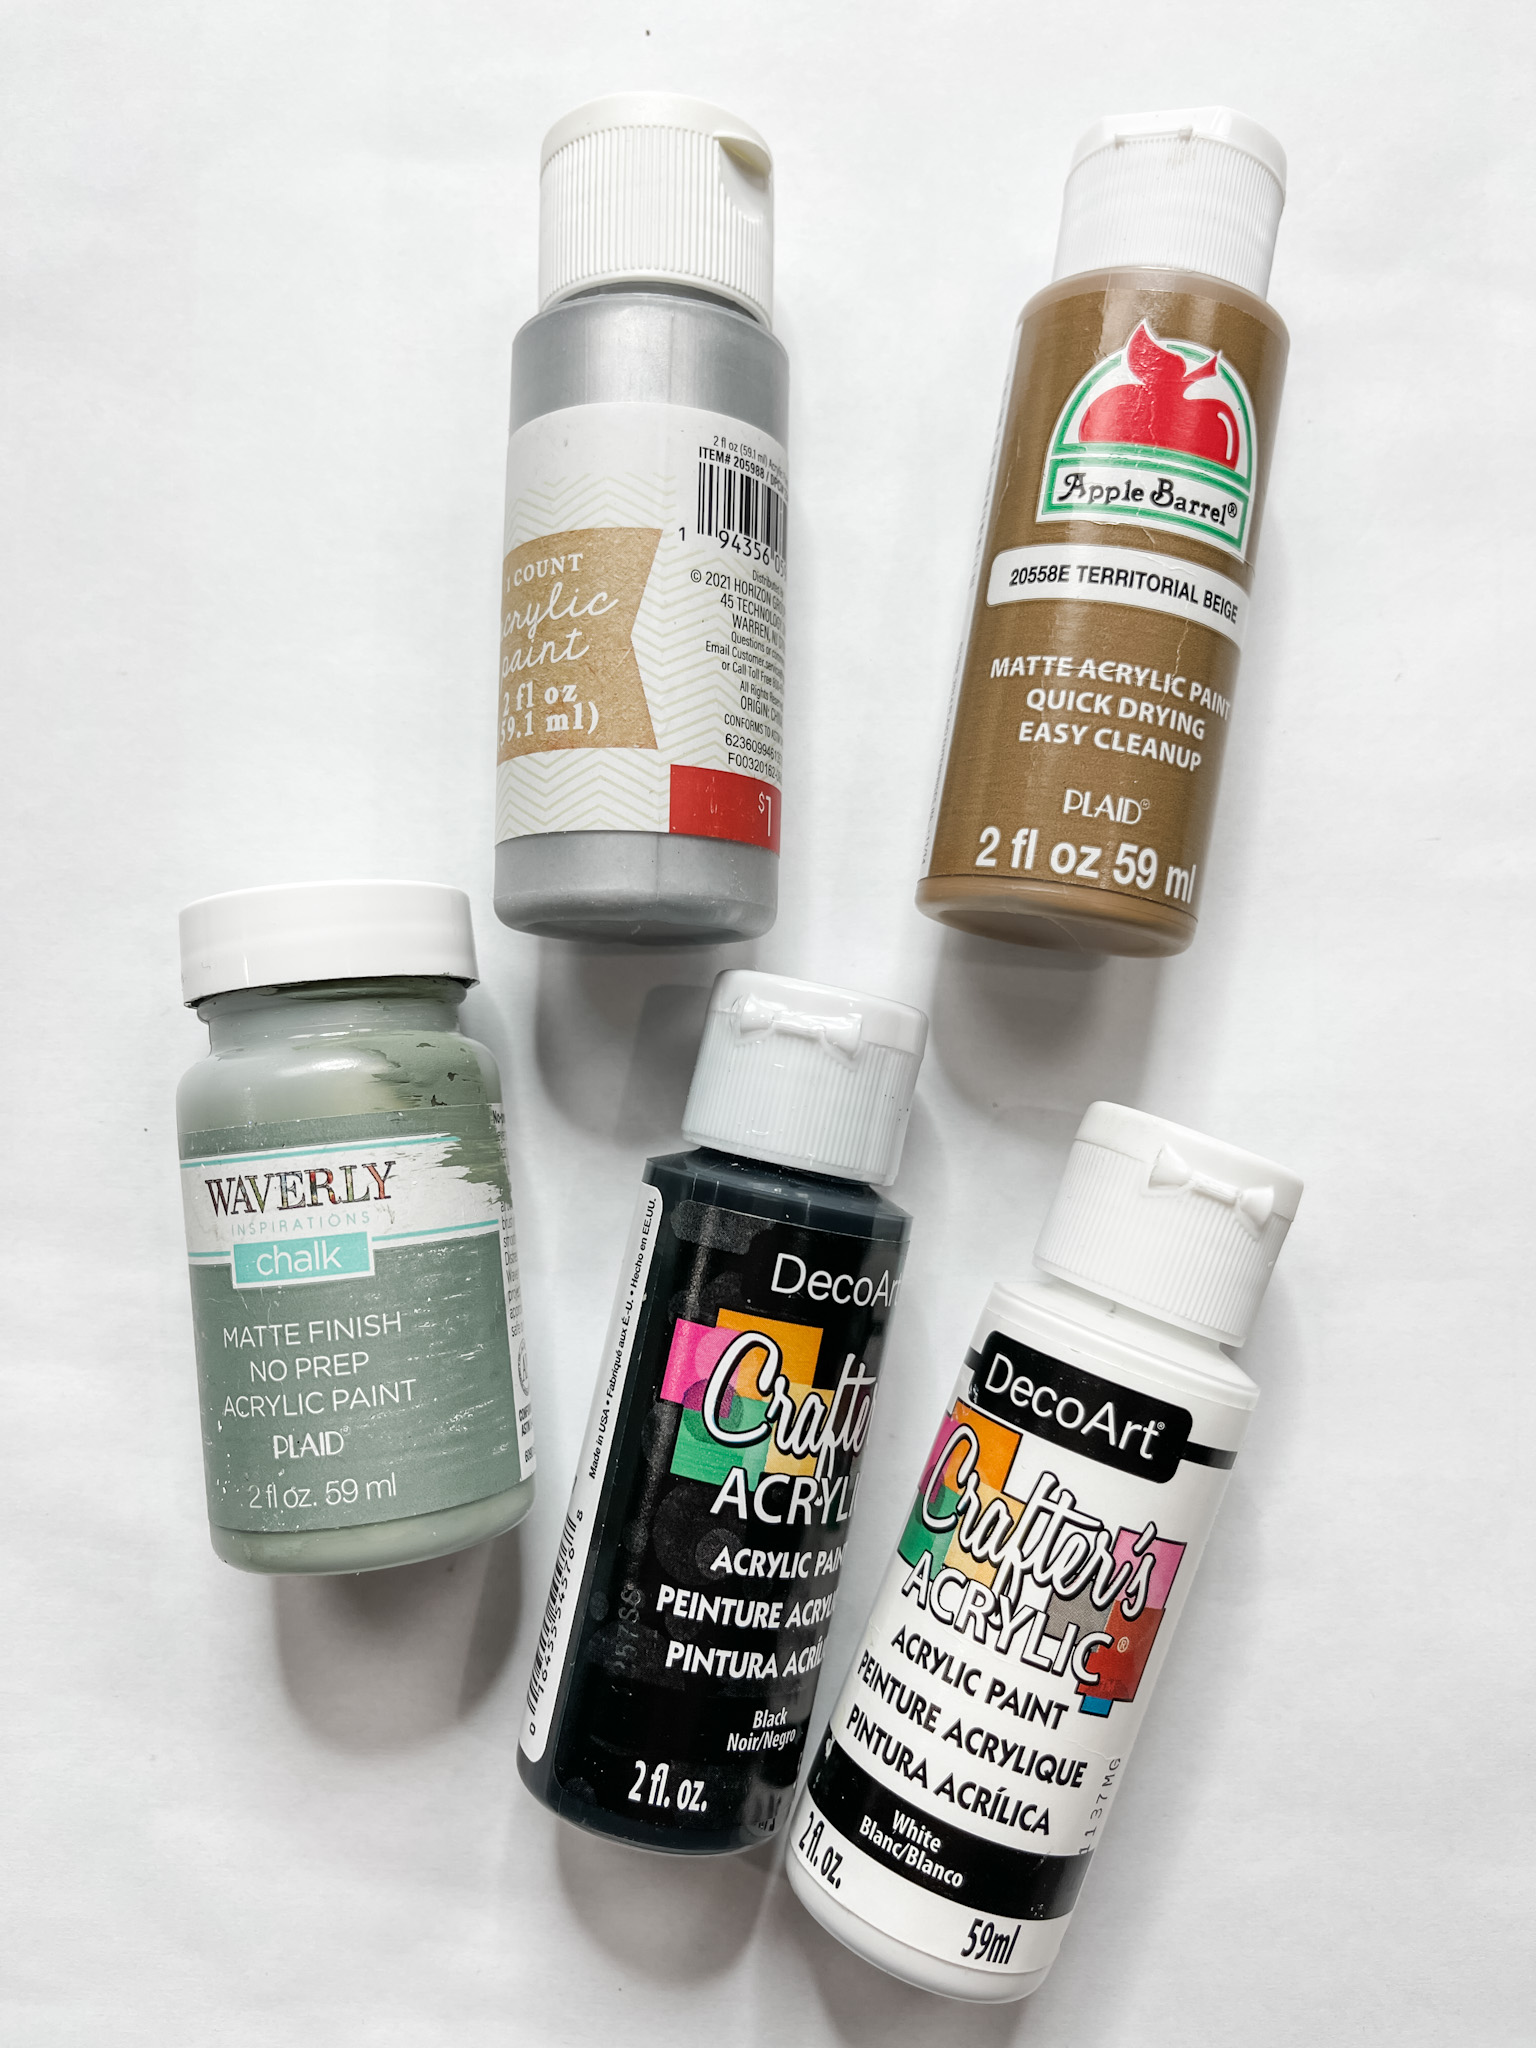
I started by painting the stand pieces with Apple Barrel territorial beige Acrylic paint. Use a wet wipe to remove any excess paint from the pieces.
Next, I worked on the windmill’s support/tower piece. I have a white paint/spackle mixture that I used for this.
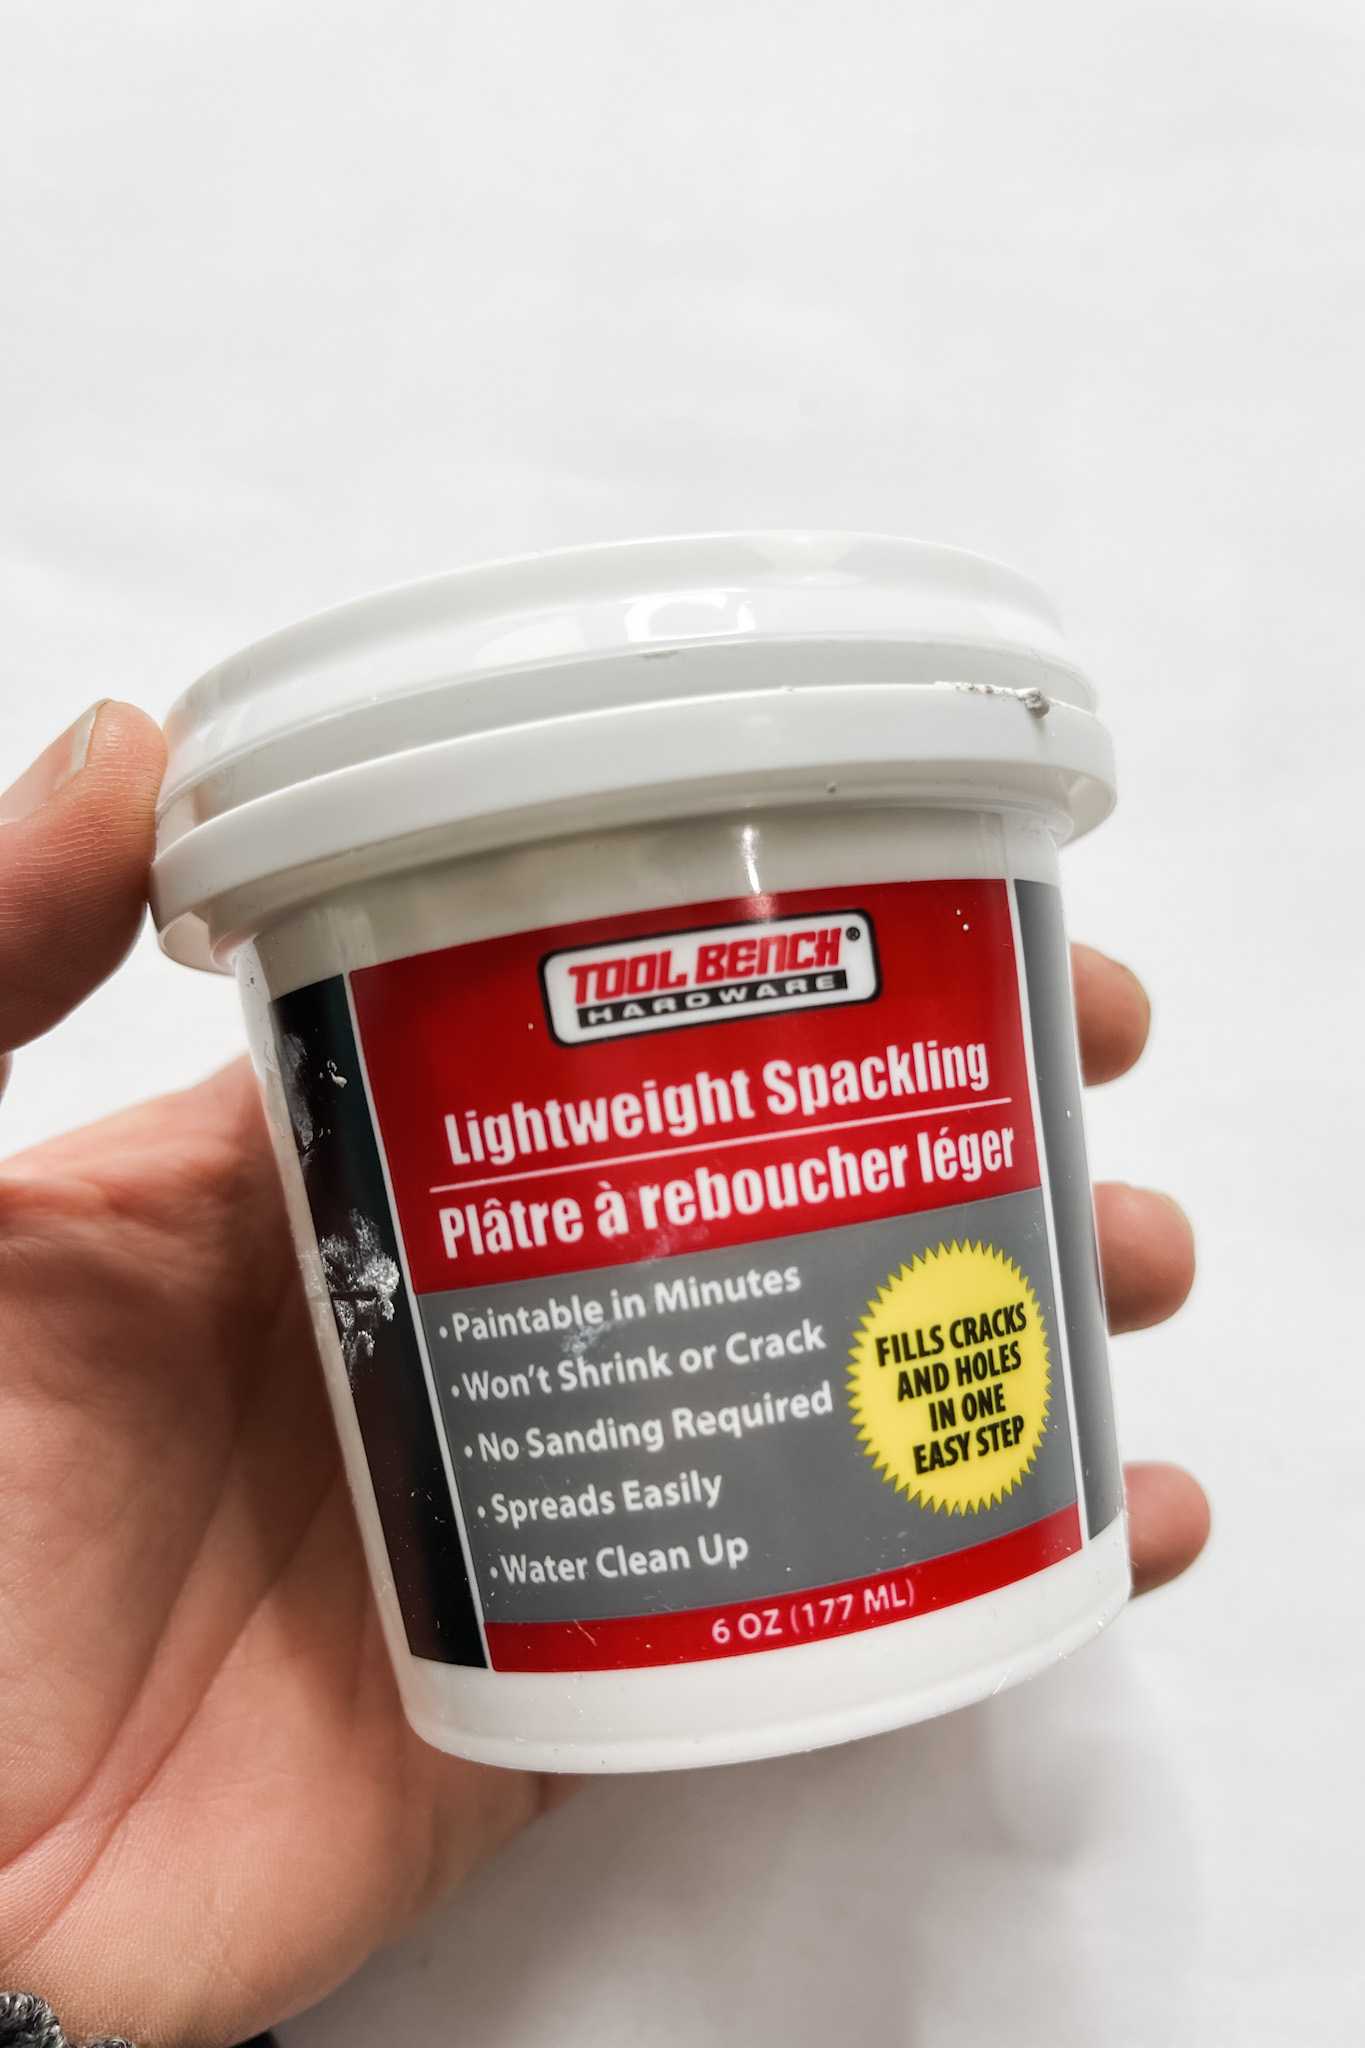
Use a putty knife or paint scraper to dab the mixture onto the windmill structure piece to create texture on the wood.
To make it look like dirty, rusty metal, I lightly brushed different shades of brown paint across the dried paint/spackle mixture once it is completely dry.
Allow the brown paint to dry, then repeat with a bit of black paint. You can mix in white to lighten the black and get more grey if you like.
Repeat the process on the straight overlay pieces of the windmill’s structure piece. Next, I worked on the actual windmill fan piece.
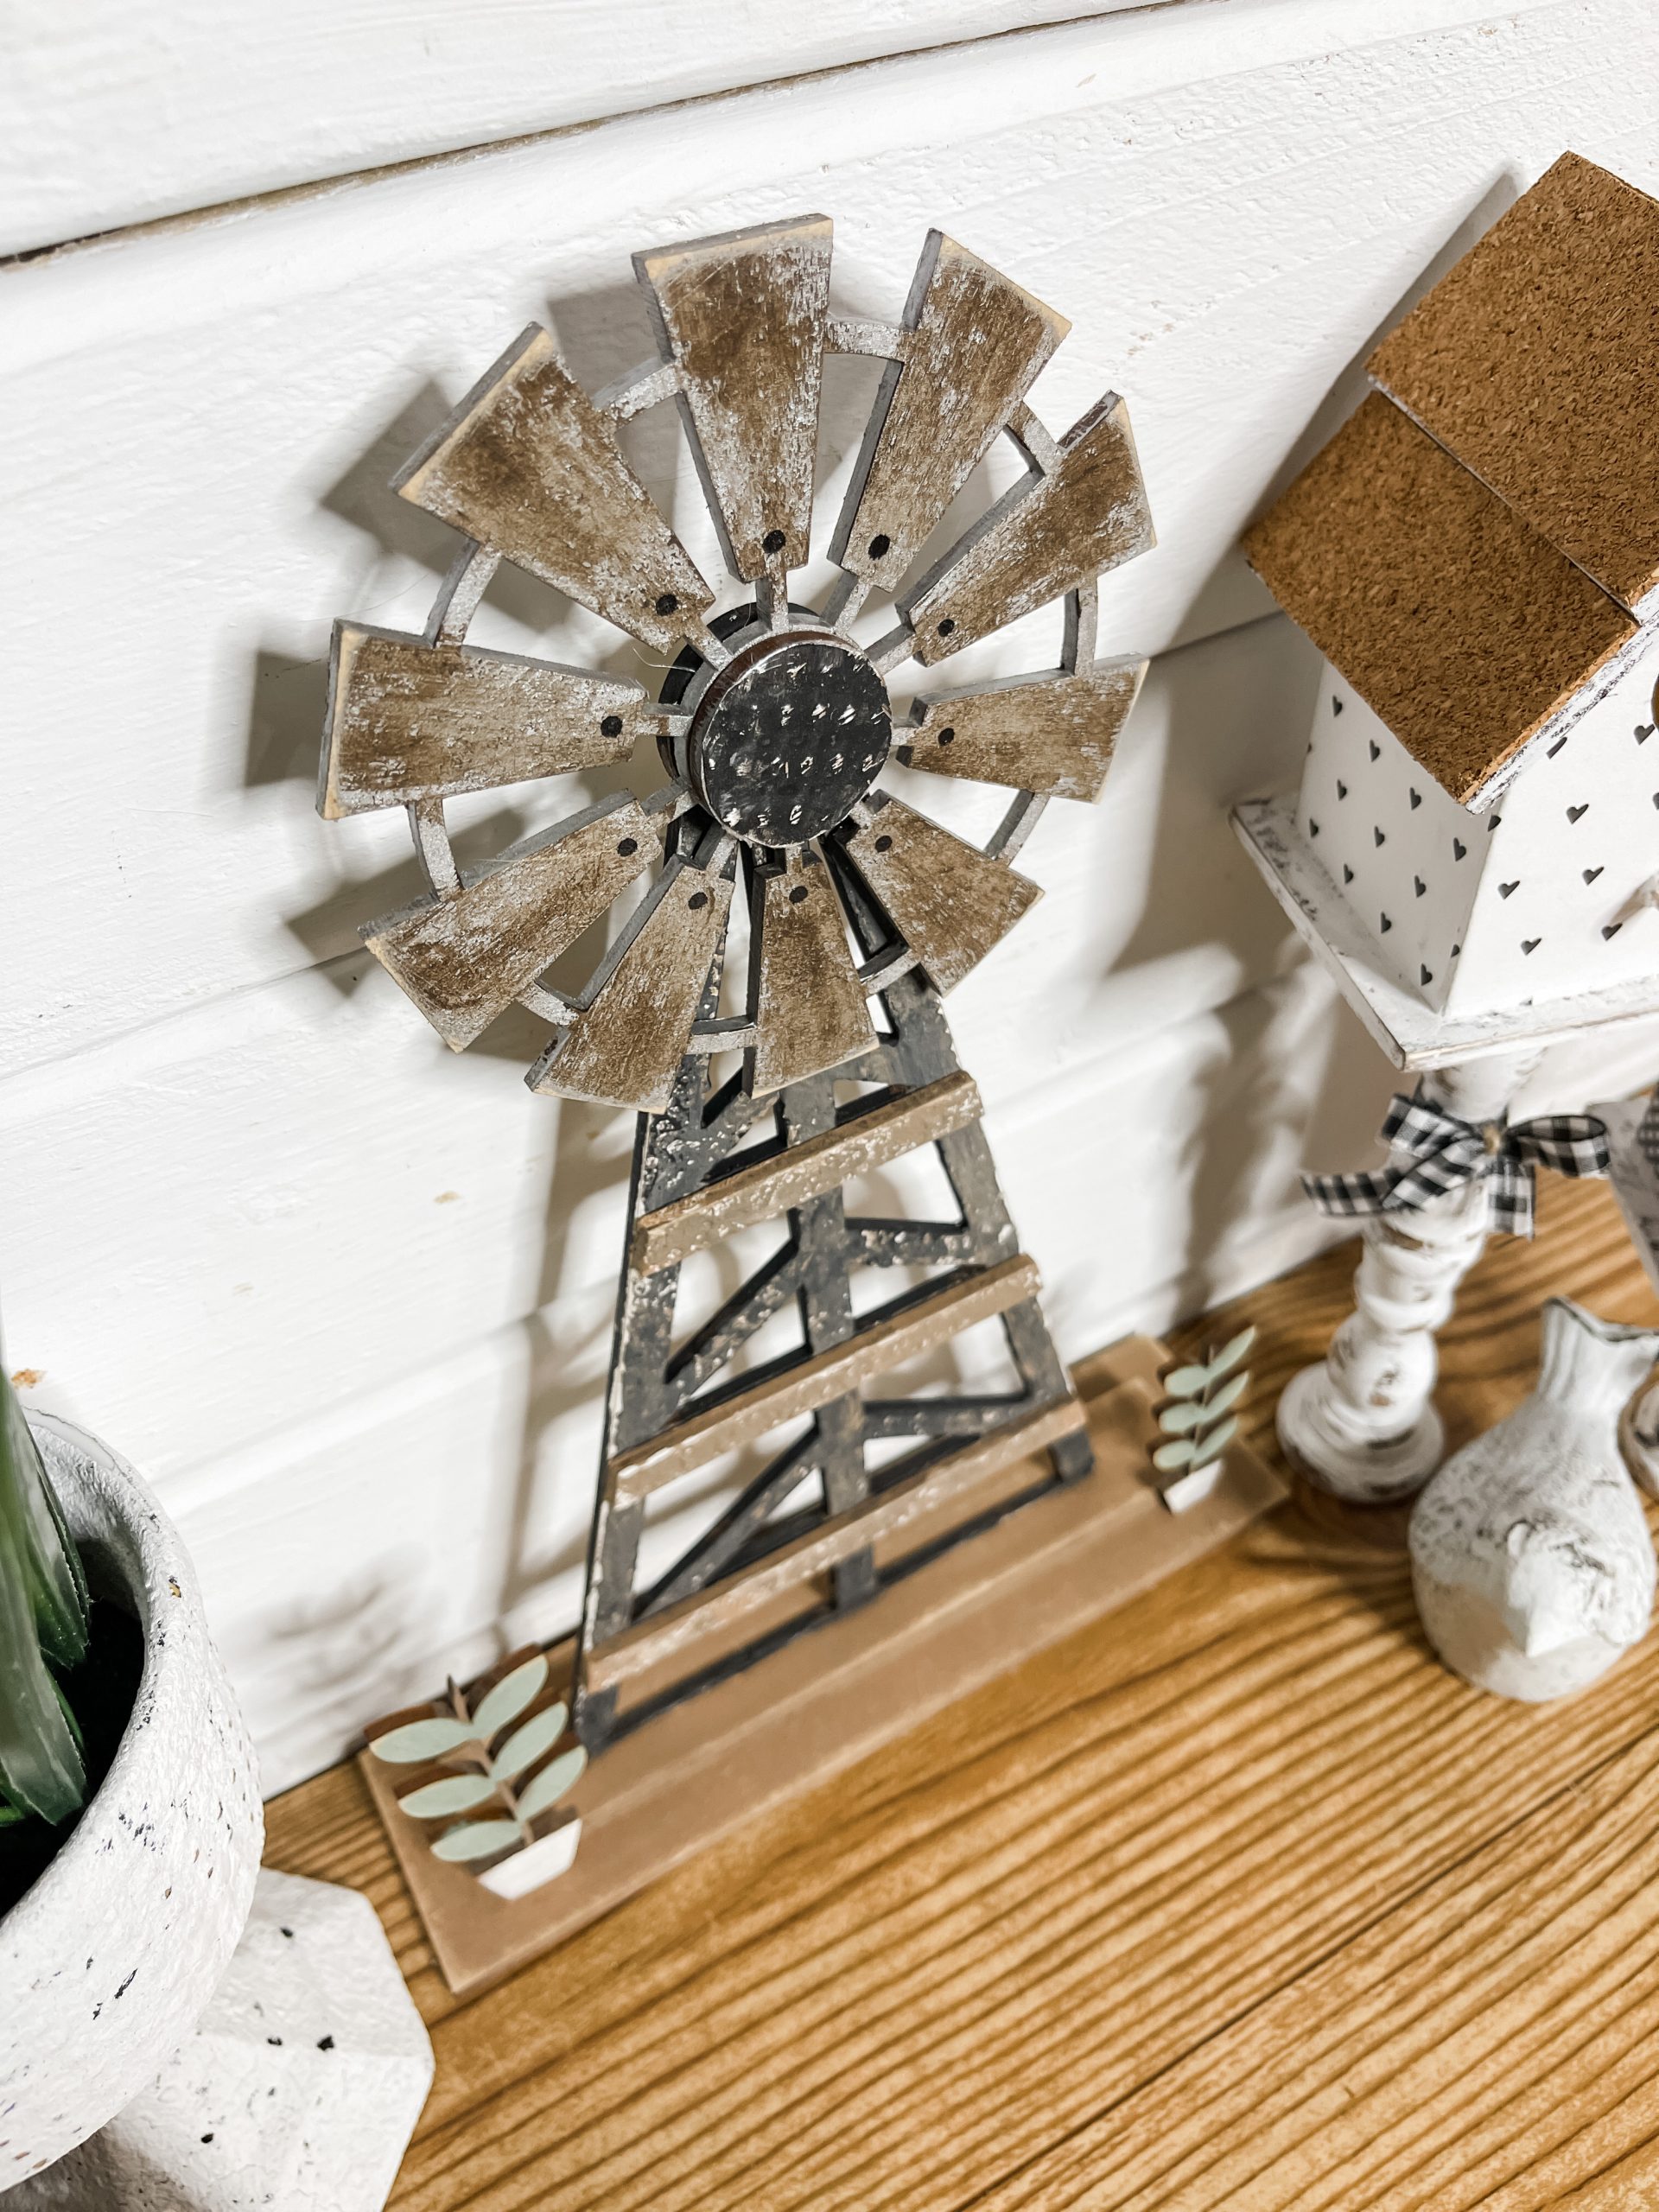
I painted the windmill fan with a mixture of brown/metallic grey paint. Allow that paint to dry completely, then use your finger to spread and apply the Waverly antique wax.
This technique helps create the aged/rusty/dirty finish on the windmill fan. Next, I cut a circle out of the Dollar Tree cookie tin sheet to go over the center of the windmill.
Paint the potted plants and allow them to dry completely. Then, you can assemble the windmill craft kit!
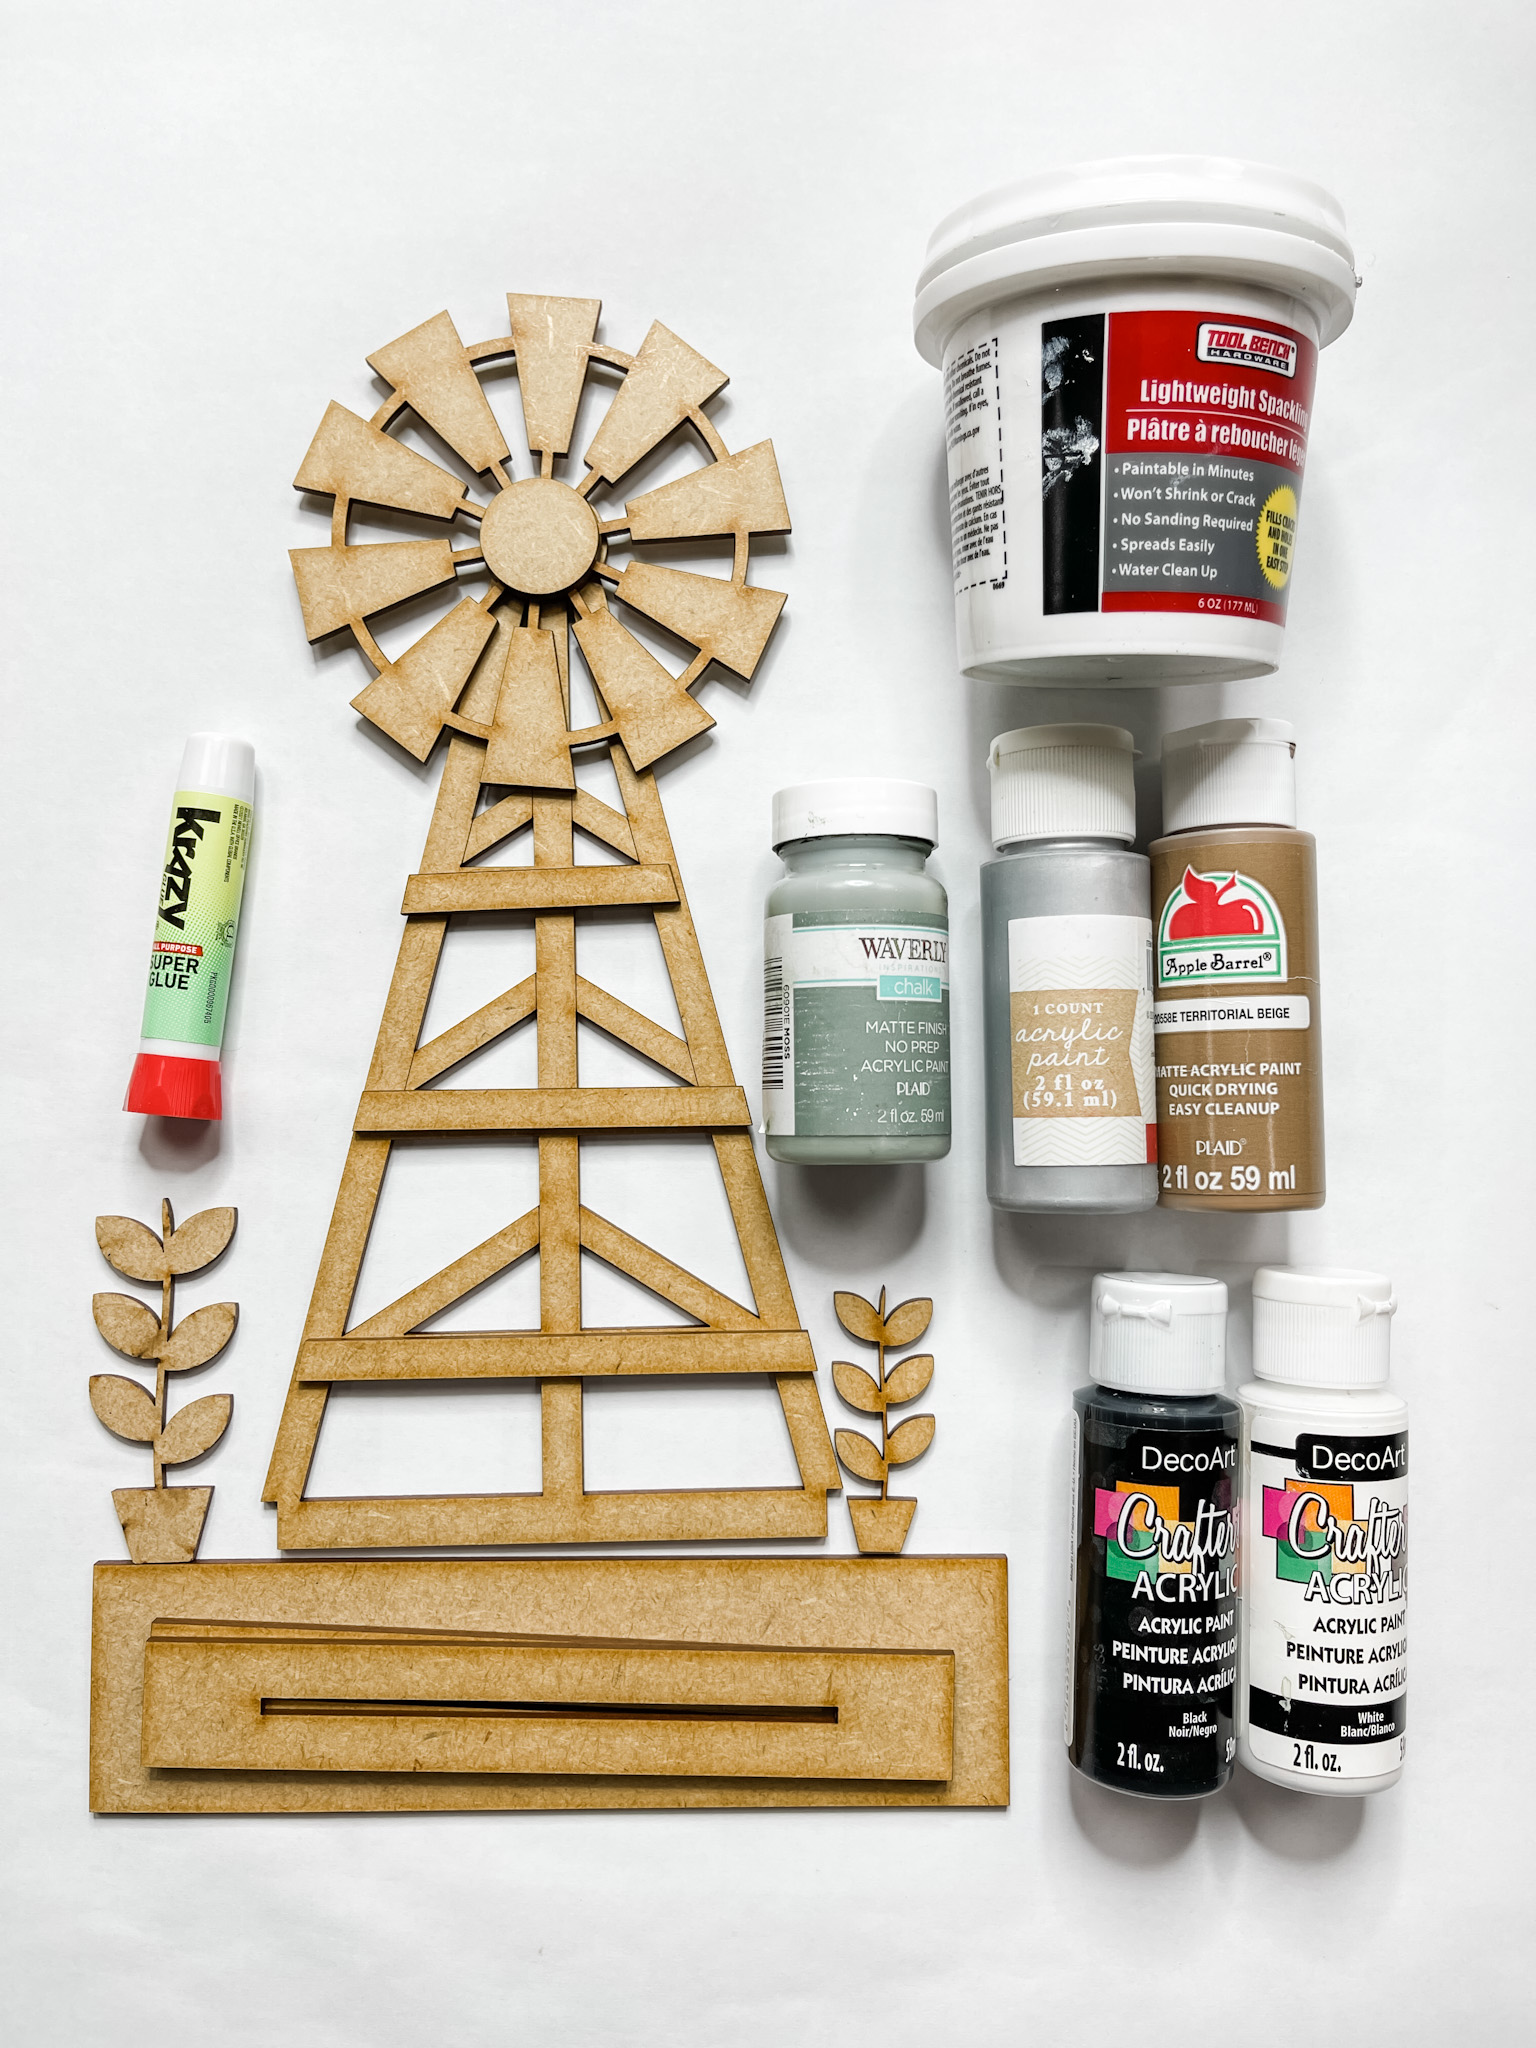
For this idea, I used these items but you can substitute where you want.
“As an Amazon Associate, I earn from qualifying purchases.”
- Windmill Craft Kit
- Dollar Tree Spackle
- Krazy Glue
- Apple Barrel Territorial Beige Acrylic Paint
- DecoArt White Acrylic Paint
- DecoArt Black Acrylic Paint
- Metallic Silver Acrylic Paint
- Waverly Moss Chalk Paint
- Hot glue gun and glue sticks
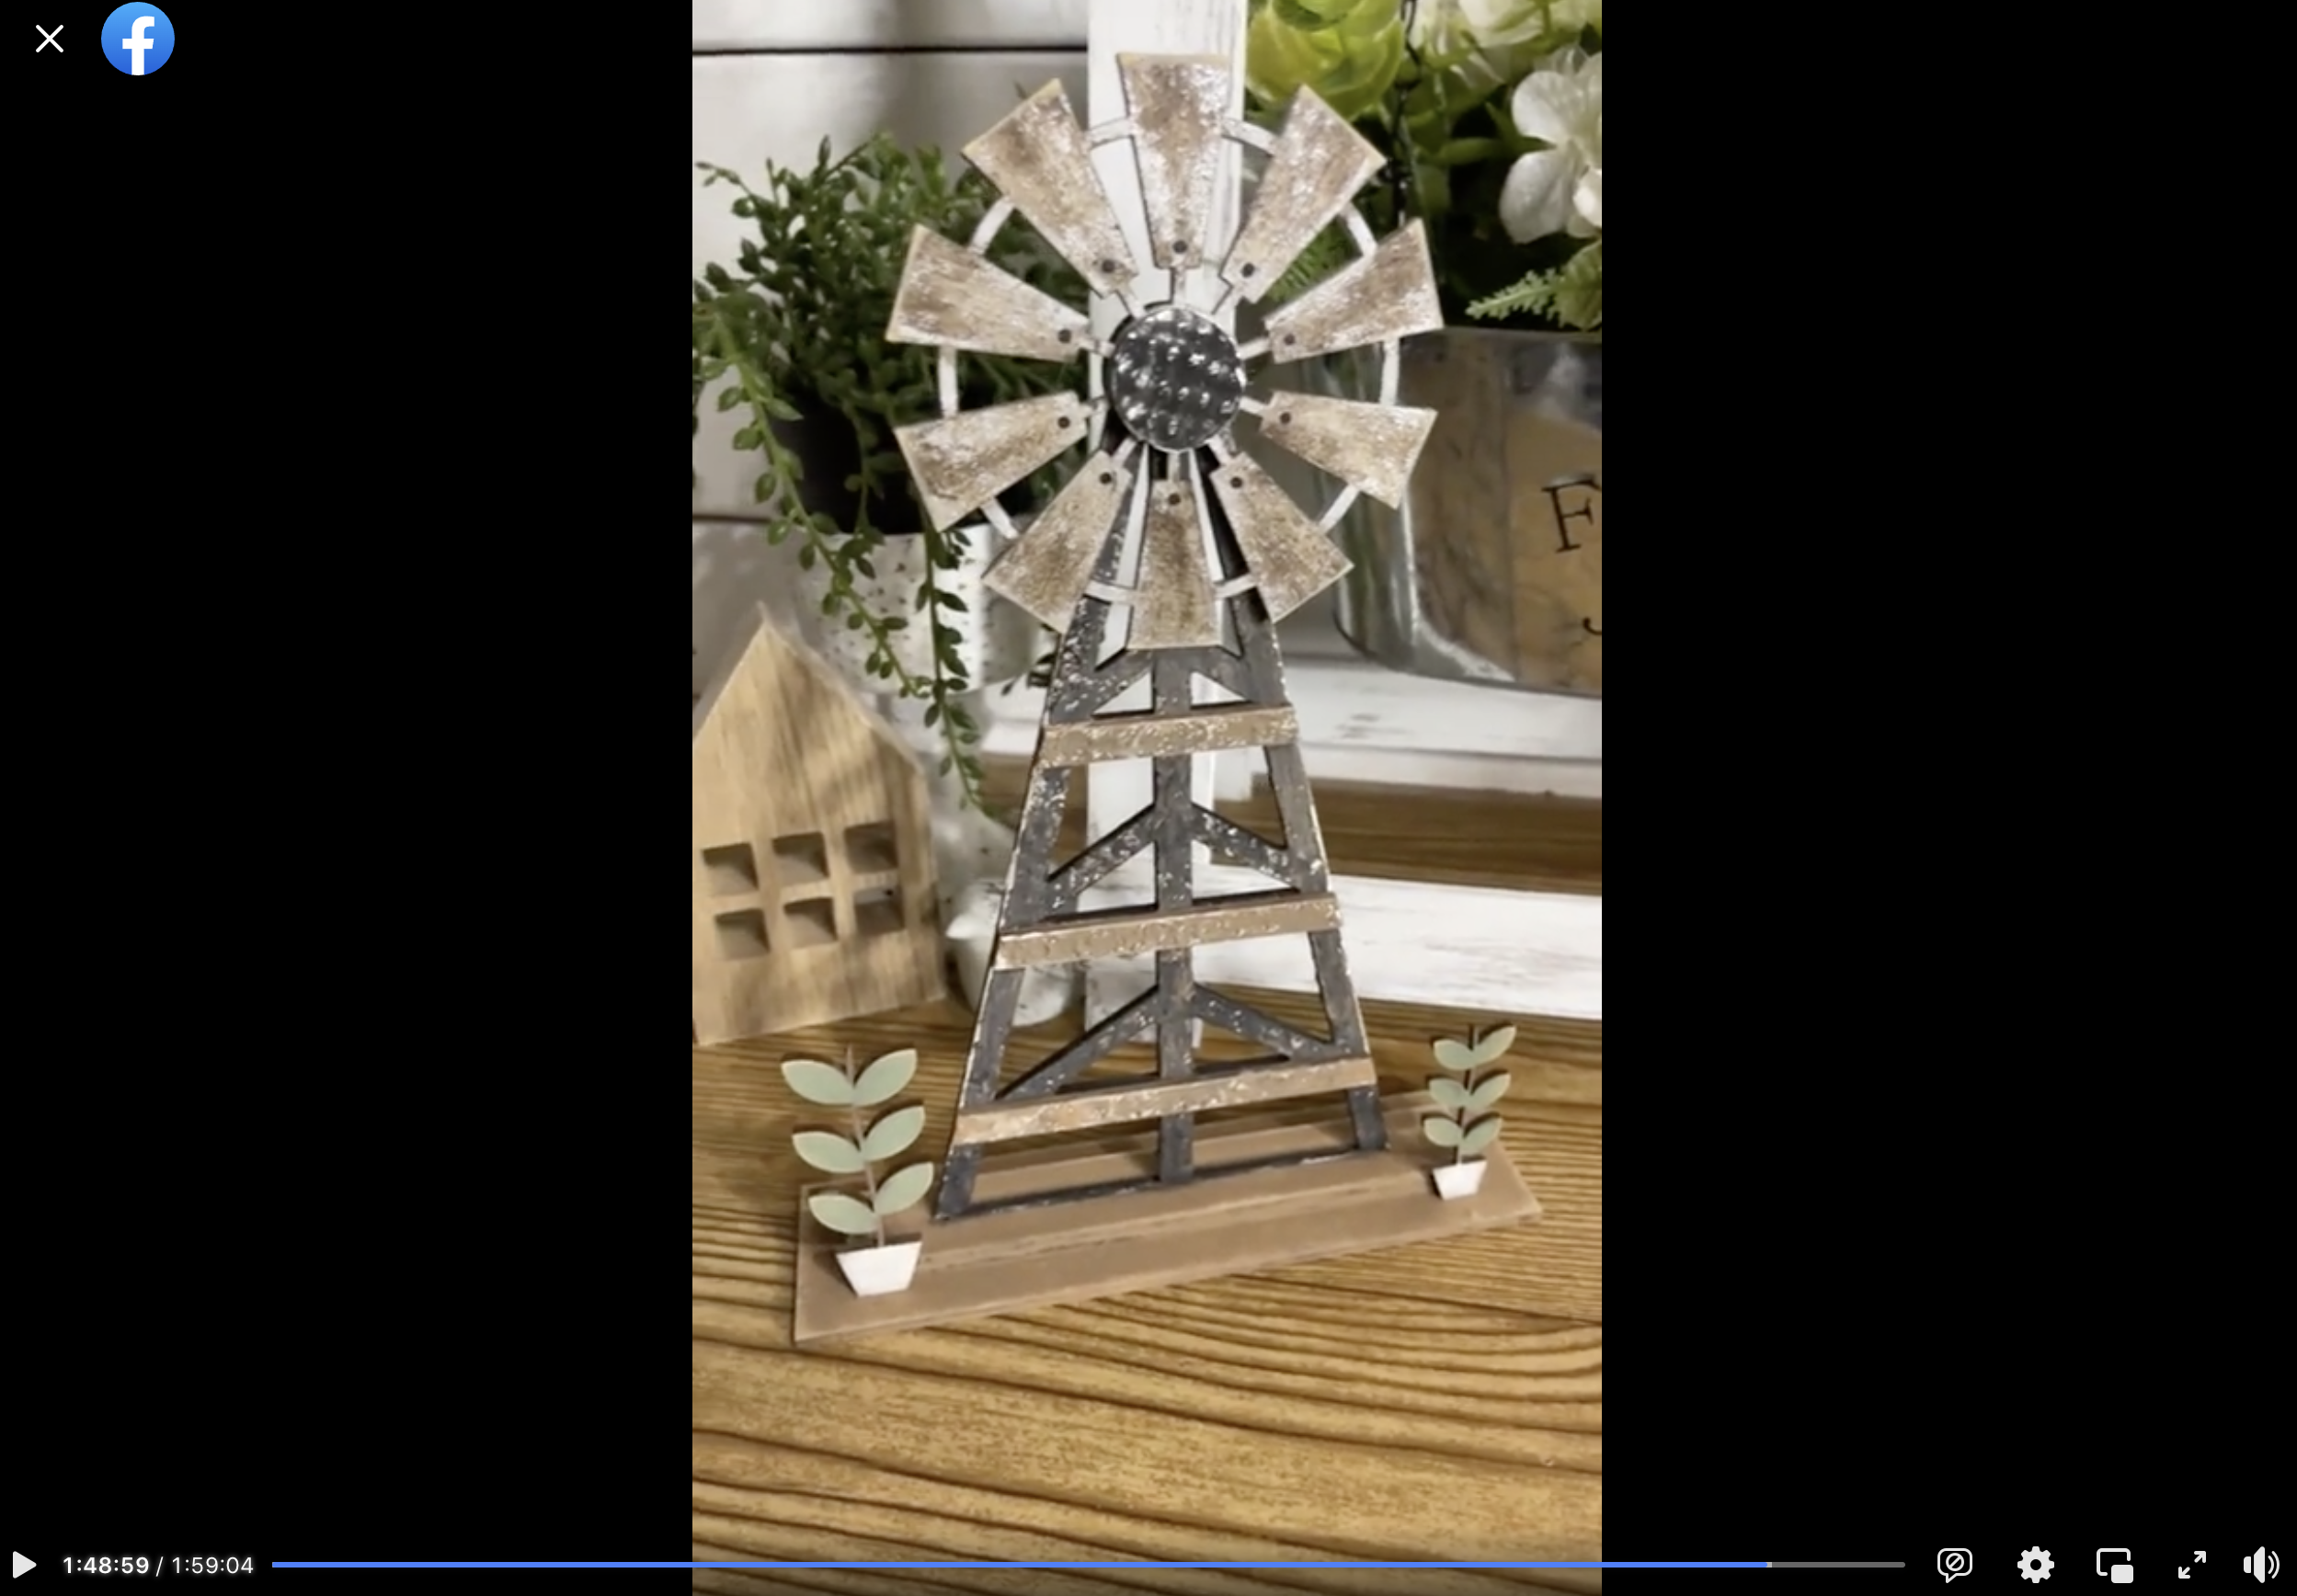
Watch the DIY tutorial
I shared how I decorated this super adorable windmill during a LIVE video on my Facebook page.
If you want to see the DIY process, craft along, or just join in on the fun conversations you can watch the DIY tutorial on Facebook!
I hope you enjoyed this DIY Decorative Windmill as much as I did and decide to make one for yourself! I would love to see how yours turns out!
You should totally join my FREE Facebook group called On A Budget Crafts! It is a judgment-free community for DIY crafters to show off their projects and ideas.
If you loved this DIY you might also like these 3D tulips!
Thanks for stopping by! XOXO Amber
You can also shop my ENTIRE AMAZON Favorites shop just click here! It’s packed full of all the things I use and love. Here is the supply list I highly recommend every creative have on hand!!
Would you also pin my blog for later and get on my newsletter alerts? I would love to have you join my #craftycrew.
Inspired? Leave me a comment below! I love hearing from my readers!


This is AWESOME