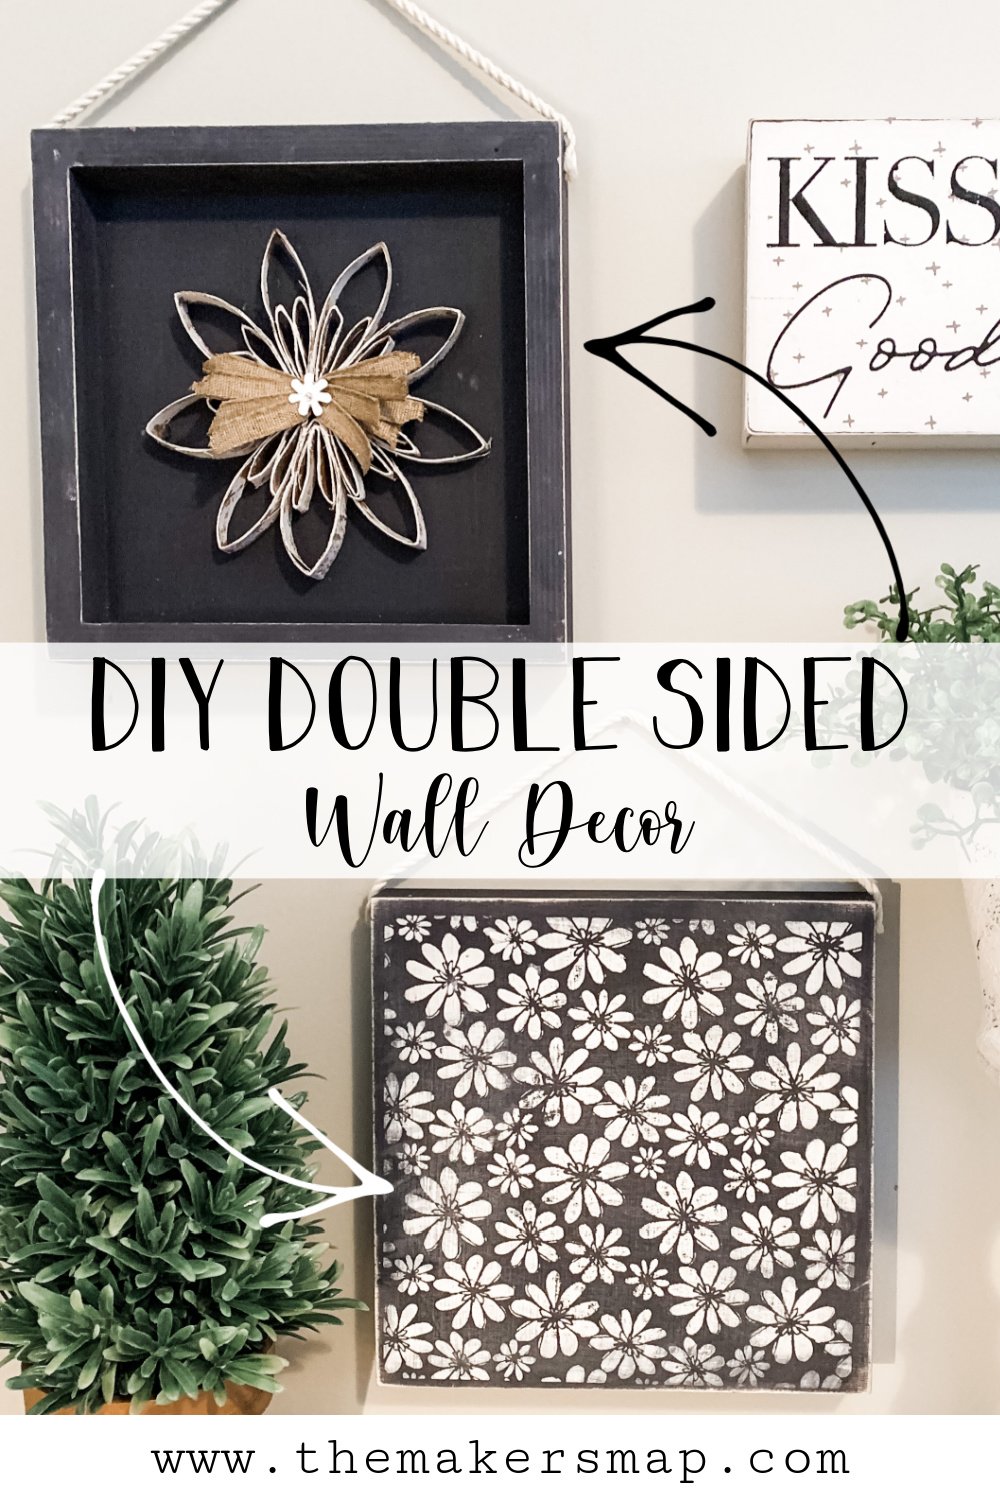
Double-Sided Toilet Paper Roll DIY Wall Decor
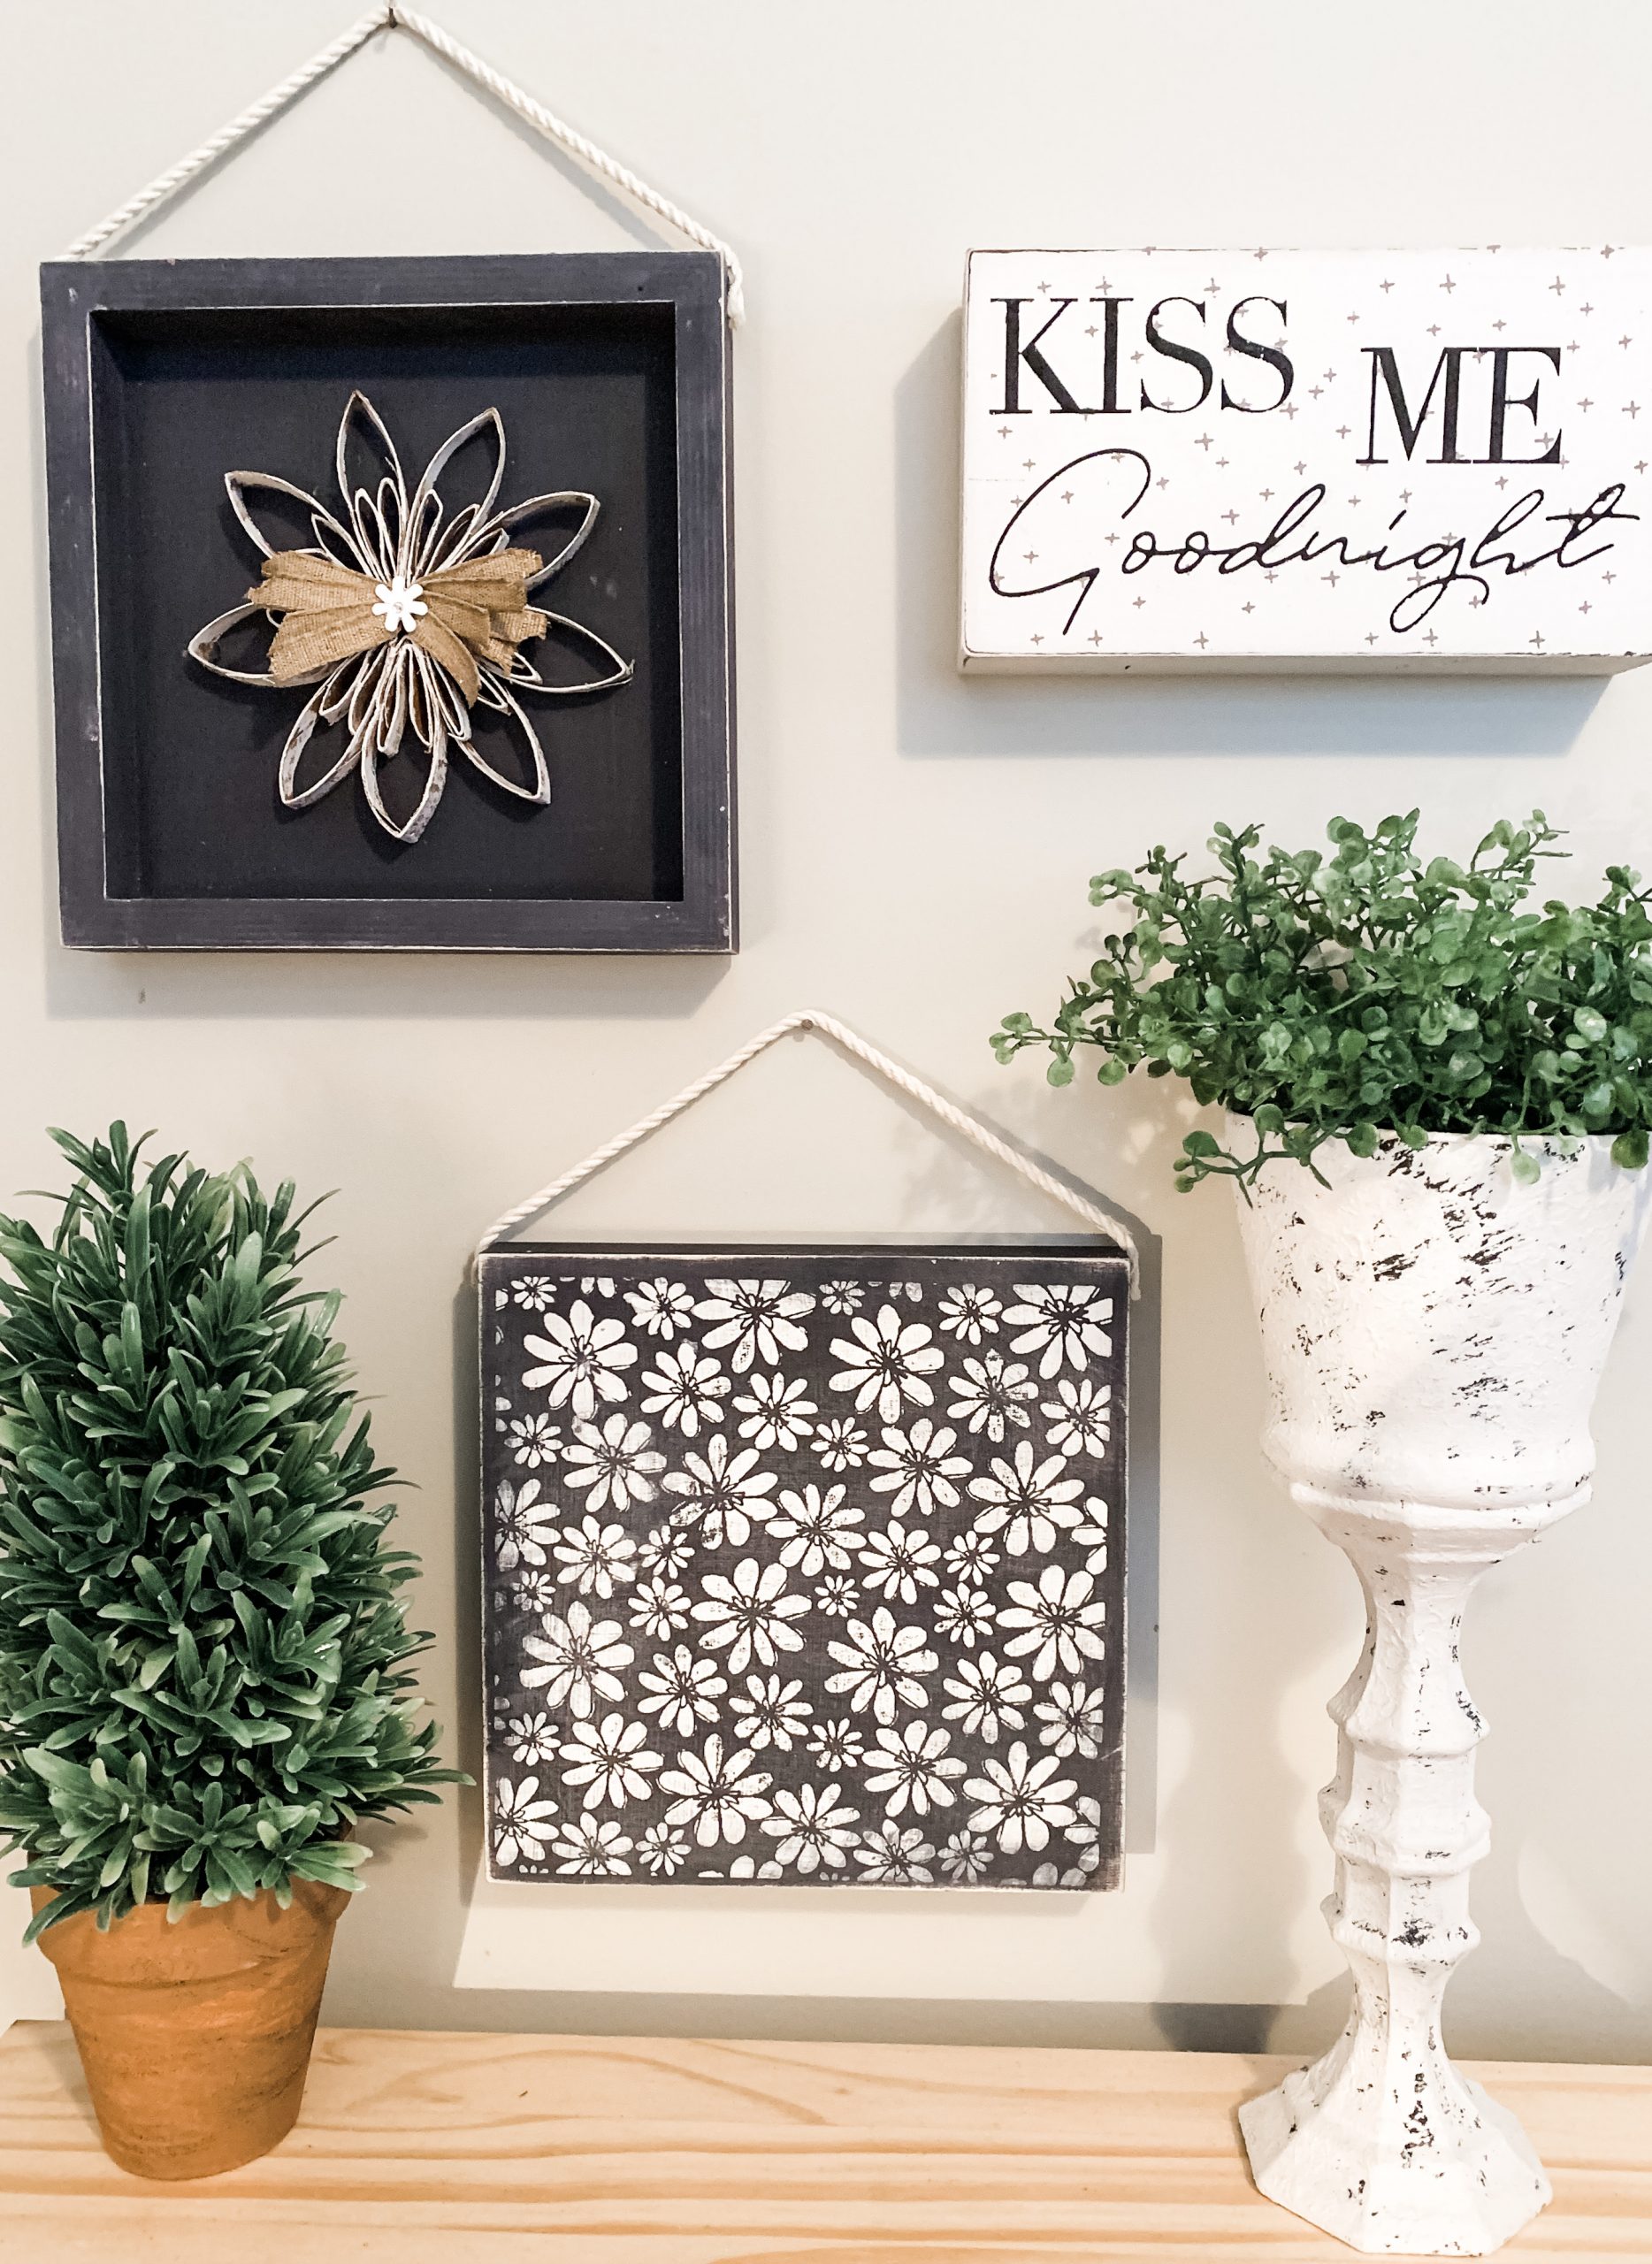
I’ve been diving deep into everyday decor, and this Double-Sided Toilet Paper Roll DIY Wall Decor that I made for my home was too cute not to share with you!
I first made this adorable DIY home decor back in January 2020, and I wish I had known just how valuable my toilet papers would become. Only a couple of months after I made this easy DIY wall sign, our entire country couldn’t even find toilet paper on the shelves at the grocery store!
I am so excited to show you how I repurposed a common household item into adorable, quality home decor!
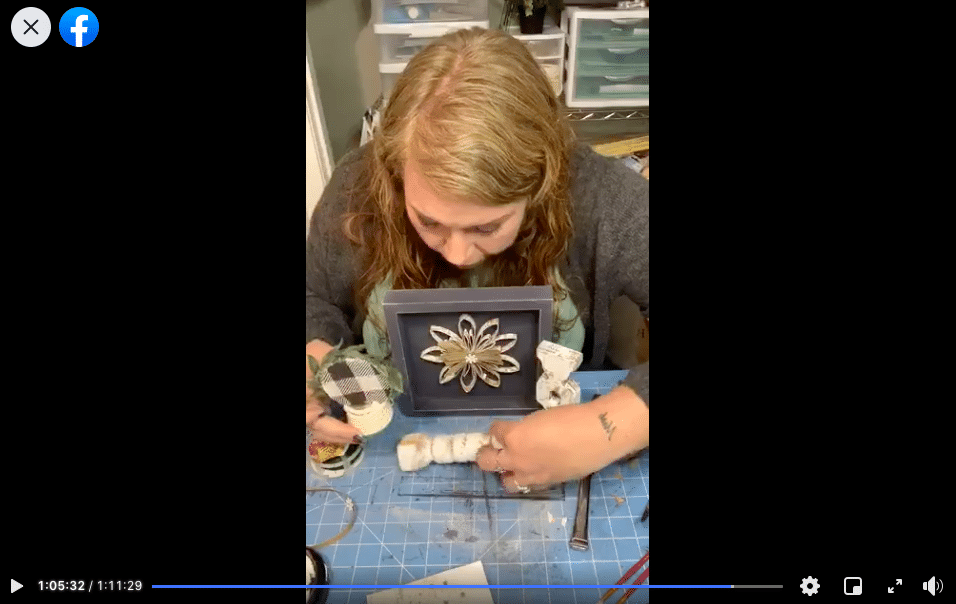
Watch the replay
Now, remember that I made this DIY over a year ago, so the LIVE video is a bit different than my more recent ones, but the replay is still full of crafting advice and fun.
If you want to craft along or see my techniques, watch the replay below!
For this project, I will be using these items but you can substitute where you want.
“As an Amazon Associate, I earn from qualifying purchases.”
- Dixie Belle Midnight Sky Paint (black)
- Dixie Belle Fluff Paint (White)
- Jute Rope
- Floral Stencil
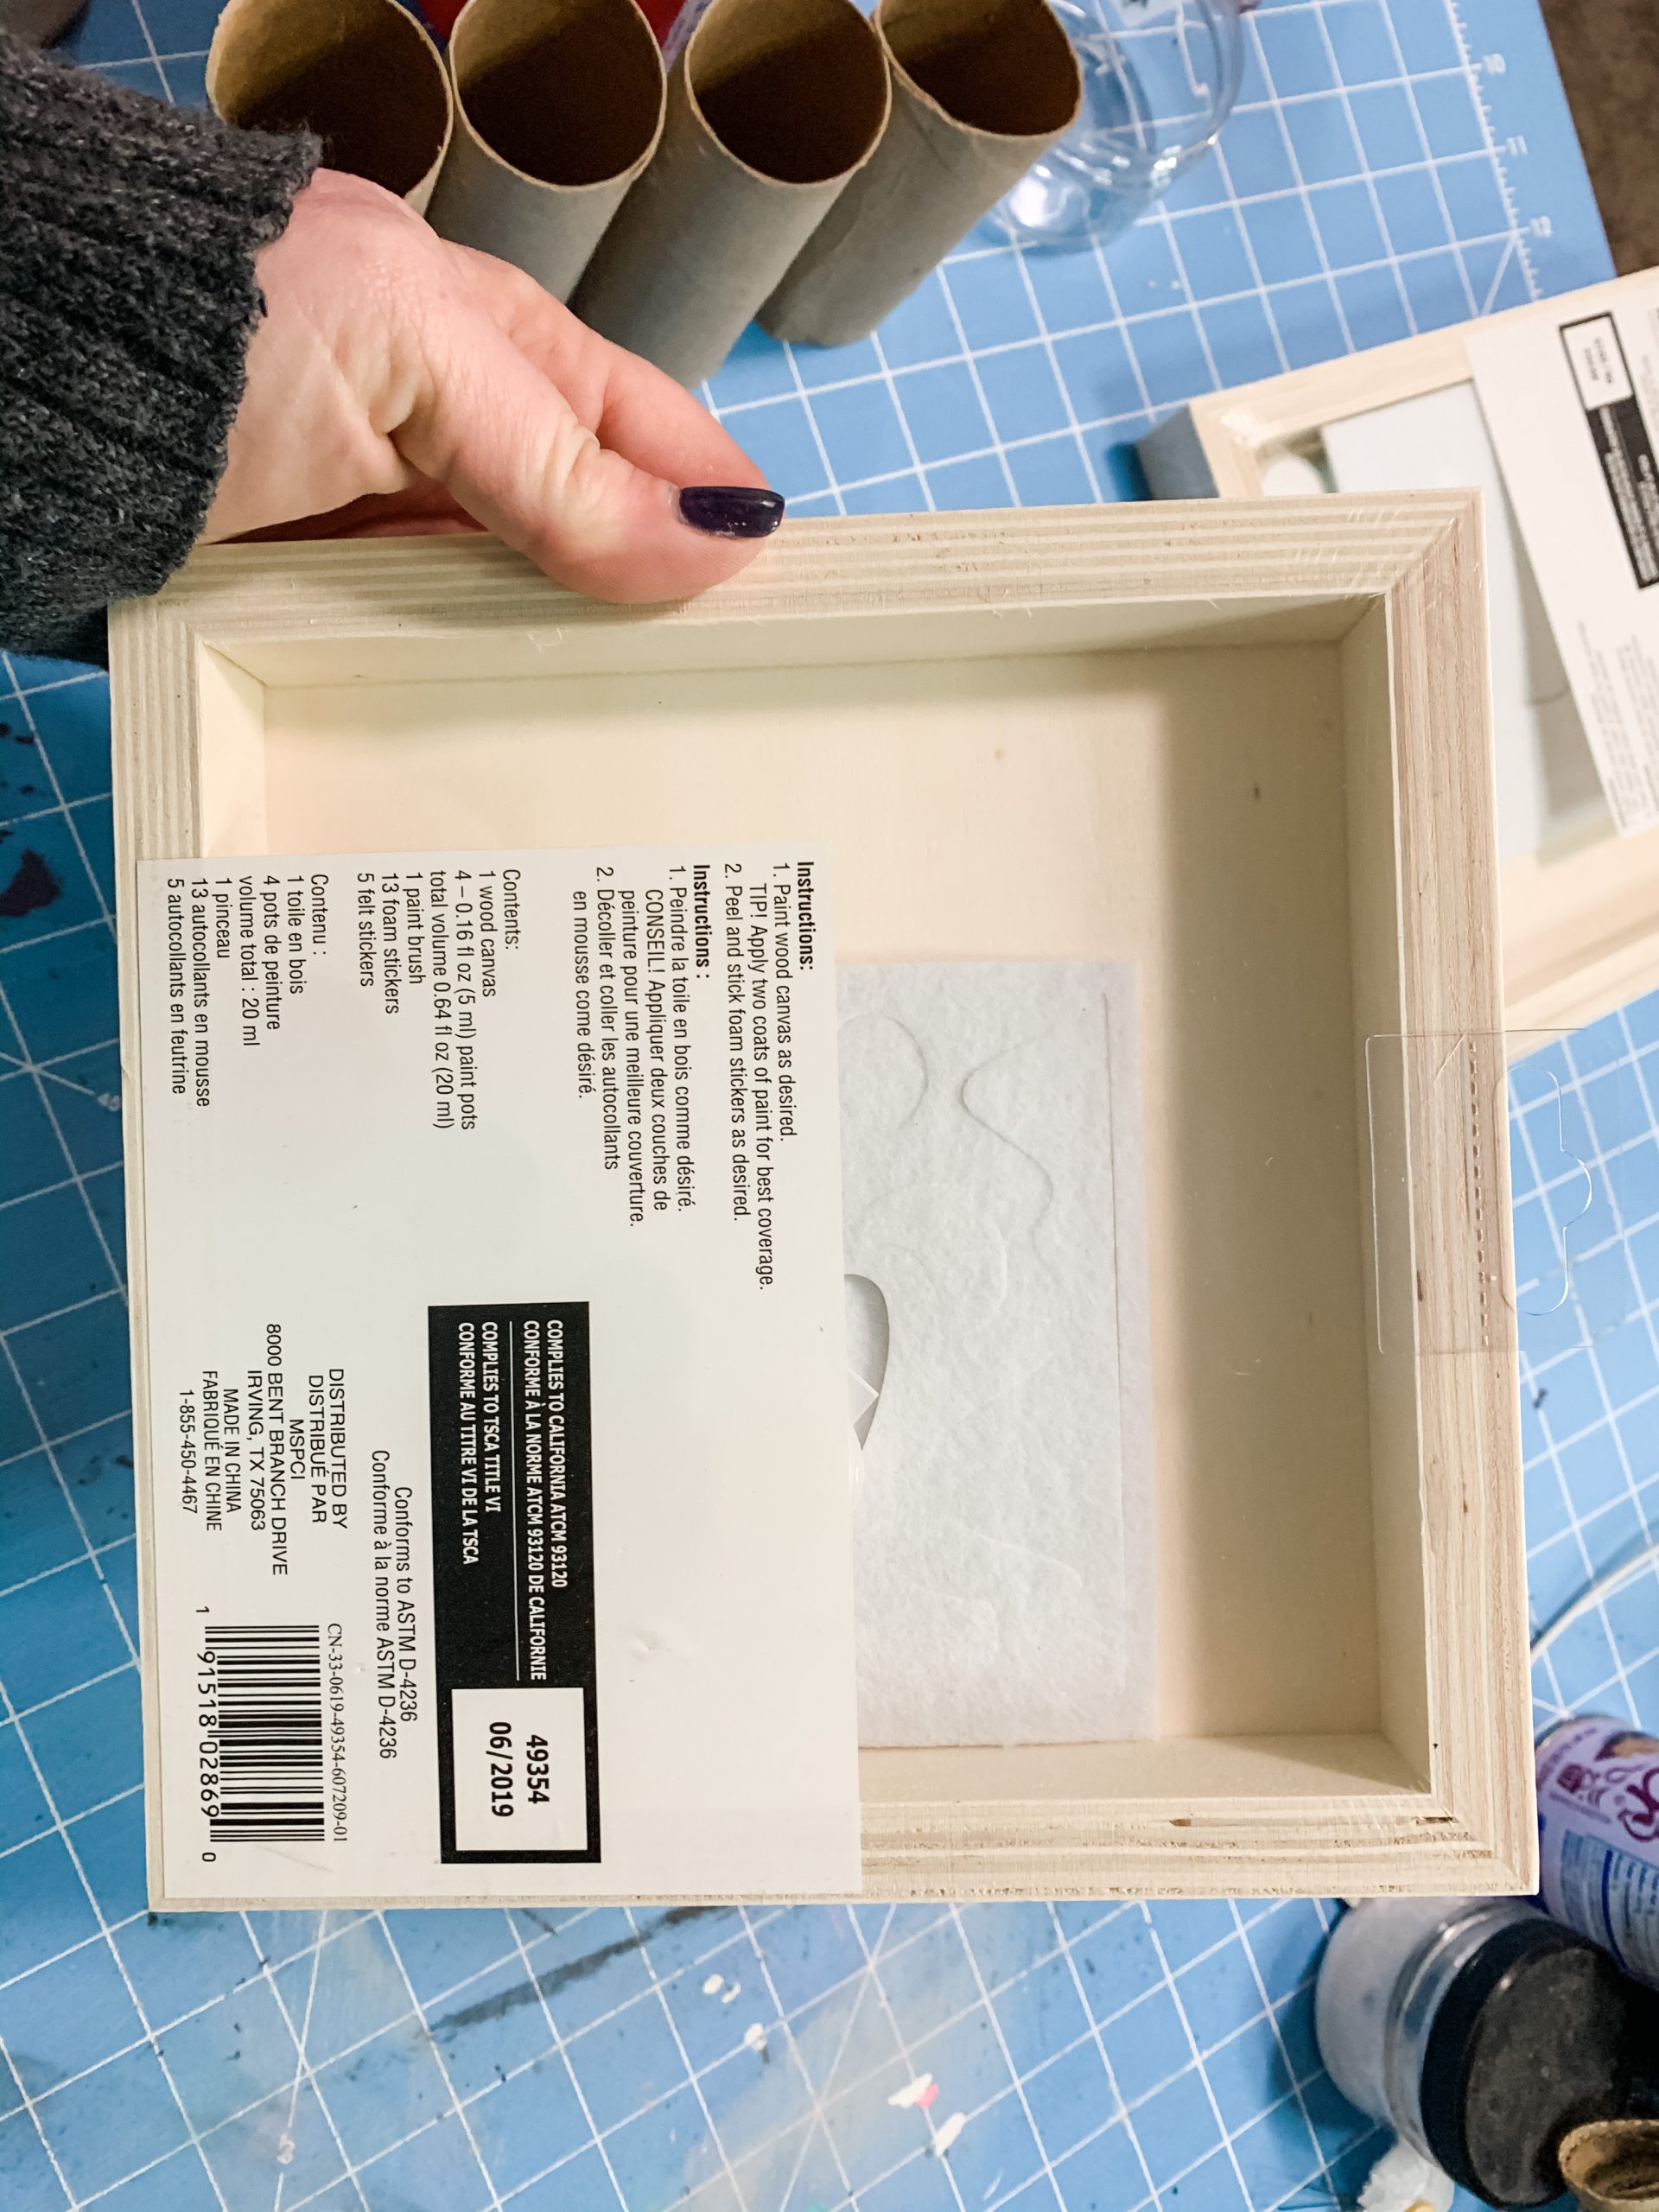
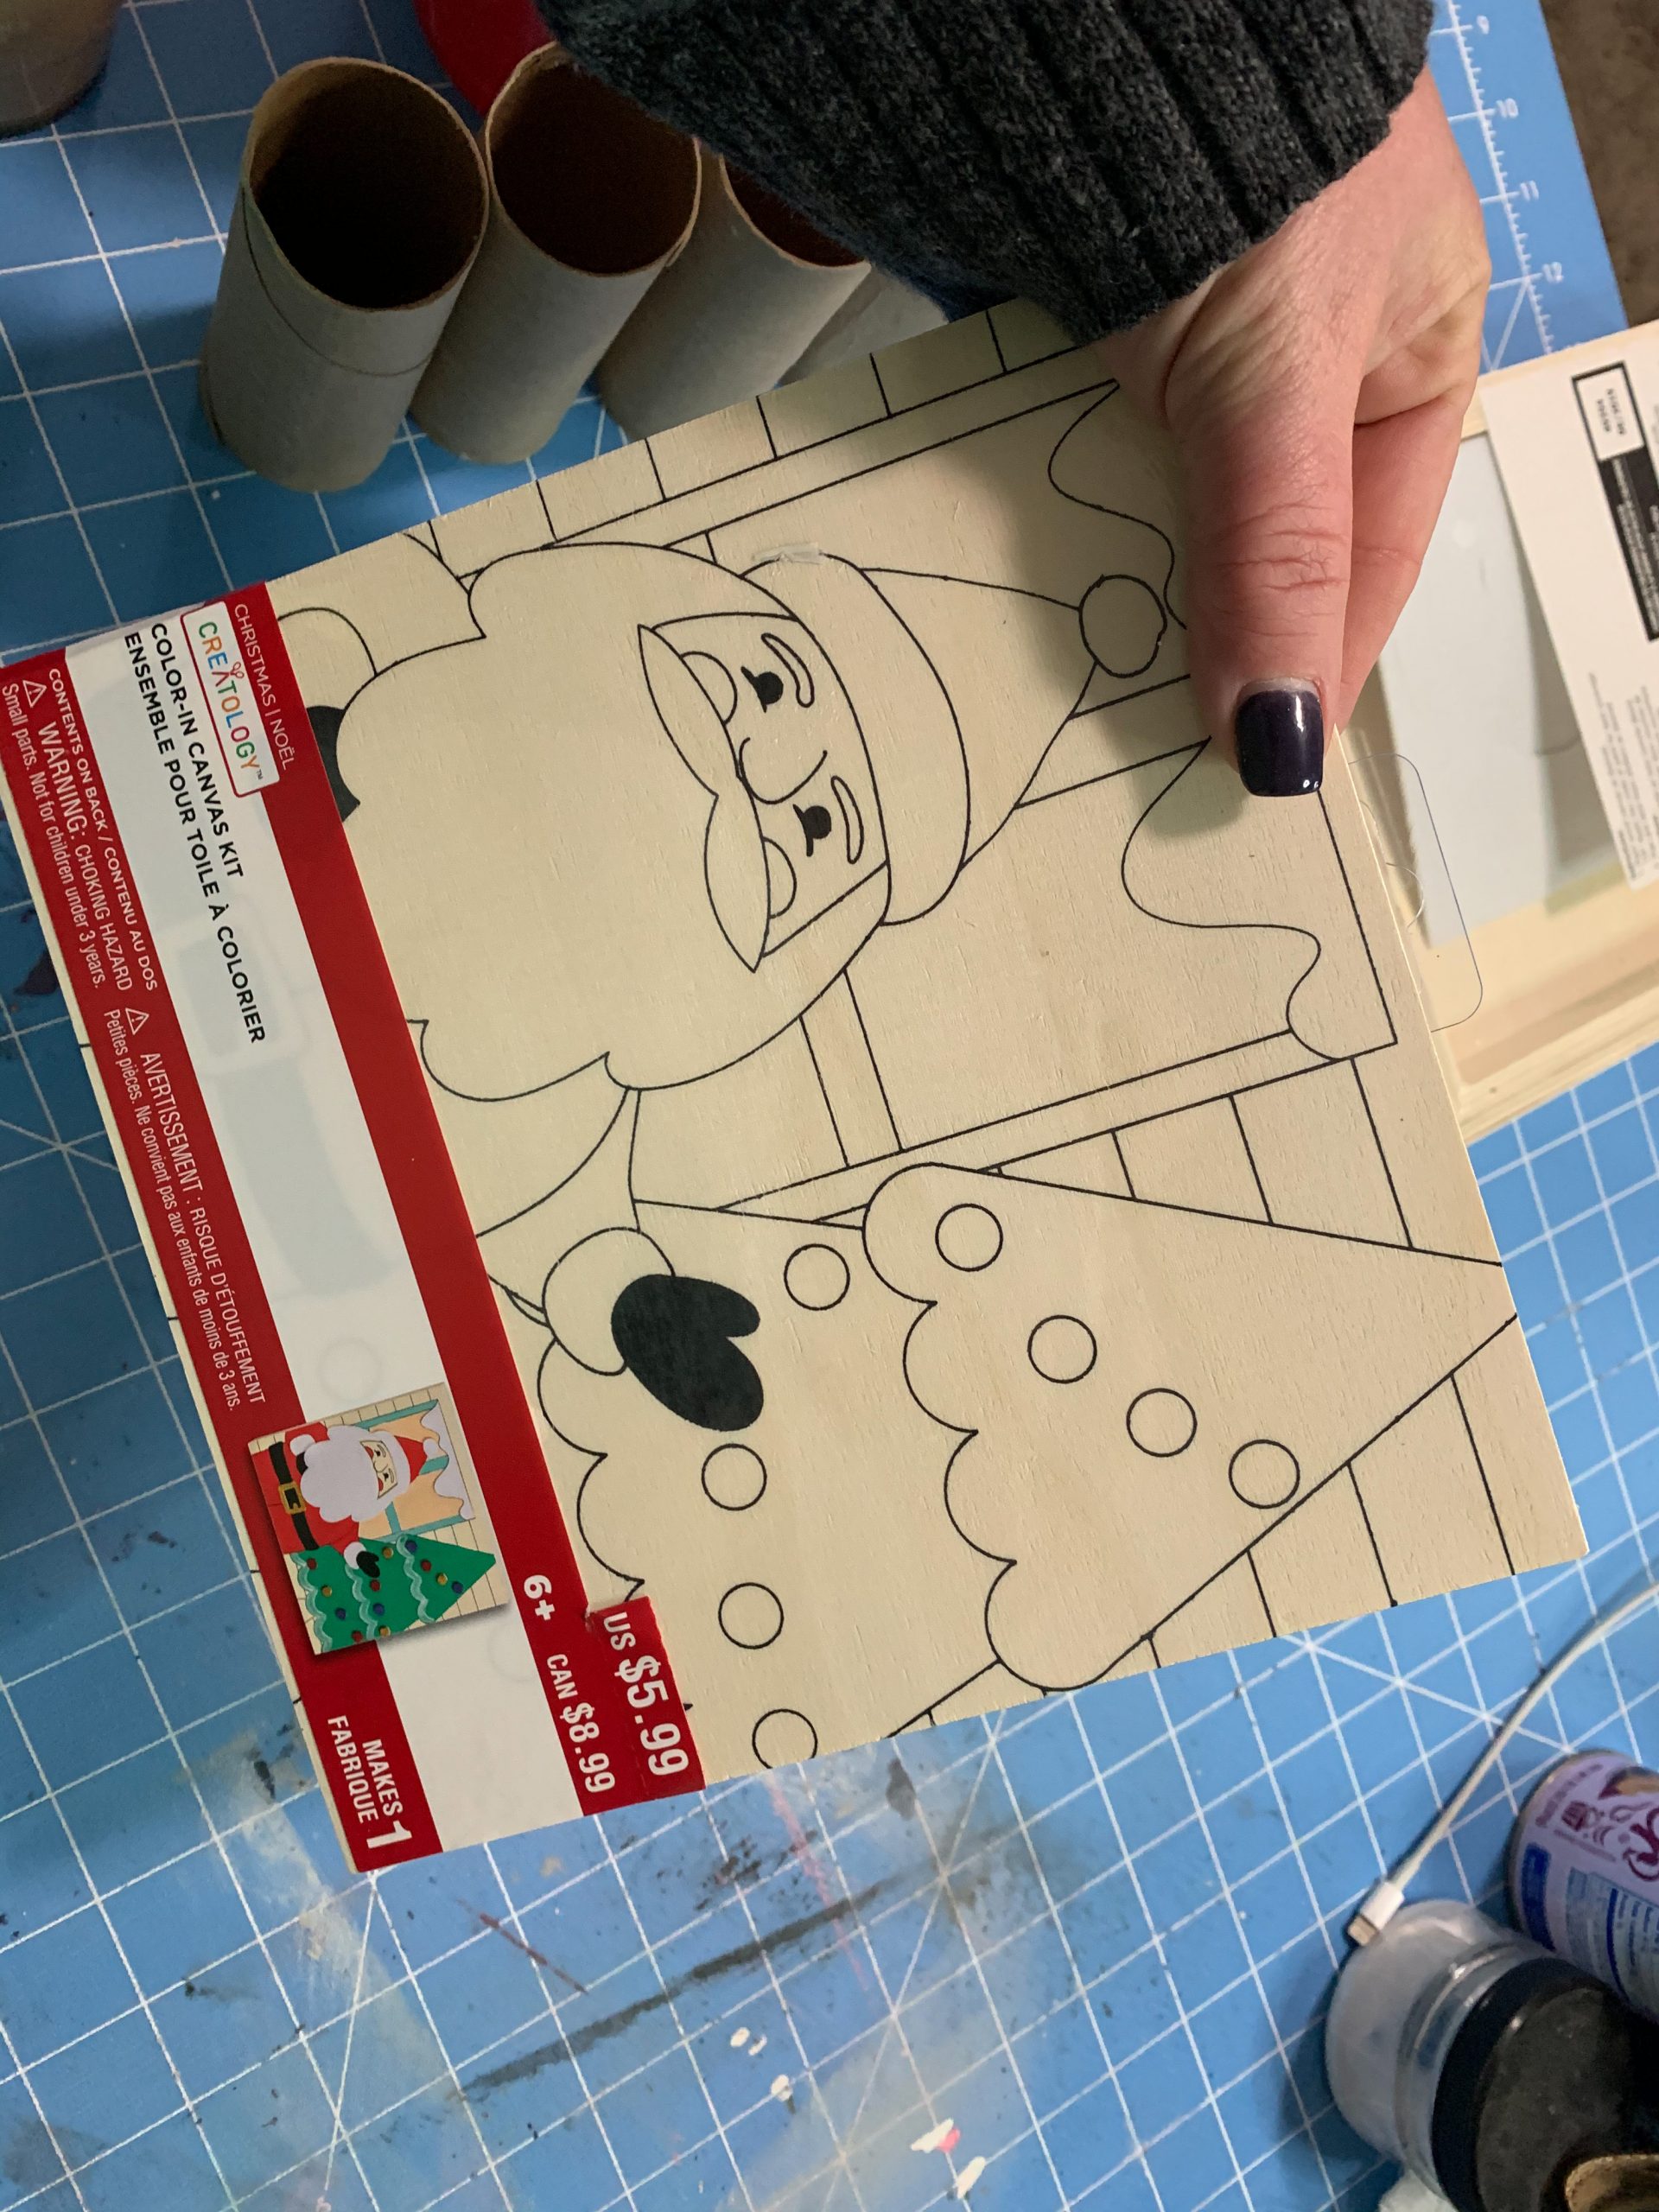
- Wood Sign Box (Michael’s)
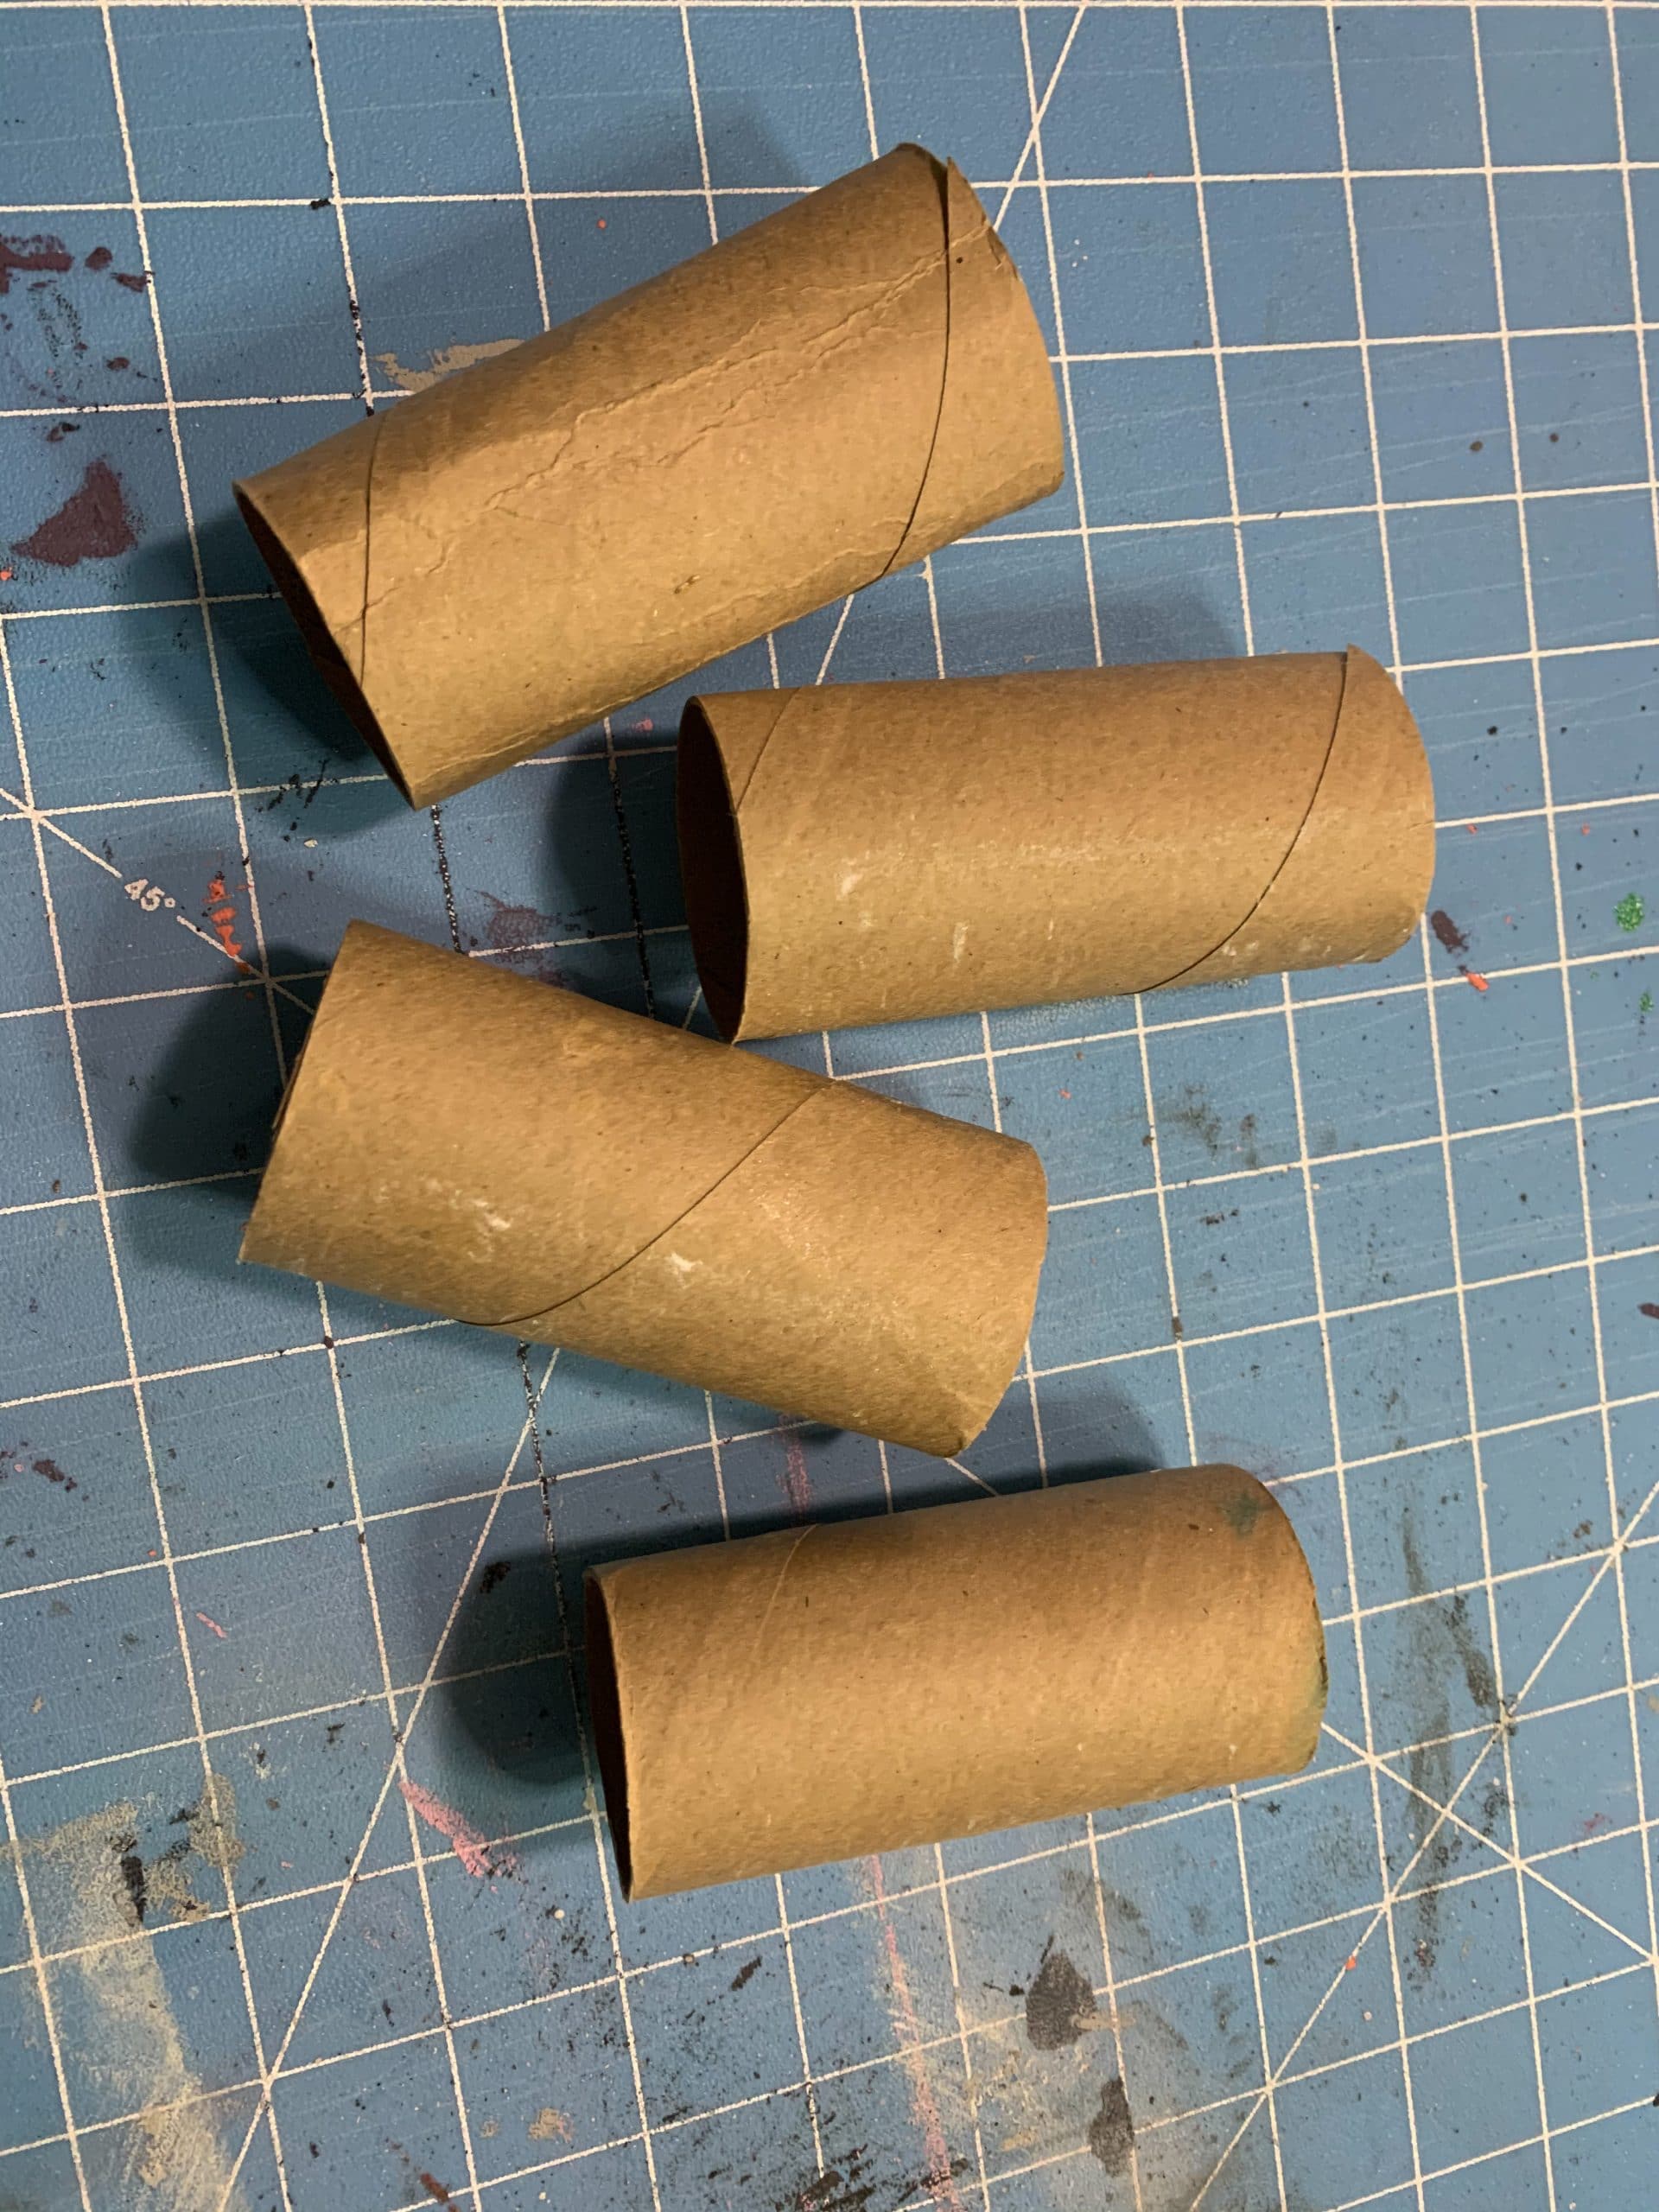
- Toilet Paper Rolls (x4)
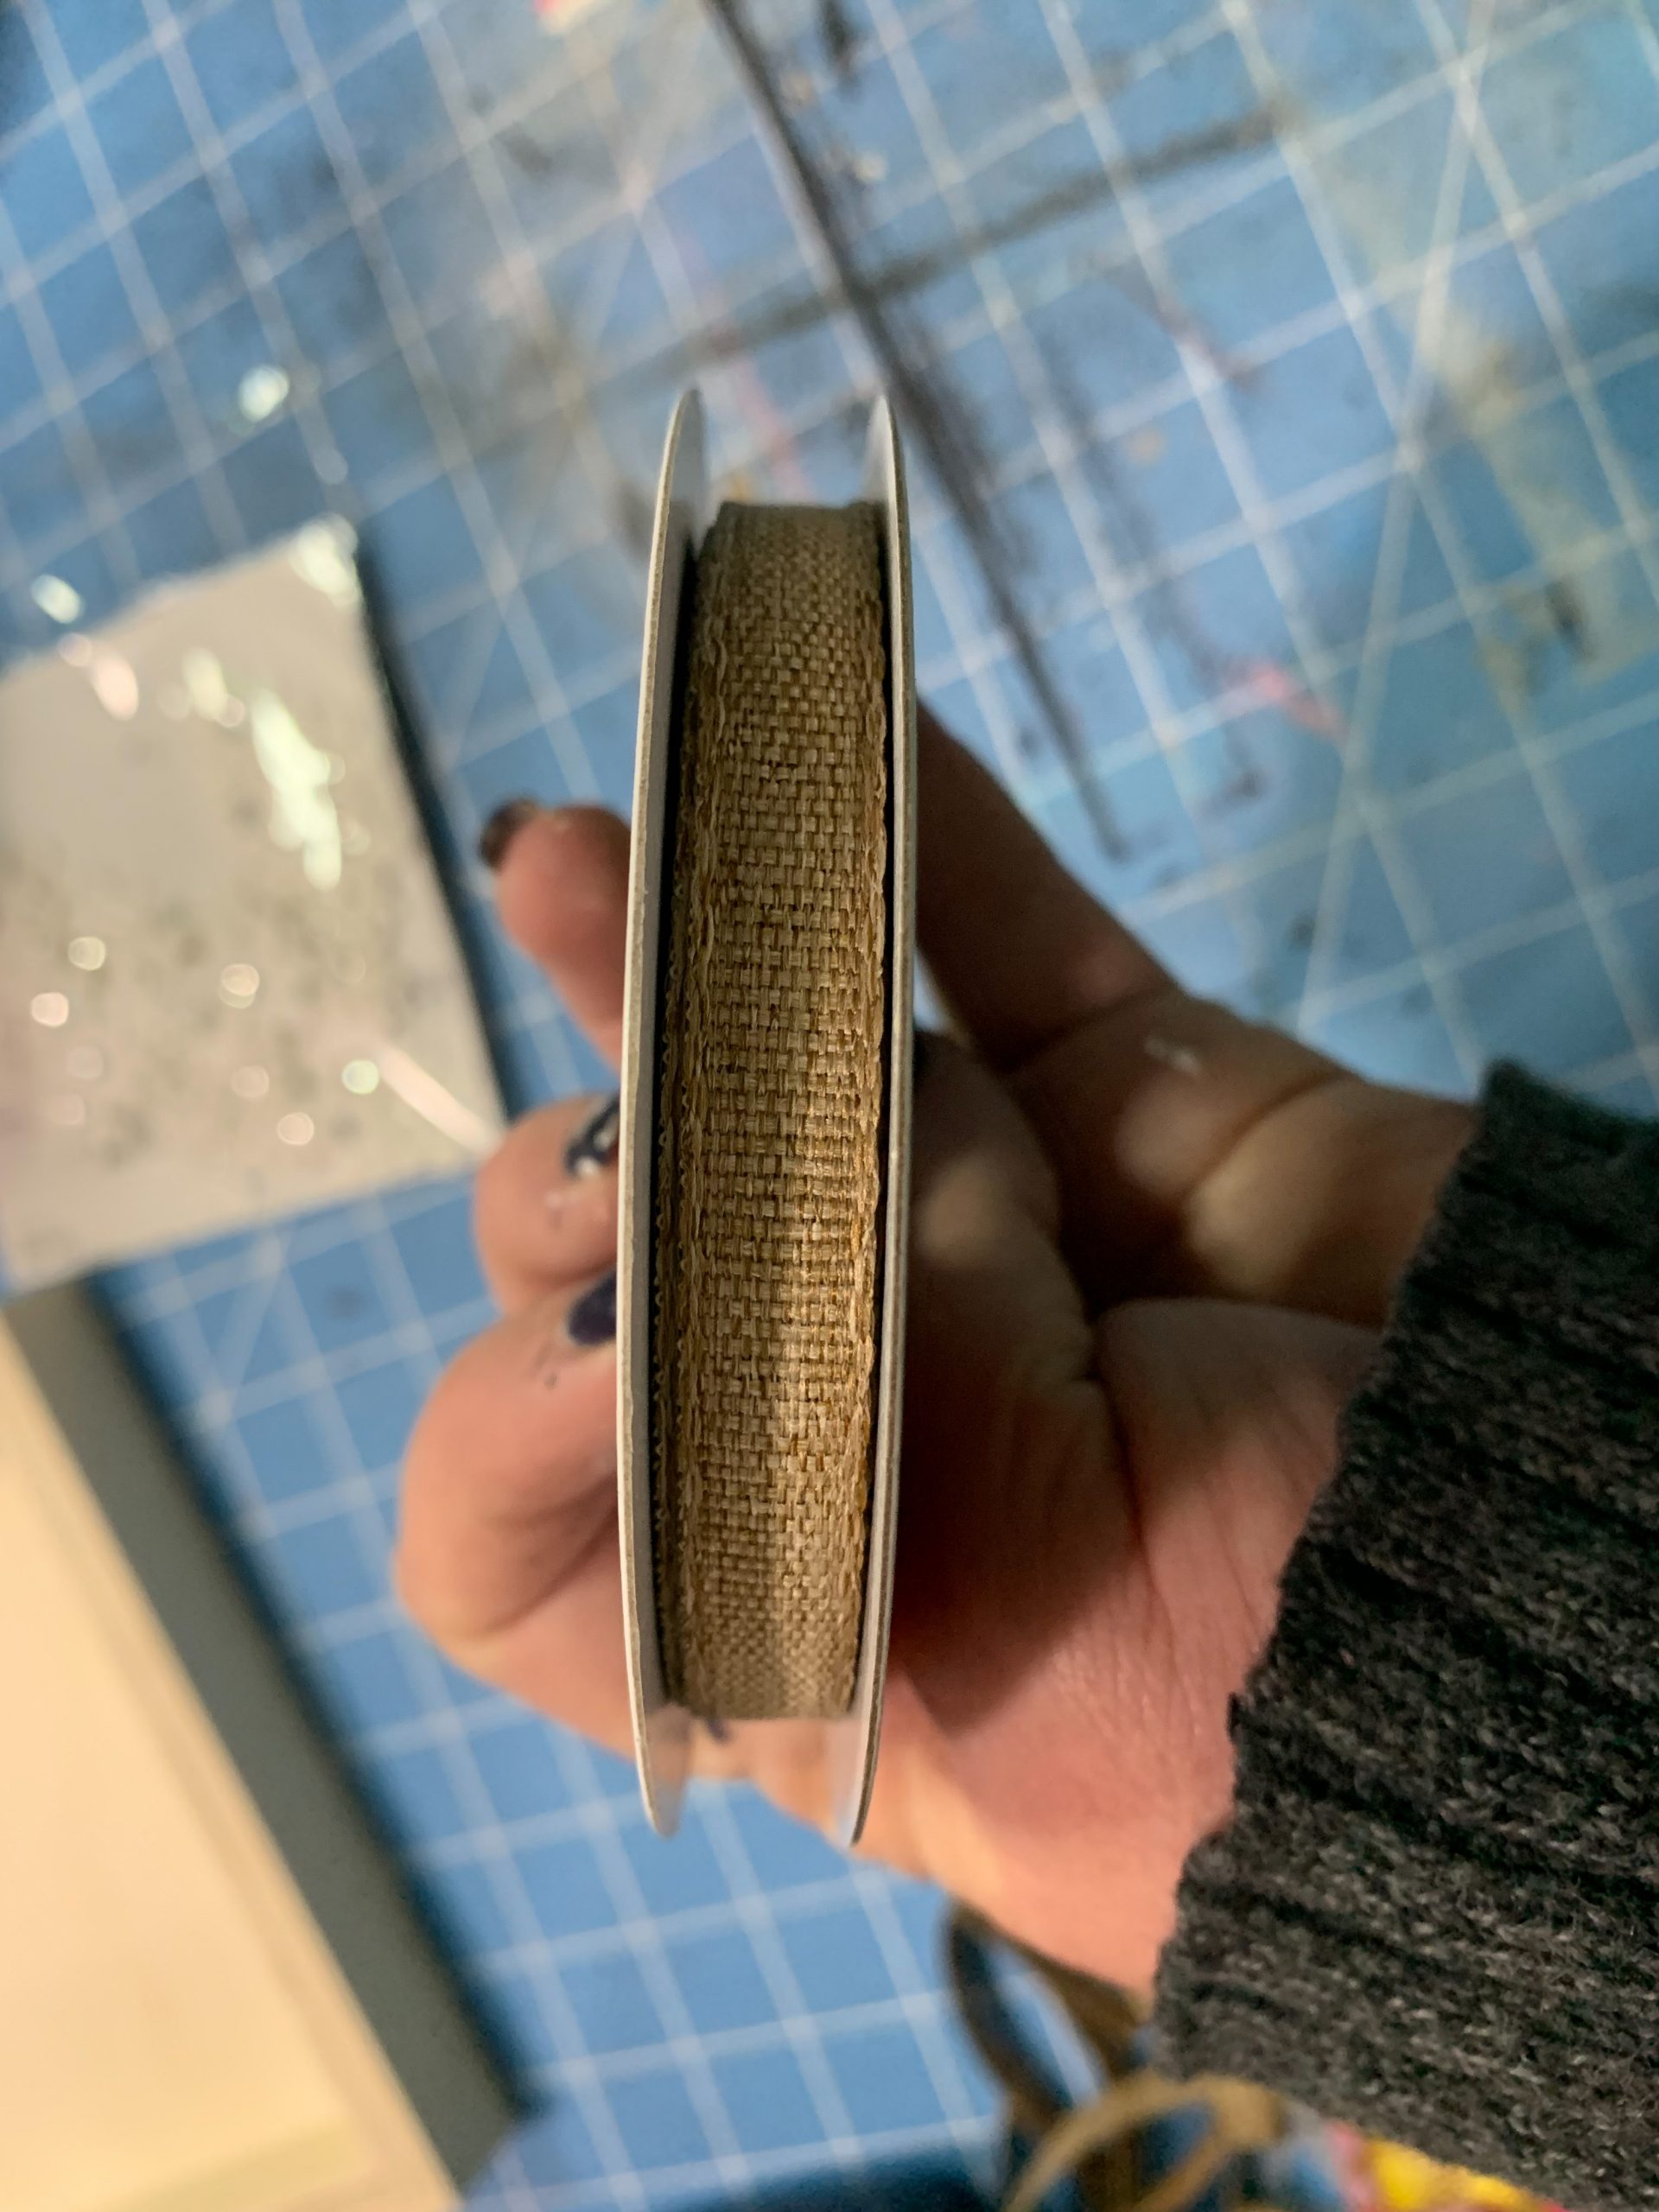
- Tan ribbon
- Small white flower
- Hot glue gun and glue sticks
- Heat Gun
Let’s get started
The first thing I did to start making this adorable DIY decor was cut the toilet paper rolls into thin circles.
I was making two of these easy, double-sided signs, so in the video, you’ll see me cut about 4 toilet paper rolls into thin circles.
Press the toilet paper roll flat, then cut the strips. It’s good that you are creasing the rolls because we are using these strips for flower petals!
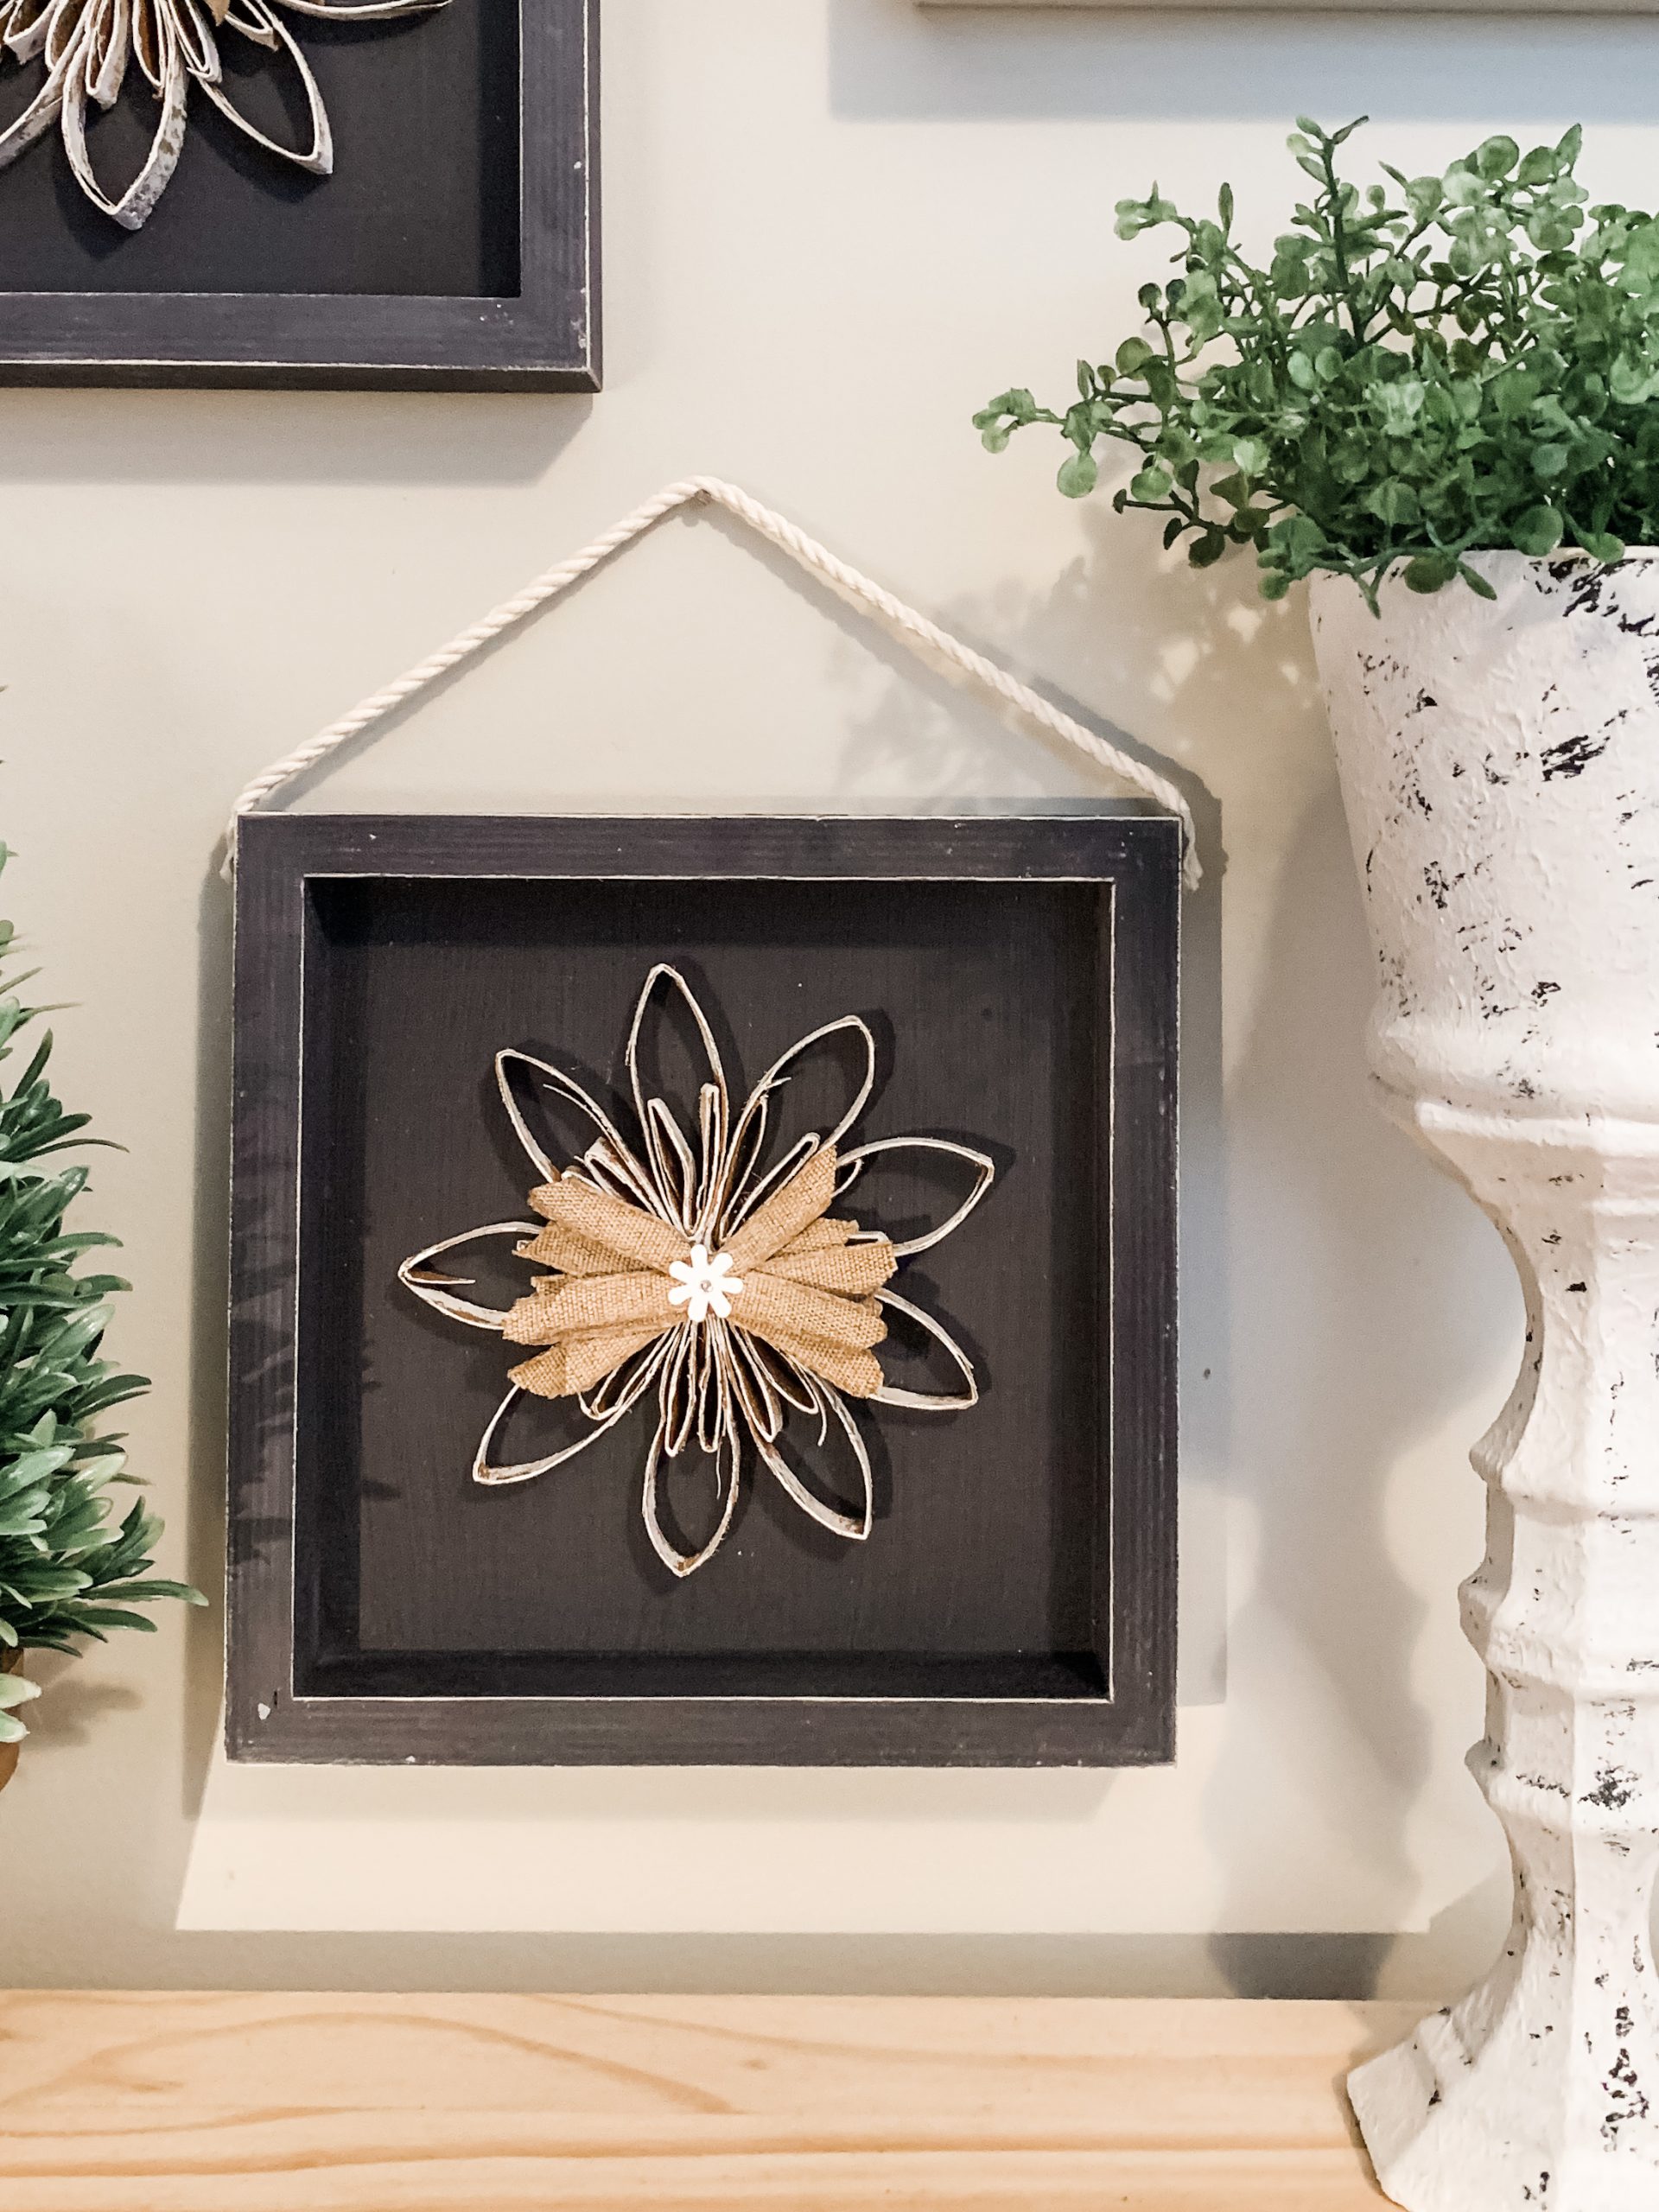
Once you have all the strips cut, hot glue the strips together to form your flower.
I used 9 of the toilet paper roll strips to make my flower. Once they’re all connected, fold 9 more strips in half, and hot glue them inside each flower petal.
This adds detail to the flower and helps make it look fuller. There should be an open circle at the center of your flower.

Let’s paint
Set your toilet paper roll flowers to the side for now, and grab the Christmas sign box. Start by painting the entire sign box black.
I used Dixie Belle’s Midnight Sky Paint to cover my wood sign box, but you can use whatever black paint you have on hand!
Also, if you didn’t get the Michael’s sign box that I used for this DIY, you can also use a Dollar Tree sign box. I use those often in my DIY crafts, but I wanted to show you how you can use other supplies as well.
I started covering the sign box by painting the inside and inner edges first. Then, I painted the face of the back of the sign box. Next, I used my heat gun to dry the paint.
Use a sanding sponge to lightly sand over the black paint. This will help give it a sort of distressed look.
This next step I did off-camera, but you should go ahead and paint the backside of your sign box black. This will be where you add the stencil, but that will happen later.
After I lightly sanded the sign box, I used a dry paintbrush and a napkin to remove the sanded paint. Set the painted sign box to the side. We need to add some color to our flower!
Paint the flower
I used Dixie Belle’s Fluff paint (white) to paint the toilet paper roll flower. Use an artist’s brush to paint the flower. I started by painting the front of the flower, then painted inside each petal with white paint.
Finally, I painted the outside of the petals. The goal is to cover up most of that toilet paper brown color. If you keep a light hand when you’re painting, you will get an effortless, distressed look.
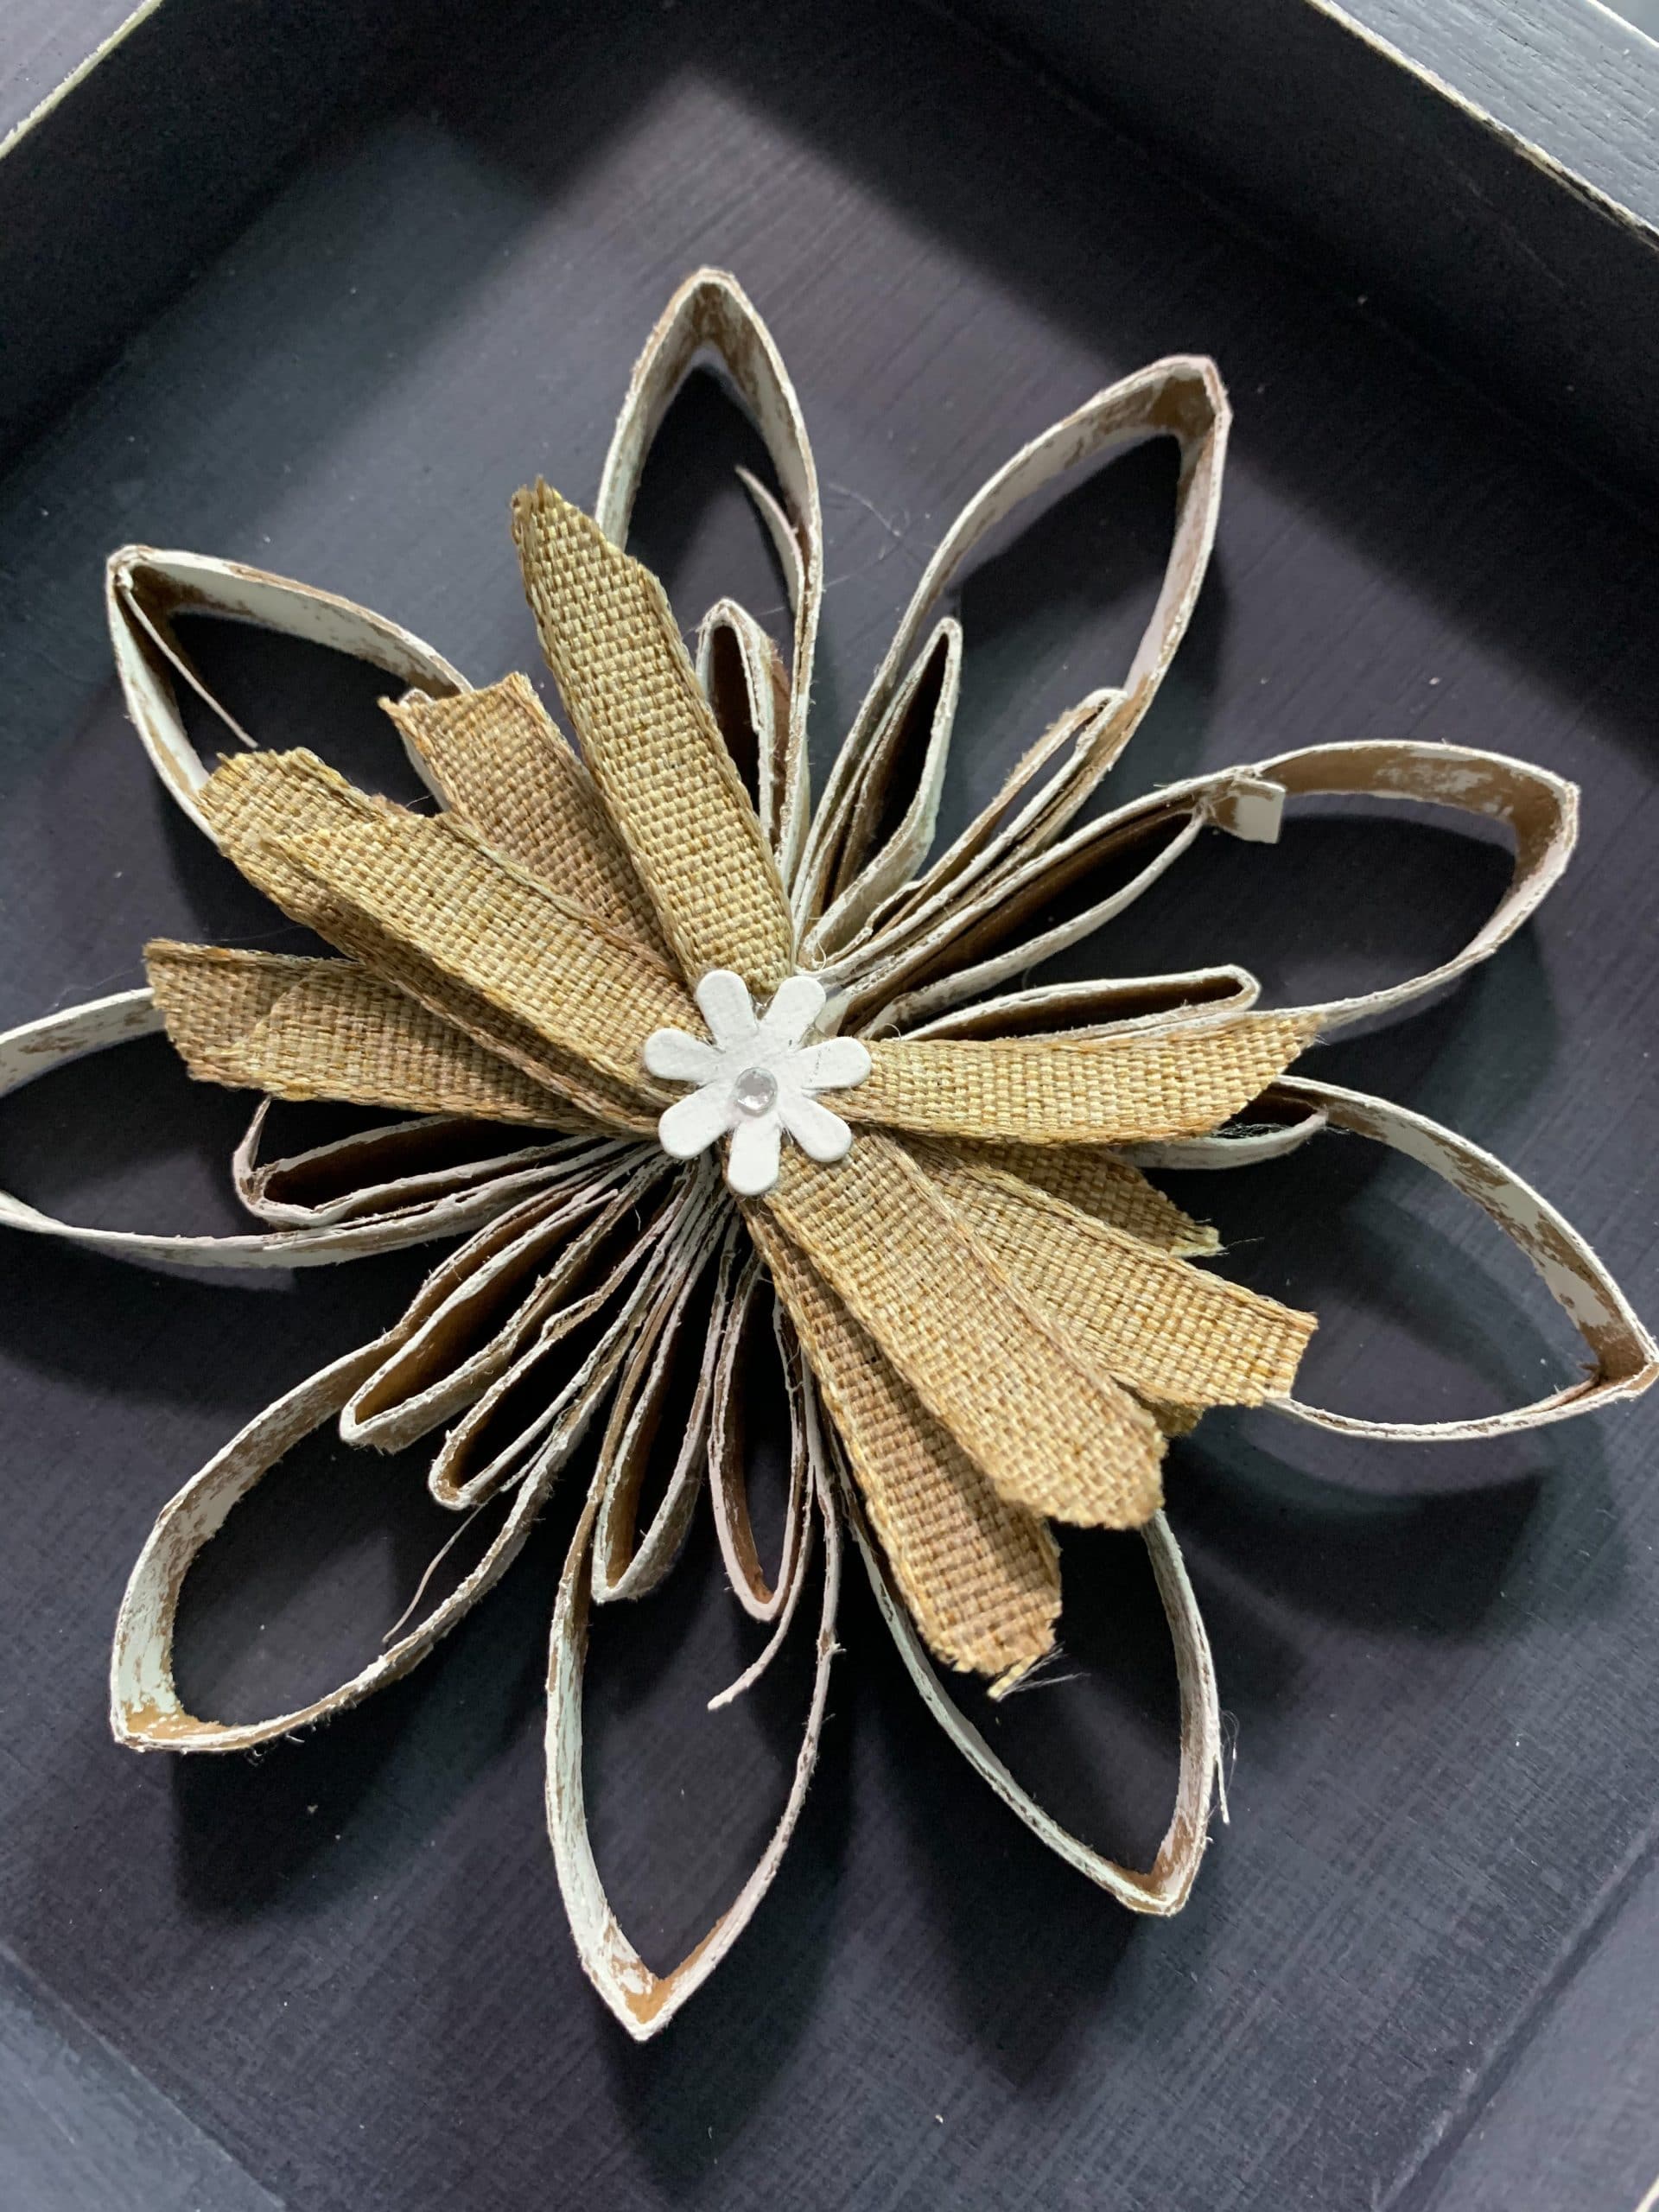
Allow the paint to dry, then you can hot glue the flower to the inside of the sign bow! Just put some glue on the back of the flower and press it down onto the center of the inside of the sign box.
Keep pressure on the flower for about 30 seconds to a minute to get a secure bond between the flower and sign box.
Make a bow
To make the bow for this DIY project, I used a round item to wrap the ribbon around. My item was about 2 inches in diameter. I wrapped the ribbon around the item three times.
Pull it off the item and pinch it in the center. Then, use a pair of scissors to dovetail the ends, then cut the loops at the end.
Next, fold the ribbon in half and push a piece of floral wire through the center of the ribbon and twist it into place.
Find the middle of the bow and start unfolding the ribbon. As you do this, you’ll see the bow come to life! Start cutting random pieces of the ribbon and trim them to different lengths.
Once you’re satisfied with your bow, go ahead and hot glue it over the center circle of your toilet paper roll flower.
Lastly, I hot glued a small white flower over the center of the bow. I really love this step and think it helps bring everything together!
Add the stencil
The rest of these steps I did off-camera, but I just had to share them with you! You should have painted the back of your sign box earlier, but if you didn’t, go ahead and do that now.
Allow the paint to dry, and you can lightly distress it just like we did for the first side. This is just prepping the surface to add your stencil design.
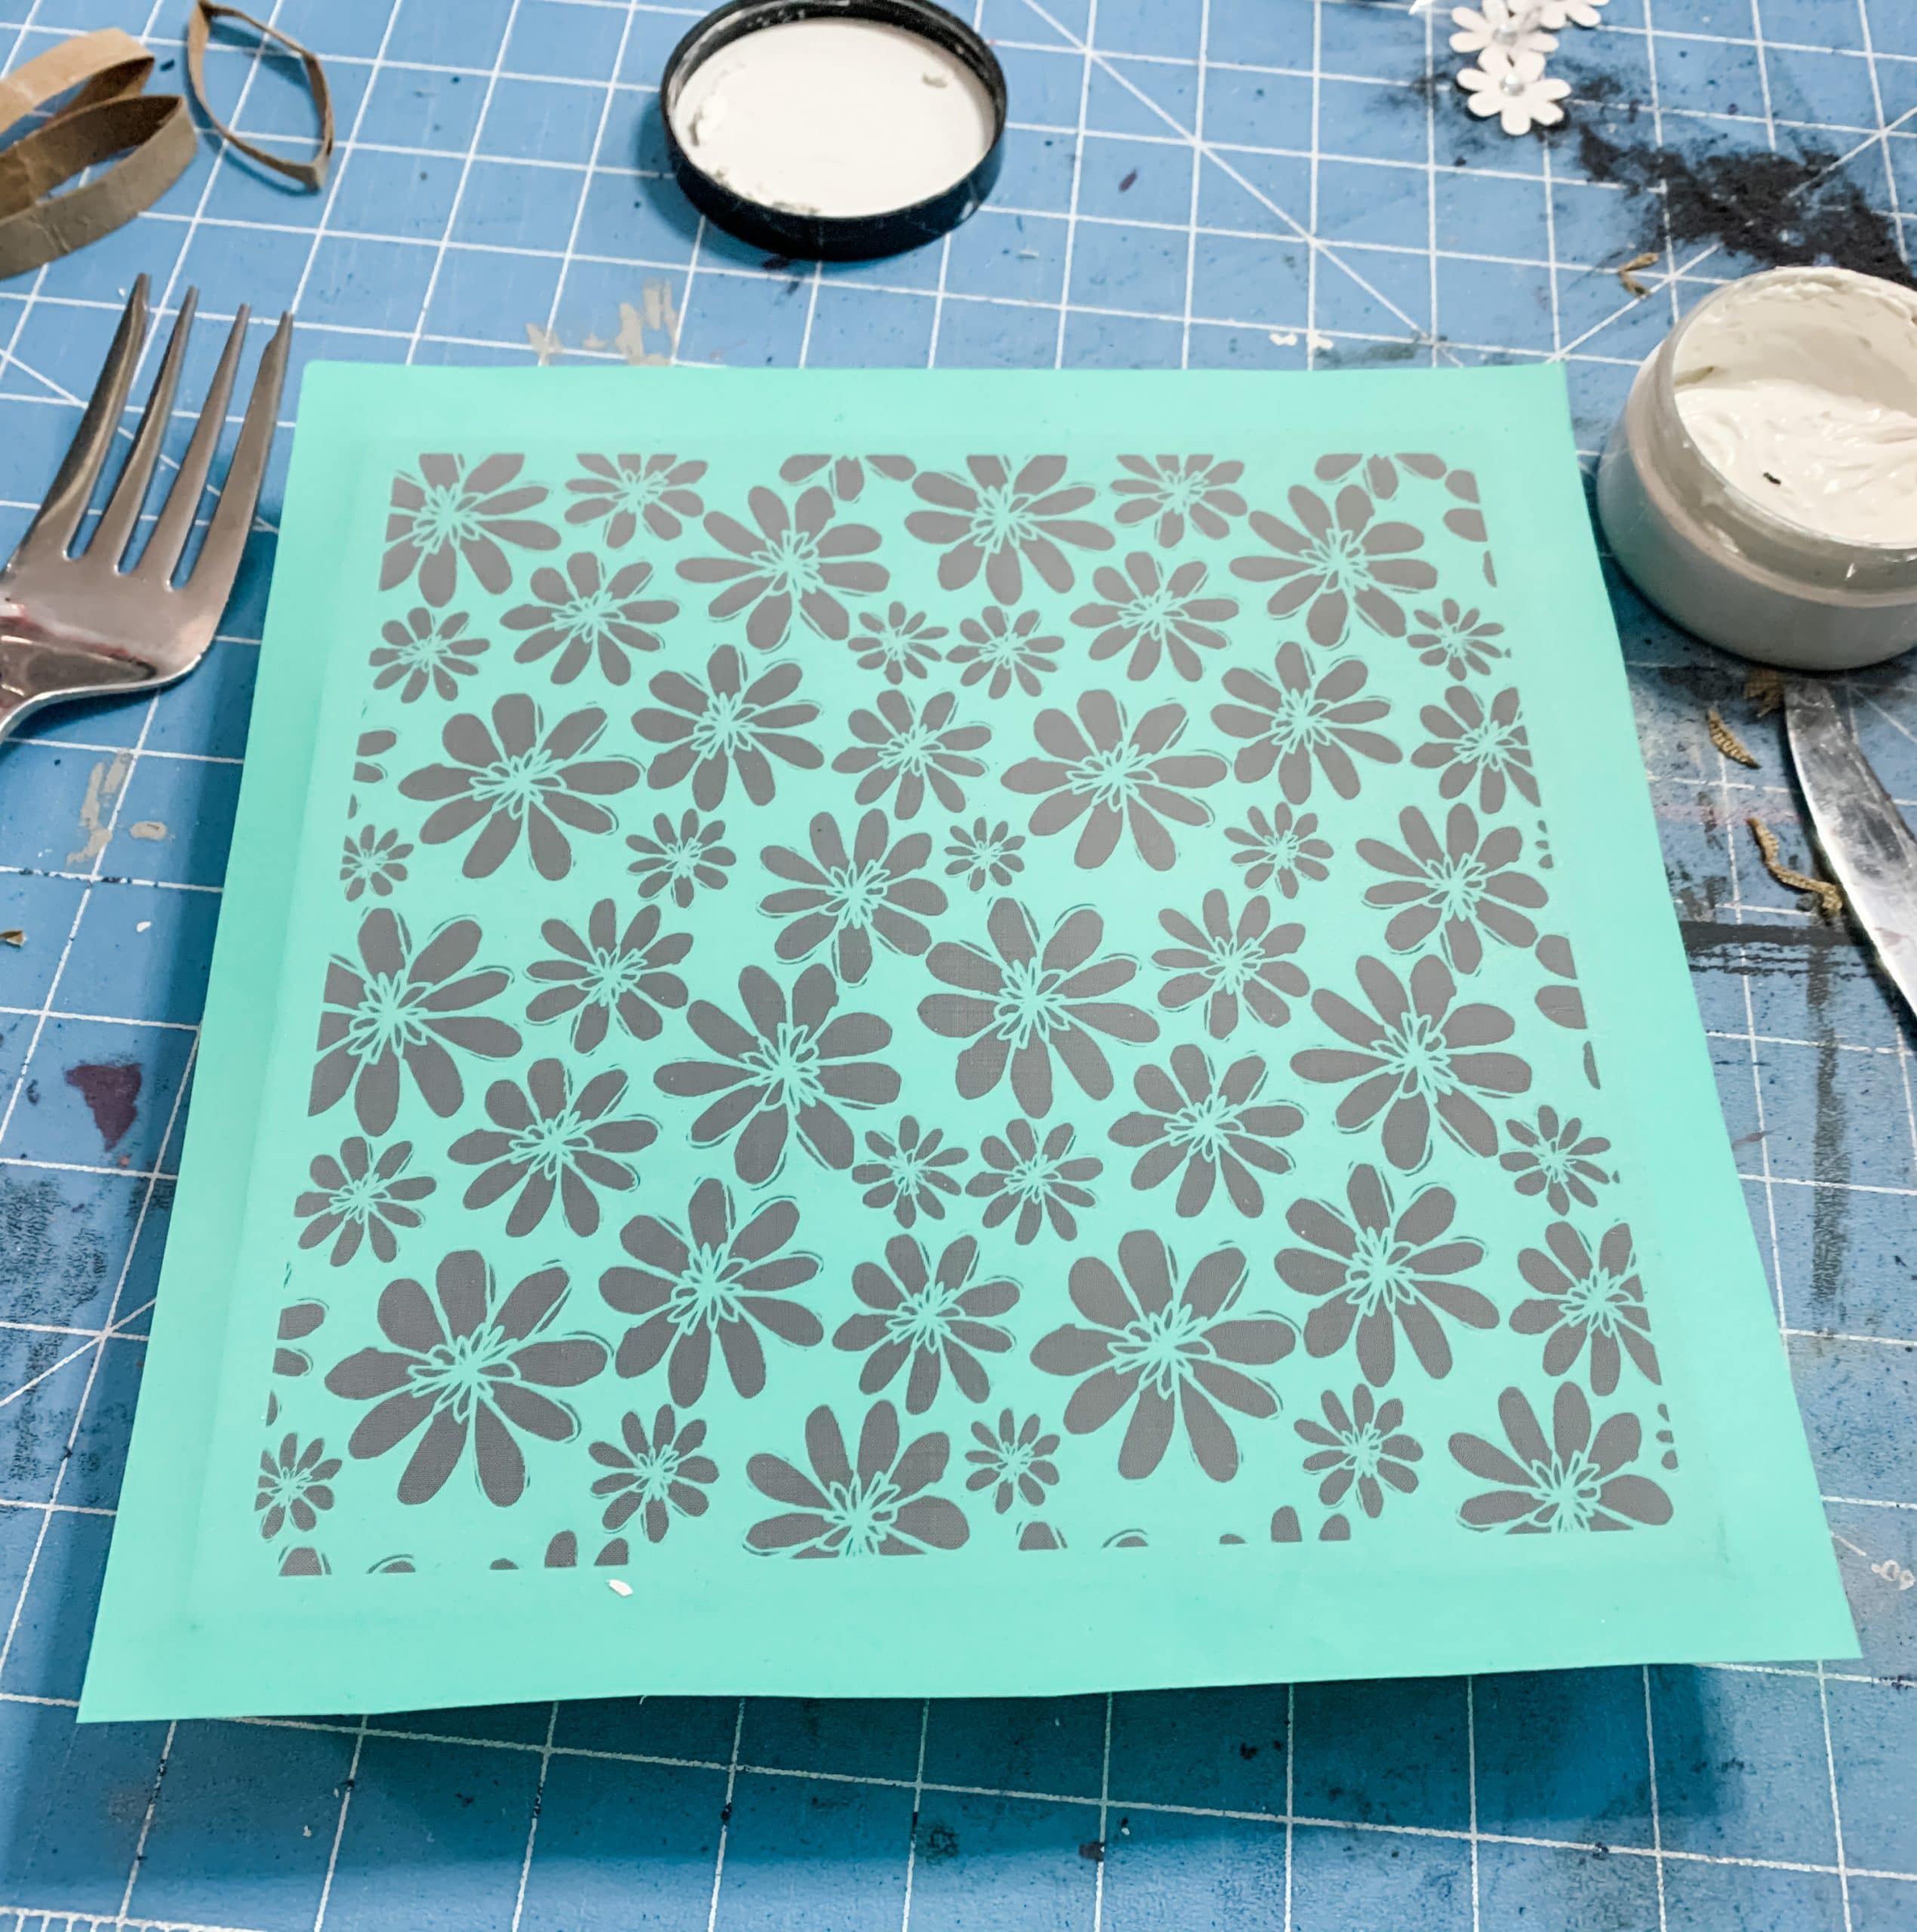
I used an adhesive stencil from a company that I used to work with, but you can use whatever stencil you want! I love the selection that A Maker’s Studio has if you want to check them out.
Place your stencil on the surface of the sign box, and paint over the stencil. I chose to use Dixie Belle’s Fluff paint to make it match the other side of my sign. Remember, I made two of these, so I wanted to be able to mix and match them on my wall.
While the paint is still wet, pull your stencil off the sign box surface, but be careful not to pull it too quickly. You don’t want it to pull the paint up with it!
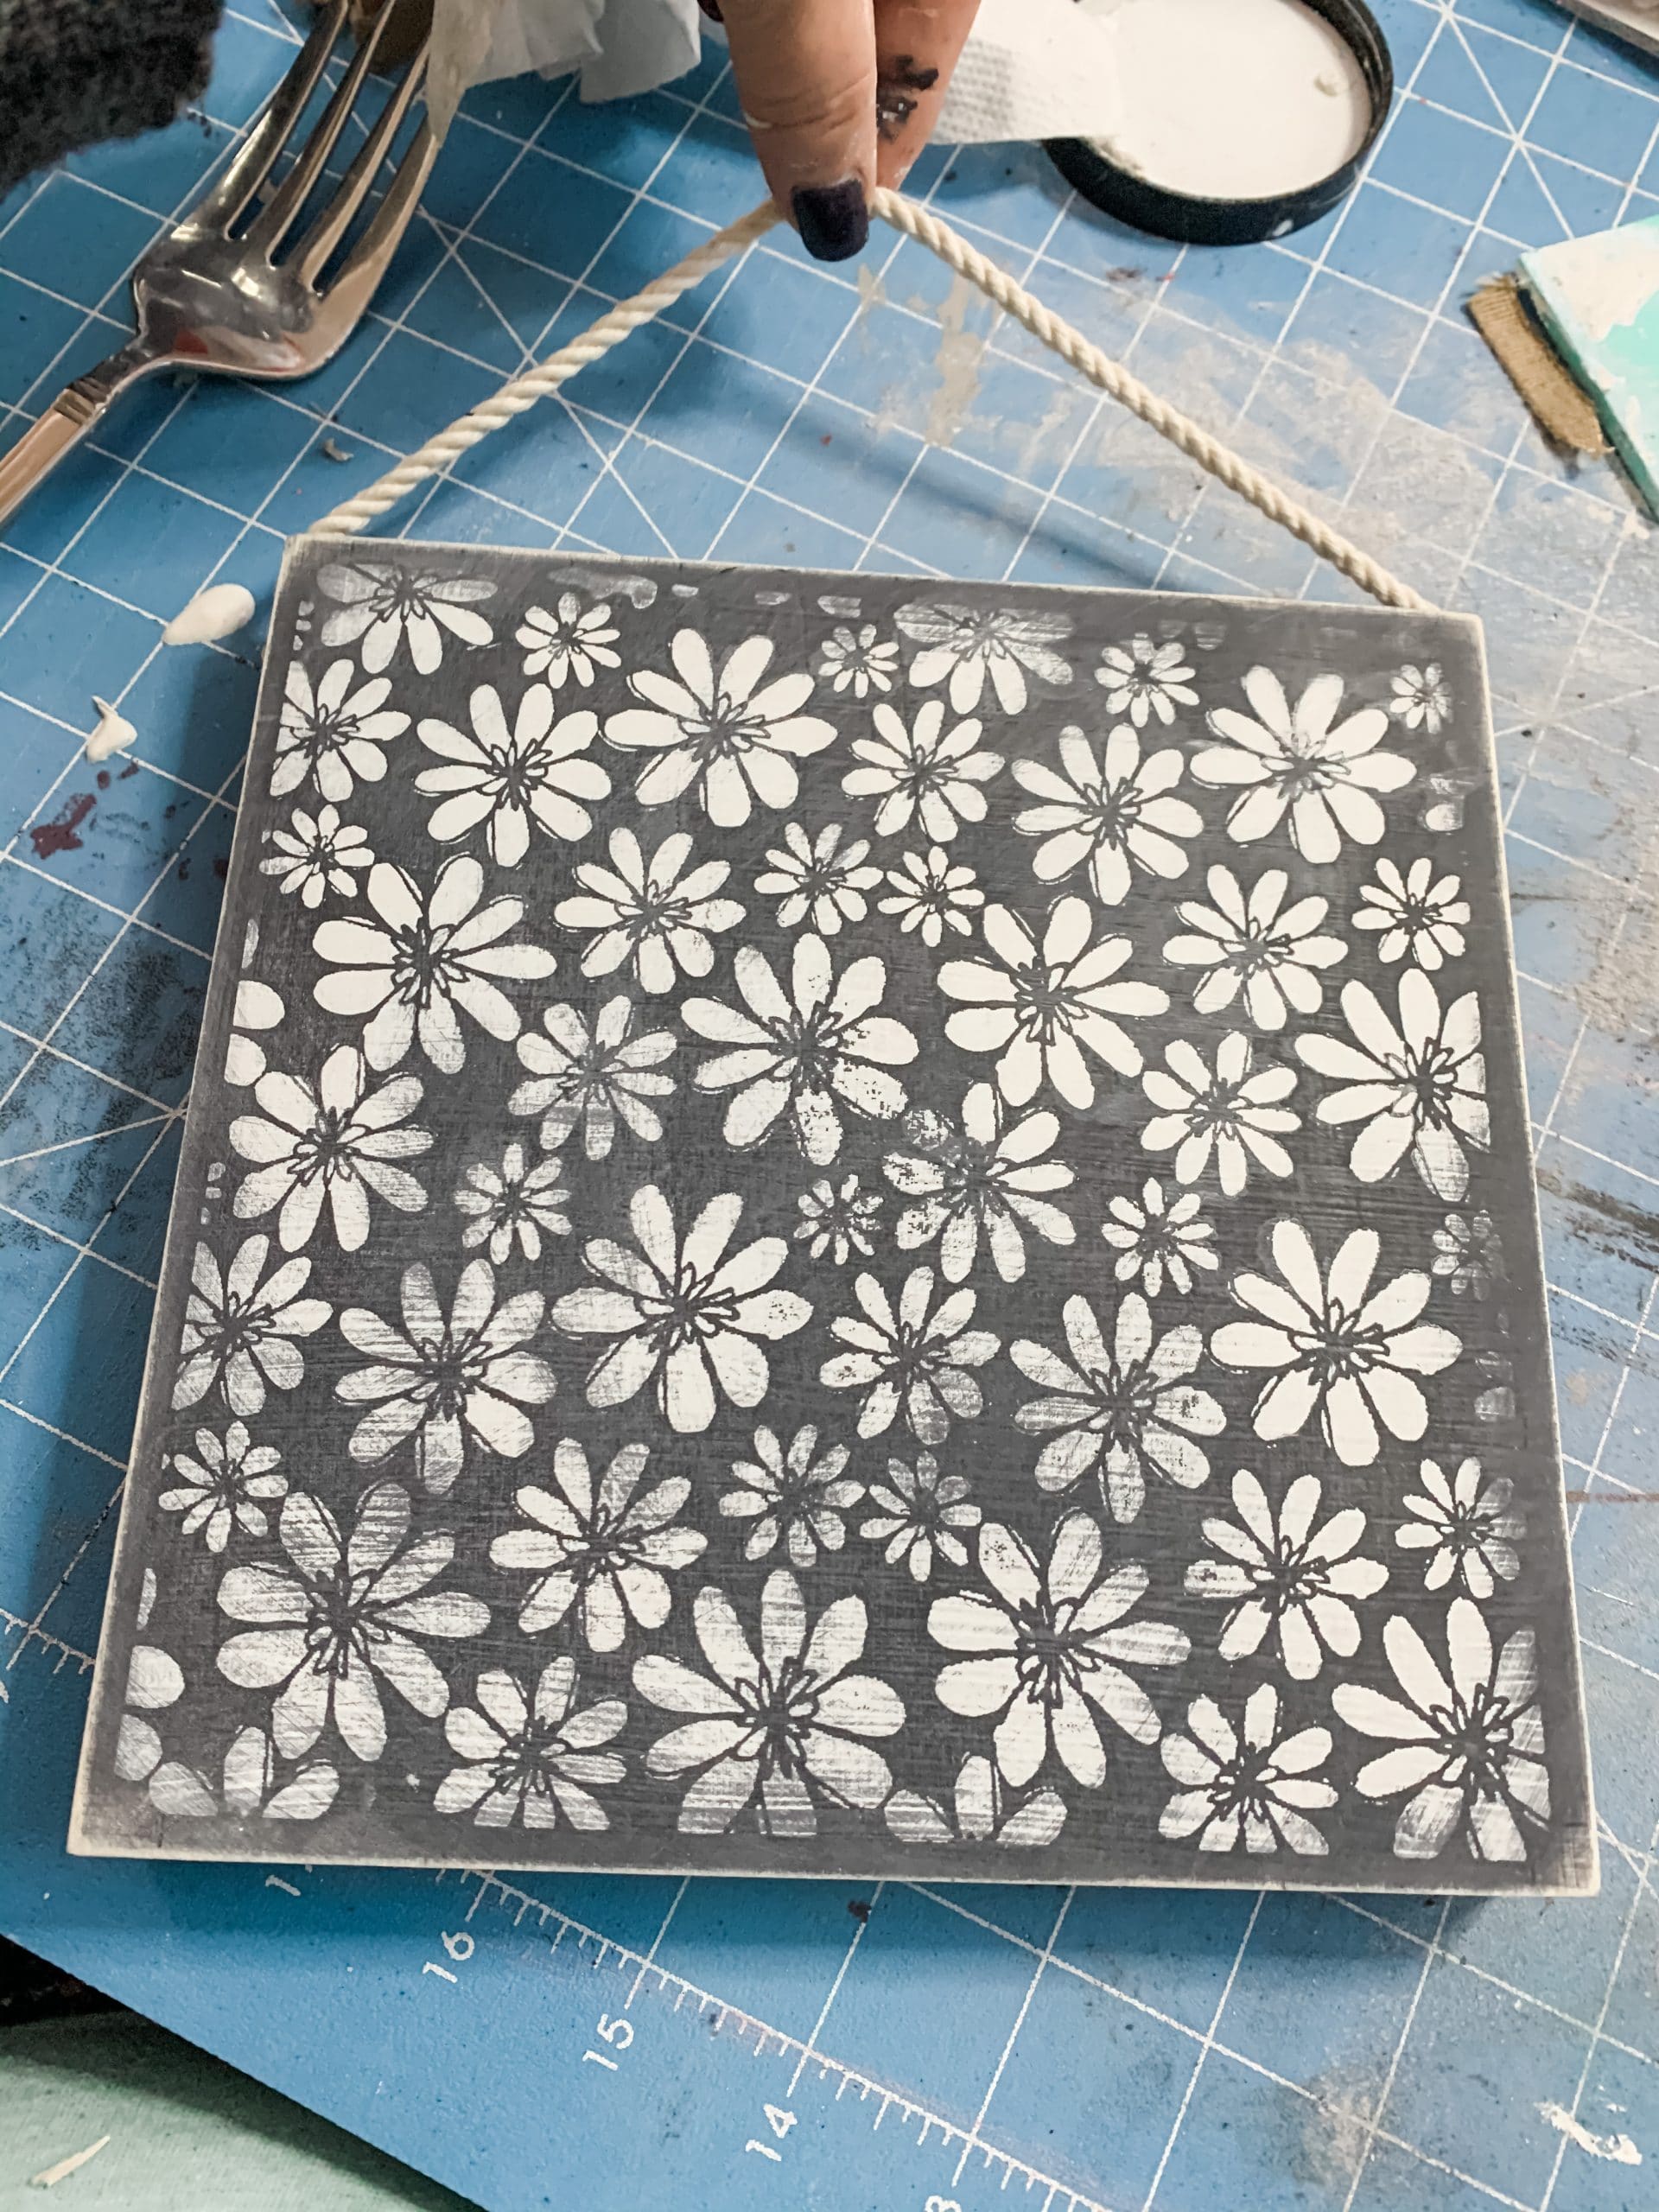
I then used my heat gun to dry the paint quickly.
Finally, all that’s left to do is add your hanger. You can use nautical rope, jute rope, or even jute twine.
Because this is a double-sided sign, you want to hot glue the ends of the hanger string to the sides of the sign box instead of the front or back.
Allow the hot glue to dry, and you’re ready to hang your Double-Sided Toilet Paper Roll DIY Wall Decor anywhere in your home!

I hope you enjoyed this Double-Sided Toilet Paper Roll DIY Wall Decor as much as I did and decide to make one for yourself! I would love to see how yours turns out!
You should totally join my FREE Facebook group called On A Budget Crafts! It is a judgment-free community for DIY crafters to show off their projects and ideas.
If you loved this DIY you might also like this DIY Dollar Tree Distressed Farmhouse Decor!
Thanks for stopping by! XOXO Amber
You can also shop my ENTIRE AMAZON Favorites shop just click here! It’s packed full of all the things I use and love. Here is the supply list I highly recommend every creative have on hand!!
Would you also pin my blog for later and get on my newsletter alerts? I would love to have you join my #craftycrew.
Inspired? Leave me a comment below! I love hearing from my readers!

Join my free “ON A BUDGET CRAFTS” Facebook group!


Can’t even tell the flower is toilet paper Rolla. Very creative