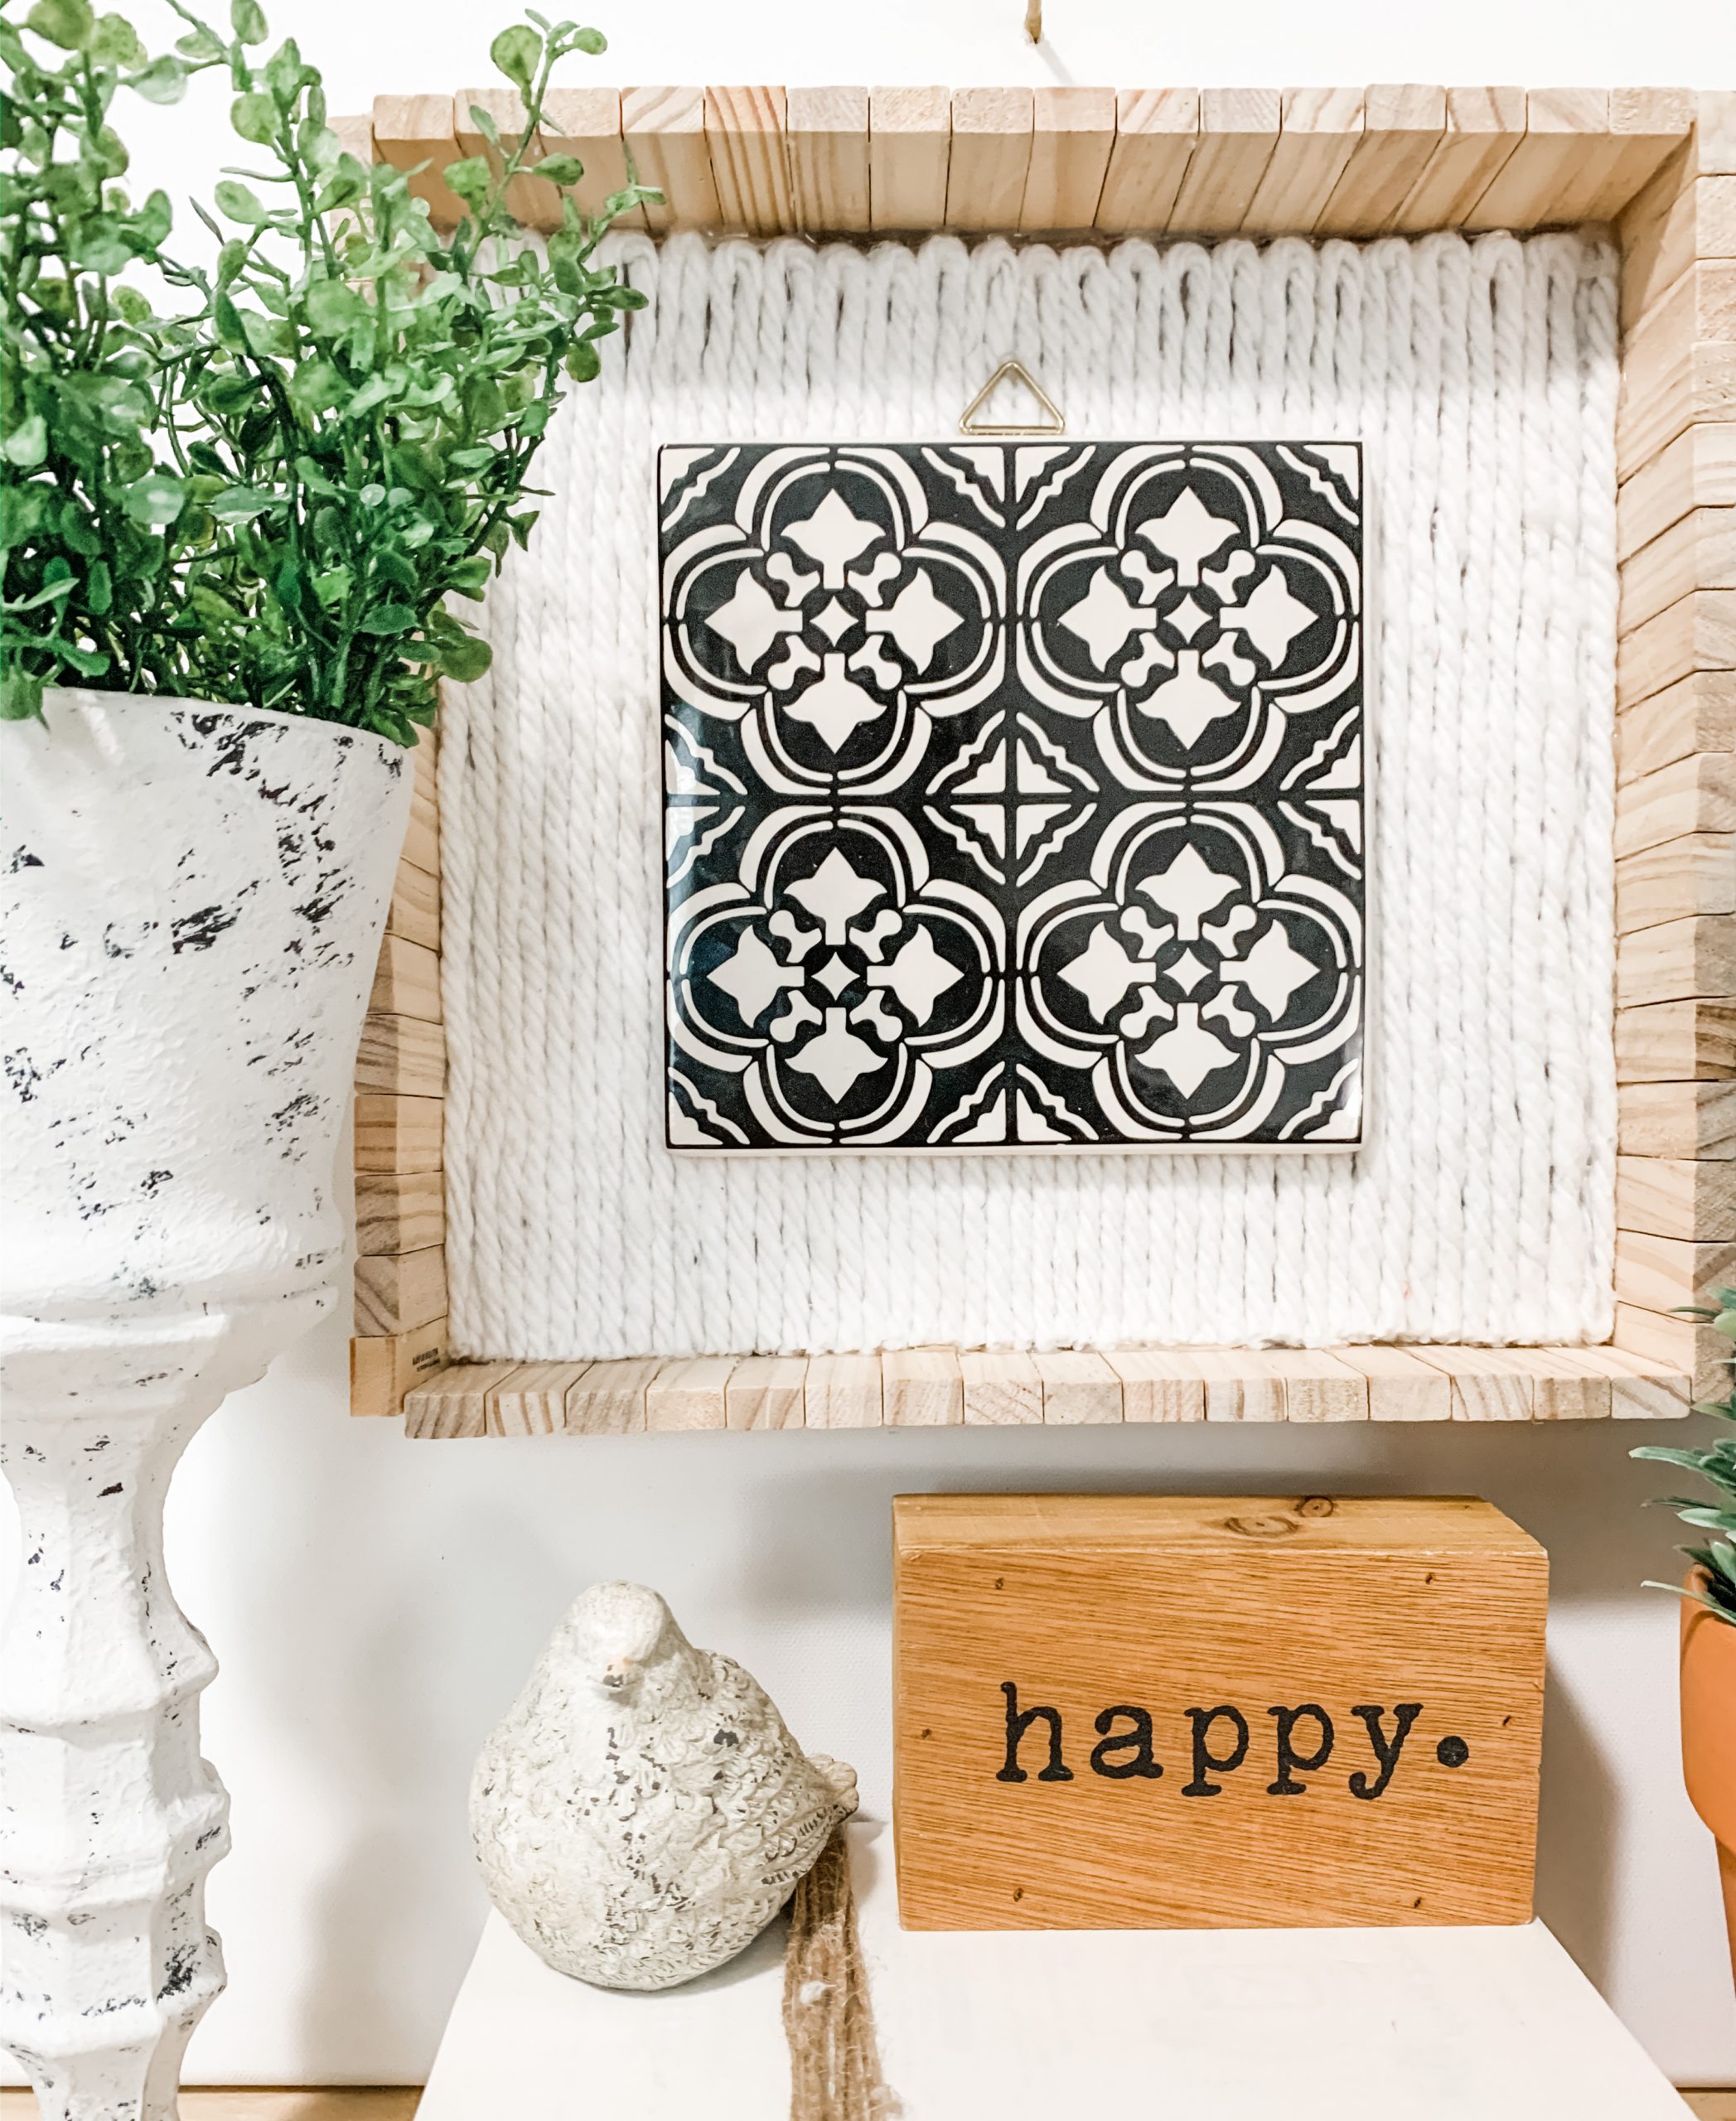
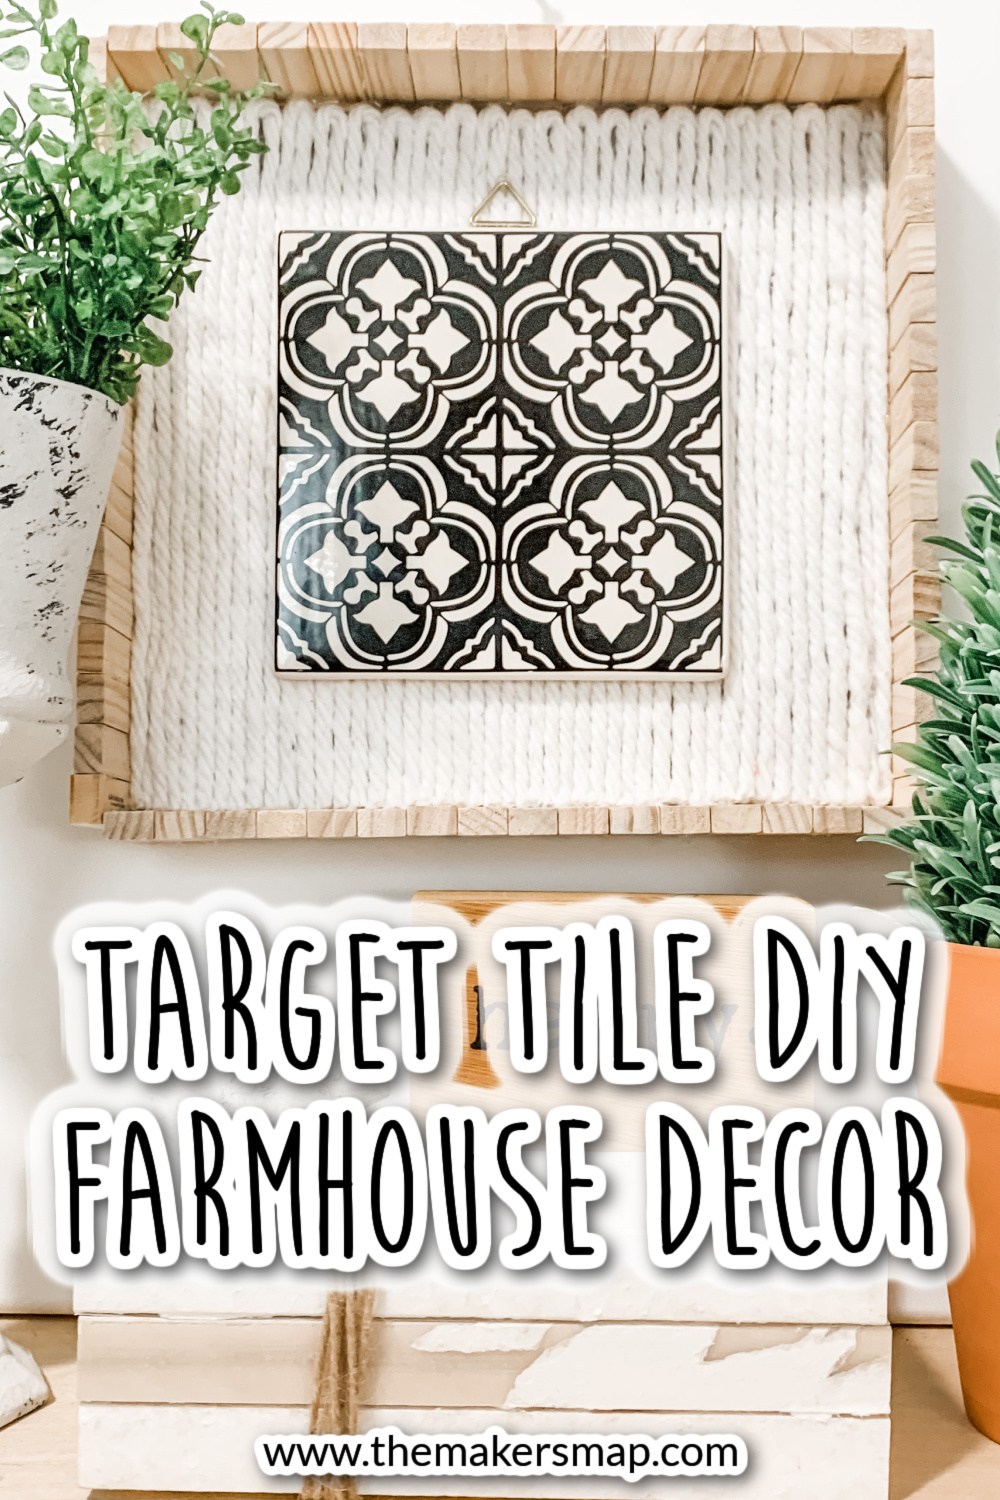
Target Tile DIY Farmhouse Decor
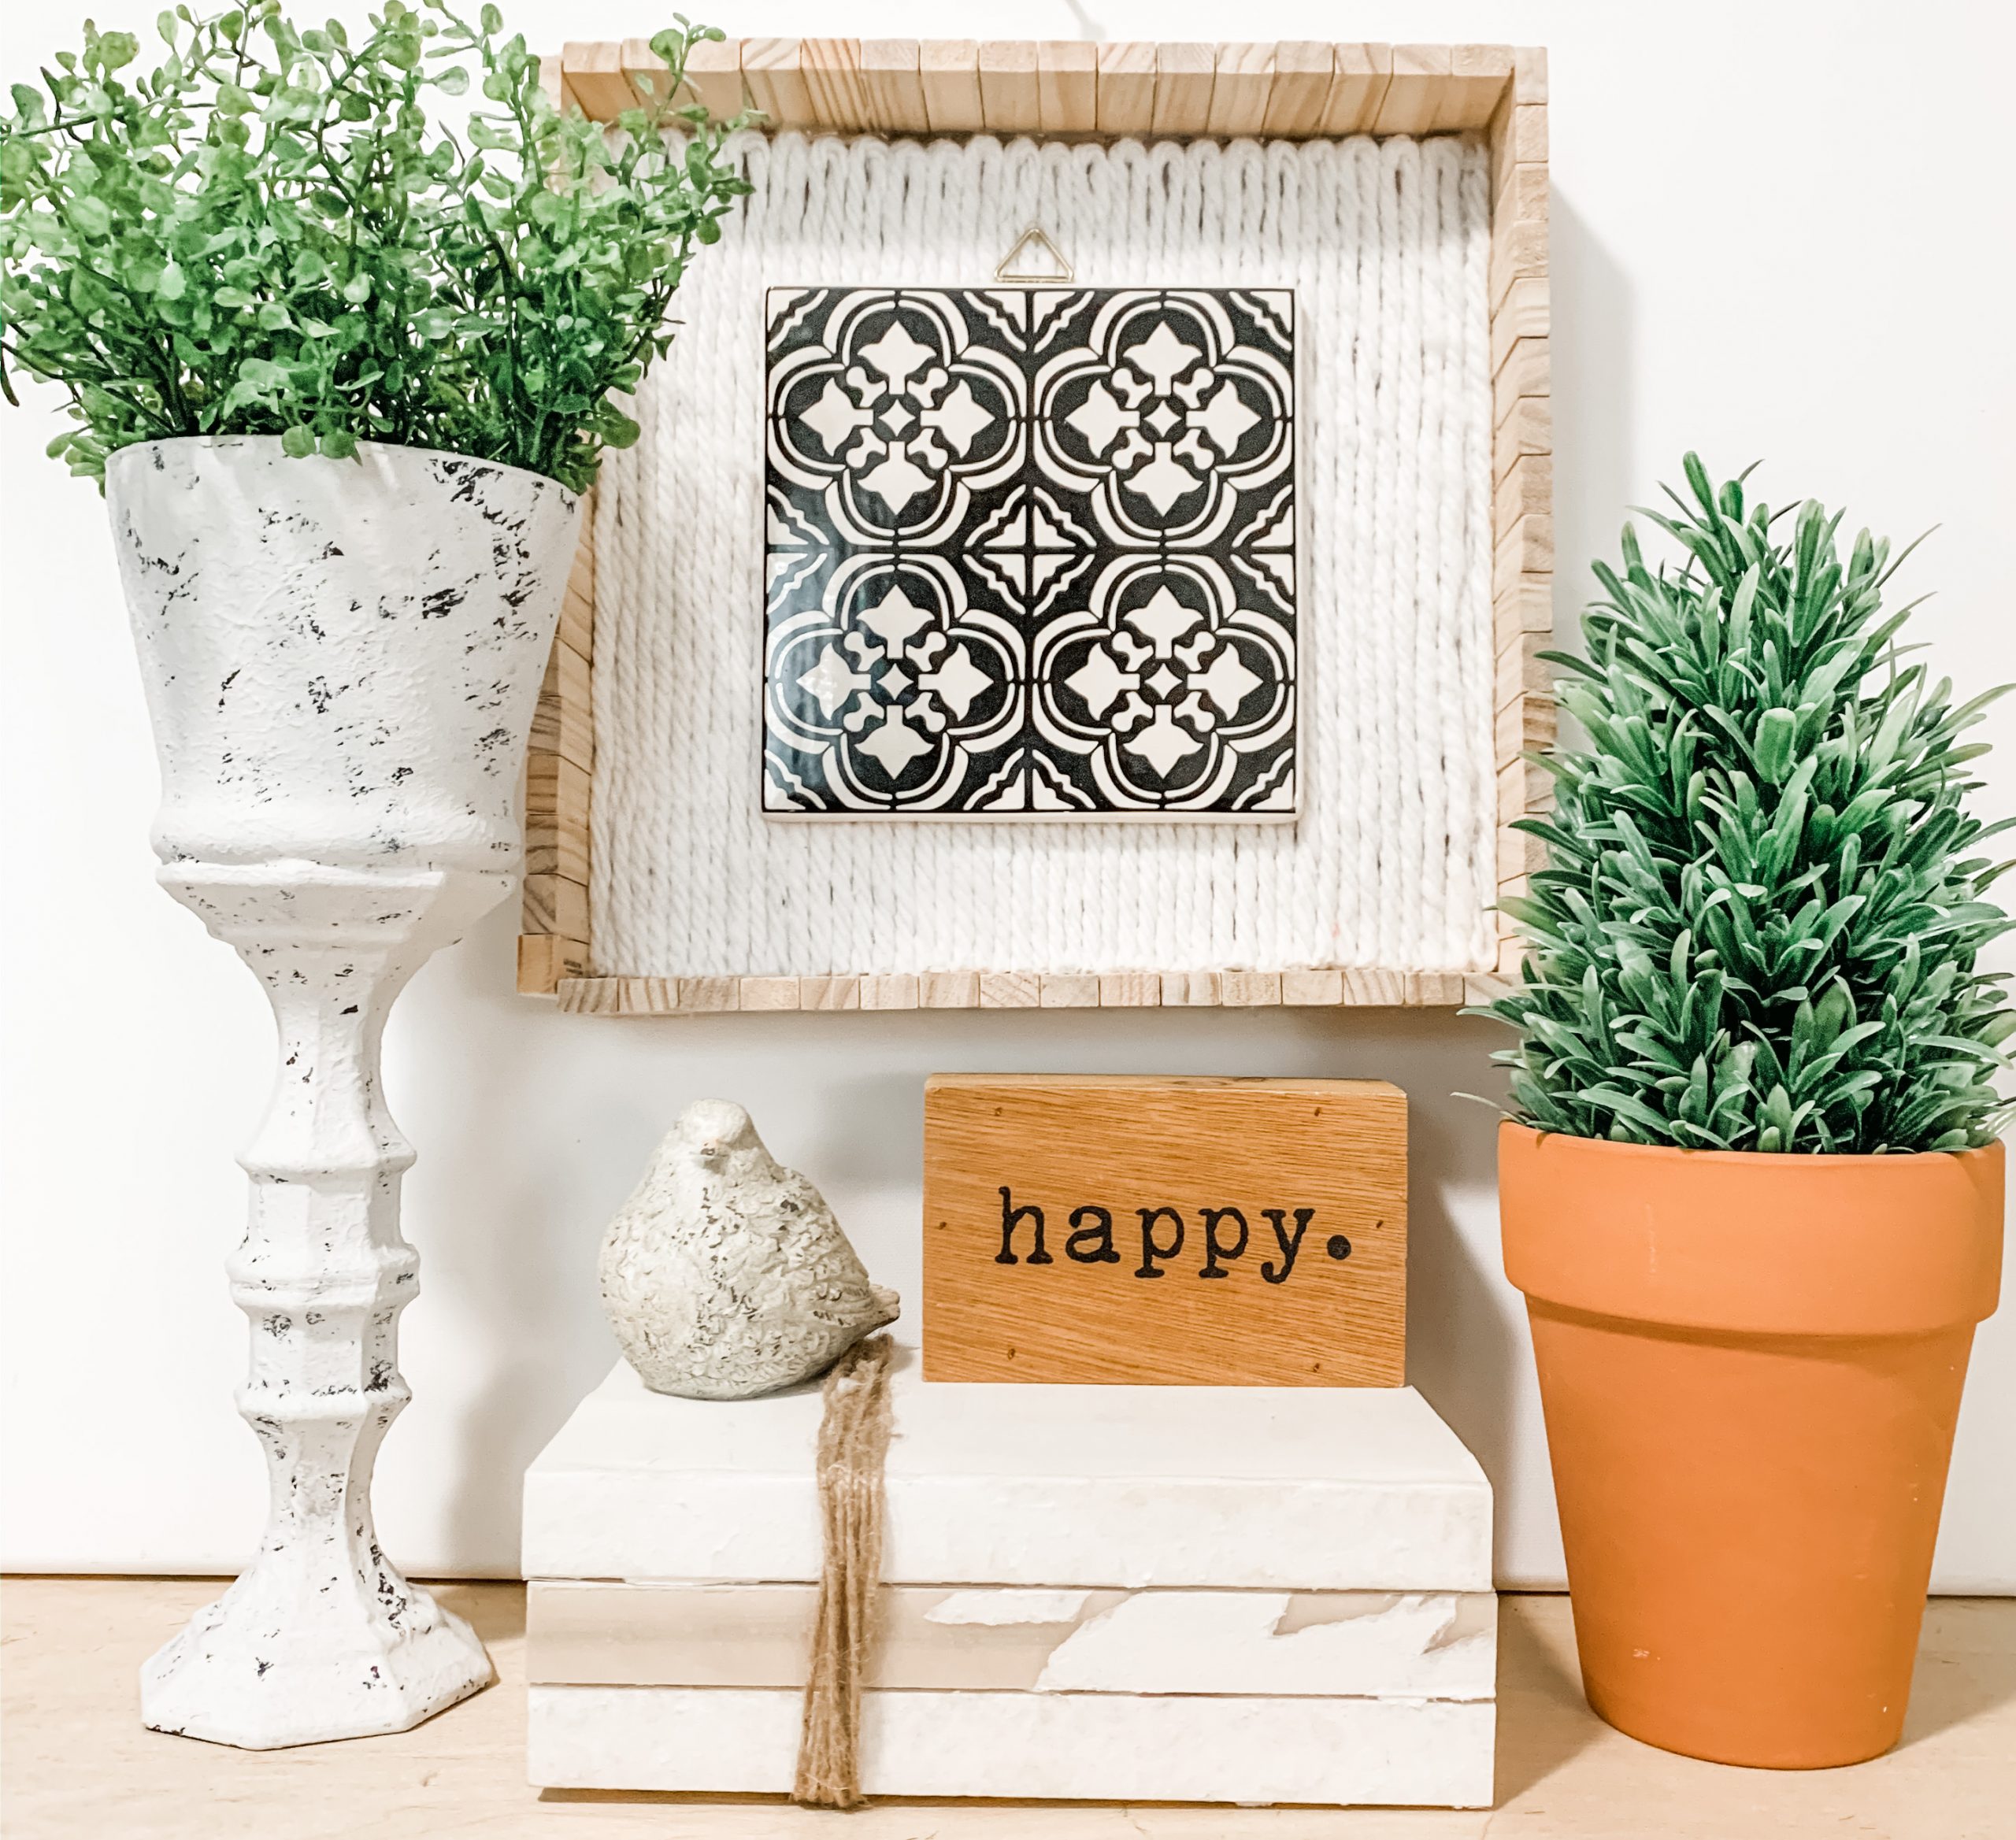
I absolutely love the simplicity of this Target Tile DIY Farmhouse Decor! Seriously, this is such an easy and affordable DIY home decor project!
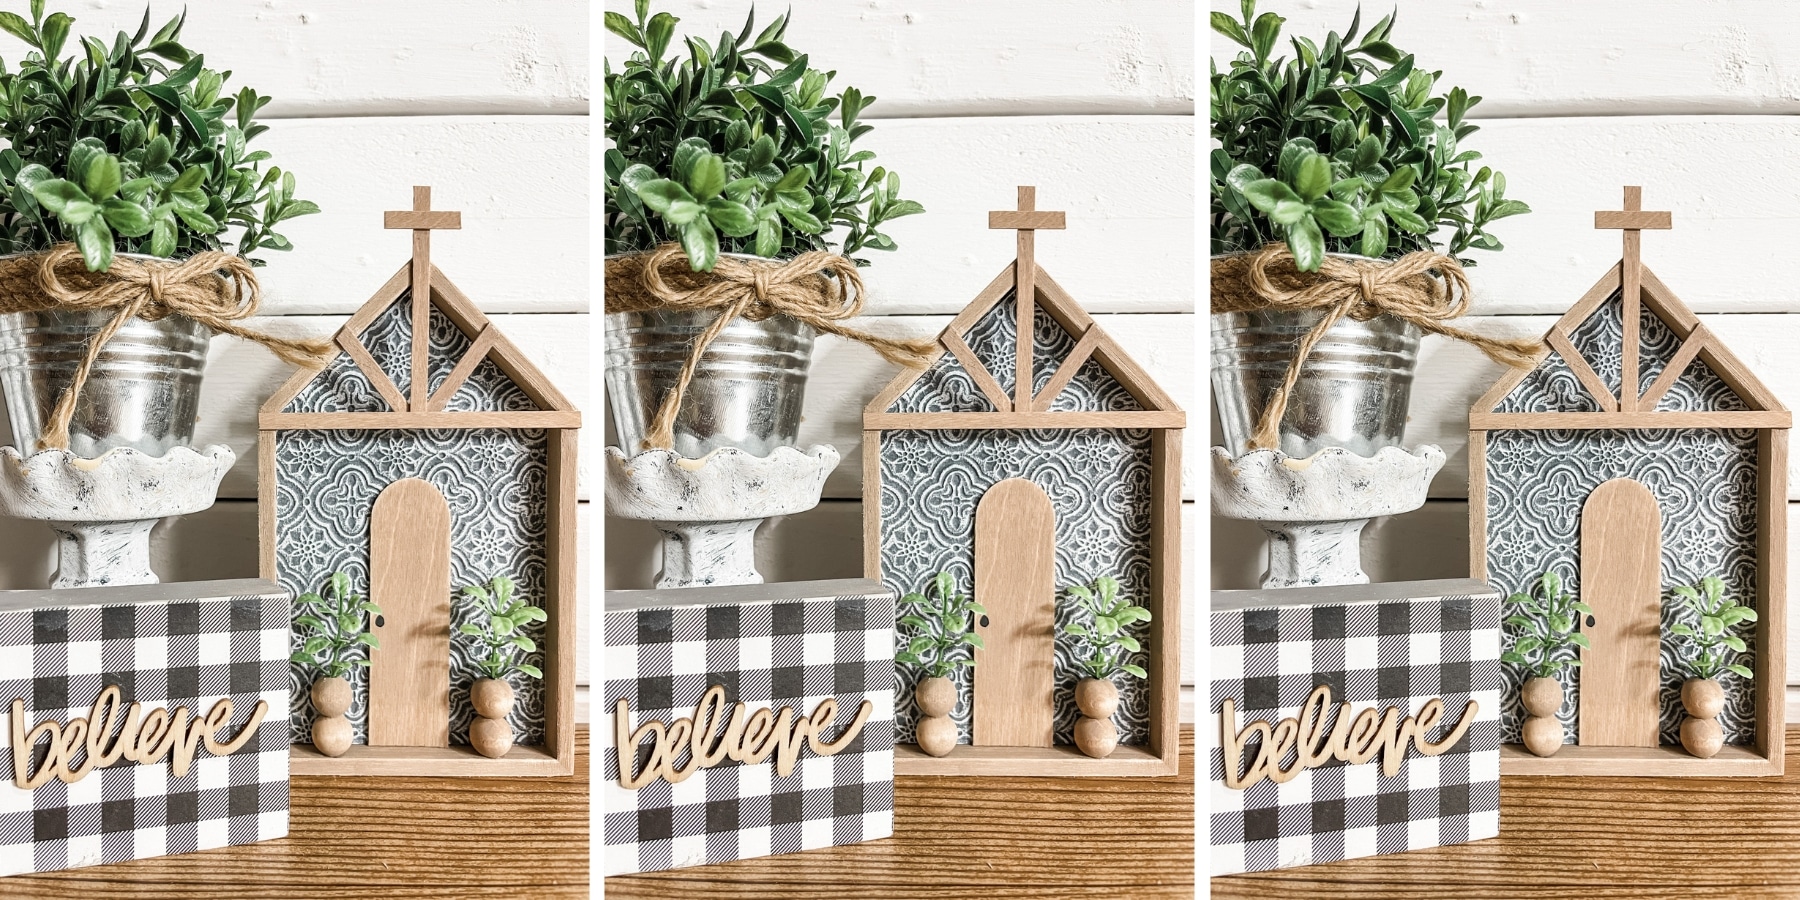
Not only is it easy and affordable, but it is also customizable to make it fit your home decor. Not a fan of the black and white? Use a different tile pattern!
The sky is the limit when you do it yourself!
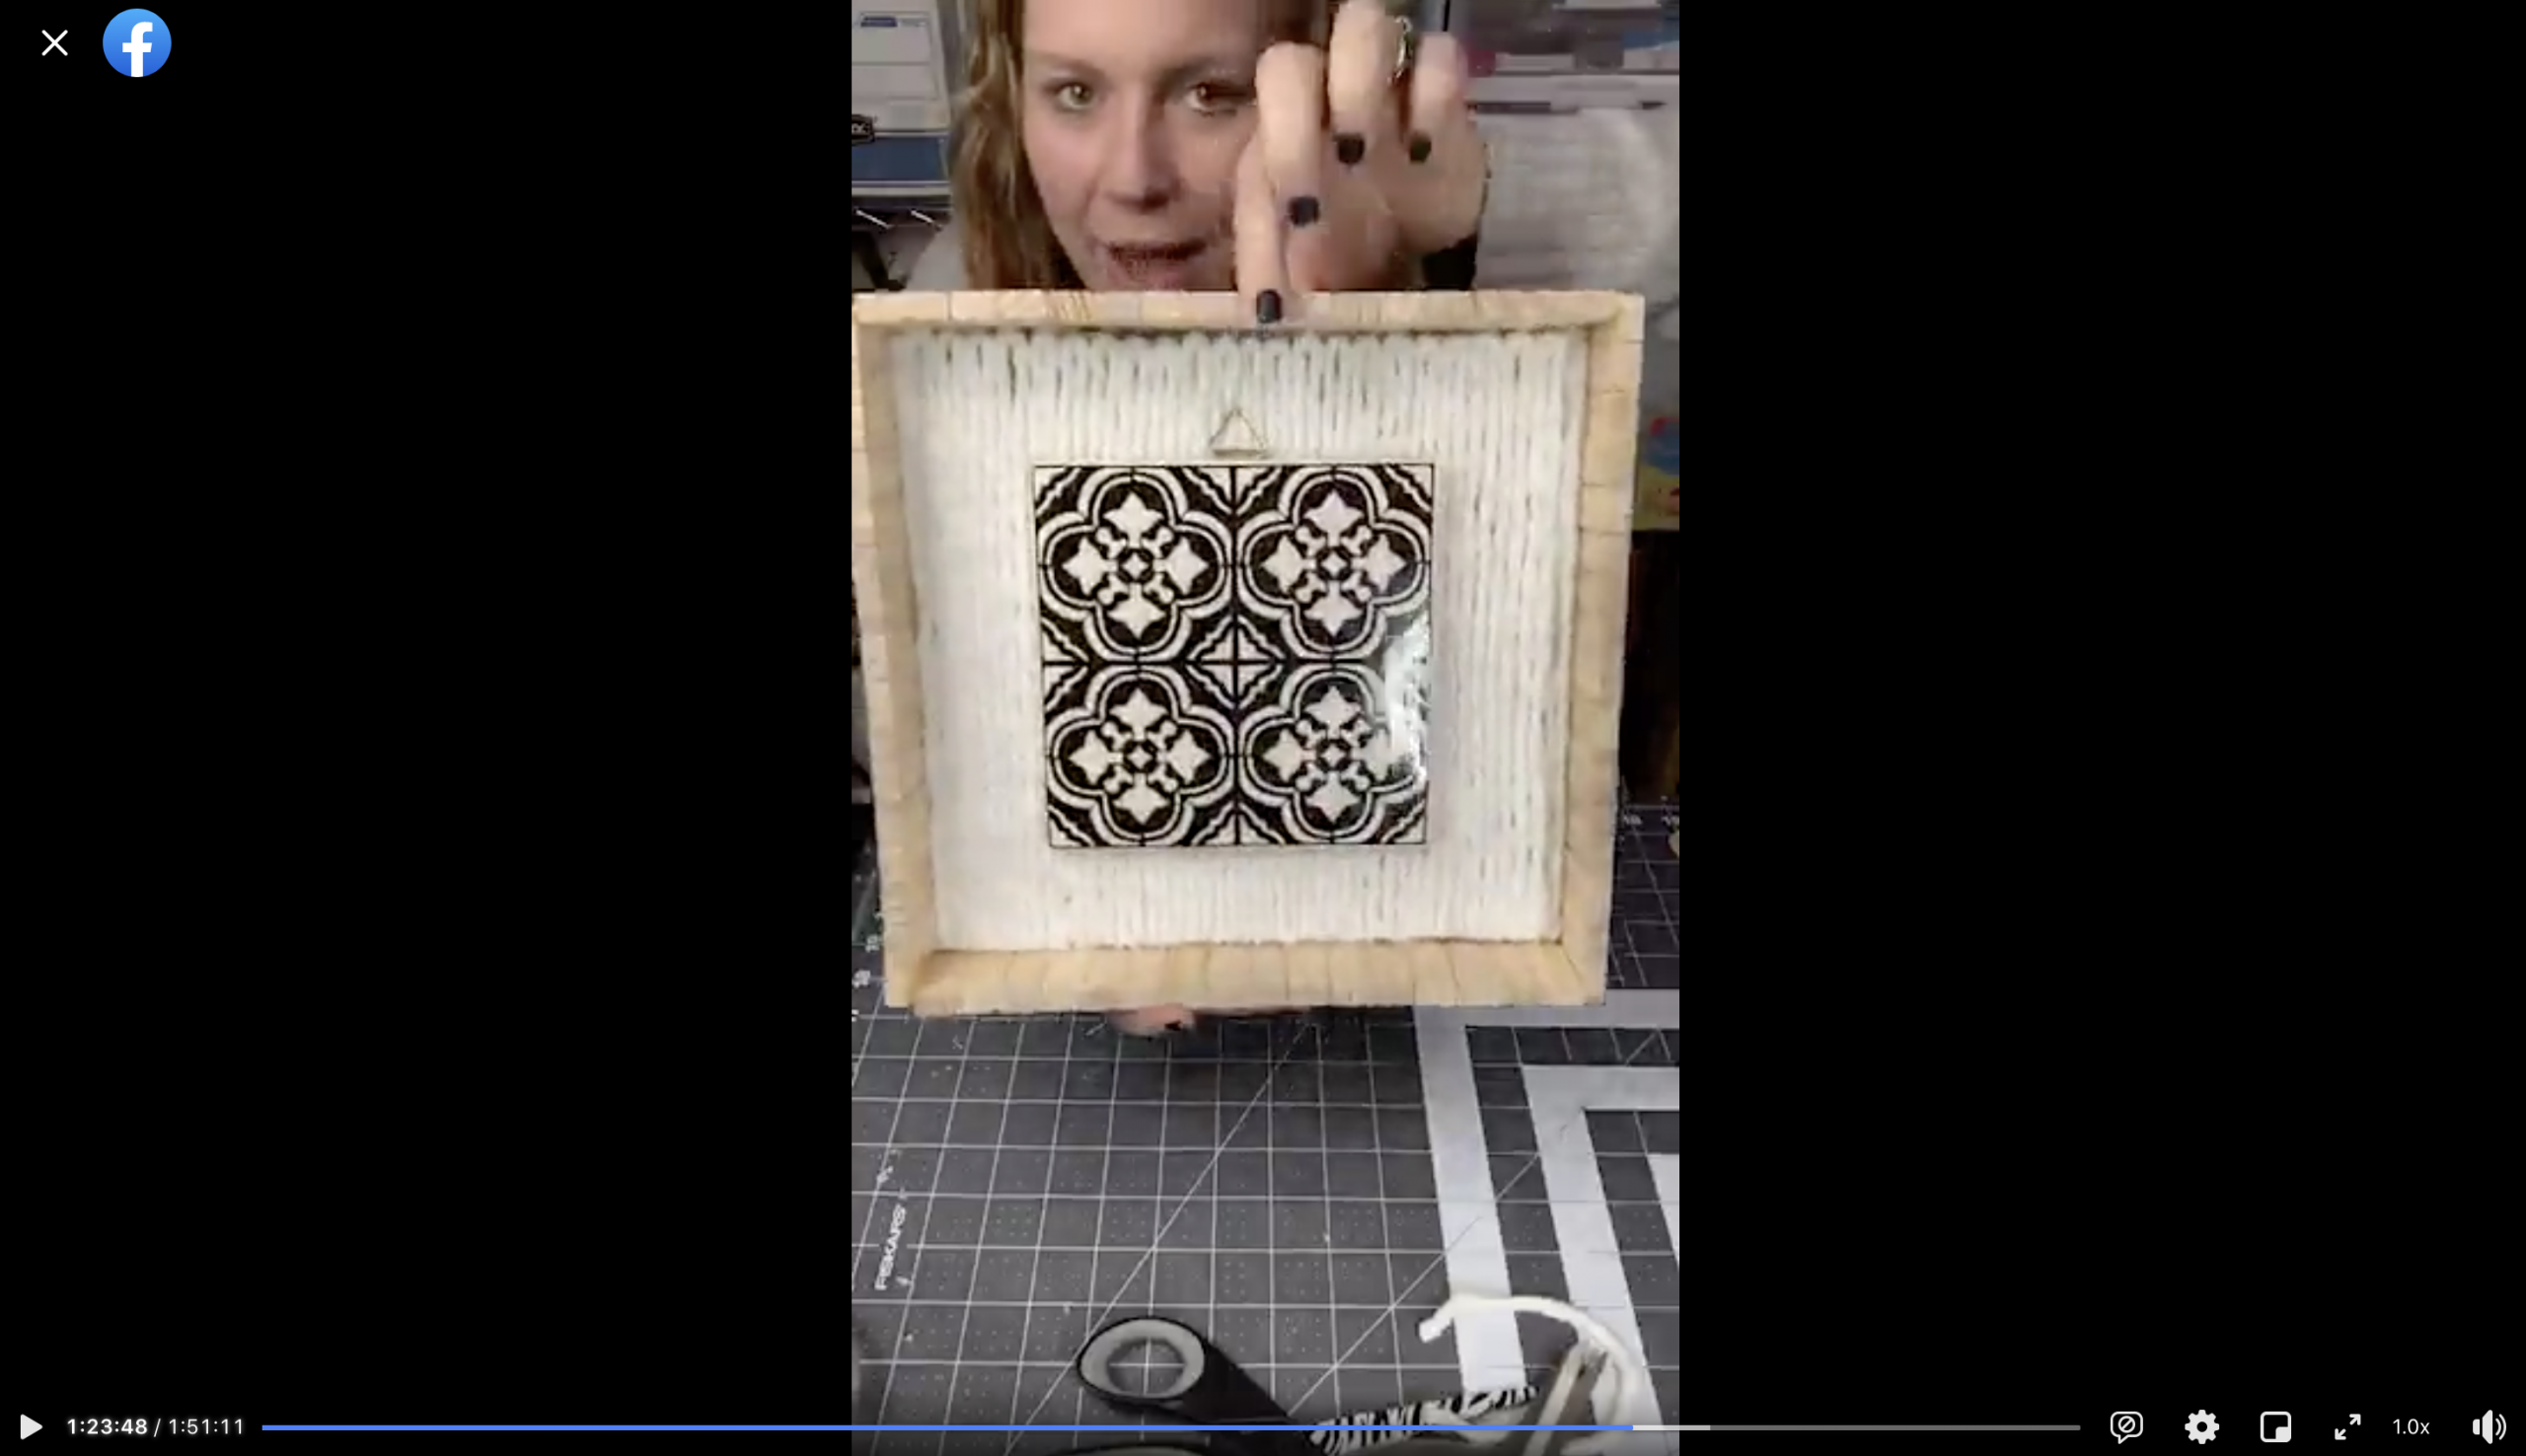
Watch the DIY tutorial
I recorded the how-to steps of making this adorable target tile DIY farmhouse decor during a LIVE video on my Facebook page.
If you want to see the DIY process, craft along, or just join in on the fun conversations, you can watch the DIY tutorial replay!
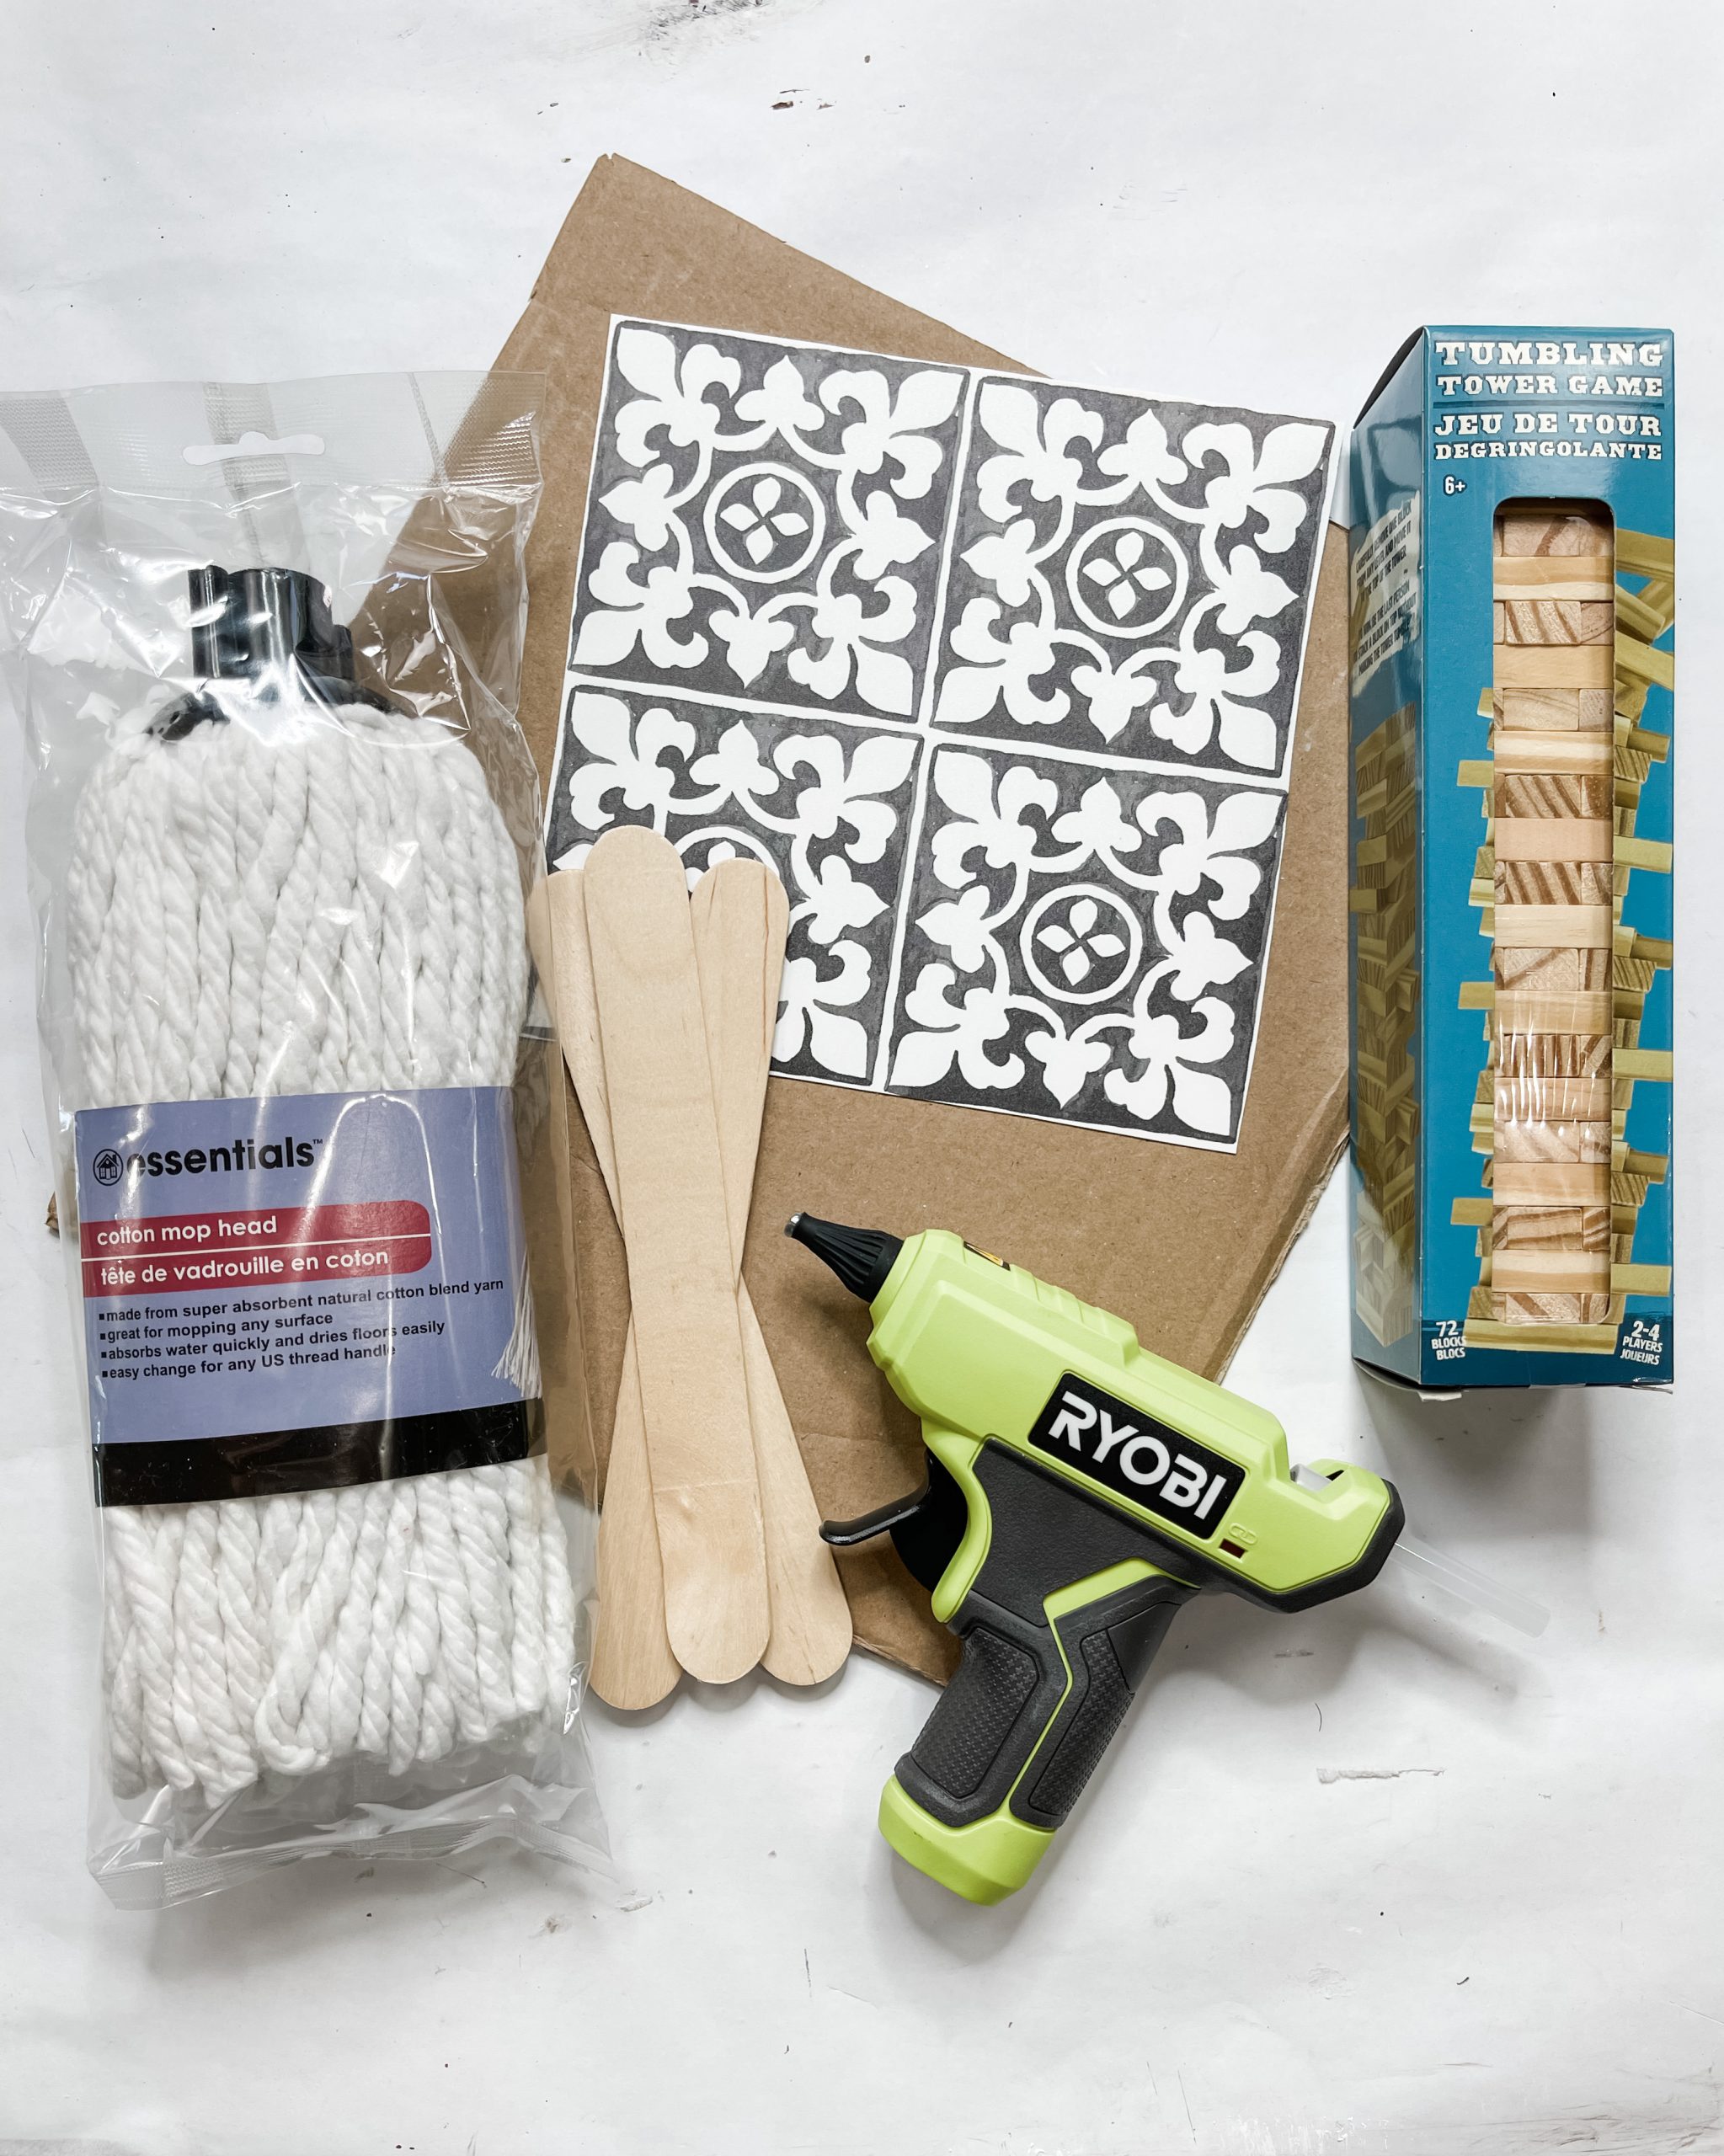
For this project, I will be using these items, but you can substitute where you want.
“As an Amazon Associate, I earn from qualifying purchases.”
- Target Tile (or Hobby Lobby Placemat as substitution)
- Dollar Tree Mop Strings
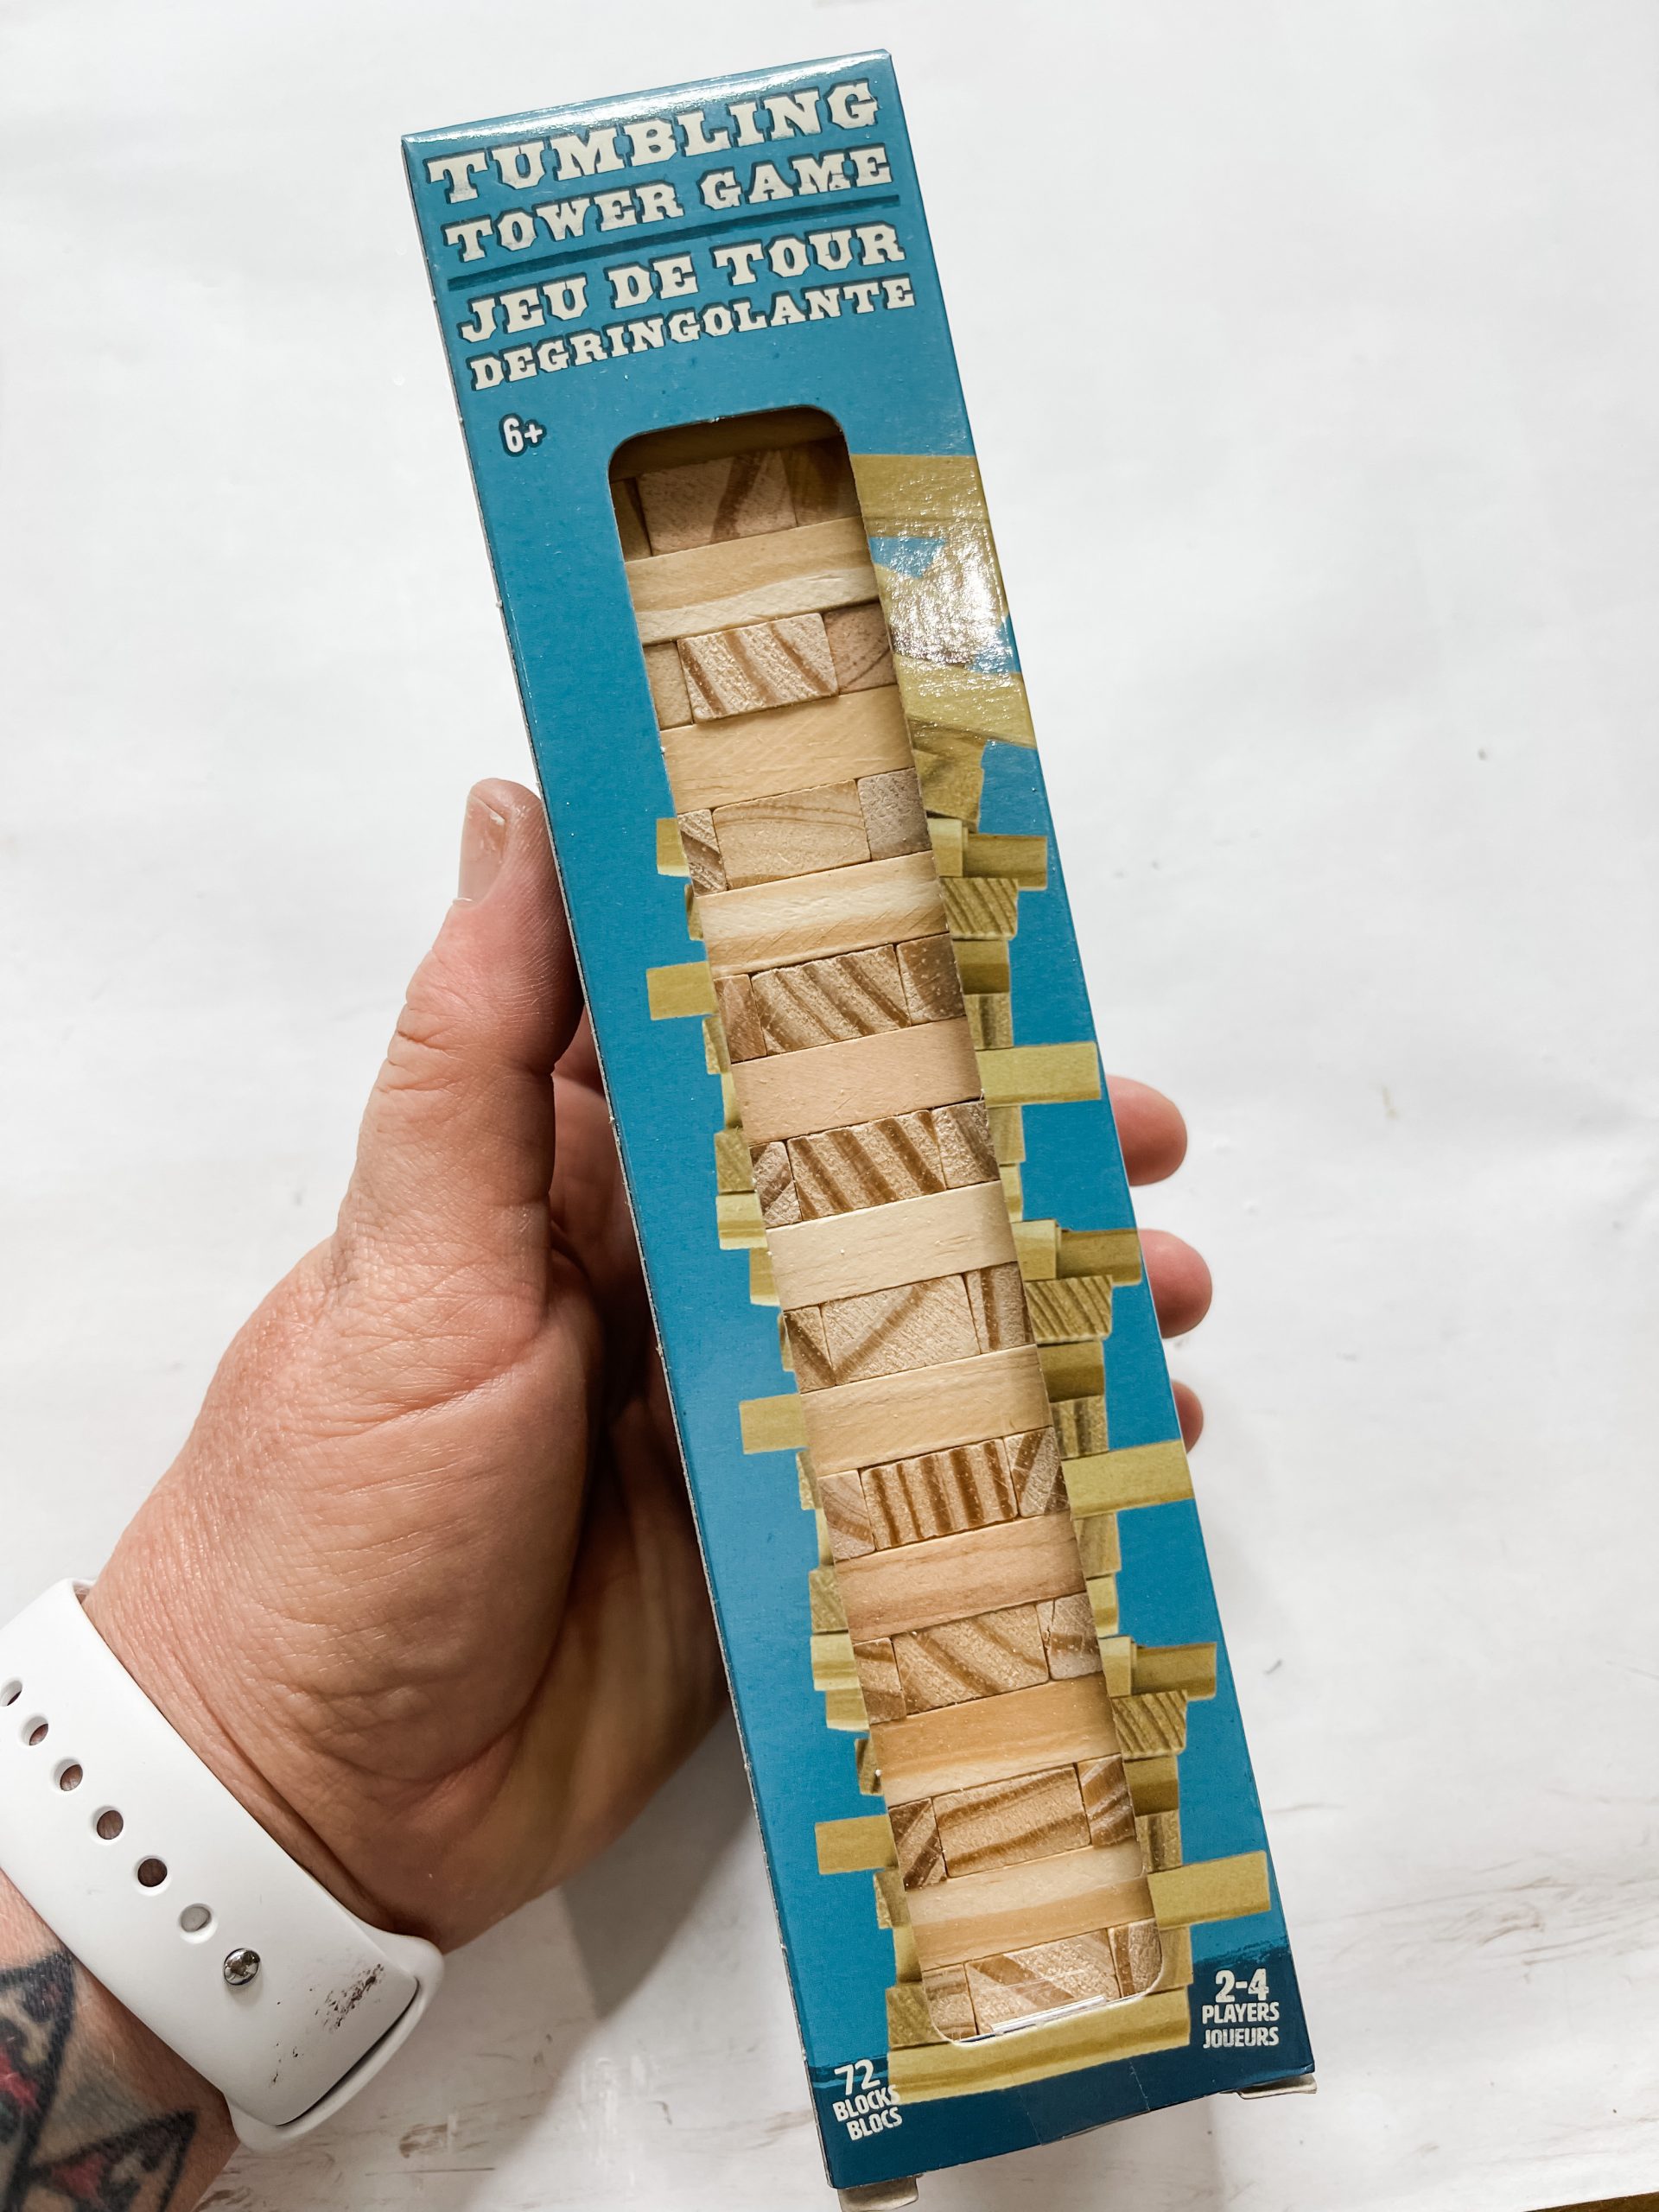
- Dollar Tree Tumbling Tower Blocks
- Craft Sticks
- Cardboard
- Hot Glue gun
- Glue Sticks
How to Make a Target Tile DIY Farmhouse Decor
The first thing you need to know about this DIY project is that the supply photos don’t actually have the tile that I used for this project.
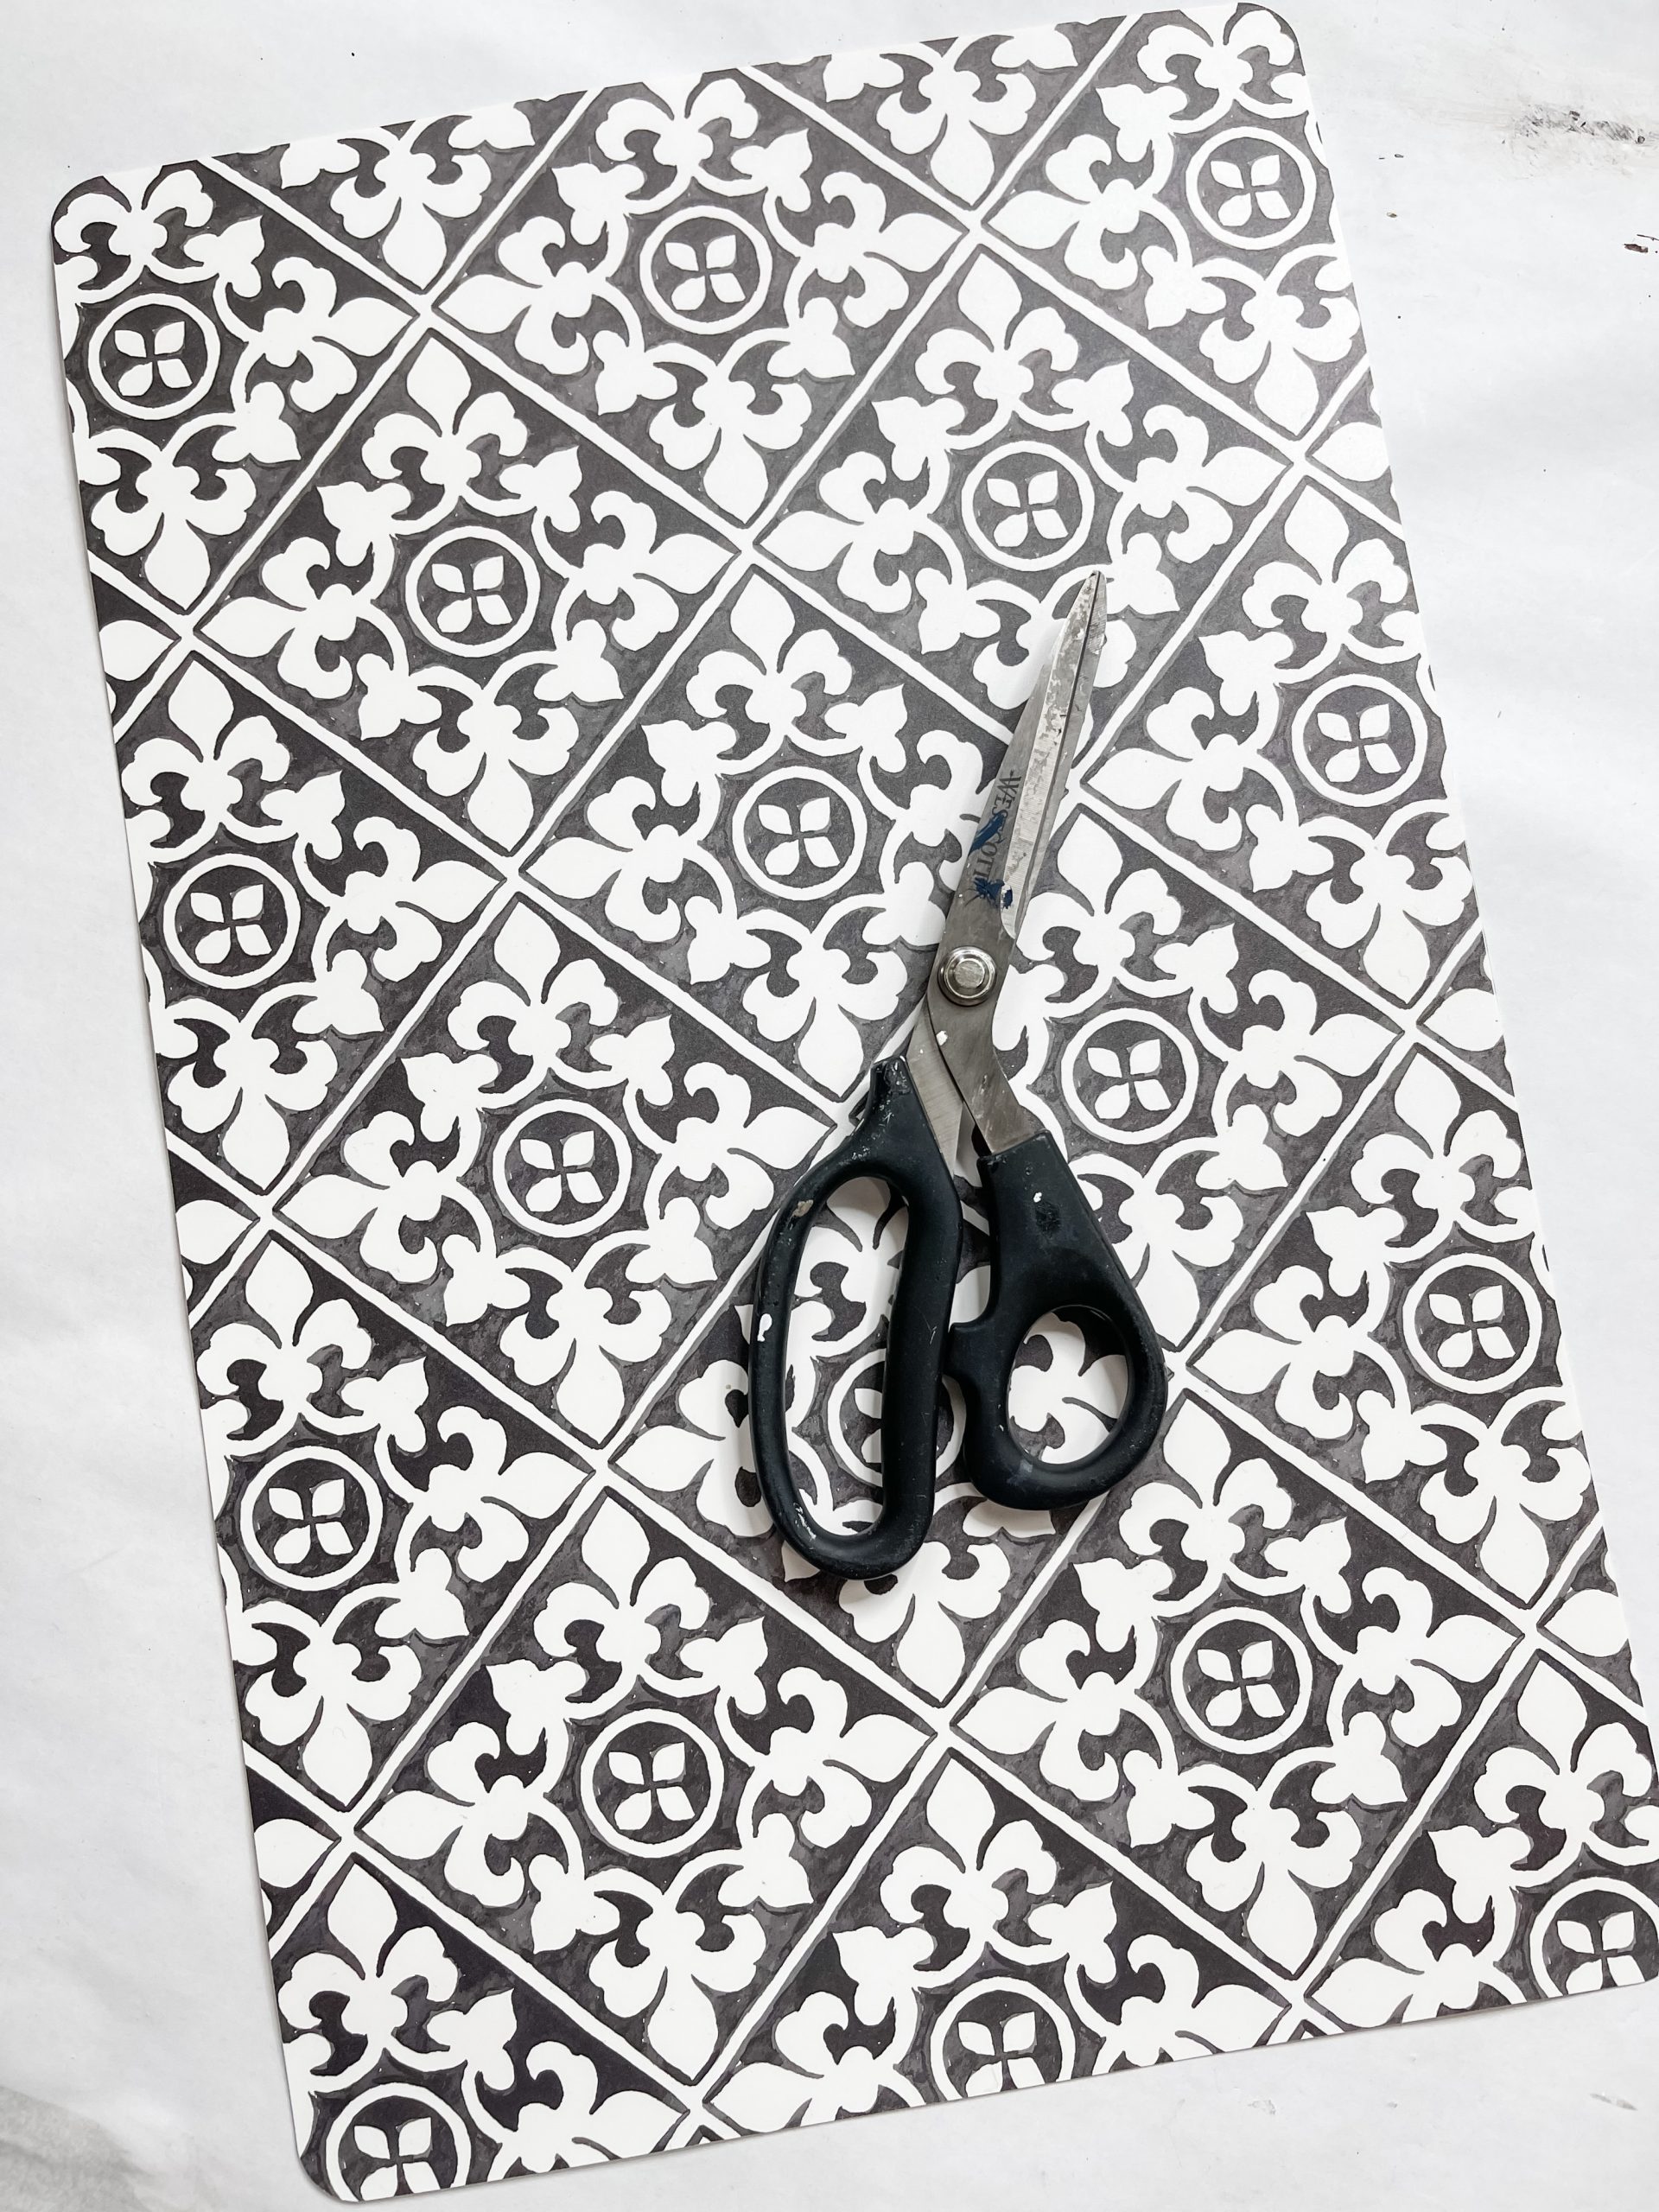
I forgot to take pictures BEFORE I made the DIY decor, so I had to improvise for the supply photos! Pictured is actually part of a Hobby Lobby plastic placemat!
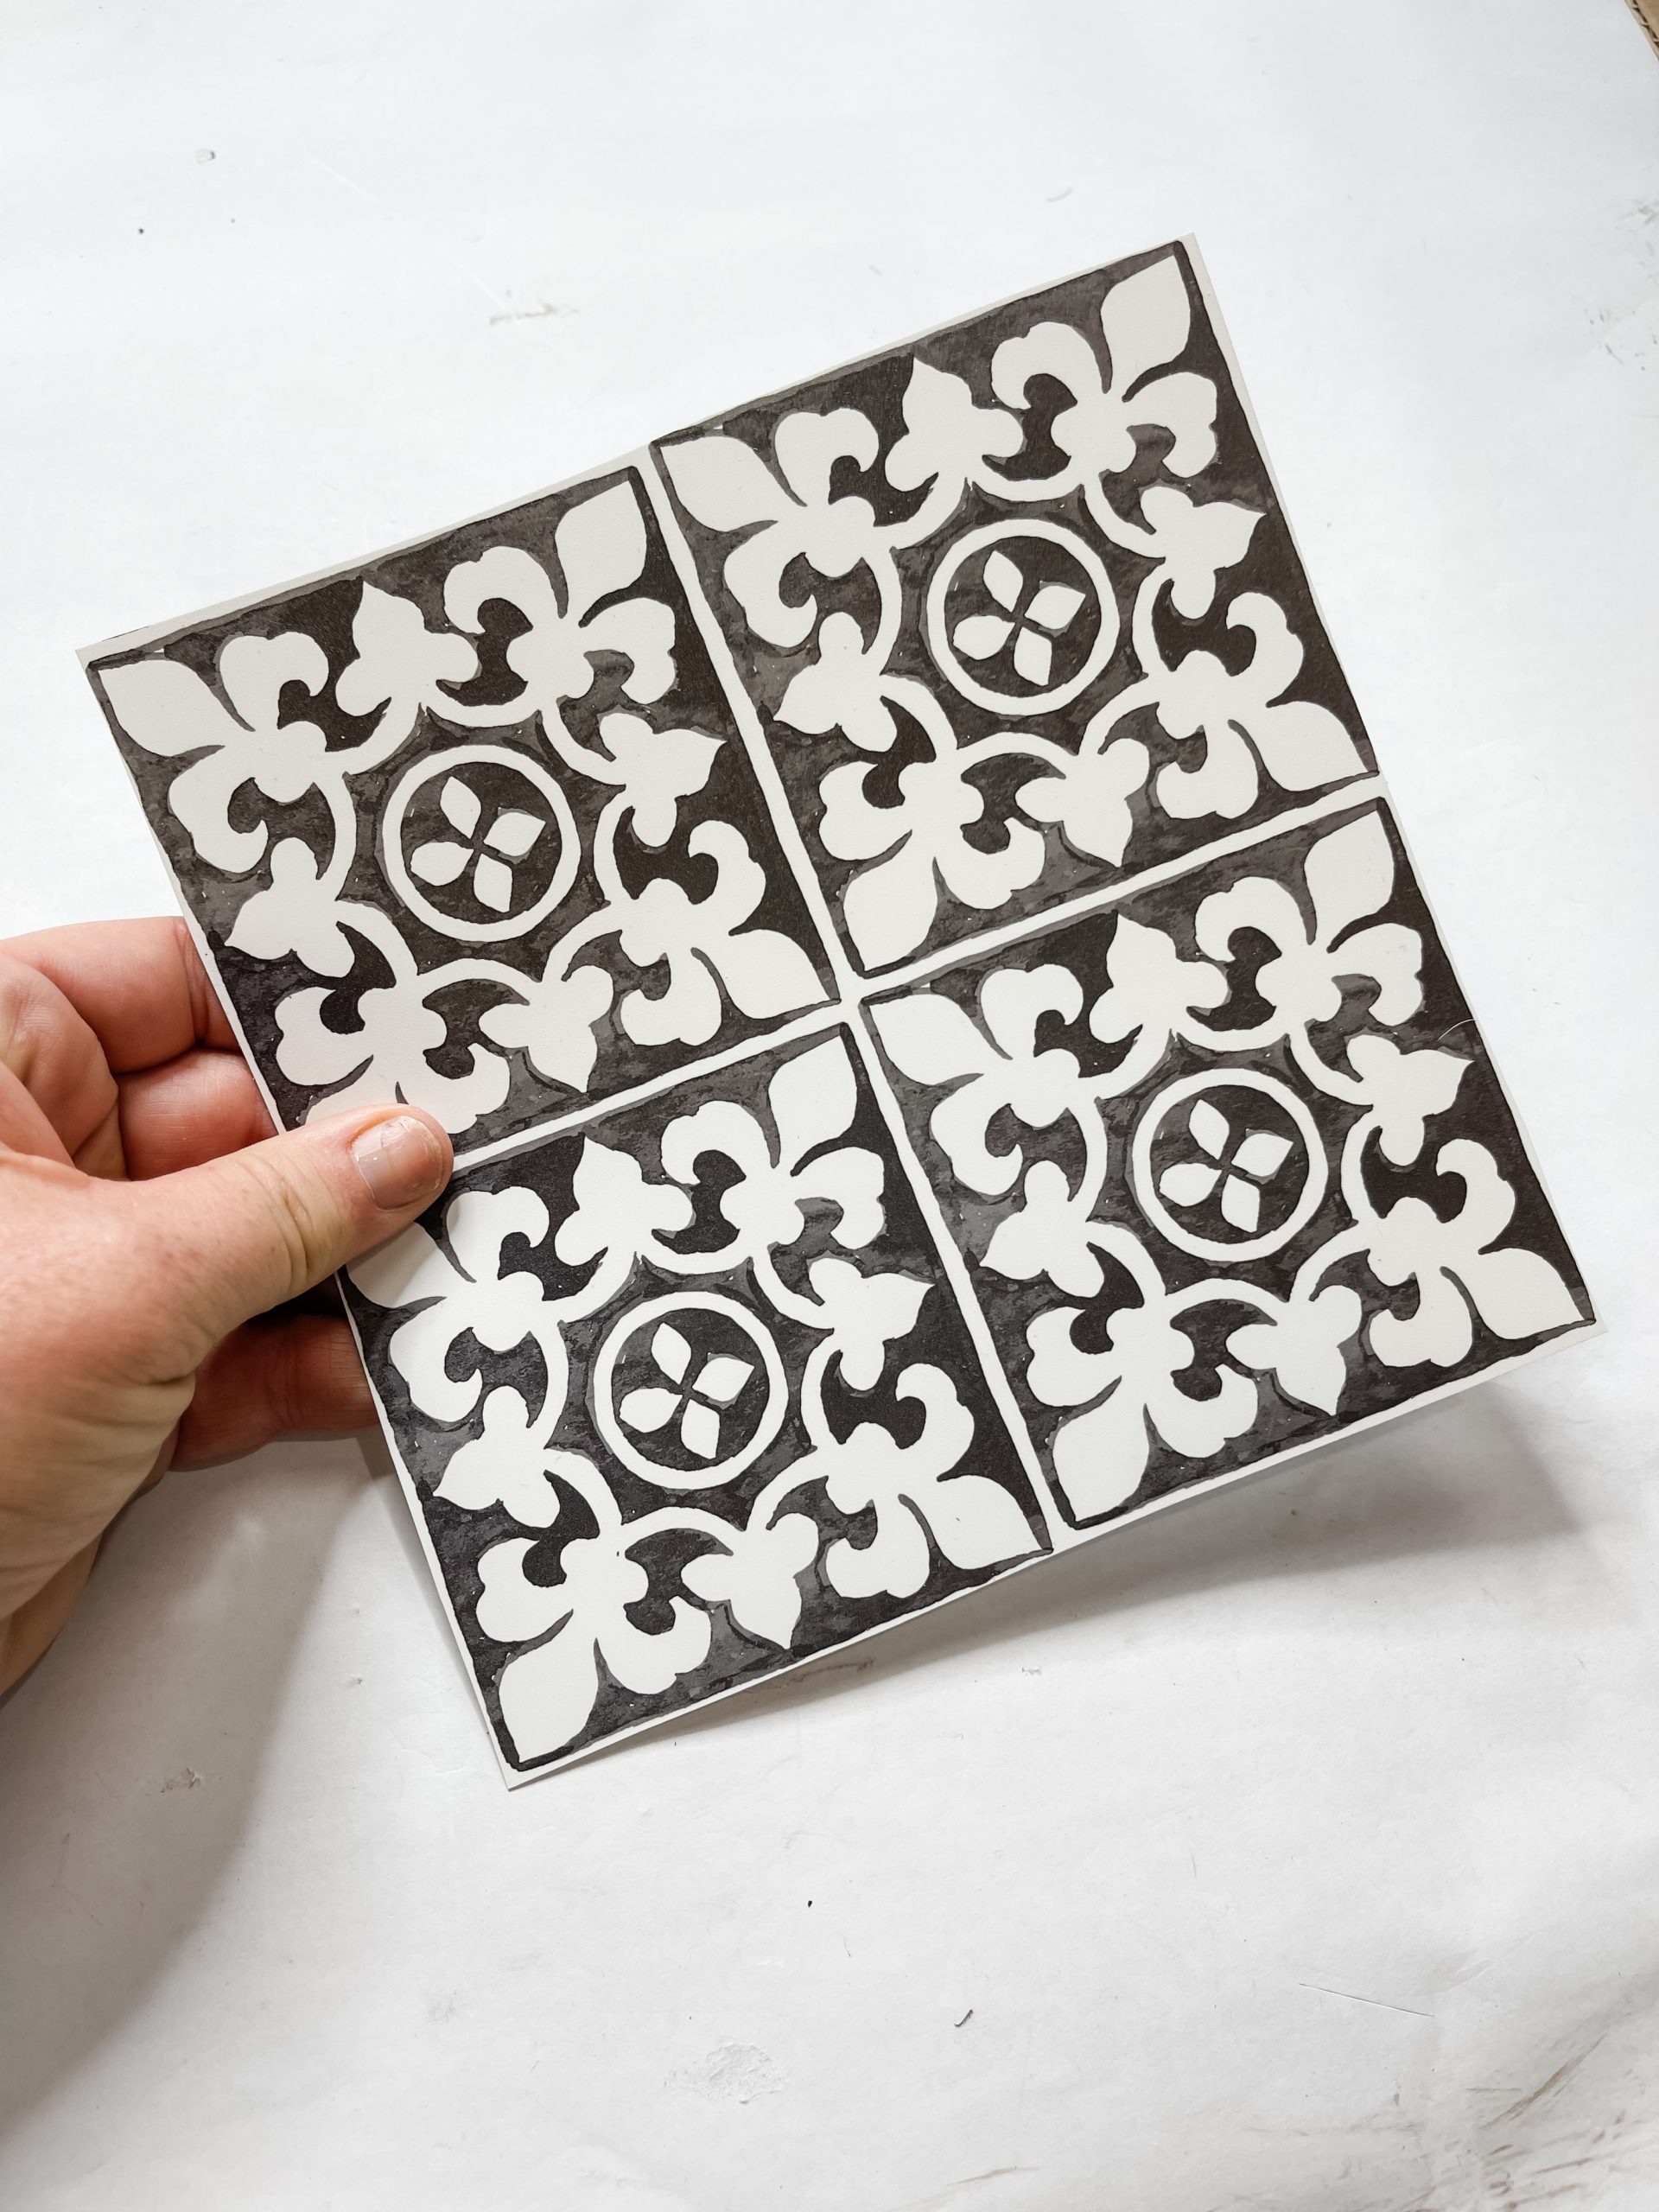
This is a great example of how you can improvise and DIY with your own ideas and decor style. I made my DIY projects to inspire others, so you don’t have to create a carbon copy of it!
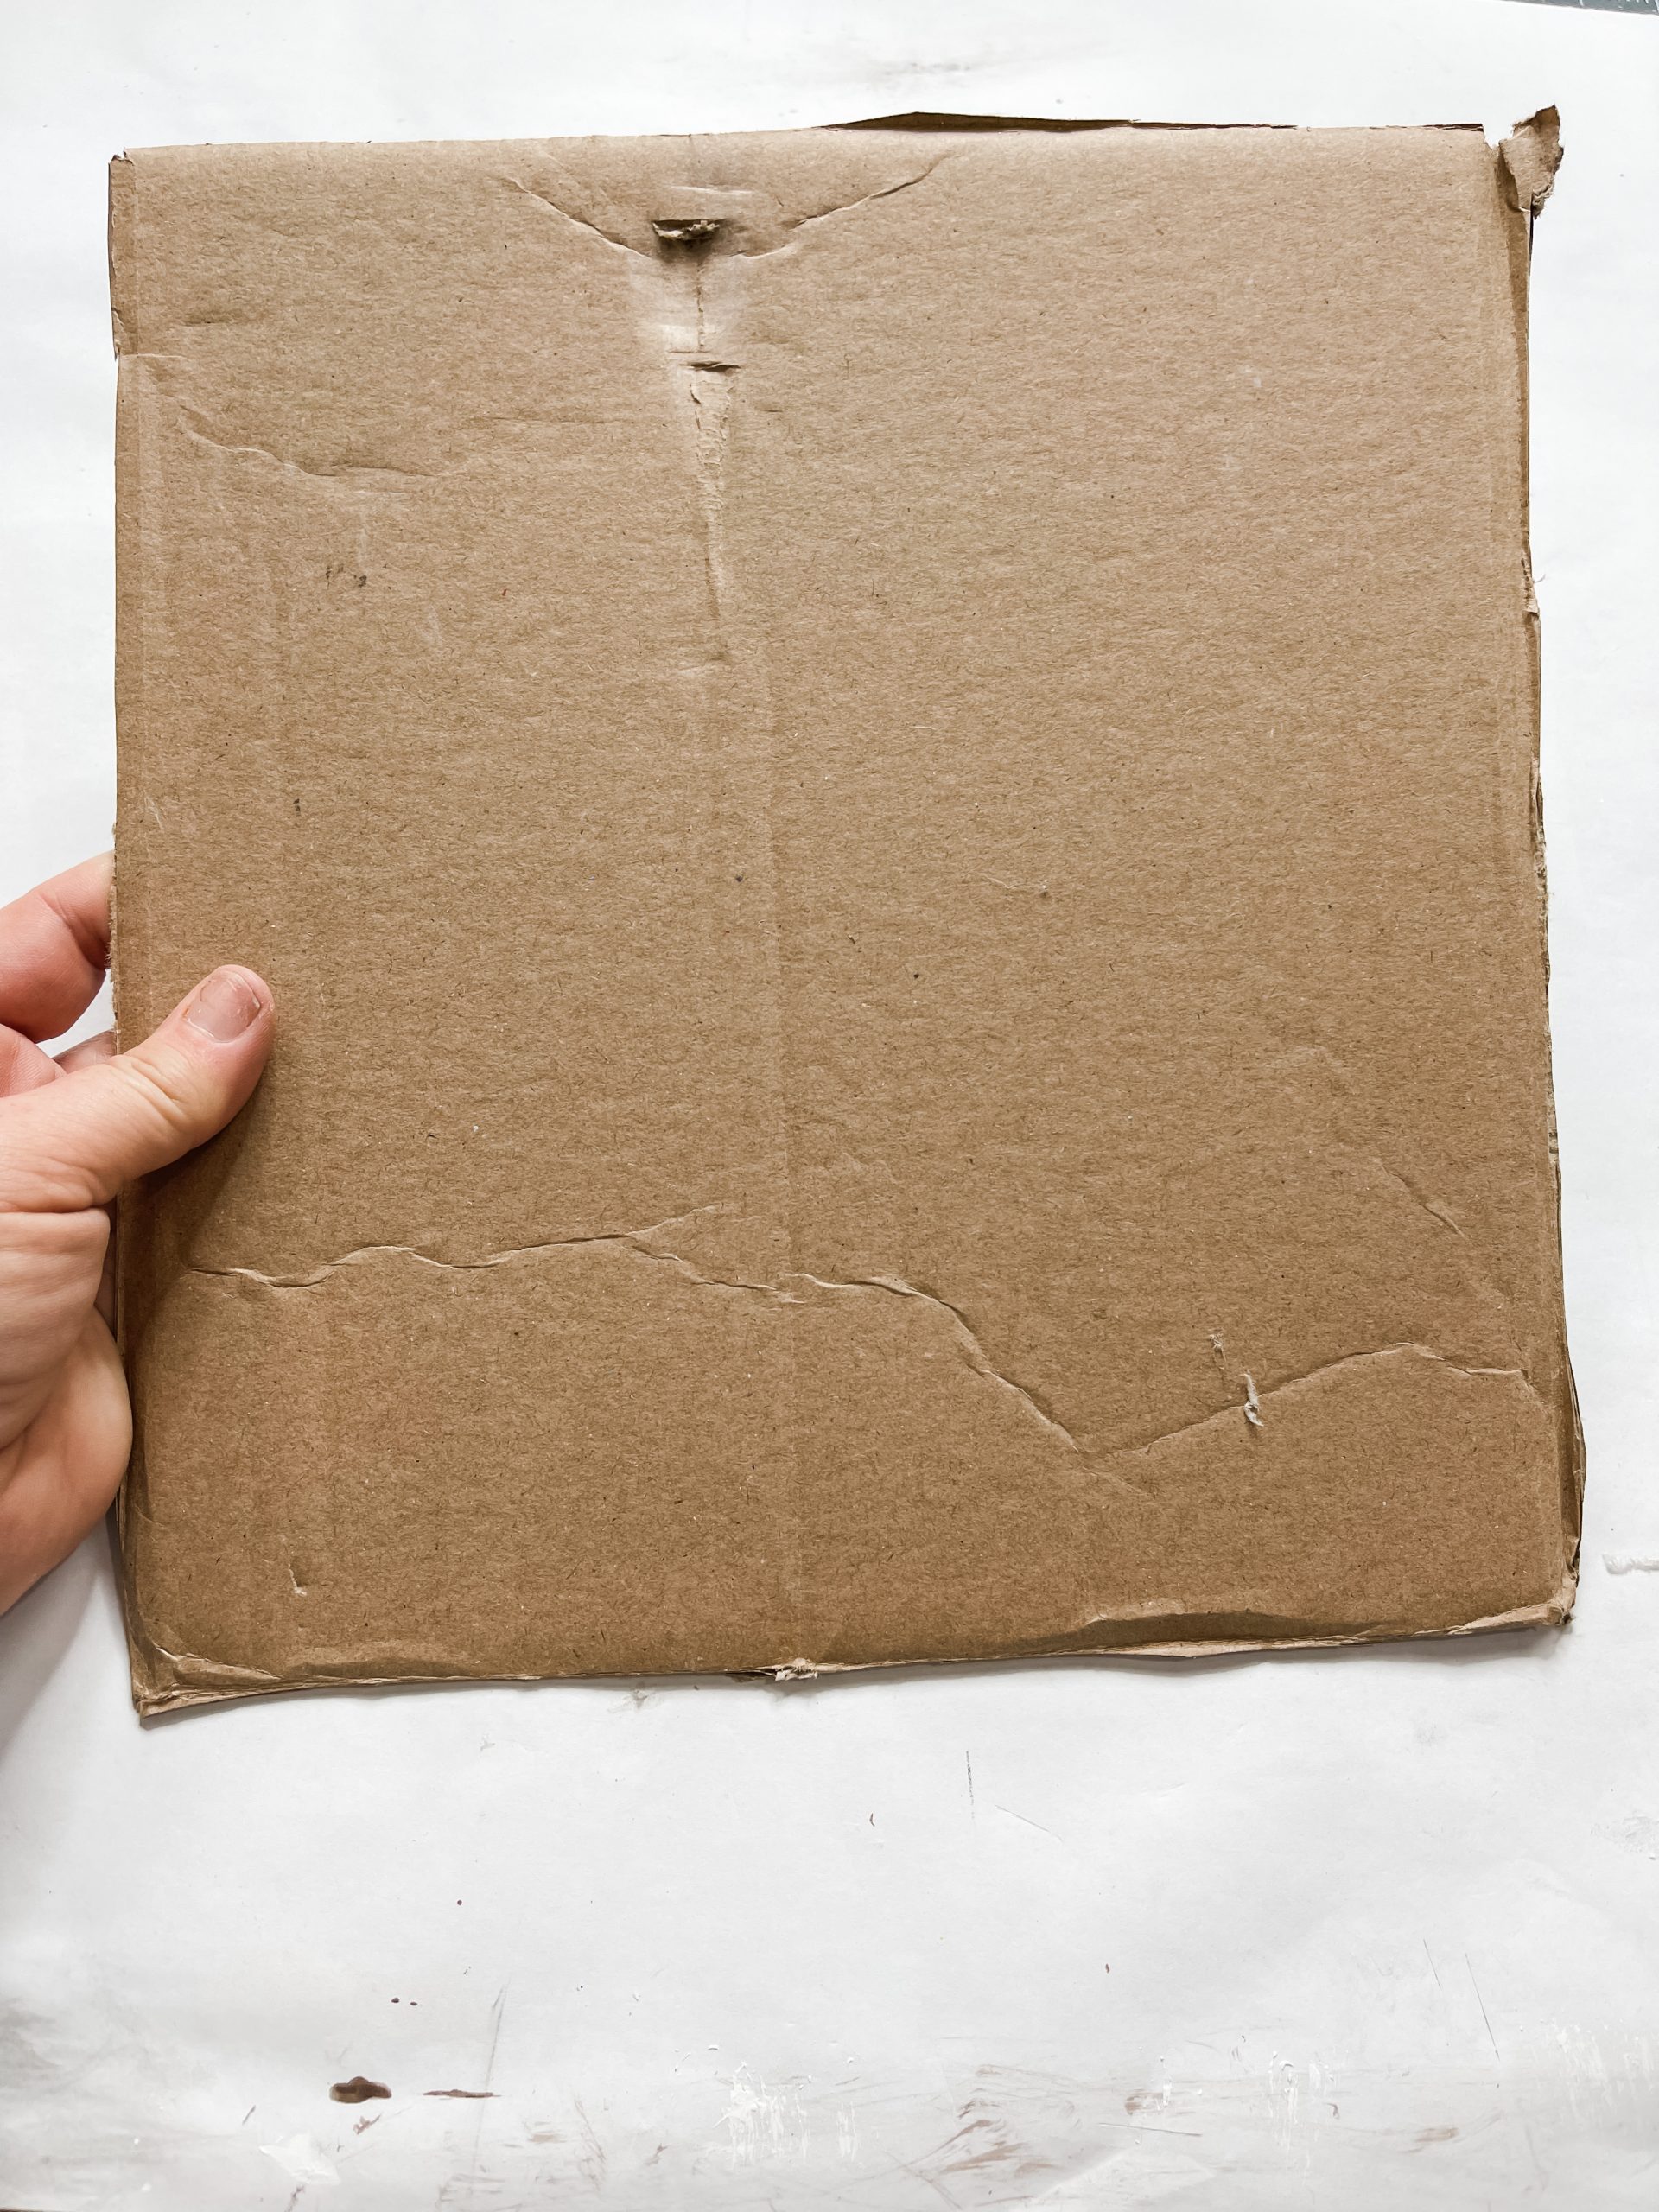
If you use a placemat, simply cut the pattern out that you want to use and then use that piece to measure your cardboard size and the number of blocks you’ll need.
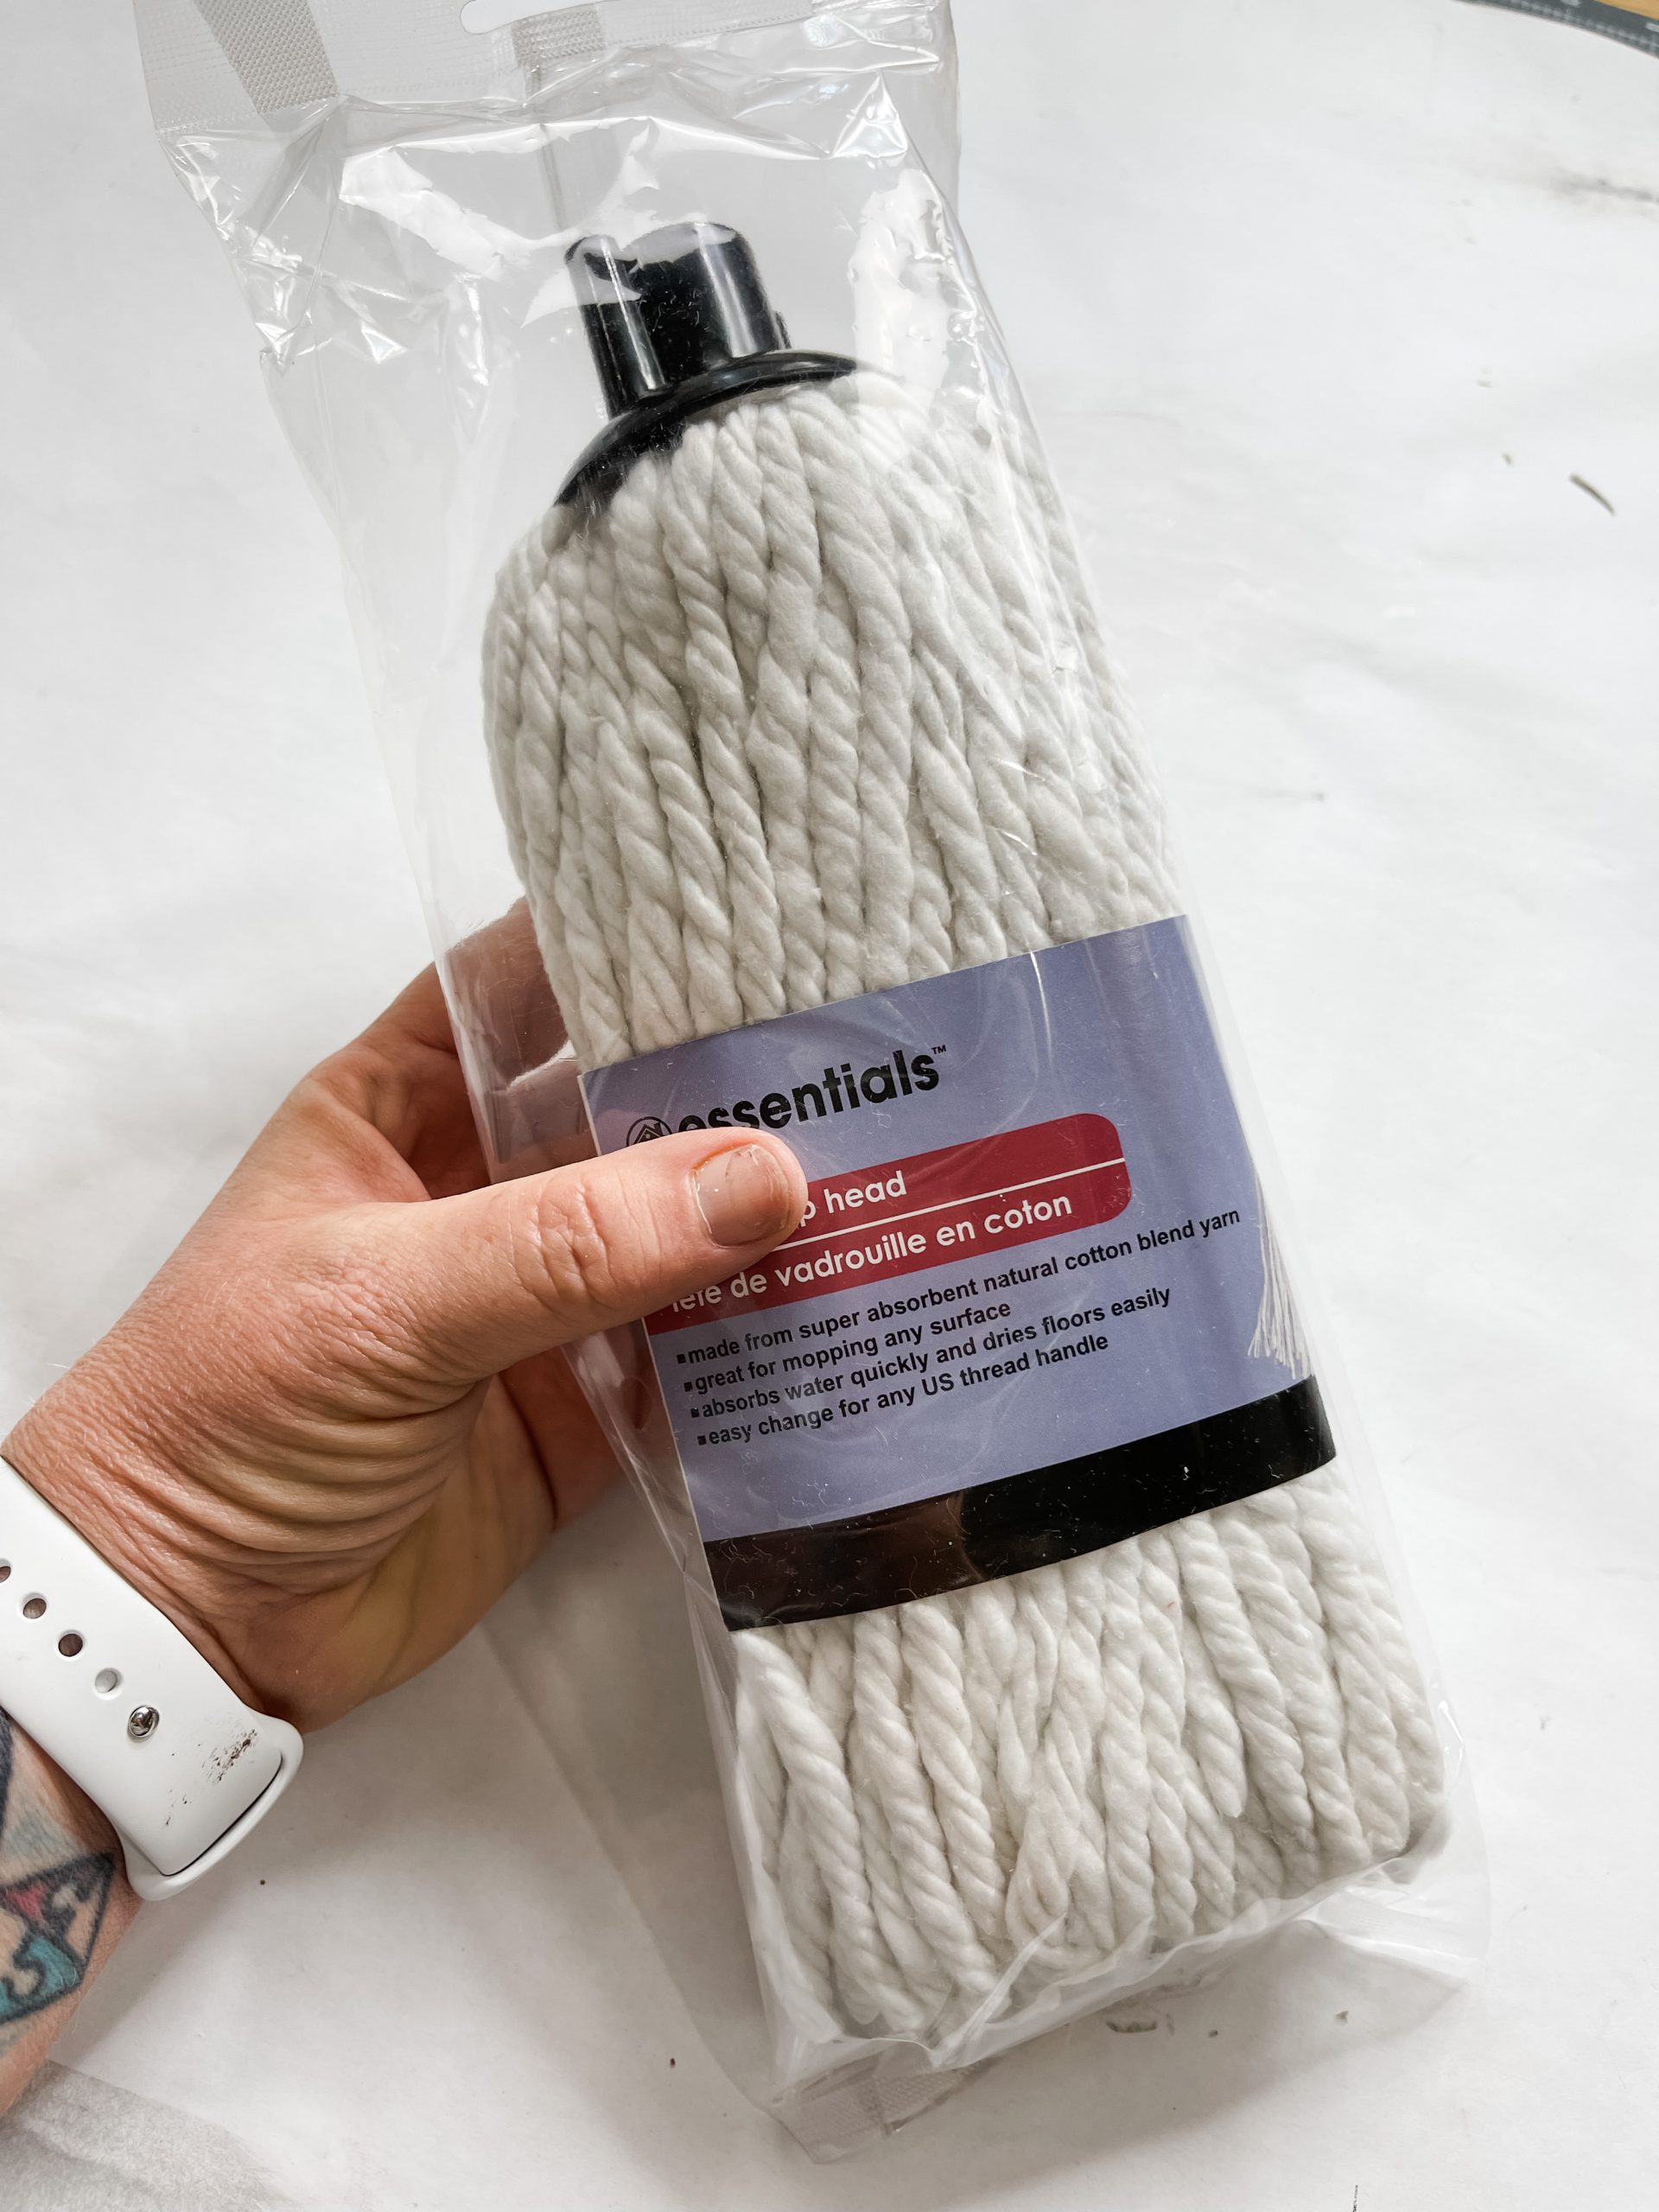
Once you have the cardboard cut to the size that you need it to be, separate the mop strings from the black plastic piece that holds the strings together.
Then, hot glue the strings onto the cardboard. Get the strings as close together as possible. If you want, you can also paint the cardboard white before hot gluing to make sure the brown doesn’t show through the strings.
Make sure the glue is completely dry, then cut the excess strings from the sides of the cardboard. Next, you’re going to make the frame!
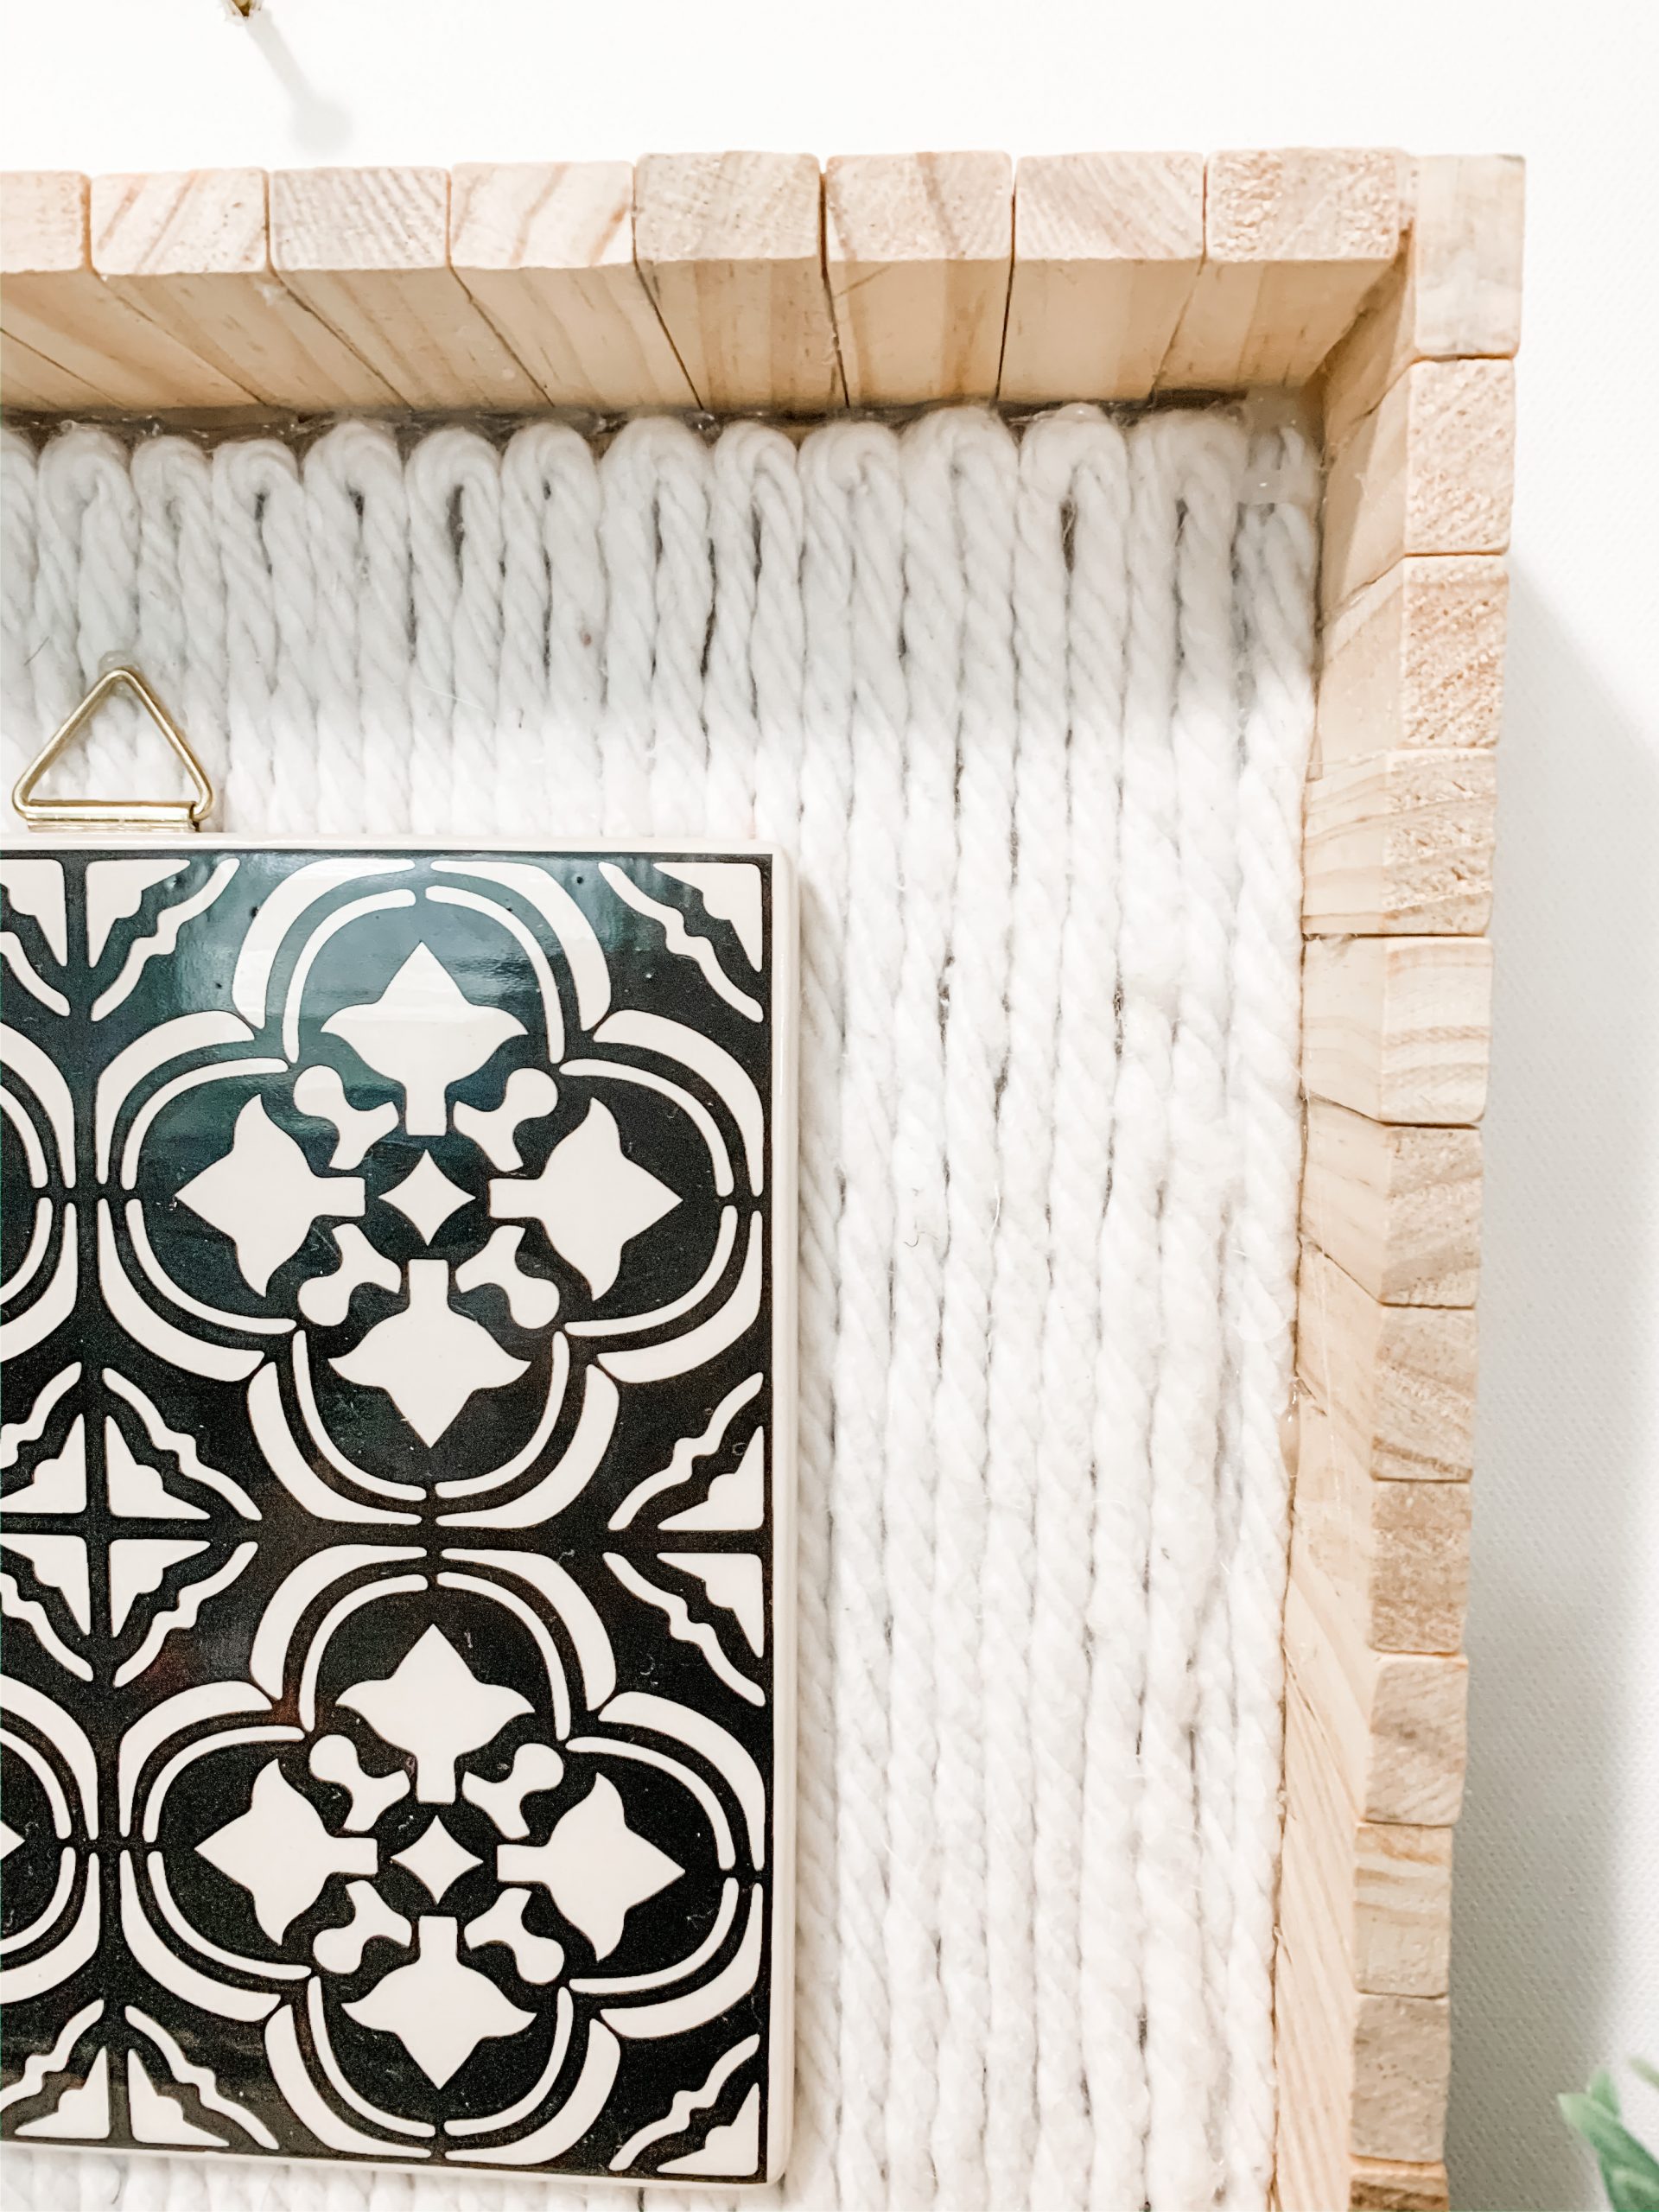
How to make your DIY frame
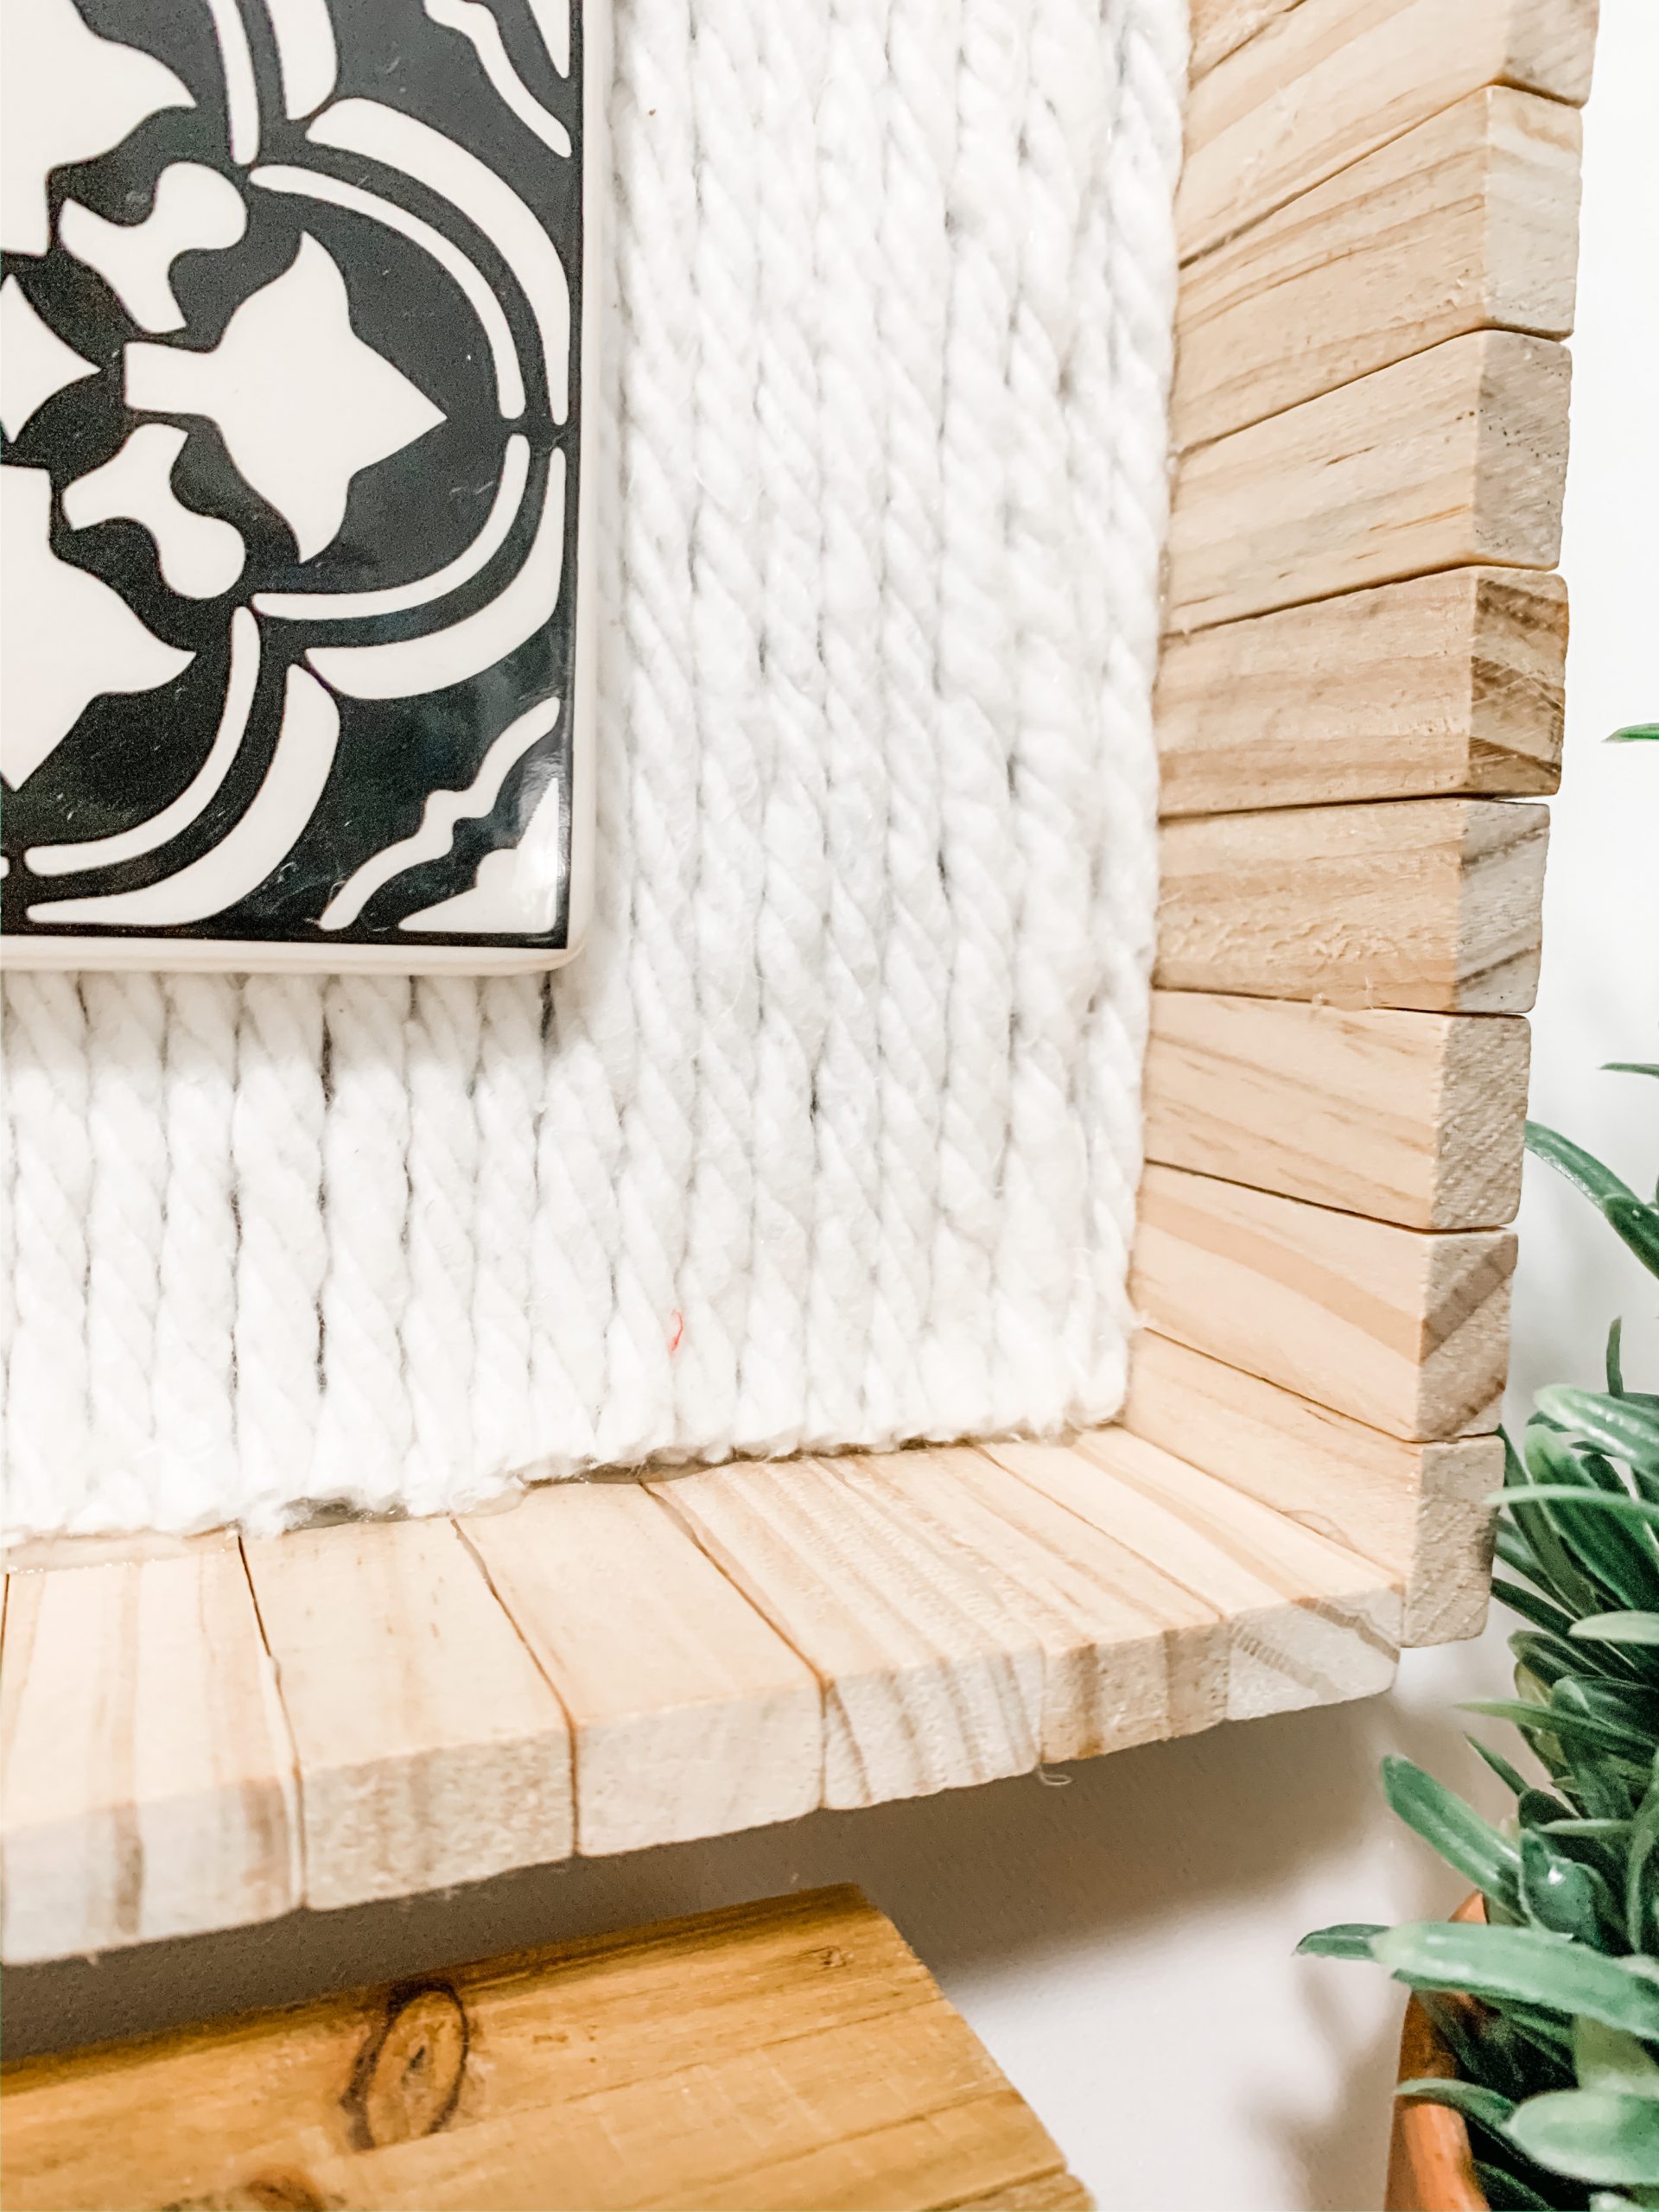
I wanted my frame to be more like a shadow box than a regular frame, so I hot glued the blocks together standing up vertically.
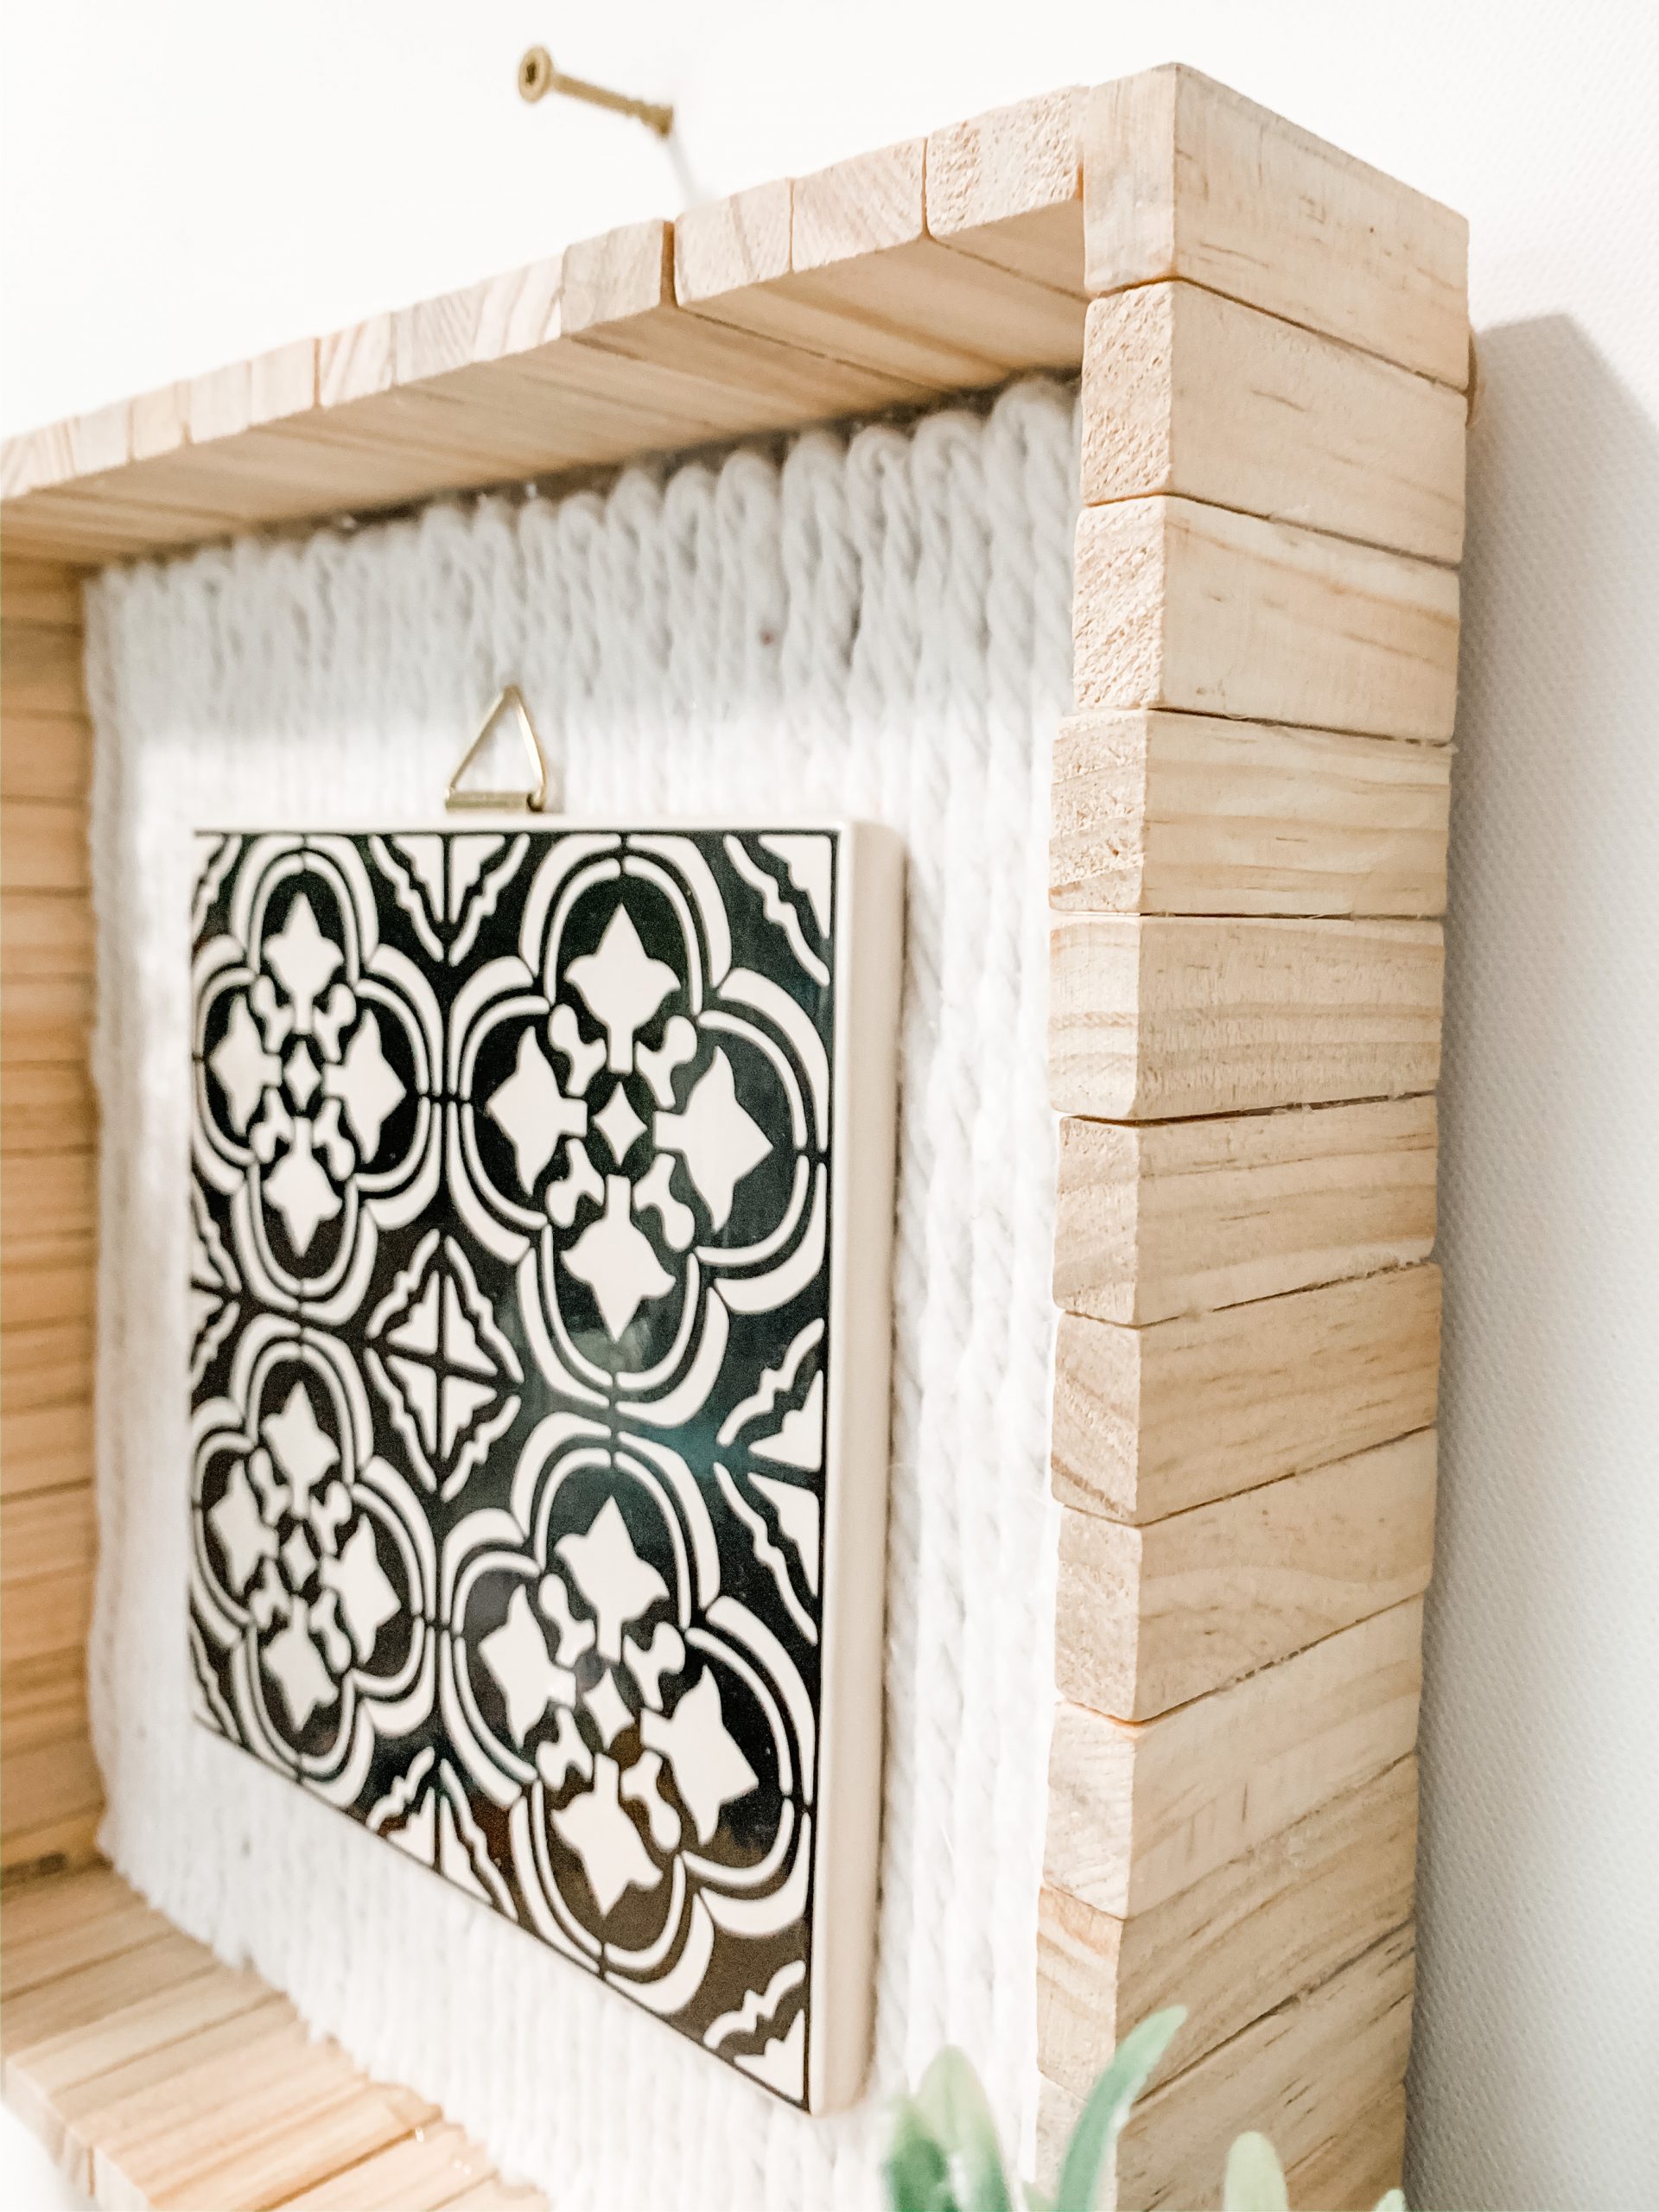
Hot glue the blocks together into four strips to create the four sides of your frame. Then, hot glue each of the strips onto each side of the cardboard.
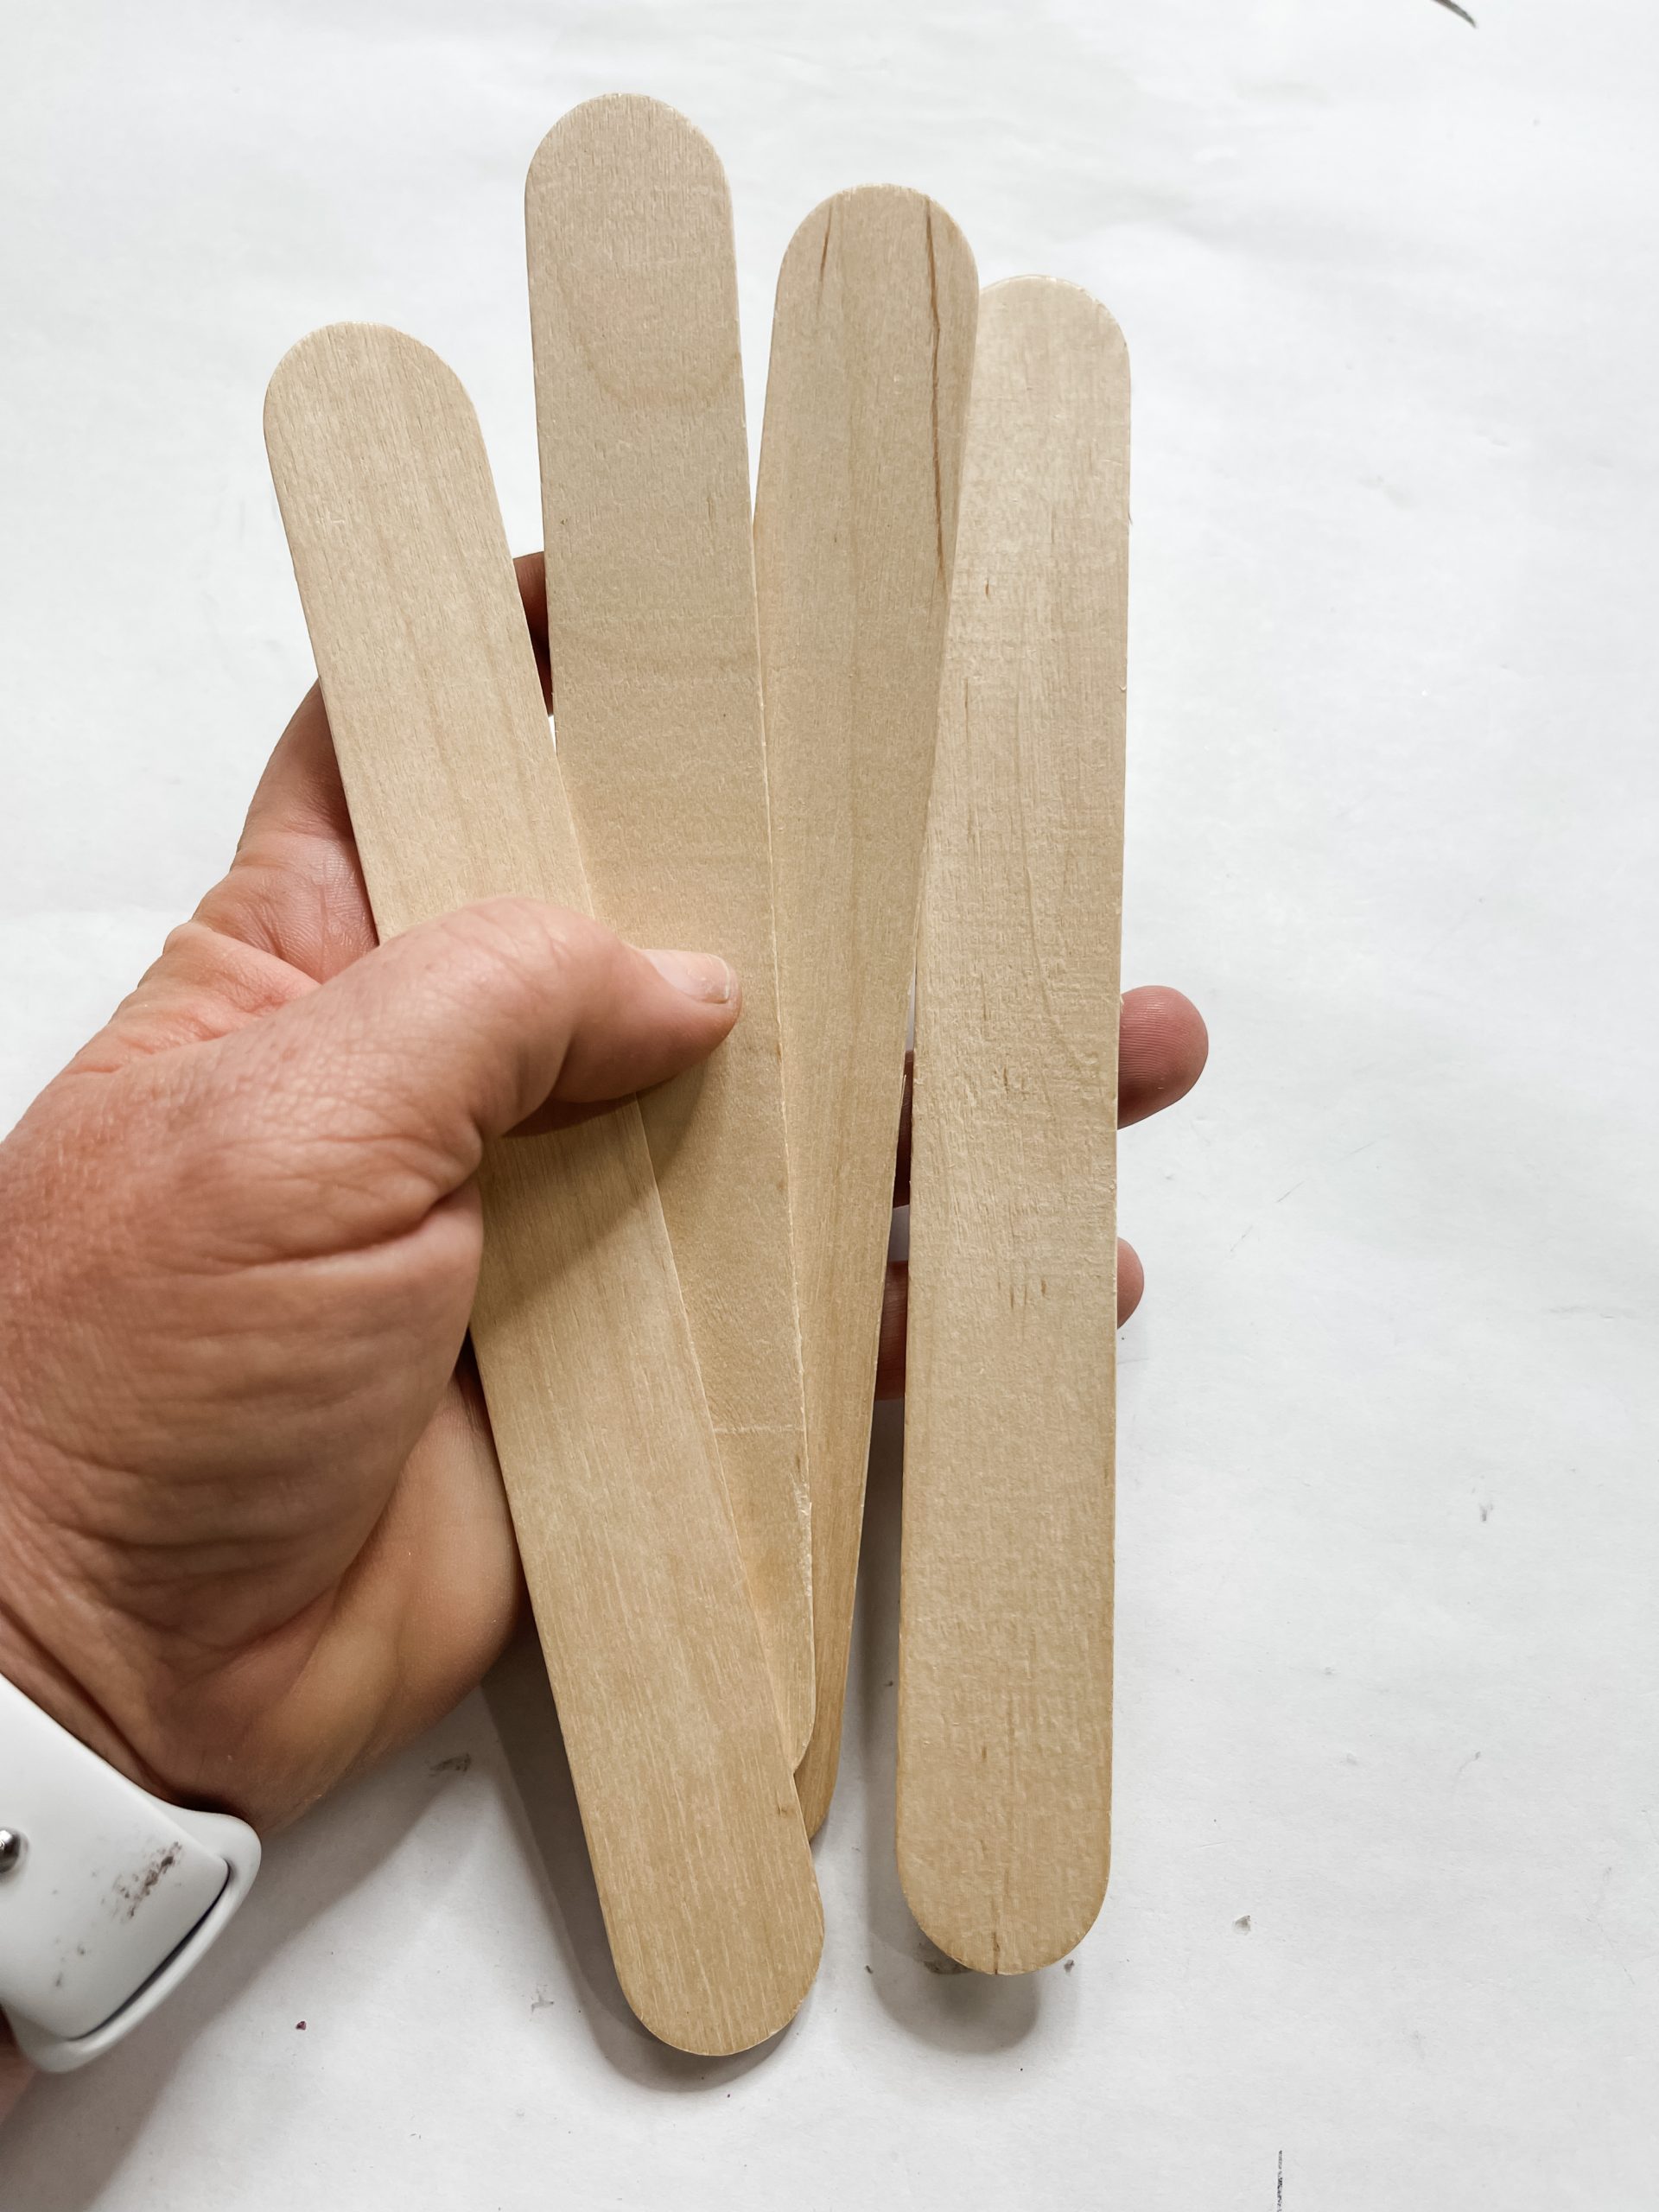
I hot glued craft sticks over the seams of the blocks and cardboard on the back of the cardboard to really secure the frame in place.
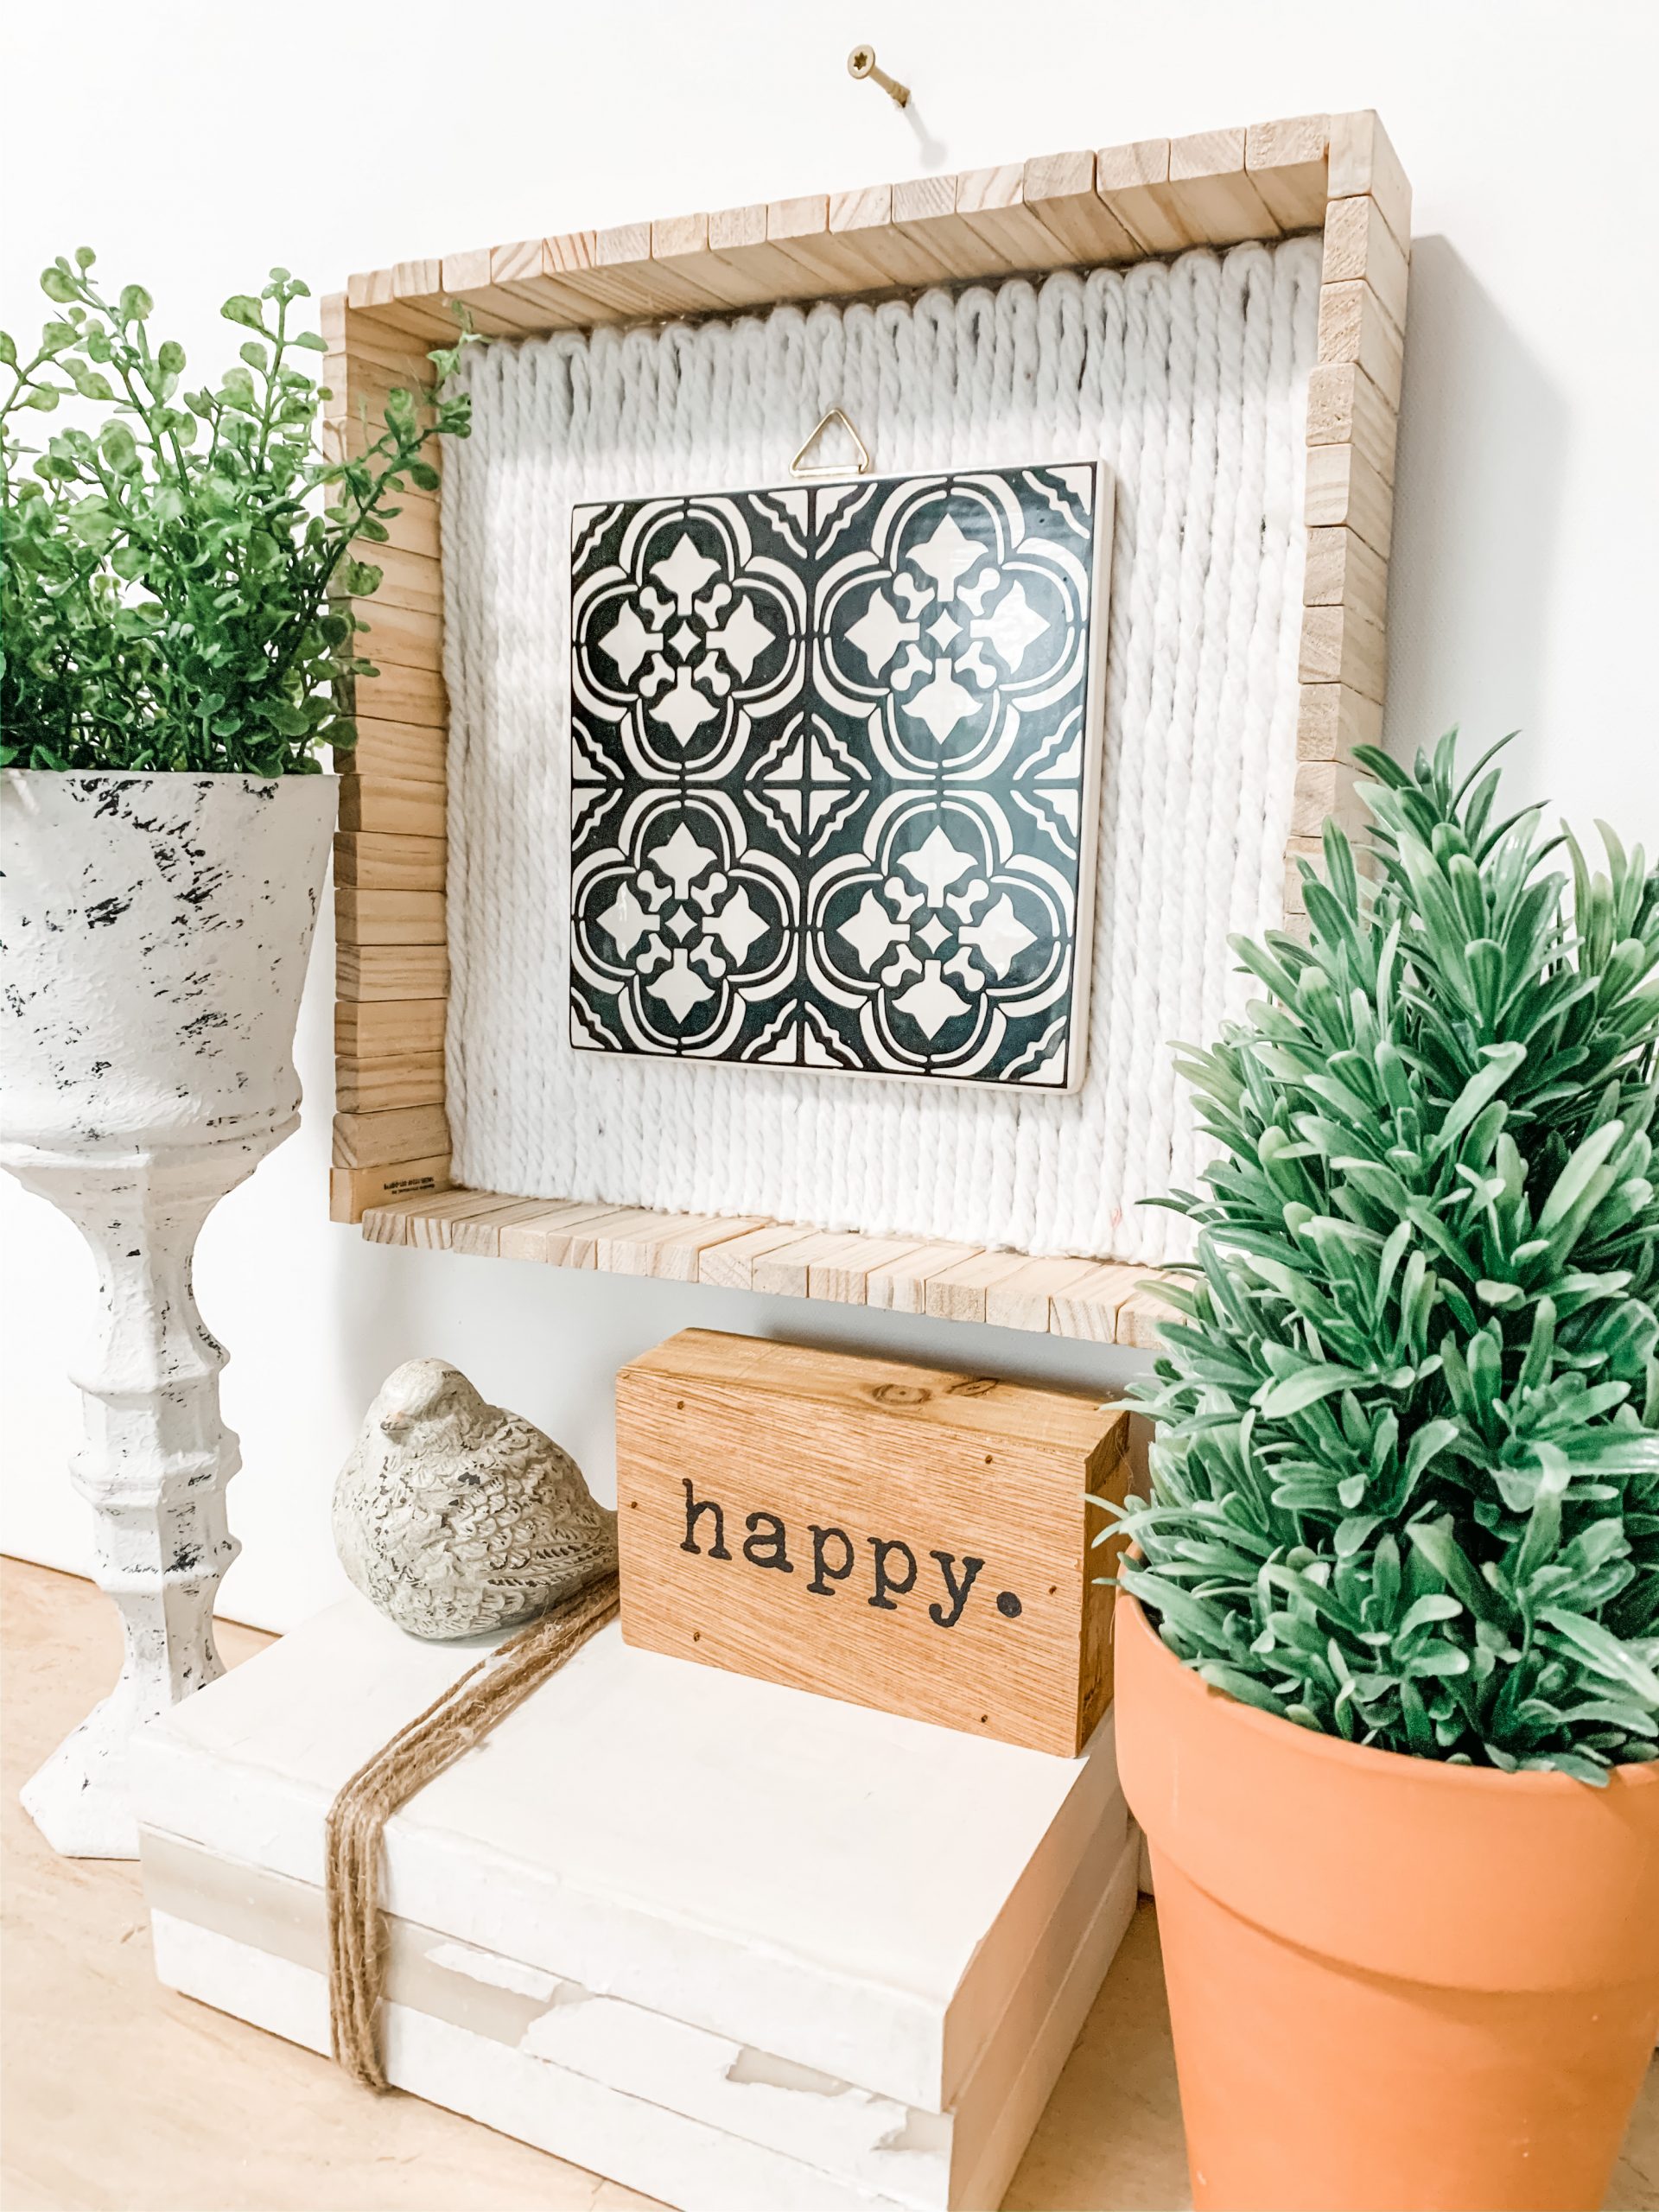
Lastly, hot glue your tile or placemat pattern to the center of your mop string-covered cardboard!
I hope you enjoyed this Target Tile DIY Farmhouse Decor as much as I did and decide to make it for yourself! If you do, I would love to see how yours turns out!
You should totally join my FREE Facebook group called On A Budget Crafts! It is a judgment-free community for DIY crafters to show off their projects and ideas.
If you loved this DIY, you might also like these DIY ideas!
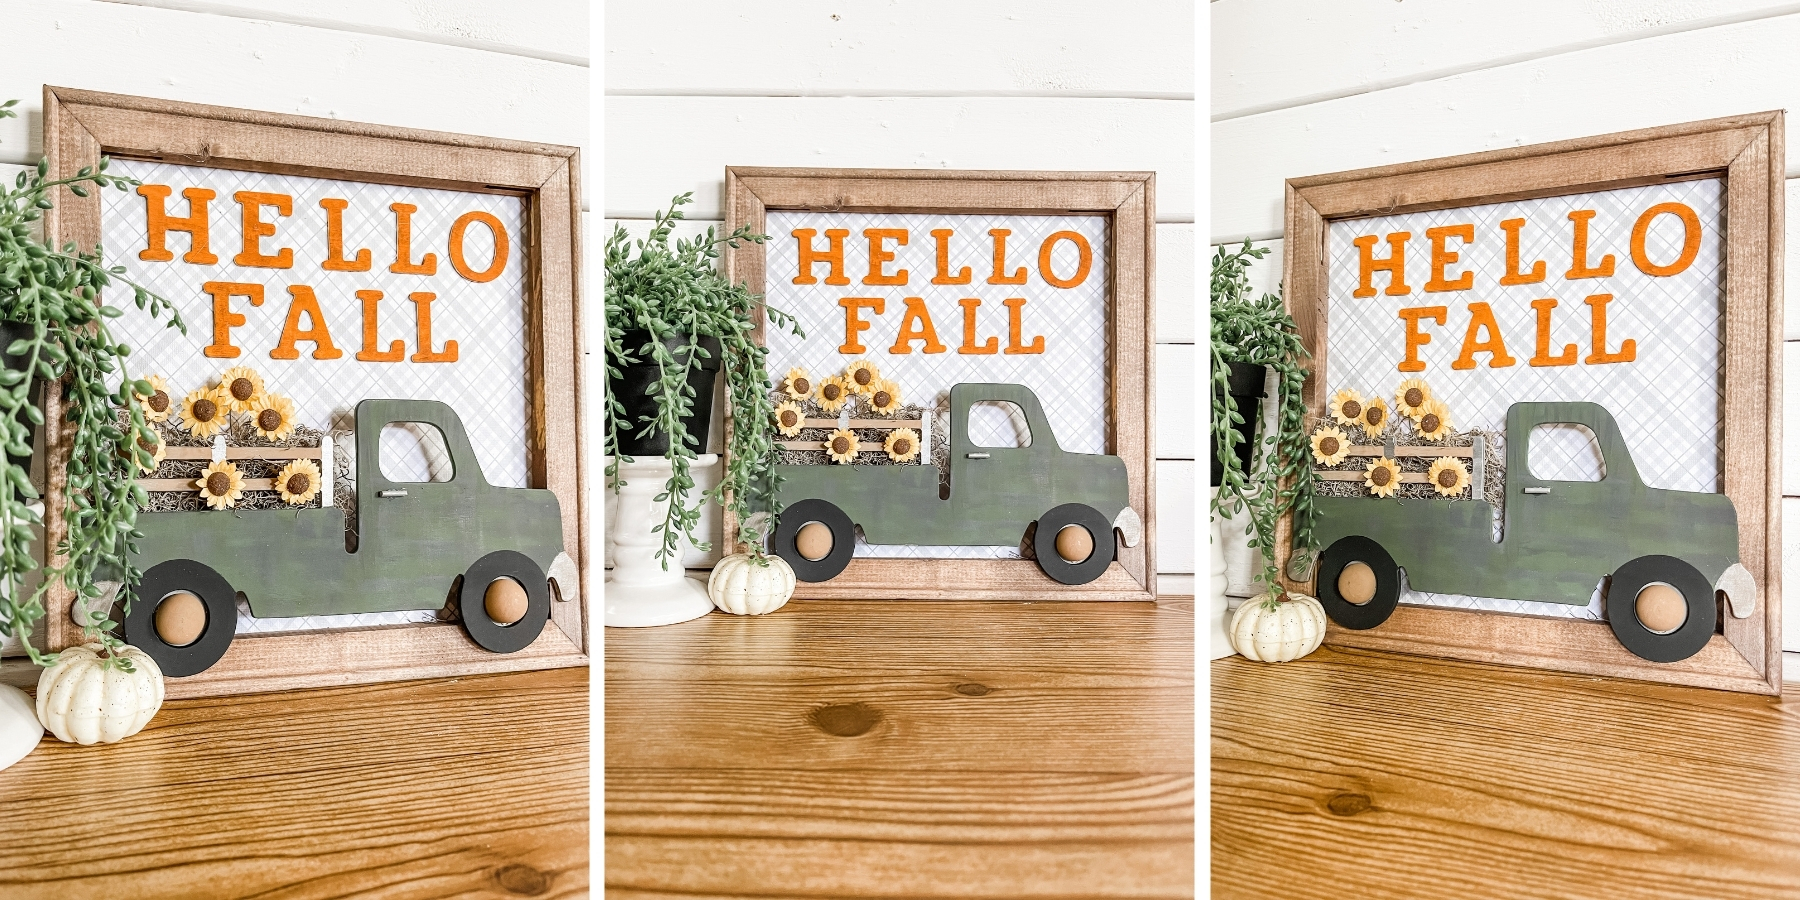
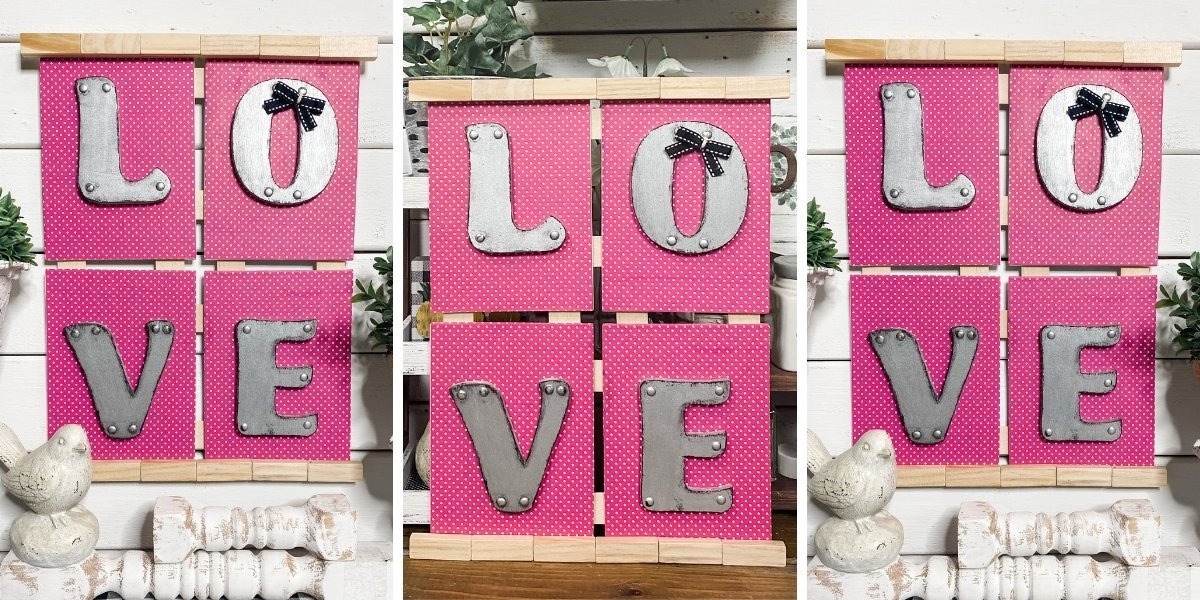
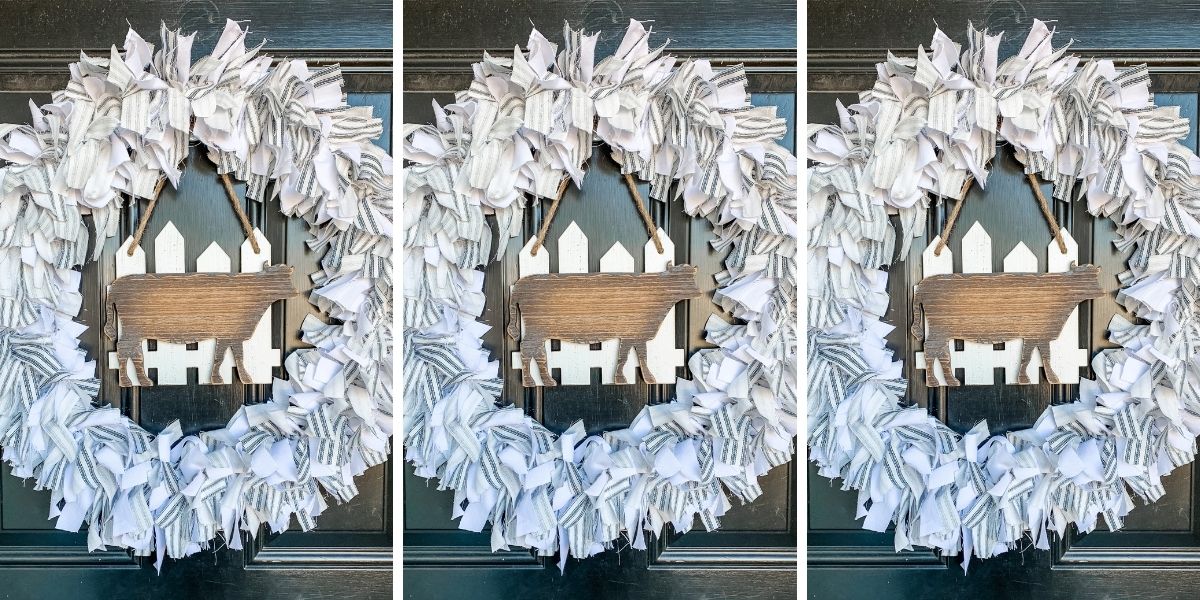
- Hot Glue Mold DIY Home Decor
- Dollar Tree Trophy DIY Farmhouse Decor
- DIY Farmhouse Buffalo Check Gather Sign
- Simple Buffalo Check Farmhouse Plant Jar
Thanks for stopping by! XOXO Amber
You can also shop my ENTIRE AMAZON Favorites shop just click here! It’s packed full of all the things I use and love. Here is the supply list I highly recommend every creative have on hand!!
Would you also pin my blog for later and get on my newsletter alerts? I would love to have you join my #craftycrew.
I email alerts about new blogs like this Target Tile DIY Farmhouse Decor so you’re always up to date on fun, new DIY ideas!
Inspired? Leave me a comment below! I love hearing from my readers!

Join my free “ON A BUDGET CRAFTS” Facebook group!
2 Comments