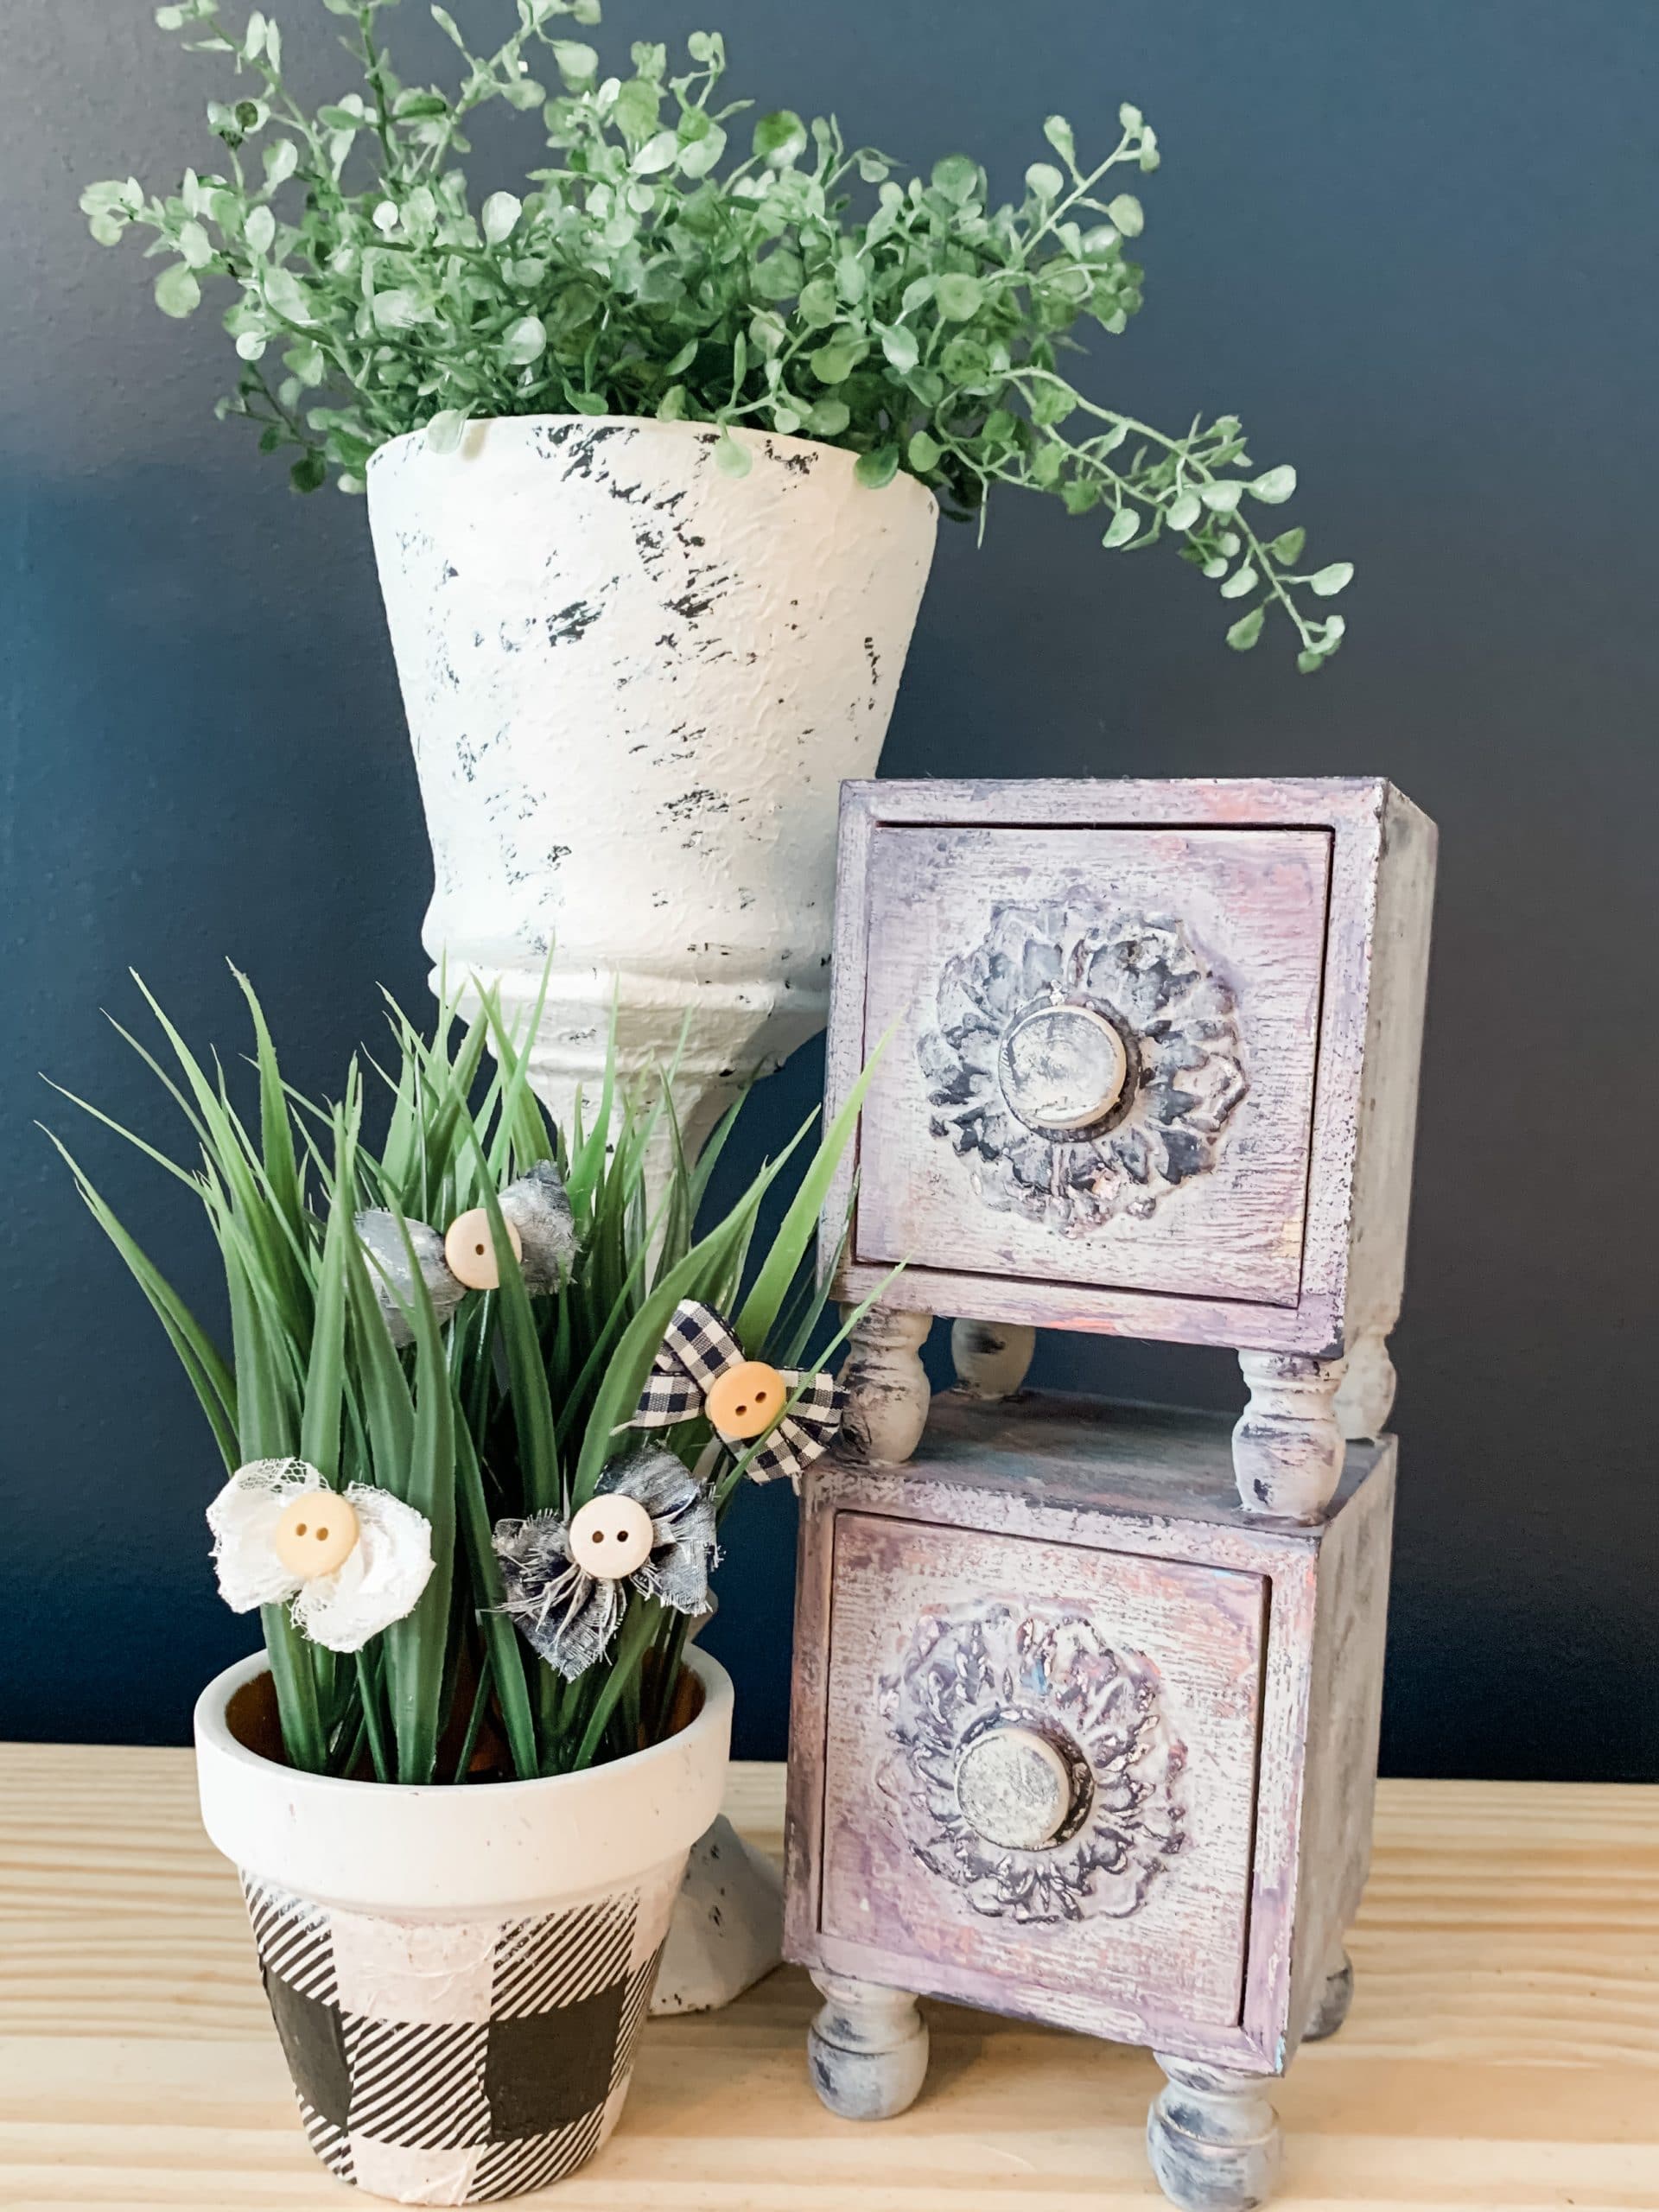
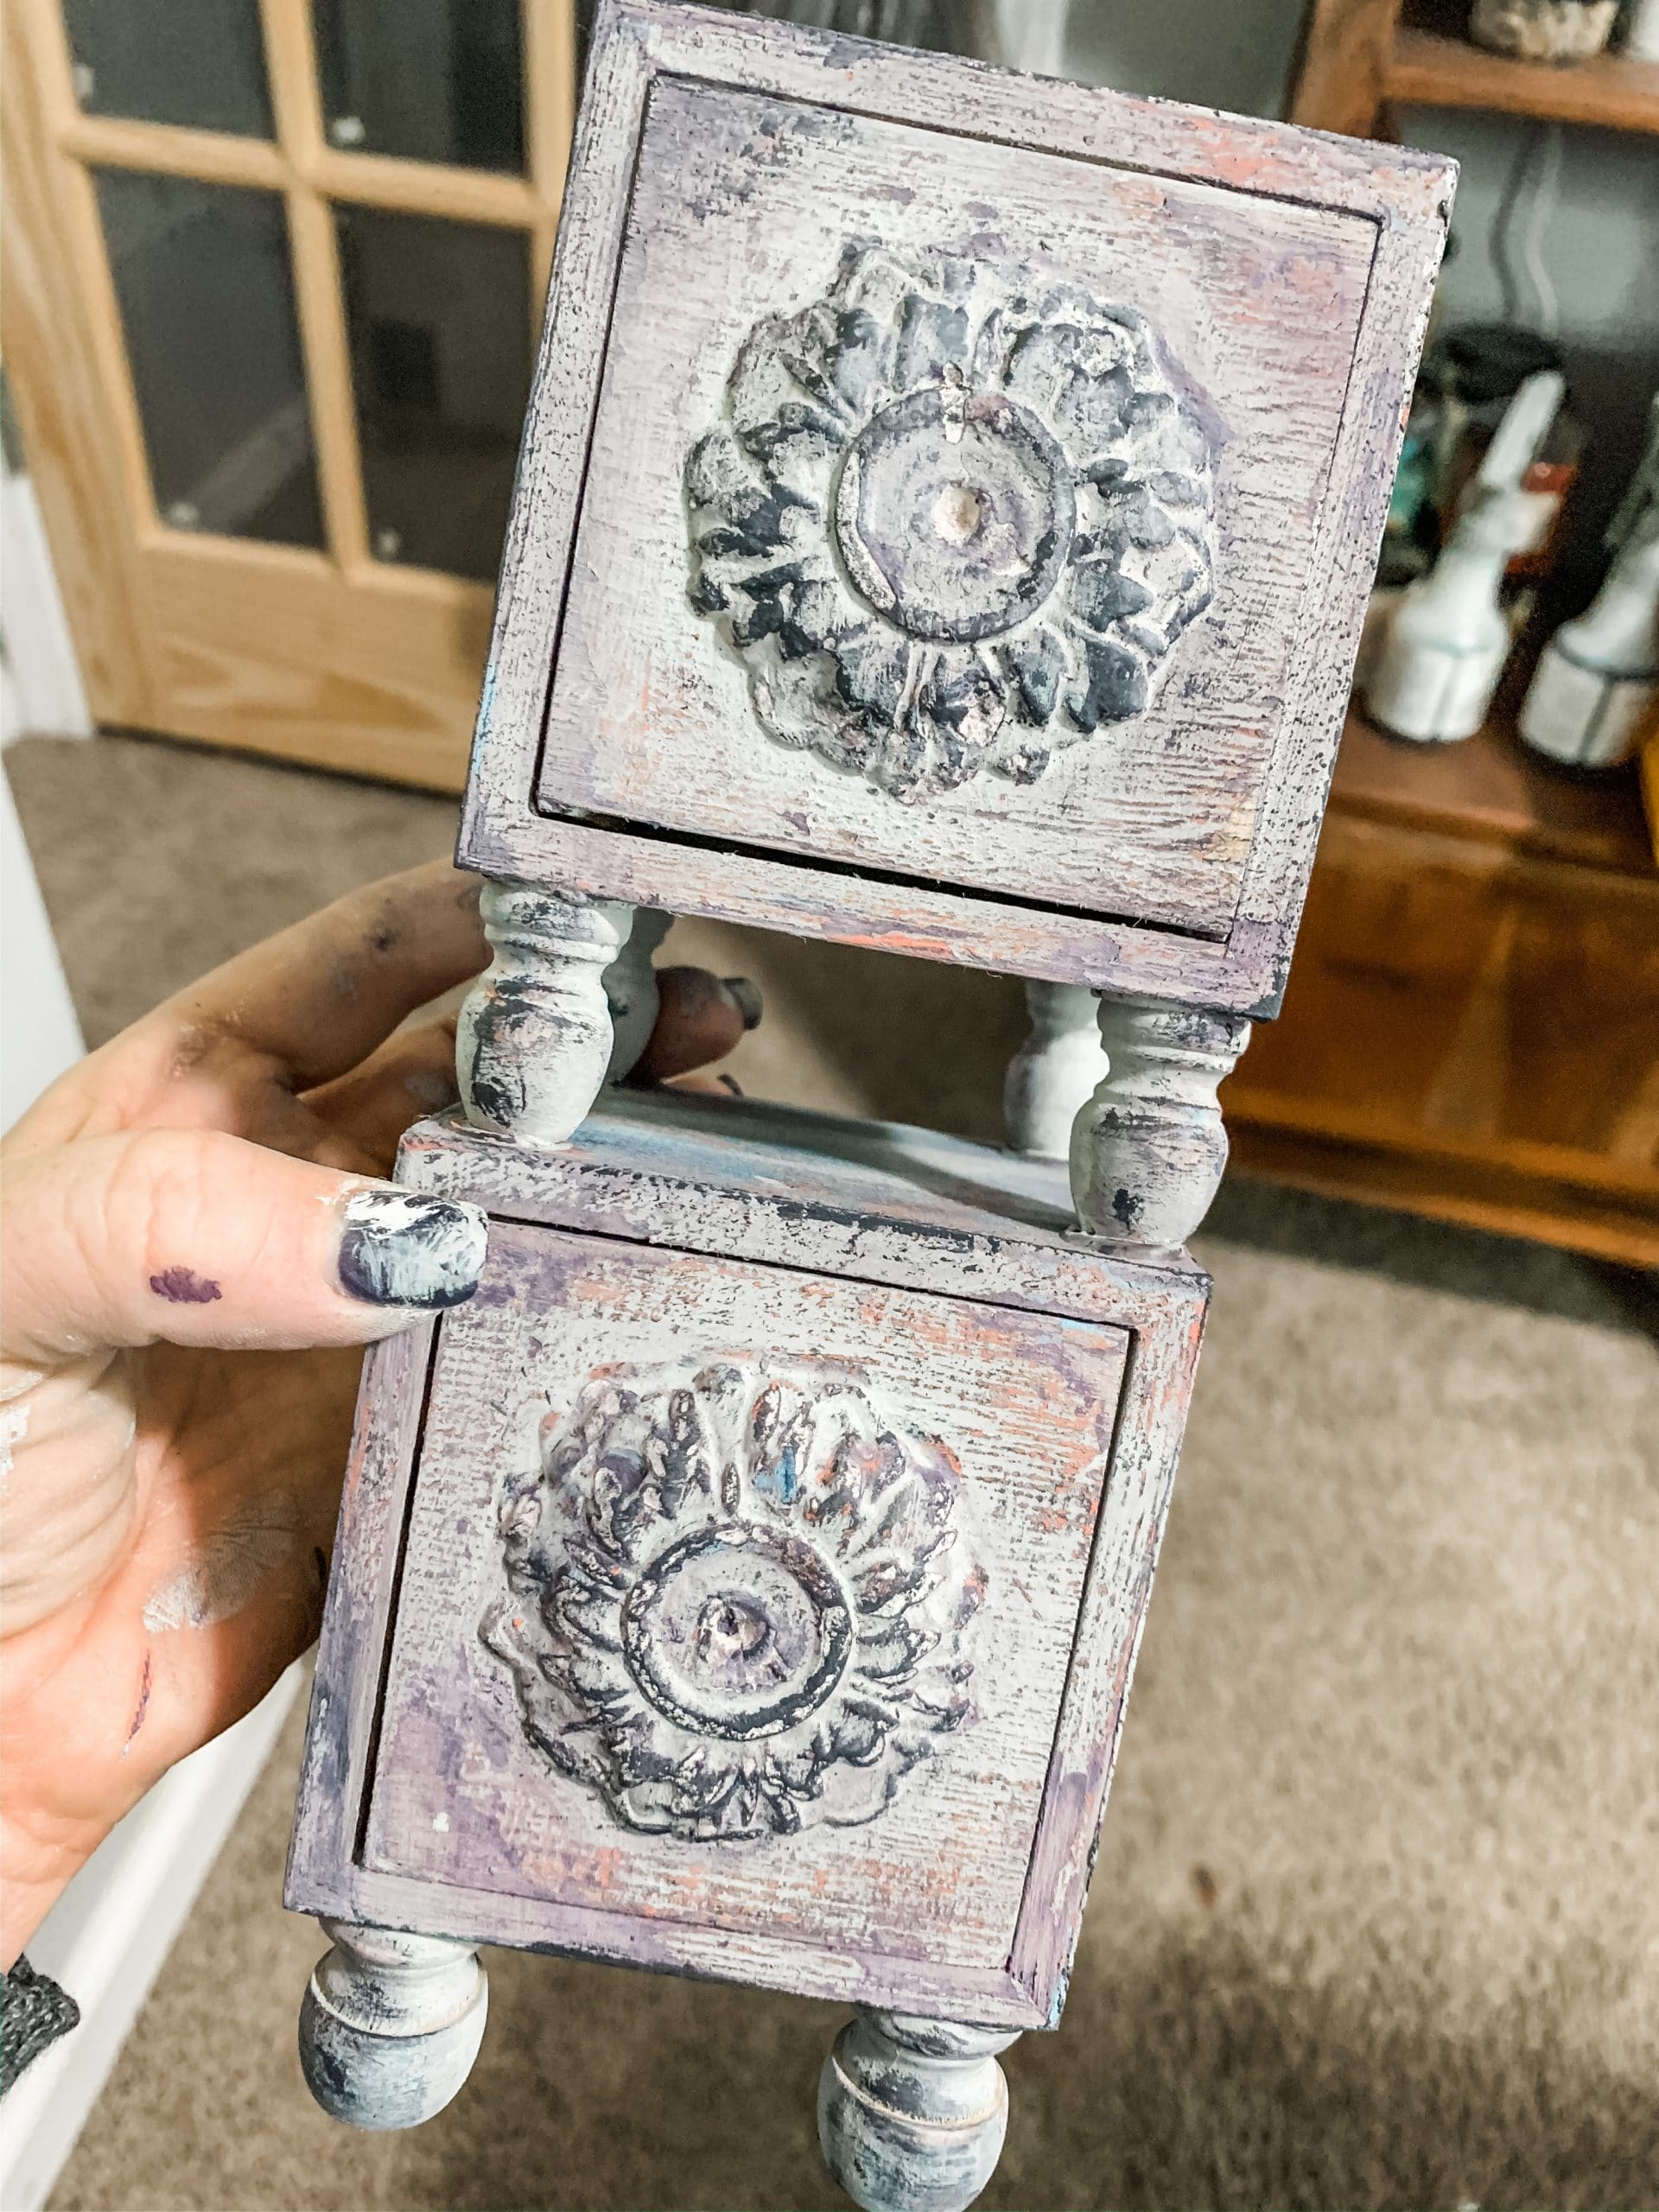
DIY Wooden Decorative Drawers
These DIY Wooden Decorative Drawers were so much fun to make and are a prime example of trusting the process!
I made these adorable drawers out of Michael’s wooden boxes, wooden caps, and some clay. Add a touch of paint and you have your own DIY decorative drawers!
More home decor inspiration
Watch the DIY Tutorial
I recorded the how-to steps of making these adorable DIY Wooden Decorative Drawers during a LIVE video on my Facebook page.
If you want to see the process, craft along, or just join in on the fun conversations, you can watch the DIY tutorial replay!
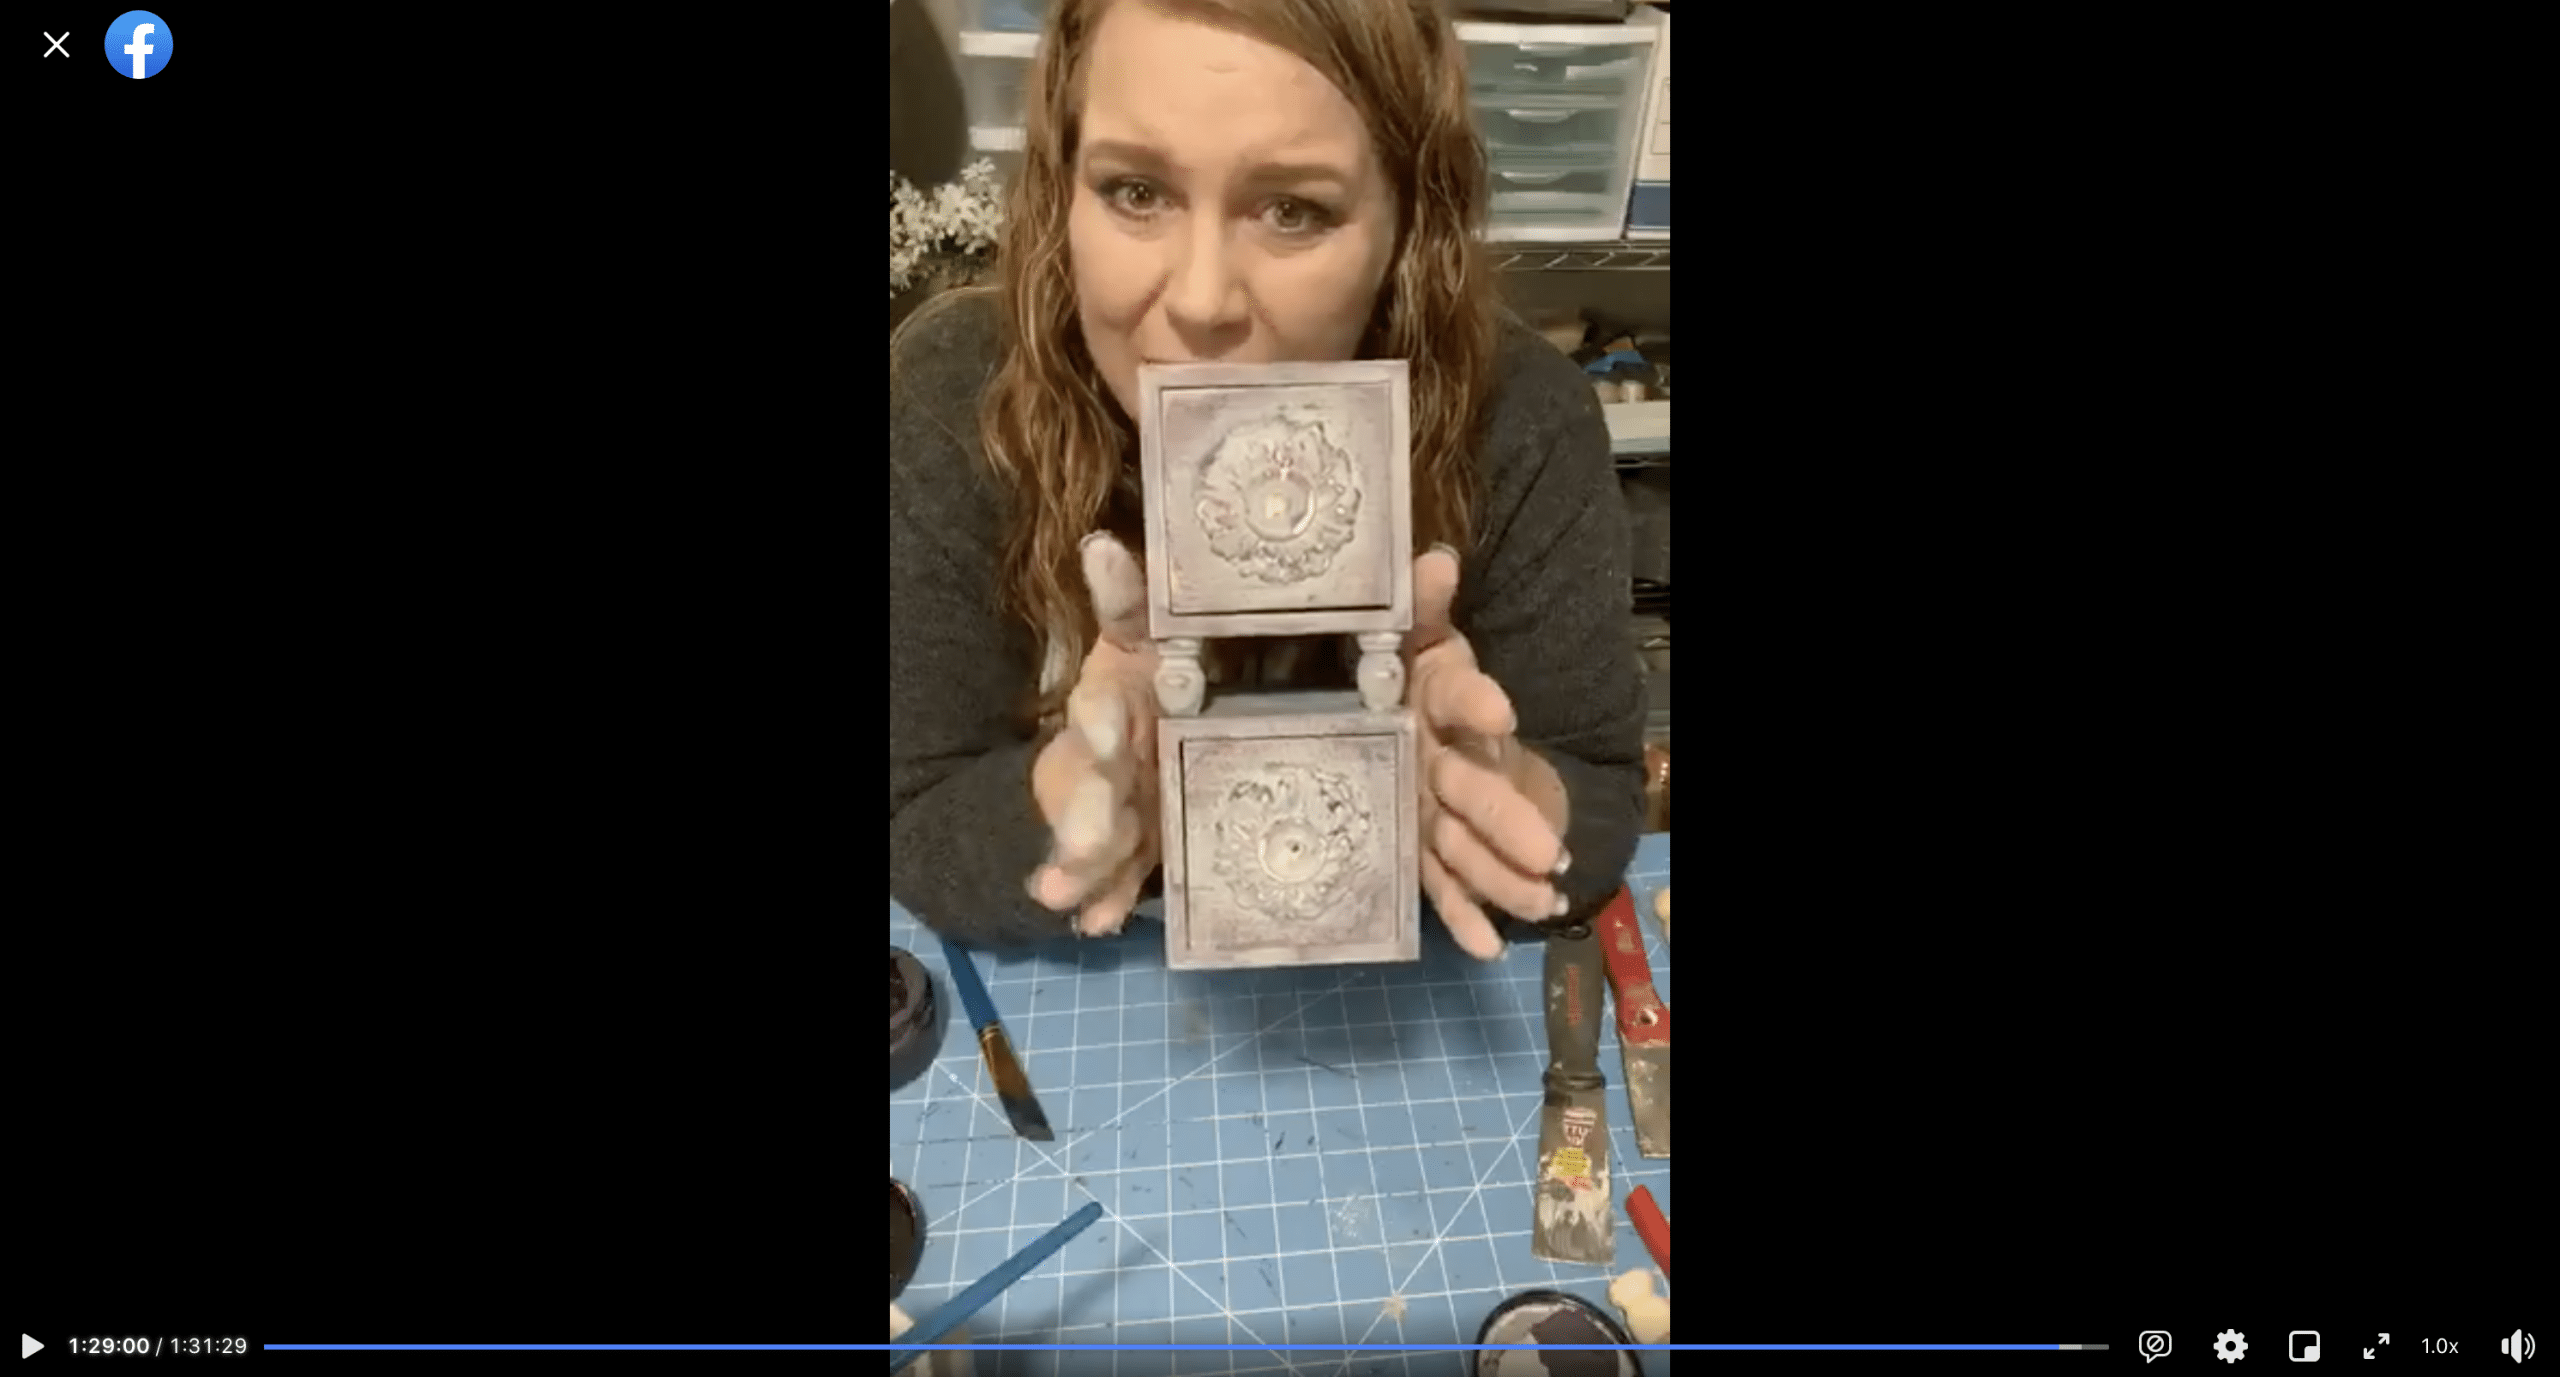
WATCH THE DIY TUTORIAL REPLAY
For this project, I will be using these items but you can substitute where you want.
“As an Amazon Associate, I earn from qualifying purchases.”
- Dollar Tree Spackling
- Michael’s Wooden Boxes (x2)
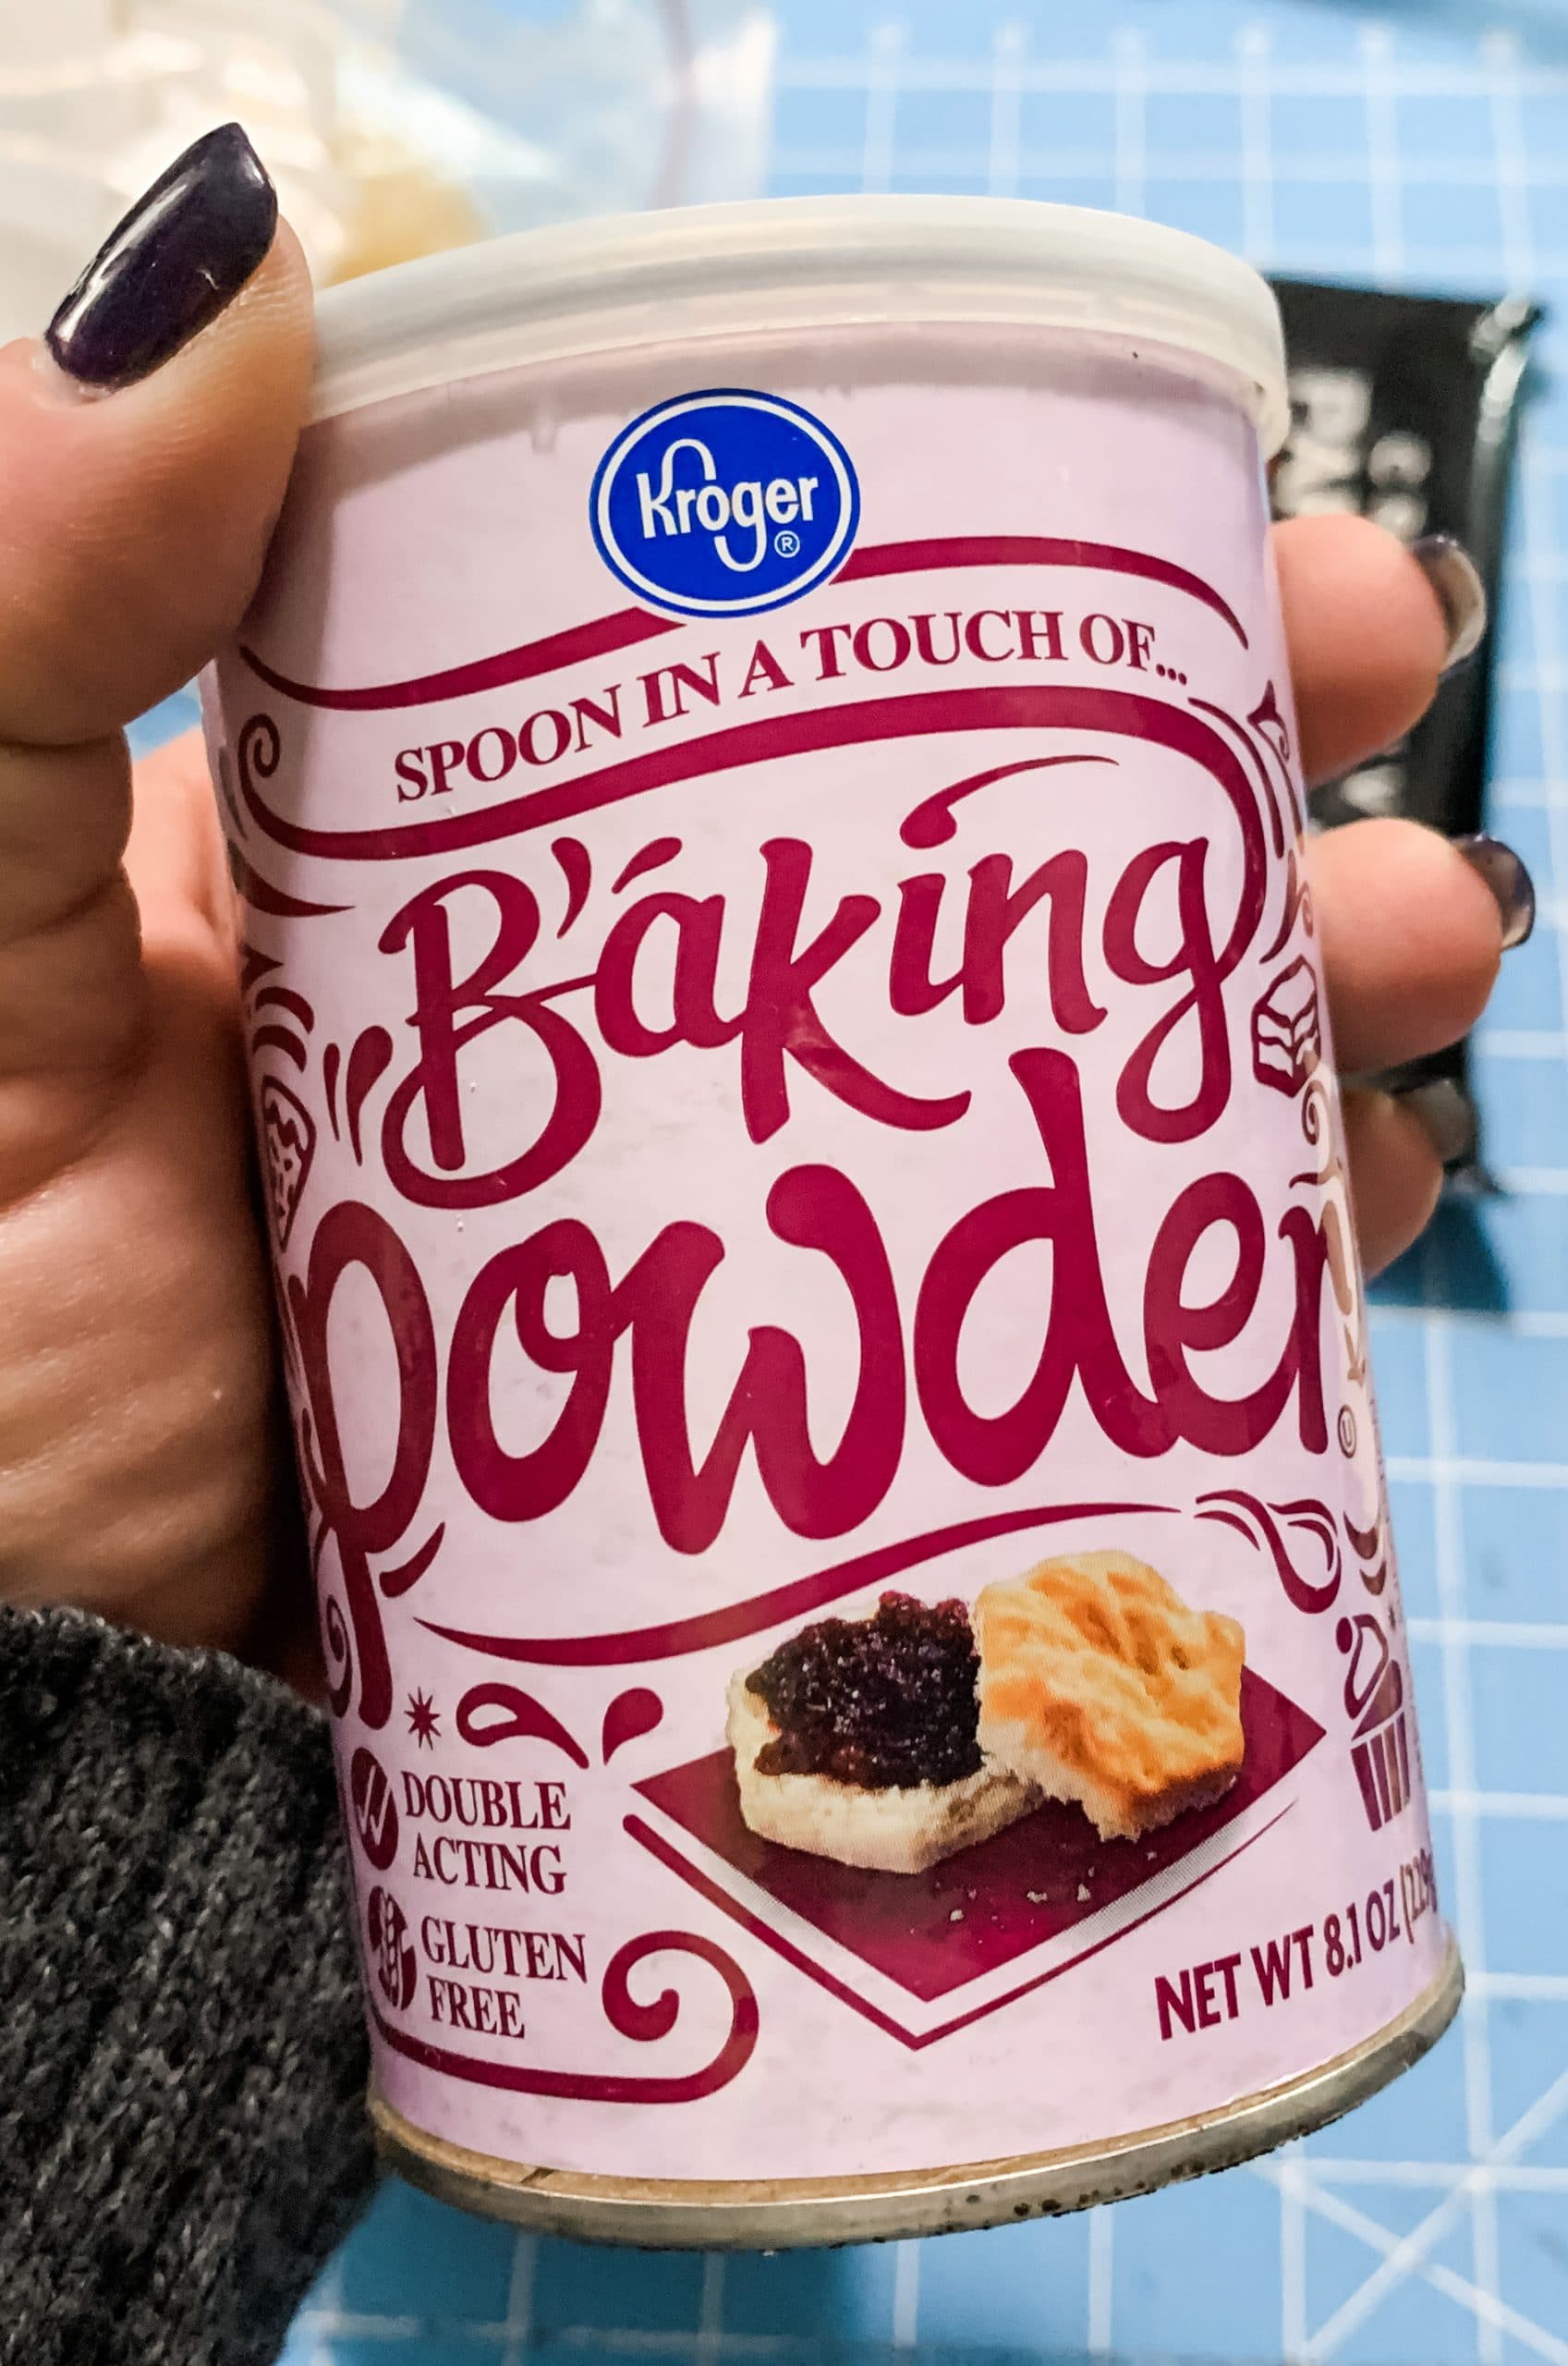
- Baking Powder
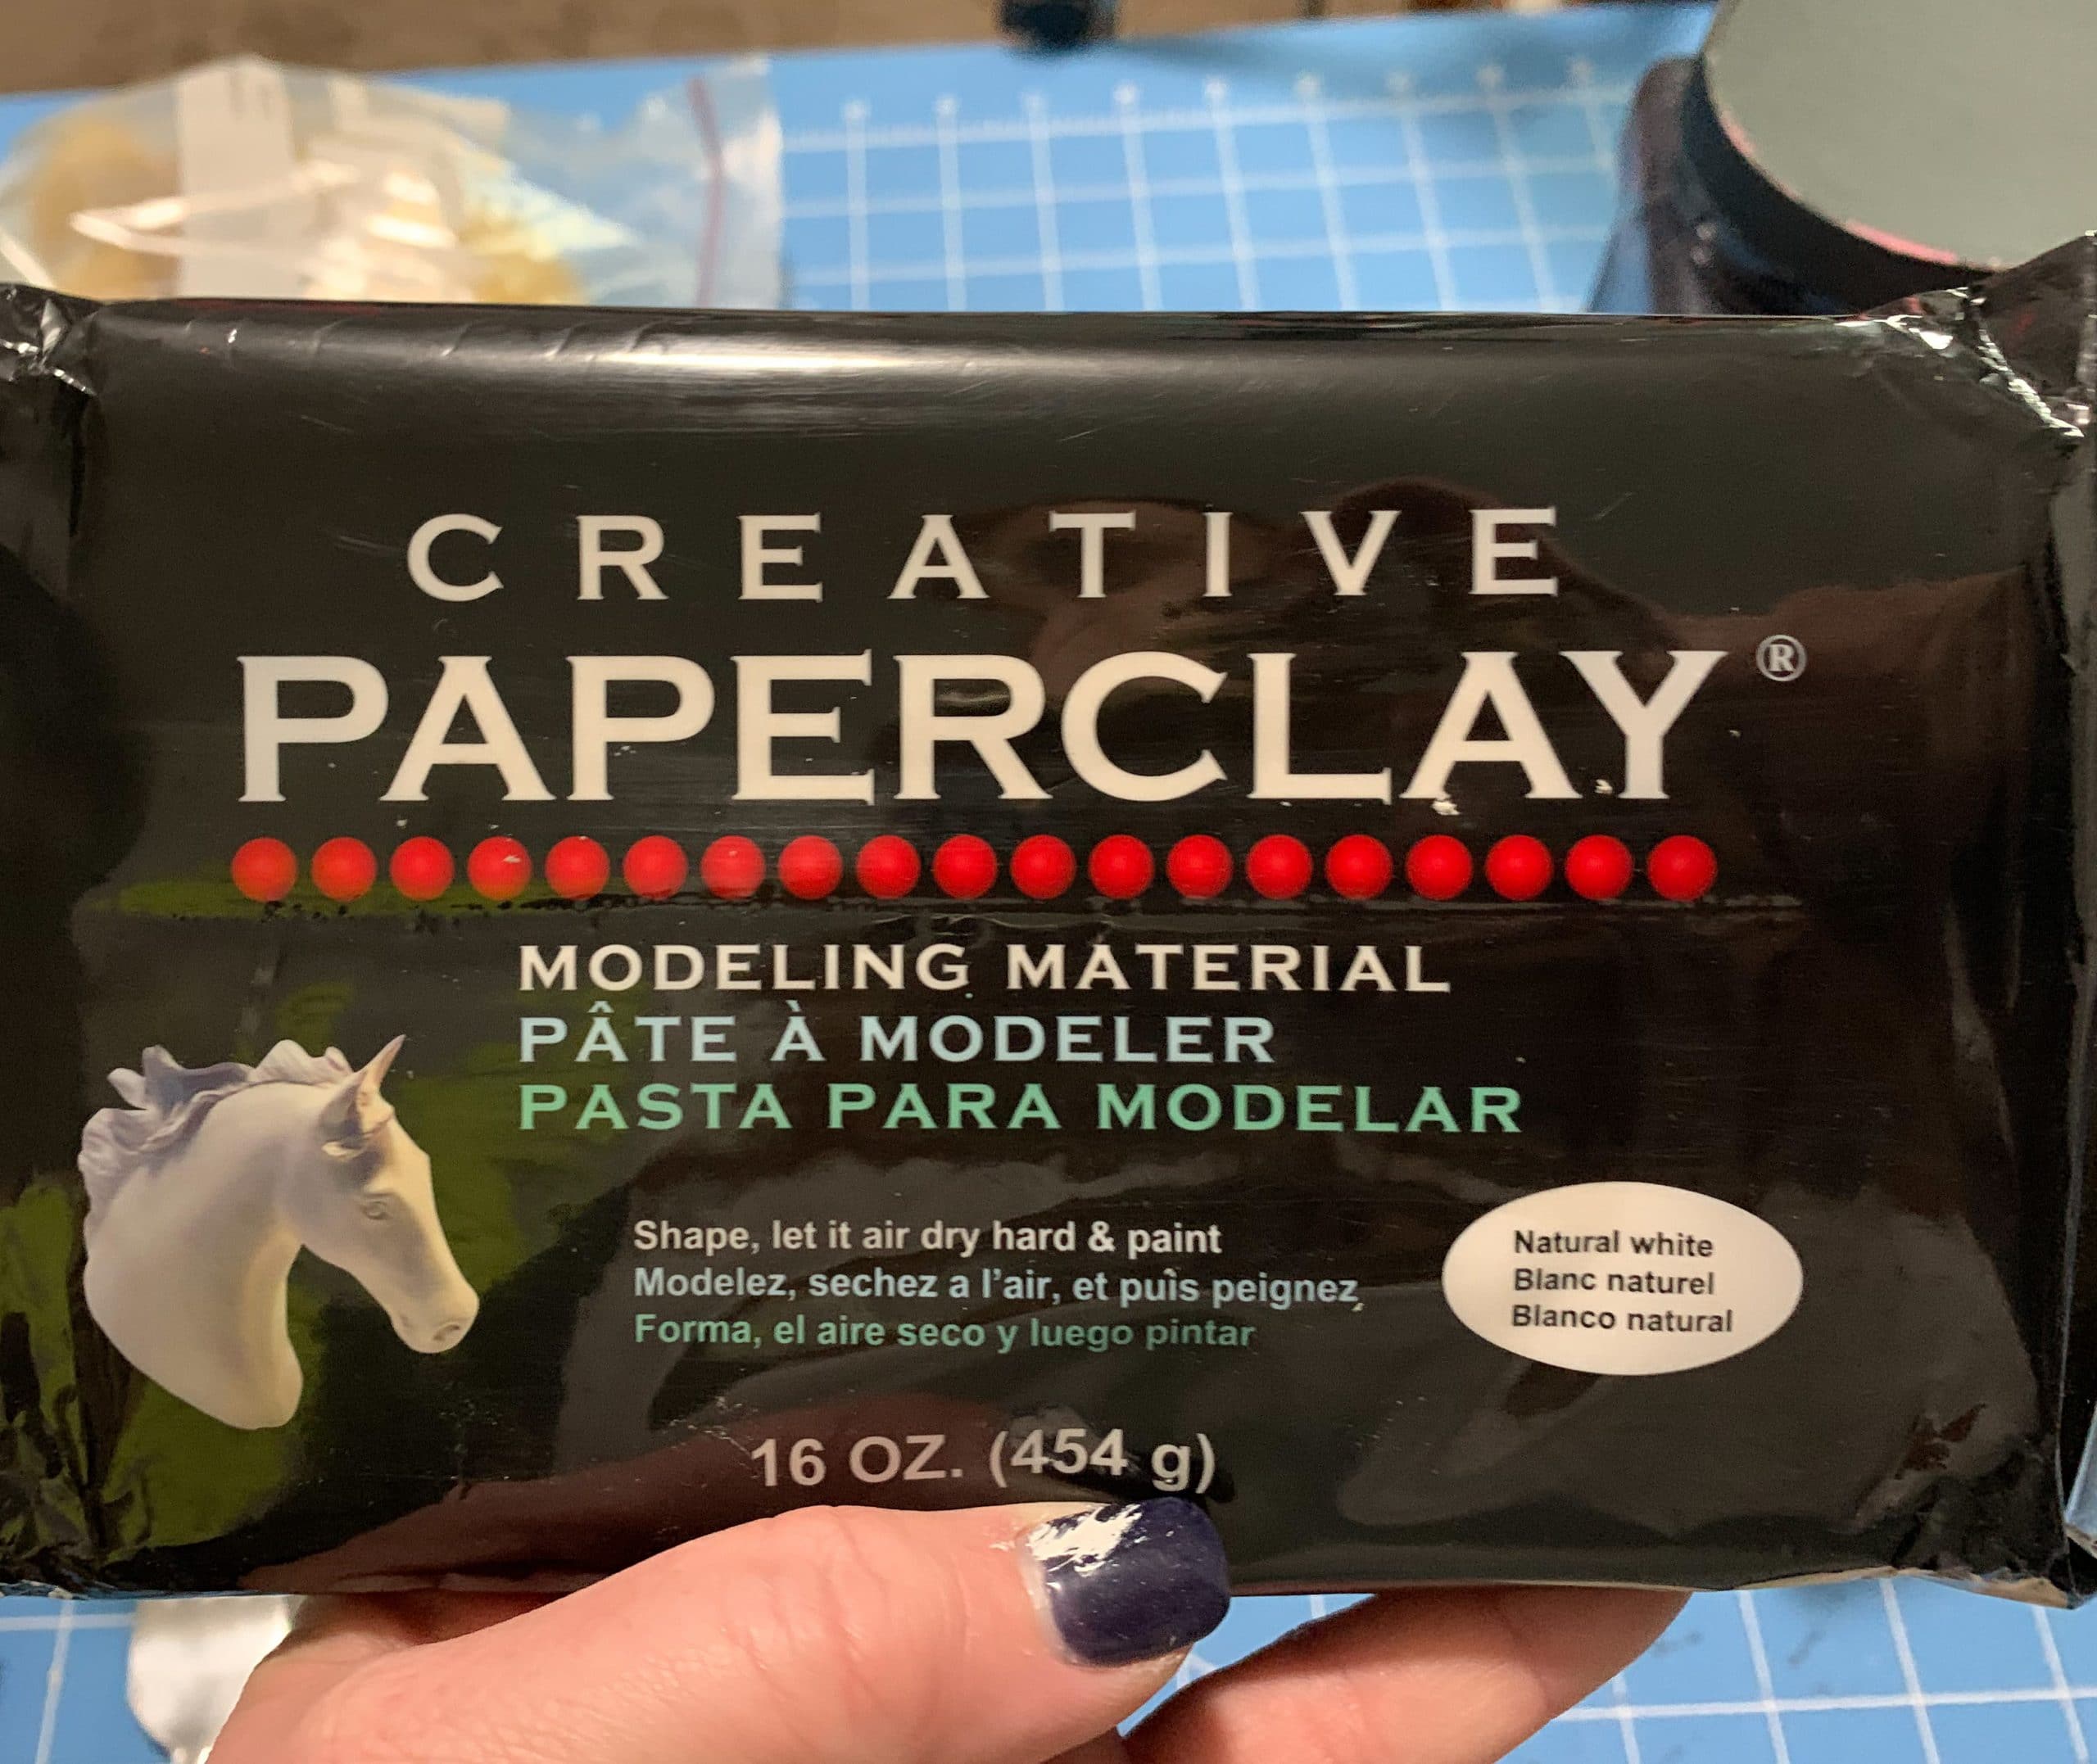
- Creative Paper Clay
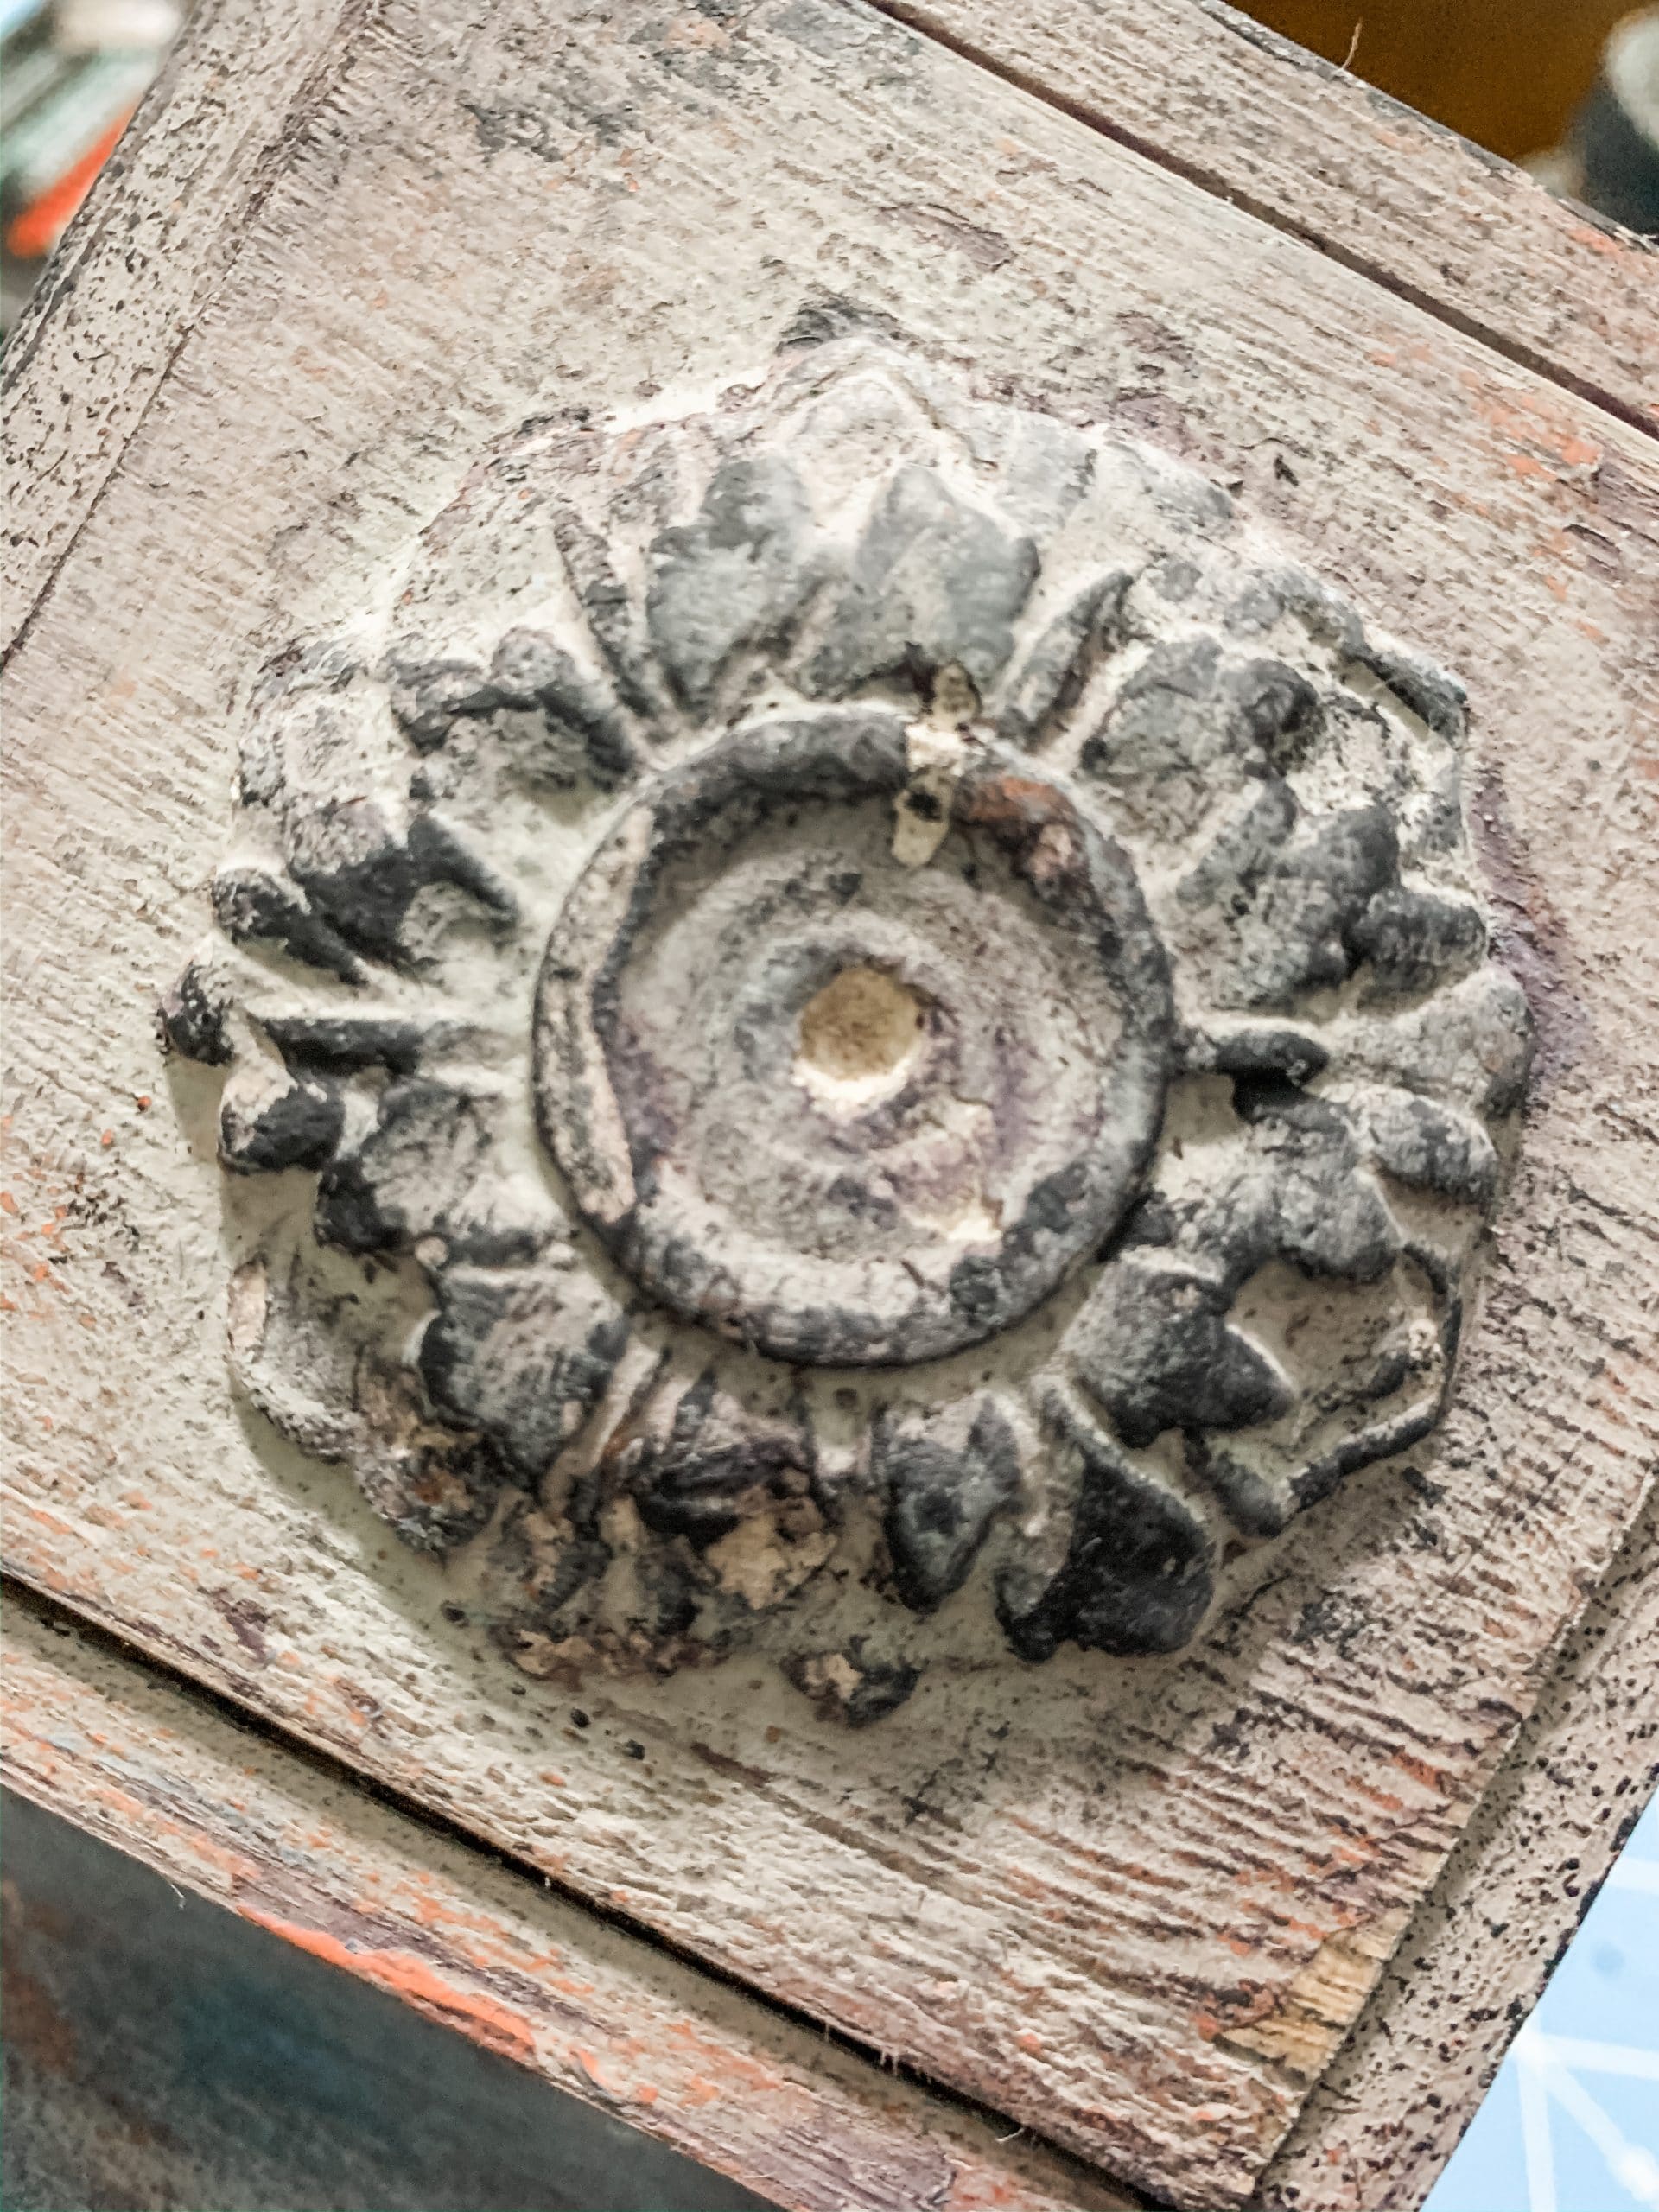
- IOD Mould
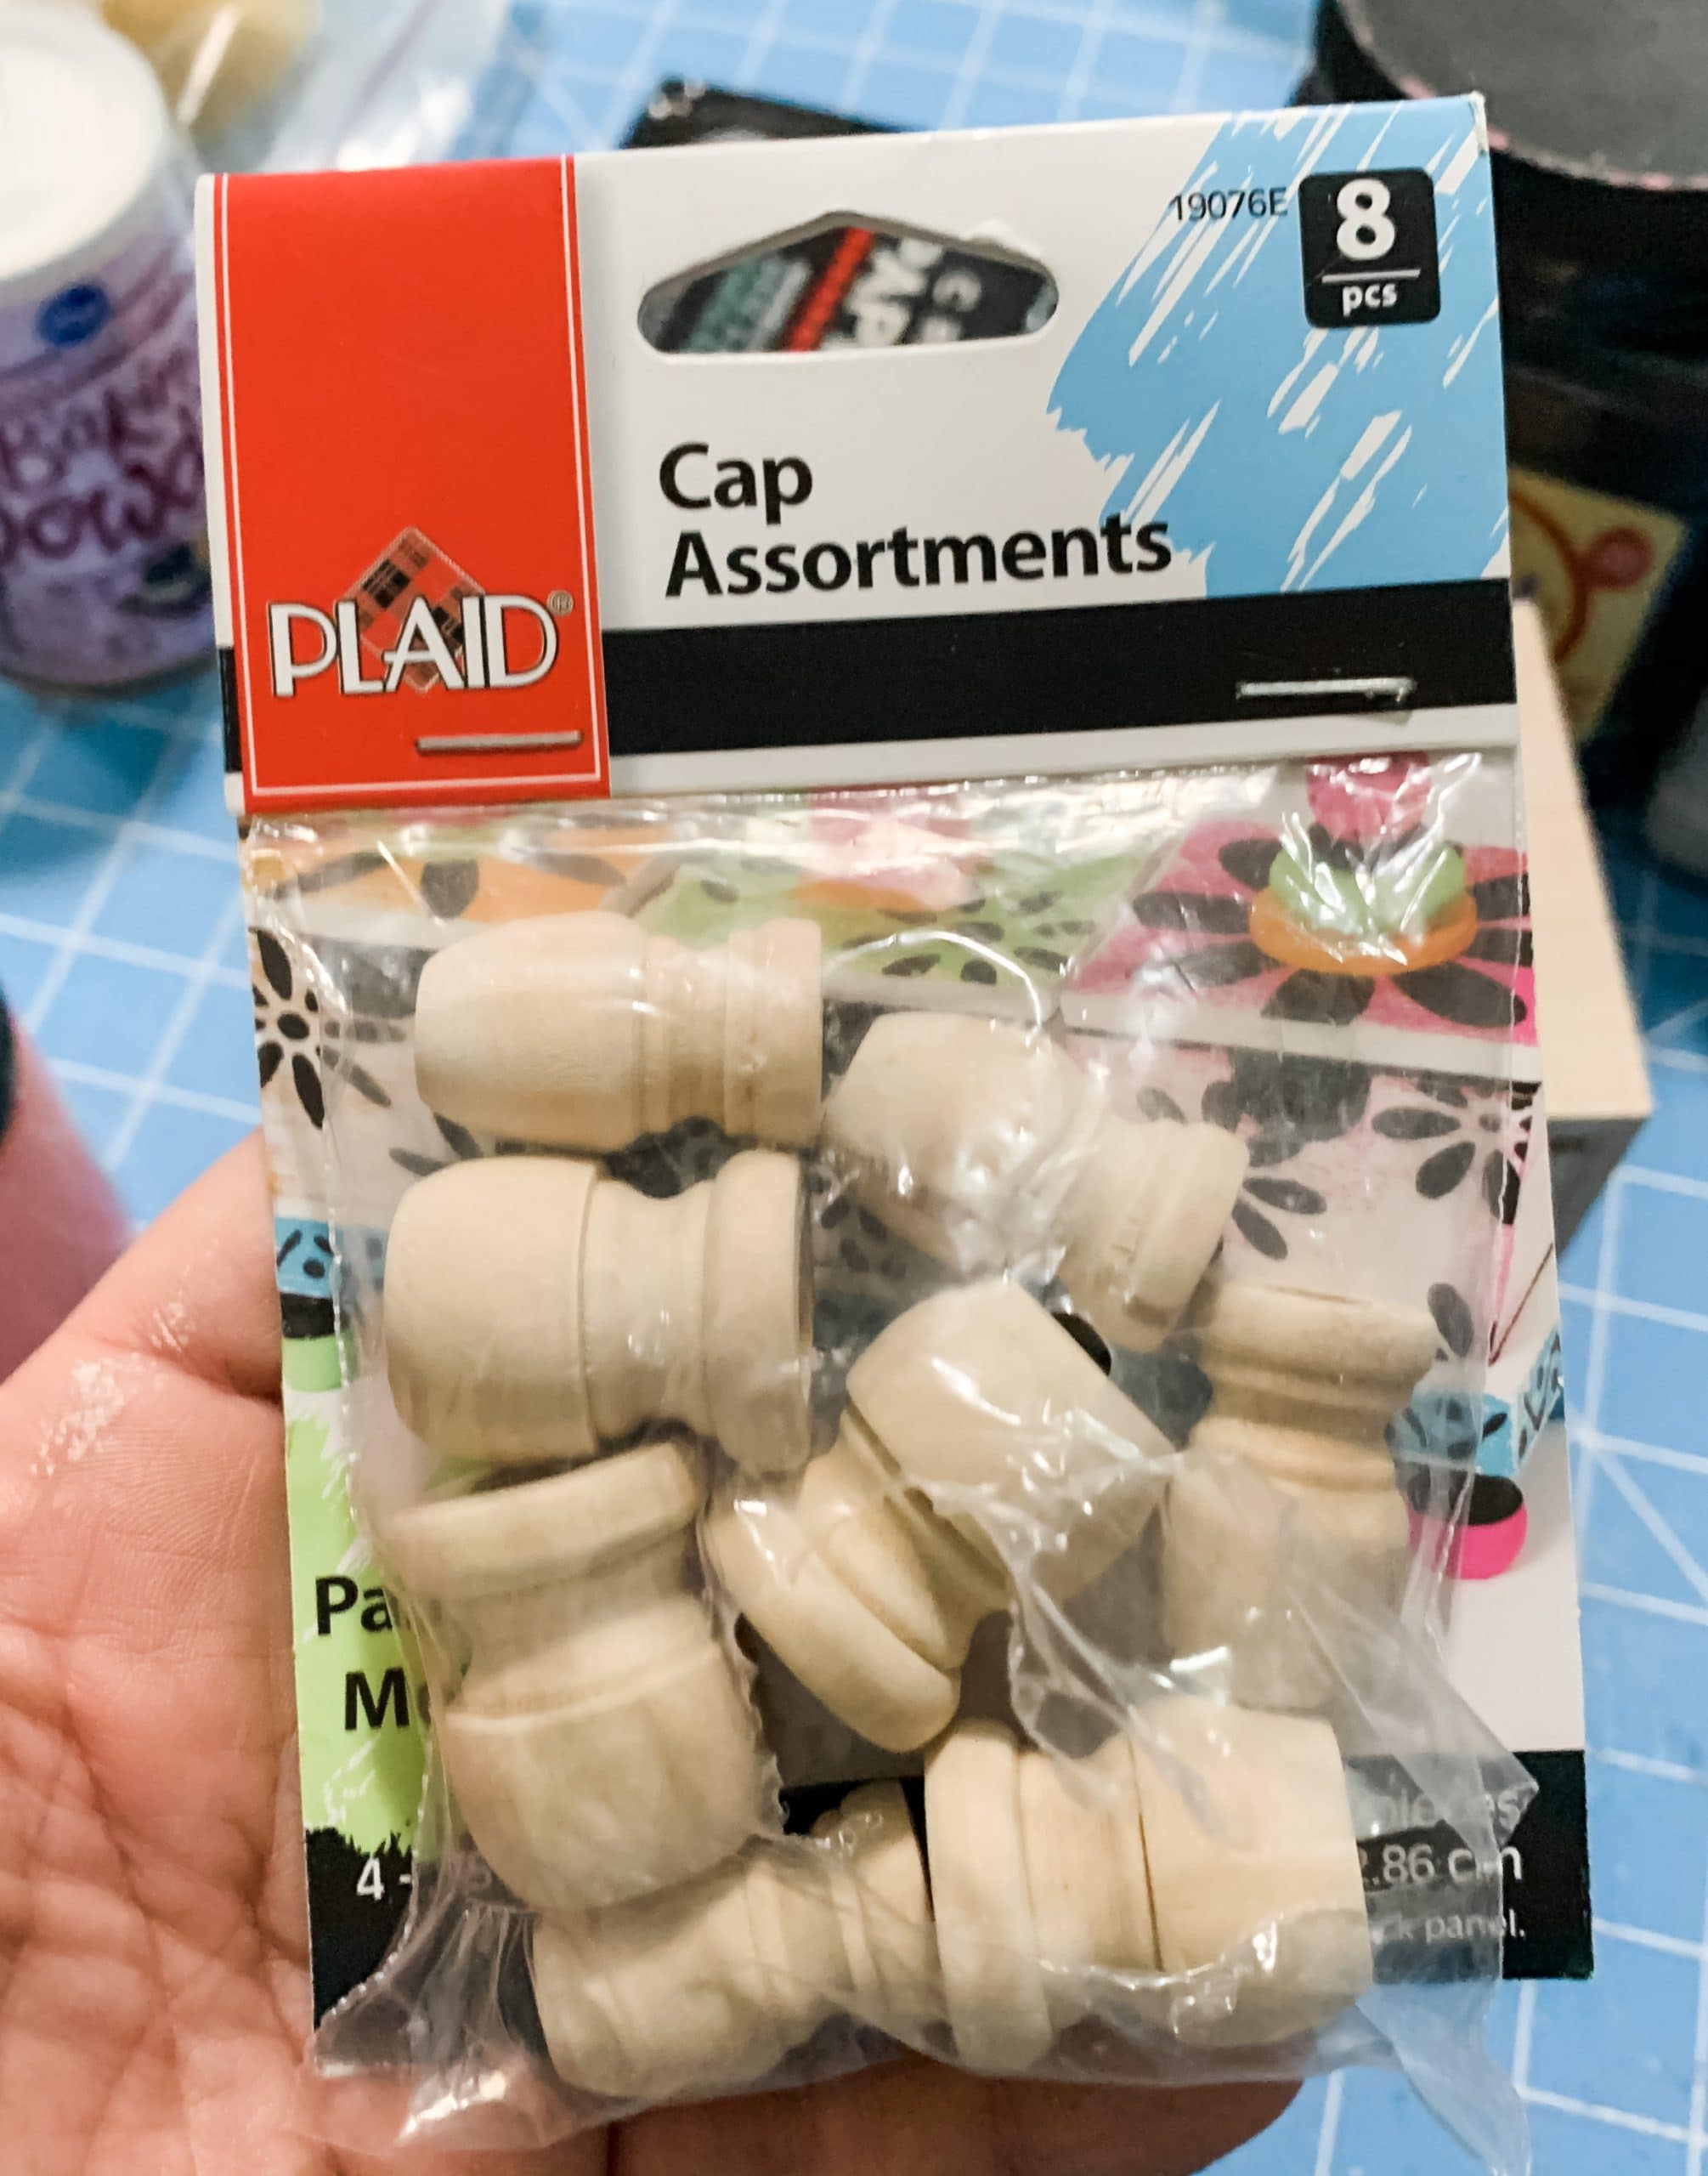
- Plaid Cap Assortment
- Dixie Belle Blue Chalk Paint
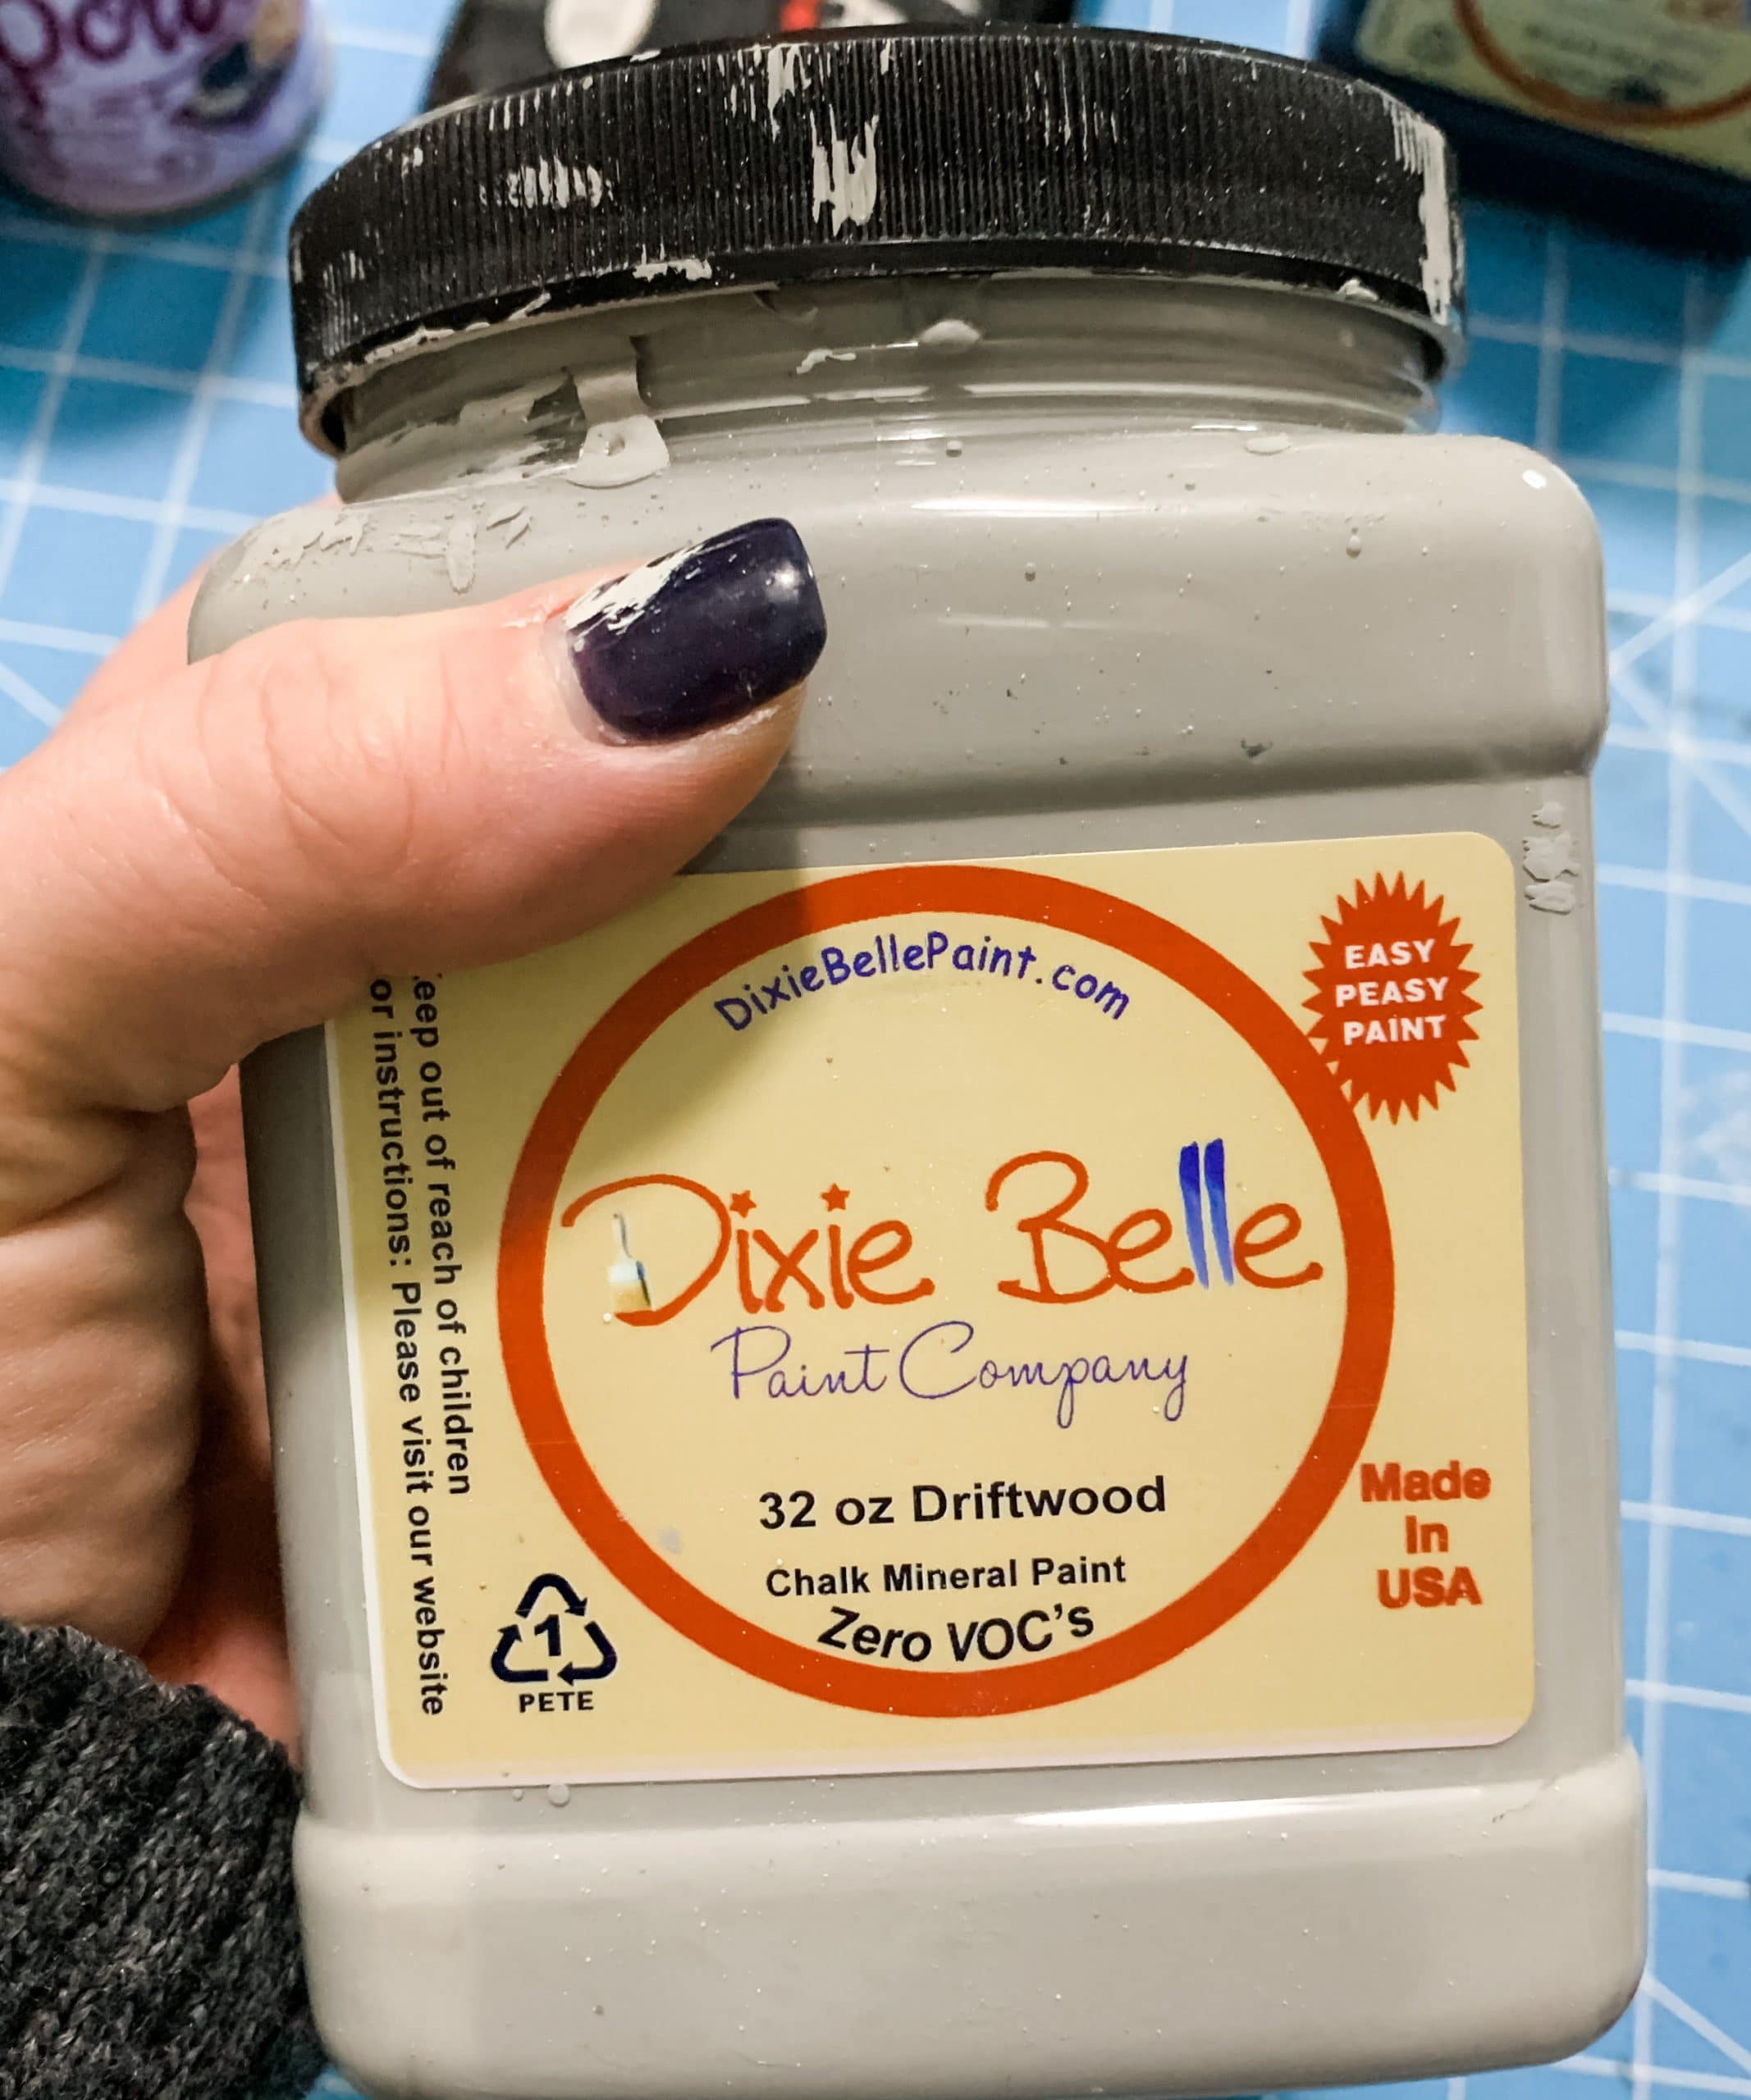
- Dixie Belle Driftwood
- Purple DIY Paint
- Dixie Belle Flamingo
- Dixie Belle In the Navy
- Putty Knife
- Pliers
- Hot Glue gun
- Glue Sticks
How to Make DIY Wooden Decorative Drawers
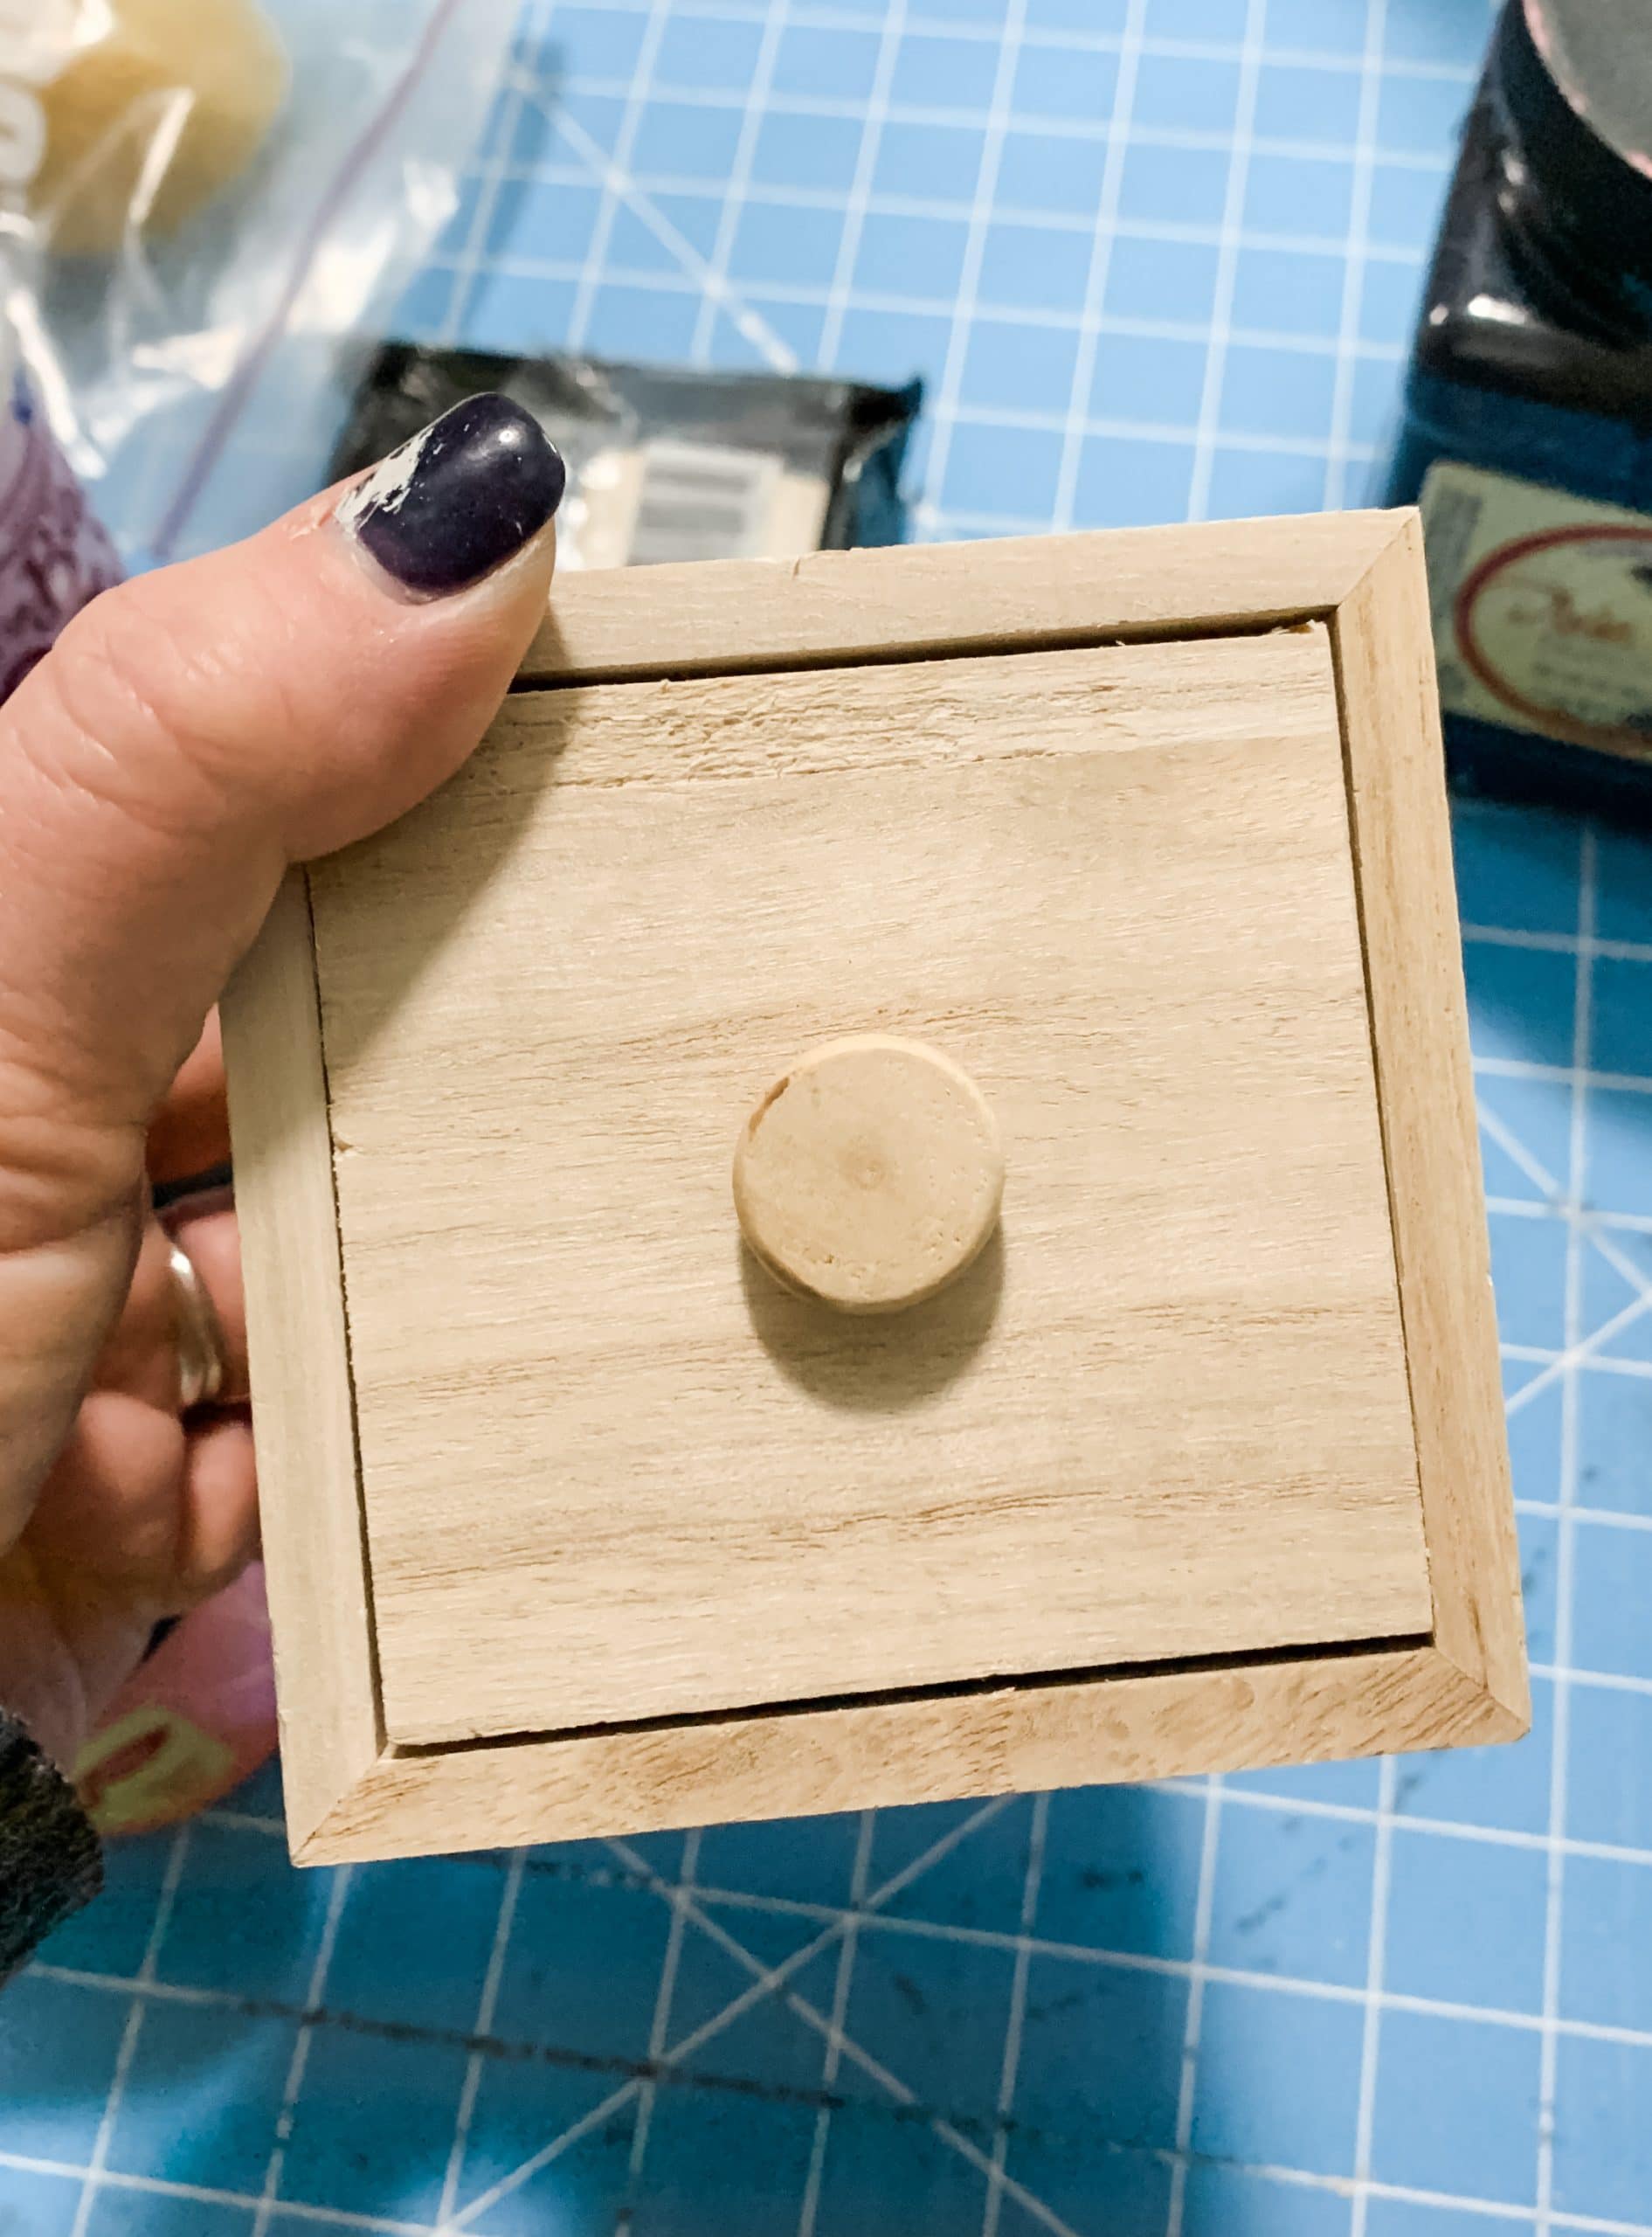
I started this project by removing the knobs from the Michael’s wooden boxes with a pair of pliers. Next, I got the mould ready to create the form.
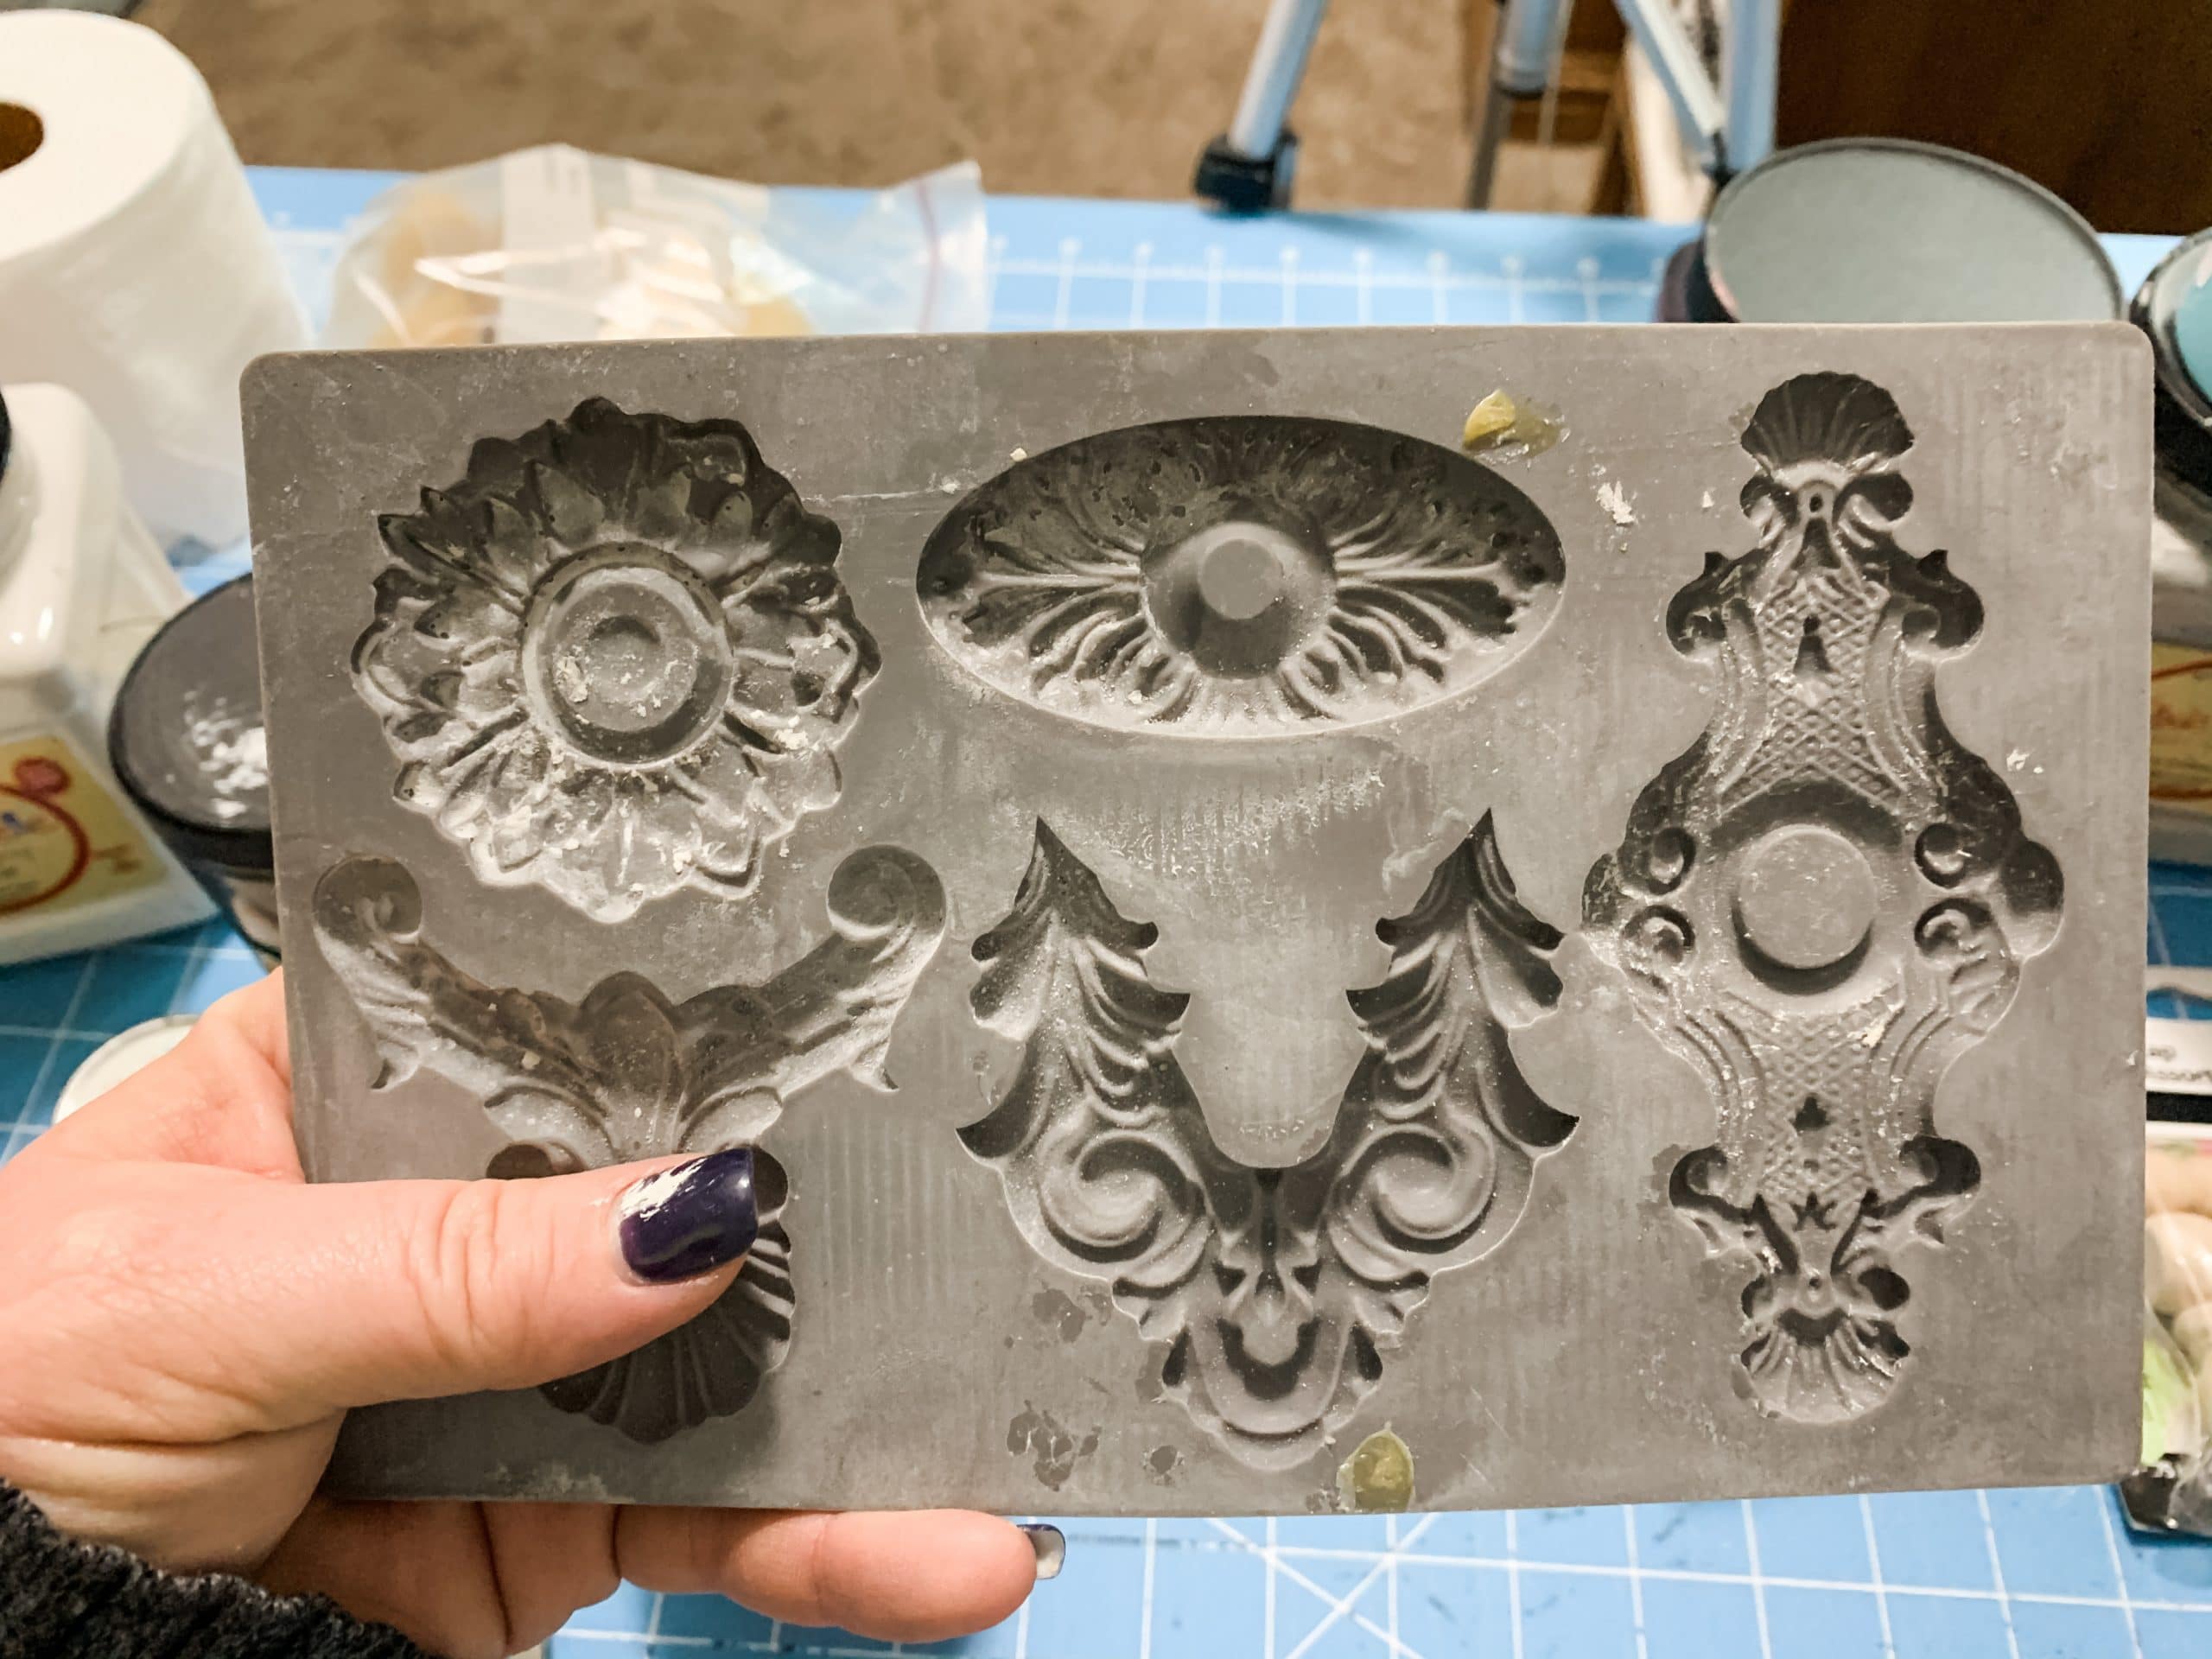
Prep the mould by brushing some baking powder on the inside of the mould. This will keep the clay from sticking to the mould and allow for easier removal later.
Warm up the clay in your hand and then press it firmly into the mould. Make sure the entire mould is filled with the clay to get an even design when you pull the clay out.
I drug my putty knife across the top of the clay to smooth out the clay and level it out. Once it is smooth and leveled, remove the clay design from the mould form.
Make two of the moulds, one for each of wooden drawers. I applied Mod Podge to the back of each of the clay molds and gently pressed them onto the front of the wooden drawers.
Next, I brushed Mod Podge around the edges of the clay design to secure it even more to the wooden drawer.
Add your color
The colors that I listed in the supply list and that I will mention as I explain how I painted my boxes are just suggestions. I painted my wooden drawers the way that I preferred.
Feel free to paint and decorate your wooden drawers however you feel. I started by painting the bottom of one drawer and the top of the other drawer with purple DIY paint.
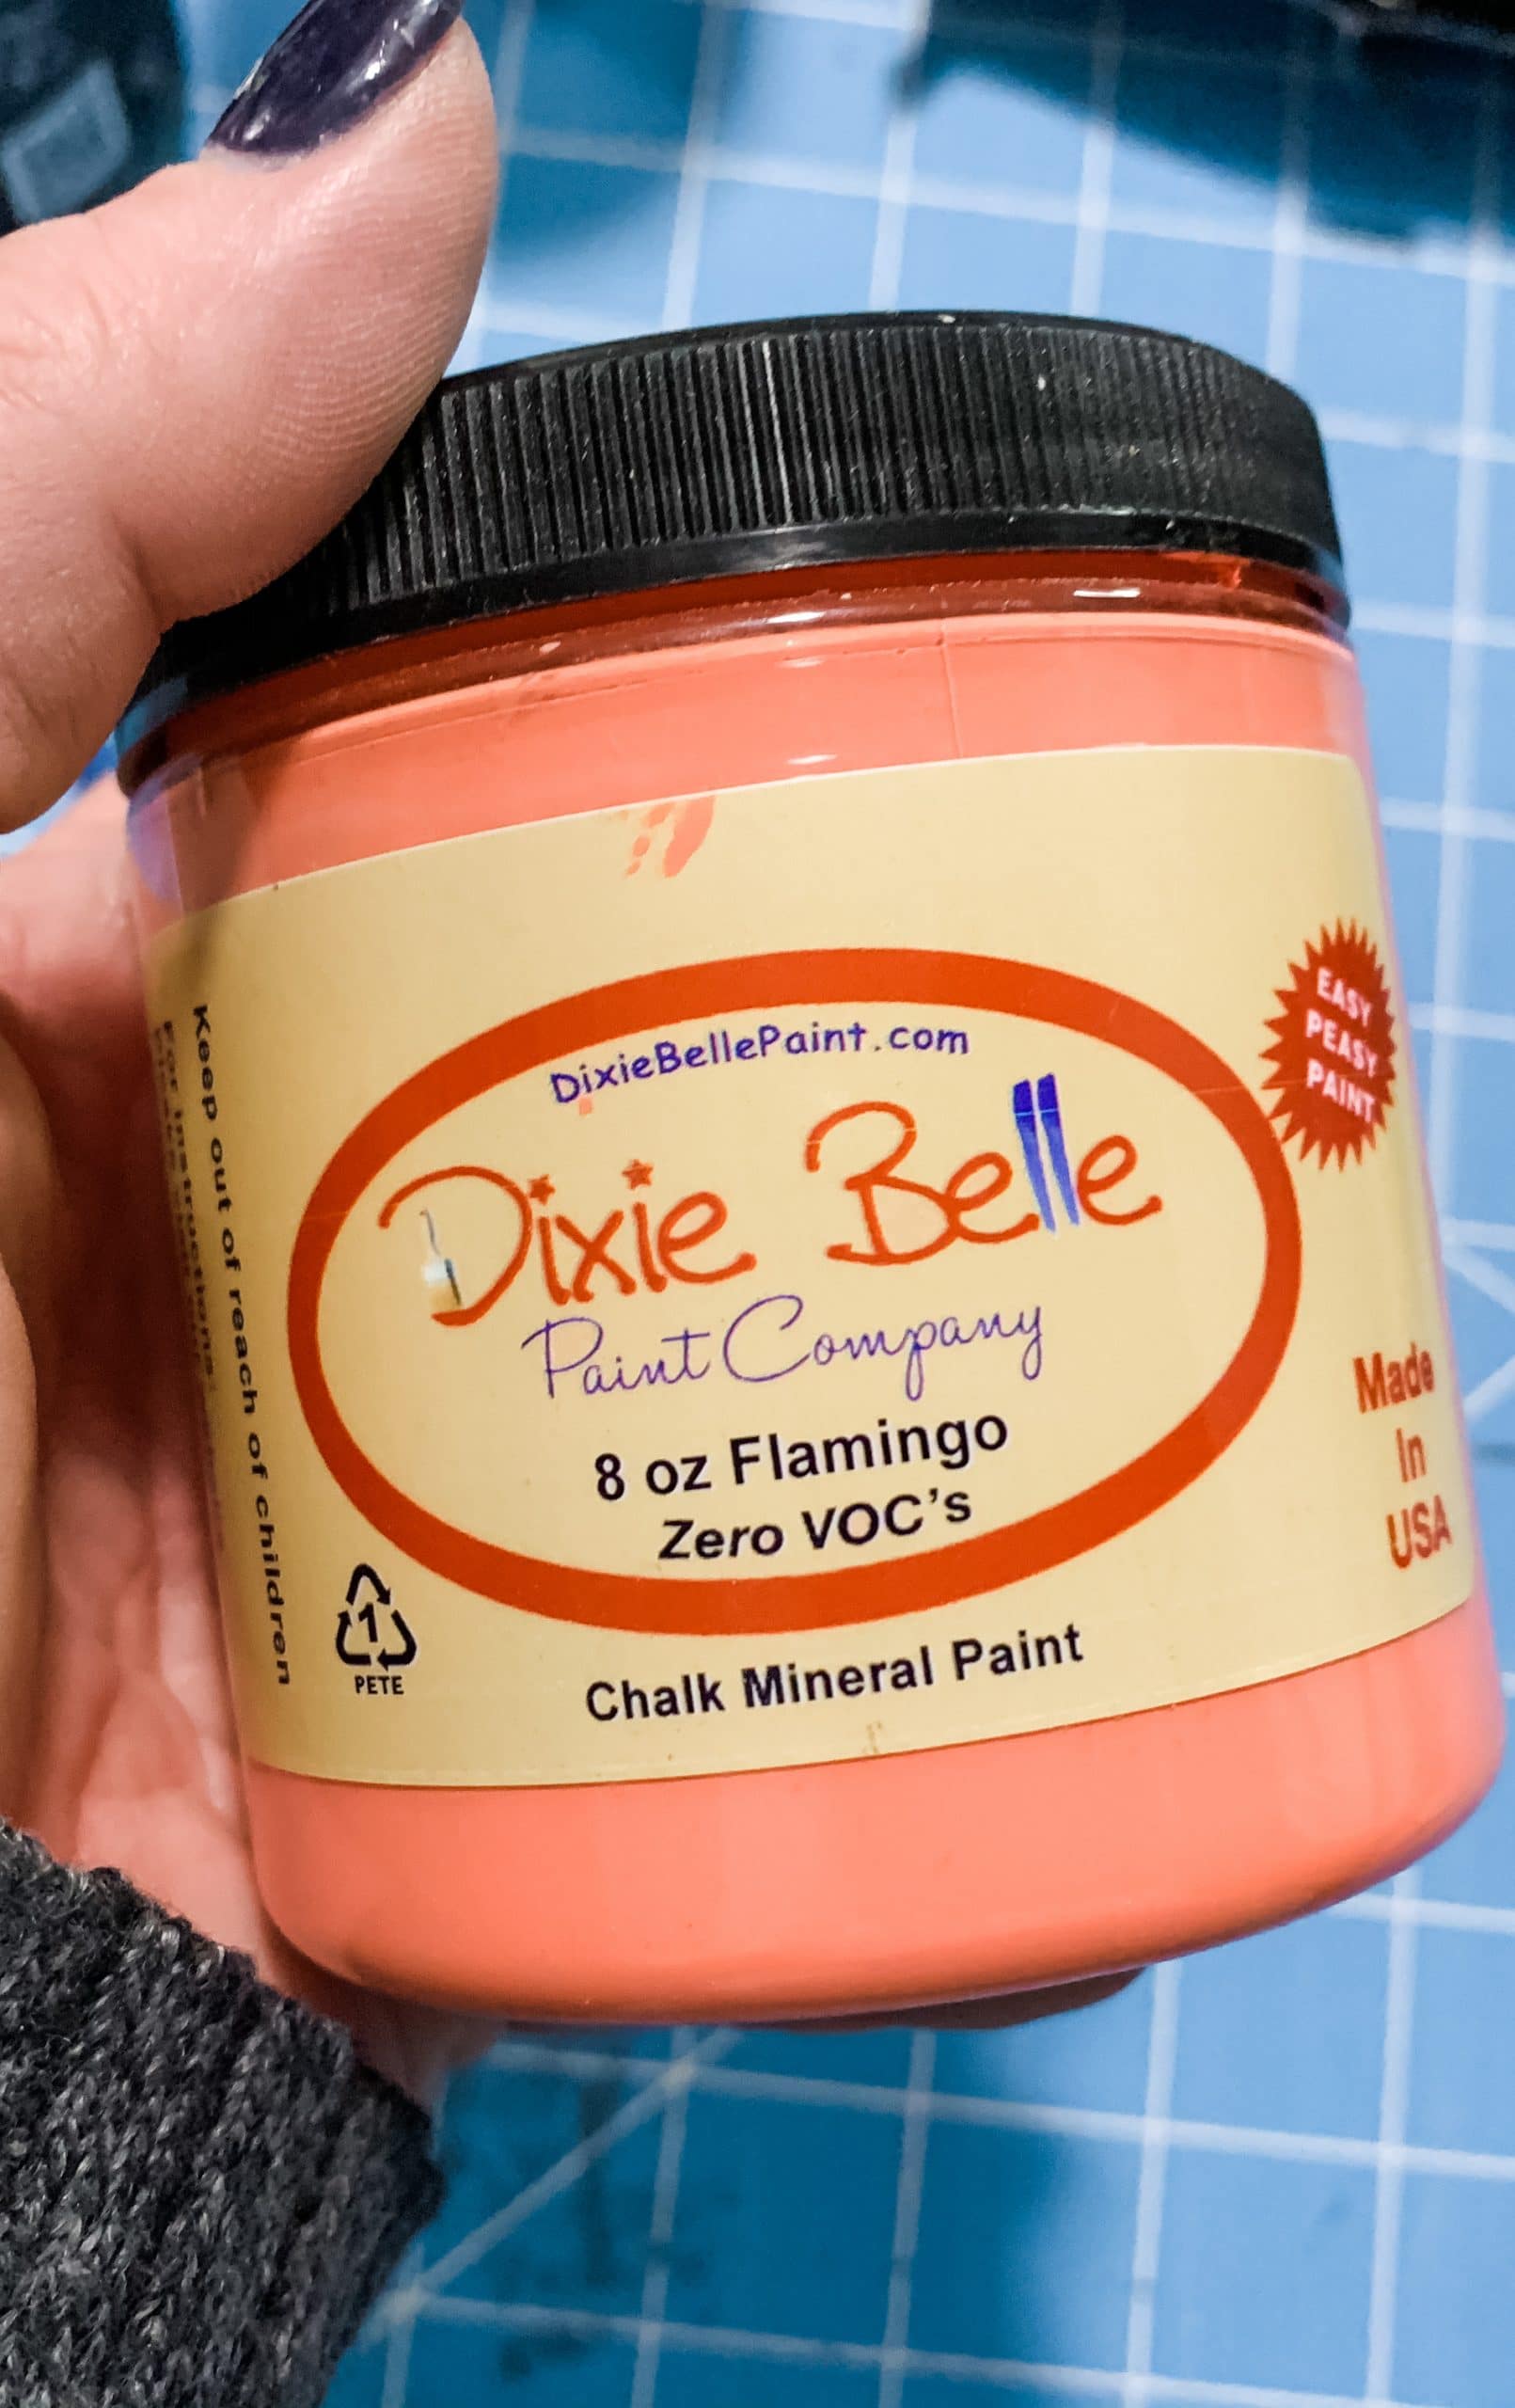
Allow the purple paint to dry (I used my heat gun to speed up the drying process), then lightly brush the Dixie Belle Flamingo Chalk Paint over the purple paint.
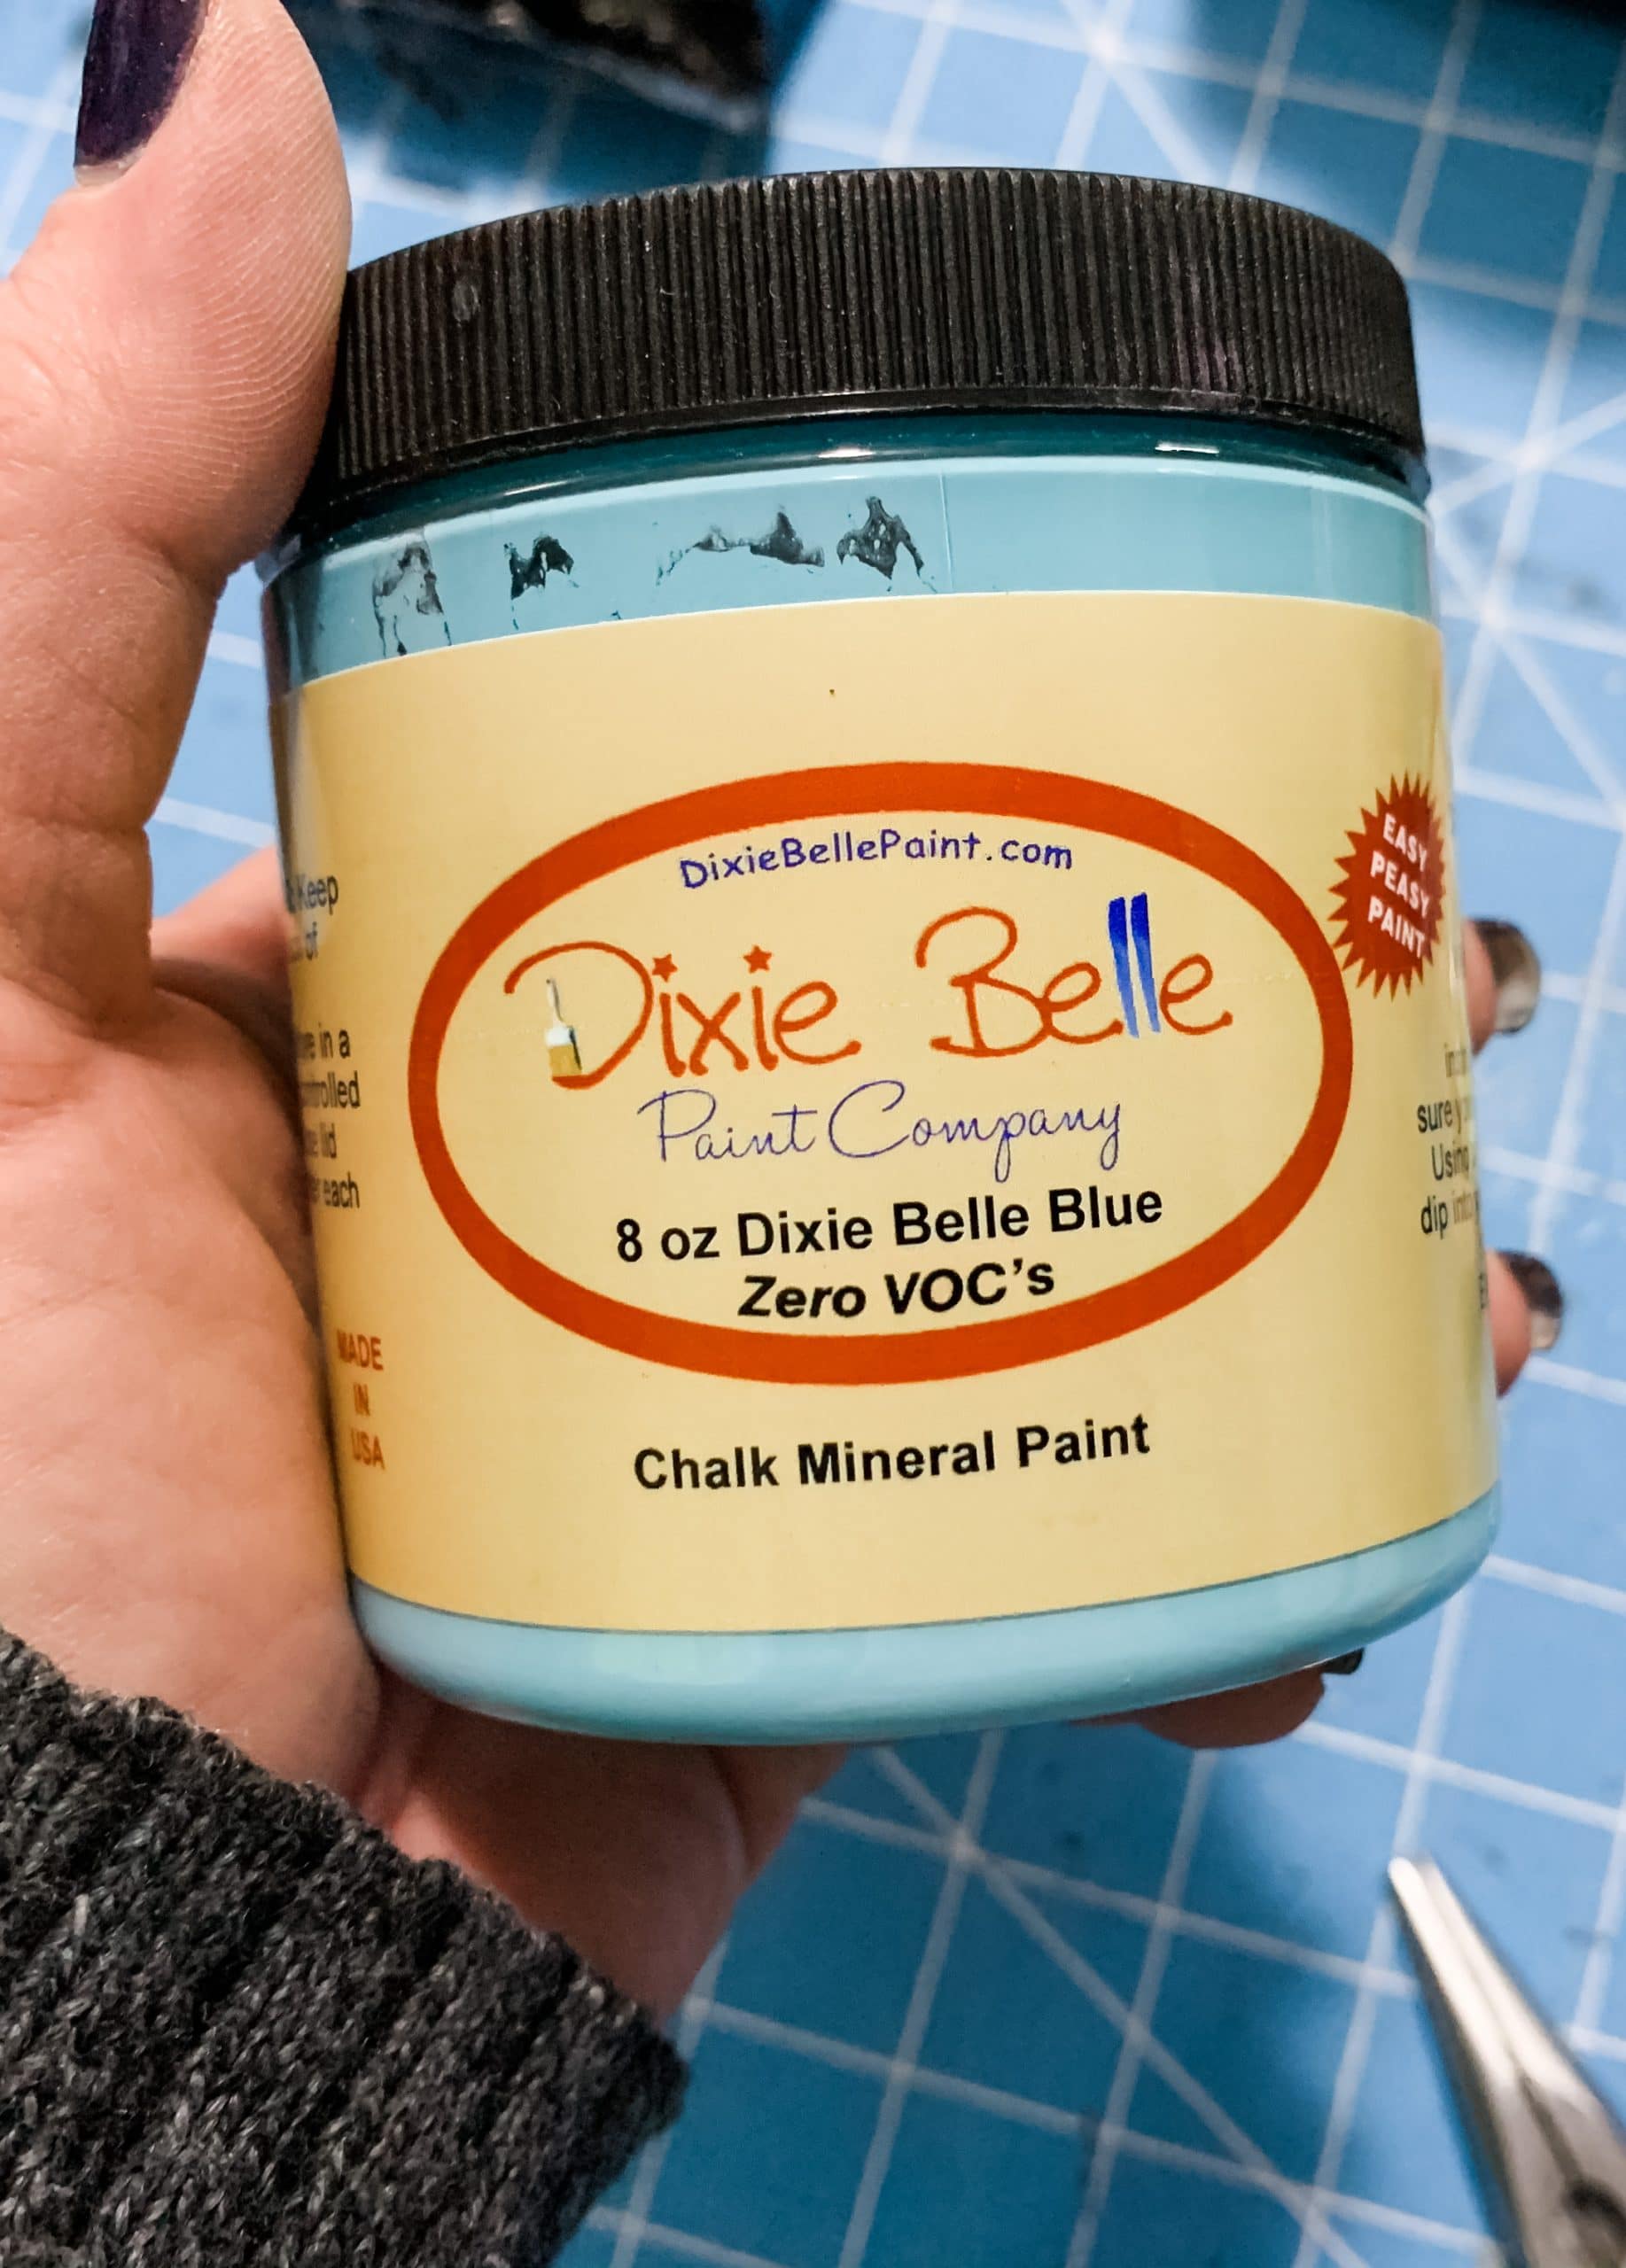
Again, allow the flamingo paint to dry, then lightly brush over it with Dixie Belle Blue Chalk Paint. Let the blue paint dry, then brush Dixie Belle In The Navy in even strokes across the bottom of each drawer.
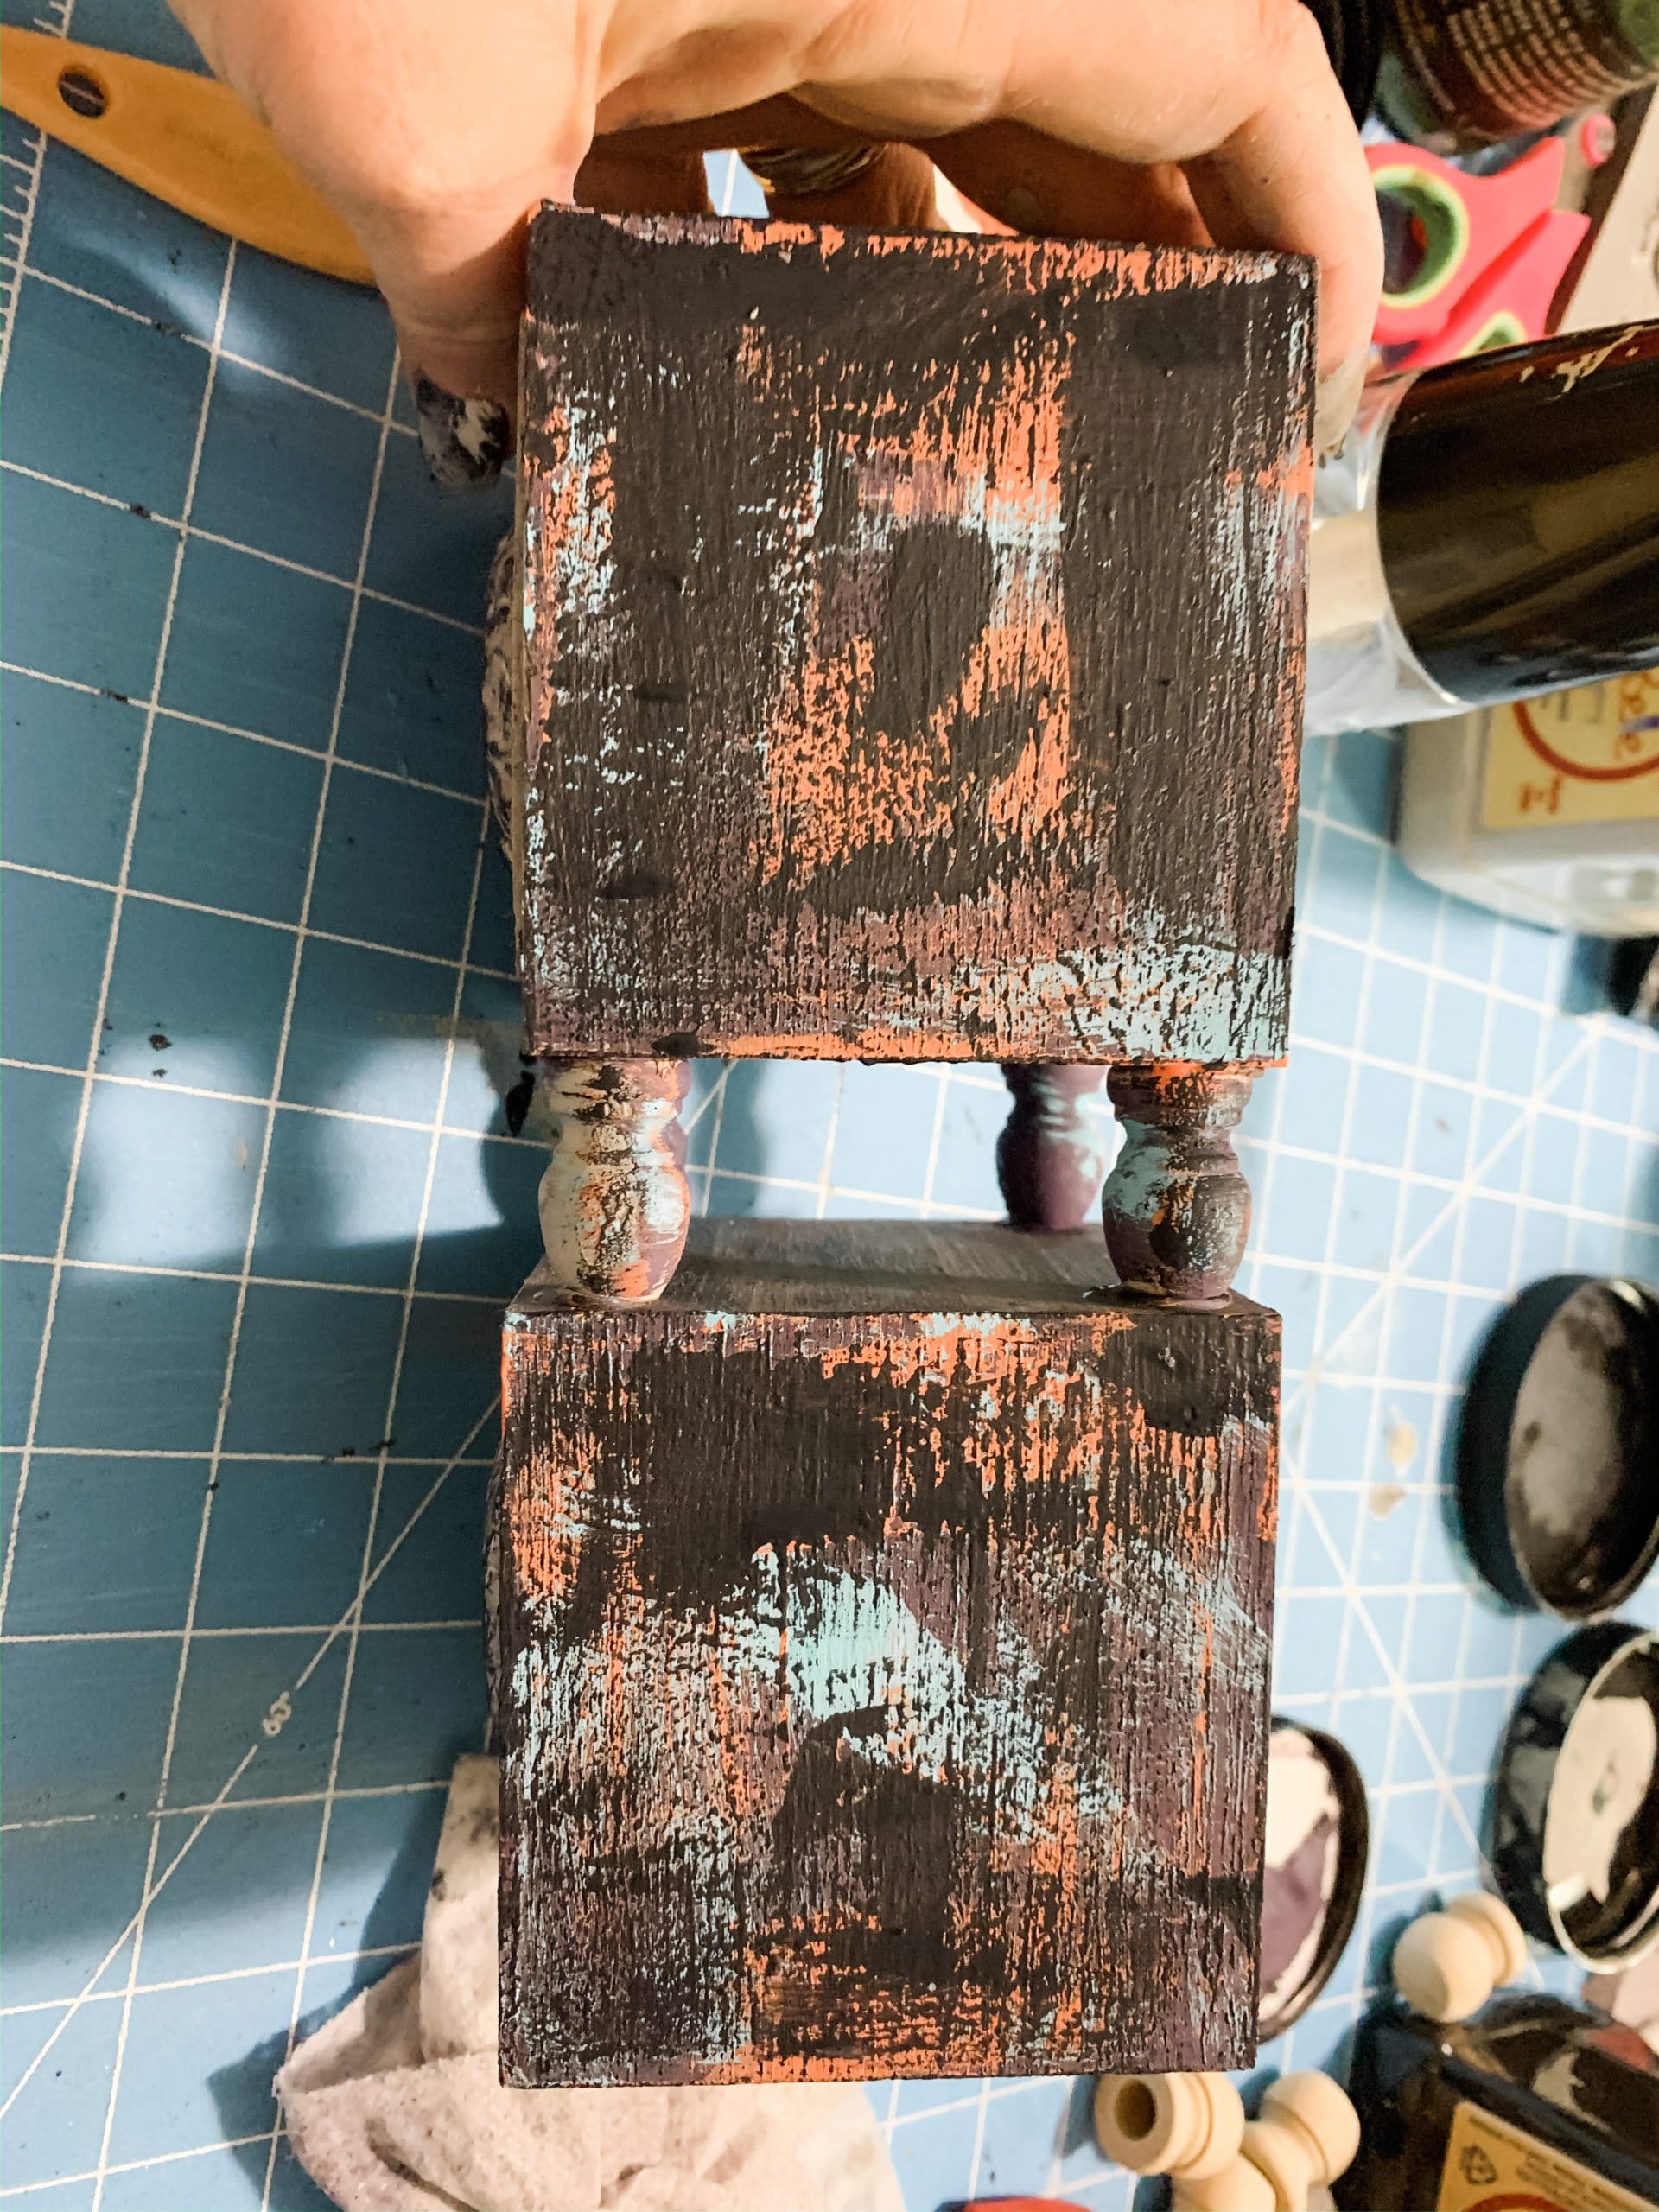
Dry the navy paint, then cover the entire bottom with a coat of Dixie Belle Driftwood Chalk Paint. Allow the paint to dry, then go over the side with a wet wipe.
This will pull up some of the paint and you’ll see a multi-color pattern on the wood! Once you’re happy with the pattern, just lightly go over it with a sanding sponge.
Bring the pieces together
Before you paint the rest of the drawers with the same method you painted the first sides, you need to connect the boxes with the caps.
Get four caps of the same size and hot glue them to the bottom of one drawer (on the painted bottom). Then, hot glue the second drawer (painted on the top) to the bottom of the caps.
Hot glue four more caps to the very bottom of the drawers. Now, follow the same painting series that you did on the first sides on each of the remaining sides, including on the clay molds.

When you go over the front of the drawers with your sanding sponge, be careful not to damage the clay molds.
Once all your sides are painted and your paint is completely dry, you’re all done with these easy DIY Wooden Decorative Drawers!

I hope you enjoyed this DIY Wooden Decorative Drawers as much as I did and decide to make it for yourself! If you do, I would love to see how yours turns out!
You should totally join my FREE Facebook group called On A Budget Crafts! It is a judgment-free community for DIY crafters to show off their projects and ideas.
If you loved this DIY, you might also like these Dollar Tree Windmill DIY Home Decor Ideas
Thanks for stopping by! XOXO Amber
You can also shop my ENTIRE AMAZON Favorites shop just click here! It’s packed full of all the things I use and love. Here is the supply list I highly recommend every creative have on hand!!
Would you also pin my blog for later and get on my newsletter alerts? I would love to have you join my #craftycrew.
Inspired? Leave me a comment below! I love hearing from my readers!

Join my free “ON A BUDGET CRAFTS” Facebook group!

Love these! When did you apply the spackling?
These are so cute! I would love to find these molds for the little apothecary type drawers I make. Do you have a link?
Amber, I went to look for these boxes and can’t find them! Suggestions?
Thank you Amber for all your crafting ideas I have a huge list of what I want to make. I can only get items to make 4 things a month and want to make some wreaths too. So I get 3 things a month to get a start on making them so it takes awhile. I will get there!!! Plus depending on how much pain I am in too😢. Have many health problems way to many I thank GOD every day for all he has given me 🙏🙏🙏. Bless you for everything you do Love you ❤️🙏❤️🙏❤️
Wow, these are awesome. First time seeing these. Great job!
Looks great! Will have to try this one, too.