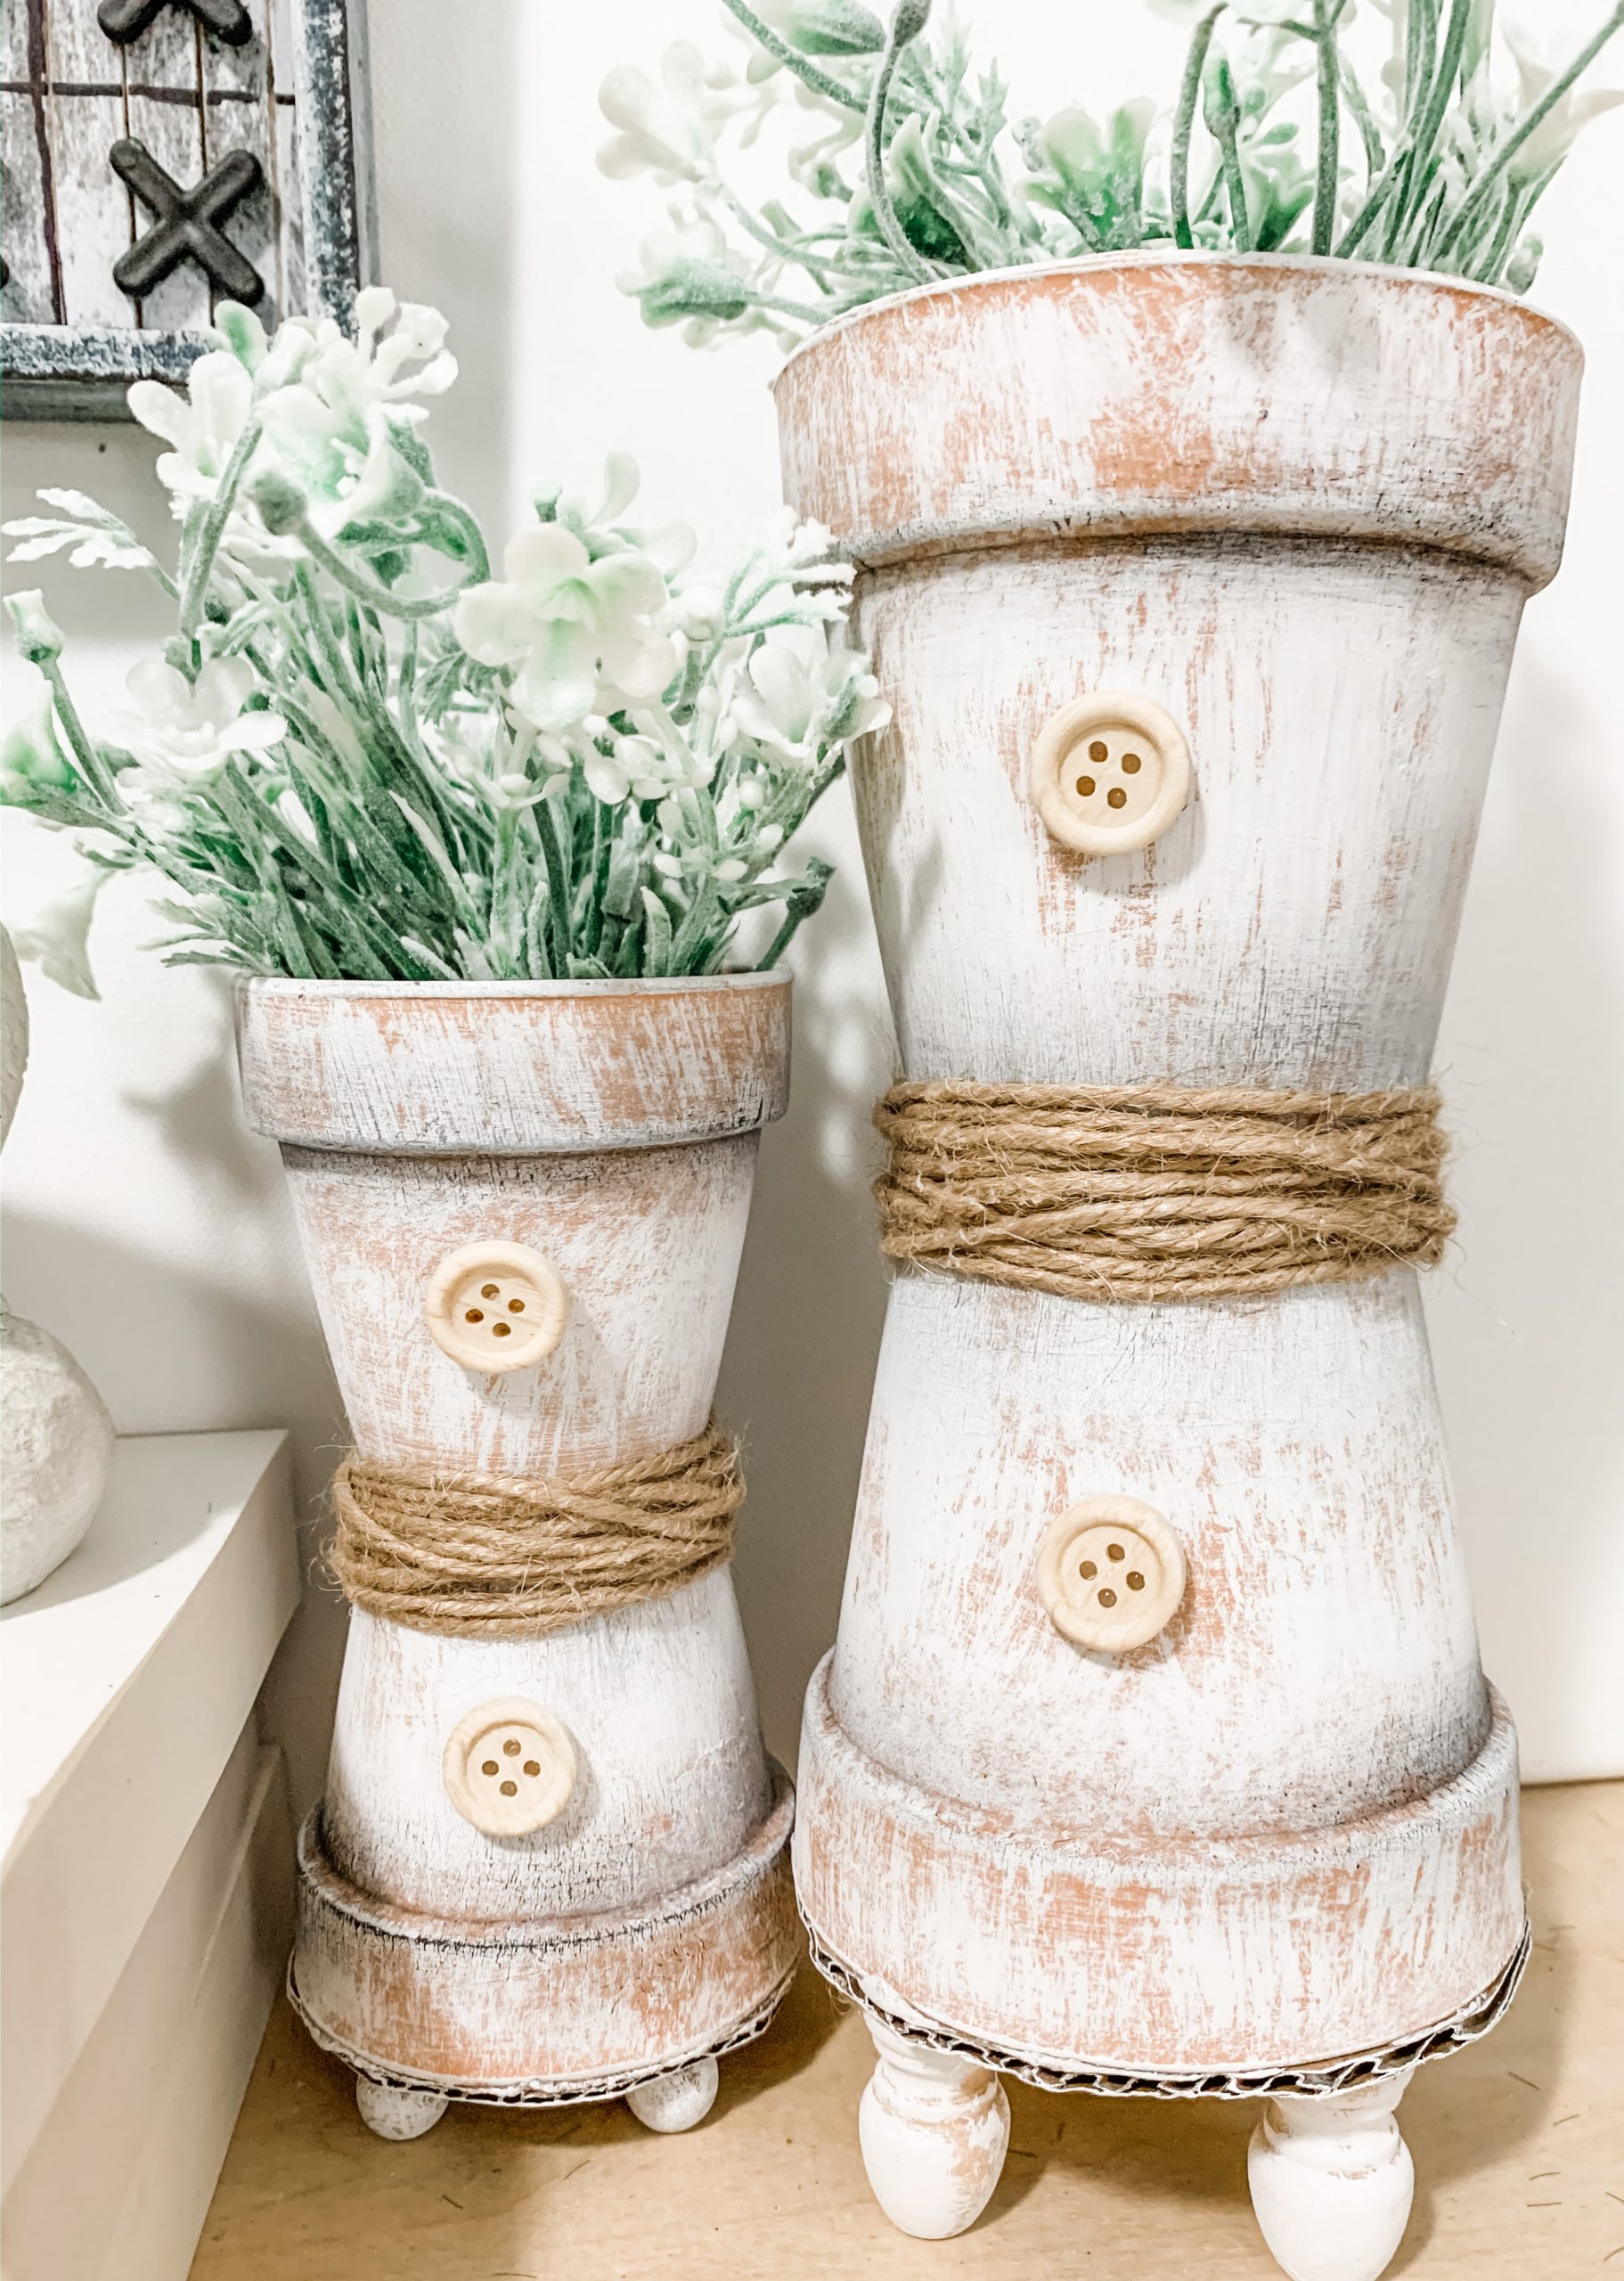
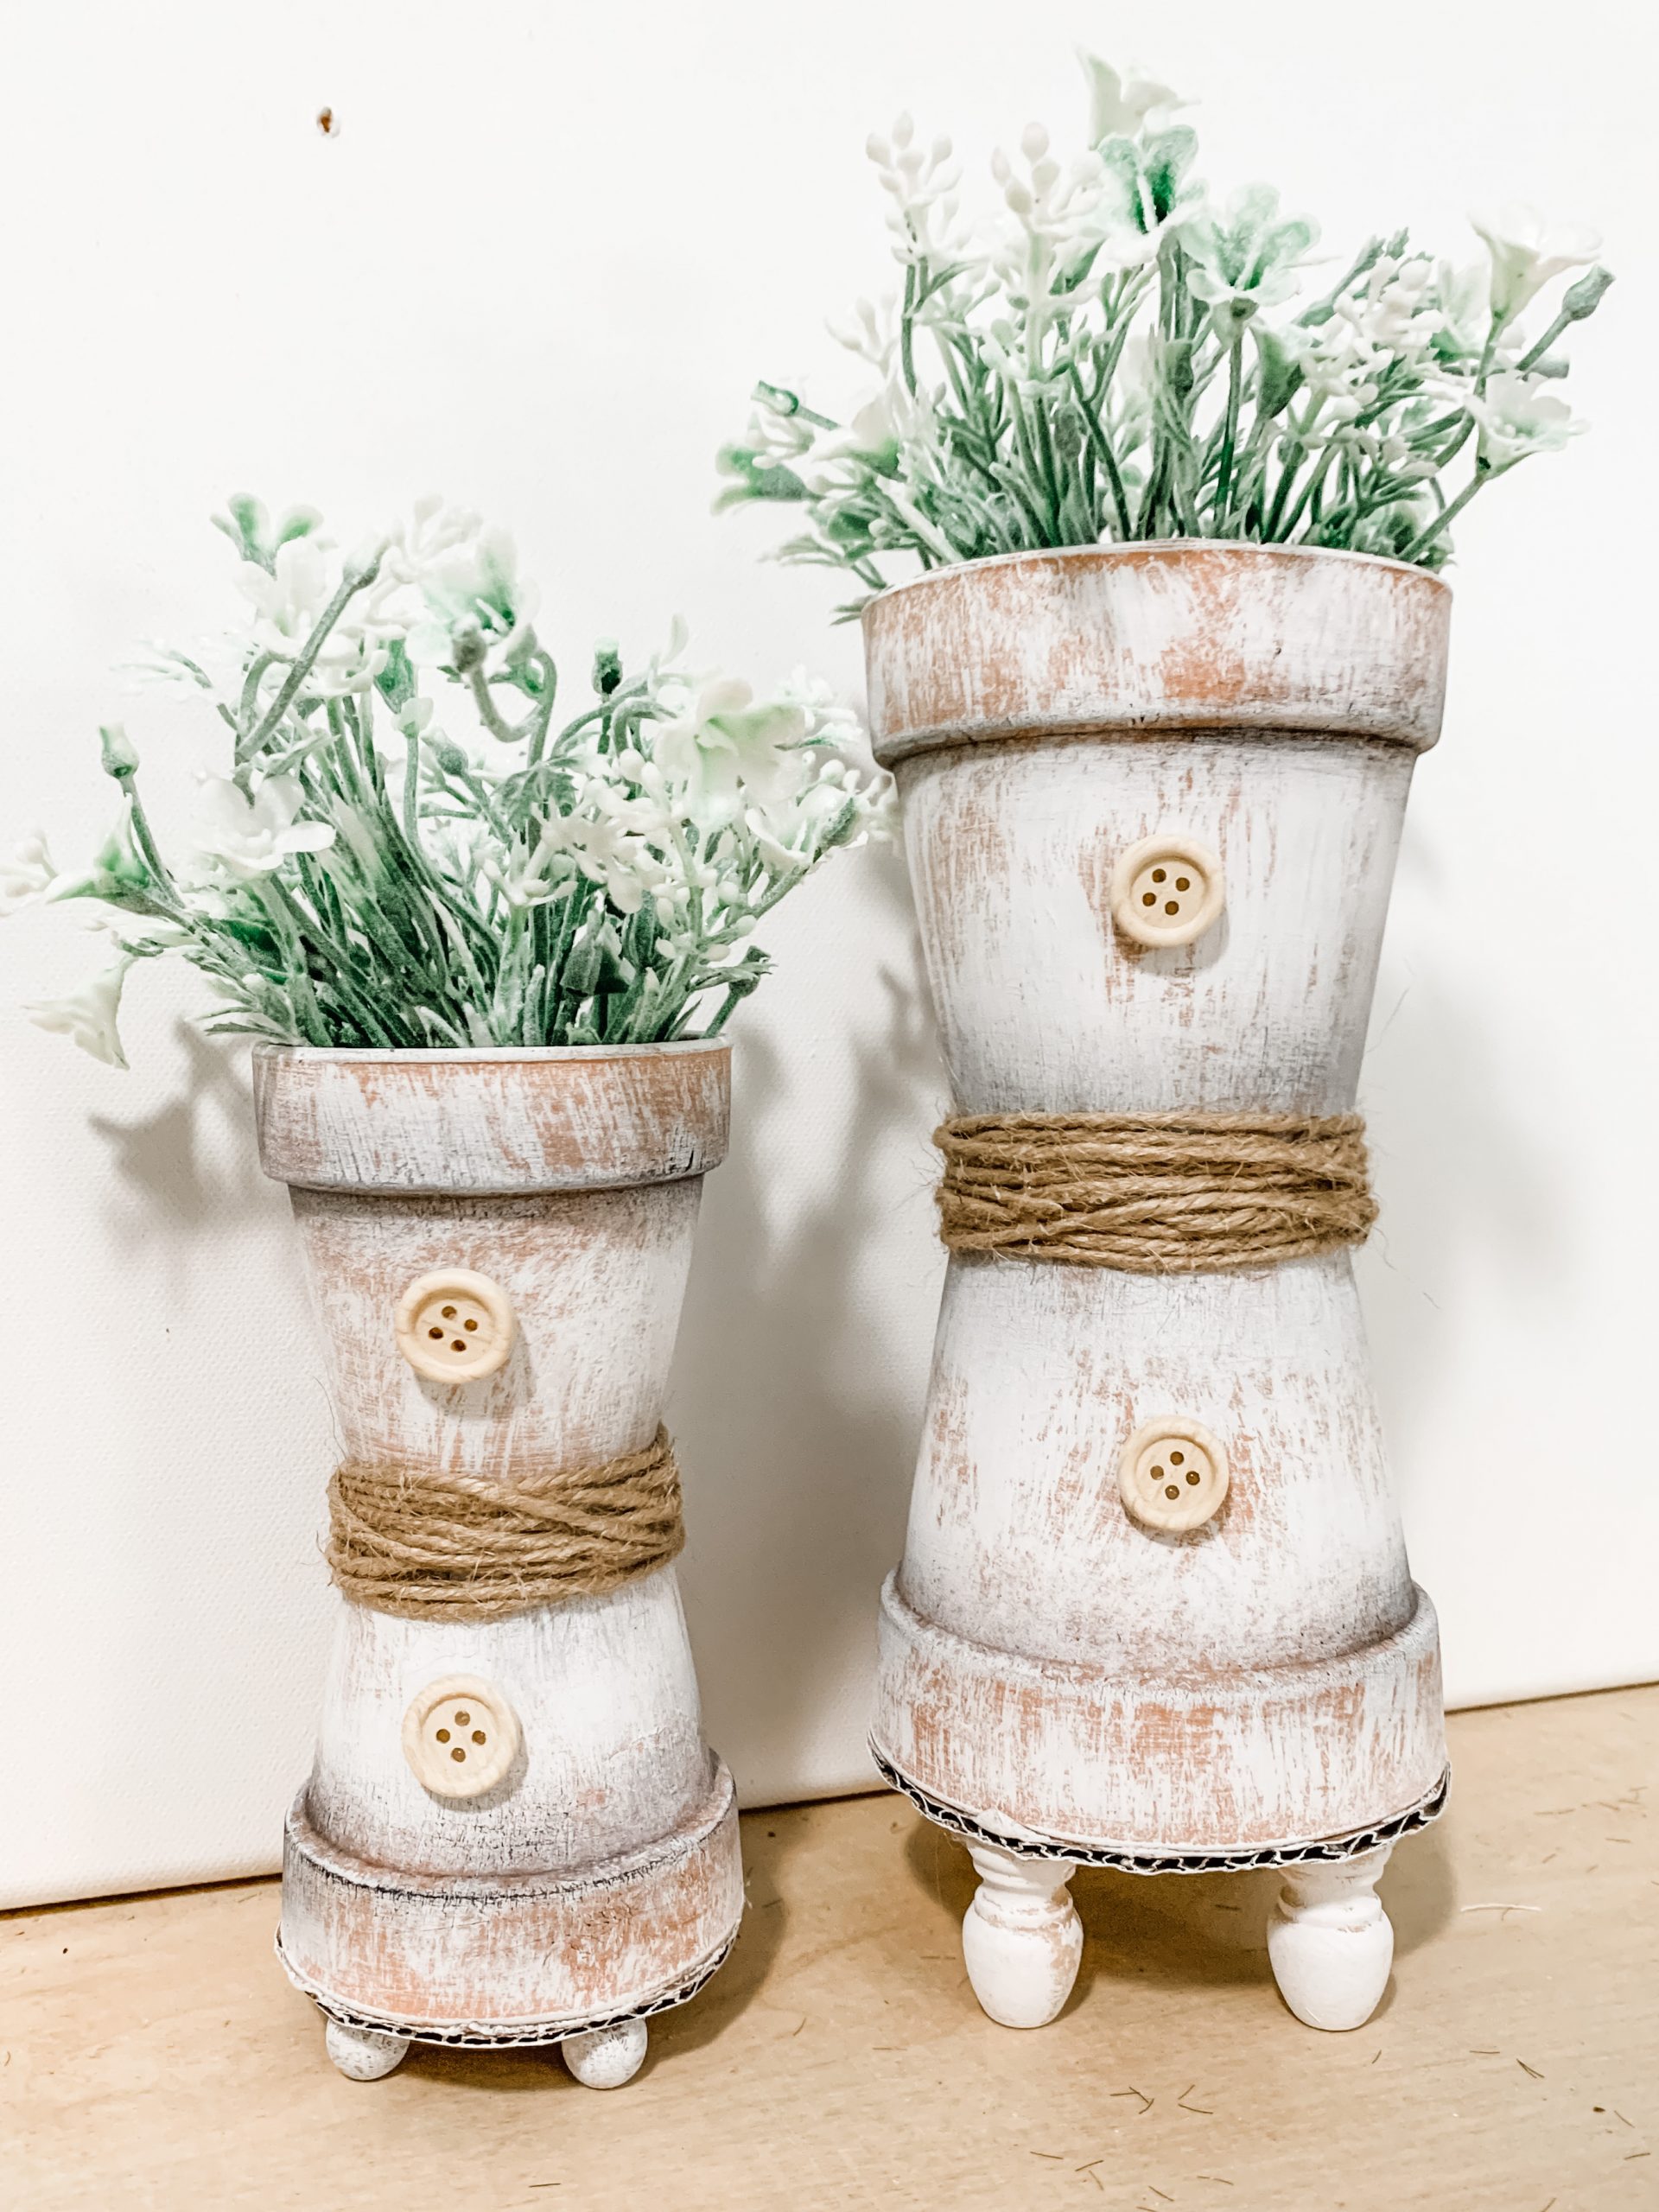
Stacked Terra-Cotta Pots
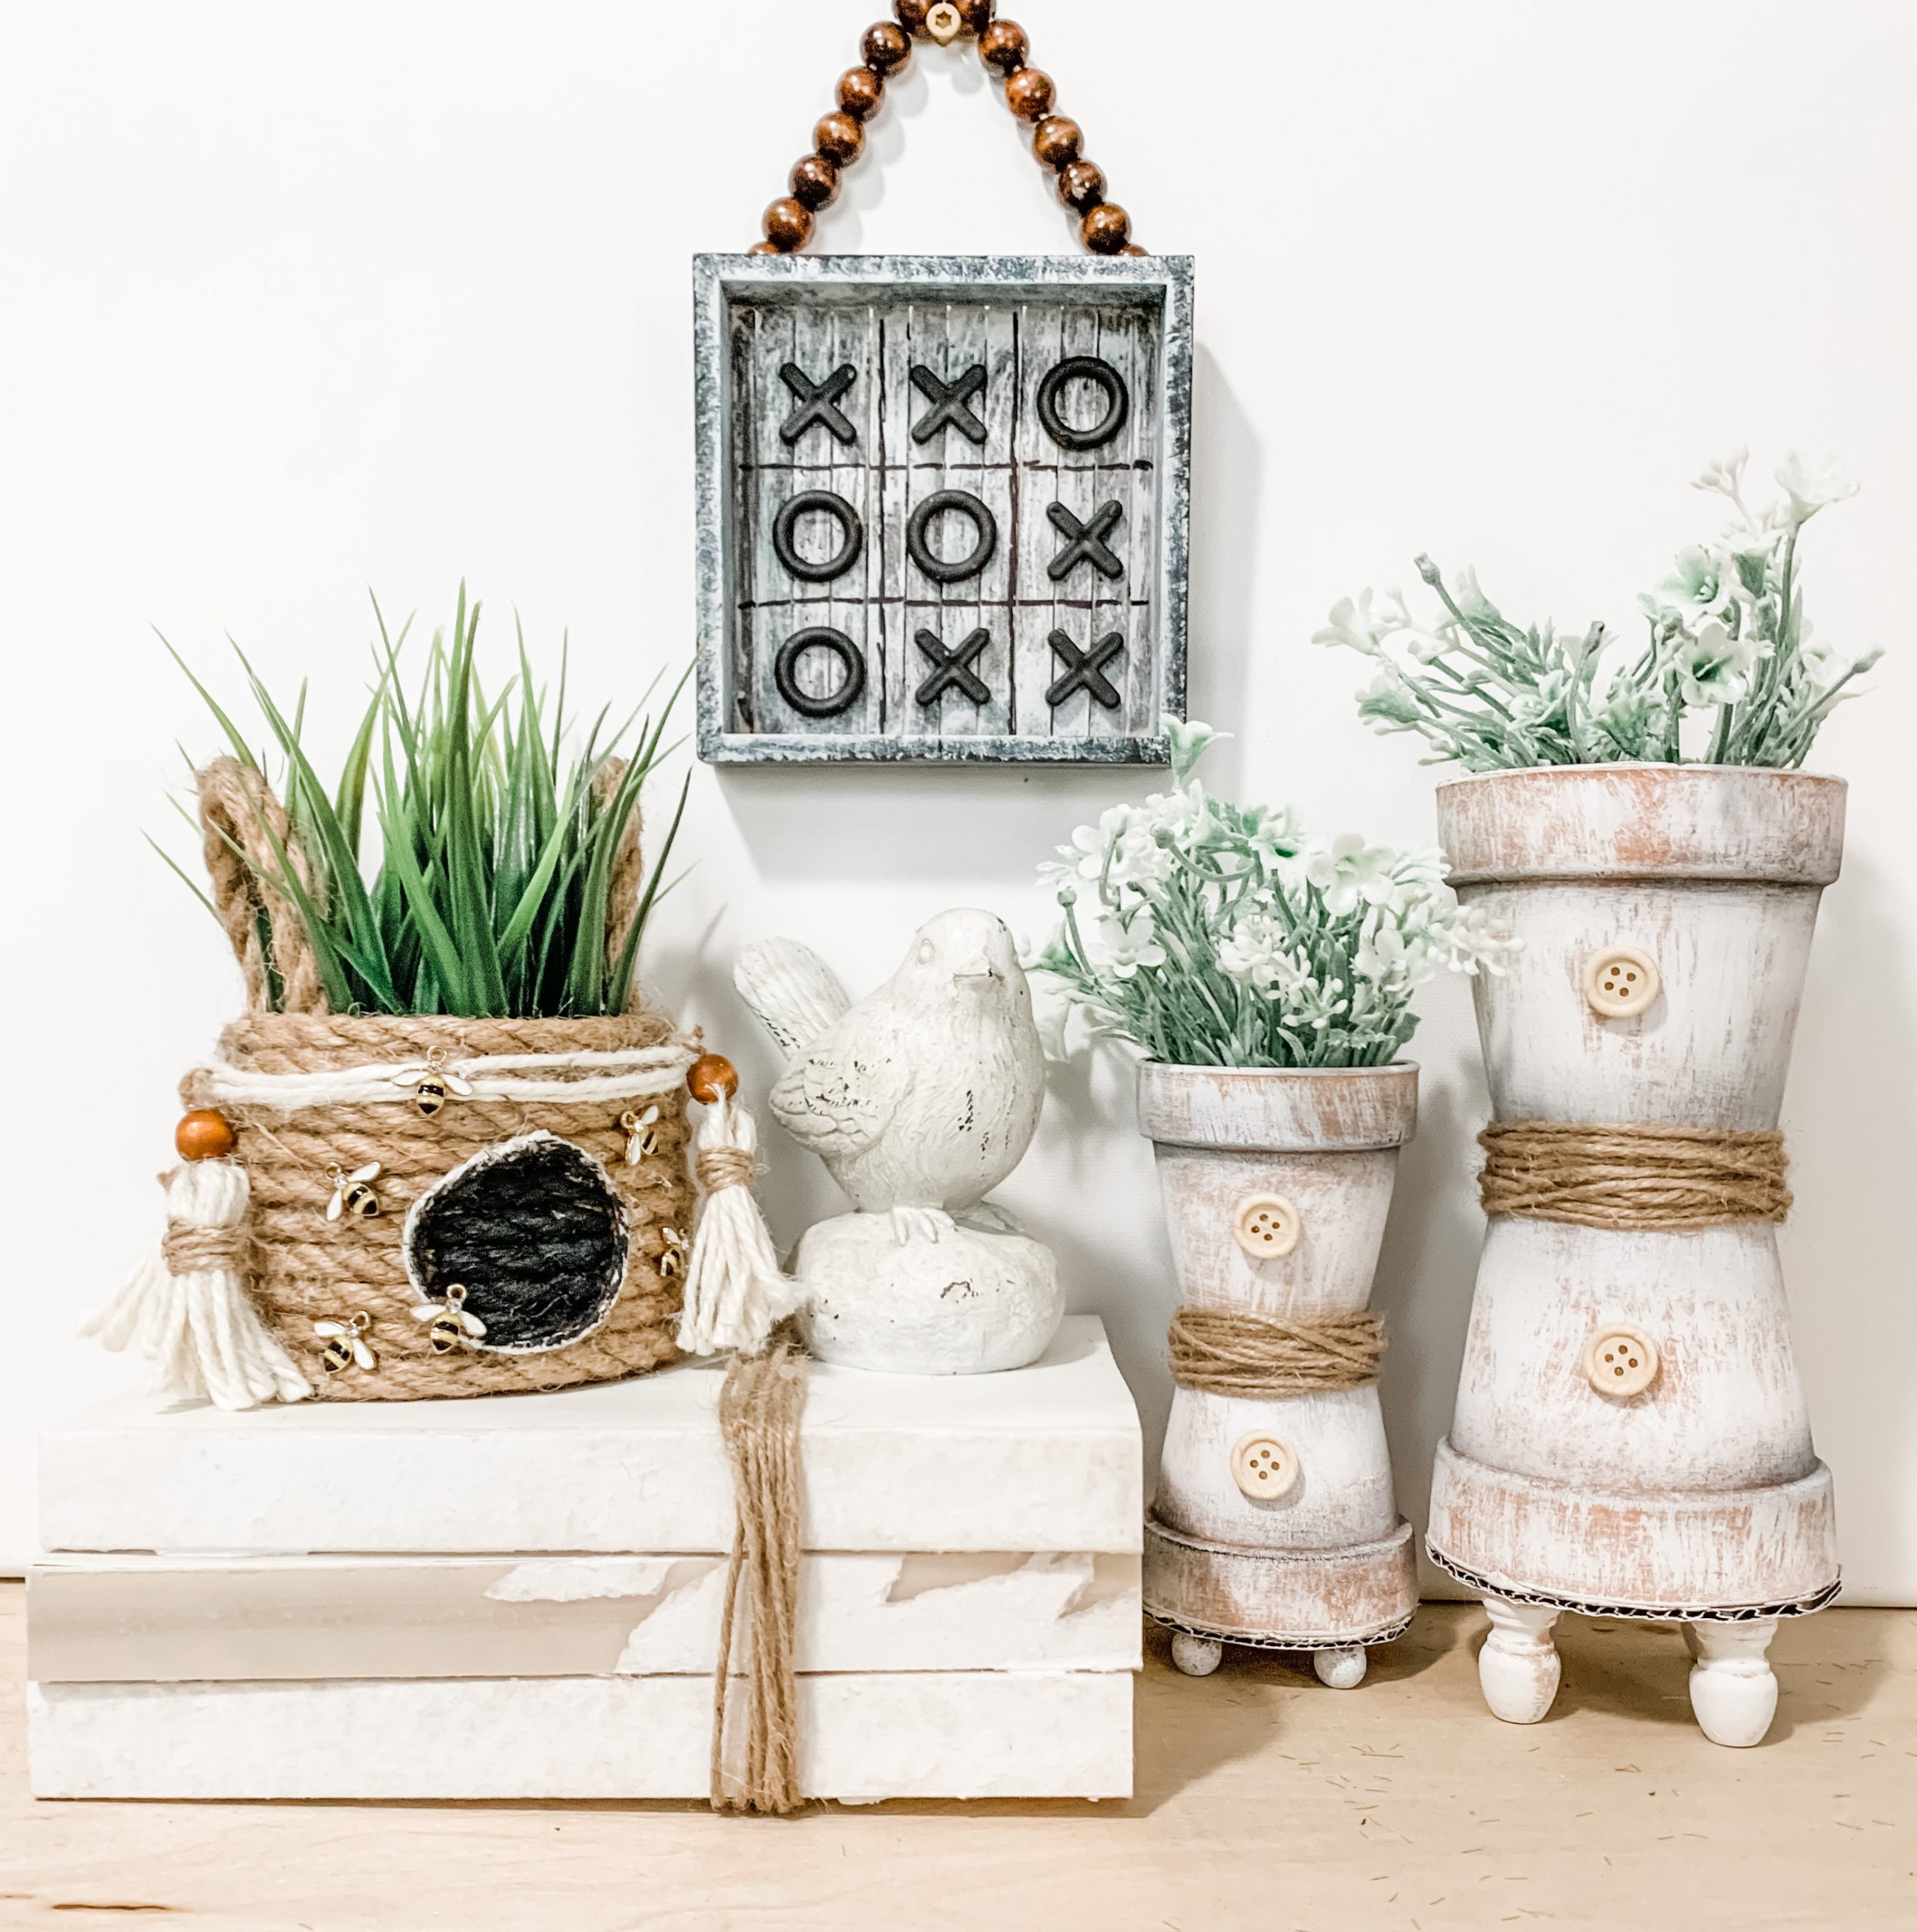
These Stacked Terra-Cotta Pots are so simple to make, and they are perfect for almost any decor style! You can fill them with any flower or greenery or choice and customize them for your style!
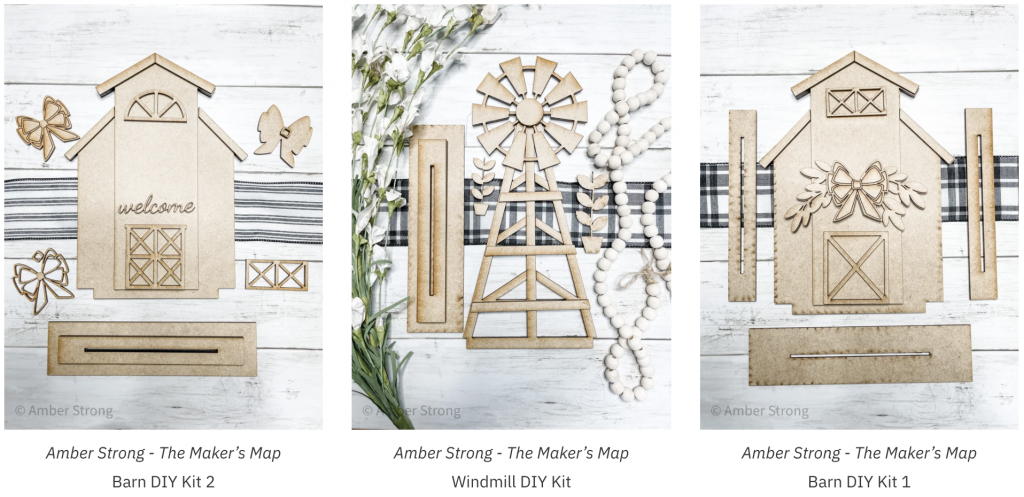
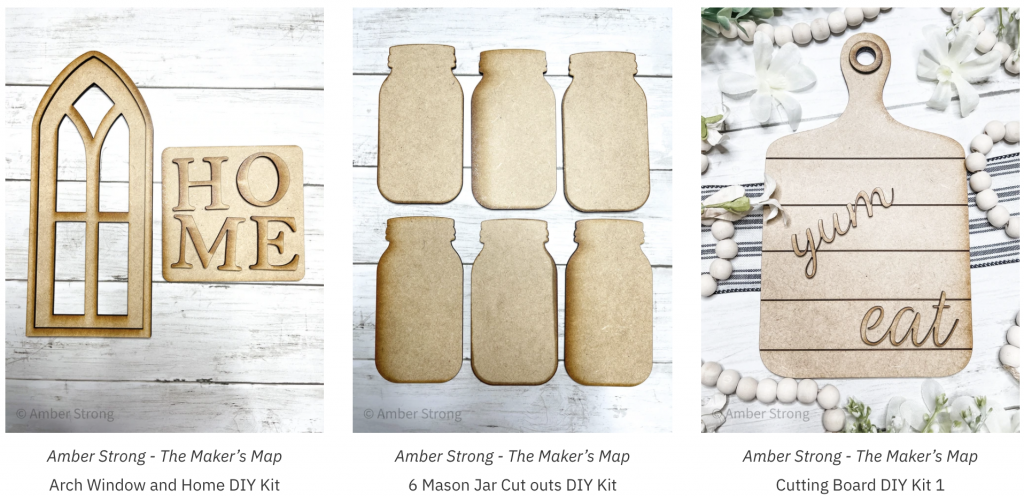
Check out my DIY kits!
Also, check out the napkin bundles available! These are great for DIY’ing with! You can decoupage them onto practically any surface and create unique, one-of-a-kind home decor!
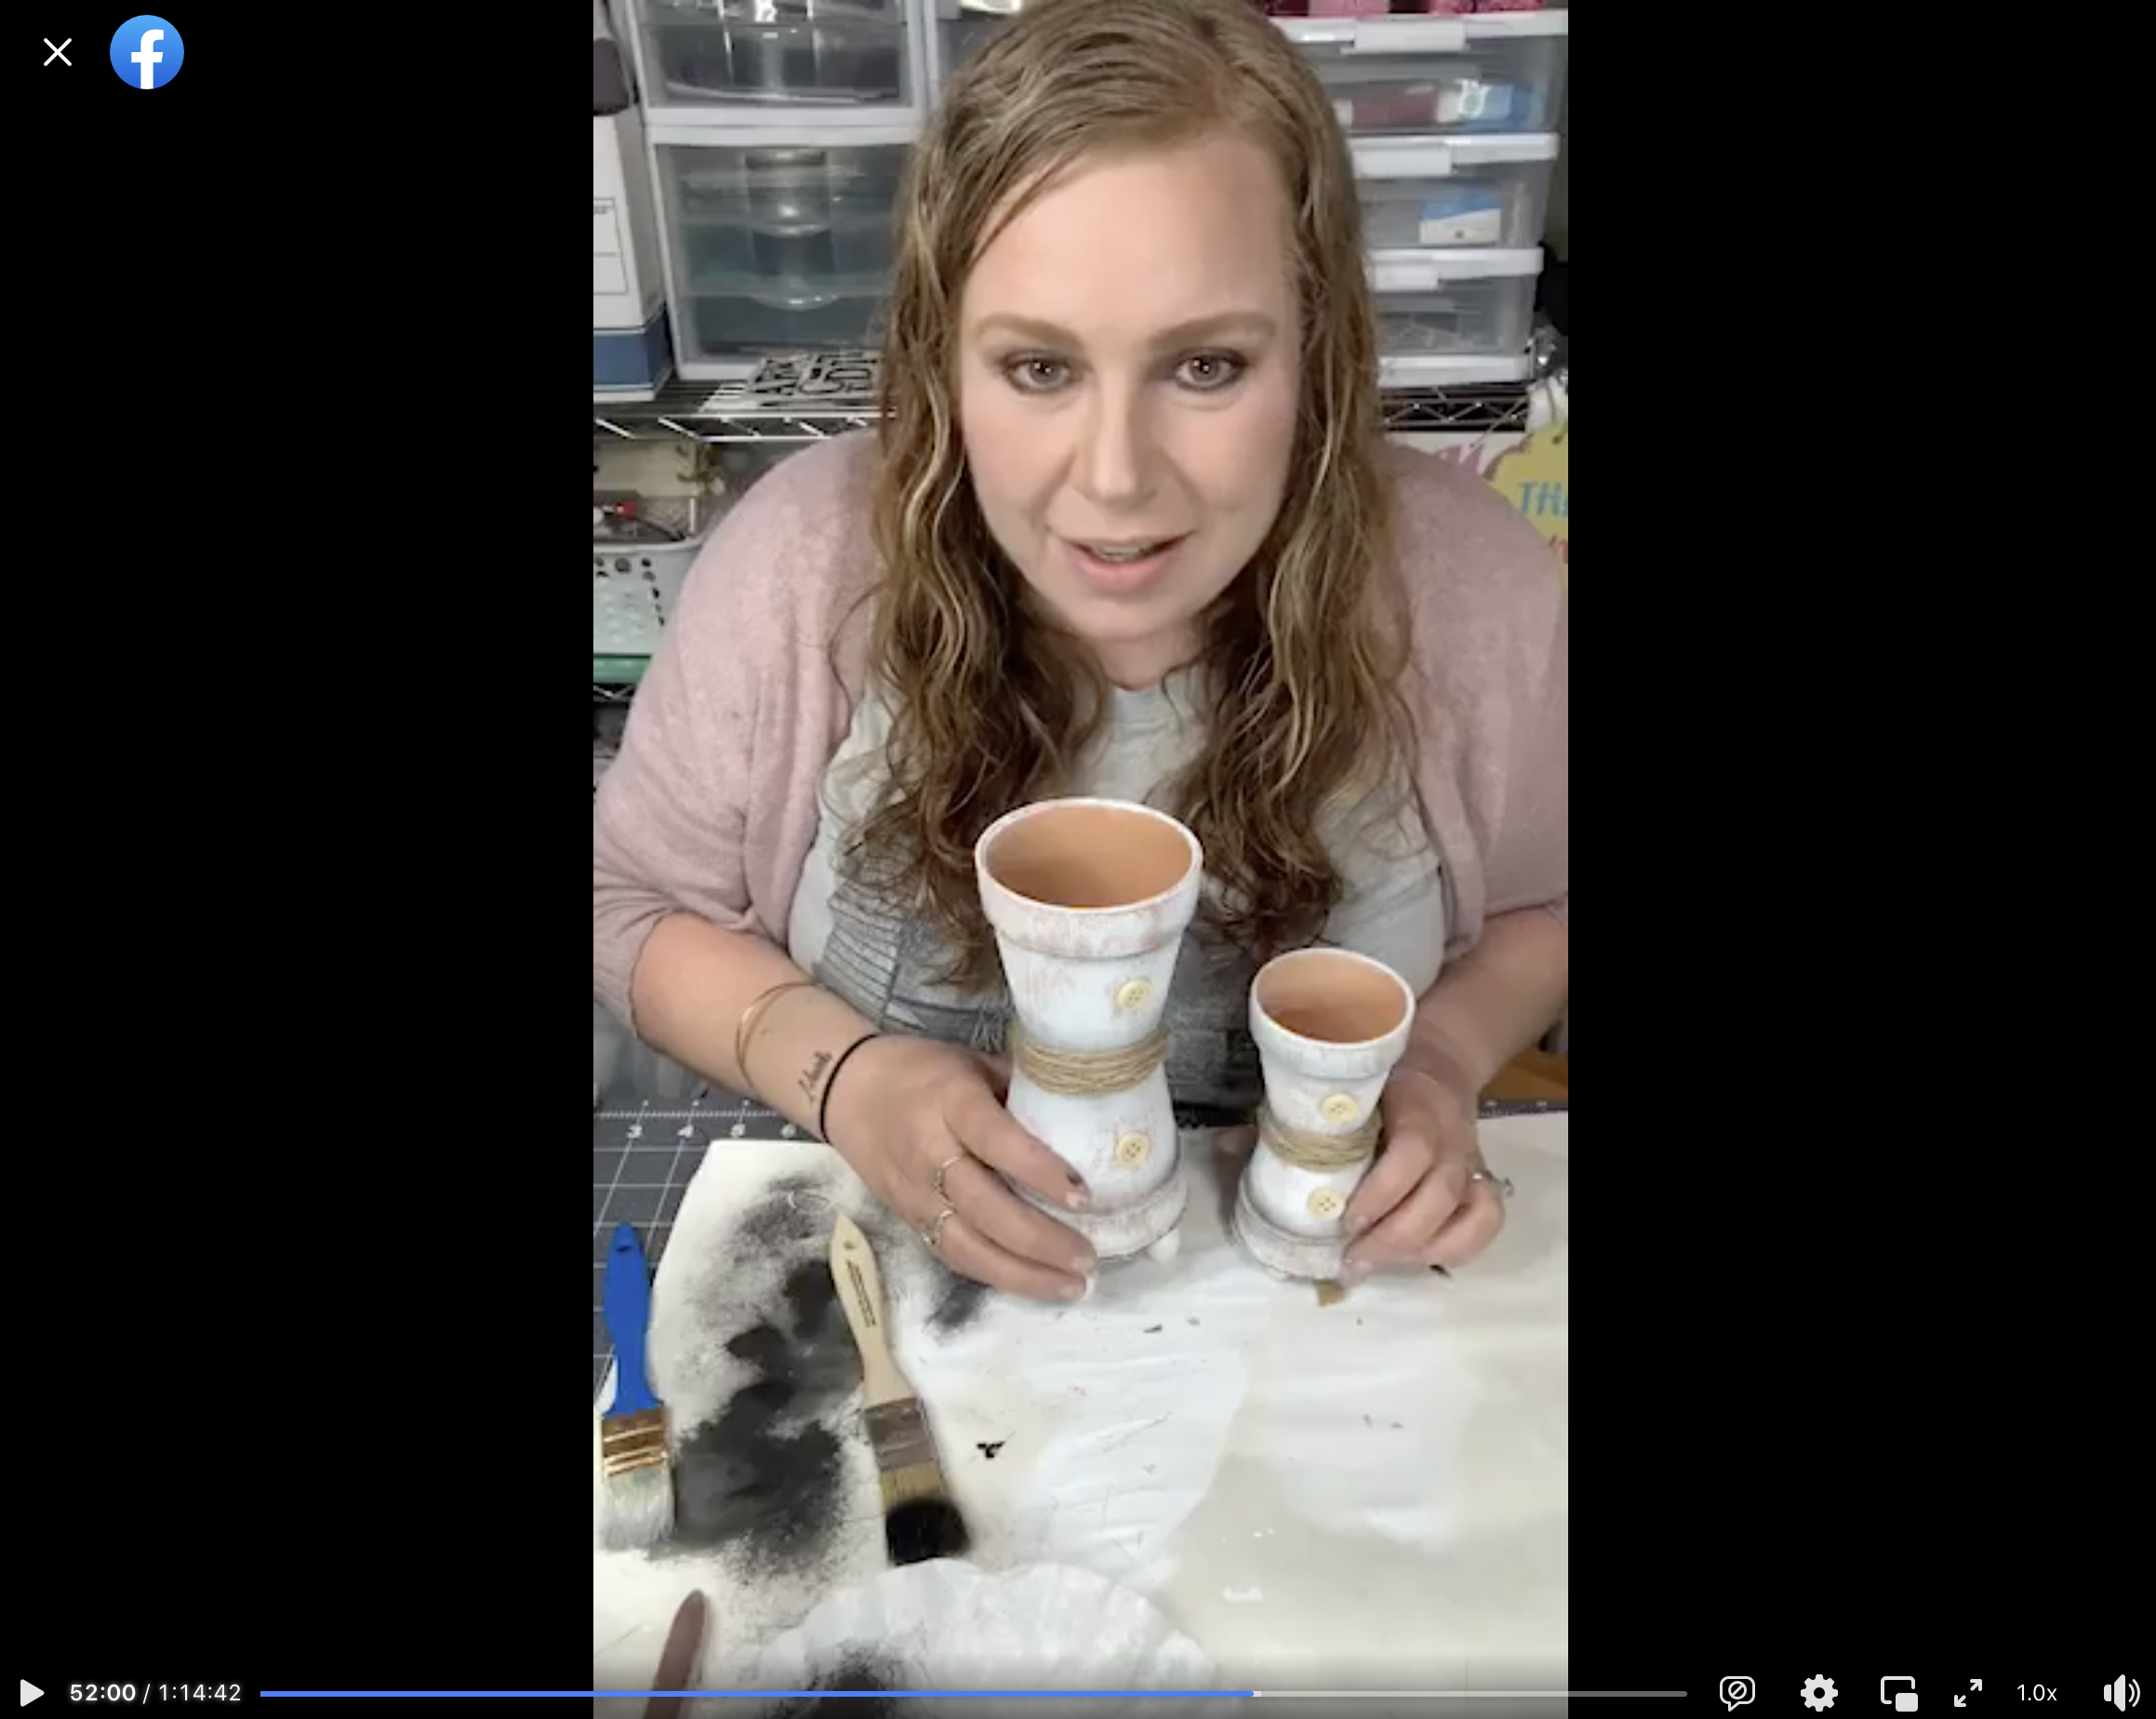
Watch the DIY tutorial
I shared how to make these Stacked Terra-Cotta Pots during a LIVE video on my Facebook page. This was back when I had JUST gotten my she-shed (I call it my Creative Haven)!
Even though this is an older project, it is honestly timeless in my opinion. These stacked terra cotta pots are so adorable and perfect for pretty much any decor style.
If you want to see the DIY process, craft along, or just join in on the fun conversations, you can watch the DIY tutorial replay on Facebook!
For this project, I will be using these items but you can substitute where you want.
“As an Amazon Associate, I earn from qualifying purchases.”
- Dollar Tree Terracotta Pots
- Dollar Tree Jute Twine
- White Paint
- Black Paint
- Wood Beads
- Wood Finials
- Small Buttons
- Greenery
- Cardboard
- Hot Glue gun
- Glue Sticks
How to recreate my stacked terra-cotta pots
These adorable stacked pots are so simple to make, I don’t know that you will even need this tutorial, but I’m going to give it to you anyways!

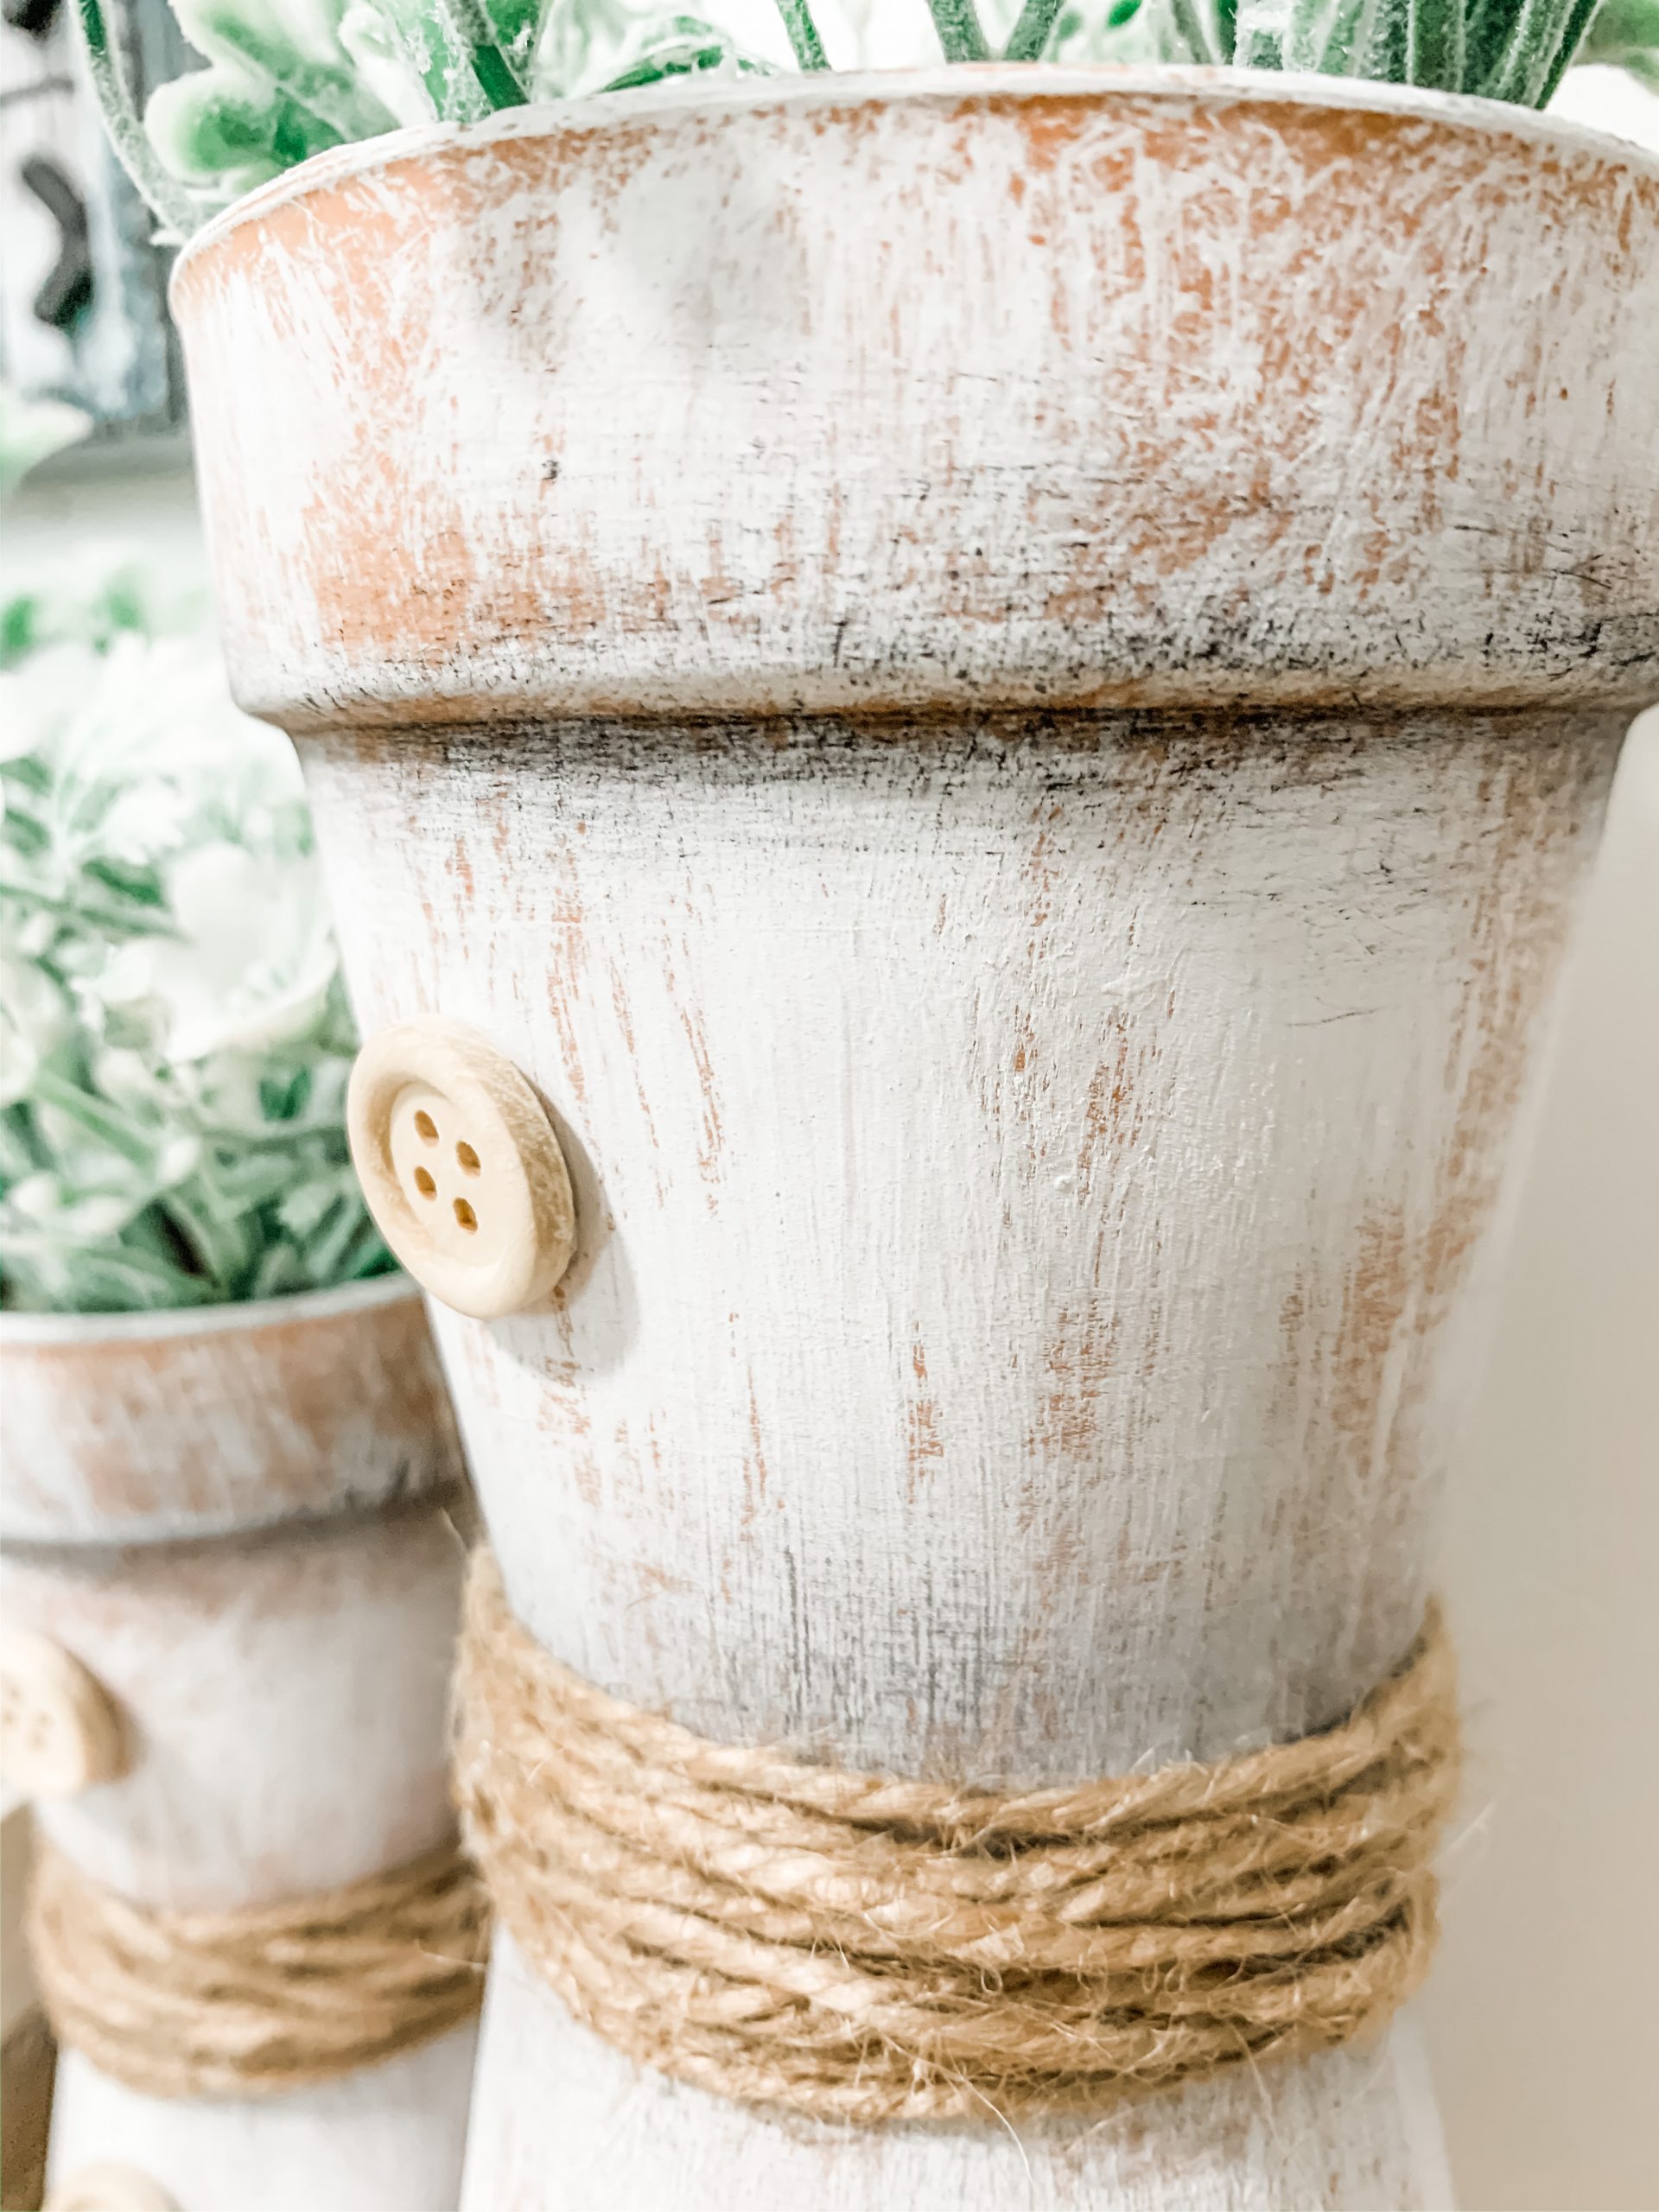
Start by lightly dry brushing white paint onto each of the terra-cotta pots you’re going to use. I used two different-sized pots to get differing heights on mine.
Allow the white paint to dry completely. I like to use my heat gun to speed up the drying process. You can use a hair-dryer in the low-cool setting if you don’t have a heat gun.
Once the white paint is completely dry, glue the bottoms of your terra-cotta pots together. Then, very lightly brush black paint onto the pots to give a slightly dirty look.
If you apply too much paint, allow it to dry, then go over the surface of the pots with a piece of sandpaper.
Bring it all together
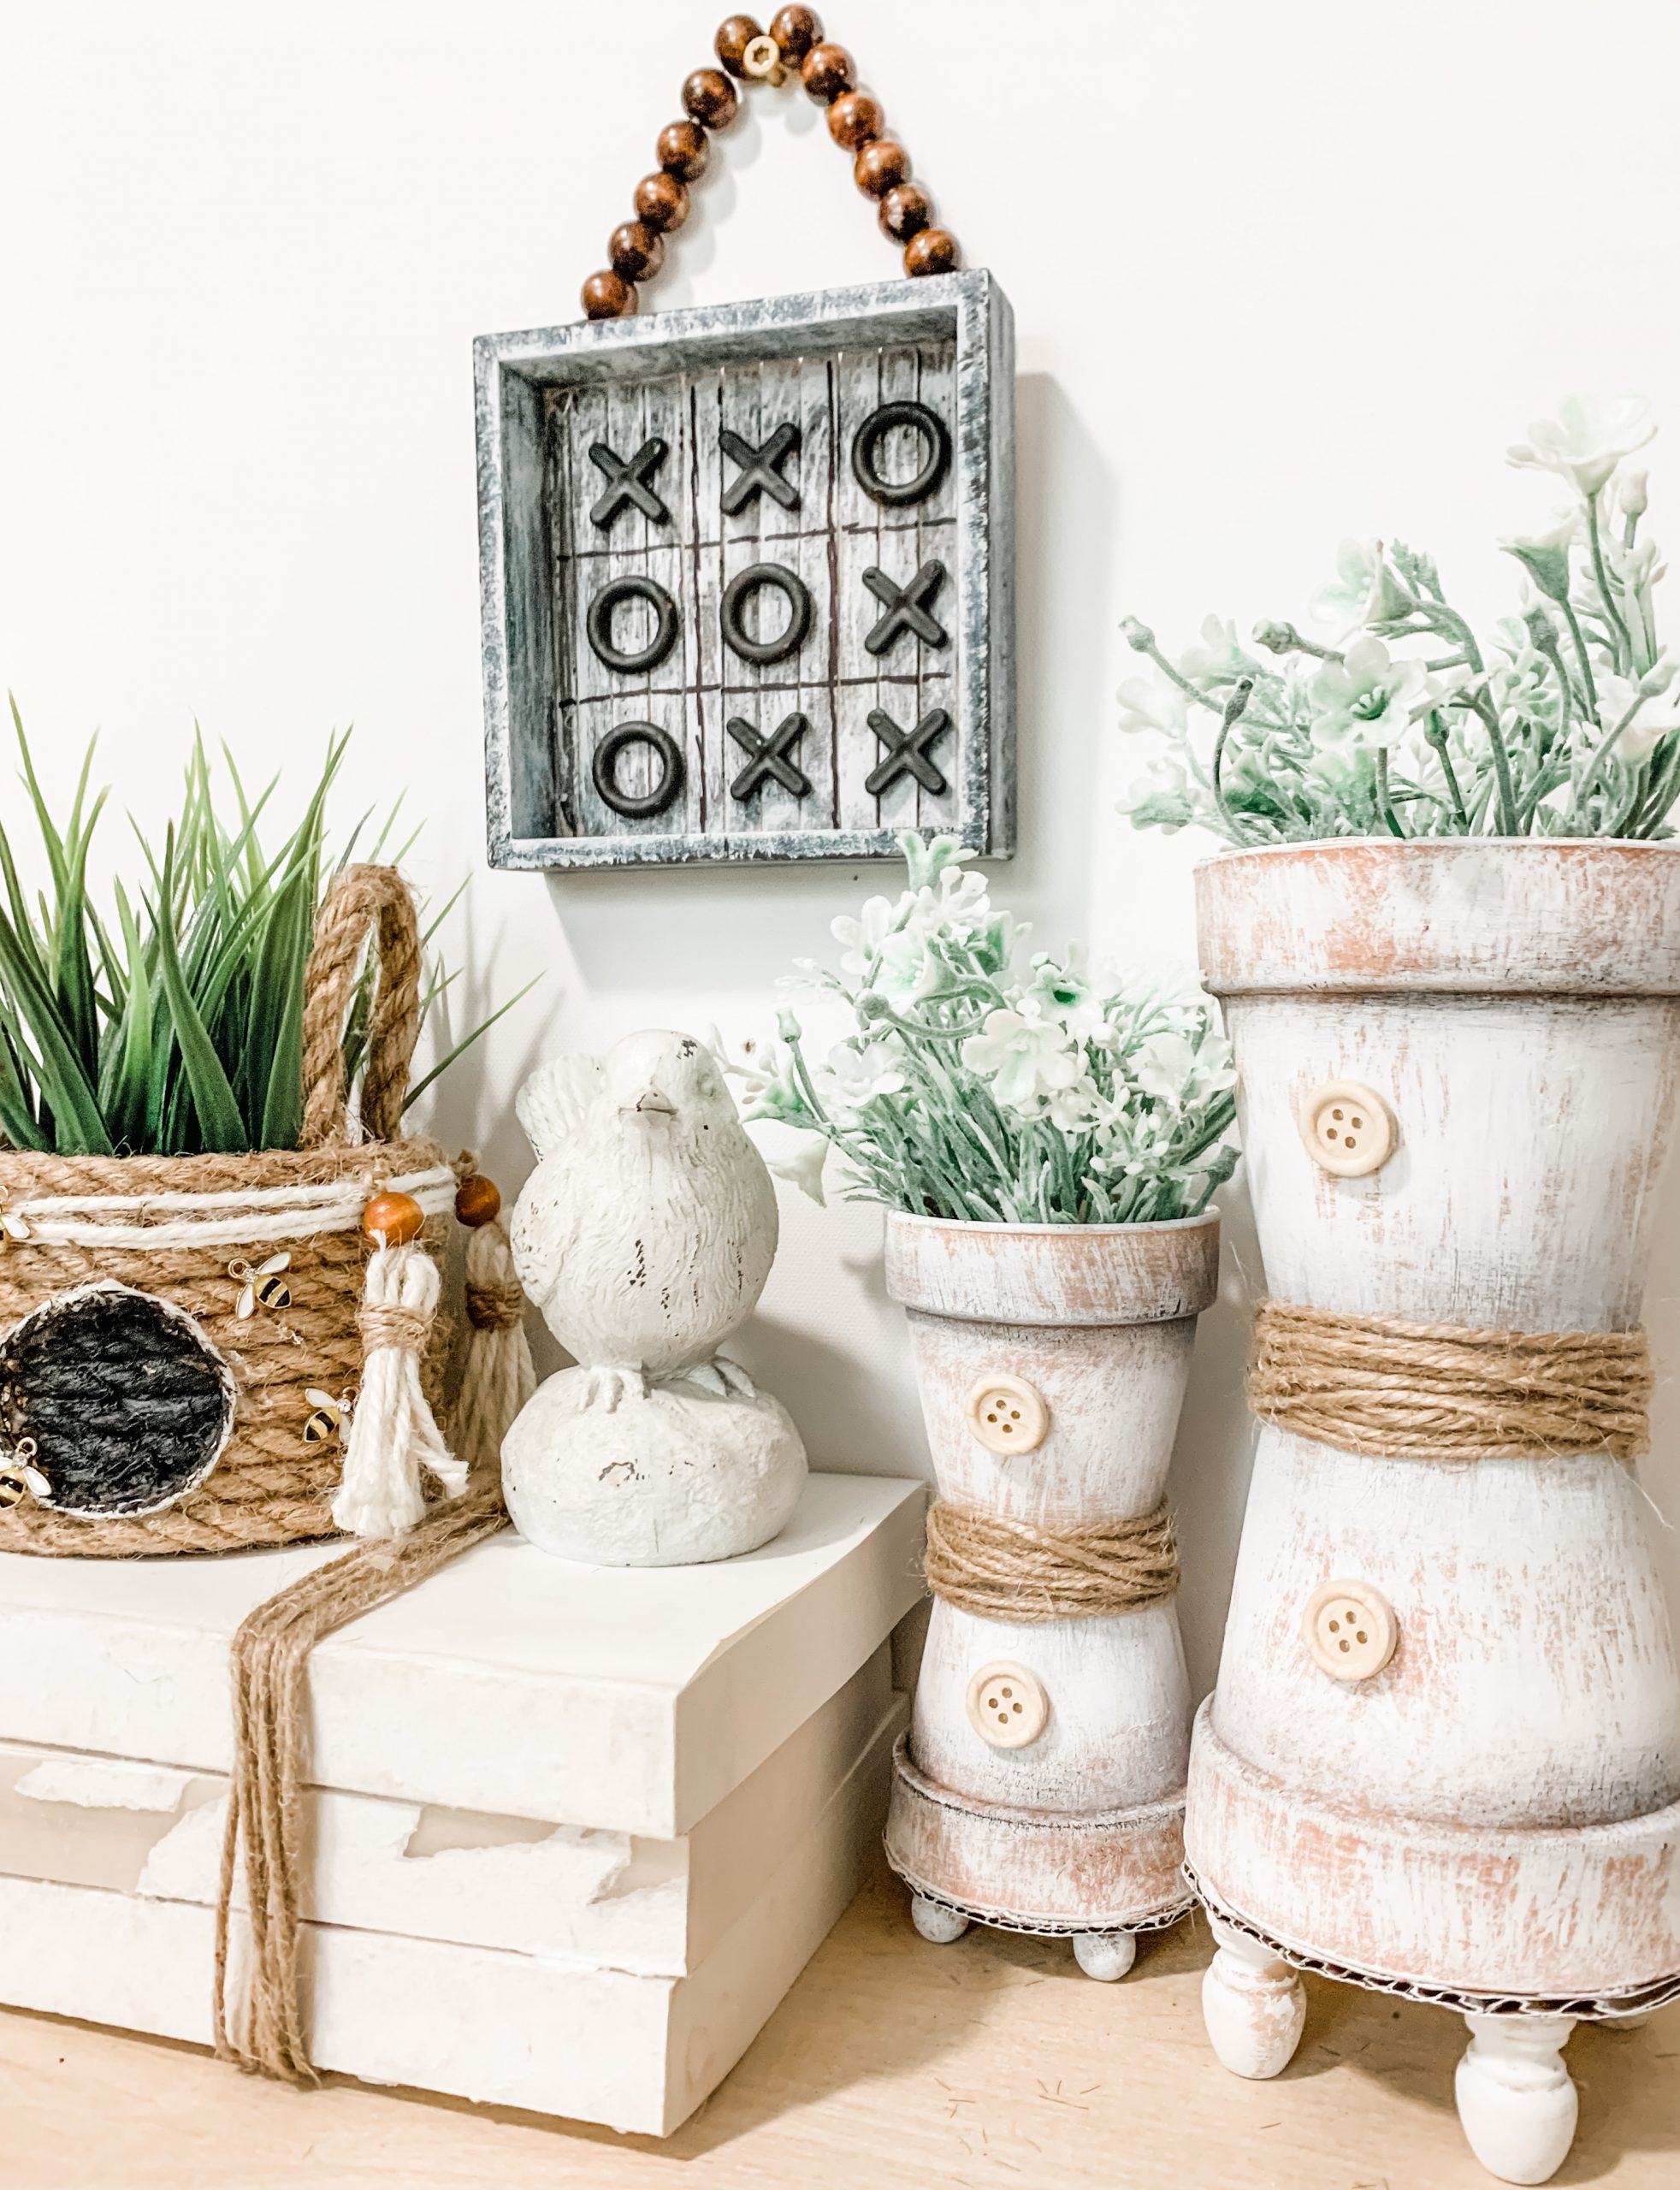
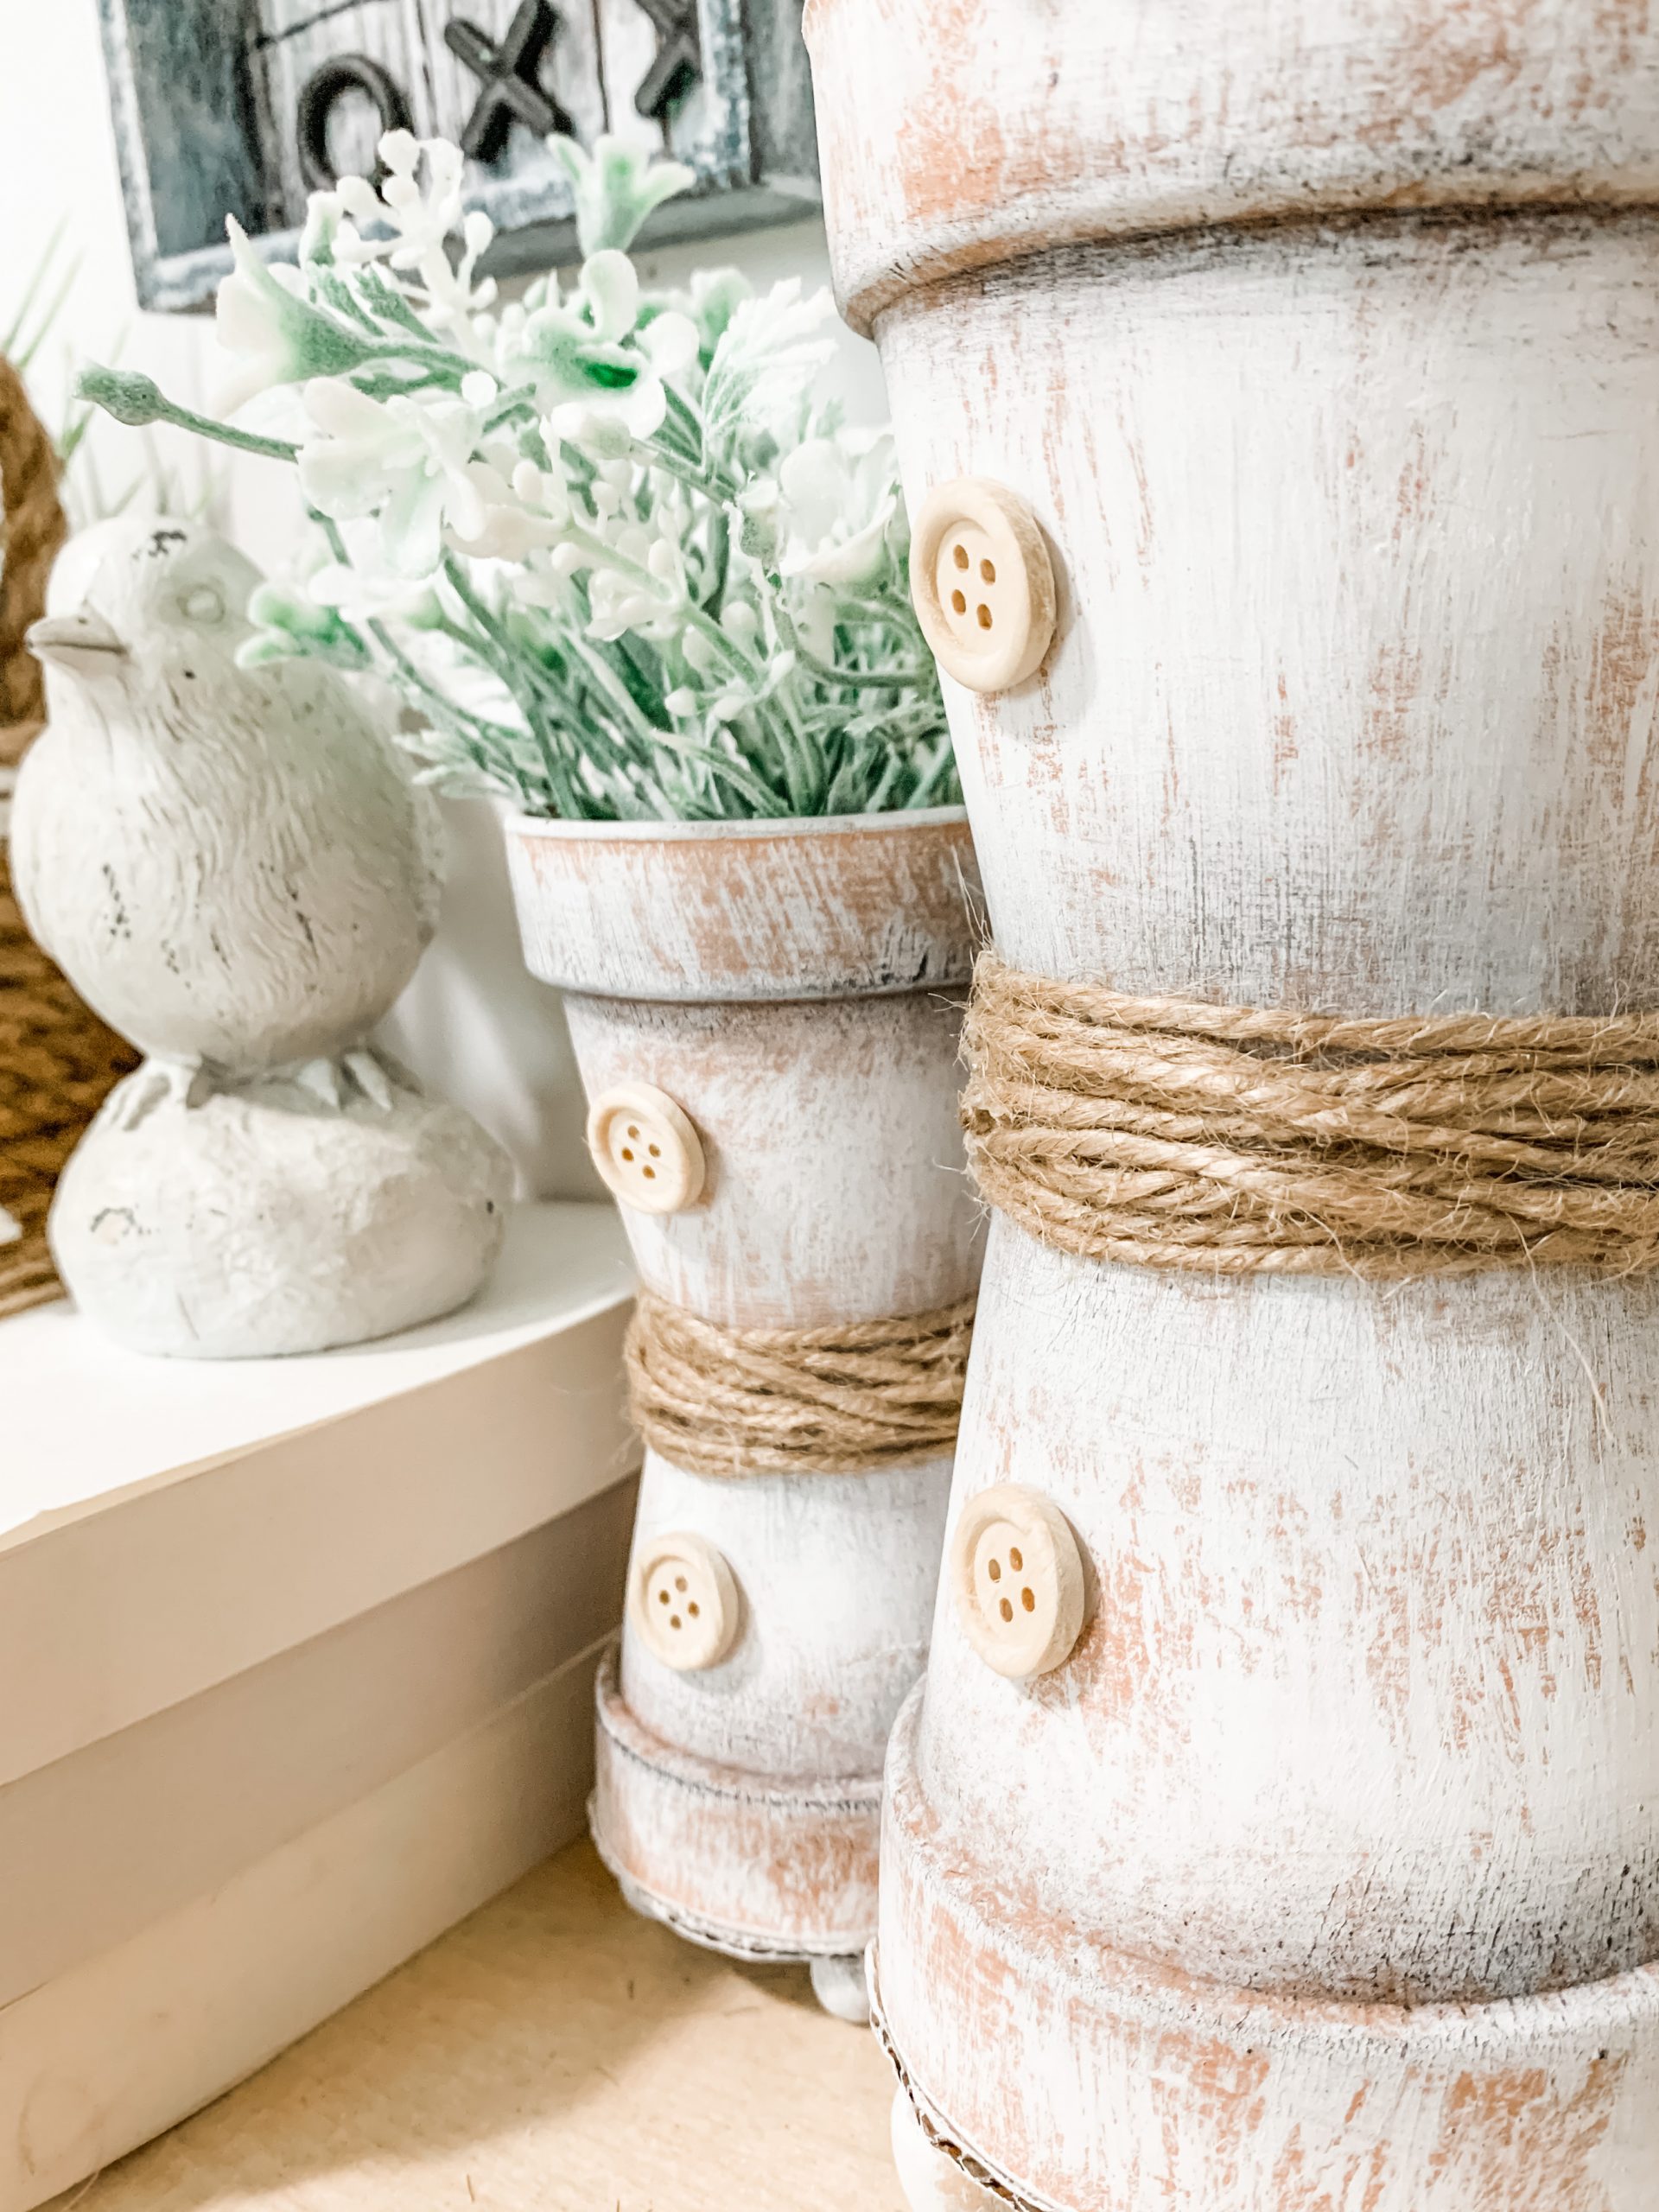
Next, I wrapped jute twine around the middle of each stack to cover where the two pots meet. Use a dab of glue to secure the twine in place. You could also tie the twine in a little bow for more detail.
Cut out a circle that will fit over the bottom opening of each pot and glue it in place to create an actual bottom to the stacked pots.
Then, you’re going to glue on the wood beads or wood finials, whichever you chose. Once the little feet are secured in place, paint them and the bottom white.
Lastly, glue the buttons onto the terra-cotta pots, and fill your pots with your greenery of choice!
I hope you enjoyed these Stacked Terra-Cotta Pots as much as I did and decide to make them for yourself! I would love to see how yours turns out!
You should totally join my FREE Facebook group called On A Budget Crafts! It is a judgment-free community for DIY crafters to show off their projects and ideas.
If you loved this DIY you might also like this Pink Heart Burlap Wreath!
Thanks for stopping by! XOXO Amber
You can also shop my ENTIRE AMAZON Favorites shop just click here! It’s packed full of all the things I use and love. Here is the supply list I highly recommend every creative have on hand!!
Would you also pin my blog for later and get on my newsletter alerts? I would love to have you join my #craftycrew.
Inspired? Leave me a comment below! I love hearing from my readers!

How do I find your previous American projects.
They’re under the Seasonal/4th of July category
Super cute idea
Hello! I always liked that craft in your craft display. Time to check my stash or make a DT run. Thank you!
Wishing you an amazing journey in your new home! I cannot wait to see how you decorate and enjoy your new spaces! I hope in time a wonderful affordable solution will happen for your she-shed! We all appreciate and enjoy you and your precious family. It is such a joy to see you achieve such success! What an inspiration you are to others! Many thanks for you sharing your incredible talent! To you and yours Blessing always!