Let It Snow DIY Door Hanger

Who doesn’t love a good pizza pan DIY? Well, I’m back with another and it’s this super adorable Let It Snow DIY Door Hanger!
There are so many ways you can take a basic $1 pizza pan and turn it into amazing home decor for any season or holiday!
Watch the DIY tutorial
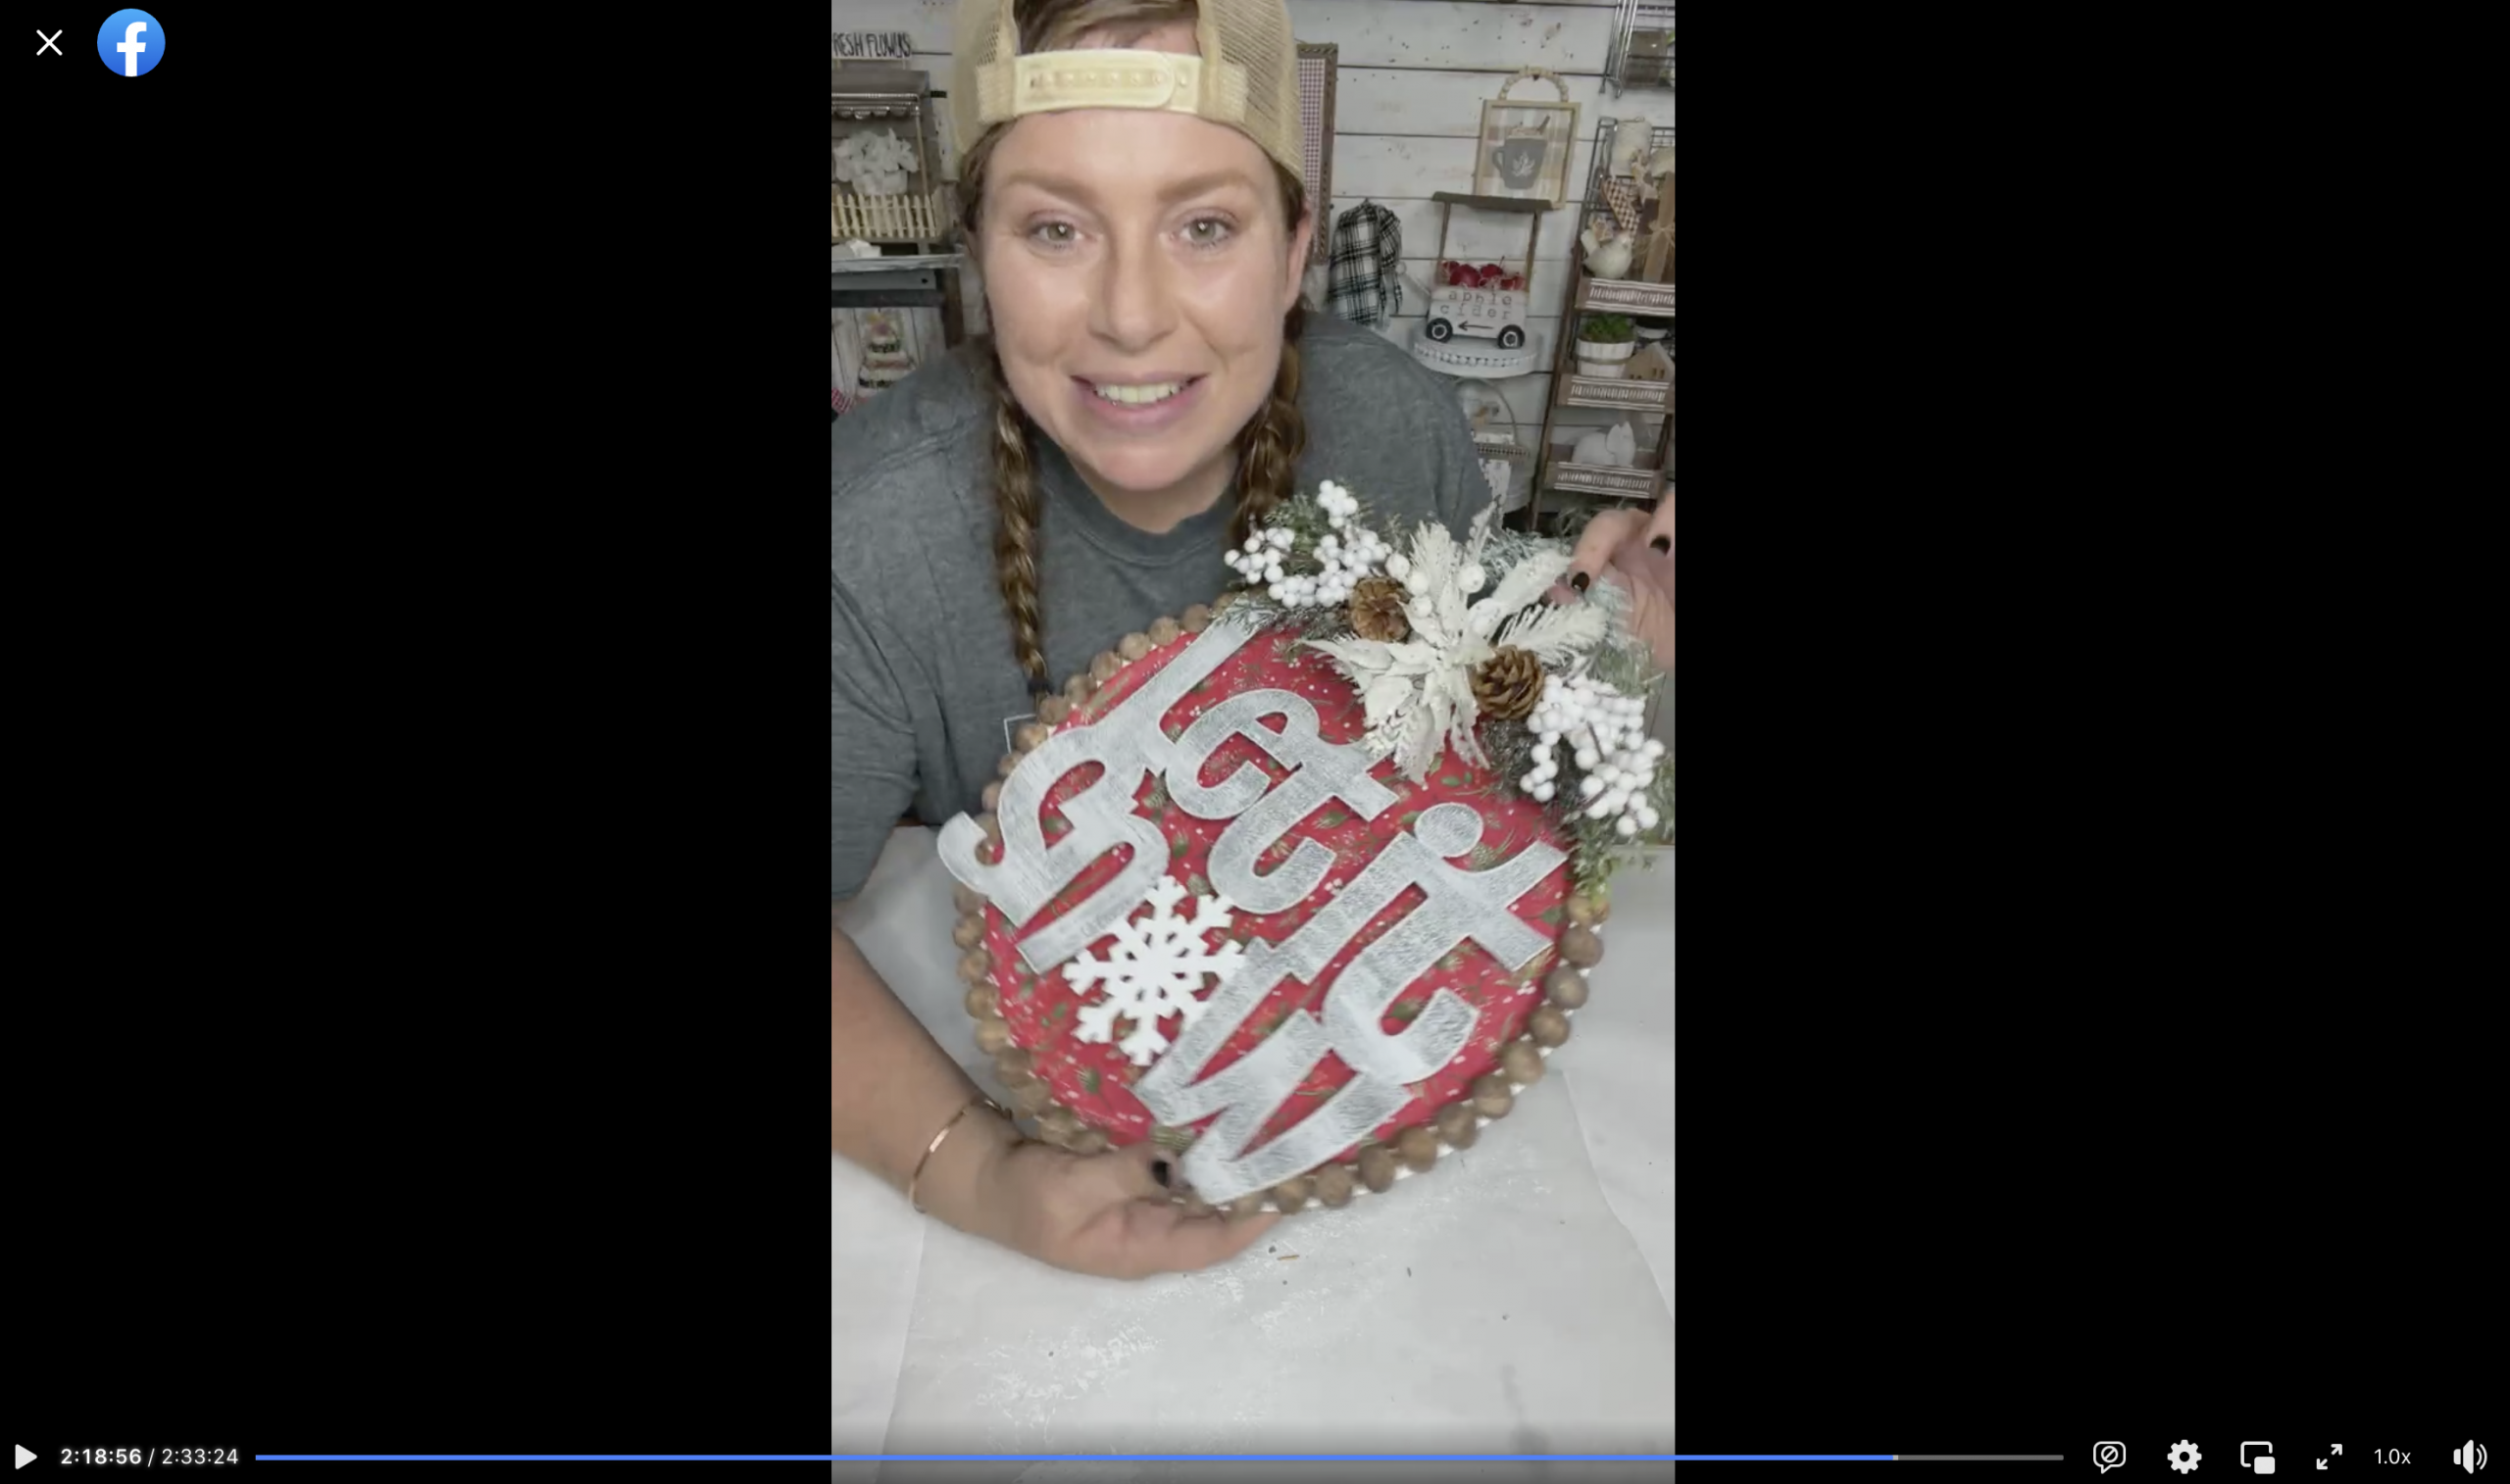
I recorded how to make this adorable Let It Snow DIY Door Hanger during a LIVE video on my Facebook page.
If you want to see the DIY process, craft along, or just join in on the fun conversations, you can watch the DIY tutorial replay!
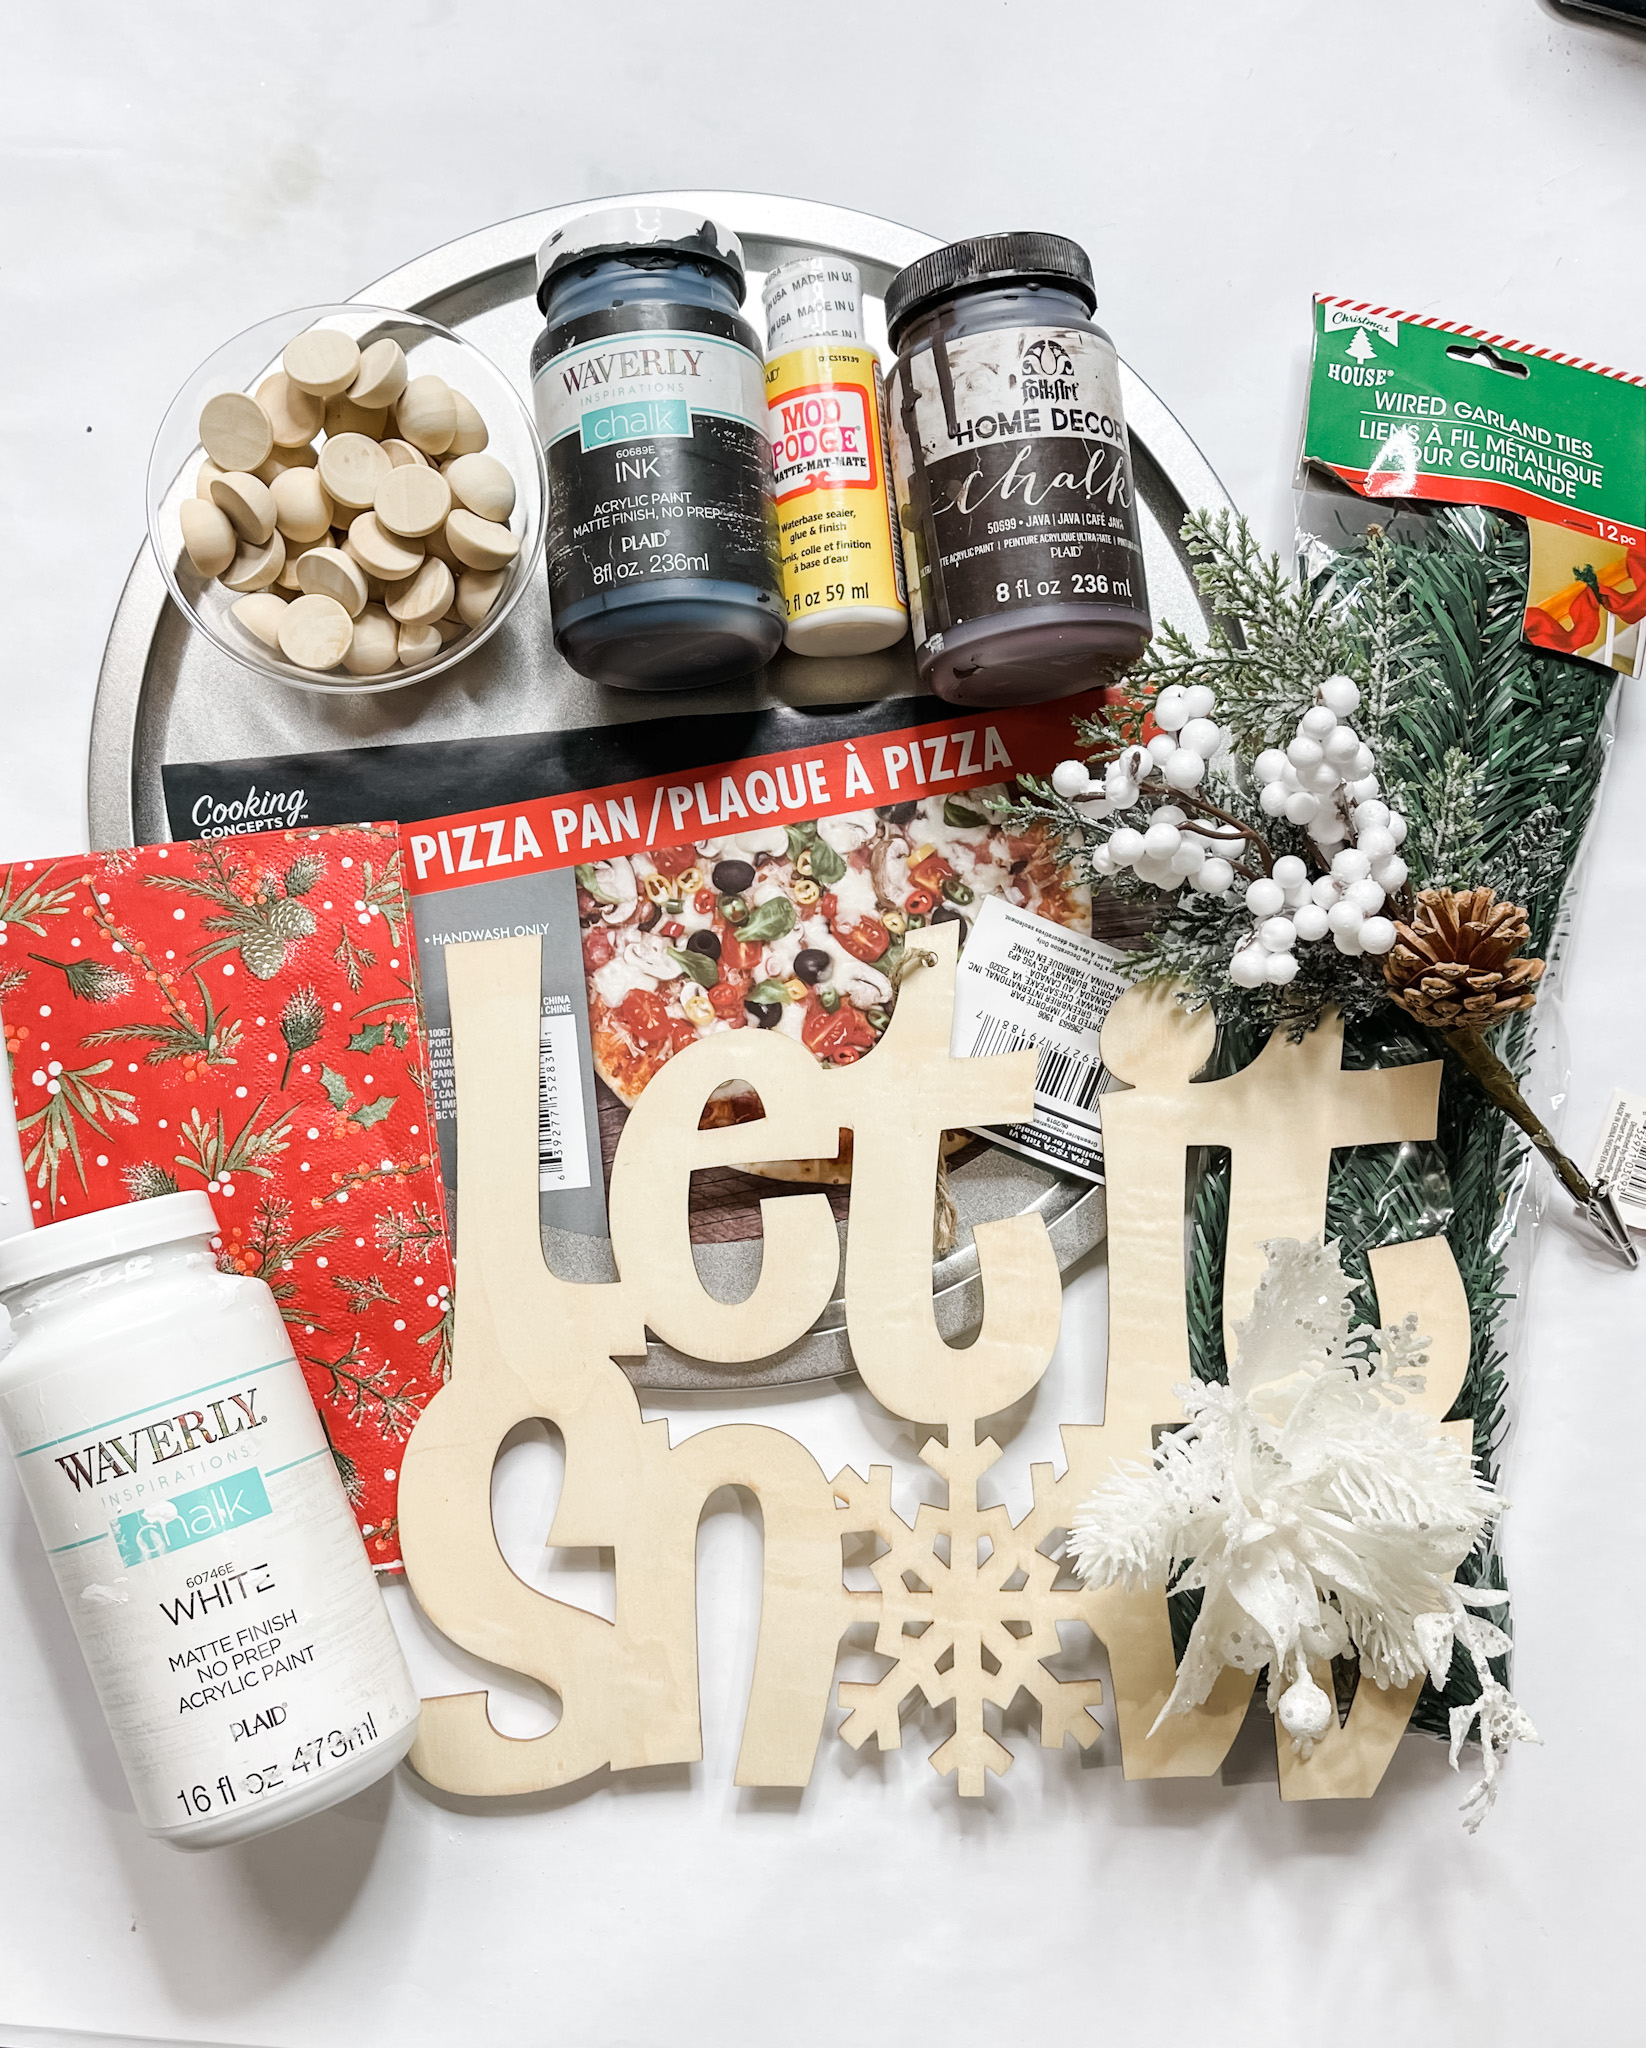
For this project, I will be using these items but you can substitute where you want.
“As an Amazon Associate, I earn from qualifying purchases.”
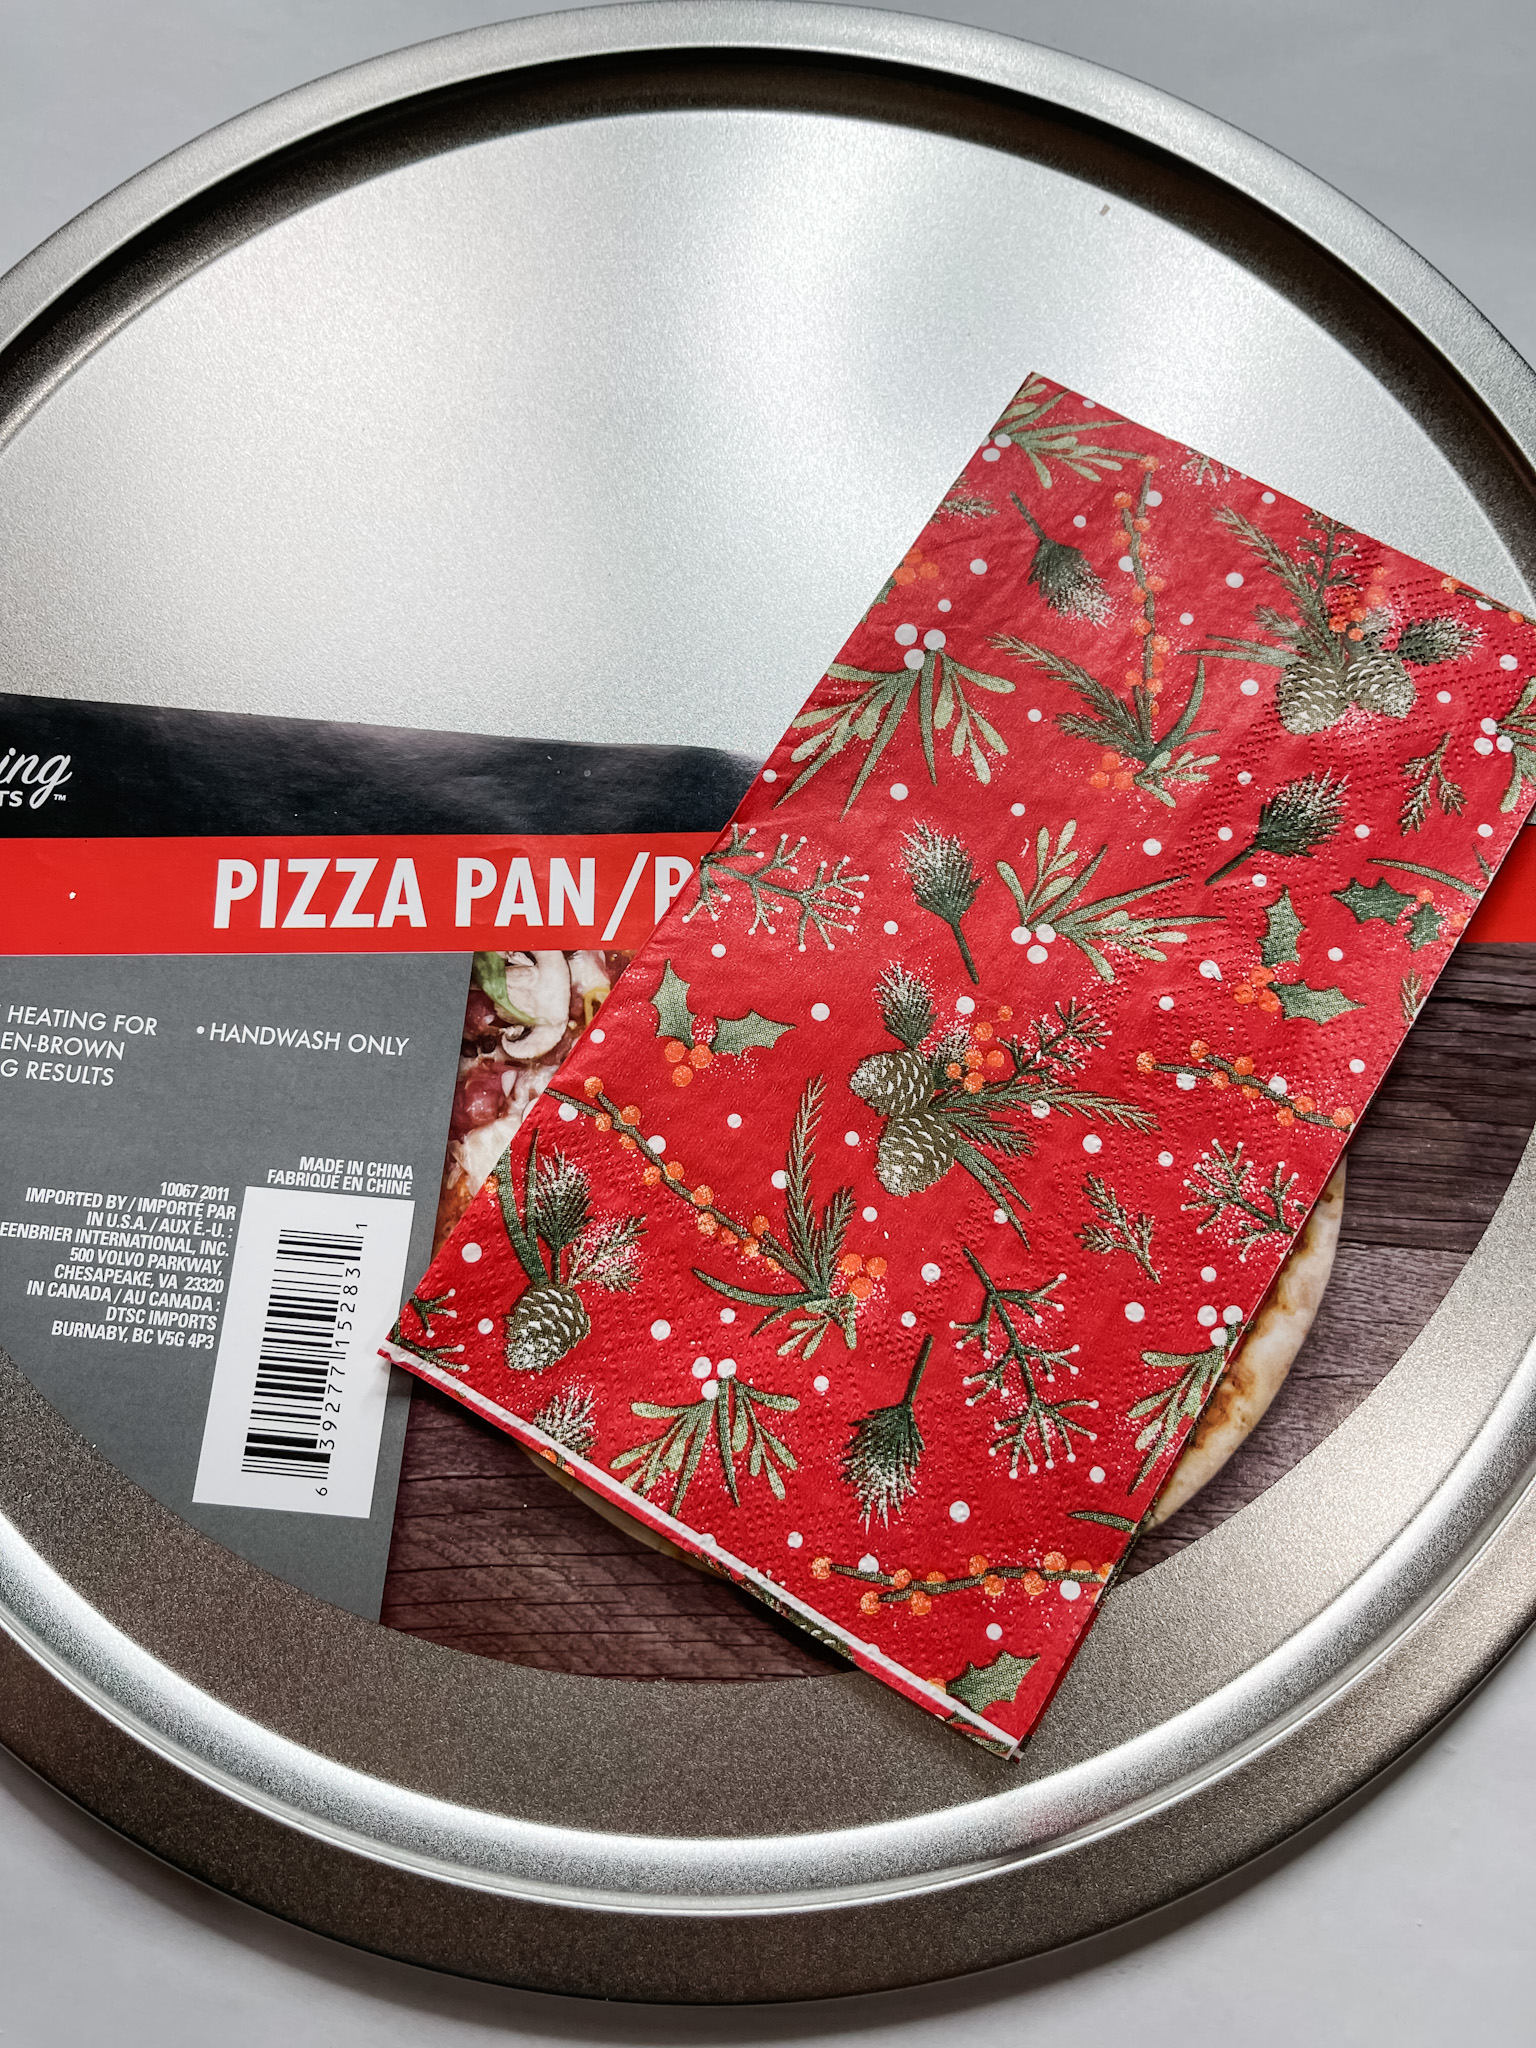
- Red holiday napkin
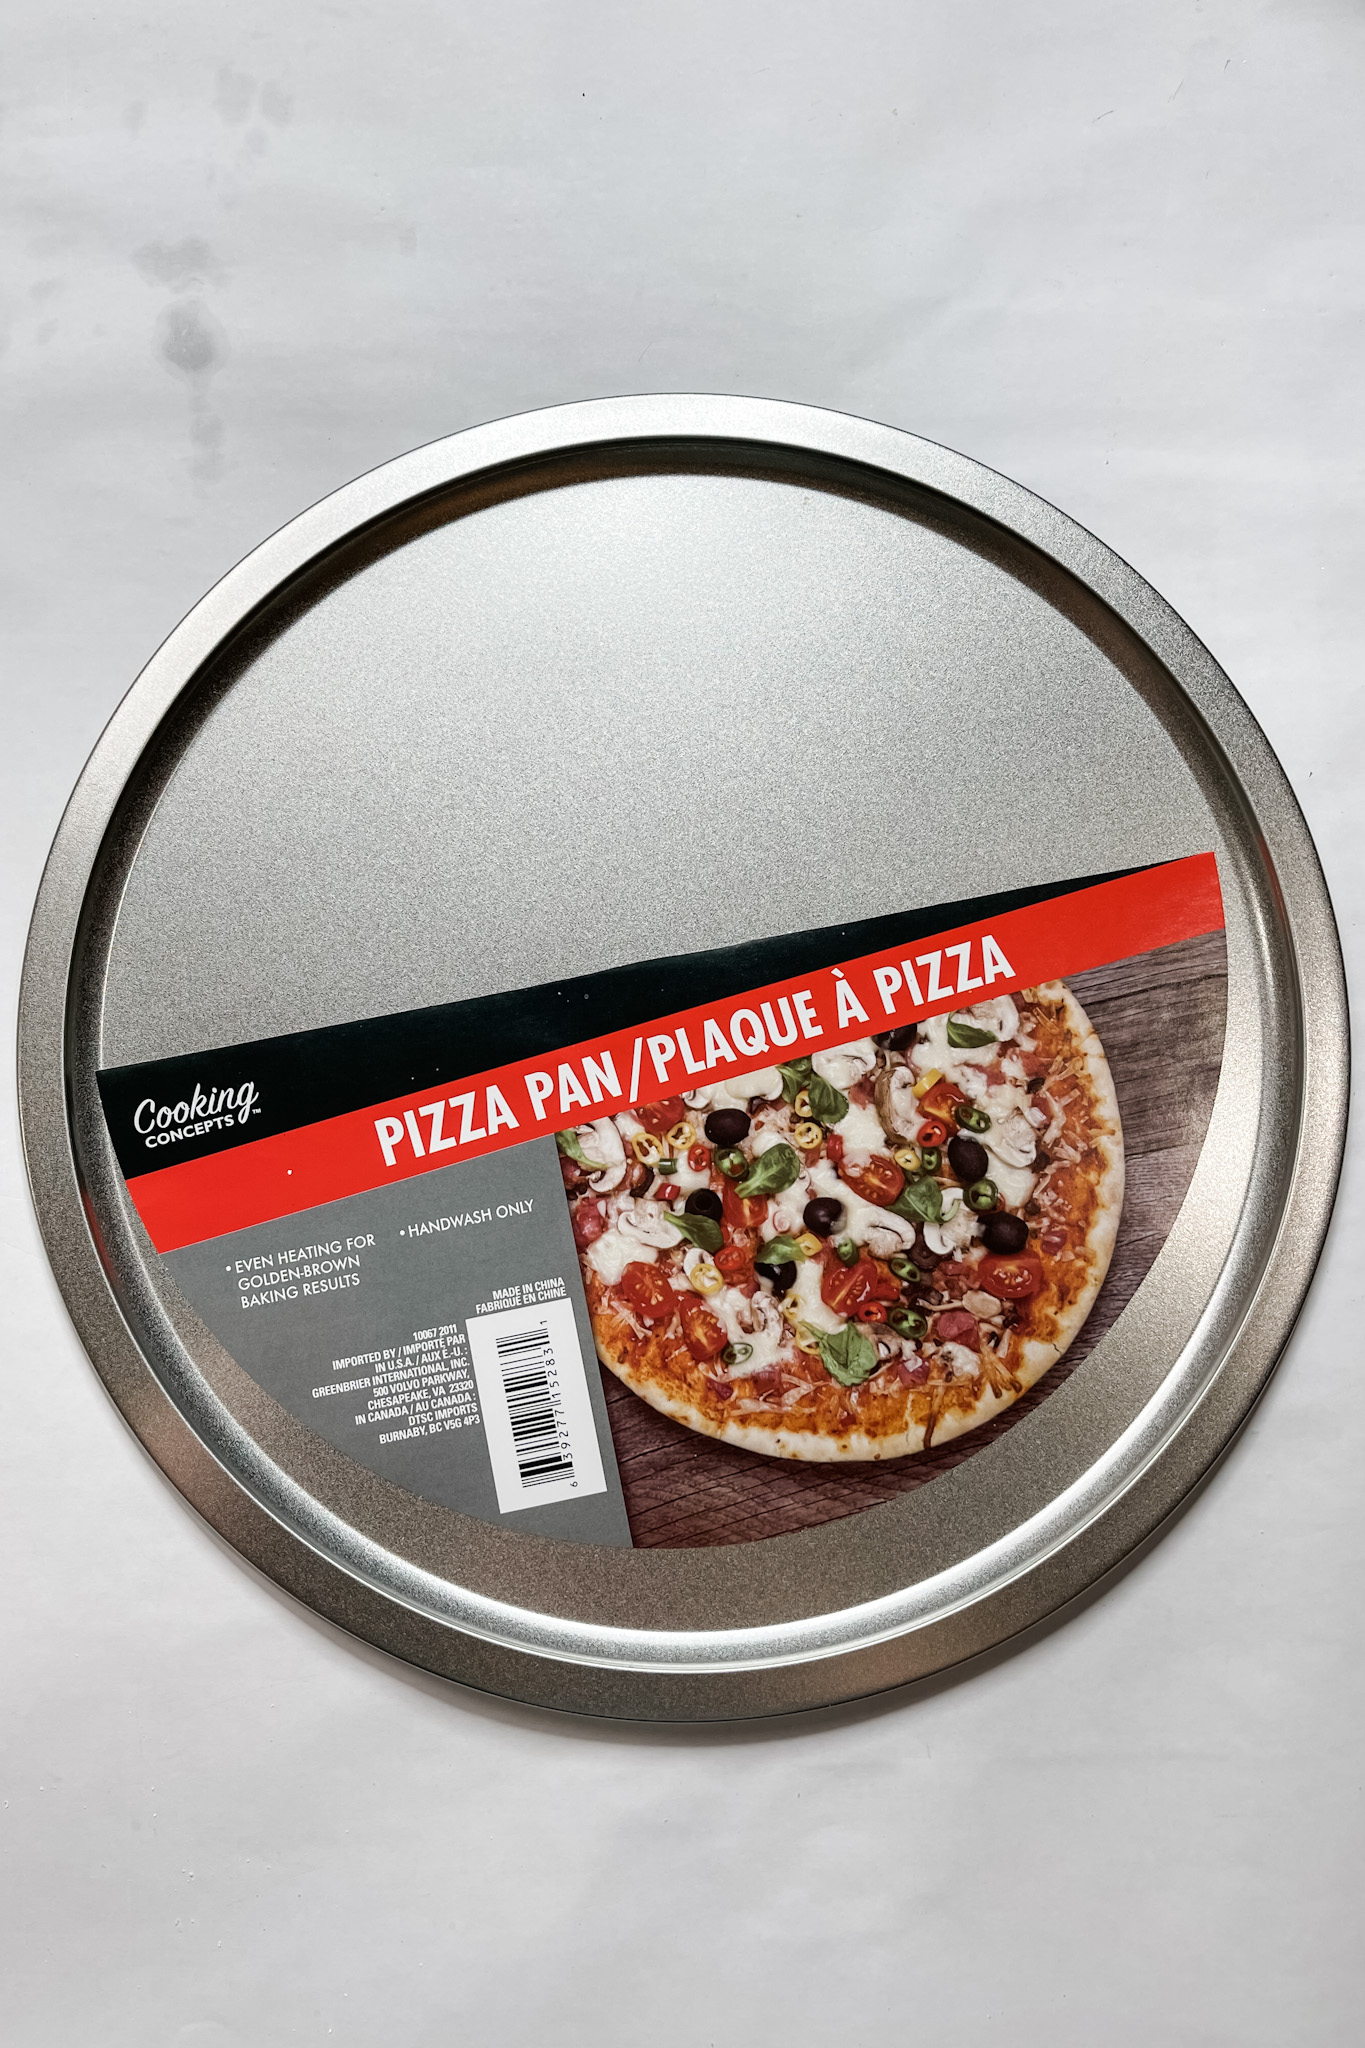
- Dollar Tree Pizza Pan
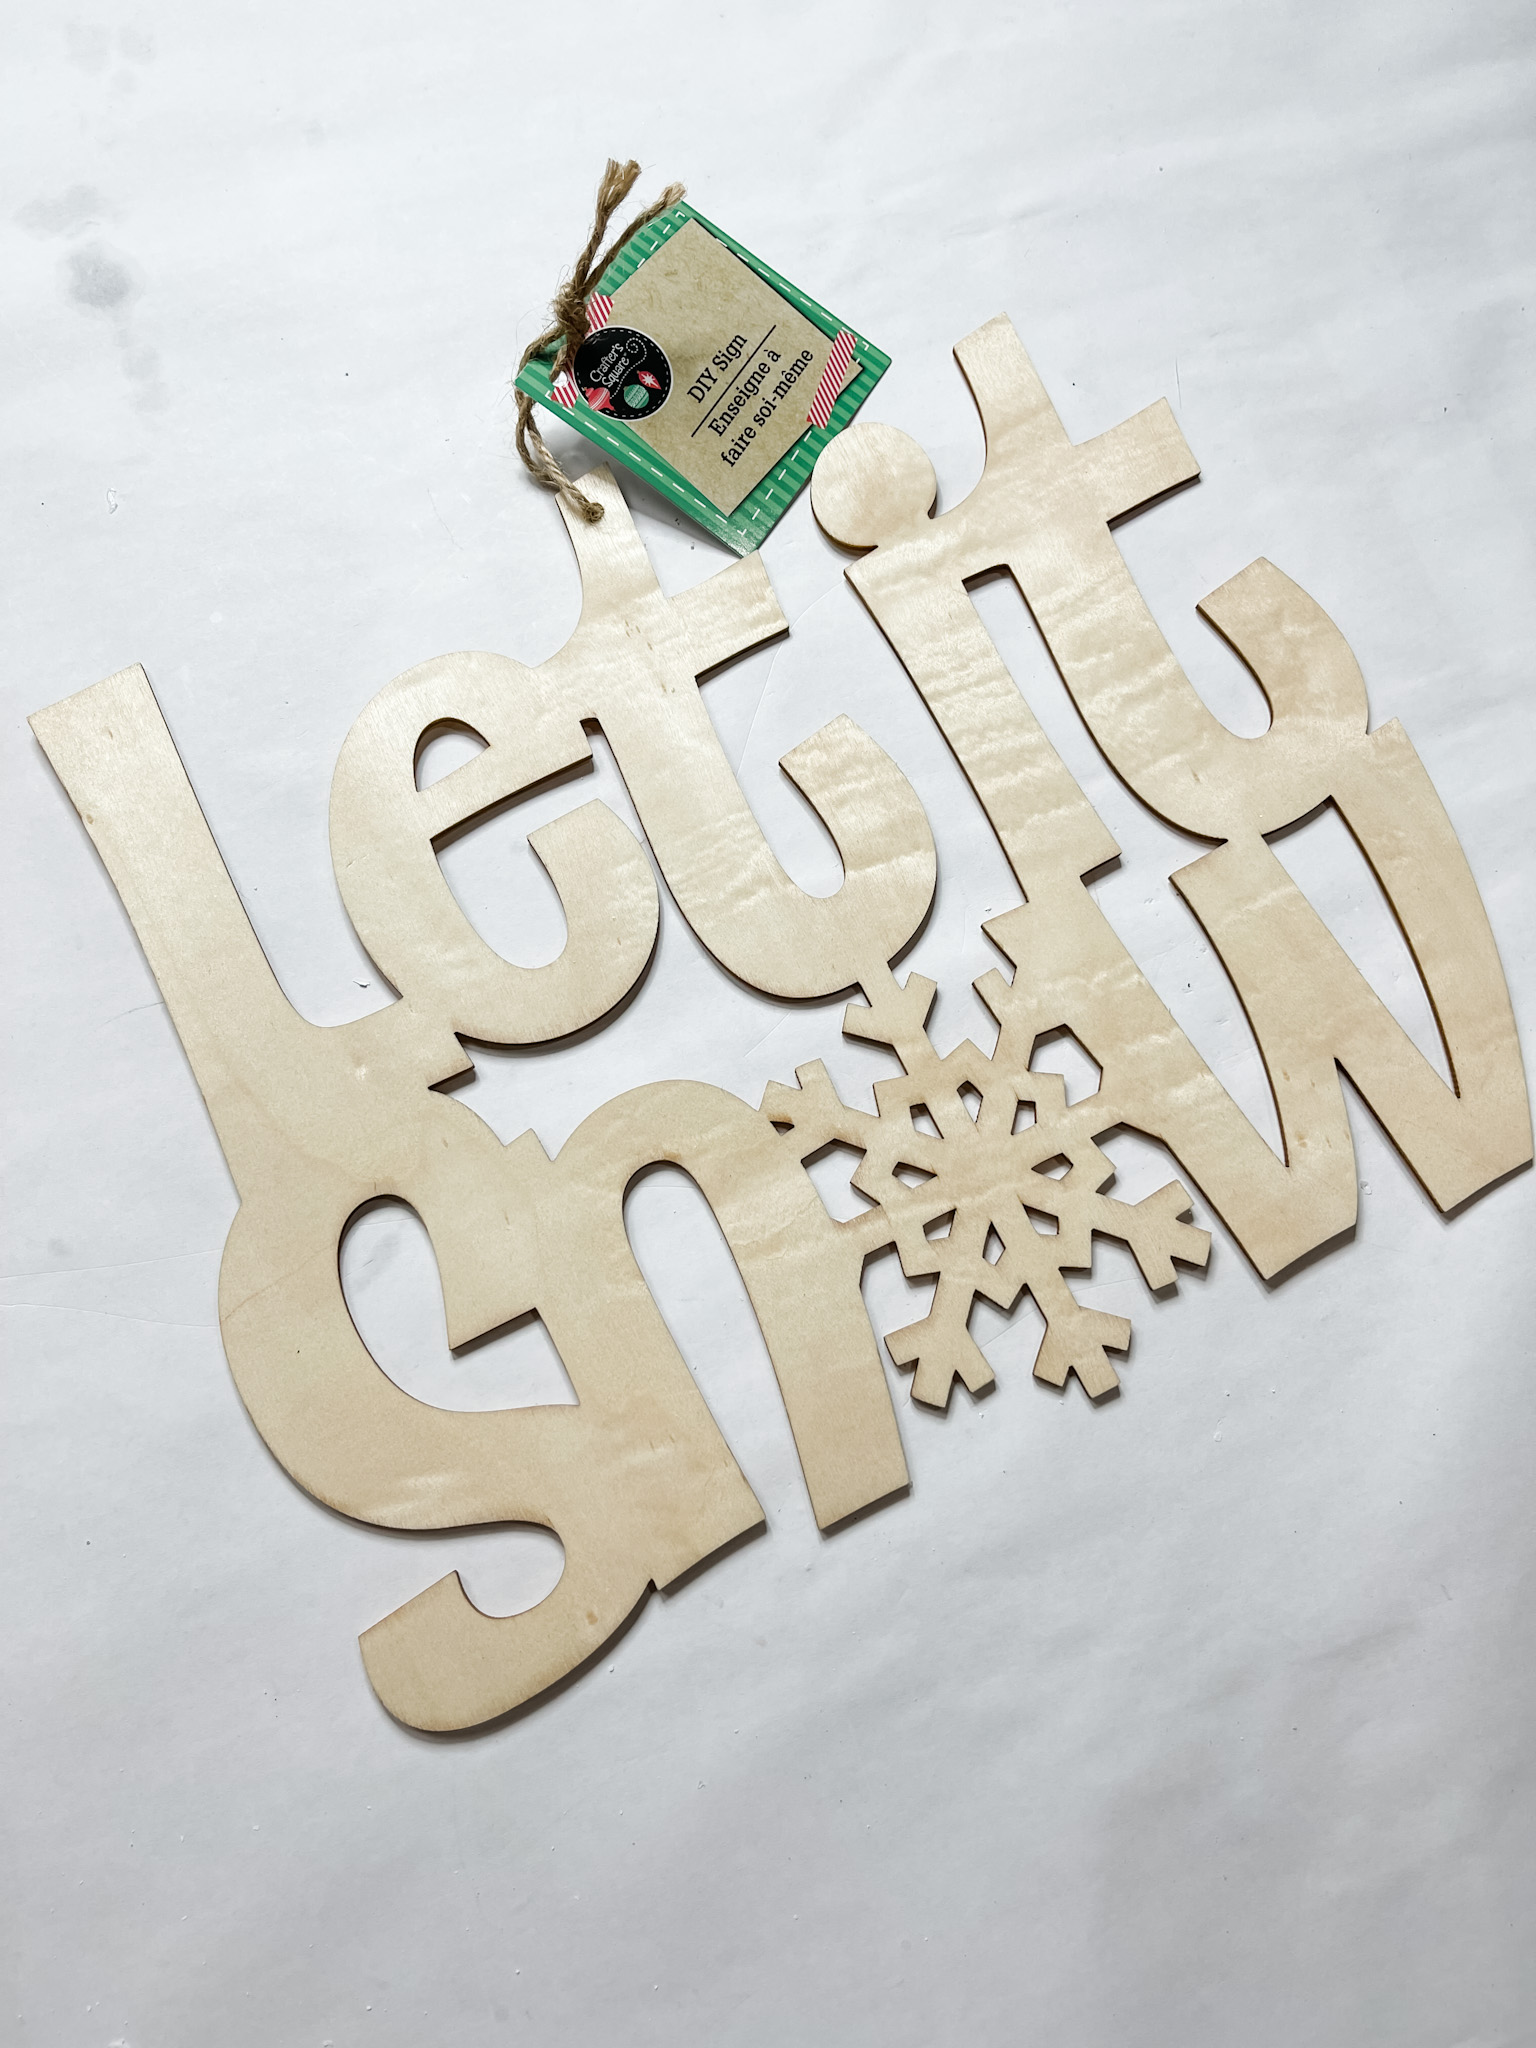
- Dollar Tree Let it snow DIY sign
- Half wood beads
- Dollar Tree Garland
- Dollar Tree Wood craft cubes
- Winter Greenery/Flowers
- Folkart Java Chalk Paint
- Waverly Ink Chalk Paint (black)
- Waverly White Chalk Paint
- Mod Podge
- Glue Gun and Glue Sticks
- Heat gun
How to Make a Let It Snow DIY Door Hanger
I started this project with the Dollar Tree pizza pan. If you’re new to my blog, you might know that I have a serious love for Dollar Tree’s pizza pans!
Of course, you have to remove the sticker from the front of the pizza pan. Then, I lightly go over the surface with sandpaper. This helps the paint adhere to the surface.
Paint the entire front of the pizza pan with white paint. I used Waverly white chalk paint. Even though you’re covering the front with a napkin, you still need to paint the entire front.
When you decoupage a napkin, you have to separate the napkin plies. That makes the patterned ply very thin, and slightly see-through. Painting the surface white helps keep the napkin pattern bright!
Let the white paint dry completely. I used my heat gun to speed up the drying process. You can always use a hairdryer in the low-cool setting.
How to decoupage a napkin
Once the paint is dry, apply a coat of Mod Podge to the center surface of the pizza pan. Separate your napkin plies, gently, and place the patterned ply onto the Mod Podge.
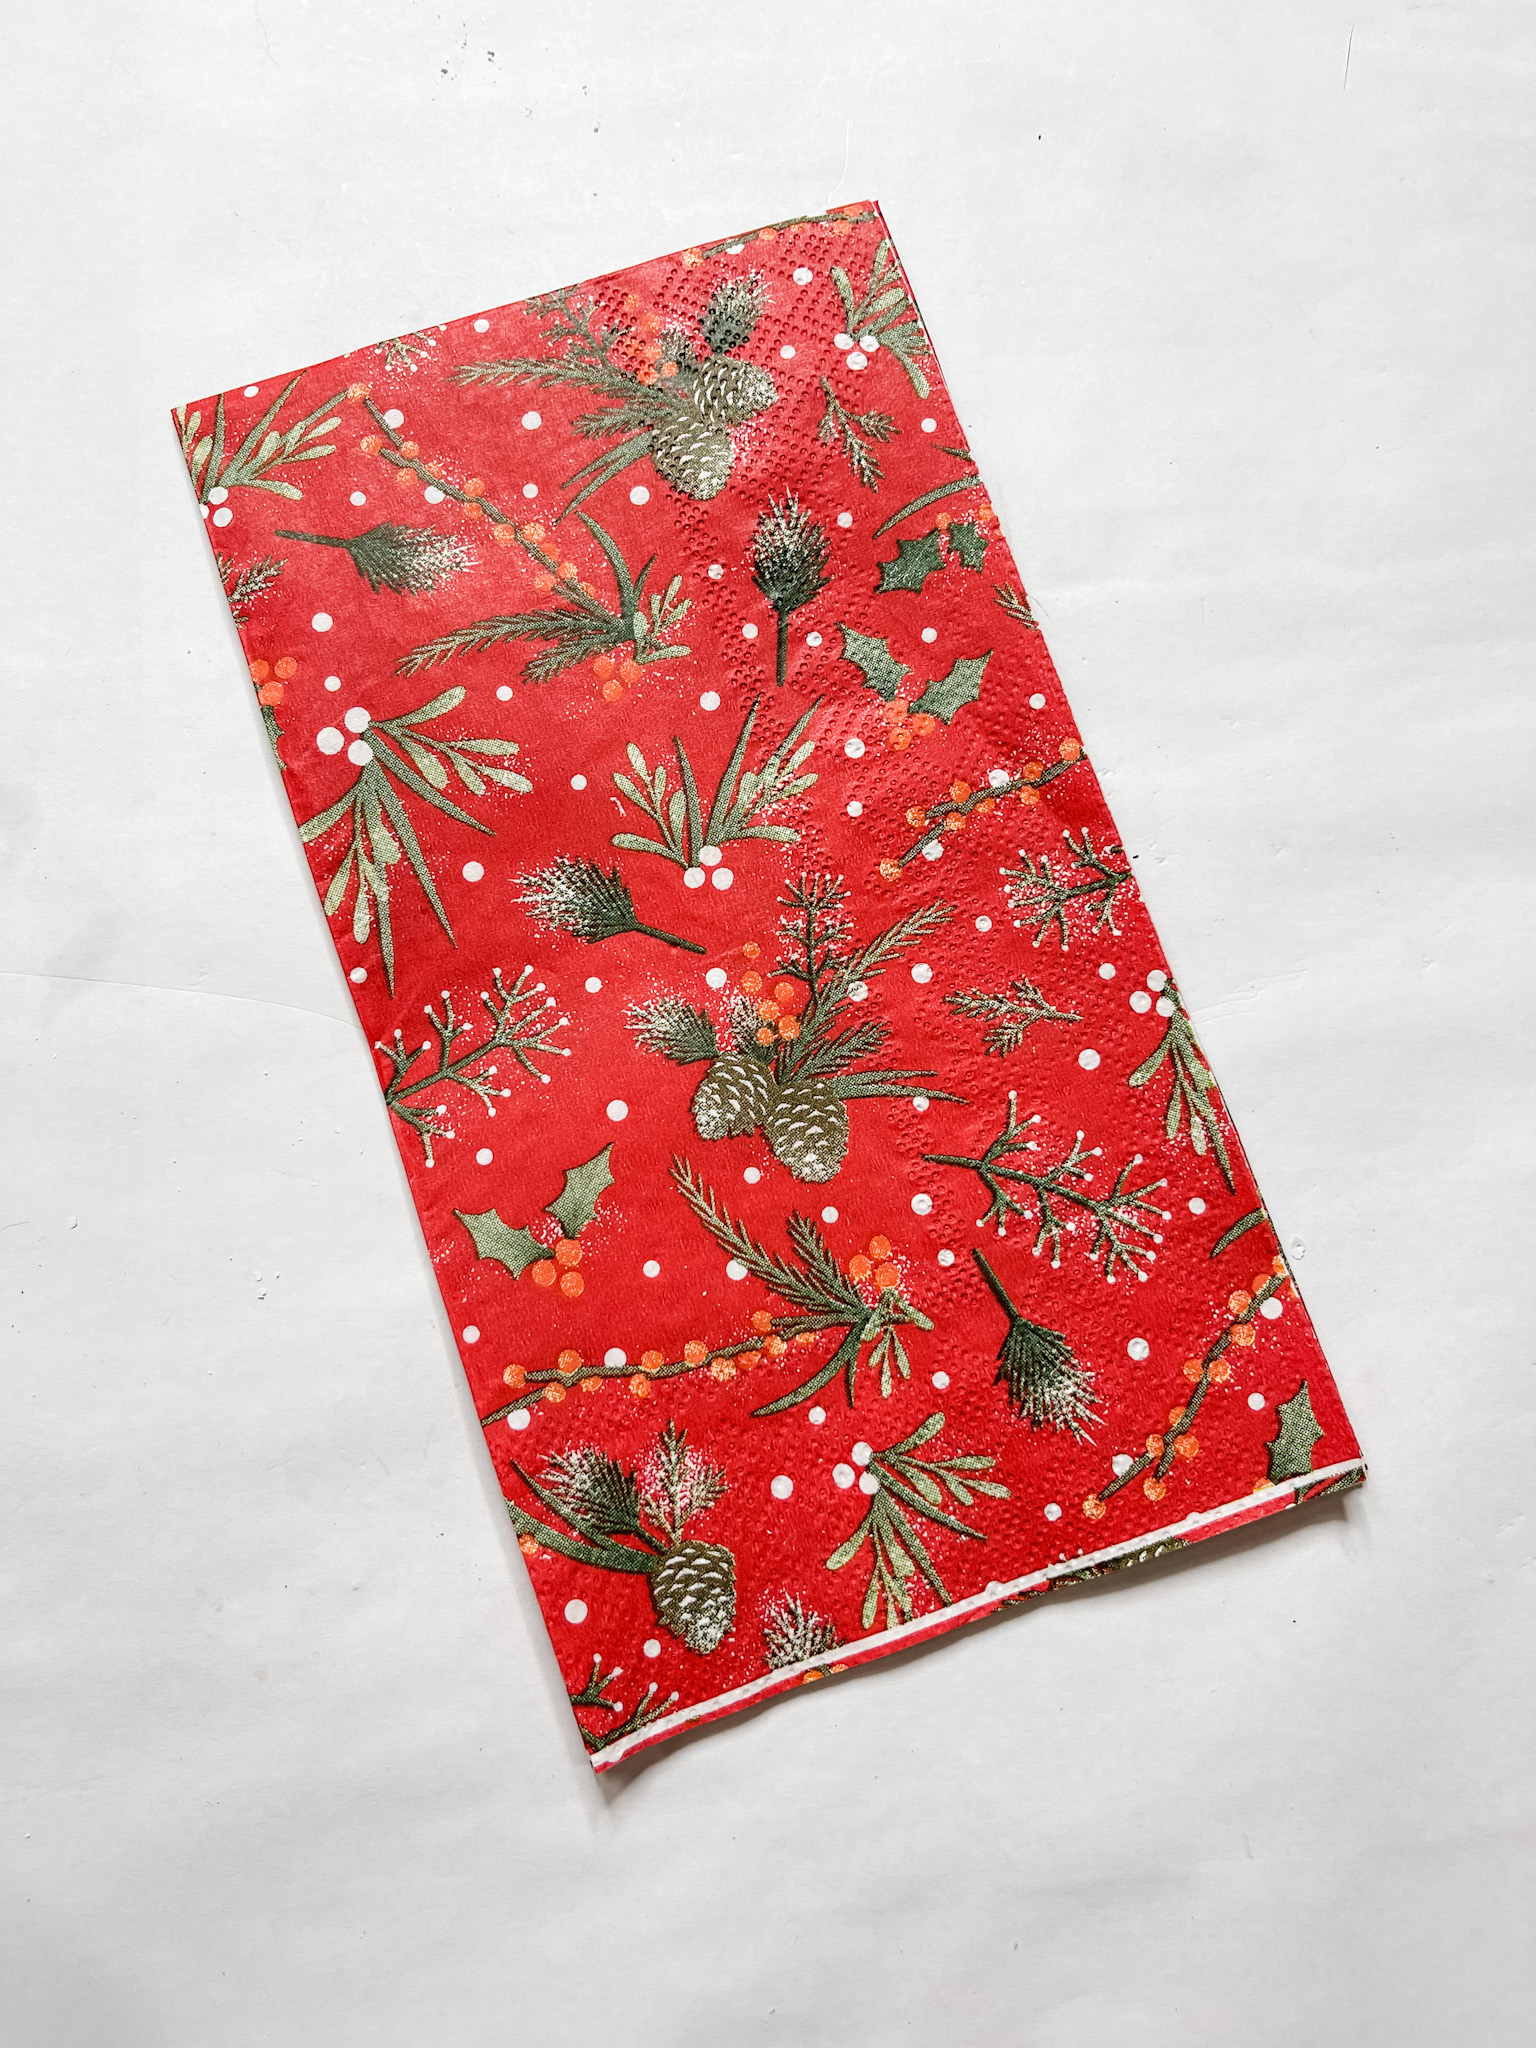
Cover the napkin with a piece of plastic saran wrap and smooth out any wrinkles or bubbles in the napkin. The saran wrap keeps the napkin from sticking to your hands and pulling up from the surface.
Now, let the Mod Podge dry completely. Once it’s dry, remove the excess napkin from the pizza pan. I like to use a sanding sponge to tear the extra napkin from the surface.
Let it snow
You can set the decoupaged pizza pan to the side for now, and grab the Dollar Tree let it snow sign. Paint the front of the sign with black paint.
Let the black paint dry completely, then very lightly brush a small amount of white paint across the let it snow sign.

Alternate brush patterns and you’ll get the same finish on your sign that I did! I fully painted the snowflake with white paint, though.

Bring it all together
Now it’s back to the pizza pan! I laid out half wood beads around the outer edge of the pizza pan to see how many beads I would need.

Then, I put them in a small mixing bowl, sprayed them with water, and mixed in some Folkart Java chalk paint. Swirl the beads until they are all coated with brown paint.
Remove the beads from the bowl and wipe off the excess paint from the beads. You’ll be left with perfectly stained half wood beads! Once the beads were dry, I hot glued them around the outer edge of the pizza pan.
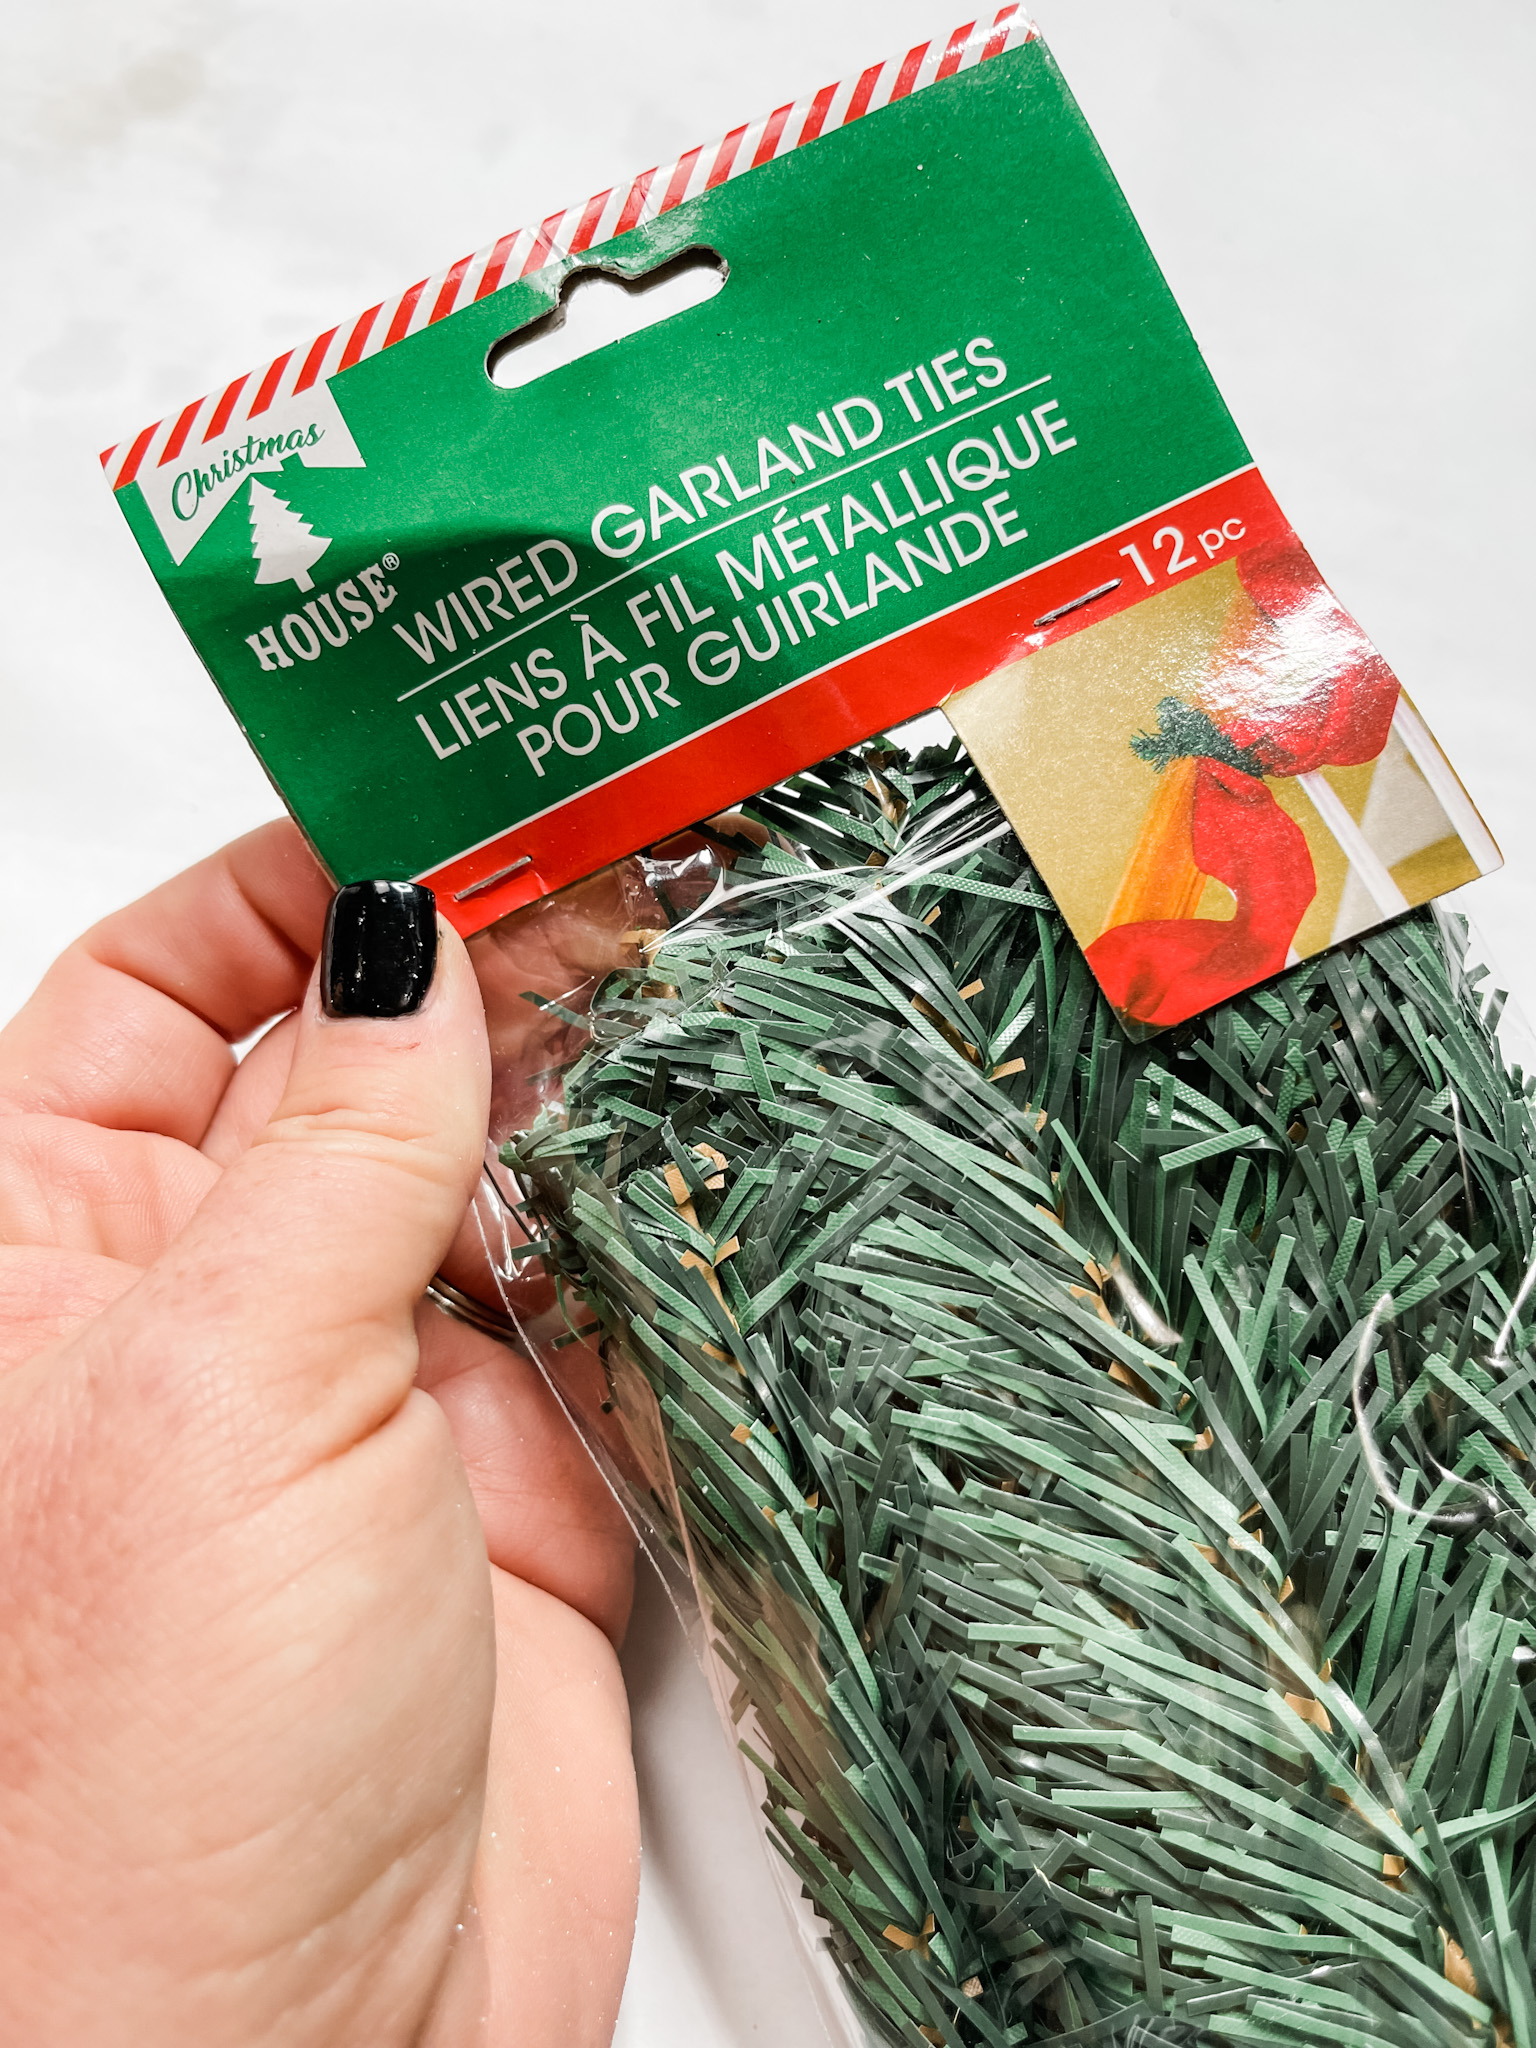
To make the hanger, I brushed white paint onto the Dollar Tree garland and let it dry. Next, I hot glued wood craft cubes to the back of the let it snow sign so I could better secure it to the pizza pan.
Then, I flipped the pizza pan over and hot glued the ends of the garland to the back of the pan. Hot glue the winter greenery to front of pan at the top with the white flower in the center.

Lastly, I hot glued the painted let it snow sign onto the pizza pan! Let all of the glue dry and you’re ready to decorate with this adorable Let It Snow DIY Door Hanger!
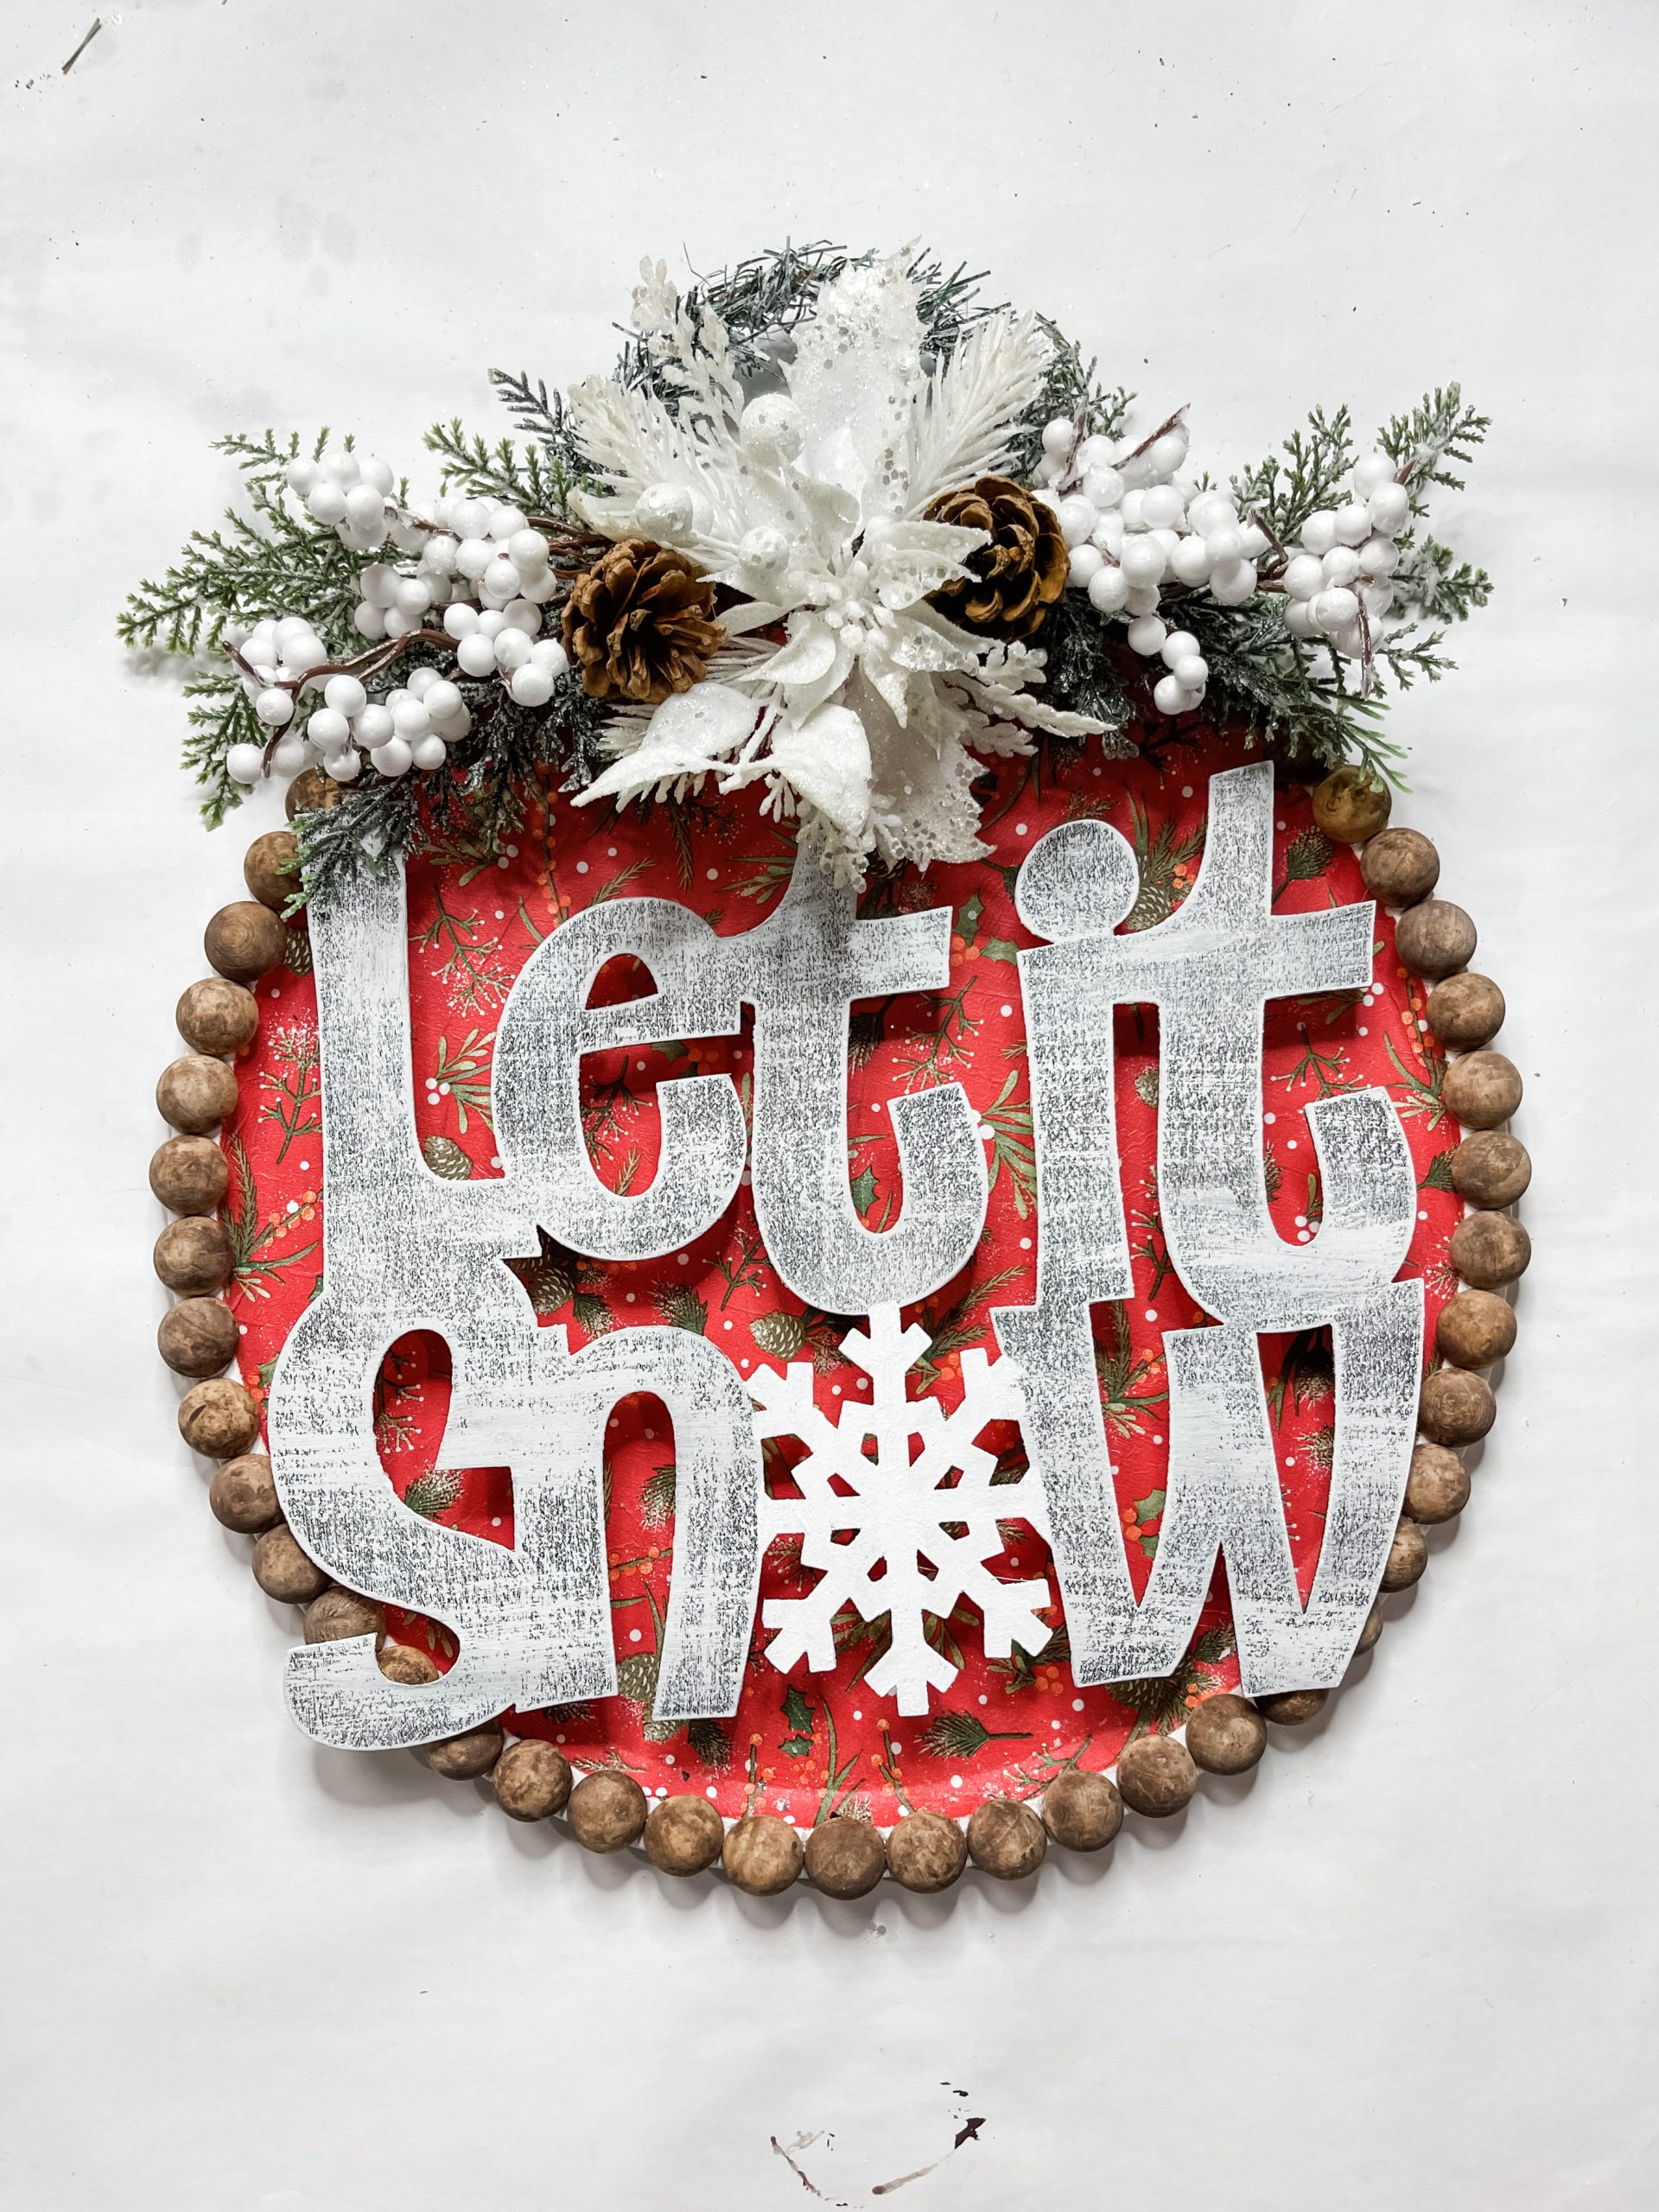
I hope you enjoyed this Let It Snow DIY Door Hanger as much as I did and decide to make one for yourself! If you do, I would love to see how yours turns out!
You should totally join my FREE Facebook group called On A Budget Crafts! It is a judgment-free community for DIY crafters to show off their projects and ideas.
If you loved this Let It Snow DIY Door Hanger, you might also like this Dollar Tree Gift Box DIY Christmas Decor!
Thanks for stopping by! XOXO Amber
You can also shop my ENTIRE AMAZON Favorites shop just click here! It’s packed full of all the things I use and love.
Here is the supply list I highly recommend every creative have on hand!! Would you also pin my blog for later and get on my newsletter alerts? I would love to have you join my #craftycrew.

Join my free “ON A BUDGET CRAFTS” Facebook group!
PIN THIS POST FOR LATER!


Love this. What size wooden bead did you use?
Like all your ideas for crafting. I’m new at crafting and am now hooked on it! Love being creative with all these types of craft makings. Thank you. Learning a lot too. Thanks
So many cute ideas I love them all.
Just Gorgeous
Beautifully done! Thank you!
Beautiful! I love this pizza pan let it snow hanger!! Thank you for always inspiring us and making your creations available to us in detail here on your blog. It’s nice to have needed supplies, pictures, written explanation and video all on one page! 😍☺️❤️
Just love all your craft ideas! Thank you. I order your beautiful Christmas napkins and just live them!!