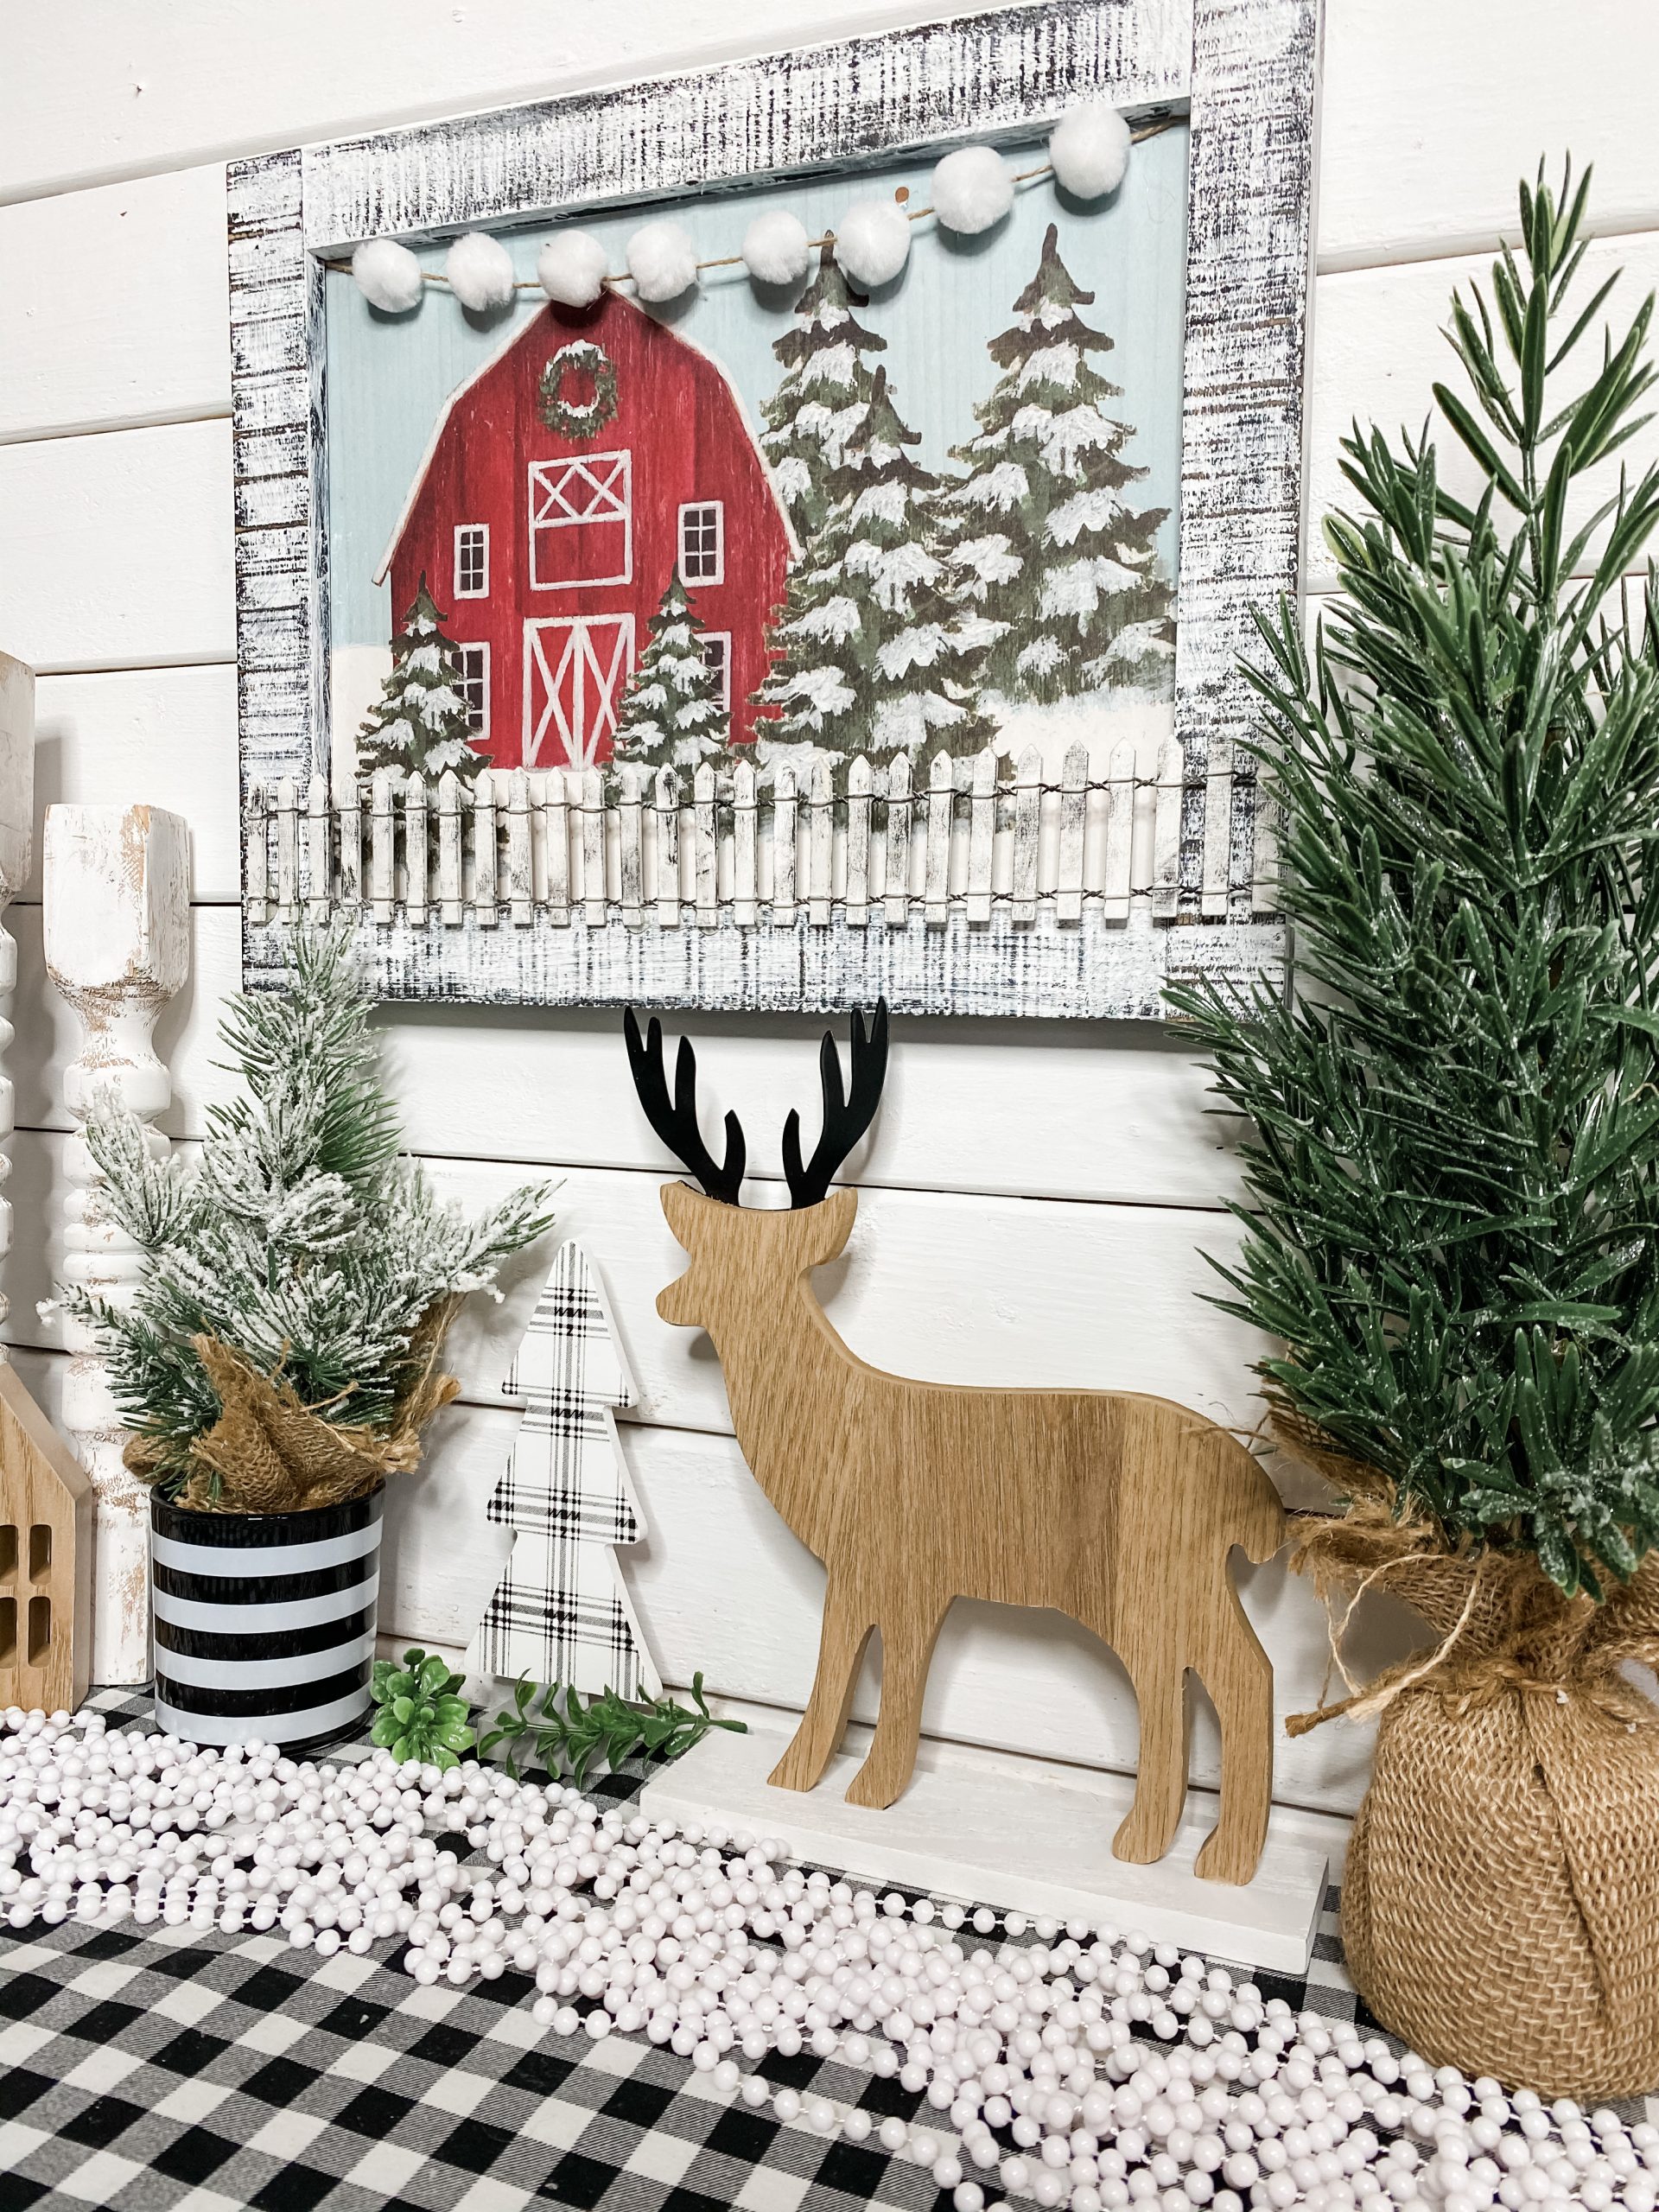
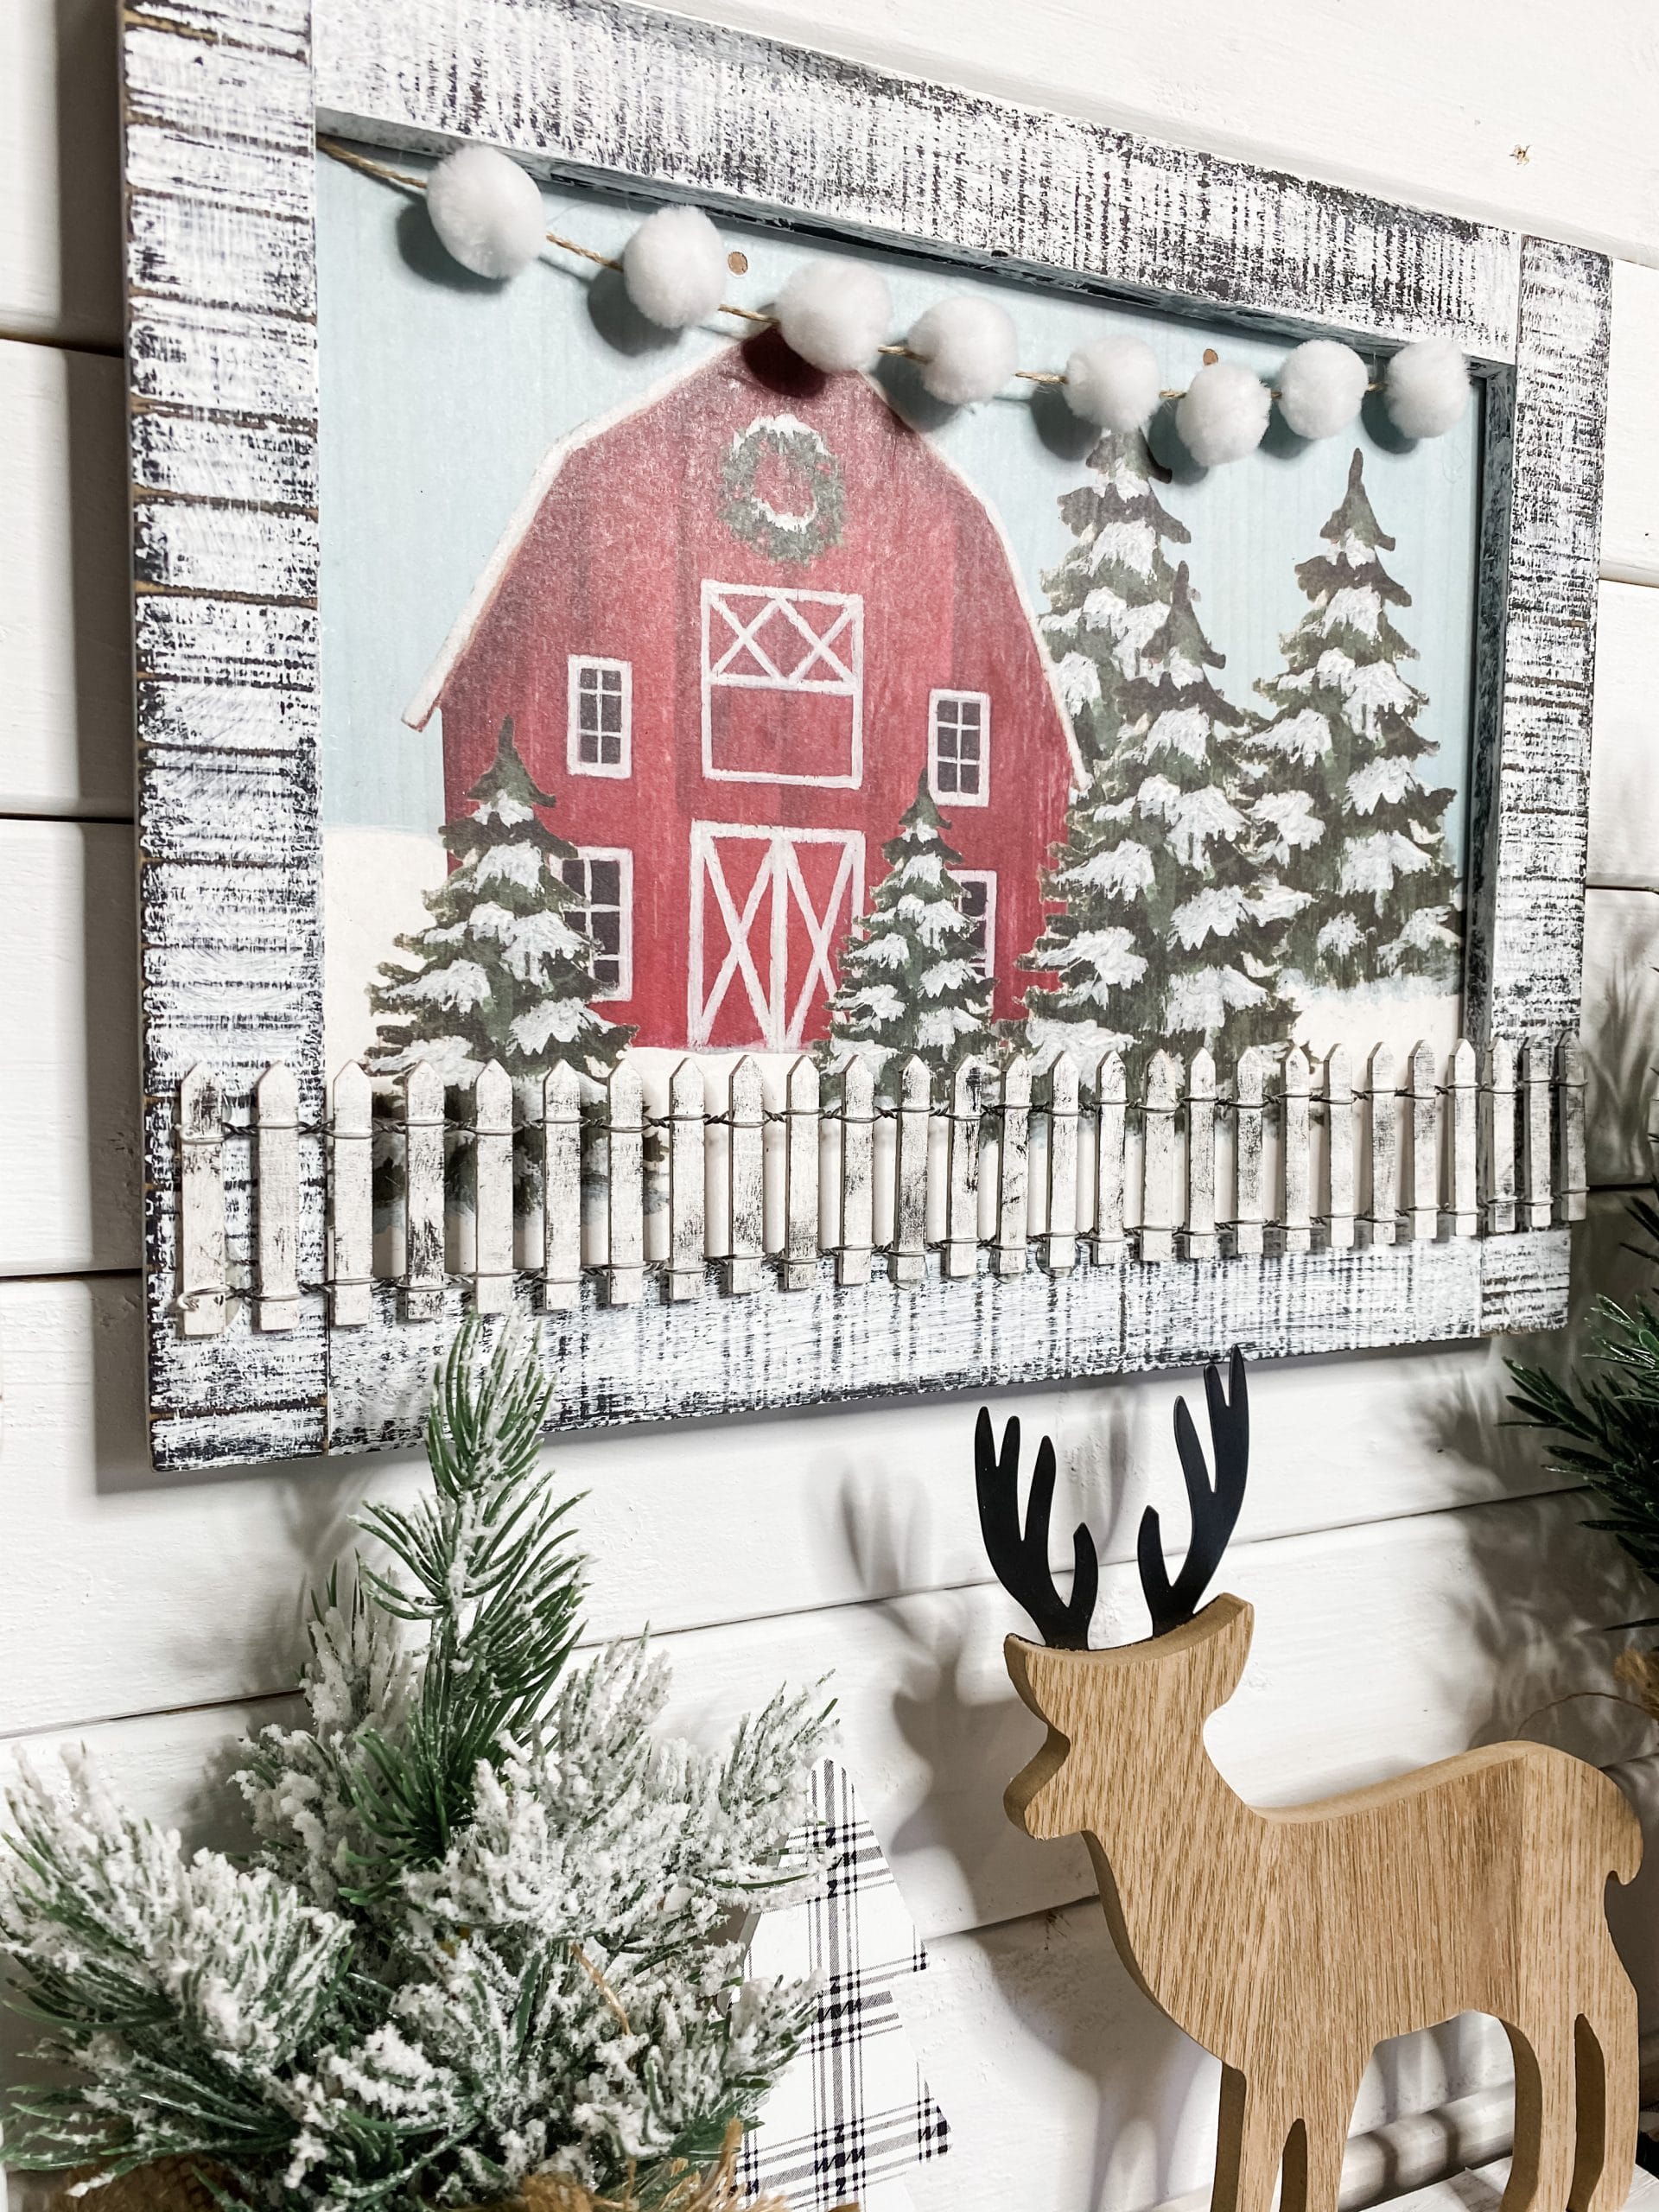
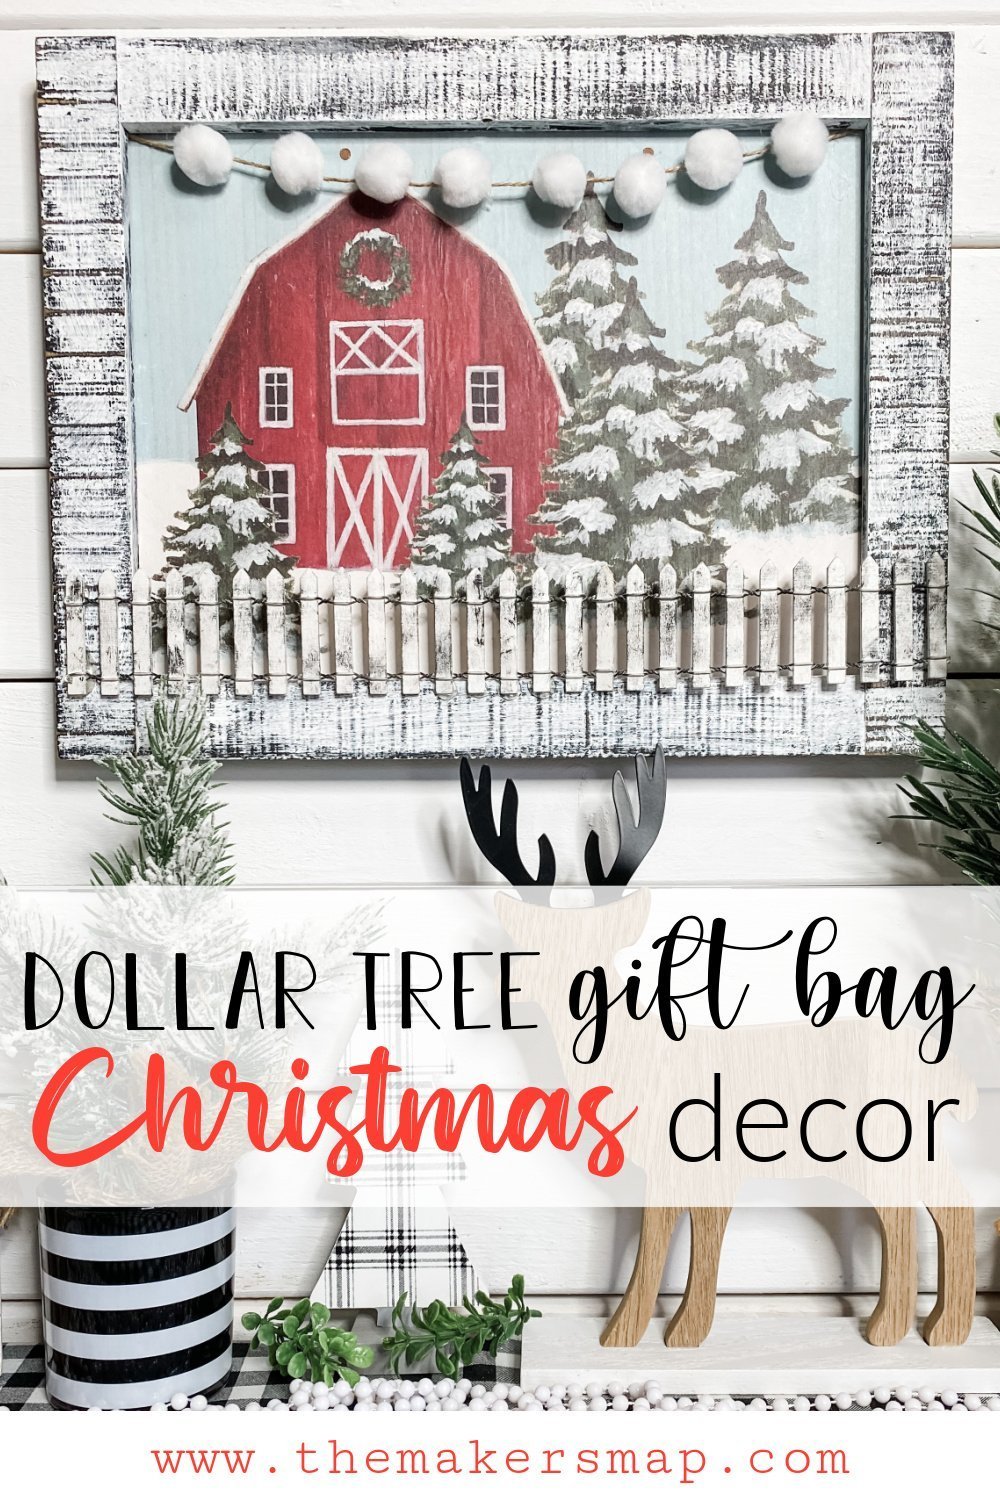
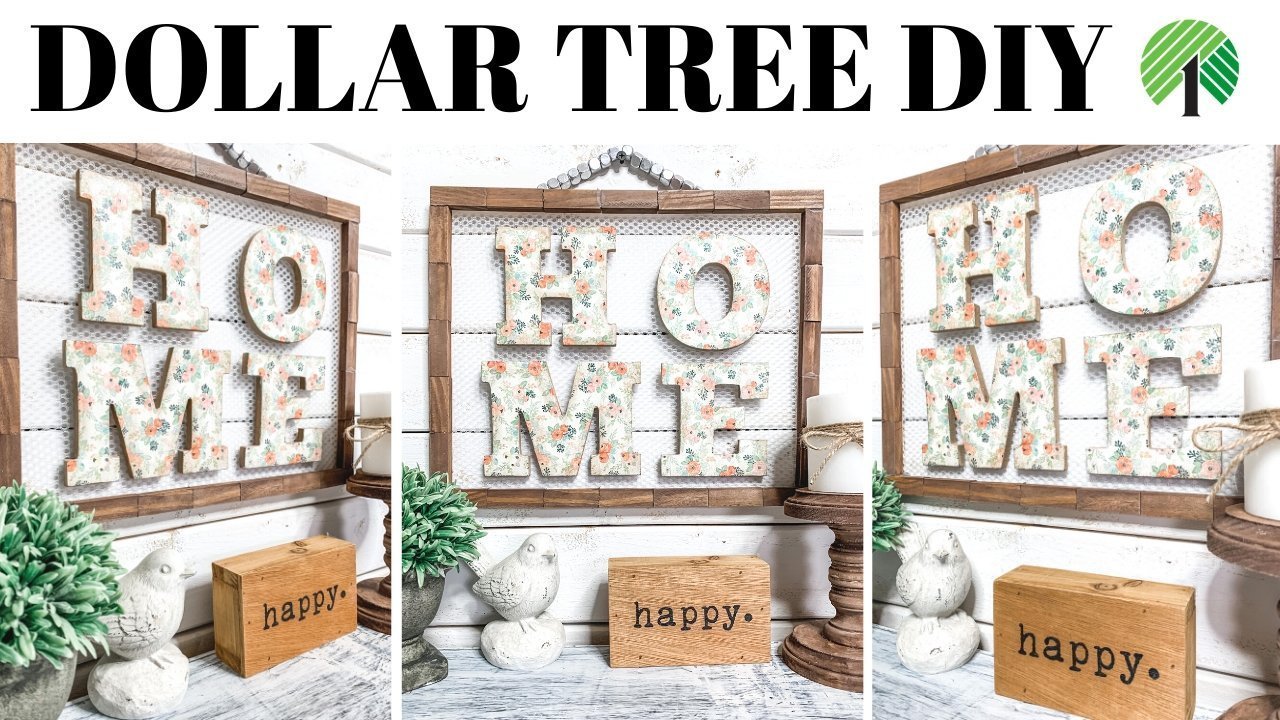
DIY Dollar Tree Gift Bag Christmas Barn Decor
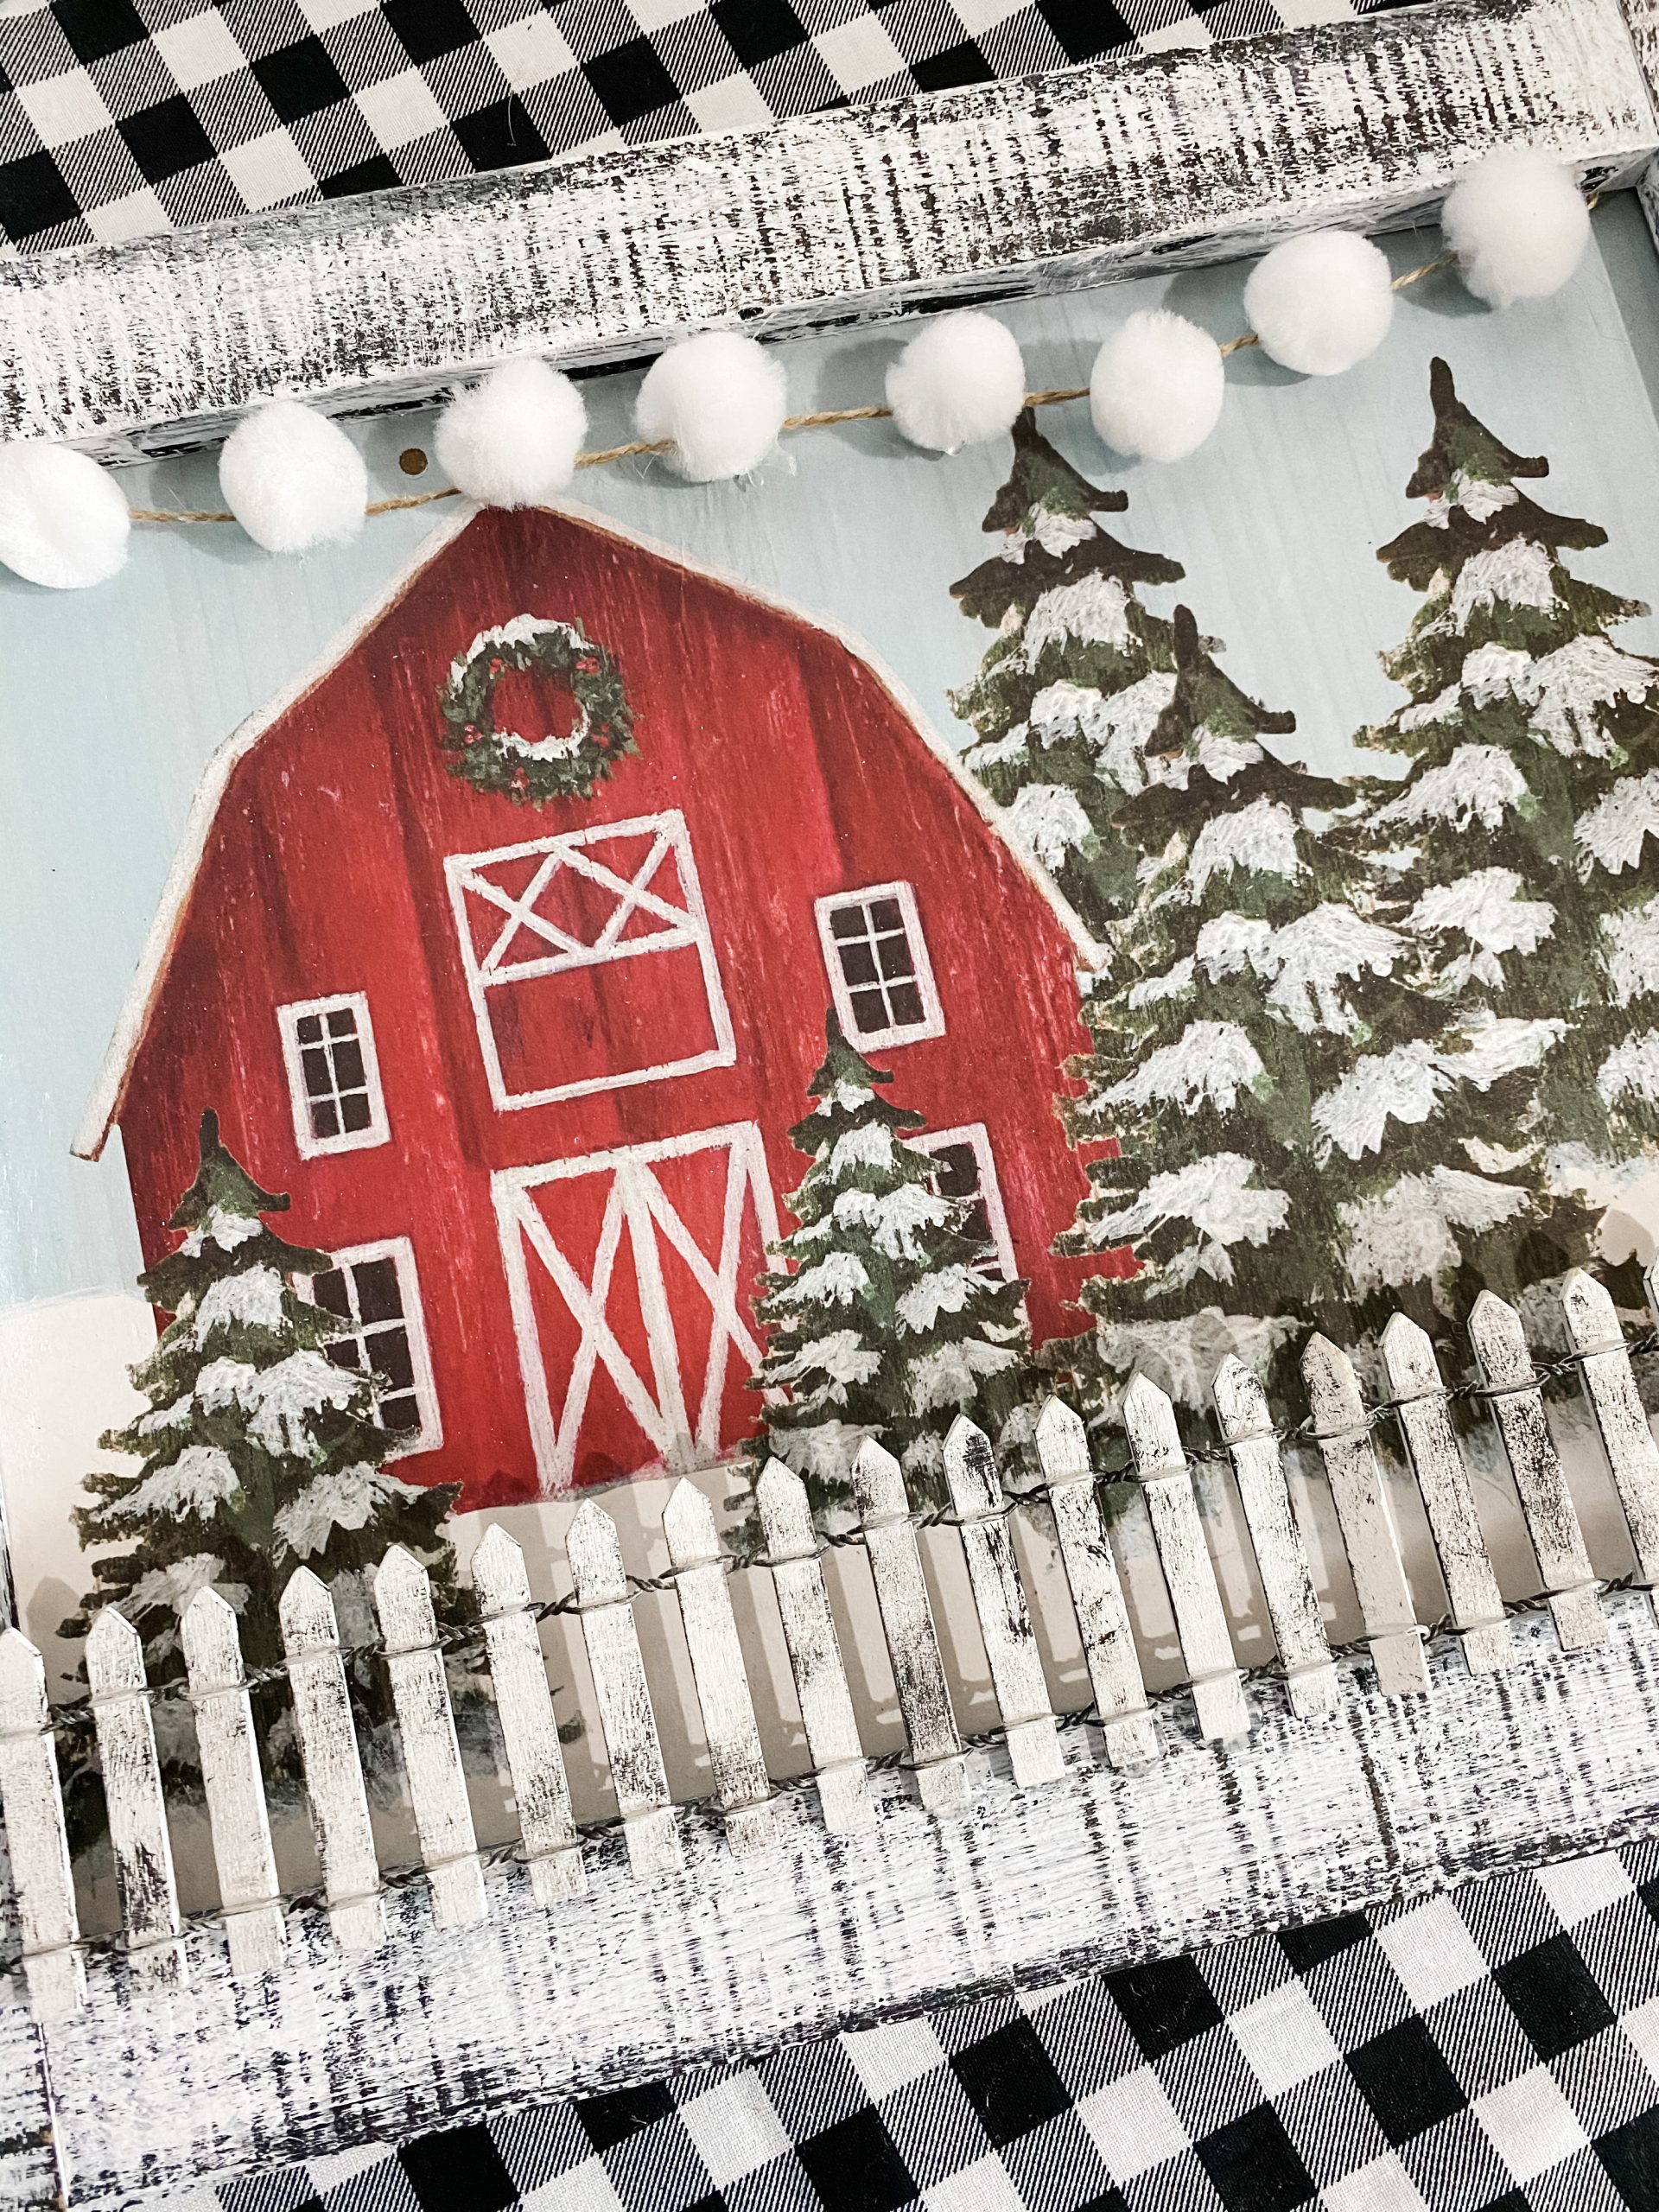
I don’t think I’m lying when I say that this might be one of the absolute easiest DIY crafts I have ever made. With very few steps, this DIY Dollar Tree gift bag Christmas Barn decor would be perfect as a kid’s craft or something for the family to do together.
There are no crazy craft techniques or expensive supplies needed. It is just a fun, easy, and affordable holiday decor DIY for everyone!
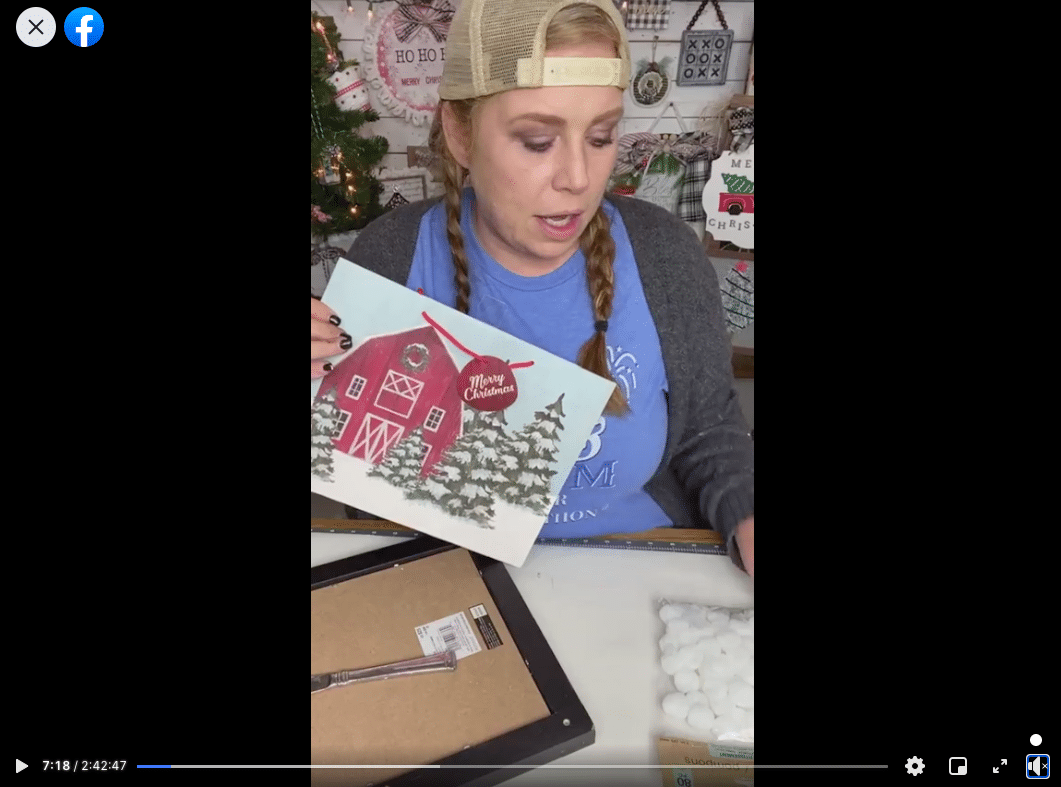
Watch the replay
There was a very sweet surprise during the LIVE video of me making this easy Christmas decor. My granddaughter Avery paid me a short visit!
I love how interested she can be in all the supplies, mostly the paint, but she doesn’t quite have the attention span needed to be my assistant yet!
Although, I did just make an adorable Christmas DIY, and I was able to include her in it. So, stay tuned for that easy kid’s craft to be up on the blog!
I talk through my steps and thought processes during my live videos, so it can be a very helpful resource for you. You can watch the replay over on my Facebook page!
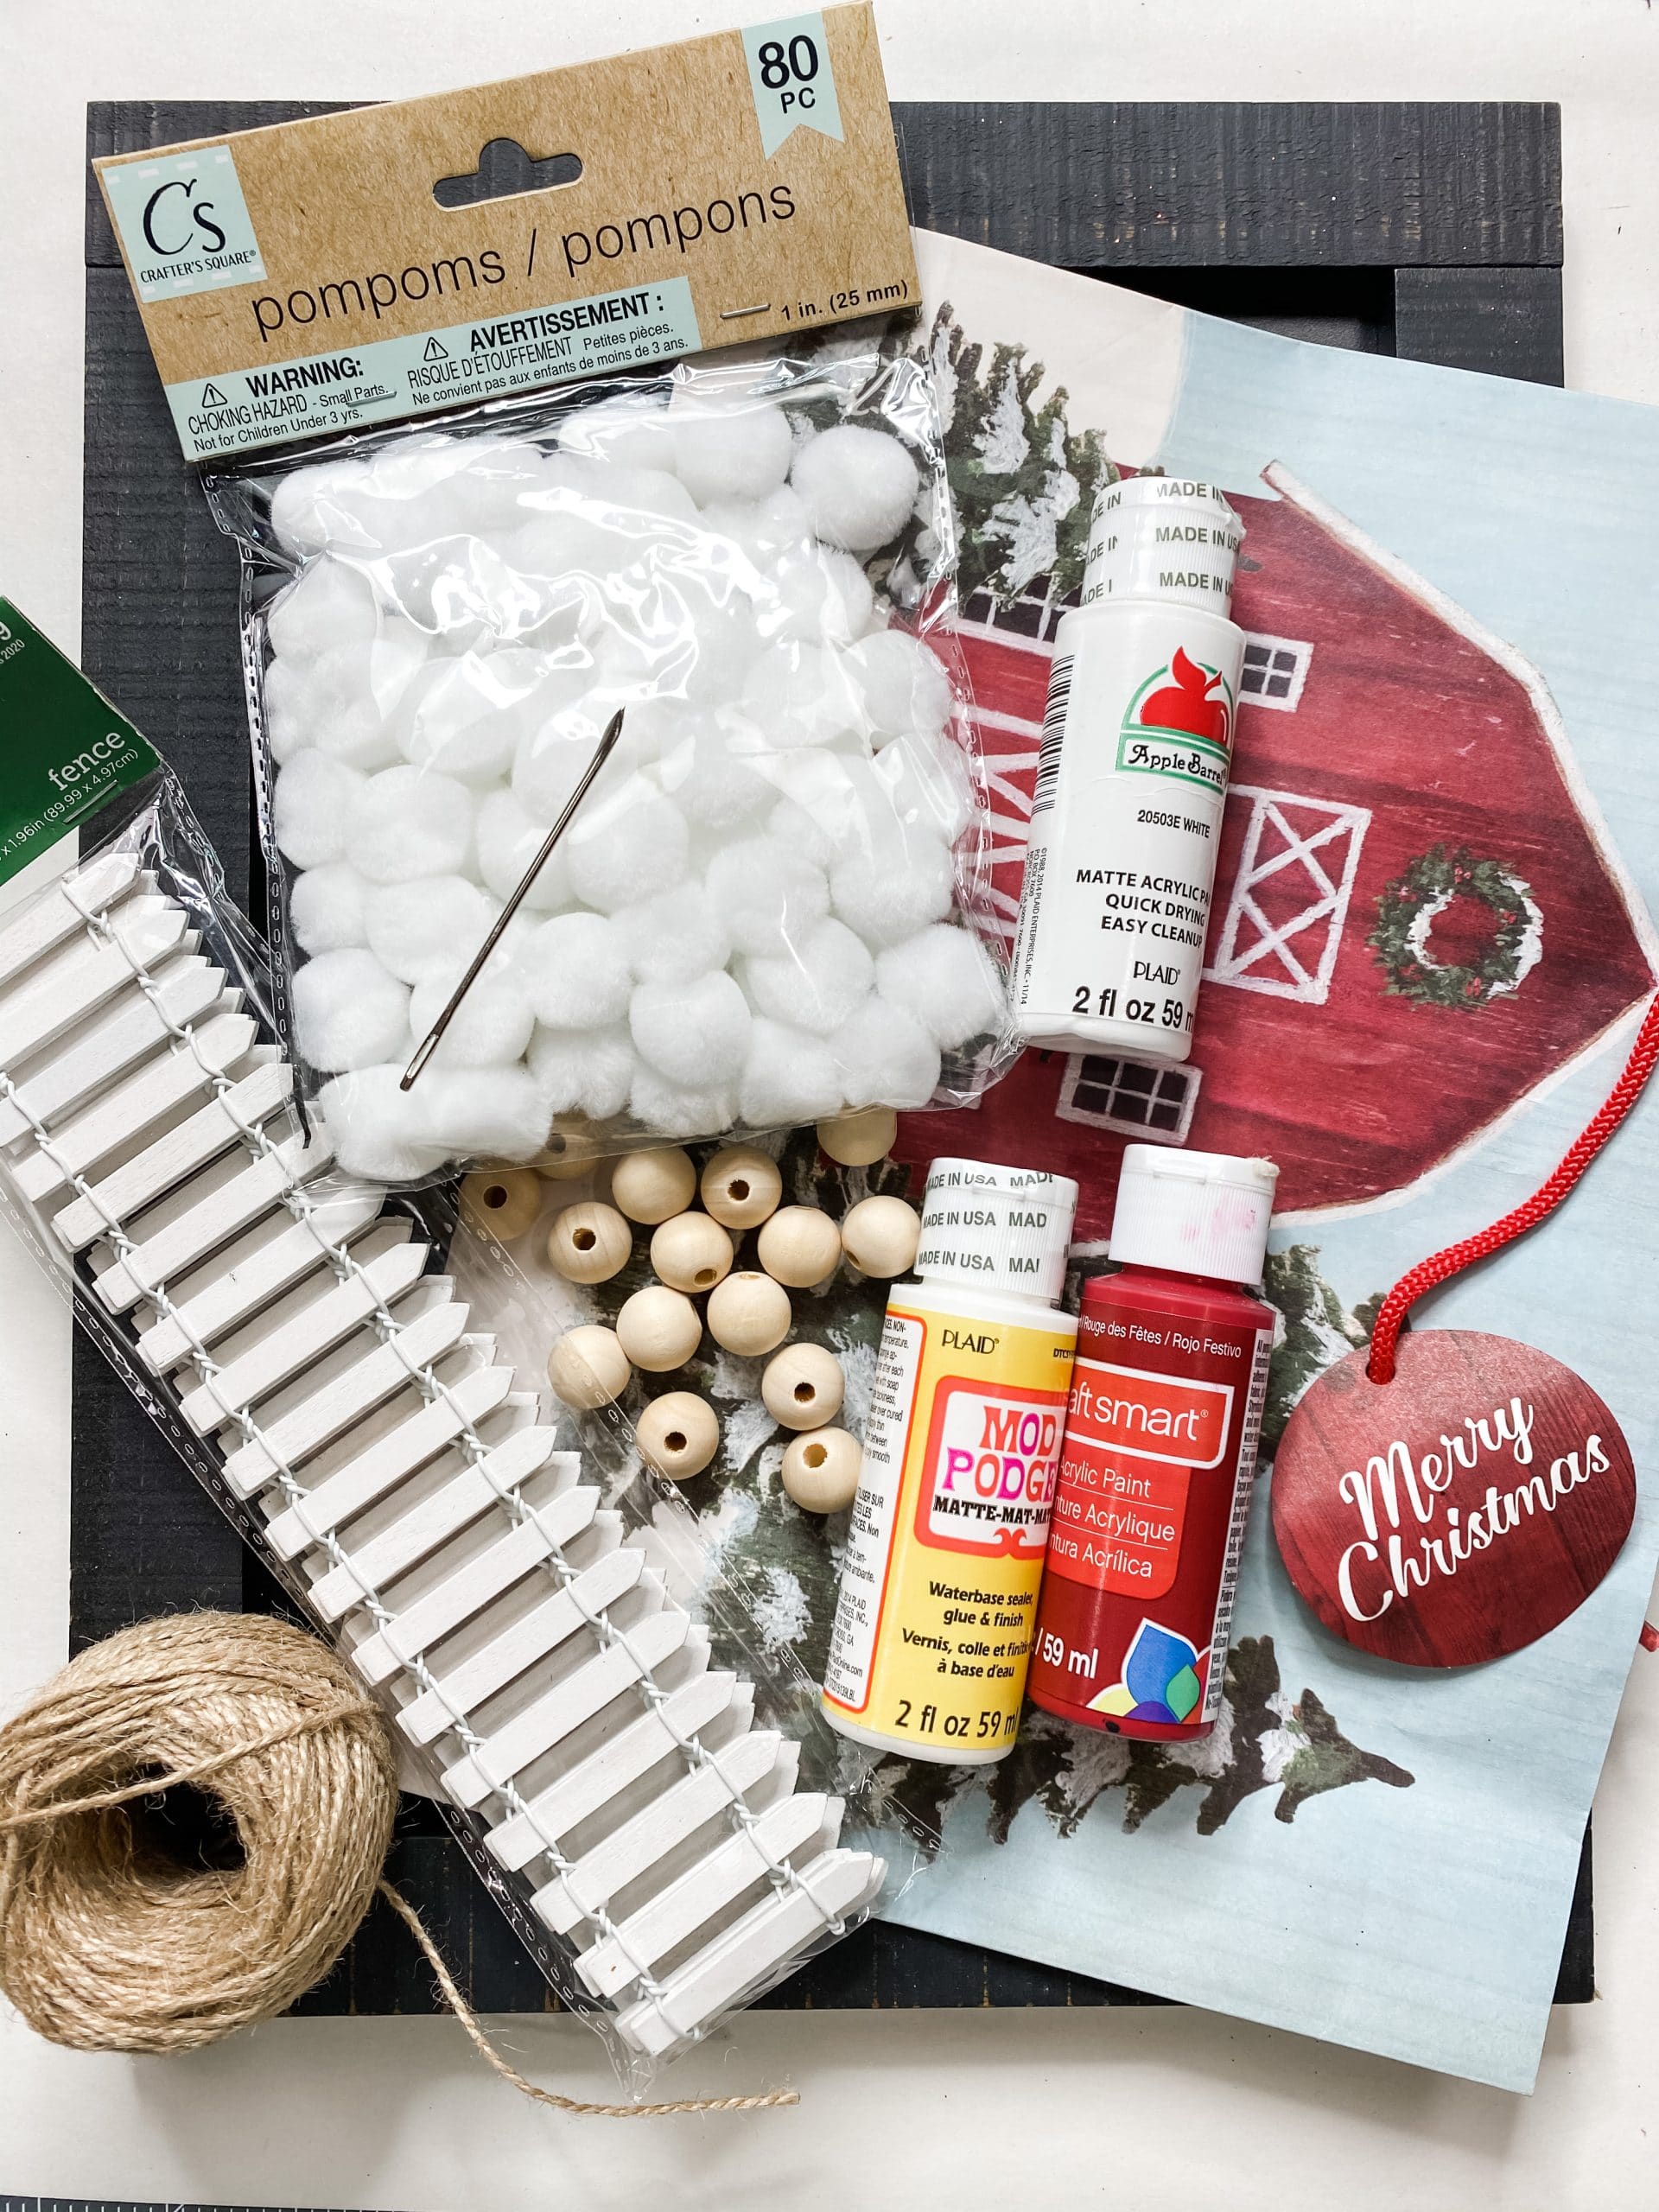
For this project, I will be using these items but you can substitute where you want.
“As an Amazon Associate, I earn from qualifying purchases.”
- Dollar Tree Gift Bag
- Dollar Tree white pompoms
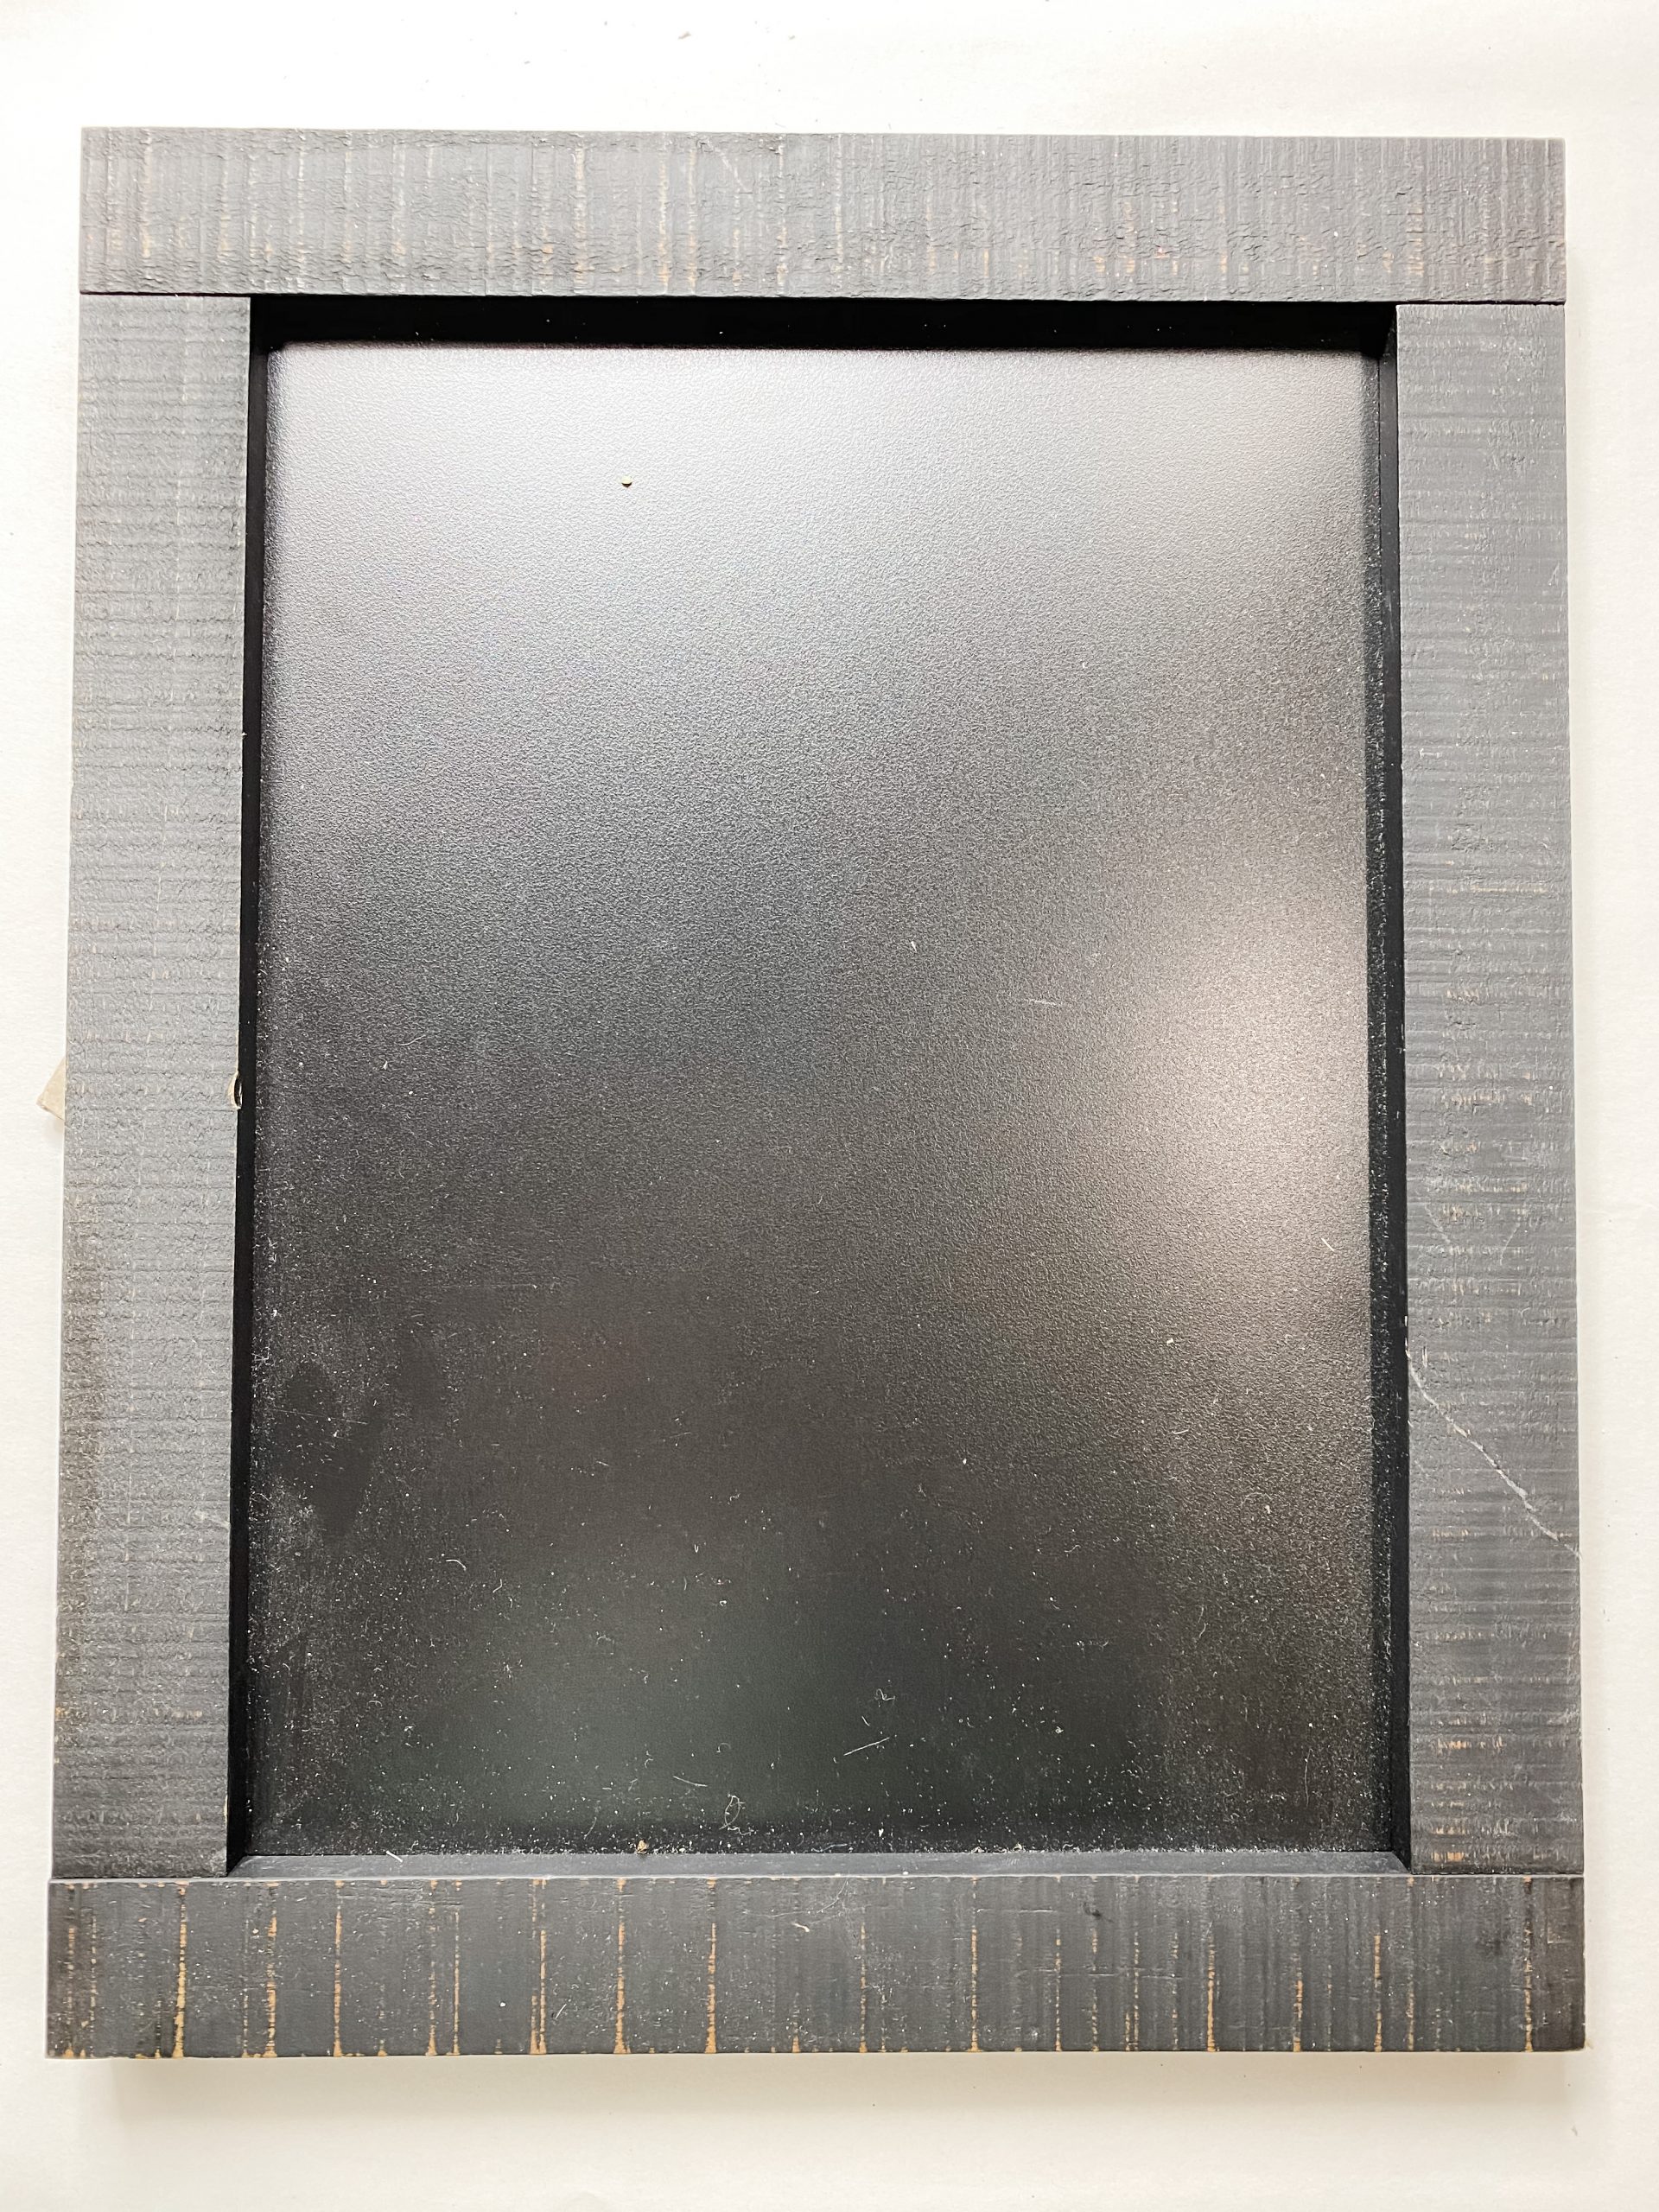
- Chalkboard with frame
- Apple Barrel White Acrylic Paint
- Apple Barrel Black Acrylic Paint
- Picket Fence (Hobby Lobby)
- Mod Podge
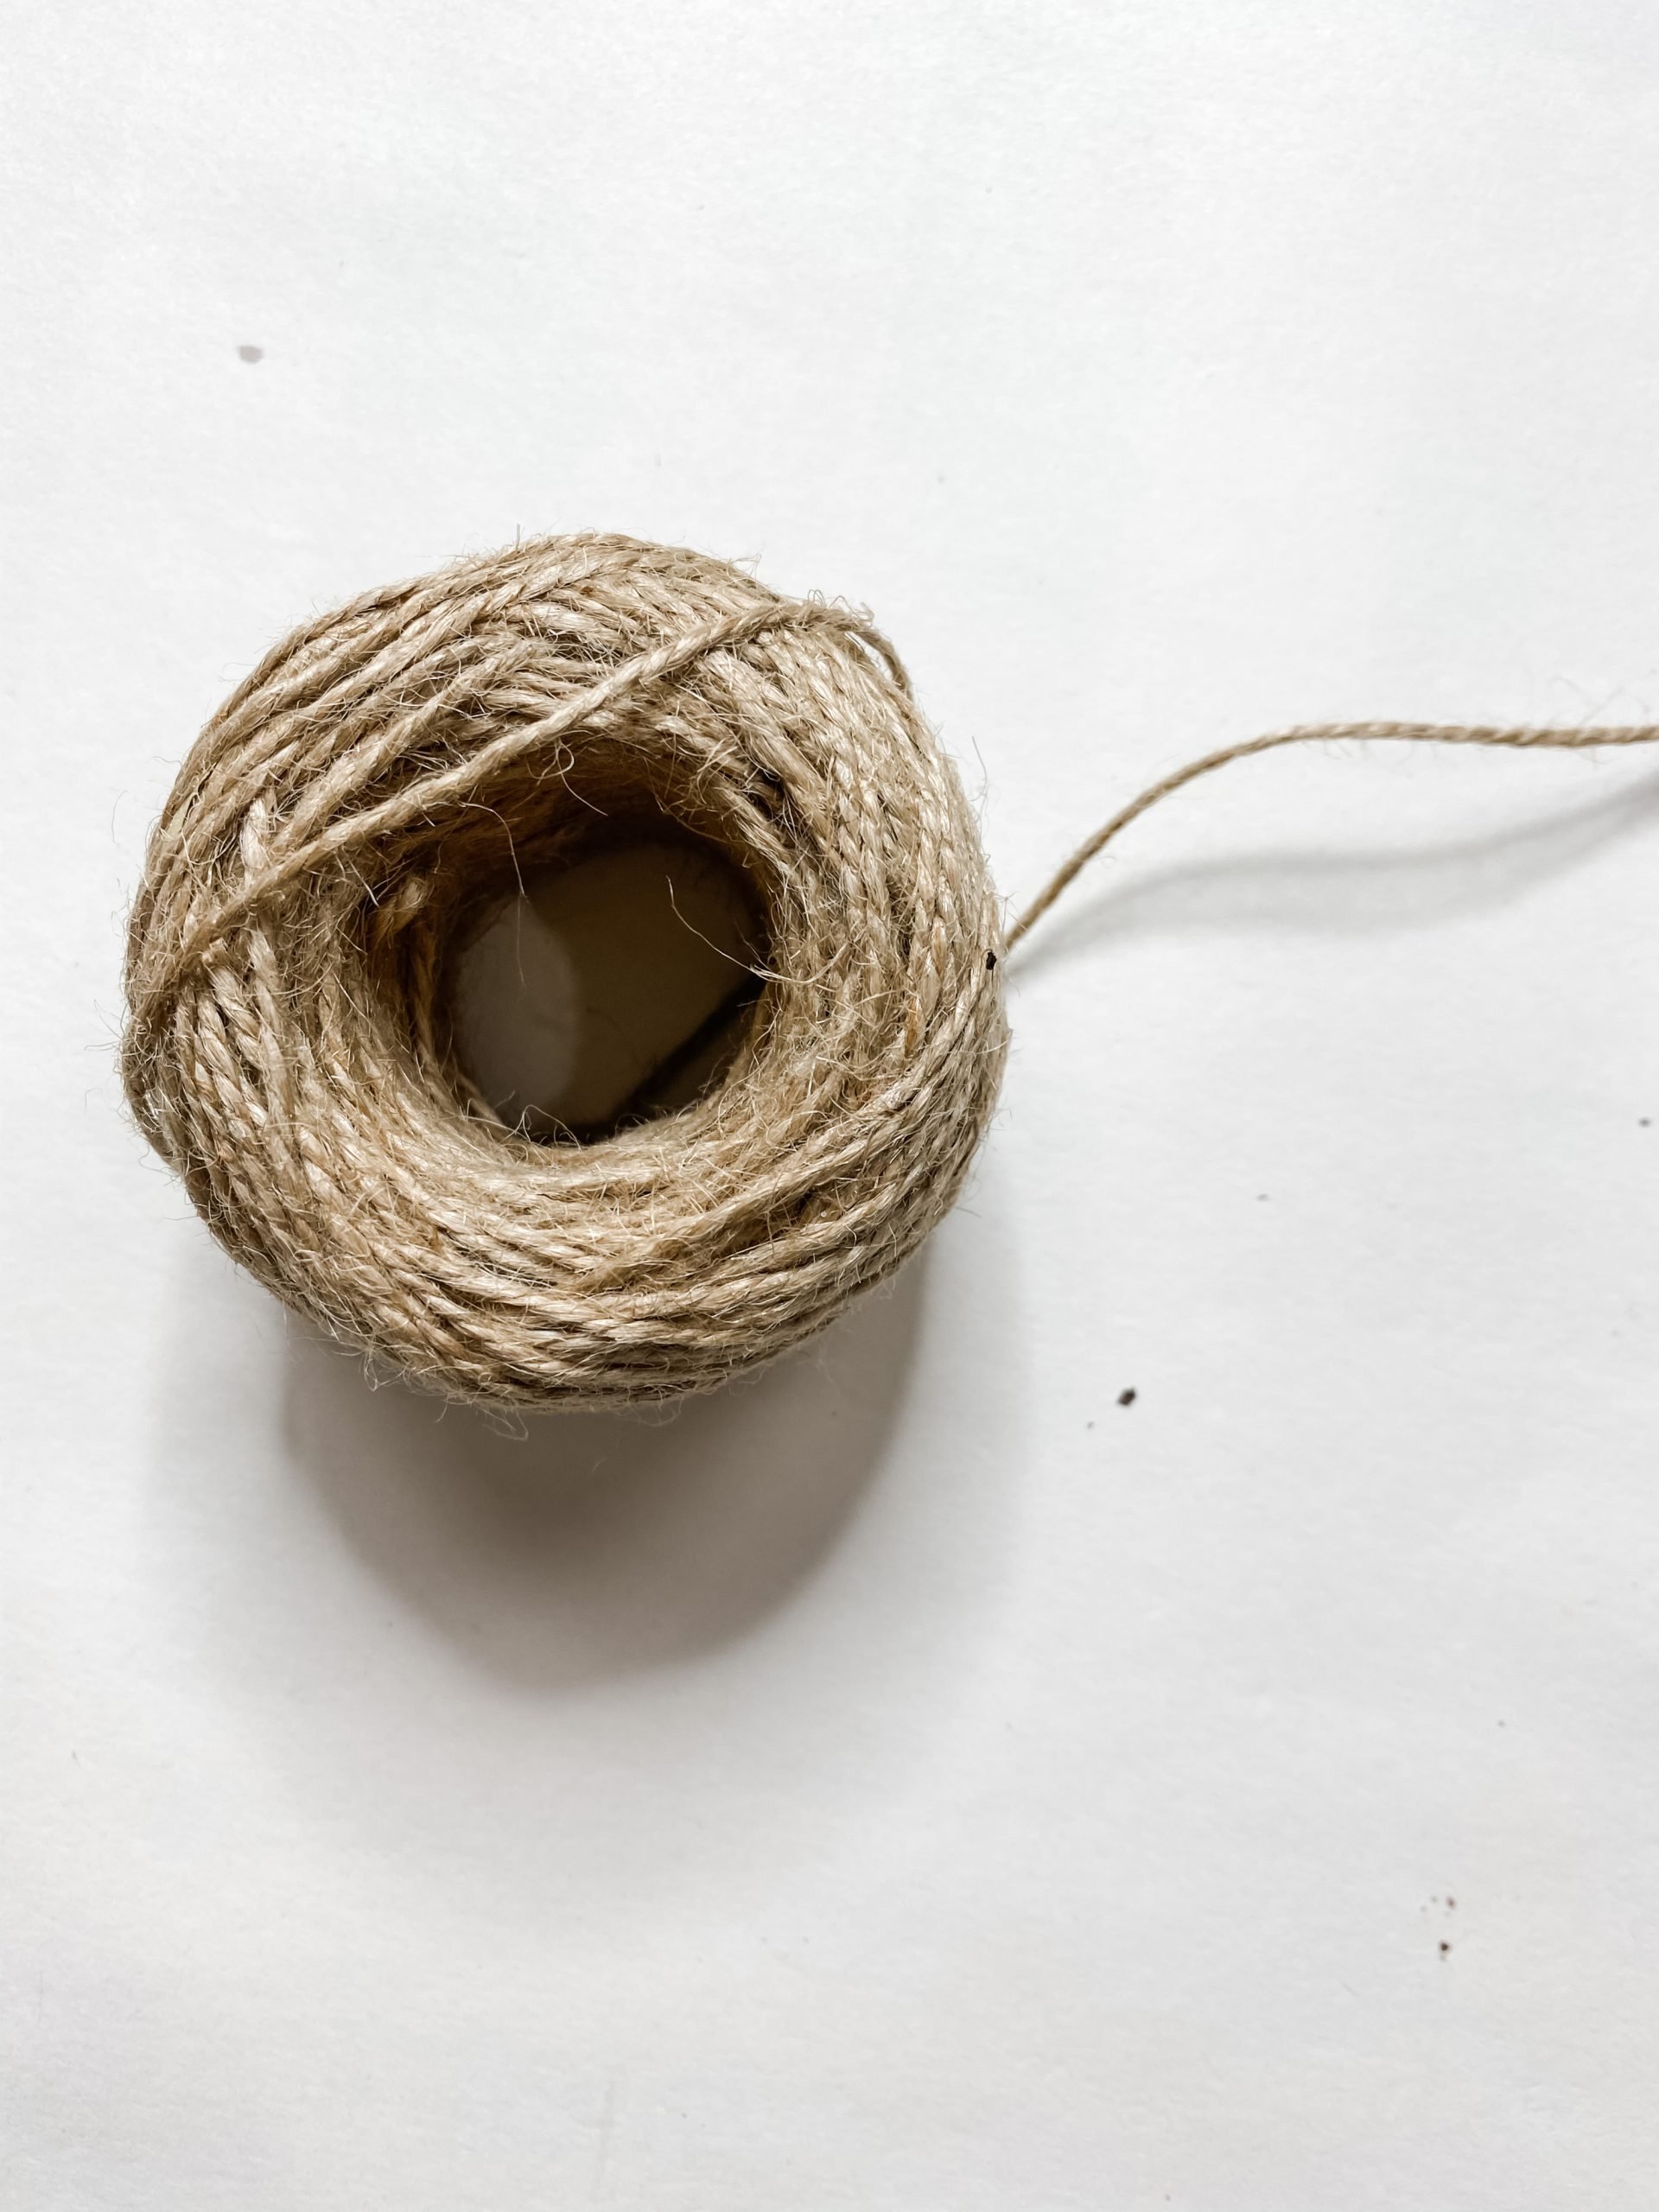
- Jute Twine
- Glue Gun and Glue Sticks
- Heat gun
*I did not use the wood beads or Craft smart red paint pictured below*
Let’s get started
When I say this might be one of the easiest DIYs that I have ever done, I mean it. Step one is to remove the backing from the chalkboard frame and just get rid of the chalkboard insert.
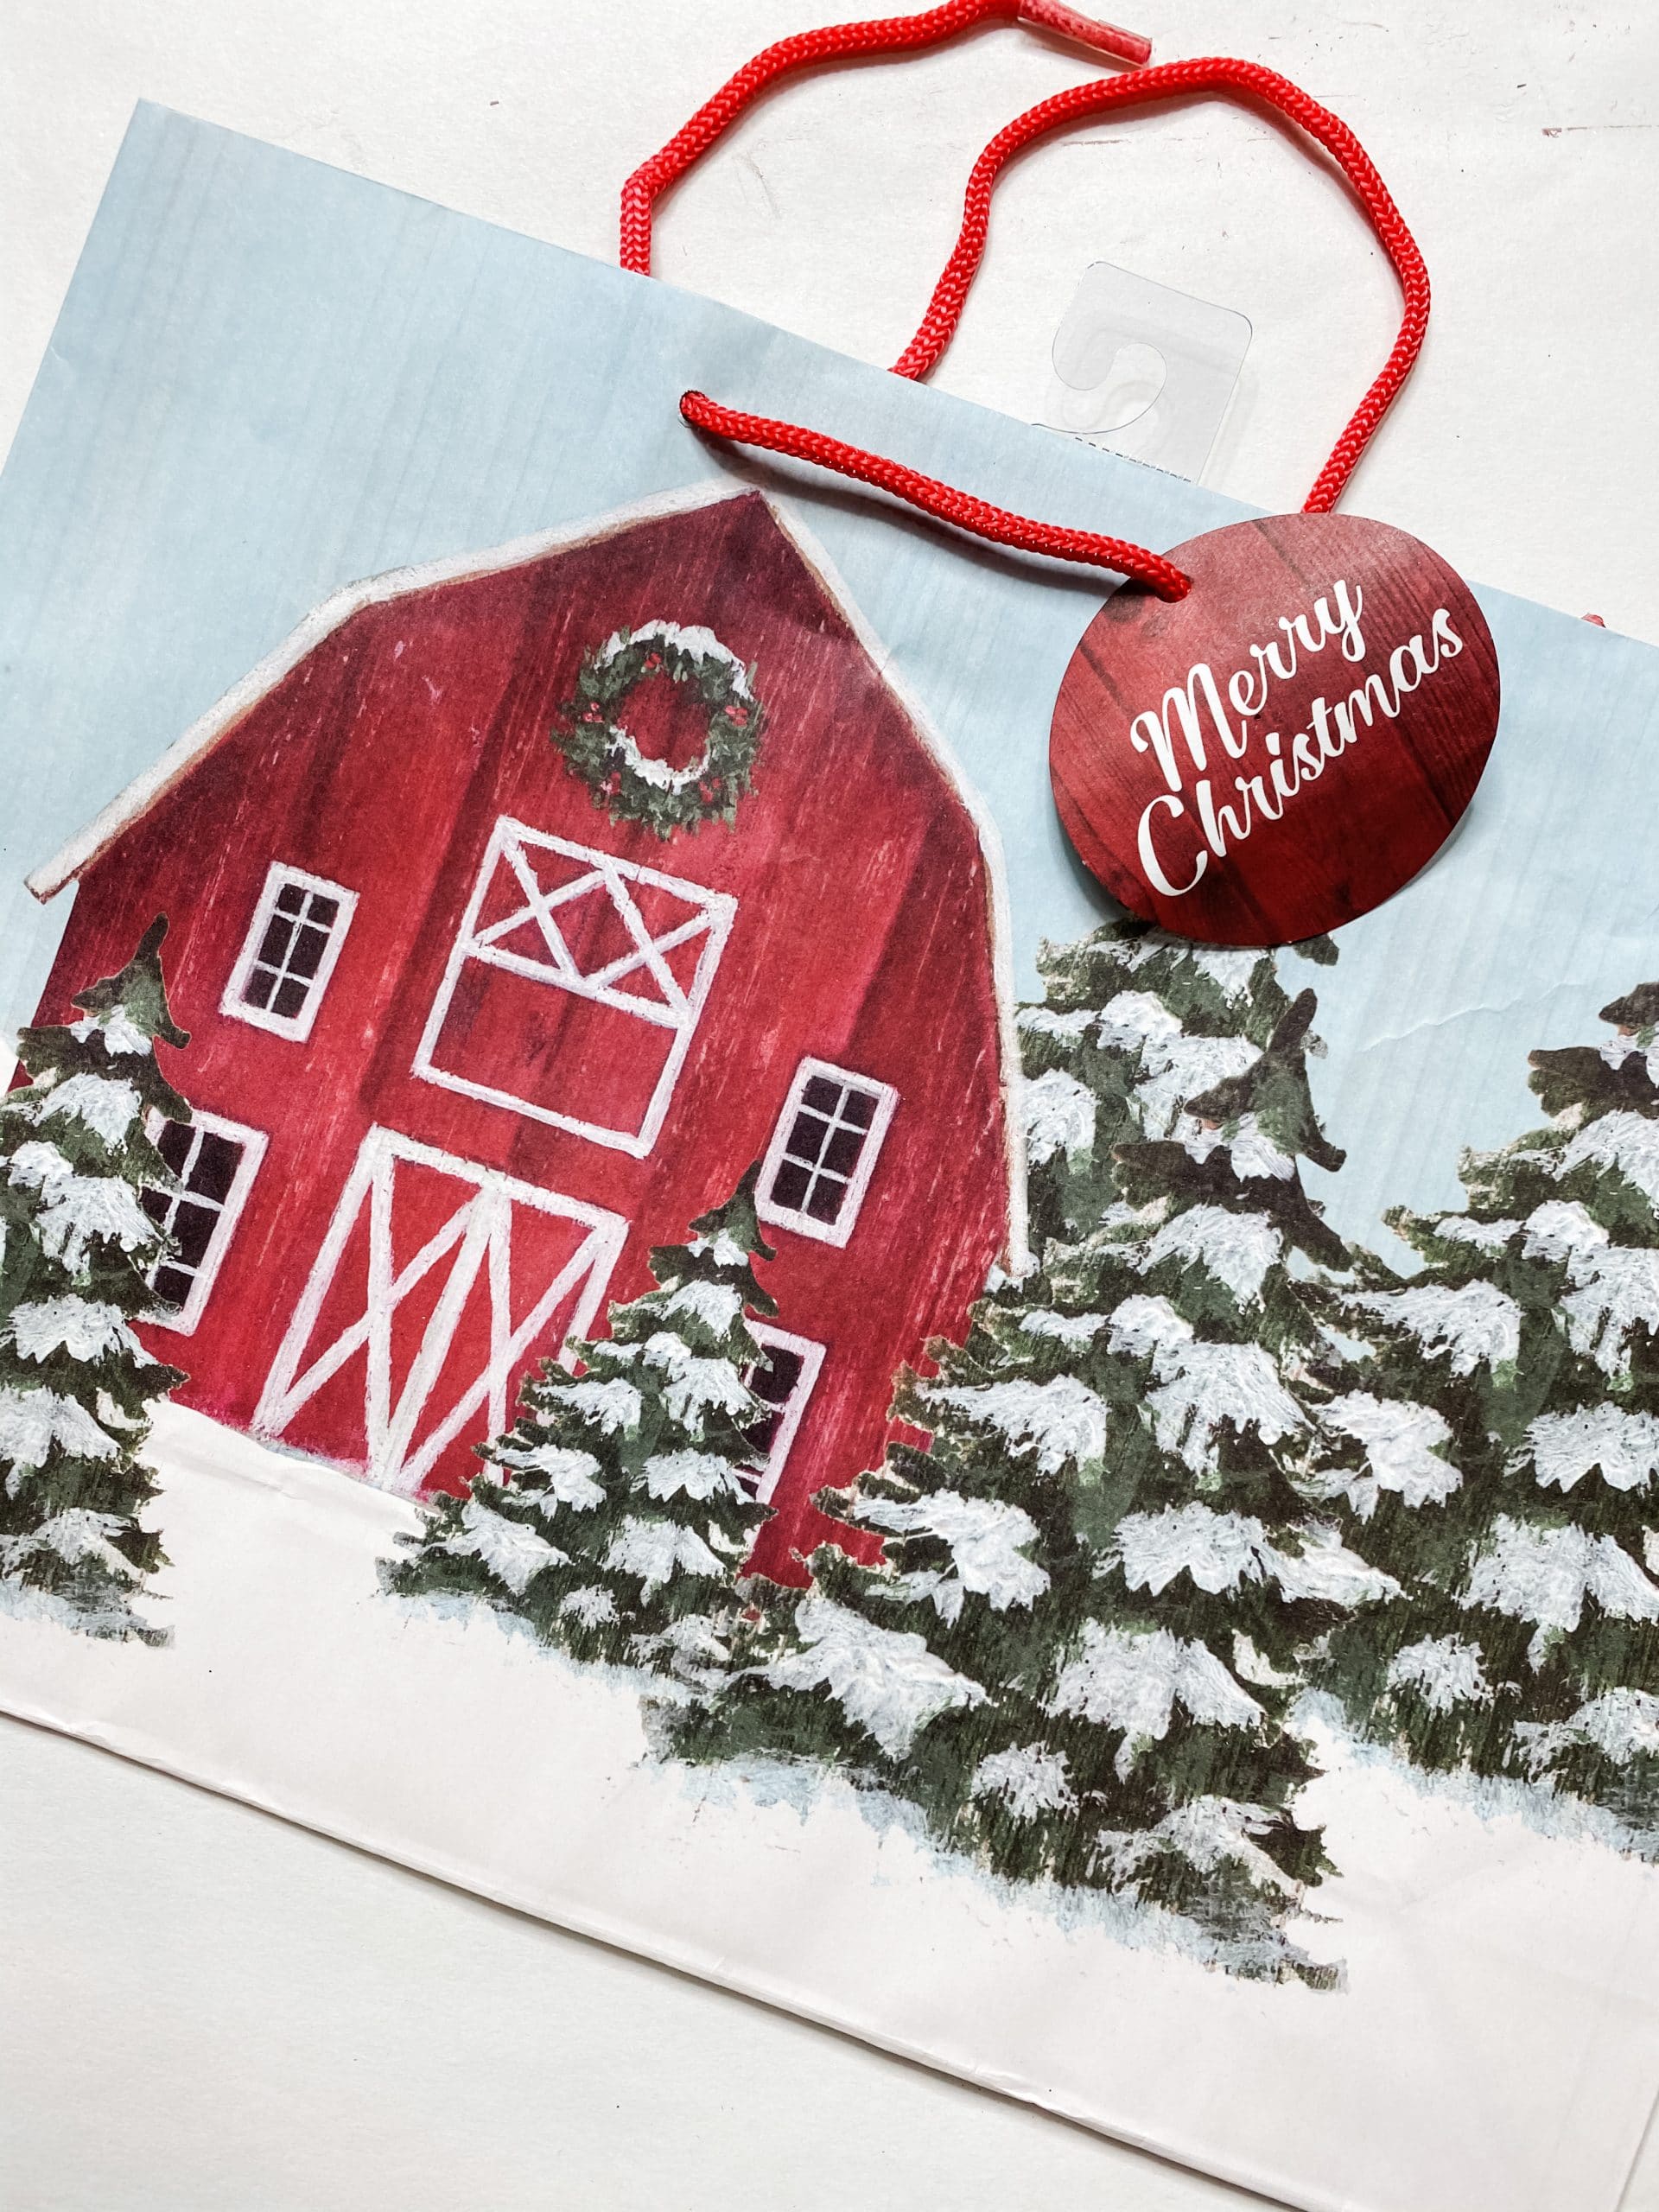
We are going to decoupage the Dollar Tree gift bag to the cardboard backing from the chalkboard frame.
To get the gift bag ready, remove the red string handles. Next, you’re going to have to cut the front side off. I cut straight down the center of the sides and bottom.
It’s better to have more paper than is needed and trim it down later than to cut the design too small.
Next, lay the cutout Christmas gift bag on top of the chalkboard frame backing. Trace around the edges of the cardboard backing so you know the exact size you need the gift bag to be. Trim the edges as precisely as you can.
Remember, the backing will go back into the frame after we decoupage it, so the edges don’t have to be perfectly straight.
How to decoupage
The secret ingredient of decoupaging is Mod Podge! Apply a coat of Mod Podge to the cardboard backing and lay the Dollar Tree gift bag cutout onto the Mod Podge.
Try and be precise when placing the gift bag and avoid wrinkles or creases.
To smooth out any inevitable imperfections, place a piece of plastic saran wrap over the gift bag and smooth out as many wrinkles as you can.
The plastic saran wrap protects the paper gift bag from tearing and keeps it from sticking to your fingers.
Time to paint!
Thankfully, the wood frame was already painted black, so all I had to do was dry brush Apple Barrel White Acrylic Paint over it.
This might be the easiest distressed look I’ve ever gotten! Don’t try and get paint into the crevices of the wood or you’ll lose the perfect distressed look.
Allow the painted frame to dry before moving to the next step. I like to use my heat gun to speed up the drying process.
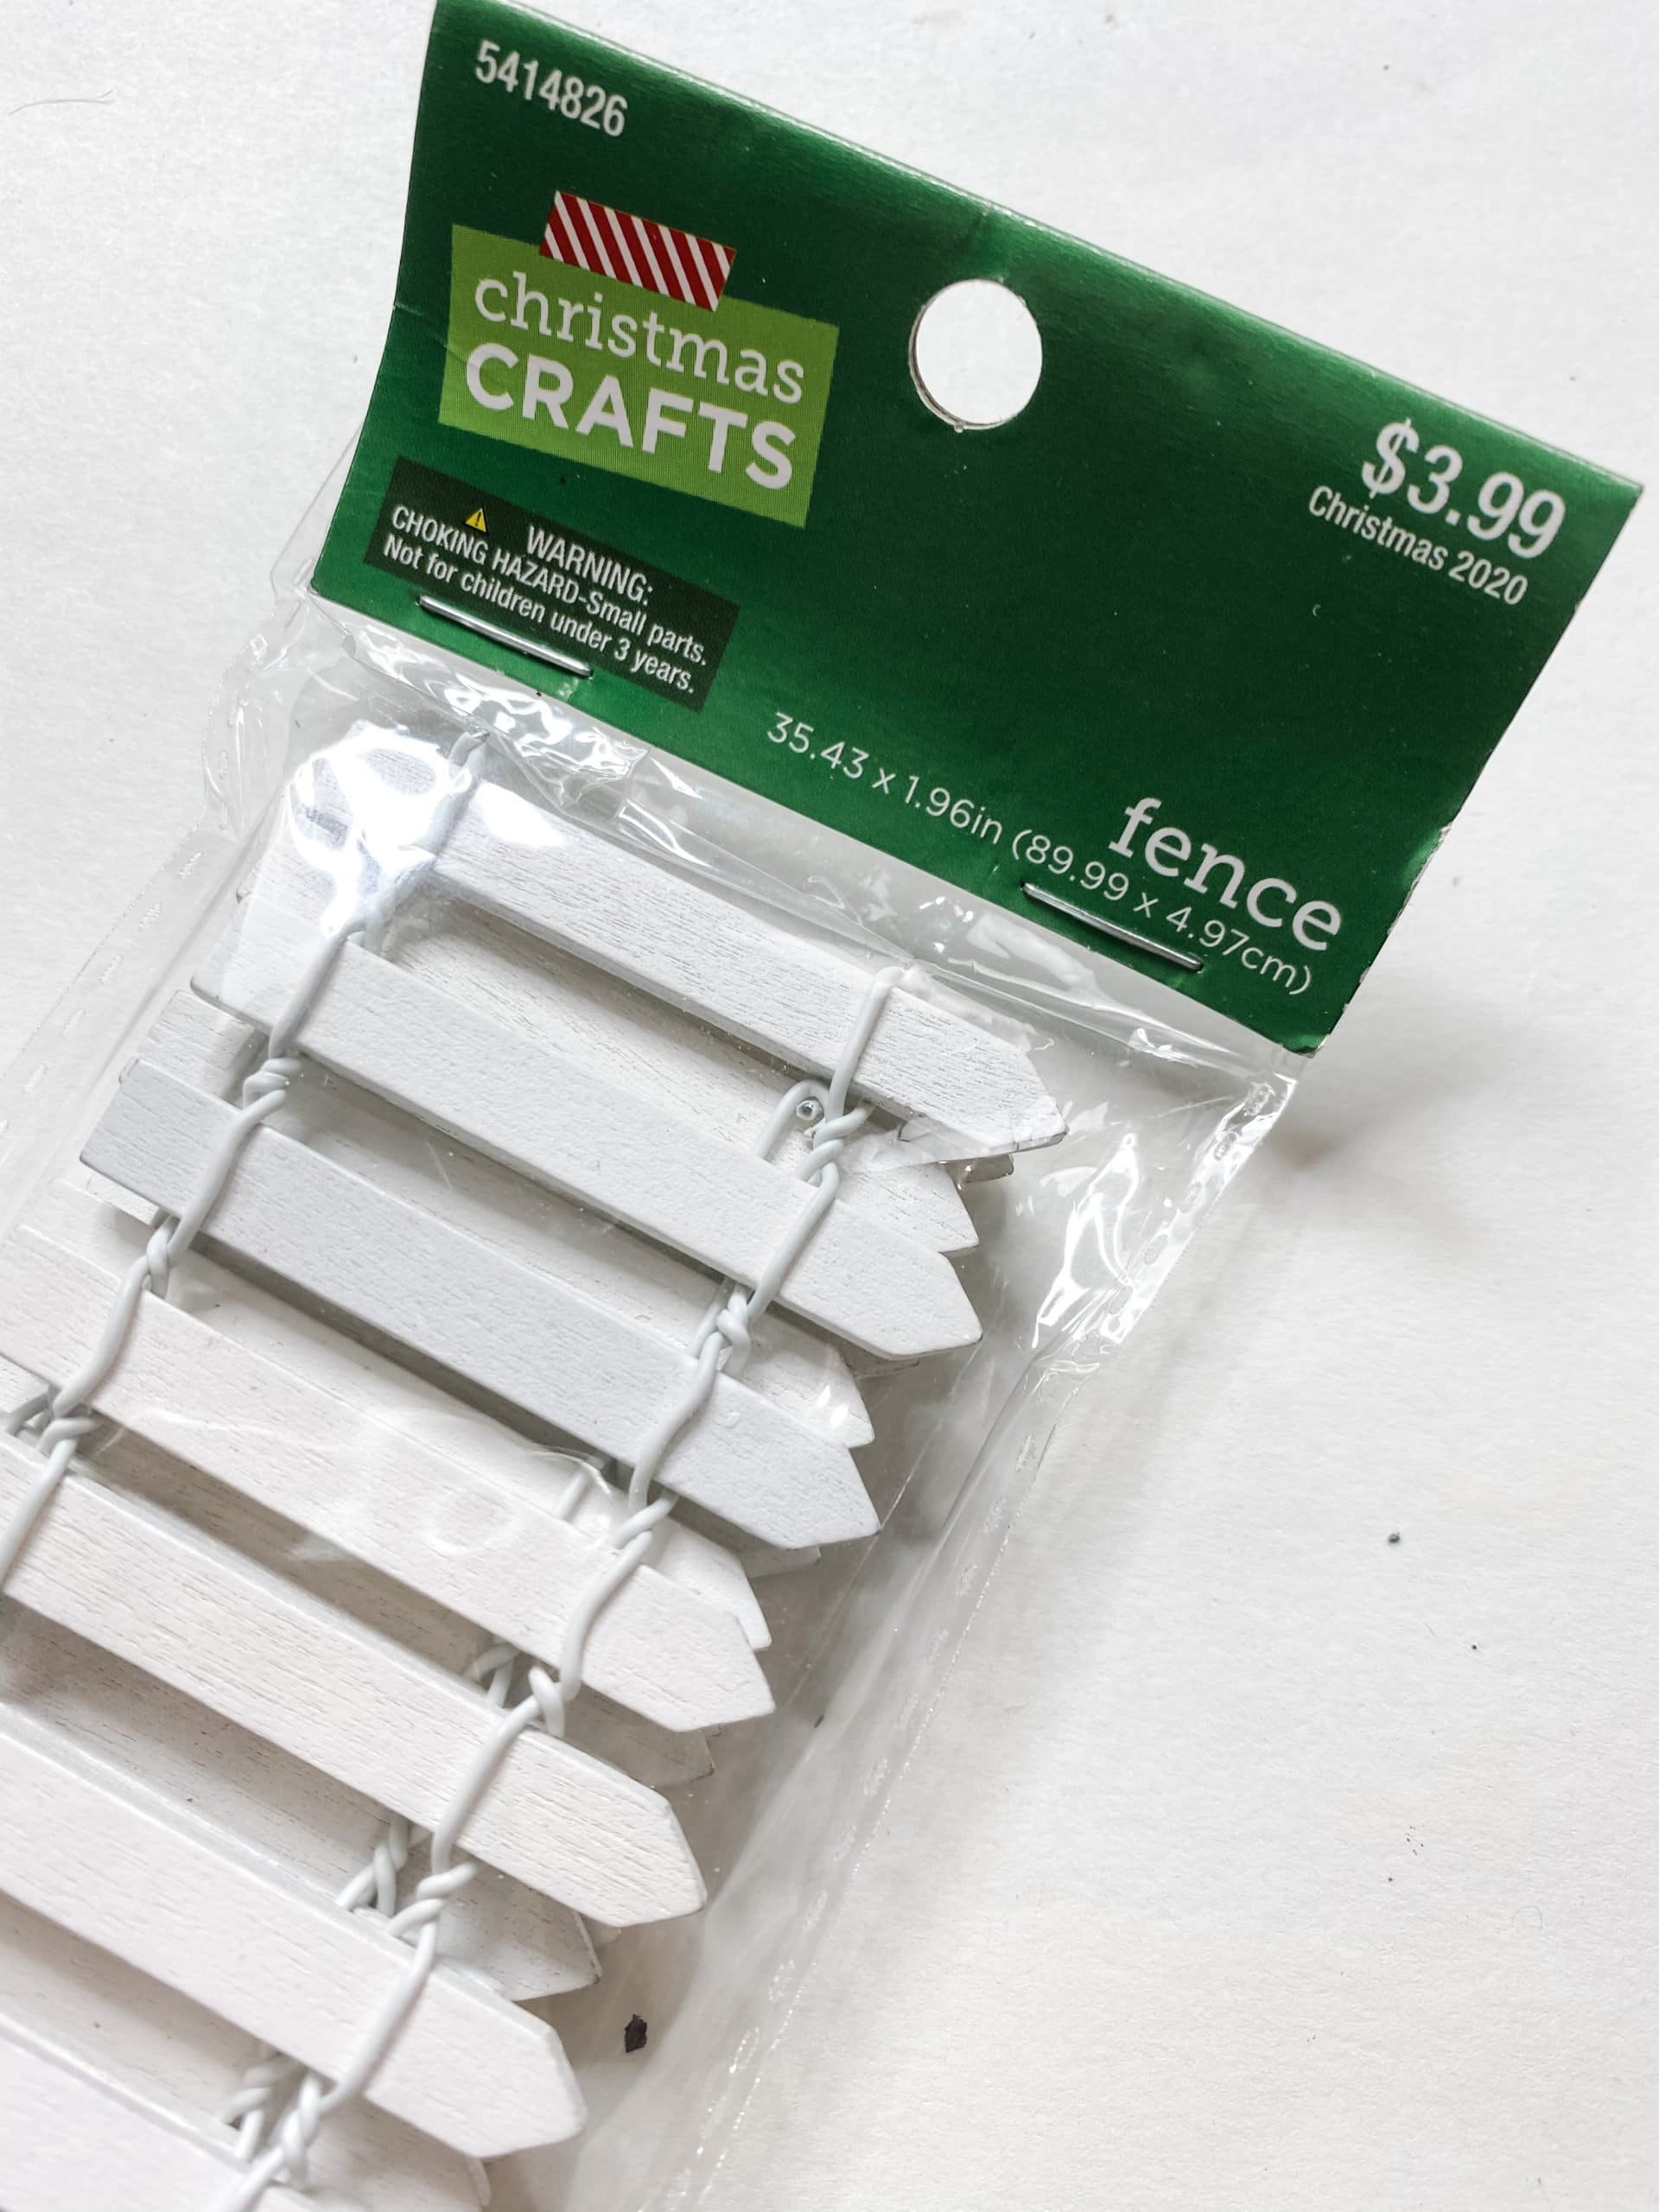
I found this little picket fence at Hobby Lobby, and I was waiting for the perfect project to use it on. This Dollar Tree gift bag DIY was it!
So, open up the package and unfold the long piece of picket fence. Lay it across the frame so you can see the length that it needs to be.
Trim the picket fence to the perfect length, and grab the Apple Barrel Black Acrylic Paint. I used an artist’s brush and lightly brushed the black paint onto each picket of the fence.
I did this so the fence would match the distressed look of the frame and give it an aged, rustic look.
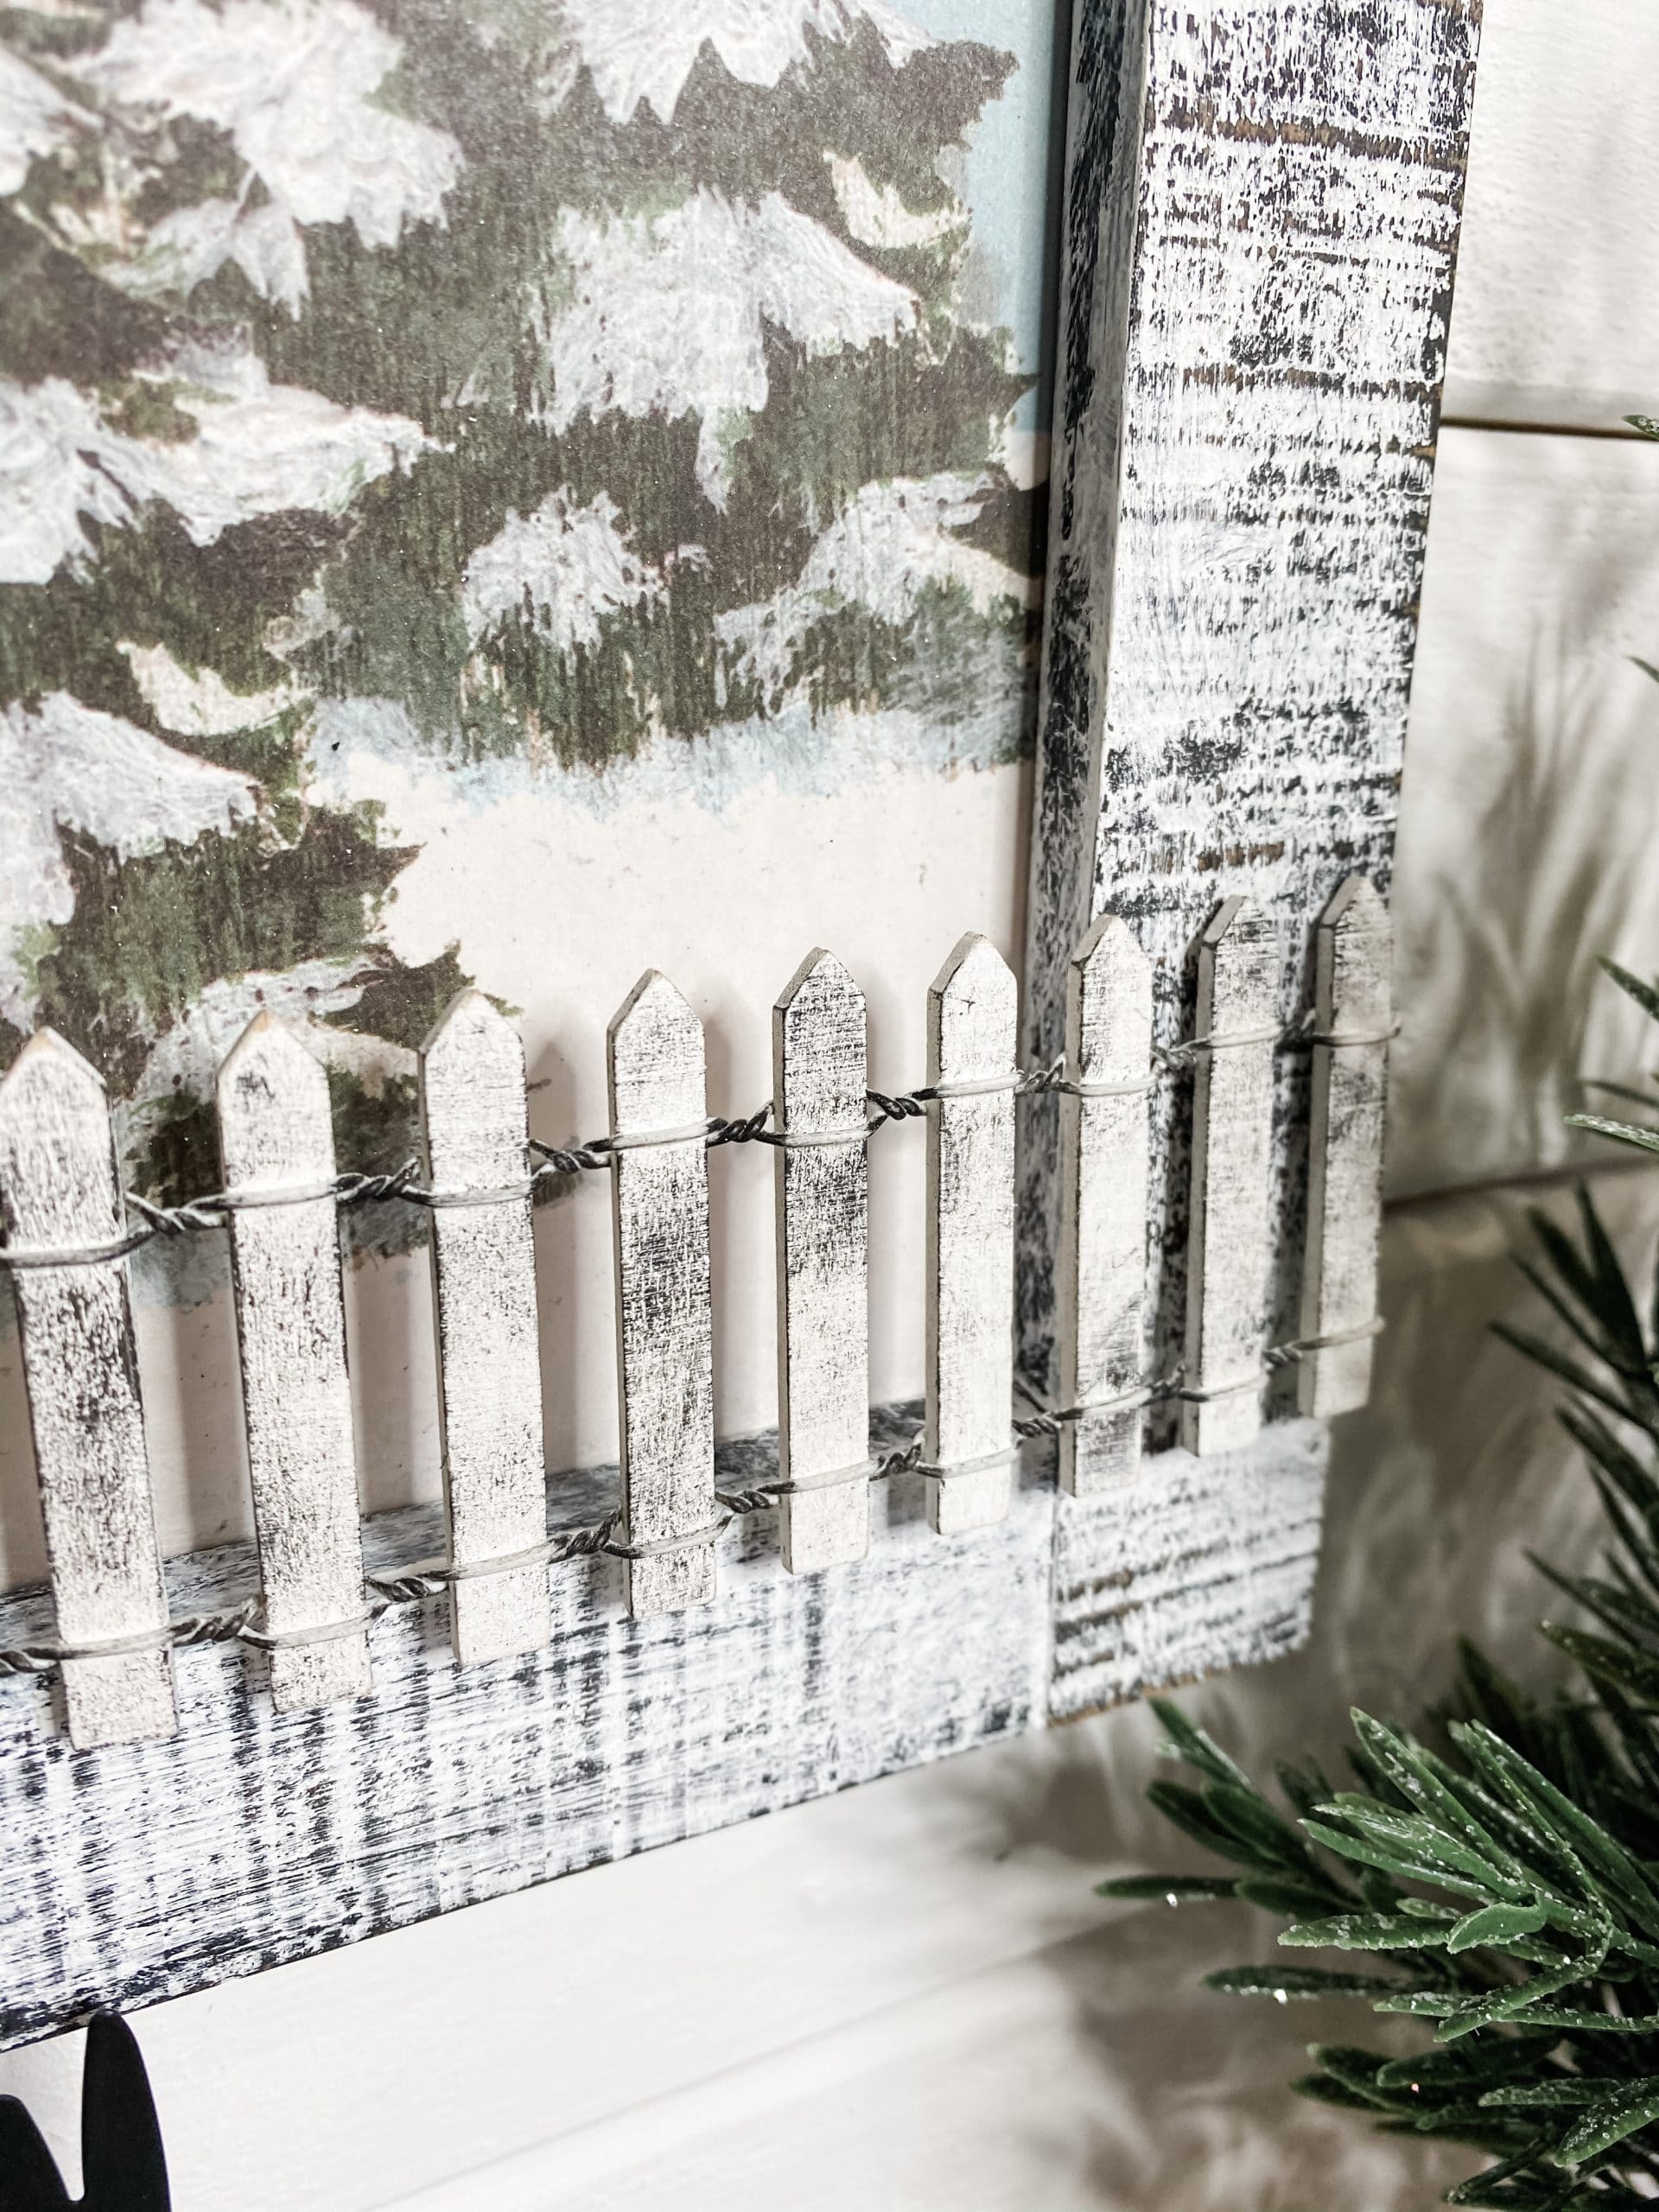
Lightly drag a sanding sponge across the picket fence to perfect the distressed, aged look. This step isn’t technically necessary, but I think it helps bring the distressed look to life.
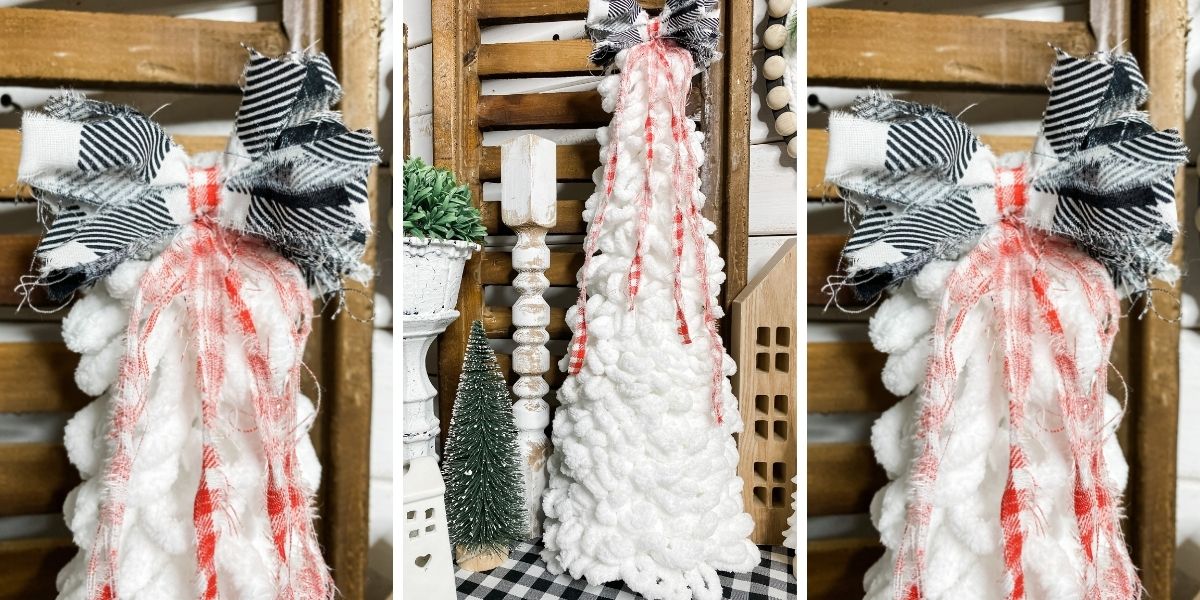
Make the garland
Crafting is a learn as you go kind of thing. Even with all of the DIY projects I’ve made, I am always learning better techniques and ones that just don’t work.
Making this gift bag DIY, I learned an important lesson – Dollar Tree pompoms do not have enough substance to thread twine through them.
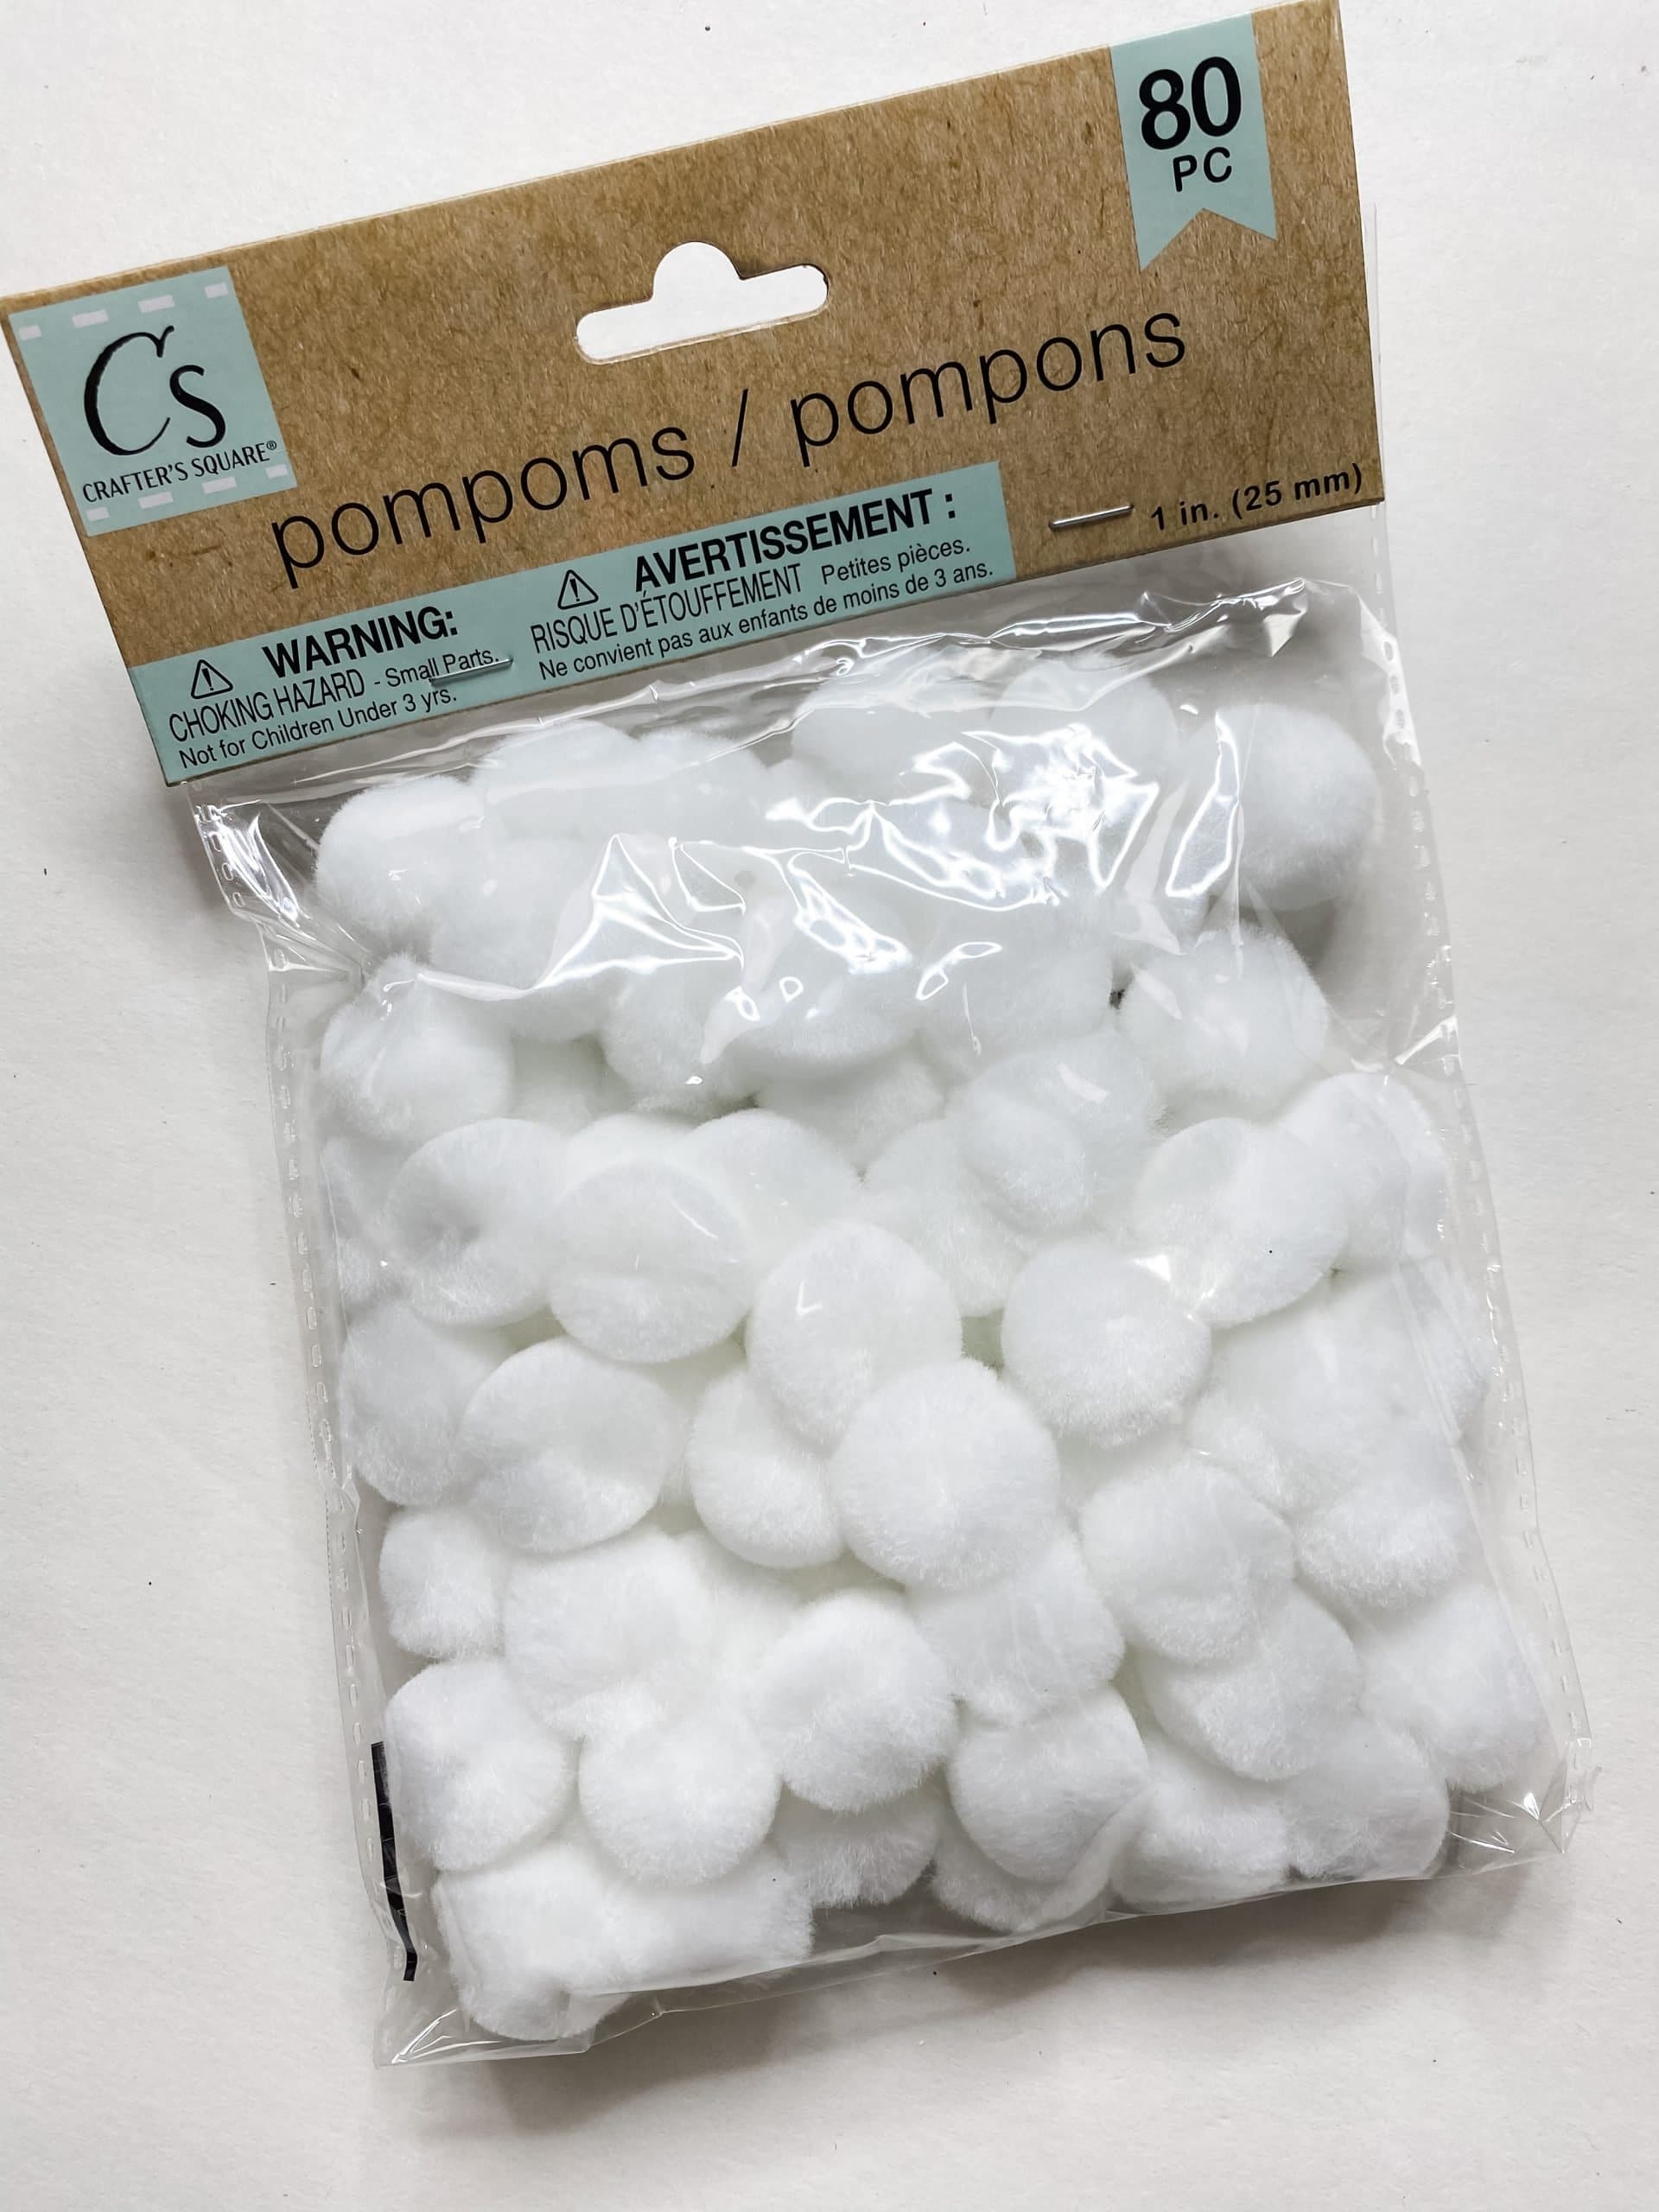
My original plan for making the garland was to use a quilter’s needle to thread a piece of twine through the Dollar Tree pompoms.
However, the pompoms just kept falling apart. Instead, I ended up hot gluing the pompoms onto the jute twine and called it a day!
Before you hot glue the pompoms, you’re going to need to hot glue the ends of the twine to the top of each side on the inside of the frame.
Let the glue dry, then put the decoupaged cardboard backing back into the frame and secure it in place.
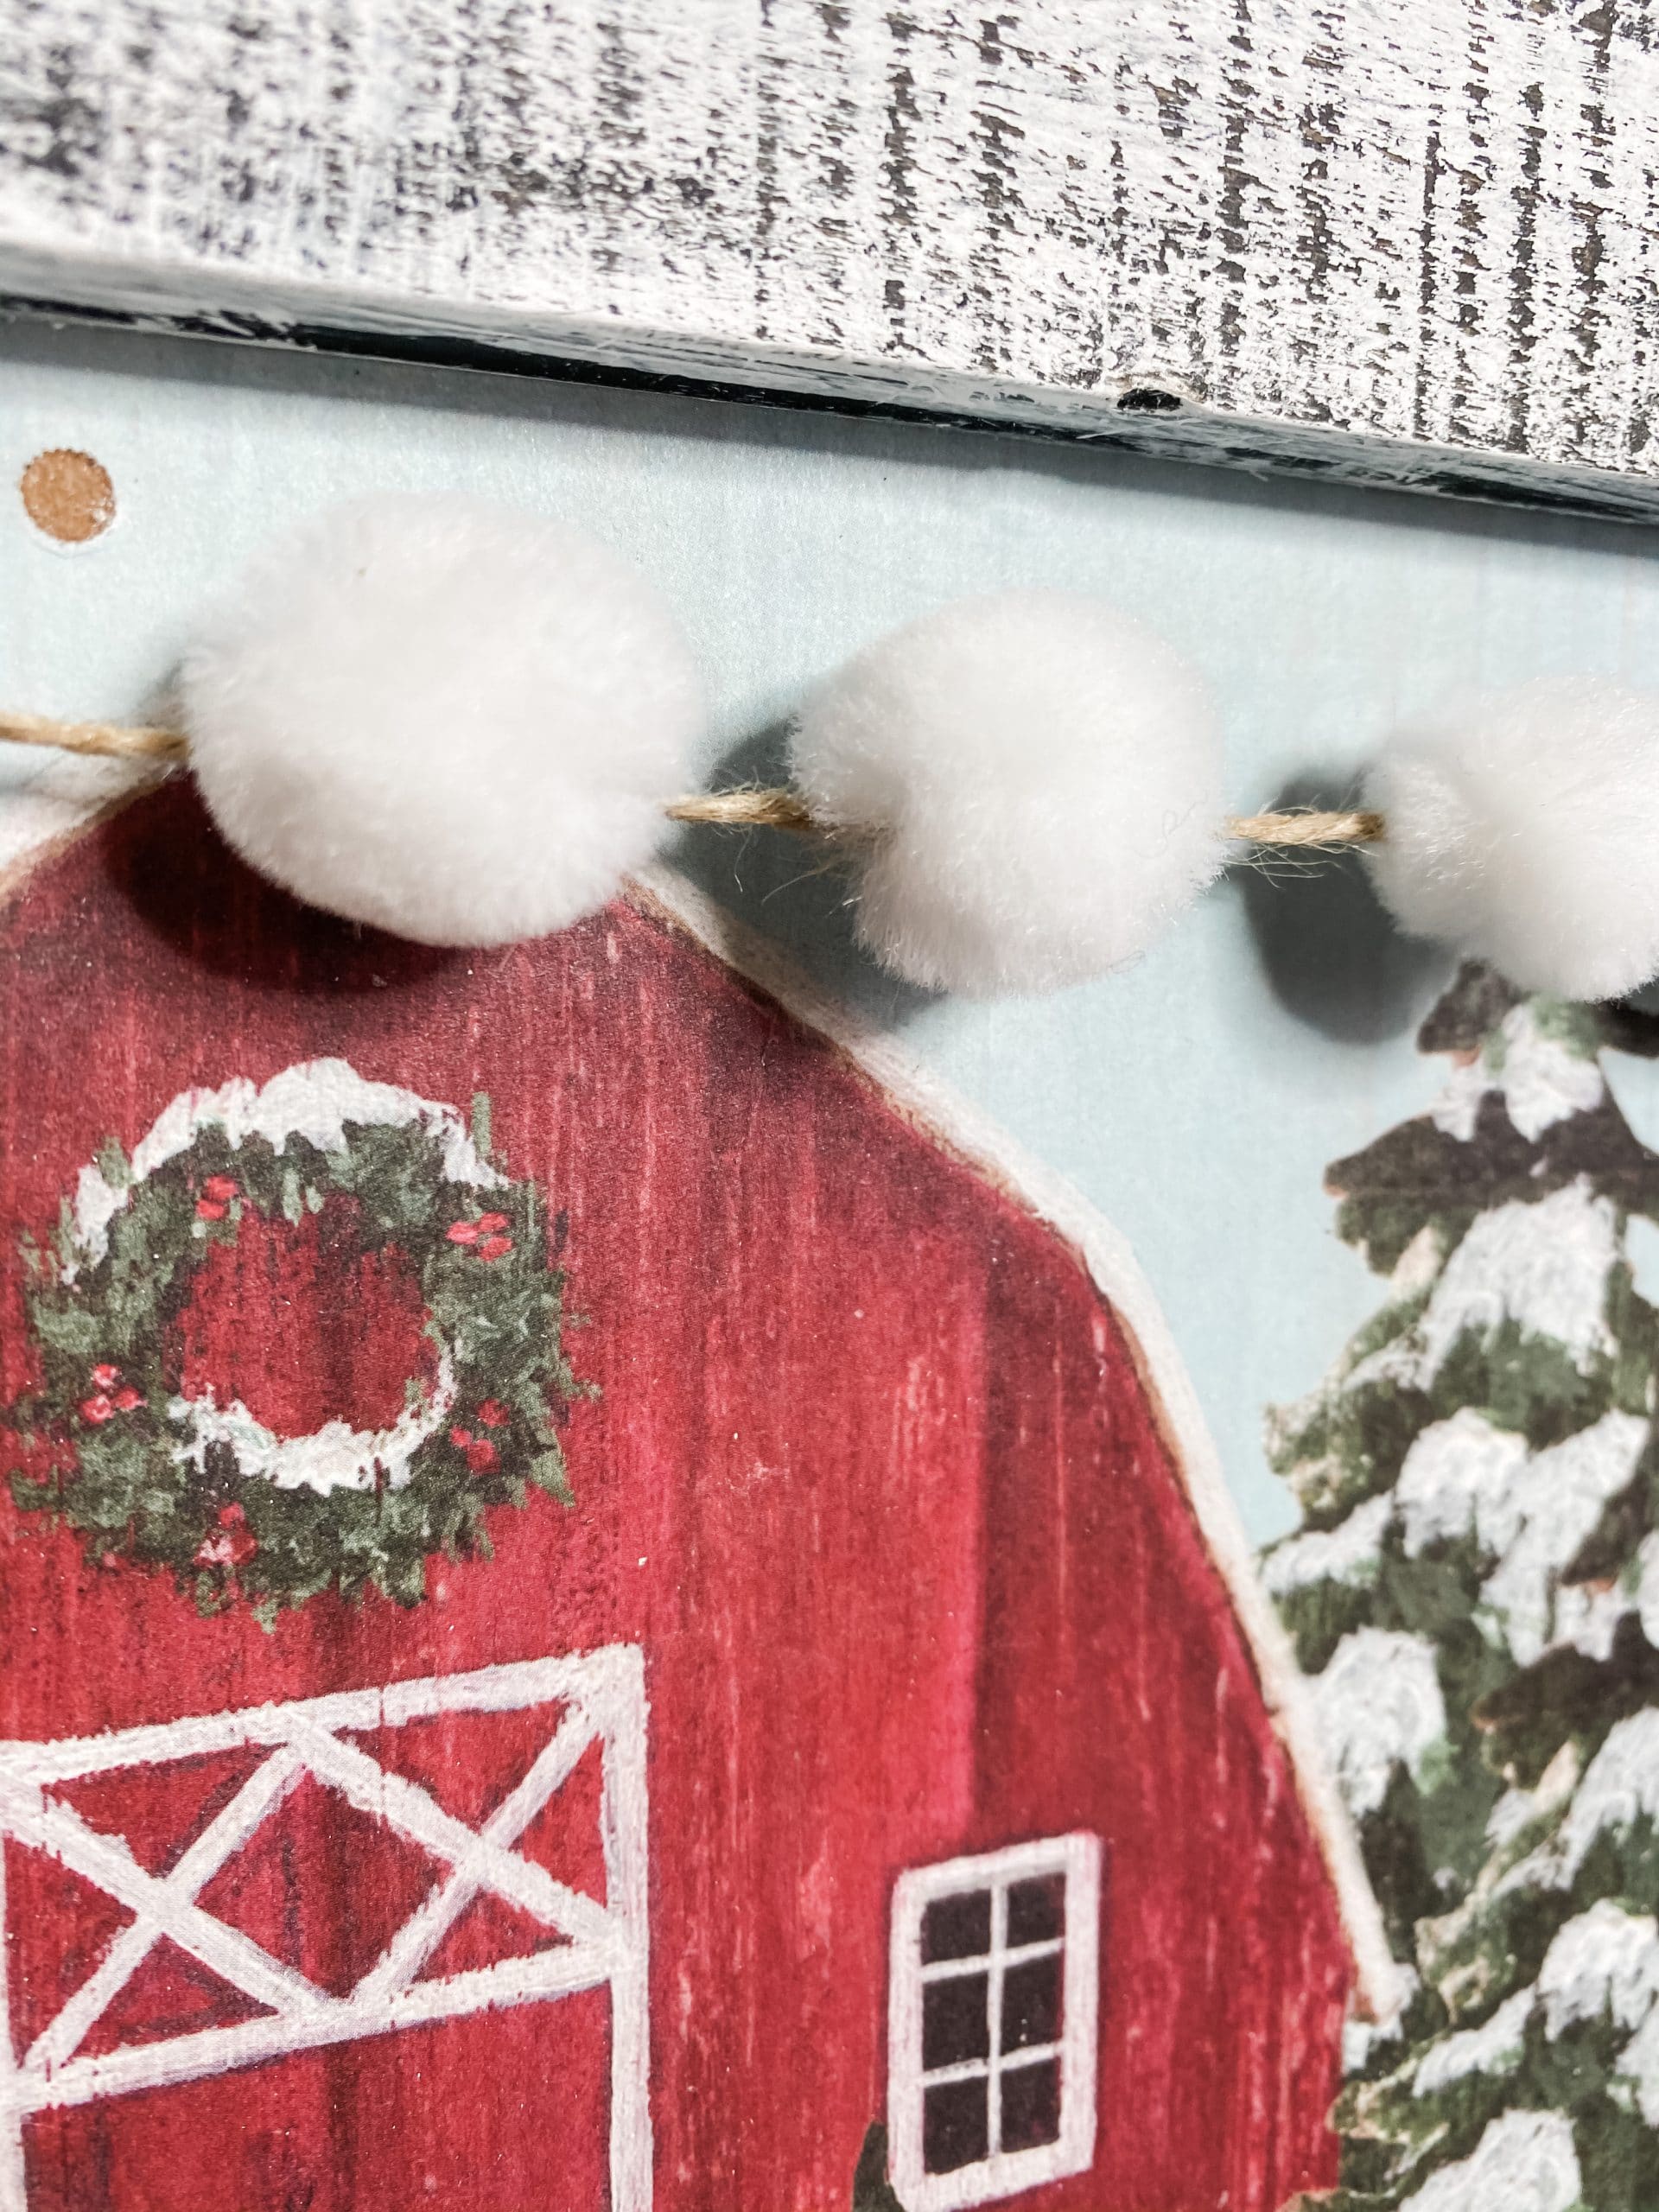
Now that the decoupaged gift bag is in place, you can hot glue the pompoms onto the jute twine. Be careful not to hot glue the pompoms to the gift bag.
To avoid this, put the hot glue onto the pompom directly and hold the pompom onto the jute twine until the glue dries.
The finishing touches
This might be one of the shortest blog posts I have because we are almost done! We are about to put the painted picket fence in place.
First, lightly distress the frame with a sanding sponge. If you’re already happy with the way your frame looks, you don’t have to do this. I just wanted more of the dark black paint peeking through the white paint.
Once you’re satisfied with the distressed paint, hot glue your picket fence onto the frame.
I was planning on using wood beads that I stained red to make the hanger for this DIY Christmas sign, but I decided that I didn’t like that idea once I started bringing my craft idea to life.
There is no wrong way to craft, so if you decide that you like the idea of having a red wooden bead hanger, go for it!
I love crafting so much because it is a way to express myself and have fun, so put yourself into your projects, even if they’re inspired by mine, and make something that makes you happy!
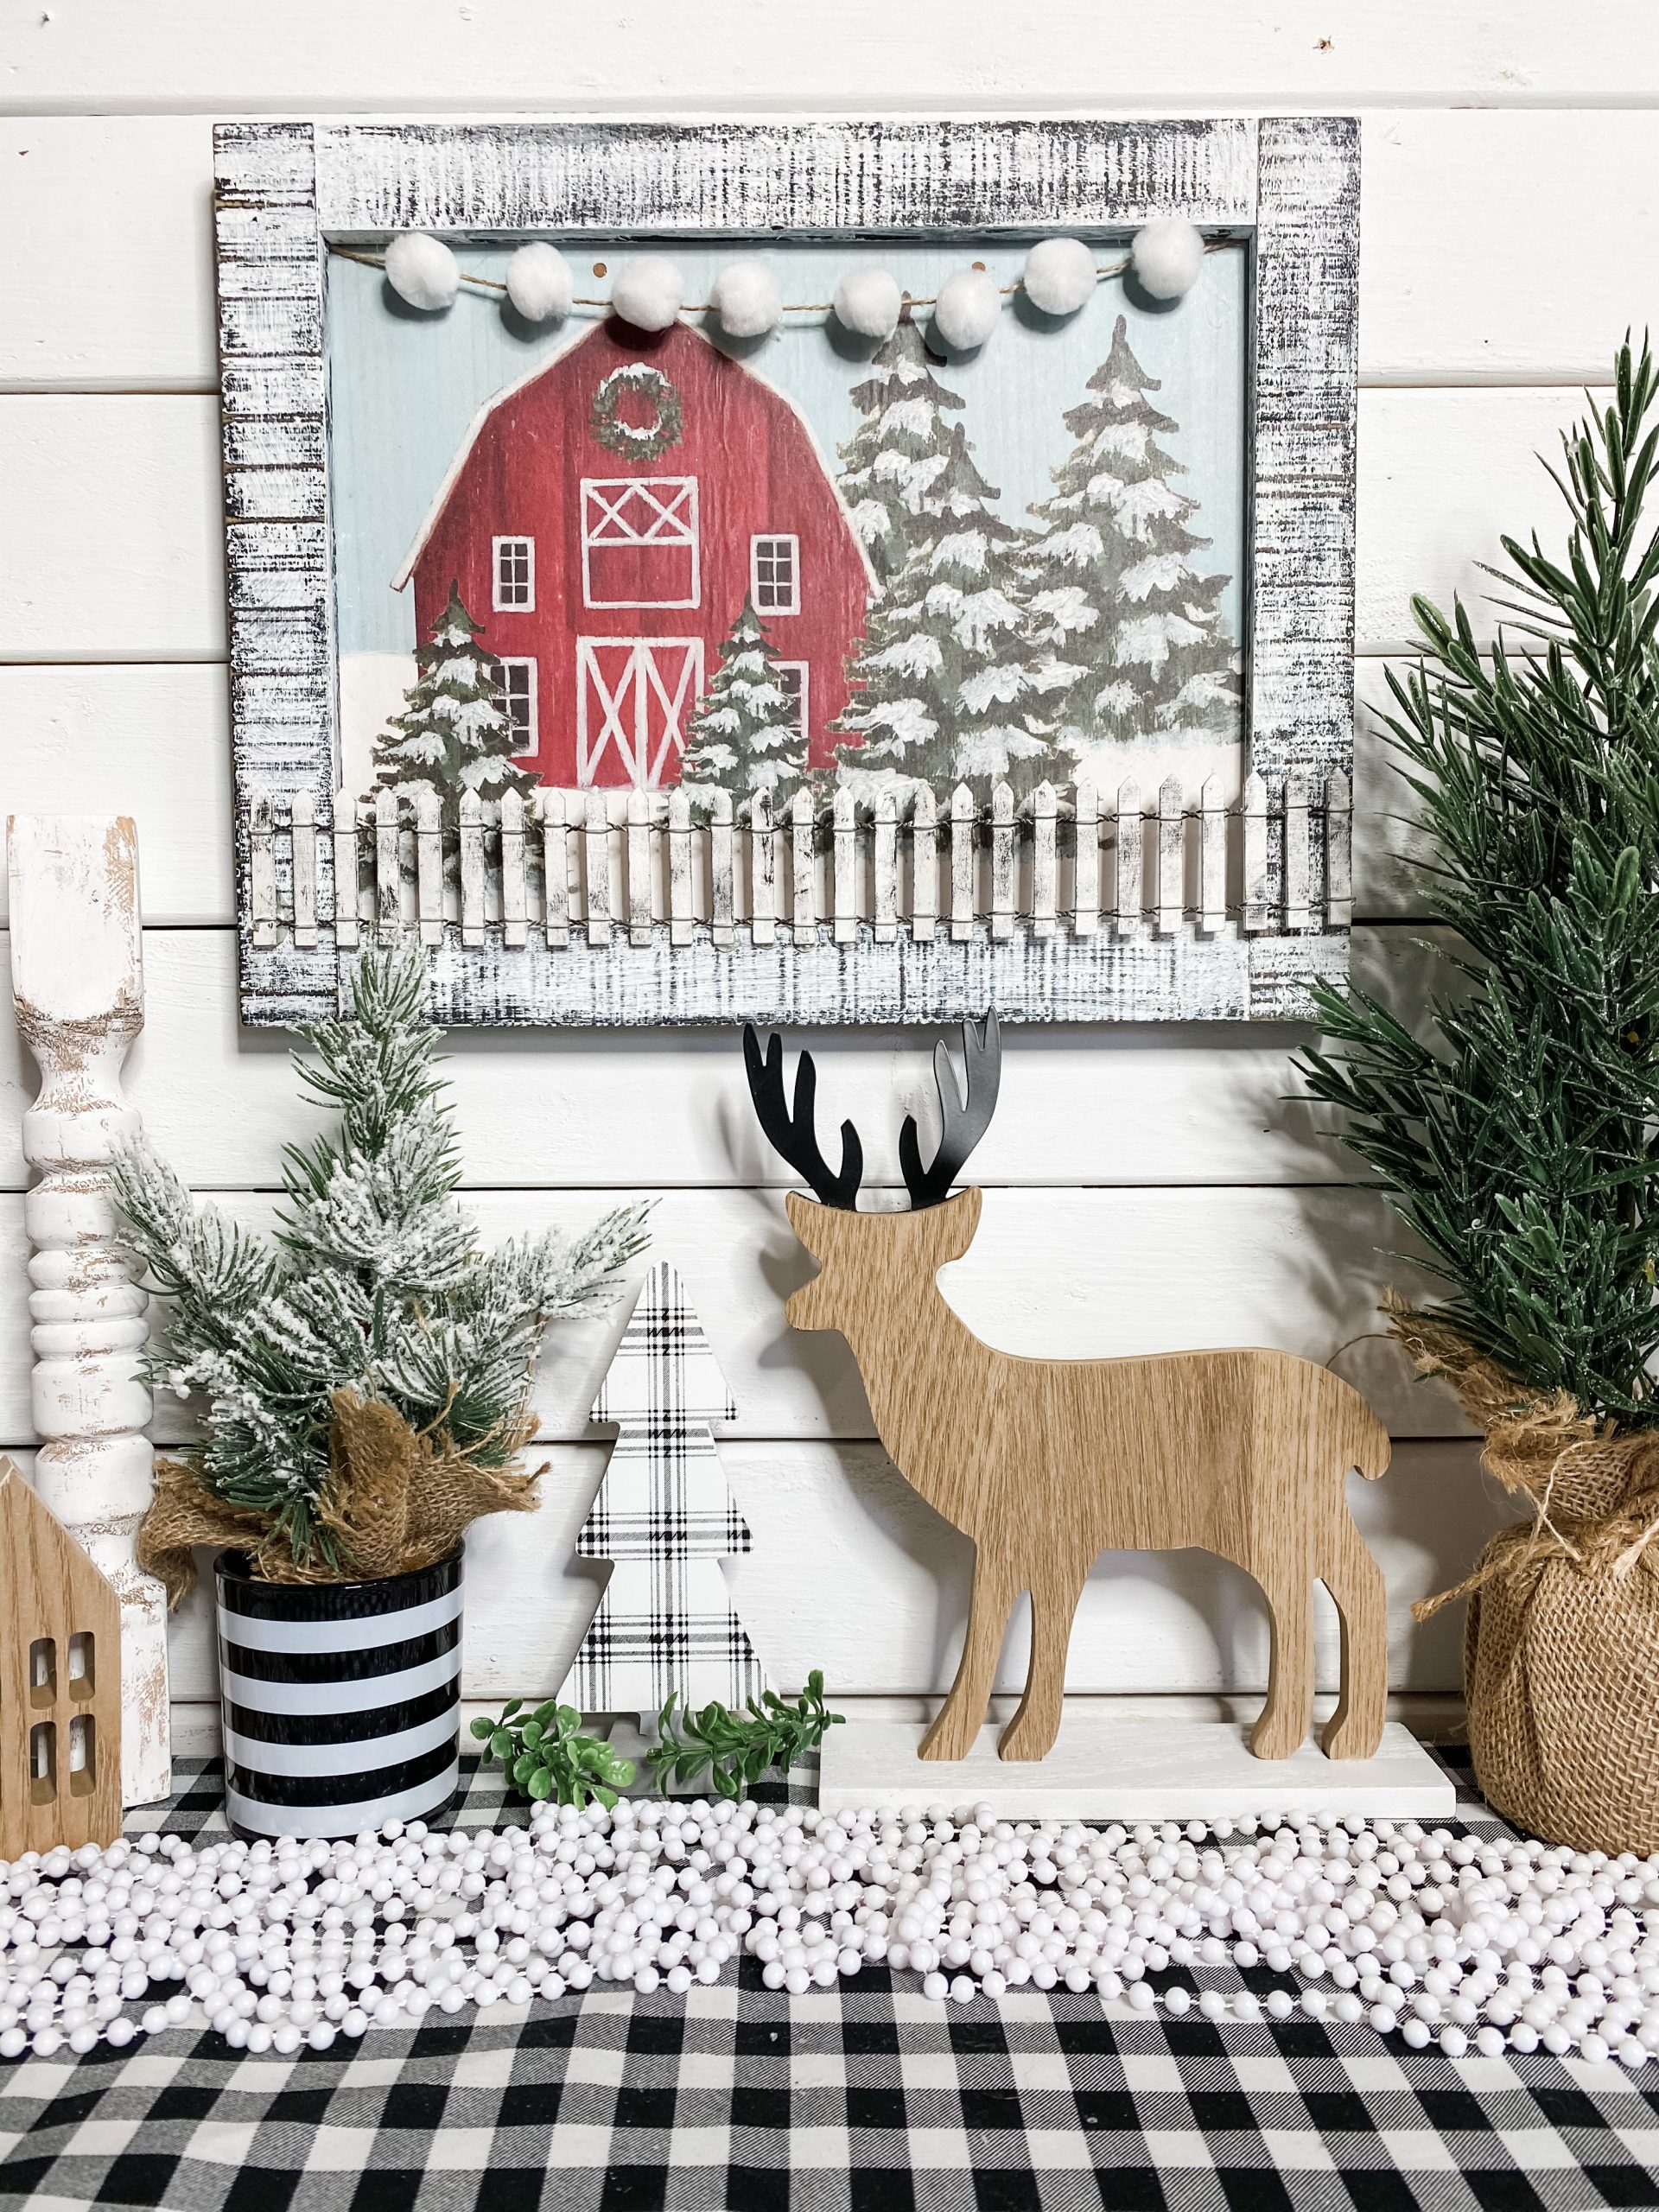
I hope you enjoyed this DIY Dollar Tree Gift Bag Christmas Barn Decor as much as I did and decide to make one for yourself!
I would love to see how yours turns out! You should totally join my FREE Facebook group called On A Budget Crafts! It is a judgment-free community for DIY crafters to show off their projects and ideas.
If you loved this DIY you might also like this Dollar Tree Gift Box DIY Christmas Decor!
Thanks for stopping by! XOXO Amber
You can also shop my ENTIRE AMAZON Favorites shop just click here! It’s packed full of all the things I use and love.
Here is the supply list I highly recommend every creative have on hand!! Would you also pin my blog for later and get on my newsletter alerts? I would love to have you join my #craftycrew.

Join my free “ON A BUDGET CRAFTS” Facebook group!
PIN THIS POST FOR LATER!


One Comment