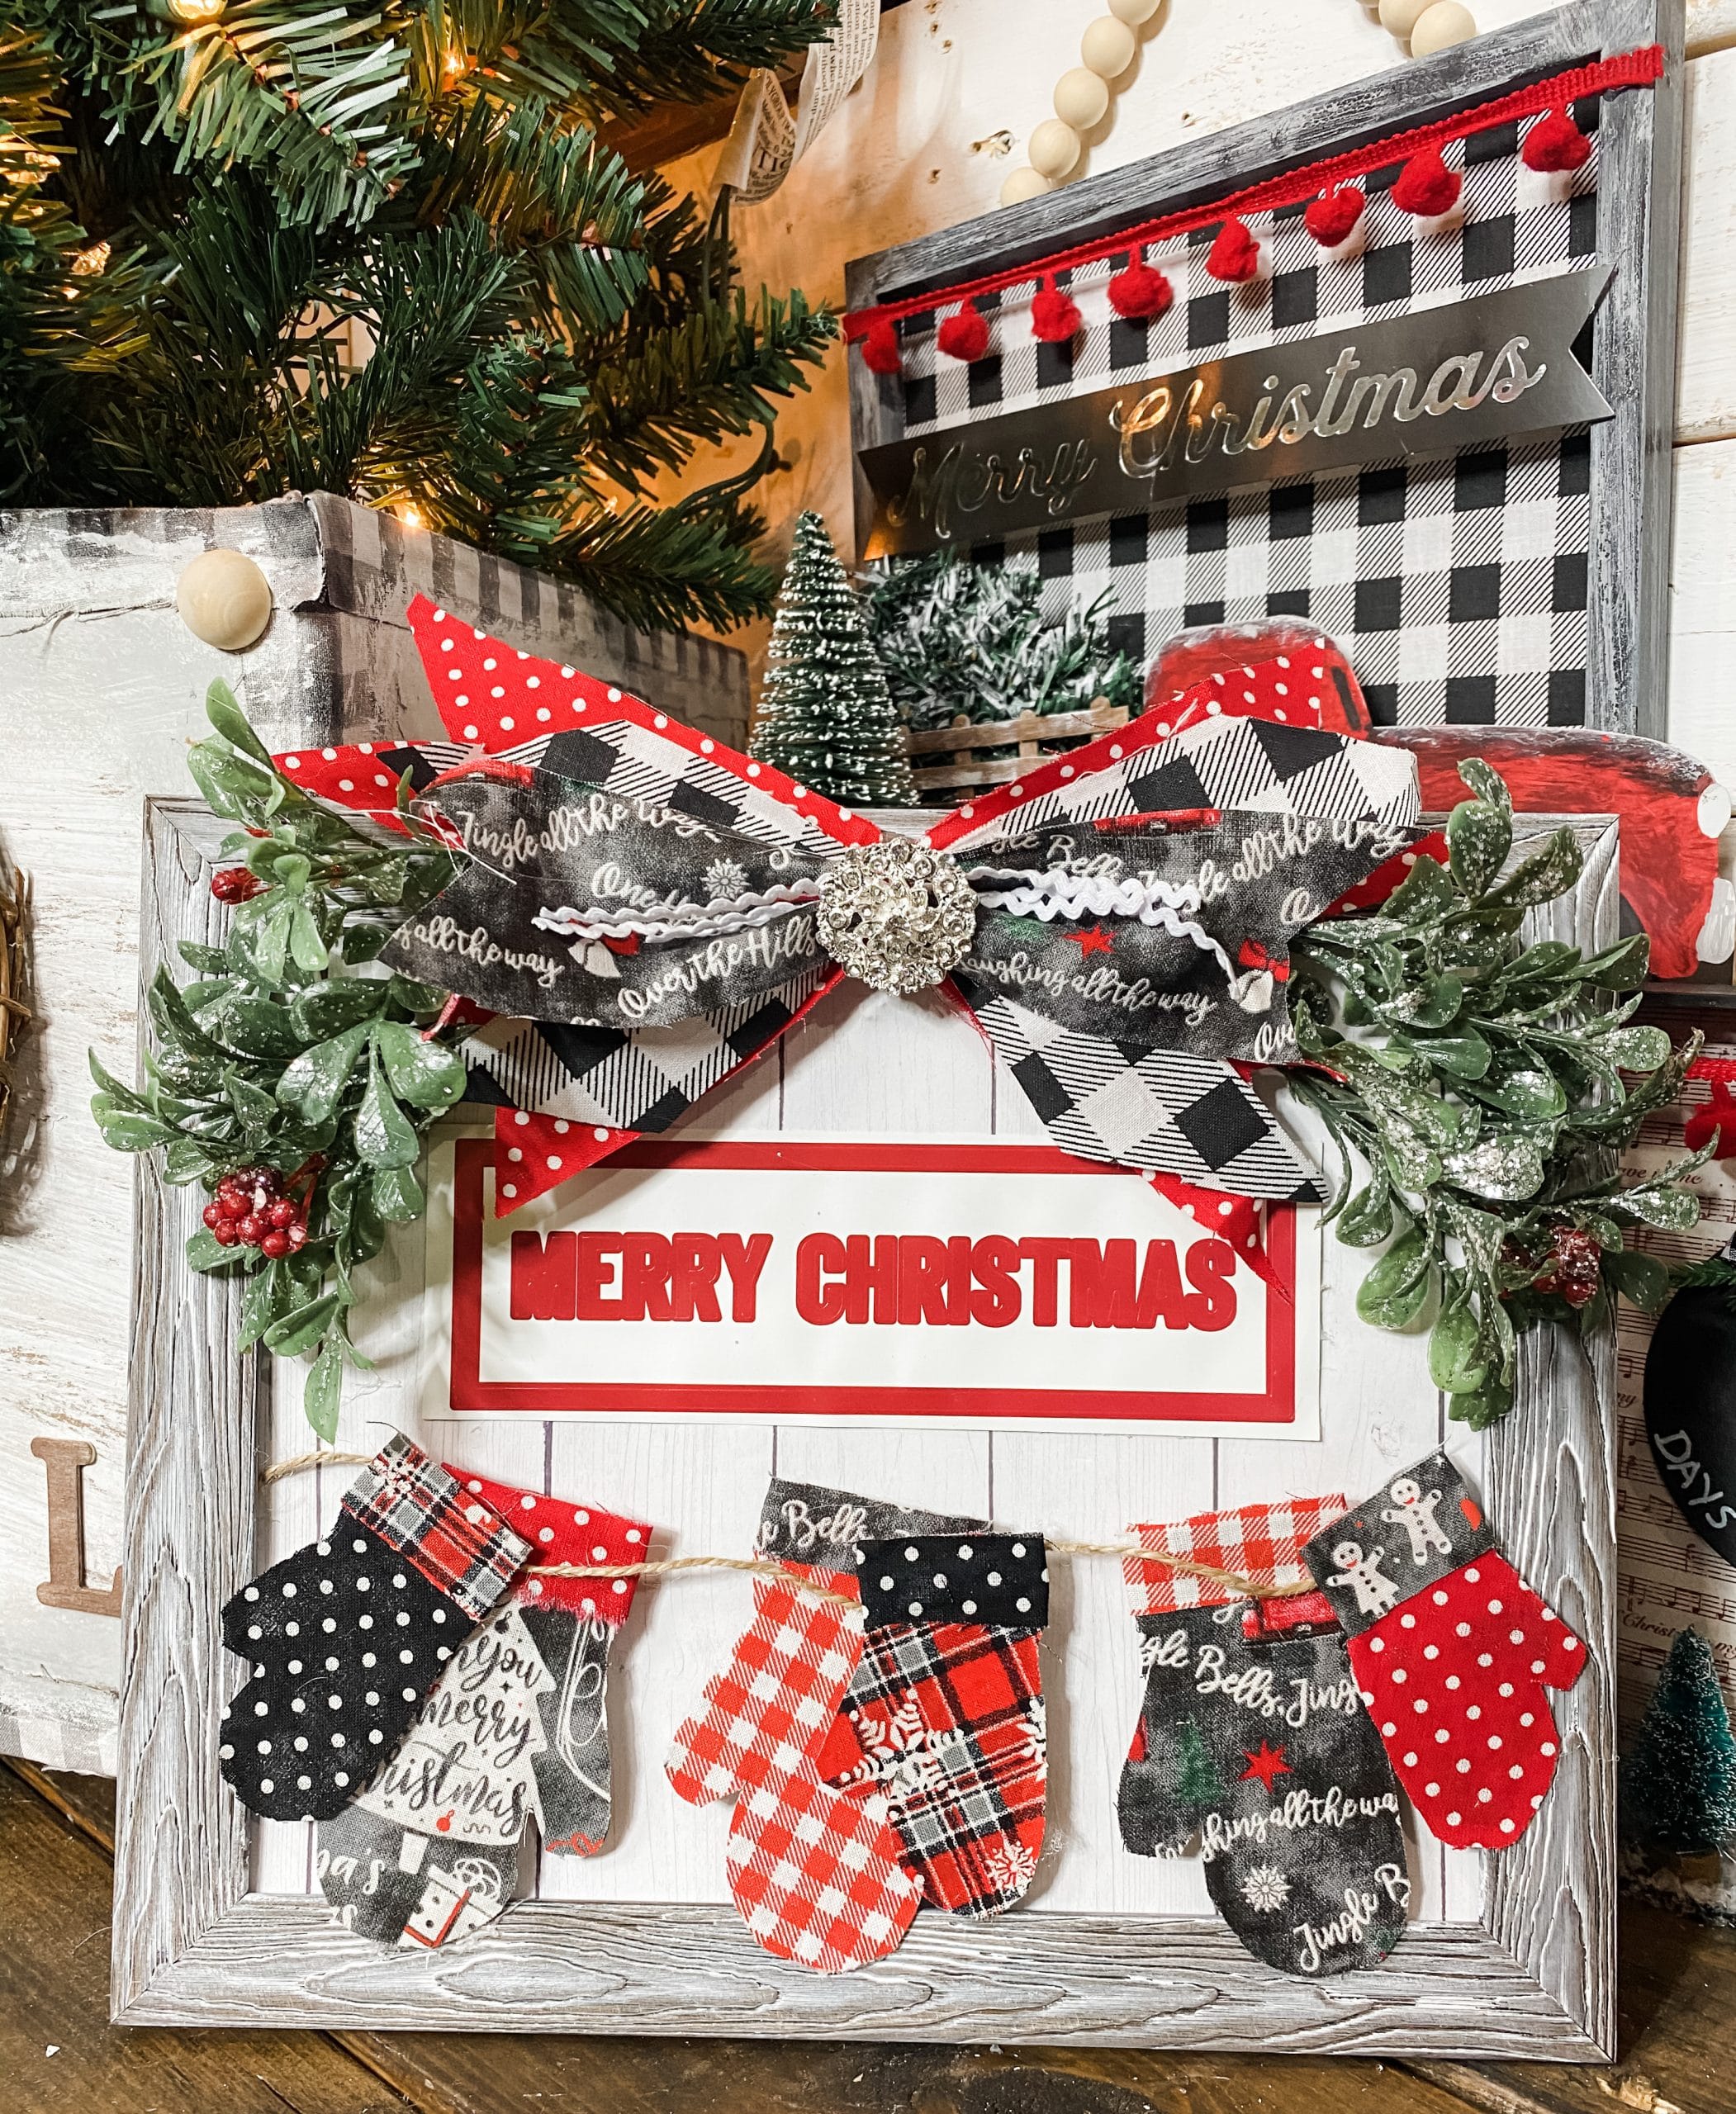
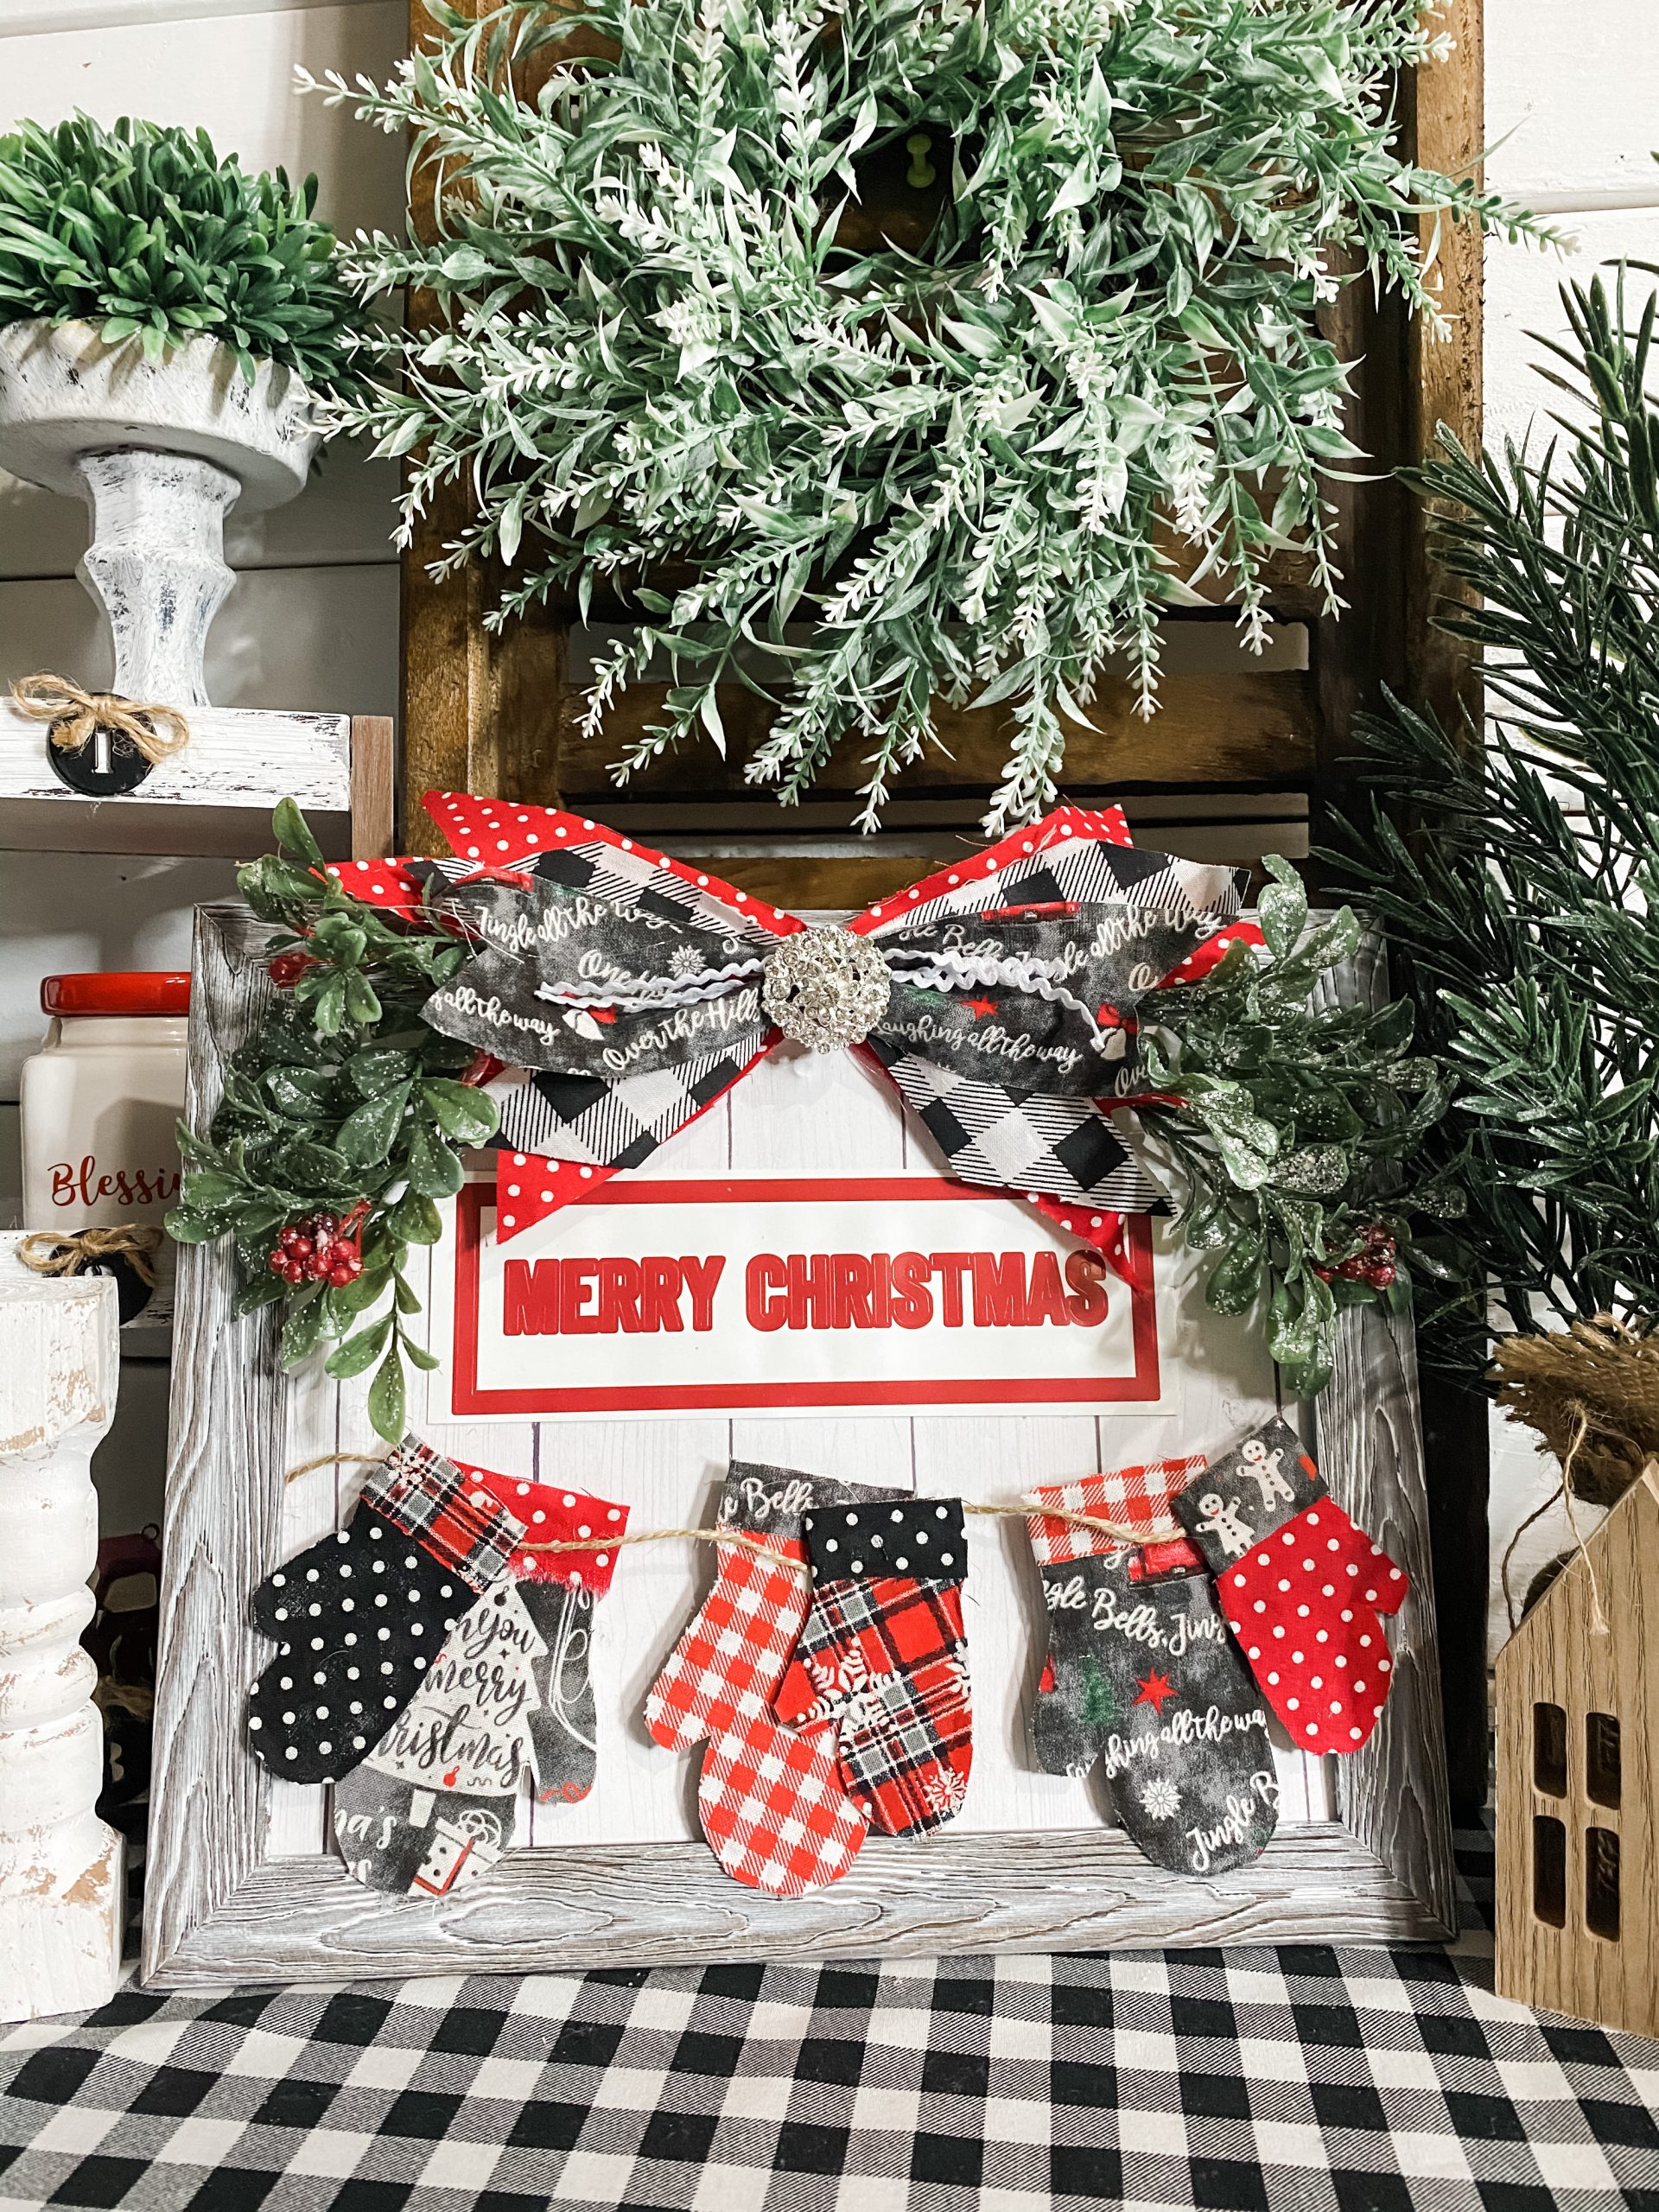
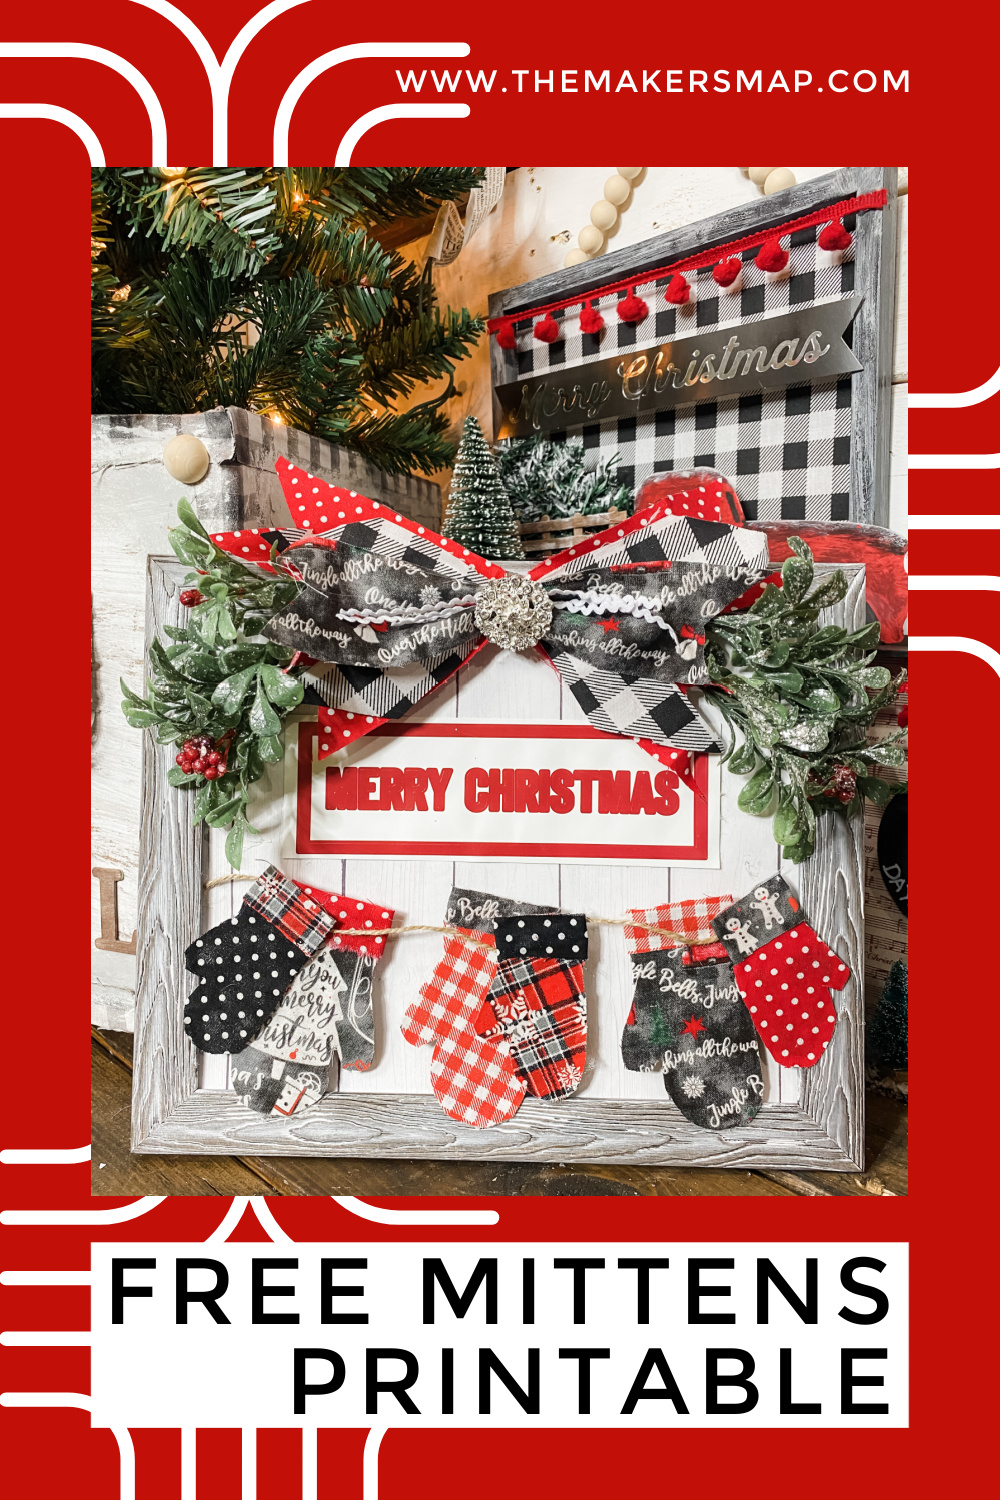
DIY Christmas Decor with FREE Mittens Printable
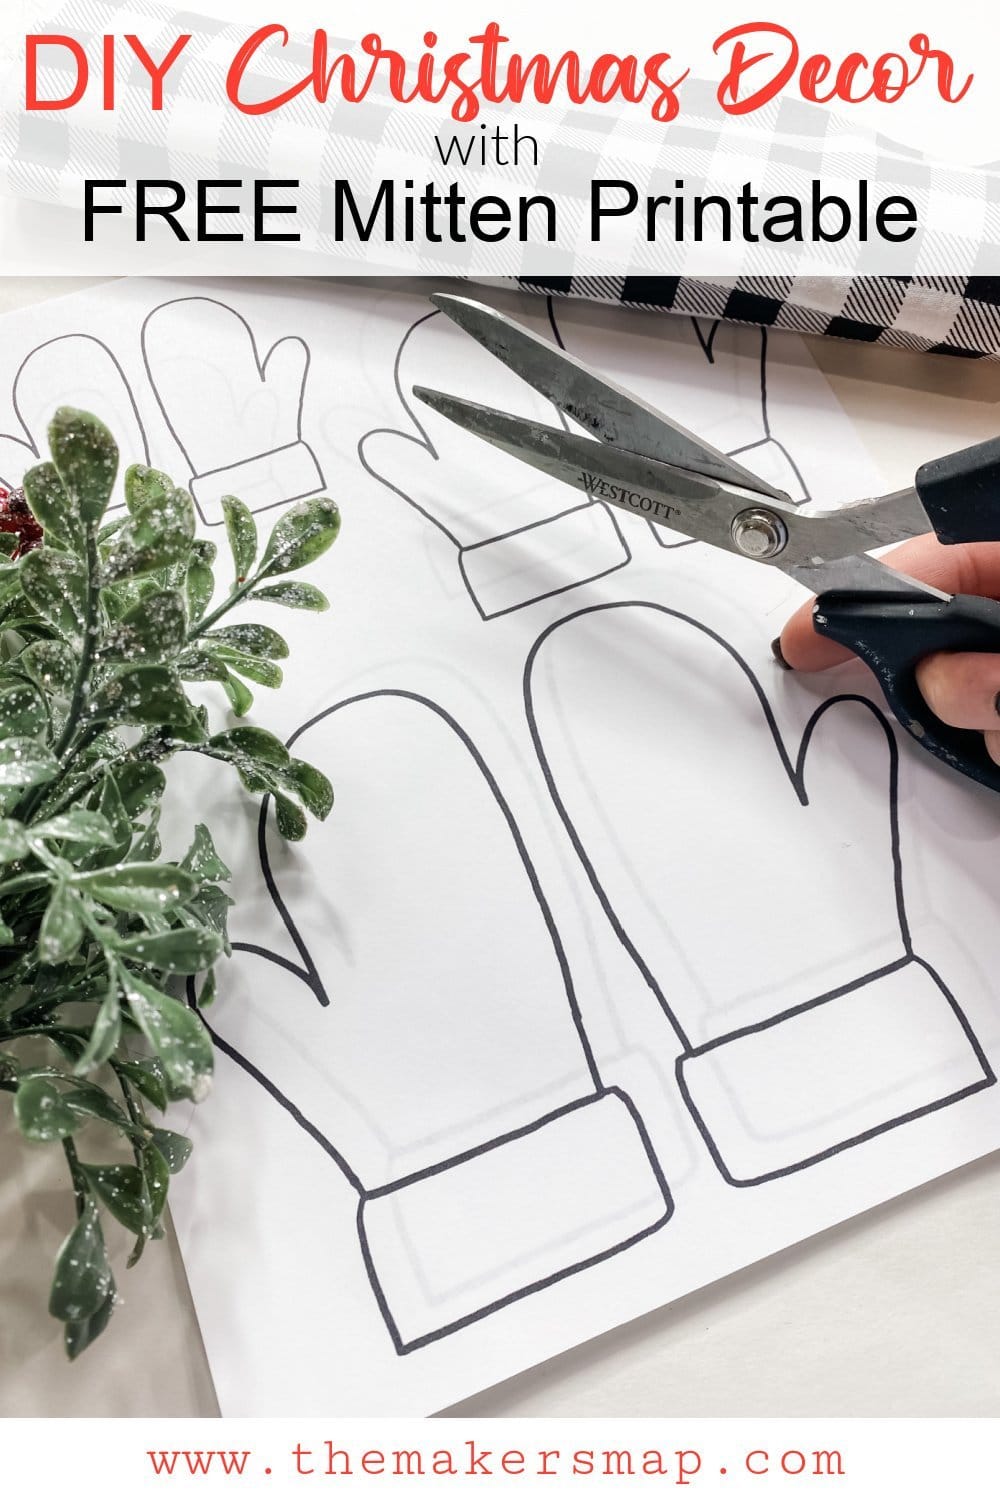
Making this DIY Christmas Decor with FREE Mittens Printable was so much fun! It made me think of my children, Zach, Dylan, and Caden. I have three sons and I put three pairs of mittens on my DIY craft.
I think this would be a super fun and easy kid’s craft or family craft that anyone could make!
So, you can get the mitten template printable sent directly to your email inbox to use over and over for any craft you want!
GET THE FREE MITTENS PRINTABLE NOW
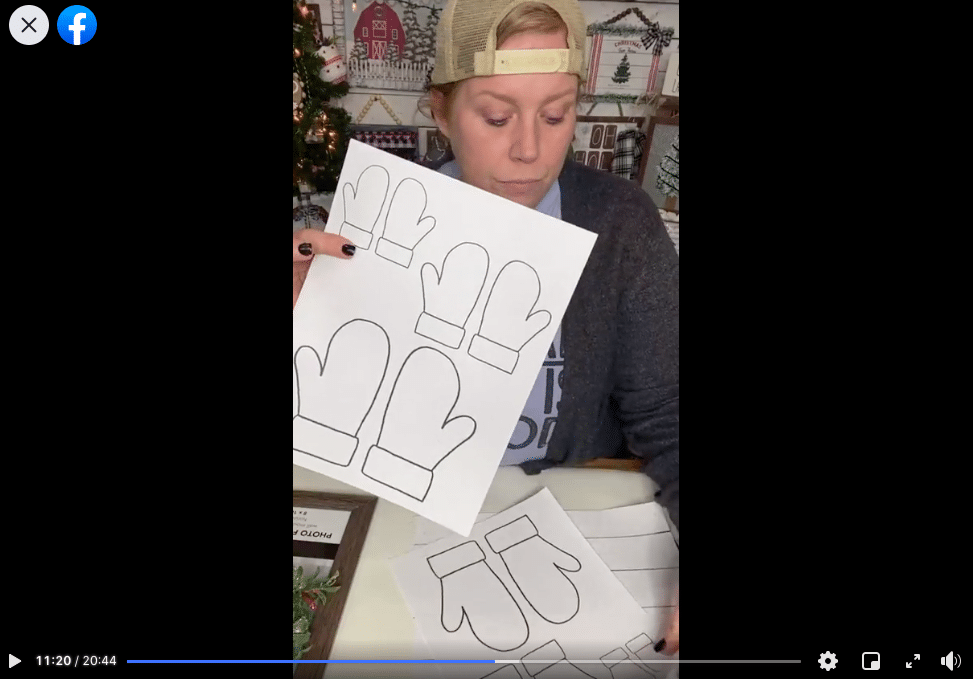
Watch the replay
Alright, I had just a little bit of technical difficulties during the LIVE video of this adorable DIY Christmas Decor with FREE Mittens Printable. My internet GAVE UP! I had to completely reset my internet about 20 minutes after I started my LIVE video.
I worked it all out and was able to finish recording the DIY process, but now it’s in two different videos.
Now, you could watch the second video alone and be just fine, but I did go over each supply item and talked in more detail about my FREE mitten printable in the first video.
Both video replays are available below, so you can choose which one, if either of them, you want to watch!
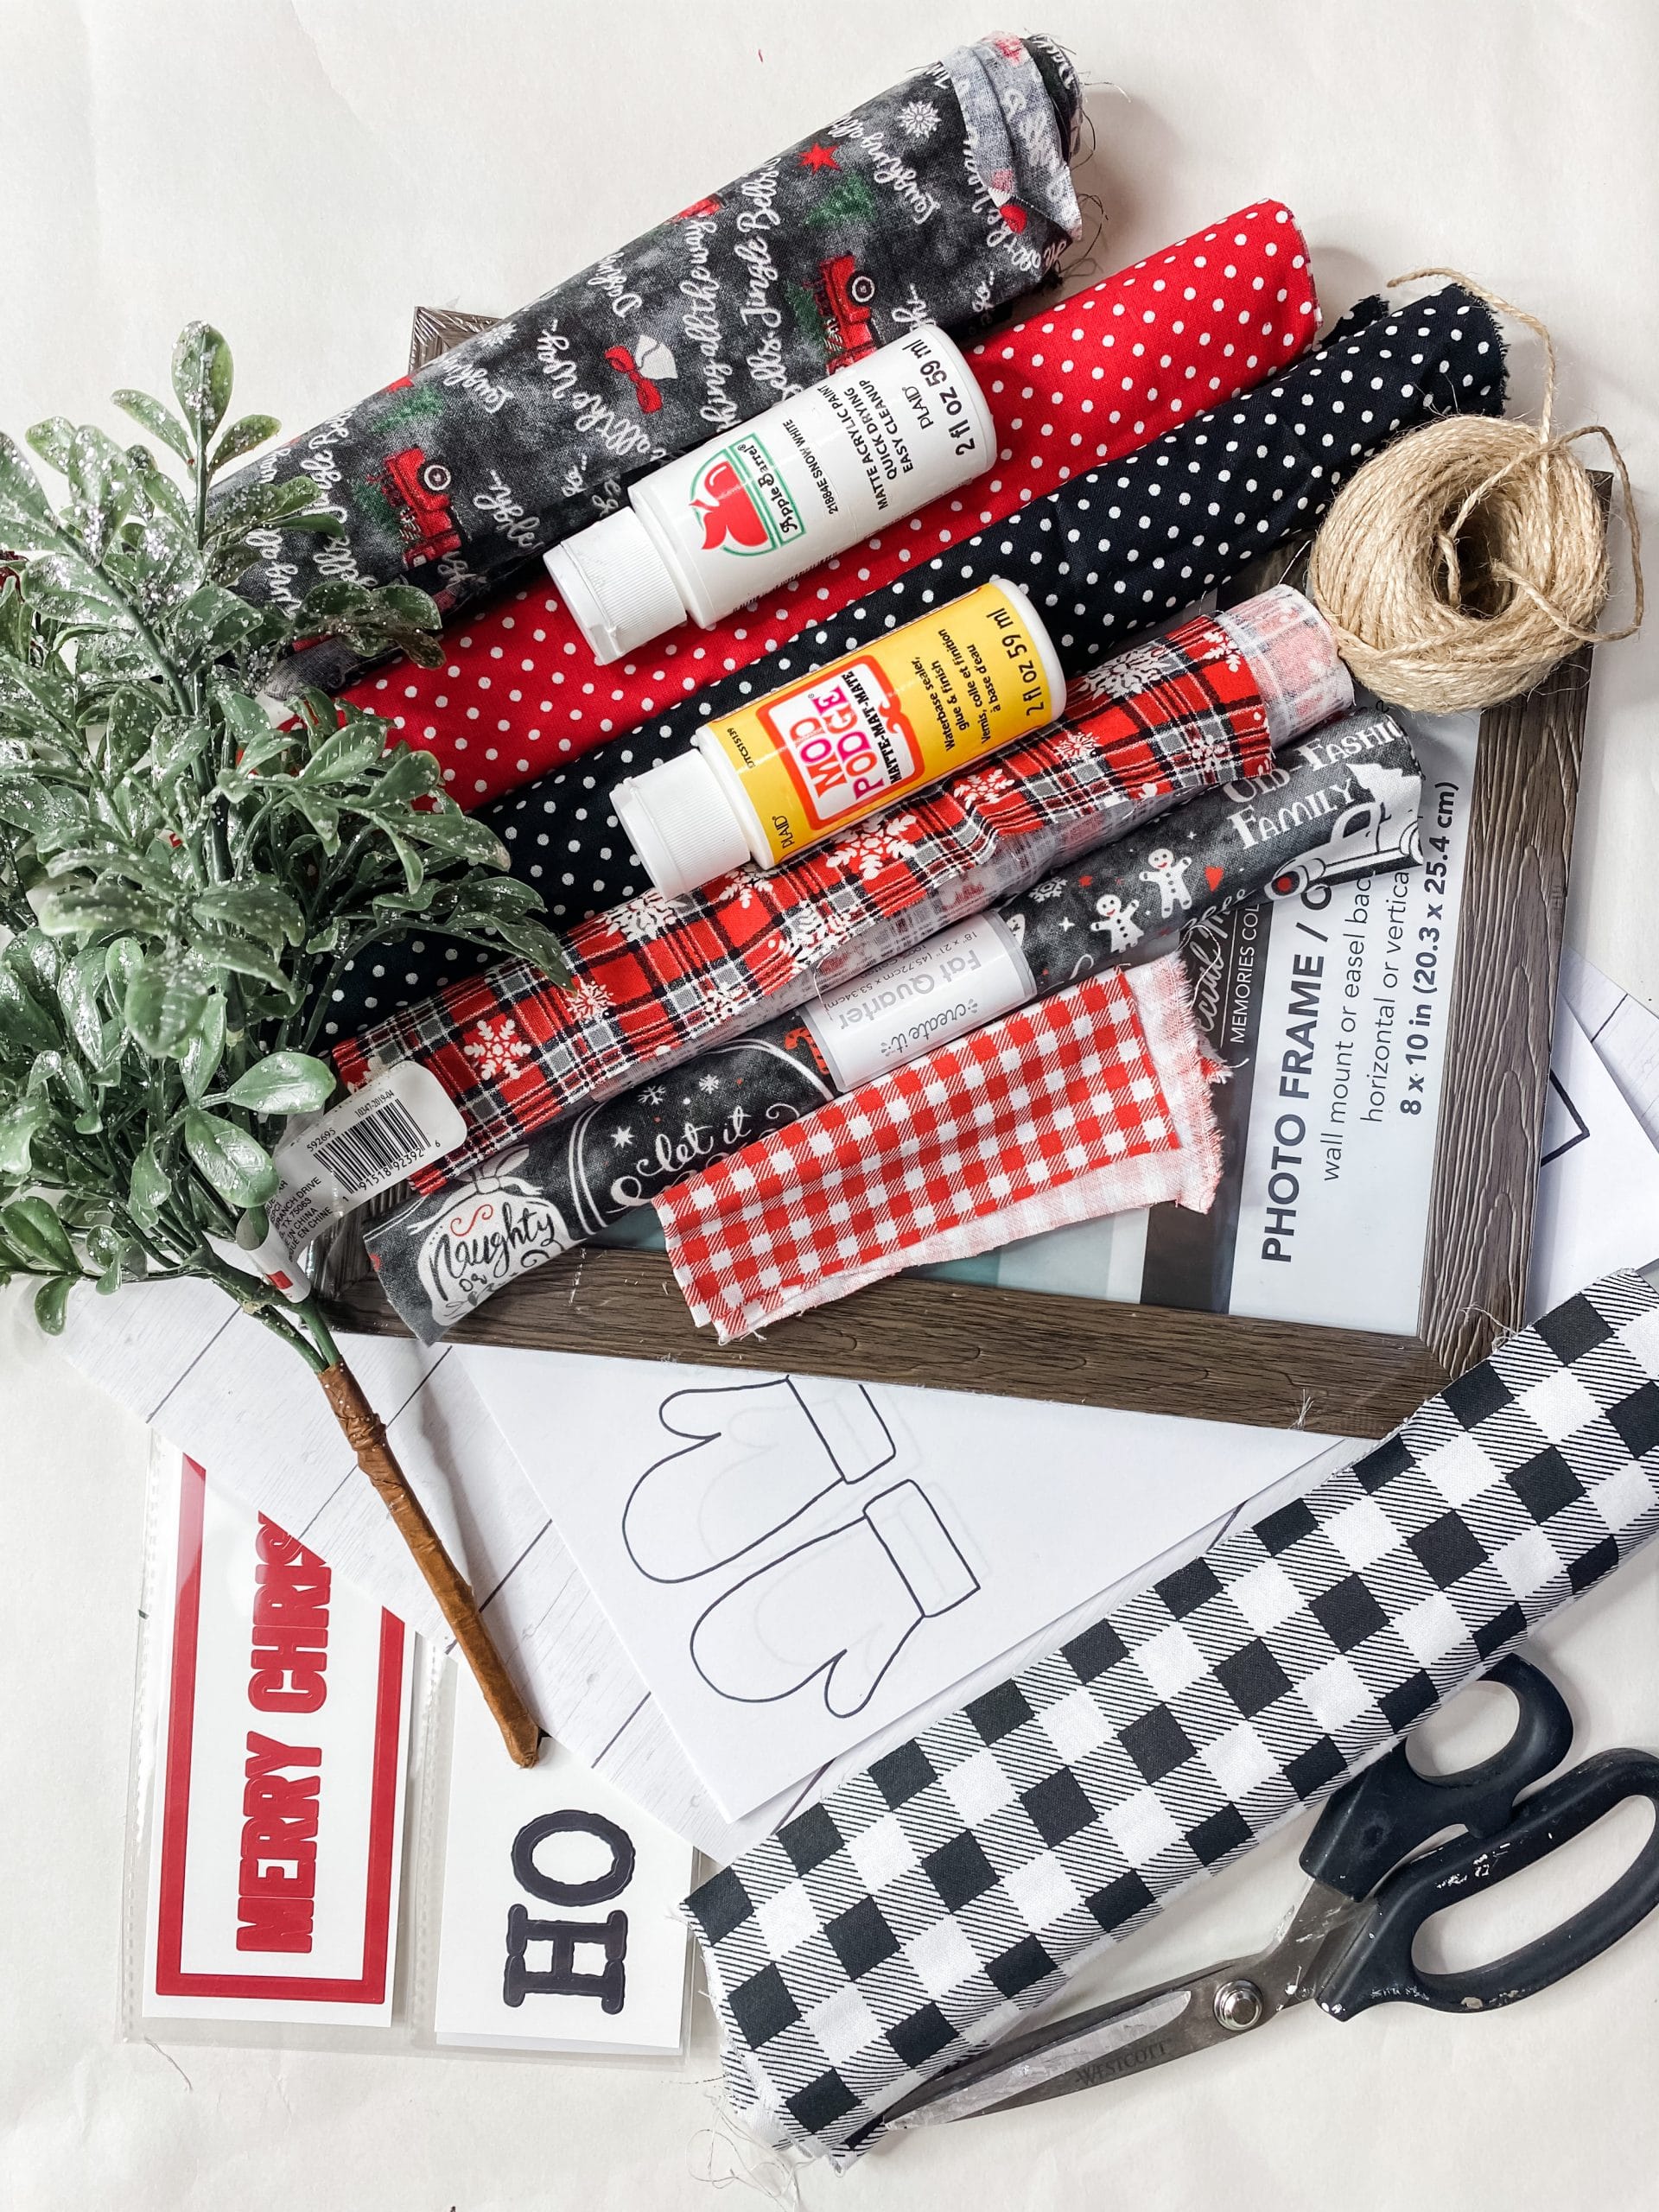
For this project, I will be using these items but you can substitute where you want.
“As an Amazon Associate, I earn from qualifying purchases.”
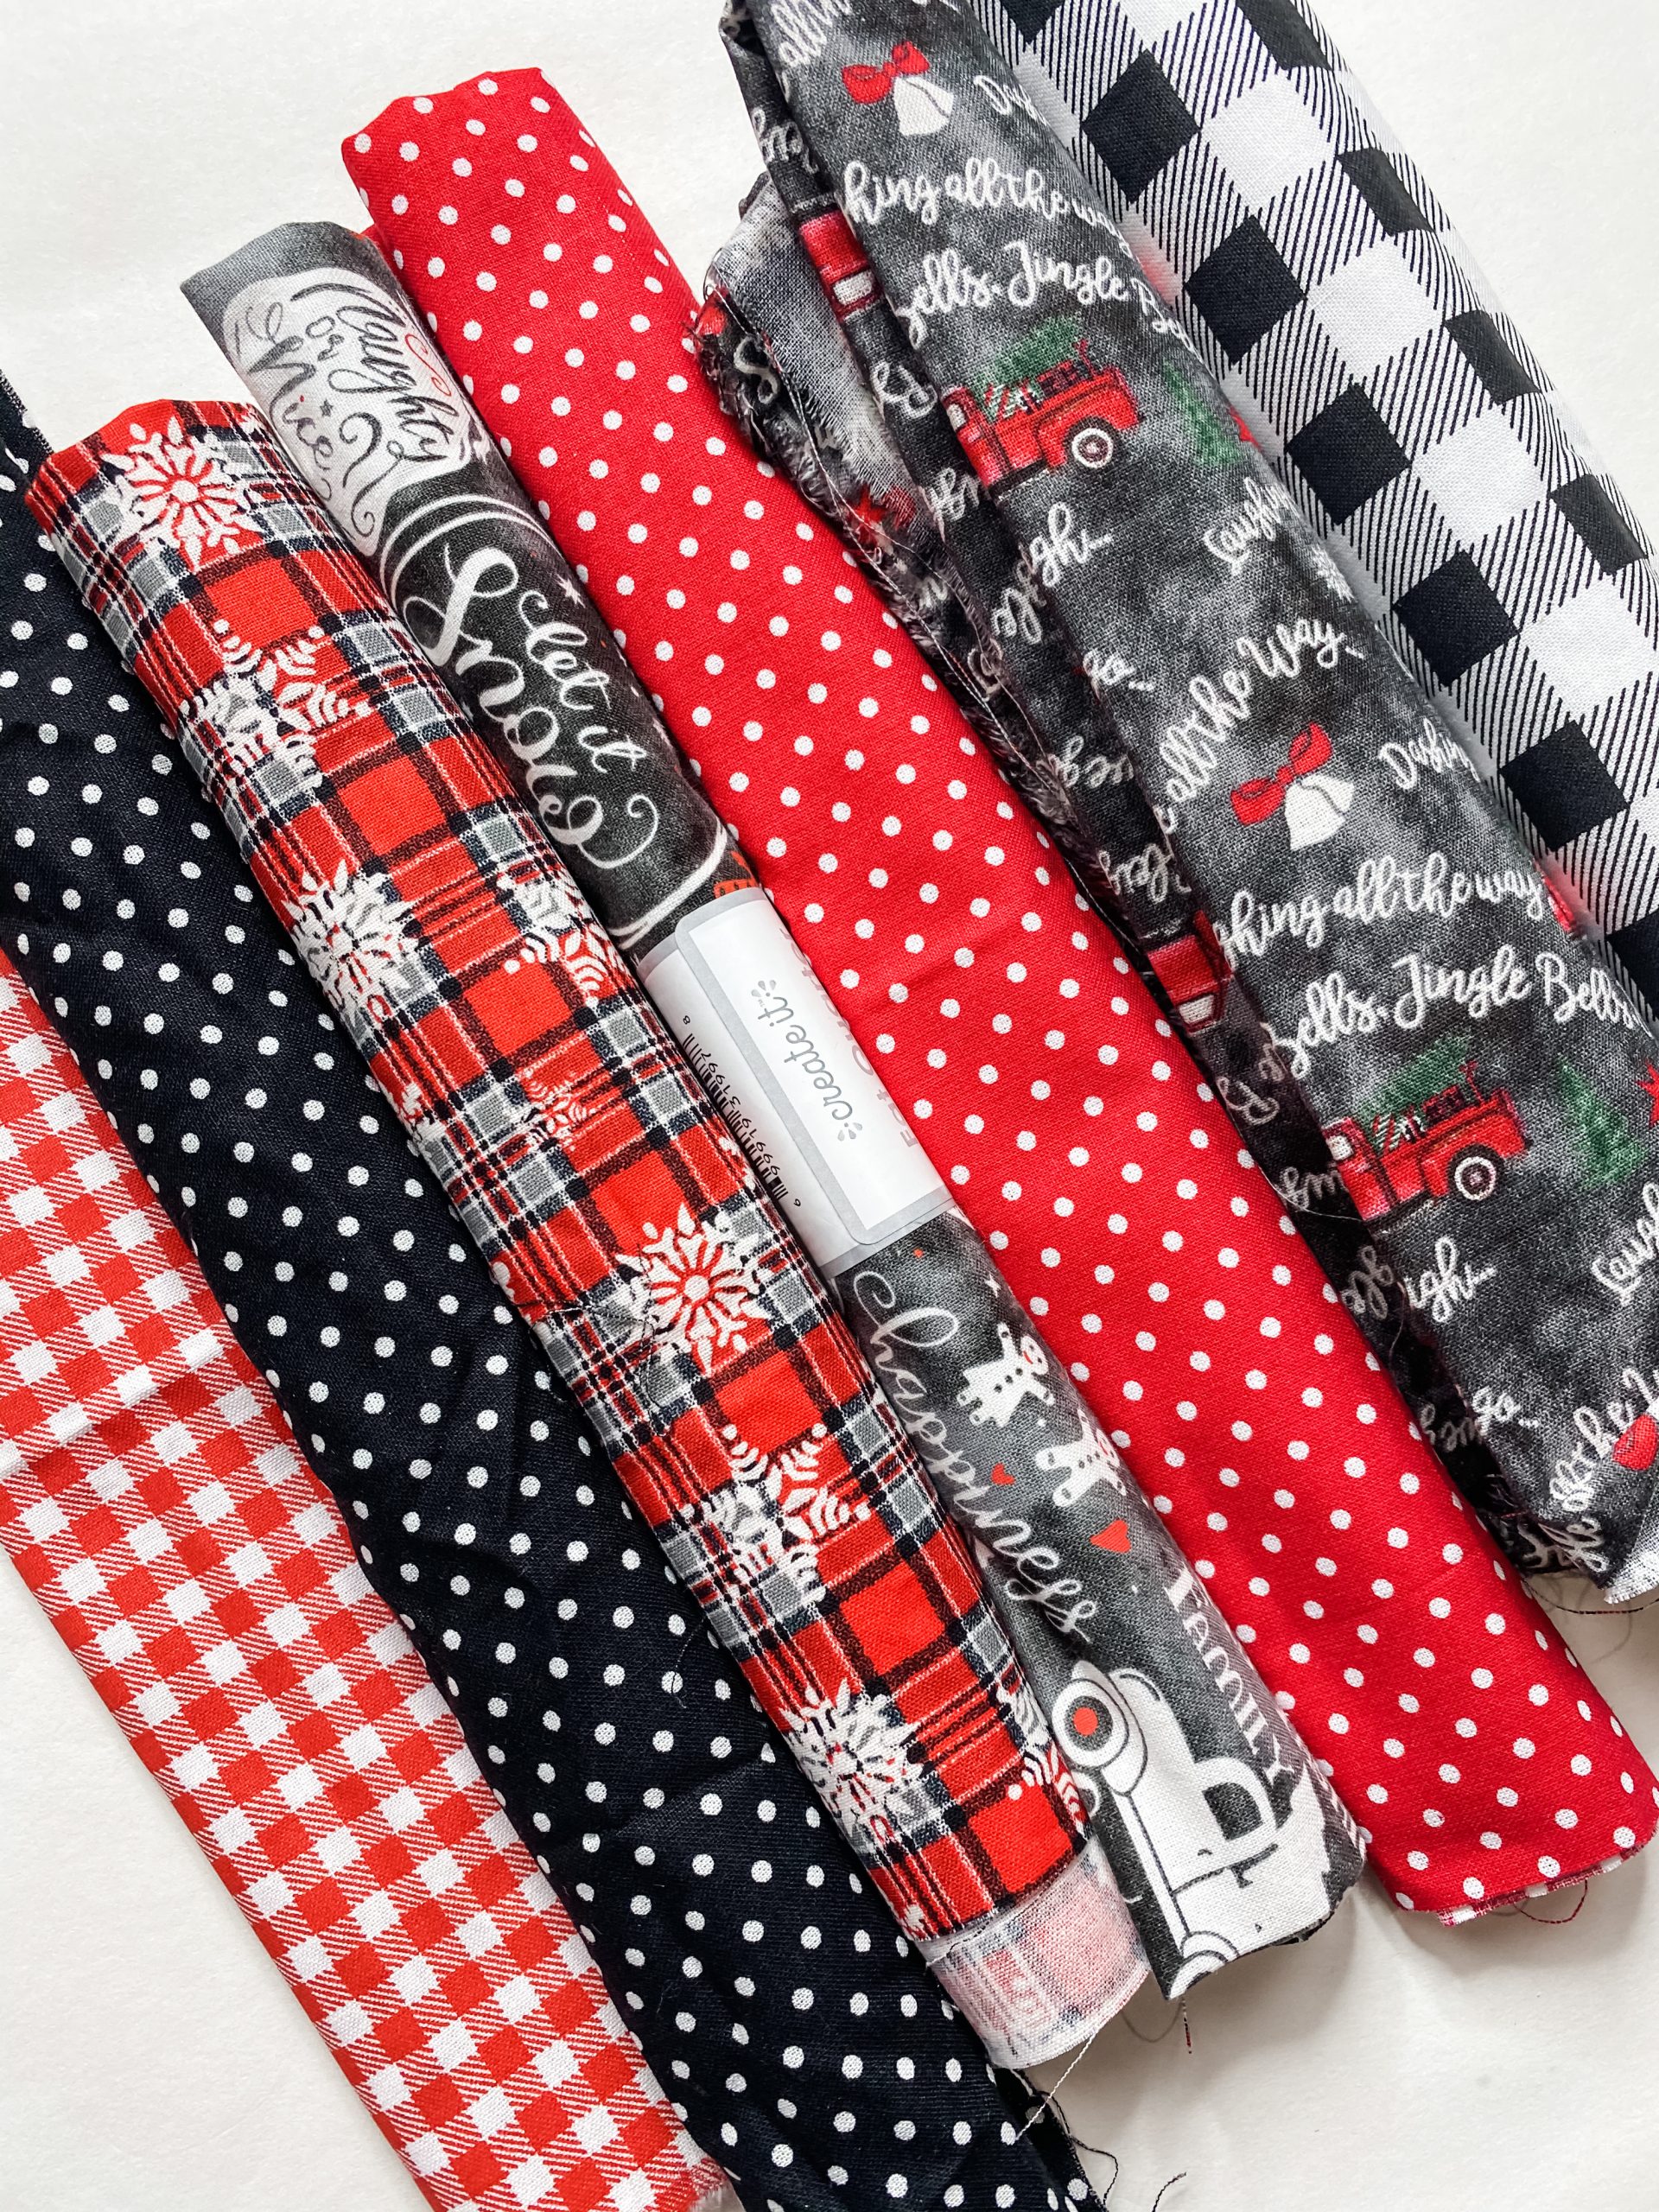
- Dollar Tree black buffalo check fabric
- Dollar Tree red buffalo check fabric
- Black polka dot fabric
- Red plaid fabric with snowflakes
- Let it snow Christmas fabric
- Red polka dot fabric
- Red truck Christmas fabric
- White Ric Rac Ribbon
- Totally Dazzled Bling
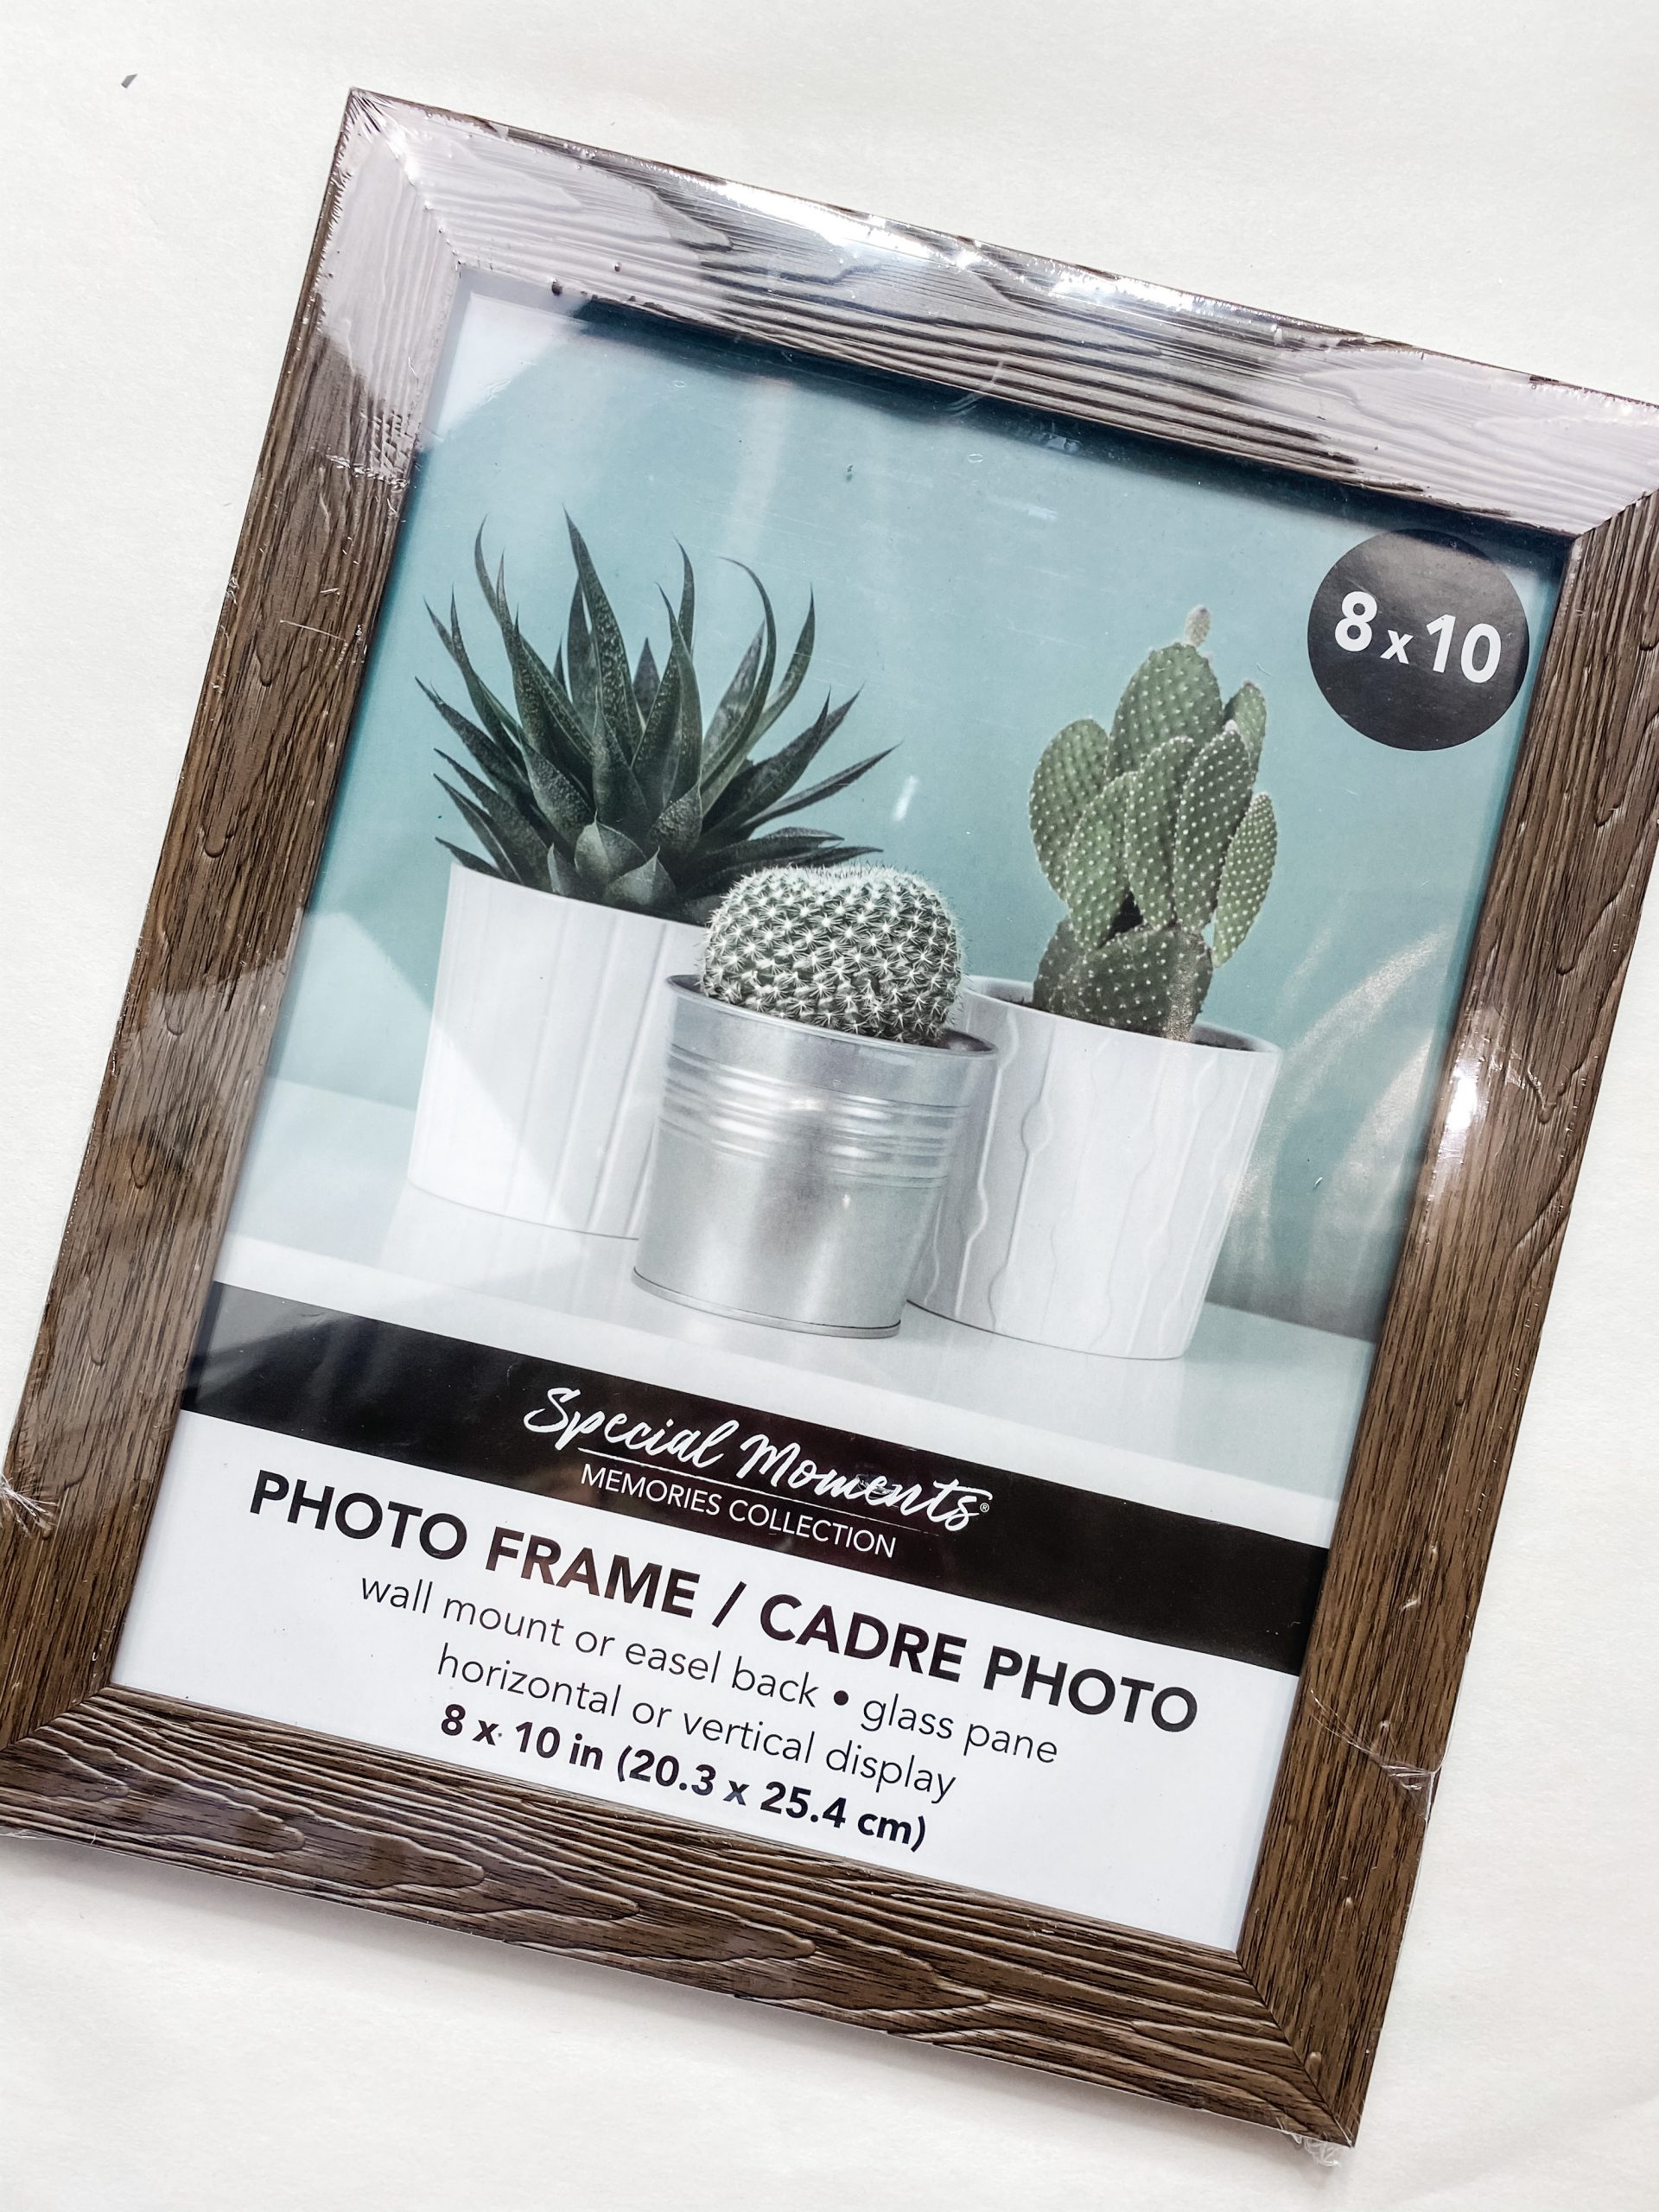
- Dollar Tree 8×10 Picture Frame
- Dollar Tree twine
- Apple Barrel White Acrylic Paint
- Christmas Greenery Spray (Michael’s)
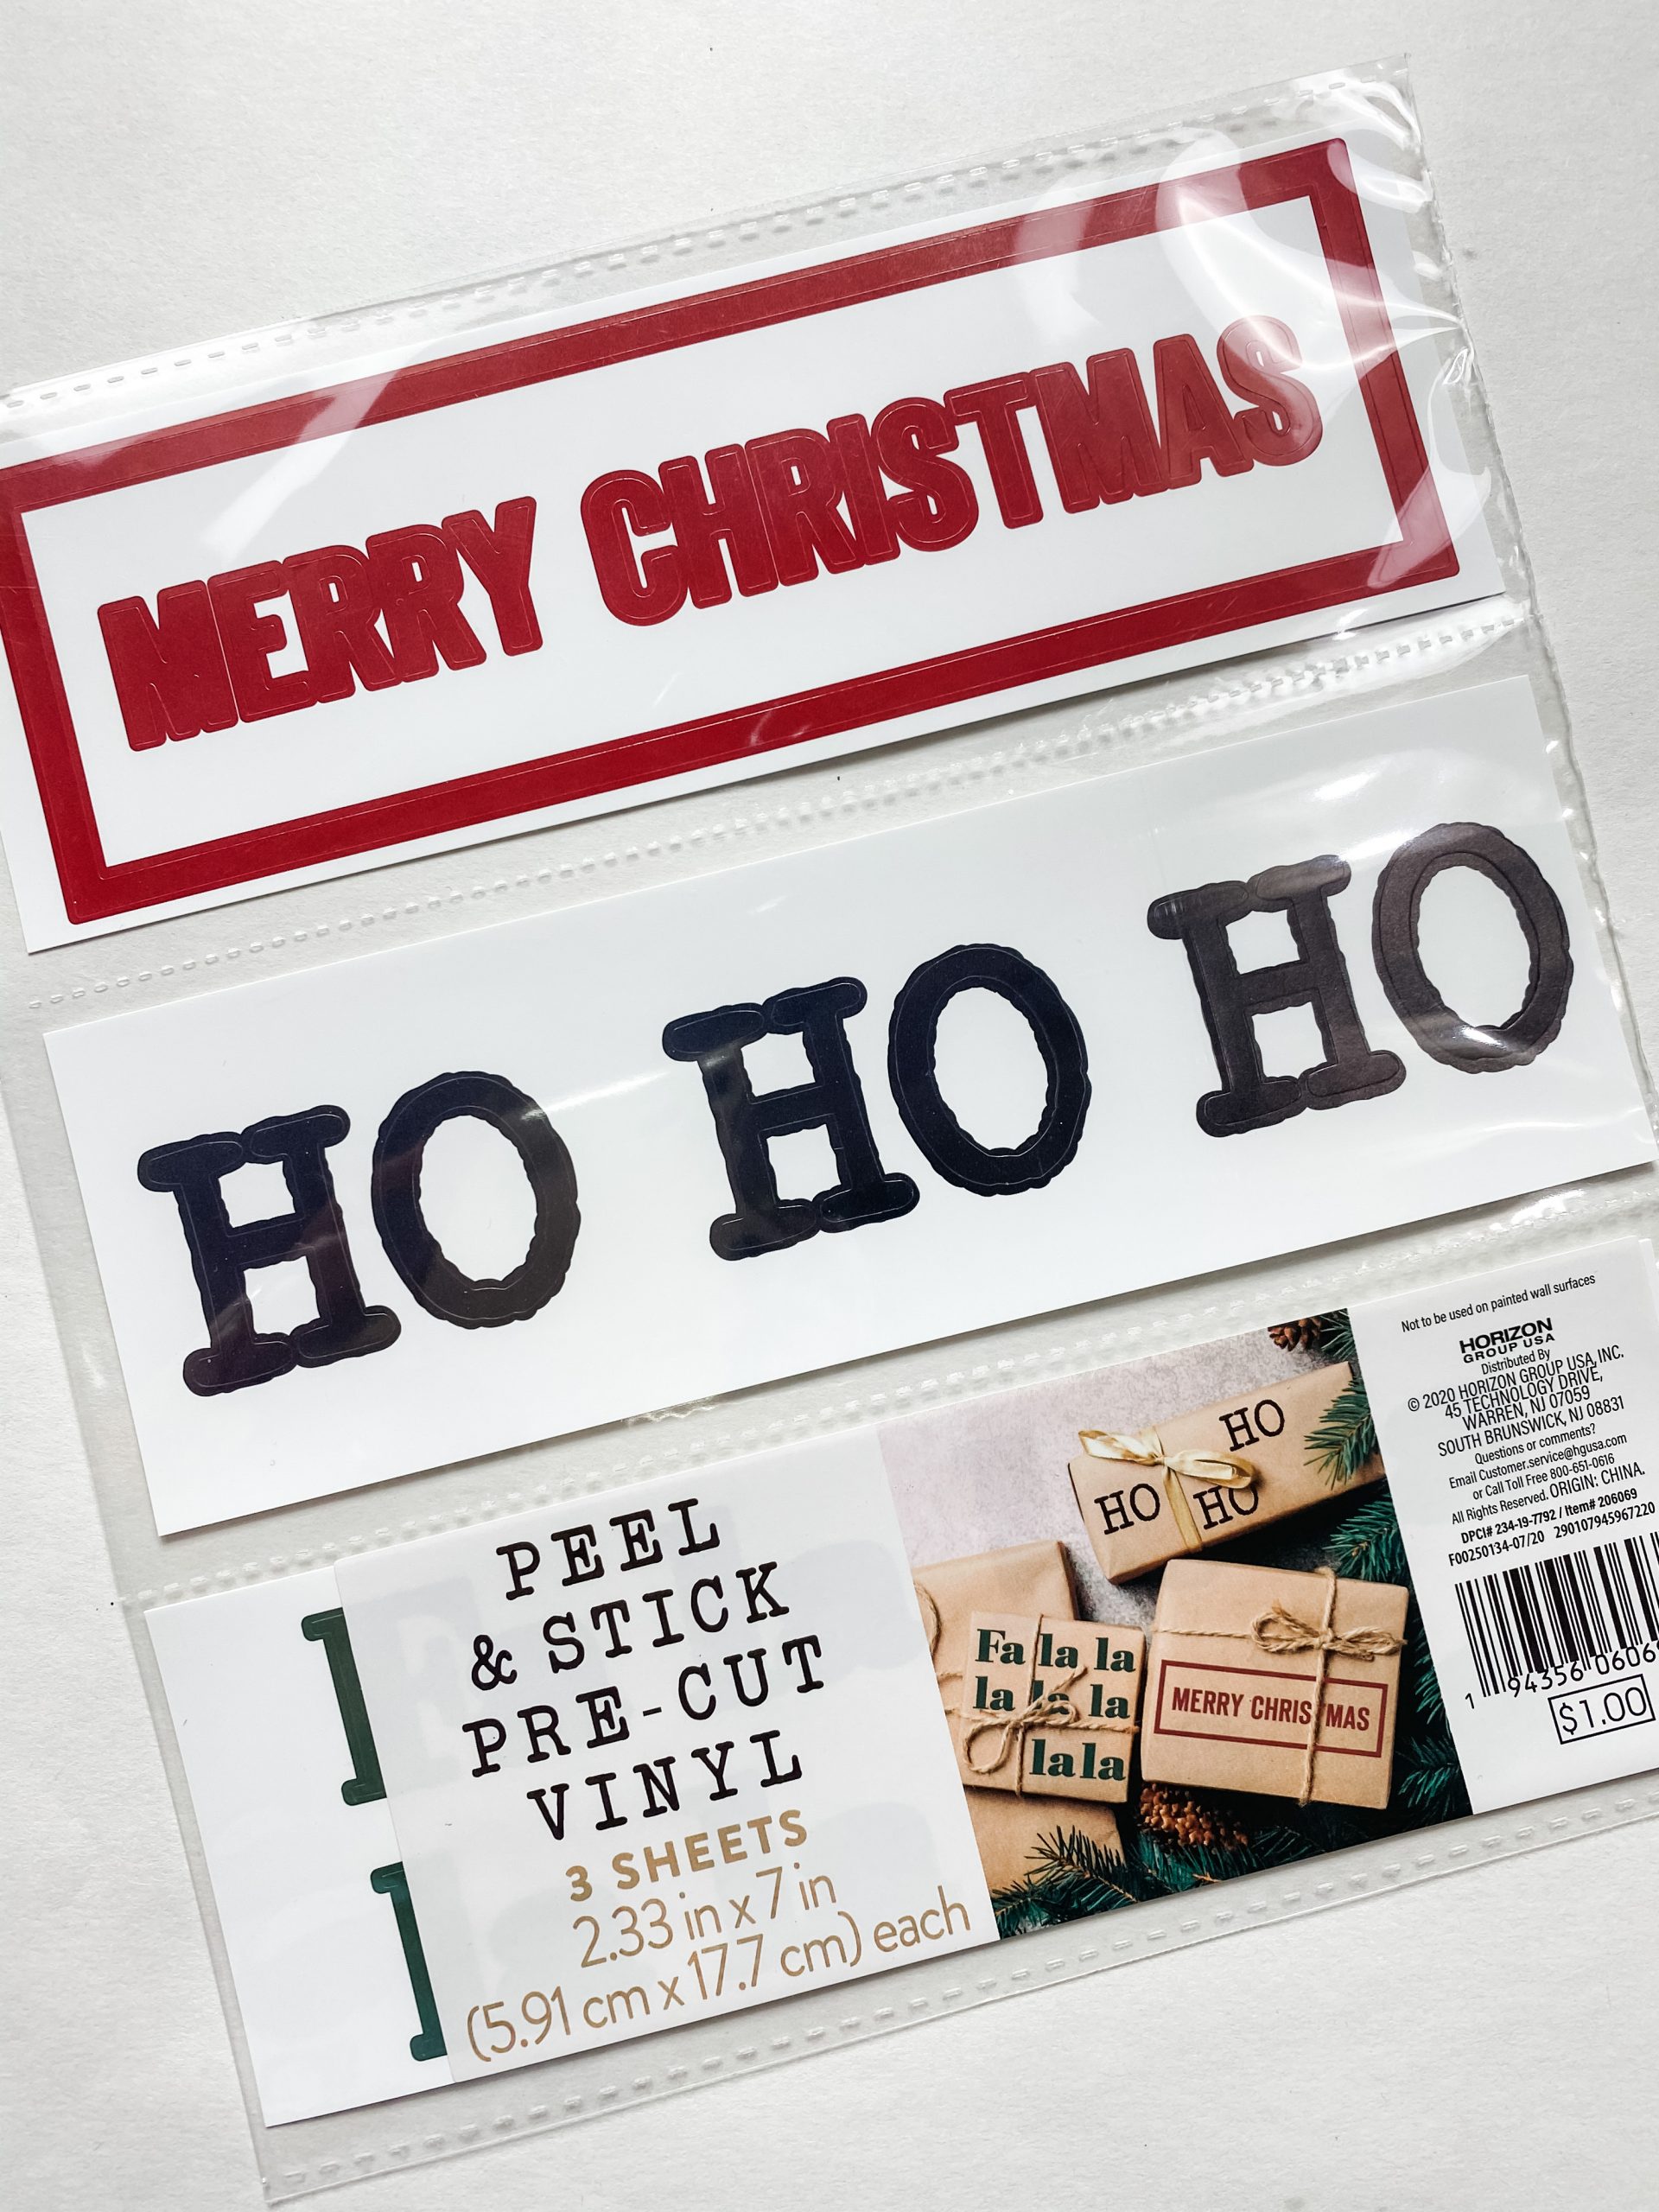
- Sticker pack from Target
- Shiplap scrapbook paper (Hobby Lobby)
- Mod Podge
- Glue Gun and Glue Sticks
- Heat gun
- Aviation Snips
Let’s get started
Step one to making this adorable Christmas printable craft is to remove the glass from the picture frame. We are going to use the cardboard backing for the background of our DIY decor.
I really liked this Dollar Tree picture frame because it looks like wood! Even though the frame is more of a plastic material, it actually looks like wood and adds to the rustic feel of this DIY.
We are going to decoupage the Hobby Lobby shiplap scrapbook paper onto the cardboard backing of the picture frame.
So, set the scrapbook paper face down and lay the picture frame backing onto it. Trace around the frame, and cut the scrapbook paper to fit.
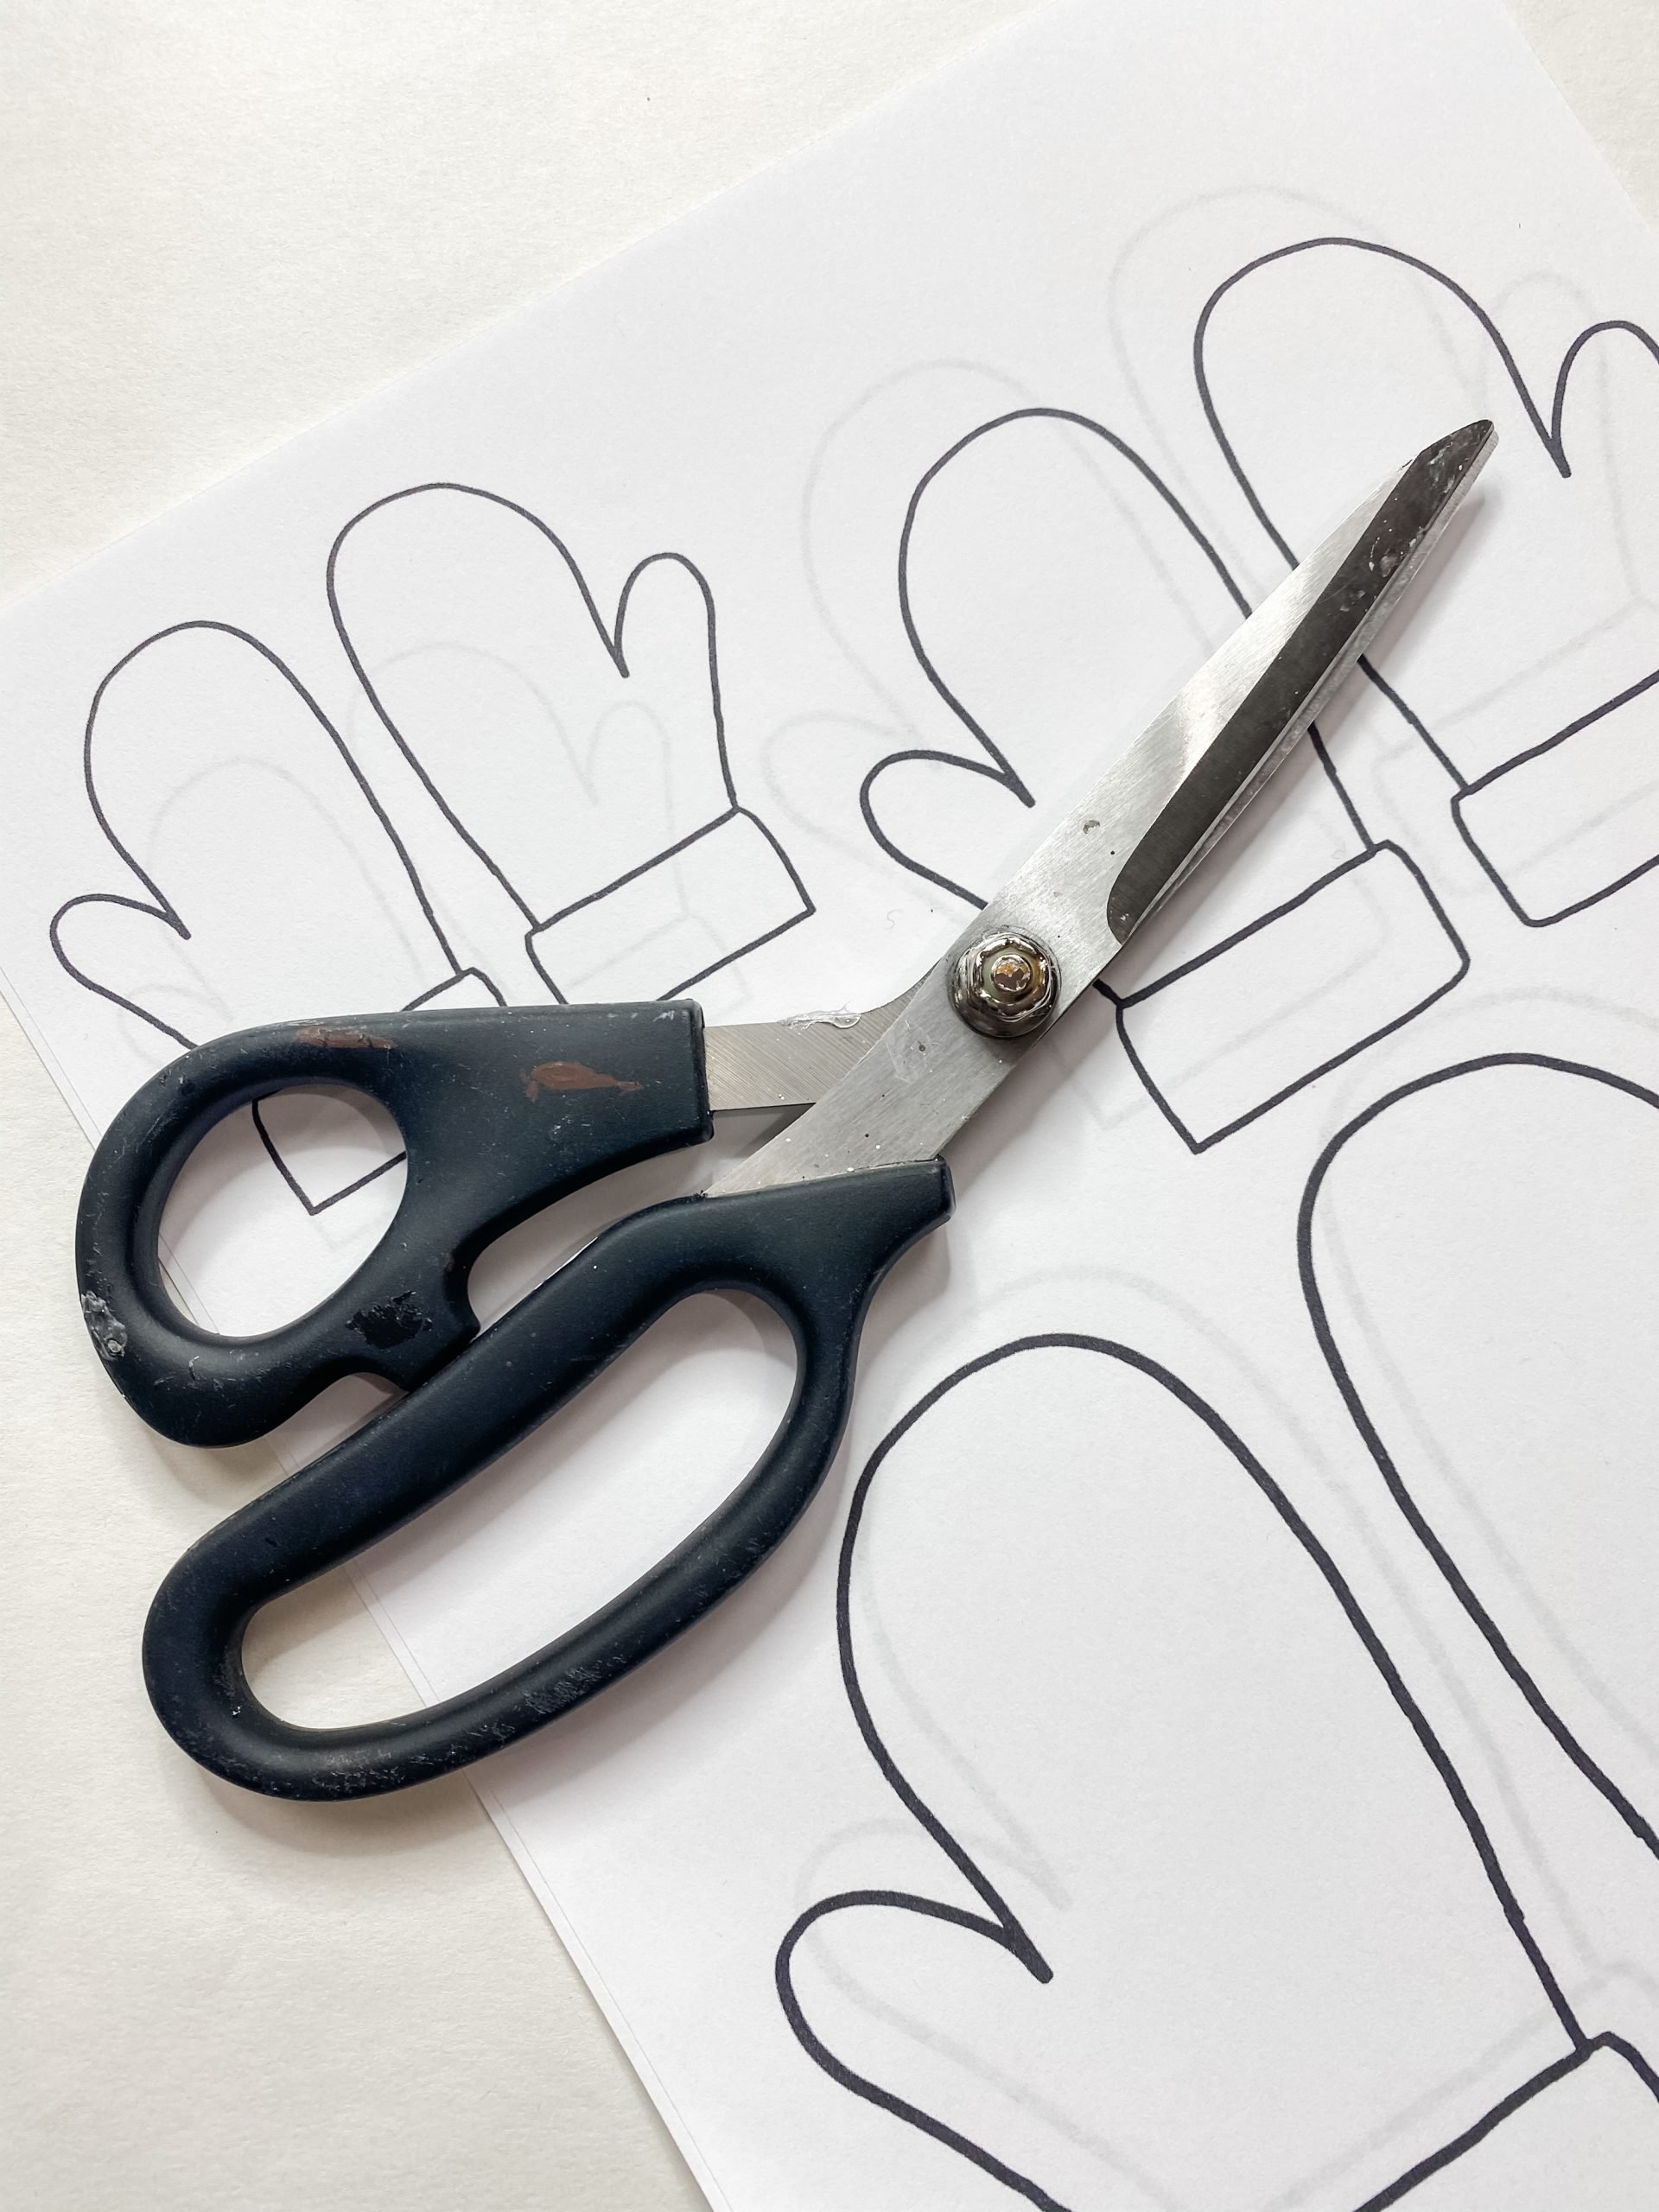
I wasn’t sure which size mittens I was going to use from my FREE mittens printable, so I went ahead and cut out the small and medium-sized mittens, just in case. This isn’t the most fun part of this craft, but it is necessary!
Sometimes we improvise!
I eyeballed both mitten sizes on the picture frame backing to see which size looked best, and I decided to use all of them!
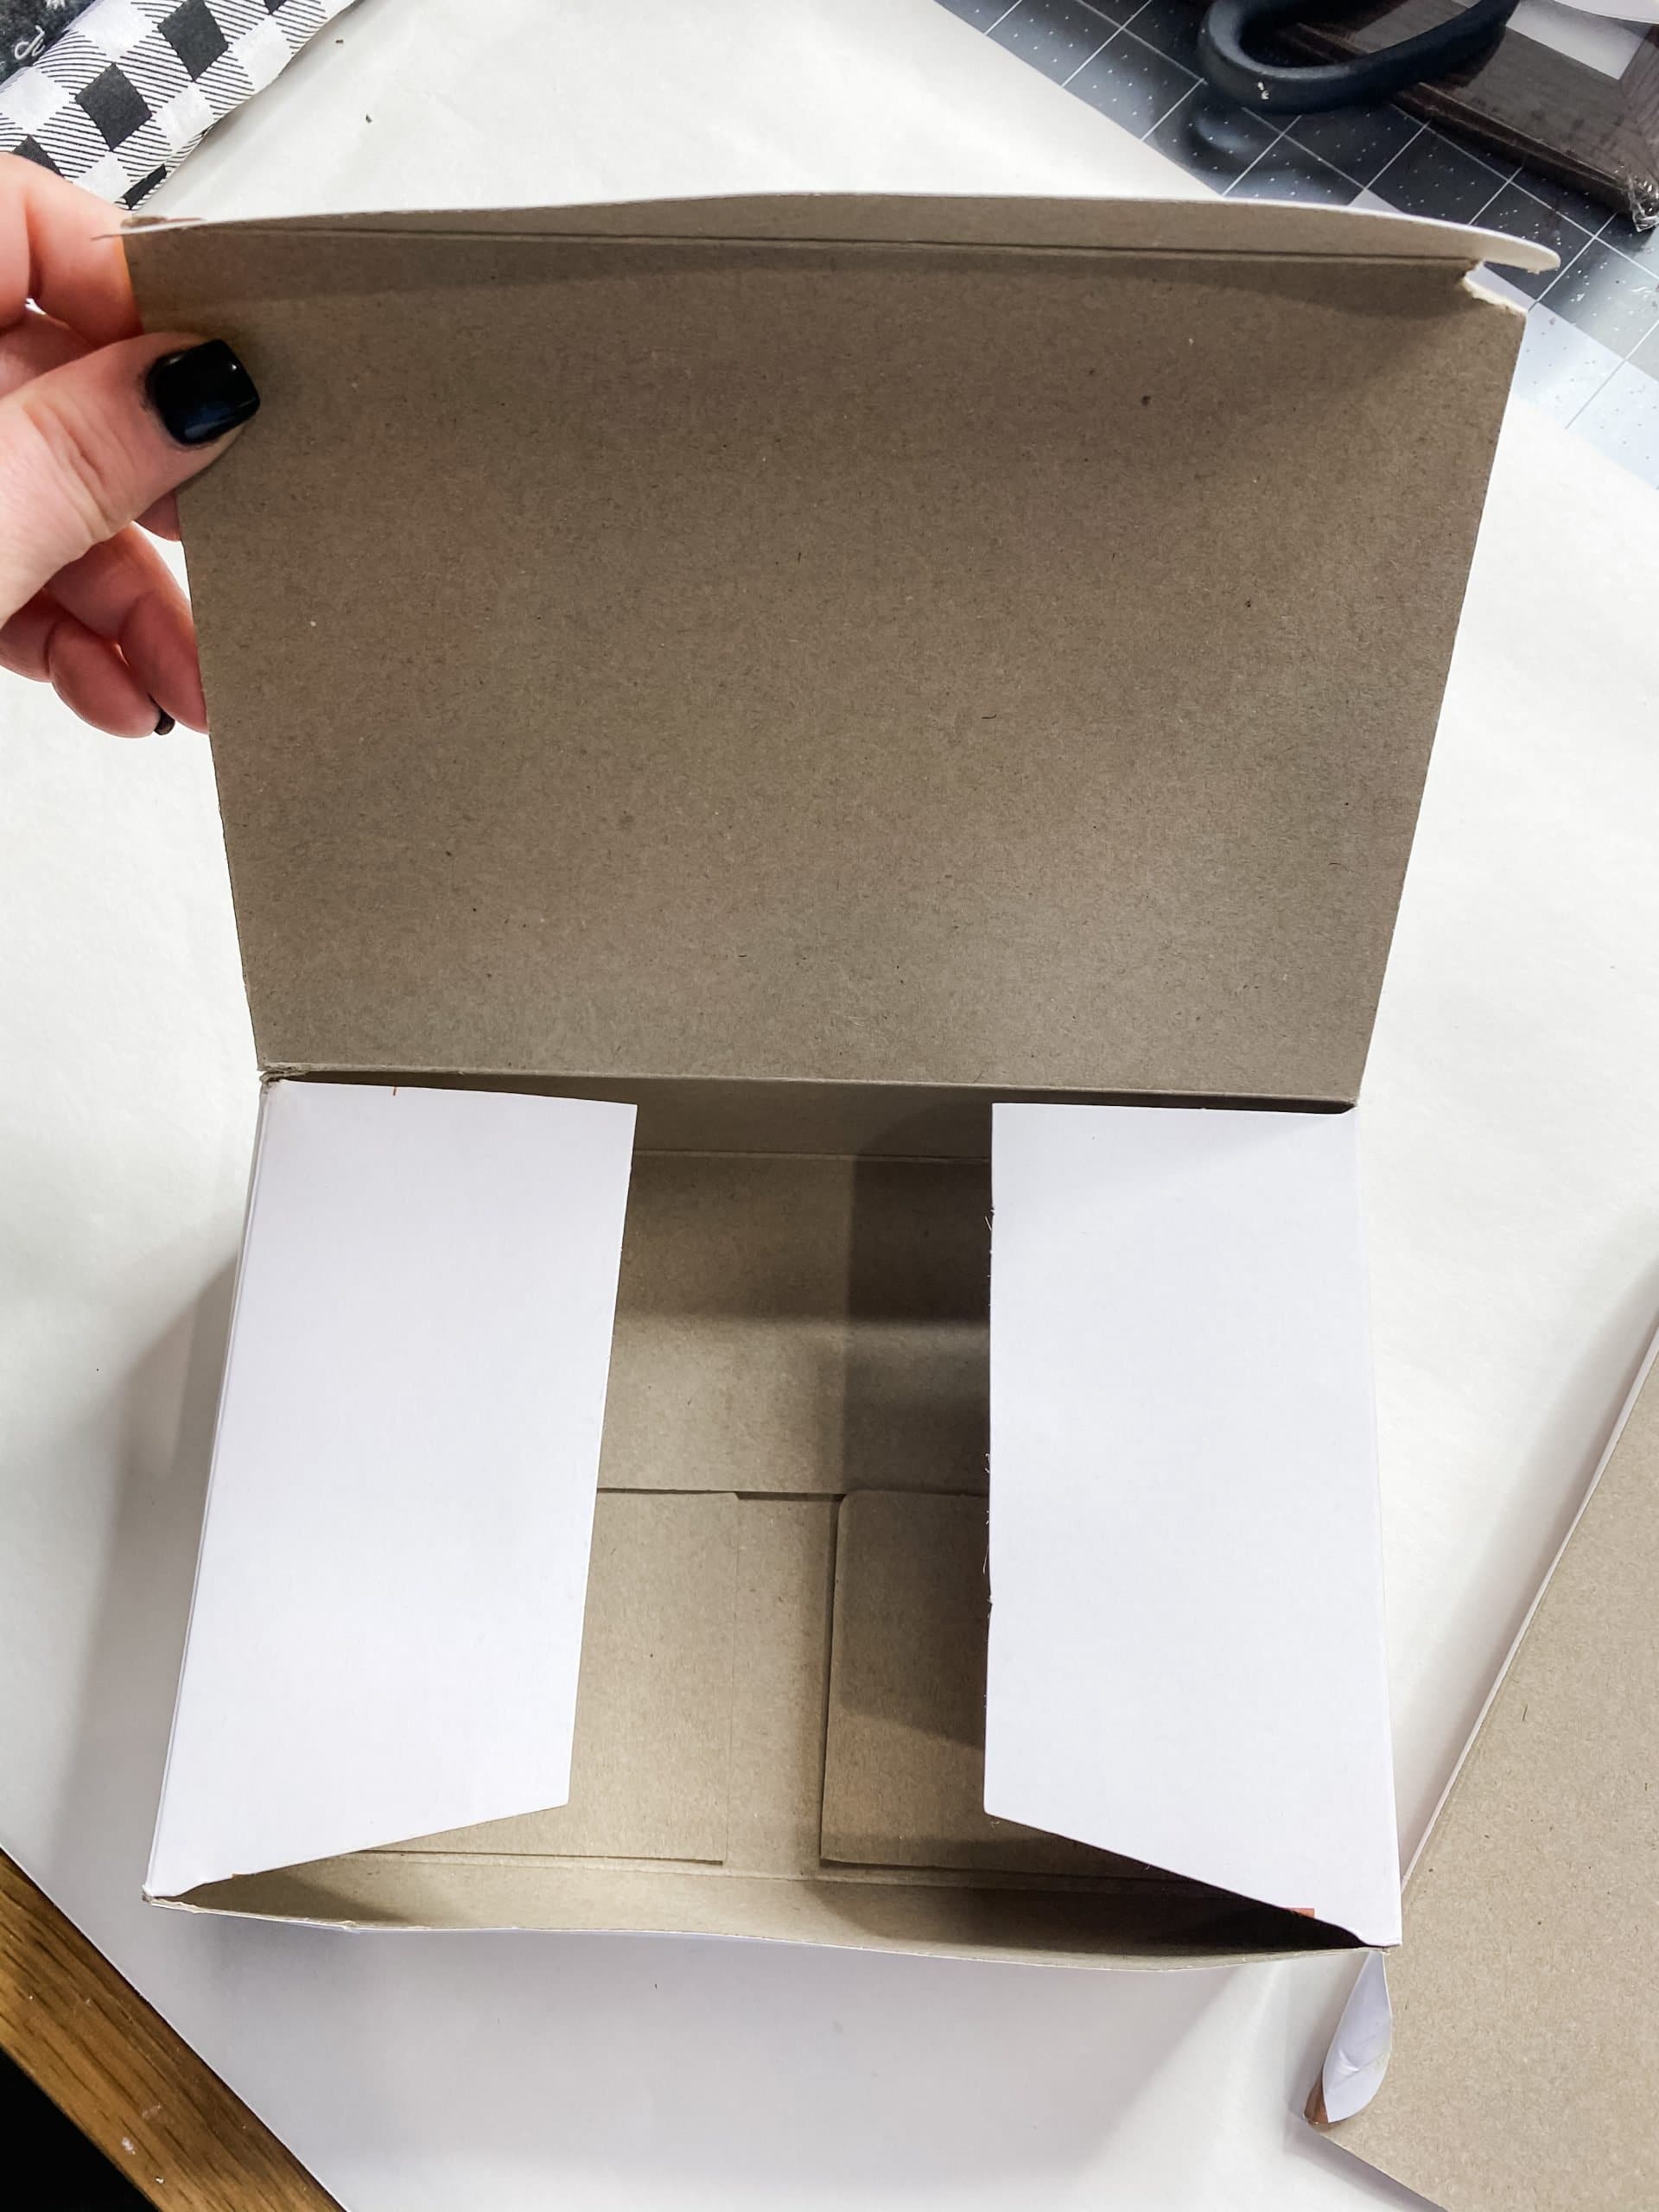
Now, the printable is just a template, so we need something to put the template on. I had just purchased new paintbrushes, and I realized the cardboard box would be perfect!
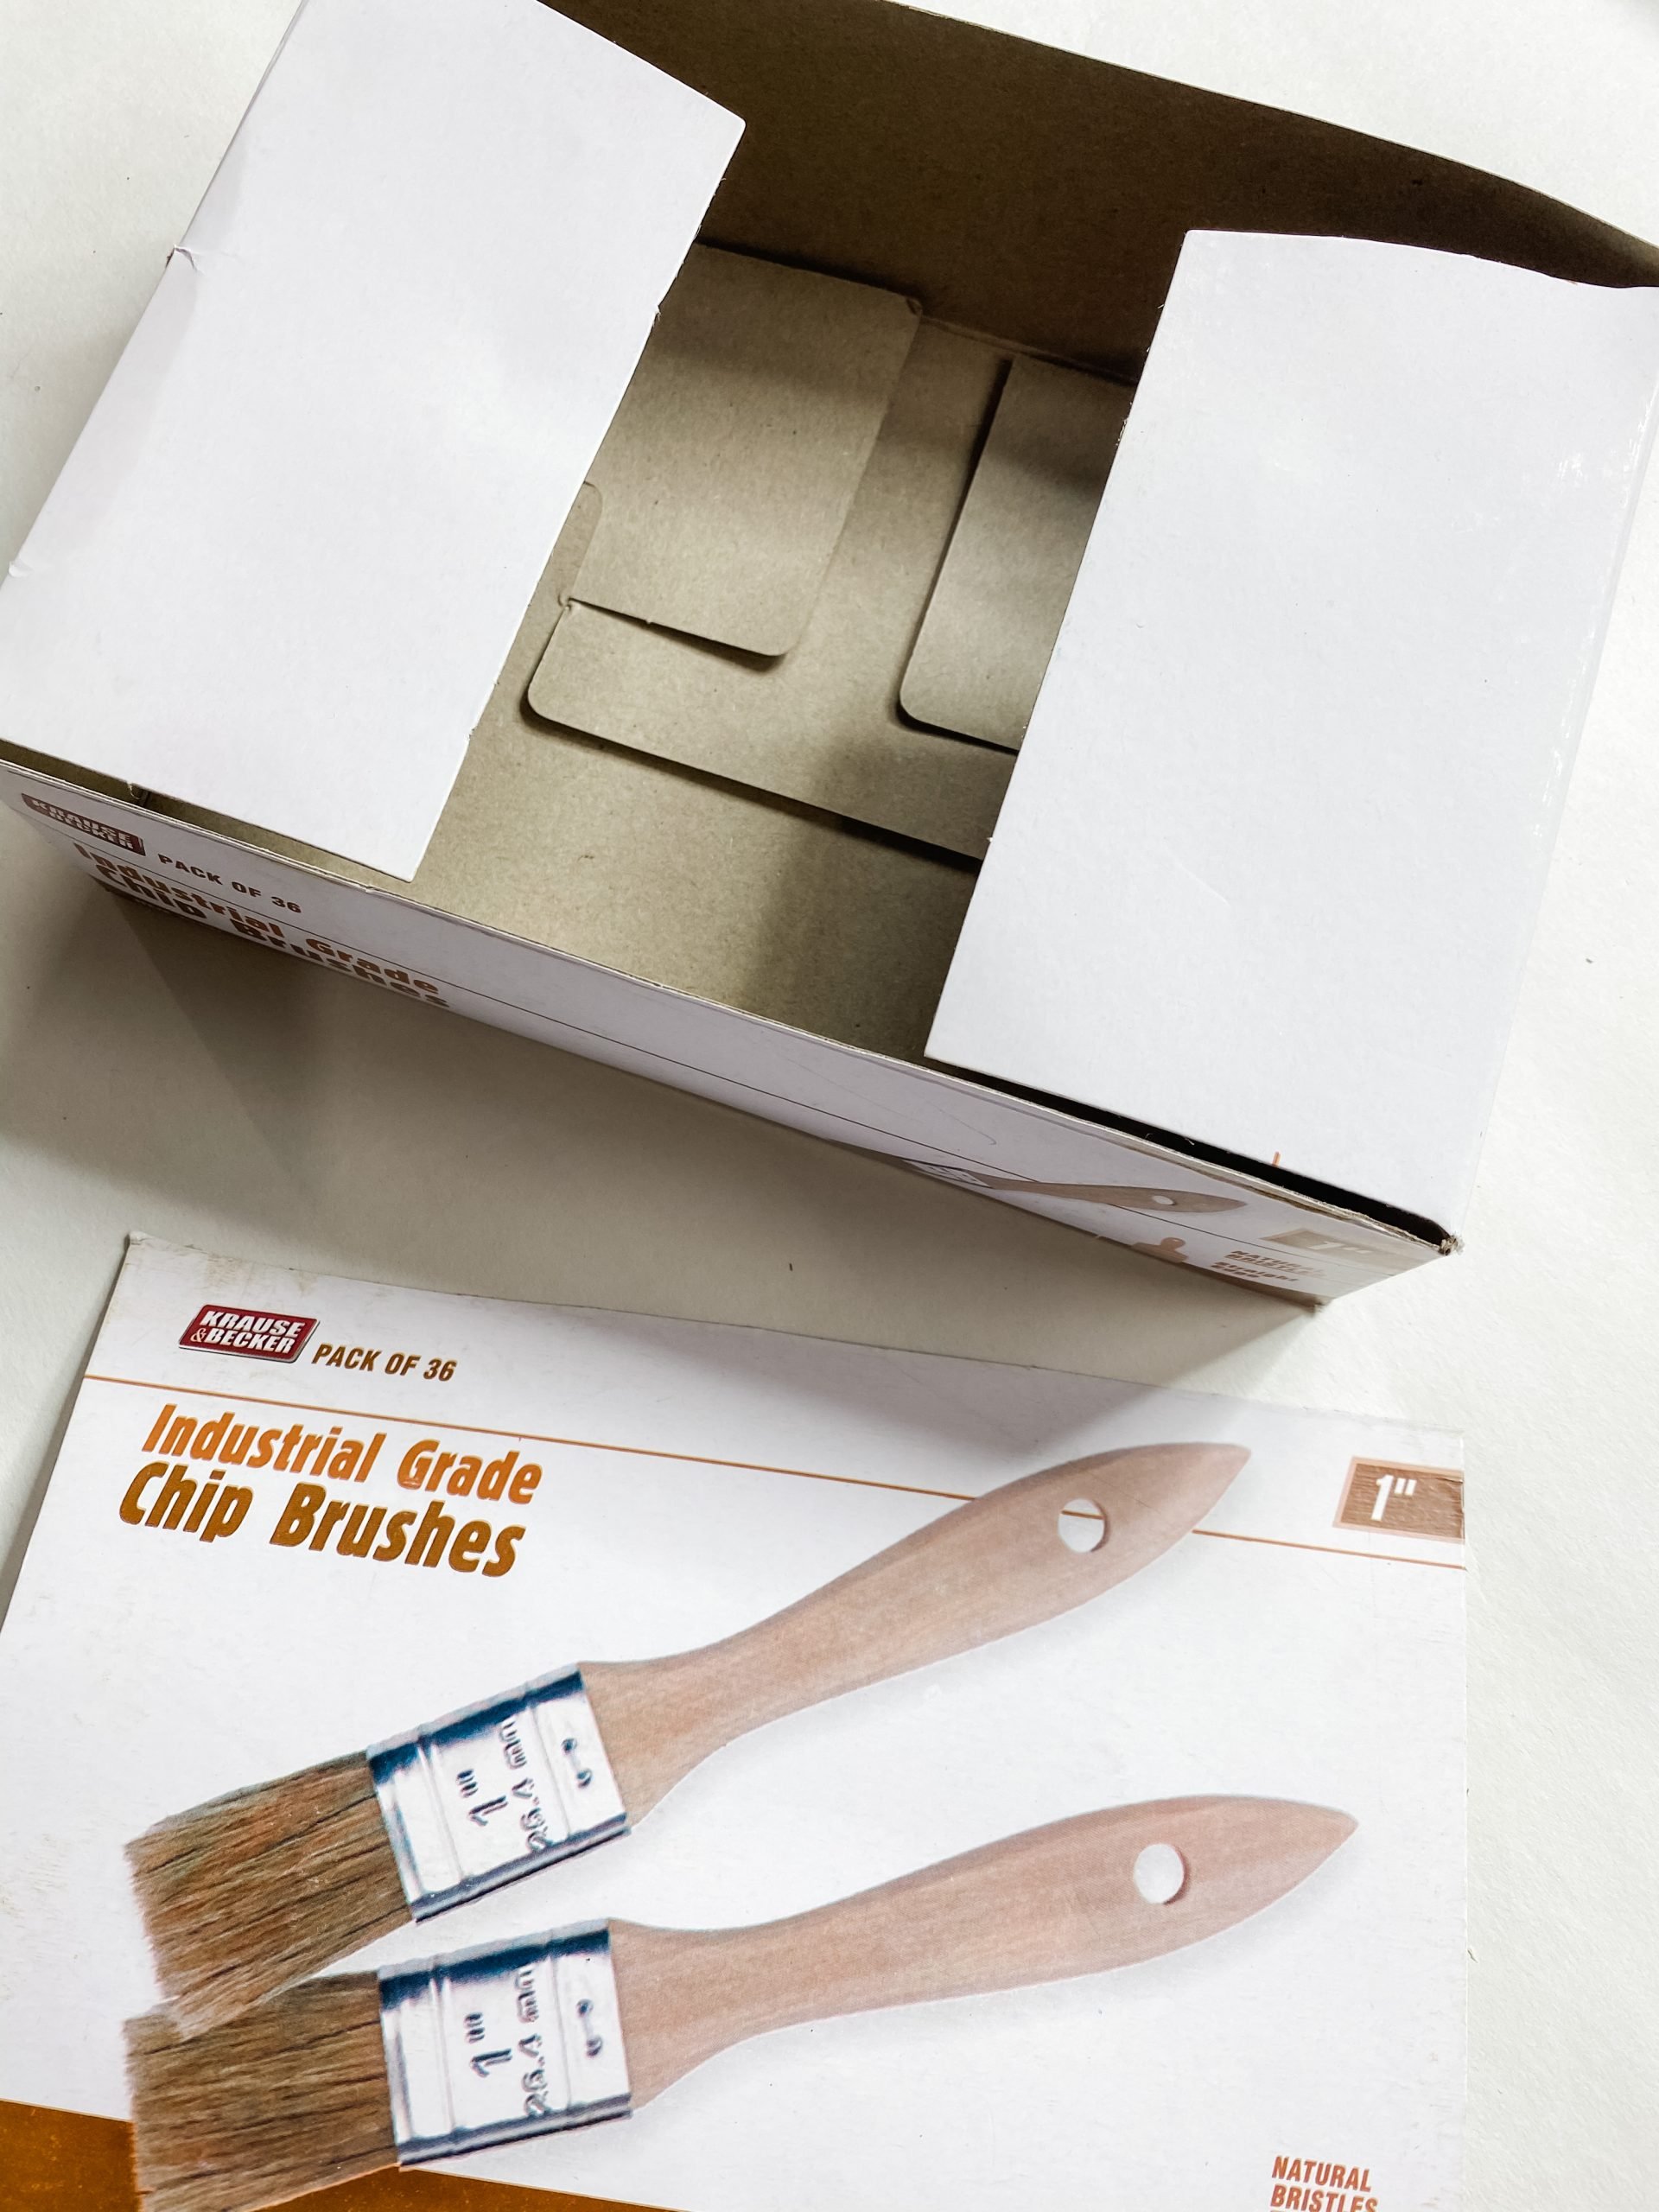
I cut the lid off the top of two chippy paintbrush boxes and traced the mitten templates onto the cardboard. Cut out each mitten, and you’re ready to keep going.
We are going to hot glue different fabric patterns onto each cardboard mitten. I used two patterns per mitten size. One to cover the mitten and one to frame the mitten.
Decide how you’re going to combine the fabrics. I paired Walmart’s black polka dot fabric and Walmart’s red plaid fabric, Dollar Tree’s red buffalo check fabric, and the red truck Christmas fabric, and Walmart’s red polka dot fabric with Walmart’s let it snow Christmas fabric.
Decorate your mittens
Hot glue the background fabric onto the cardboard mitten cutout and trim it to fit the mitten.
Next, cut the framing fabric to fit the top of the mitten (where the wrist would be), but make sure it can wrap around the sides of the mitten. Hot glue the trim piece in place.
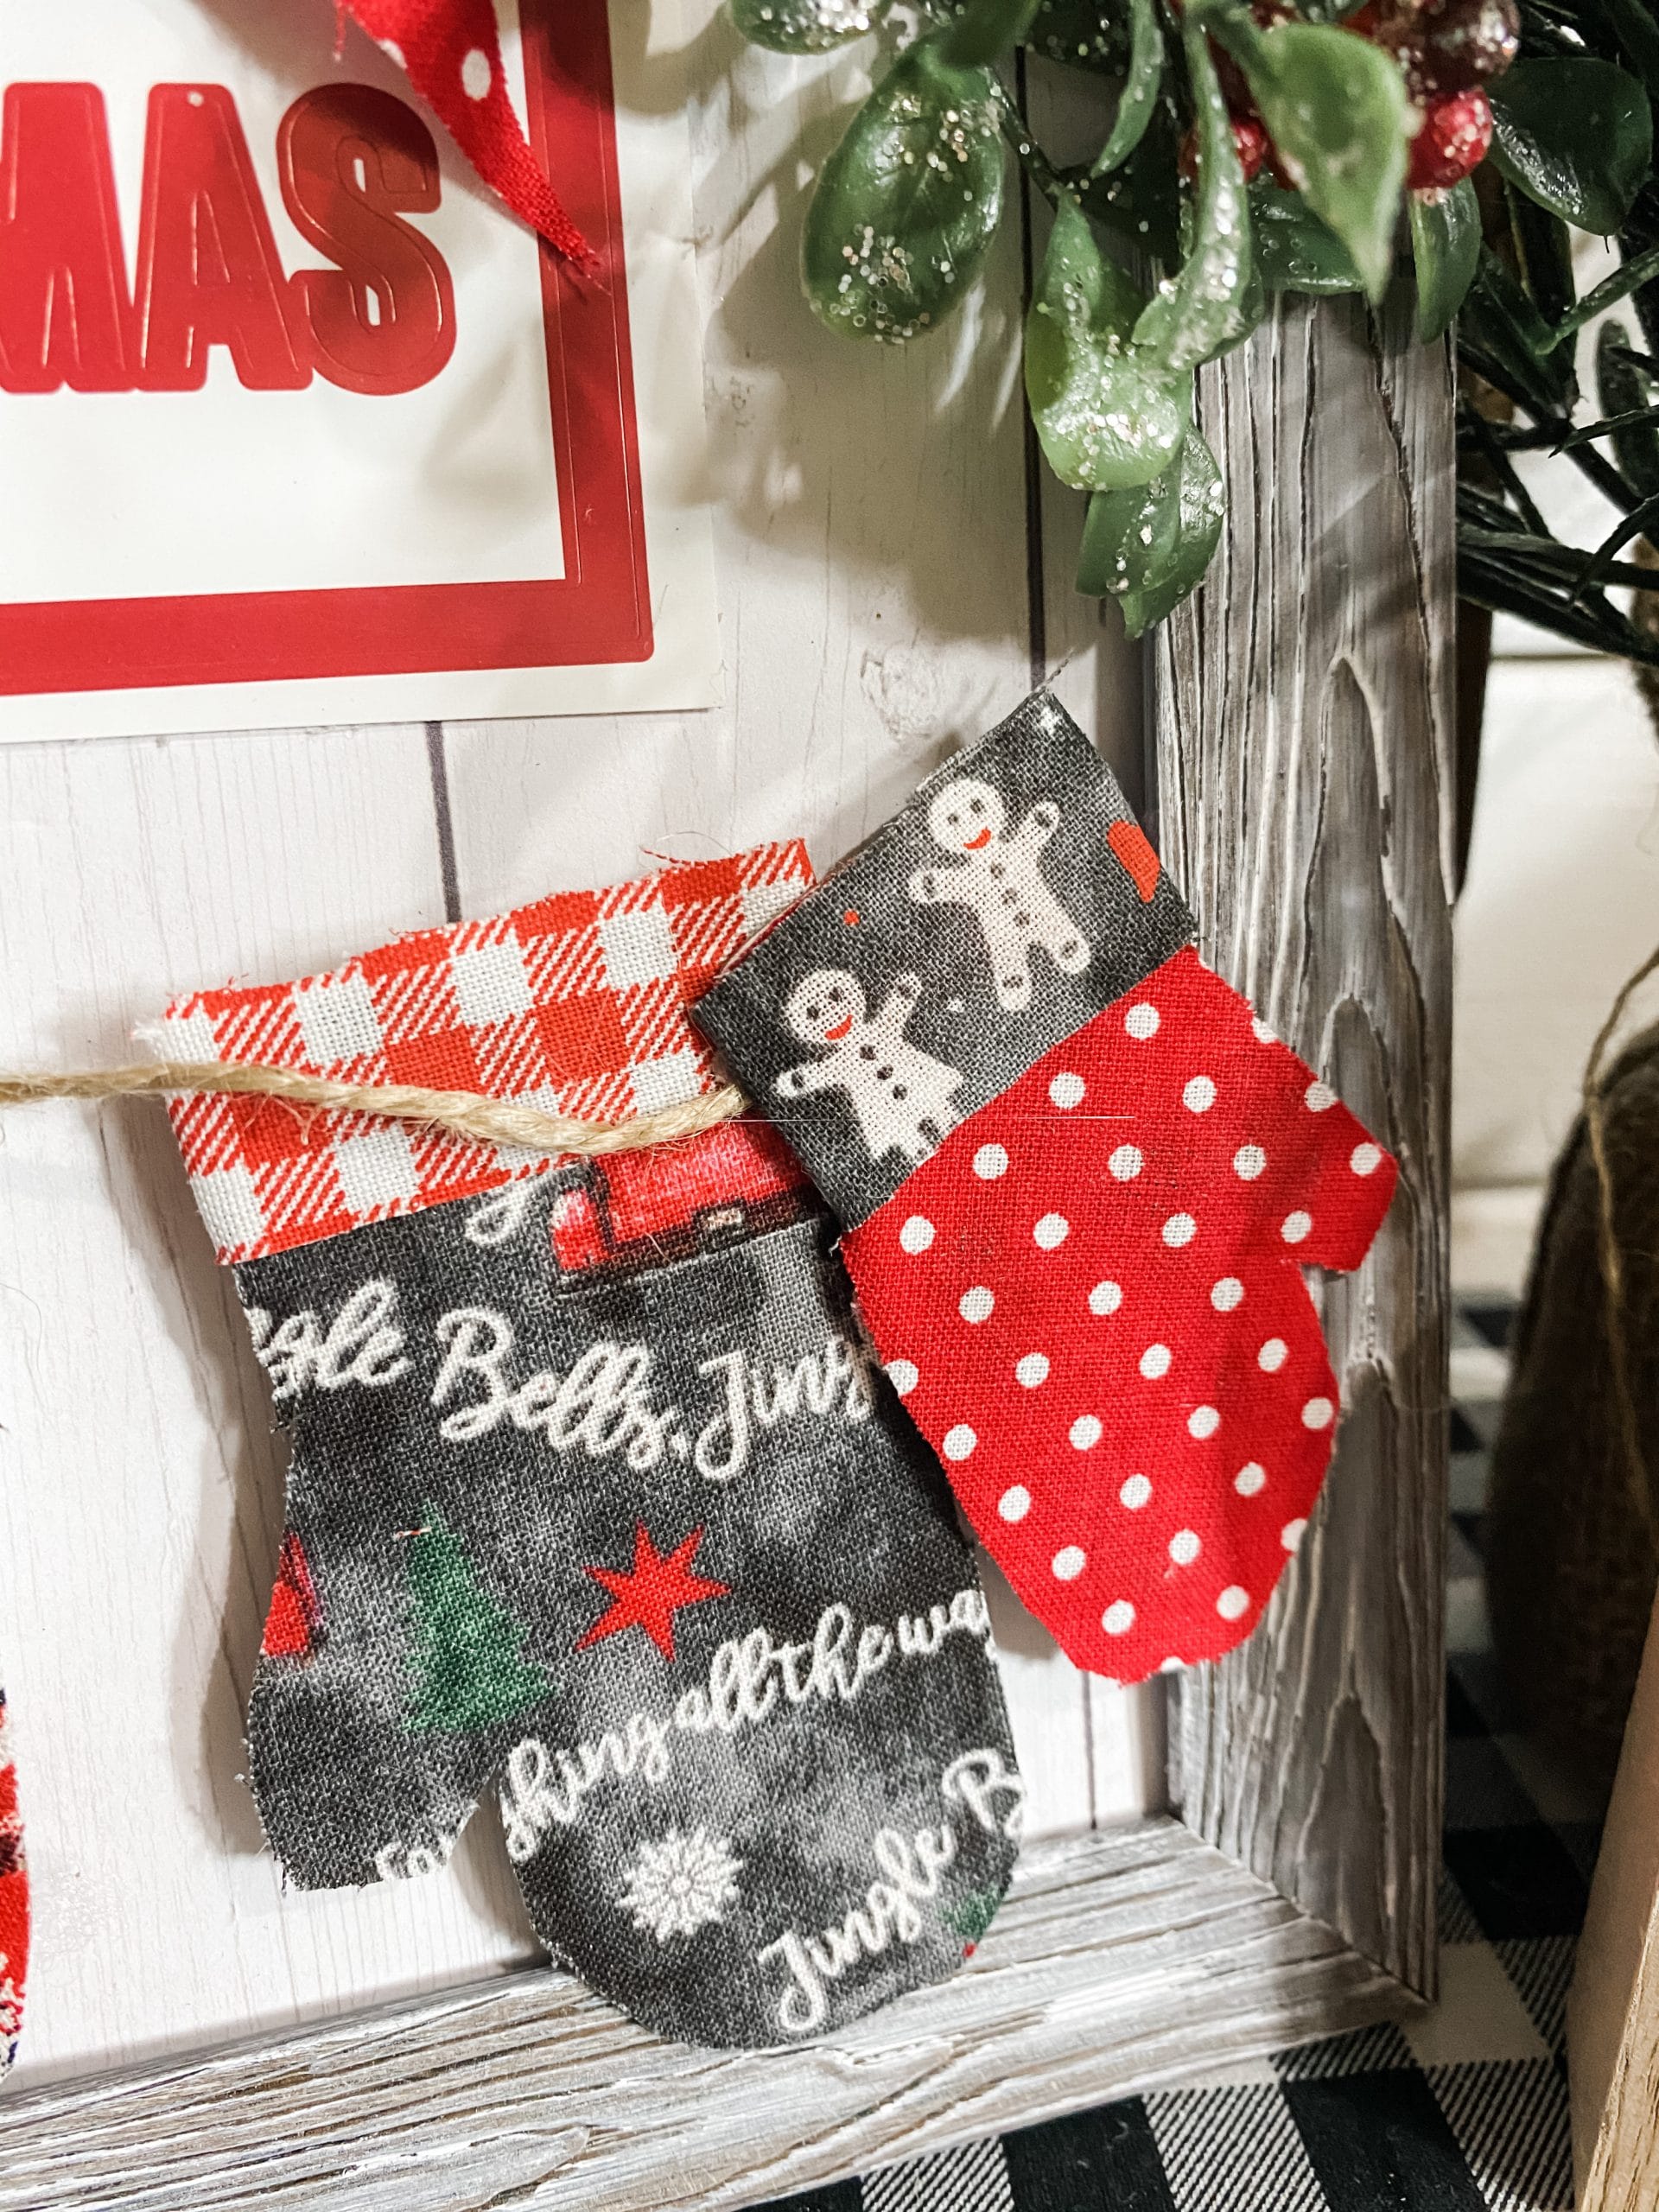
Do this to all the mittens you plan on using. I had 3 fabric pattern pairs, so I alternated which fabric was the background and which pattern was the trim to get different variations for my mittens.
How to decoupage
Before we go any further, let’s decoupage the shiplap scrapbook paper onto the Dollar Tree picture frame’s cardboard backing.
Apply a coat of Mod Podge to the cardboard backing. Carefully place the scrapbook paper onto the cardboard backing.

I made the shiplap go up and down because I planned to add a string of mitten garland (GET THE FREE PRINTABLE NOW). To smooth out the wrinkles and creases, you can use a rolling pin.
Trim off any excess scrapbook paper before you put the decoupaged cardboard backing back into the picture frame.
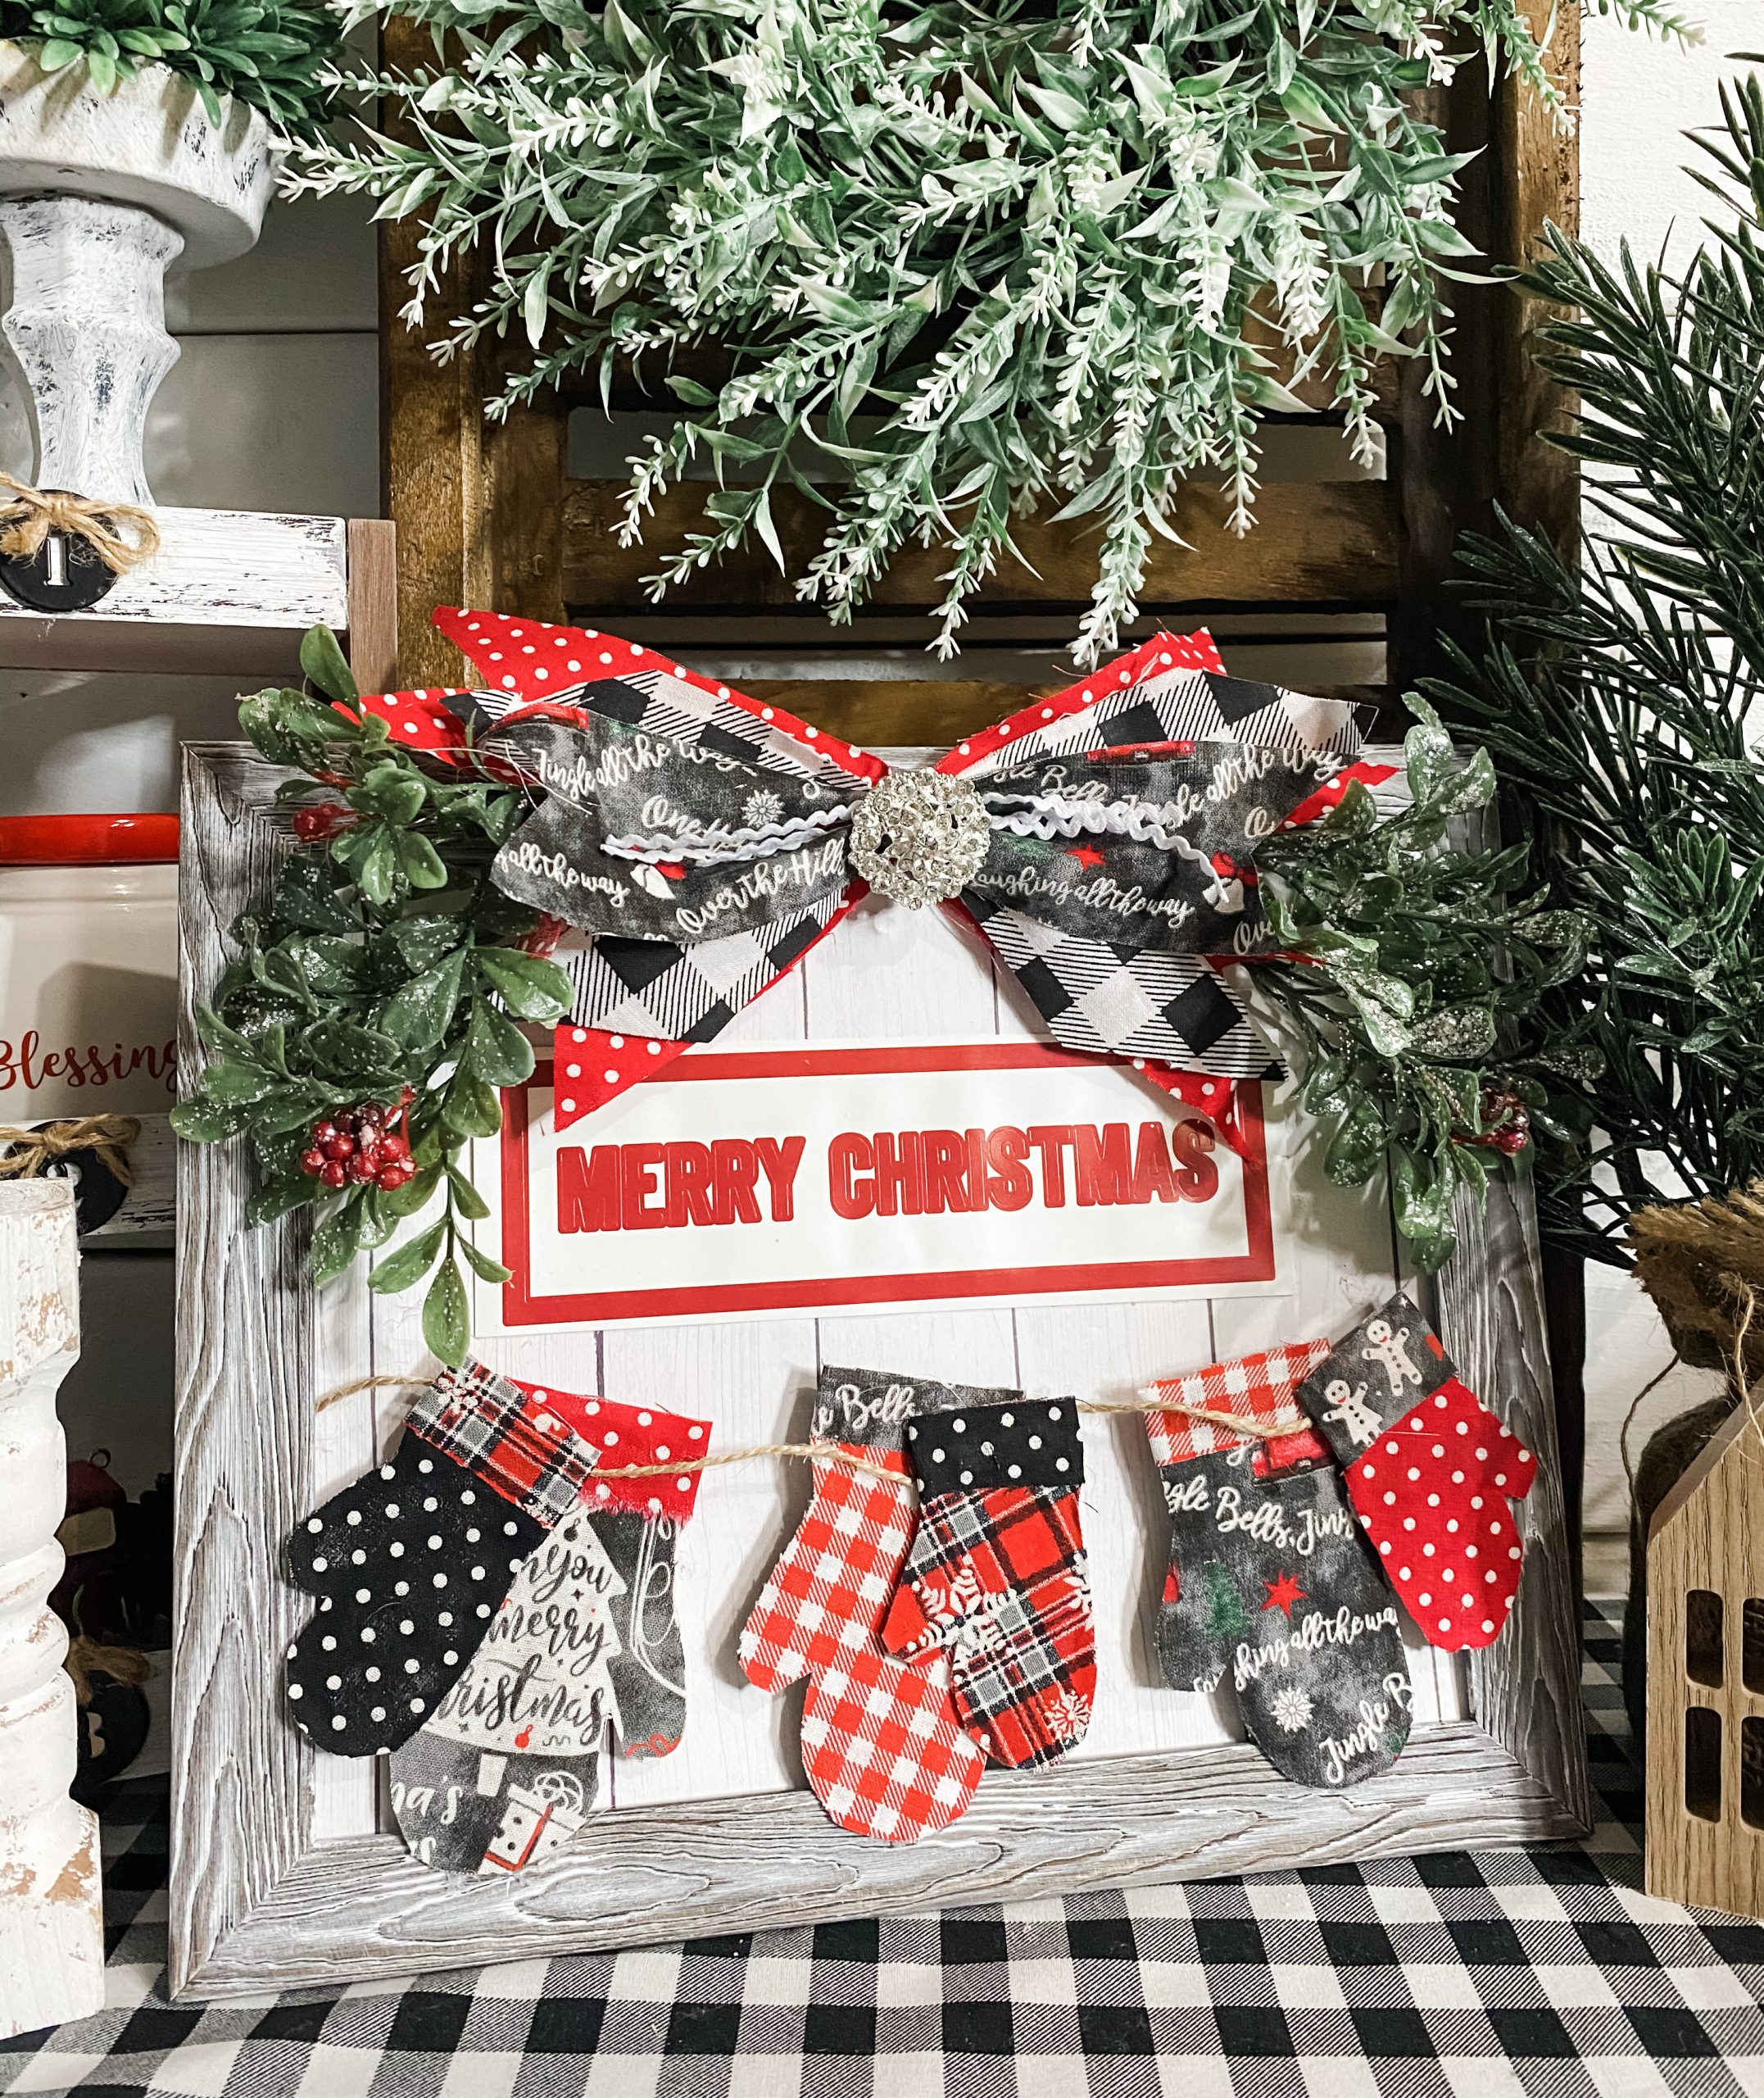
Before I started putting everything together on the picture frame, I just laid things out where I thought I wanted them to go.
I had an idea in my head of how I wanted this DIY Christmas Decor with FREE Mittens Printable to look, and laying everything out helps me decide if I like my ideas or not!
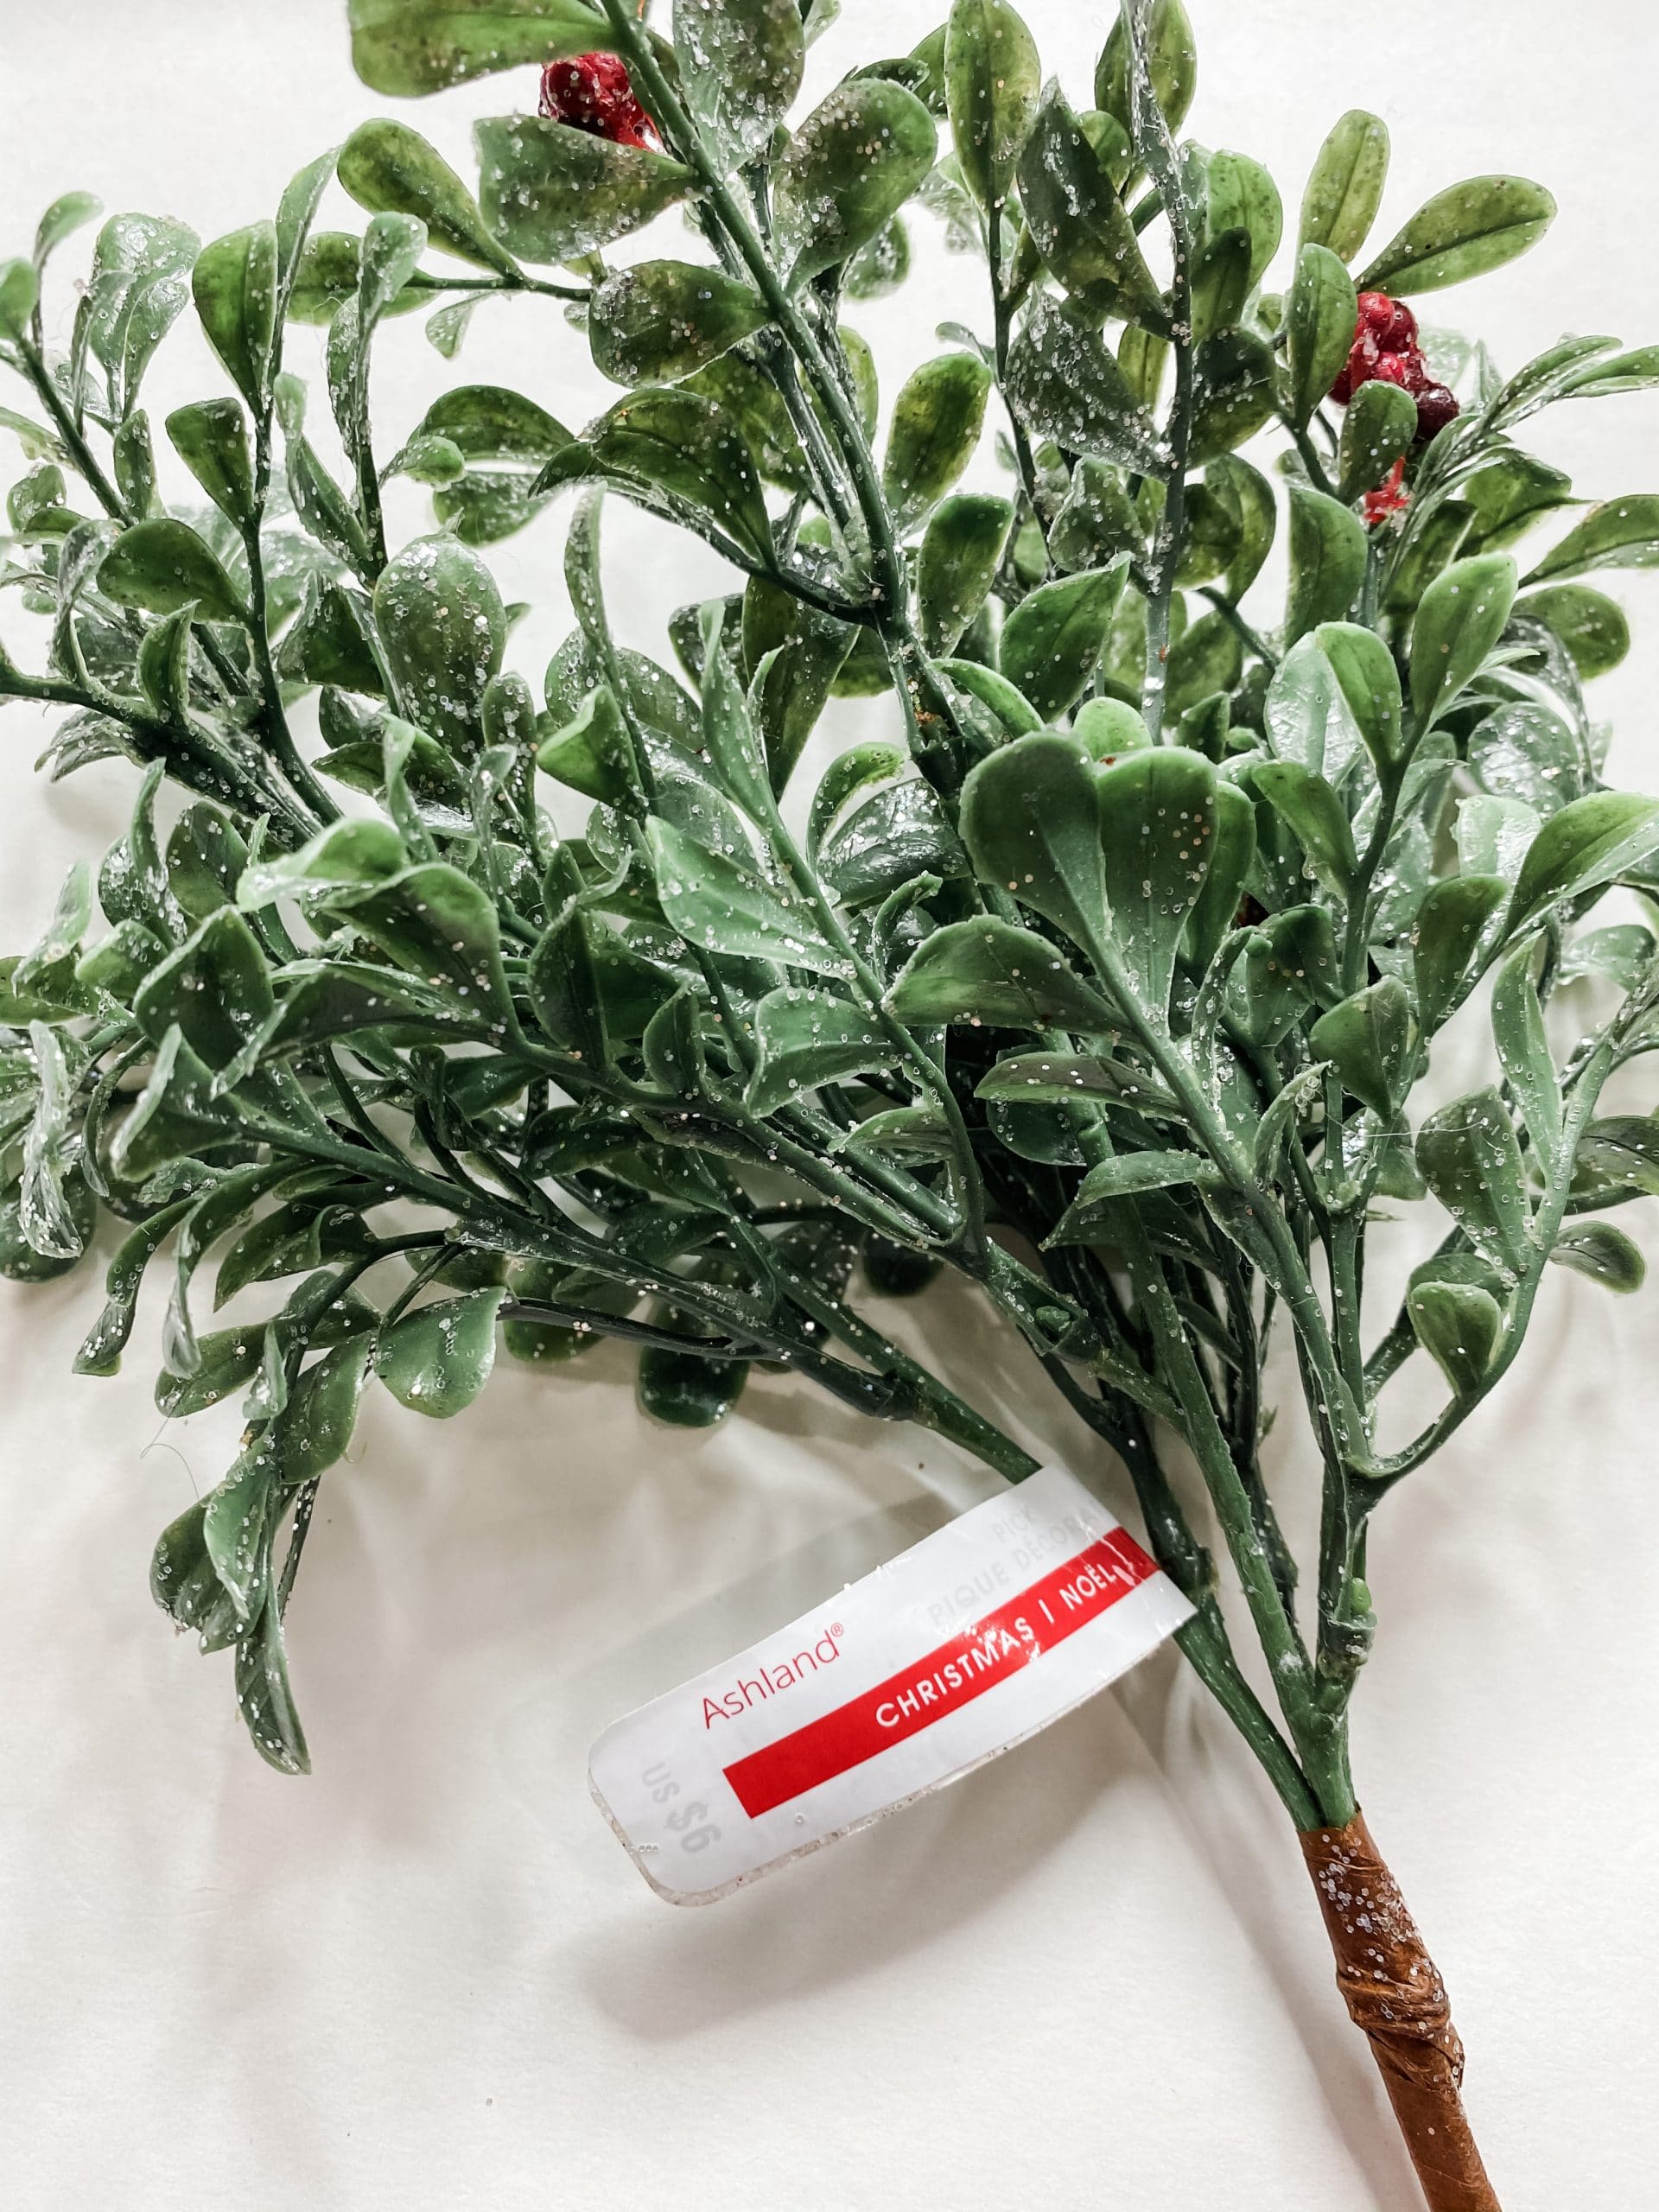
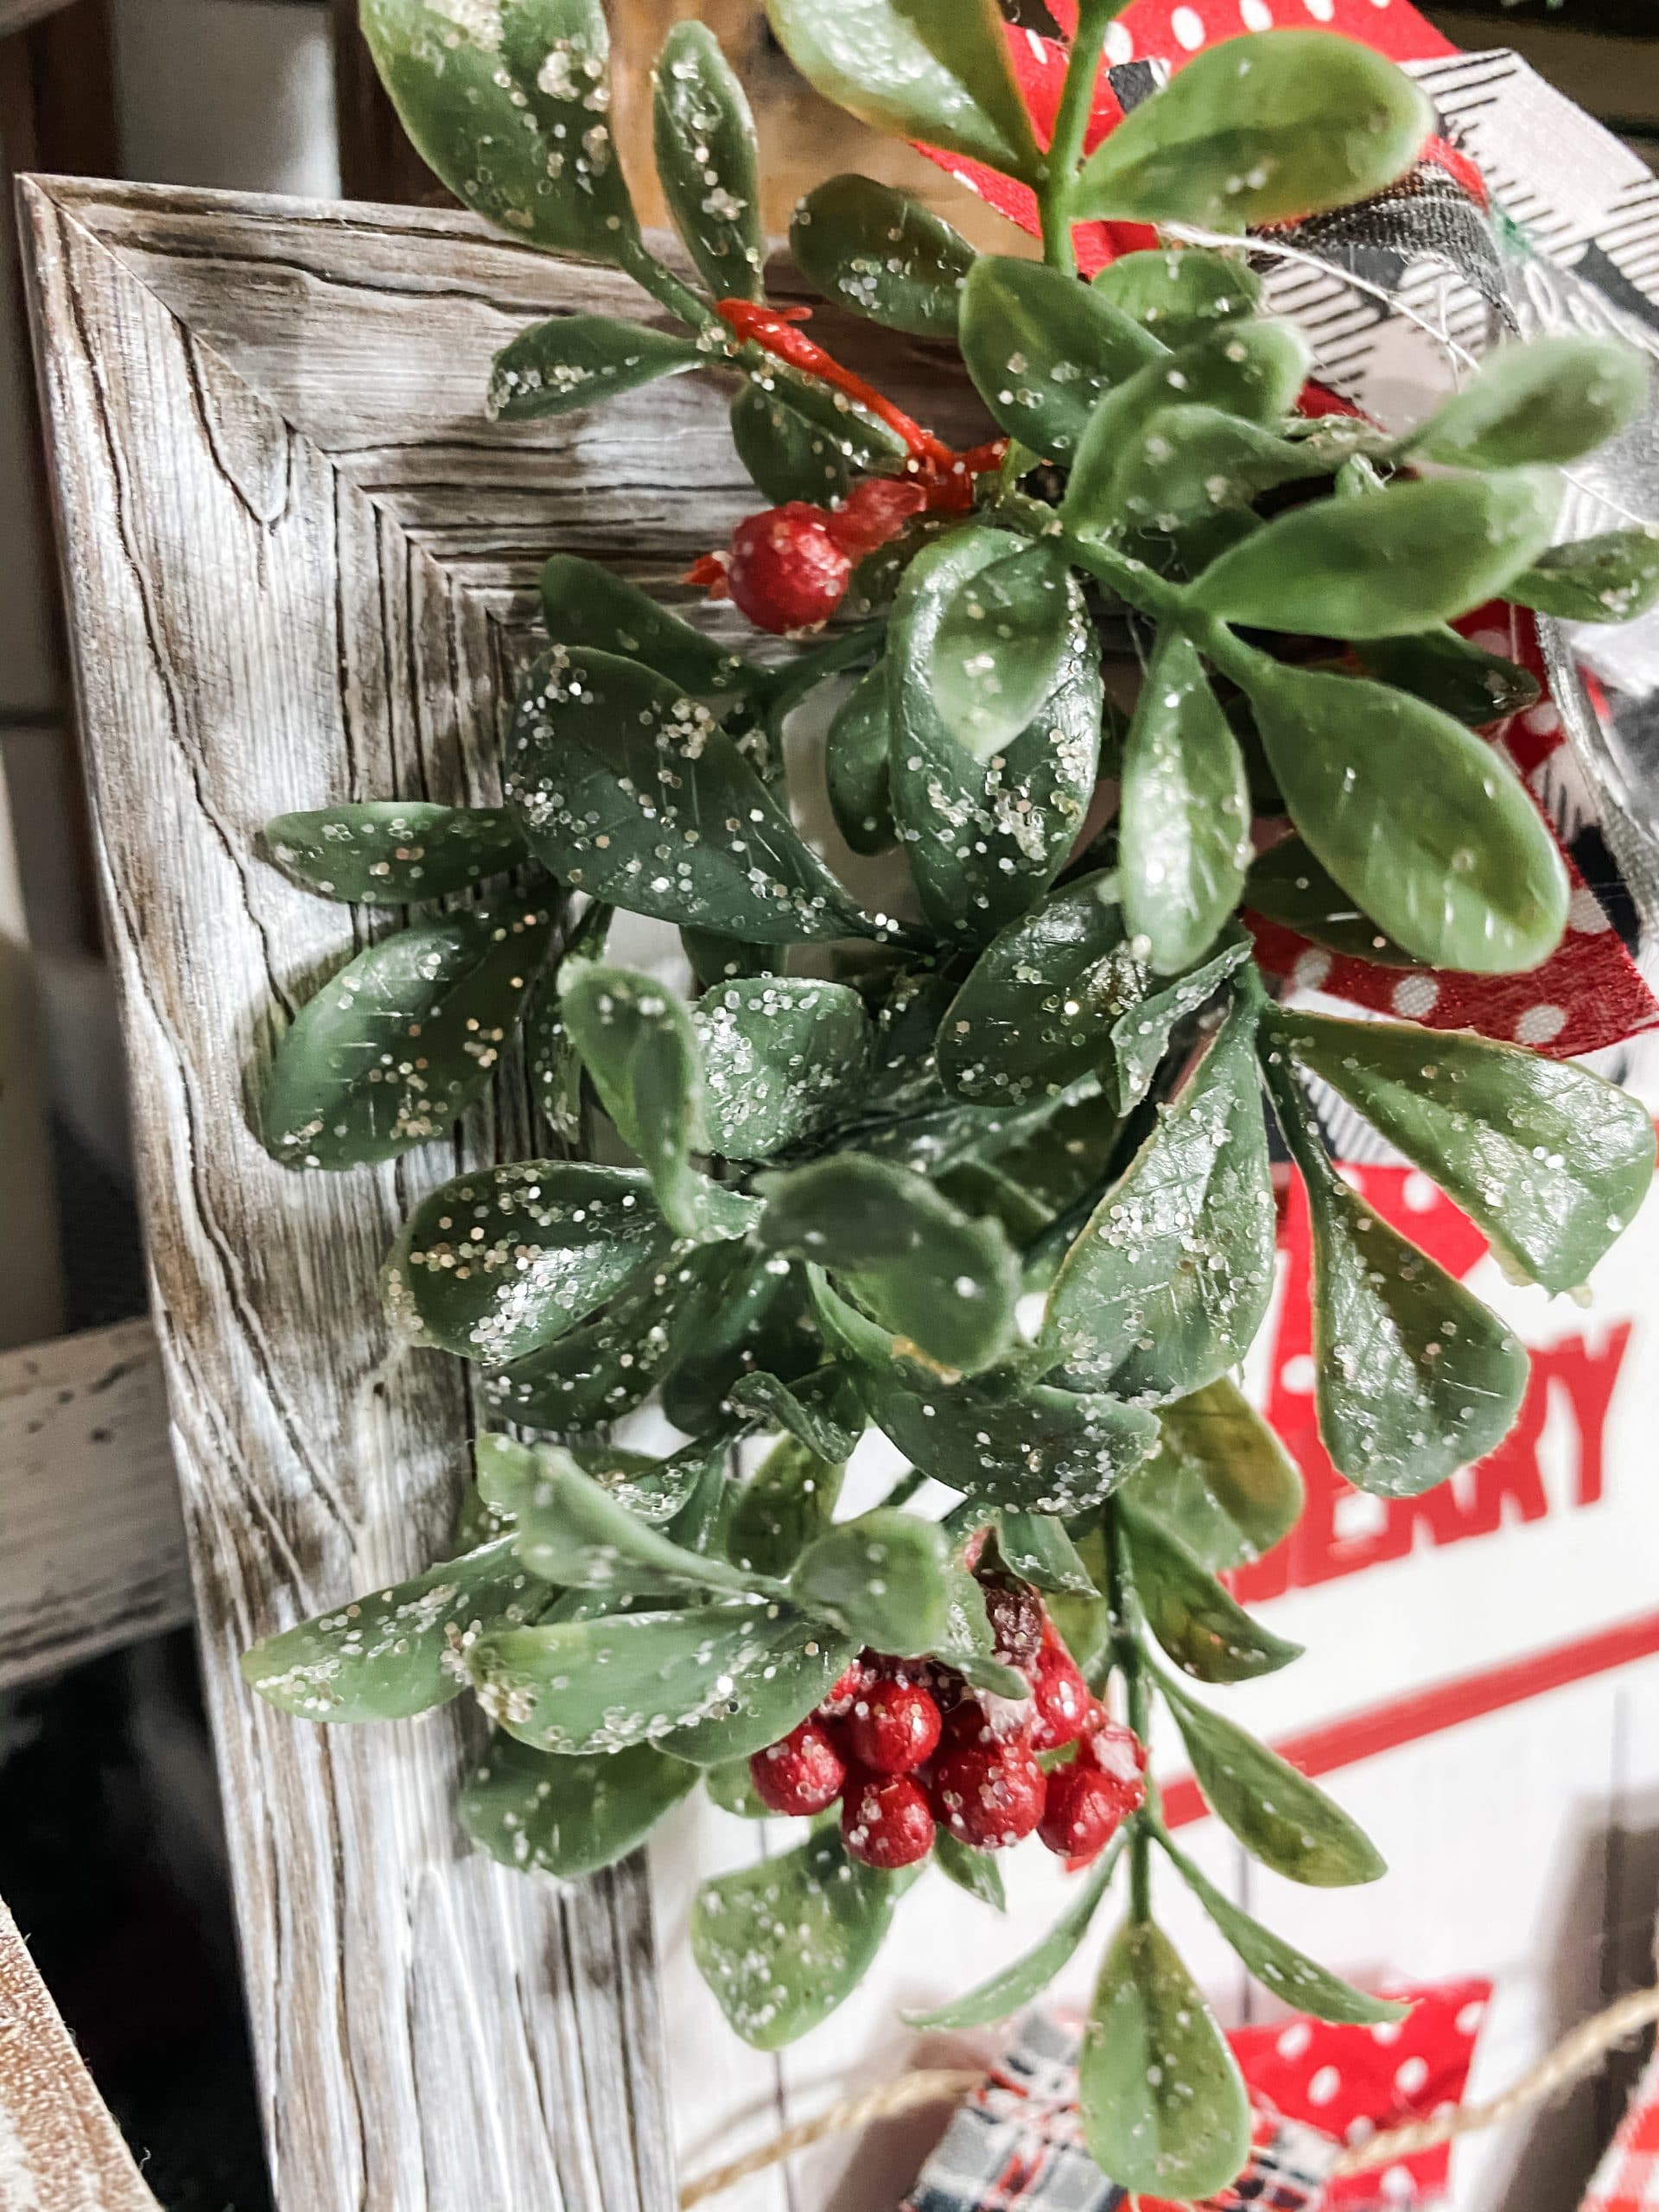
First, I trimmed Michael’s Christmas greenery spray and put them on the very top of the Dollar Tree picture frame with the ends towards the center of the frame.
The Merry Christmas sticker from Target will go right below the Christmas greenery. Then, the mitten garland will go underneath the sticker.
I marked where the edge of the frame is on the decoupaged scrapbook paper so I could see where things would go, and I removed the backing from the picture frame.
3 little mittens
Now let’s make our mitten garland! I used some Dollar Tree twine (you can also order some on Amazon).
Group the mittens together to make little pairs. I used one larger mitten with one smaller mitten for each pair.
Start by hot gluing one end of the twine onto the decoupaged scrapbook backing. Next, place each mitten one by one, hot gluing them onto the twine as you go.
I placed the larger mitten onto the backing and put a dot of hot glue on its front. Then, I pressed the twine into the hot glue and placed the smaller mitten on top of the hot glued twine.
This makes the garland look more natural and seamless.
Finally, hot glue the other end of the twine onto the decoupaged scrapbook paper backing and trim the excess jute twine off. Set the backing to the side and grab the frame.
 Age the frame
We are going to kind of whitewash the frame just a bit with Apple Barrel White Acrylic Paint. Use an artist’s brush to lightly brush some of the white paint directly onto the frame.
Next, use a baby wipe to spread the white paint around the frame.
Be sure to spread the paint around the sides and edges of the frame as well. Now just let the frame dry, and you should have the perfect washed look!
I used my heat gun to quickly dry the white paint. Then, I put a small bit of white paint onto a baby wipe and spread it around the inside edge of the frame.
Allow that to dry as well, then lightly sand the frame with a sanding sponge.
This is going to add to the aged, distressed look I wanted. Now, let’s put the backing back into the frame, and place the mittens over the bottom of the frame.
This adds to the realistic look of the decor. I hot glued the bottoms of the mittens into place on top of the frame.
To raise the mittens just a little more, I used a small piece of cardboard rolled up and hot glued it behind the top of the mittens.
This just adds a bit of dimension and helps the mitten stand up from the frame.
Now it’s time to add the Merry Christmas sticker. Instead of removing the sticker from its backing and sticking it to the frame backing, I just hot glued the entire thing in place. I placed the Merry Christmas sticker just above the mittens garland.
How to make a bow
To make the bow for this DIY decor, I used the same fabric that I used on the mittens to keep the project cohesive.
I didn’t want to use a really large bow, so I didn’t need a whole lot of fabric. You could also use ribbon if you wanted.
I cut two strips of the black polka dot fabric and red polka dot fabric, and one strip of the red truck Christmas fabric. I made the red polka dot fabric a bit wider than the black polka dot fabric strips.
To make the bow, I used the x bow method. So, lay the red polka dot fabric in an x pattern, then put the buffalo check ribbon on top of those strips.
Lay the single Christmas truck fabric across the center of the x. I wanted to add a bit more to this bow, so I used 3 strips of white rice rac ribbon.
I made an x with two strips and then laid a single strip across the center of the x.
Pinch the center of the x and secure it with a piece of jute twine. Cut the excess twine, and trim the ends of the fabric to make the bow a more appropriate size for this DIY project. I also dovetailed the ends of the fabric strips.
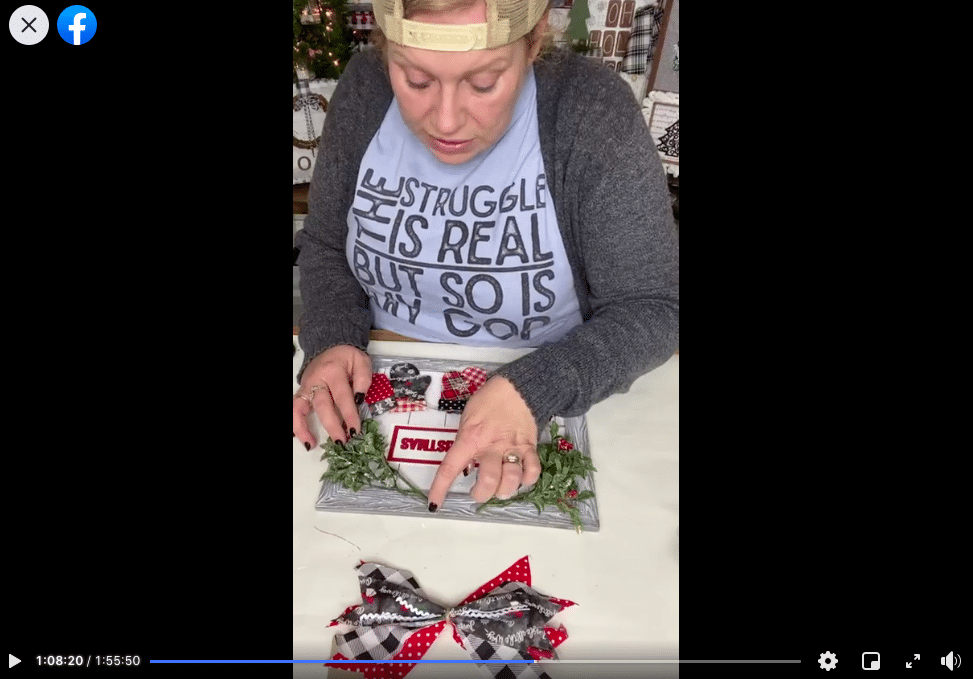
Finally, start hot gluing everything into place. Hot glue the Christmas greenery sprays onto the top of the frame. Then, hot glue the adorable bow over the ends of the greenery sprays.
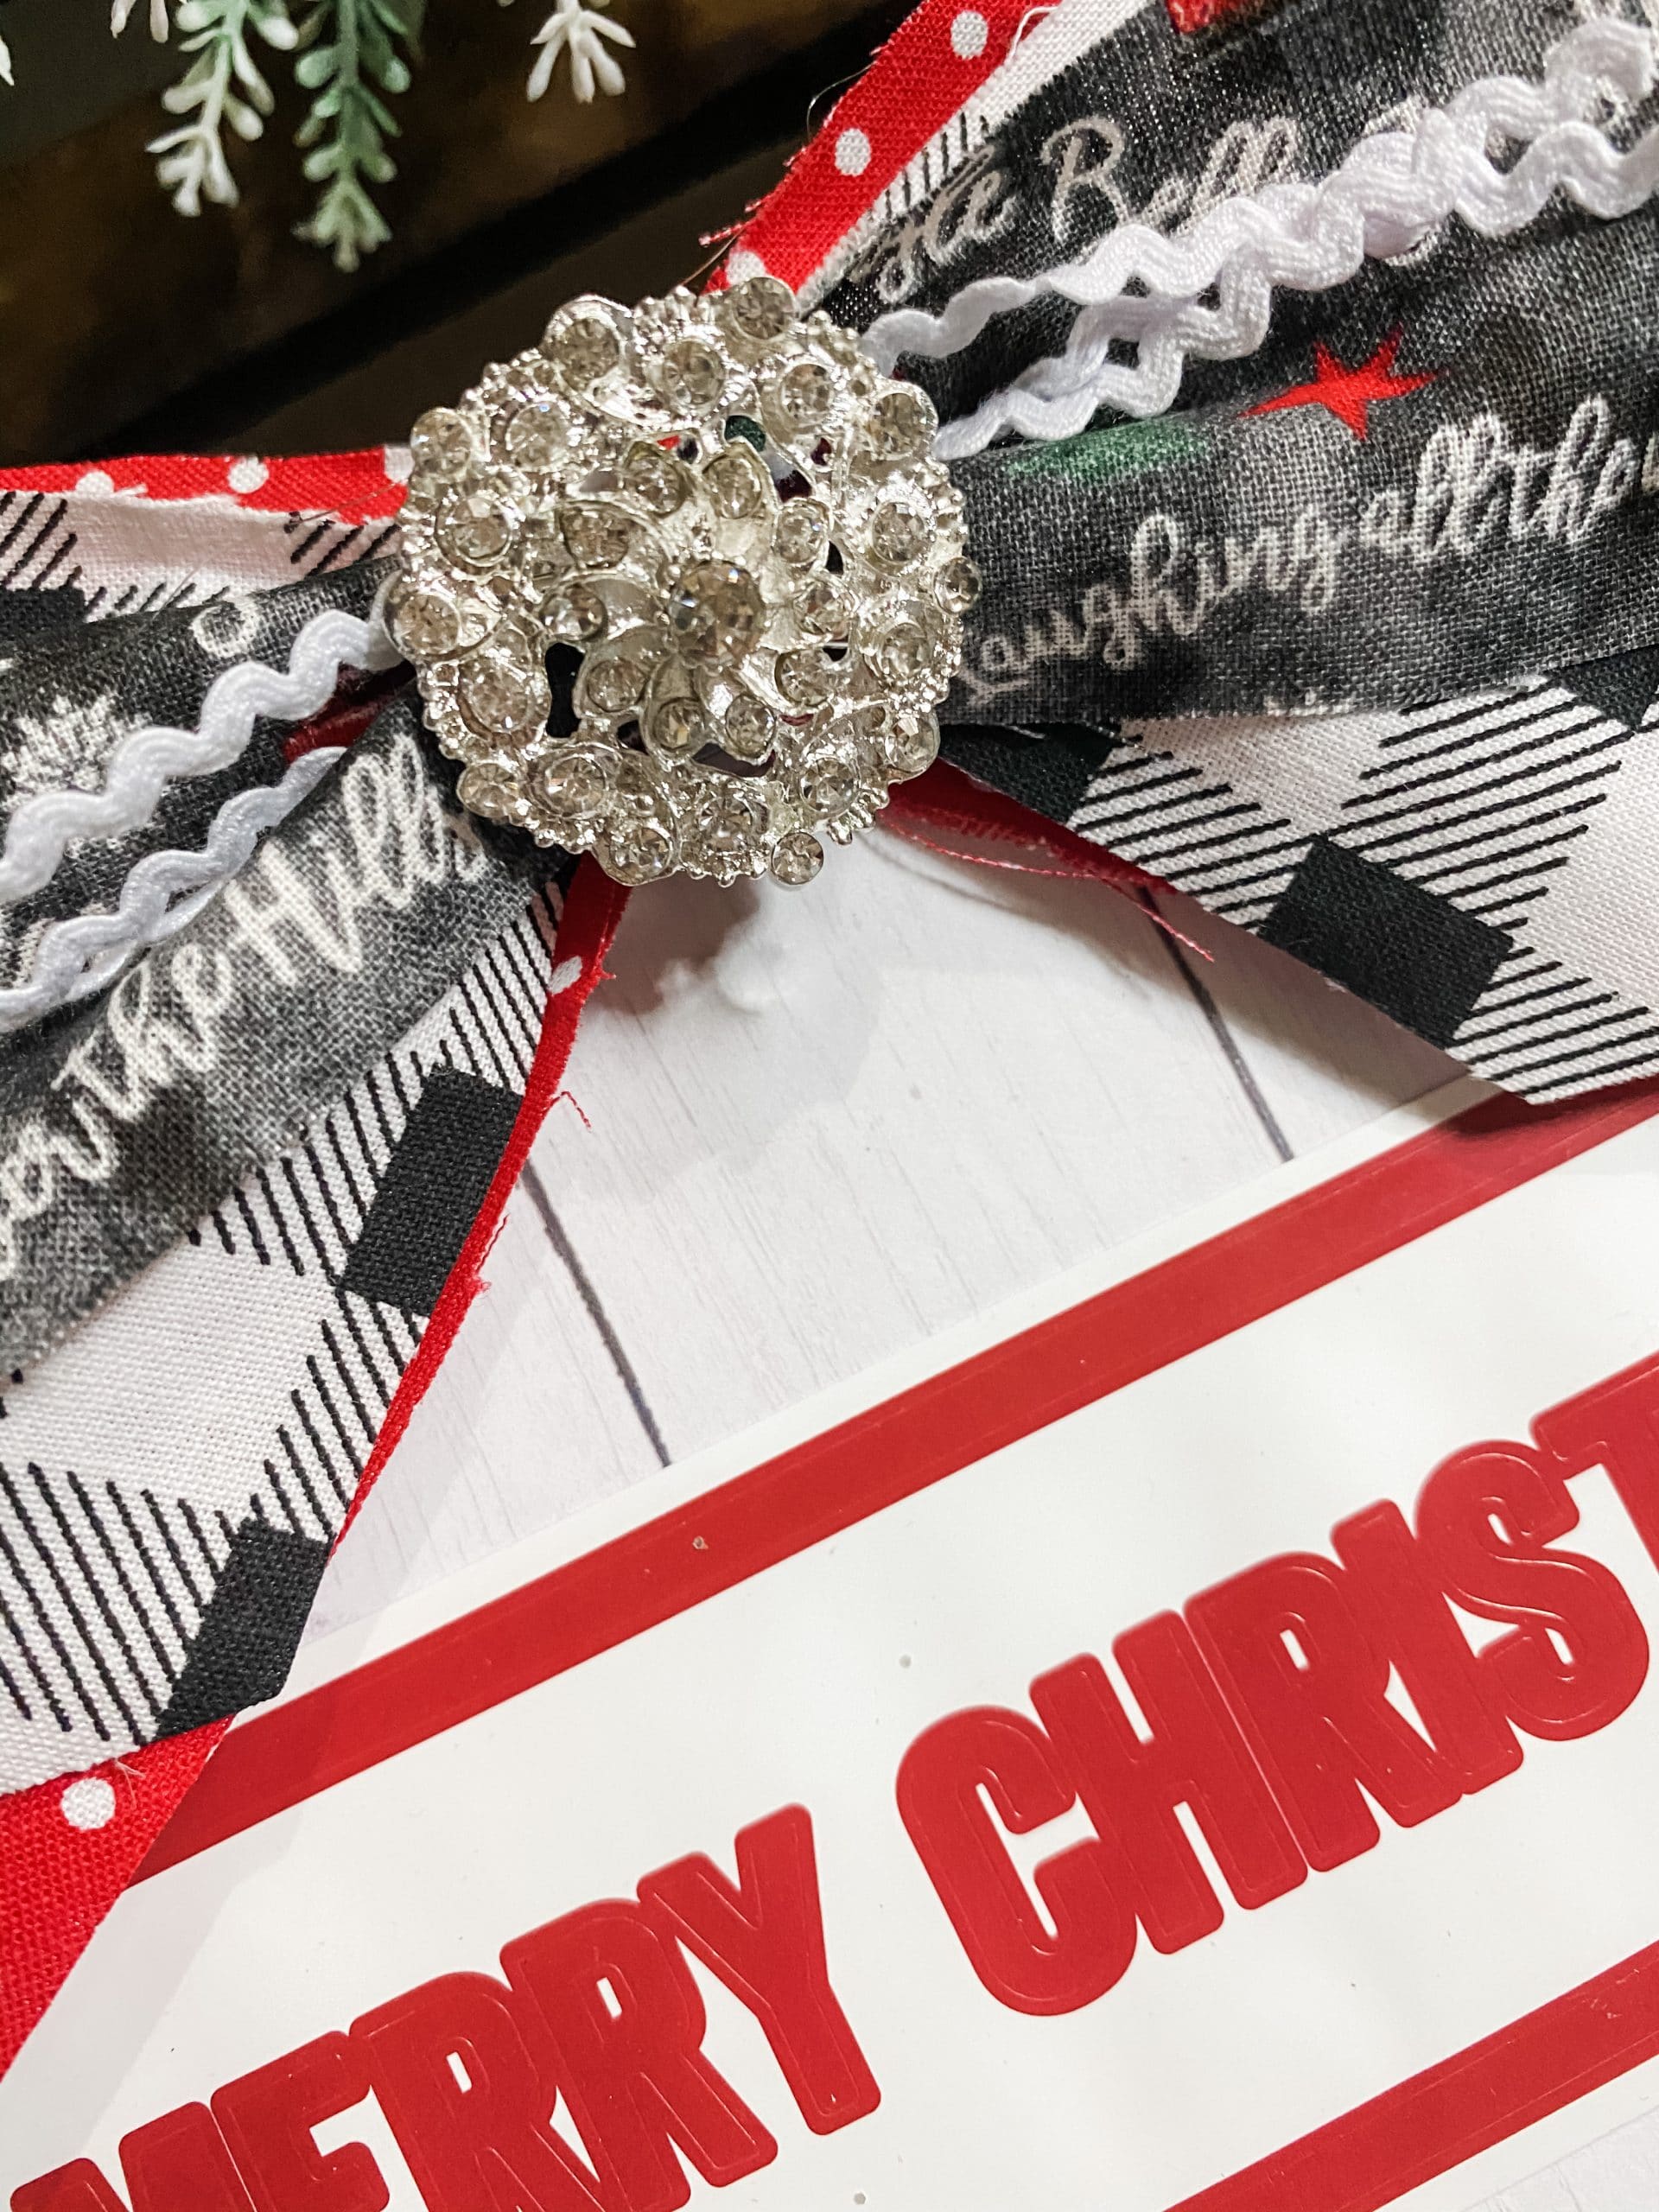
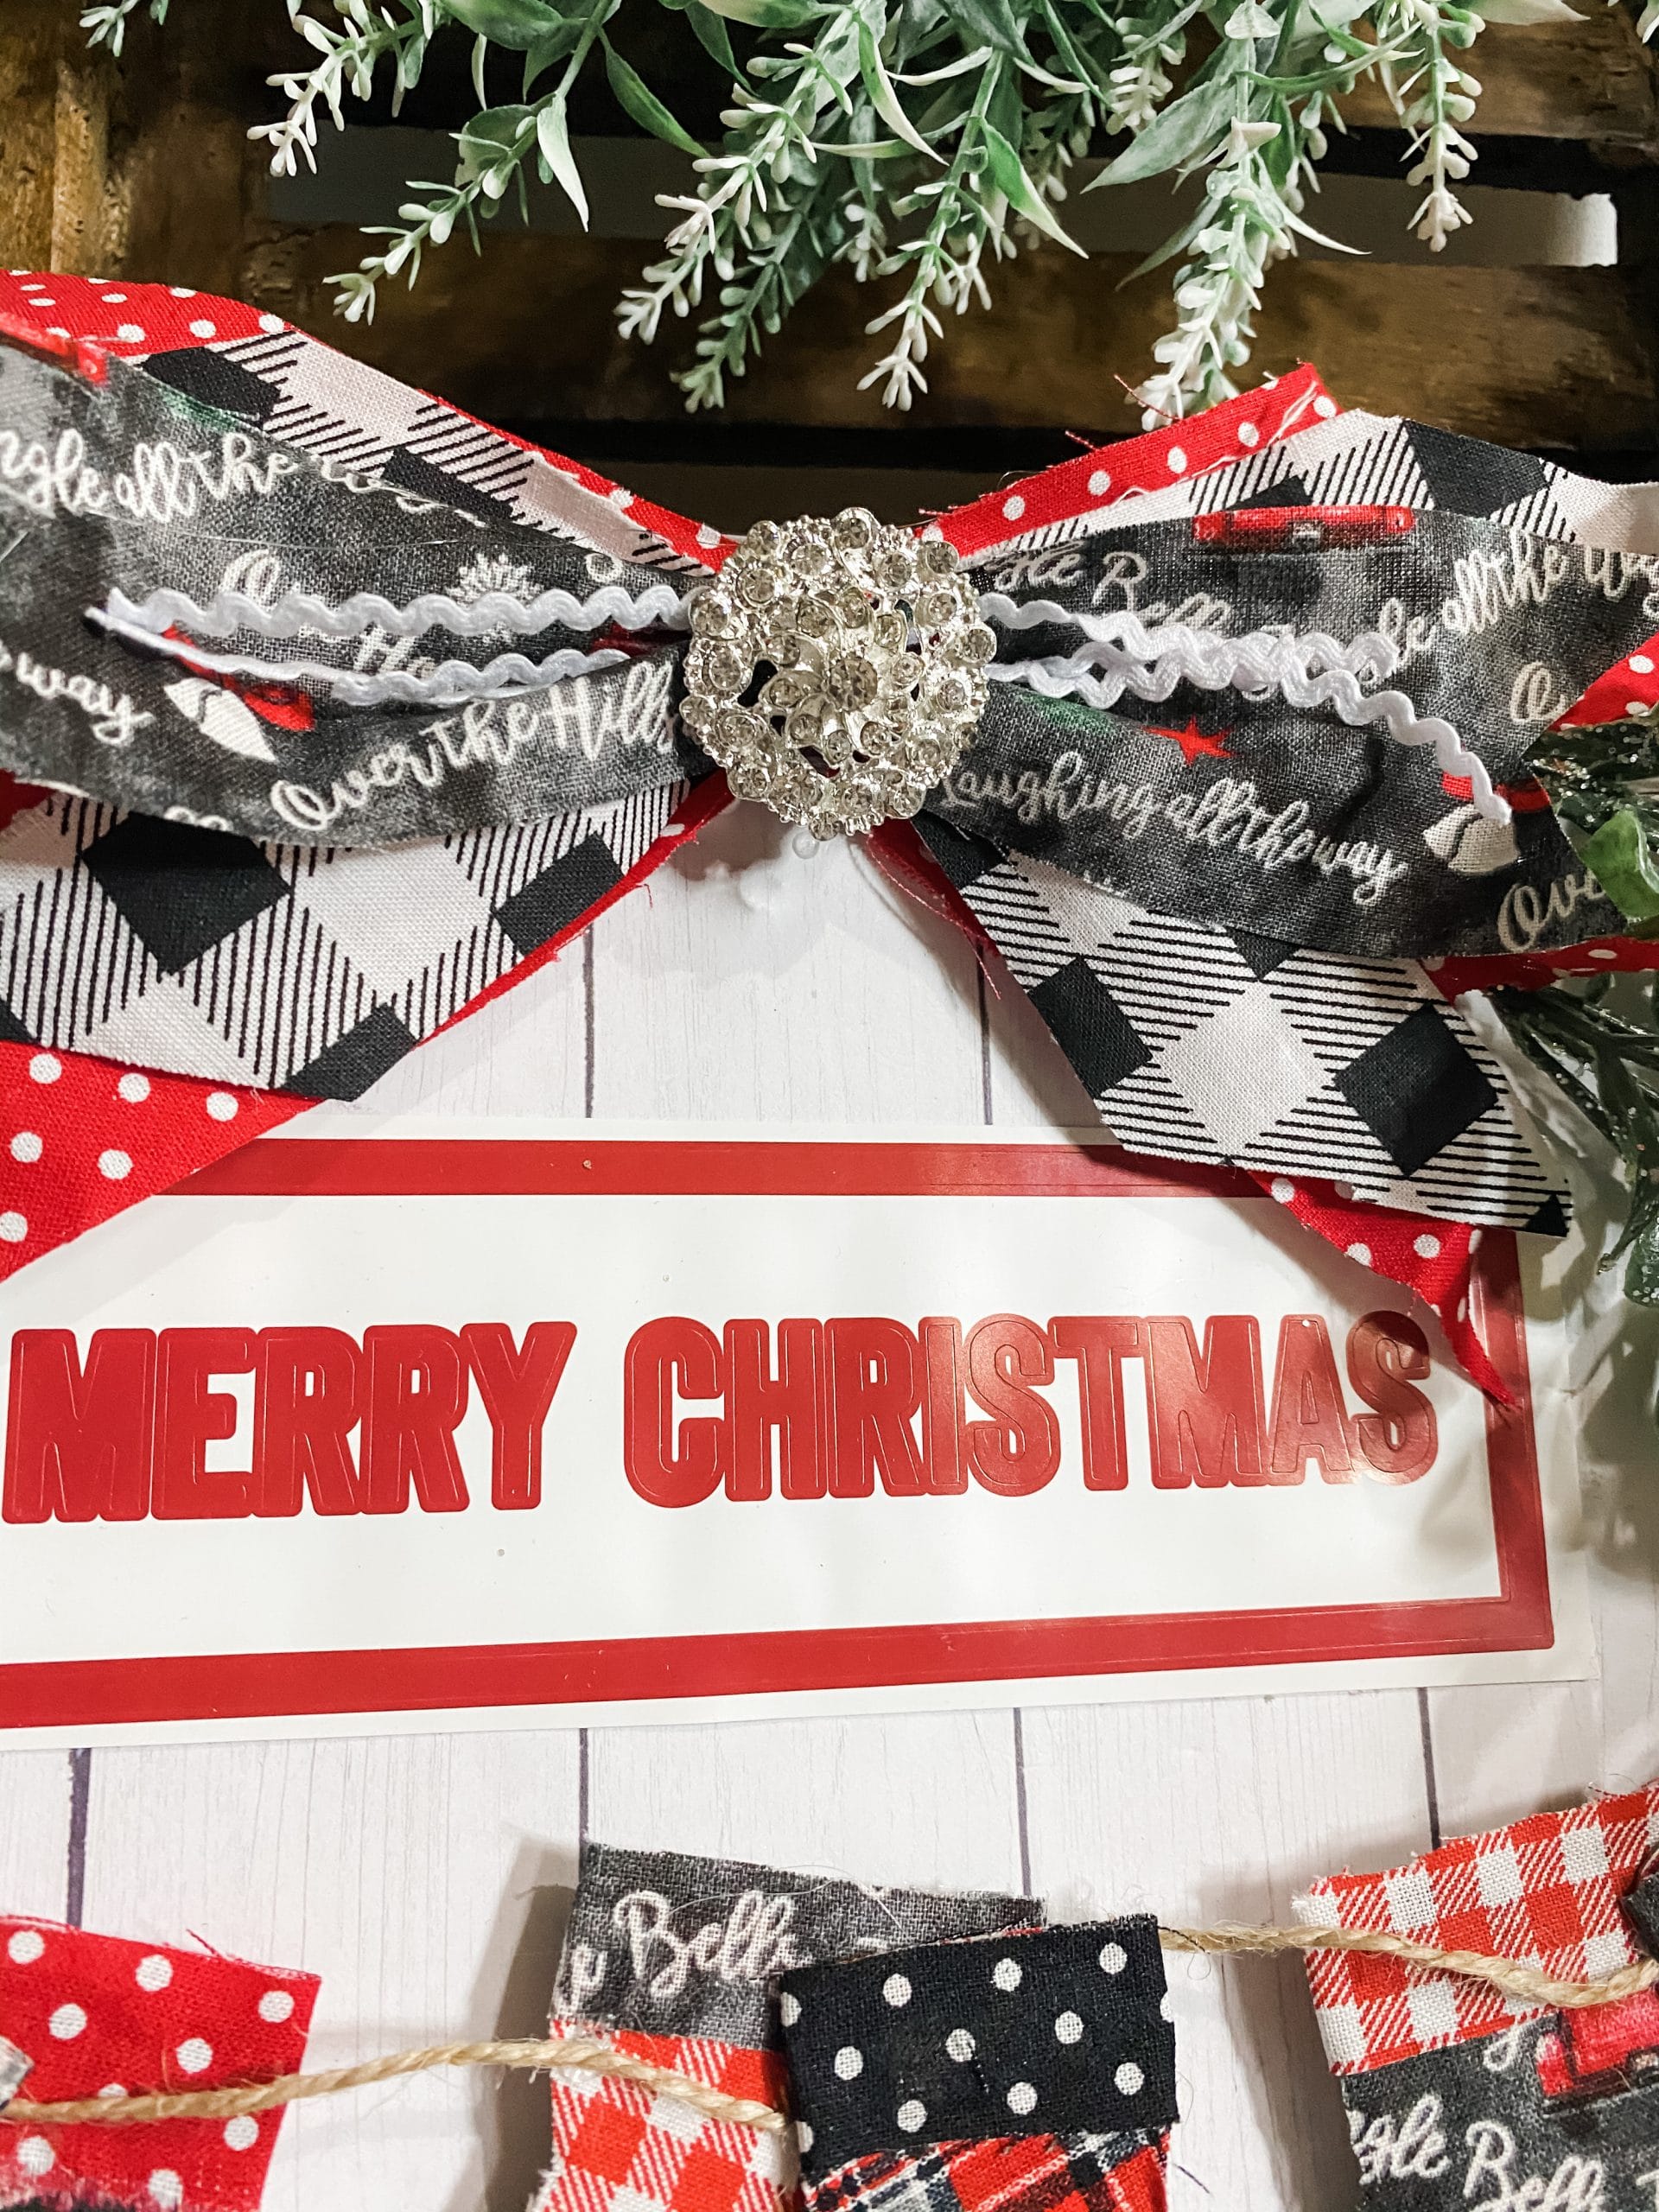
Add some bling
Once the bow was in place, I decided to add some bling! I get my bling from Totally Dazzled because they have so many different options!
Pick a bling that you like, and place it over the center of the bow. I chose a bling that had a pin on the back, so I didn’t have to hot glue mine this time!
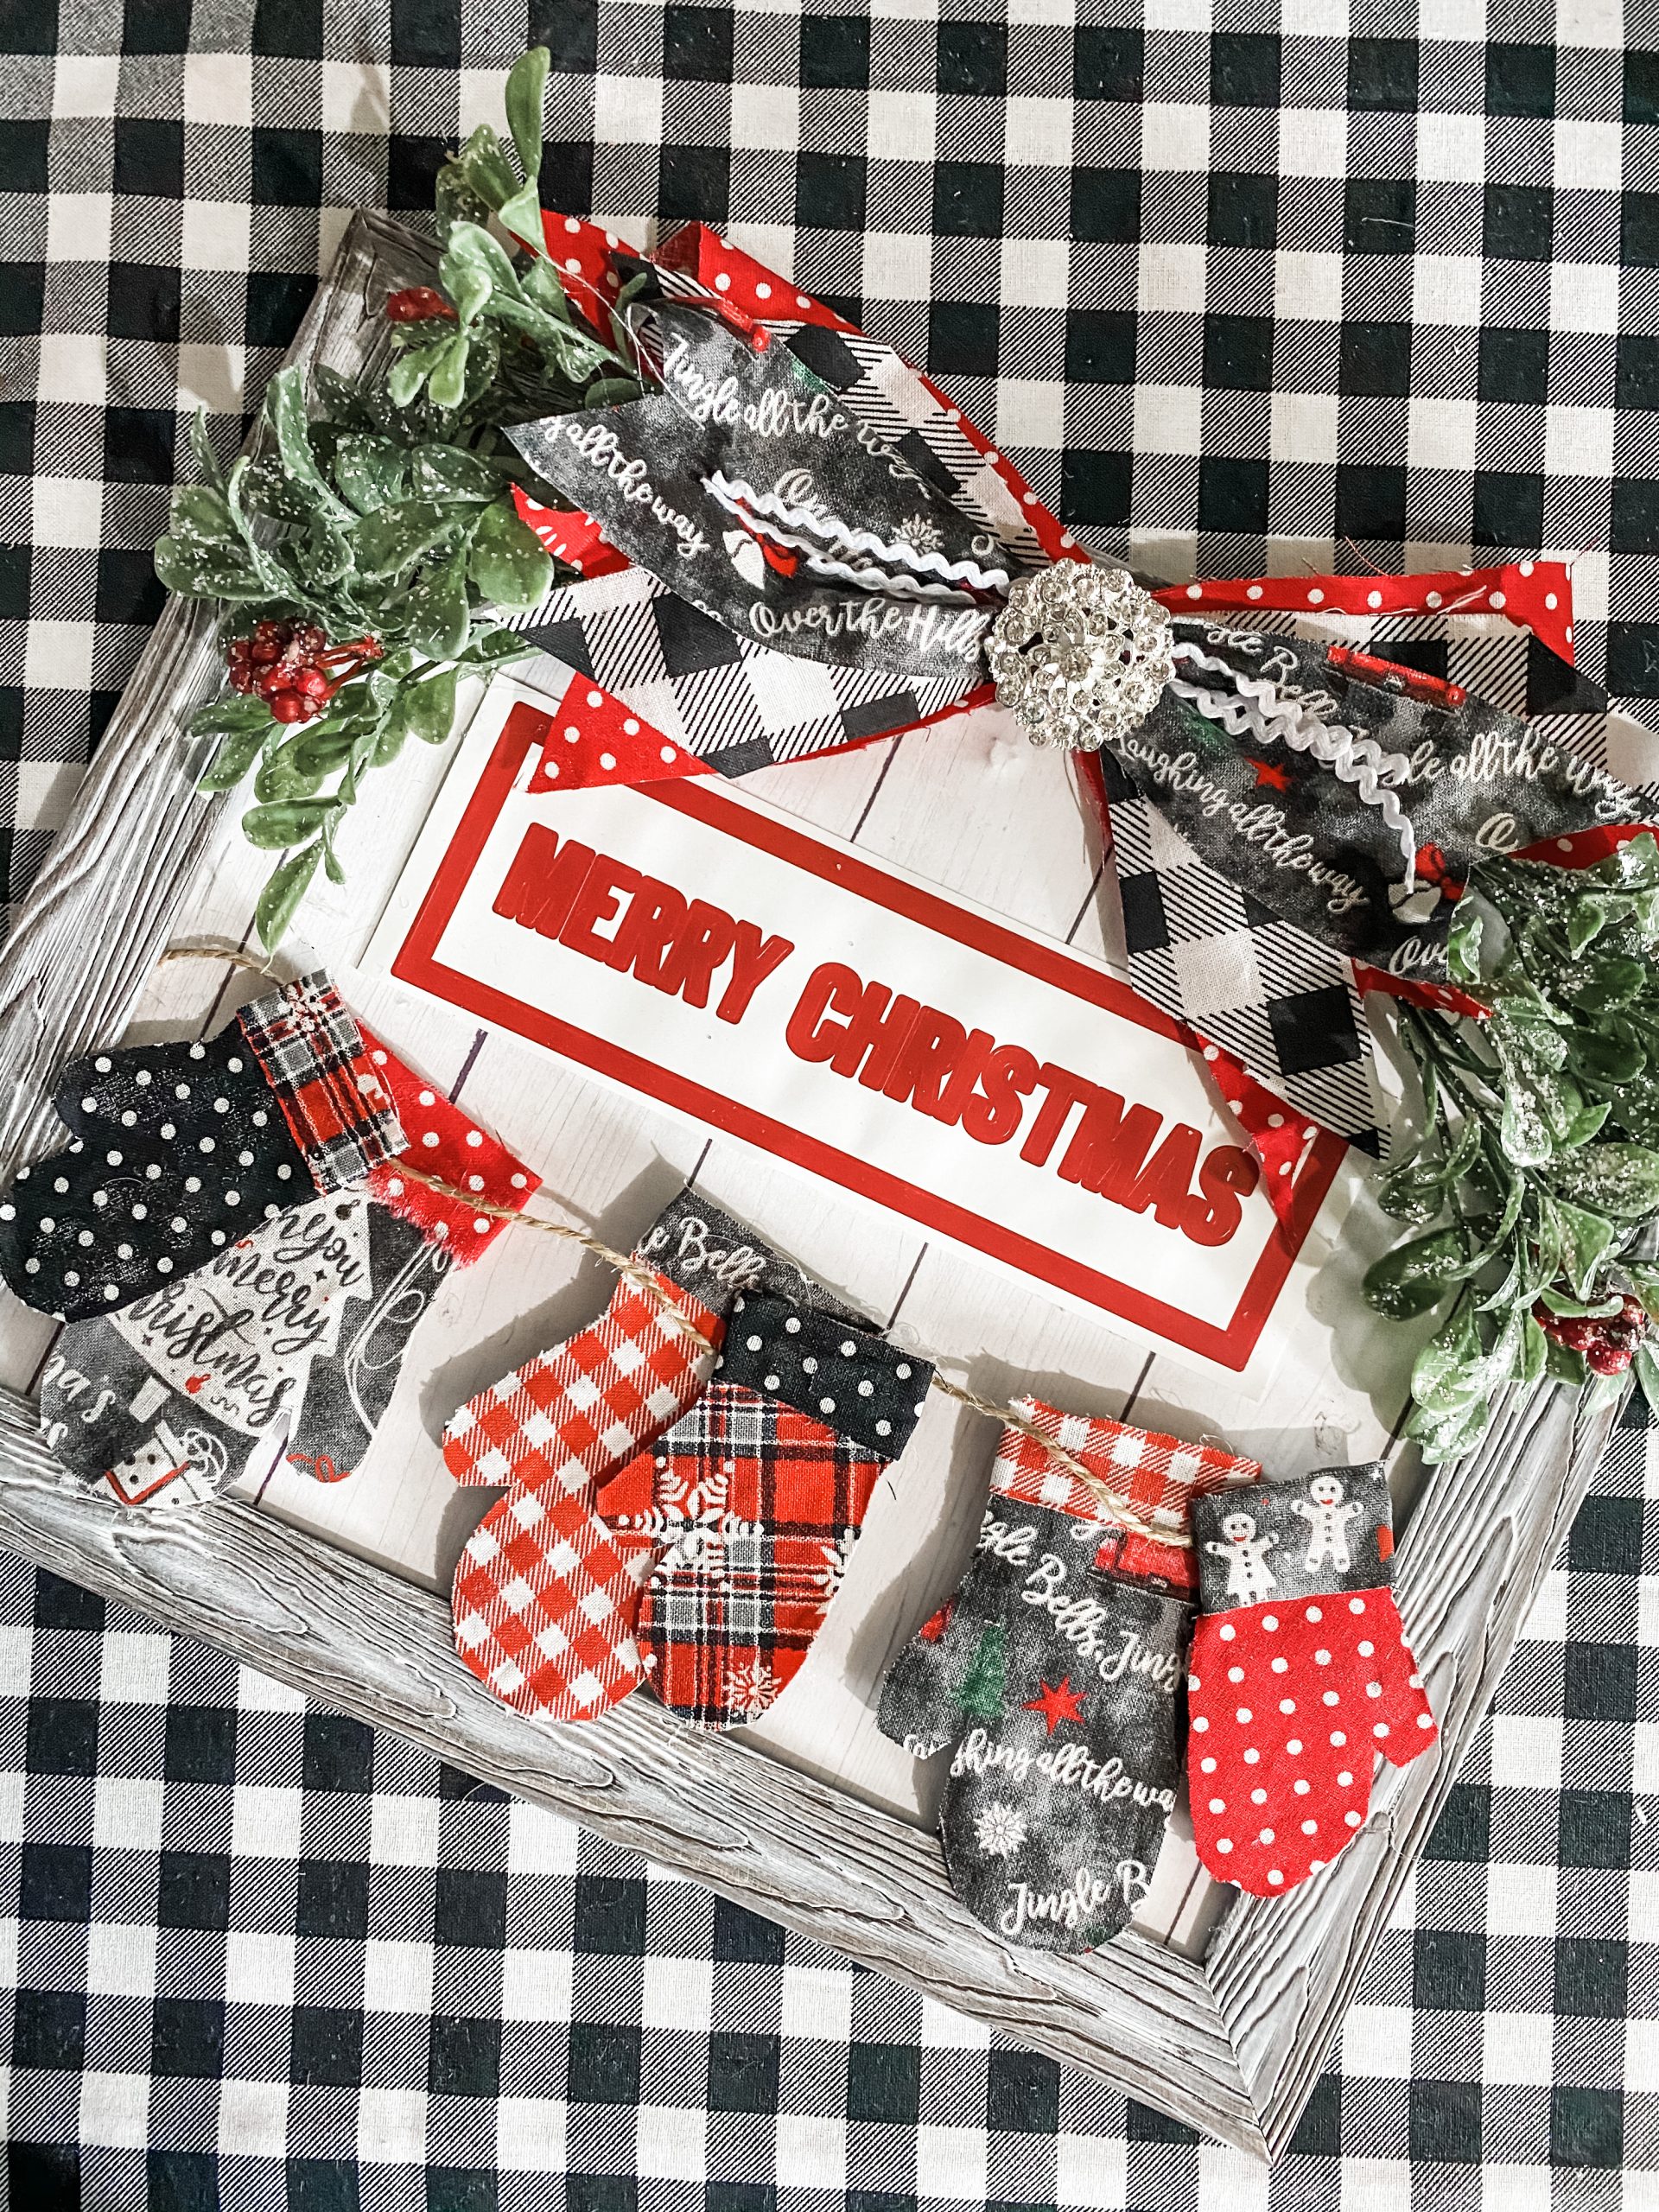
Allow the glue to dry, and you’re ready to put this adorable DIY Christmas decor anywhere in your home!
I hope you enjoyed this DIY Christmas Decor with FREE Mittens Printable as much as I did and decide to make one for yourself!
I would love to see how yours turns out! You should totally join my FREE Facebook group called On A Budget Crafts! It is a judgment-free community for DIY crafters to show off their projects and ideas.
If you loved this DIY you might also like this Dollar Tree Gift Box DIY Christmas Decor!
Thanks for stopping by! XOXO Amber
You can also shop my ENTIRE AMAZON Favorites shop just click here! It’s packed full of all the things I use and love.
Here is the supply list I highly recommend every creative have on hand!! Would you also pin my blog for later and get on my newsletter alerts? I would love to have you join my #craftycrew.

Join my free “ON A BUDGET CRAFTS” Facebook group!
PIN THIS POST FOR LATER!


Just precious