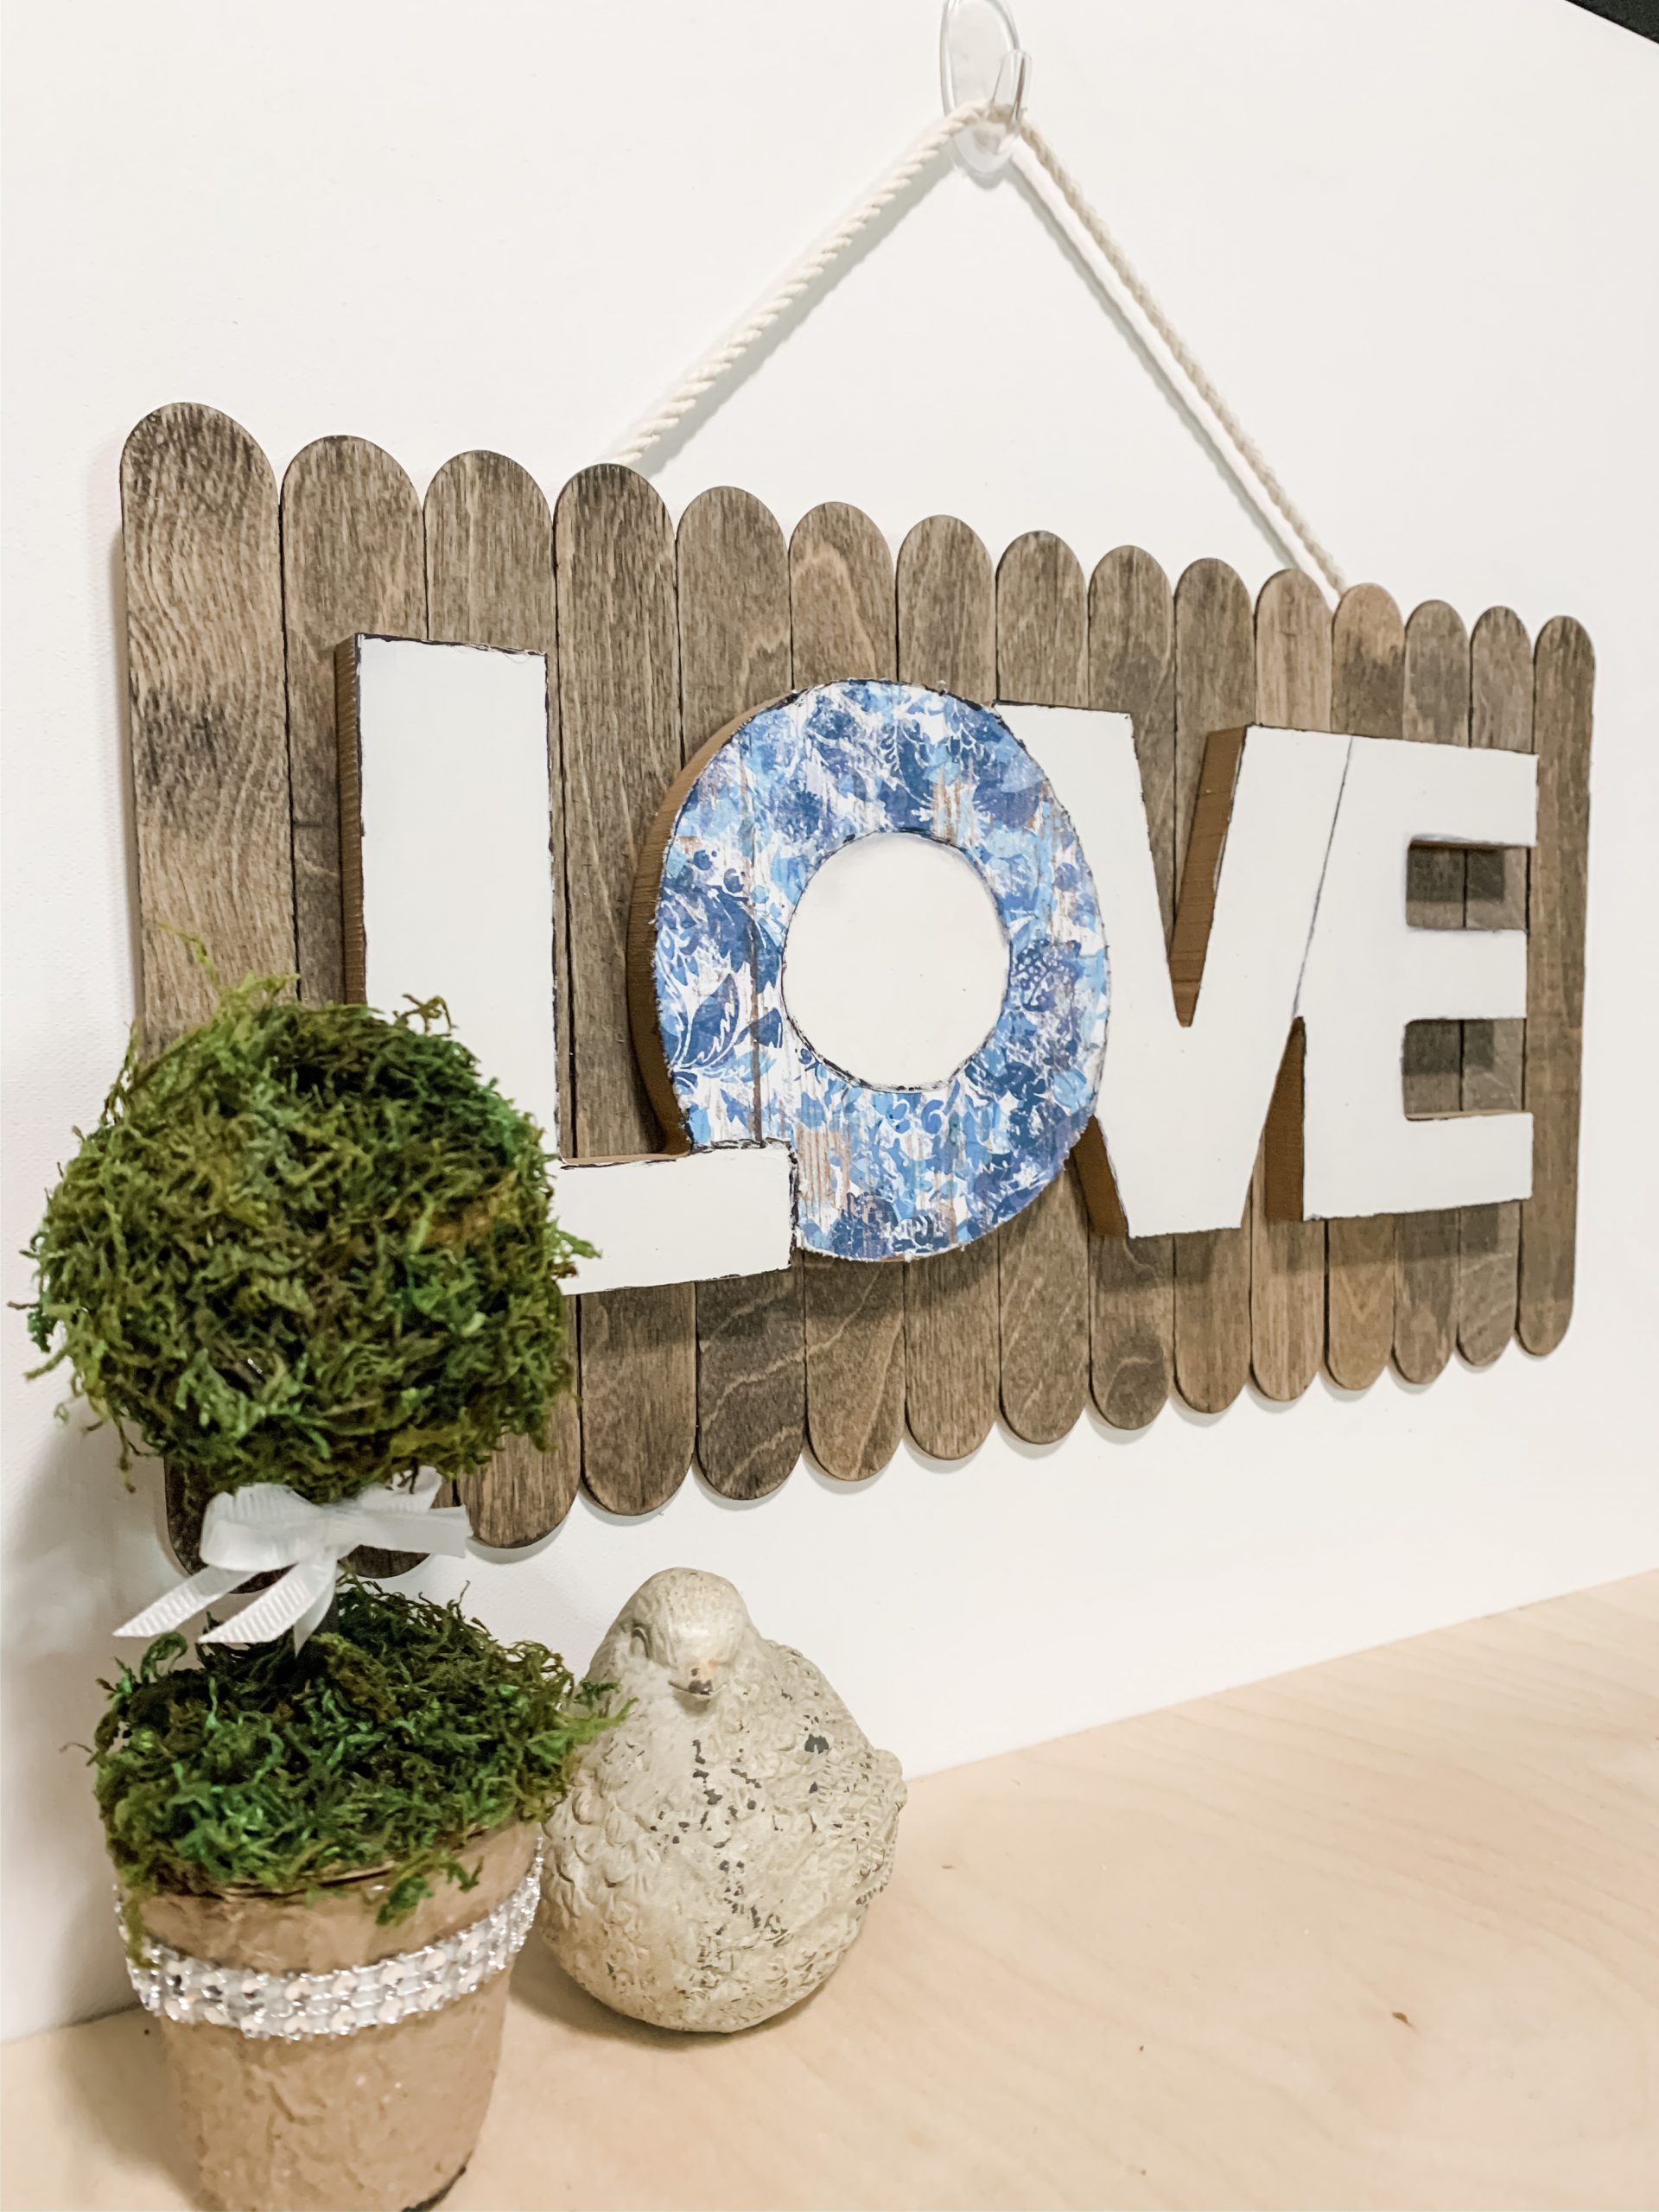
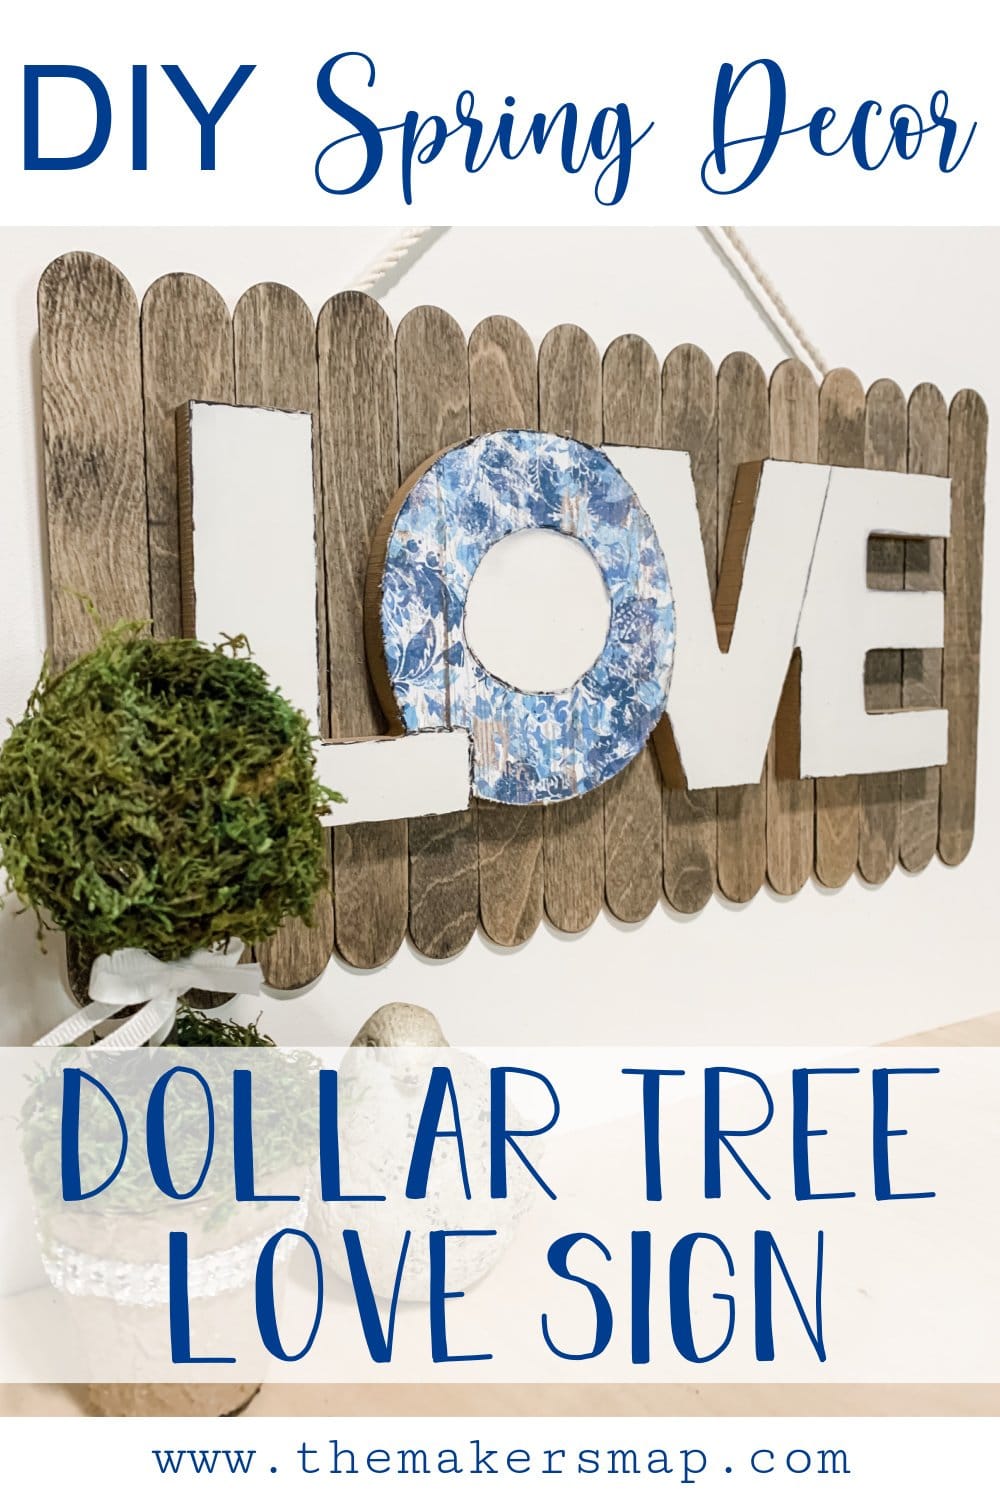
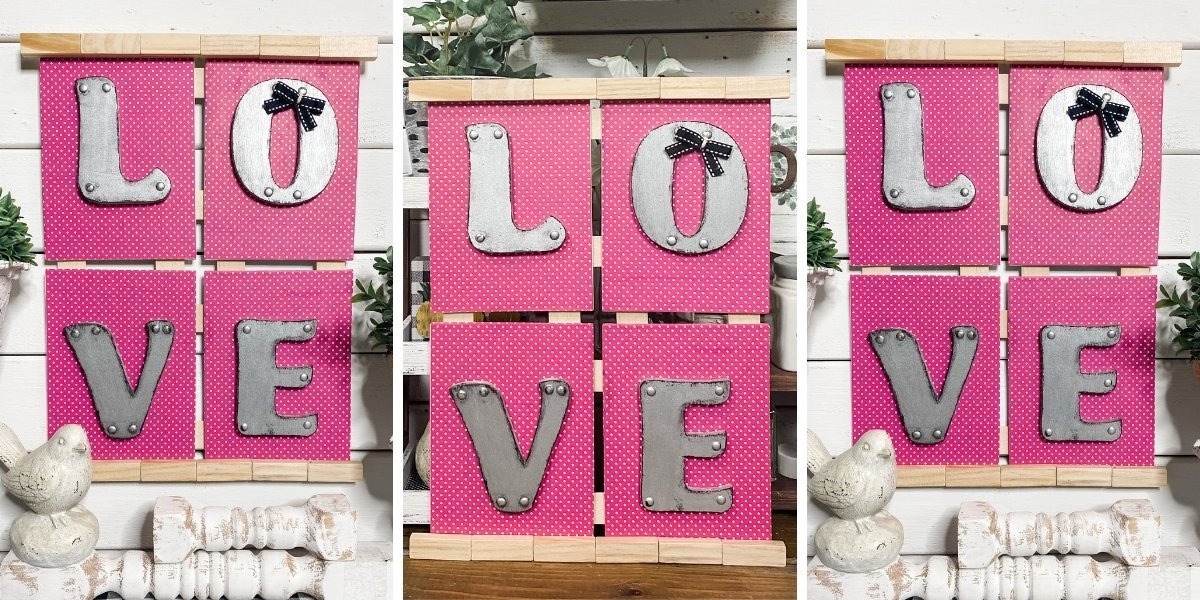
Spring Decor DIY Dollar Tree Love Sign
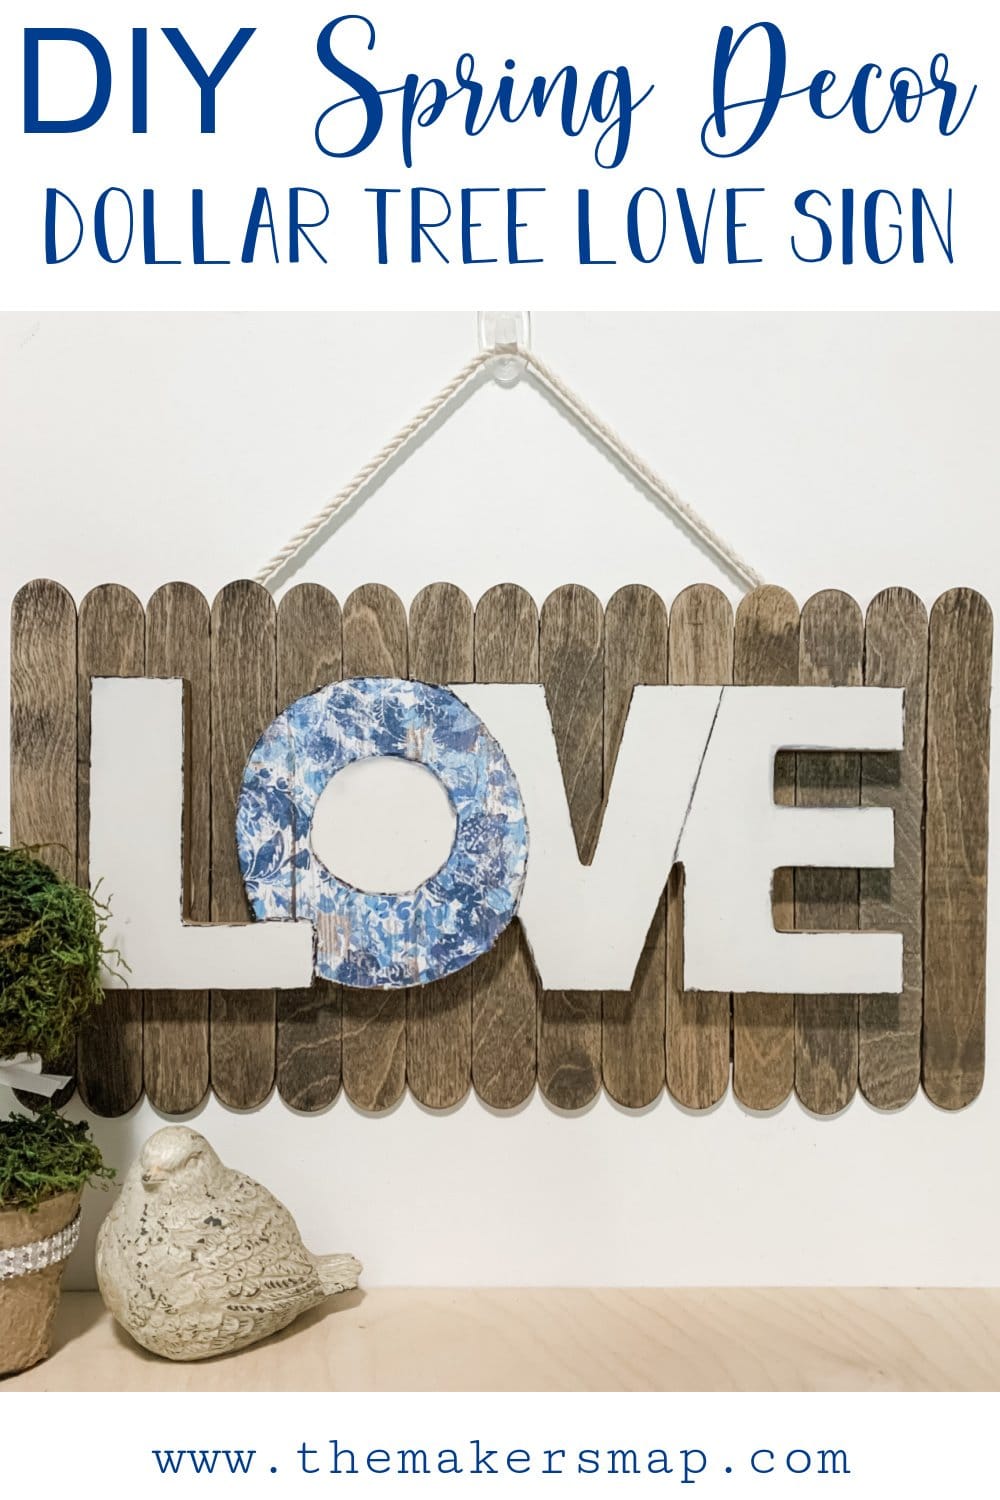
This Spring Decor DIY Dollar Tree Love Sign was such a fun project to create because I made it to match my bedroom!
I always say that I make my DIY crafts to decorate my home with, and that’s true, but I had plans for how I was going to use this DIY Dollar Tree Sign before I even started making it!
My goal in my business and my life is to inspire other people to have a beautifully decorated home on a budget, so I always start with my own home!
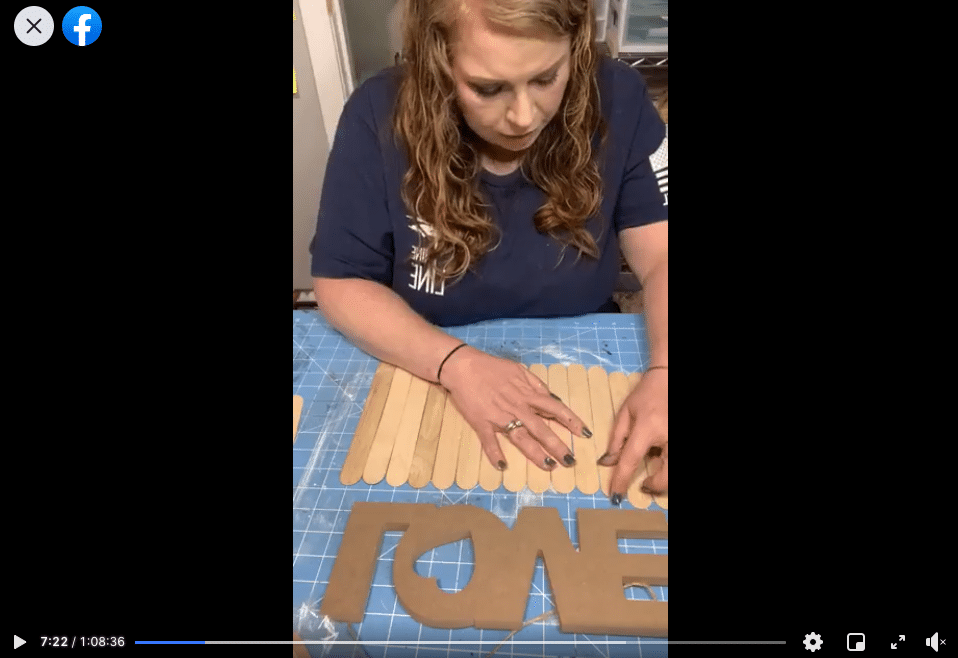
Watch the replay
How can I inspire others if I don’t share my ideas? I recorded how to make this adorable Spring Decor DIY during a LIVE video on my Facebook page back in 2019. The good thing about Facebook is they save the videos!
So, if you’re wanting to craft along or see my process and techniques, you can watch the replay!
For this project, I will be using these items but you can substitute where you want.
“As an Amazon Associate, I earn from qualifying purchases.”
- Dixie Belle Coffee Bean Paint (brown)
- Dixie Belle Fluff Paint (White)
- Super Jumbo Craft Sticks (Hobby Lobby)
- Blue Floral Scrapbook Paper (Hobby Lobby)
- White Jute Rope
- Dollar Tree LOVE Sign
- Mod Podge
- Hot glue gun and glue sticks
- Heat Gun
Let’s get started
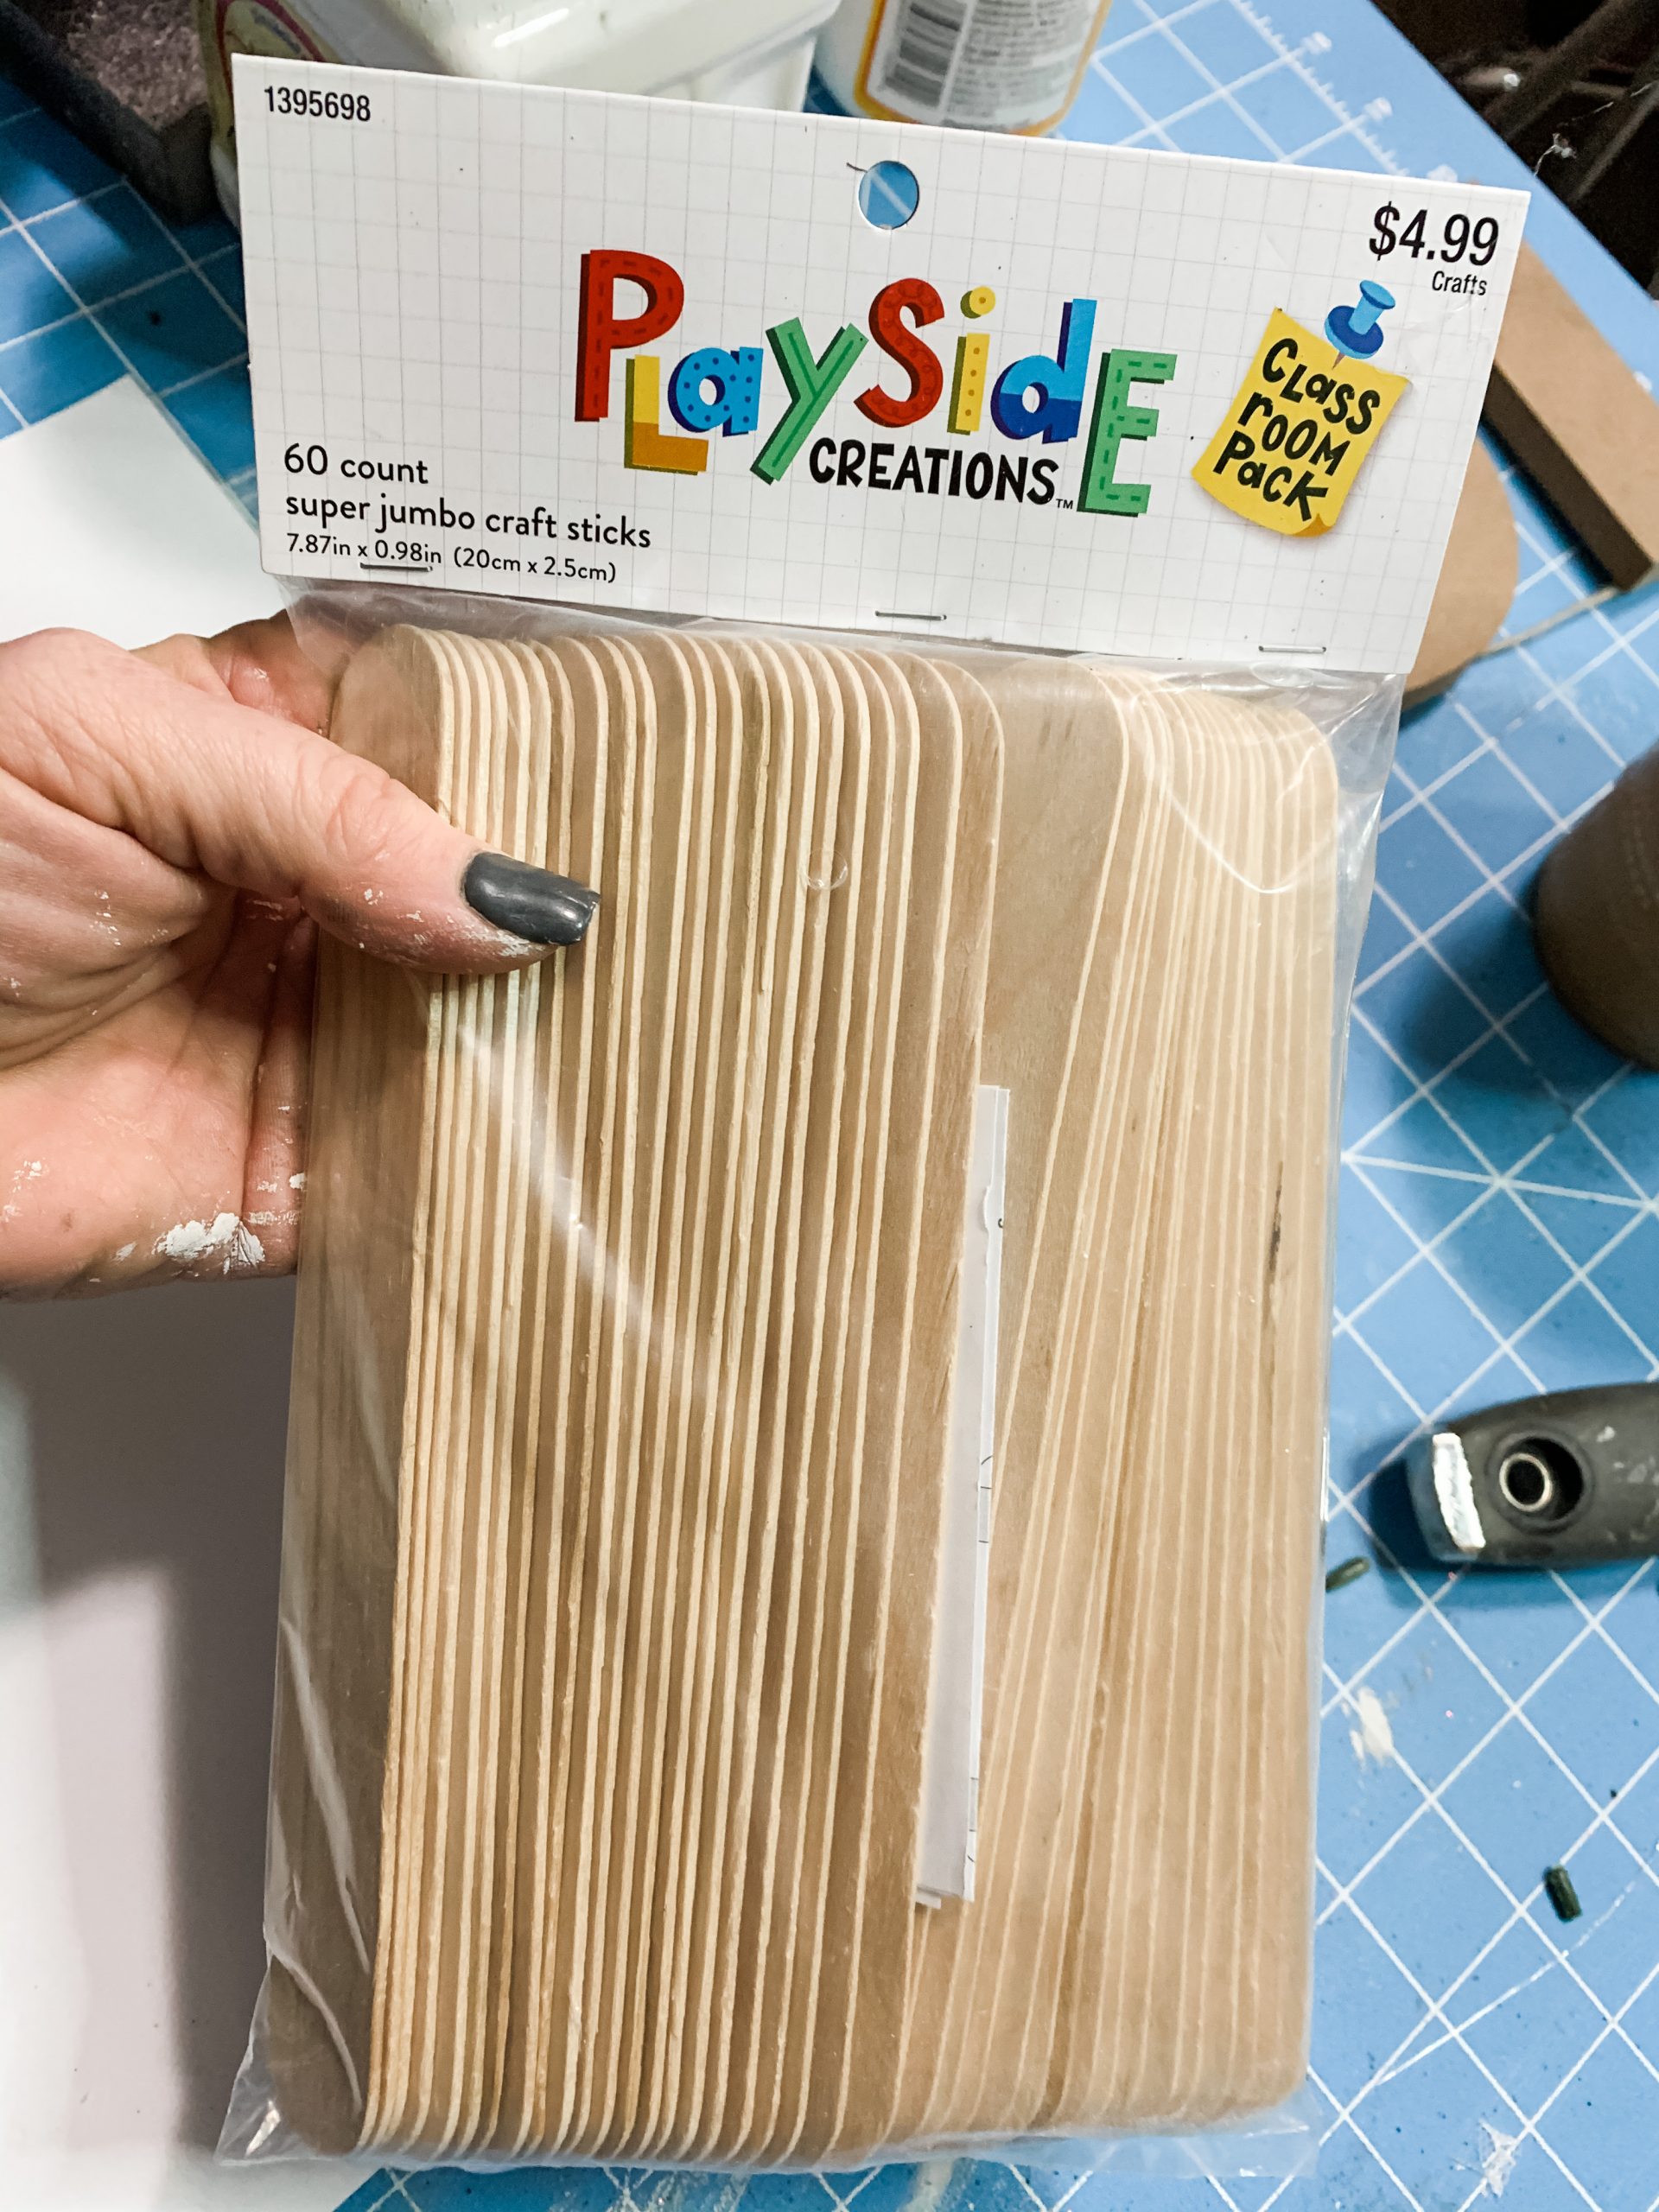
To start making this adorable neutral DIY decor, you’re going to need to grab your large popsicle sticks from Hobby Lobby. I used popsicle sticks to create the backboard for this sign.
I have a great craft mat that has rulers and gridlines, so I was able to use the mat to guide the popsicle sticks and ensure they were straight and even. So, lay the popsicle sticks out and have your backboard be slightly longer than the Dollar Tree LOVE sign.
To secure the popsicle sticks together and actually create the backboard, I hot glued popsicle sticks across the back of the lined-up sticks.
I used 15 popsicle sticks for my sign, and that allowed the sign to be slightly larger than the length of the wood LOVE sign. Then, I hot glued 6 popsicle sticks in 3 z shapes across the back. I realized that I needed to secure them a little more, so I did hot glue an extra popsicle stick on one of the z’s on the back.
How to stain wood
Flip your popsicle stick backboard and get ready to stain the wood. Start by spraying the wood with water.
The water will help the wood popsicle sticks absorb the paint and really give it a stained finish rather than a painted look.
Then, put some Dixie Belle Coffee paint on a chippy paintbrush and start brushing the paint over the popsicle sticks. Add water as needed to dilute the paint and allow the wood to really absorb the color.
Another staining technique I use is to mix a small bit of water into a bit of paint and use a baby wipe to spread the paint/water across the wood.
Make sure you get the paint into the crevices between the wood. Once you have good coverage, use a wet wipe to wipe off the excess paint. As you wipe the paint off, you’ll see the beautiful stain!
Now, use a dry paper towel and wipe it over the stained wood. This will help dry the wood. You can also use a heat gun to speed up the drying process.
If you don’t have a heat gun, you can use a hairdryer on the low cool setting.
Set your stained popsicle stick backboard to the side, and get ready to work on the Dollar Tree LOVE sign.
How to decoupage
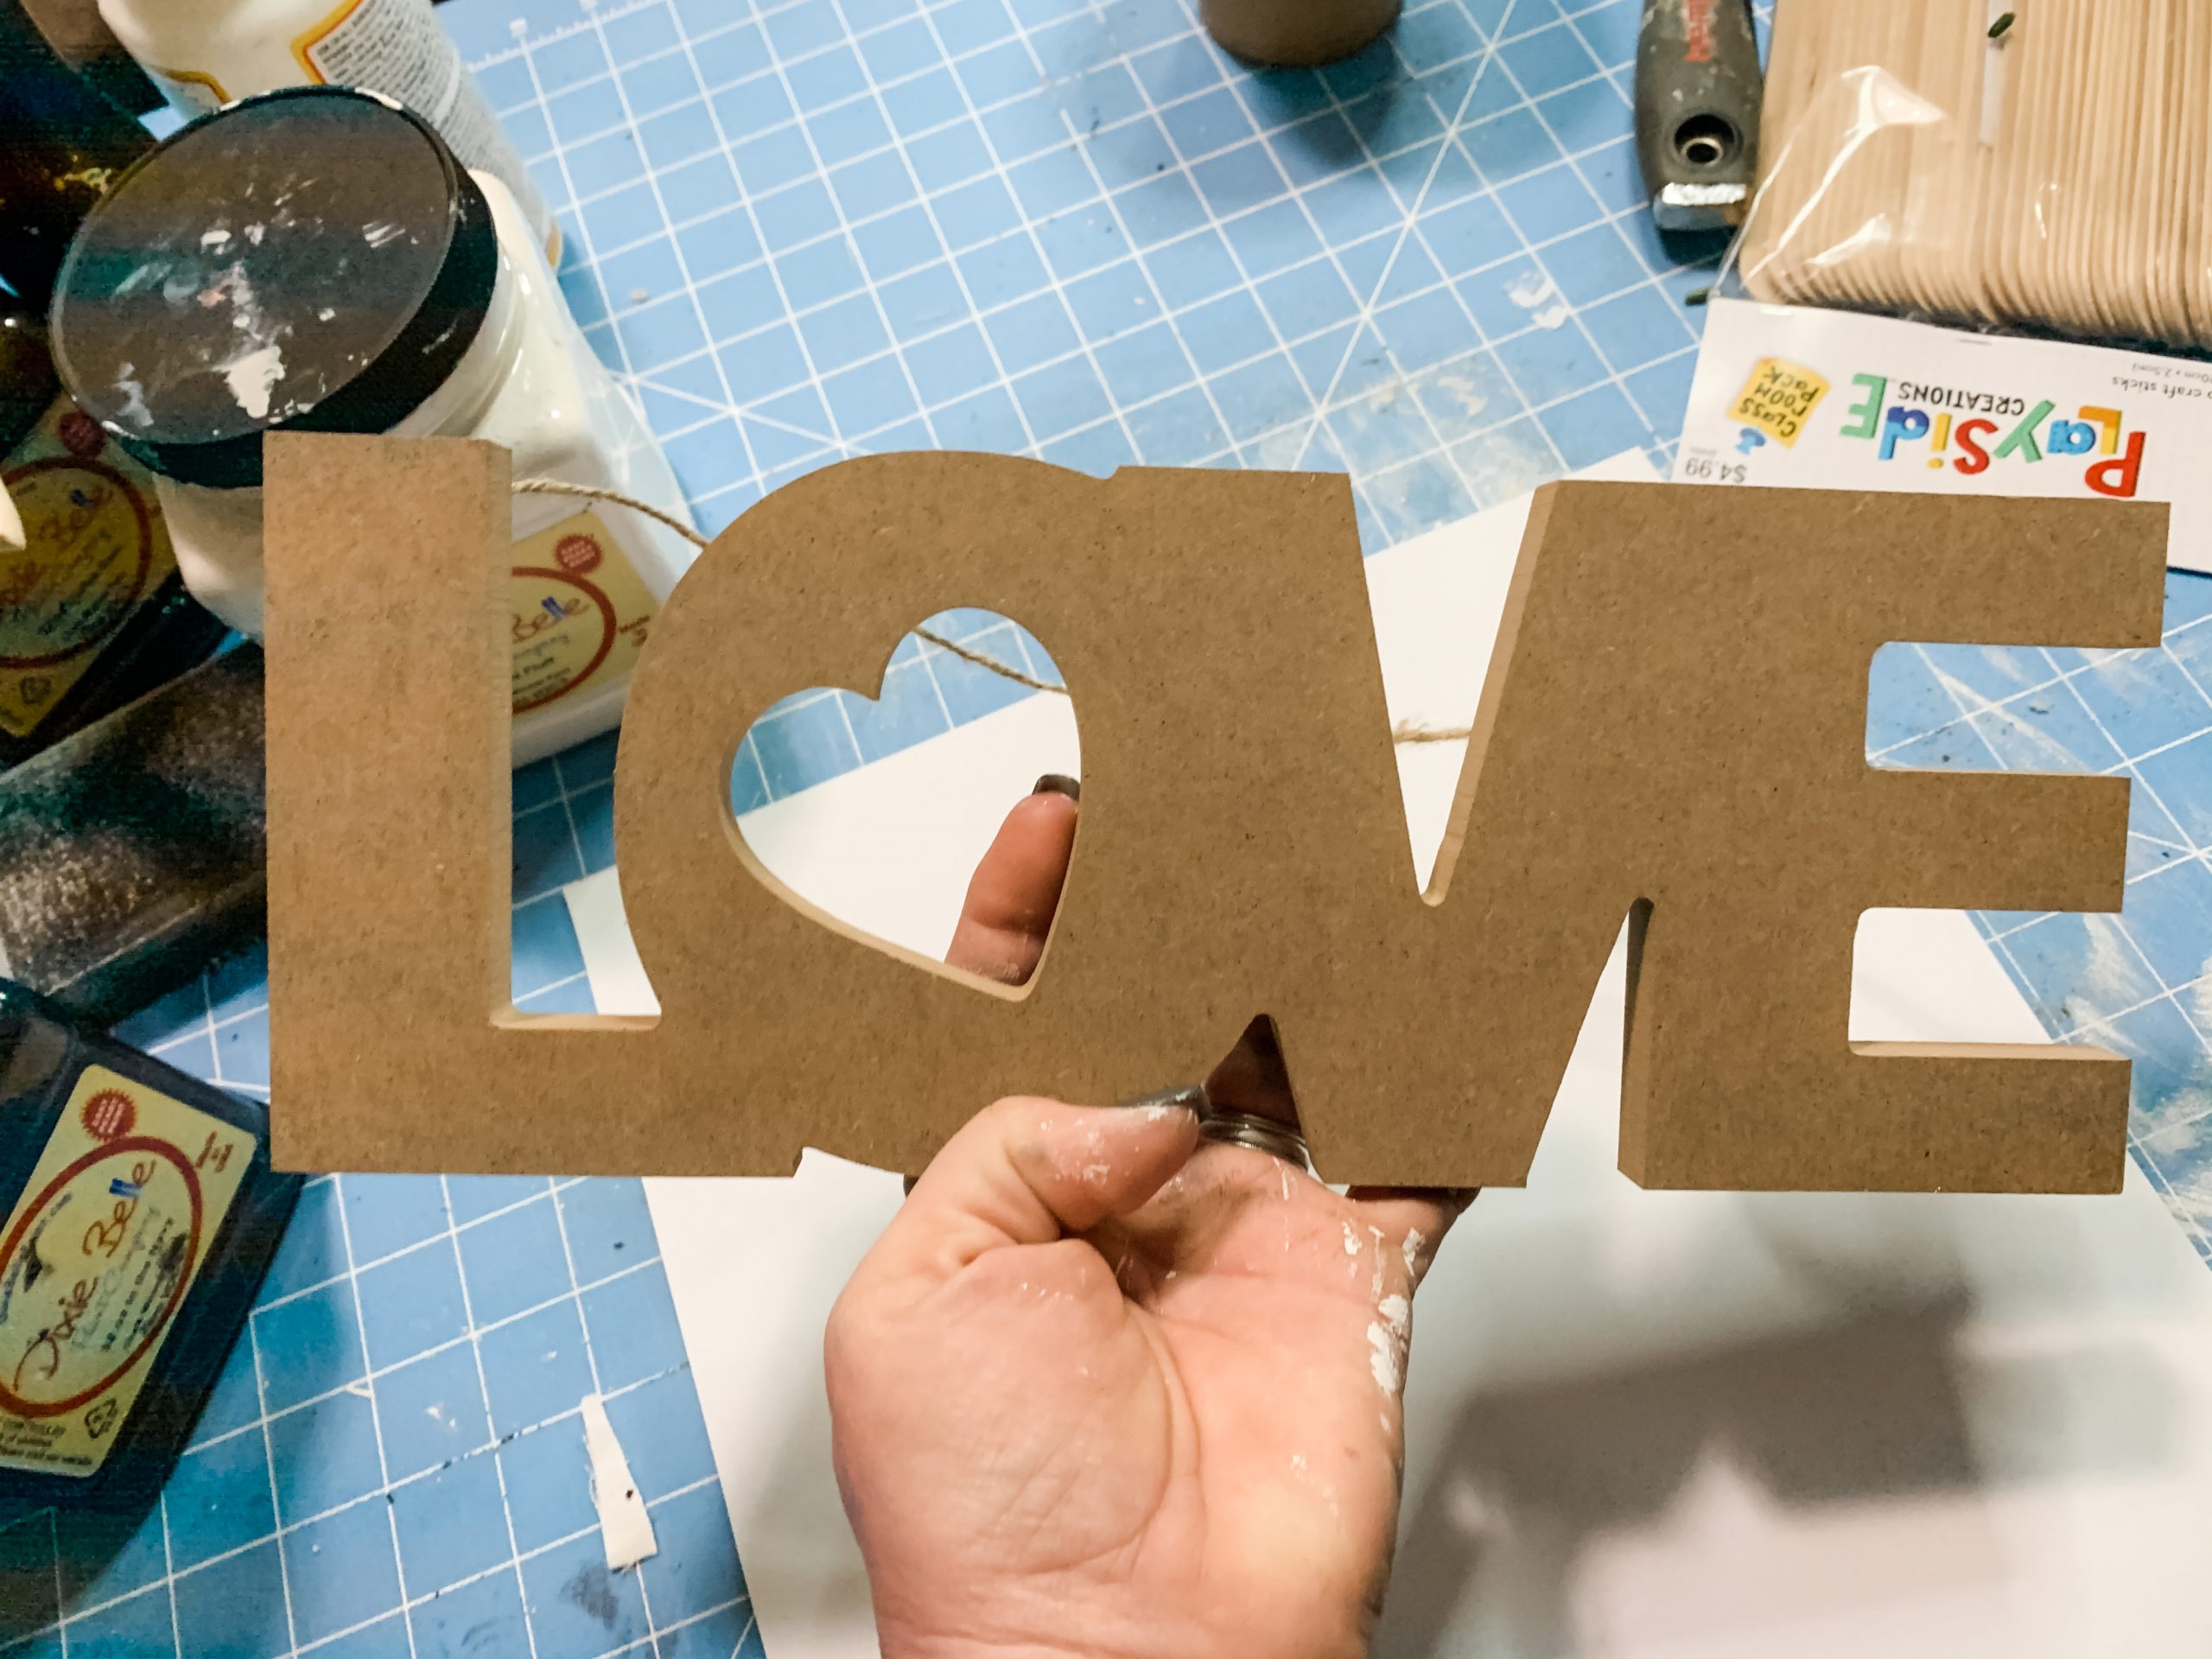
There were metal pieces securing the hanger to the wood LOVE sign, and I had to remove those first.
I tried removing the screws, but I didn’t have my drill handy. I did end up using a screwdriver to remove the screws that were securing the ends of the twine hanger.
Now, this is a Valentine’s Day DIY supply, but I didn’t want to use it for Valentine’s Day decor. Instead, I wanted it to be a DIY neutral decor that would match my bedroom decor.
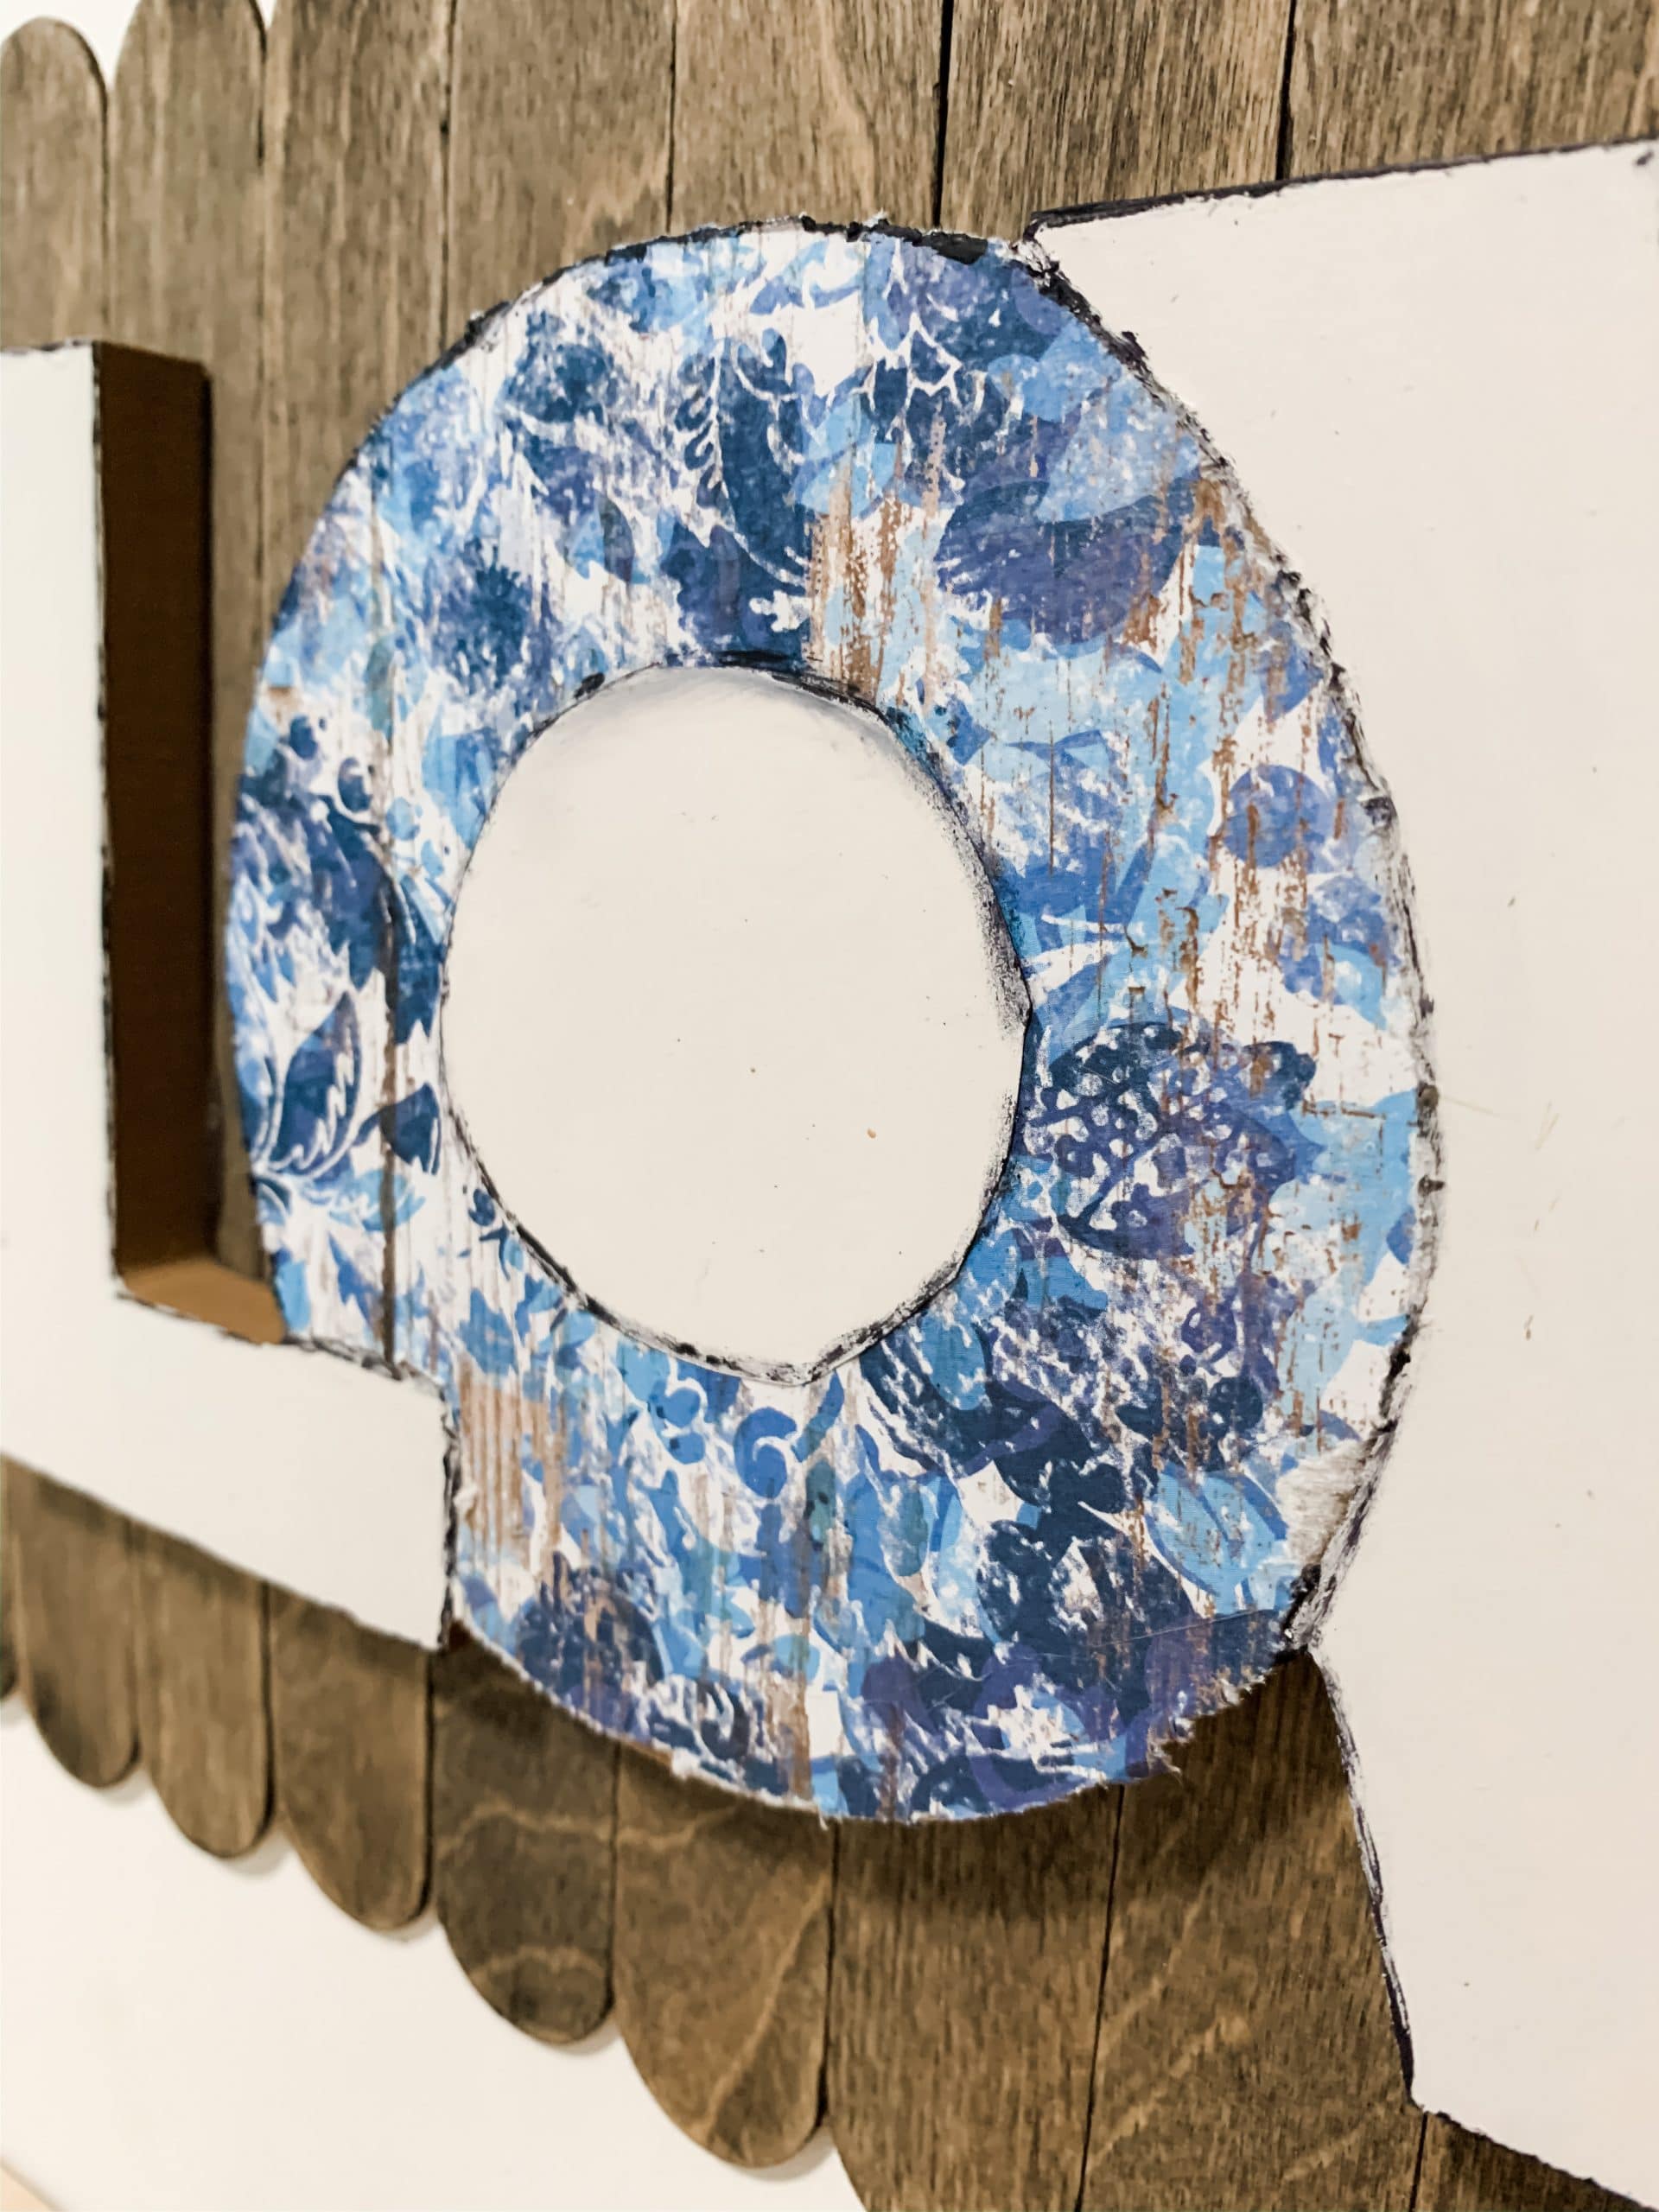
I started by decoupaging the adorable blue floral scrapbook paper onto the O of the LOVE sign. Apply Mod Podge onto the O. Make sure you use the Mod Podge to line out where the edge of the O and other letters would be.
We only want the scrapbook paper to stick to where the O would be. I applied a pretty thick layer of Mod Podge because the LOVE sign was wanting to absorb the Mod Podge.
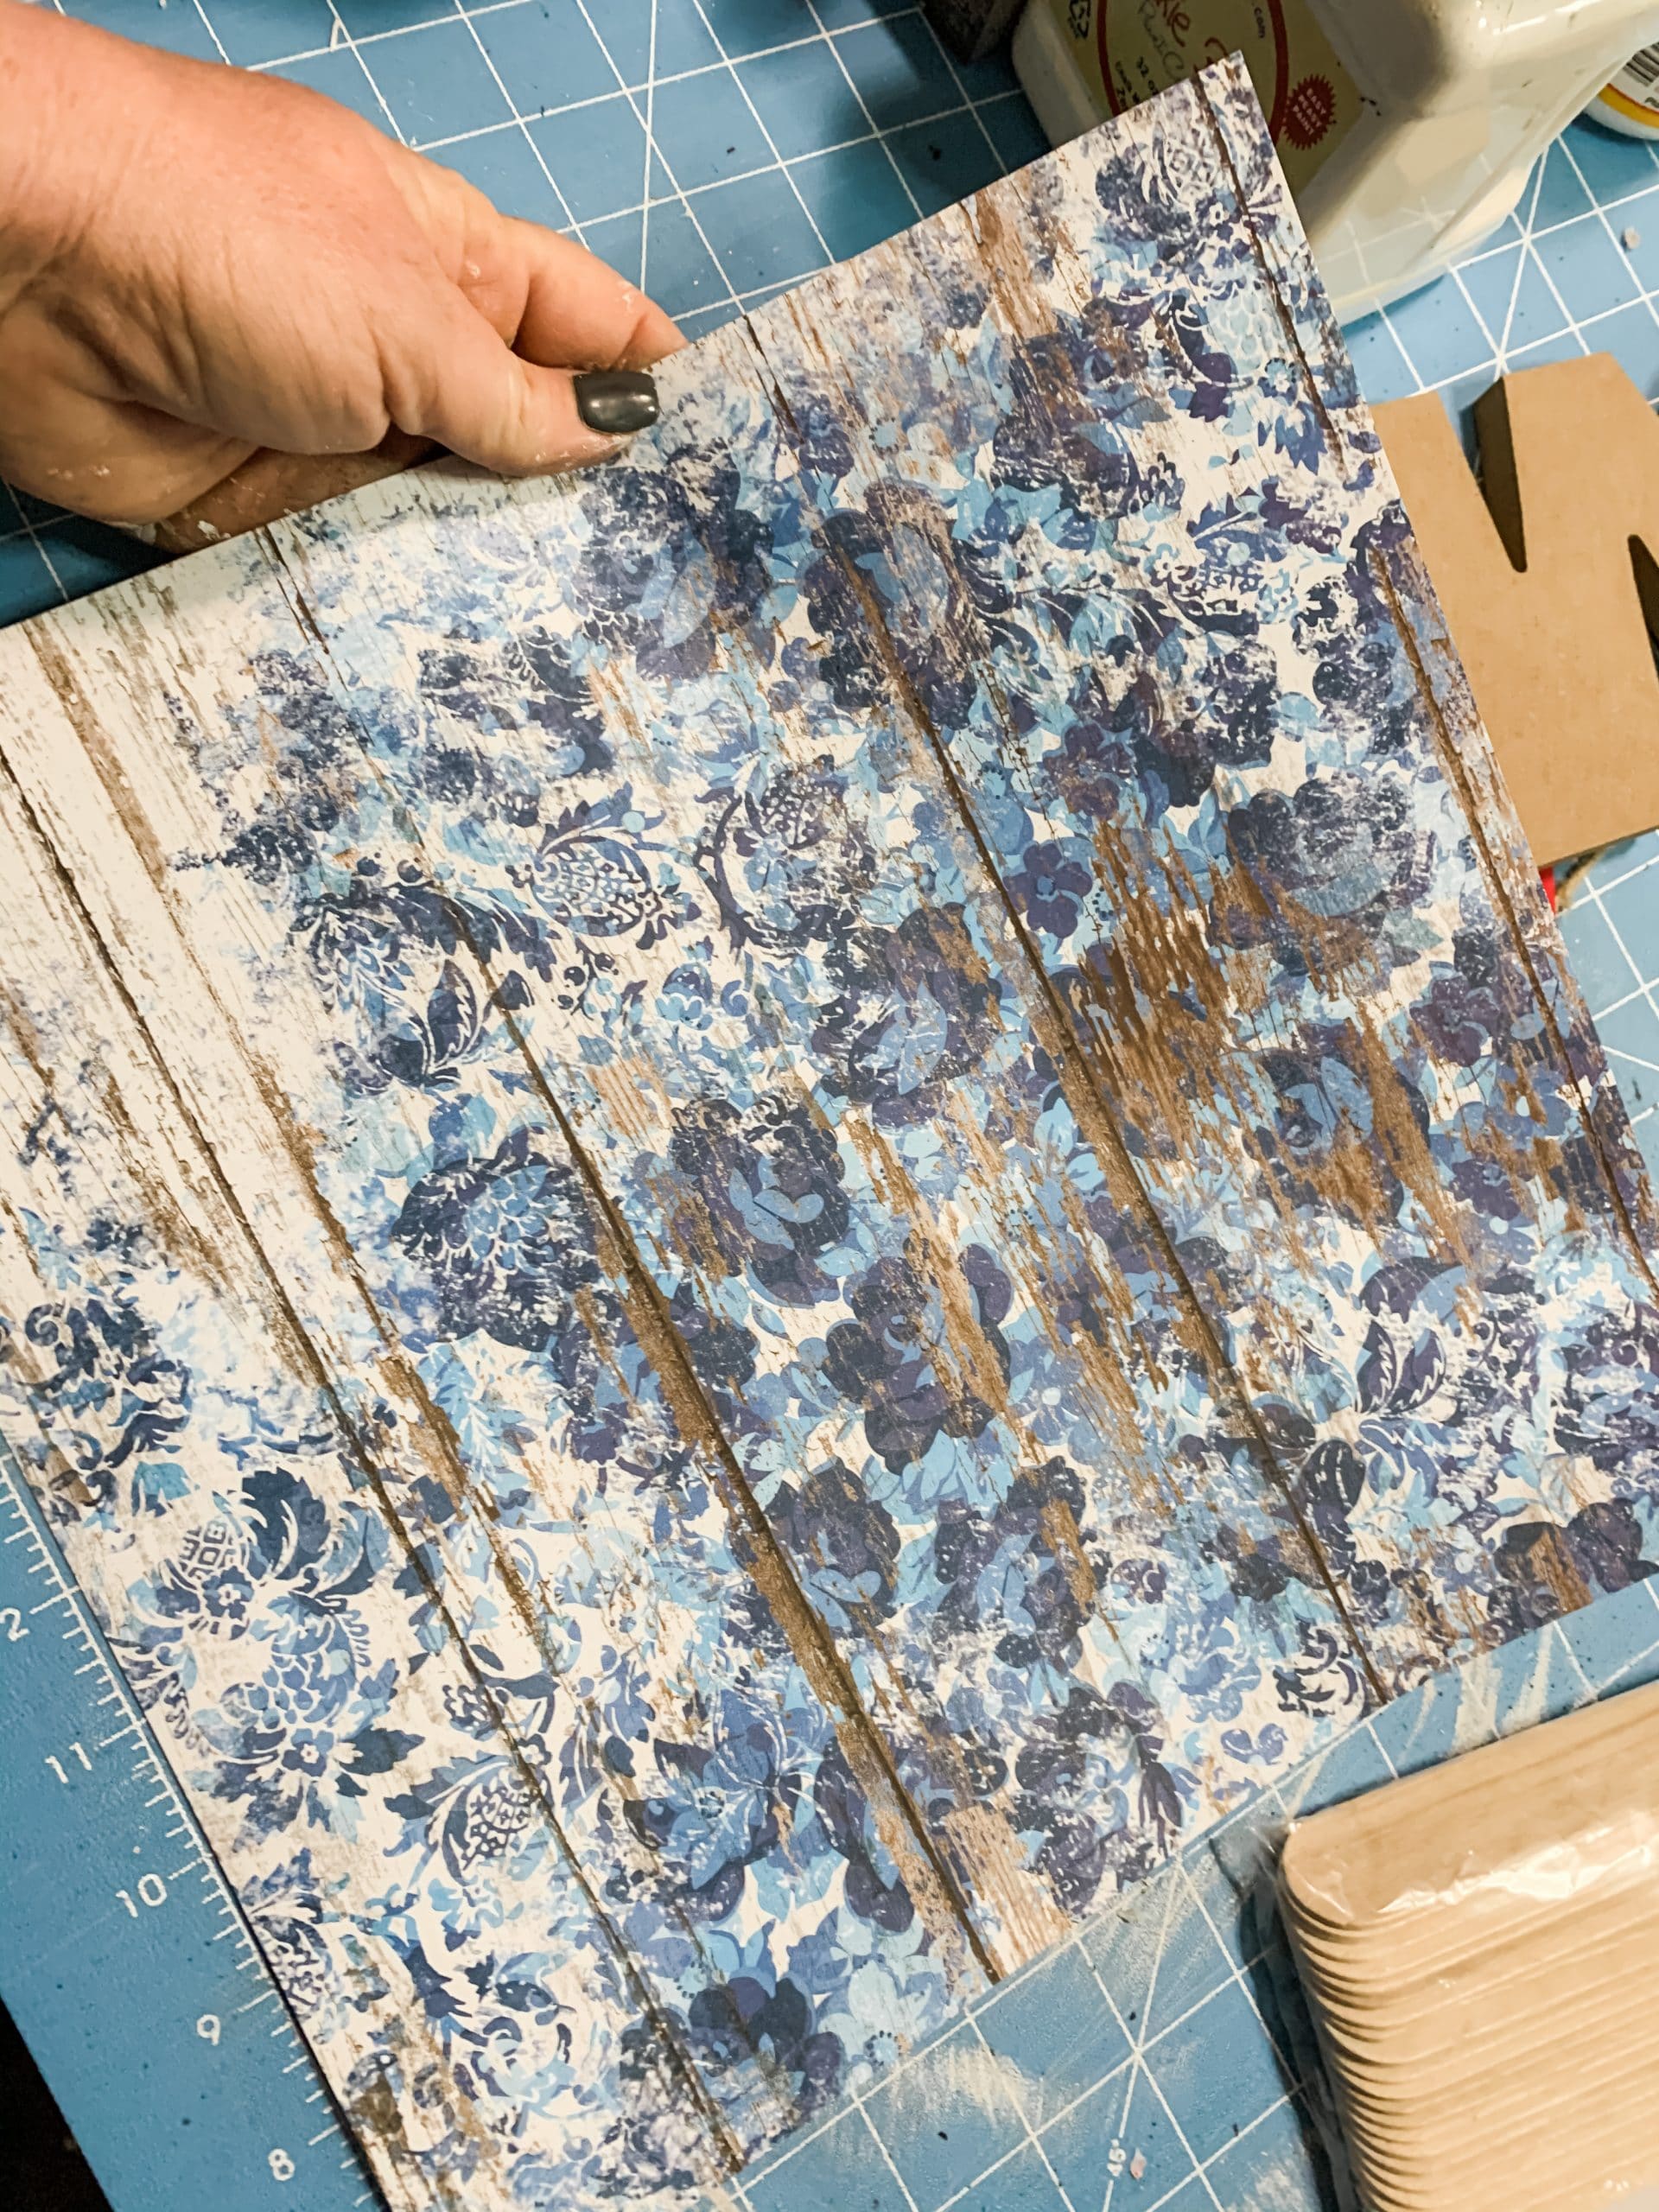
Once you’ve coated the O with Mod Podge, carefully place the scrapbook paper and use your hand to press it down onto the wood.
If there are any wrinkles or creases, you can lay a piece of plastic saran wrap over the surface and smooth out the imperfections with your hands or a rolling pin.
L-O-V-E
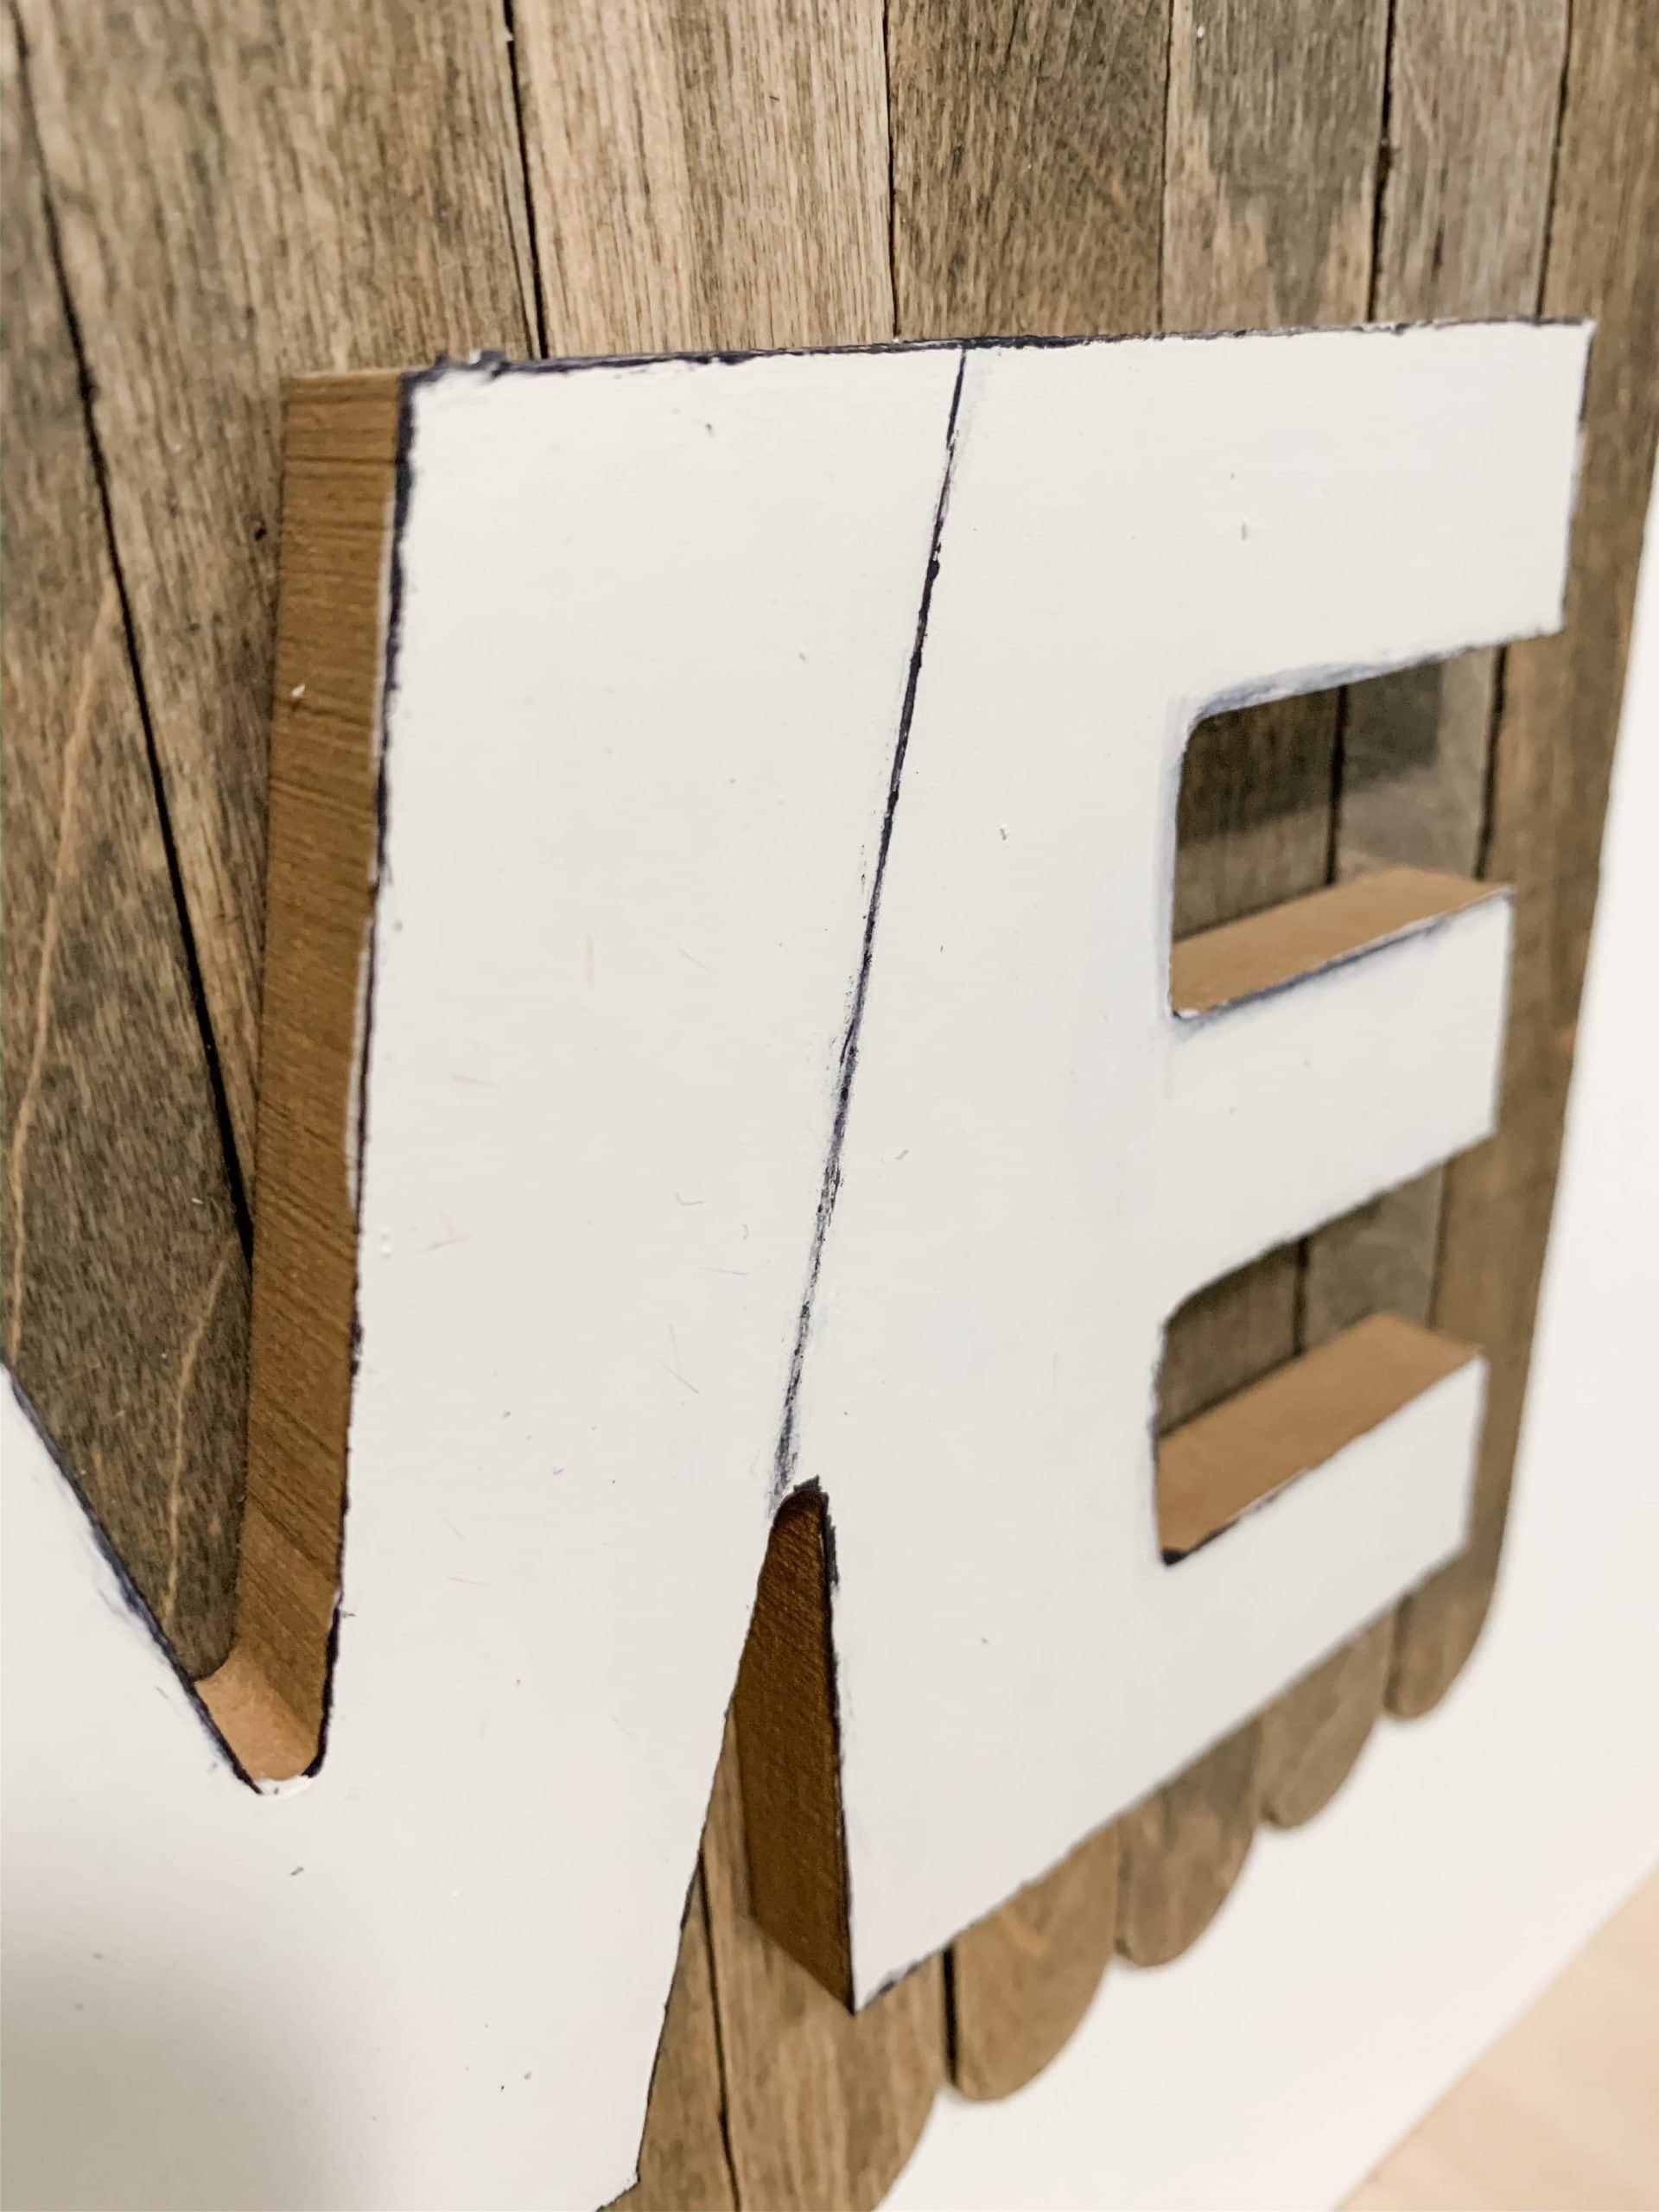
Next, use an Exacto knife to trim the excess scrapbook paper off the wood. I flipped the entire sign over so I could see the edges of the wood and accurately trim the scrapbook paper.
I did not trim the inside of the O, though, because I didn’t want the heart center. When you trim the excess scrapbook paper off, keep in mind where the edges of the letters should be, and ensure you can clearly see each letter.
Don’t worry, if you can’t get the lines very straight, we can touch it up with paint later.
To make the center of the O, I cut a circle out of the same scrapbook paper and attached it with Mod Podge to the center of the O with the reverse side facing out.
You could also paint a white circle in the center of the O, but I thought using scrapbook paper would be easier.
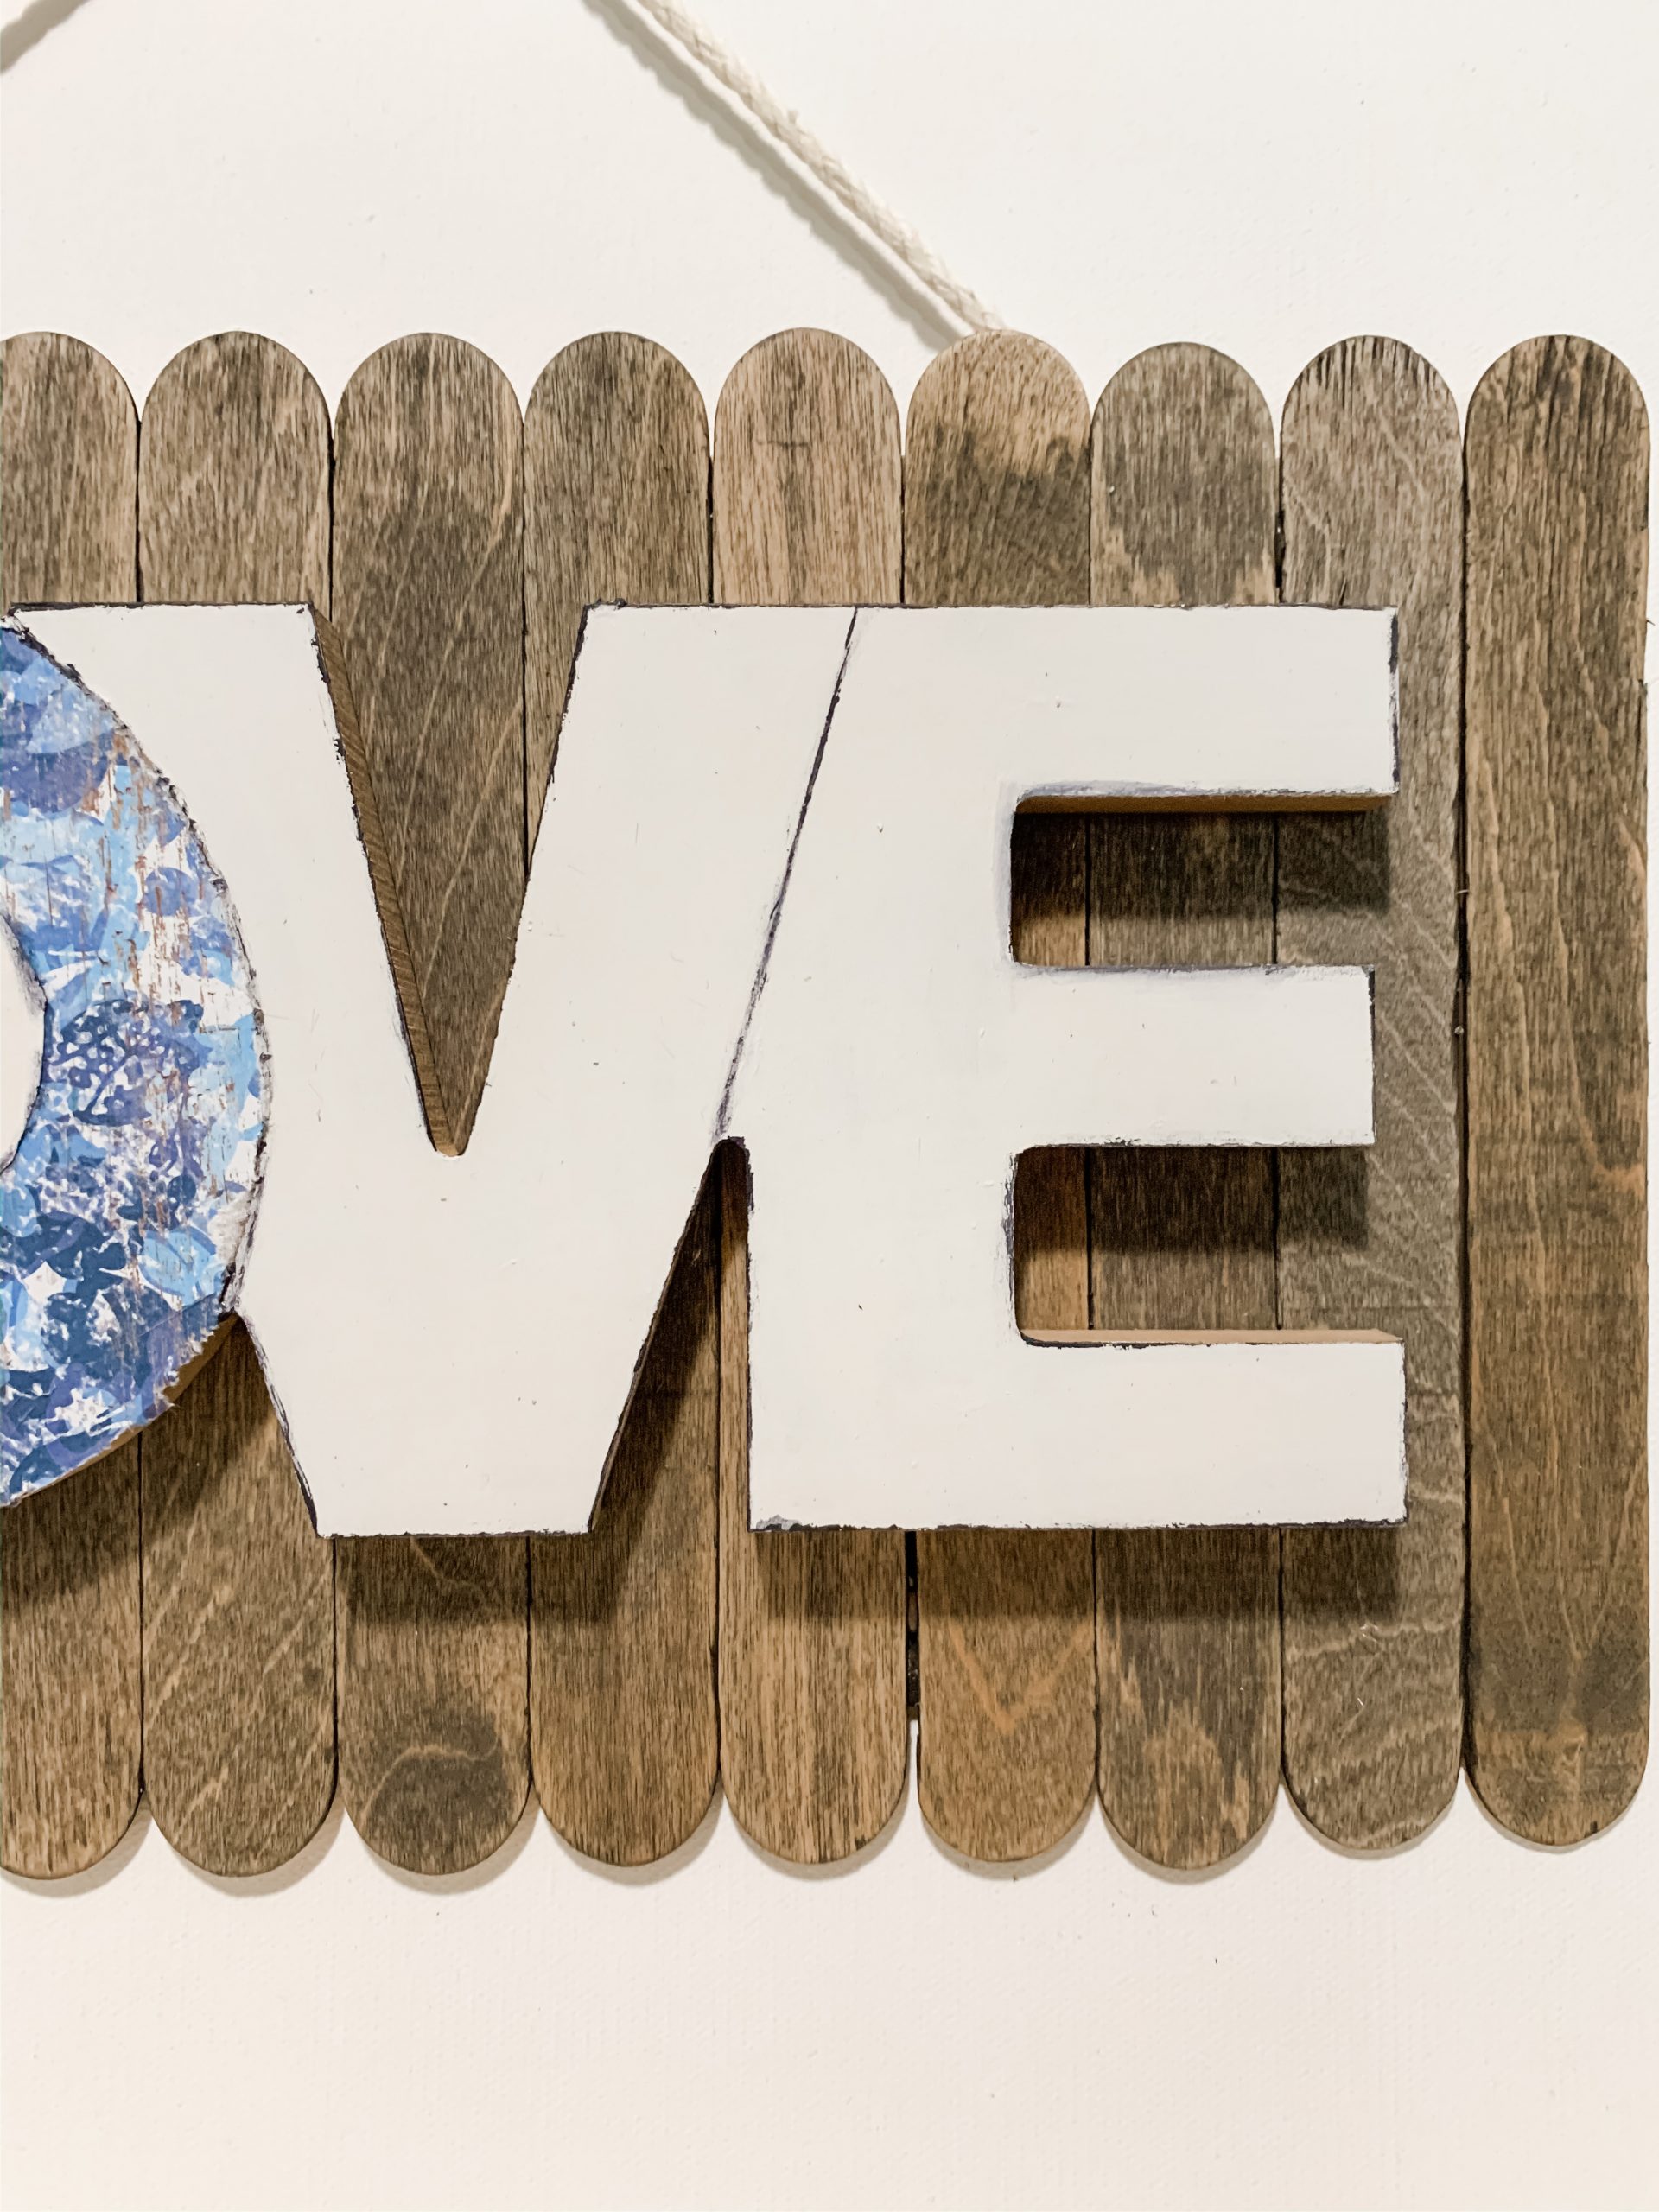
Now that we’ve decoupaged the scrapbook paper onto the O of the Dollar Tree LOVE sign, we need to paint the other letters. I used Dixie Belle’s Fluff paint (white) and just used an artist’s brush to paint the letters.
Allow the white paint to dry (again, I used my heat gun to speed up the drying process) and you’re ready to move to the next step!
Before I hot glued the decorated LOVE sign onto the stained popsicle stick board, I made the hanger for my DIY sign. I used some white jute rope for this hanger.
Start by cutting the rope to the length that you want your hanger to be. I put a bit of hot glue on the cut ends to keep the rope from unwinding.
Next, hot glue the ends of the jute rope to the back of your popsicle backboard. You can use finger protectors or a wood skewer to press the ends of the jute rope into the hot glue to really secure the hanger to the Spring Decor DIY Dollar Tree Love Sign.
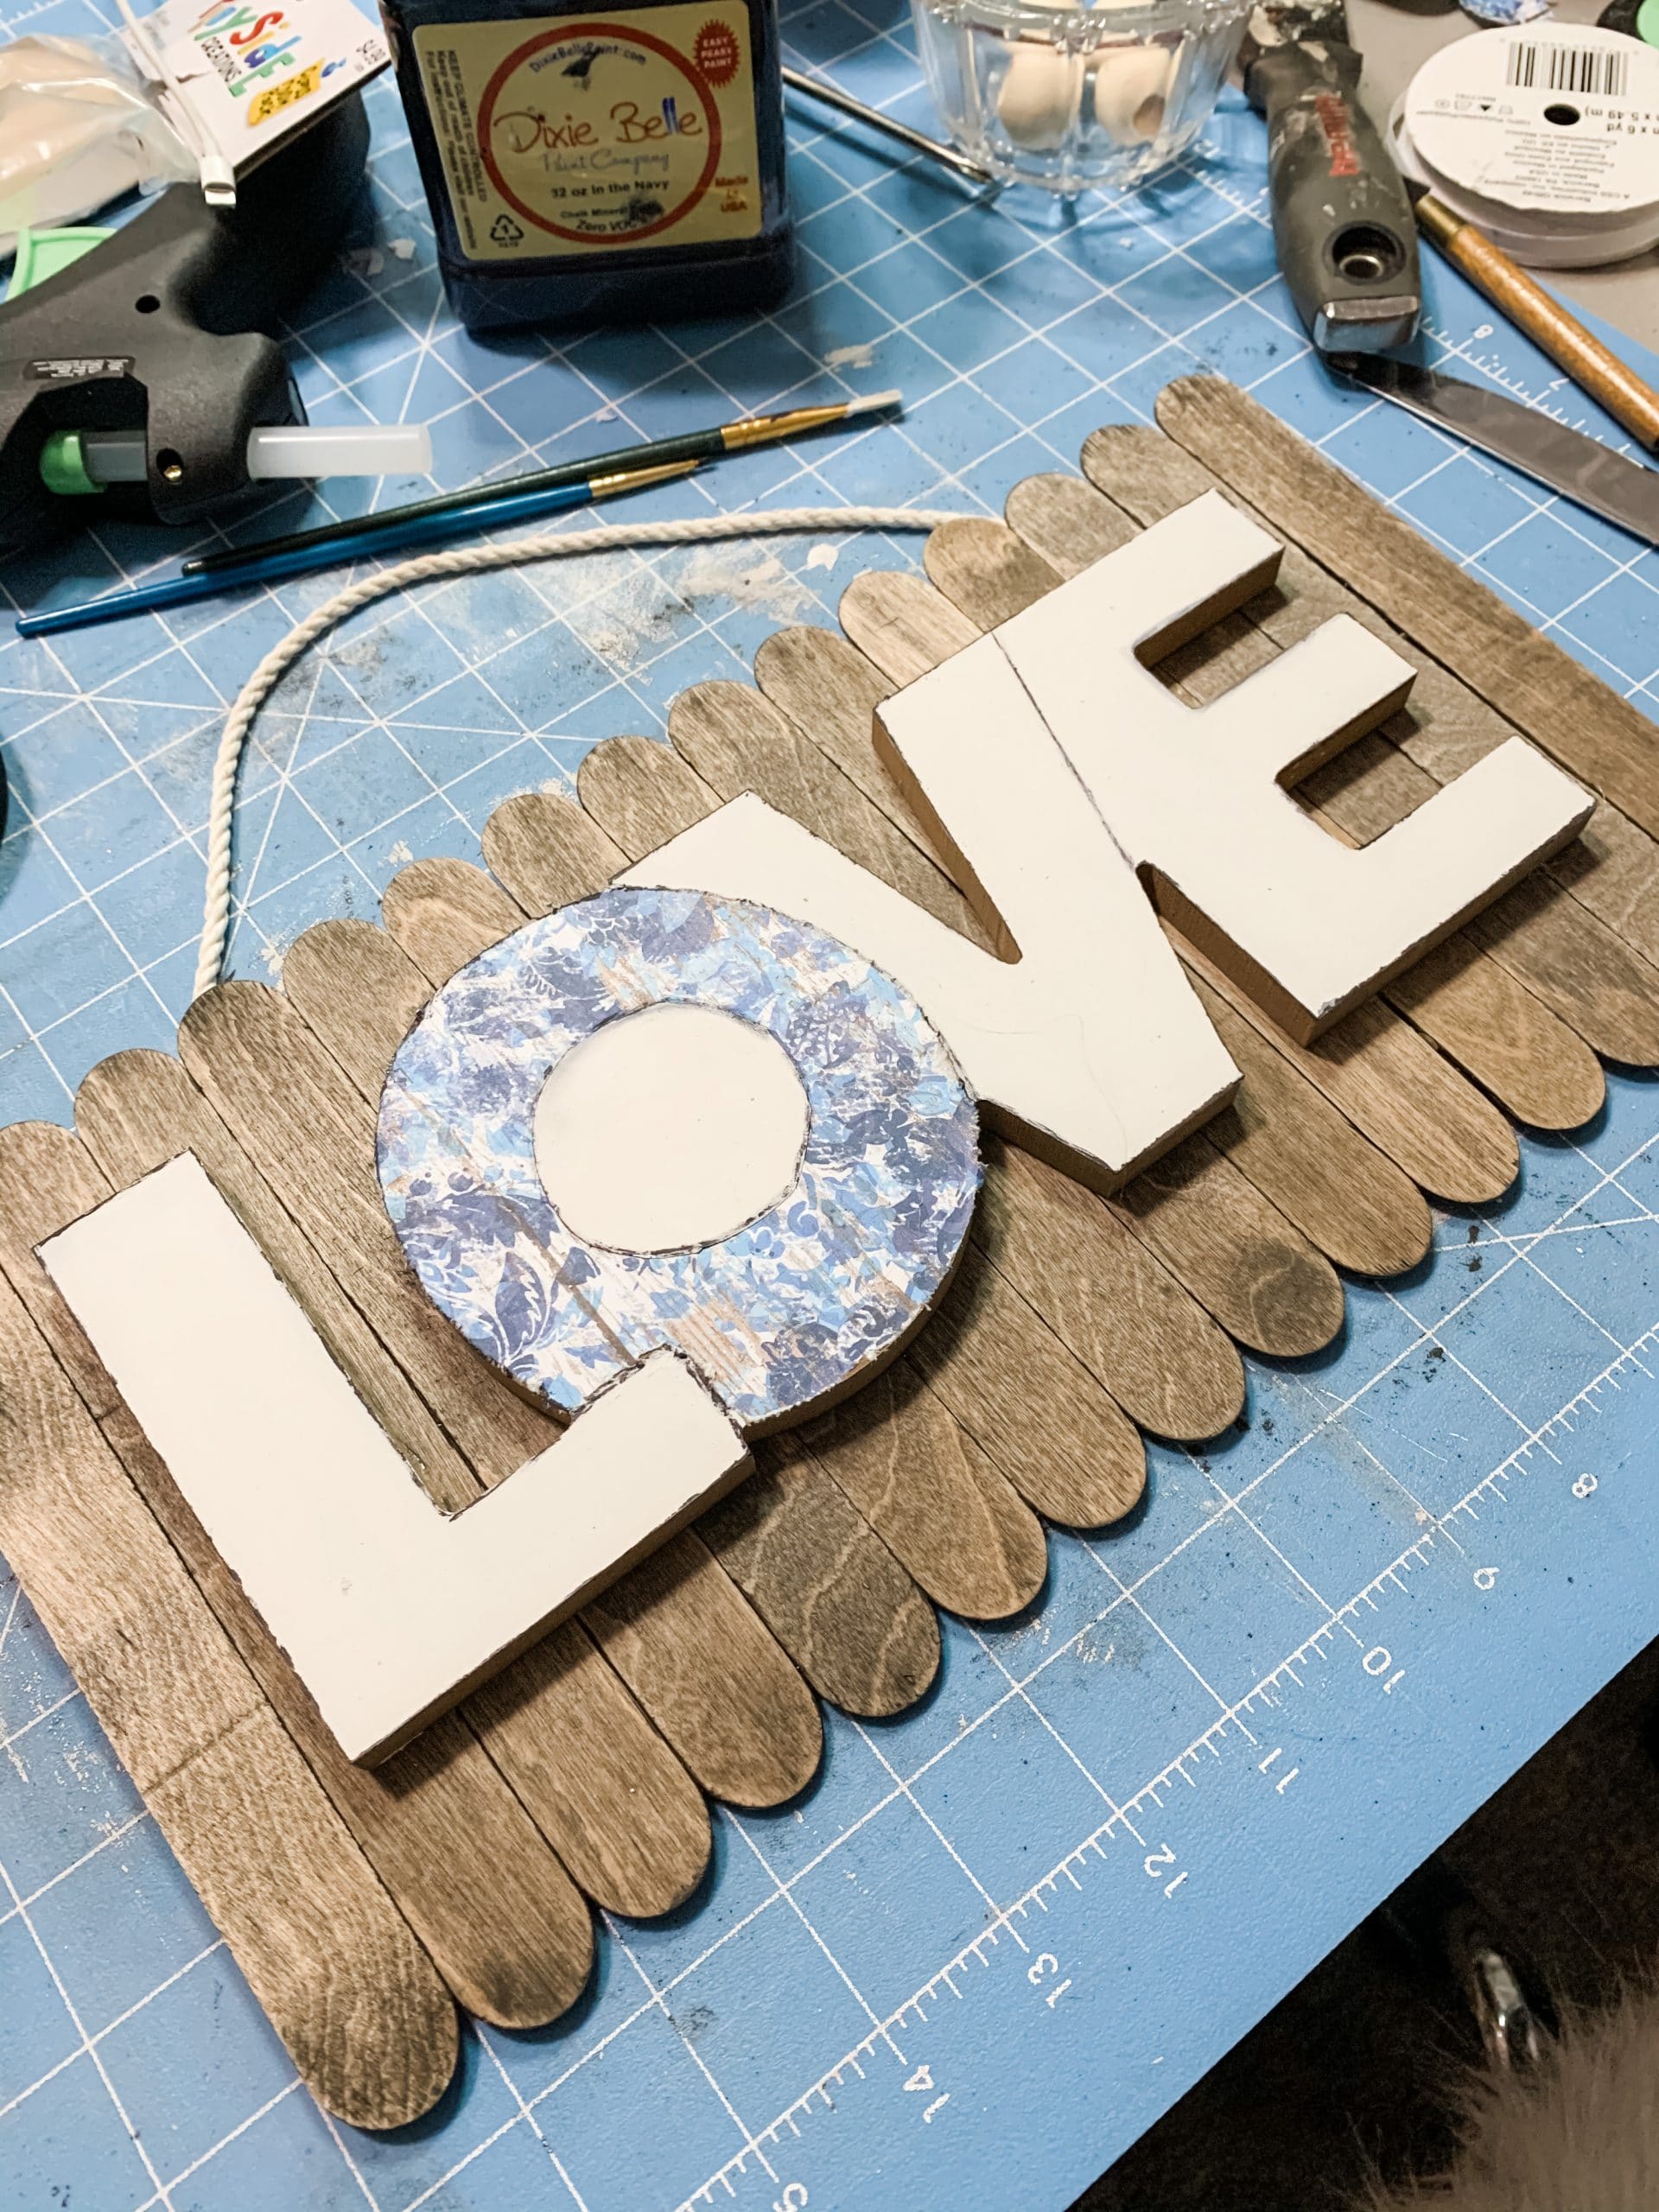
Bring it all together
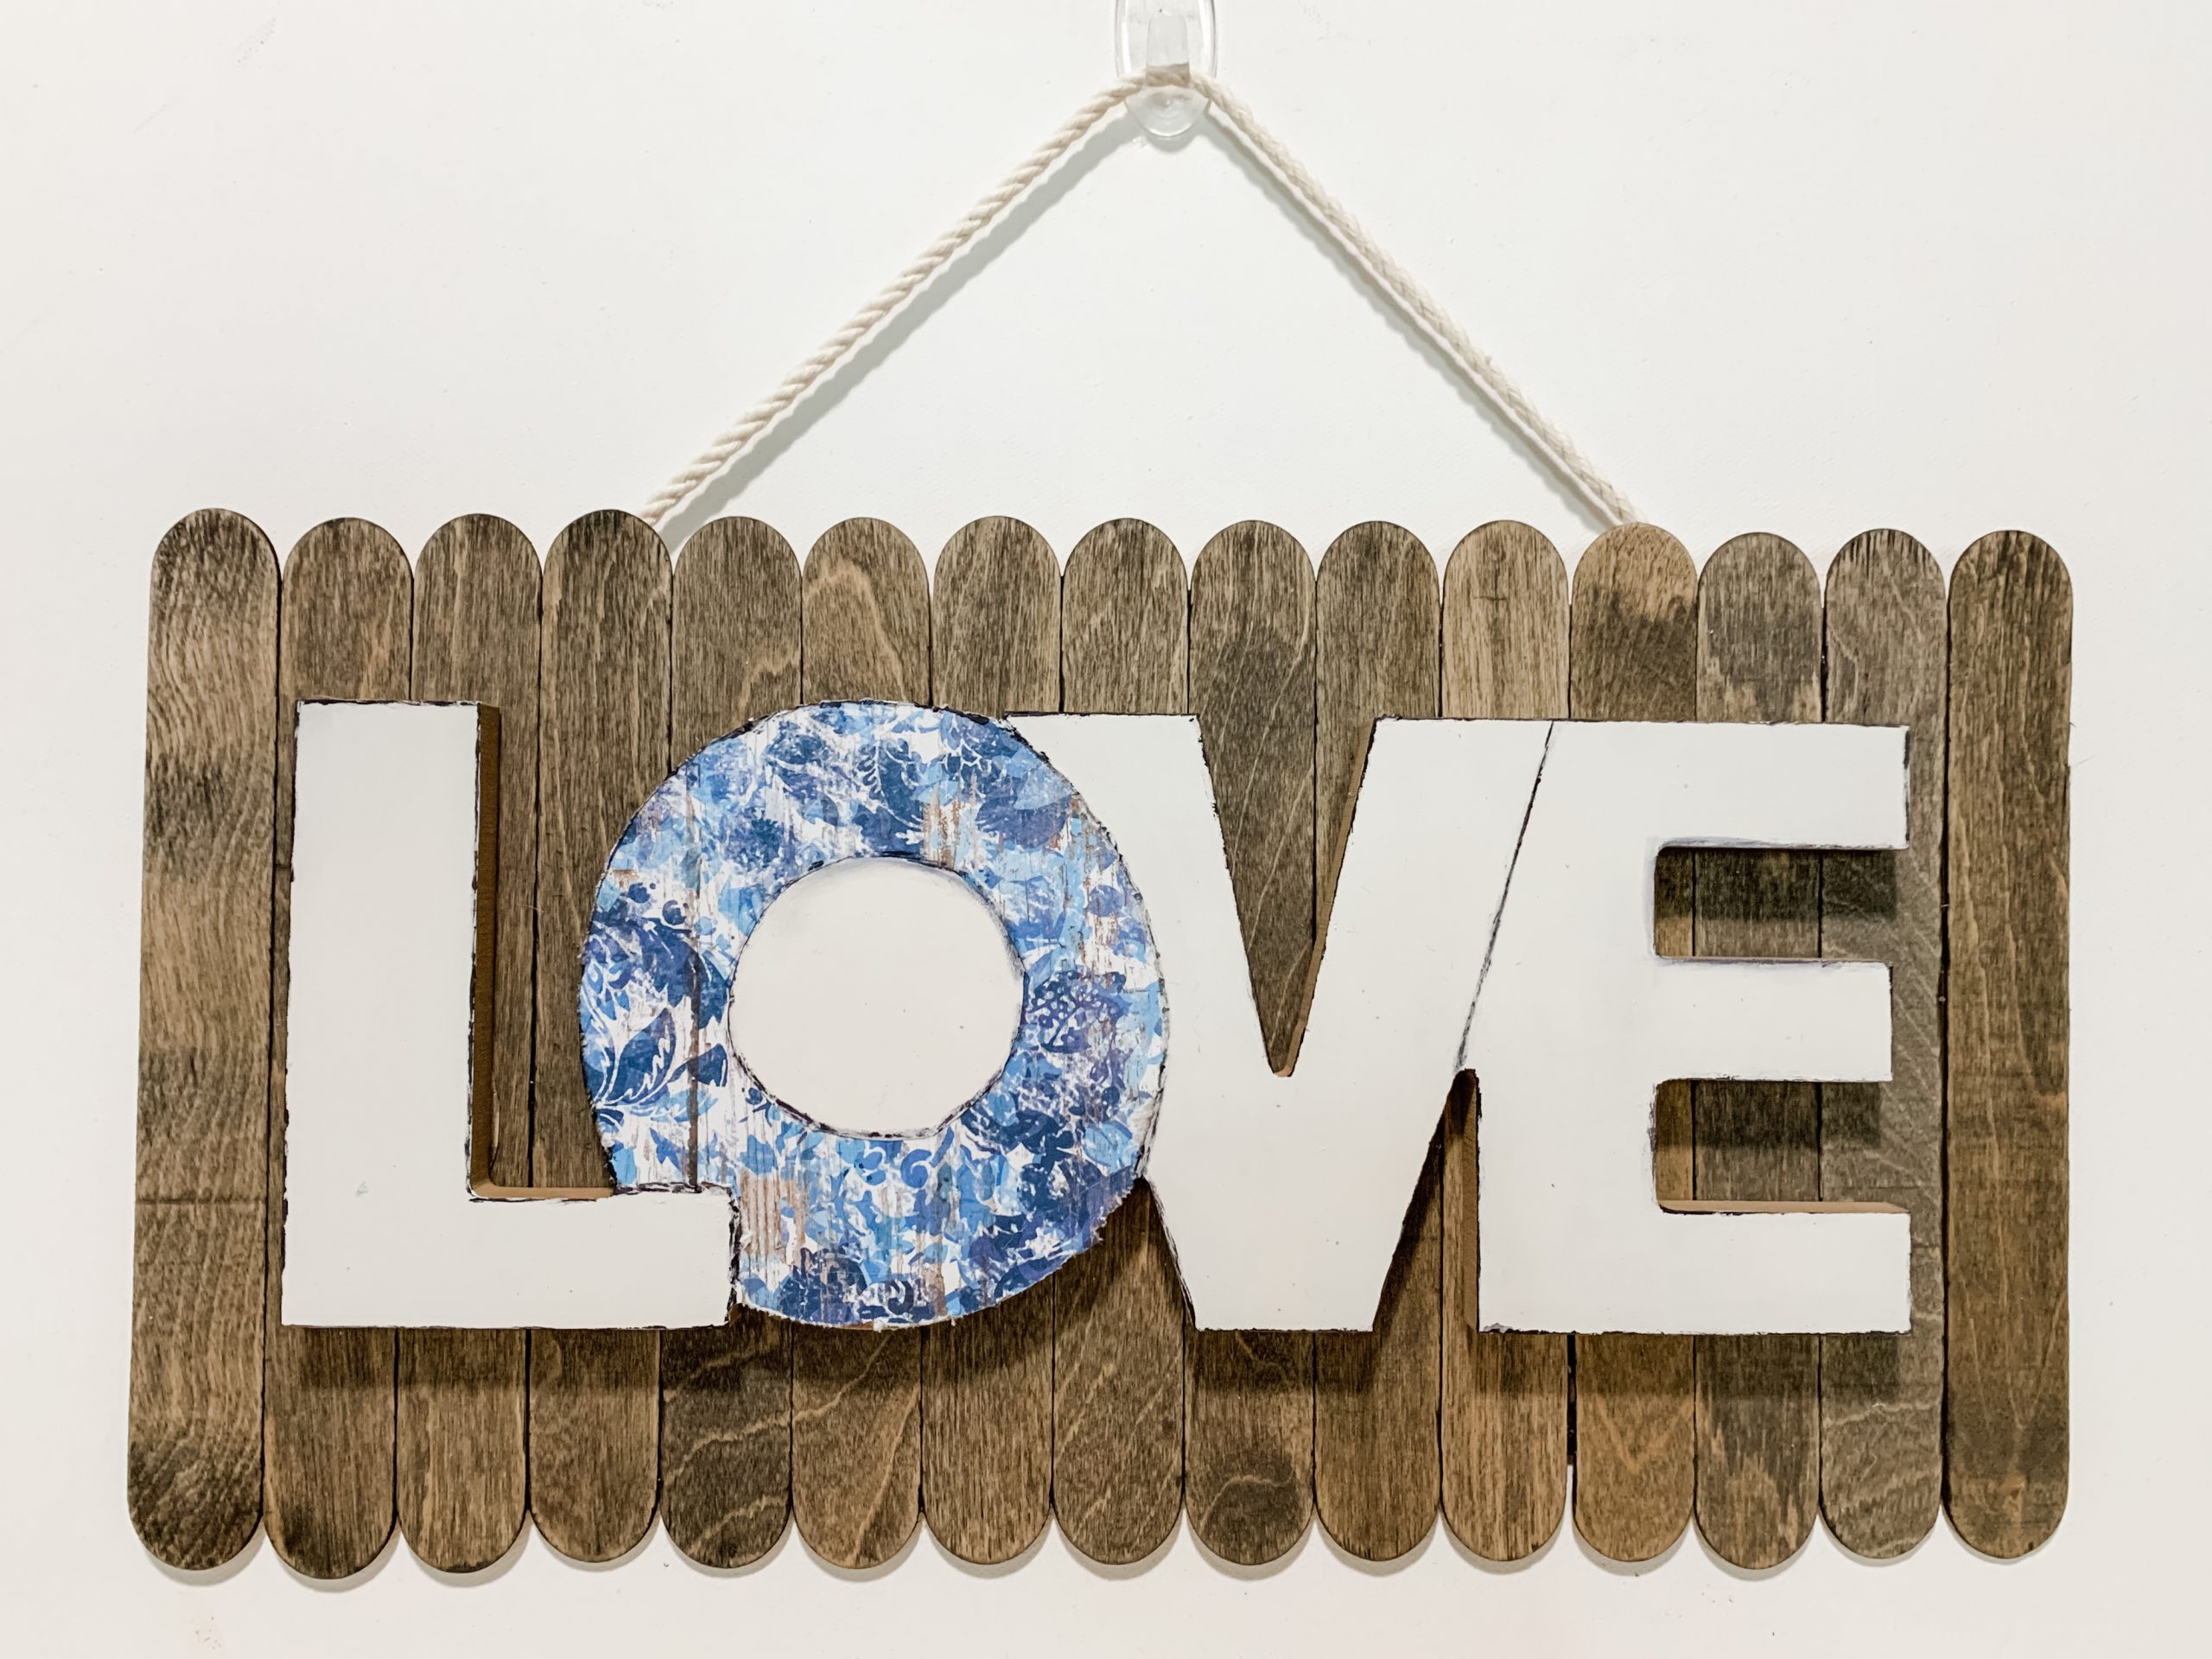
Now that the hanger is secure in place on the back of the popsicle stick board, it is time to attach the decorated Dollar Tree LOVE sign! I placed the LOVE sign where I wanted to attach it on the backboard.
Then, I just lifted each end and put hot glue onto the popsicle sticks, and pressed it onto the backboard.
Finally, I used a fine-tip paintbrush to lightly brush brown paint around the outline of each letter. This adds to the detail of this DIY sign and really helps bring everything together!
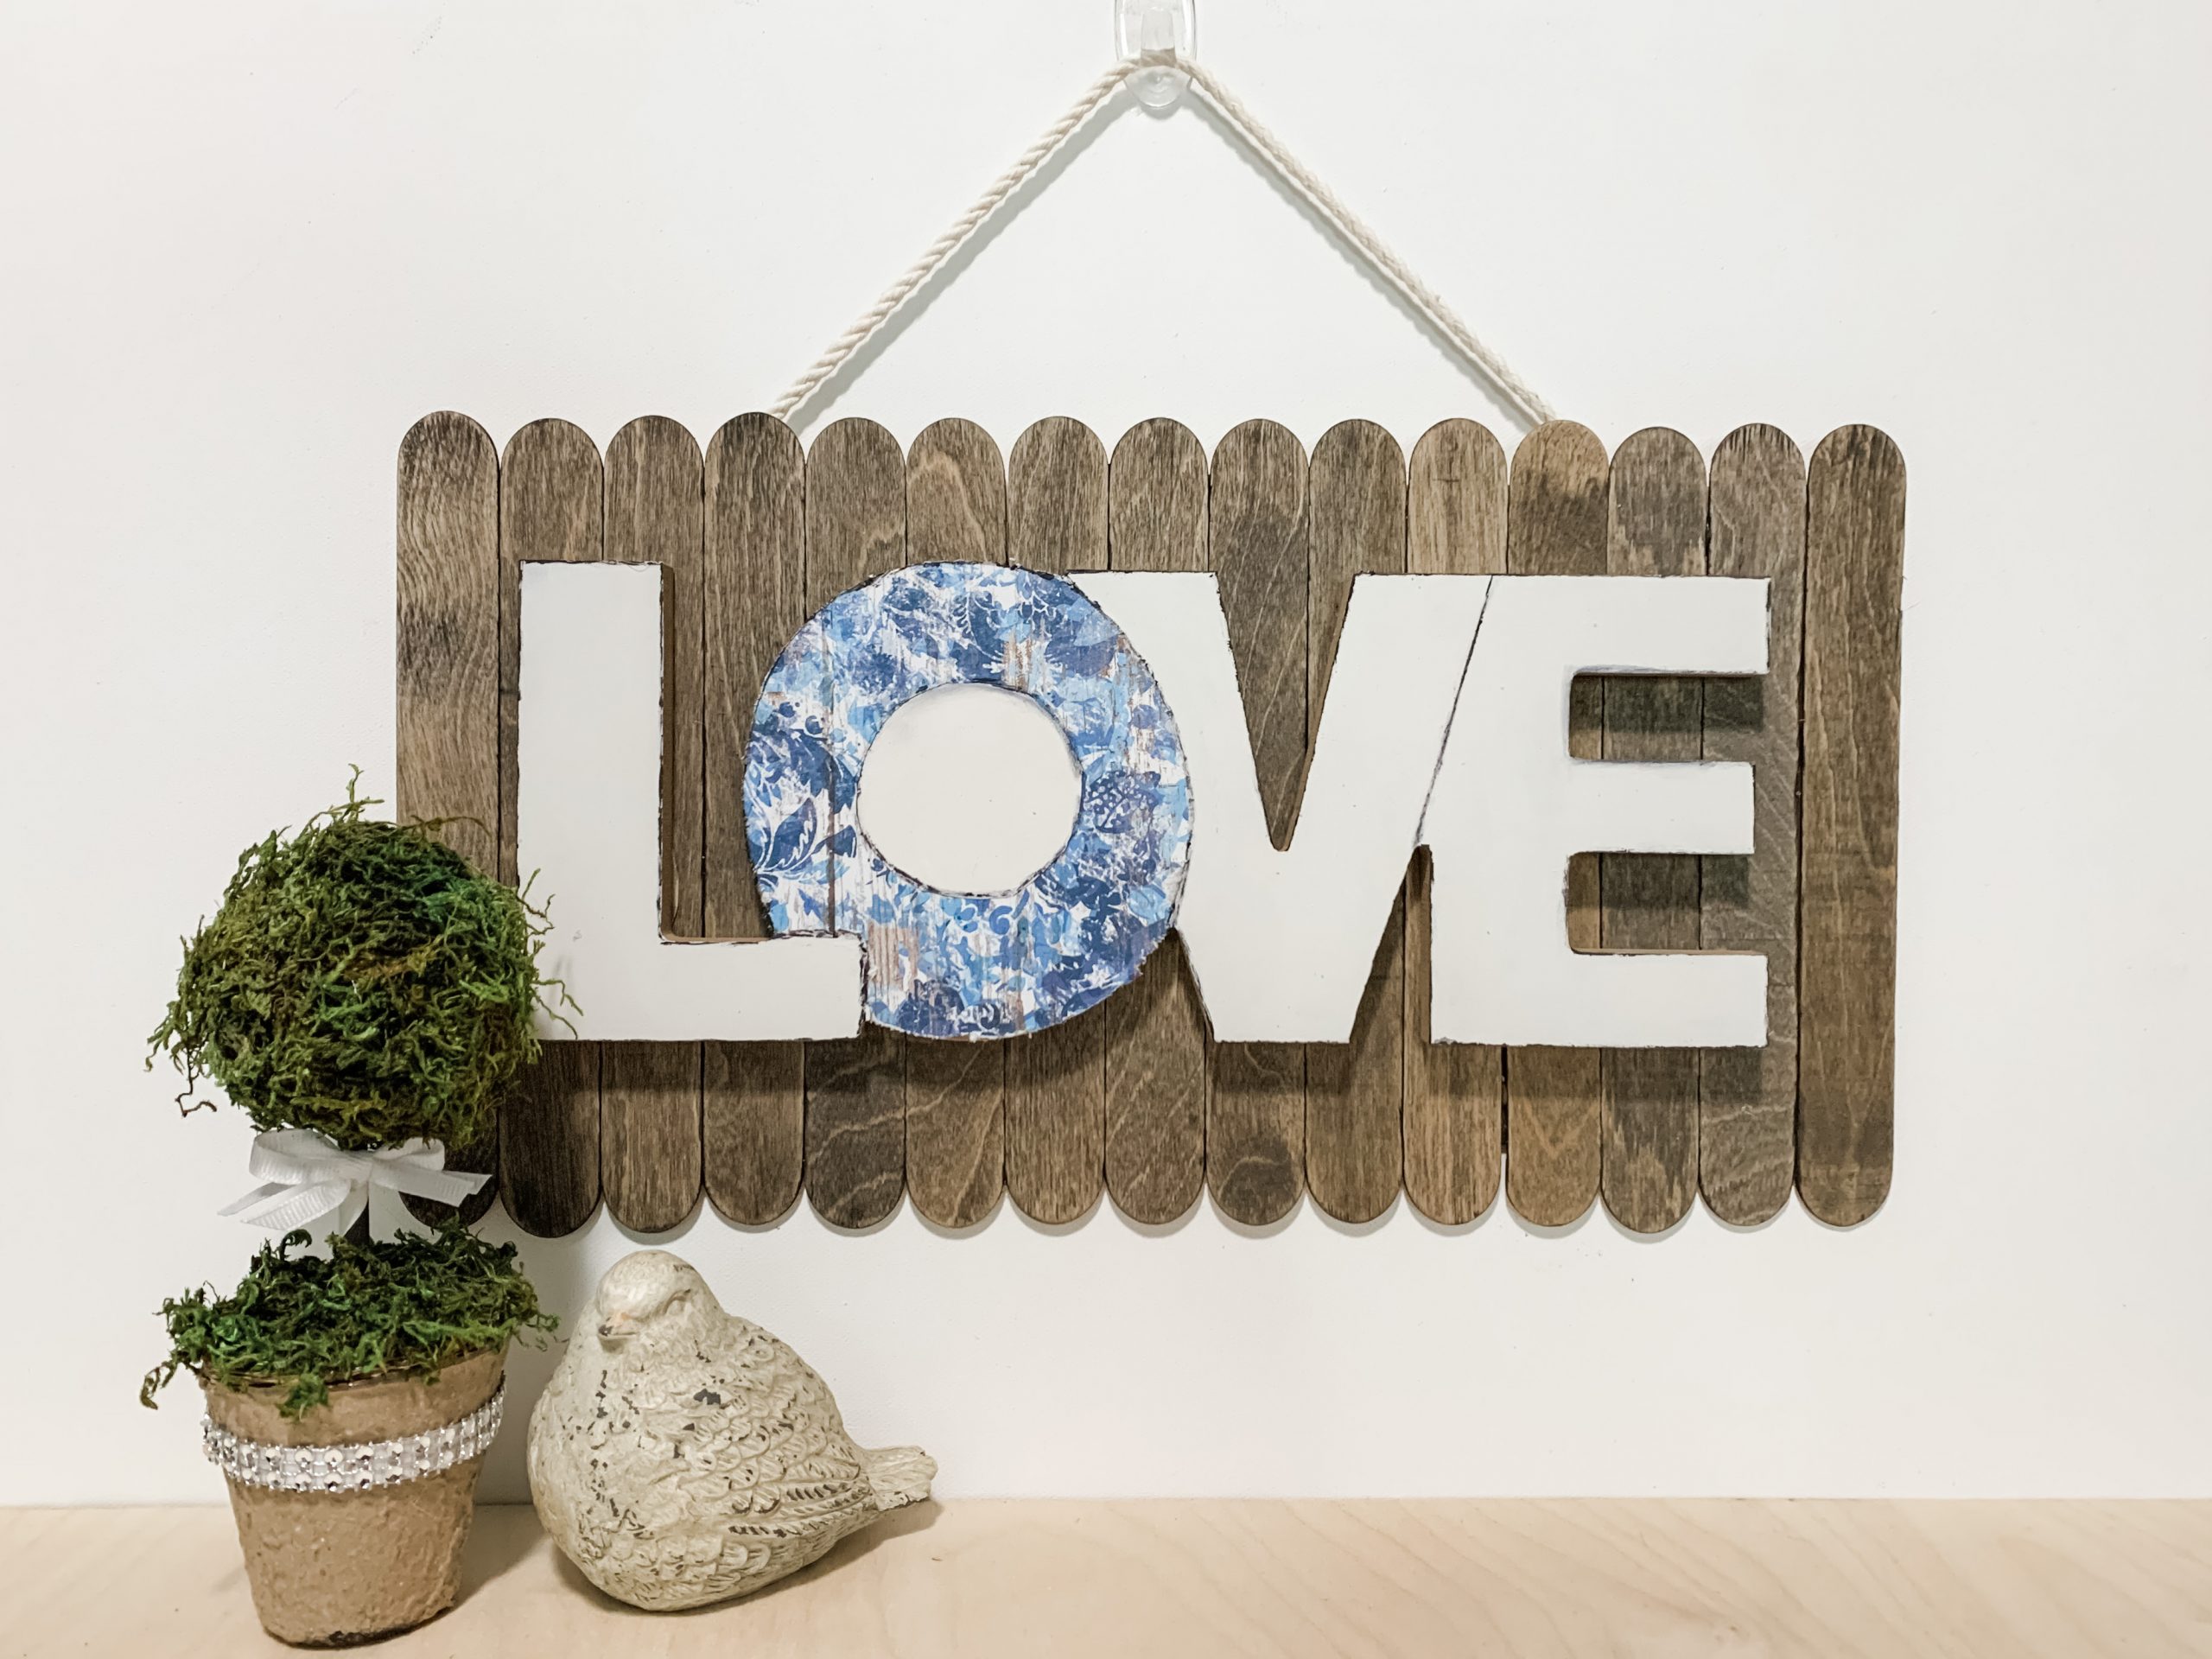
I hope you enjoyed this Spring Decor DIY Dollar Tree Love Sign as much as I did and decide to make one for yourself! I would love to see how yours turns out!
You should totally join my FREE Facebook group called On A Budget Crafts! It is a judgment-free community for DIY crafters to show off their projects and ideas.
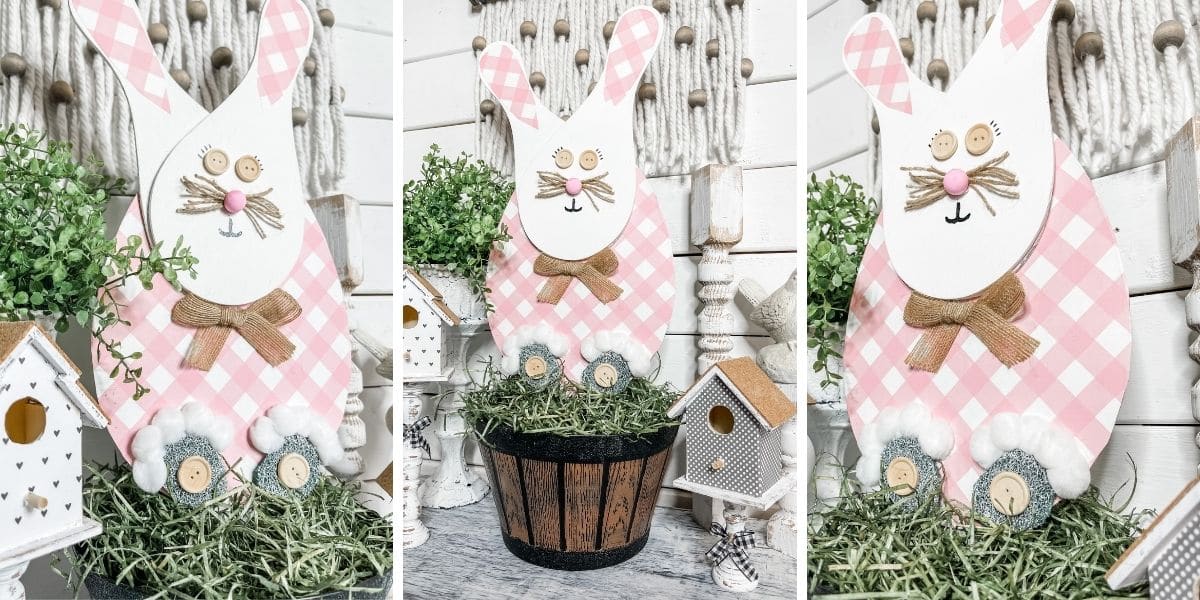
If you loved this DIY you might also like this Dollar Tree DIY Reverse Canvas Boho Decor!
Thanks for stopping by! XOXO Amber
You can also shop my ENTIRE AMAZON Favorites shop just click here! It’s packed full of all the things I use and love. Here is the supply list I highly recommend every creative have on hand!!
Would you also pin my blog for later and get on my newsletter alerts? I would love to have you join my #craftycrew.
Inspired? Leave me a comment below! I love hearing from my readers!

Join my free “ON A BUDGET CRAFTS” Facebook group!


Super cute