Dollar Tree DIY Reverse Canvas Boho Decor

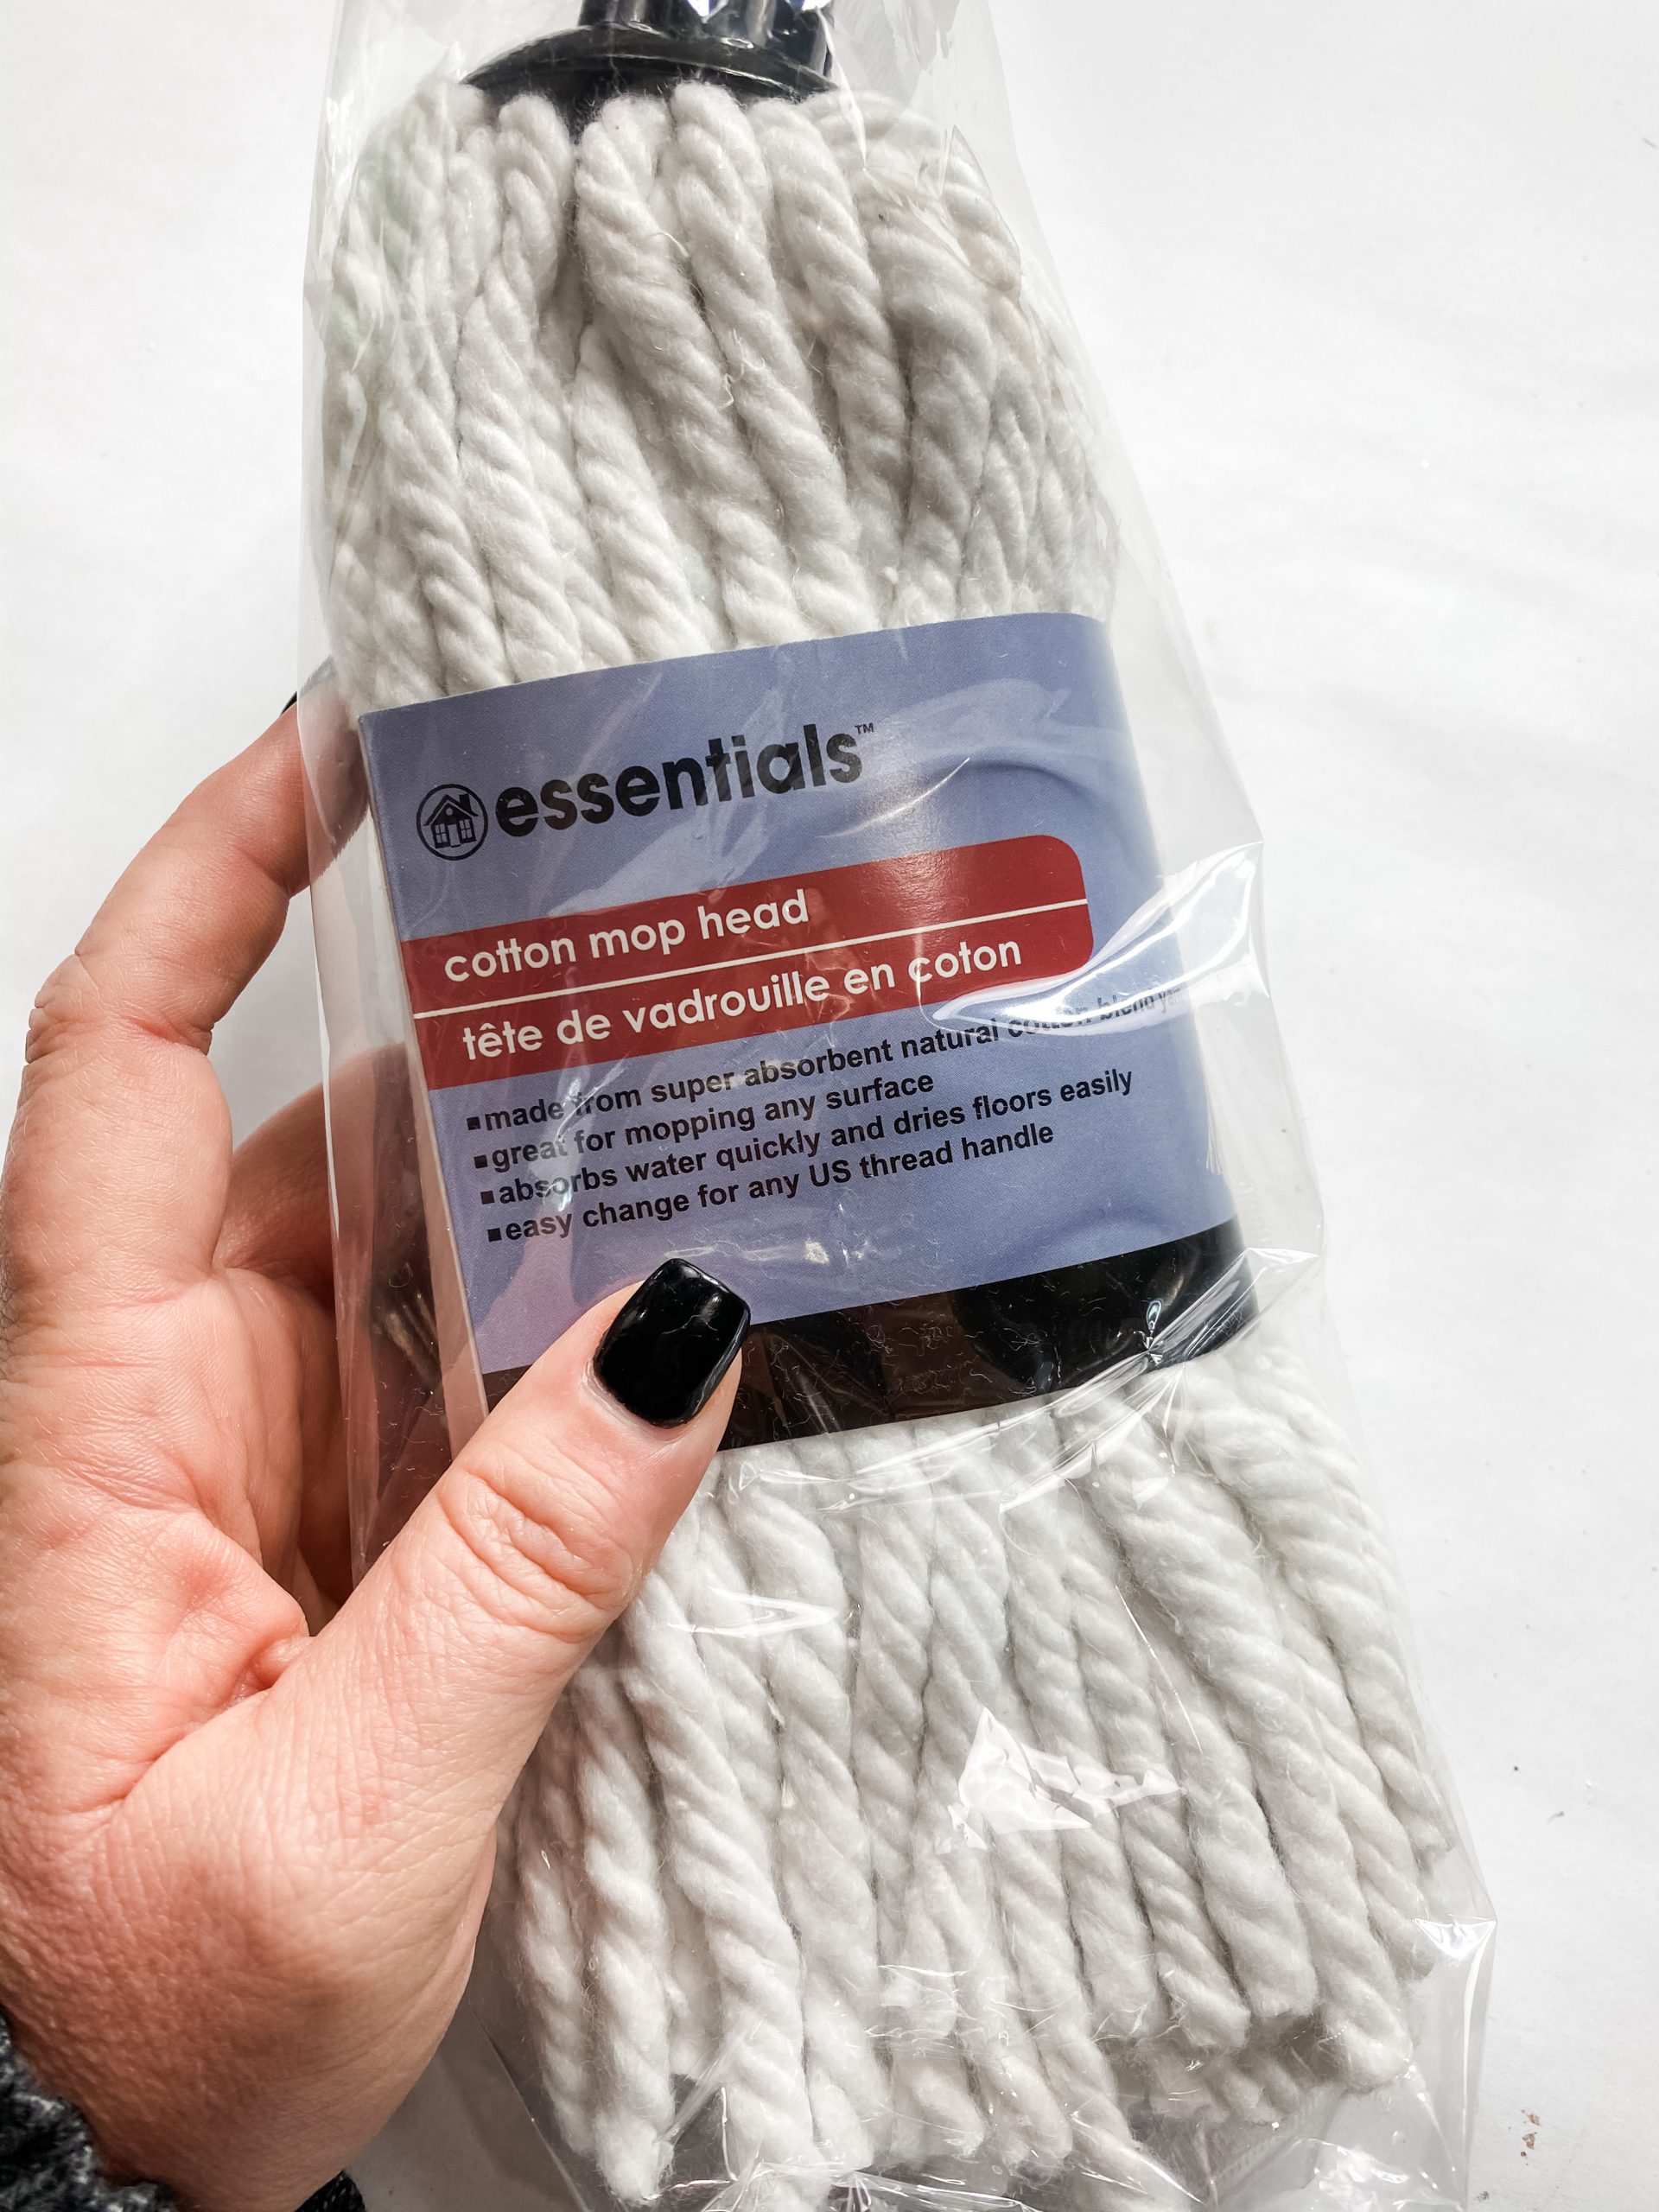
Have I ever said how much I love using Dollar Tree Mop Heads in my DIY crafts? Well, this Dollar Tree DIY Reverse Canvas Boho Decor should show you just why I love them so much!
This was so much fun to make, and I was really able to bring my vision to life! I think you’re really going to love this easy DIY project.
If you like this boho family sign, you might also like to see how I repurposed a Hobby Lobby clearance sign for my bedroom decor!
Watch the replay
I have a video for all of my DIY projects, but I think you’re going to want to watch this LIVE replay. While this is actually an easy DIY, there are a couple of steps that may be a little difficult to understand without watching the video.
If you don’t already follow me on Facebook, I go LIVE several times a week and show my followers how to bring my DIY ideas to life!

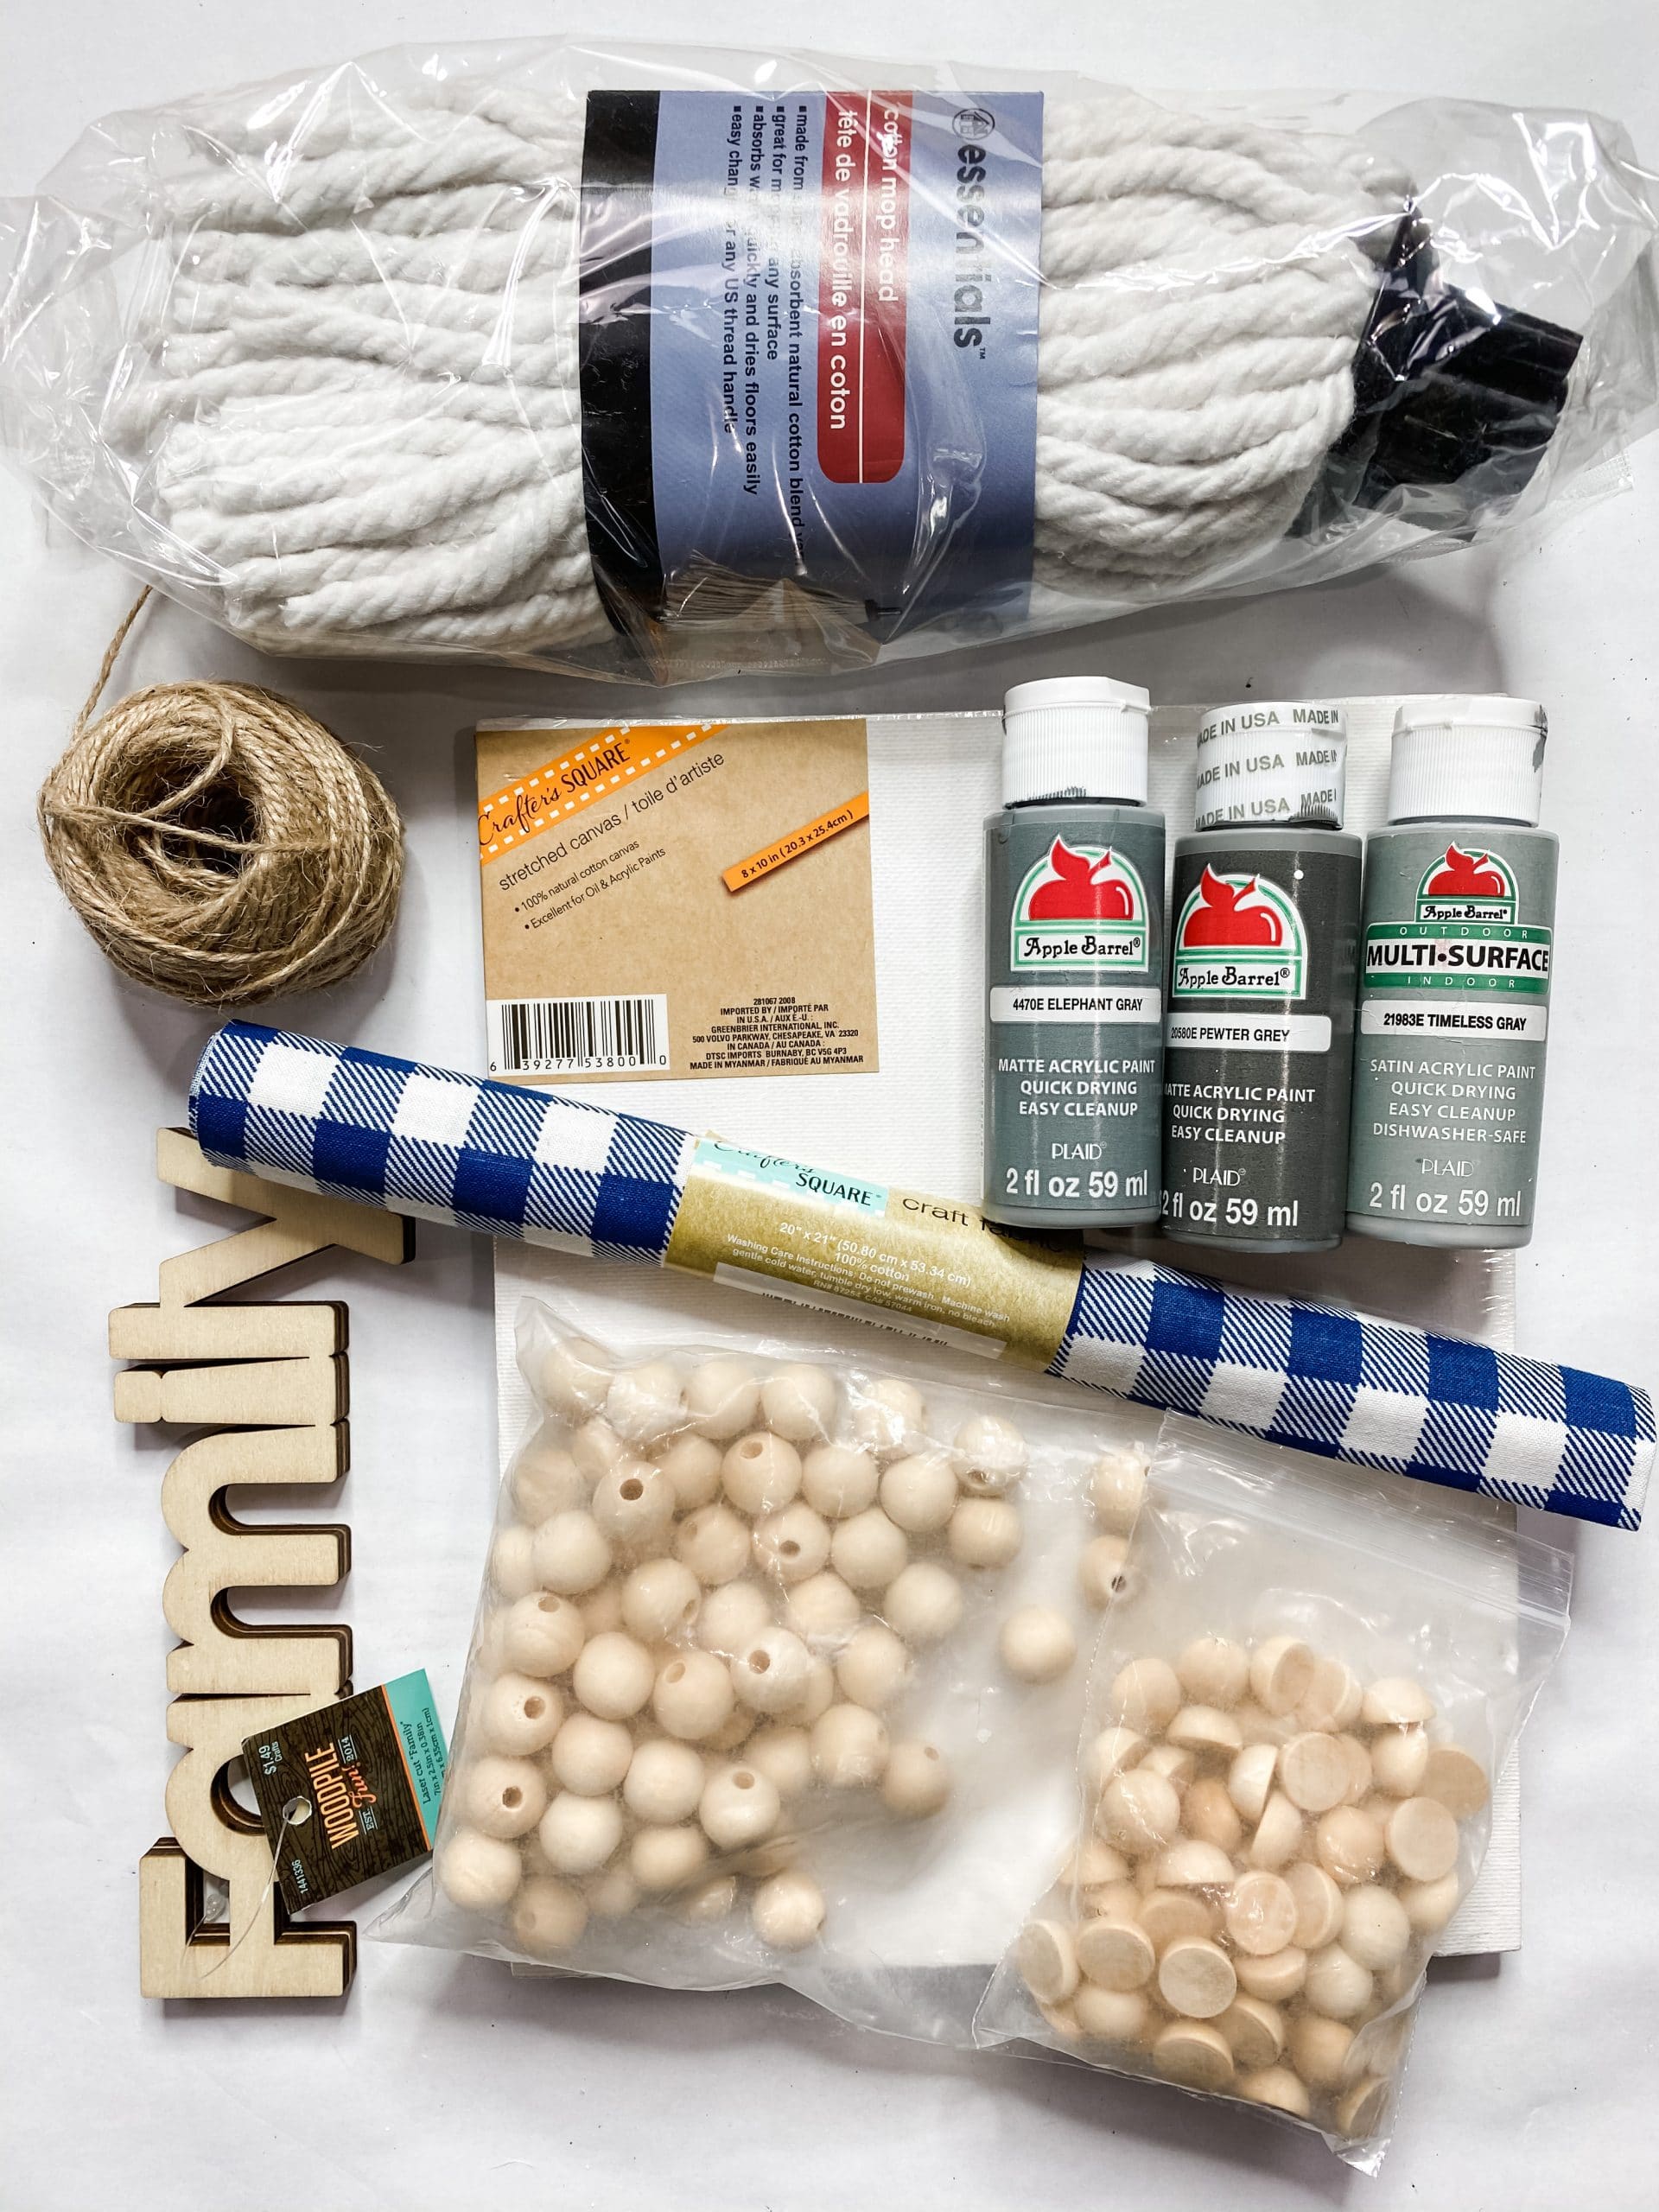
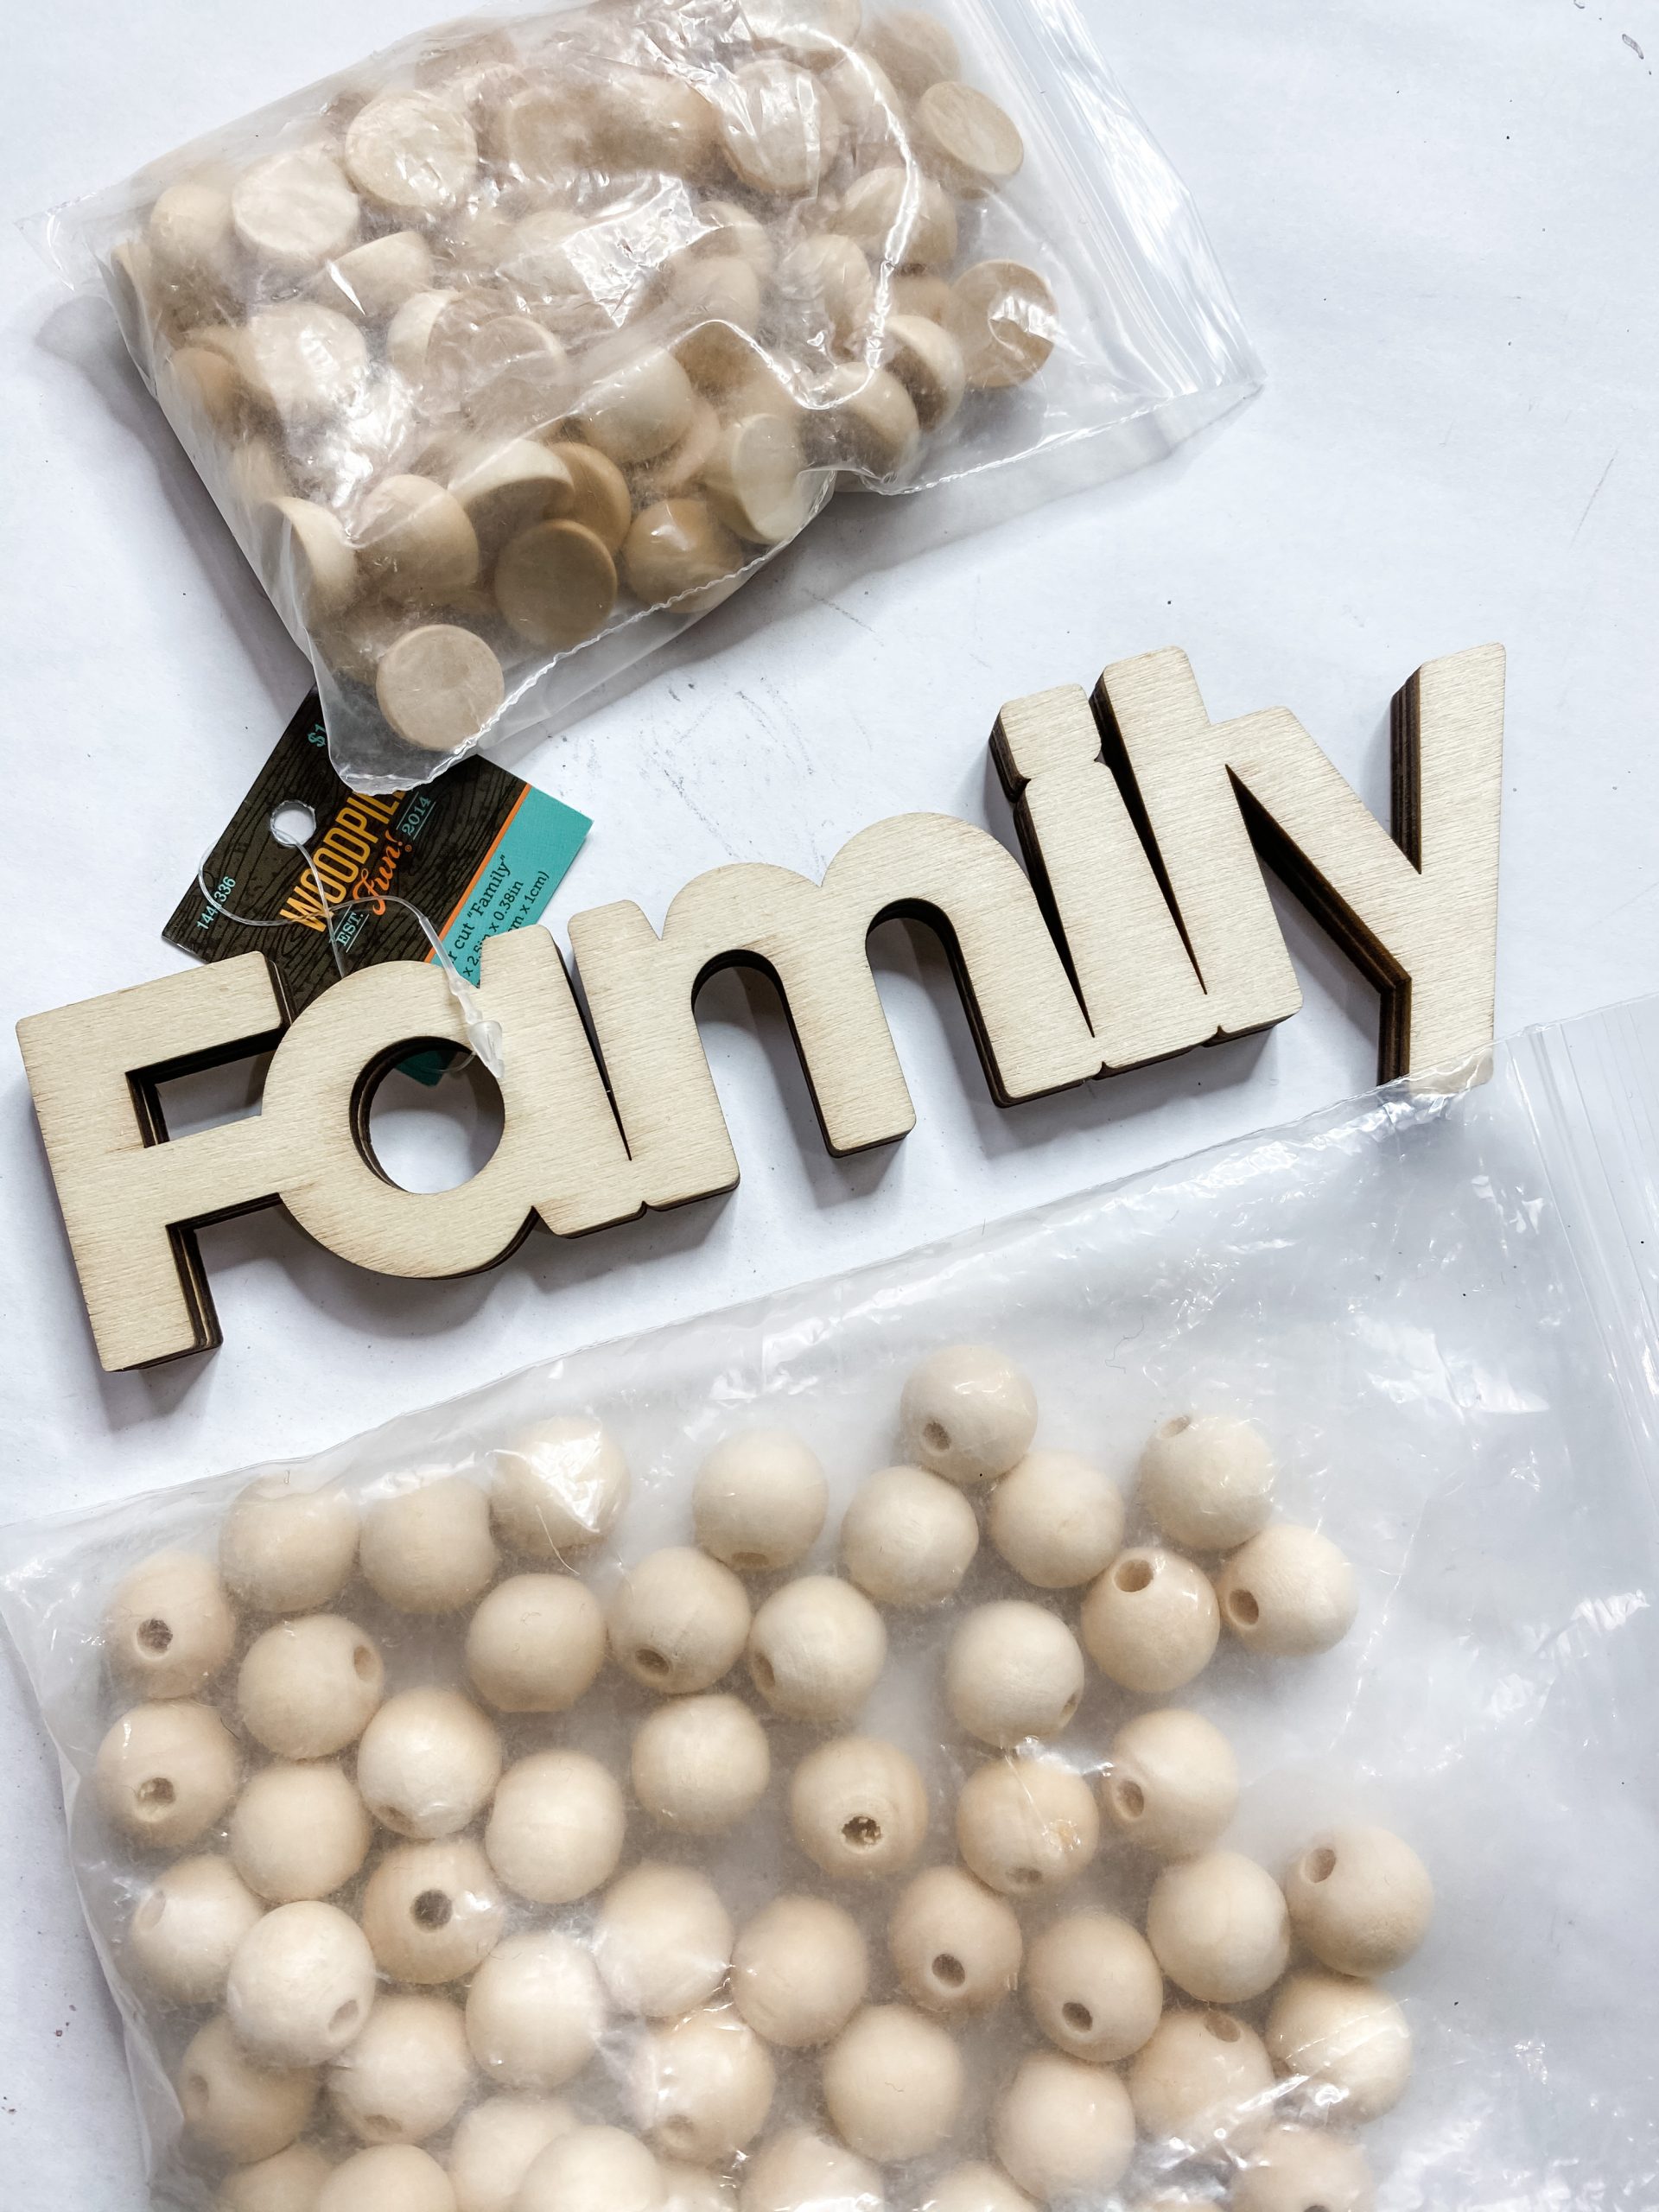
For this project, I will be using these items but you can substitute where you want.
“As an Amazon Associate, I earn from qualifying purchases.”
- Dollar Tree Canvas
- Dollar Tree Mop head
- Wood Family lettering (Hobby Lobby)
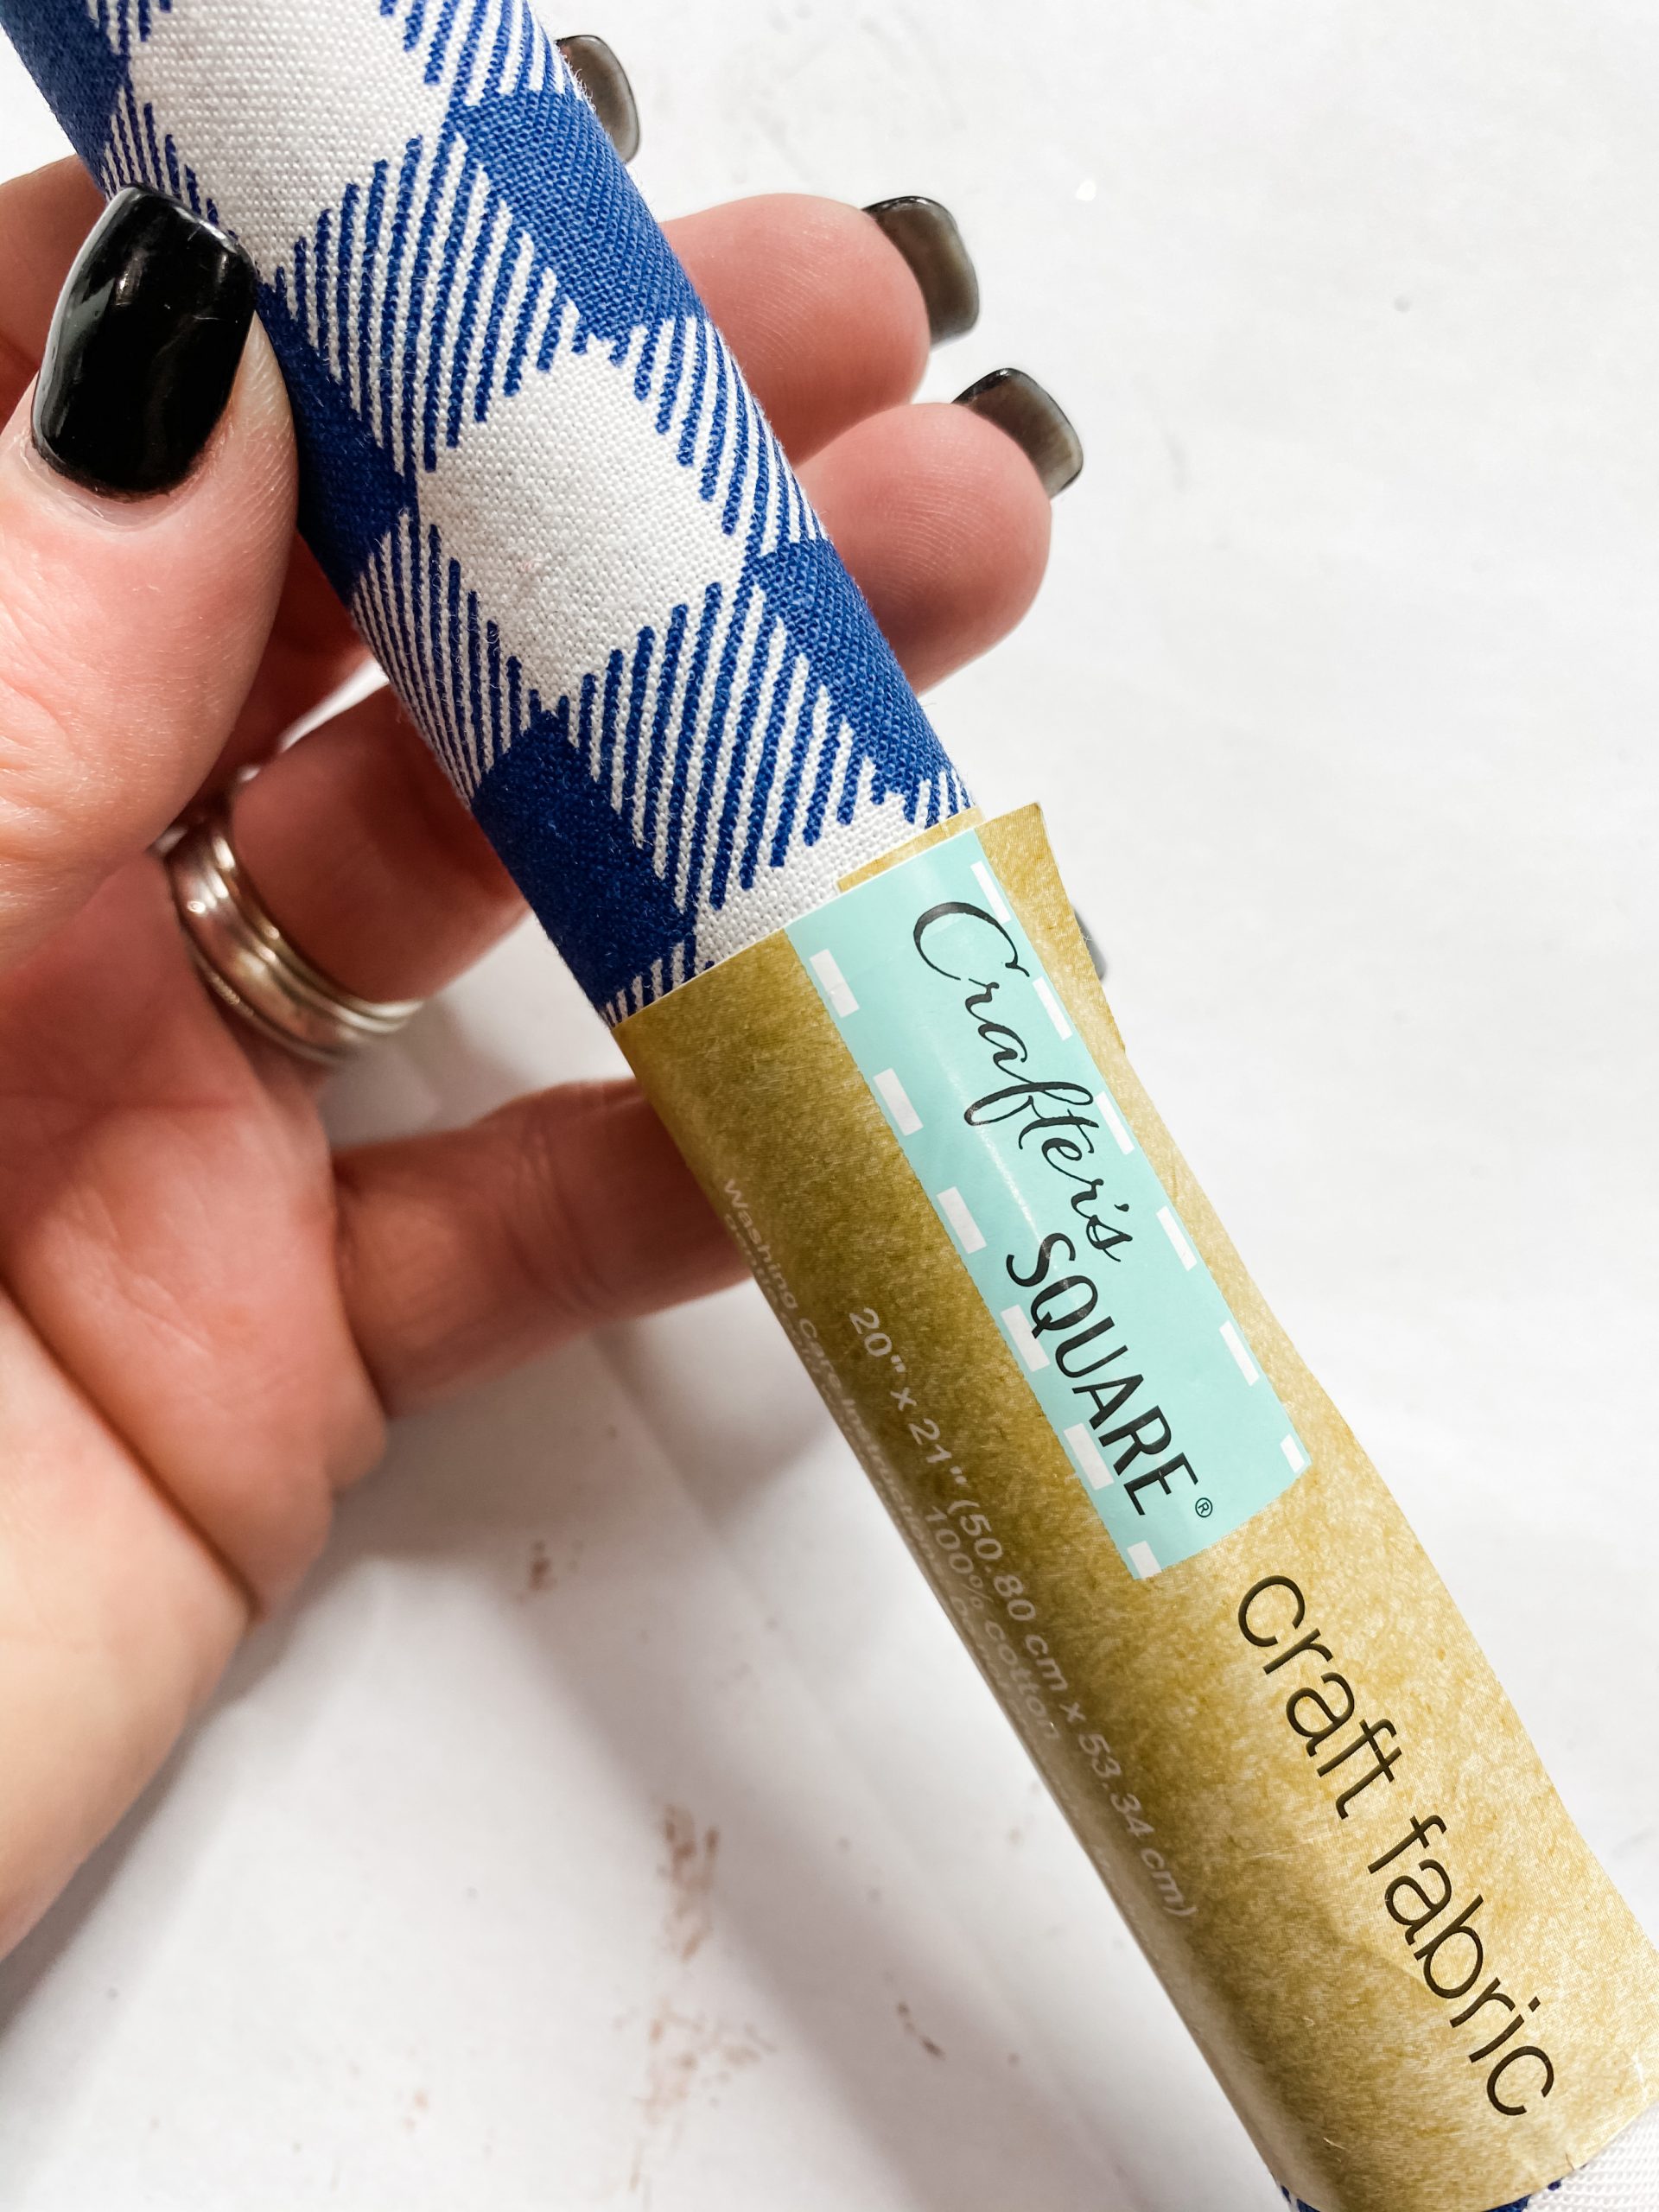
- Blue Buffalo Check Ribbon (Hobby Lobby)
- Dollar Tree Blue Buffalo Check Fabric
- Half Wood Beads
- Wood Beads
- Jute Twine
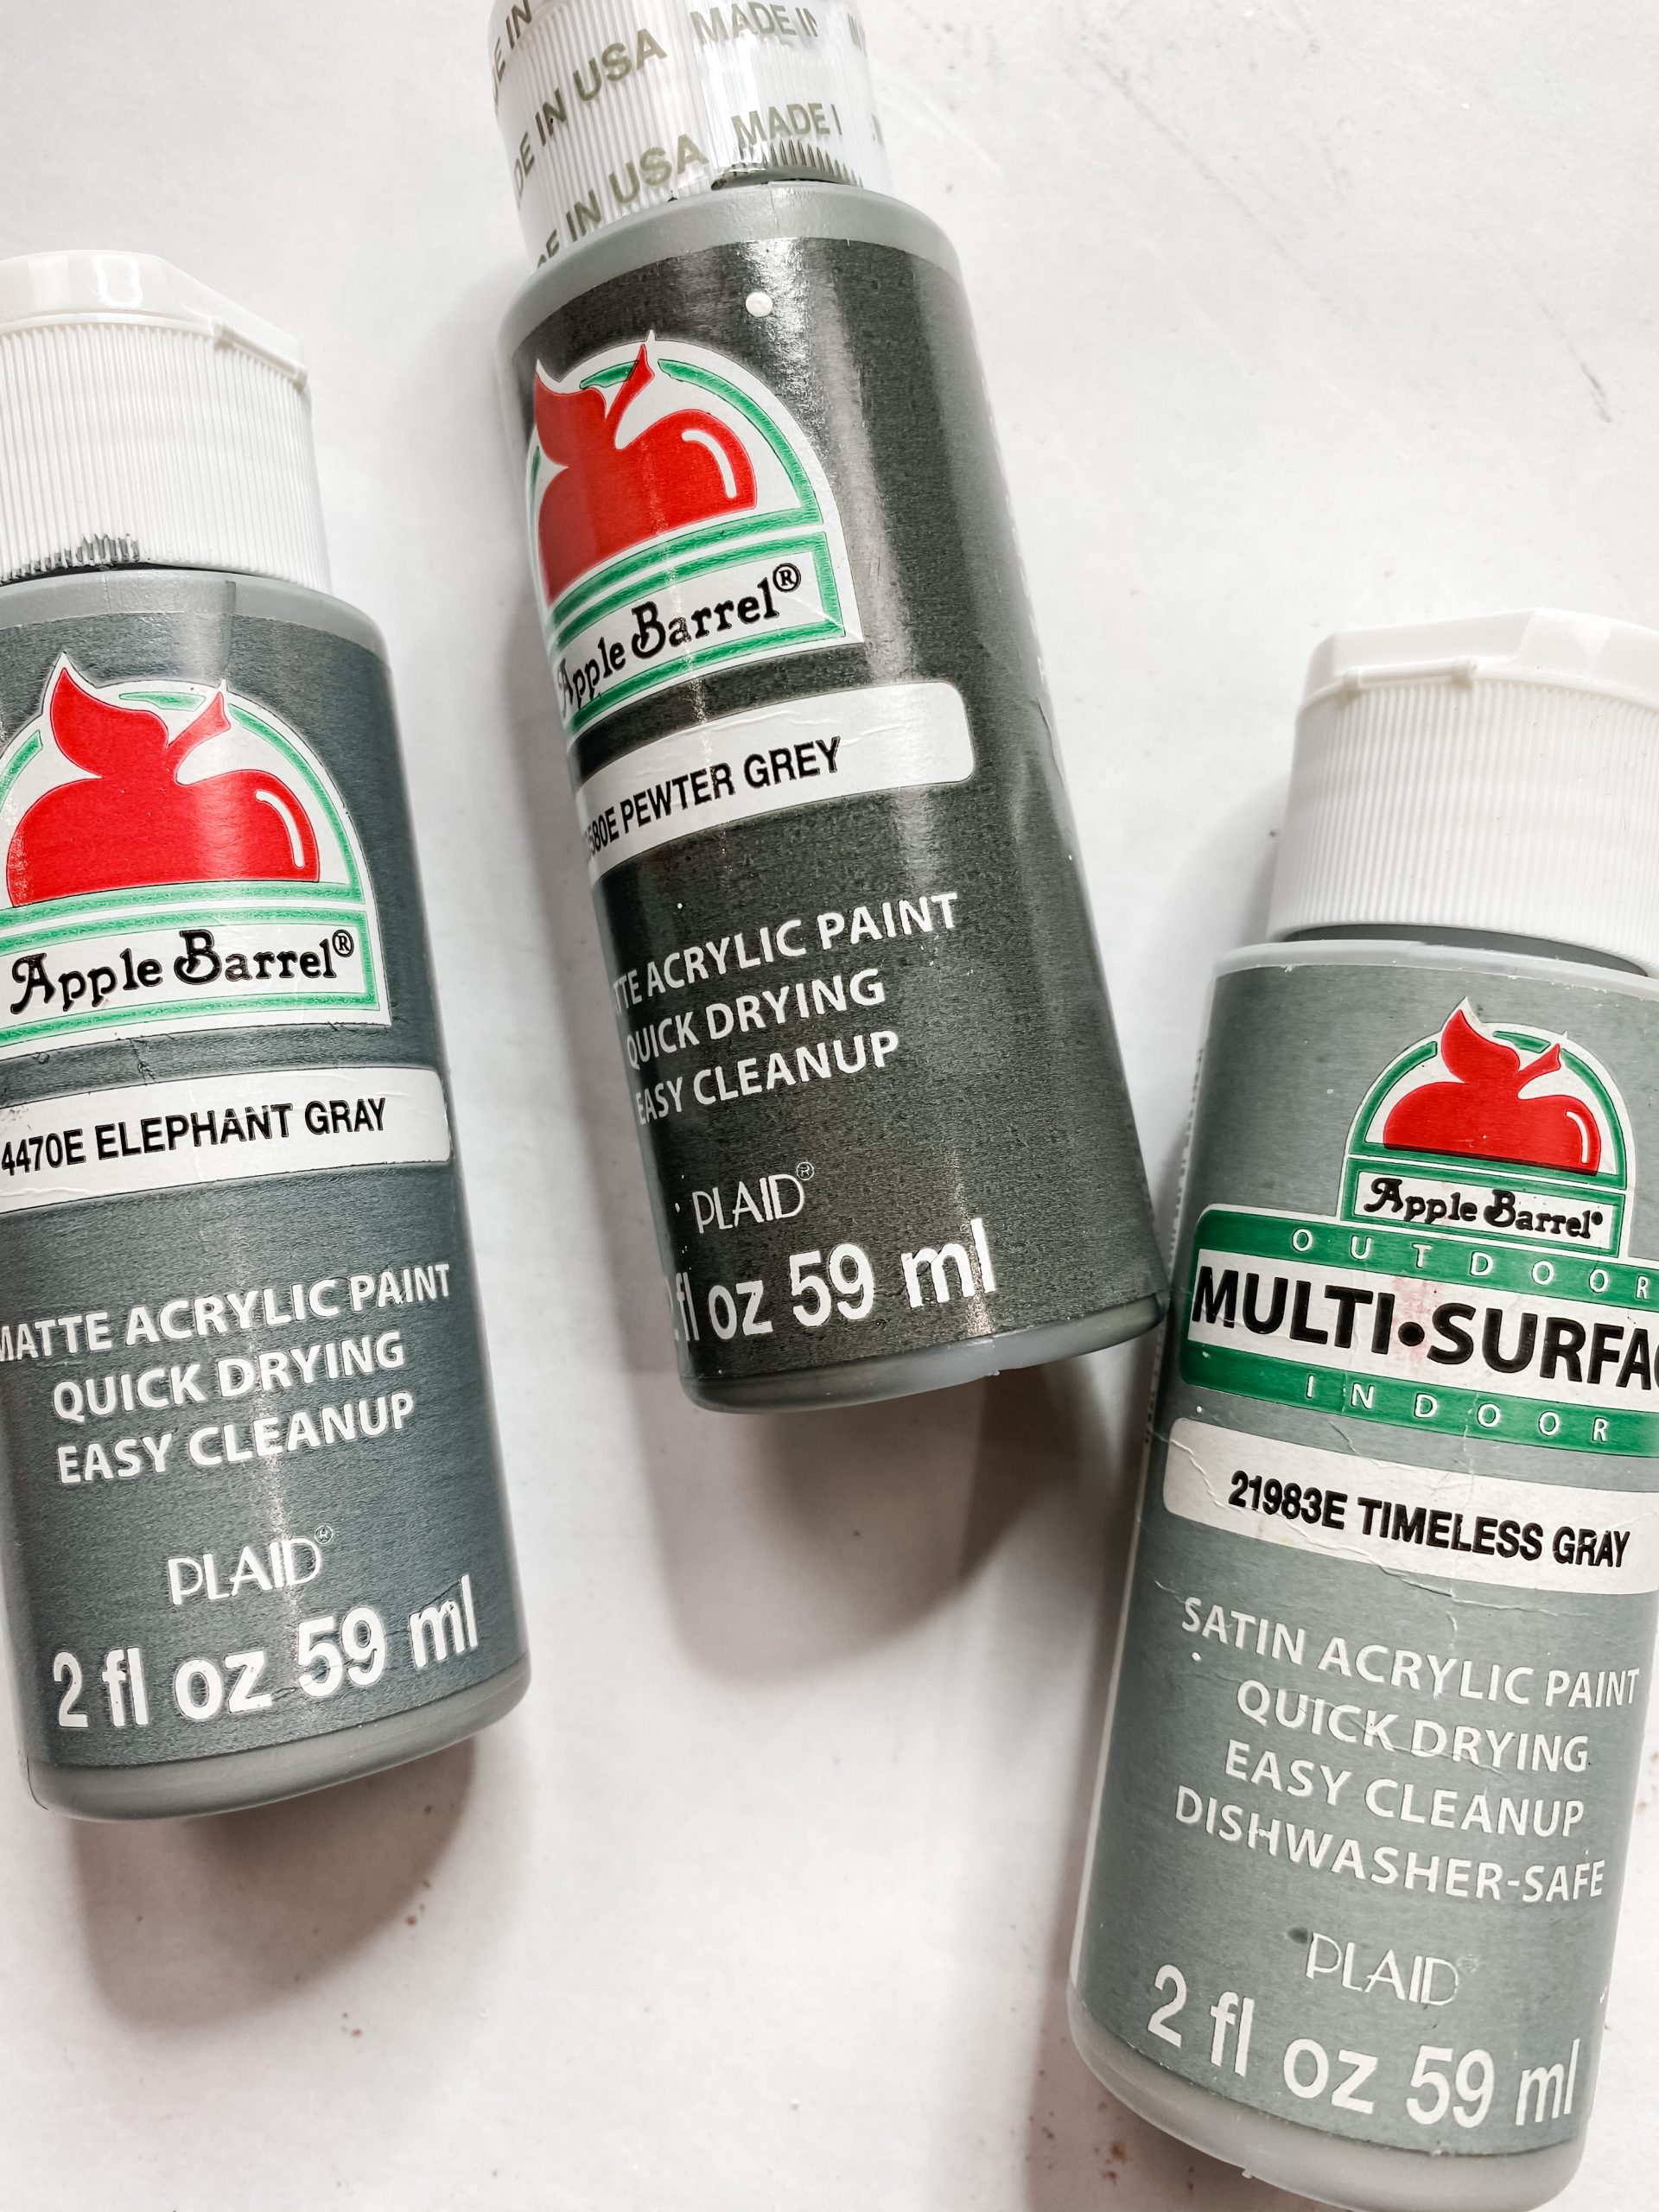
- Apple Barrel Elephant Gray Acrylic Paint
- Apple Barrel Pewter Grey Acrylic Paint
- Mod Podge
- Apple Barrel Timeless Gray
- Baby’s Breath Greenery Spray (Walmart)
- Hot glue gun and glue sticks
- Heat Gun
Let’s get started
The first step for this adorable DIY boho decor is to grab the Dollar Tree canvas and remove the canvas from its frame. I like to use an Exacto knife to cut the canvas off, then pull the remnants off the back.
You then have to handle the staples. You can either hammer them back in (this is what I did), or you can pull them out. Do whatever is easiest for you.

Next, I mixed my paints. I used Apple Barrel’s Pewter Grey, Elephant Gray, and Timeless Gray with a tiny bit of black. You can see my proportions in the DIY tutorial video.
Once the paint is ready, spray the frame with water and use a baby wipe to spread the paint mixture across the Dollar Tree canvas frame. Be sure to get the sides of the frame as well.
Dollar Tree Mop Head
You can set the frame to the side to dry because we are going to work with the Dollar Tree mop head now!
Remove the black plastic piece that secures the mop strings together, and start unraveling the mop strings.
Once you have all the mop strings unraveled, make sure your frame is dry because you’re going to wrap the strings around the frame in a sort of macrame fashion.
Group five pieces of unraveled mop strings together, fold them in half, loop them over the frame with the ends hanging and pull the ends up through the hole between the strings and the frame to secure them onto the frame.
You’re going to do this over and over again until the top side of the frame is covered with mop strings. If you get confused, you can watch the LIVE video replay of how I did this step.

Once I had all the strings attached to the Dollar Tree canvas frame, I trimmed the ends so they hung halfway down the frame height.
Then, I cut a piece of blue buffalo check fabric to cover the back of the frame and hot glued it in place. If you’re worried the fabric isn’t secure enough, you can always add staples.
The finishing touches
Now it’s time to make the hanger! I used wood beads that I found on Amazon and jute twine. I dabbed a bit of hot glue on the end of the jute twine to make it easier to thread the beads.
Thread the wood beads onto the jute twine until you’re happy with the length of your hanger. Then, cut the twine from the spool and tie knots next to the end beads to keep them from sliding around.
Hot glue the ends of the jute twine to the back sides of the Dollar Tree canvas frame. I had to use my finger protectors to press the twine into the hot glue and get a secure bond.
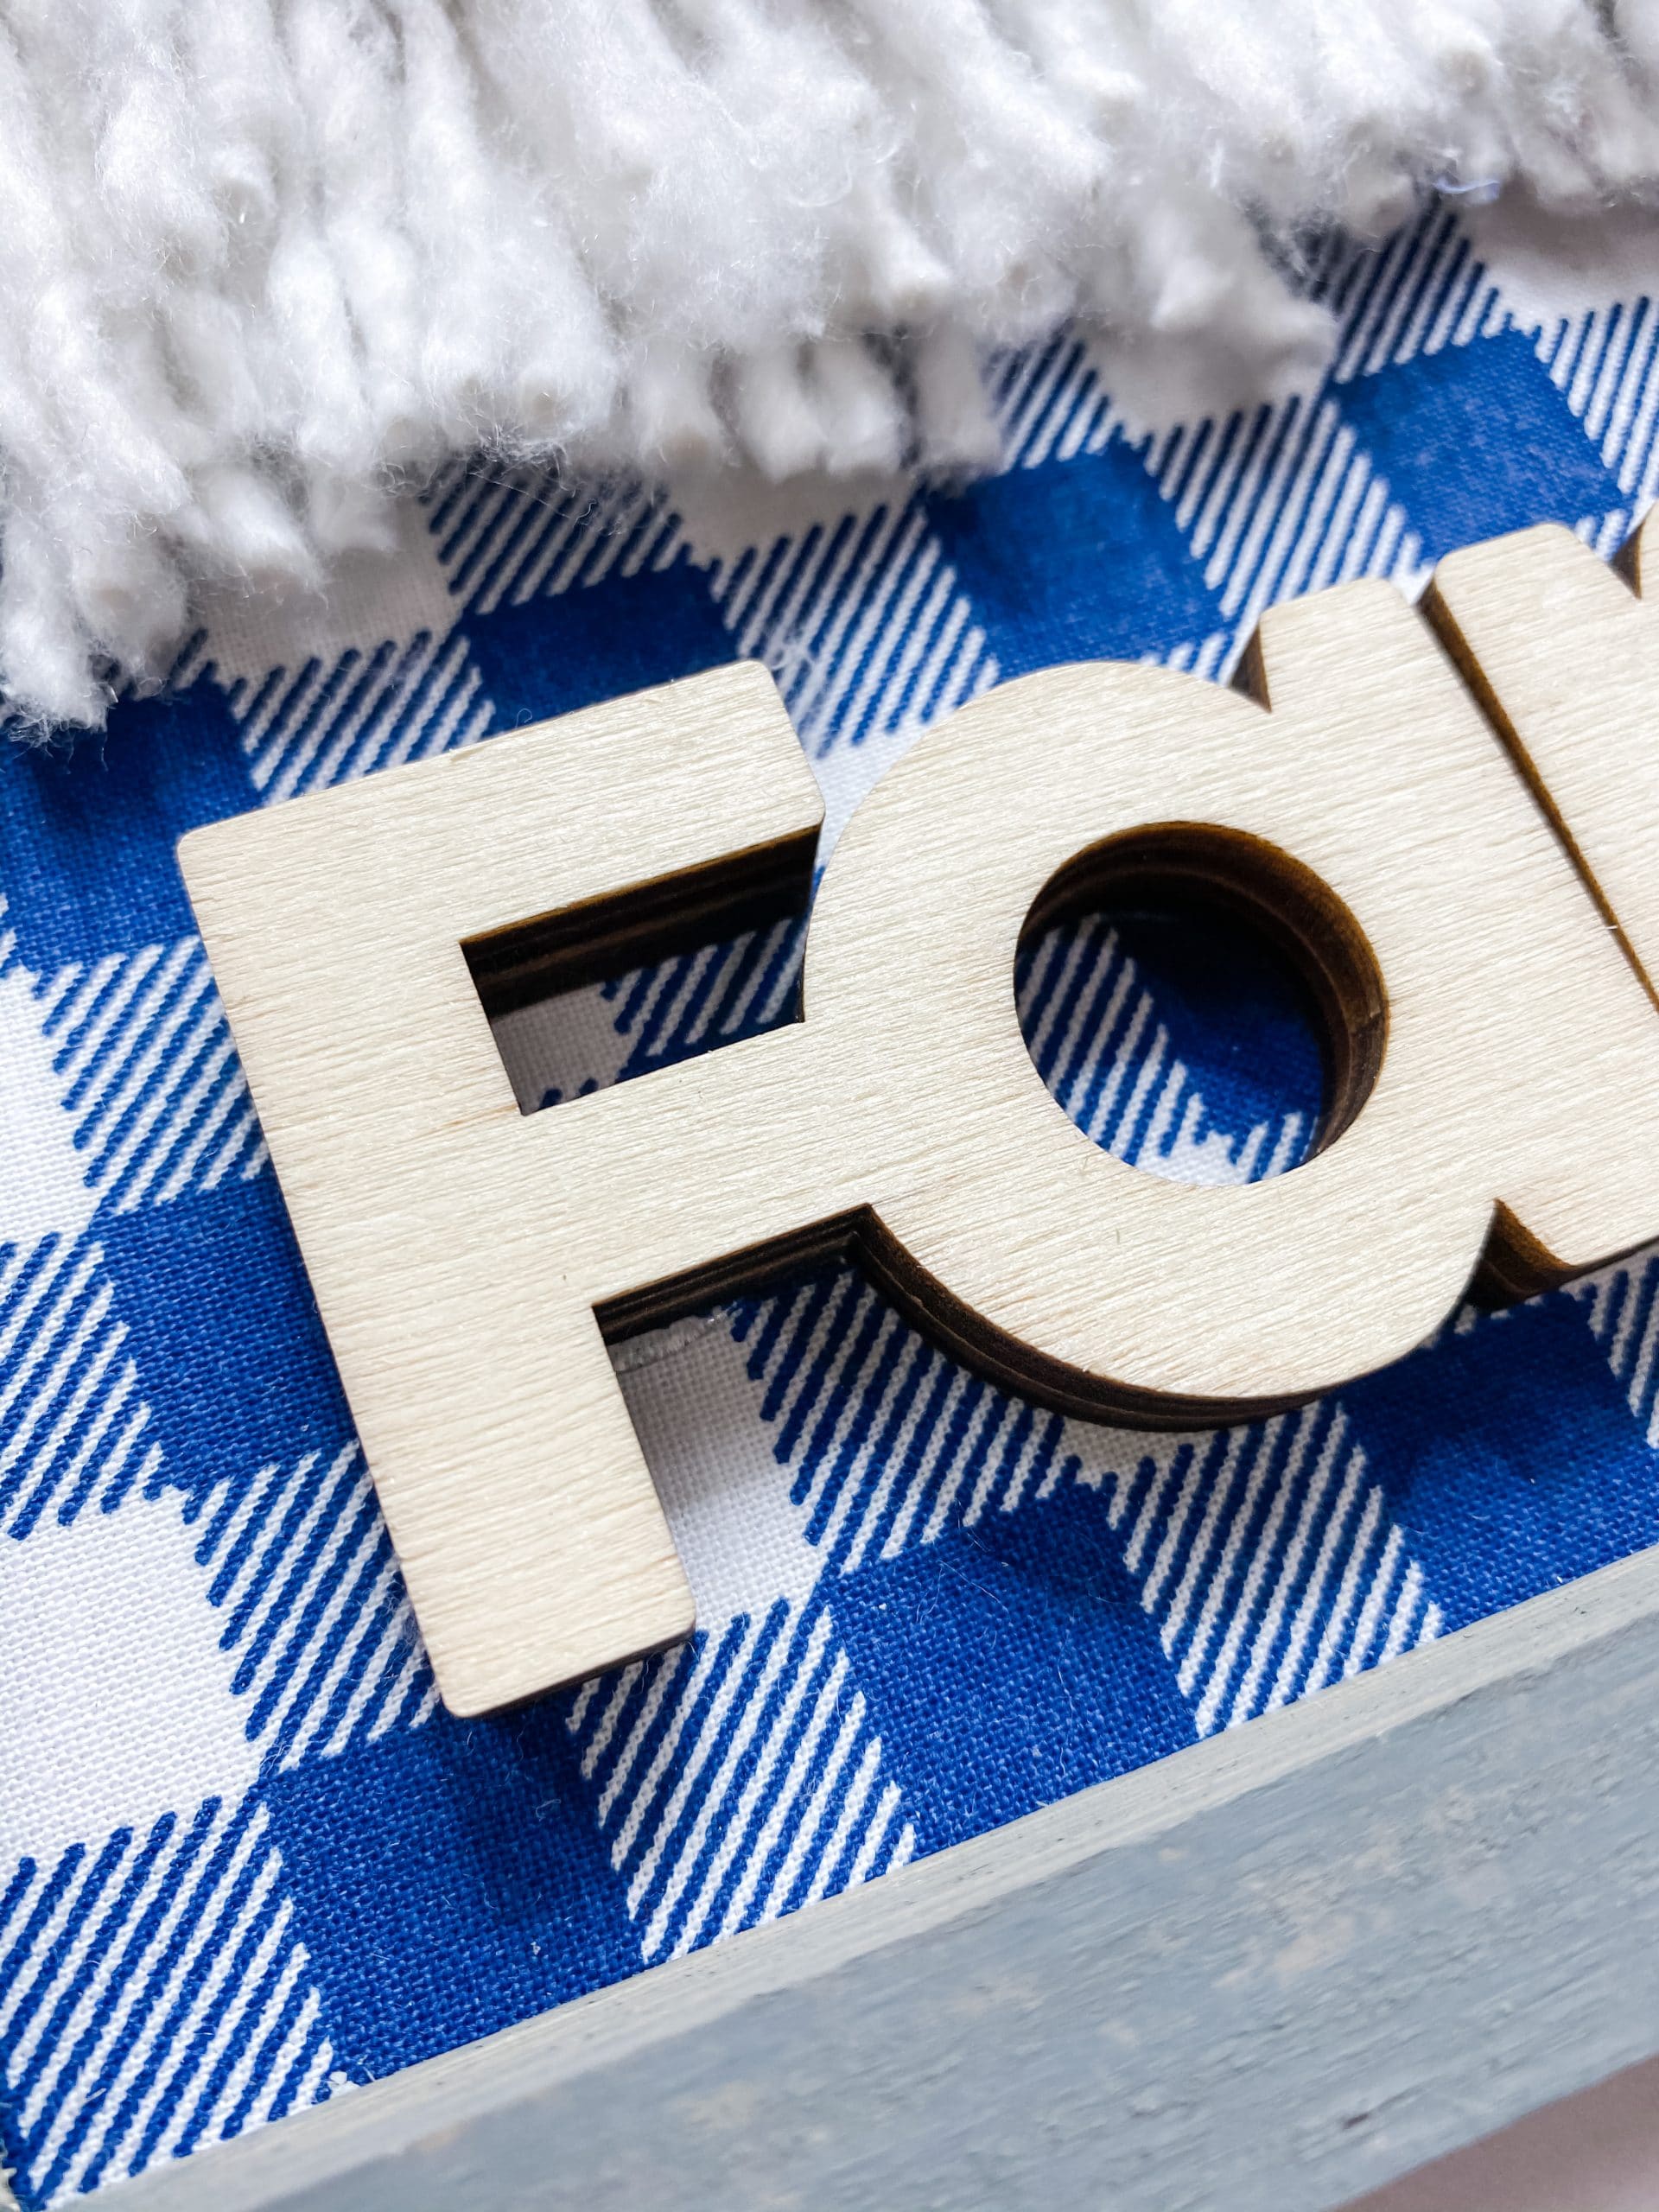
I decided to keep it kind of simple with this DIY, and didn’t paint, decoupage, or decorate the Hobby Lobby family lettering. Instead, I just hot glued it as-is to the fabric underneath the Dollar Tree mop strings.
A touch of green
I knew I wanted to add some green to this easy DIY project, but I wasn’t sure which greenery spray I was going to use.
My first thought was to use Lamb’s Ear, but I felt the leaves were just way too large for this decor DIY.
I also had some Boxwood and Baby’s Breath greenery sprays. I’ve used the Boxwood several times, so I decided to go with Baby’s Breath greenery spray this time!

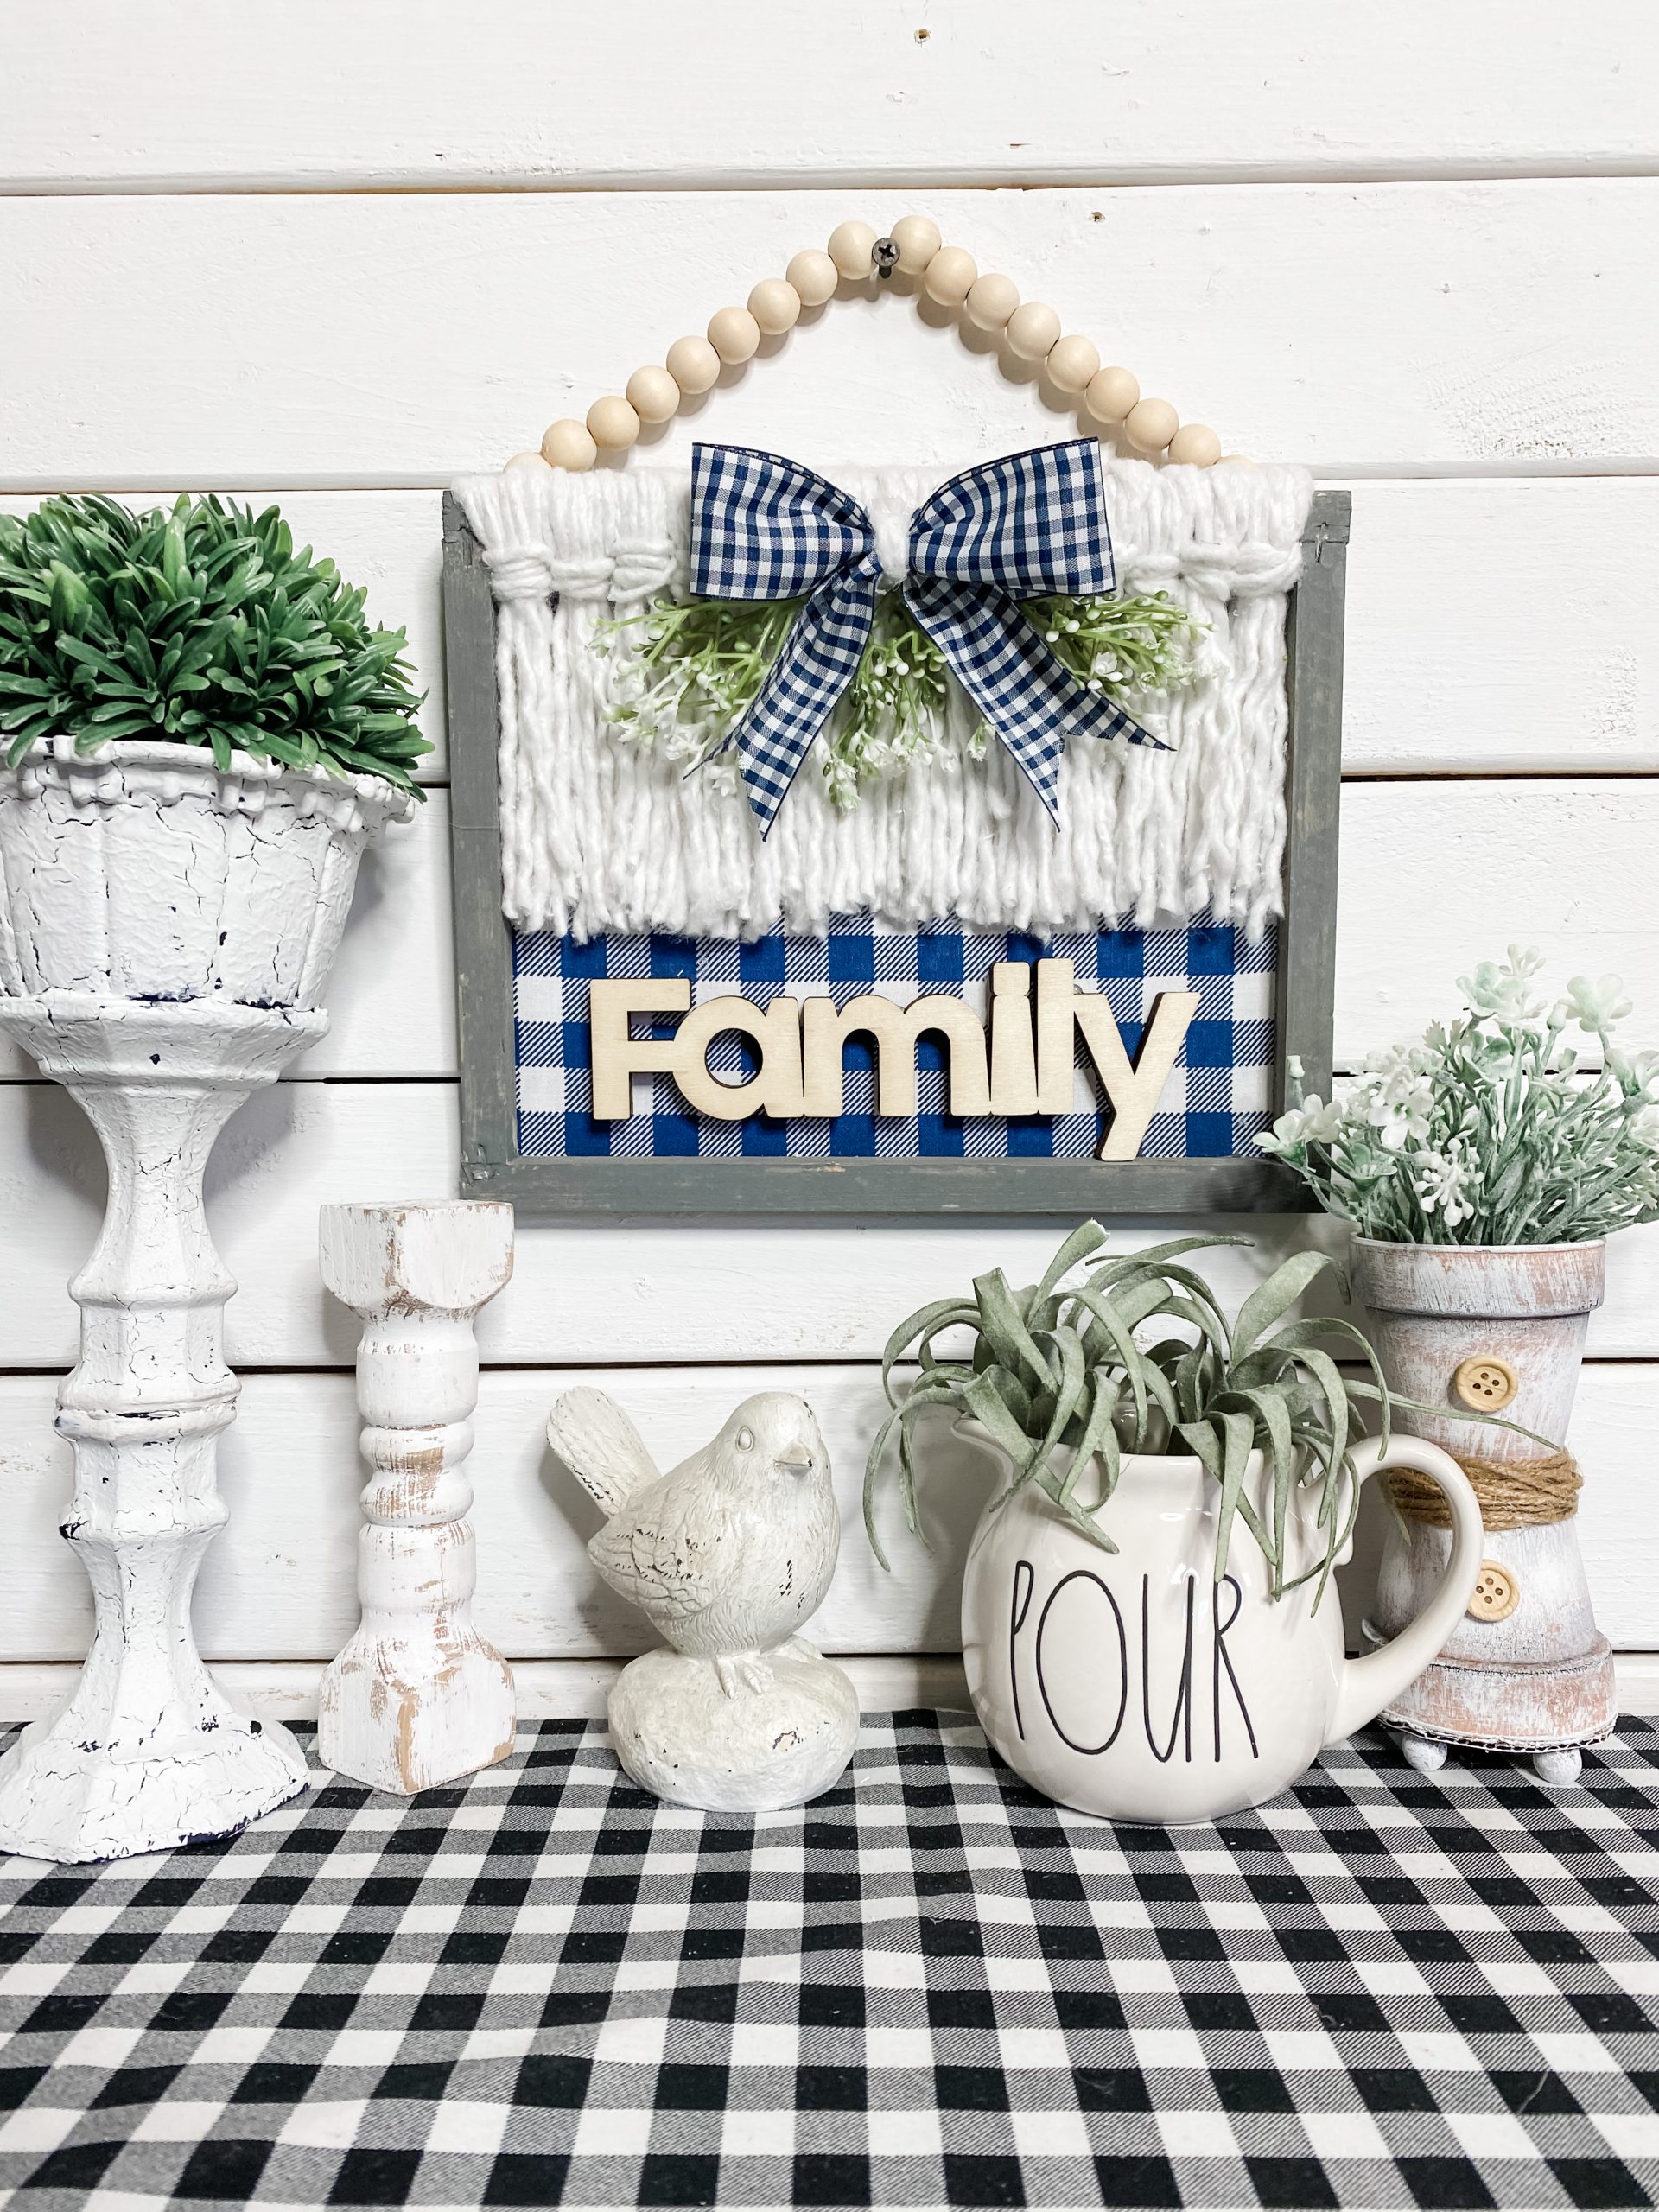
I cut two small pieces of the greenery spray and hot glued them at the top center of the frame. I left a bit of space above the sprays so you could see the mop strings above them.
Make a bow
Once I had the greenery sprays in place, I made a bow with a blue buffalo check ribbon. Cut a strip of ribbon (longer than you think you need) and fold it into the shape of a bow. Pinch the center and secure it with a piece of mop string.

Dovetail the ends of the bow, and hot glue it in place over the center of the baby’s Breath greenery spray. Once all your glue is dry, you are done making this easy reverse canvas DIY decor!
I hope you enjoyed this Dollar Tree DIY Reverse Canvas Boho Decor as much as I did and decide to make one for yourself! I would love to see how yours turns out!
You should totally join my FREE Facebook group called On A Budget Crafts! It is a judgment-free community for DIY crafters to show off their projects and ideas.
If you loved this DIY you might also like this Rustic Dollar Tree DIY 3 Tiered Shelf!
Thanks for stopping by! XOXO Amber
You can also shop my ENTIRE AMAZON Favorites shop just click here! It’s packed full of all the things I use and love. Here is the supply list I highly recommend every creative have on hand!!
Would you also pin my blog for later and get on my newsletter alerts? I would love to have you join my #craftycrew.
Inspired? Leave me a comment below! I love hearing from my readers!

Join my free “ON A BUDGET CRAFTS” Facebook group!


2 Comments