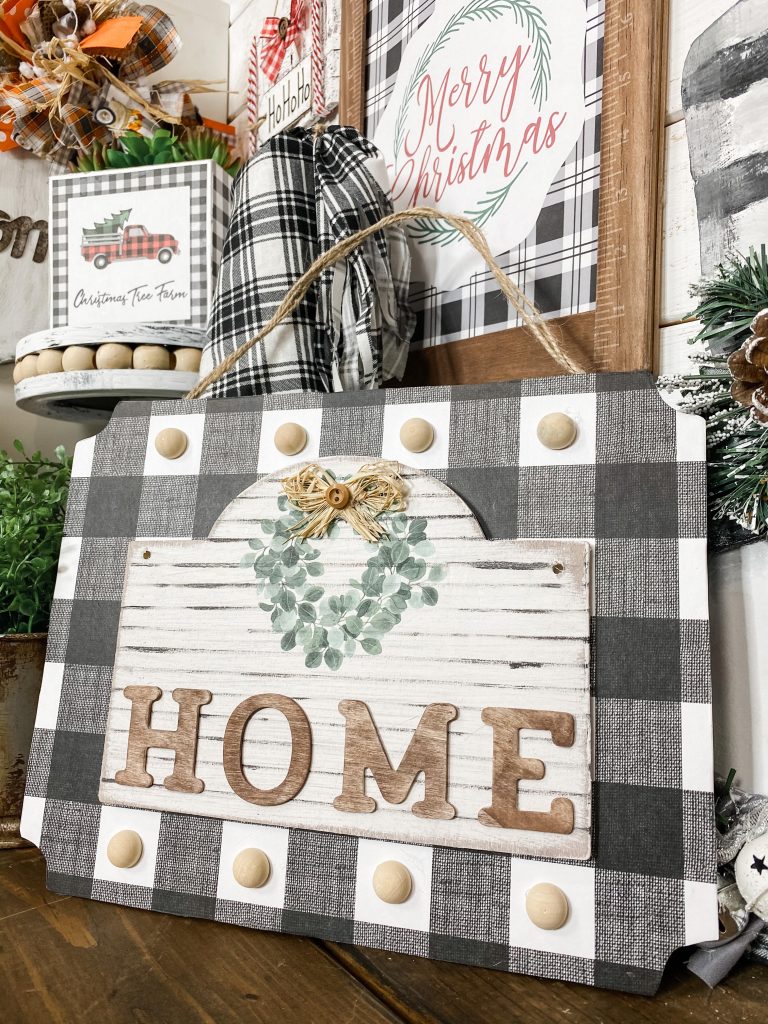
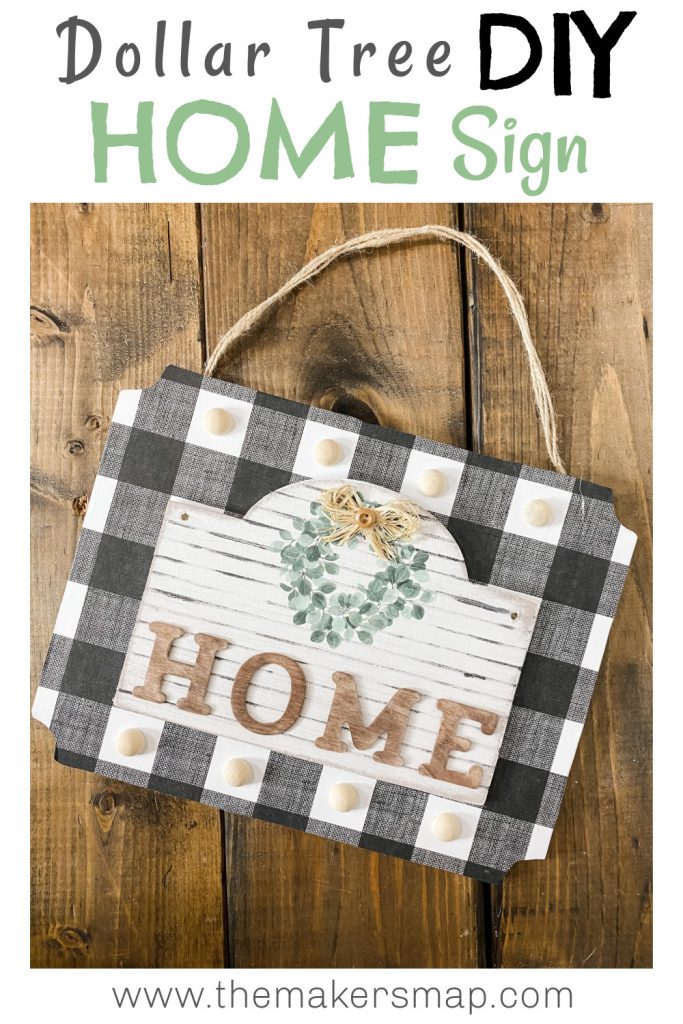
Dollar Tree Buffalo Check Home Sign DIY
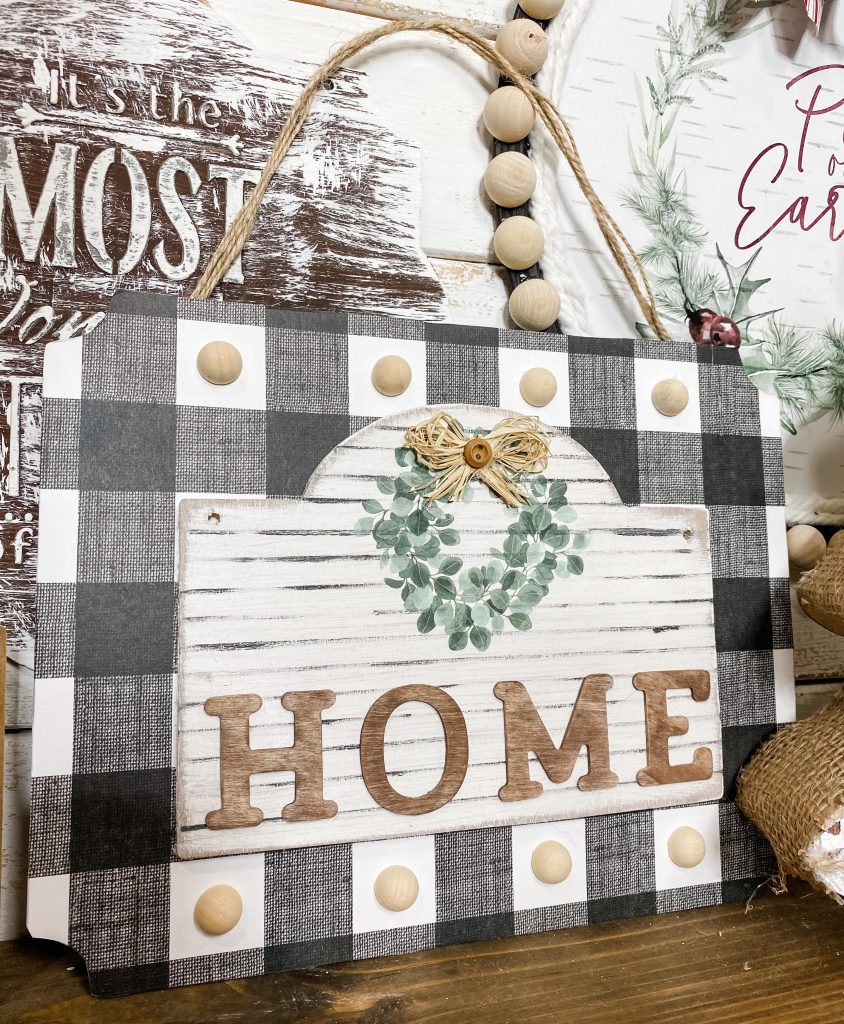
Oh my gosh, y’all! I am so happy that I decided to make this adorable Dollar Tree Buffalo Check Home Sign DIY!
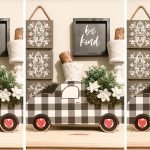
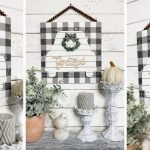
I love creating decor for the holidays, but my favorite crafts to make are the “everyday” decorations. This Buffalo Check Home Sign would be perfect for any time of the year, and would be so cute anywhere in your home!
Want to see how I made this?
If you don’t know, I love doing crafts in LIVE Facebook videos that way my #craftycrew can craft along with me.
I make this Dollar Tree Buffalo Check Home Sign DIY during a Facebook LIVE, so if you want to see exactly how I made it, you can!
Not only is this craft perfect for your every-day decor, but it is so simple (and CHEAP) to make! I’m going to tell you the things I used and my process of putting this adorable Dollar Tree Buffalo Check Home Sign together.
Please feel free to change it up and make this project your way! I just want to be a source of inspiration for you!
Here is what you need:
Just so you know, these are my affiliate links. If you purchase from these links, I may make a small commission, but it will not cost you any extra.
“As an Amazon Associate, I earn from qualifying purchases.”
- 2 Dollar Tree Signs (one larger and one smaller)
- Scrapbook paper
- Black paint
- Brown paint
- White paint
- Scissors
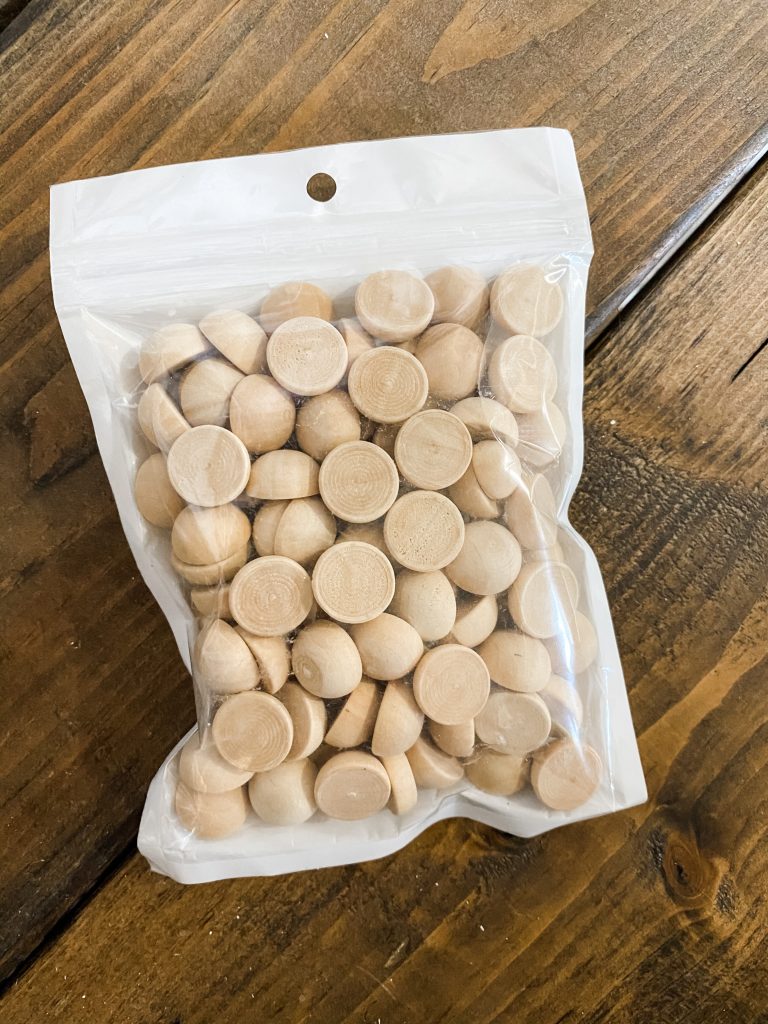
- 1/2 Wood Beads
- Dollar Tree Rub-On Transfer
- Mod Podge
- twine
- Chippy brushes 1-inch
- Heat gun
- Hot glue gun and glue sticks
- artist’s brush
- Sanding sponge
- button
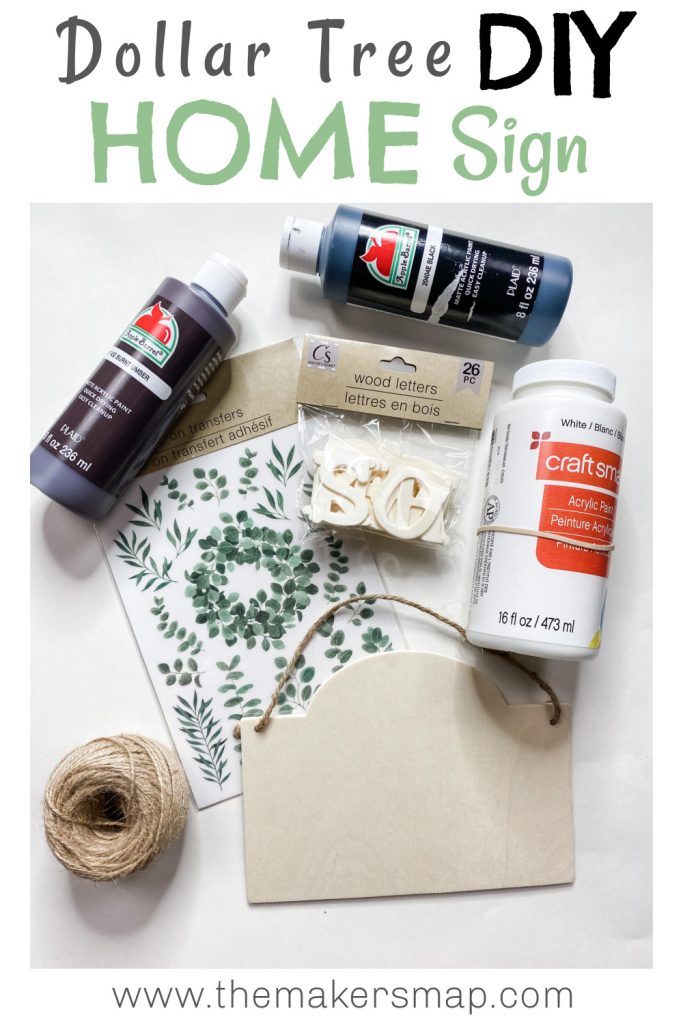
Here are pictures of some of the supplies I used!
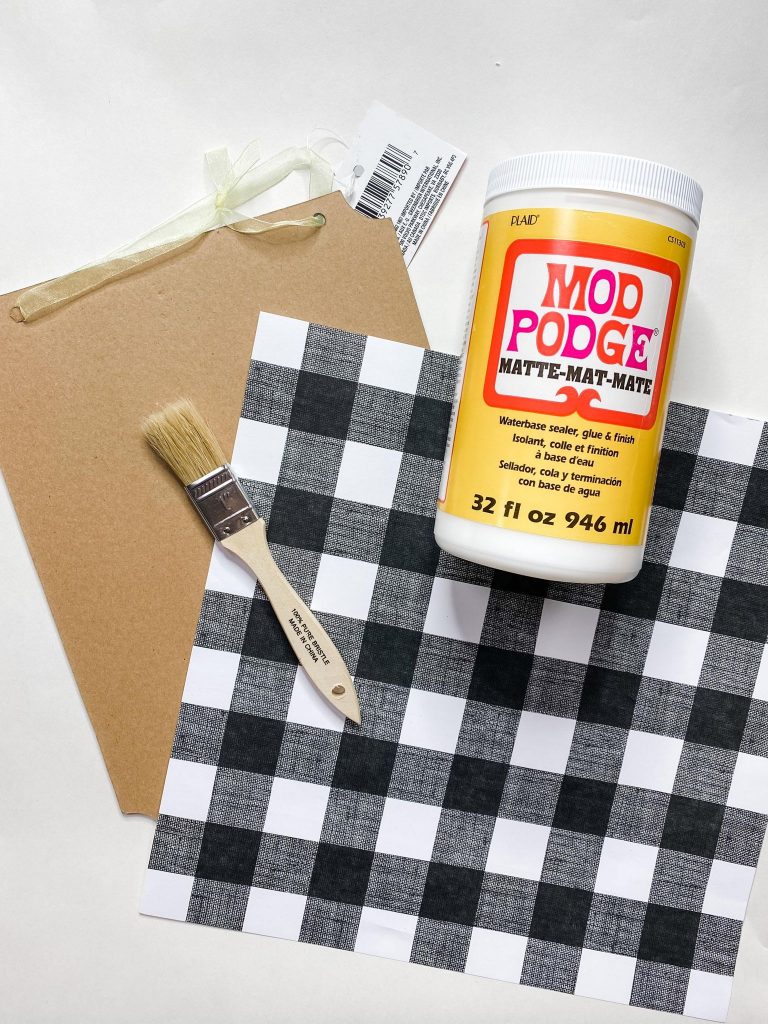
This is the larger Dollar Tree surface board that I used. All I did was flip the board over and used the back of it for my surface!
See? That’s the same board from above, just the back of it! I use Mod Podge like CRAZY, so I have a large bottle, but you really don’t have to have a lot for this project.
You’ll need the chippy brush to apply the Mod Podge to your surfaces.
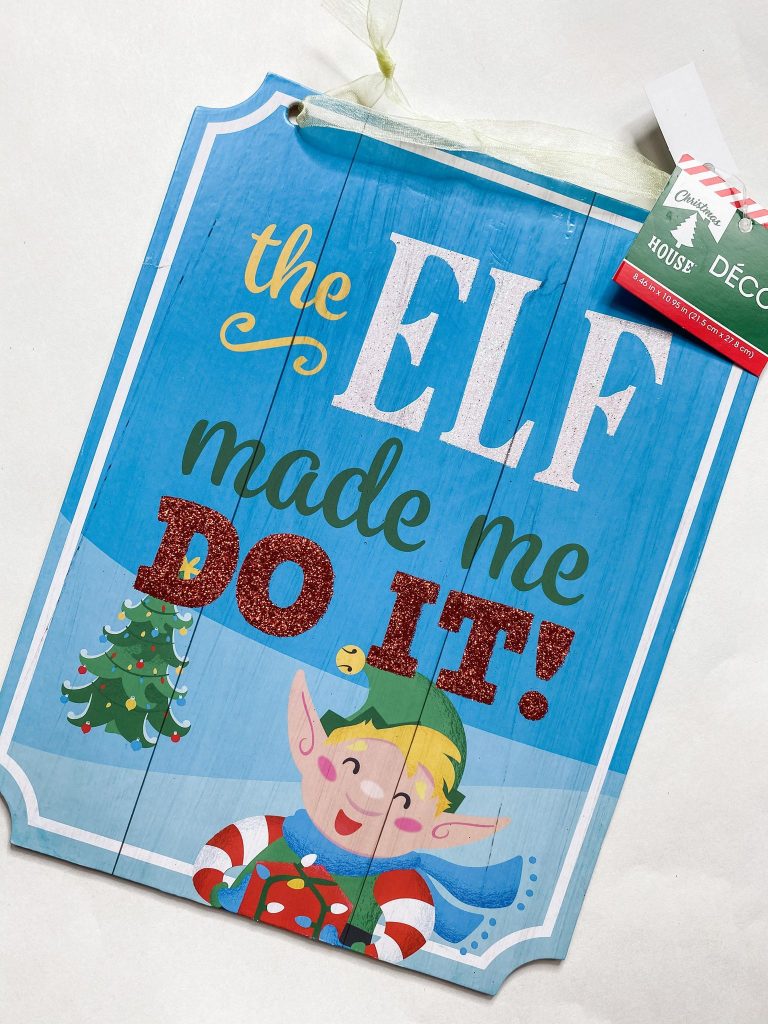
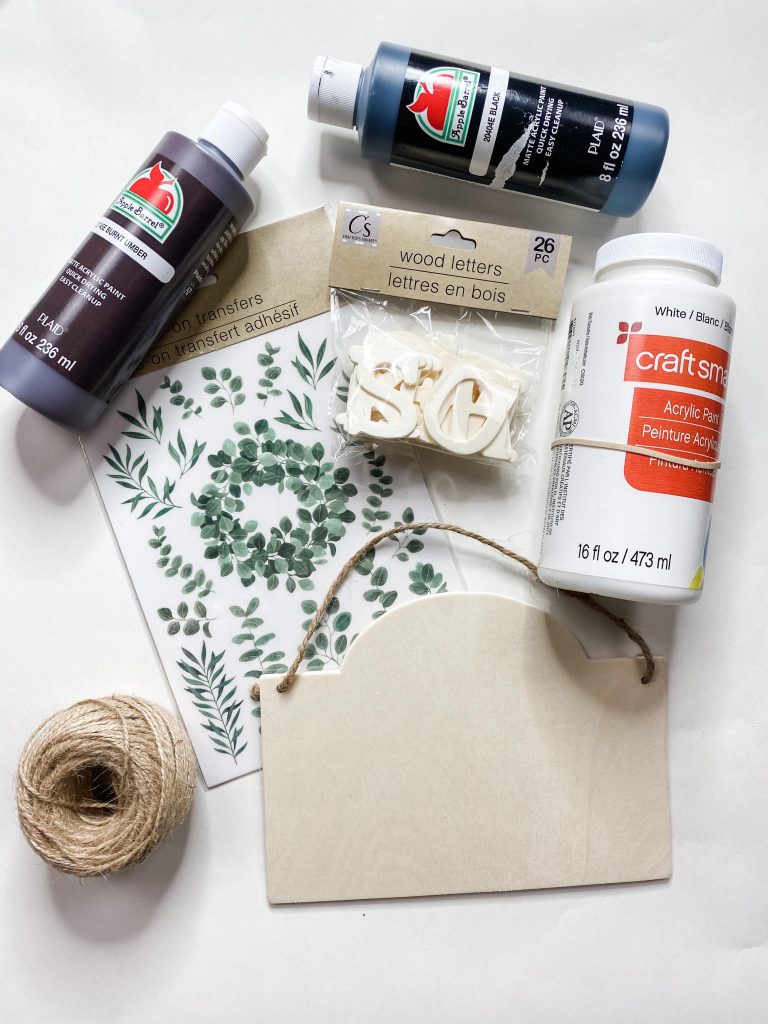
This is the 2nd Dollar Tree surface board that I used to make this sign and all the supplies that went with that board.
We’ve got the Apple Barrel black and brown paints, Craft Smart white paint, Dollar Tree wood letters pack, Dollar Tree rub-on transfers, and some twine. This board didn’t have a design on it like the Elf Sign from above.
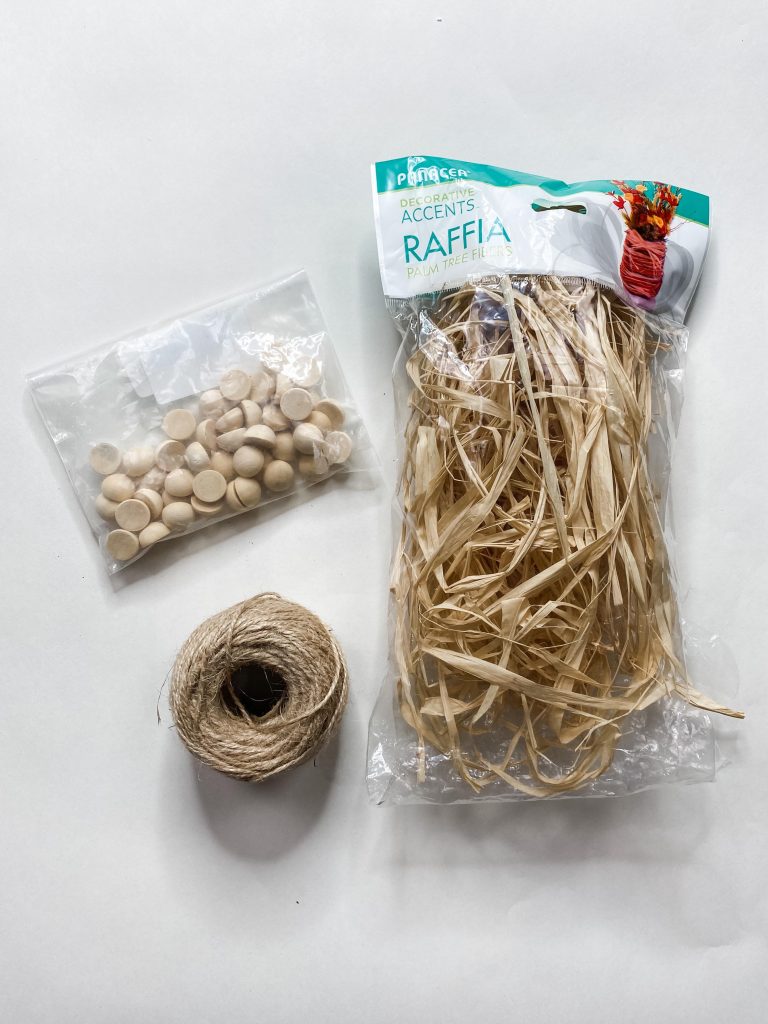
For the final touches, I used some Dollar Tree Rafia, jute twine, and half wood beads.
Let’s DIY!
Y’all, when I say this craft is easy, I am not lying. You don’t need years and years of crafting experience to put this one together! Let’s get started!
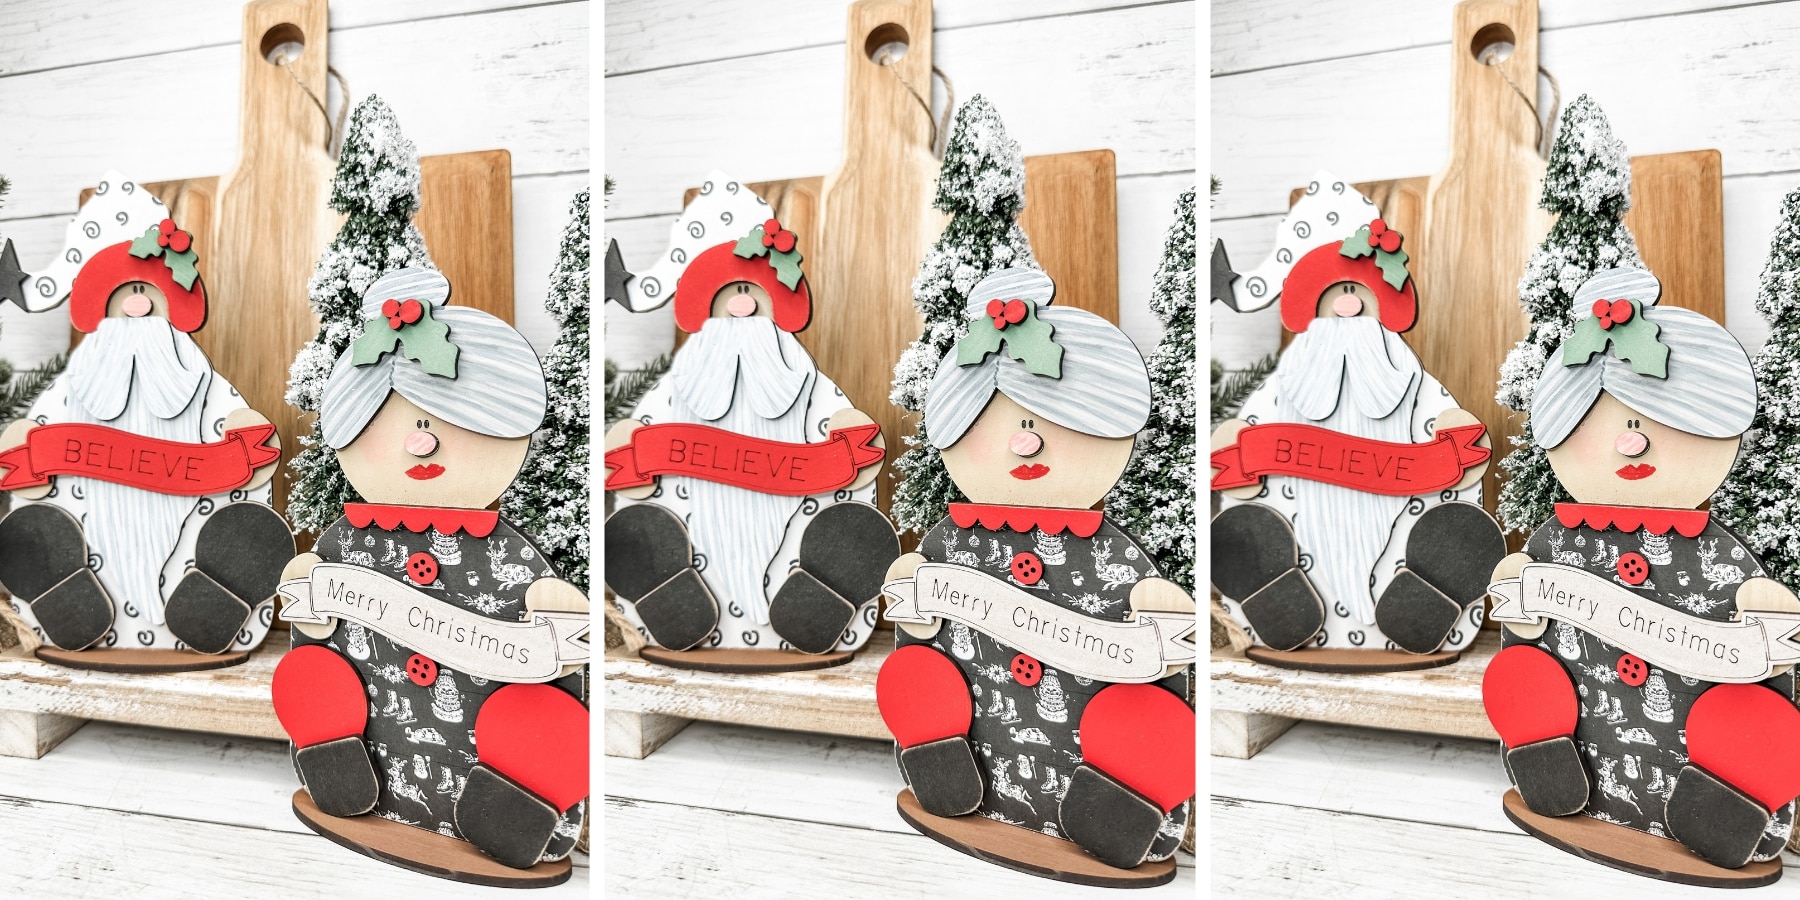
I started with the larger Dollar Tree board. This one has the Elf design on the front, so I flipped it over and used the back as my surface.
The buffalo check scrapbook paper is what will go on this piece of wood, so you need to cut the paper to be the shape of the wood. You can trace around the wood on top of the paper to get it the right size and shape.
Once you have the paper cut, all you have to do is apply a coat of Mod Podge with a paintbrush to the wood. Simply lay the paper over the mod podge and press out any bubbles.
I like to use a rolling pin to get the bubbles out, but you can use whatever works for you! The mod podge will have to dry before you can do anything else with that piece. If you want to speed up the drying process, you can use a heat gun as I do.
Okay, what’s next?
Now you need to get the second surface board ready. I used the Apple Barrel Umber brown paint to stain the wood brown (I pulled out my heat gun to dry it faster), then I painted over it with the Craft Smart white paint.
Again, I used my heat gun to dry it faster so that I could move on to the next step. I mean, I was making this project LIVE, so I couldn’t just sit around and wait for it to dry!
Once the white paint is dry, I distressed the edges just a little with a sanding sponge. That’s why we stained the wood brown before we painted it white – so we could distress it!
There is no right or wrong amount to distress. Just keep going till you think it is enough.
Faux Shiplap
The next step is to add a faux shiplap. I absolutely LOVE doing this with my crafts, if you can’t tell from my blog!
To do this, all I do is lay my ruler down and paint horizontal lines with black paint. Don’t have a heavy hand, because you don’t want completely solid lines.
Make sure you evenly space out your lines. You’re wanting to make it look like planks of wood.
Transfer time!
I got a pack of rub-on transfers from Dollar Tree and picked the one I wanted to use for this project.
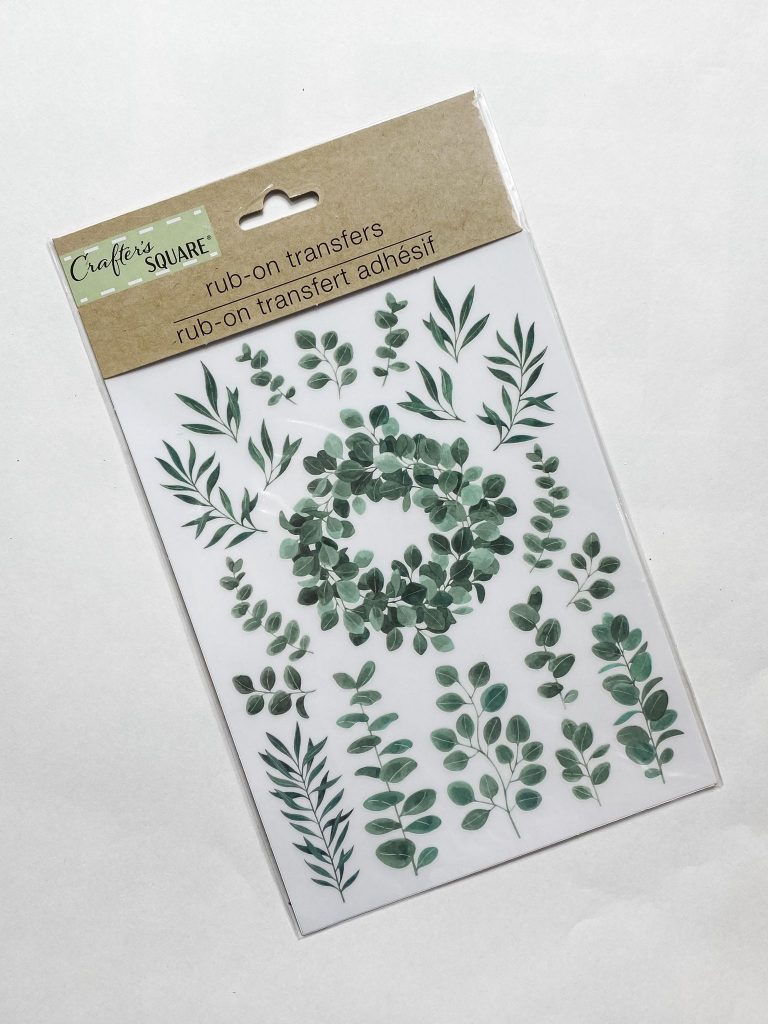
Just cut out the transfer with scissors. You’ll need to peel the design off the white backing, just like a sticker, and lay it down on the wood where you want it to go.
Next, I used a ruler to apply pressure over the design and press it down onto the wood. Be sure that your design is stuck to the wood before you pull the plastic off, otherwise, it will pull the design off with it.
There’s no place like HOME
Pull out the letters you need from your pack of wood letters. You can use whatever word you want, but I wanted to use HOME.
I stained each letter with the brown paint that I used before. Once the letters are dry, stick them to the board using a hot glue gun.
Next, you’ll want to center the smaller board on top of the larger board, and glue it down.
The FINAL TOUCHES!
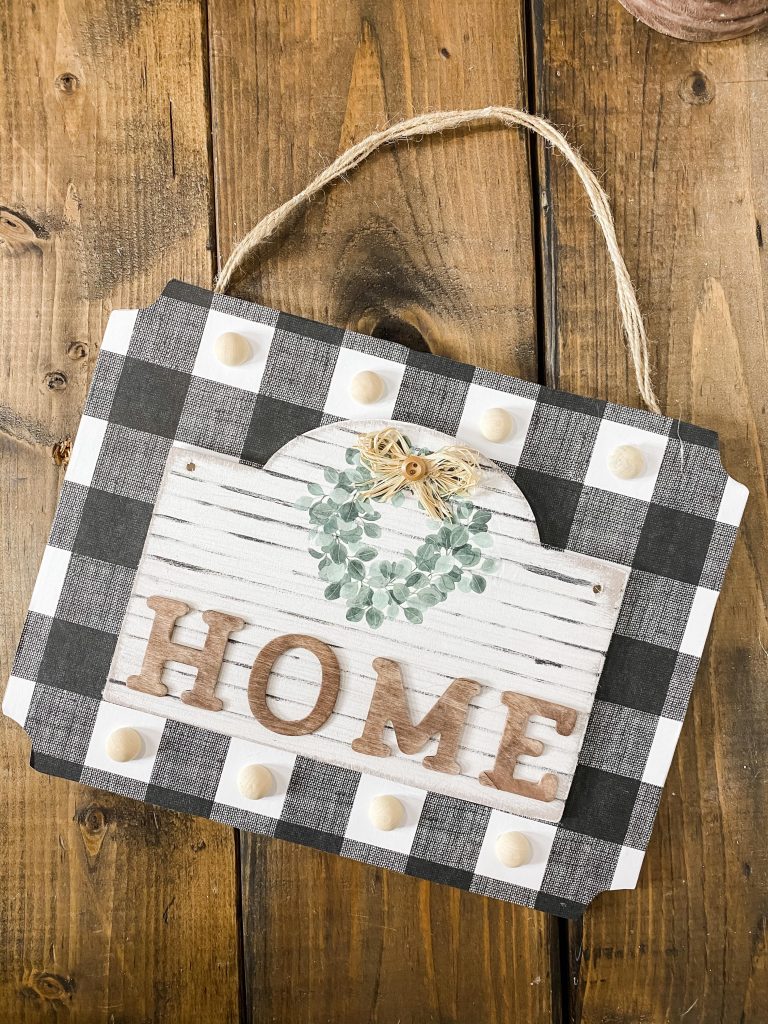
All that’s left to do is add the wood beads, raffia bow, and twine! I use 1/2 wood beads and hot glued them to the board.
I tied the raffia into a cute little bow (if you’re not sure how to do this, you can watch how I did in the video) and hot glued a button in the center of it. Use the hot glue gun again to attach the raffia bow to the wood.
The last step is to add the twine so you can hang this adorable Dollar Tree Buffalo Check Home Sign DIY anywhere you want to! I tied several strands of twine together and then hot glued the ends to the back of the large board.
How CUTE did this turn out??
If you loved this DIY you might also like these Dollar Tree Easy Gnomes DIY!
I hope you enjoyed this craft as much as I did! If you decide to make this yourself, I would love to see how it turns out! You can share your crafts in my FREE Facebook group called On A Budget Crafts.
Thanks for stopping by! XOXO Amber
You can also shop my ENTIRE AMAZON Favorites shop just click here! It’s packed full of all the things I use and love.
Here is the supply list I highly recommend every creative has on hand!! Would you also pin my blog for later and get on my newsletter alerts? I would love to have you join my #craftycrew.

Join my free “ON A BUDGET CRAFTS” Facebook group!
PIN THIS POST FOR LATER!


Hello! Ordered your craft crate and can’t wait to try this crafty! Thank you!
Adorable, love it
I love everything you do. You would never know that it’s dollar tree things. I loved when you said you want your crafts to look like they came from Hobby Lobby.
I really like your sign. Very pretty. Awesome job. 🏝🌞💜