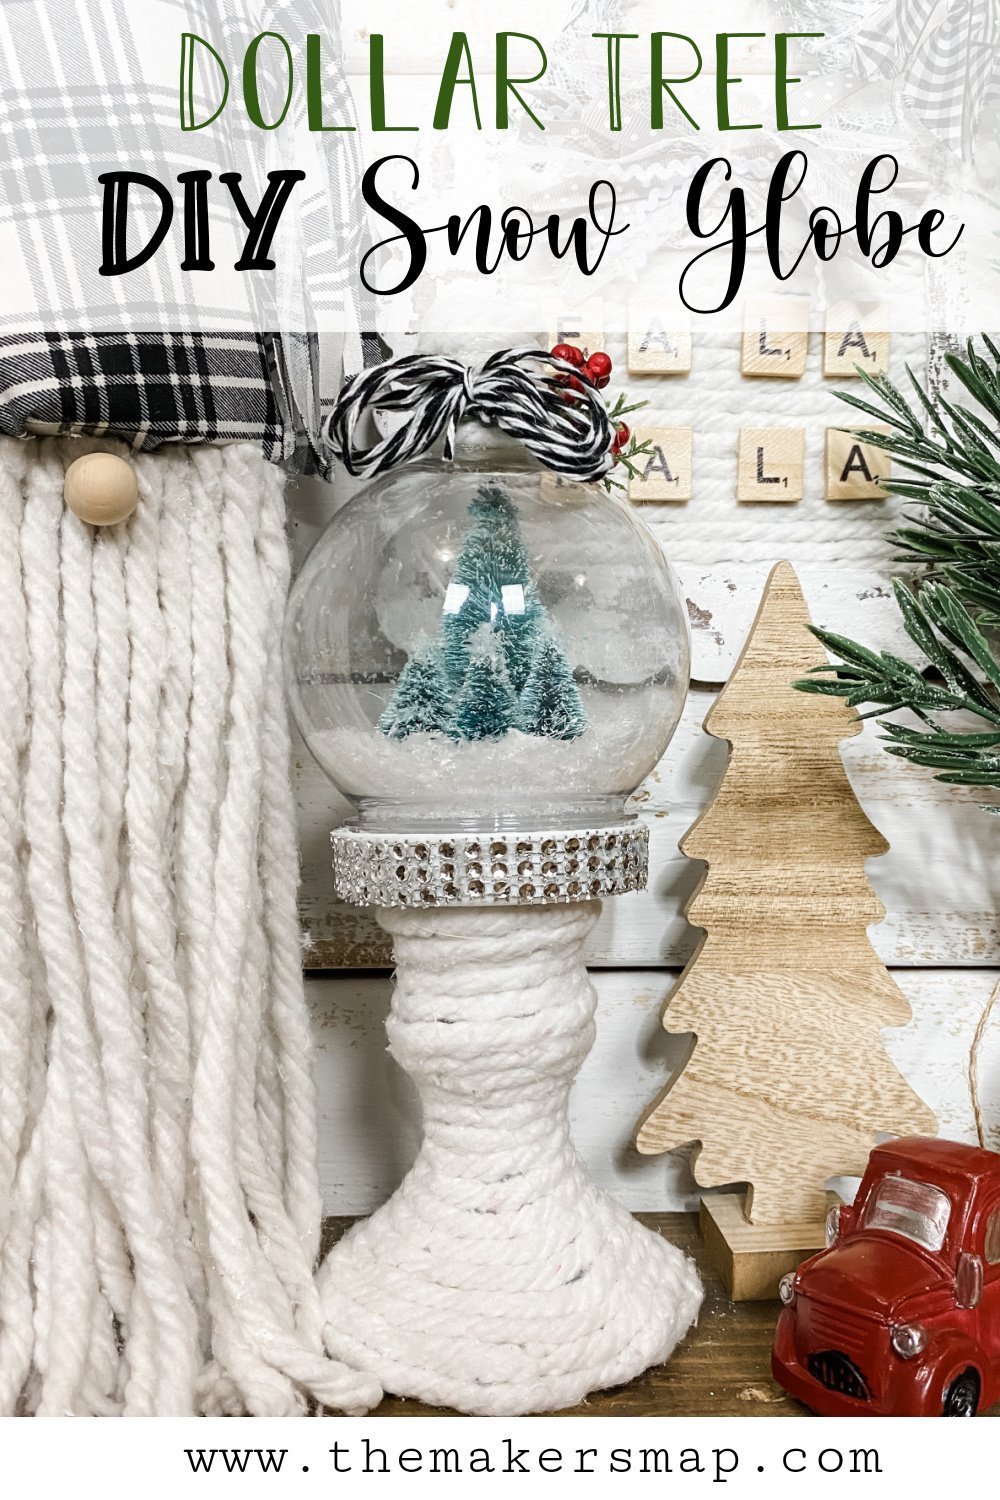
Dollar Tree Candle Holder DIY Snow Globe
I absolutely love this easy Dollar Tree Candle Holder DIY Snow Globe because it just feels so wintery! I make a lot of DIY crafts that are very obviously Christmas decor, but this candle holder snow globe is different.
That’s why I want to show you how I made this adorable Dollar Tree Candle Holder DIY Snow Globe! This would make a great DIY snow globe centerpiece too. I am making a snow globe that will not have any liquid in it for this easy Christmas decor DIY.
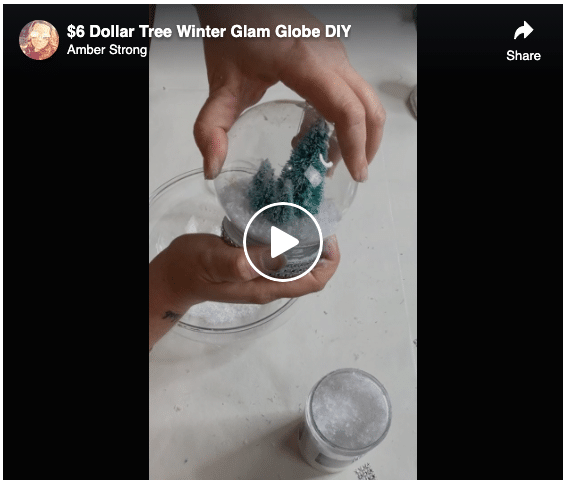
Watch the tutorial
If you follow me on Facebook, you’ve probably seen my Facebook live crafts, but I didn’t make this candle holder snow globe during a live!
Instead, I pre-recorded the tutorial and uploaded the short video. If you’re a person who likes it when I get straight to the crafts during my Facebook lives, you will love this short tutorial video because it is ALL crafting!
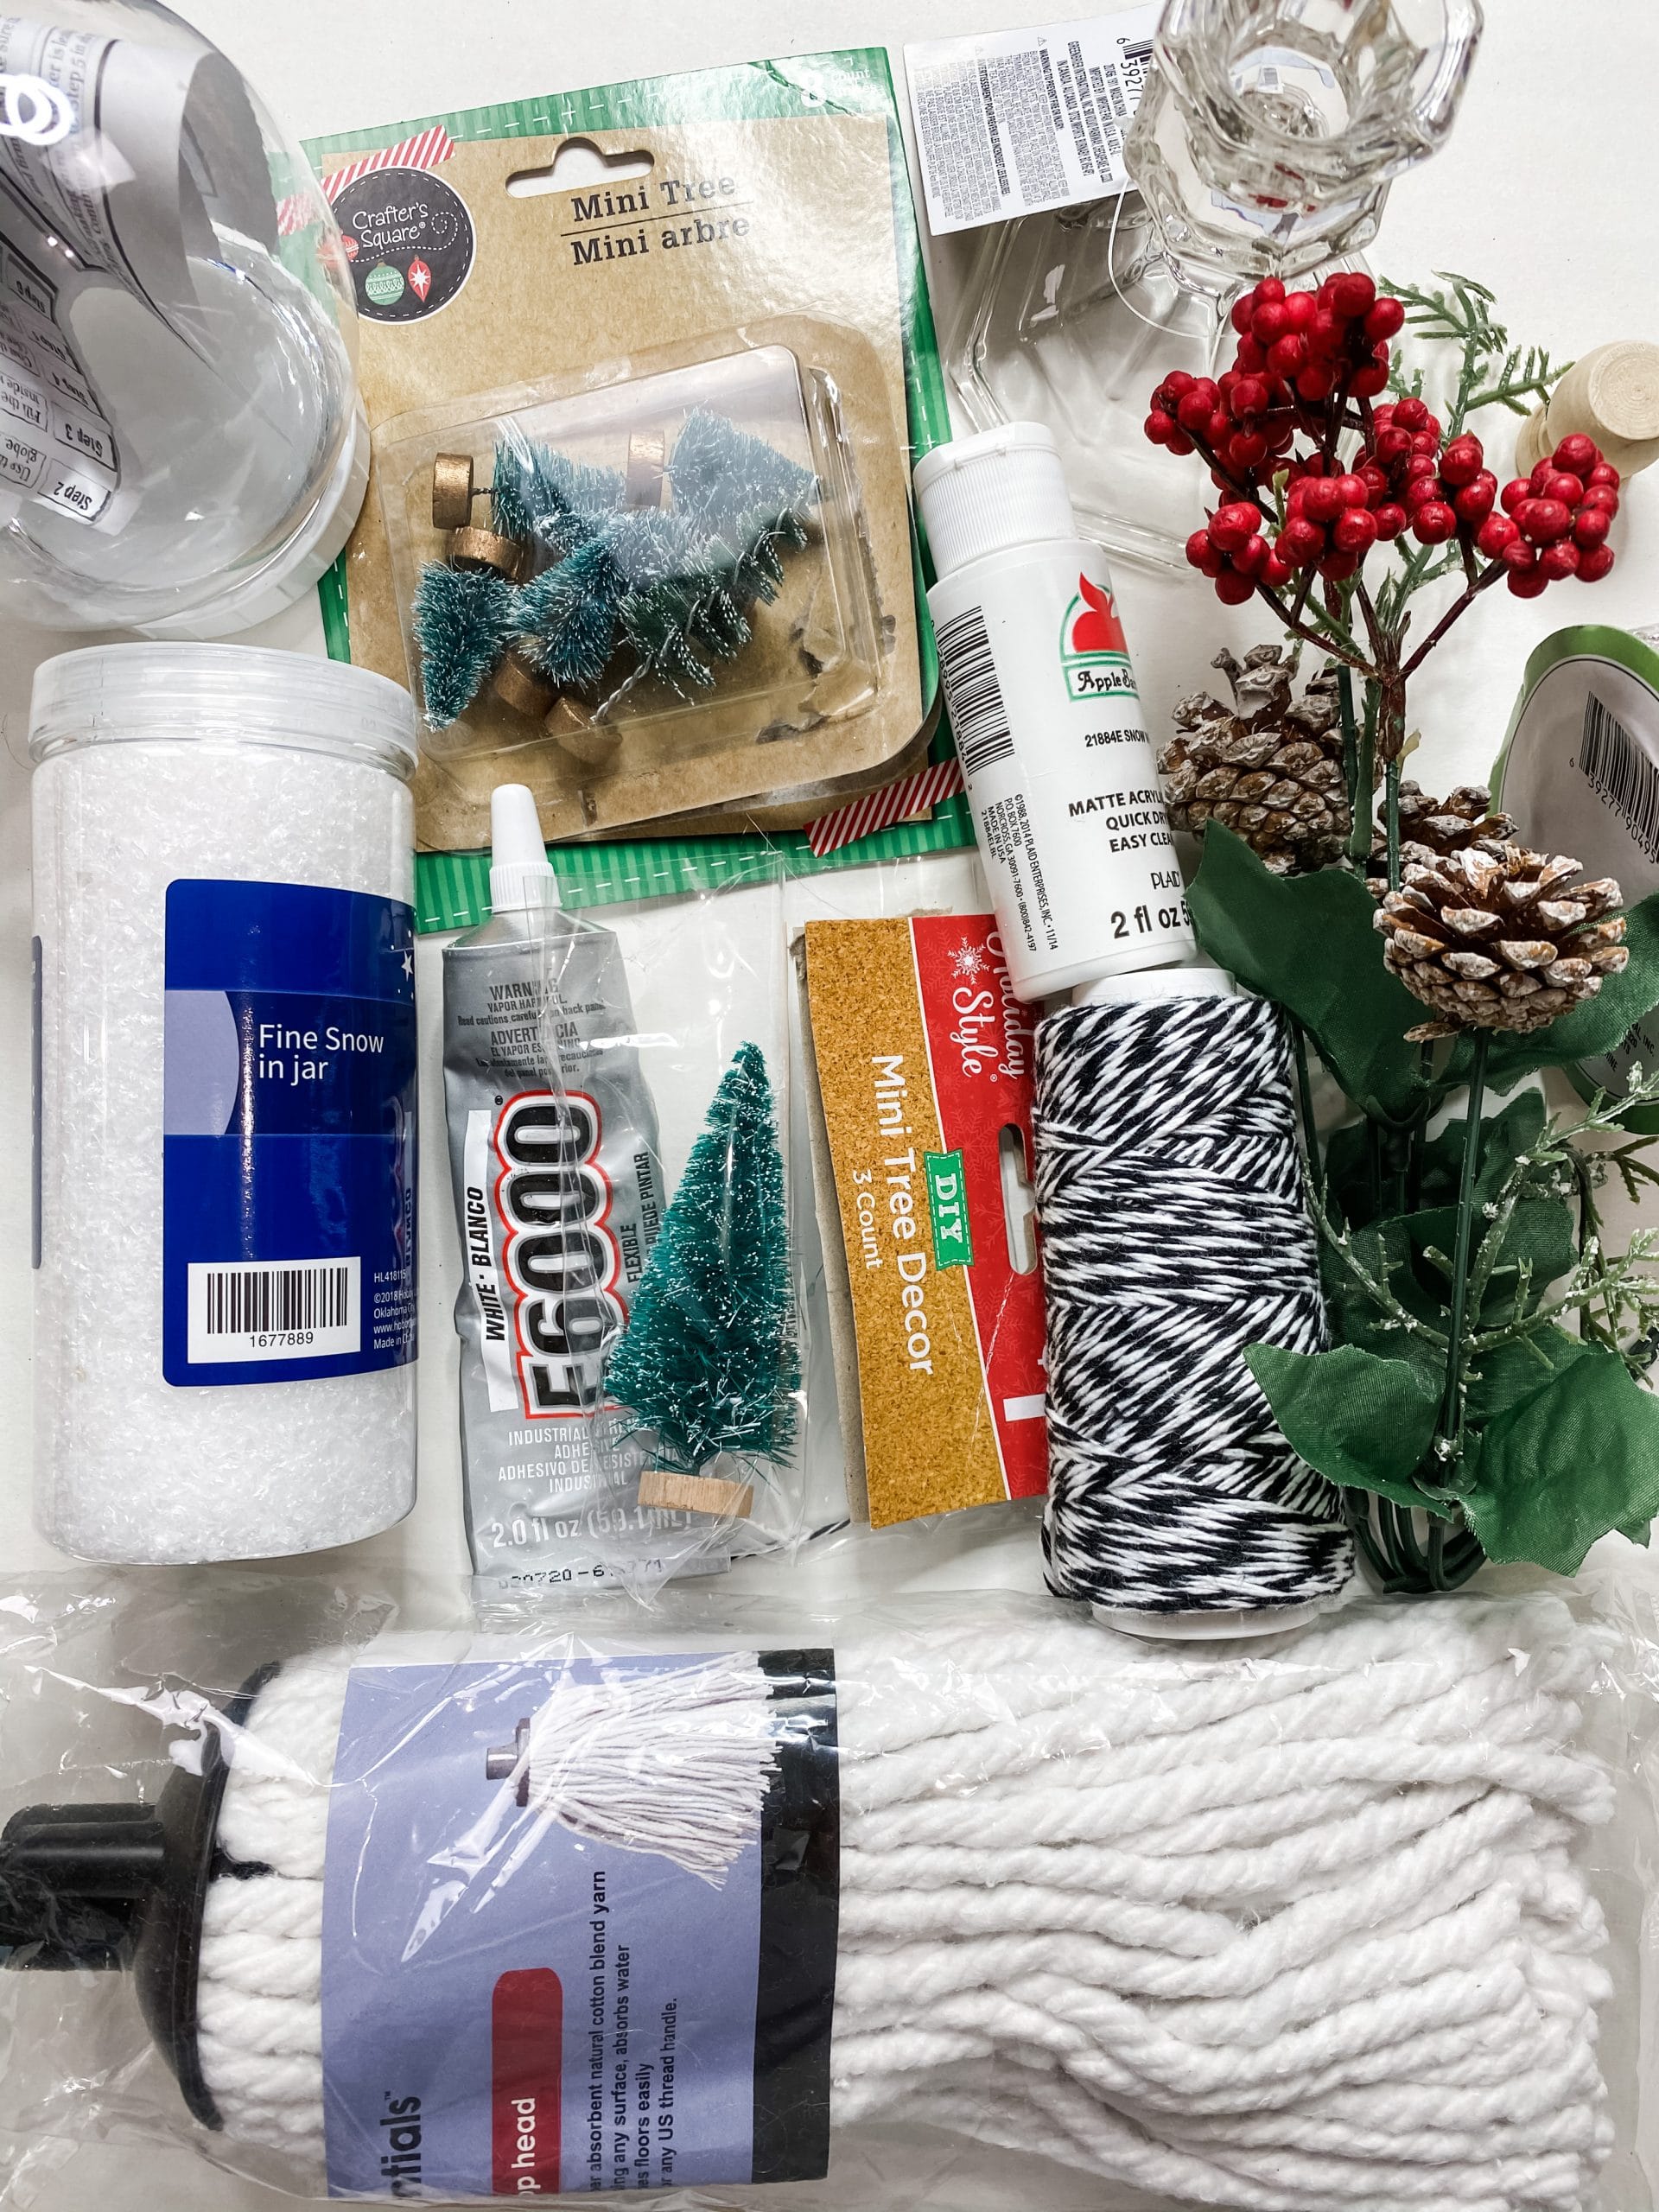
For this project, I will be using these items but you can substitute where you want.
“As an Amazon Associate, I earn from qualifying purchases.”
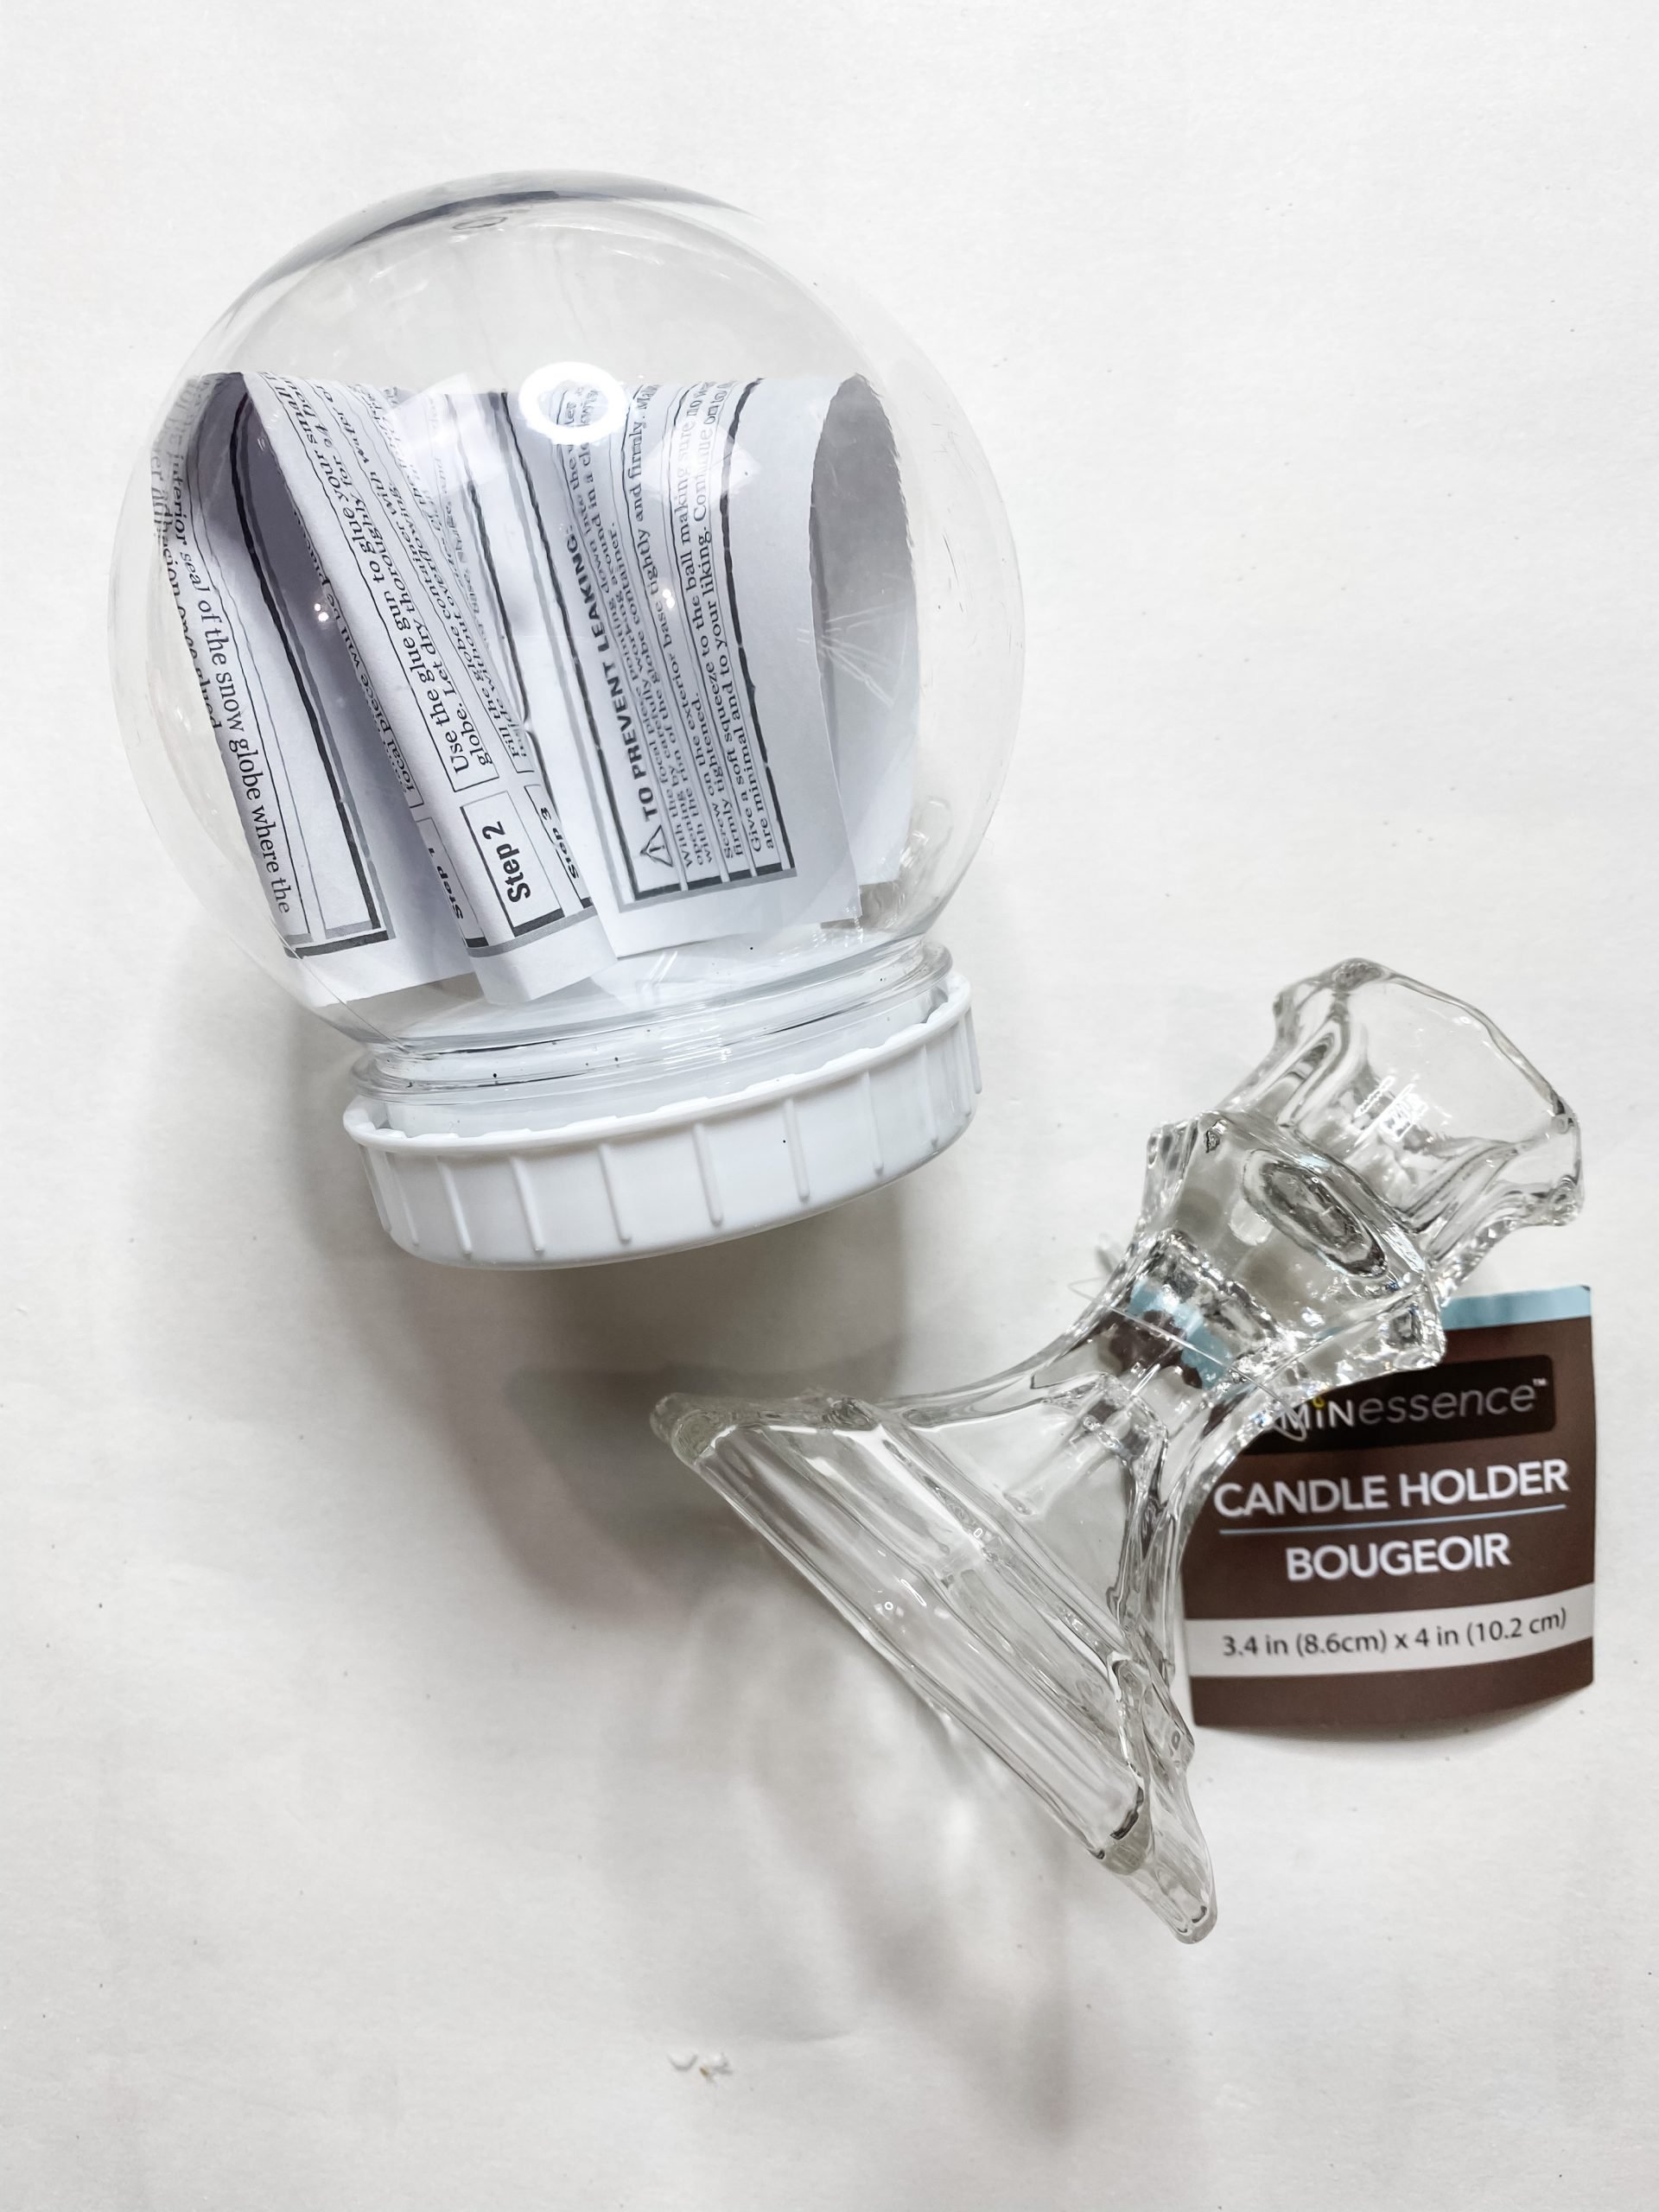
- Dollar Tree Candle Holder
- Dollar Tree Snow Globe
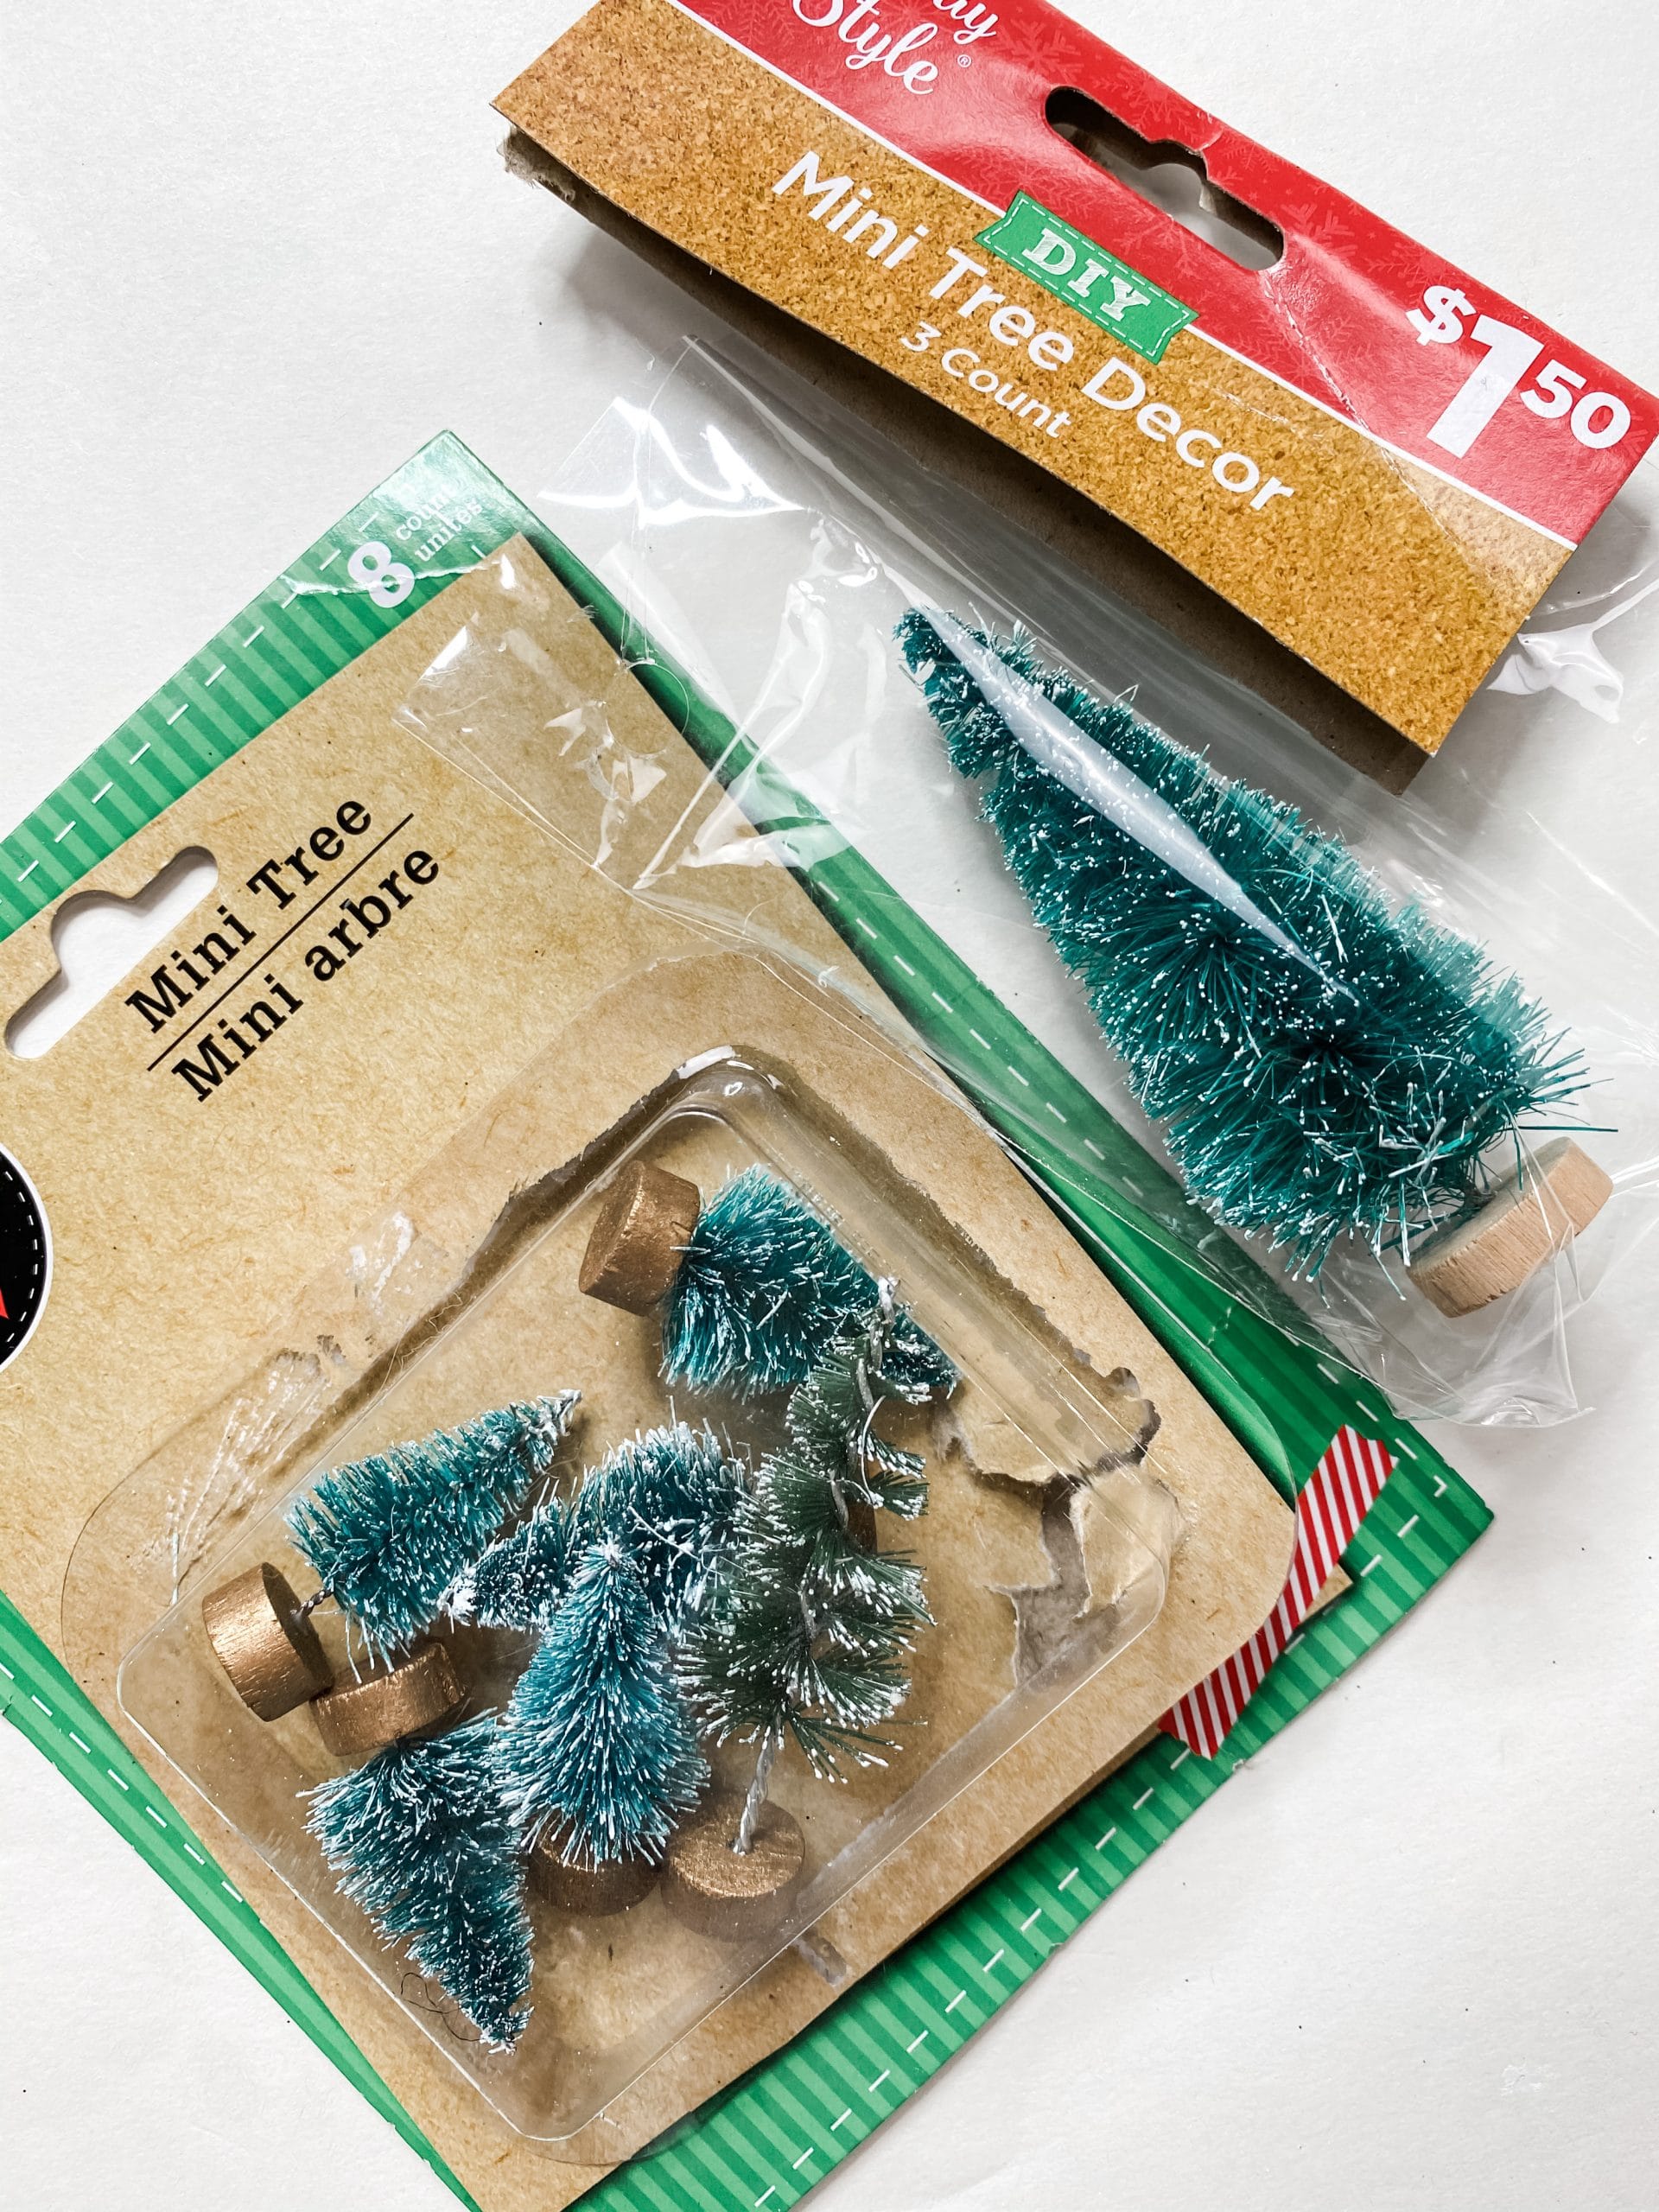
- Crafter’s Square Mini Trees (Dollar Tree) x3
- Holiday Style Mini Tree (Dollar General)
- Dollar Tree Fine Snow
- Dollar Tree Mophead
- Apple Barrel White Acrylic Paint
- Dollar Tree Christmas Greenery
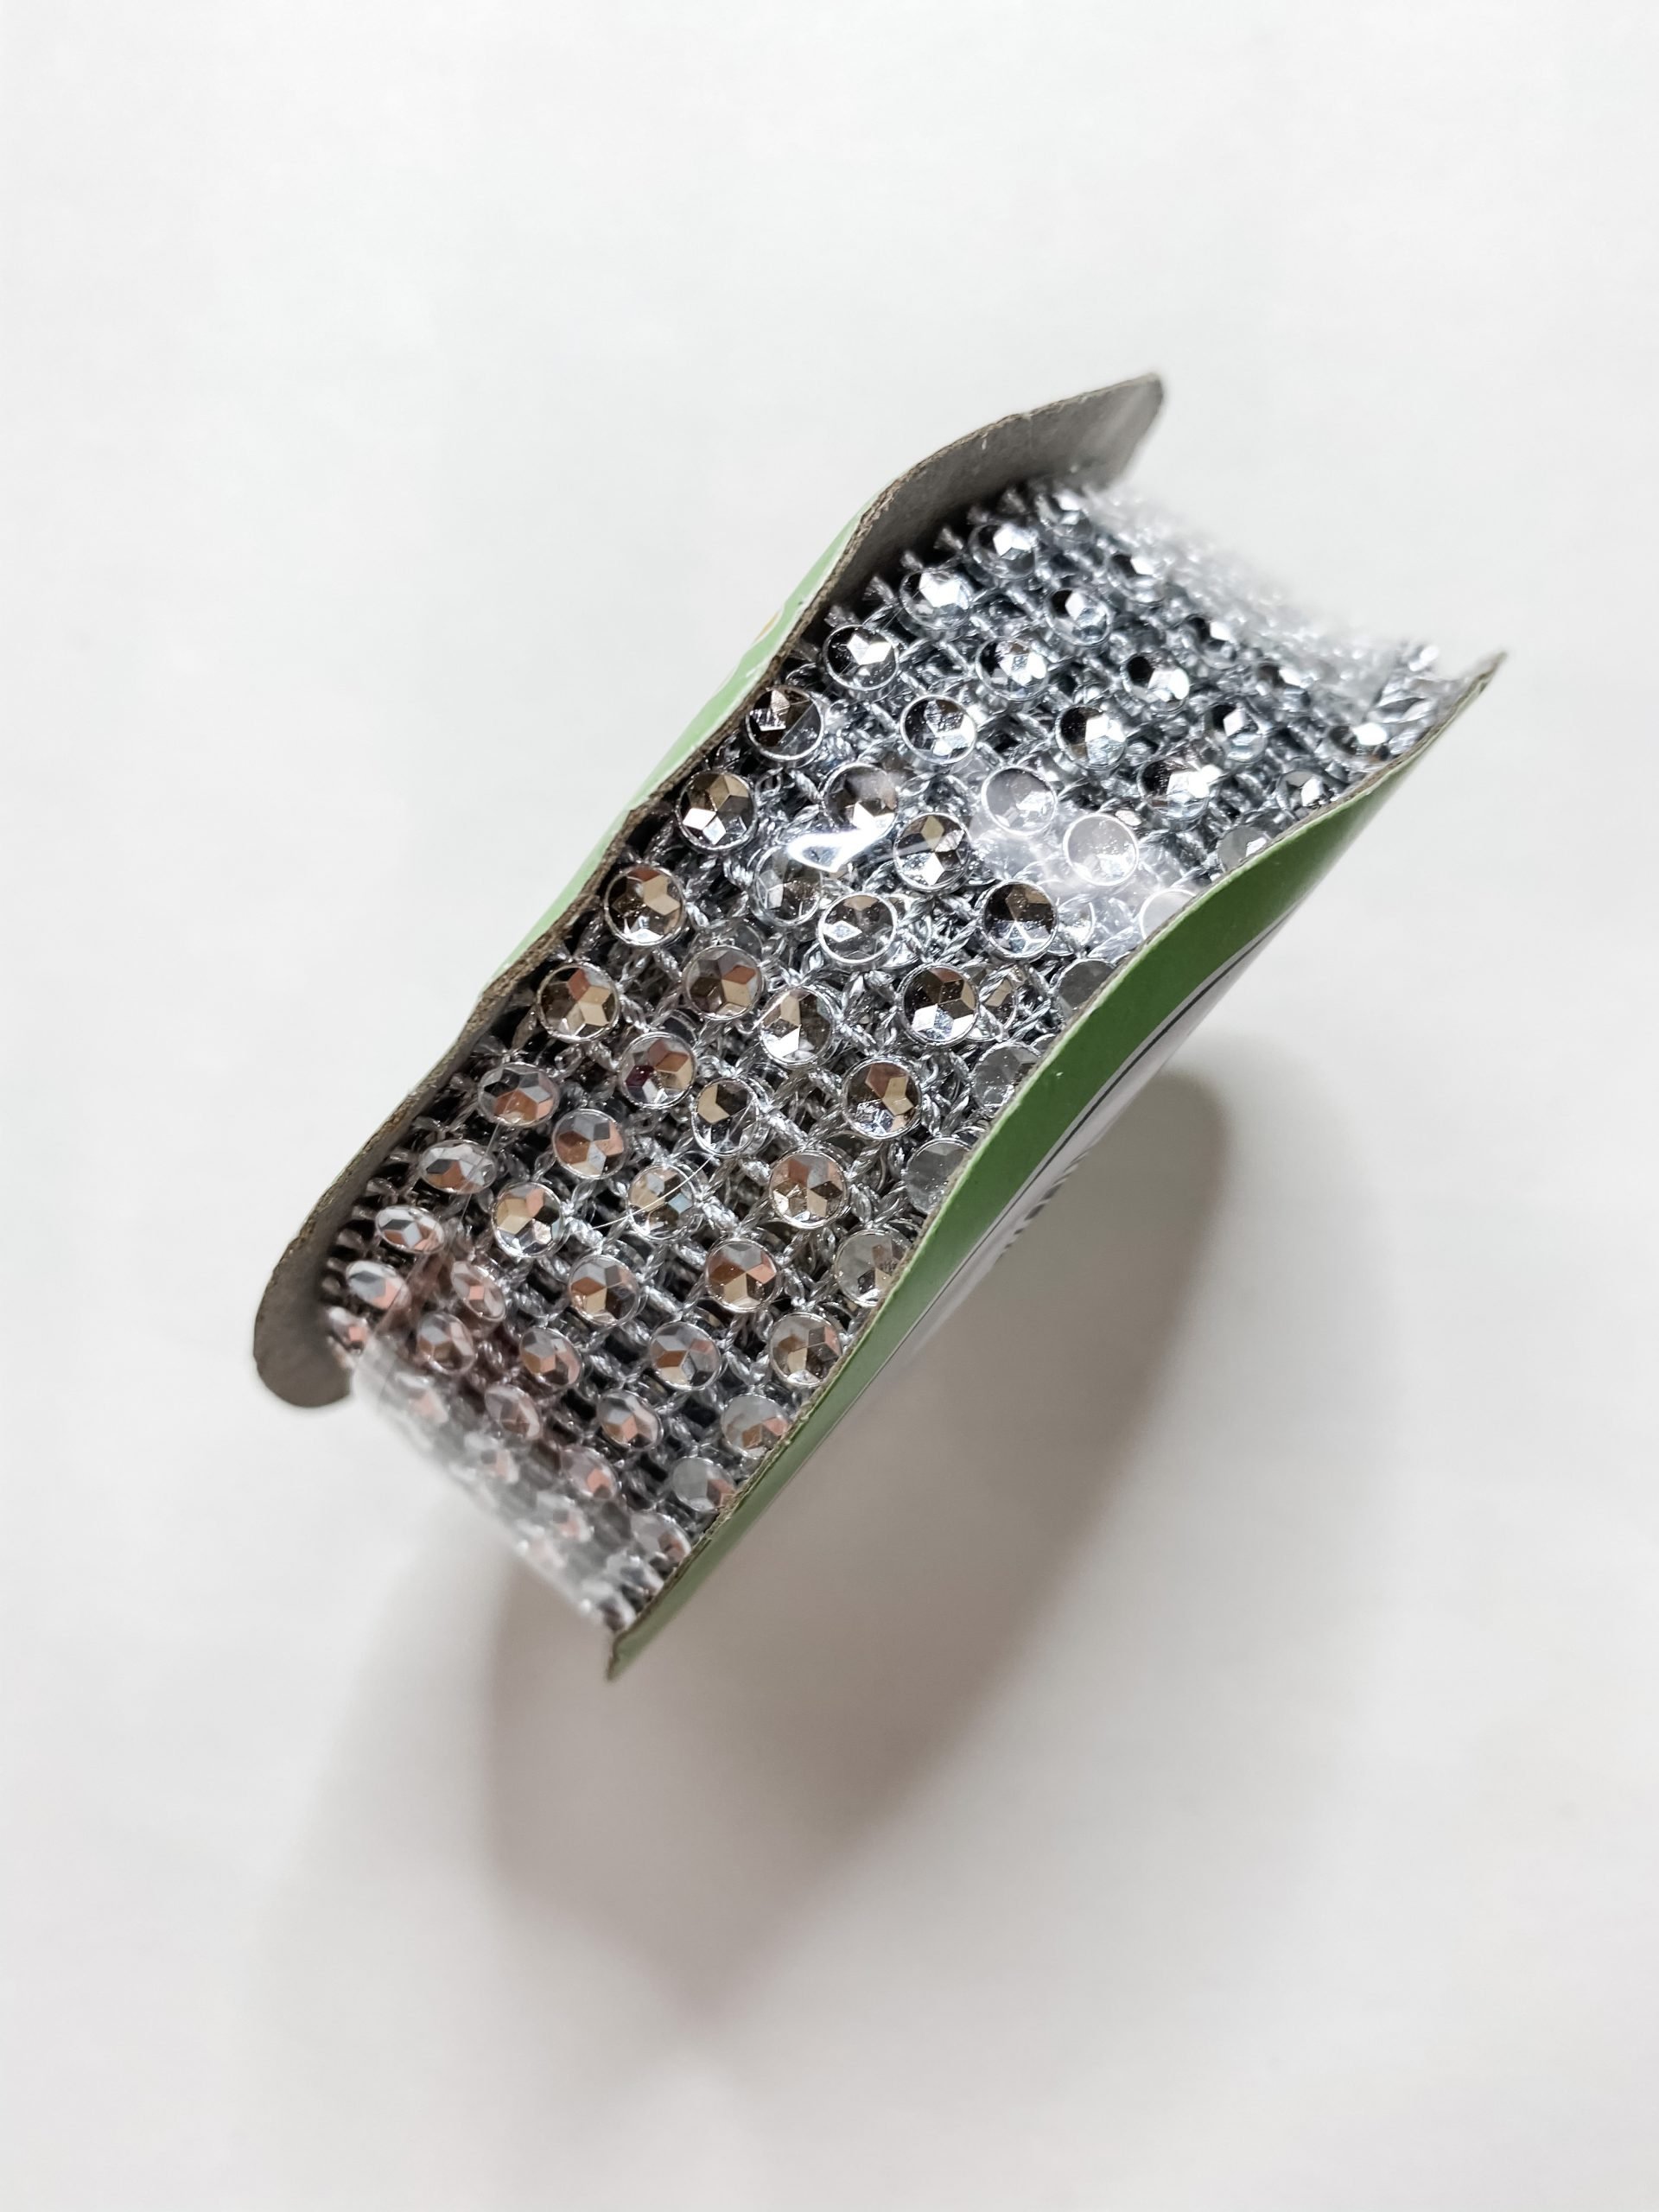
- Dollar Tree Diamond Wrap Ribbon
- Walmart Knob
- Baker’s Twine
- E6000 glue
- Ribbon
- Glue Gun
- Heat gun
Let’s get started
My vision for this is to create a winter snow globe craft that anyone can make and change up to fit their Christmas decor style. This Dollar Tree candle holder DIY snow globe is super easy to make and is really just putting different pieces together.
The first pieces you have to put together are the Dollar Tree candle holder and Dollar Tree mop head. (Remove the plastic piece from the mop head first. I used aviation snips to just break the plastic off).
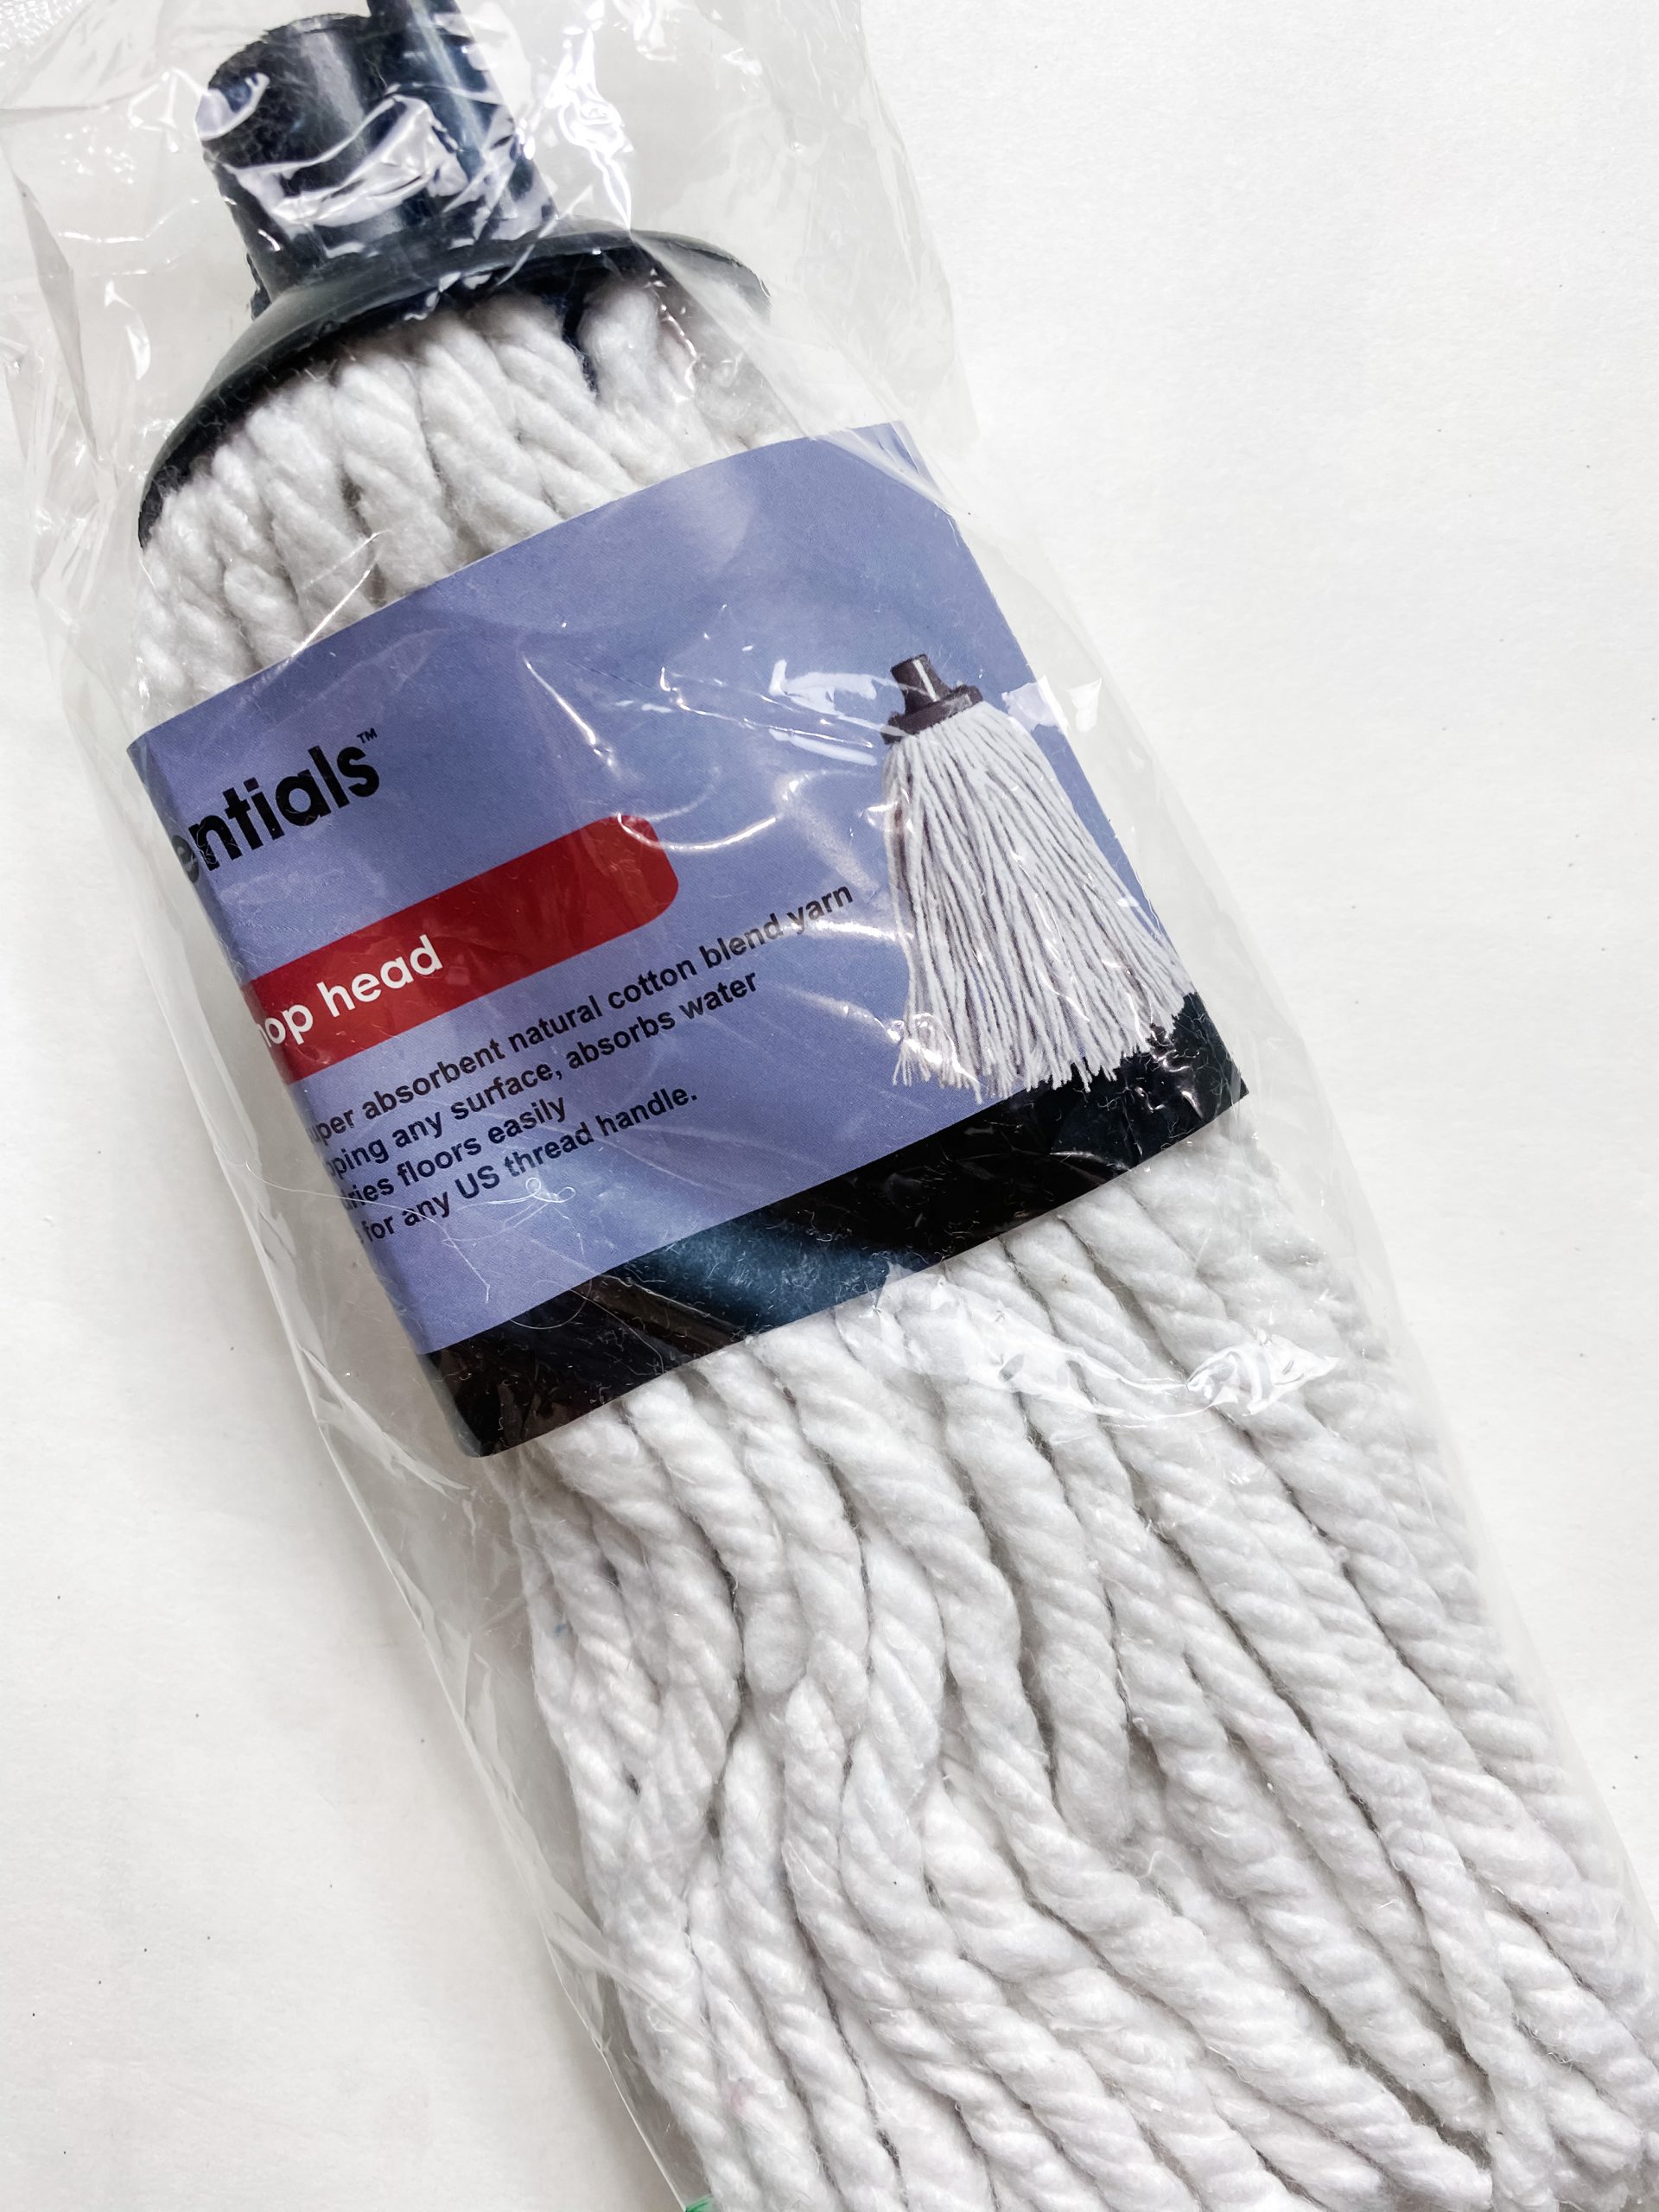
Once you have the mop head strings separated from the plastic piece, start wrapping the mop head strings around the Dollar Tree glass candle holder, hot gluing as you go.
This is probably the most tedious part of the entire DIY craft wrapping the mop head strings. Make sure you glue the mop head strings close to each other to keep the candle holder from peeking through.
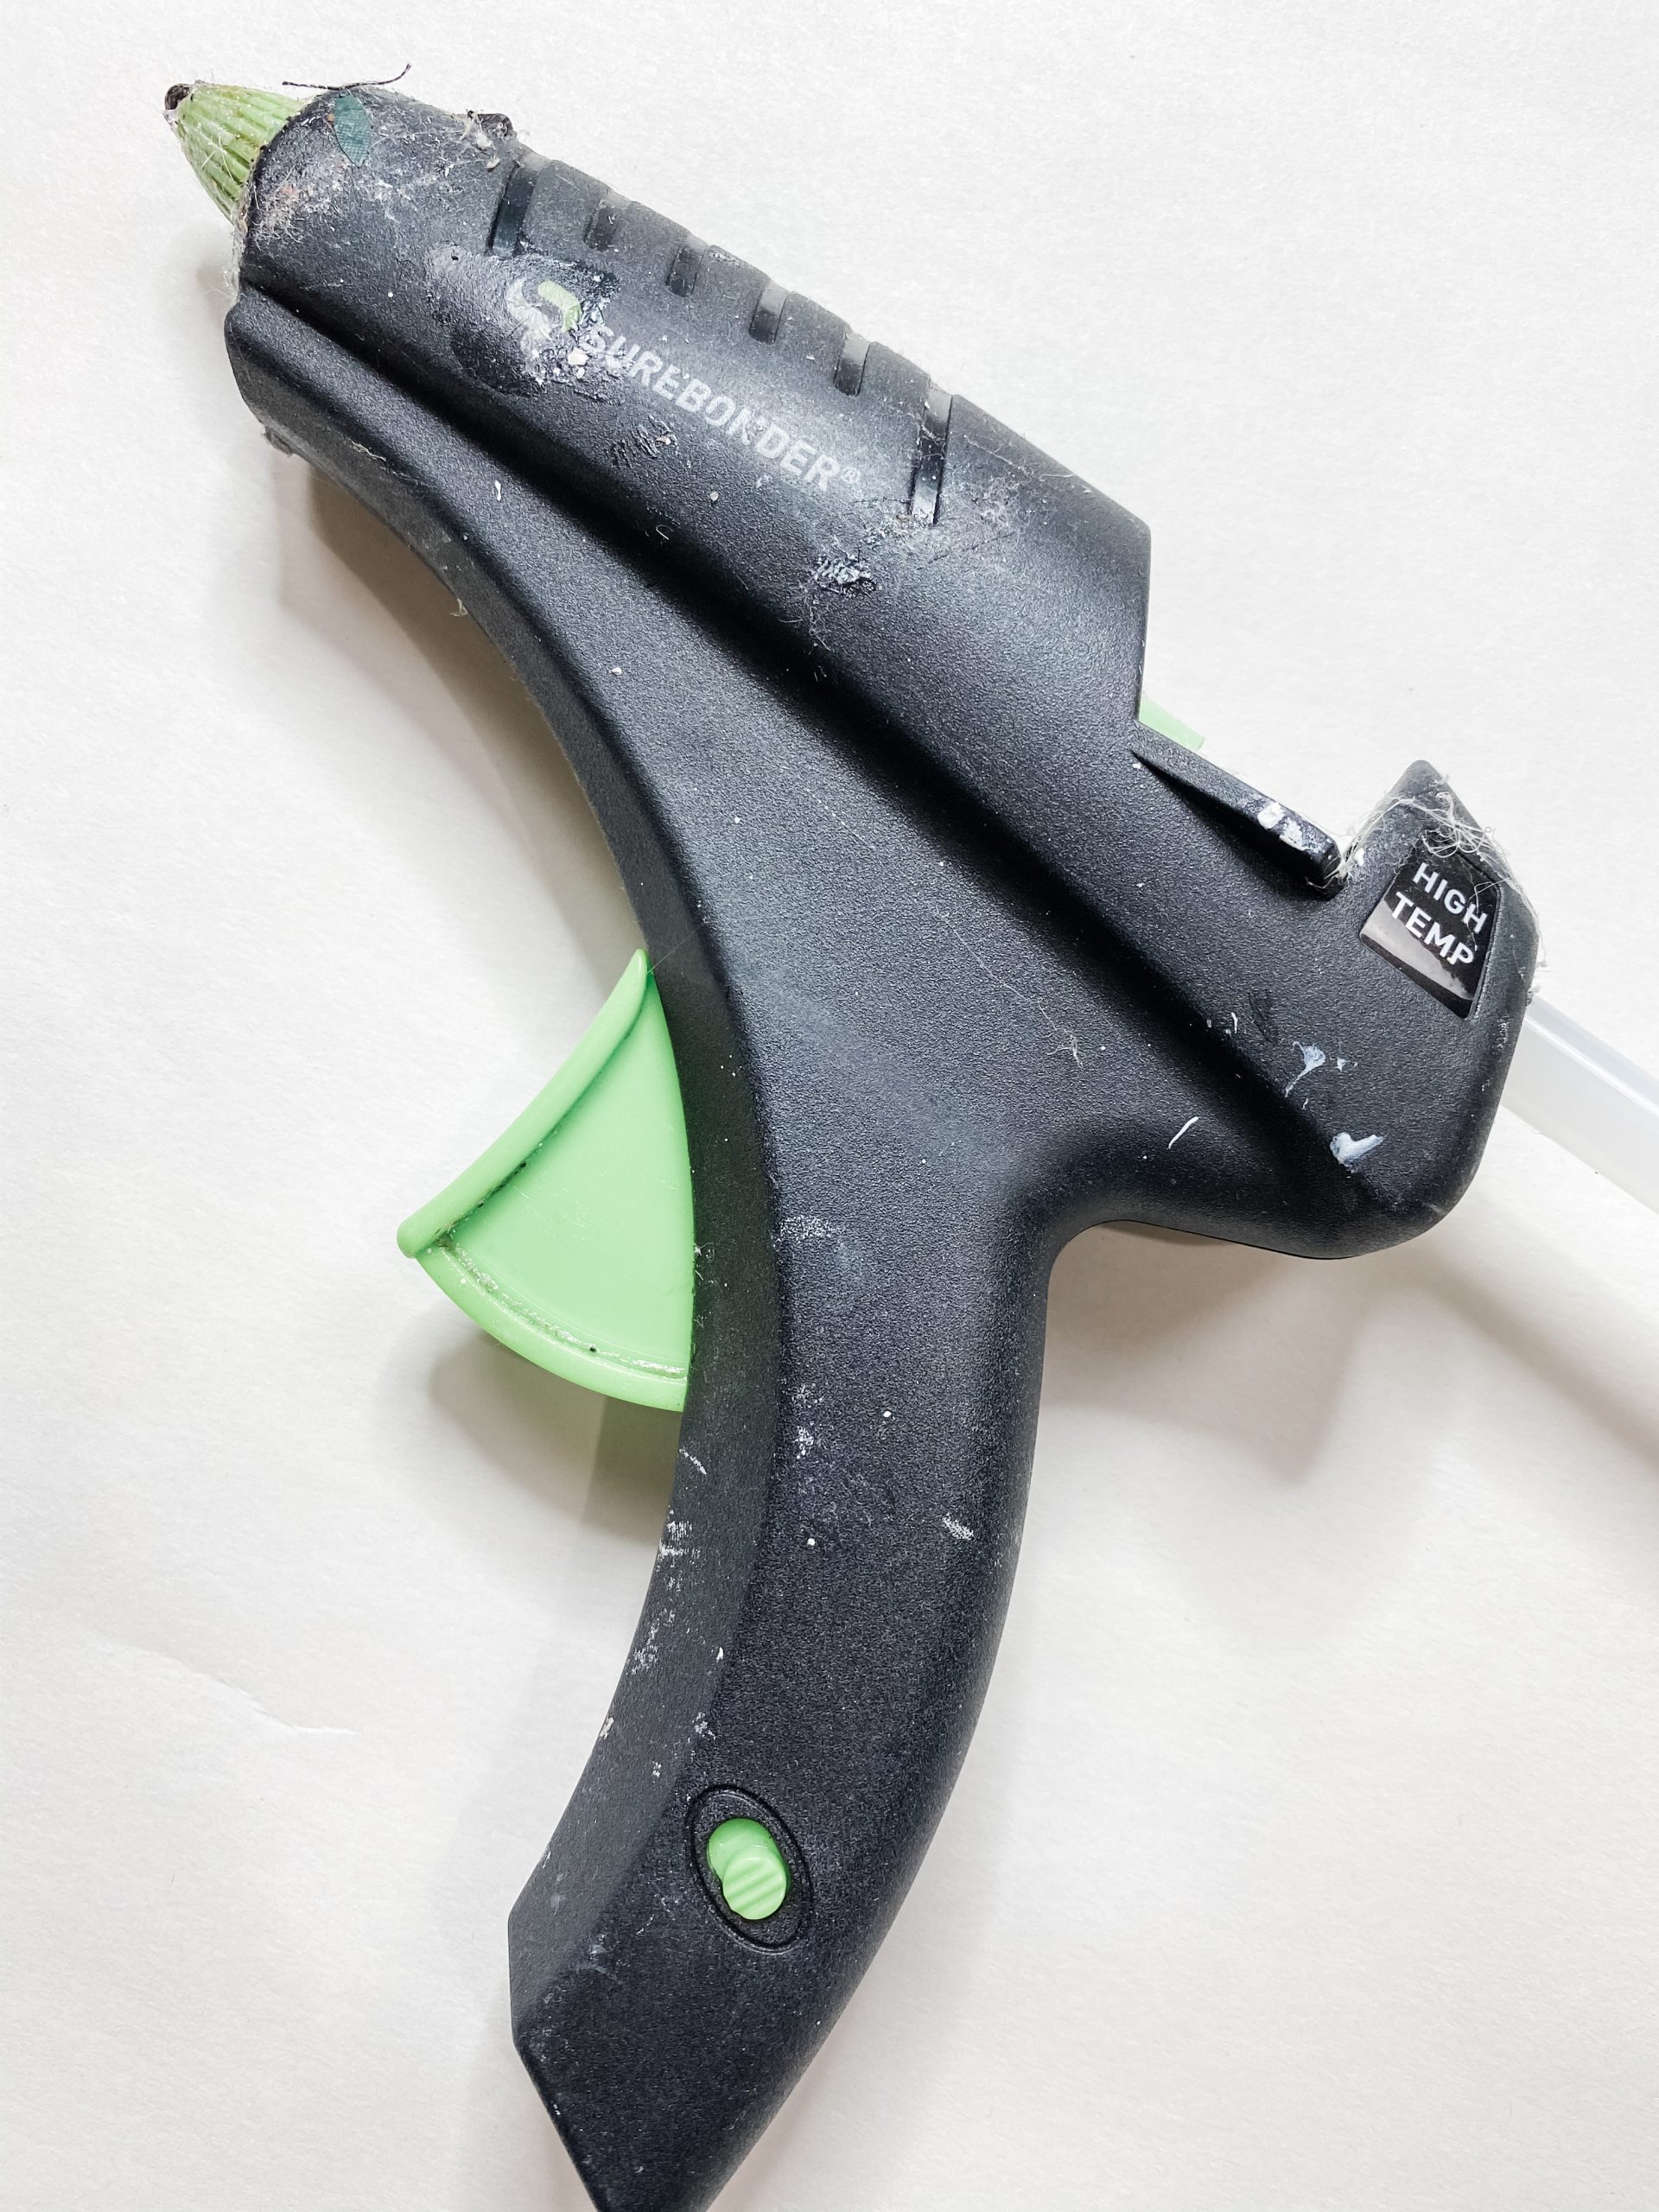
I used my Surebonder glue gun and gorilla glue sticks for this and the mop head strings stick just fine.
If you want to add e6000 glue instead of hot glue you can. e6000 glue adheres to glass very well but I have found that the hot glue works too. The e6000 dry time is overnight but if you mix hot glue and e6000 it speeds the dry time up a bit.
e6000 vs gorilla glue:
I am often told to use e6000 on glass because it works better, but I have found that using gorilla glue on the glass works as well.
I think the way I decide is how will my project be handled? Are the parts I am gluing heavy or hard to stand on its own. Trial and error are how I decide. I rarely have a problem with either glue working for my needs.
Let it snow
Next, I painted the mini Dollar Tree Christmas Trees with Apple Barrel White Acrylic Paint to make them look like they had snow on them.
Just lightly brush the white paint onto the mini Christmas Trees, and set them aside to dry. You can also use spray paint to create fake snow, as well as fake snow spray itself.
Decorate the snow globe
Unscrew the cap on the Dollar Tree snow globe. I wrapped the Dollar Tree diamond wrap ribbon around the cap of the snow globe and hot glued it in place. However, the ribbon was too wide for the cap, so I had to trim it to fit.
It’s beginning to look a lot like Christmas!
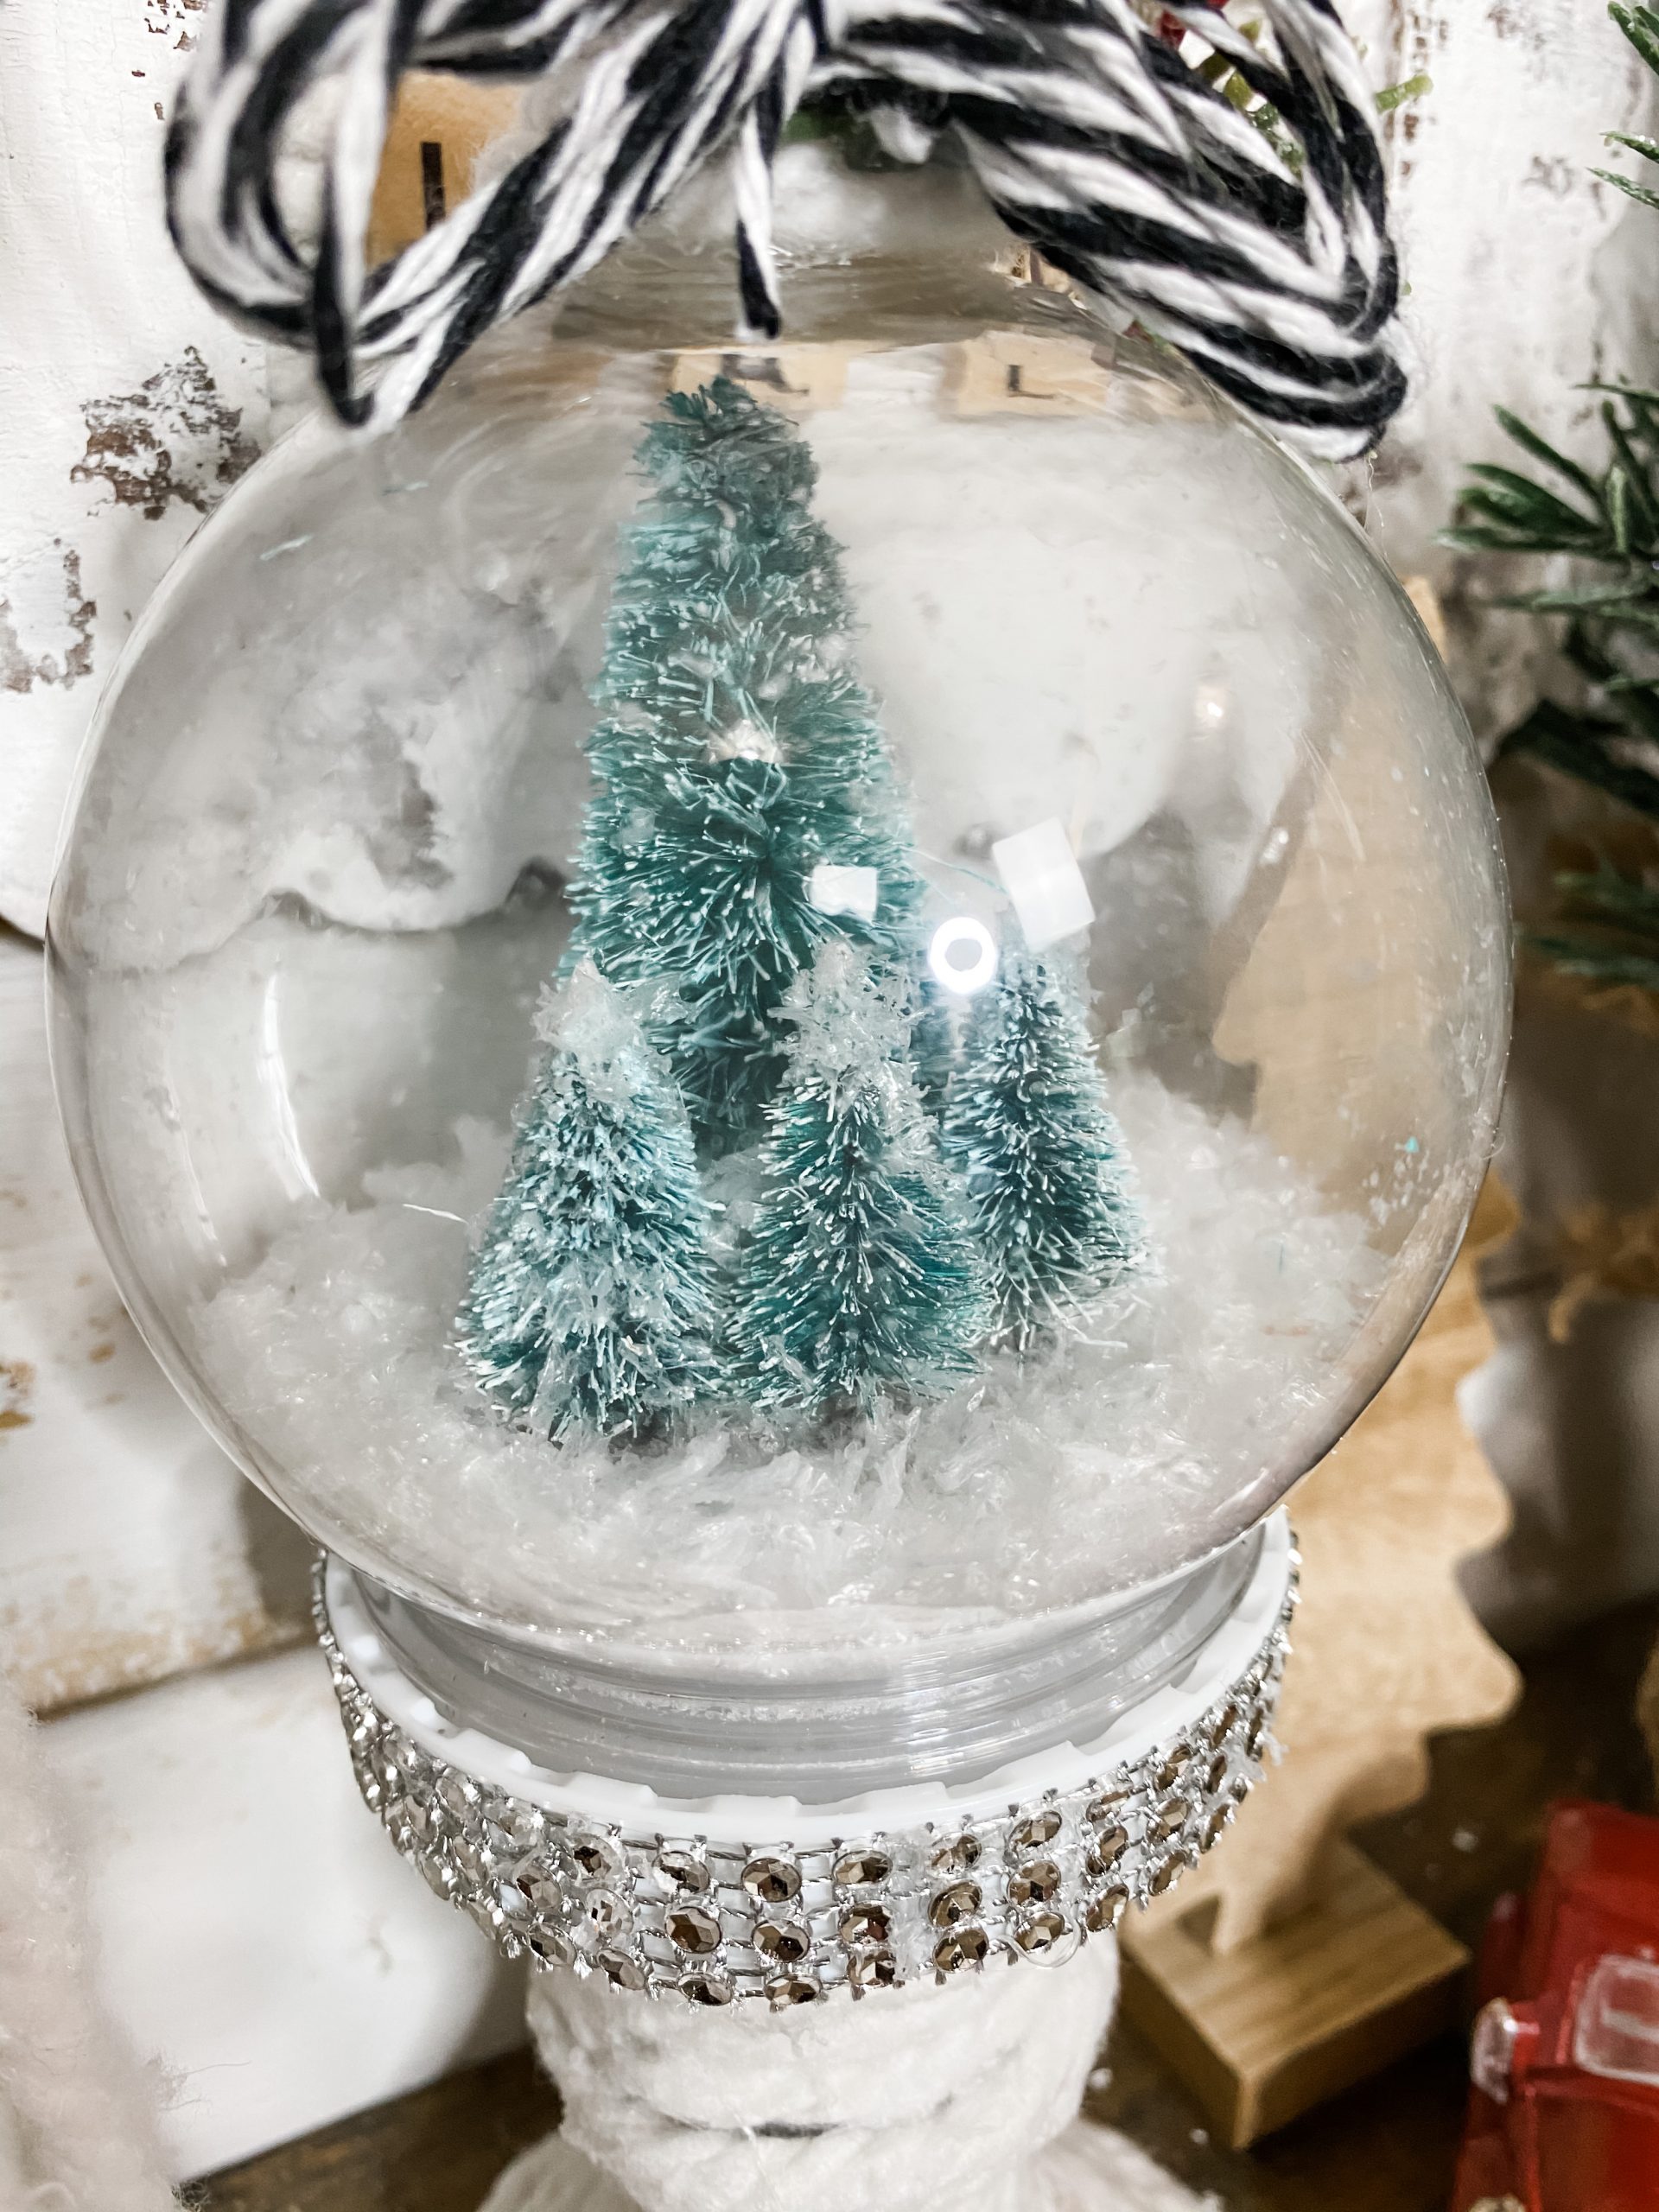
Once you remove the cap from the snow globe, there is a plastic plug that you need to pull out. This is what I hot glued the mini Christmas trees to. First, put a circle of hot glue around the top edge of the plug and dip it into the Dollar Tree fine snow.
Next, hot glue each of the mini Christmas trees into place using the gorilla glue. Finally, add hot glue between the Christmas trees and sprinkle the fake snowflakes onto the glue.
I did not add any liquid to my snow globe so that I can change it out later and have a minimal mess.
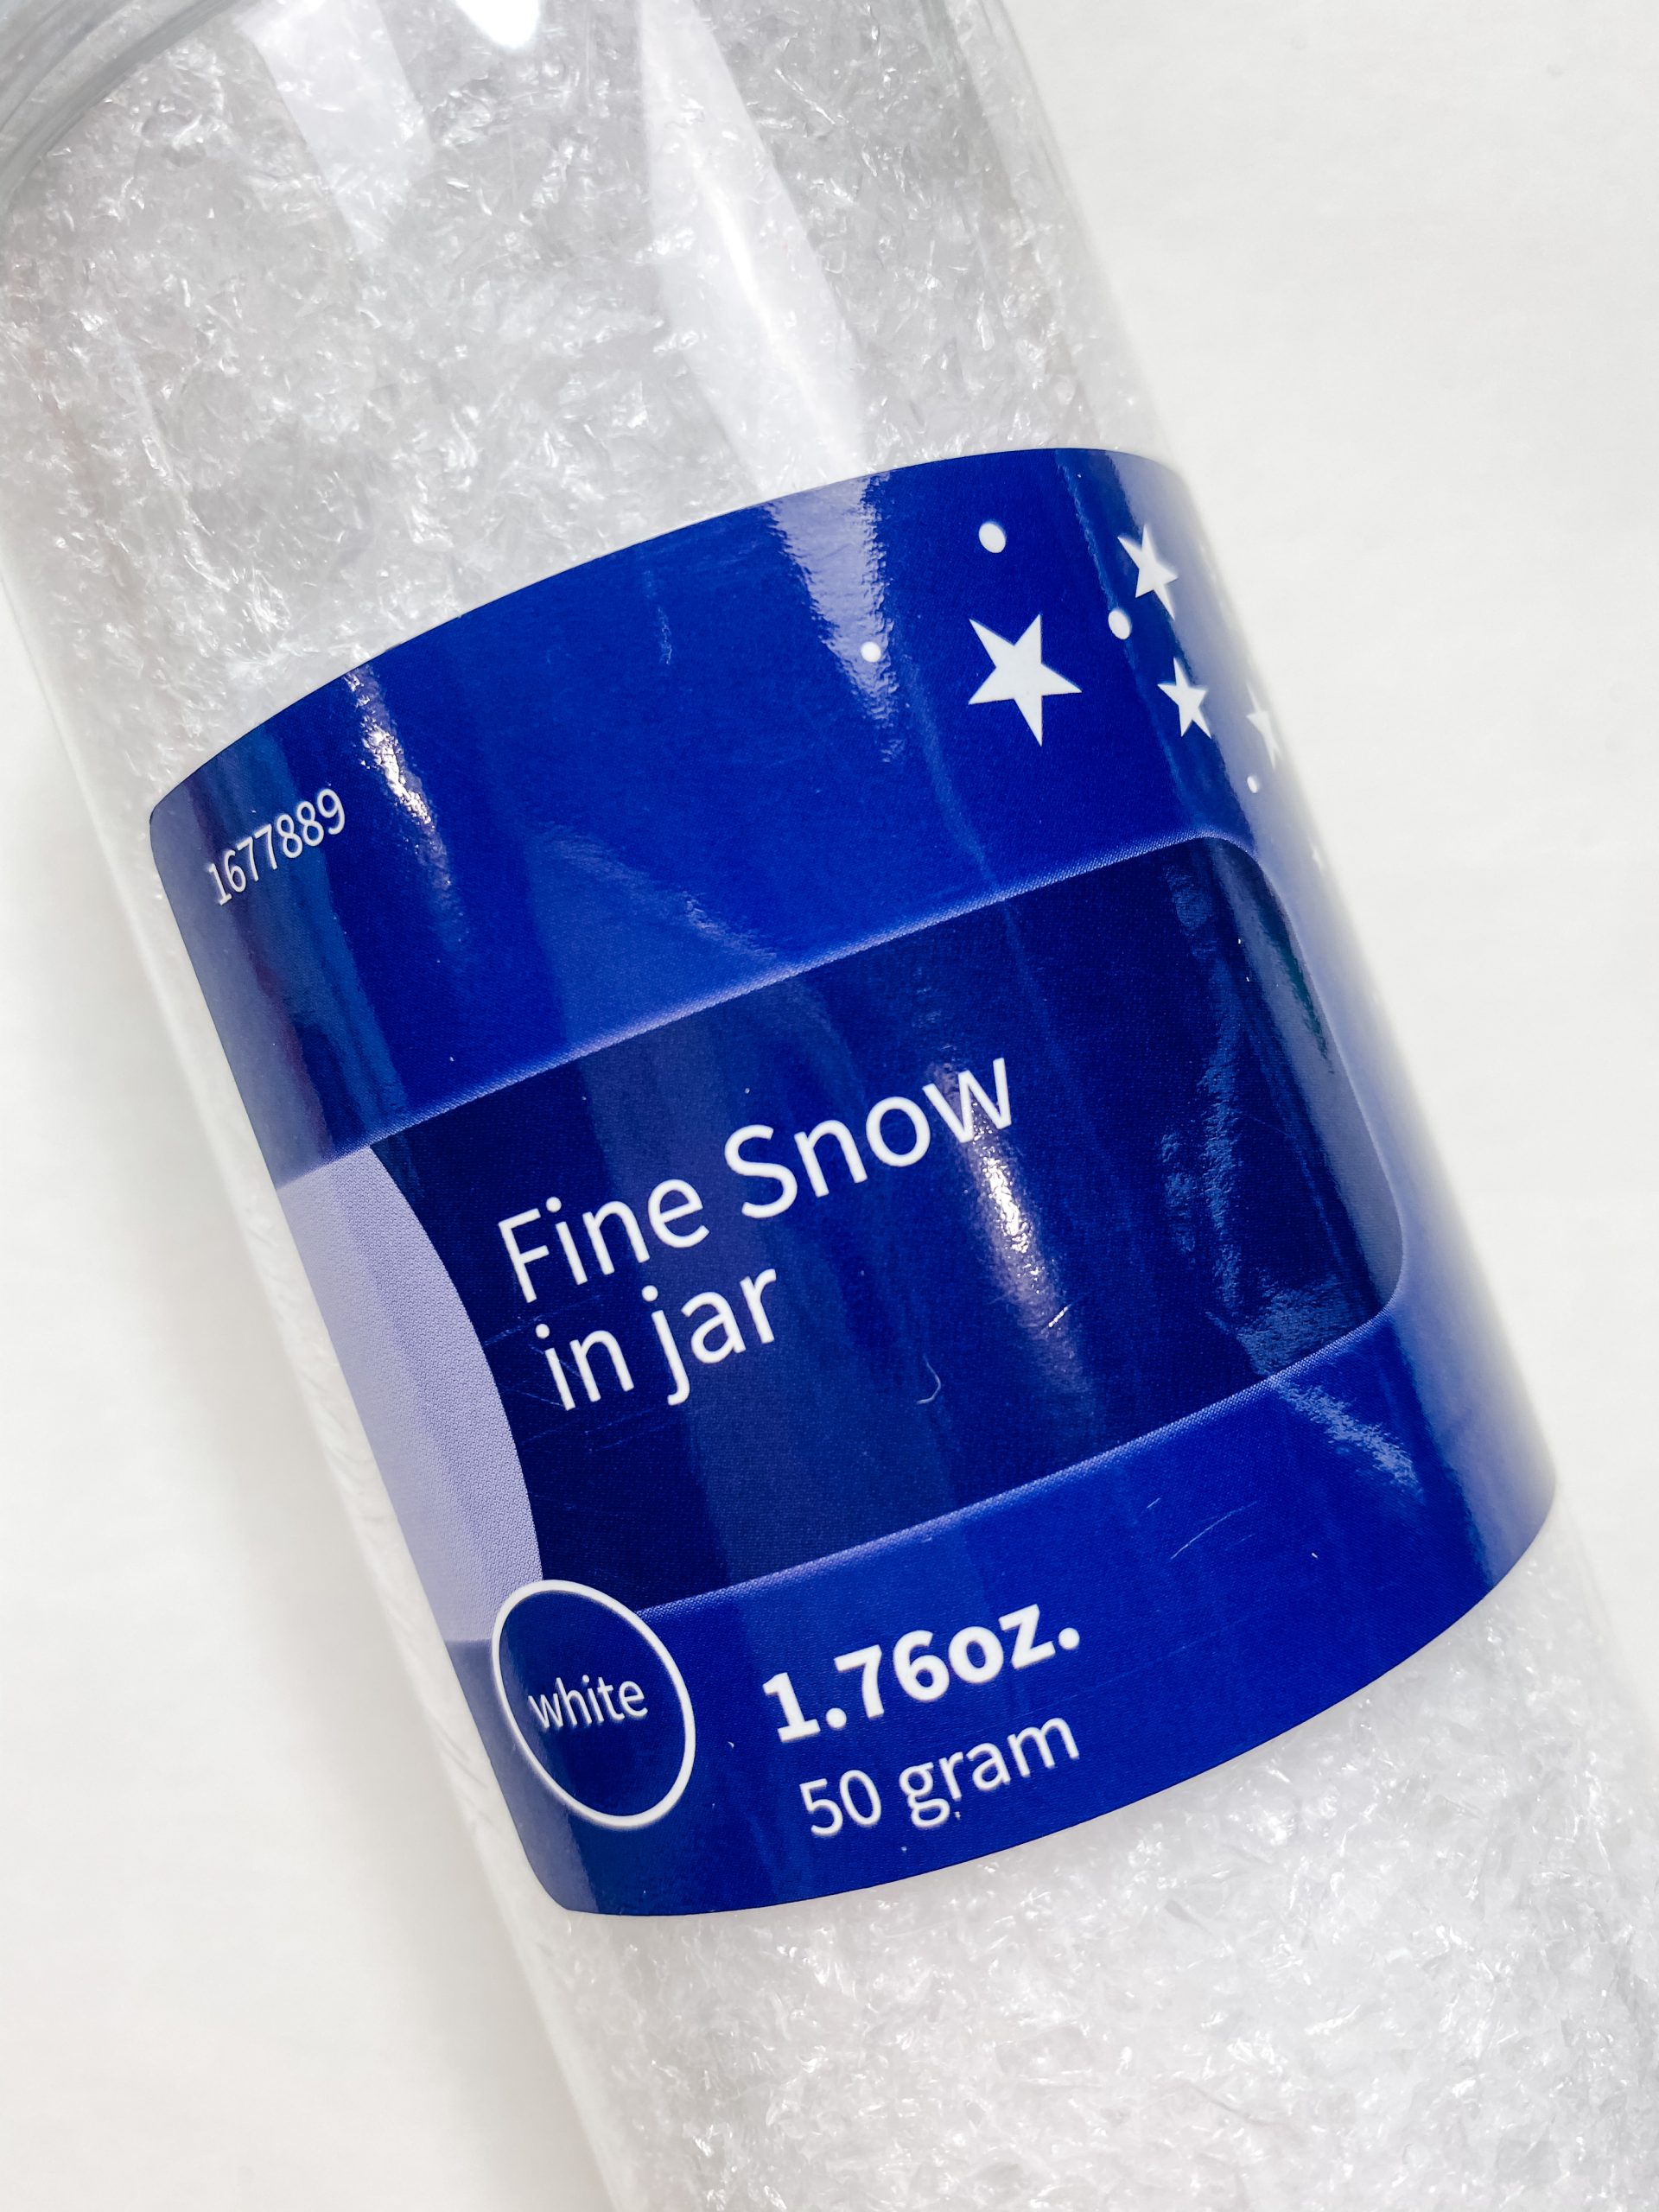
Grab the plastic globe and add some fine snow in it. Next, put the plug with the hot glued Dollar Tree mini Christmas trees back in place and screw the decorated cap back on.
Put it all together
Initially, I put a line of hot glue around the edge of the candle holder to attach the snow globe, but I realized it wouldn’t bond the plastic and glass well.
So, I used some E6000 glue instead. Remember that E6000 needs about 24 hours to dry completely. At least wait overnight.
The finishing touches
We are almost done! I used a cabinet knob from Walmart and wrapped it with another piece of Dollar Tree mop head string. Just hot glue it in place as you wrap it, exactly as you did with the candle holder.
Now, hot glue the knob on top of the snow globe. If you do not like the top added you do not have to add it. But I was going for a gumball machine and snow globe mash-up look for this Dollar Tree Christmas DIY. You can make this to fit your Christmas decorating style and omit what you do not like.
Finally, we are going to make a simple bow with the black and white baker’s twine. To make the bow, I just loop the baker’s twine in several circles around your hand and secure the center with another piece of the baker’s twine. Hot glue the mini bow to the snow globe’s topper, and you’re all done!
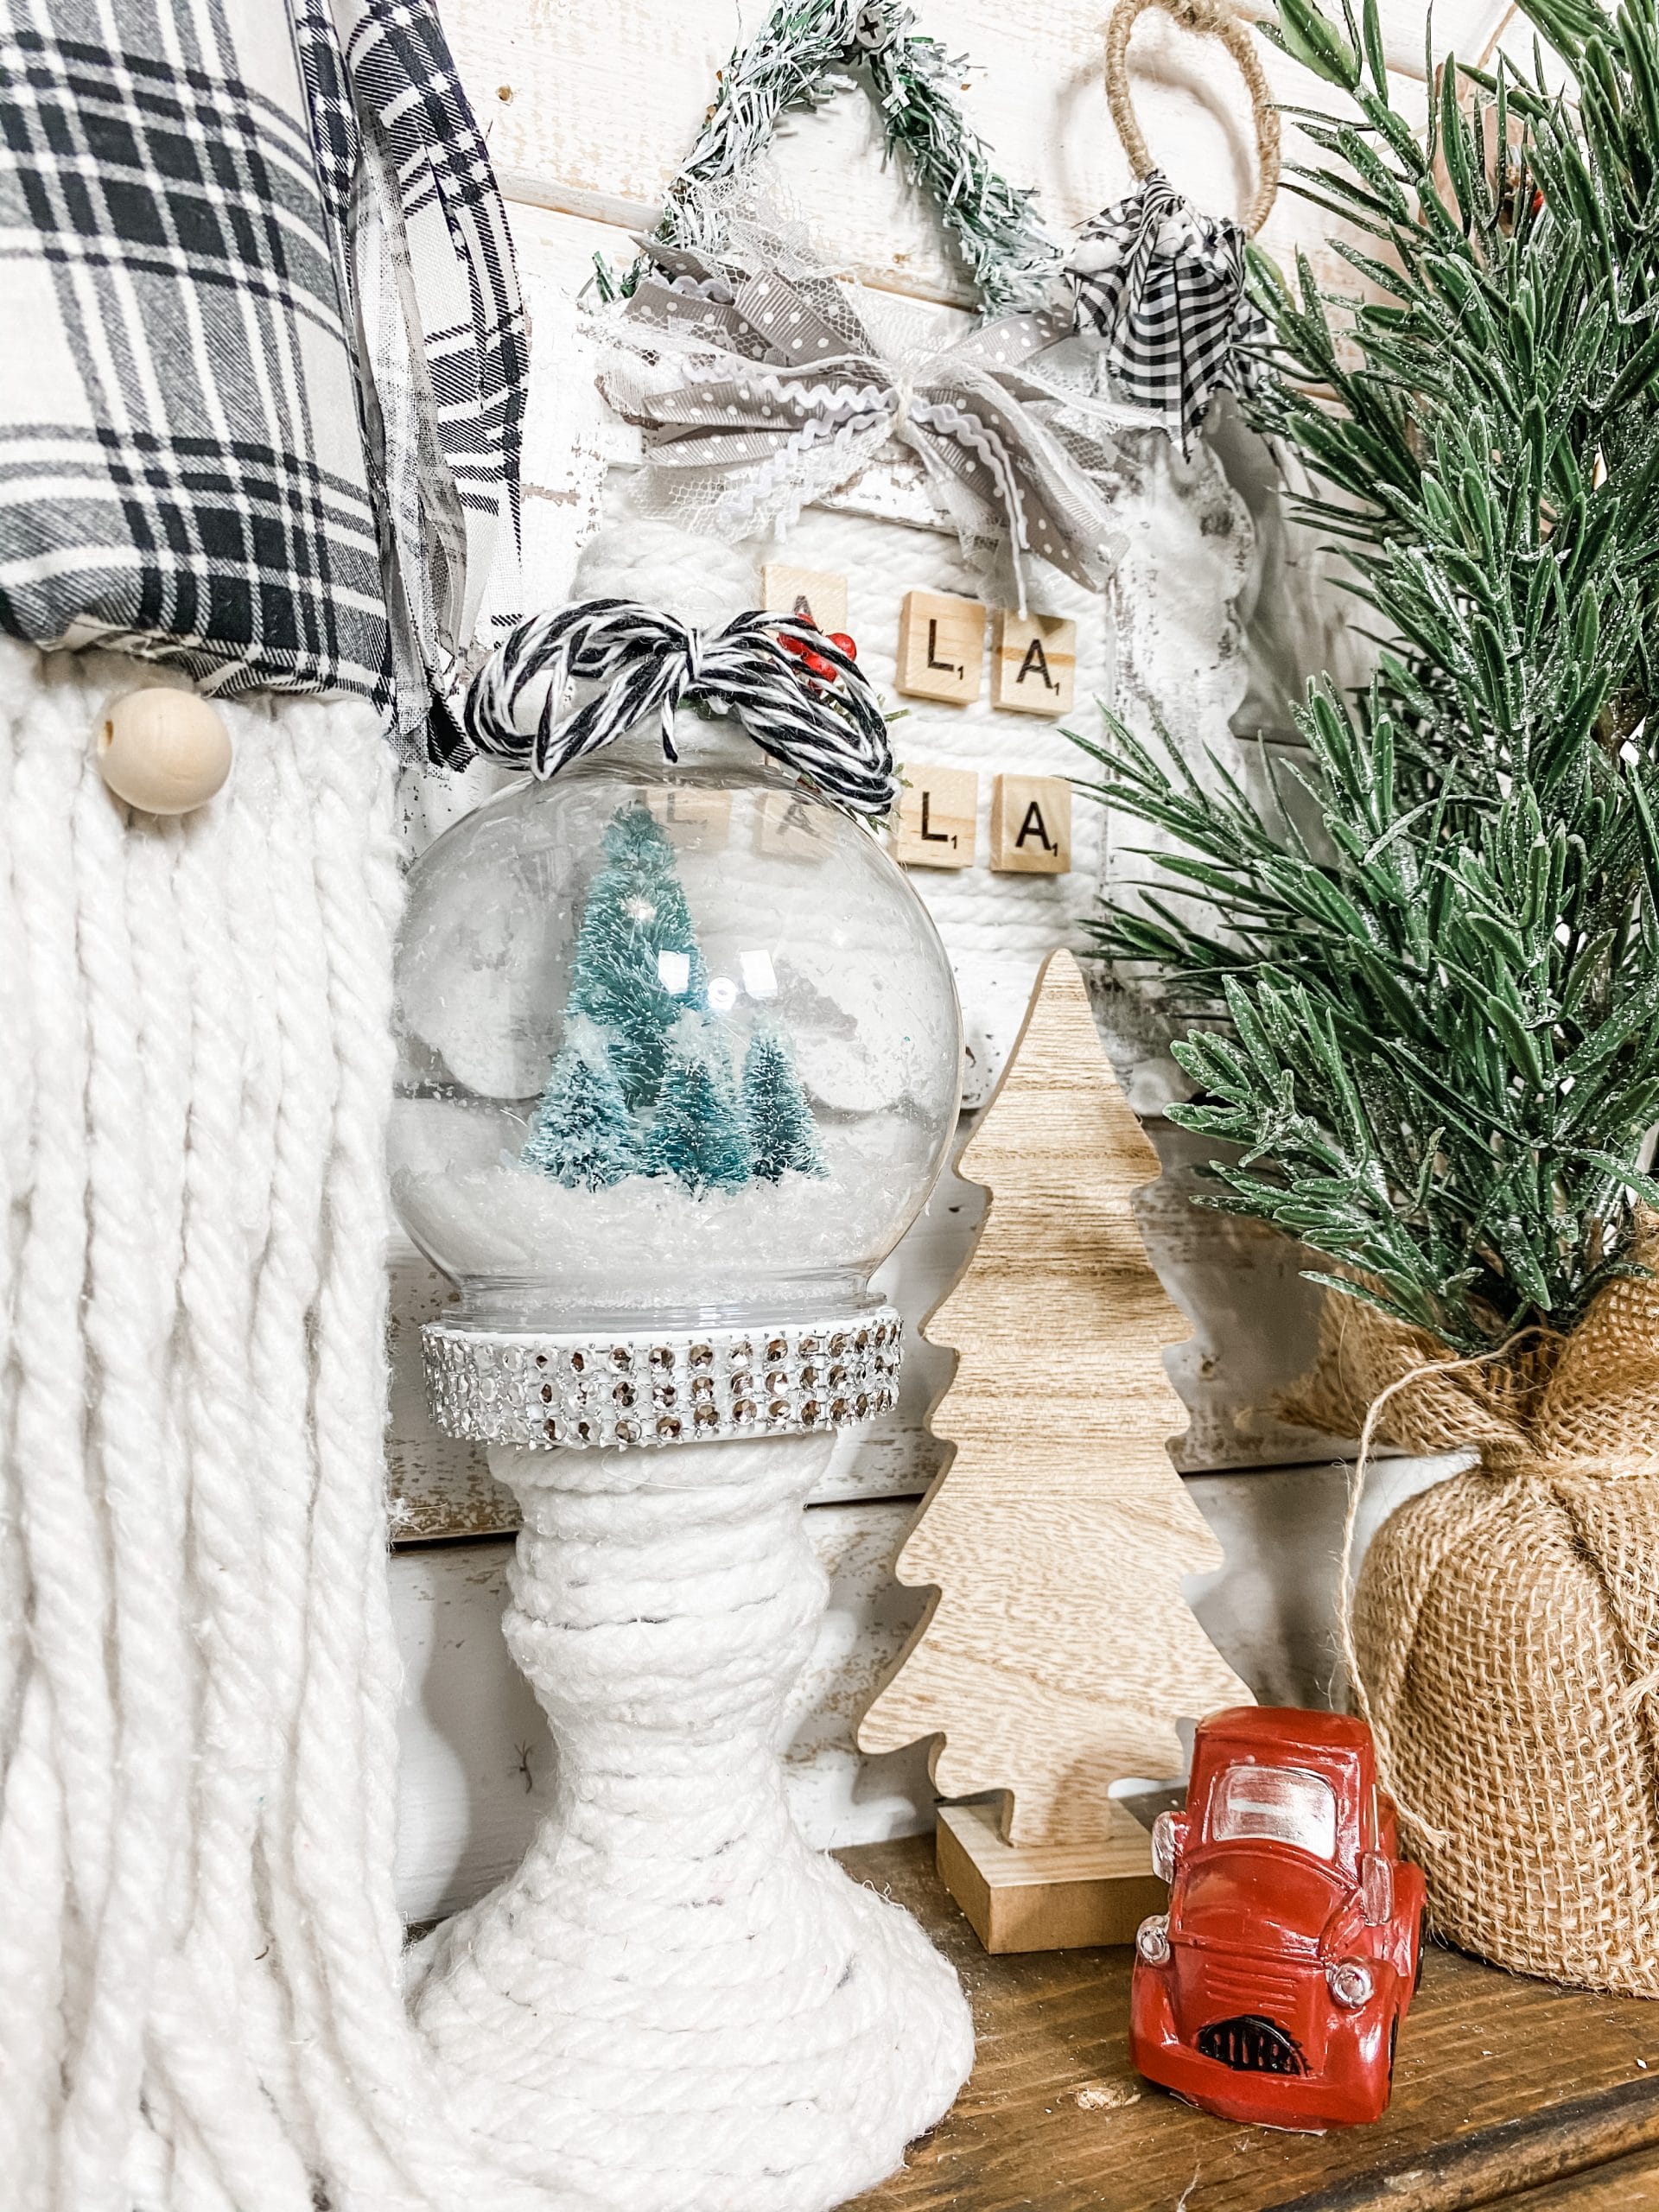
I hope you enjoyed learning how to make a Dollar Tree Candle Holder DIY Snow Globe as much as I did and decide to make it for yourself!
I would love to see how yours turns out! You should totally join my FREE Facebook group called On A Budget Crafts! It is a judgment-free community for DIY crafters to show off their projects and ideas.
If you loved this DIY you might also like this DIY Christmas Tree Shelf Decor!
Thanks for stopping by! XOXO Amber
You can also shop my ENTIRE AMAZON Favorites shop just click here! It’s packed full of all the things I use and love.
Here is the supply list I highly recommend every creative have on hand!! Would you also pin my blog for later and get on my newsletter alerts? I would love to have you join my #craftycrew.

Join my free “ON A BUDGET CRAFTS” Facebook group!
PIN THIS POST FOR LATER!
Adorable