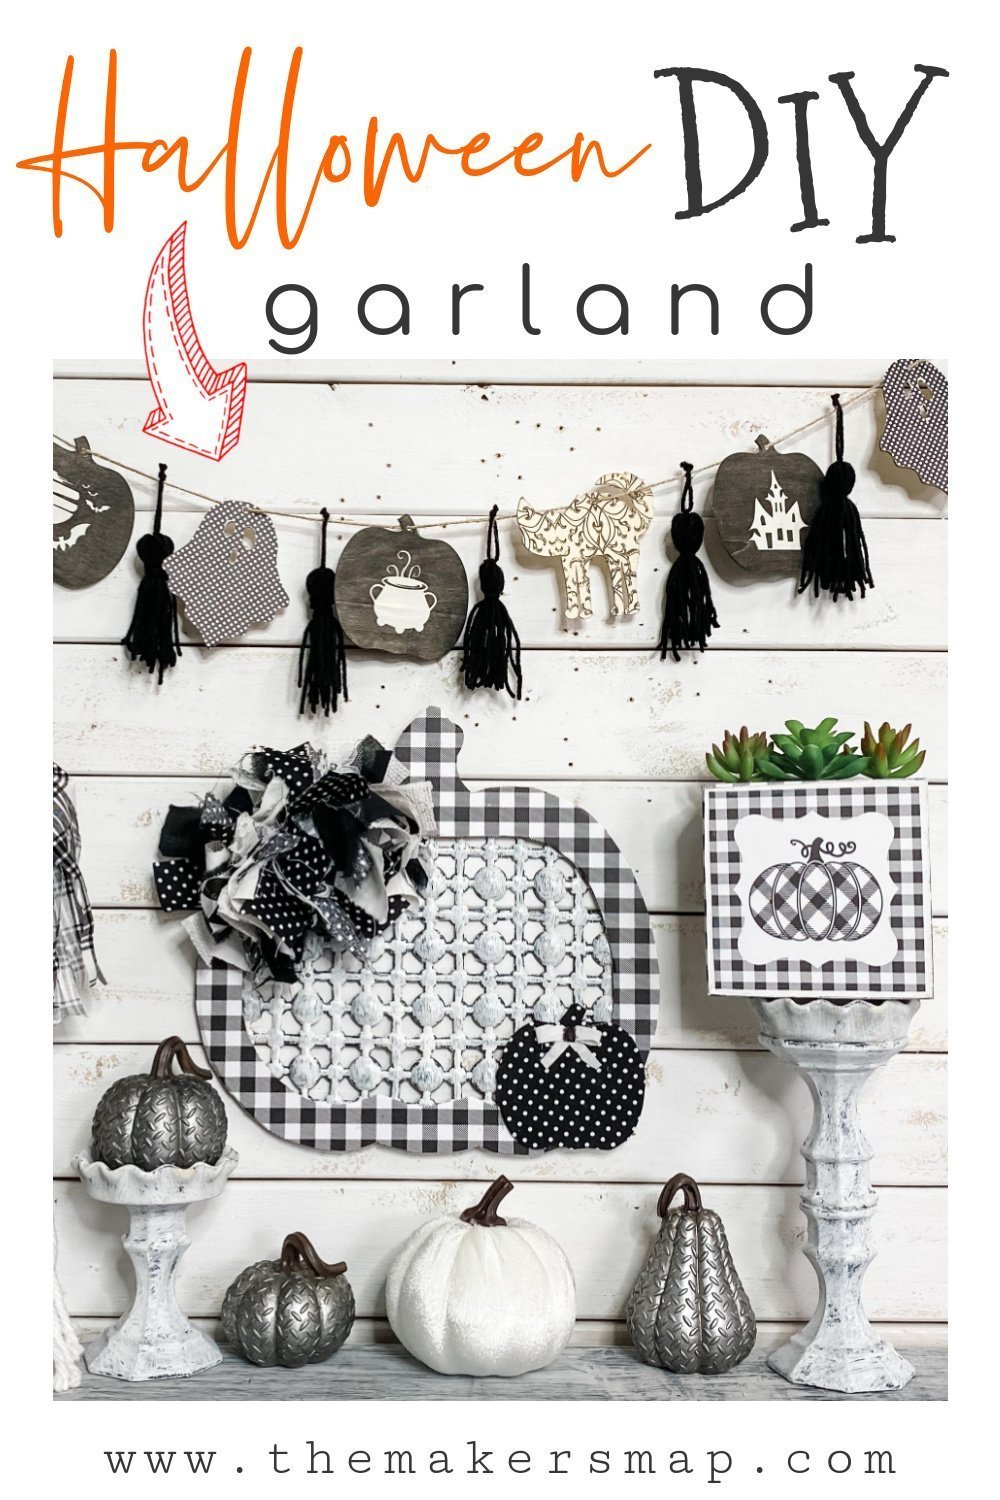
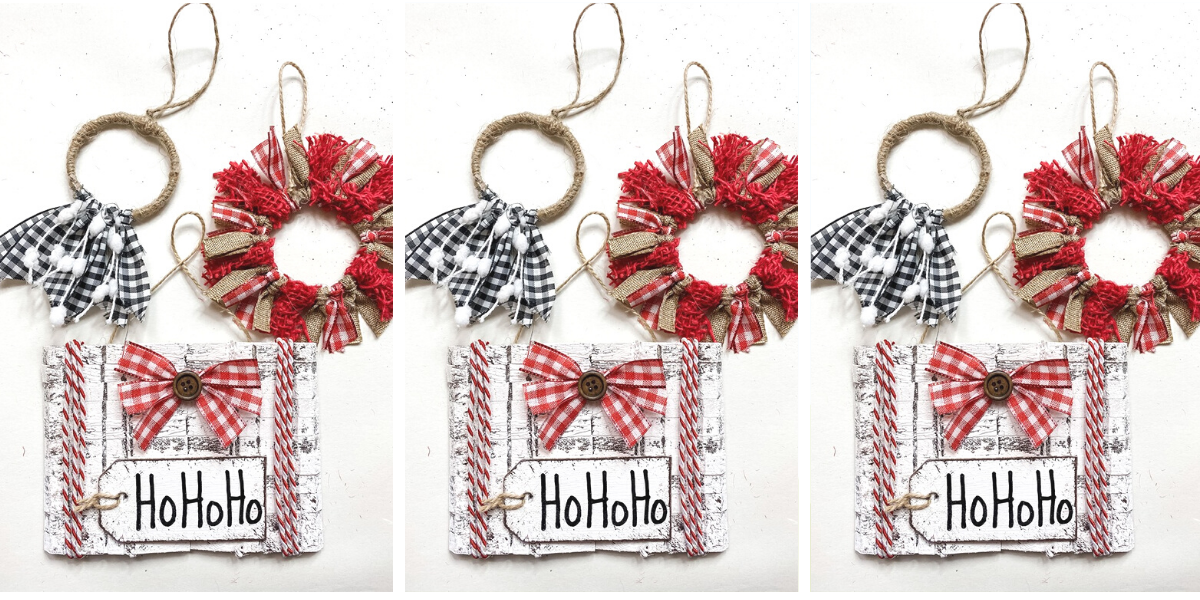
Stenciled Halloween DIY Garland
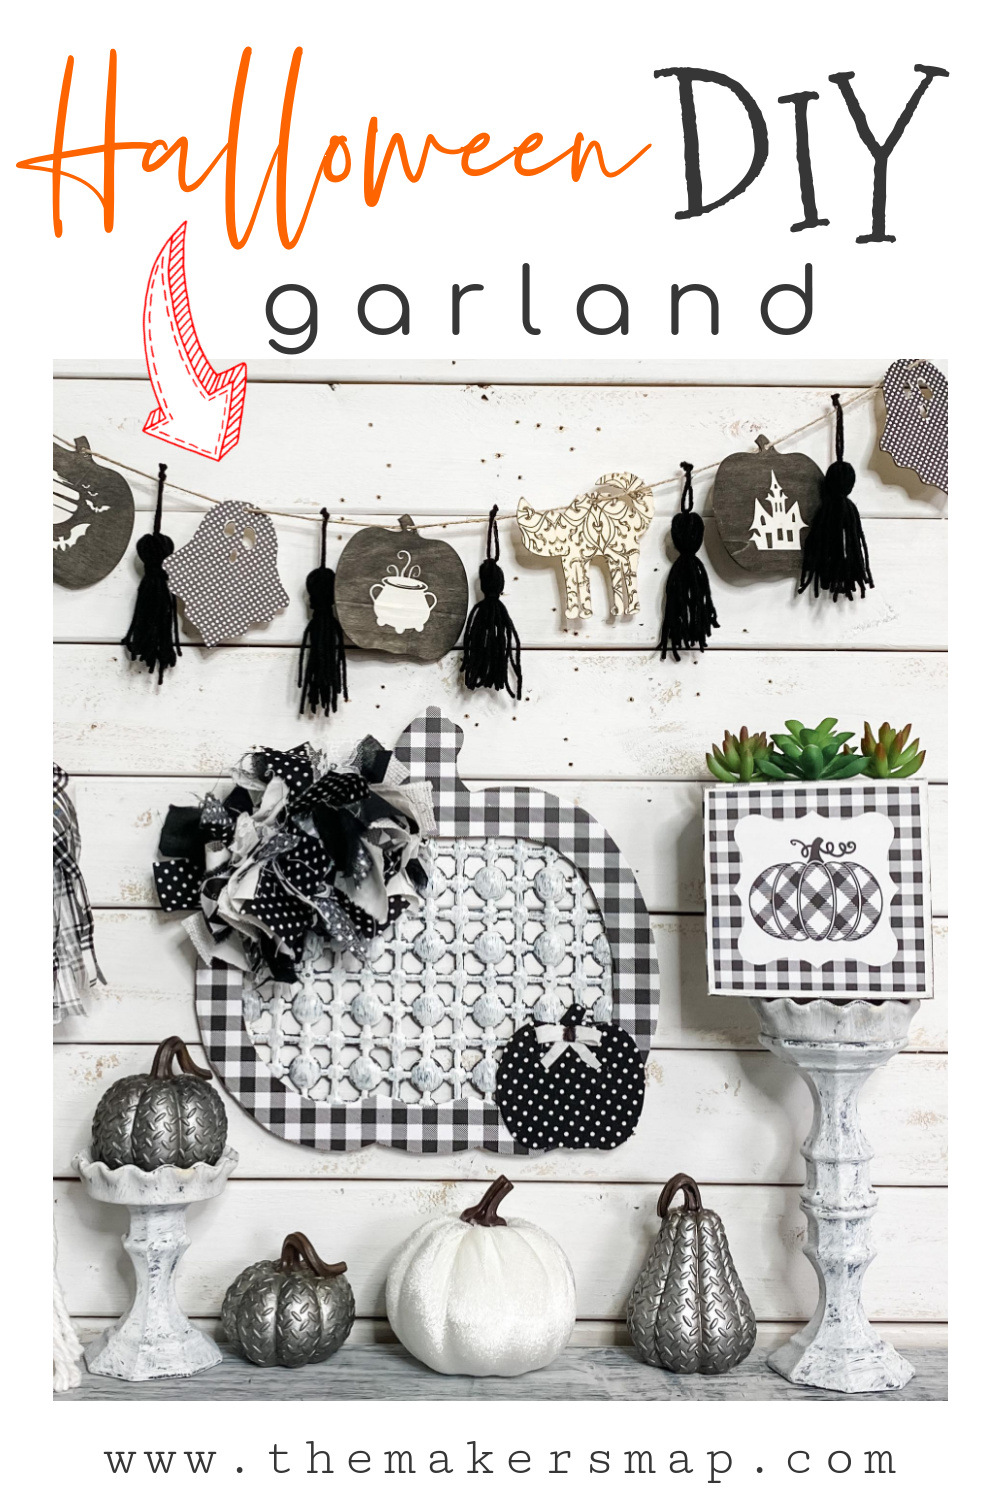
I know that I do a lot of “Fall” crafts this time of year, but I don’t really make a lot of projects specifically for Halloween. If you’re someone who absolutely loves decorating for Halloween, then this Stenciled Halloween DIY Garland is the perfect craft for you!
The possibilities are endless!
It is so simple to make, and it turned out AMAZING! If you aren’t a big fan of Halloween crafts, you could totally use this idea, but switch the cat and ghost wood cutouts with leaves or pumpkins. You could even turn it into a Christmas craft by using Santas, trees, or reindeer!
If you decide to make this craft or put your own twist on it for a different holiday, I would LOVE to see what you come up with! I started a FREE Facebook group for my crafting community to share the projects. It’s called On a Budget Crafts, and I think you would fit right in!
Let’s make a Stenciled Halloween DIY Garland!
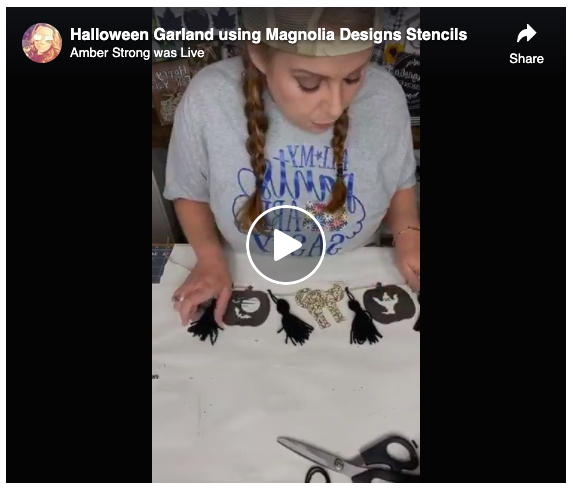
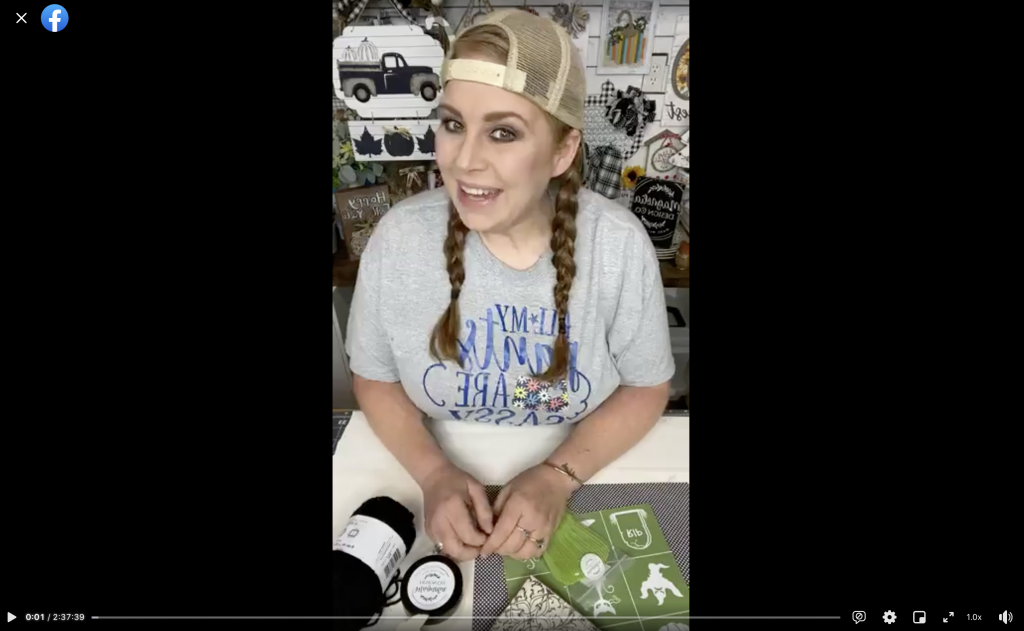
If you follow me on social media, you probably already watched the LIVE video of me making this adorable Stenciled Halloween DIY Garland.
If you don’t follow me, you can watch the video below! Now, I love making my DIY projects in LIVE videos with my followers. I absolutely love getting to know my #craftycrew, and that can lead to a lot of talking in my videos.
If that’s not for you, no worries! You can fast forward to the parts you want to watch!
I think my favorite thing about this craft is how truly simple it is to make. Even if you’re new to crafting, this is a project you could totally rock and make your own!
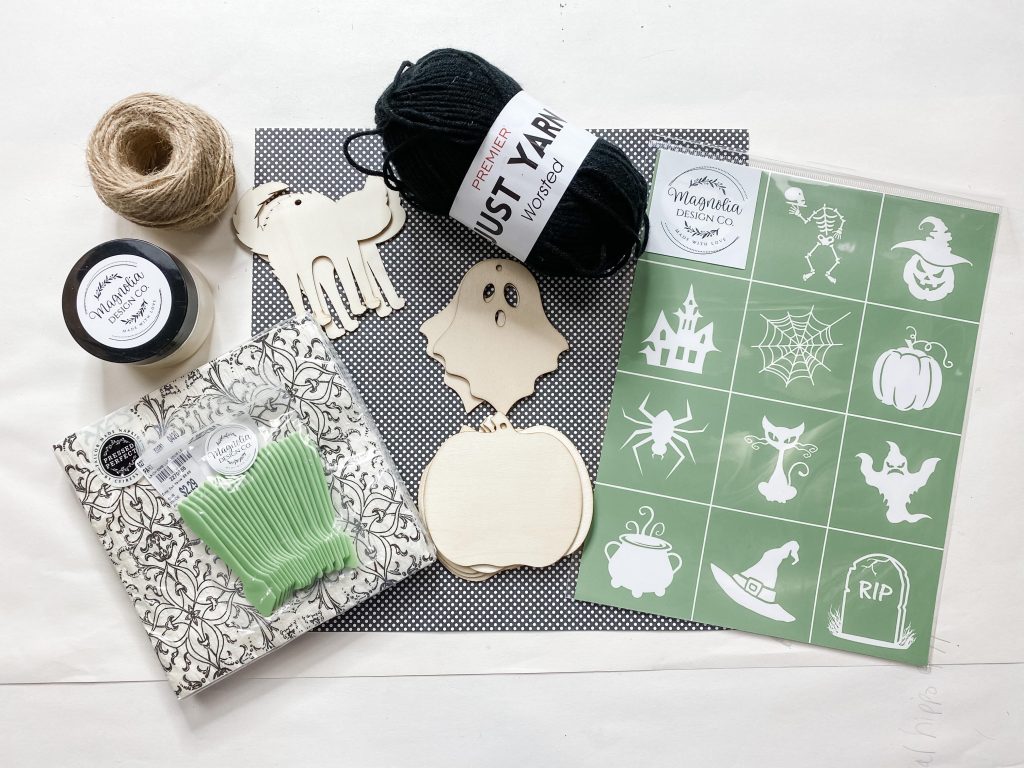
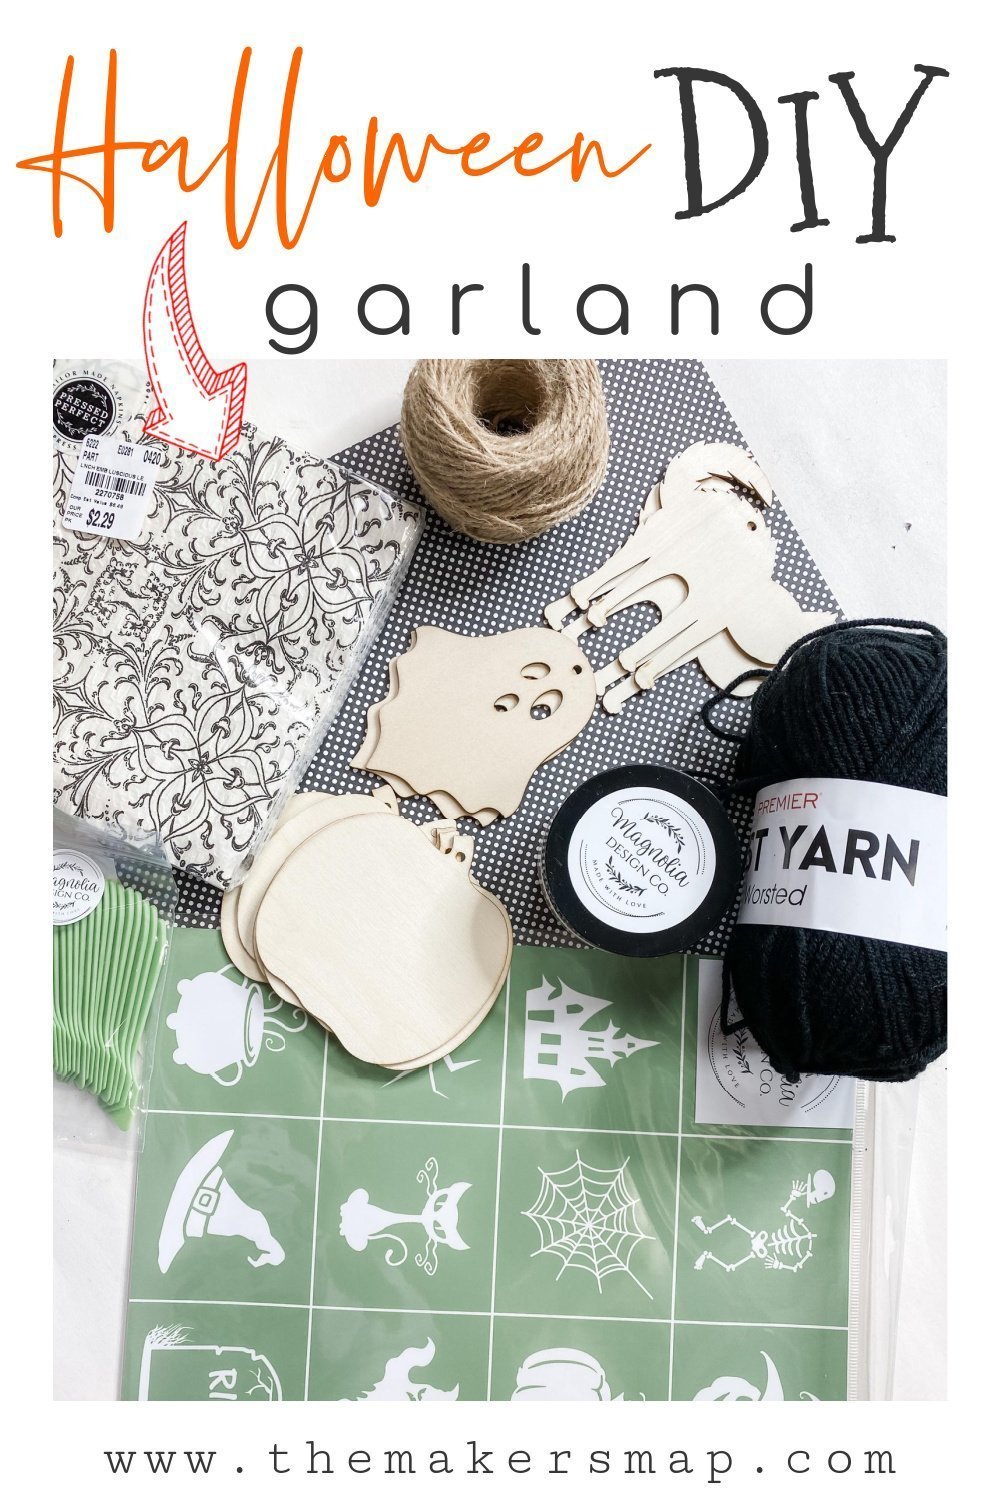
If you want to make this for your Halloween decorations, you are going to need some supplies.
Here is what you need:
Just so you know, these are my affiliate links. If you purchase from these links, I may make a small commission, but it will not cost you any extra. “As an Amazon Associate, I earn from qualifying purchases.”
- Magnolia Designs Halloween Stencils
- Magnolia Designs White Chalk Paste
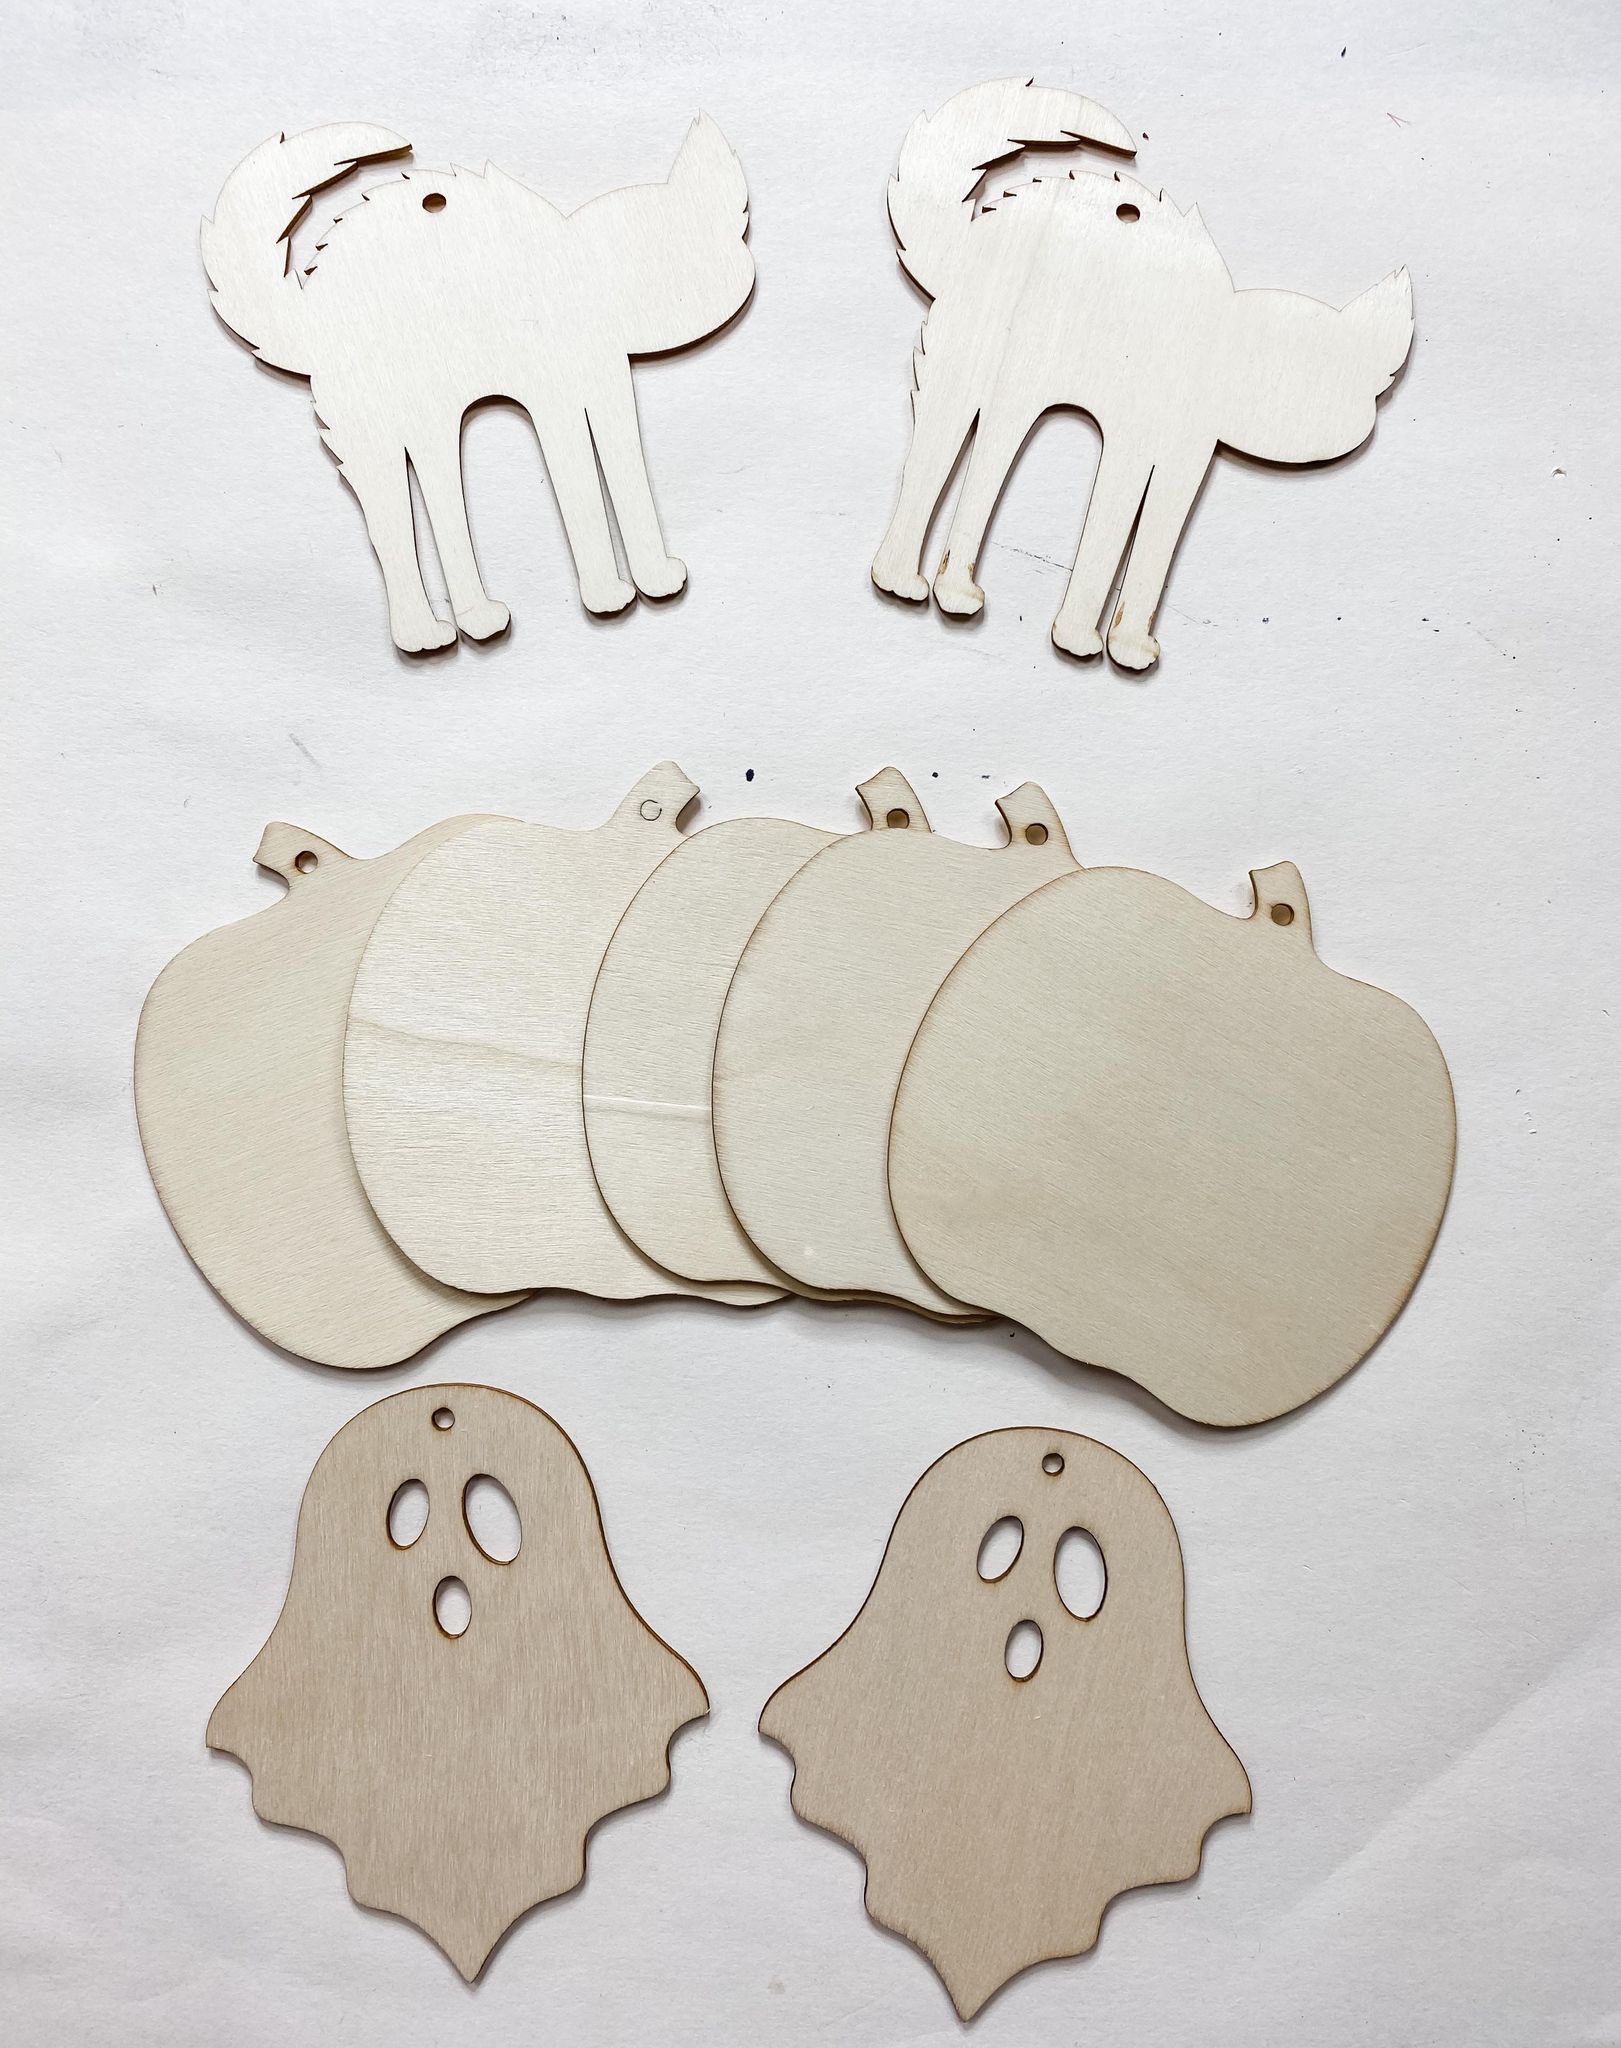
- 2x Dollar Tree Cat Wood Cutouts
- 2x Dollar Tree Ghost Wood Cutouts
- 5x Dollar Tree Pumpkin Wood Cutouts
- Magnolia Designs Scraper Tool
- Black yarn
- Slice Cutter
- Napkins
- Scrapbook paper
- Black paint
- Pencil
- Scissors
- Mod Podge
- twine
- Chippy brushes 1-inch
- Heat gun
- Hot glue gun and glue sticks
I promise you are gonna want to make this DIY!
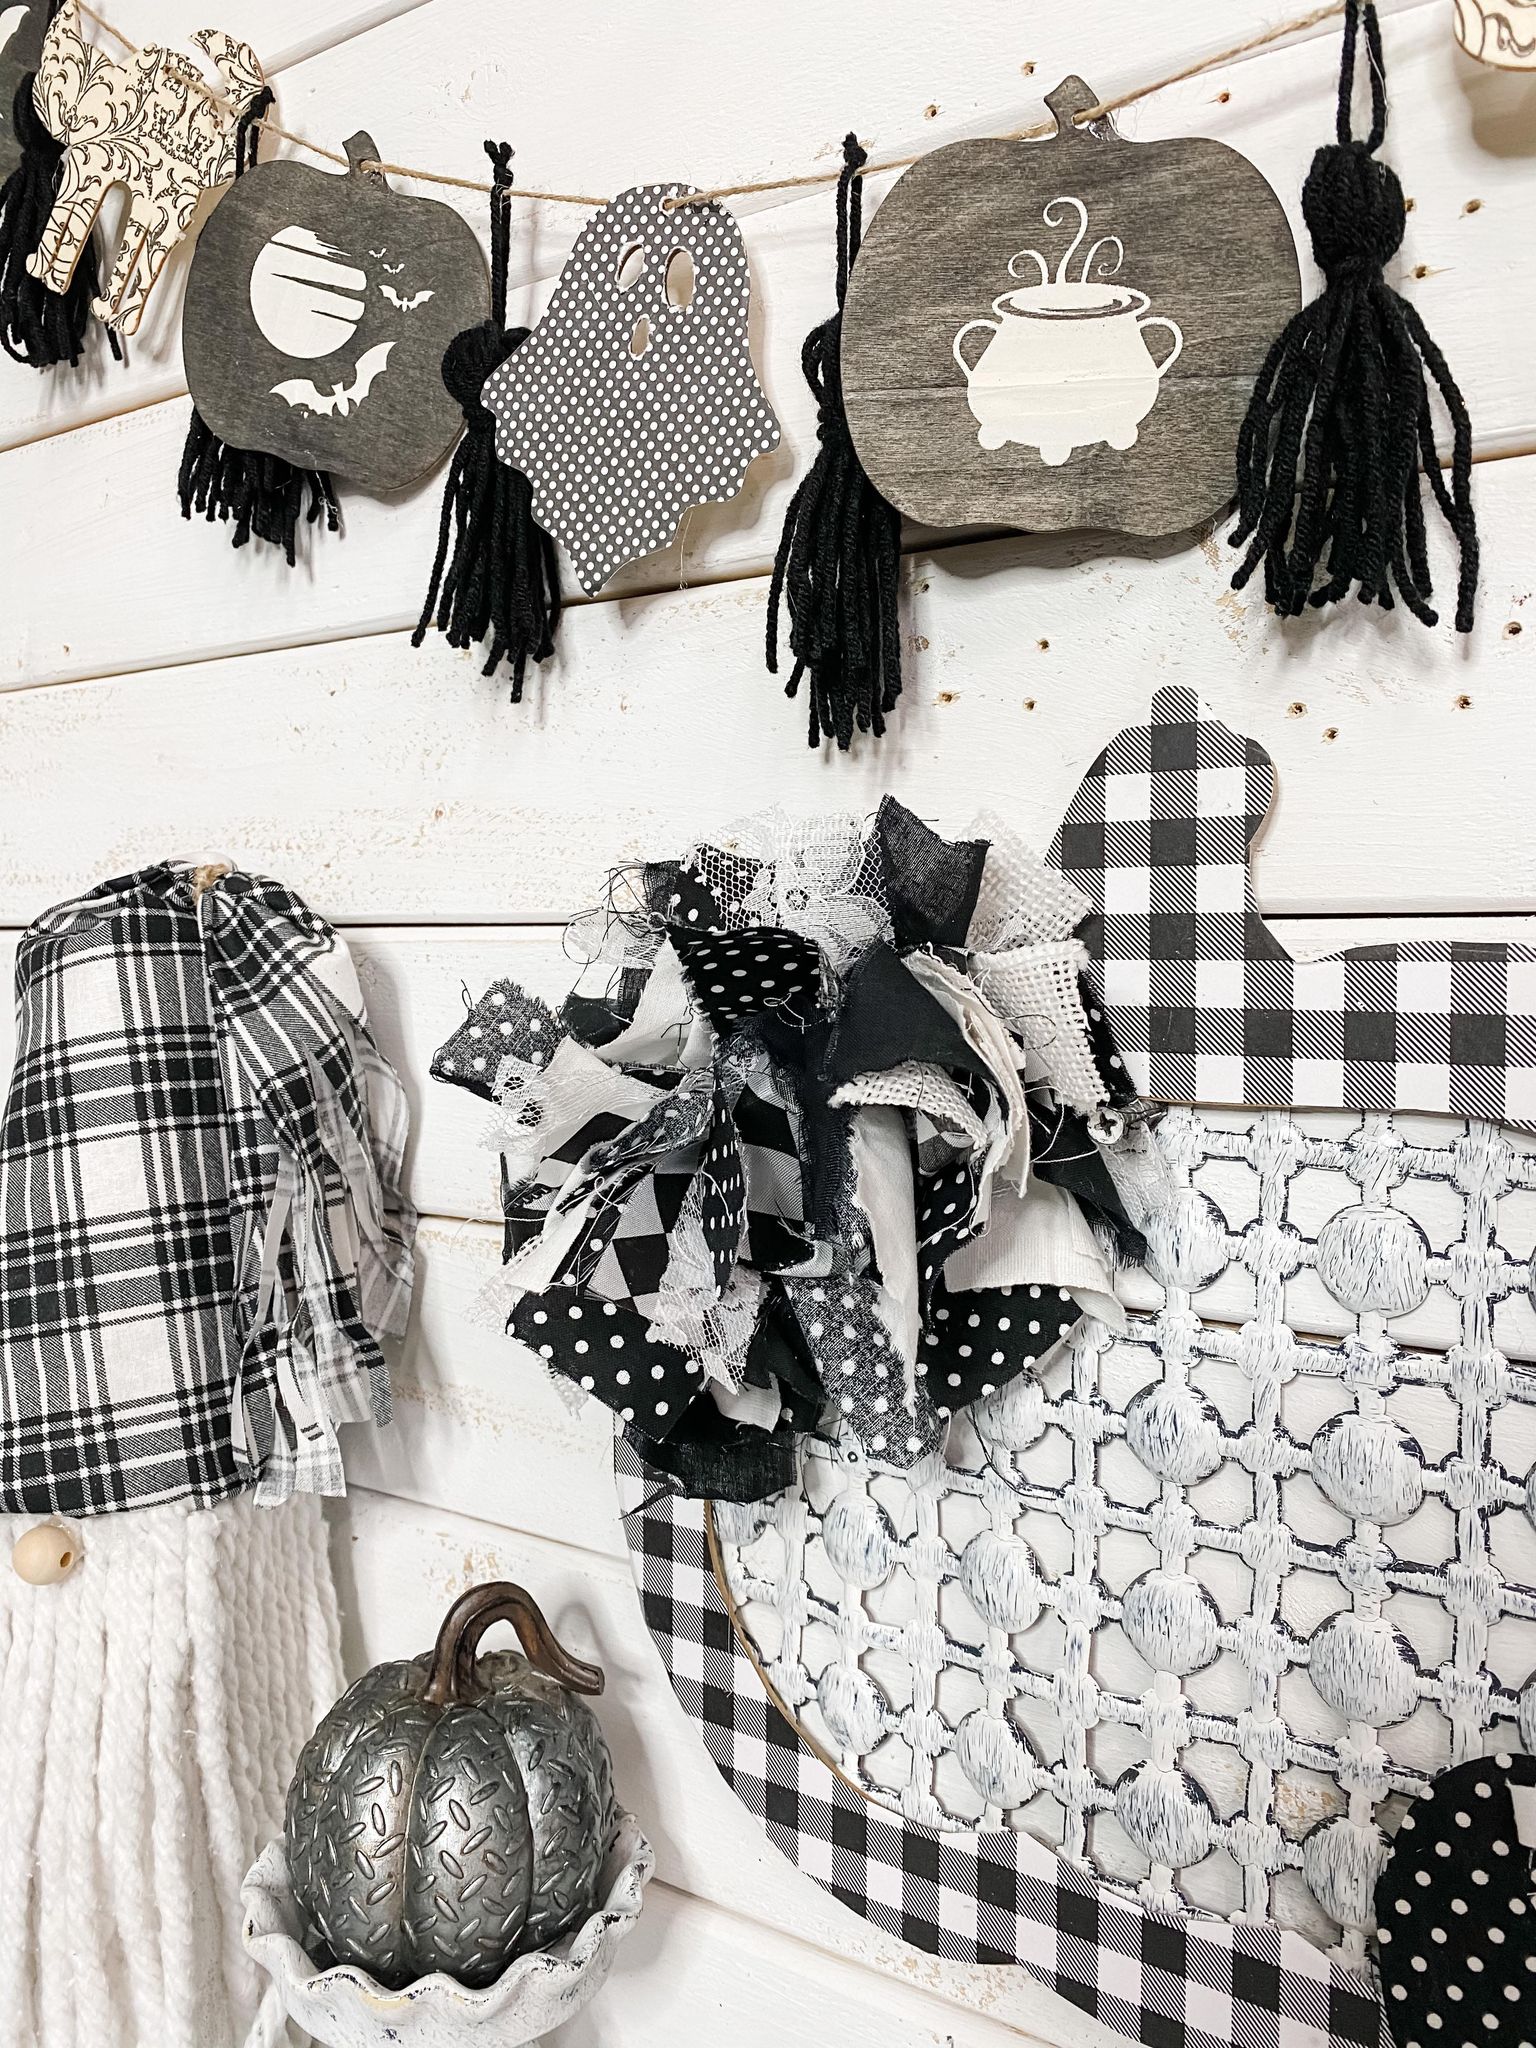
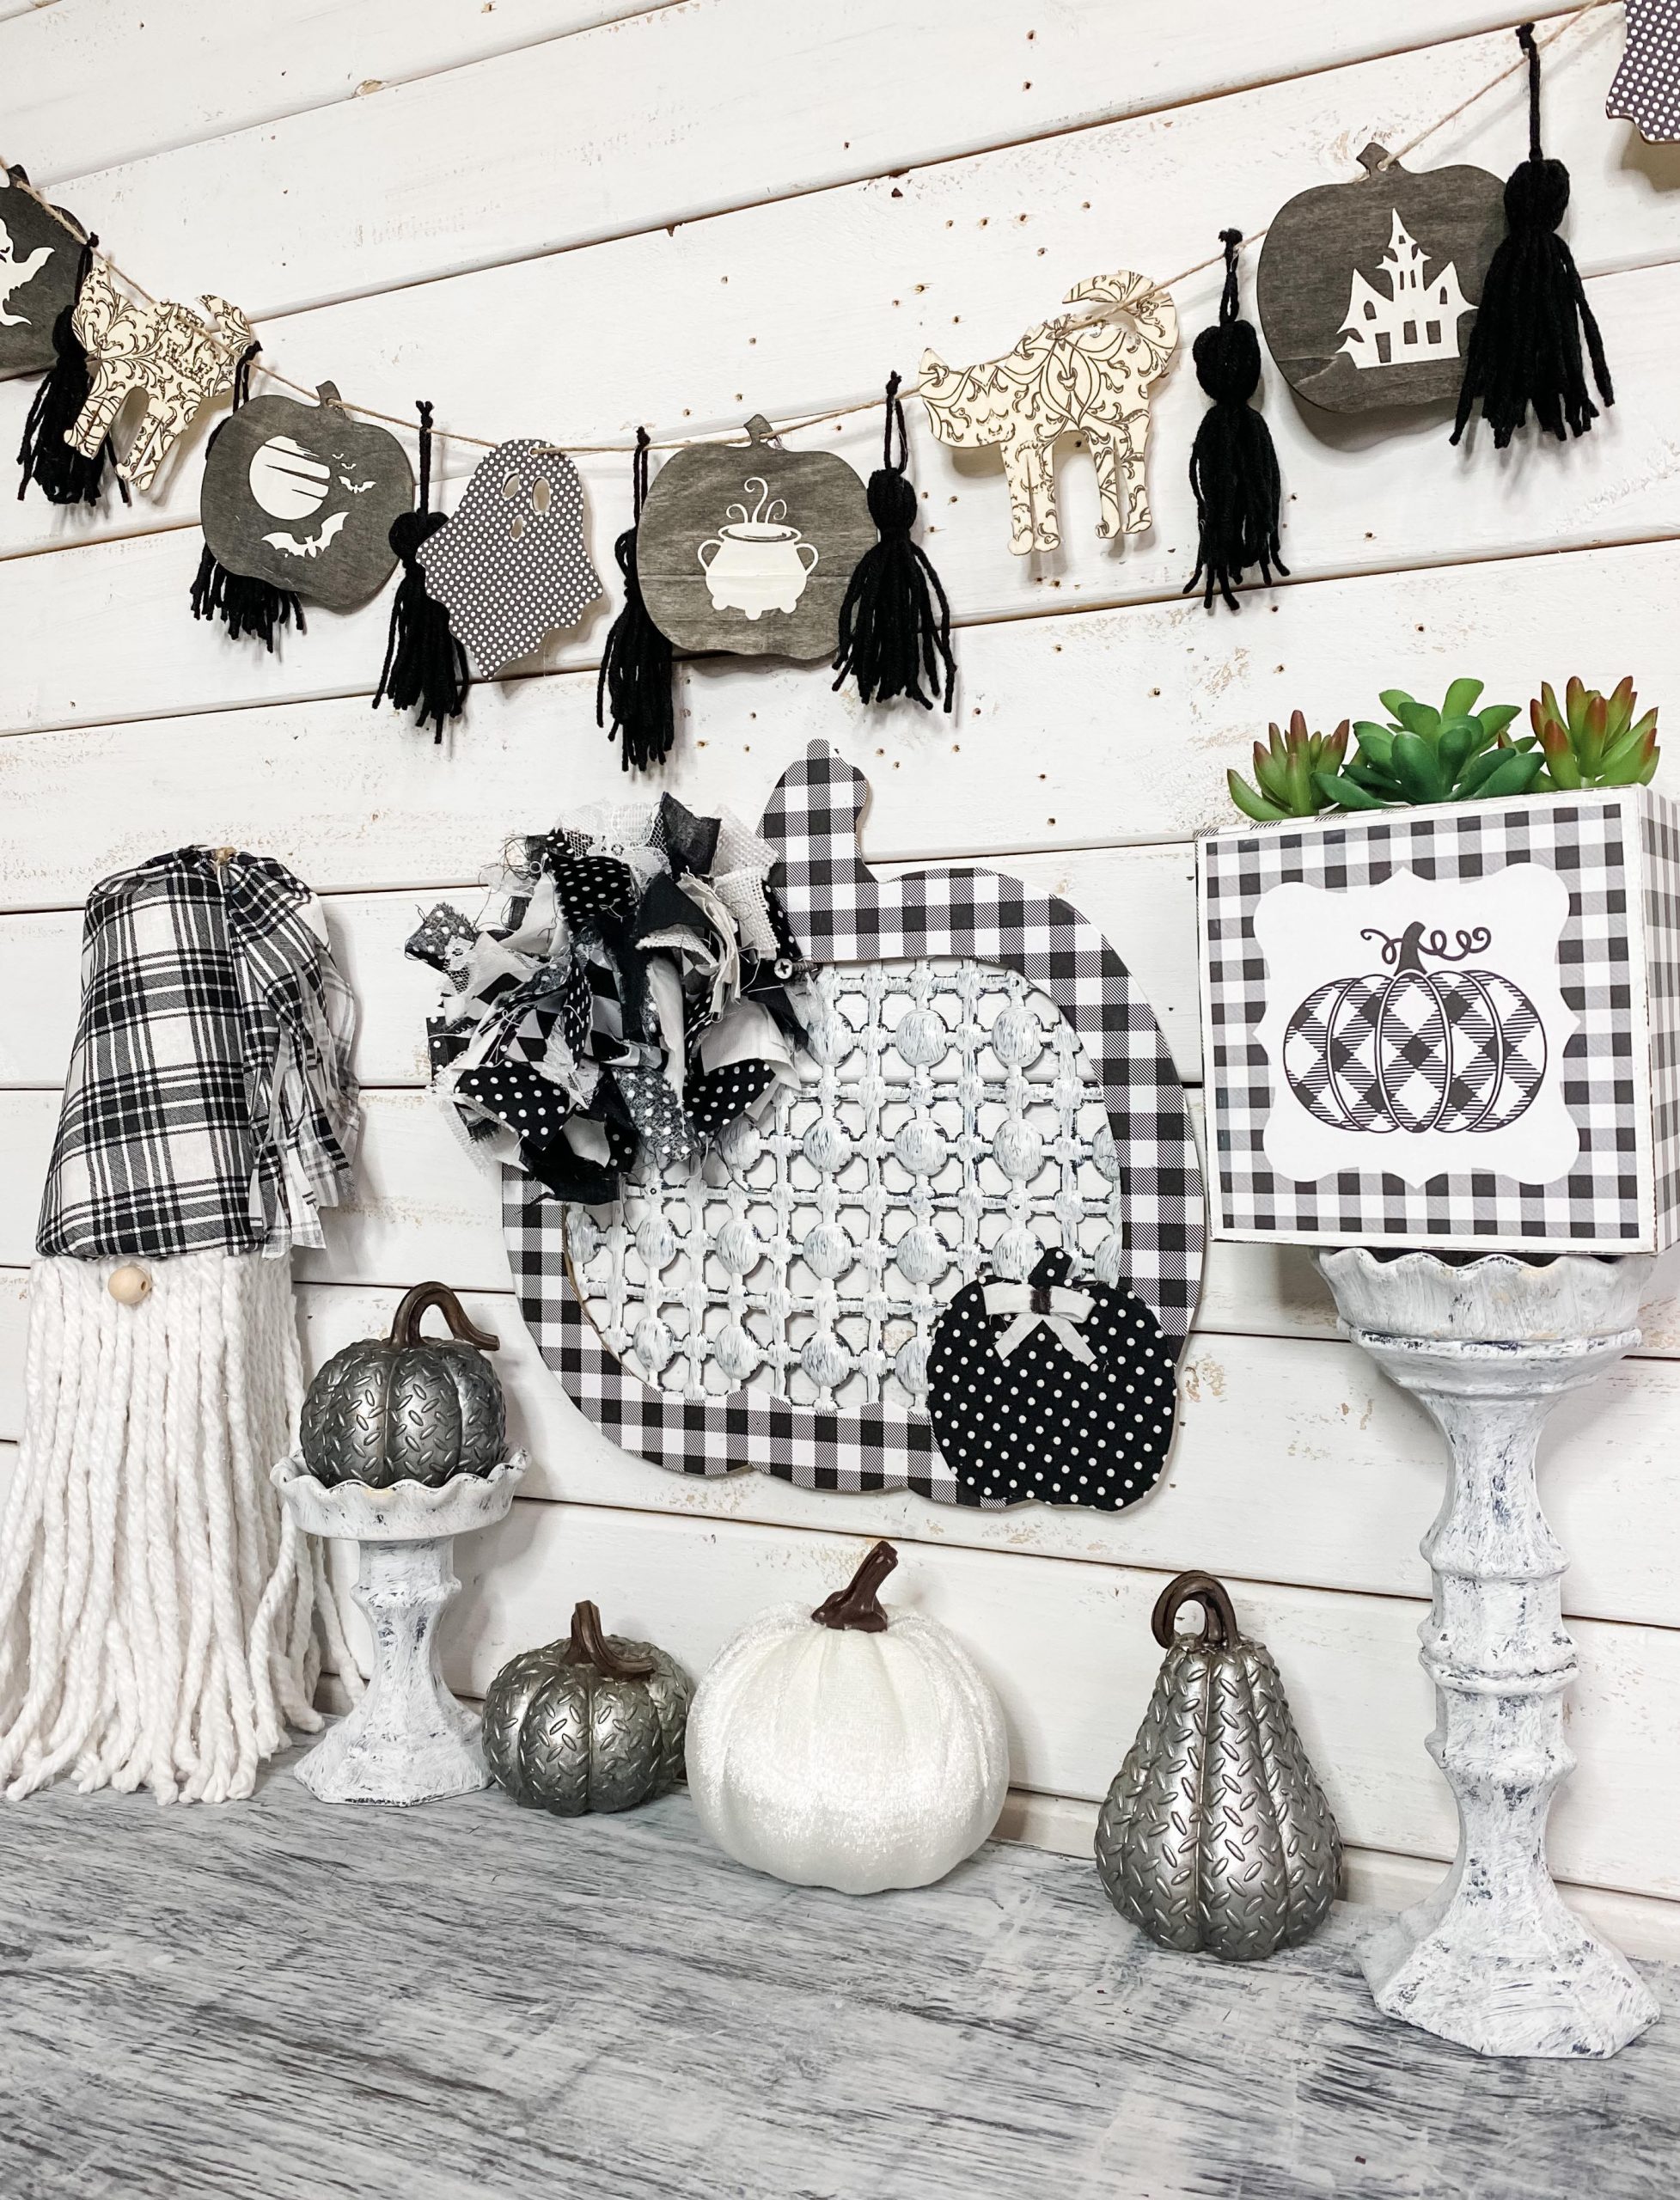
This Stenciled Halloween DIY Garland would be so cute hanging across a mantle this Halloween! I just love how this craft turned out!
Remember, if you want to see exactly how I made this, you can watch the video I recorded LIVE on my Facebook page.
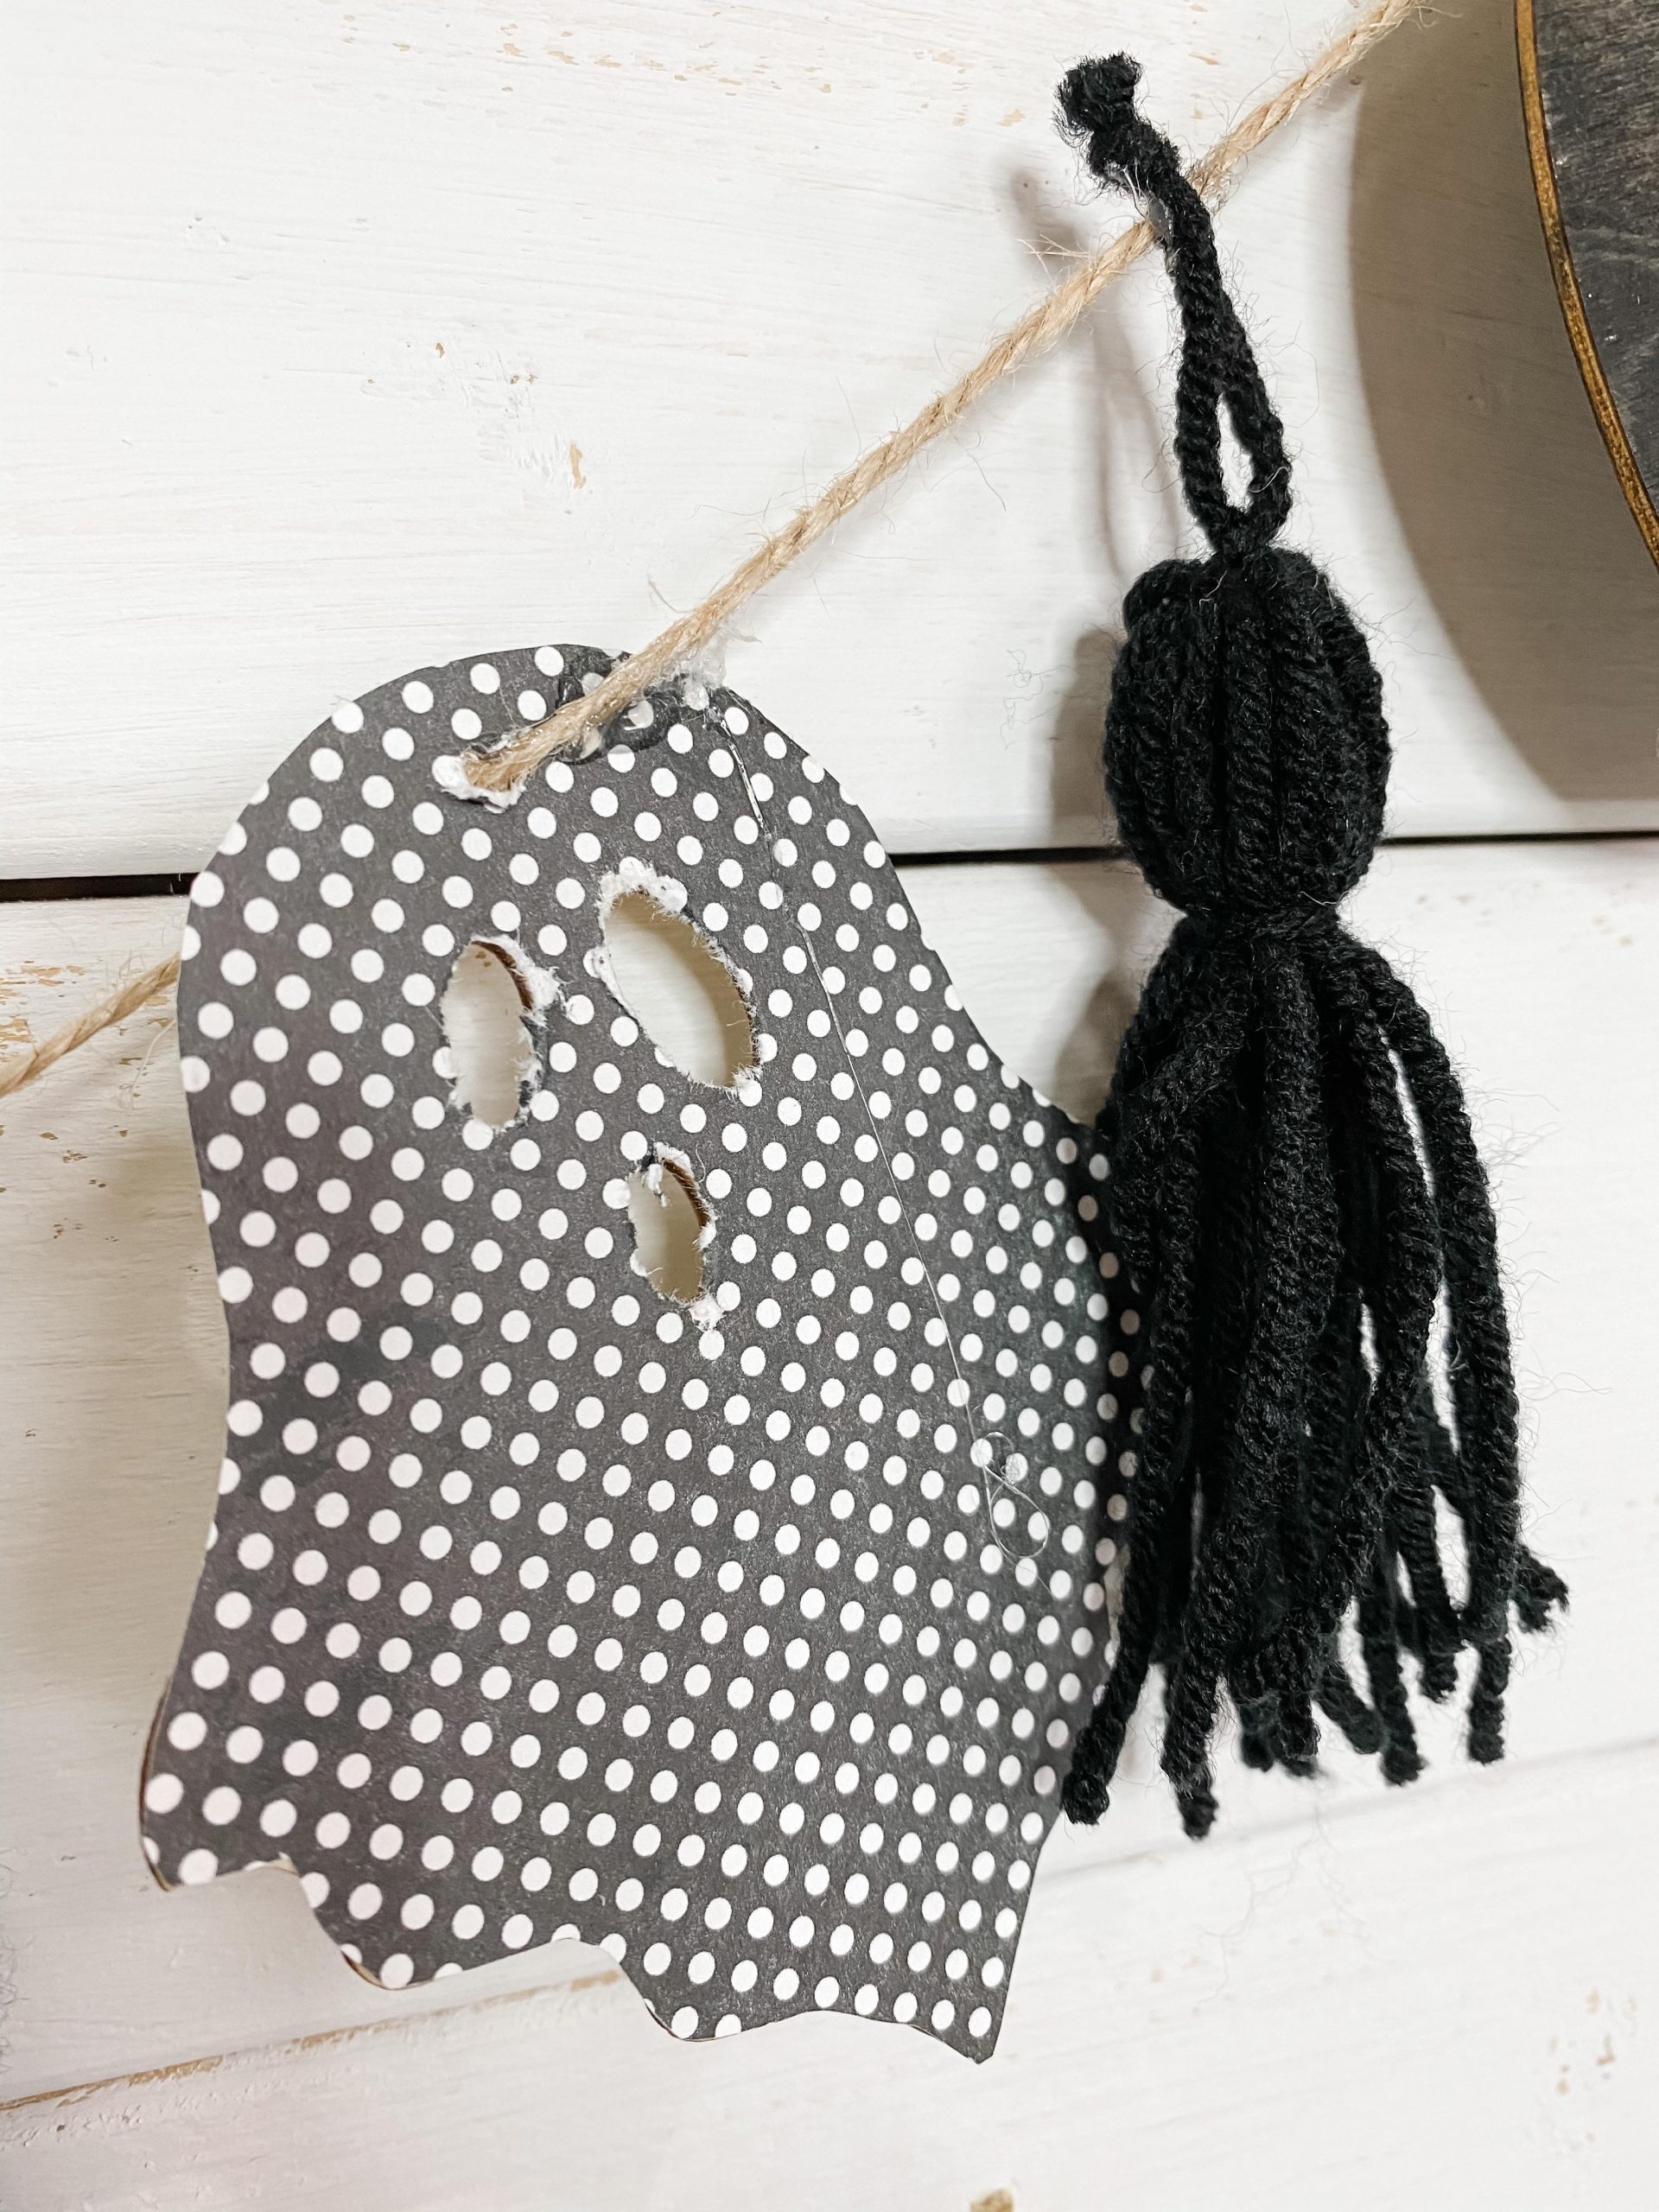
I started by laying my scrapbook paper face down and tracing the outline of the ghost with a pencil.
Next, I cut out the shape with my scissors and applied the scrapbook paper to the wood ghost cutout with Mod Podge. Repeat with all of your ghost wood cutouts.
Now let’s do the cat wood cutouts. First, you’ll need to paint the cats white. I like to use a heat gun to speed up the drying process.
Next, you have to gently separate the napkin’s plies because if you try and brush the mod podge over it without separating them, it won’t stick to the wood properly.
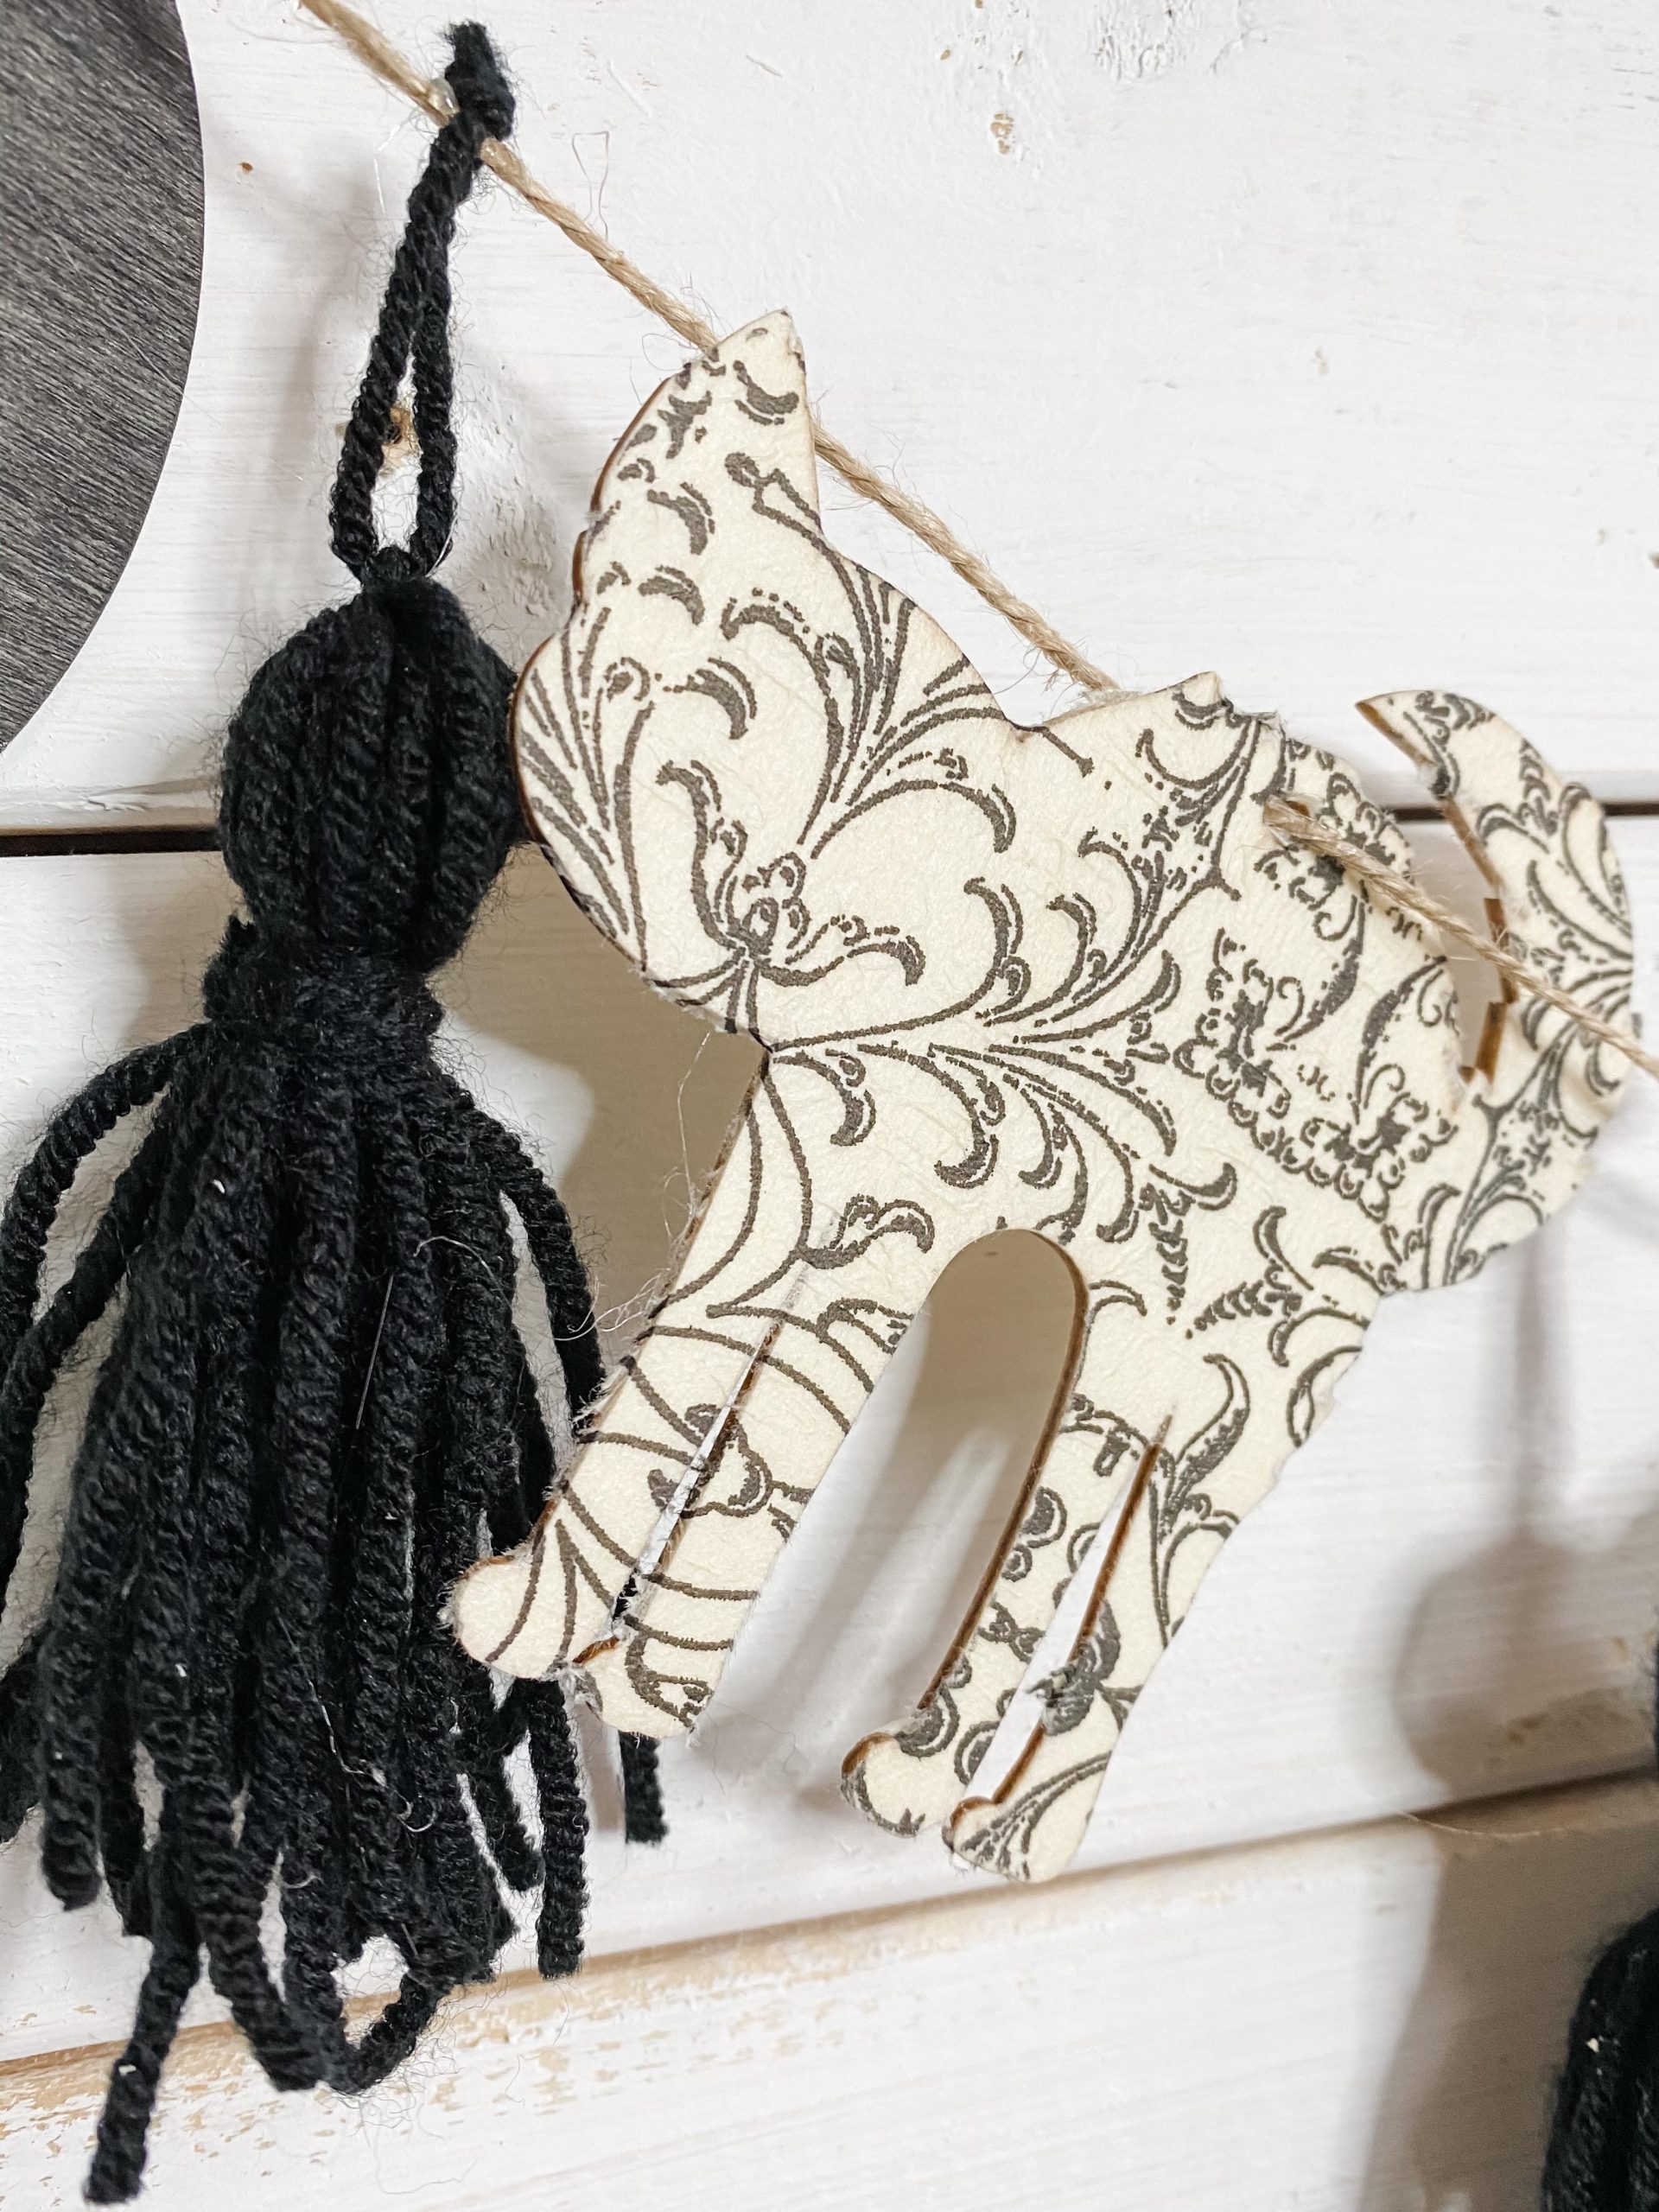
Once the napkin is applied, you can use the heat gun again to speed up the drying process. Make sure the mod podge has dried and then you can remove the excess napkin from the cutout.
Time for pumpkins!
I’m not even going to lie, the pumpkins were probably my favorite part of this craft! So, I knew that I wanted to put a stencil design on the pumpkins.

To do that, I had to stain them black first. Once they dry, you take the Magnolia Design stencil and stick it to the pumpkin. Aren’t these Halloween stencils just so cute?!
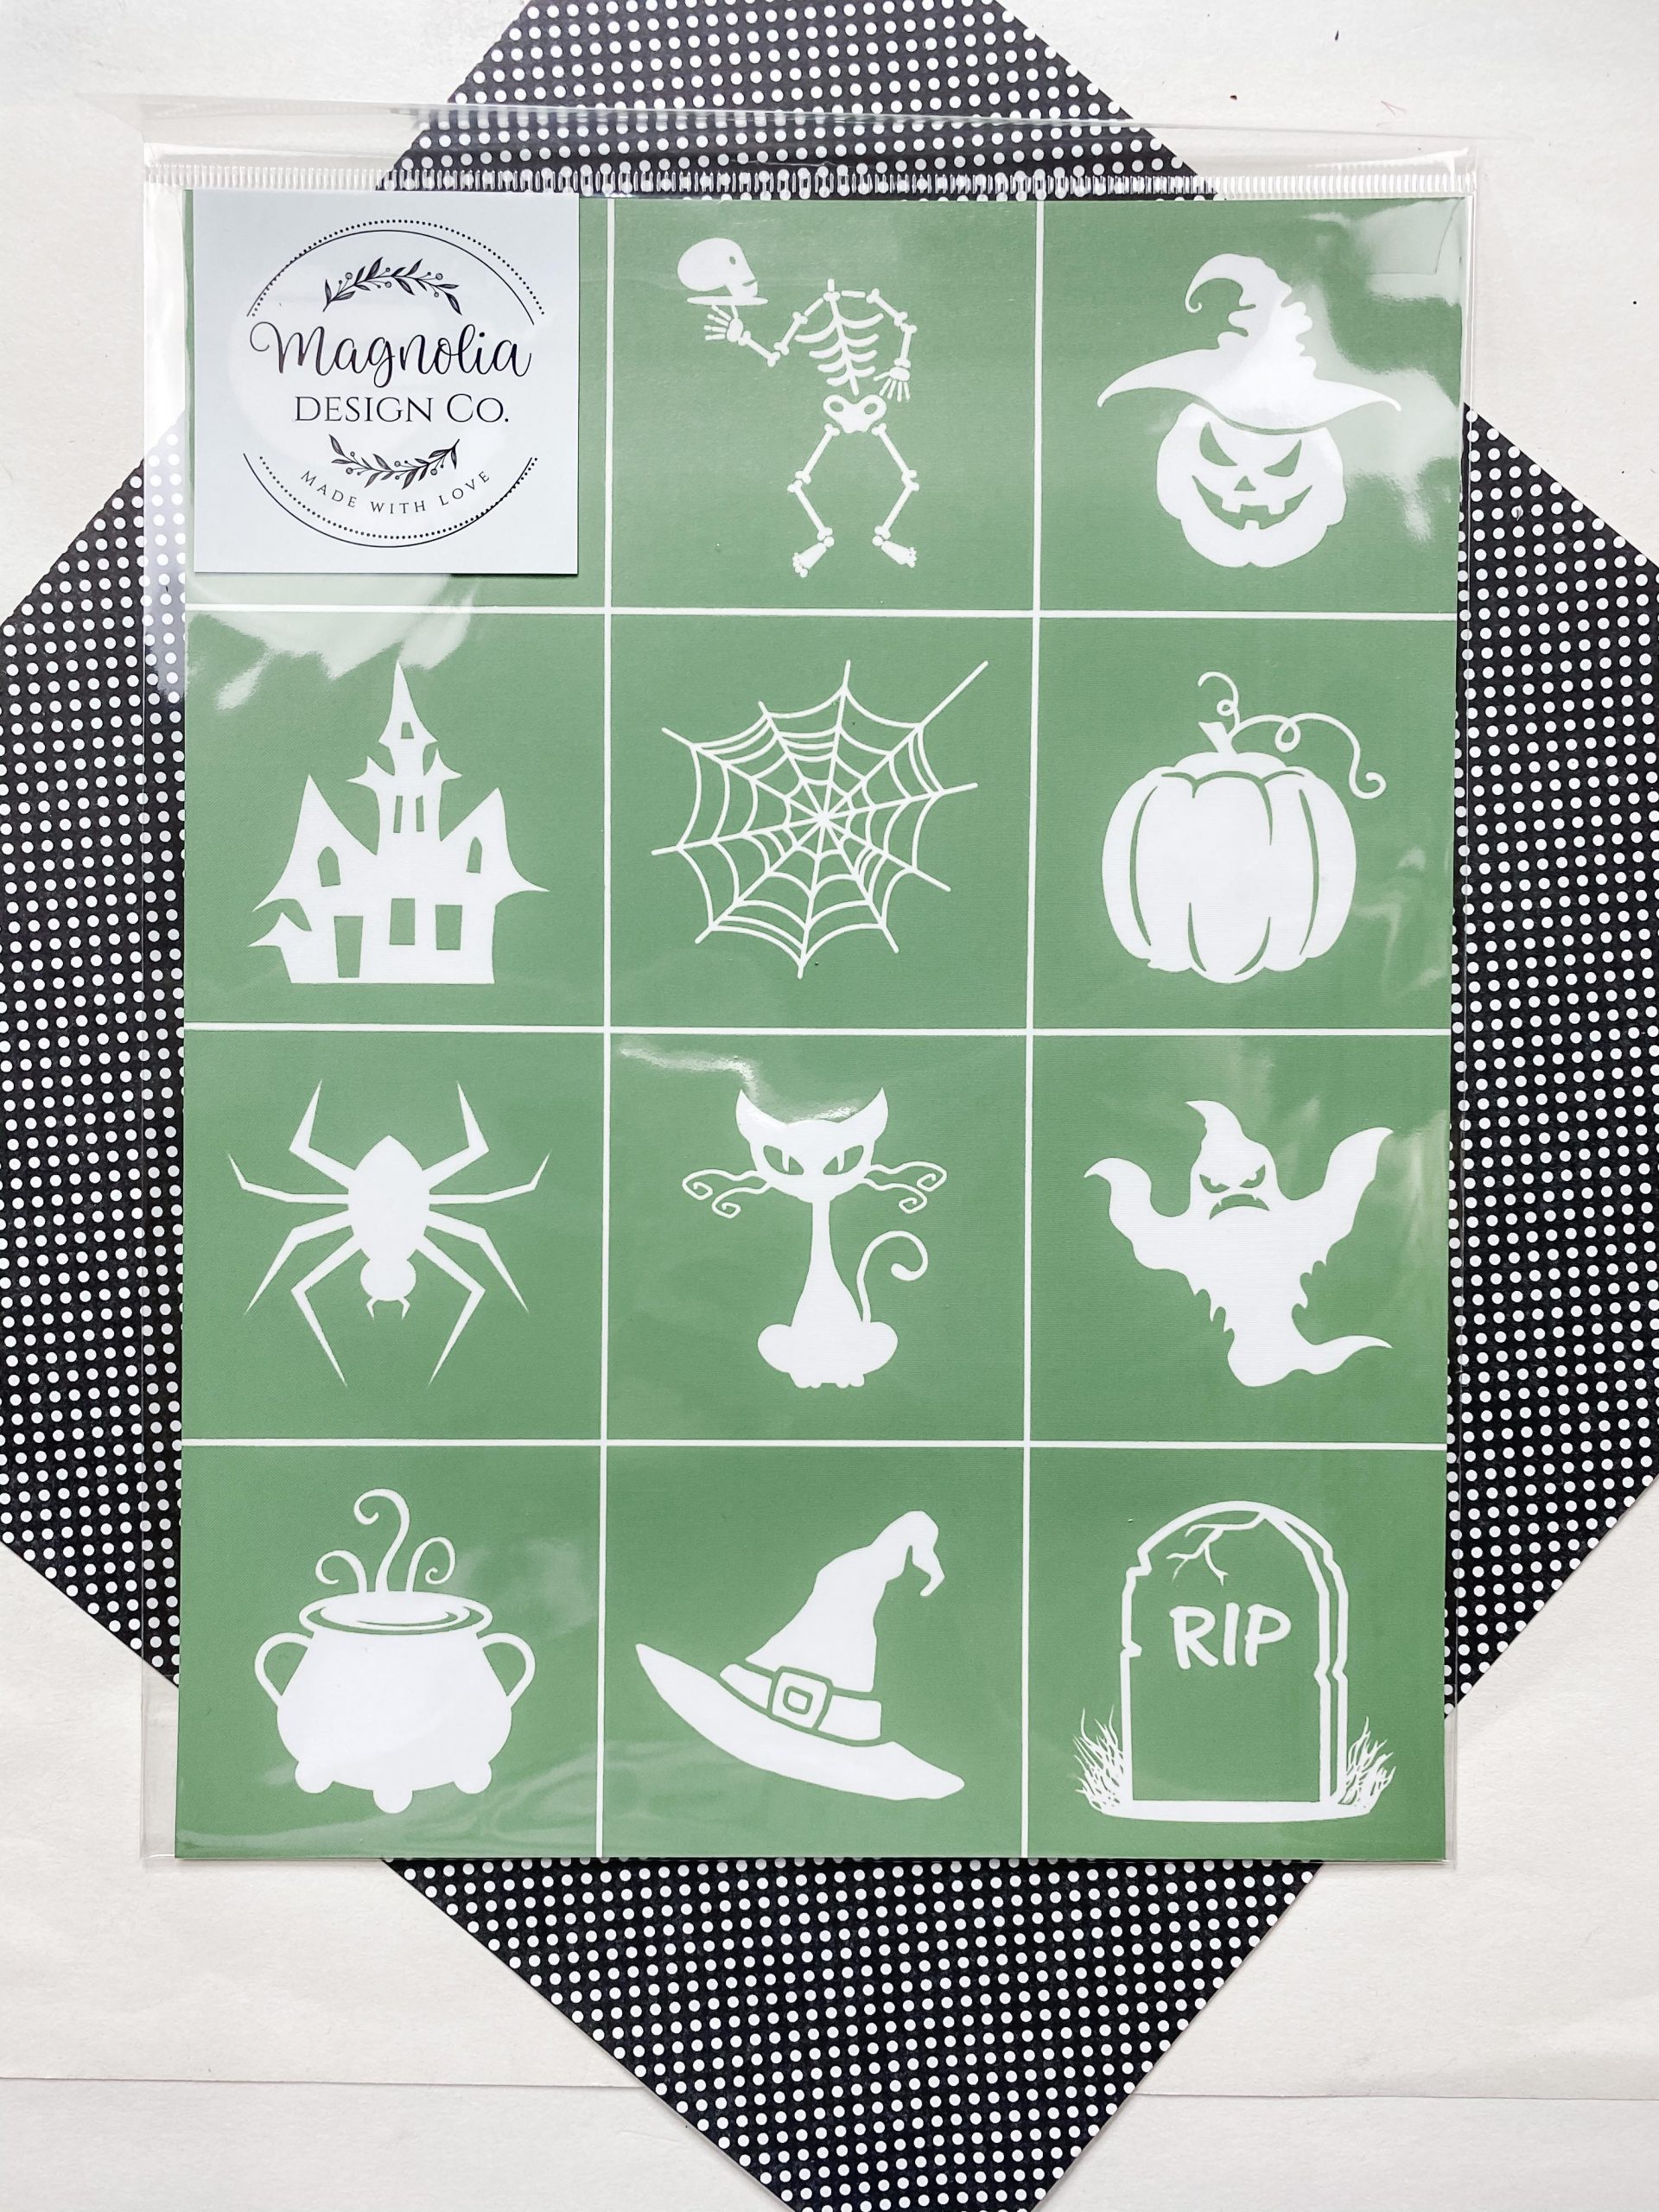
To make the stencil design really POP on the black pumpkin, I used Magnolia Design’s White Chalk Paste.
They also have these cool scraper tools that were PERFECT for applying the white chalk paste over the stencil.
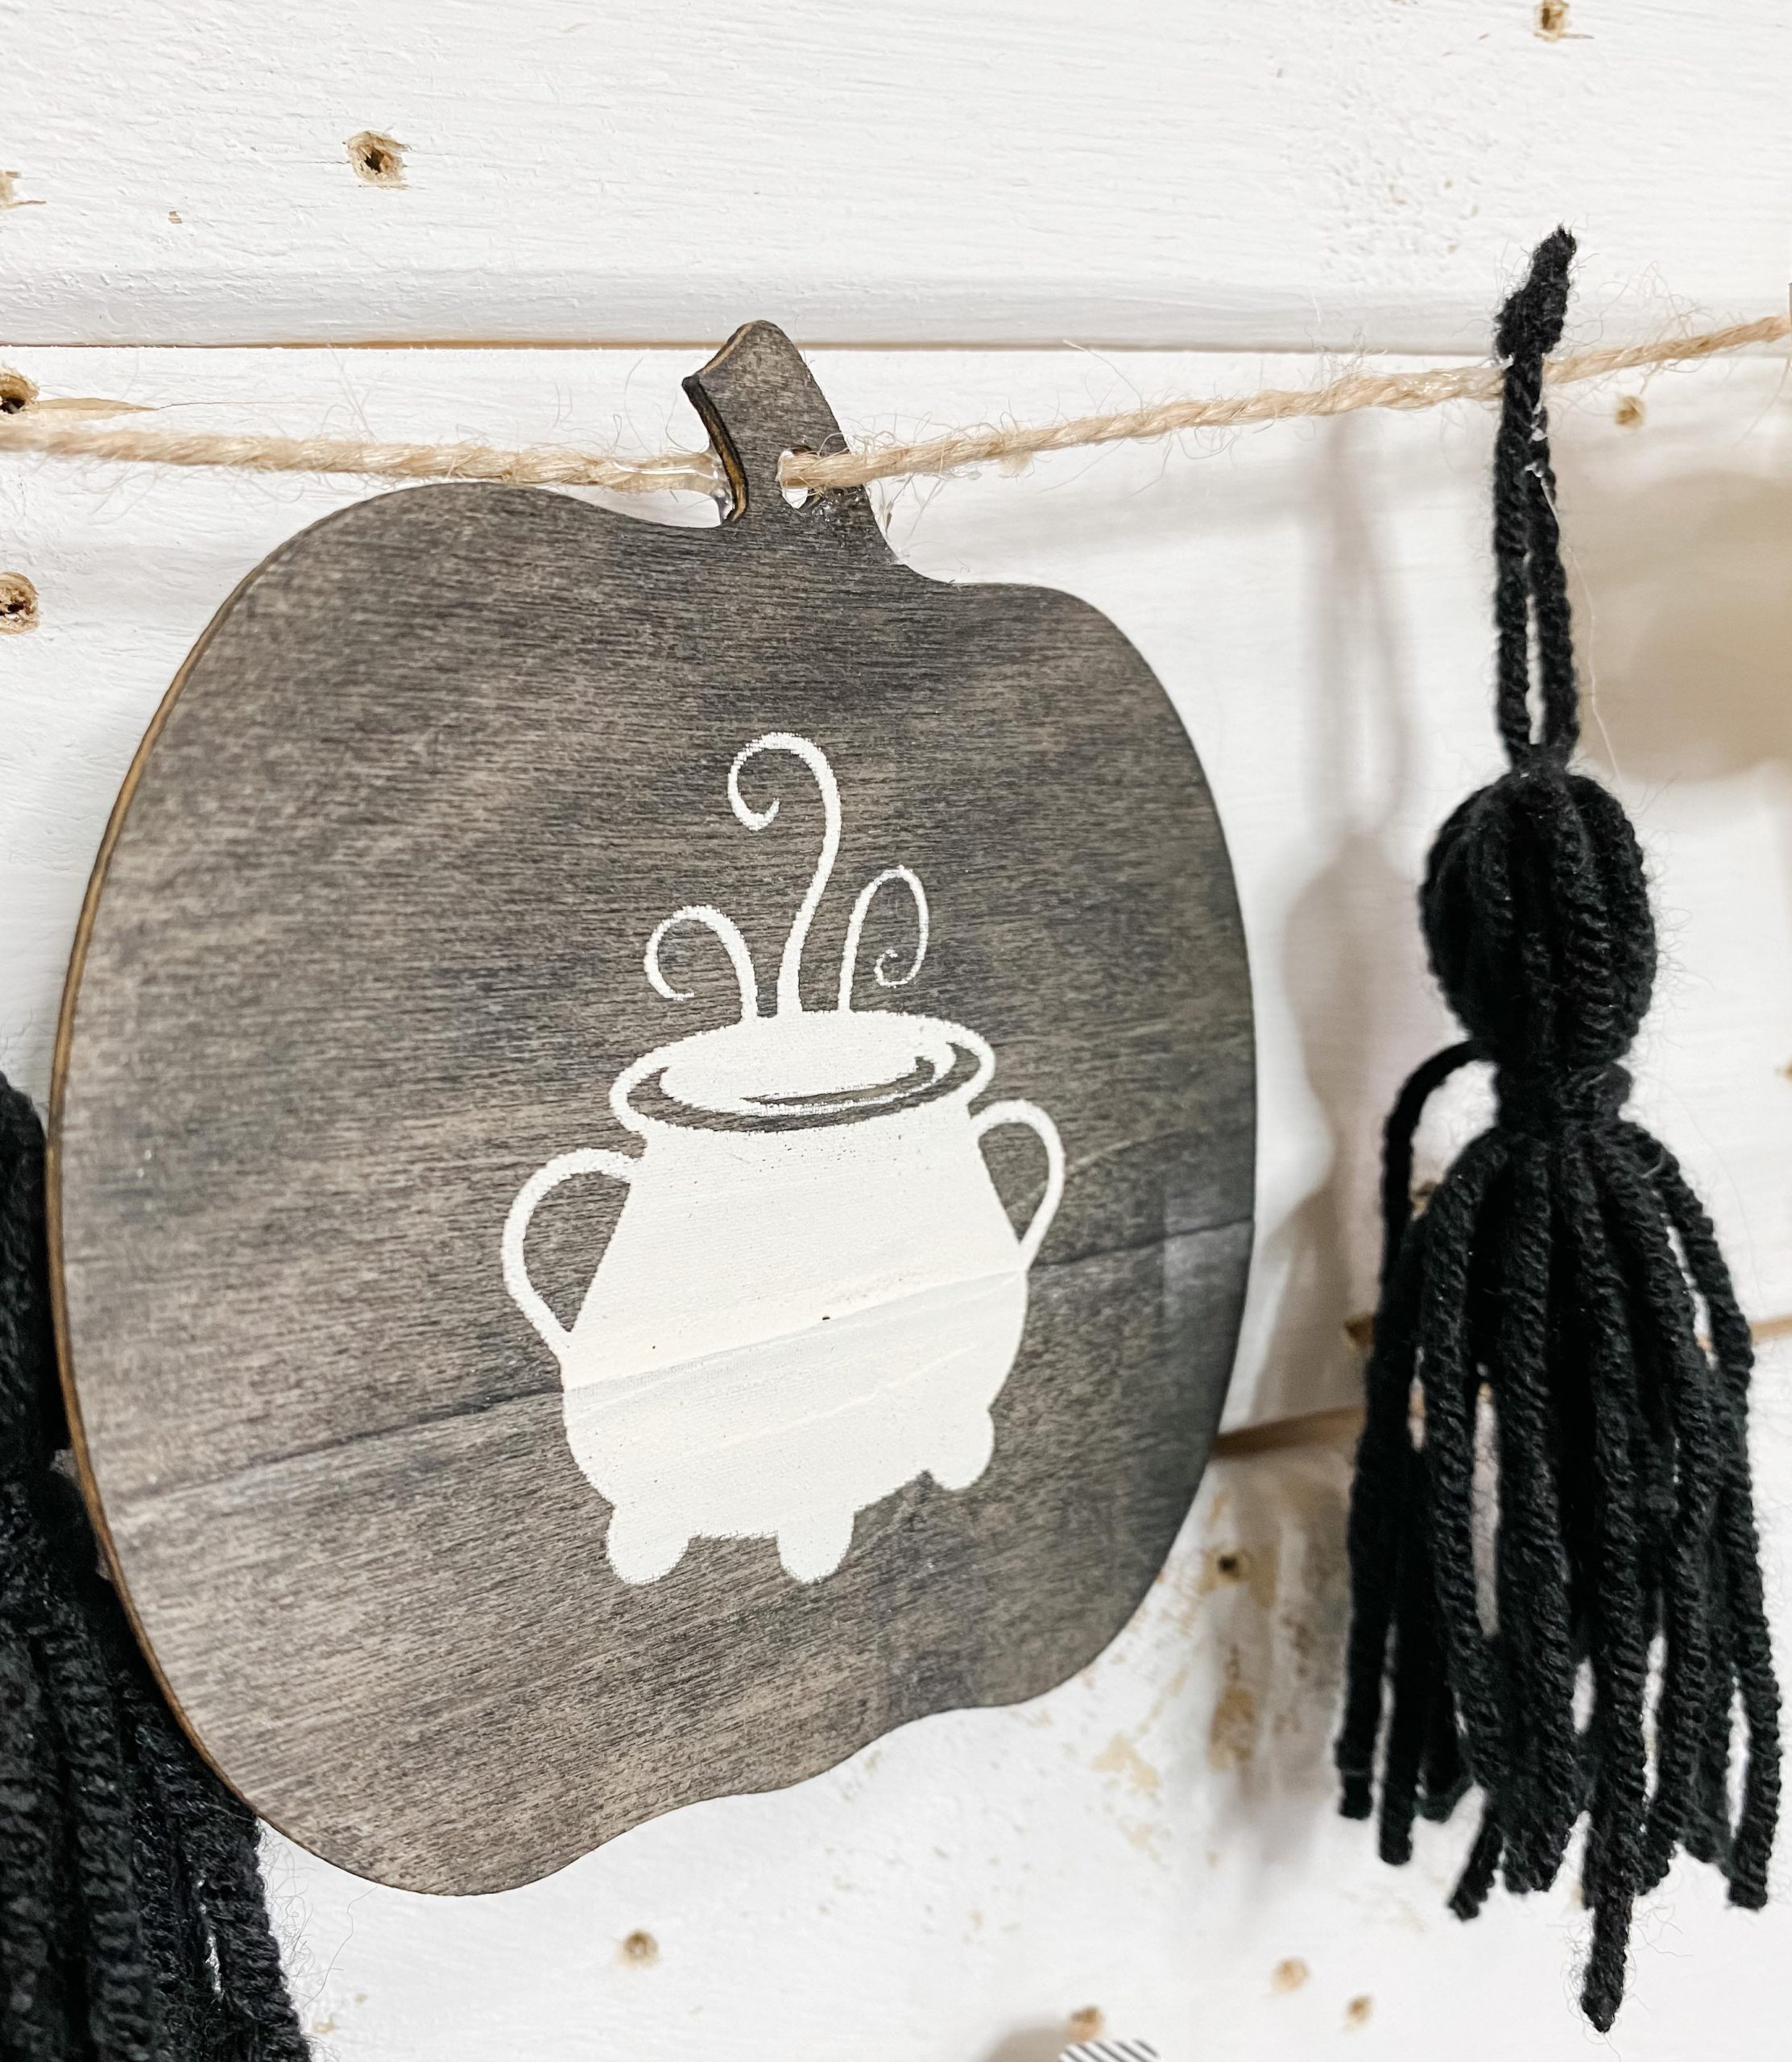
I just put some of the chalk paste on the end of the scraper tool and drug it over the stencil on top of the pumping.
Make sure you get an even coating but aren’t too rough with your stencil. If you plan on reusing your stencils, you NEED to go ahead and clean them off as soon as you’re finished.
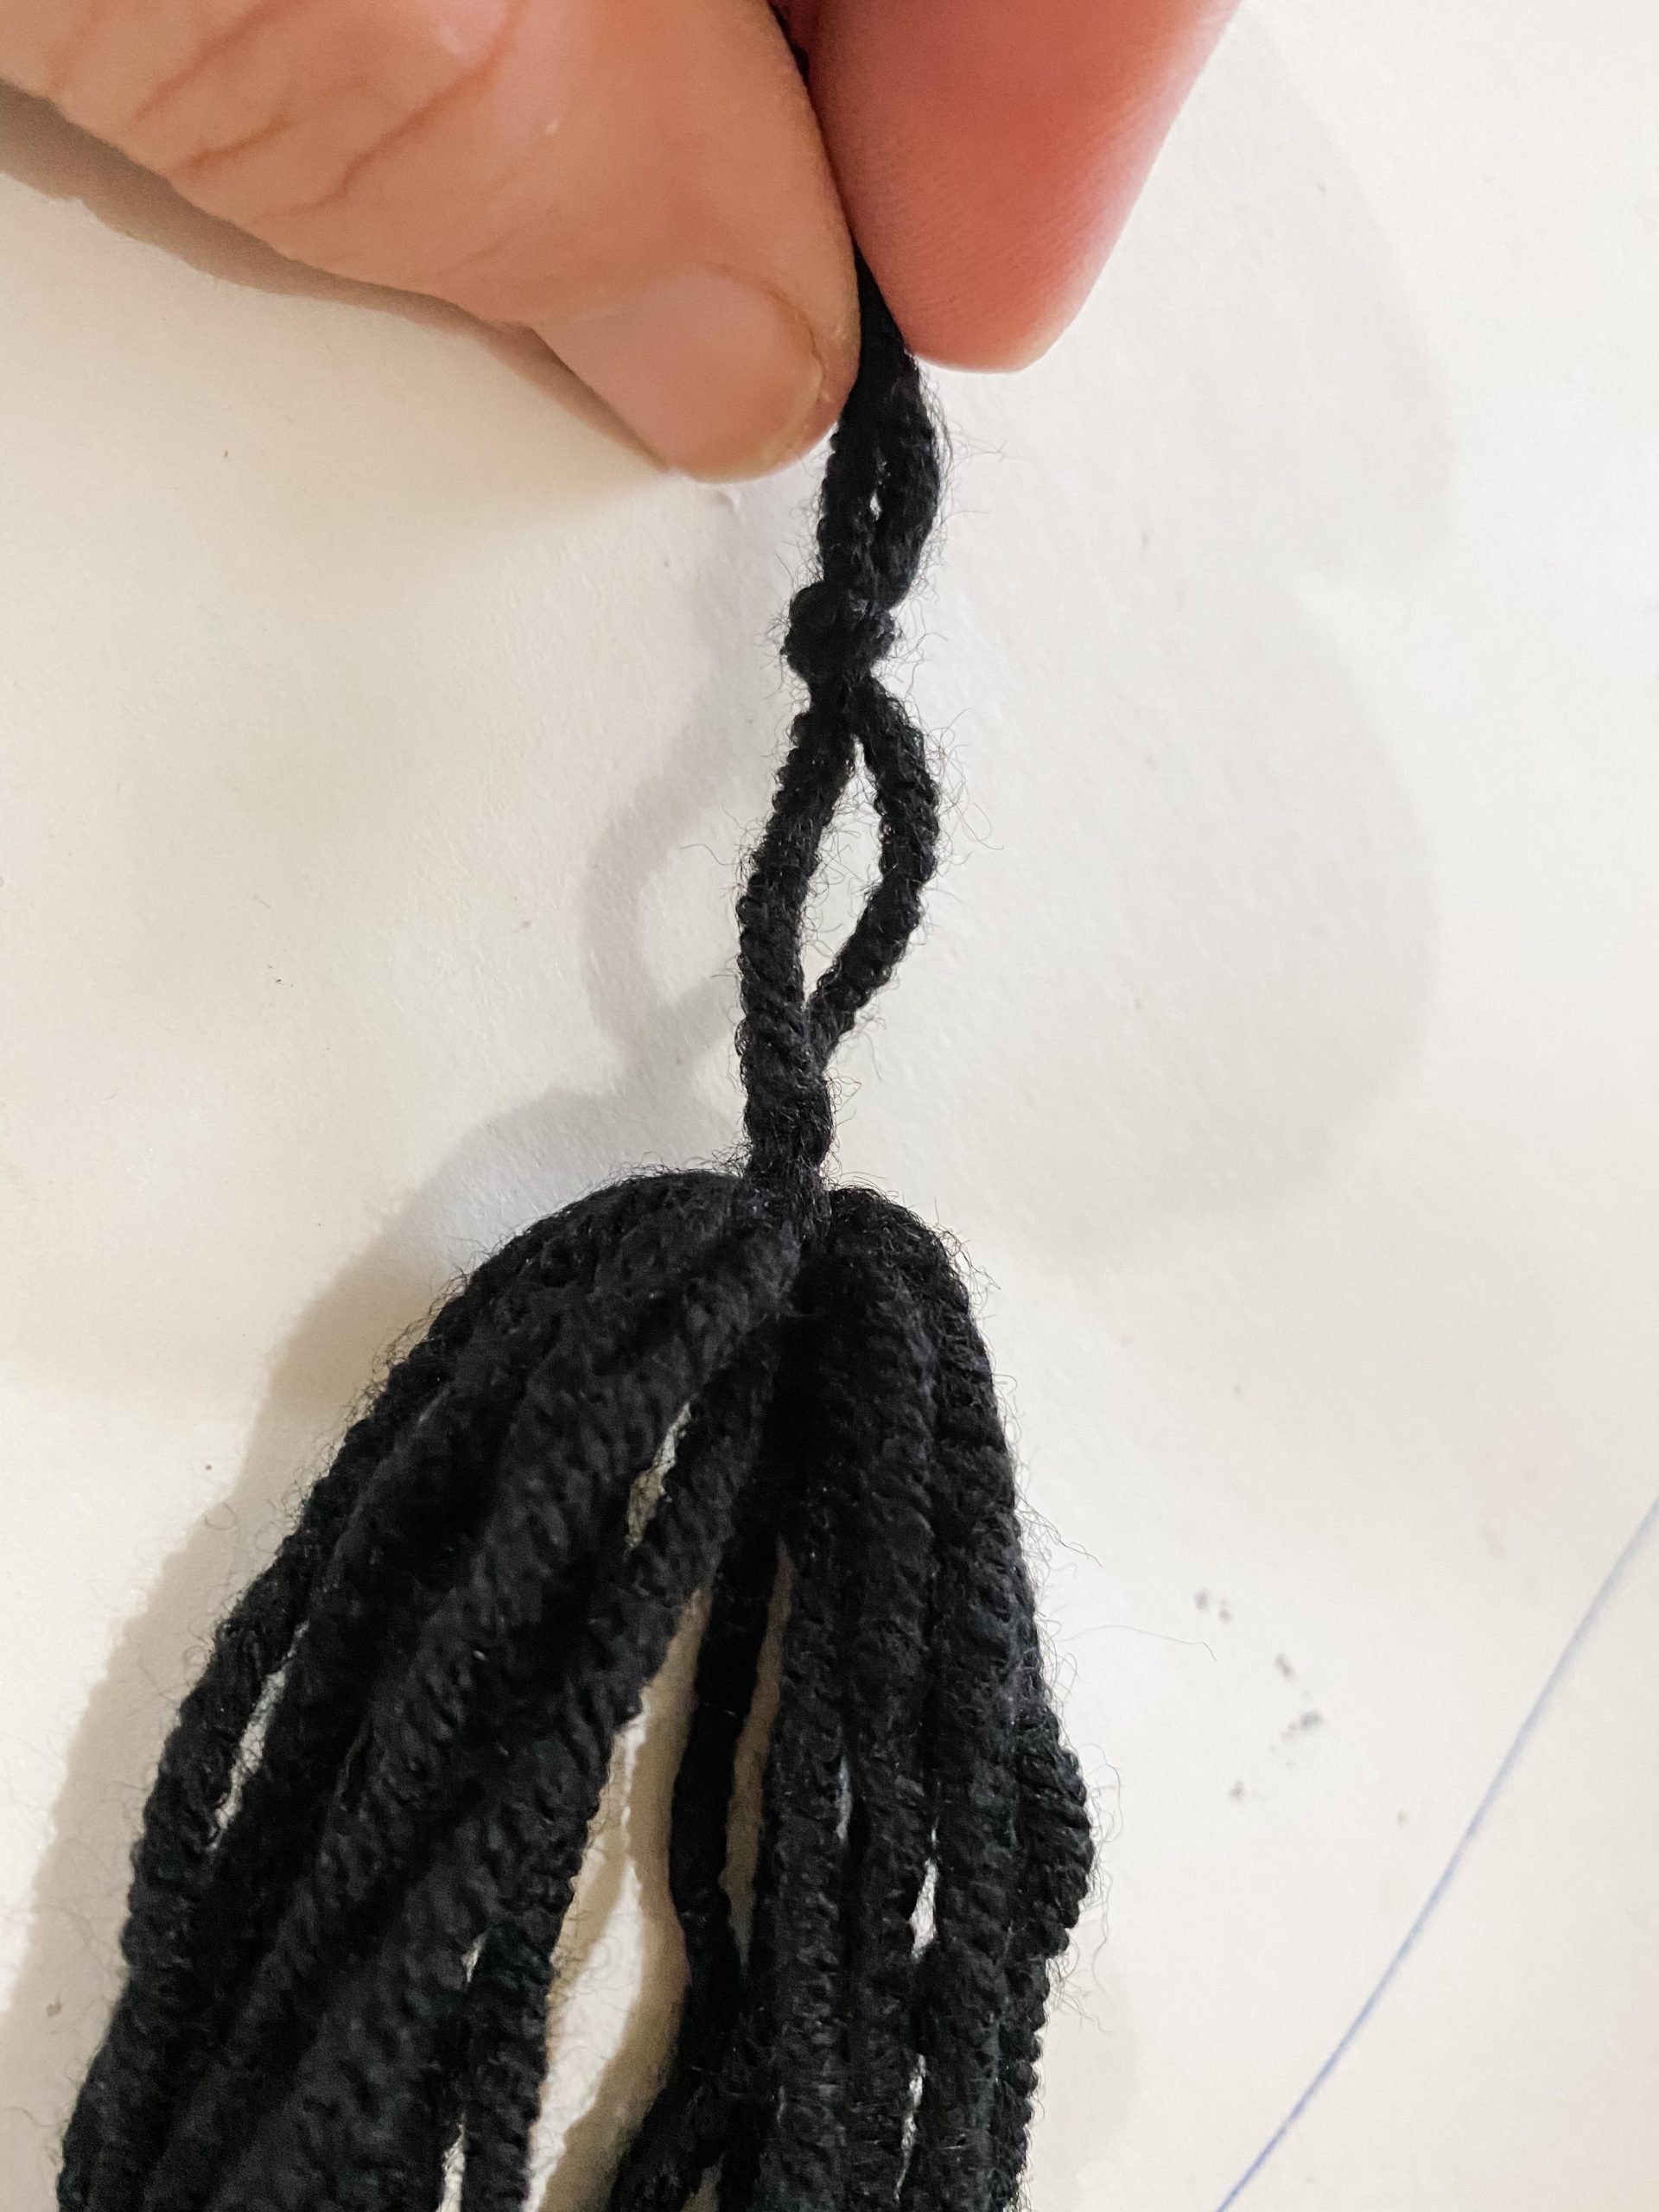
Pom-Poms!
Making the pom-poms was so much fun! I used Dollar Tree black yarn for this. Find the end of your yarn and wrap it around the palm of your hand several times.
Once you get a good thickness of yarn, cut it and take it off your hand without unwinding the yarn.
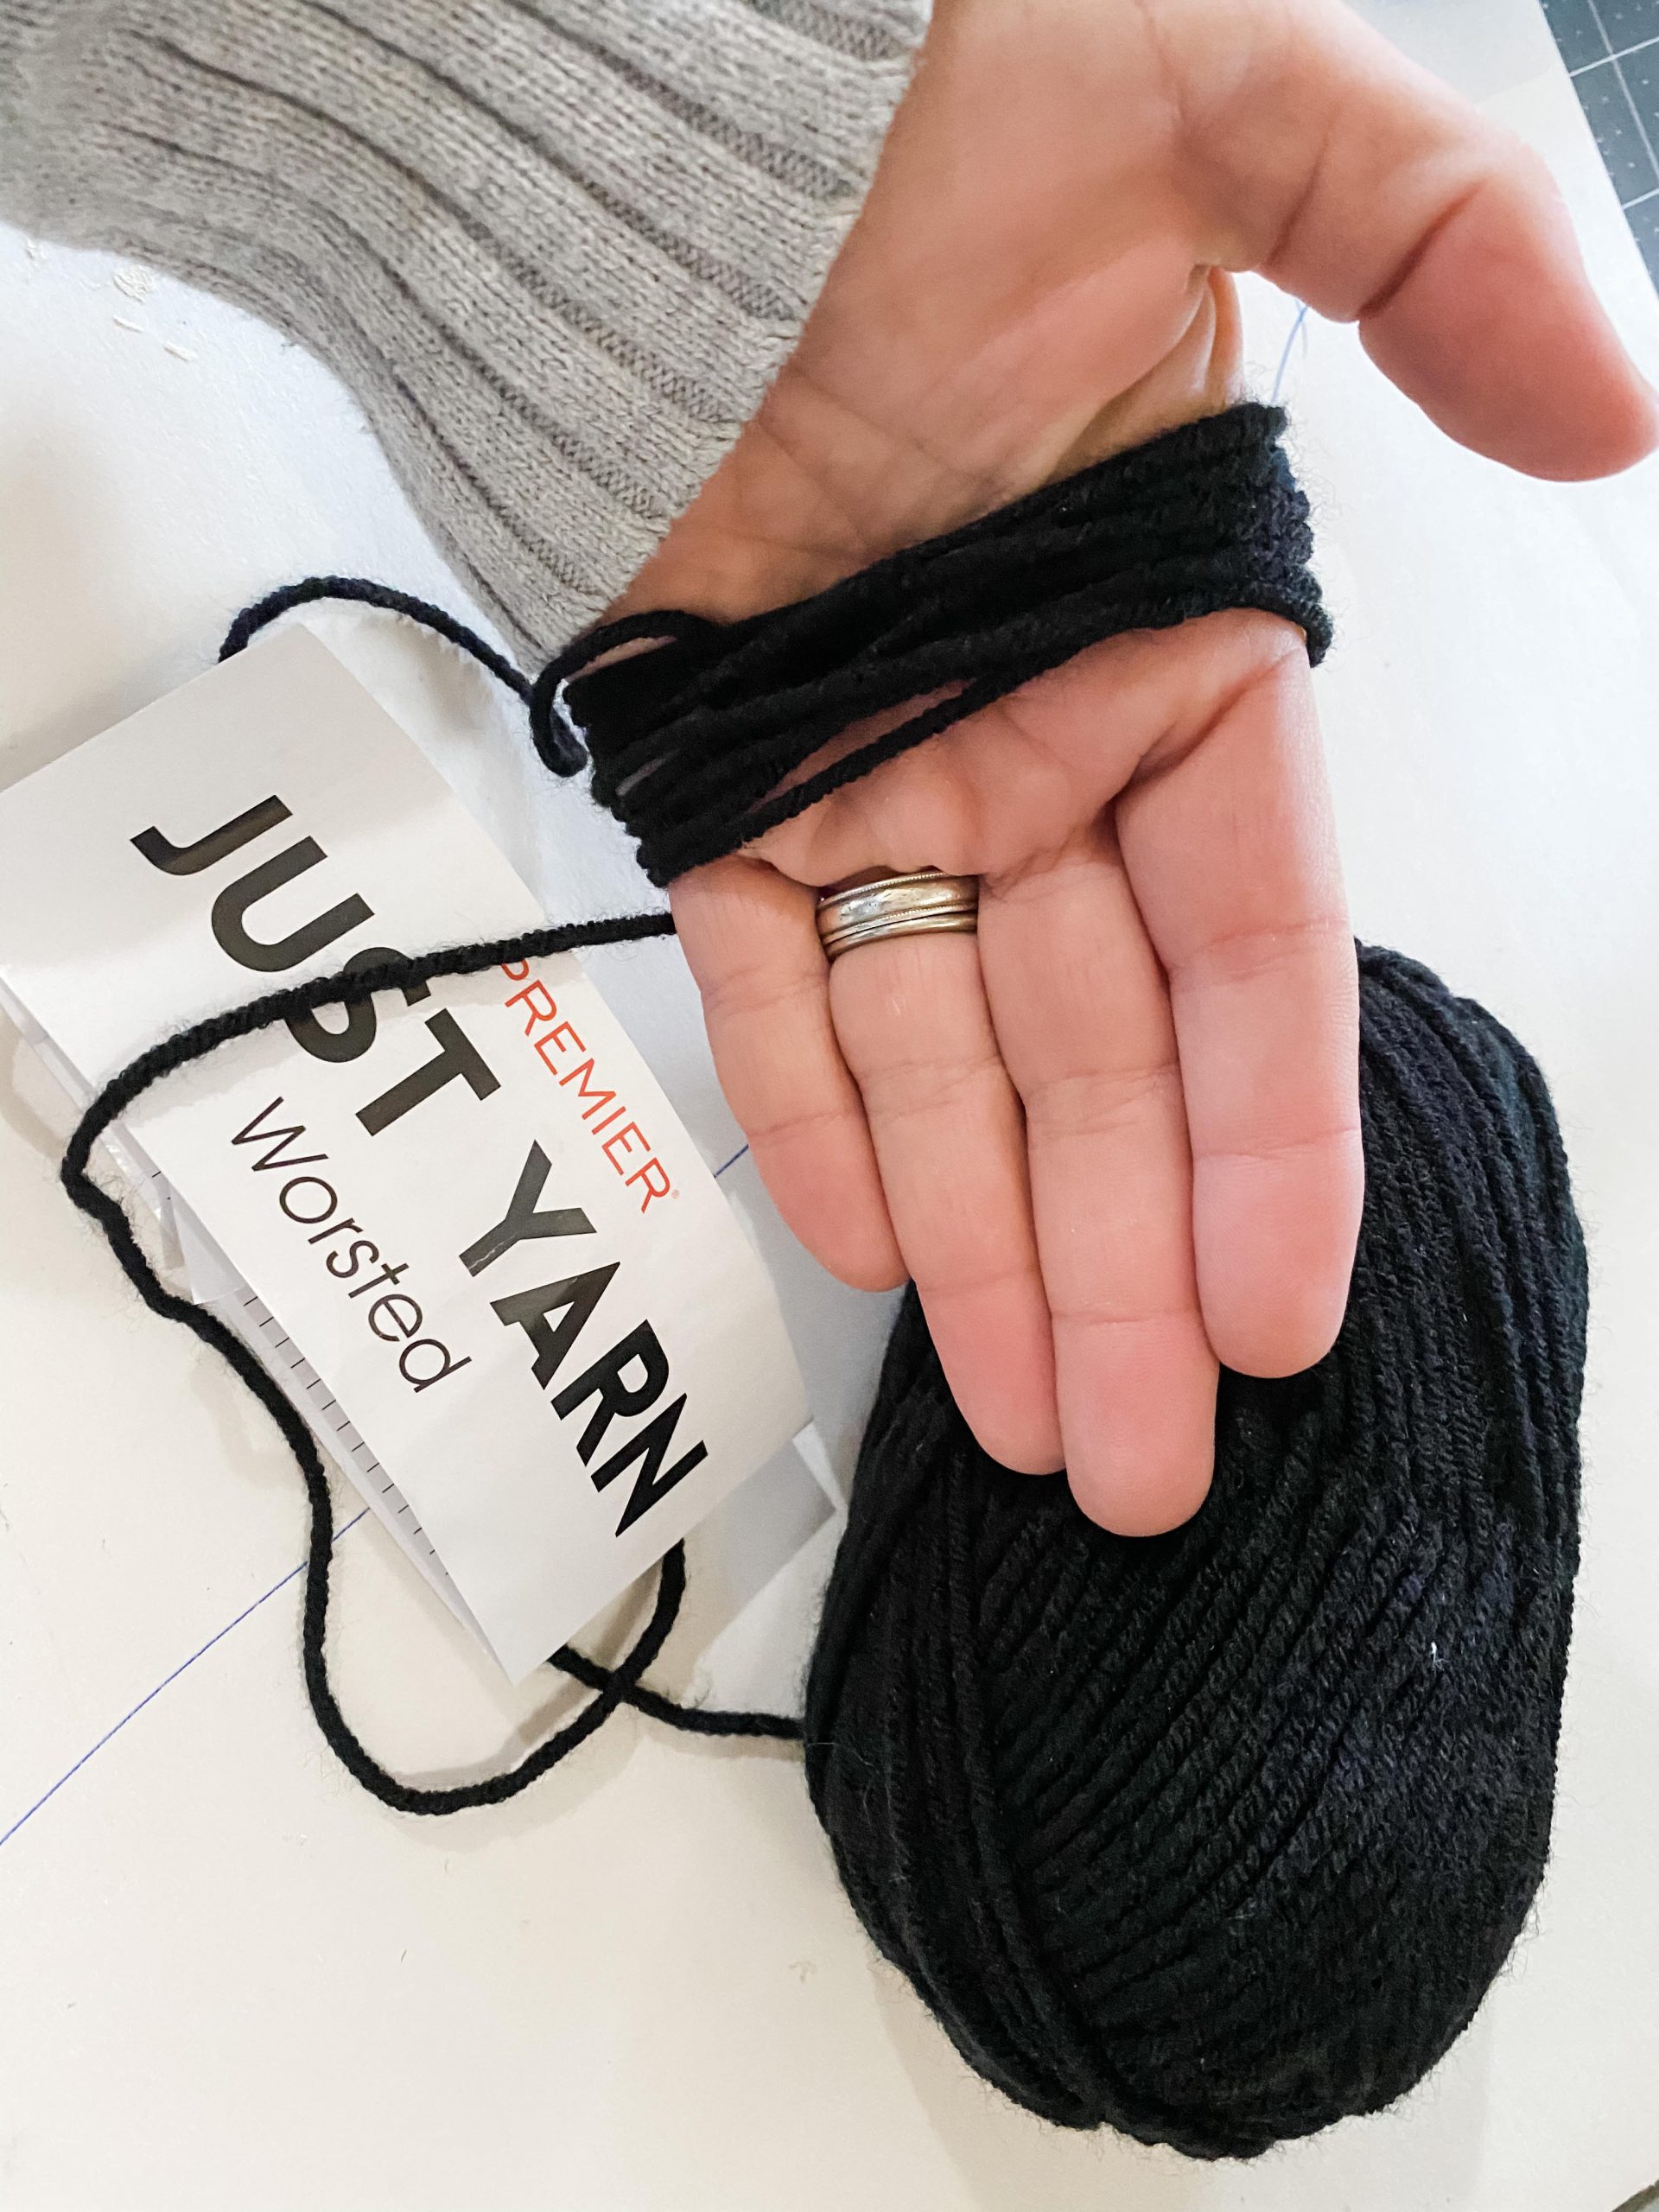
You’ll then loop the new end of the yarn through the inside of the yarn you just wrapped around your hand.
You need a long piece of yarn for this piece. Pull it through, cut the yarn, and tie it so that it looks like this.
Now you need to wrap another piece of yarn around the loops. It should look like this when you’re done.
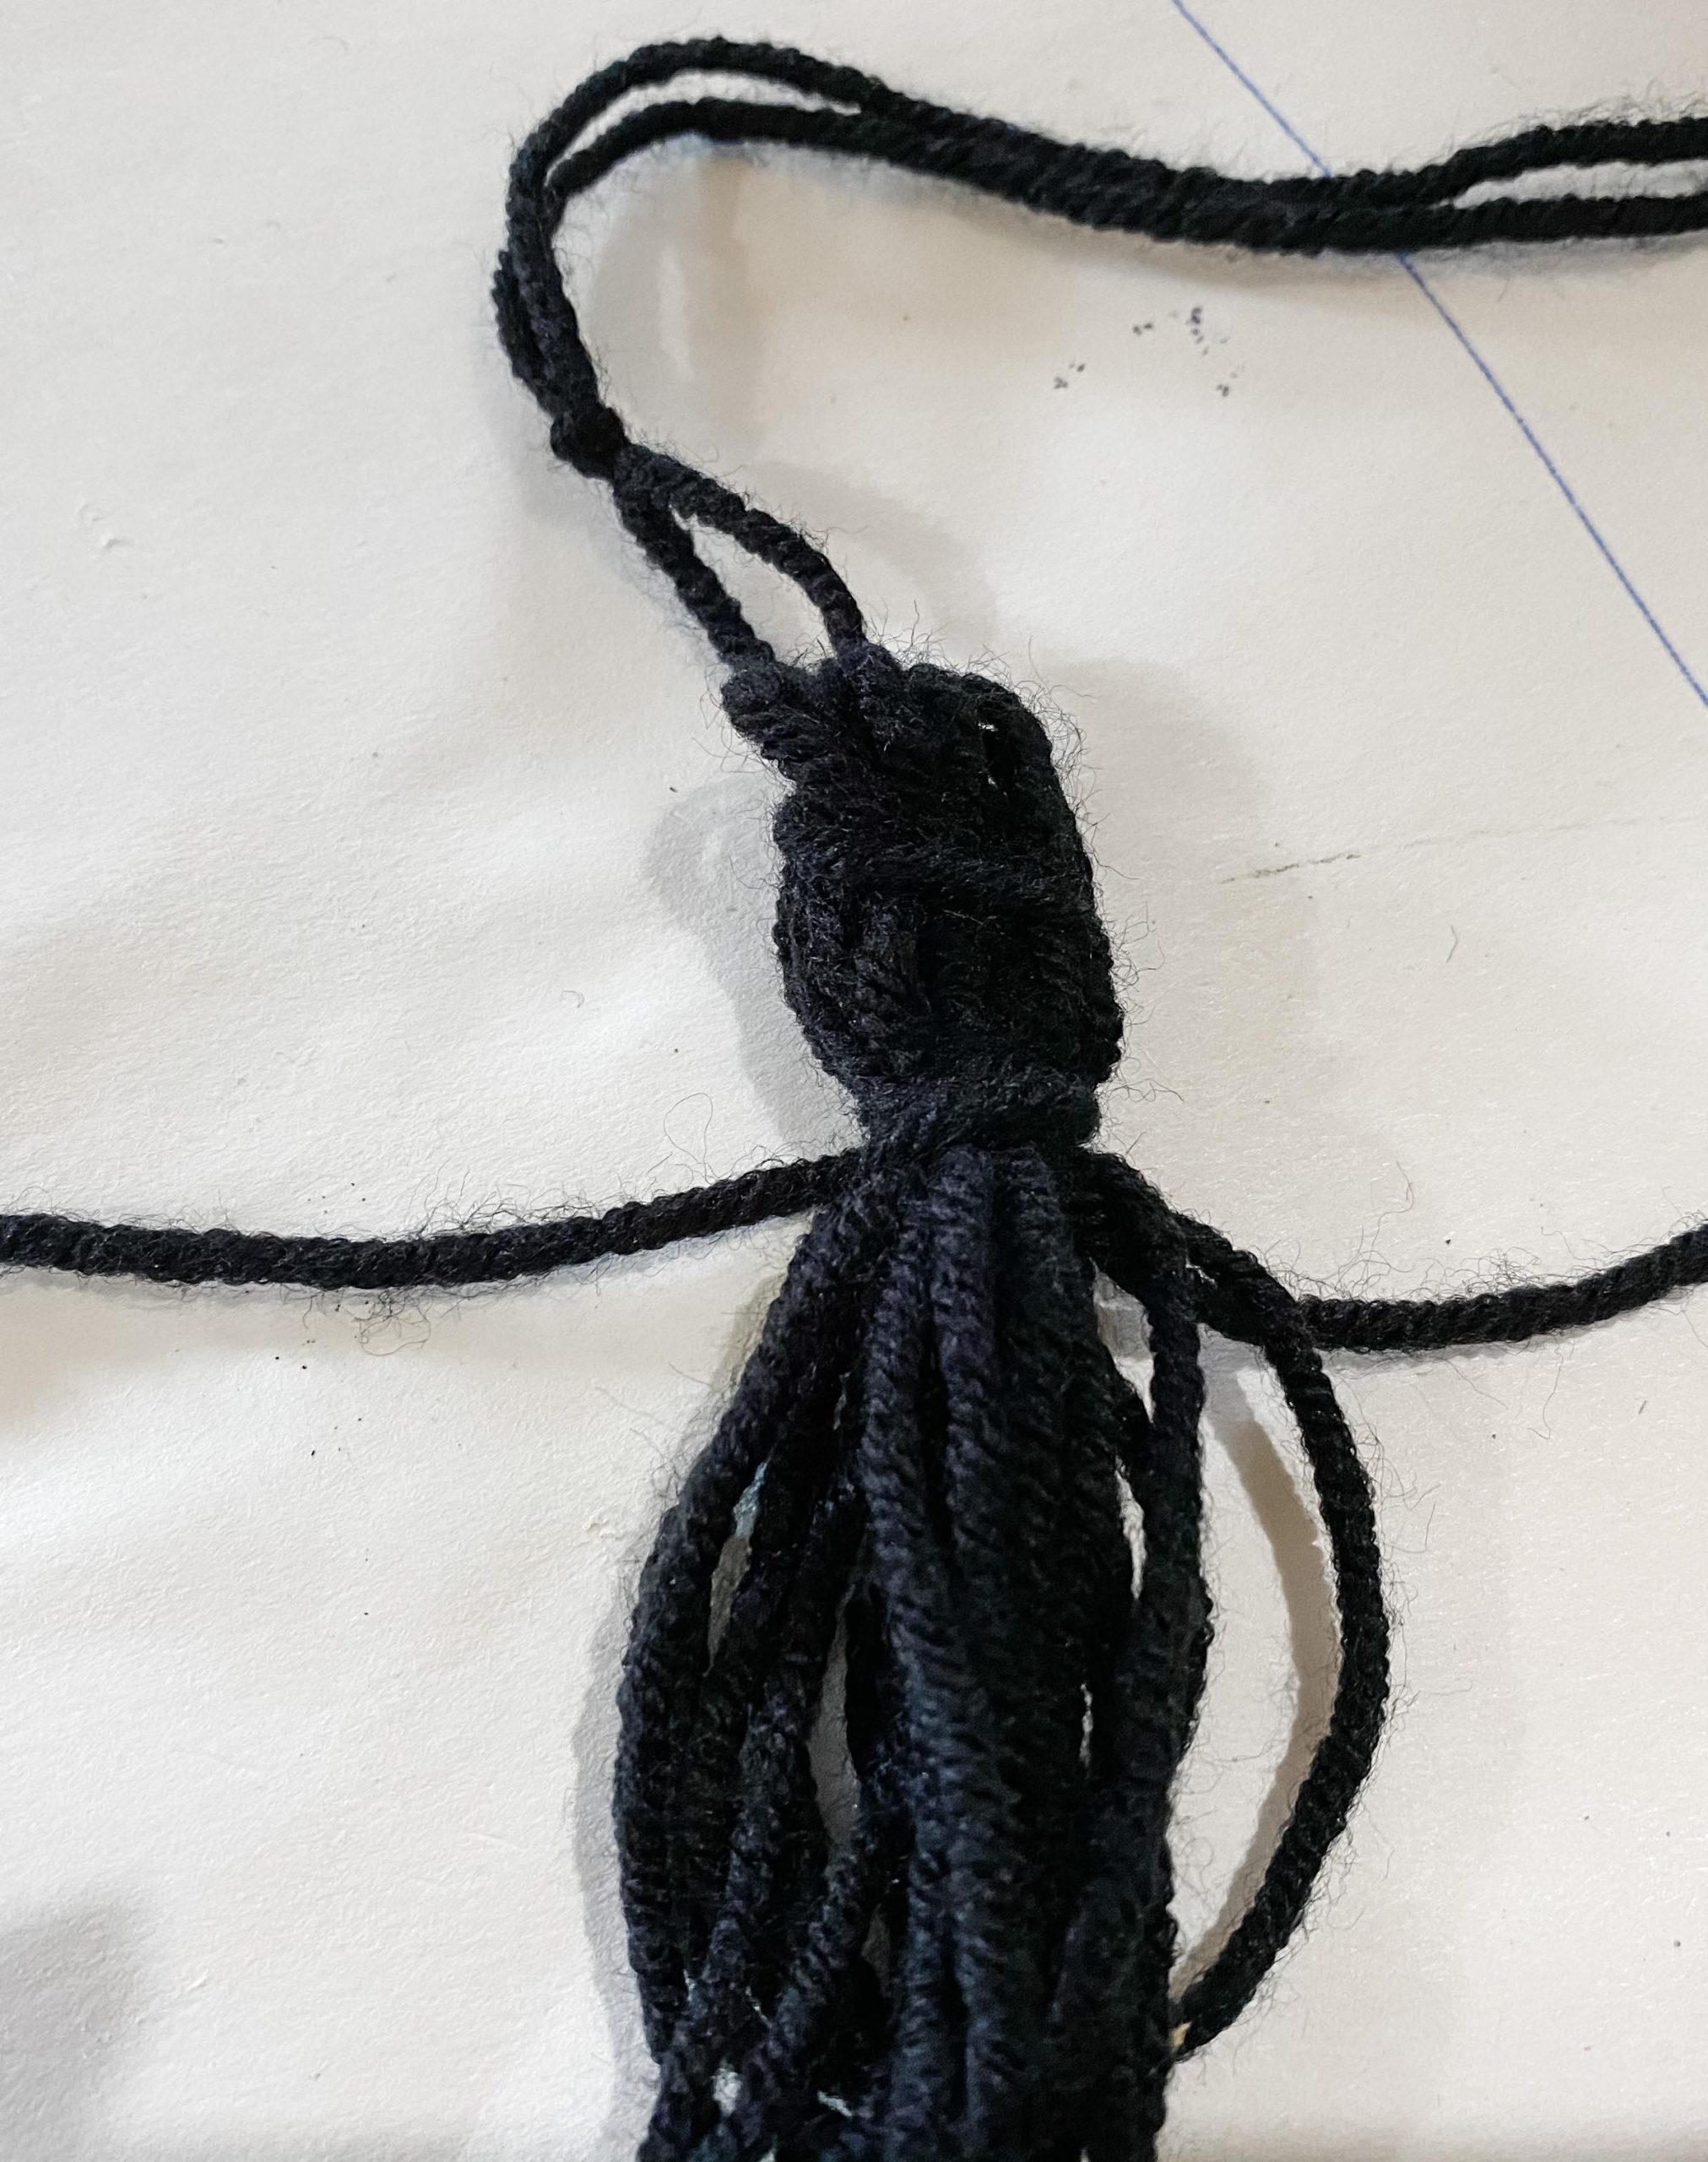
All you have to do now is cut the bottom of the loops and you have a pom-pom! I put a pom-pom between each wood cutout, but you could use as many or as few as you want! Get creative with it!
Put them all together now!
Okay, now that all of your wood cutouts have their designs, and you have all your pom-poms, you can string them all together!
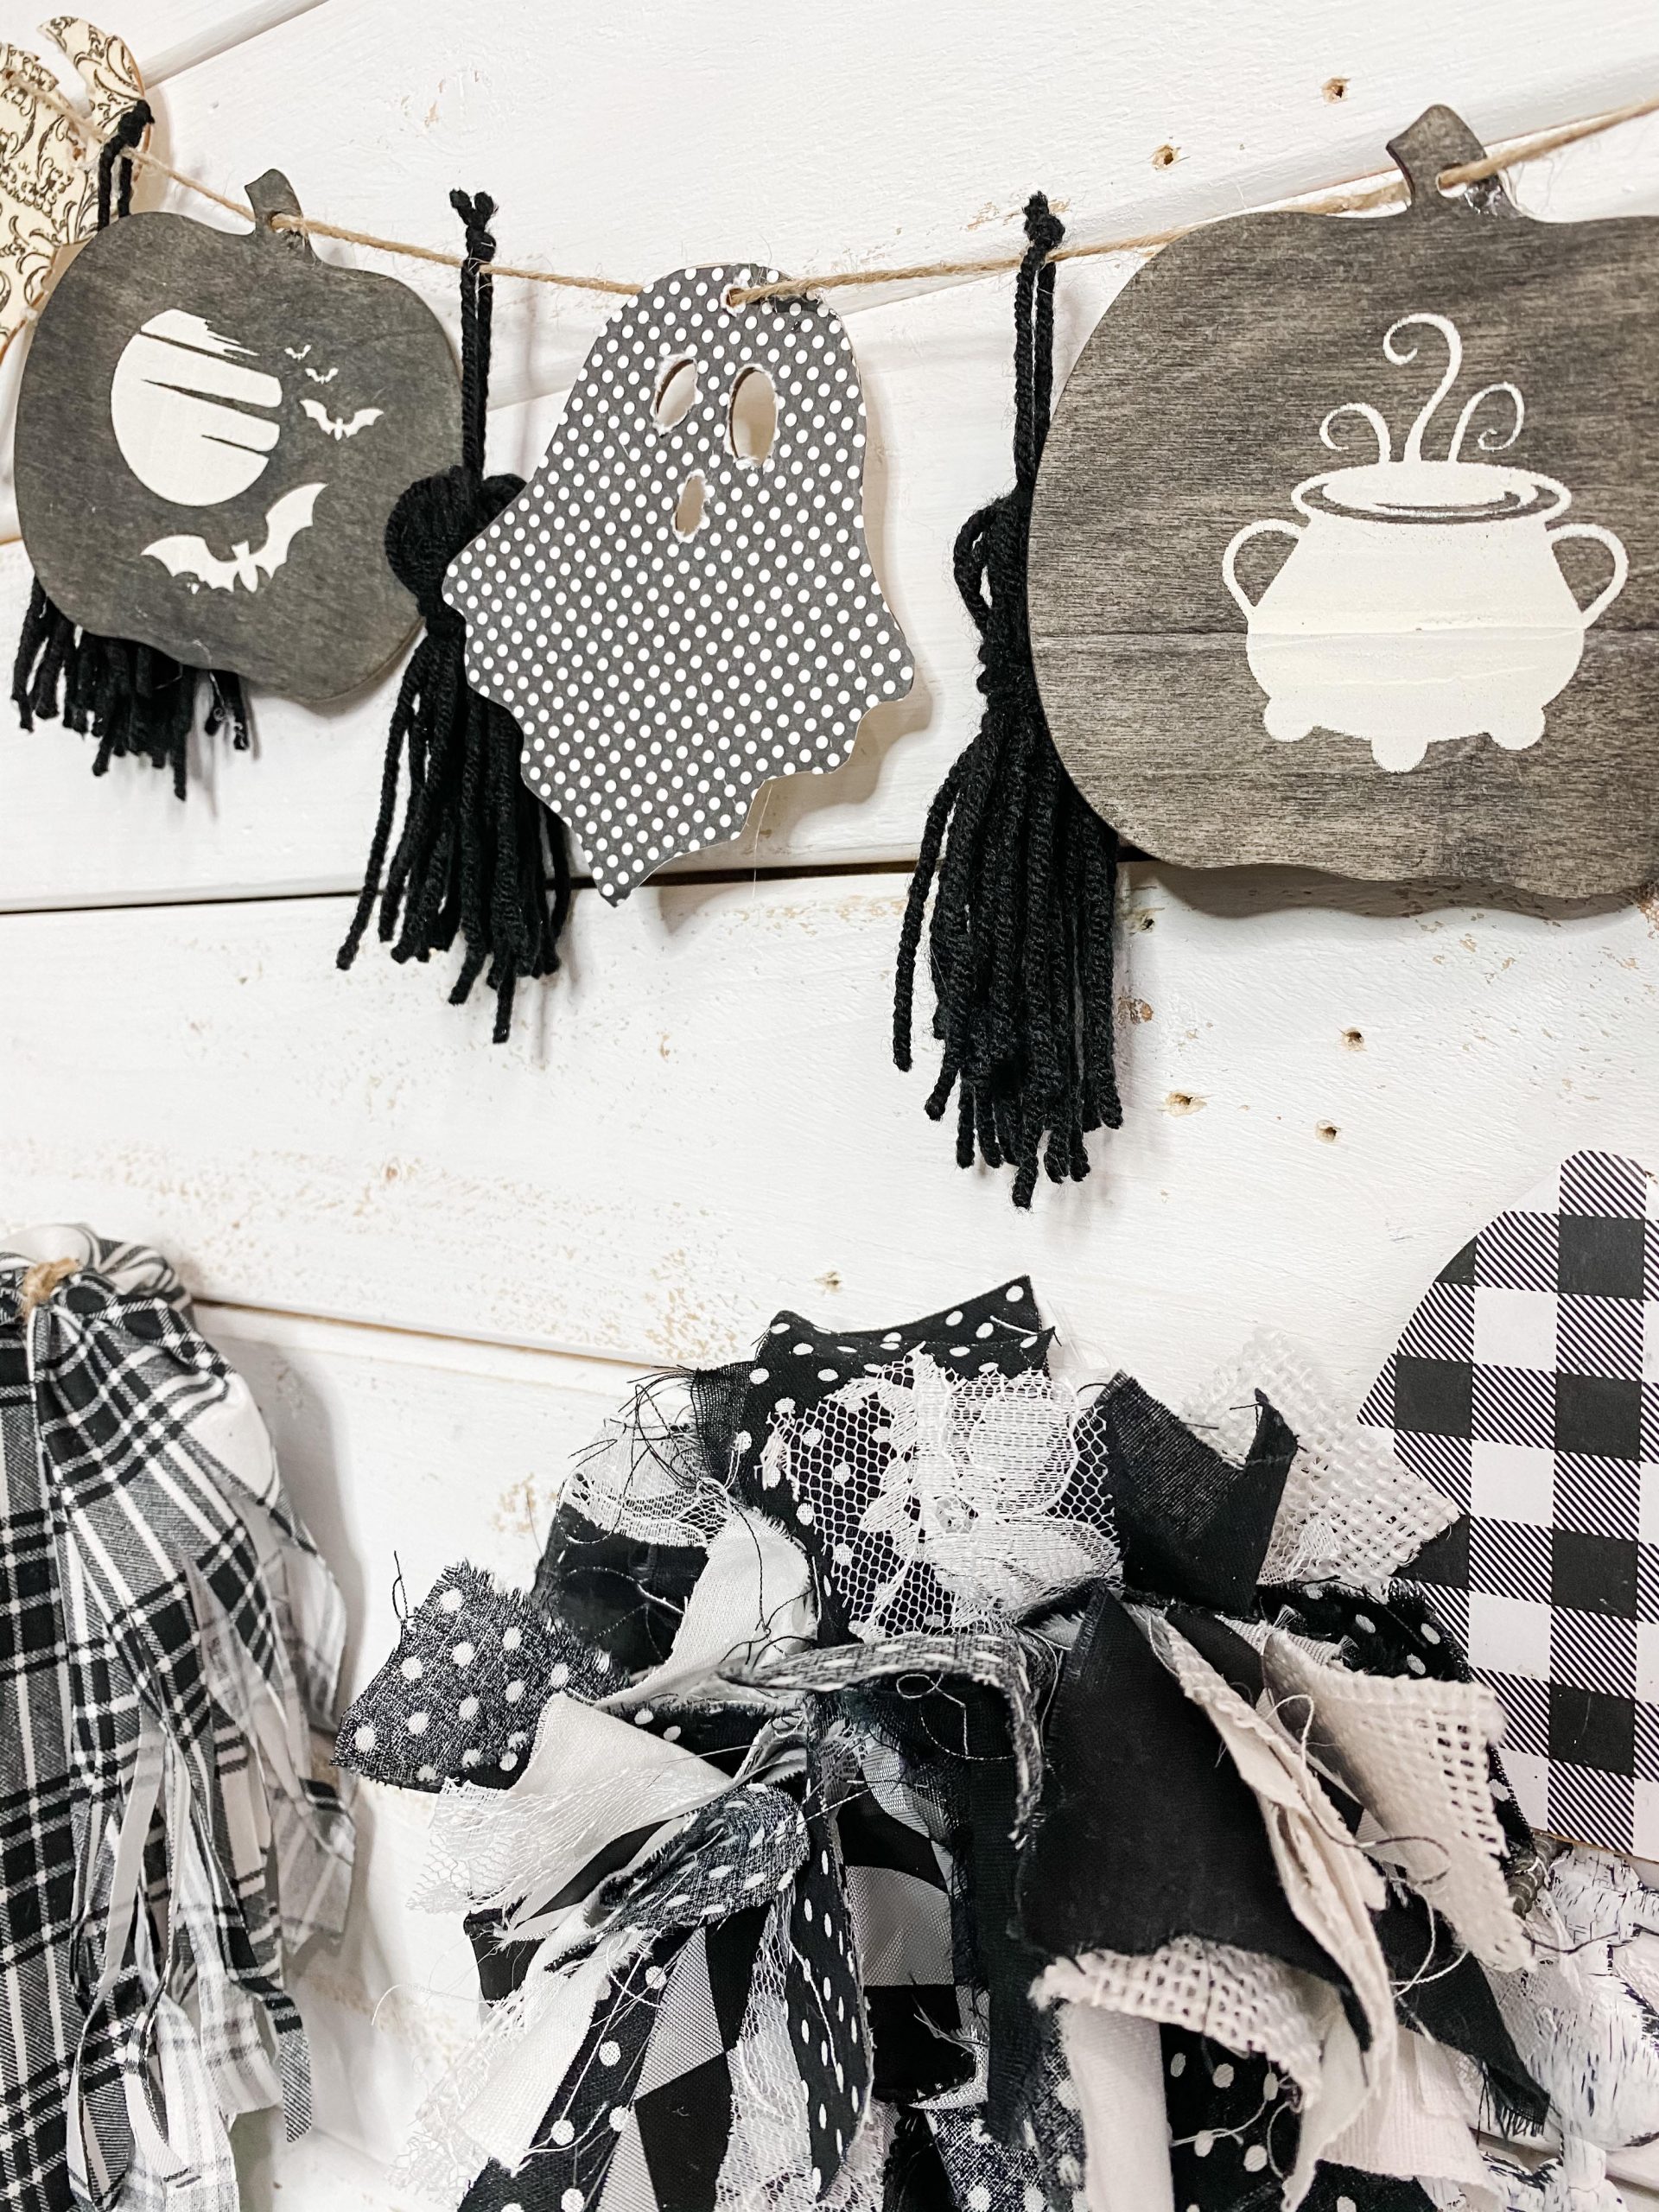
I used twine to string mine together. I spaced them out evenly and then used my hot glue gun to secure them where I wanted them on the twine.
You could also tie knots before and after the cutouts if you don’t have a hot glue gun. Whatever works best for you!
Tie the ends of the twine into little loops so you can hang it, and you’re all done! Congratulations! You’ve just made Stenciled Halloween DIY Garland!
The final look
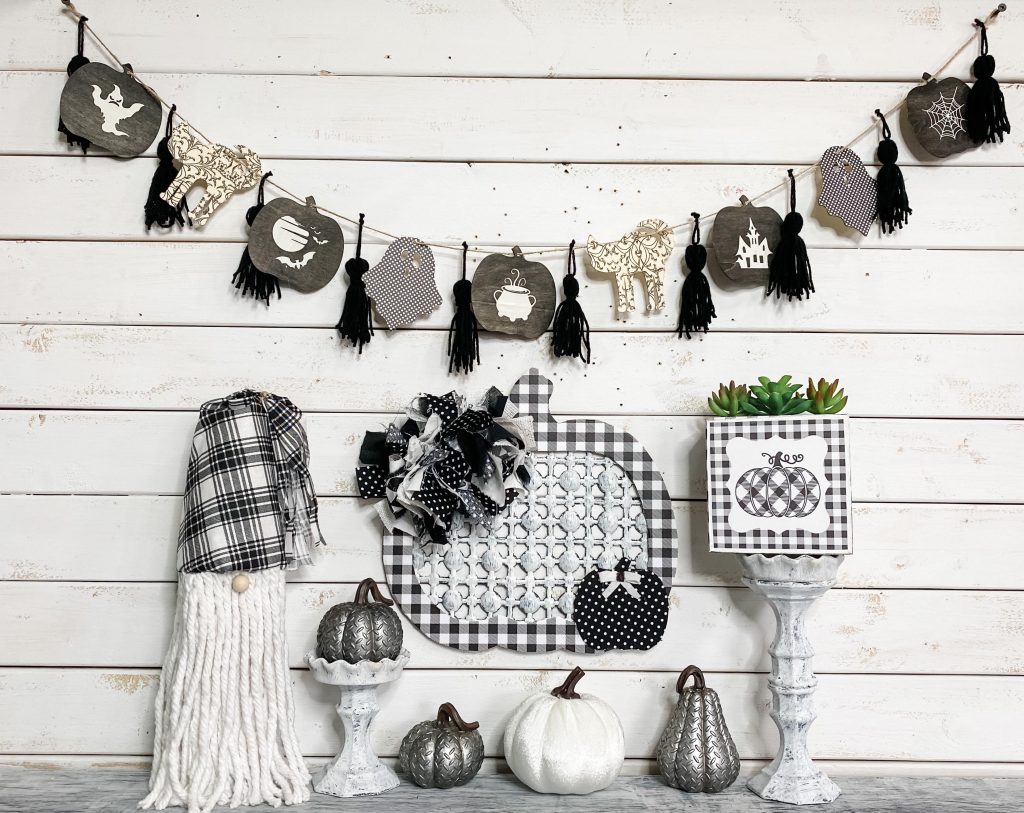
You can’t tell me you don’t just love how this turned out! Not to mention, it would be so easy to change it up and use this idea for different holidays!
So, what do you think? I would love to hear what you think about this craft in the comments! Don’t forget about my free group call On a Budget Crafts where you can share your own craft projects!
If you loved this DIY you might also like these too!
- Dollar Tree Mini Pumpkin DIY Fall Decor
- Dollar Tree Stacked Foam Blocks Home Decor
- Fall Buffalo Check Pumpkin with a Dollar Tree Bath Mat
Thanks for stopping by! XOXO Amber
You can also shop my ENTIRE AMAZON Favorites shop just click here! It’s packed full of all the things I use and love.
Here is the supply list I highly recommend every creative has on hand!! Would you also pin my blog for later and get on my newsletter alerts? I would love to have you join my #craftycrew.
I send email alerts for new DIY blog posts like this Stenciled Halloween DIY Garland so you never miss out on the DIY inspiration!

Join my free “ON A BUDGET CRAFTS” Facebook group!
PIN THIS POST FOR LATER!


Love this! Thanks for sharing!!!