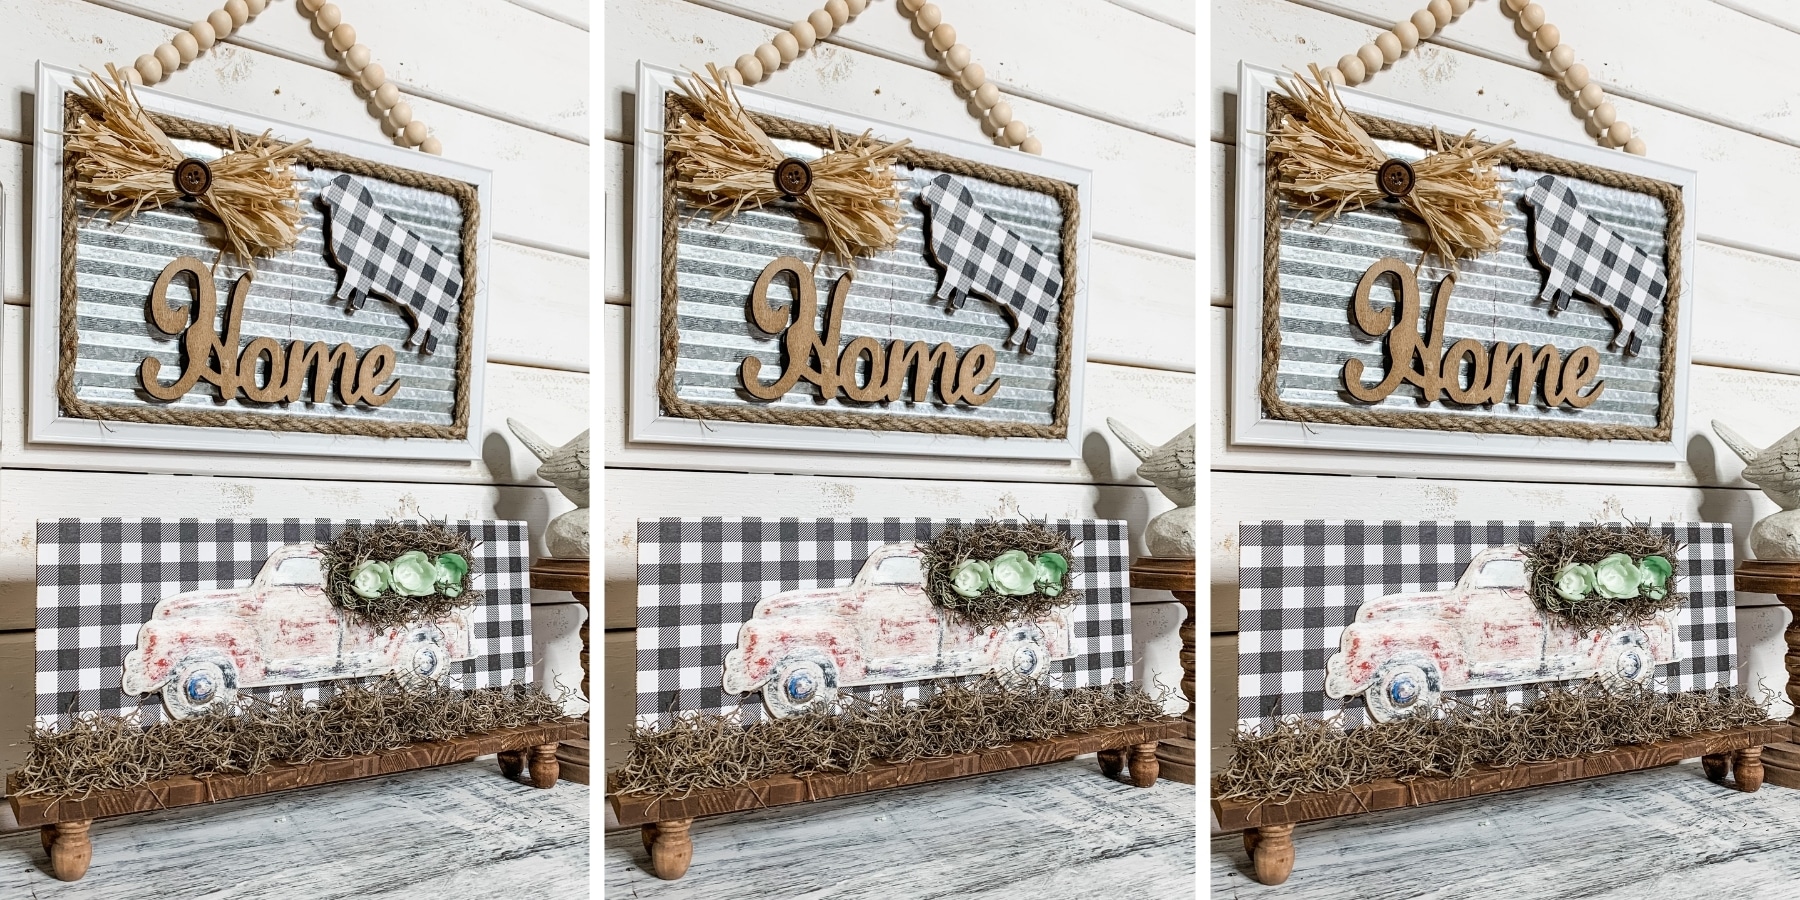
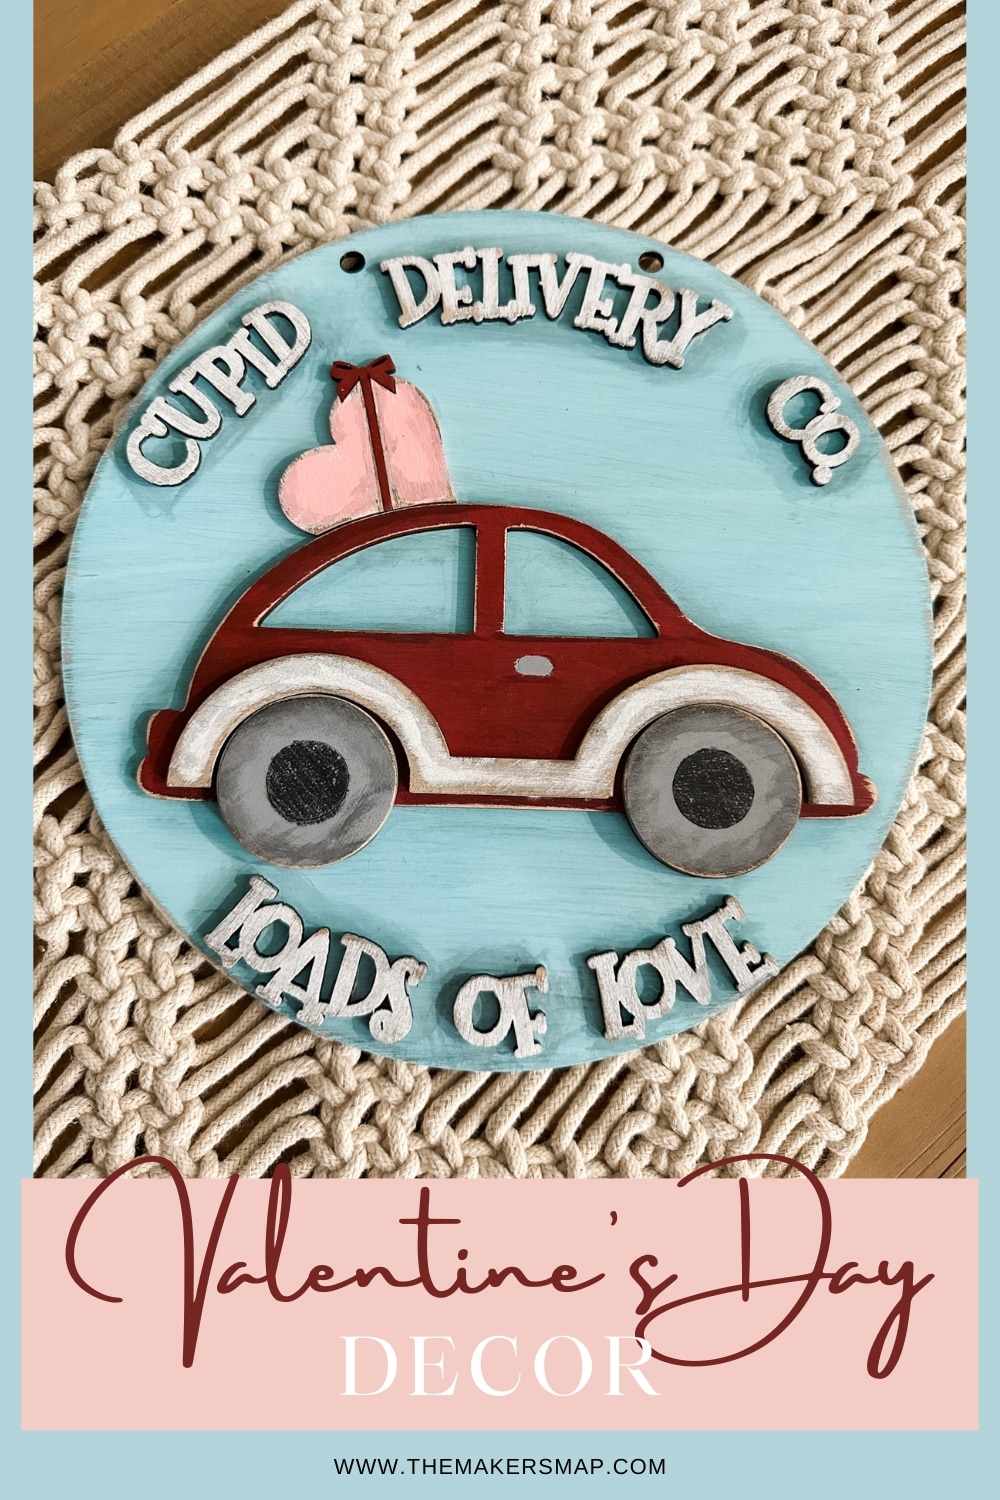
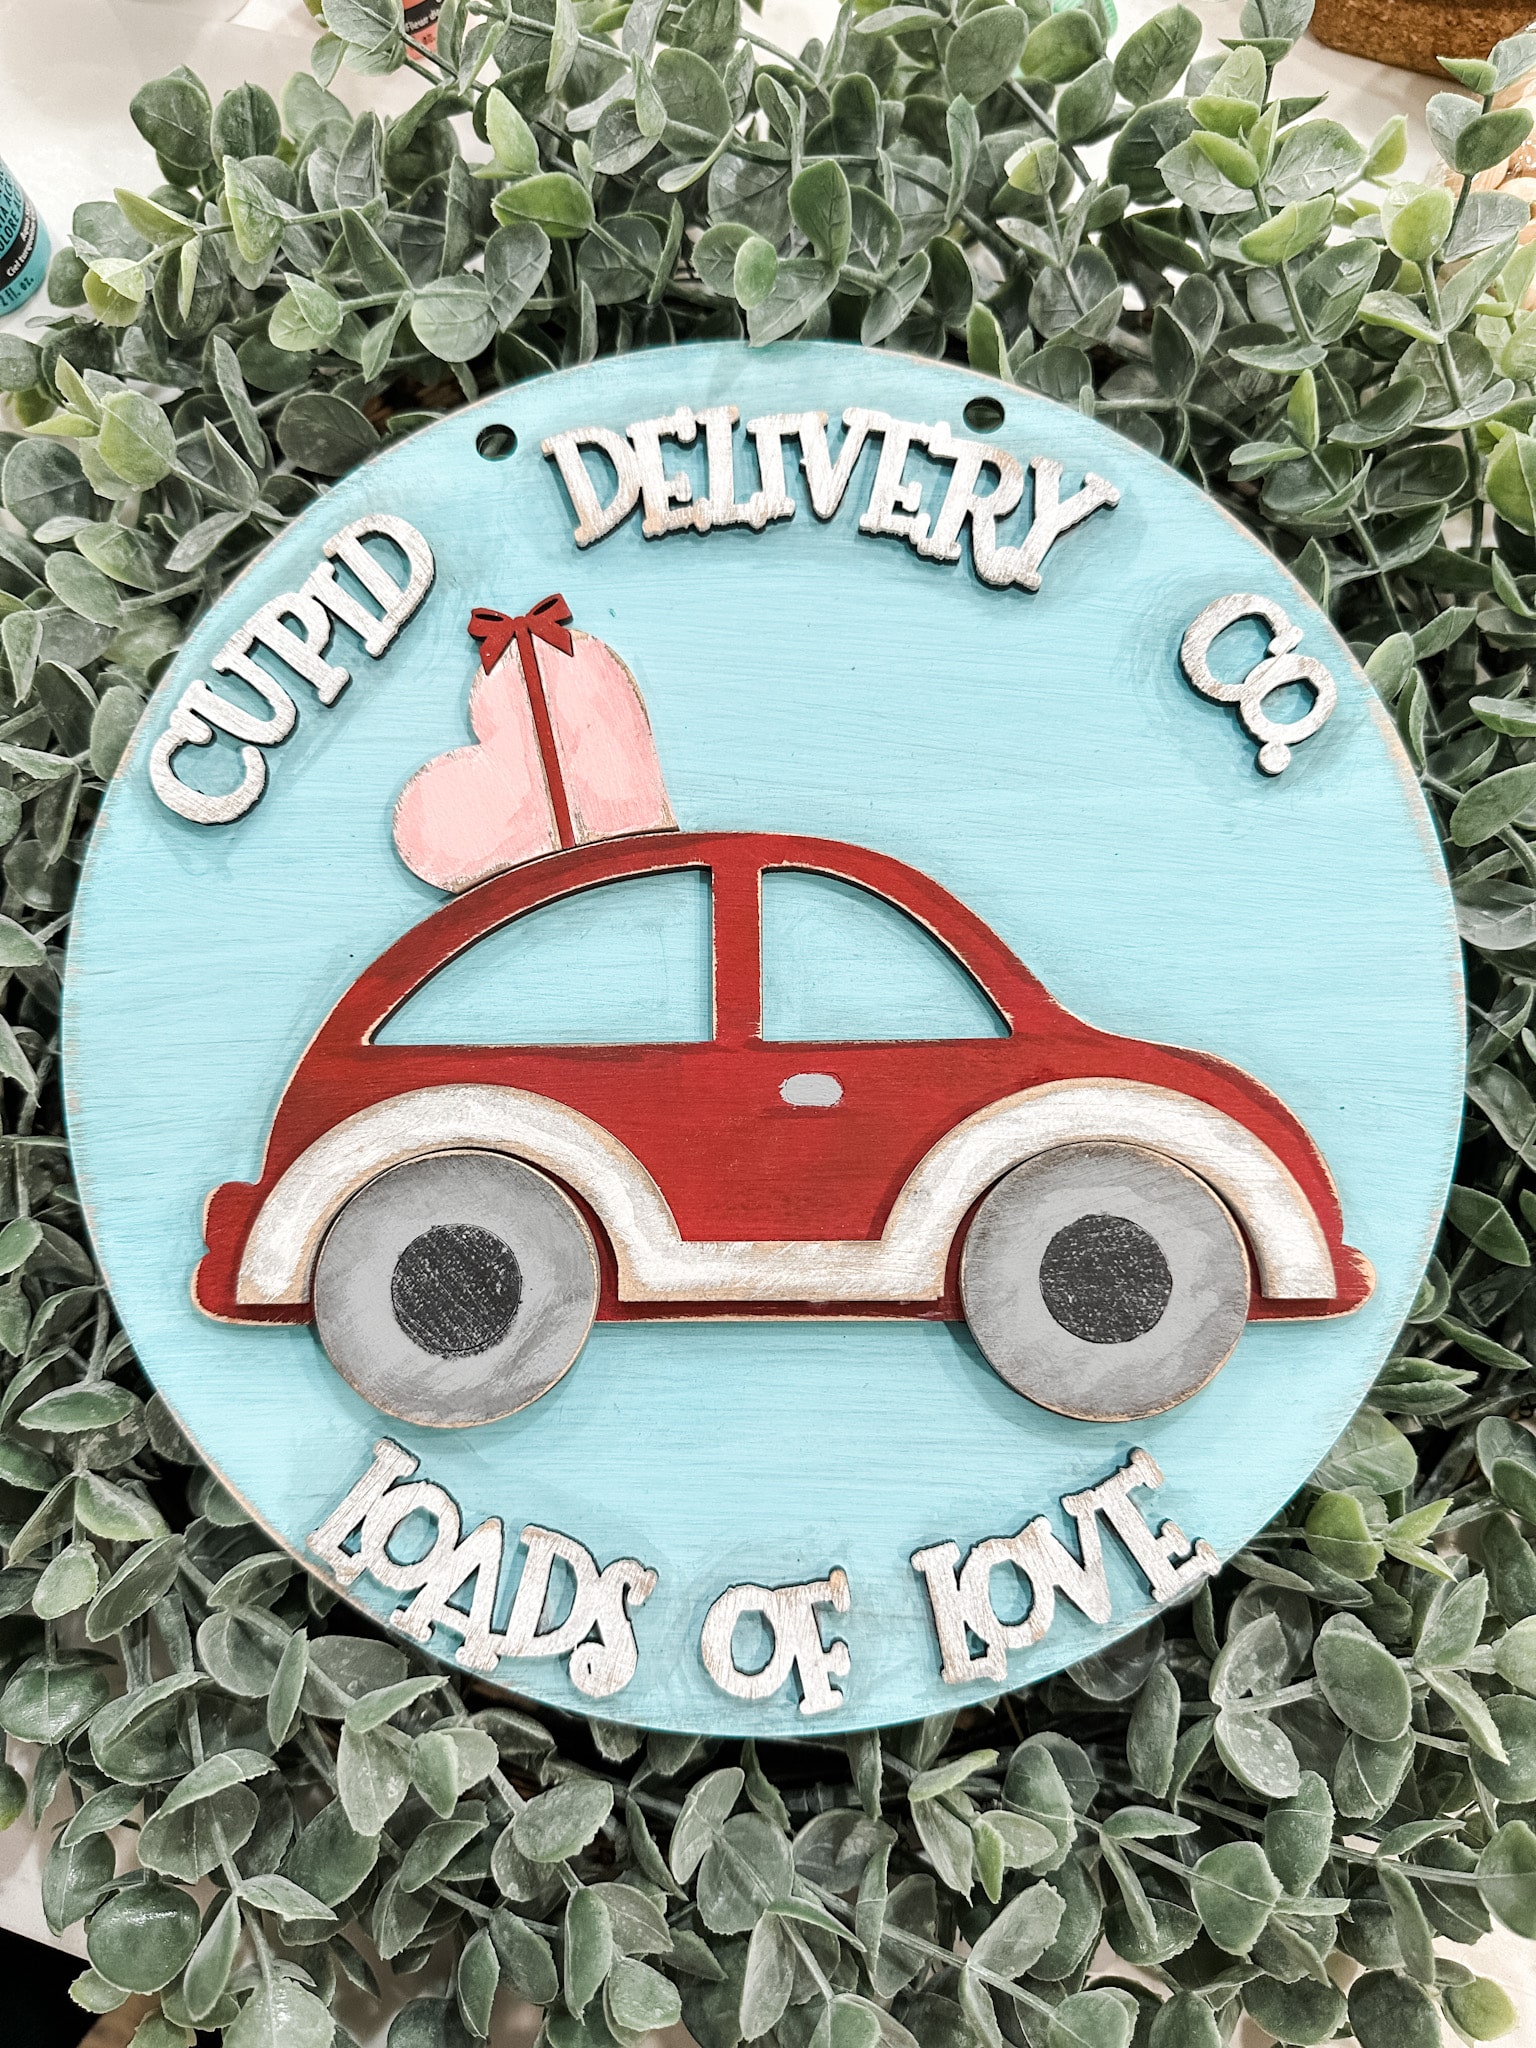
Valentine’s Day Car Sign
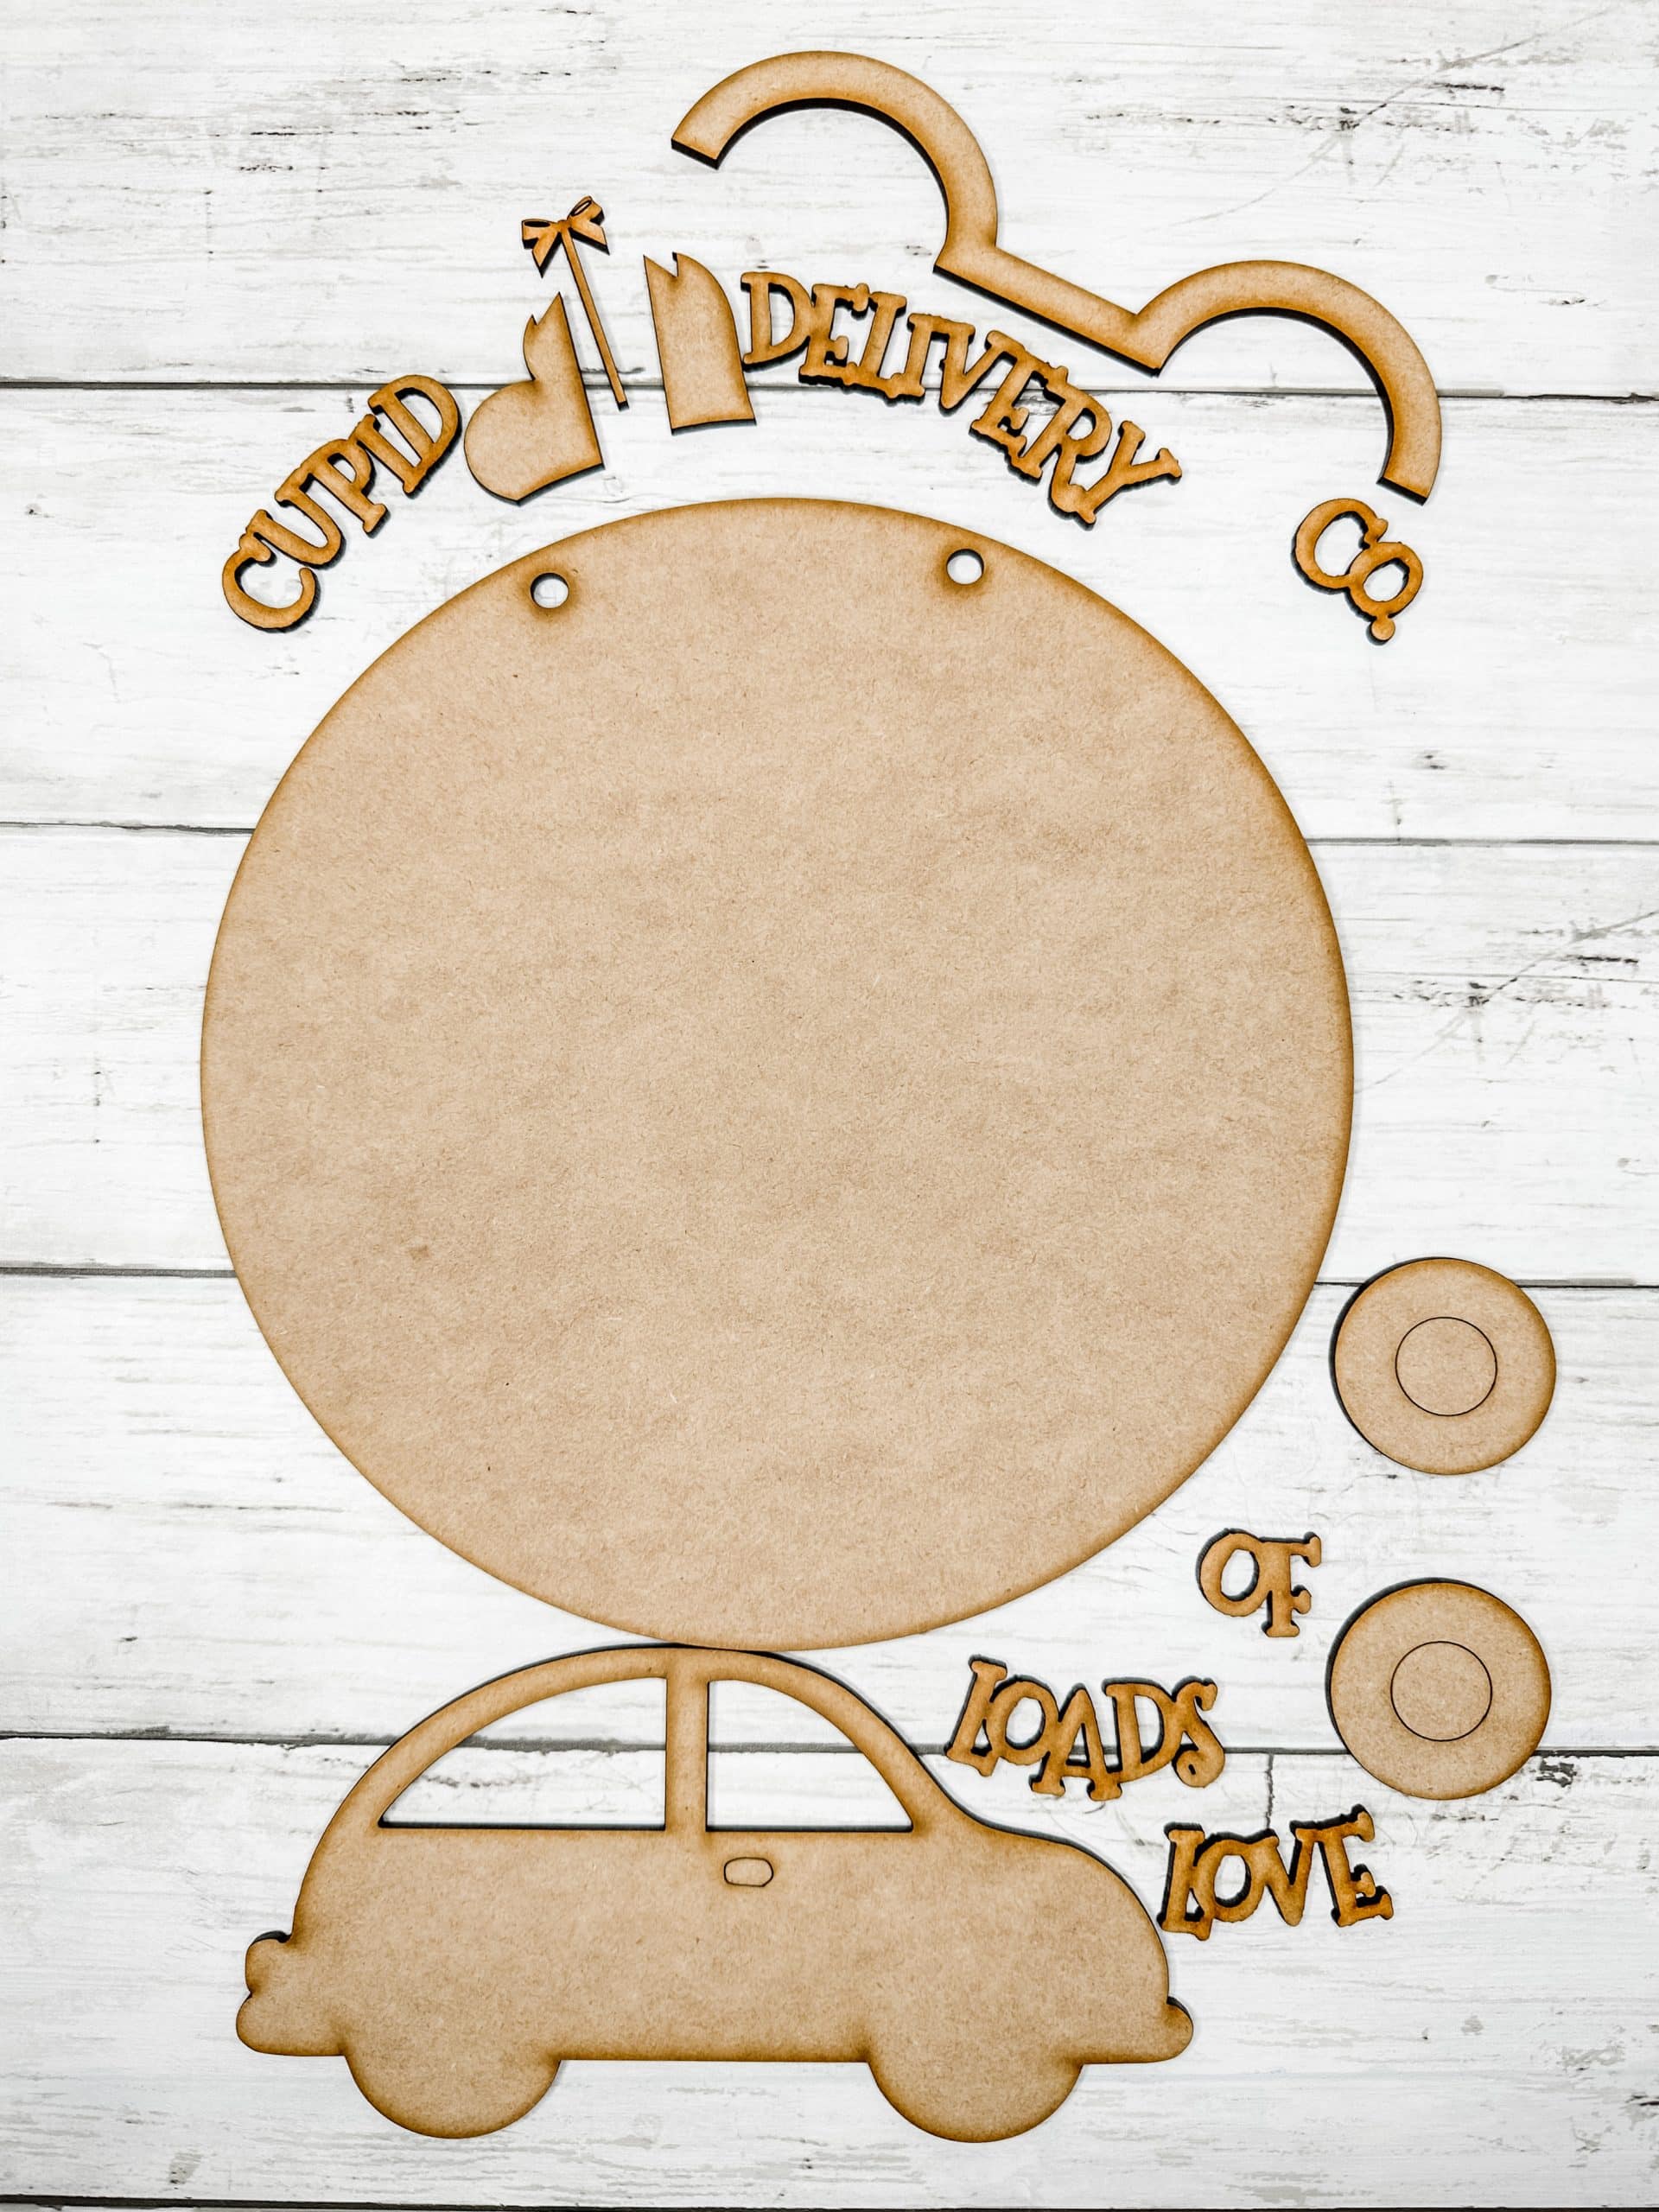
The greatest thing about this Valentine’s Day Car Sign craft is it comes completely unfinished and is 100% customizable! It’s laser-cut wood craft kit that I sell in my shop!
Don’t worry, if you can’t buy the kit from me, it can still inspire you in other ways to make your own home decor with the techniques and supplies I use!
I love making my own home decor because I get to personalize it to match my vision and style perfectly!
No matter where you shop for your home decor, you will rarely find something that is EXACTLY how you want it to be.
But with crafting, you get to create the piece 100% how you see it in your mind!
How to make a Valentine’s Day Car Sign
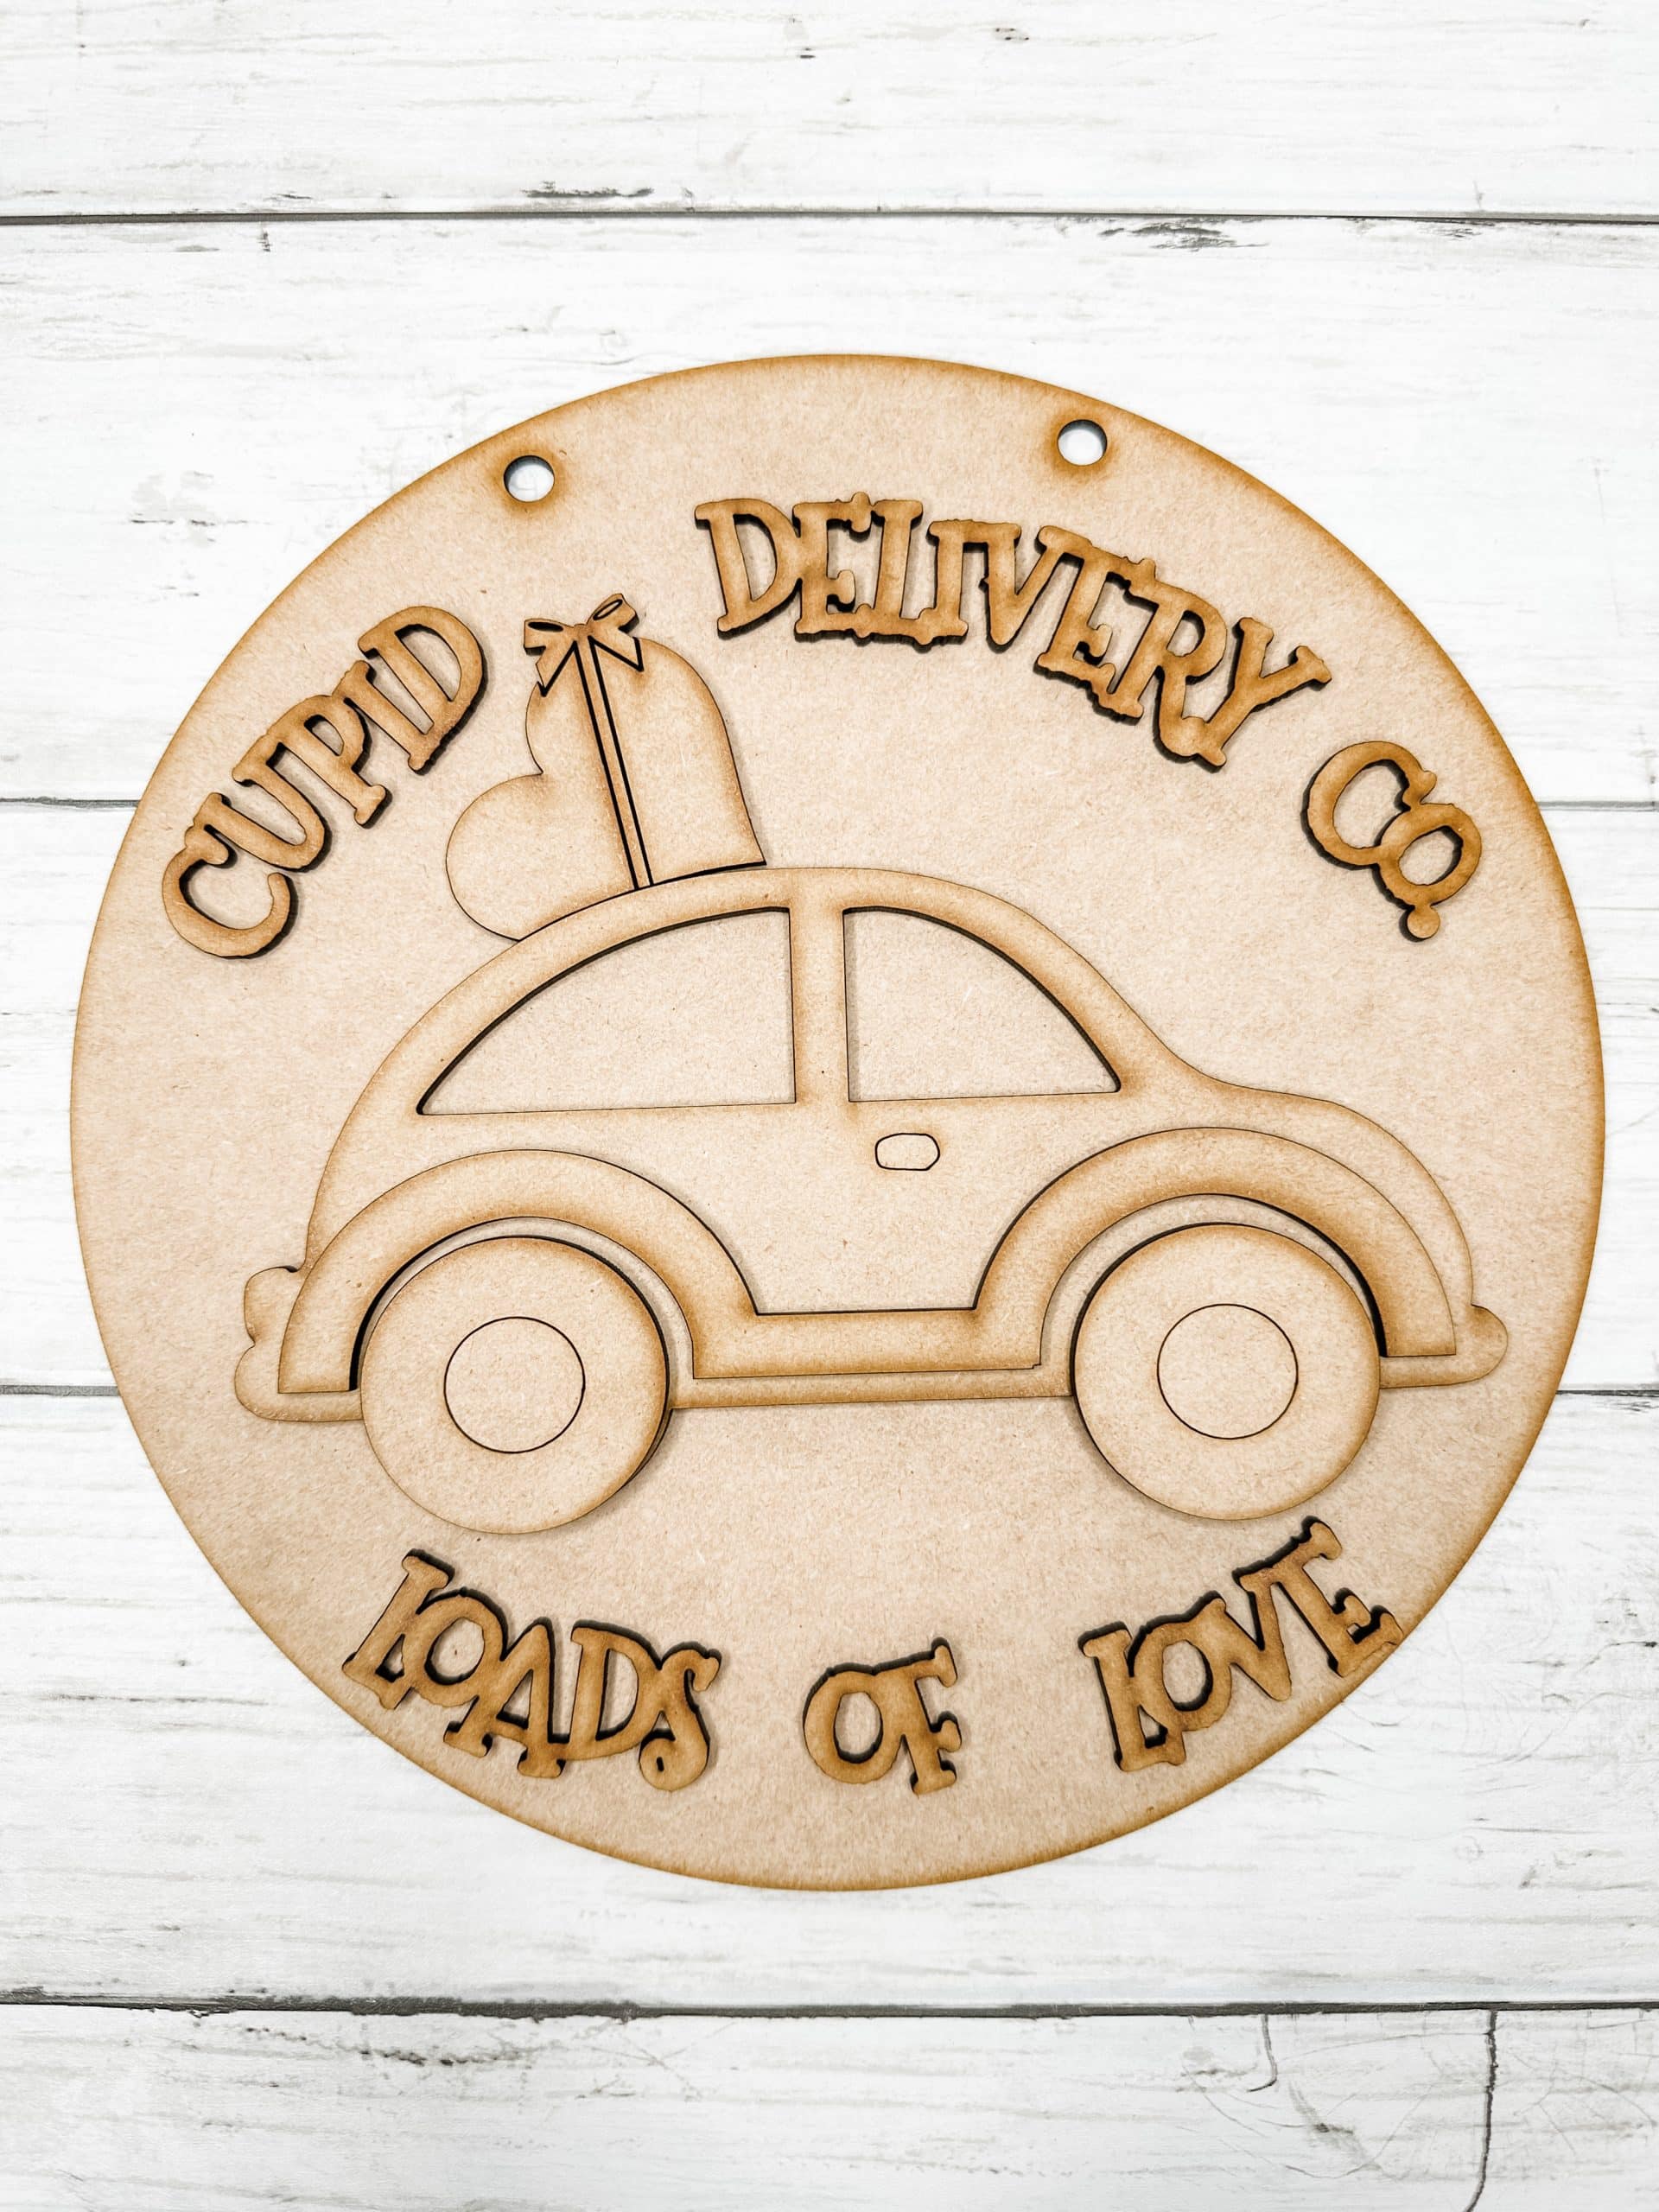
I started this Valentine’s Day Car Sign kit like every one of my kits – by sanding each piece. When we cut these on our laser machines, it can leave a layer of residue that affects the finish on them.
Once each piece was sanded, I stained them with brown acrylic paint and a tiny bit of black. To do that, mix a bit of water and paint together and use a foam sponge or wet wipe to apply the mixture to each piece.
Use a clean wet wipe to remove any excess paint from each piece and allow them all to dry completely. I like to use a heat gun to speed up the drying process.
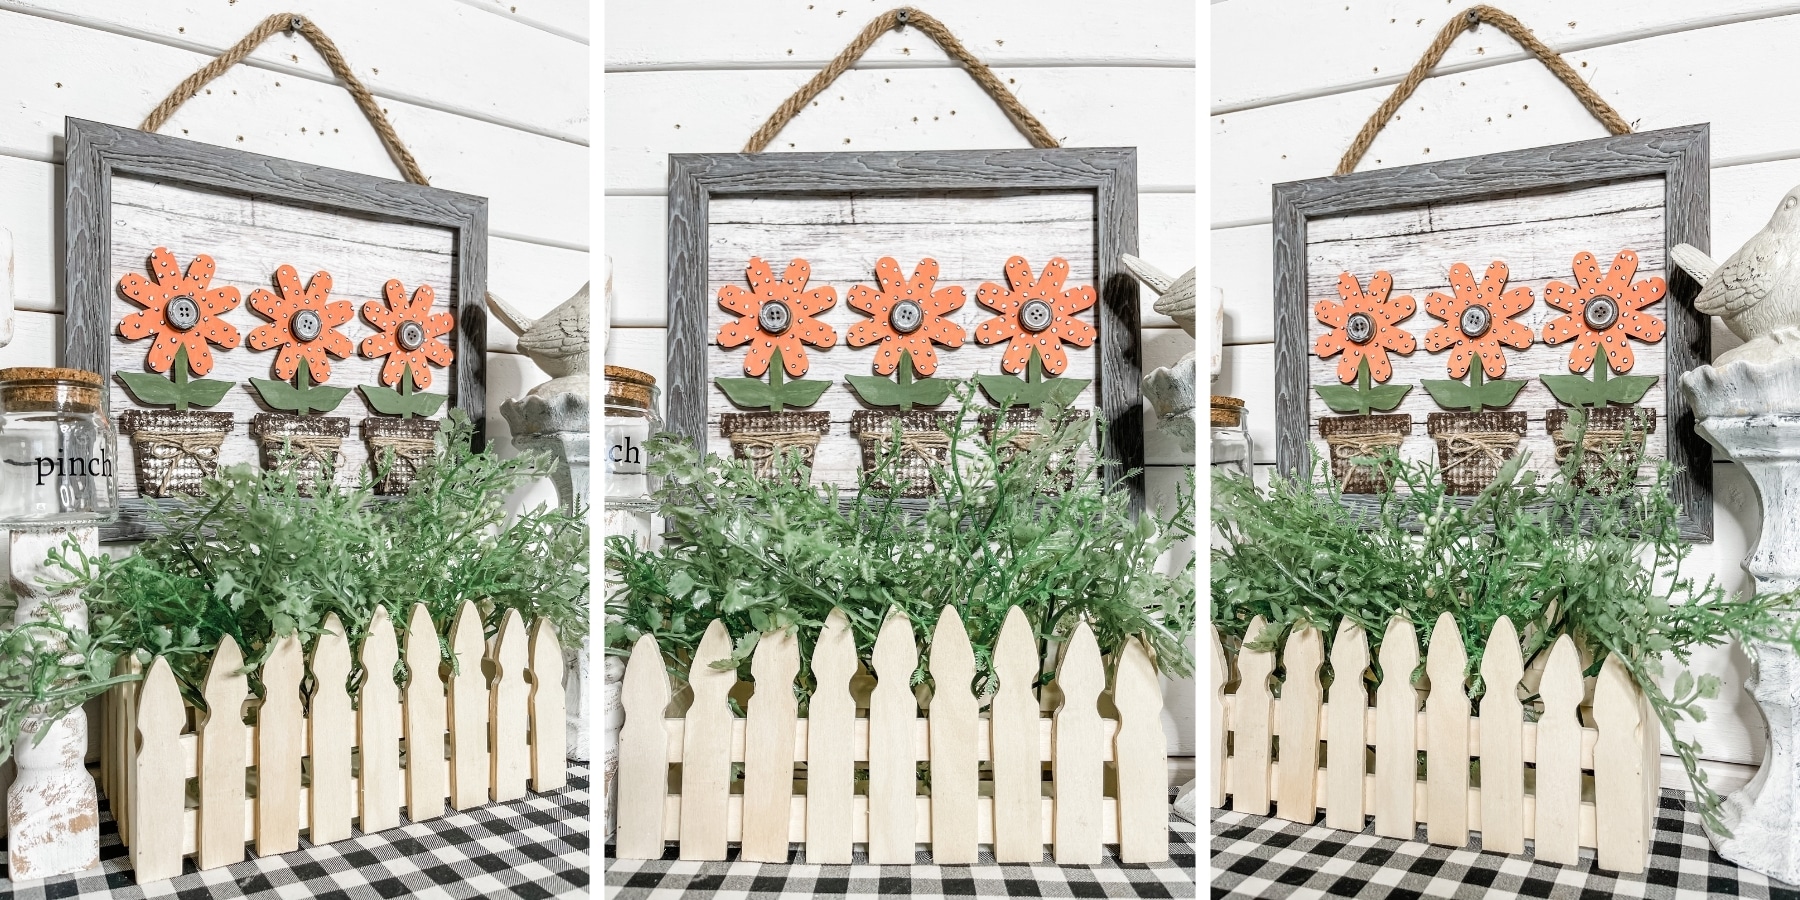
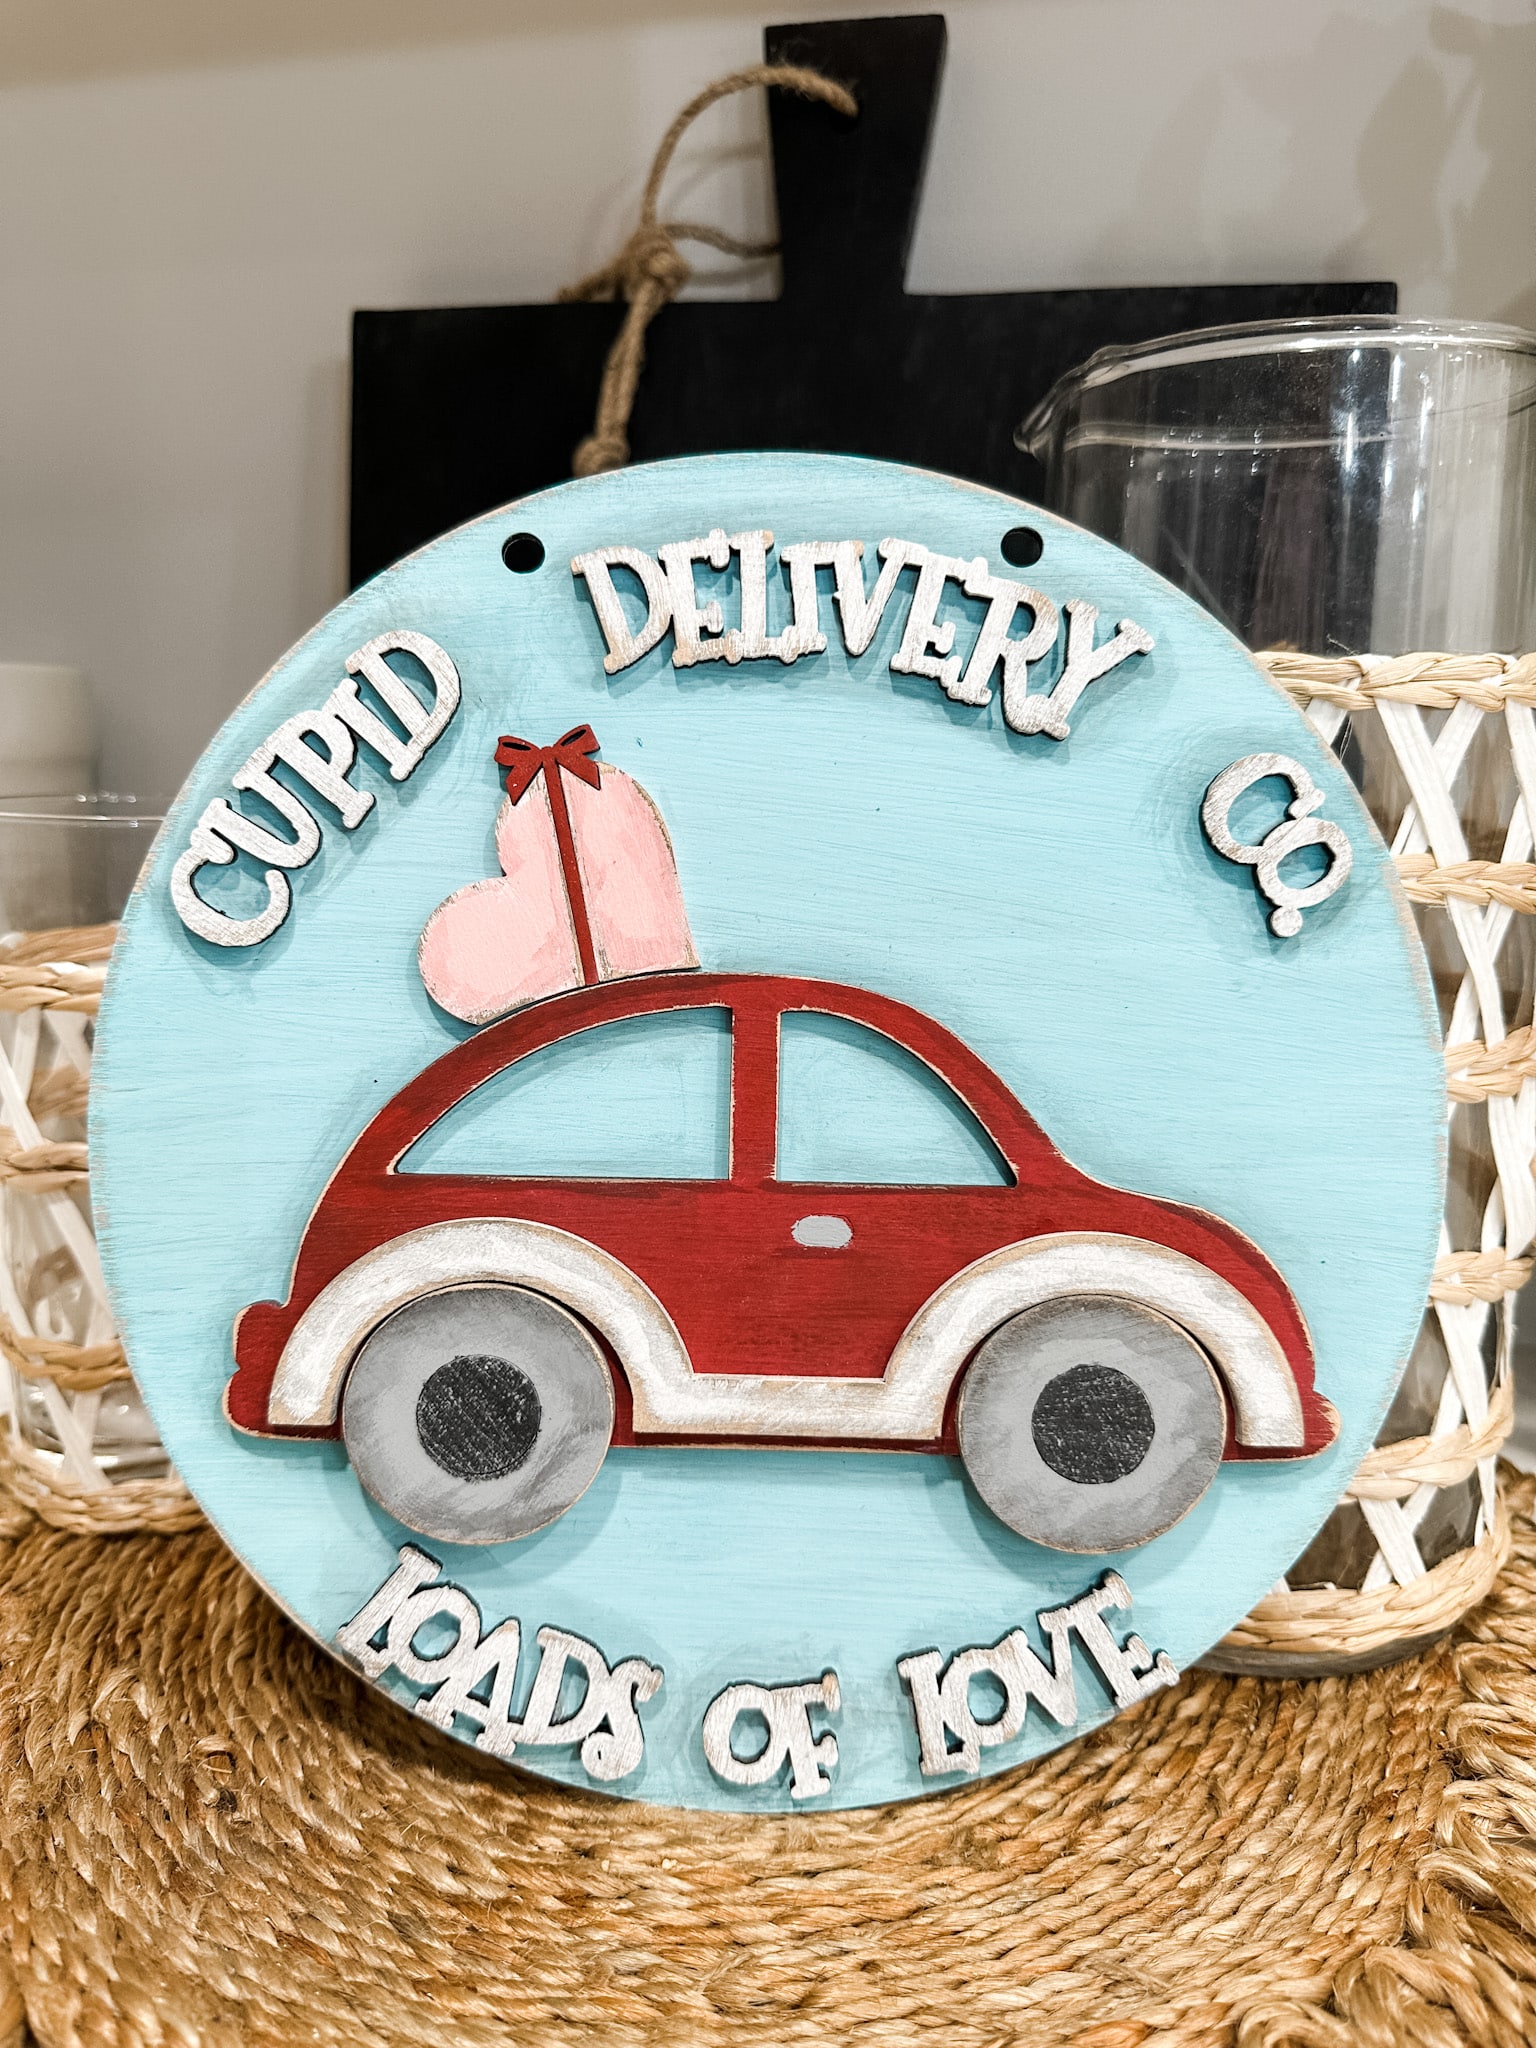
Once all the pieces to the Valentine’s Day Car Sign were stained and dried, I painted the circle with the aqua sky acrylic paint. I mixed a bit of white in to lighten the blue to the shade I wanted.
Then, I painted each of the letters with white paint and the body of the car with tuscan red paint. For the wheels I used grey paint. Once the grey paint was dry, I painted the centers of the wheels with black paint.
I painted the heart pink and the bow/ribbon piece with the same tuscan red that I used on the car. Then, I painted the bumper portion with white paint.
Let all the pieces dry completely, then lightly distress each one. Dust them off and you’re ready to assemble the sign.
Glue each piece in place except for the bumper piece. Mix a small amount of black paint with water and apply it to the edges of all the pieces to grunge it up a bit.
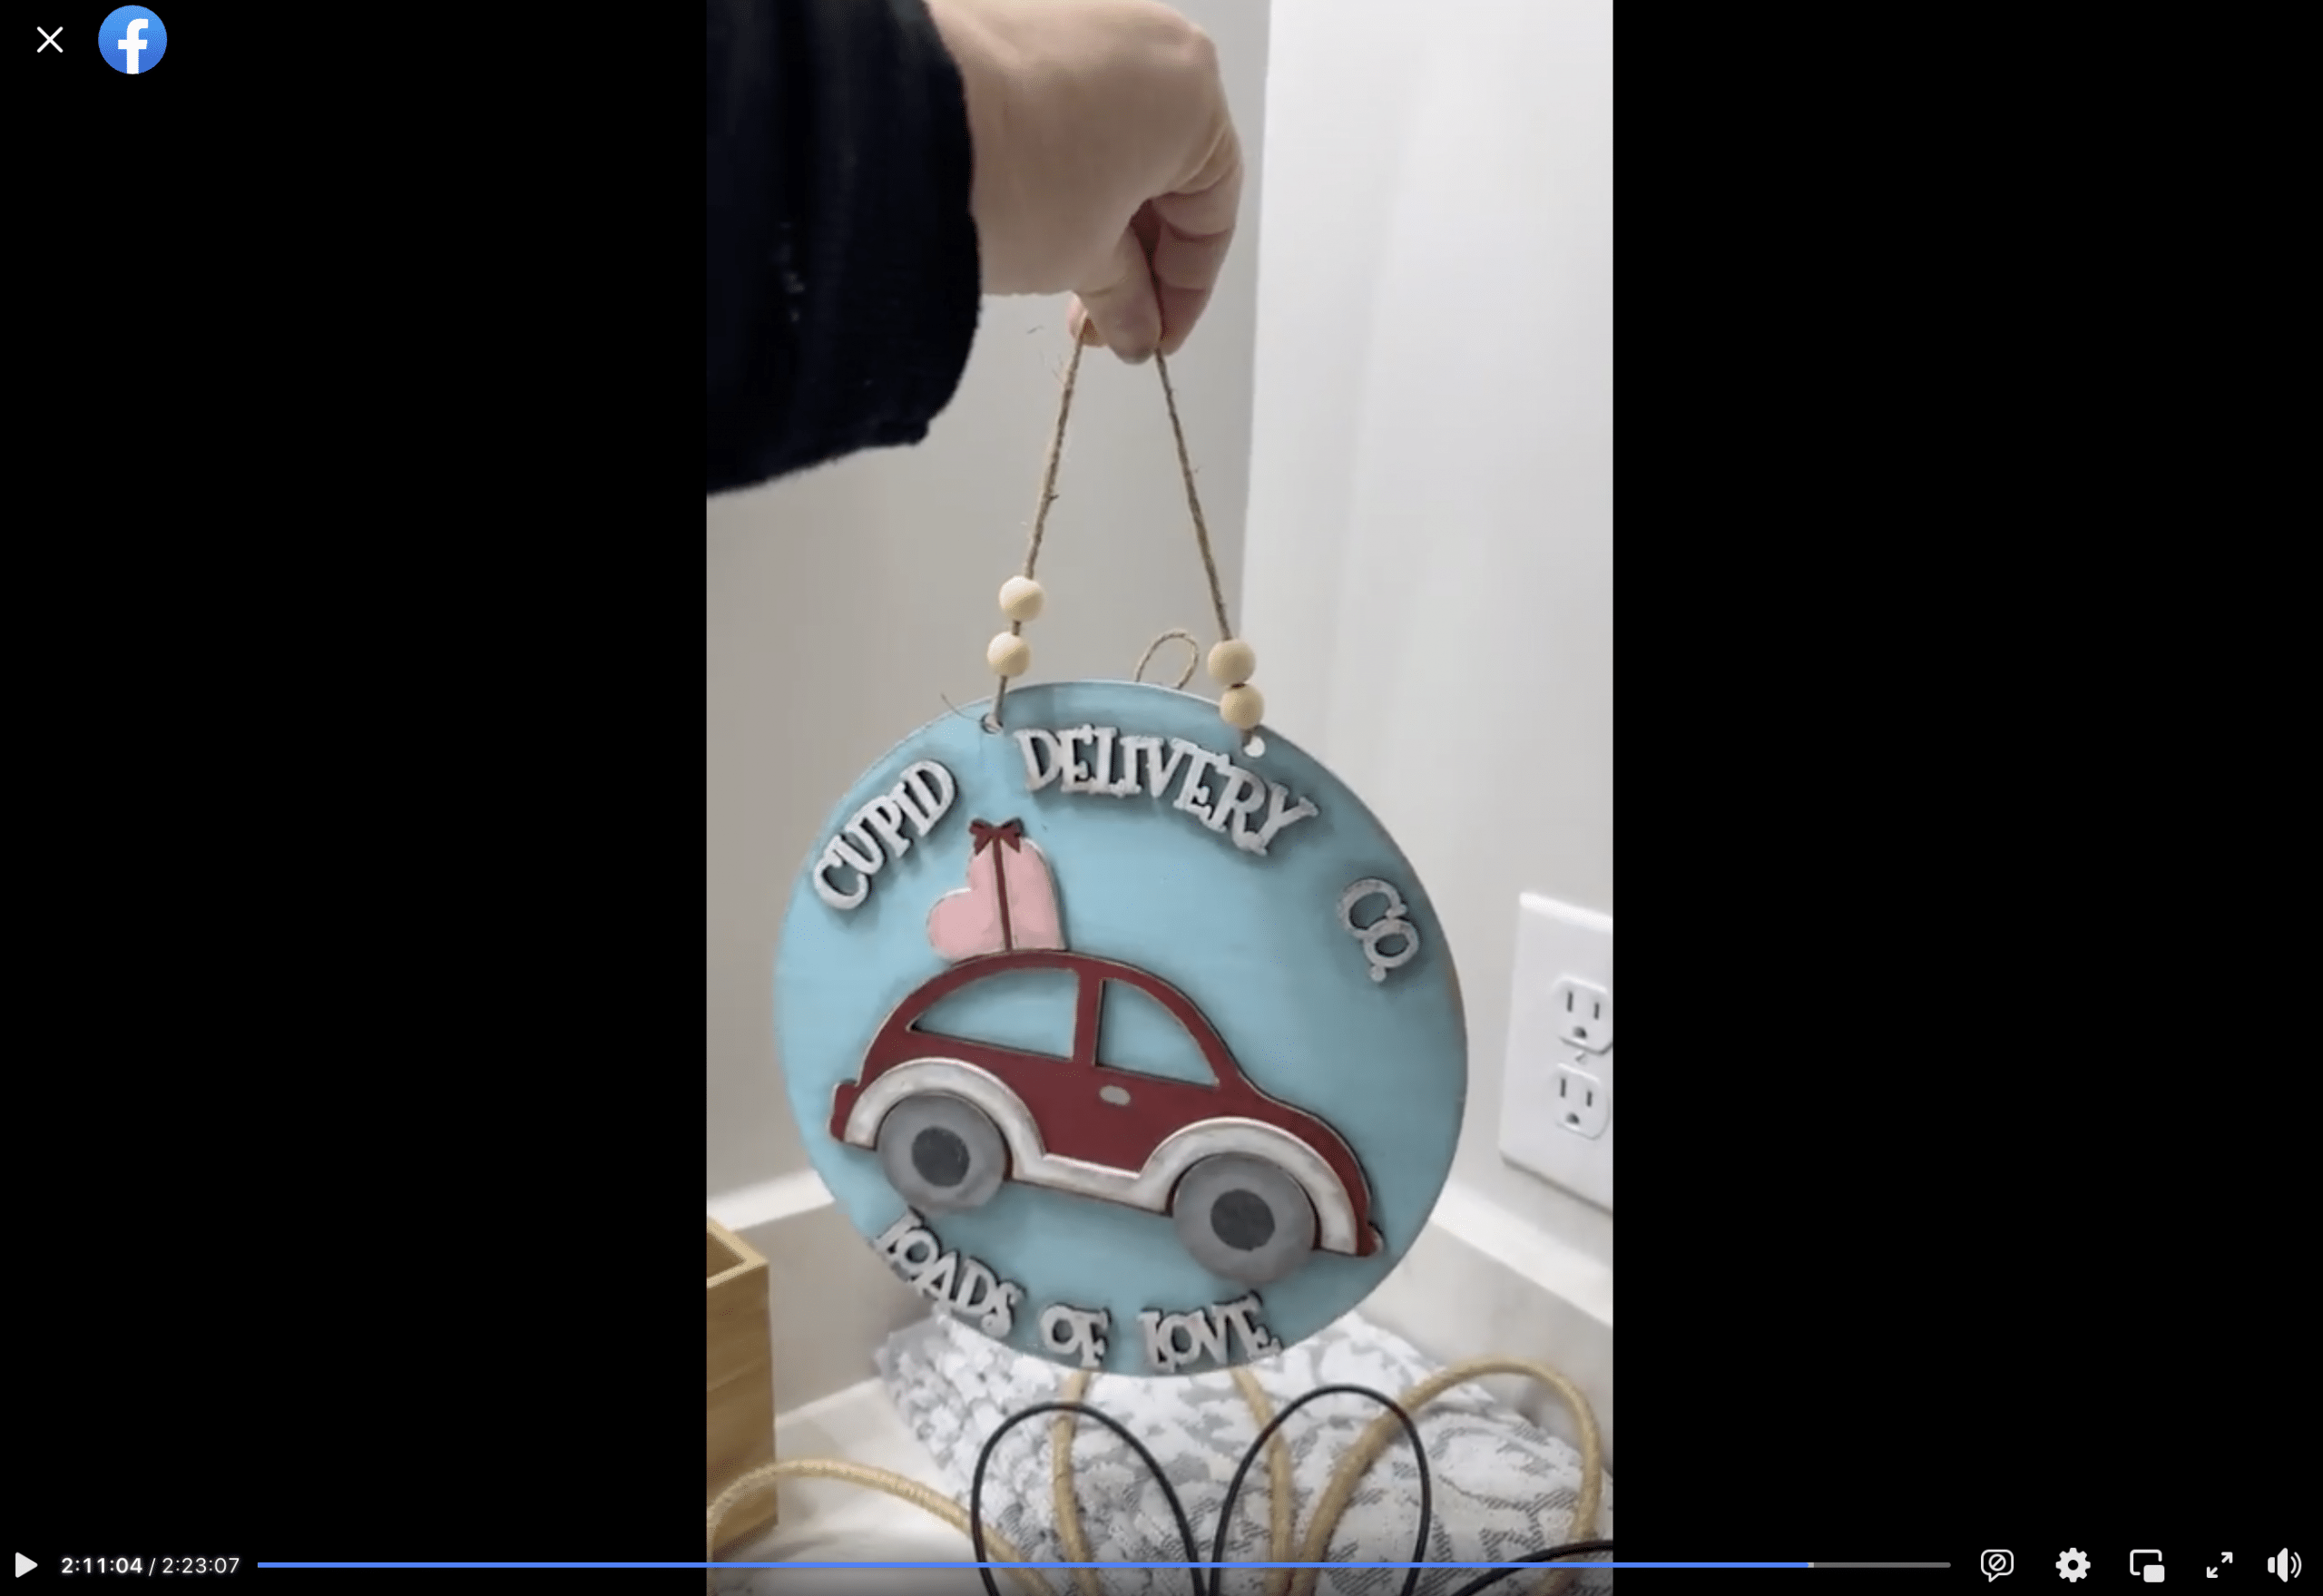
Let them all dry, then glue the bumper in place. You can make your own hanger out of twine and can add beads to embellish a bit, or you can secure this Valentine’s Day Car Sign to a wreath!

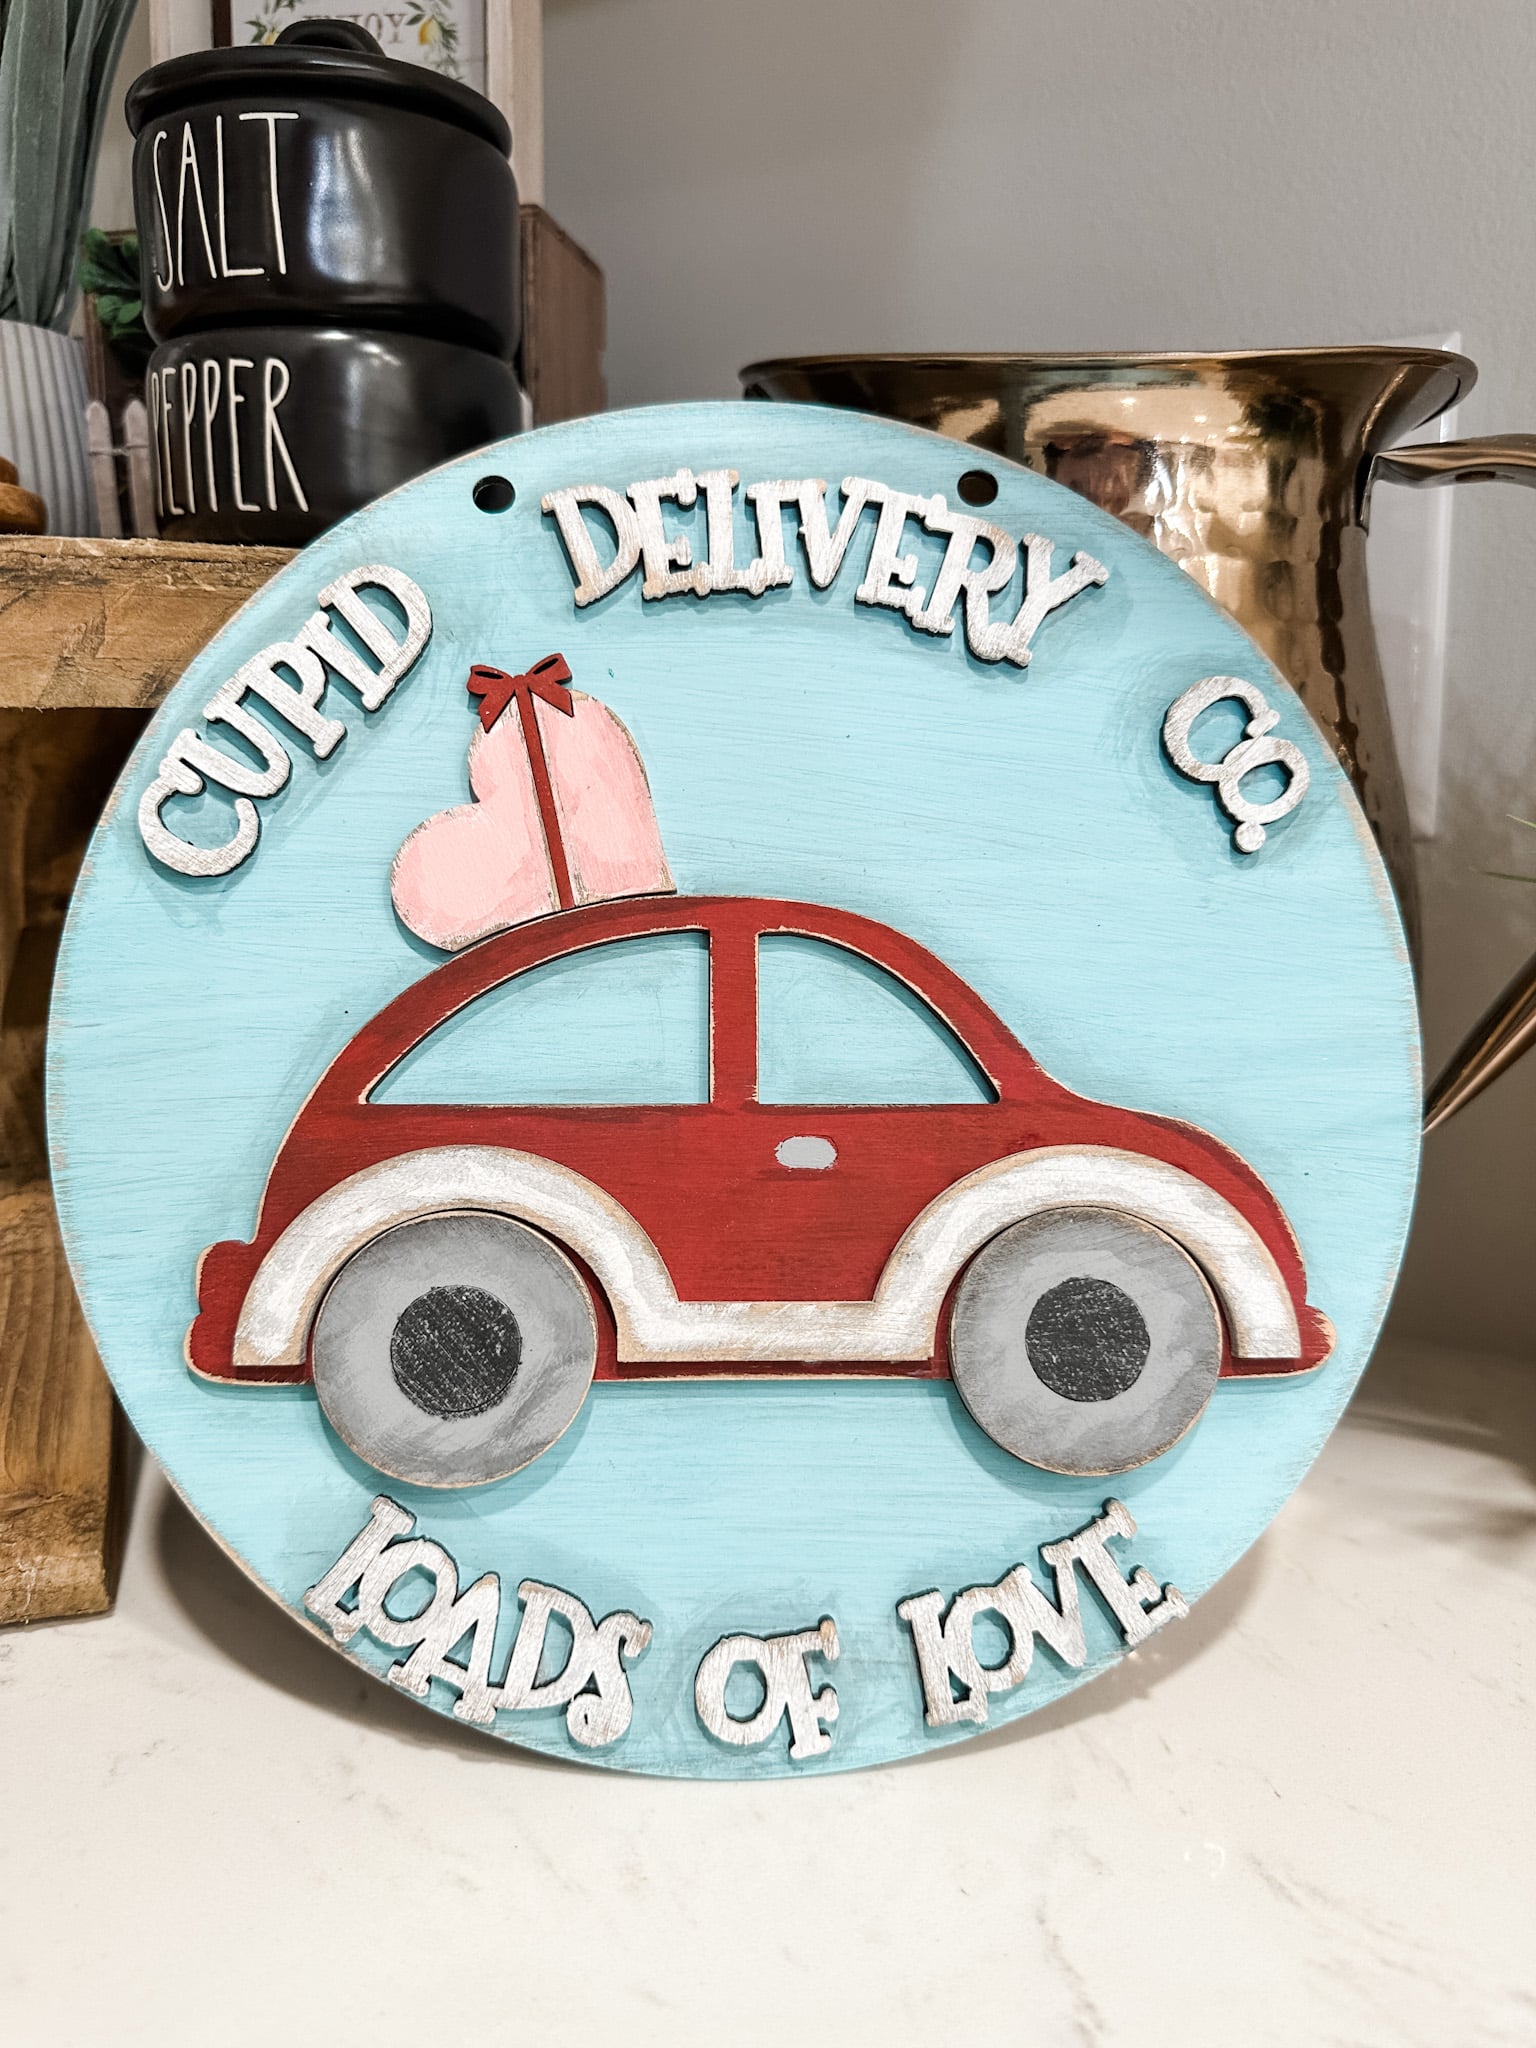
I hope you enjoyed this Valentine’s Day Car Sign as much as I did and decide to make it for yourself! If you do, I would love to see how yours turns out!
You should totally join my FREE Facebook group called On A Budget Crafts! It is a judgment-free community for DIY crafters to show off their projects and ideas.
Watch the DIY tutorial
I shared how to make this super adorable Rustic Valentine’s Day Spindle Heart during a LIVE video on my Facebook page.
If you want to see the DIY process, craft along, or just join in on the fun conversations, you can watch the DIY tutorial video on Facebook!
For this project, I will be using these items but you can substitute where you want.
“As an Amazon Associate, I earn from qualifying purchases.”
- Valentine’s Day Car Sign Kit
- Paint of choice
- DecoArt White Acrylic Paint
- DecoArt Lamp Black Acrylic Paint
- DecoArt Raw Umber Acrylic Paint
- DecoArt Aqua Sky Acrylic Paint
- DecoArt Tuscan Red Acrylic Paint
- DecoArt Cactus Flower Pink Acrylic Paint
- DecoArt Slate Grey Acrylic Paint
- DecoArt Grey Storm Acrylic Paint
- Gorilla Super Glue
- Hot glue gun and glue sticks
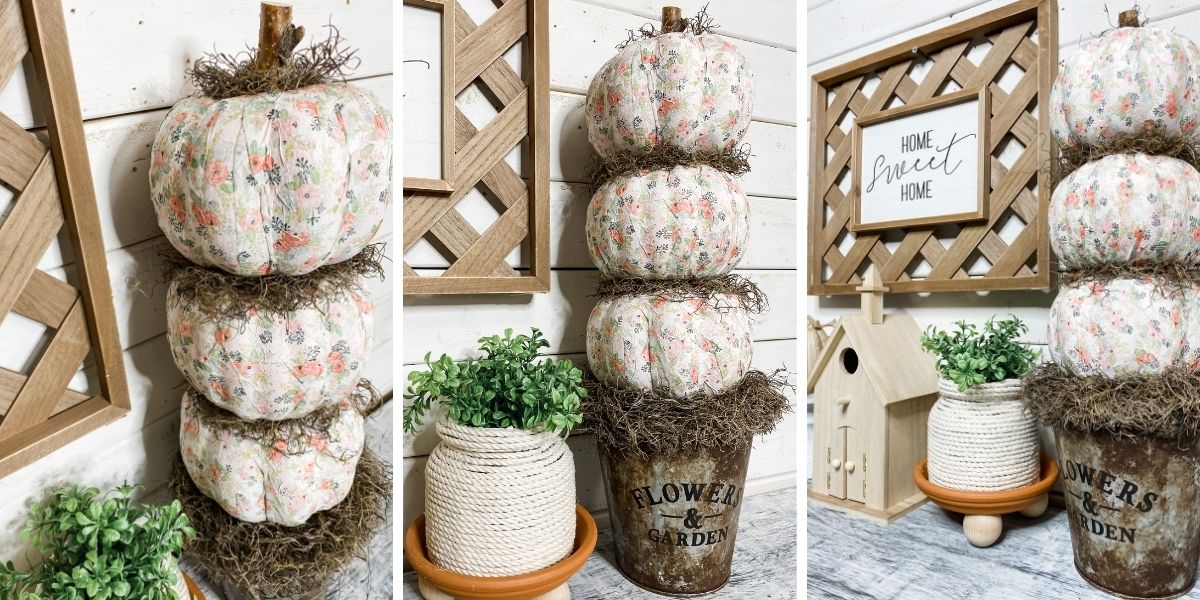
If you loved this Valentine’s Day Car Sign you might also like this DIY topiary!
Thanks for stopping by! XOXO Amber
You can also shop my ENTIRE AMAZON Favorites shop just click here! It’s packed full of all the things I use and love. Here is the supply list I highly recommend every creative have on hand!!
Would you also pin my blog for later and get on my newsletter alerts? I would love to have you join my #craftycrew.
Inspired? Leave me a comment below! I love hearing from my readers!

Join my free “ON A BUDGET CRAFTS” Facebook group!