Frankenstein and Bride of Frankenstein DIY Kit Painting Tutorial
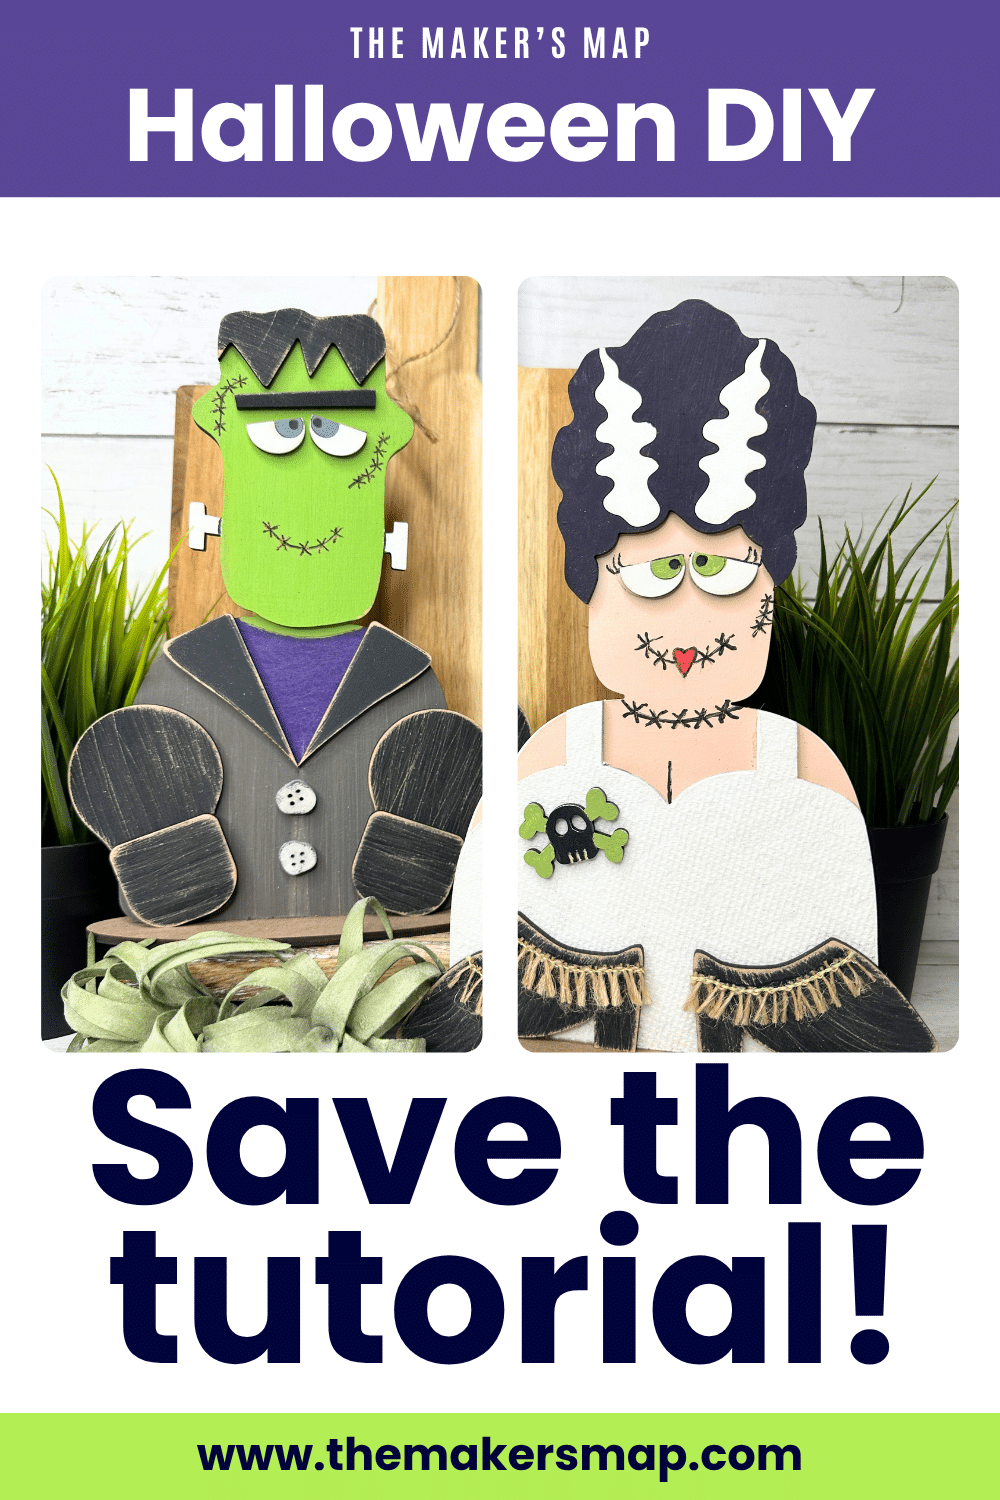
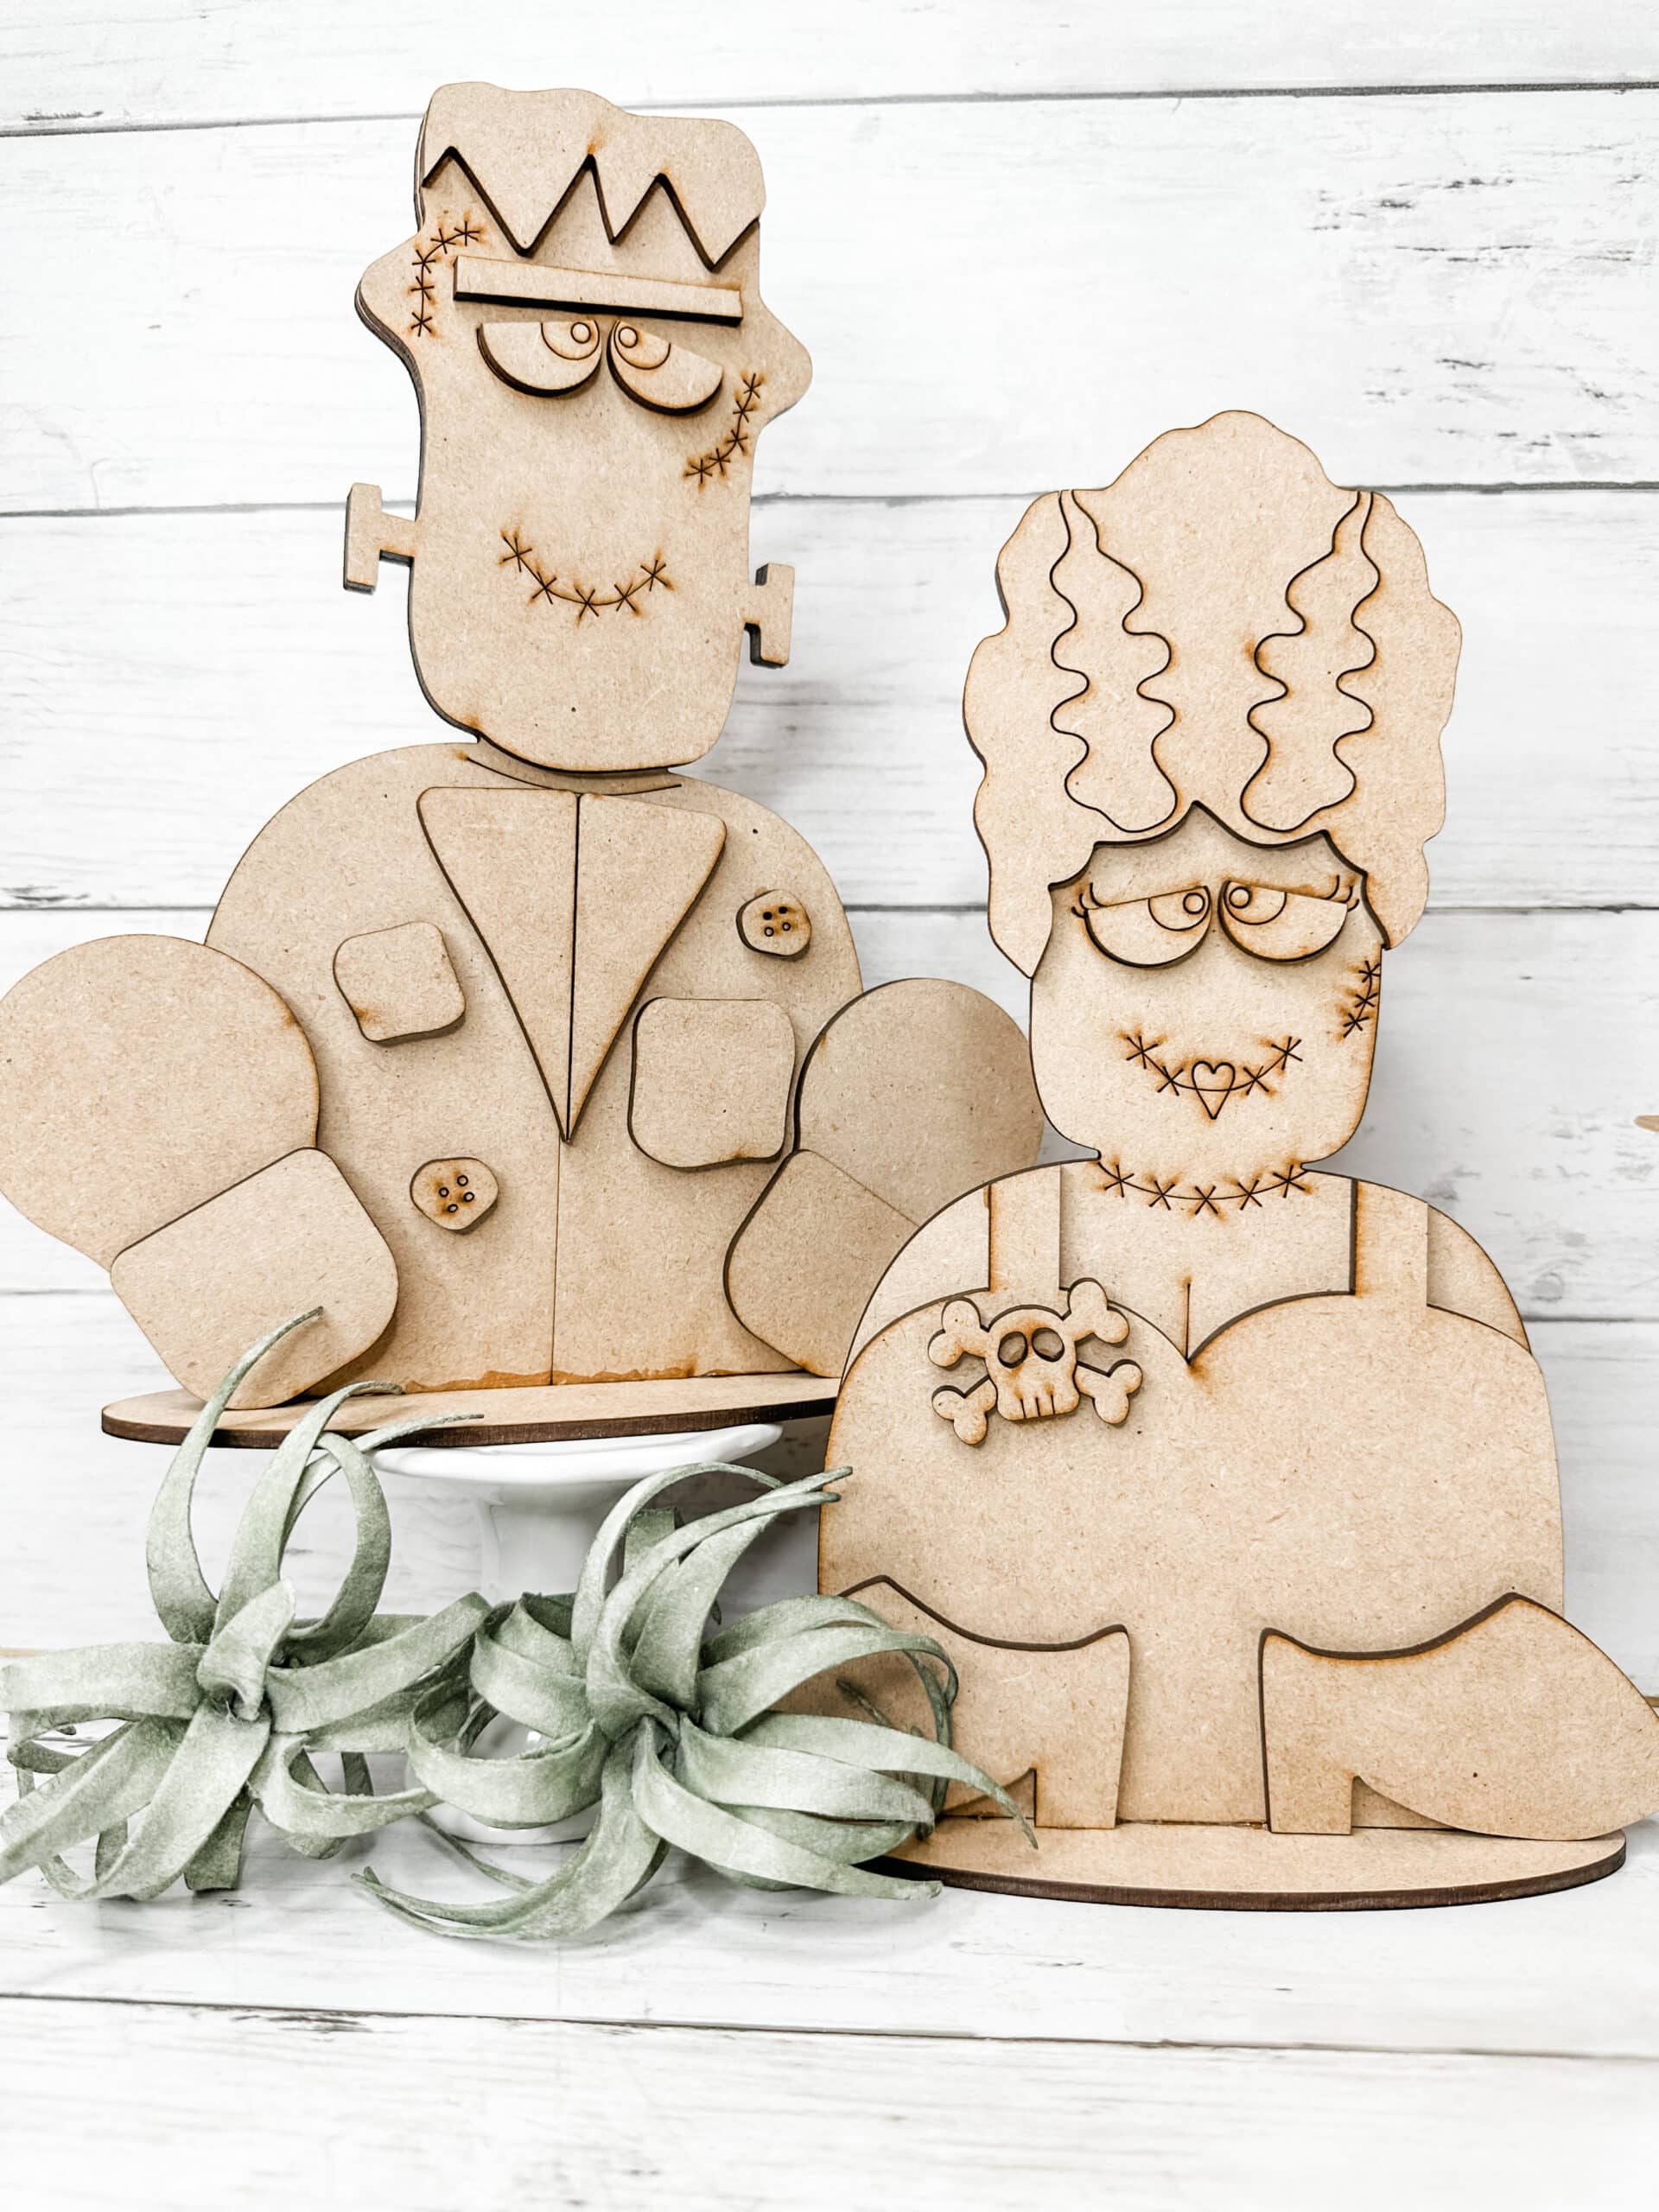
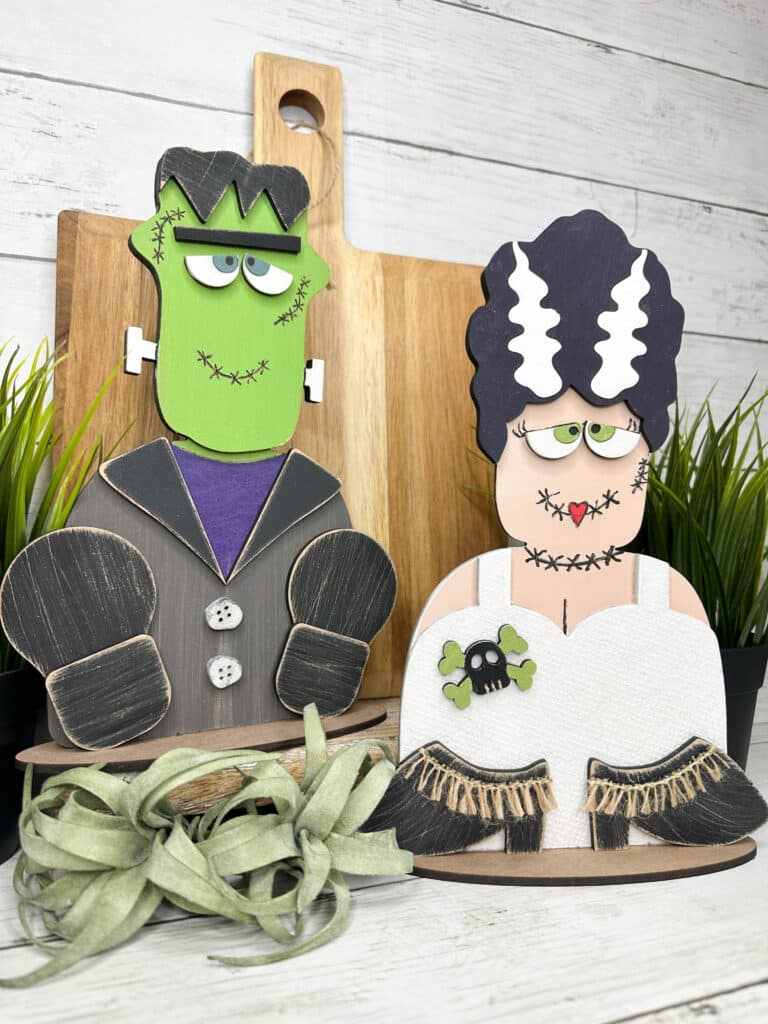
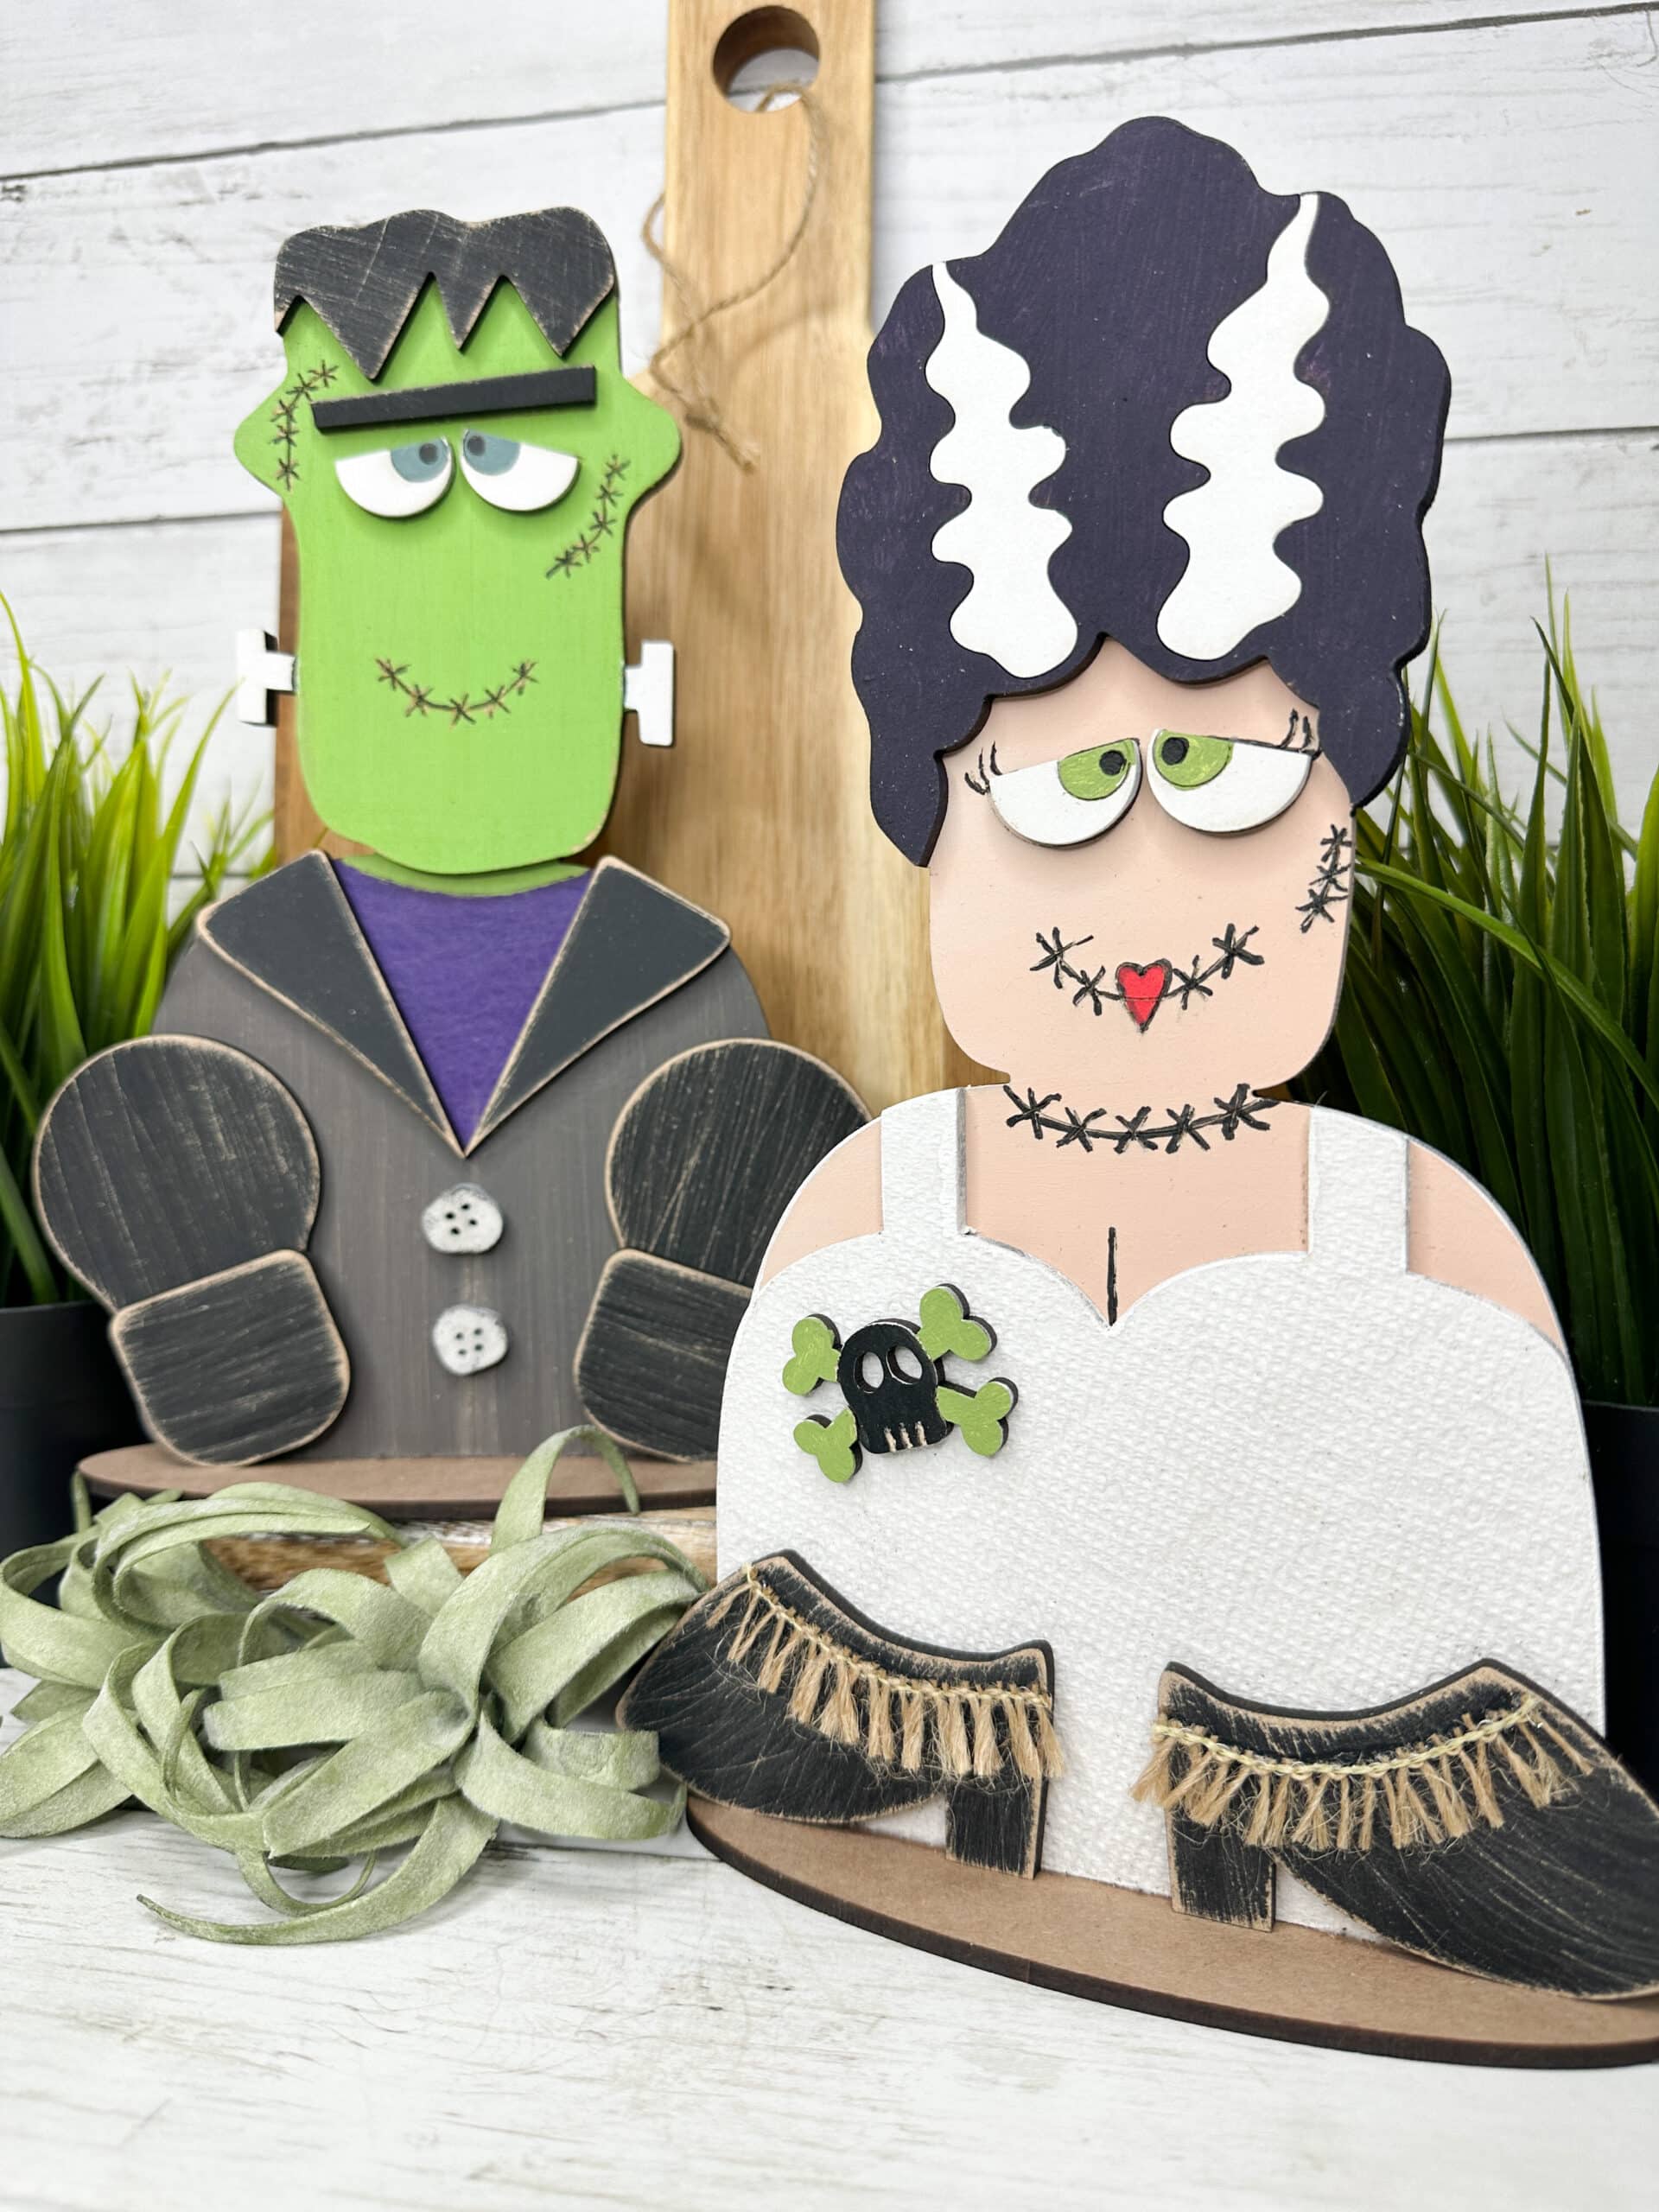
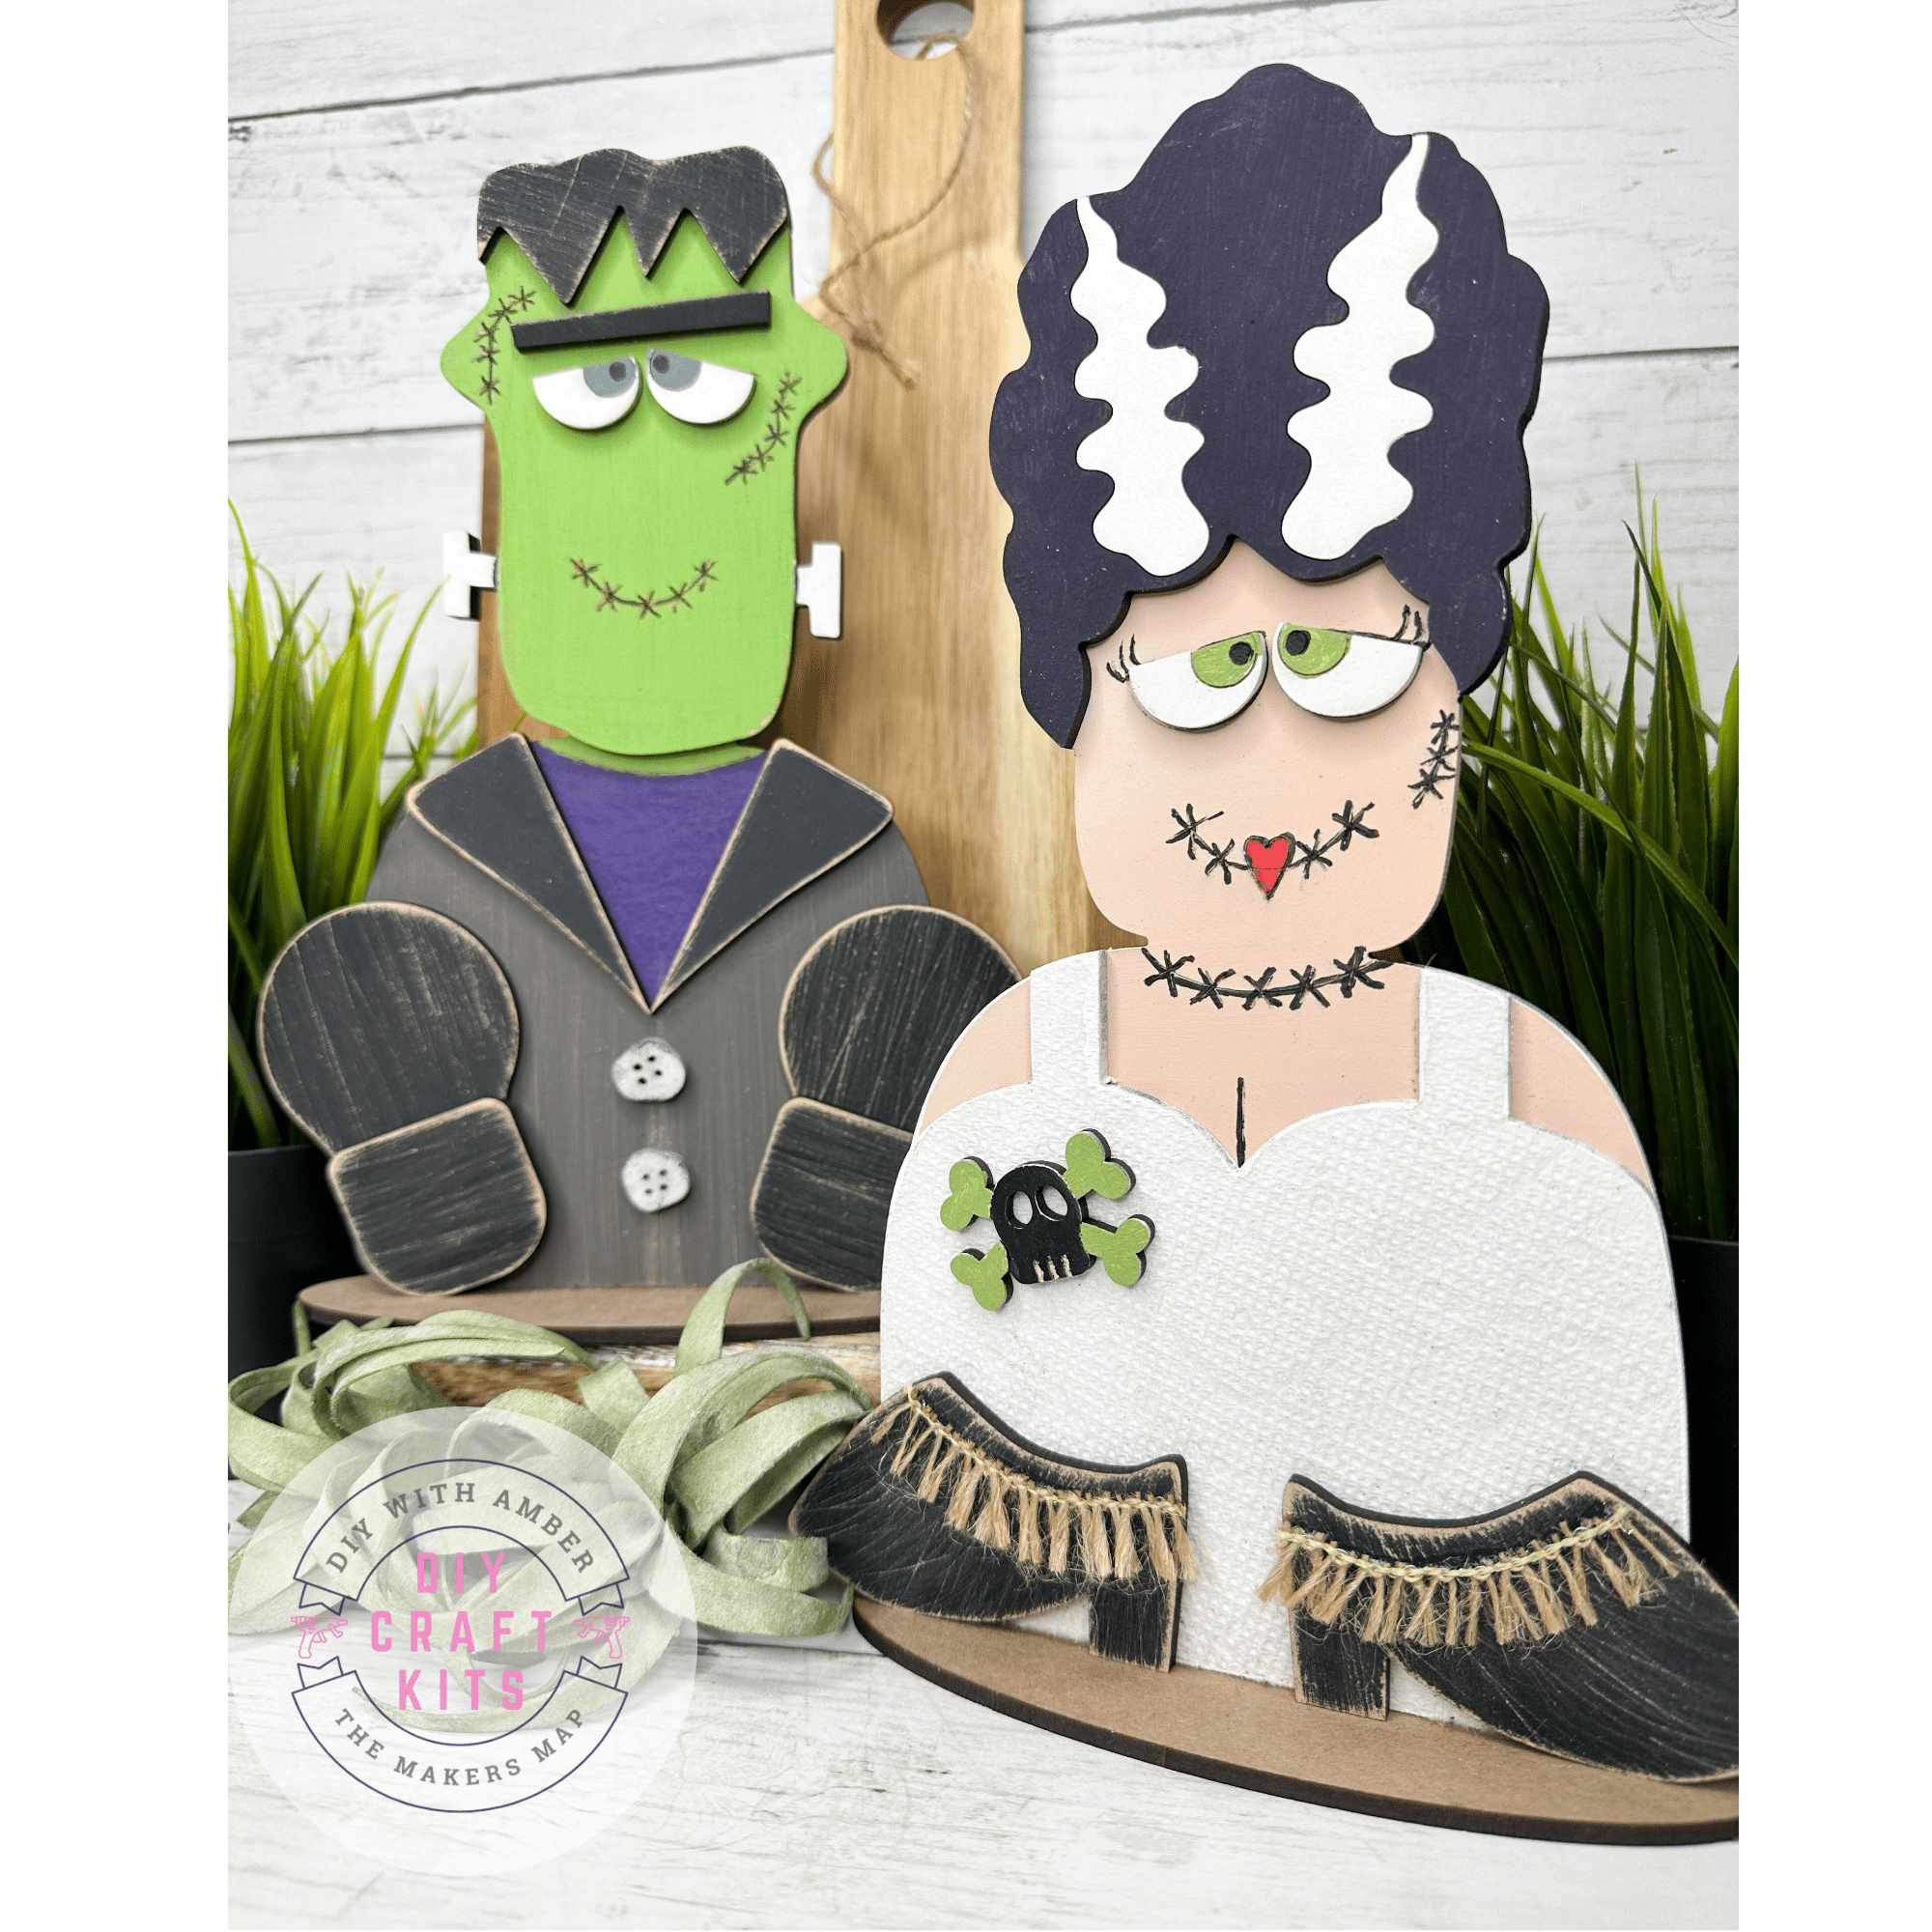
Y’all, these Frankenstein and Bride of Frankenstein DIY kits turned out so cute! I had several people ask me to paint these two together, and I completely understand why. They make the perfect whimsical monster couple for your Halloween decor.
If you are looking for fun Halloween crafts for adults, these unfinished wooden kits give you plenty of room to be creative. I mixed custom paint colors, distressed the wooden pieces, gave the Bride a textured dress, and added a few unexpected details to make mine completely unique.
You can purchase Frankenstein and his Bride separately or get both characters together in the coordinating bundle.
Make Your Own Frankenstein and Bride DIY Kits
- Shop the Frankenstein Halloween DIY Kit
- Shop the Bride of Frankenstein Halloween DIY Kit
- Get the Frankenstein and Bride DIY Kit Bundle
If you already know you want to make the complete monster couple, the bundle makes it easy to get both coordinating kits together.
SHOP THE FRANKENSTEIN AND BRIDE BUNDLE
Watch My Frankenstein and Bride Painting Tutorial
Want to see exactly how I painted mine? Watch my complete Frankenstein and Bride of Frankenstein DIY kit tutorial on YouTube.
I’ll show you how I mixed Frankenstein’s custom green complexion, painted and distressed the wooden pieces, created the Bride’s textured dress, and assembled both Halloween decorations step by step.
Supplies I Used
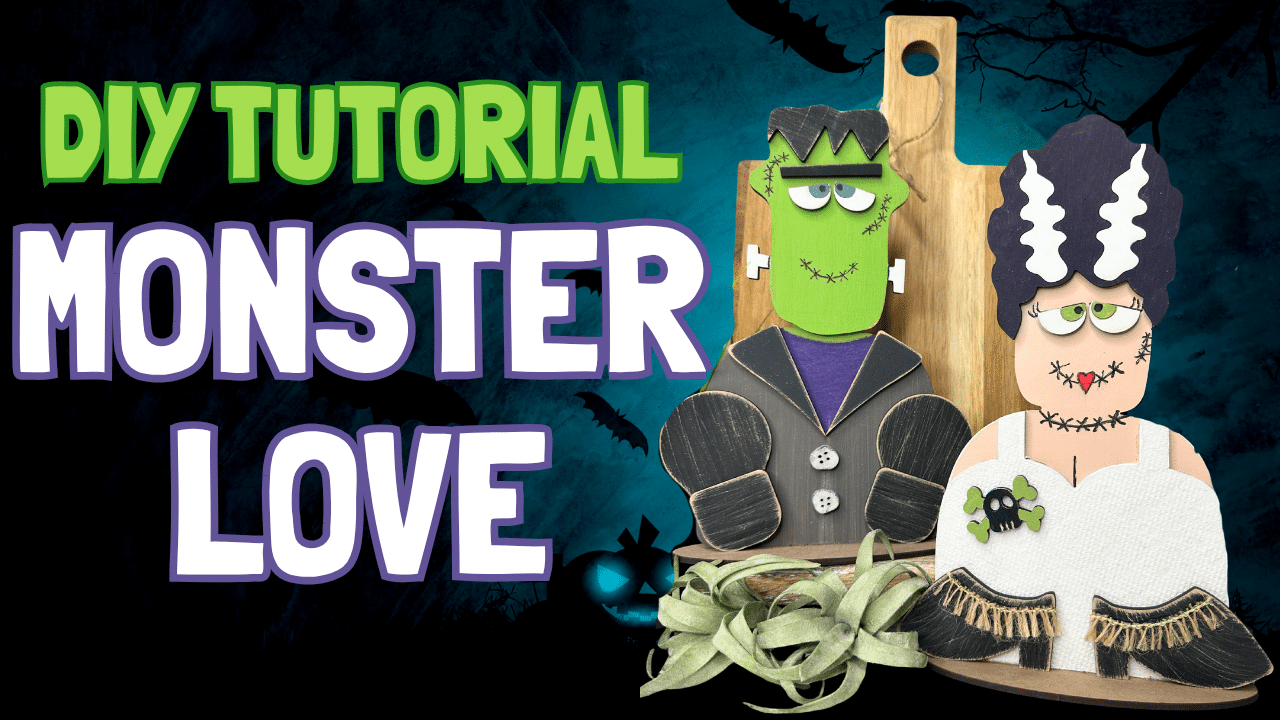
You do not have to use the exact paint colors or supplies I used. These DIY craft kits are designed so you can make them match your own style and Halloween decorations.
Here are the supplies I used to complete mine:
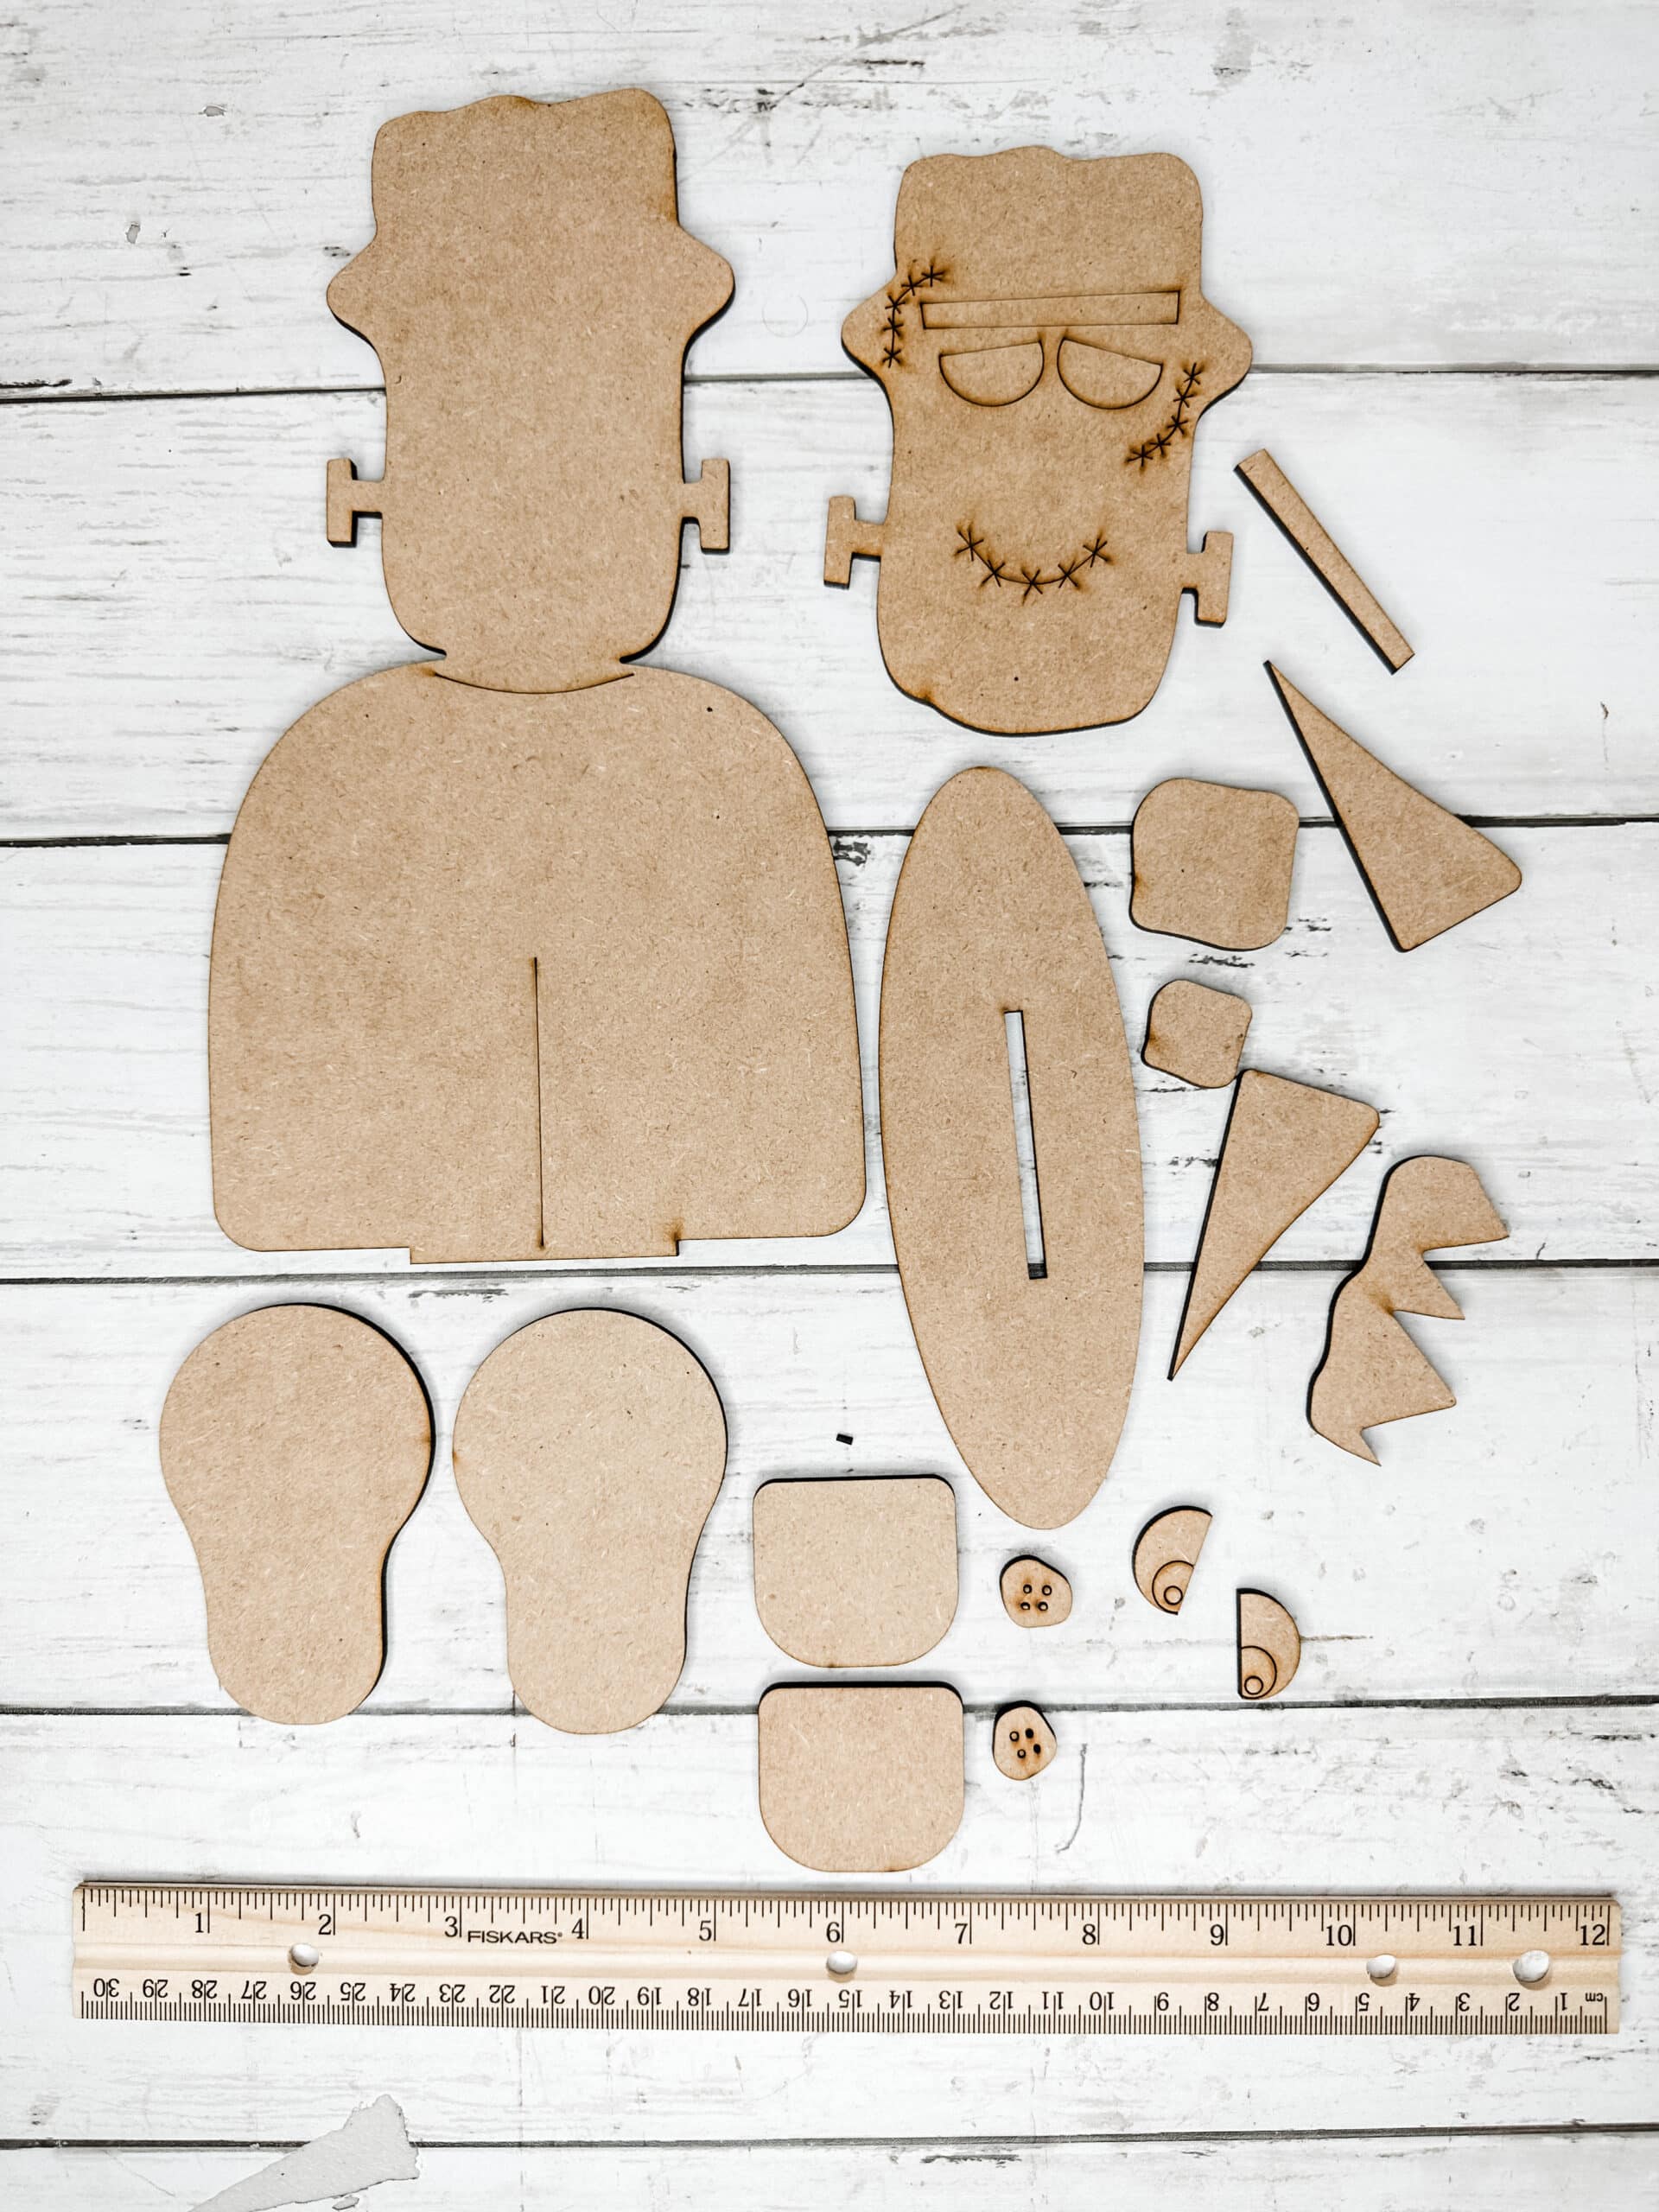
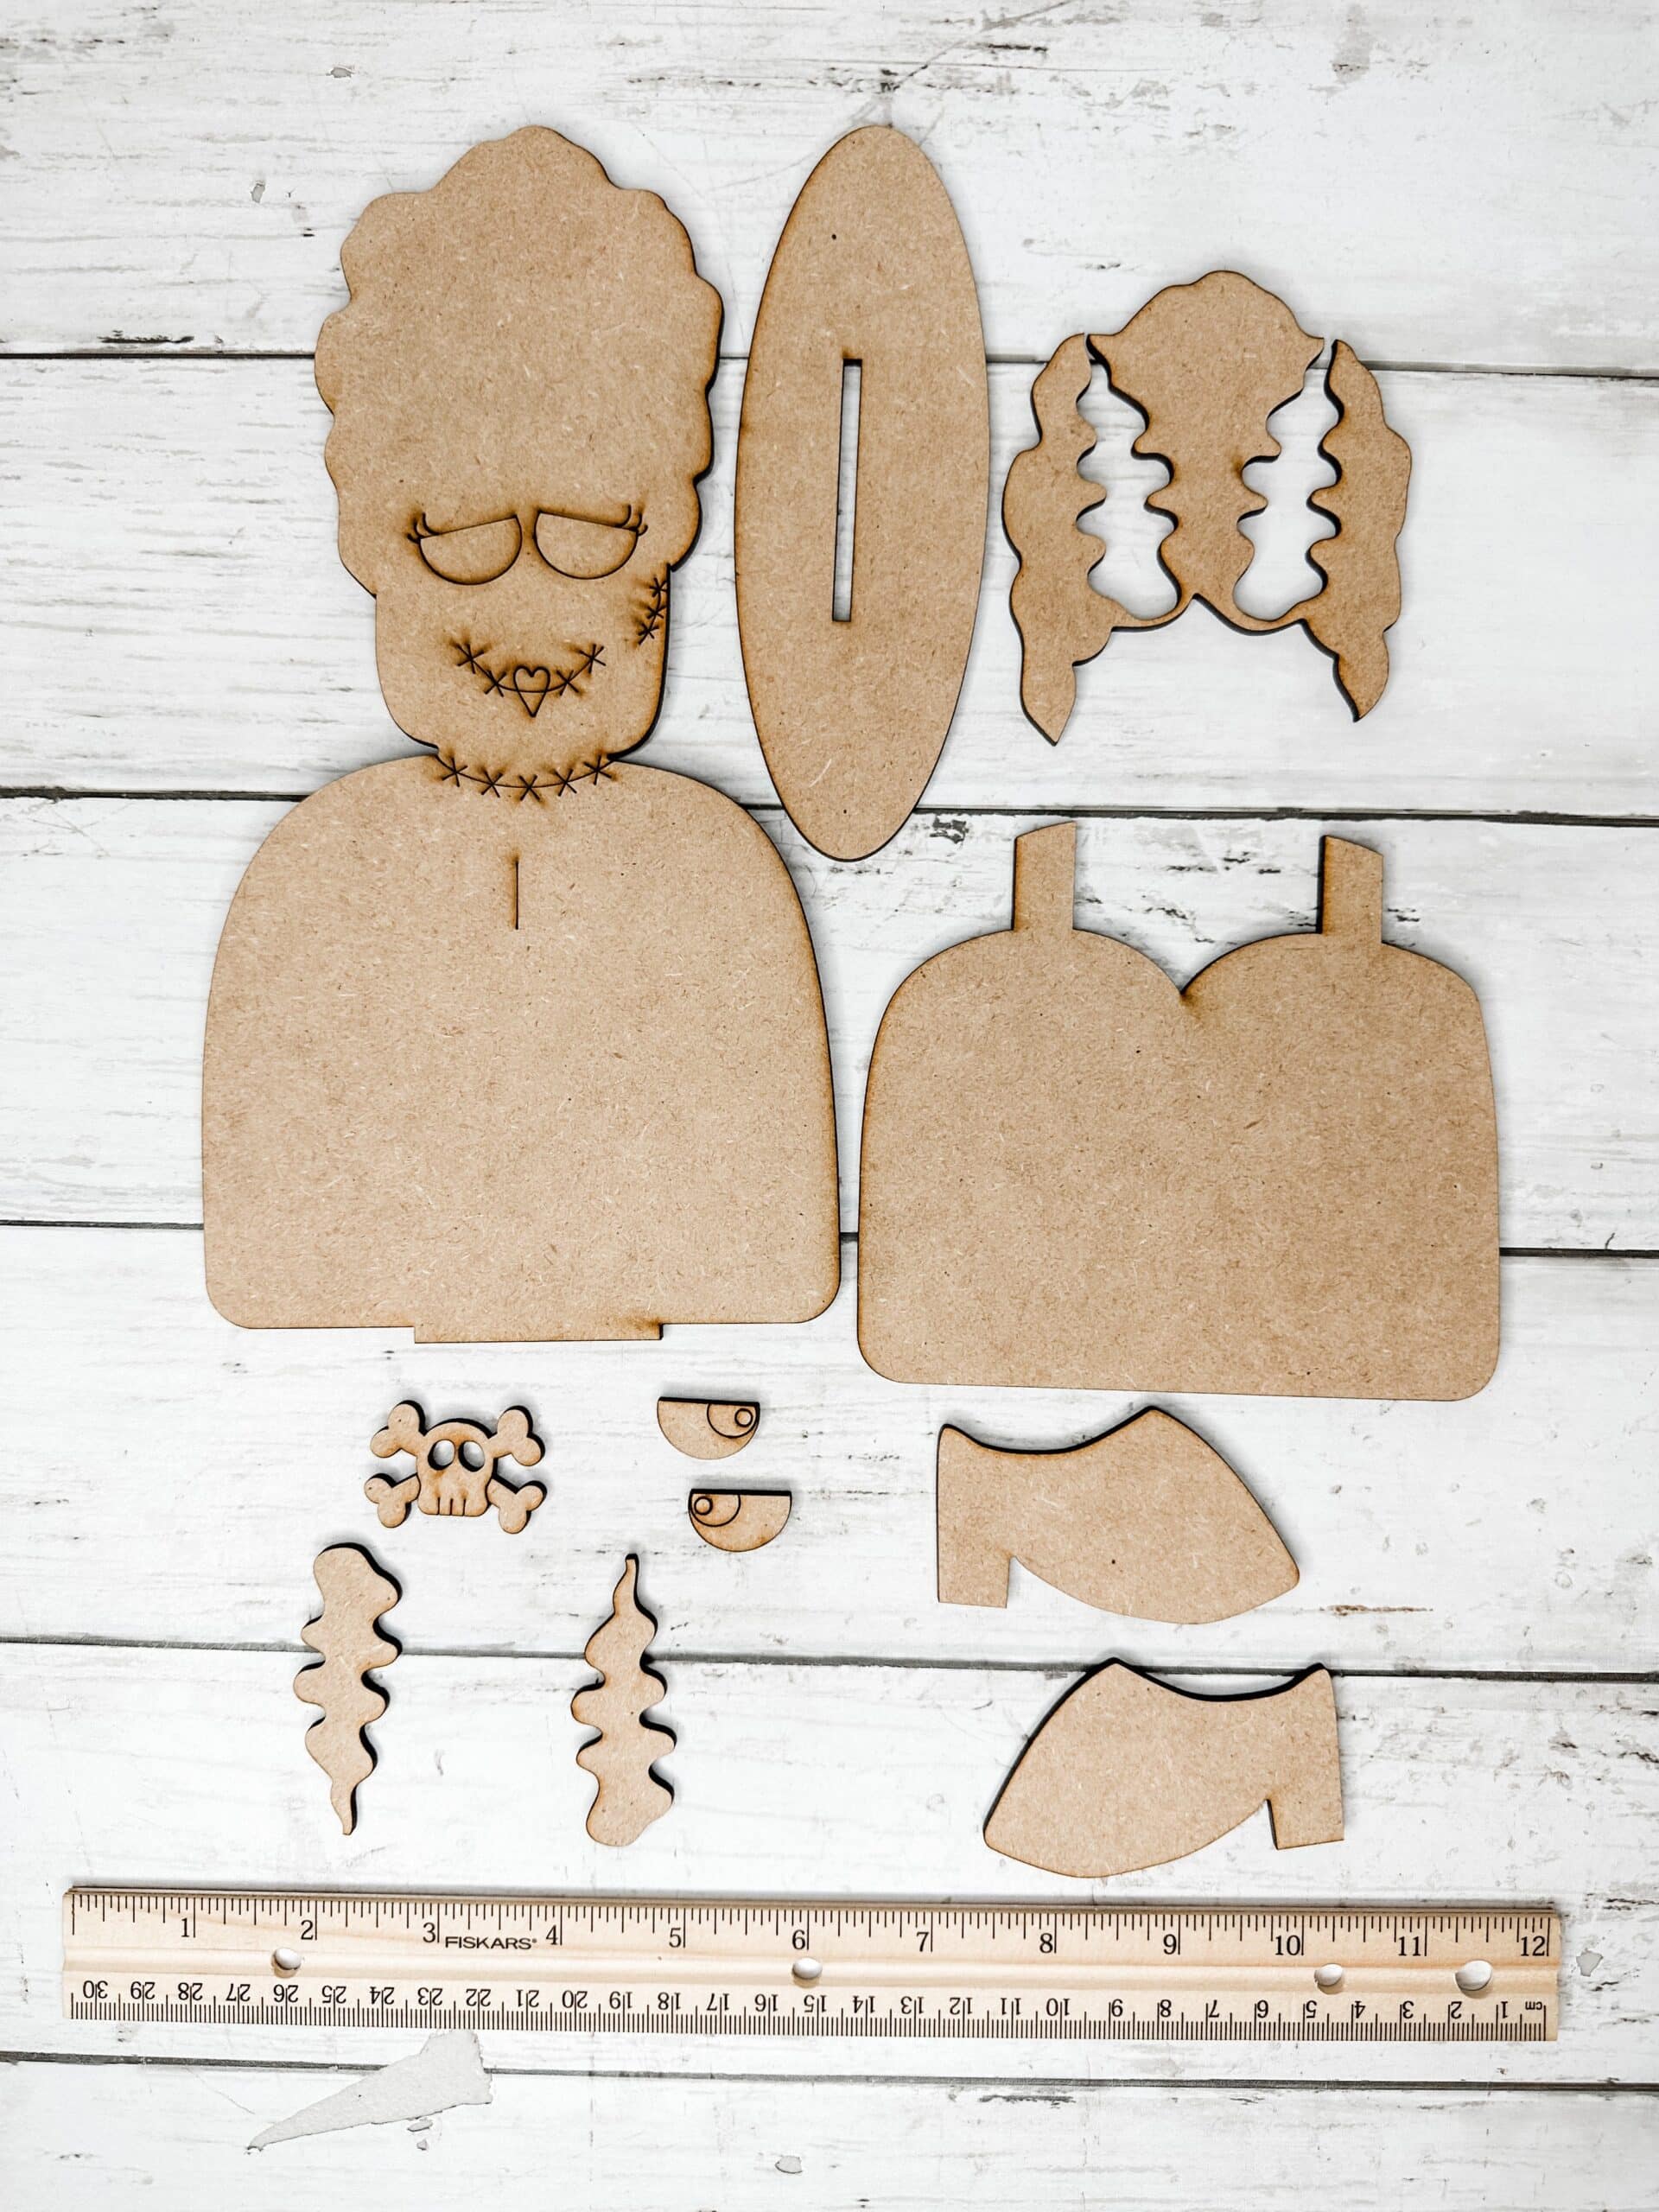
- Frankenstein and Bride of Frankenstein wooden DIY kits
- Citron Green paint
- Hauser Light Green paint
- Sour Apple paint
- Warm Beige paint
- Oyster Beige paint
- Mississippi Mud paint
- Graphite paint
- Purple paint
- Black paint
- White paint
- Green and blue paint for the eyes
- Red paint marker
- Black paint marker
- Paint sponges
- Small detail paintbrushes
- Pointed craft or weeding tool
- Sandpaper or sanding block
- Baby wipe or small brush for paint washes
- Craft glue
- Decoupage medium or craft glue
- Embossed paper towel or napkin
- Wired ribbon for the optional shoe fringe
- Heat tool or hair dryer, if desired
How I Painted My Frankenstein Halloween DIY Kit
Mixing My Custom Frankenstein Green
I wanted my Frankenstein’s monster to have a sickly green complexion, but I did not want him to be one flat shade of bright green.
I mixed Citron Green, Hauser Light Green, and Sour Apple until I had an avocado-like green that I liked. There is no exact formula you have to follow here. Add and mix the different greens until you create a color that works for your Frankenstein decor.
I painted the entire face area with my custom green. I extended the paint high enough to reach underneath the zigzag hair because I did not want unfinished wood showing around the edges.
Do not worry if you paint over the scored facial details. We will uncover those lines after the paint dries.
Creating a Layered, Mottled Complexion
Once my first coat was dry, I lightly splotched some of the other green shades over the face.
I blended portions of my original custom green back over those colors. This gave his complexion a mottled, layered appearance instead of making it look like one solid coat of paint.
I continued adding and blending color until I liked how it looked. Then I dried the paint and lightly sanded the surface.
This is one of those steps where you do not have to overthink it. Let the different greens show through and build the color until your monster looks the way you want him to look.
Cleaning Out the Scored Details
After painting the face, I used a pointed craft tool to scrape the paint out of the scored mouth and stitch lines.
Some of the paint had settled down into those lines, so I pushed a little harder than I normally would to clean them out. Work carefully around the small X-shaped stitches because they can become too thick if you add too much black paint.
After uncovering the scored lines, I lightly added black to the mouth and stitches to make them stand out.
Painting the Hair, Brow, and Shoes
I painted the following pieces black:
- The zigzag hair
- The long brow
- Both shoes
I used a paint sponge because it made covering the wooden pieces quick and easy.
Once everything was dry, I lightly sanded the black pieces. I did not want his shoes or hair to look perfectly new. The sanding gave them the worn finish I wanted for this DIY Halloween decor project.
Painting Frankenstein’s Shirt, Neck, and Jacket
I painted the neck with the same custom green mixture I used on the face.
For the shirt, I chose purple. I wanted the purple to coordinate with the other whimsical Halloween characters in this collection.
I mixed Mississippi Mud, Graphite, and purple to make the jacket color. It created a muted purple-gray that worked really well with the green complexion and purple shirt.
You can position the jacket so it looks more open or more closed. I chose to leave mine open and brought the two sides together near the center of his body.
For the inner jacket pieces, I added a little black to my original jacket mixture. That gave me a darker version of the same color and helped the layered folds stand out without making them completely black.
Distressing the Buttons and Small Pieces
I painted the buttons and the small side pieces white.
The solid white looked too clean for my Frankenstein, so I watered down a small amount of black paint and smudged it over the buttons. You can dab it with your fingers, a baby wipe, or a small brush.
This made the buttons look older and a little grimy, which worked much better with the distressed finish.
I also added a little swirl detail to his shirt and jacket because I wanted mine to have a little extra personality.
Painting Frankenstein’s Blue Eyes
I decided to give my Frankenstein blue eyes.
I used a small detail brush to paint the iris portion blue and then added black to the centers. You can make the eyes any color you want. Green, brown, purple, or even a bright monster color would be cute.
Sanding and Assembling Frankenstein
I used 80-grit sandpaper to distress the painted wooden pieces before assembling everything.
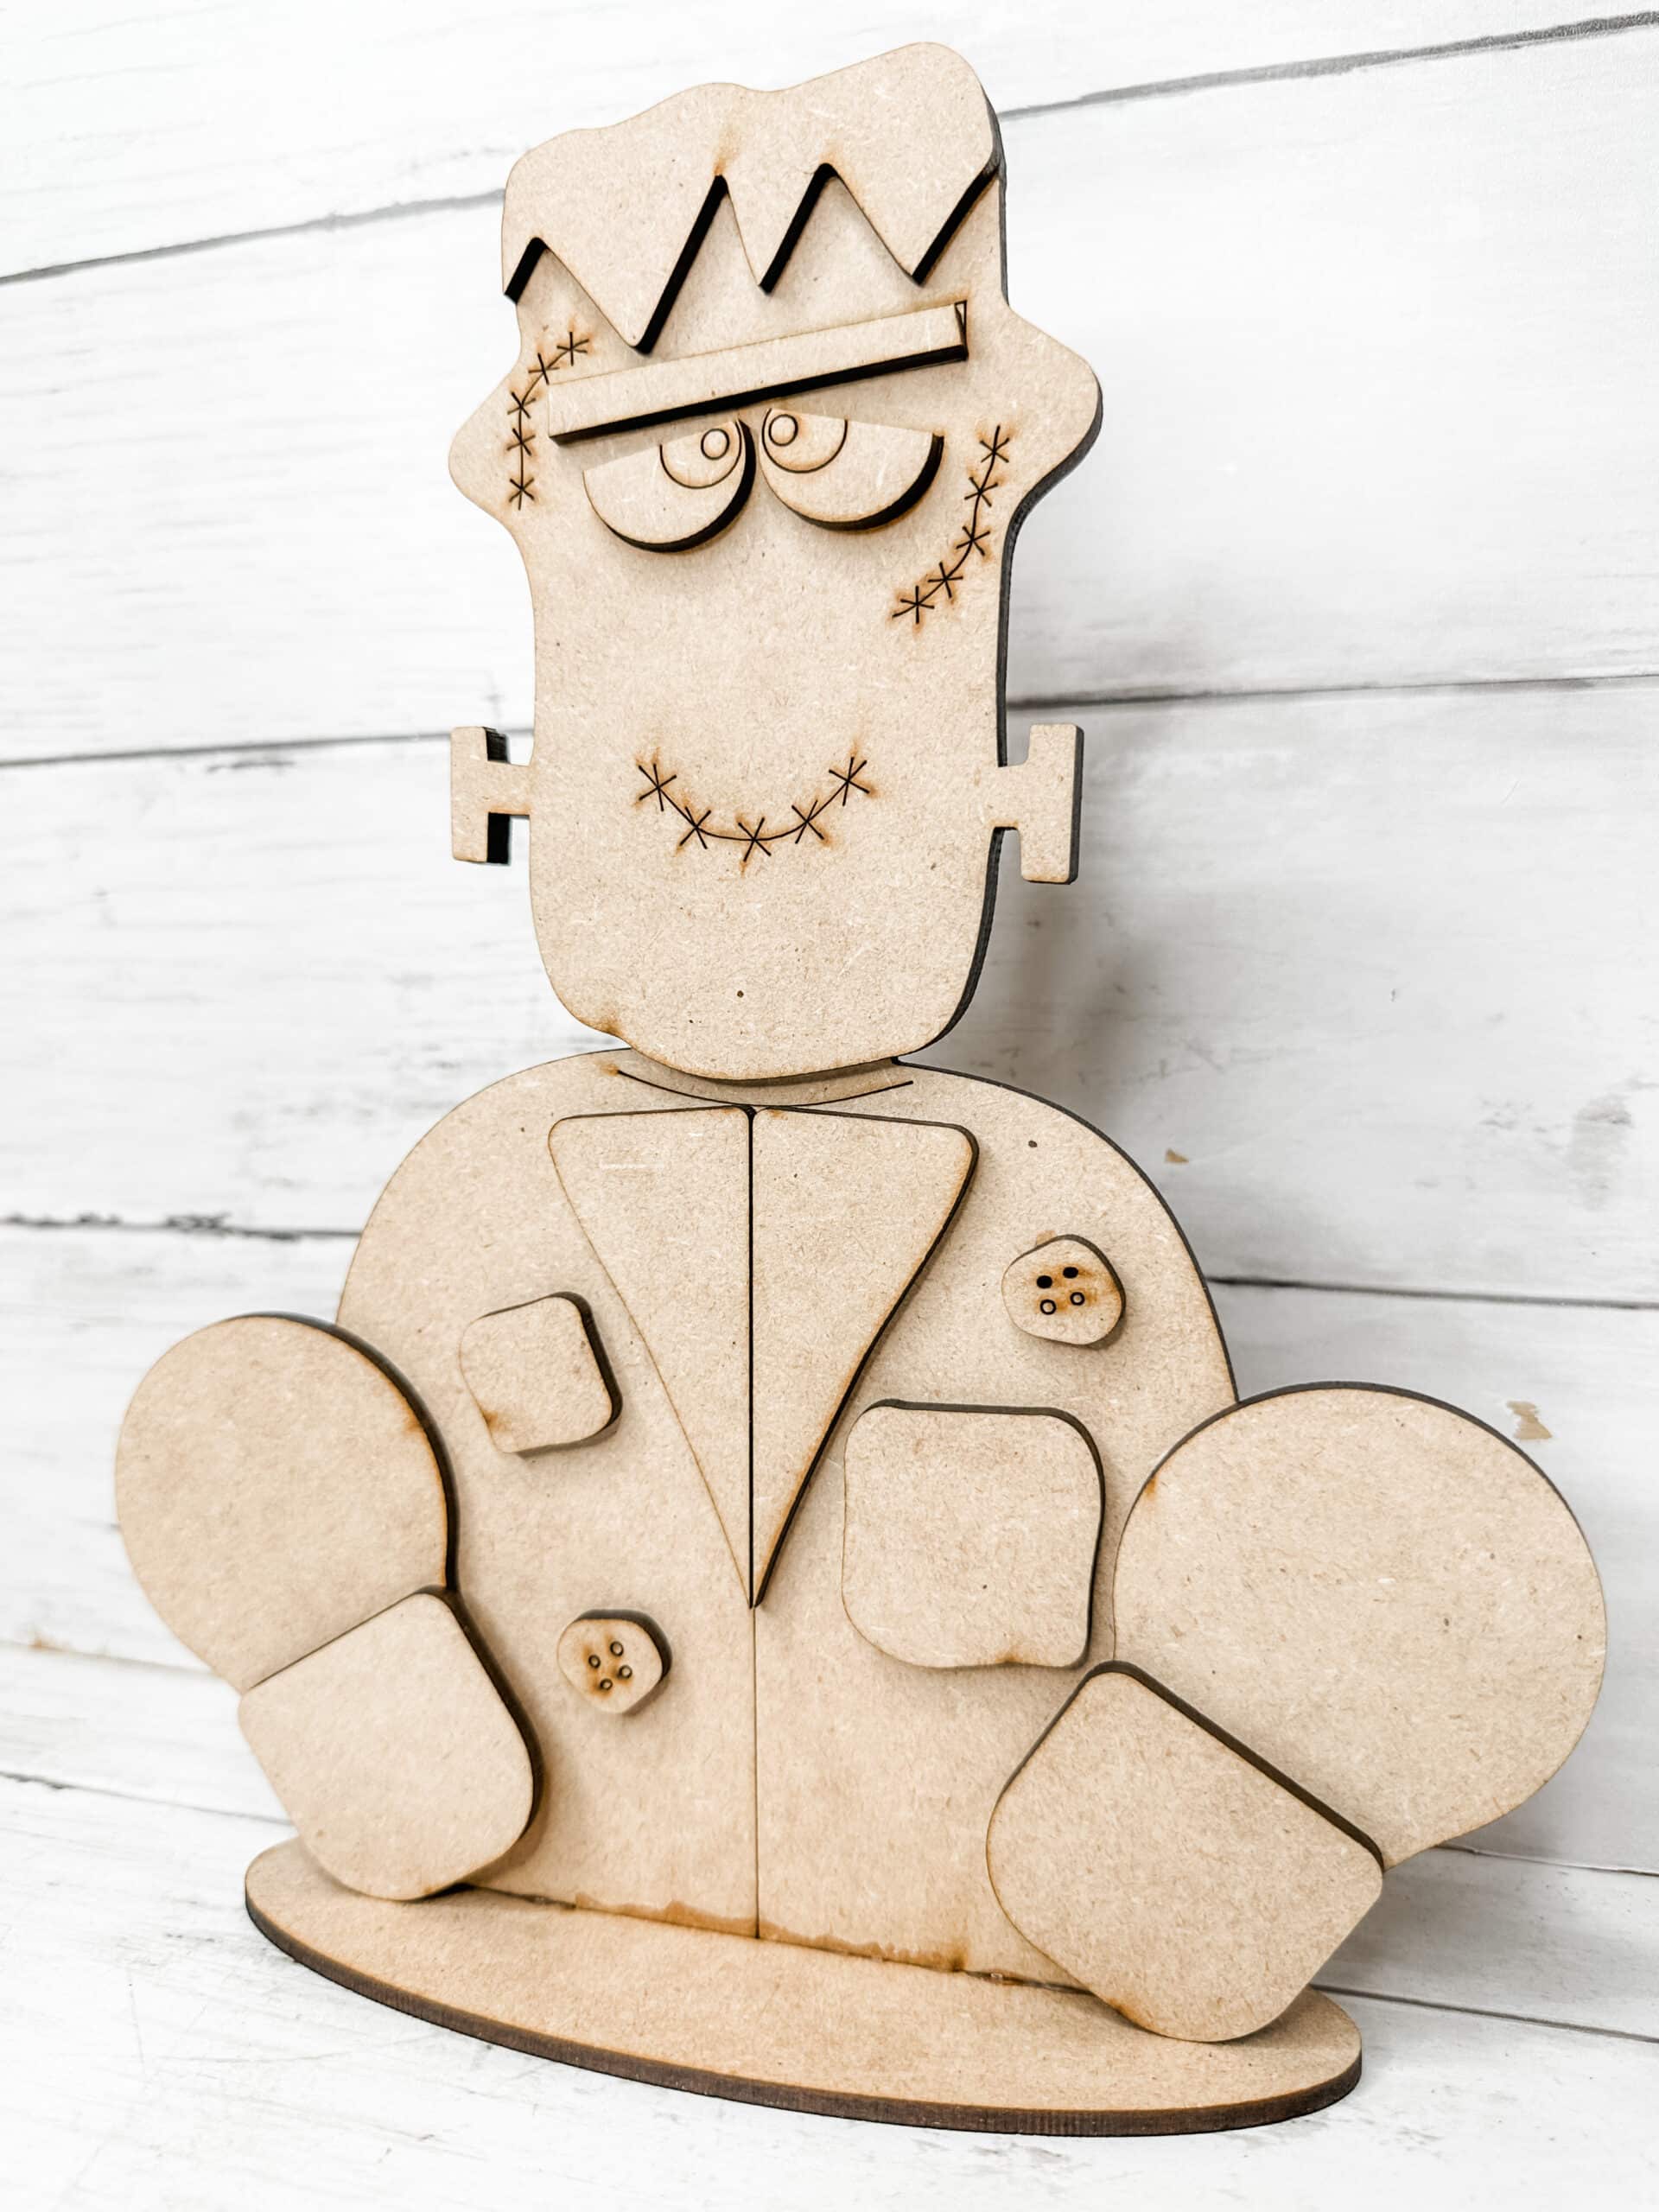
Assembly order:
- Face and clothing layers
- Hair
- Brow
- Buttons and smaller details
- Stand
- Shoes
I painted the stand dark brown and glued it into place before adding the shoes. Attaching the stand first helped me position the shoes without having the pieces interfere with one another.
Choosing the Shoe and Patch Placement
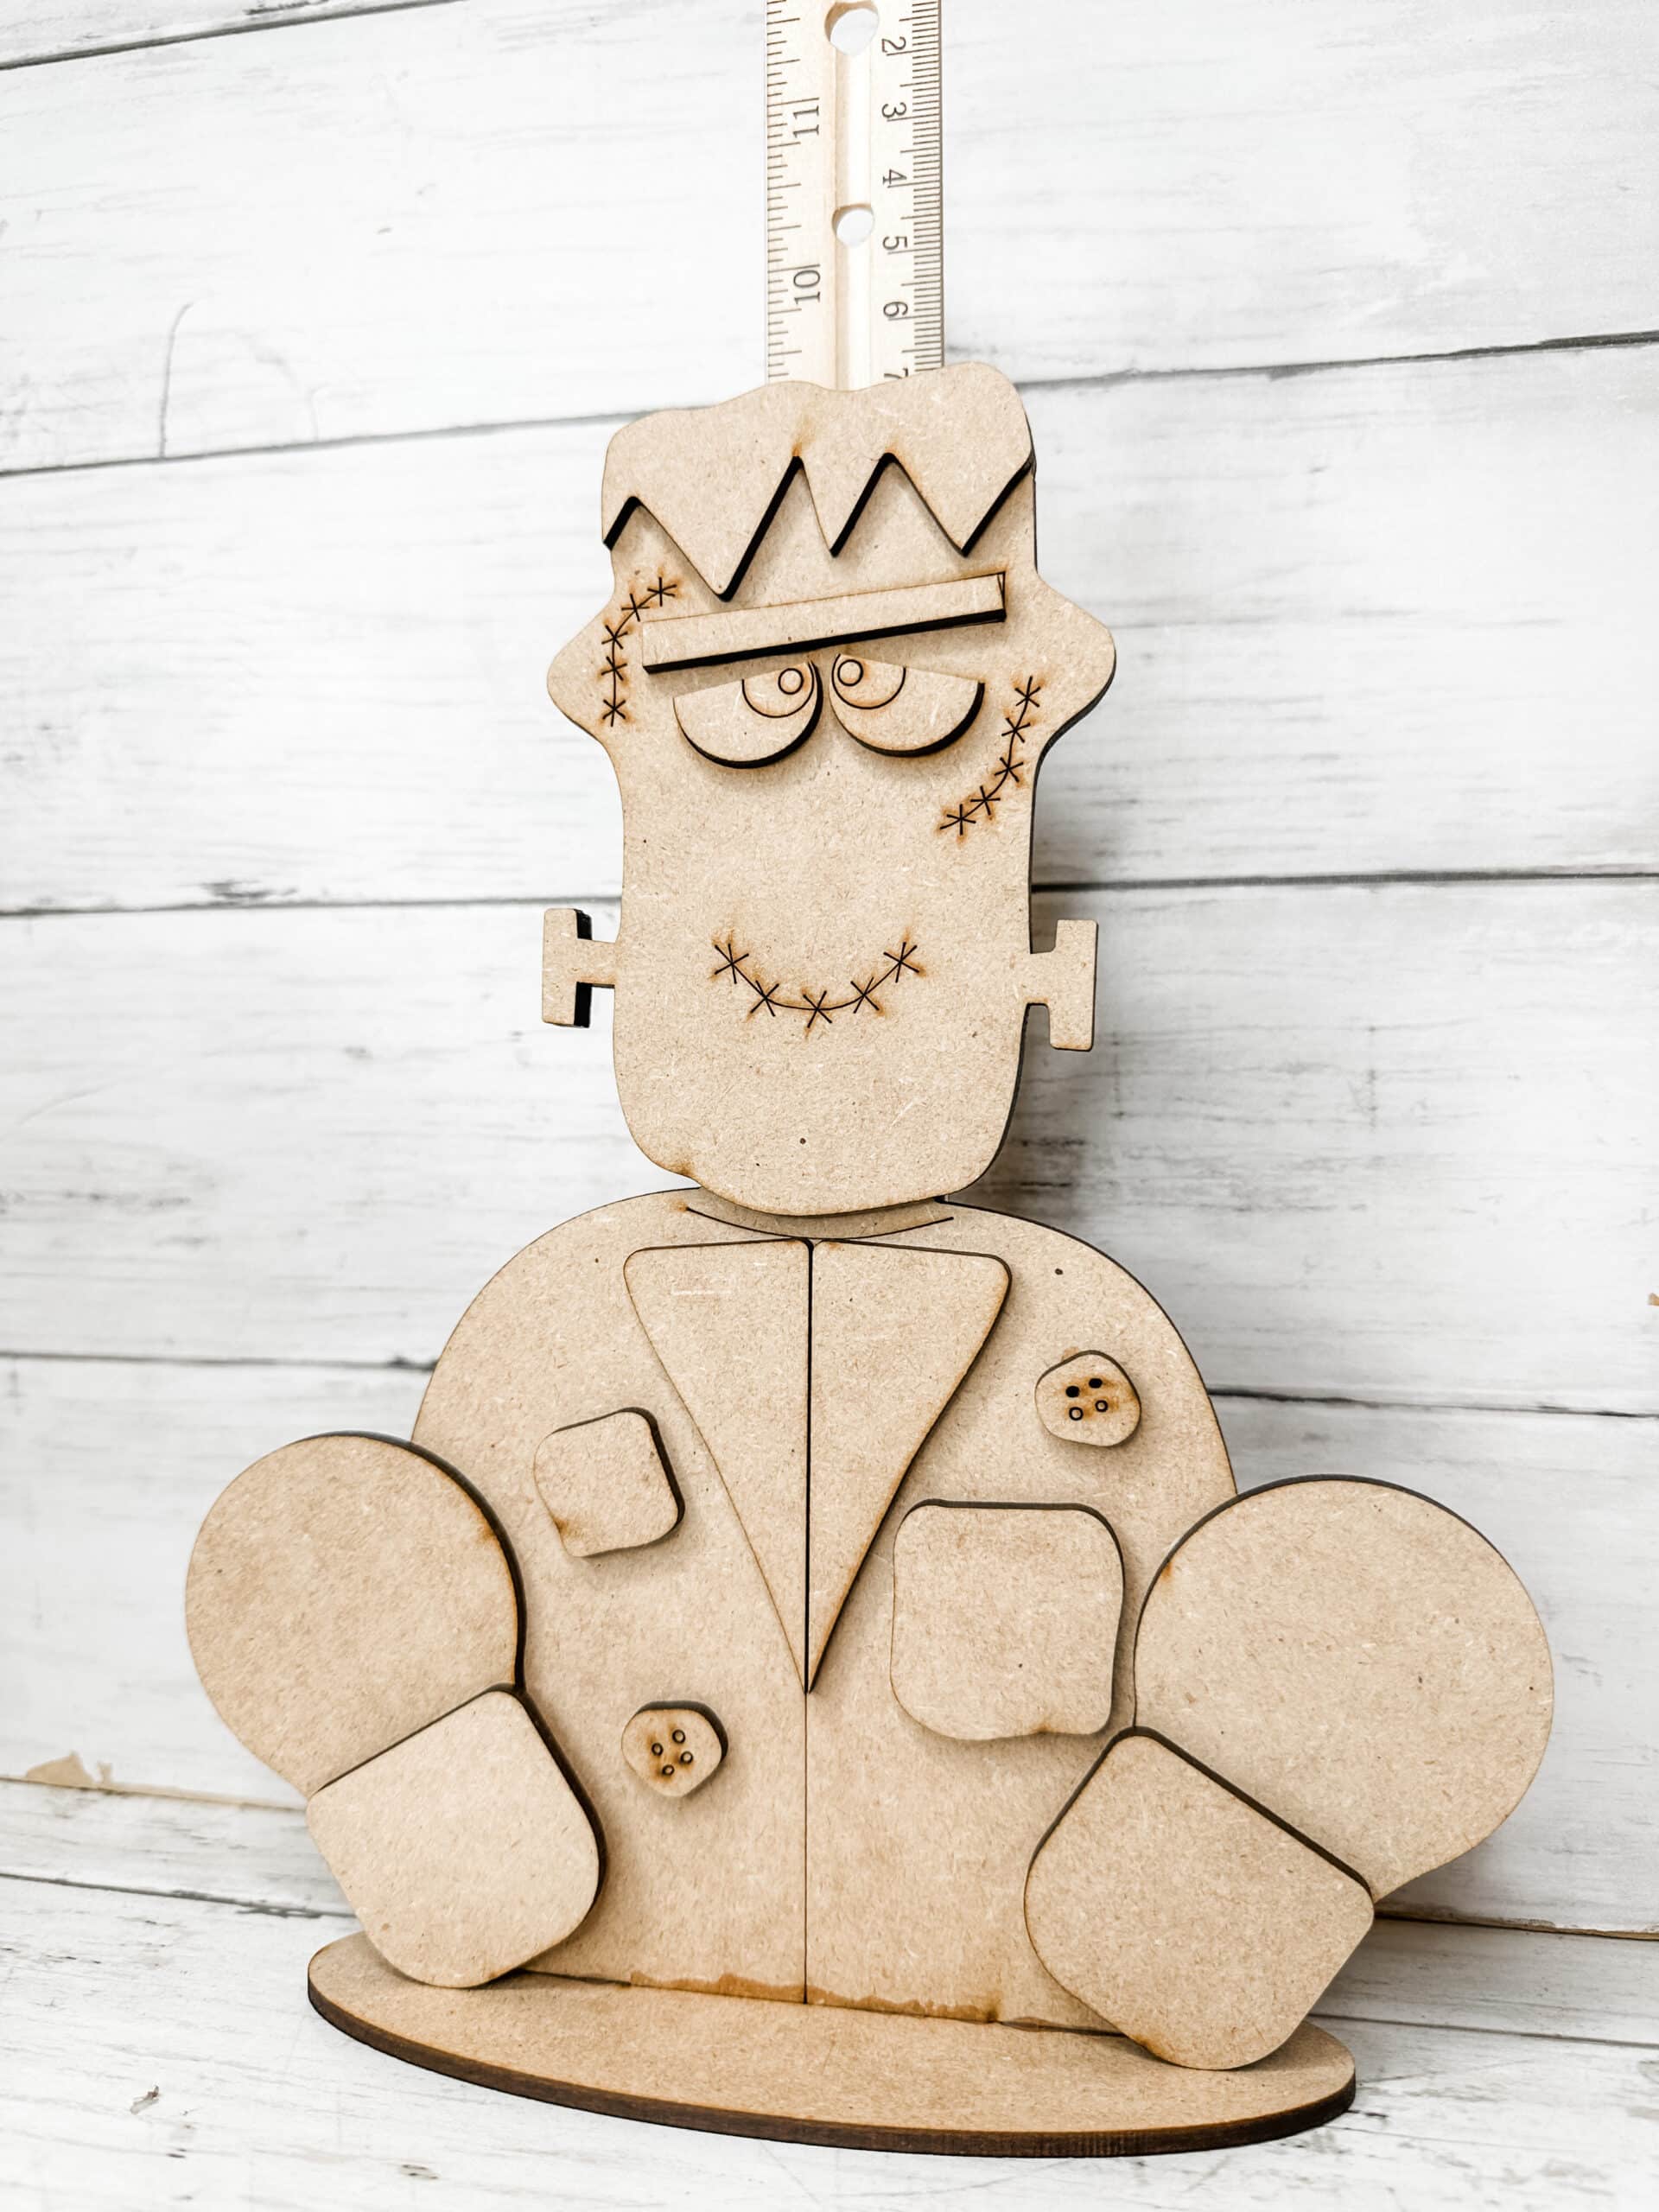
The patches and shoes are optional, so you have several ways to finish your Frankenstein Halloween craft.
If you want to use the patches or make them look like pockets, position the shoes a little farther apart. You can paint the patches or cover them with fabric or textured paper.
For mine, I decided not to use the patches. I brought the shoes inward so they looked like they were sticking out in front of him. I also angled the heels slightly until the placement looked right.
You can even leave the shoes off completely if you prefer the simpler look.
GET THE FRANKENSTEIN HALLOWEEN DIY KIT
How I Painted My Bride of Frankenstein DIY Kit
Painting the Bride’s Face
I thought about painting both characters green, but I decided to give my Bride a lighter, more natural complexion.
I painted her face with Warm Beige, making sure the color extended underneath the places where the hair and dress would overlap. Mine needed more than one coat for even coverage.
After the base color dried, I watered down a little Oyster Beige and washed it lightly over her face. This made her look slightly pale and washed out, which was perfect for the Bride of Frankenstein.
Revealing Her Scored Facial Details
I used the same pointed tool to scrape paint from the scored details around:
- Her eyes
- Her eyelashes
- Her stitches
- Her heart-shaped mouth
The tool removes the paint that settles into the recessed lines and helps those details show again.
I used a black paint marker to emphasize her eyelashes, stitches, and other dark details.
Creating Her Deep Plum Hair
I wanted my Bride to coordinate with Frankenstein, but I also wanted her to look a little different.
I mixed purple paint with a small amount of black until I had a deep black-purple or plum color, and I painted her main hair pieces with that mixture. Apply a second coat where you need more coverage.
I painted the separate streak pieces white and attached them over the plum hair.
You could reverse these colors and give her white hair with black streaks for a more traditional Bride of Frankenstein decor look. That would be really cute too.
Painting Her Green Eyes and Red Lips
I gave my Bride green eyes so she would coordinate with Frankenstein’s complexion.
I used a small detail brush to paint the eye pieces green and then added the darker details with black.
For her little heart-shaped mouth, I used a red paint marker. The red lips gave her face just enough color without taking attention away from her dramatic hair.
Painting the Shoes and Skull Accessory
I painted her shoes black.
For the skull and crossbones hair accessory, I painted the bones green and the skull black. The green helped the accessory coordinate with Frankenstein.
I used my pointed tool to clean the paint out of the scored skull lines. Then I used a black paint marker to make the small details easier to see.
Remember that these are only the colors I chose for mine. You can paint your skull and crossbones any colors you want.
Making the Textured White Dress
I decided to give my Bride a white dress, but I wanted it to have more texture than a simple coat of white paint.
I painted the wooden dress white first. You will want to paint the undercolor even if you plan to cover the dress because the thin paper can allow unfinished wood to show through.
I used the embossed side of a paper towel to create the texture.
Here is how I completed mine:
- Paint the wooden dress white.
- Apply a thin layer of decoupage medium or craft glue.
- Place the embossed side of the paper towel over the dress.
- Smooth it gently without pressing too hard.
- Allow it to dry completely.
- Hold the piece by the sides while it is still damp so your fingers do not stick.
- Sand or trim the excess paper from the edges.
- Finish the exposed wooden edges before attaching the dress.
The paper towel gave the dress a beautiful raised pattern and made it look much more detailed.
Giving the Bride Her Fringe Shoes
I had a piece of wired ribbon and cut the edge from it to create a little strip of fringe.
At first, I considered putting the fringe across the top of her dress. Then I decided she needed some fabulous shoes instead.
I cut the fringe to fit across the top of each black shoe and glued it into place. The wired ribbon was easy to work with and gave her the cutest “bougie shoes.”
Black glitter would also be fun if you want your Bride of Frankenstein craft to have a little sparkle.
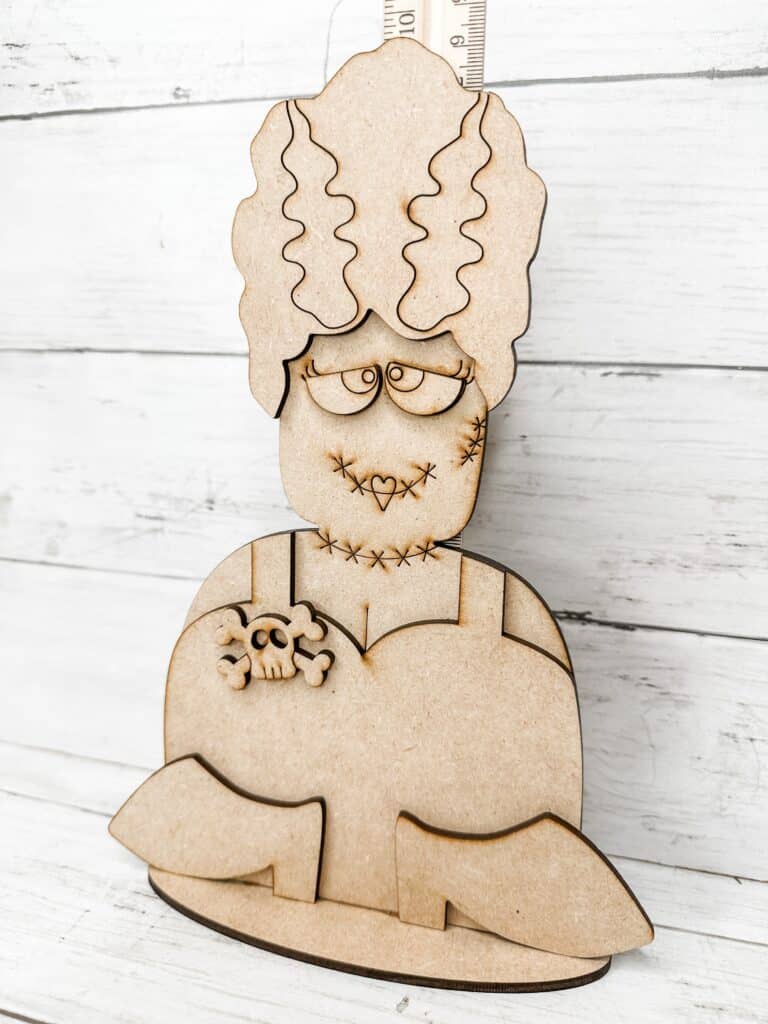
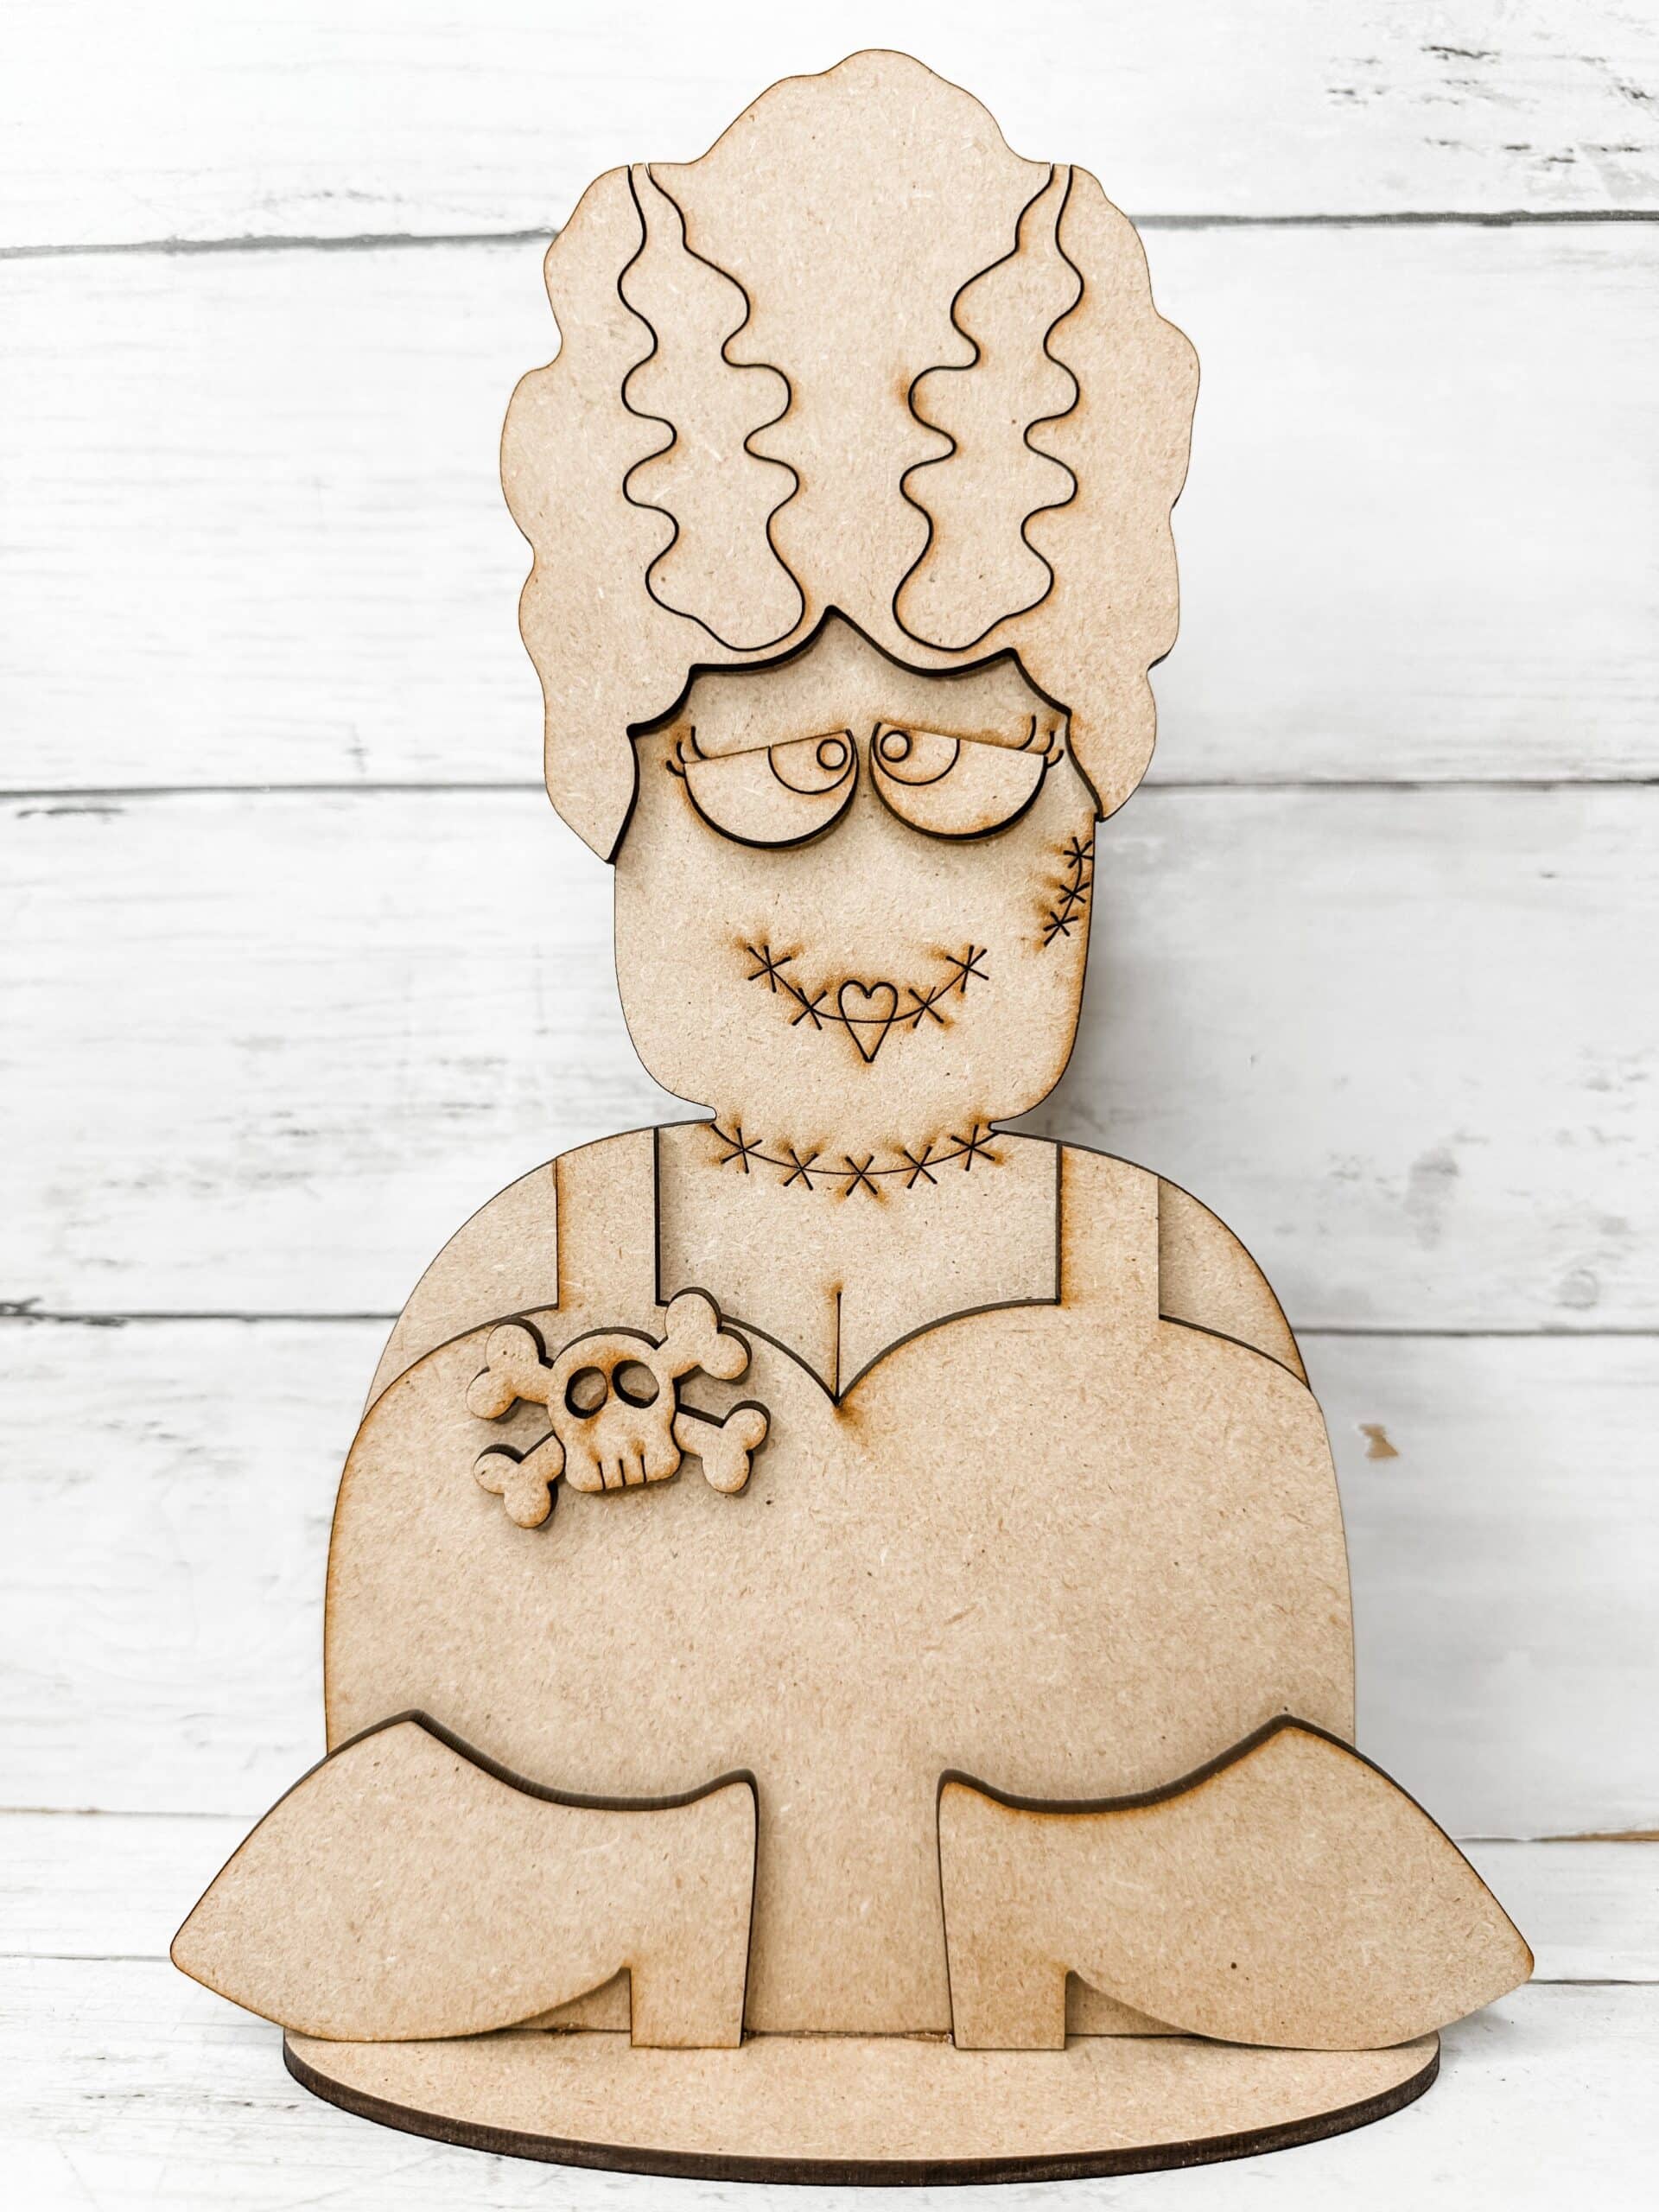
Assembling My Bride of Frankenstein
I assembled my Bride in this order:
- Hair around the face
- White hair streaks
- Textured dress
- Eyes and facial details
- Skull and crossbones accessory
- Stand
- Shoes
I painted her stand the same dark brown that I used on Frankenstein’s stand so the two finished characters would coordinate.
Just like Frankenstein, the Bride can be displayed without her shoes if you like the simpler look.
SHOP THE BRIDE OF FRANKENSTEIN DIY KIT
Make These Wooden Halloween Crafts Your Own
I love showing you how I paint my projects, but you never have to make yours look exactly like mine.
Try personalizing your Frankenstein and Bride DIY kits with:
- Traditional black and white Bride of Frankenstein hair
- Black glitter shoes
- Fabric or textured paper patches
- Painted pockets
- A brooch or embellishment on the Bride’s dress
- Brighter green monster skin
- Purple, orange, or lime green clothing
- Metallic silver bolts and buttons
- Dark wax or antiquing glaze
- Paint colors that match your existing Halloween decorations
These layered wooden craft blanks give you plenty of room to experiment with paint, paper, fabric, ribbon, glitter, and other embellishments.
Halloween Craft Night and Paint Party Idea
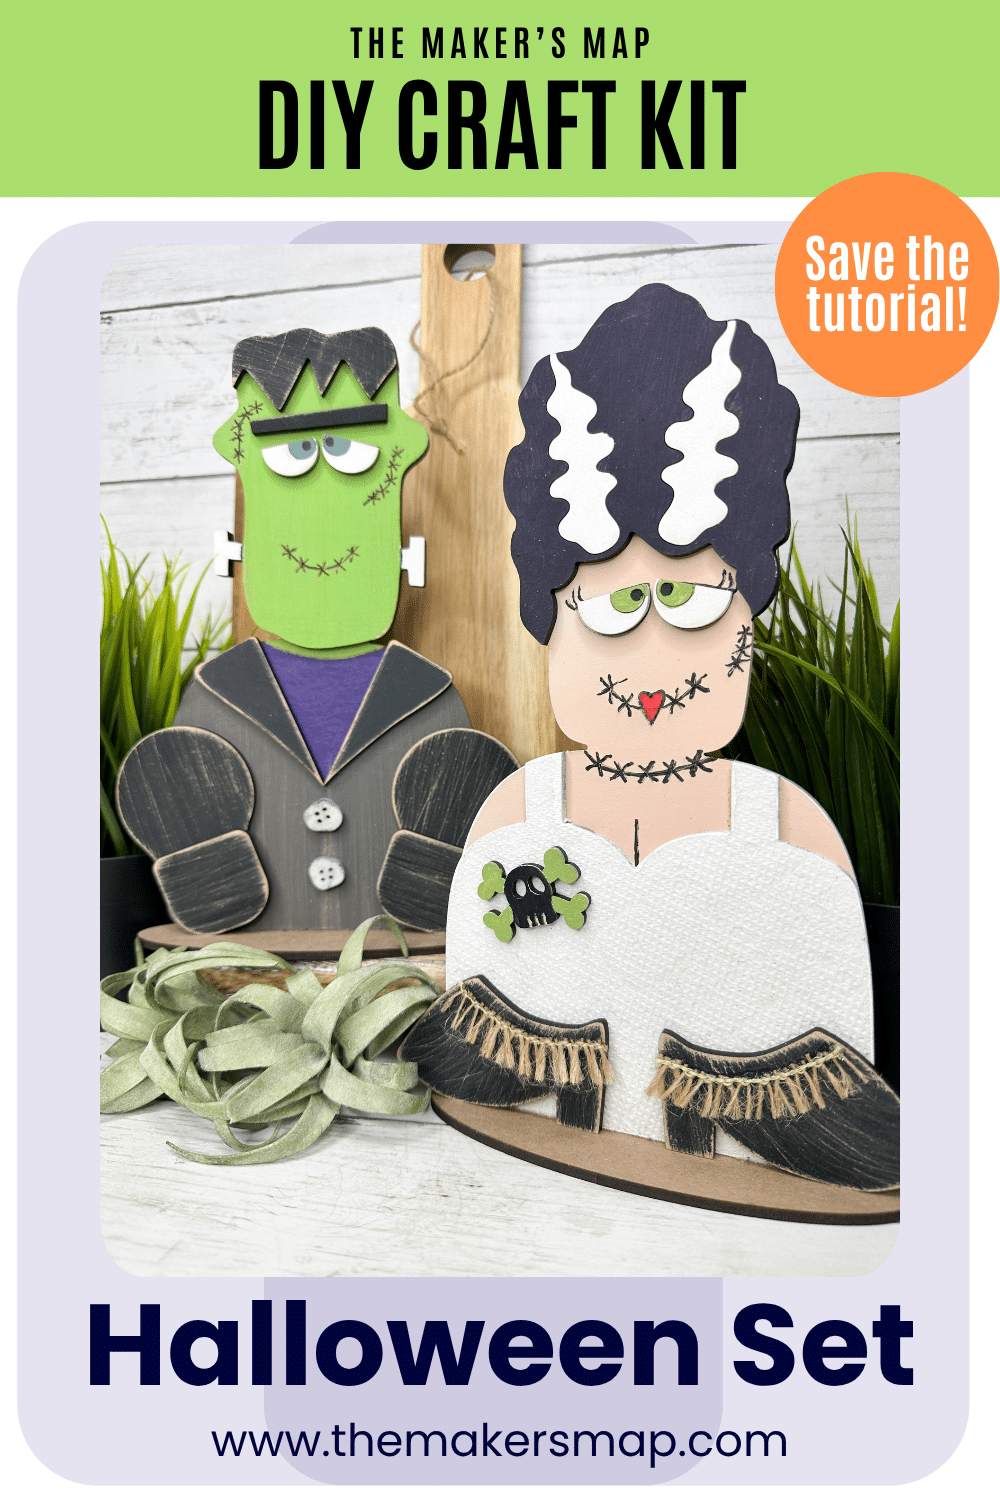
These Halloween crafts for adults would be so much fun for a spooky season craft night or Halloween paint party.
Invite your friends, set out several paint colors, and let everyone create their own version. Because the patches, shoes, accessories, and colors can all be customized, no two characters have to look alike.
They would also work well for:
- An adult Halloween paint party
- A fall craft night with friends
- A family Halloween activity
- A church or community craft gathering
- A handmade decor weekend
- A spooky season girls’ night
There are five whimsical character kits in this collection, so you can make Frankenstein and his Bride or create an entire group of coordinating Halloween decorations.
Displaying My Frankenstein Monster Couple
Frankenstein and his Bride look so fun displayed together.
You can place your finished characters on:
- A Halloween mantel
- An entryway table
- A tiered tray
- A bookshelf
- A kitchen counter
- A Halloween party table
- A shelf in front of a haunted house display
Add pumpkins, potion bottles, spiderwebs, or other spooky decorations around them to complete your Halloween display.
Make Your Own Frankenstein and Bride Decorations
I love how these two characters turned out. Frankenstein has the perfect mottled green complexion, and his Bride has so much personality with her plum hair, textured dress, green eyes, and fringe shoes.
You can paint one character by itself, but I think they are especially cute displayed together.
SHOP THE FRANKENSTEIN AND BRIDE DIY KIT BUNDLE
If you are looking for more DIY Halloween decorations, wooden Halloween crafts, or monster craft night ideas, browse all of my Halloween DIY craft kits.
I cannot wait to see how you paint yours!
XOXO,
Amber
Join my free “Crafting and Sharing” Facebook group!