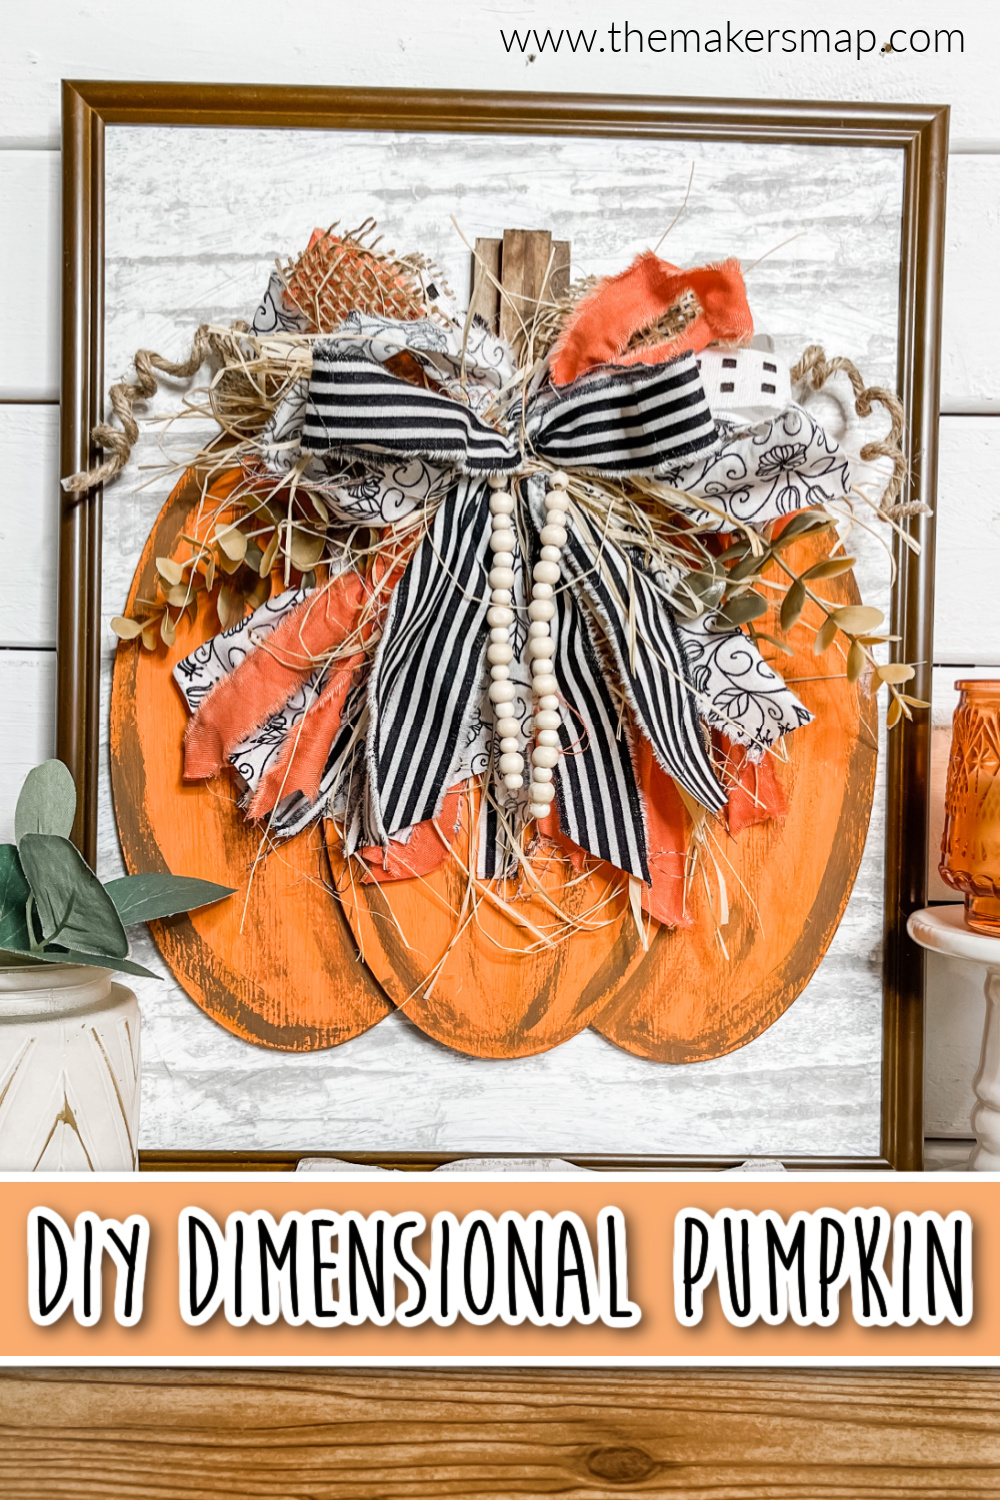
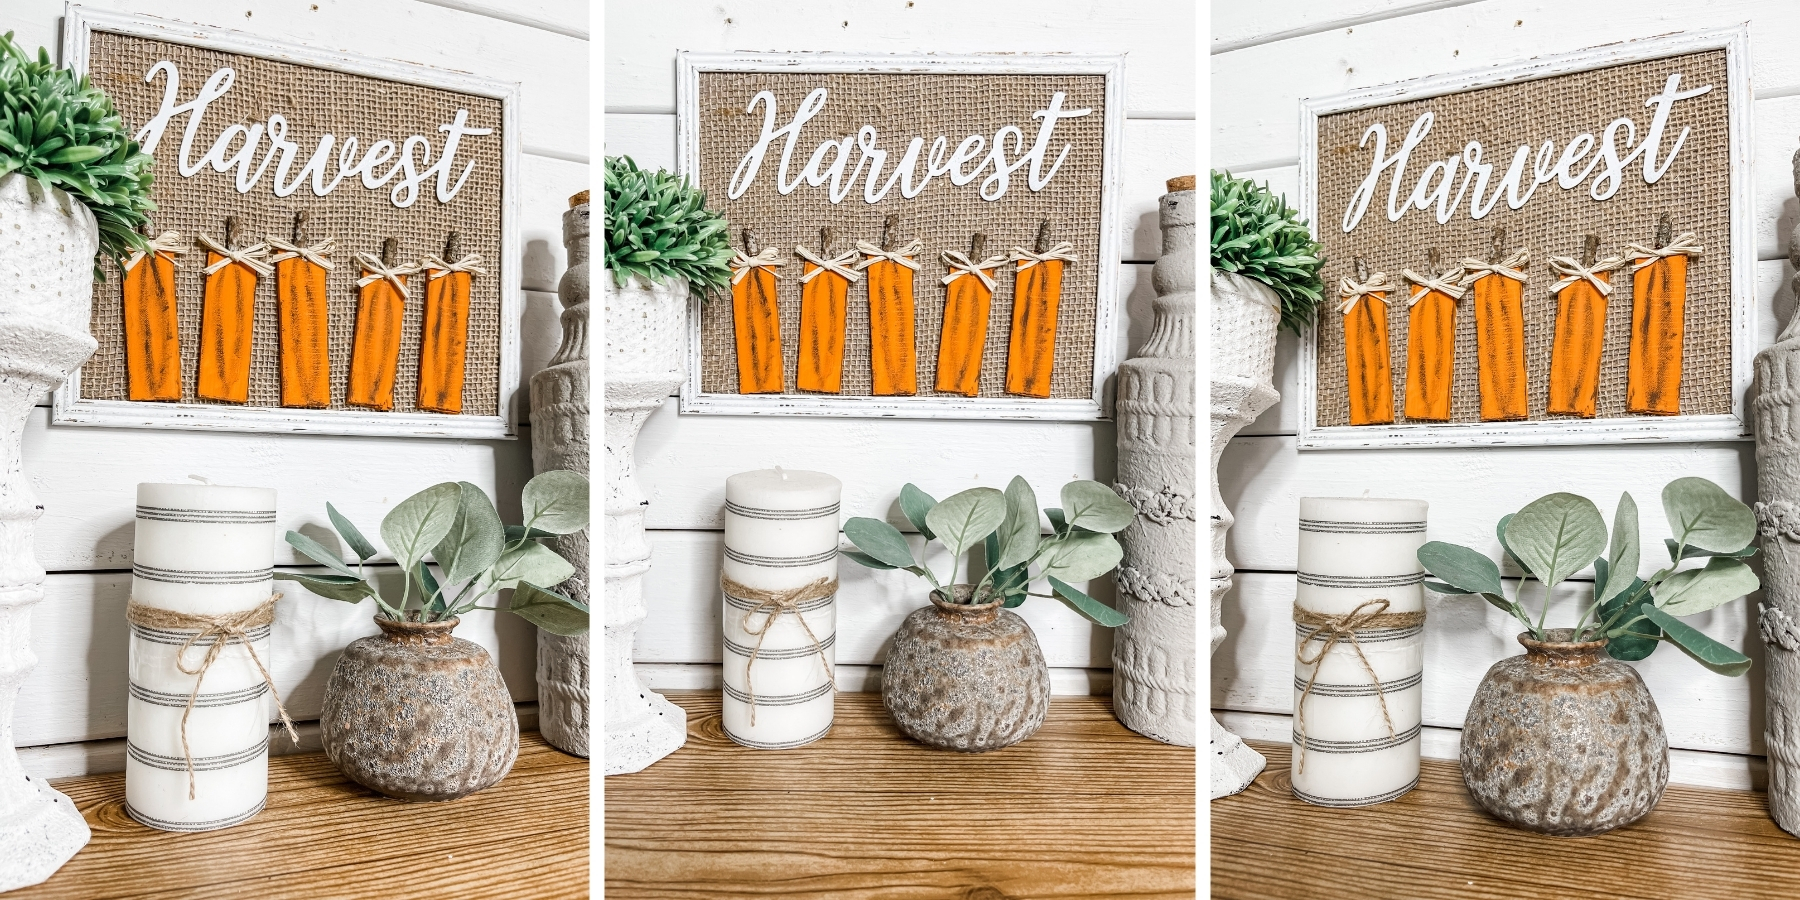
DIY Dimensional Pumpkin Sign
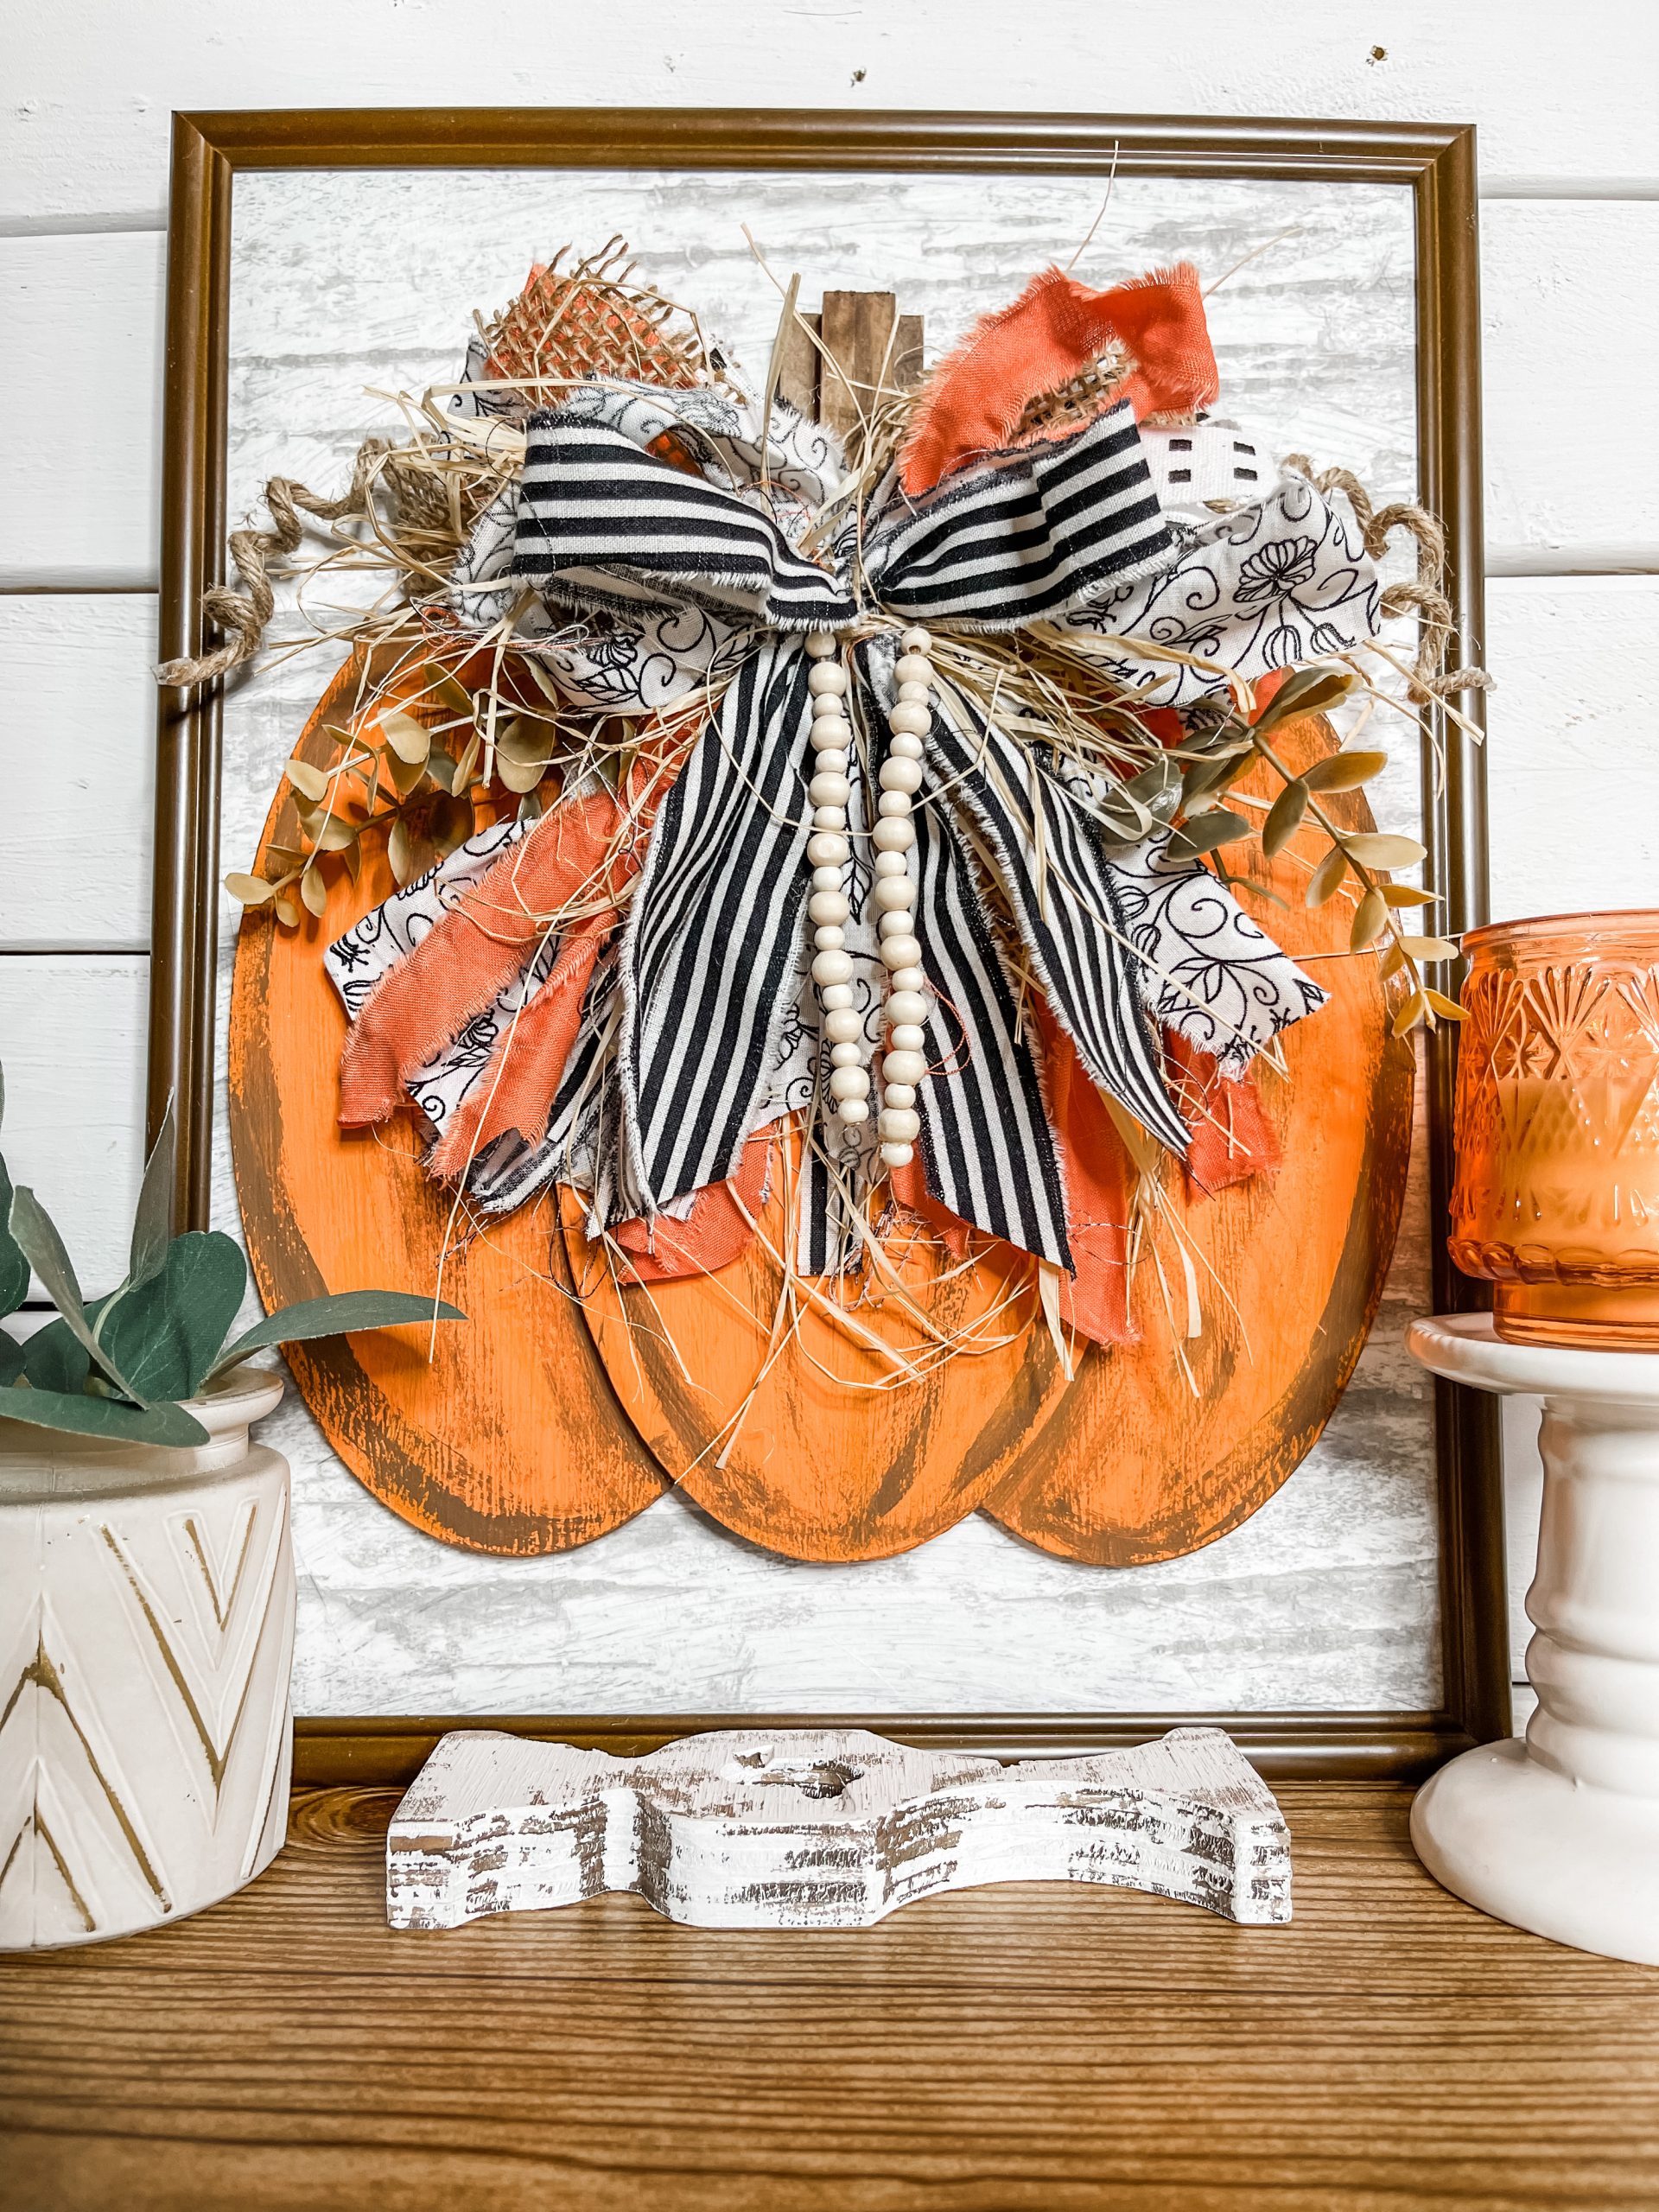
Listen, I am so obsessed with how adorable this DIY Dimensional Pumpkin Sign turned out! My goal is always to make affordable home decor that I would be proud to show in my home, and I am so proud of this one!
Watch the DIY Tutorial Video
I shared the quick DIY tutorial for how to make this adorable Dollar Tree framed pumpkin on my Youtube channel with three other affordable Fall DIY.
If you want to see the fast version of how I brought this Fall project to life, or check out the other 3 projects, you should watch the Youtube video!
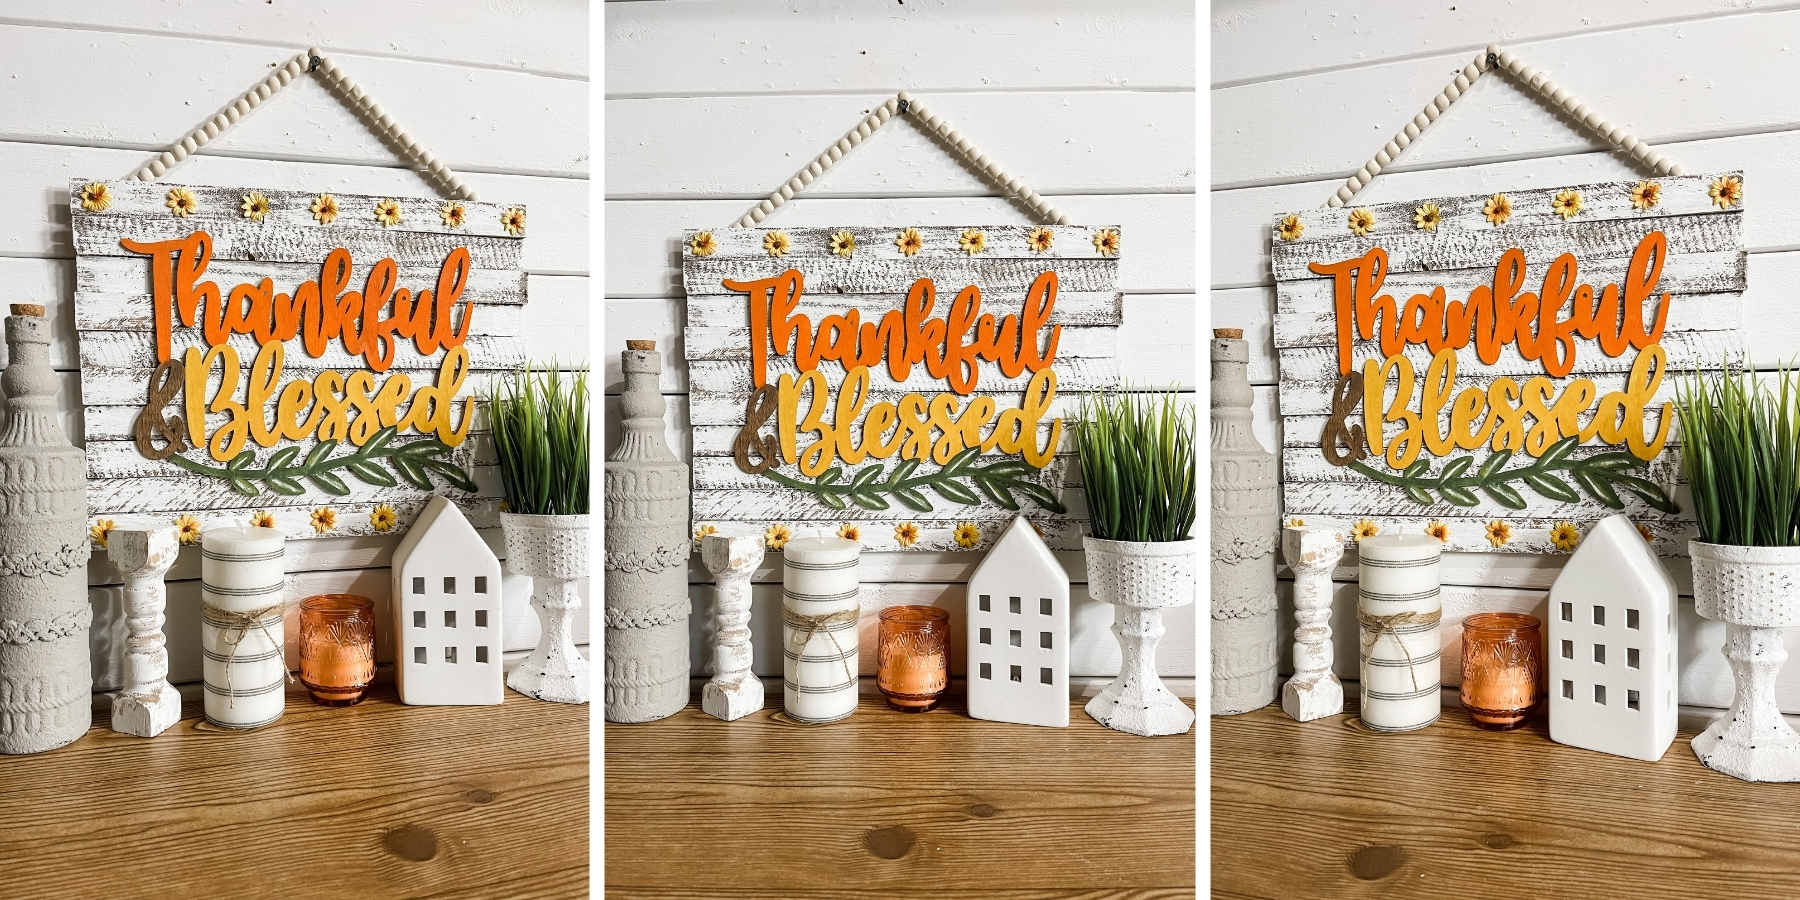
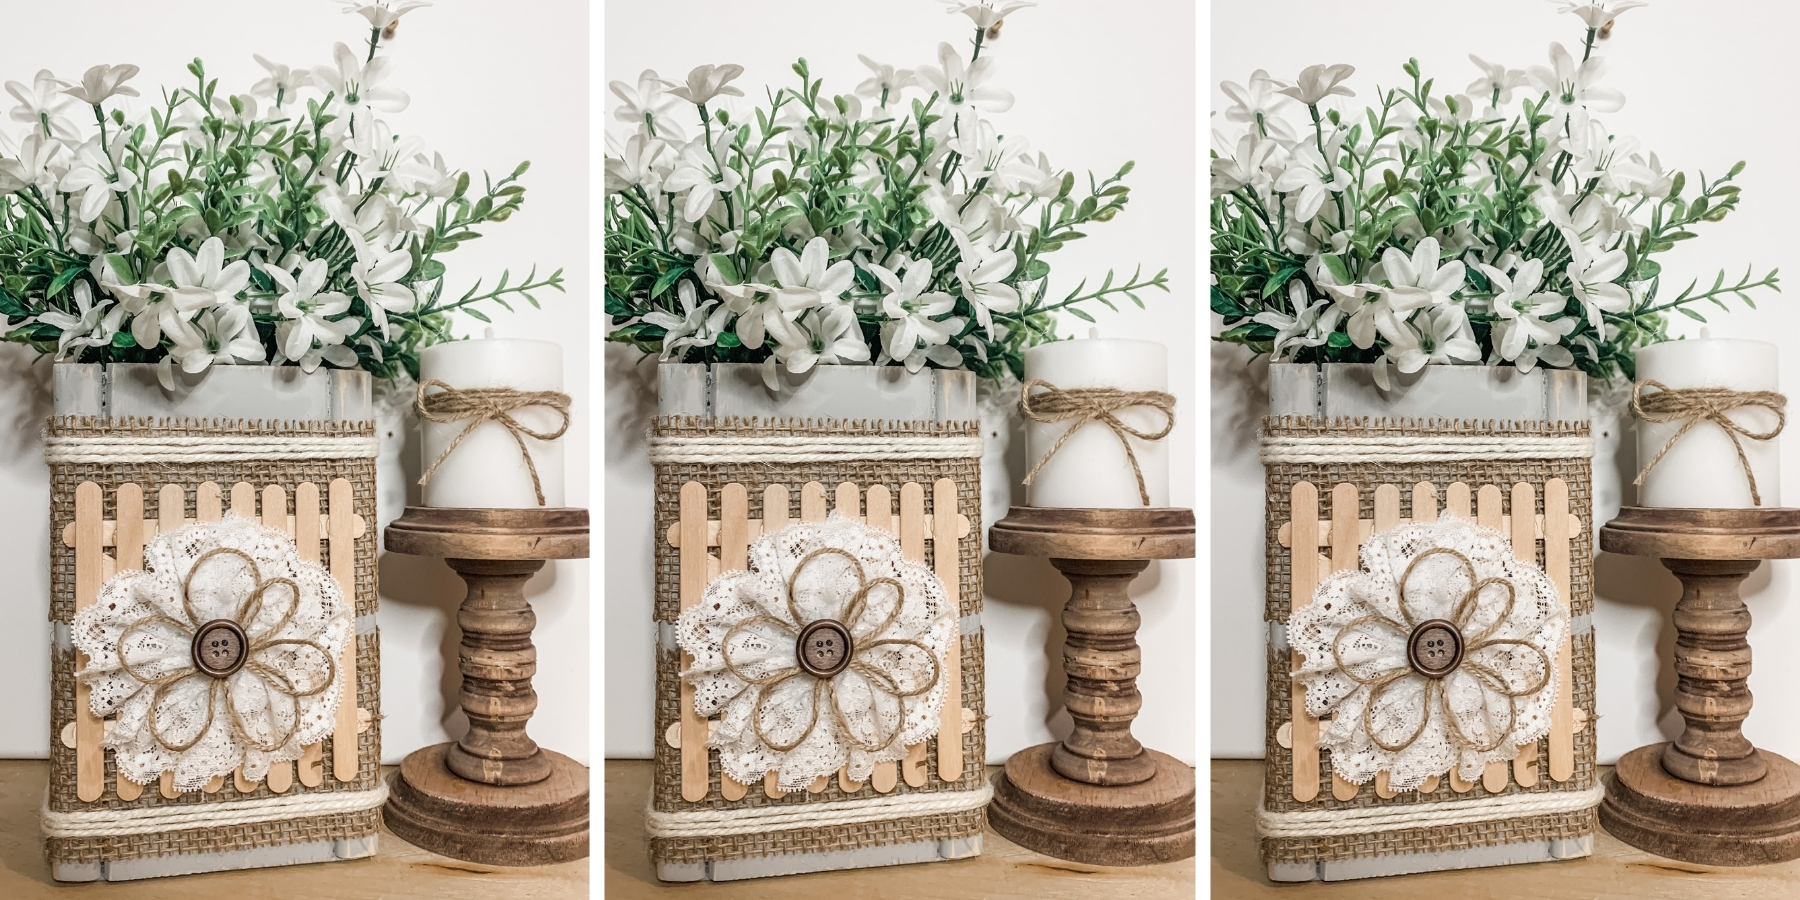
Check out these three Fall DIY tutorials!
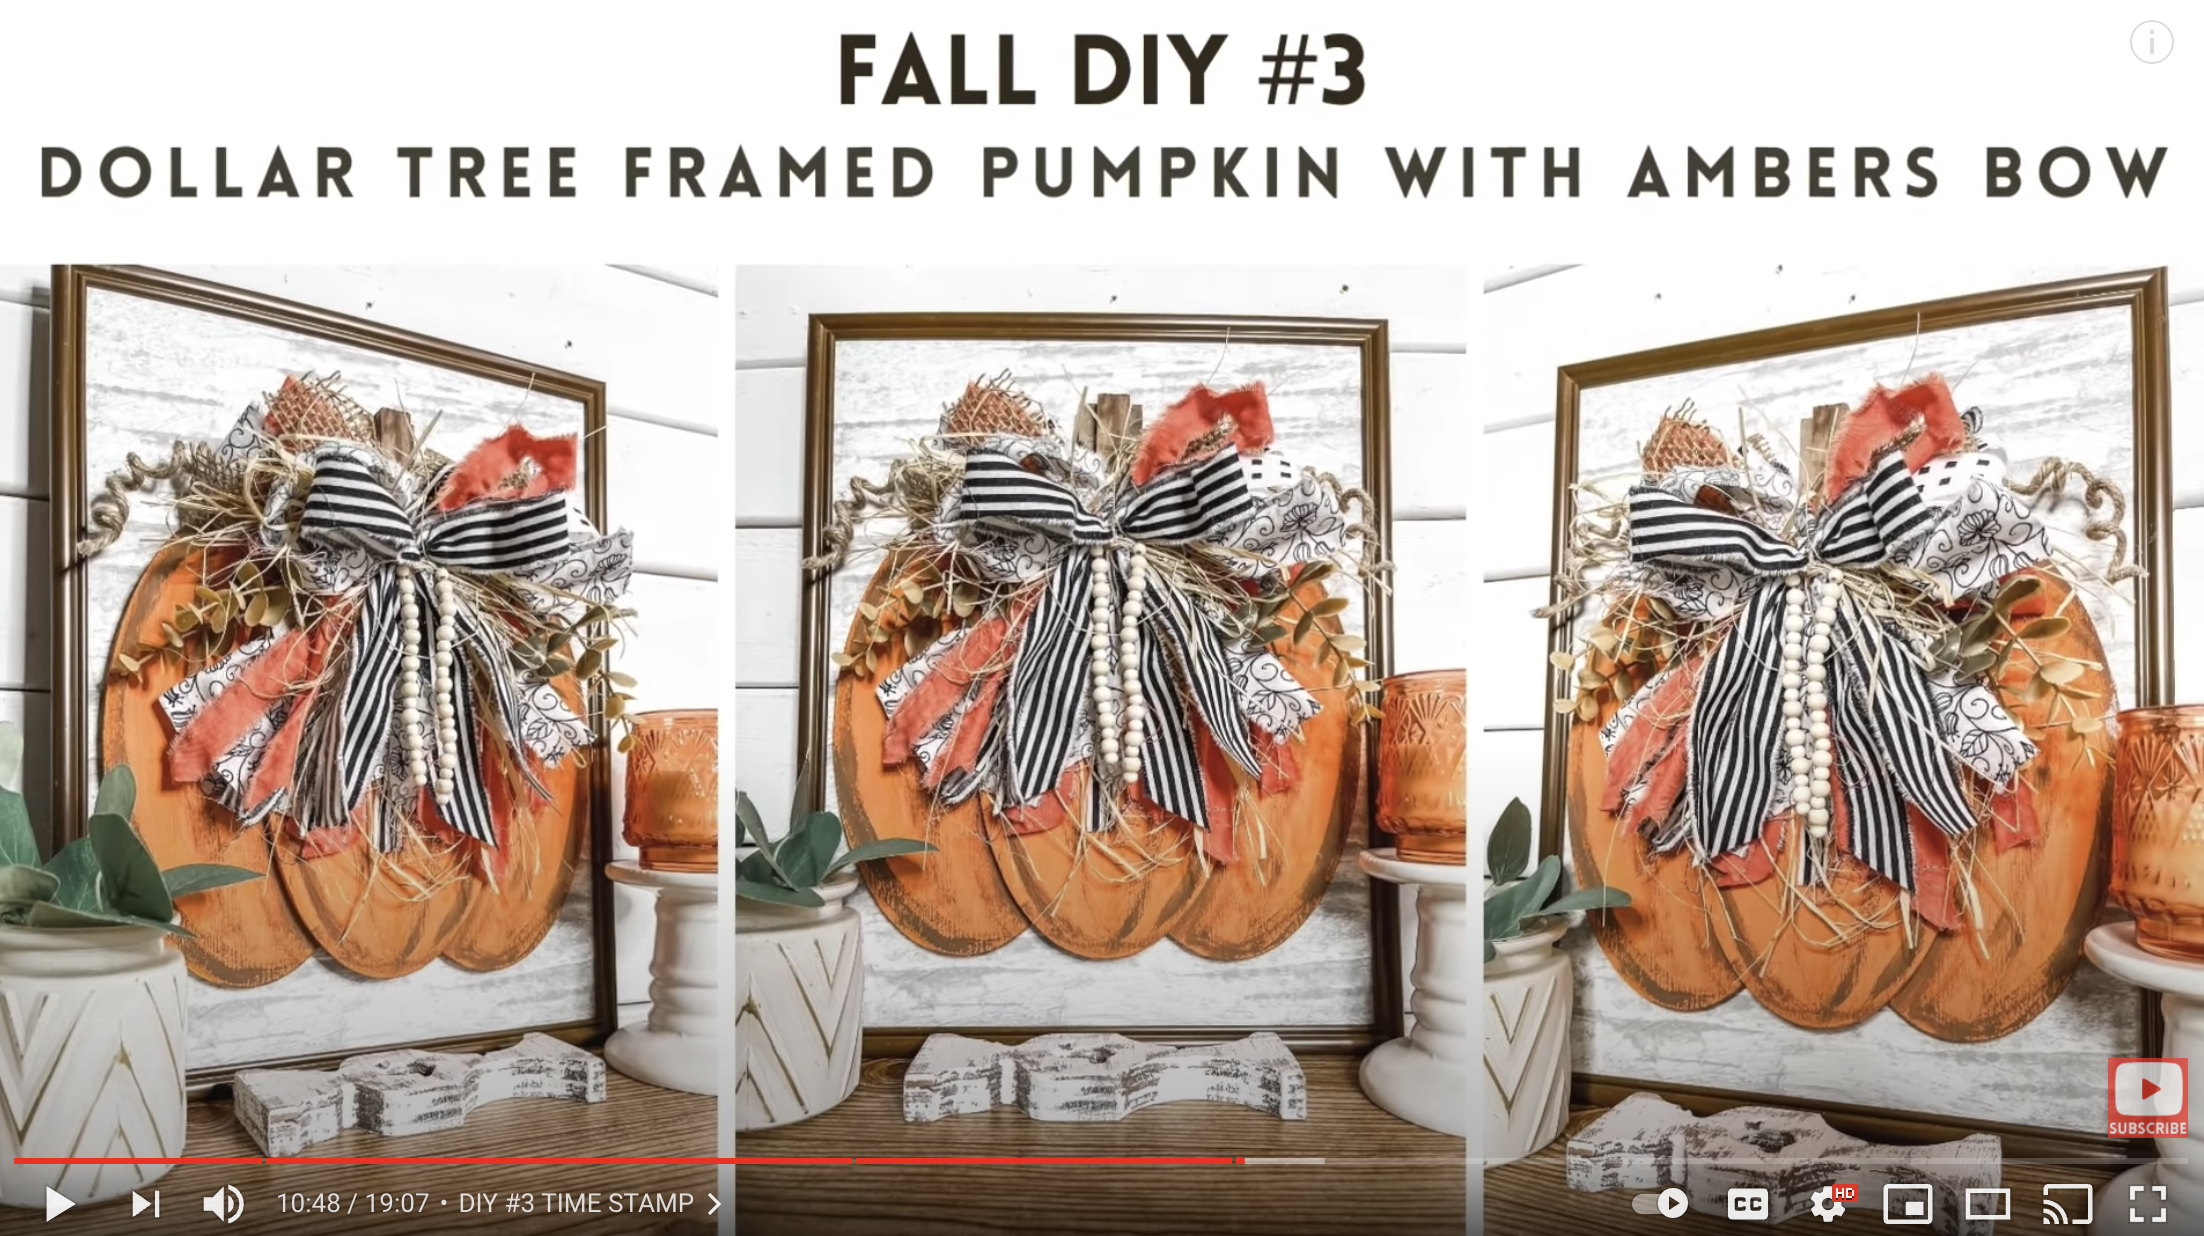
I recorded how to make this adorable DIY dimensional pumpkin sign during a LIVE video on my Facebook page.
If you want to see the extended DIY tutorial, craft along, or just join in on our fun conversations, you can watch the DIY tutorial replay on Facebook!

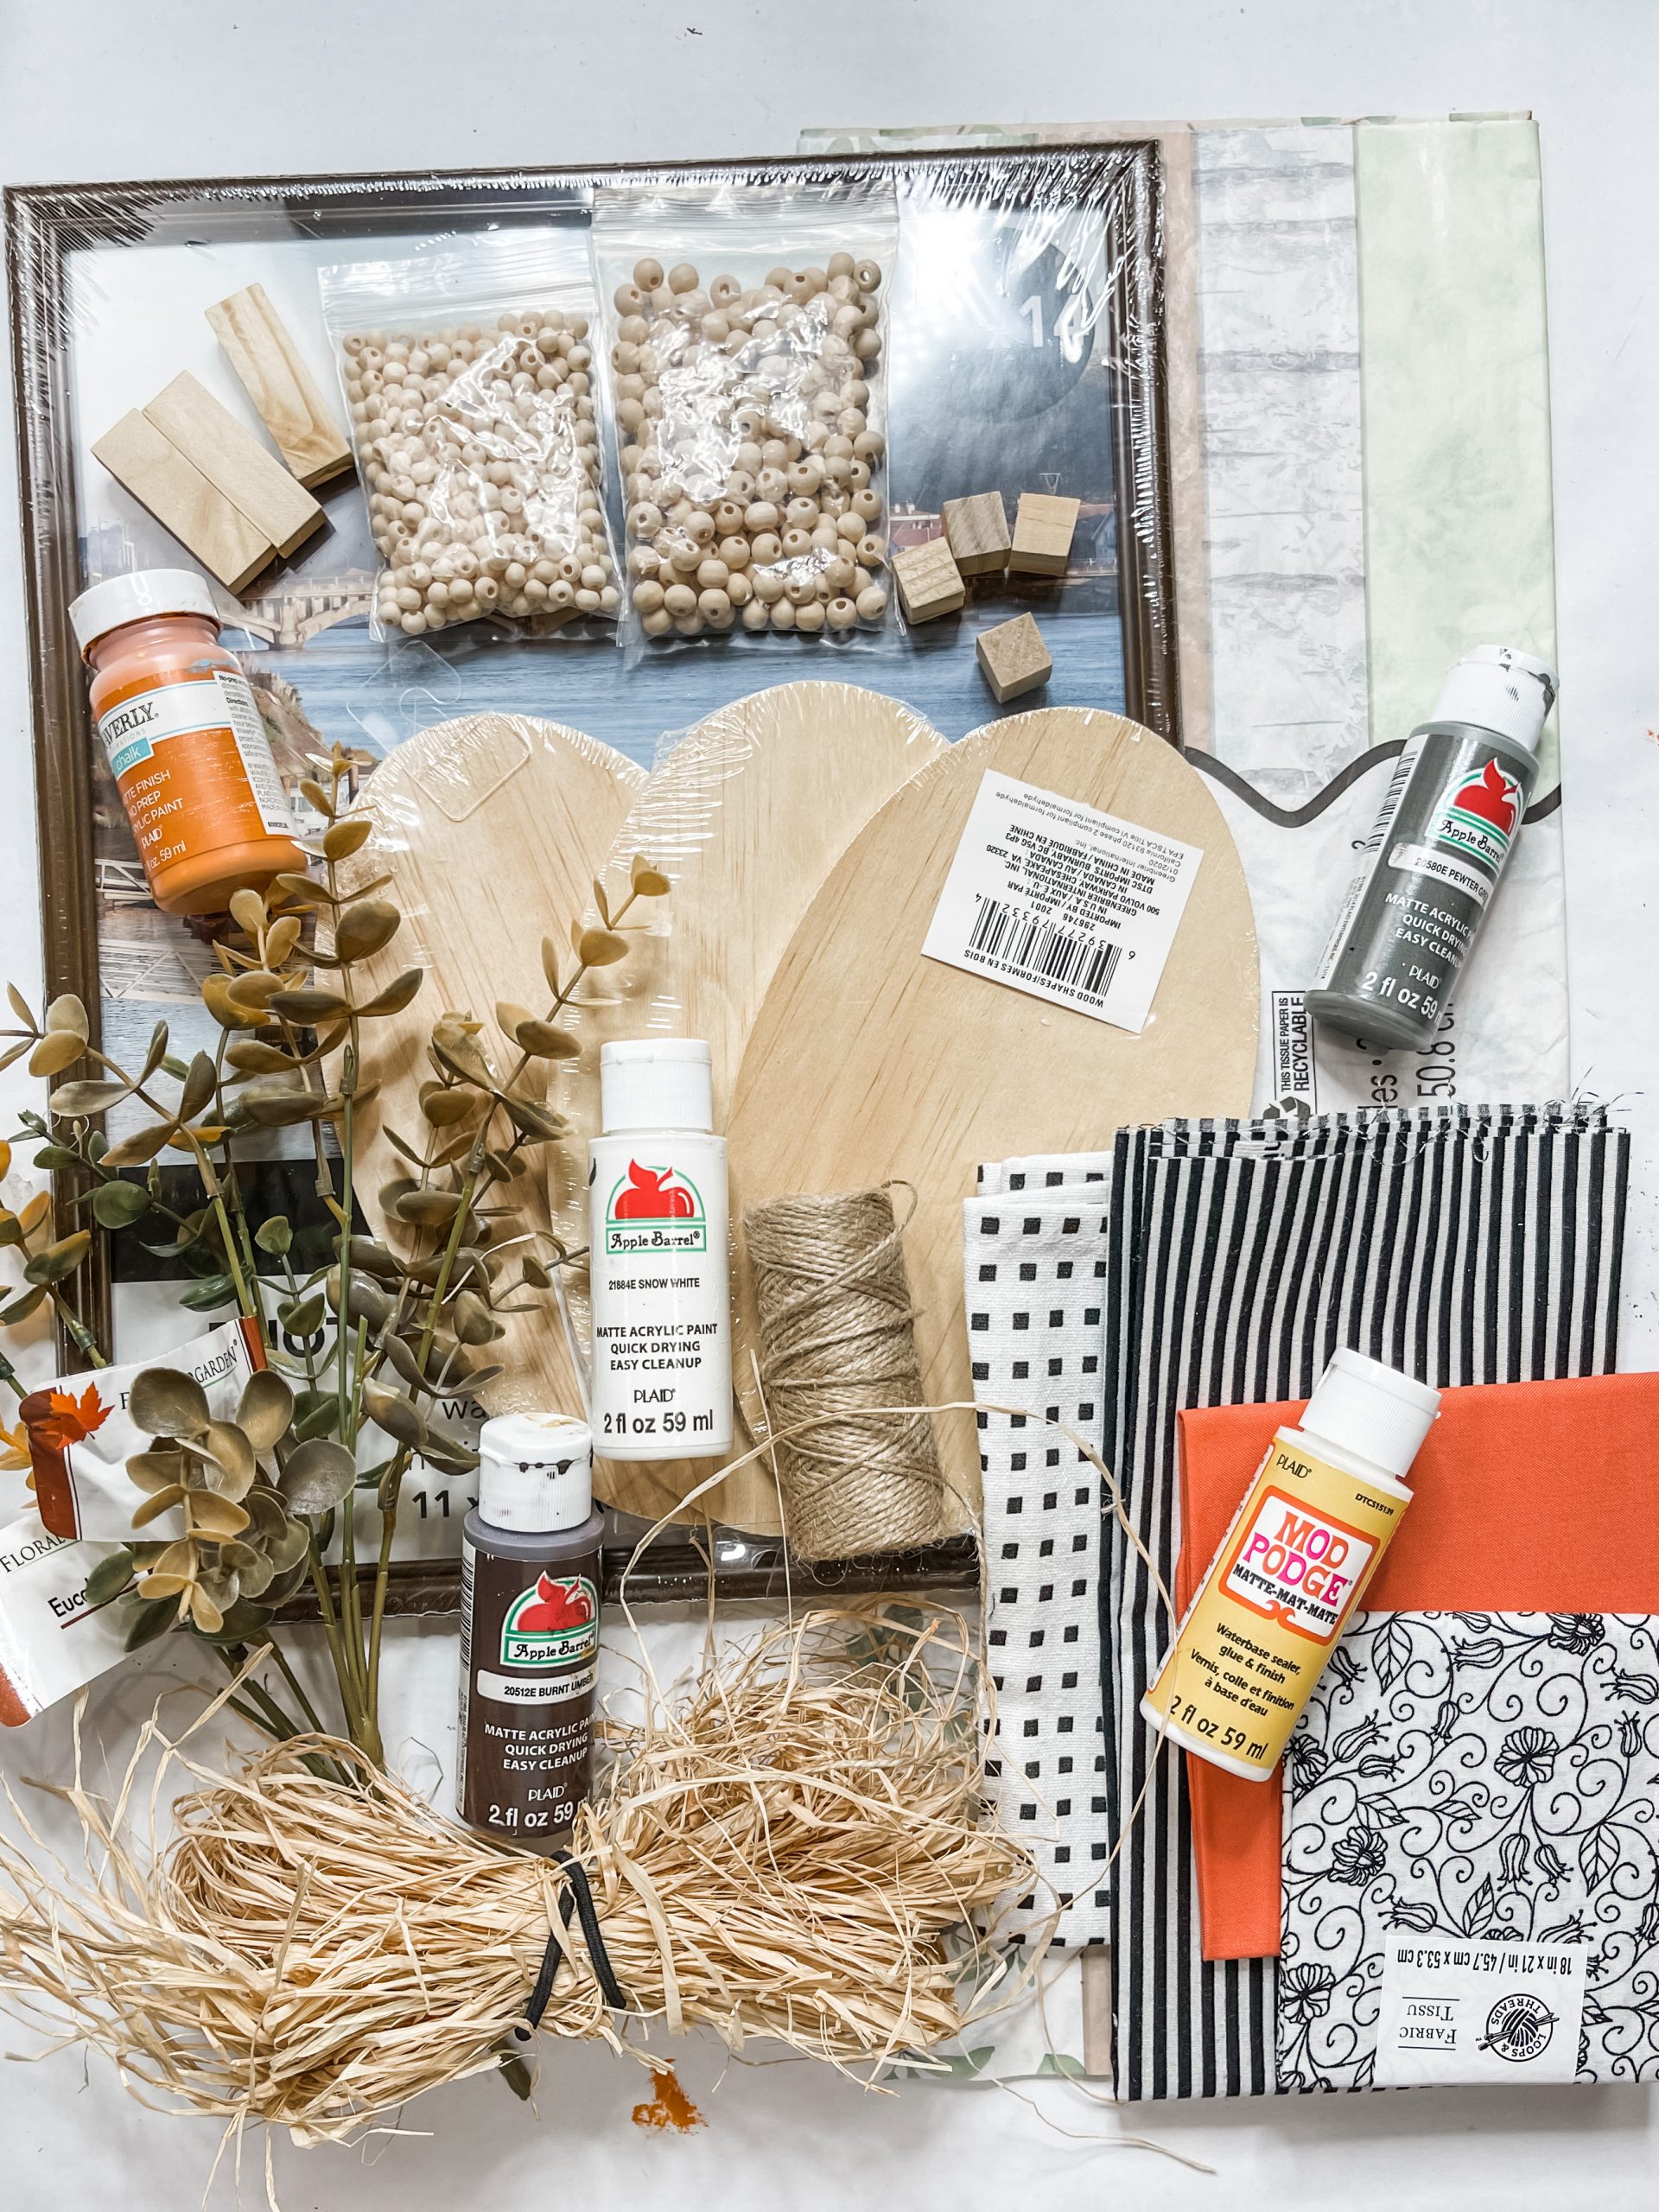
For this project, I will be using these items, but you can substitute where you want.
“As an Amazon Associate, I earn from qualifying purchases.”
- Dollar Tree 11×14 Picture Frame
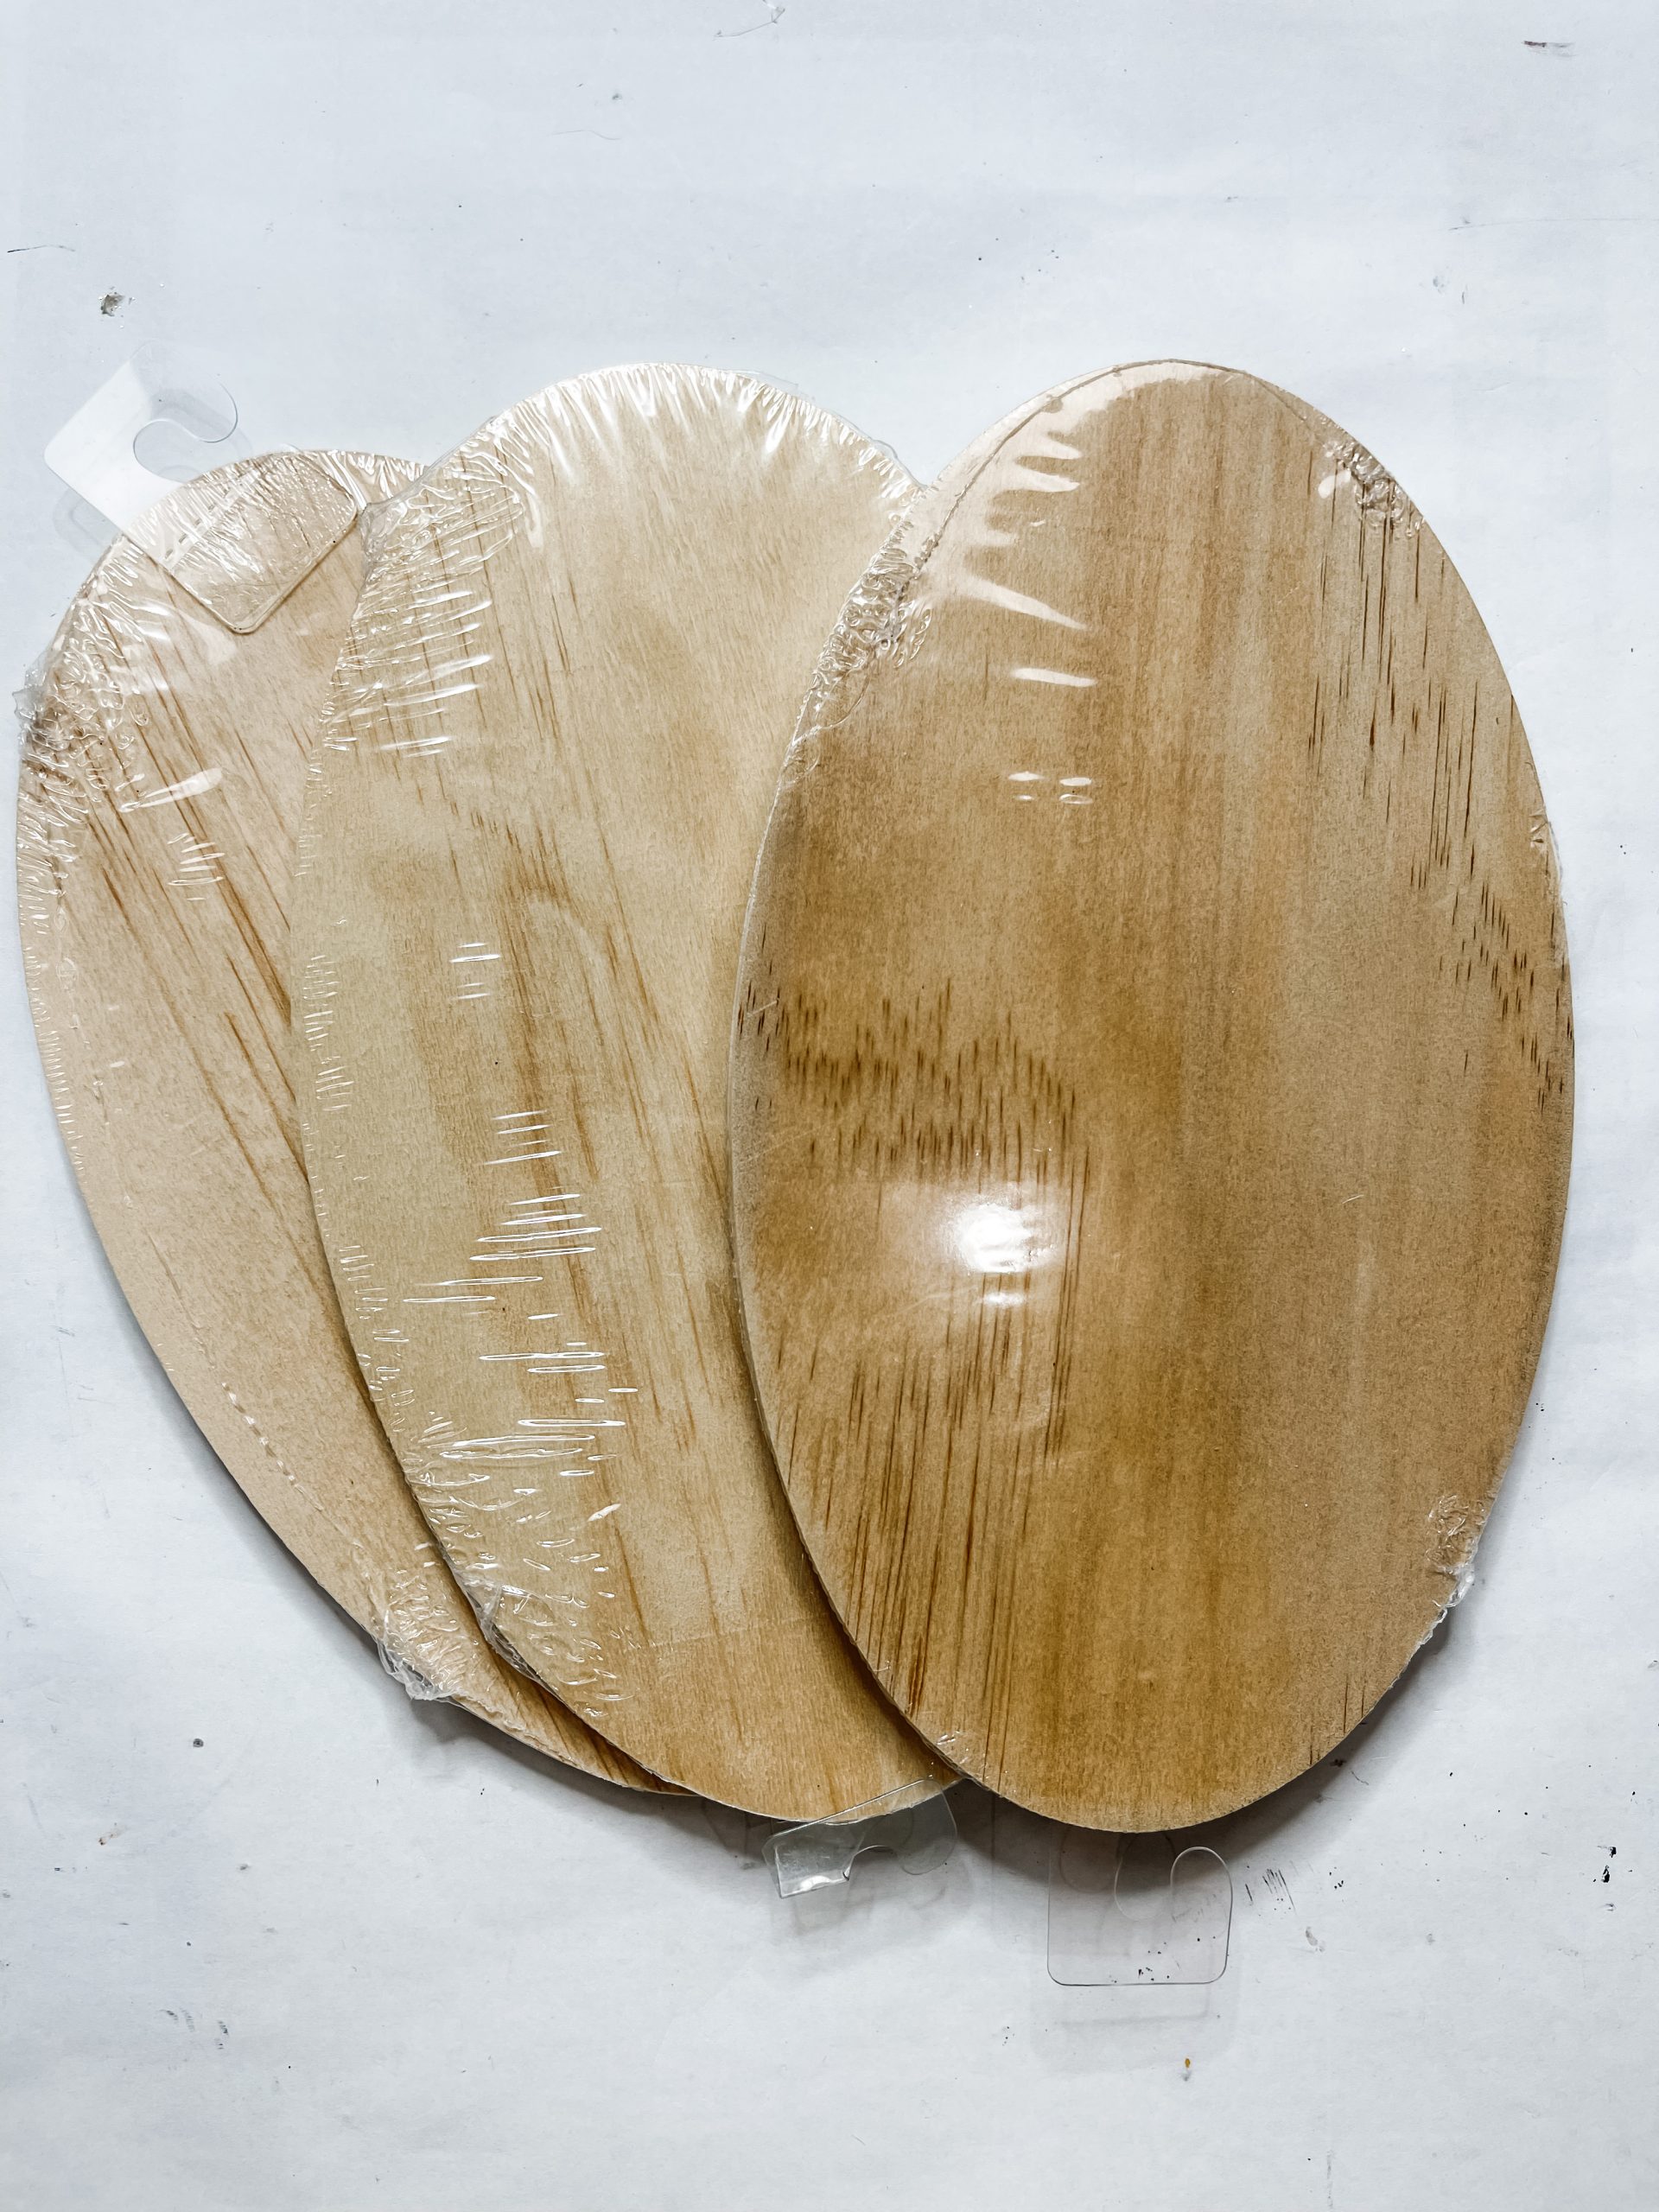
- Dollar Tree Oval Wooden Plaques (x3)
- Wood Beads (2 different sizes)
- Dollar Tree Tumbling Tower Blocks
- Dollar Tree Craft Cubes
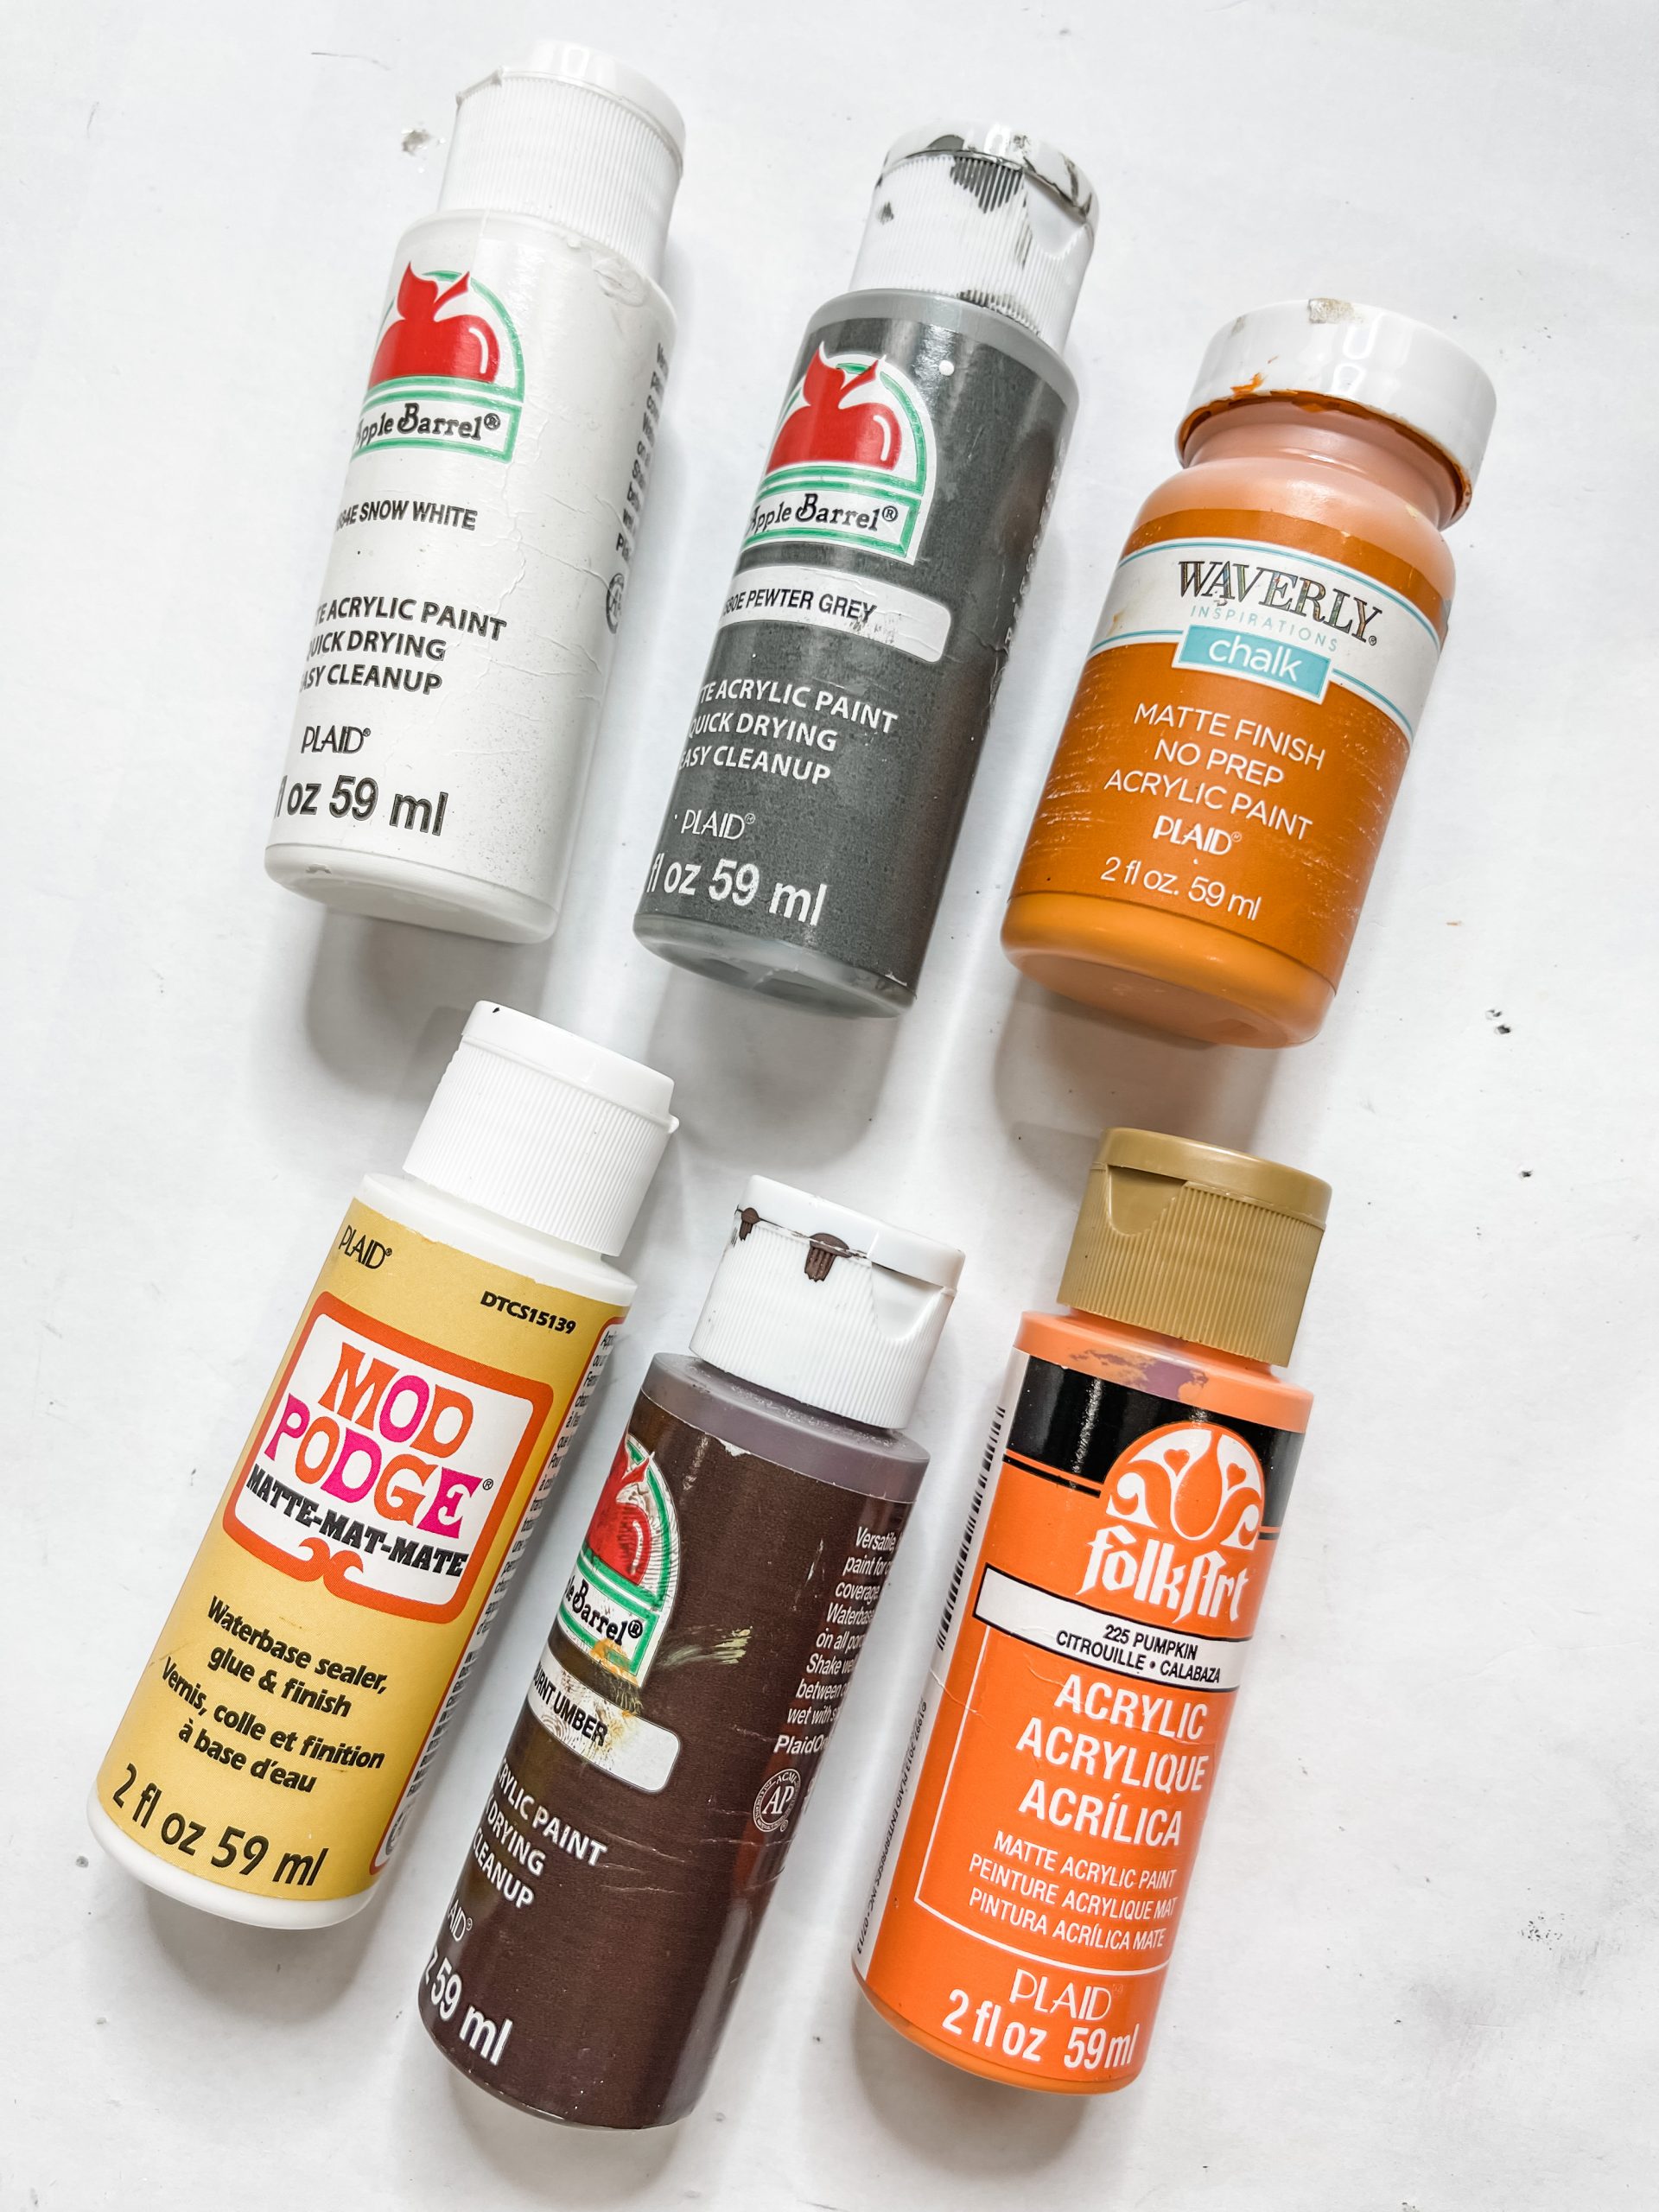
- Waverly Orange Paint
- Dollar Tree Ecalyptus Spray
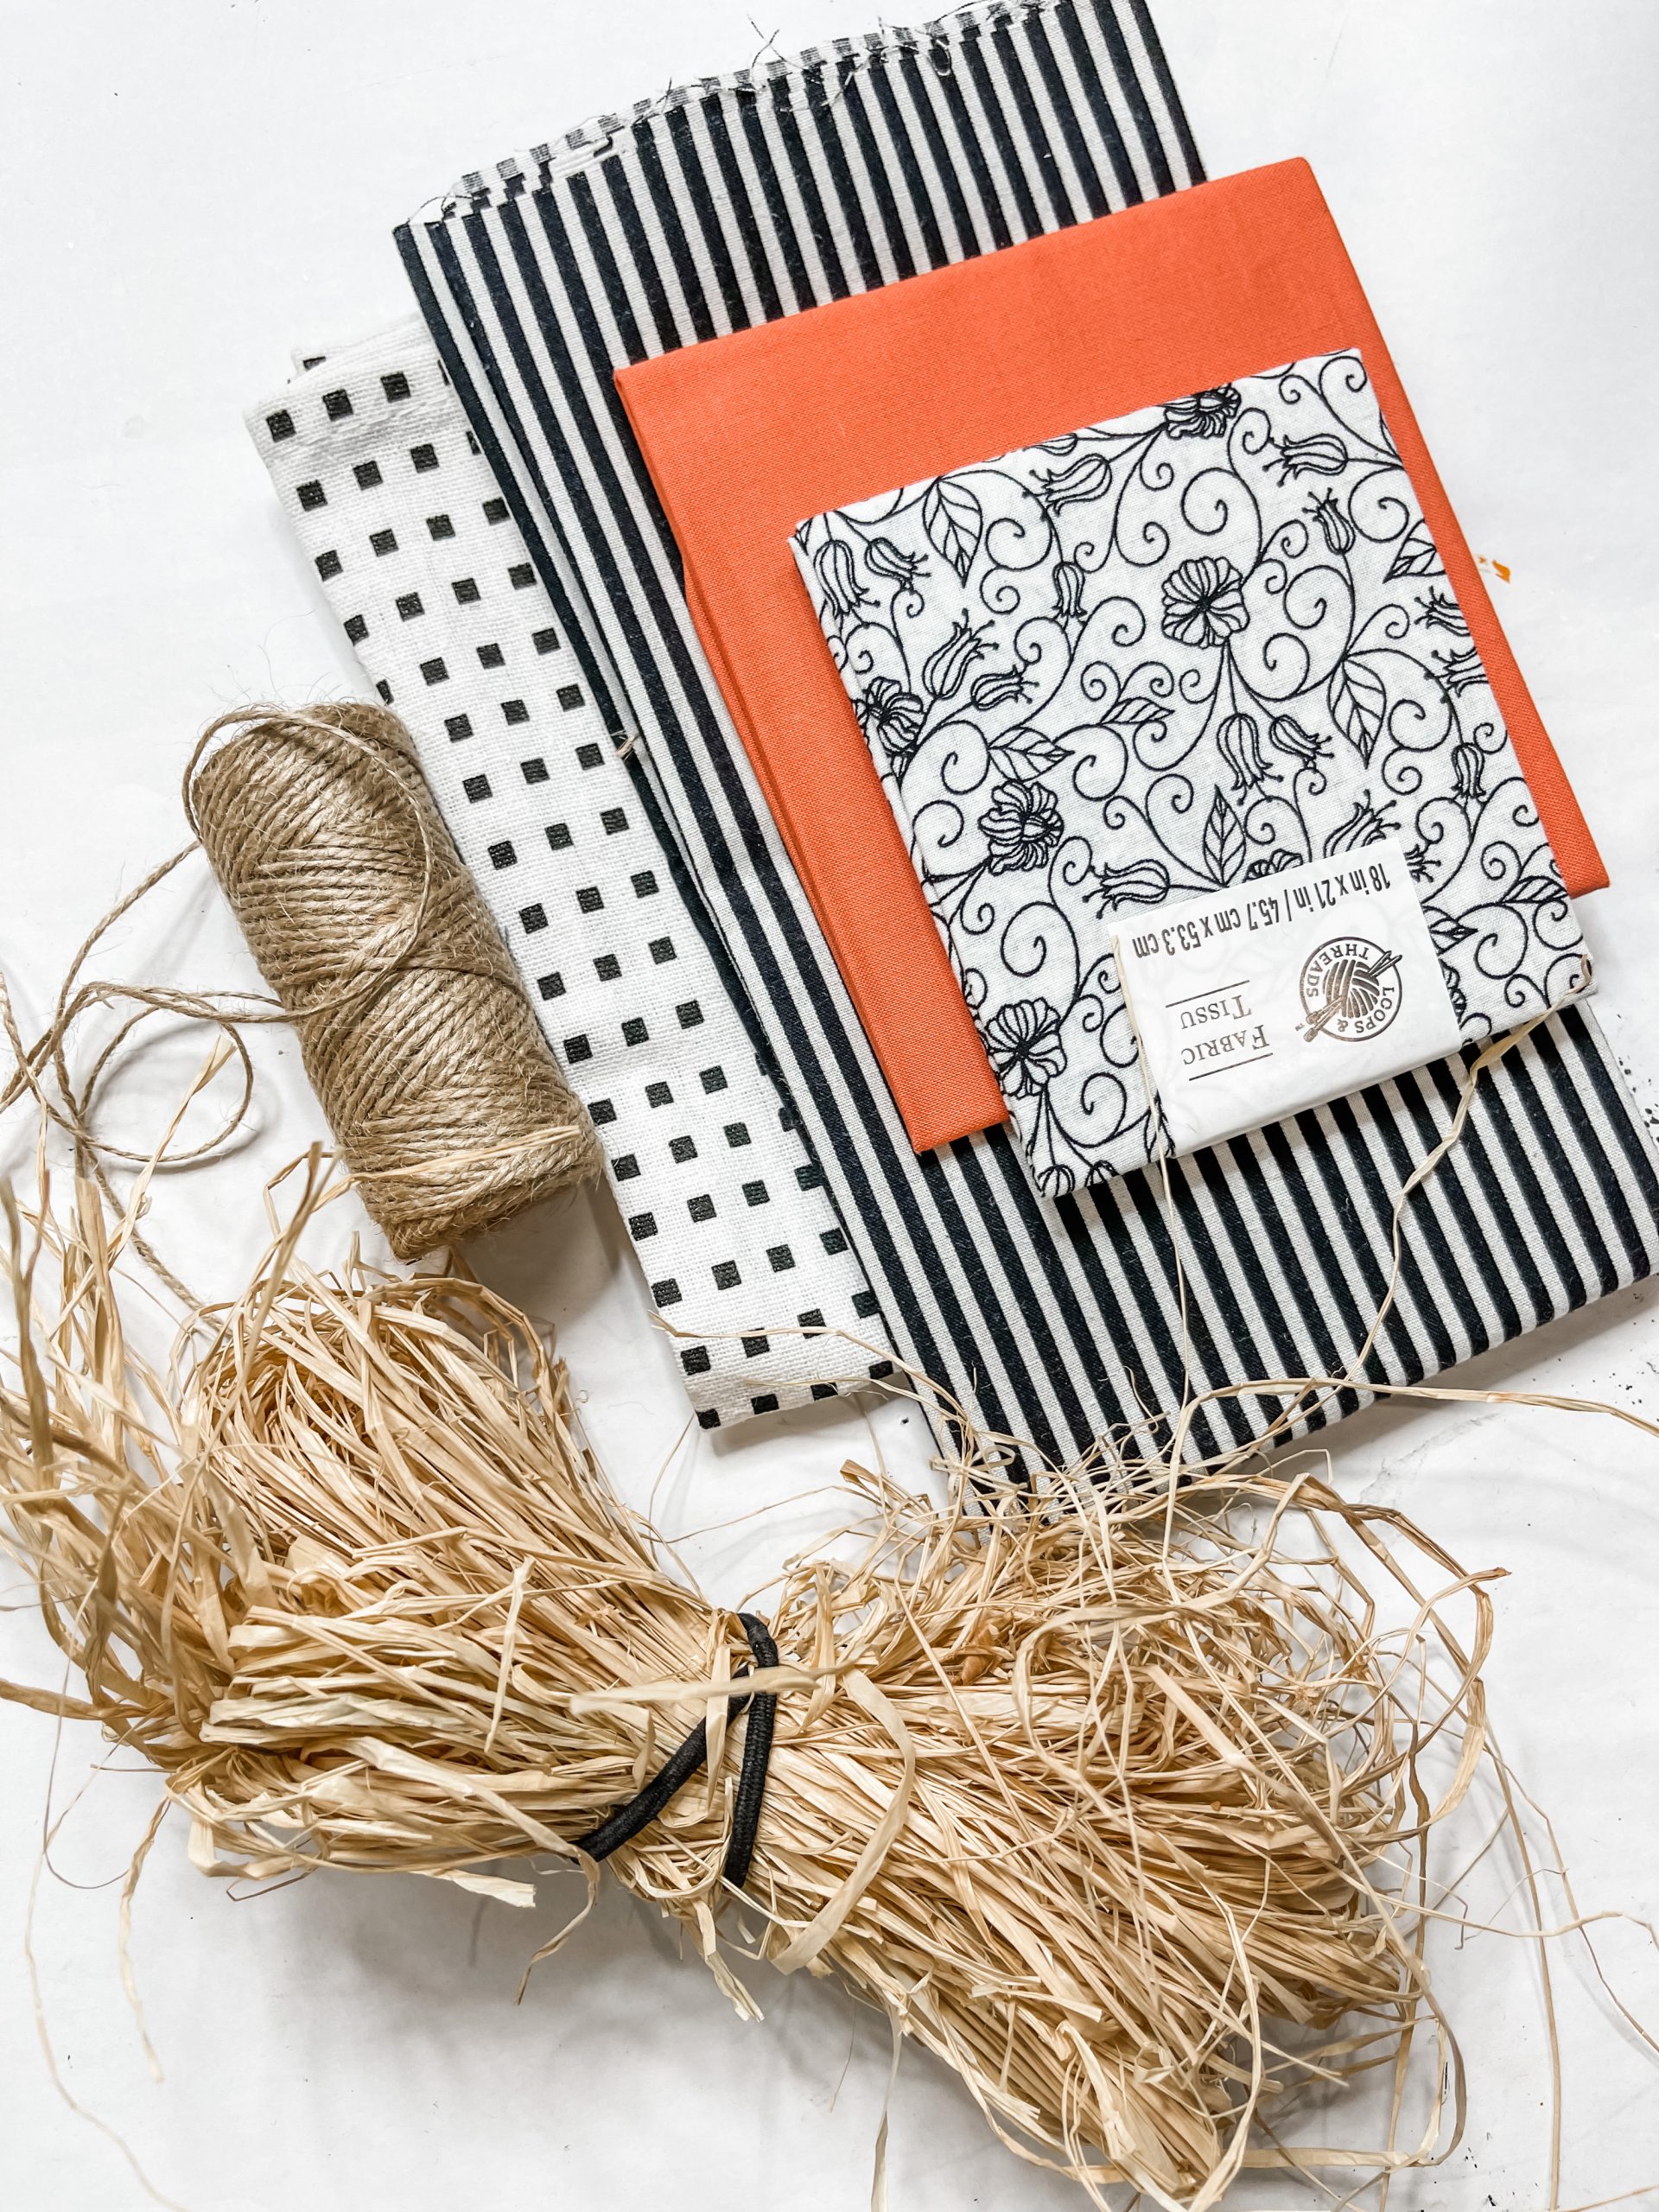
- Dollar Tree Raffia
- Folkart Pumpkin Acrylic Paint
- Dollar Tree Jute Twine
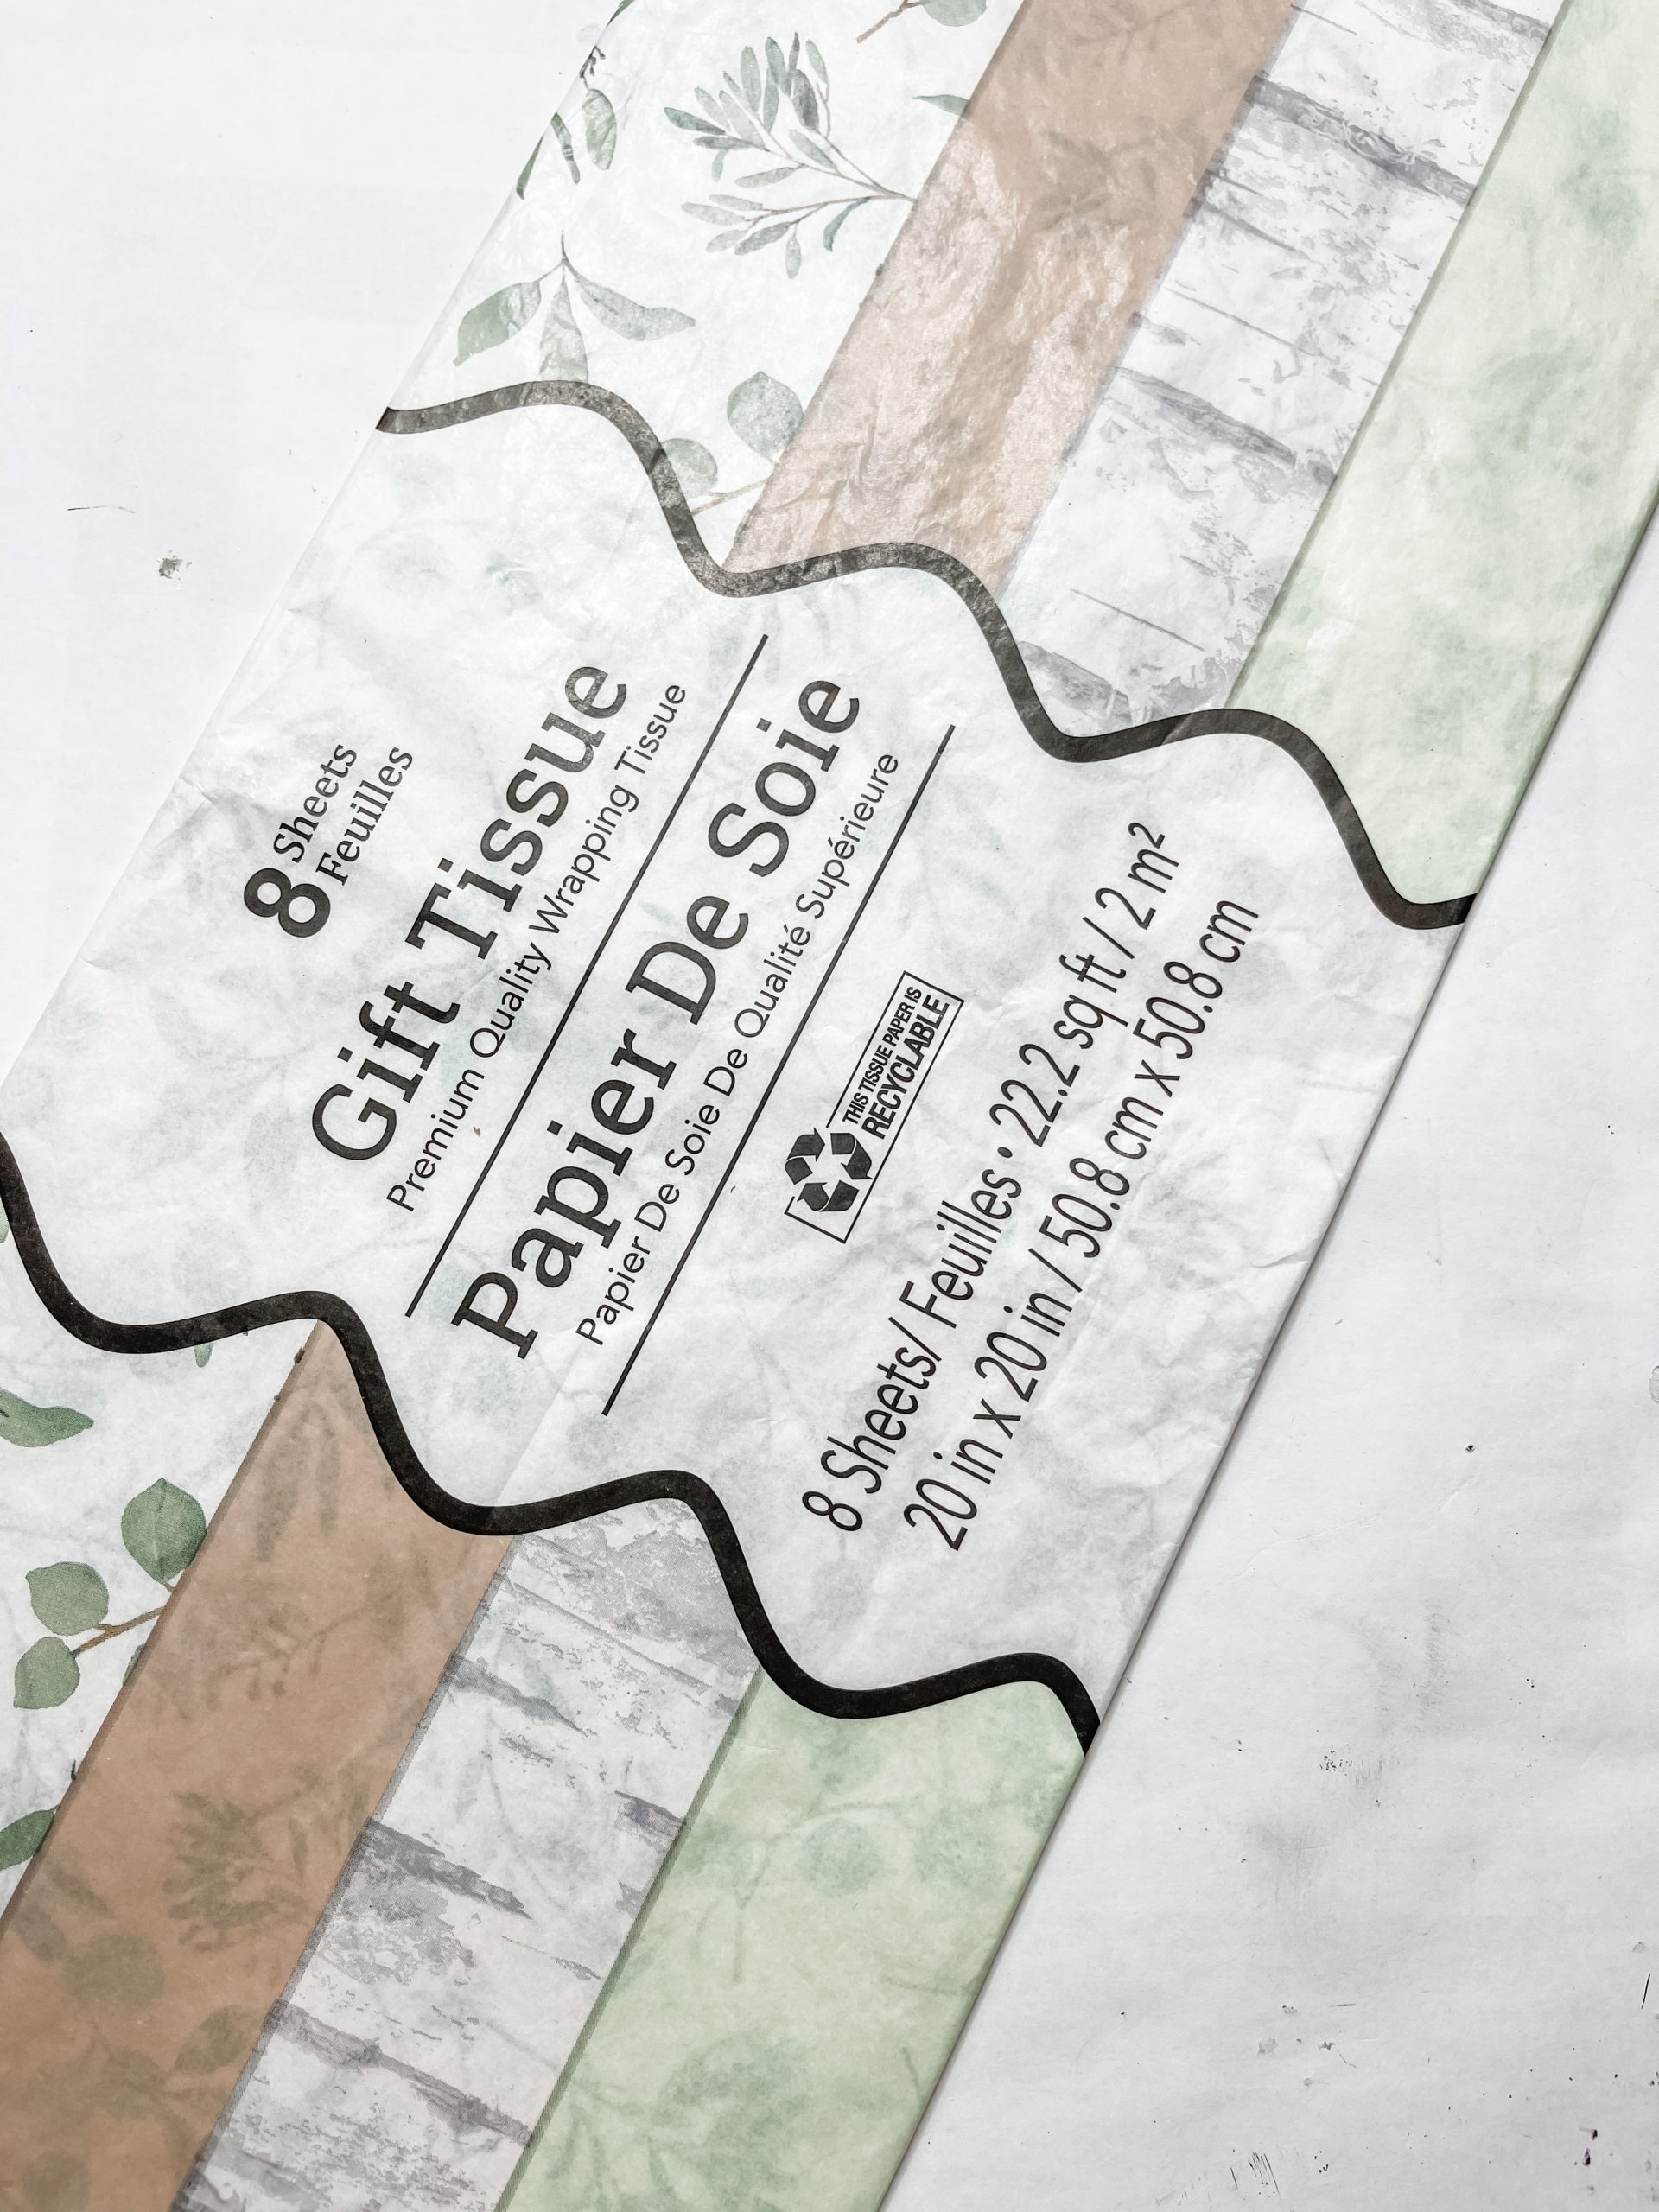
- Dollar Tree Tissue Paper
- Apple Barrel Burnt Umber Acrylic Paint
- Dollar Tree Wired Jute Cord
- Apple Barrel Snow White Acrylic Paint
- Mod Podge
- Apple Barrel Pewter Grey Acrylic Paint
- Waverly White Chalk Paint
- Black/White Striped Fabirc
- Orange Fabric
- Black/White Floral Line Fabric
- White/Black Square Dot Fabric
- Burlap
- Hot Glue gun
- Glue Sticks
How to Make a DIY Dimensional Pumpkin Sign
First, remove the cardboard backing from your picture frame and hot glue the front plastic piece onto the cardboard insert.
Then, paint the plastic piece with white paint. I used Waverly chalk paint for this. Allow the paint to dry, apply a coat of Mod Podge, then place the Dollar Tree tissue paper onto the surface.
Lay a piece of plastic saran wrap over the tissue paper and use a rolling pin to smooth out any wrinkles or bubbles in the paper.
Once the Mod Podge is dry, go around the edges with a sanding sponge to remove the excess tissue paper from the plastic and cardboard.
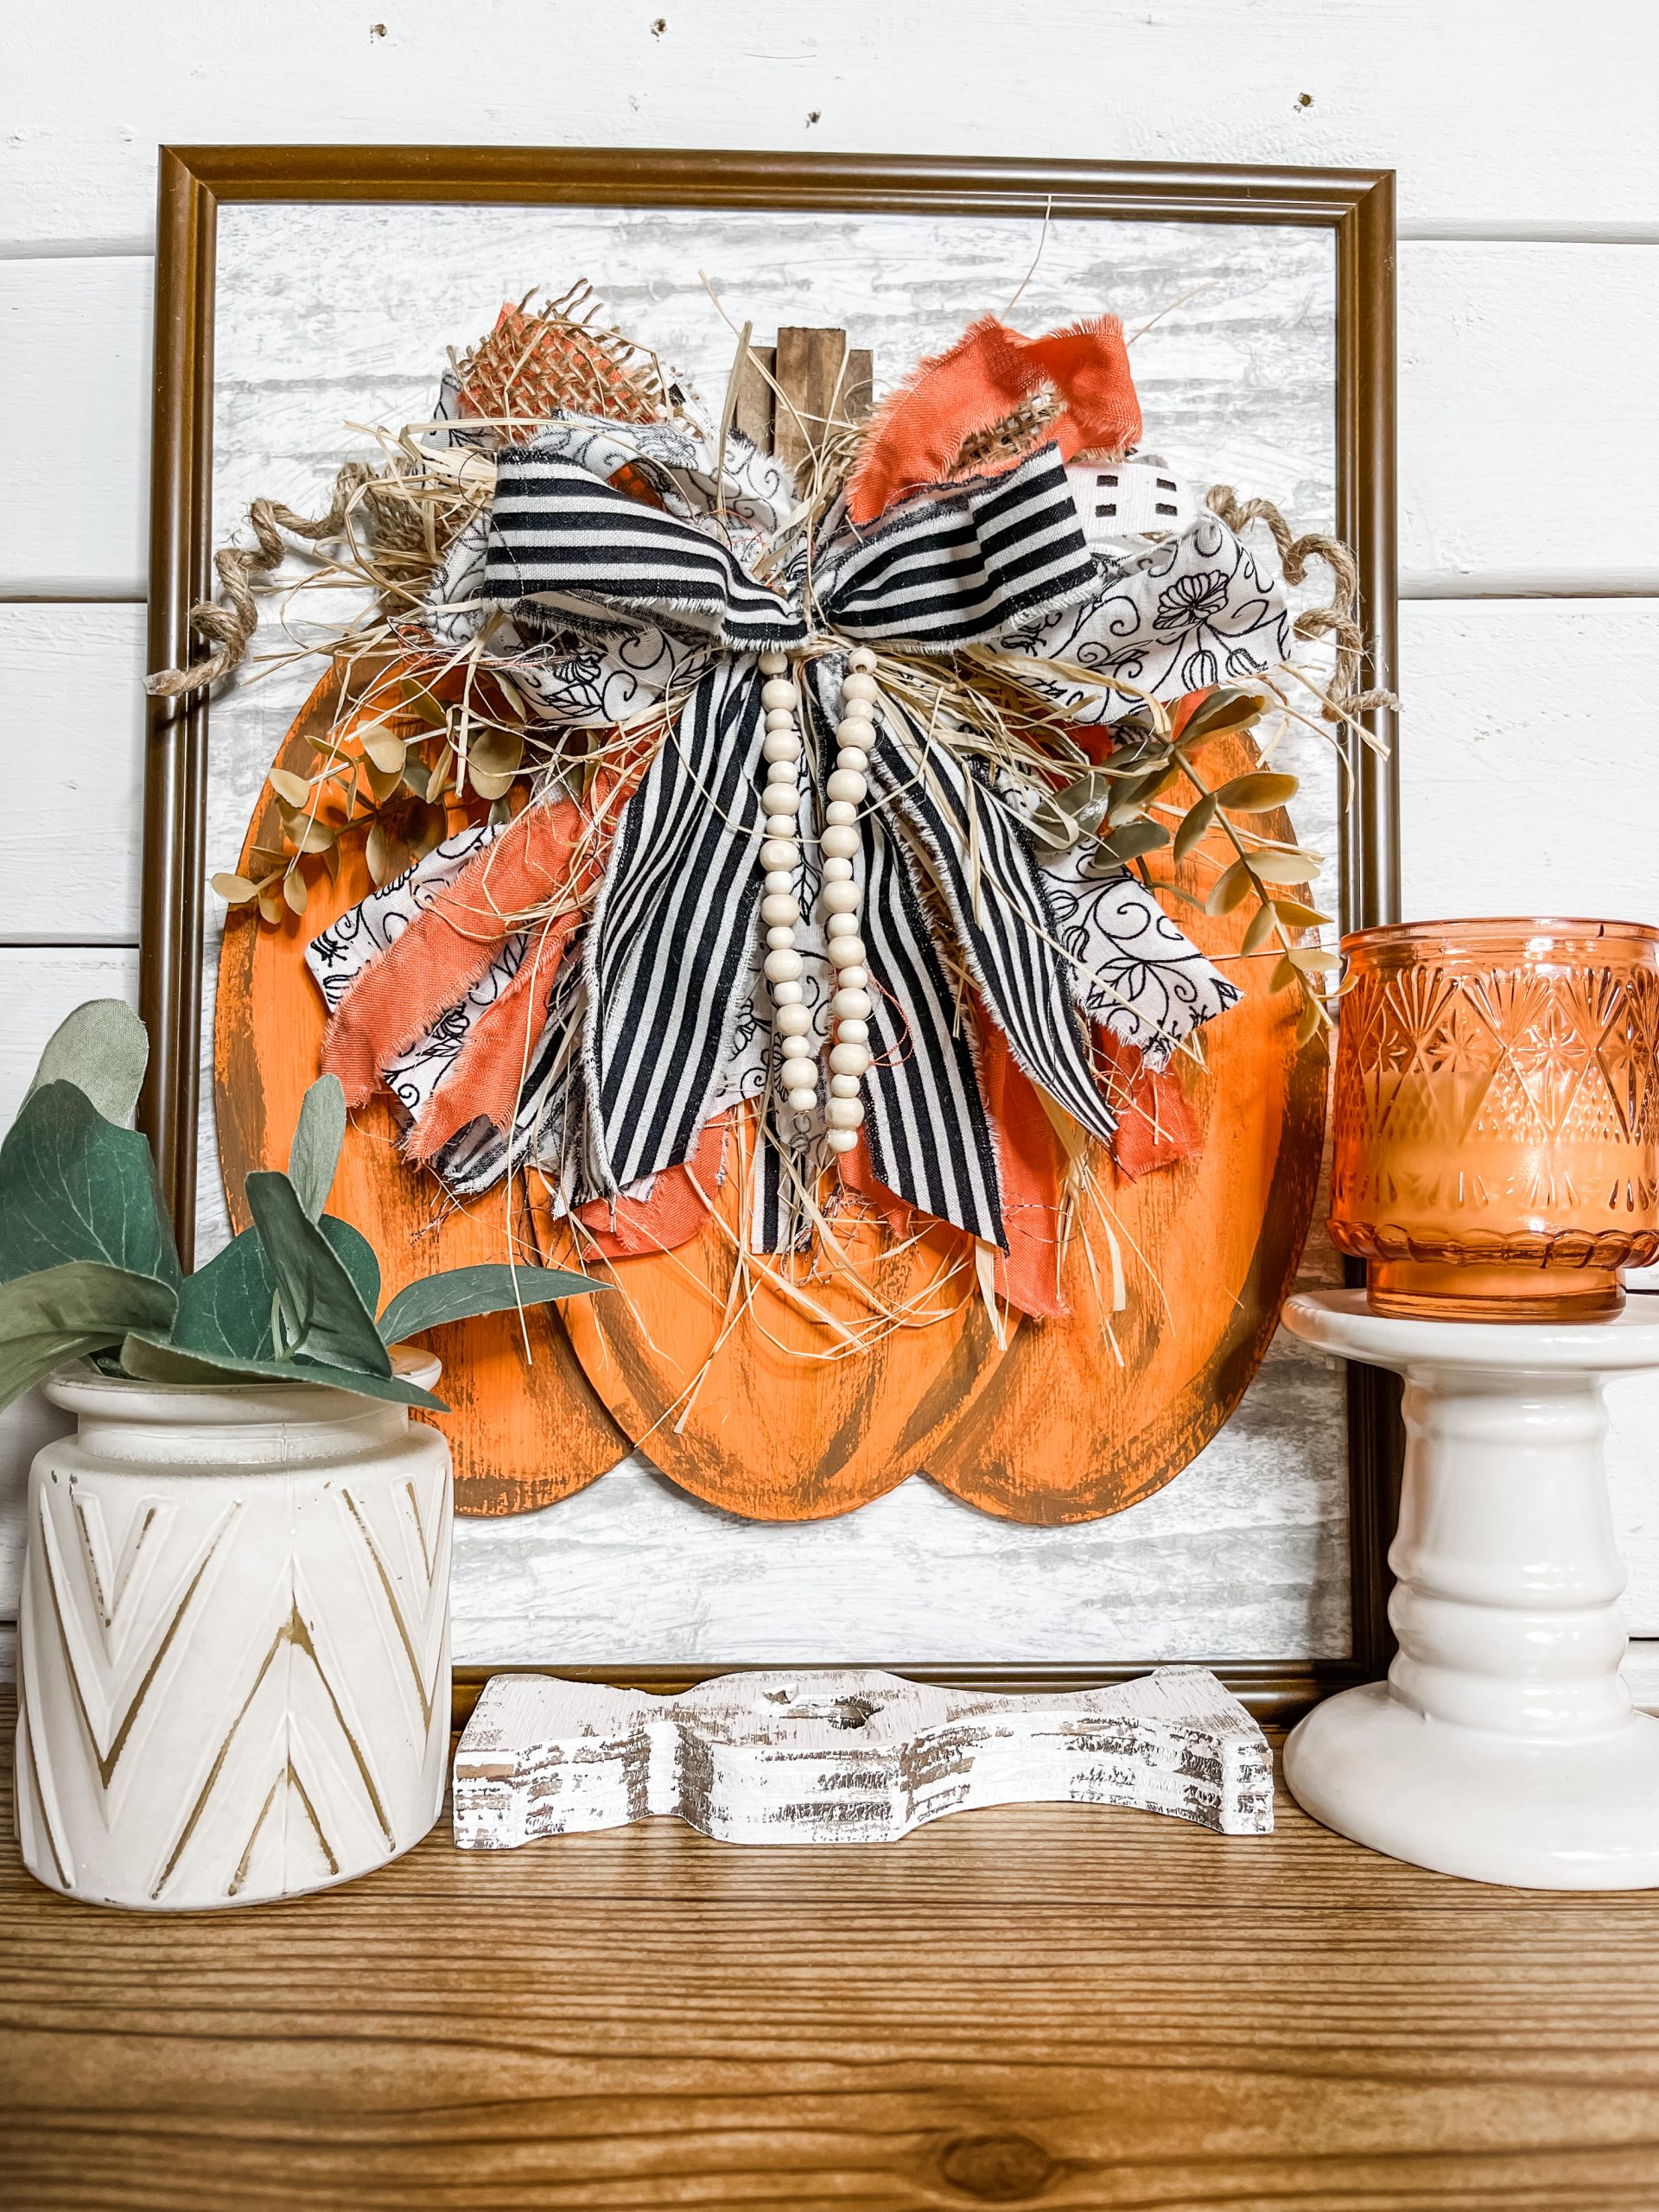
DIY Dimensional Pumpkin
Next, use your orange paints to paint each of the Dollar Tree oval wood plaques. I tried to match the color of my orange fabric, but was unsuccessful!
Then, I used my heat gun to quickly dry each of the plaques and hot glued them together to look like a dimensional pumpkin!
Mix a little bit of black paint with your orange paint and paint it around the edge of the top plaque to create a shadow effect.
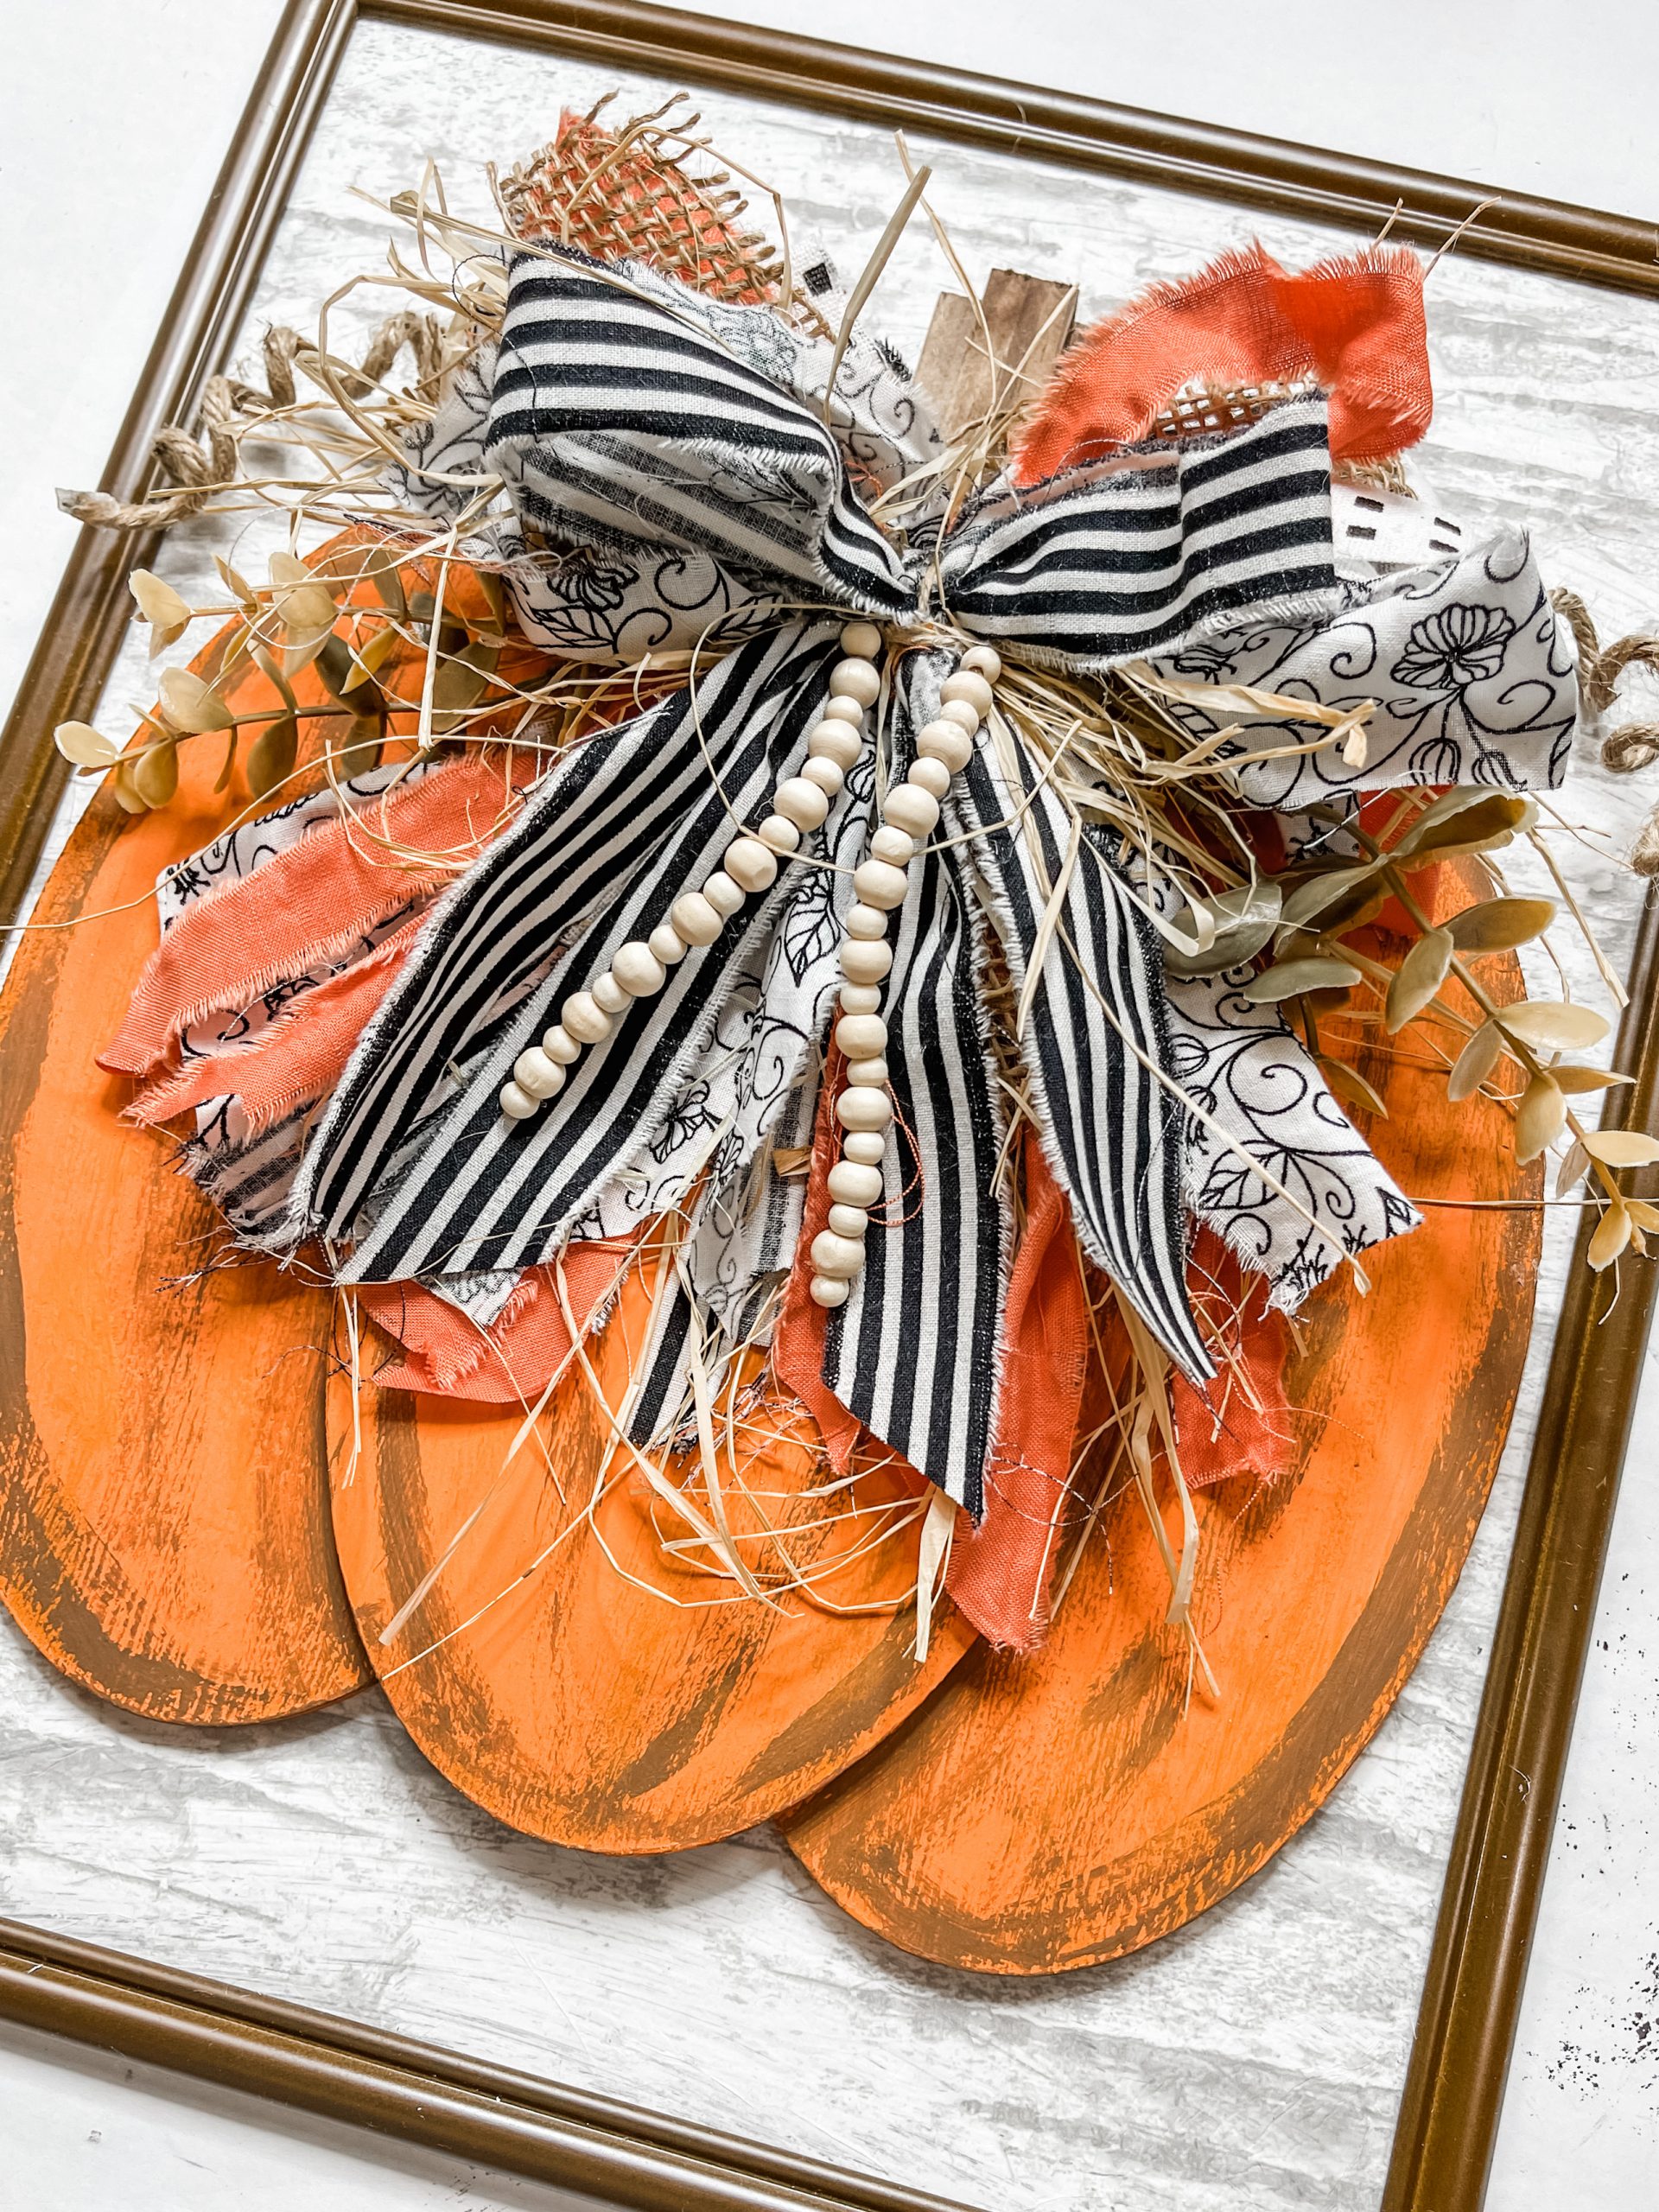
Continue outlining the pumpkin with your grey-ish color to create a sort of distressed, aged finish on the pumpkin and add detail to the pumpkin.
For the stem, I used four Dollar Tree Tumbling Tower blocks that I stained with Apple Barrel Burnt Umber Acrylic Paint.

Once the blocks were dry, I hot glued them to the top of the pumpkin to create the stem. I just didn’t think a stick would be substantial enough for this project.
Make your DIY bow
Alright, I usually go step-by-step with instructions on how to make a bow for my projects, but I don’t really think I can do that this time.
I made this bow different than any bow I’ve ever made before, and you can see exactly how in either the quick Youtube tutorial or extended Facebook LIVE replay.
Once the bow was made, I made little wood bead tassels and attached them to the bow. Then, I hot glued the bow to the stem of my dimensional pumpkin.

Next, I cut stems from the Dollar Tree eucalyptus spray and hot glued them around the bow. I used Dollar Tree wired jute cord to create a sort of vine for the pumpkin.
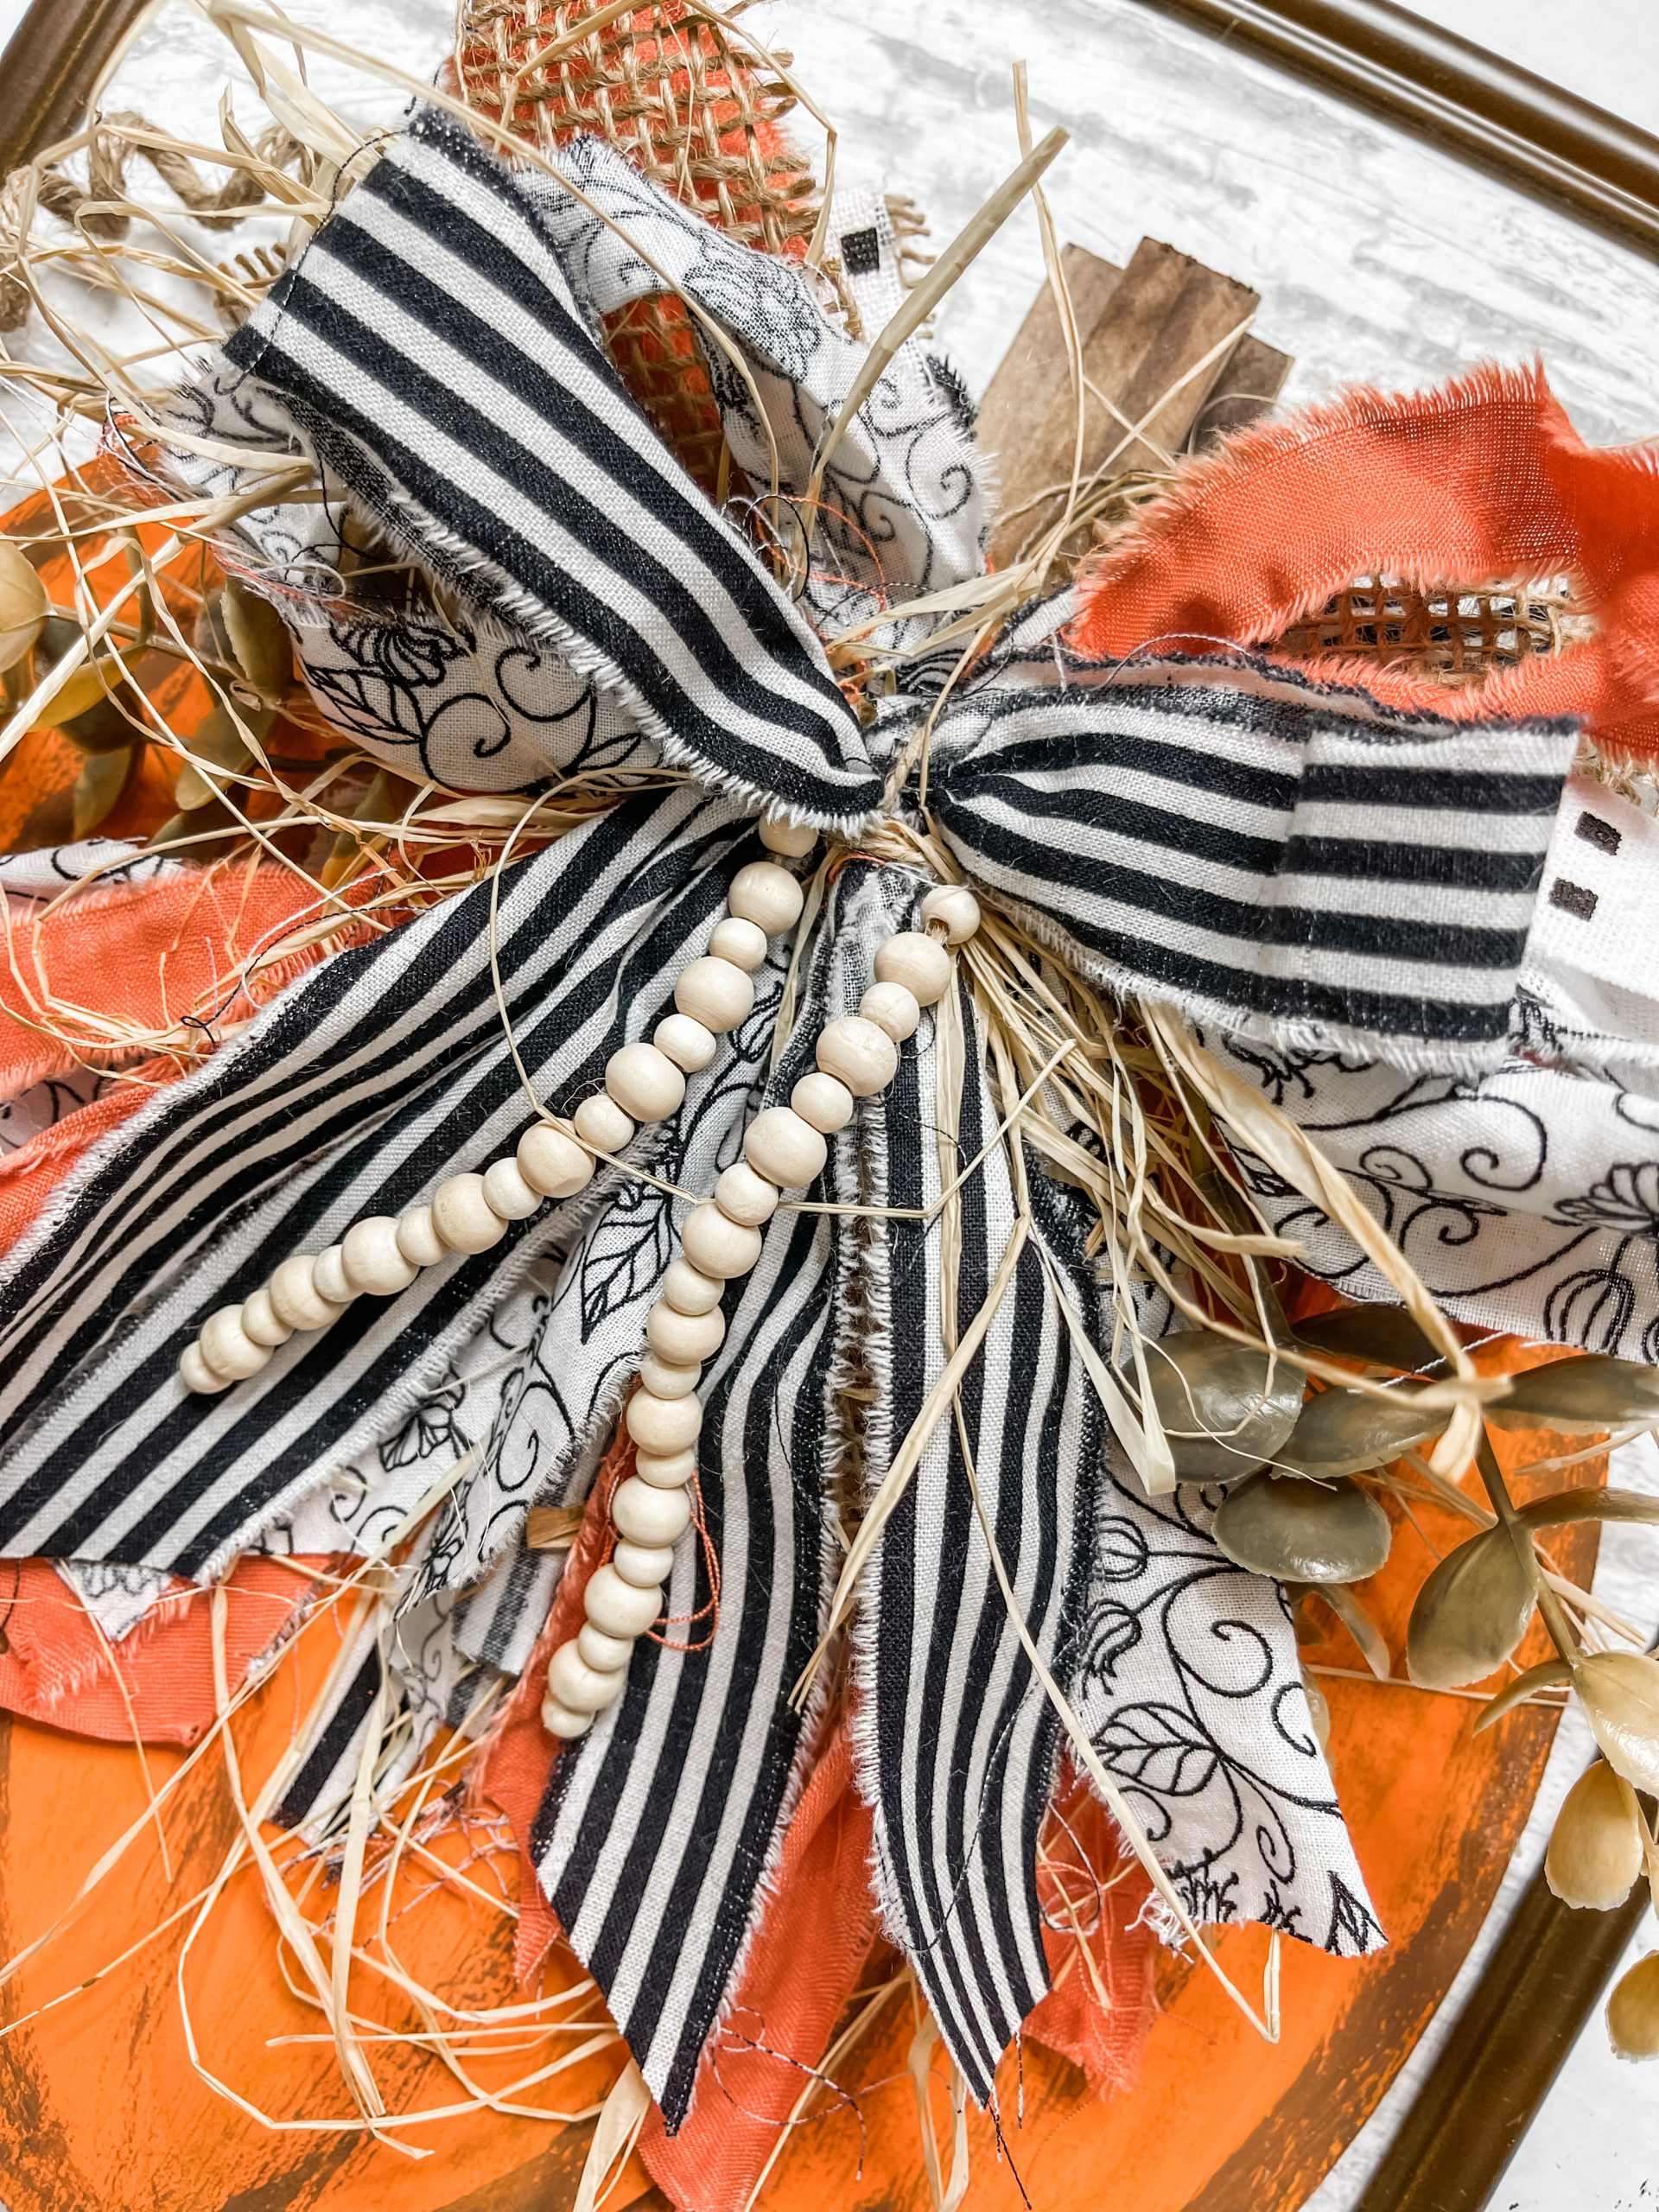
Wrap the wired jute cord around a pencil and hot glue it at the base of the stem, behind the bow, and coming out the top of it.
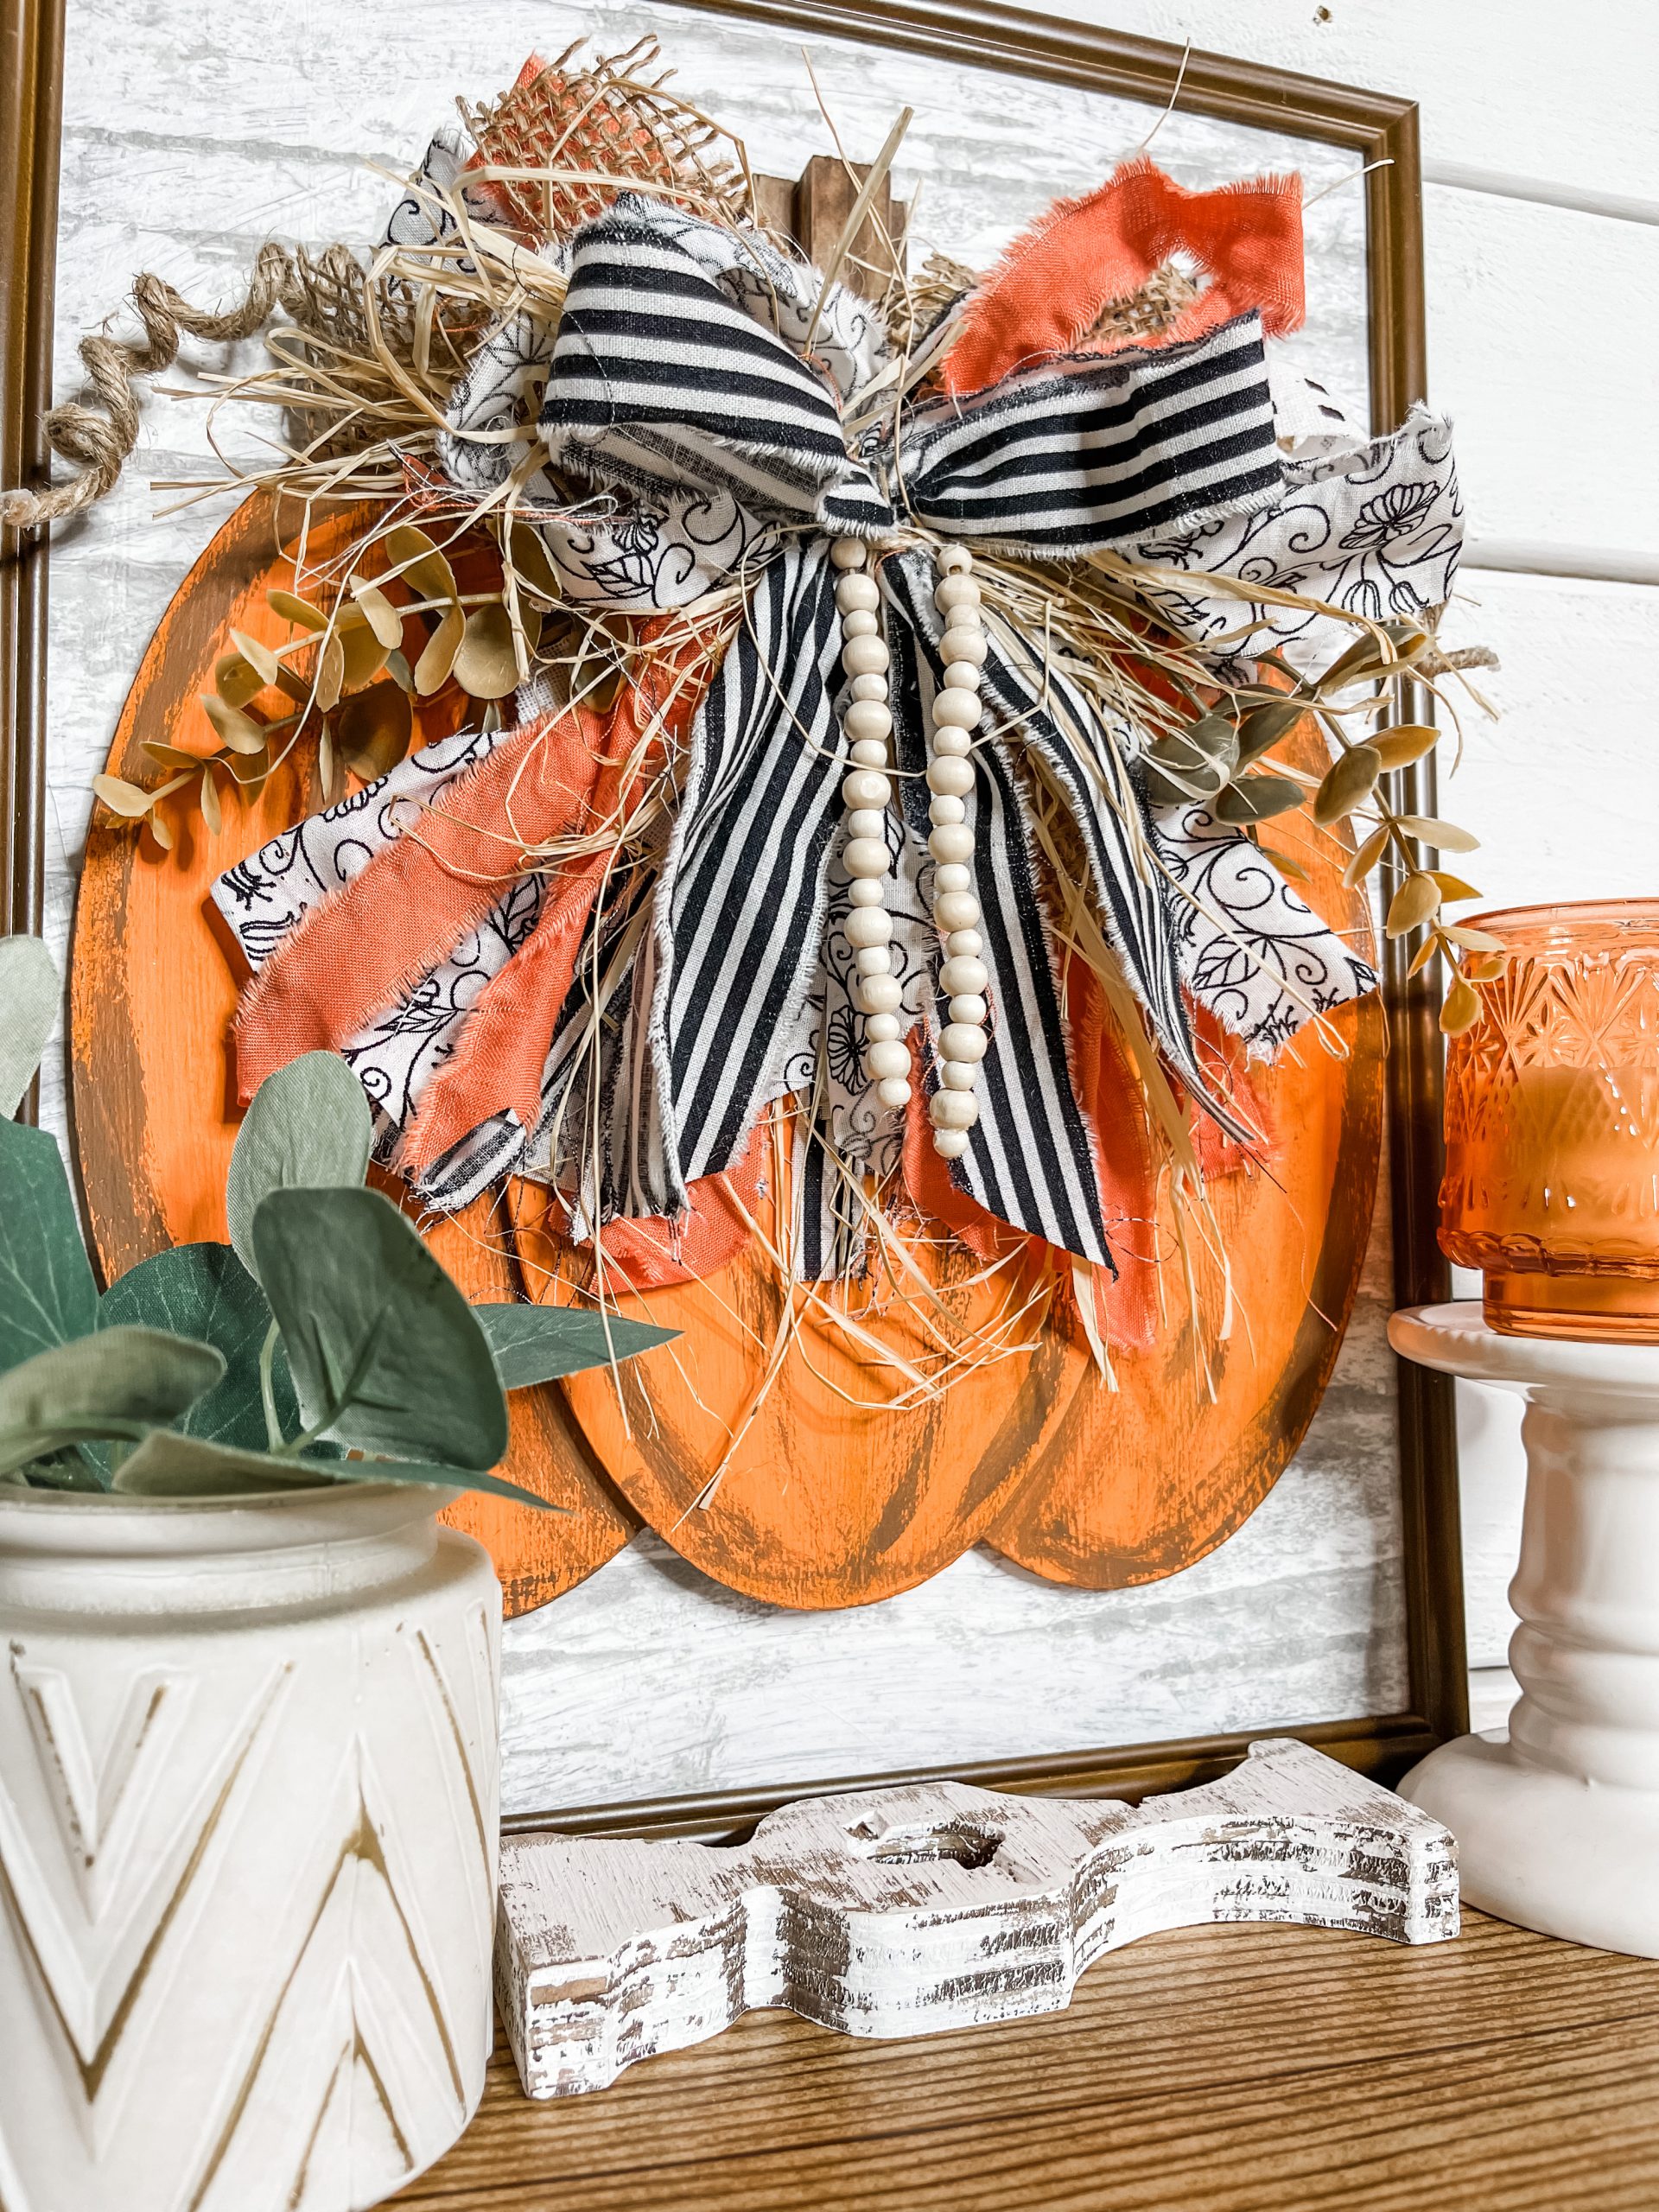
Finally, put the decoupaged cardboard/plastic back into the picture frame and hot glue the Dollar Tree dimensional pumpkin to the decoupaged picture frame!
I hope you enjoyed this DIY Dimensional Pumpkin Sign as much as I did and decide to make it for yourself! If you do, I would love to see how yours turns out!
You should totally join my FREE Facebook group called On A Budget Crafts! It is a judgment-free community for DIY crafters to show off their projects and ideas.
If you loved this DIY Dimensional Pumpkin Sign, you might also like these DIY ideas!
Thanks for stopping by! XOXO Amber
You can also shop my ENTIRE AMAZON Favorites shop just click here! It’s packed full of all the things I use and love. Here is the supply list I highly recommend every creative have on hand!!
Would you also pin my blog for later and get on my newsletter alerts? I would love to have you join my #craftycrew.
I email alerts about new blogs like this DIY Dimensional Pumpkin Sign so you’re always up to date on fun, new DIY ideas!
Inspired? Leave me a comment below! I love hearing from my readers!

Join my free “ON A BUDGET CRAFTS” Facebook group!
You are awesome!! I can’t believe how you transform Dollar Store items into such amazing pieces! I’m adding this link to my weekly roundup…and I have to make one of these!!
I absolutely love this.