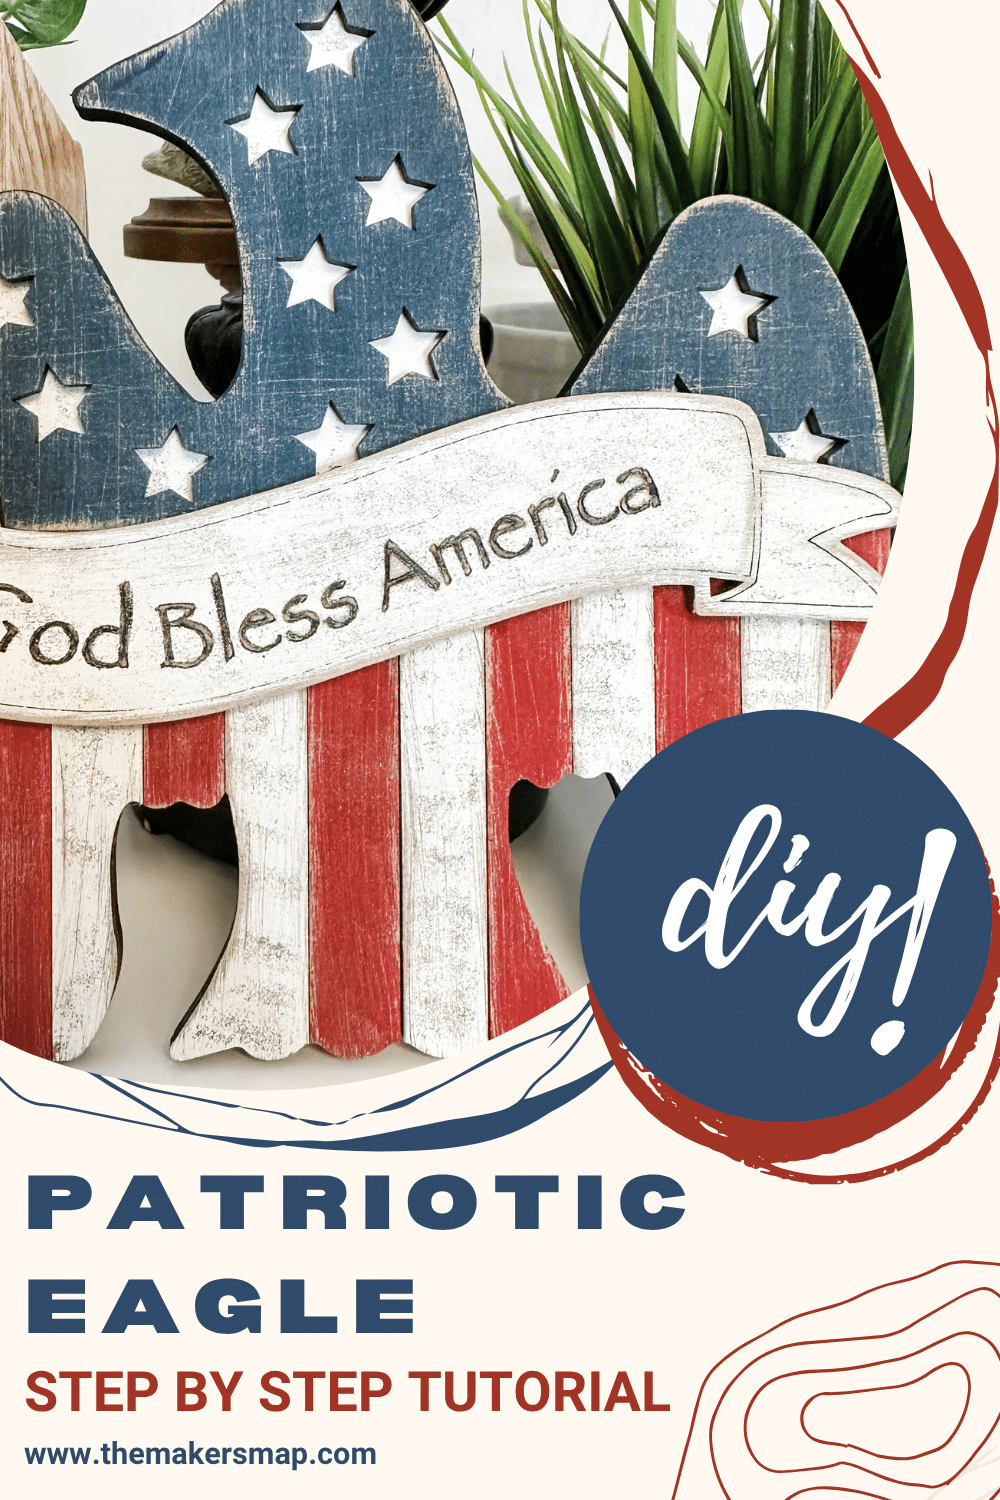
Easy Patriotic Eagle Craft Kit Tutorial for Beginners
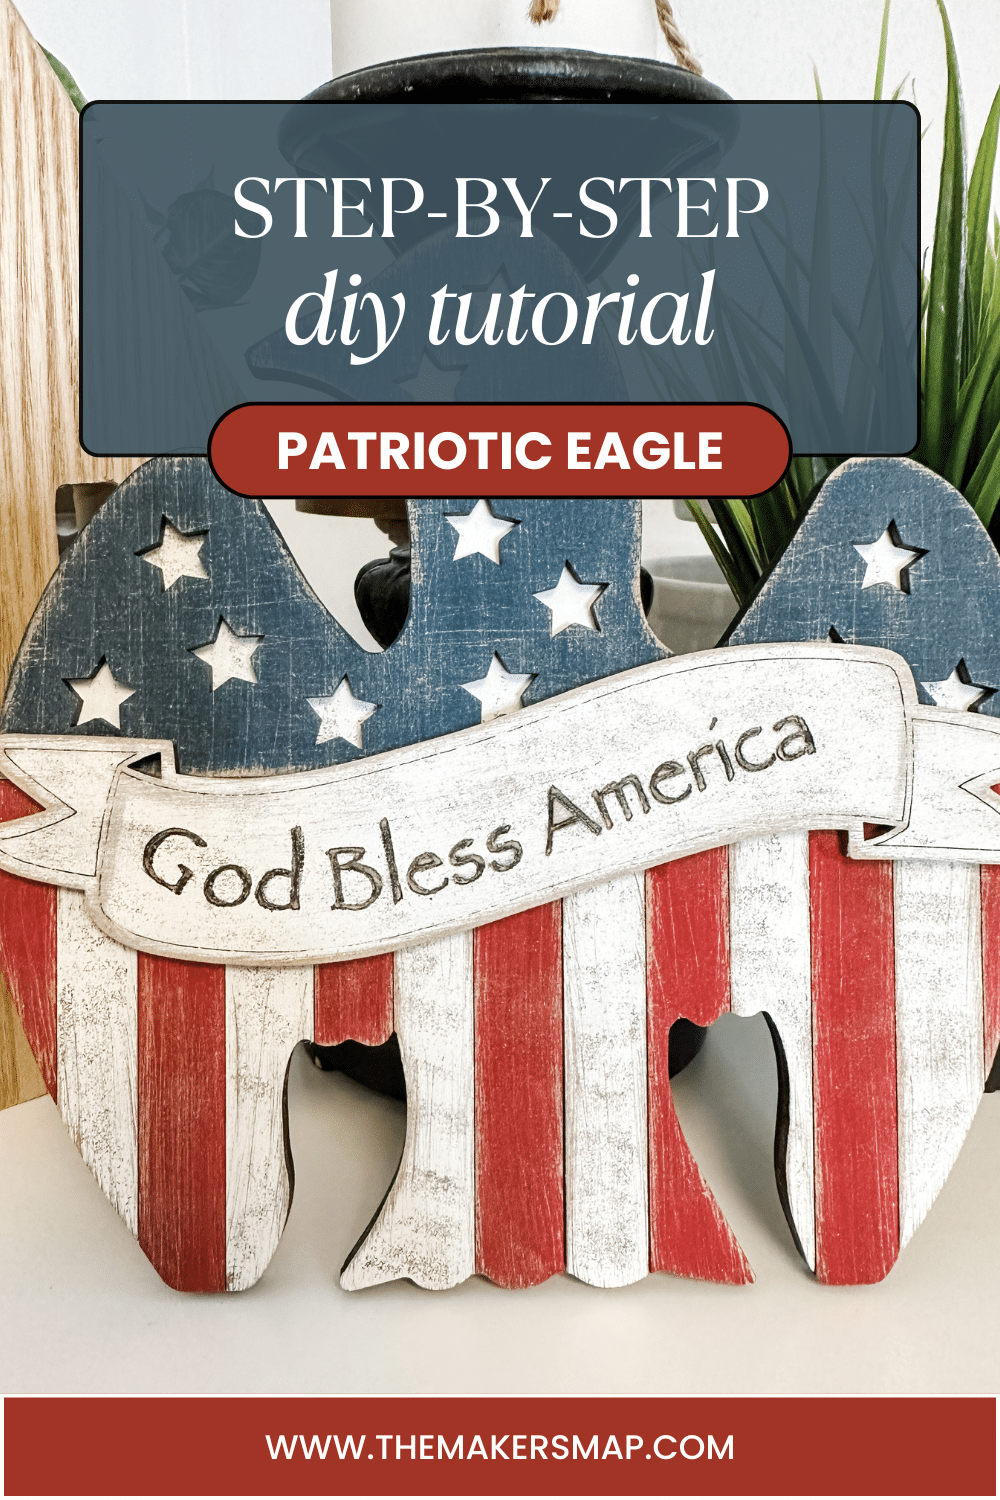
If you are looking for a simple, relaxing way to create beautiful patriotic decor, this Easy Patriotic Eagle Craft Kit Tutorial for Beginners is a great place to start!
In this tutorial, I am walking you through the exact steps to take your raw wood pieces and turn them into a finished red, white, and blue statement piece. No experience needed. Just a little time and a willingness to get creative!
WATCH THE VIDEO EASY PATRIOTIC EAGLE CRAFT TUTORIAL FOR BEGINNERS ⬇️
We design our kits to be simple to follow, while still giving you a finished piece you are proud to display or gift!
Whether you are decorating for the seasons or just want a relaxing creative project, our shop is full of options to help you make something beautiful!

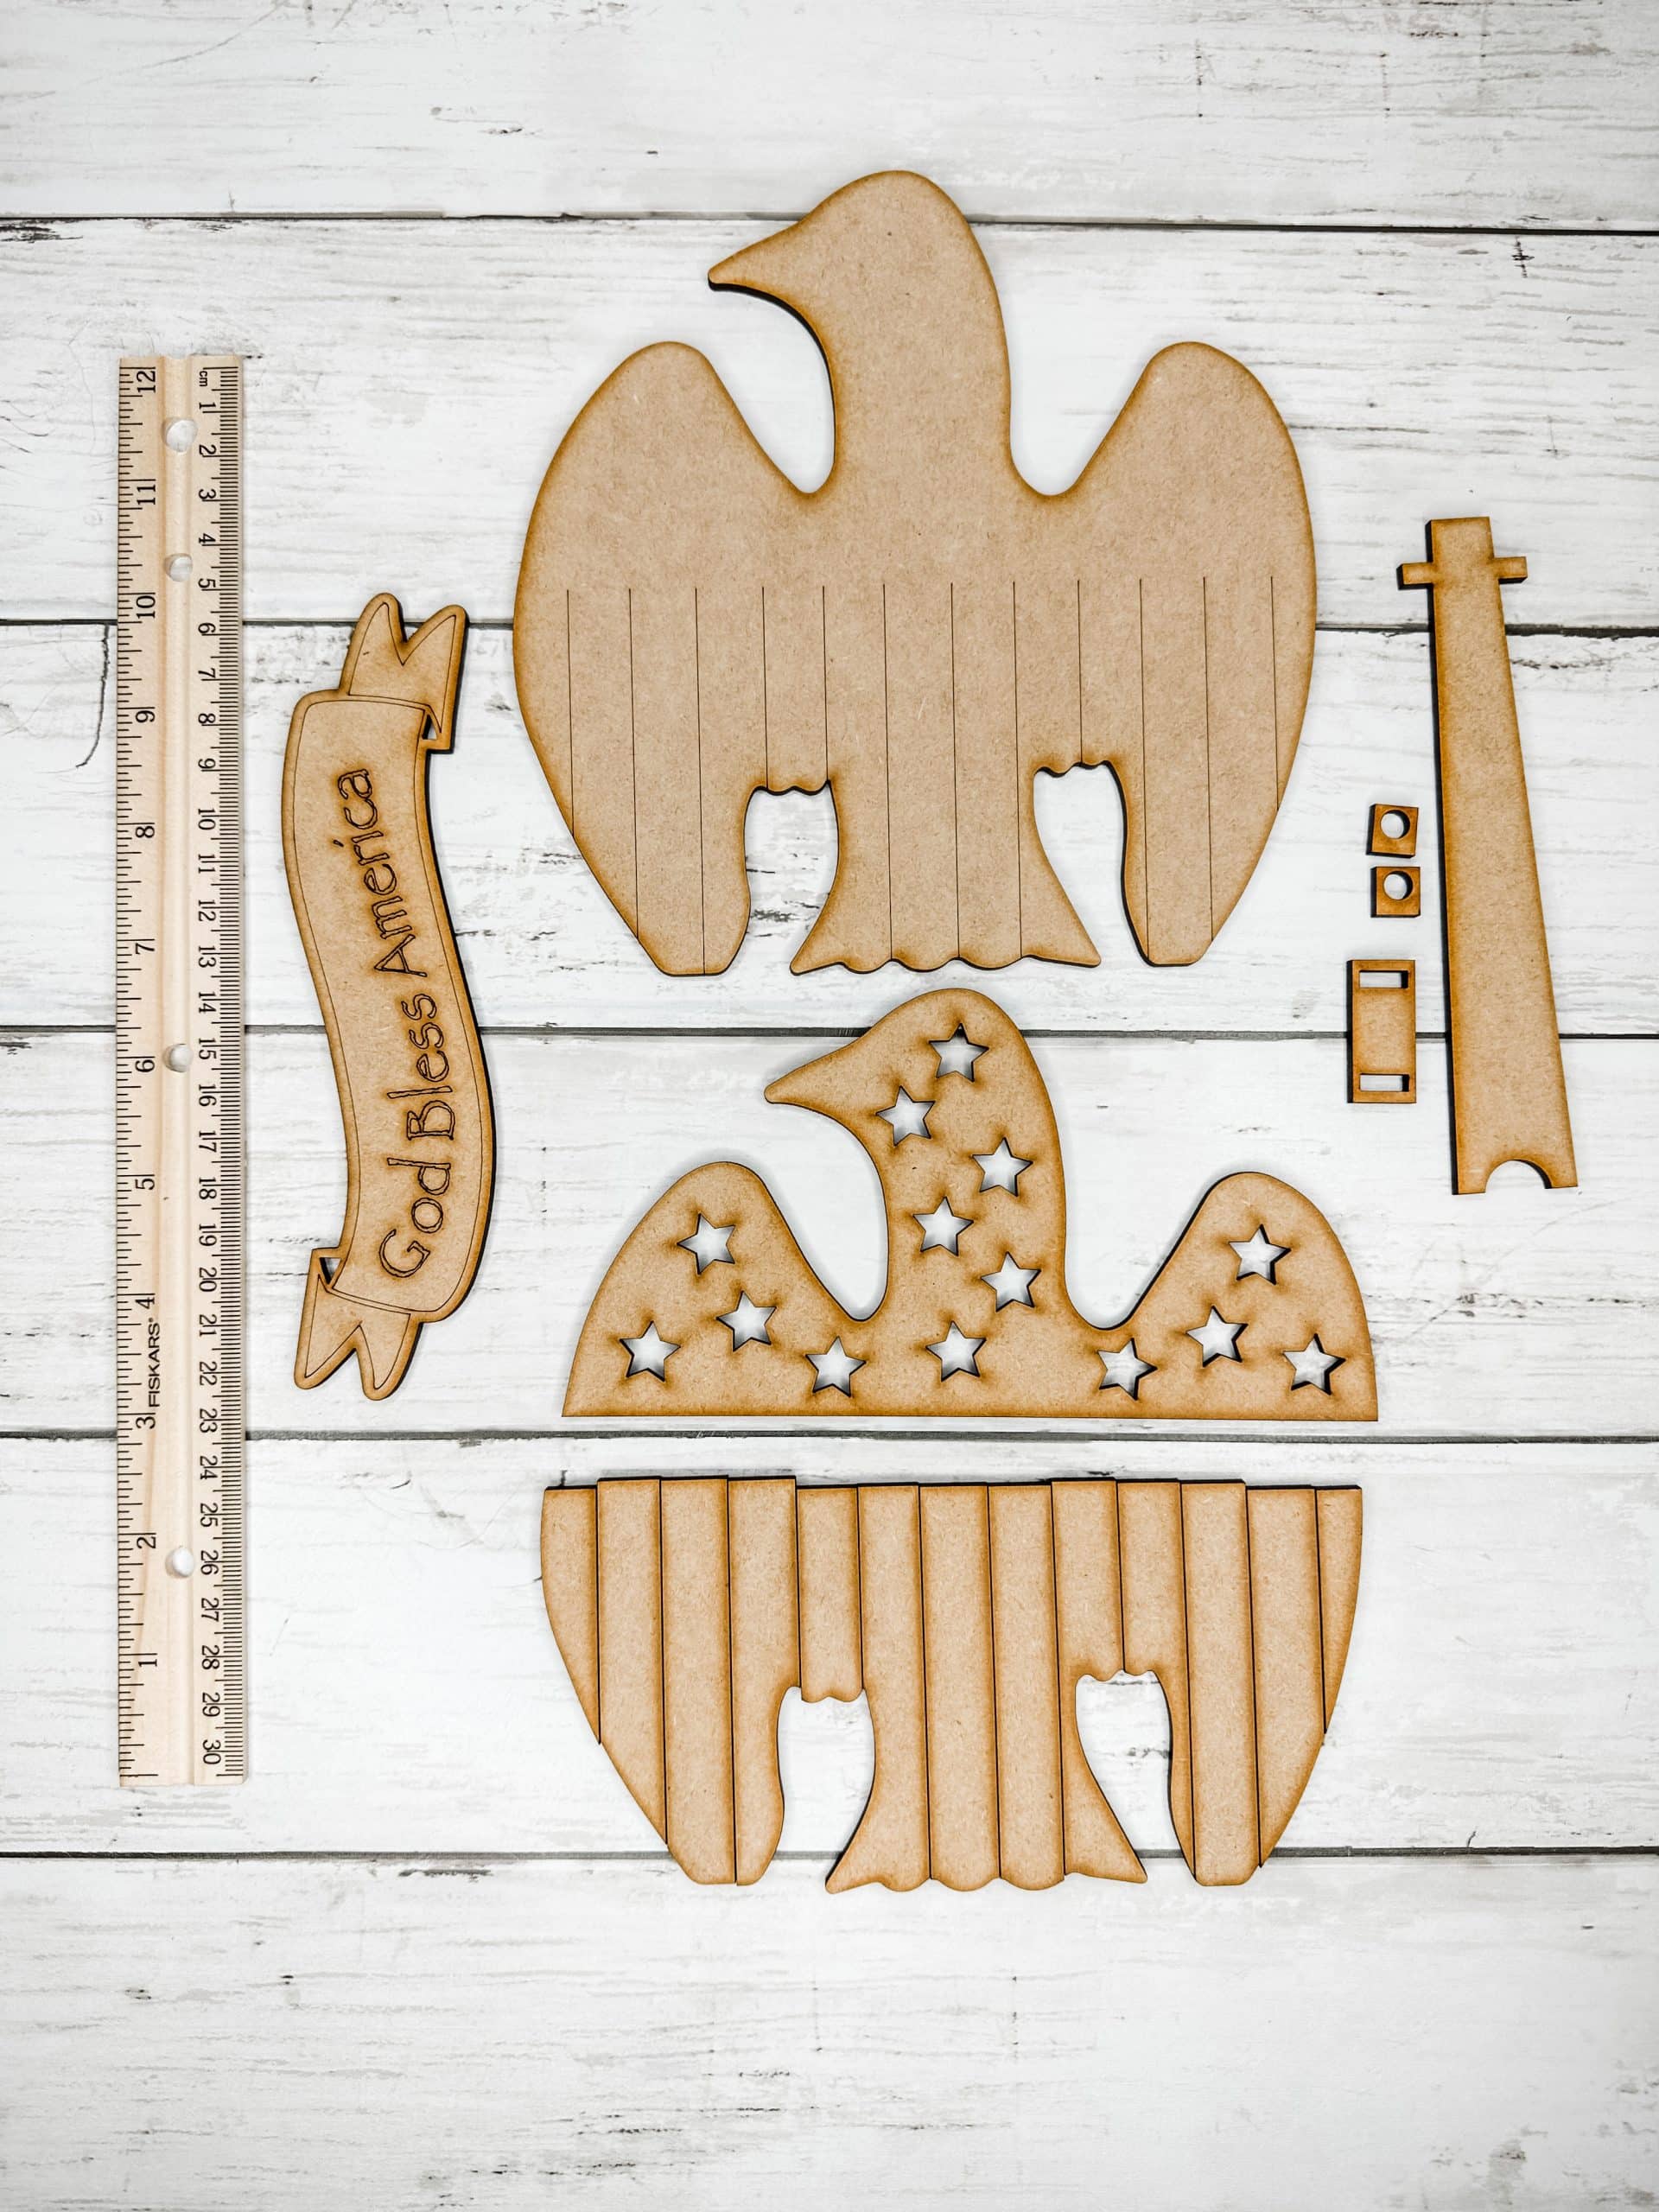
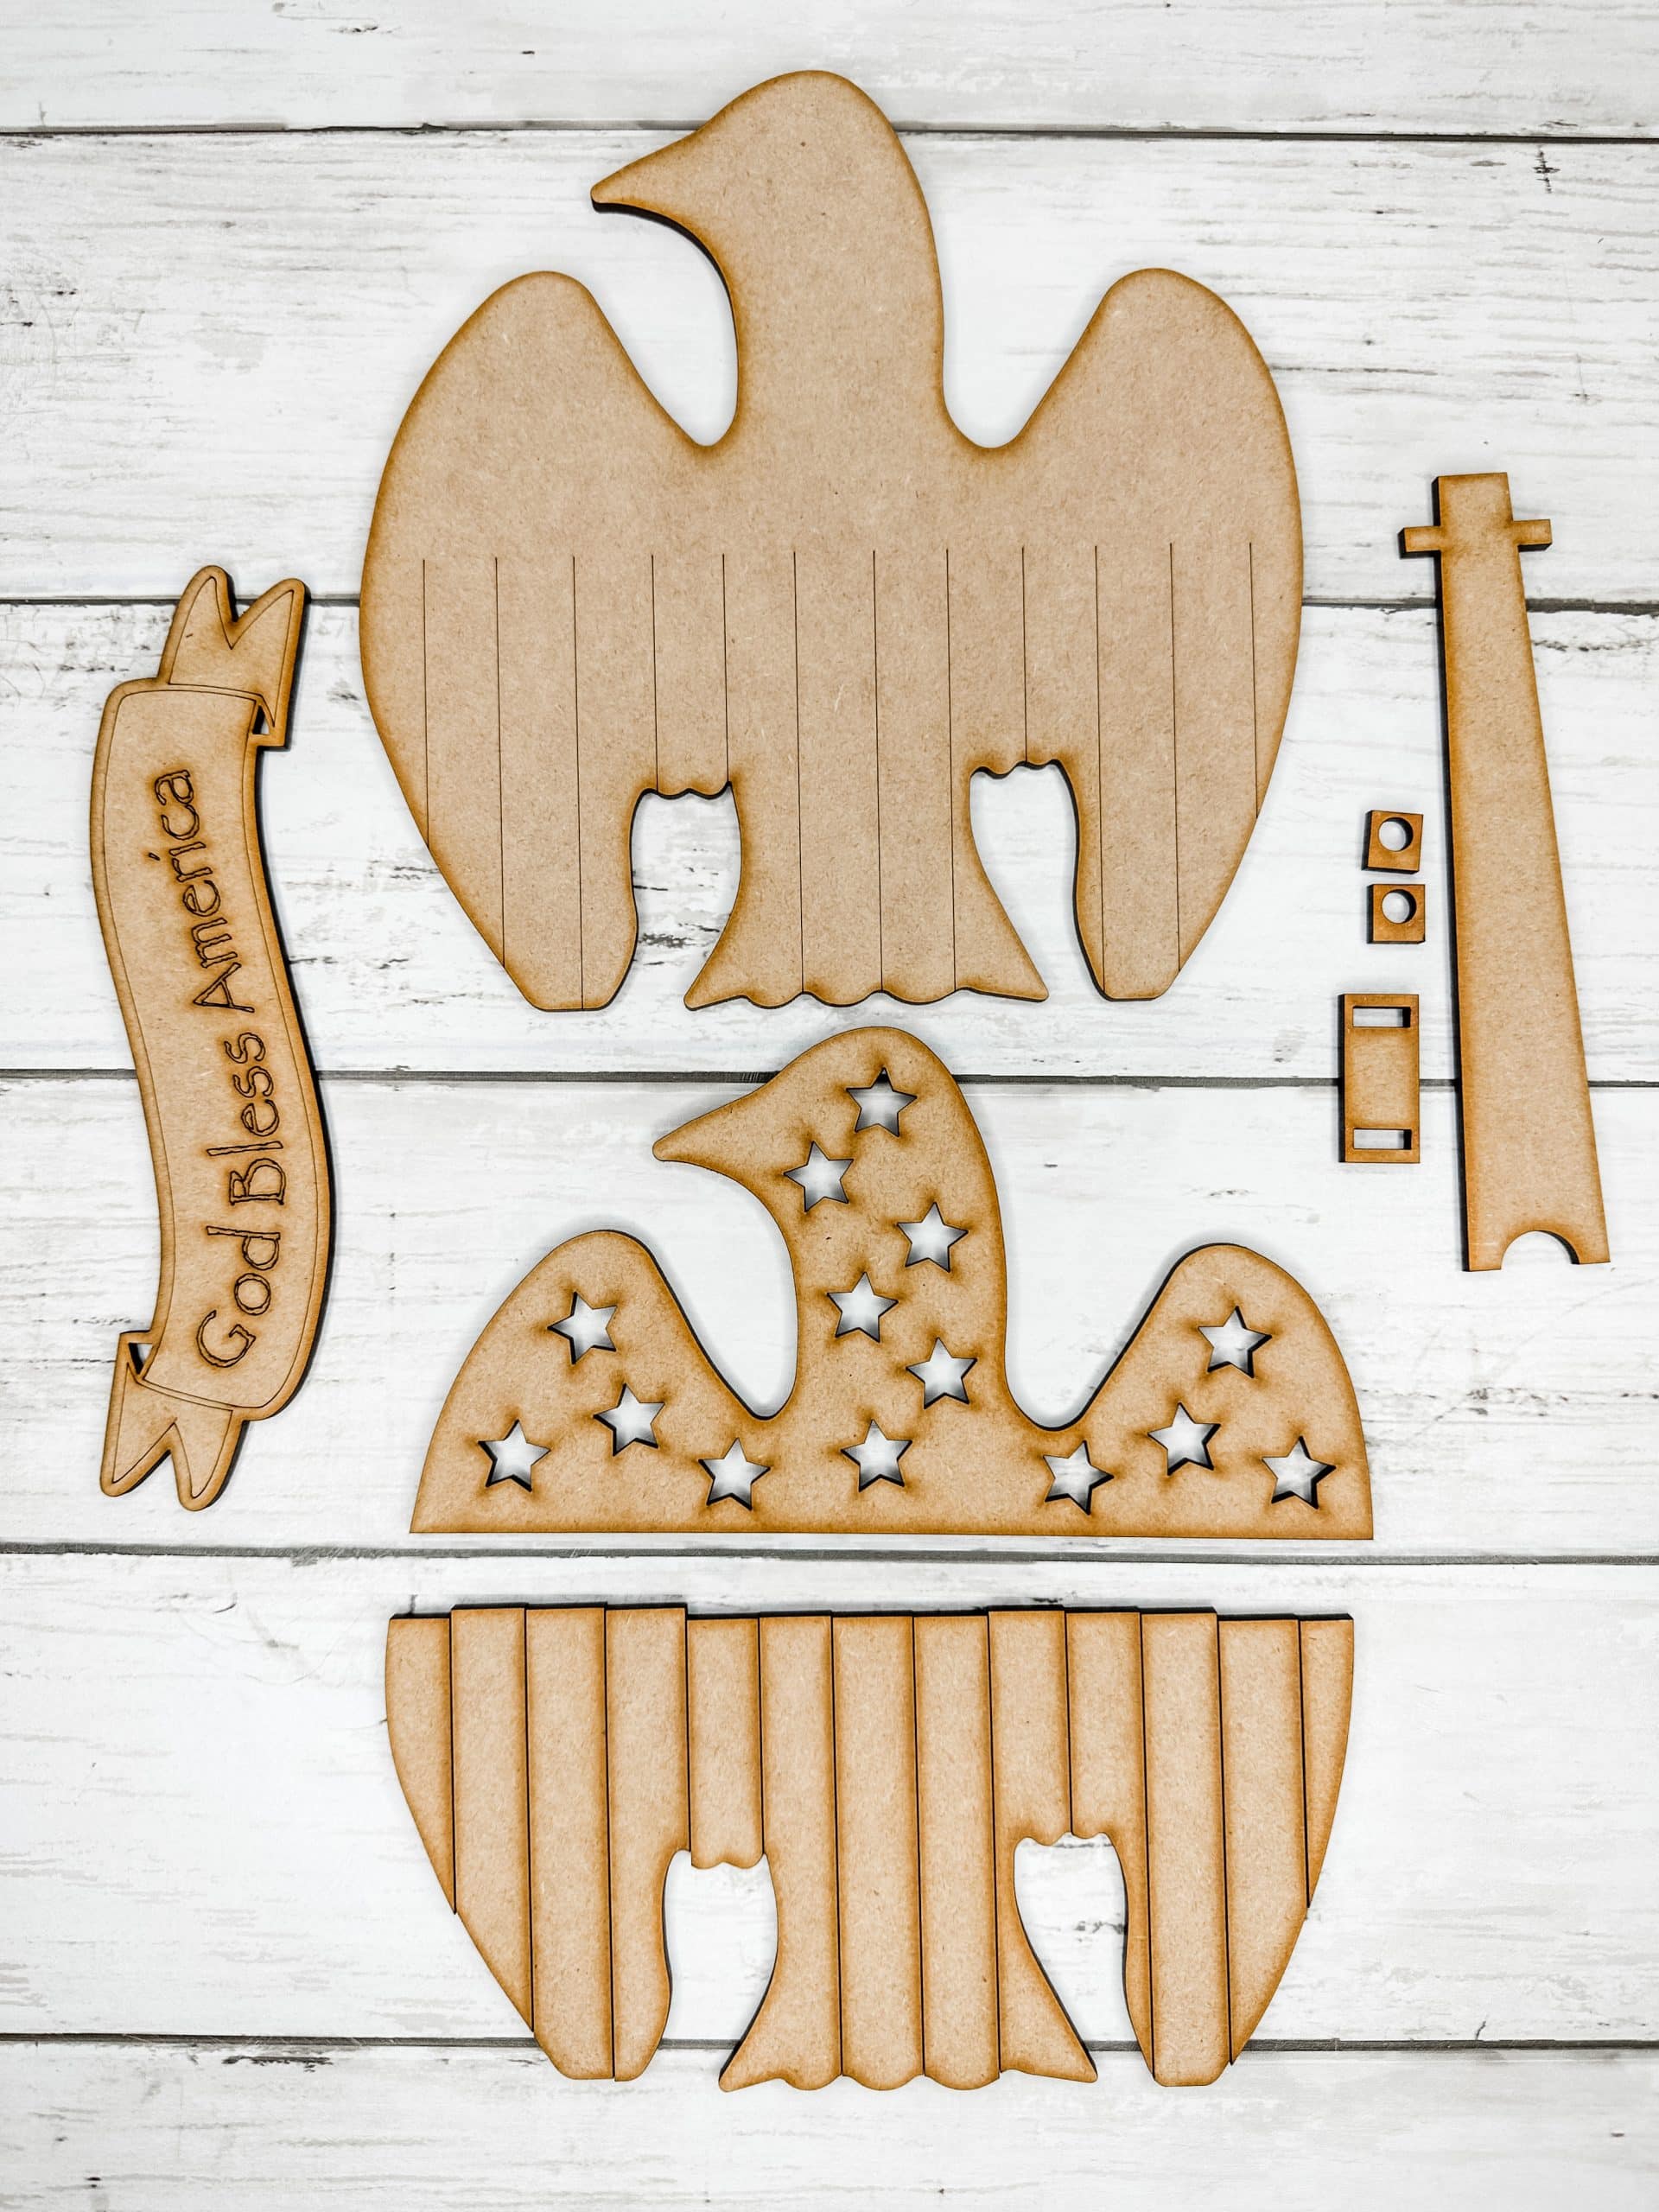
Supplies you need for theEasy Patriotic Eagle Craft Kit Tutorial for Beginners
- Patriotic Eagle Craft Kit
- Acrylic Paint (see the colors I used in the video)
- Wet Wipes
- Sanding Sponge
- Foam Sponges and Paint Brushes
- StickFast Super Glue
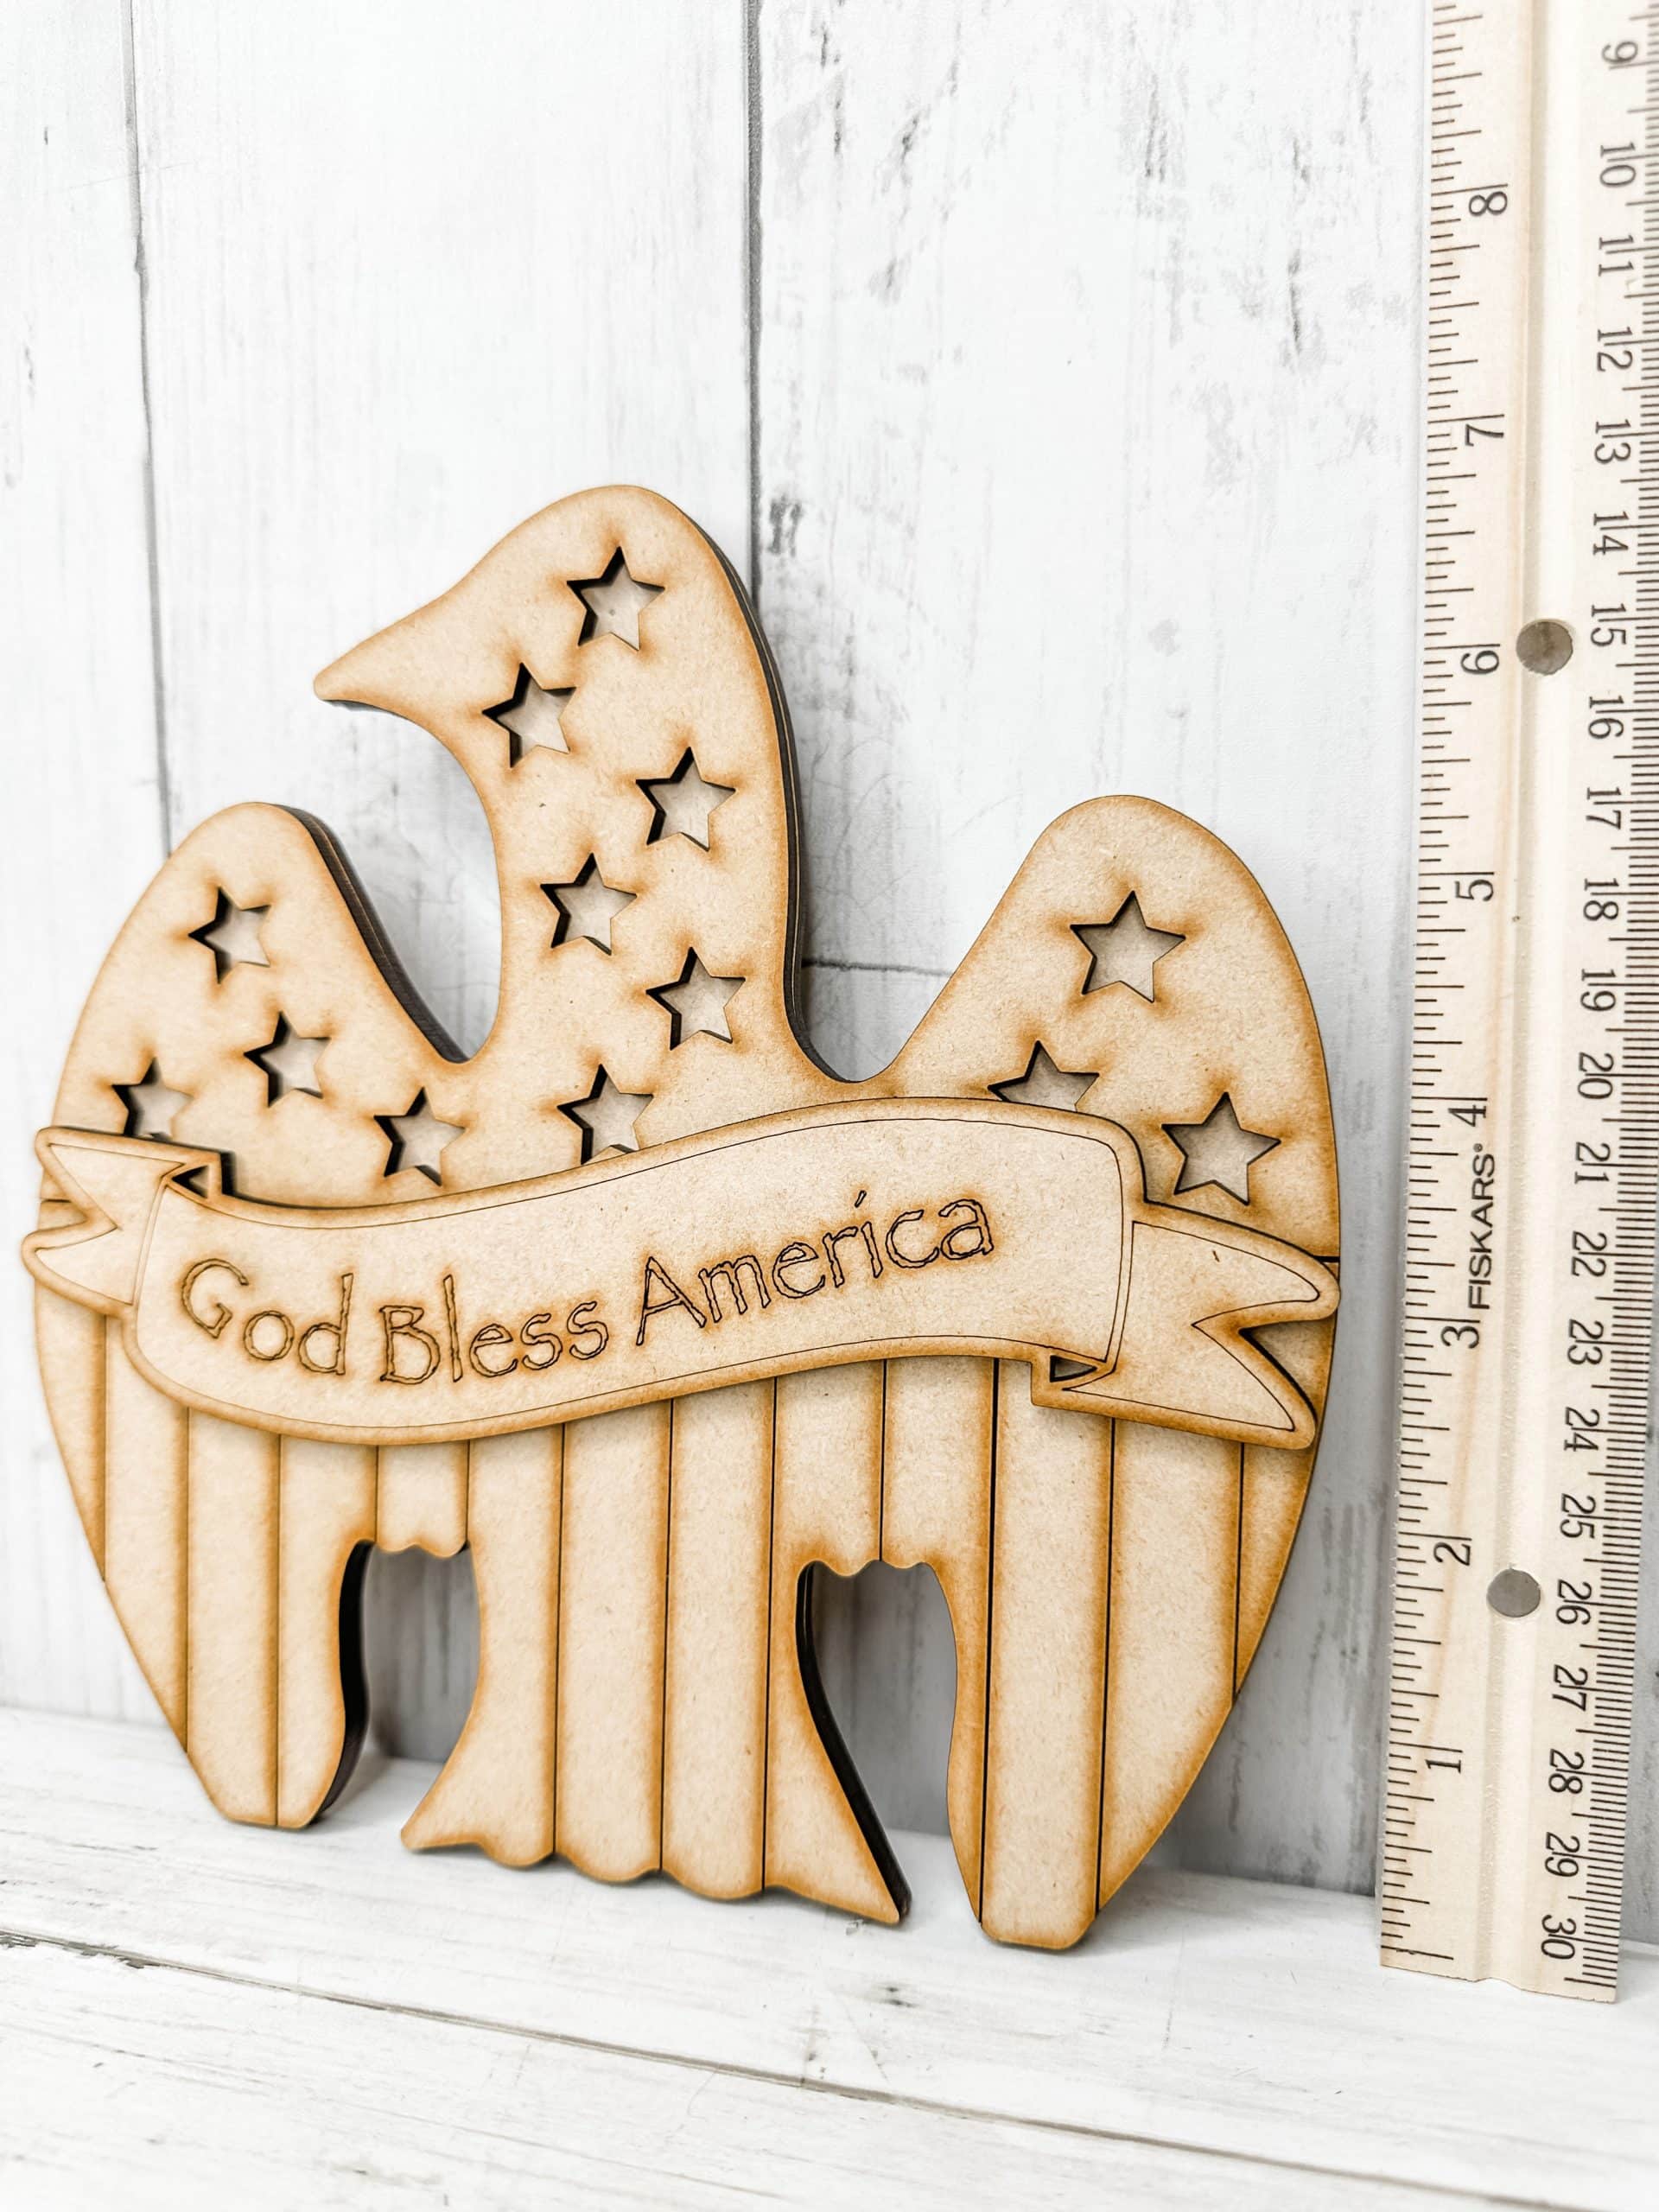
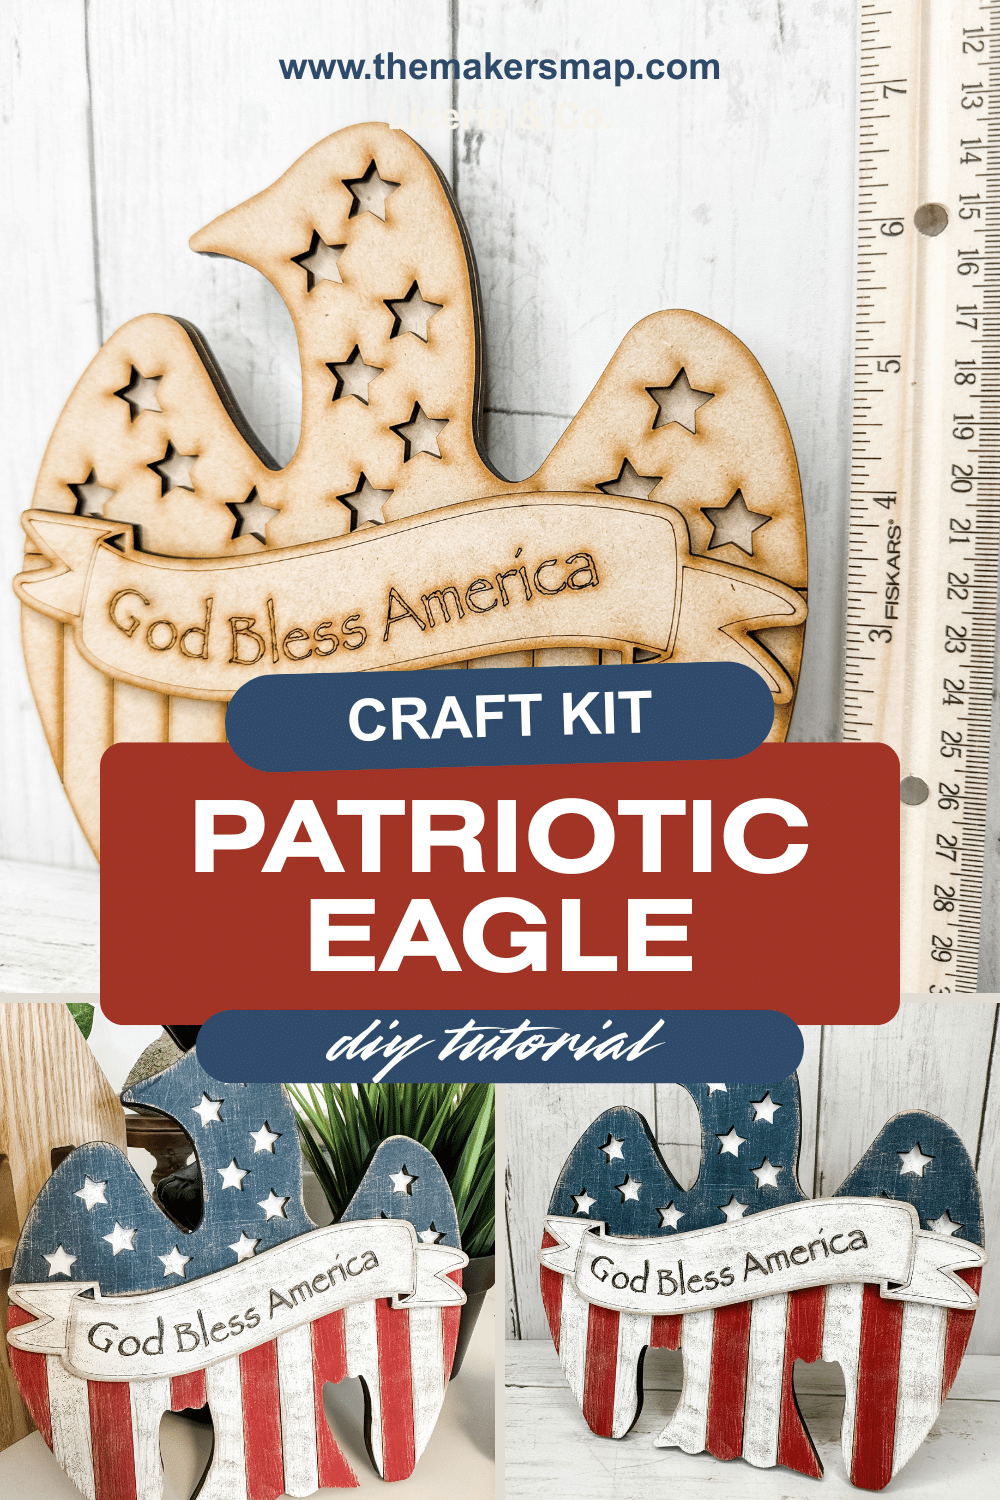
Easy Patriotic Eagle Craft Kit Tutorial for Beginners: Sanding Your Pieces
You will always want to start by sanding each piece of your craft kit. This step removes any residue left behind from the laser cutting process and helps your paint go on smoother.
It is a small step, but it makes a noticeable difference in your finished project!
Once your surfaces are prepped, it is time to stain your pieces using brown acrylic paint.
There are a few ways to do this, but here is the easiest method:
- Apply a small amount of brown paint to your surface
- Use a wet baby wipe to spread the paint across the wood
- Go back in with a clean baby wipe to even everything out
This creates a soft stained look without heavy paint buildup.
Allow your craft kit pieces to dry completely before moving on. To speed things up, you can use a heat gun or a hair dryer on the low, cool setting.
Creating the Star Backing
Next, grab your eagle backing piece. Using a small sponge to lightly dab white paint onto the top half of the backing.
This is what will show through the star cutouts on the front piece, so it is an important step. Use the same technique to paint the ribbon banner white.
Once painted, use a pointed tool such as a toothpick or weeding tool to gently scrape the paint out of the engraved lettering. This helps the wording stand out clean and readable.
Painting the Stripes
For the bottom striped section, lay them out in order so you can make sure you’re painting them in alternating order. Paint them in a red and white pattern, aiming for light, even coverage.
Using a dabbing motion instead of brushing keeps the texture soft and slightly rustic, which fits this style well.

Painting the Eagle
Now for the top layer. Dab navy blue paint onto the eagle front piece. Use a light, even application so the wood texture still shows through slightly.
Once everything is completely dry, lightly sand each piece again. This creates a distressed, farmhouse-style finish and adds dimension to your project!
Focus on:
- Edges
- Raised areas
- Spots where natural wear would occur
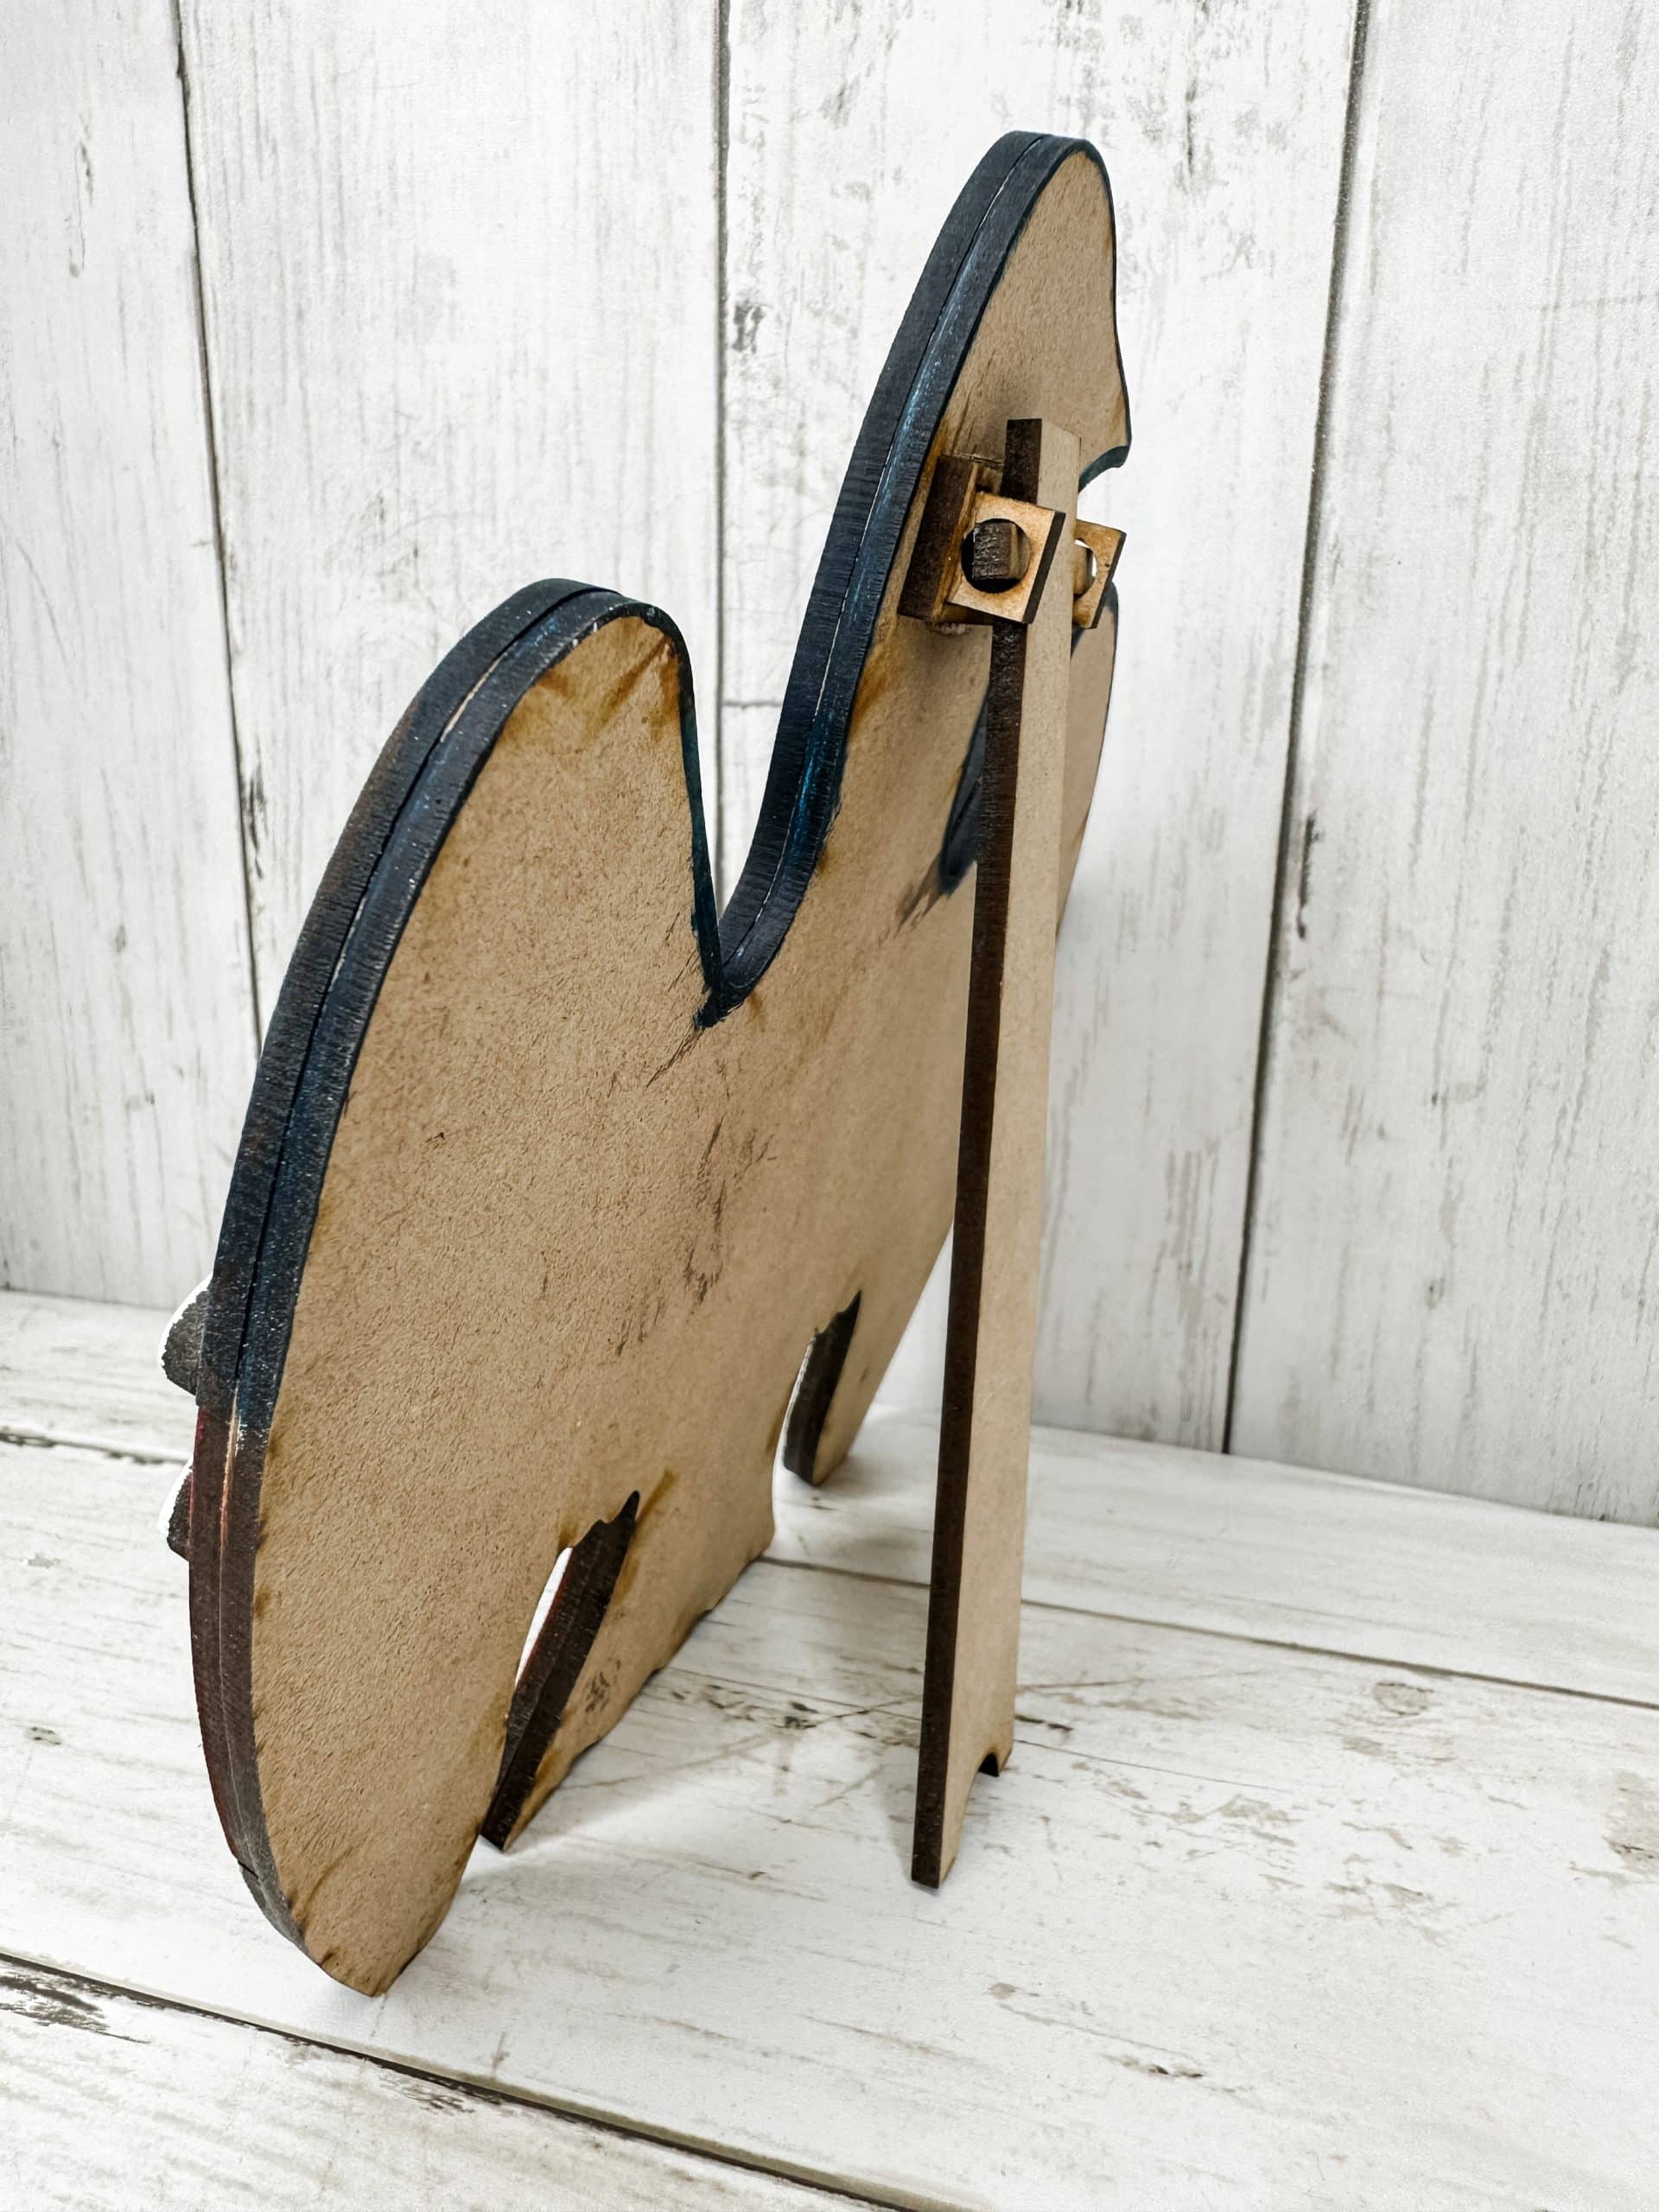
Assembling Your Craft
Lastly, it is time to bring everything together!
- Glue your craft kit pieces together
- Line everything up carefully before pressing down
Layer your pieces until your patriotic eagle is fully assembled. Be sure you let the glue set completely before moving or displaying your piece.
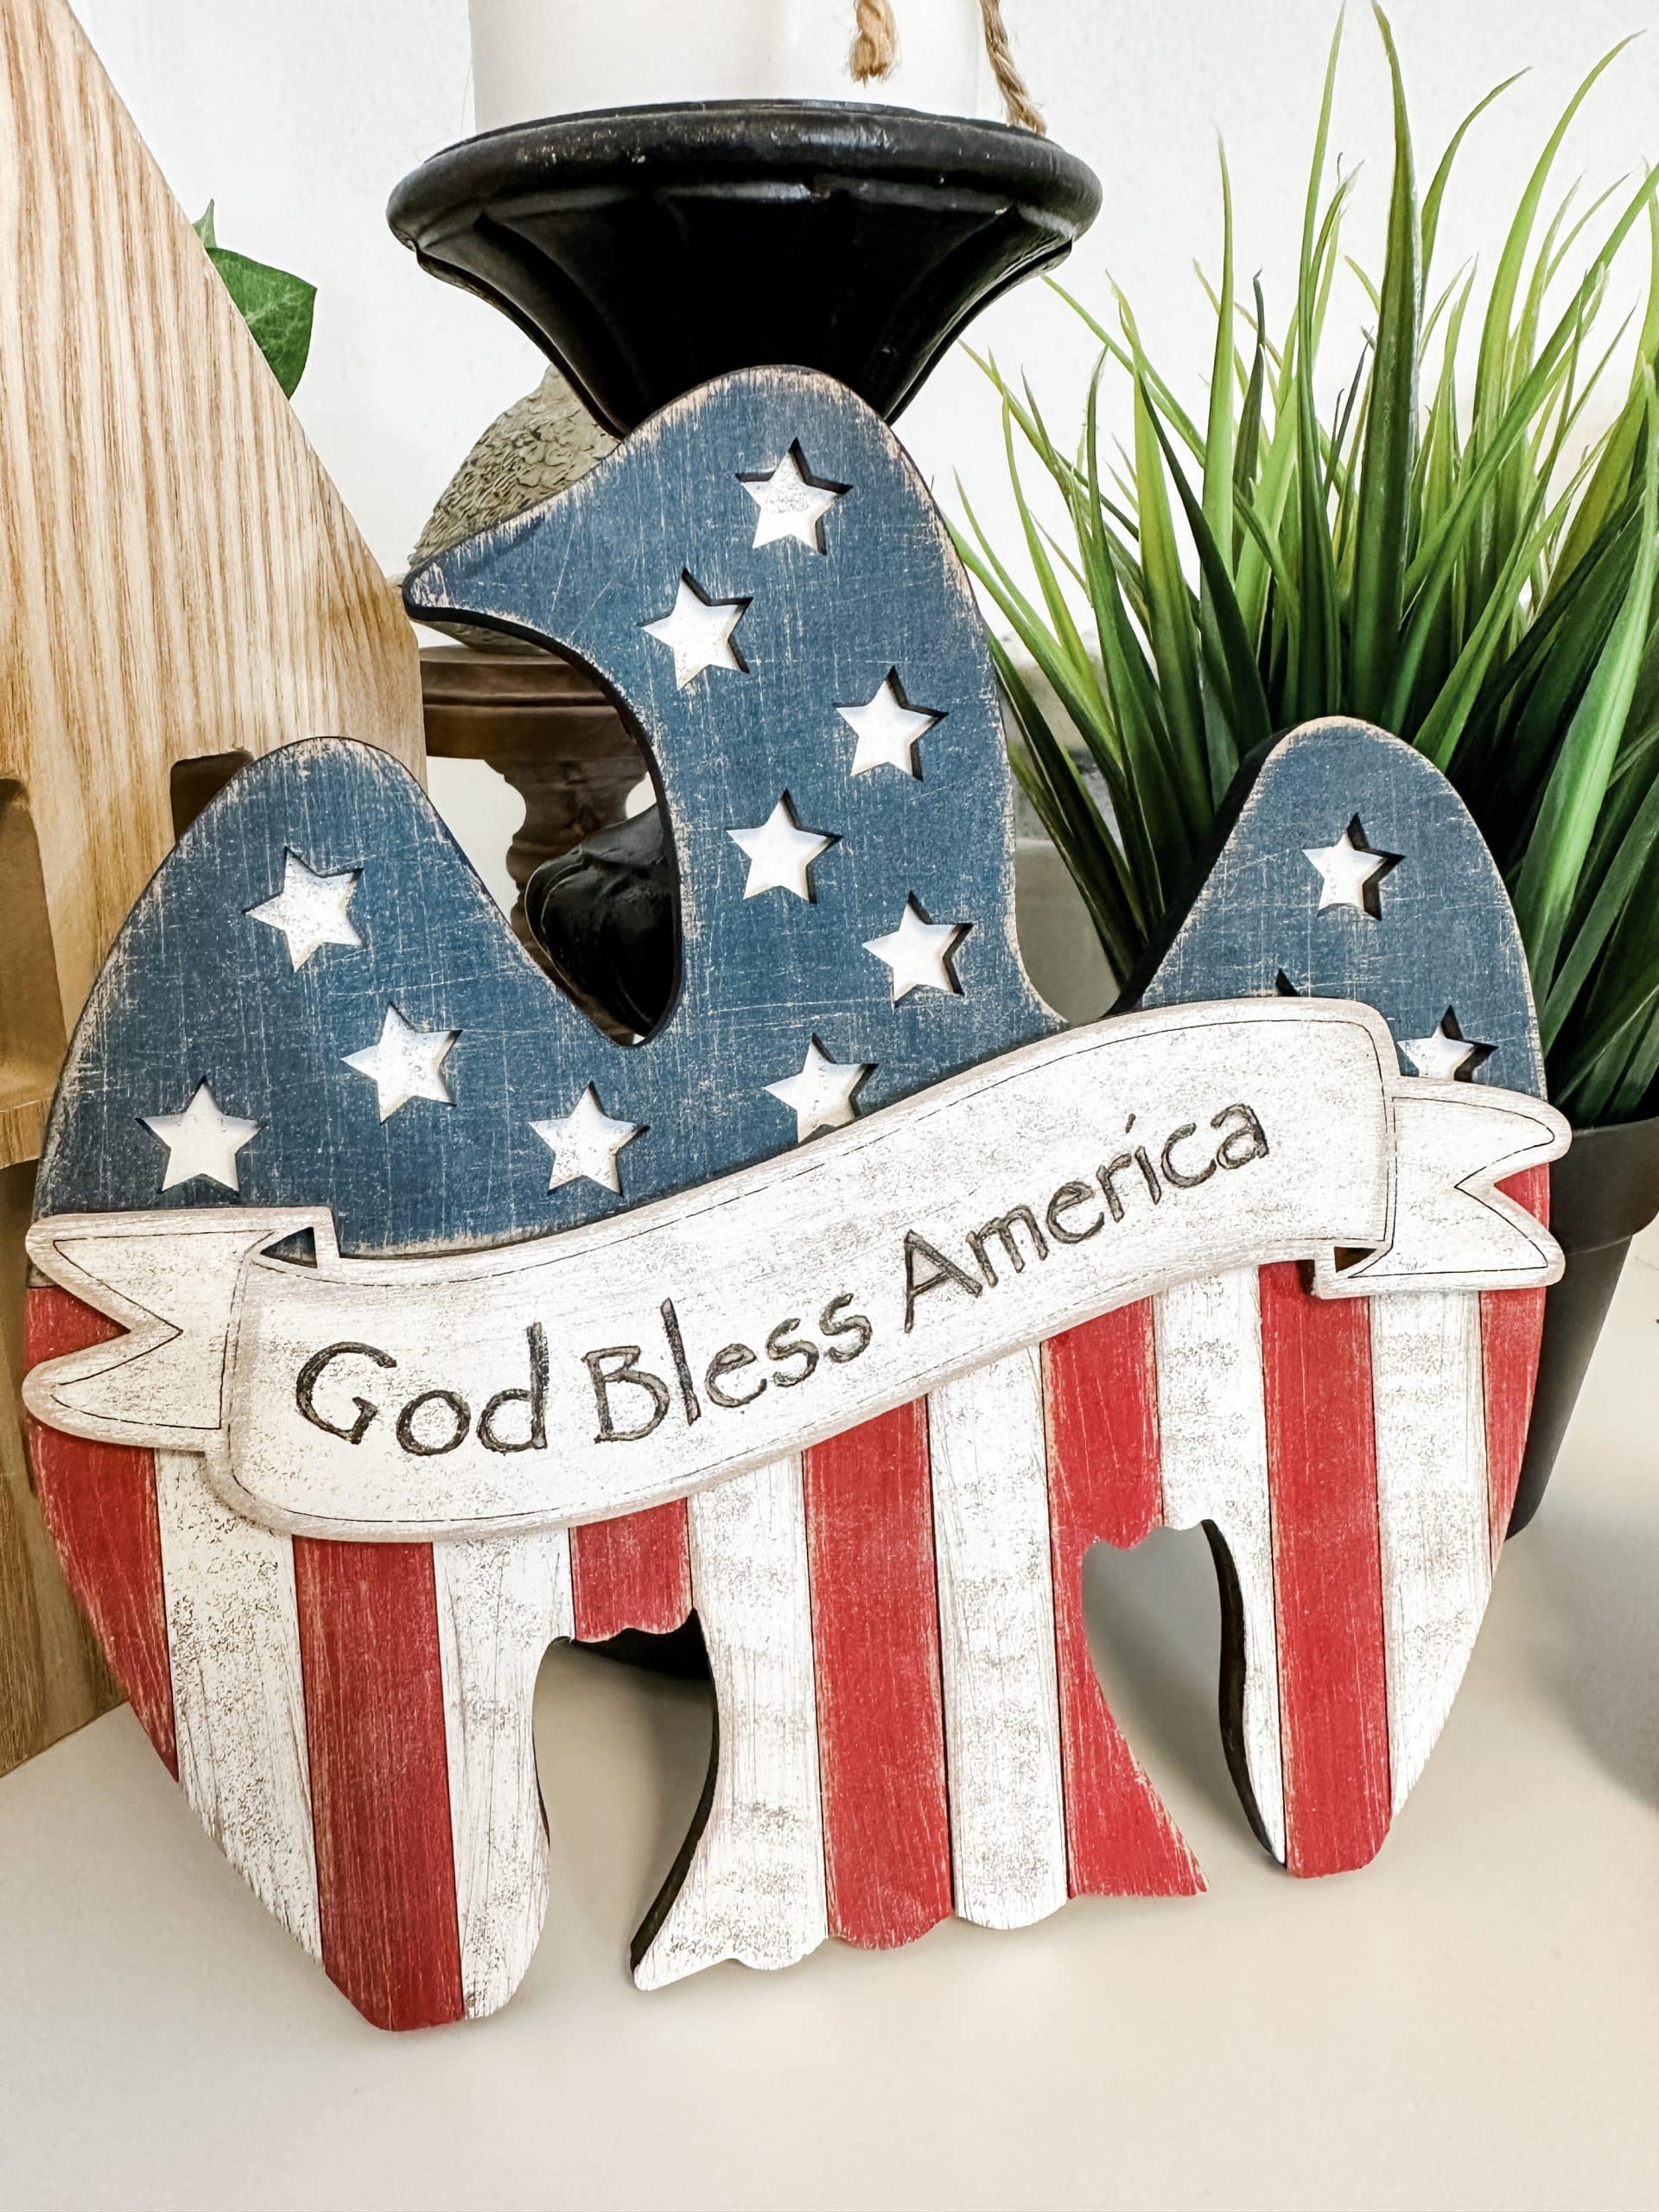
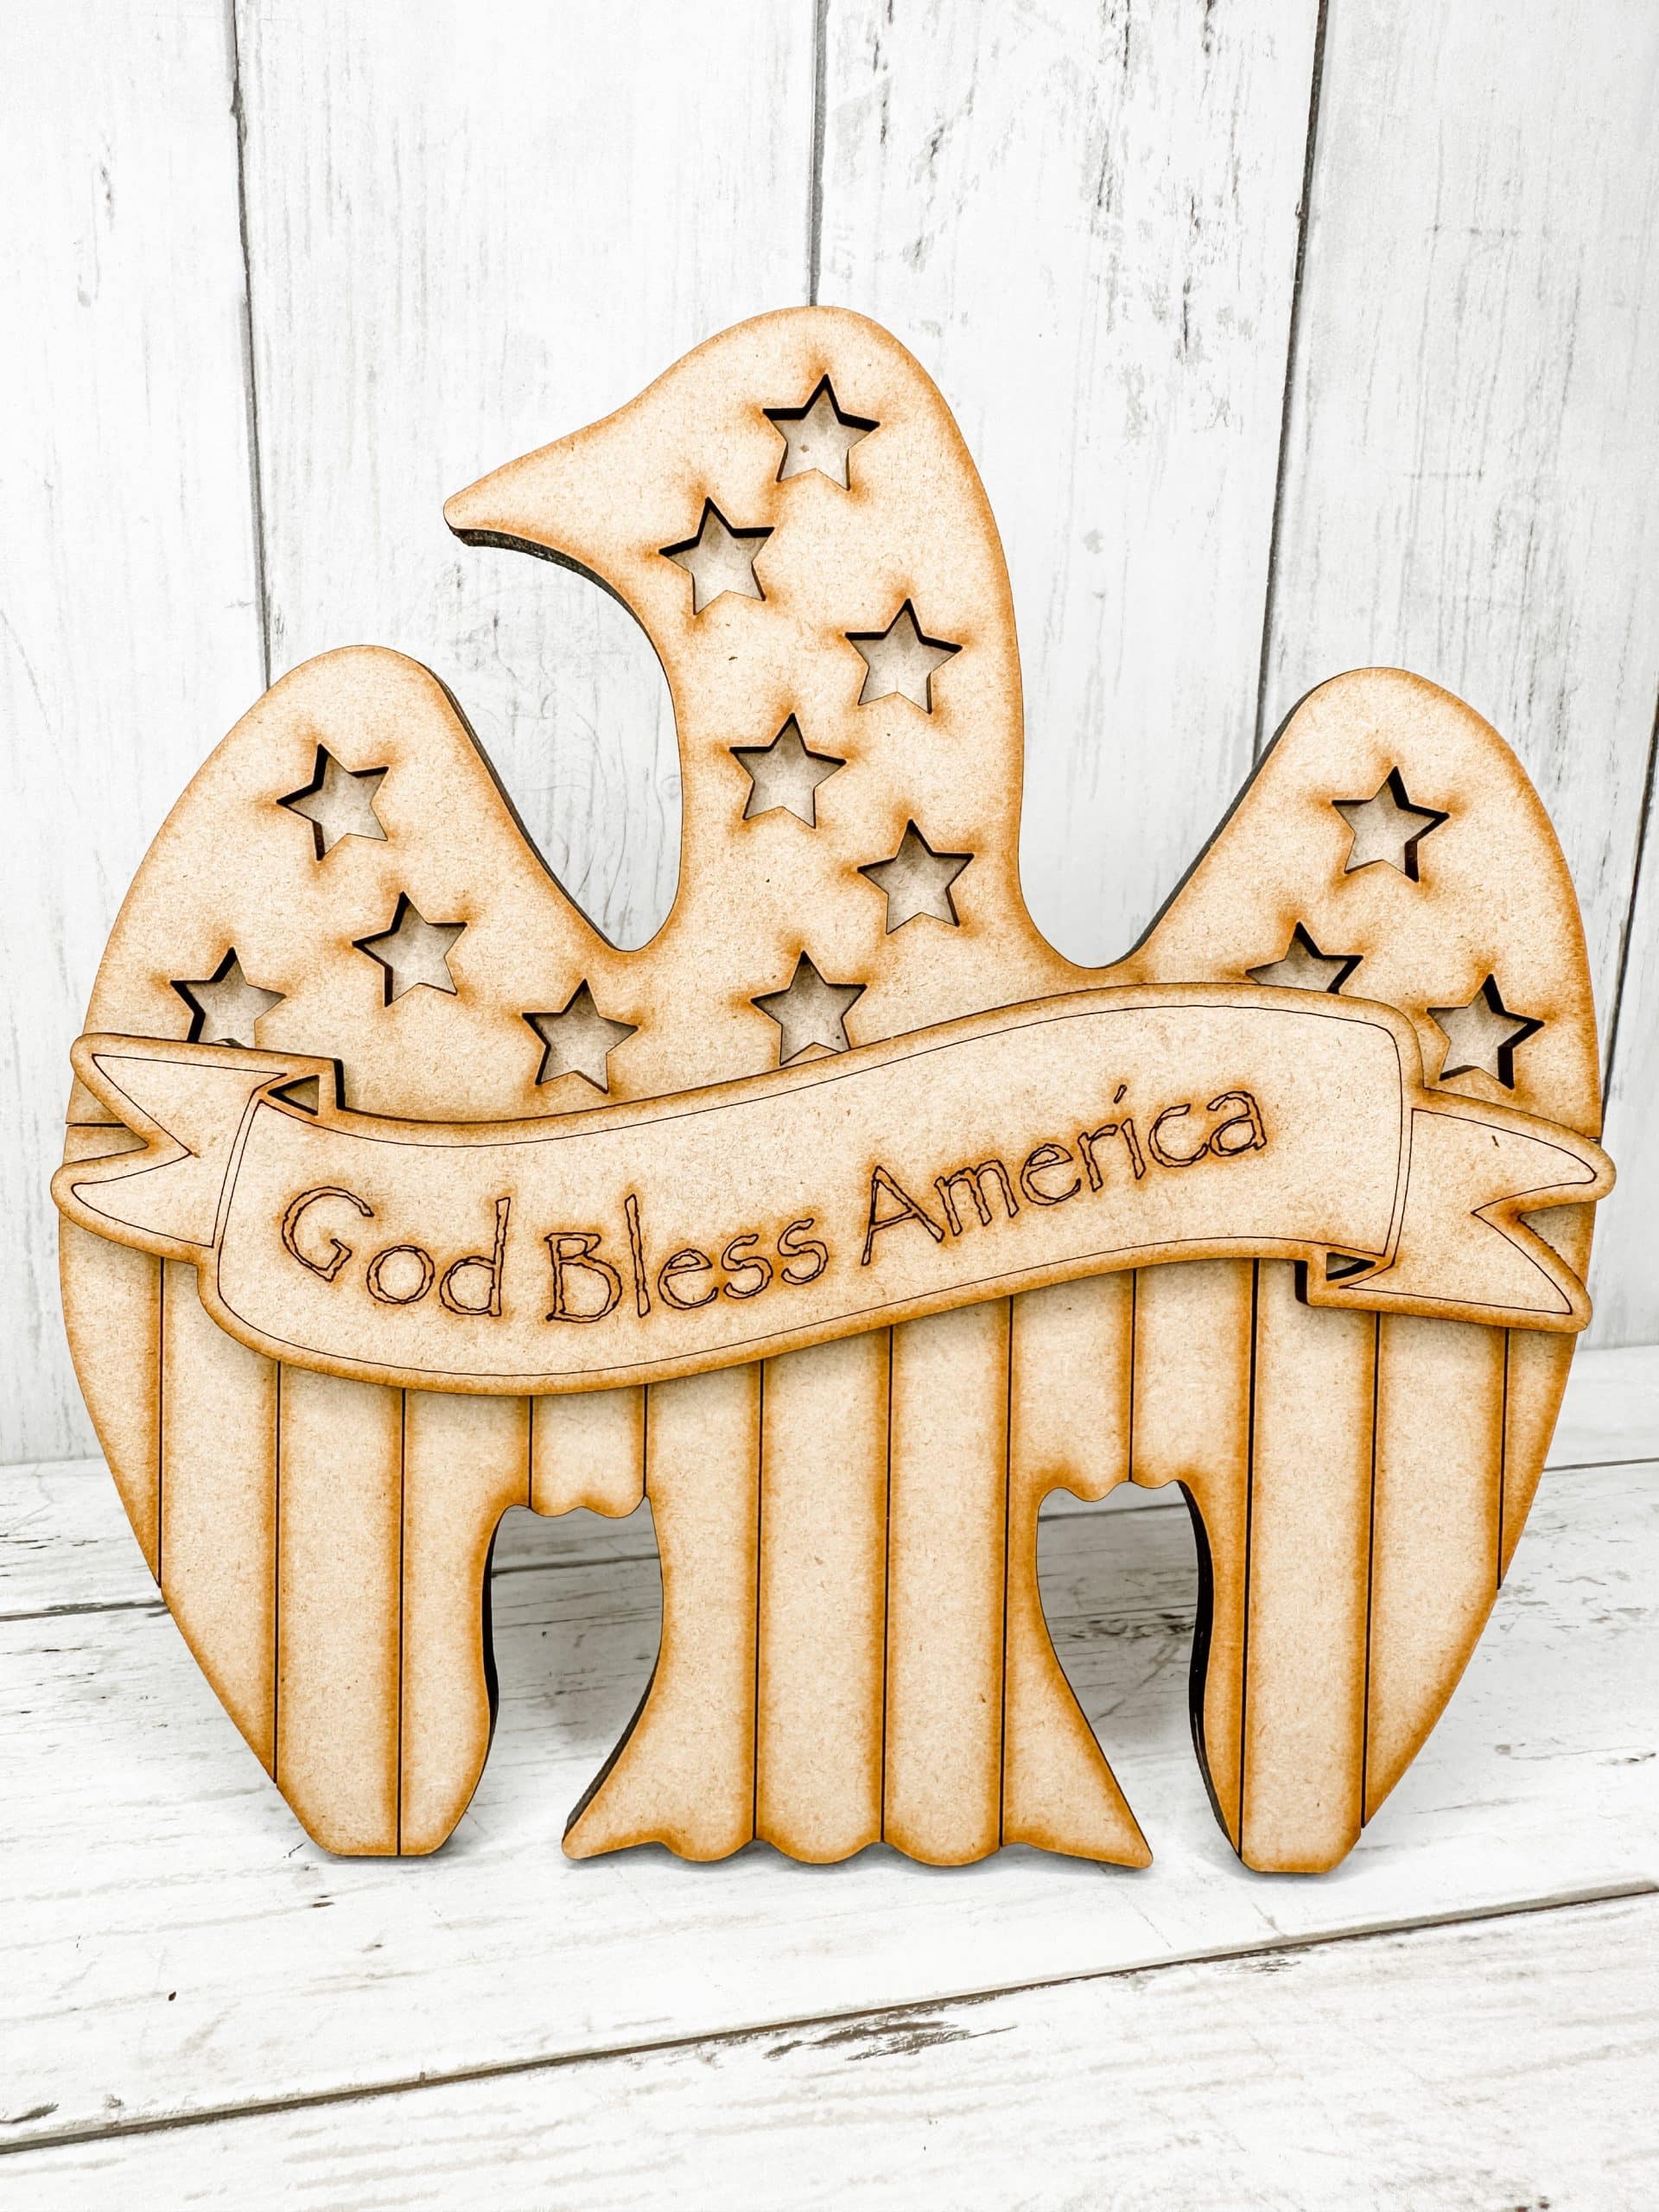
Easy Patriotic Eagle Craft Kit Tutorial for Beginners: Final Thoughts
Your patriotic eagle is complete!
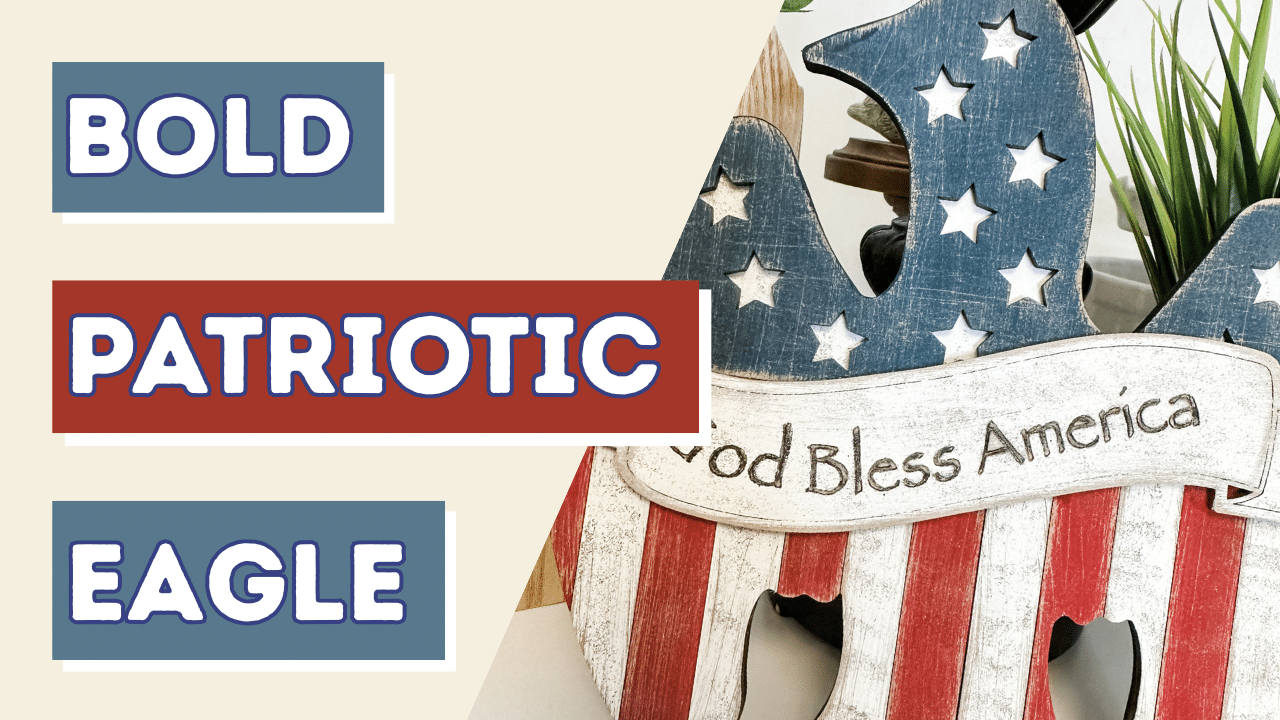
This Easy Patriotic Eagle Craft Kit Tutorial for Beginners is one of those projects that looks detailed and high-end, but is actually so simple once you break it down step-by-step.
It is perfect for:
- 4th of July decor
- Summer decorating
- Handmade gifts
Once you finish this one, you absolutely want to make another!
Thanks for stopping by! XOXO Amber
You can also shop my ENTIRE AMAZON Favorites shop just click here! It’s packed full of all the things I use and love. Here is the supply list I highly recommend every creative have on hand!!
Would you also pin my blog for later and get on my newsletter alerts? I would love to have you join my #craftycrew.
Inspired? Leave me a comment below! I love hearing from my readers!

Join my free “Crafting and Sharing” Facebook group!