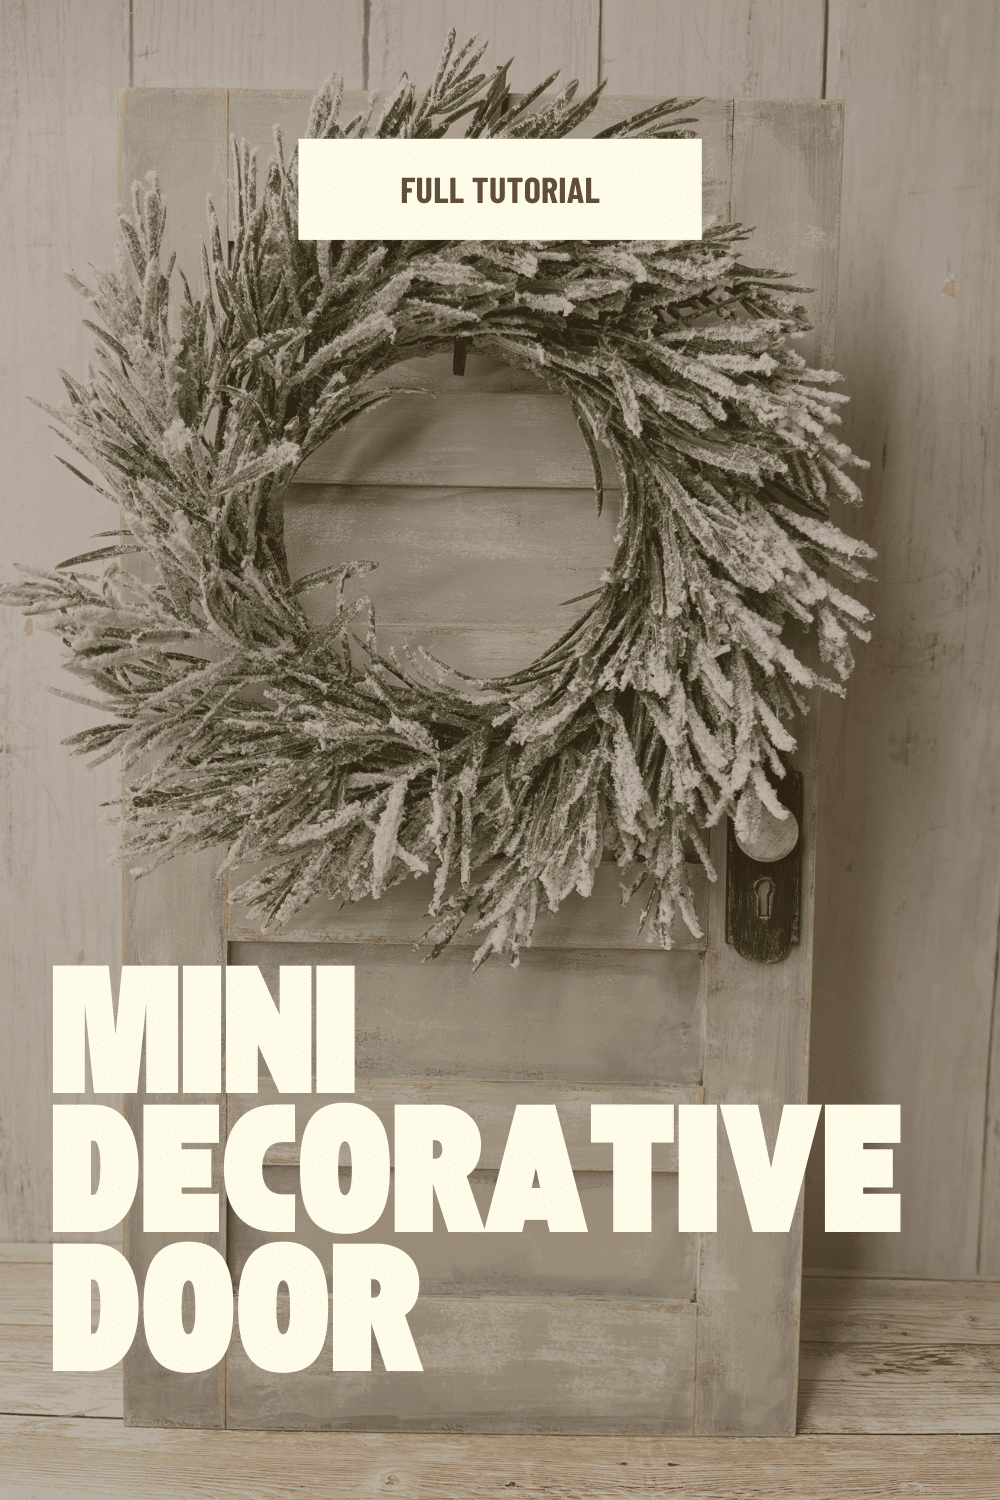
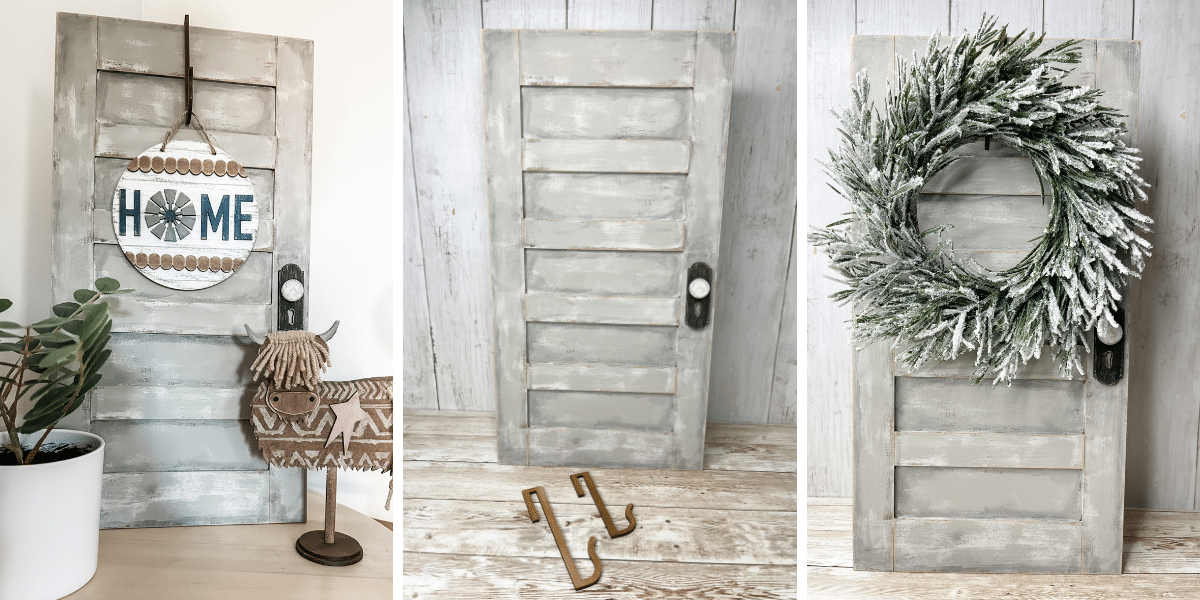
Creating a distressed wood finish on a Mini 5 Panel Door
There are two ways you can learn the steps to creating a distressed wood finish on a 5 Panel Door. You can red the step-by-step written tutorial here on this blog, or watch the video tutorial of me crafting the Mini 5 Panel Door.
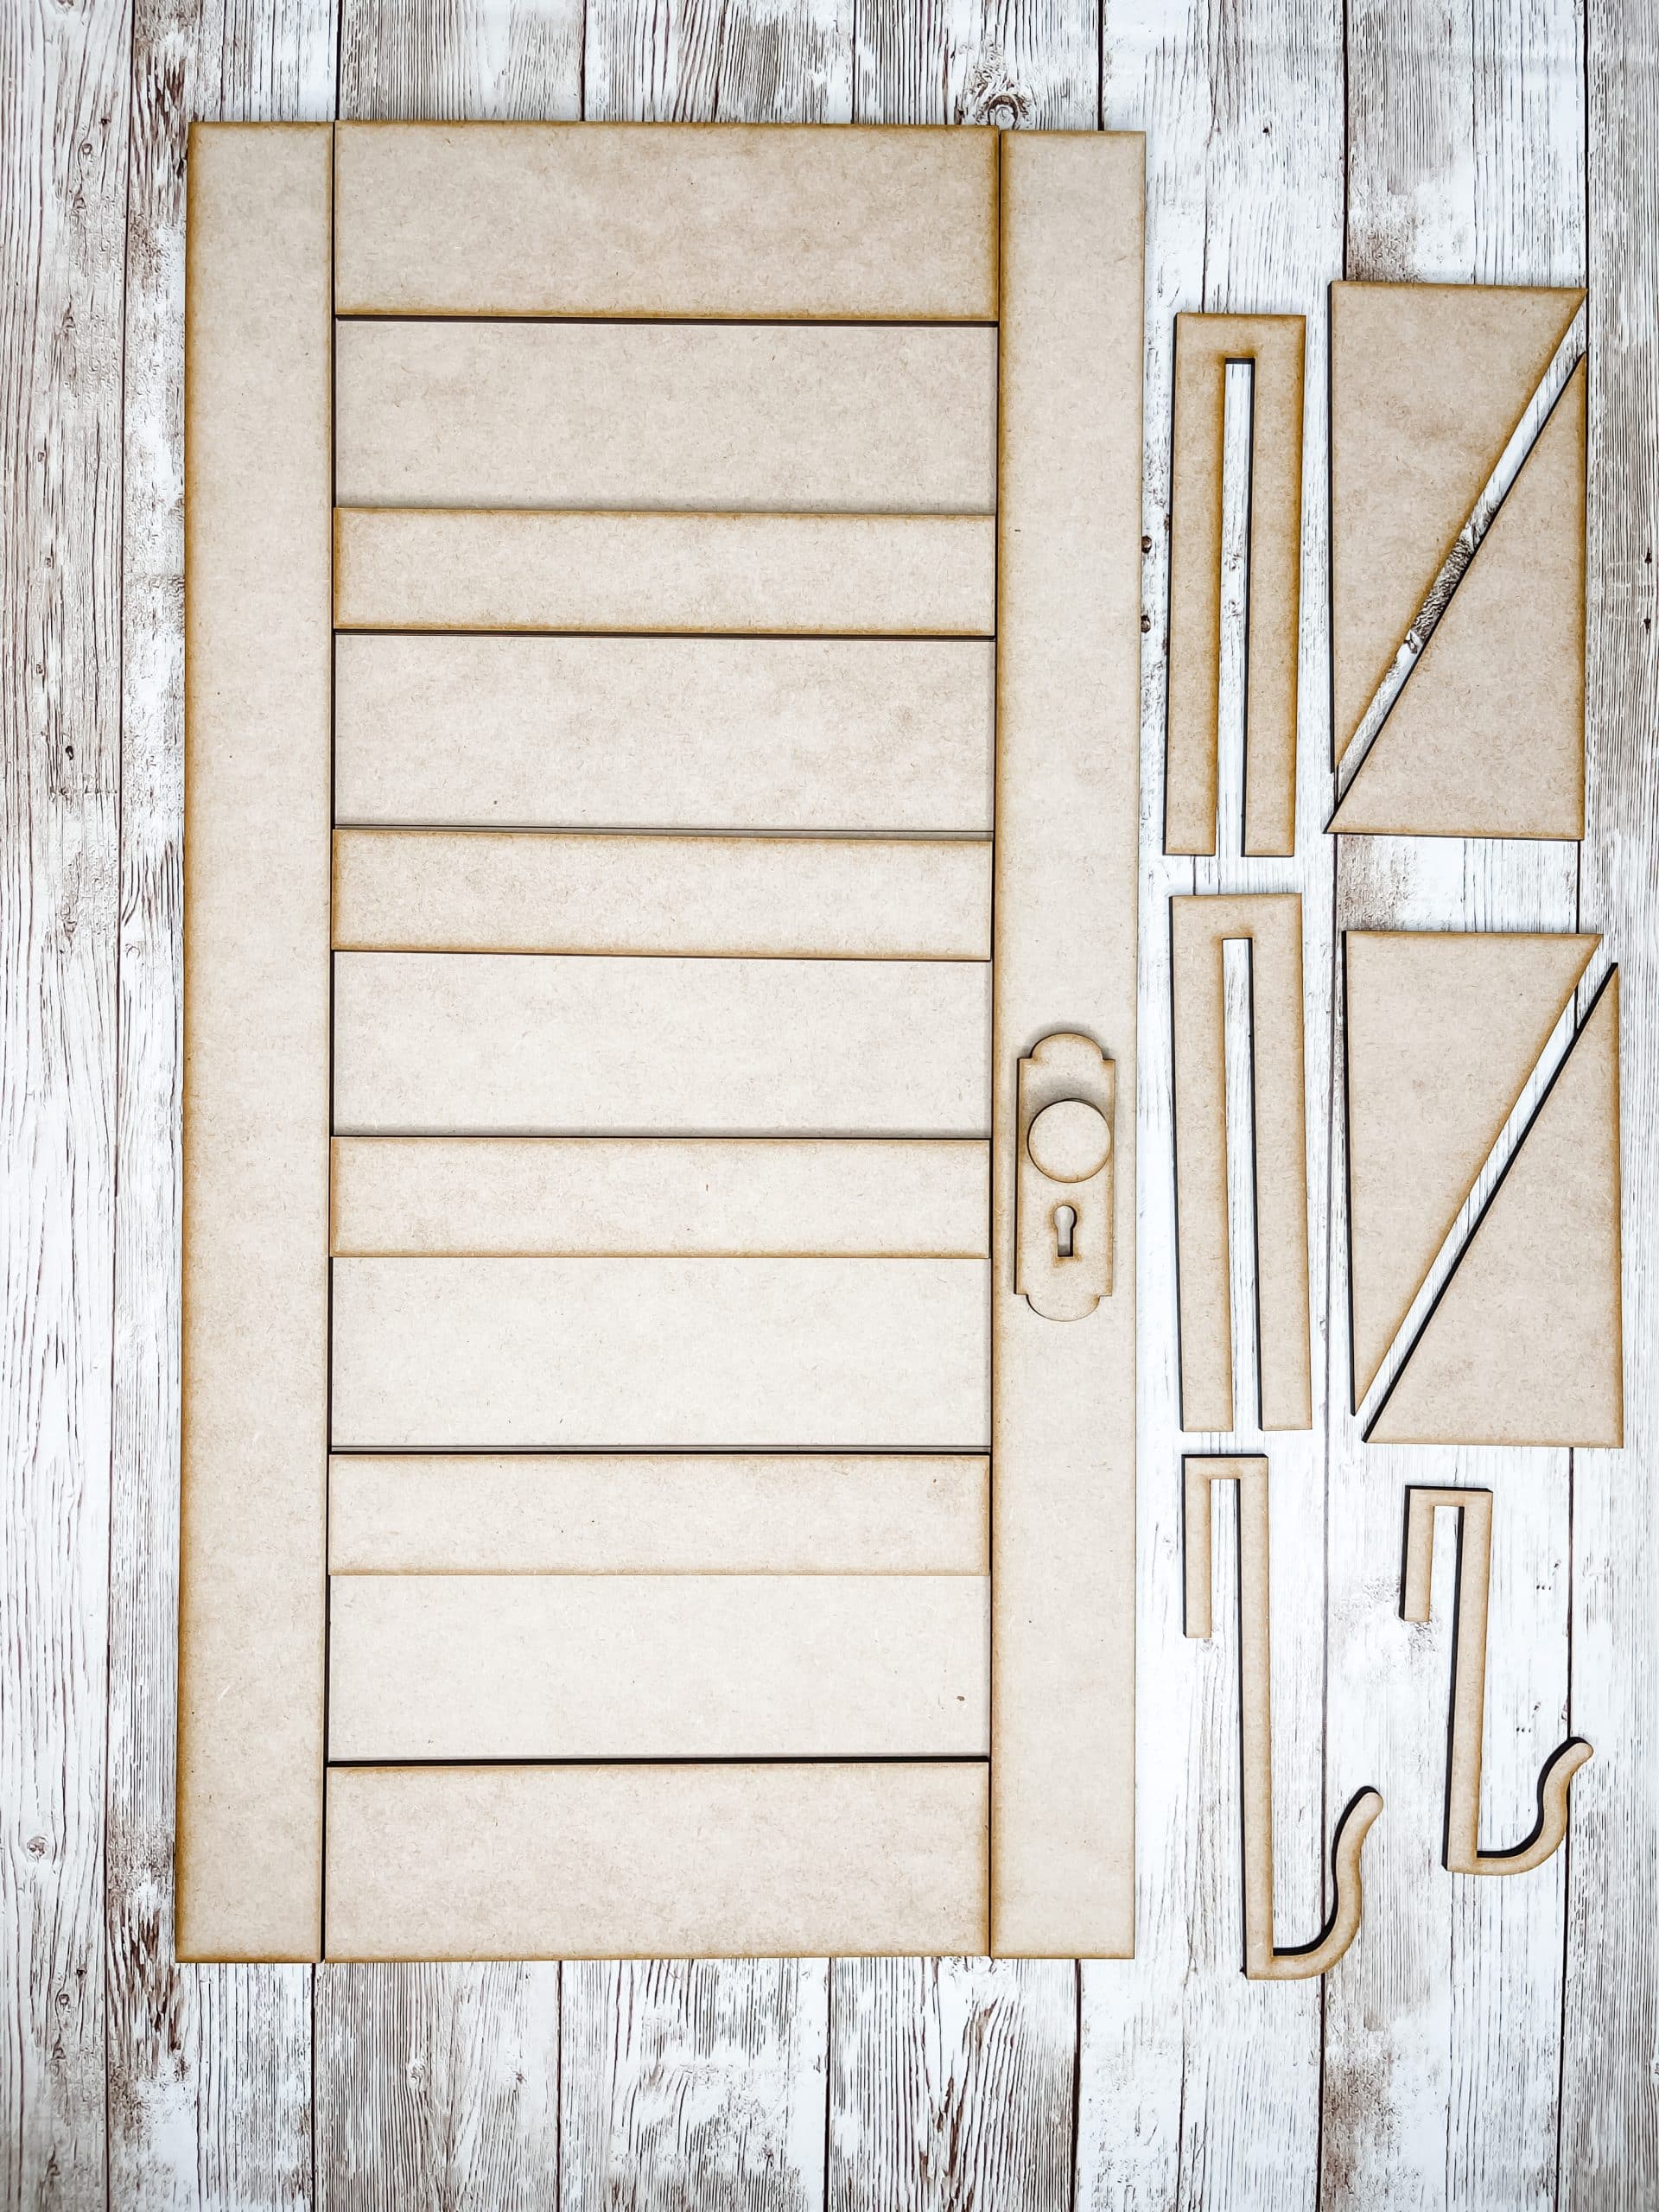
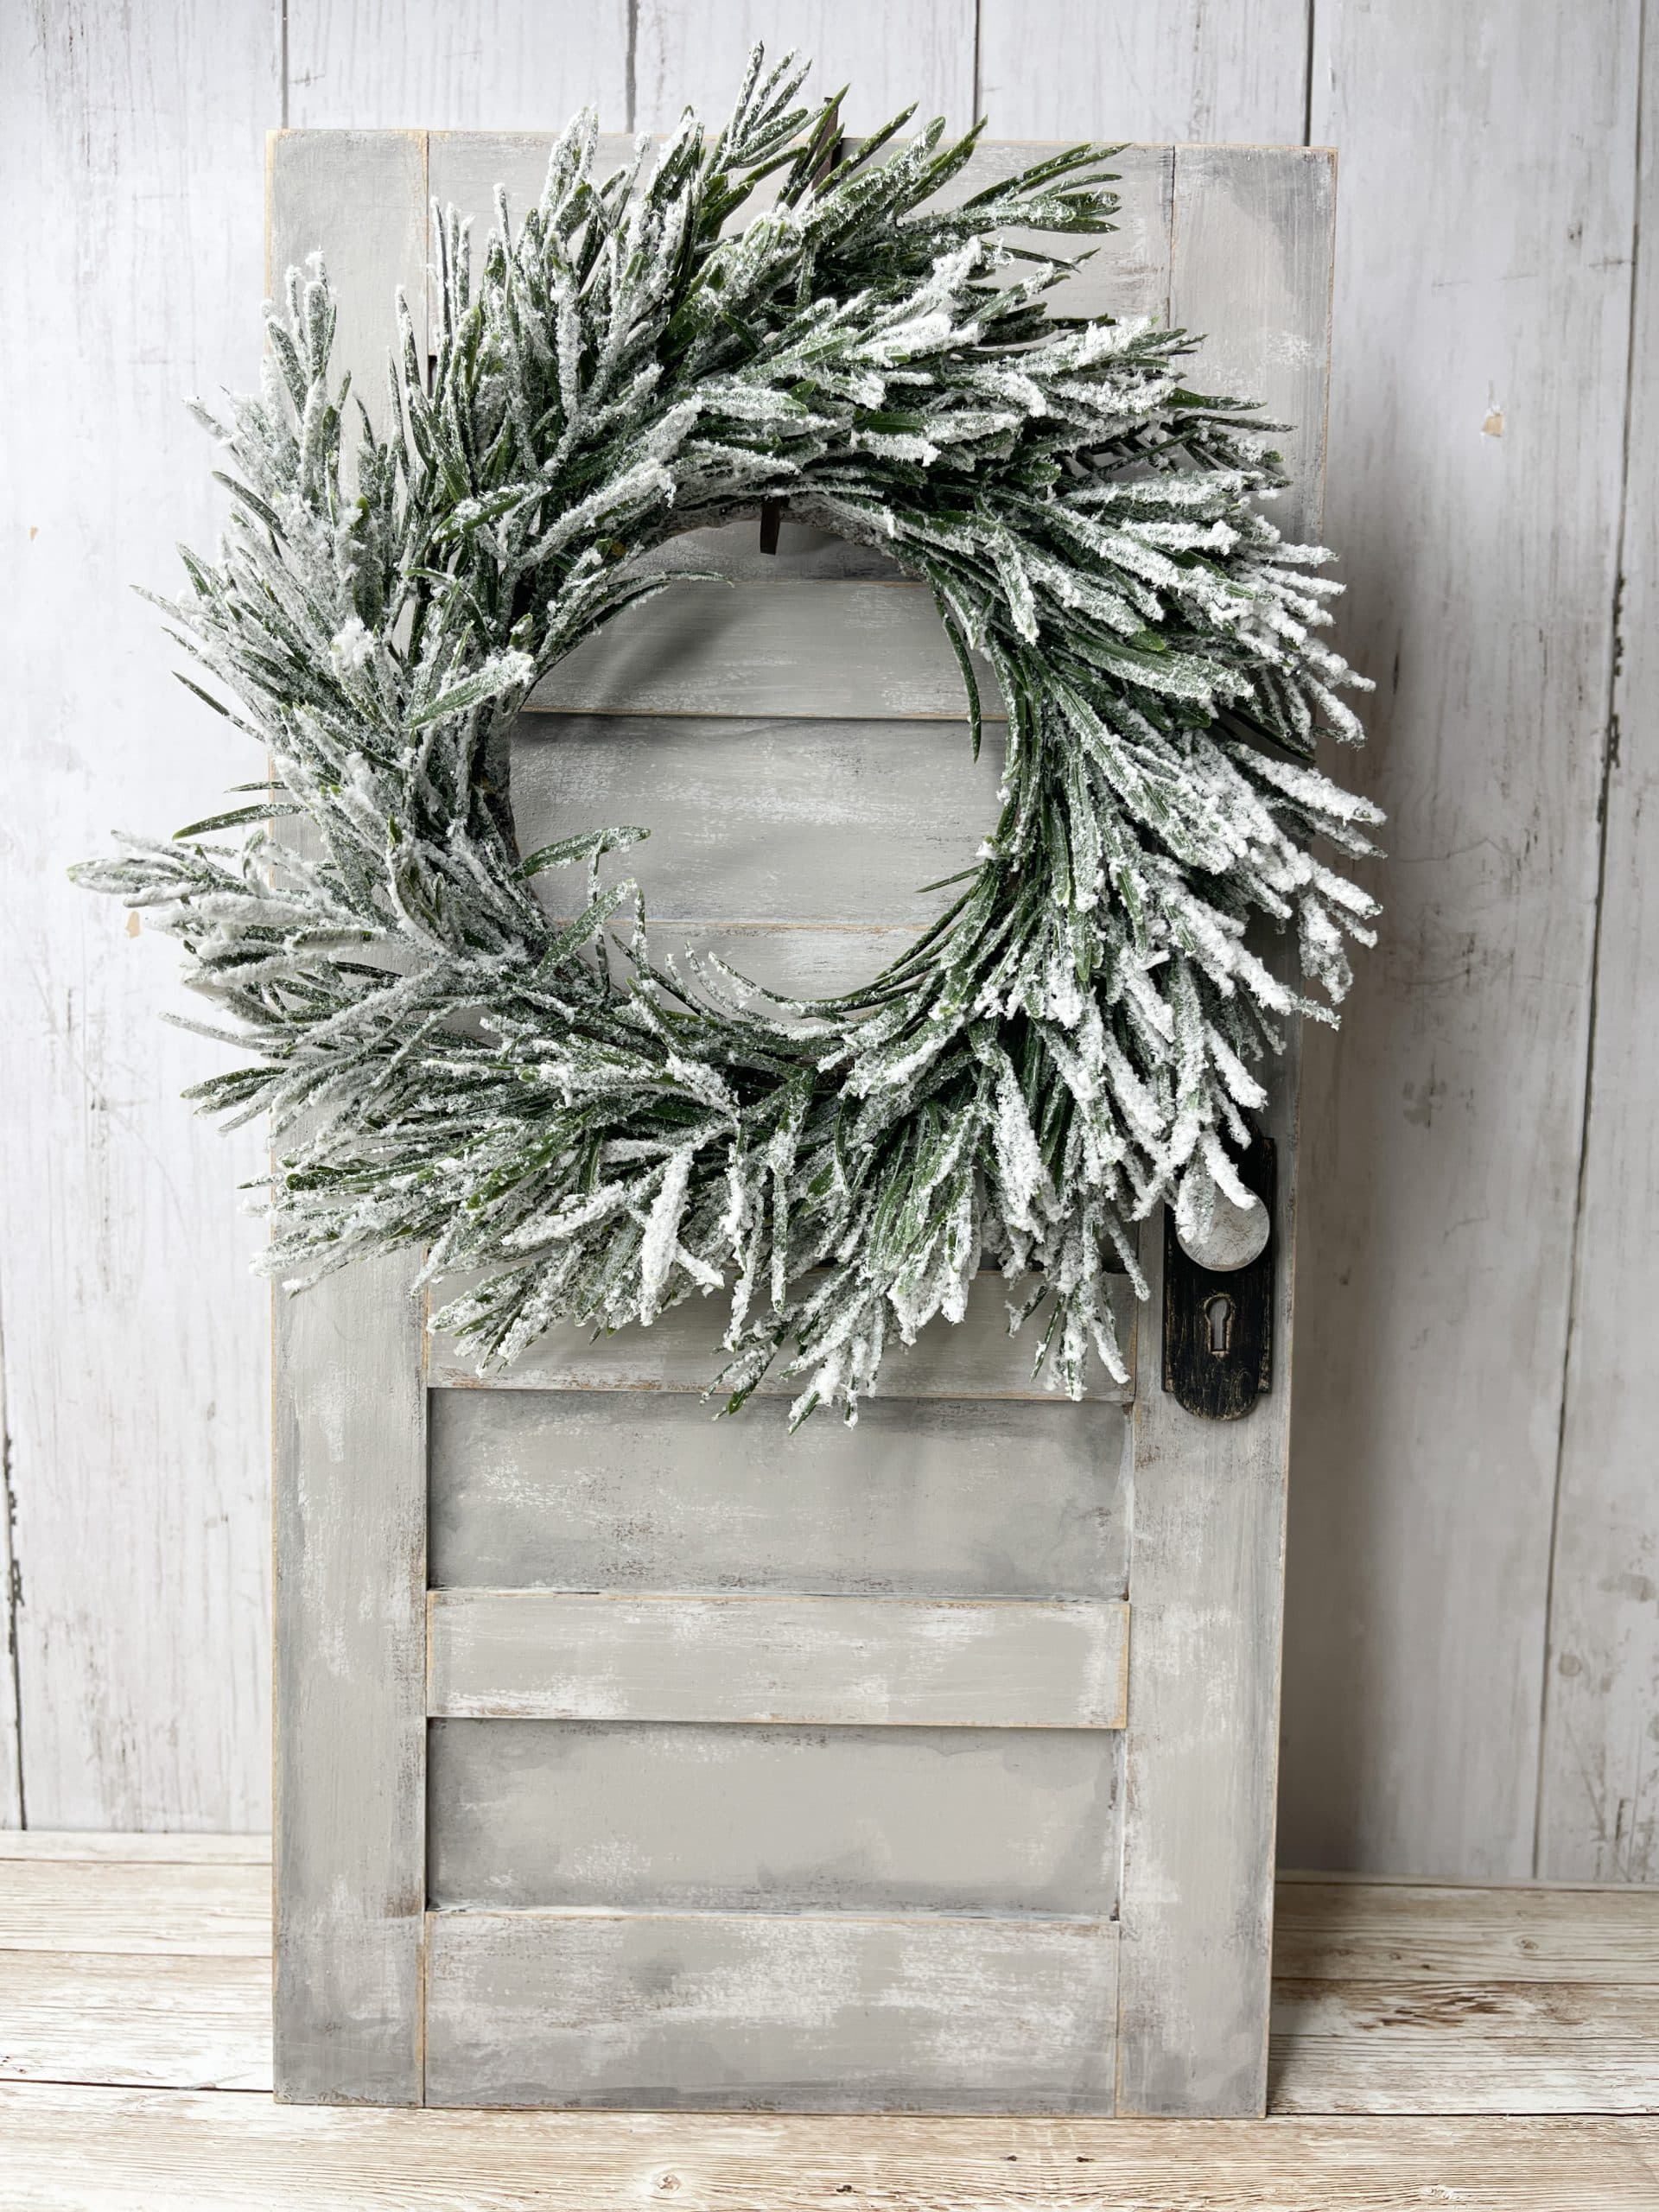
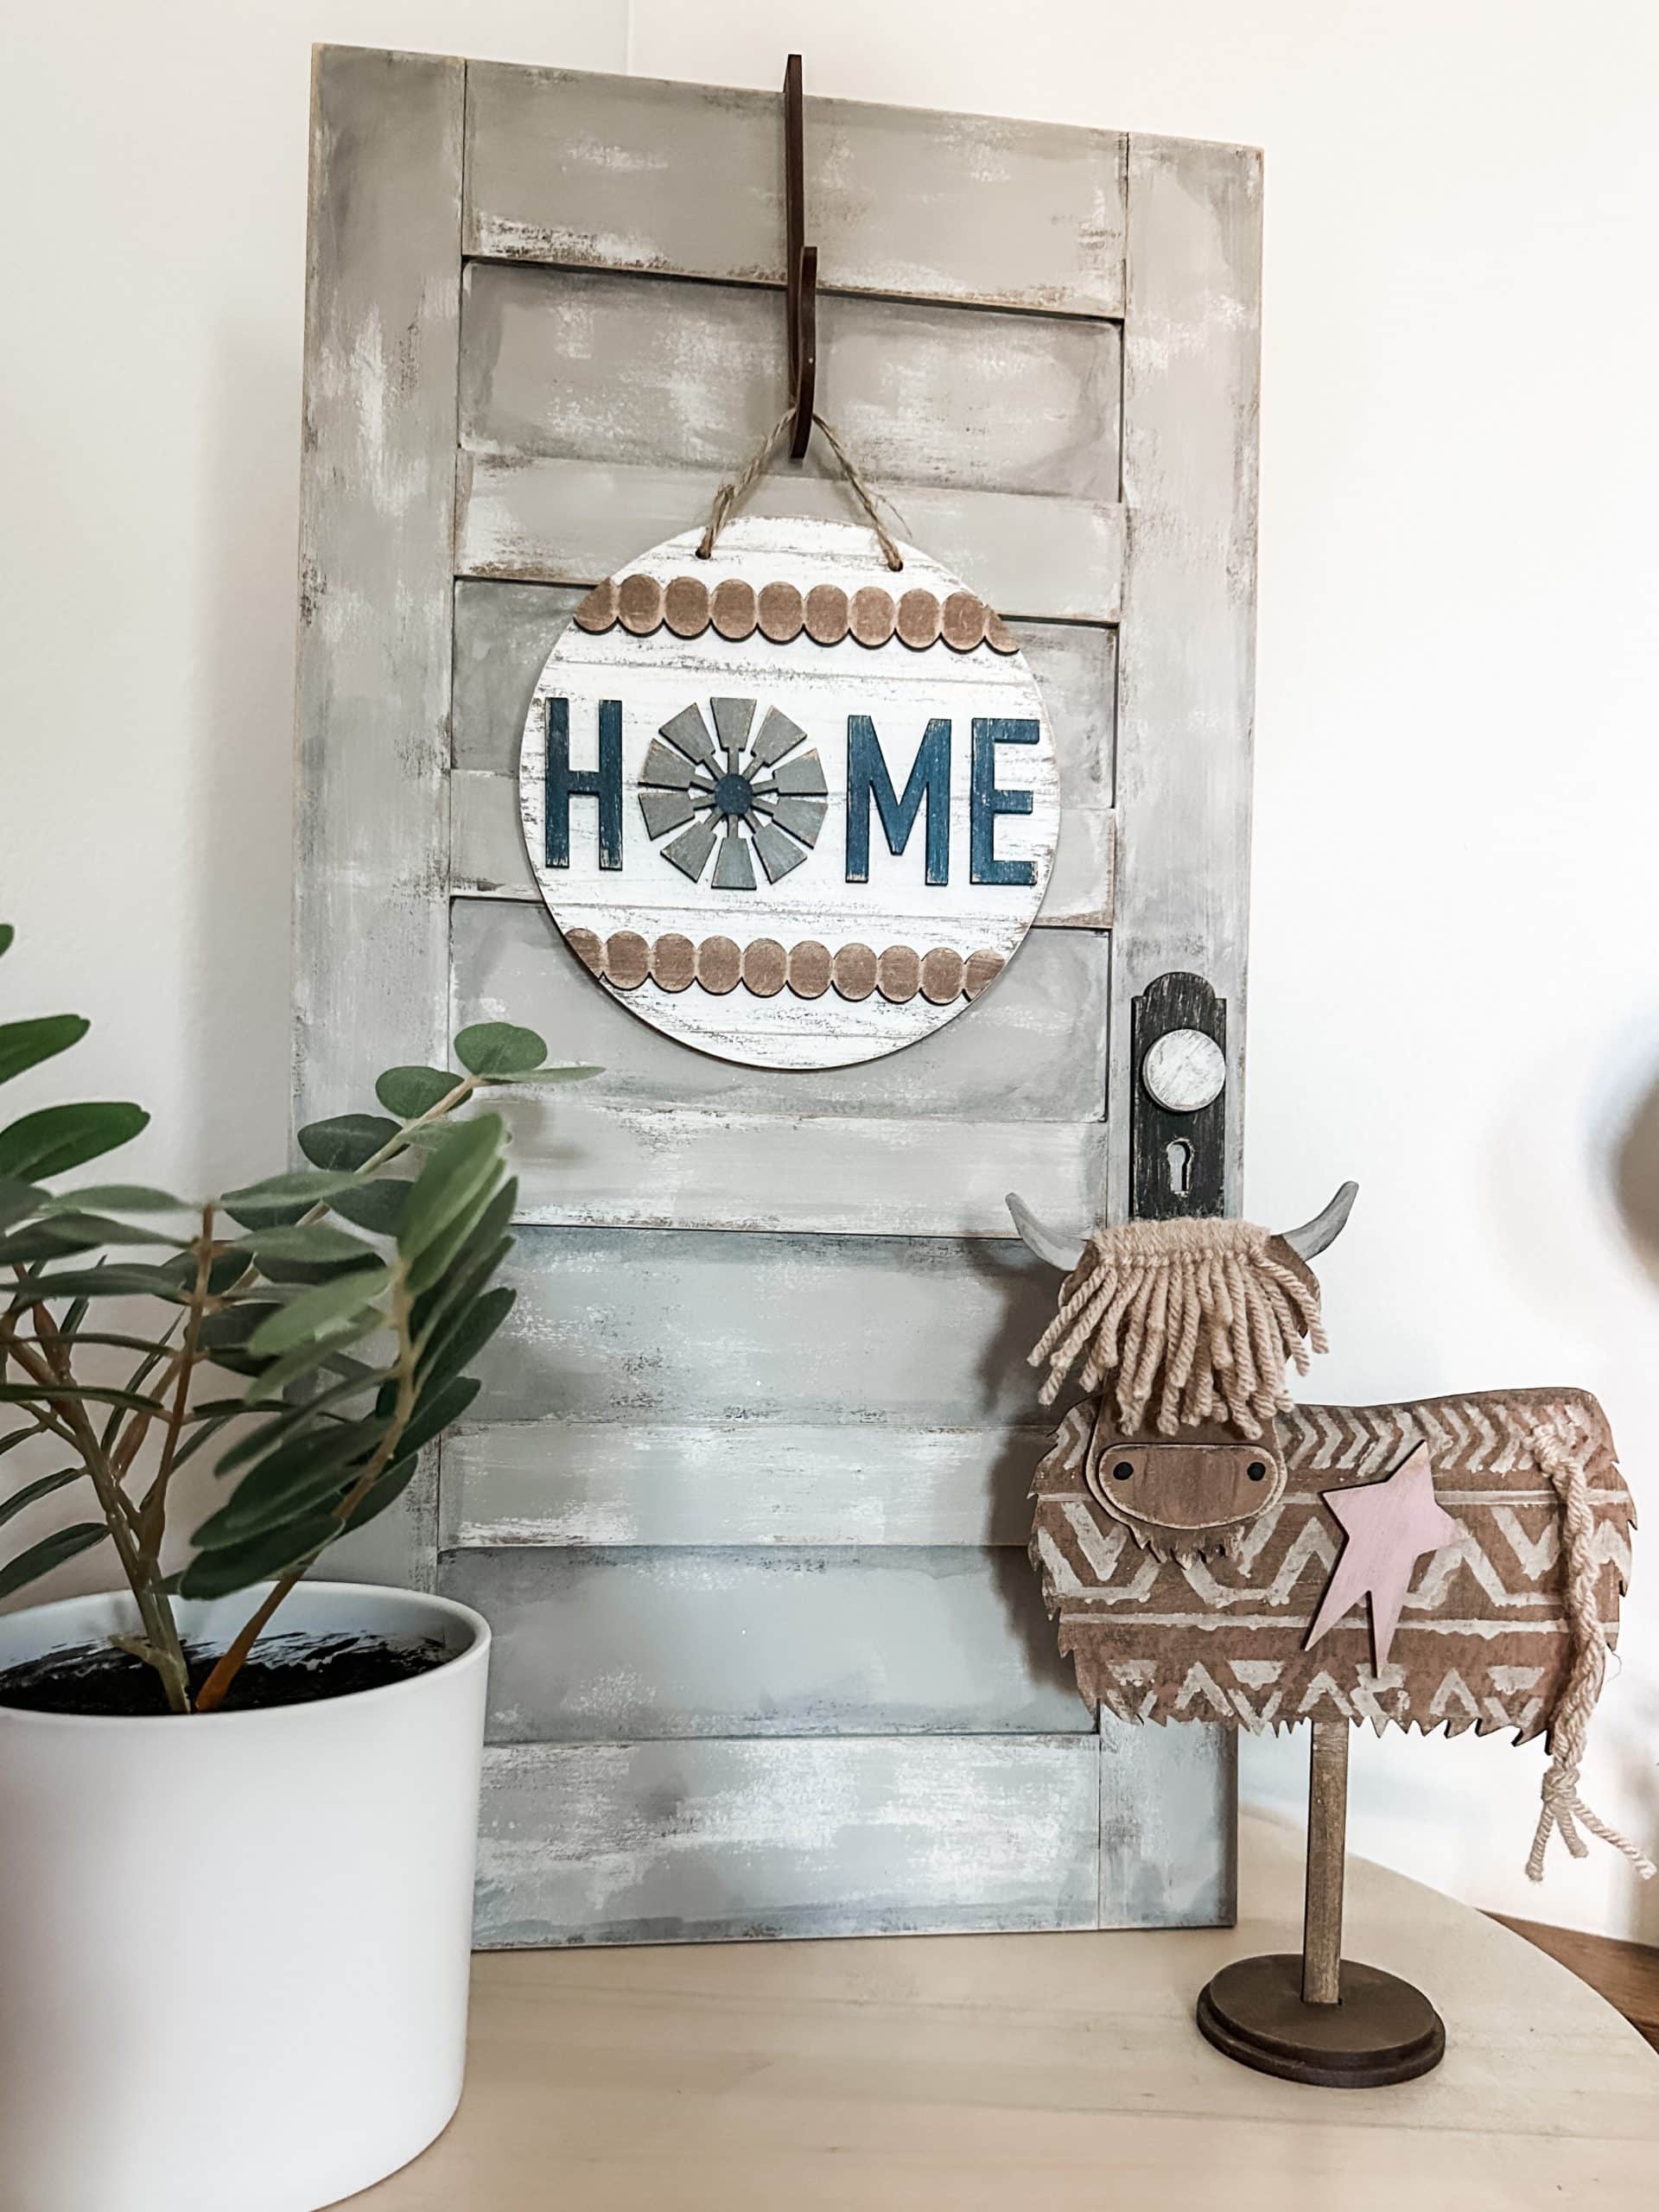
To start, let me explain a few things. The Mini 5 Panel Door you see in this crafting tutorial is a wood blank craft kit that I sell.
My business offers affordable and beginner friendly unfinished craft kits for each season and major holiday to empower creatives to decorate their home uniquely and affordably.
These wood blank craft kits are precisely cut on a laser machines and made of mdf. You get to choose your own paints, ribbons, twine, fabrics, and MORE to personalize your DIY home decor.
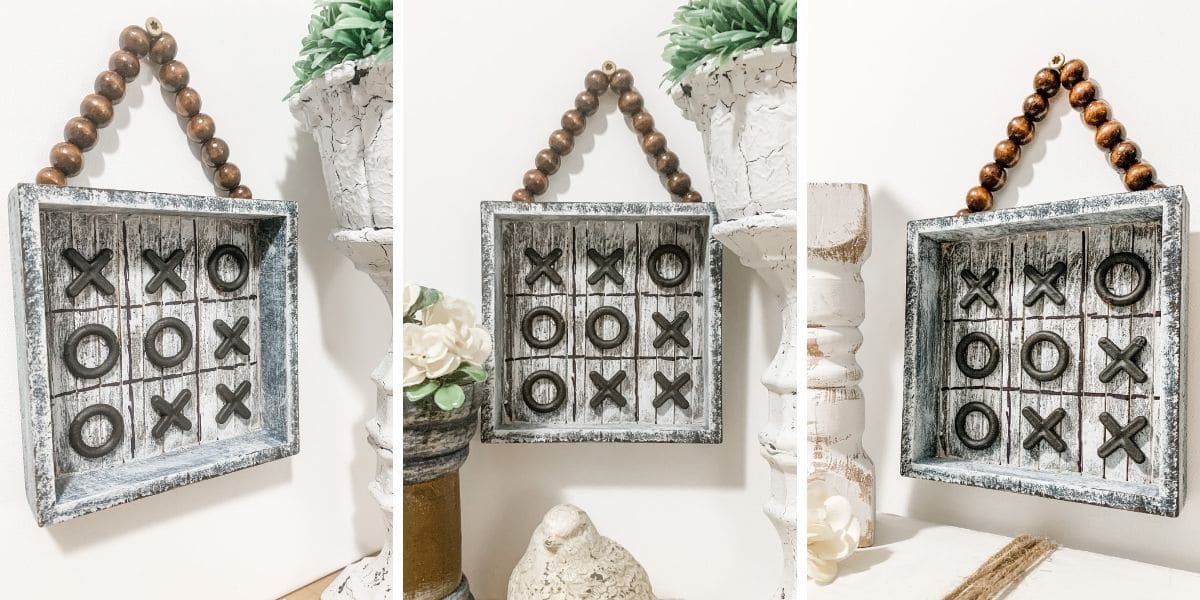
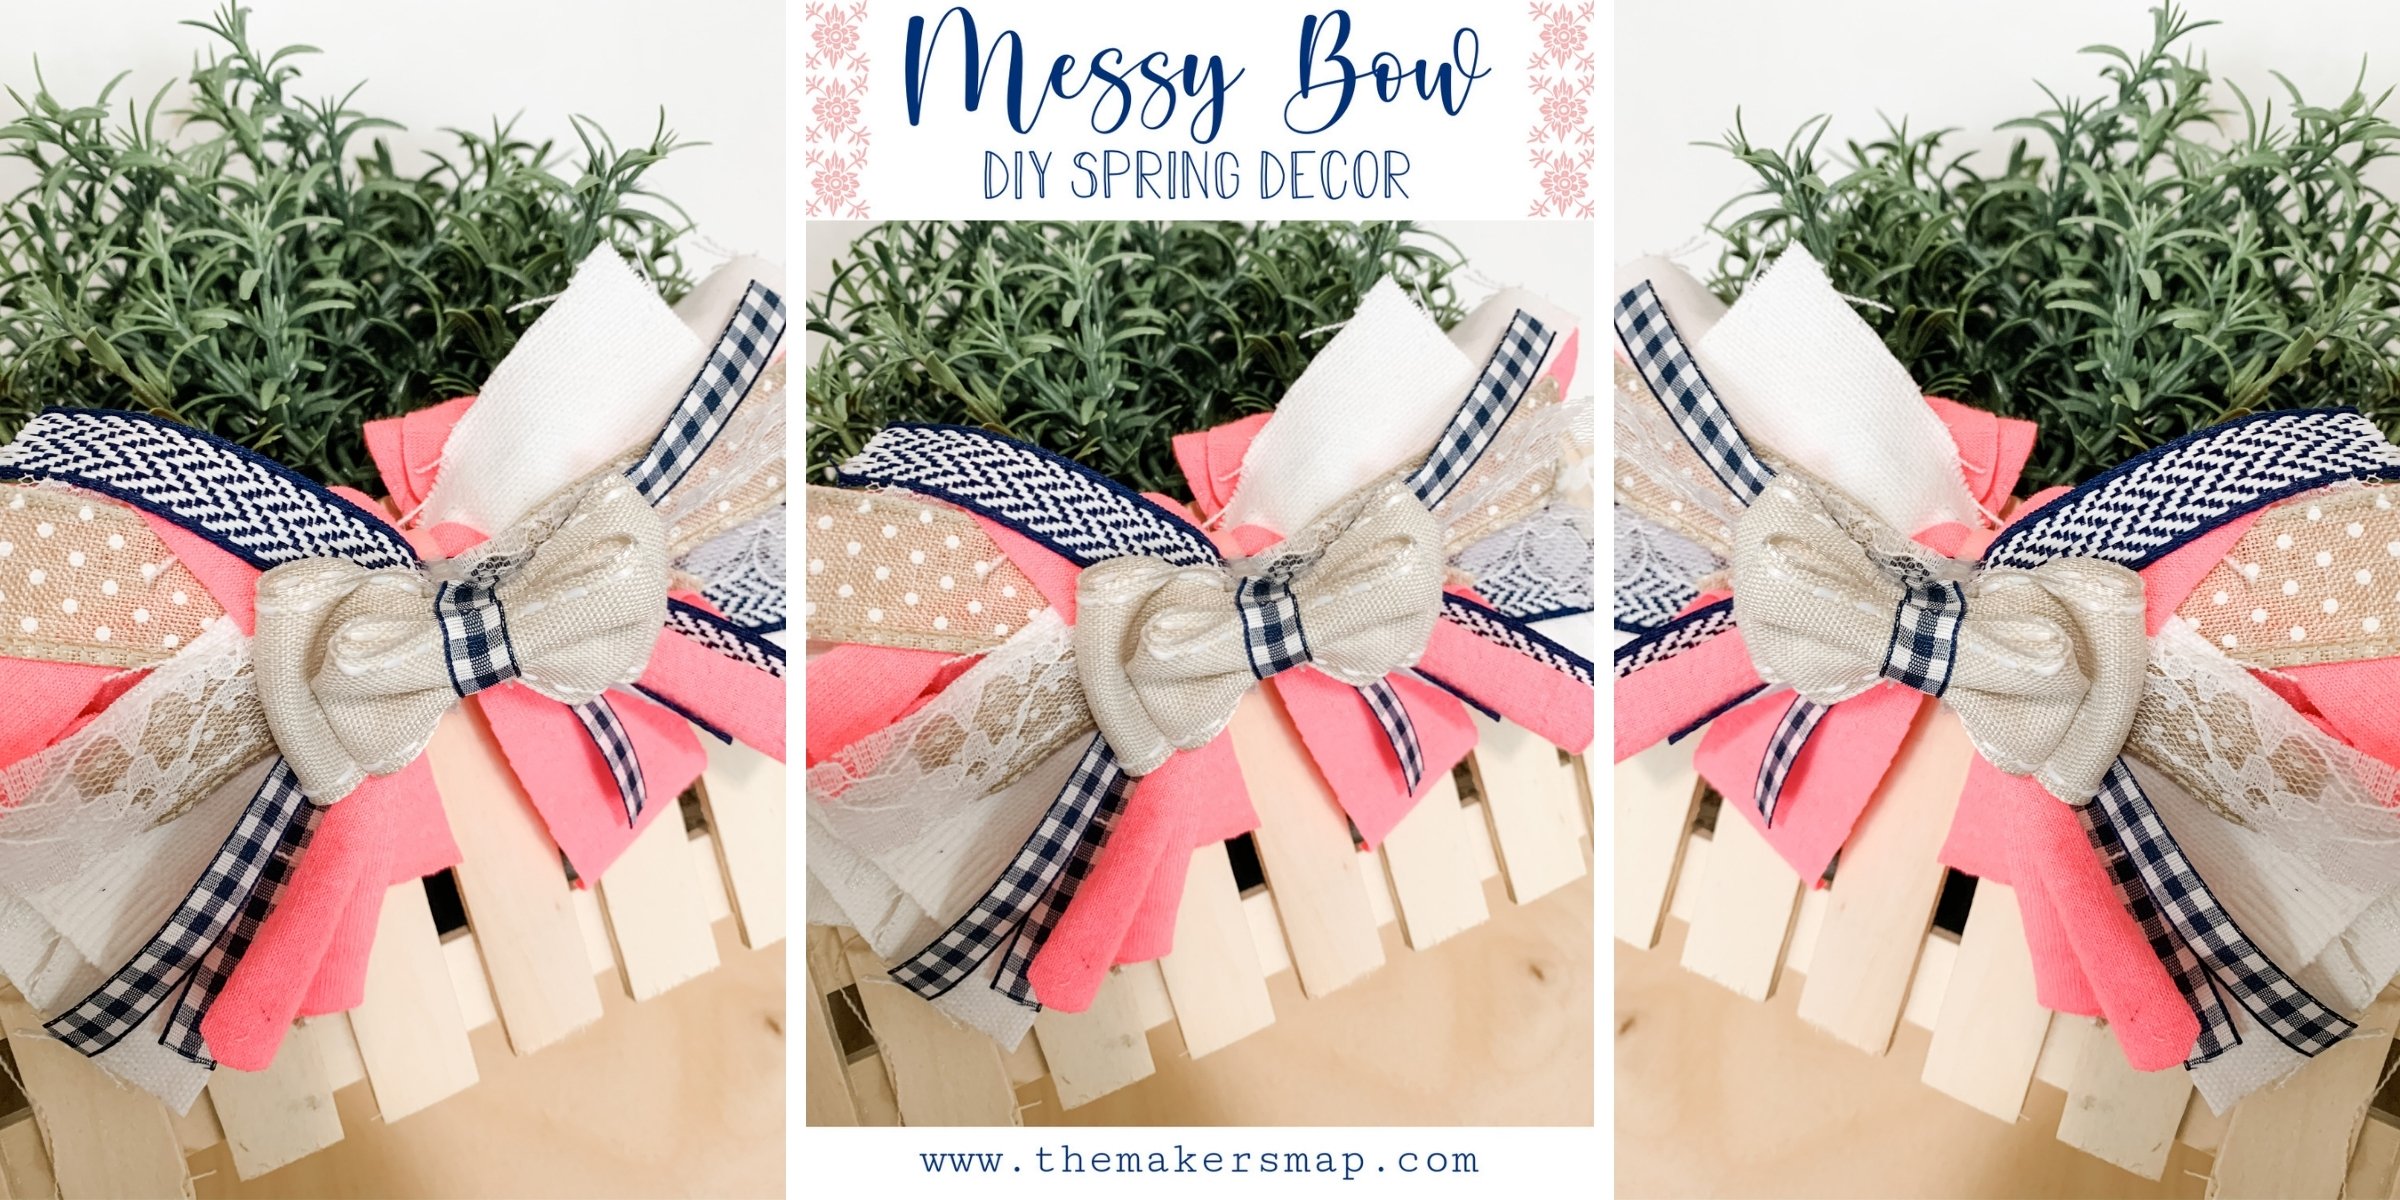
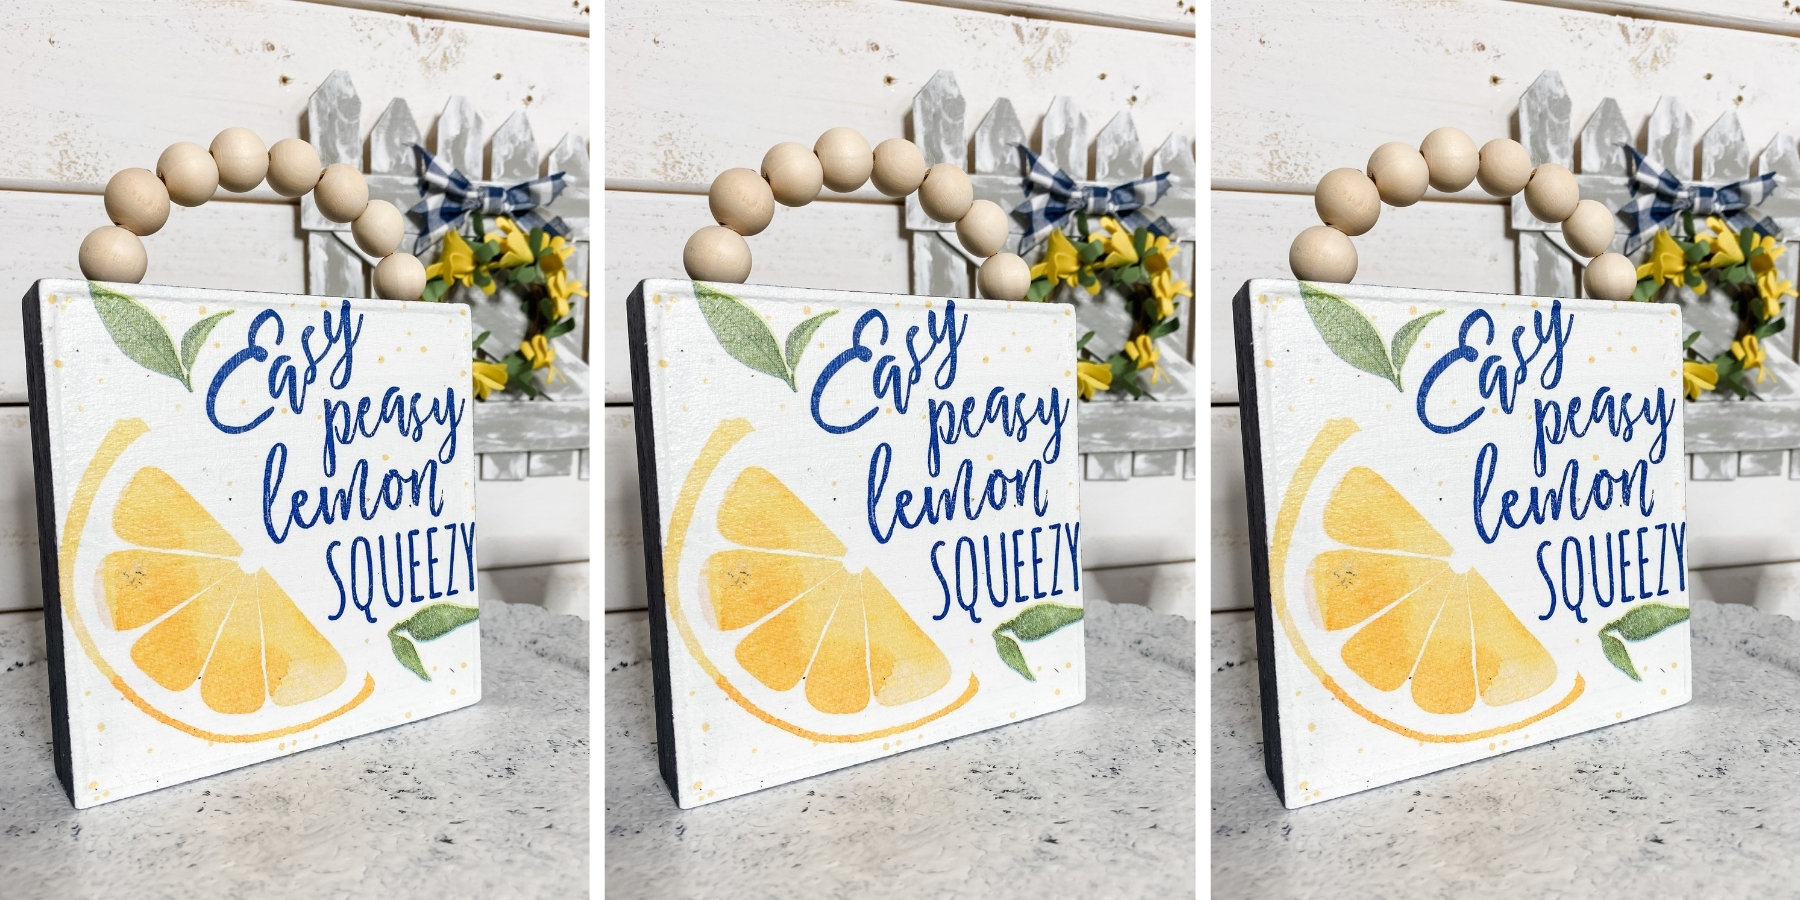
We offer a variety of craft kits including shelf sitters, hanging signs, wreath attachments, paint your own earrings, swinging kits, interchangeable bases with inserts as well as sun catcher outlines, crushed glass, and resin!
No matter what your home decor aesthetic or crafting ability is, we have something for you, I’m sure!
Sand the Mini 5 Panel Door pieces
Before you begin staining, painting, or decoupaging your craft kit, it is important that you sand it. Cutting wood on with a laser machine is messy.
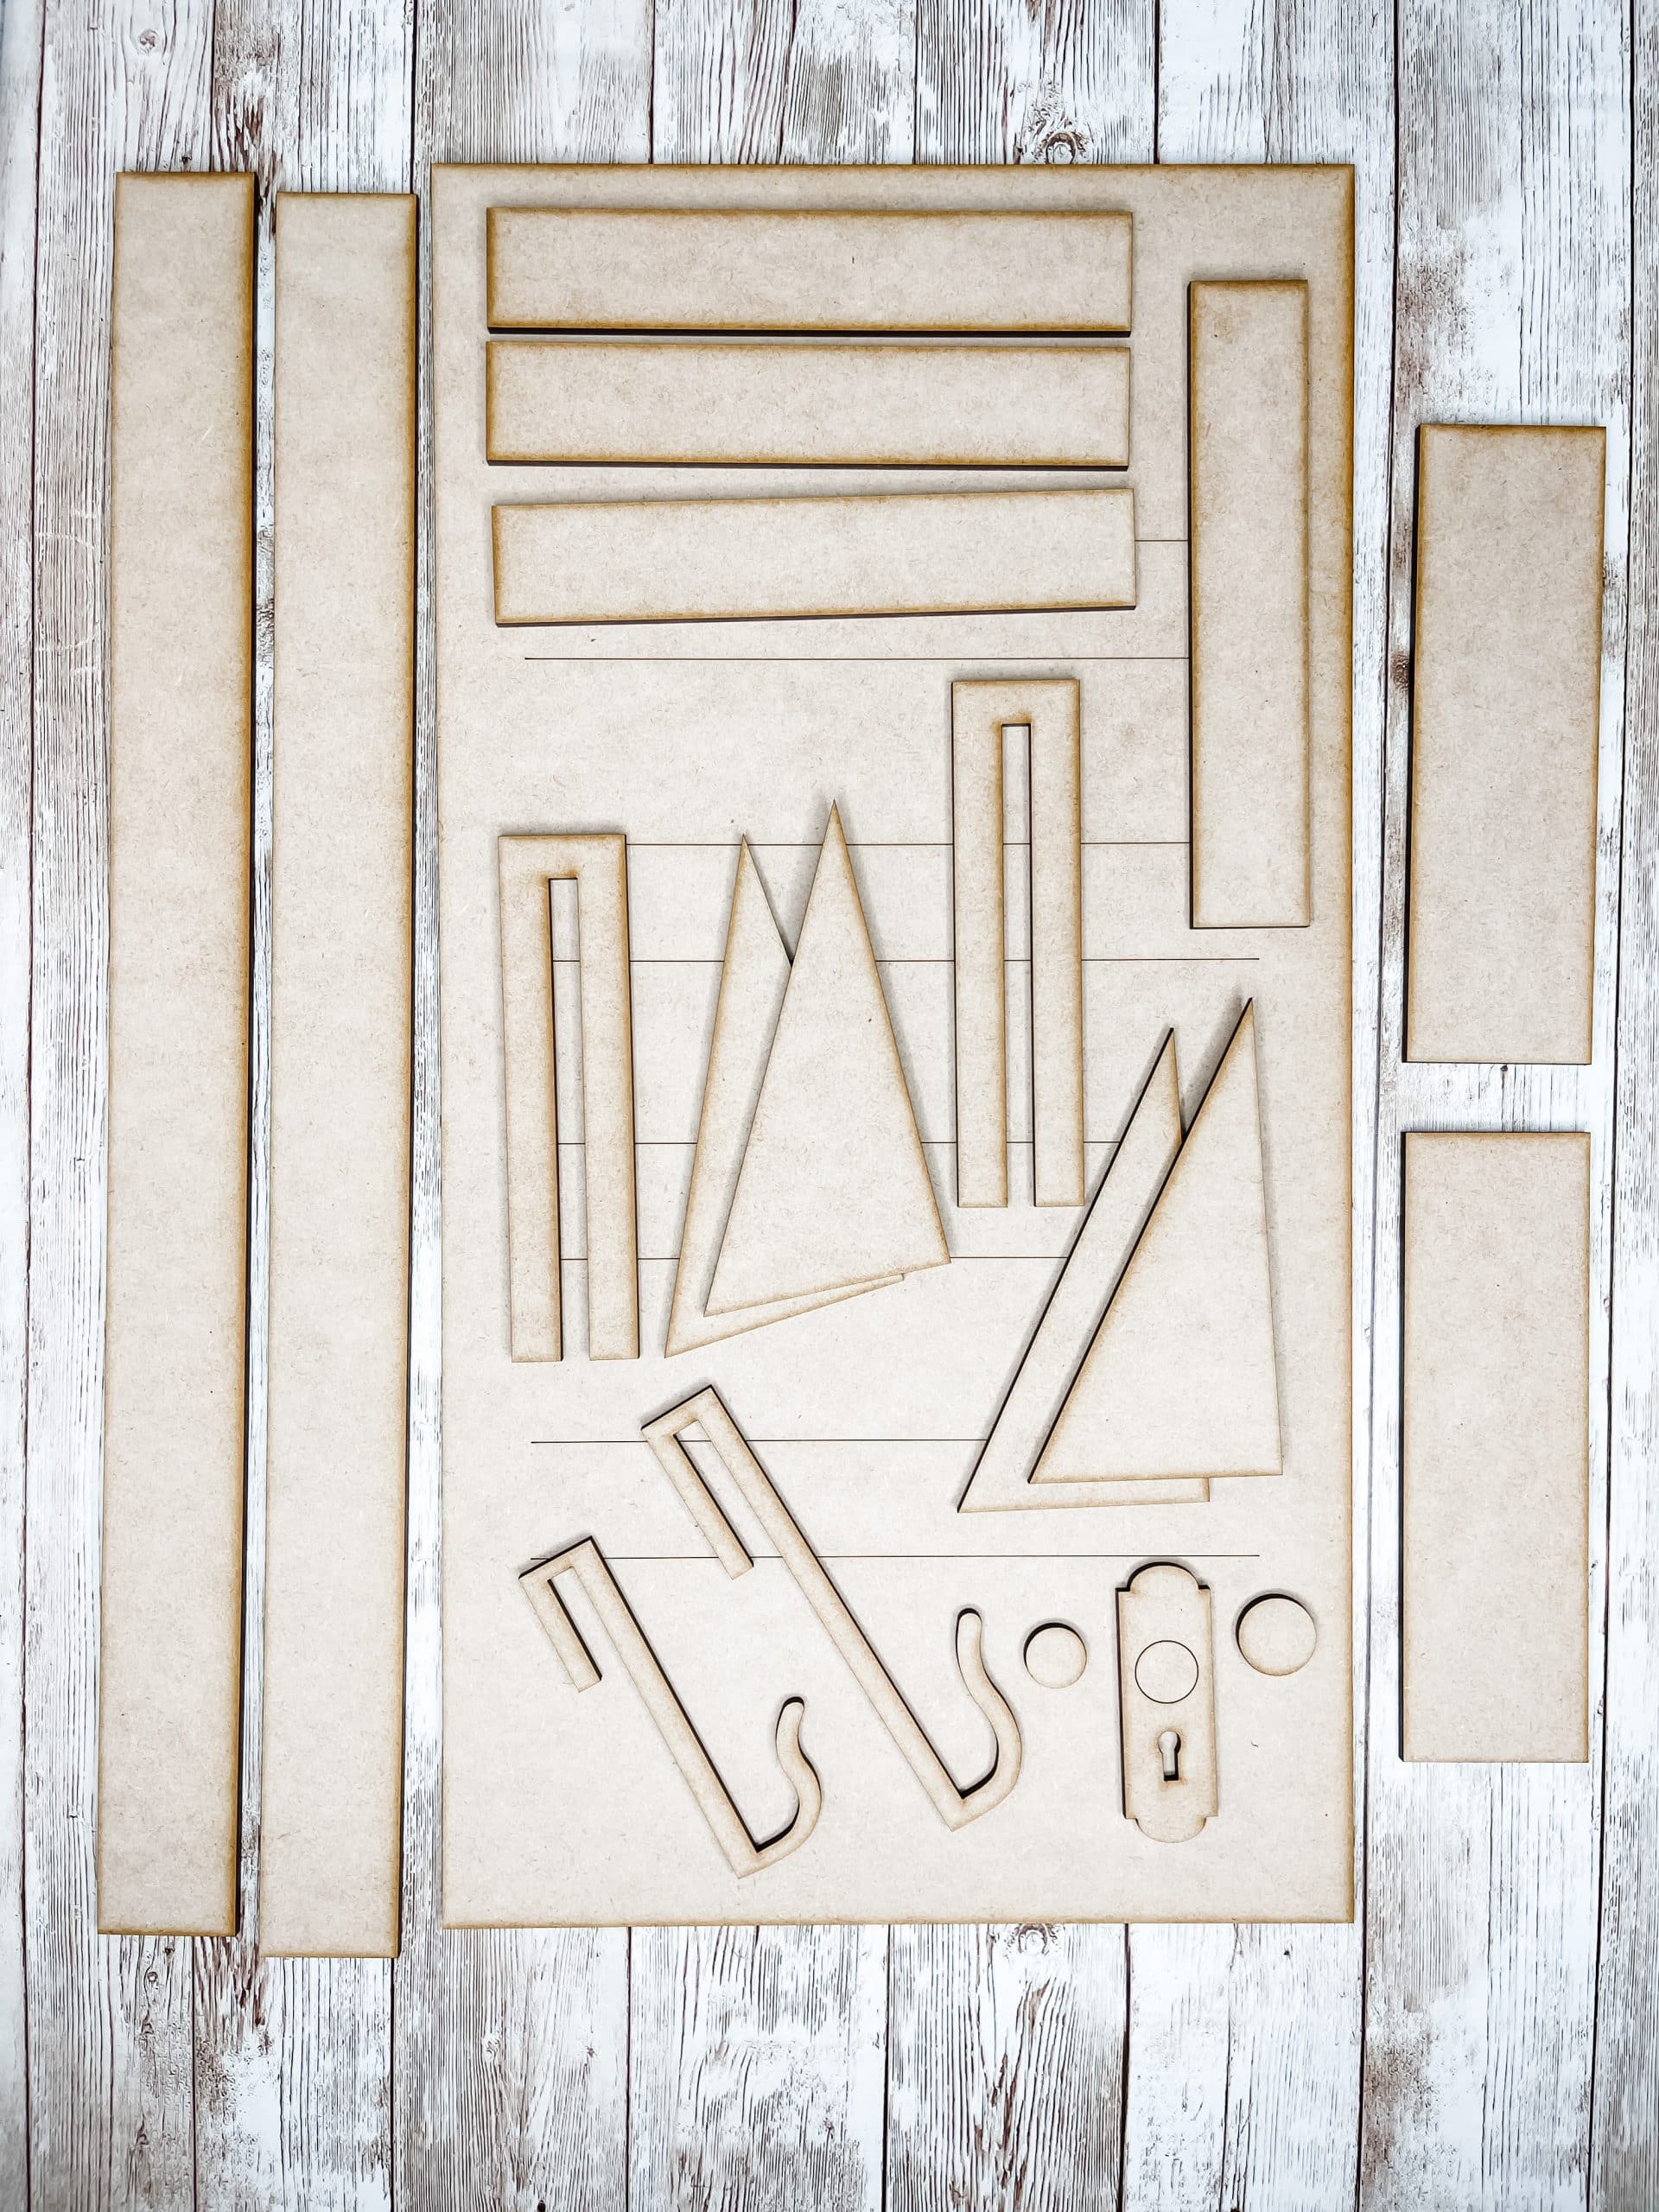
Splash back is very common and can leave a residue on your craft kit pieces. Sanding each piece removes the thin layer of splash back and ensures you’re working with clean surfaces.
You’re ready to start painting and staining once each piece has been properly sanded!
Stain the Mini 5 Panel Door pieces
For my own Mini 5 Panel Door, I used Apple Barrel Burnt Umber Acrylic Paint to stain each piece. The process of staining is so simple!
Squirt a bit of paint onto a wet baby wipe and apply the paint to the surfaces until evenly coated. Wipe over the surfaces with a clean baby wipe to remove any excess paint, then allow them to dry completely.
Next, you’re going to want to pick your glue. You can use hot glue to assemble my DIY craft kits, but I recommend using something with more hold. For this craft kit, I used Gorilla Super Glue Gel.
Assemble your Mini 5 Panel Door
You can see assembled examples on the product listing page, here on this blog, or you can watch the tutorial video to see the steps for assembly.
I always recommend doing a dry-lay before you begin gluing to ensure that all pieces end up where they’re supposed to be and there’s no confusion.
If you ever have any questions when crafting our kits, you can reach out at info@themakersmap.com for assistance!
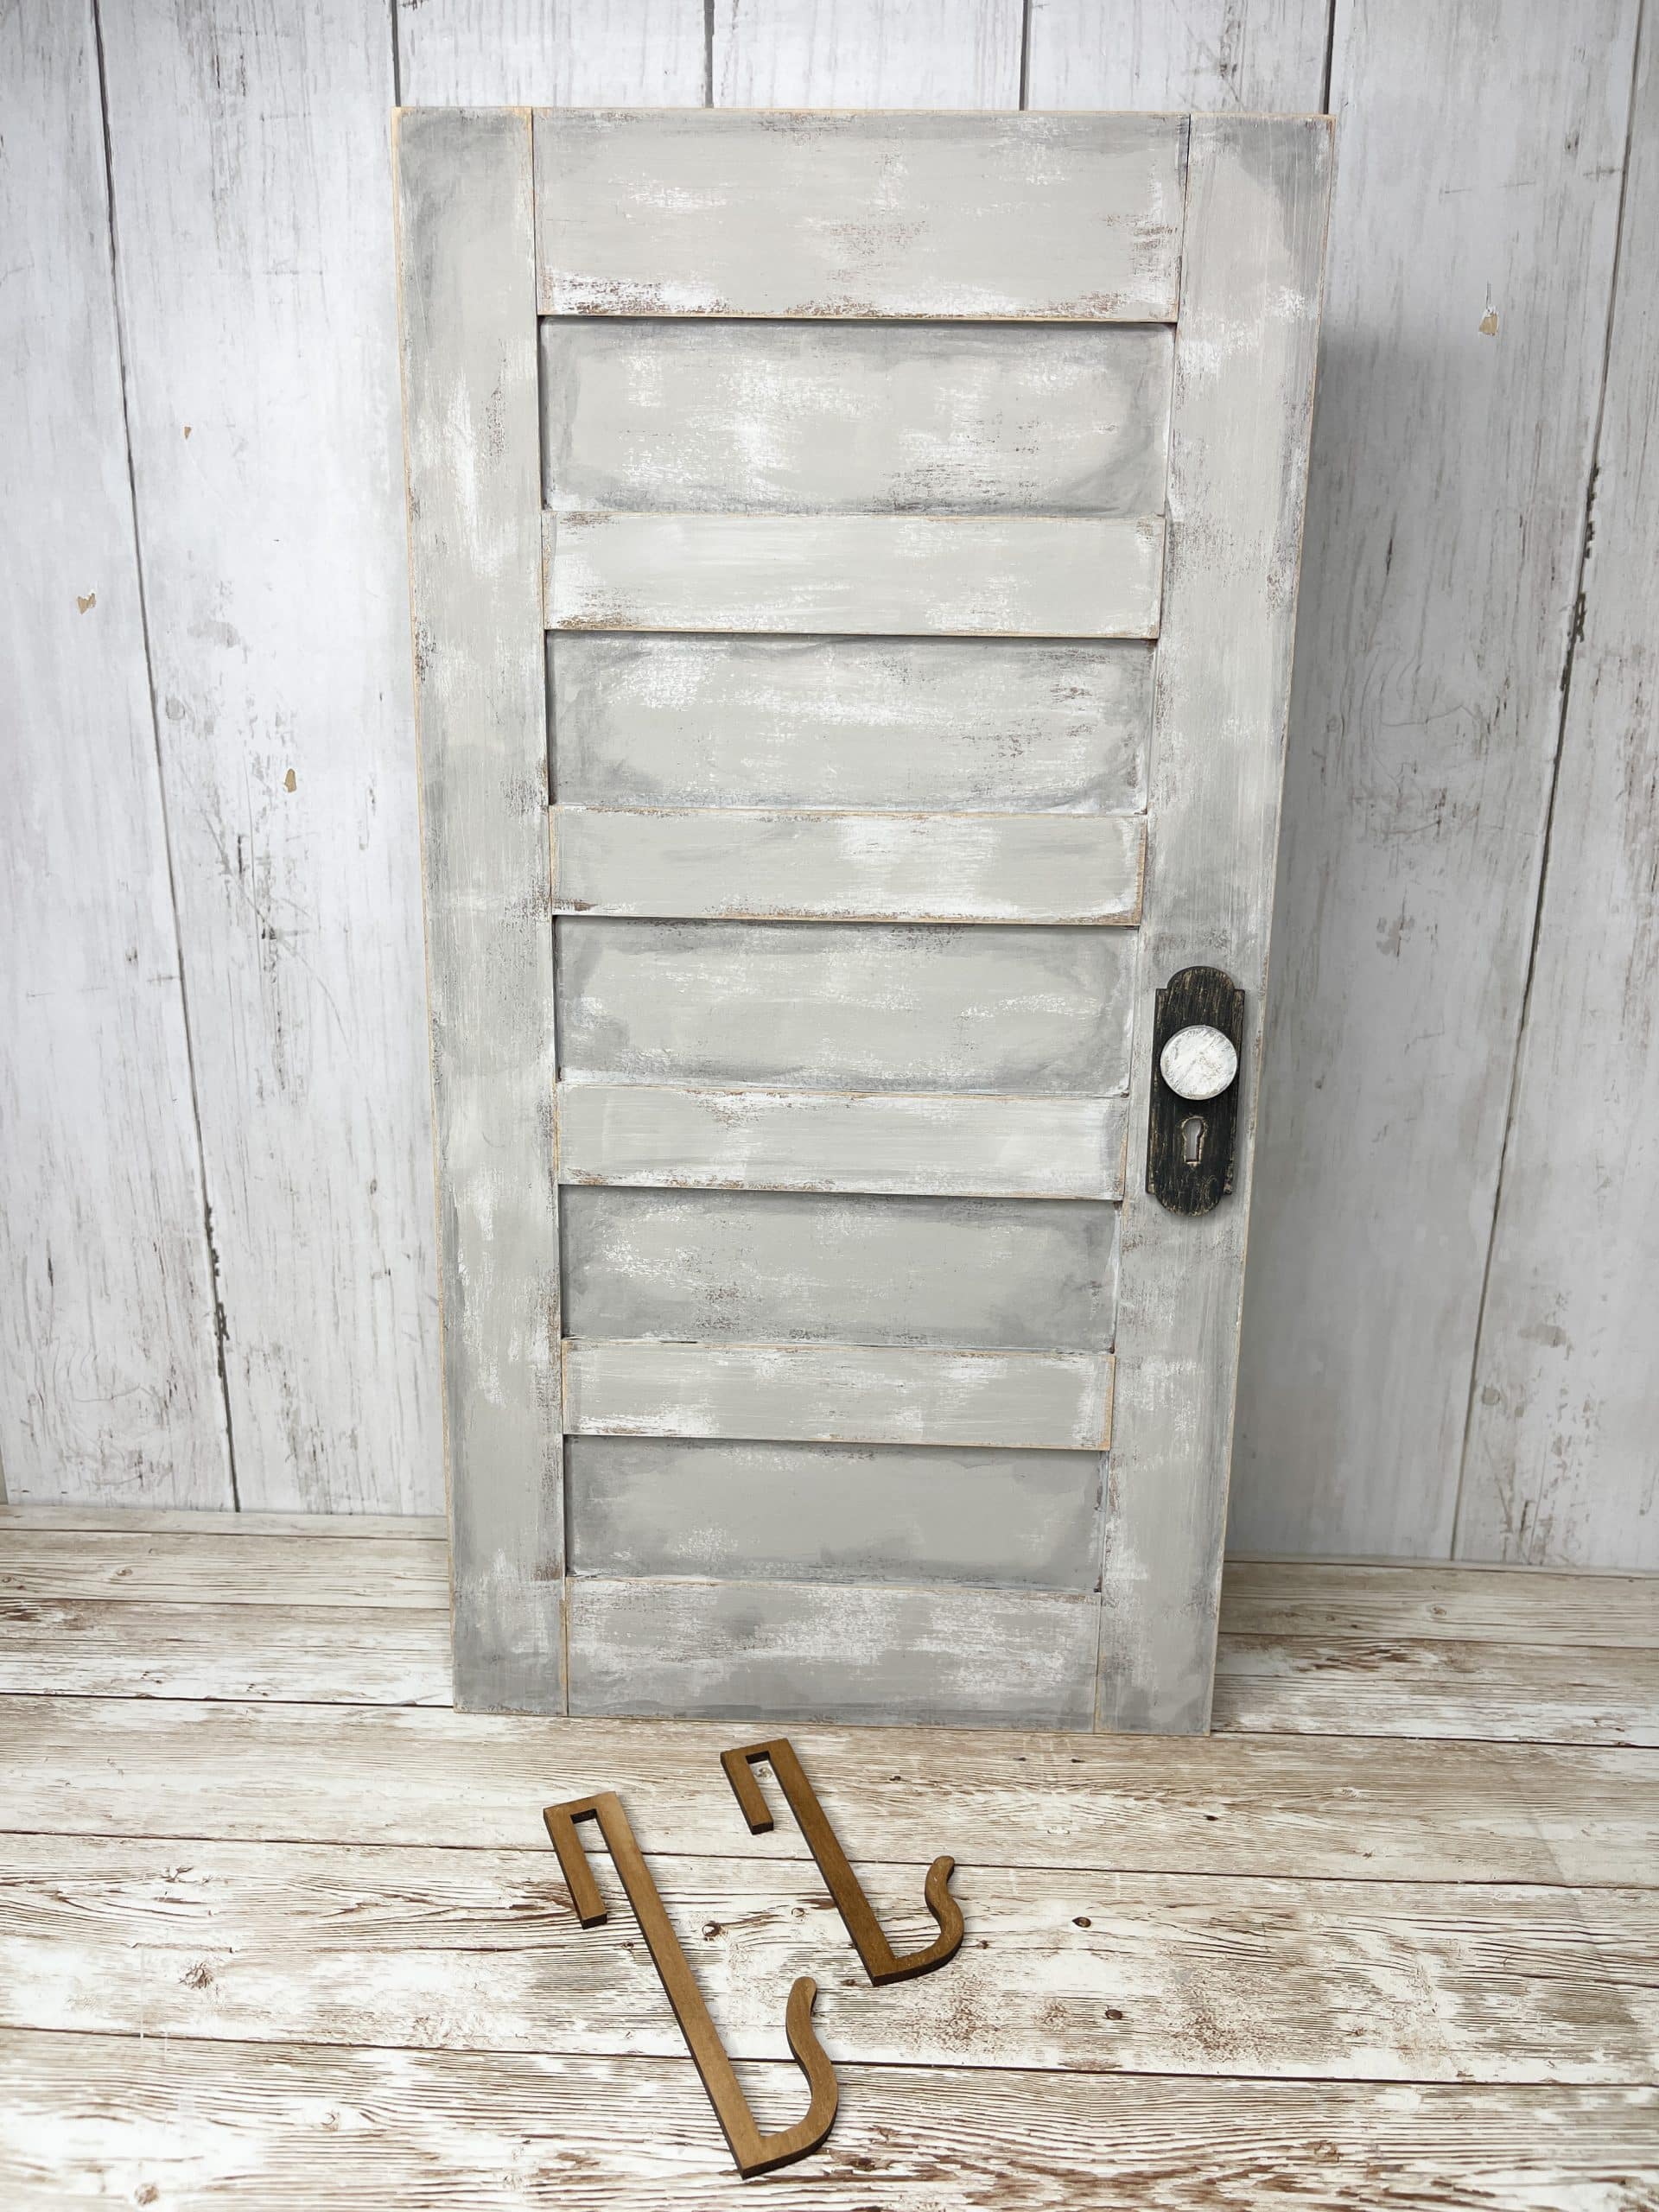
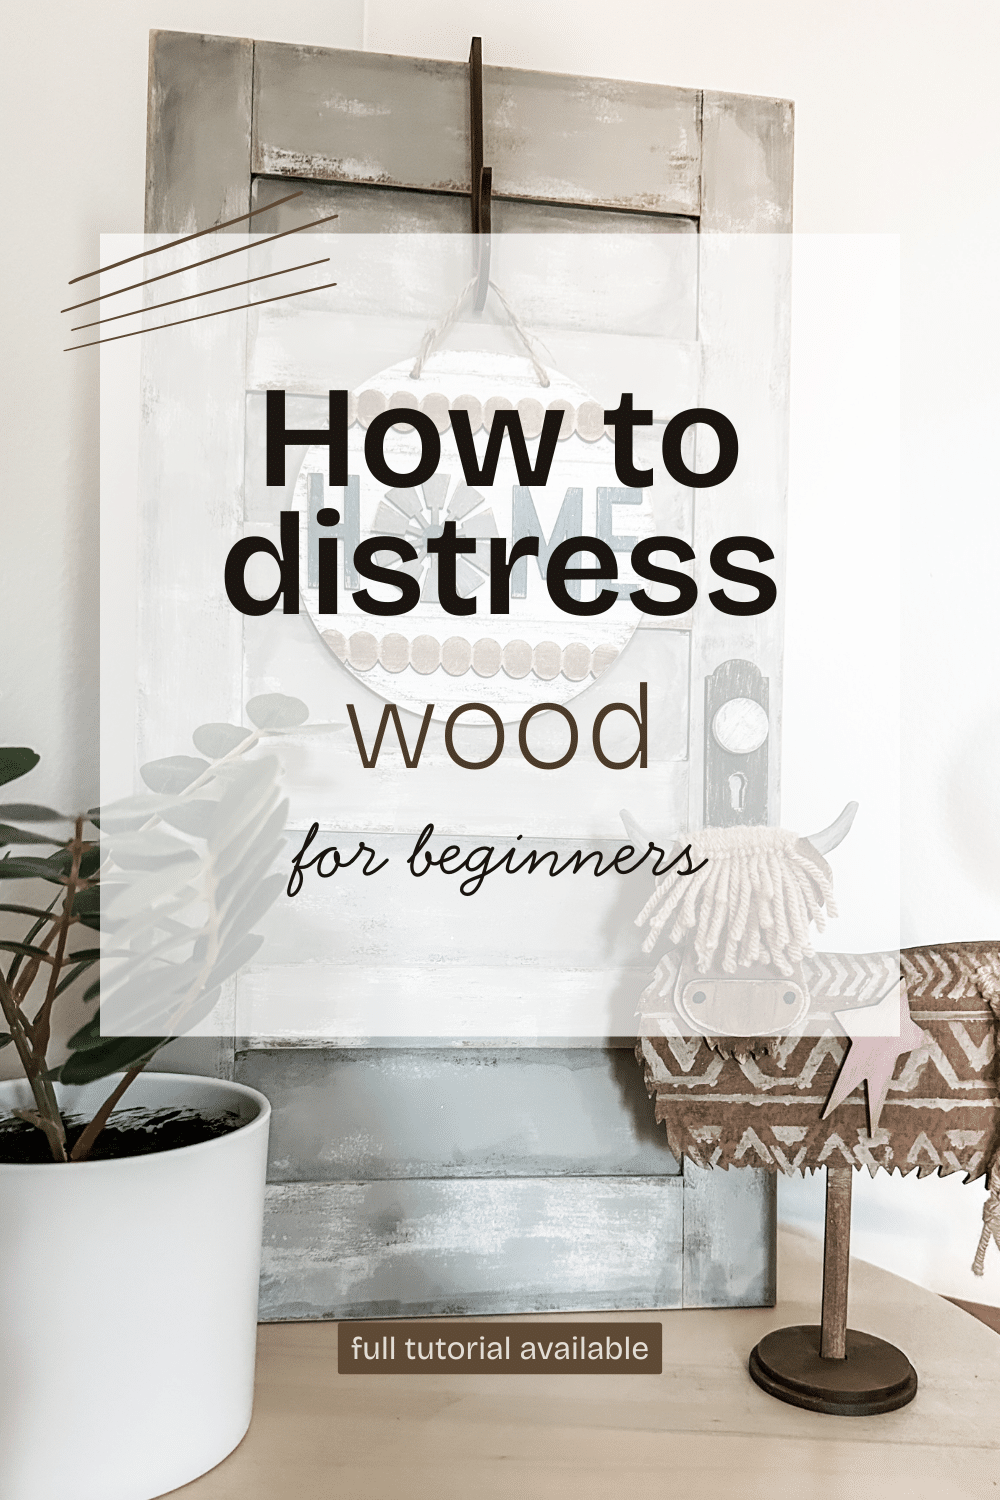
Creating a distressed wood finish on a Mini 5 Panel Door
To create the white wash color I wanted, I mixed a bit of DecoArt Snow Acrylic Paint with DecoArt Cobblestone Acrylic Paint.
Mix your paints until you’ve reached your desired shade, then begin dry brushing the paint mixture onto the surface of your assembled Mini 5 Panel Door.
Keep a light hand, and remember you’re not going to an even coating of paint. You can add a bit of dimension by doing another light layer of a darker shade of paint.
For the key hole, I used black paint for the layer of paint overtop the brown stain. I chose to paint my doorknob white.
The last step of painting is adding a bit of black paint diluted with water to create shadows on Mini 5 Panel Door.
Allow all of your paint to dry completely, and then begin sanding. This will remove uneven paint layers and expose the stain beneath, creating a distressed wood finish on your Mini 5 Panel Door!
The final step of crafting this Mini 5 Panel Door is to assemble the stand by gluing the pieces to the back of the door. You can use the hooks to hang your own decor (or find something in my shop that you love)!
Thanks for stopping by! XOXO Amber
You can also shop my ENTIRE AMAZON Favorites shop just click here! It’s packed full of all the things I use and love. Here is the supply list I highly recommend every creative have on hand!!
Would you also pin my blog for later and get on my newsletter alerts? I would love to have you join my #craftycrew.
Inspired? Leave me a comment below! I love hearing from my readers!

Join my free “Crafting and Sharing” Facebook group!